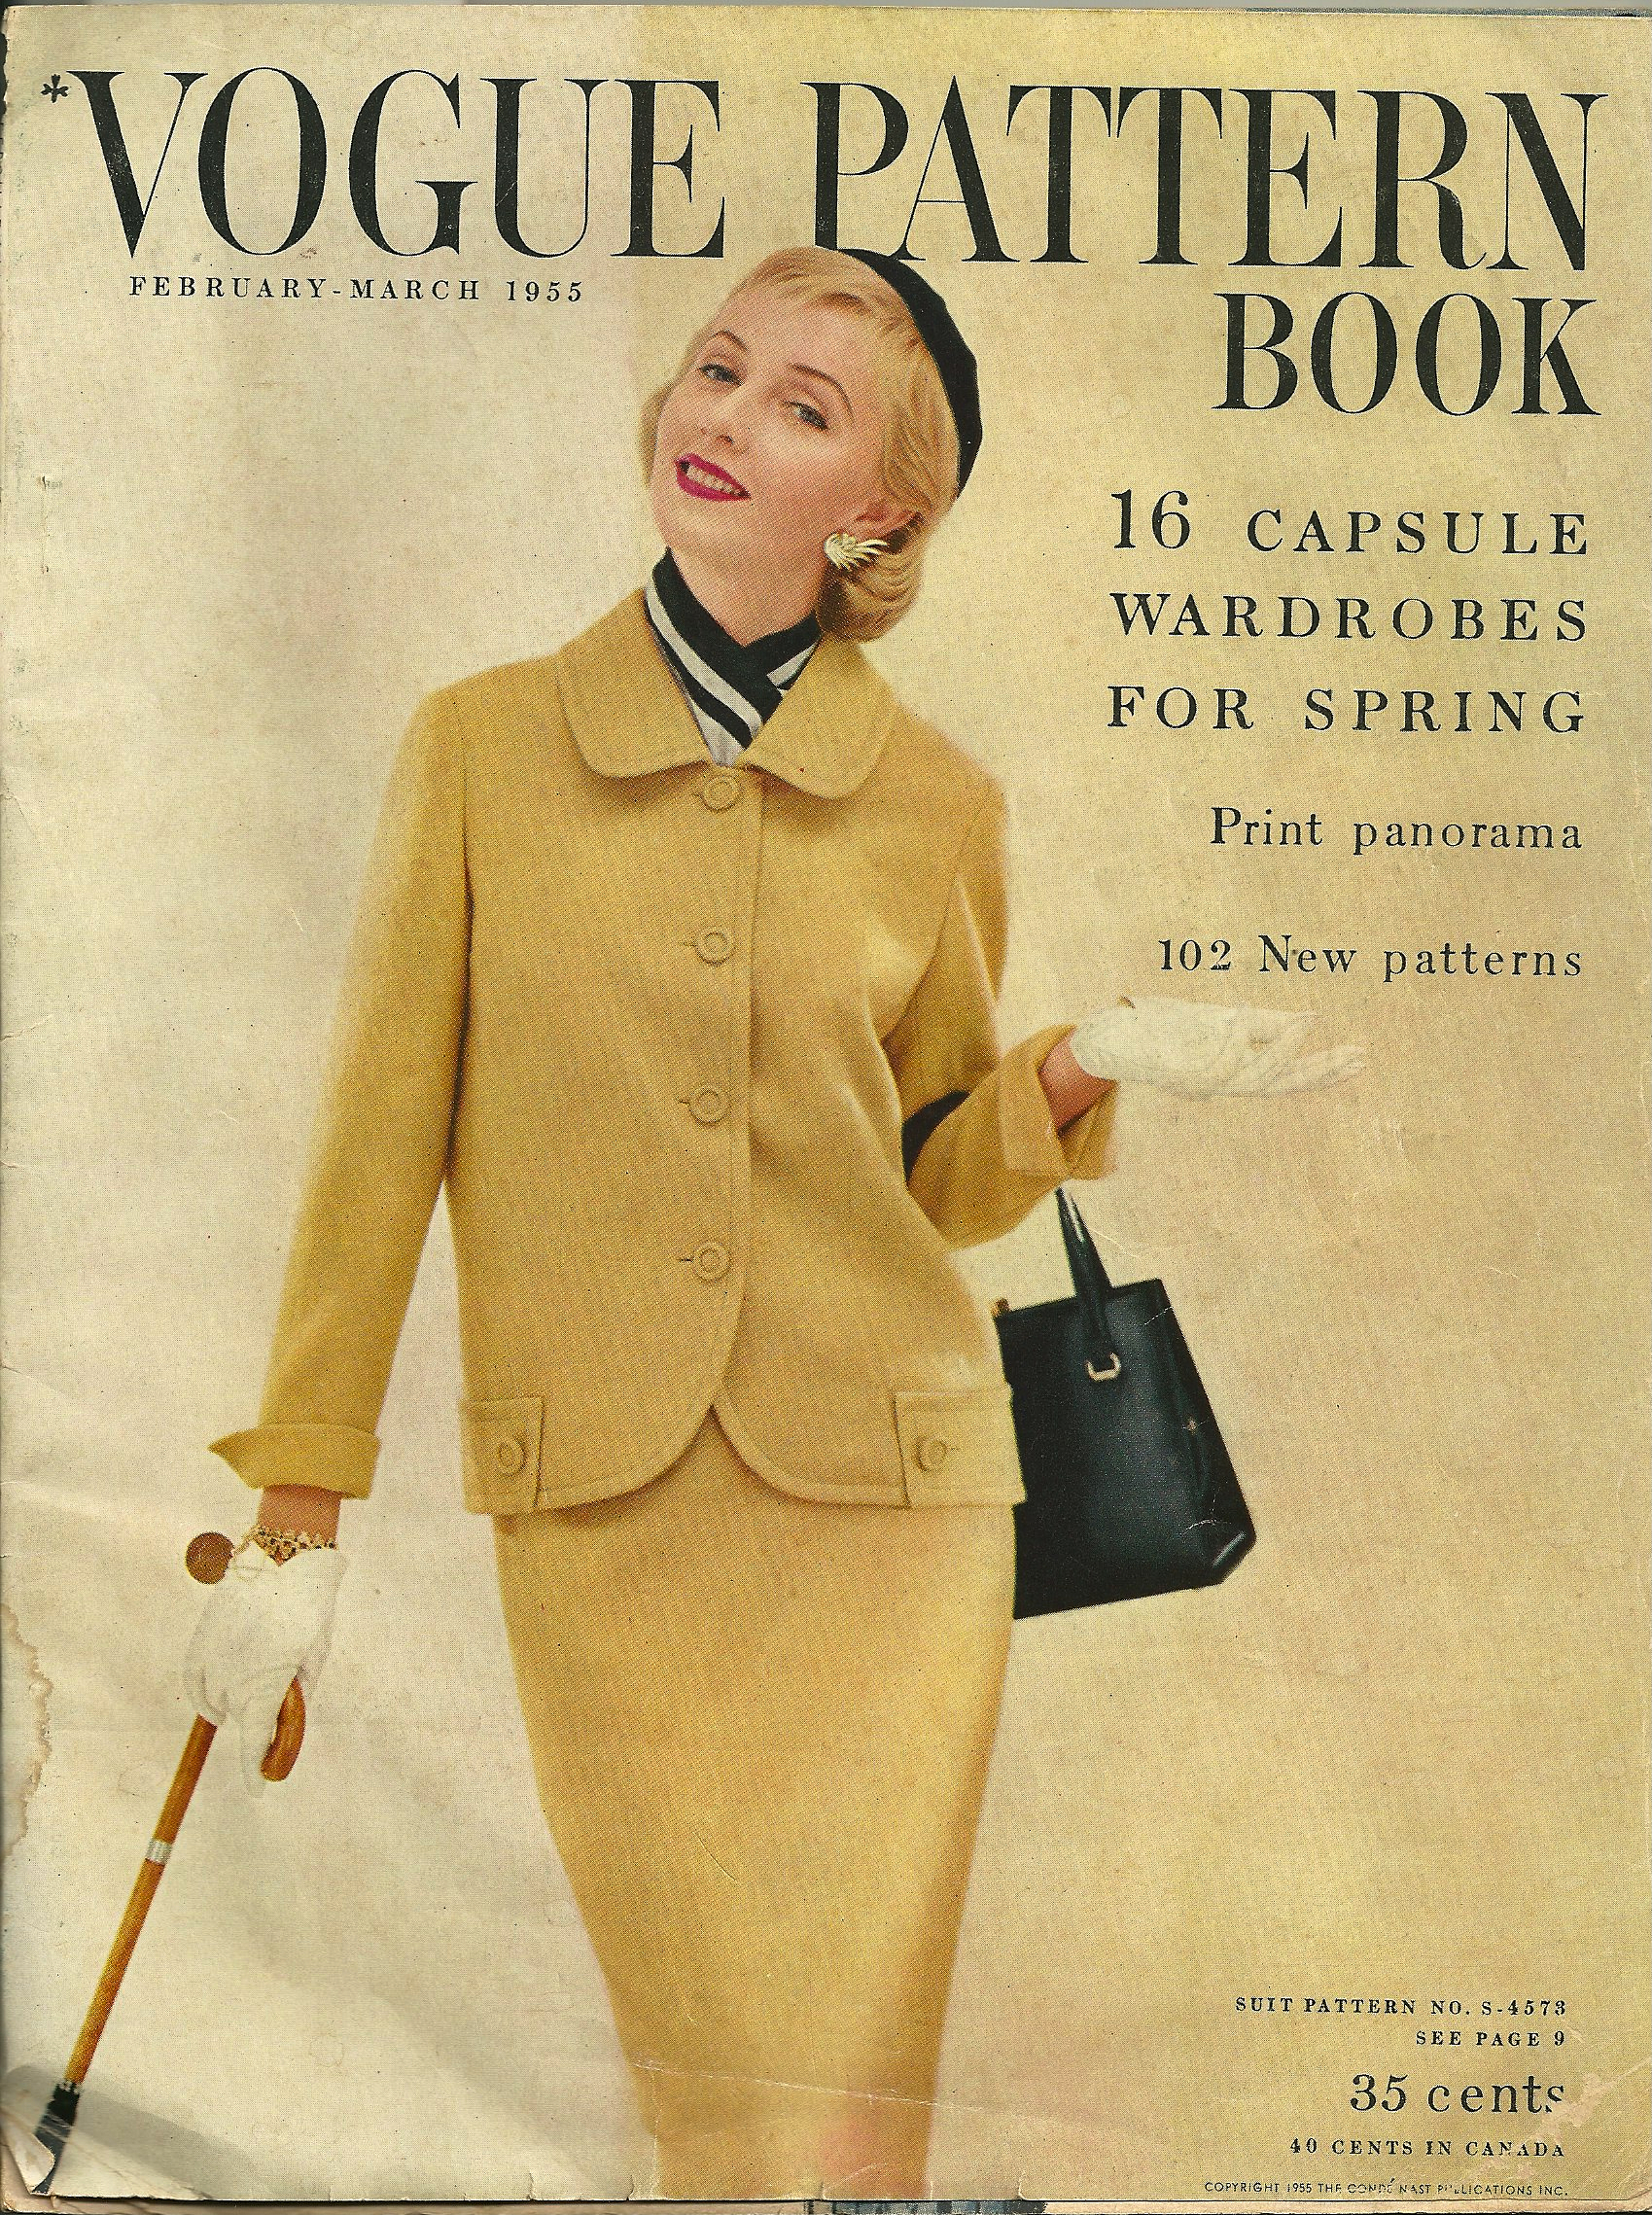
This is a pattern I have long admired:
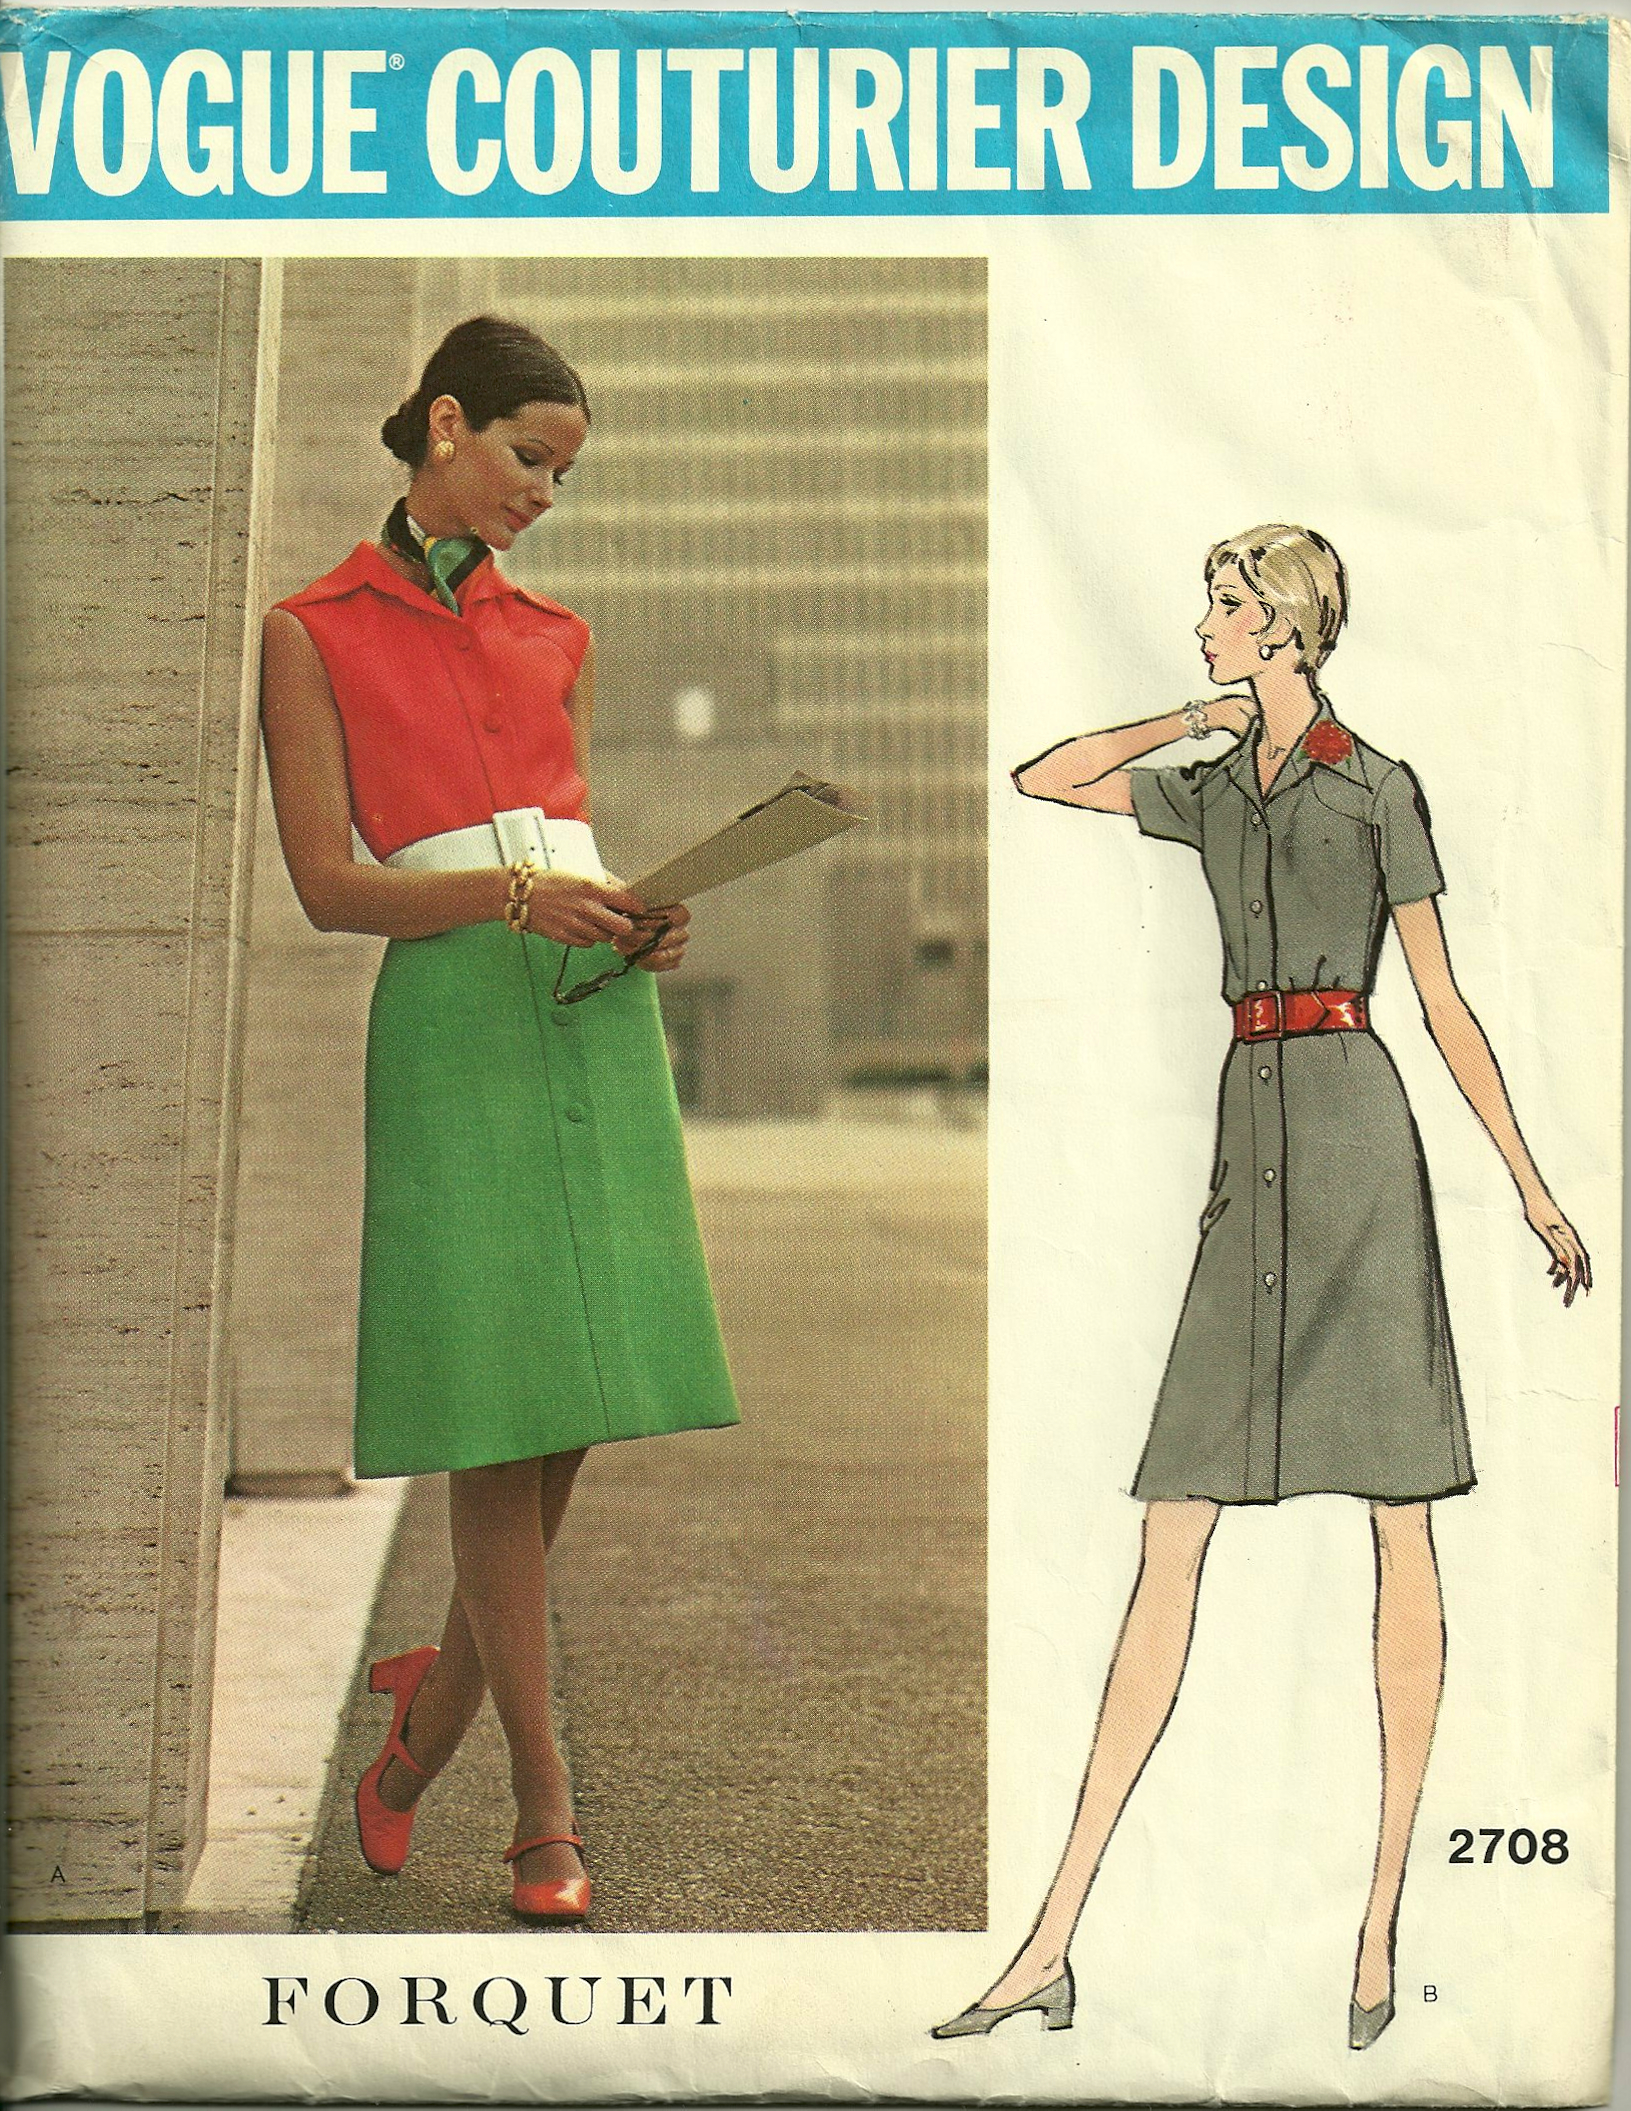
It is one of those patterns which is always in my mind when I am looking at or for fabric. Twice I have opened it up to survey its pieces and construction, and twice I have decided against it. To be fair, both times of rejection have been because of “not enough fabric”, but other factors have weighed in as well: 1) the collar is too “’70s-looking” and would have to be recut; 2) the skirt is A-line, a look I am just not excited about right now; and 3) the top part of the dress is “bloused” instead of darted, which adds more bulk to the waist than I can handle at this stage of my life. However, with that said, I still love the look. I love the strong contrasts of color, divided and punctuated with the wide white belt. I love the styling with the shoes matching the red bodice, the tidy neck scarf, the big ball earrings, and the classy bracelet. It is a memorable look. And – it served as inspiration for me as I recently paired two vintage pieces of contrasting Moygashel linen.
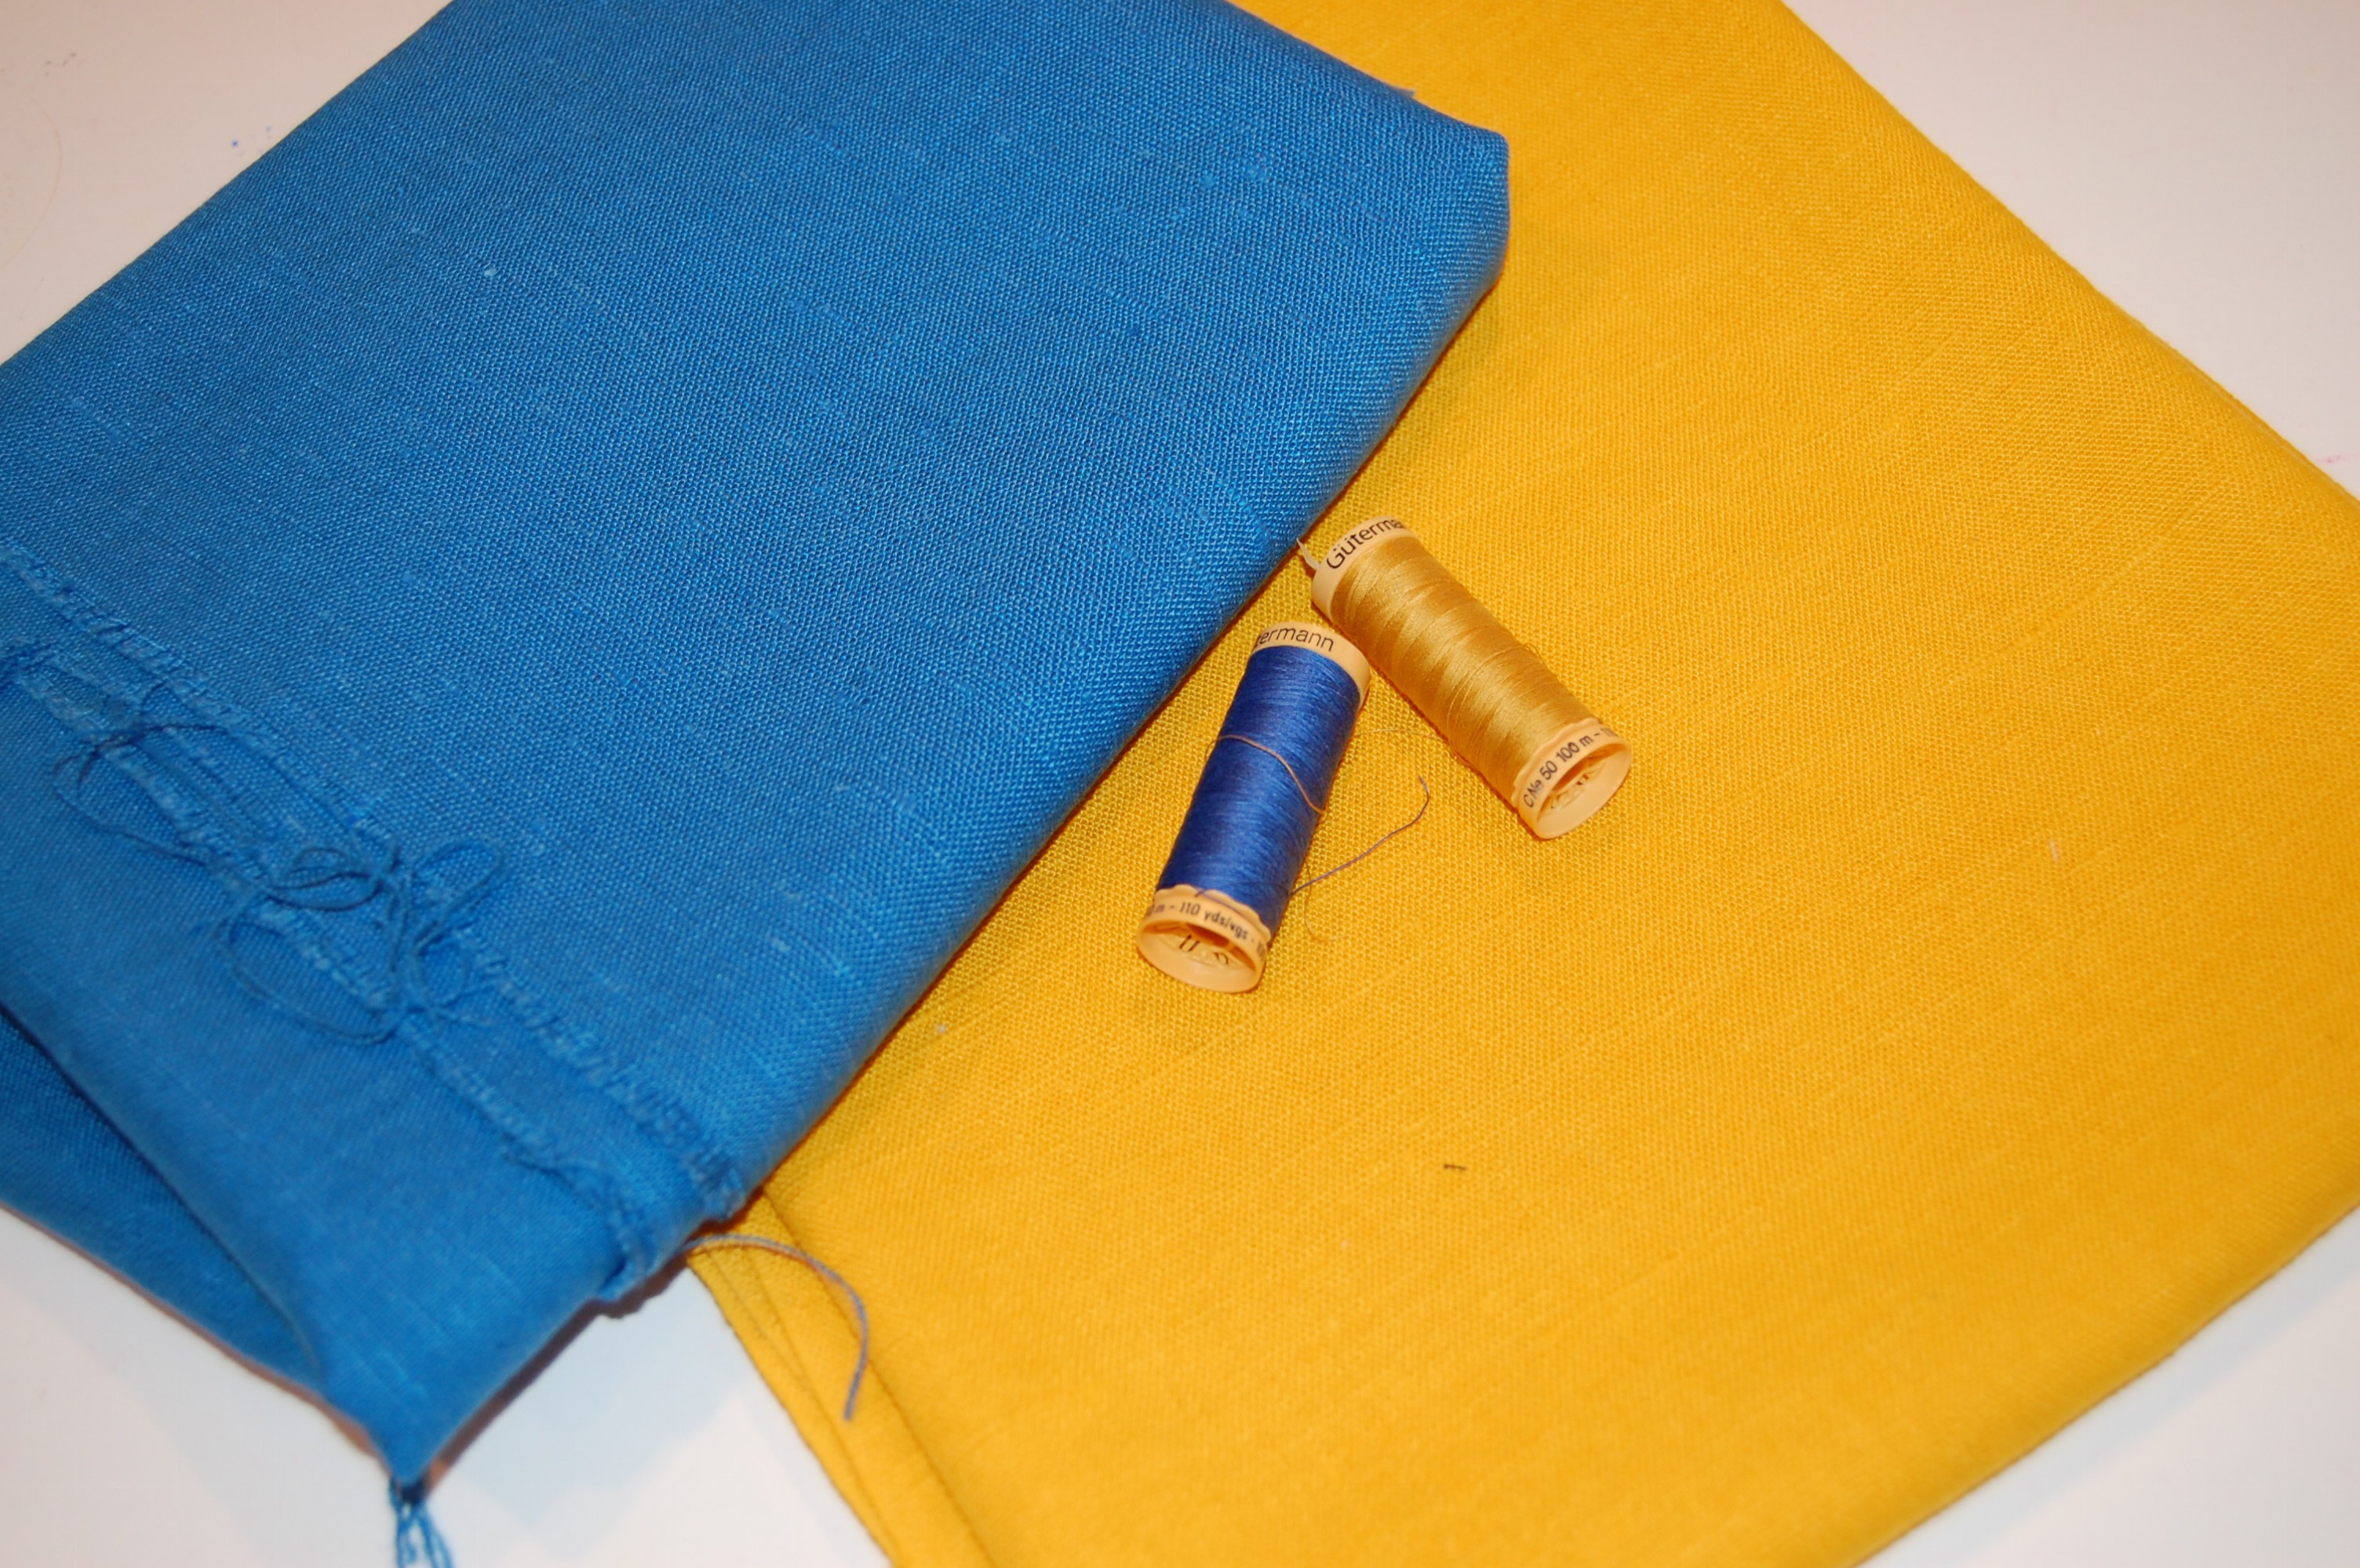
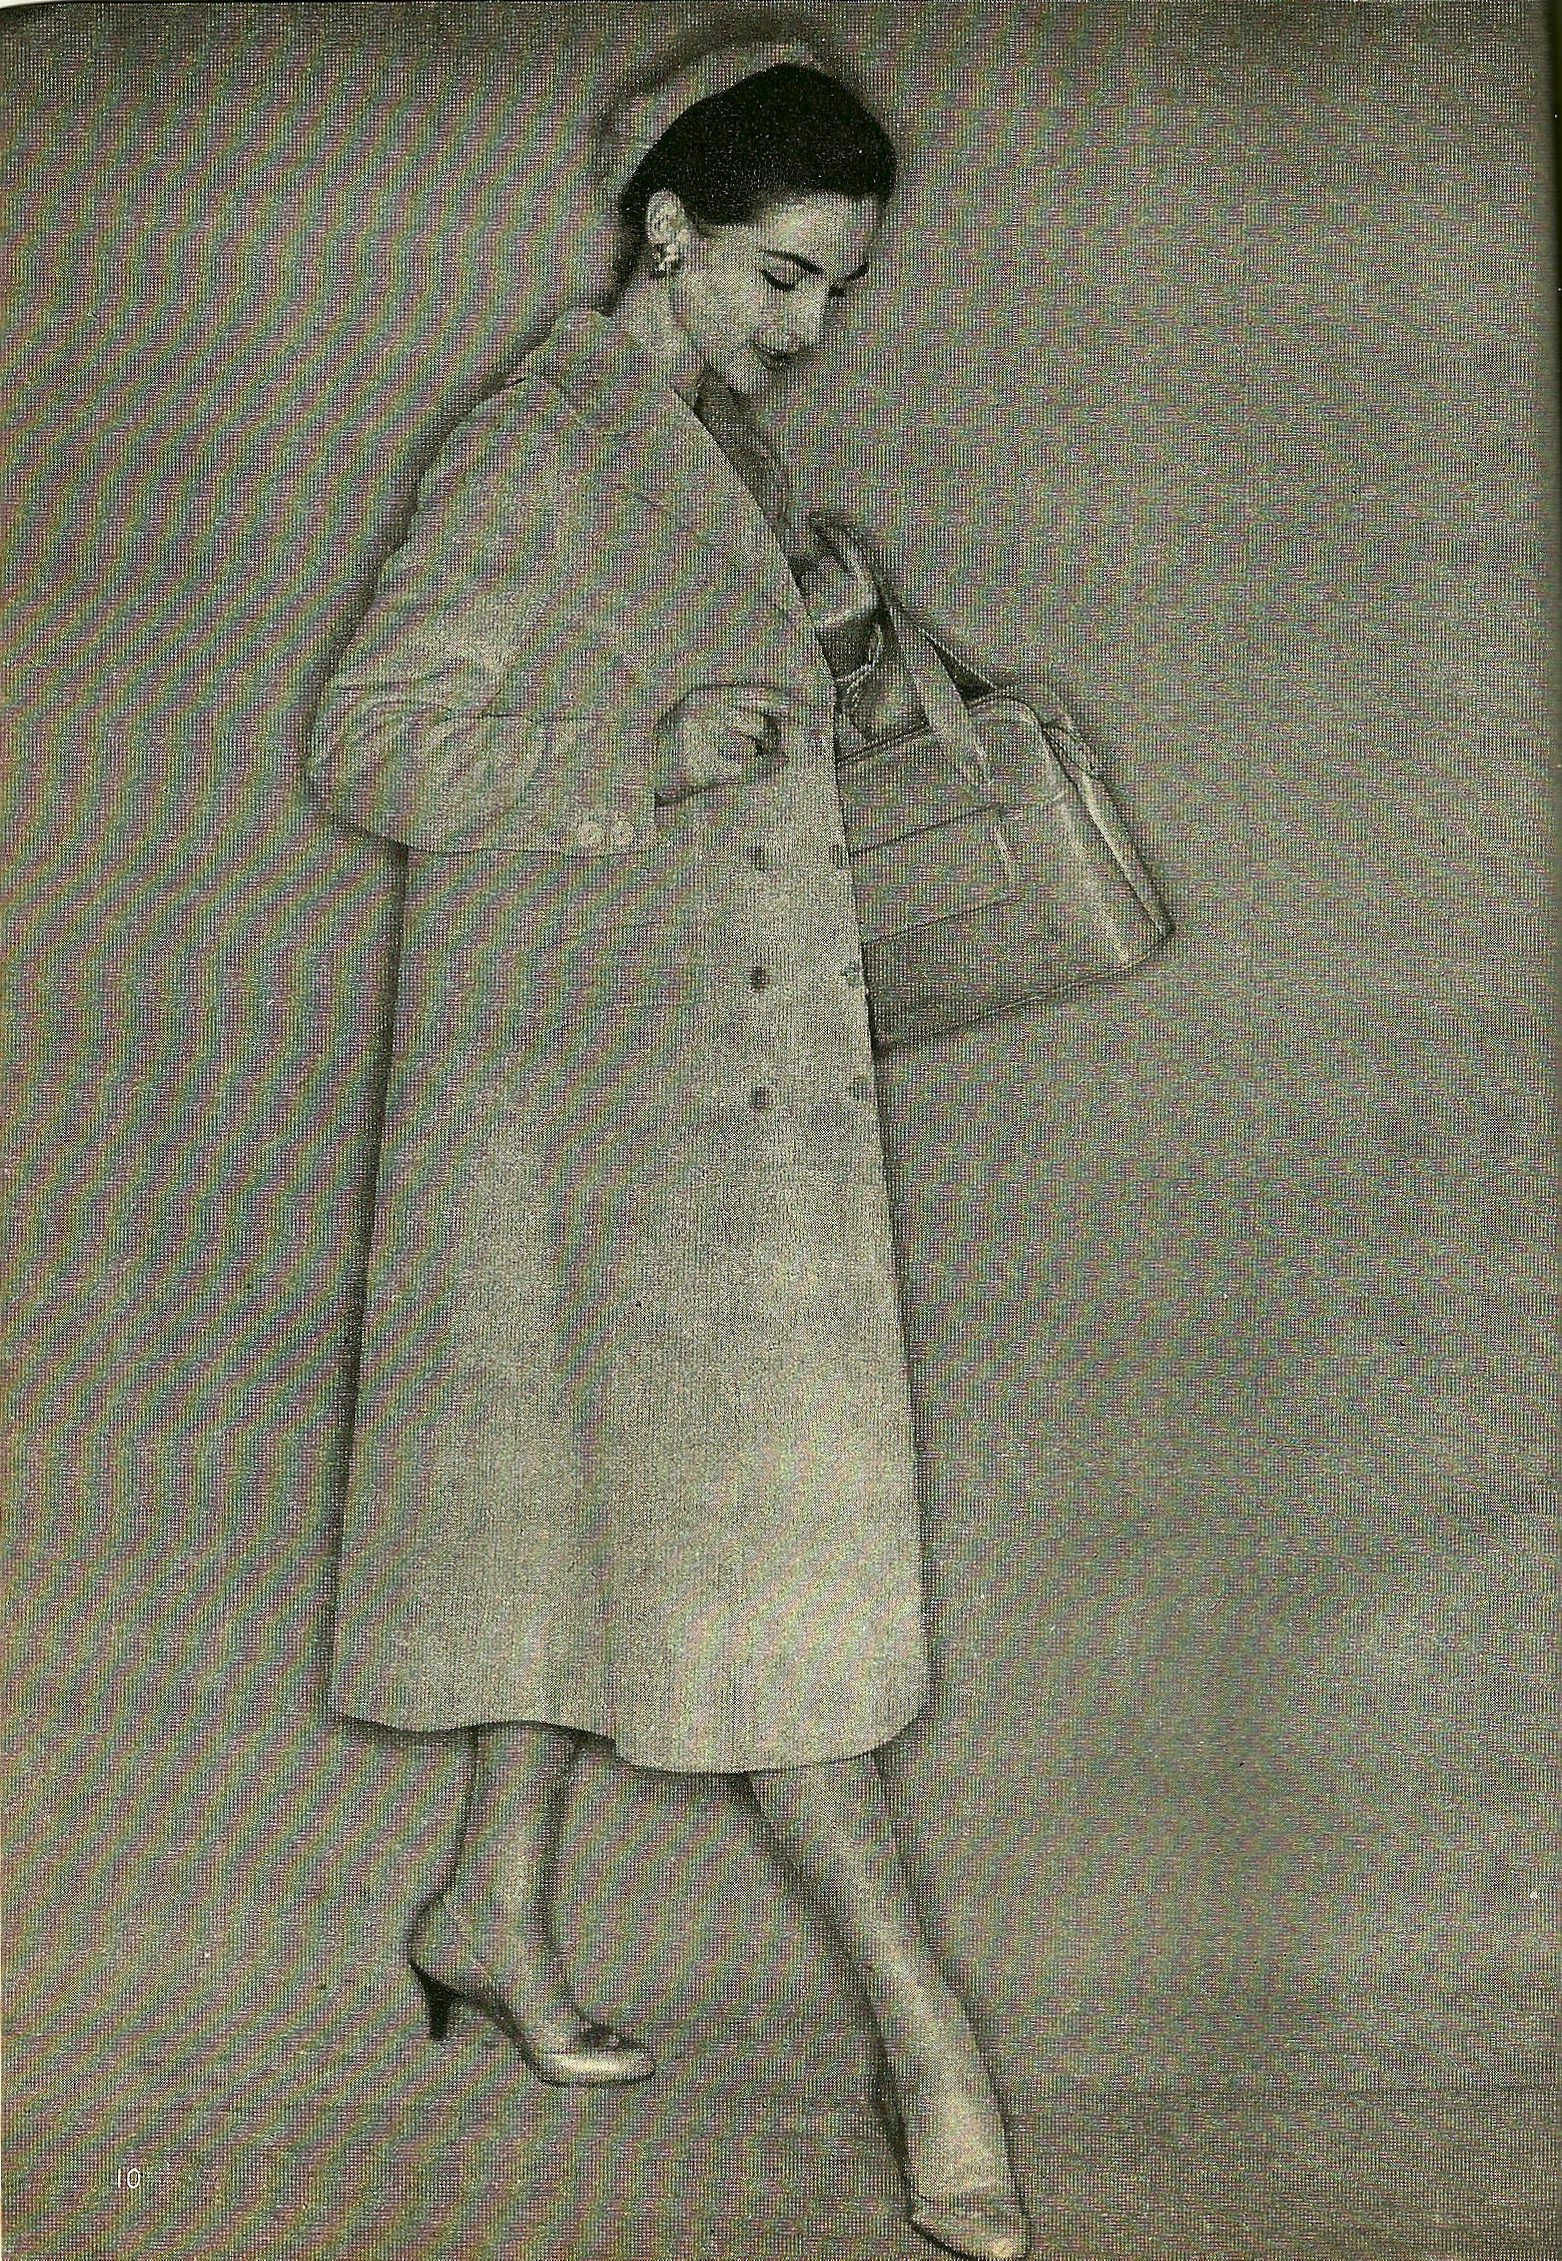
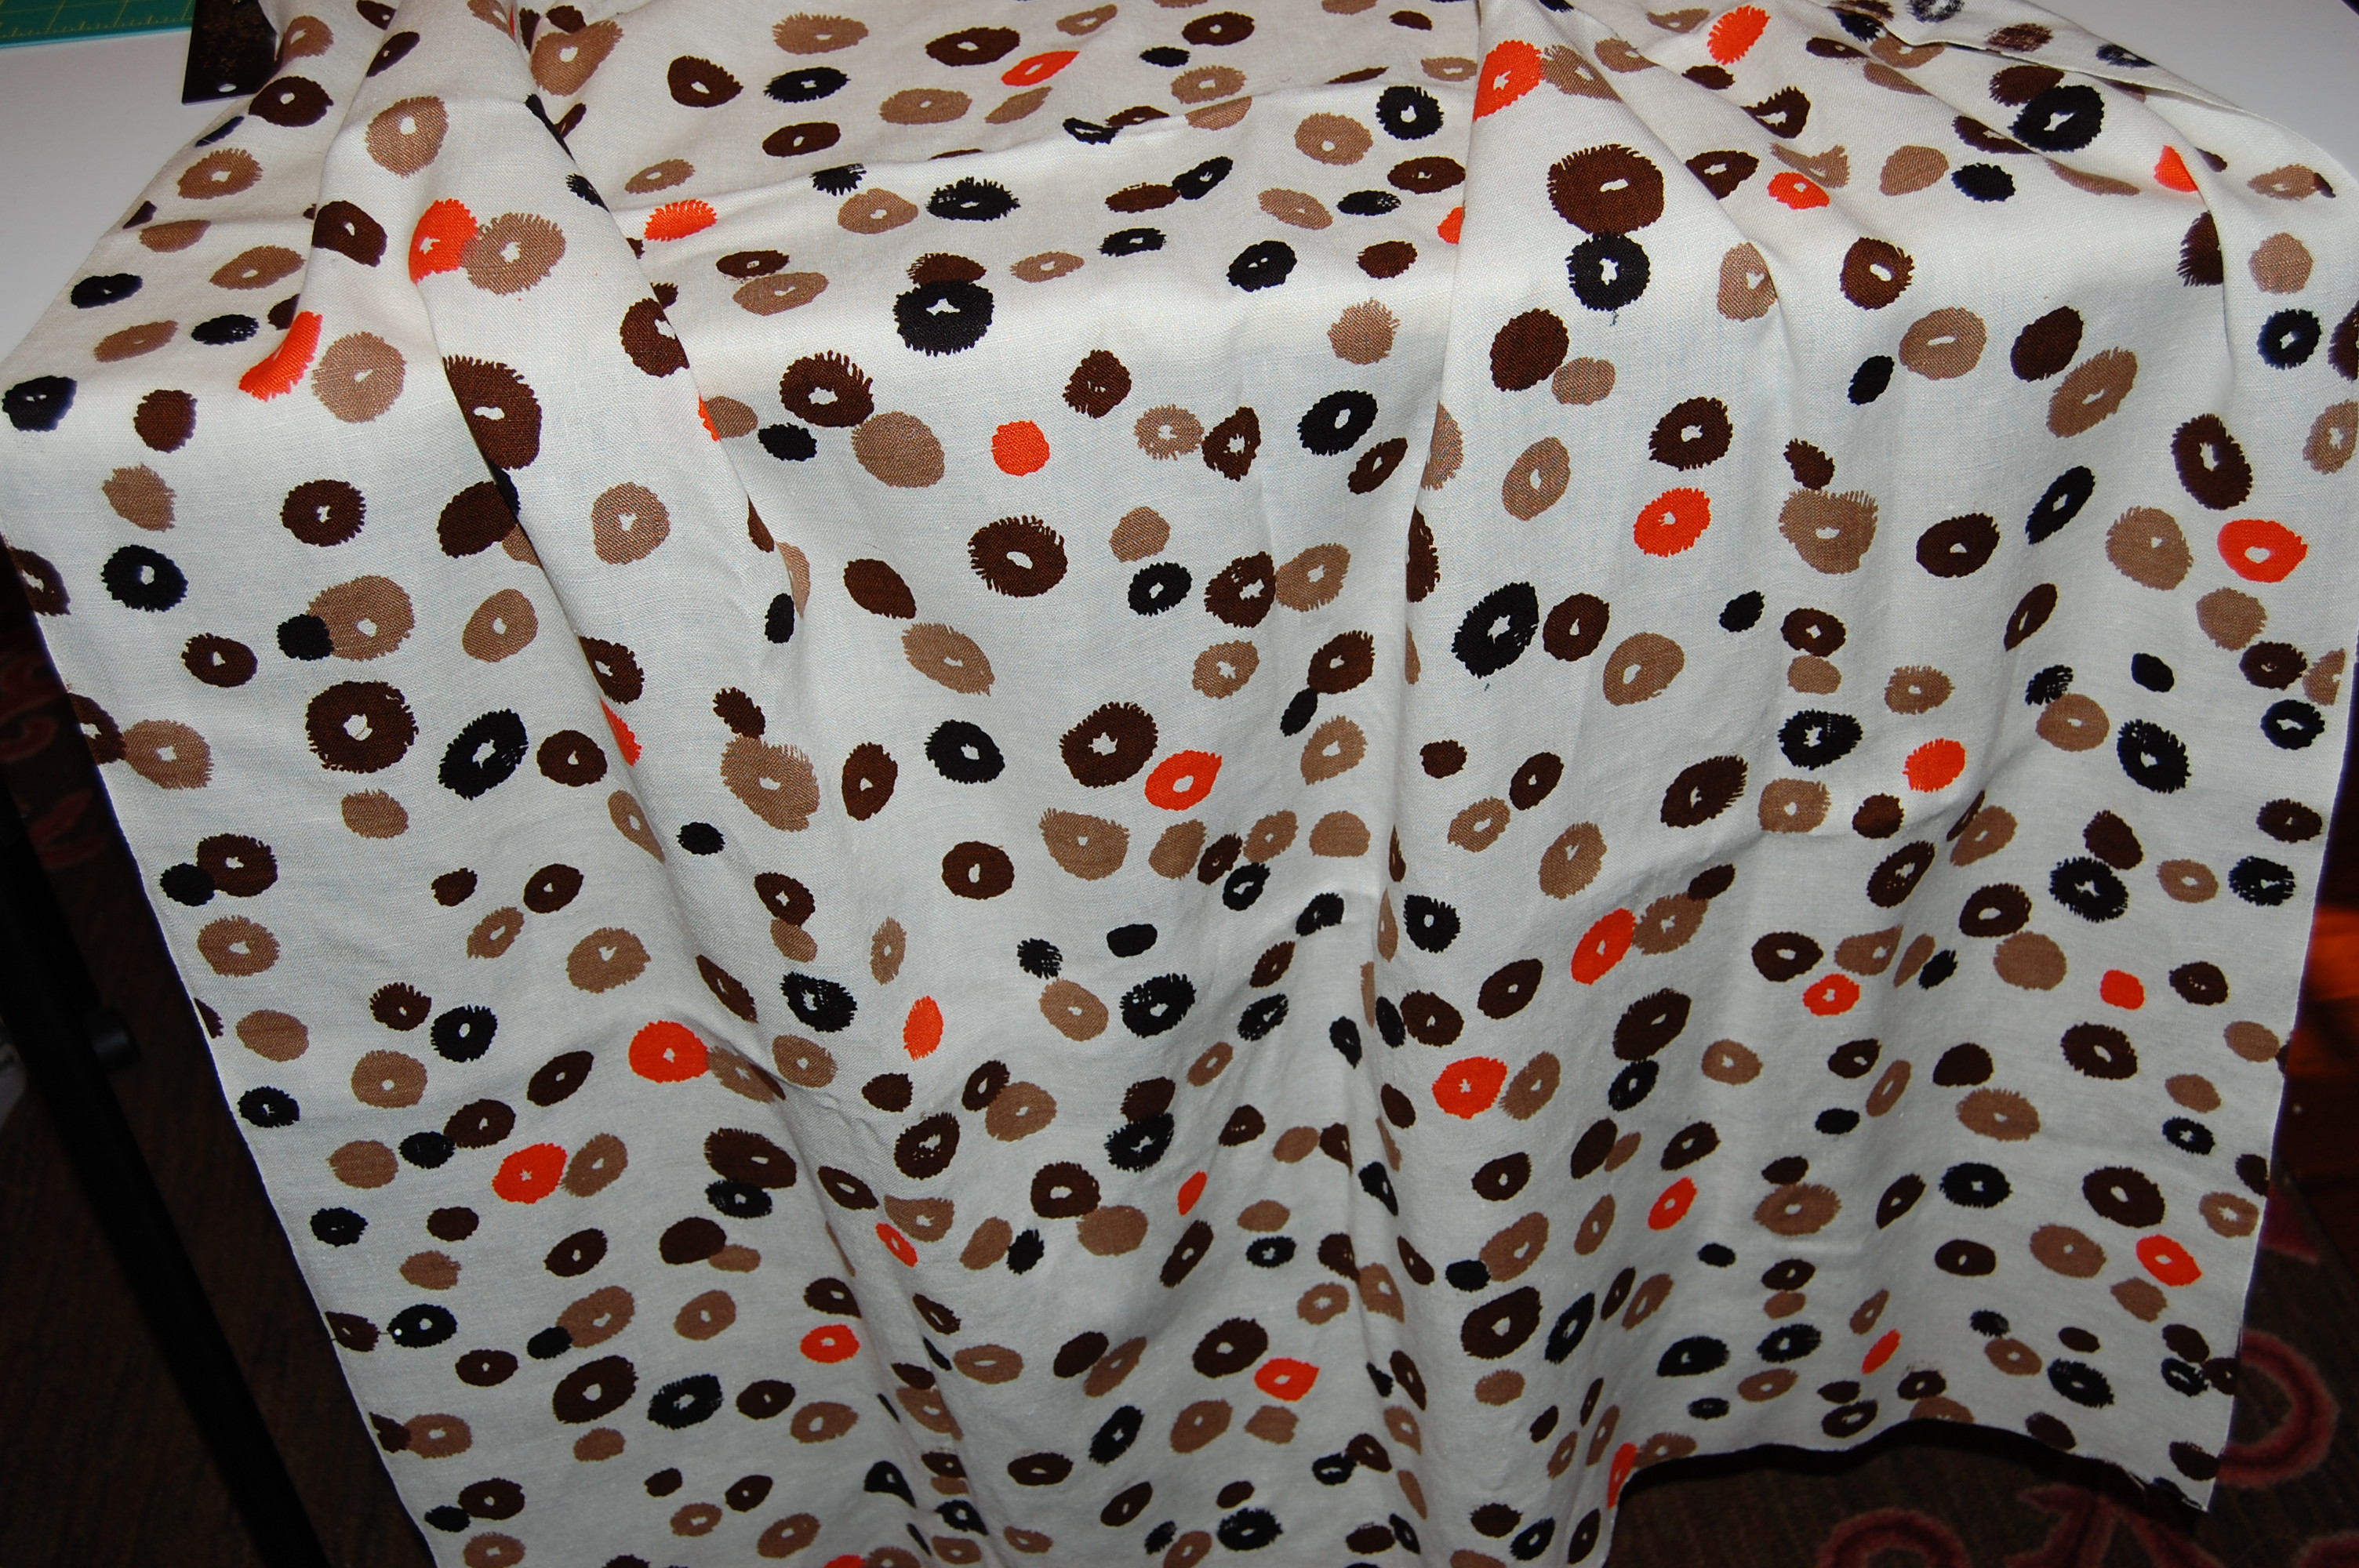
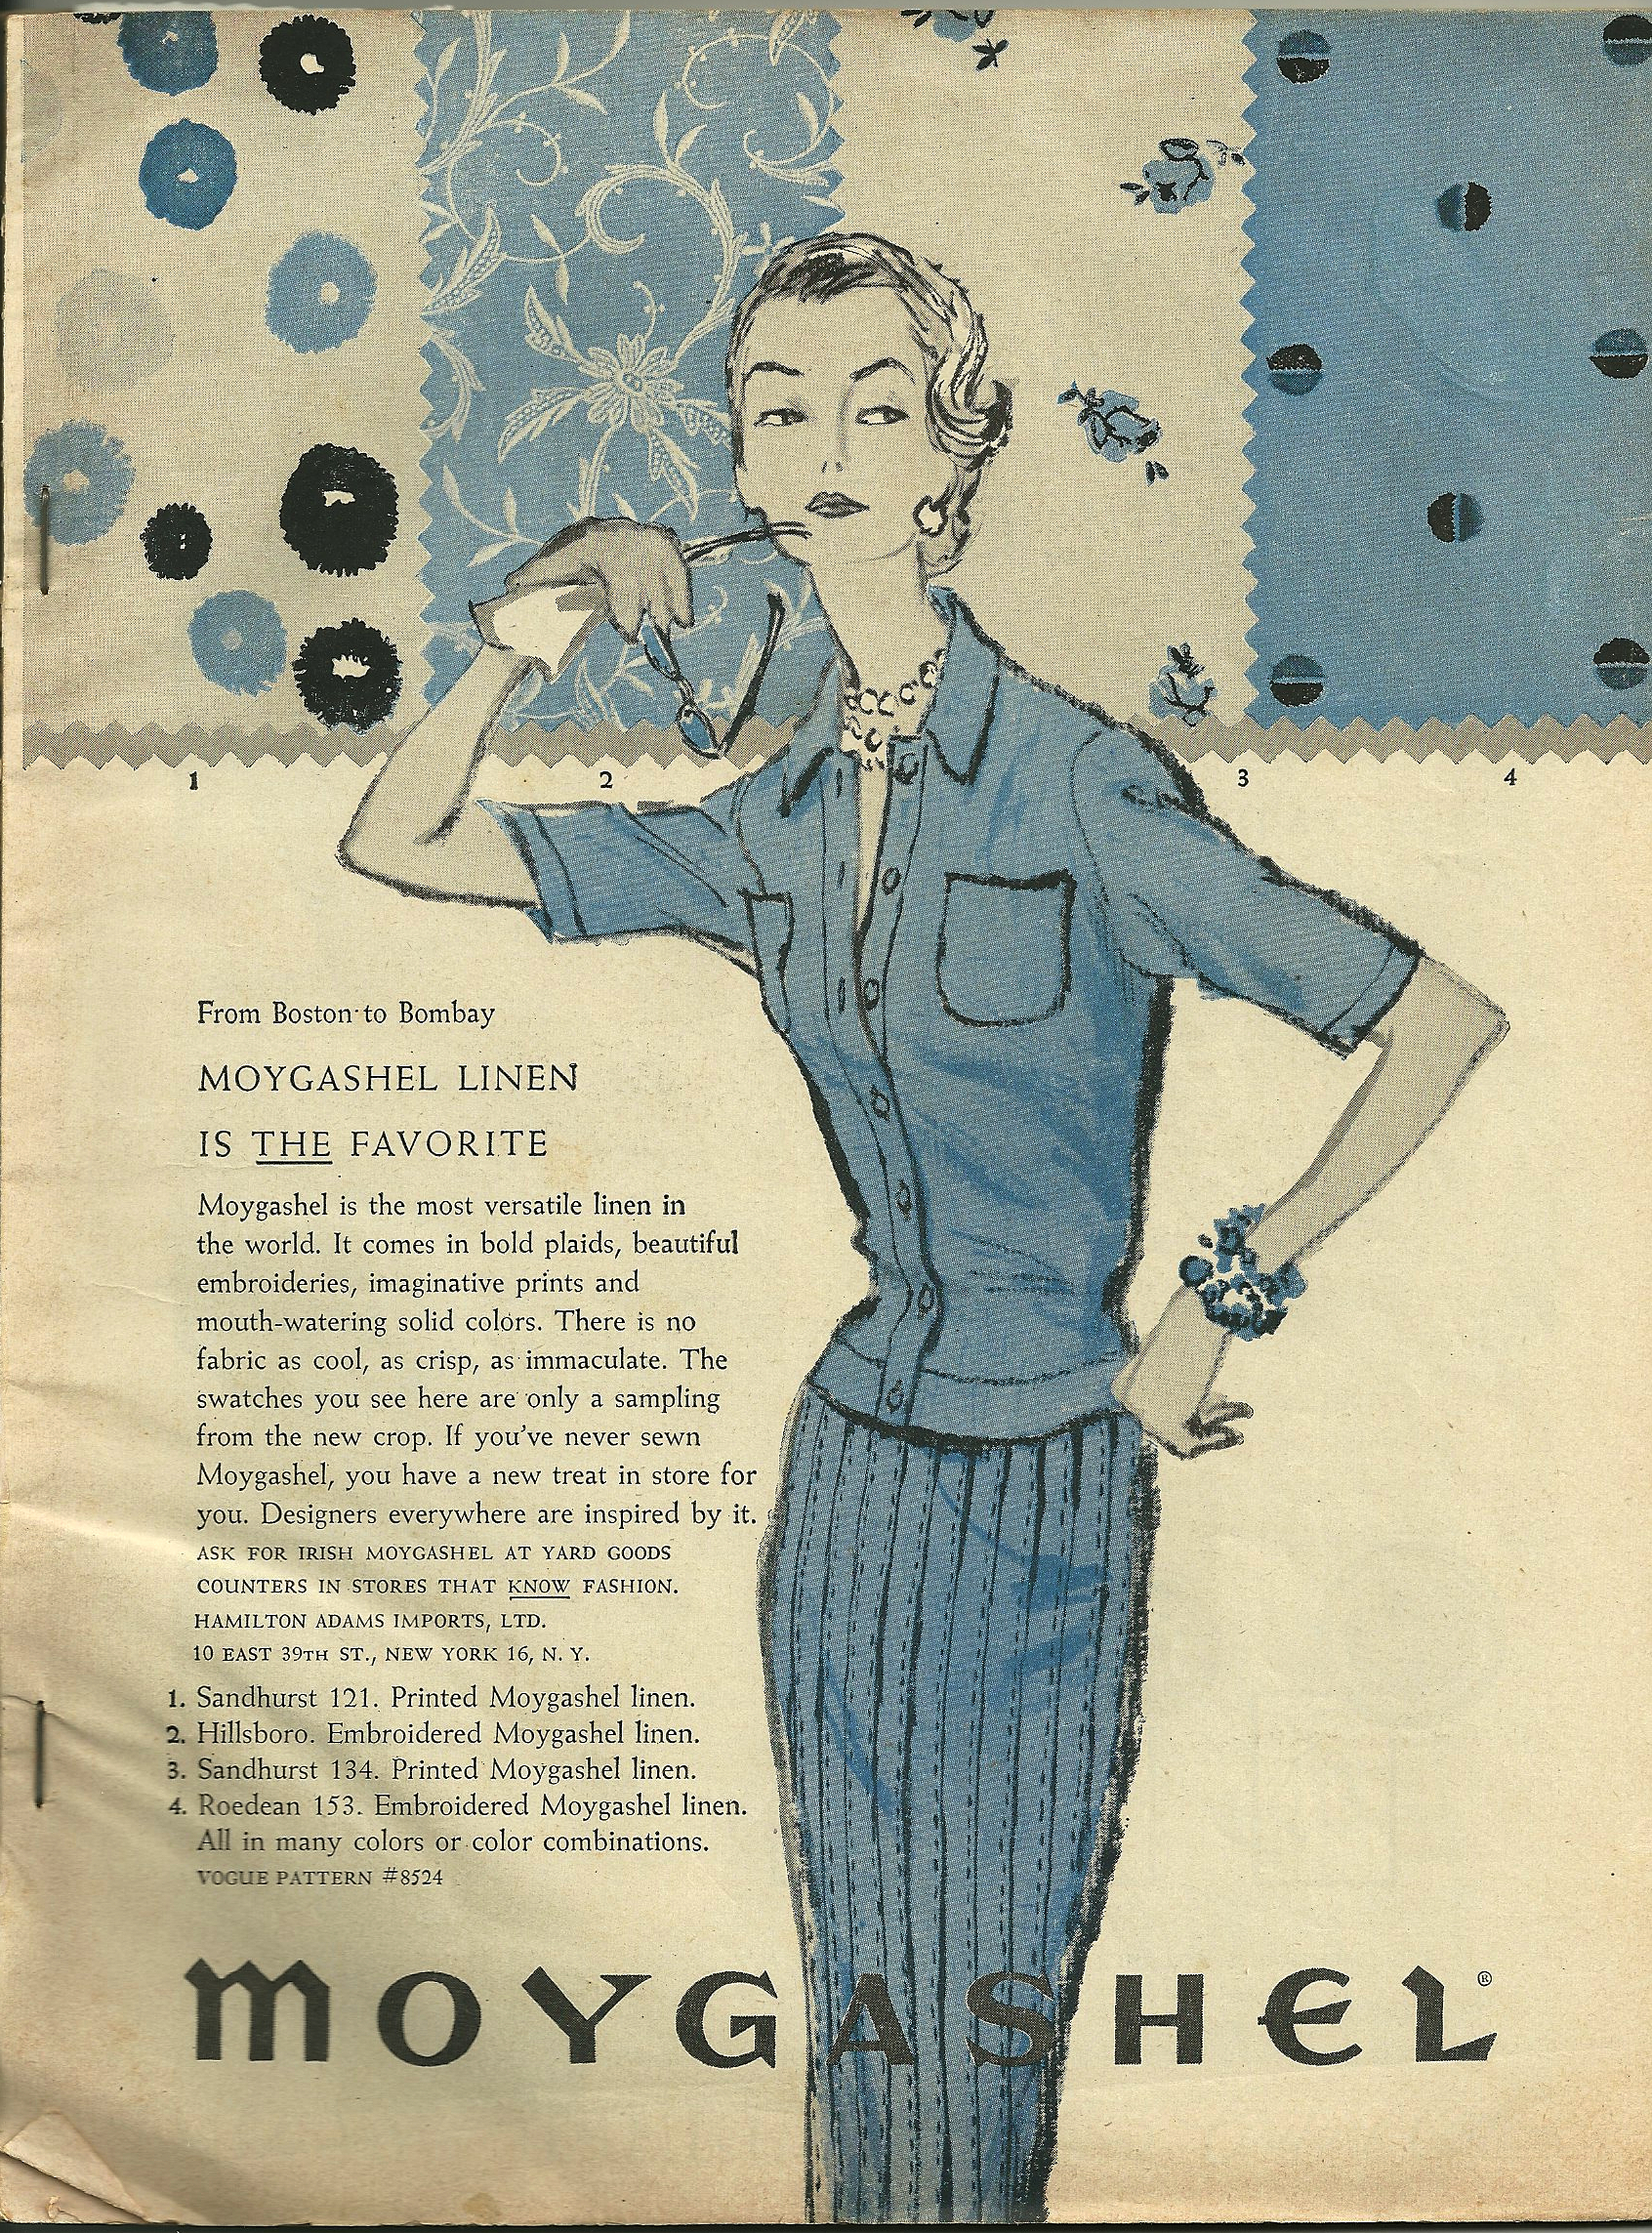
When I purchased these fabrics – at different times – I had no intention of using them together. But then, one day I put them together and liked what I saw. I knew from Vogue 2708 (above), that a white belt would add the necessary foil to those two strong colors. Further encouragement came happily from a two-piece dress in the June/July 1962 issue of Vogue Pattern Book Magazine using similar Moygashel linens:
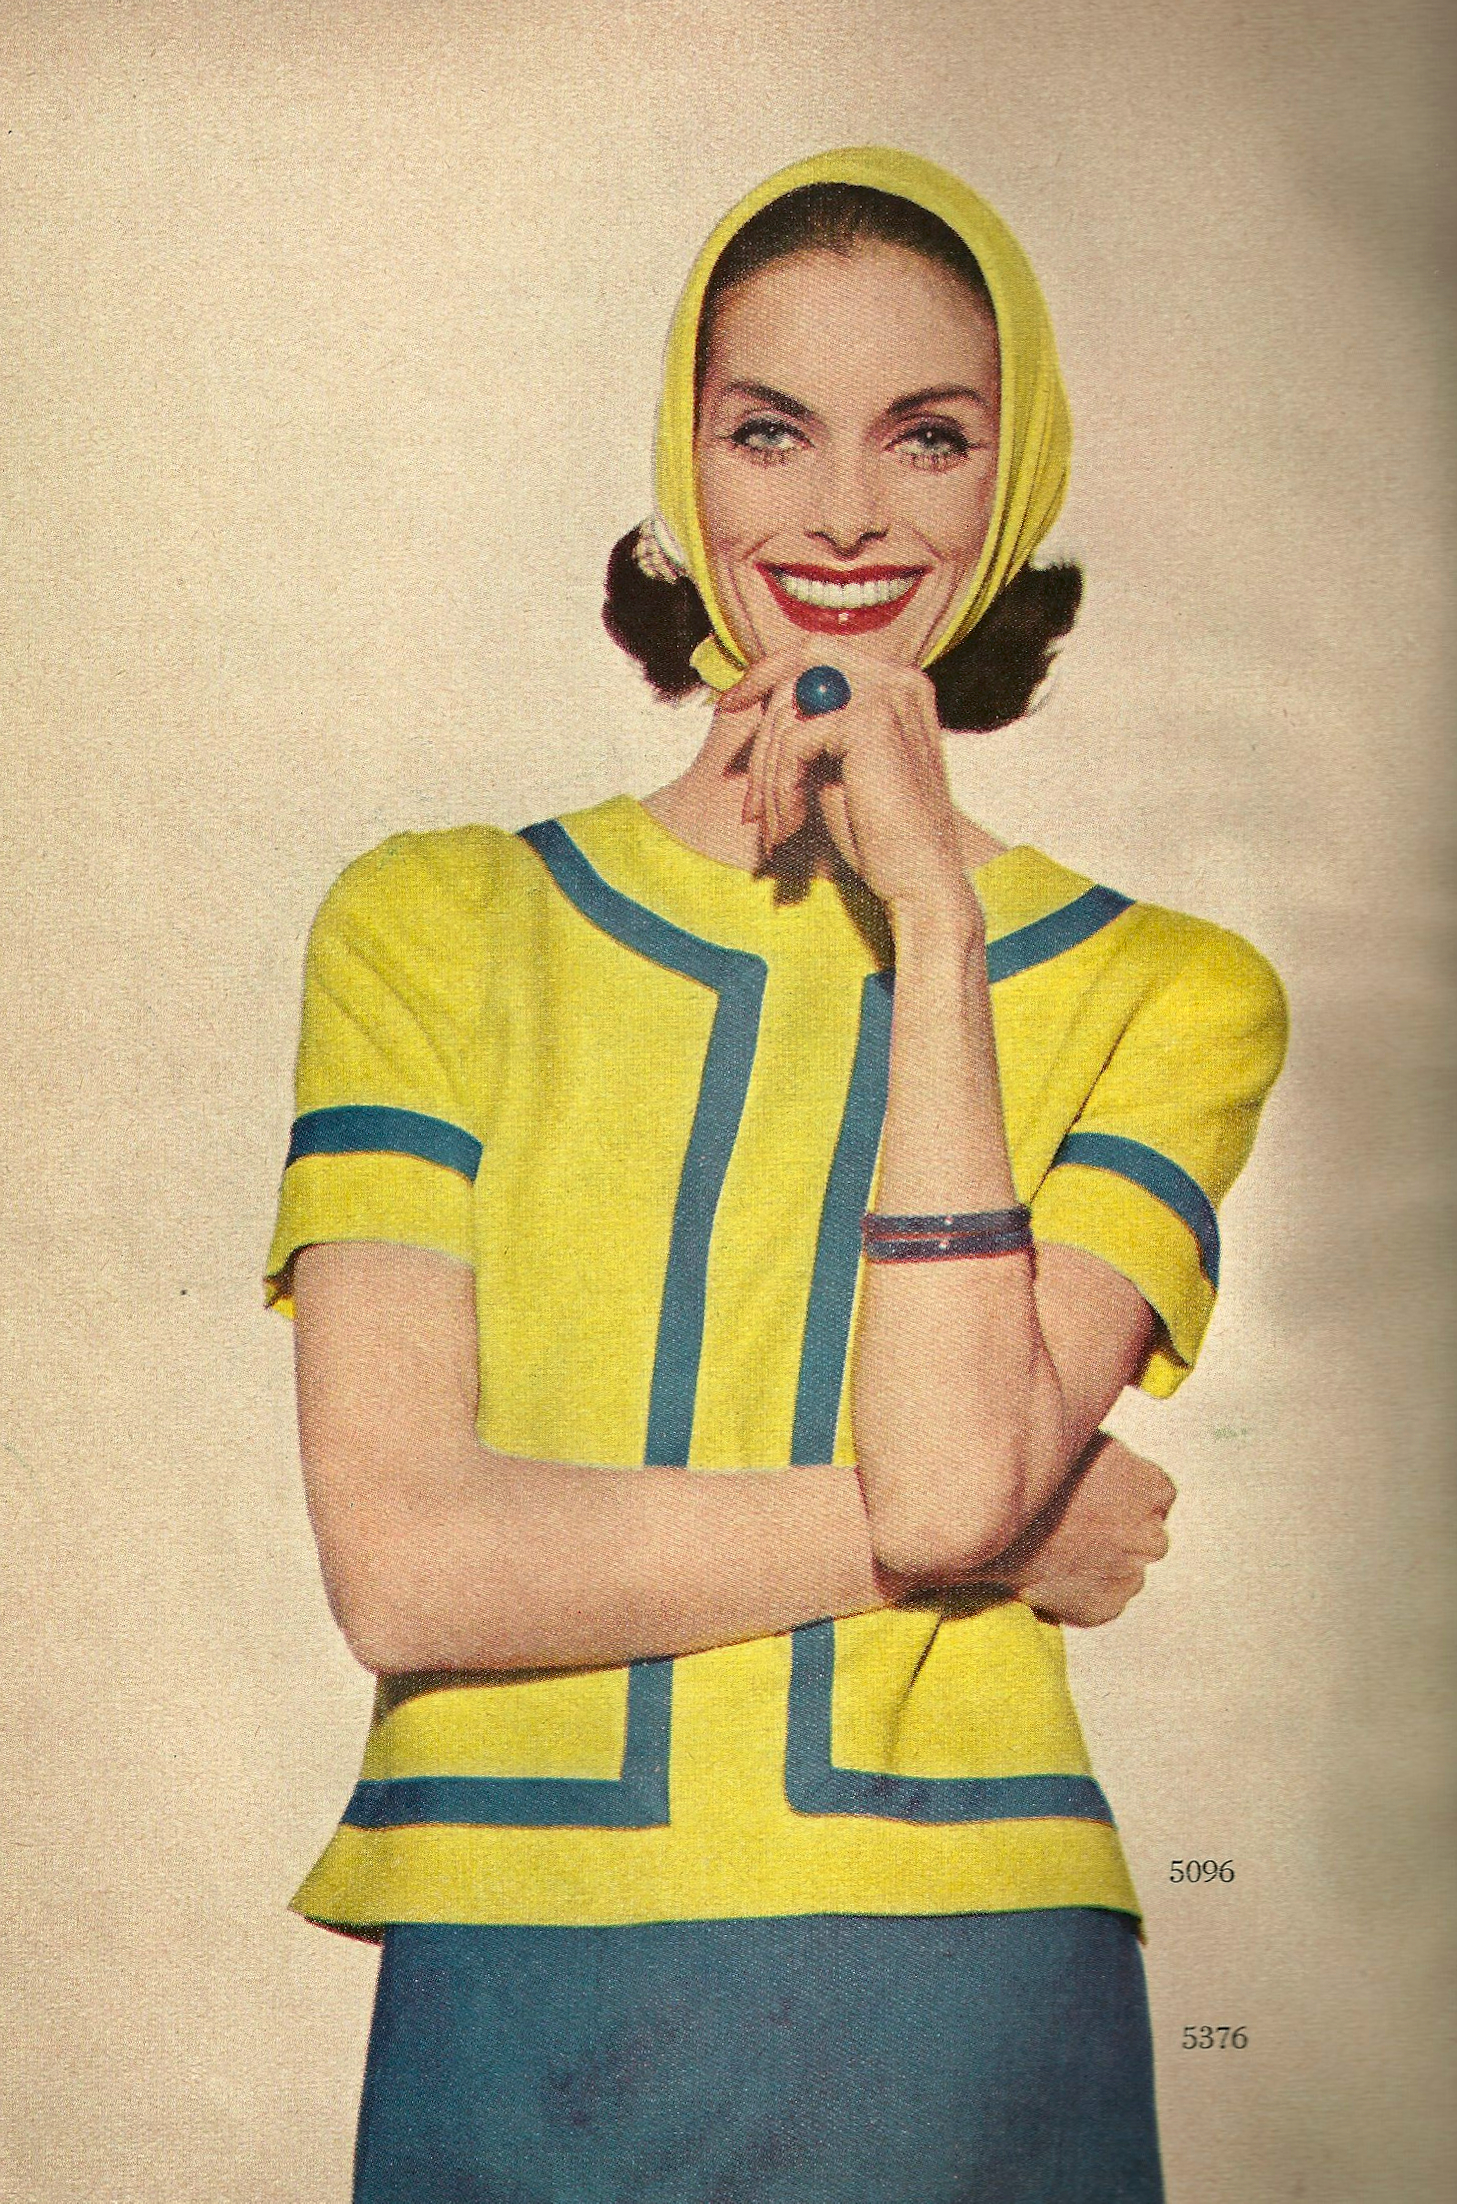
From the description: “They’re naturals – and we’re not just talking about the cotton and [Moygashel] linen fibers in the clothes on these pages , but the good wearing-relationships we have with them. We like them; they like us – our 1962 shapes, science-bred colors, the places we go, our washing machines…”
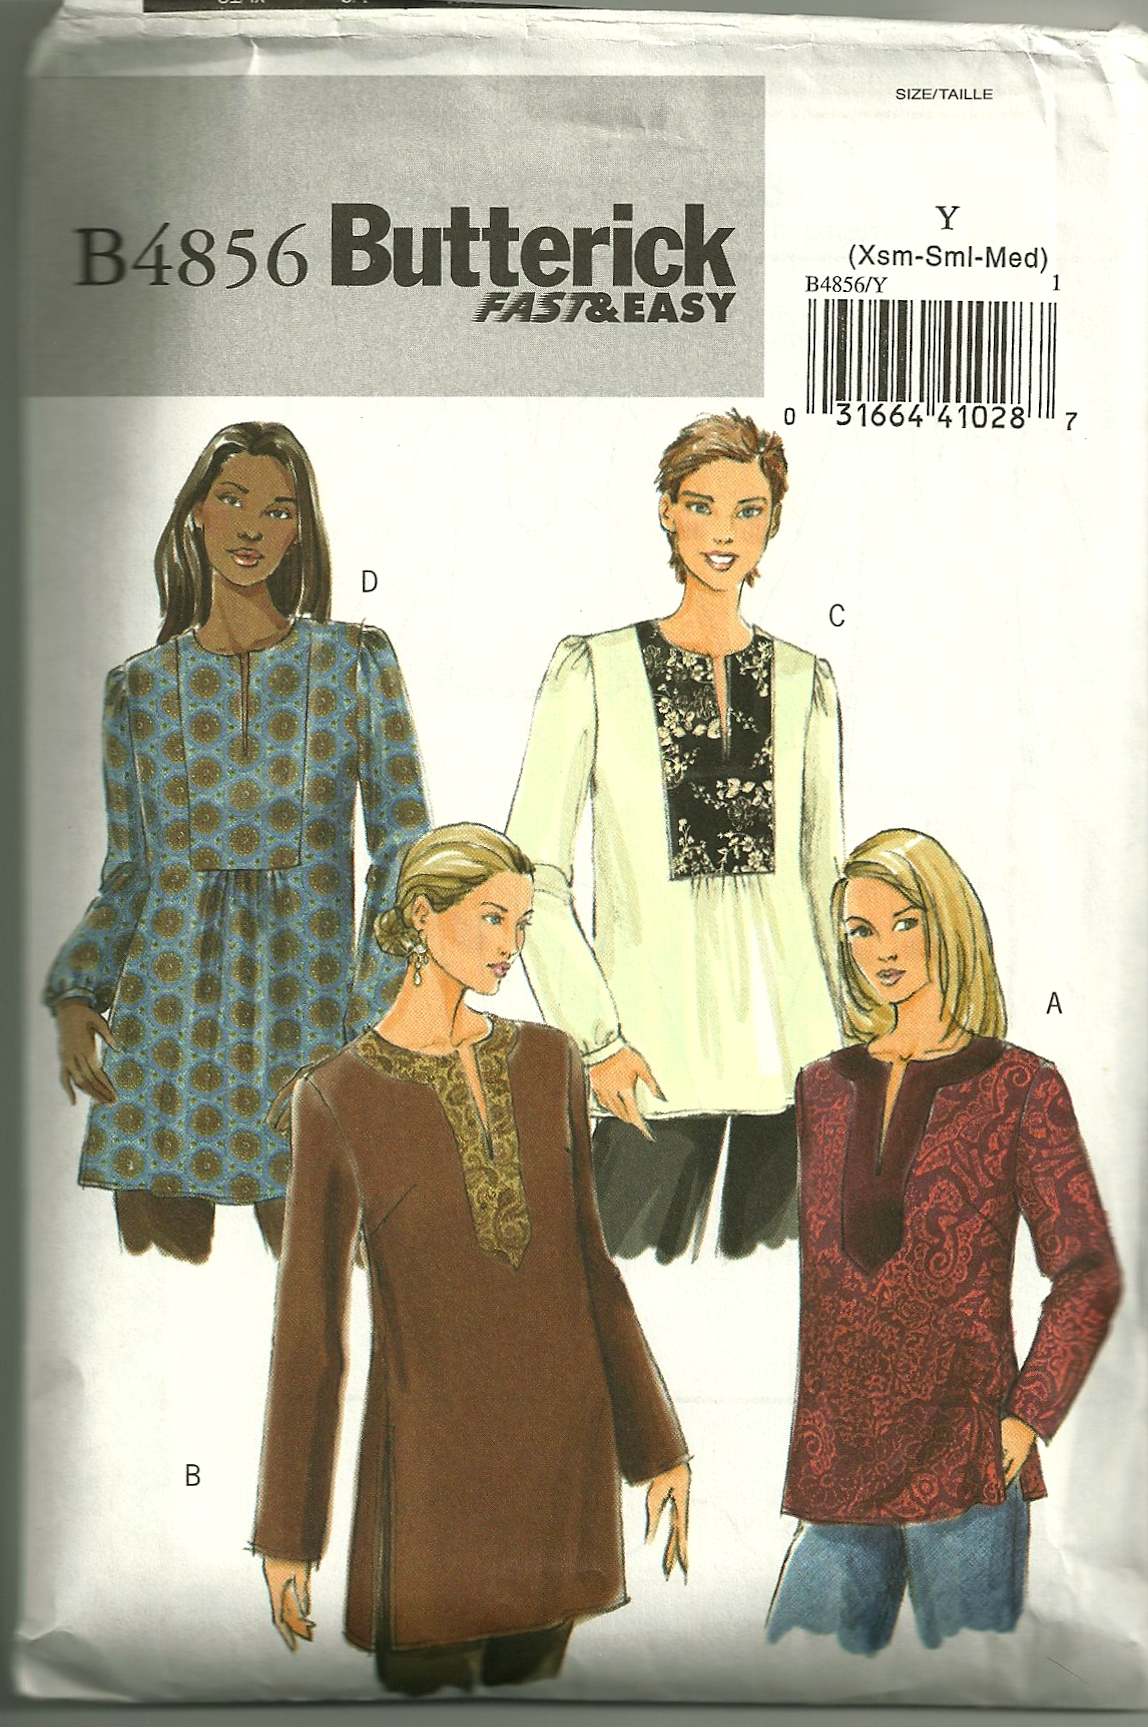
Initially I thought I would just go with View D of this current Vogue pattern:
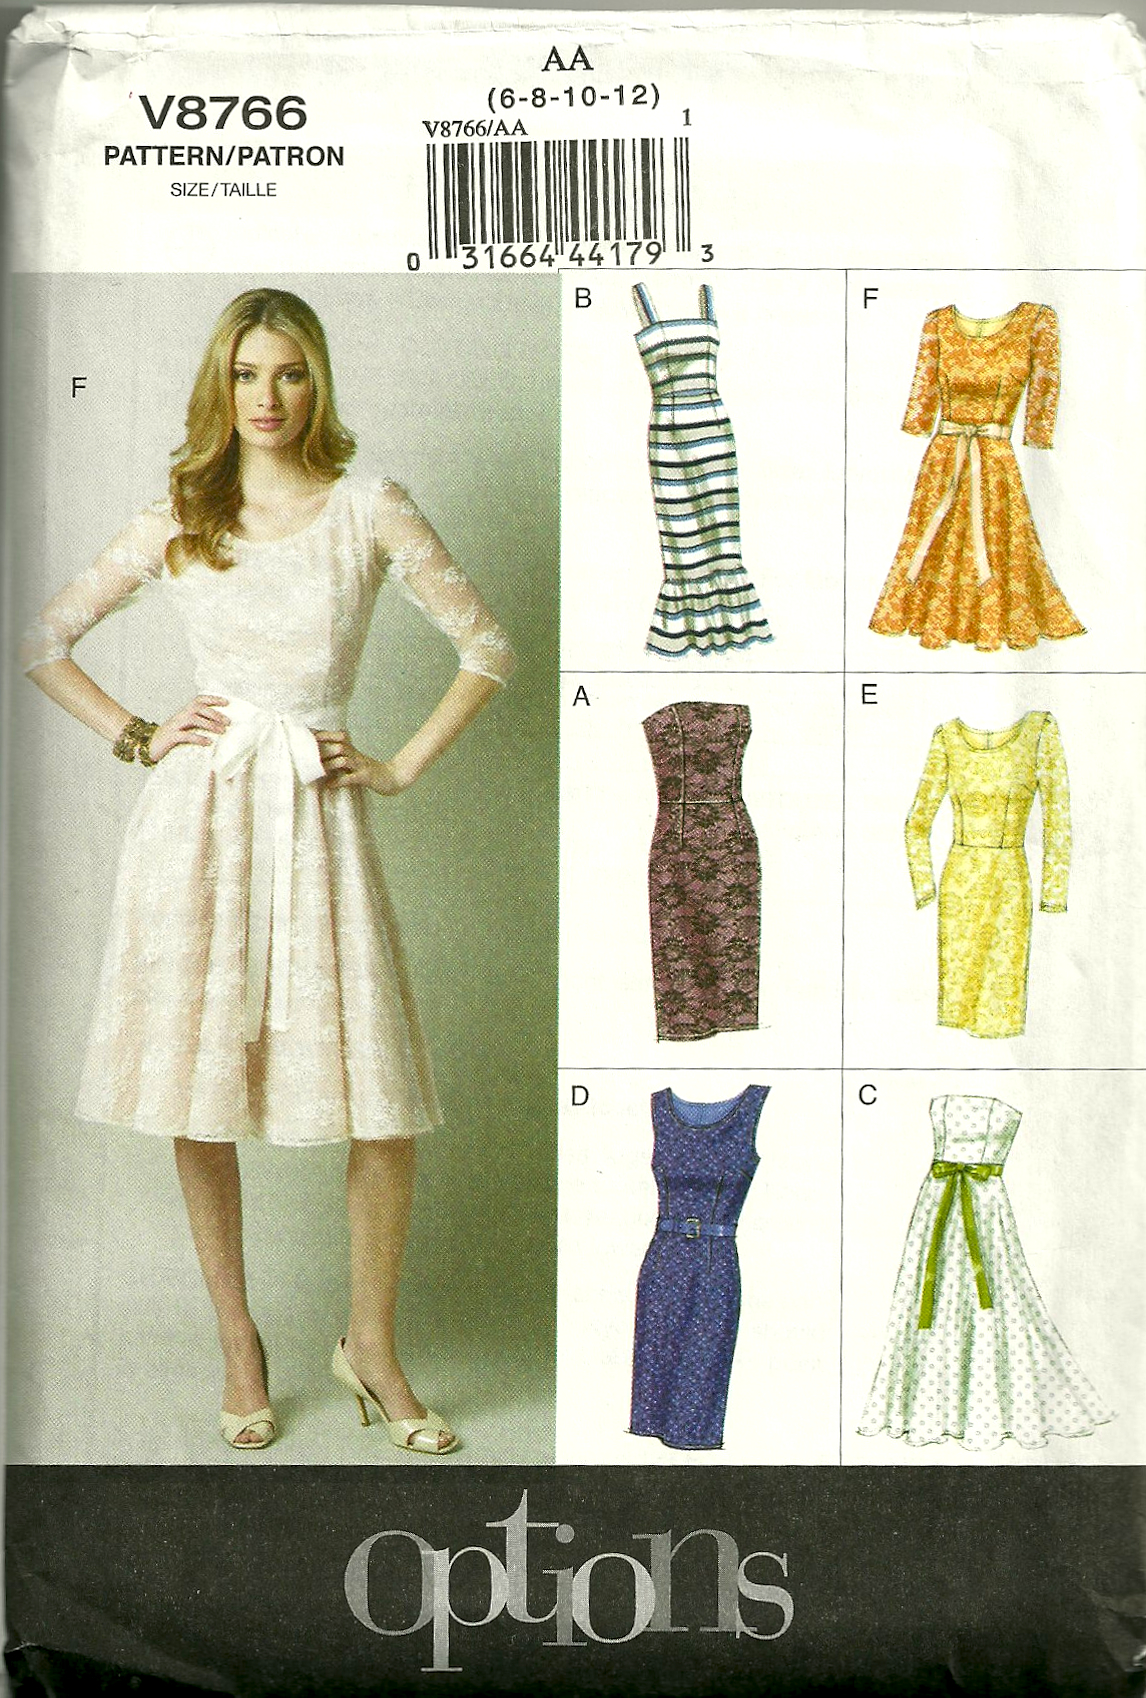
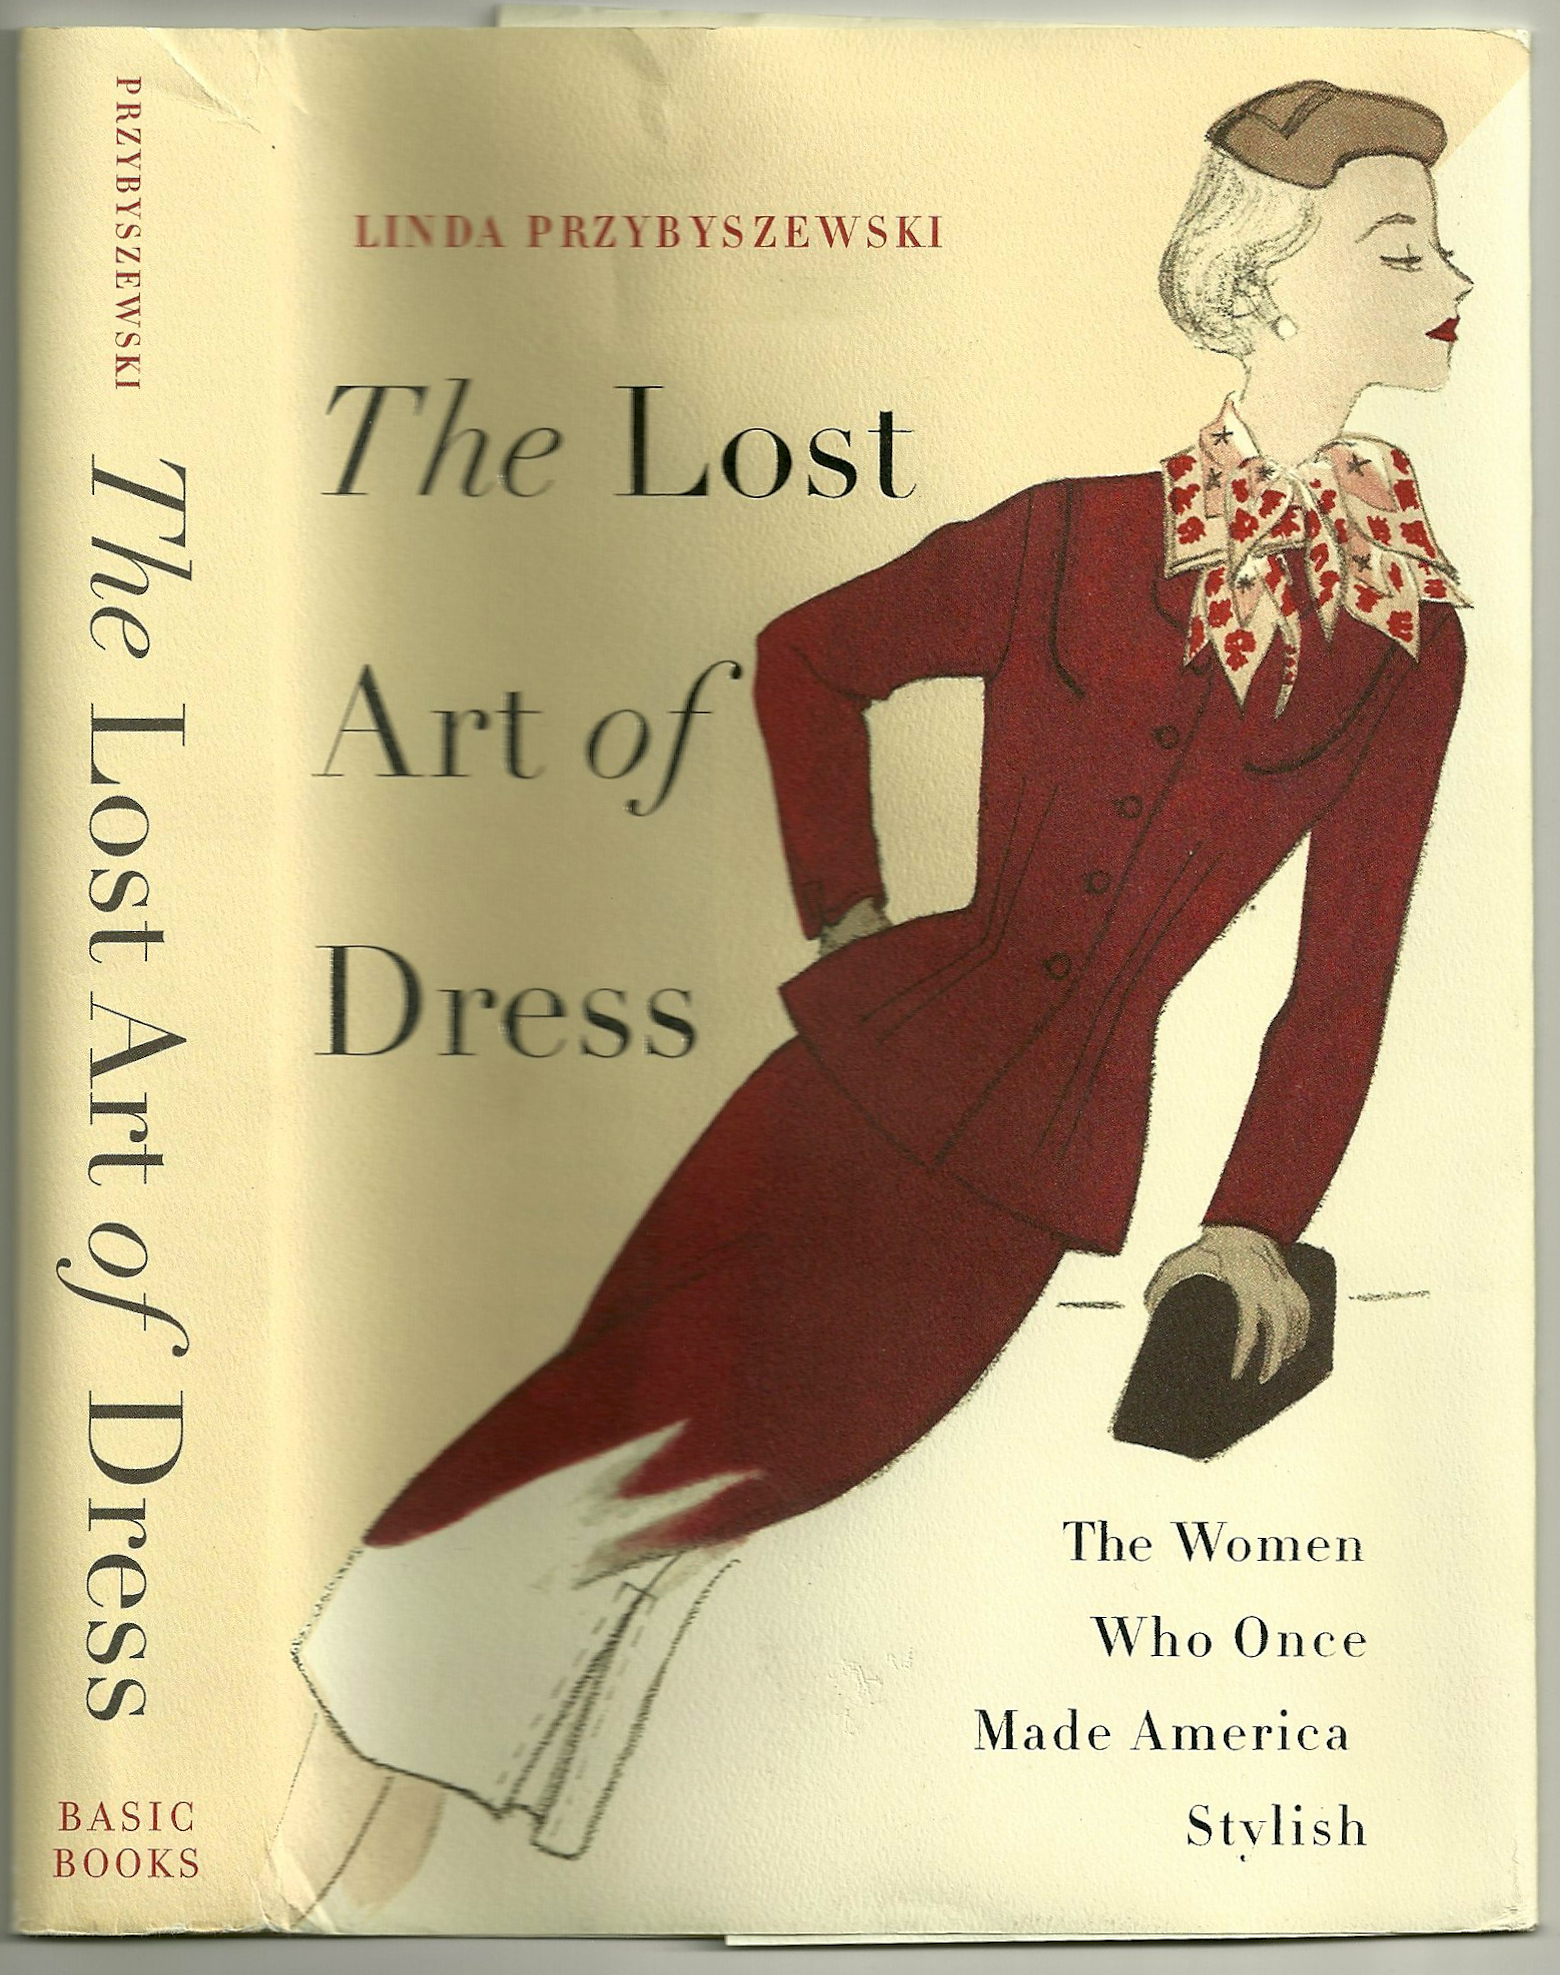
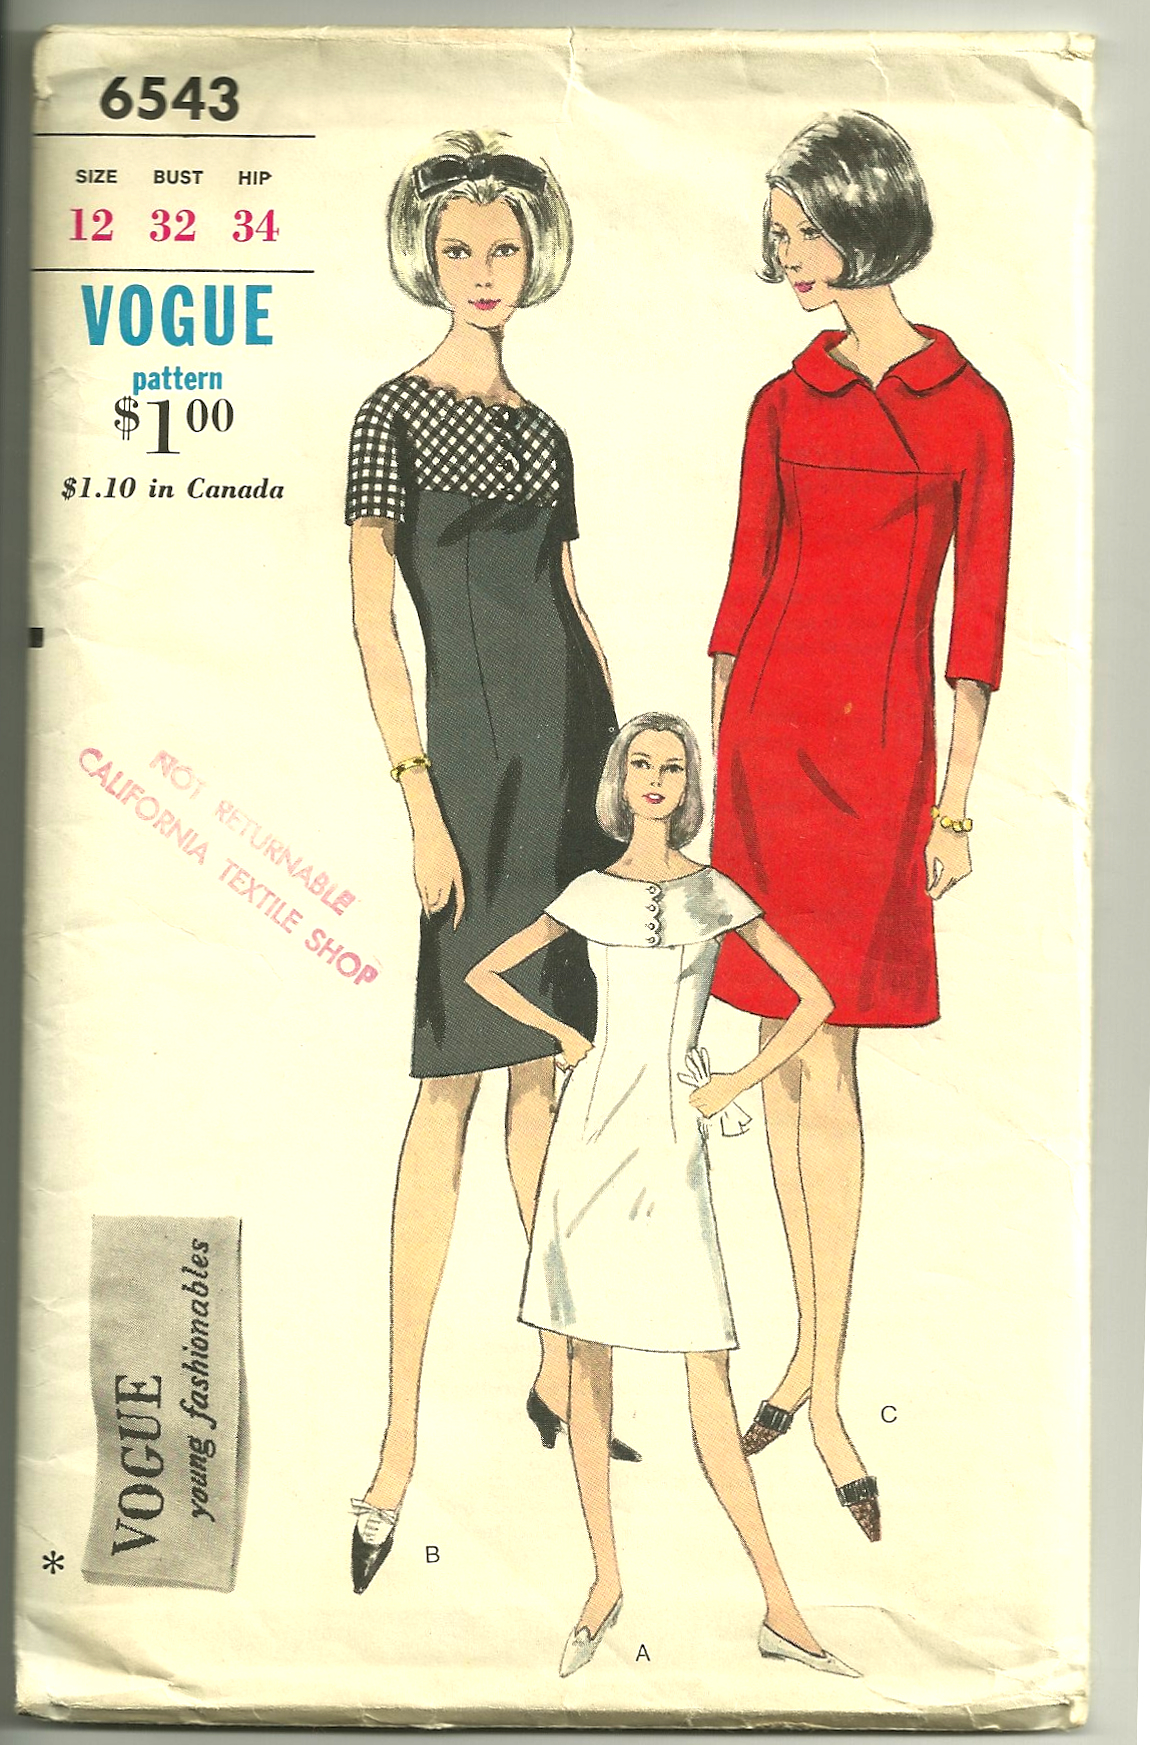
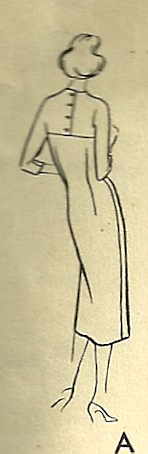
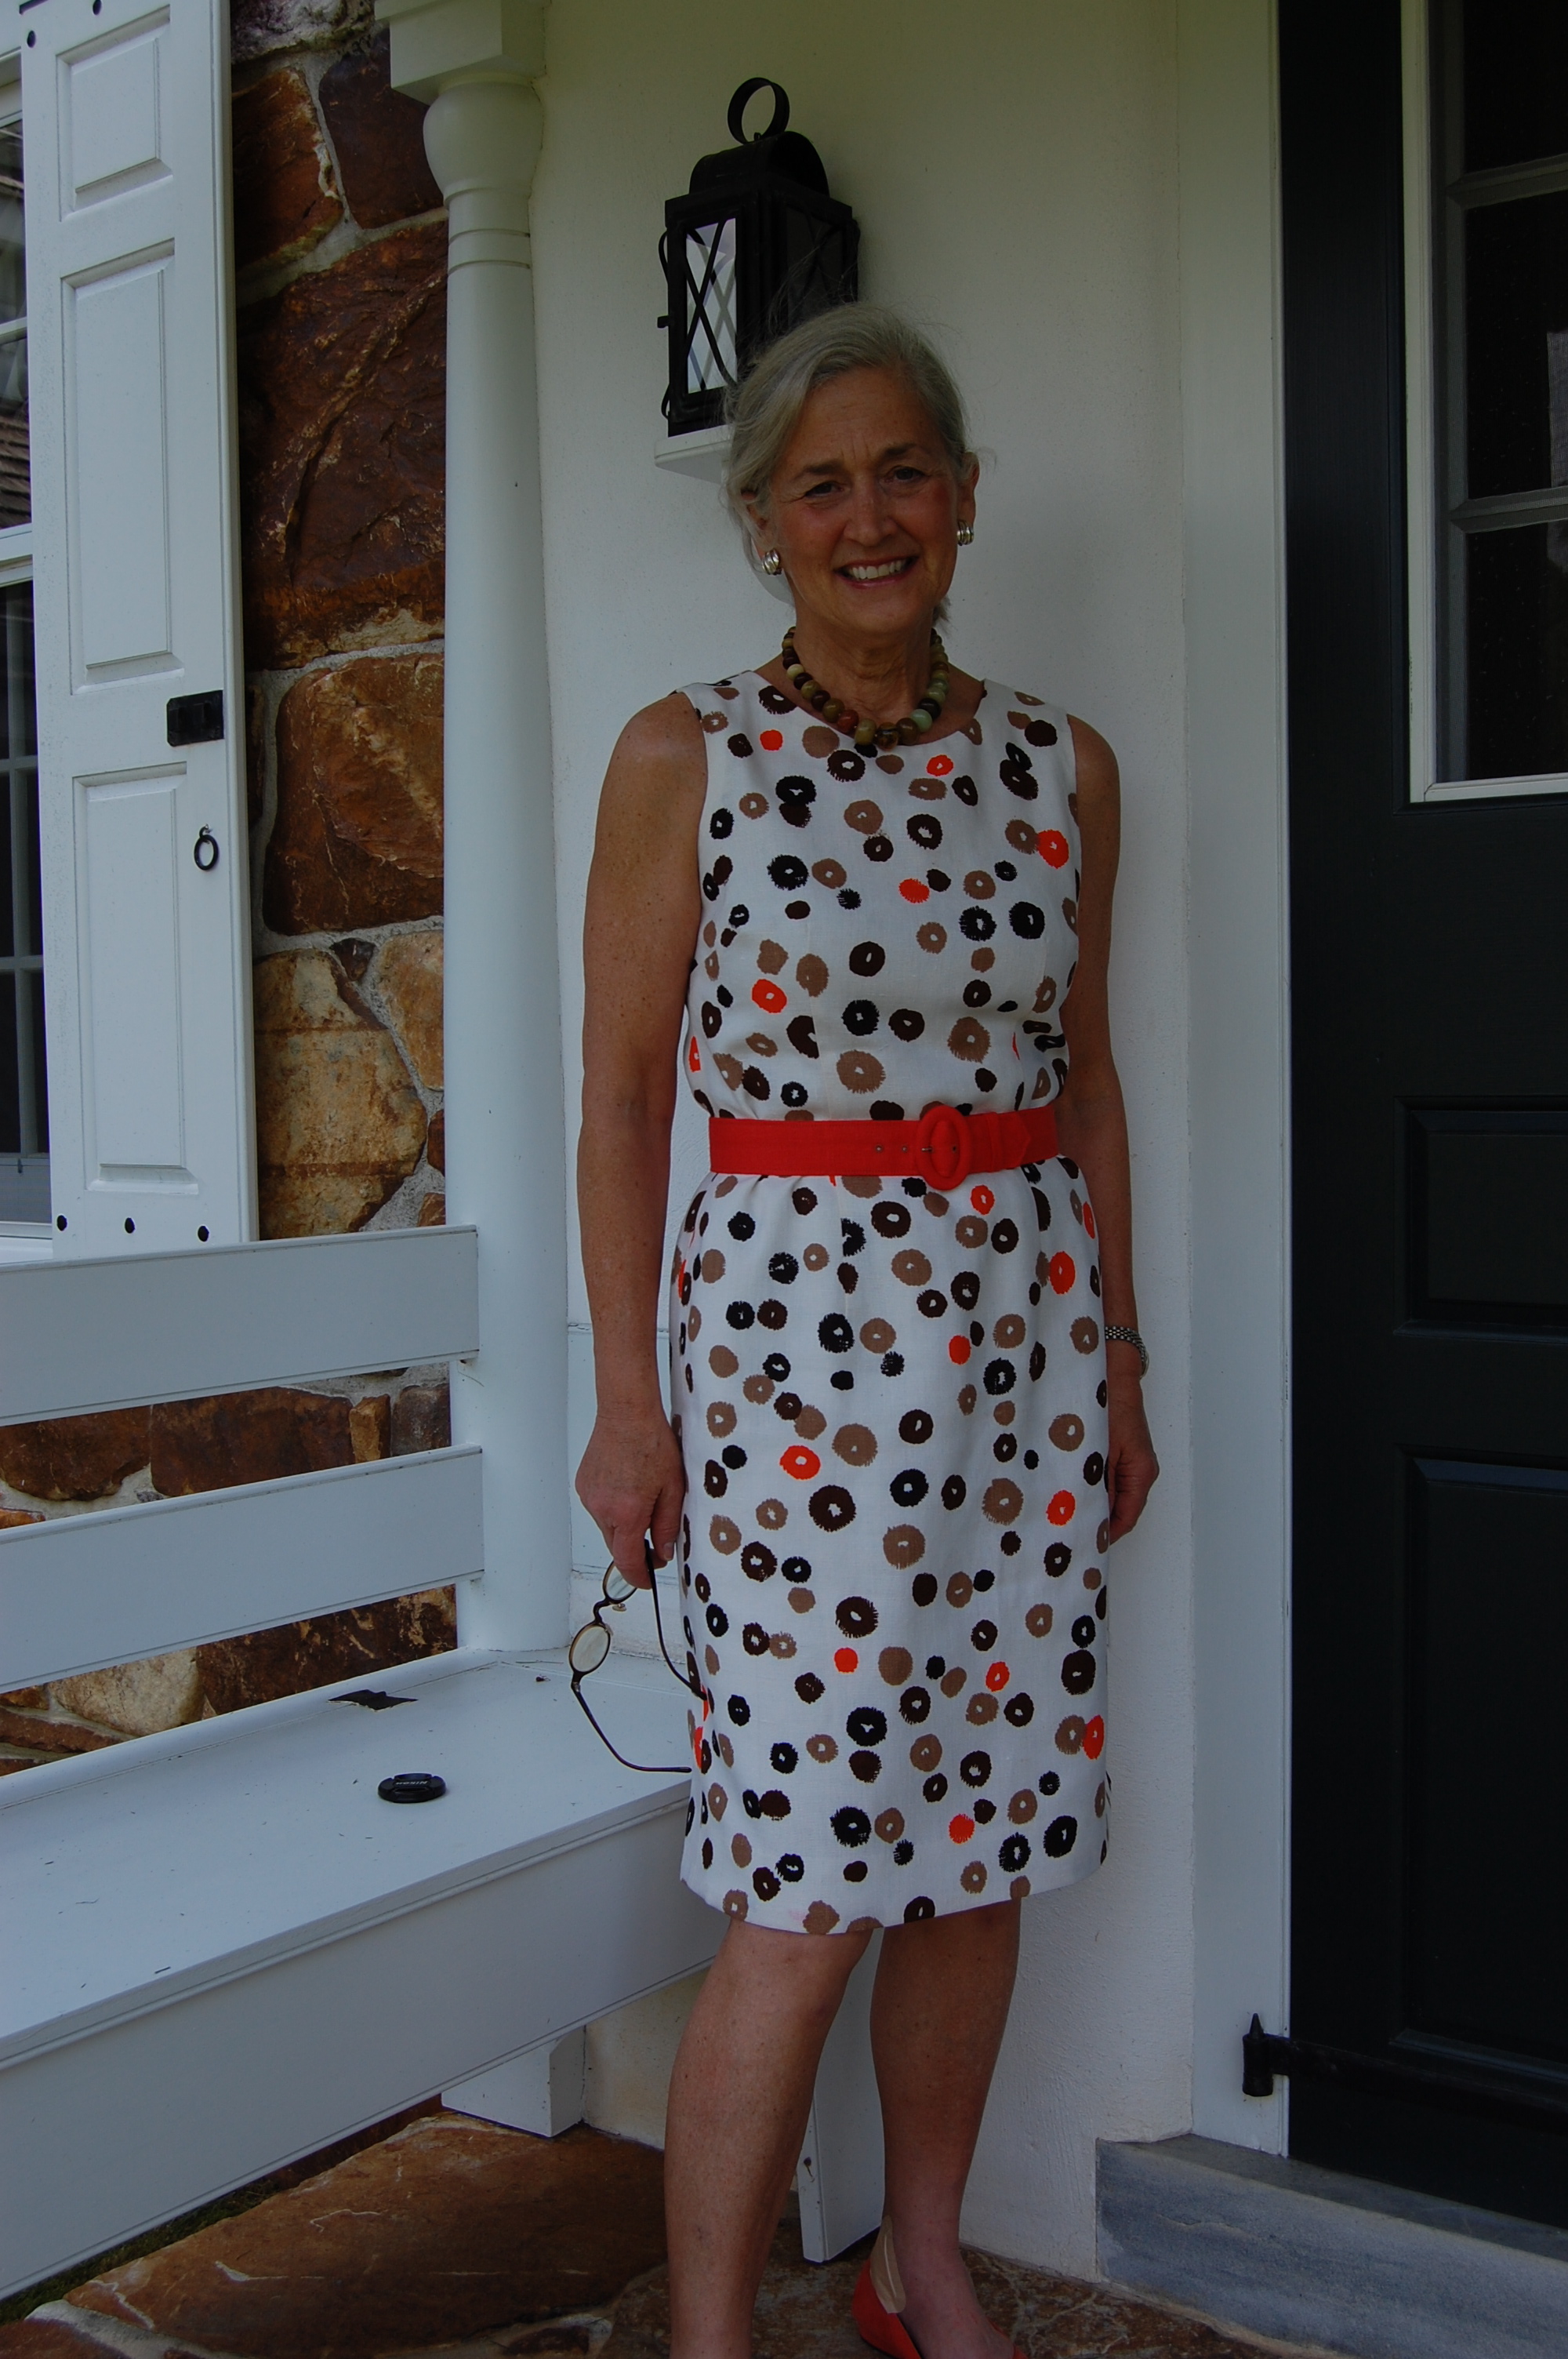
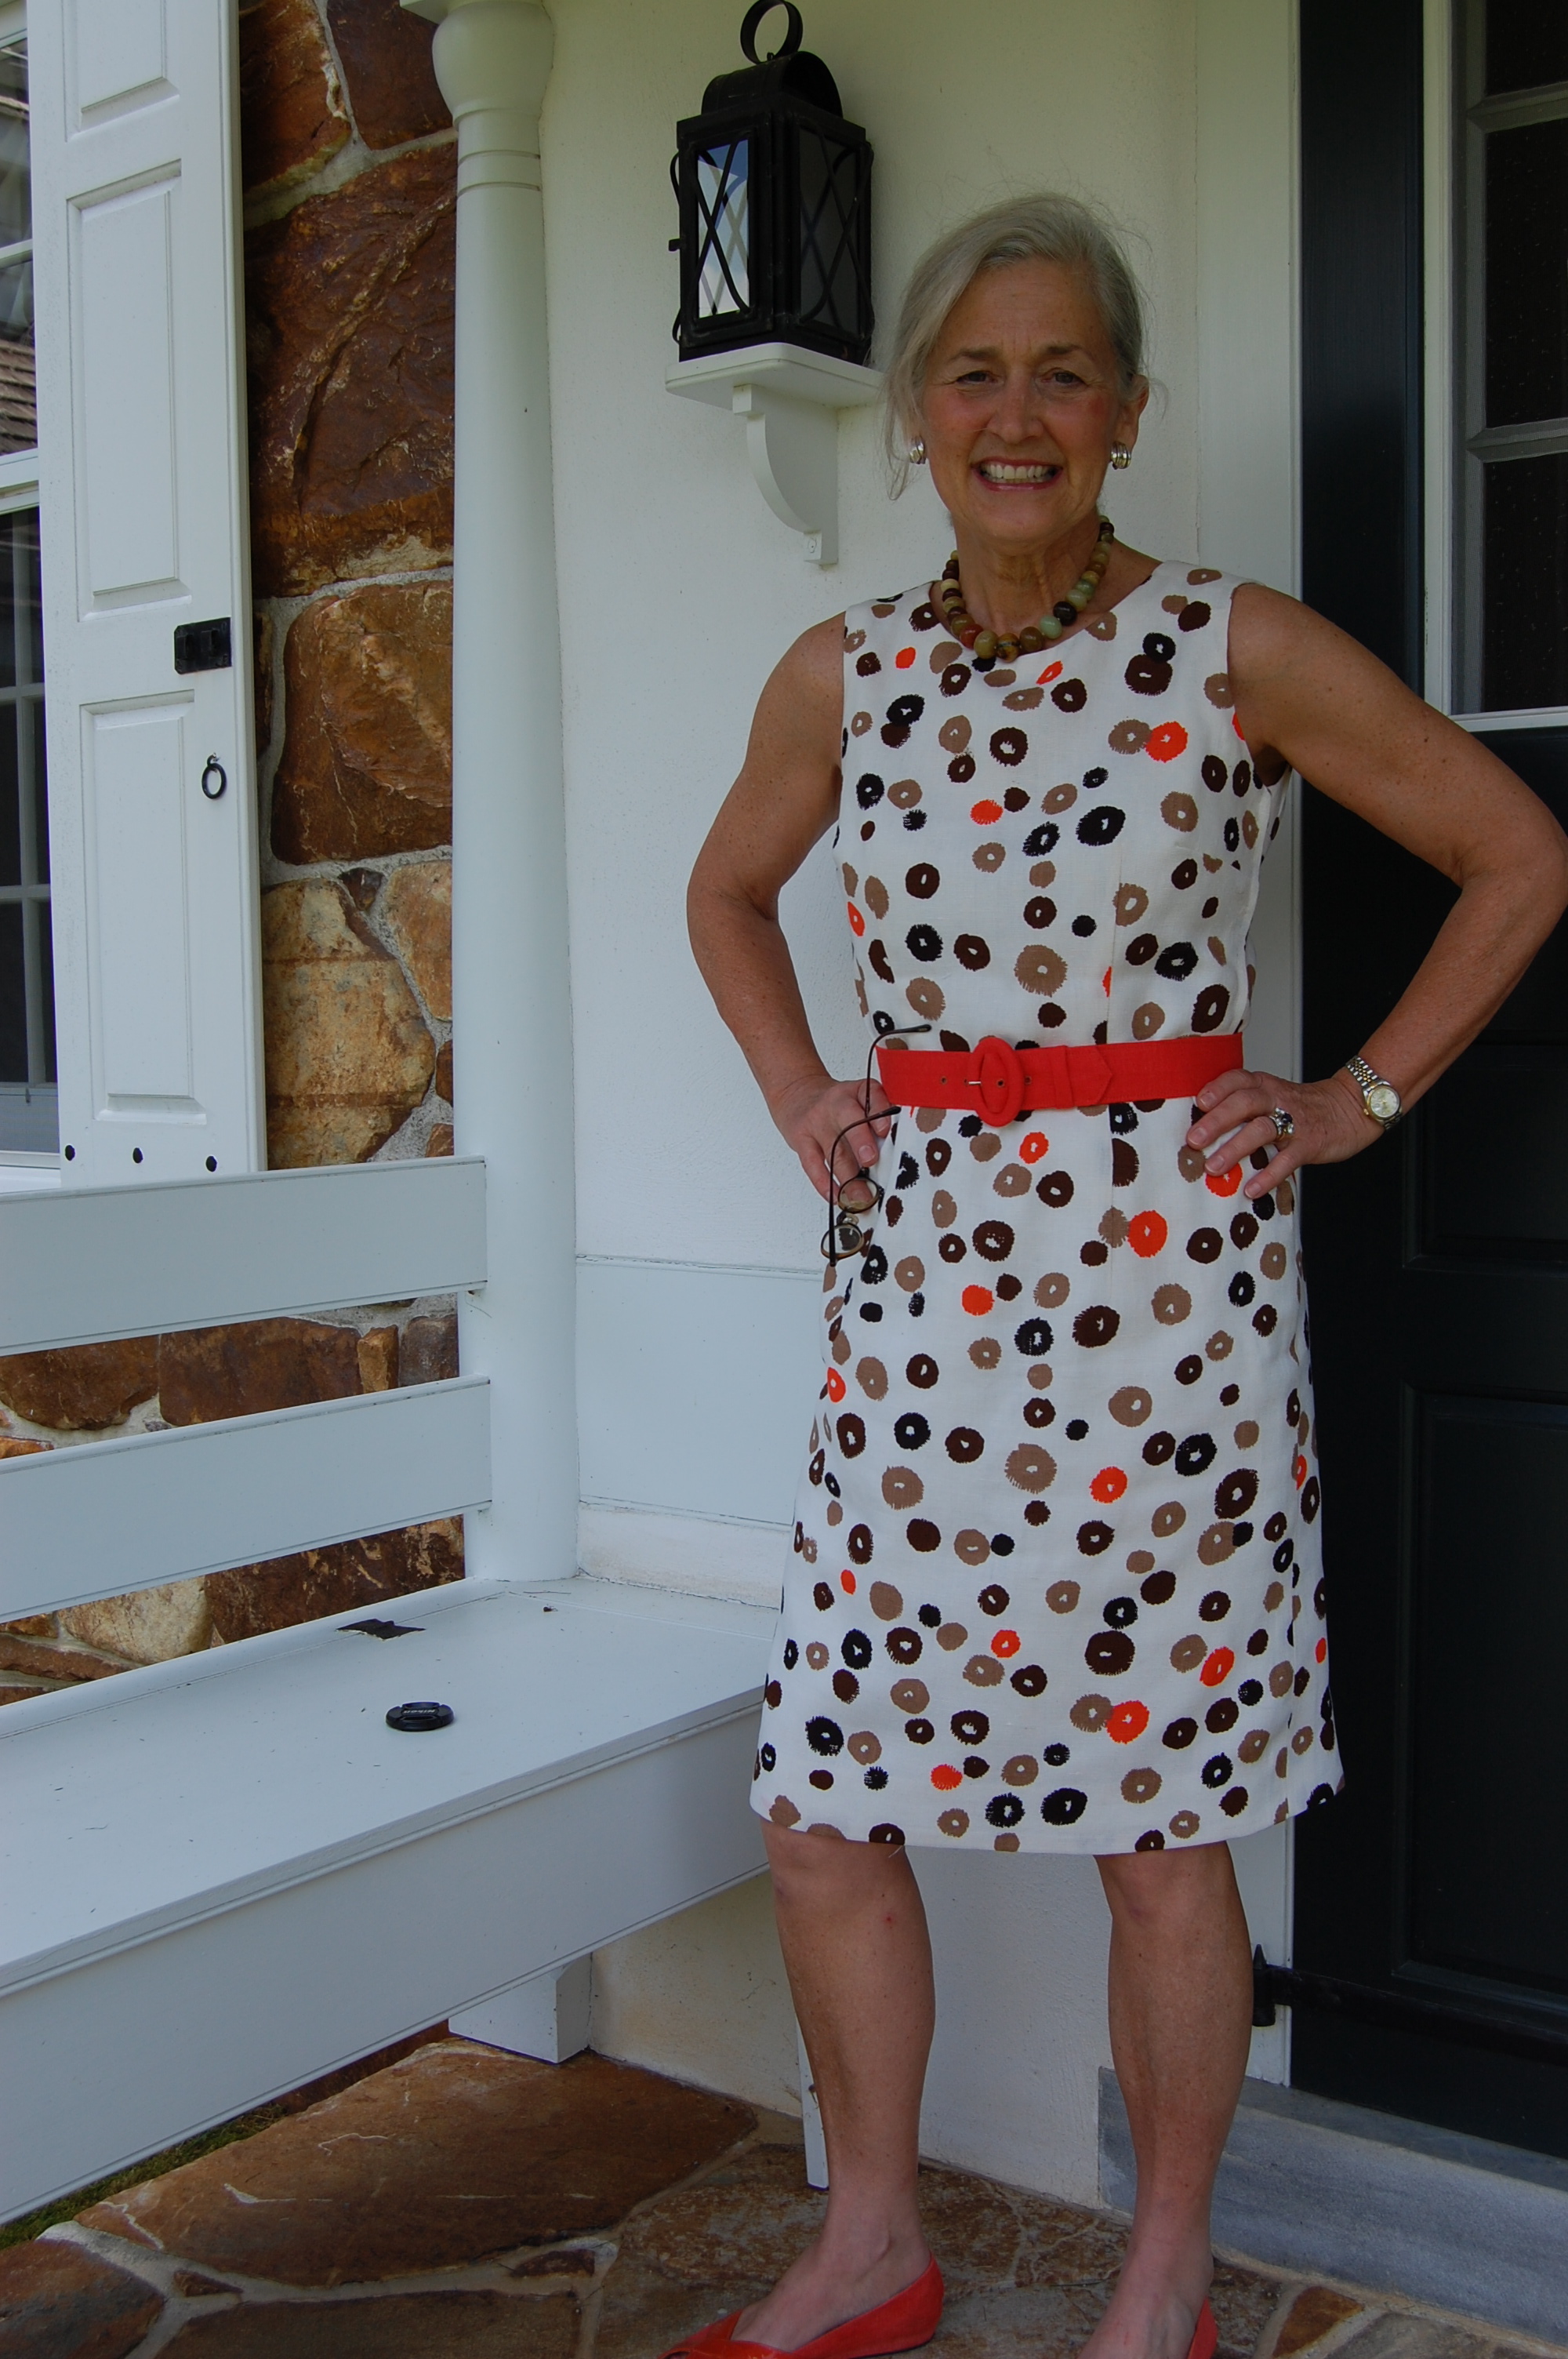
But after having recently read Linda Przybyszewski‘s The Lost Art of Dress and being influenced by the discussion therein of the importance of fashion emphasizing one’s face, I thought I wanted a more interesting neckline. Off to my collection of vintage patterns I went, emerging with this one:

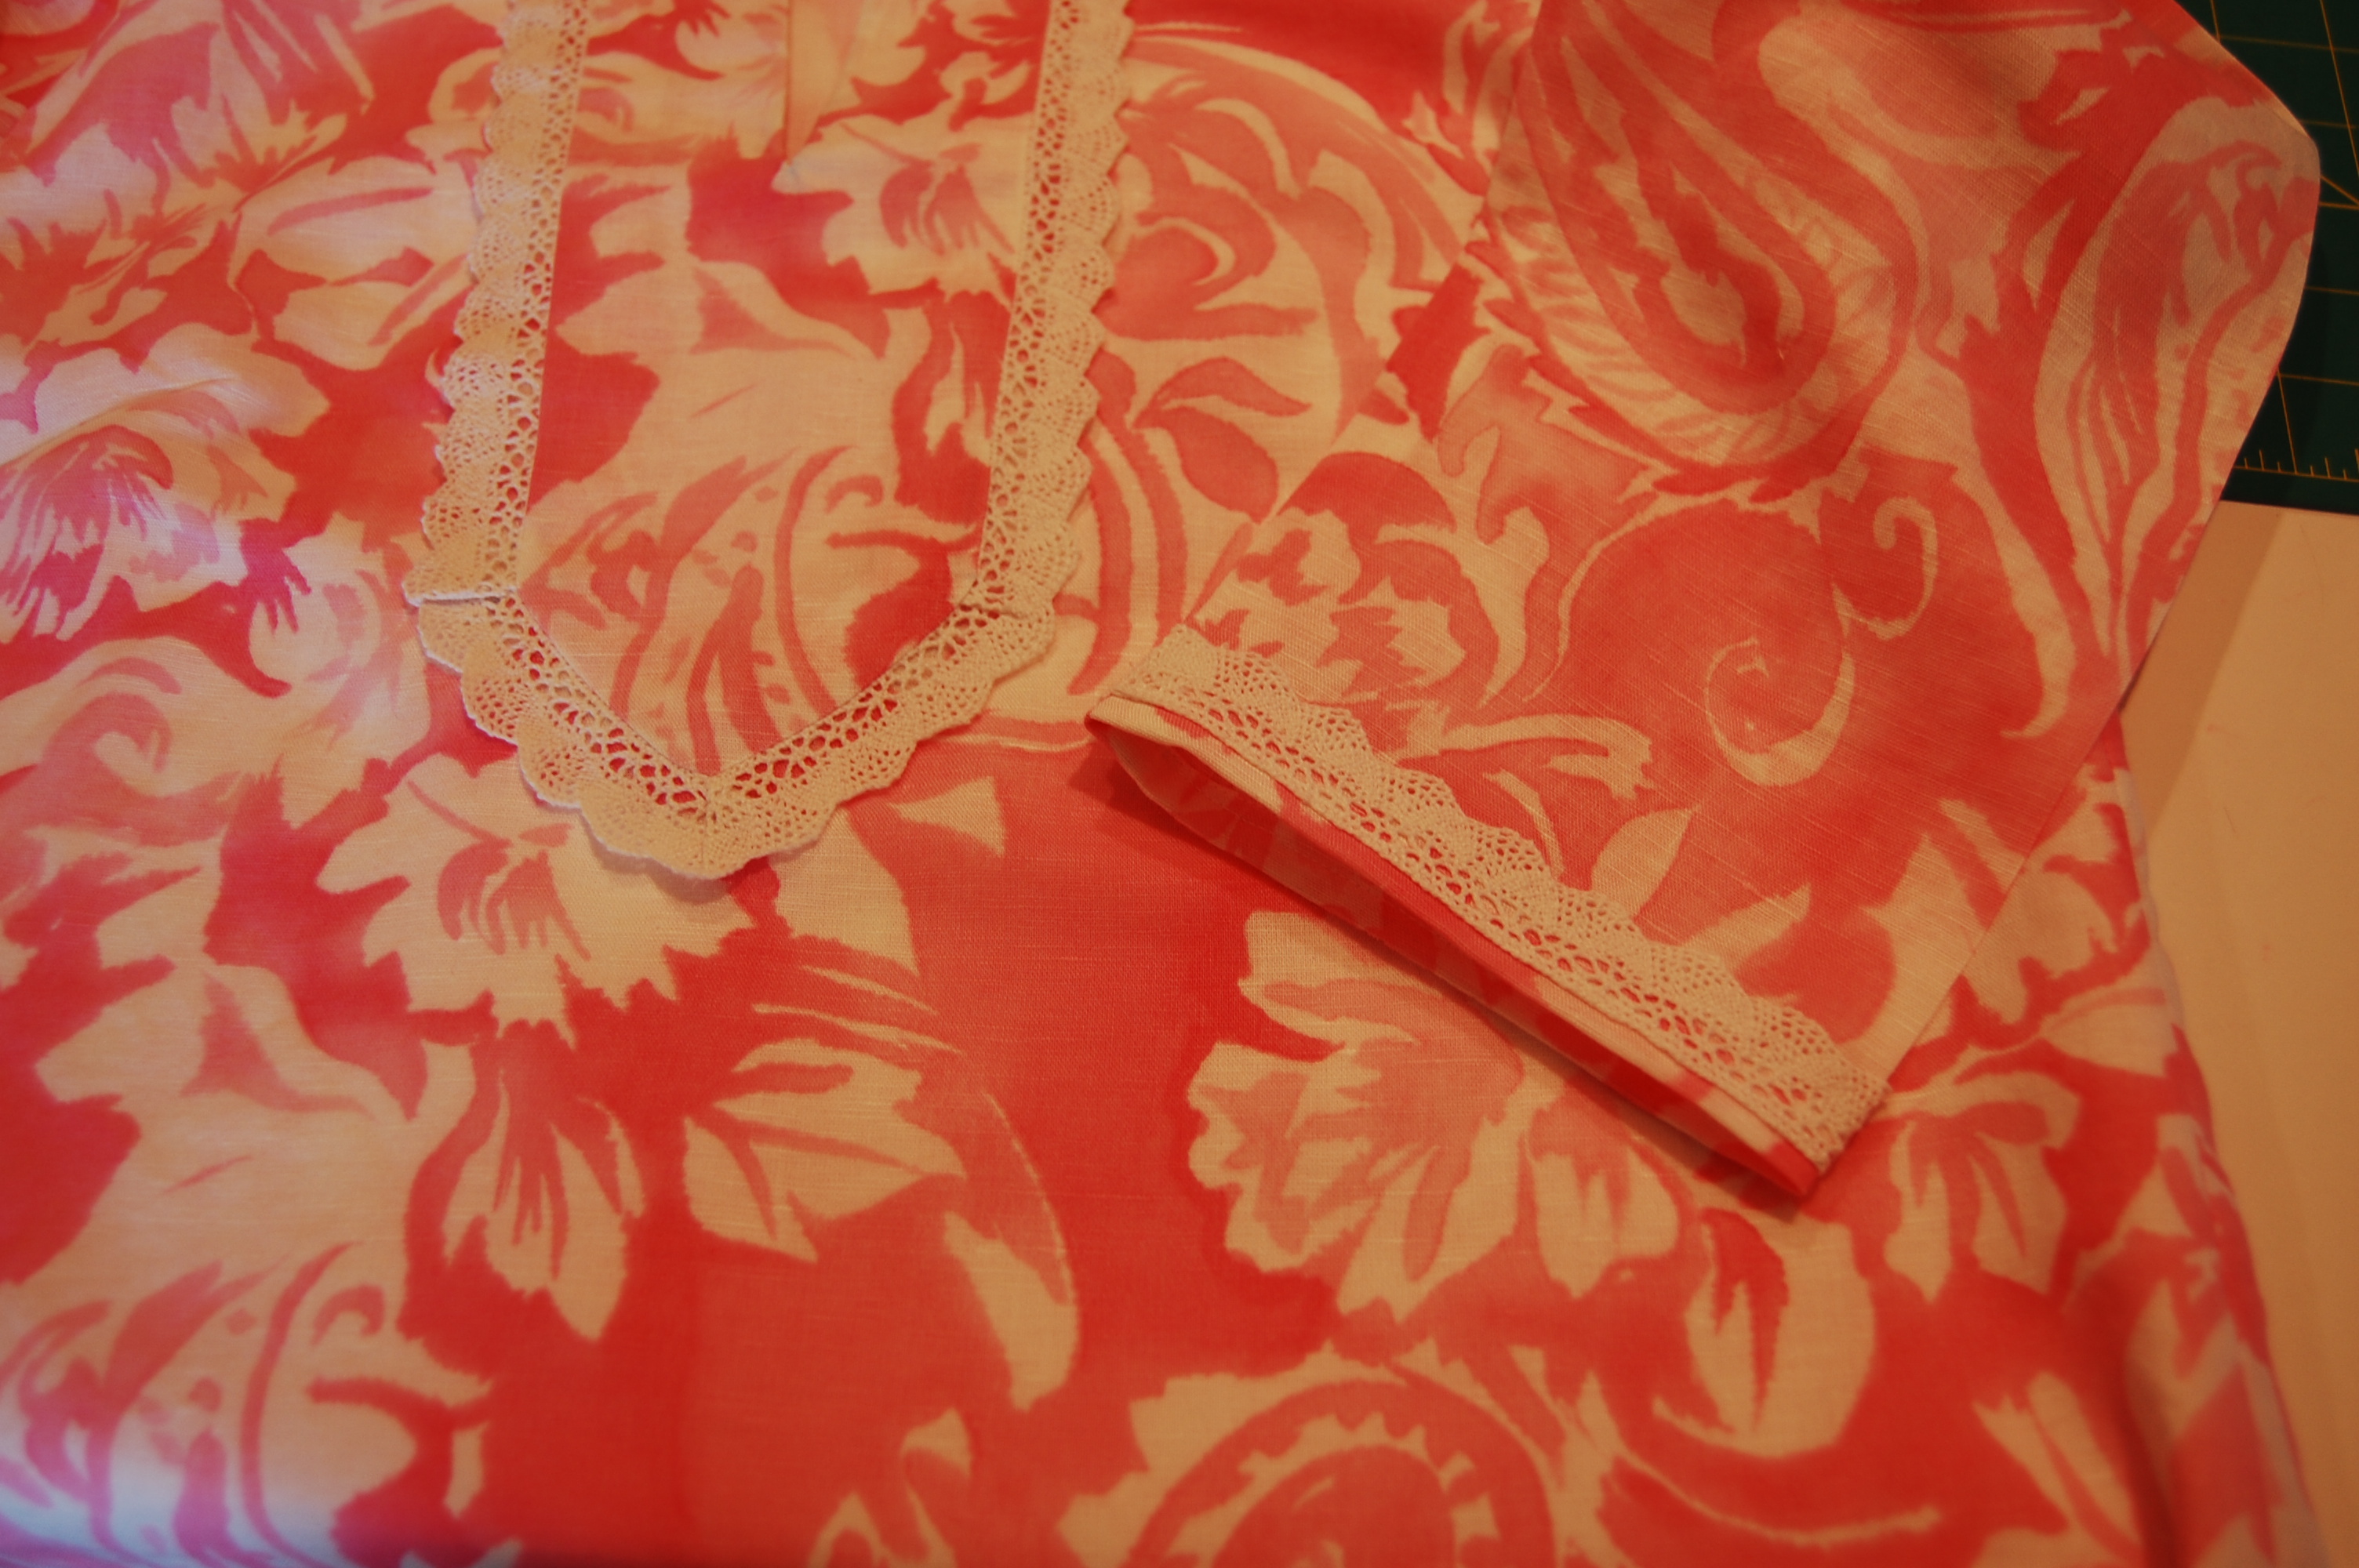
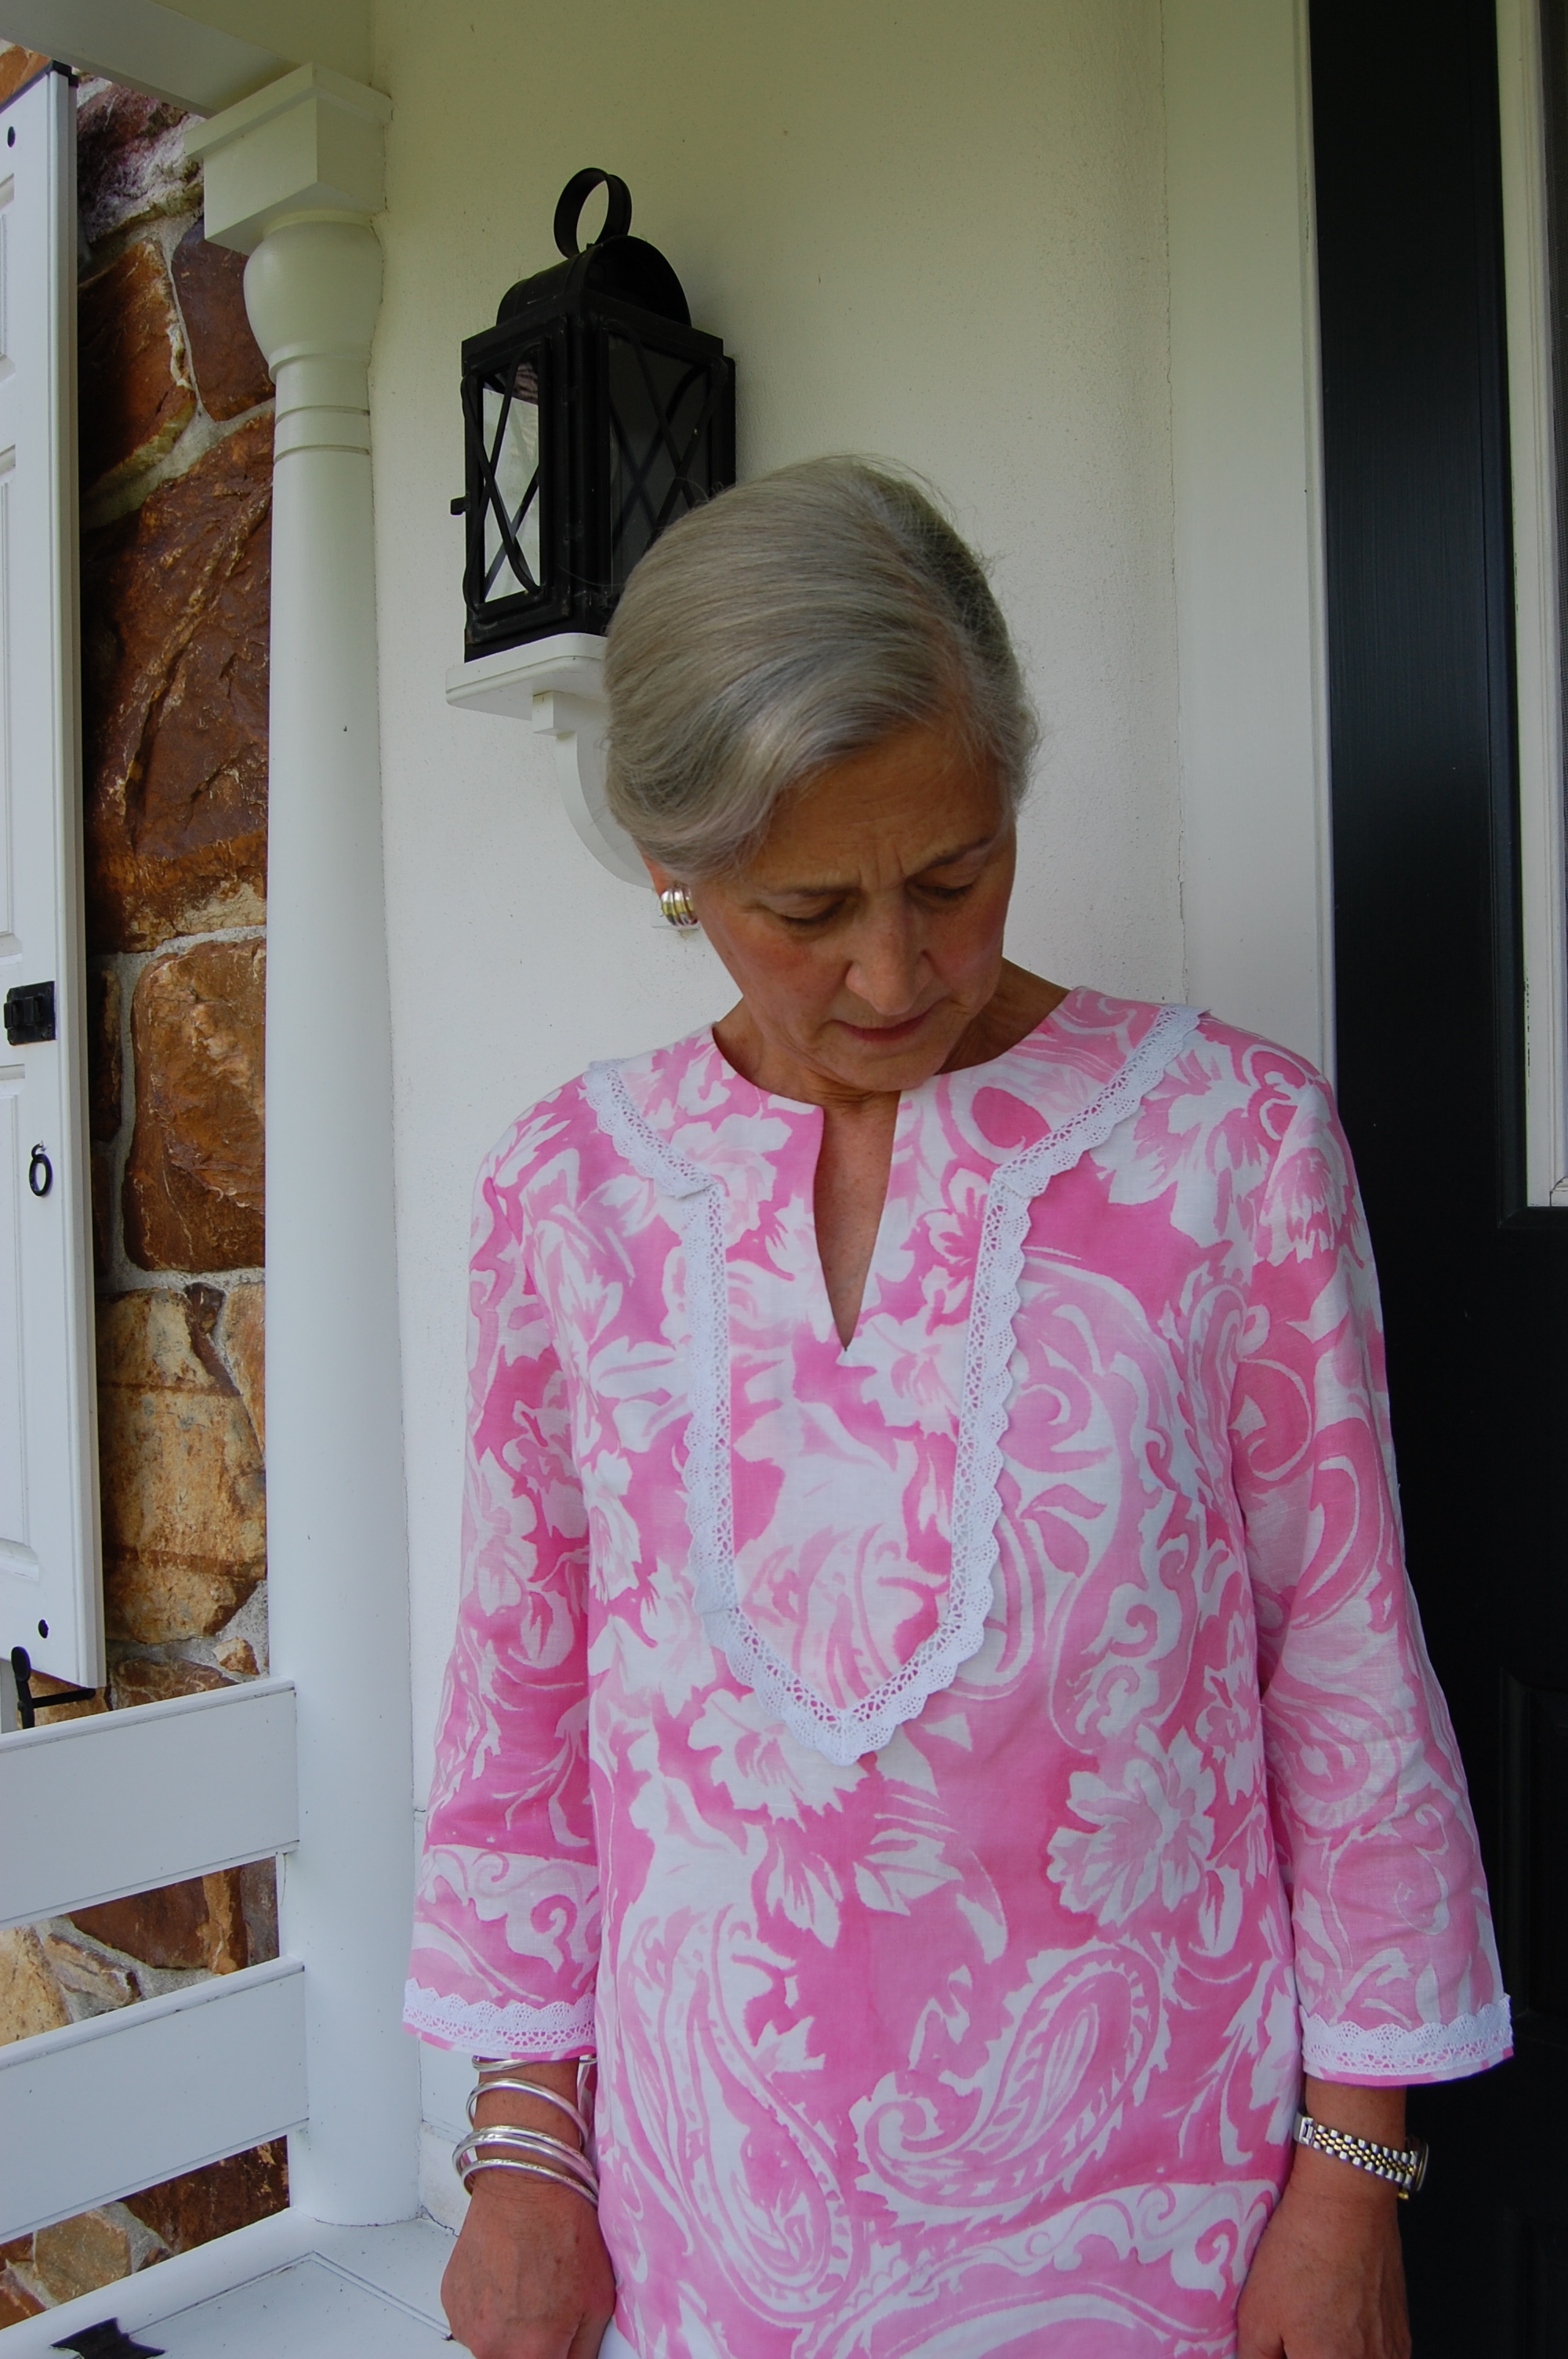
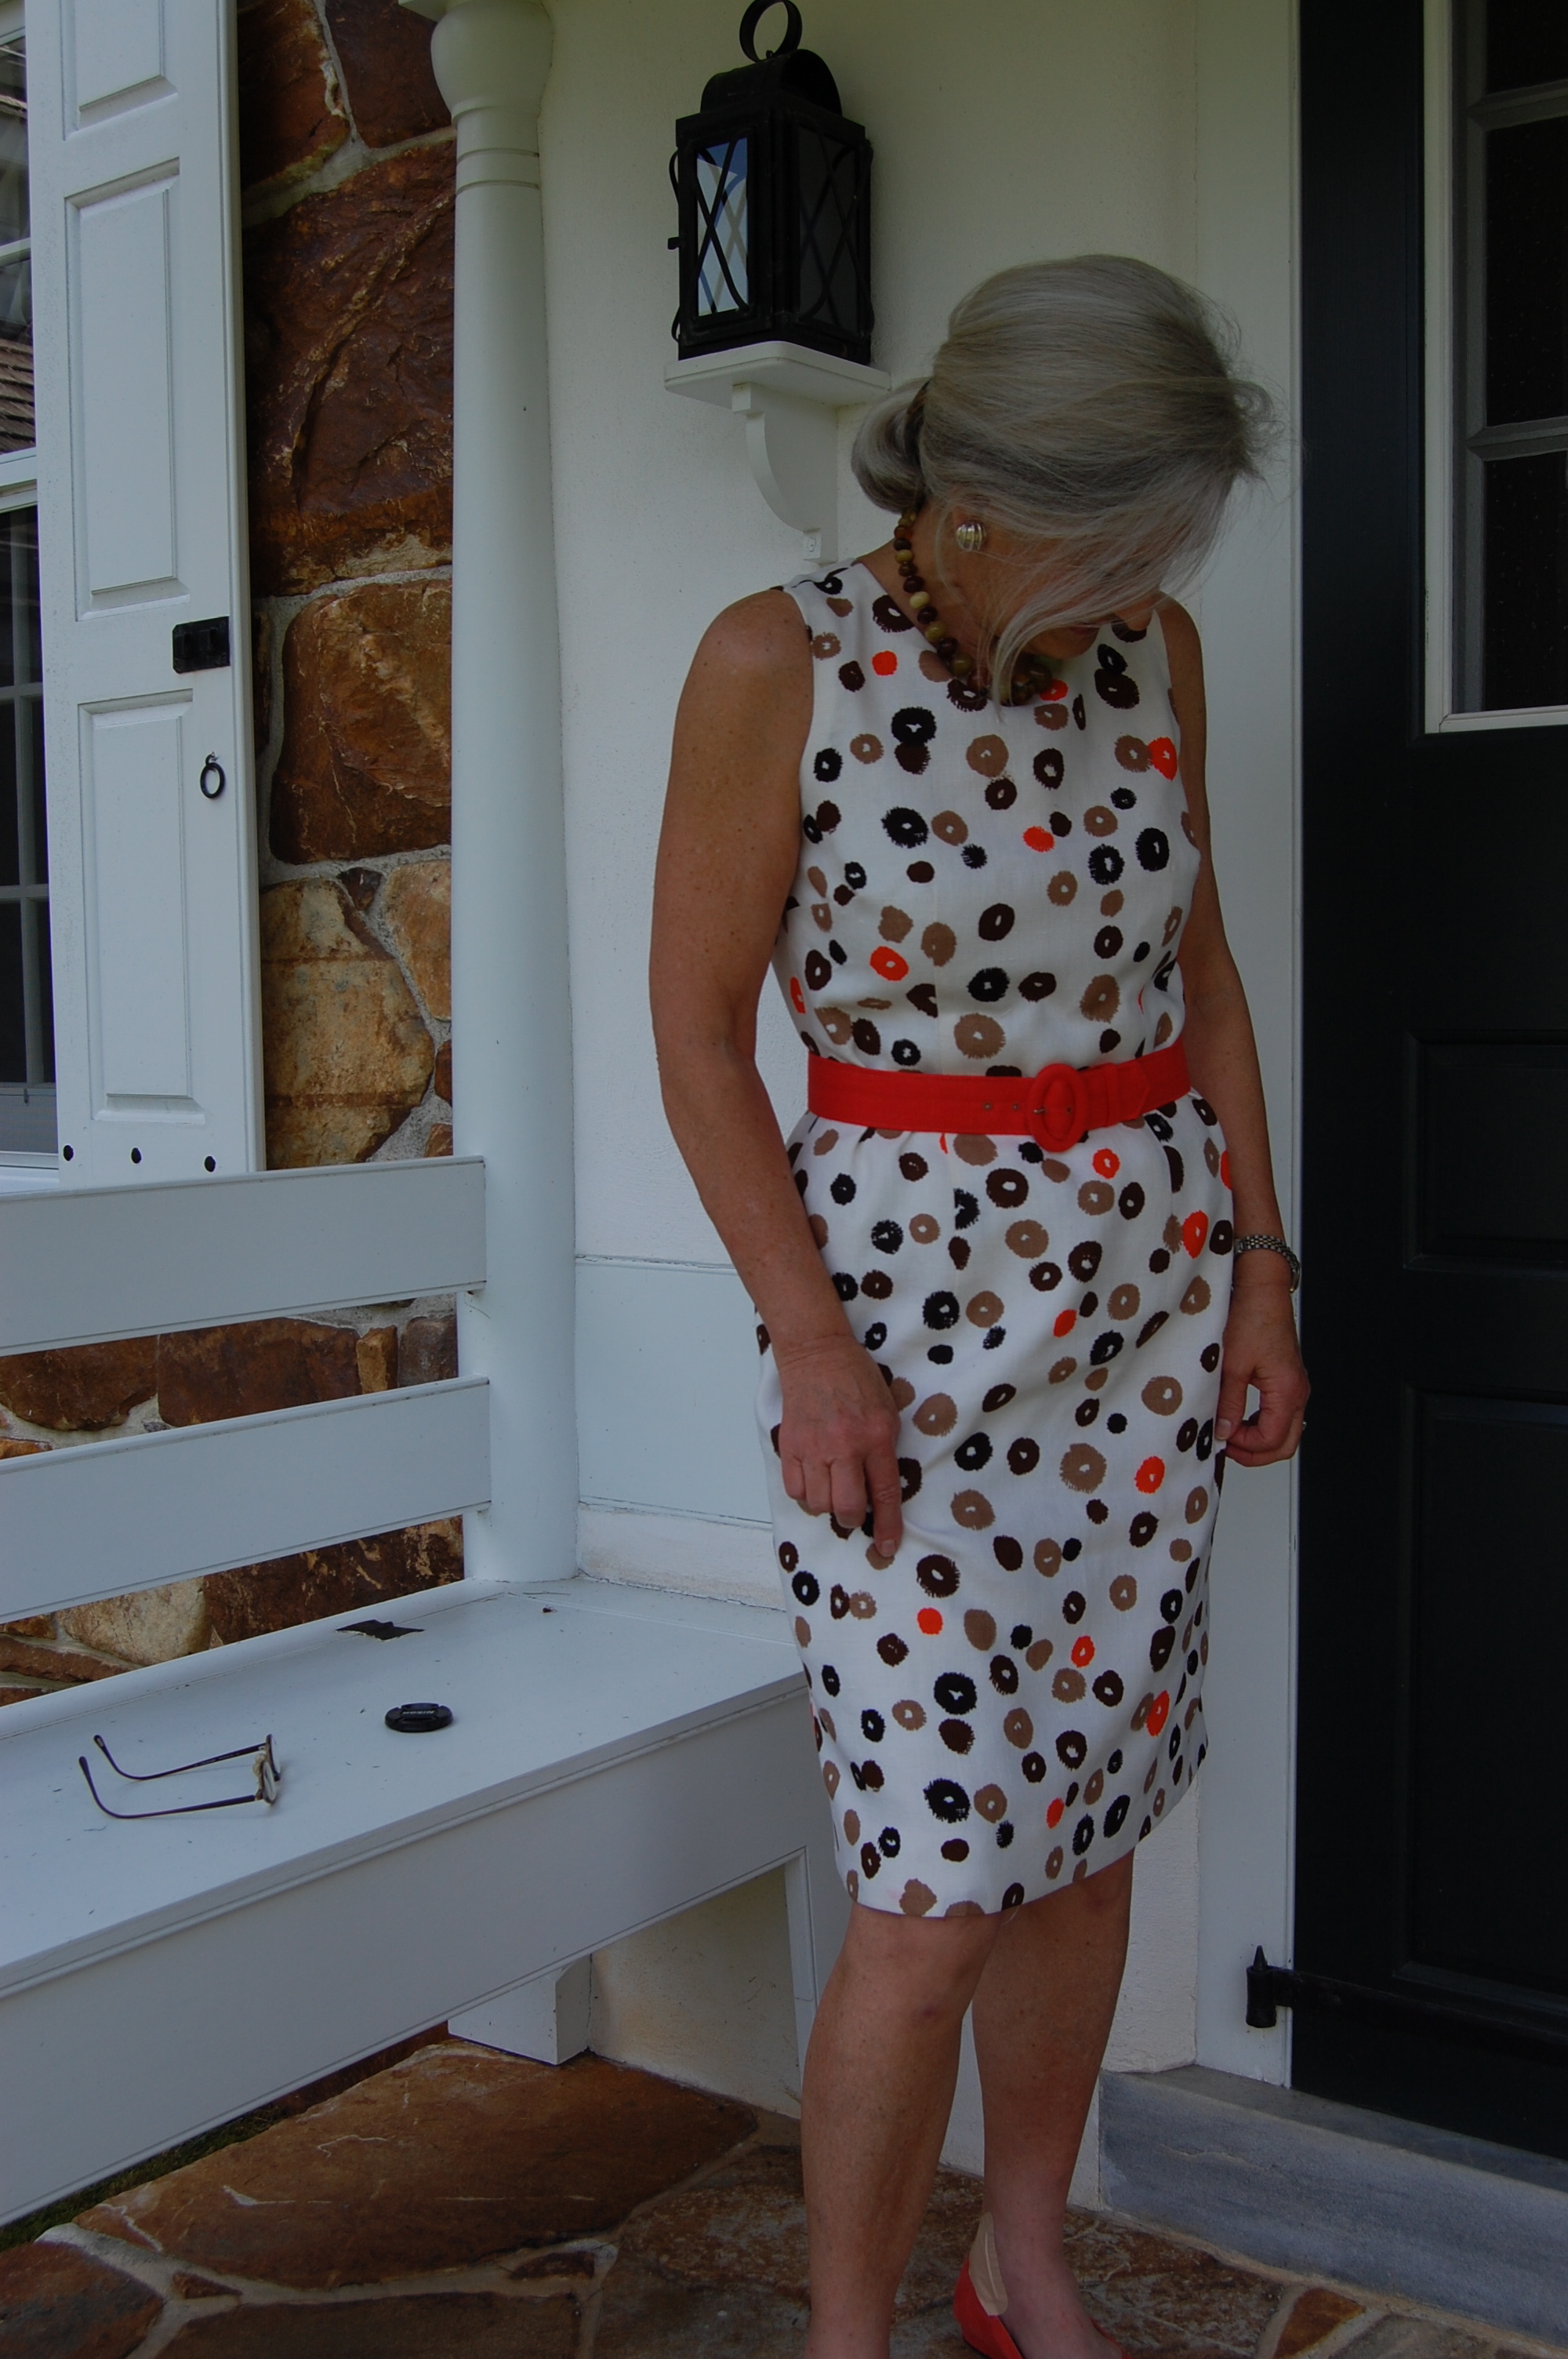
The neckline dips down to a slightly curved V, with a center seam.
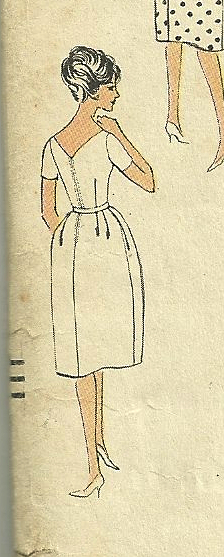
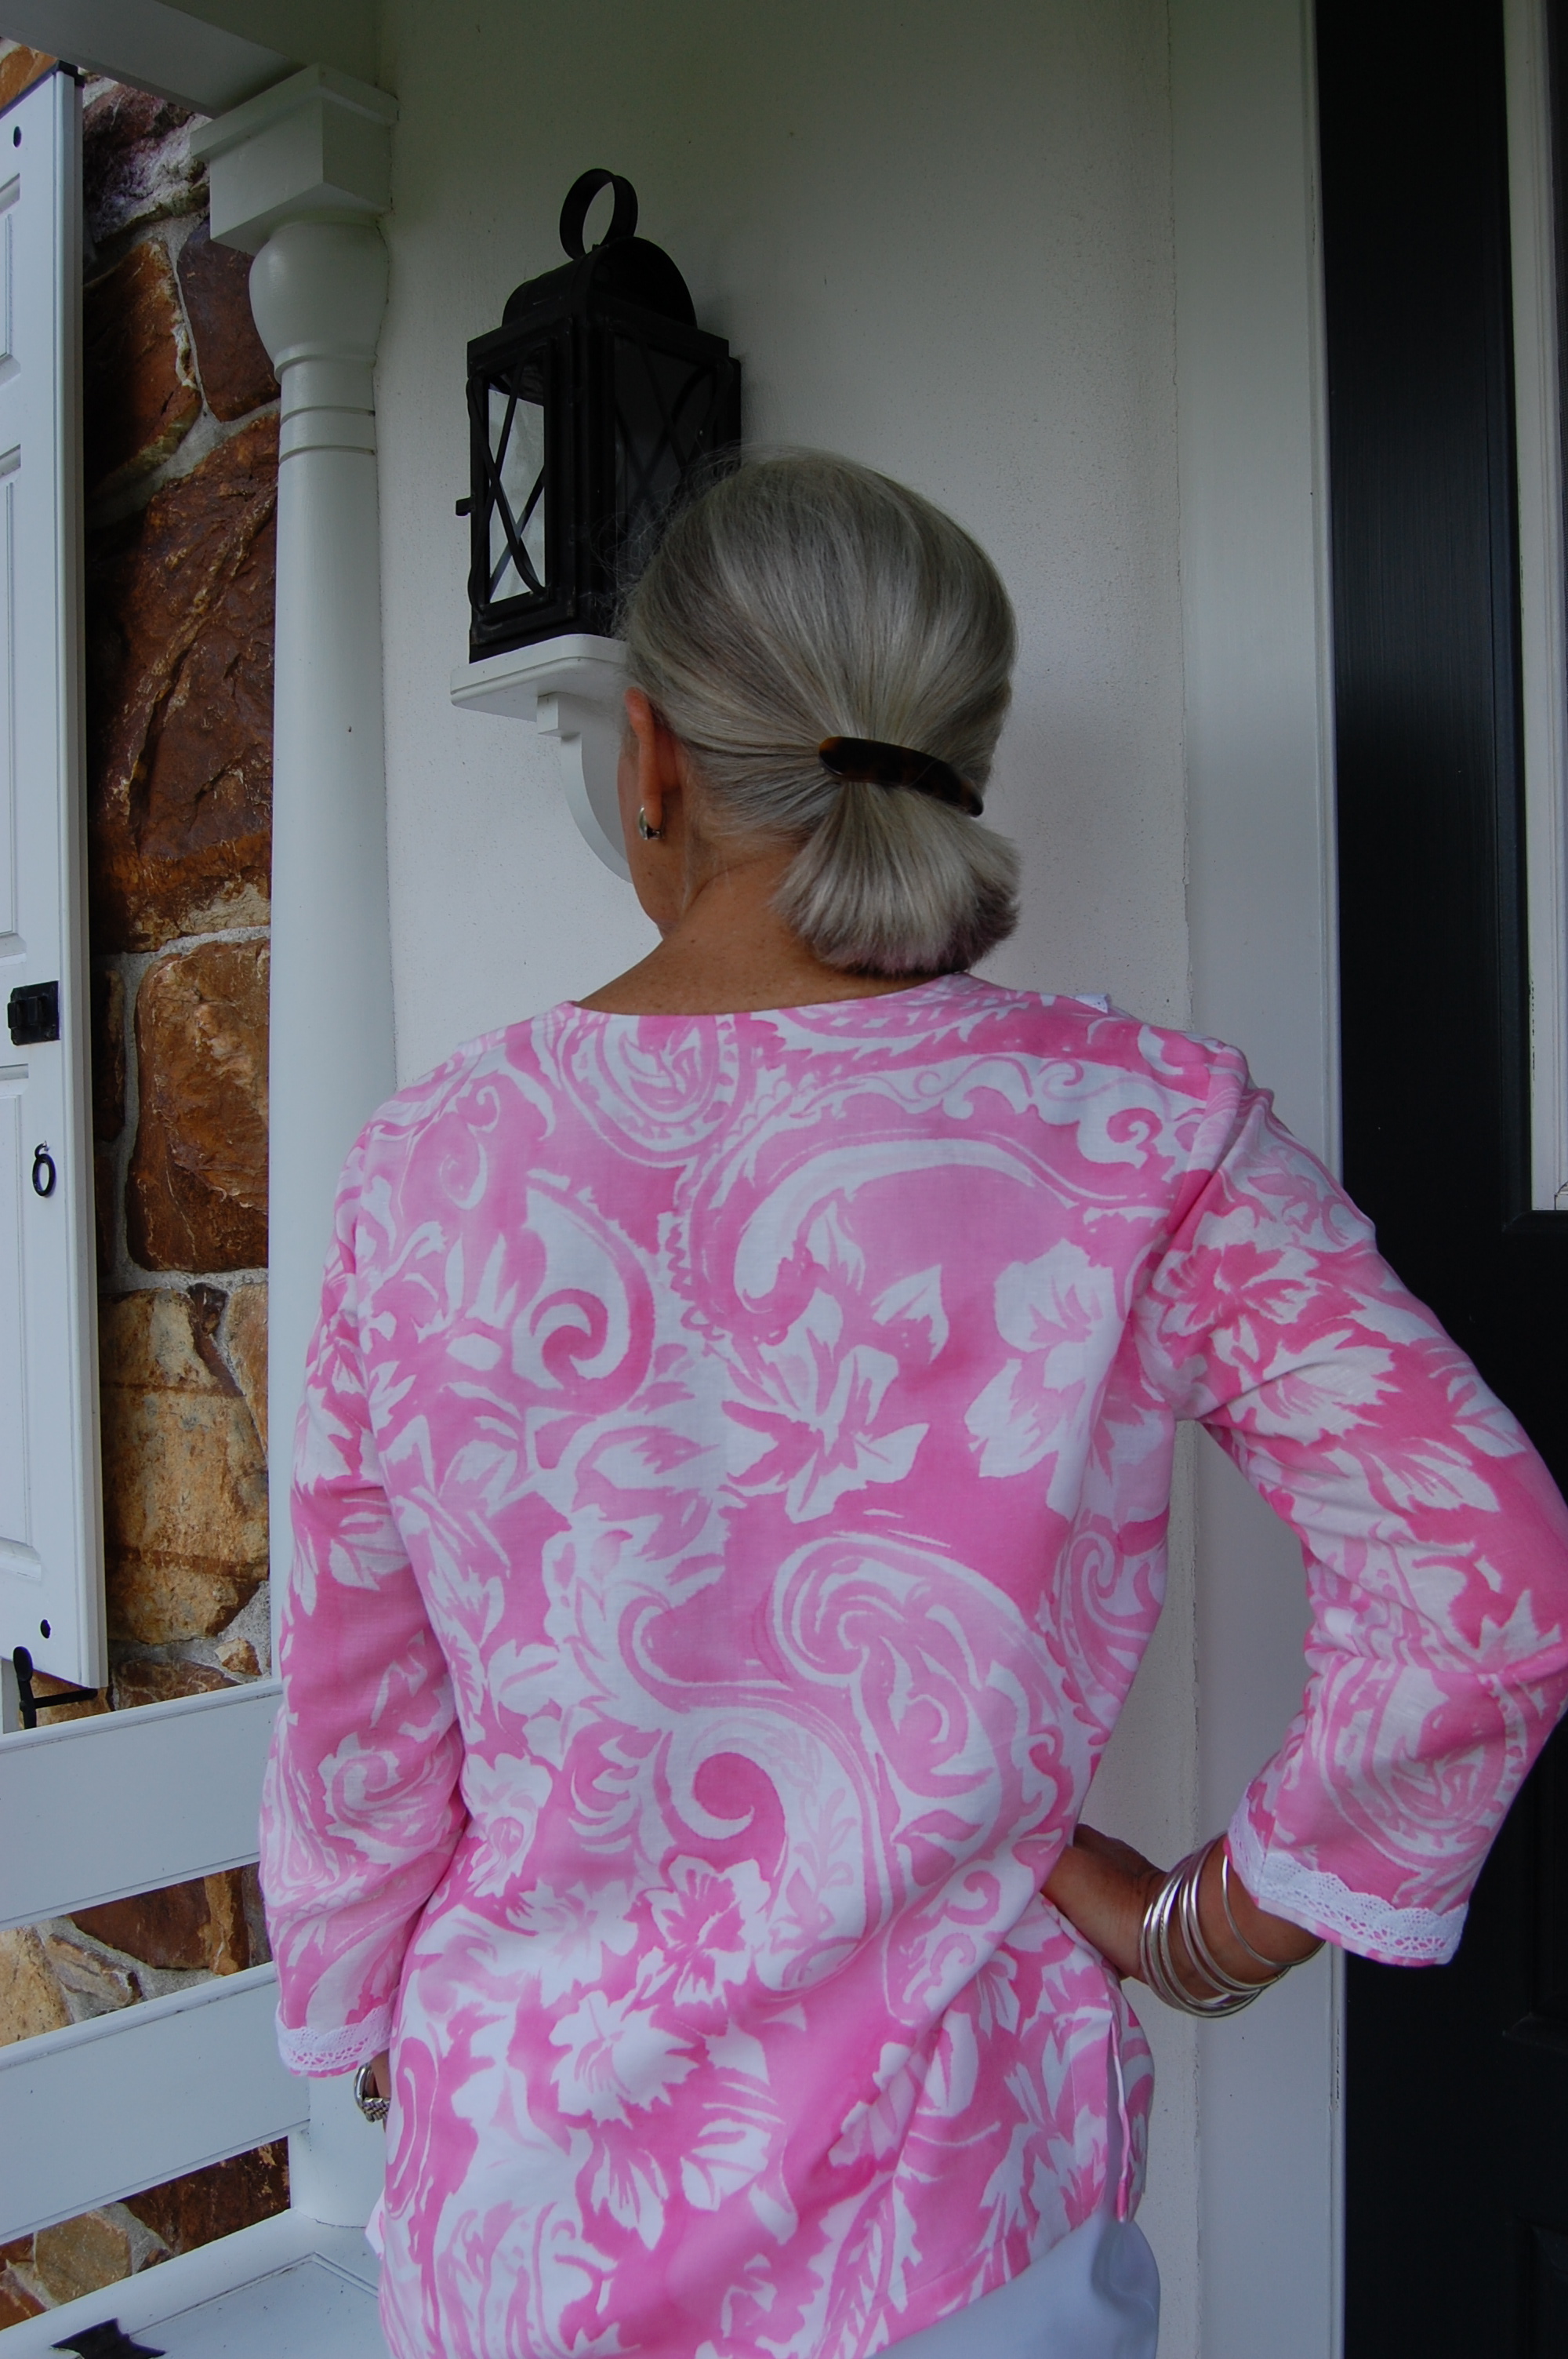
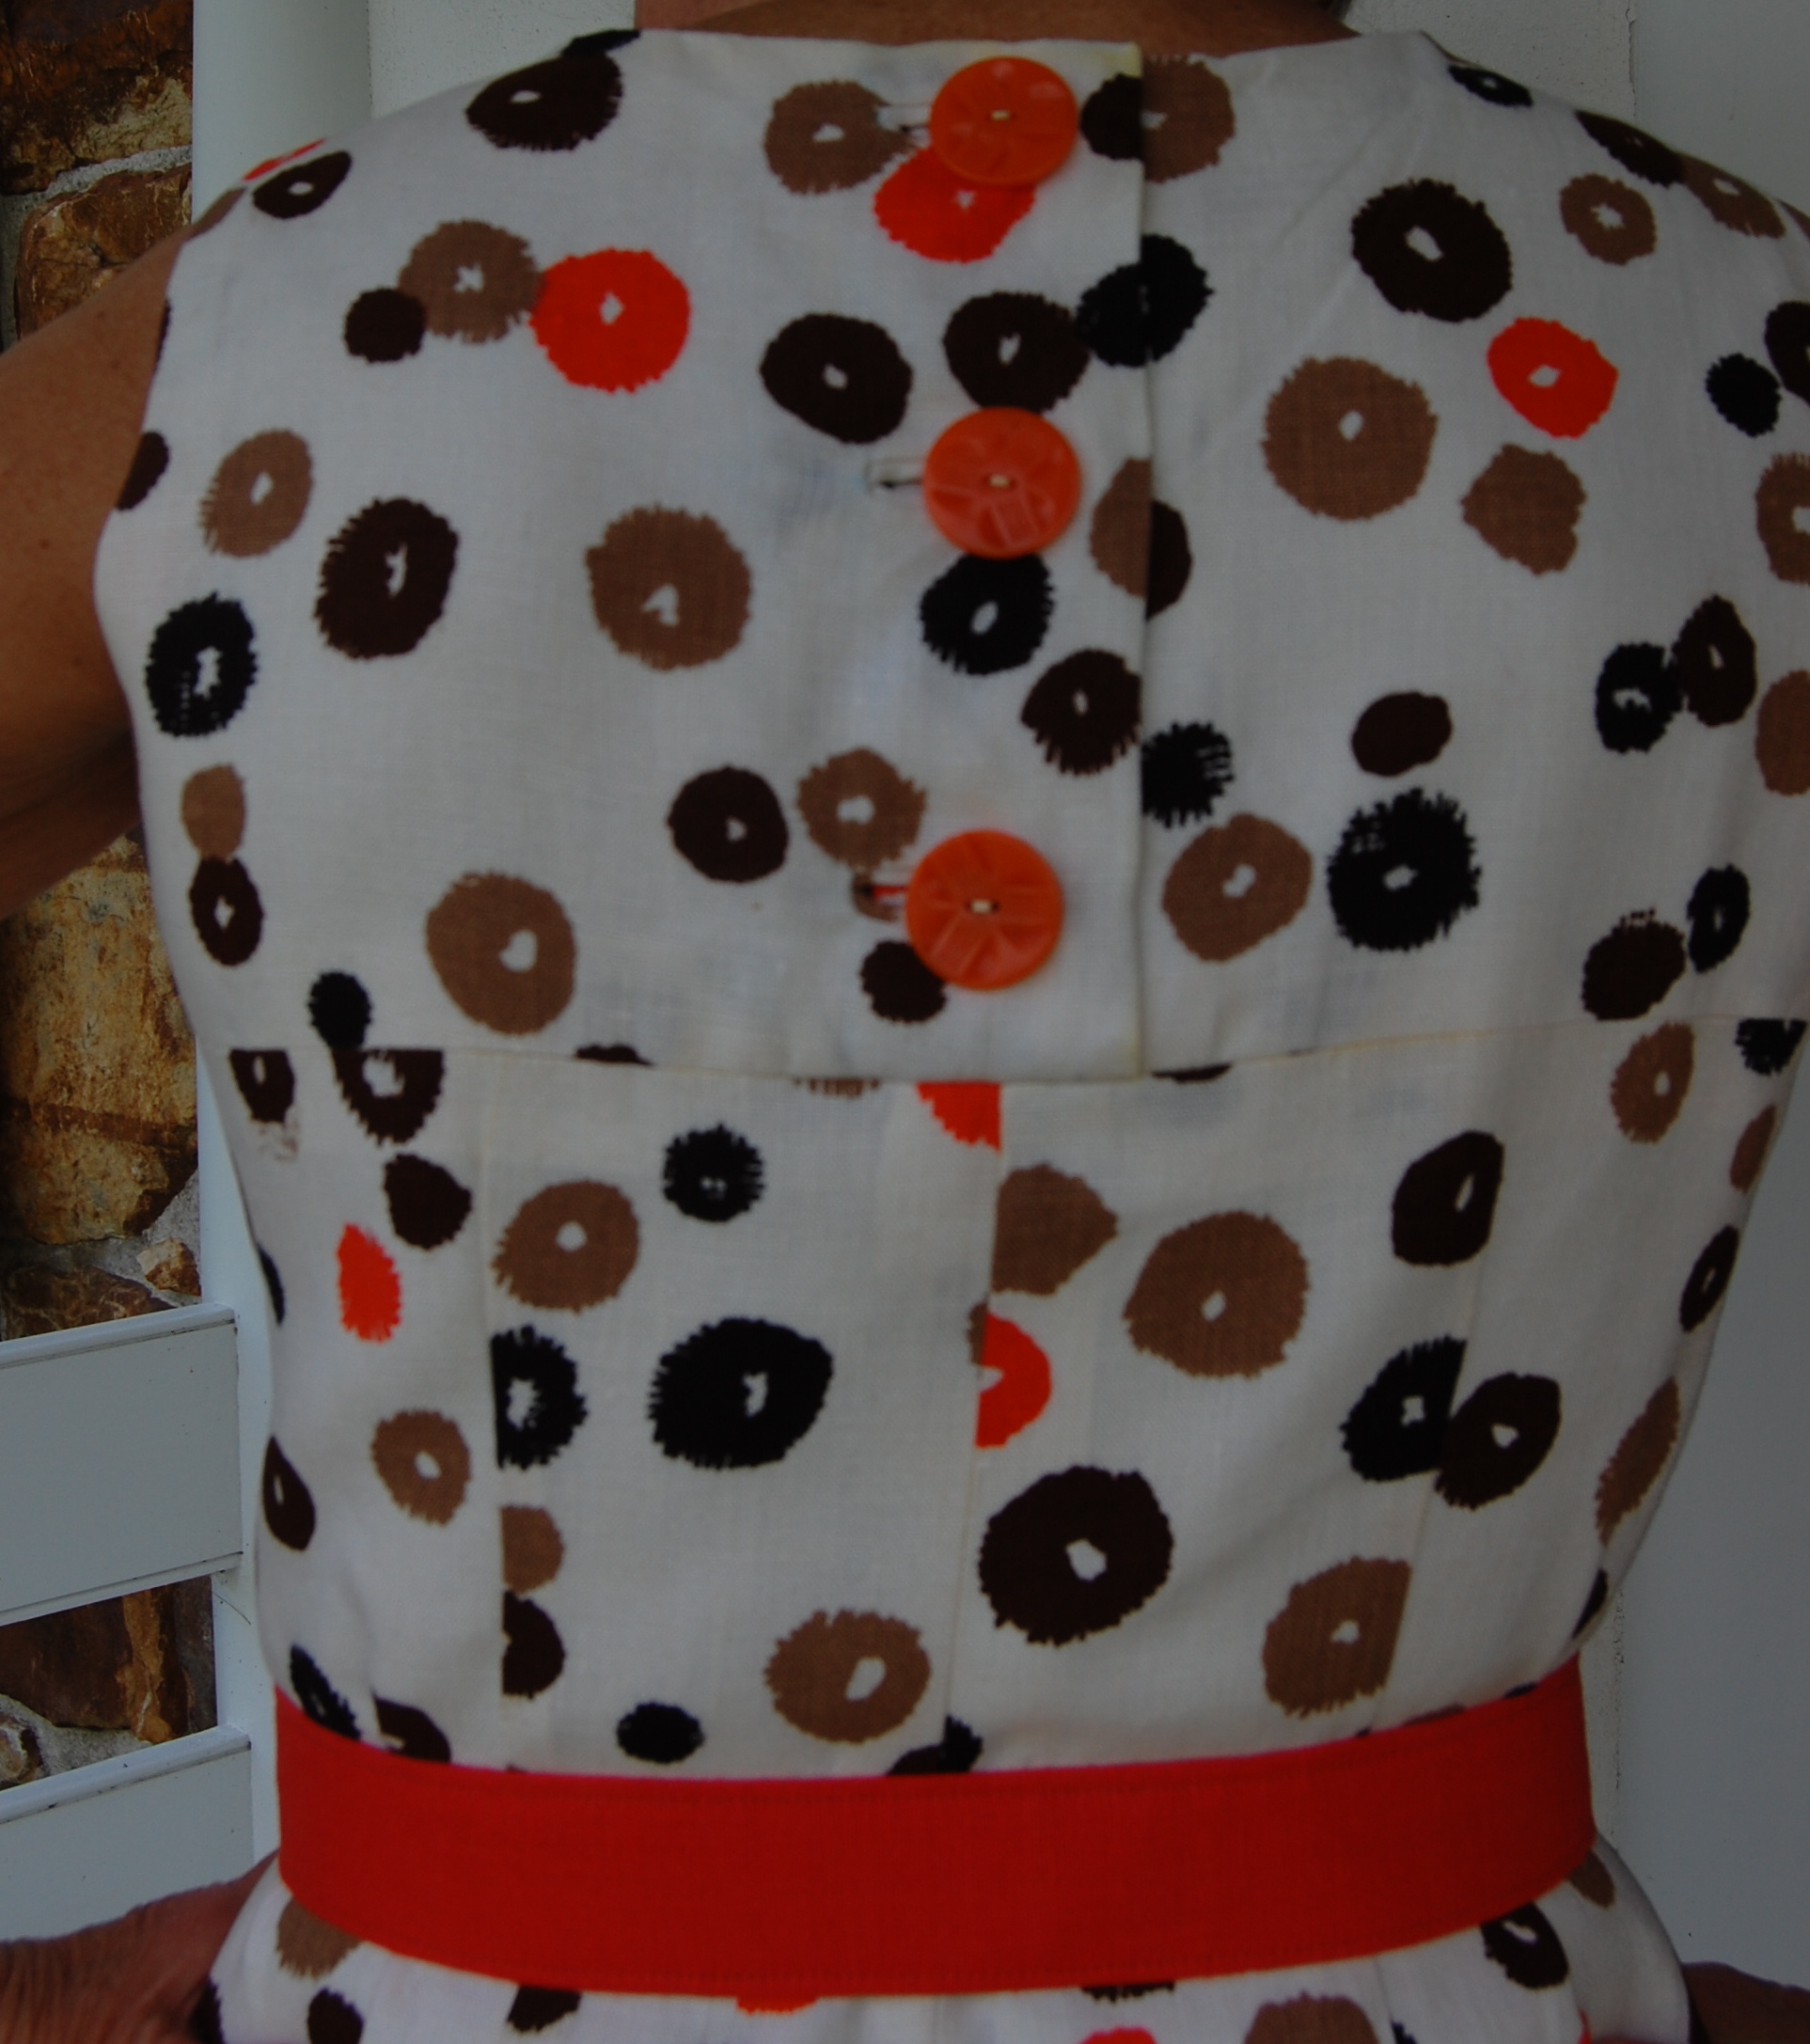
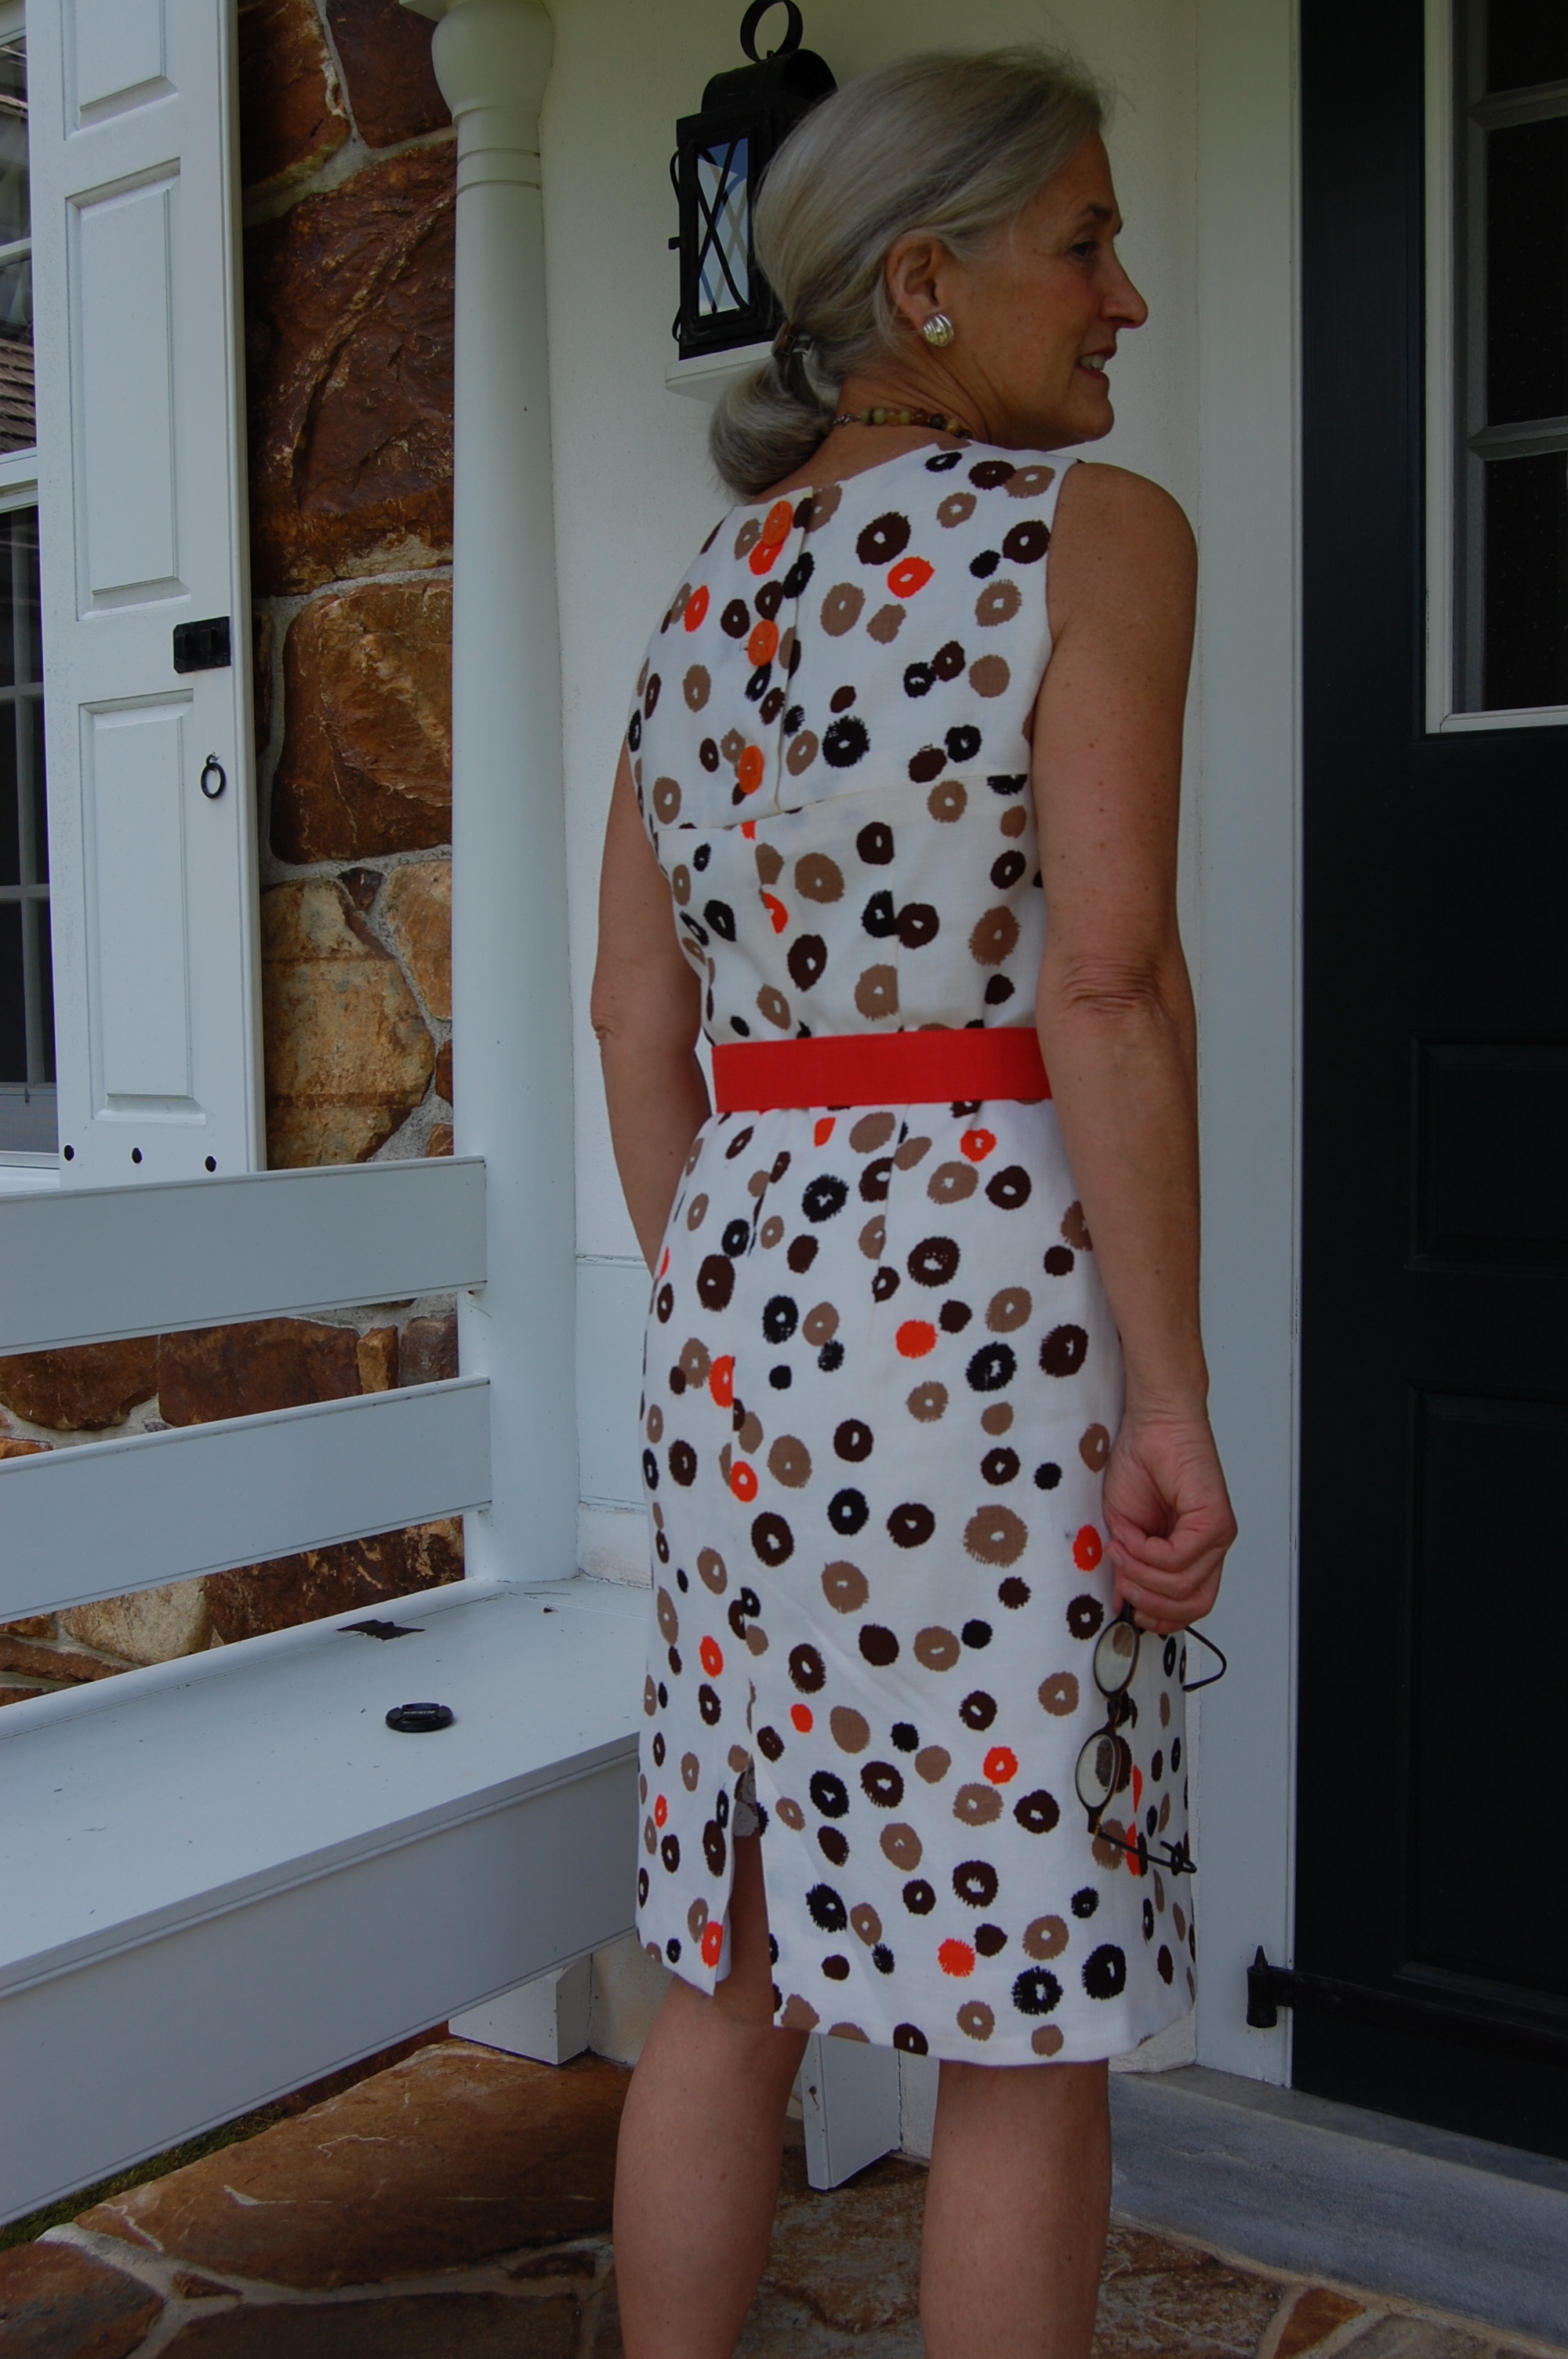
And the back is equally as pretty!
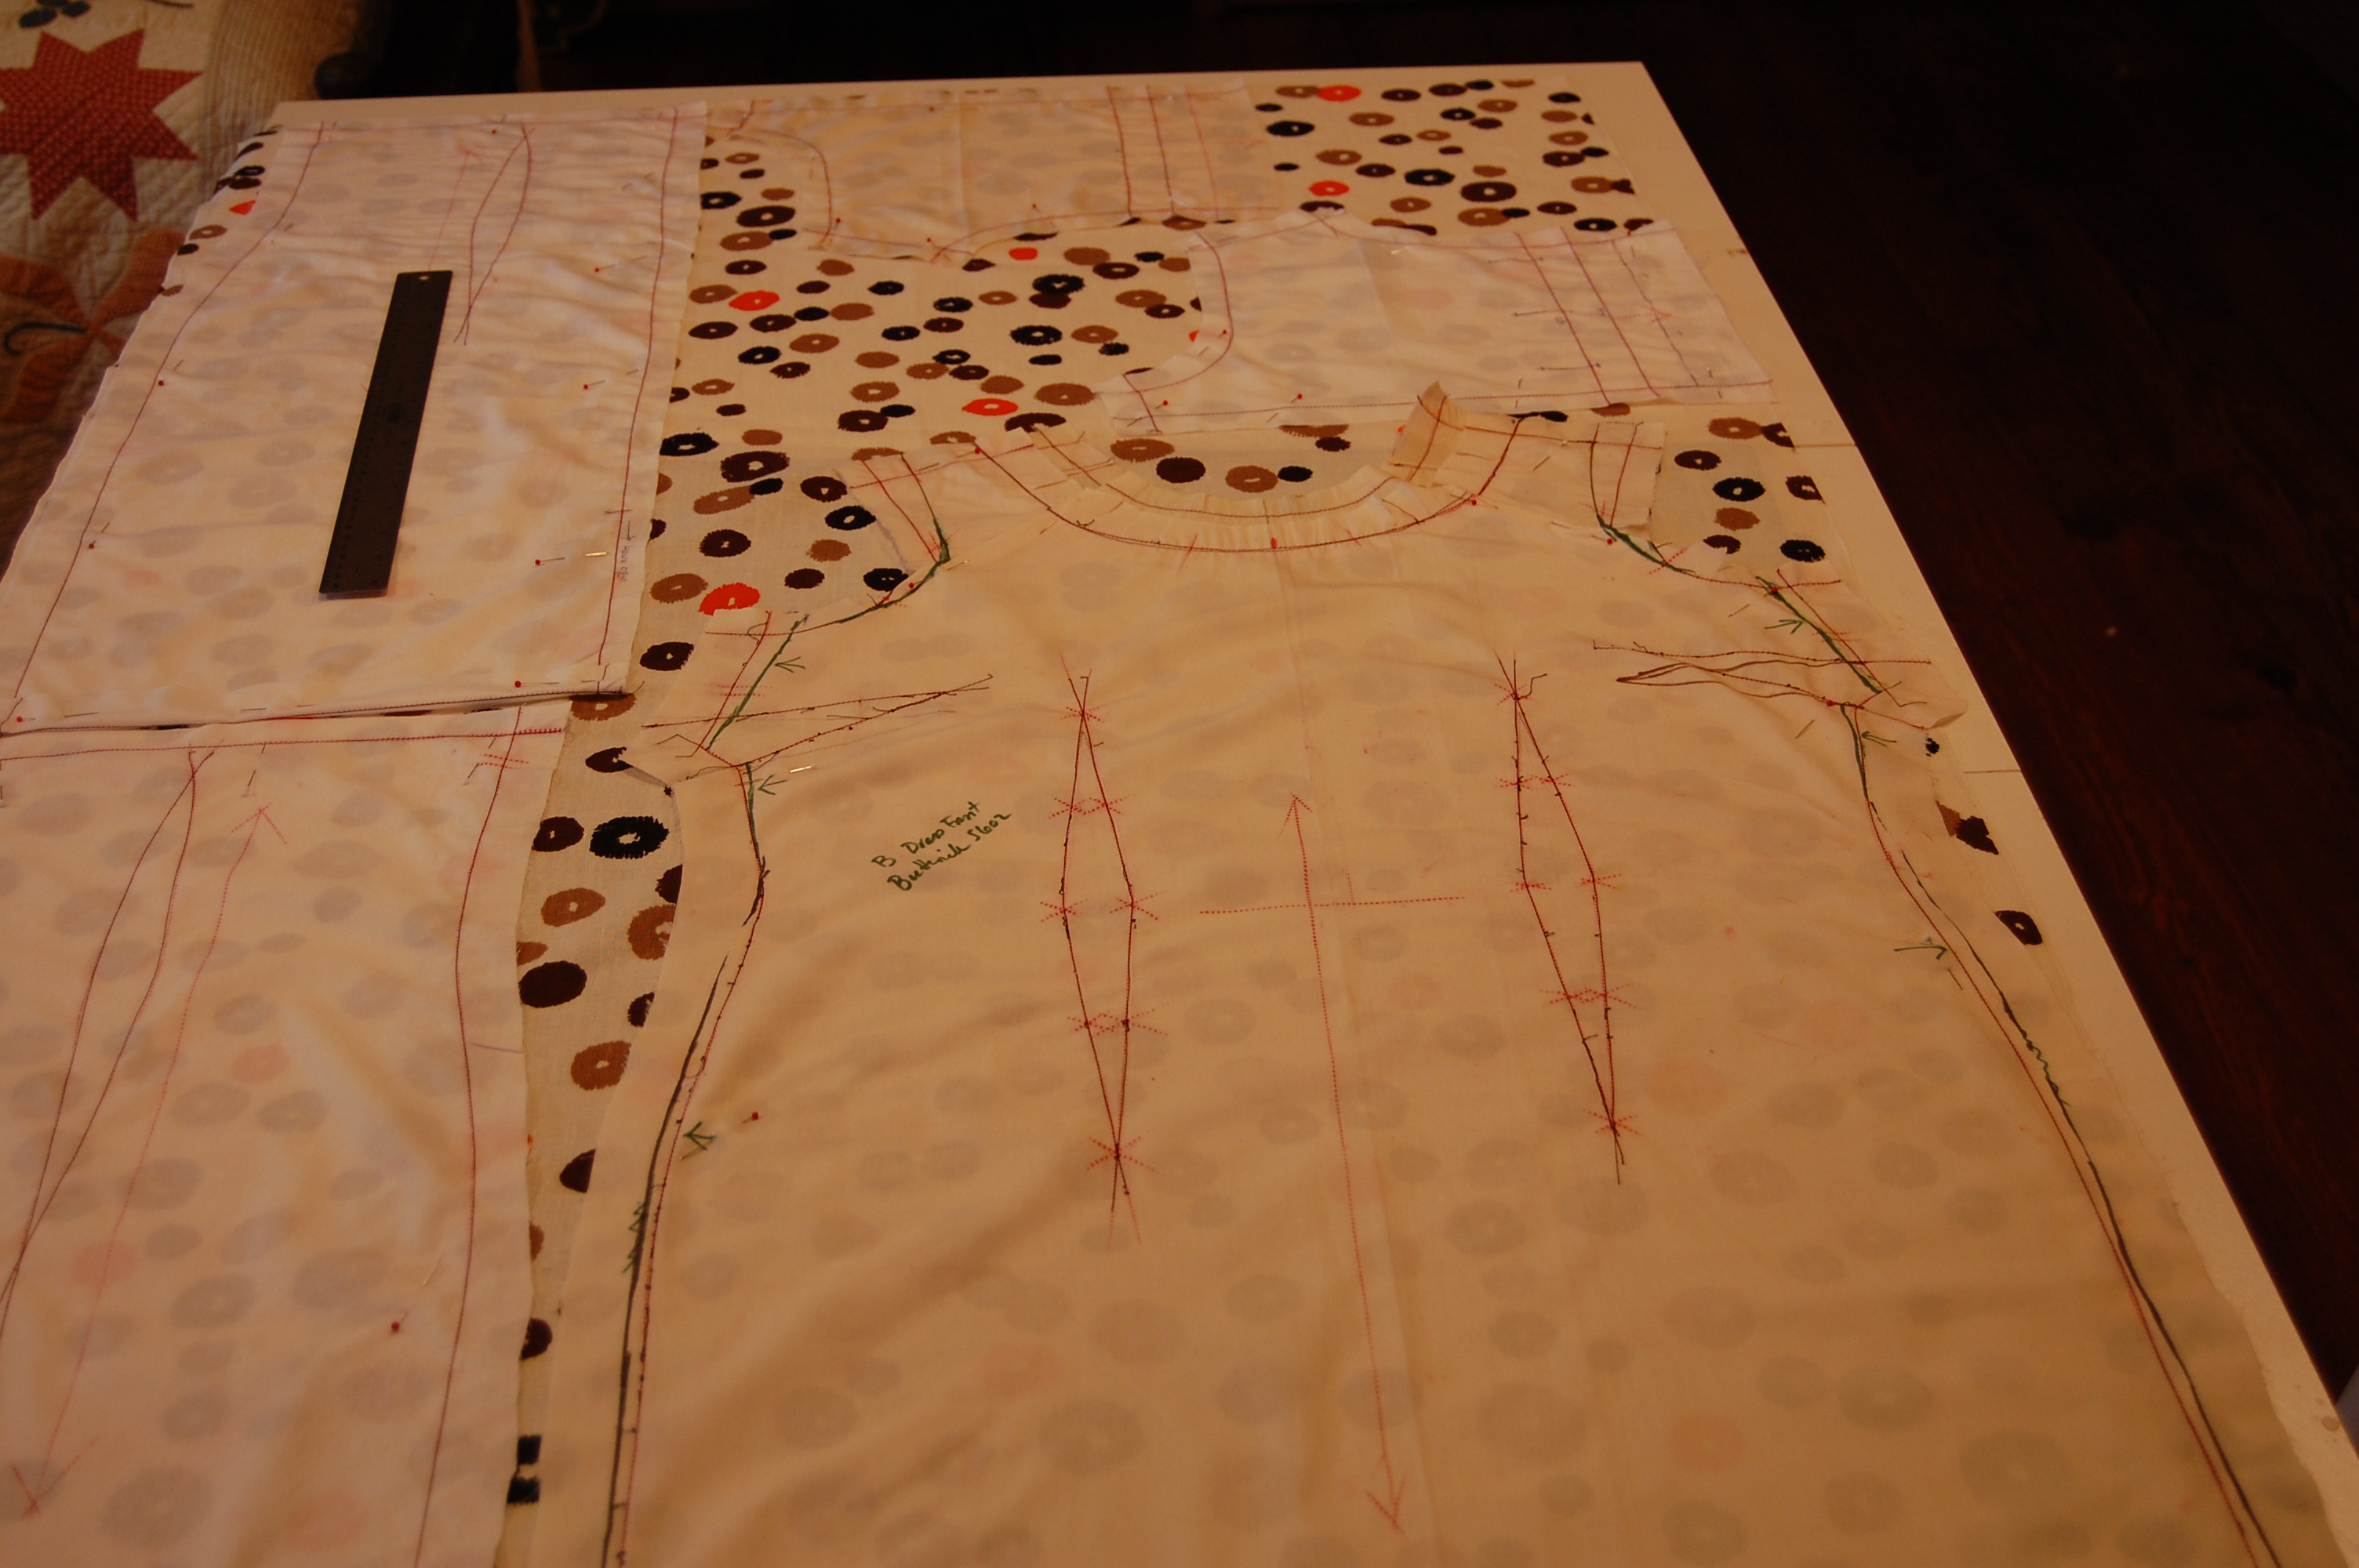
Now I had a plan. I would use the narrow skirt from the current Vogue pattern and the bodice from the vintage Vogue pattern, except that I would make it sleeveless. I had to work to line up the darts on the bodice and the skirt, moving them hither and yon several times. And then I had to deal with the positioning of the bust darts, always an issue for me with vintage patterns. The apices of the darts are always too high for me. (I’m sure it has much to do with the foundation garments which women wore in the ‘50s, ‘60s, and early ‘70s.) Simply moving the apices lower does not always work, as then I seem to have too much fullness above the bust and across the shoulders. Of course, this is where making a muslin (toile) comes to the rescue. In this case, my first muslin had so many changes to it, that I had to transfer all my final markings to a new muslin. I also decided to underline the linen with silk organza and use true couture techniques to complete this dress.
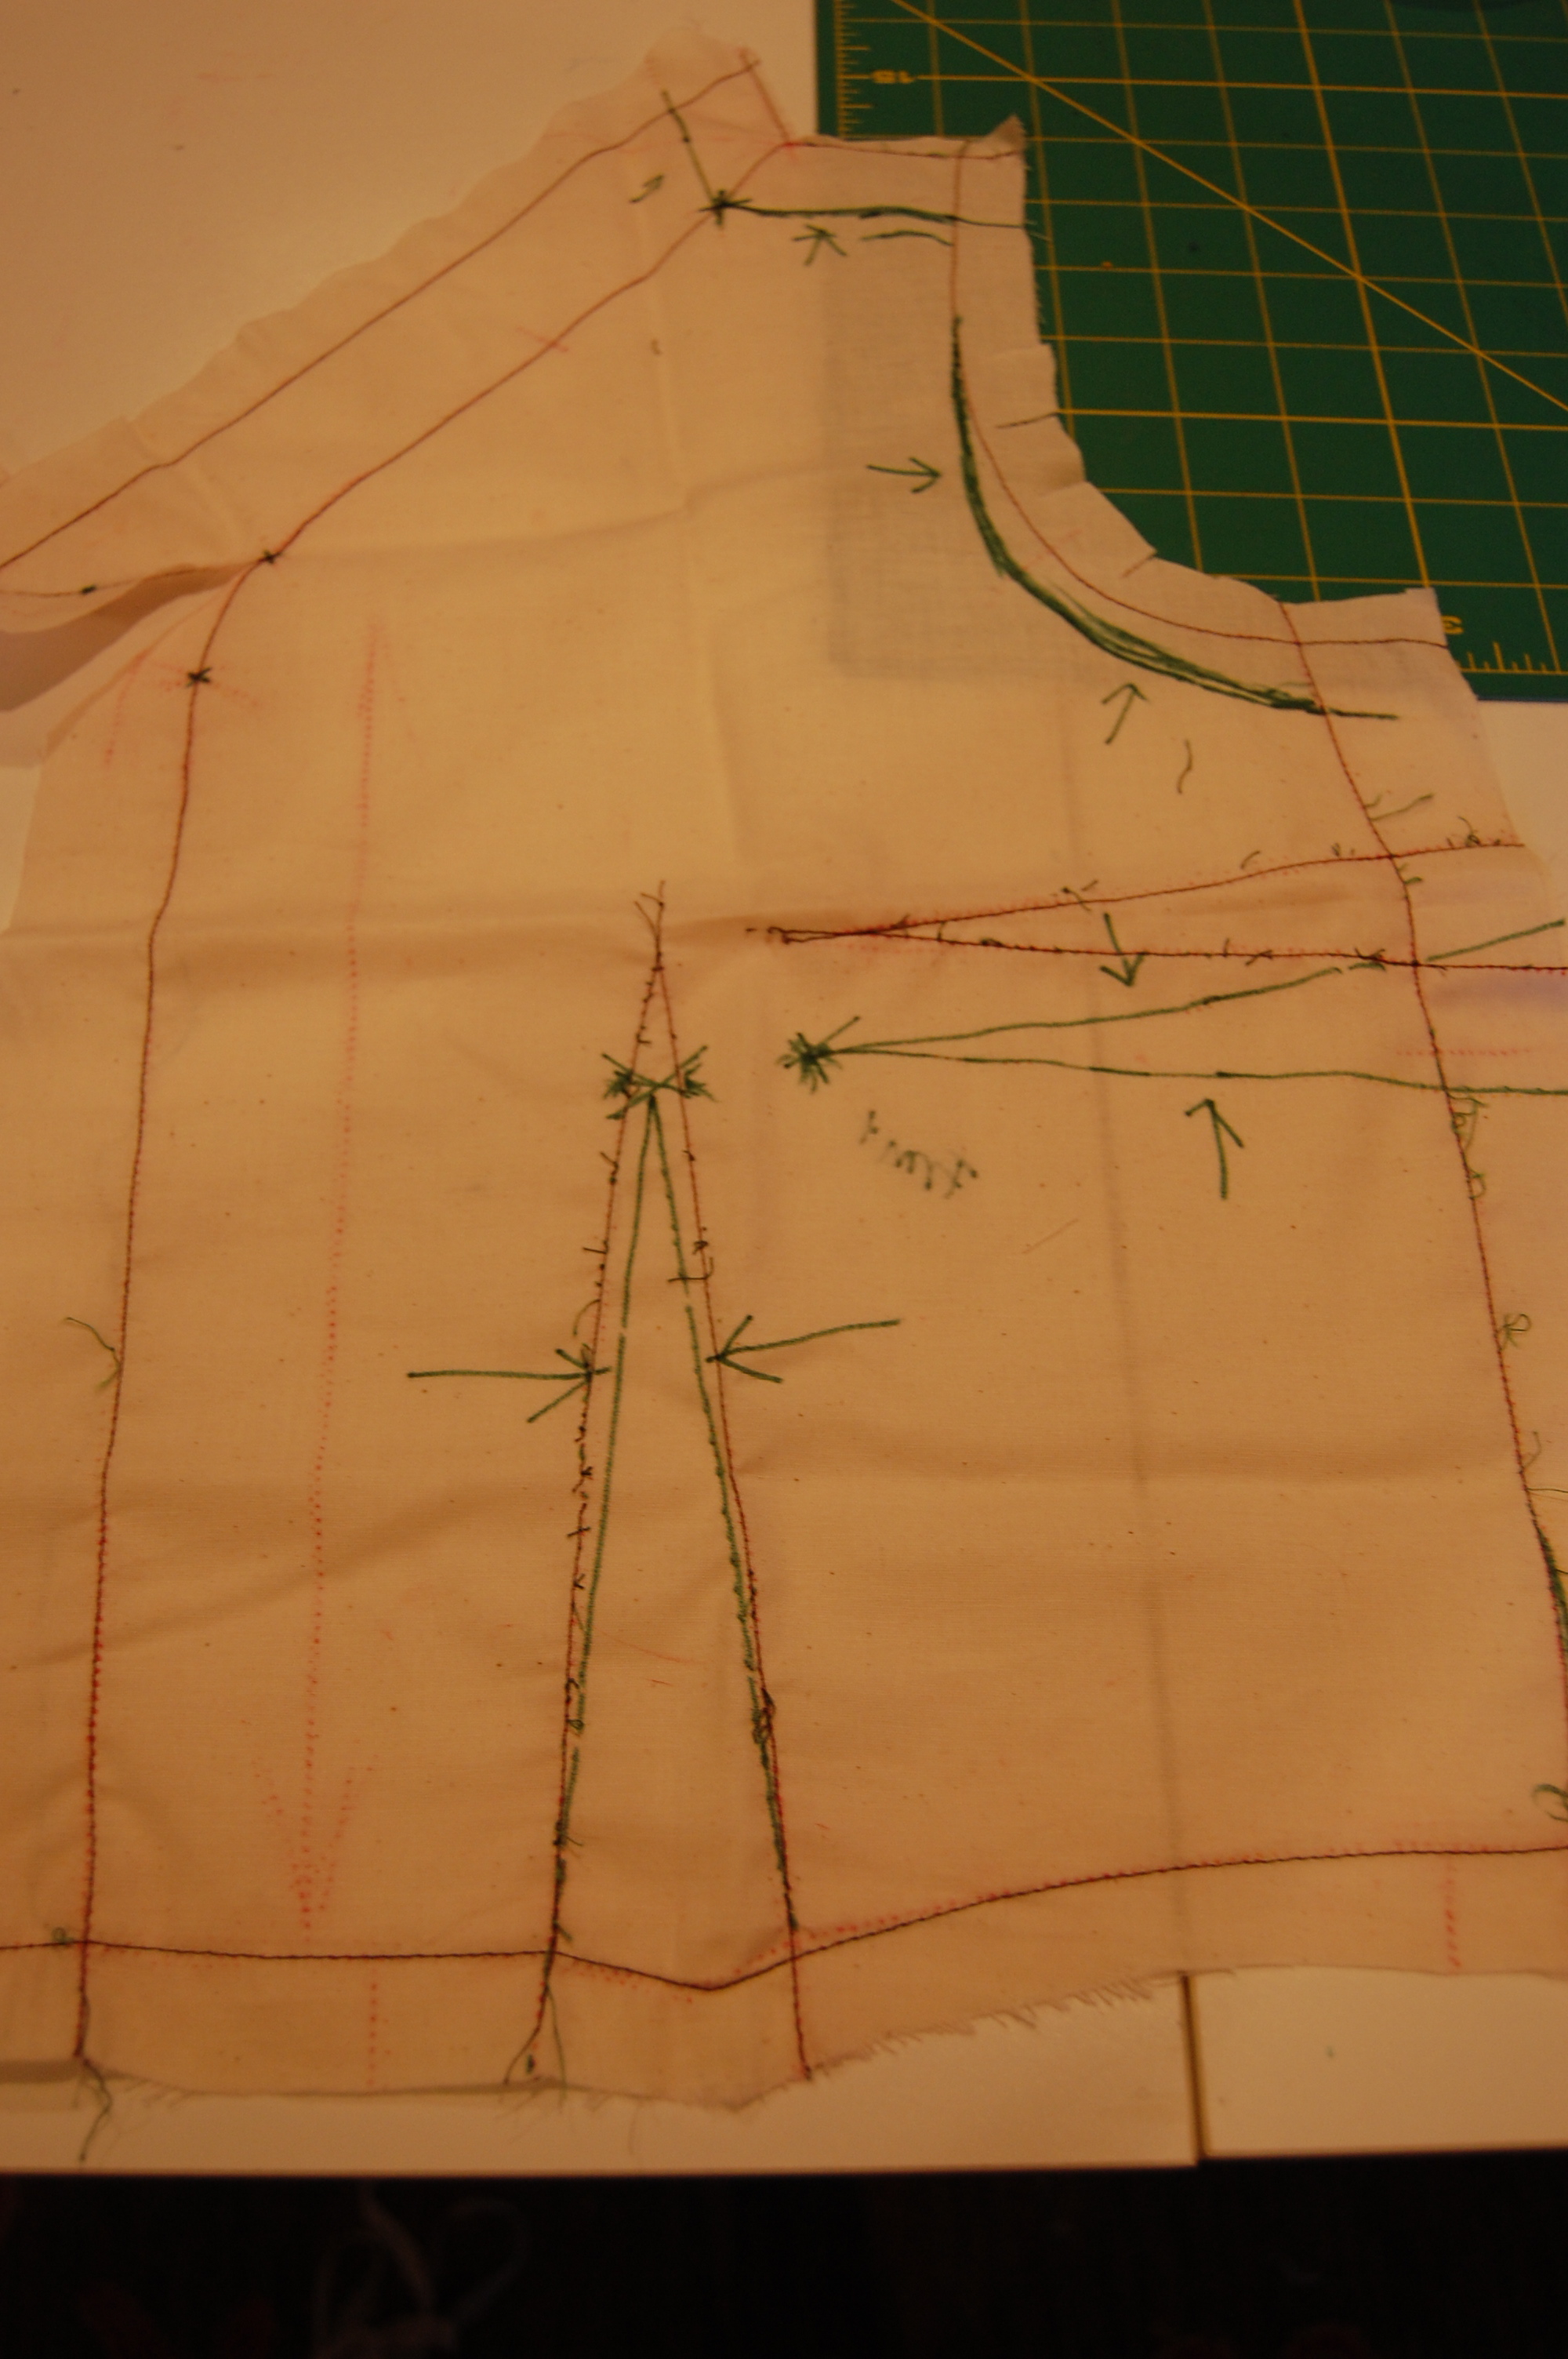
Here is one side of the front from my first muslin. I still had to make changes on the second muslin, but better on muslin than on the fashion fabric!
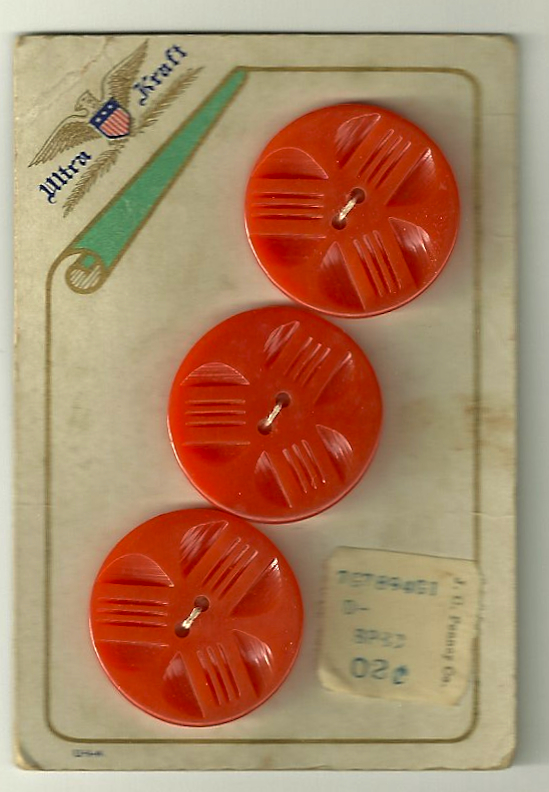
As I work on this dress I am in concurrence with further commentary from the 1962 VPB: speaking of “Naturals for our Time” (linens and cottons), the editors say, “Most of all, we want the real-life way they look – effortless, inspired by structure rather than detail [my emphasis], and naturally appealing now.” Actually, there is one important detail which will add to the “good wearing-relationship” I will have with this dress – but I’ll save that for my next post…