
With considerable thought!
I was a participant on Susan Khalje’s Paris Couture Tour in mid-March. I dutifully checked the expected weather in central and northern France for that time of year (Mr. Fifty Dresses and I were spending a week in Normandy and Brittany prior to the Paris component, which meant even more thought). Chilly, rainy, breezy were the parameters most often appearing in my weather search. Add to that the fact I did not want to look too Wintry nor too Springy, and, well, I was quite in a quandary!
Fortunately, Susan provided us with some guidelines for the type of clothing we would need. This included day wear for our scooting around Paris to see exhibits, fabric stores, specialty stores, museums, etc. She indicated that dress in Paris is “noted” so I took that to mean we needed to look “sharp” and “put-together.” We also would have two days with special visitors and demonstrations in the hotel. Again we didn’t need to be all dolled up, but we needed to look presentable. And then there were those special nights out. For those we would need dressy clothes – for a night at the Ballet at the Palais Garnier, a Gala dinner at a fancy restaurant, and an evening at a fashion show in a private Paris apartment.
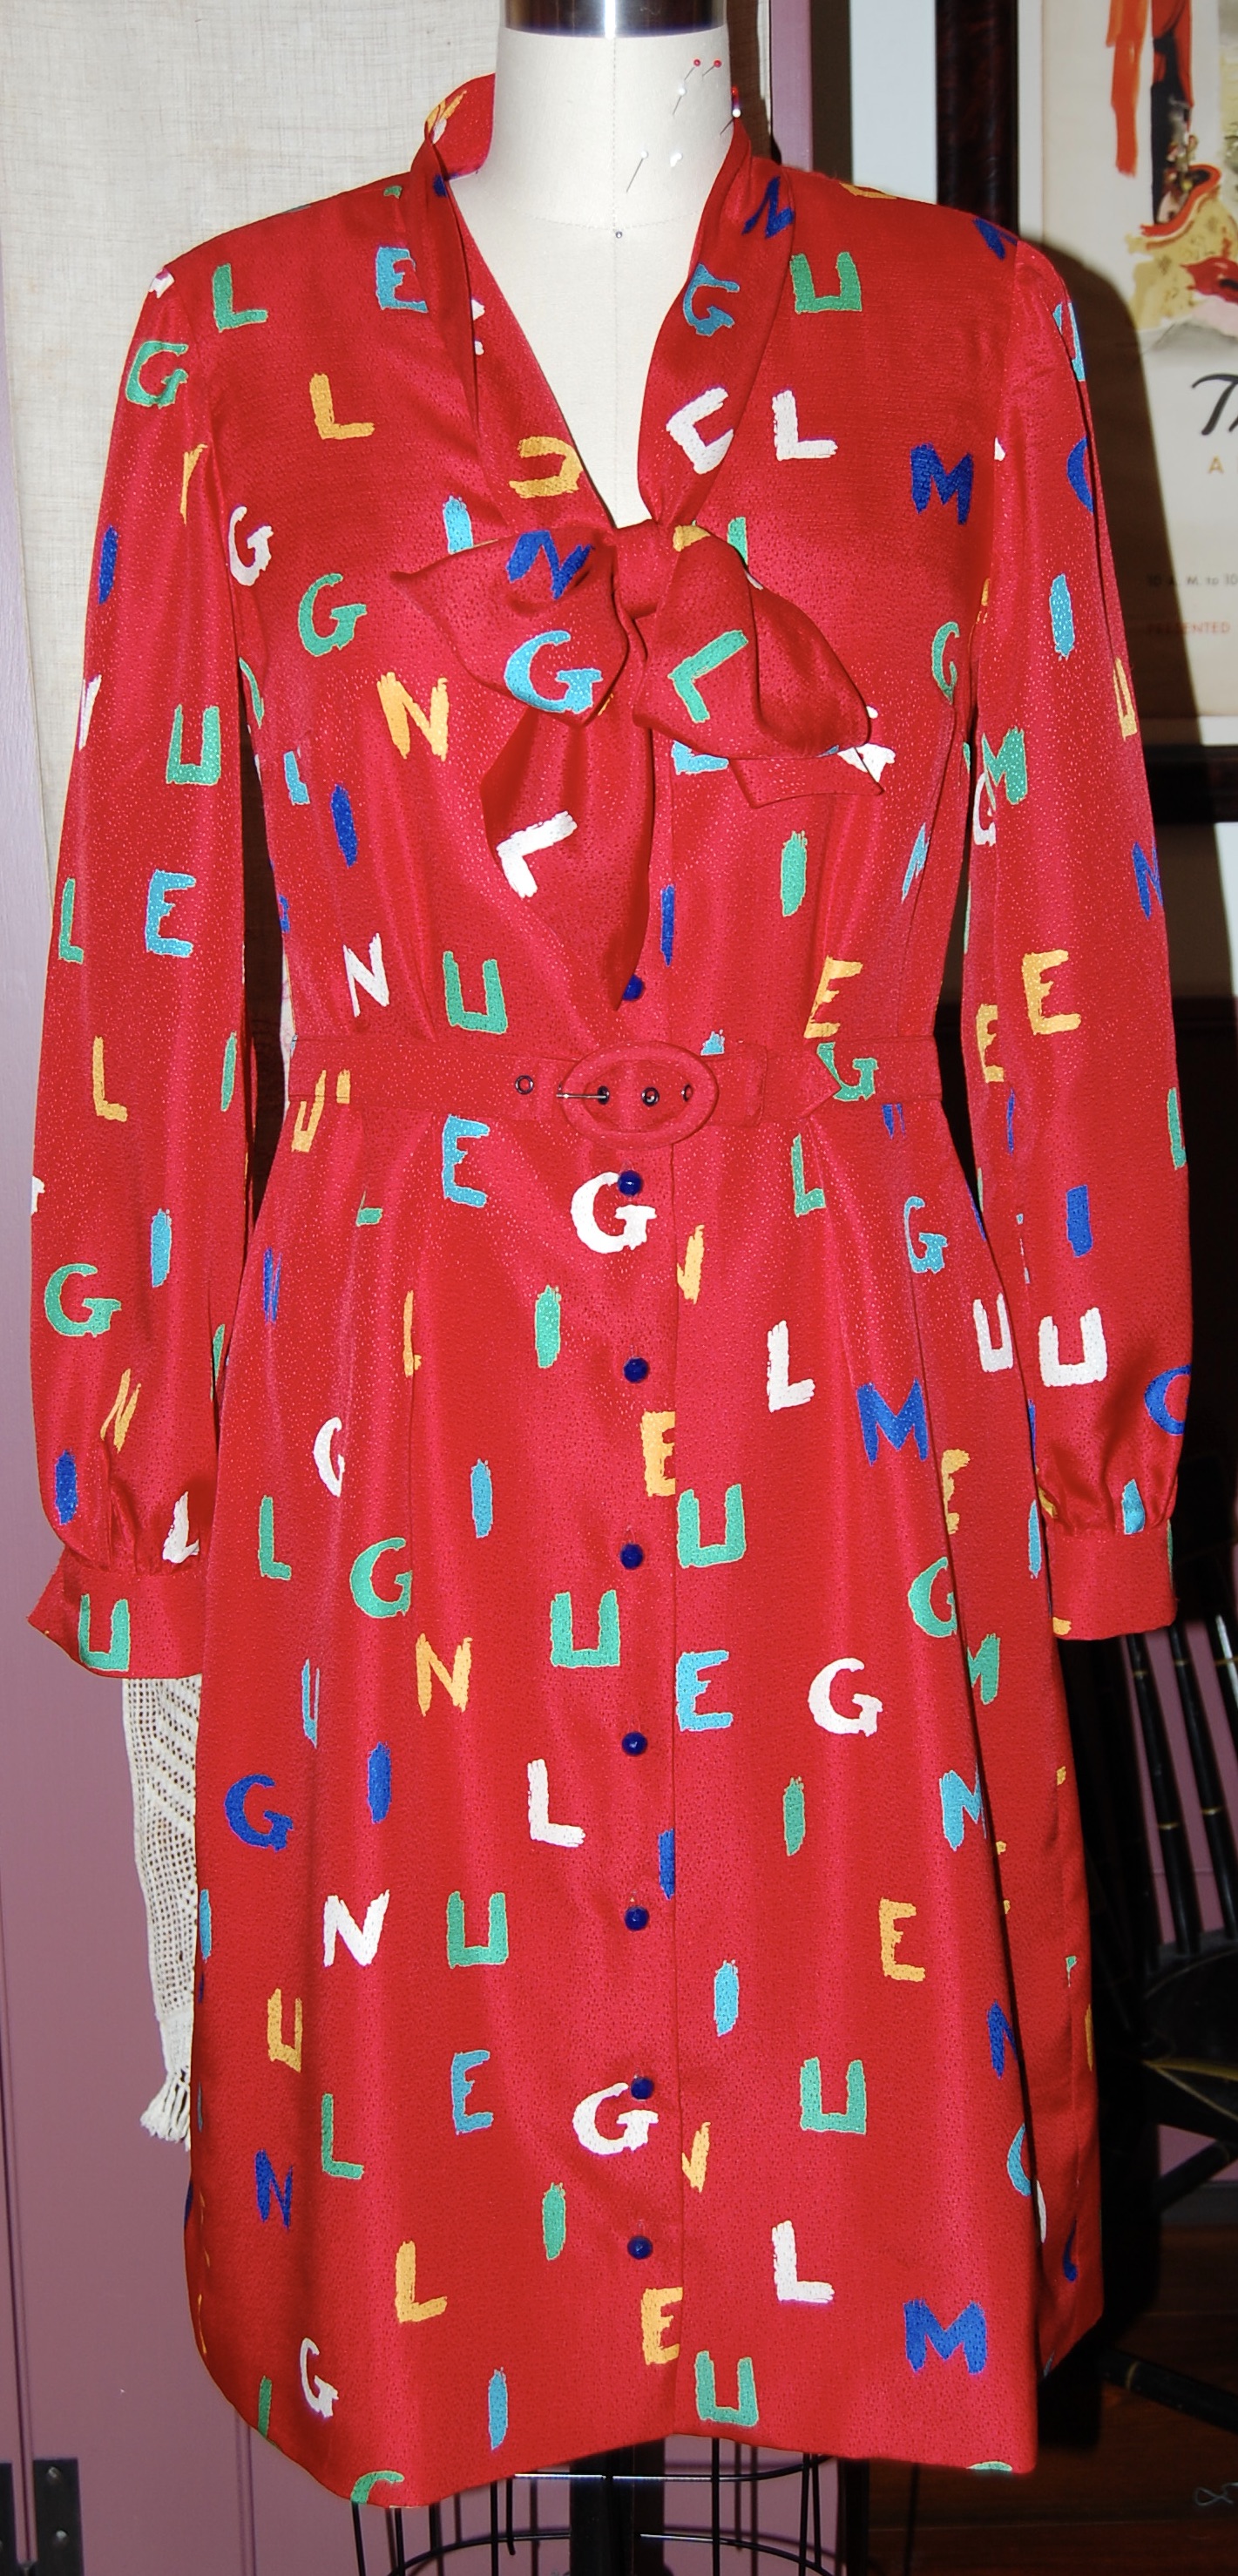
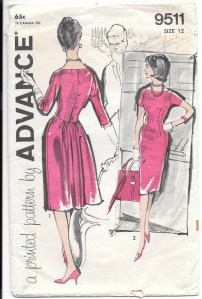
Of course, I decided I needed a least a couple of new things to wear. And of course, that meant sewing. I started in mid-January, making a muslin for this dress (pictured in green):

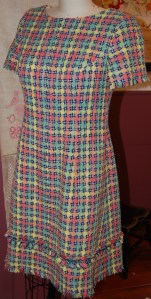
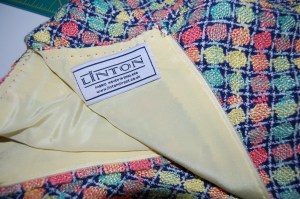
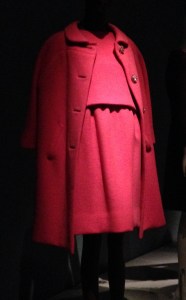
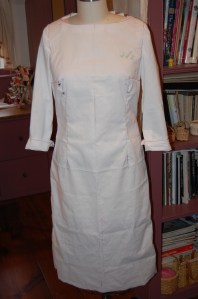
Before I started on the actual dress, however, I thought I would resurrect a pink wool jacket I had purchased 20 years ago. Made in France, with some amazing details and handwork, the jacket had hung in my cedar closet for over 12 years, unworn. Its color and weight, however, seemed to be perfect for Paris in March.
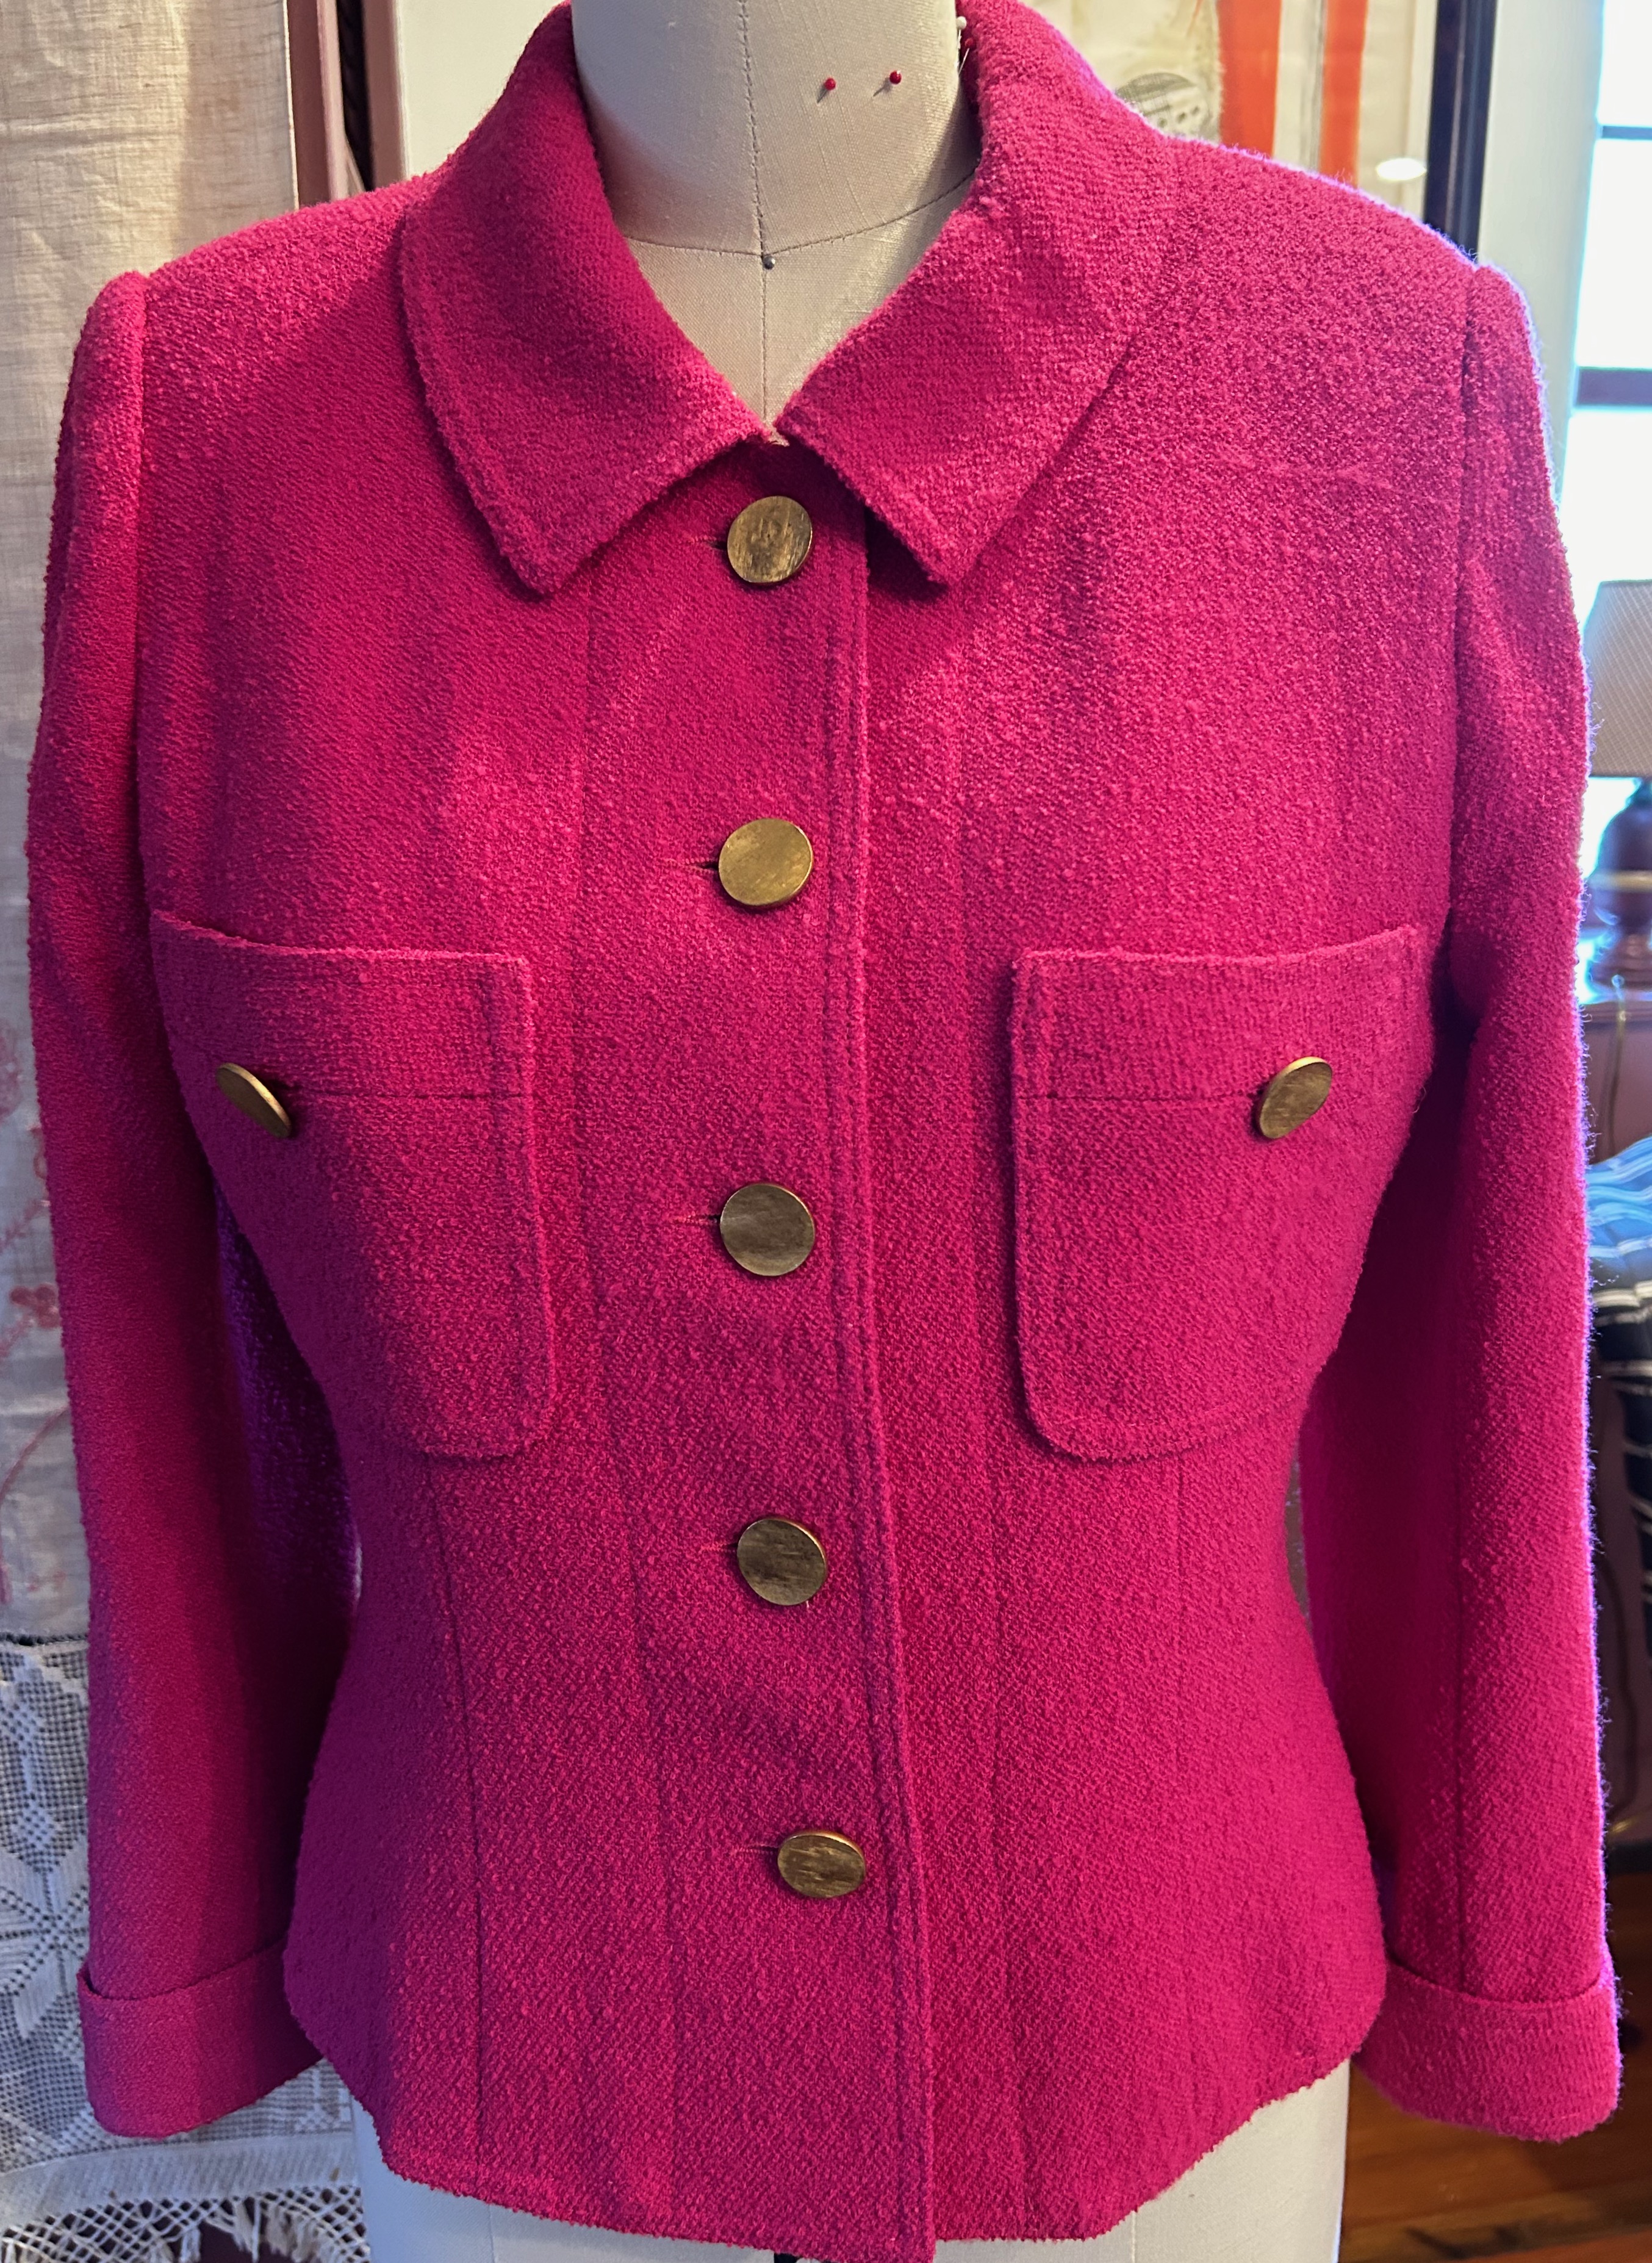
When I tried it on, the shoulders were much too pronounced for today’s sensibilities. Undaunted, I knew I could easily remove the hand stitched lining from around the top and sides of the shoulder armhole area. I could see how the shoulder pads were configured and make adjustments. I plowed forward, expecting this project to take no more than one day.
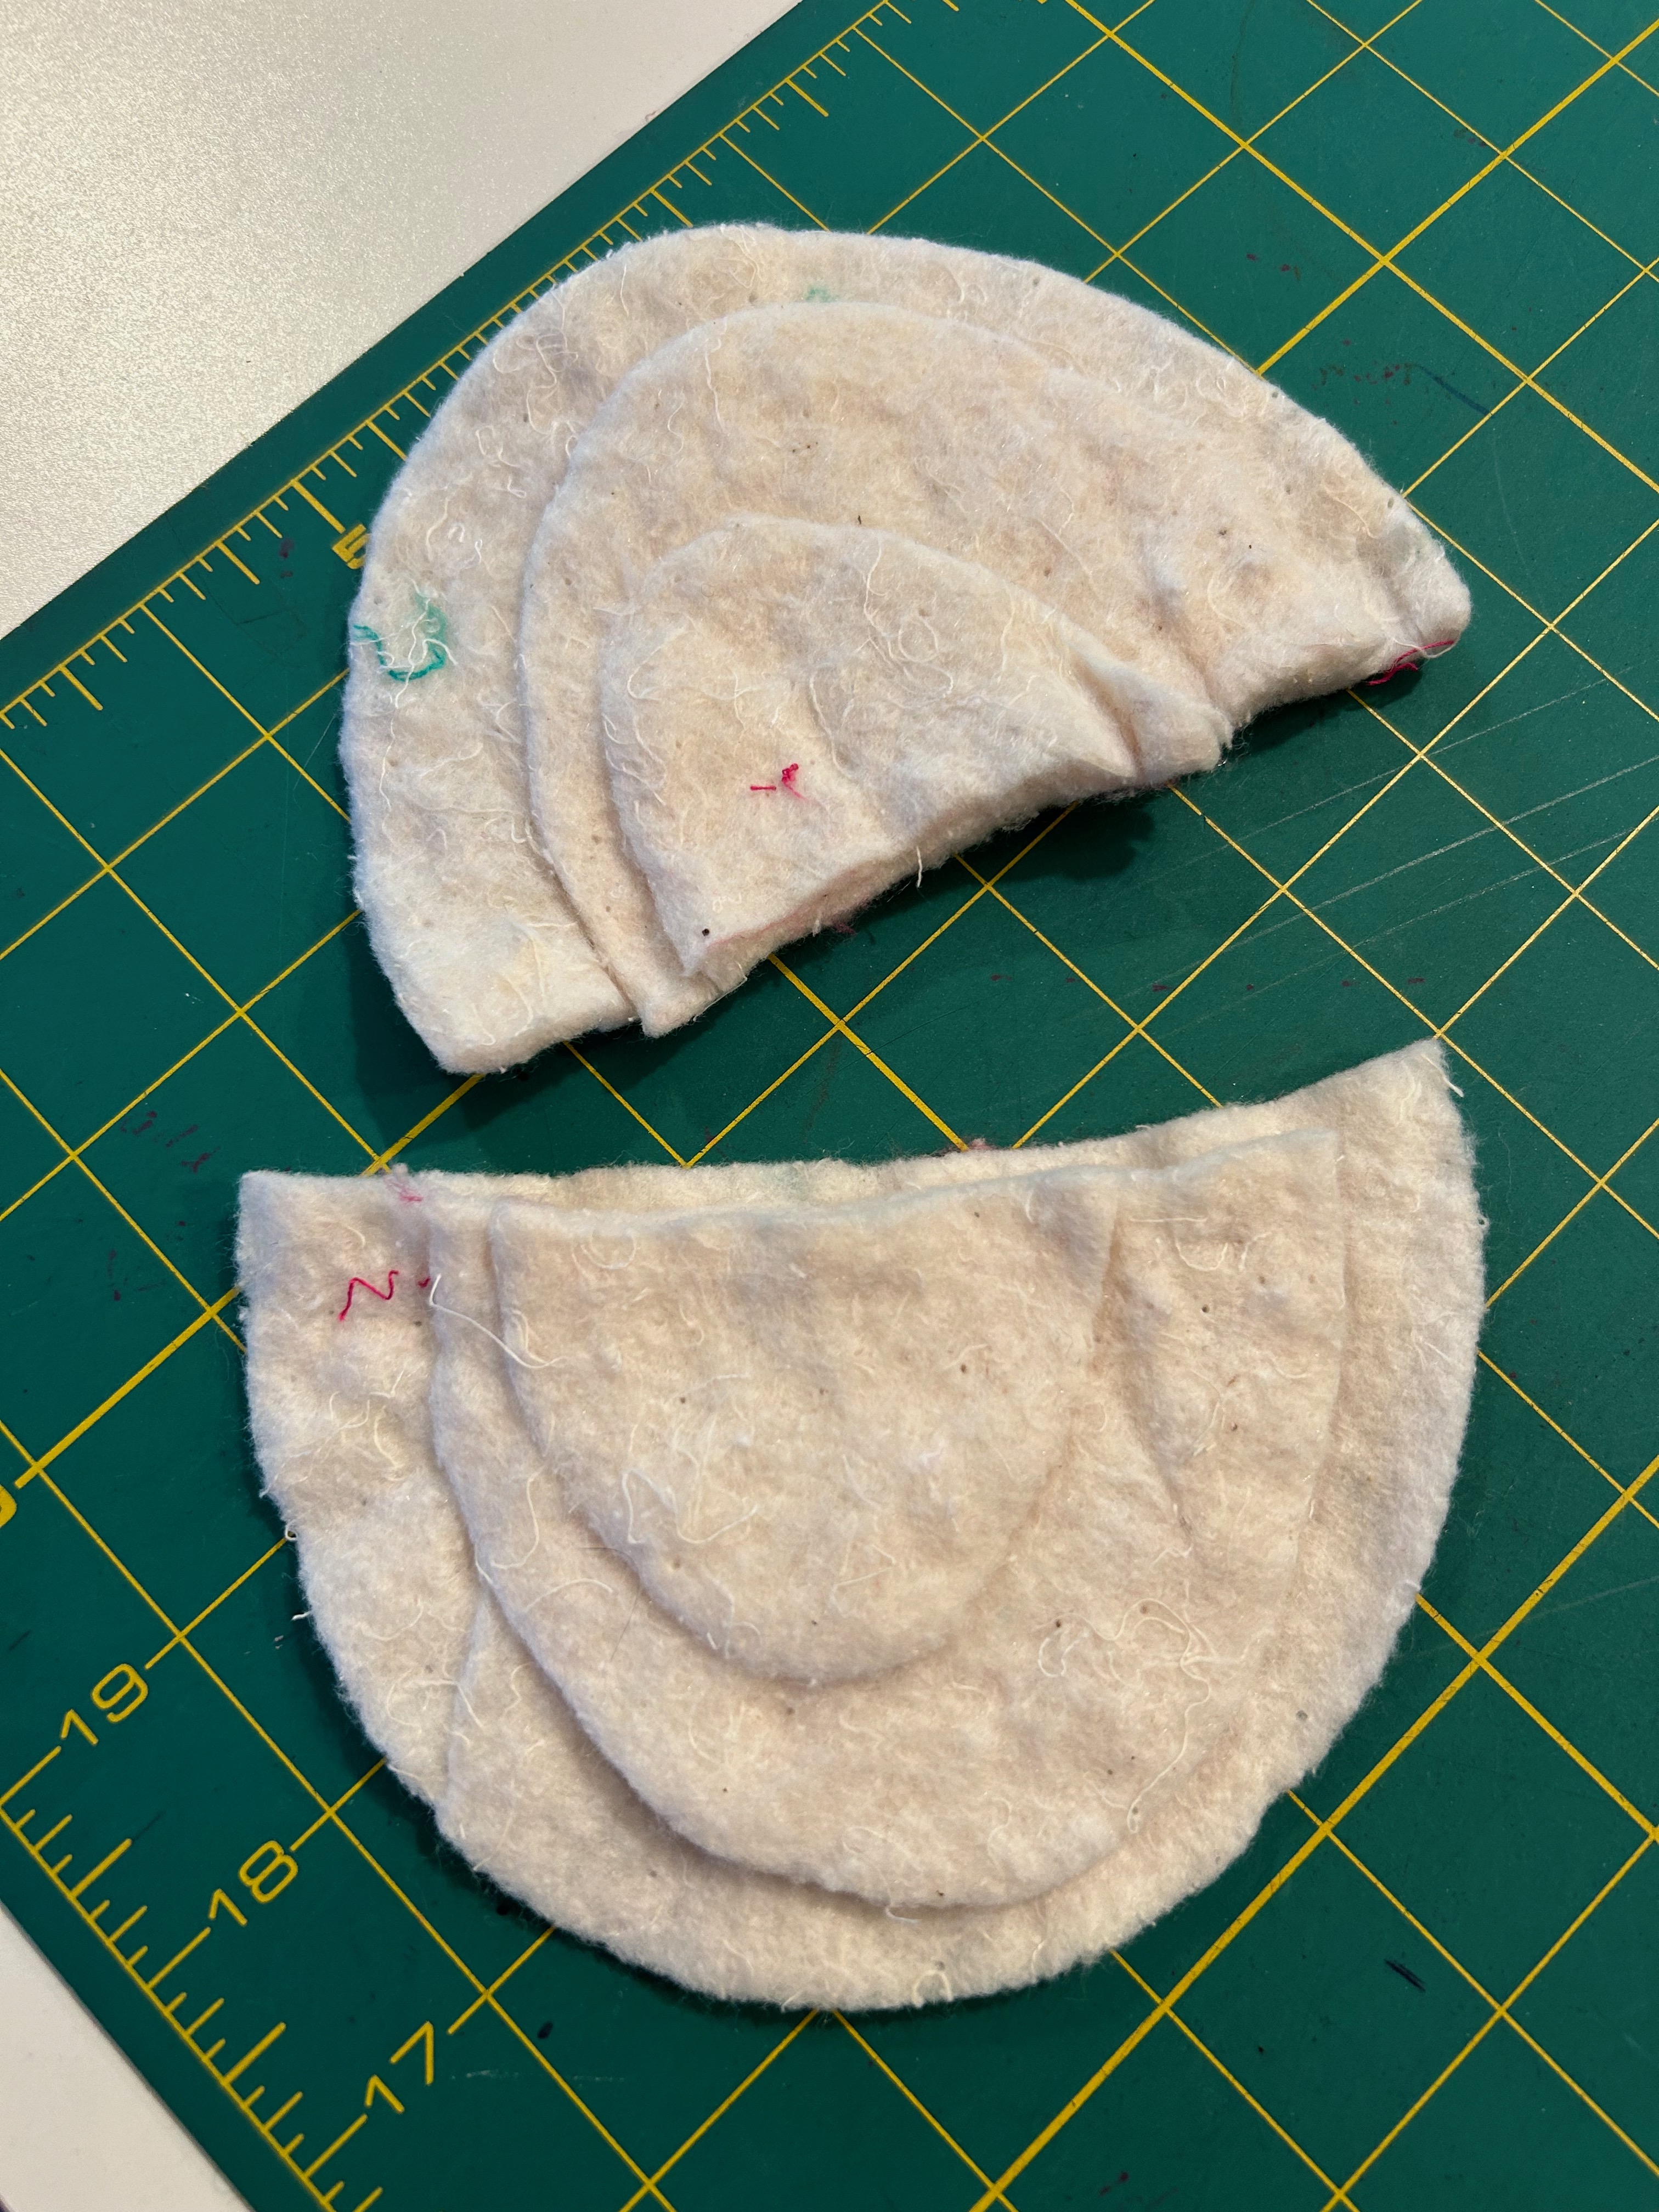
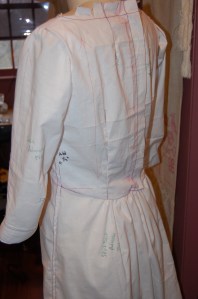
No wonder those shoulders were so pronounced! There were four layers of padding, all custom cut and applied to each shoulder cap. I took out three layers for starters. I knew I needed some definition, and that seemed to do the trick. If I had been starting from scratch, I probably would have used even less padding, but this was acceptable to me.
What I had not anticipated was the fact that removing such a depth of shoulder padding had implications for the sleeve length. There was no way around the realization I was going to have to shorten the sleeves – or not wear this jacket in Paris – or anywhere, for that matter. Suddenly what promised to be a quick fix had morphed itself something much more time-consuming.
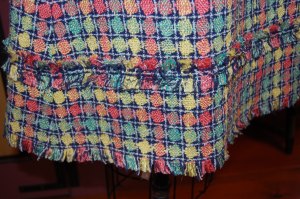
One of the beautiful details of this jacket was the applied tailored cuff on each sleeve. Shortening the sleeve was going to have to be in two parts.
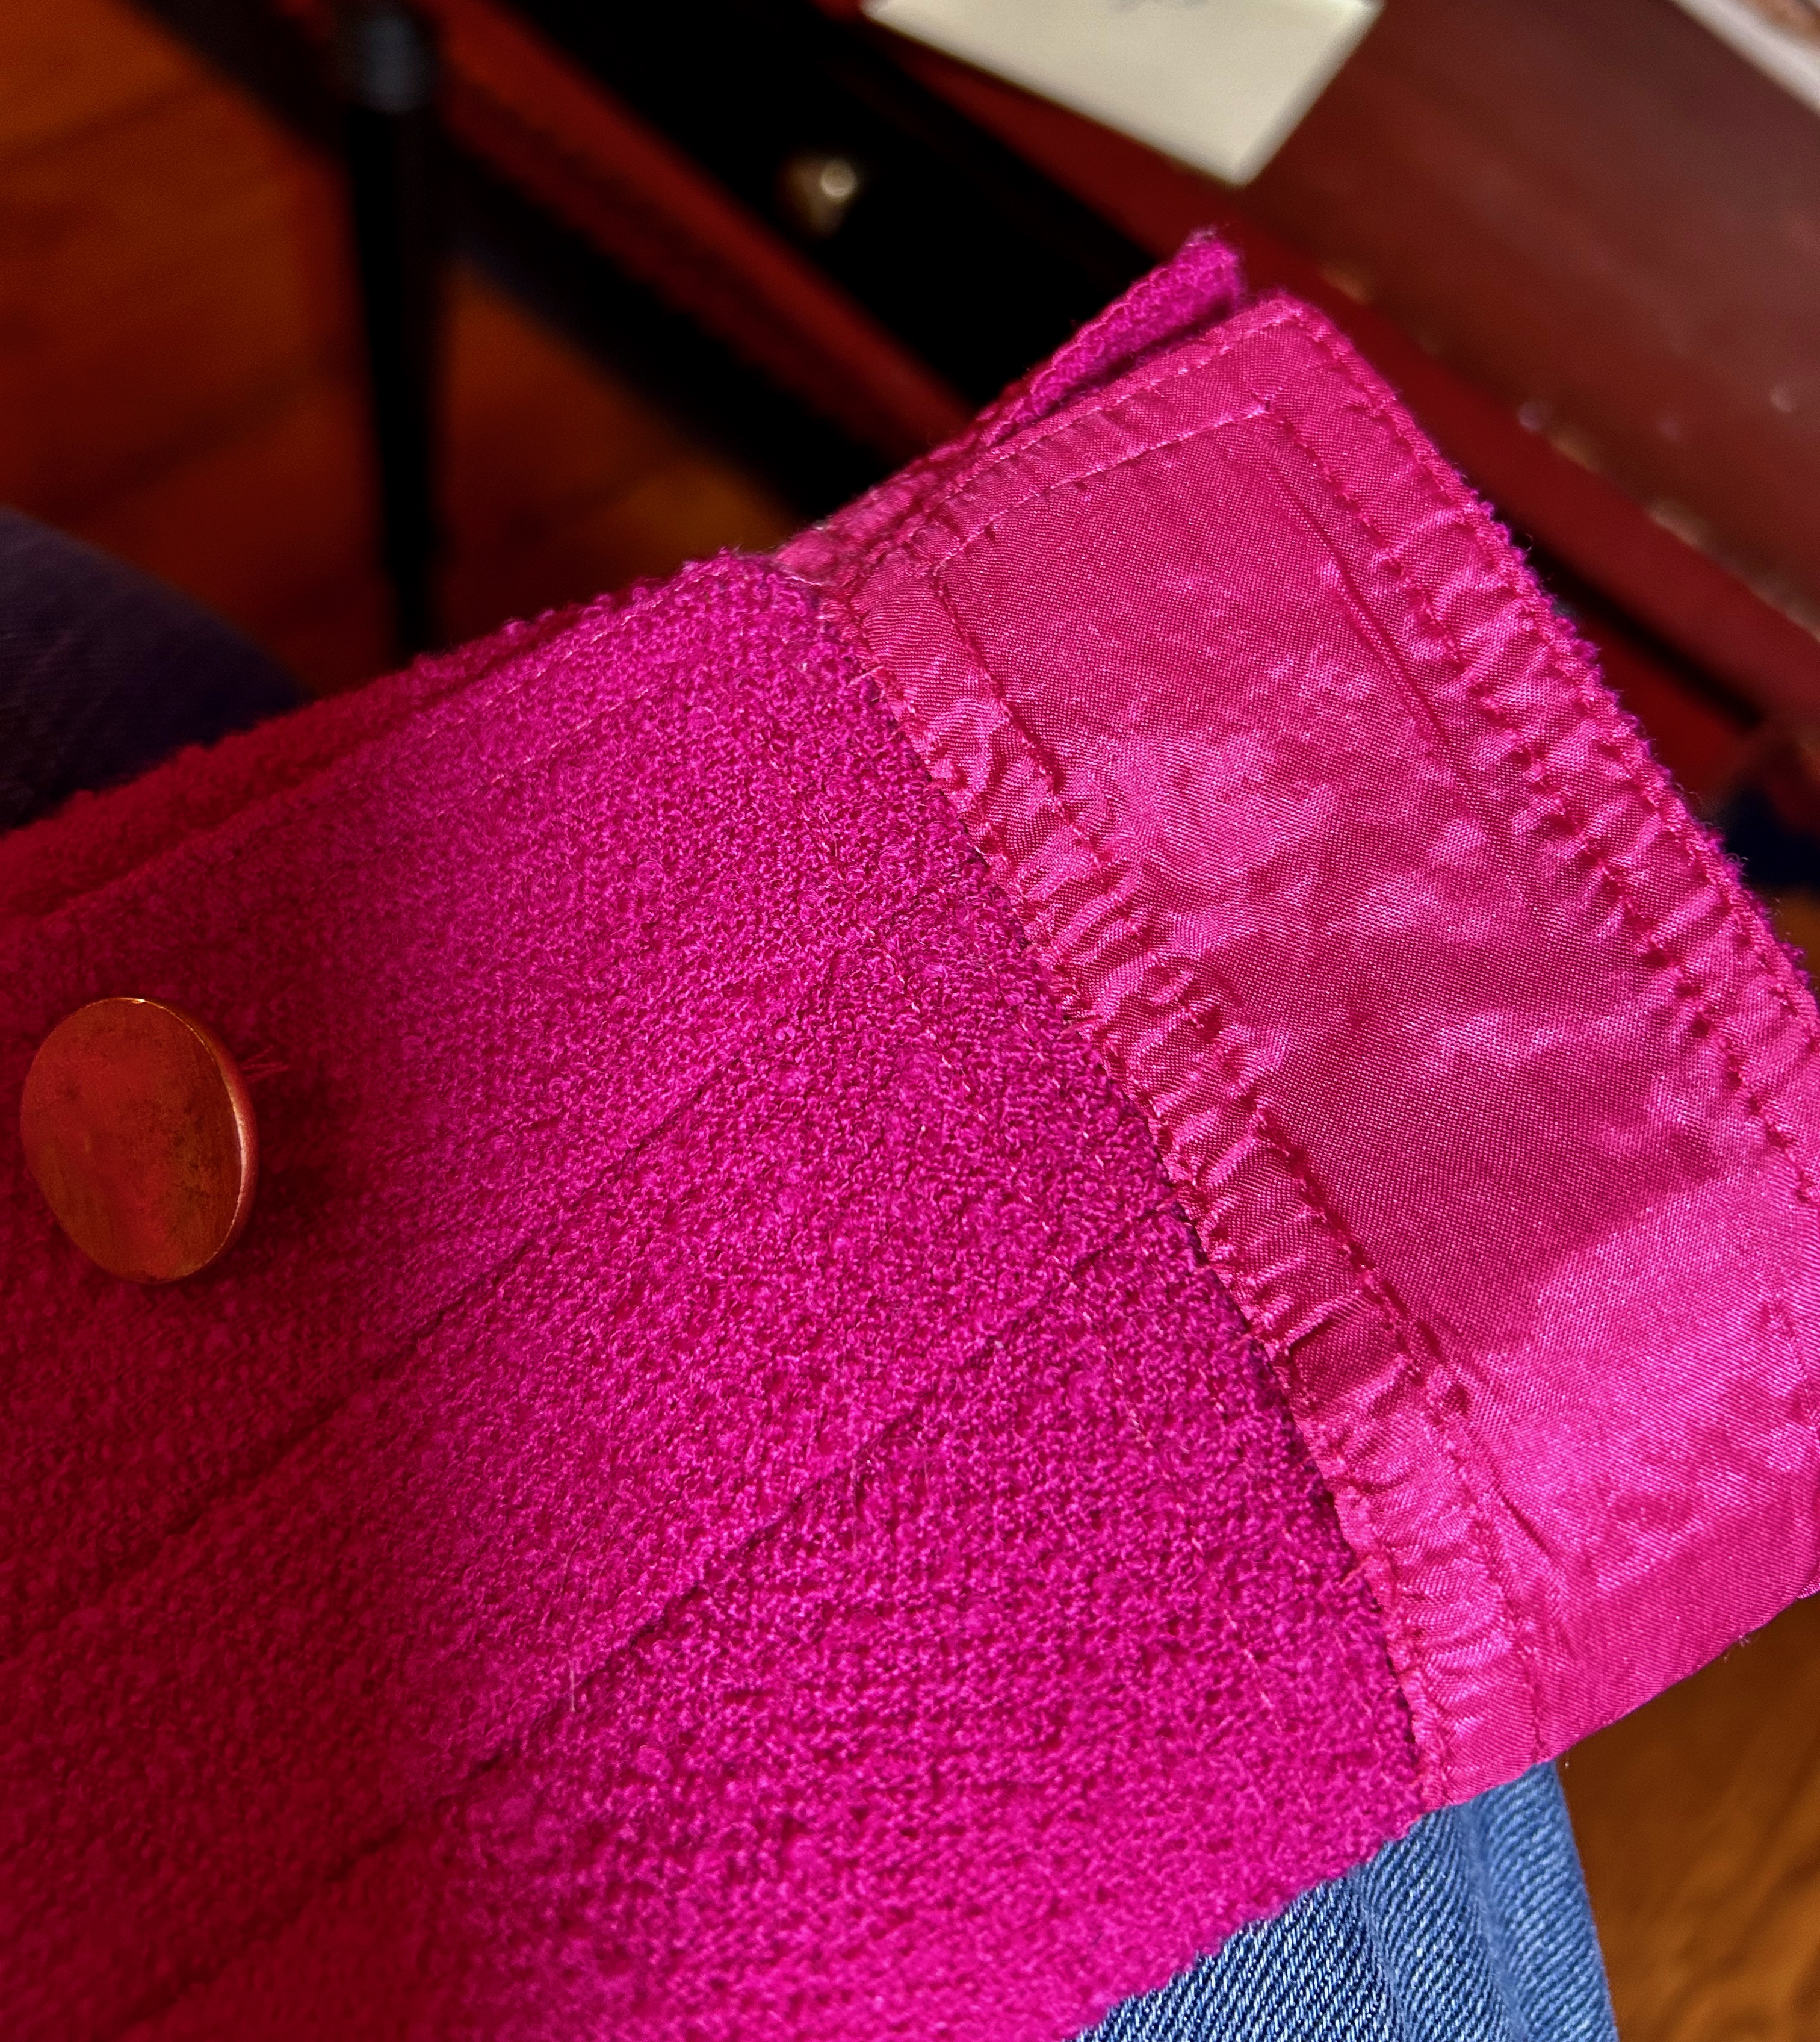
I buckled down and removed the cuff on the first sleeve. I had determined I needed to reduce the sleeve length by 7/8 of an inch. I was worried the circumference of the sleeve end might “grow” enough to make the applied cuffs too skimpy. By now I was asking myself how I got myself into this? I was spending all sorts of time on this jacket when I had whole garments to sew. But it was too late to back down at this point. I cut off the necessary length from the sleeve and its lining, stitching them back together by hand. I then had to redo some top-stitching and found some thread which was a close match to the existing thread. Then I re-applied the cuffs by hand. Fortunately, they were split cuffs, so they had some “give” and molded nicely to the slightly larger circumference of the sleeve.
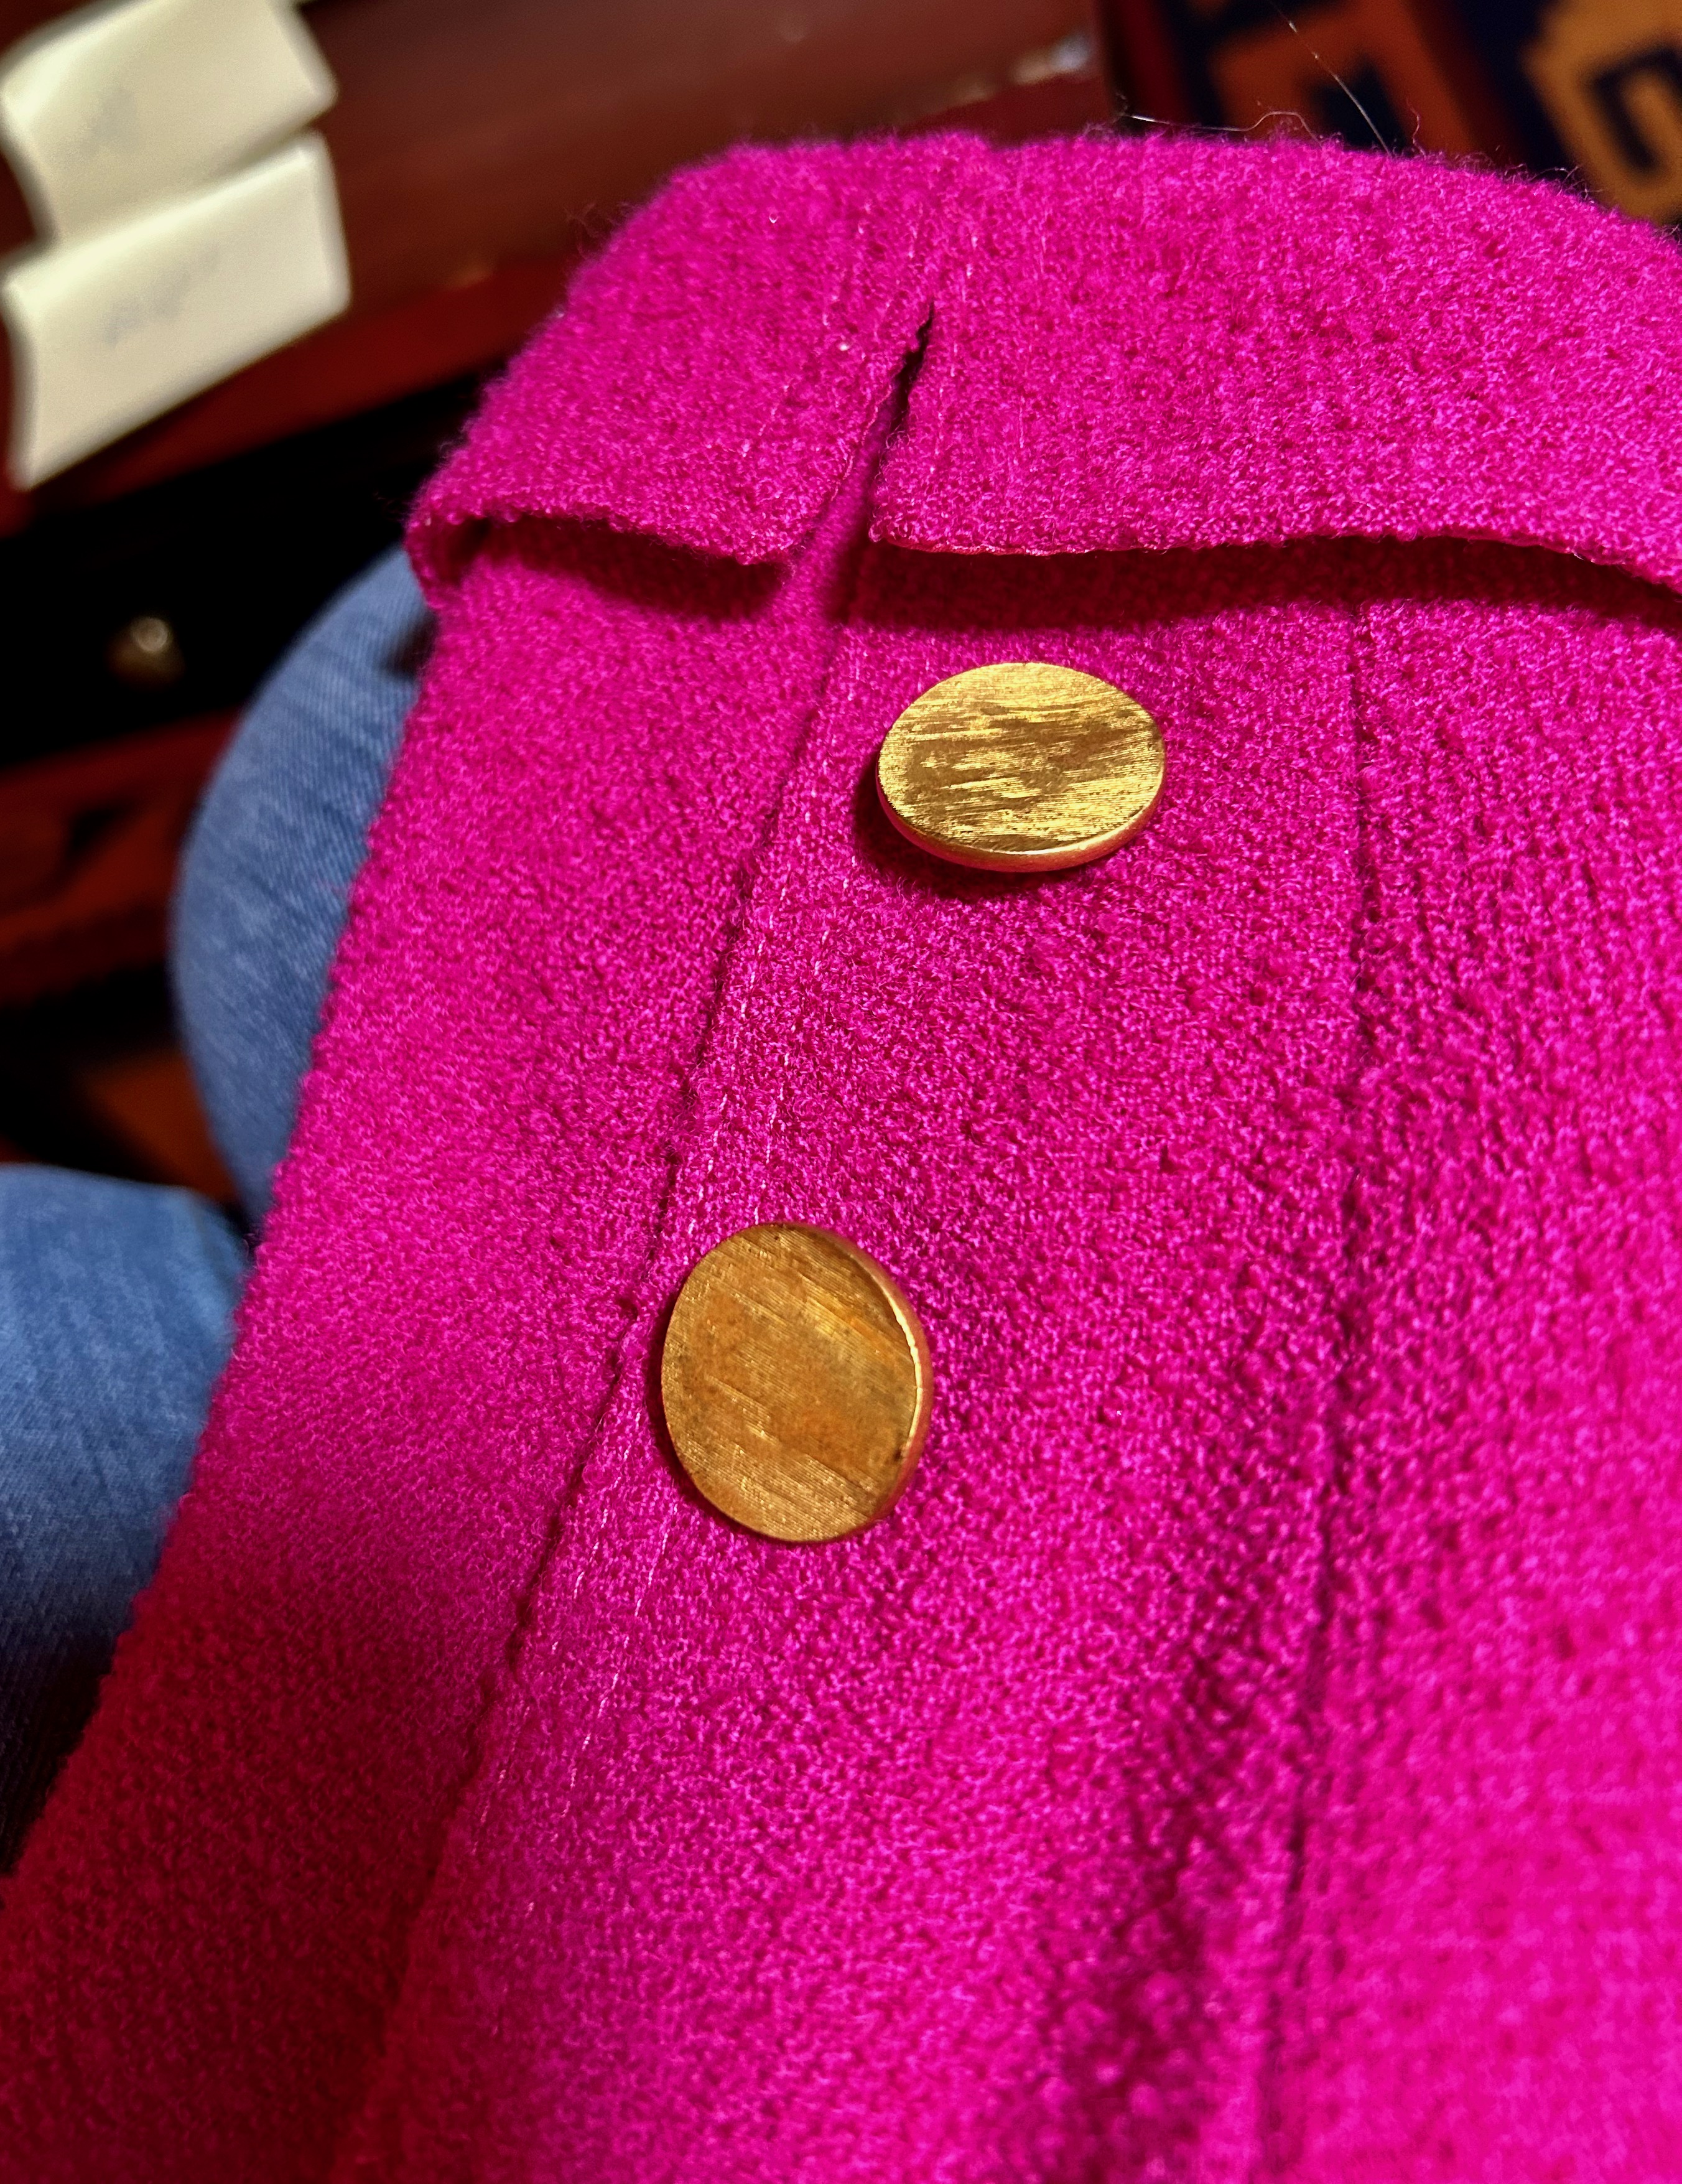
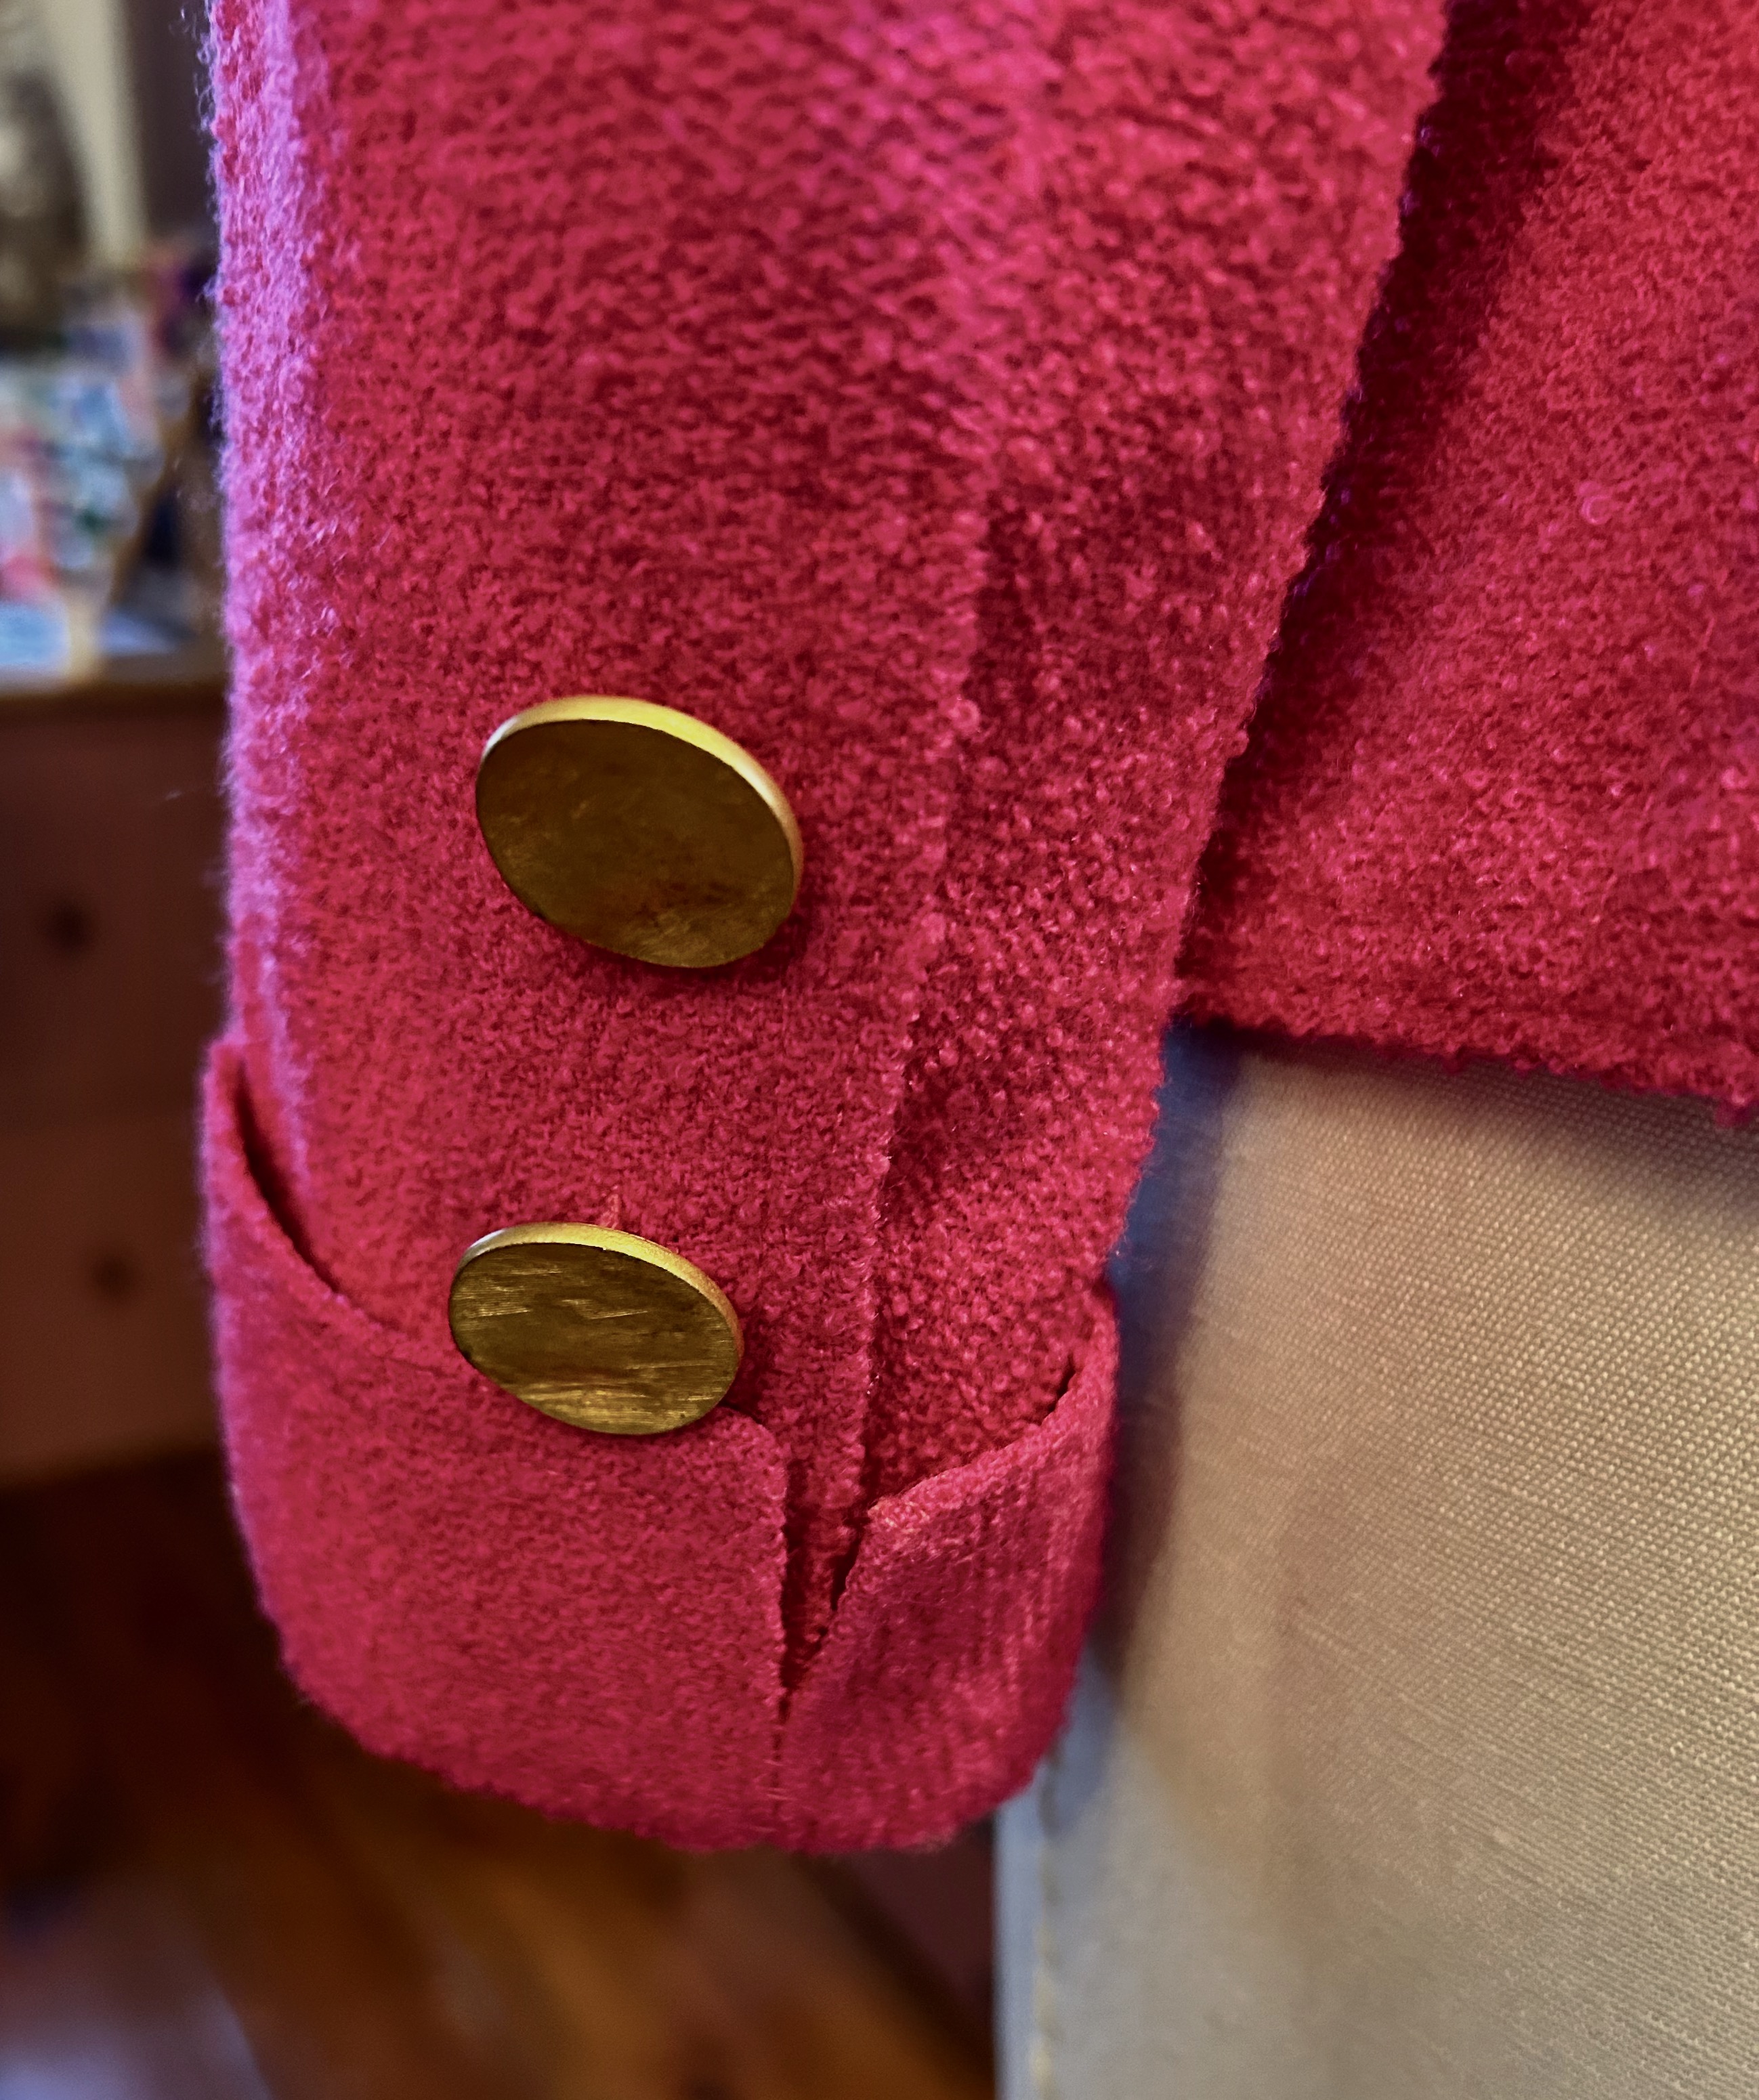
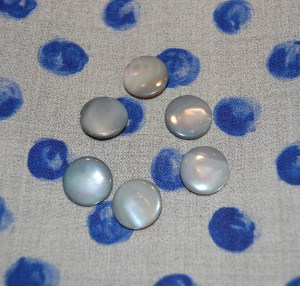
One down and one to go before I could respace the buttons above the cuffs.
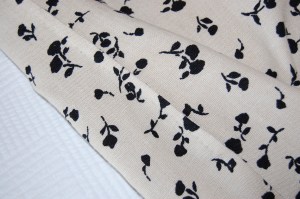
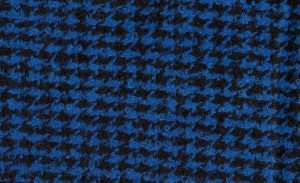
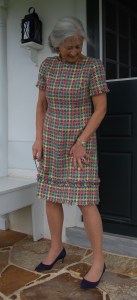
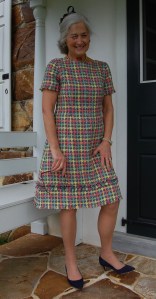
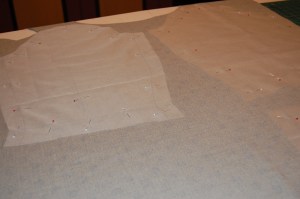
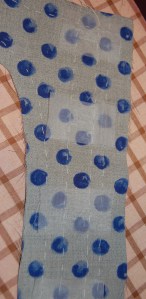
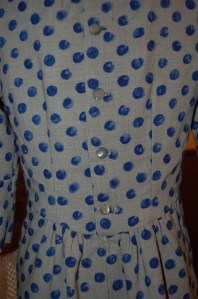
With that jacket ready to go to Paris, I finally was able to turn my attention to that dress I wanted to make. Some of you may remember seeing this cotton sateen/jacquard fabric mentioned in a prior post. I had debated whether to make a dress or a long skirt with it, but ultimately decided on a dress as I thought I would get more wear out of it that way.

I thought this would be the perfect weight and fabric for early spring in Paris – not too heavy and not wintry looking. I envisioned wearing this to the fashion show which we would be attending one evening at a private apartment. So much for those plans! Our schedule that day did not allow us to return to the hotel to change clothes. We would have to wear our out-and-about day clothes into the evening.
I went to Plan B and wore this jacket I had made several years ago. I paired it with navy slacks, a pale pink blouse, and a scarf which matched the lining of the jacket. I carried along a change of shoes to look a little dressier and that was that!

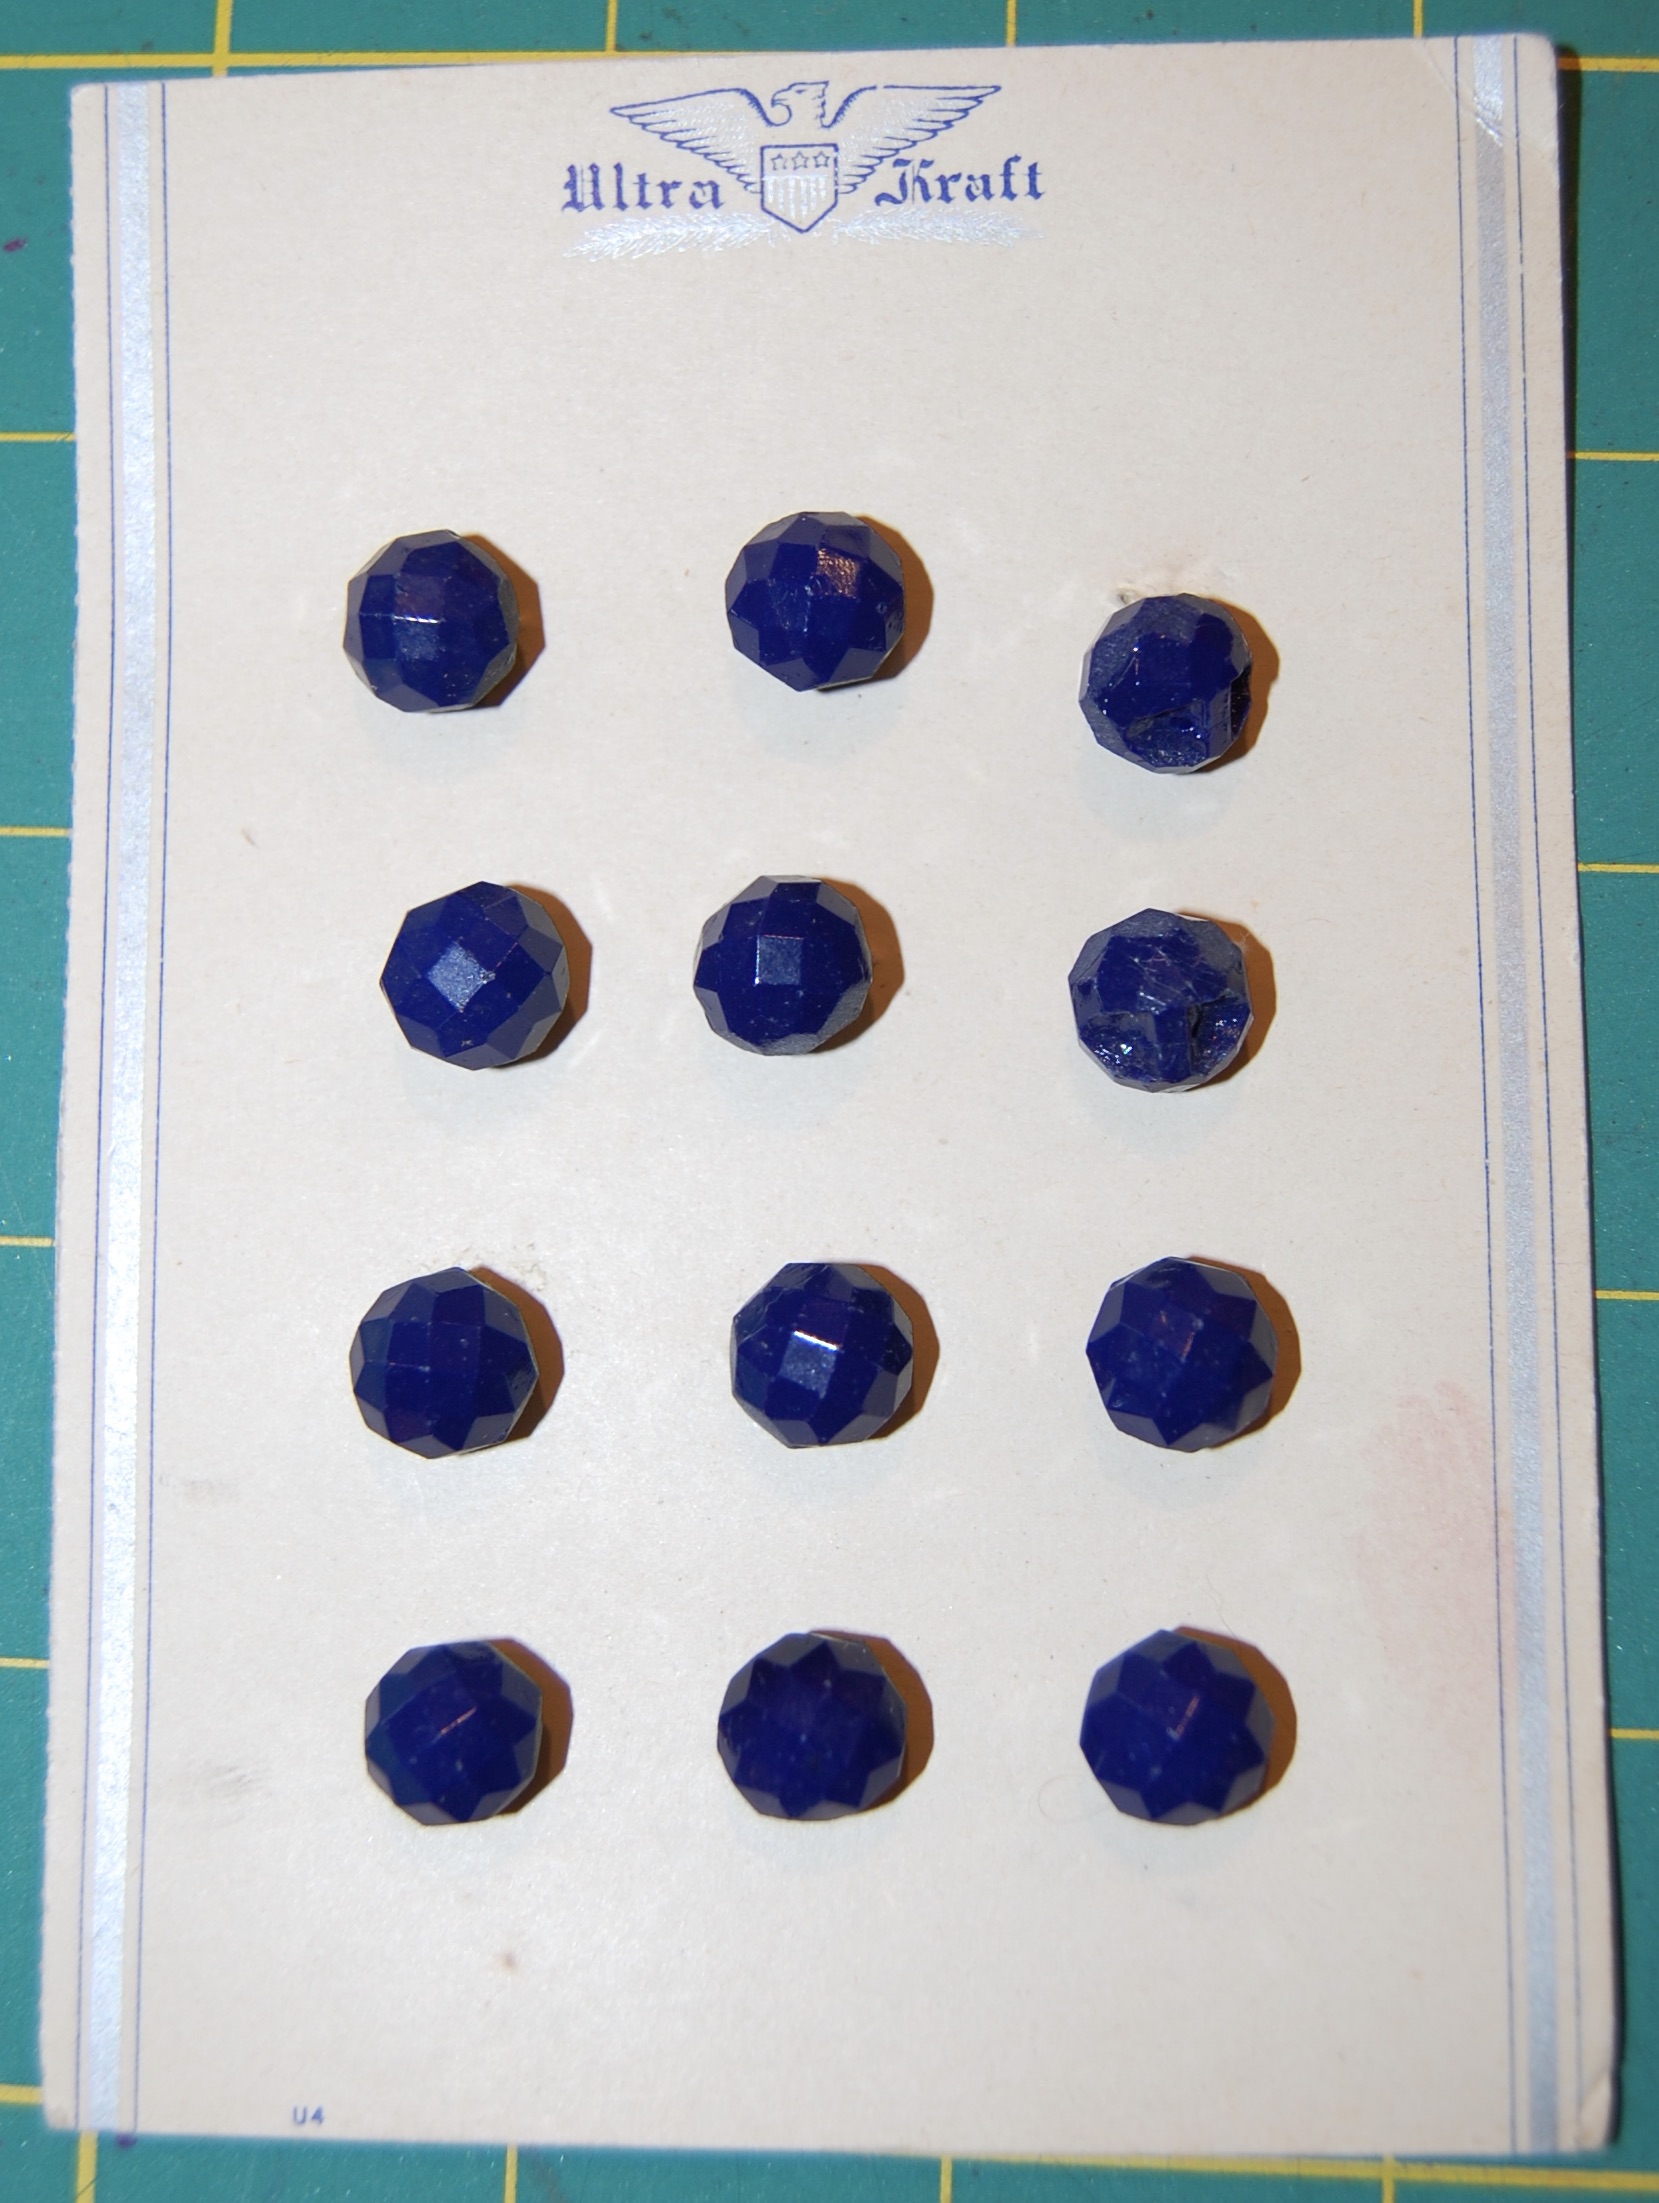
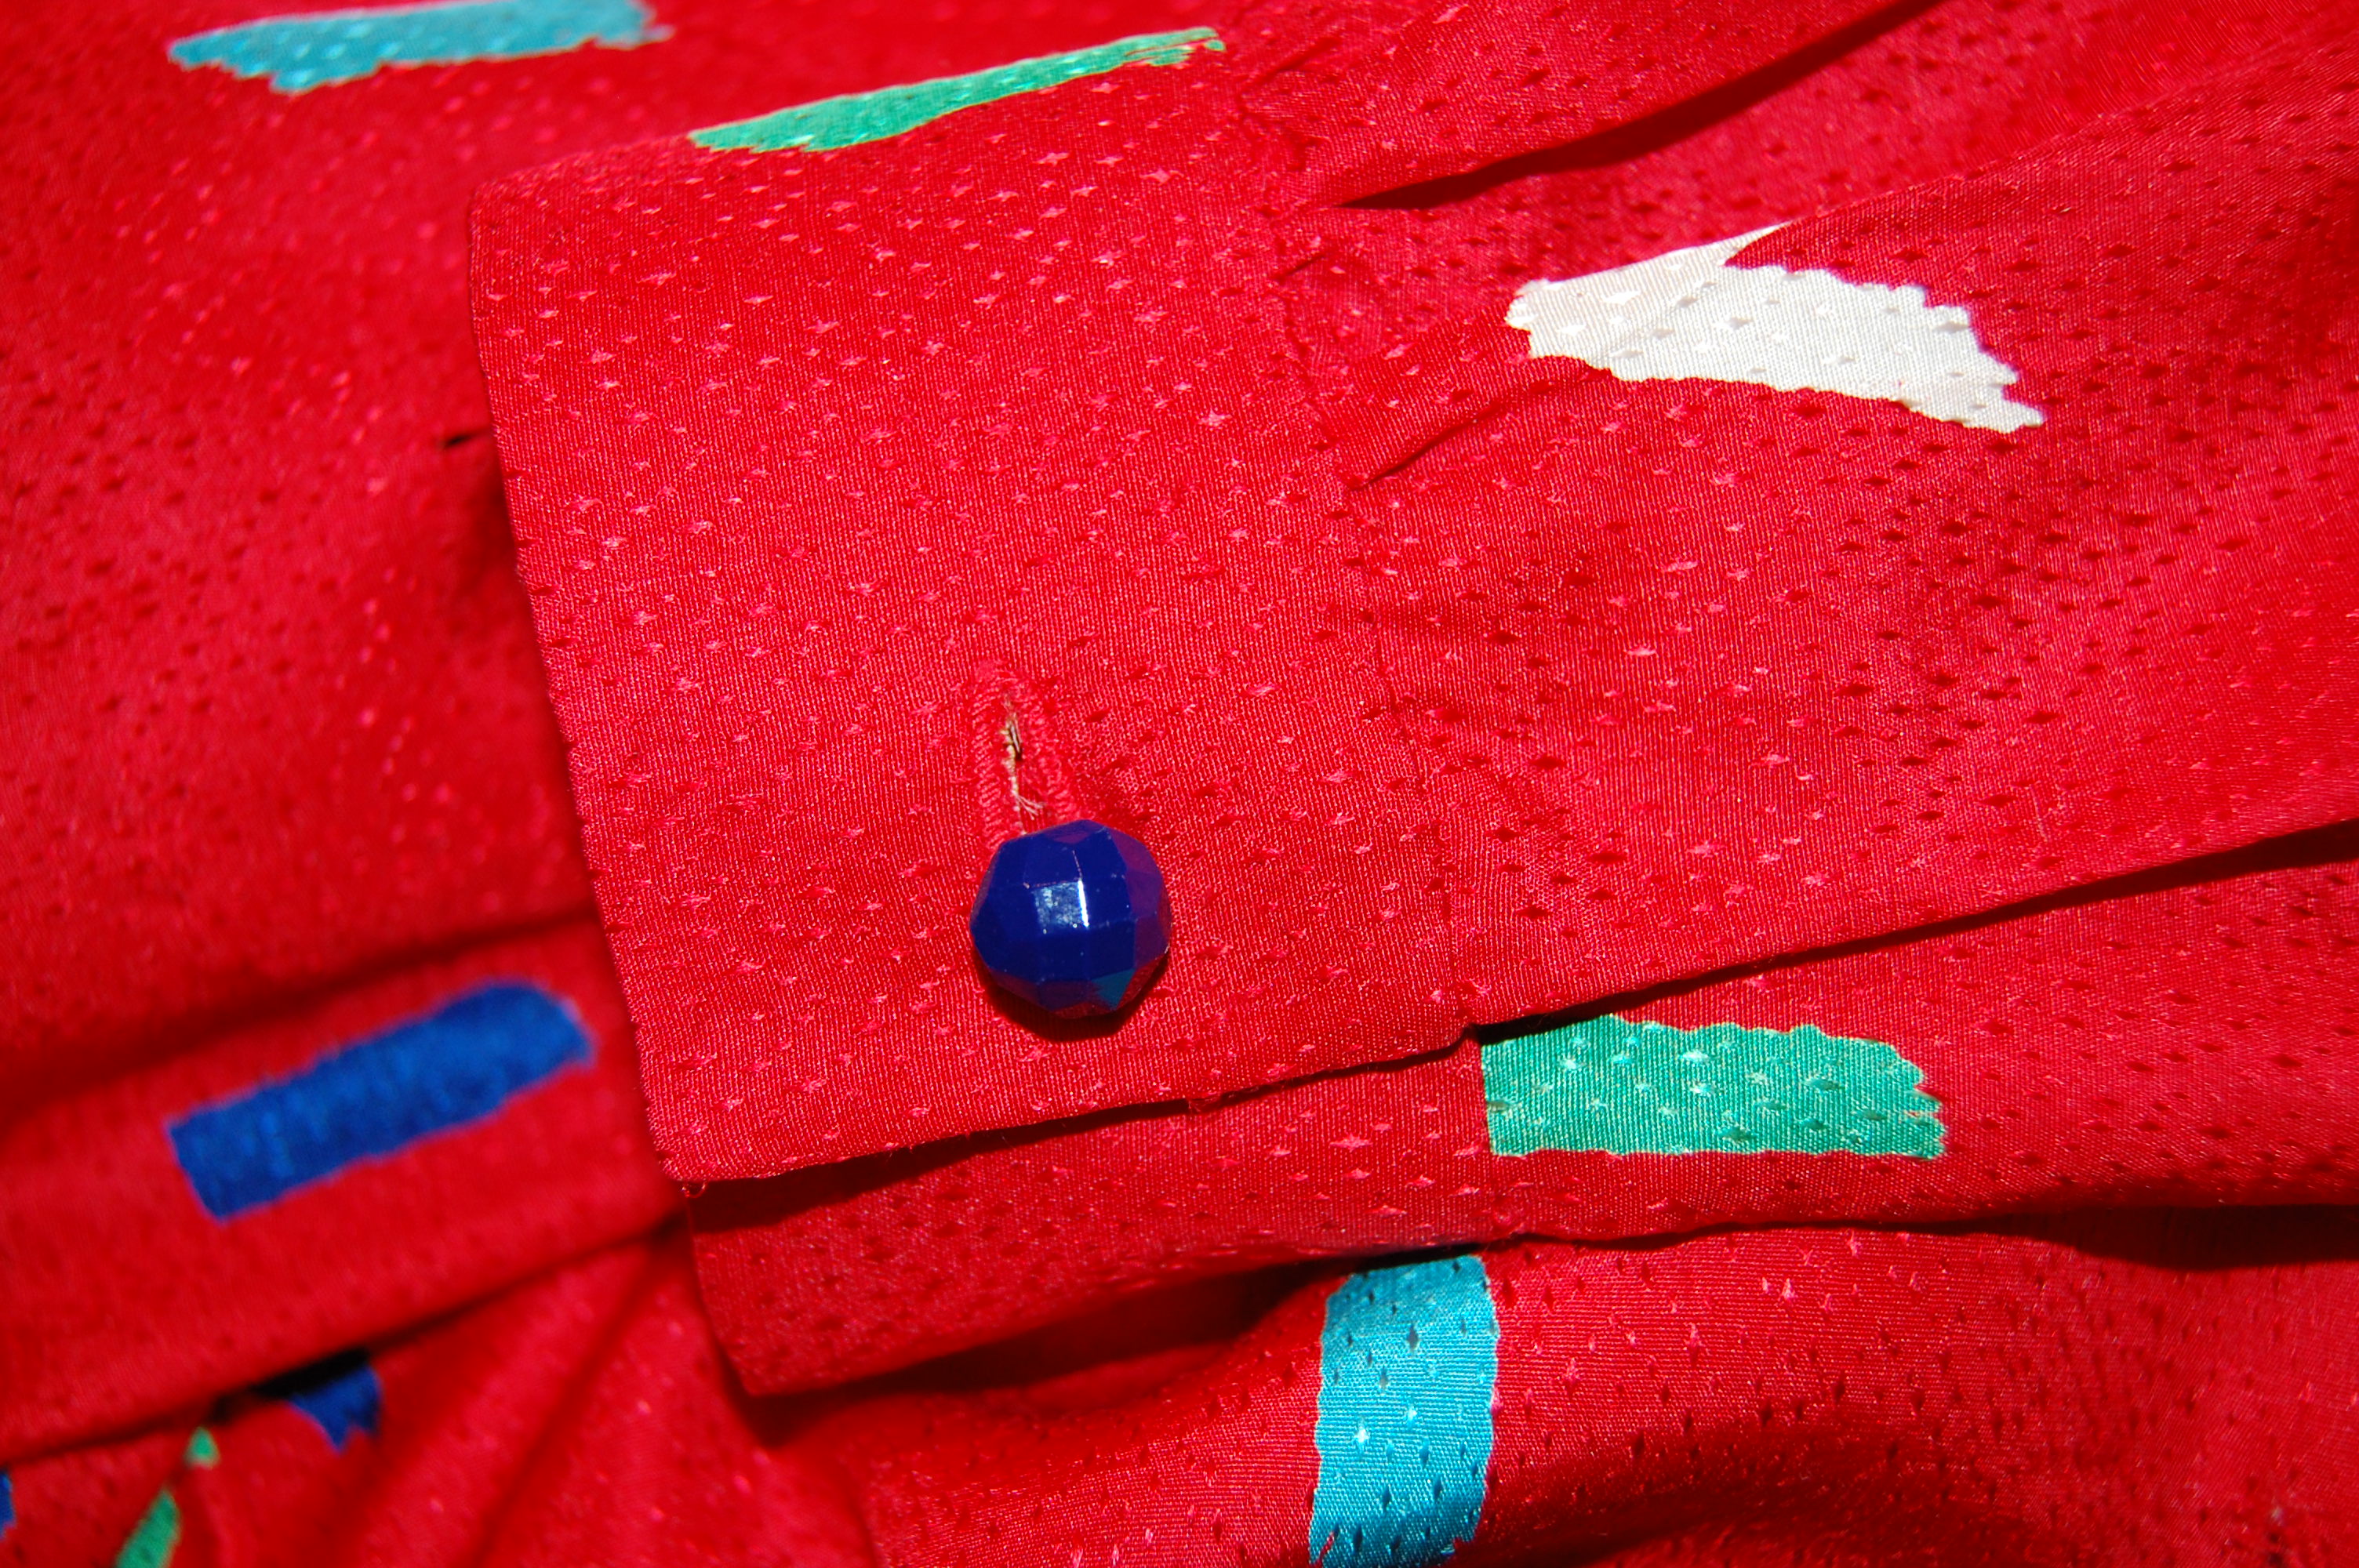
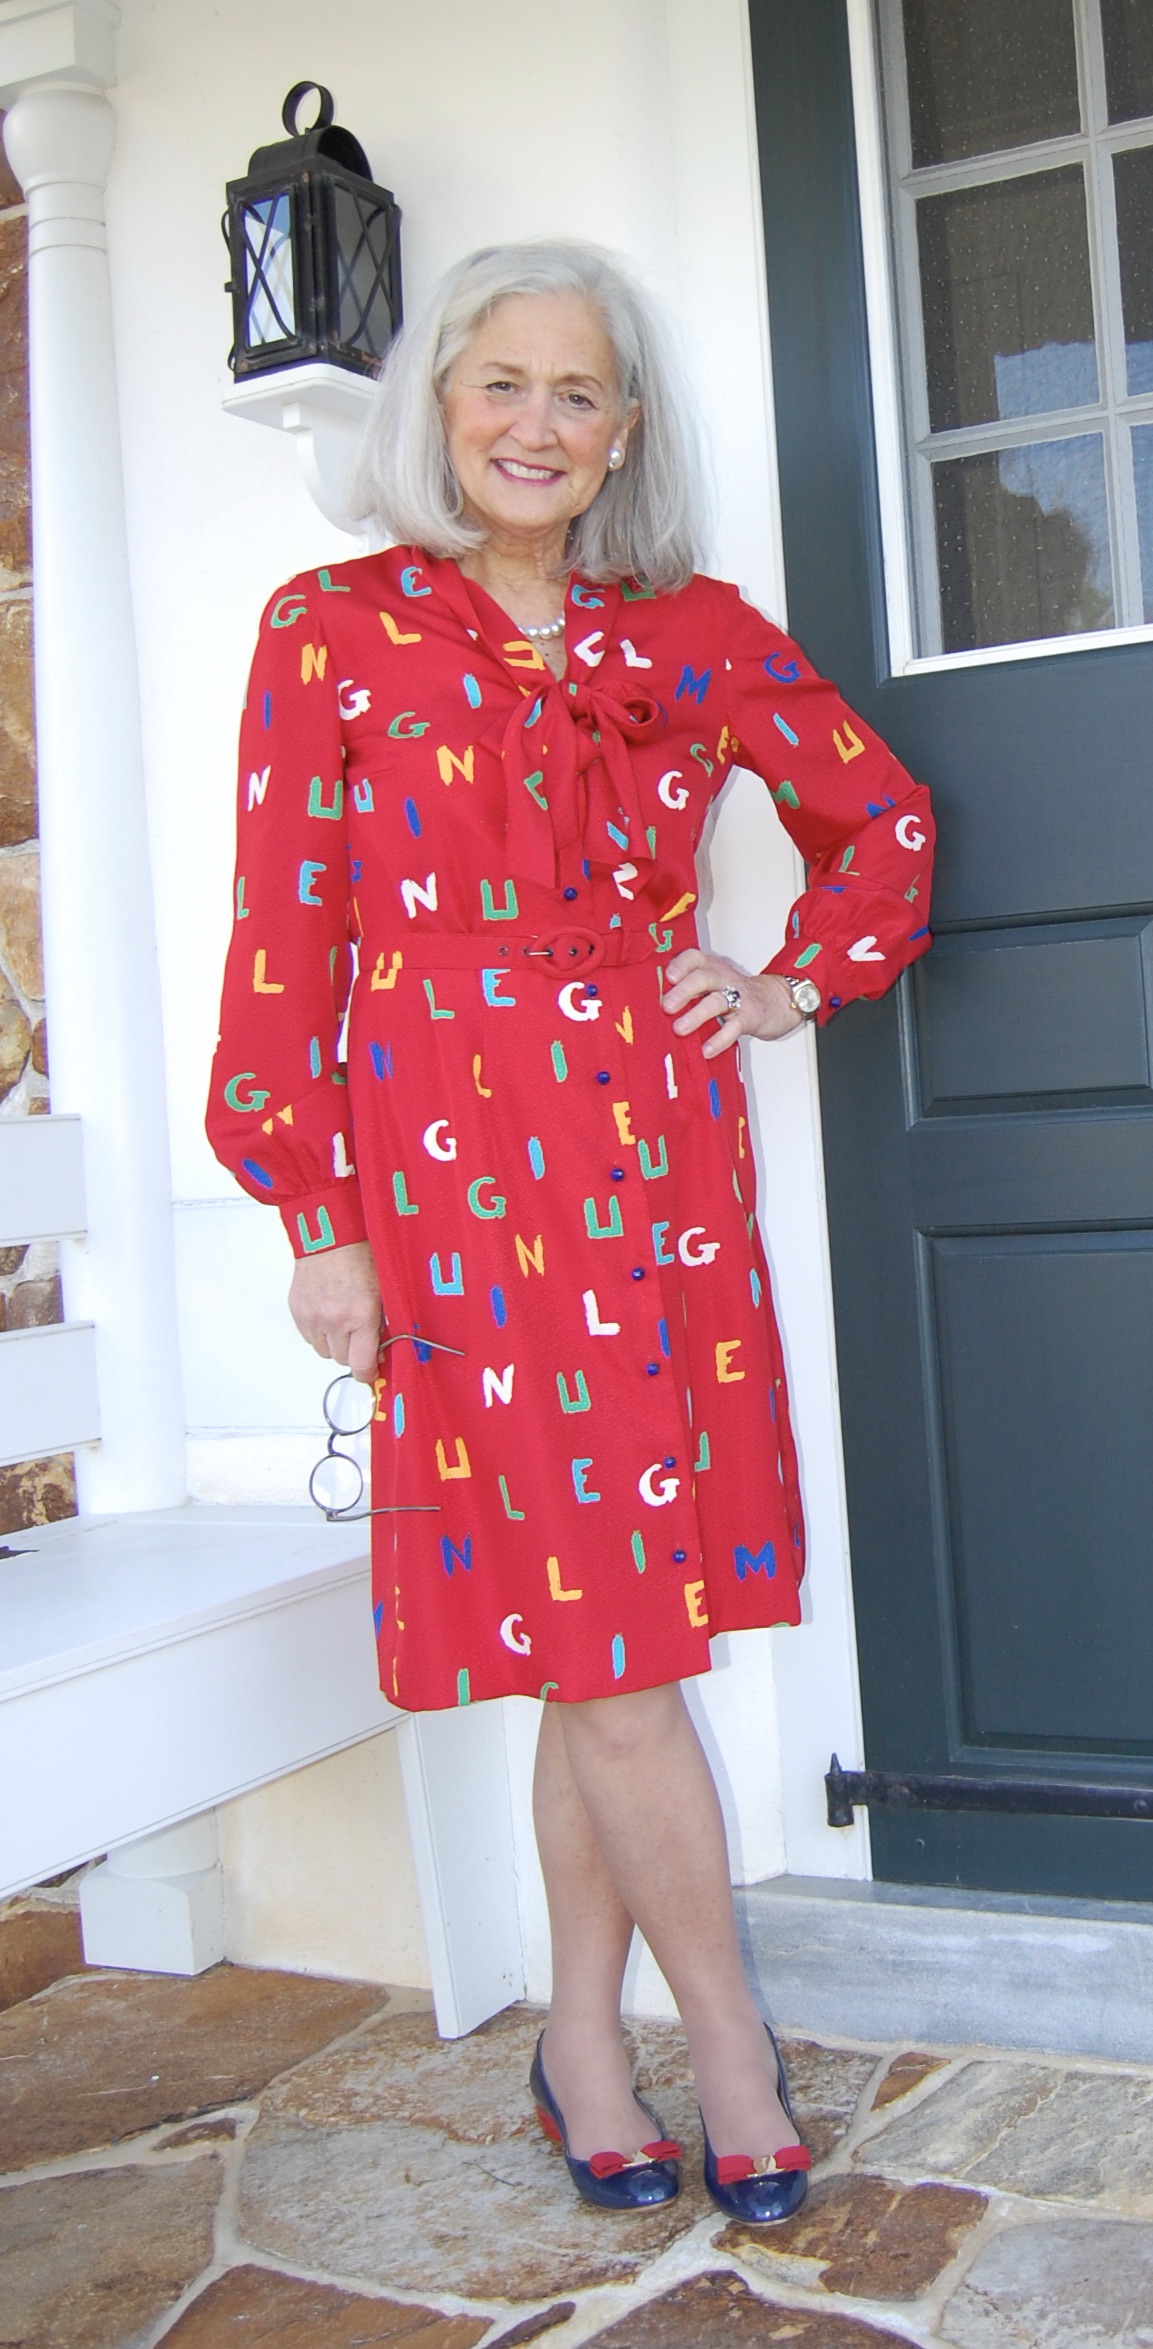
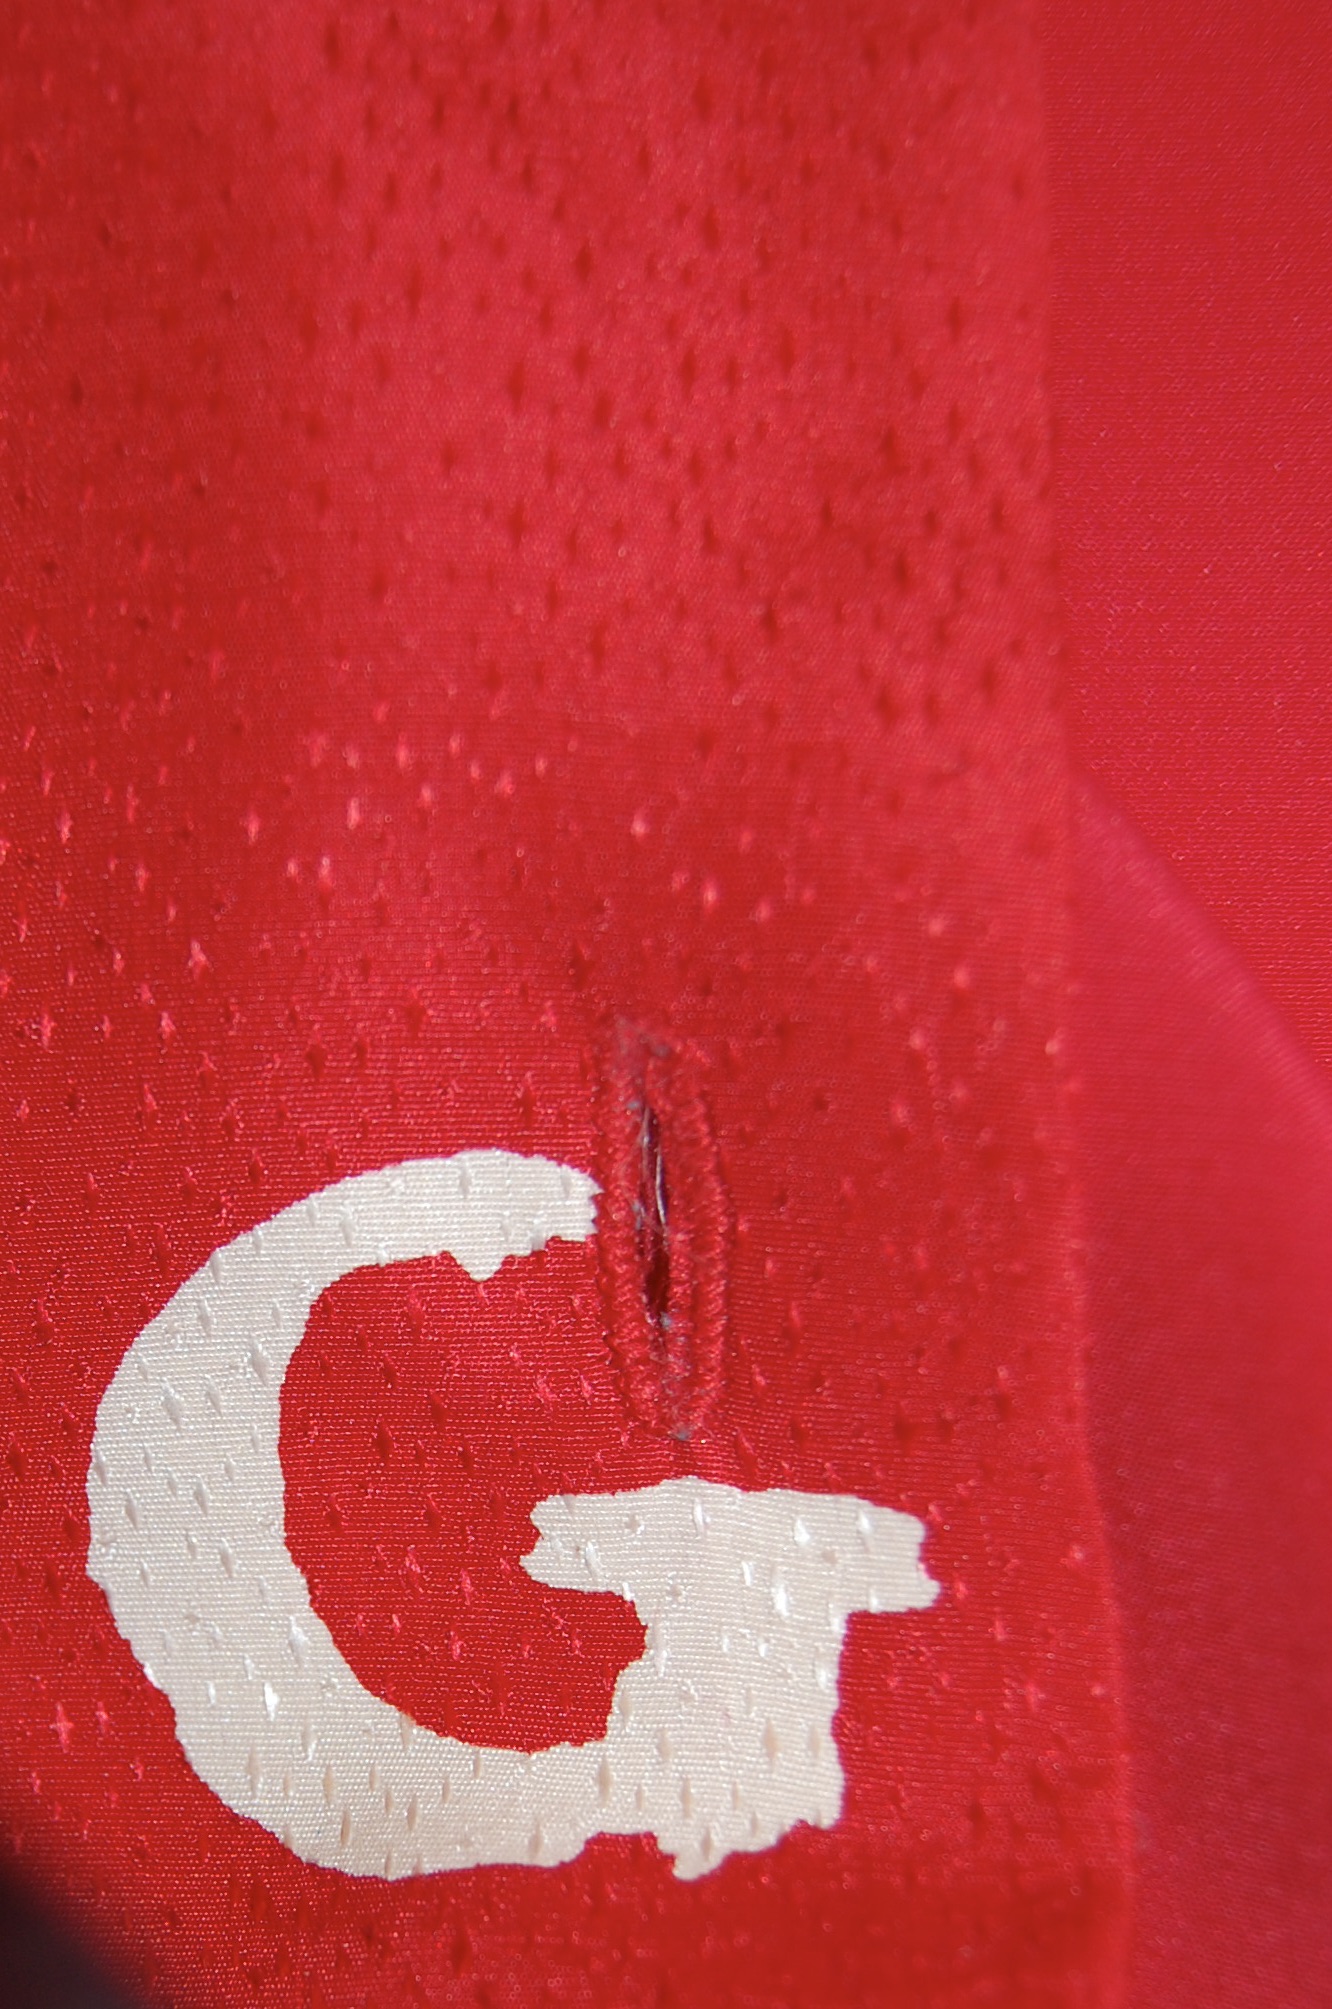
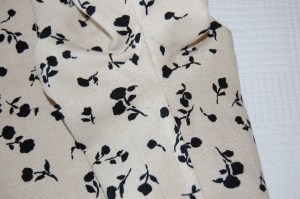
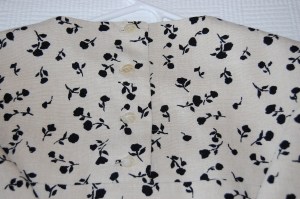
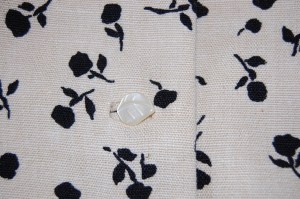
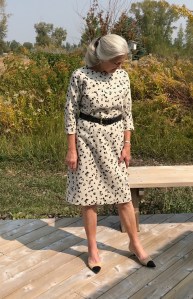
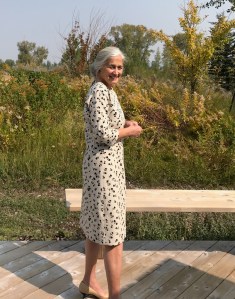
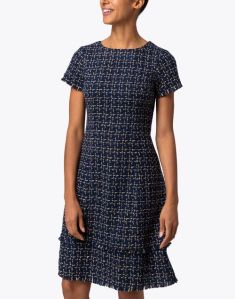
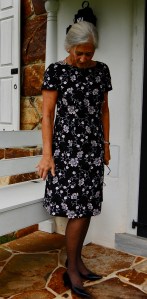
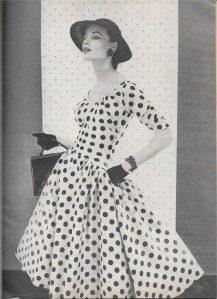
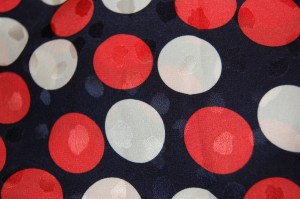
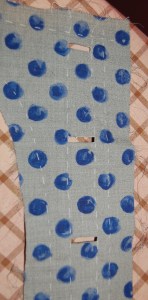
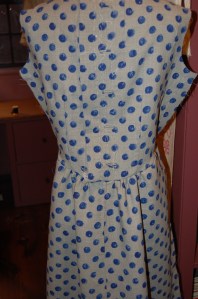
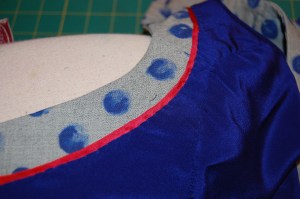
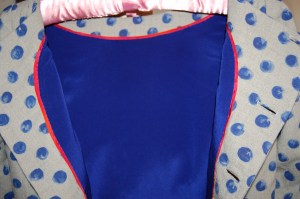
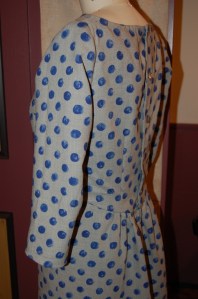
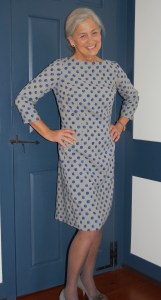
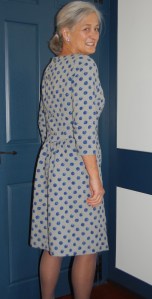
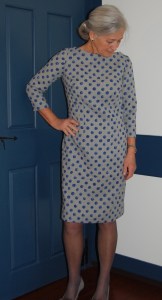
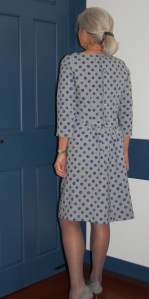
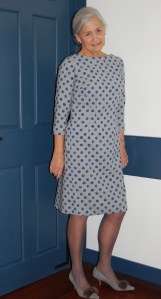
So what about that navy blue polka-dotted dress? Yes, I did finish it.
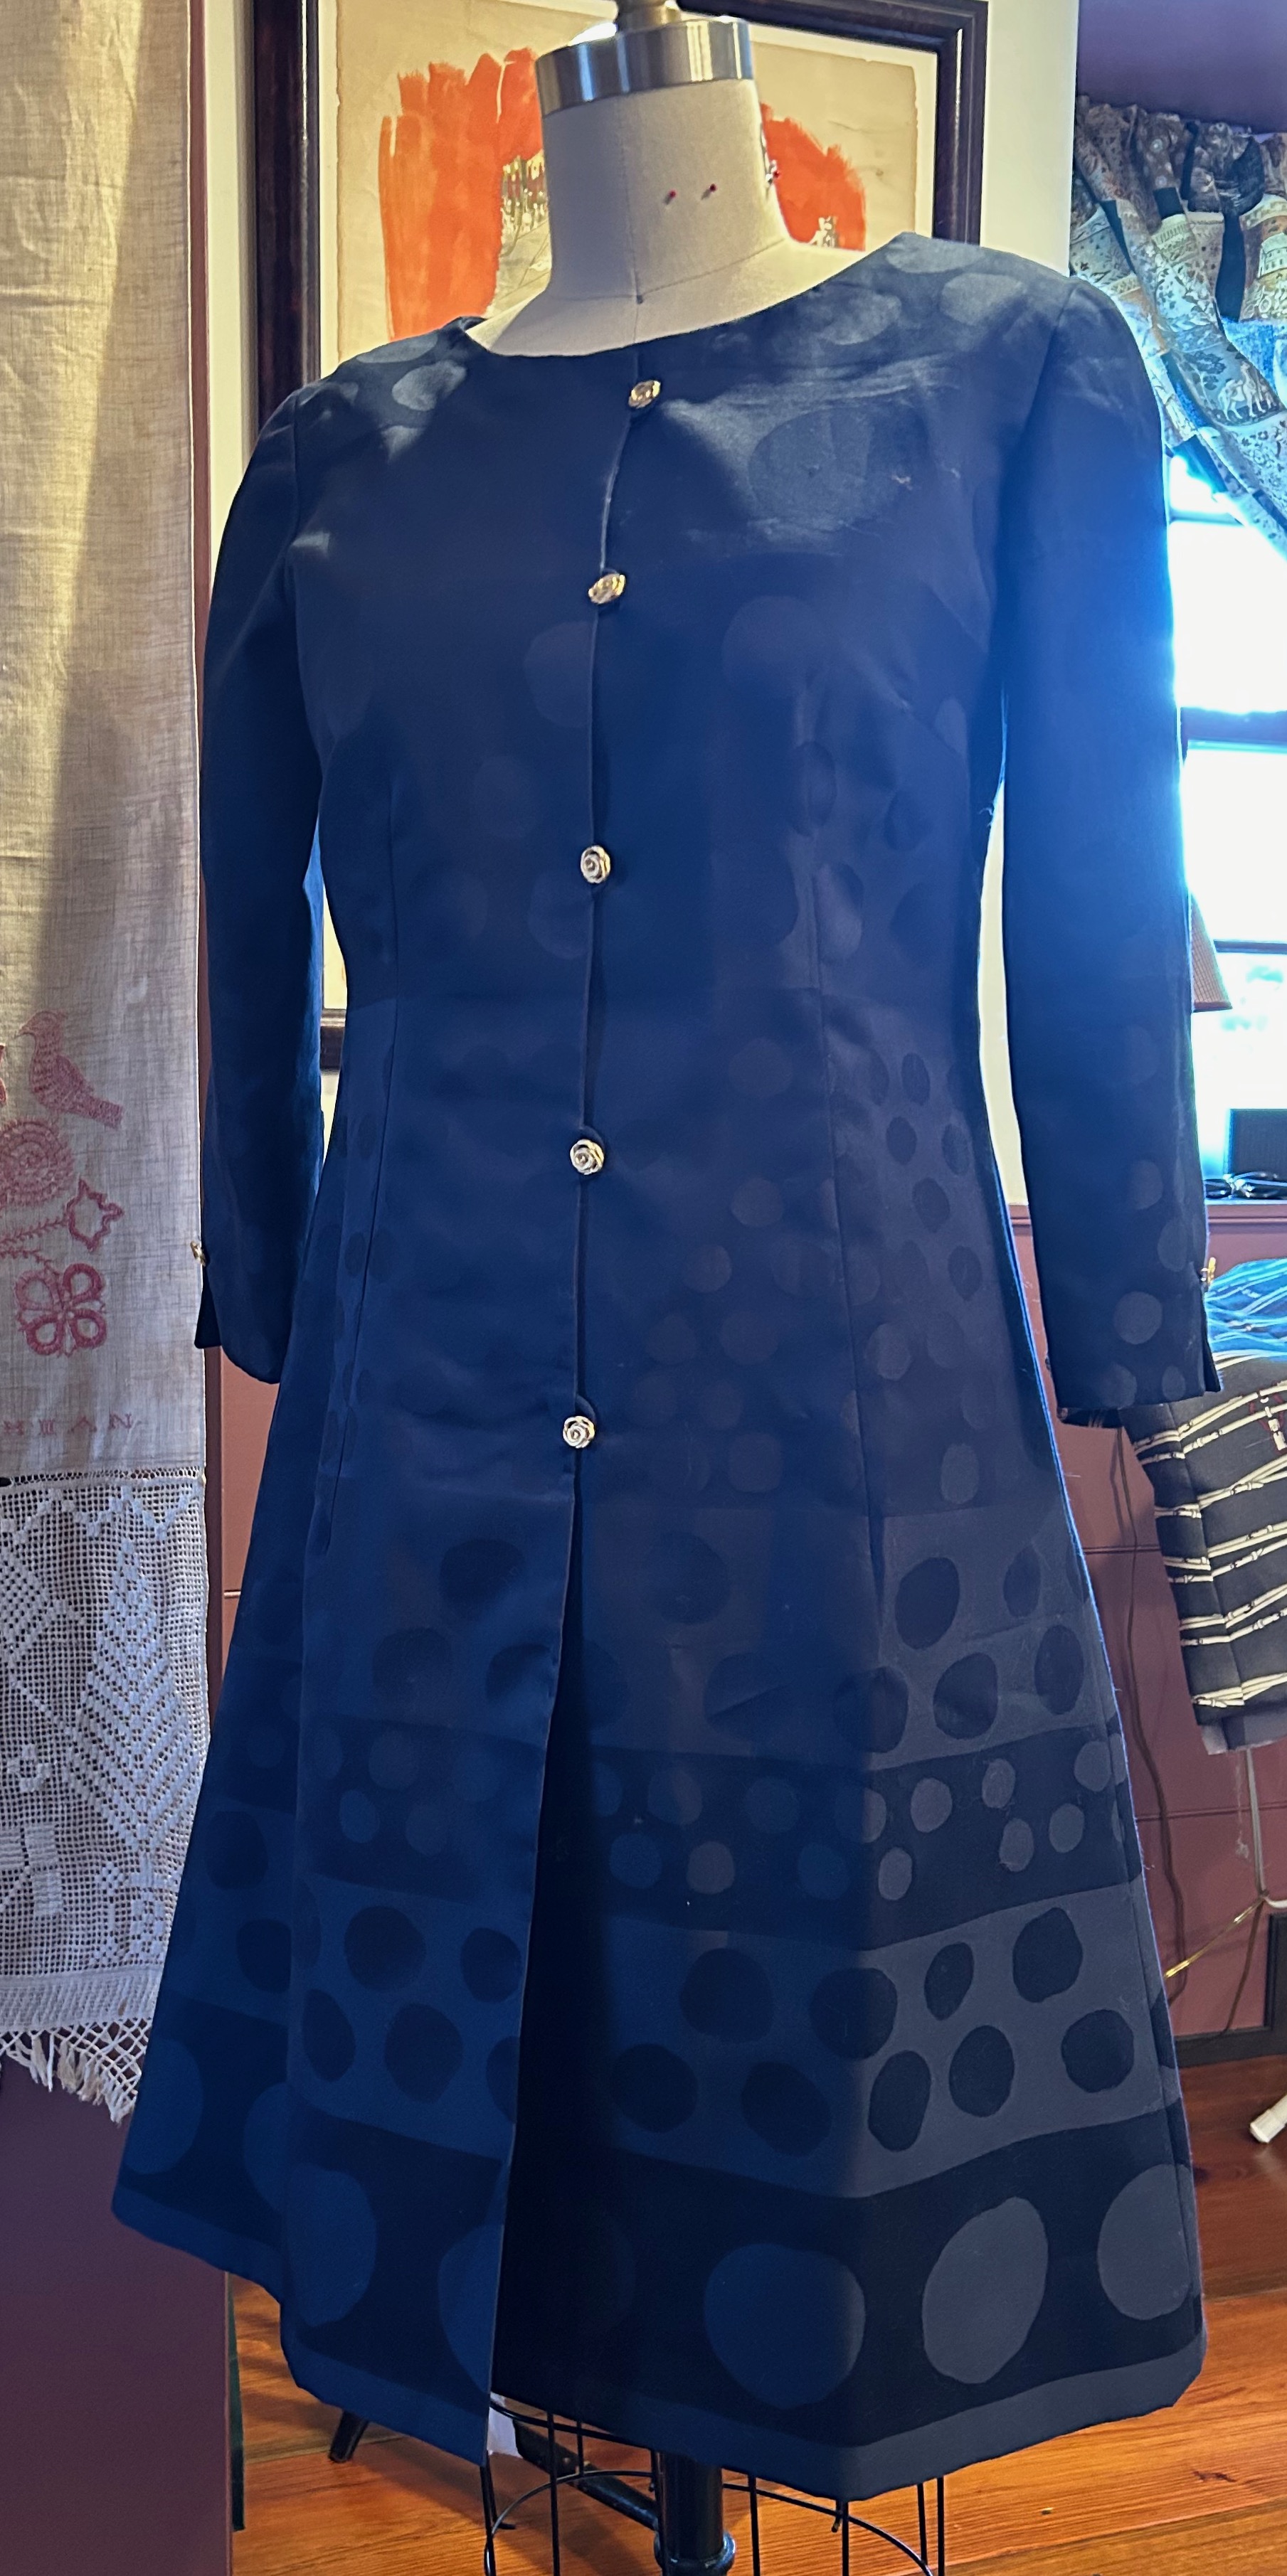
I carried it all the way to France for 15 days and back home again and never wore it… More about it in a future post.


What Do You Think of Pockets?
Do you love pockets and add them to your sewn creations wherever you can? Would you be happy never to have to sew another pocket? Do you tolerate them in a garment, preferring to do without if possible? Many people have very strong opinions about pockets or the lack thereof. I think those of us who sew are among those with the strong opinions, primarily because we have it in our power to add them or delete them. My personal mantra on pockets is “Let’s see if we can do without them, unless we can’t.”
I generally divide my thoughts about pockets into three categories: those in dress pants (slacks), those in dresses and skirts, and those in dressier coats and jackets. (A little caveat is probably useful here before I get any further. Yes, jeans should have pockets, as should hiking and/or activewear pants and shorts. And absolutely, pockets are part of the functionality of active outdoor coats and jackets and vests. Those categories are not part of this discussion.)
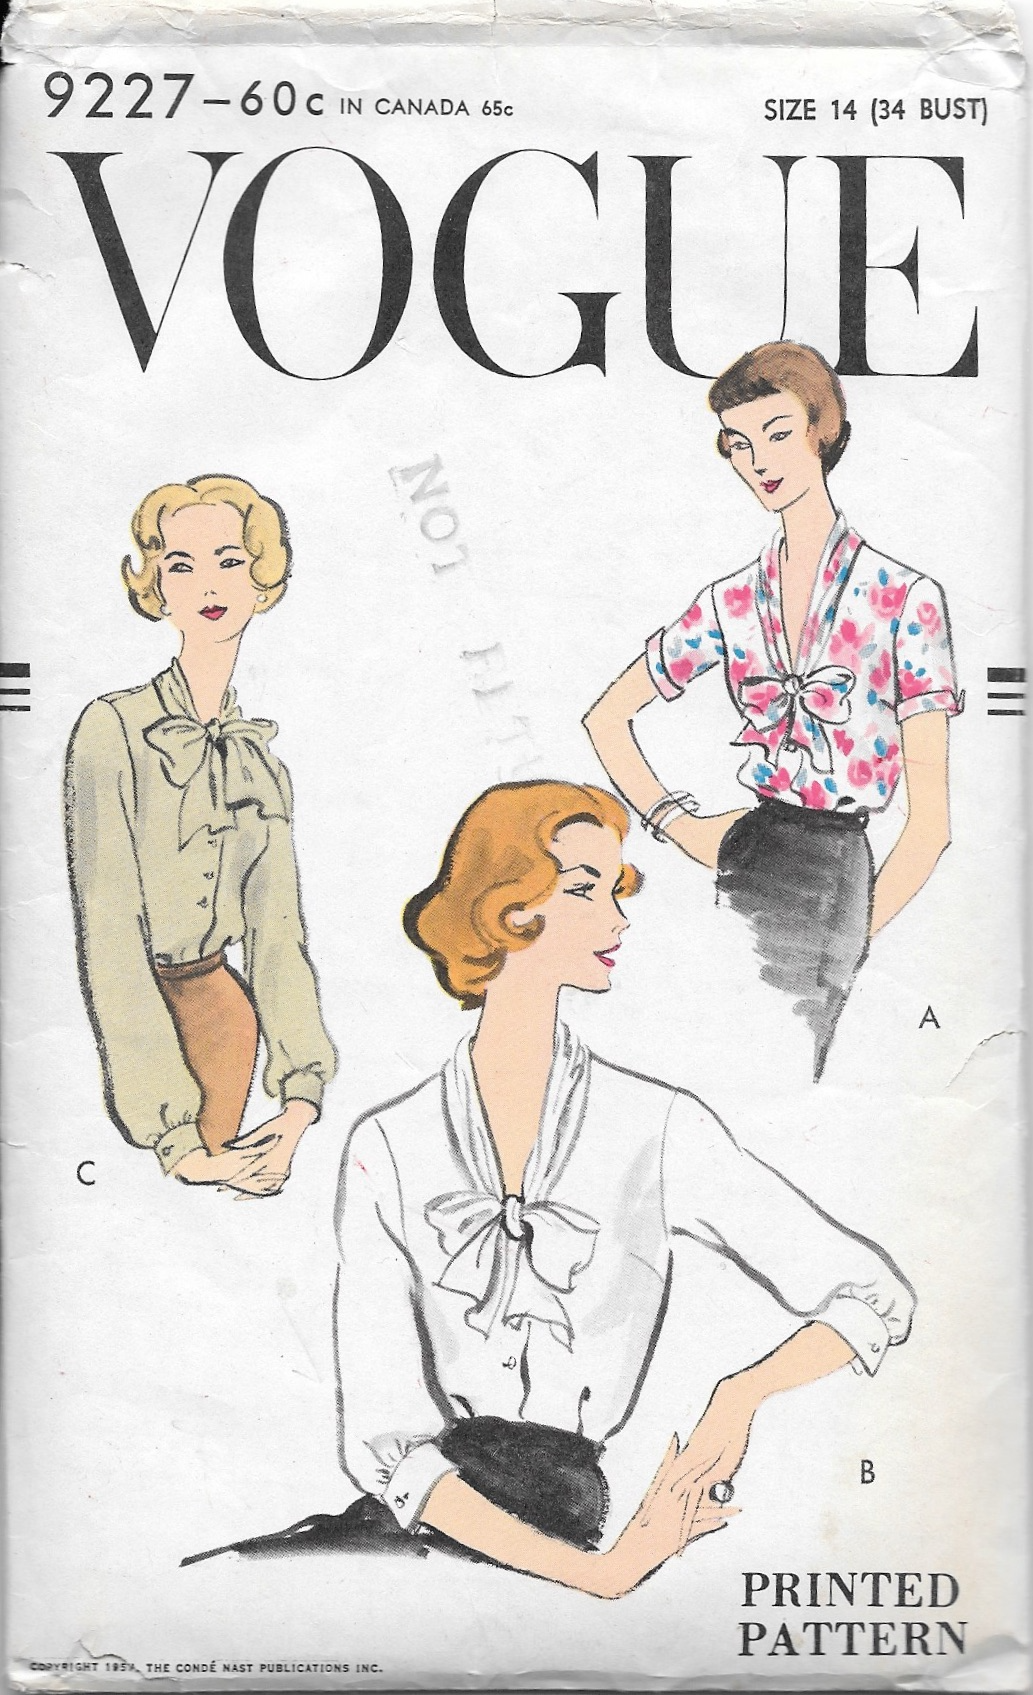
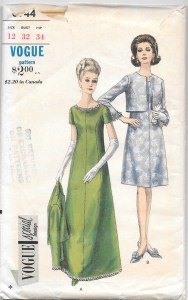
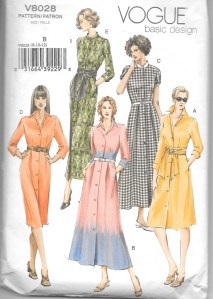
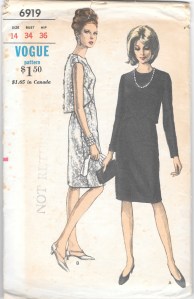
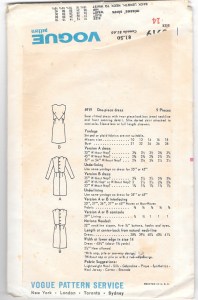
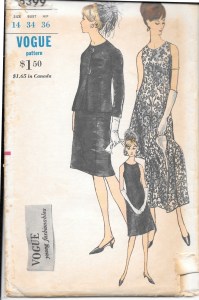
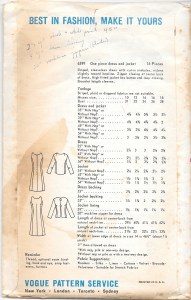
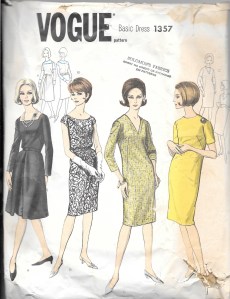
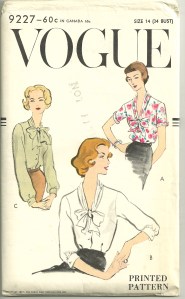
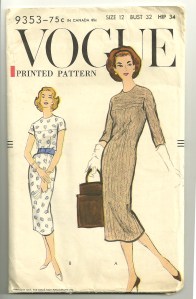
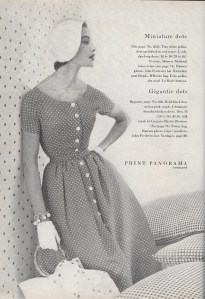
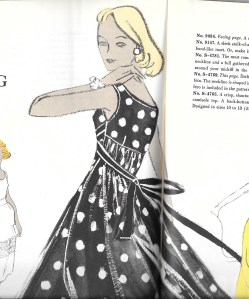
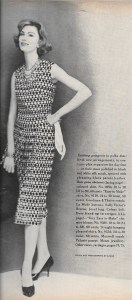
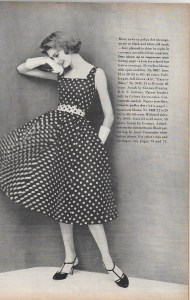
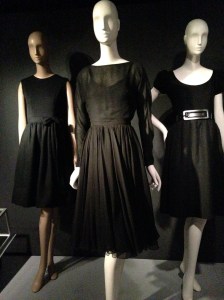
It was over two decades ago when I first started thinking about the dilemma pockets in slacks present. I had just purchased a navy blue wool flannel, dressy pair of slim pants, which fit well and were flattering. There were two welt pockets on either side of the front which were basted closed, as is the custom in better clothes (leaving it up to the purchasing customer to remove the basting.) I left the basting in and preserved the slim silhouette of the slacks. Had I removed the basting, the front, I am sure, would have “pooched” out at those two spots and, well, not done my tummy any favors. Once I started buying vintage patterns a decade ago, I began to notice the slacks in the patterns from the 1950s generally were pocketless. (I have long thought fashion and style in the decade of the 1950s was at its zenith, both in elegance and in silhouette, which is a topic for another discussion.) Here a few examples of patterns from the 1950s:
In my mind, pockets in dress slacks are superfluous at best, detrimental at worst, and just unnecessary. Although I rarely make pants and slacks, I have yet to put a pocket in any of them.
Dresses and skirts are a bit more complicated. Fuller skirts often provide the perfect camouflage for in-seam pockets. I have sewn at least three such styles, the patterns for which included pockets in the side seams. Interestingly, two of them were vintage Diane von Furstenberg patterns from the 1970s; the other is a more recent Vogue shirt dress.
There was a charming article appearing this summer in a Weekend Edition of The Wall Street Journal by author Jasmine Guillory and her “perfect dress” which, alas, has pockets. (Check her website here to read the article under “About”.) Here is what she wrote, “The only element that mars this dress’s perfection is its pockets. This might be a controversial statement, but I don’t like dresses with pockets. They pooch at my hips, even when empty, and if you put something in them, it’s worse…. What’s this great need for dresses with pockets?” She goes on to say she regularly takes her dresses with pockets to the dry cleaner to have the pockets removed. (Alas, again! Her dry cleaner closed during the pandemic, meaning that her “perfect dress” still has its pockets, making it “almost perfect.”)
But what about slimmer silhouettes? In-seam pockets could cause the same “gapping” situation, which begs the question “Would you put anything in those pockets which would cause that pocket to gap even more? Probably not. I would place my hankie or my cell phone or lip stick in my handbag, not in my pocket – and that goes for fuller skirts as well. (Besides, like Jasmine Guillory, I am quite smitten with handbags.)
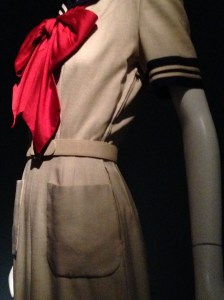
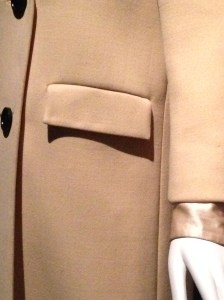
However, what about in-seam pockets which are part of the design? Here is a notable example:
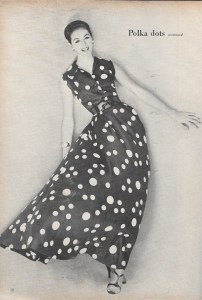
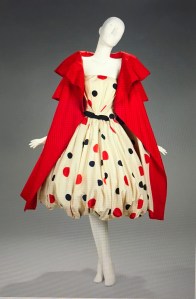
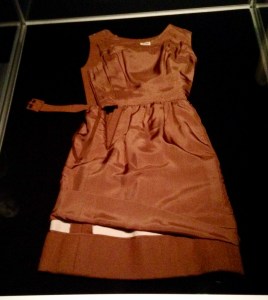
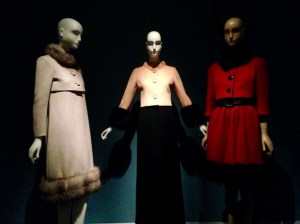
And then, of course, applied pockets are often part of the design, but not really intended for practical use. Take a look at this evening gown:
You might be able to tell I have decided I am not so keen on pockets in skirts and dresses either – UNLESS they are integral to the design.
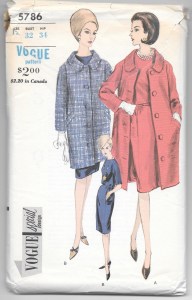
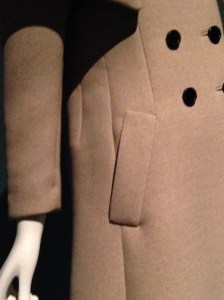
Which brings us to coats and jackets. I think one’s first reaction to this category would be “Well, of course, jackets and coats need to have pockets.” And for the most part, I would agree with that. Often pockets in coats and jackets are part of the design and add stylistic interest as well as functionality. Here are a few examples of coats I have made, with such pockets:
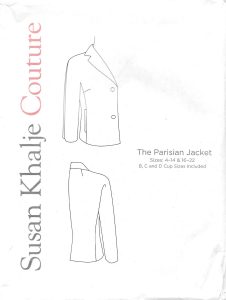
Here is a jacket pattern which is in my sewing queue for 2022. I absolutely love the pockets.
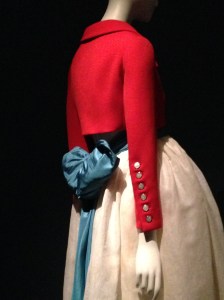
And where would a Classic French jacket be without its pockets? They are not really functional, but undeniably integral to the design.
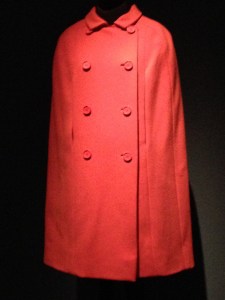
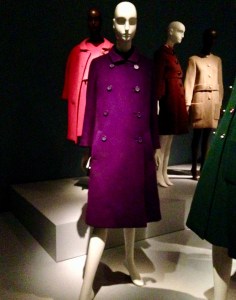
Not all coats have pockets, however. Take a look at this Madame Gres design which I made in a lavender linen. It has no pockets, nor would I want them in this Spring coat.
And here is a “summer” coat which I think is just so chic. No pockets.
I have made this coat pattern twice – once with pockets and once without.
The wool version has in-seam pockets which I find useful:
But here is the same pattern, made as a “cocktail” coat. I made it pocketless and love it.
Clearly there is much to consider when it comes to pockets. When we add them to a garment, or delete them, or change their placement, or baste them shut to eliminate that dreadful “pooch” problem, we are admitting that not all pockets are equal. Some are perfect in every way, some not so much, and some – are never missed.
30 Comments
Filed under Coats, Day dresses, Fashion commentary, Mid-Century style, pockets, Uncategorized, vintage Vogue patterns from the 1950s, Vogue patterns
Tagged as 1950's Vogue patterns, fashion sewing, pockets, sewing, vintage fashion, vintage Vogue patterns, Wall Street Journal Fashion coverage