Just as with the elusive answer to “Which came first, the chicken or the egg?,” those of us who sew can try to answer “Which comes first, the fabric or the pattern?” The answer, at least as I see it, is “It depends.” And sometimes, even, it is a little of both.
When I saw this fabric on the website of Mendel Goldberg Fabrics last Fall, I really did not stop to think about a pattern. It was a “bolt end,” 1 3/8 yards of 58” wide Italian silk. With that width, I wasn’t particularly concerned about the length being under 1 and ½ yards. I just ordered it as soon as I could.
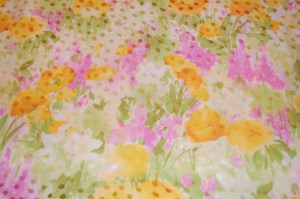
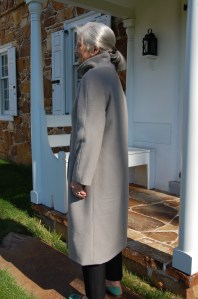
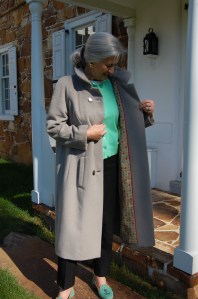
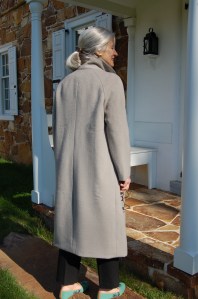
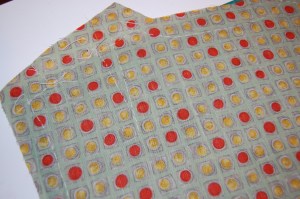
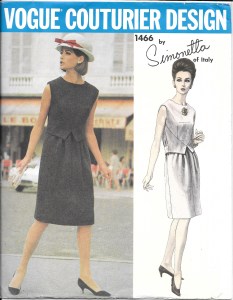
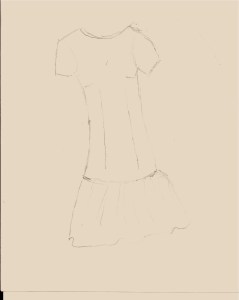
Upon arrival, the fabric was even prettier in person, shimmery with “polka dots” woven in, fluid as only silk can be, and the picture of Spring. At that point, I was up to my ears with my Winter sewing, so I thought about it only casually until just a few weeks ago. I already had this pattern in my collection, and in the back of my mind, I had paired that fabric with the dress in View B on the right.

One interesting thing about vintage patterns is the yardage requirements are often given for widths that are narrower than many modern fabrics are produced in. For that reason, it can be difficult to determine exactly how much fabric is needed for a particular design. I’m getting better at sensing what I need, so I just assumed that I would have enough fabric to make that dress. I had my heart set on it, actually. So much so, that when Britex Fabrics announced an upcoming sale of silk fabrics, I sent off for swatches for coordinating silk for the short jacket (in view A) and lining for the dress.
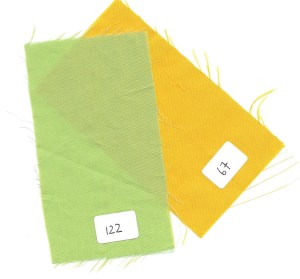
The green is a lightweight silk/cotton blend. The goldenrod yellow is silk taffeta from Italy, without the stiffness that taffeta so often has.
Dutifully ordered, the fabric arrived from California, and it, too, was even prettier in person! I was in love, and really could not wait to get started, first on the dress, and then on the jacket.
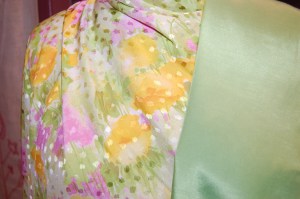
The green for the lining . . .
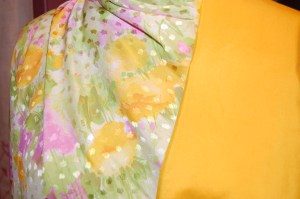
… and the yellow for the short jacket in View A.
Then reality hit. When I took out the pattern pieces, here is what I found for that unusual flounced skirt:

This skirt piece uses almost a yard in length, and the diagonal shaping on it uses more fabric than normal.
My heart sank as I knew immediately I did not have enough fabric. There was going to be no Rumplestiltskin to help me with this one. I went back to my pattern collection and pulled out two more possibilities.
I love this dress, but I thought it might be too tailored for the fabric. Also, the seaming detail which adds so much to this dress would be lost entirely with the busy design of the silk.
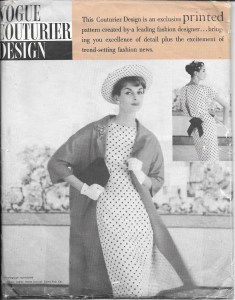
I felt like Goldilocks evaluating this pattern for my fabric. Just not right…
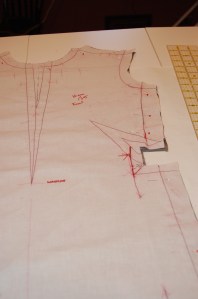
With both these dresses I would have to rethink the jacket, as the styles would not compliment each other. I stewed over this, re-measured, re-thought, and left it all in a heap in my sewing room. There was something about that shimmery silk that kept telling me that a dress made from it needed to have some movement to it – like the flounced half-skirt pictured in the pattern. And then it hit me. If I made the front part of the skirt the same as the back, I could probably just squeak it out.
I did a quick diagram to consider this option.
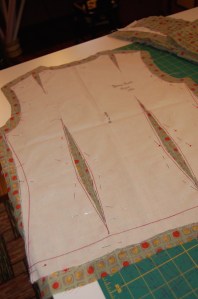
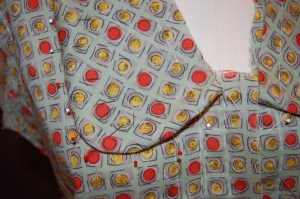
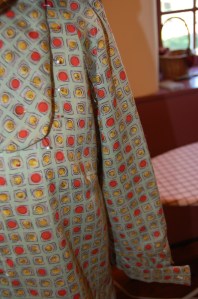
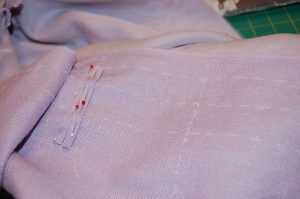
My completed muslin verified this for me, and, not only that, I loved the look, at least done up in muslin. Once again, using the couture technique of laying out and cutting each pattern piece individually enabled me to manipulate the pieces to make the most of the fabric I had available to me. Fortunately, there was no matching to be done, although there is a specific up and down to the design.
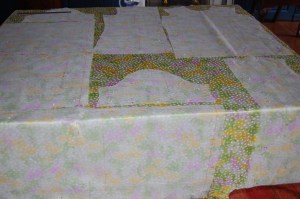
Now this is what is called making the most of one’s available fabric! This shows my silk organza underlining pieces in place, ready to cut.
As far as the jacket – losing the diagonally shaped flounces on the skirt, makes the effect of the jacket not quite as dramatic, but I think it will still be very flattering – and appropriate. (The jacket has a million pieces to it, so it will be quite the project…!)
Well, I can’t leave this post without sharing another color of Spring, although this one is not silk and not shimmery. Pink cotton gingham is the picture of Spring, especially in a little dress for a little girl! When I made a crib quilt for my younger granddaughter, Carolina, I backed it in pink gingham, appropriately called “Carolina Pink.” I ordered enough so that I would be able to make her a dress for her first birthday (earlier in April) and here it is:
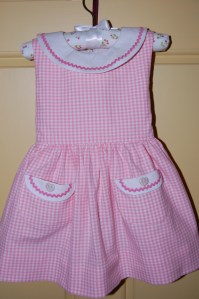
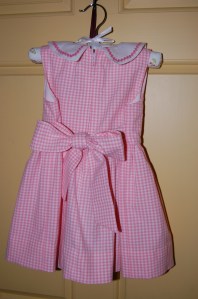
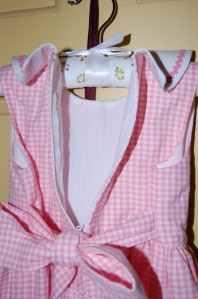
The bodice is lined in soft white cotton, which makes a lovely finish.
In my tins of buttons, I found these little ceramic ones, purchased years ago when Carolina’s mommy was my little girl. (Well, she is still my little girl, but you know what I mean.) How appropriate to use them for one of her daughter’s dresses.
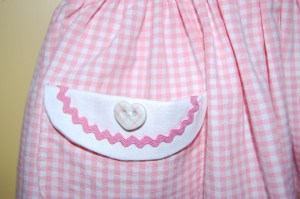
These buttons, with their delicate cross-hatch design, were just waiting for this dress.
And with this dress – the fabric absolutely came first!