In planning for my ‘50s-inspired silk party dress, my original intention was to use a red sash, just as shown on the original dress which I first saw on Pinterest.
 When I sent off for swatches of silk taffeta from Emma One Sock Fabrics, however, I requested reds and yellows, just in case I might change my mind. When the swatch card arrived, there were clearly two obvious choices – the clear red and the vibrant yellow.
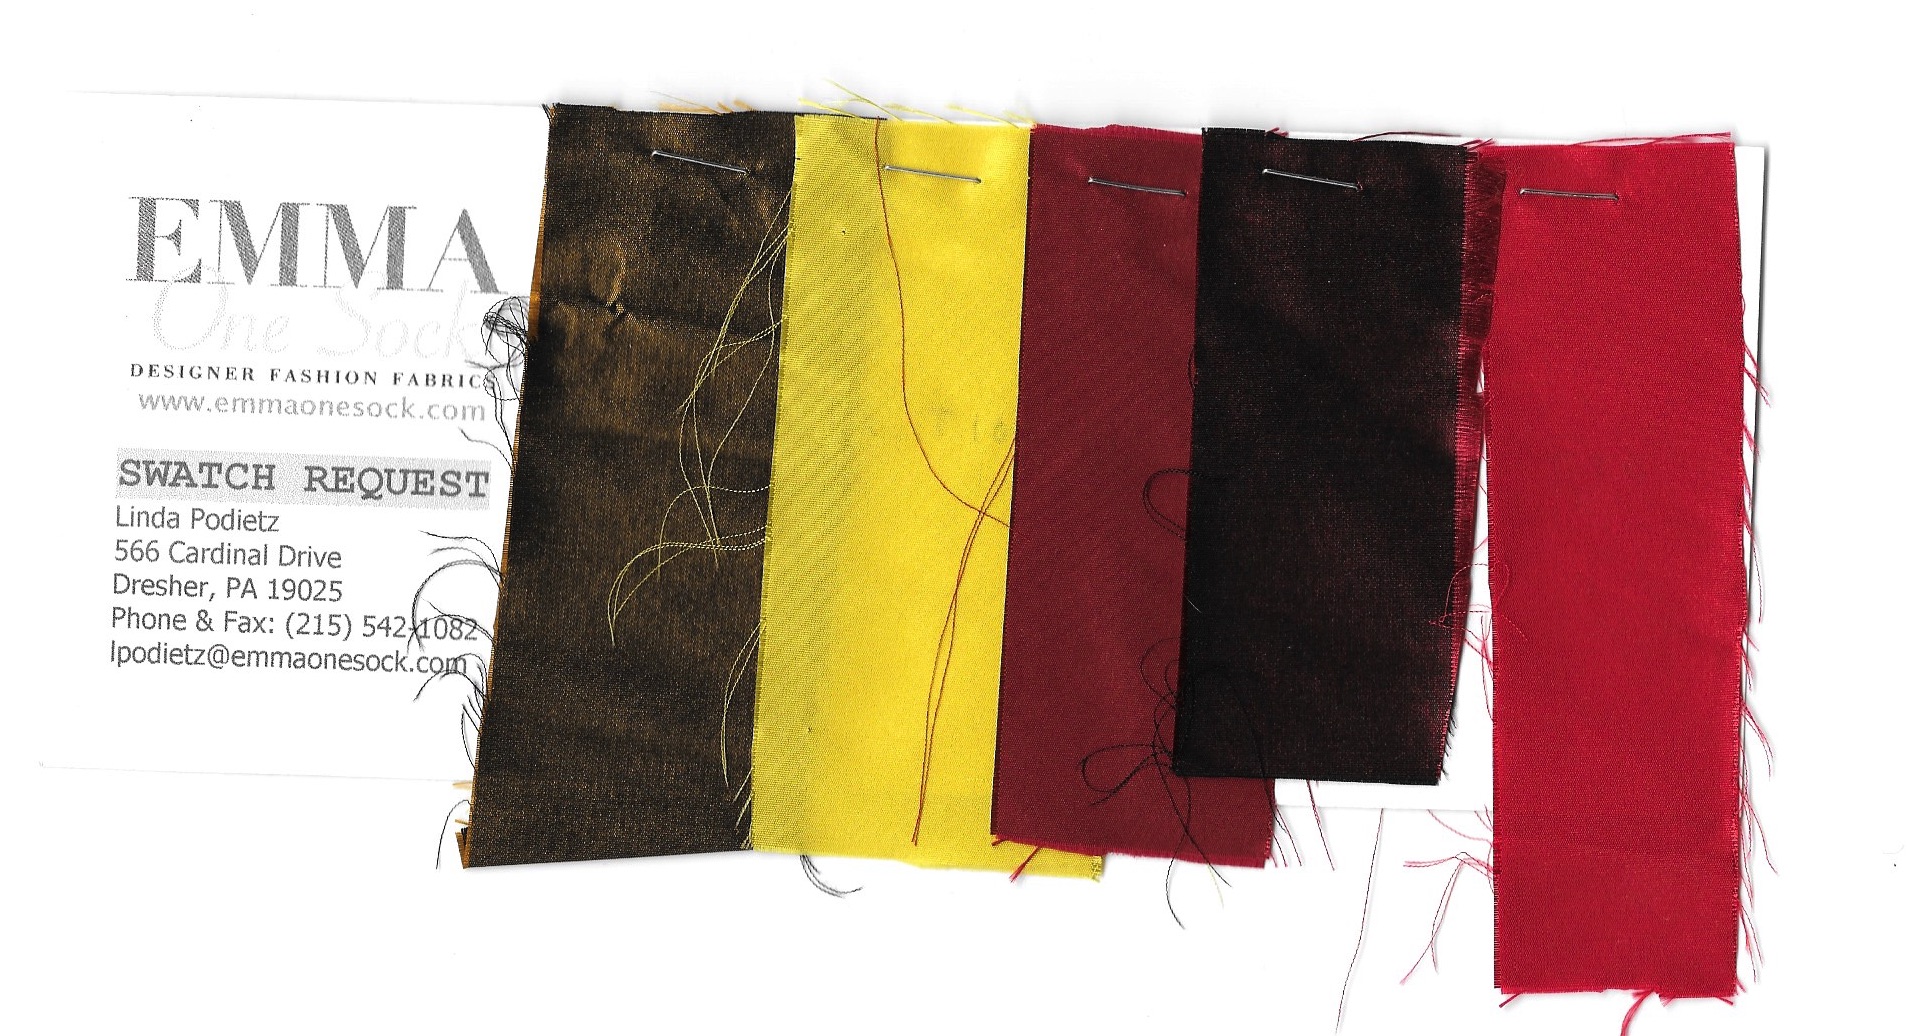
Then a funny thing happened. I ordered the red, which was out-of-stock temporarily. The owner of Emma One Sock (who, I might add, is one of the pleasantest and most helpful people from whom one will ever order fabric!), held up the order, at my request, while I thought about it some more. By the time I went to Baltimore to start my dress in Susan Khalje’s Couture Sewing School, I had just about decided to switch to yellow. With Susan’s hearty endorsement and the additional approval of my classmates, the decision was made: the sash would be yellow, not red.
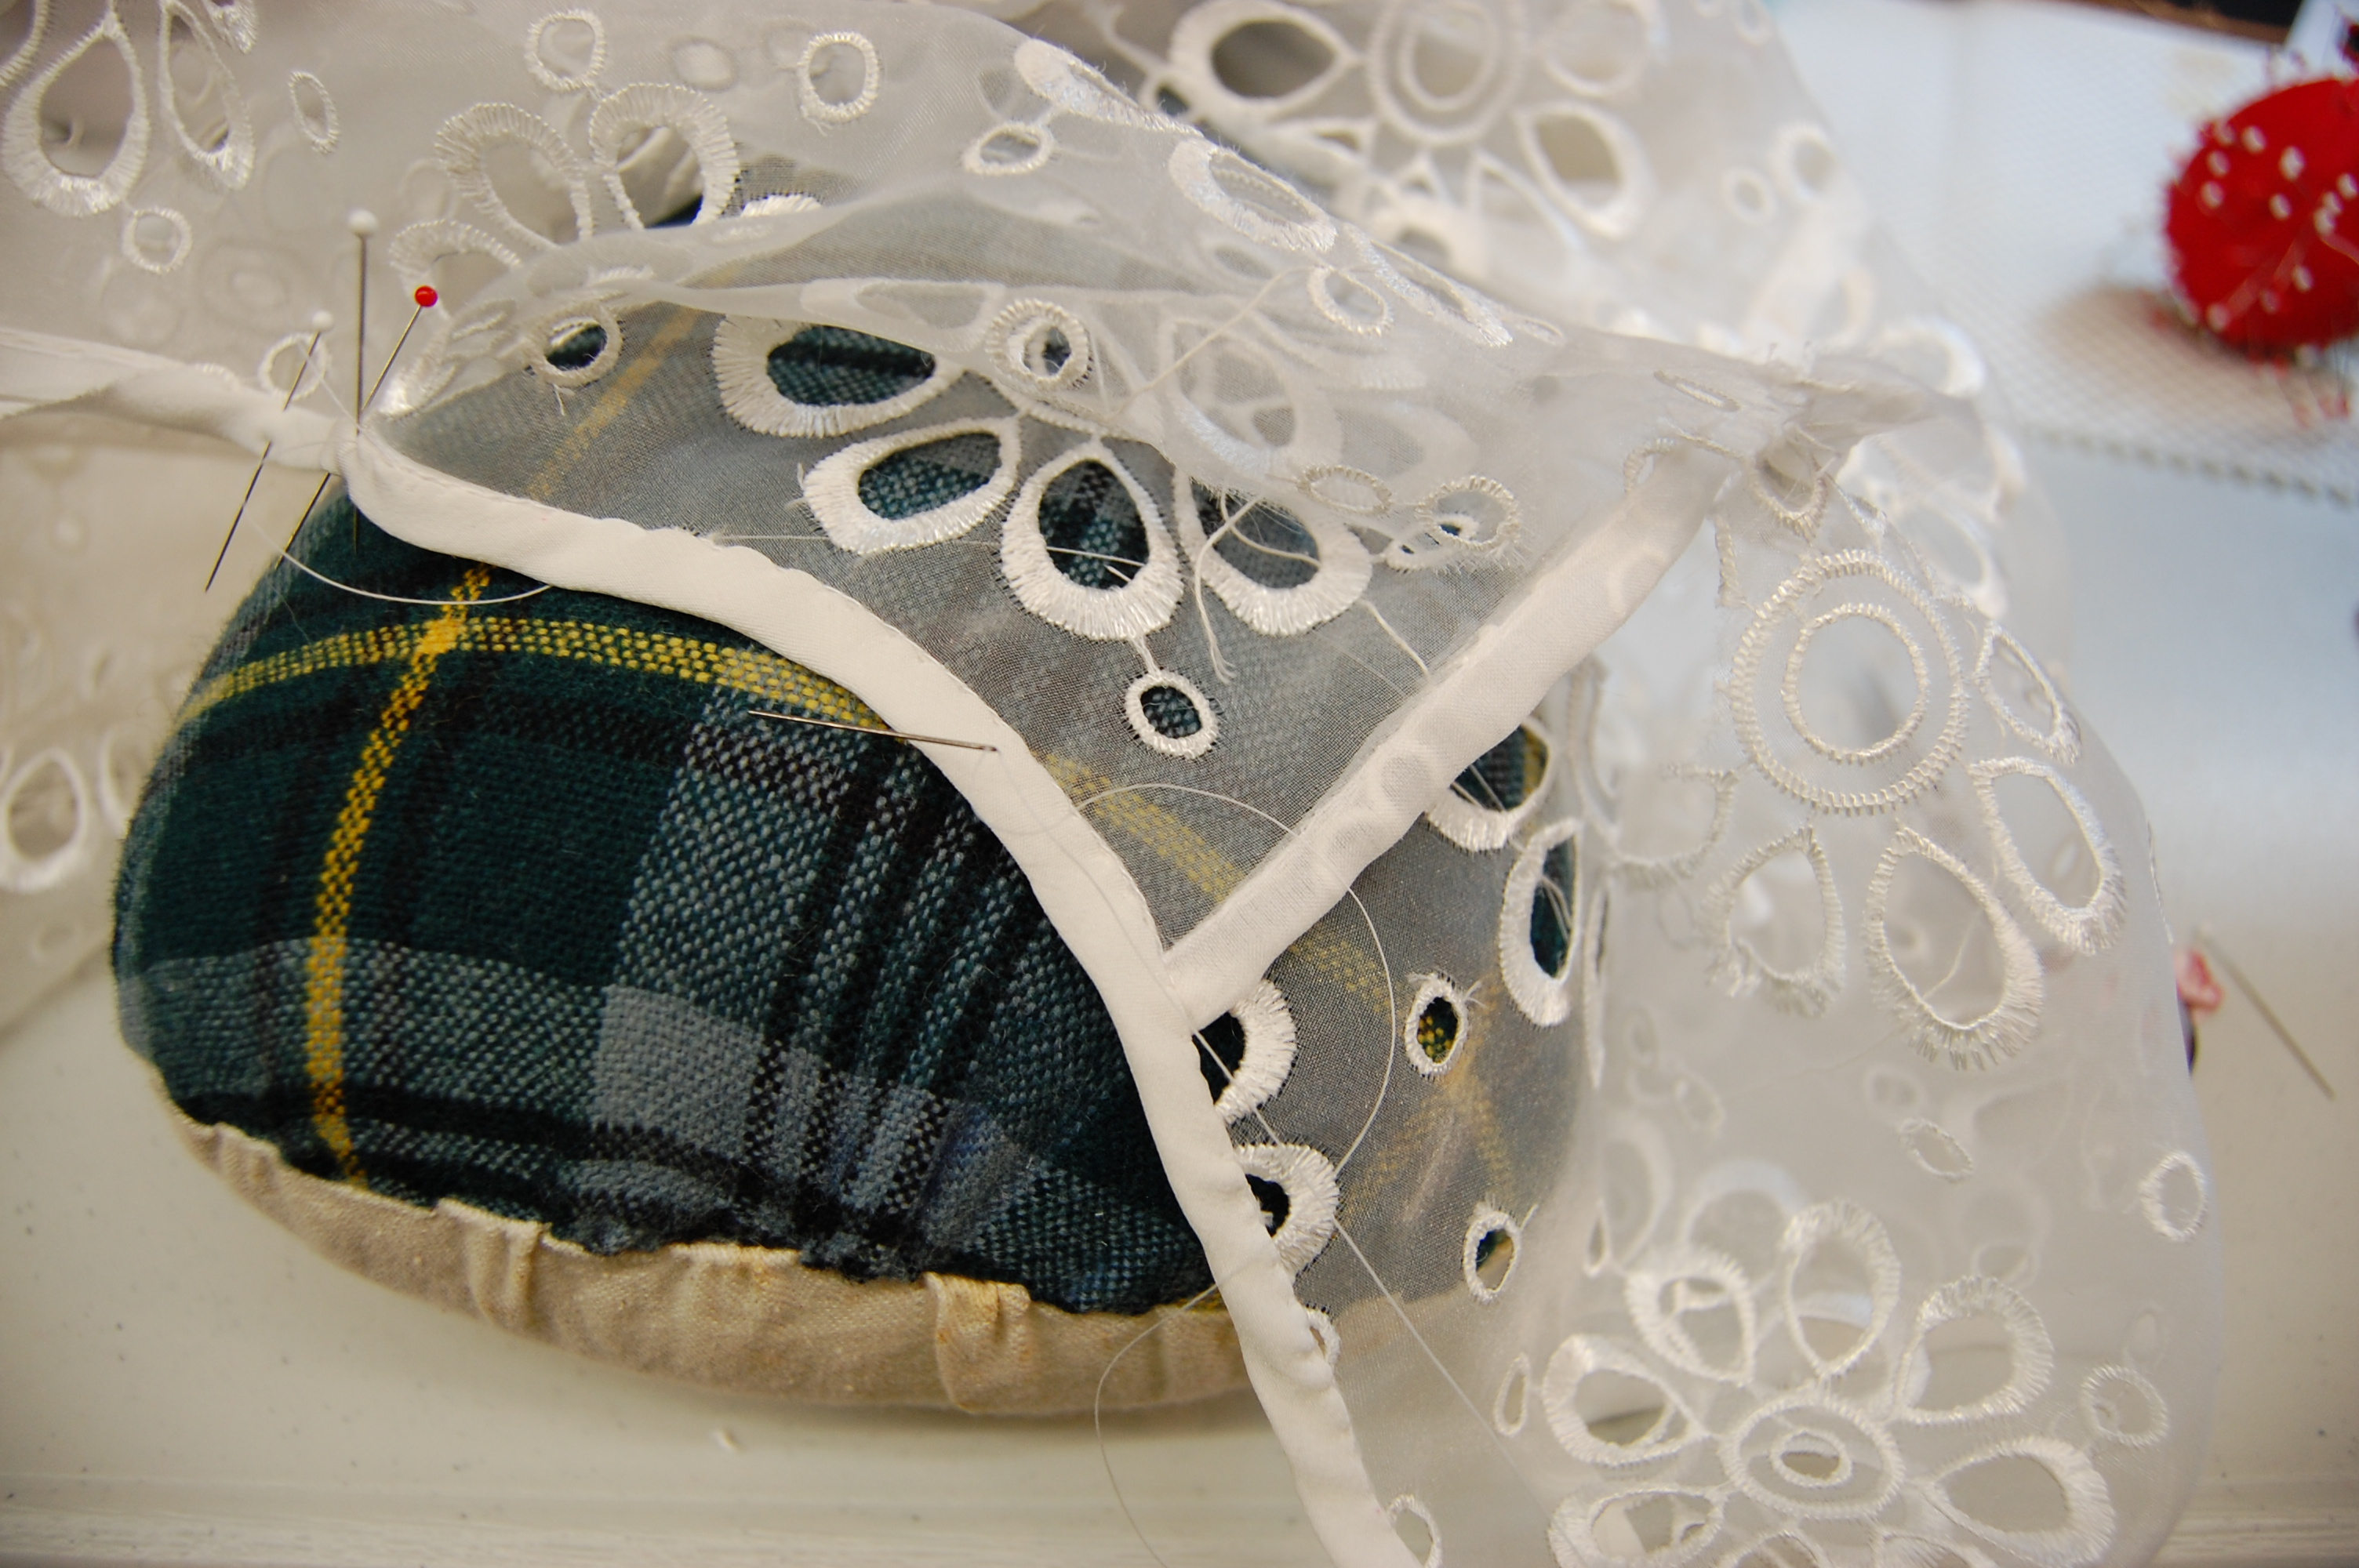
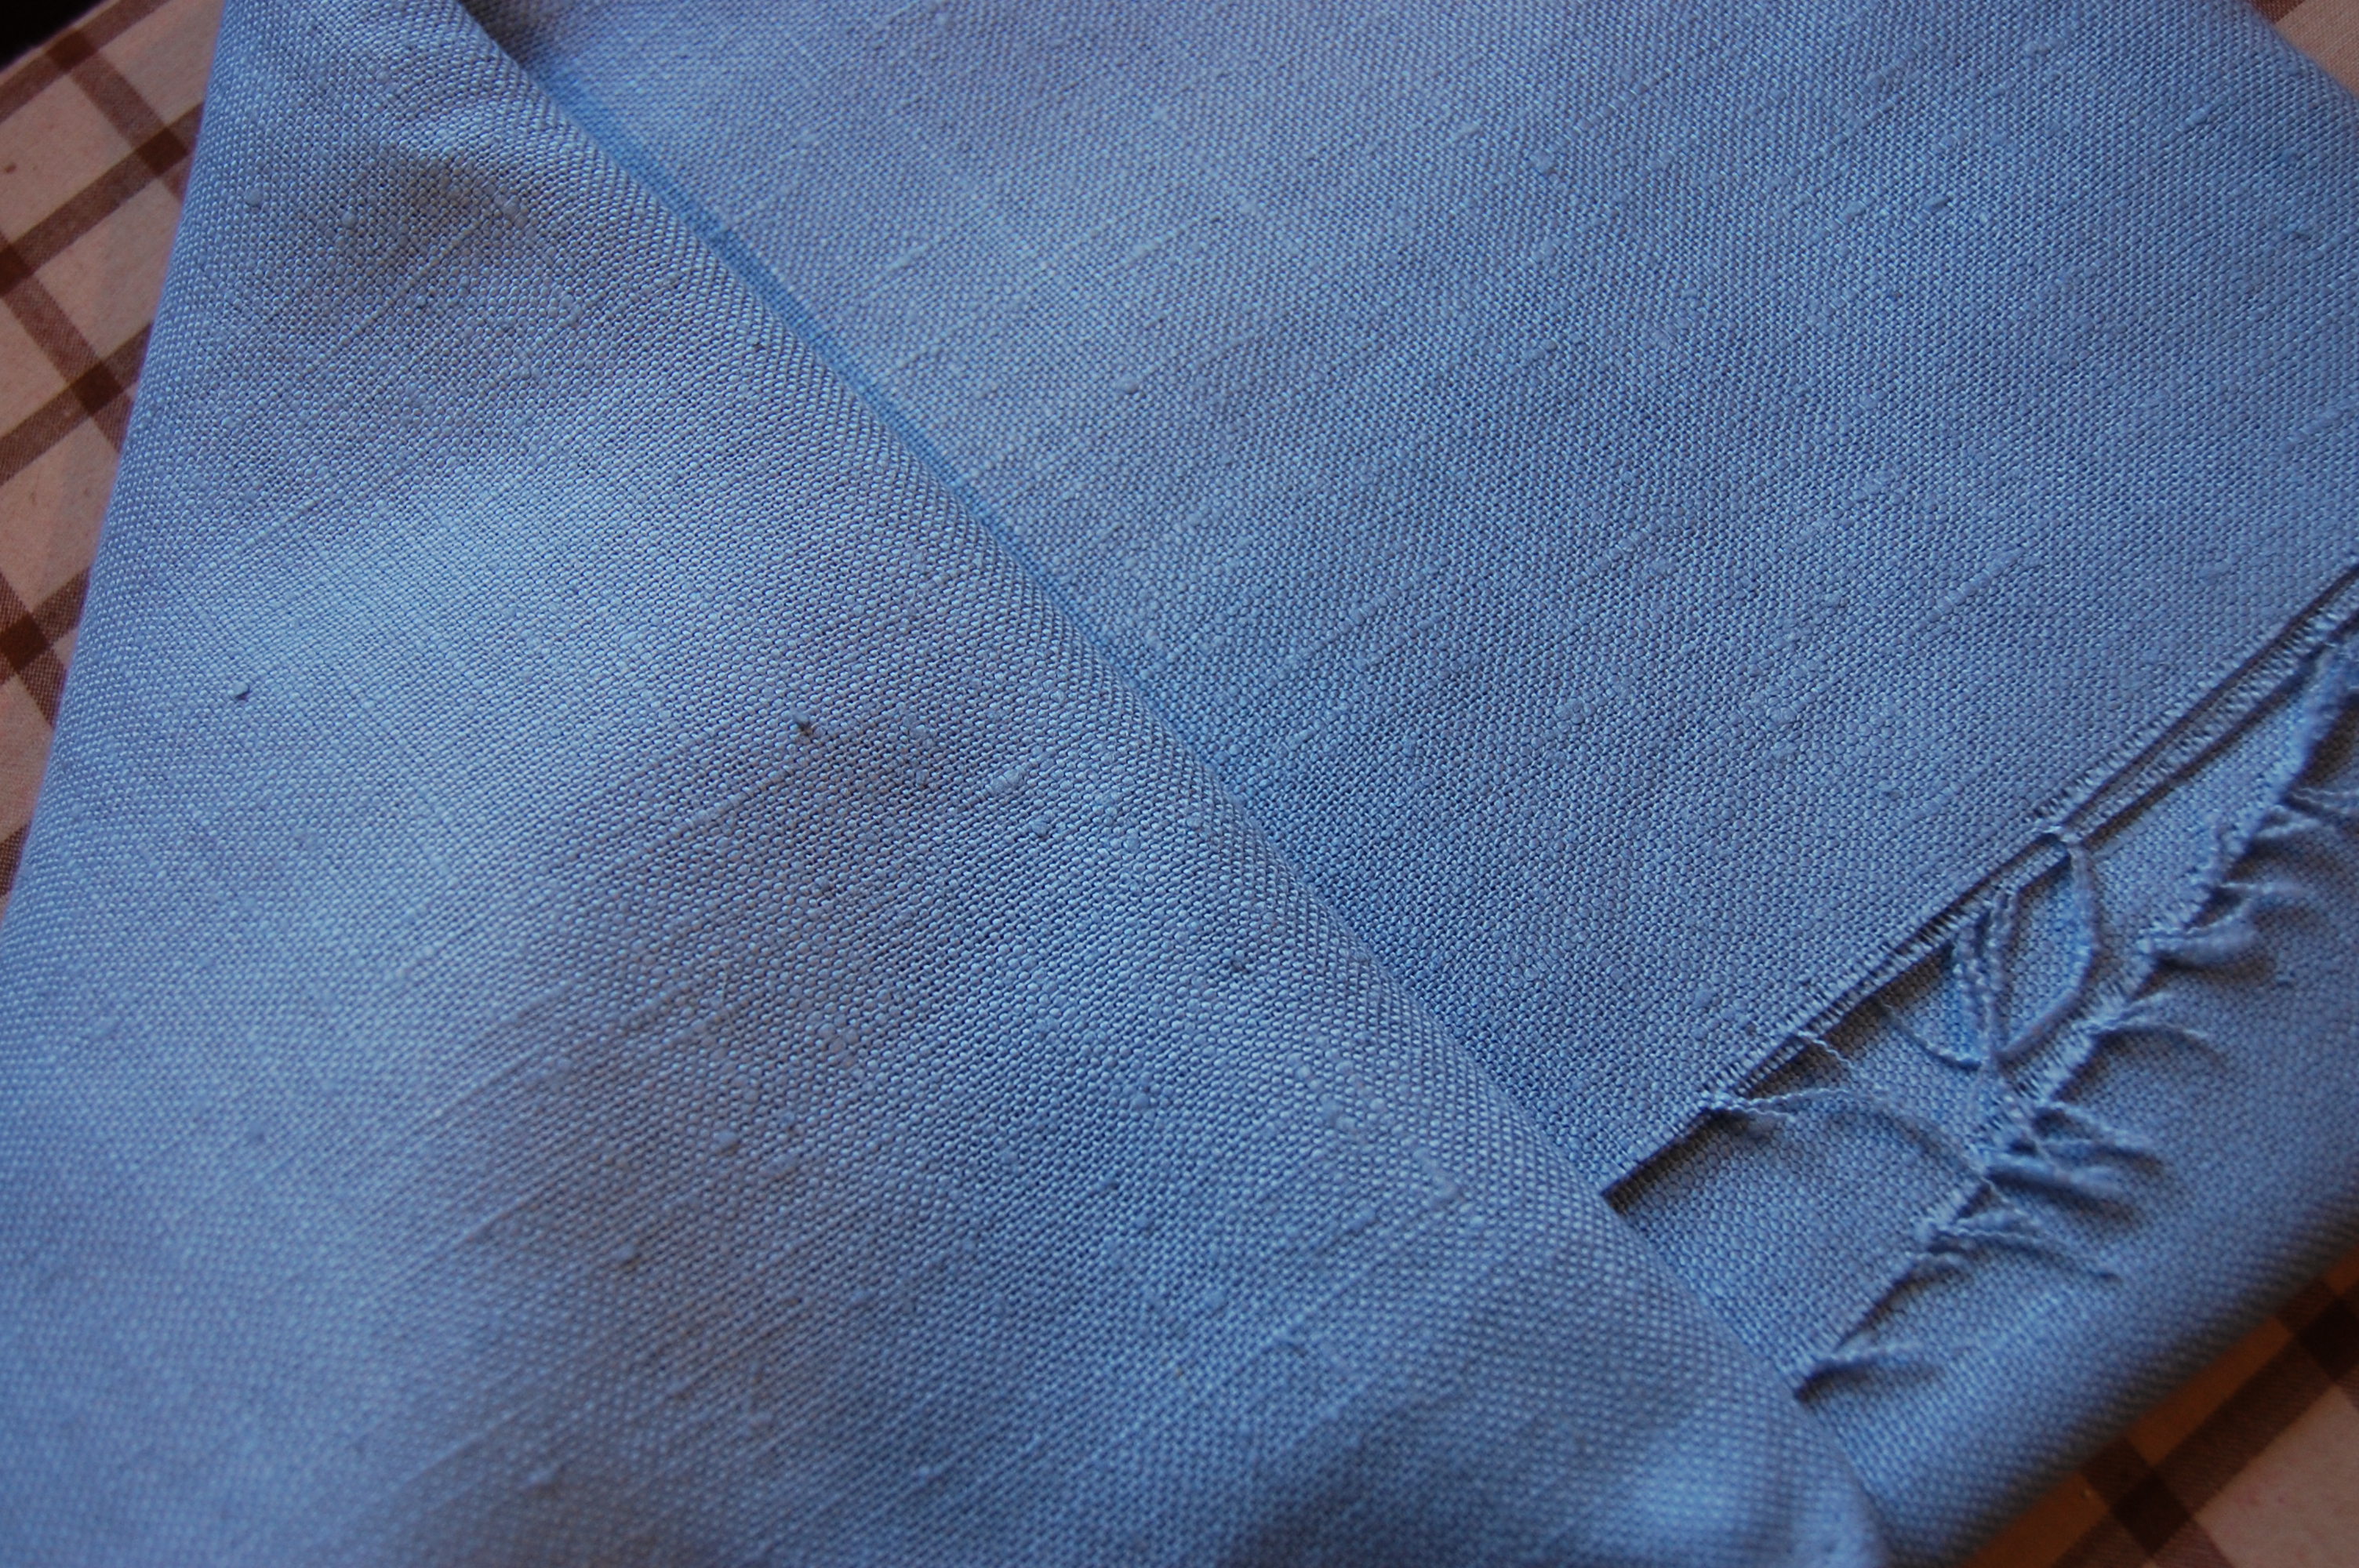
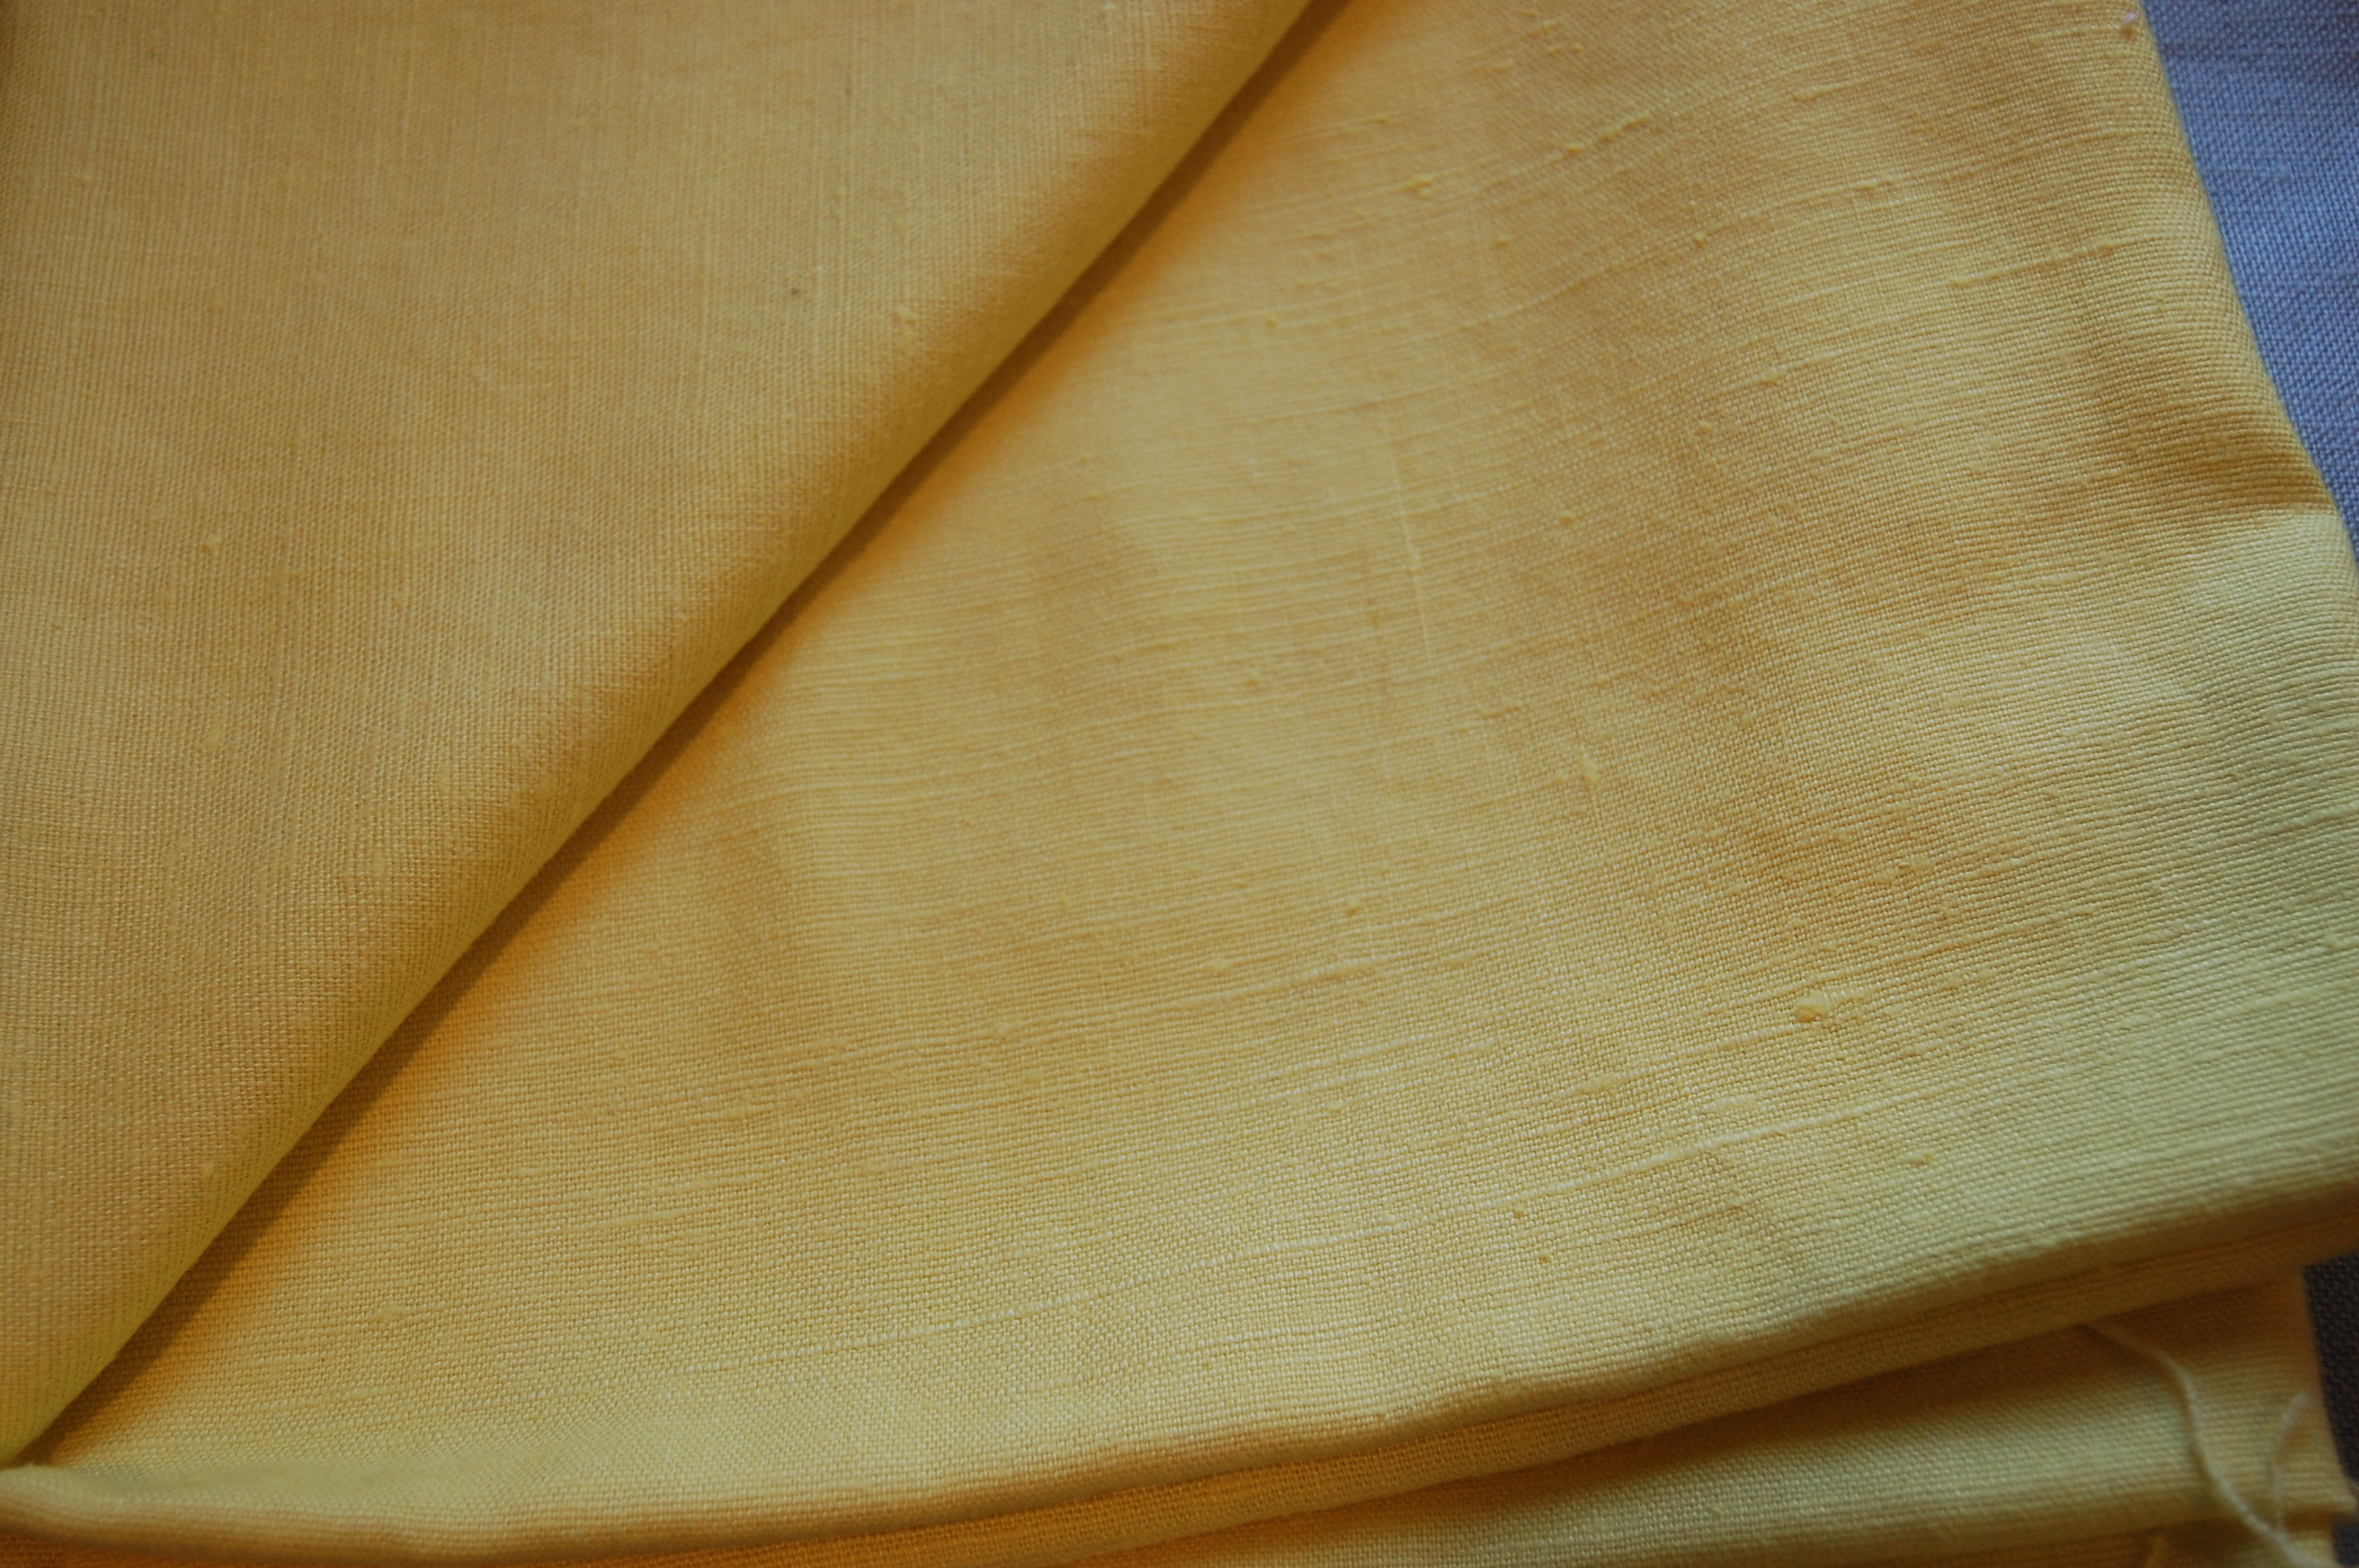
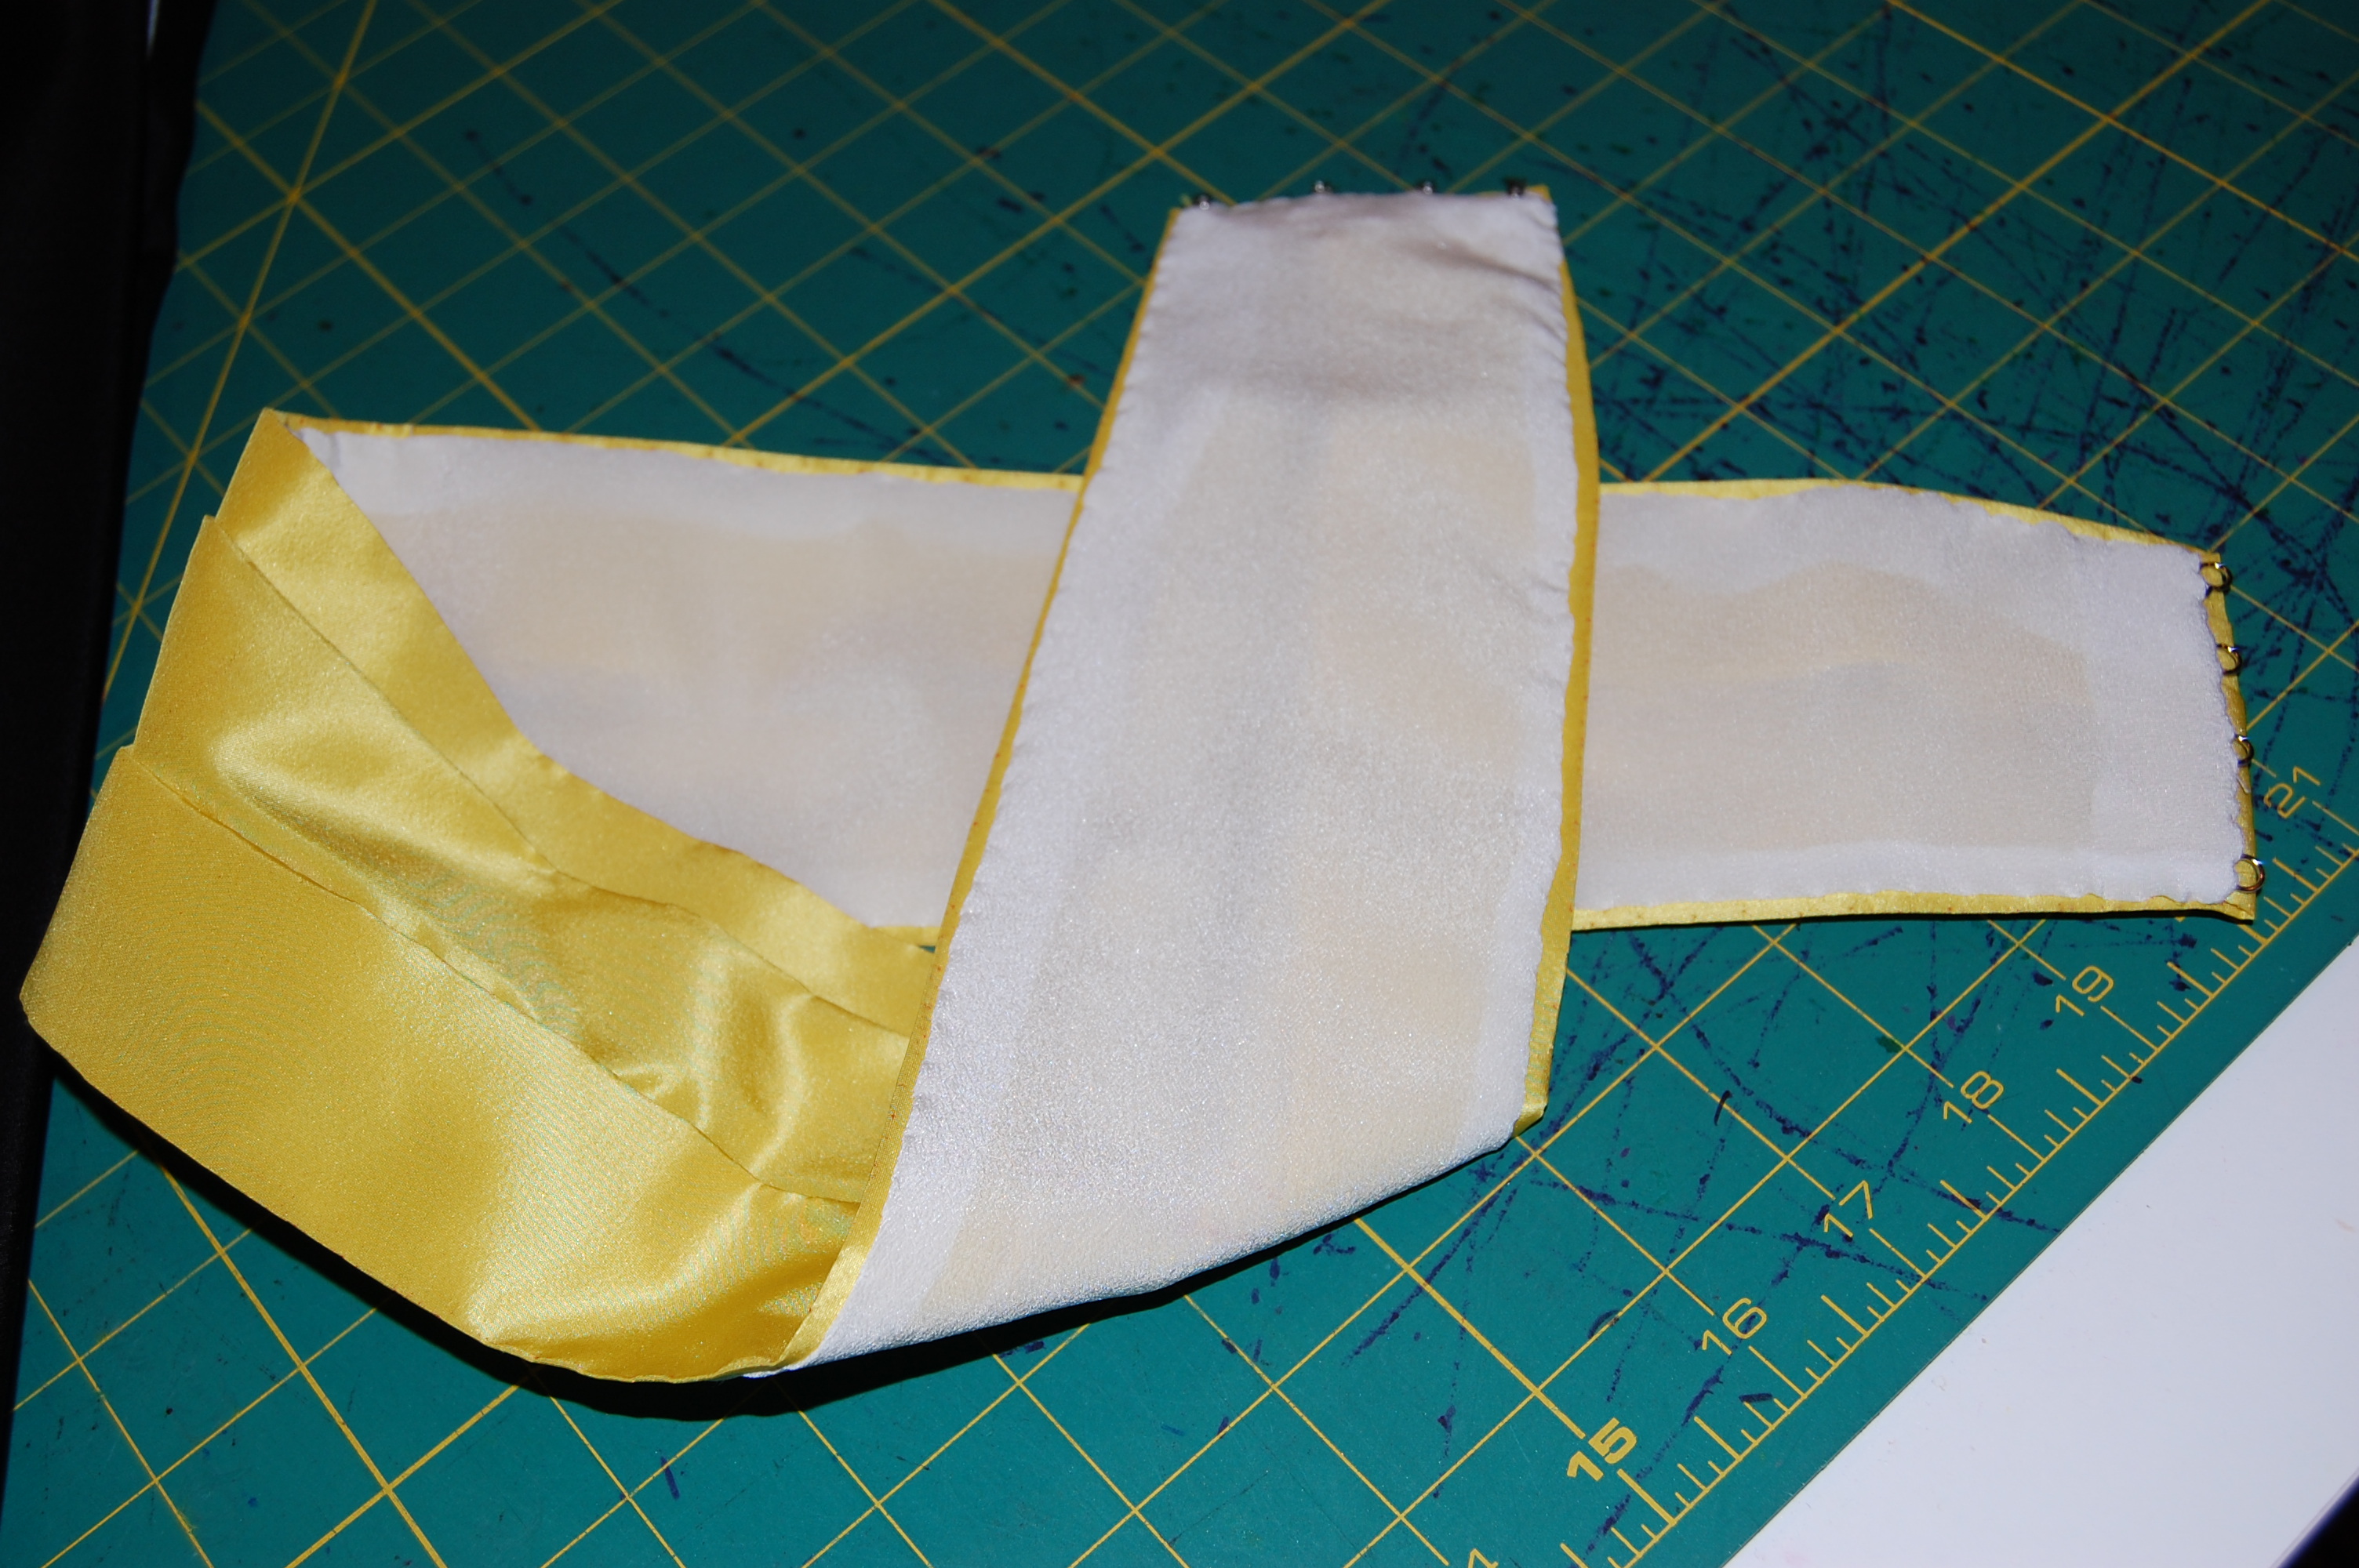
When the yellow silk taffeta arrived, I knew the decision was the right one. All I had to do then was figure out how to make the sash. Easy, right? With lots of time to think about this while I finished the embroidered organza top and the sapphire blue skirt – and the dress lining – I gradually came up with a plan. I decided a more structured cummerbund and bow would be the best look. First I went in search of a cummerbund pattern, which I found in an early 1960s pattern in my collection:

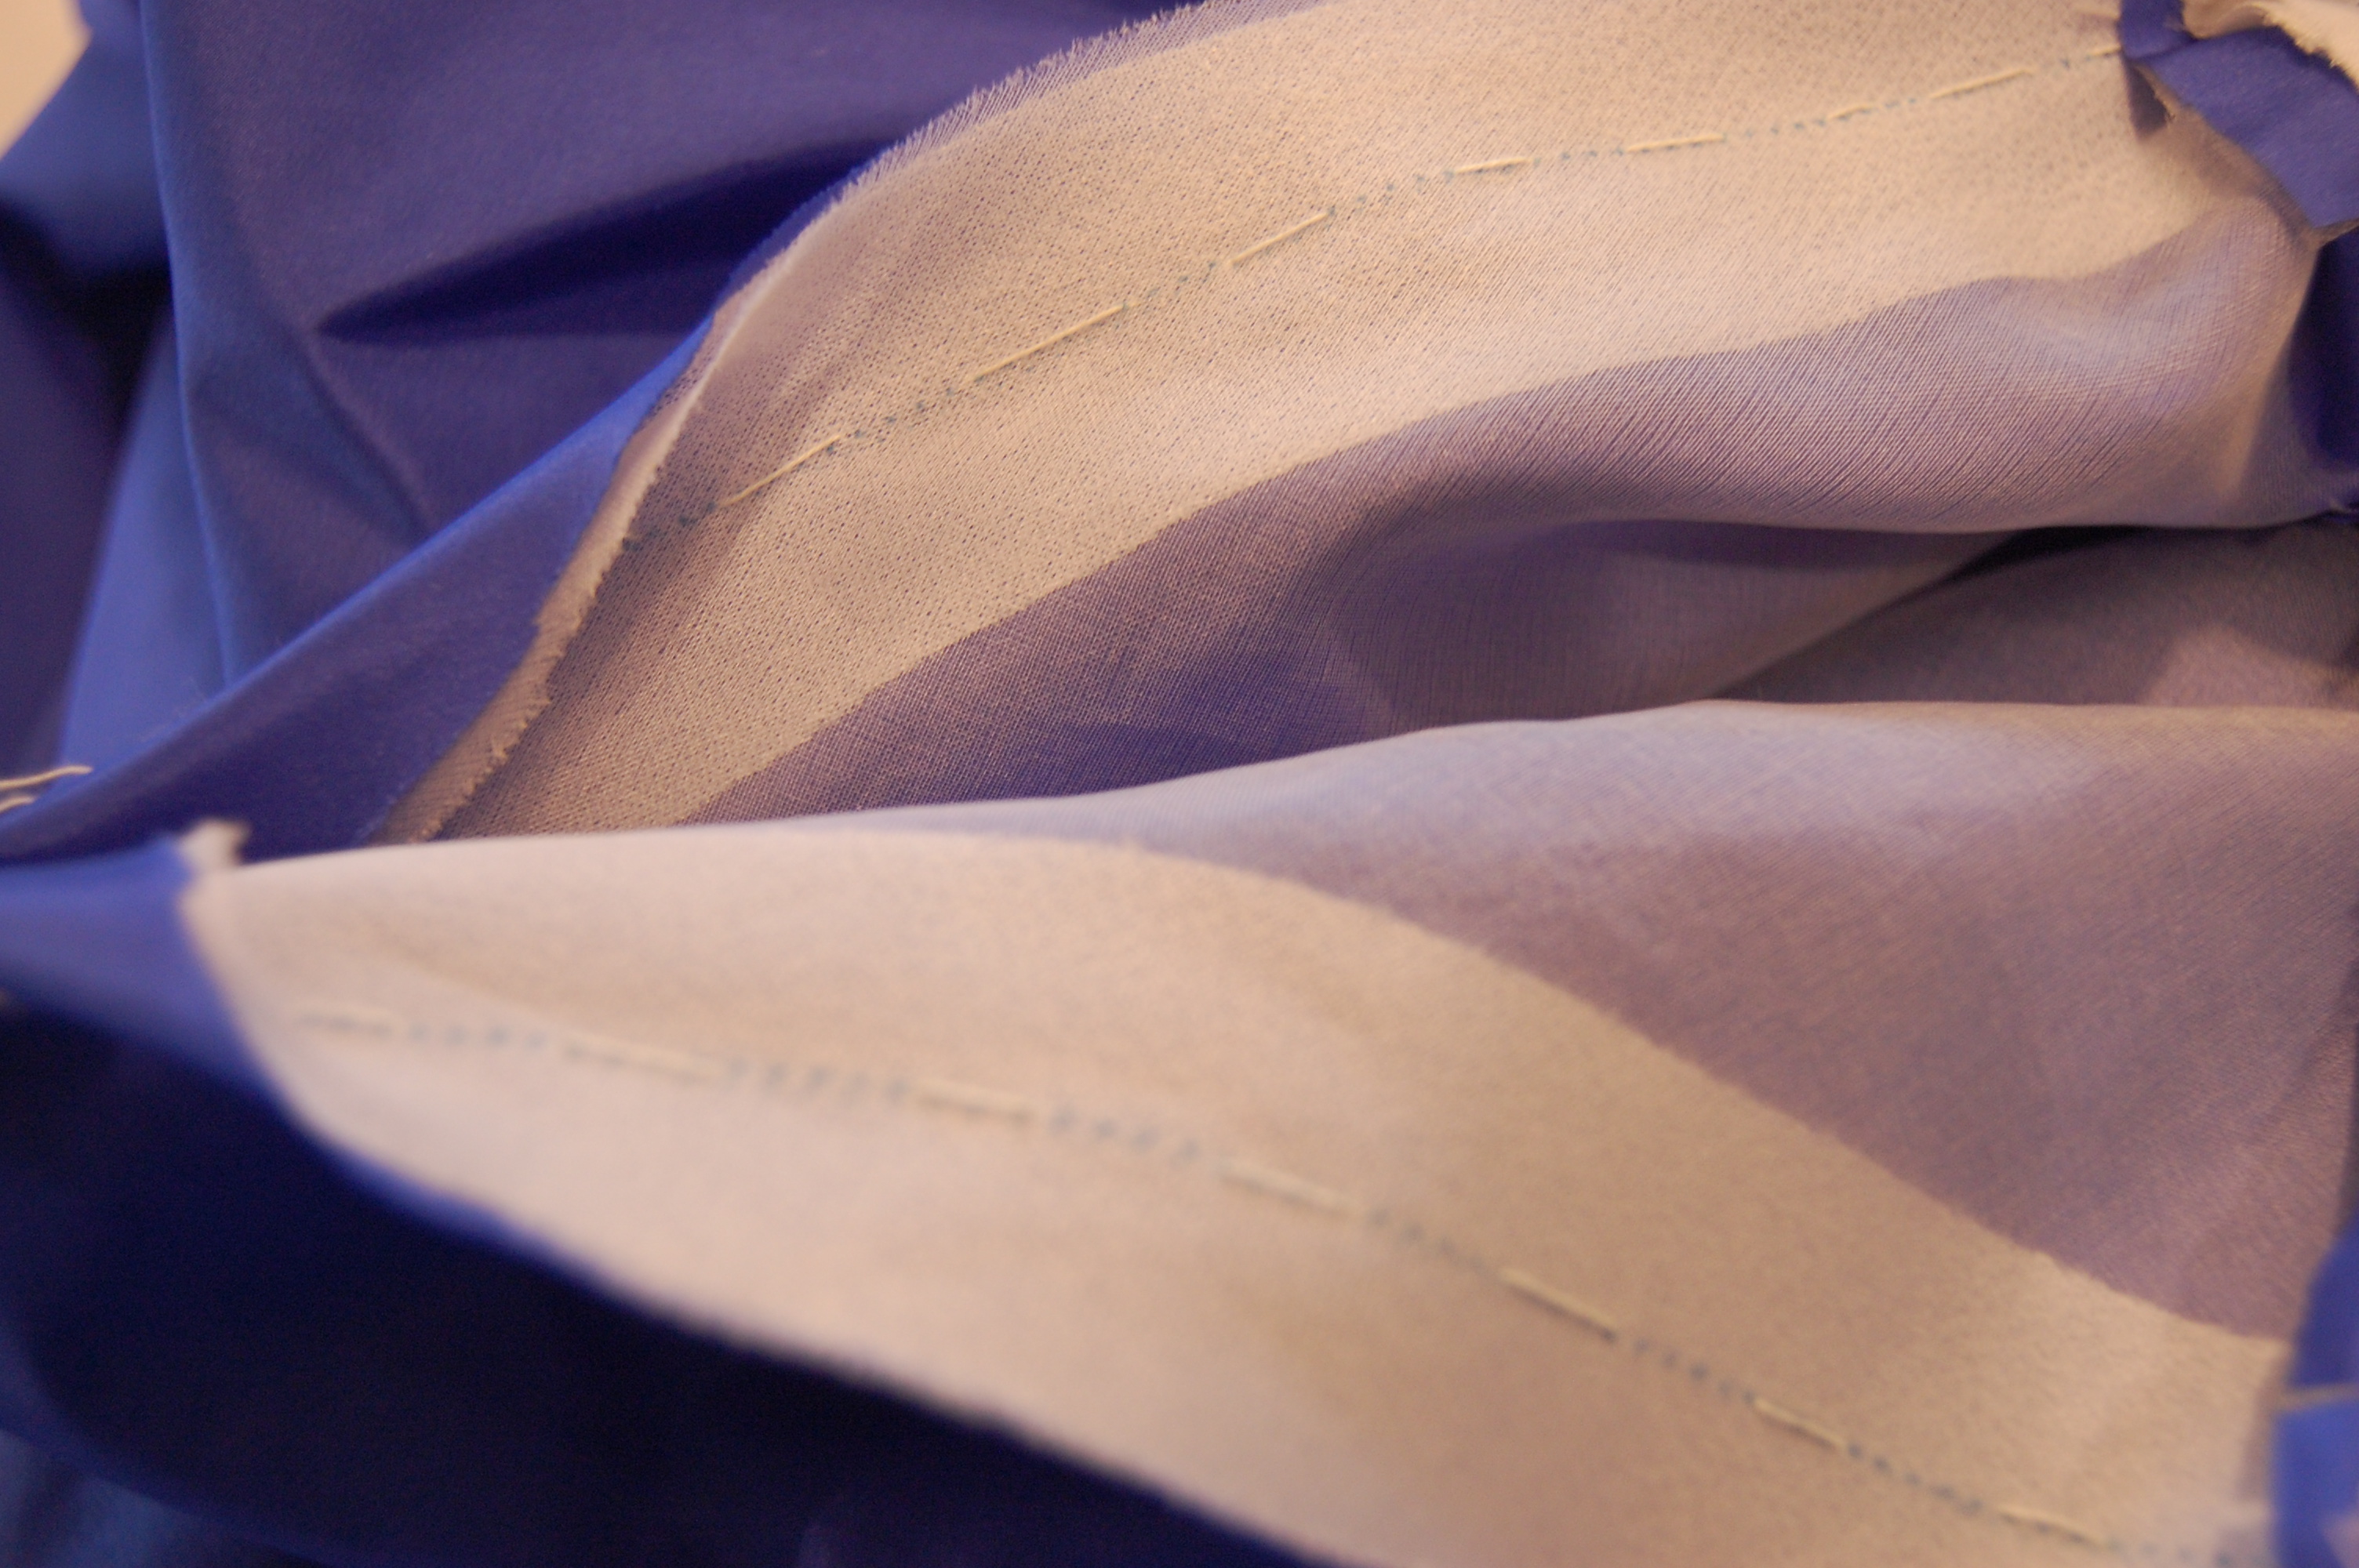
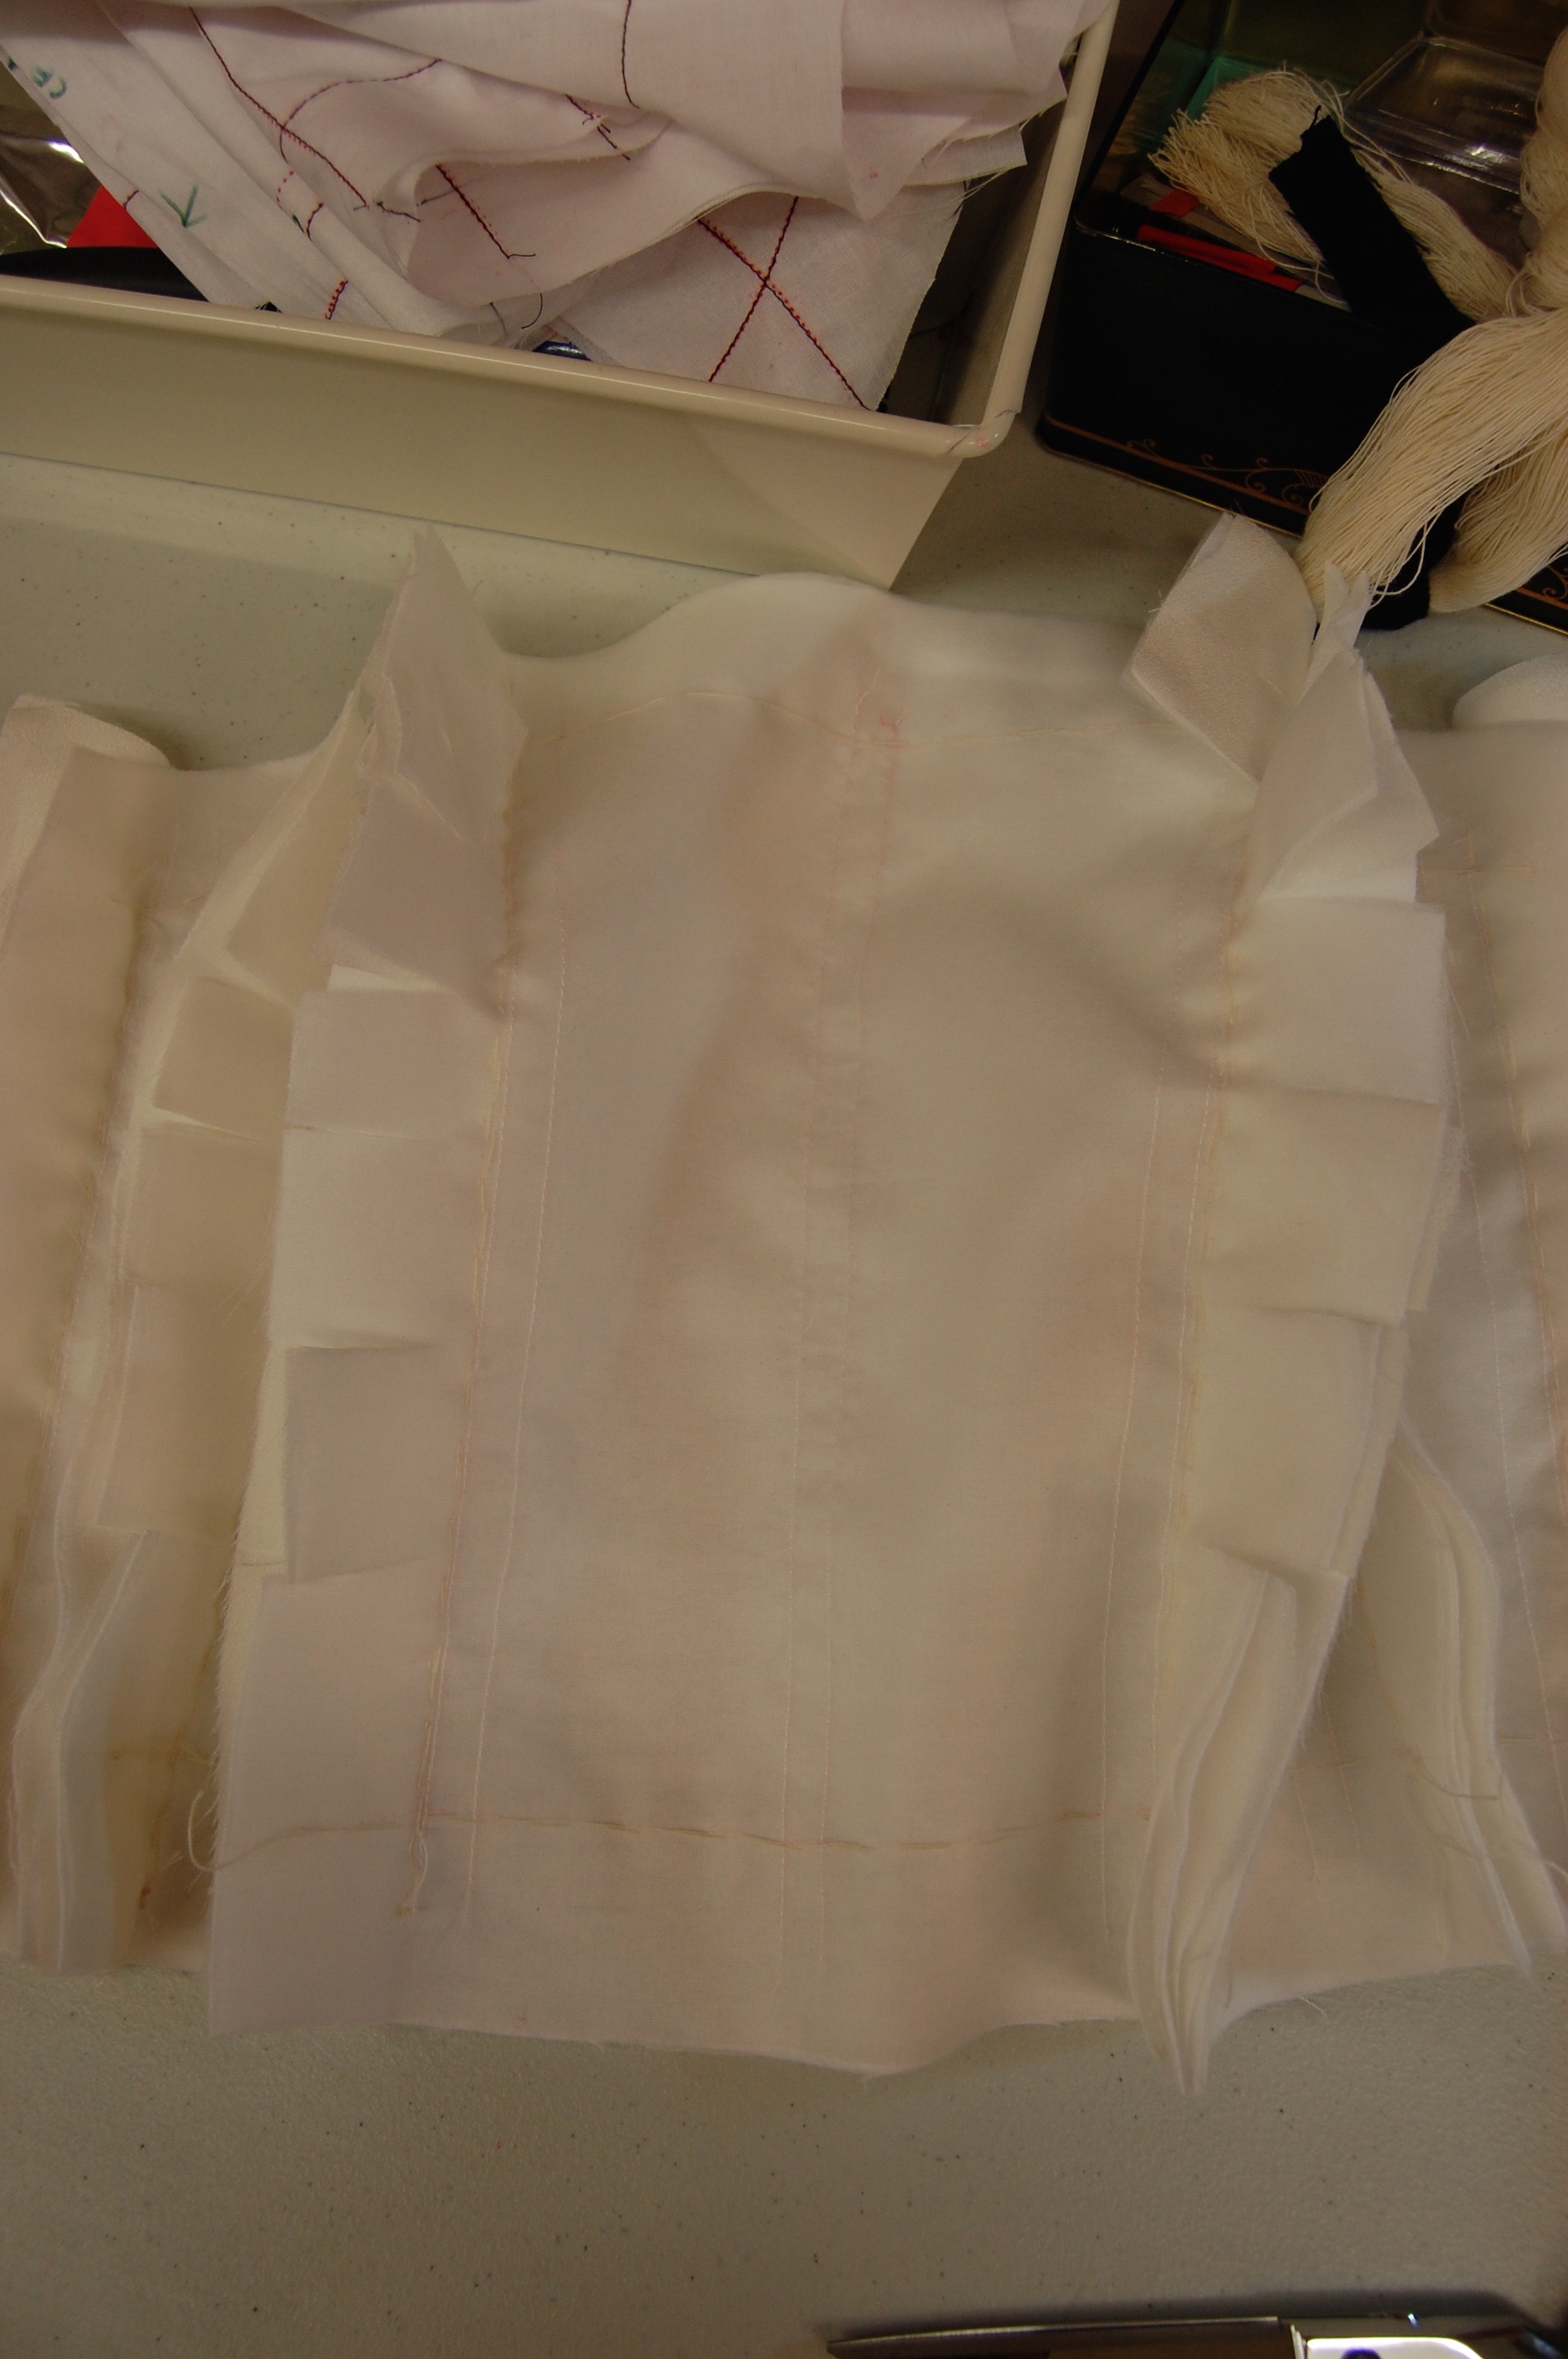
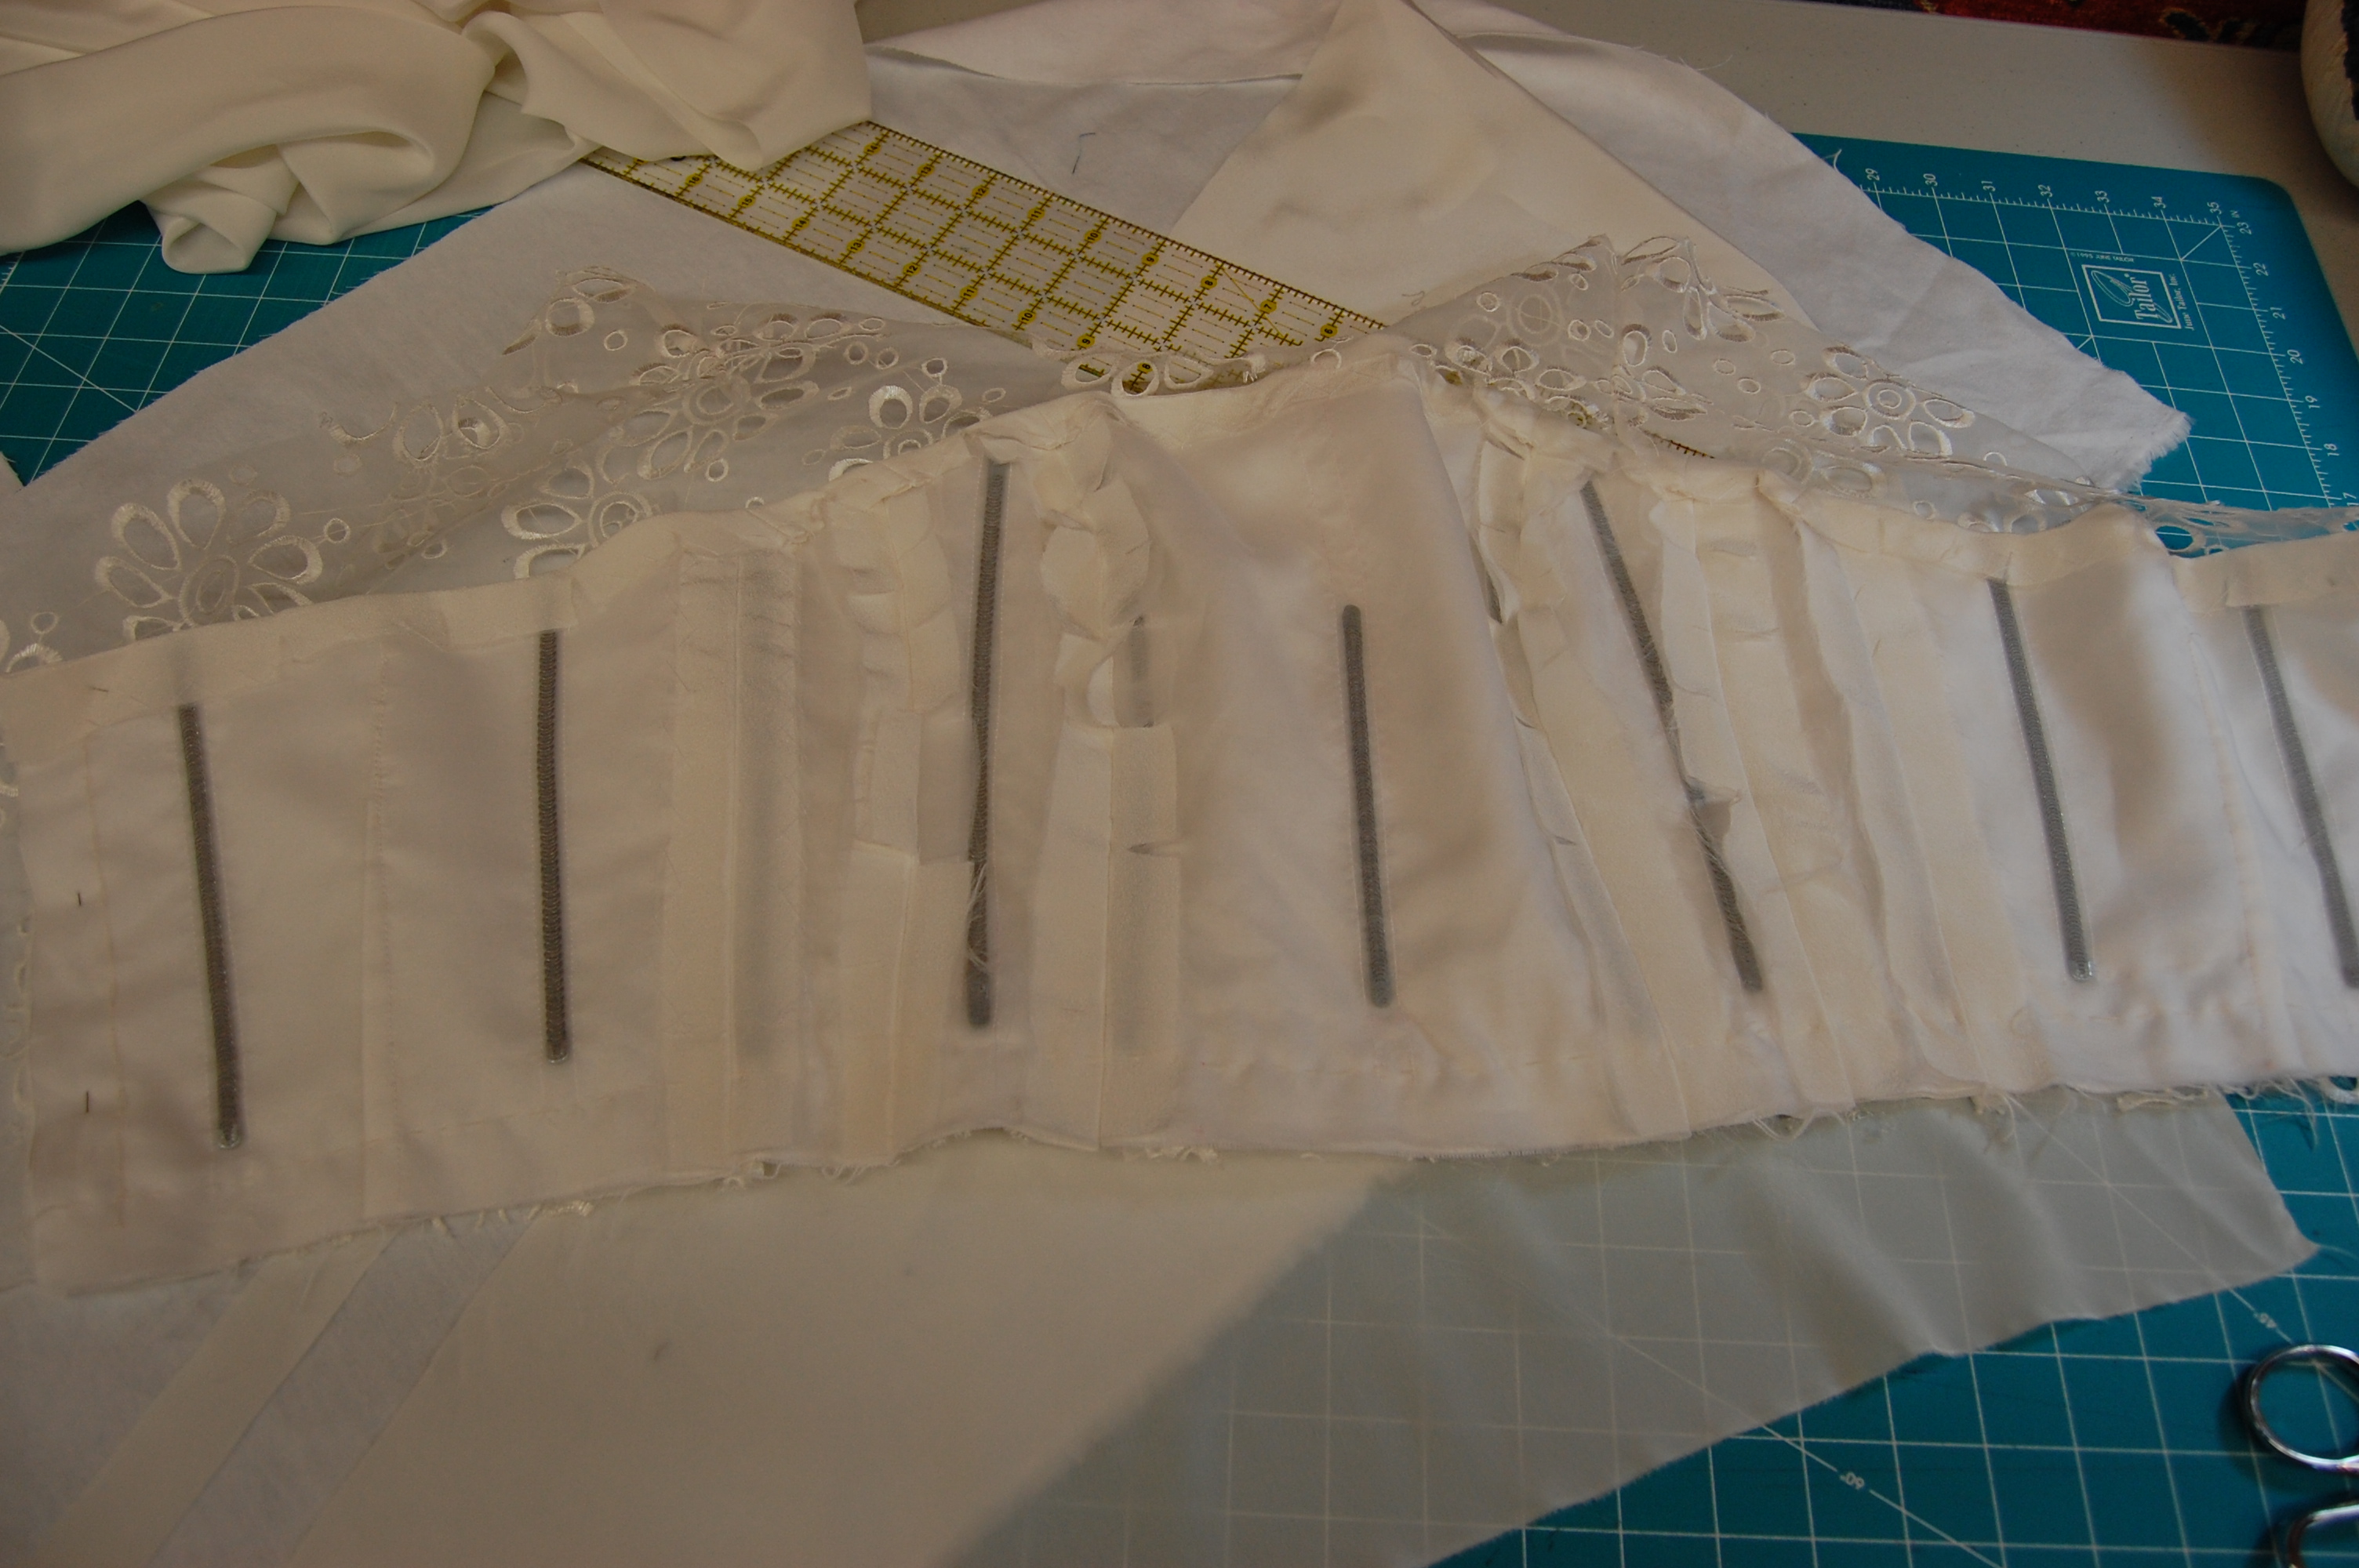
I decided to loosely pleat it instead of gathering it, so it would appear smoother around my waist. Because I had underlined it with silk organza, I had an anchor upon which to secure the soft pleats:

I used a loose catch-stitch to secure the pleats.
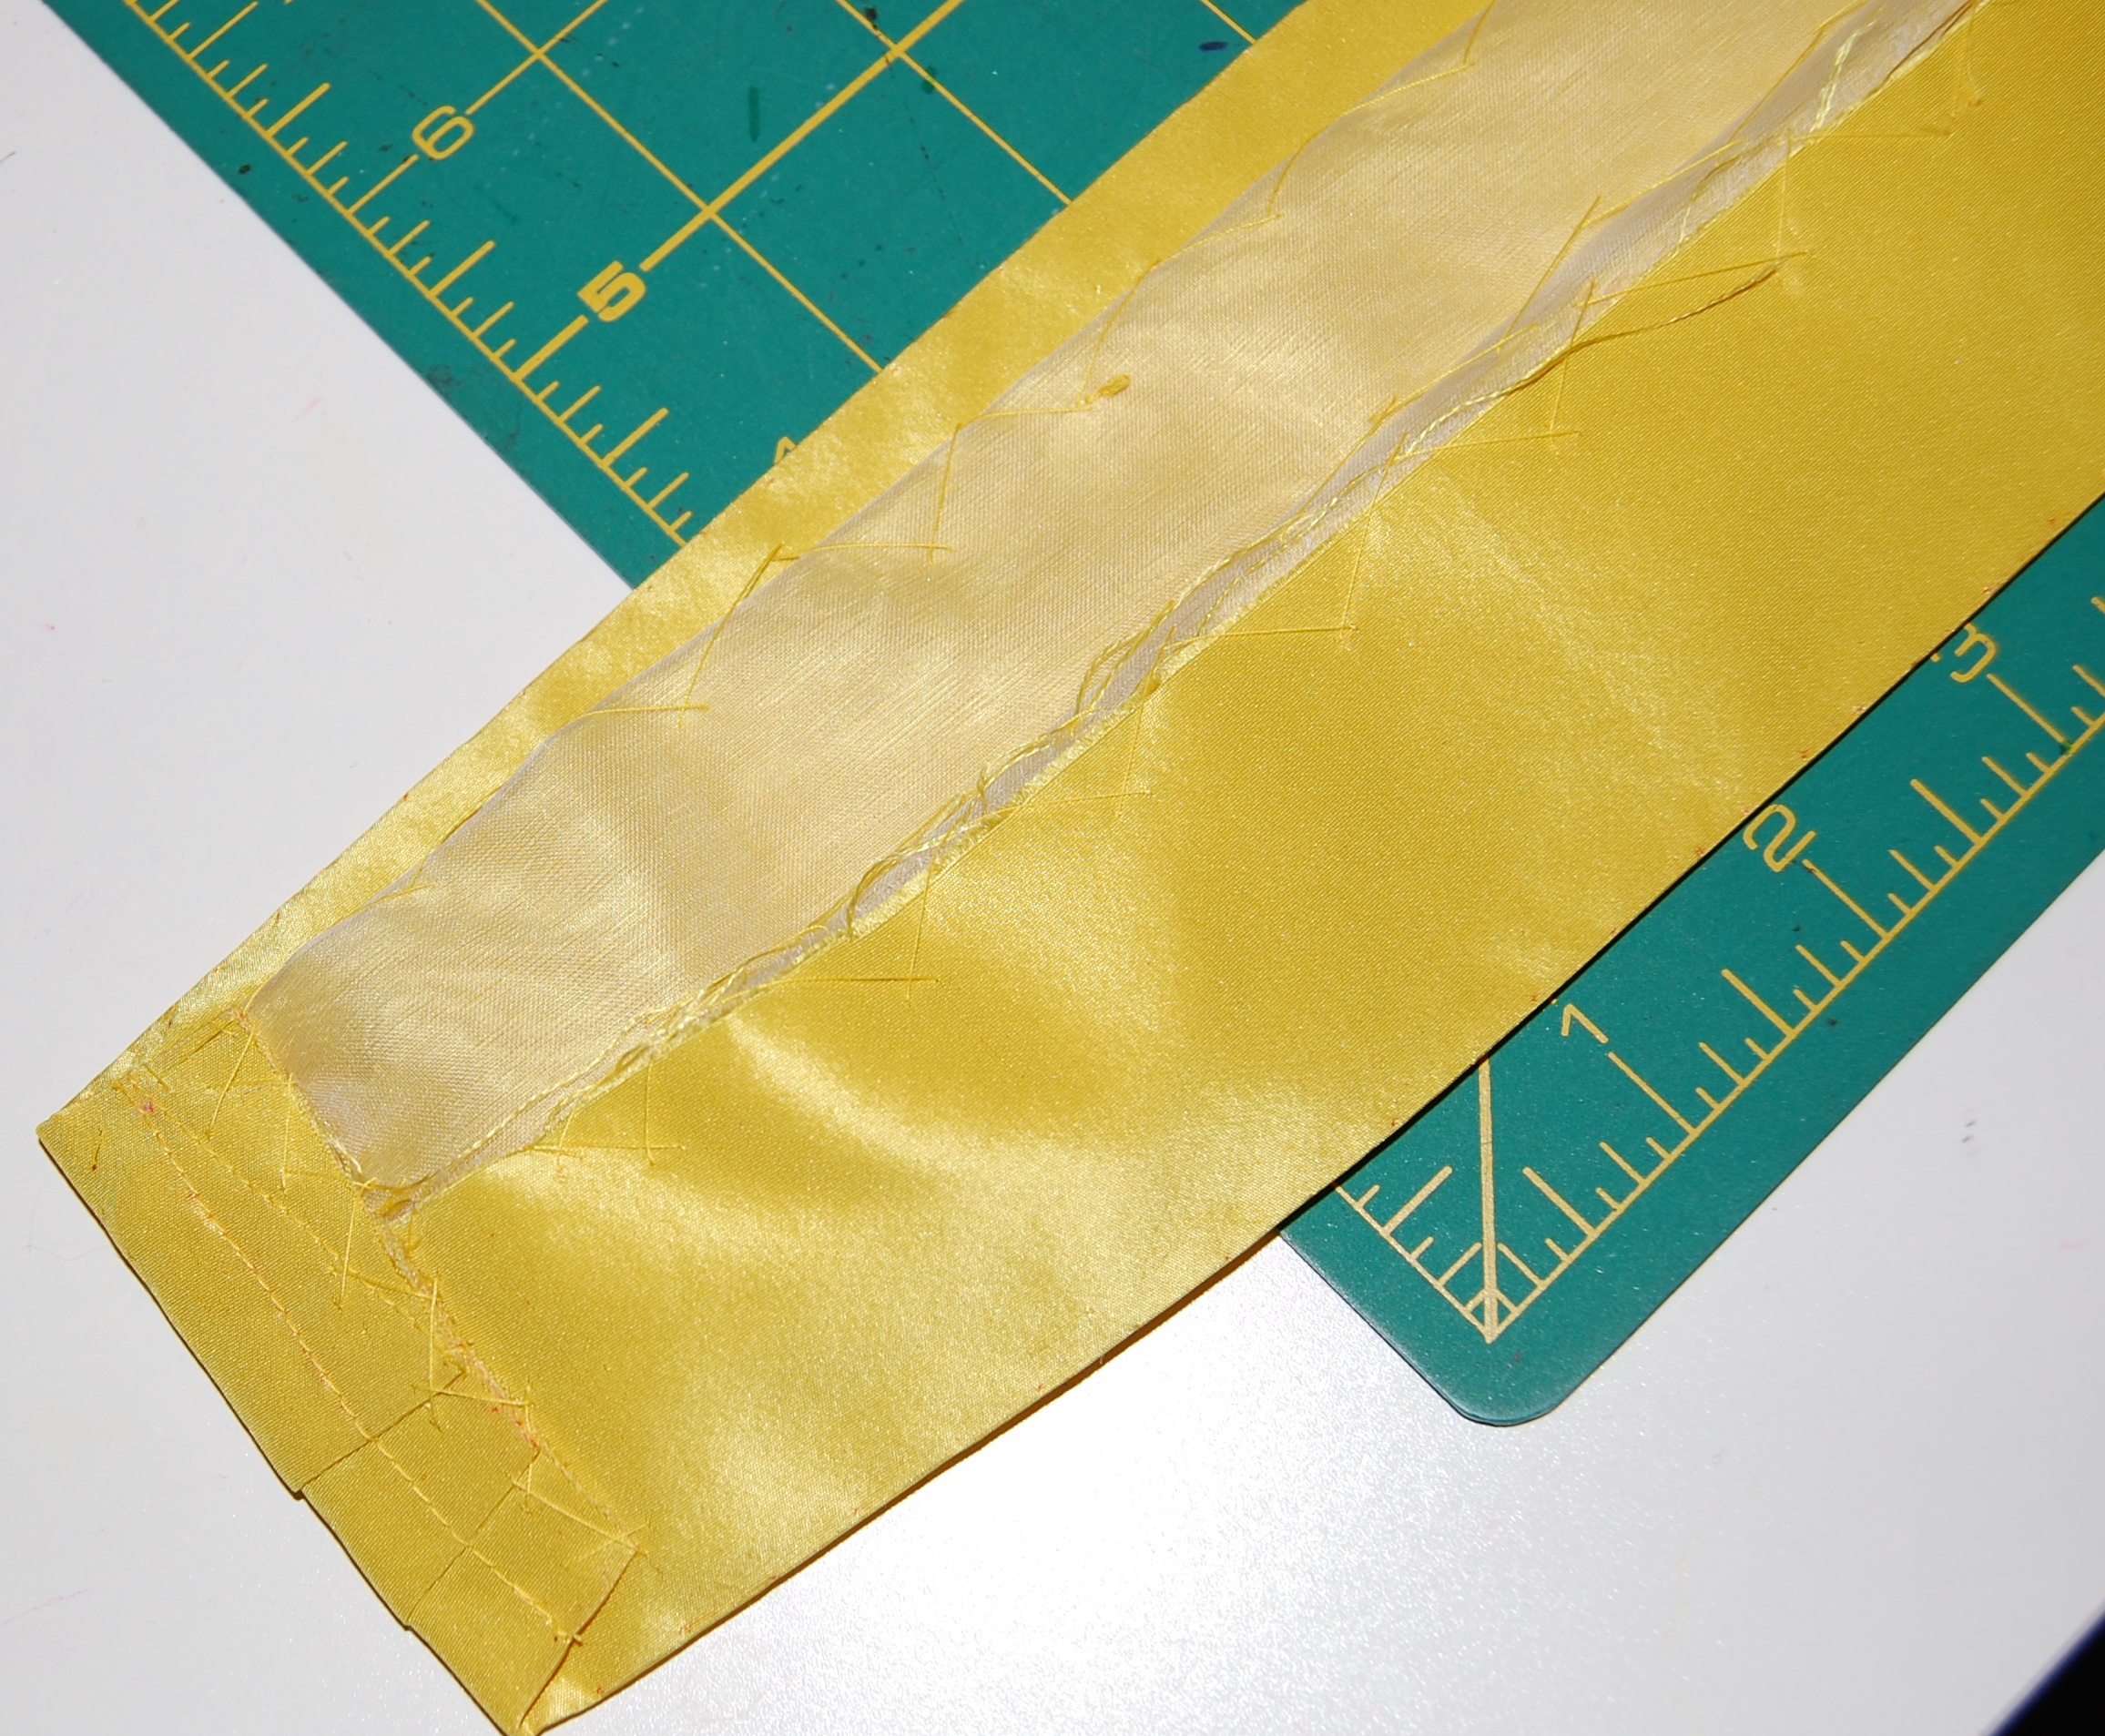
And I folded in the two ends, ready for hooks and eyes.
Then I lined it with silk crepe de chine.
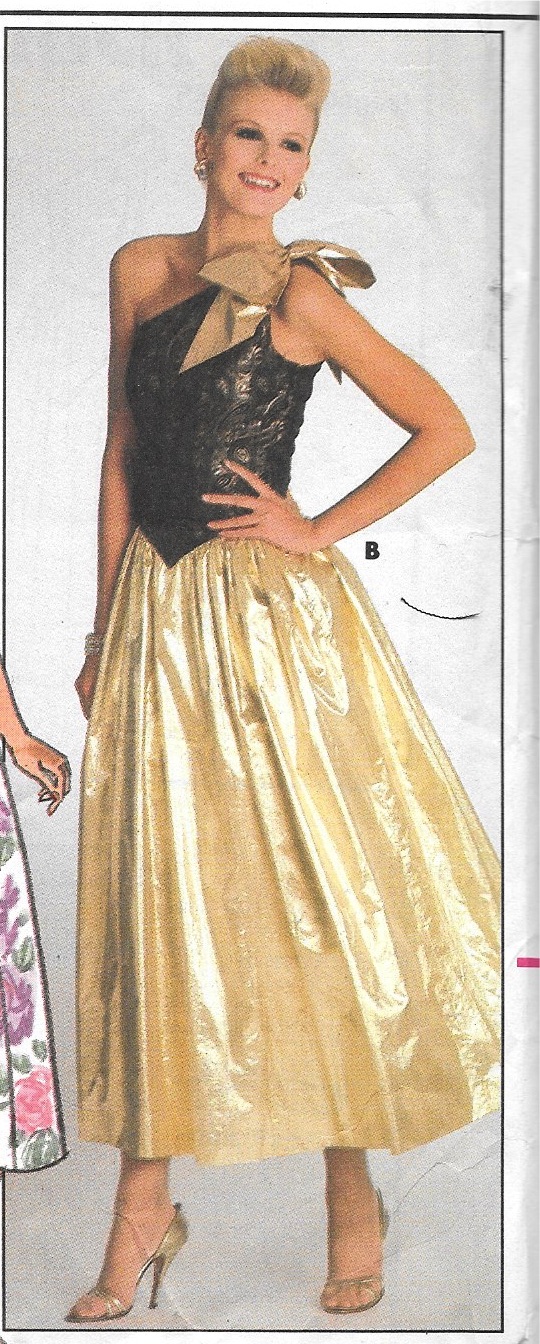
Now – I really love a beautiful bow. And I knew just where to go to get the perfect bow pattern. I made this Butterick pattern in the early 1990s, and while I still like the dress I made (I’ll feature it sometime… it’s still in my closet!), I love the bow. I have used this bow pattern numerous times, always successfully.
Here is a close-up of the instruction sheet, showing the simple but effective construction of this bow.
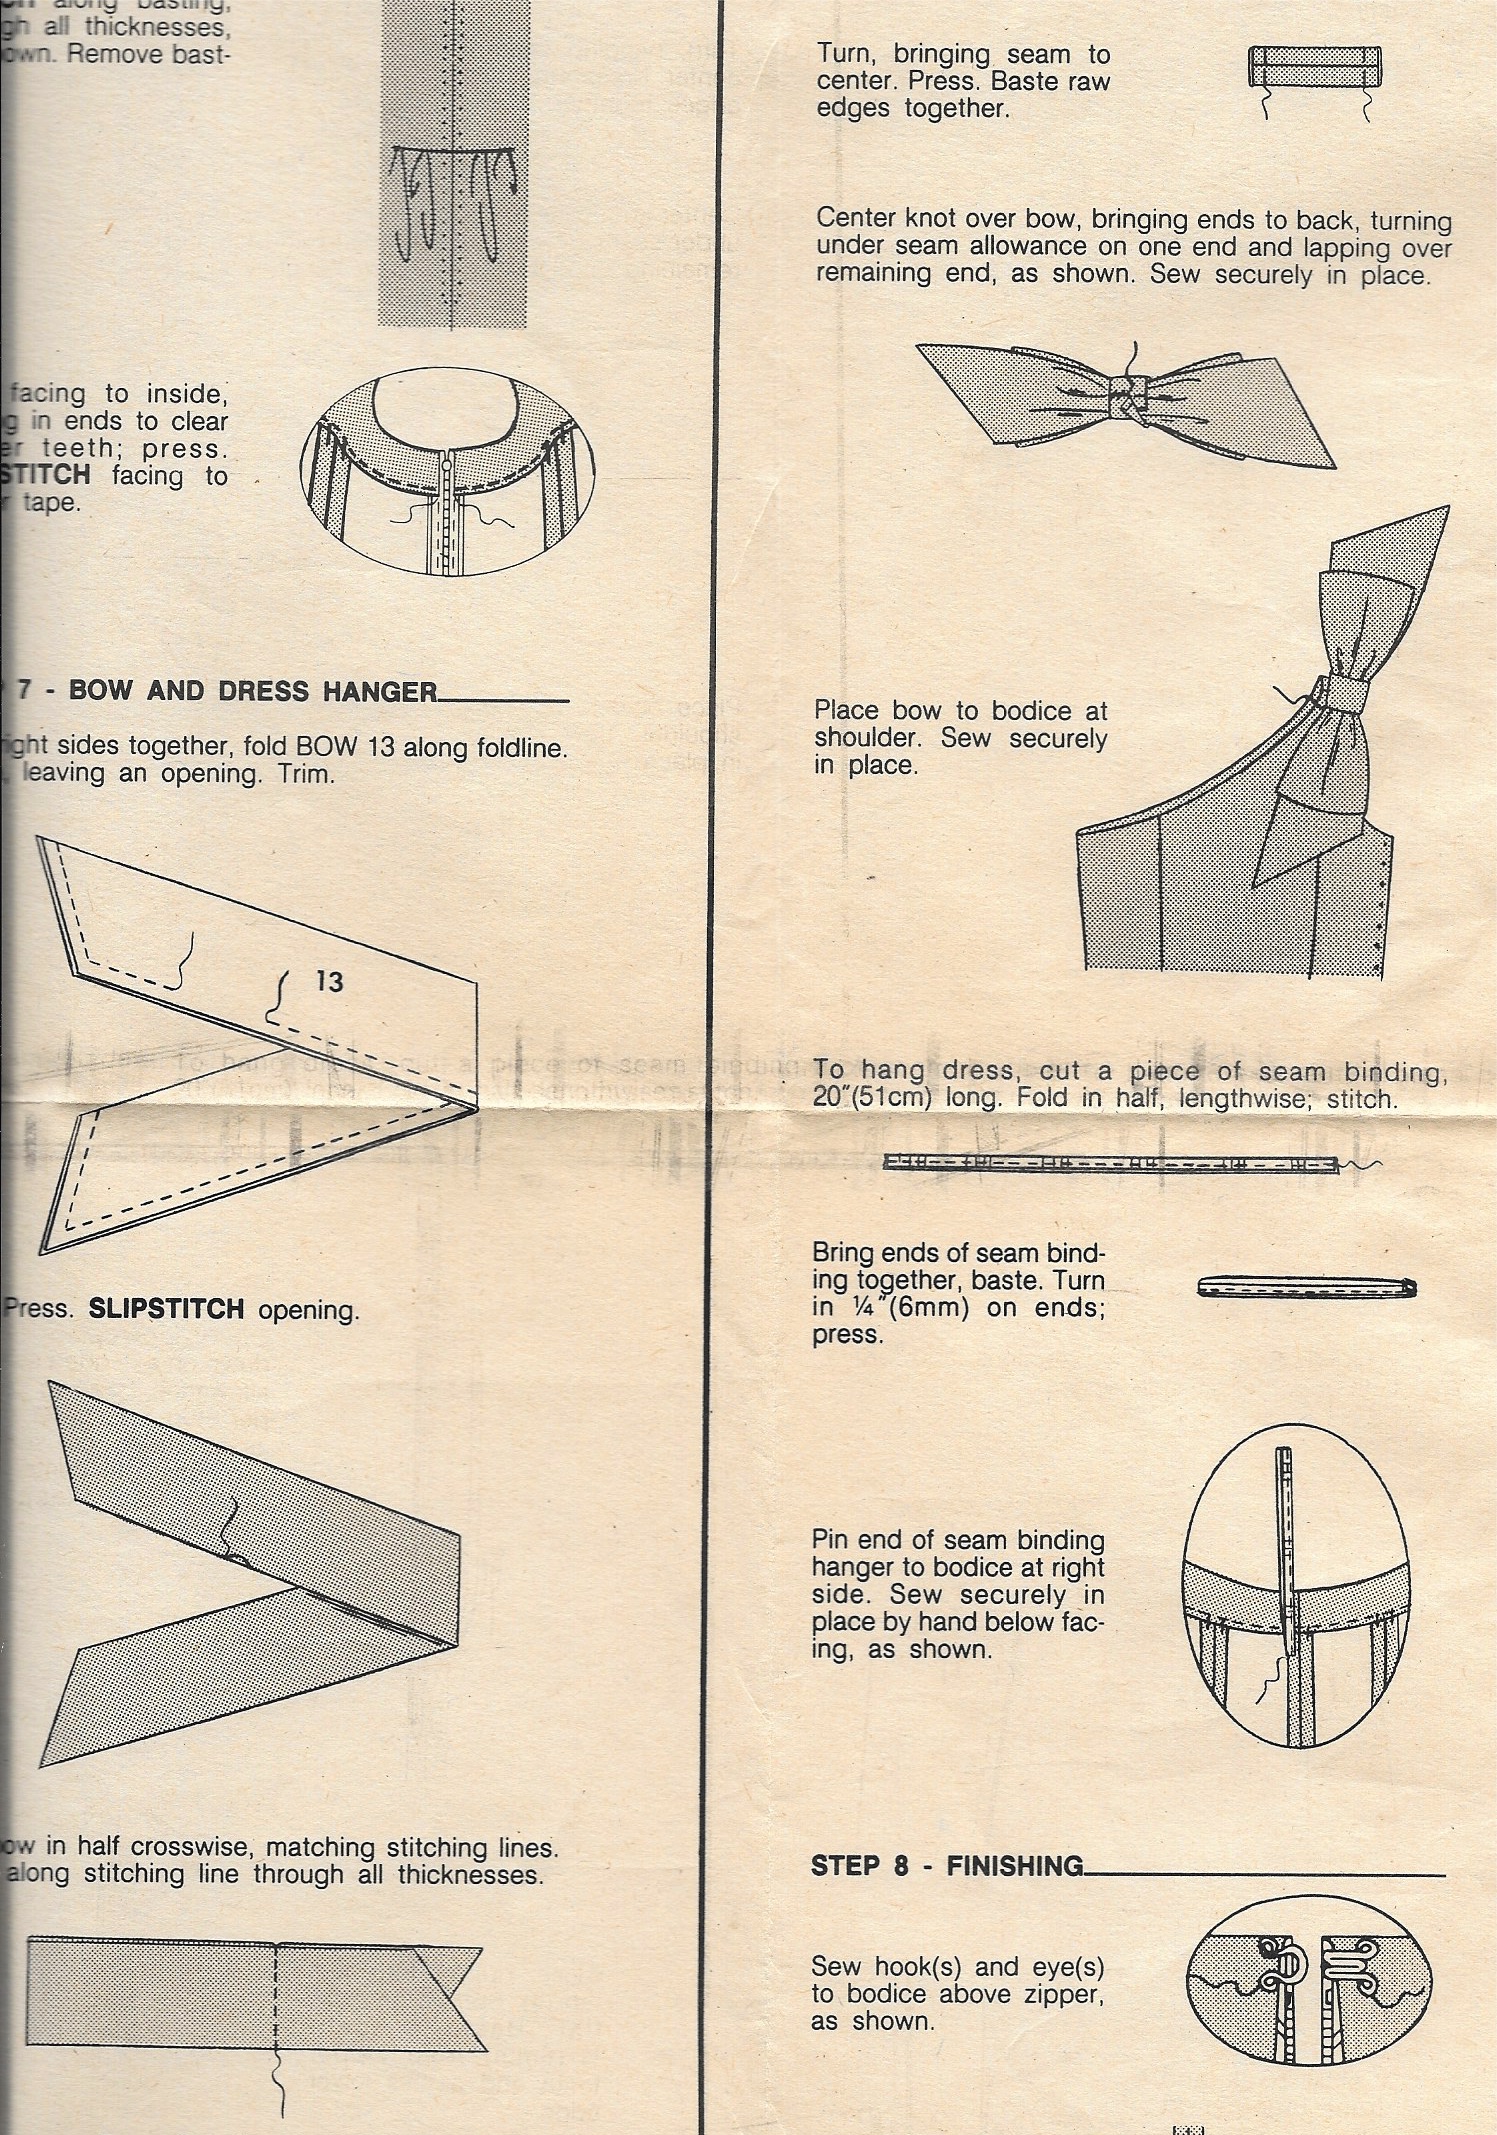
I increased the width and length a bit, as I knew it would need to be a focal point of the dress. I attached the bow to one end of the cummerbund, and used a snap to secure it in place on the other end.
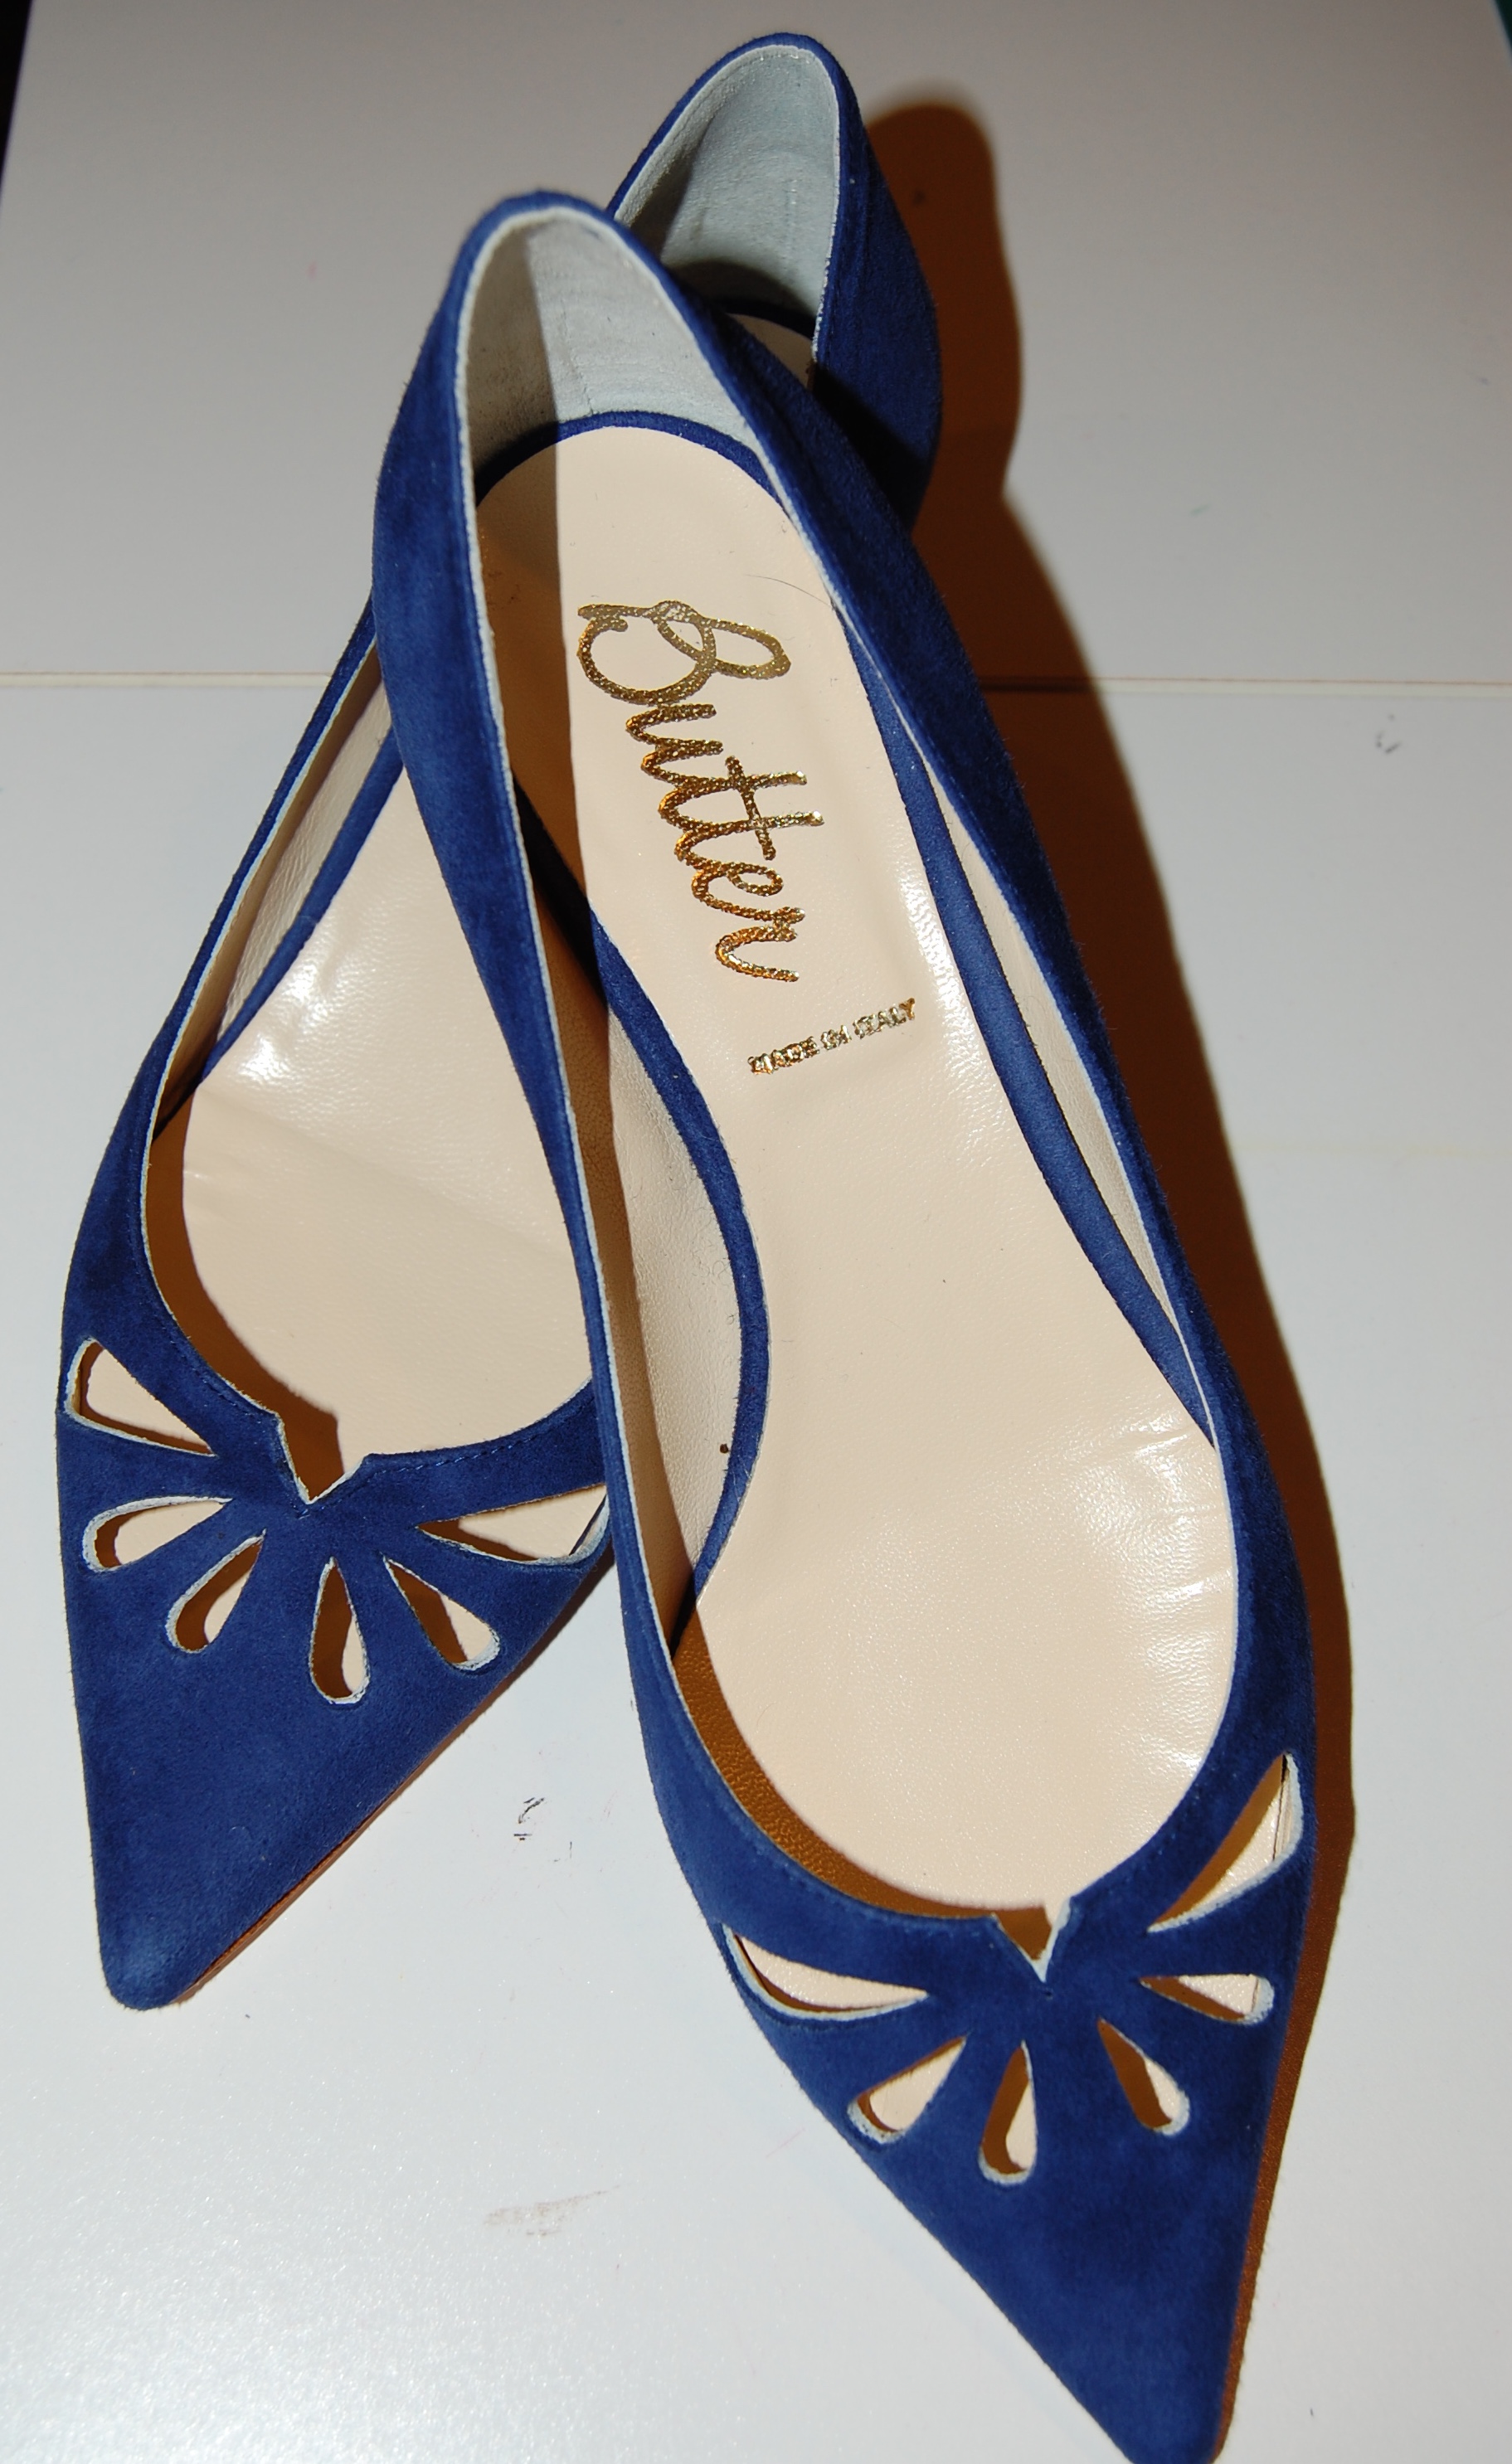
All of this took more time than I could have ever imagined! The event for which I made this dress is next week, and I’ll get proper pbotos taken then. But here is a sneak peek, first of the shoes I found which really seem to be the perfect pairing for this dress:
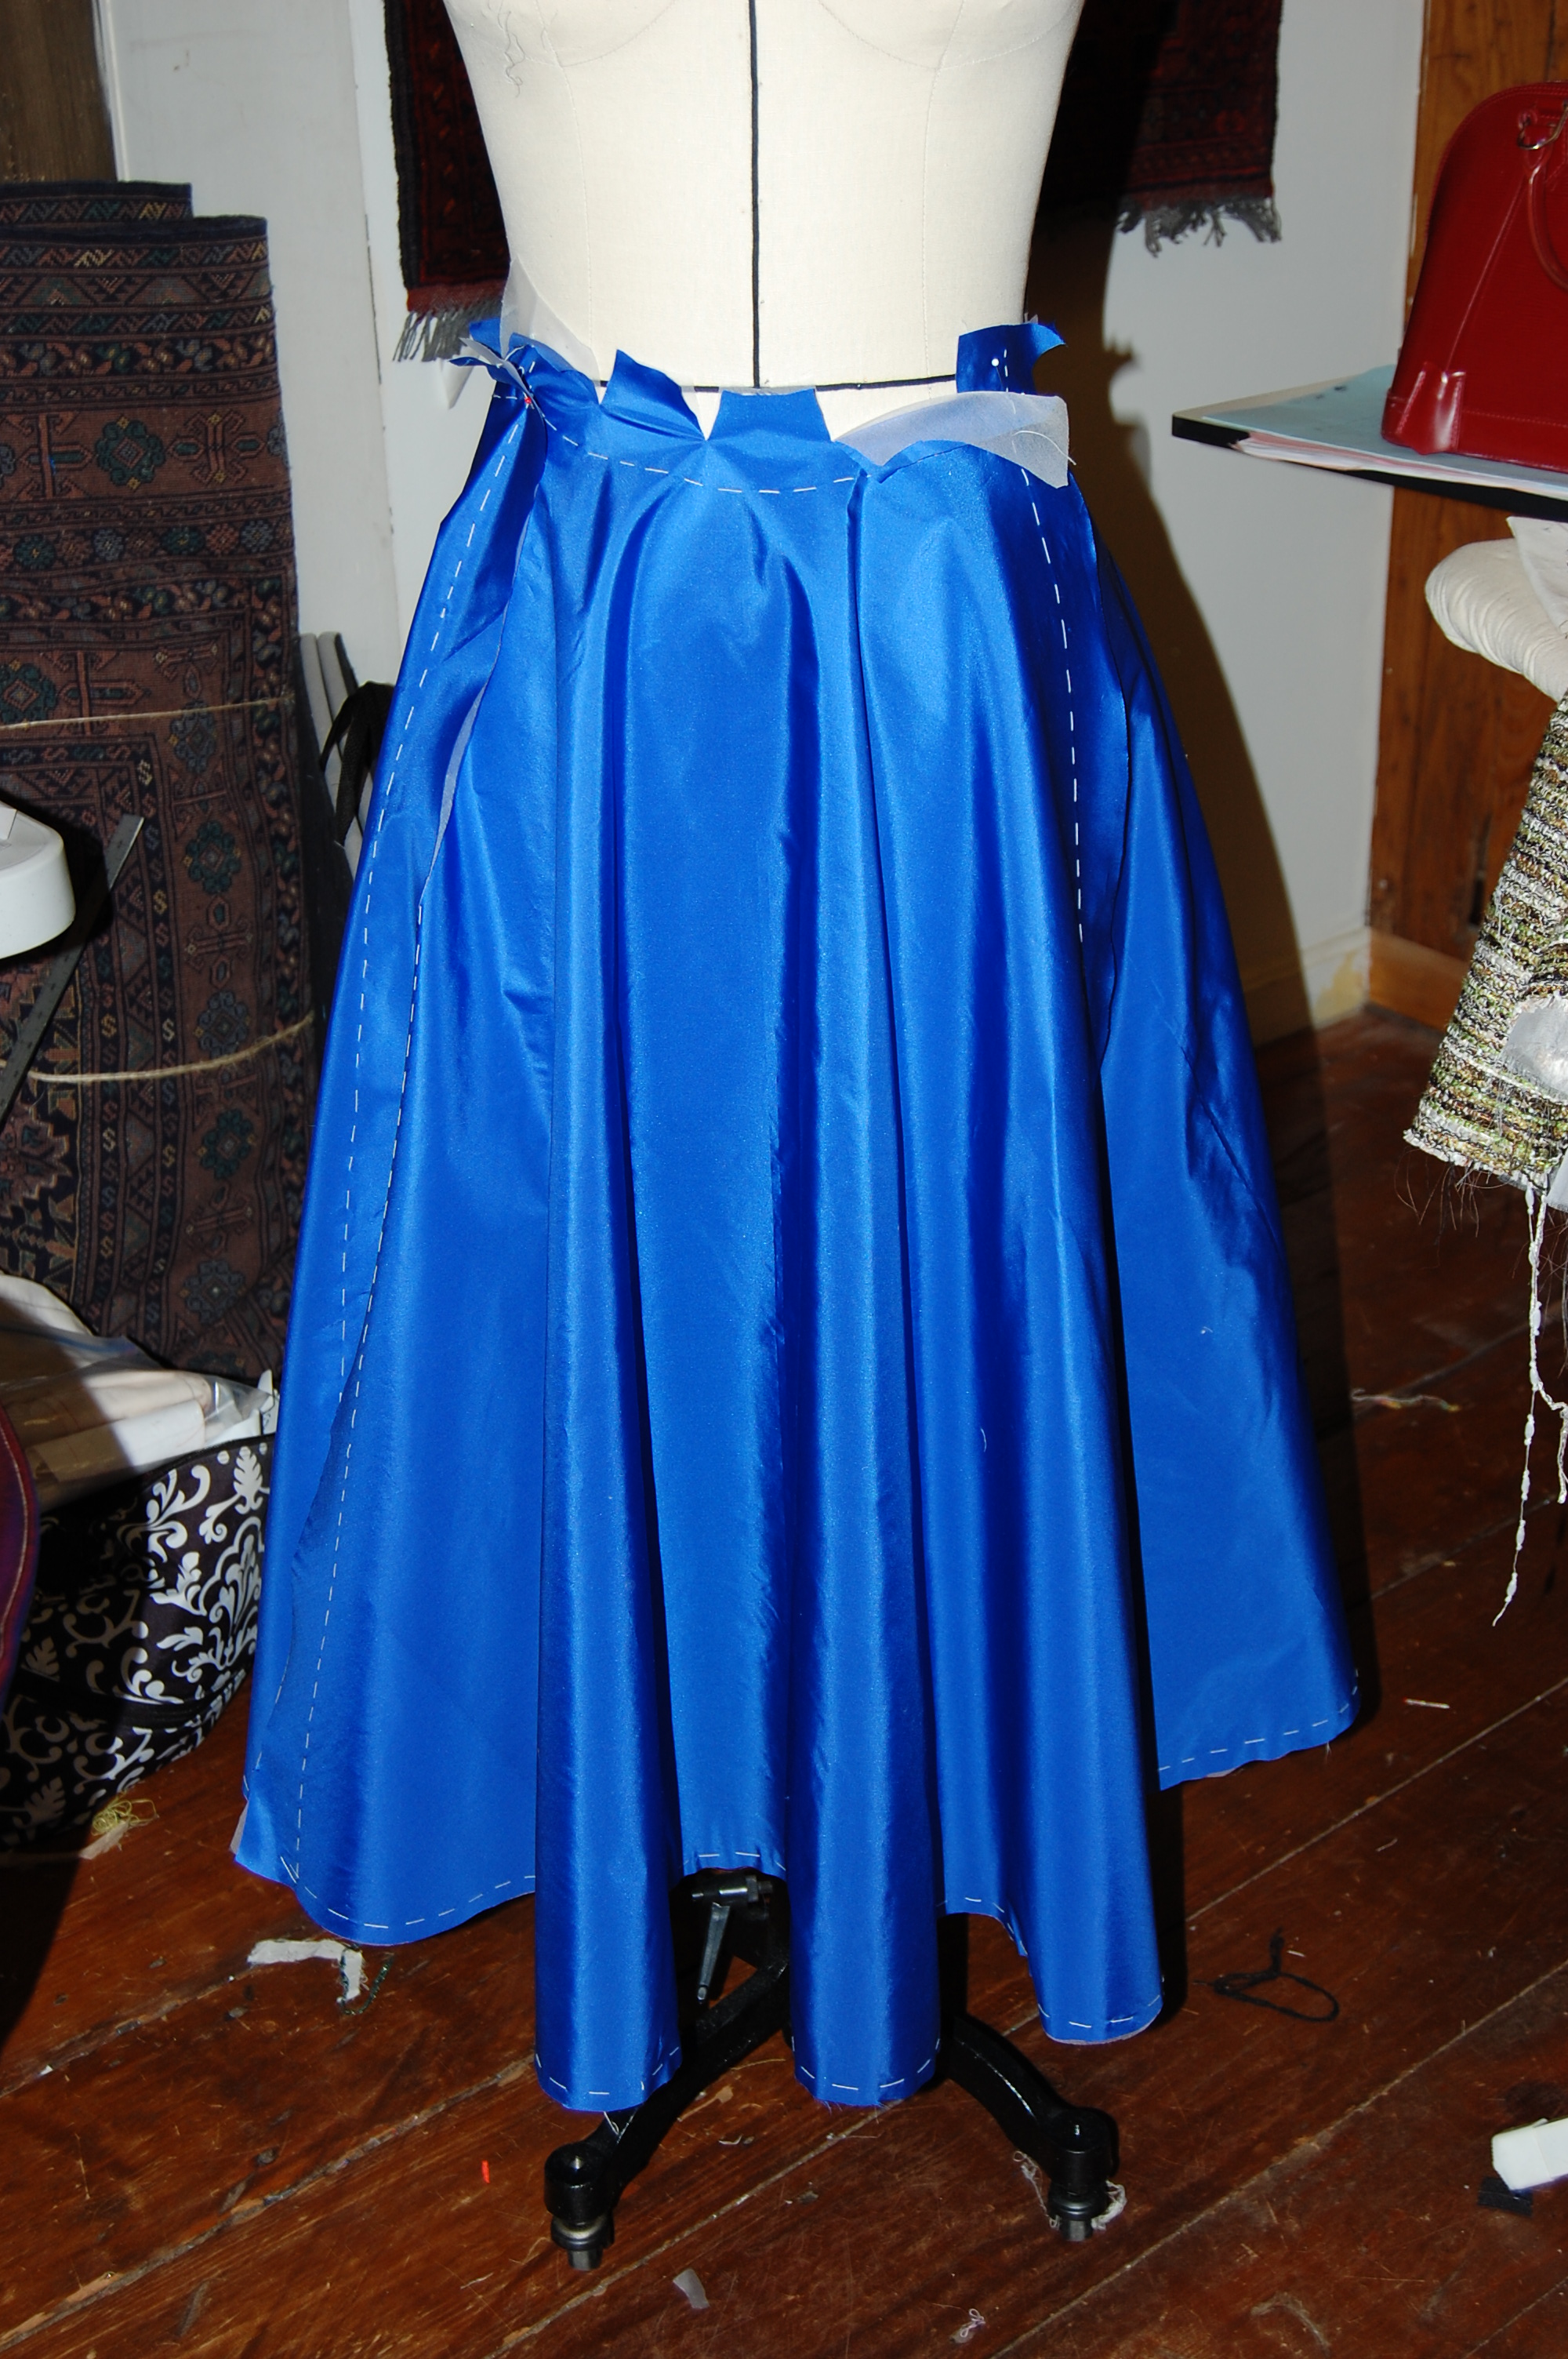
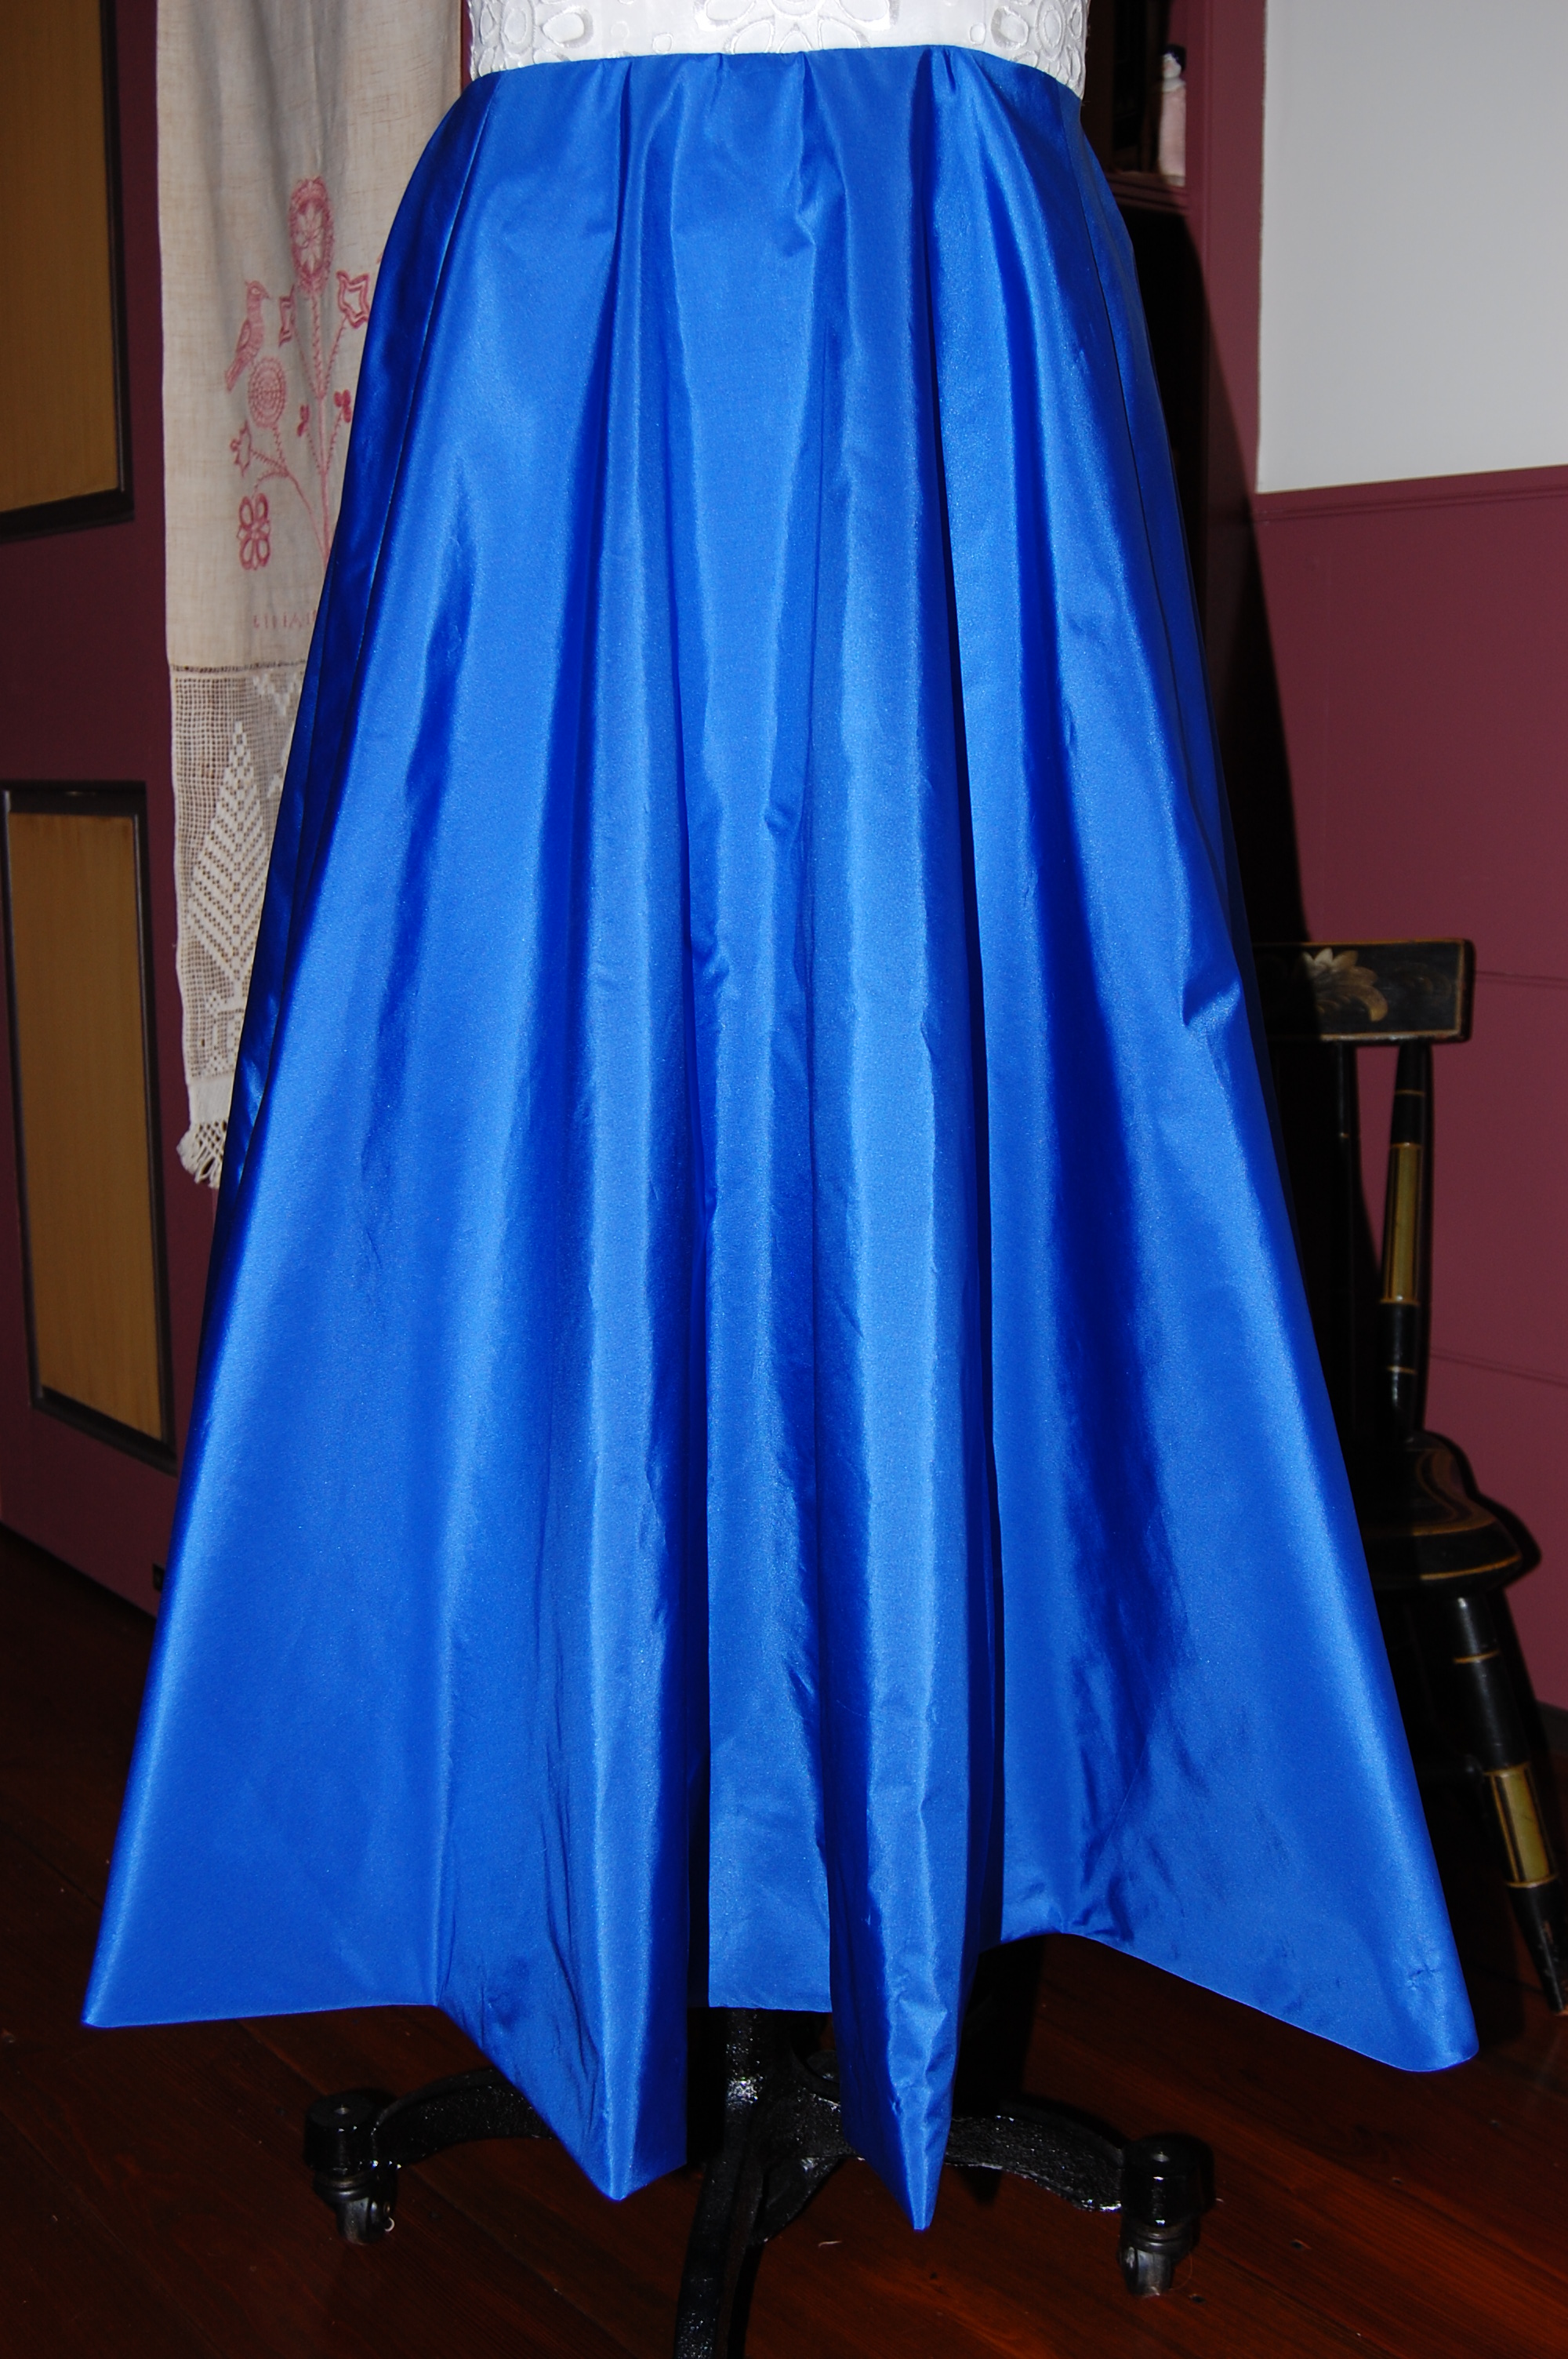
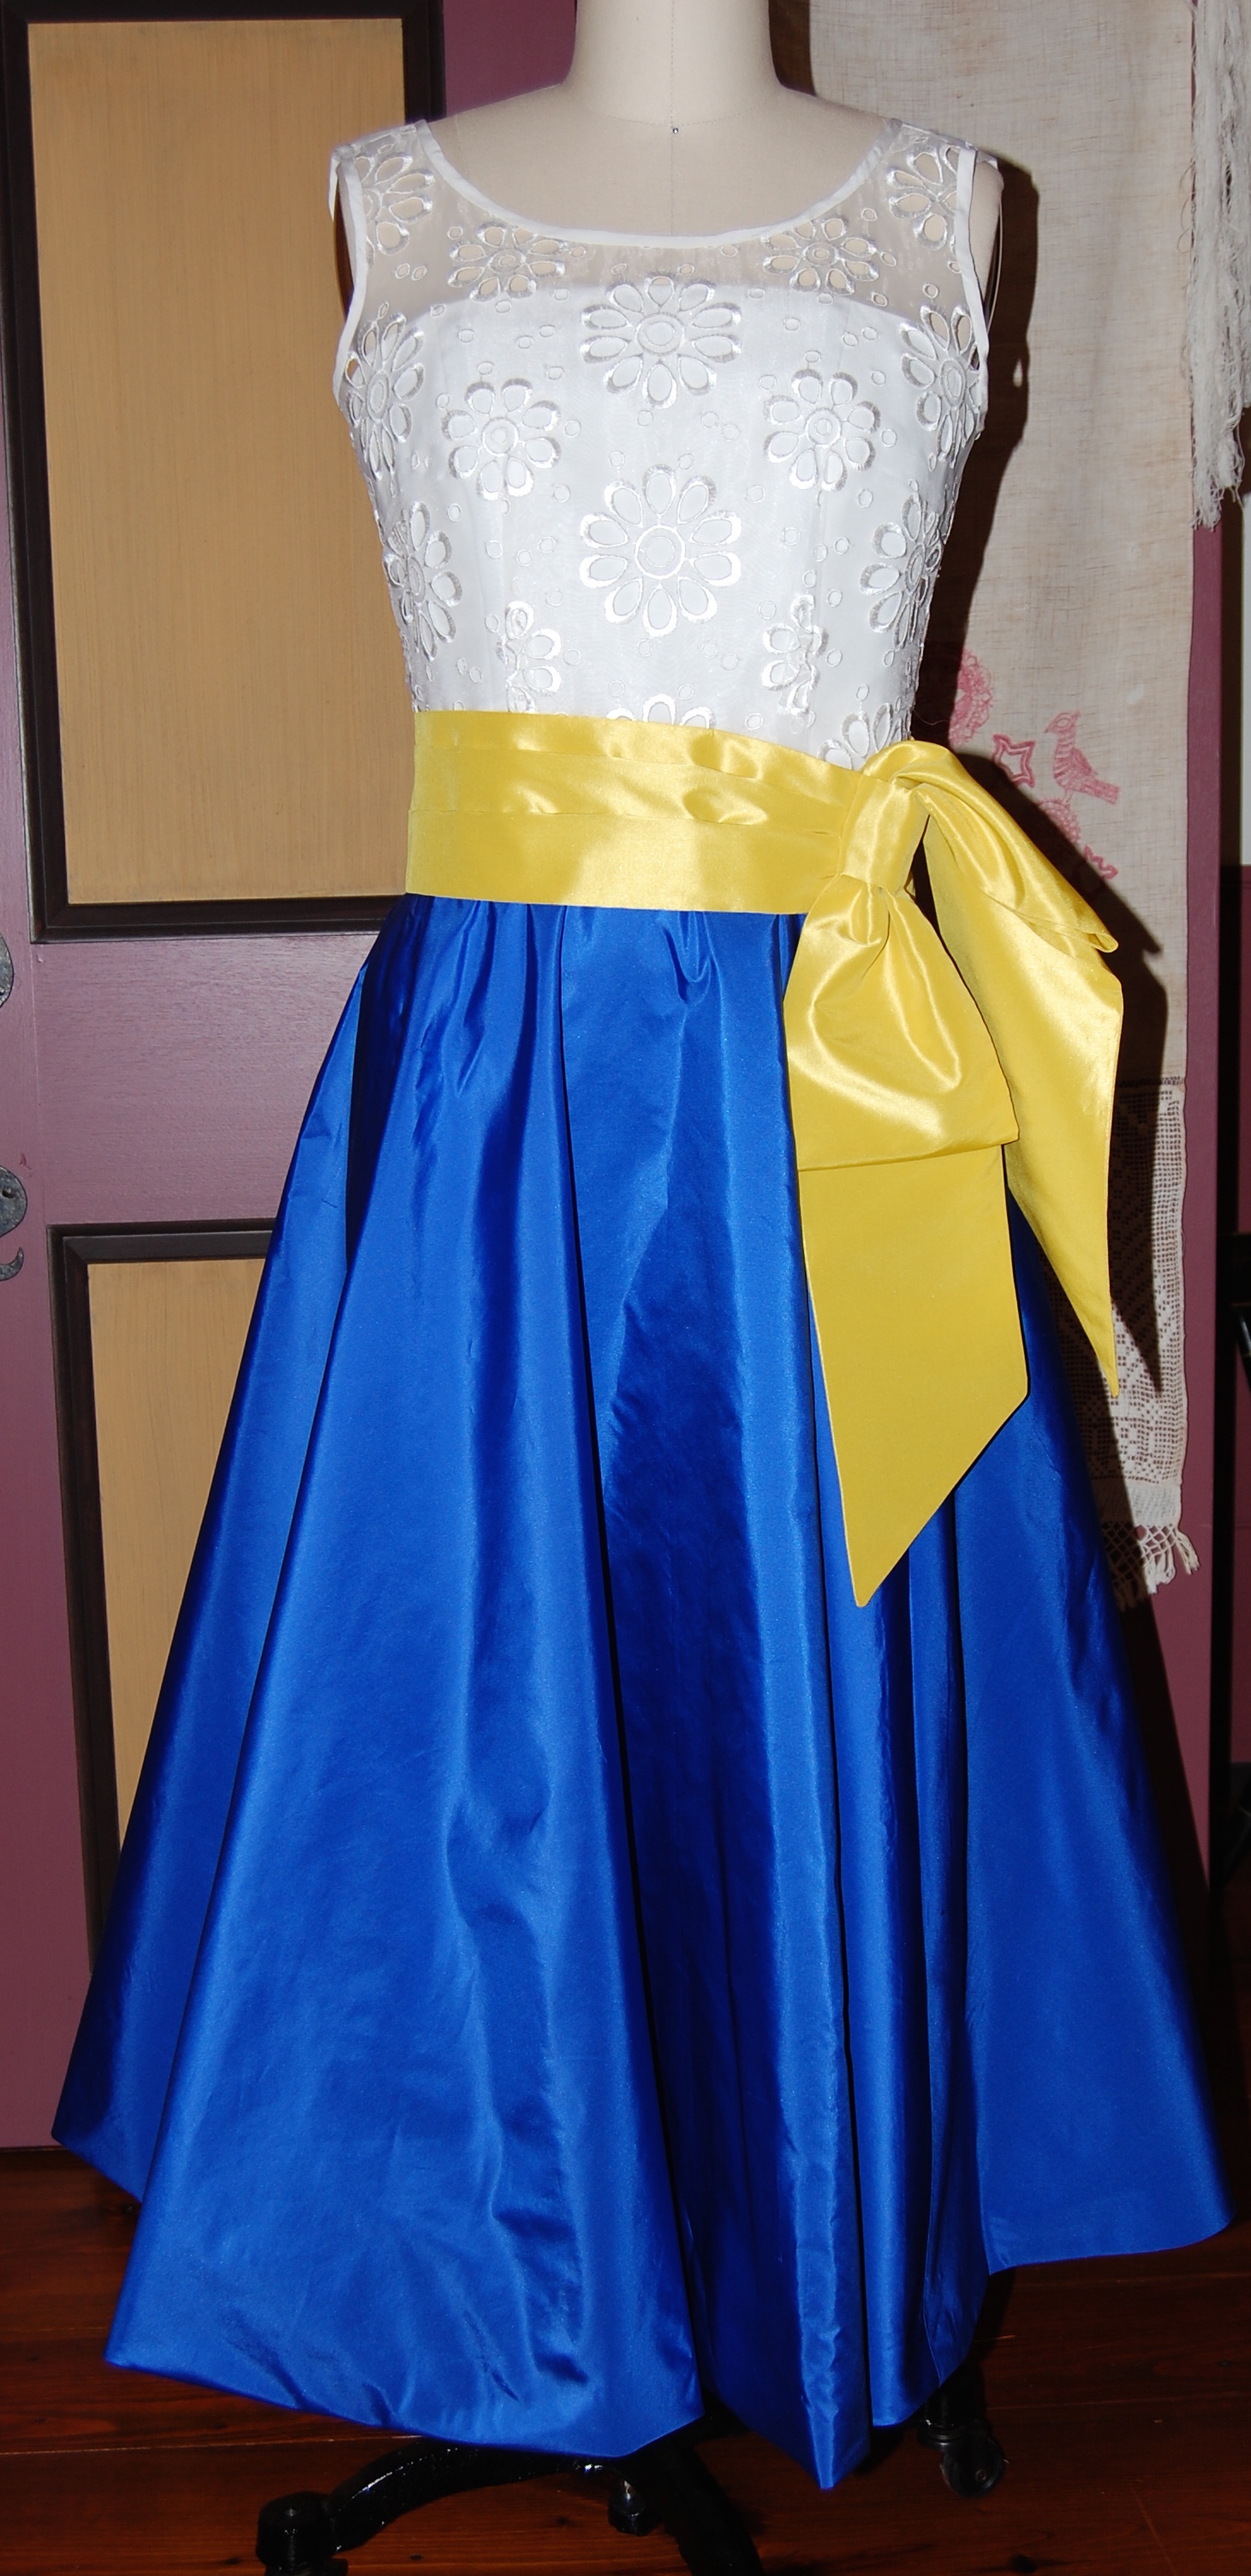
And here is the dress on my dress form:
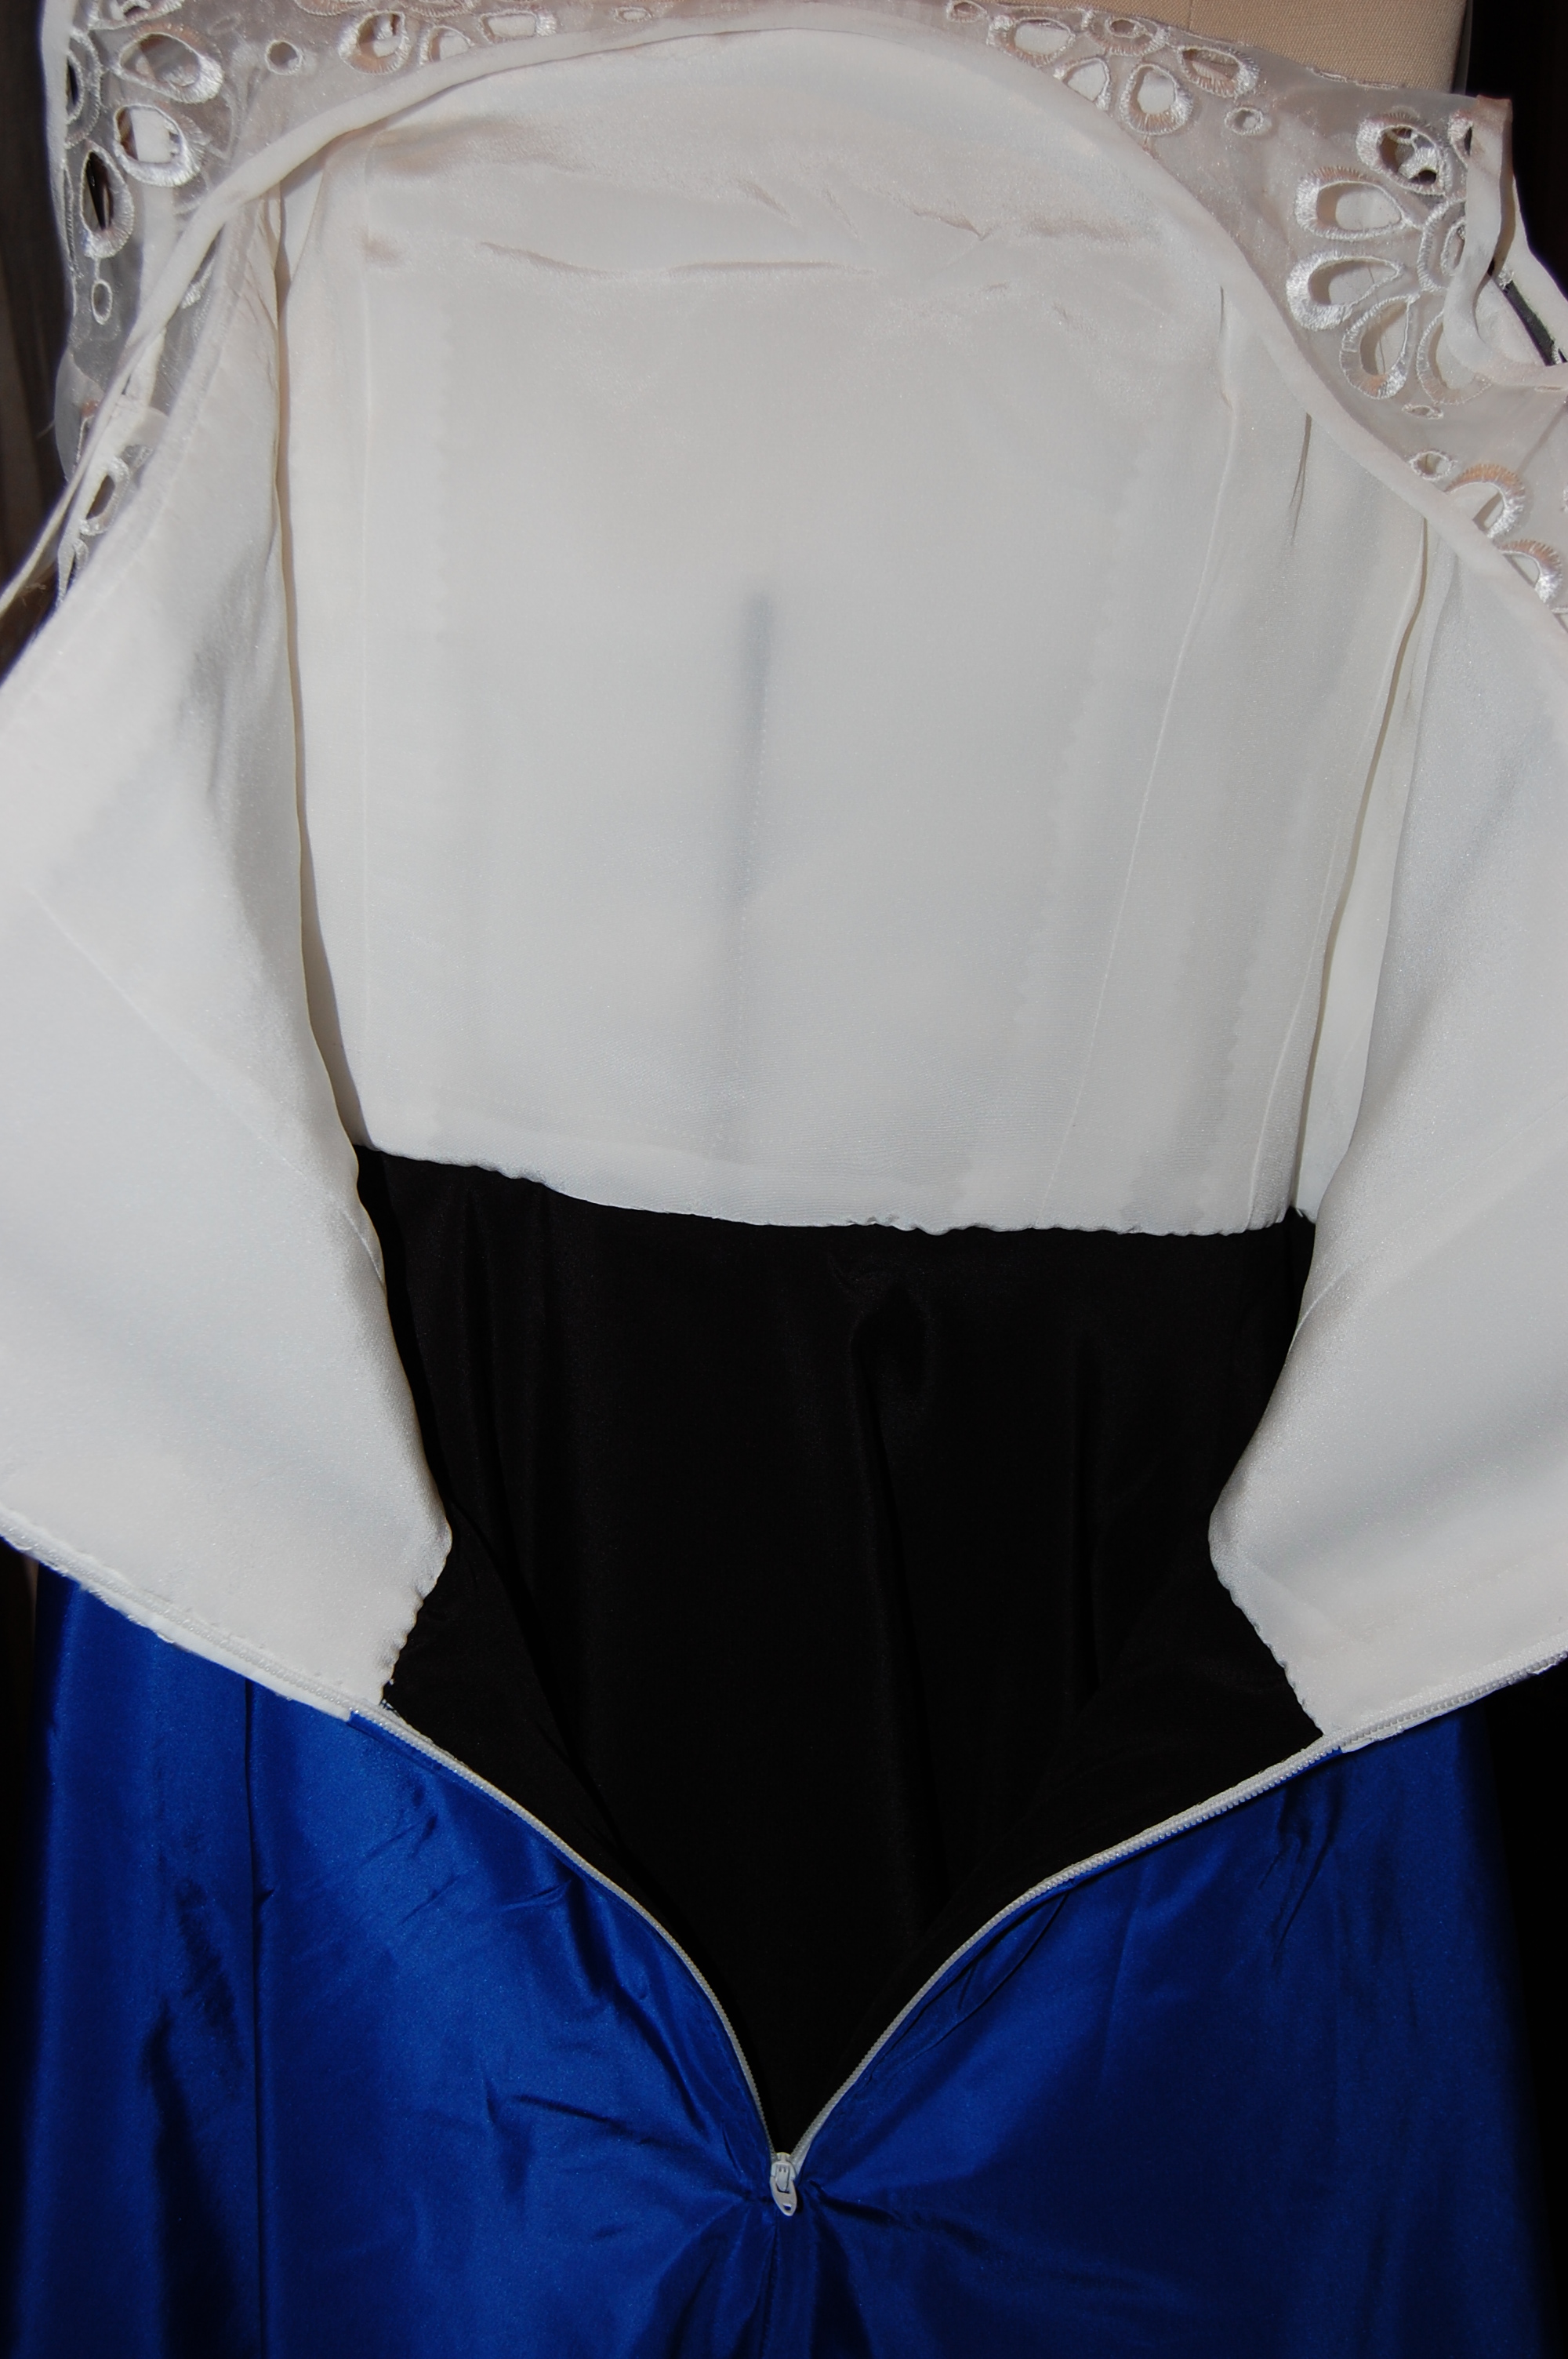
I thought I’d include this photo of the dress lining for anyone interested in seeing it.
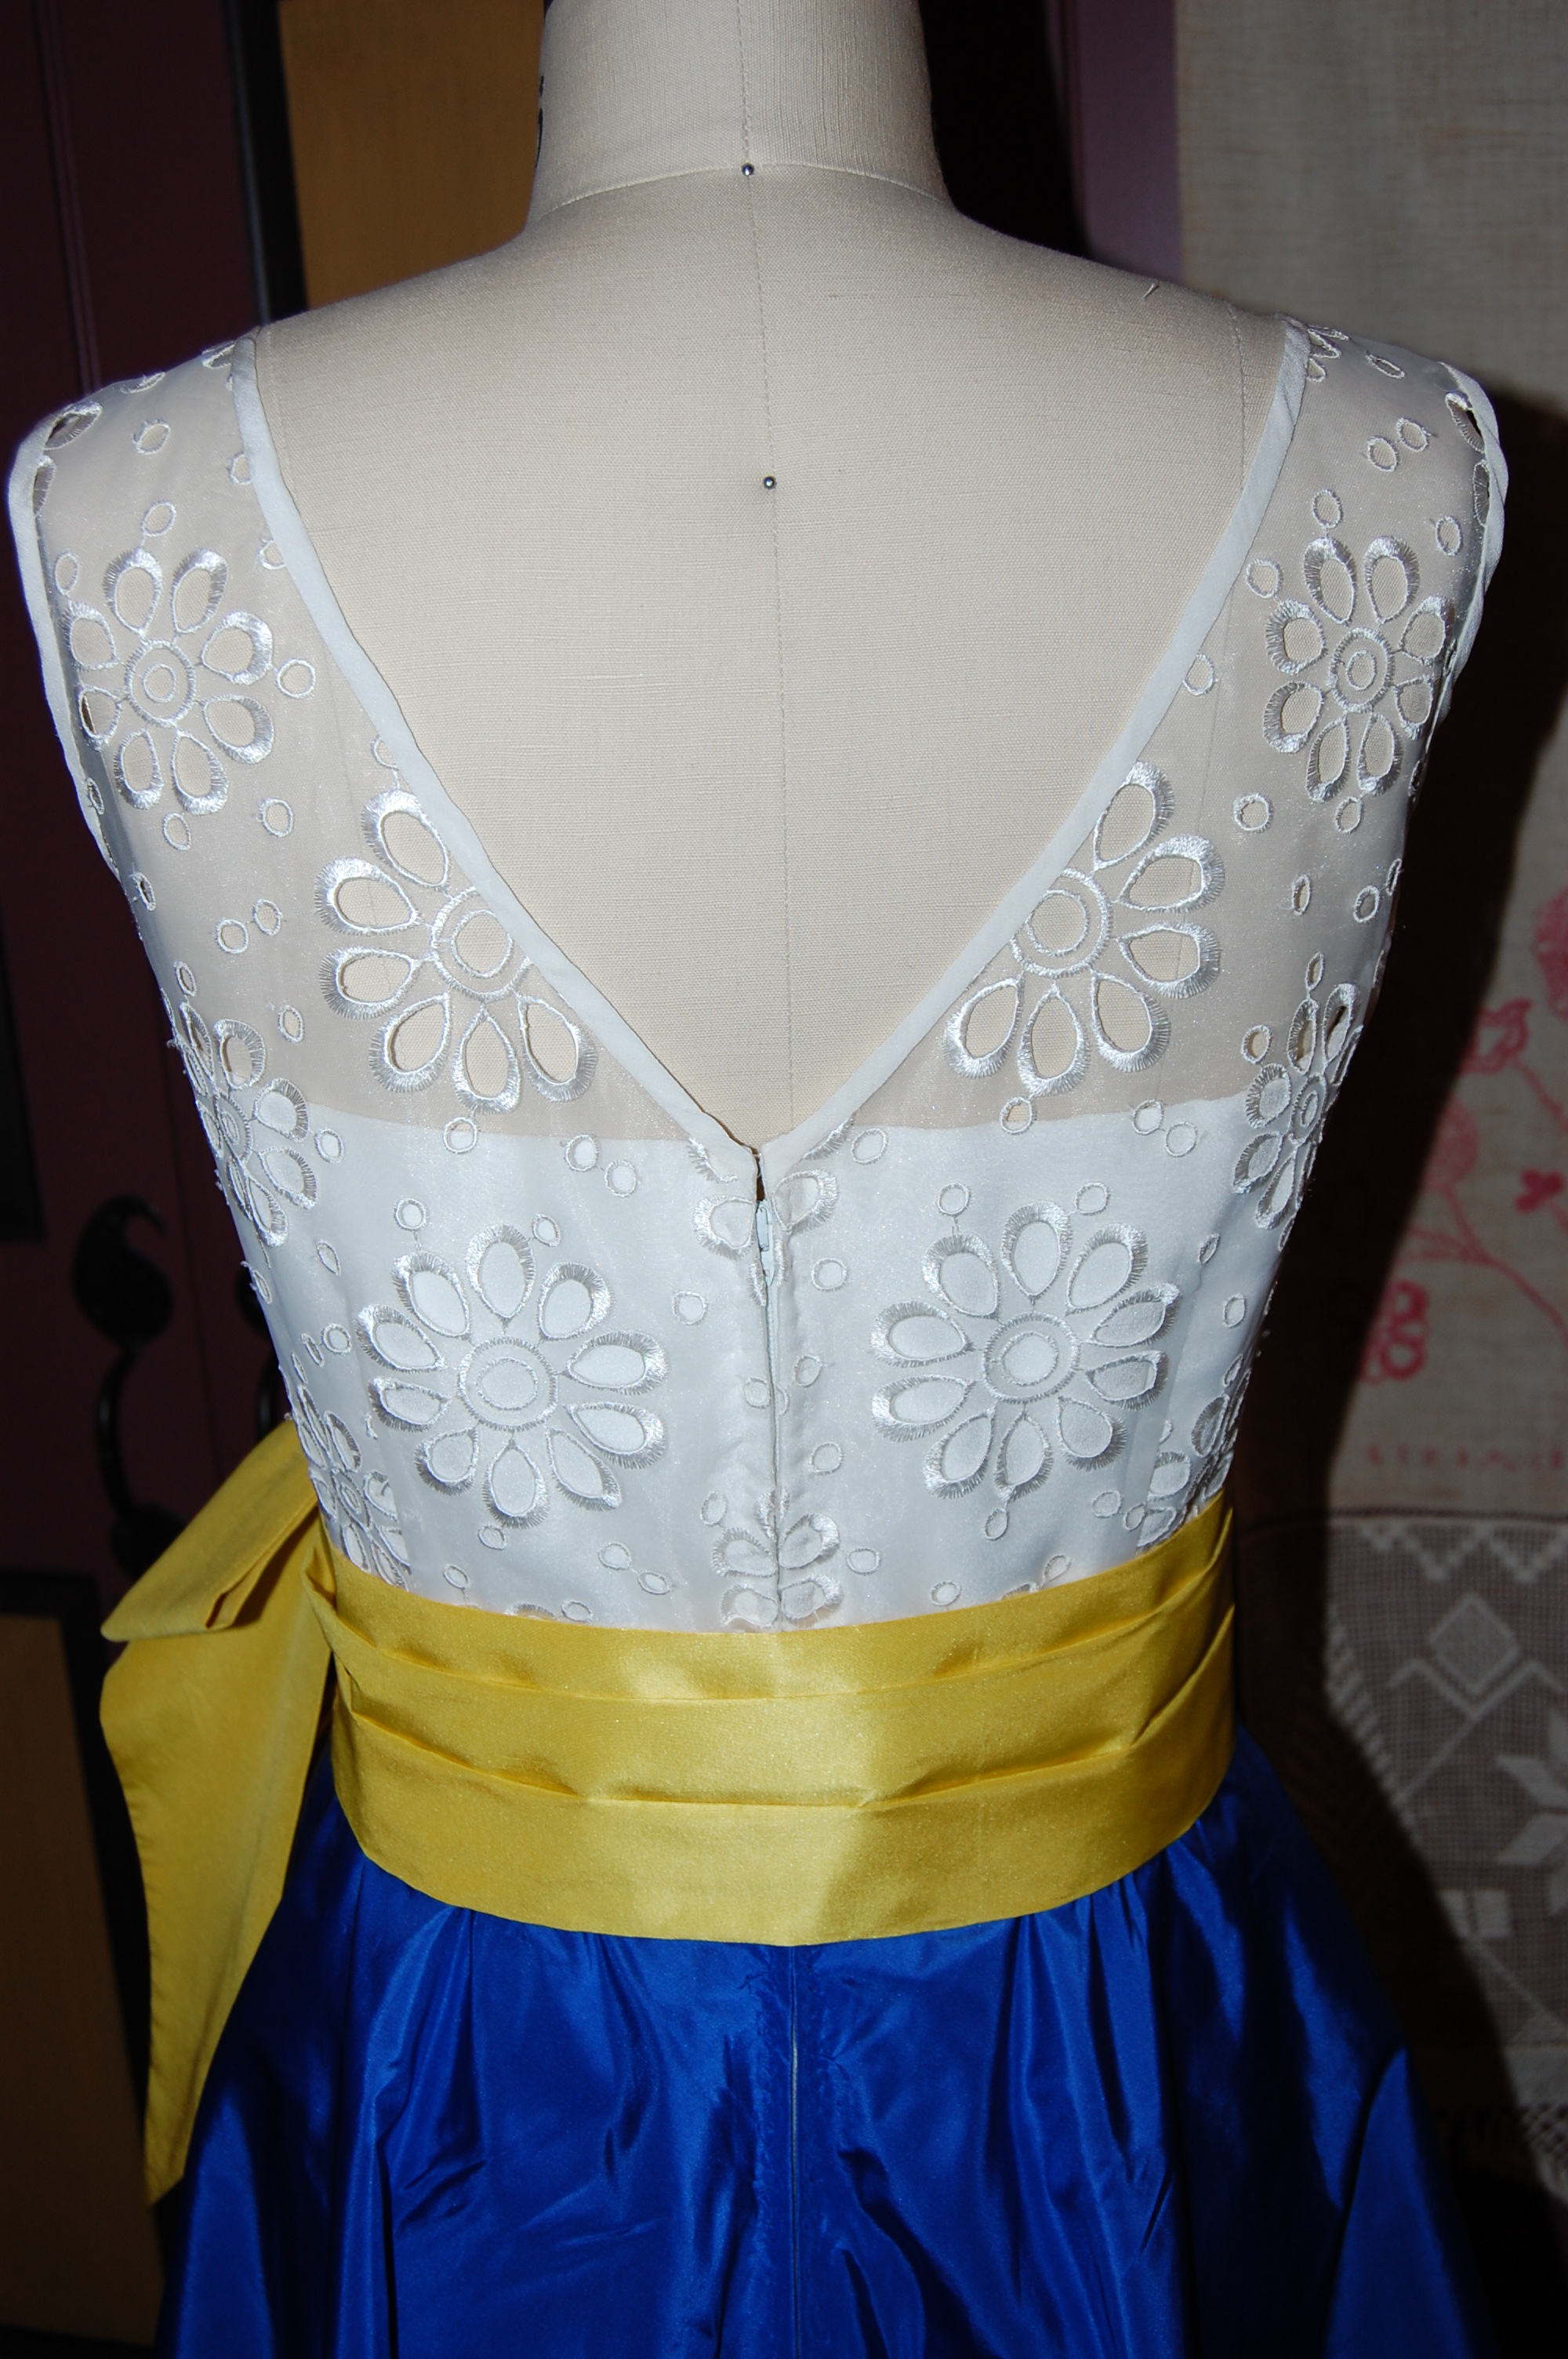
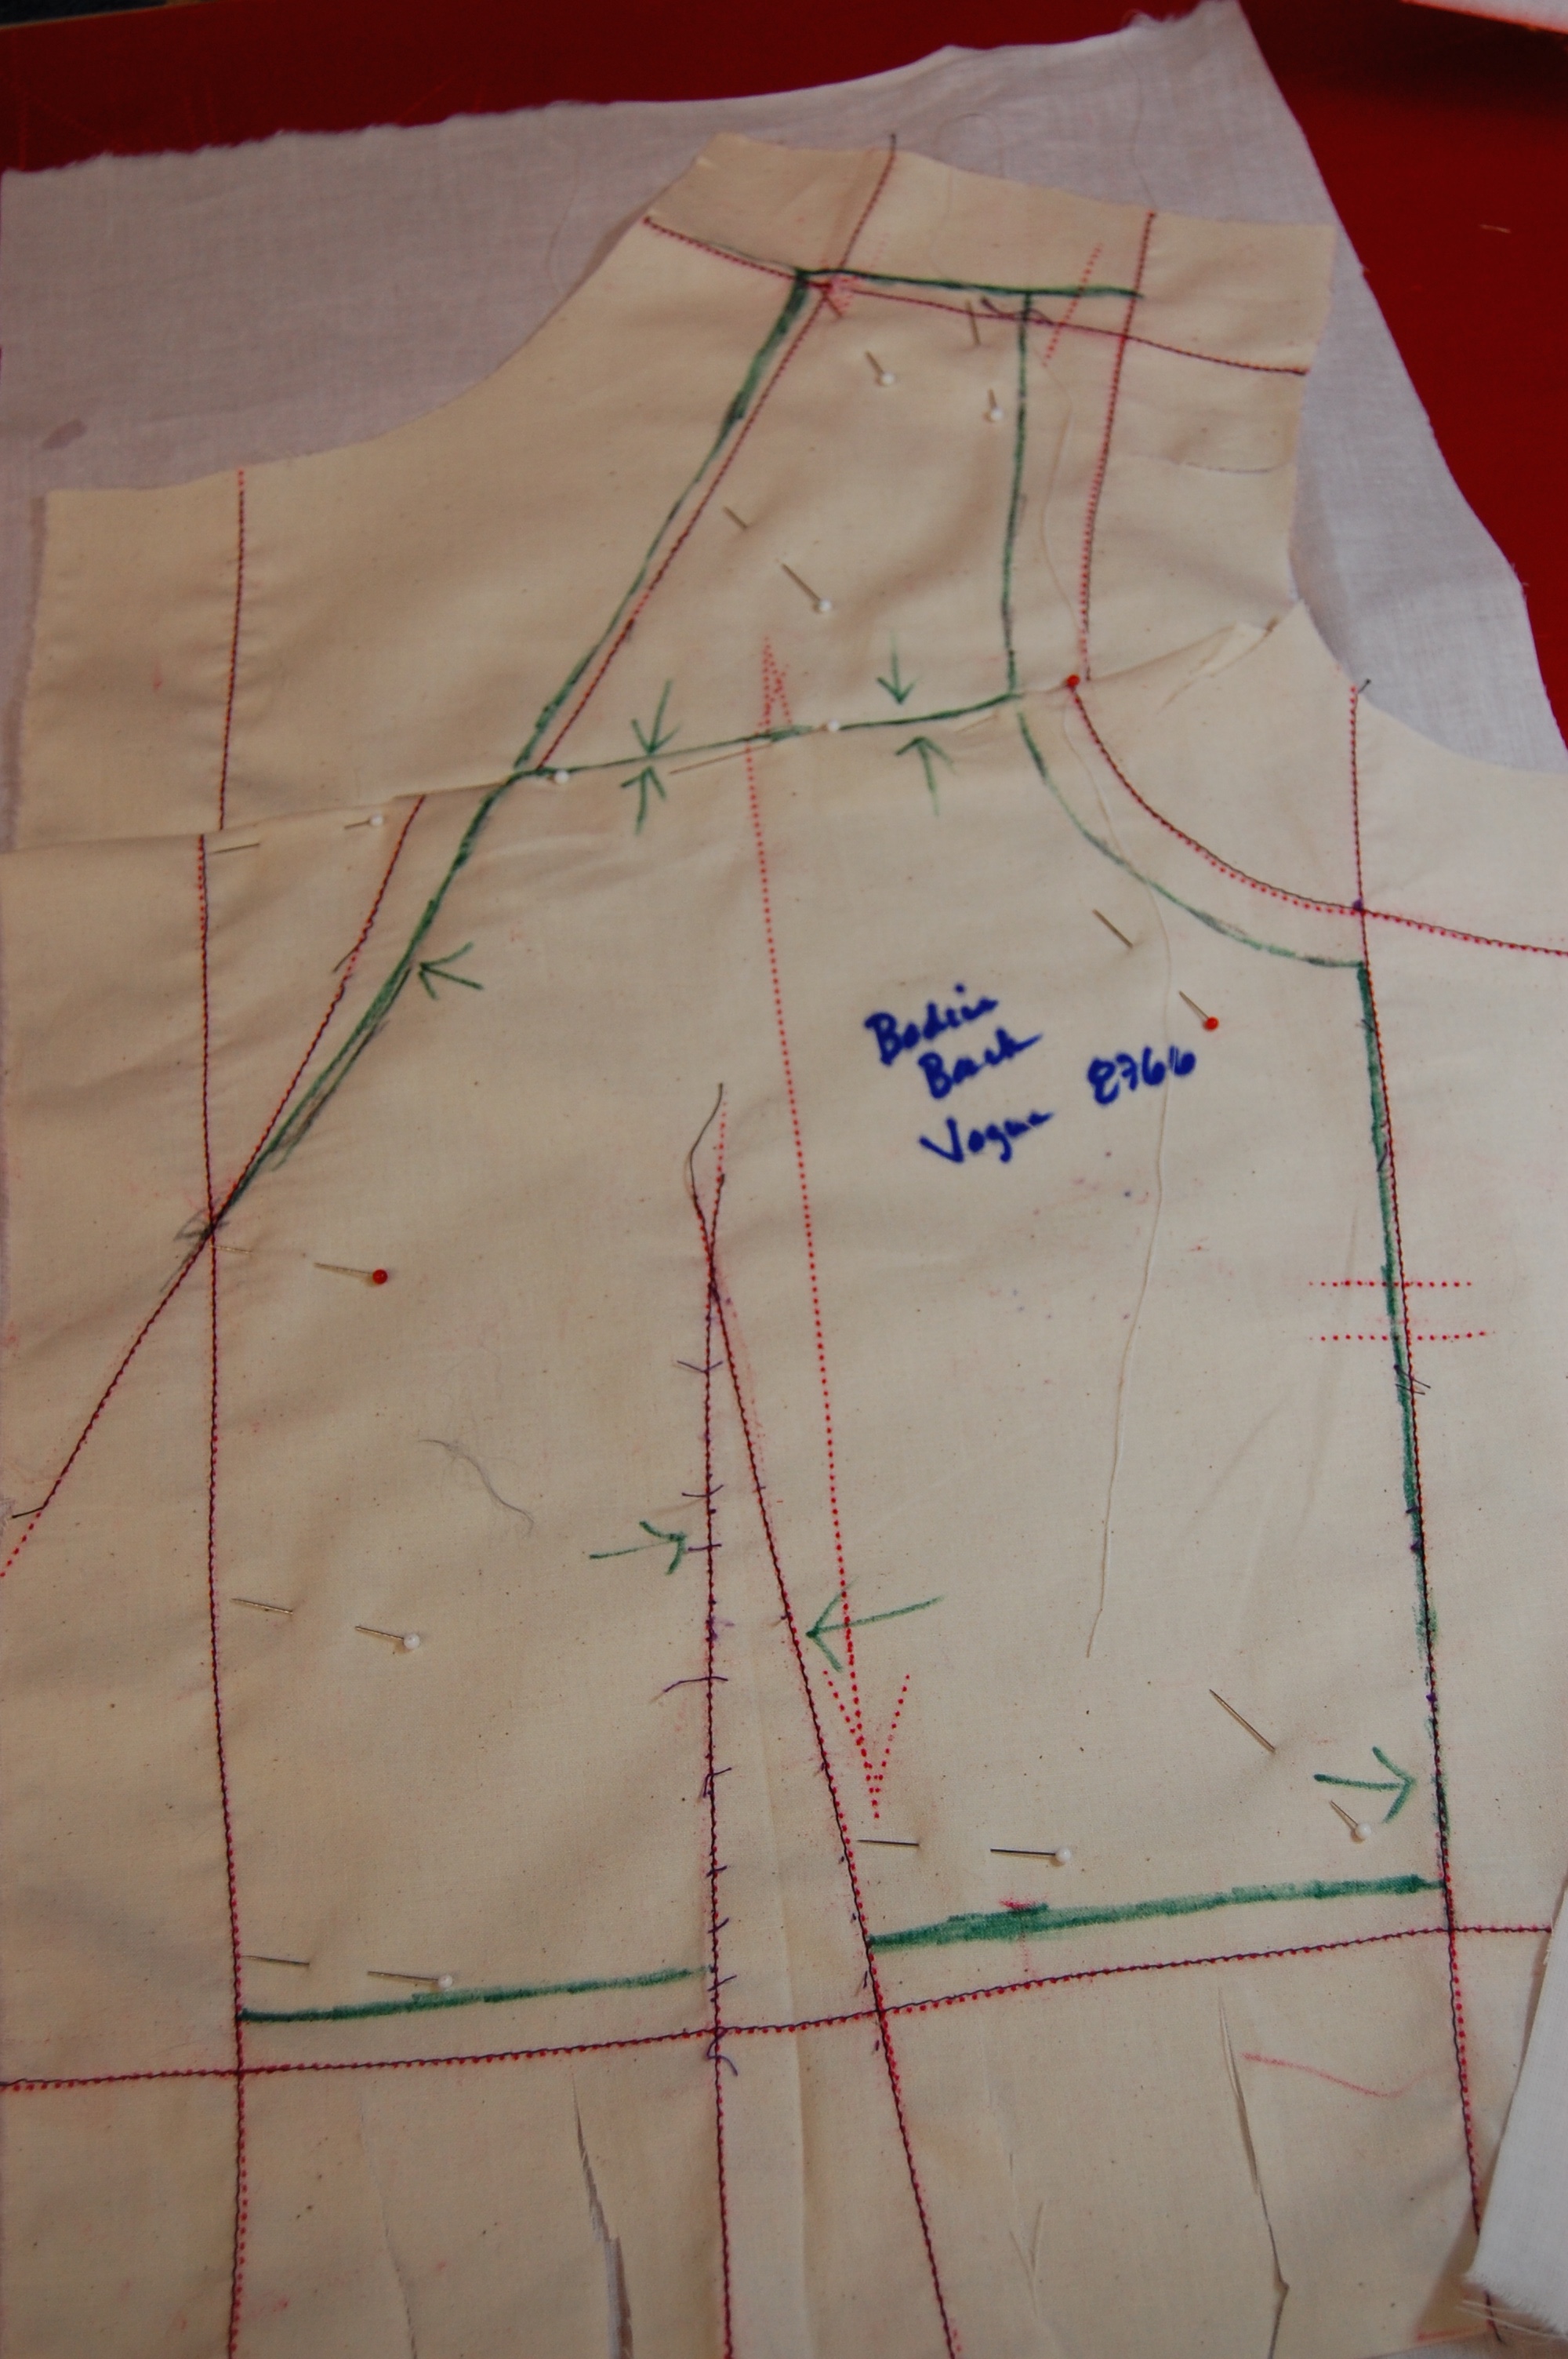
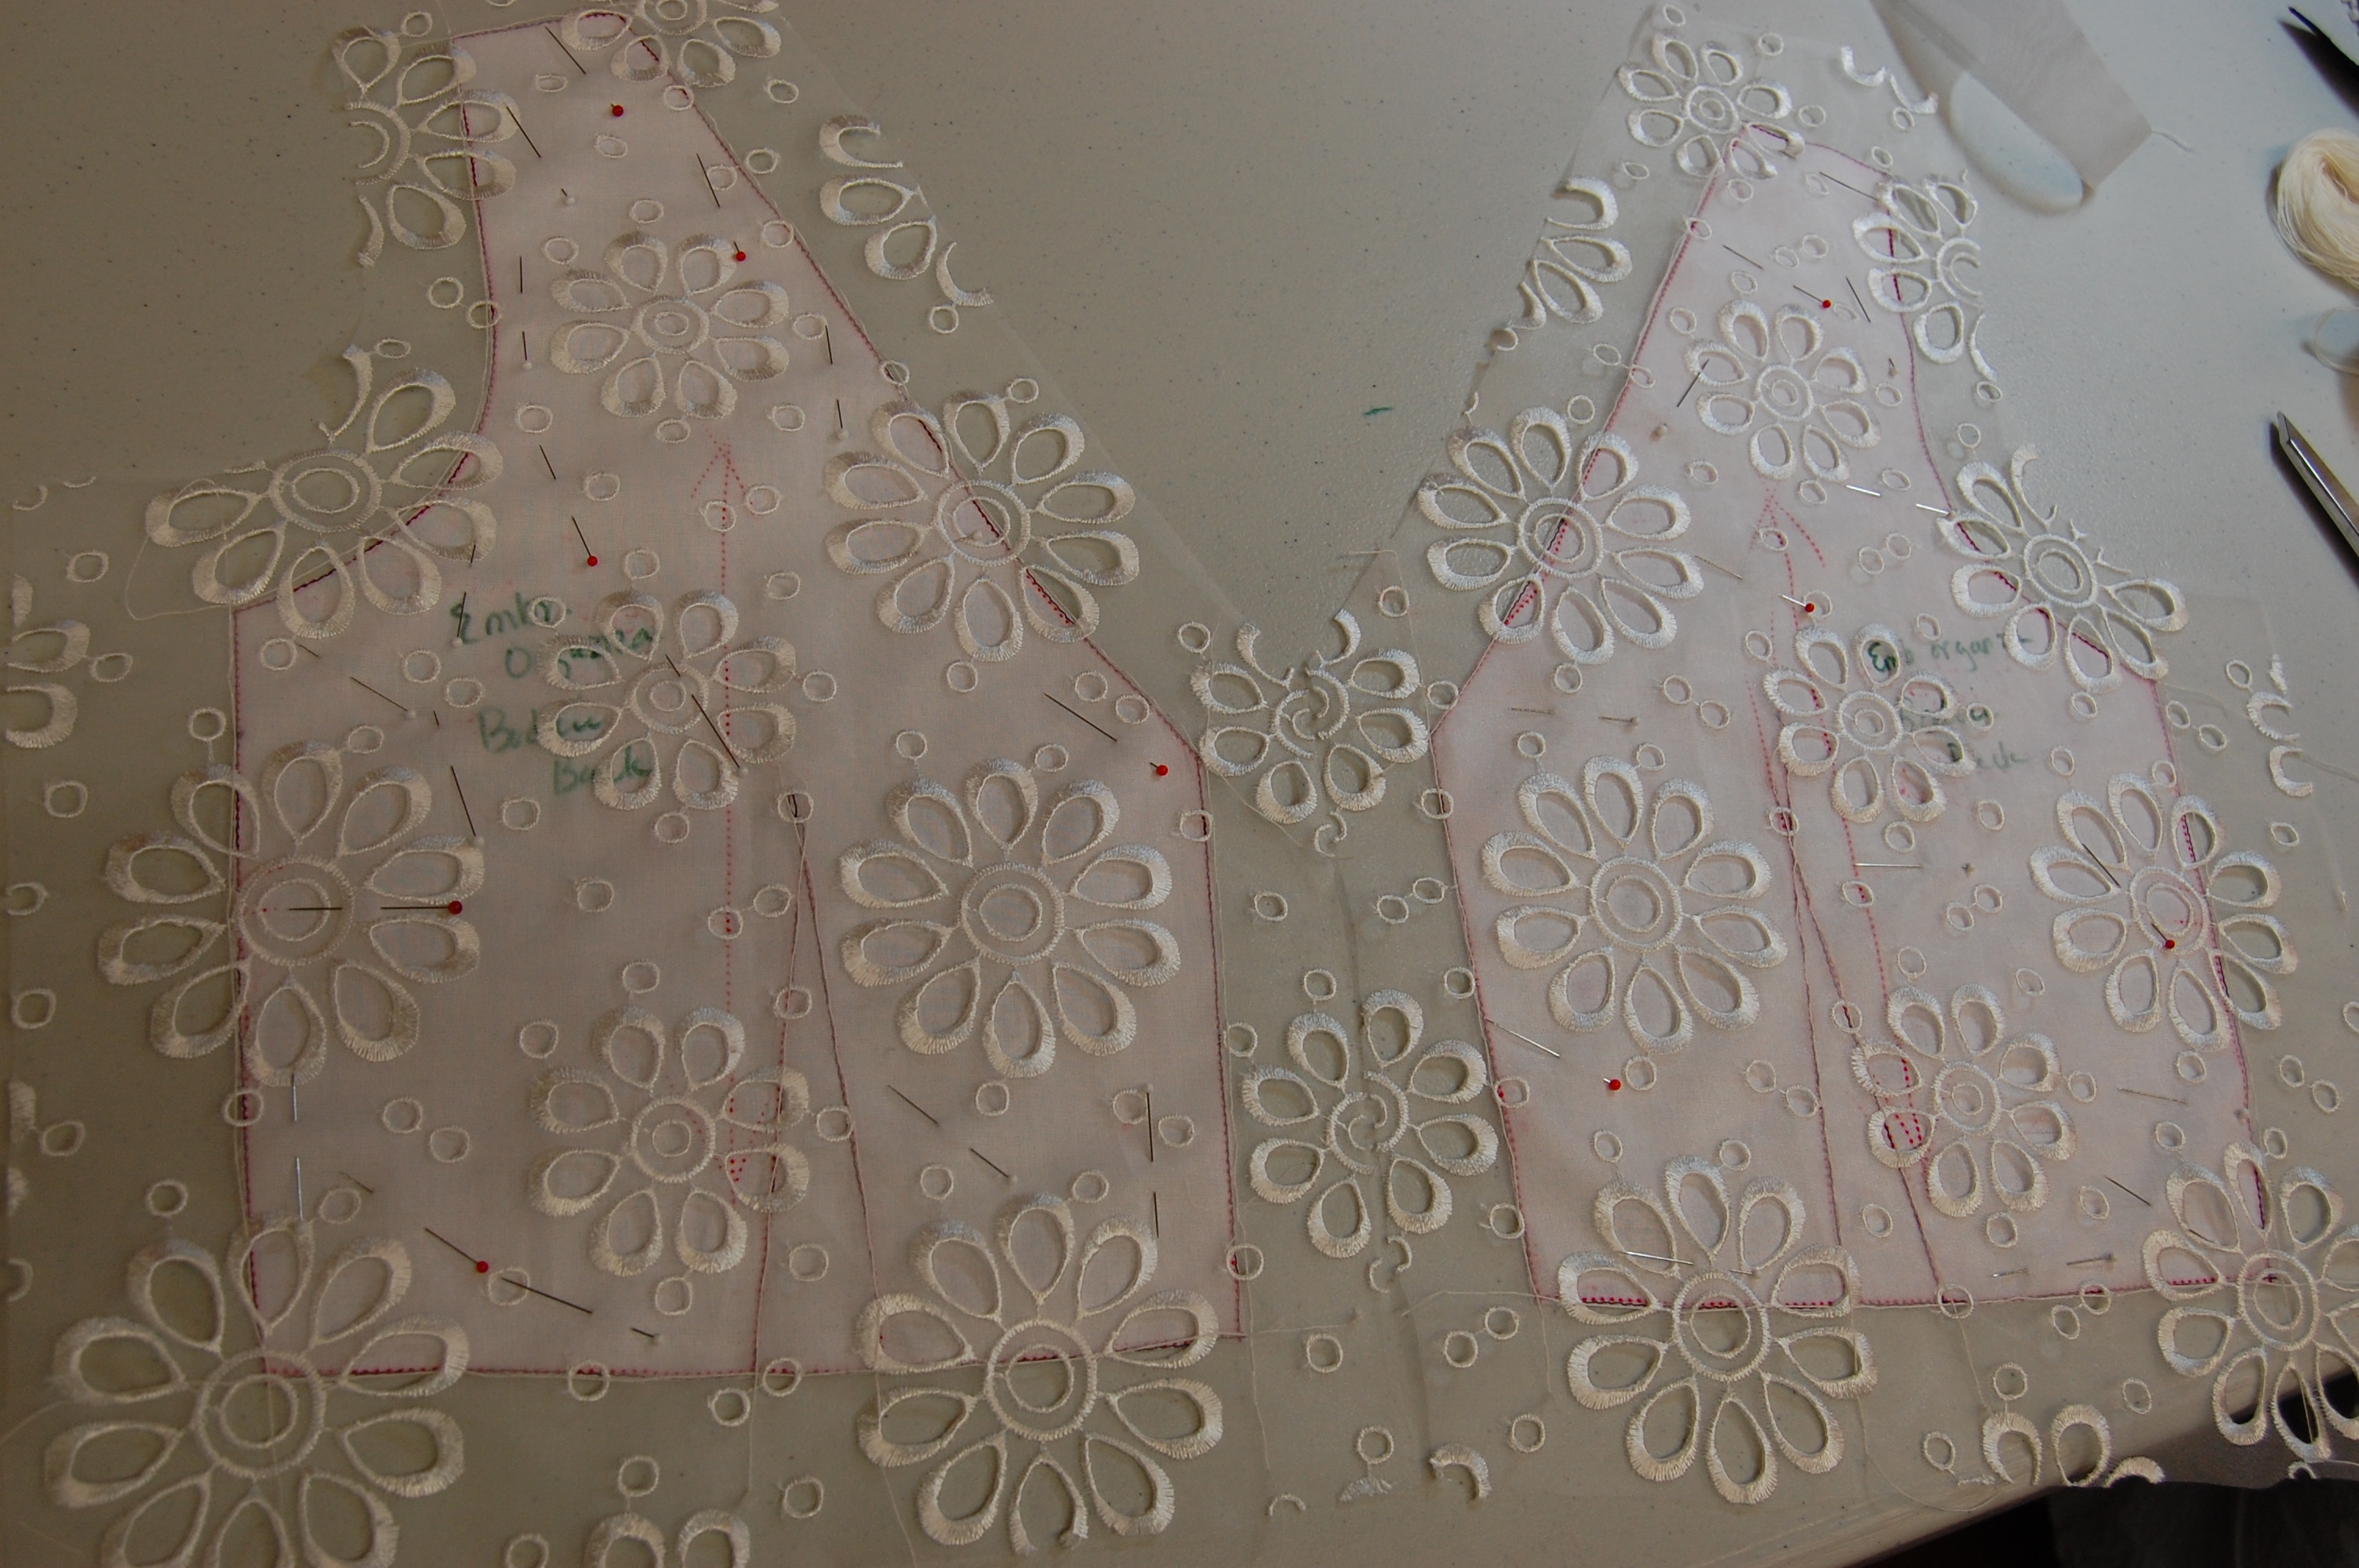
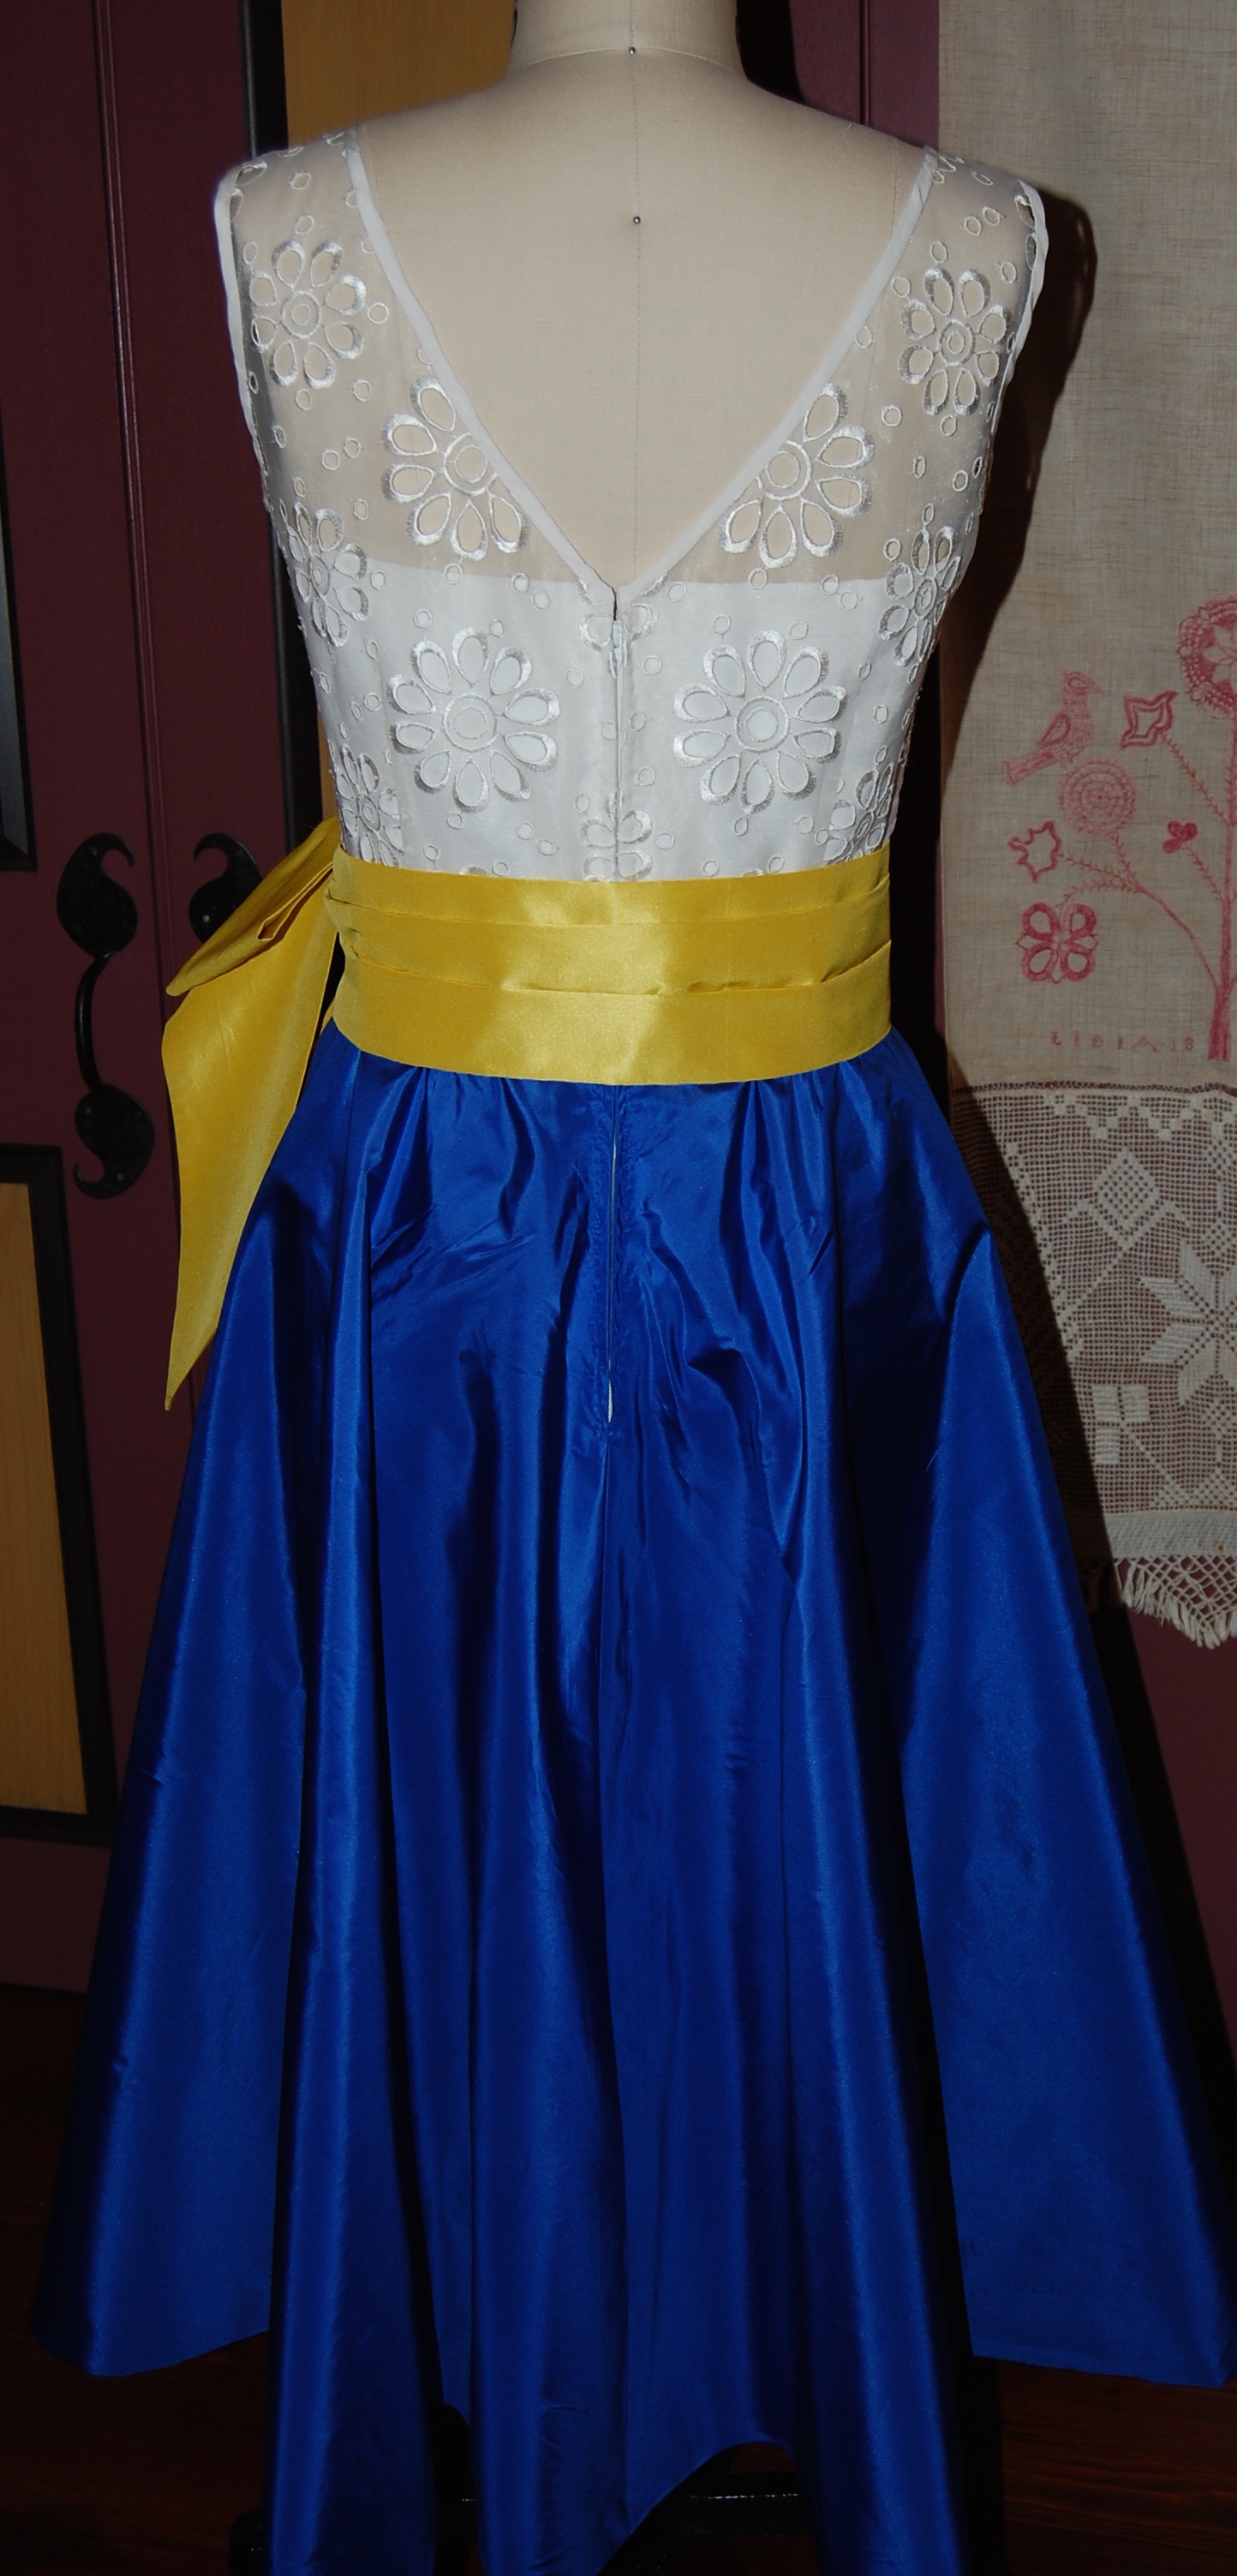
I am very pleased that I decided to “V” the back of the outer bodice!
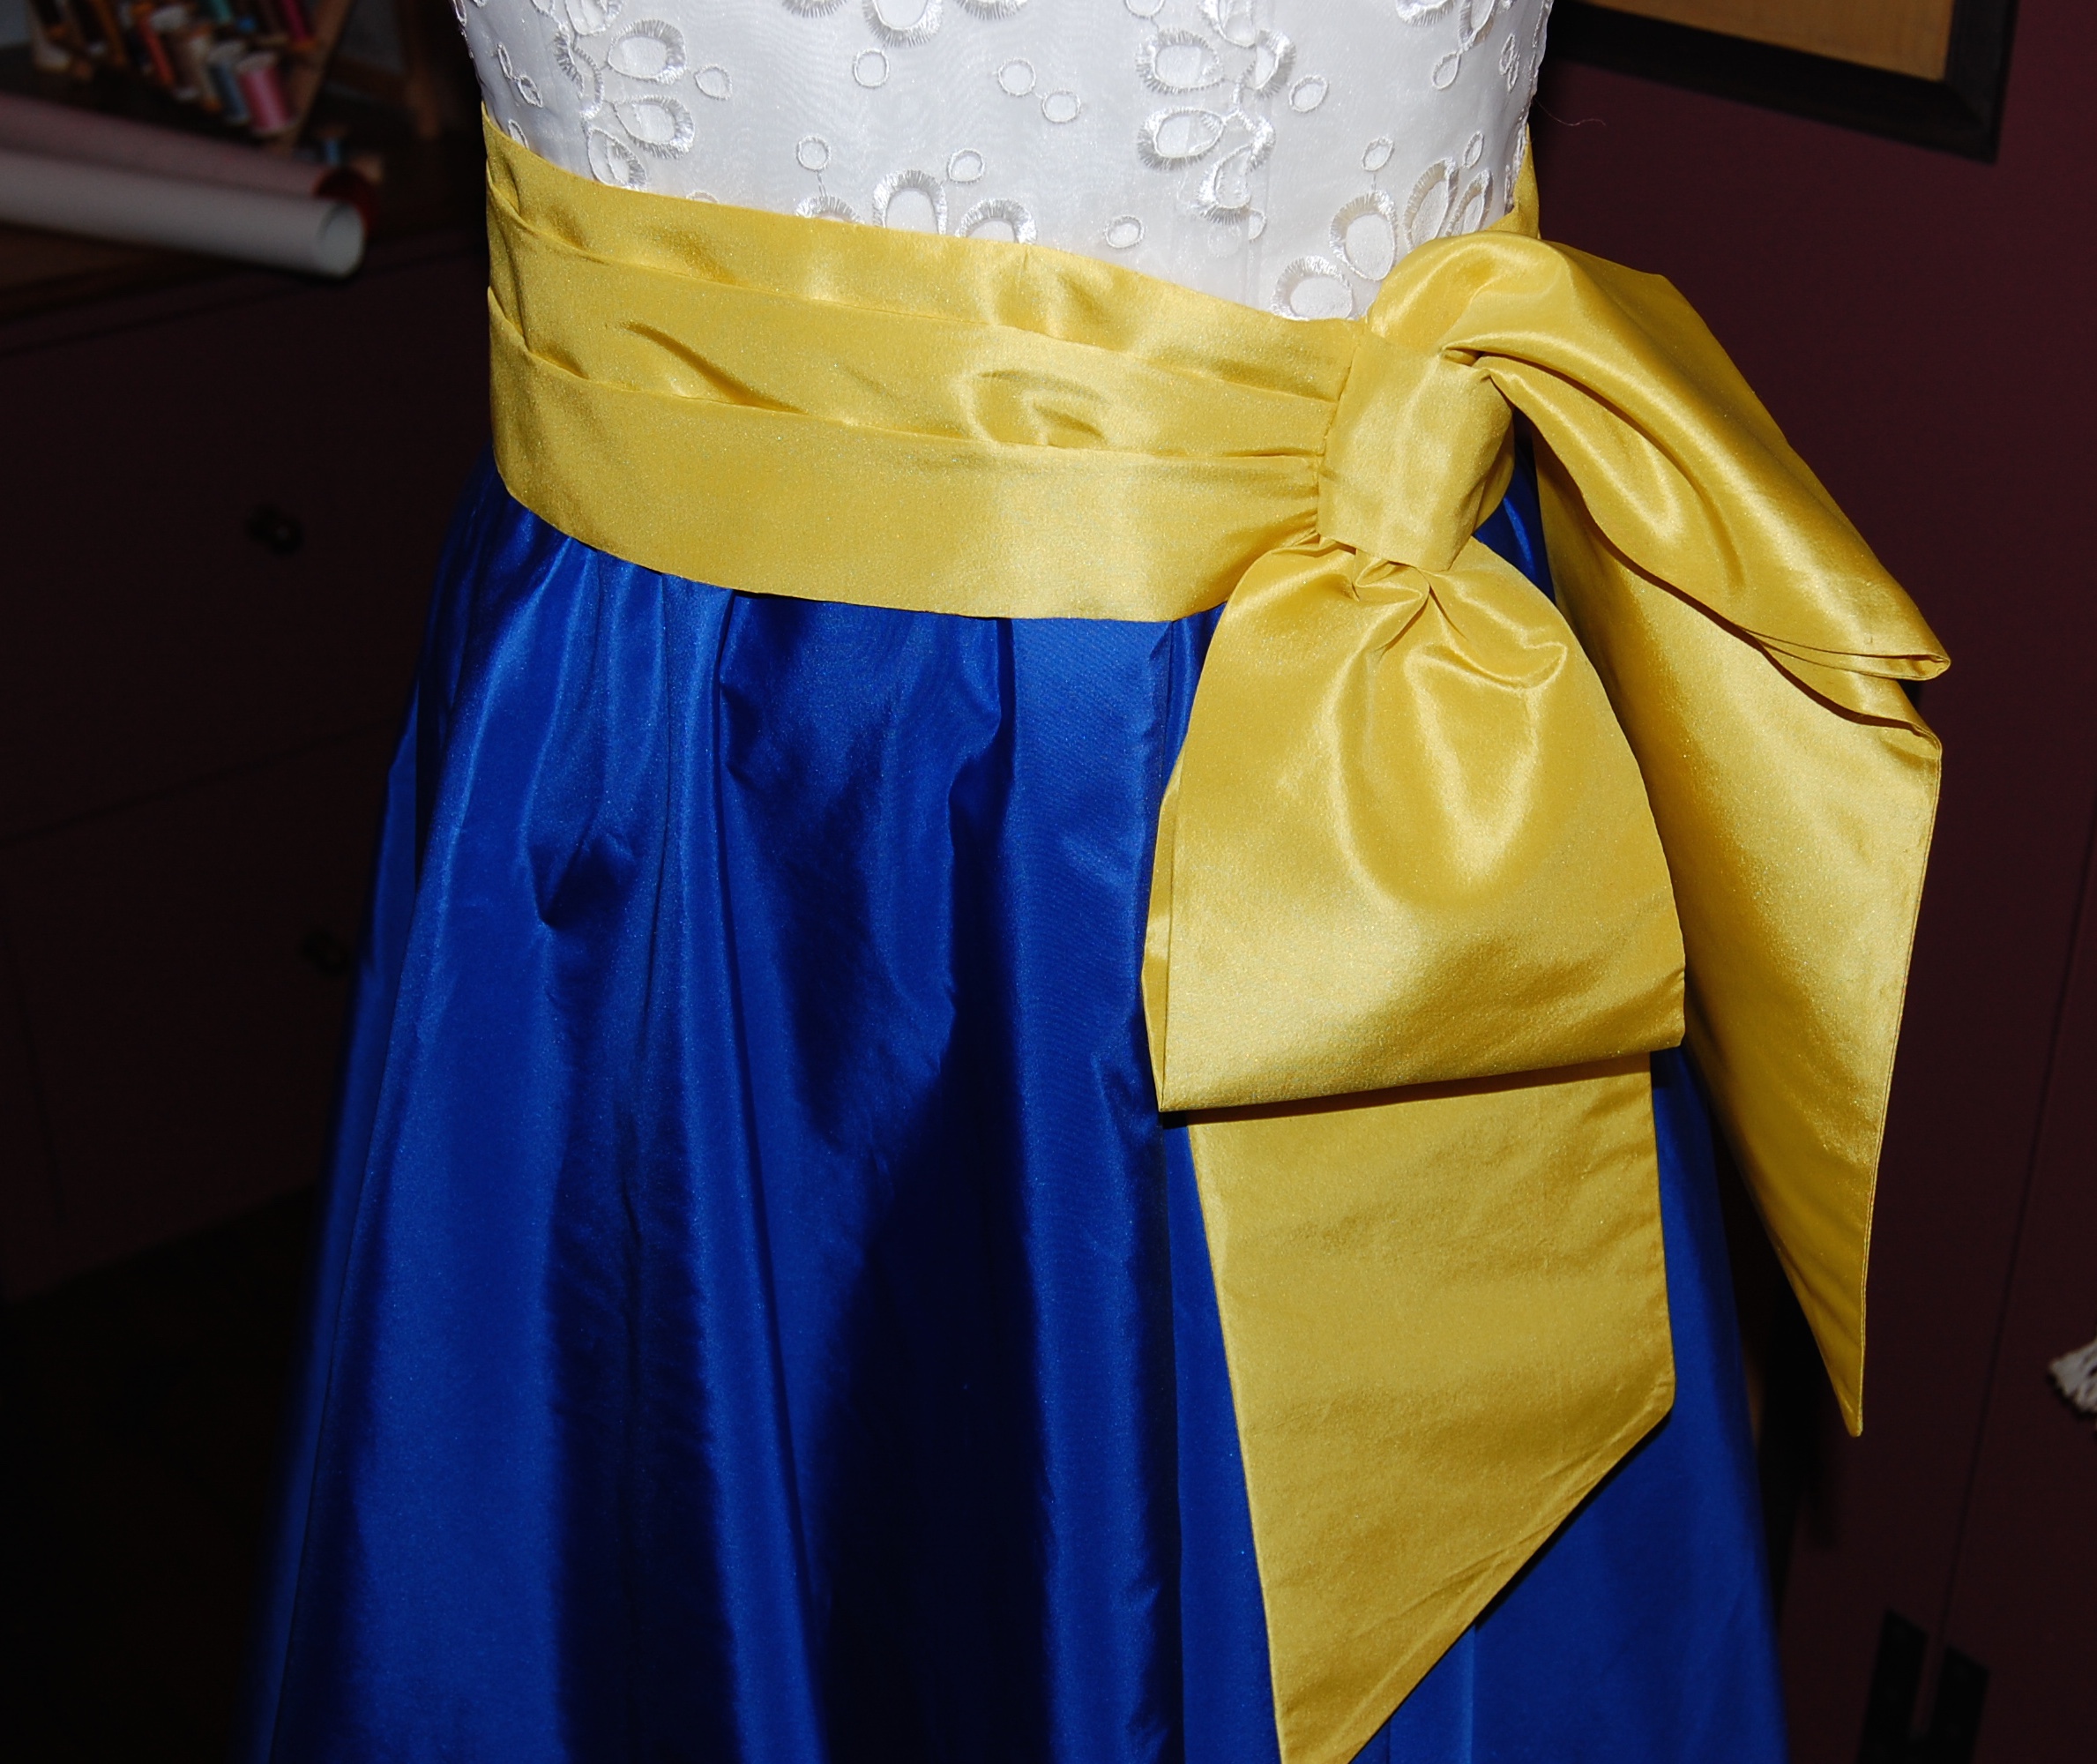
A close-up of the bow.
One of my favorite fashion quotes is one from Madeleine Vionnet: “The dress must not hang on the body but follow its lines. It must accompany its wearer and when a woman smiles the dress must smile with her.” Will my dress put a smile on my face when I wear it? Yes, if only for the fact that it has been finished just in time!
Details:
Blue silk taffeta: Britex Fabrics
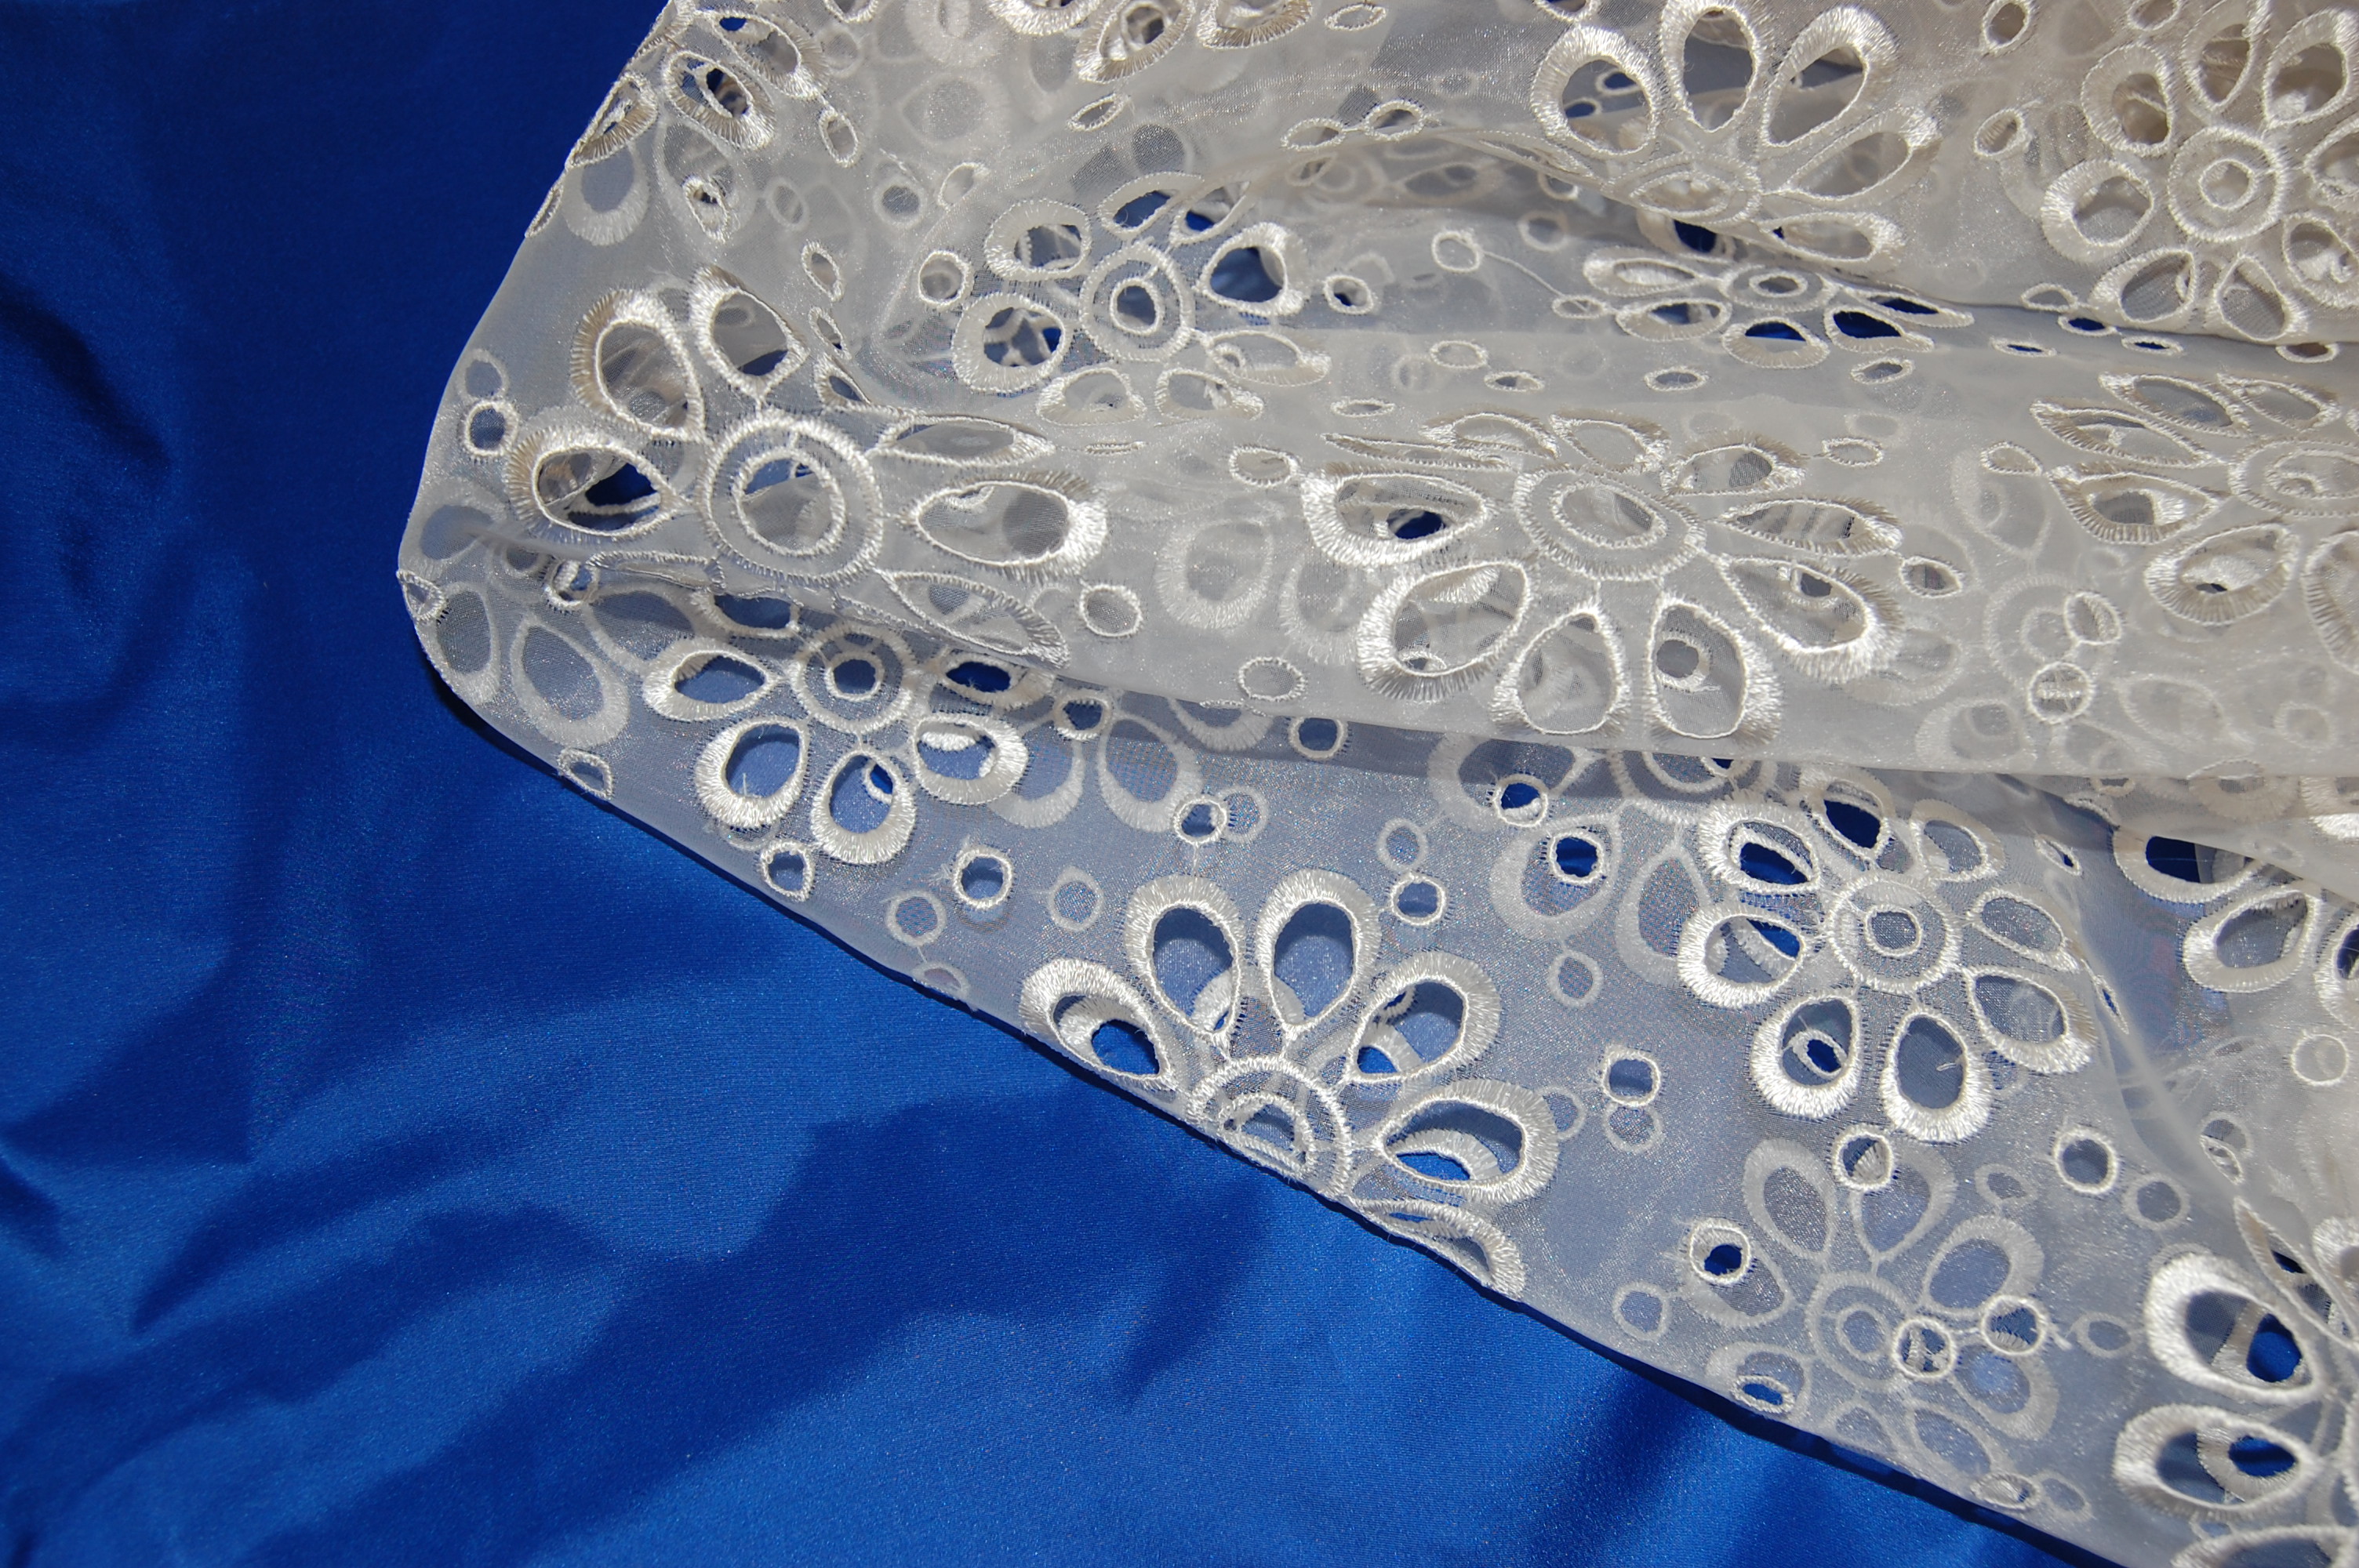
White embroidered organza: Waechter’s Fabrics (now out of business)
Yellow silk taffeta: Emma One Sock Fabrics.
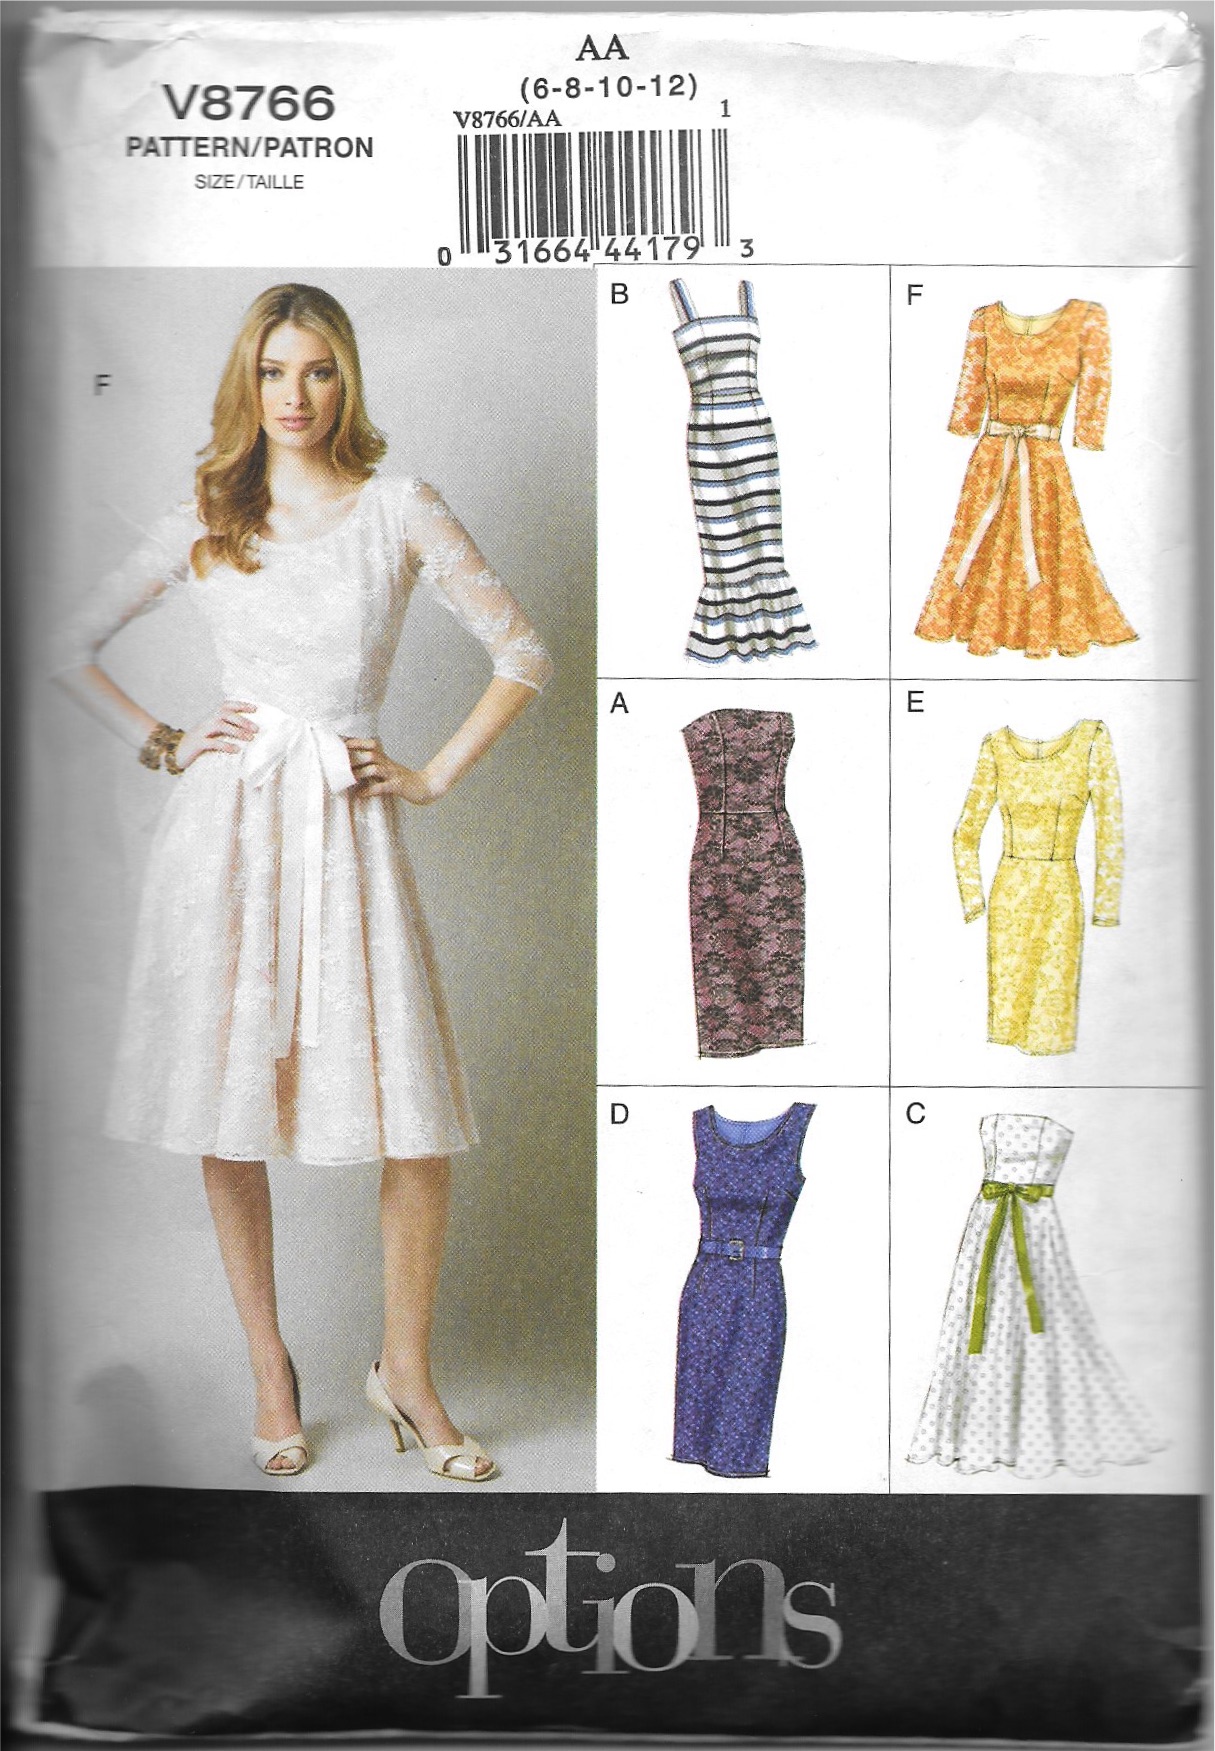
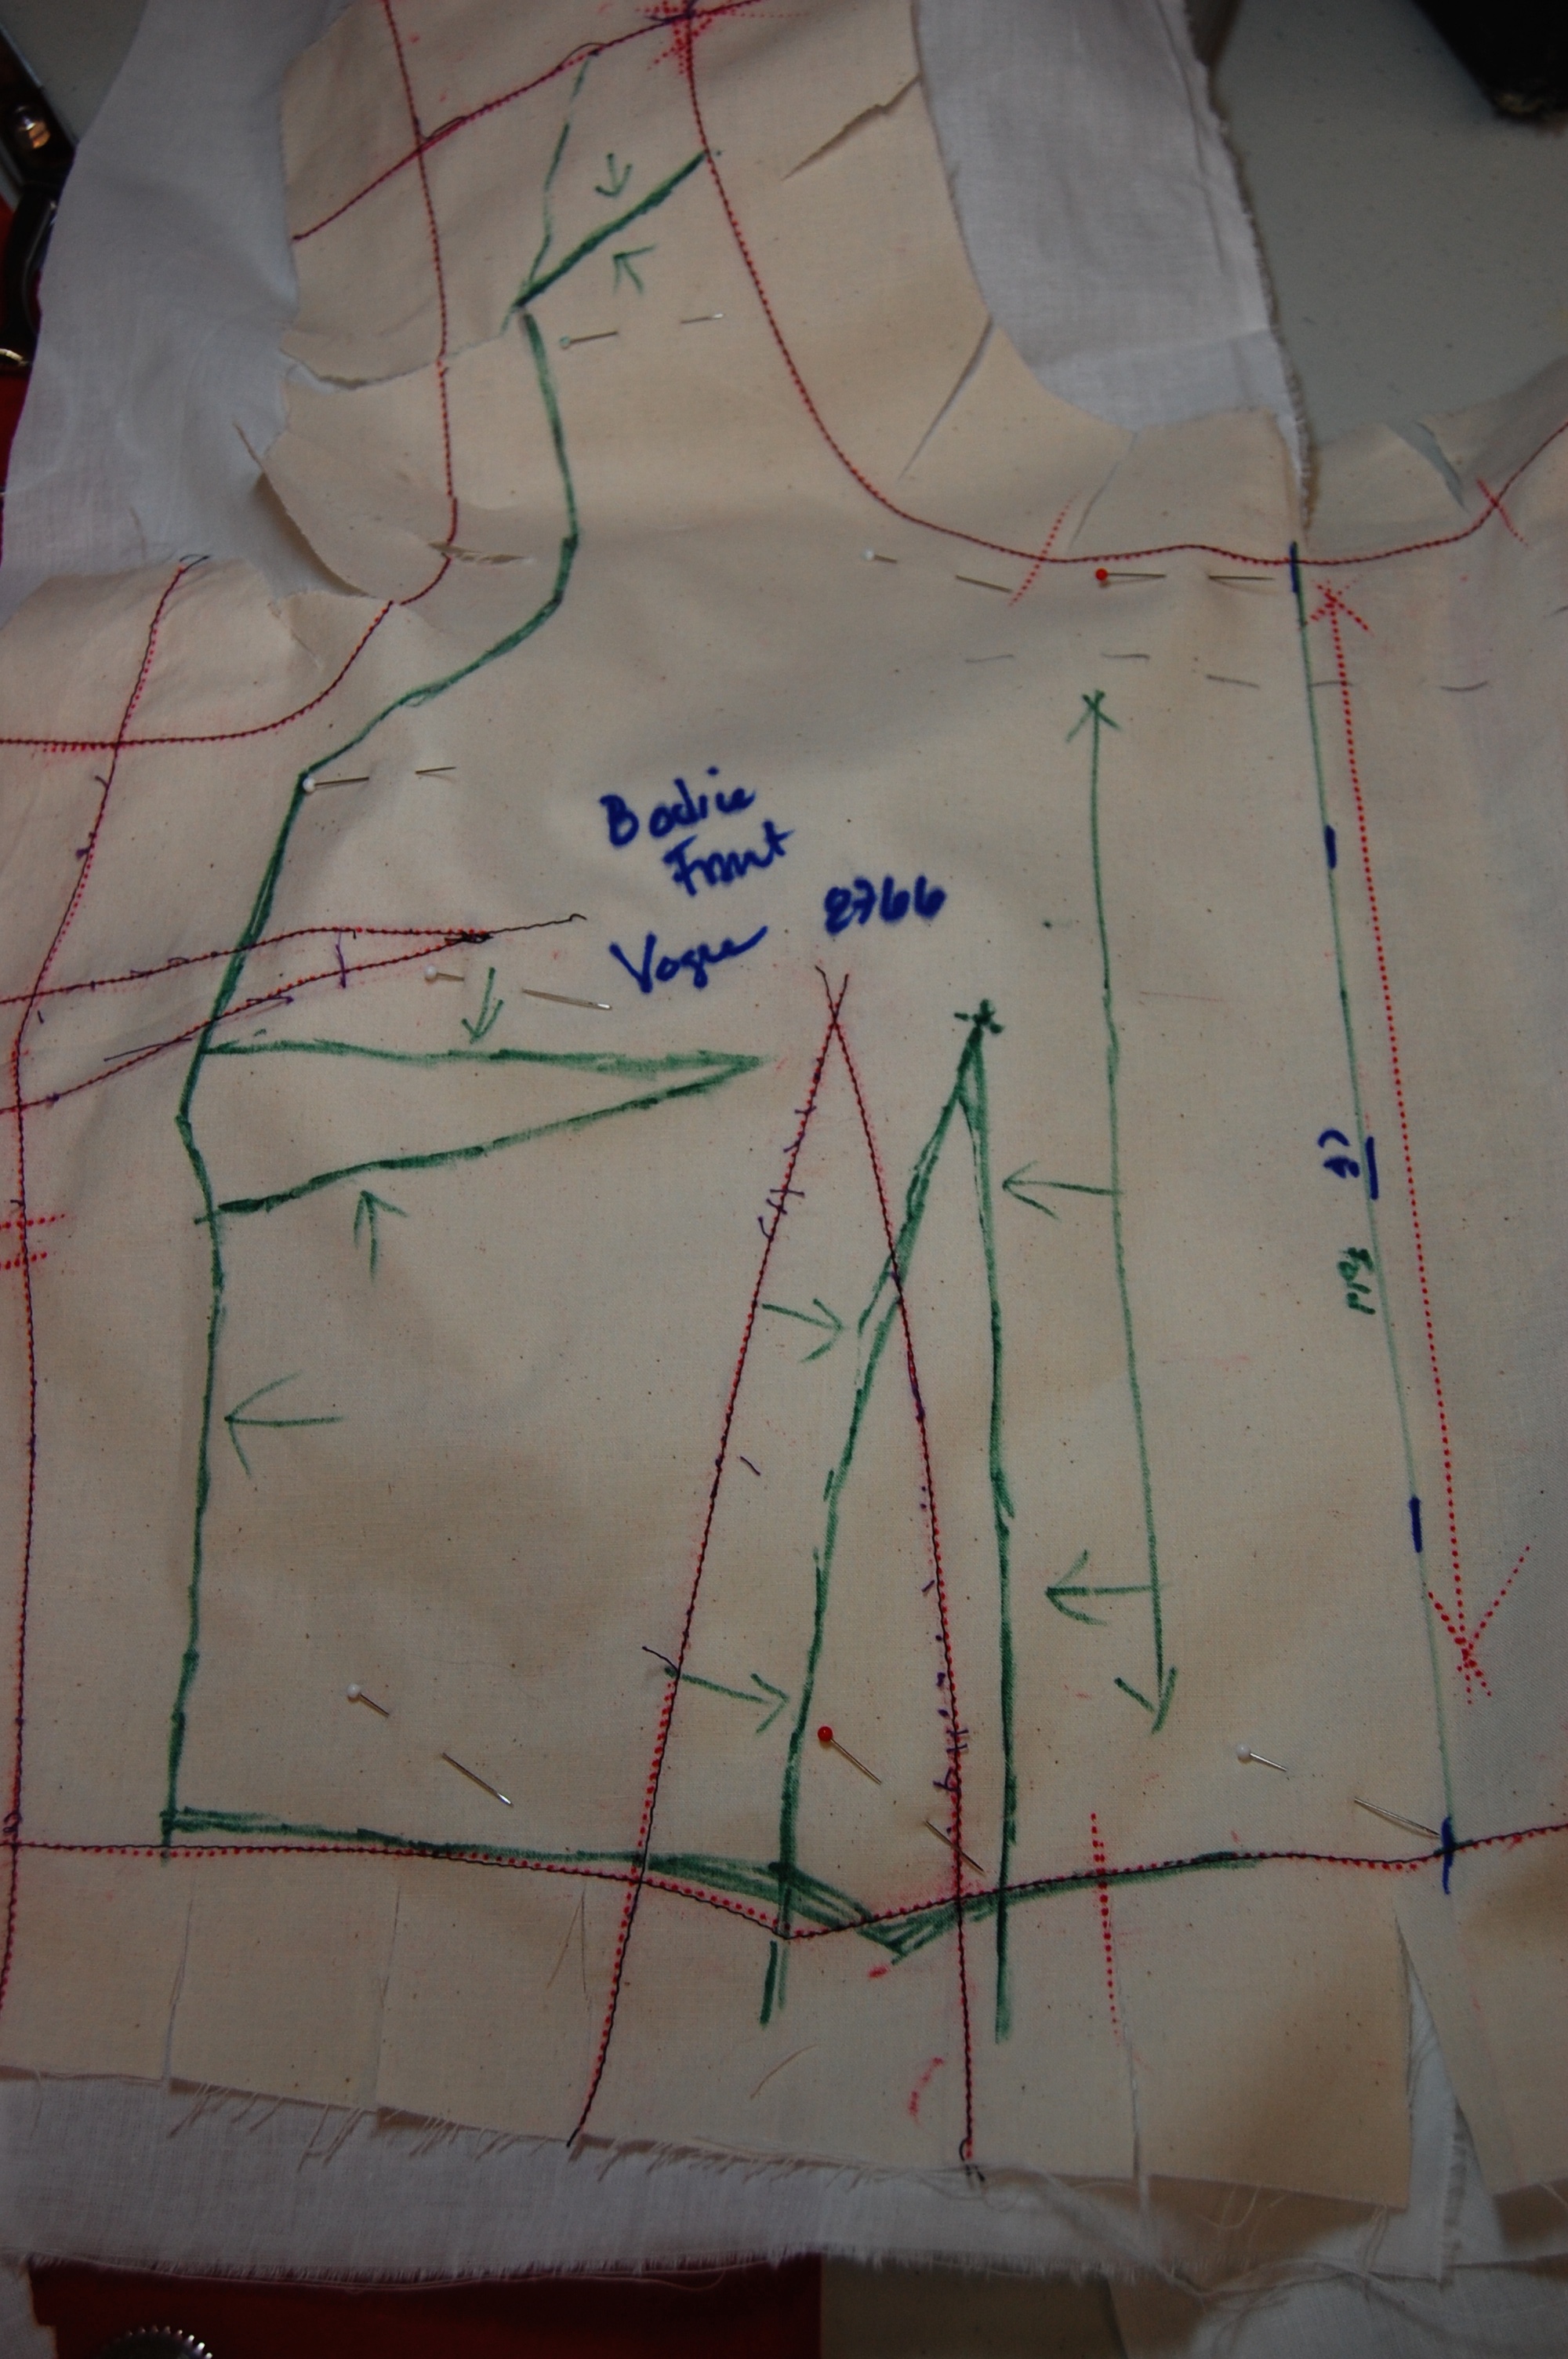
Under bodice and outer bodice pattern: Vogue 8766
Cummerbund pattern: Vogue 5234 (vintage)
Bow pattern: Butterick 3582 (vintage)
Shoes: Butter, sold by Simply Soles