Could it be that while we are planning, fitting, pinning, cutting, stitching, (and re-stitching), we are also using skills that can enhance the ability of our brains to process information and solve complex problems?
I have always loved the fact that sewing demands so many different skills and abilities, but I never thought of it as “brain-enhancing” until I read an article with the intriguing title “Which Professions Can Make You Smarter?” (by Sue Shellenbarger of The Wall Street Journal, December 9, 2015: search here.) The author identified five criteria that indicate the activity or job you are doing, can, according to some neuro-scientists, enhance the “elasticity” and cognitive ability of the brain. One by one, as these criteria were listed, I thought of how apropos they are to sewing. See what you think:
1) “You work at tasks that are difficult enough that you make some mistakes.”
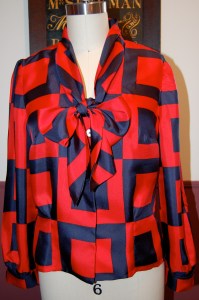
As we all know only too well, mistakes are part of sewing. Why else would seam rippers have been invented? Have you ever sewn a sleeve in backwards or failed to match a plaid? I immediately thought of this blouse which I made a couple of years ago; while sewing the collar/tie to the front of the bodice, I made the same mistake over and over until I finally got it right.
2) “You have a job [or avocation] that is continually challenging.”
Whether the challenge comes from the pattern you have chosen, the fabric, the fitting issues you are facing, your time constraints, or any other myriad of potential hazards or goals, sewing is inherently challenging. A good example of a sewing challenge is the use of Marfy patterns. With no written instructions, minimal marking on the pattern tissues, and often complex (but very exciting) designs, Marfy patterns are definitely for the dressmaker who relishes a challenge.

Here is a detail from a dress which I made using a Marfy pattern.
3) “Your work lets you progress to higher skill levels, but you are never able to master it.”
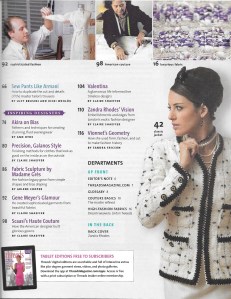
I am always amazed at people who, knowing that I have taken numerous couture-sewing classes, comment to me that I “must know everything there is to know about sewing.” I find that the more I learn, the more I realize I don’t know. Just take a look at the Table of Contents of this special Designer edition of Threads Magazine from Summer 2014. So much to learn, and while every piece we finish expands our sewing knowledge – and abilities – we are still humbled by some of the amazing techniques that would take more than a lifetime to master.

Click on the image to read the text.
4) “Improving your skills is rewarding enough that you want to keep trying to do better.”
I believe this is one of the most important aspects of sewing. The reward of using – and improving – your skills is something you can wear! Although I love a Classic French Jacket, and want more of them because of their wearability, style, and enduring appeal, I have to confess that after making my first one in a class with Susan Khalje, I immediately wanted to make another one to see if I could improve on the first one. Now I have two more in my queue – and yes, it does have at least some small part to do with making each one better than the one before.

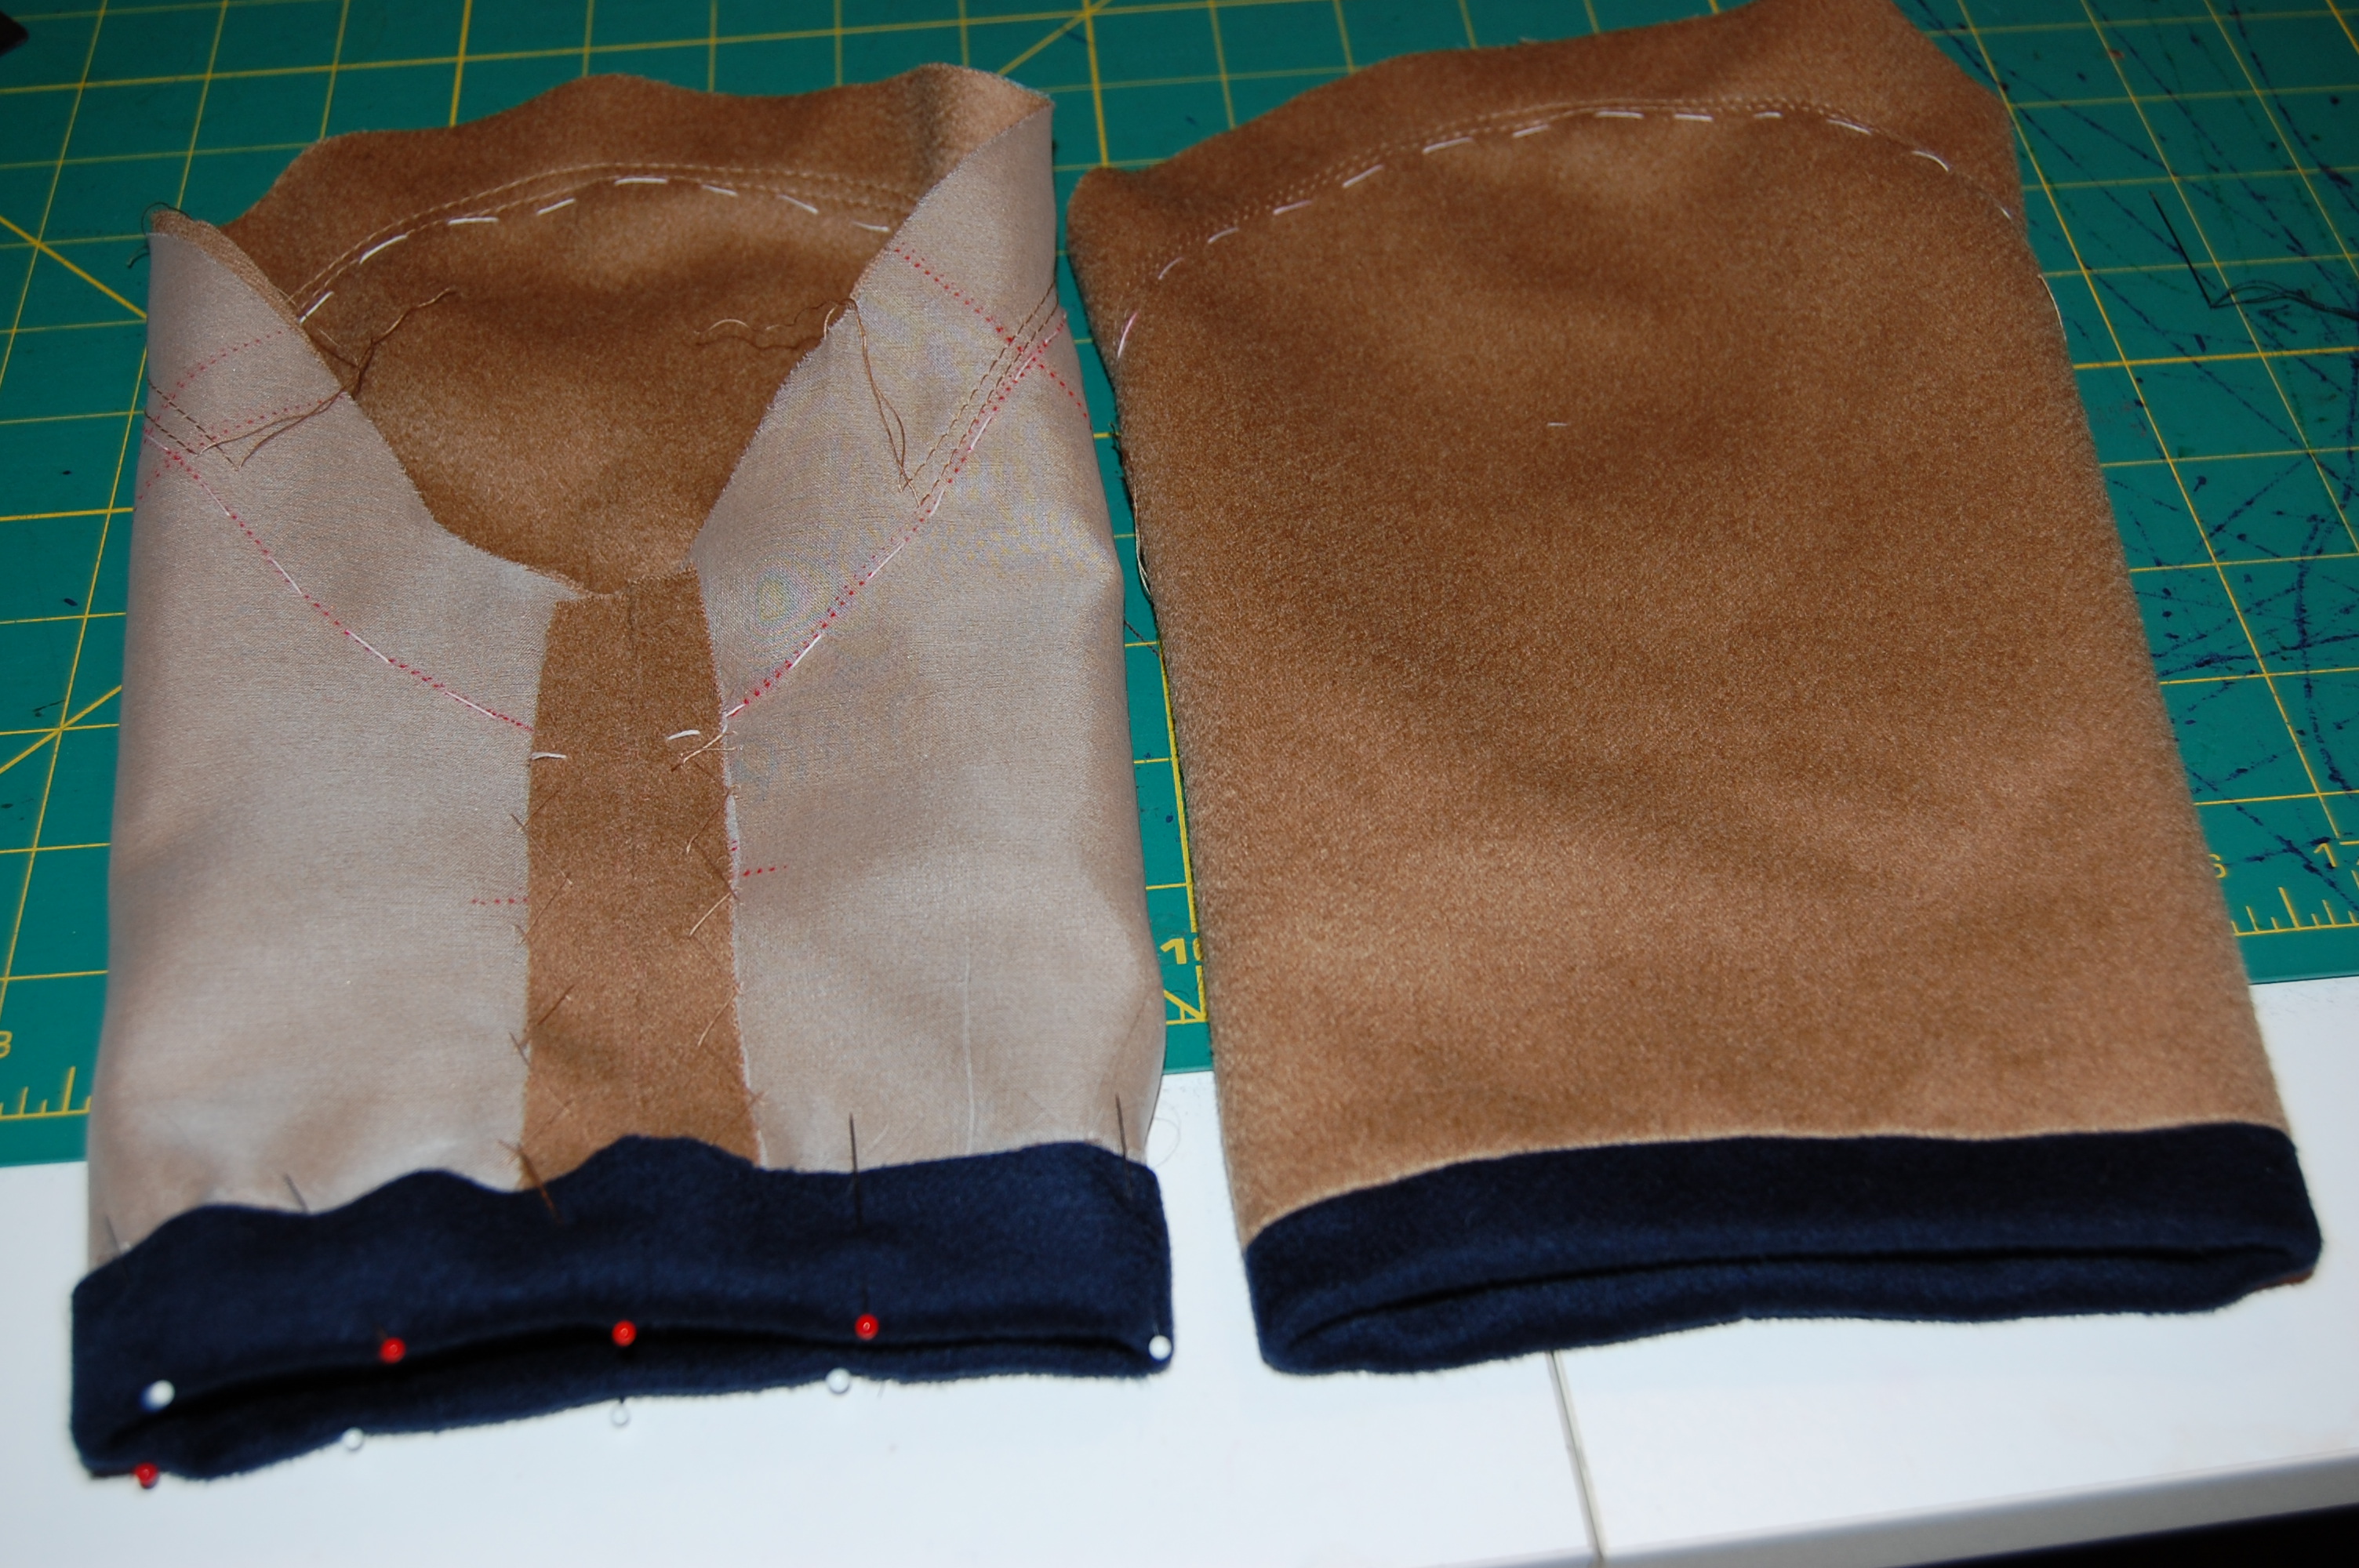
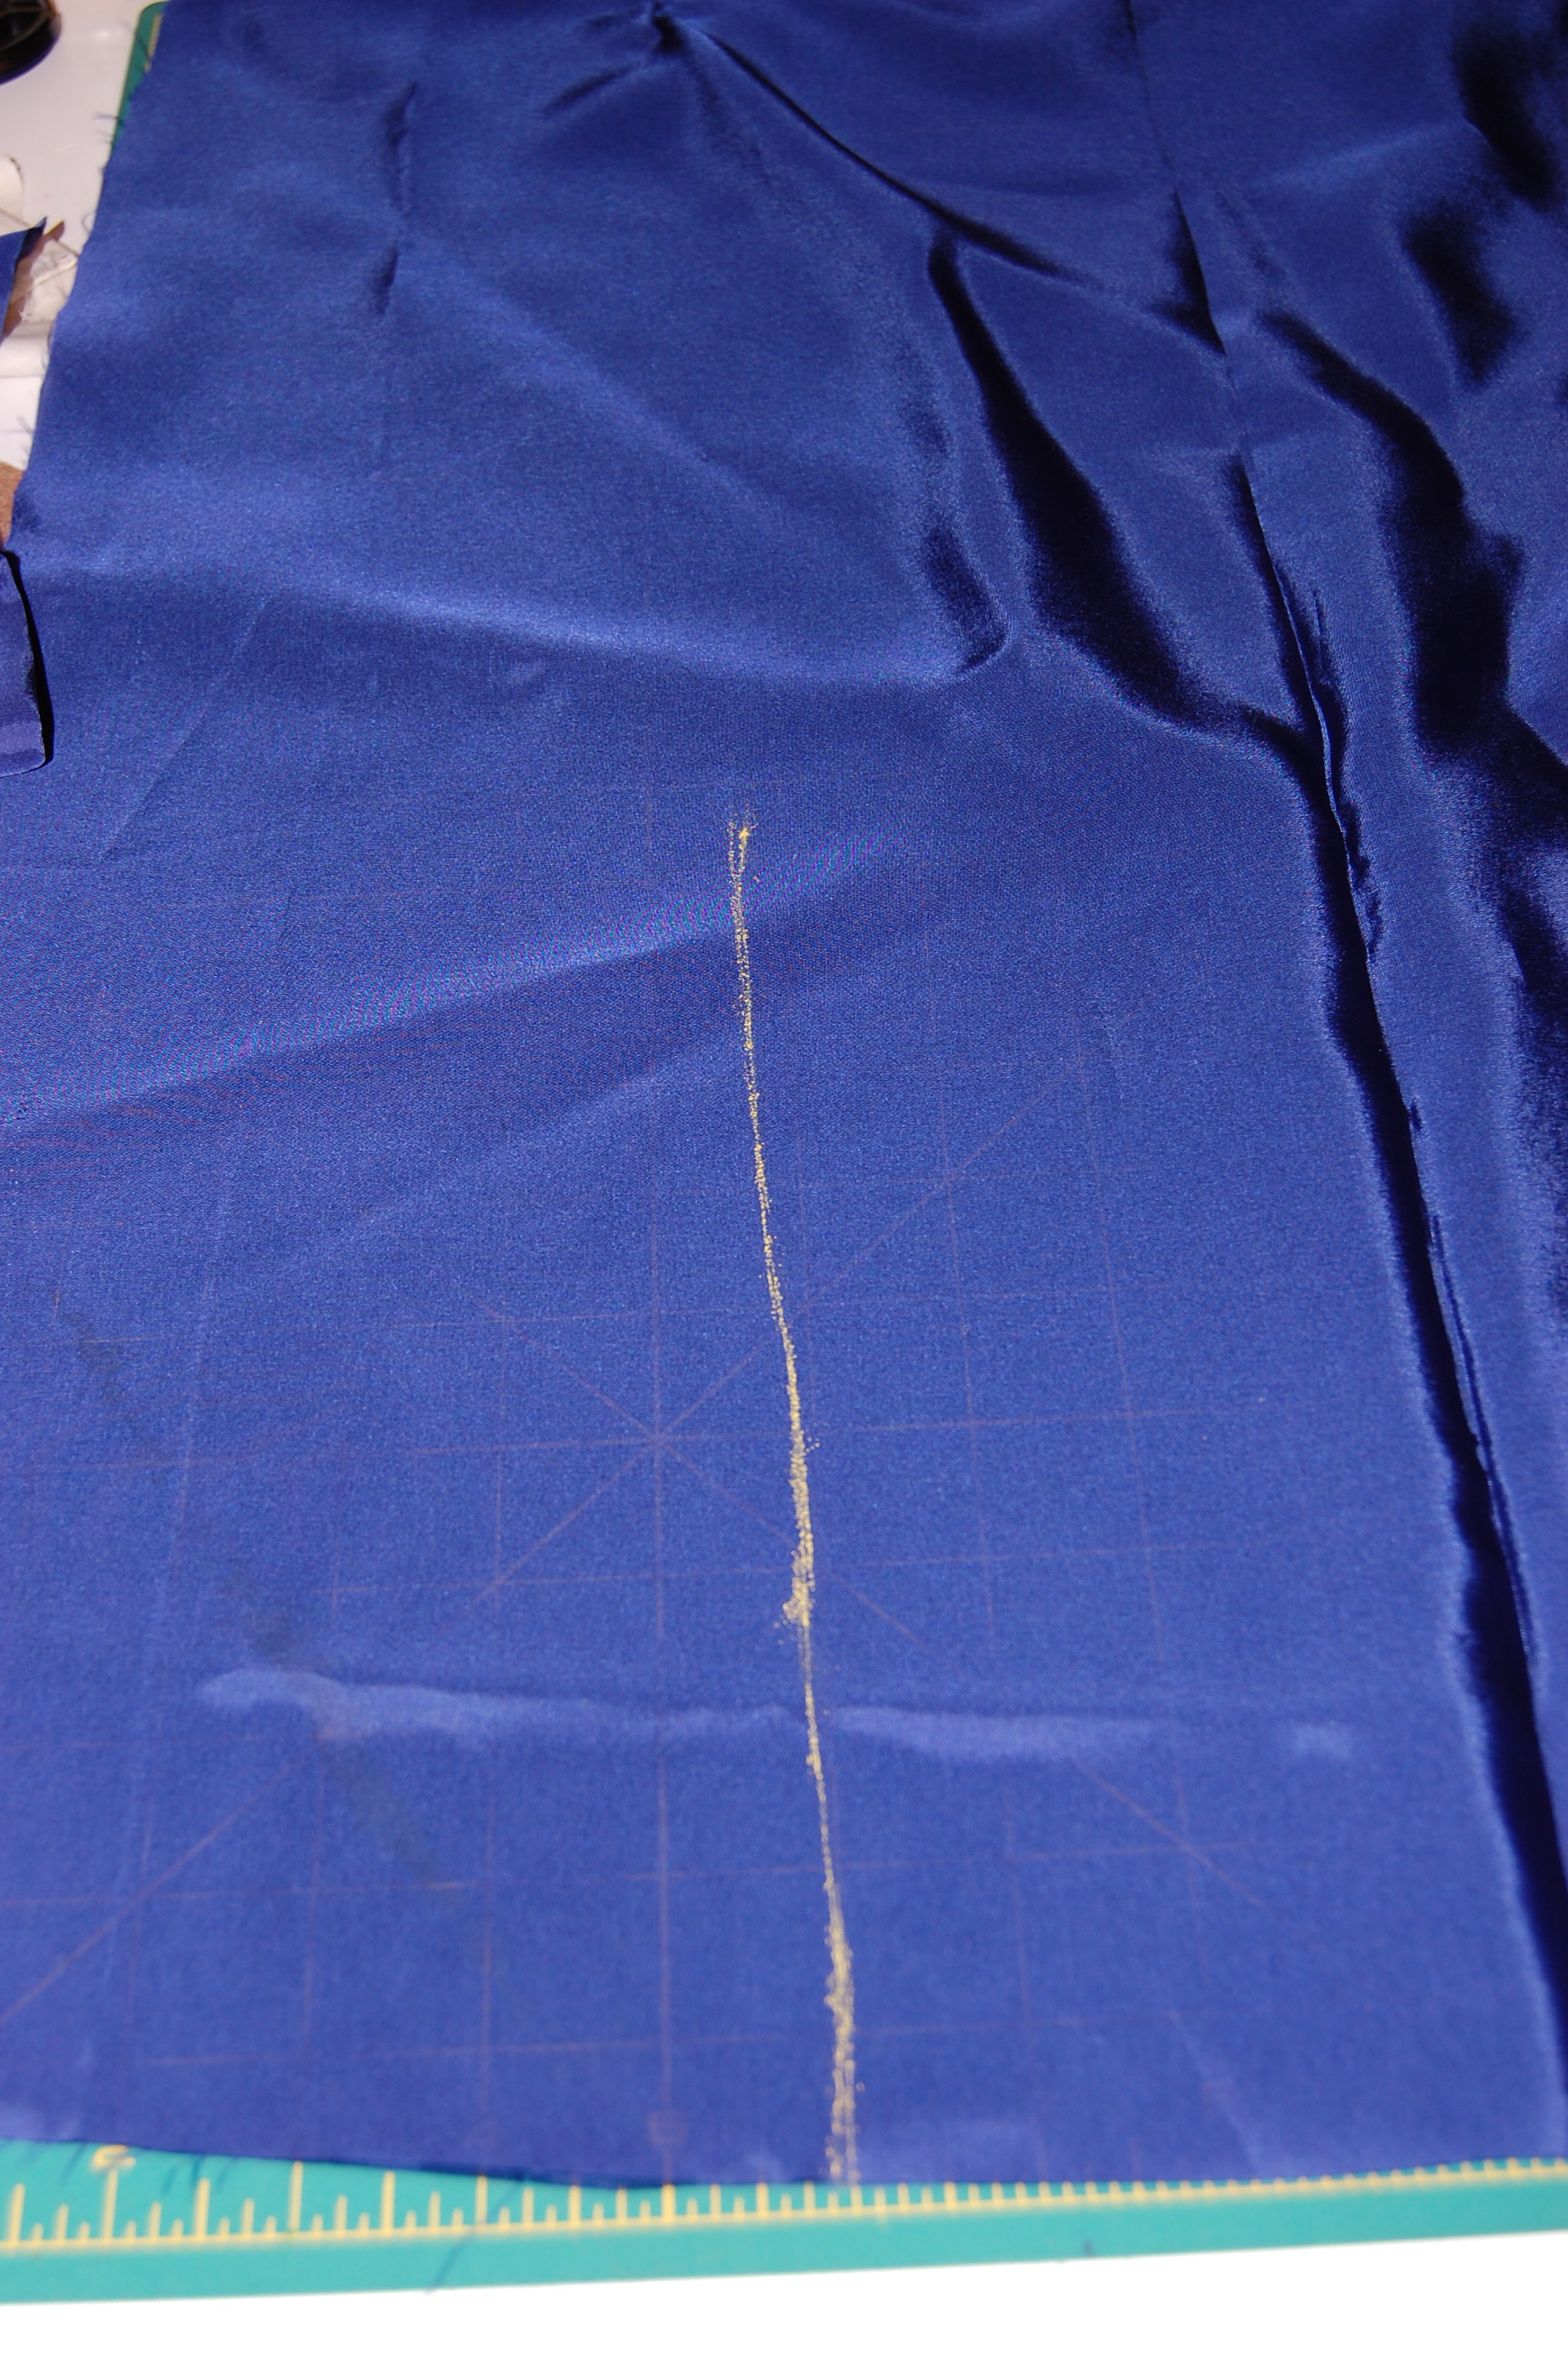
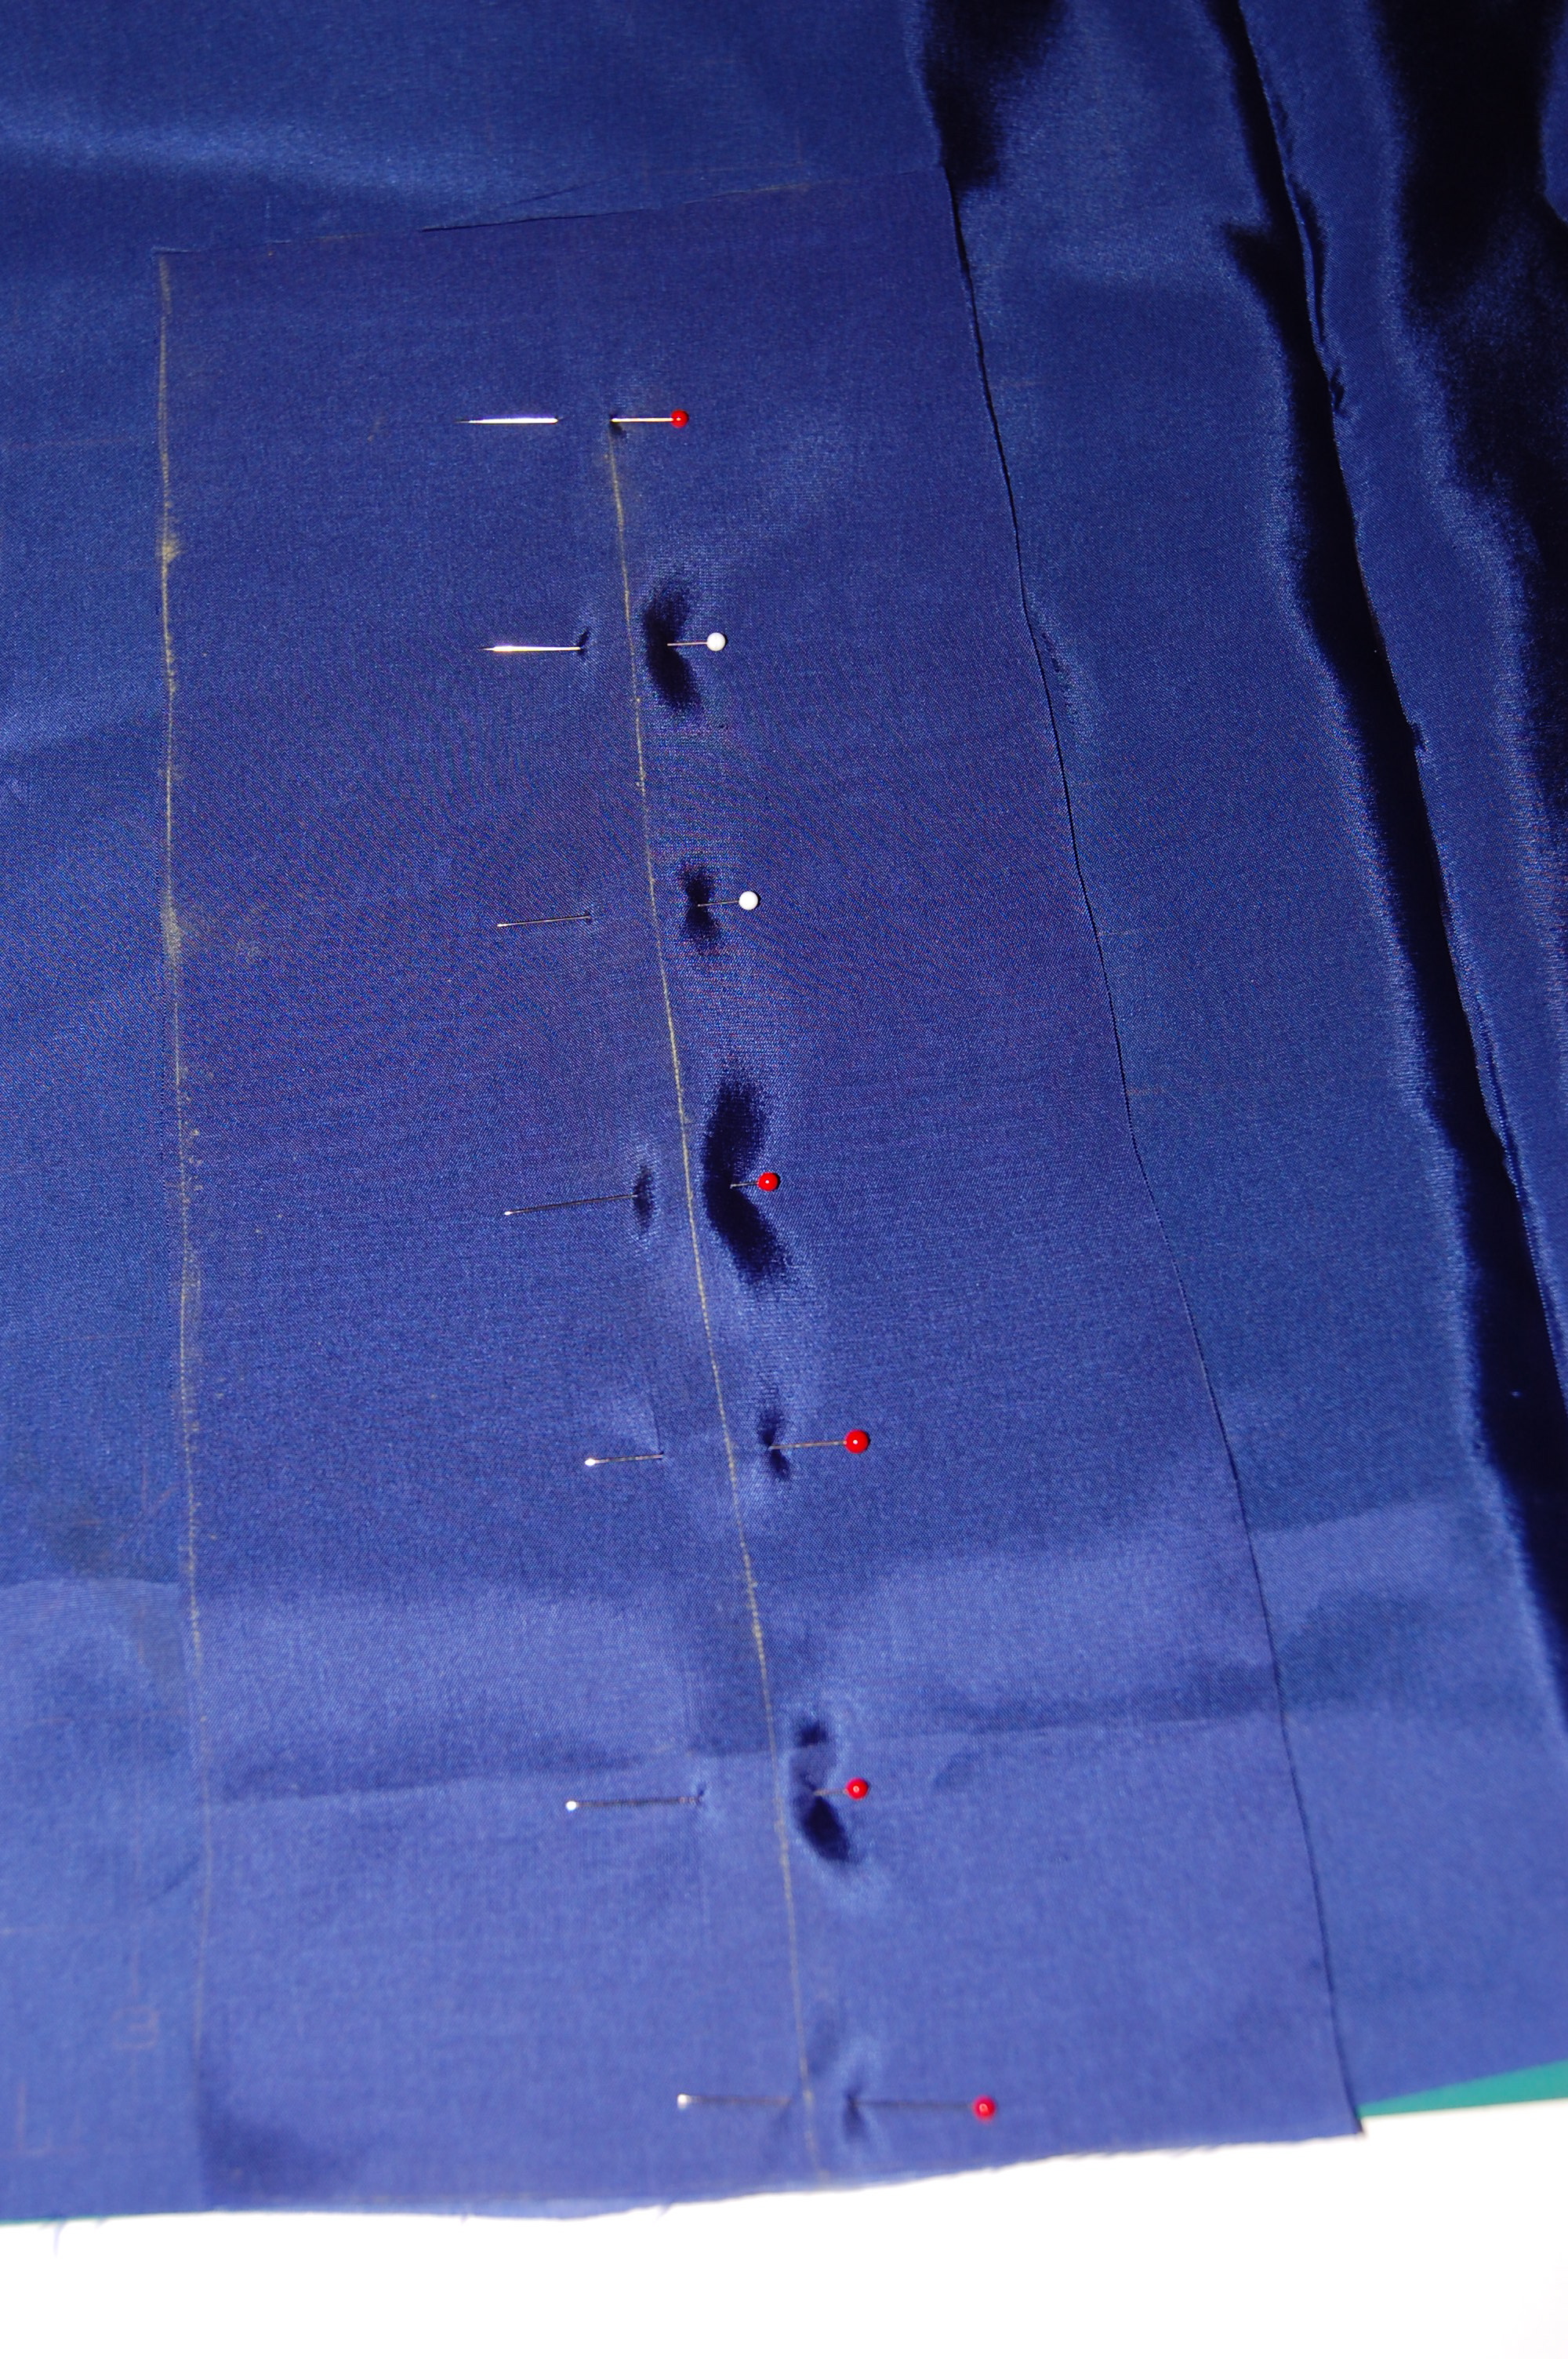
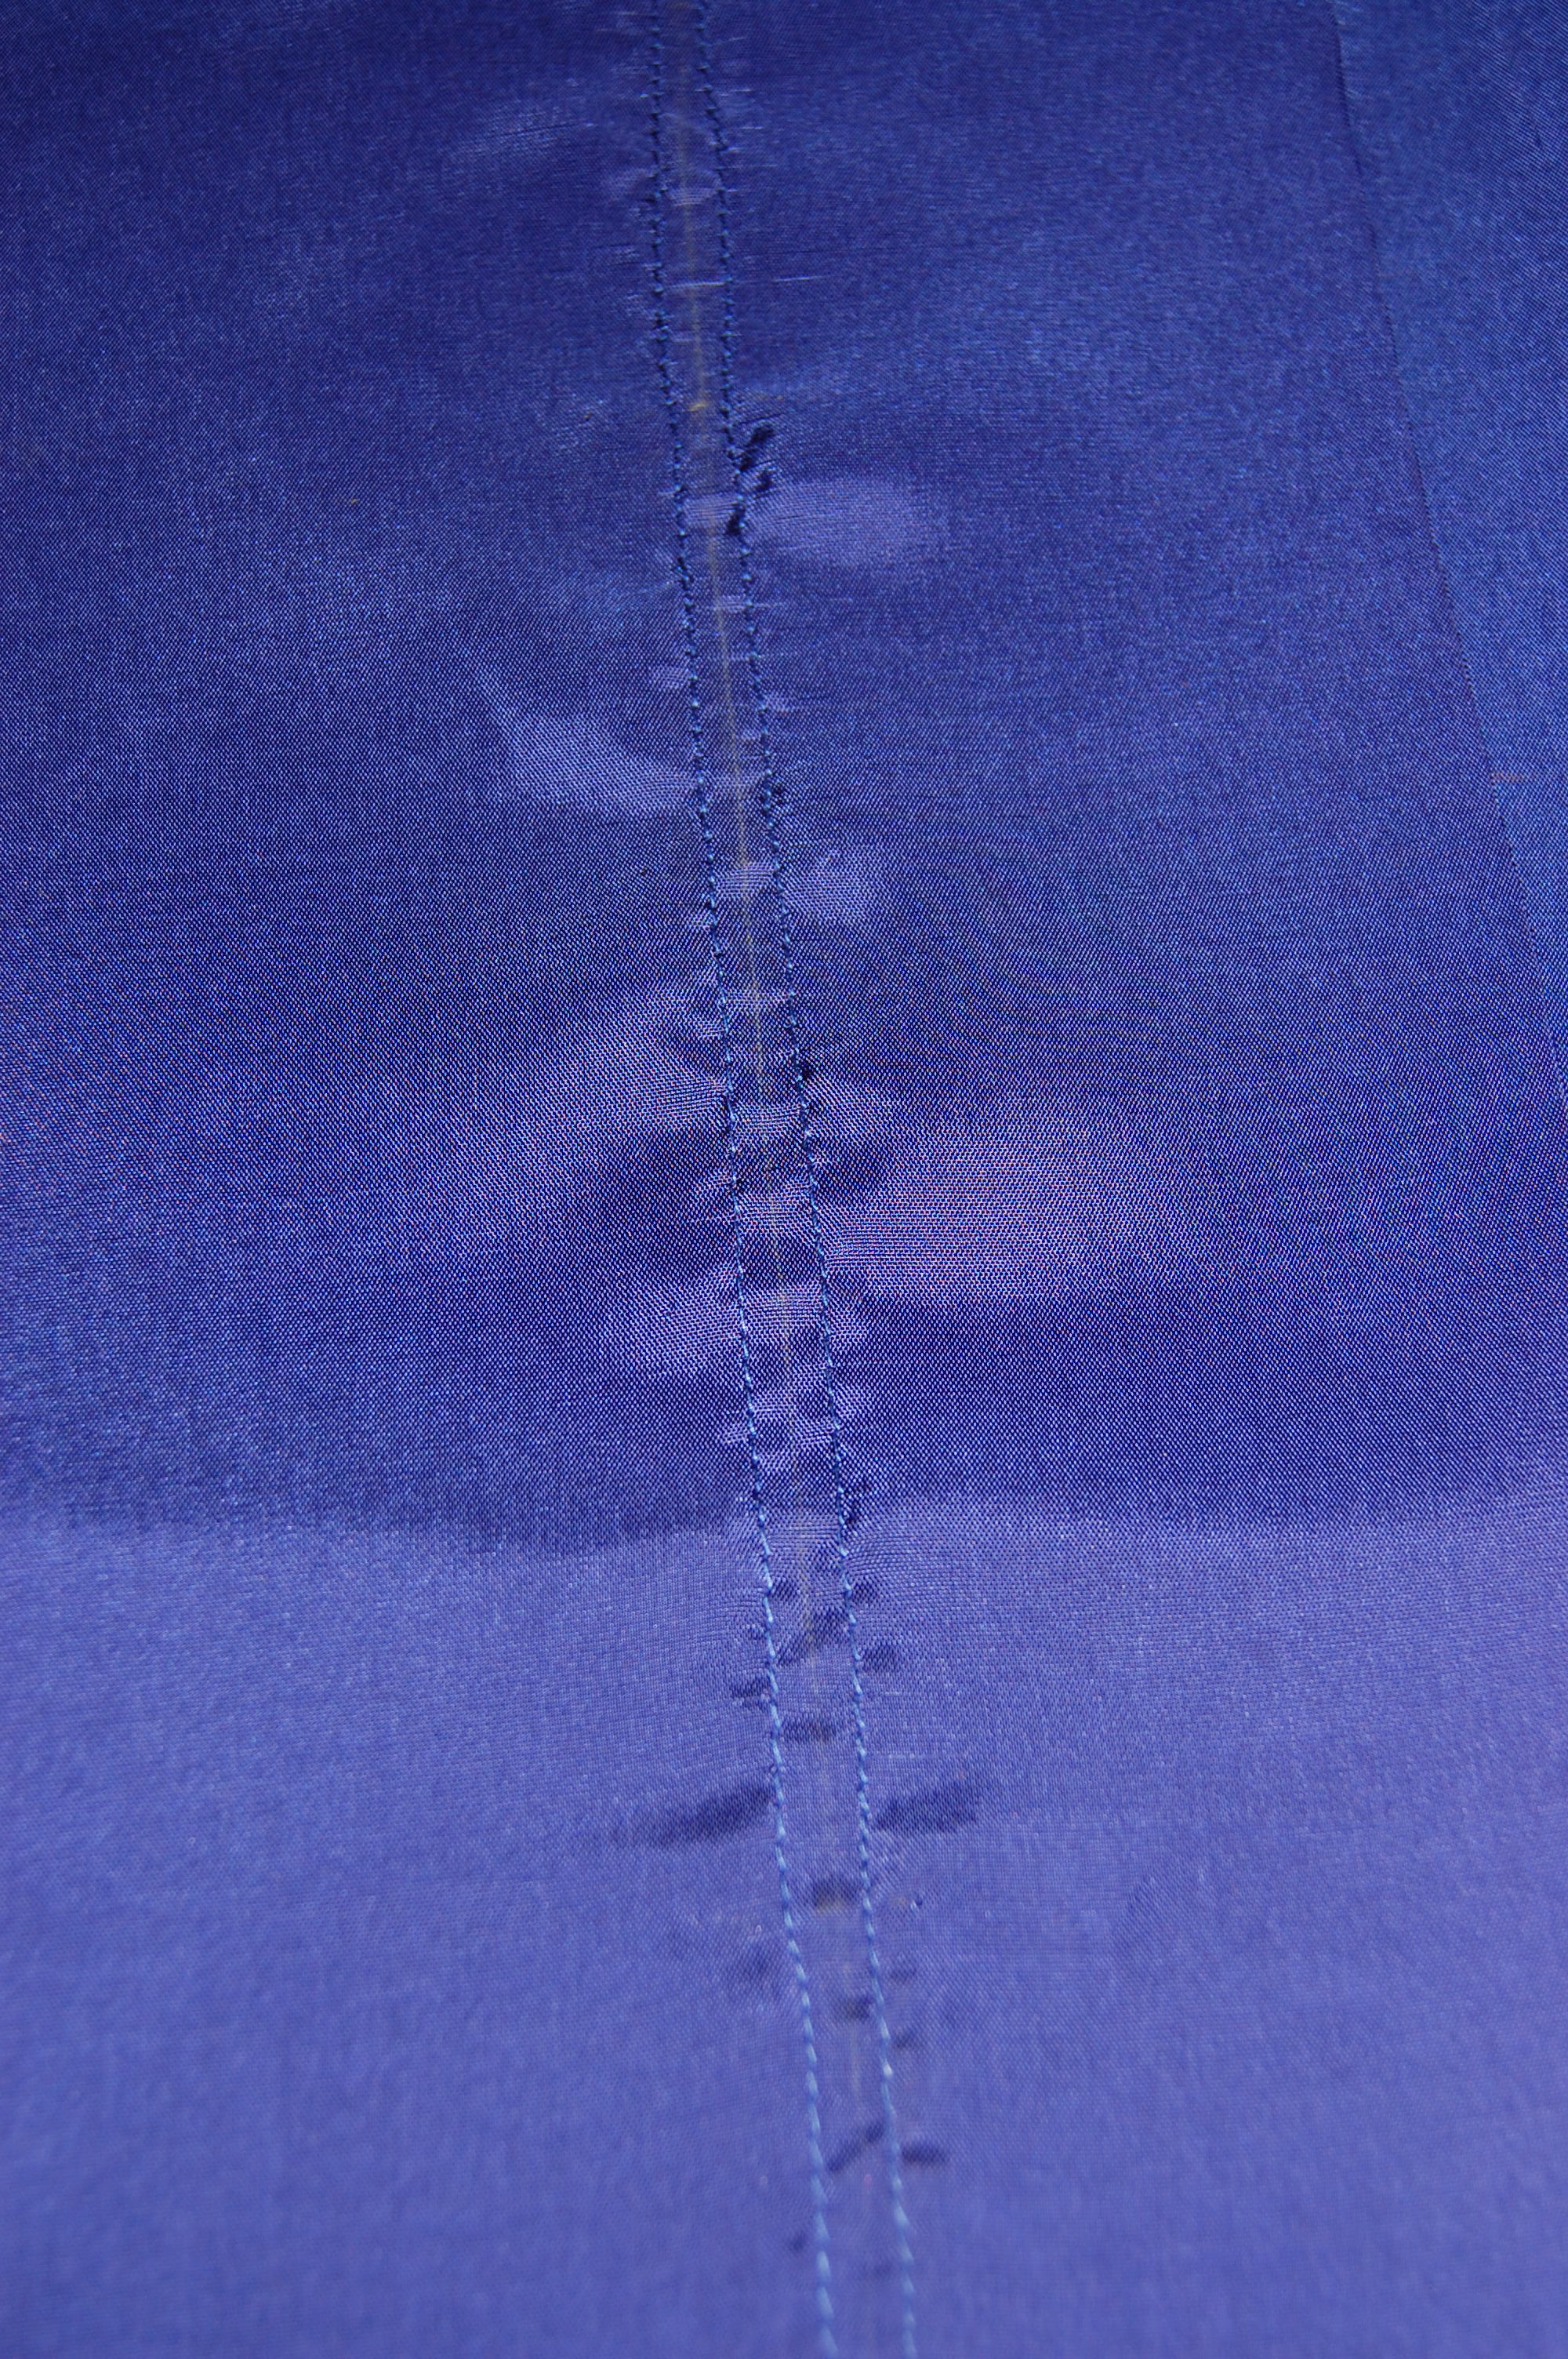
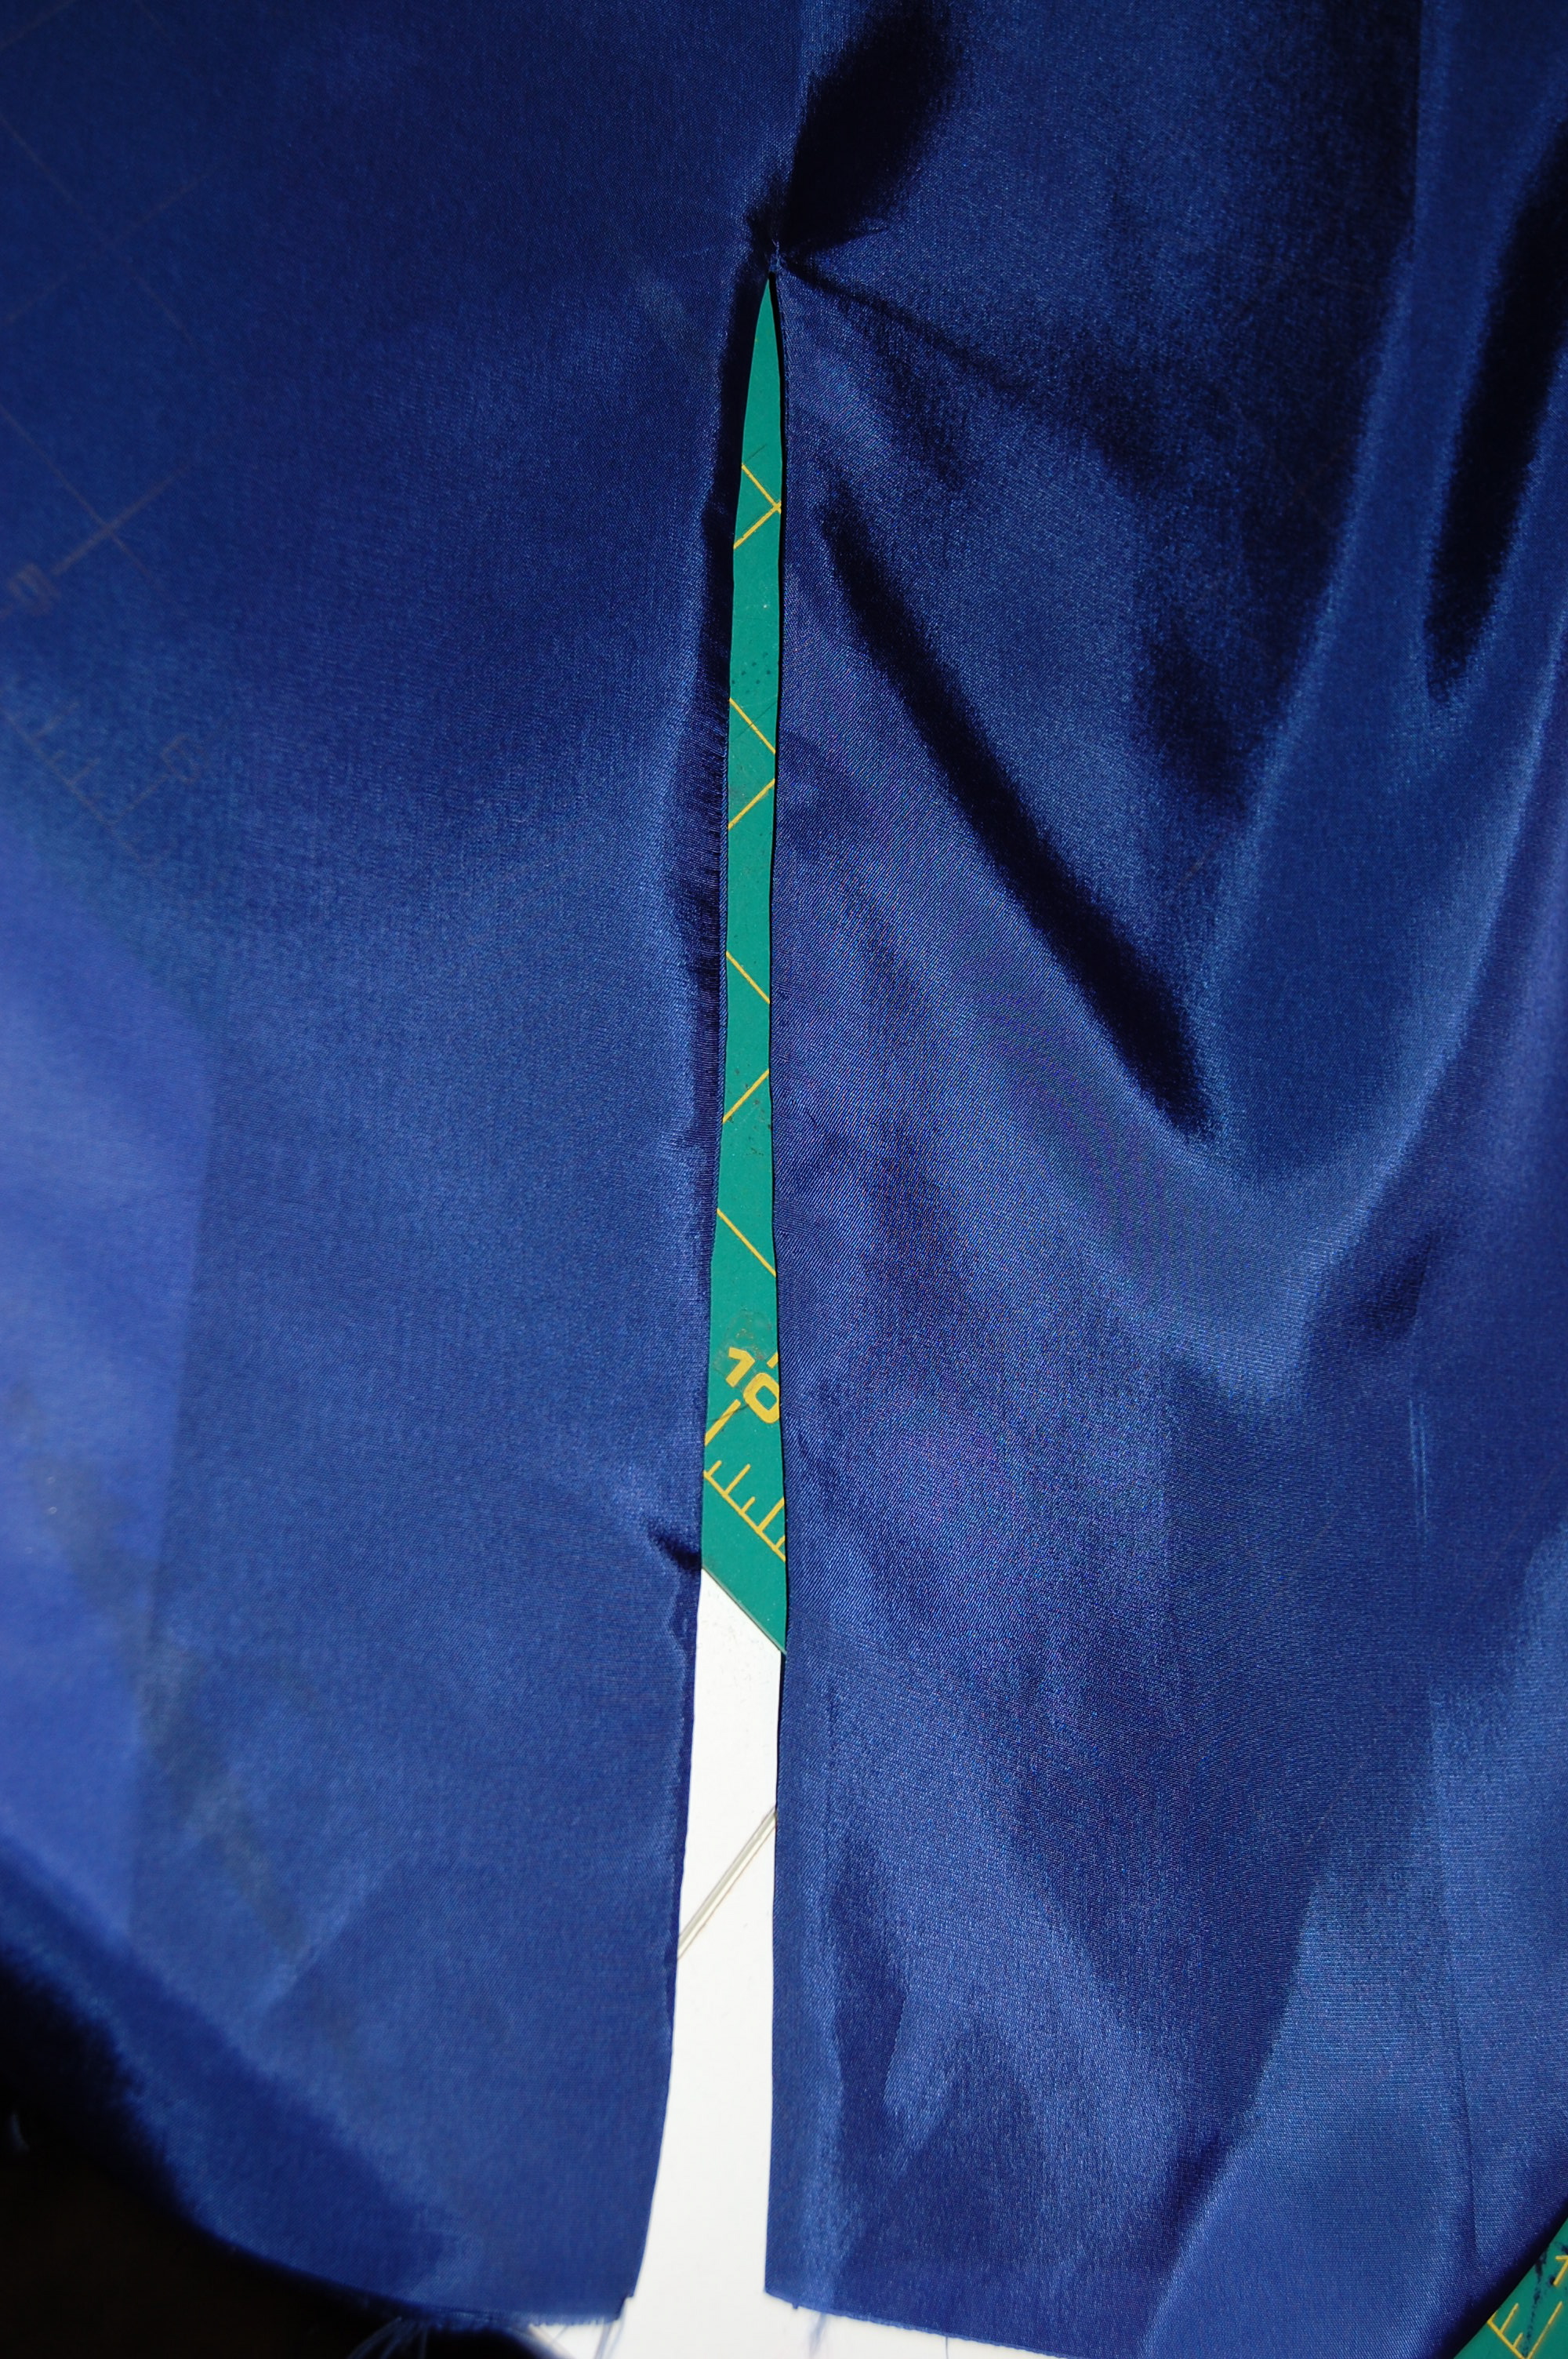
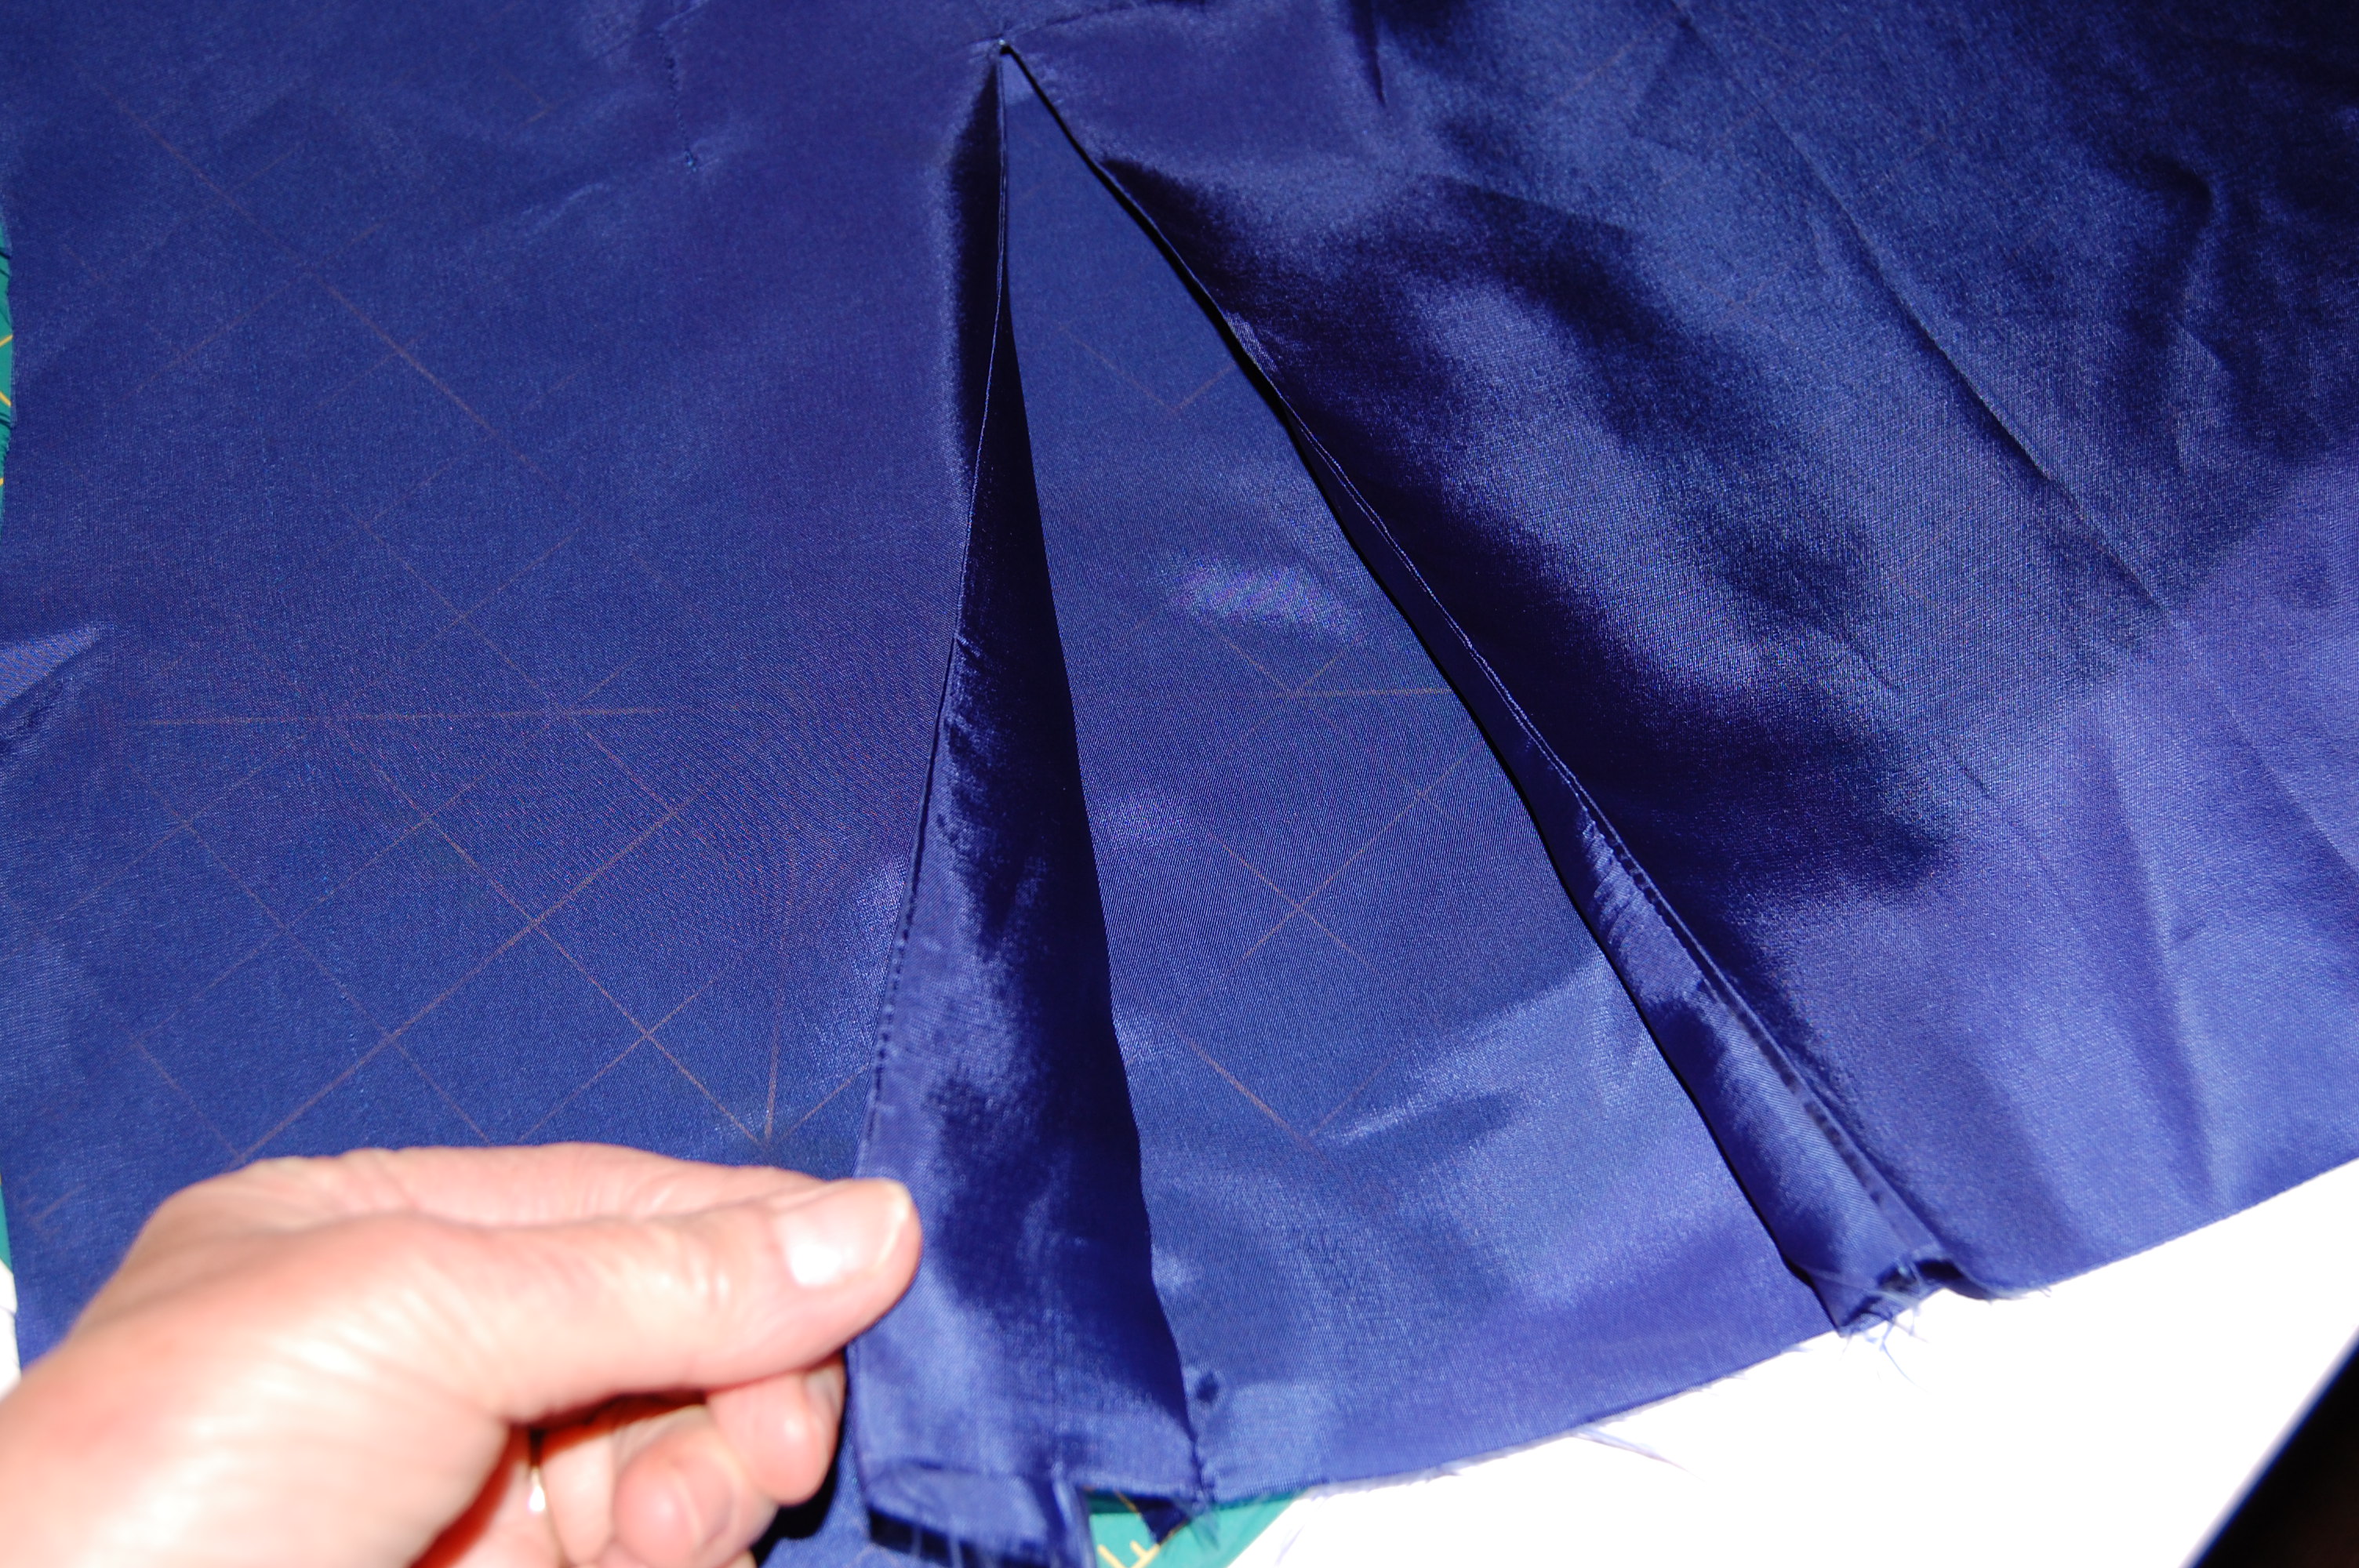
I wanted to add working buttons and buttonholes to my second French jacket, so I devised a way to make slot-seam buttonholes. This definitely took some thinking and a bit of nerve, too!
5) “You have to pay attention to details while solving more complex problems.”
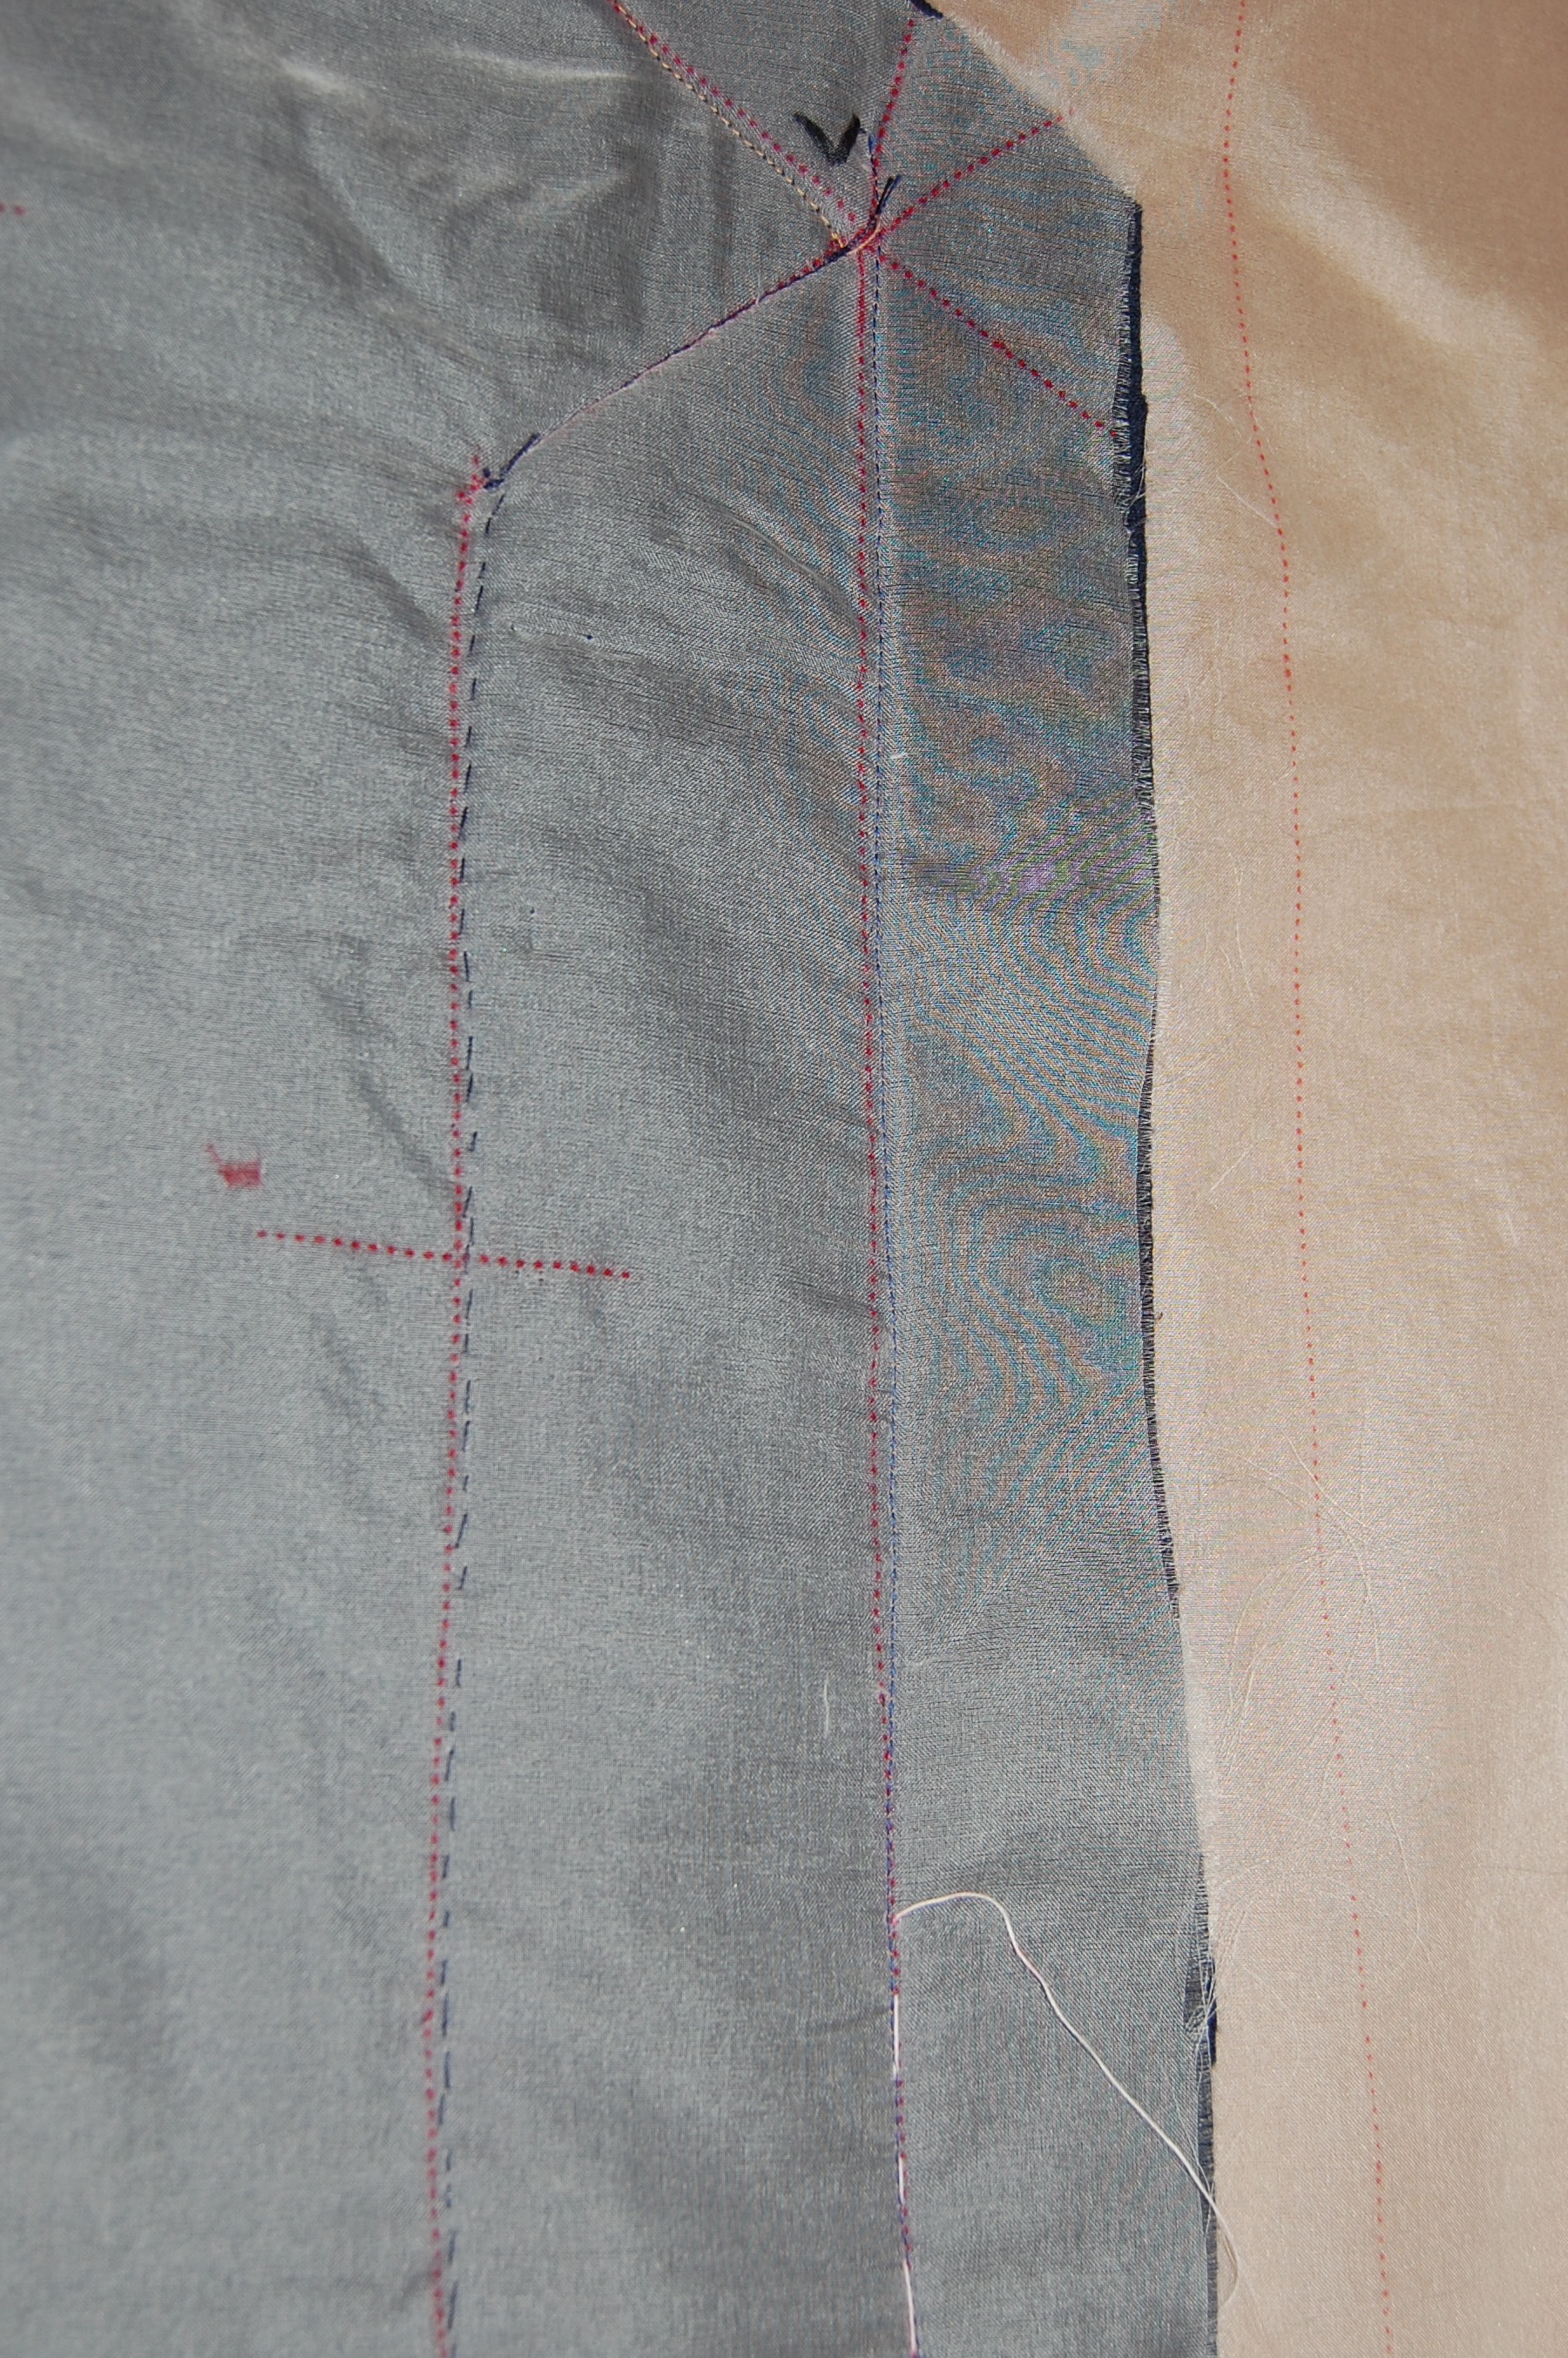
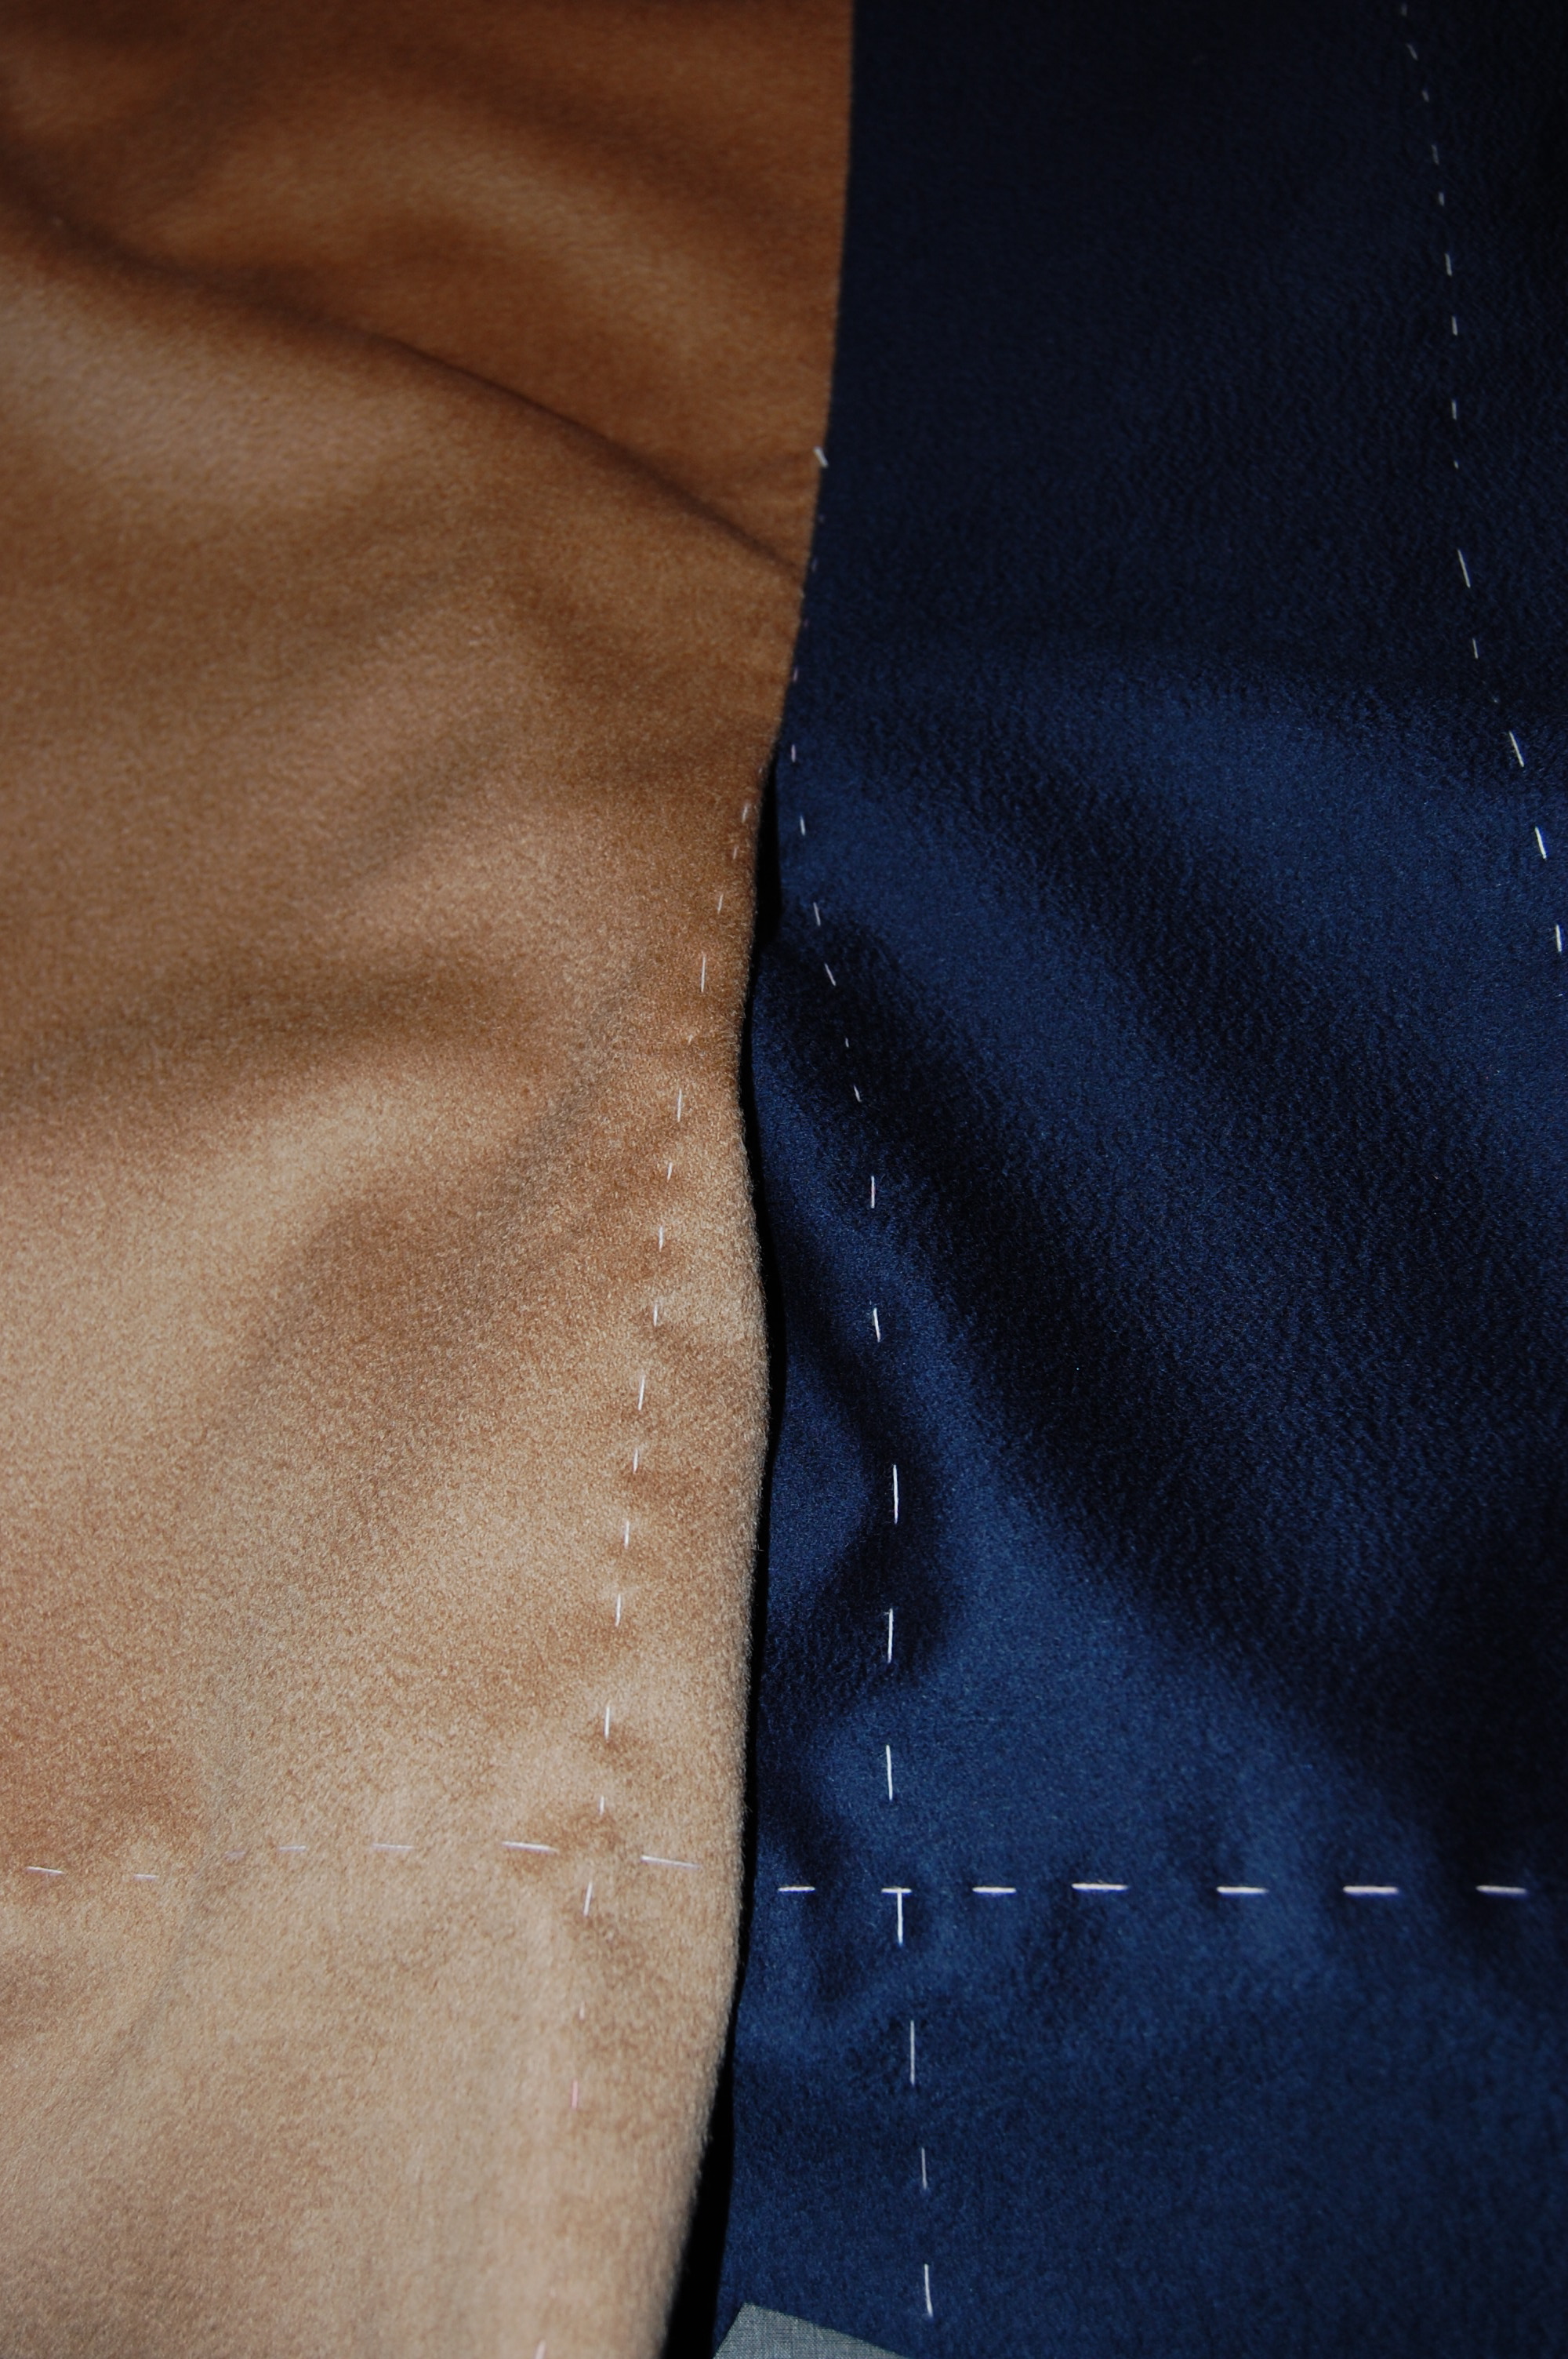
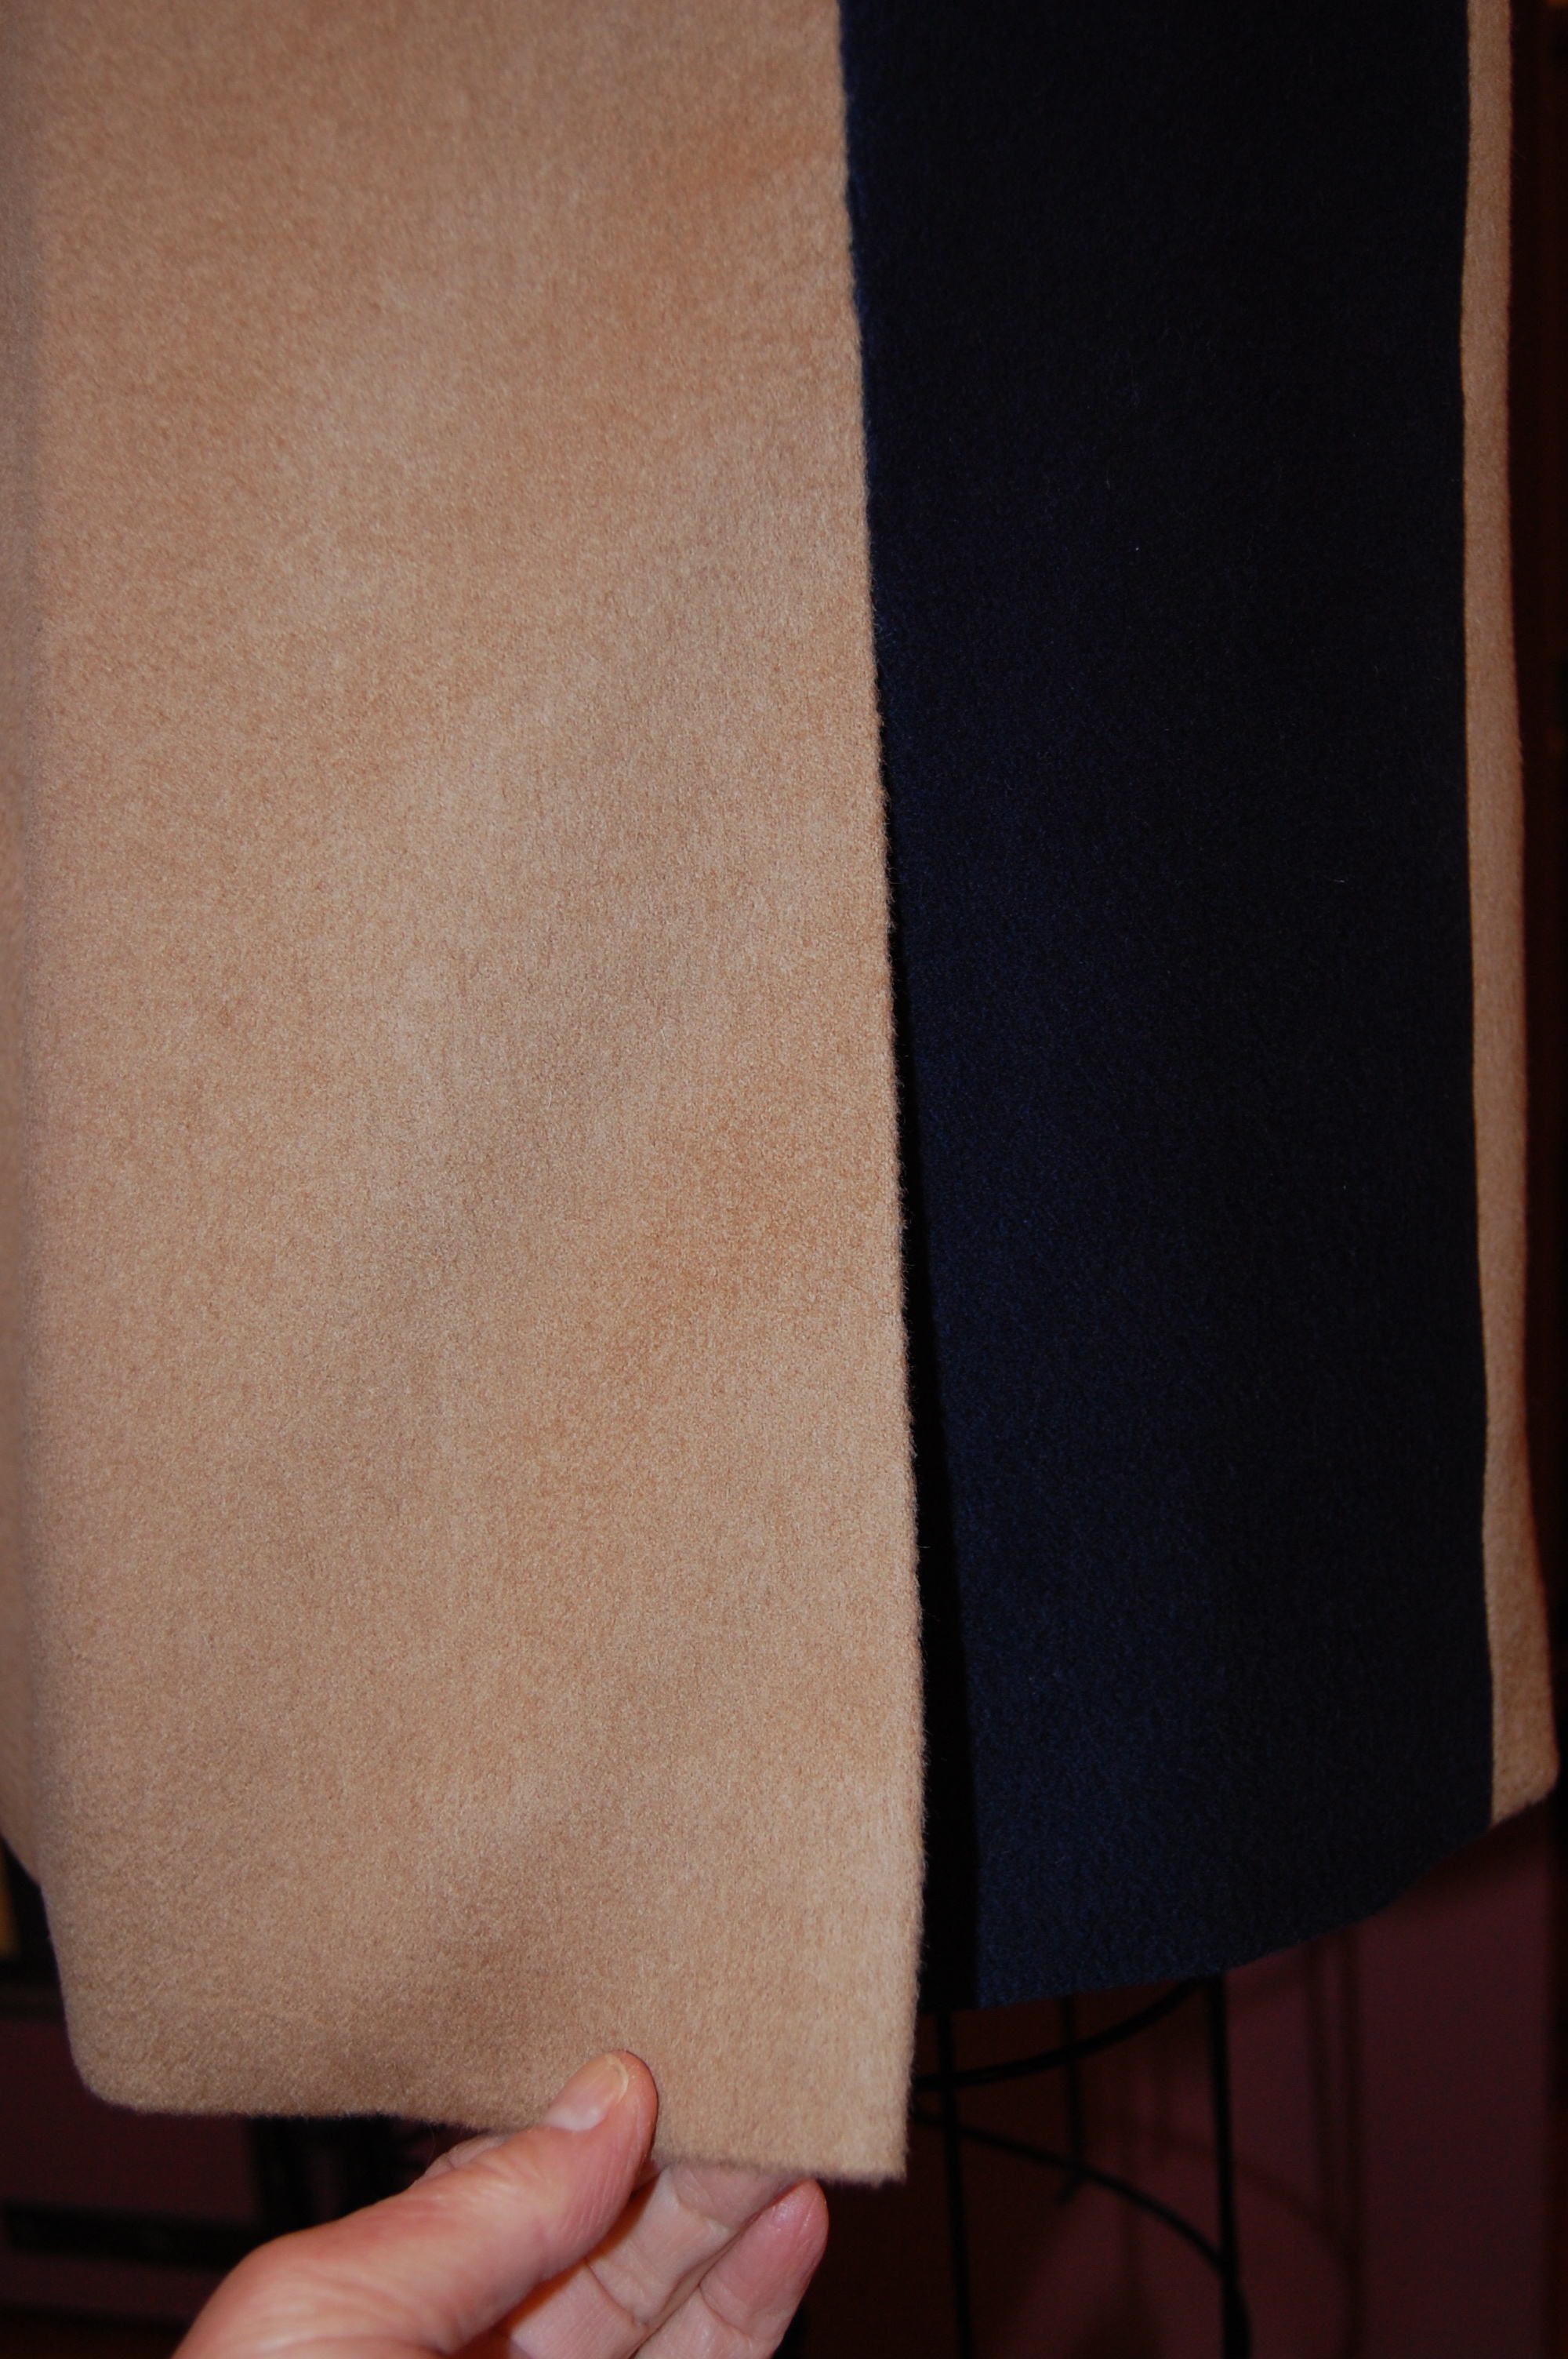
The details in sewing are legend! The darts, the seams, the proper alignment of your fabric, using the correct thread, choosing buttons, marking – well, the list goes on and on and on. We do all of this as a matter of course in our sewing, but we also know that if one of these details is not done well, it can affect the outcome of the entire garment. So, for example, while I am working my way through some complex instructions such as the sheet below, I have to be completing each detail, no matter how simple, with mindfulness and skill.

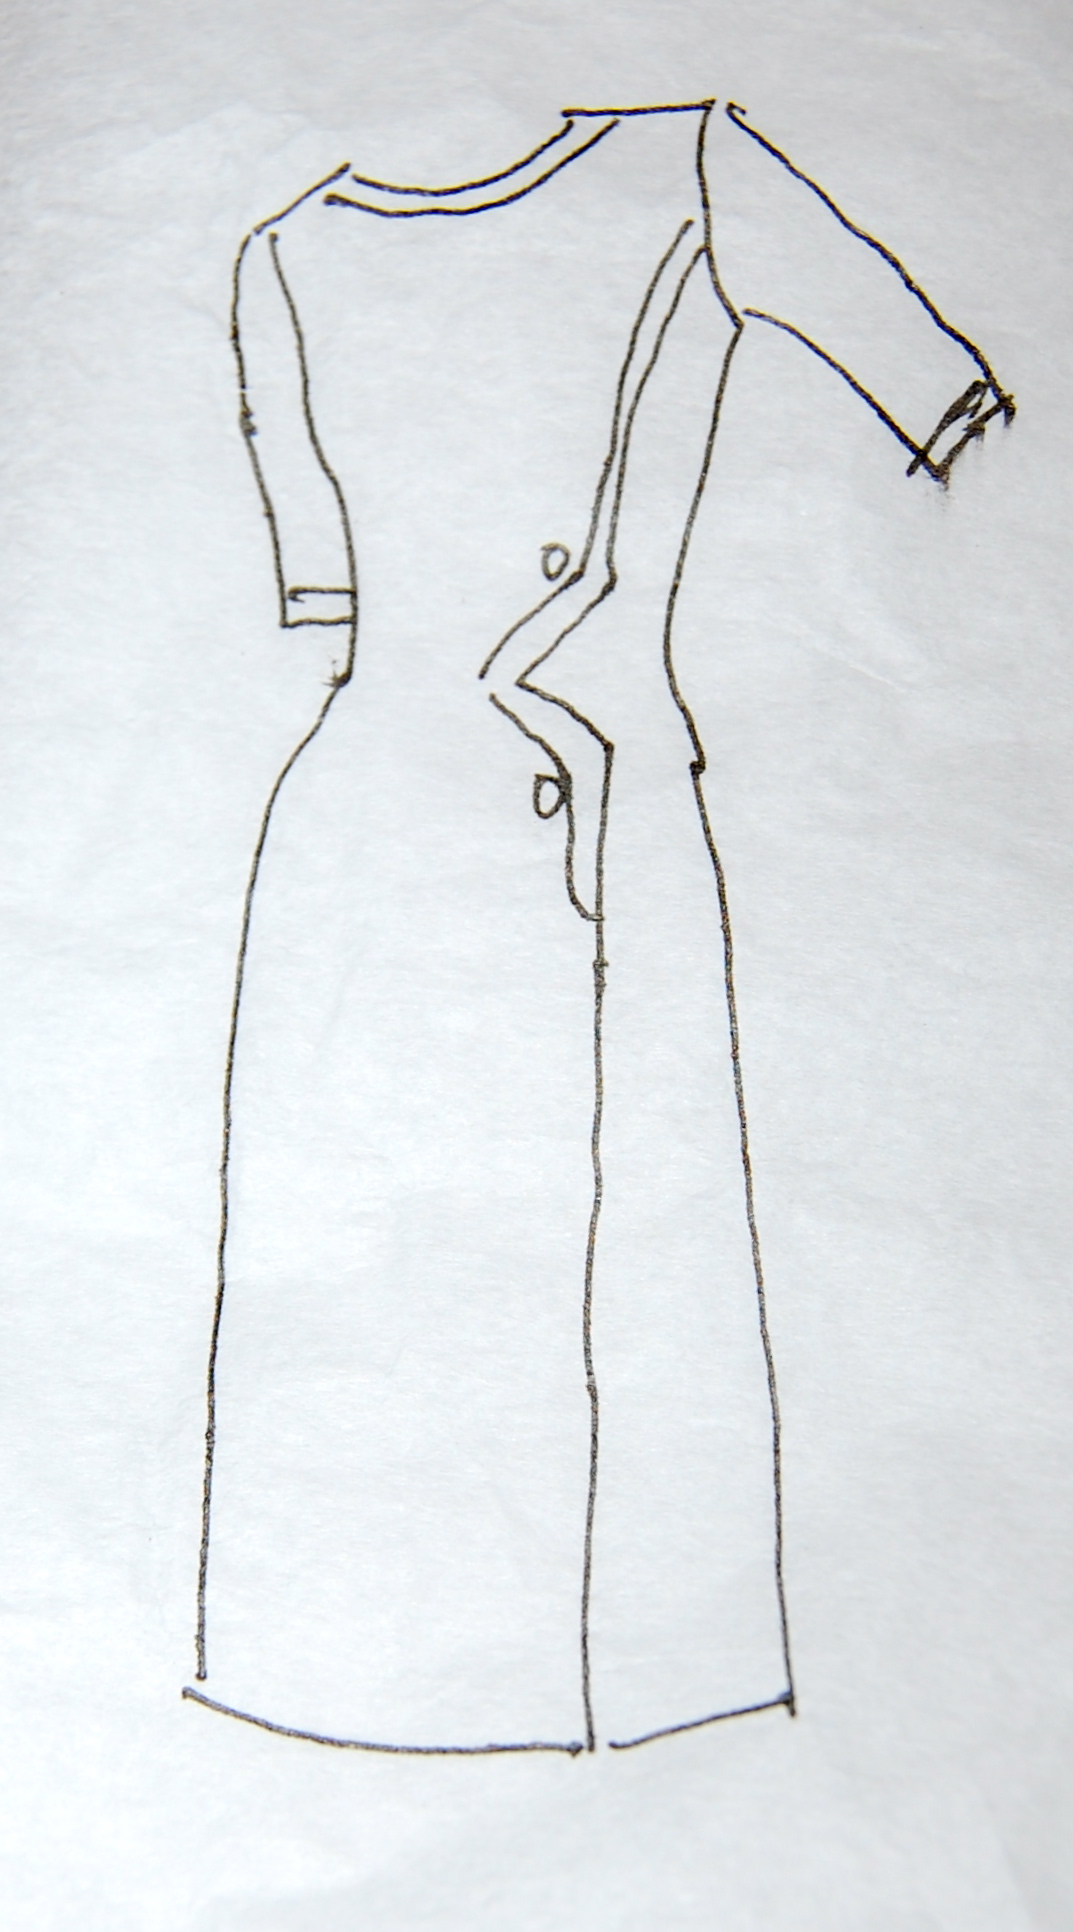
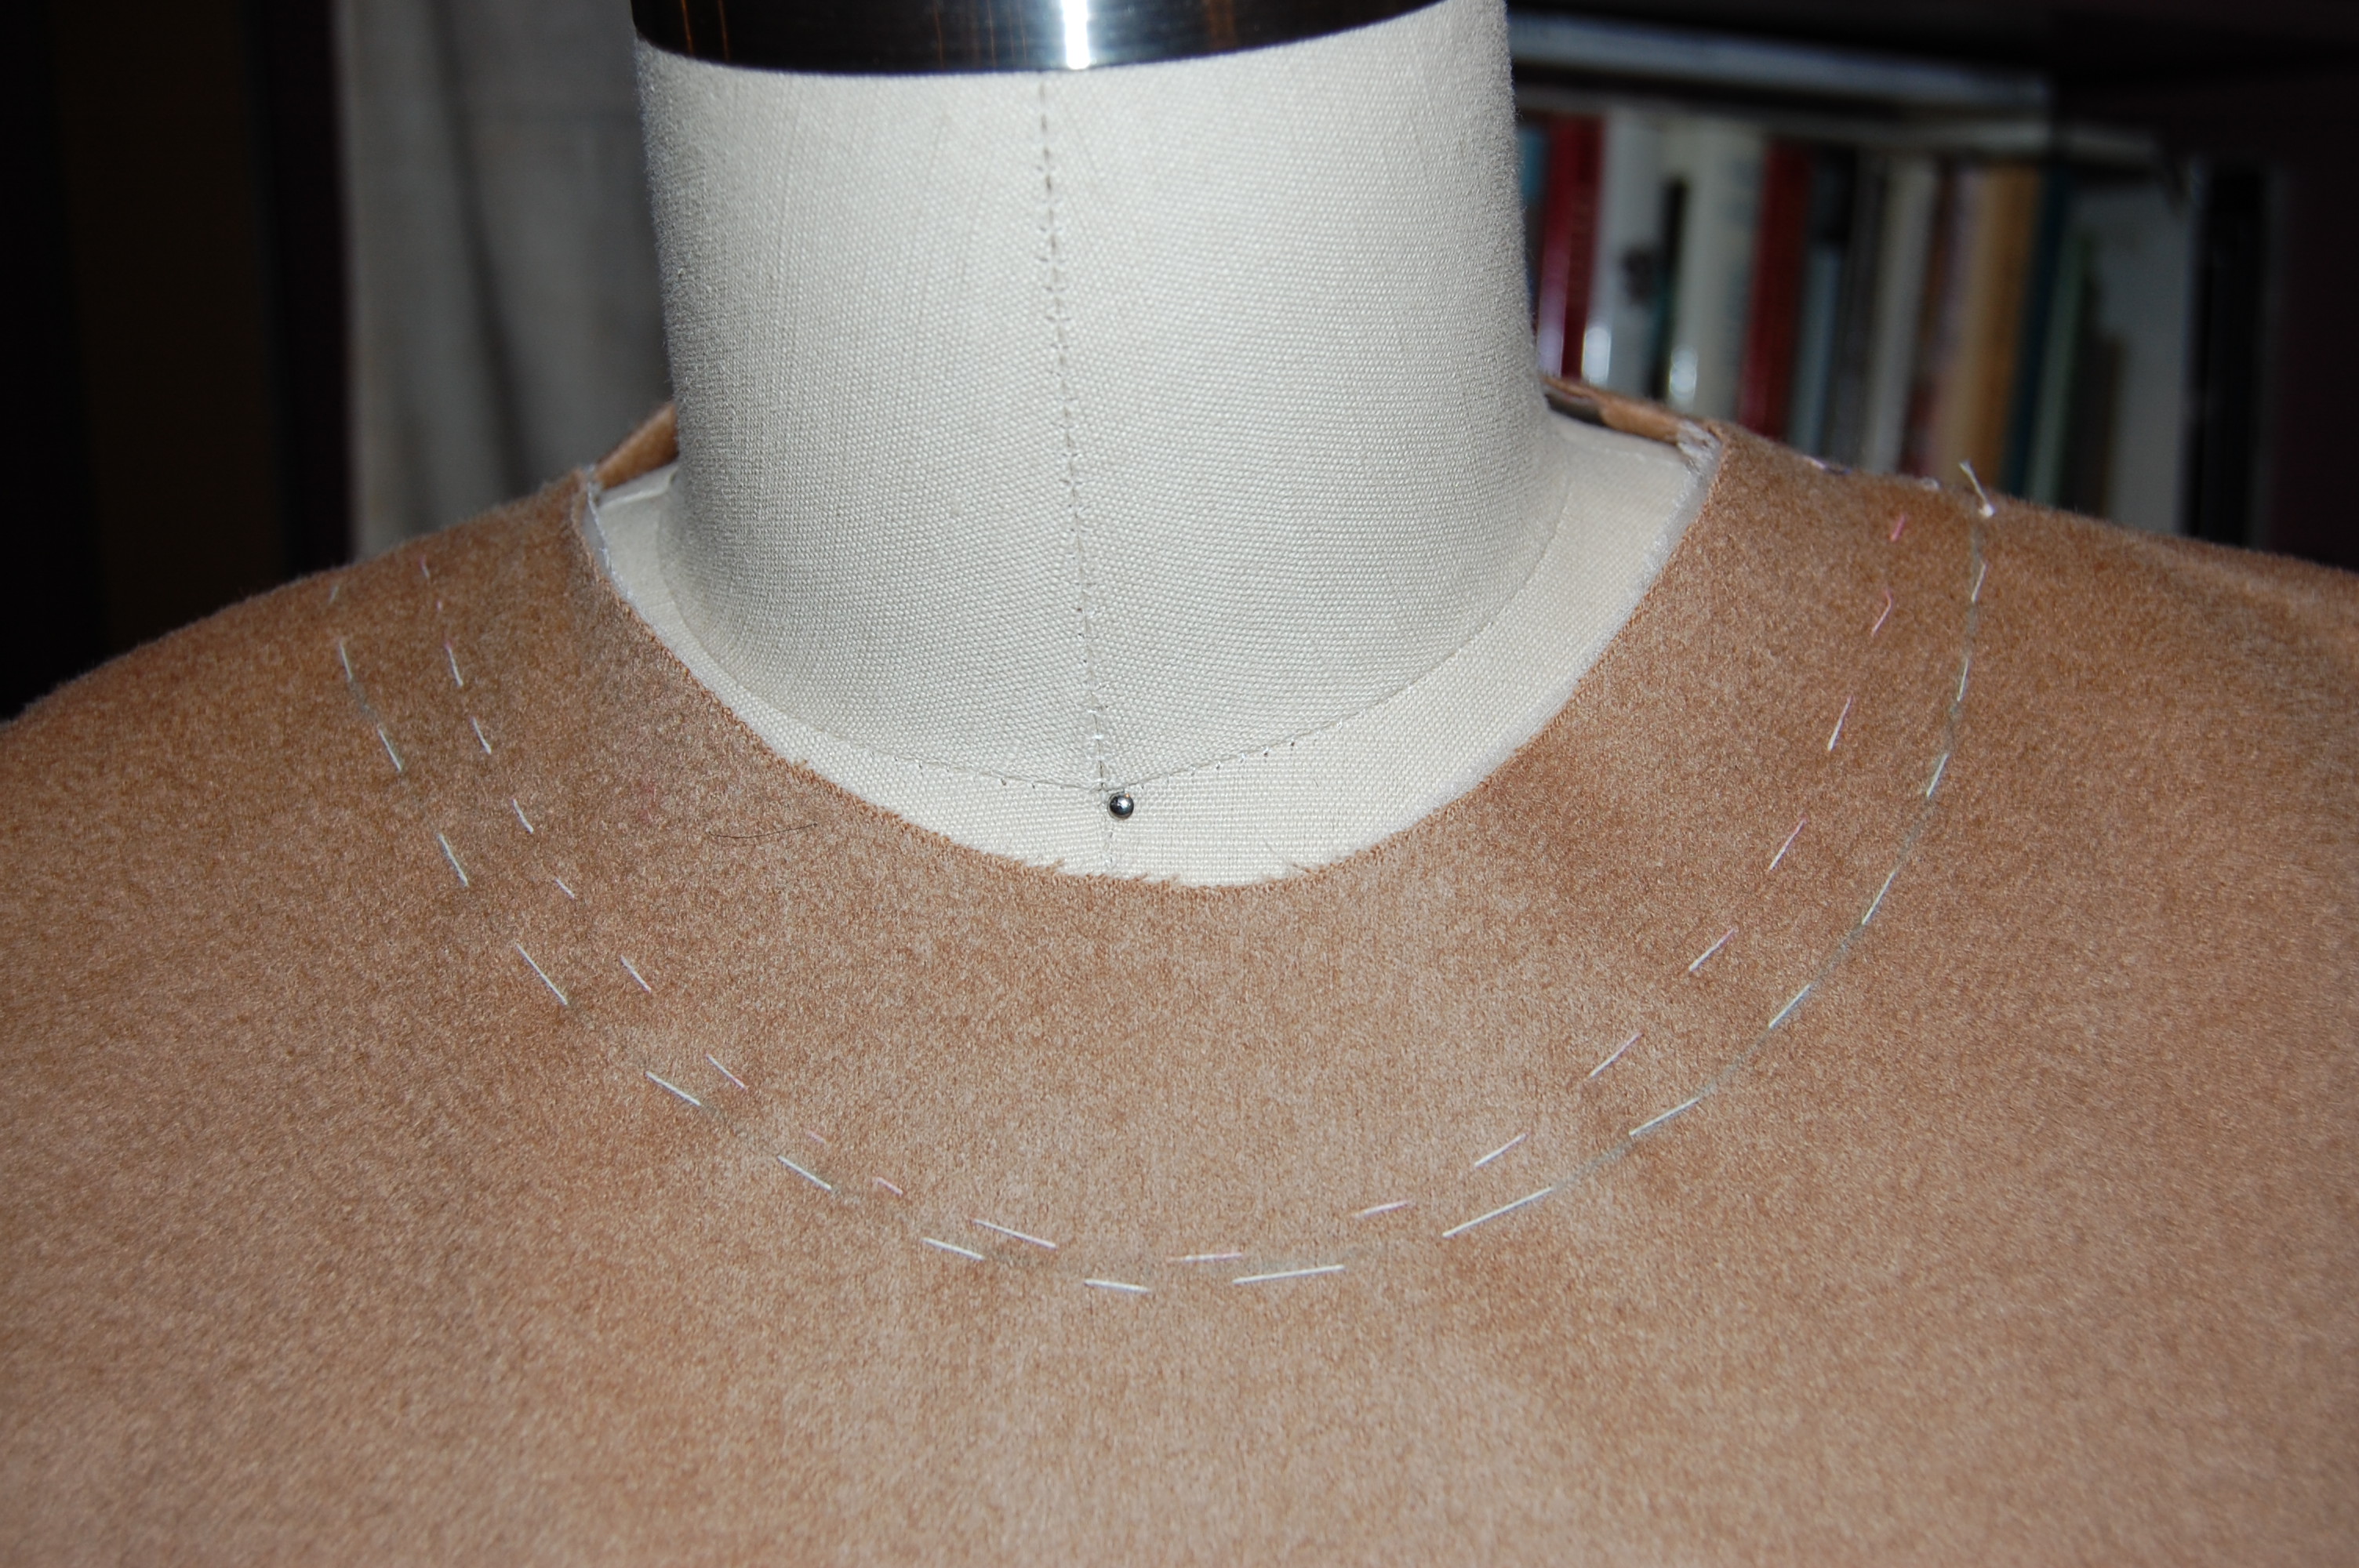
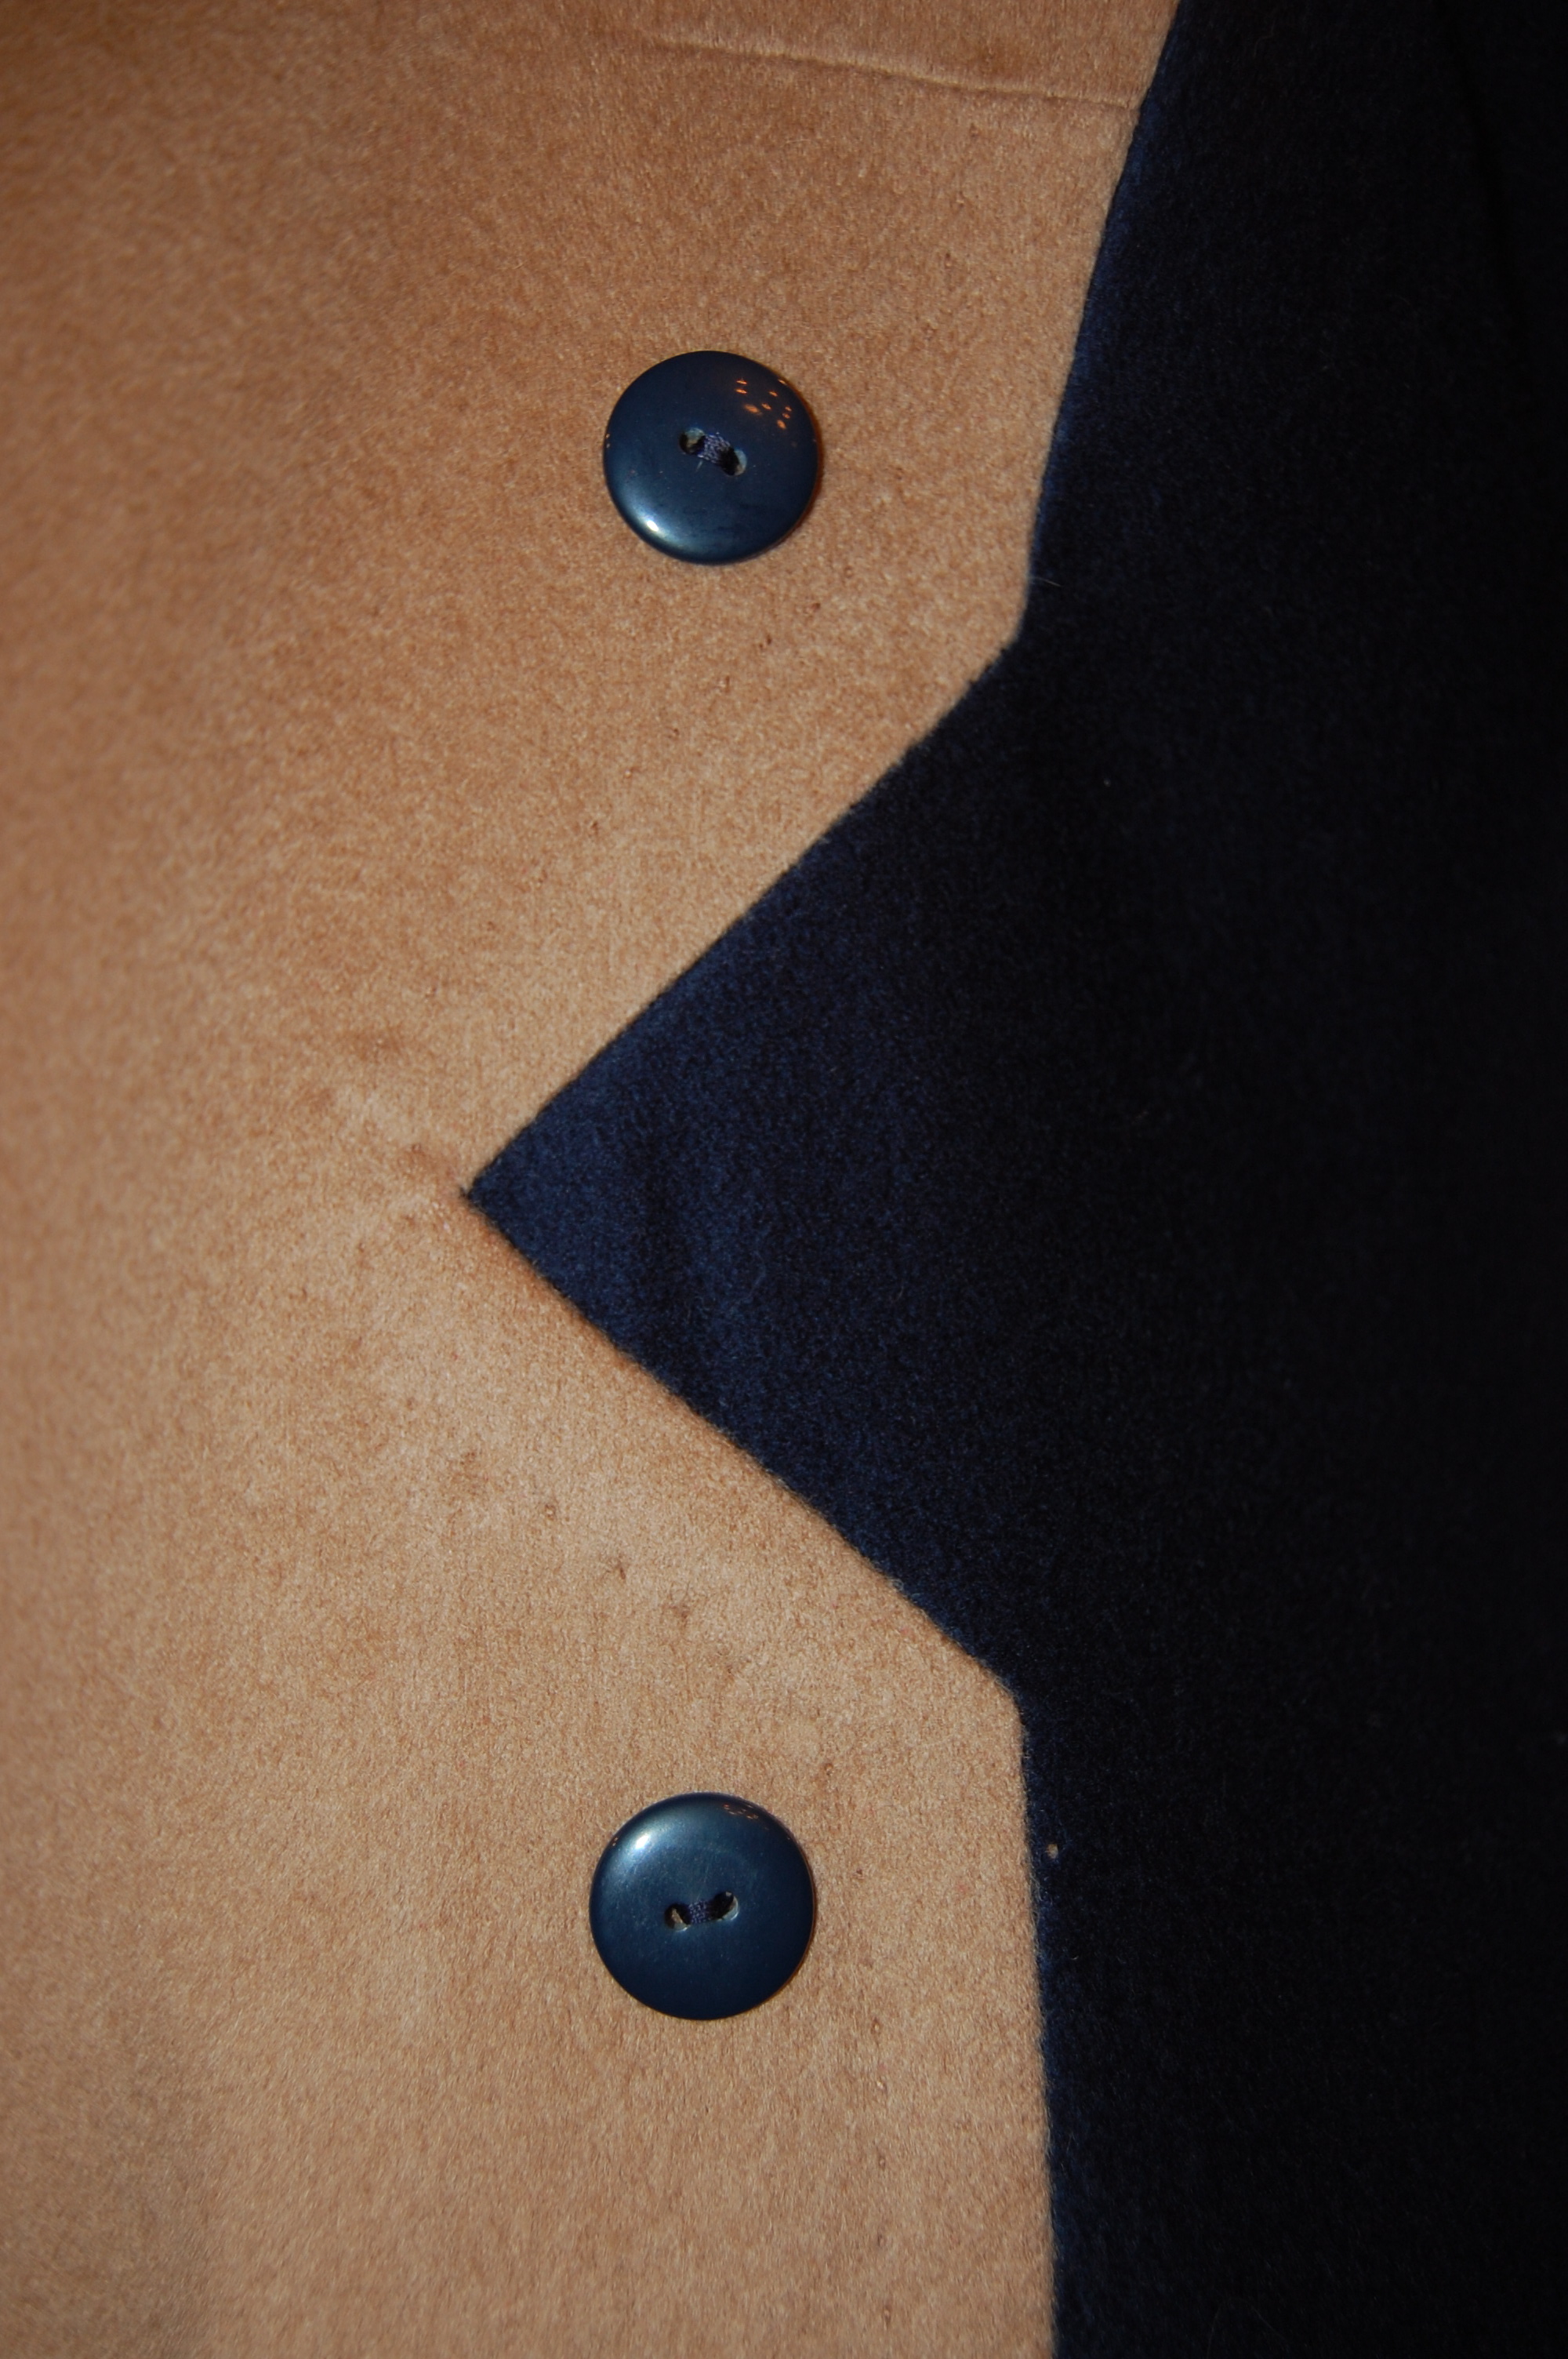
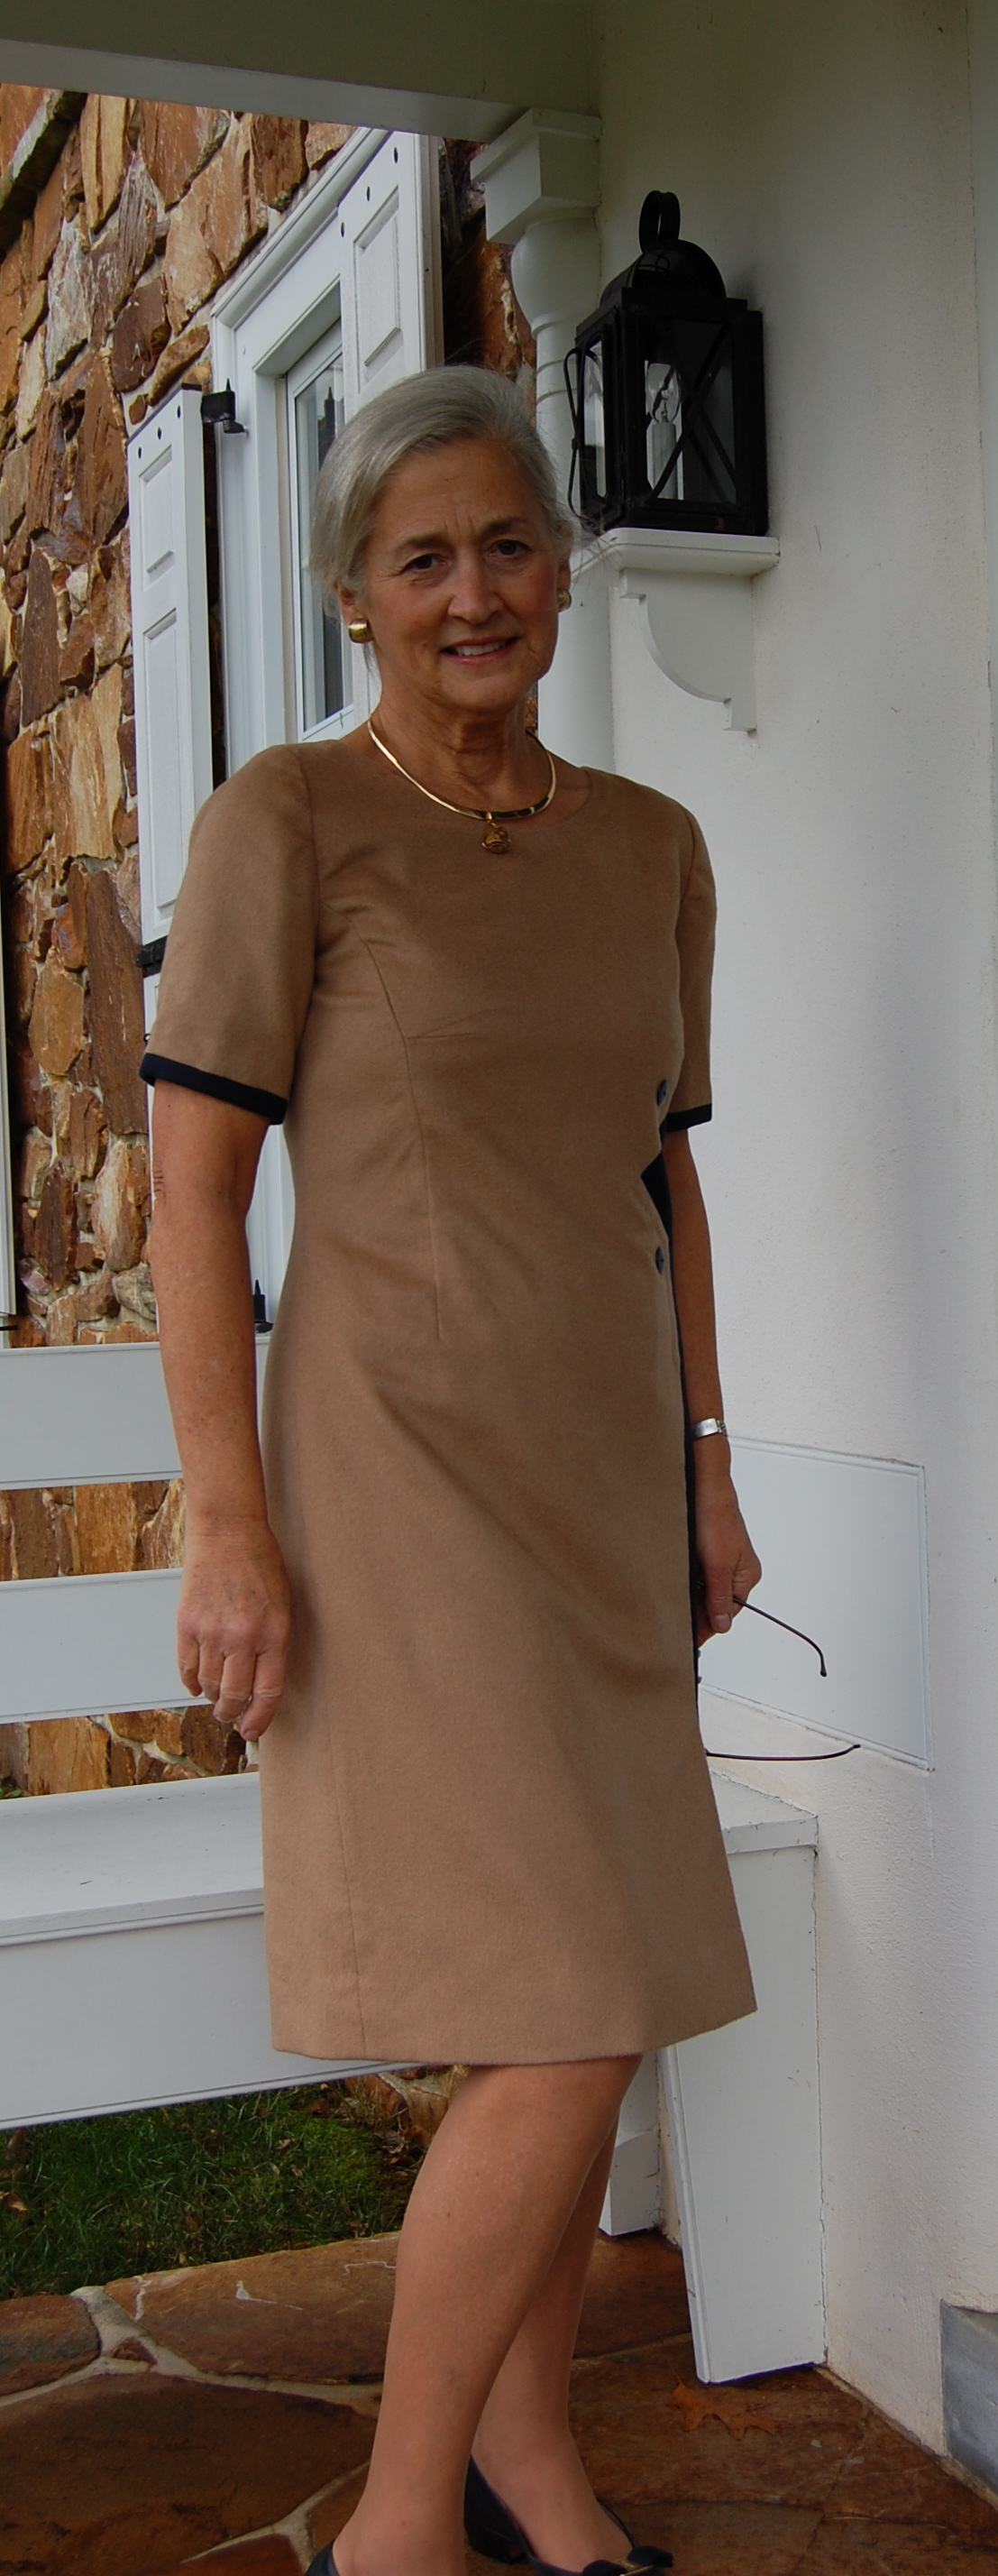
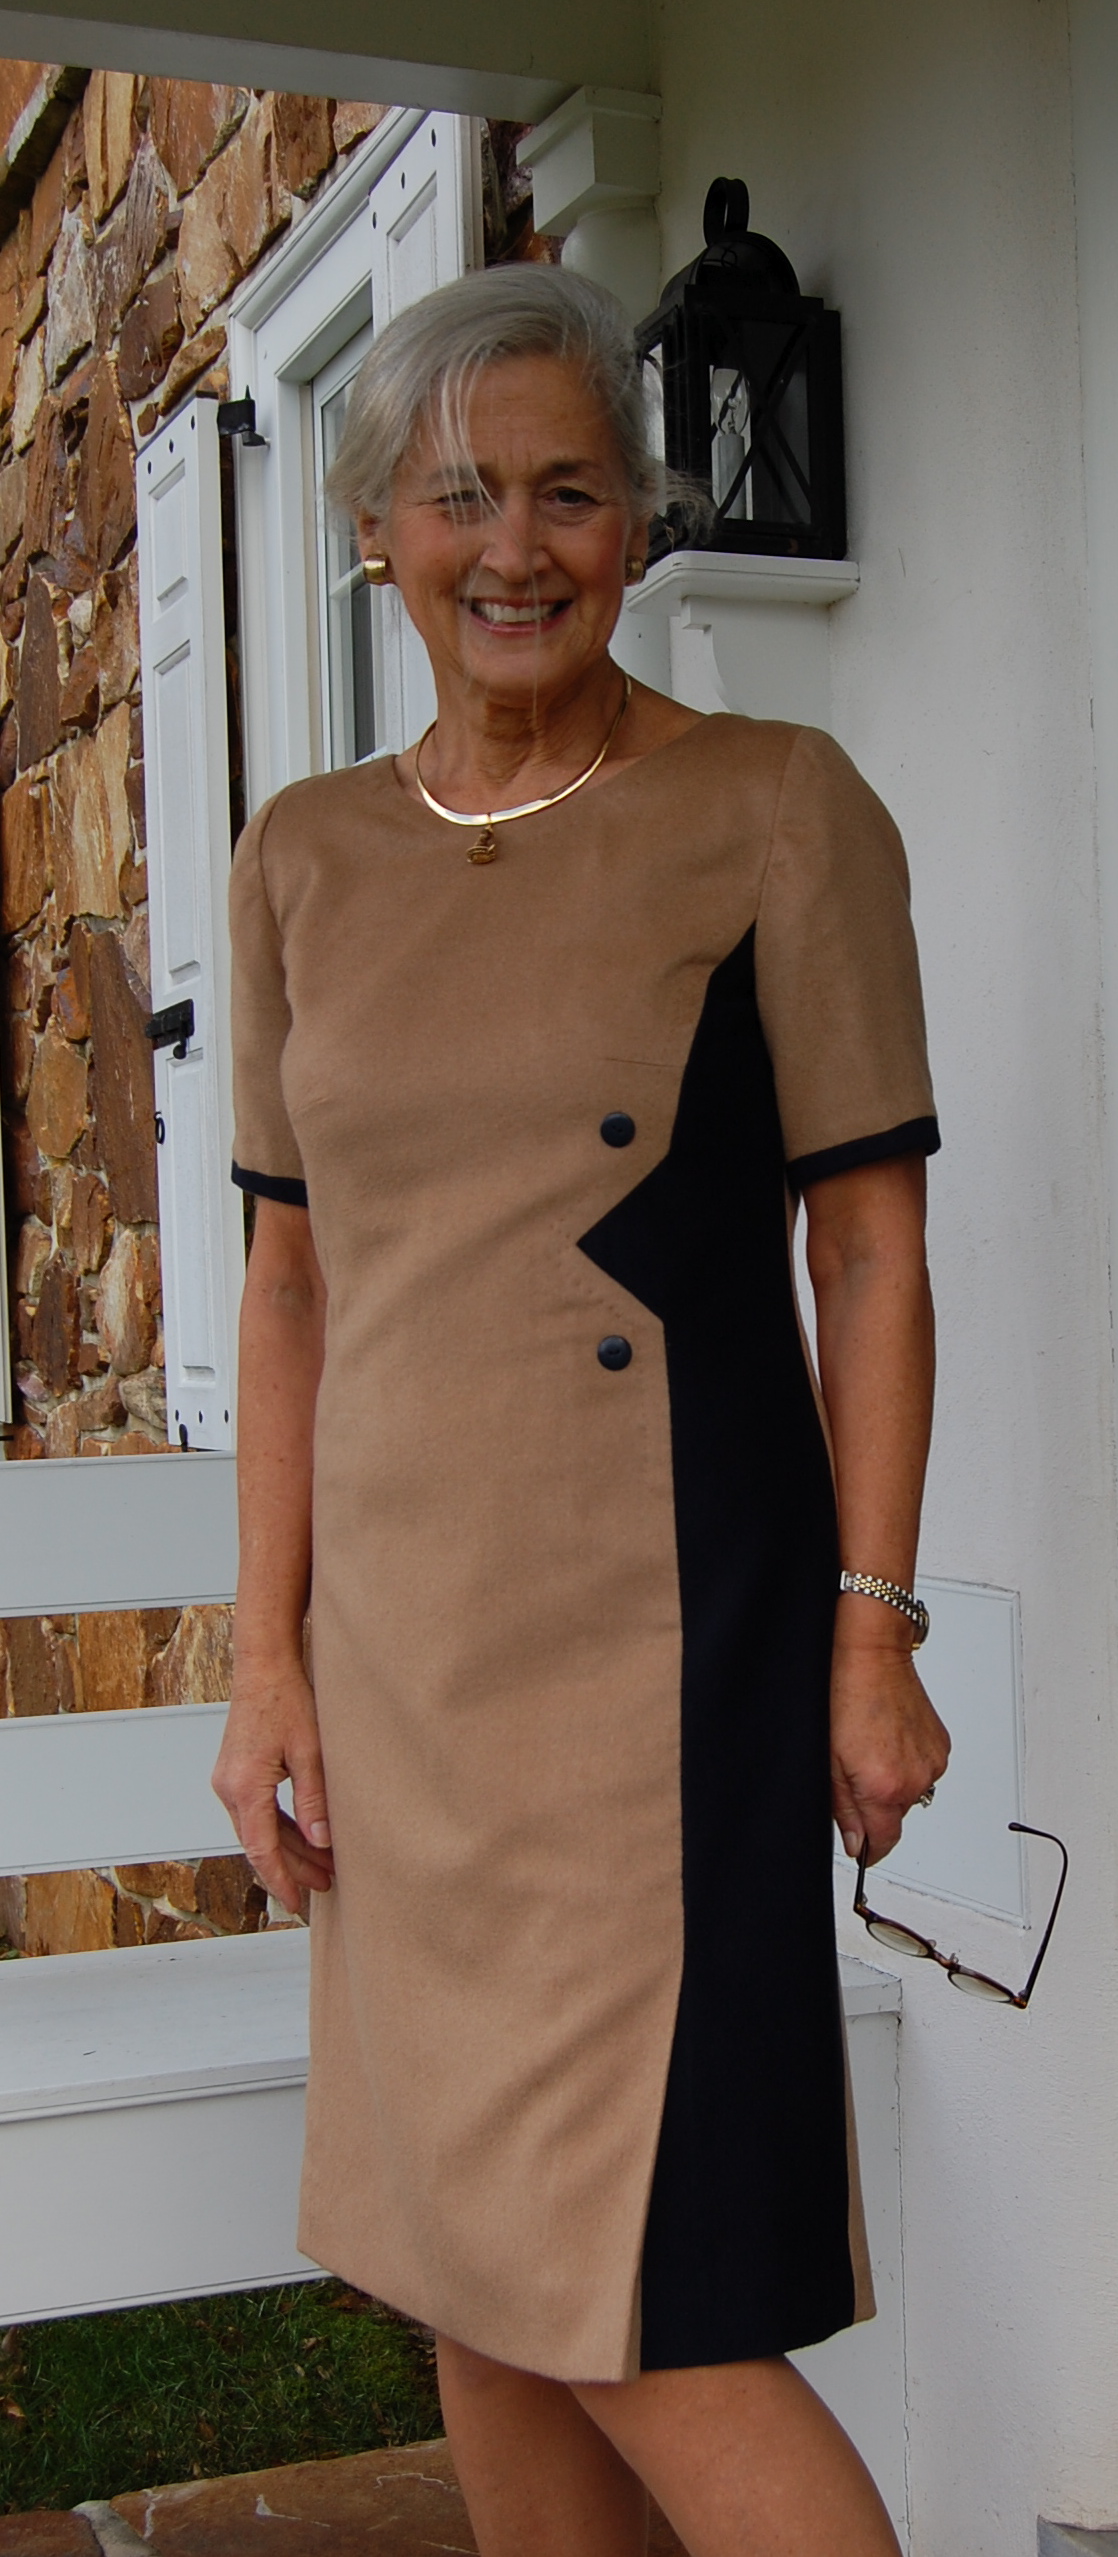
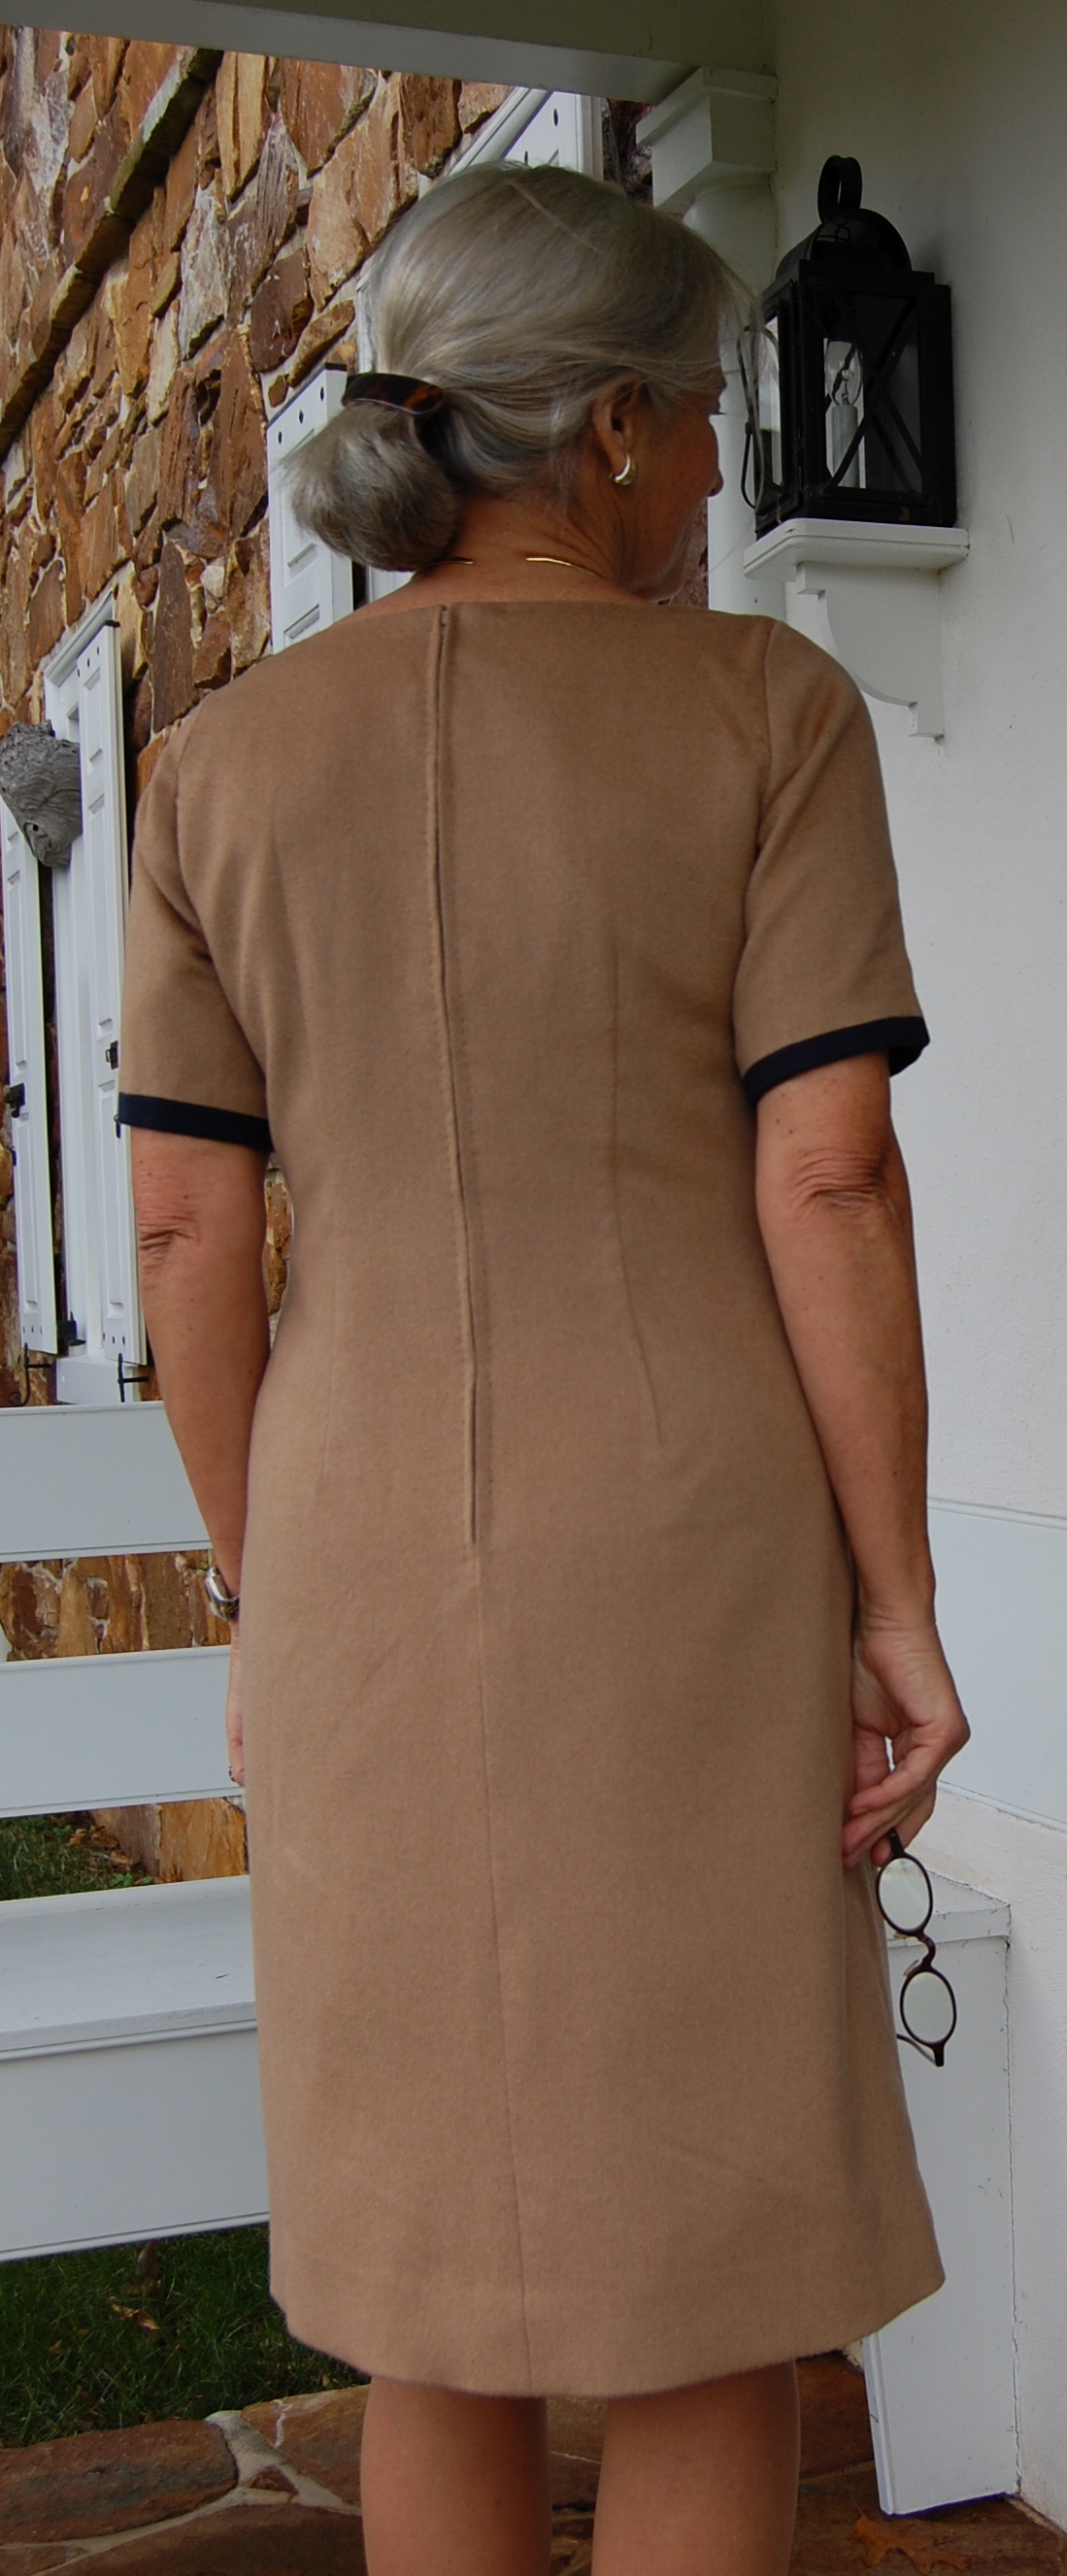
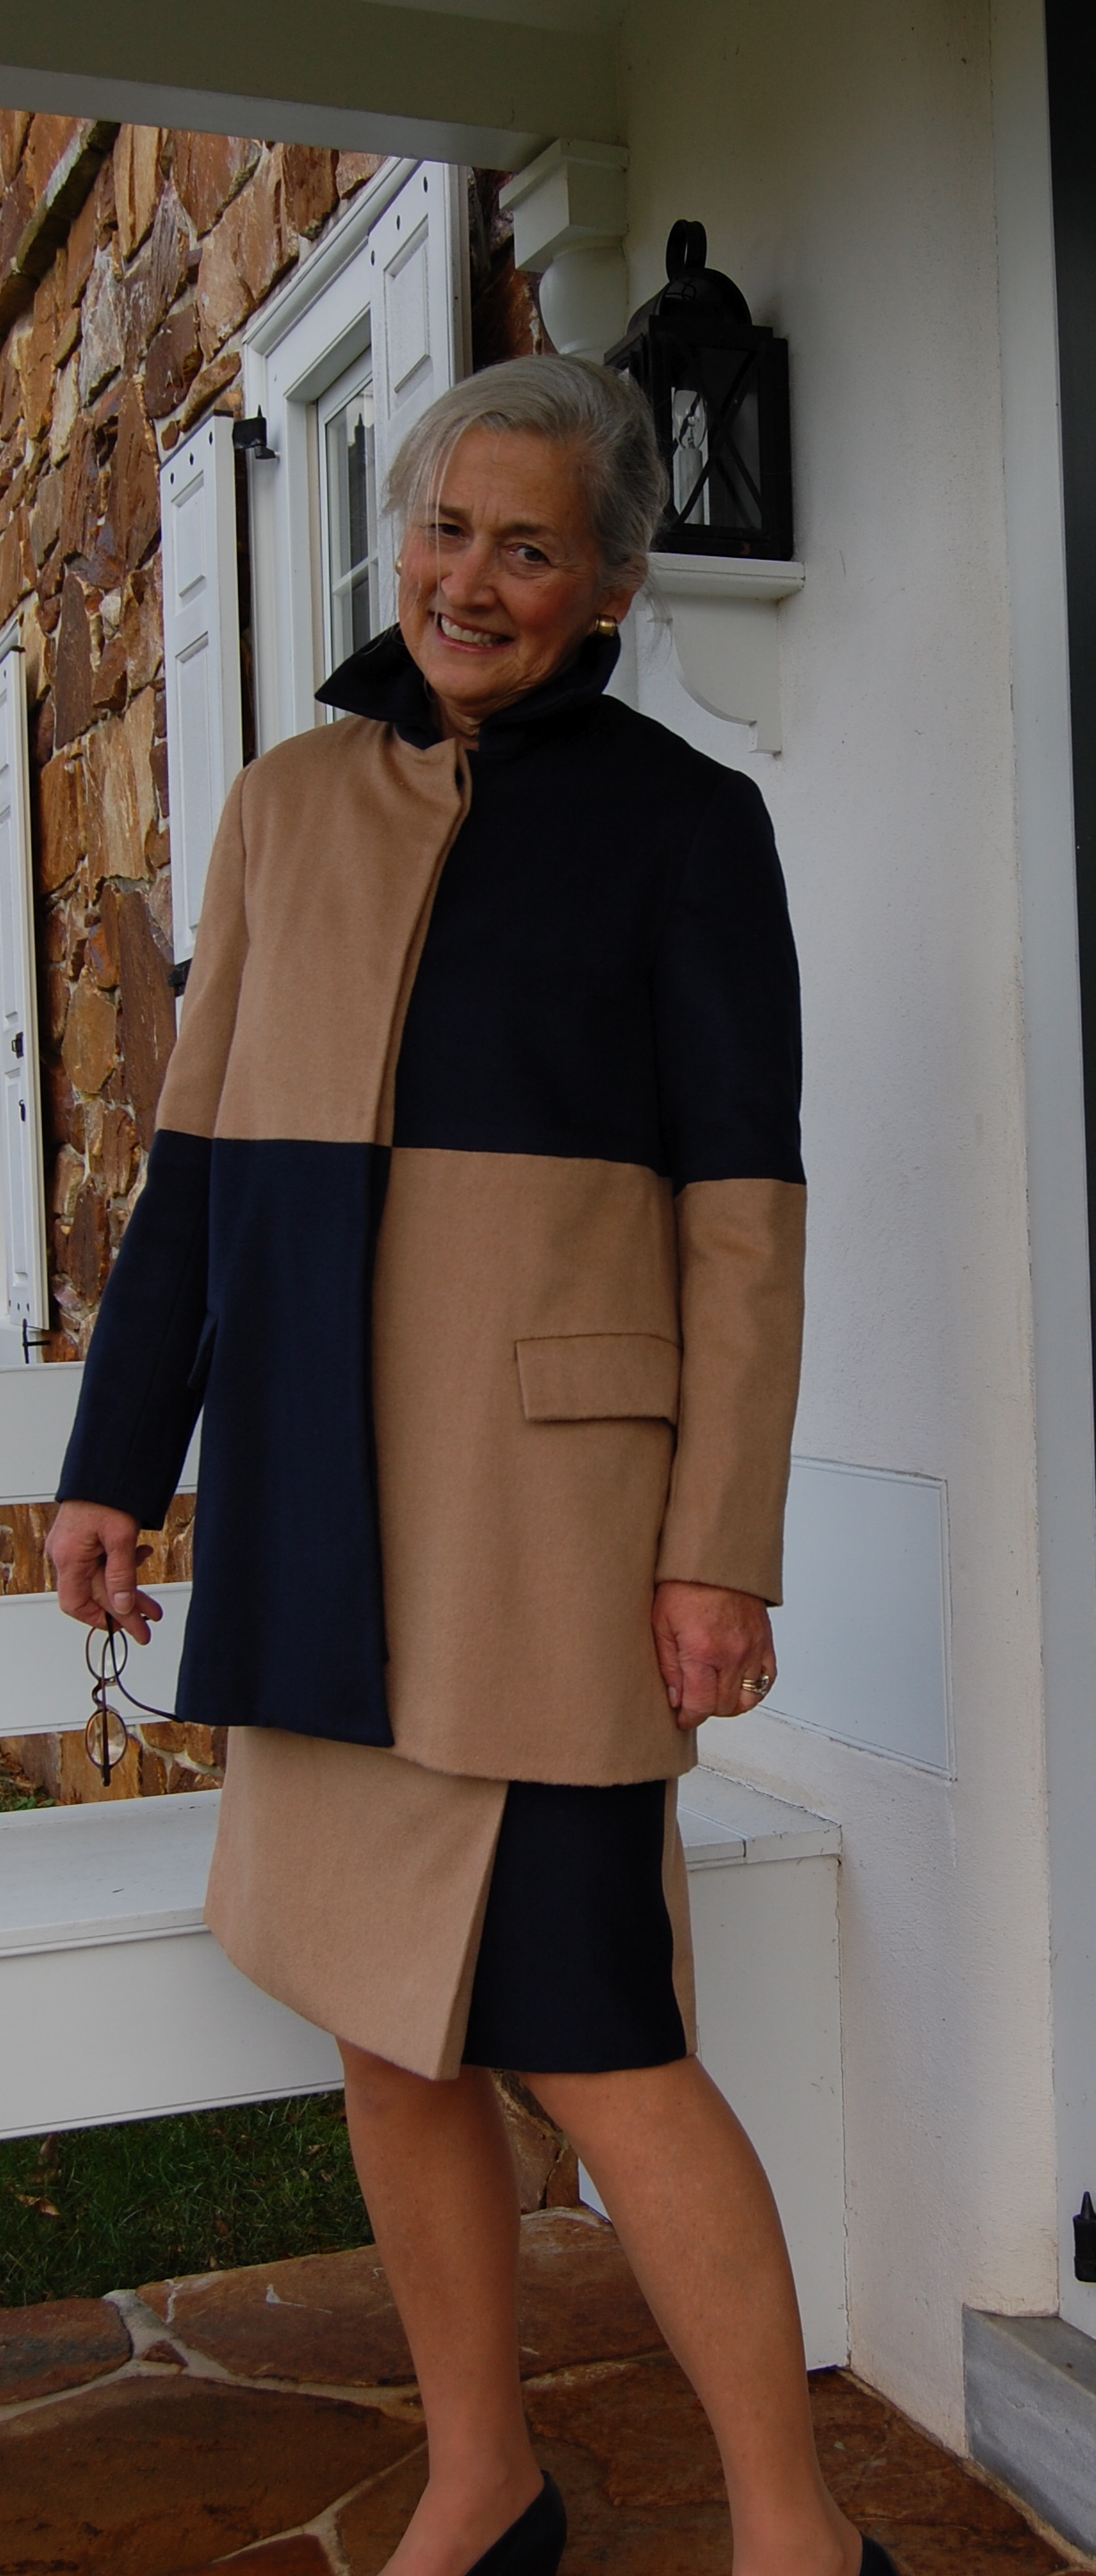
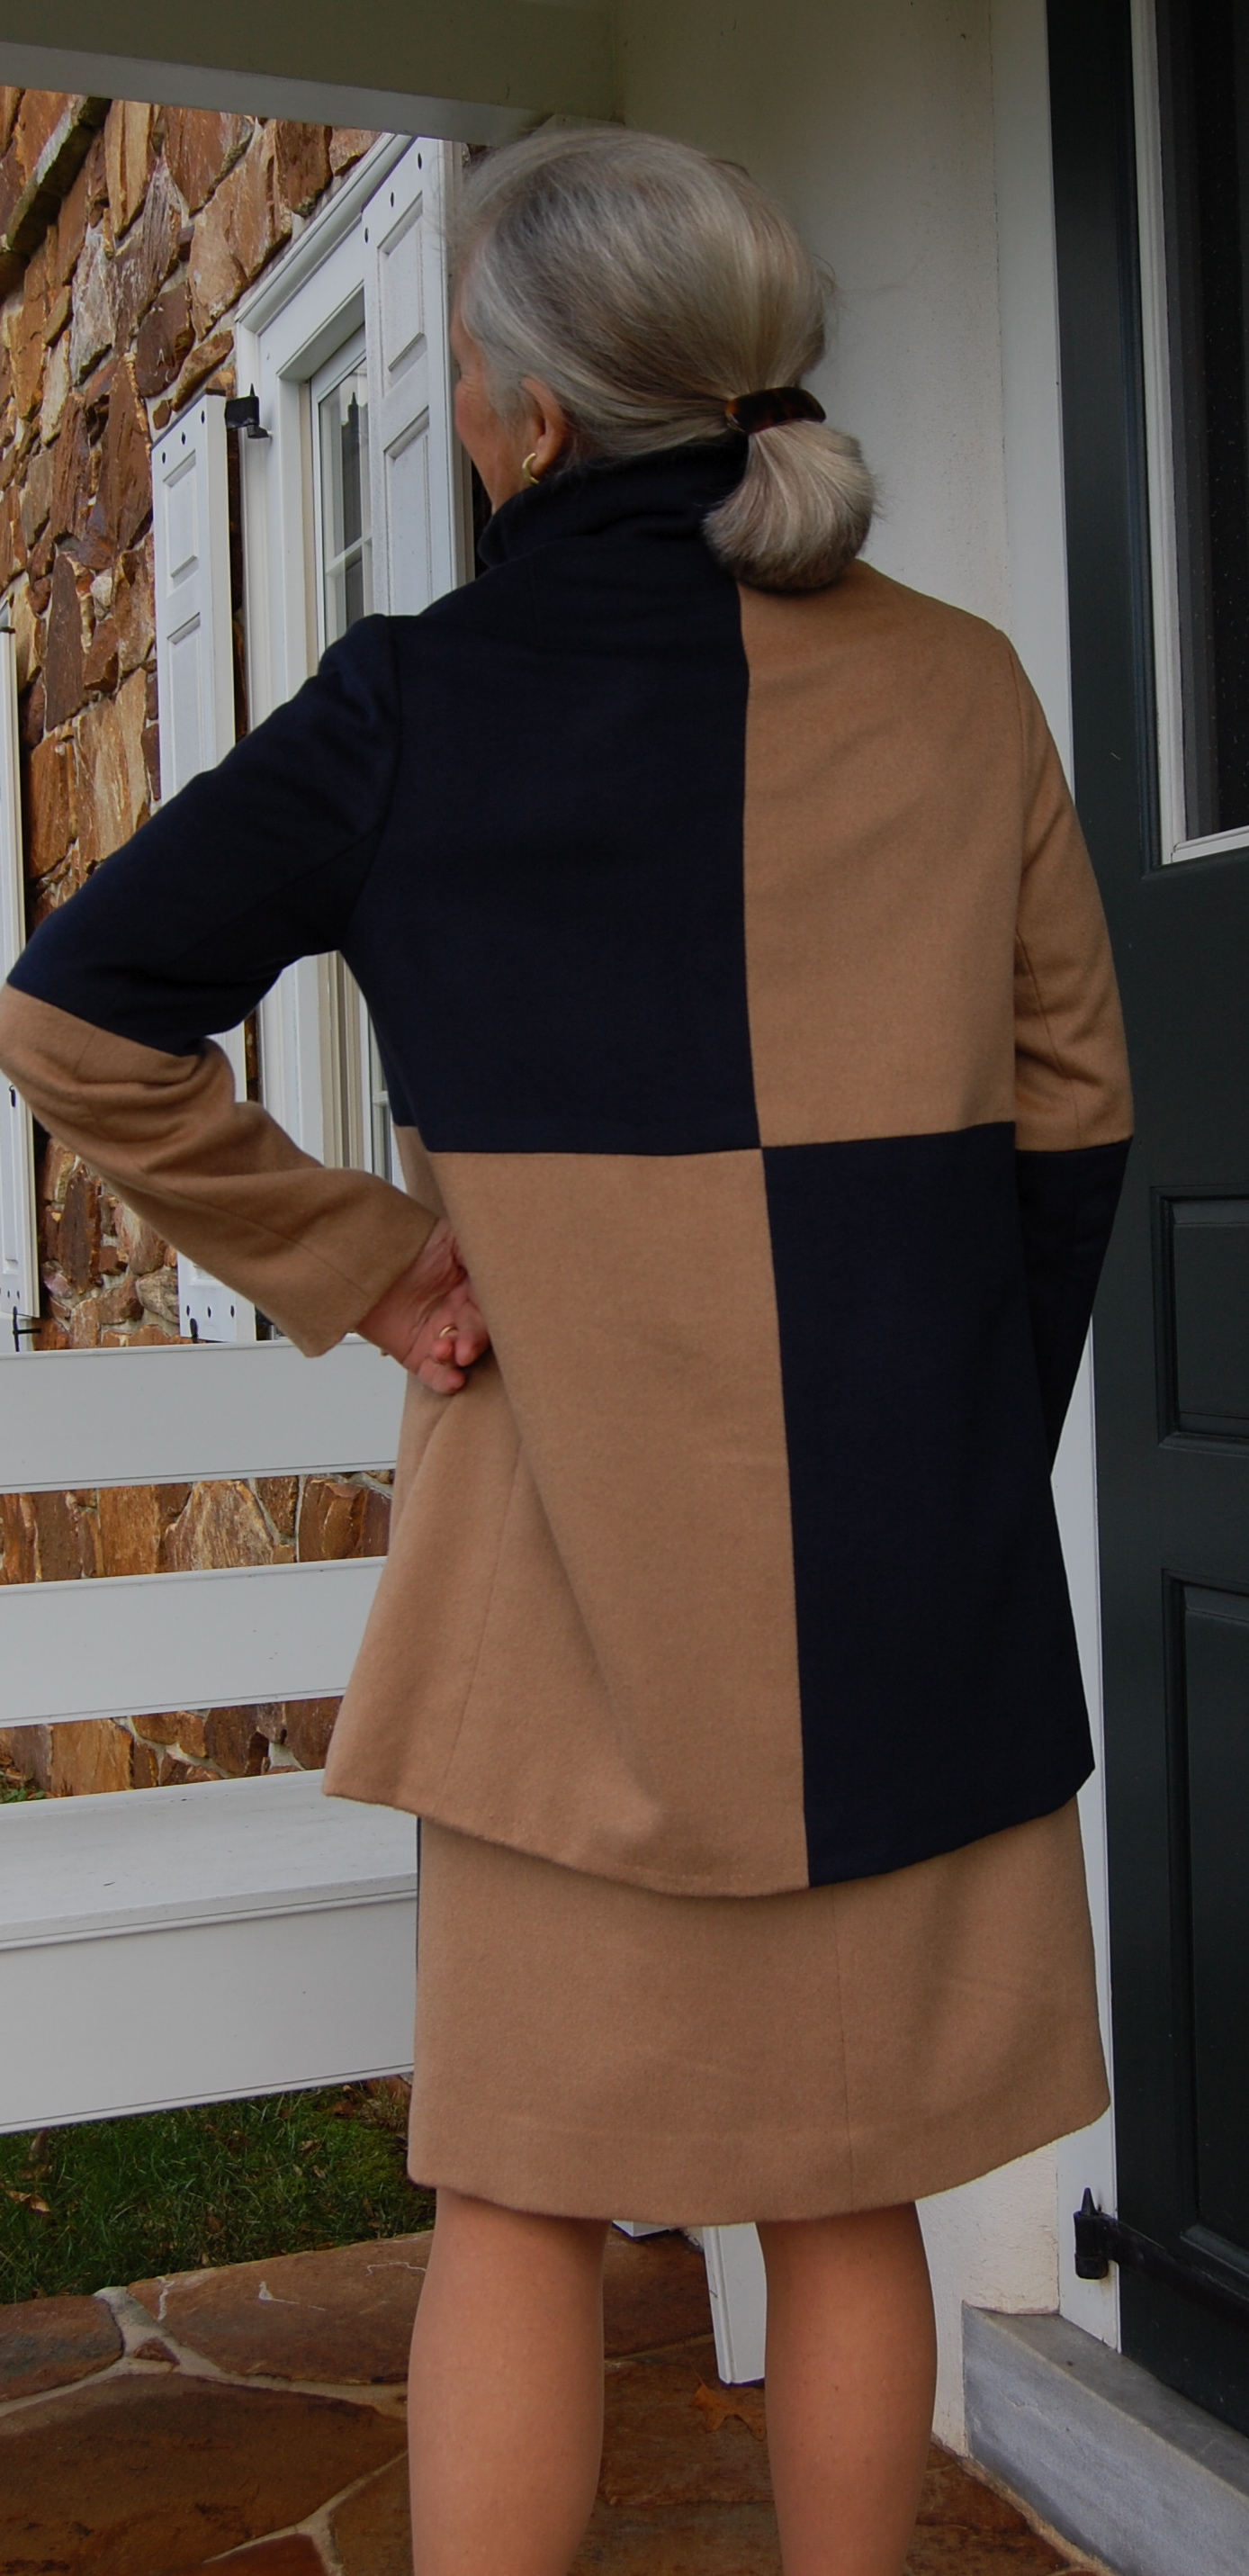
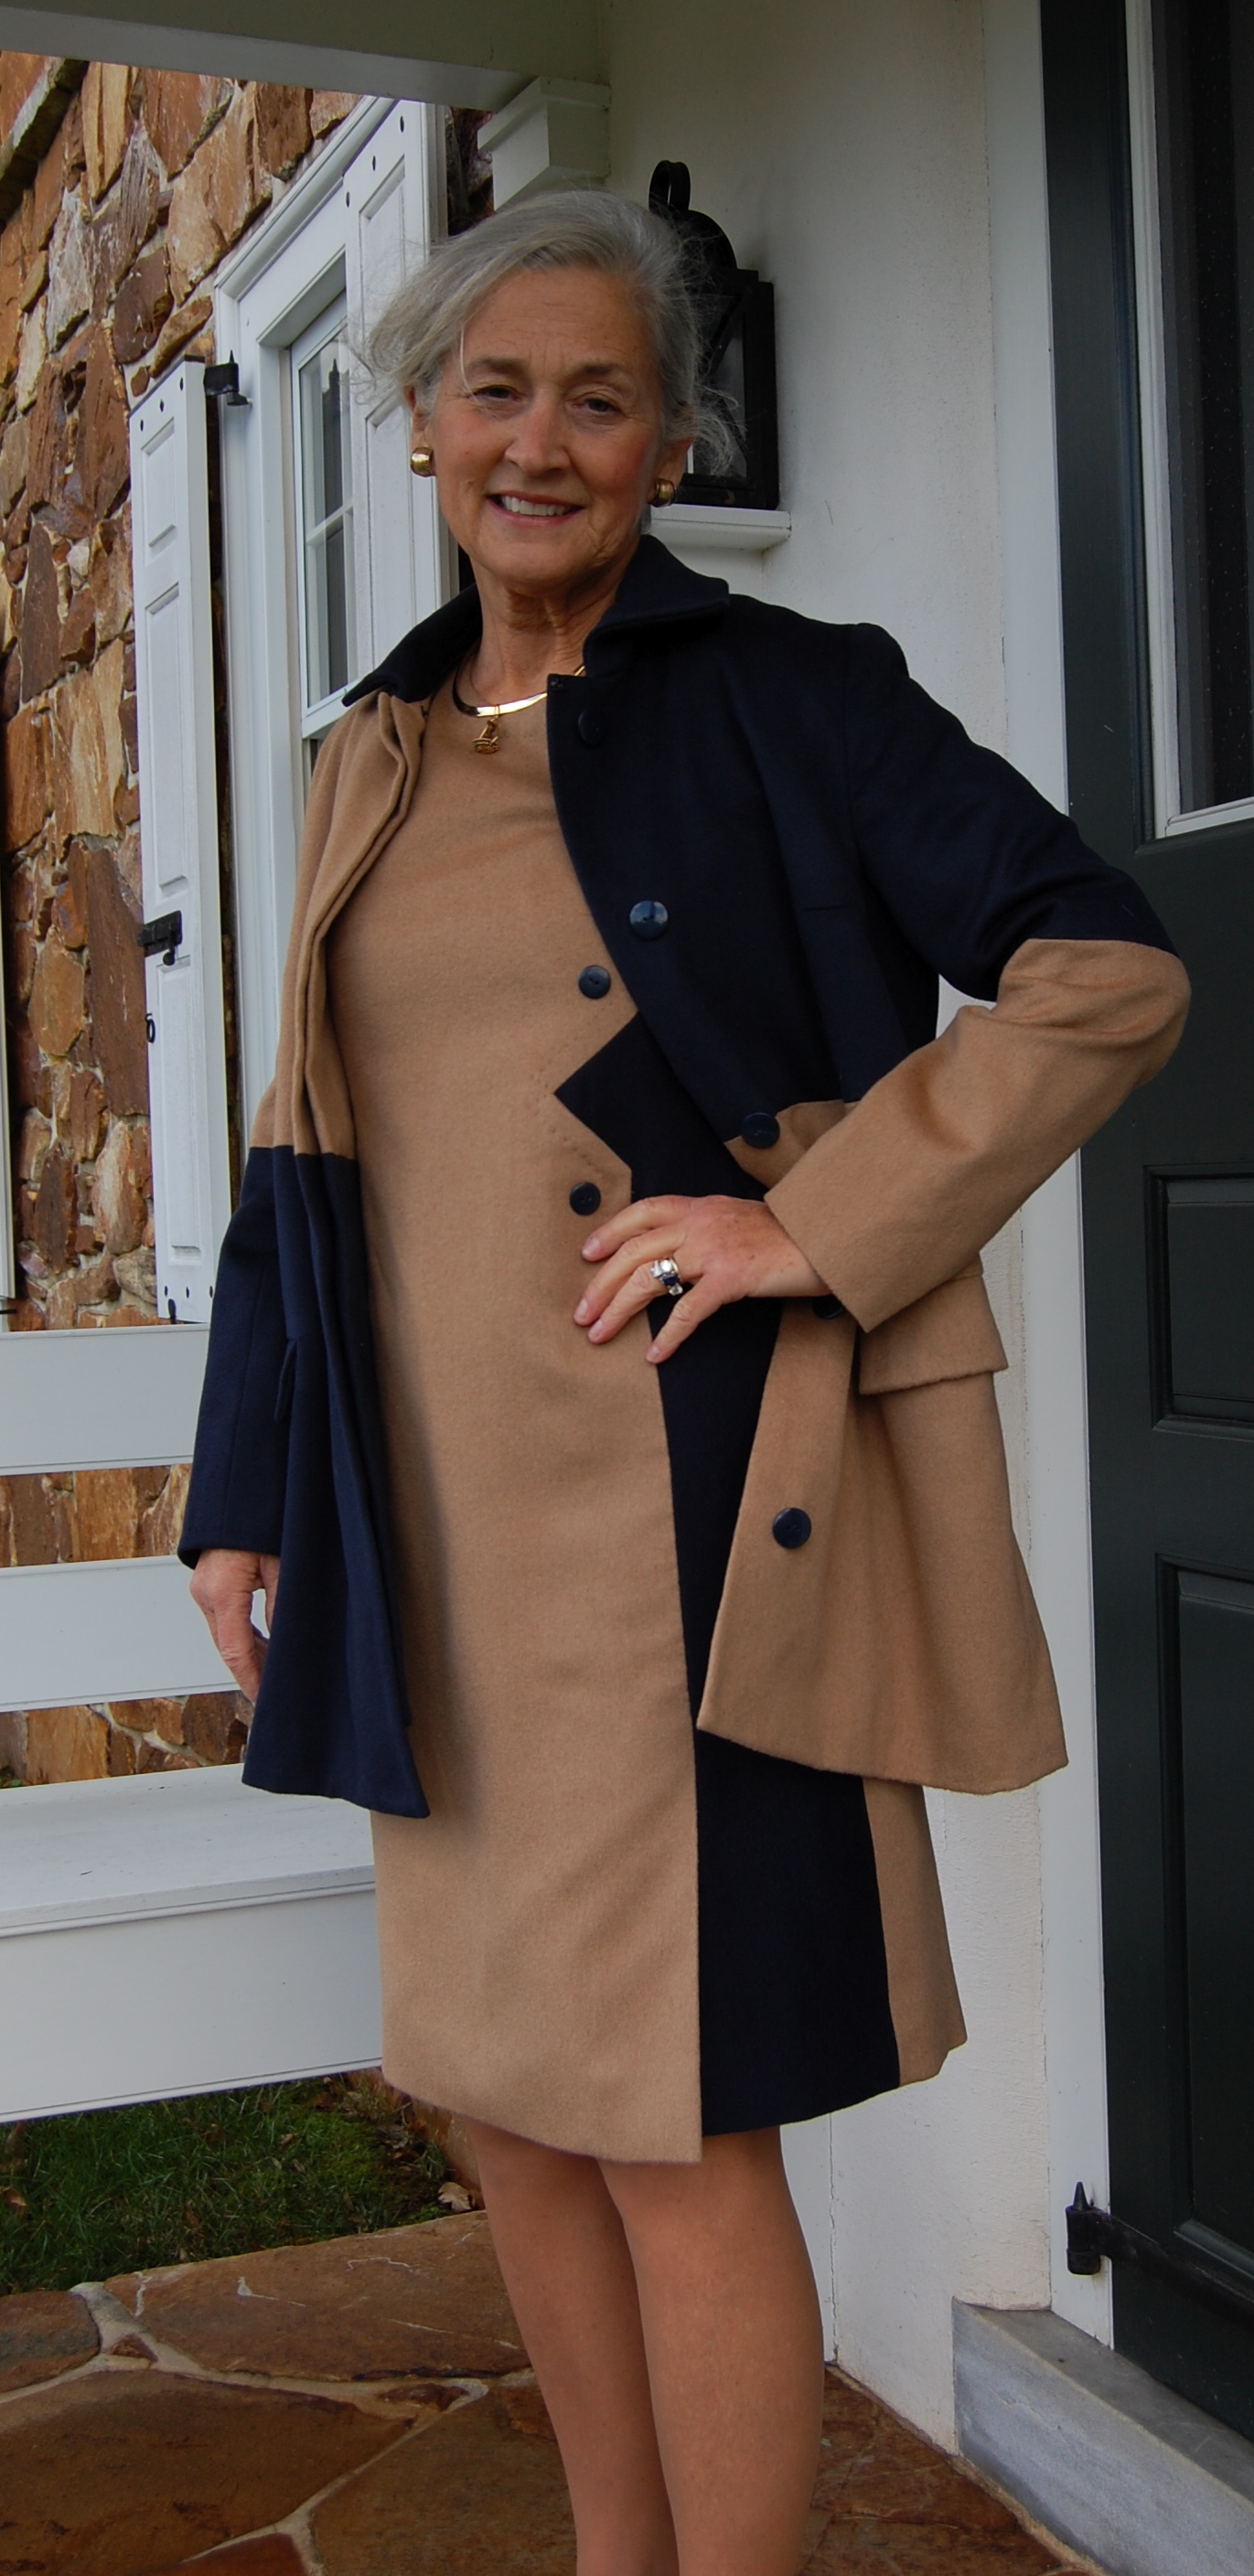
This is from one of the more complex patterns I have in my collection. It is a Jo Mattli Vogue Designer pattern for a coat and dress.
One of the sewing quotes I love so much is from the great American writer, Nathaniel Hawthorne:
“It is a token of healthy and gentle characteristics, when women of high thoughts and accomplishments love to sew; especially as they are never more at home with their hearts than while so occupied.”
It seems we are also at home with our minds while stitching away the hours.