
The pattern for a very pink coat has many pieces.

When I am getting ready to start a new project with a pattern new to me, I like to read through all the instructions just to get a feel for what is ahead. That lets me know if I can mix things up a bit, deviate from the step-by-step instructions, prepare a component ahead of time (such as sleeves. If I feel confident about the fit, I will often make the sleeves first and set them aside until I am ready for them). During this initial study of the instruction sheet, all was straightforward except for one thing. For the life of me, I could not figure out how the concealed – or fly – opening on the front was constructed. I have done this type of opening before (here and here), but this construction was different.
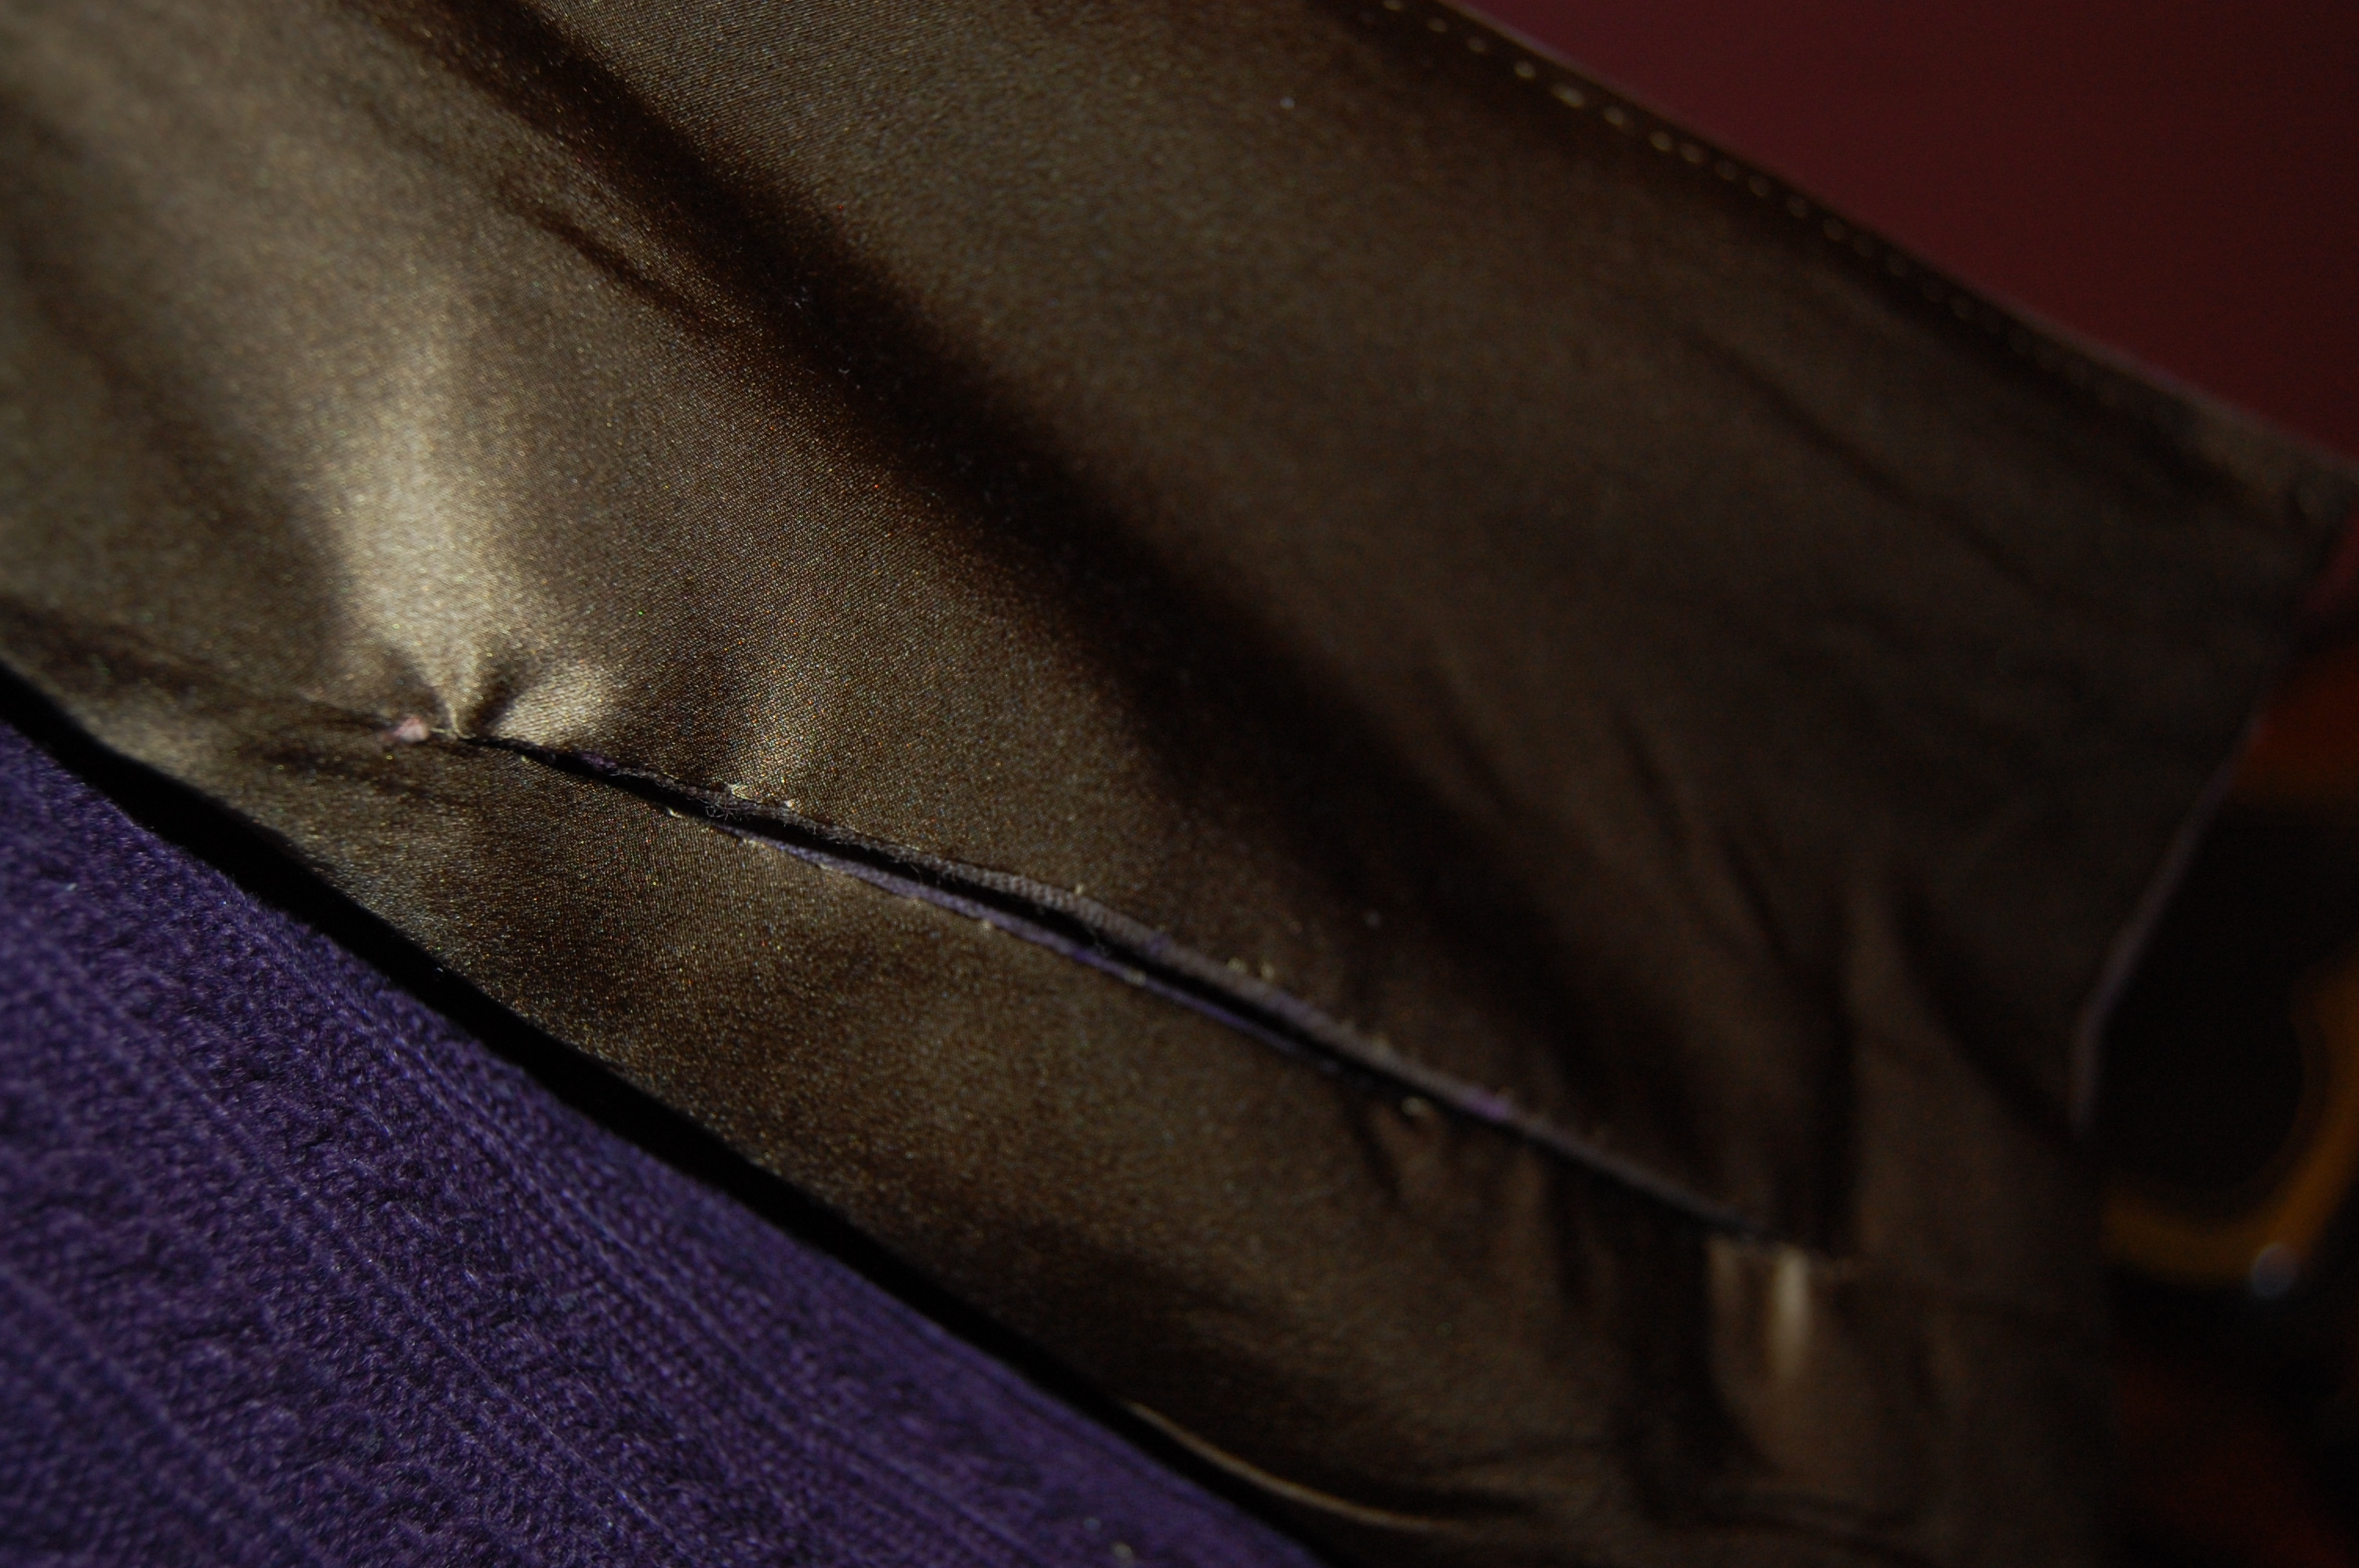
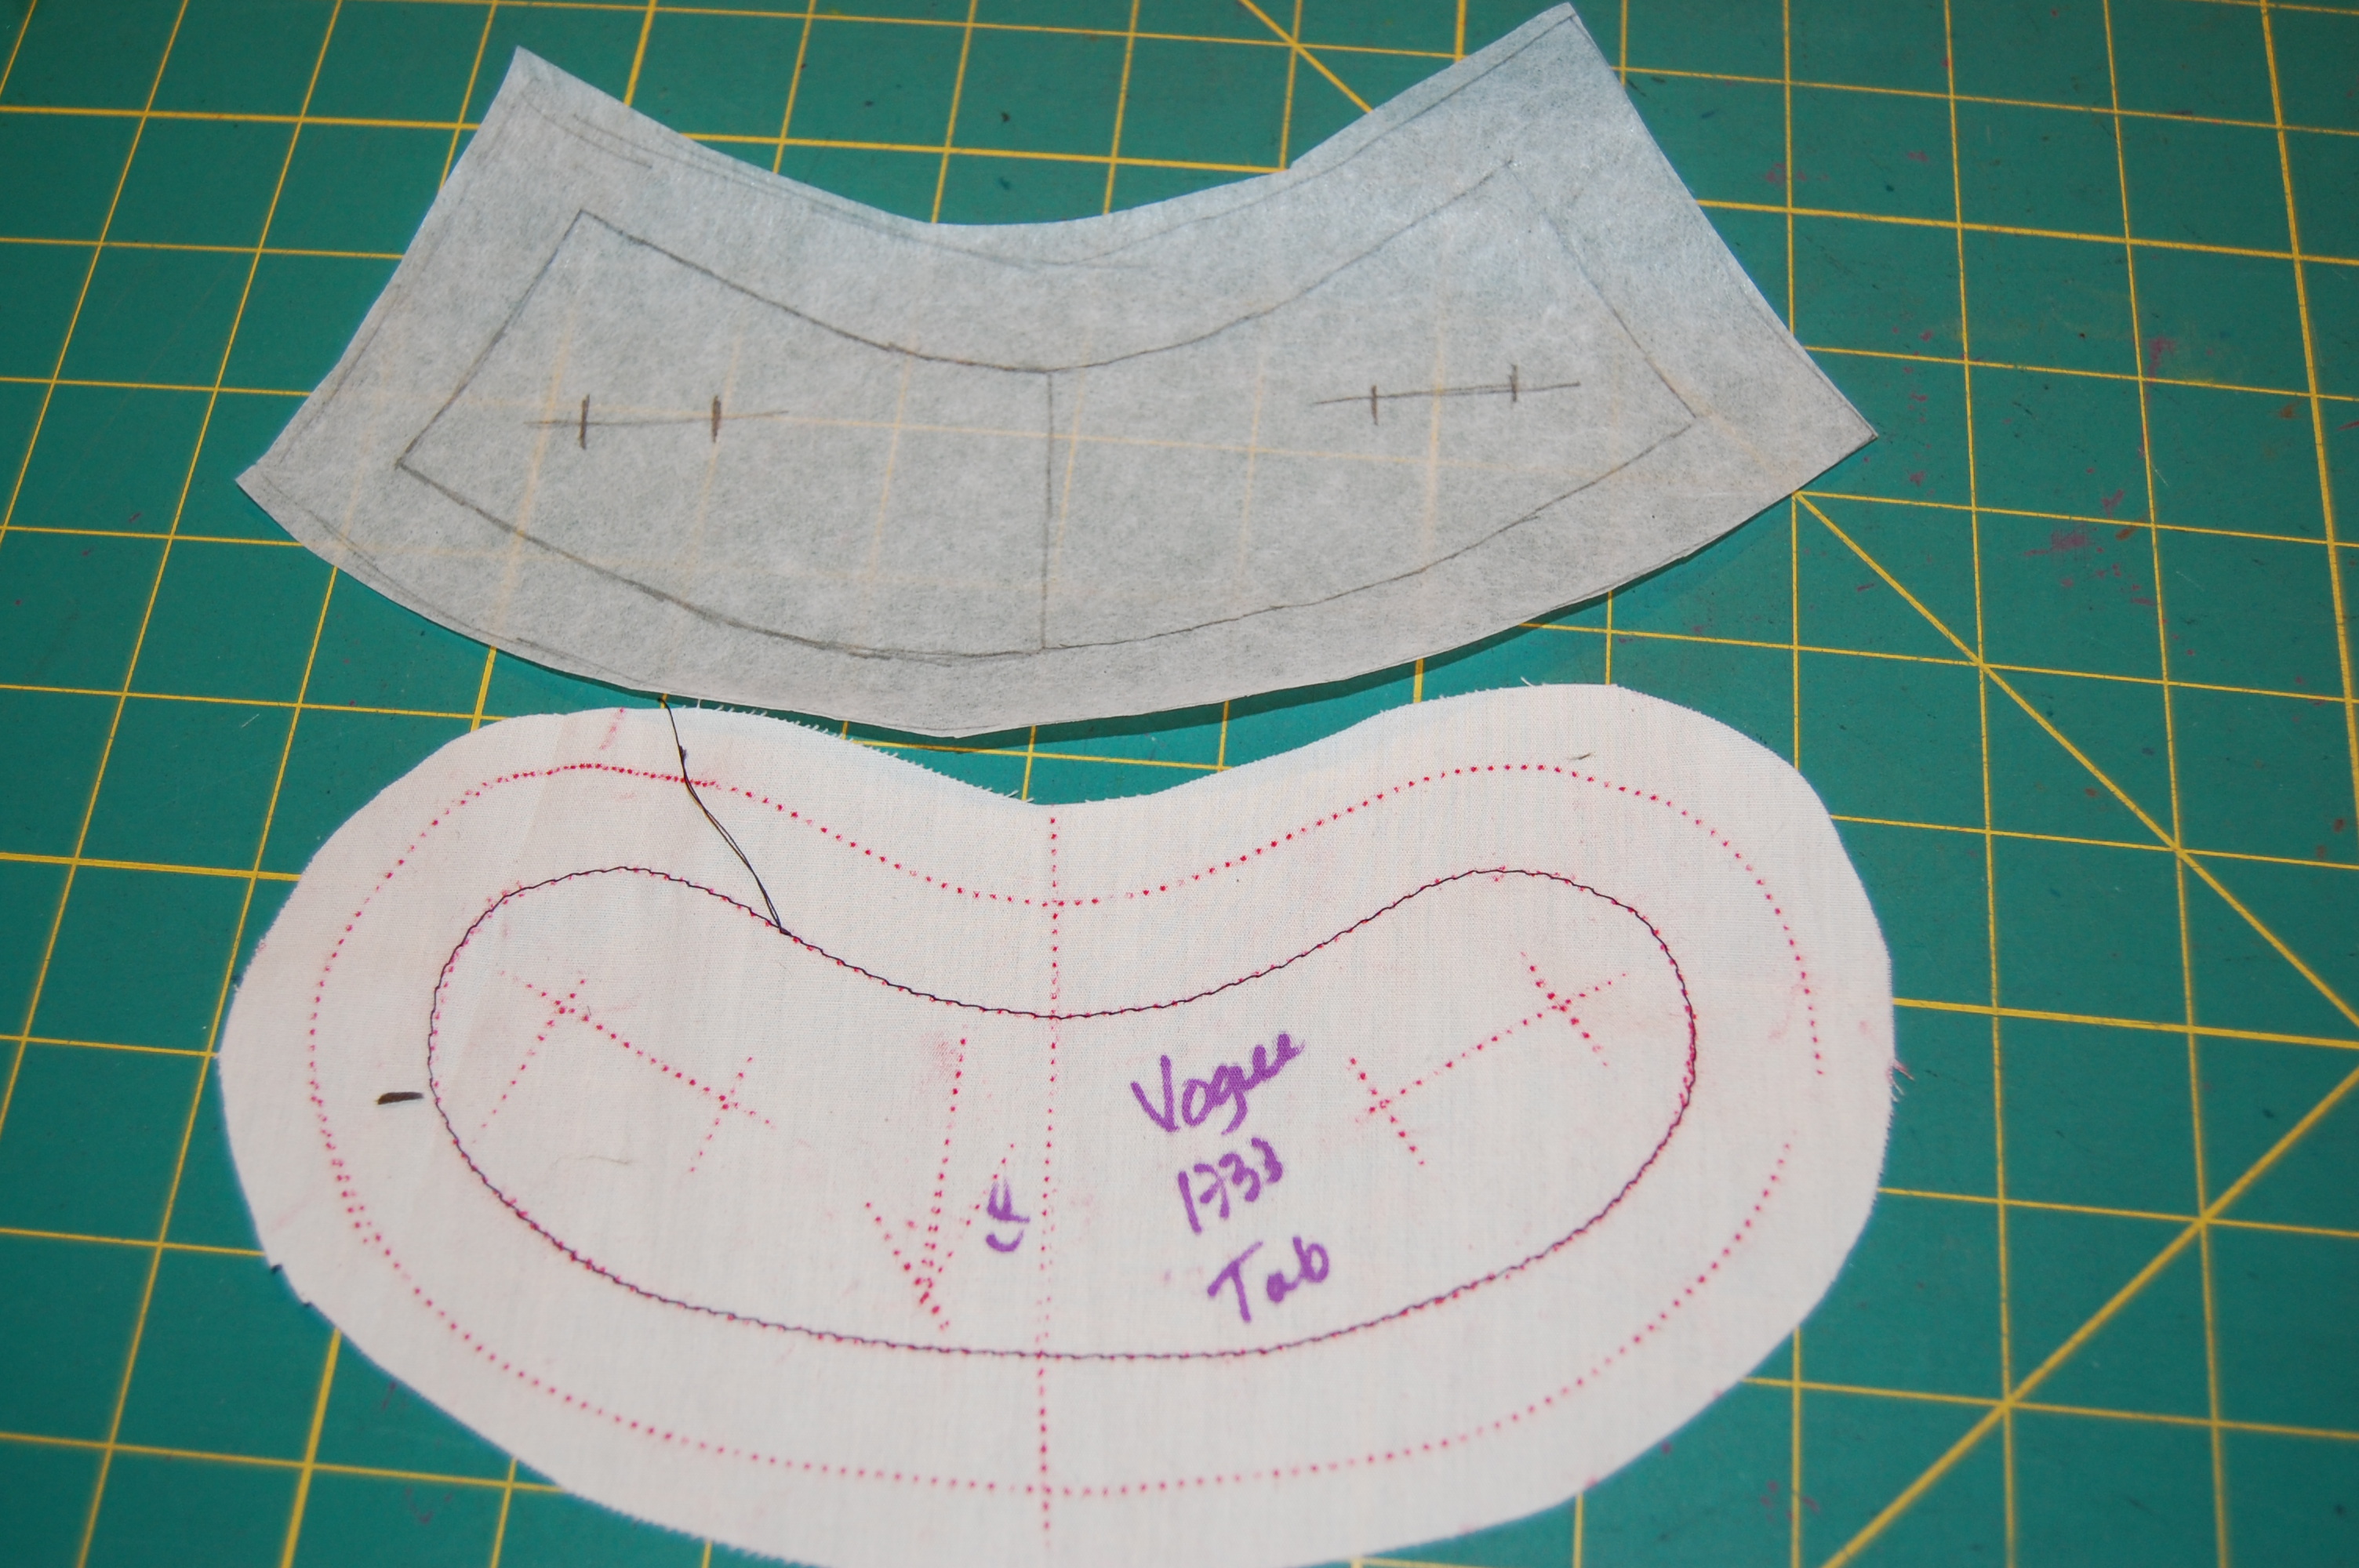
Because I wanted to use my gray lining fabric for one layer of the buttonhole side of the opening (to reduce bulk) I needed to know if I could do that and be confident that the lining would not show. So I REALLY needed to understand how this detail went together. I decided I would have to do a trial run. What better use of a well-marked muslin (toile) than to use it for this task? Armed with pins, I proceeded to do a mock-up.
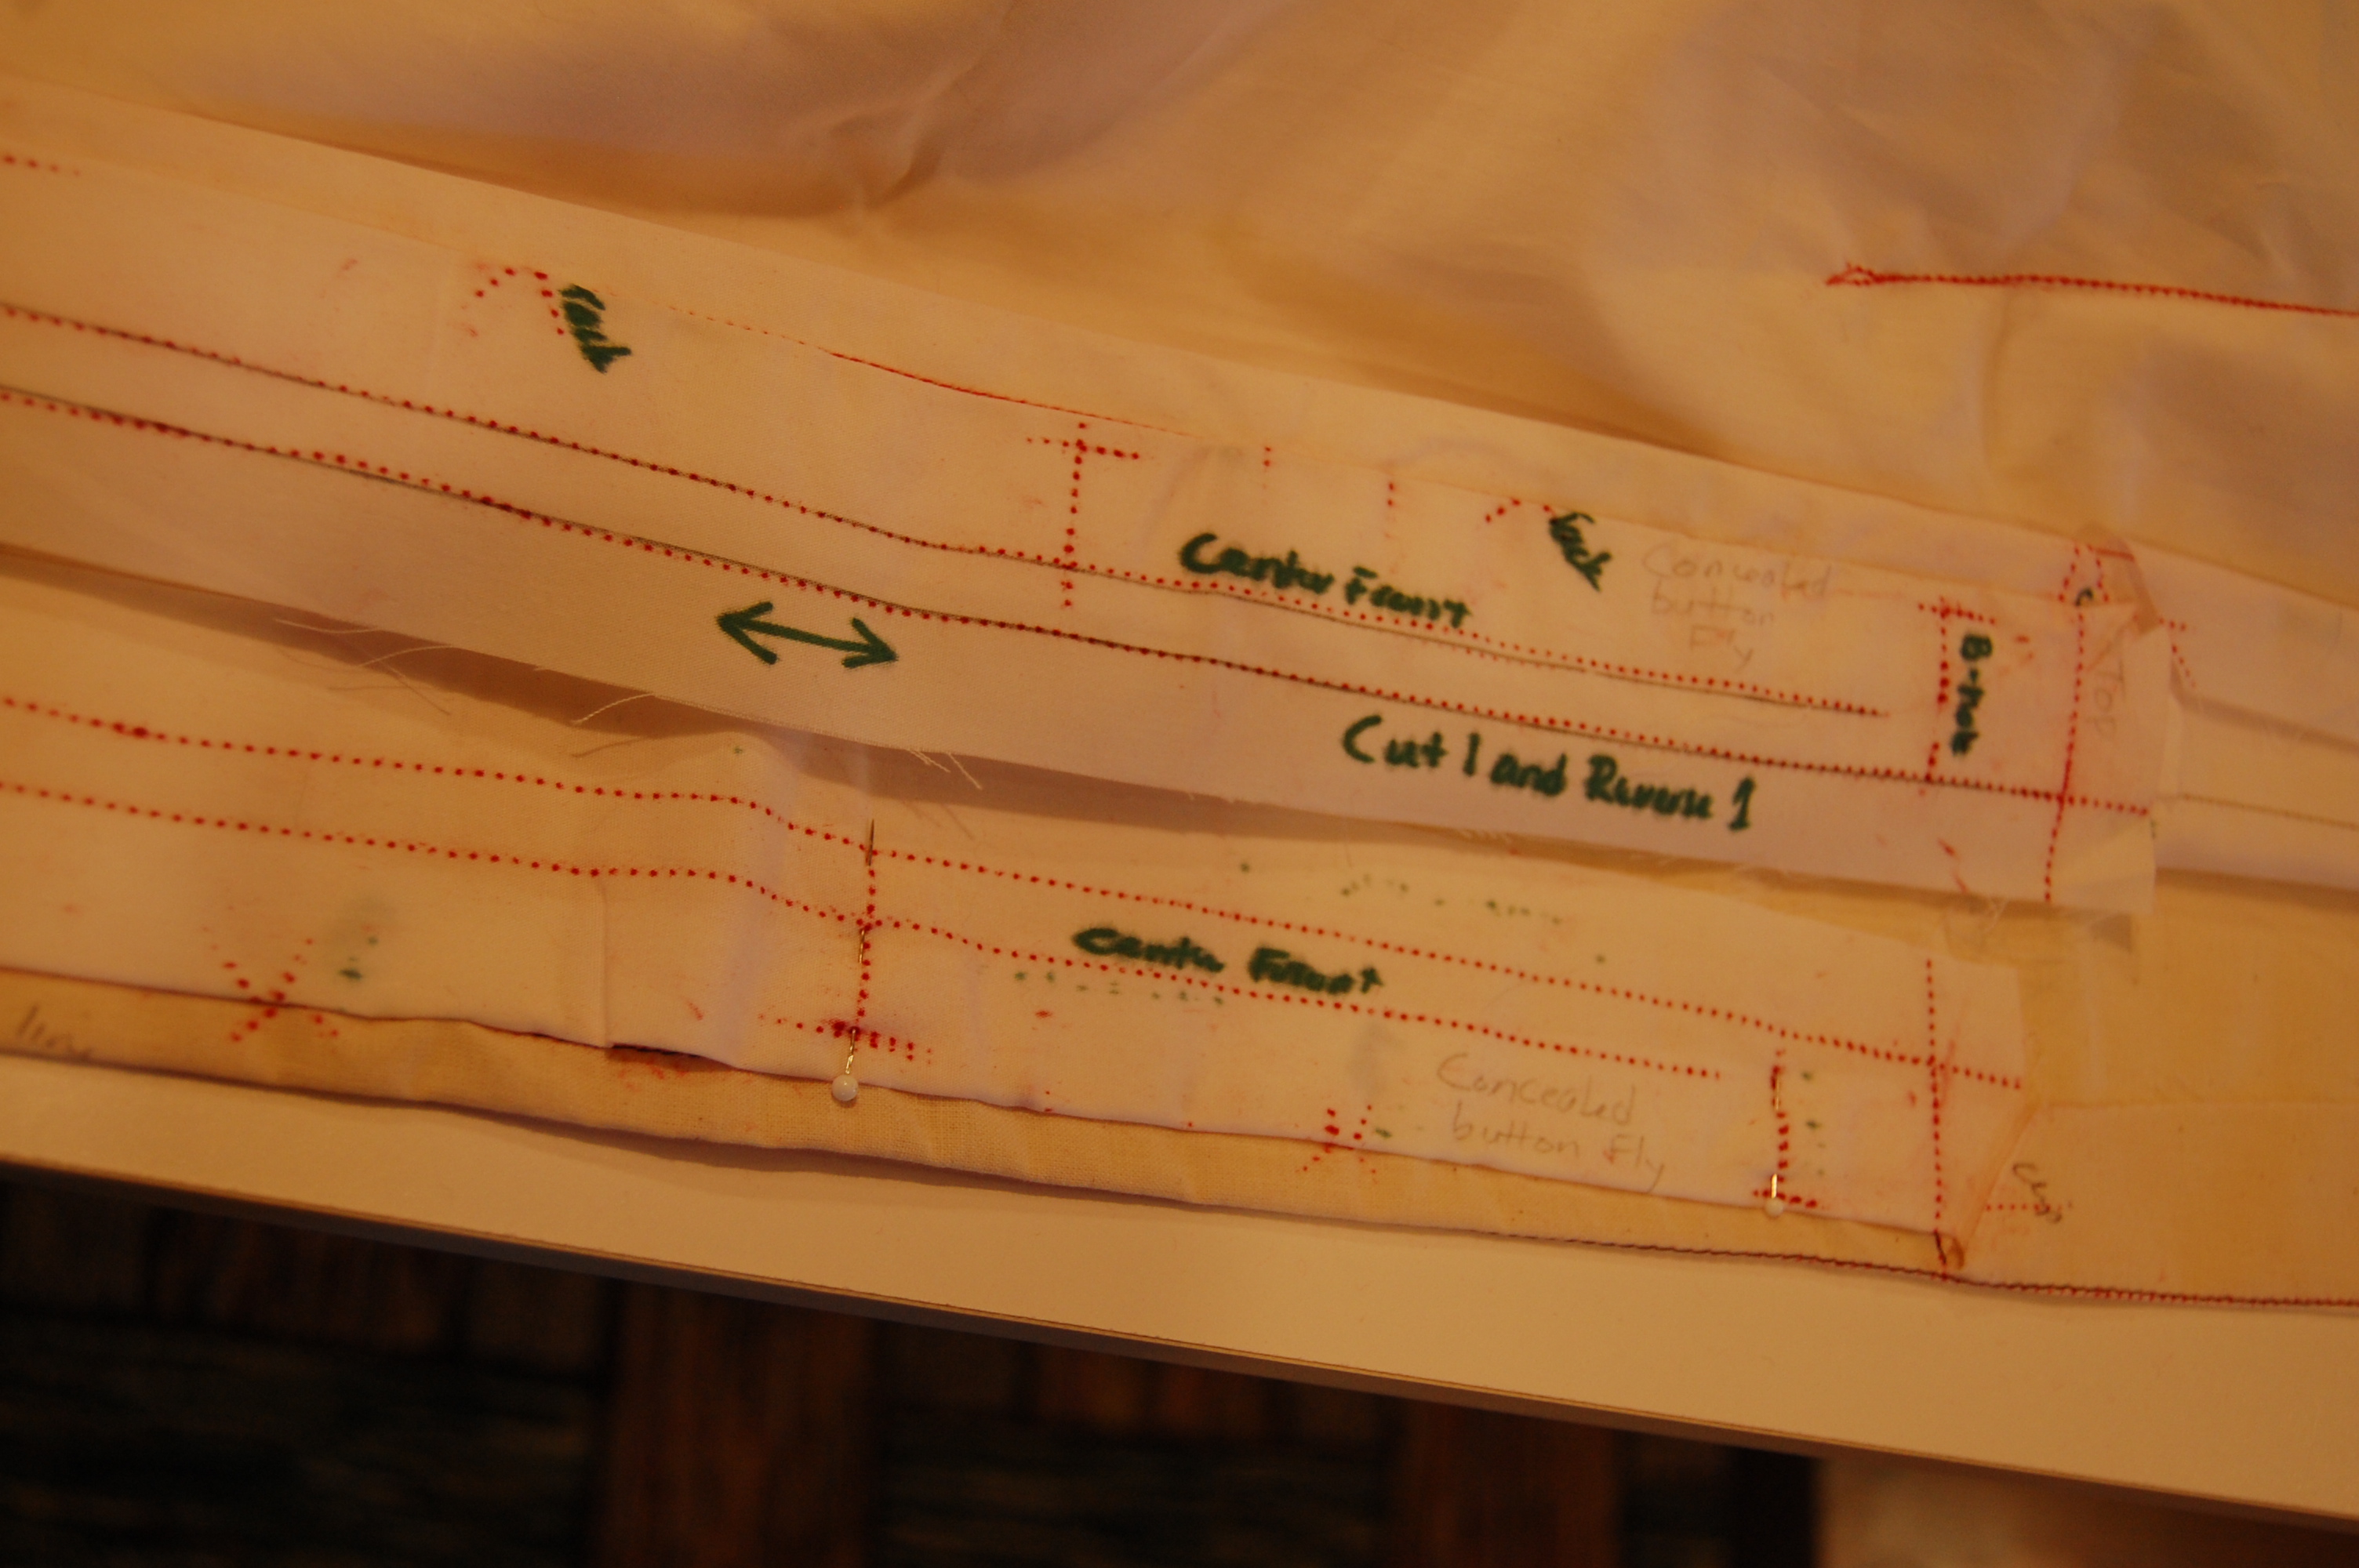


Instead of taking my mock-up apart, I decided to keep it for referral when I got to that point of the coat. And I am so glad I did. It helped me through many a confusing moment, giving me confidence that I was doing this correctly. Wouldn’t it be nice if all of life gave one a trial run first before facing the real thing – and then stood by to offer reassurance? Well, you will have to wait to see the finished opening in my next post, but it is all but complete. And I must confess, I think it is going to be very lovely.
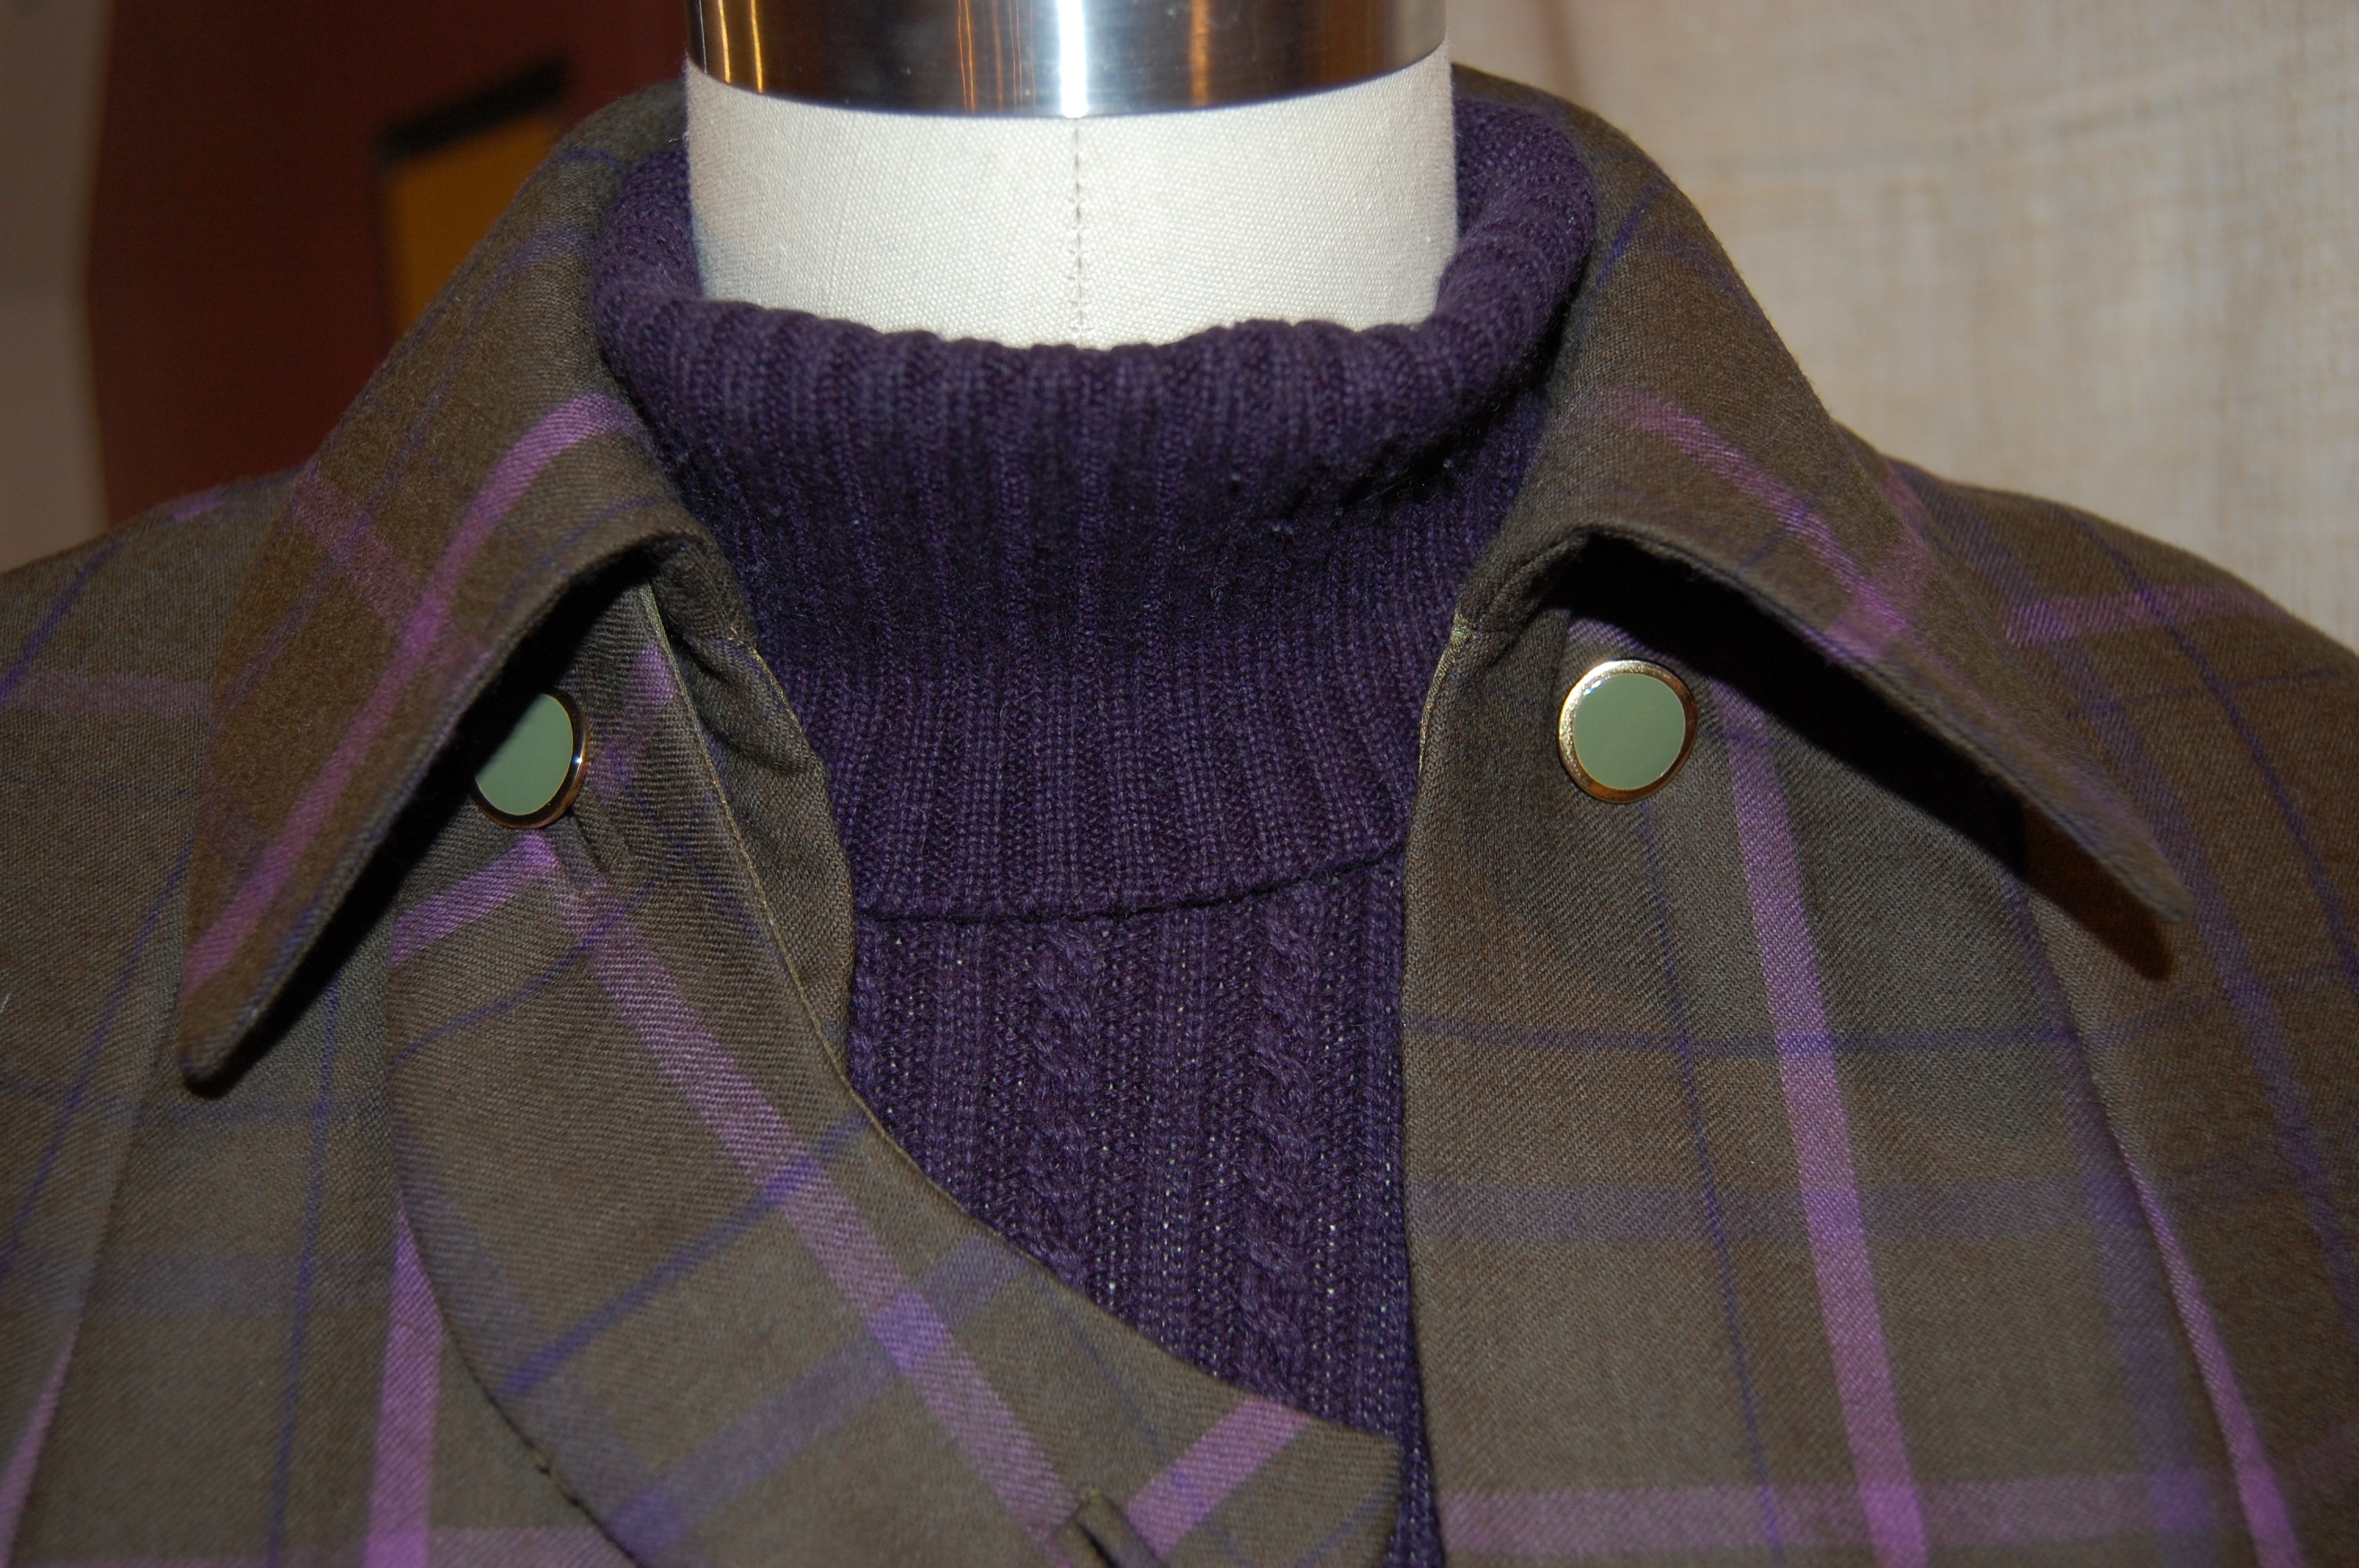
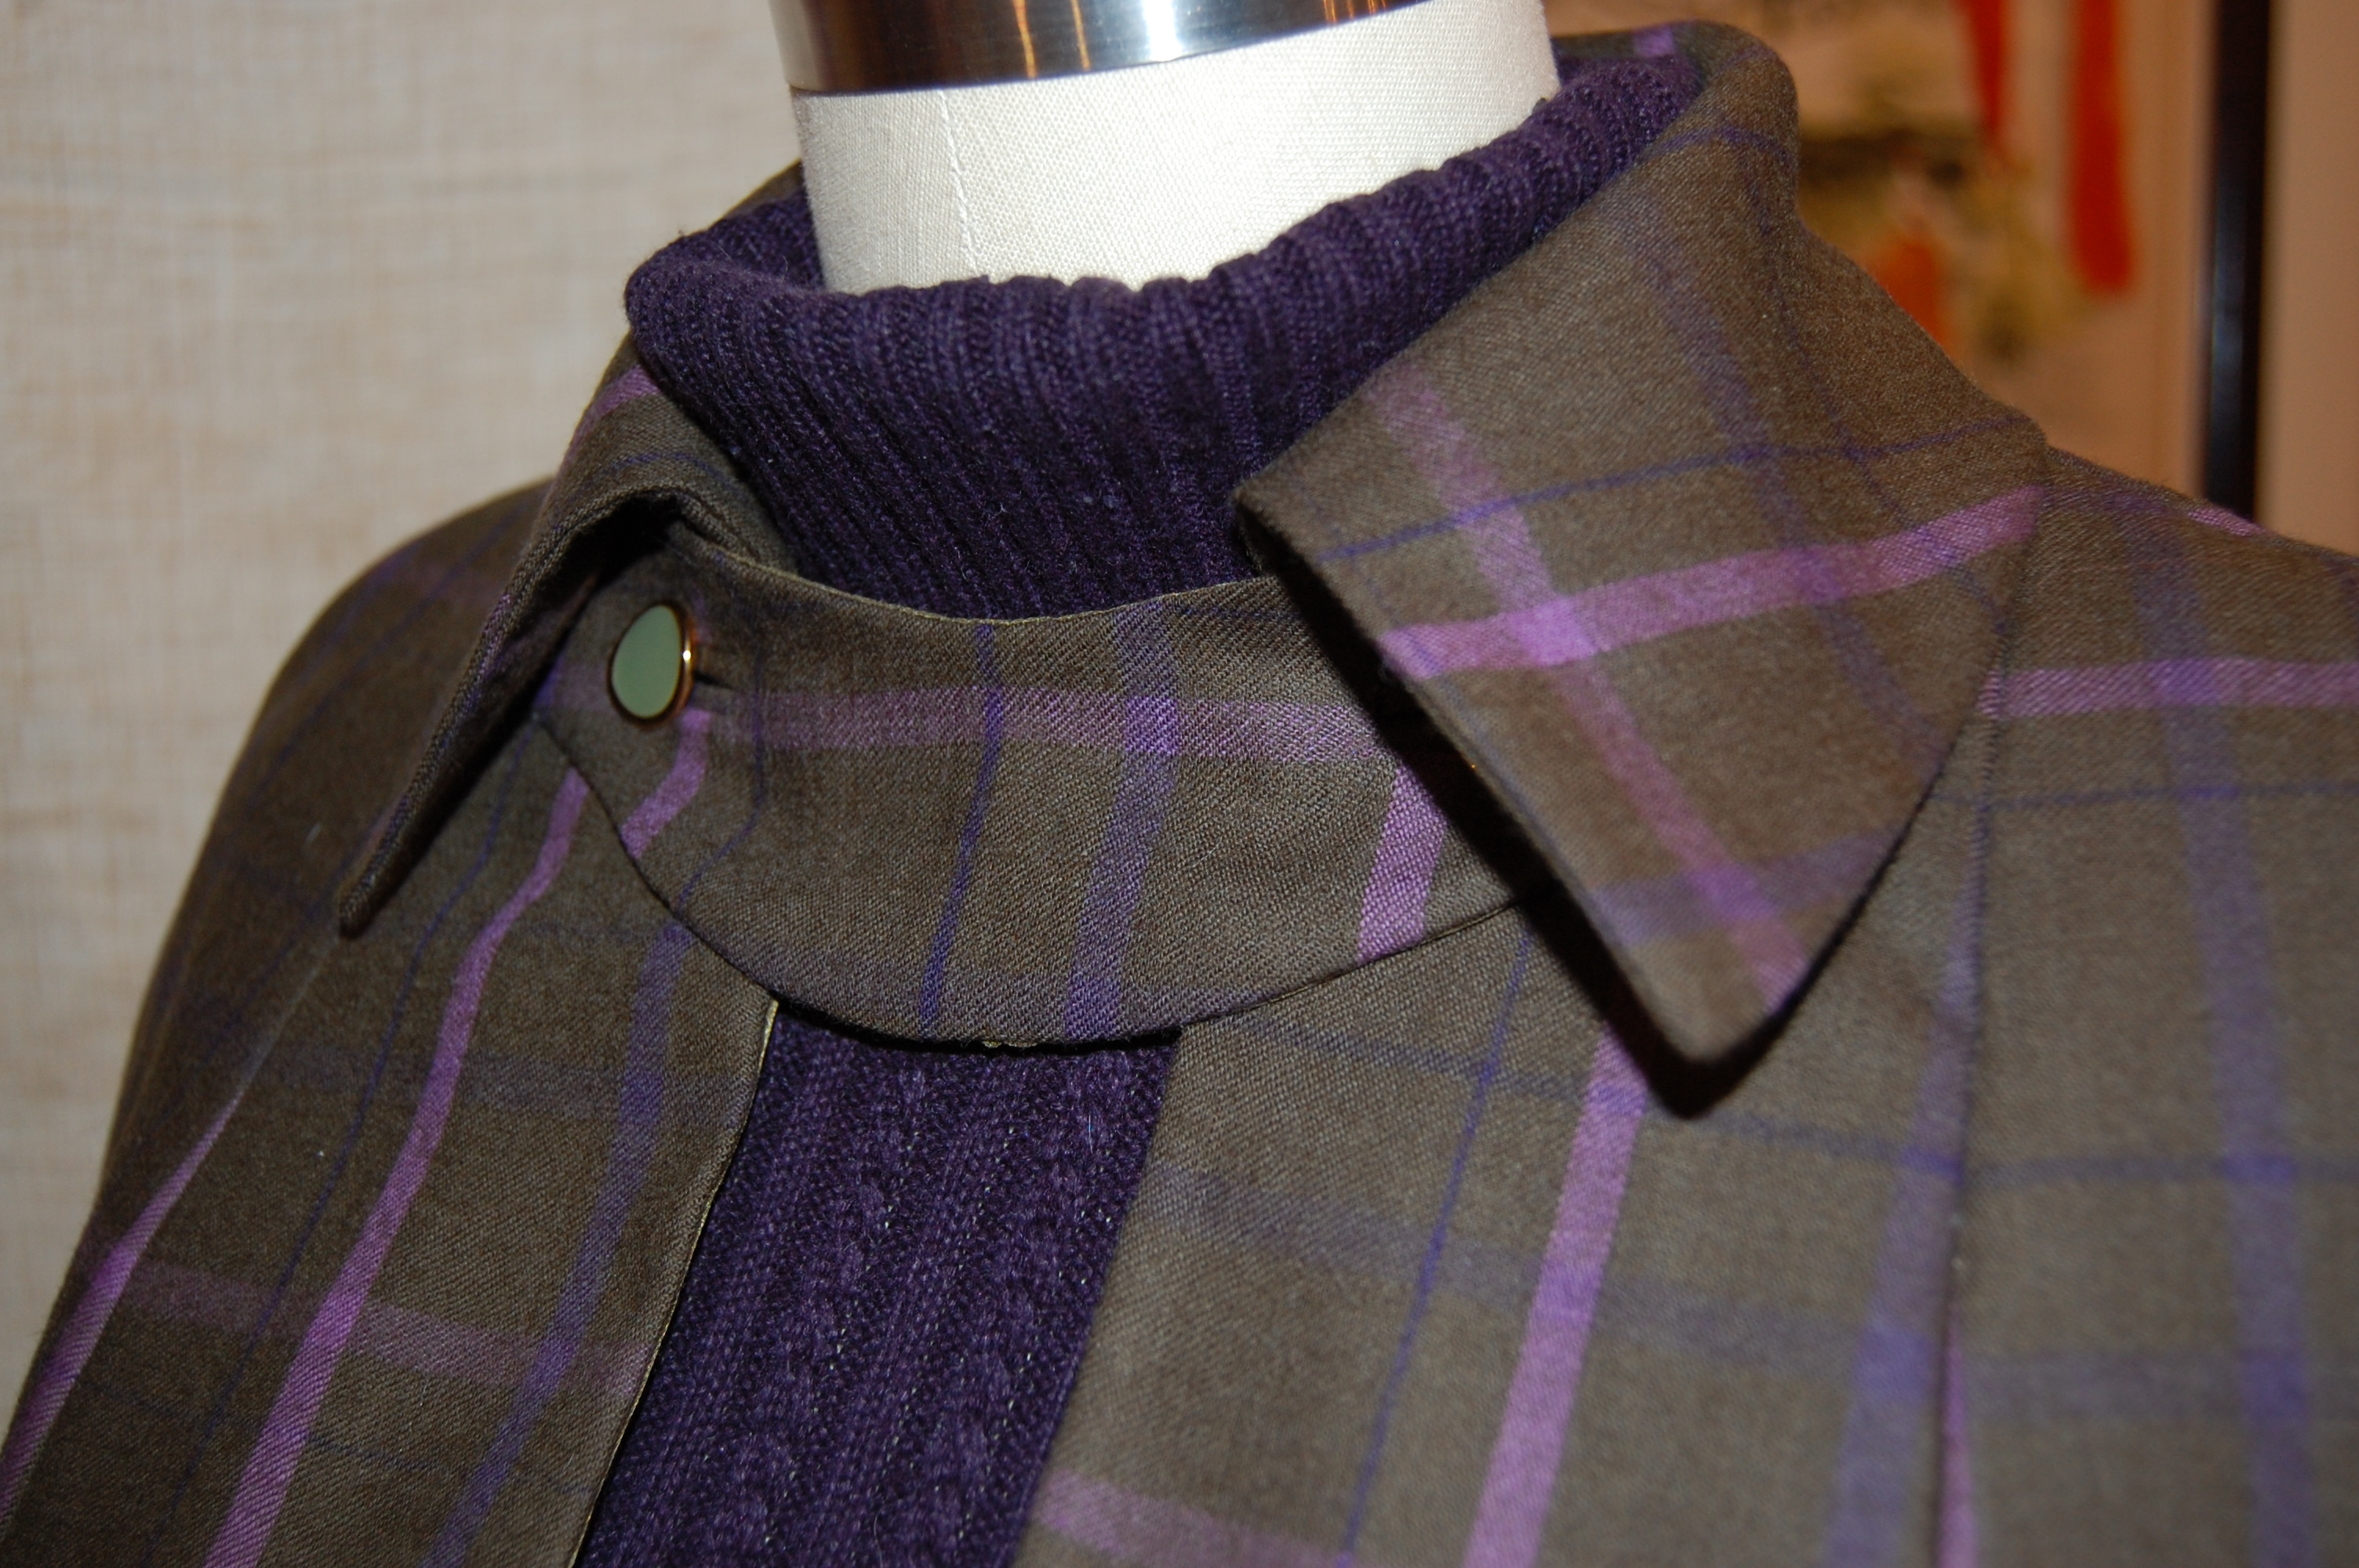
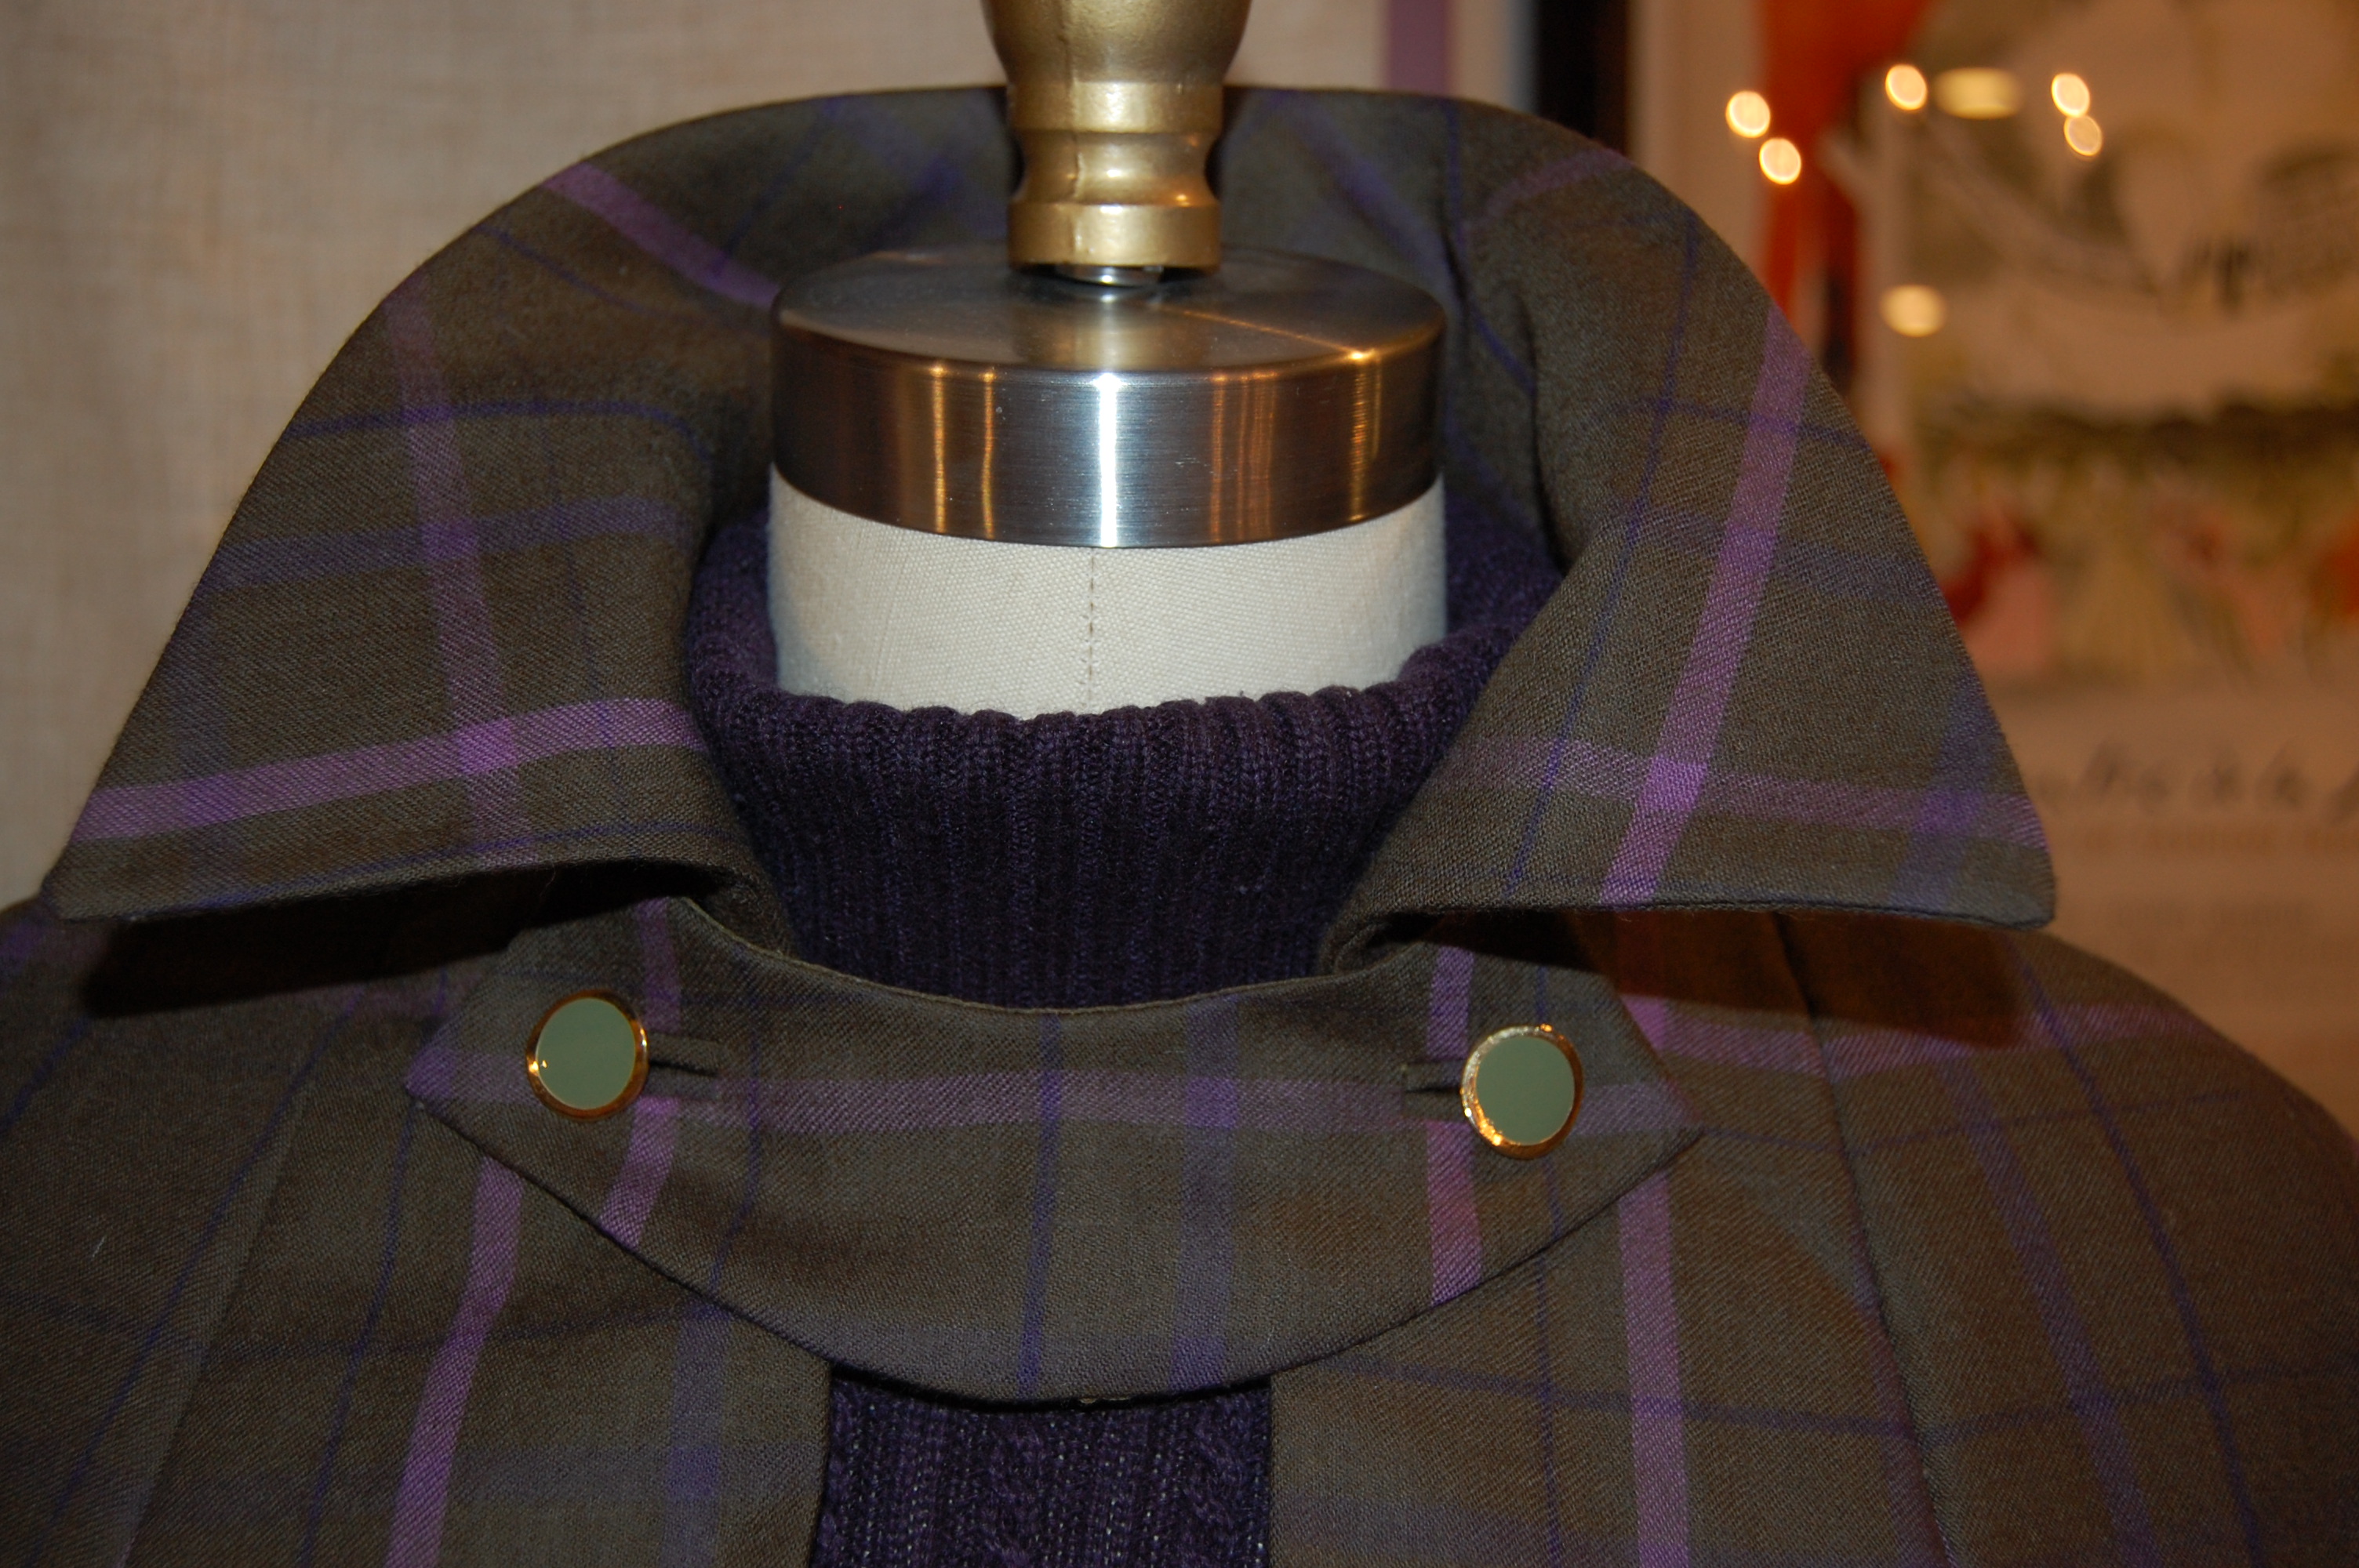
Now here is something to ponder. A few days ago I walked into my sewing room and was startled to observe something that did not seem right on my up-to-that-point constructed coat. I had it hanging on my dress form and almost had a panic attack when I looked at the to-be-buttoned tabs on the sleeves. It certainly looked as though I had sewn them on backwards! The buttonholes, and therefore the soon-to-be-attached buttons, were oriented toward the front of the sleeve, rather than the back.
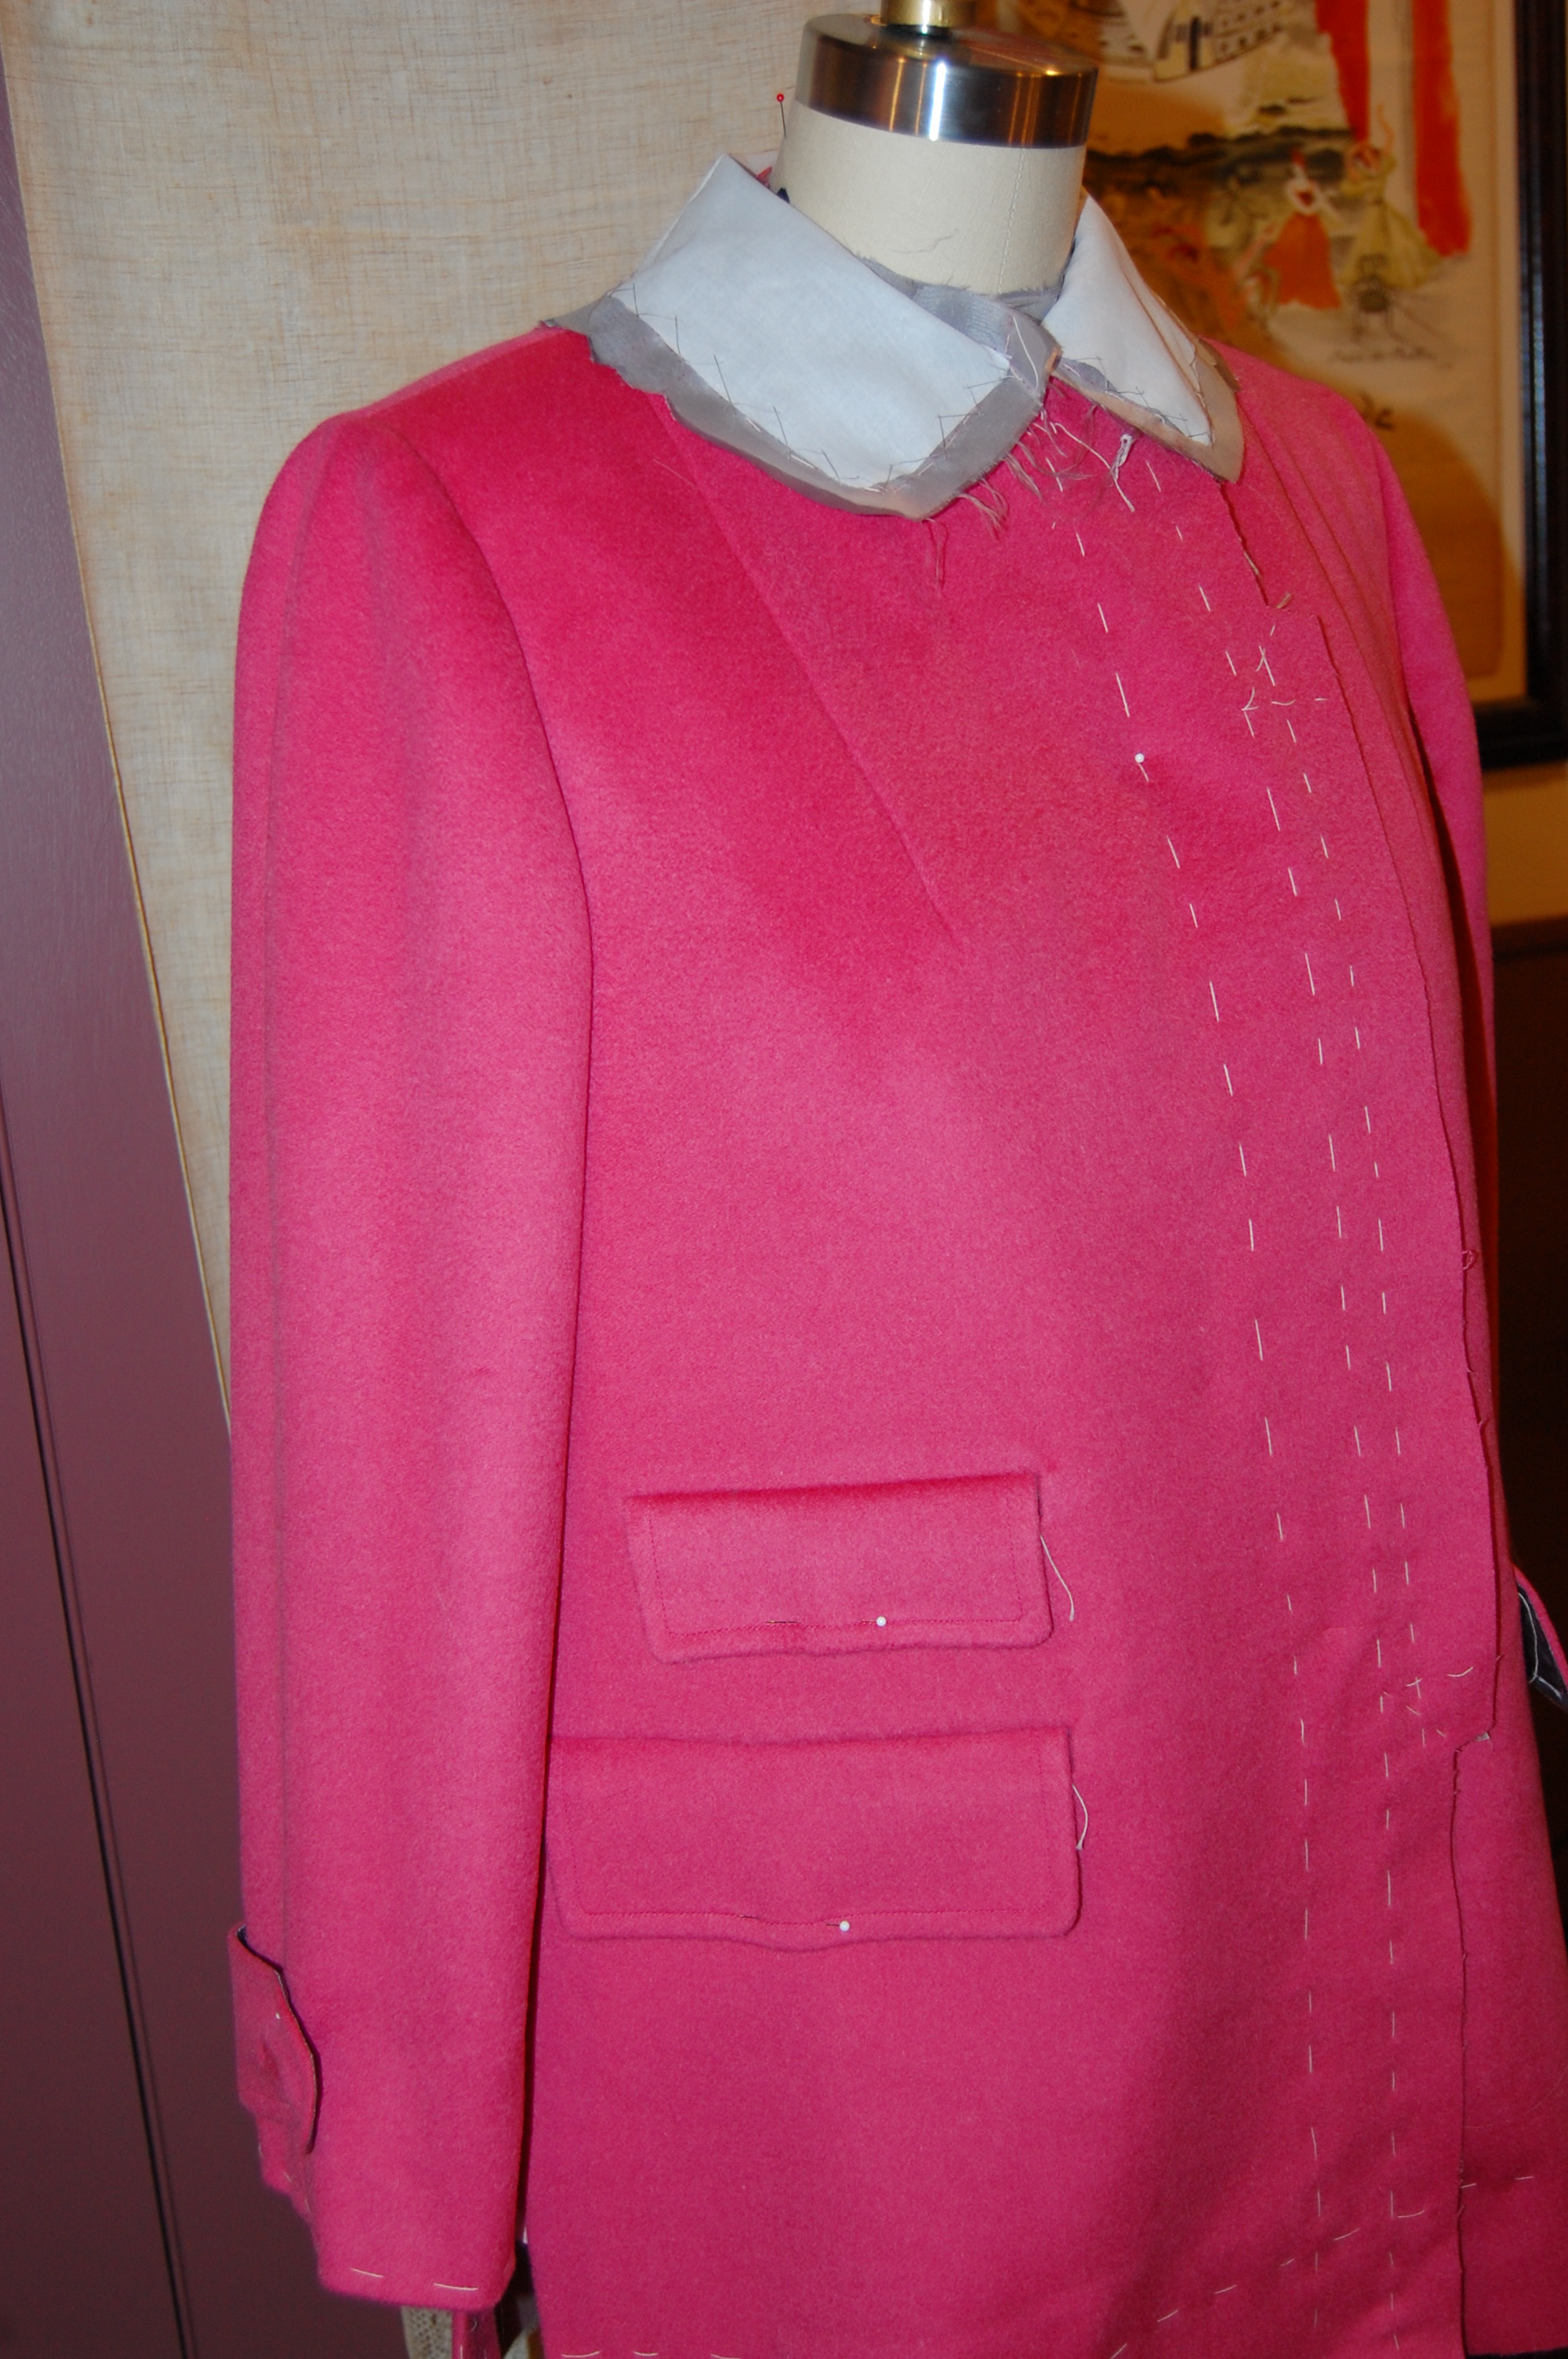

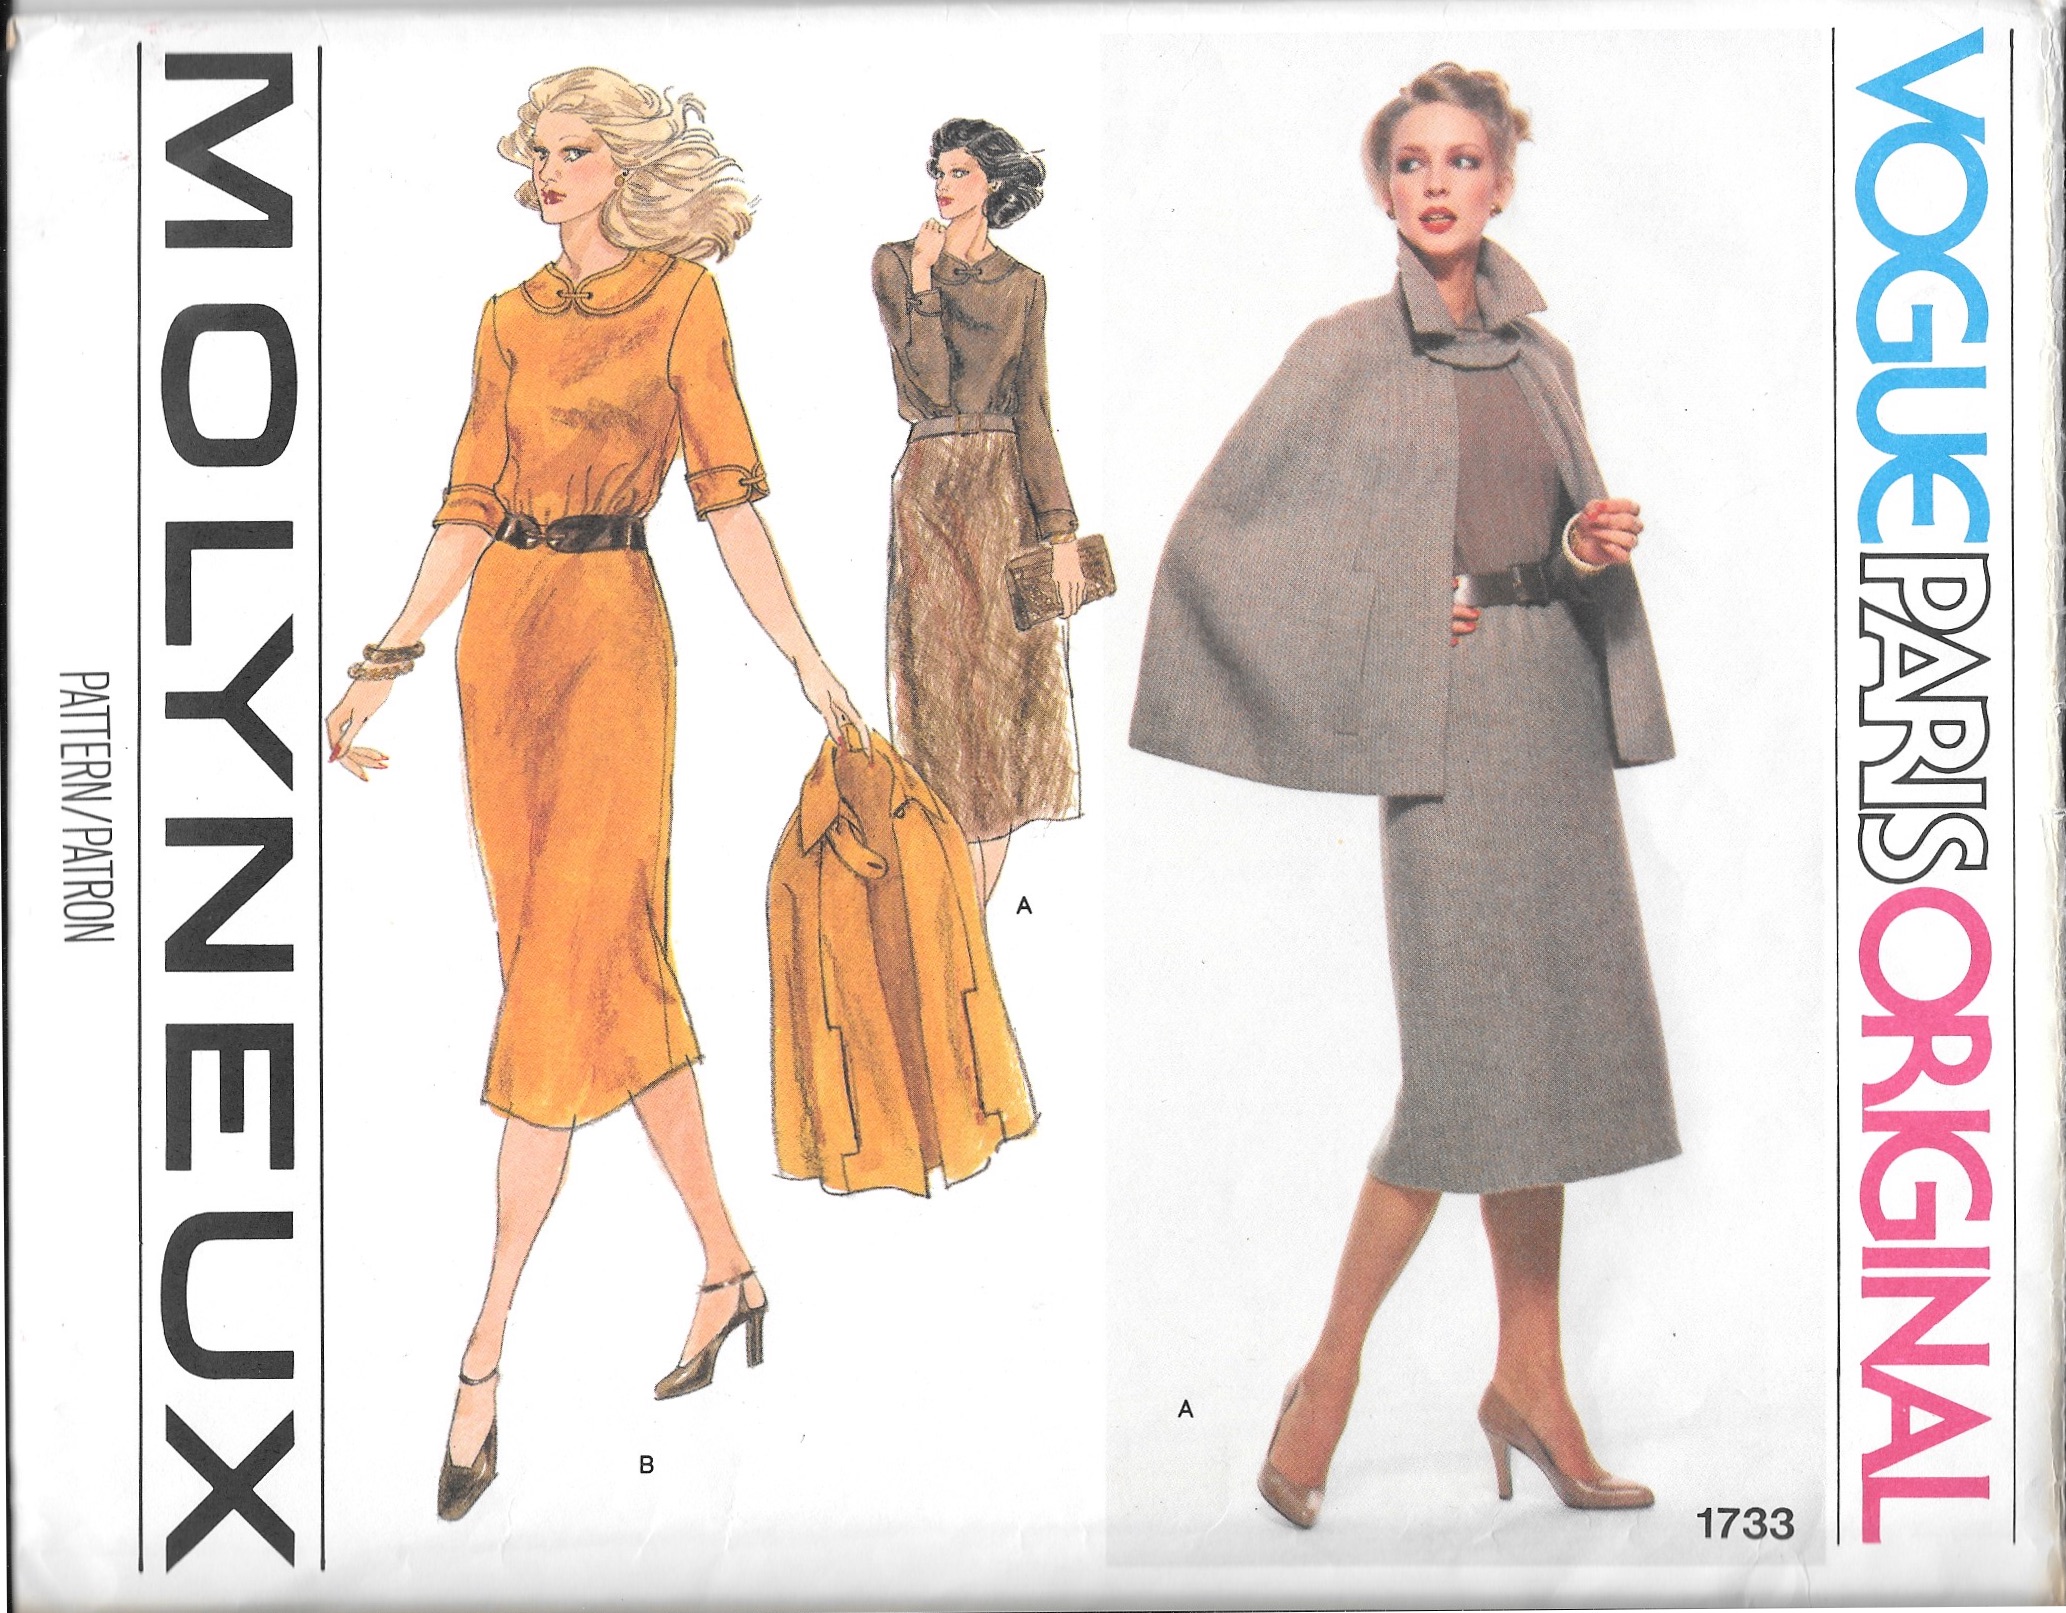
Before completely losing it, I went to my pattern, and there, plain as day in the illustration, the tabs wrapped around to the front of the sleeve.
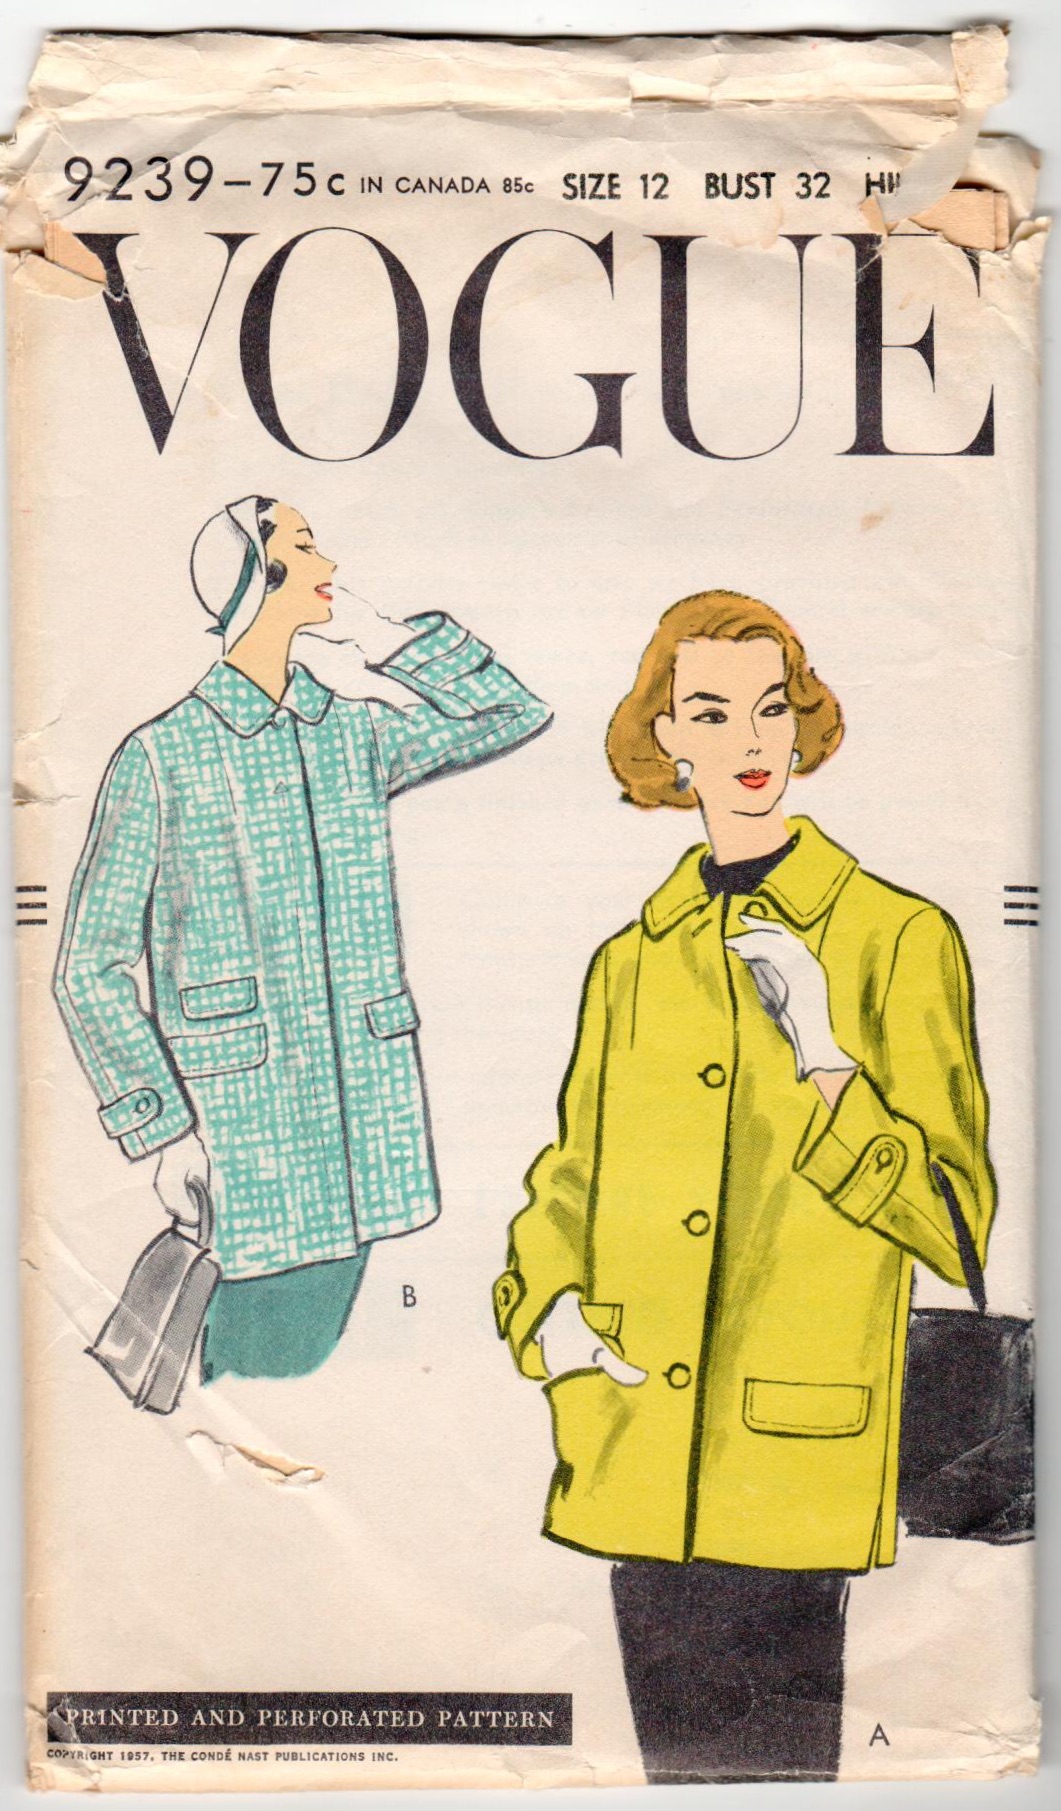
I still could not quite believe it, so I went to the illustrations in the 1957 Vogue Pattern Book Magazine, shown in my last post. Yep – the tabs were oriented the same way as mine. Just to make sure, I checked the silk organza under-lining on the two-part sleeves to double check my markings which would tell me that the backs of the sleeves were truly in the back (although my common sense had already answered this question for me. Of course, the sleeves would not have gone in as smoothly as they did if I had put them in incorrectly).
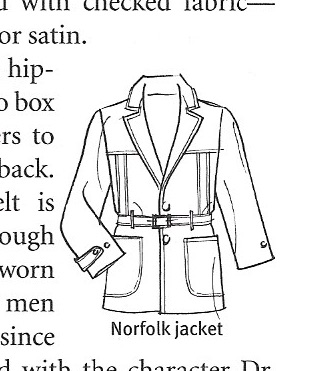
After being reassured repeatedly that I had not made a BIG mistake, I started to question why the tabs were oriented that way. I looked for other examples of buttoned sleeve tabs. I found one or two in which the tab wraps around to the front, but most tabs were sewn into the inside seam, wrapped around the front and buttoned just past the center point of the sleeve (or seam, if there was a center seam as with my pattern), toward the back. I wondered if this might one of those things which is distinctly feminine, such as the fact that buttonholes on womens’ apparel are on the right, whereas mens’ are on the left. But no, I could not verify that.

Now I am left with a decision to make. Somehow, I think I would like the tabs on my coat to button toward the back. I had faced the tabs with my gray lining fabric, again to reduce bulk. I think that gray lining would better stay undercover should the tabs button in the back. I also think a backward orientation will reduce the incidence of “catching” the tab on things. Both of those considerations obviously figure into my thinking. Do I take out the bottom part of the finished sleeves, with their pretty catch-stitched seams, remove the tabs and reorient them?

Or do I leave well-enough alone and stay true to my vintage pattern? I must decide before the lining goes in the coat. Which brings me to the realization I have just 4 pattern pieces remaining, all for the lining. Part 3 of this saga is just around the corner.


A Very Pink Coat, Part 1
Some projects deserve more than one blog post and this pattern and coat fall into that category.
From the magical year of 1957 (I promise some time I will devote an entire post to the notable spot that the year 1957 occupies in the modern history of fashion), this coat pattern is in a class of its own. Referred to as a “car coat” in two Vogue Pattern Book Magazine entries, it is a quintessential example of that genre. Here’s why:
This pattern is featured twice in the Vogue Pattern Book Magazine from August-September 1957.
Here is the longer version shown on page 22:
And here on page 37 is a drawing (by illustrator Dilys Wall) of the coat in red with this description: “A hounds-tooth-check car coat with three flap pockets, side-slit seams, and tab-button detail on the sleeves. Designed in sizes 10 to 18.”
Interestingly, also featured in this same magazine is this example of a child’s coat, also with a fly front. This type of opening takes more skill – and time – to make. I love the affirmation this item gives to the commitment and ability of the home-sewer in the 1950s.
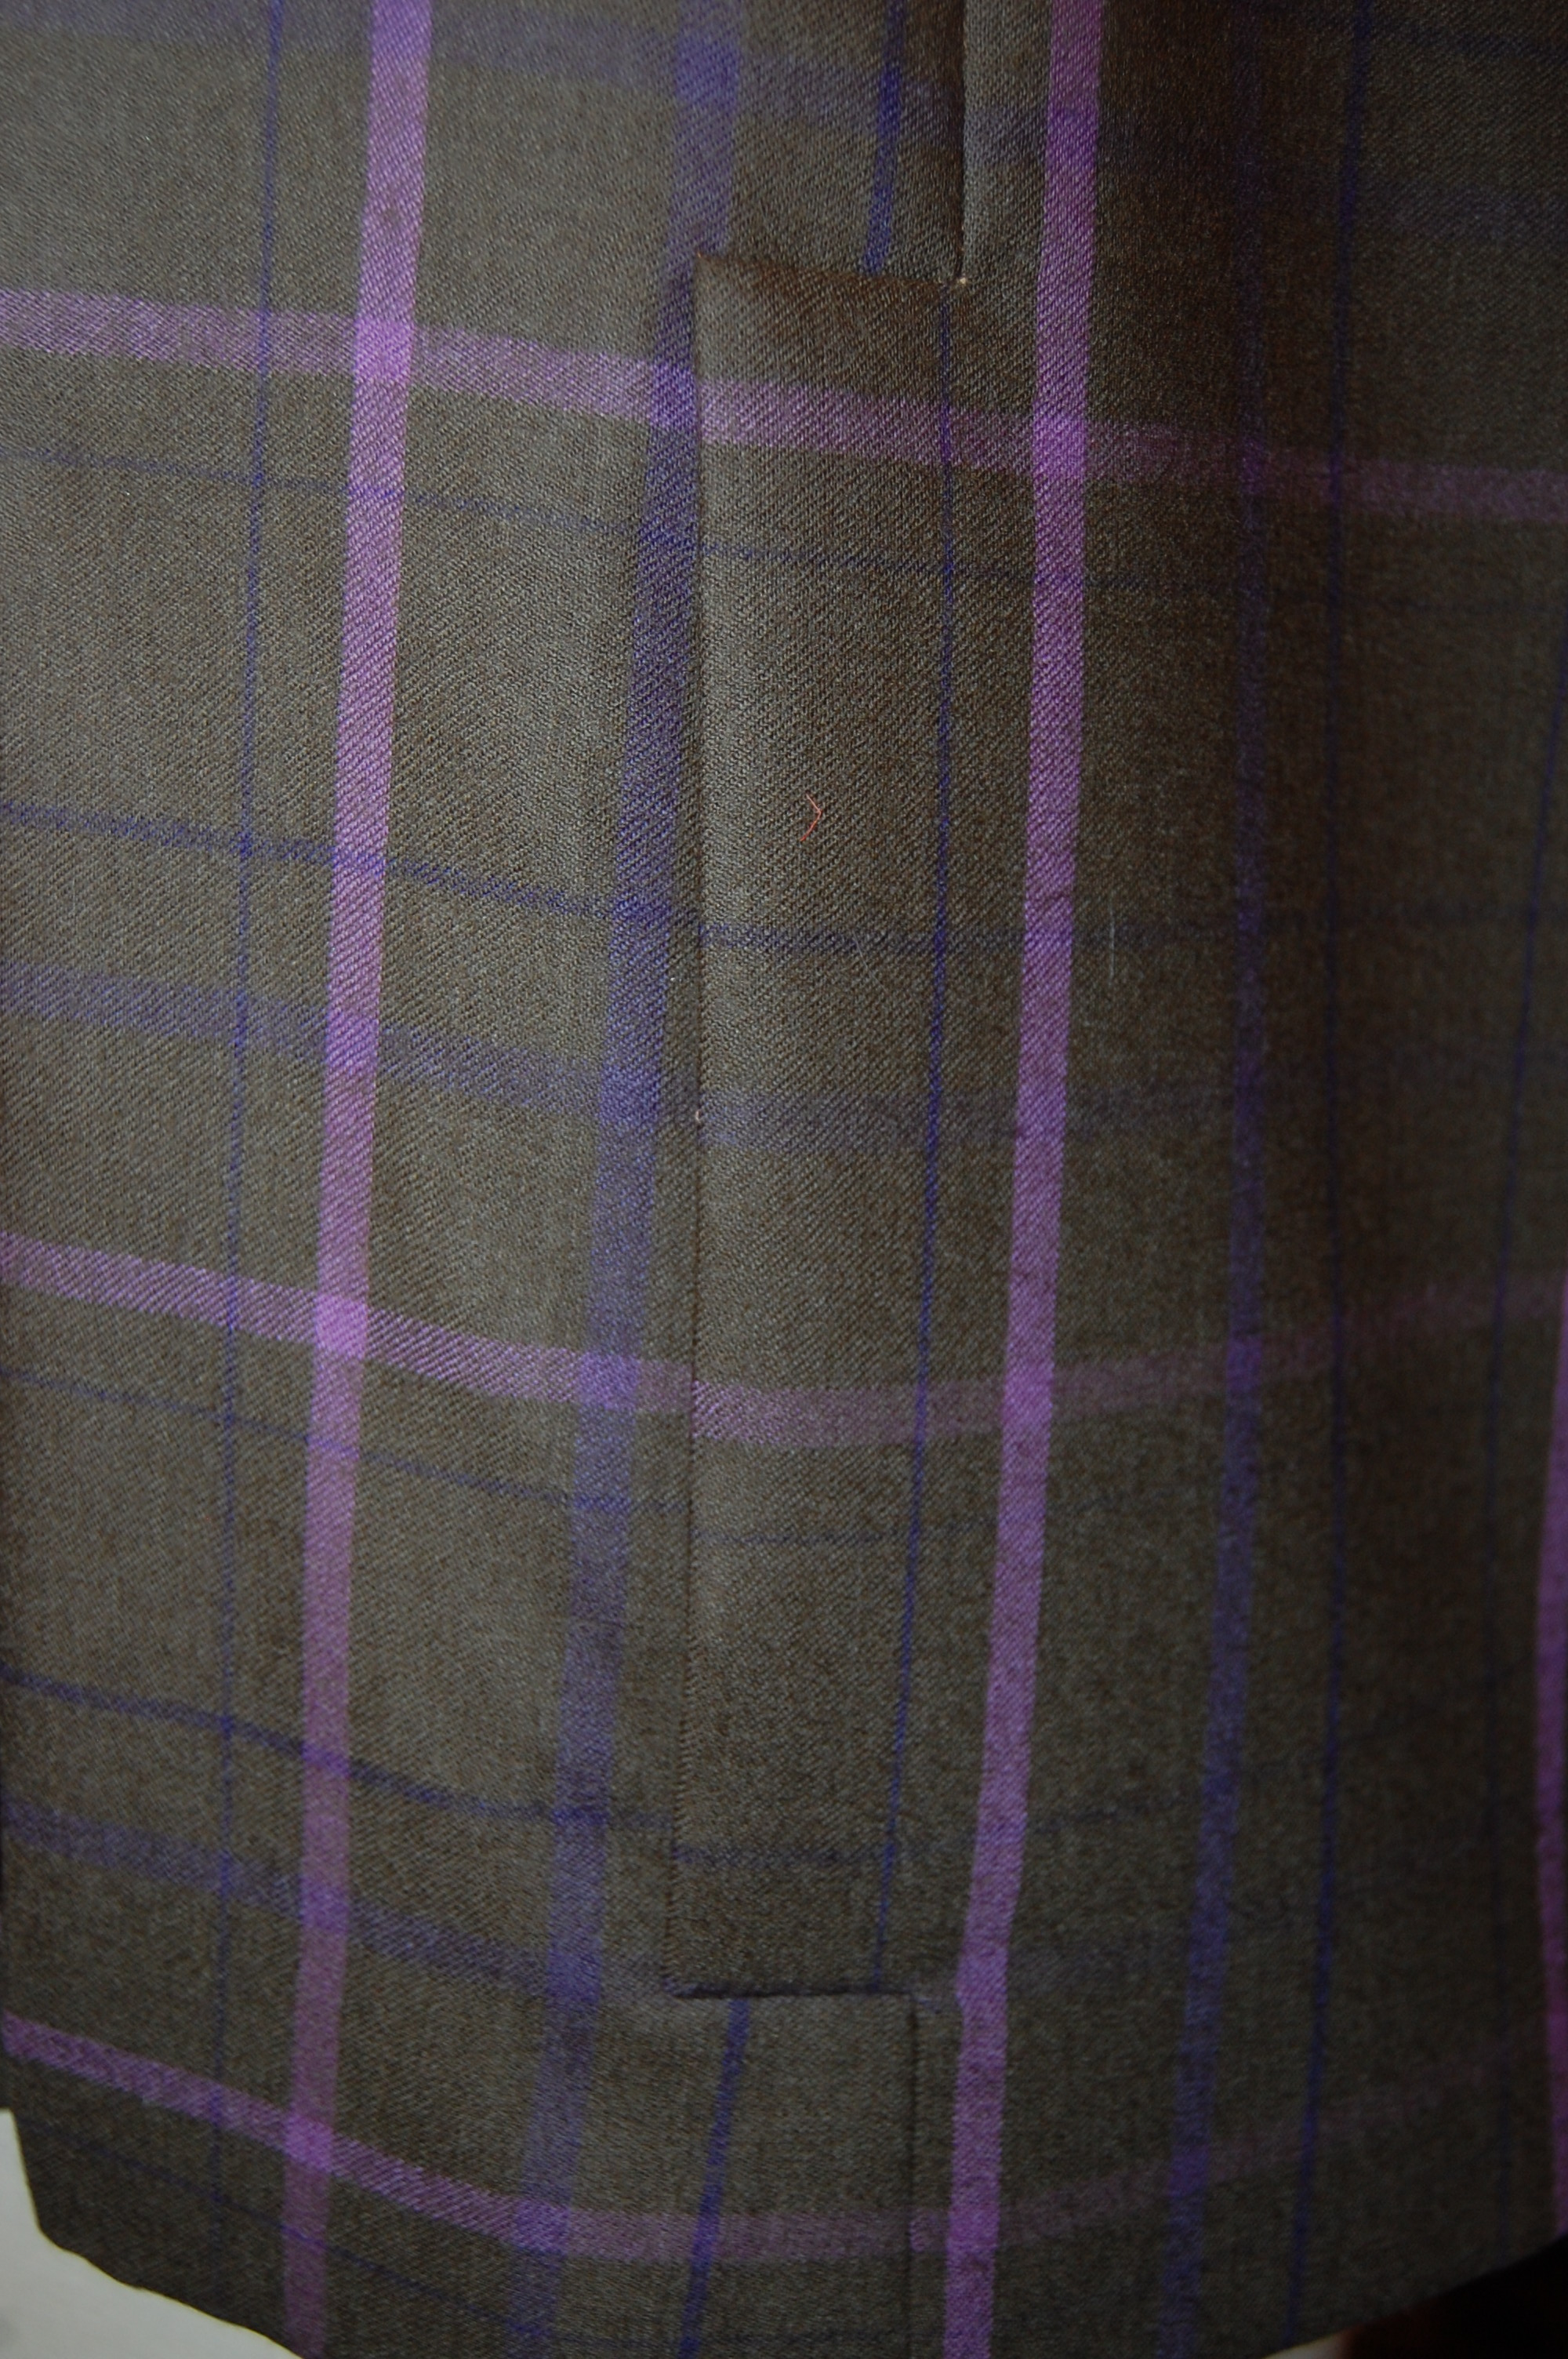
Because this coat has those extra details which put it a notch above ordinary, there is a lot of preparation work before seams can actually be sewn together. The sleeve tabs, with their bound buttonholes must be complete before the sleeve seams can be sewn. Additionally, the set-in pockets with their flaps present a considerable amount of prep work on the fronts of the coat. Sounds like fun to me! More to come . . .
16 Comments
Filed under car coats, Coats, Fashion commentary, Fashion history, Mid-Century style, Pattern Art, pockets, Uncategorized, vintage Vogue patterns from the 1950s, woolens
Tagged as 1950's Vogue patterns, coats, fashion sewing, sewing, vintage fashion, vintage Vogue patterns