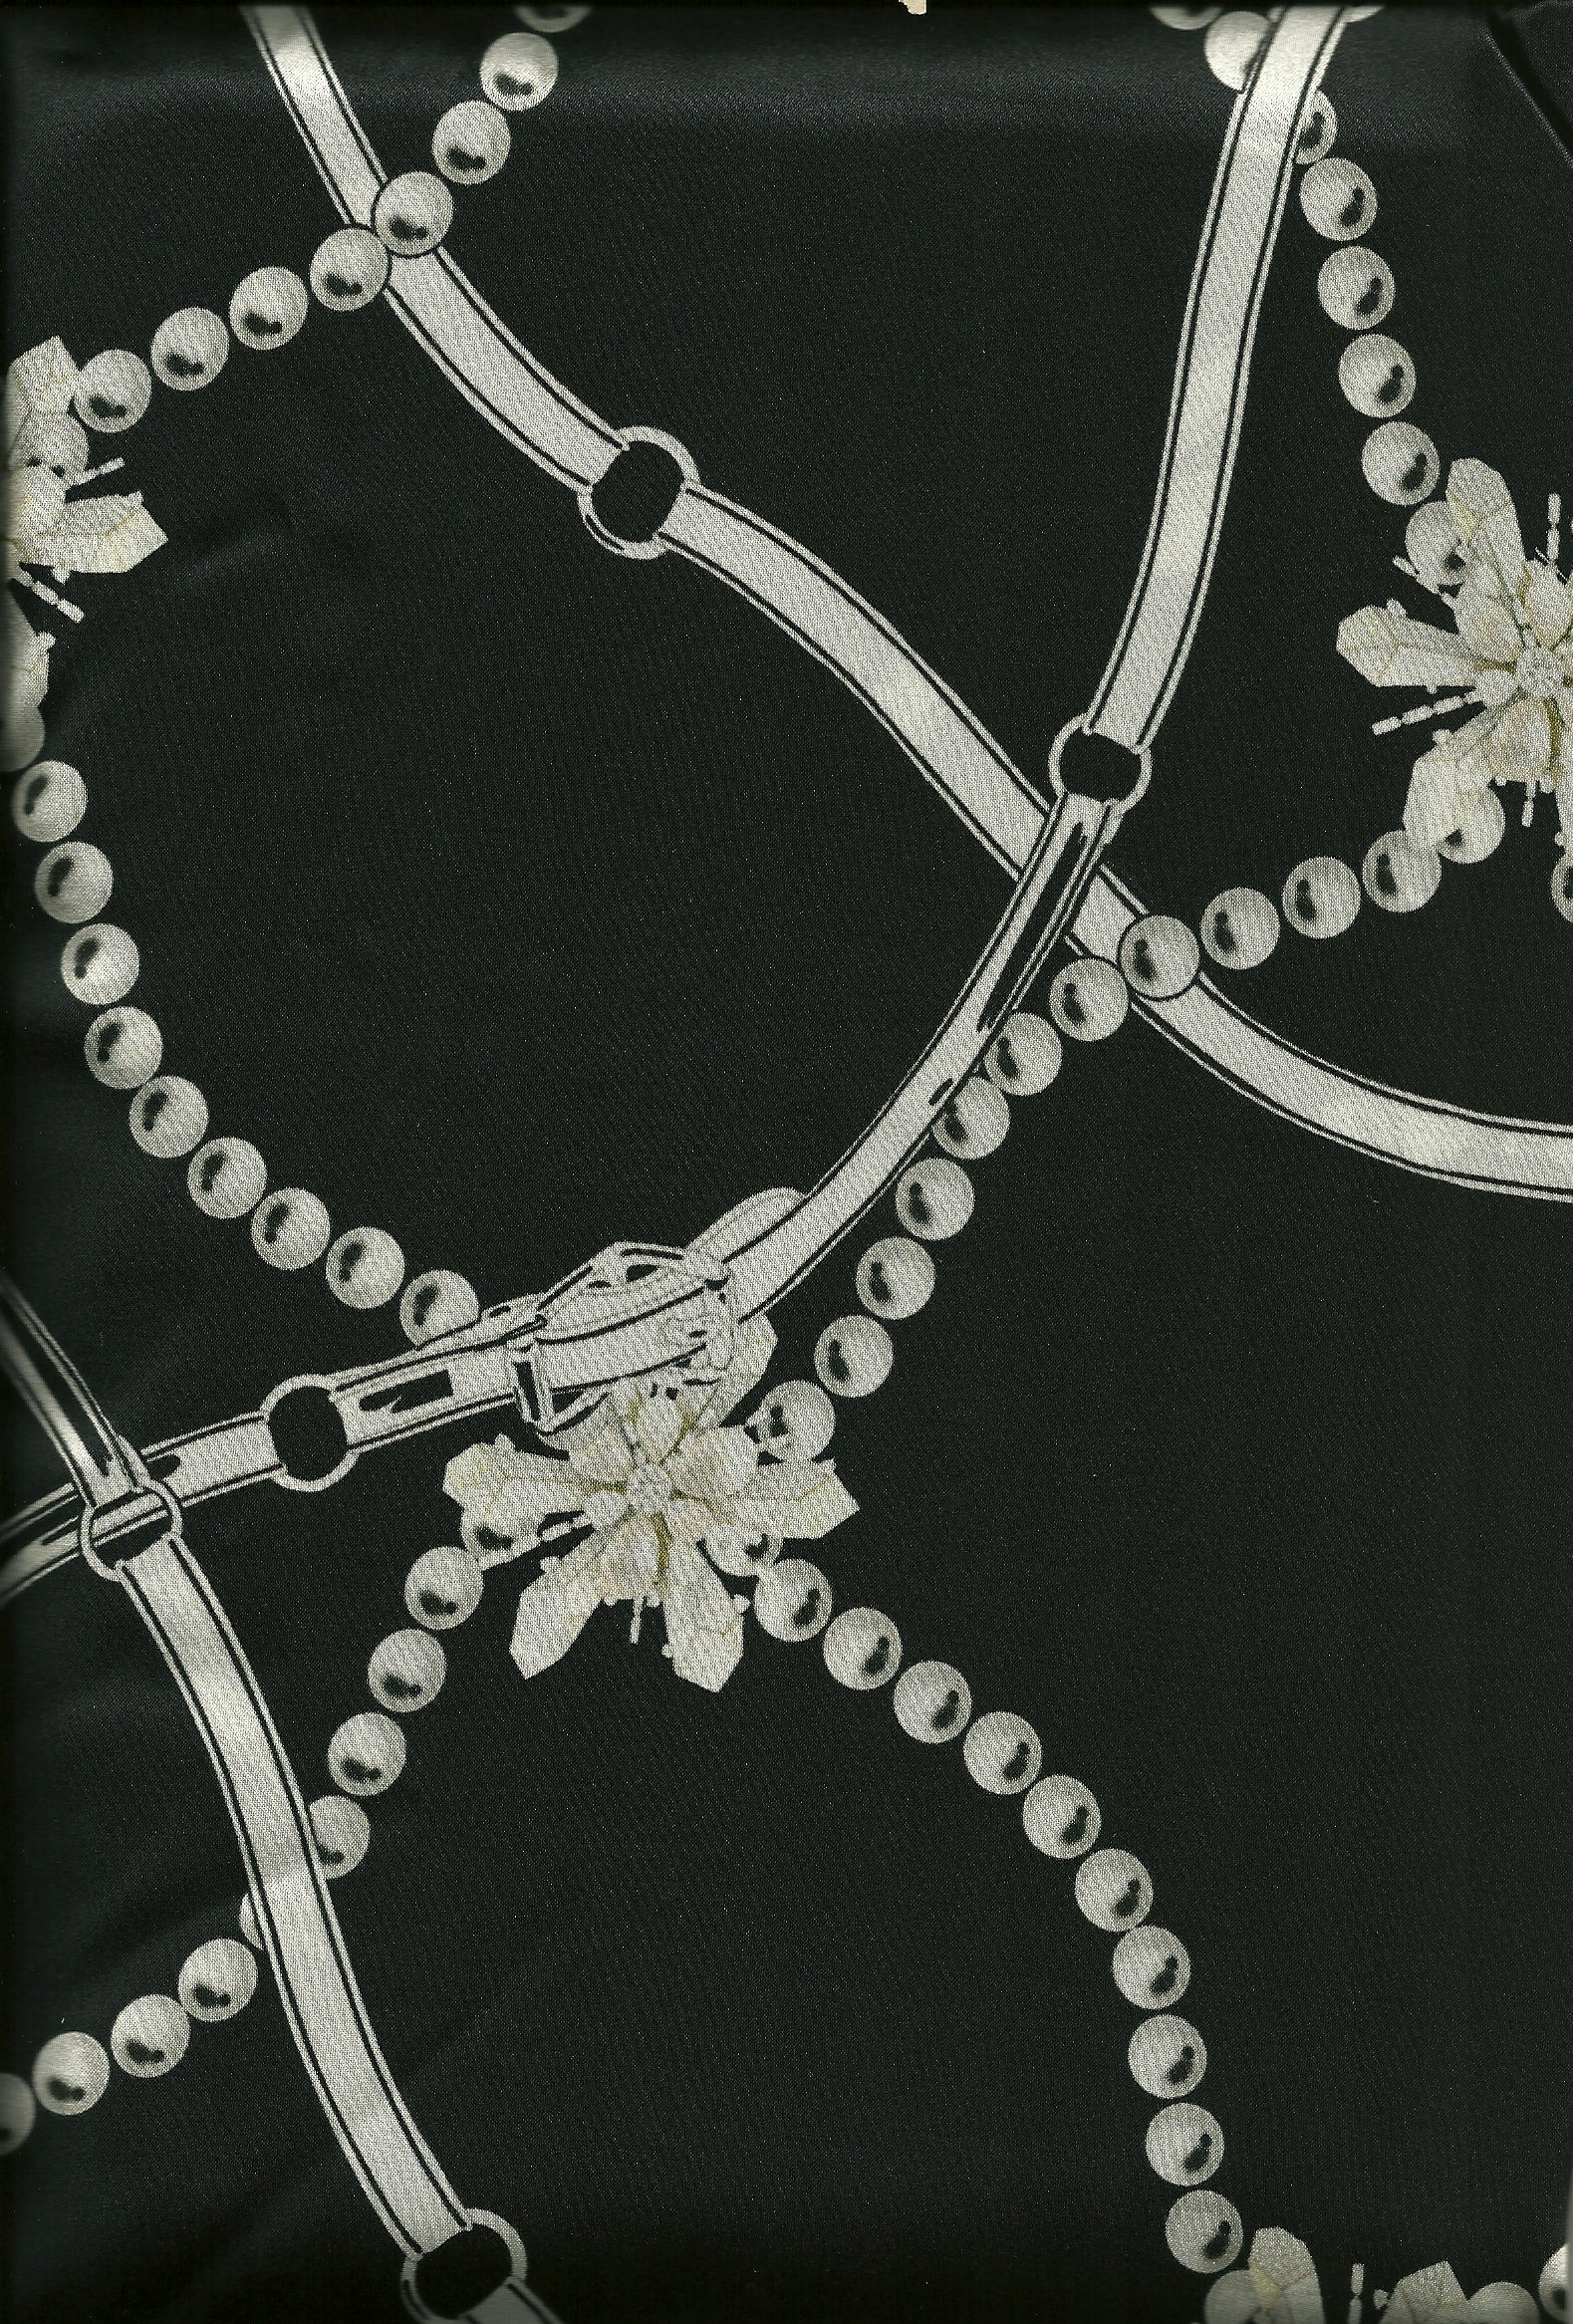
In my quest to make a couple of “simple” pieces before I start another “Chanel-inspired” jacket, I decided to make a blouse. I am very partial to the color of deep pink – and the remains of a length of silk, which I have already used in two projects (here and here), kept surfacing whenever I went through my fabric collection. The weight is perfect for a blouse – so my plans starting taking shape, based on this fabric.
First I went through my pattern collection to see what I could find. Two blouse patterns from 1957 and one from 1959 are lovely but did not seem quite right for my fabric.
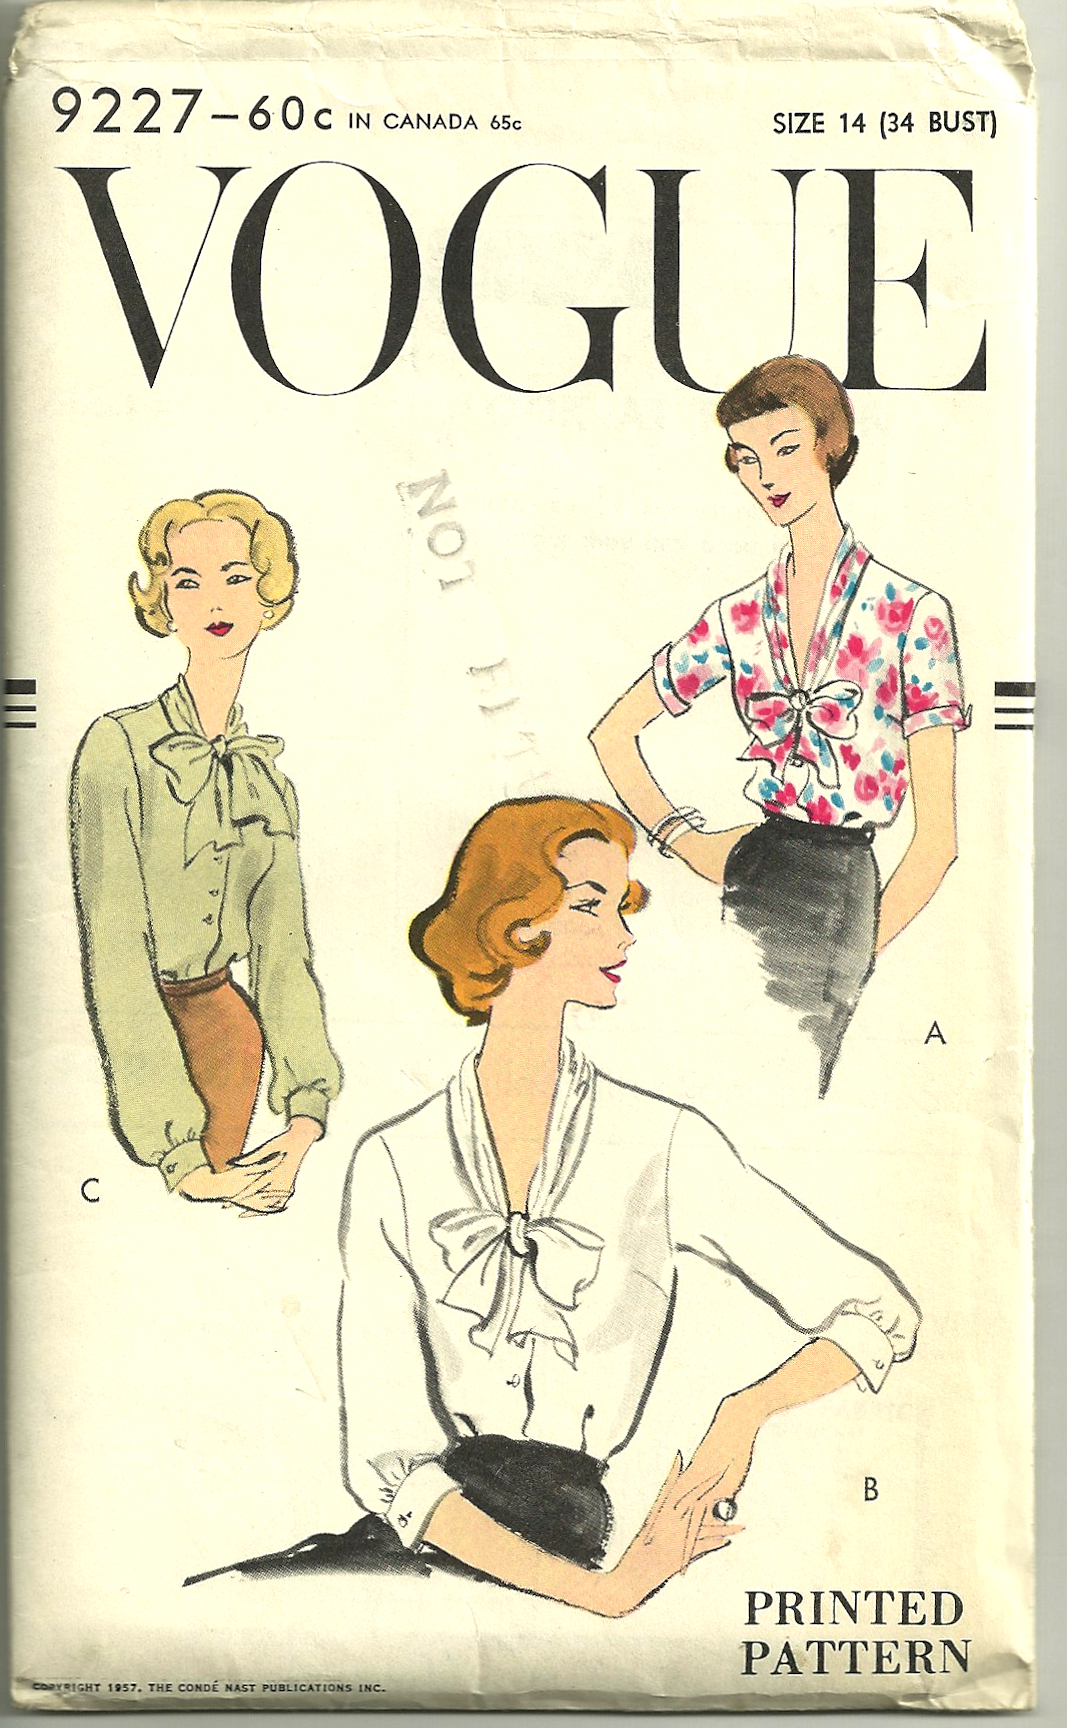
View B is my favorite – and how current is this look?
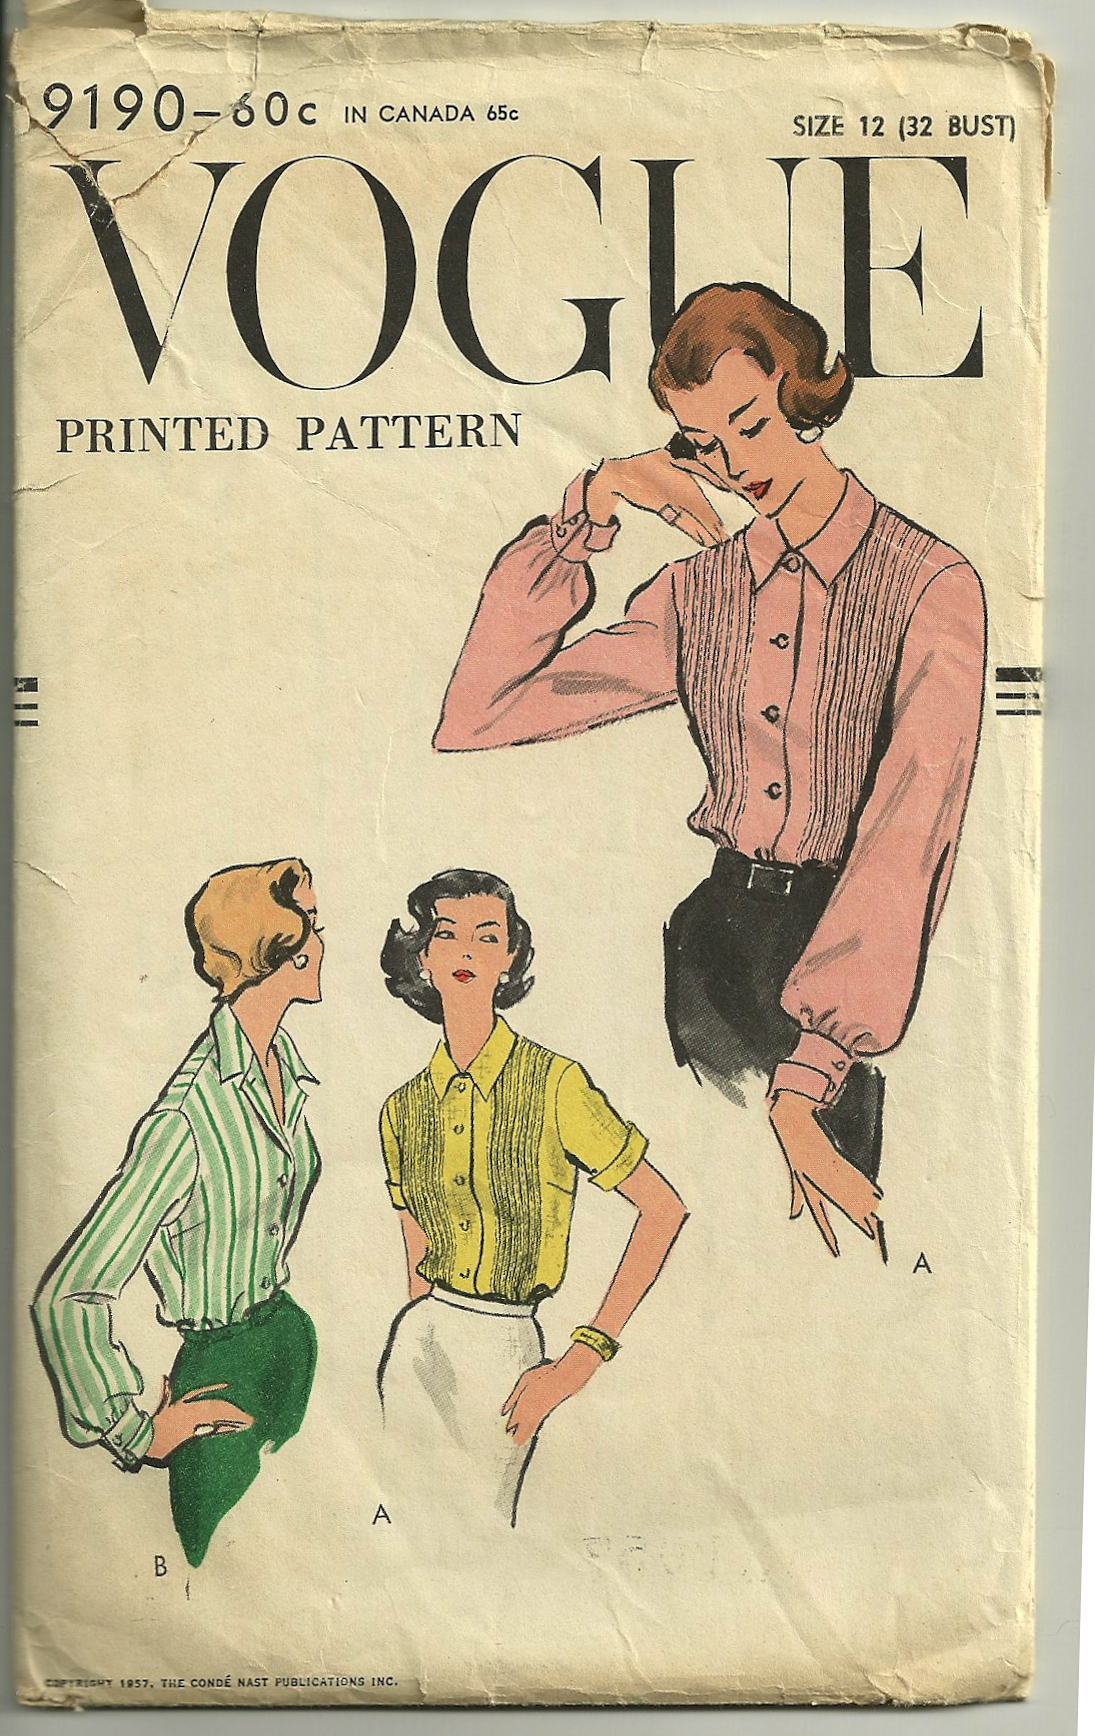
I have already used this pattern once, but I think I took some of the fullness out of the sleeves.
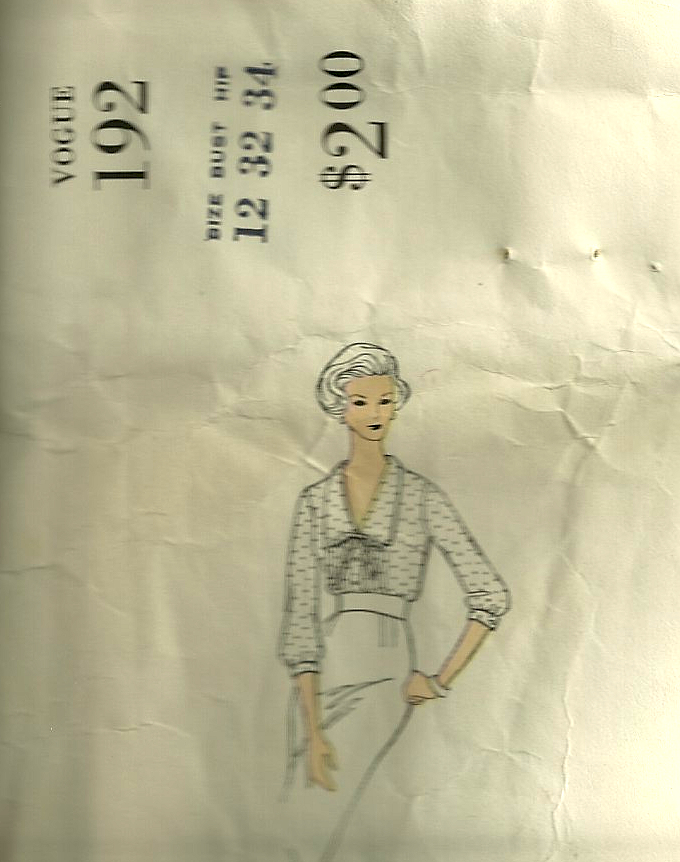
This blouse pattern is part of a suit.
Just for fun, I thought I would look at some of my early Vogue Pattern Book Magazines to see what else was being featured for blouses. In February/March of 1955, this tucked shirtwaist is the very picture of elegance:
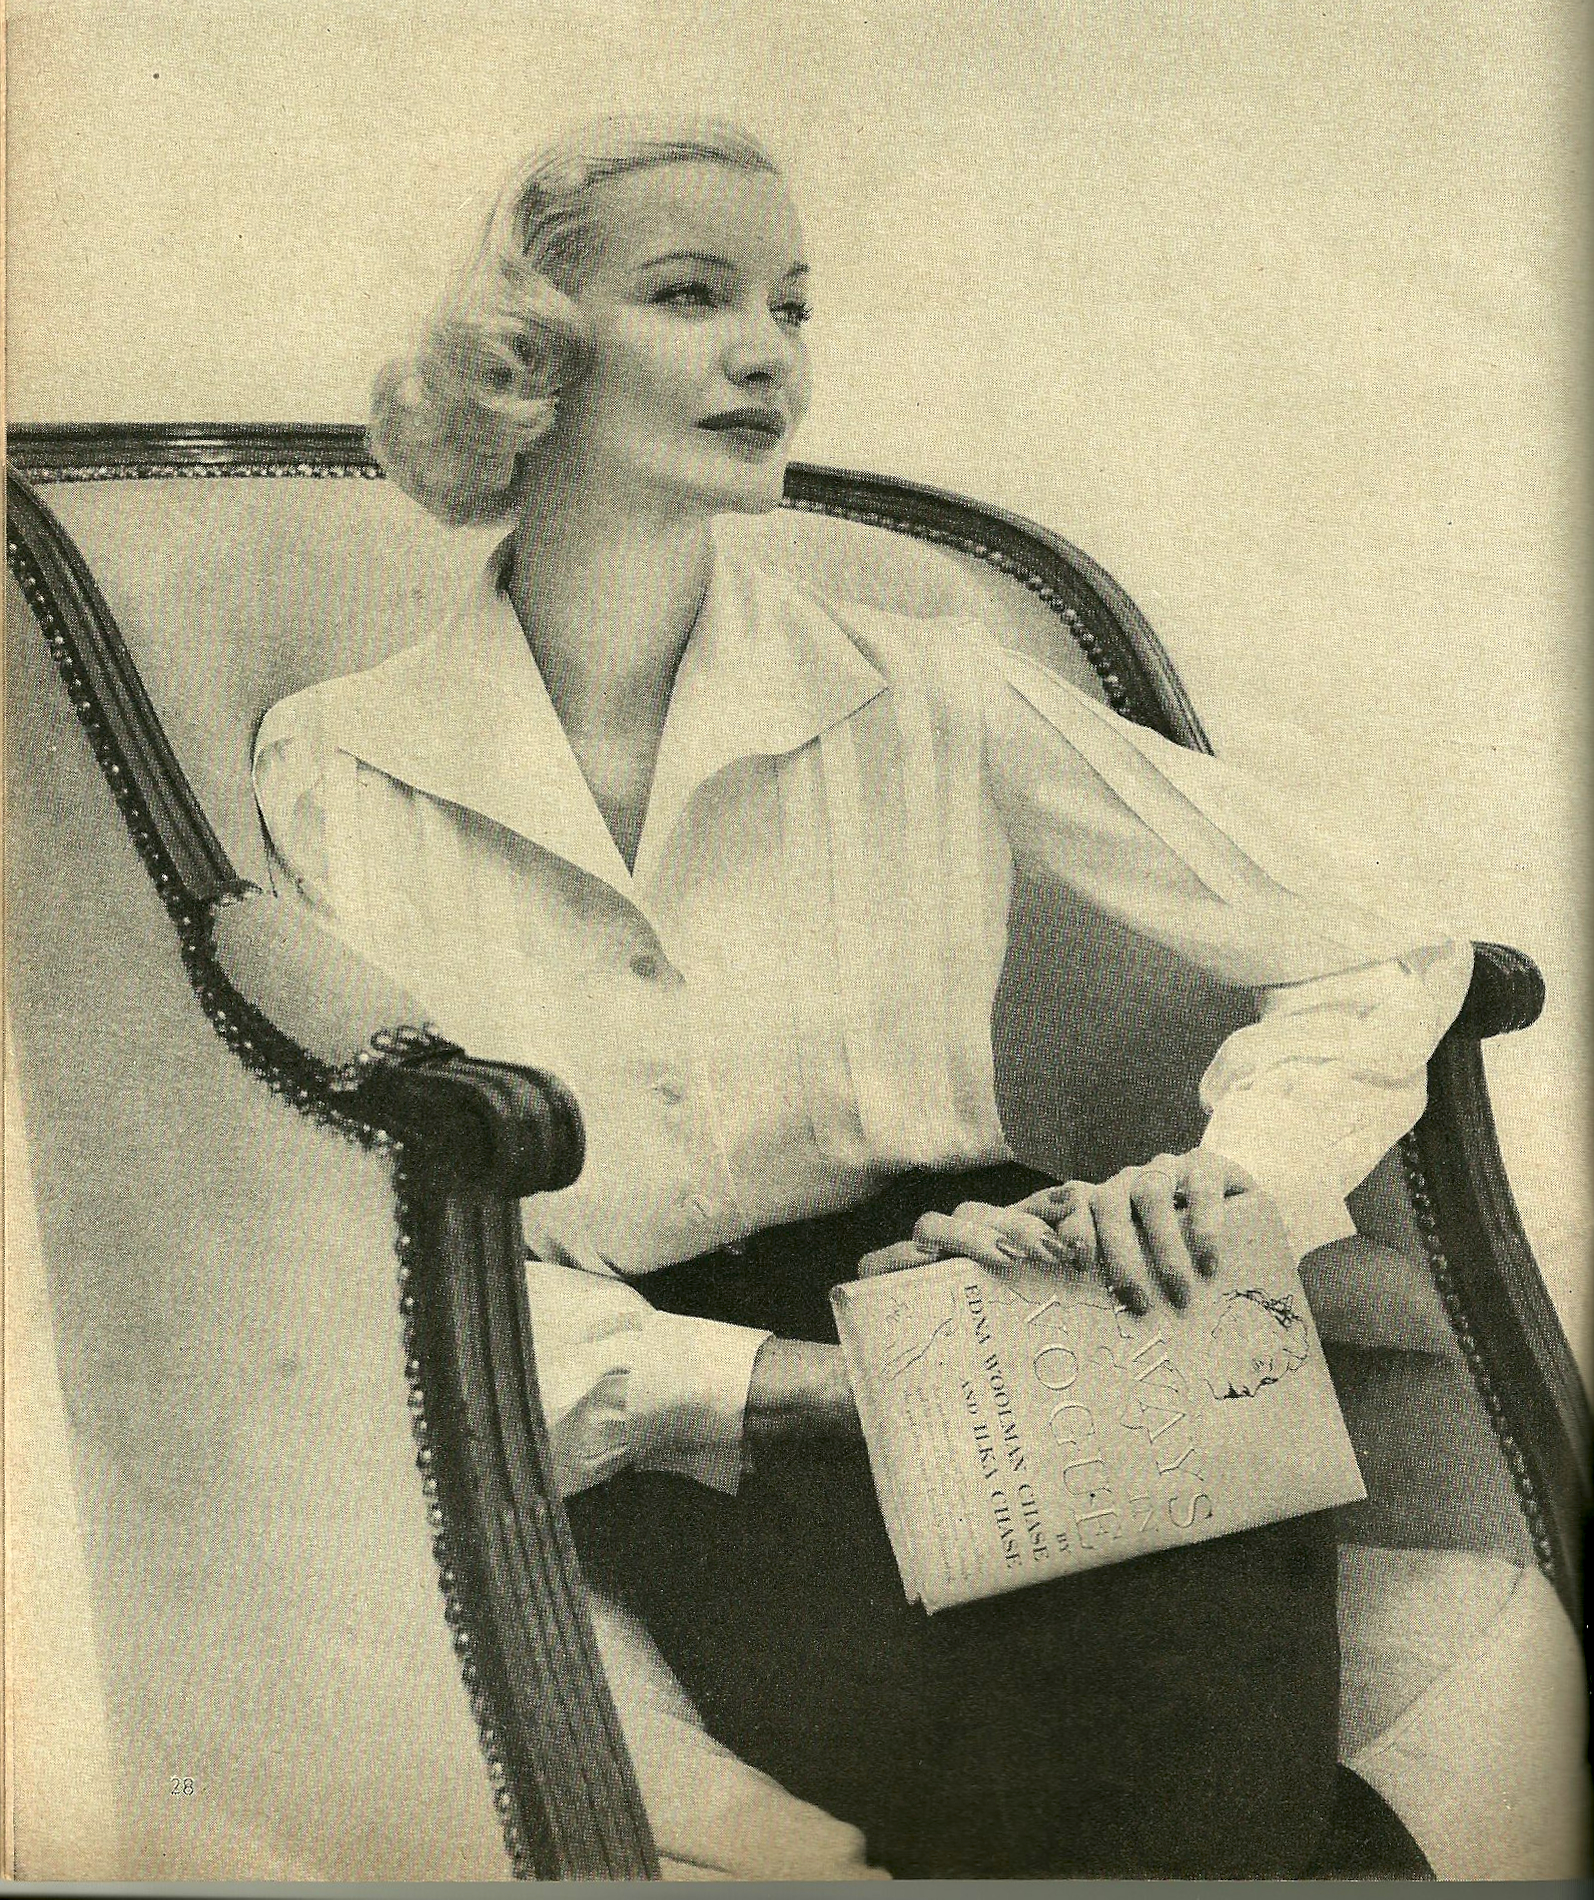
The tucks make this blouse very ladylike.
In the same issue, this “bloused jacket” gives the appearance of a classic shirtwaist blouse:
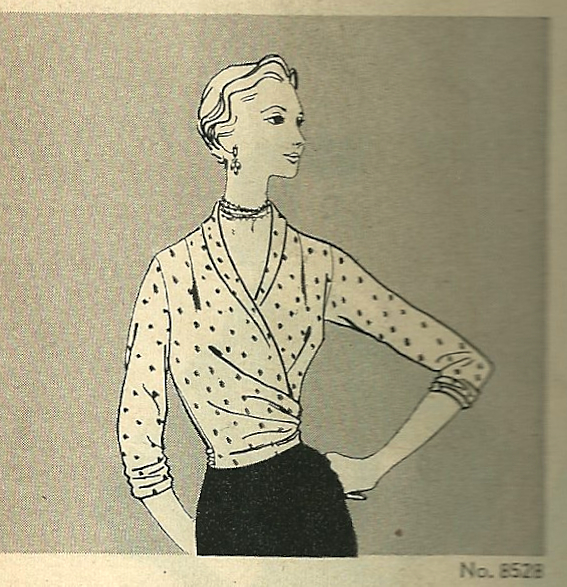
And look at this “wrap” blouse, also from 1955:
Three years later, in October/November of 1958, “A Change of Tops” was suggested. “For variety’s sake, make a wardrobe of extra blouses and jackets to change the look of your skirts…” That sounds like a good idea to me, especially with the pretty styles that are featured:
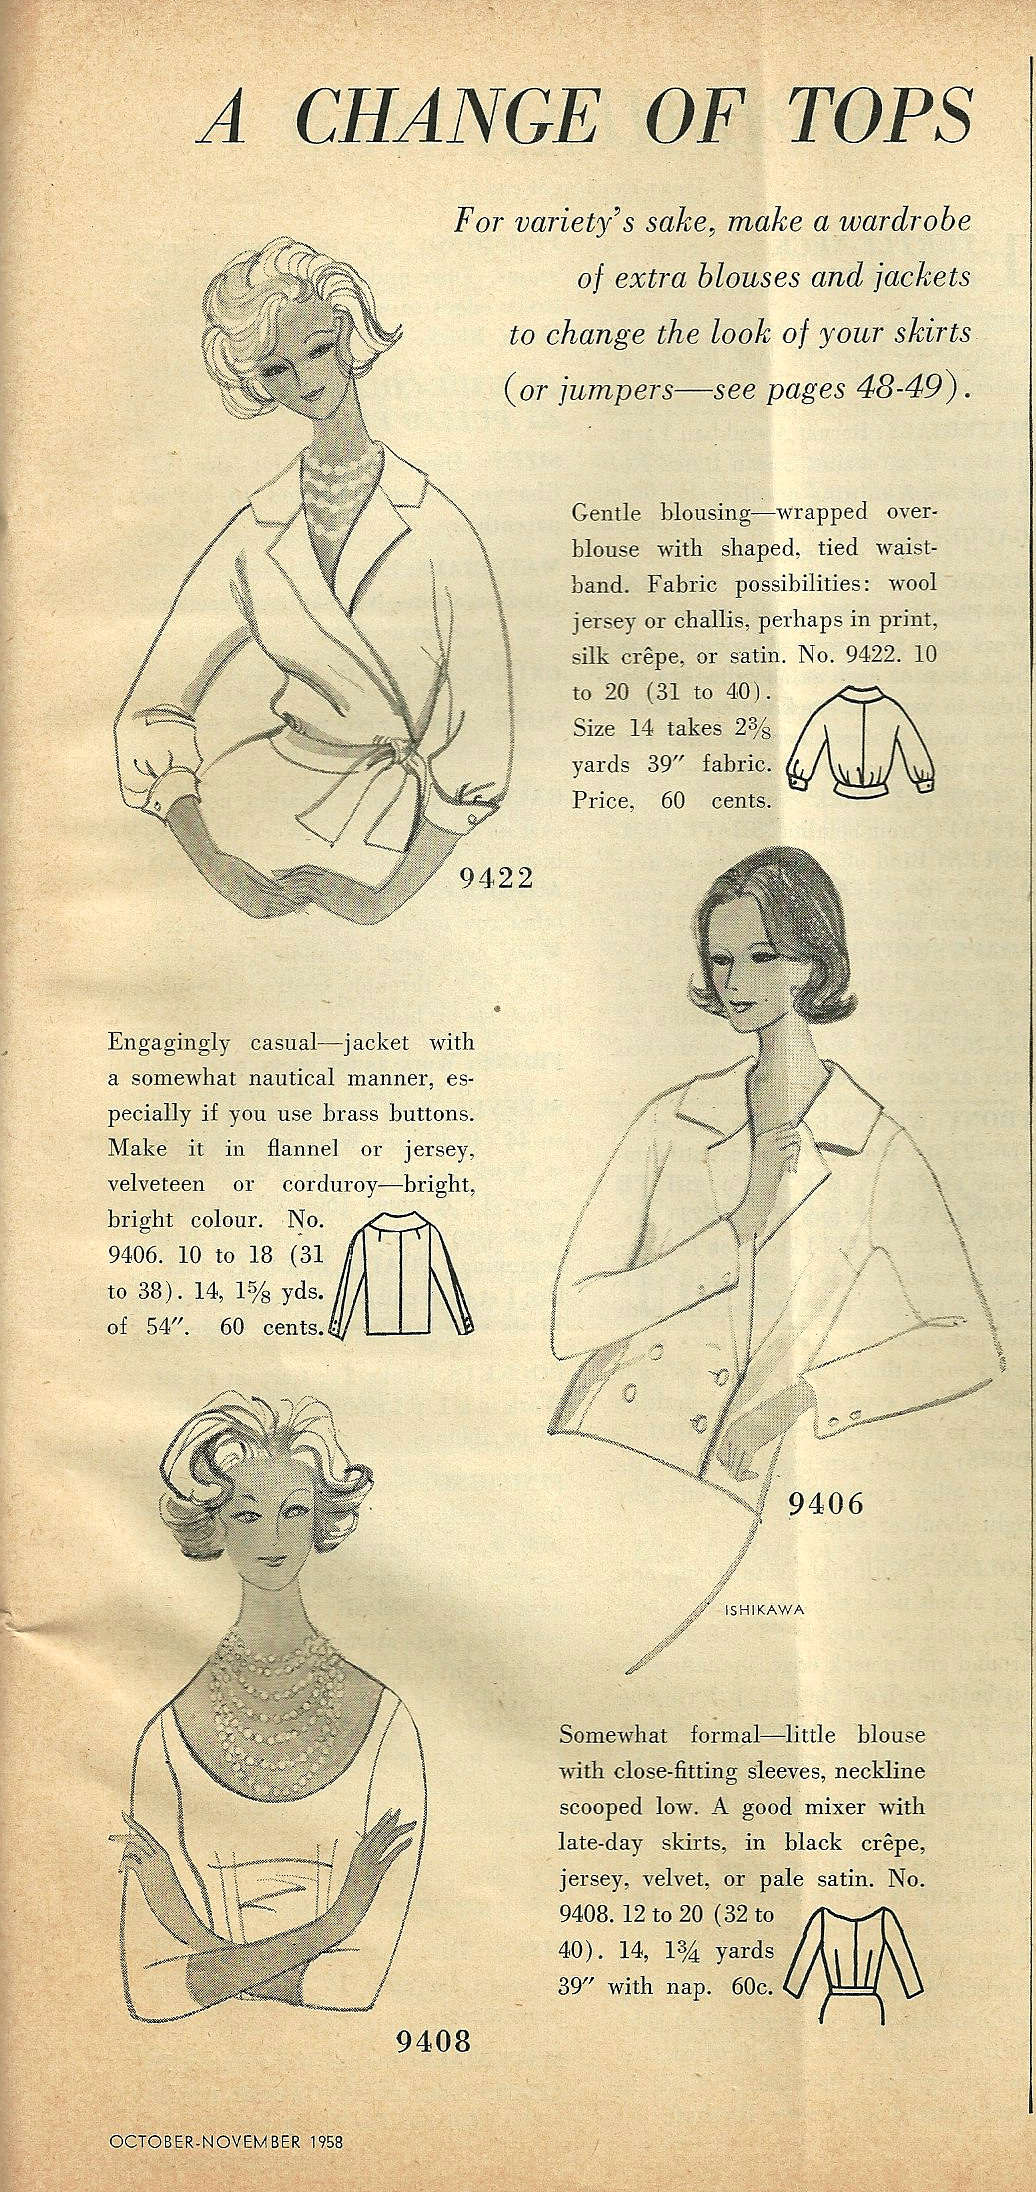
Another beautiful wrap blouse among the suggestions!
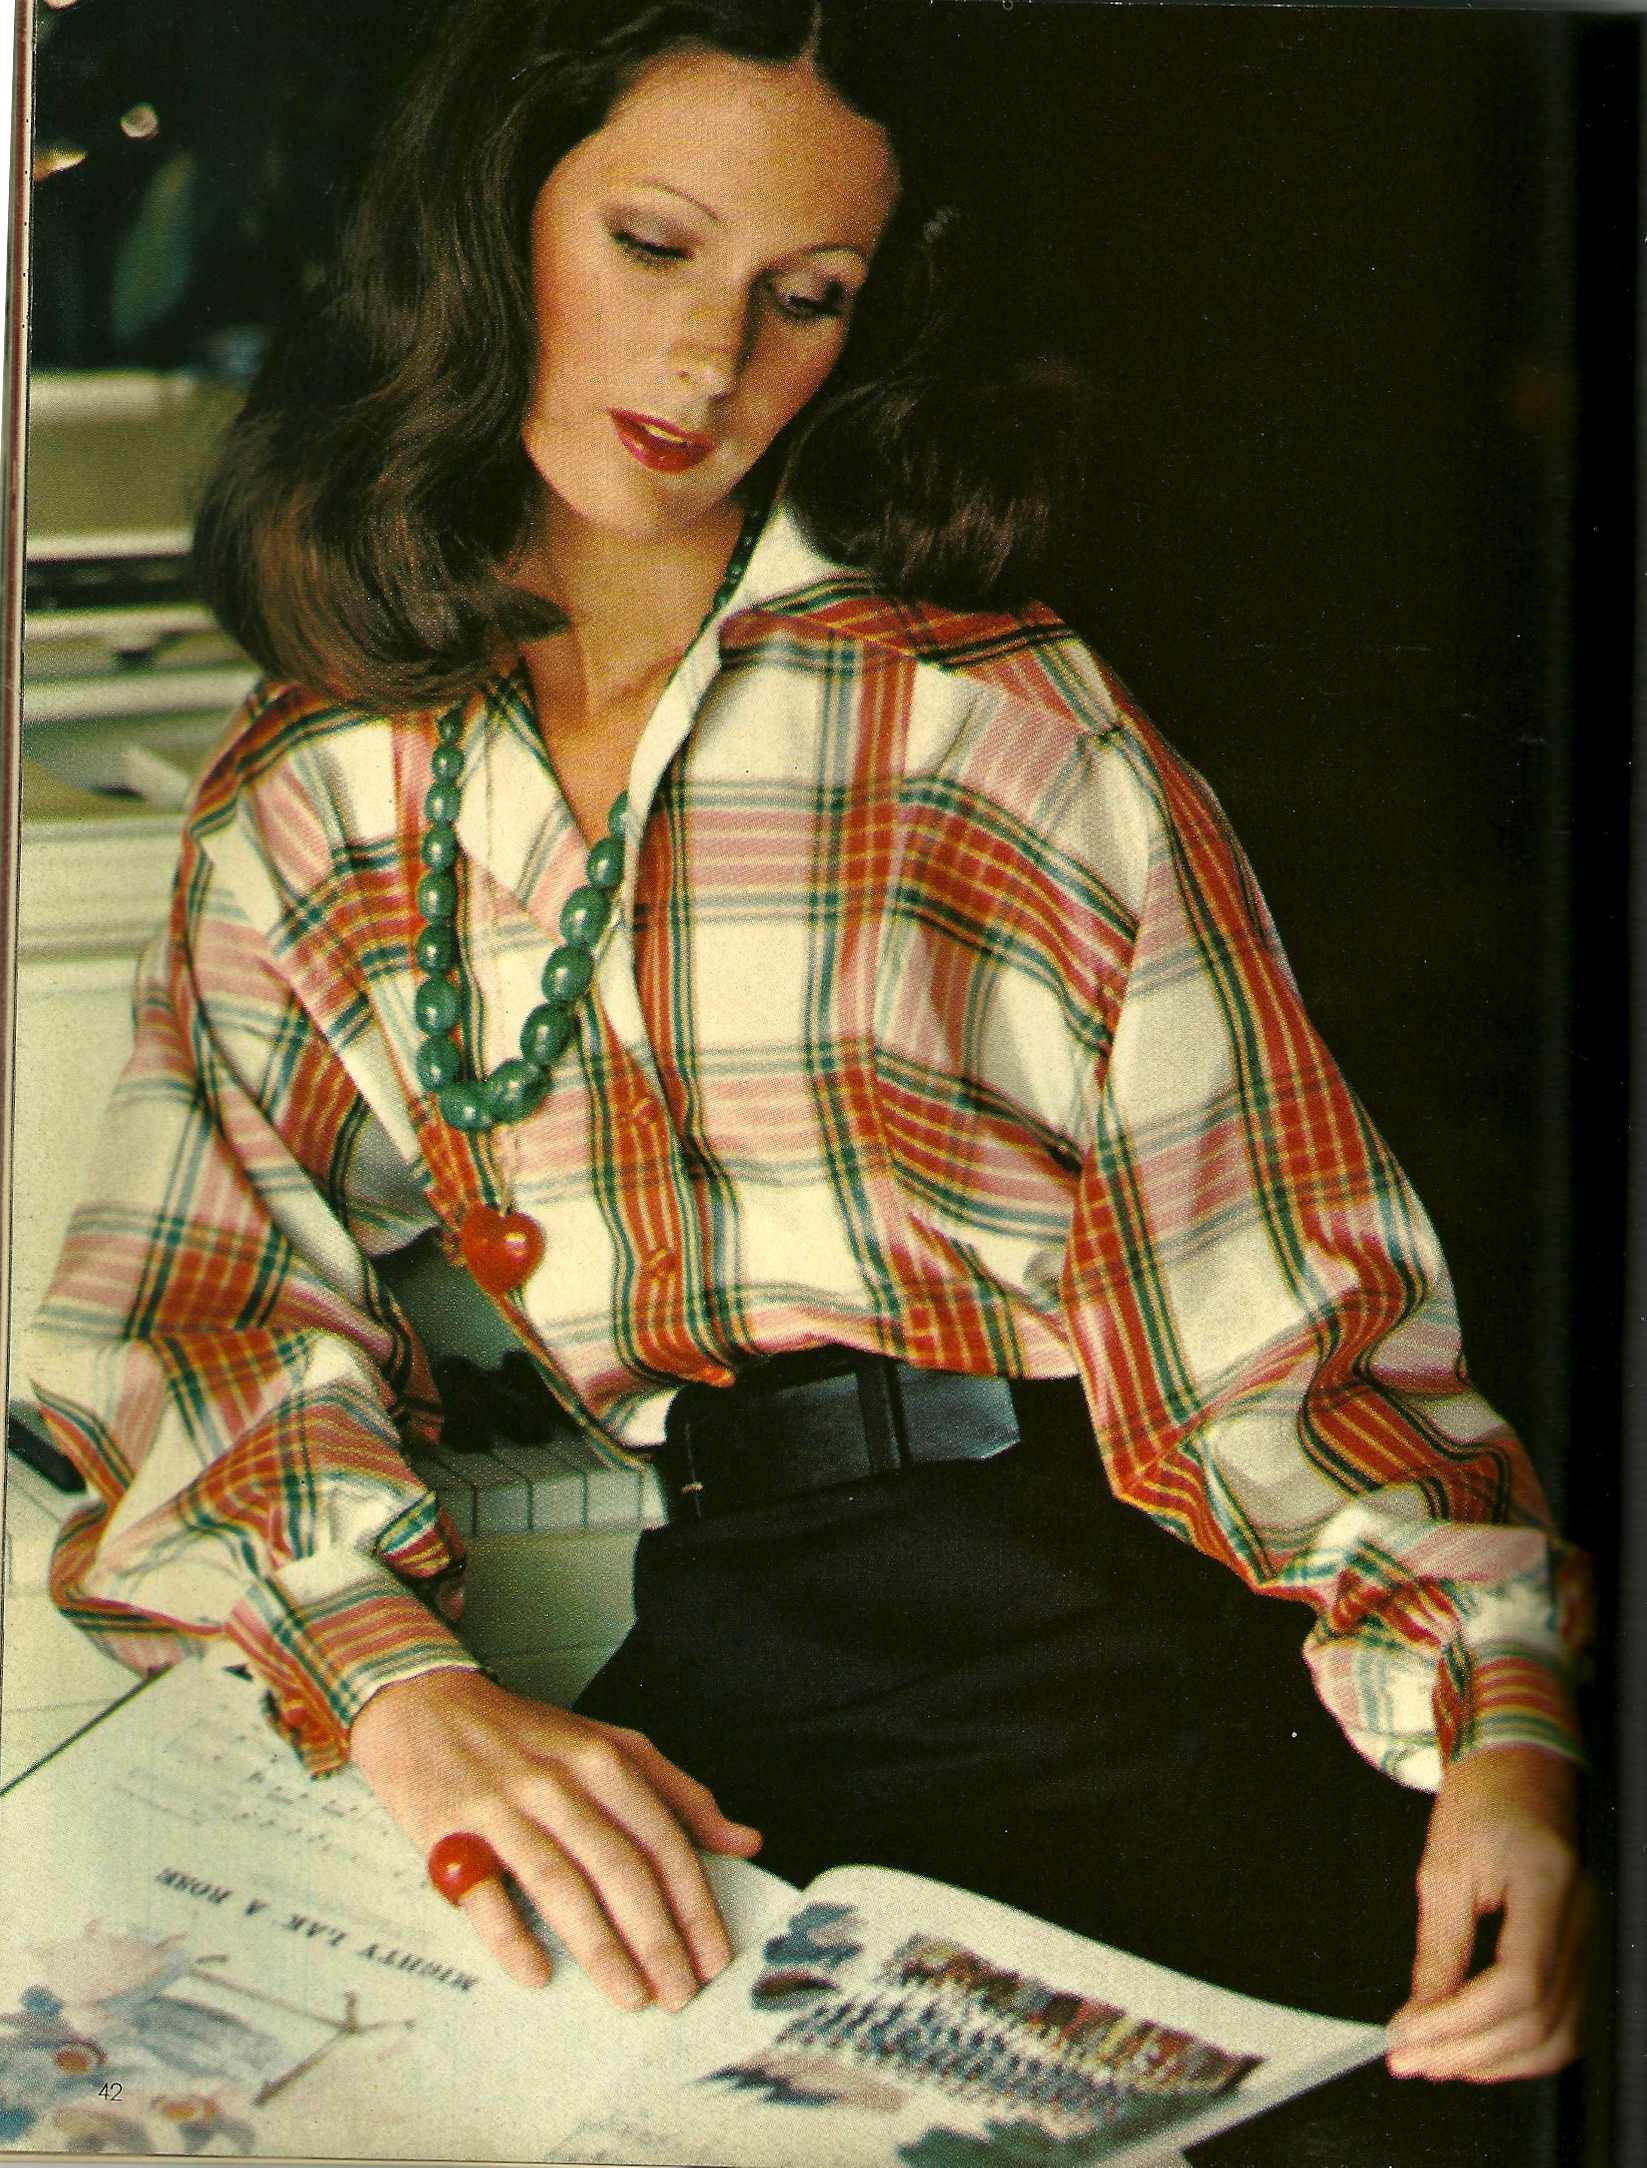
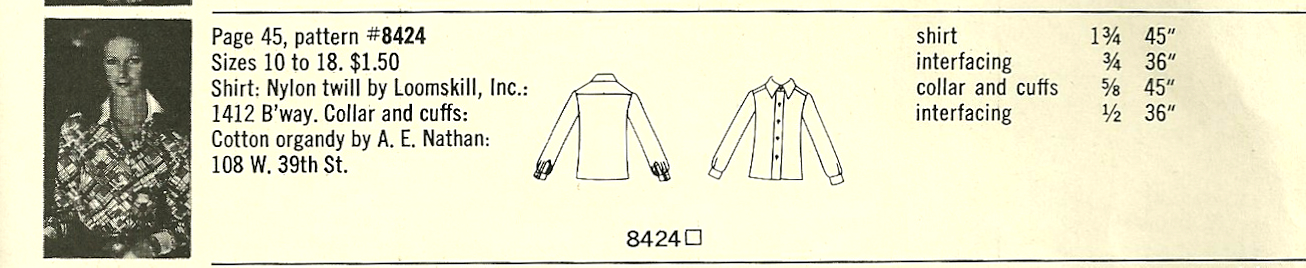
By 1972, collars were beginning to be a bit on the large side for my taste, but these three blouses are still “smashing” even 40 years later!
Made up in a plaid taffeta.
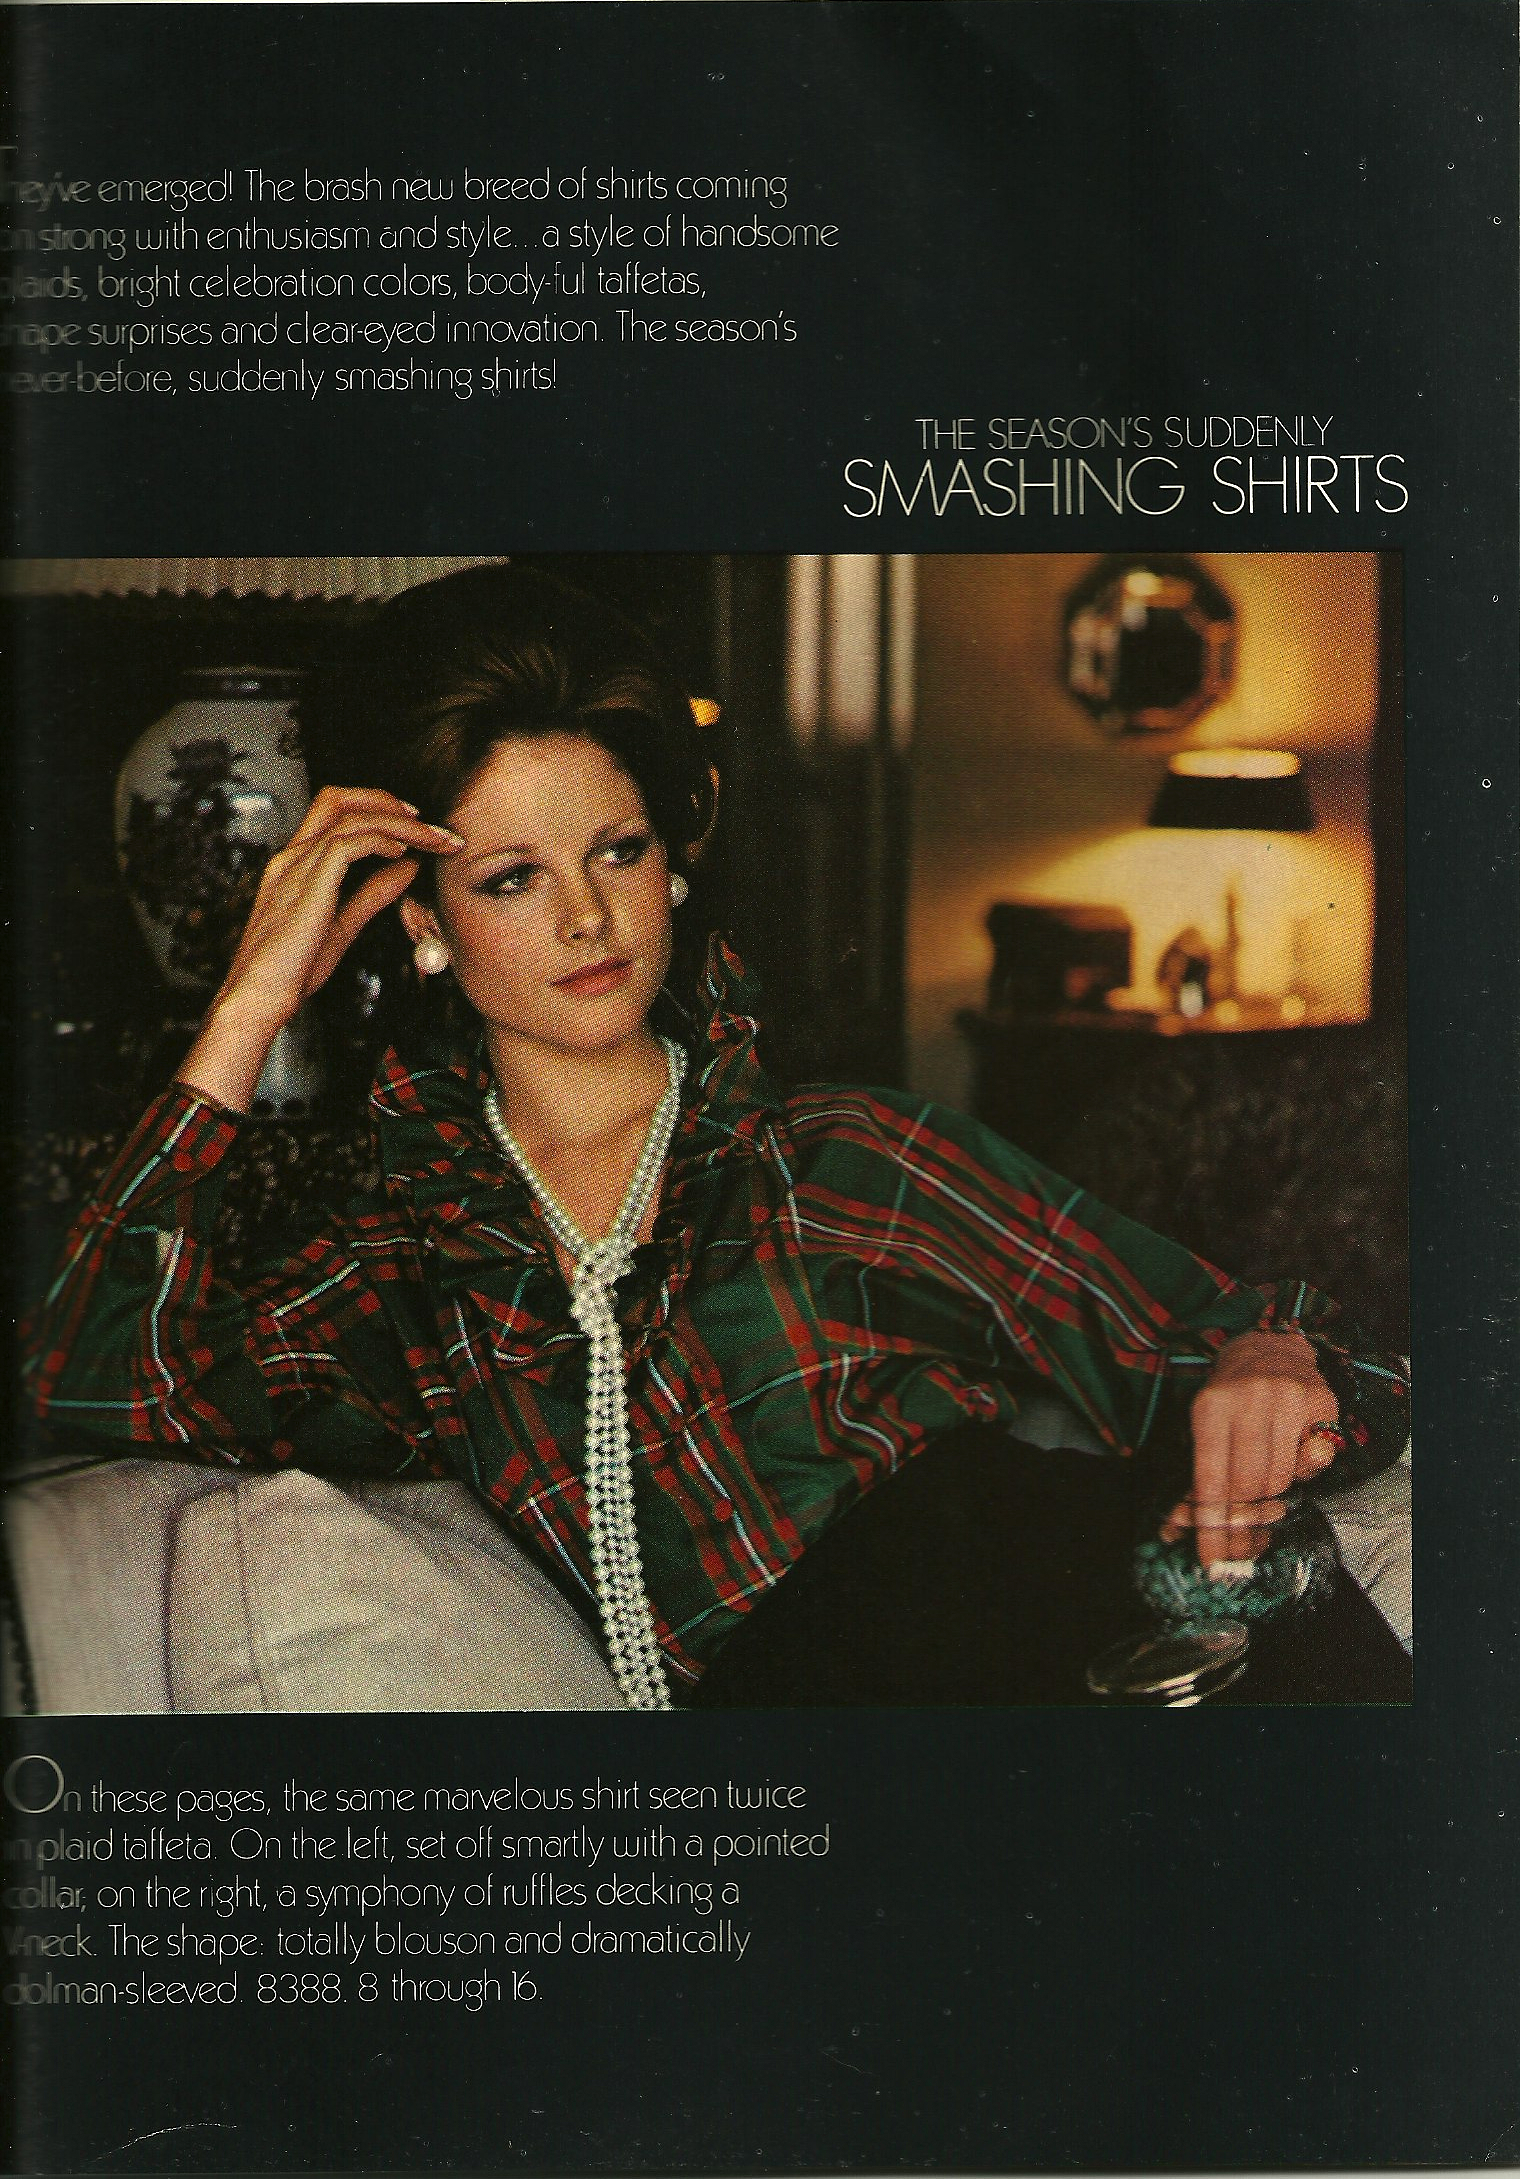
This is the same pattern as the blouse above, but with a ruffled collar.
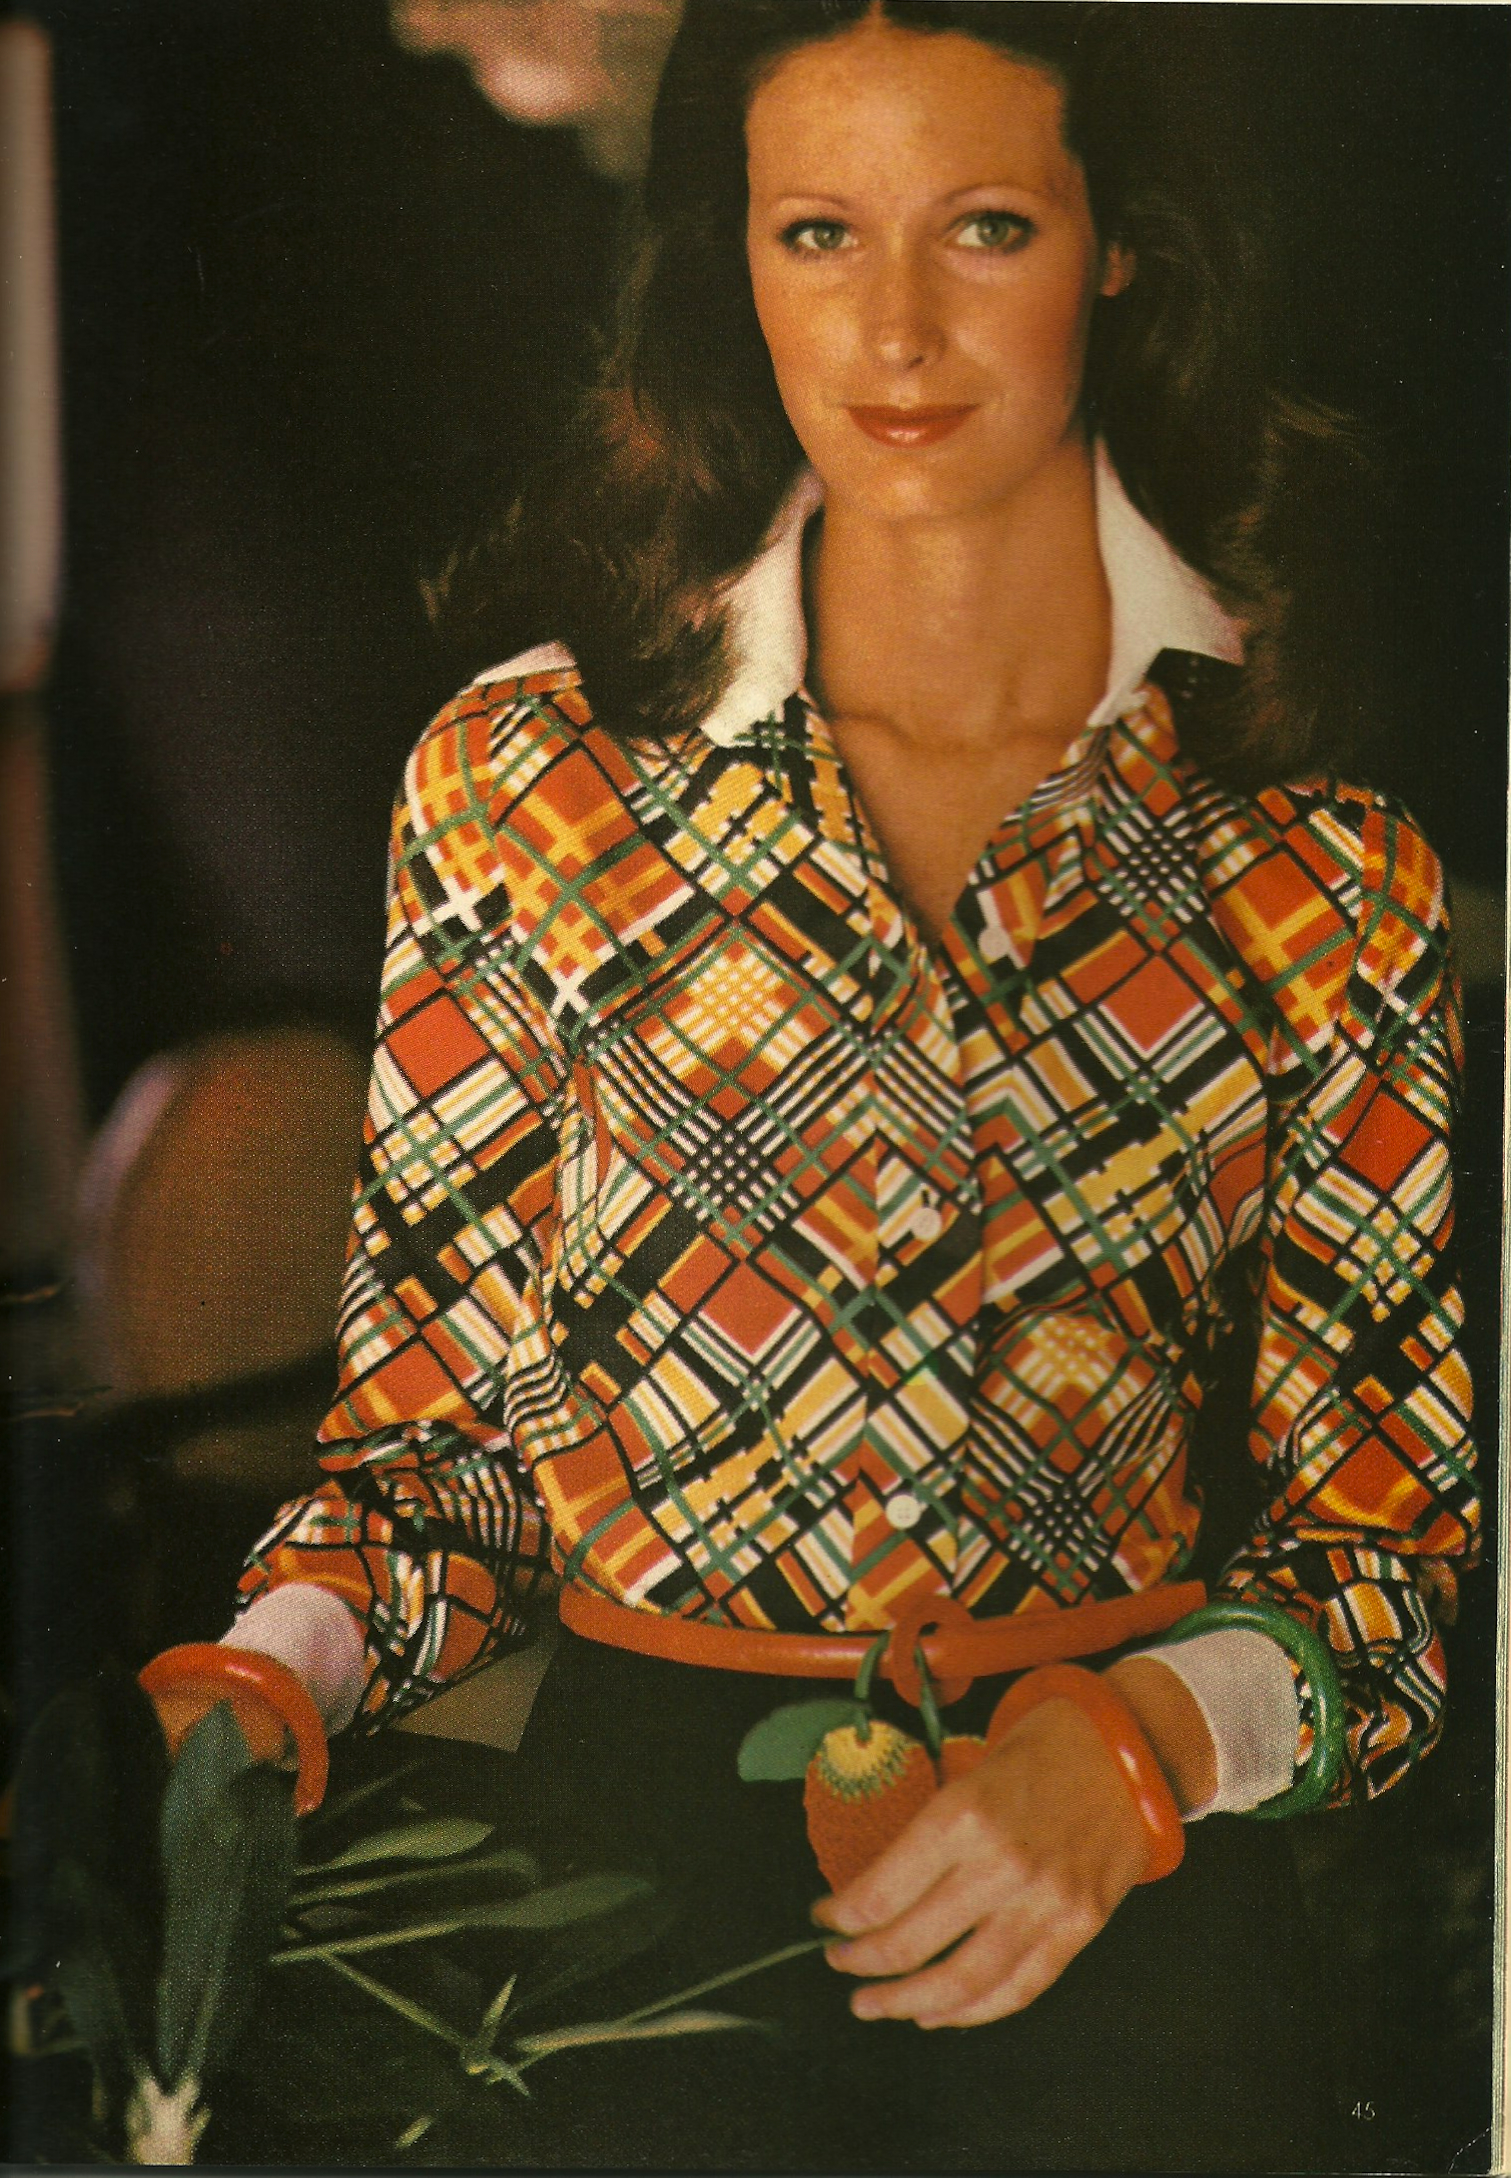
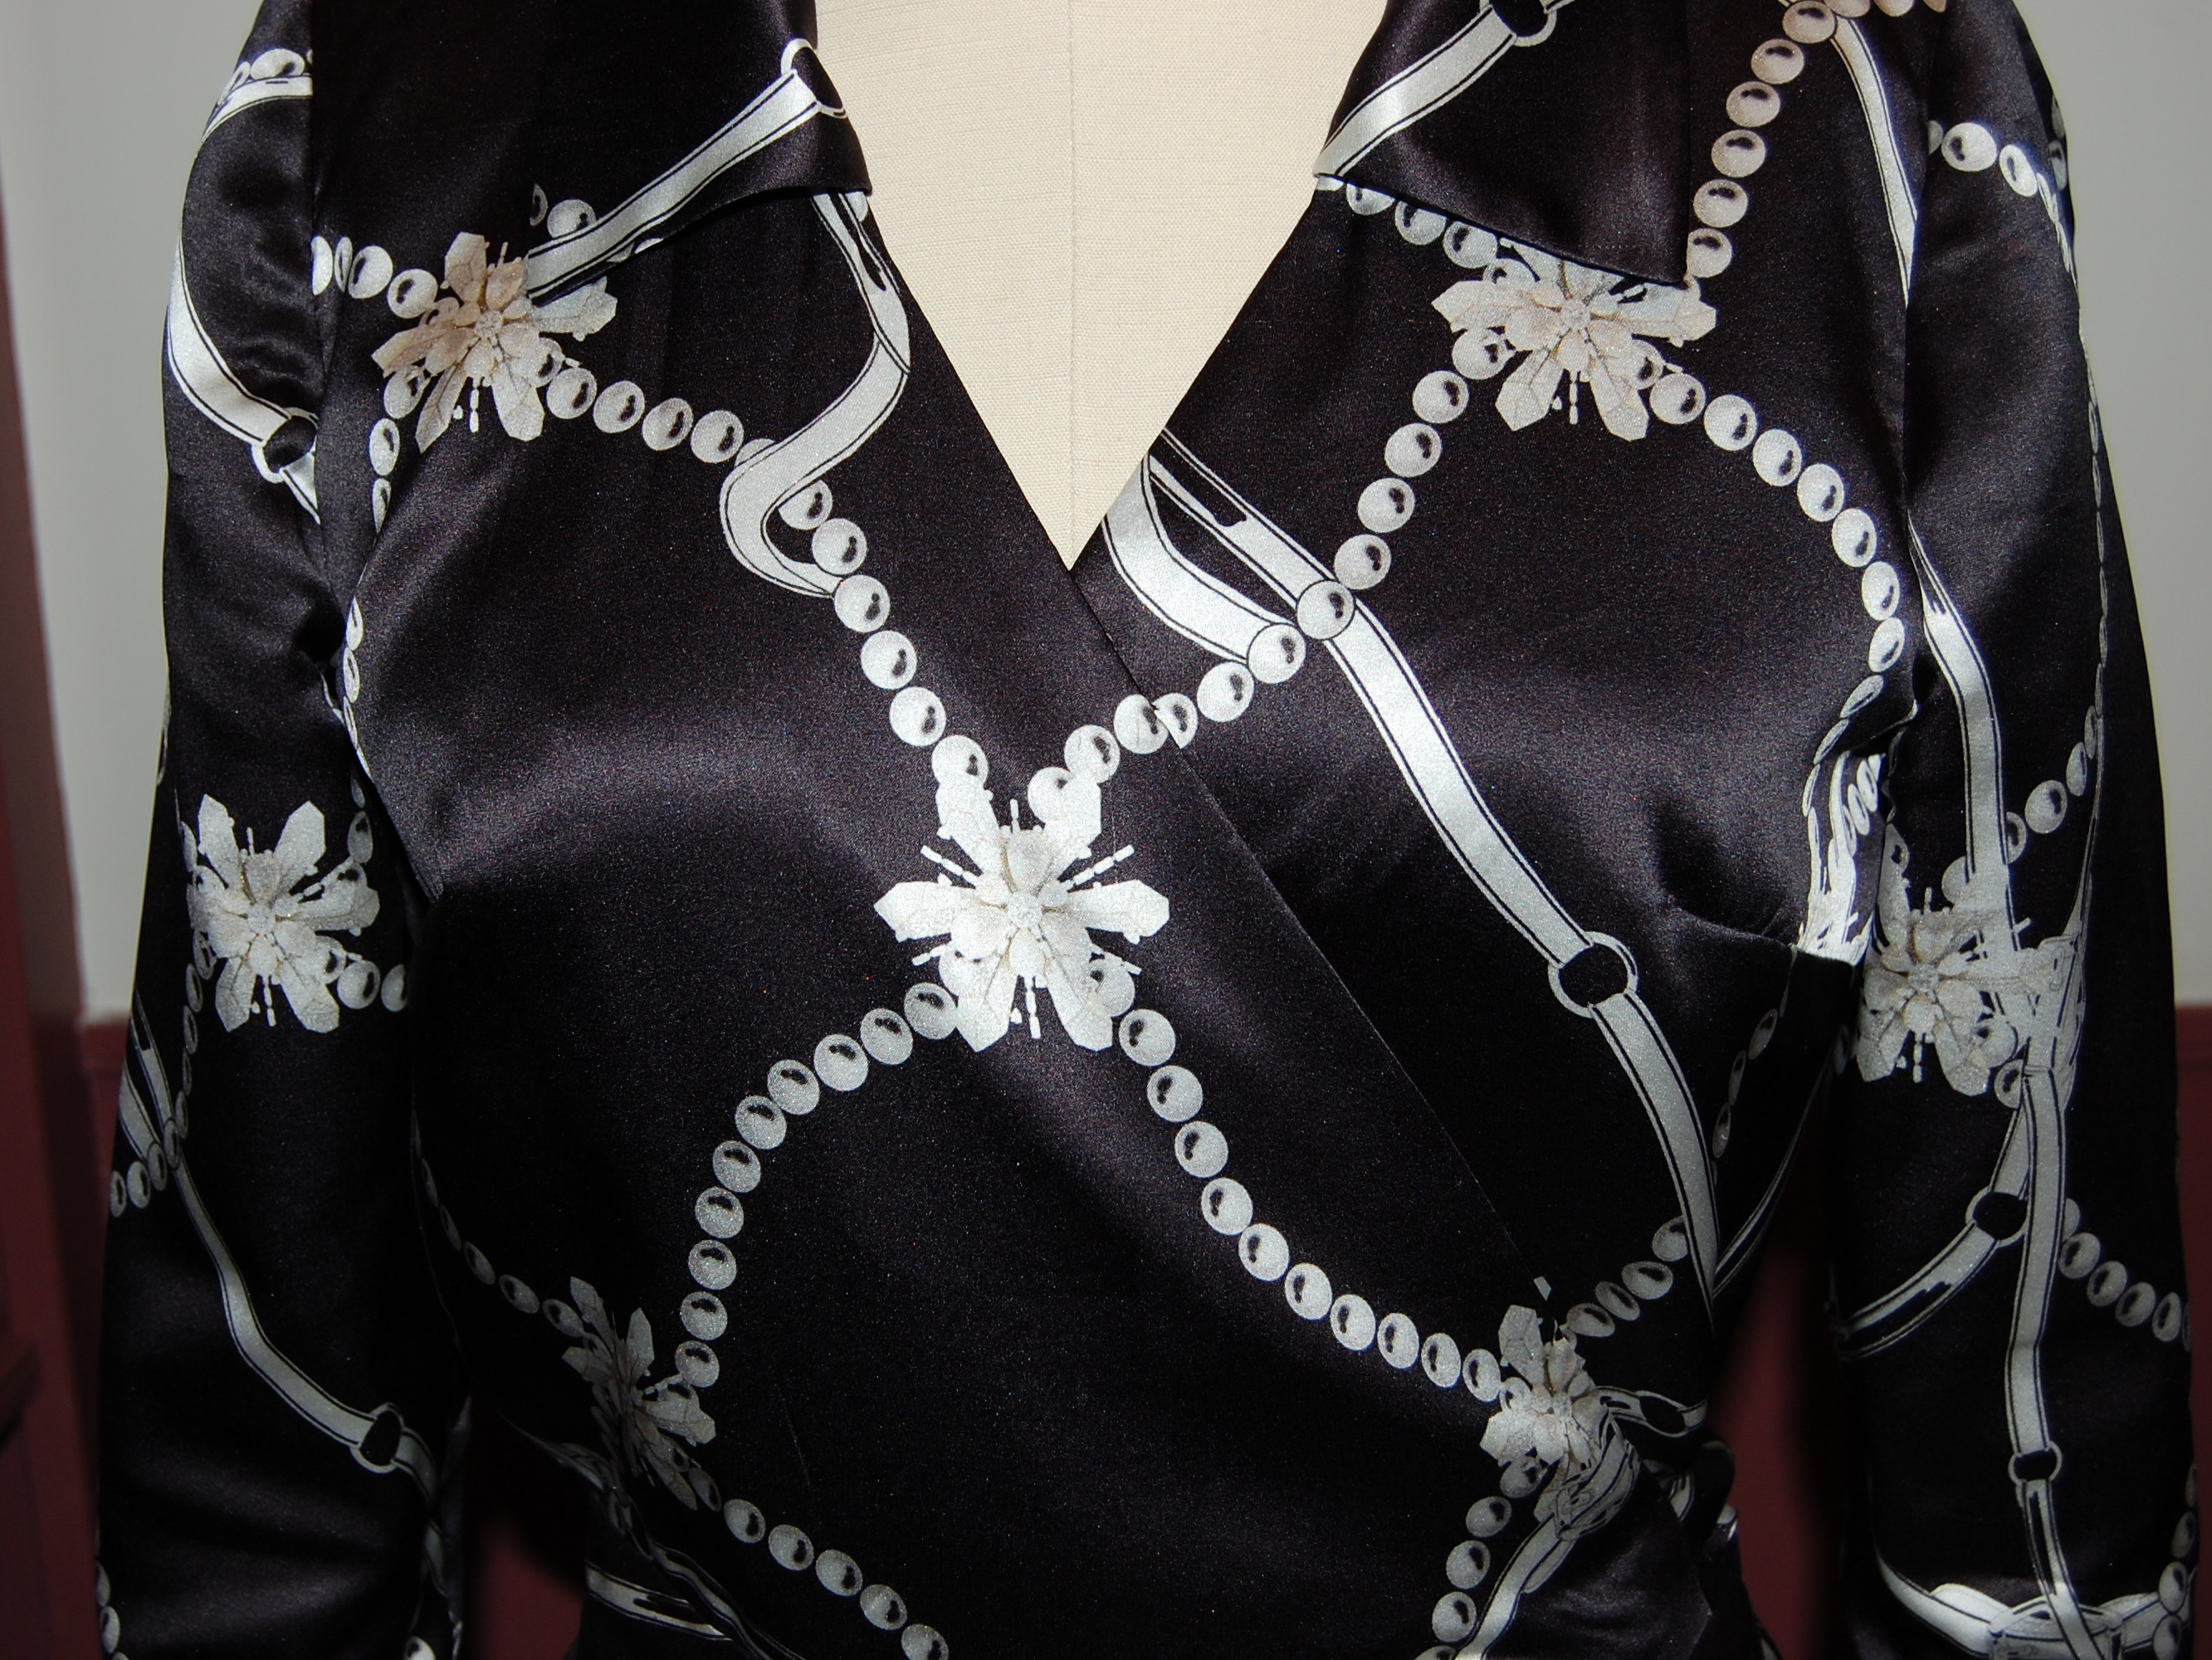
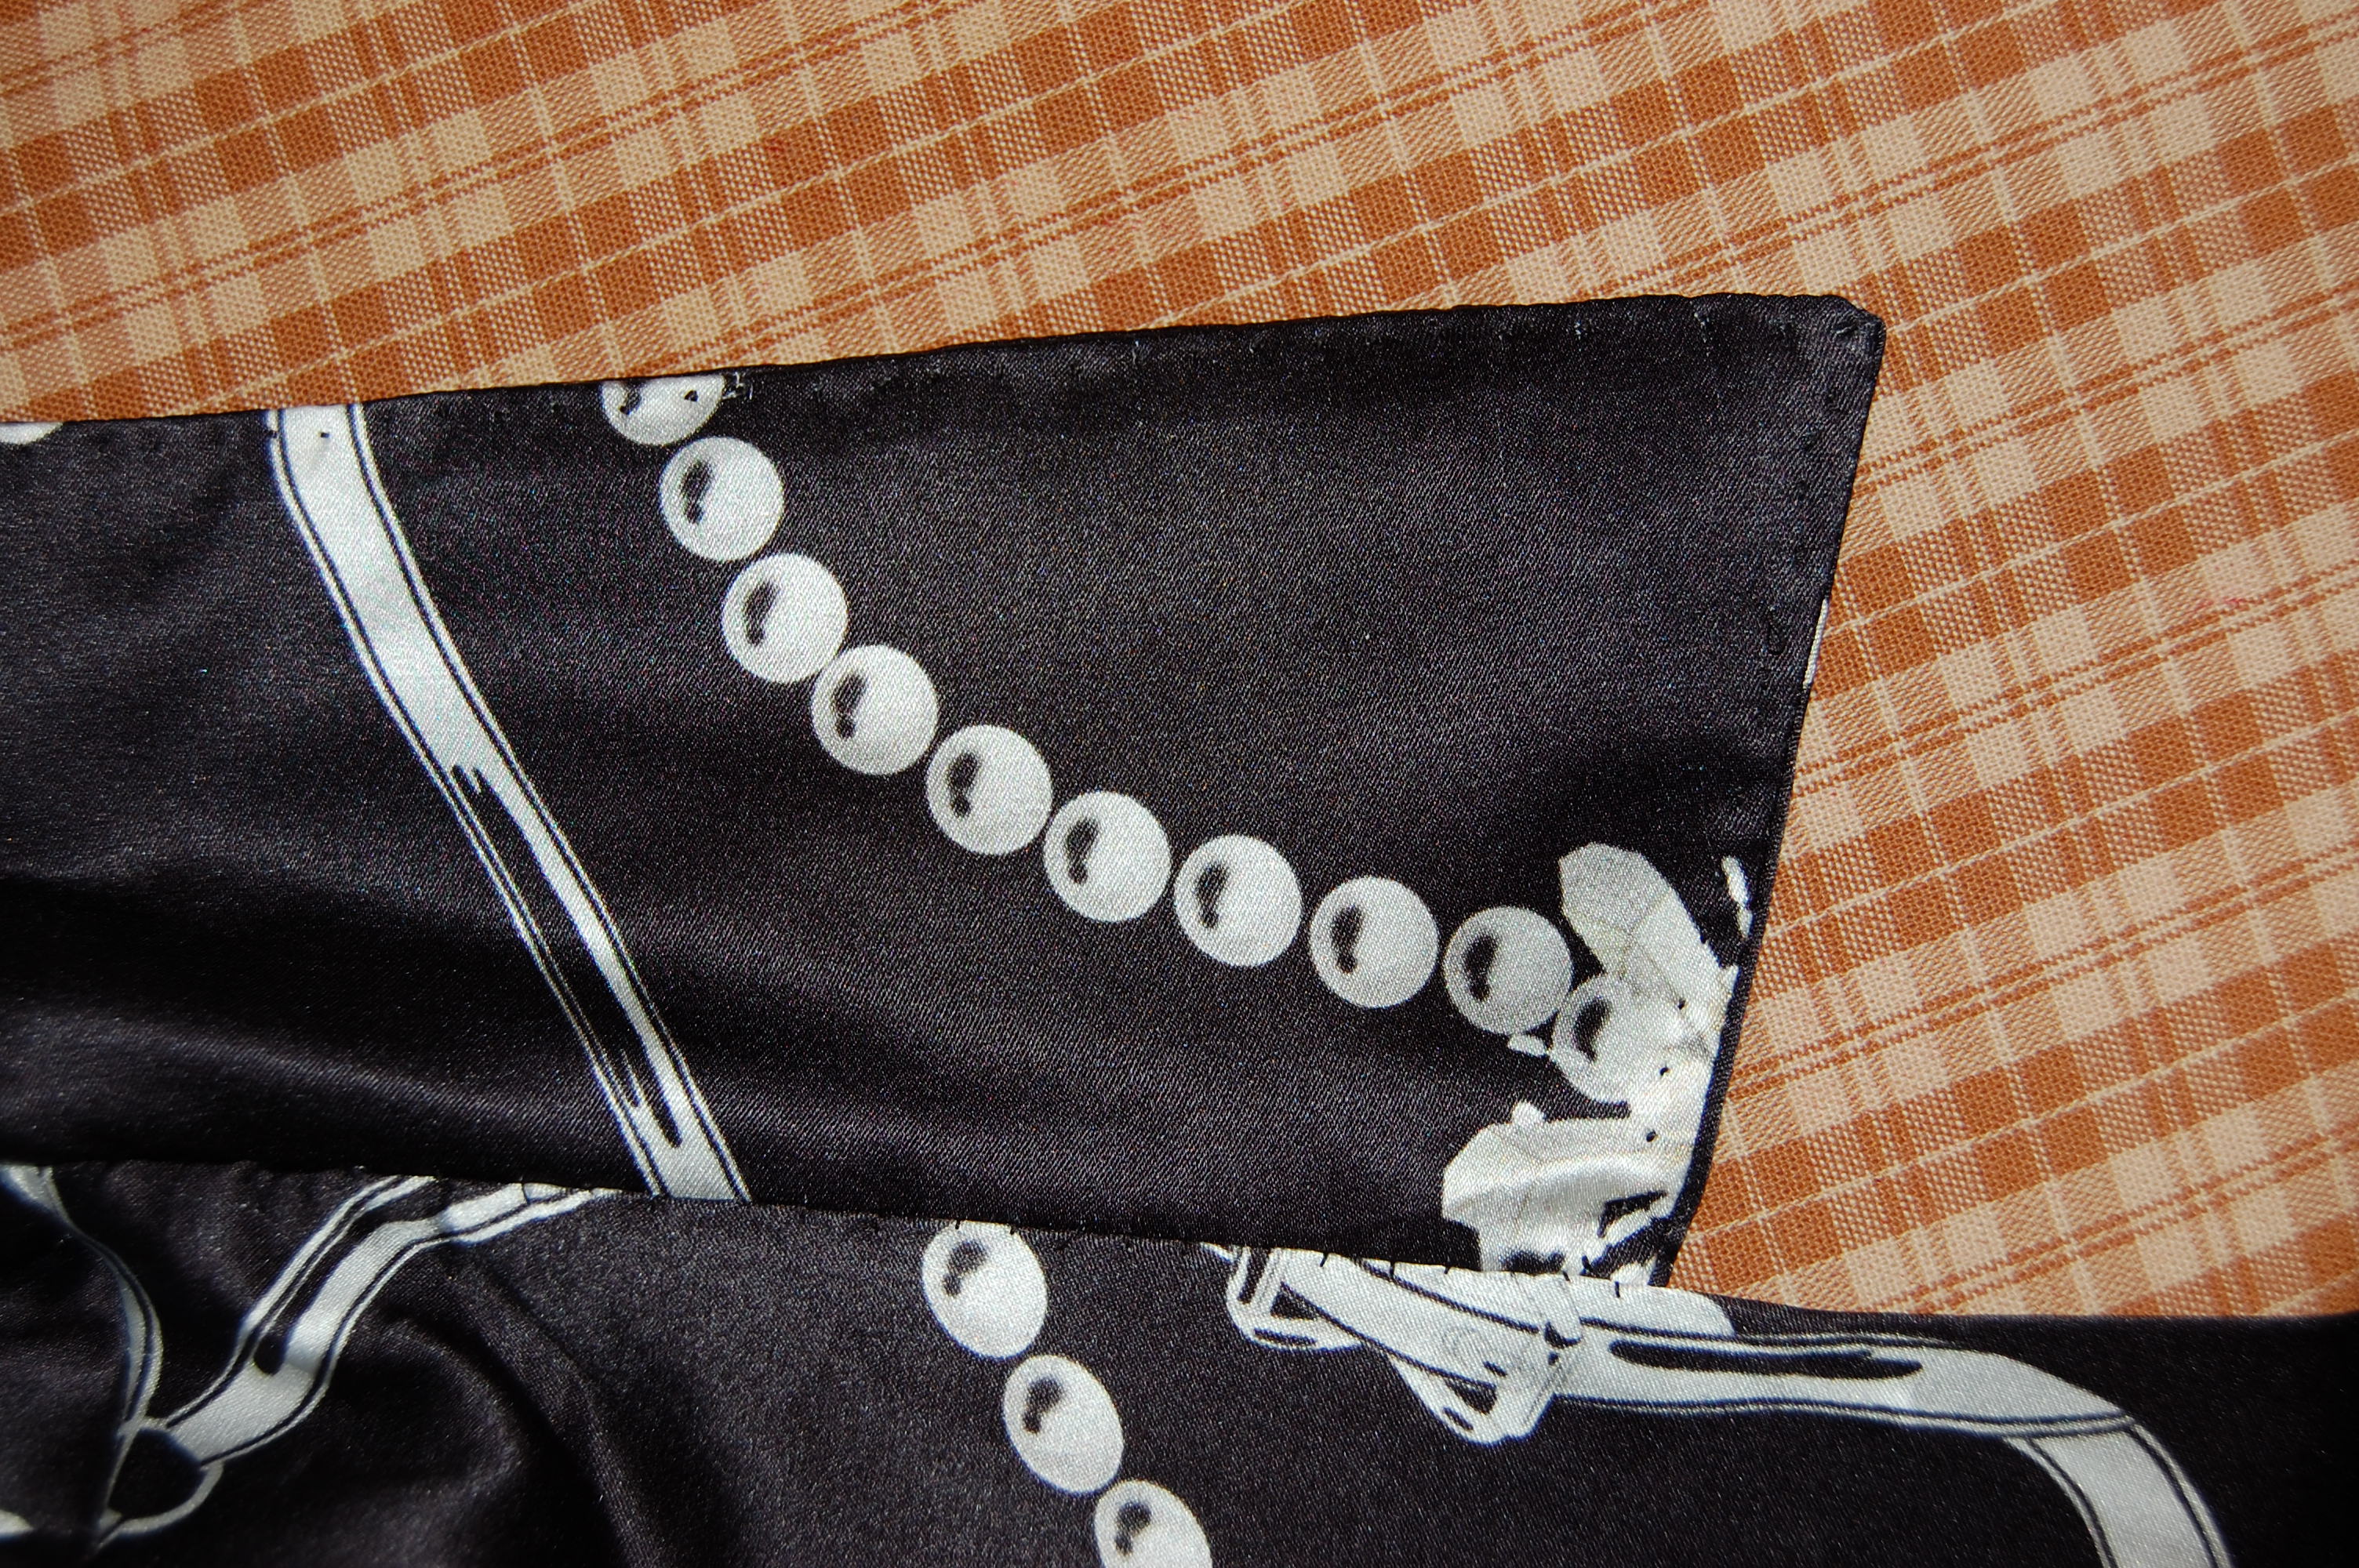
The diagonal print is very effective in this style.
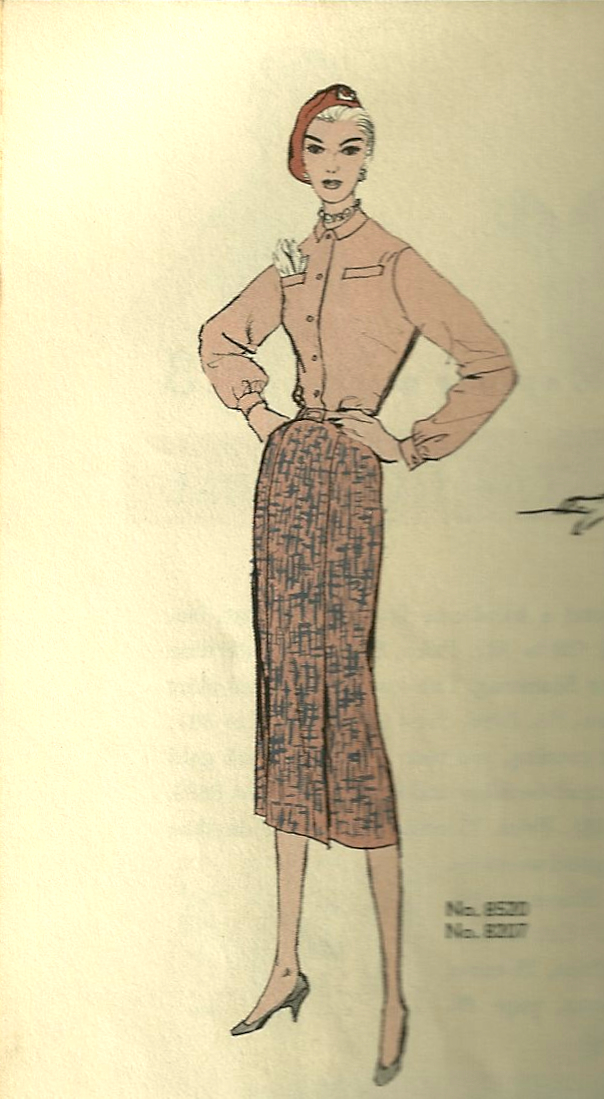
I was particularly drawn to the diagram for the blouse shown above, as it is just a classic shirtwaist style:
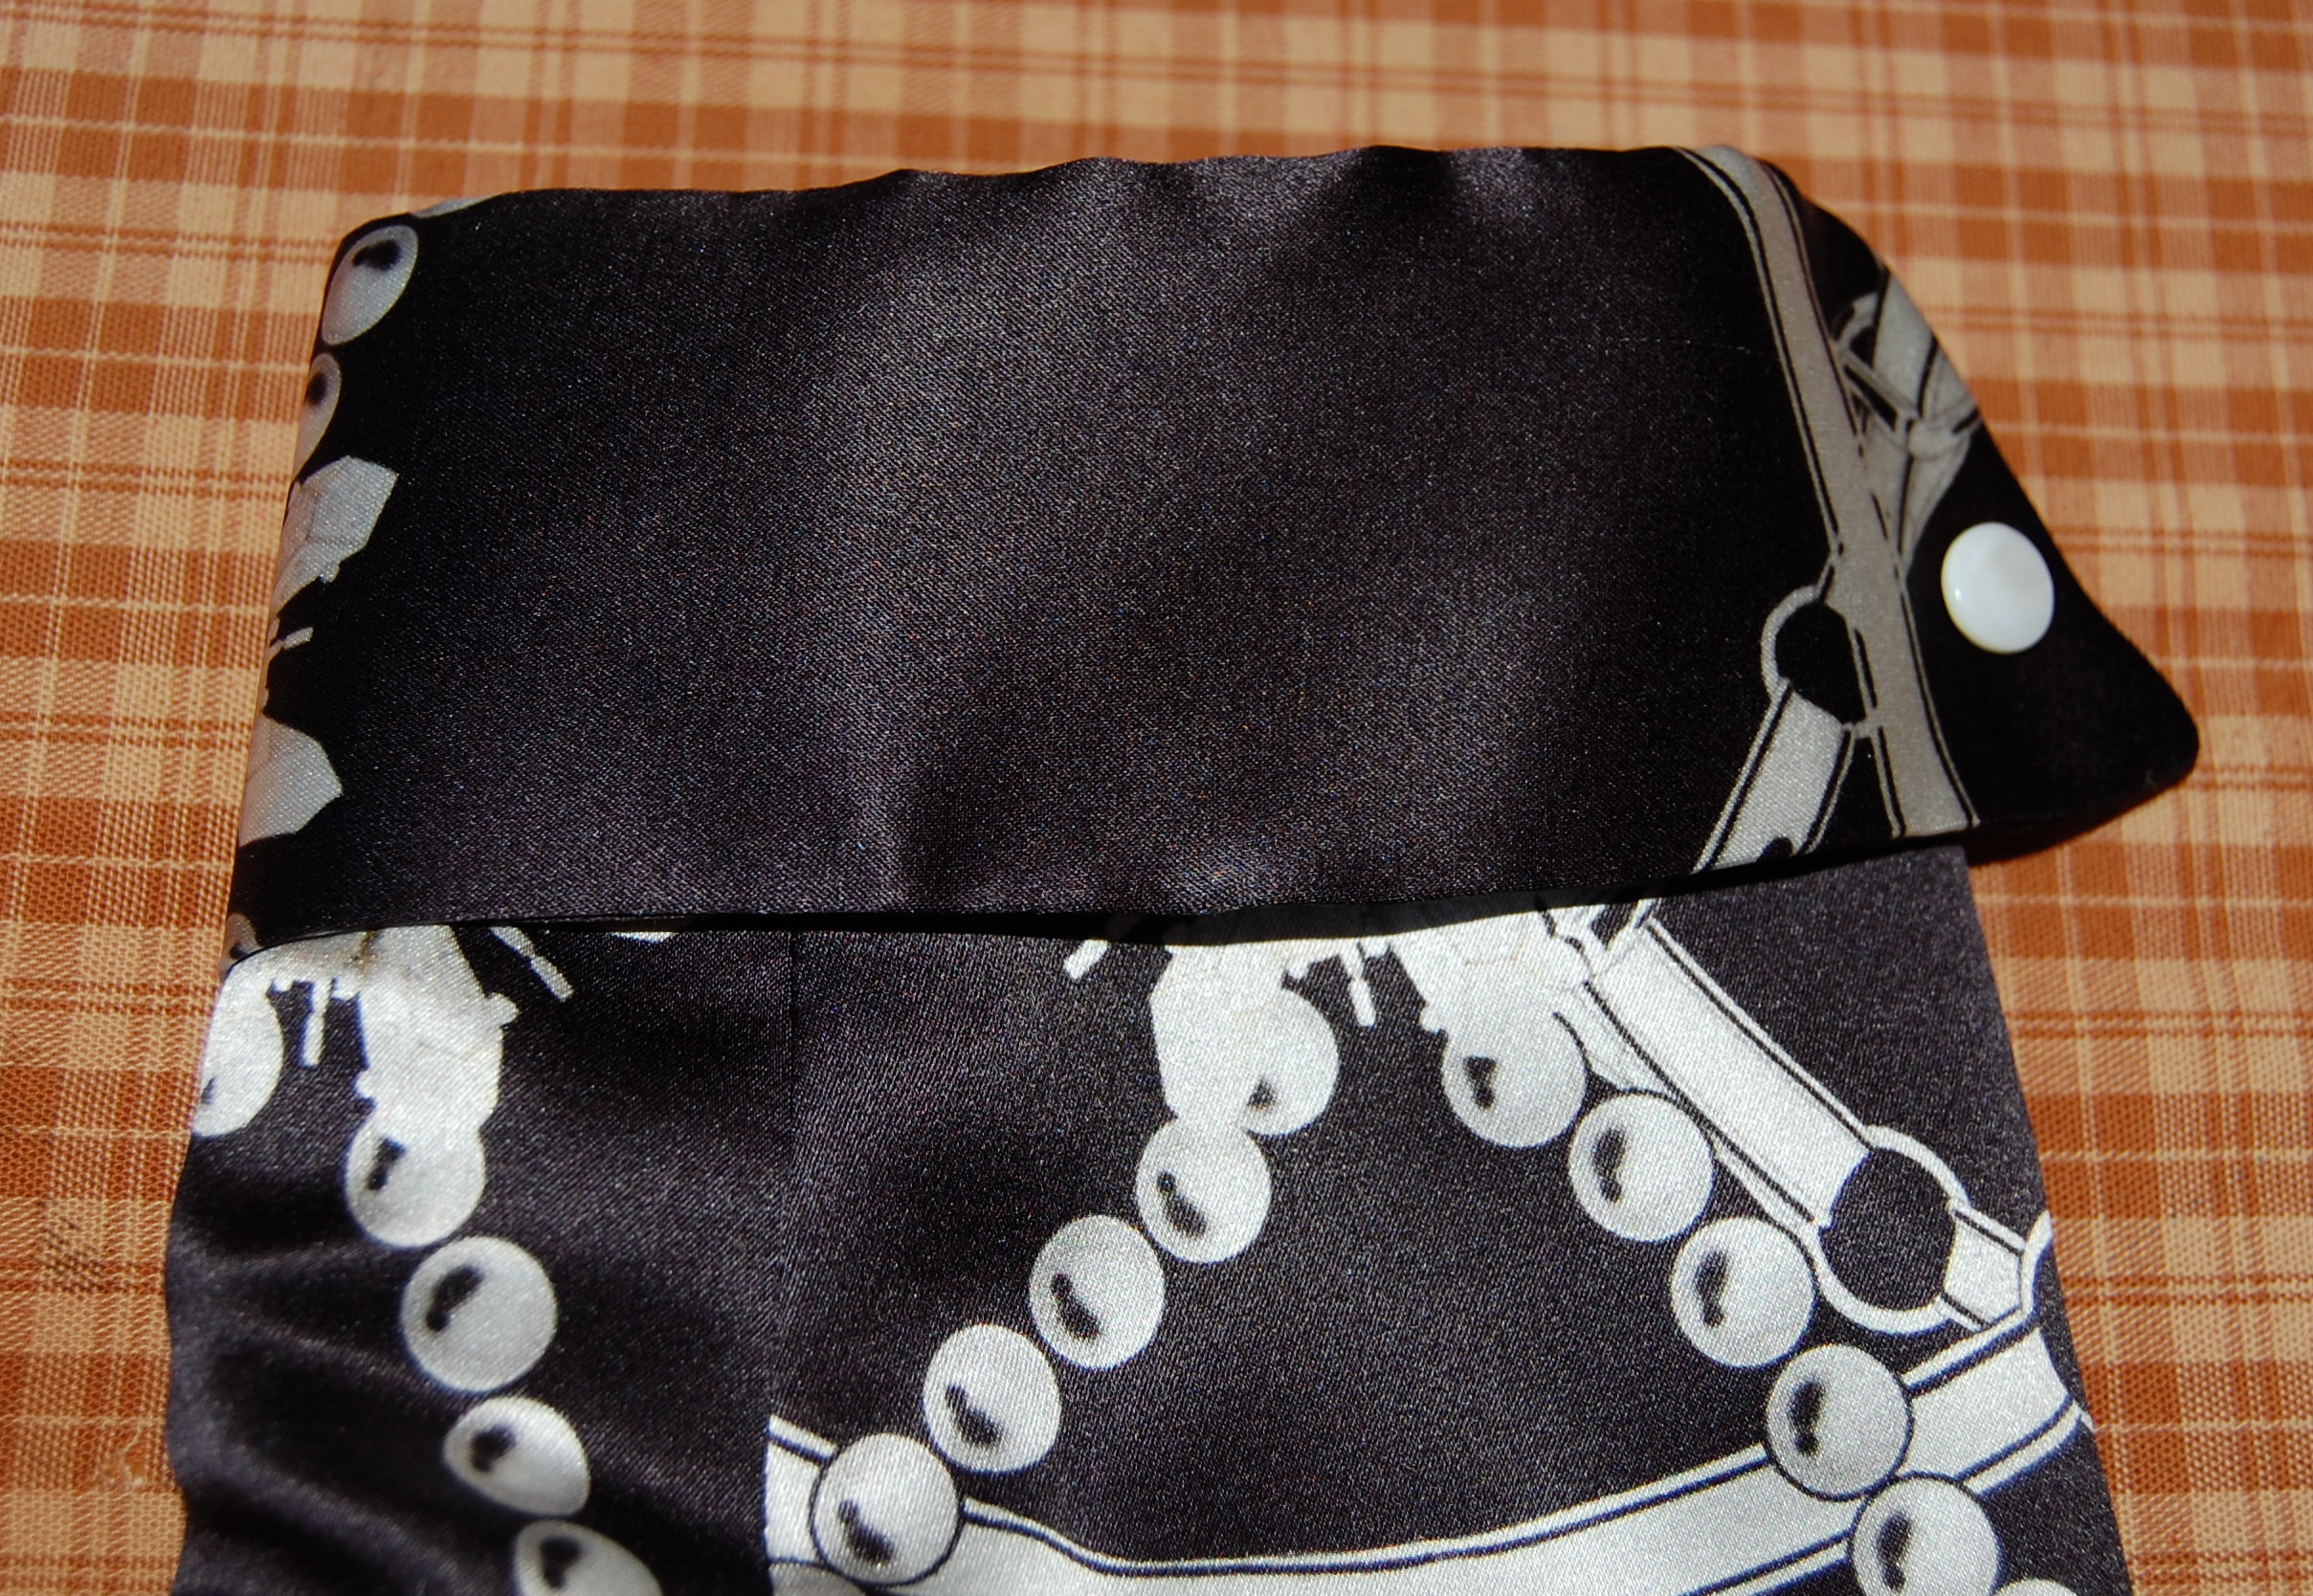
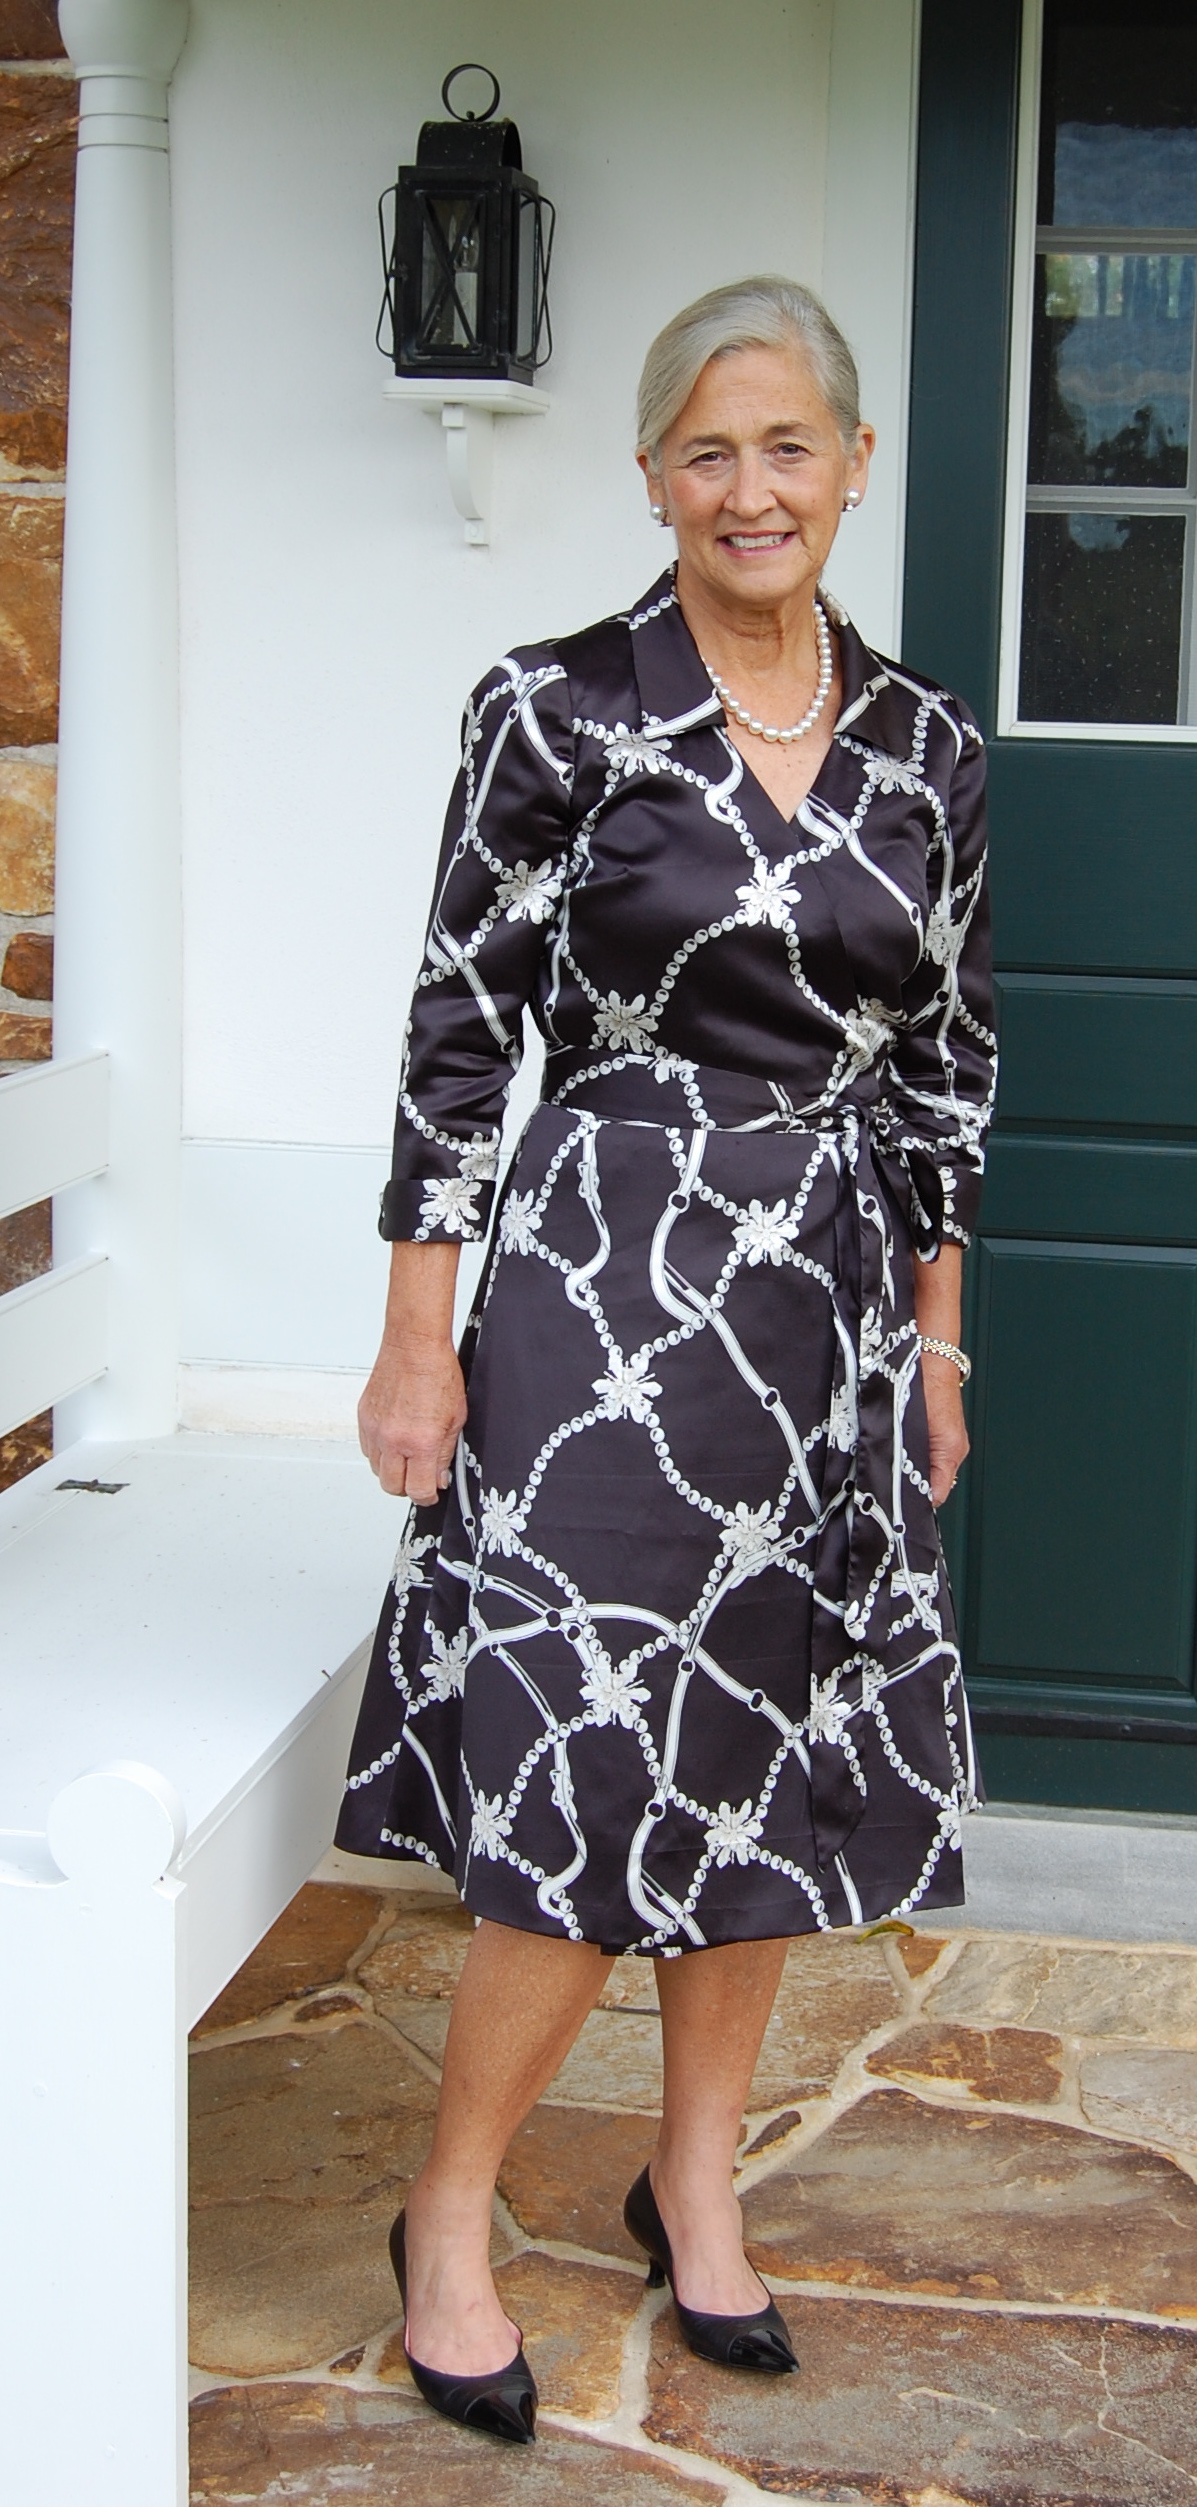
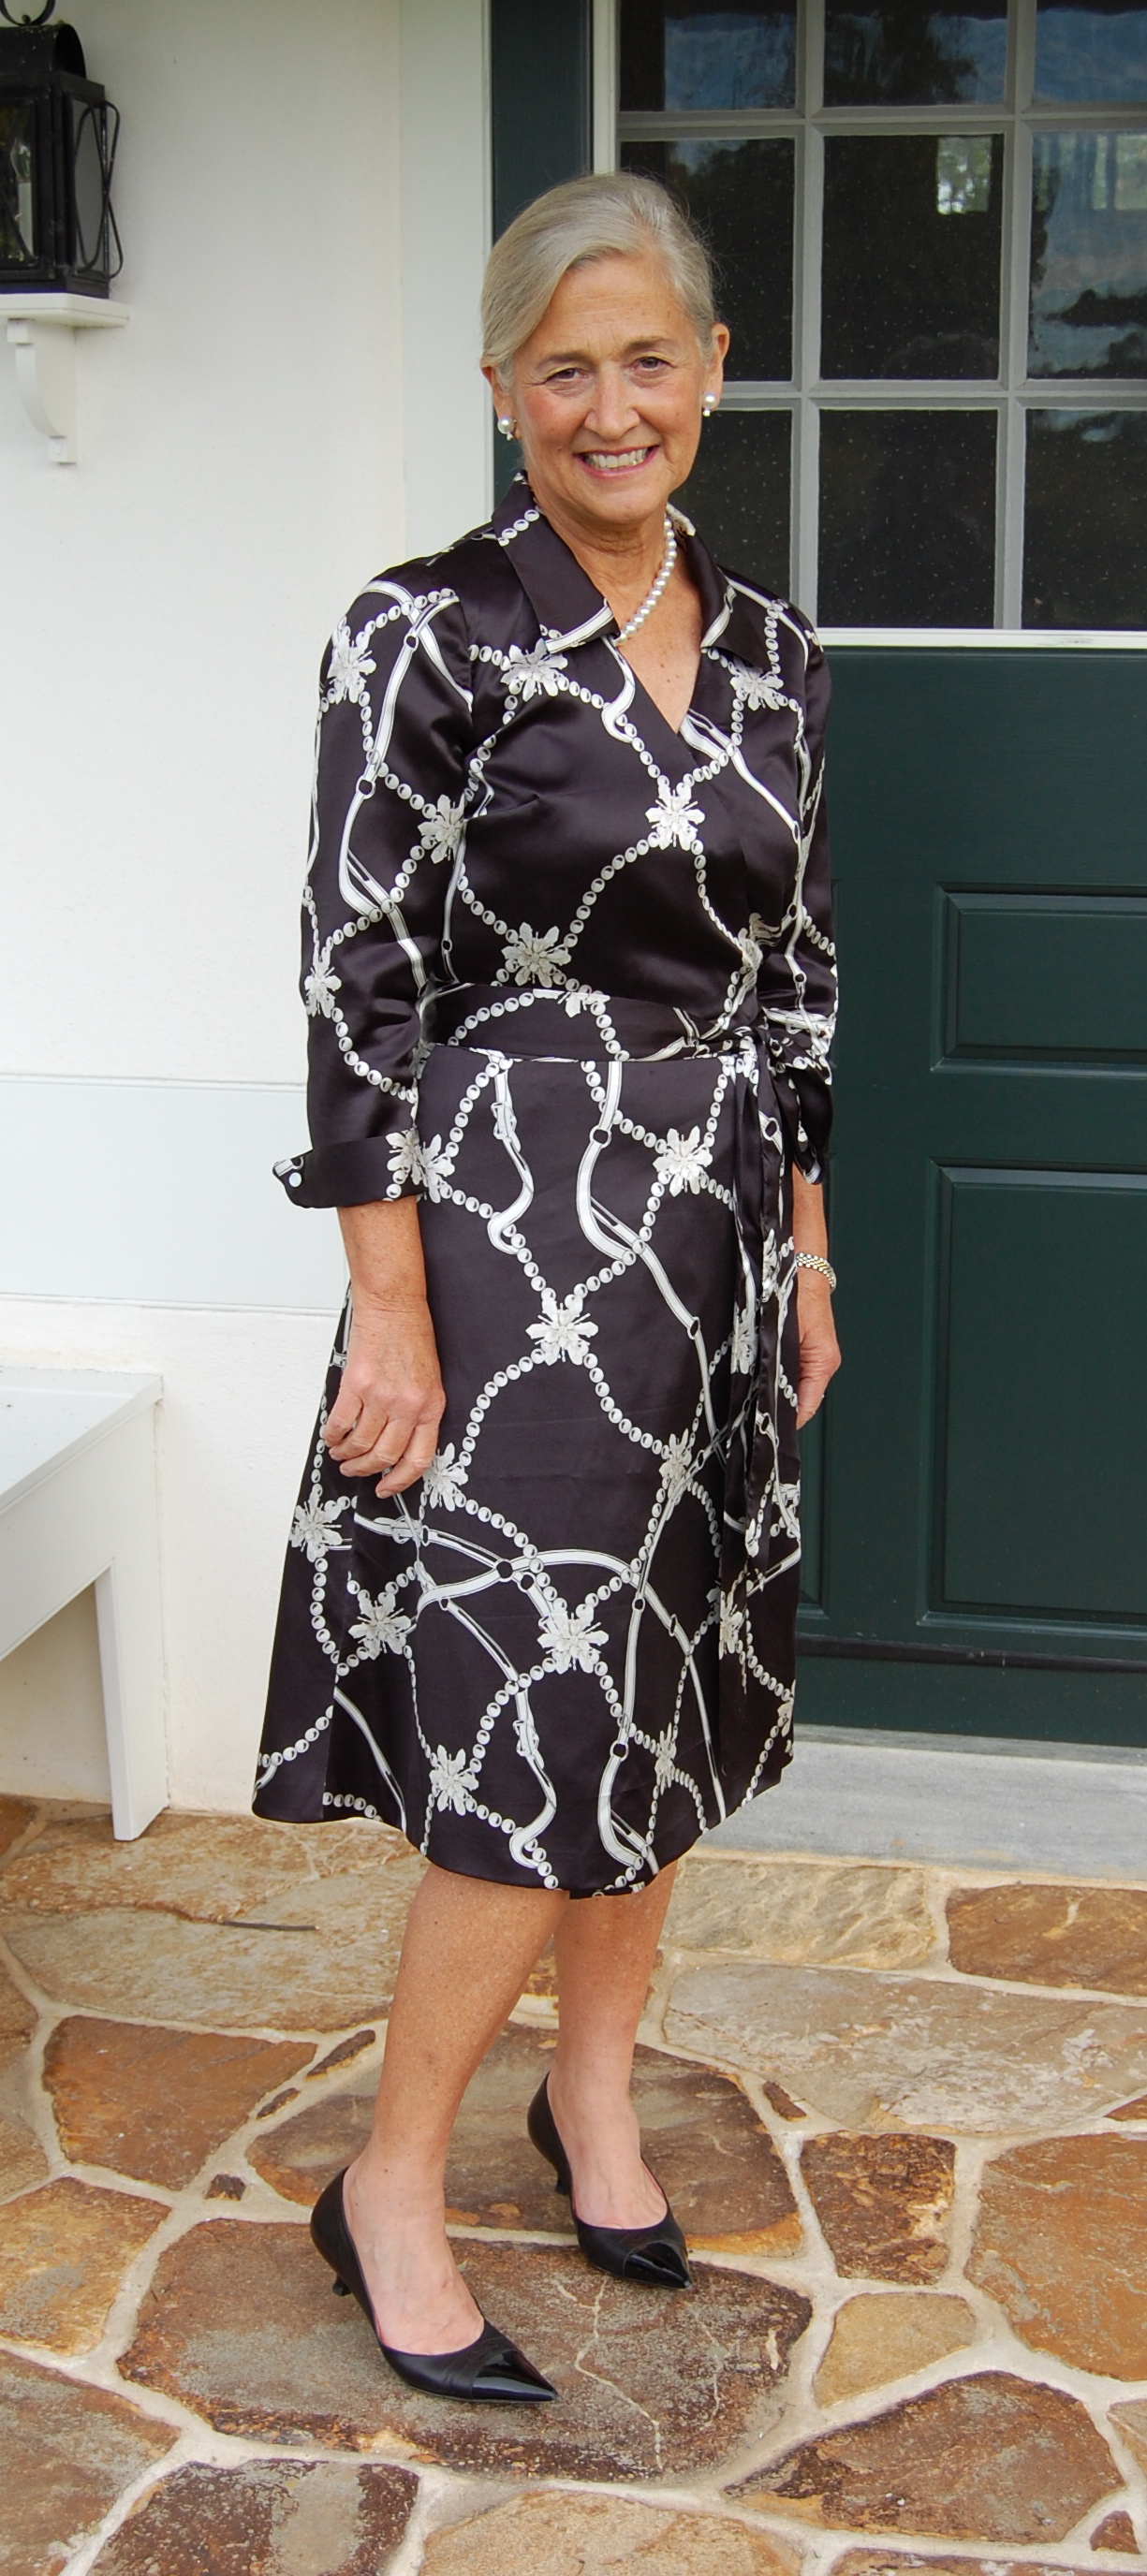
Seeing this blouse reminded me of how much I like an old (very old) RTW David Brooks blouse that I have been wearing for years.
It still looks stylish, and I really enjoy wearing it. So – why not make a “copy” in my pink silk? Could I possibly find another pattern in my collection that could be suitably altered to achieve this look and style?
Well, I did. My blouse is currently “under construction” – but the pattern (to be revealed in my next post) is so funny looking that one may truly ask “Why did you ever save that one?” Hopefully I’ll have a really good, bright pink answer to that soon!