“Very up and coming” for the Fall of 1962, according to Vogue Pattern Magazine, was “the striking medium between a straight line and a bold curve – the gentle convex ‘barrel’ shaping of this coat:”
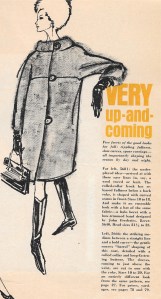
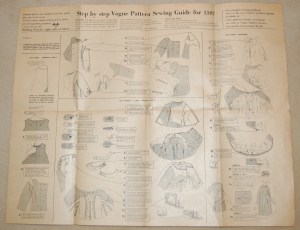
It is from this time period – perhaps a year or two later – that this Designer Pattern comes:

I don’t know many of us who want to look like they are in a barrel, so it was my intention to take the best parts of the design of the evening jacket and then adapt it to a more current look, or at least to one that did not scream 1963/64
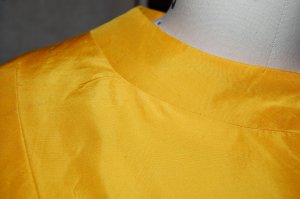
The details I loved about it were: 1) the shaped, two-part collar, which doesn’t really look like a collar, rather as an extension of the body of the jacket, but with more definition to it:
2) the dipped back hem of the jacket:
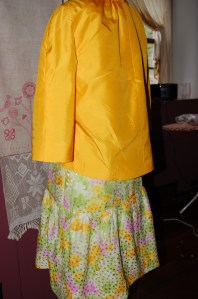
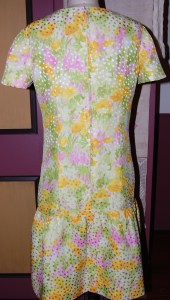
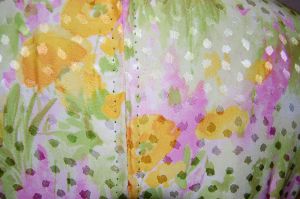
I purchased the yellow silk taffeta from Britex Fabrics, while the dress fabric, also silk, is from Mendel Goldberg.

3) the below-elbow length, kimono sleeves with their clever built-in gusset, and 4) the prominent, offset buttons:
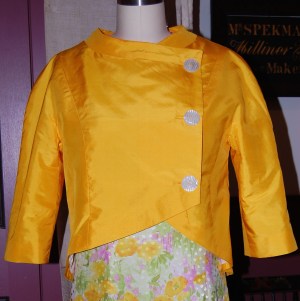
The top buttonhole is a slot-seam one, while the other two are bound buttonholes.
Less attractive to me was the fullness of the body of the jacket.
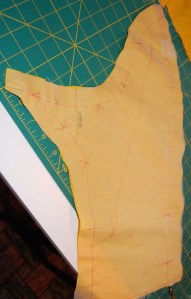
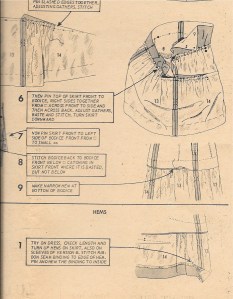
My muslin (toile) showed me that I needed to eliminate quite a bit of that fullness from the pattern pieces. I took 2 inches right out of the back of the jacket, making for much less to be gathered into the collar:
Even with two inches removed from the center back seam, there is still enough to gather nicely into the collar.
I also took a large wedge out of the each side of the back:
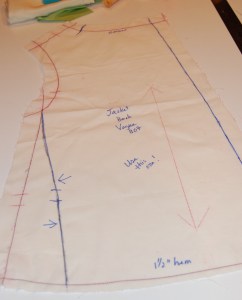
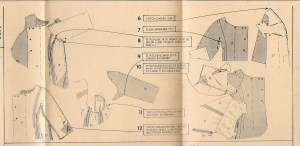
The dark blue line on the left is my re-drawn seam line. The original seam line is marked in red.
Then to add a little more shaping, I re-drew the side seams in the side underarm sections:
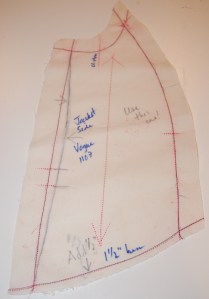
Again, the blue line on the left is my re-drawn seam line.
Because the buttons are such a prominent feature of the jacket, I knew I had to find the right ones. The pattern called for them to be 1¼” in diameter. That is a big button! I also knew they had to be a bit fancy or elegant, and I envisioned mother-of-pearl as the ideal composition. It took a while, but I found these buttons on eBay, and they looked just about perfect to me: right size, beautifully carved mother-of- pearl with a swirl design which I thought would add just the right contrast to the silk taffeta of the jacket. As it turned out, they were also the right price (always a welcome surprise!), and more beautiful when they arrived than I had anticipated:
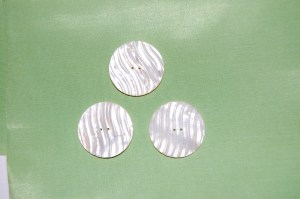
These buttons have a substantial heft to them, making them well suited for their application on this jacket.
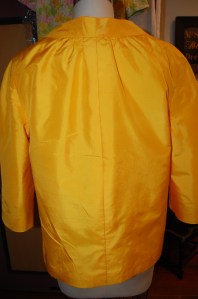
After getting the body of the jacket together, I tried it on to look at the length of it. Fortunately I had cut my pattern with about an extra half-inch in the length, and I used it, plus another ¼ of an inch, as it just looked better a little longer.

Another plus to lengthening the jacket is that the sleeve length lined up more attractively, something I didn’t realize until I saw these photos.
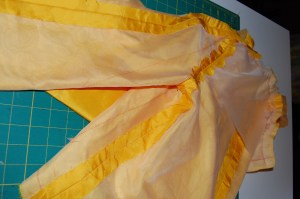
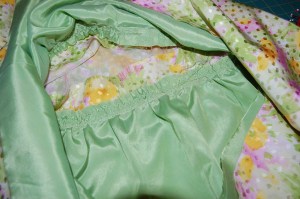
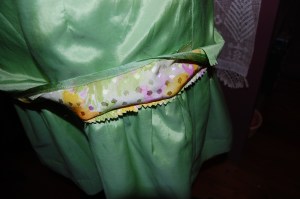
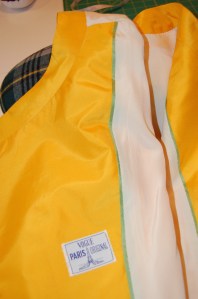
I did my usual flat applied piping along the edge of the lining:

Here is the piping sewn in place.

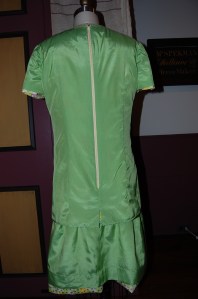
The green piping picks up the green in the dress. I opted for an off-white lining, which is a little boring but that’s okay.
And I added the label I had:


A few wrinkles left over from the jacket’s first wearing!


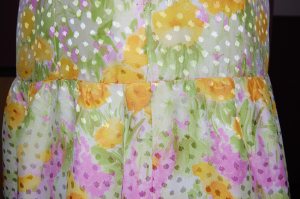
I have to say, I really love this evening jacket. I have decided it is going to have another life – with another dress, this one constructed with the double, slanted flounce on it (see pattern above). It would look fairly fabulous with a black and goldenrod printed silk – or navy, white and goldenrod printed silk… I’ll be on the search.