Category Archives: Shoes to make an outfit complete

Forever Gingham

Gingham fabric has been around for a long, long time.  Since the early 17thcentury to be exact, although the look of the fabric has changed considerably since those days.  The word “gingham” is from a Malay word “gingang” which means “with space between,” hence, striped.  Yes, originally gingham was a striped fabric.  It appears that it became a checked fabric sometime in the mid 1700s, and of course, that is how we think of it today.

Gingham has a fresh, timeless appeal to it, and the iterations of it are countless.  The size of the checks can be absolutely miniscule or large and prominent.

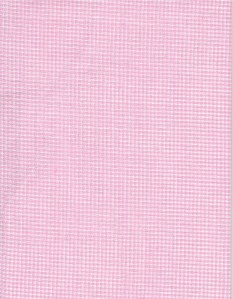
Each check in this gingham is only a couple of threads wide. I do not have an example of a really large checked gingham, but you can surely visualize it.

There are two types of gingham; the entry in The Fairchild Dictionary of Fashion (Third Edition, by Charlotte Mankey Calasibetta and Phyllis Tortora; Fairchild Publications, Inc., New York, New York, c2003, page 209) explains it beautifully:  “Checked ginghams are two-colored effects made by using two colors, or one color and white, for groups of yarns in both the lengthwise and crosswise.  Plaid ginghams are yarn-dyed designs of several colors.”

And do you know what zephyr ginghams are?  “Zephyr ginghams,” according to Fairchild’s “are made with fine, silky, mercerized yarns.”   Obviously both checked and plaid ginghams can be zephyr ginghams.

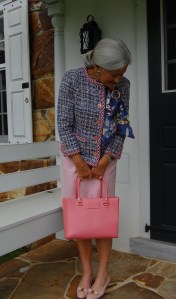
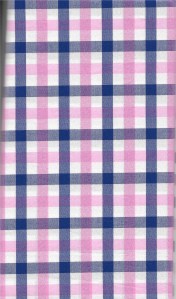
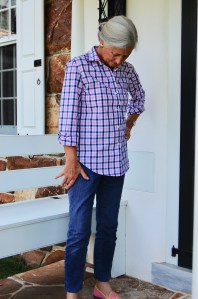
And indeed, it was a zephyr plaid gingham which I used for my most recent blouse:

I purchased this fabric at the same time I ordered the fabric for my lavender gingham blouse. I still had the “blouse bug,” so I decided to go for it!  I made a few tweaks to the pattern; specifically I added a tapered half inch to the lower half of the  sleeves, to give me a little more ease in rolling them up.  Of course, this meant I needed to add a half inch to the diameter of the cuffs.  I also increased the length of the sleeve vent by about 1.25 inches. I find these changes just add a bit more finesse to the wearing of this blouse, which is super comfortable anyway.

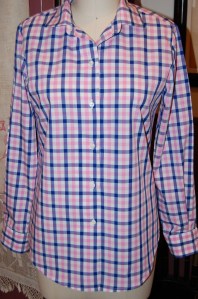
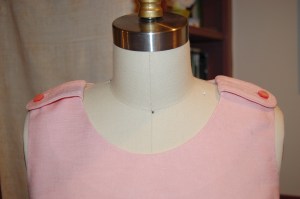
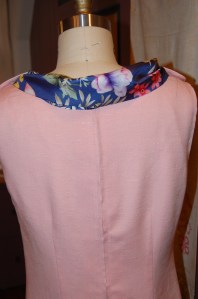
I kept the center back pleat, as it just makes this blouse so comfortable to wear, especially on a hot summer day.

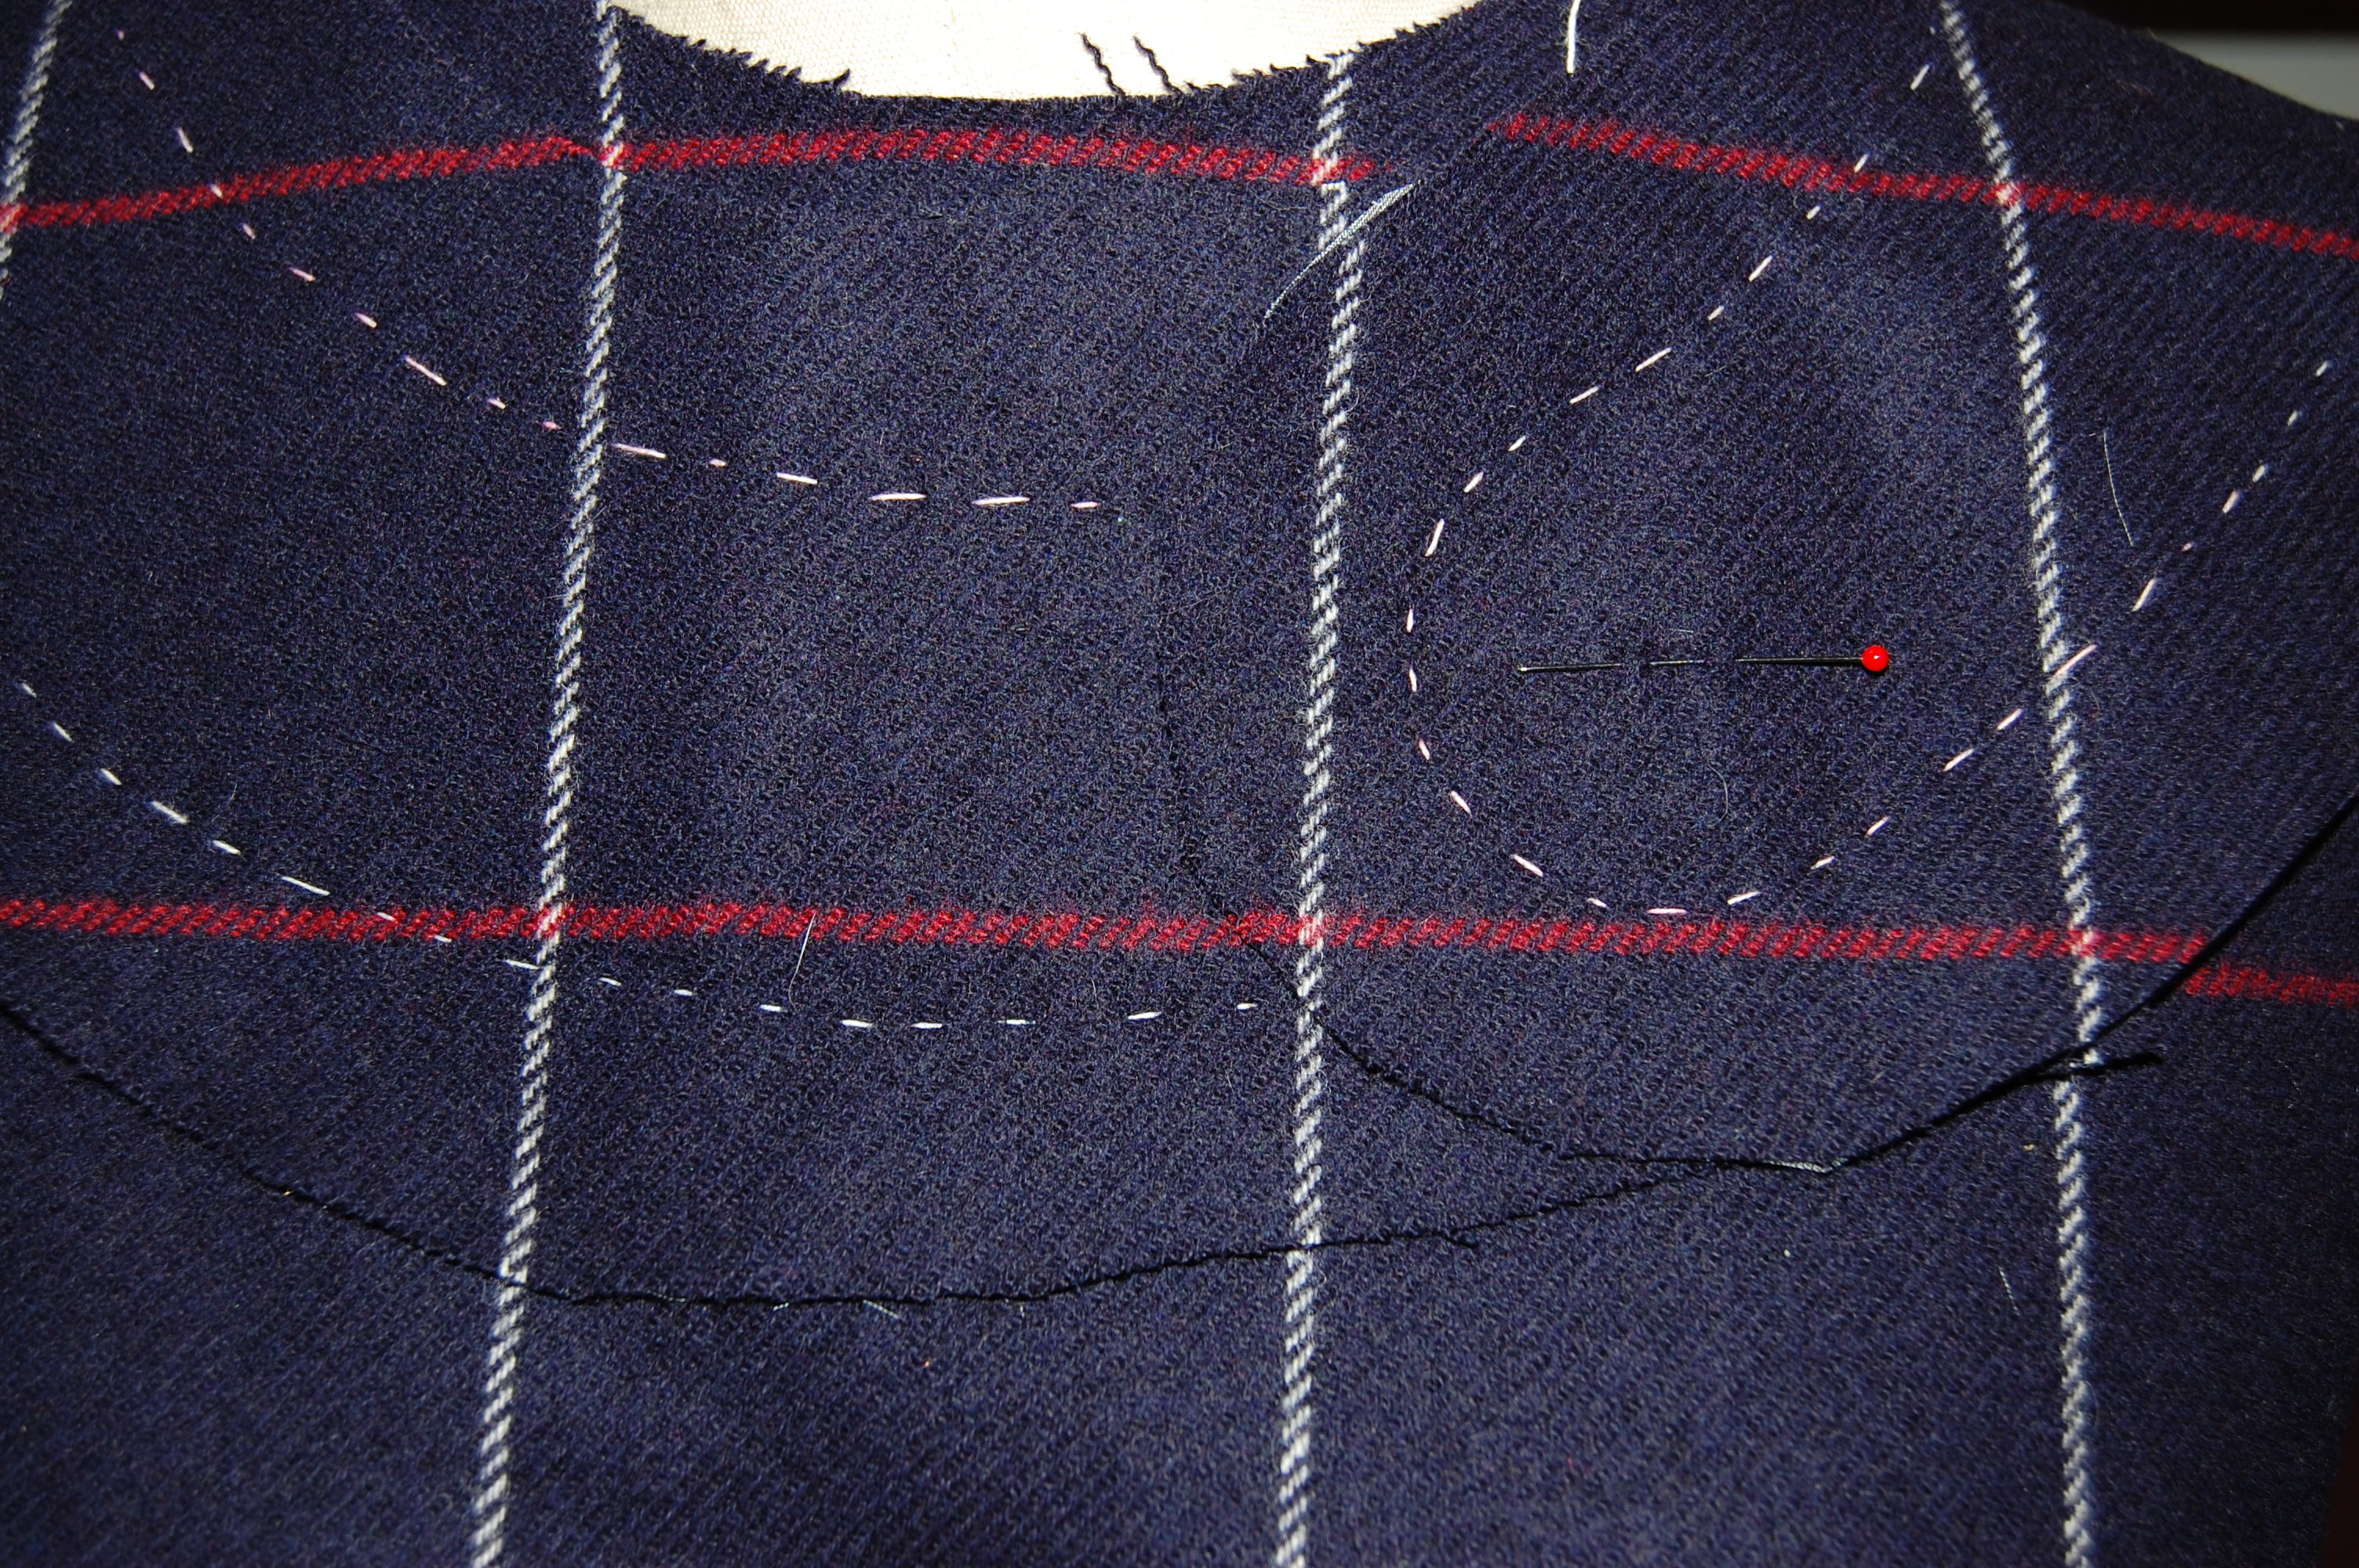
Now, do you see that double navy blue line at the center front?

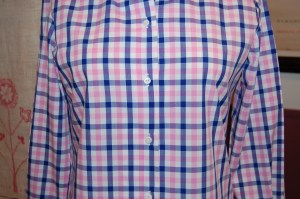
That is a mistake. I thought I had calculated the grid of the plaid correctly to have a continuous pattern across the front of the blouse.  About halfway through its construction, I discovered I had calculated incorrectly.  At that point I did not have enough fabric left over to cut out two – or even one – new fronts, so my fate was sealed.  Now I know what I did wrong, and hopefully I won’t make that mistake the next time I make a gingham blouse.  (And there will be a next time, but probably not this year.)

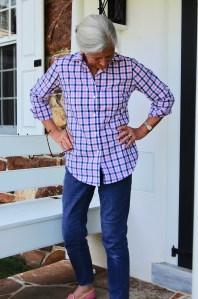
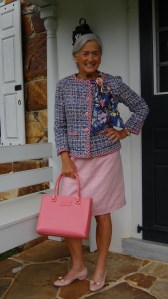
This is a blue jean kind of blouse!

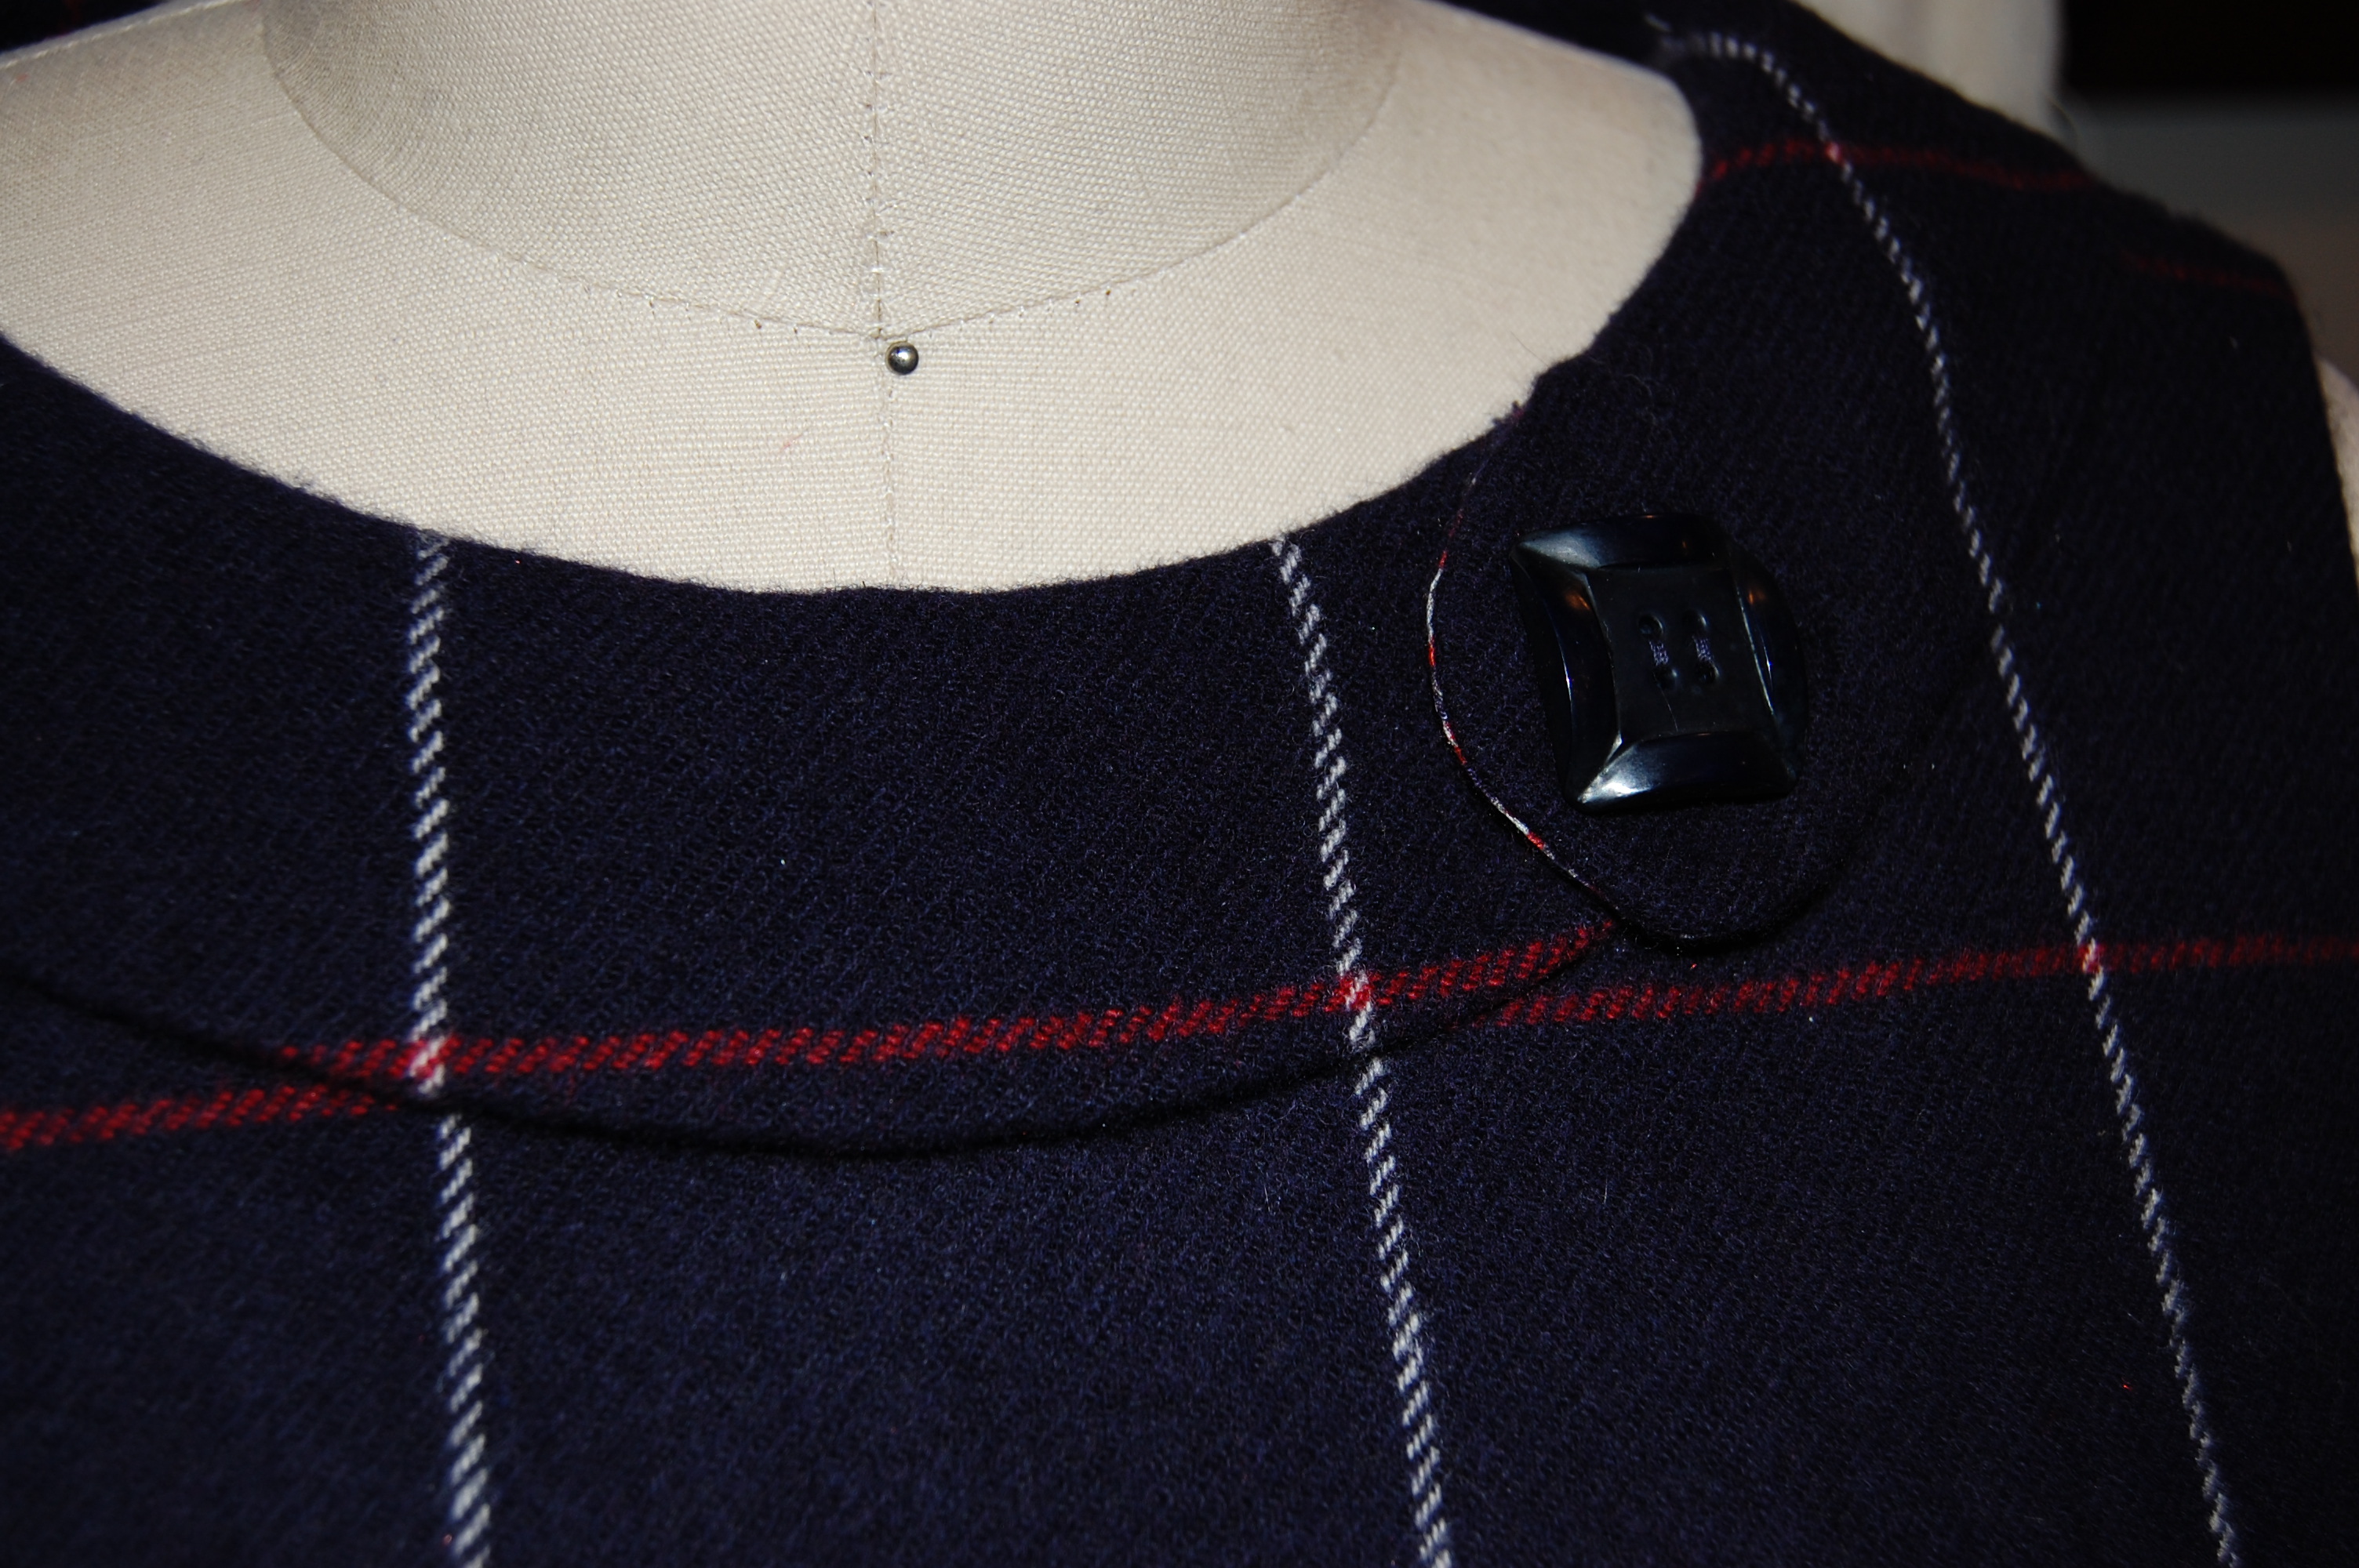
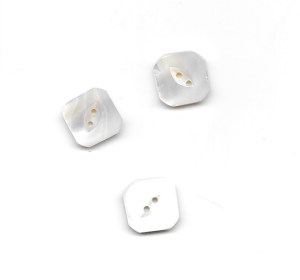
Being a button aficionado, I of course searched again for the right buttons for this blouse. I thought about using these vintage pearl buttons with their square motif. However, at 5/8” wide, they were just too big.

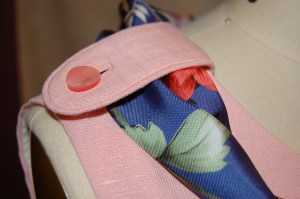
I finally admitted to myself that buttons on a blouse like this should not be the focal point; they should be delicate and discreet – which led me to this card of vintage buttons in my collection:

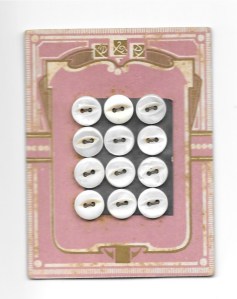
These buttons are 3/8″ in diameter.

The luminosity of the pearl in these buttons actually picks up the pink in the plaid in a very subtle way – and they are definitely discreet.

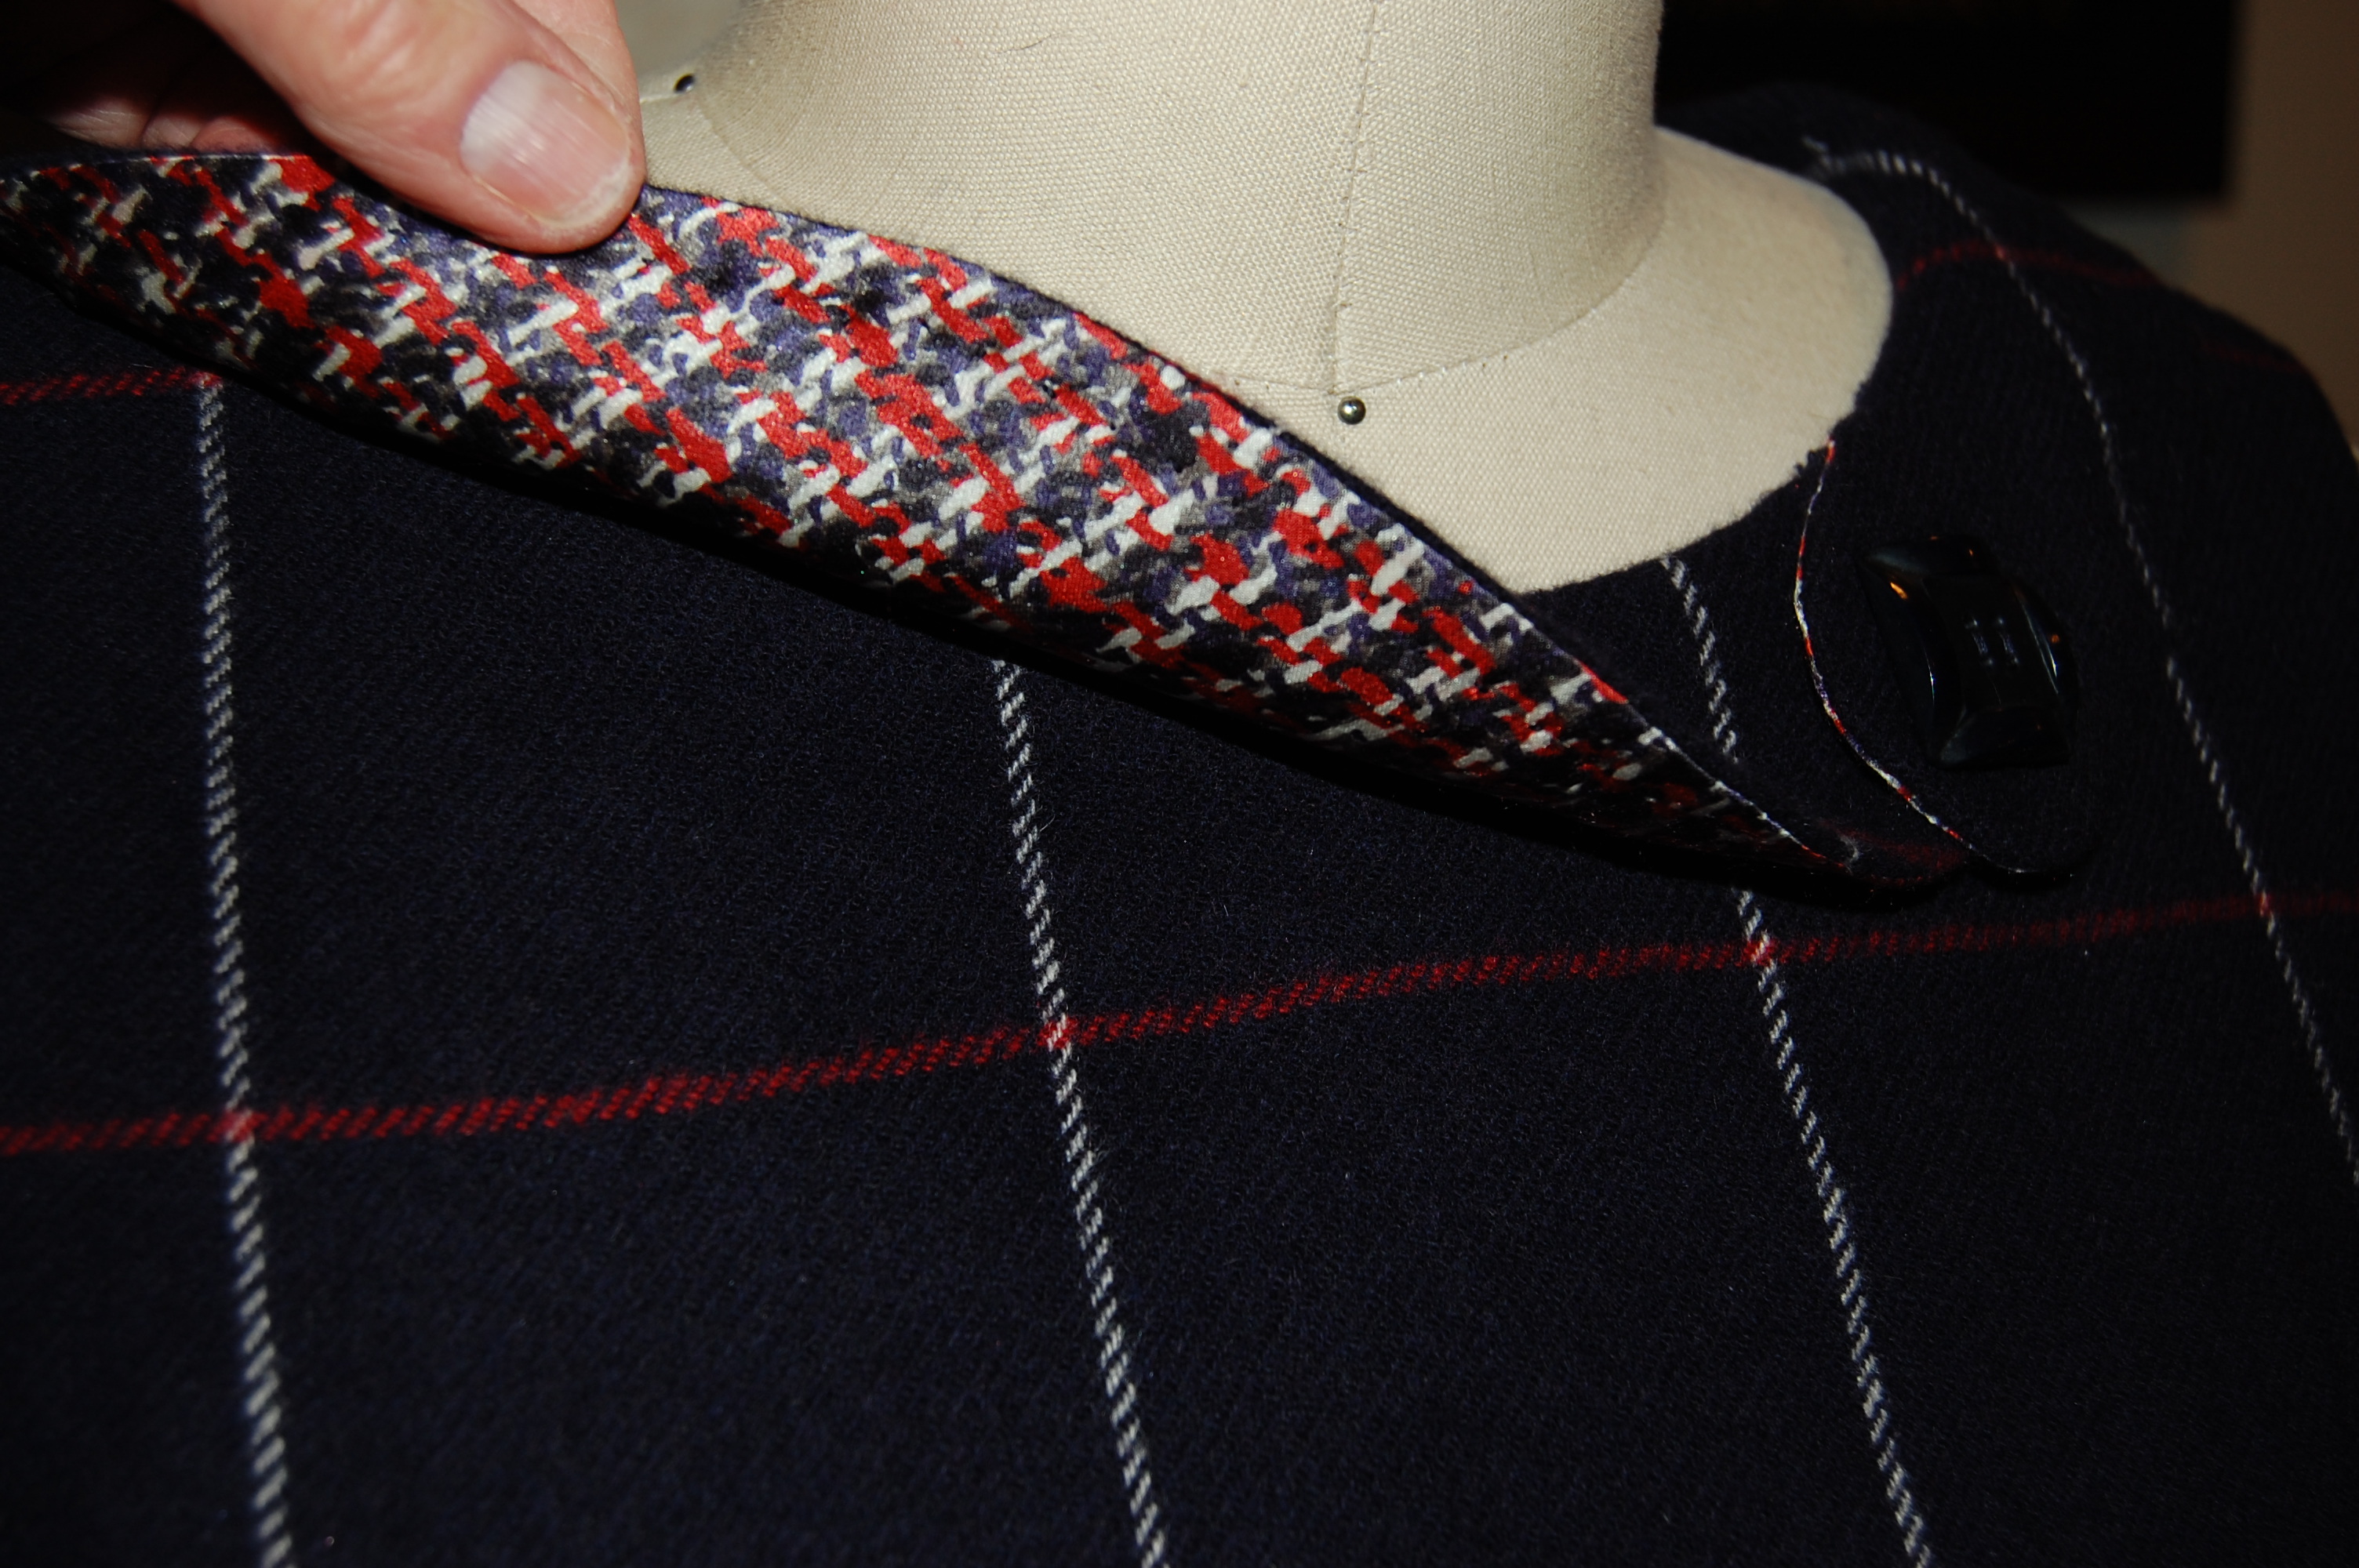
I used the spread collar again for this blouse.

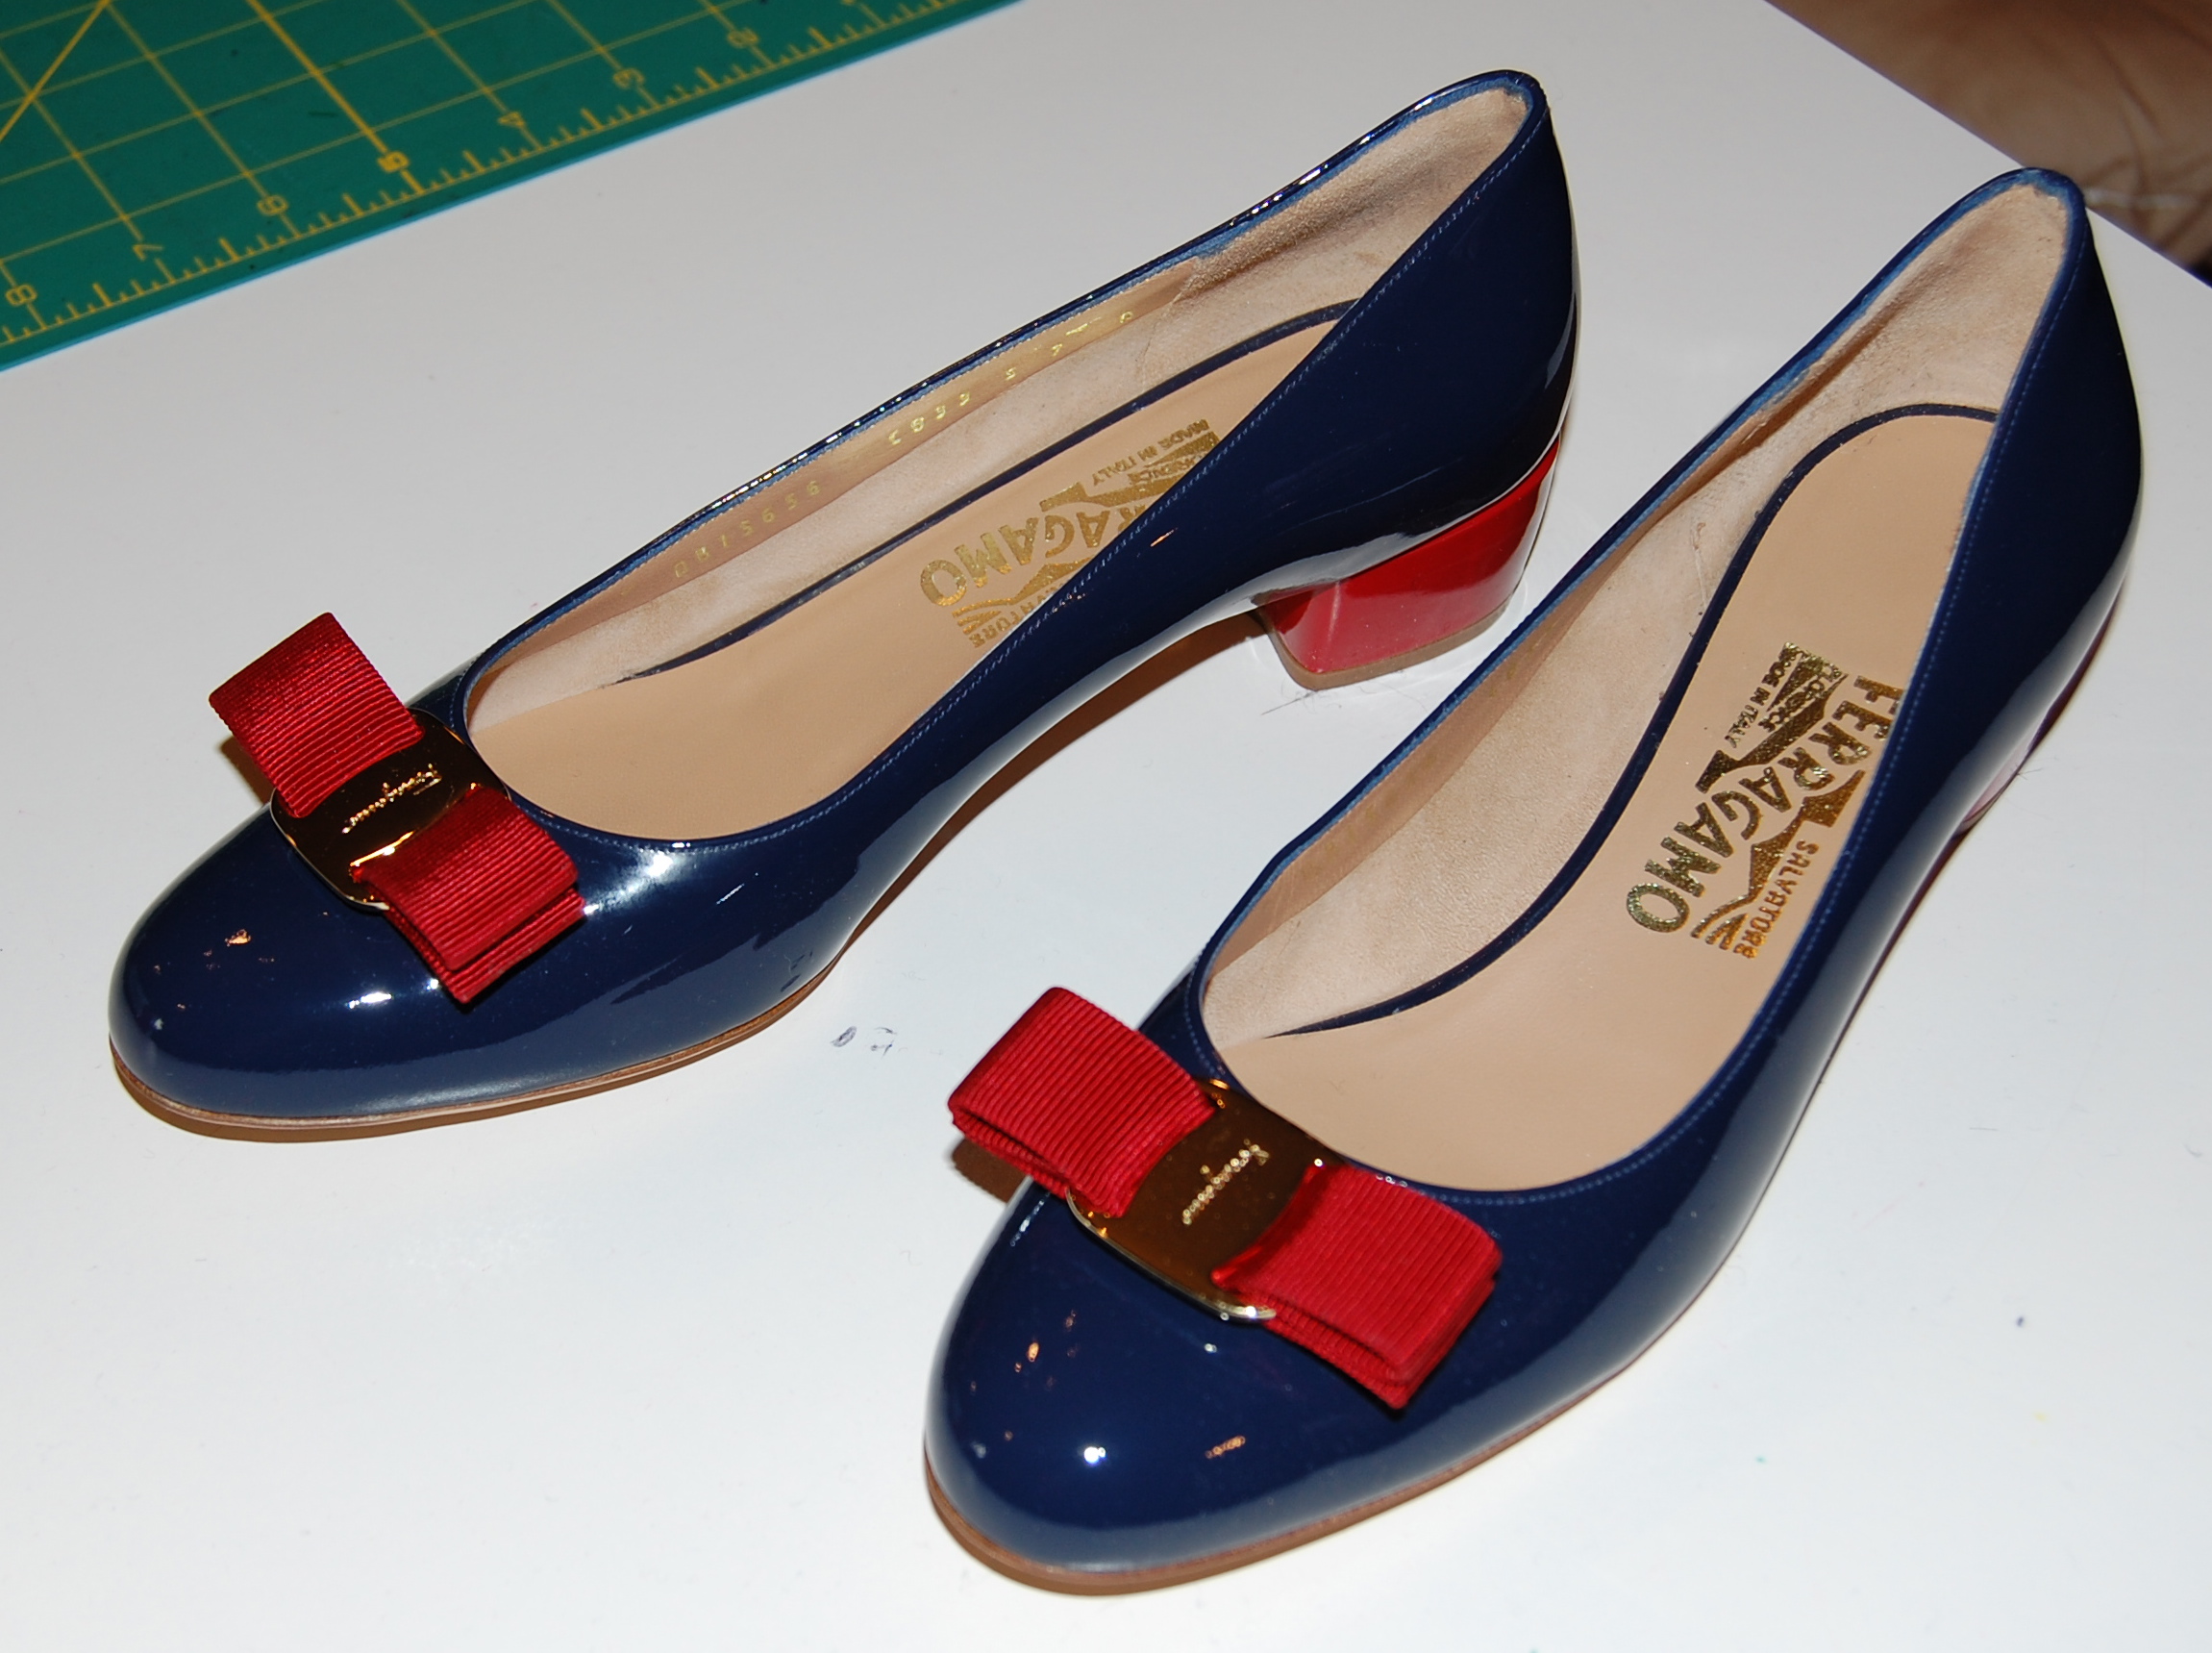
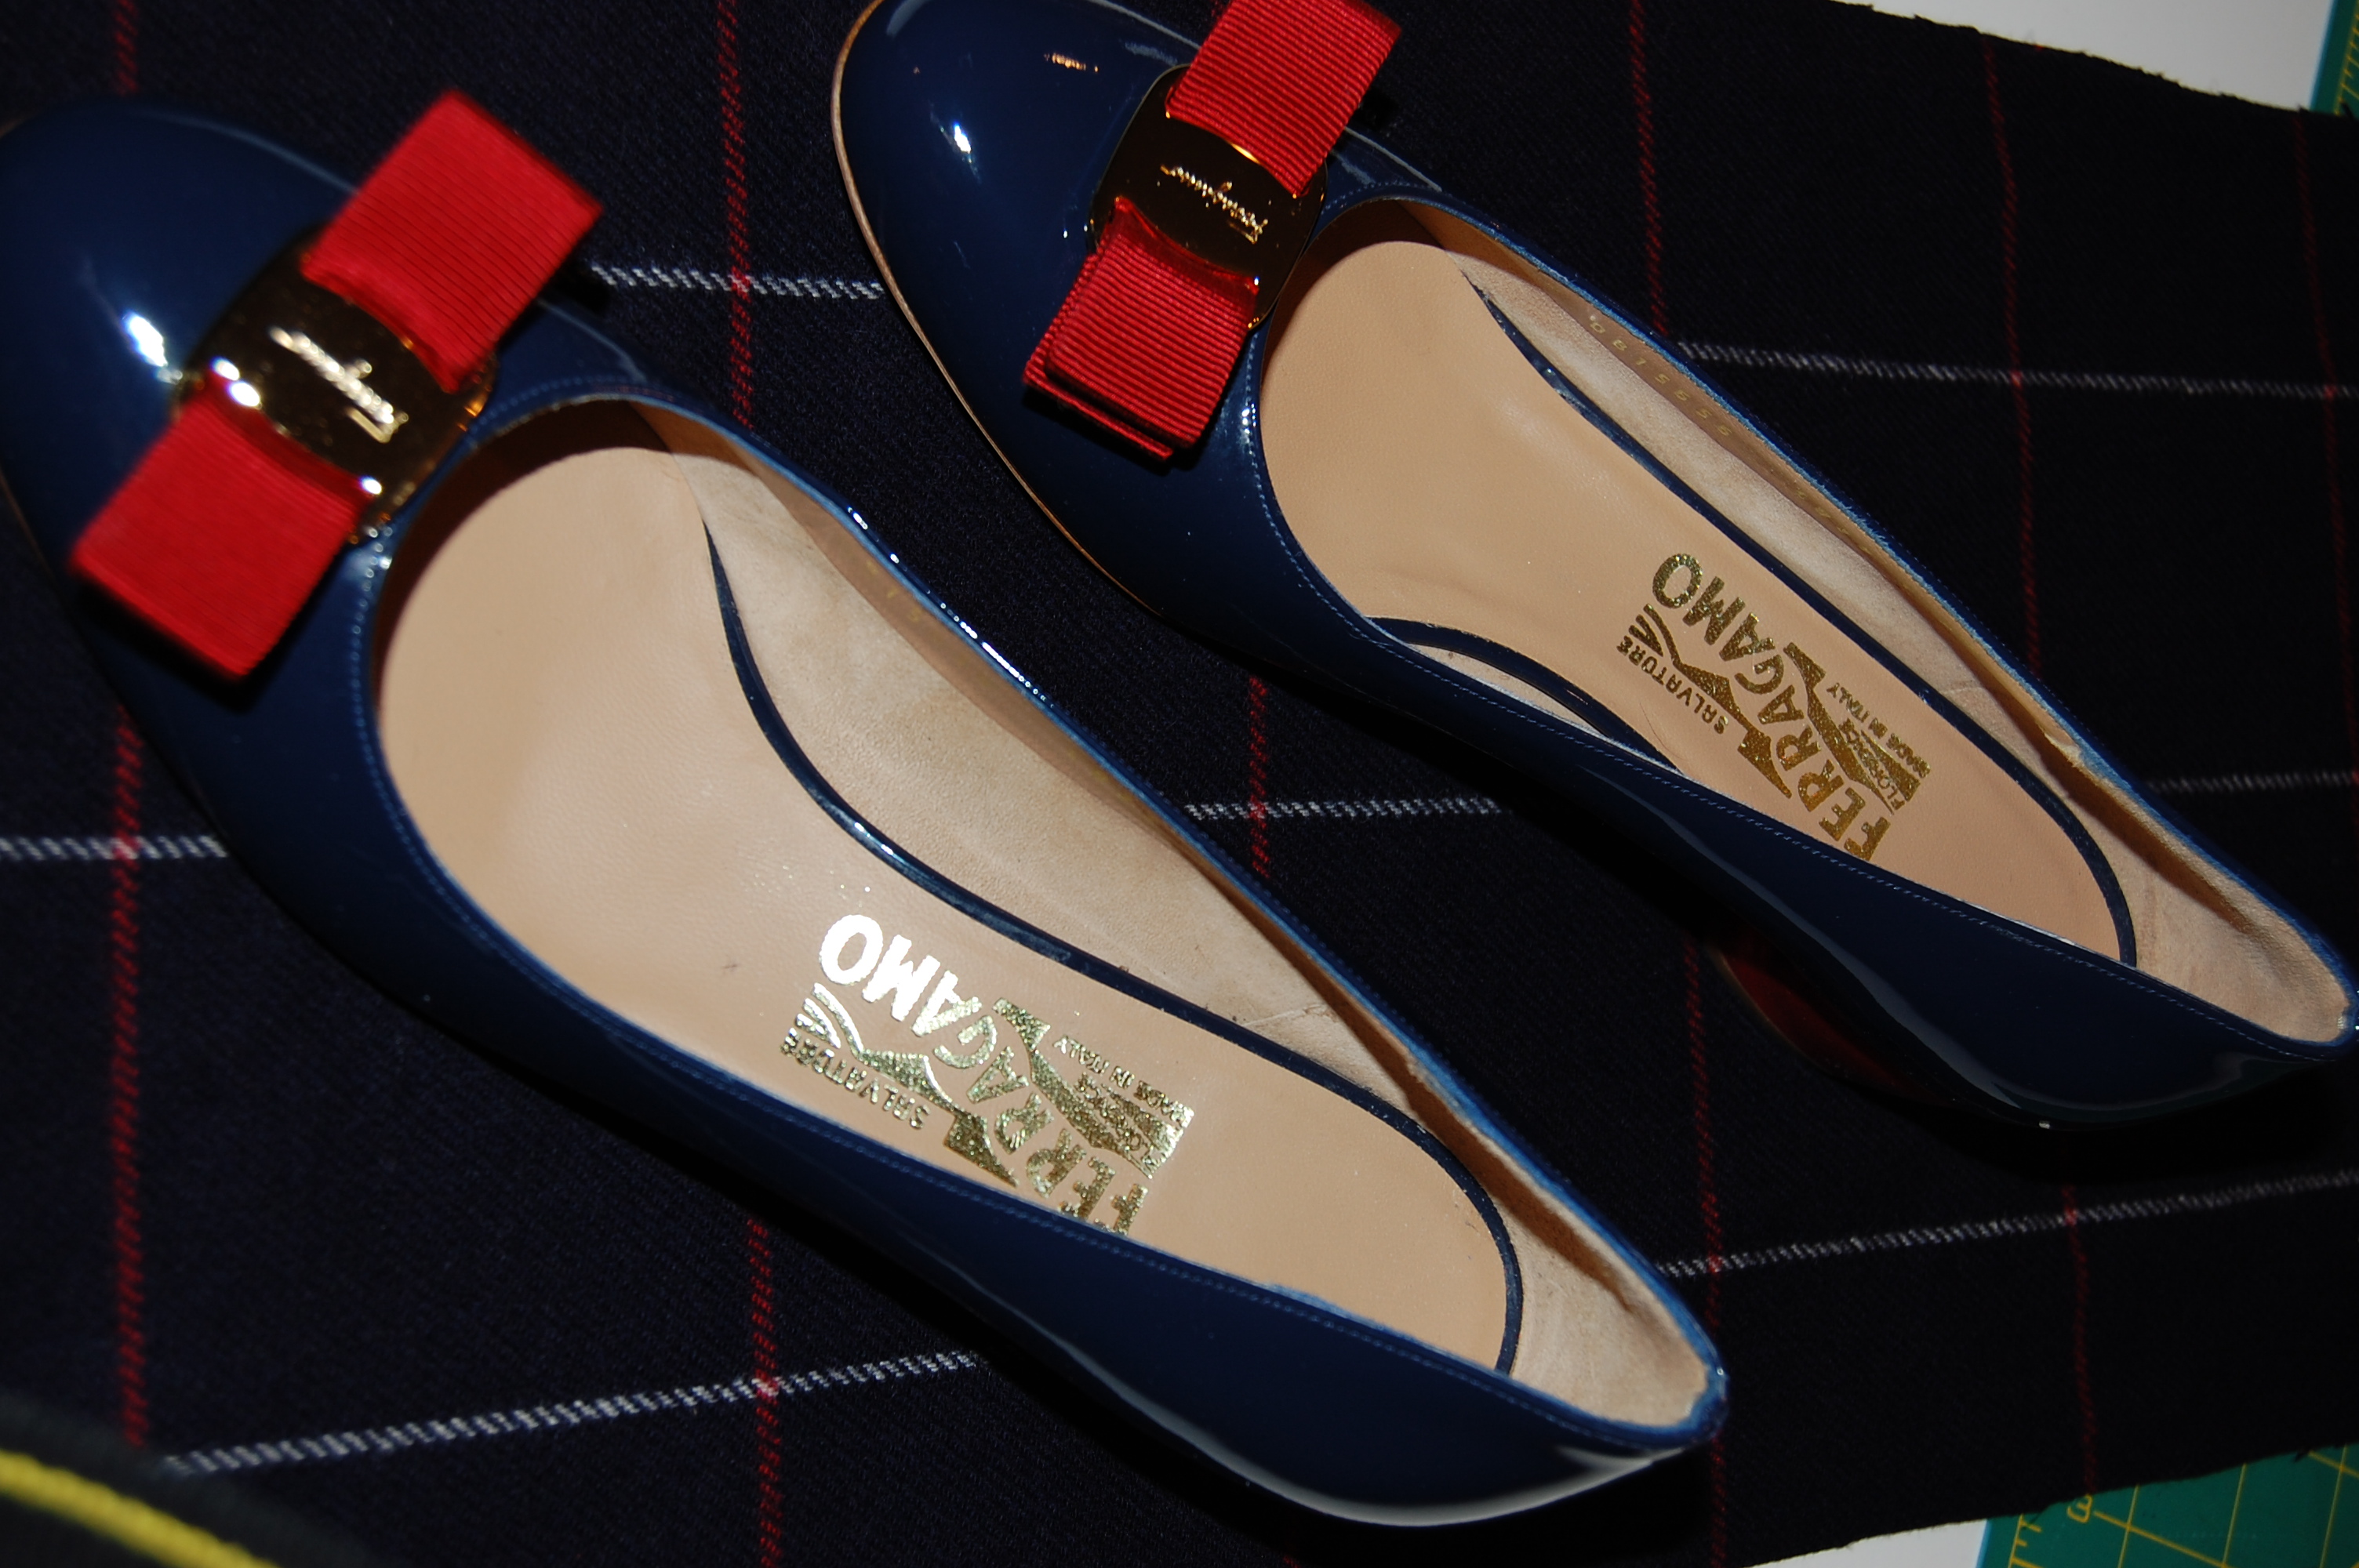
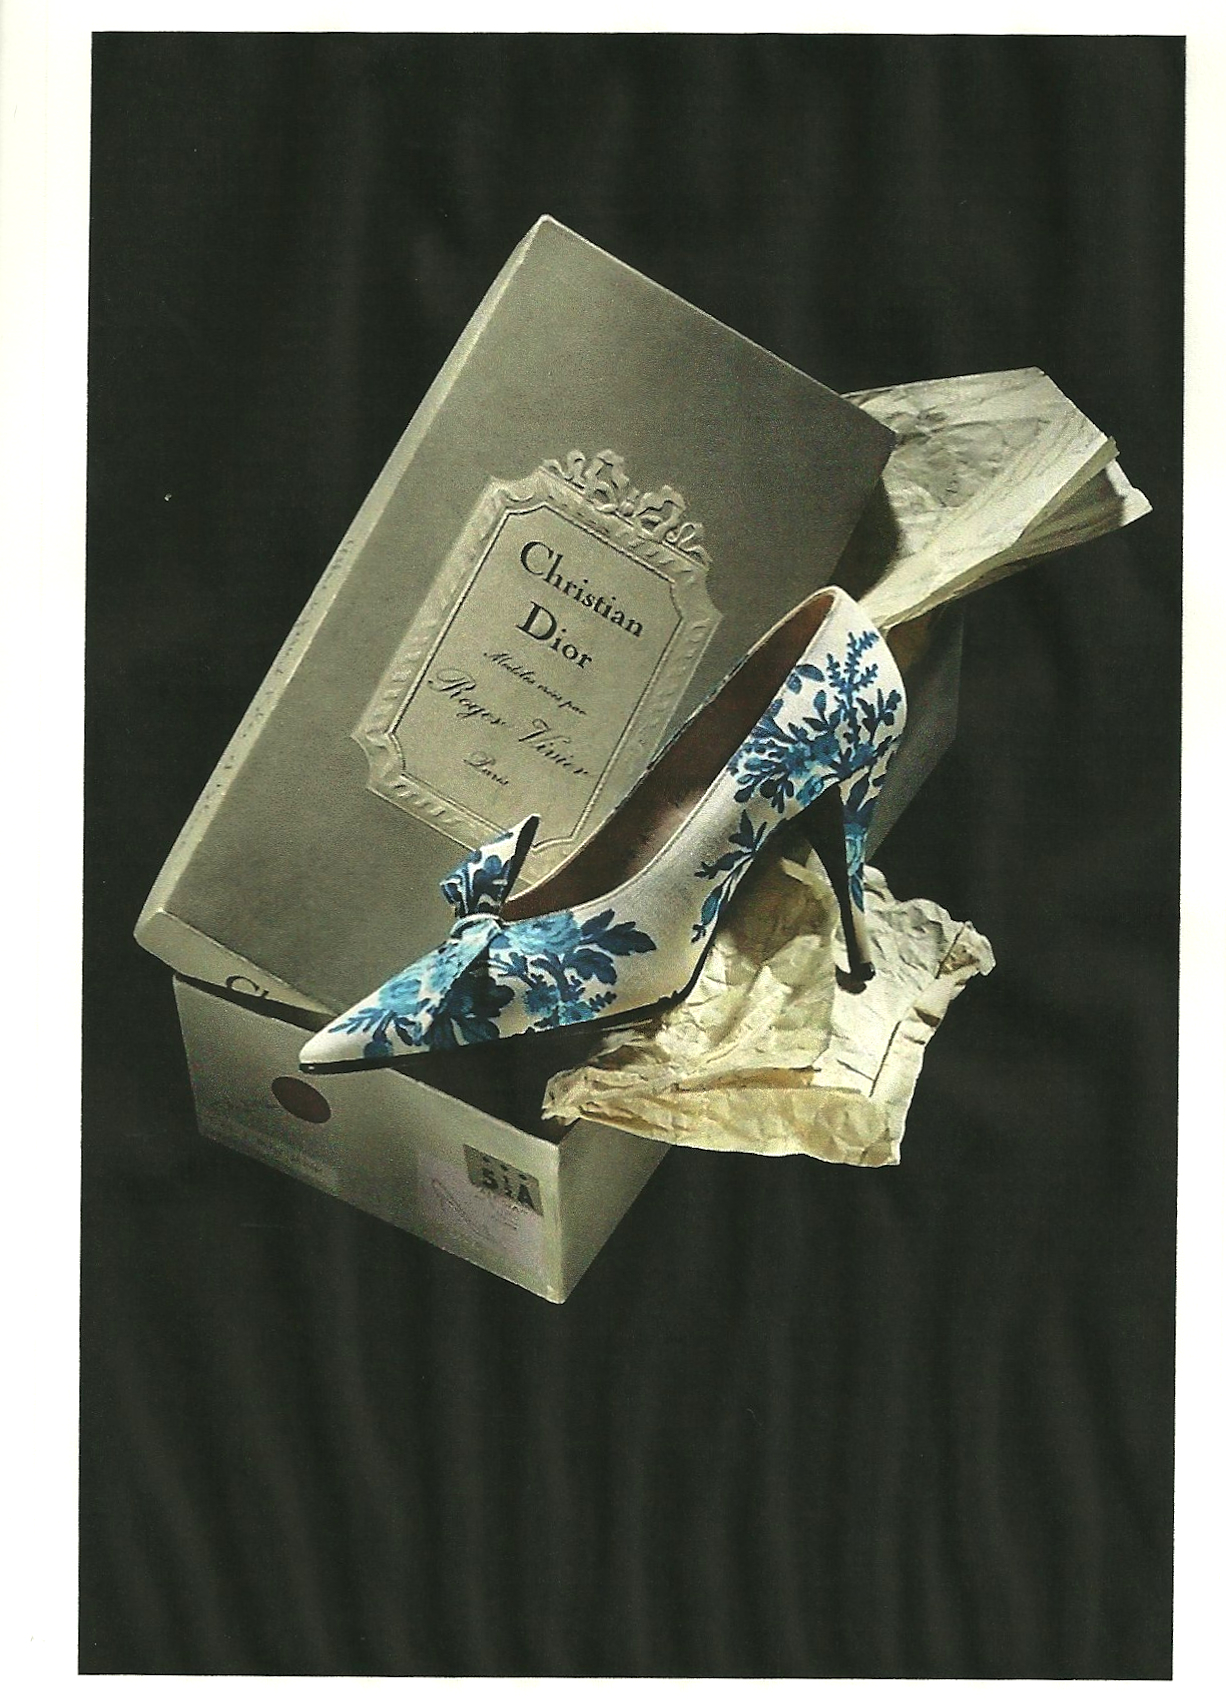
I love any excuse to wear pink shoes!

Well, I don’t want to end this post without giving you a few more fun facts on gingham.  Did you know that “gingham” was a colloquial term for an umbrella in the 19thcentury?  Again, according to Fairchild’s Dictionary (page 462), “so called because the less expensive types were made out of gingham fabric.”

And who doesn’t know that Dorothy Gale in The Wizard of Oz wore a blue gingham dress?  Or that Brigitte Bardot wore a pink gingham wedding dress (which led to a shortage of this fabric in France, according to Wikipedia)?

If you have not recently read the classic poem by Eugene Field (1850-1895), “The Gingham Dog and the Calico Cat,” it might be time to reacquaint yourself.  Here is how it starts:  “The gingham dog and the calico cat, side by side on the table sat.” Just the mention of the fabrics creates a mental picture of what is to ensue between these two!

There are few fashion references to gingham that are noteworthy, save for this one from interior designer Kelly Wearstler,  “The best thing I ever bought is a vintage Oscar de la Renta short gingham dress that I wore to my rehearsal dinner the night before my wedding.”

And finally, this from Christian Dior on “checks”  (The Little Dictionary of Fashion, by Christian Dior, Harry N. Abrams, New York, New York, 2007, page 21): “I love checks. They can be fancy and simple; elegant and easy; young and always right….  They are always in fashion …  and there are so many styles of checks to choose that there will be one to suit every age and figure.”

Feeling happy about this blouse despite that center front mistake.

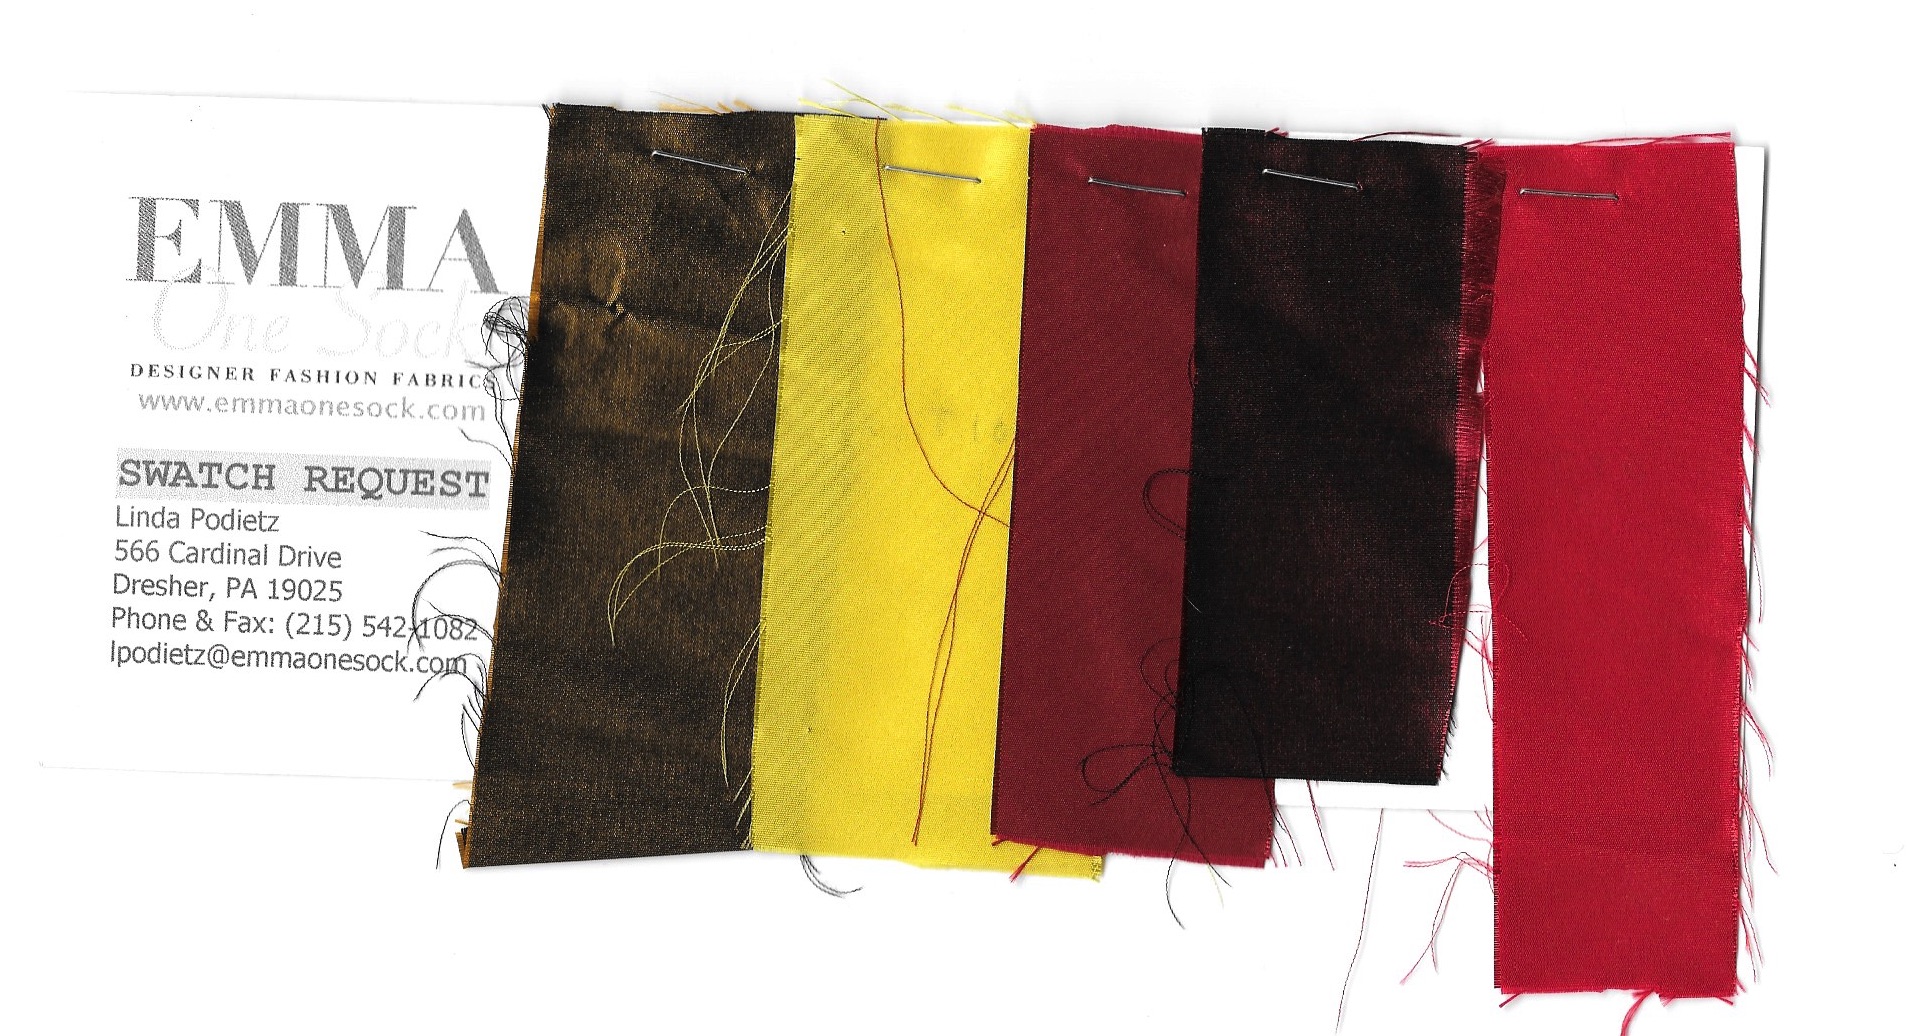
From “always right” cotton gingham, I now head to another “always right,” forever, classic motif: polka dots  – in silk!  New month, new project.  Happy July, everyone!

29 Comments

Filed under Blouses, Buttons - choosing the right ones, Shoes to make an outfit complete, Uncategorized, vintage buttons

Jacket AND Dress!

One of the aspects of fashion sewing that appeals to me so much is how projects seem to take on a life of their own. By the time I have it finished, a piece rarely ends up being exactly how I thought it might be when I started it. Most of the time, that’s a good thing. (There are those flops, which are bad things, but thankfully this post is not about a flop.)

When I did the planning and started the construction of my recent Classic French Jacket, I really thought I would be making a pale blue linen sheath to wear with it, using fabric already in my collection. But somehow that pink accent in the weave of the boucle, the trim I selected, and the buttons, all conspired together and changed my mind for me.

Fortunately, I also had a piece of pale pink linen in my fabric collection (at this point, I might ask myself, what color linen do I not have in my collection? But let’s not go there….) By this time I had already decided I needed to figure out a way to show that gorgeous lining silk in my jacket, rather than having it solely hidden inside. Having seen accent scarves paired with Chanel jackets on Pinterest gave me the idea to make a scarf. Then I thought it might be fun to “attach” the scarf to the pink (planned) dress in some fashion.

I came up with buttoned shoulder tabs as a possibility. I had purchased eight small buttons for my jacket – three for each sleeve and one for each pocket, long before I had this idea. You might recall in my last post, that I decided to make the sleeve vents for two buttons instead of three? That’s where I found/got the two buttons I needed for shoulder tabs.

I ended up liking my two button vents!

The first tabs I made just did not look right. First of all, they did not turn well, with a pleasing curve And when I placed them at the neckline of my dress, all I saw were the seams.

I even finished the bound buttonholes before deciding I didn’t like these.

I had to think through lots of possible solutions and finally had a eureka moment when I thought of piping the edges.

Piping makes the sewn curve much easier to turn well.

So much better!

I placed the tabs slightly forward rather than exactly on top of the shoulder seam.

The rest of the dress was very straightforward, as sheath dresses tend to be. It is lined with a lightweight, cotton/linen blend, but I did not underline it, as I like to preserve the washability of most of my linen garments (easier without an underlining.)  It is also cooler without an underlining.

Being a lover of pink, I already had pink pumps that match the dress exactly – and a handbag which brings out the peachy part of the pink in the boucle.

The tabs on this dress give it kind of a ’60s vibe. Unintended, but kind of a nice touch to go with the jacket.

Because these two pieces – and this look – came together from so many sources, I think it is a good idea to give credit where credit is due:

Boucle: Mendel Goldberg Fabrics , NYC, gift from my grown children.

Soutache Braid and Buttons: M & J Trimming, NYC

Pink Petersham Ribbon: Britex Fabrics, San Francisco

Lining and Scarf silk: Britex Fabrics, San Francisco

Pink Linen: vintage Moygashel, 35” wide, purchased on Etsy

Cotton/linen lining for the dress: JoAnn’s Fabrics, purchased in bulk a couple of years ago

Shoes: Ferragamo, old!

Handbag: Kate Spade, also old.

I do love pink!

So that’s it! One major project now residing in my closet rather than in my sewing room. Time to start something new…

33 Comments

Filed under Boucle for French style jackets, bound buttonholes, Buttons - choosing the right ones, Chanel-type jackets, Linen, Linings, Mid-Century style, Moygashel linen, piping, Scarves, Shoes to make an outfit complete, Uncategorized, Vintage fabric

The Allure of Silk, Part 3: Finishing Touches for a Fancy Frock

In planning for my ‘50s-inspired silk party dress, my original intention was to use a red sash, just as shown on the original dress which I first saw on Pinterest.

Blue taffeta:silk dress - originalWhen I sent off for swatches of silk taffeta from Emma One Sock Fabrics, however, I requested reds and yellows, just in case I might change my mind. When the swatch card arrived, there were clearly two obvious choices – the clear red and the vibrant yellow.Allure of silk - cummerbund picture

Then a funny thing happened. I ordered the red, which was out-of-stock temporarily. The owner of Emma One Sock (who, I might add, is one of the pleasantest and most helpful people from whom one will ever order fabric!), held up the order, at my request, while I thought about it some more. By the time I went to Baltimore to start my dress in Susan Khalje’s Couture Sewing School, I had just about decided to switch to yellow. With Susan’s hearty endorsement and the additional approval of my classmates, the decision was made: the sash would be yellow, not red.

When the yellow silk taffeta arrived, I knew the decision was the right one. All I had to do then was figure out how to make the sash. Easy, right? With lots of time to think about this while I finished the embroidered organza top and the sapphire blue skirt – and the dress lining – I gradually came up with a plan. I decided a more structured cummerbund and bow would be the best look. First I went in search of a cummerbund pattern, which I found in an early 1960s pattern in my collection:

Allure of silk - cummerbund picture-1

I decided to loosely pleat it instead of gathering it, so it would appear smoother around my waist. Because I had underlined it with silk organza, I had an anchor upon which to secure the soft pleats:

I used a loose catch-stitch to secure the pleats.

I used a loose catch-stitch to secure the pleats.

allure of silk final

And I folded in the two ends, ready for hooks and eyes.

Then I lined it with silk crepe de chine.

Allure of silk final

Now –  I really love a beautiful bow. And I knew just where to go to get the perfect bow pattern. I made this Butterick pattern in the early 1990s, and while I still like the dress I made (I’ll feature it sometime… it’s still in my closet!), I love the bow. I have used this bow pattern numerous times, always successfully.

Allure of silk - bow picture-2

Here is a close-up of the instruction sheet, showing the simple but effective construction of this bow.

Allure of silk - bow diagram-3

I increased the width and length a bit, as I knew it would need to be a focal point of the dress. I attached the bow to one end of the cummerbund, and used a snap to secure it in place on the other end.

All of this took more time than I could have ever imagined! The event for which I made this dress is next week, and I’ll get proper pbotos taken then. But here is a sneak peek, first of the shoes I found which really seem to be the perfect pairing for this dress:

allure of silk final

And here is the dress on my dress form:

Allure of silk final

Allure of silk final

I thought I'd include this photo of the dress lining for anyone interested in seeing it.

I thought I’d include this photo of the dress lining for anyone interested in seeing it.

I am very pleased that I decided to "V" the back of the outer bodice!

I am very pleased that I decided to “V” the back of the outer bodice!

A close-up of the bow.

A close-up of the bow.

One of my favorite fashion quotes is one from Madeleine Vionnet: “The dress must not hang on the body but follow its lines. It must accompany its wearer and when a woman smiles the dress must smile with her.” Will my dress put a smile on my face when I wear it? Yes, if only for the fact that it has been finished just in time!

Details:

Blue silk taffeta:  Britex Fabrics

White embroidered organza:  Waechter’s Fabrics (now out of business)

Yellow silk taffeta:  Emma One Sock Fabrics.

Under bodice and outer bodice pattern:  Vogue 8766

Cummerbund pattern:  Vogue 5234 (vintage)

Bow pattern:  Butterick 3582 (vintage)

Shoes:  Butter, sold by Simply Soles

40 Comments

Filed under Cocktail dresses, couture construction, Mid-Century style, sewing in silk, Shoes to make an outfit complete, Uncategorized, vintage Vogue patterns from the 1960s, Vogue patterns

My Suit Dress Fully Evolved – Finally! – Part 5

Can it really be that May will arrive in a few days? If that is true, then I am only about 2 months behind in my sewing schedule. But who’s keeping track? I’m happy that I have plowed through to finish my wool suit dress, even though it will immediately go into my cedar closet for safe storage until next Fall.

When I fell off the edge of the world after Part 4 (only figuratively, thank goodness!), I was starting on the sheath dress. I had decided to add a collar to it, so that I could use that fourth vintage button (I had already used three on the jacket itself). Matching the windowpane plaid on the collar section took some special attention, as this photo shows:

Collared sheath I underlined the collar with the lining fabric, and I made a working bound buttonhole instead of just sewing the button in place. Anything to make it more involved, right?

Detail of the button on the collar.

Detail of the button on the collar.

Lining the collar with silk charmeuse reduced bulk and helps it lay flat.

Lining the collar with silk charmeuse reduced bulk and helps it lay flat.

From that point on, it was a straightforward sheath dress. I love a sheath dress. I think it is such a flattering silhouette, and very feminine. As far as I am concerned, one can never have too many sheath dresses (just as one can never have too many shoes). Speaking of shoes, I decided this outfit needed complementary shoes! What do you think?

collared sheath

I wear a lot of red and blue, so I expect these shoes to serve me well!

I wear a lot of red and blue, so I expect these shoes to serve me well!

It turns out that even a simple sheath can take a lot of time to make when one is using couture techniques: underlining of silk organza; interior seams catch-stitched; hand-picked zipper; instead of facings, neck and armholes finished with lining-abutted edges, then pick-stitched for stability. The silk charmeuse lining in the dress matches the jacket lining and is an extravagance, I will admit. But it feels heavenly, and adds a fluidity to the dress which is a good match for the butter-soft cashmere wool fashion fabric.

Suit dress

Shown with the jacket unbuttoned.

Shown with the jacket unbuttoned.

Suit dress

A close-up look...

A close-up look…

... and another one.

… and another one.

And a partial back view.

And a partial back view.

I am happy I added the collar to the dress, as that extra detail seems to help the dress stand on its own if/when I take the jacket off. Framing the face is always a good fashion decision, and I think the collar helps in that regard.

Just the dress!

Just the dress!

Suit dress

So happy this is finished!

So happy this is finished!

I consider finishing this outfit a major accomplishment!  So what’s next? Something easy or something more complex? Those questions to be answered soon, with this caveat: it will most definitely be something for Spring/Summer!


Details:

Navy blue Cashmere fashion fabric:  Britex Fabrics, San Francisco, CA

Silk charmeuse lining fabric:  Britex Fabrics

Buttons:  vintage Ultra Kraft, ca. 1950s

Shoes: Ferragamo

Patterns:  Jacket: vintage Jo Mattli Vogue Designer pattern; Dress: vintage Vogue blouse pattern combined with new Butterick dress pattern

31 Comments

Filed under Buttons - choosing the right ones, couture construction, Dressmaker suits, Shoes to make an outfit complete, Suit dresses, vintage buttons, vintage Vogue Designer patterns, vintage Vogue patterns from the 1970s, woolens

Sometimes It’s All About the Shoes

Well, maybe it’s not entirely about the shoes, although they do promise to share a starring role with my just-completed yellow and blue linen dress.

All about the shoes

I first spied these lovelies on the Simply Soles website last winter, as part of the offerings for Spring/Summer shoes. Although I loved everything about them (the combination of colors, the fabric, the asymmetrical bow, the kitten heel, the brand – knowing from experience that Butter shoes are extremely comfortable), I decided not to purchase them. At that point in time, I had not yet bought the bittersweet yellow linen, so I had no reason to buy shoes with such a limited color palette. By the time I had a good reason to buy them, they were no longer available in my size.

All about the shoes However, the Simply Soles website allows one to request an email advice should the correctly sized shoe become available. Weeks went by, Summer arrived, and by then I had paired the recently purchased deep yellow linen with the pottery blue linen. Goodness, I could not stop thinking about those shoes and how perfect they would be with my envisioned dress. And then – they were suddenly available – in my size – and on sale!

All about the shoes

By this time I was already immersed in making my second linen dress of the Summer, so I planned for the blue and yellow linen to be number “3”. In the meantime, I happened upon more documentation of Moygashel linen, this one for the “yellow” piece. Those of you who follow this blog know how much I love to make these connections!

"... pure enchantment for sun places ... a forsythia linen dress ..."  and the source information in the back of this Vogue Pattern Book Magazine from February/March, 1968 credits Moygashel as the brand of linen.

“… pure enchantment for sun places … a forsythia linen dress …” and the source information in the back of this Vogue Pattern Book Magazine from February/March, 1968 credits Moygashel as the brand of linen.

Seeing an entire dress made out of the forsythia linen helped me to feel confident about having such a bright color as the bodice part of my planned dress.  As I stated in my last post, I decided to use the bodice from this early ‘60s’ Vogue pattern, pairing it with a slim skirt and a belt.

The neckline dips down to a slightly curved V, with a center seam.

The neckline dips down to a slightly curved V, with a center seam.

As this would be a dressier type of frock, and because I know how foolproof couture construction is (with silk organza underlining and crepe de chine lining), I proceeded using those techniques. The facings on the V-shape of the bodice front and back were cut as part of the pattern, instead of being separate pieces. I followed the instructions to reinforce the edges of the fold with ¼” twill tape.

I basted the twill tape just to the outside of the fold line on the "all-in-one" facing.

I basted the twill tape just to the outside of the fold line on the “all-in-one” facing.  This is the back bodice.

And this is the front bodice, showing the deep V and the center seam.

And this is the front bodice, showing the deep V and the center seam.

Normally, couture construction does not use facings, but in this application, they were indispensible. Then the rest of the dress proceeded without a hitch.

Here is the dress turned inside out.  I used a forsythia-yellow zipper as i thought it more important to match the bodice than the skirt of the dress.

Here is the dress turned inside out. I used a forsythia-yellow zipper as I thought it more important to match the bodice than the skirt of the dress.

Here is the shoulder with the crepe de chine fell-stitched and understitched in place around the shouilder.  Note the lingerie stay made with a folded piece of Hug Snug Rayon woven tape.

Here is an inside look at the crepe de chine fell-stitched and understitched in place around the shouilder. Note the lingerie stay made with a folded piece of Hug Snug rayon woven tape.

About halfway through the construction of the dress, I got the idea to have decorative buttons made – to compliment the front V of the neckline.

I sent scraps of my fabric off to Pat Mahoney in California to have these buttons made.  Sadly, Pat is retiring from her business at the end of August...

I sent scraps of my fabric off to Pat Mahoney in California to have these buttons made. Sadly, Pat is retiring from her business at the end of August…

I actually was not sure I was going to use them until I had finished the dress, but I think they add just the right amount of detail.

Here is the dress without the buttons . . .

Here is the dress without the buttons . . .

. . . and here is the dress with the buttons.  What do you think?  With or without?

. . . and here is the dress with the buttons. What do you think? With or without?

Another detail I was happy to add was the Moygashel linen label which had been attached to the forsythia yellow linen yardgoods.

I attached the label inside the back neckline.

I attached the label inside the back neckline.

The belt is also a Pat Mahoney product, made from a silk dupioni.

The belt is also a Pat Mahoney product, made from a silk dupioni.

All about the shoes

All about the shoes

I like the V-ed back!

I like the V-ed back!

Love those shoes!

Love those shoes!

To me, this dress is reminiscent of a 1950s’ “wiggle dress” – although I added a back slit so that I can walk easily, which I guess would have been “cheating” in the 1950s! I was delighted to make another 1950s’ connection when I saw this pair of Roger Vivier shoes for Christian Dior on Pinterest:

All about the shoes - Pinterest pin

The similarities with my shoes are remarkable! Now that I have one dress perfectly suited for my Christian Dior-inspired shoes, I will be looking for other “perfect pairings”. Who knows what fabric treasures will present themselves next Spring or Summer for just such an undertaking?


44 Comments

Filed under Buttons - choosing the right ones, couture construction, hand-sewn zippers, Linen, Moygashel linen, Shoes to make an outfit complete, The Conde Nast Publications, Uncategorized, underlinings, Vintage fabric, vintage Vogue patterns from the 1960s