Category Archives: Eyelet

A White Eyelet Blouse

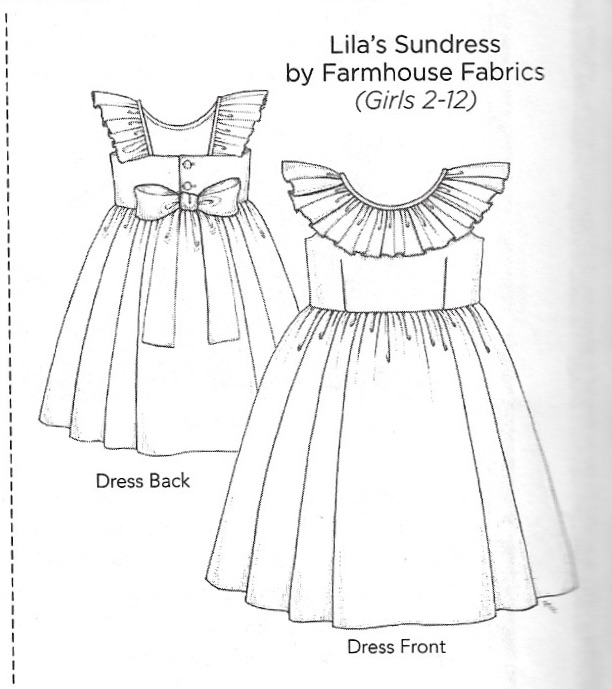
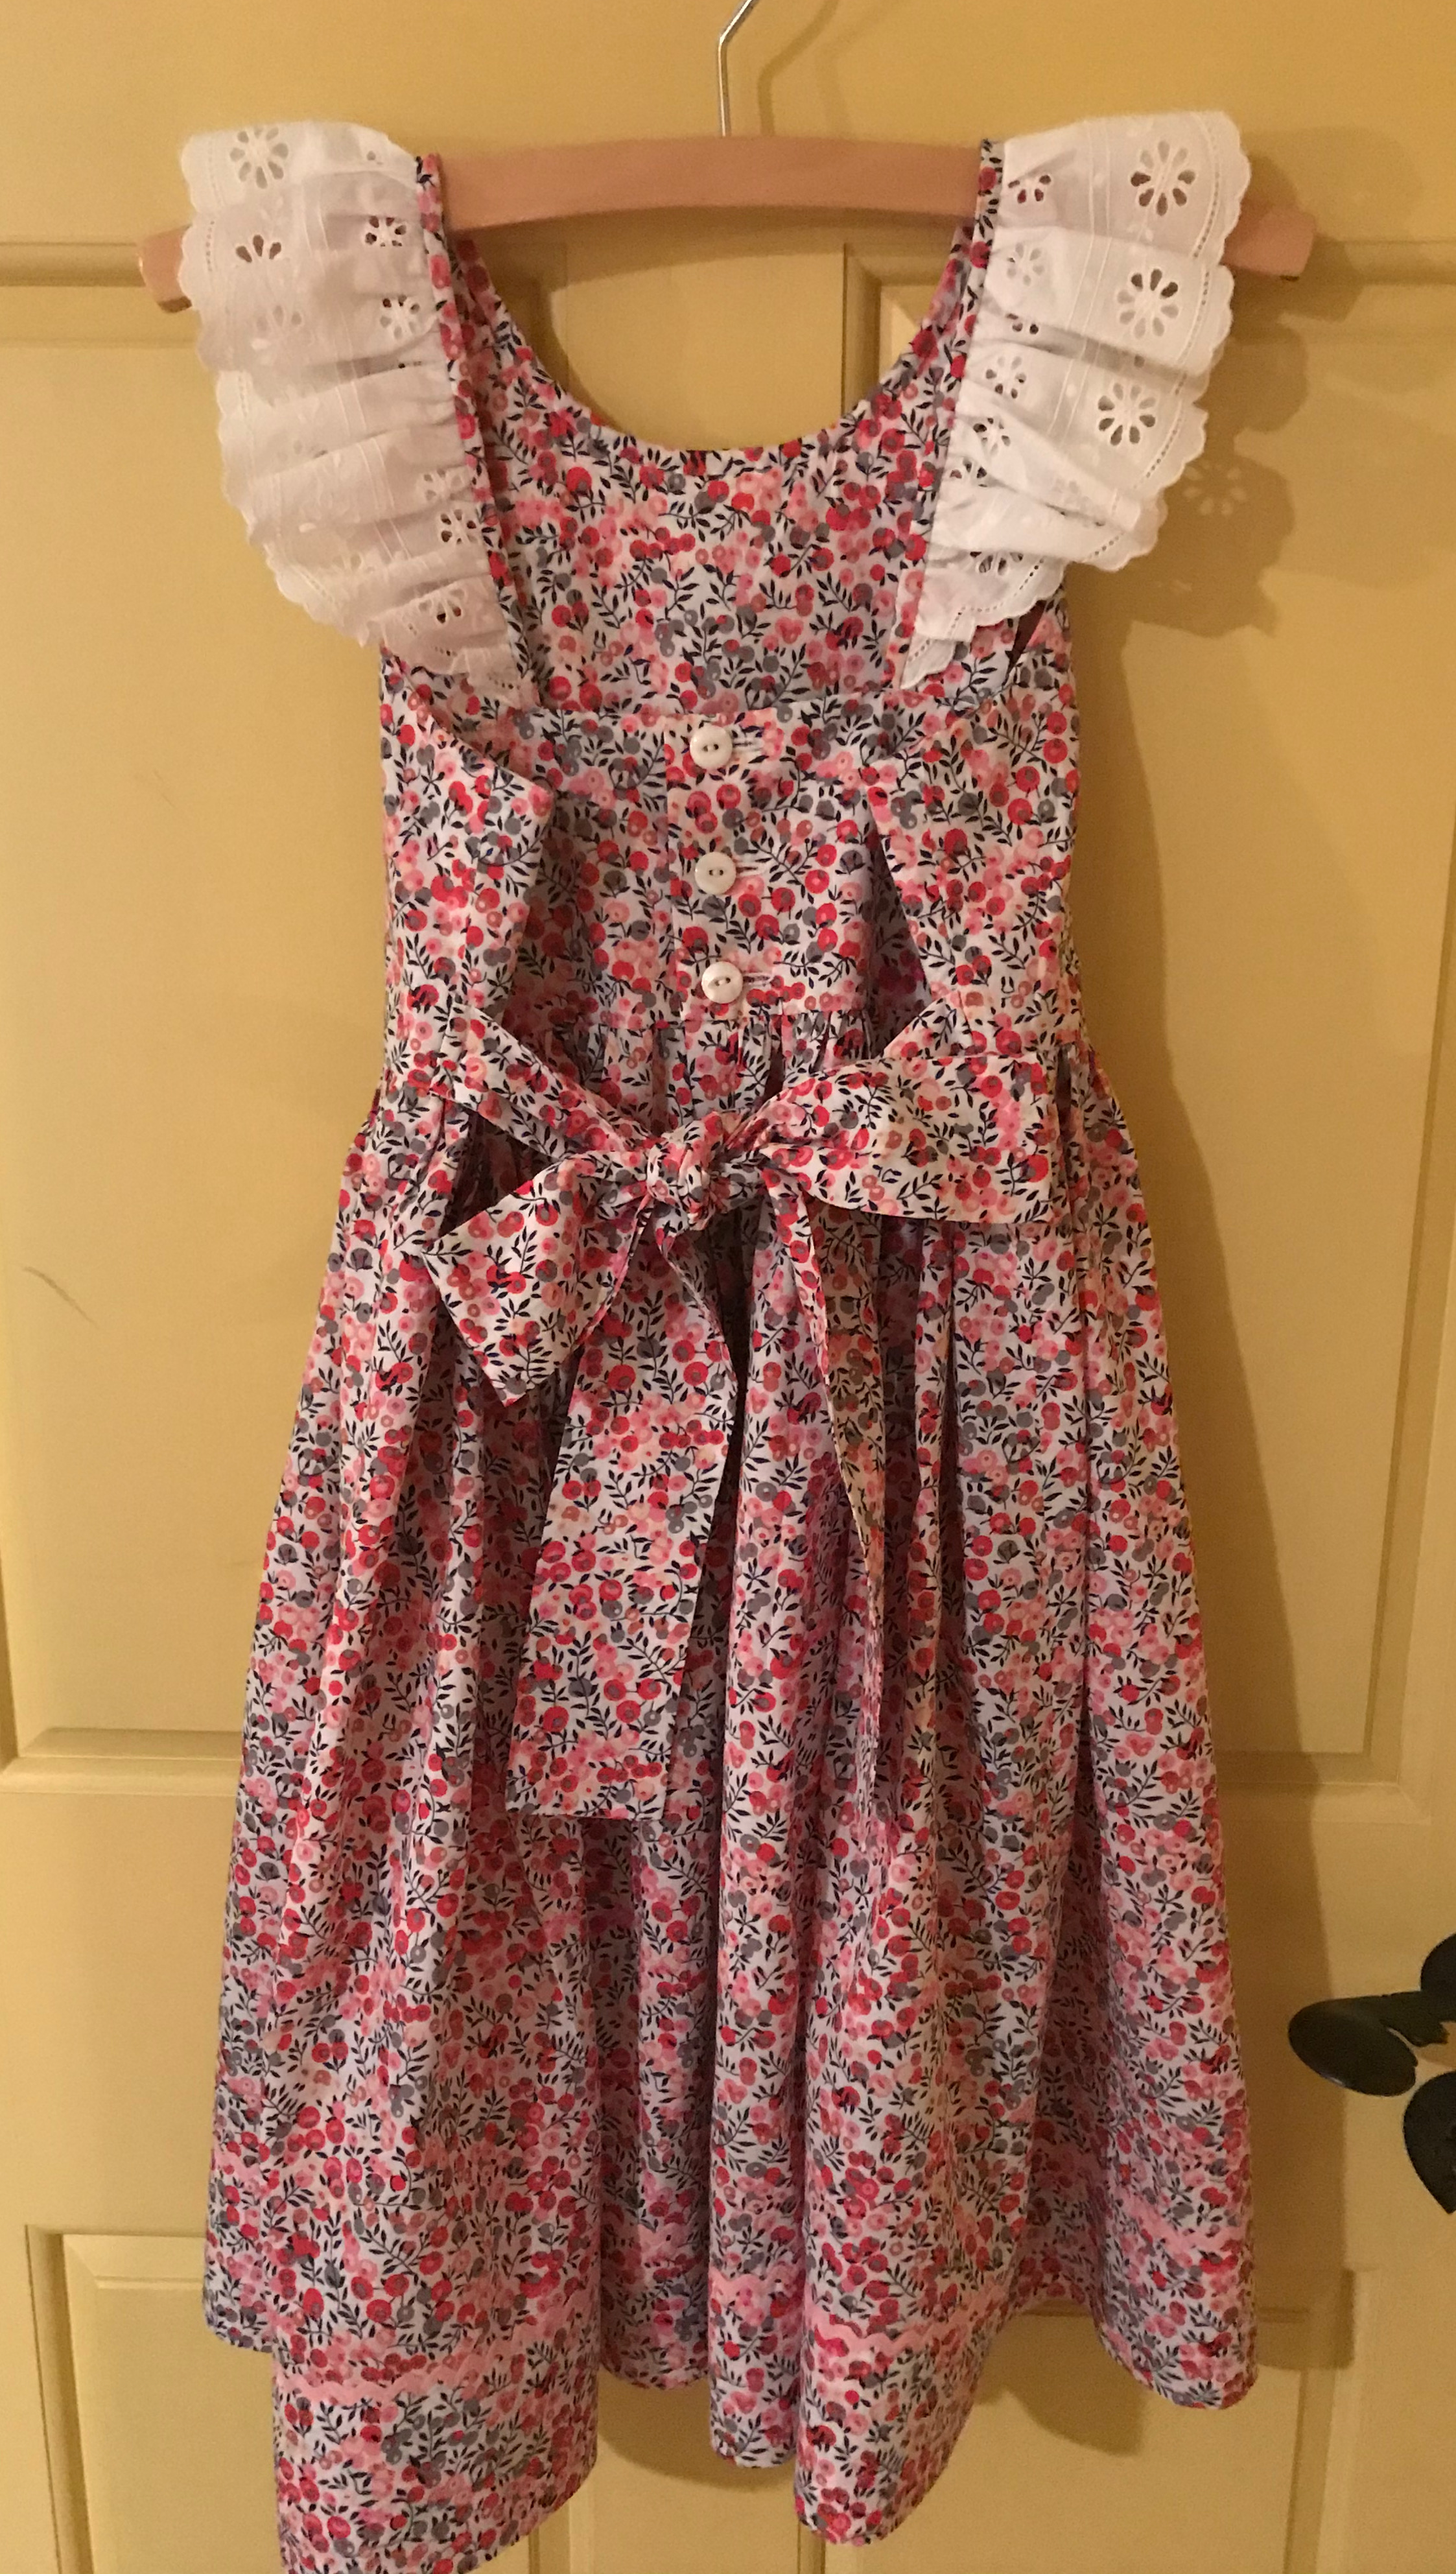
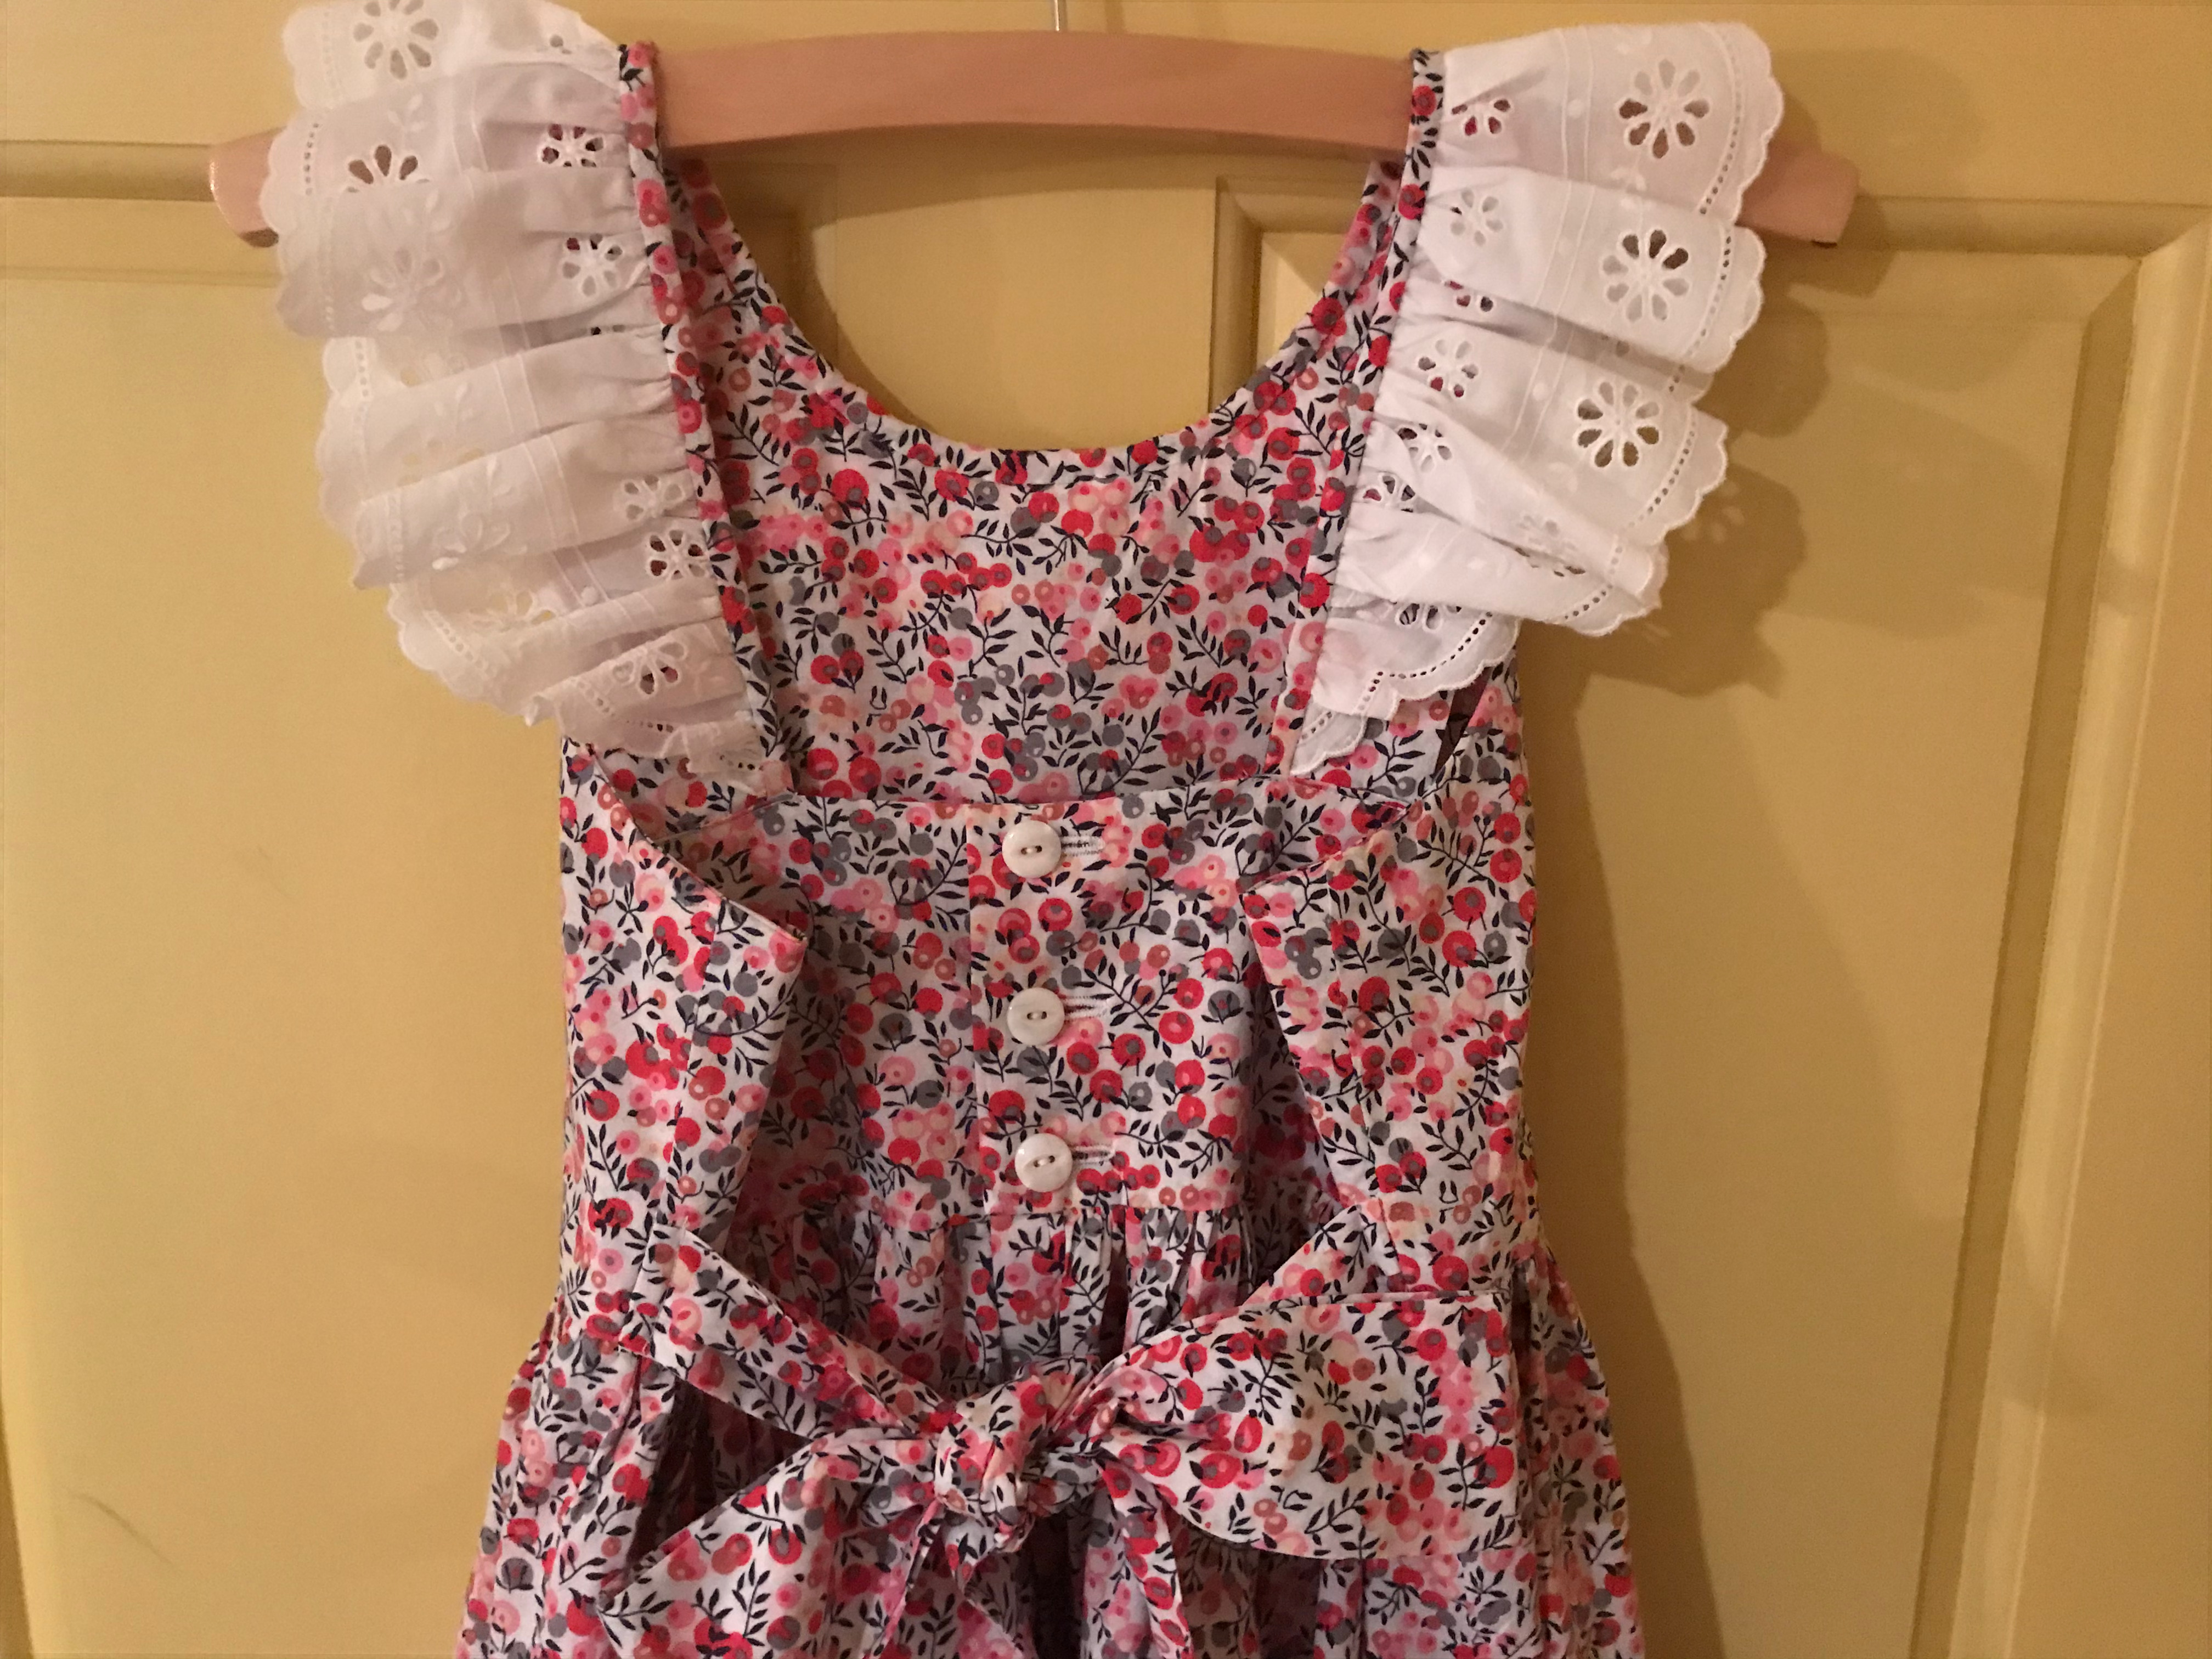
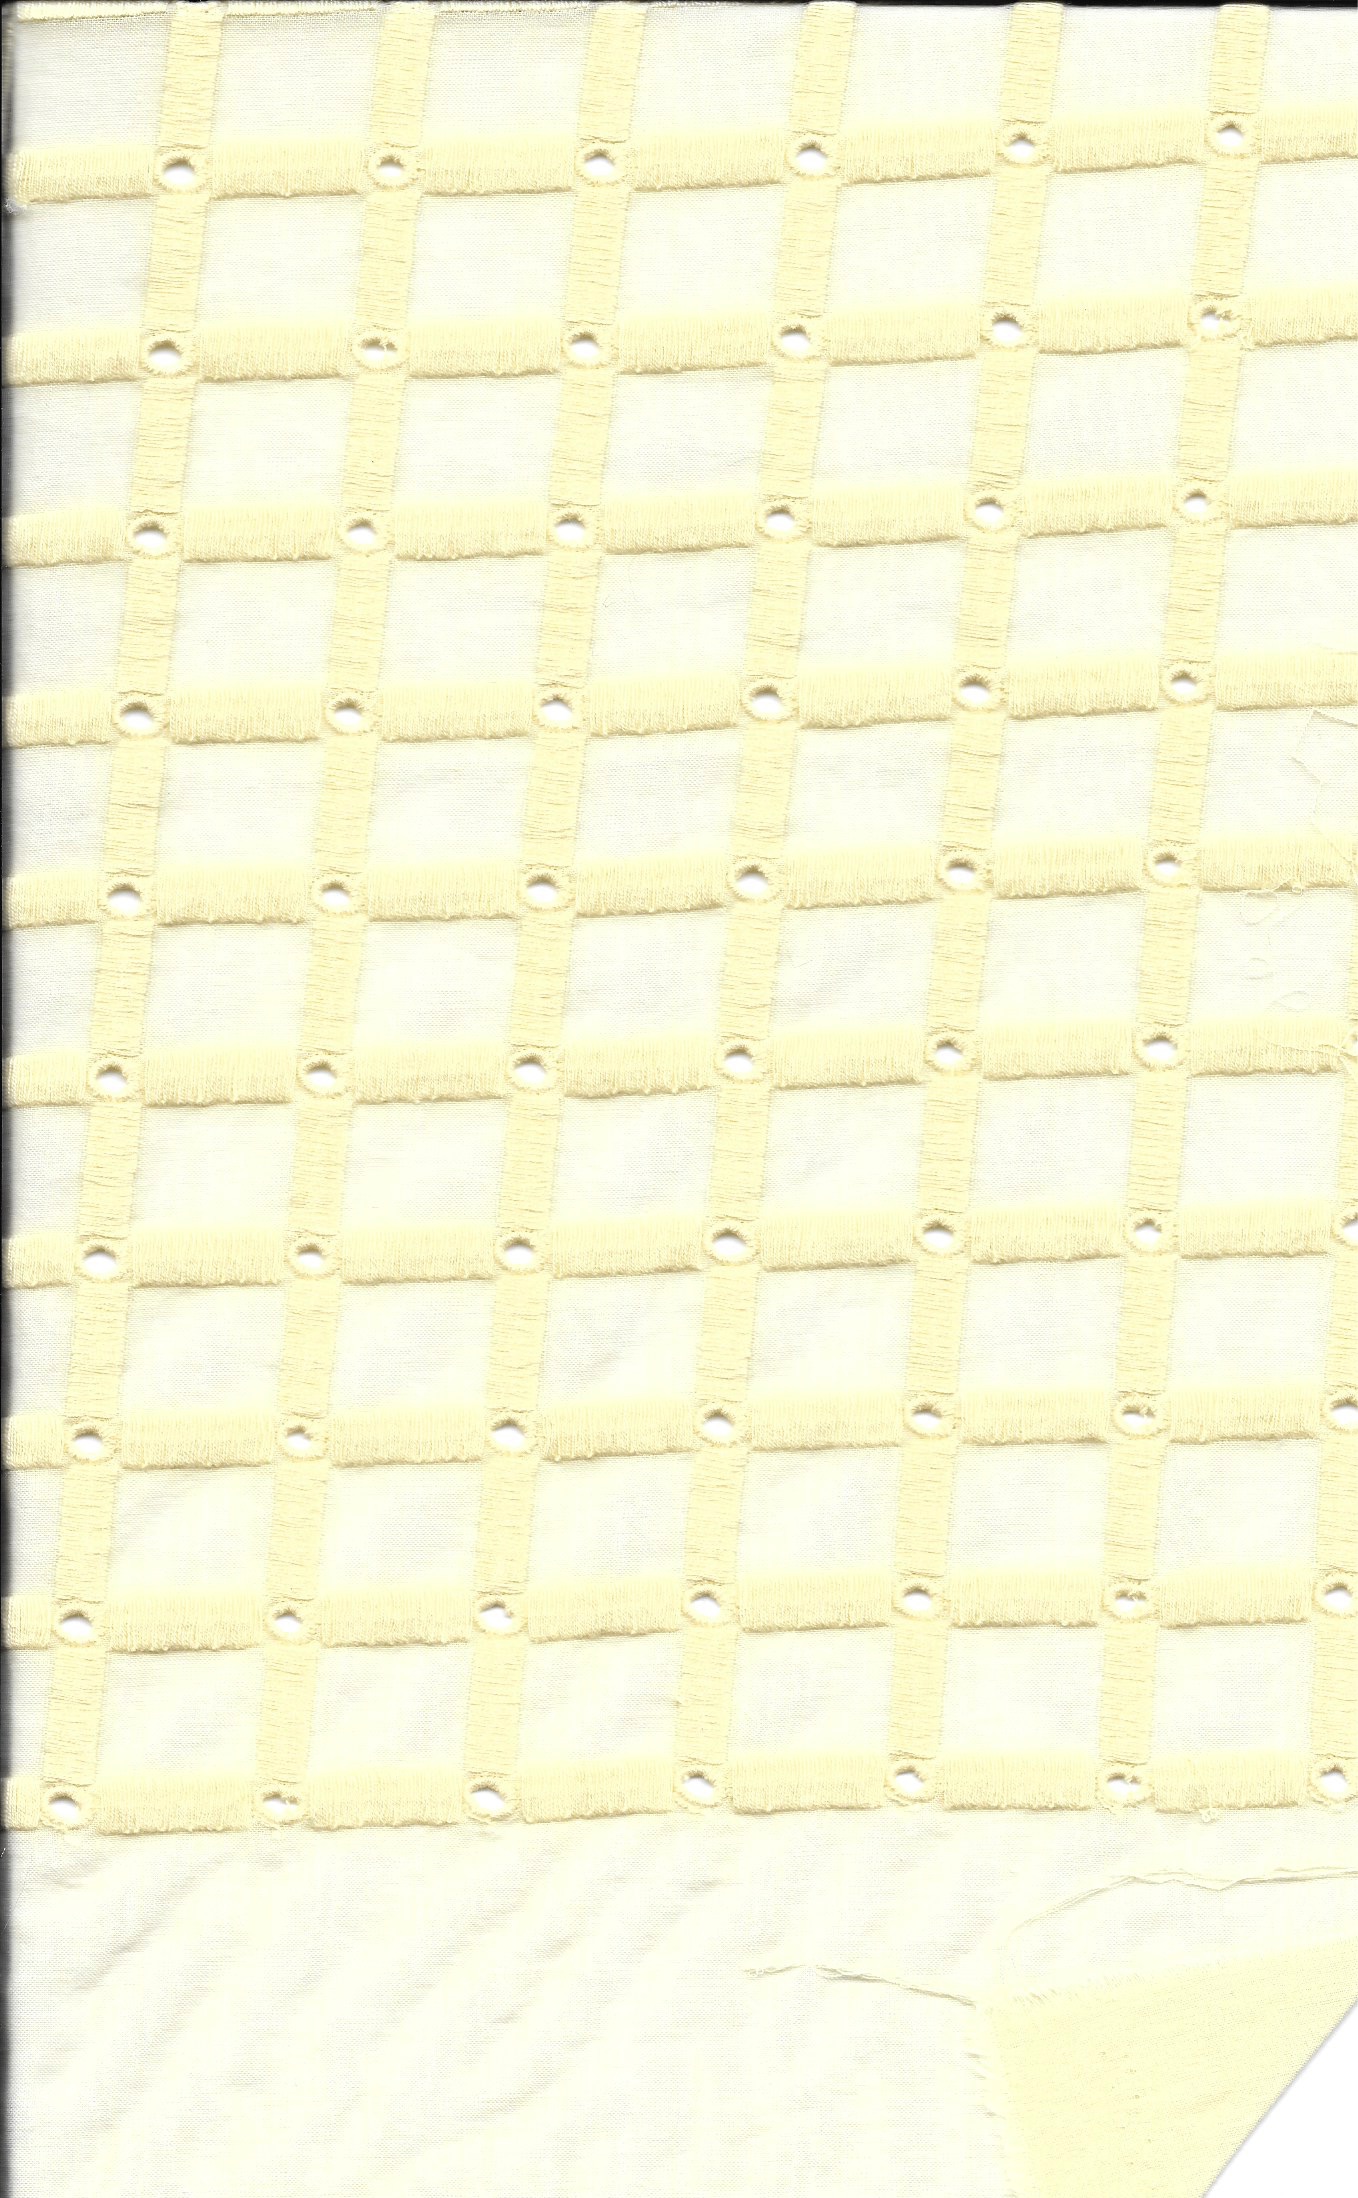
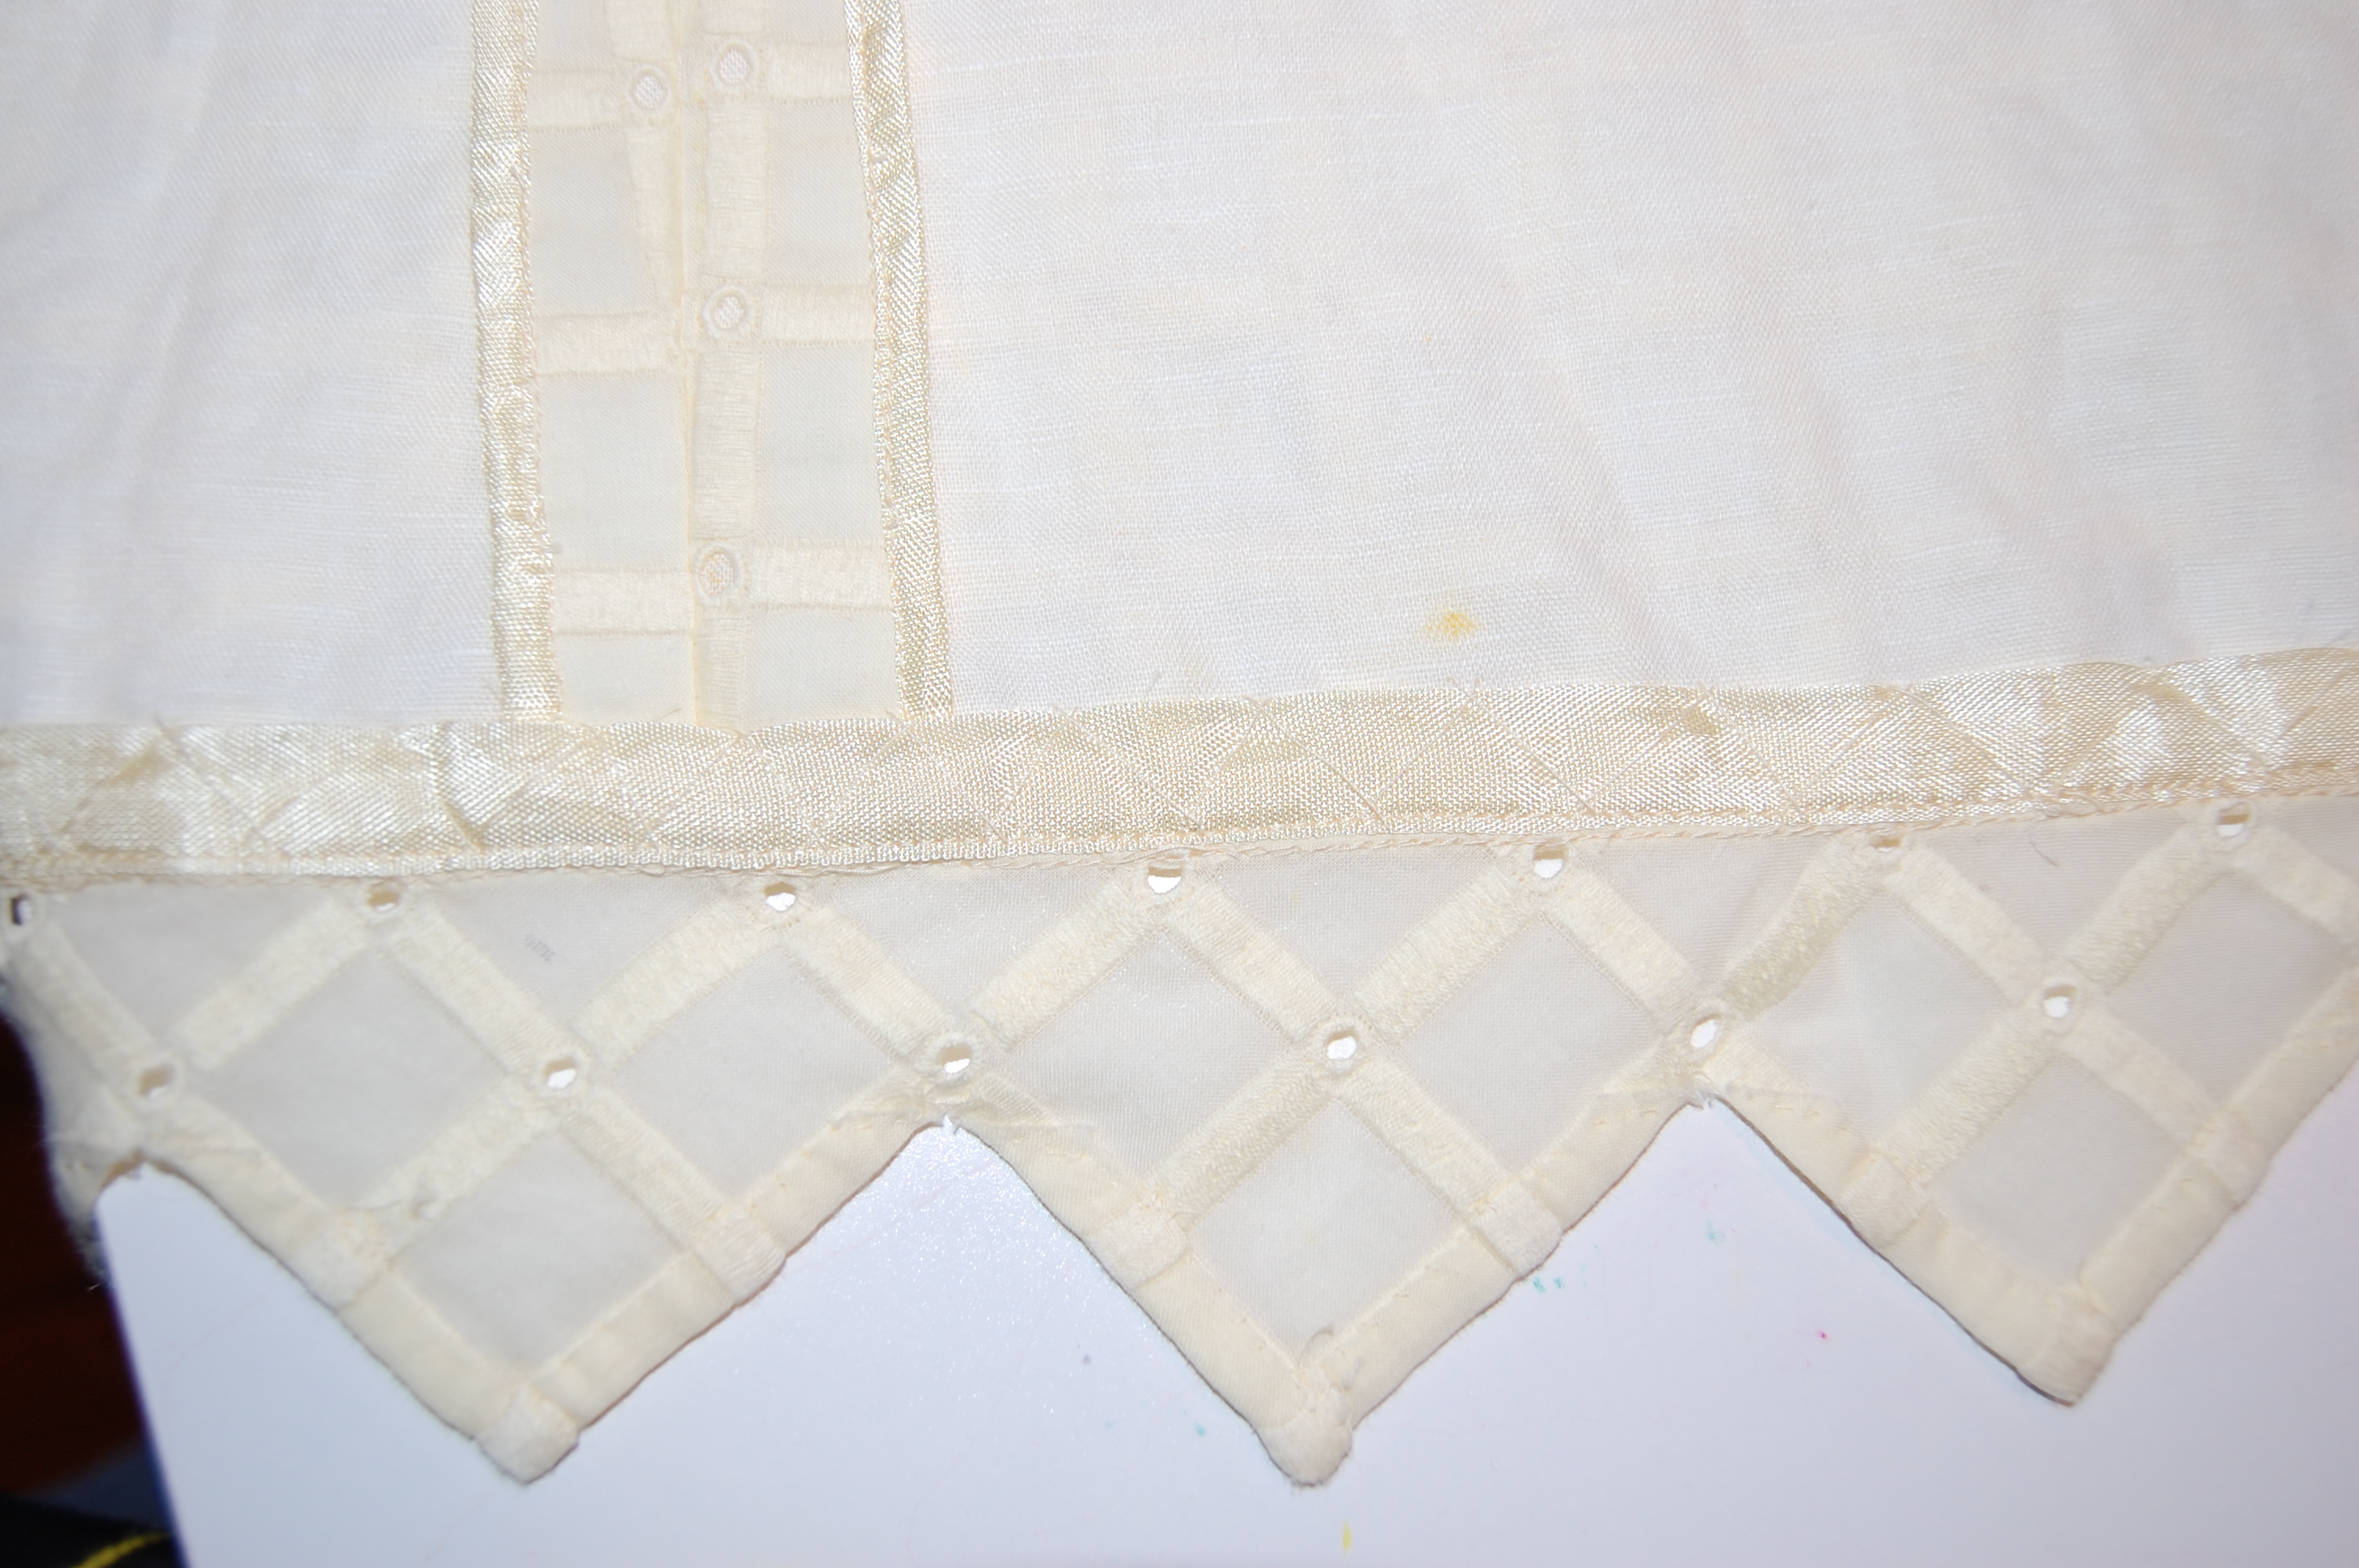
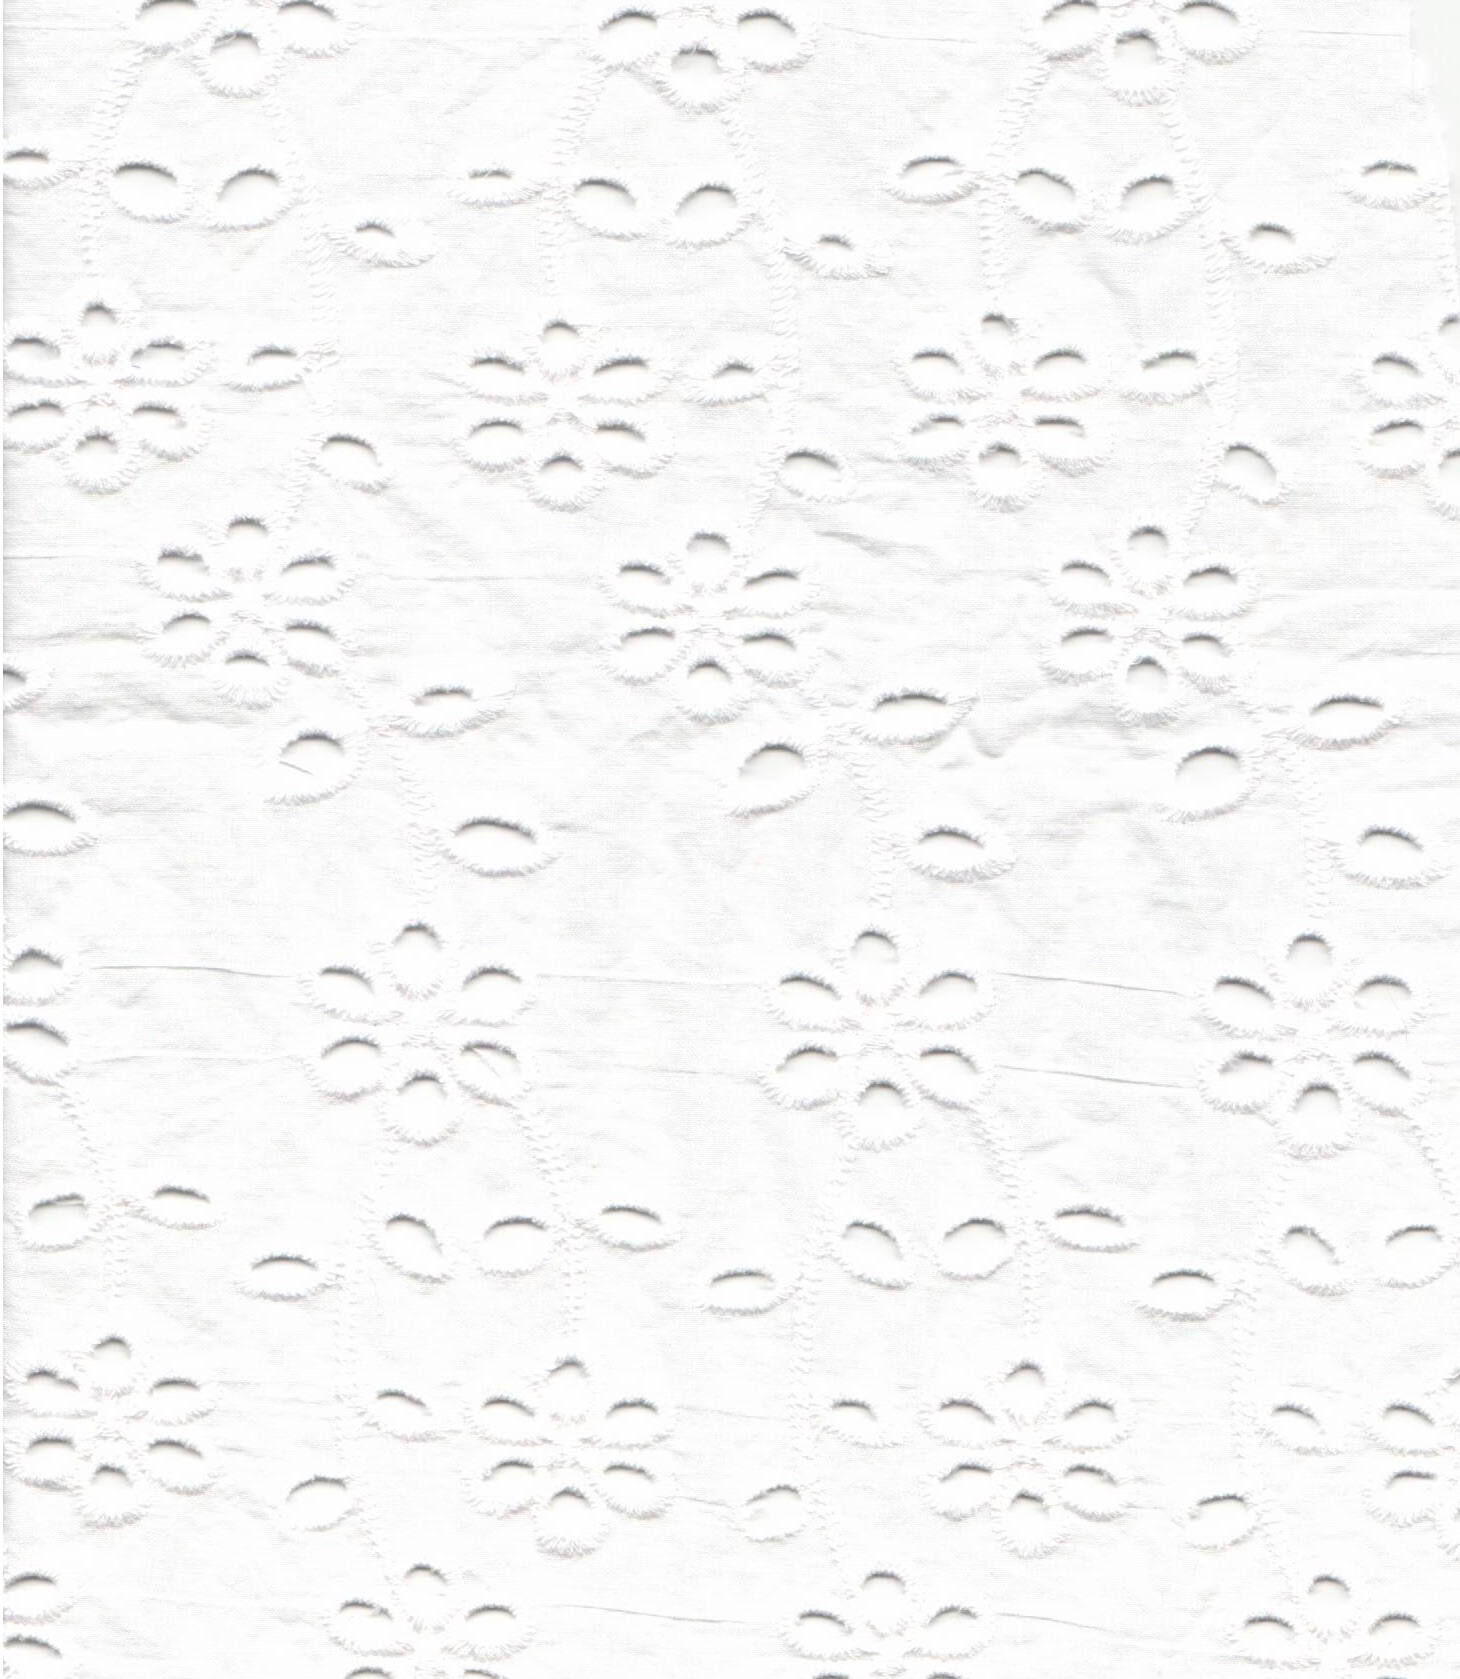
Eyelet is one of those fabrics which can conjure up memories from one’s life.  So often associated with pinafores, eyelet is lovely for little girls’ dresses – and petticoats.  It is often used for lingerie or sleepwear for all ages, as well as dresses and blouses.  It is a summer fabric, with its “built-in” air conditioning – ie. all those little holes surrounded by embroidery.    Often eyelet trim – and sometimes eyelet yard goods – have one or two finished borders.  Such was the case with the eyelet I found earlier this year for the ruffled collars for sundresses for my granddaughters.  

This lace was a 14″ wide double scallop-edged panel, which I cut down the middle to use for the two collars.

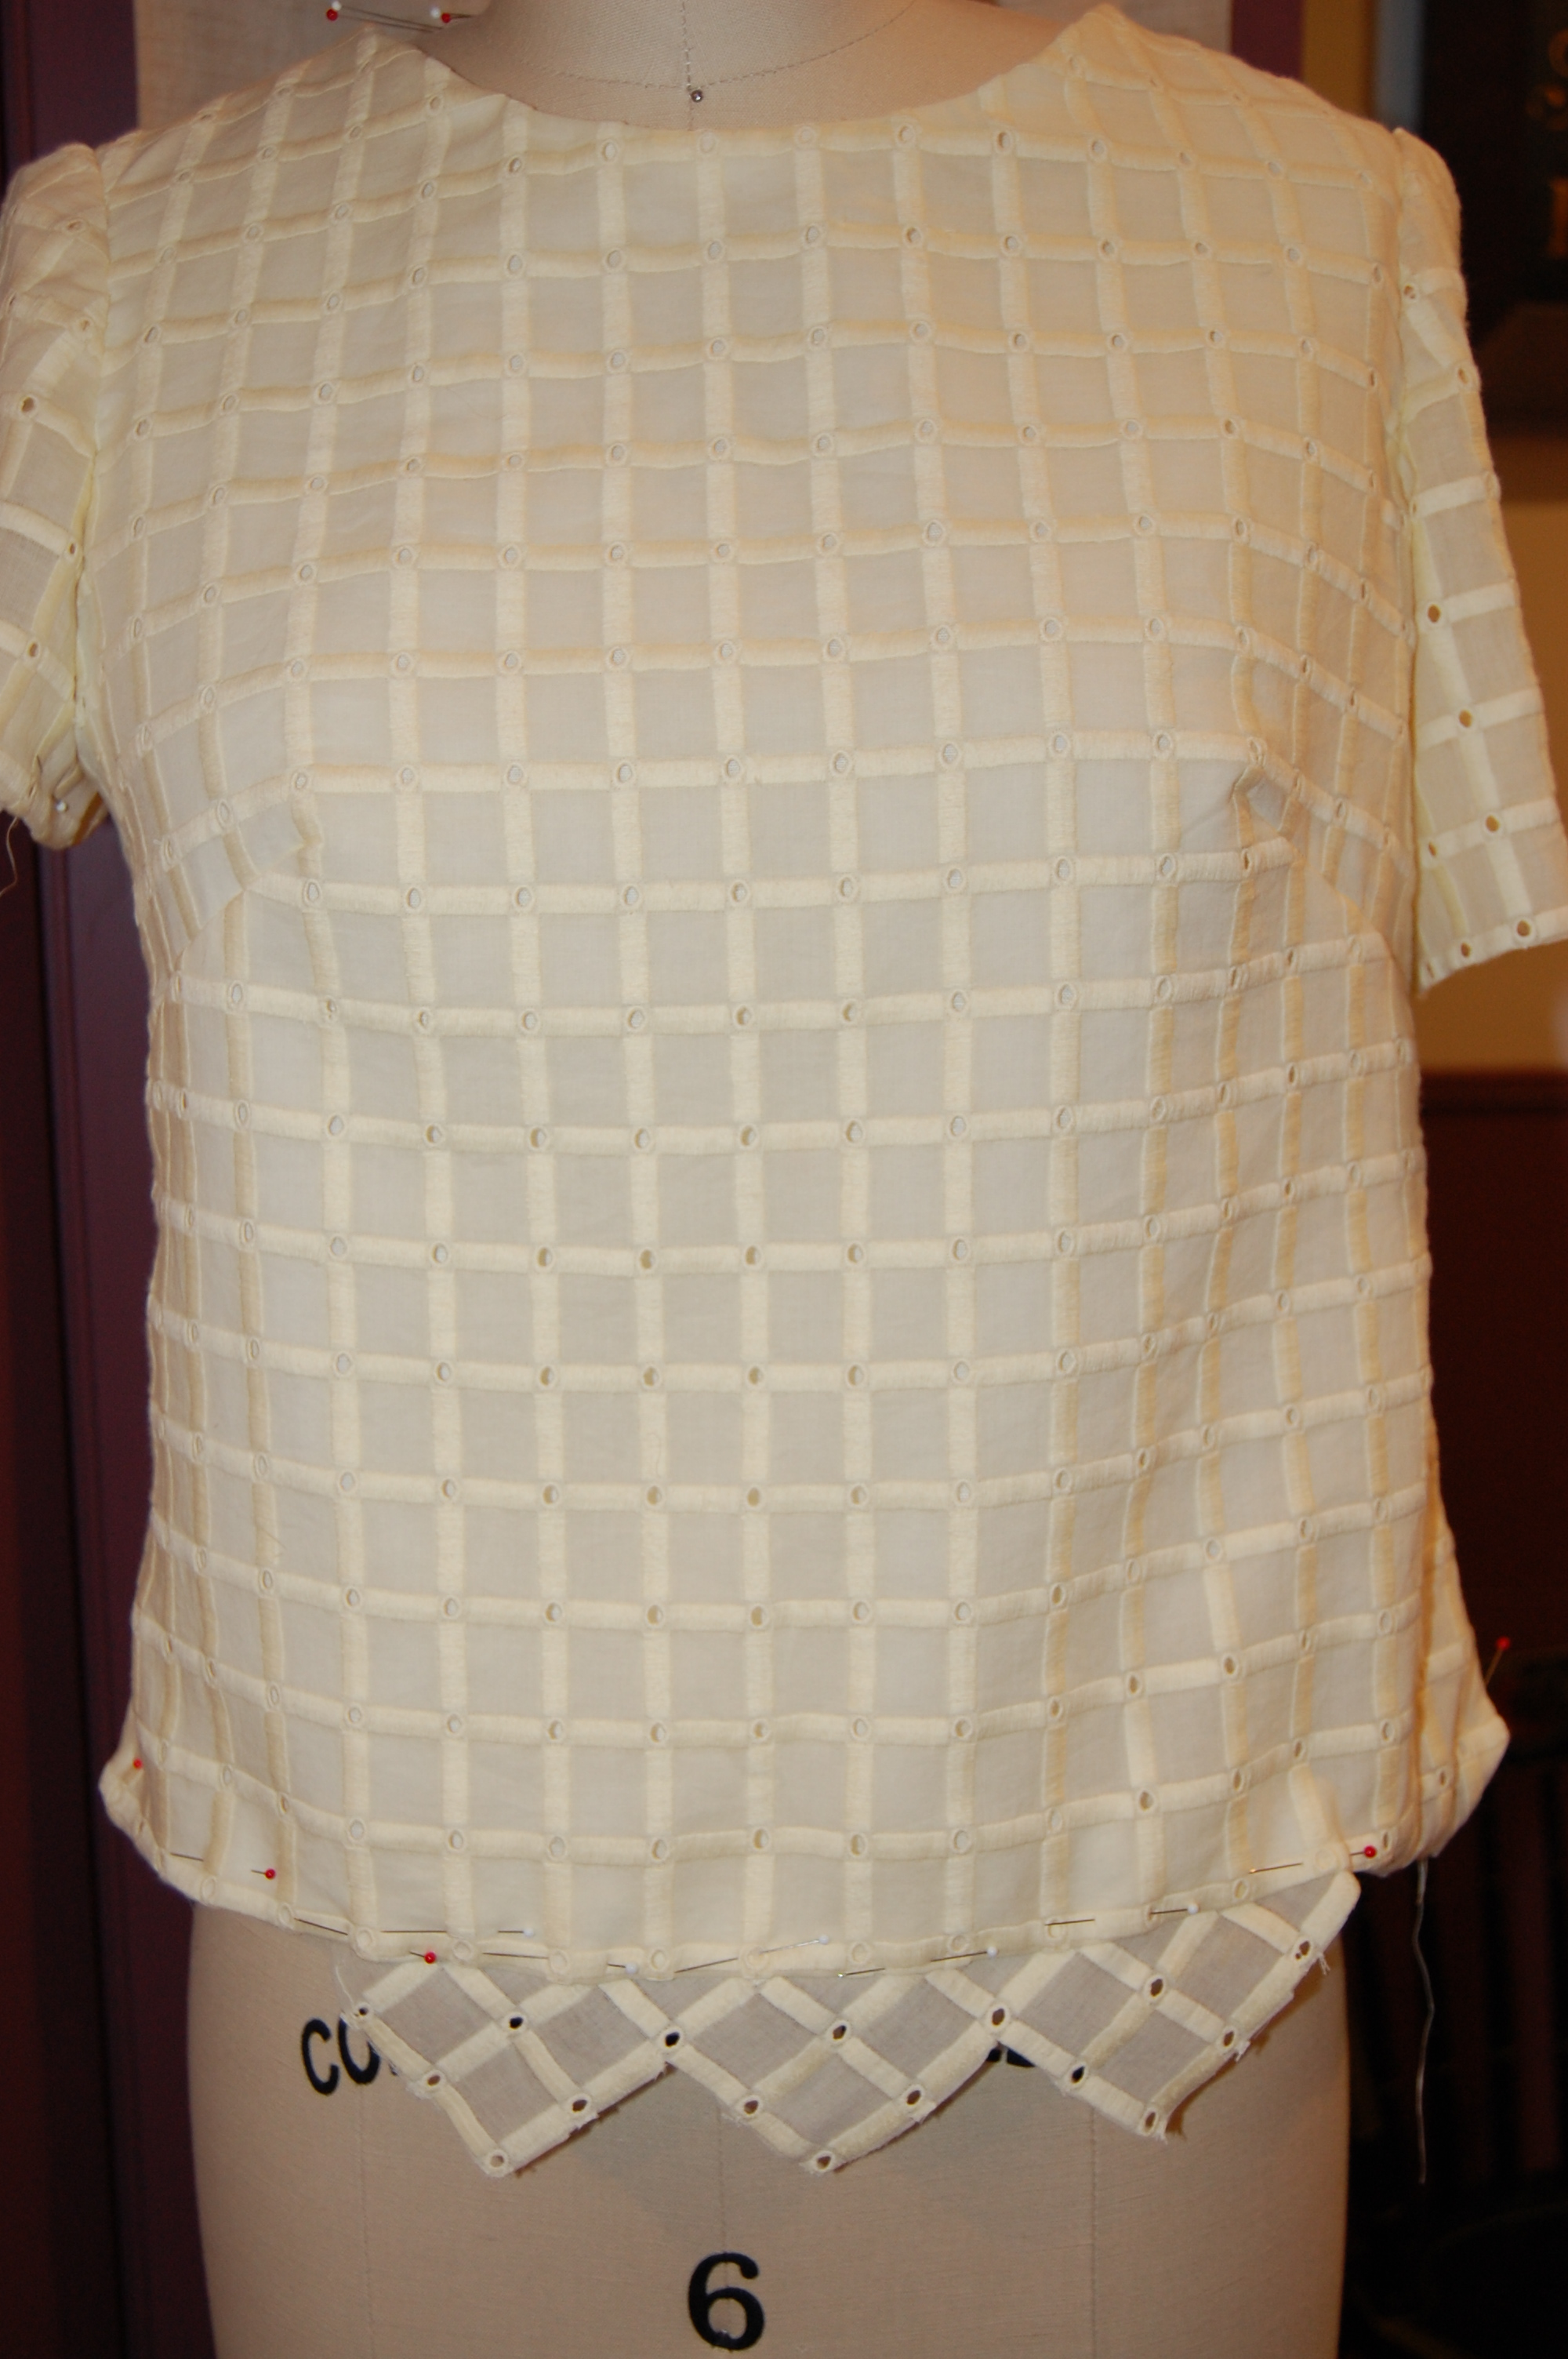
It was working on those collars which convinced me I needed to make an eyelet bouse for myself.  I went back to Farmhouse Fabrics, from which I had purchased the double-sided eyelet panel for those collars, to find a suitable eyelet for a blouse.  Farmhouse Fabrics has quite an inventory of lovely eyelets, so it was difficult to decide.  But decide I did, and purchased this all-cotton eyelet made in Spain.  

I liked the meandering motif in this design.

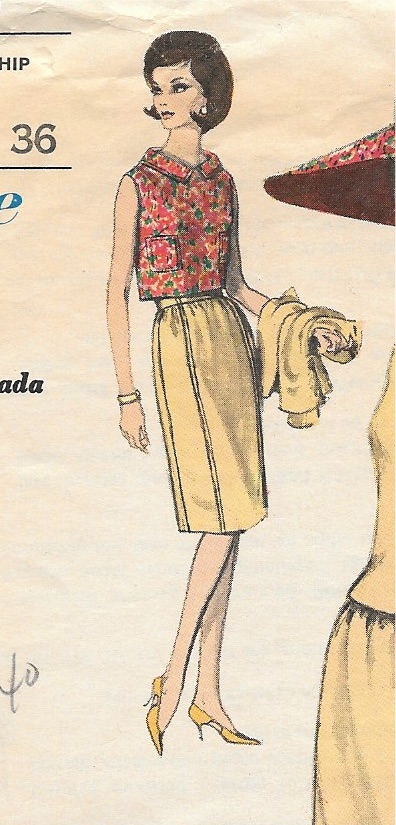
For a pattern I used this vintage Vogue pattern from 1957.

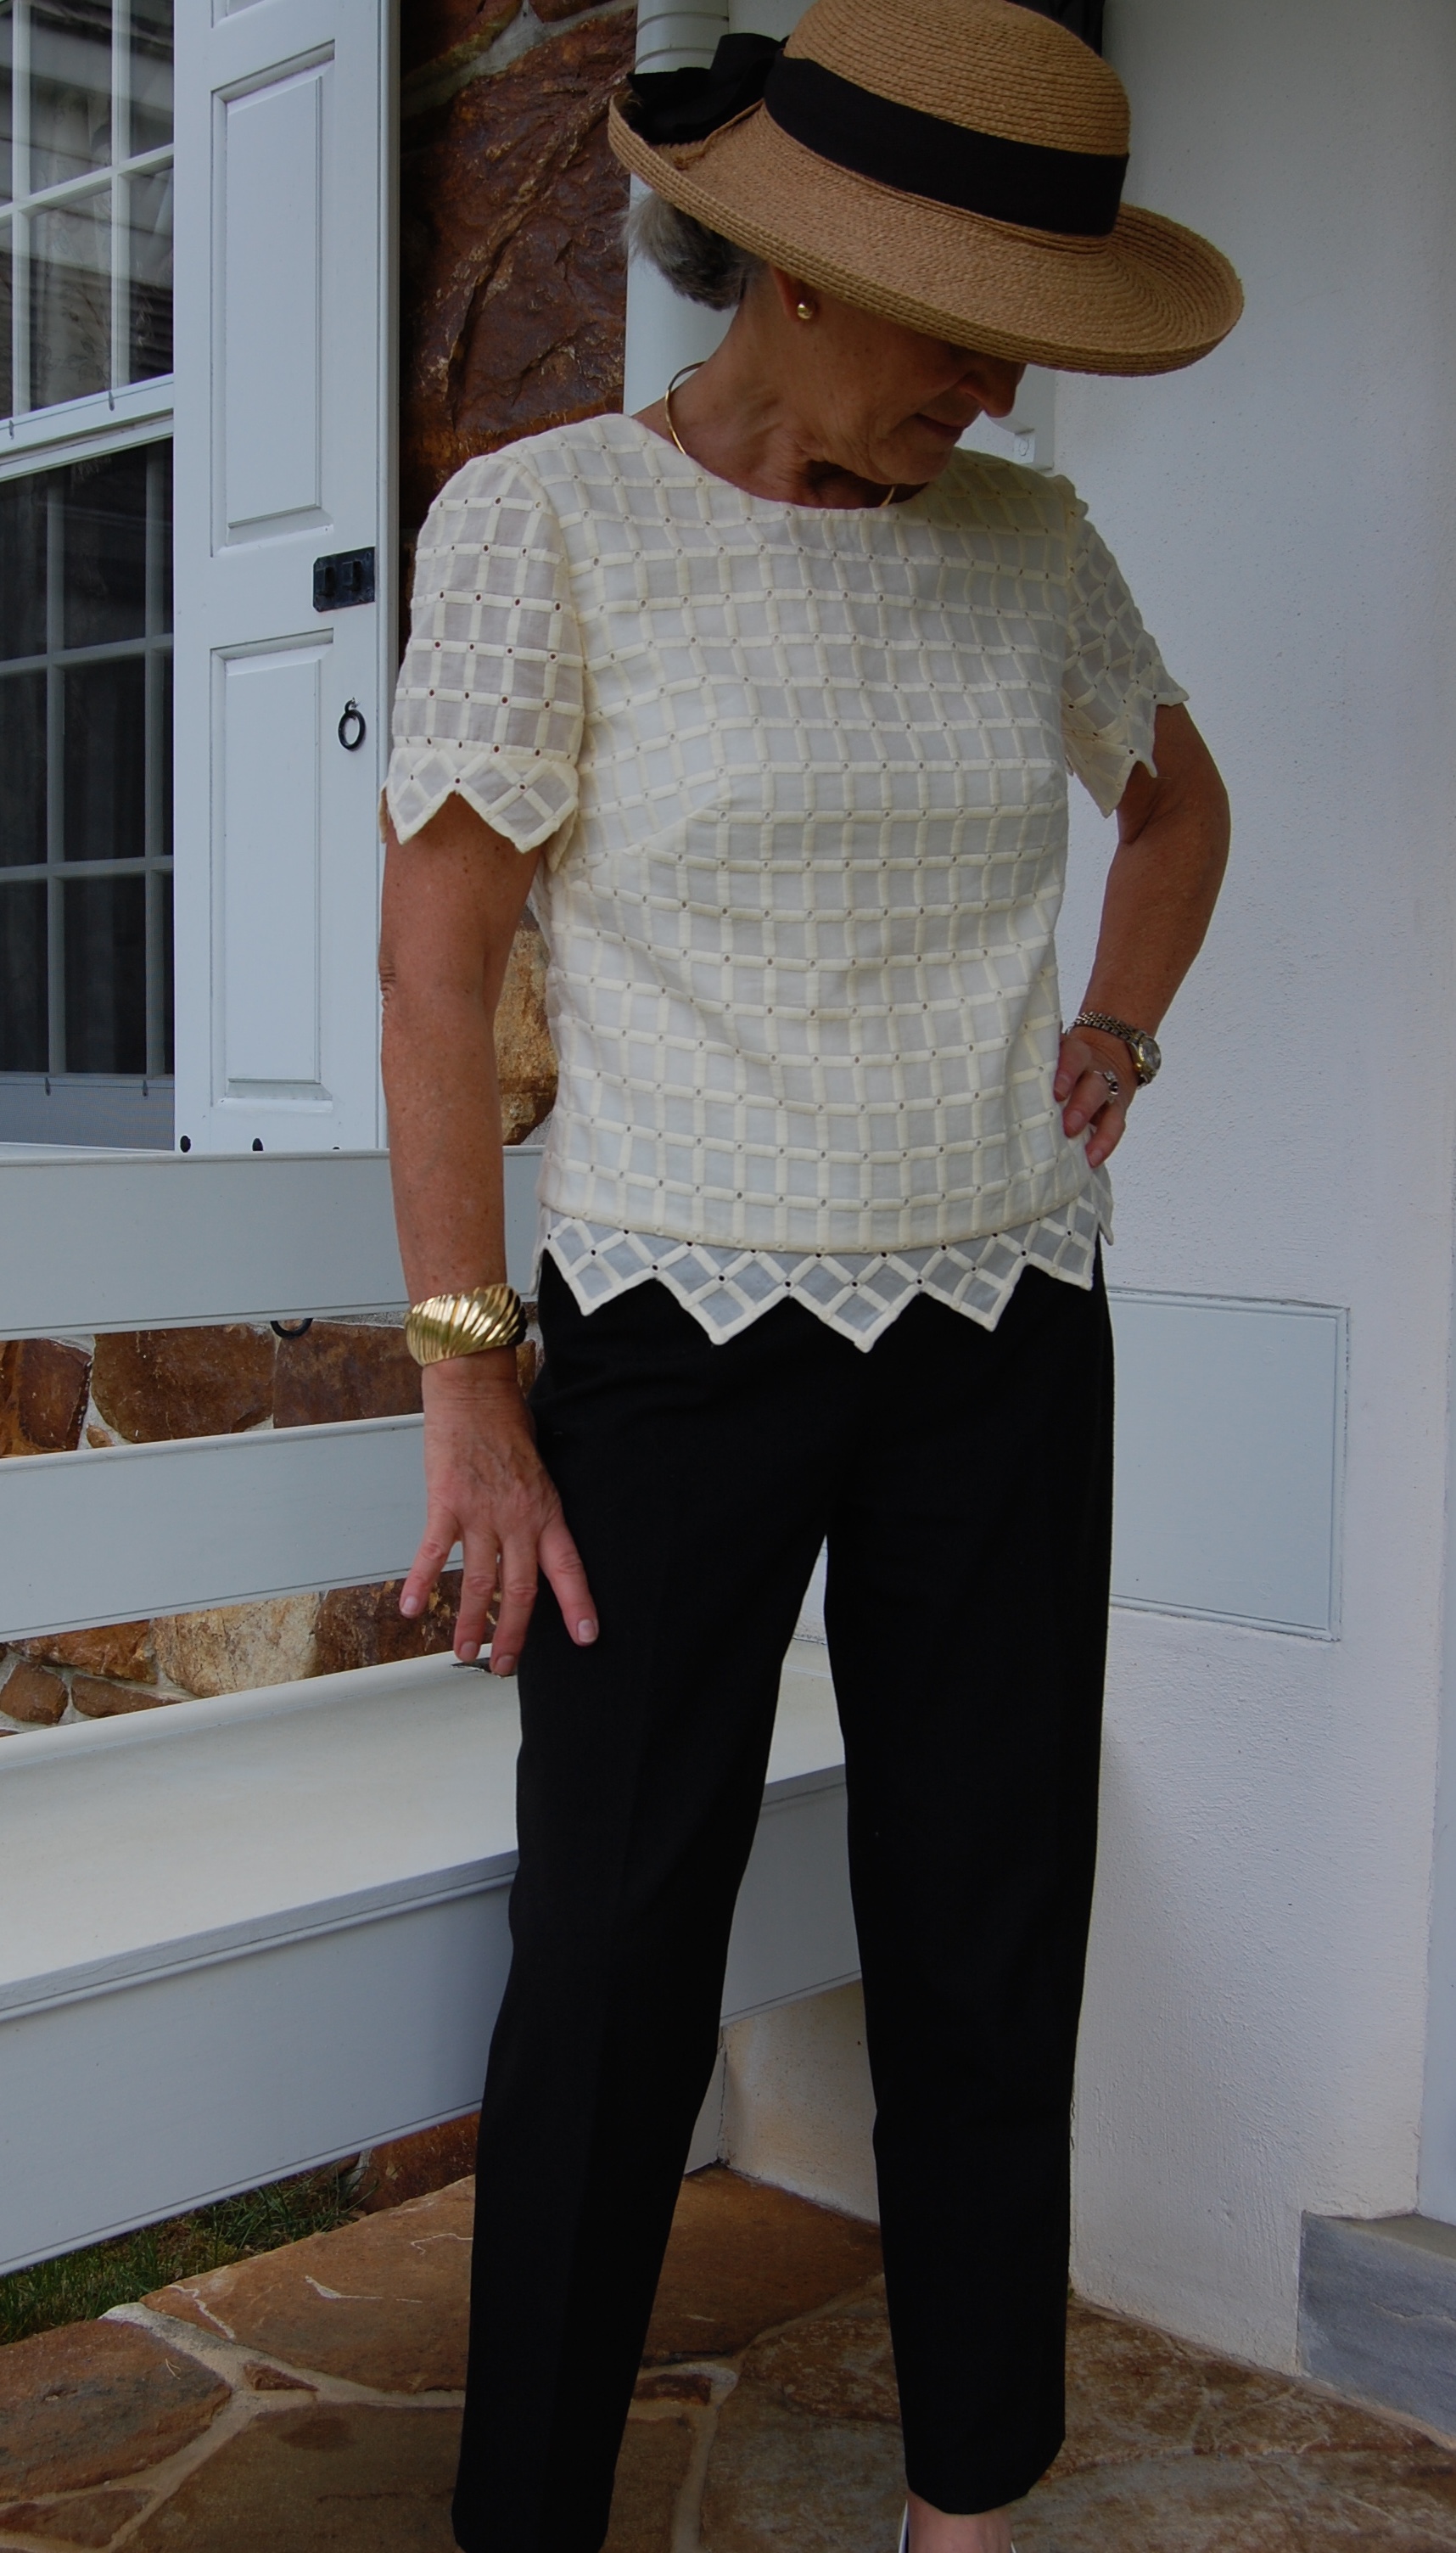
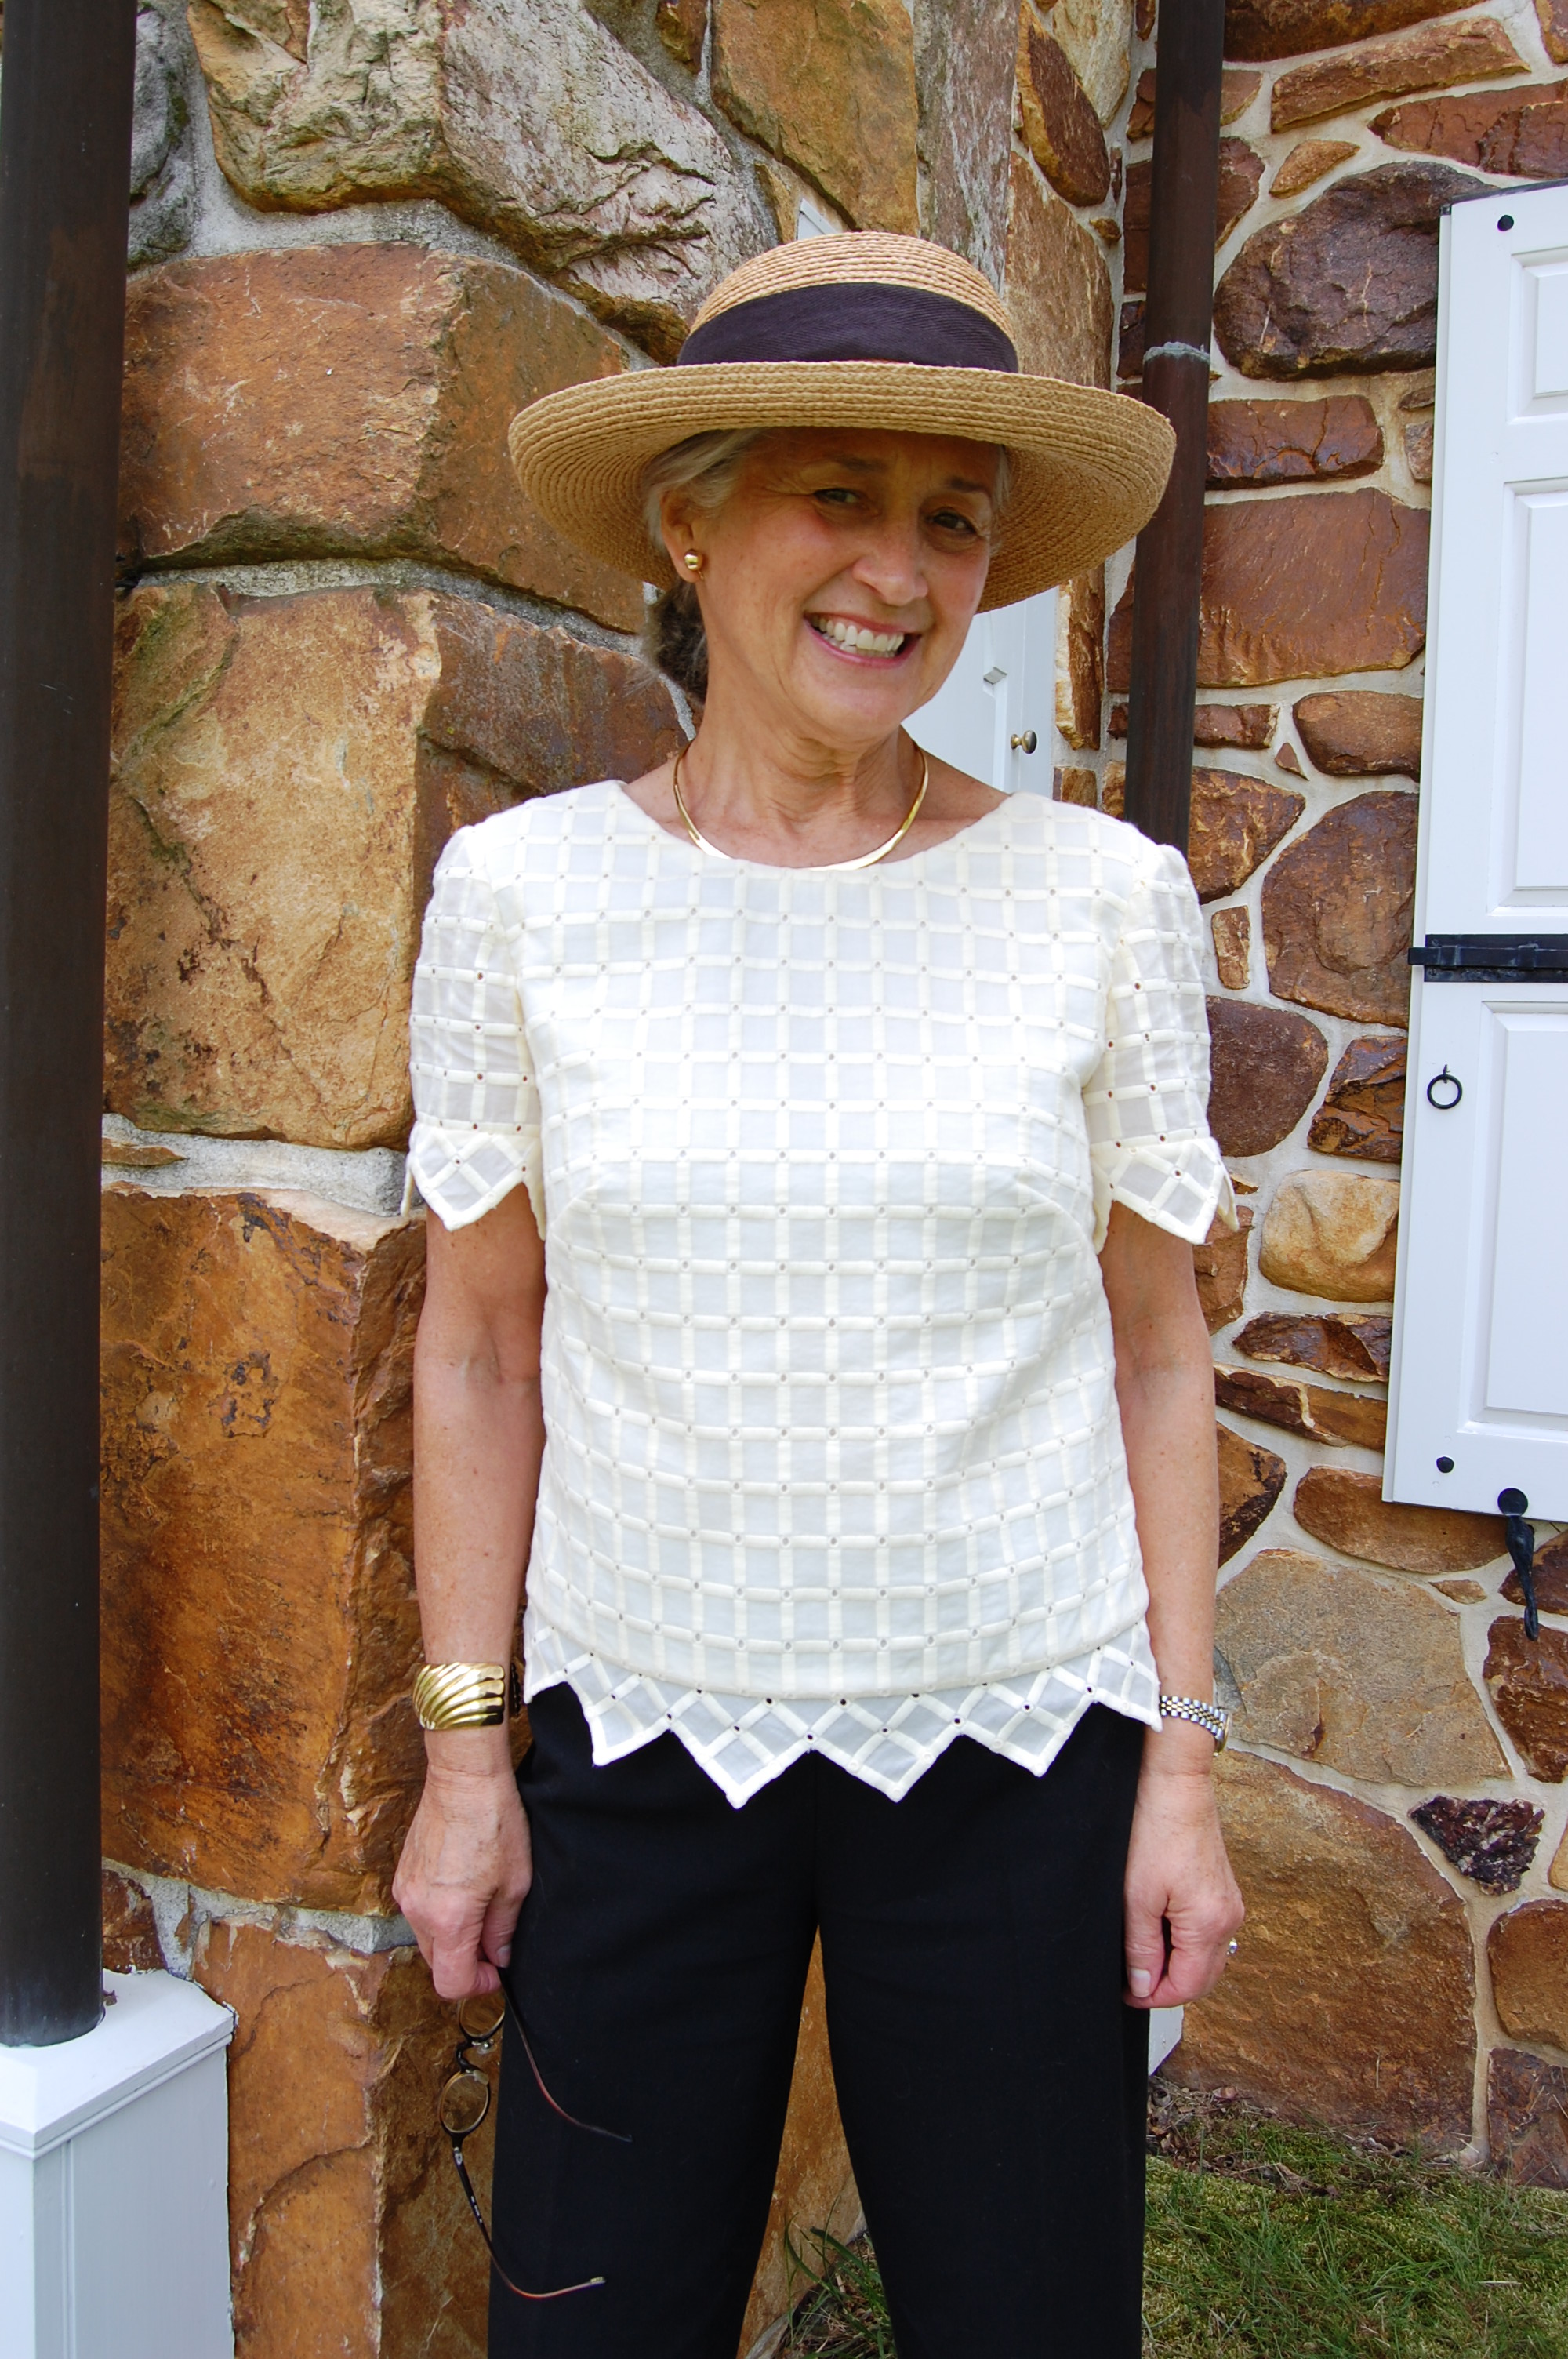
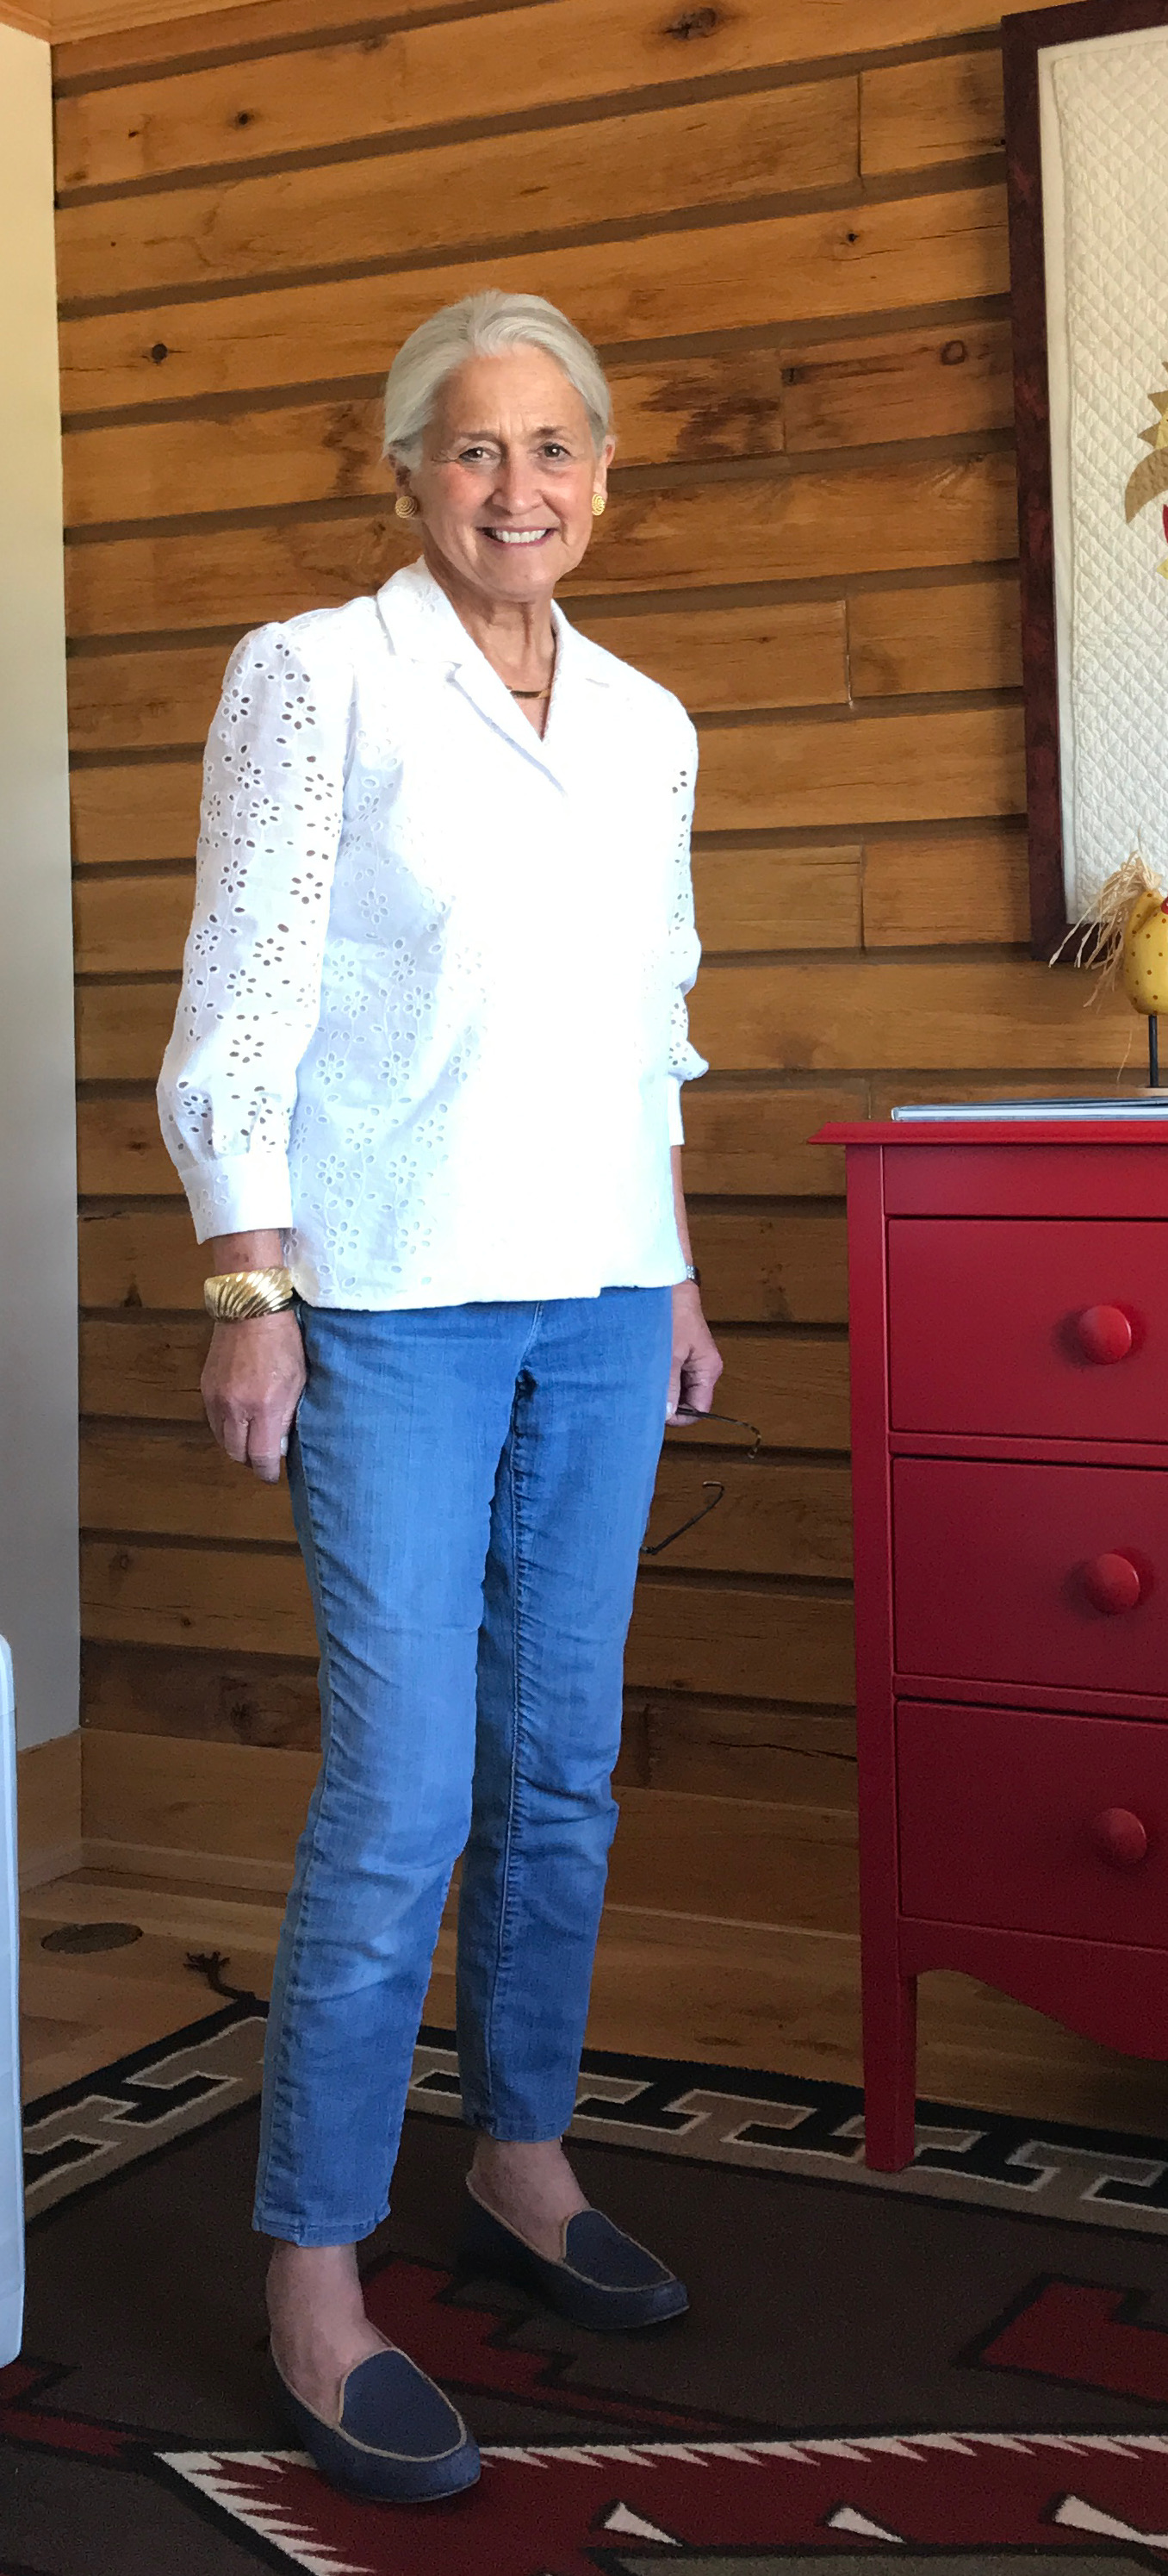
I liked the convertible collar of this pattern, as shown in View B. A convertible collar is one which can be worn open or closed. The collar is sewn directly to the neckline.  I did, however, shorten the sleeves to below elbow-length.  I also chose to make plain, buttoned cuffs without the extra turn-back detail.  

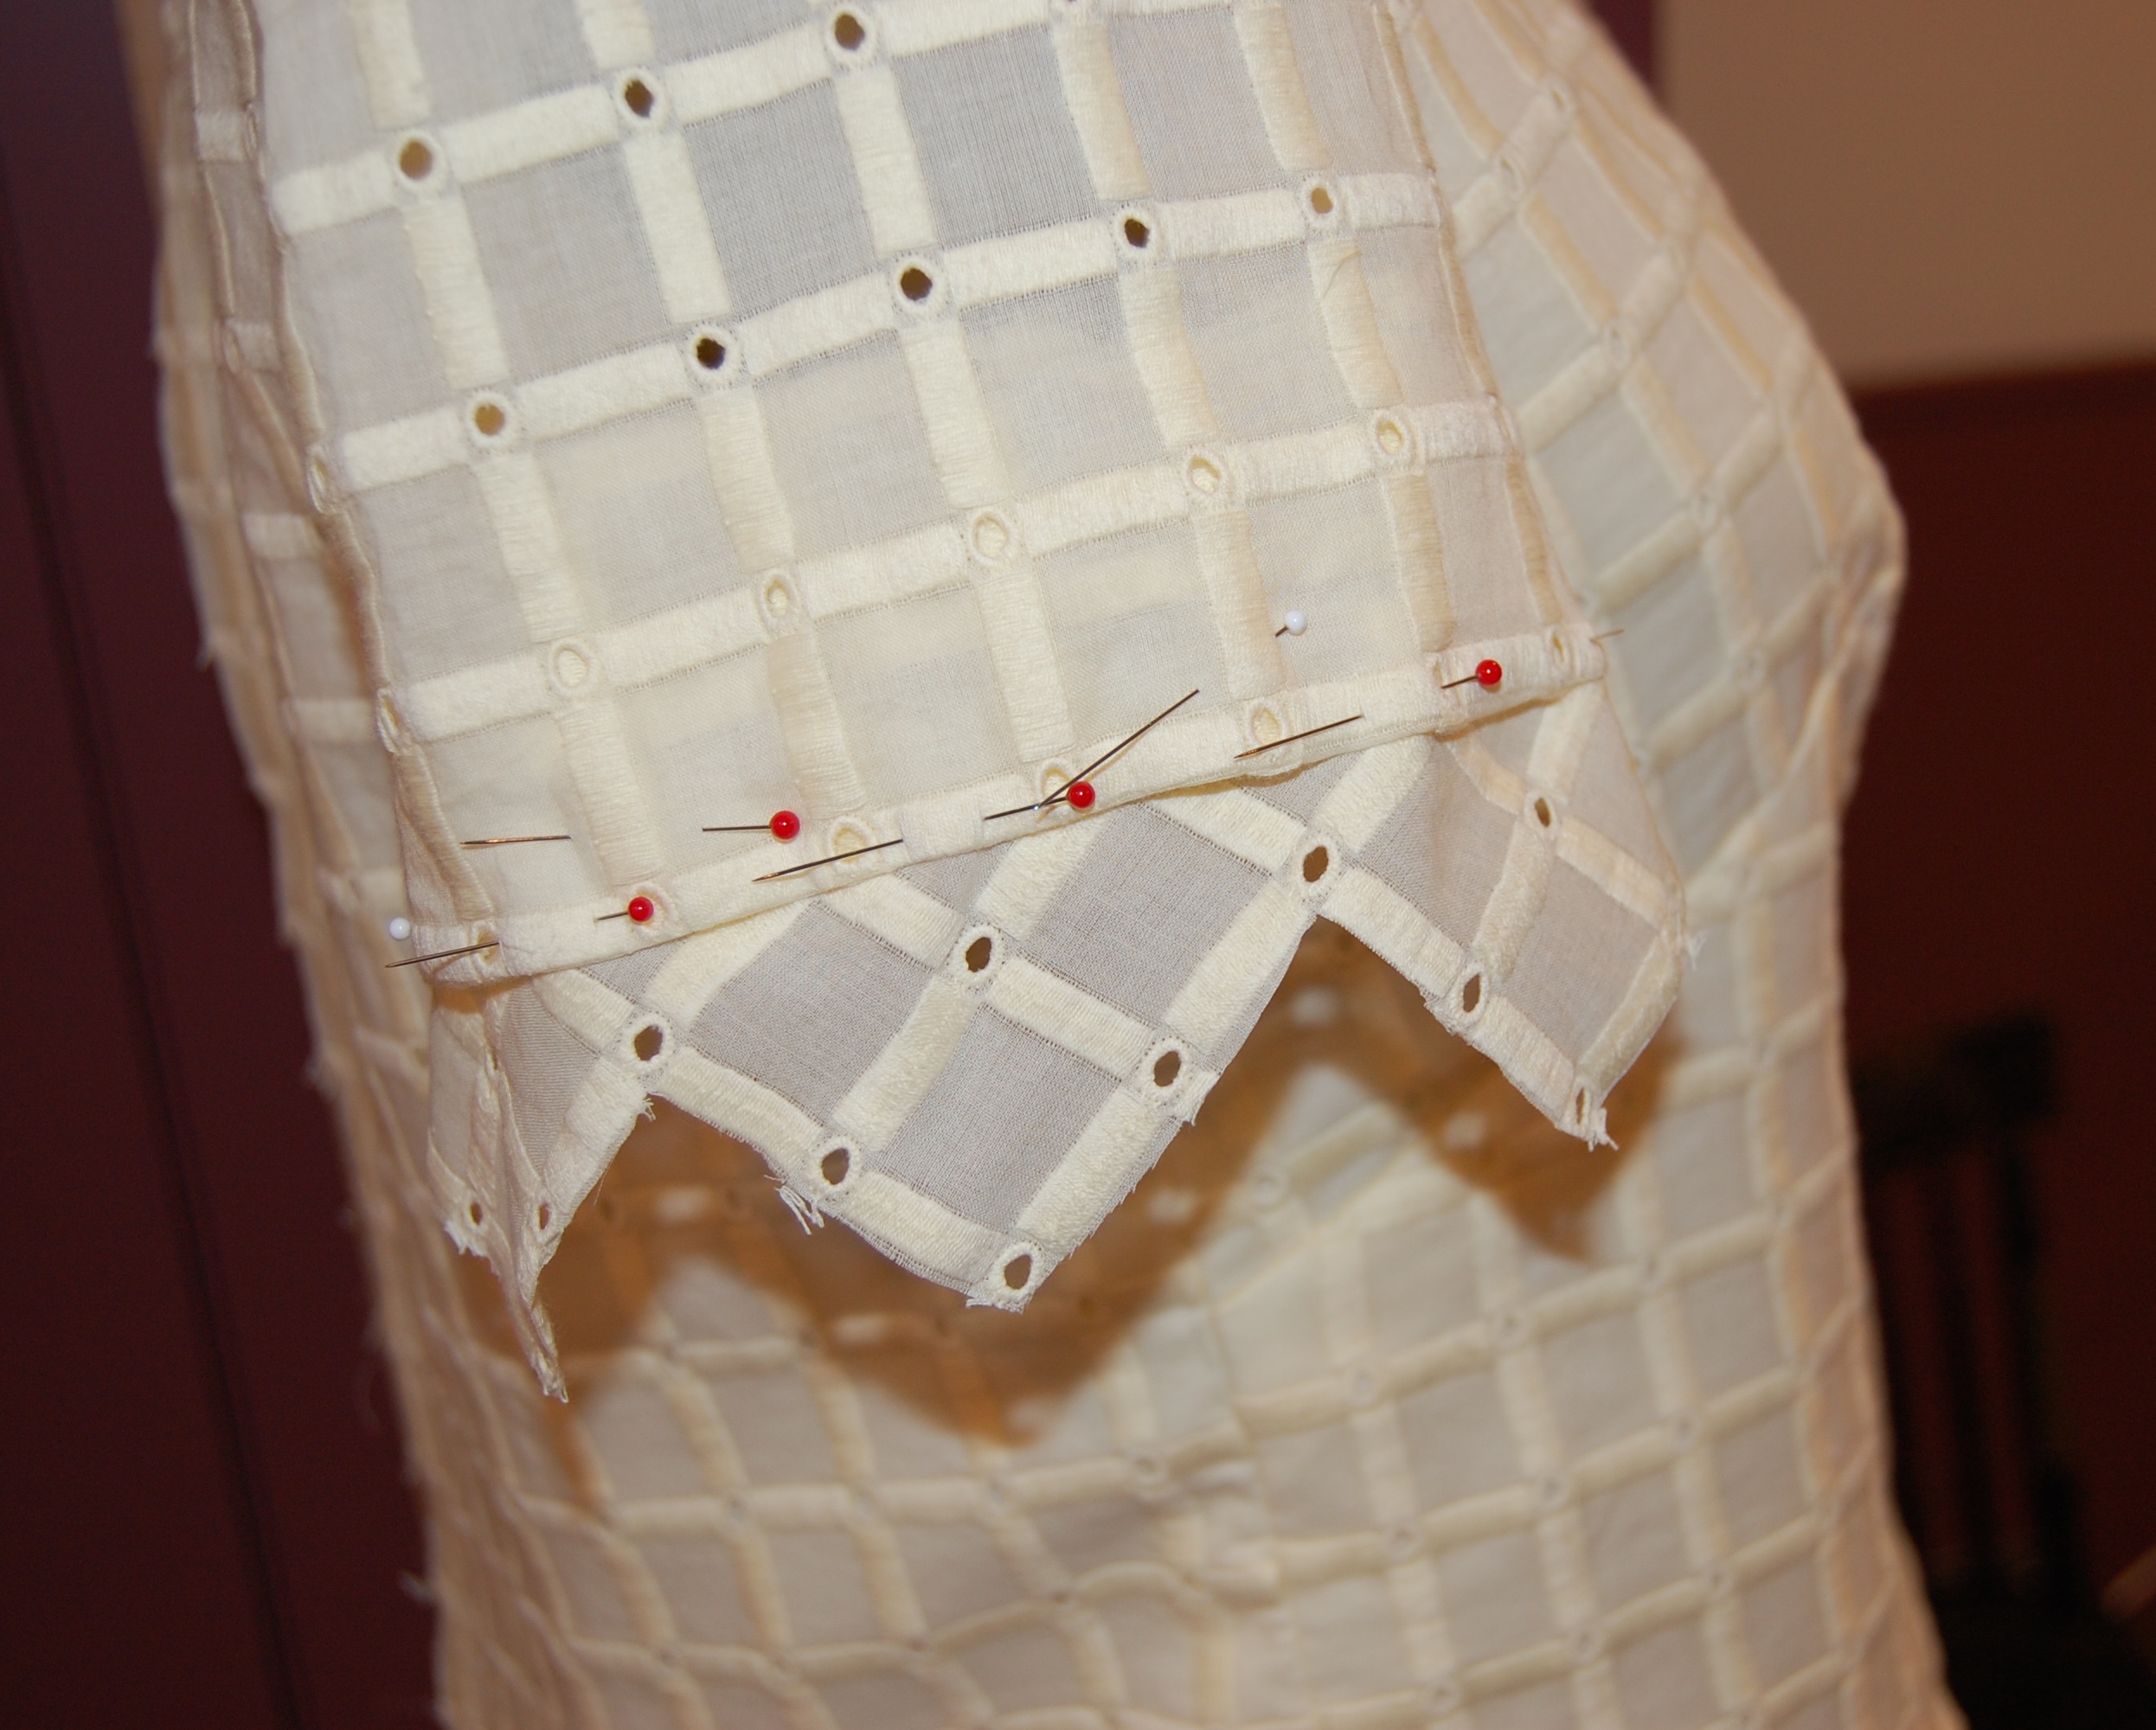
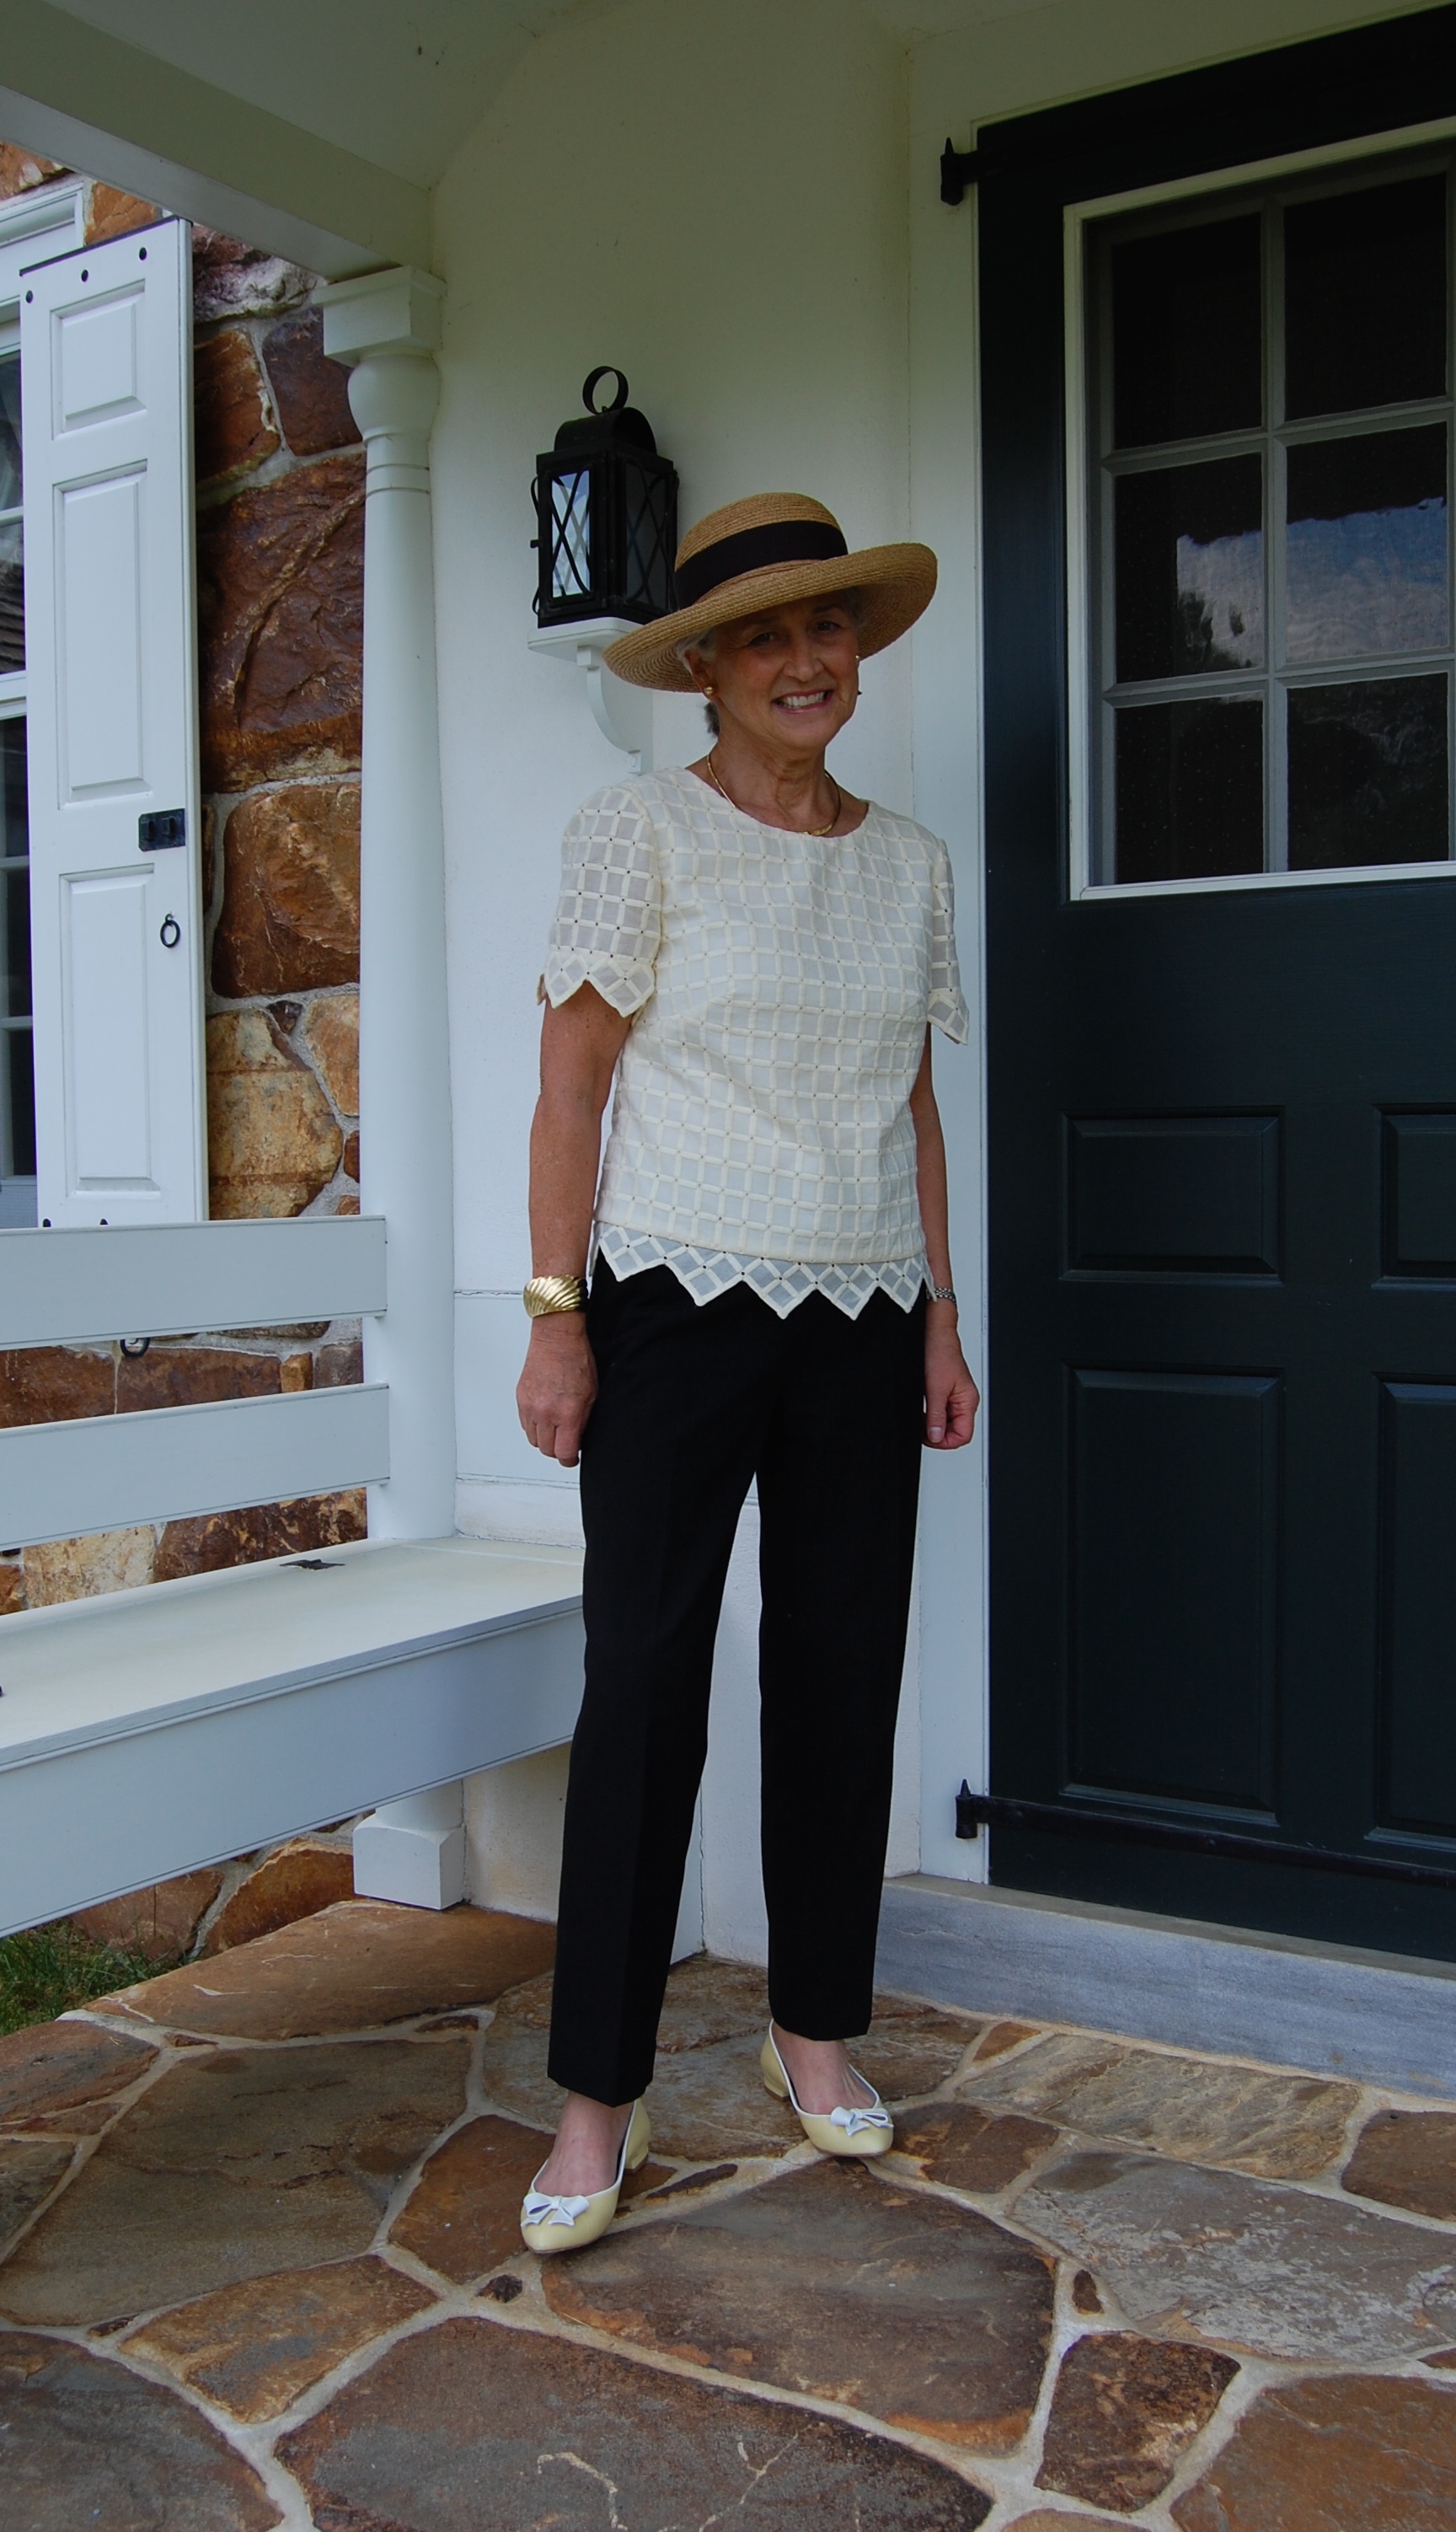
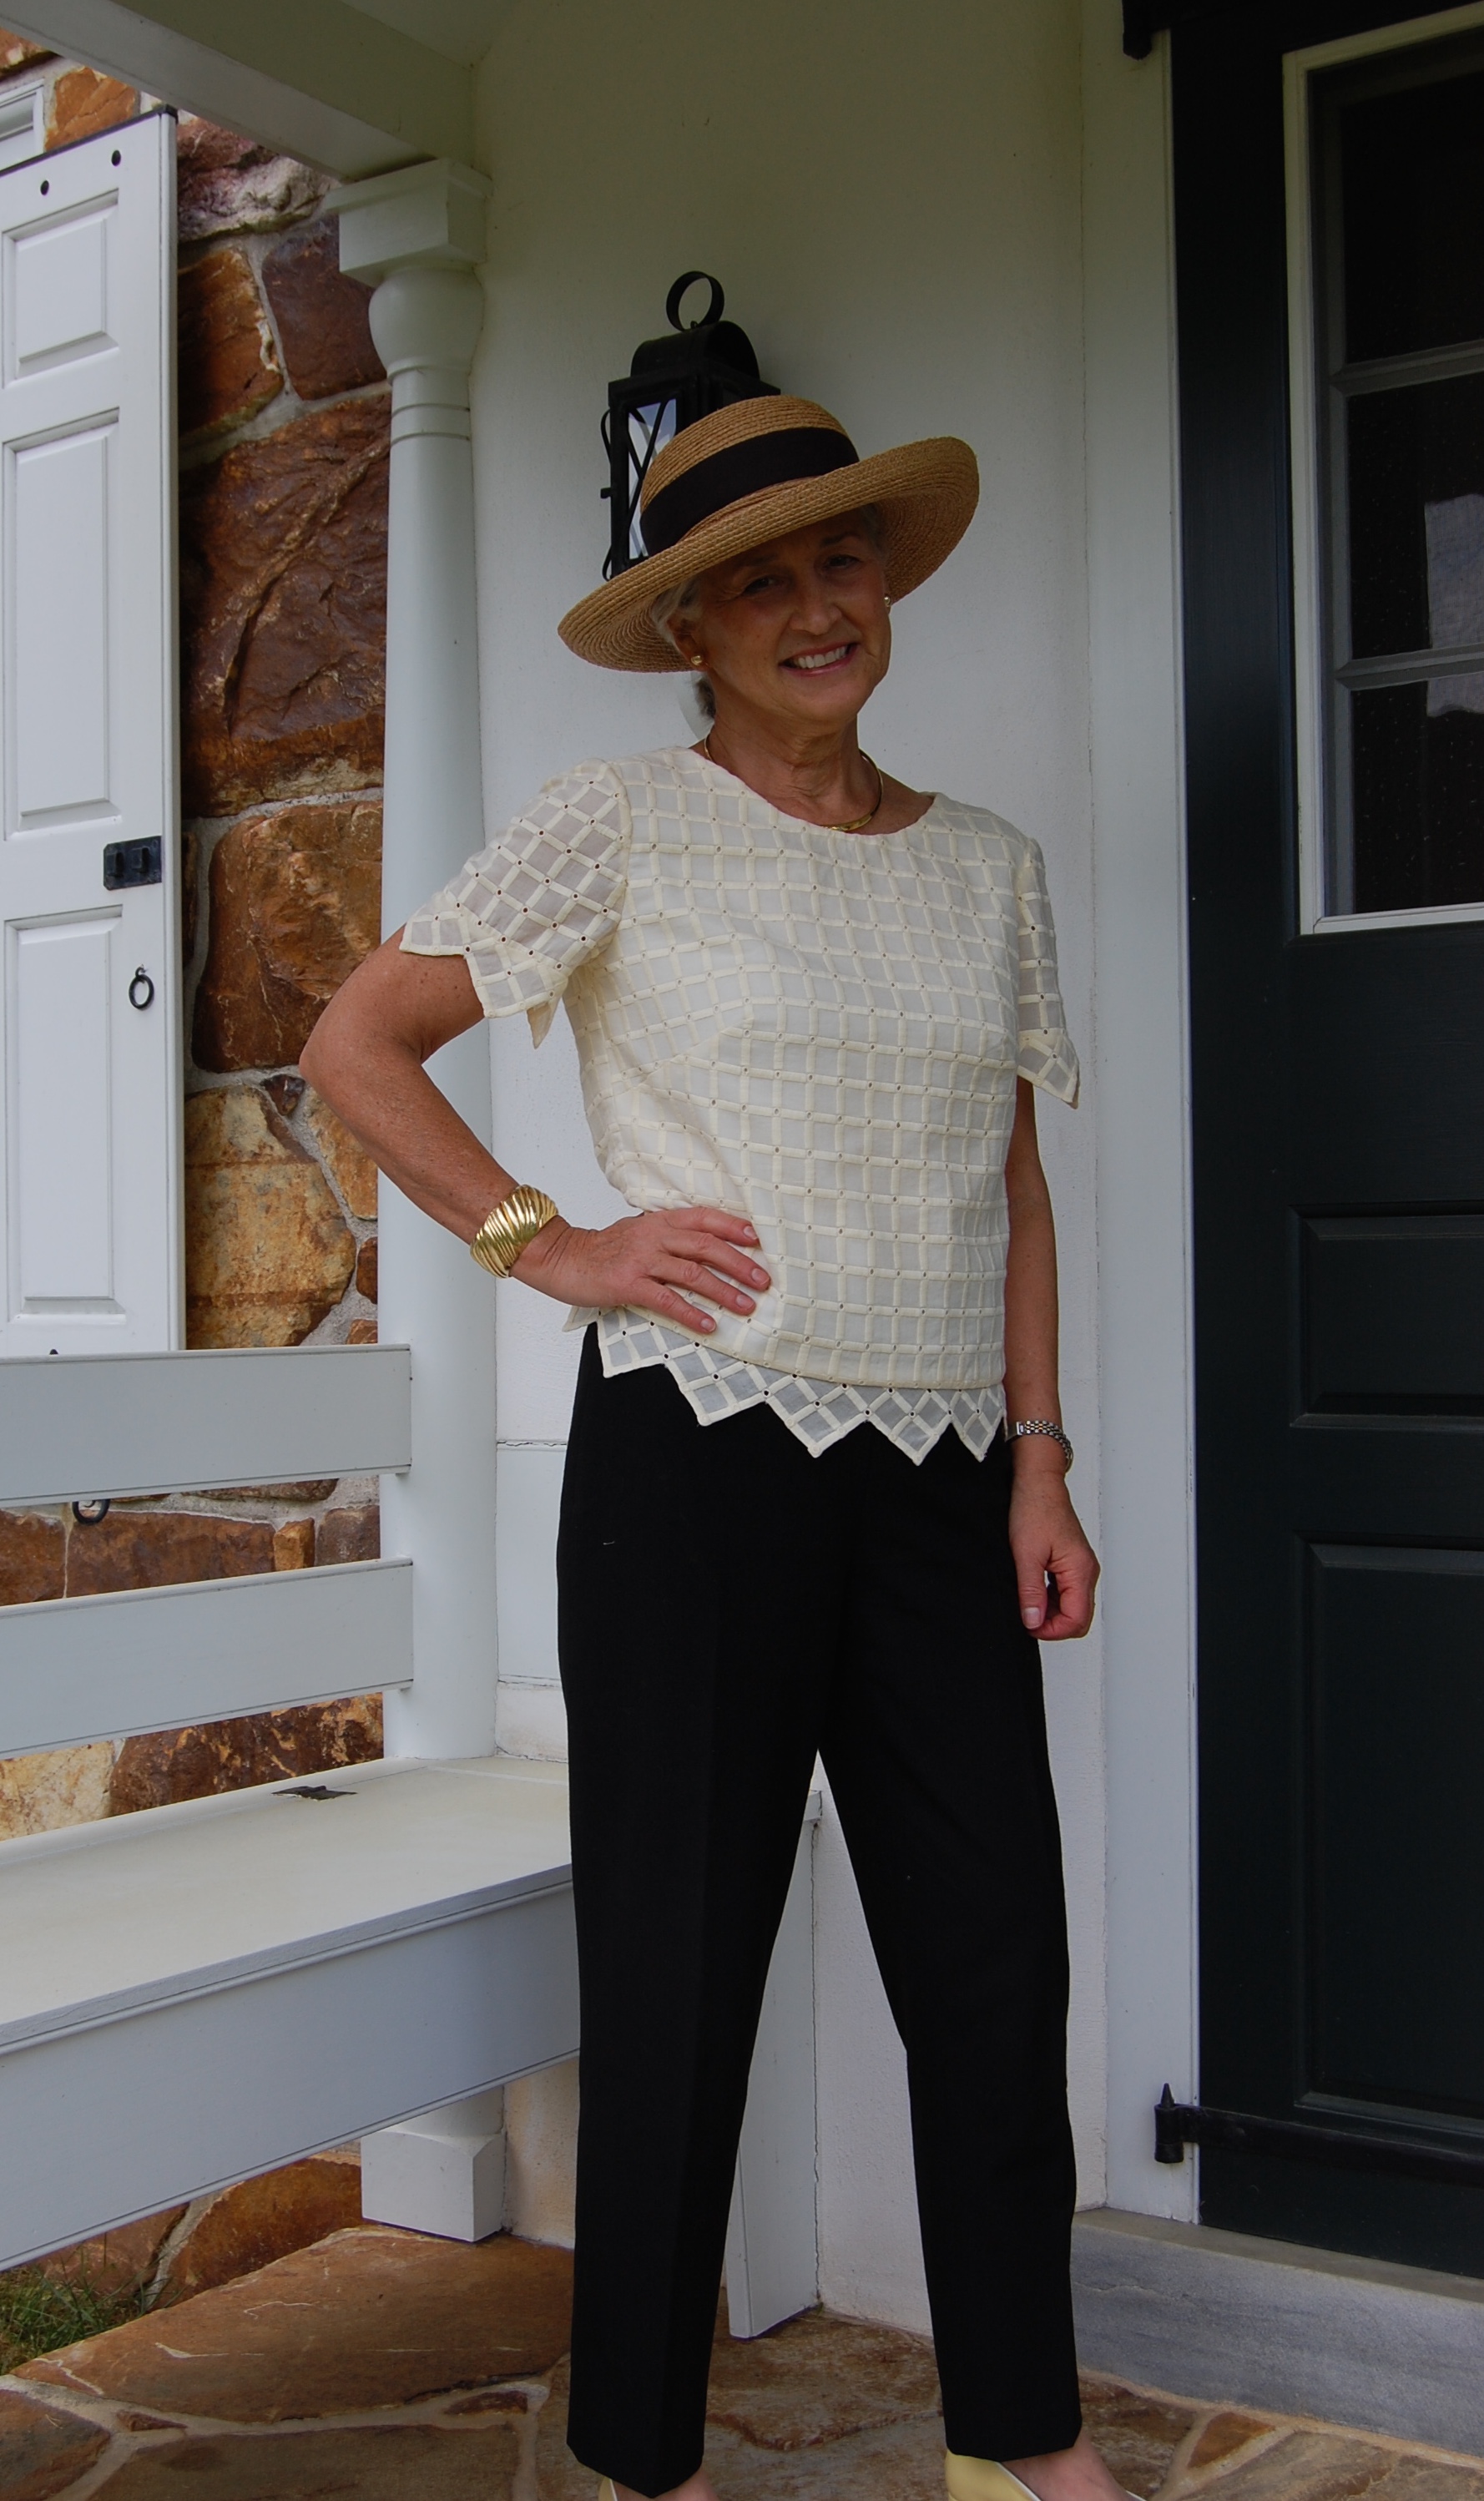
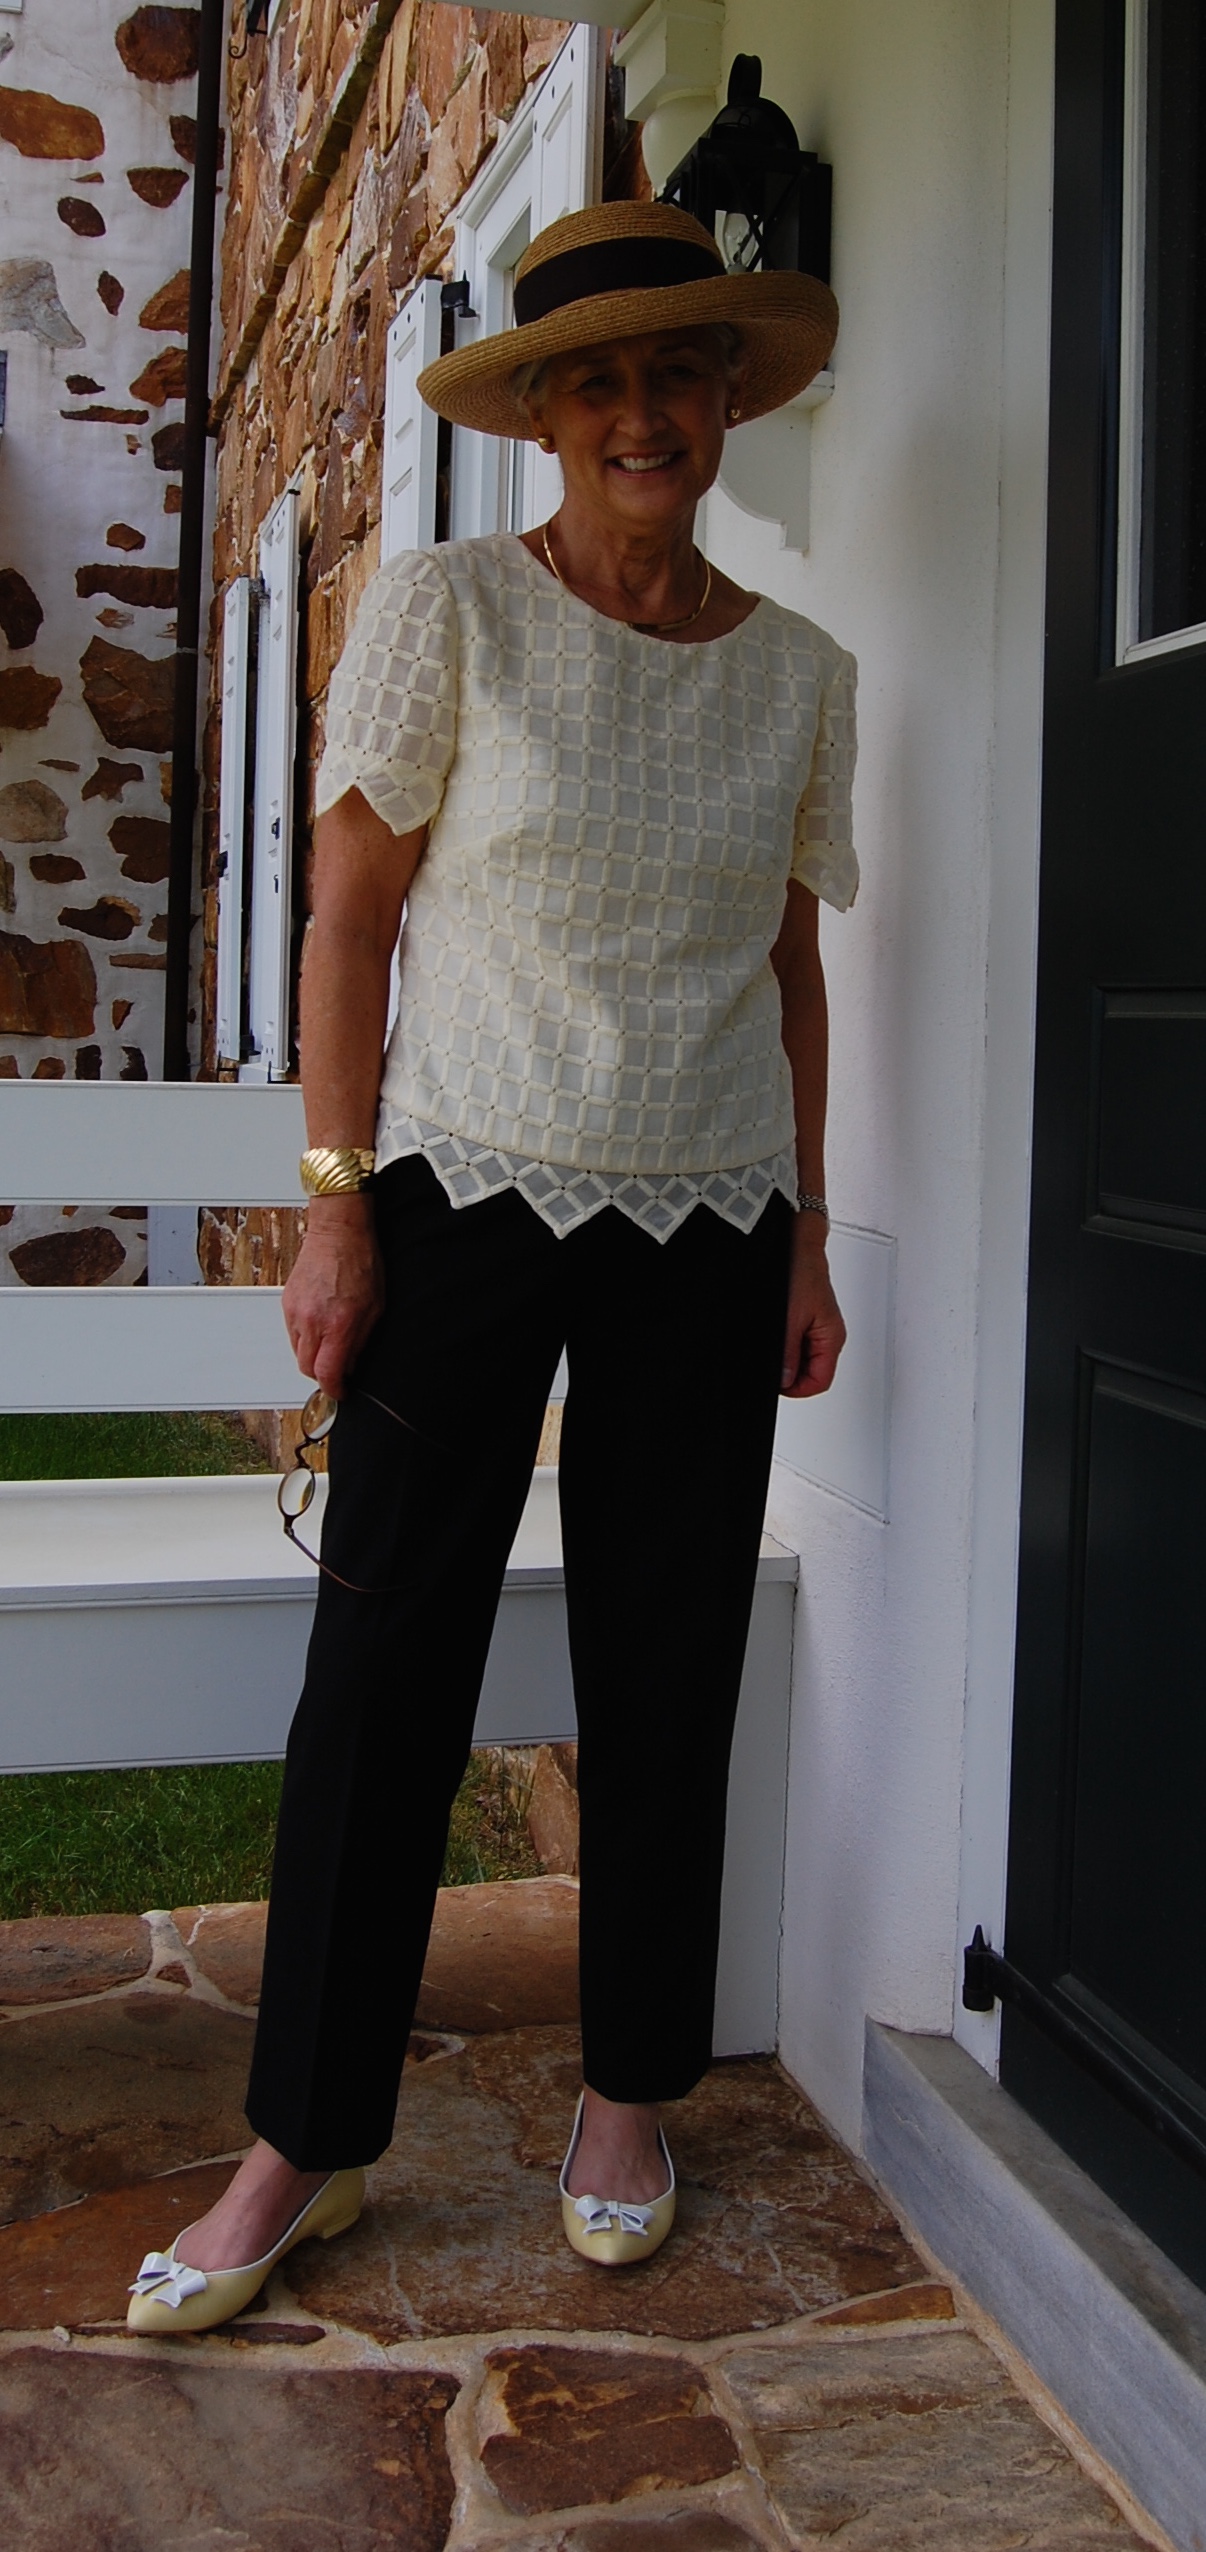
Although the blouse is described on the pattern envelope as “tuck-in,” I liked the gently curved and split hem which would also allow me to wear the blouse as an over-blouse.  The thumbnail detail from the pattern envelope shows the curved hem.  

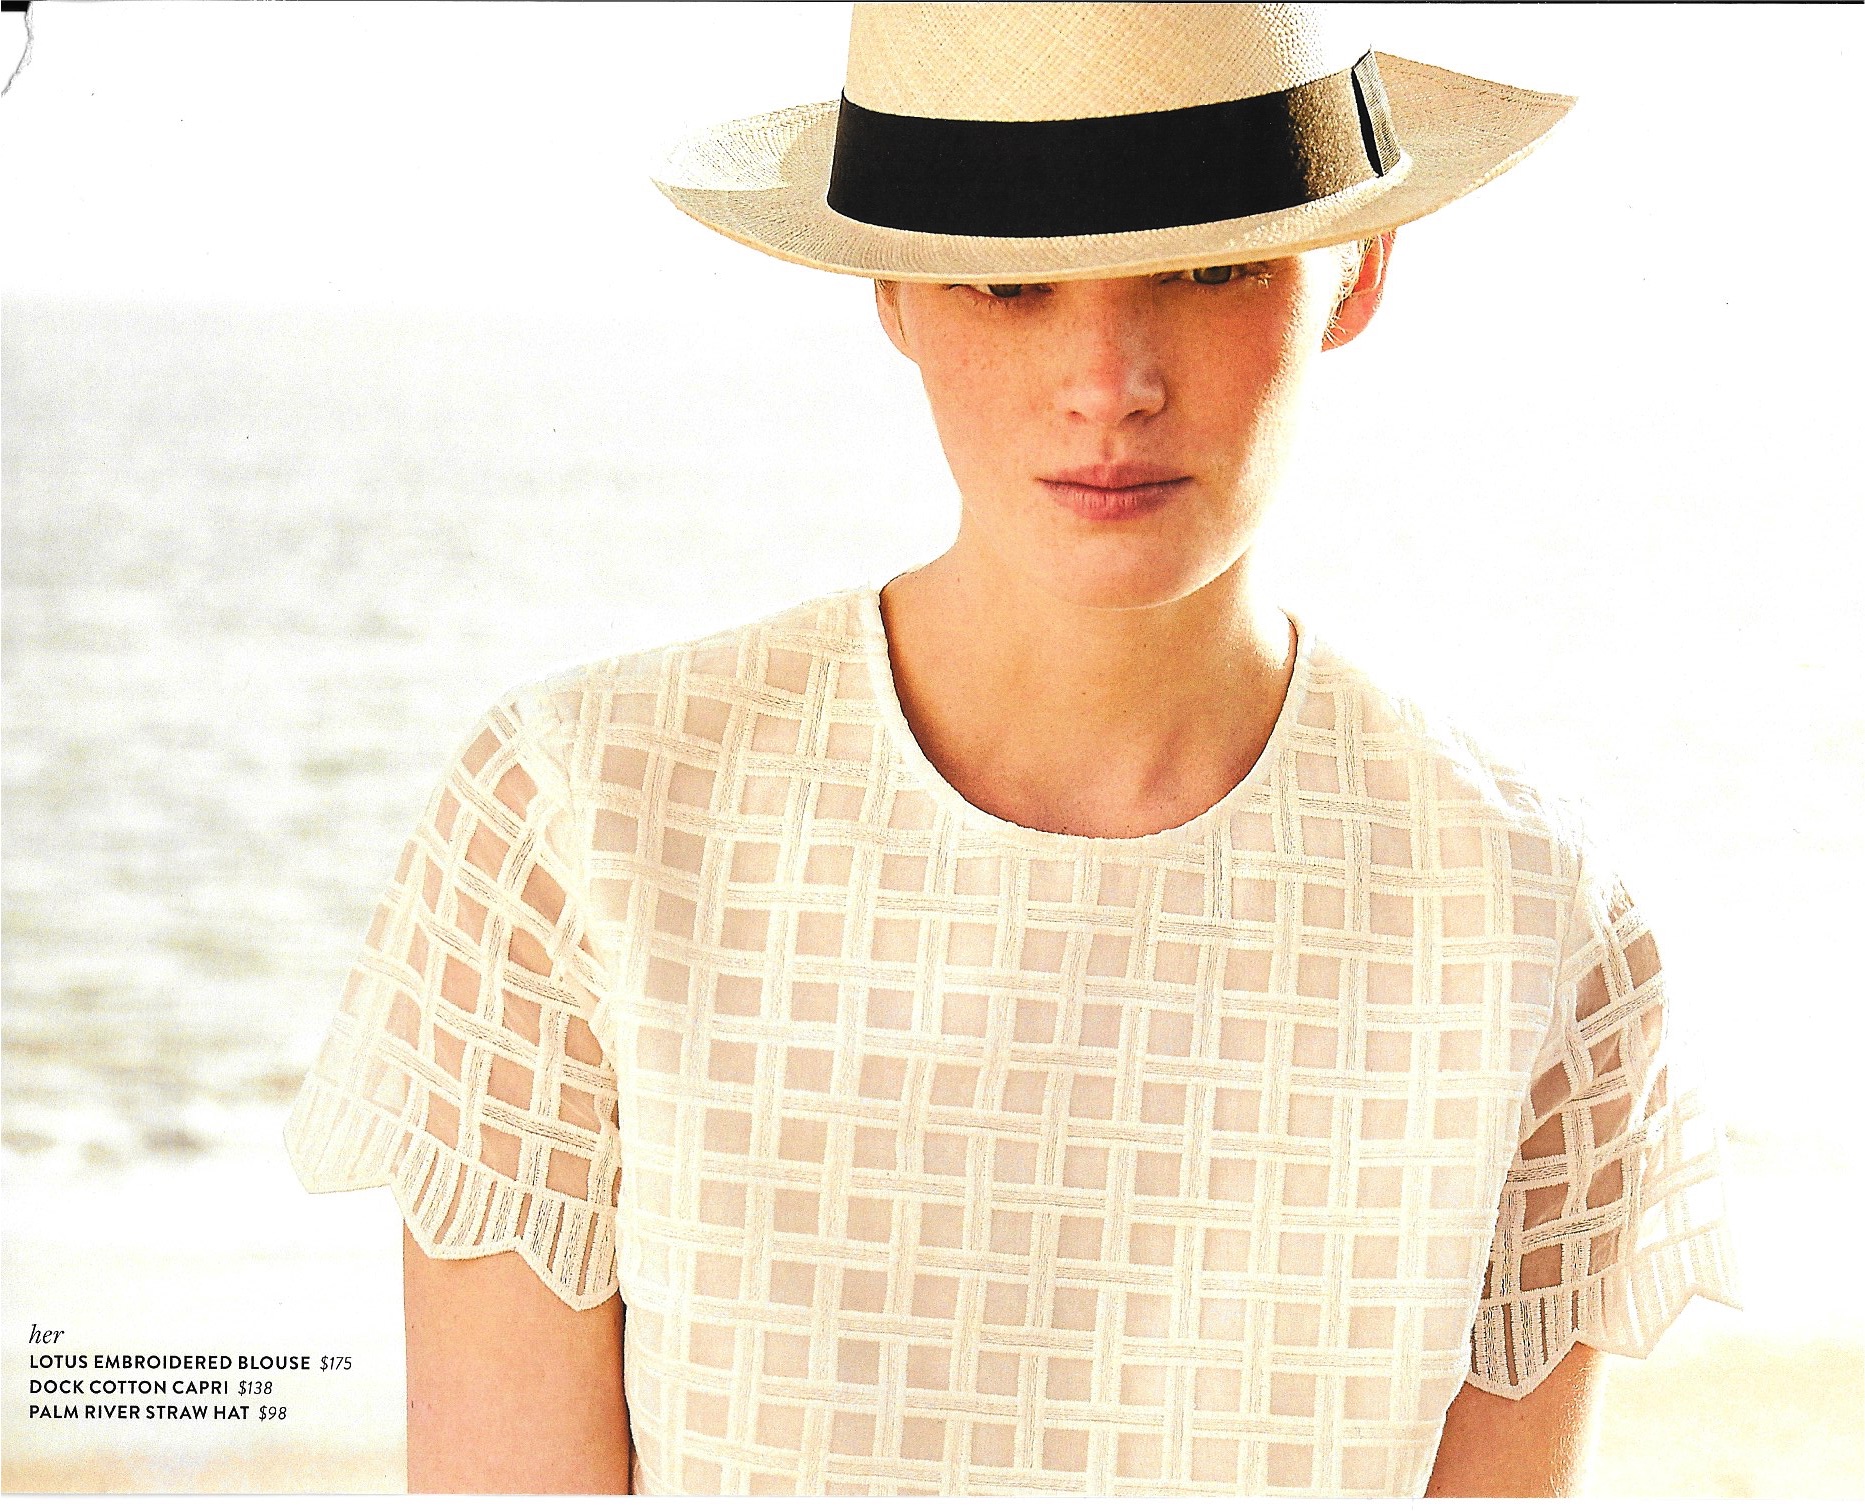
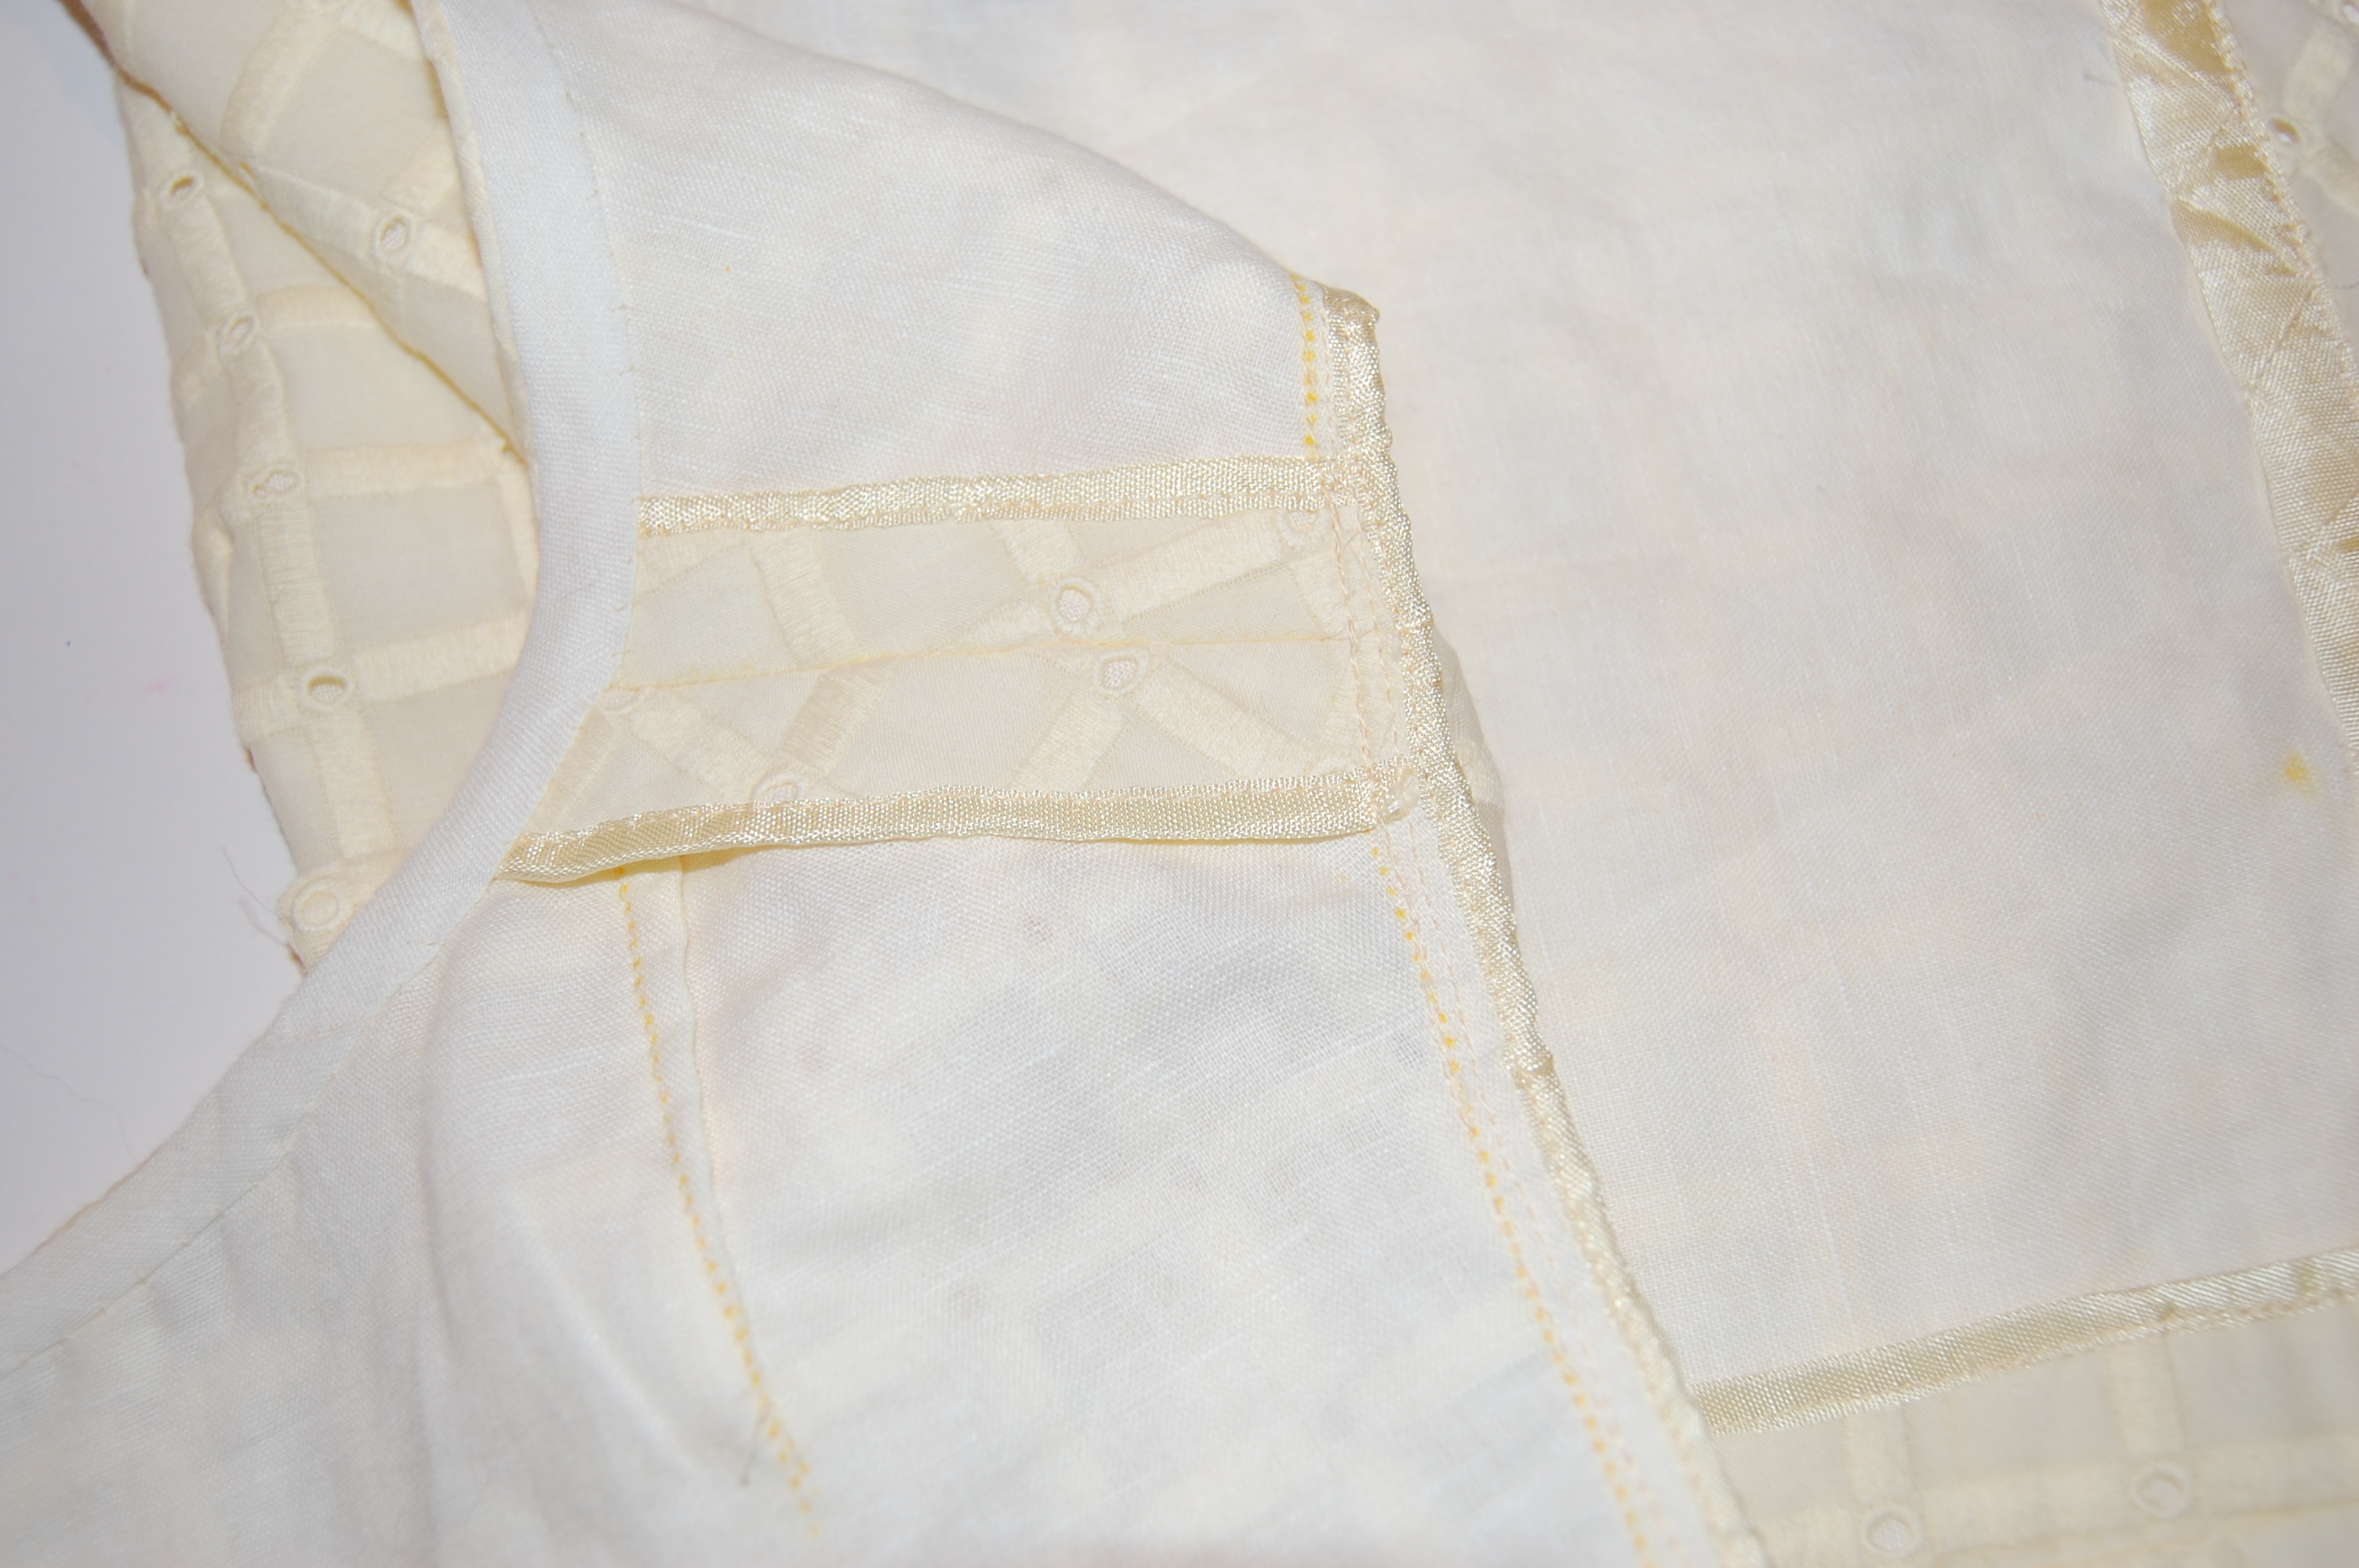
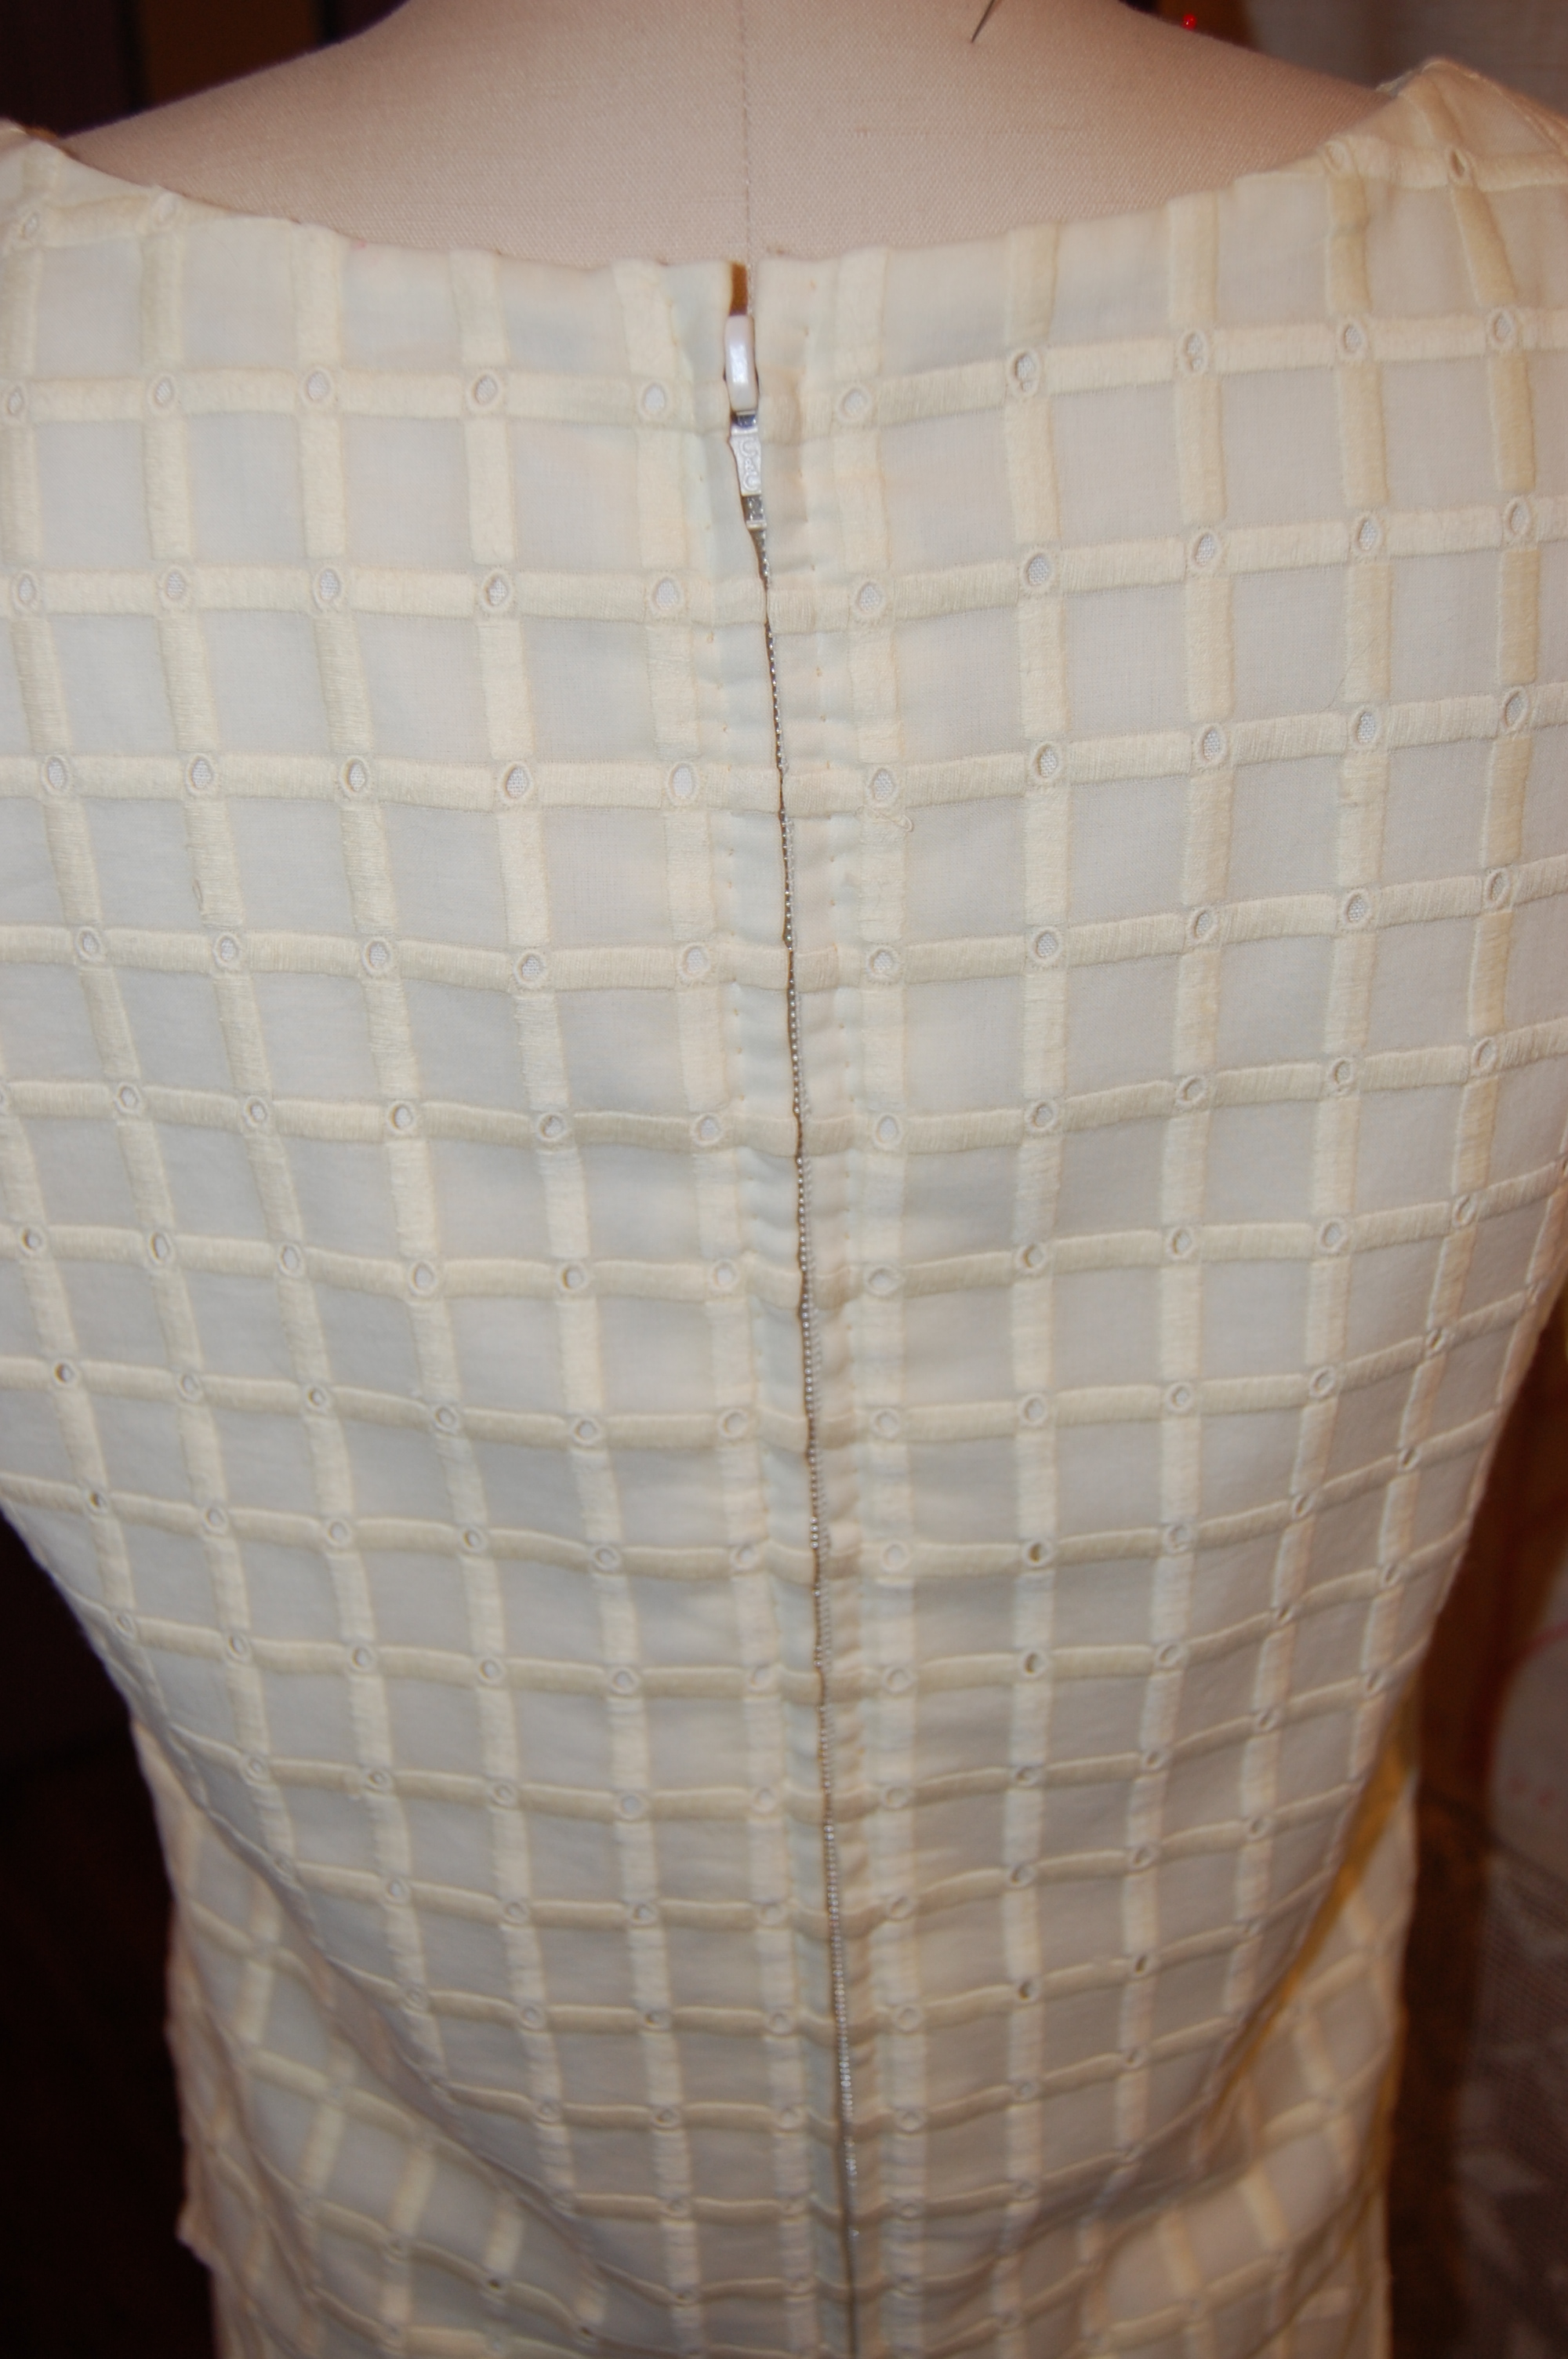
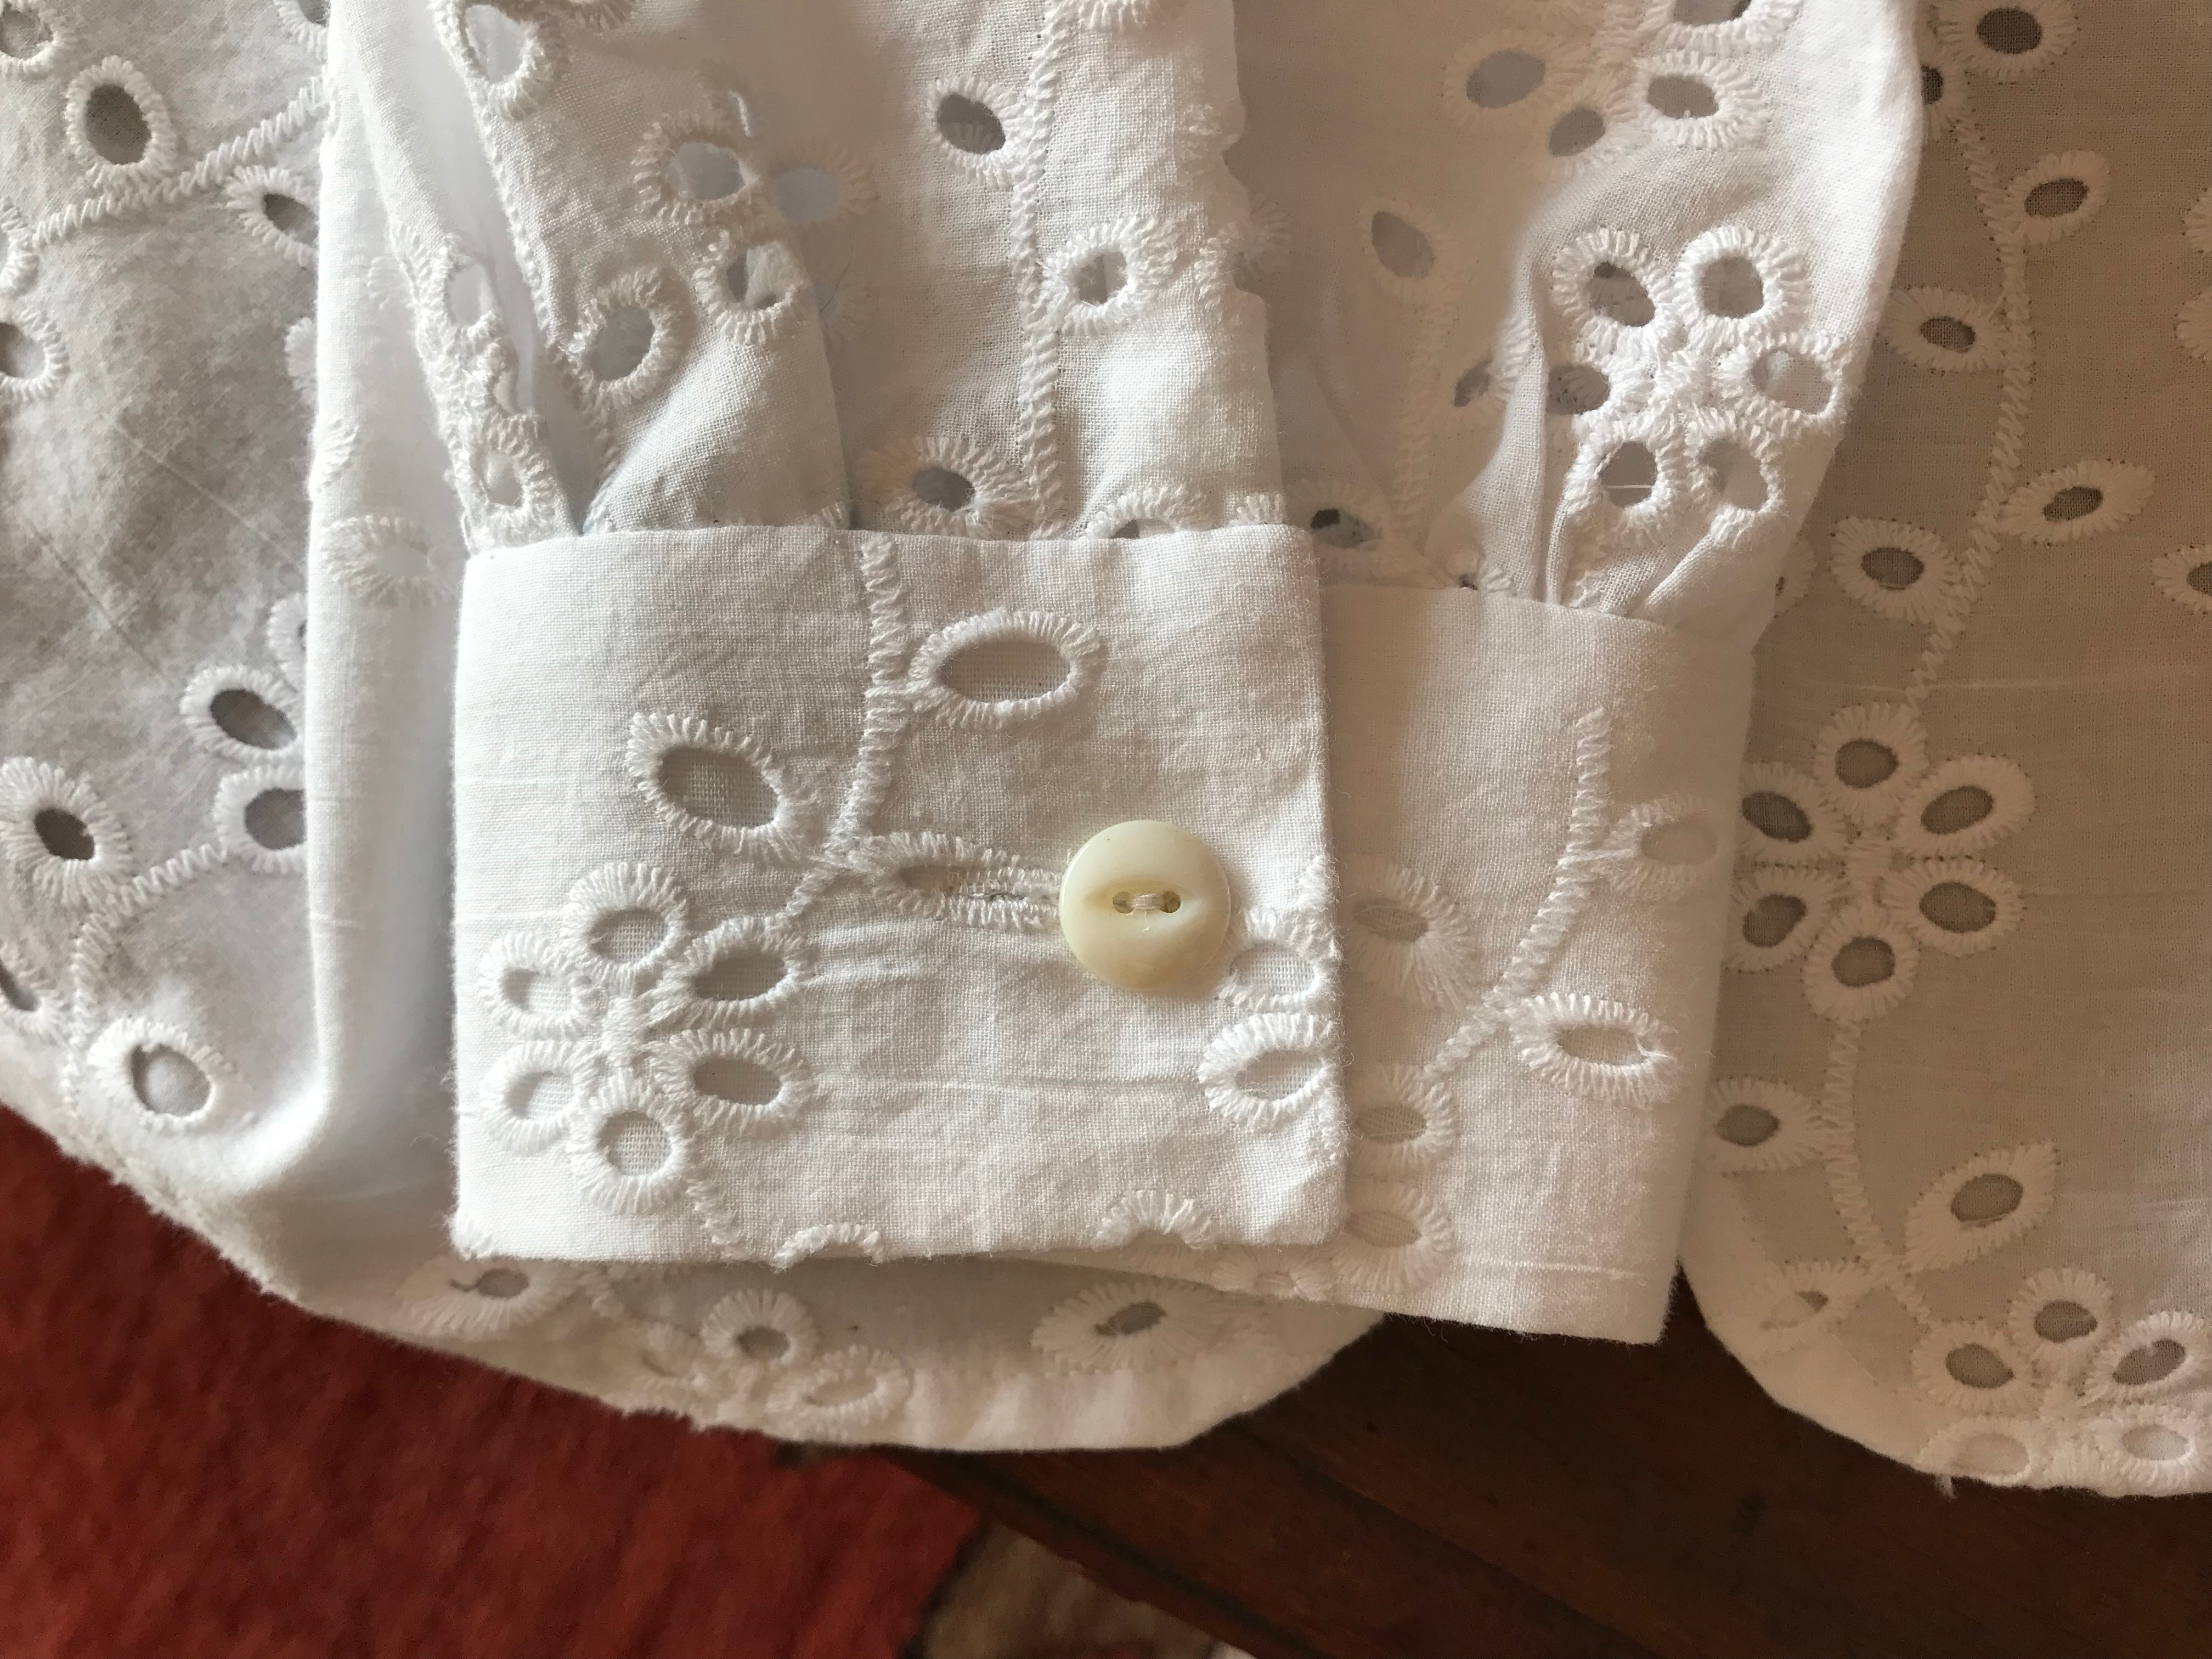
I lined the main body of the blouse with white cotton batiste, leaving the sleeves unlined.  To reduce bulk, I made the undercollar and the cuff facings from the white batiste.

Buttons are always a favorite component of a blouse for me.  I had a card of vintage Lady Washington Pearls which seemed a lovely complement to the scale of the fabric embroidery.  

One button remaining!

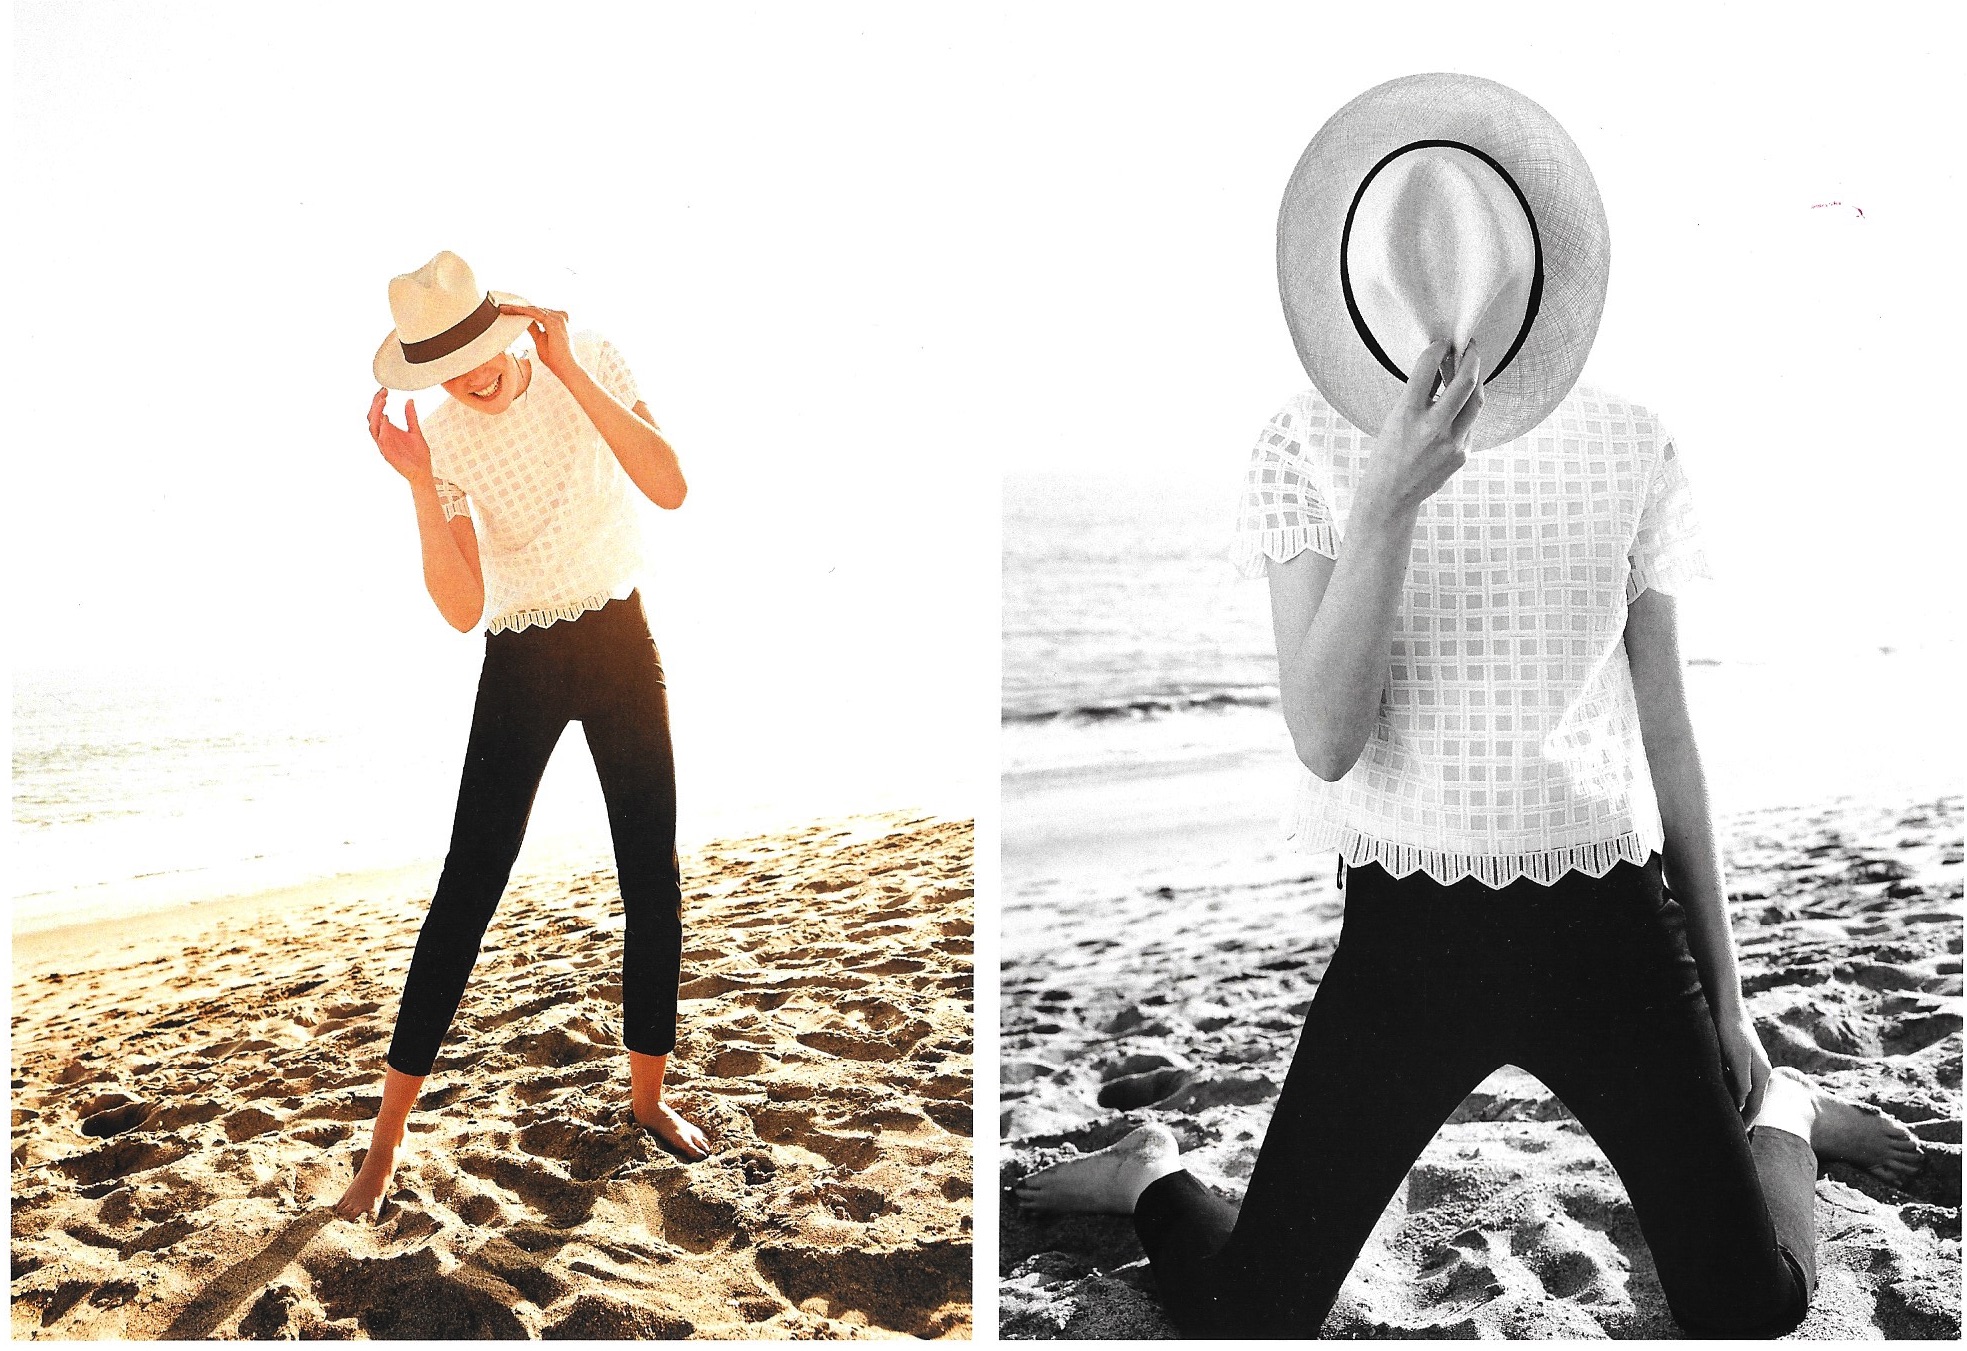
I first wore this blouse on a very warm evening to attend an outdoor concert.  I was amazed at how cool the blouse was. The little breeze there was, did indeed feel like air-conditioning as it wafted through all those embroidered holes!

In my case, this collar is not “convertible” as I did not put a button and buttonhole at the neckline!
I made the cuffs with a bit more width than needed so I can push the sleeves up further if I want.
After I finished the blouse I went back and added two narrow fisheye darts to the back to make the fit a bit more streamlined.
I think this blouse might be a good pairing for the Liberty cotton skirt featured in my last post.

Finding beautiful eyelet fabric is now on my sewing radar.   I would like to make more with this timeless, feminine and versatile type of lace. 

26 Comments

Filed under Blouses, Buttons - choosing the right ones, Eyelet, Lace, Mid-Century style, Sleeves, Uncategorized, vintage buttons, vintage Vogue patterns from the 1950s

Too Late – or Too Early?

This sewing out of season is perplexing.  On the one hand, I am happy to have been able to complete this dress.  But on the other hand, the timing of its completion means it is too late in the season to even think about wearing it – or much too early.  Not that it will matter six months from now. 

After my successful use of a new sheath dress pattern earlier this winter, I was anxious to use it again.  And I just happened to have a piece of cashmere herringbone wool tucked away for such an occasion.  I had been on the hunt for a wool to coordinate with the Classic French Jacket shown, and I was quite excited when I found this selection at Farmhouse Fabrics.  The bonus was the fact that it is cashmere, and oh, so soft.  

Wool is quite possibly my favorite fabric on which to sew.  Christian Dior certainly had kind words to say about wool in his Little Dictionary of Fashion.  “Wool shares with silk the kingdom of textiles…  And like silk it has wonderful natural qualities.  Always before you cut woolen material it has to be shrunk to avoid disappointment afterward.” [I always steam wool fabric heavily before I cut into it for just this reason].  Dior continues, “Wool has the great advantage over all other materials in that it can be worked with a hot iron and molded.” (The Little Dictionary of Fashion, by Christian Dior, Abrams, New York, New York, c2007, Page 122.)  

Additionally, I have always loved the herringbone weave.  The chevron pattern in this particular fabric is achieved by the use of two contrasting colors, yellow and pumpkin, which produces the lovely and soft deep persimmon color.  

The two contrasting colors are apparent in this photo.

Making this sheath dress was very straightforward, its details identical to the sheath dress which preceded it:  lapped zipper, underlined with silk organza and lined with crepe de chine, under-stitched neckline and armscyes, and a real kick pleat.  

I chose this delicate crepe de chine for the lining. I purchased it from Emma One Sock, which has a beautiful assortment of silks suitable for linings.
Oh, how I love this kick pleat.

This jacket and skirt will be perfect for Fall – and I am delighted to have a dress to wear with my jacket which I completed two years ago.  

And now for those of you who like to see the sewing I do for my granddaughters, here are two more dresses which were definitely too early (although on time for Spring birthdays.)  Unseasonably cold Spring weather kept these dresses on their hangers apparently, but I do have pictures of them before they went on their journey across many, many miles to their final destination.

I found the fabric at Emma One Sock last Fall.  It looks and feels like Liberty Lawn but is not.  The bordered eyelet which I used for the collars is from Farmhouse Fabrics, as is the pattern, which I have used before.  (This is the last year for this pattern for my girls, as I used the [largest] size 12 for my very tall and slender eight-year-old!) 

This diagram helps to show the details of the pattern. Notice the narrow darts in the bodice, which gives such a nice degree of shaping. This is the type of detail found on well-engineered patterns, of which this is one.

The buttons are vintage Lady Washington Pearls.  The pale pink rickrack is also vintage – and 100% cotton – which makes it lay beautifully flat, molding itself with the cotton fabric.   


Beautiful vintage buttons like these are a good match for this timeless pattern.
Such lovely eyelet and just the perfect weight for gathering into a collar.

So quickly these weeks turn into months and then into seasons! Whatever the season from whence you are reading this, I wish you dresses which are just right!  One of these days, mine will be, too.

13 Comments

Filed under Buttons - choosing the right ones, Chanel-type jackets, Christian Dior, classic French jacket, couture construction, Eyelet, Sewing for children, Sheath dresses, Uncategorized, vintage buttons, vintage Vogue patterns from the 1960s, woolens

Mellow Yellow

How did I go from this . . .

A collared overblouse.

A collared overblouse.

to this?

Mellow YellowIt all started about a year ago when I saw this fabric – called Devonshire Cream Geometric Cotton Eyelet Batiste on the Britex Fabrics website. I sent off for a swatch and then ordered enough for a “blouse” although at the time, I wasn’t so sure what kind of a blouse it would be. I knew I would want sleeves in it. While the body of the blouse would need to be lined, the sleeves could be unlined to show off the gauzy design in the eyelet.

Eyelet overblouse - fabric

Inspiration finally struck a short few weeks ago when I got a small catalogue from J McLaughlin clothing company. Pictured in it was this “Lotus Blouse”:

Eyelet overblouse - JMcL #2-2

Eyelet overblouse - JMcL #2-3

As soon as I saw the “square” design in the fabric, I thought of my eyelet – and then it did not take long for me to decide to make my own version of that blouse. The construction details? Well, I knew I would have to make those up as I went along. I started with the pattern shown above, a classic early 1960s short overblouse that zipped up the back. What could be better? It really didn’t matter that the neckline would be changed, sleeves added, inches added to the length – the basics were there and so I made a muslin/toile.

I cut an underlining for the body of the blouse from a lightweight linen/cotton blend that I always keep on hand. I marked the seam lines of that underlining with waxed tracing paper and then used it as my “pattern” for the eyelet, which allowed me to make sure that all the lines and corners of the eyelet matched across seams. I hand basted the underlining and the eyelet together which made machine sewing the darts and seams very precise.

In order to put a sawtooth edge on the sleeves and the bottom of the blouse, I knew I would have to cut fabric on the bias. But first I had to decide how deep to make this self-trim. I did some experimenting to figure that out:

Should it be this narrow?

Should it be this narrow?

Or would a wider trim be   better?

Or would a wider trim be better?

I decided the wider trim was necessary to make the proper impact.  Here it is pinned onto one sleeve.

I decided the wider trim was necessary to make the proper impact. Here is a sample of it pinned onto one sleeve.

Once I decided the proper width of the trim, I set about hemming it by hand.  Here is a photo of that “hemming” process.

On the right you can see one "peak" already stitched.

On the right you can see one “peak” already stitched.

Having the trim cut on the bias gave me flexibility in attaching it to the sleeve and bottom edges. Then finishing the inside raw edges provided its own challenge. I had already used Hug Snug rayon tape to finish the interior seams. The soft, non-bulky nature of this wonder tape gave me the idea to use it for finishing the armscyes and the interior sleeve edges.

I made a bias tape out of the underlings fabric to bind the neck edge.  Seam edges are encased in Hug Snug.

I made a bias tape out of the underling fabric to bind the neck edge. Seam edges are encased in Hug Snug. Click on the photo to see more detail.

The actual hem on the blouse presented me with three edges (the fashion fabric, the underlining, and the bias trim) to control and hold together. I used Hug Snug again, this time flat and sewn with a catchstitch (a fabulous idea I just got from Lilacs and Lace blog, which I will use again and again! Thanks, Laura Mae!)

The catch stitch is done across the width of the Snug Hug tape.  It is the perfect technique for this application.

The catch stitch is done across the width of the Snug Hug tape. It is the perfect technique for this application.  Again, click on the photo for more detail.

I had some difficulty finding an 18” separating zipper that was lightweight enough for this blouse. I still think the one I finally ended up using is a bit heavy, but until I find another one, this one will have to do.

Mellow Yellow

I still need to add a hook and eye at the top!

I have always loved overblouses. They are comfortable, classic, versatile, and just a little bit different of a look. I think this one fits that description well – I like it!

I could not resist styling this blouse with a hat!

I could not resist styling this blouse with a hat!

Mellow Yellow

Mellow Yellow

Mellow Yellow

Pale yellow shoes help complete the outfit!

Pale yellow shoes help complete the outfit!

After Mellow Yellow, where do I go? My next project is anything but mellow – or yellow, for that matter.  June will find me thinking – and making – fancy, but not frilly. Details soon . . .

35 Comments

Filed under Blouses, Eyelet, Mid-Century style, Uncategorized, underlinings, vintage Vogue patterns from the 1960s