Shortly after I returned home from my Classic French Jacket Class with Susan Khalje, an article entitled “The Comeback of Haute Couture” appeared in The Wall Street Journal. The reporter, fashion editor Christine Binkley, gives an overview – from the haute couture week in Paris, of course – of the frenzied and renewed interest in “astronomically expensive made-to-measure clothing [ranging] from $10,000 to $150,000 or more.” Among the fashion houses showing haute couture collections was Chanel. To quote: “Chanel . . . looked as though the clothes could be easily worn, even if they were assembled, pleated, and embellished by dozens of ‘petite mains,’ as haute couture seamstresses are called. ‘Of course it’s comfortable. It’s Chanel,’ said designer Karl Lagerfeld . . .”
“Comfortable” is a description frequently used by those of us making our own Chanel-inspired jackets. Of course, everyone knows that the inspiration for Coco Chanel’s original cardigan jacket came when she cut her lover’s cardigan sweater down the front, added some ribbon trim and created a classic. How the construction of the jacket went from sweater to quilted, silk-lined boucle is unknown to me, but one thing is for sure: these jackets feel as cozy and comfy as any old favorite sweater. I think this was a revelation and lovely surprise to all of us. It makes wearing them all the more rewarding.
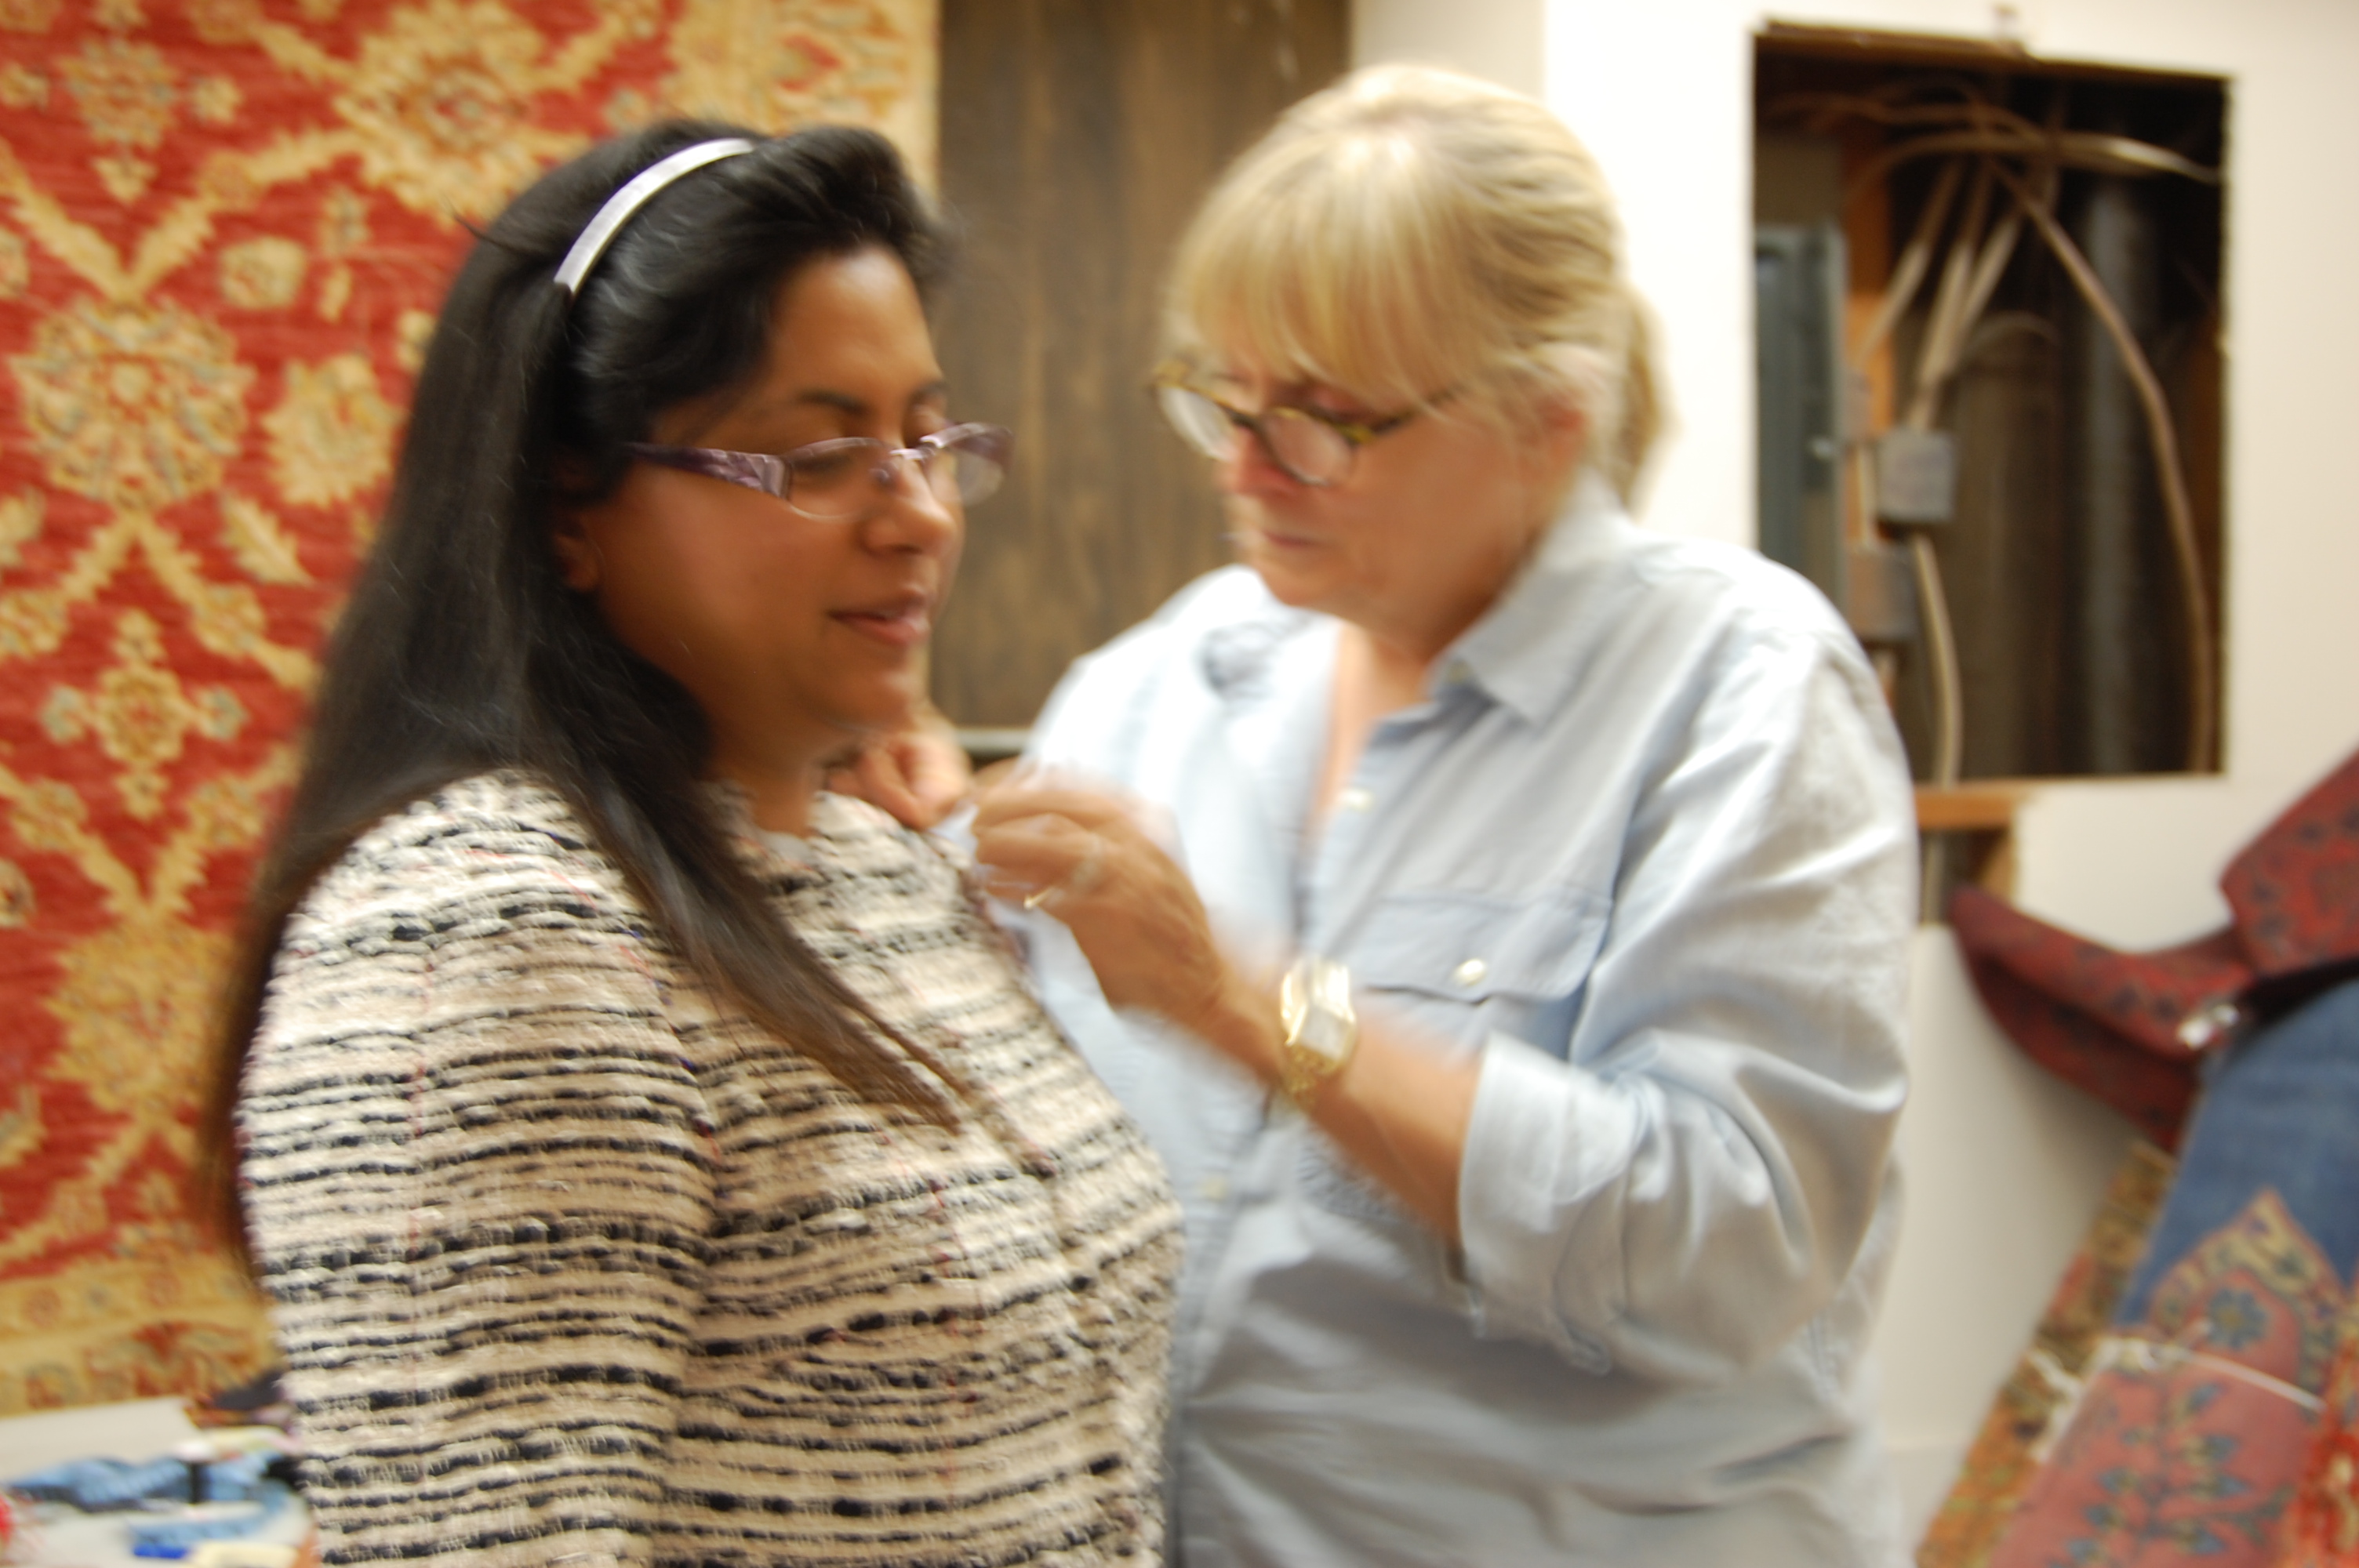
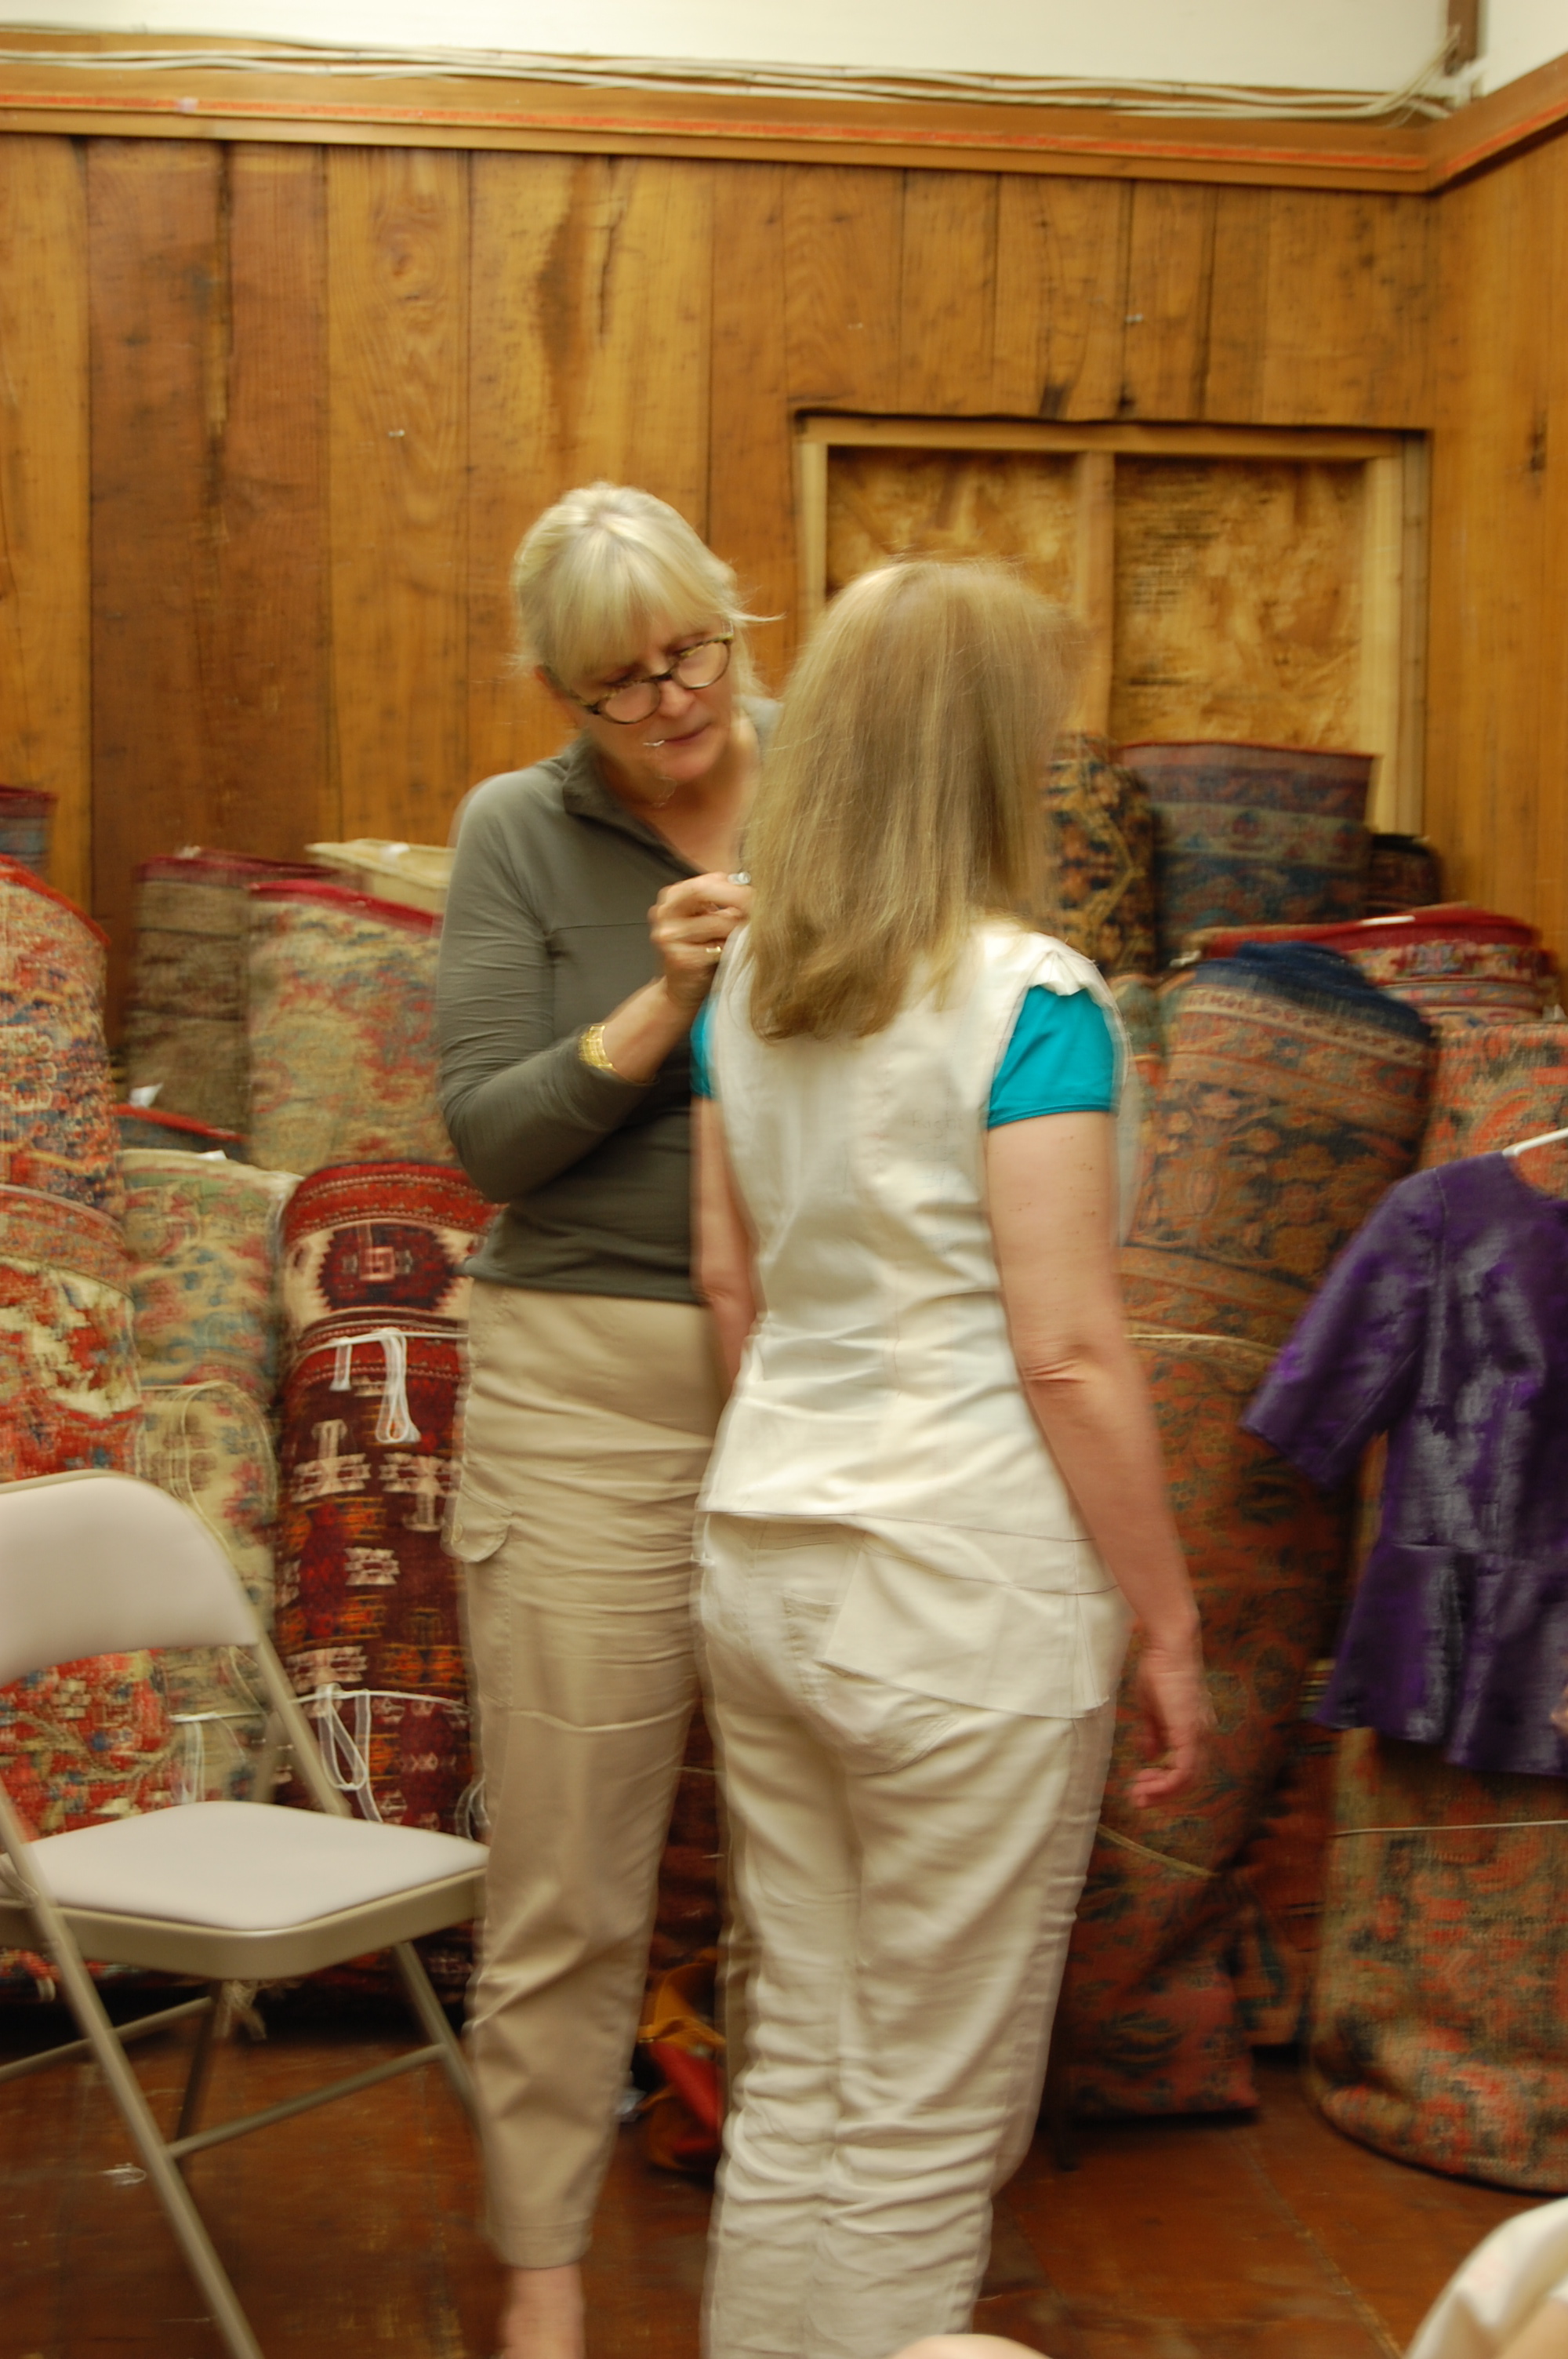
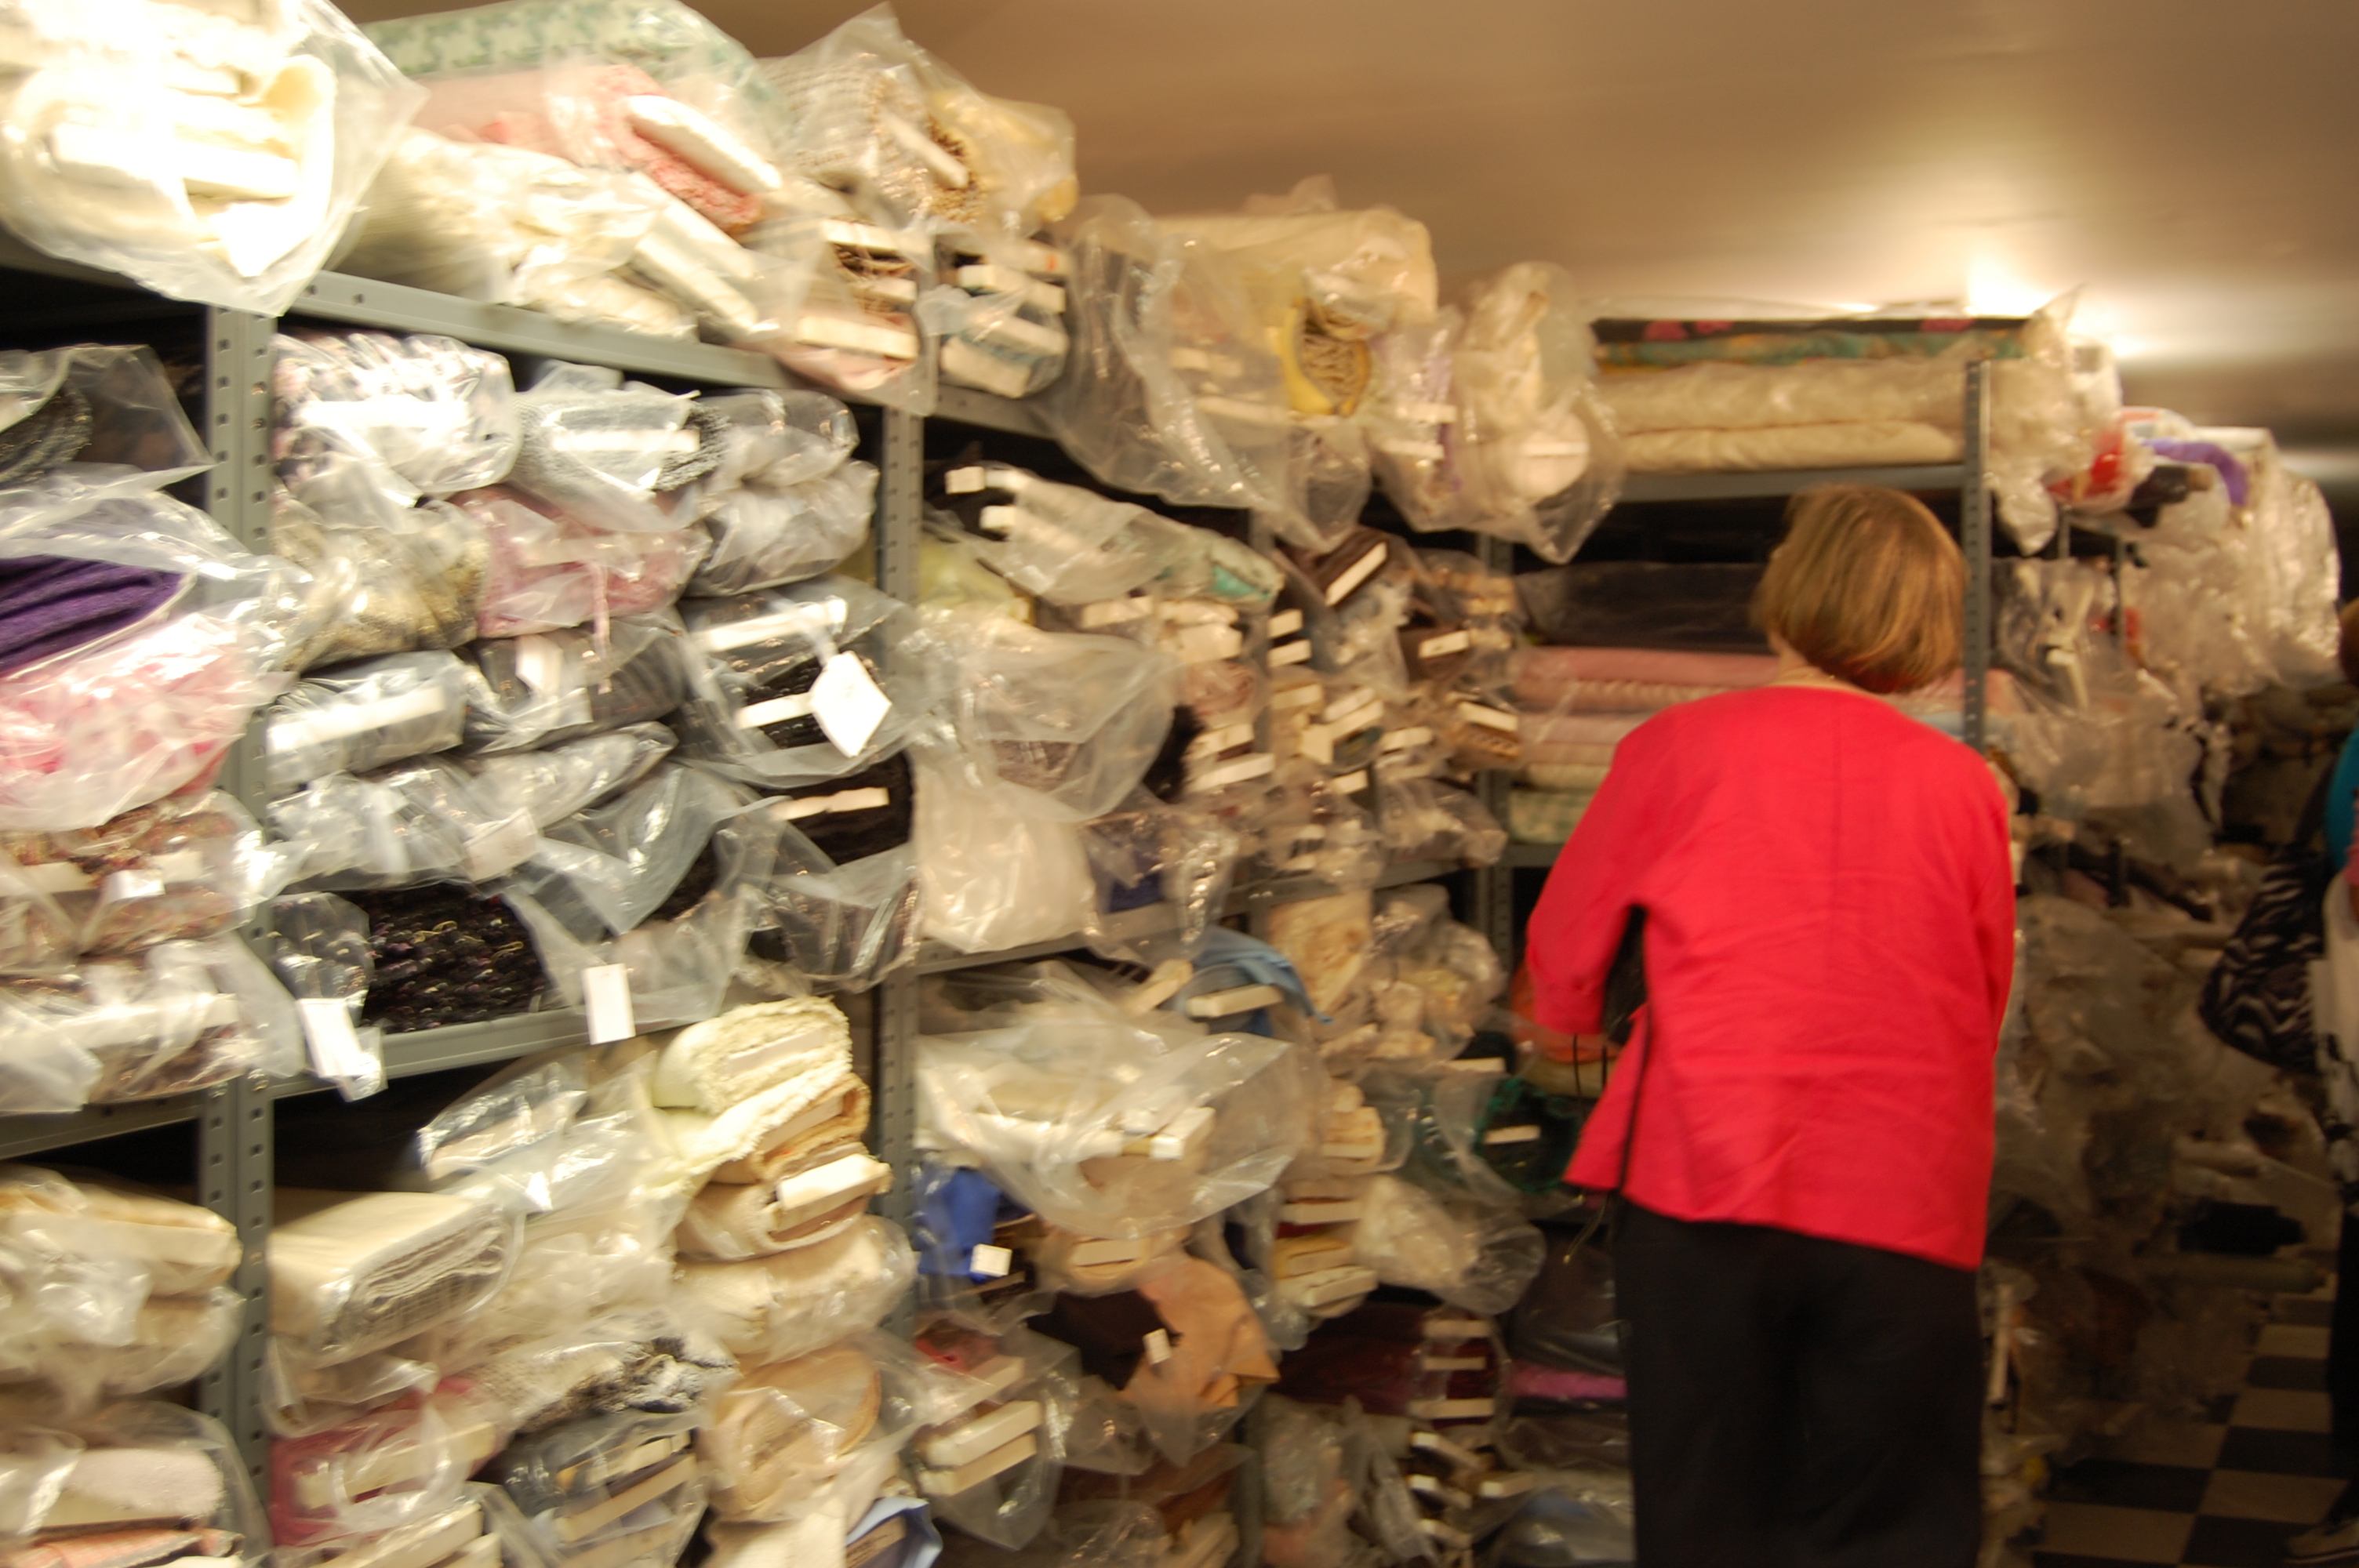
And – wear them we are starting to do! Some of my classmates have kindly given me permission to show their finished jackets here on Fifty Dresses. I am delighted to share these lovely examples made by “petite mains” Joanne, Holly, Myra, and Sherry:
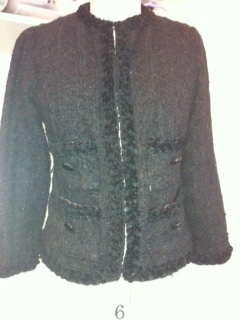
Joanne’s classic black jacket is elegant and so versatile. Her lovely floral lining fabric does not show, but trust me that is stunning.
A simply lovely jacket!
Holly’s jacket has sparkle to it, just like her!
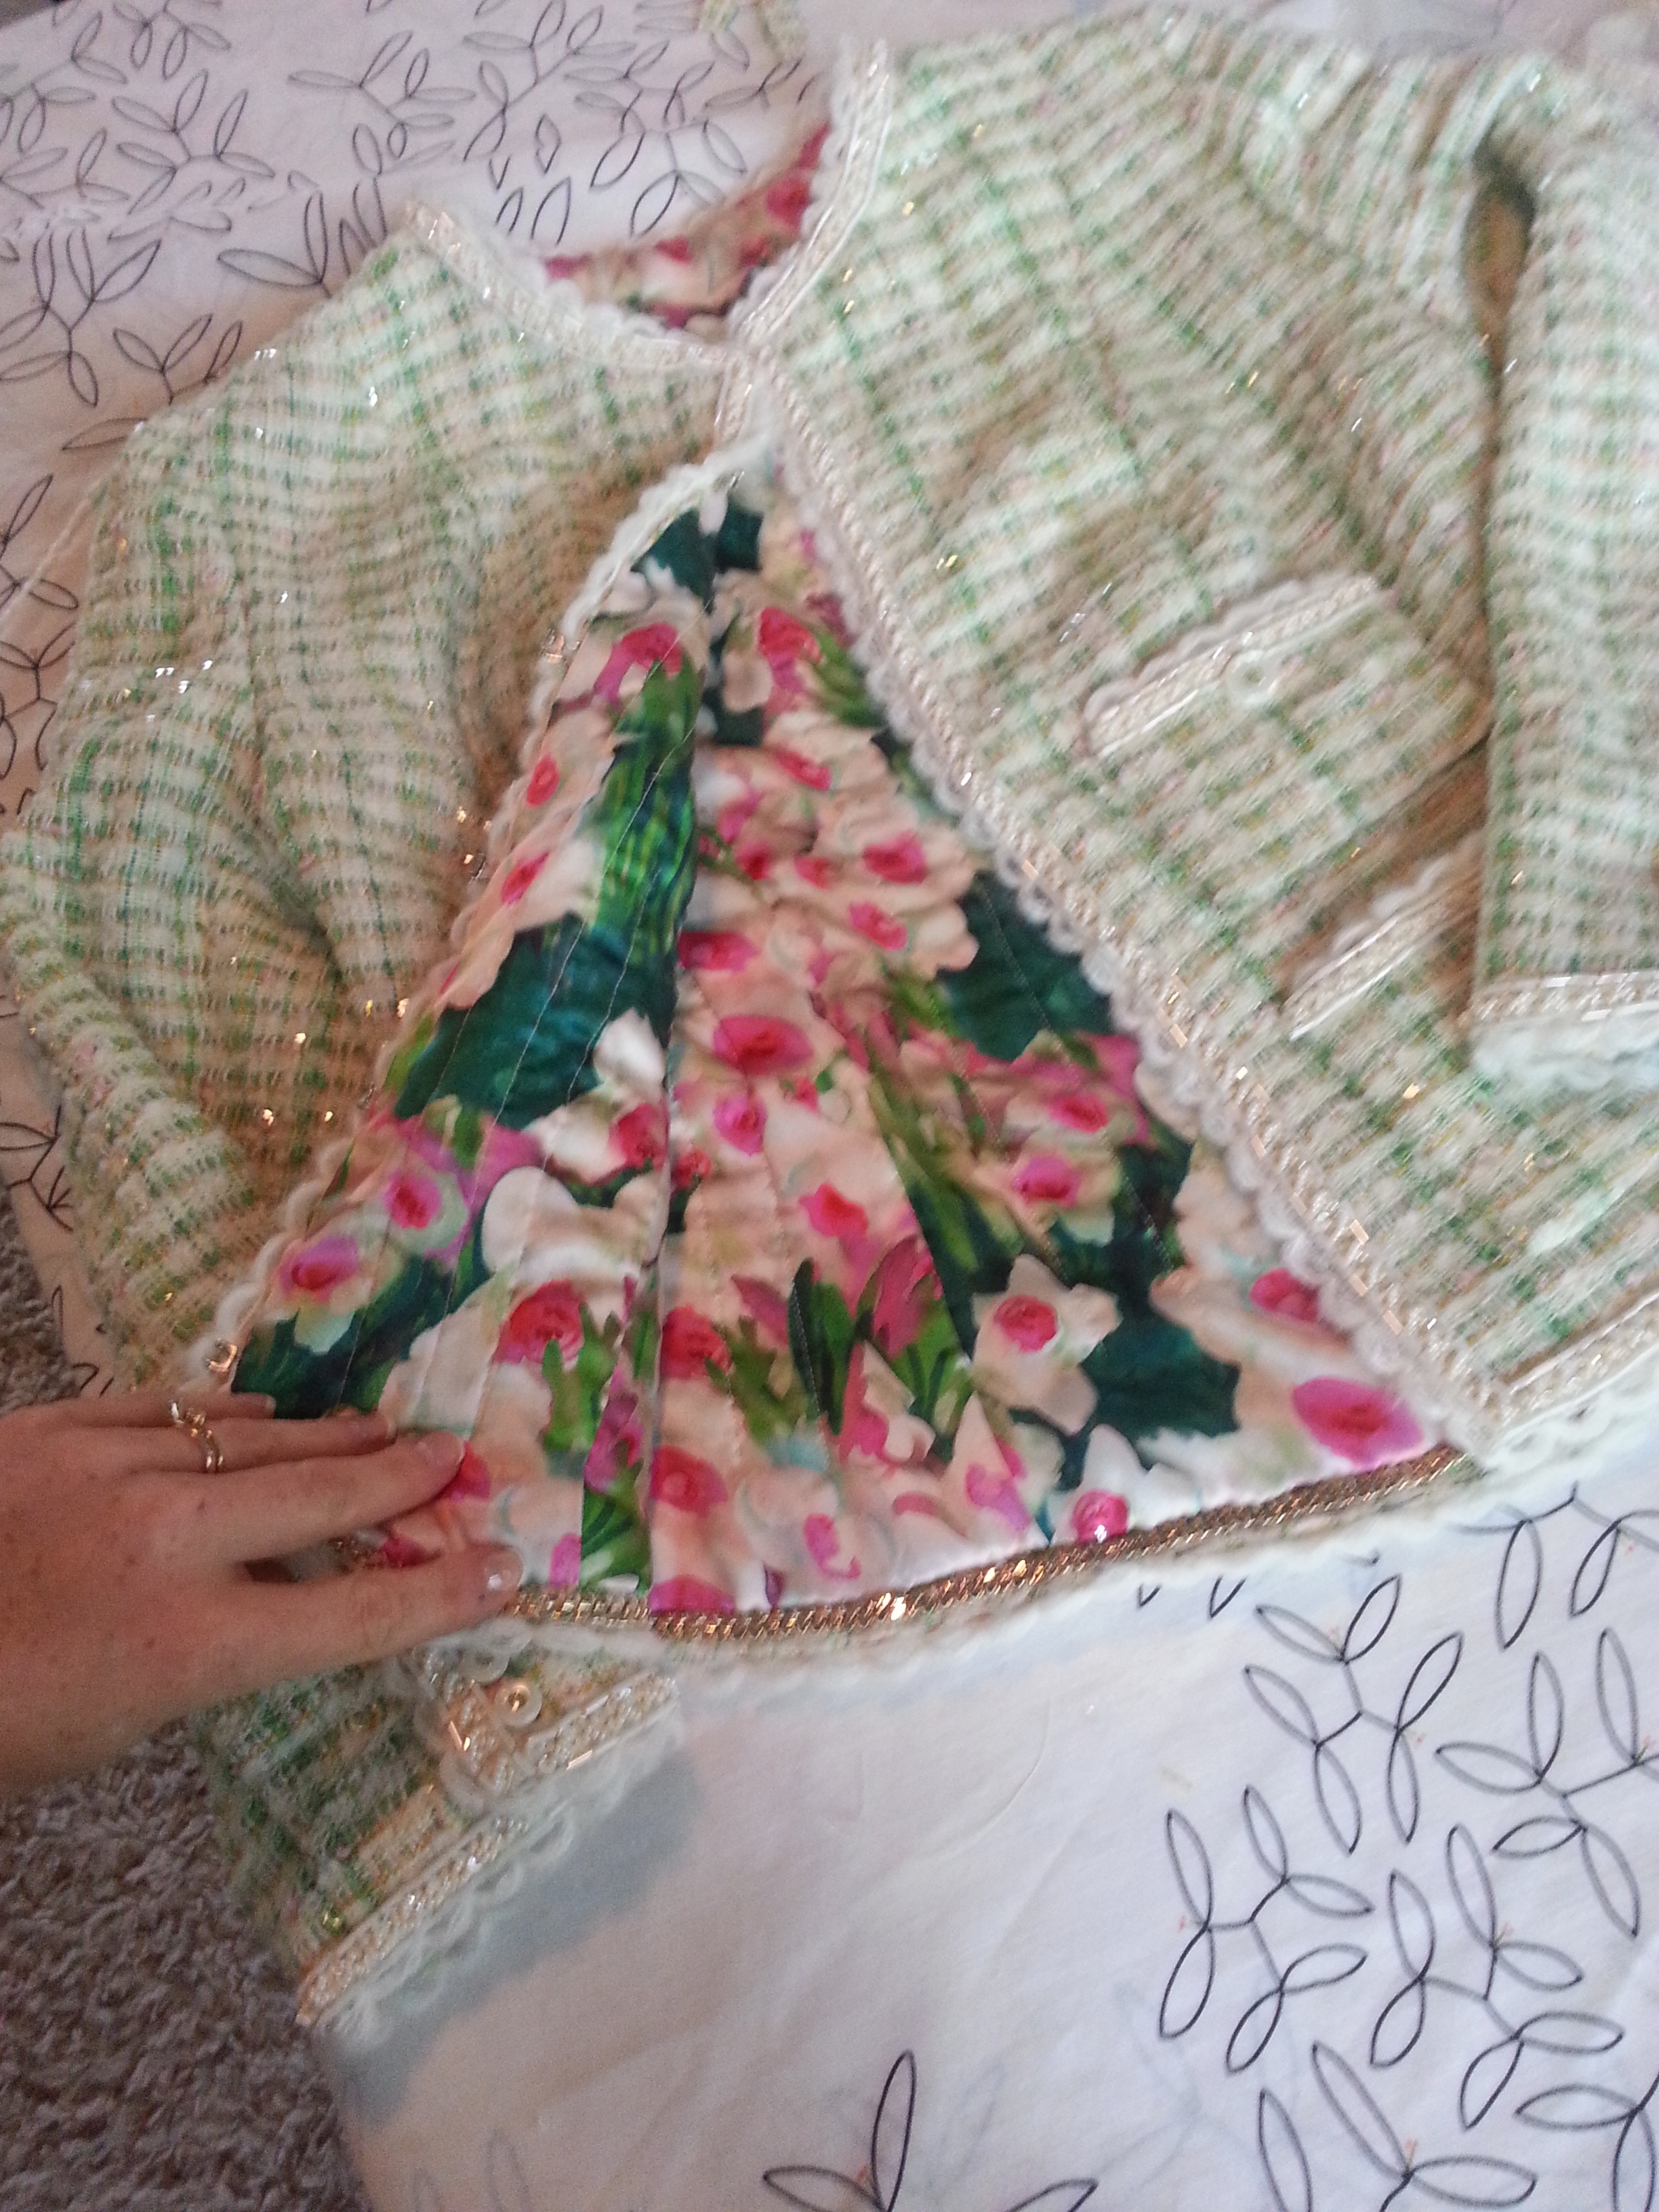
Look at the beautiful lining that Holly chose.

Isn’t this color perfect for Holly?

The buttons which Holly chose are perfect!

With a few scraps left over from her lining, Holly made a color-blocked shell to wear with her jacket.
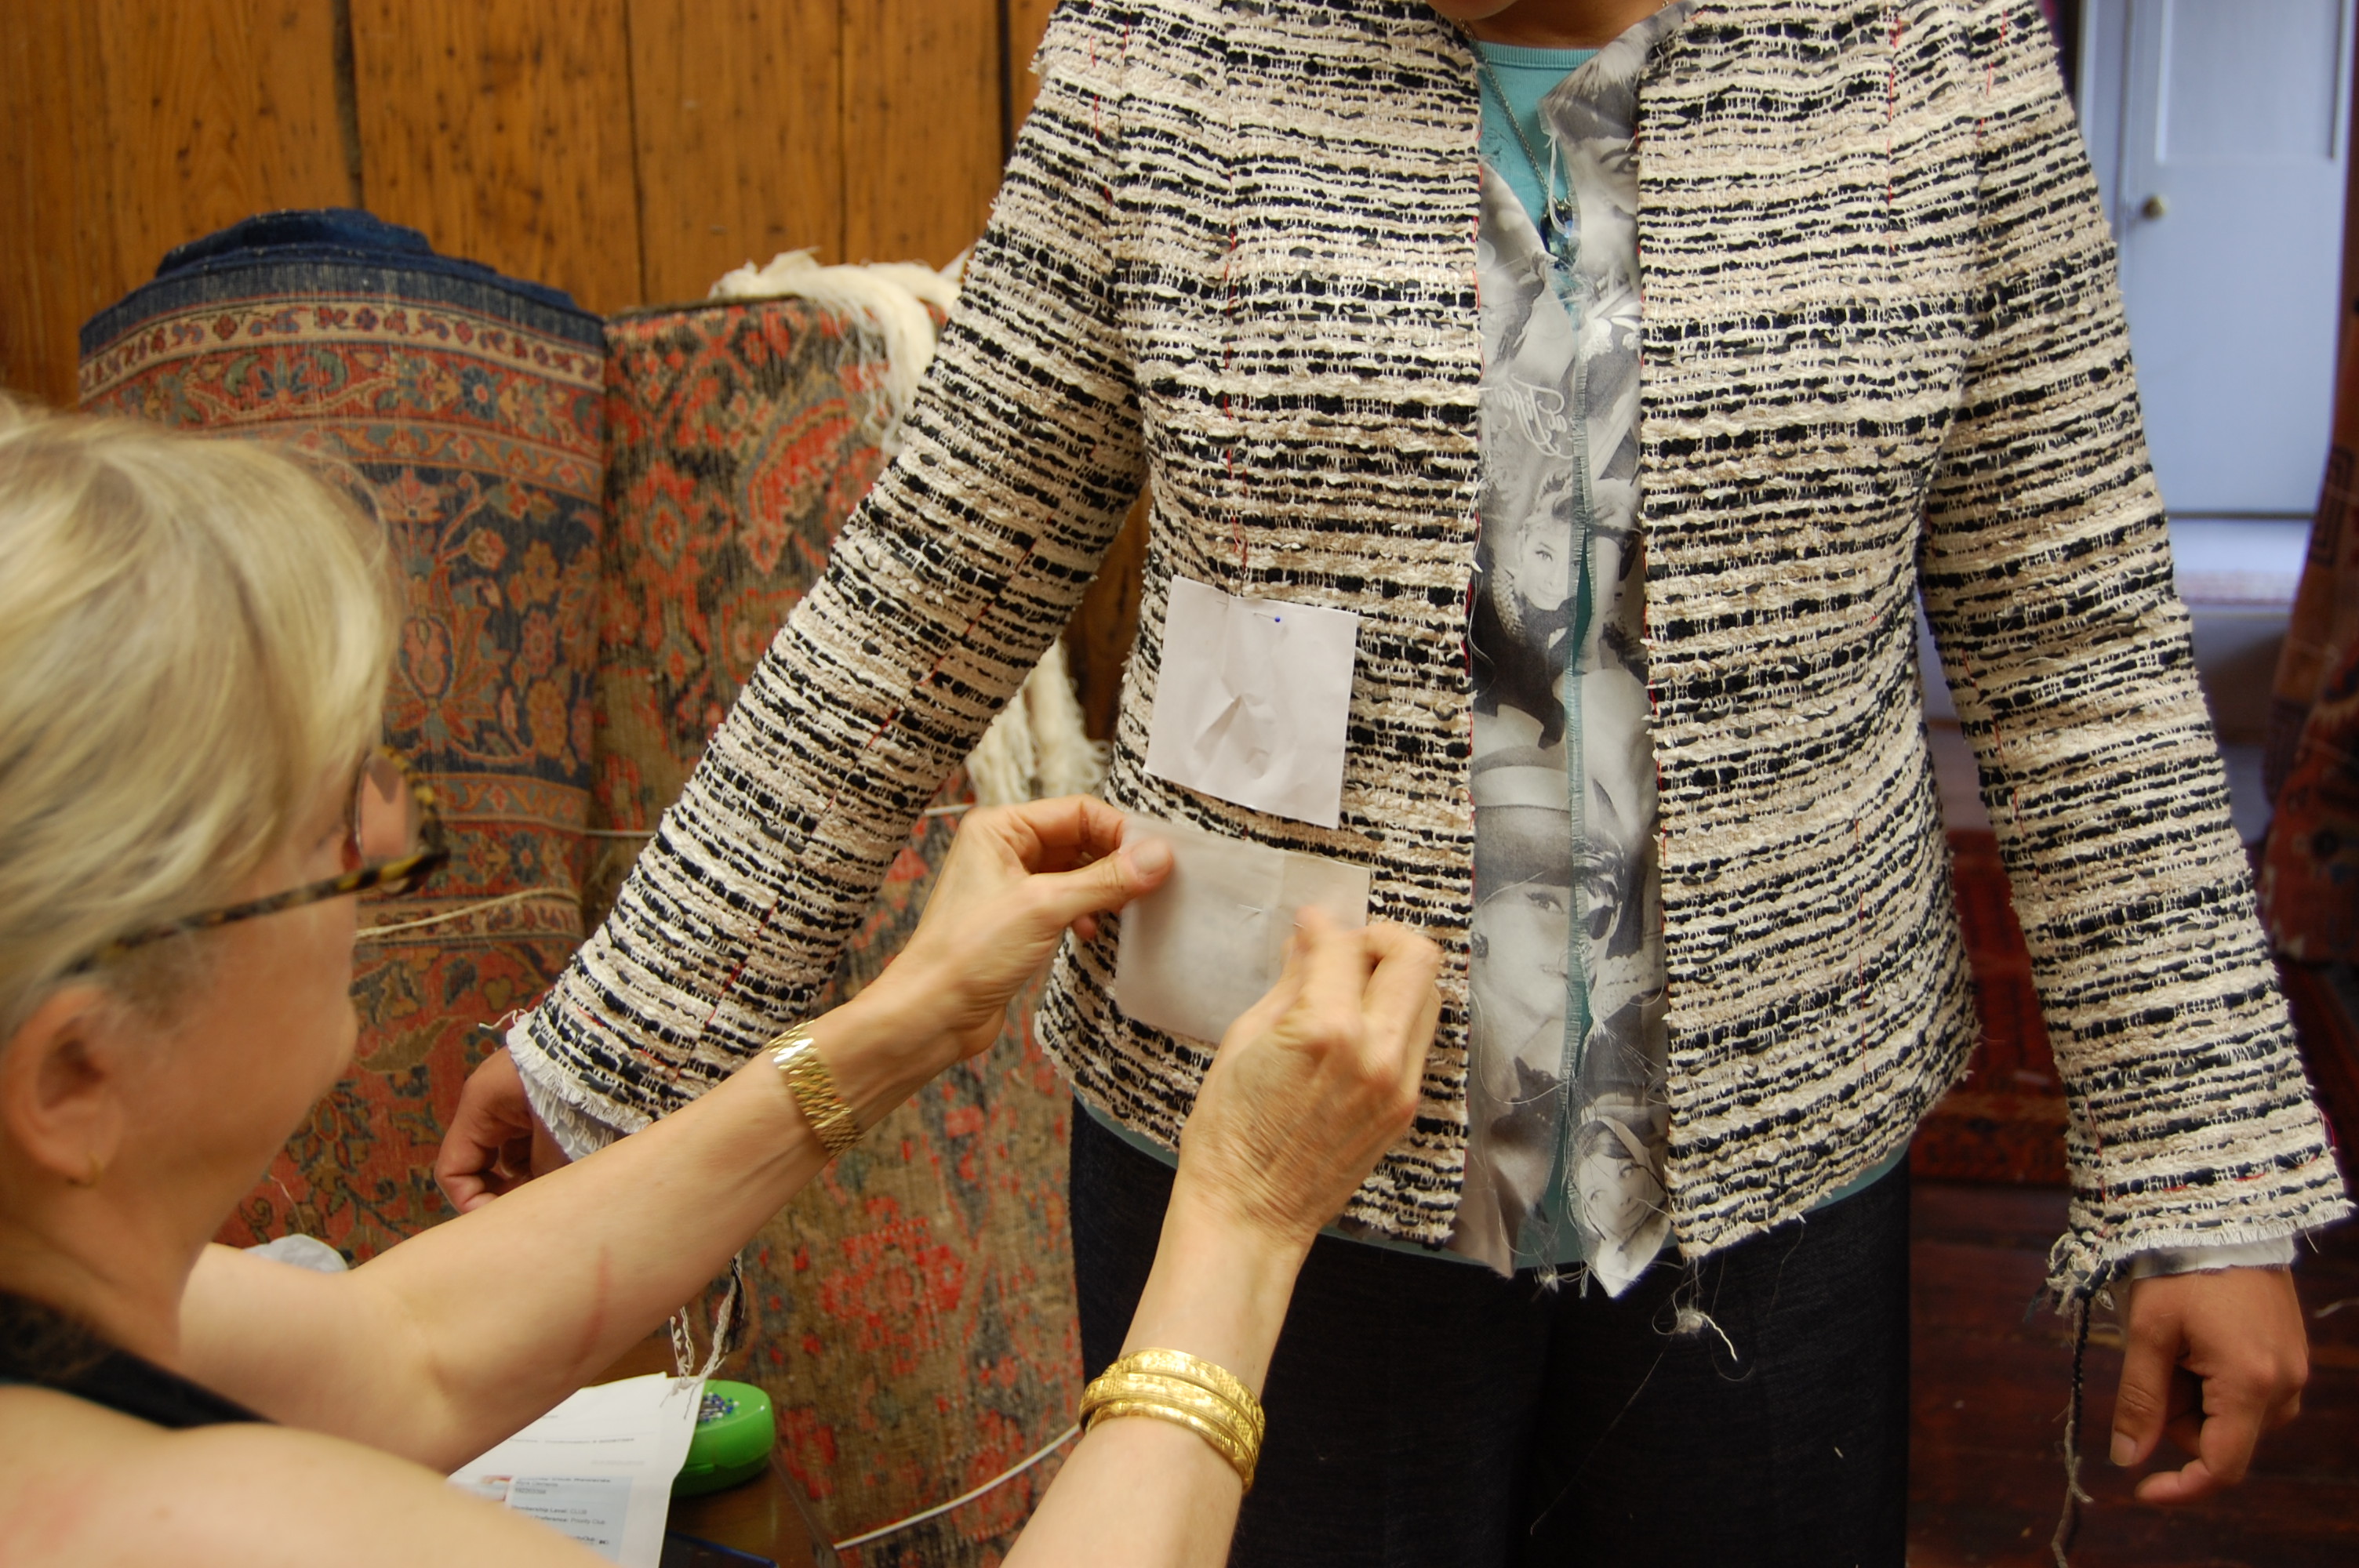
Myra’s horizontally and unevenly striped boucle caused some minor headaches during the pattern placement, but look how beautifully it turned out.
Looking lovely even in the hot sun!

Myra’s whimsical lining fabric features images of Audrey Hepburn. She brought this fabric with her to Baltimore and chose her boucle accordingly.
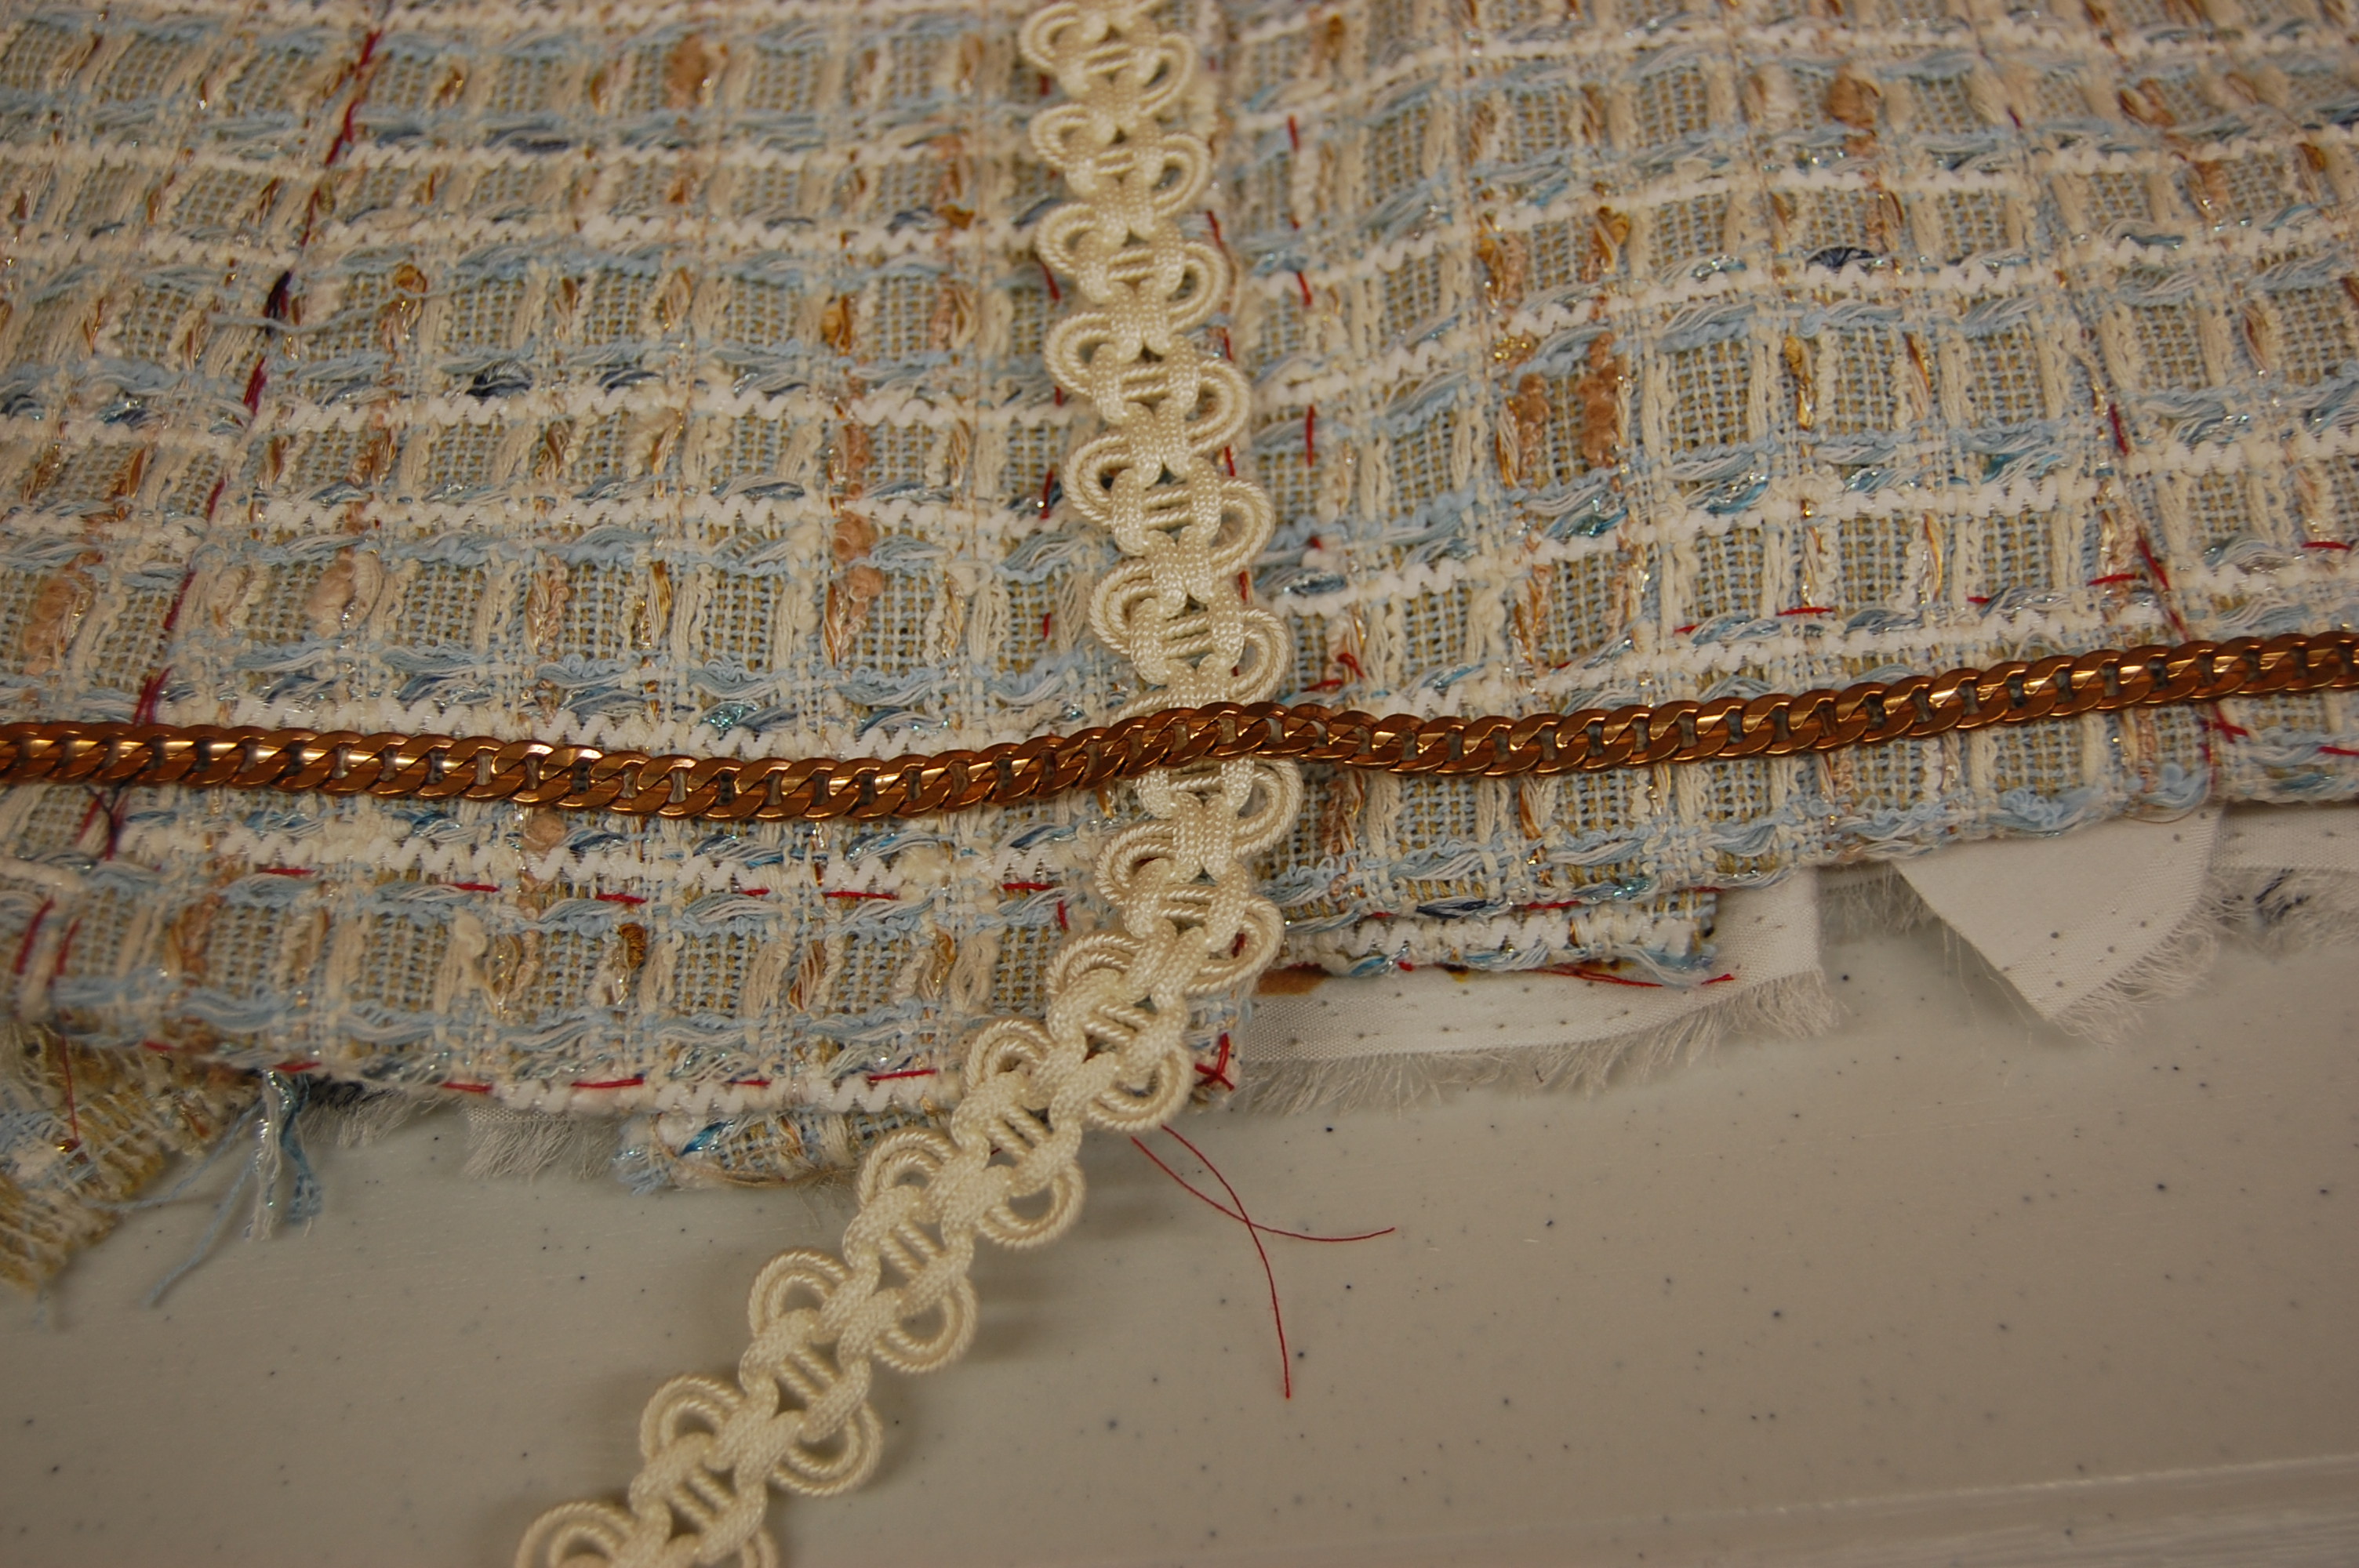
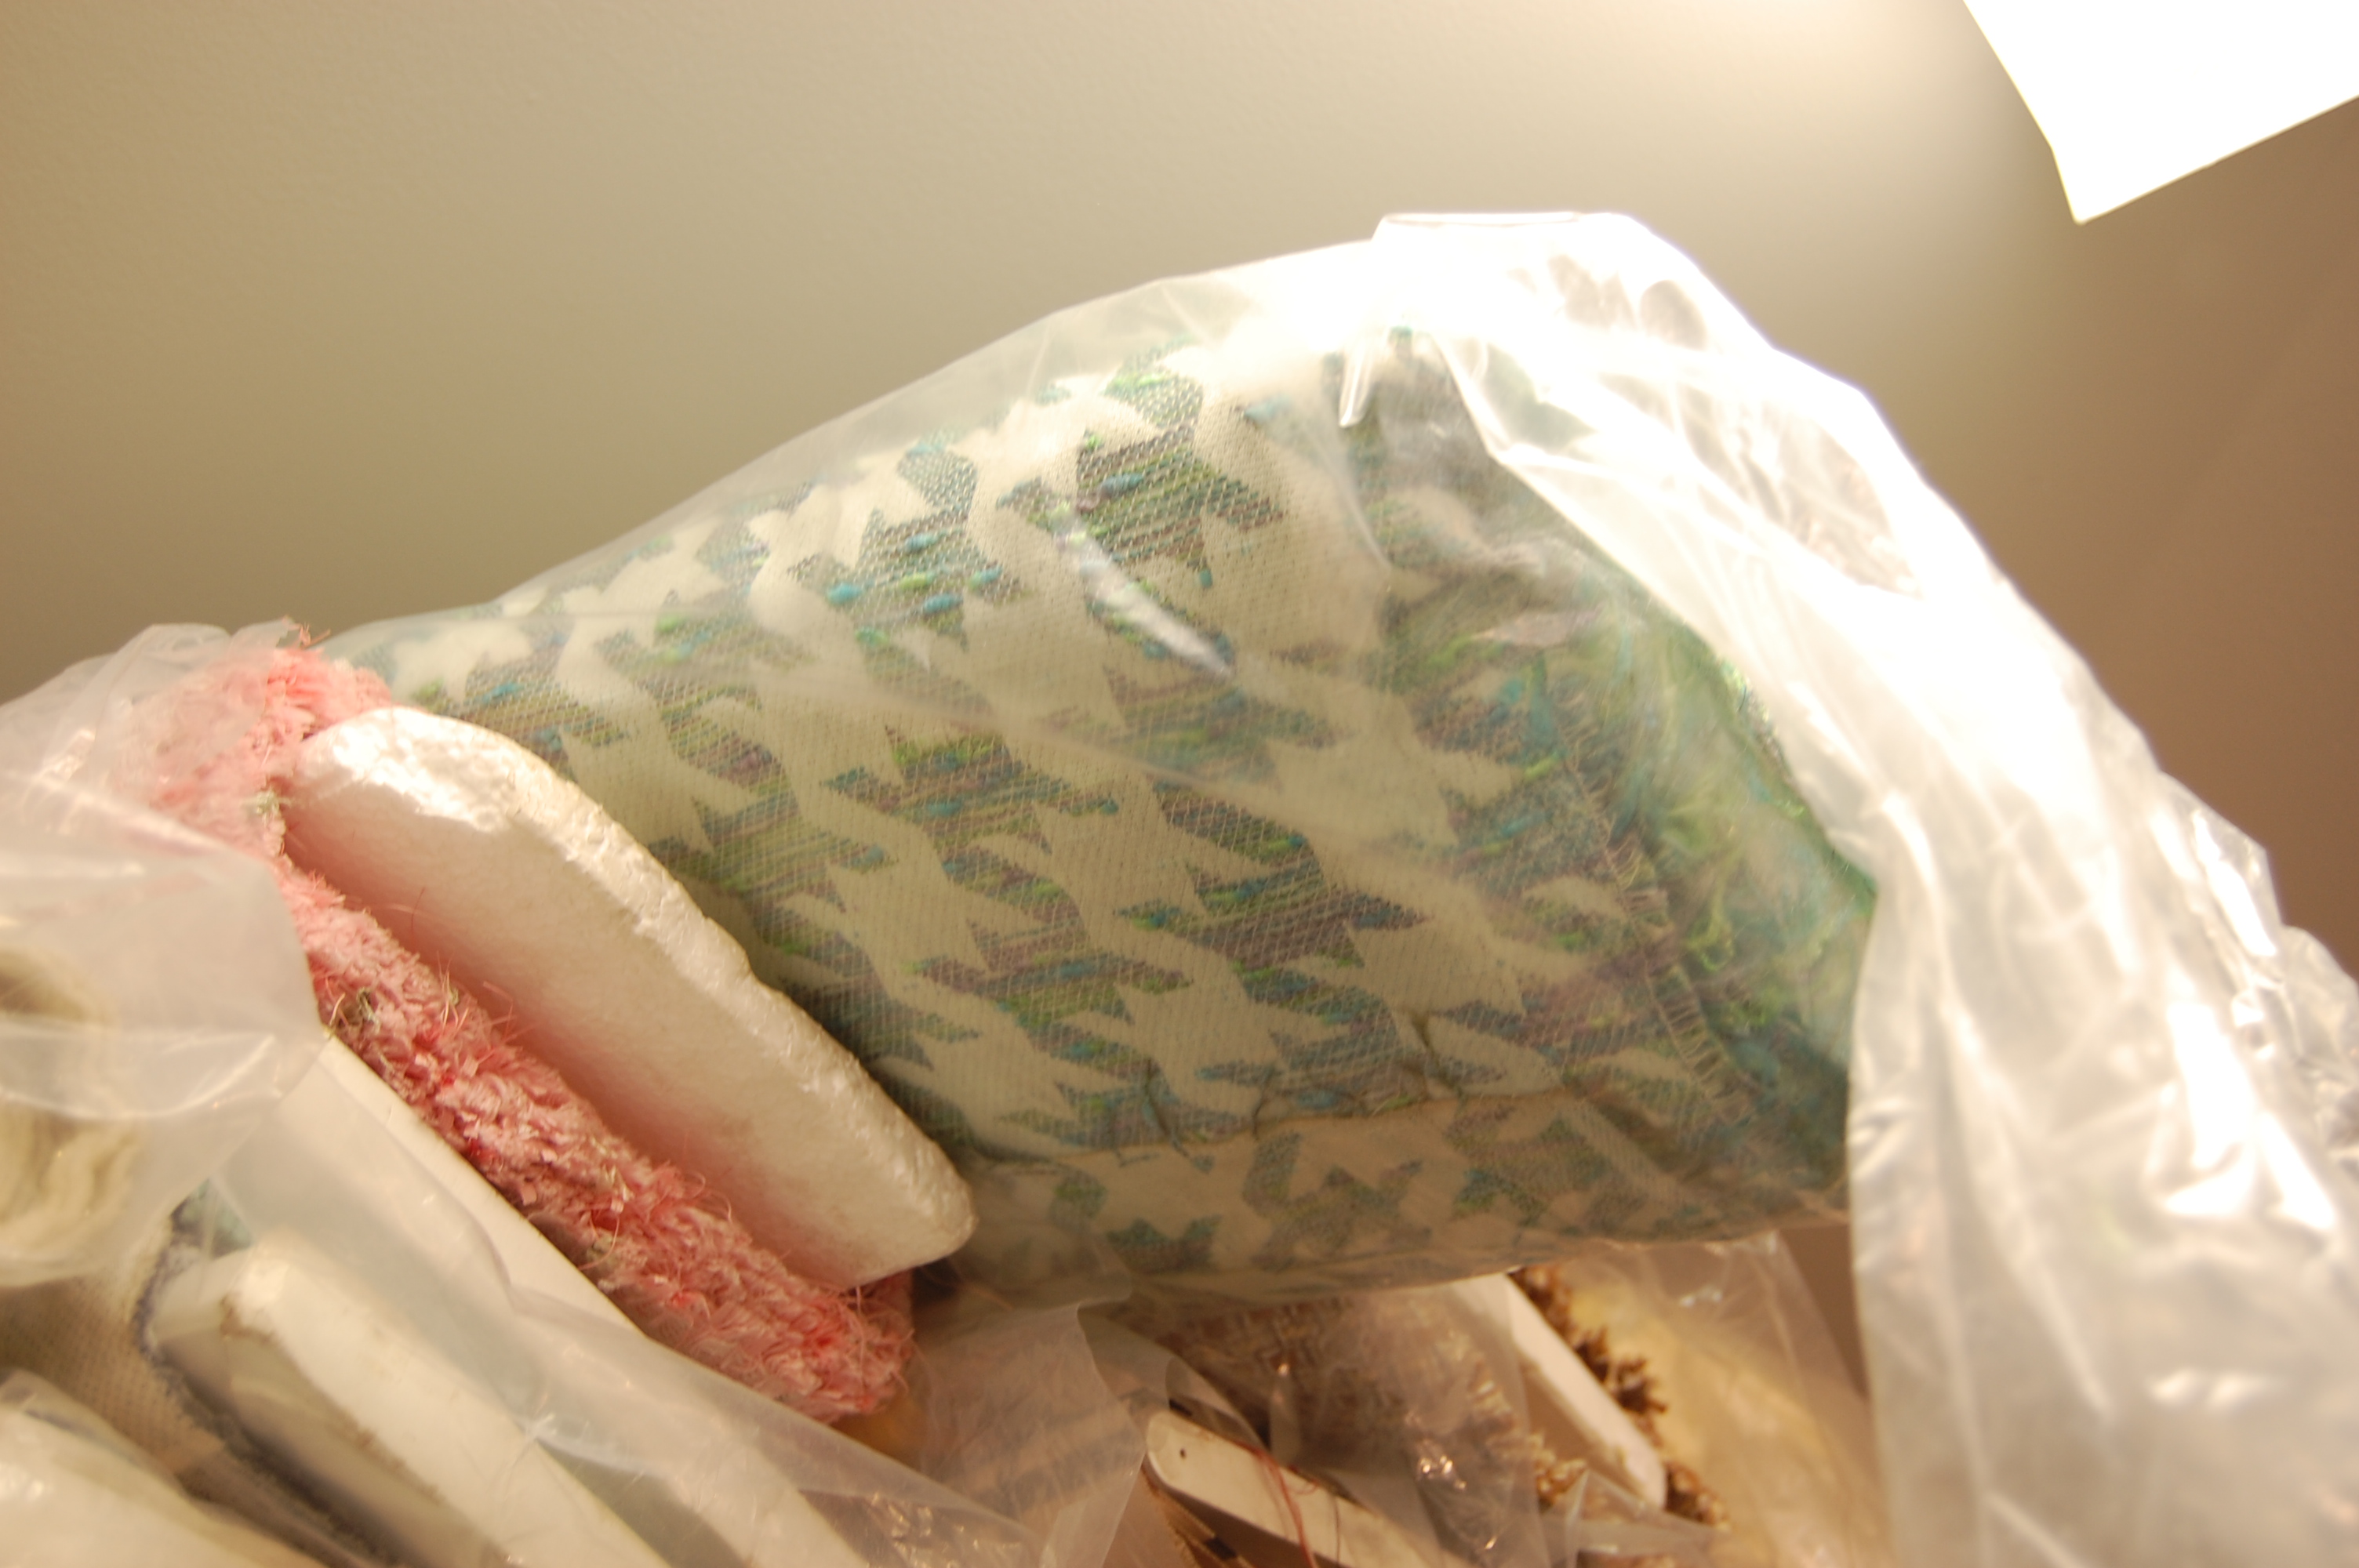
Sherry chose a creamy white, loosely woven “windowpane” boucle for her jacket, and the result is pure loveliness.

Isn’t this beautiful??
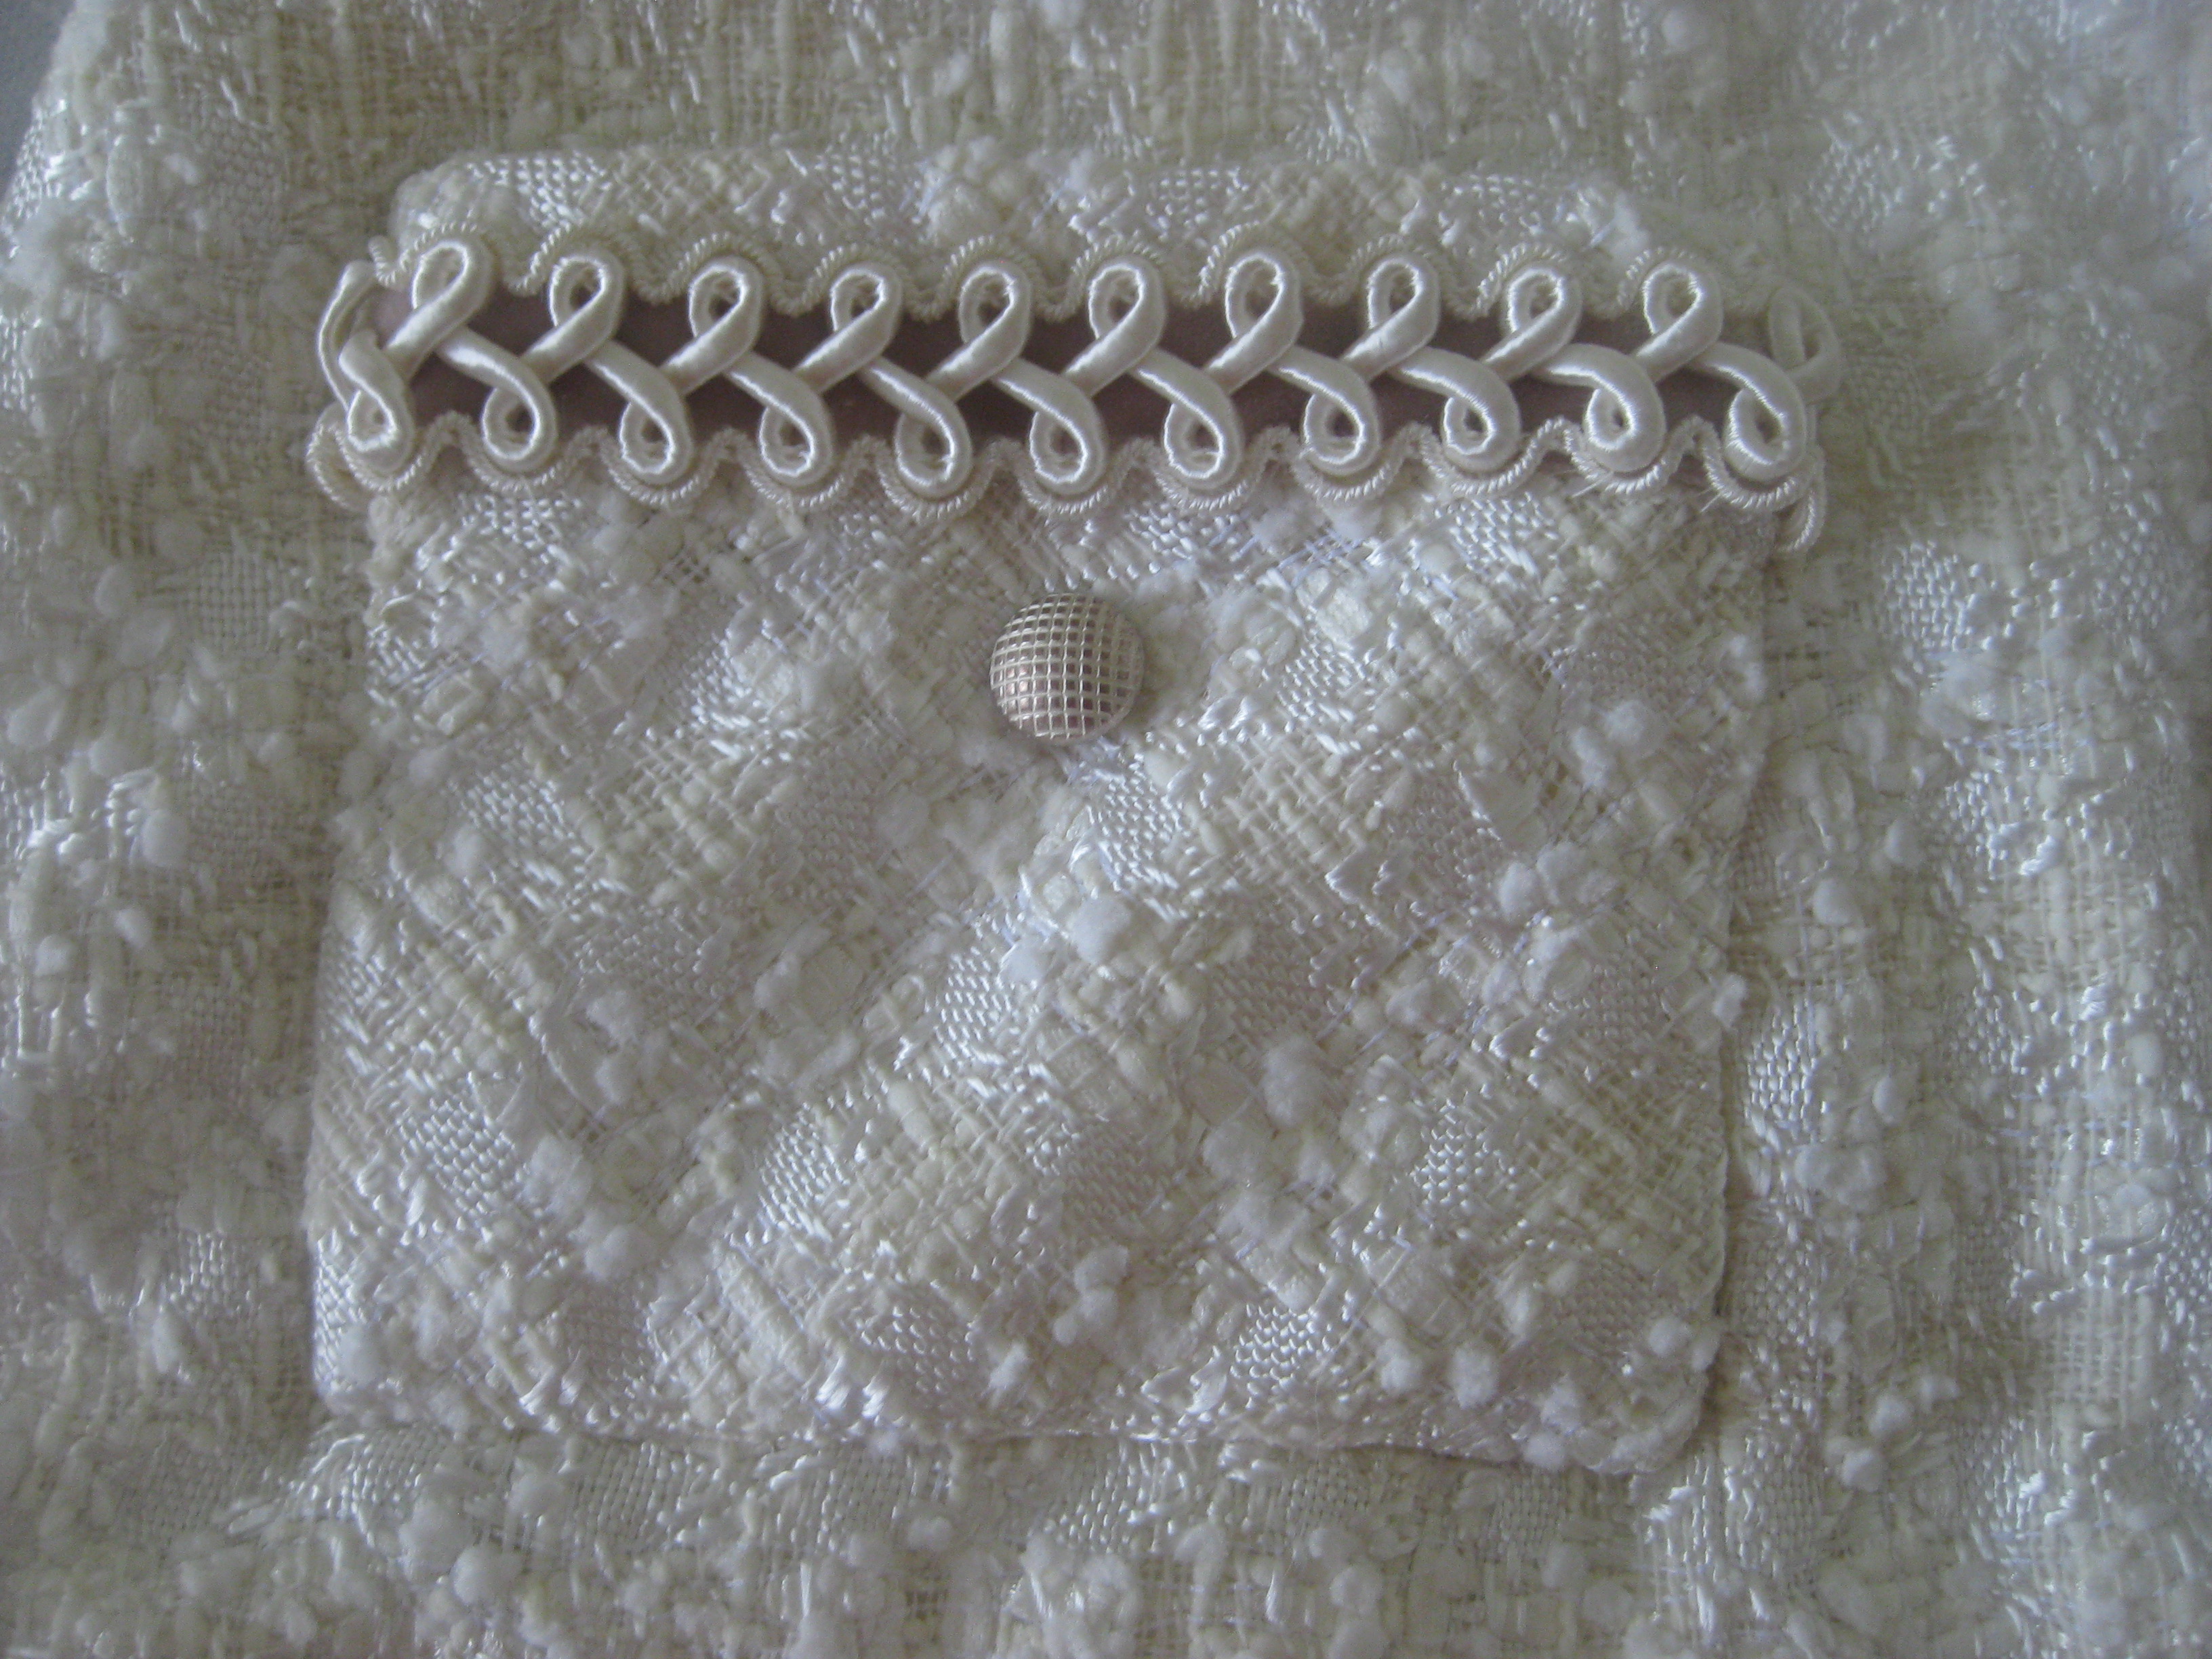
Sherry very cleverly made her pockets on the bias. The petite buttons are just right for the weave of the fabric.

Look how well Sherry’s jacket fits.
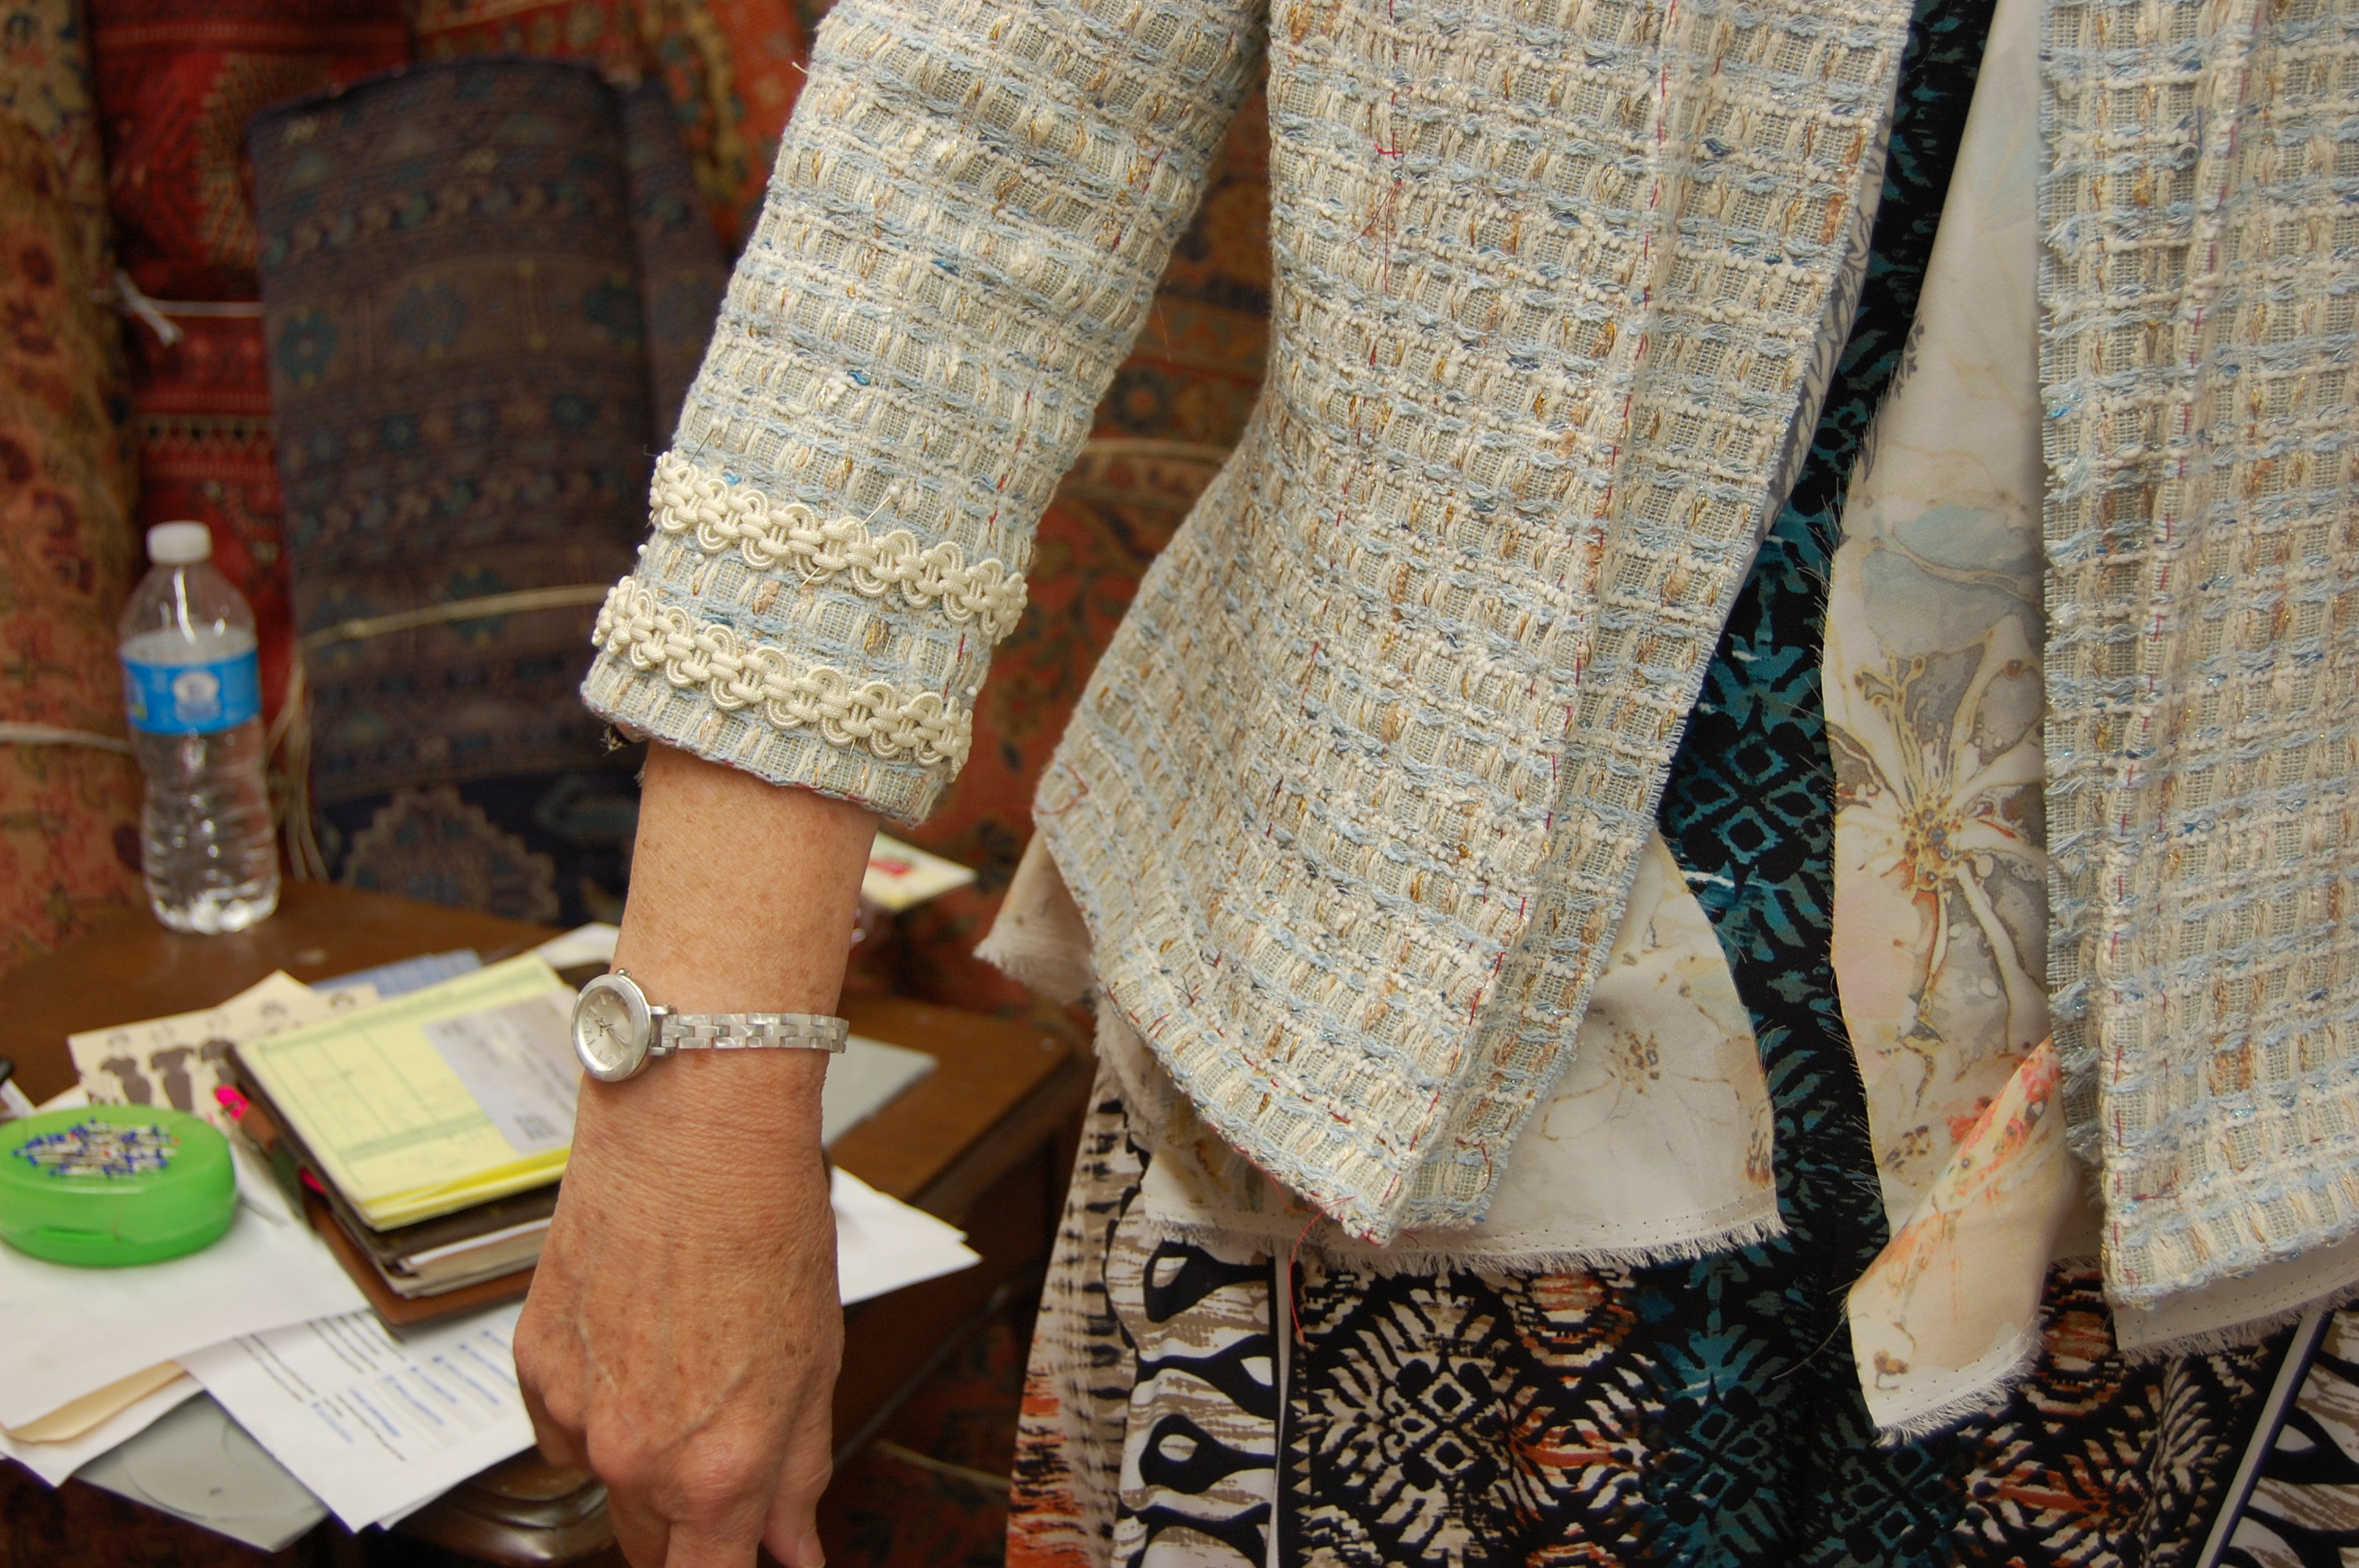
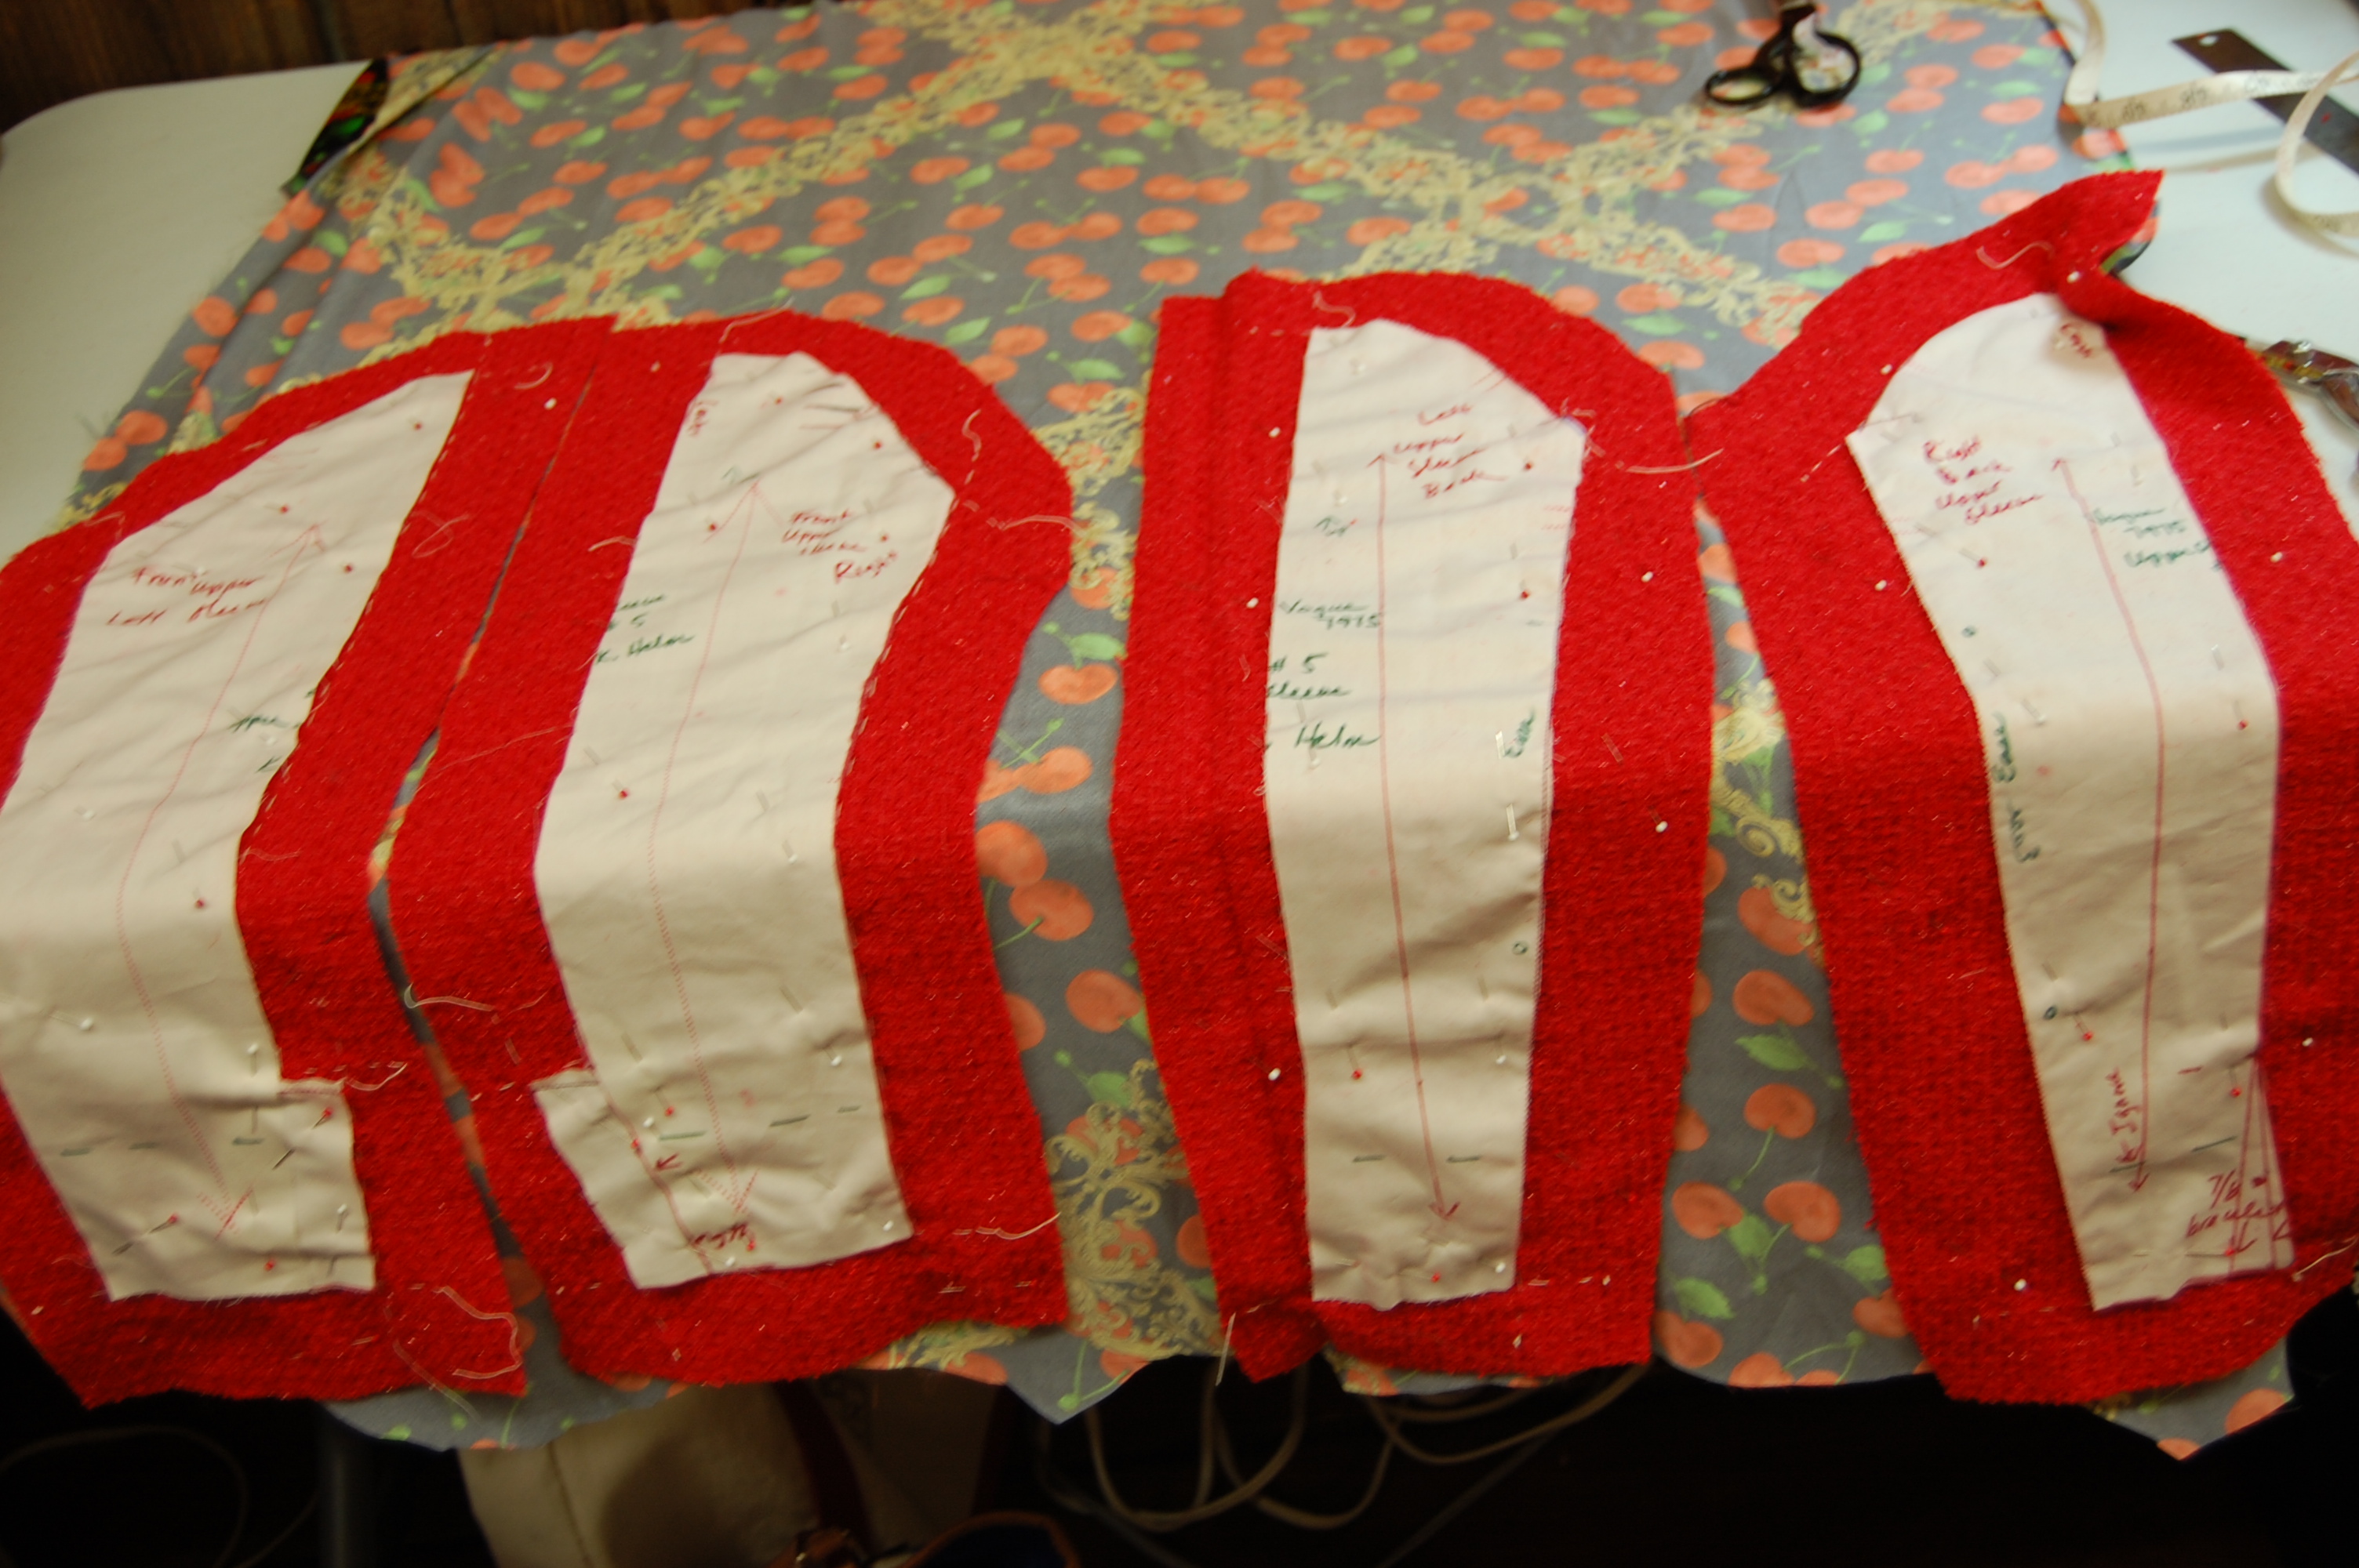
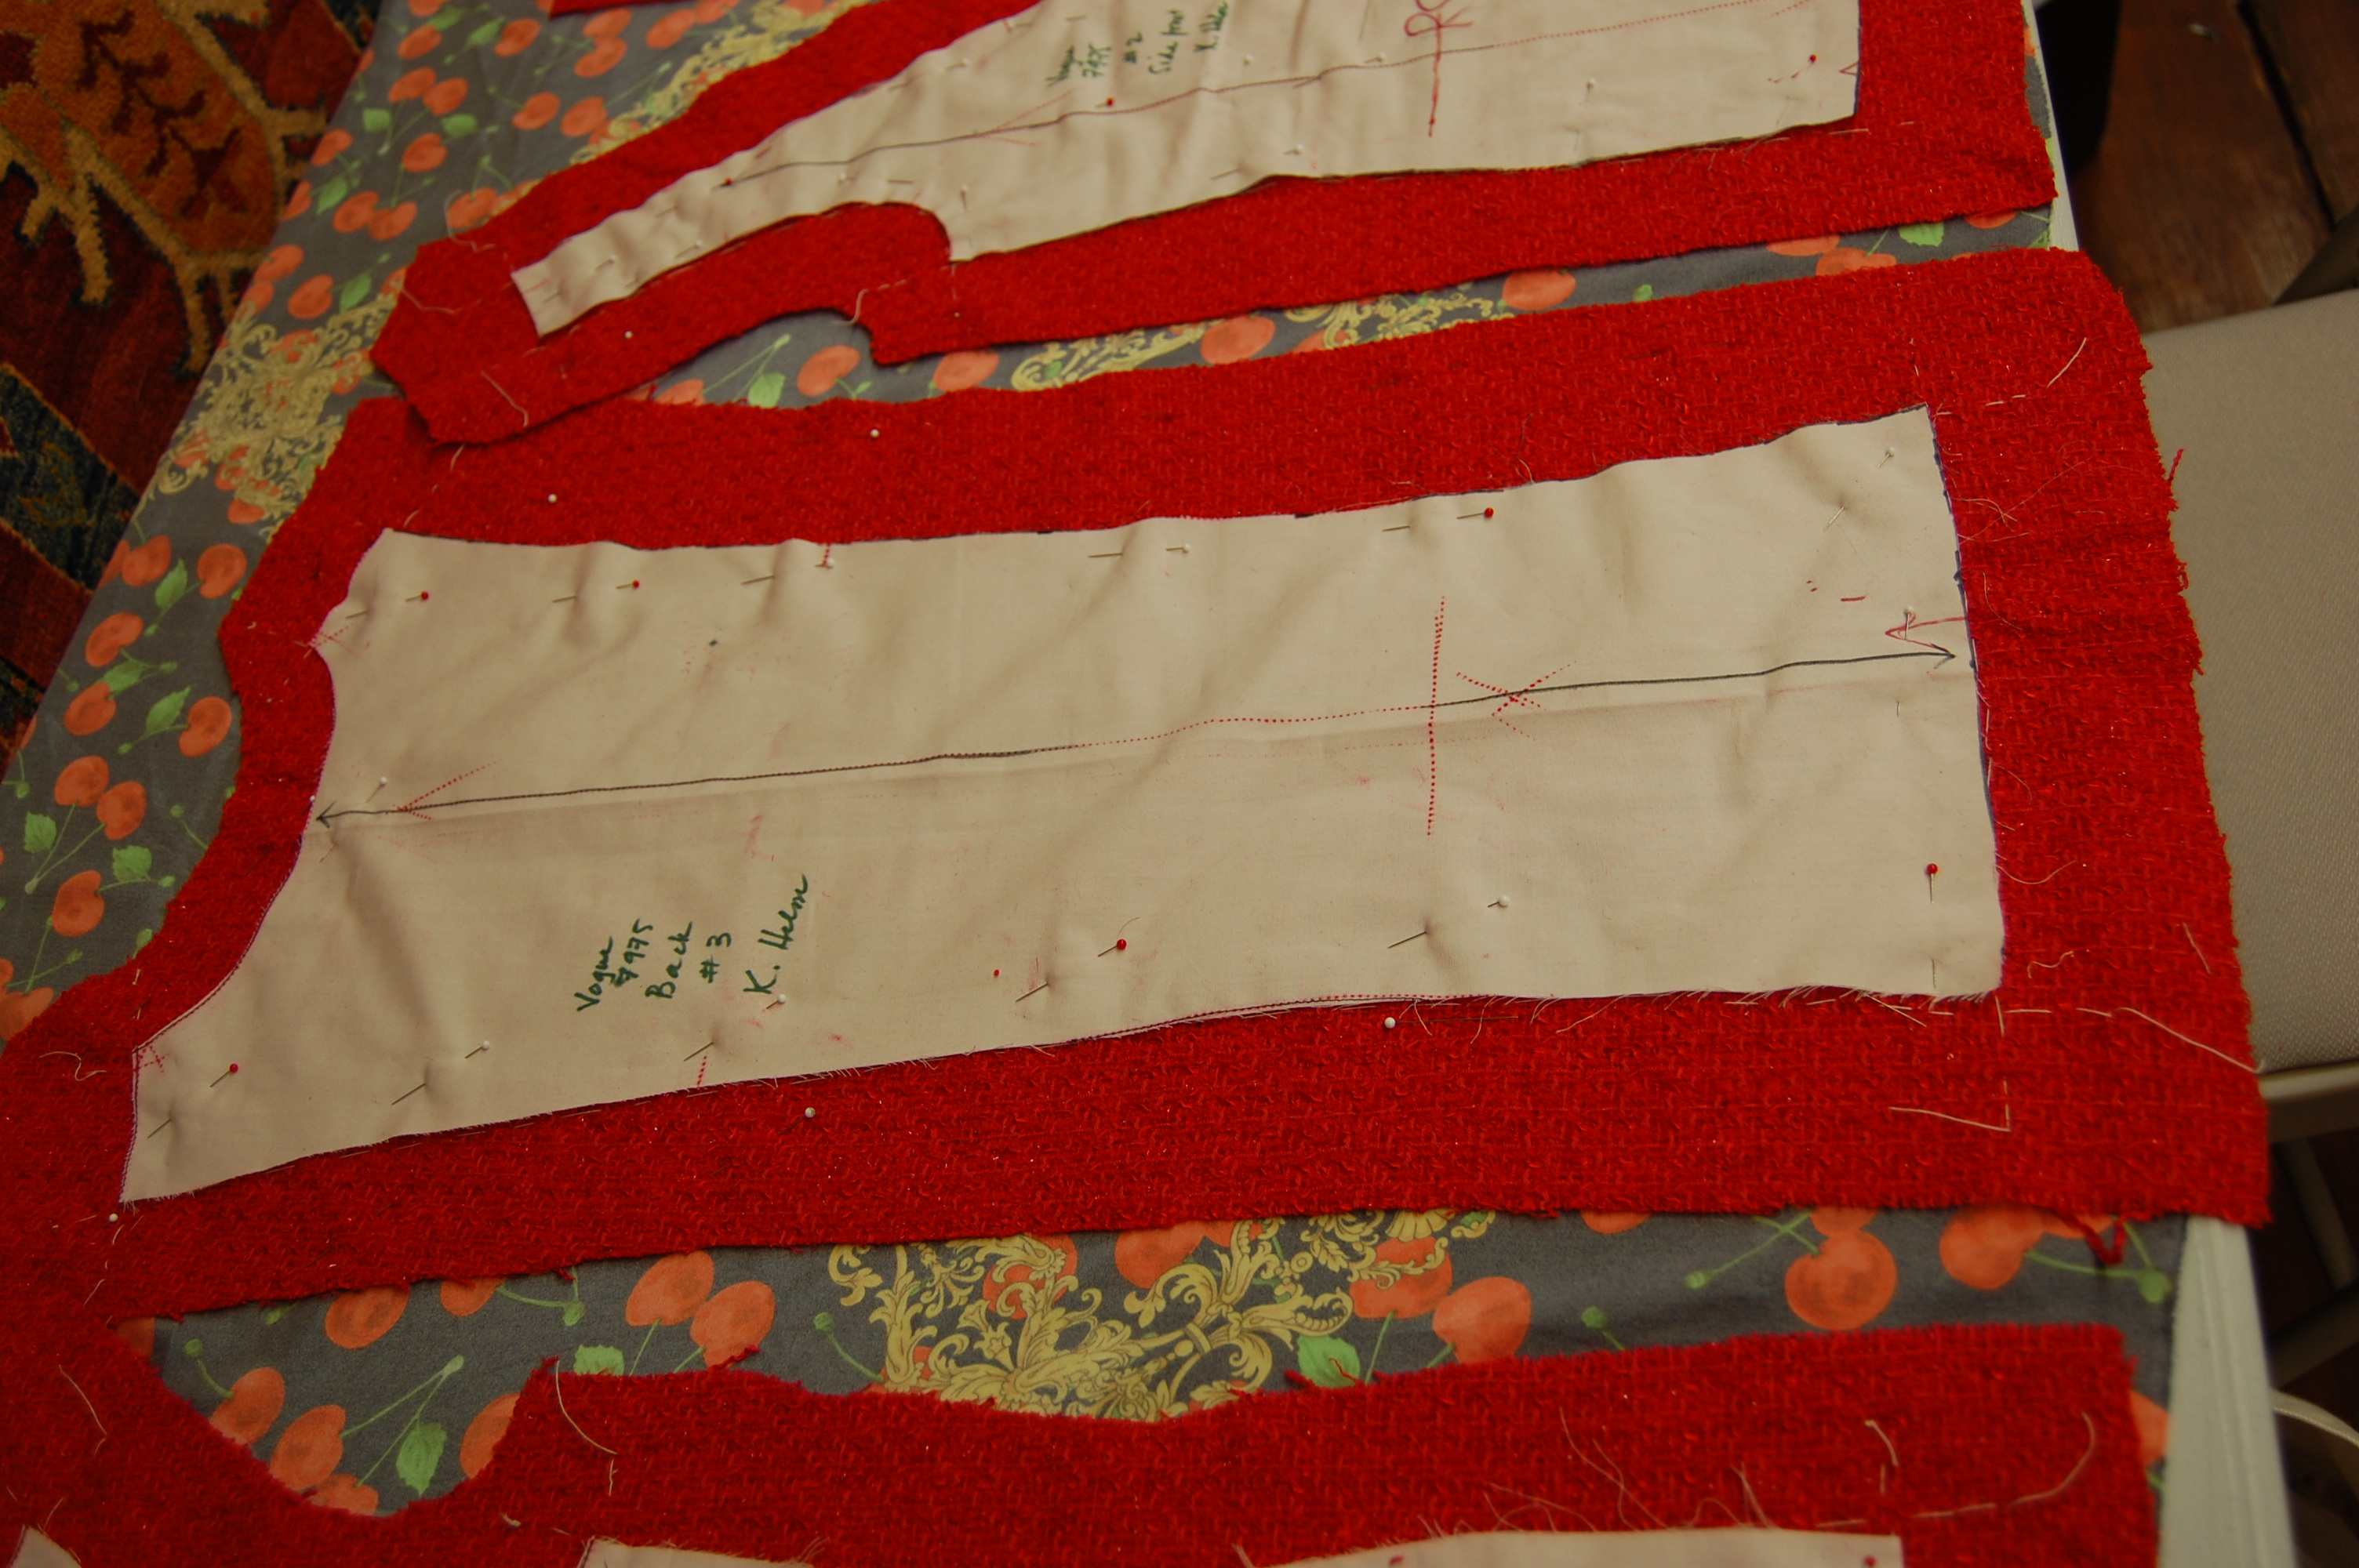
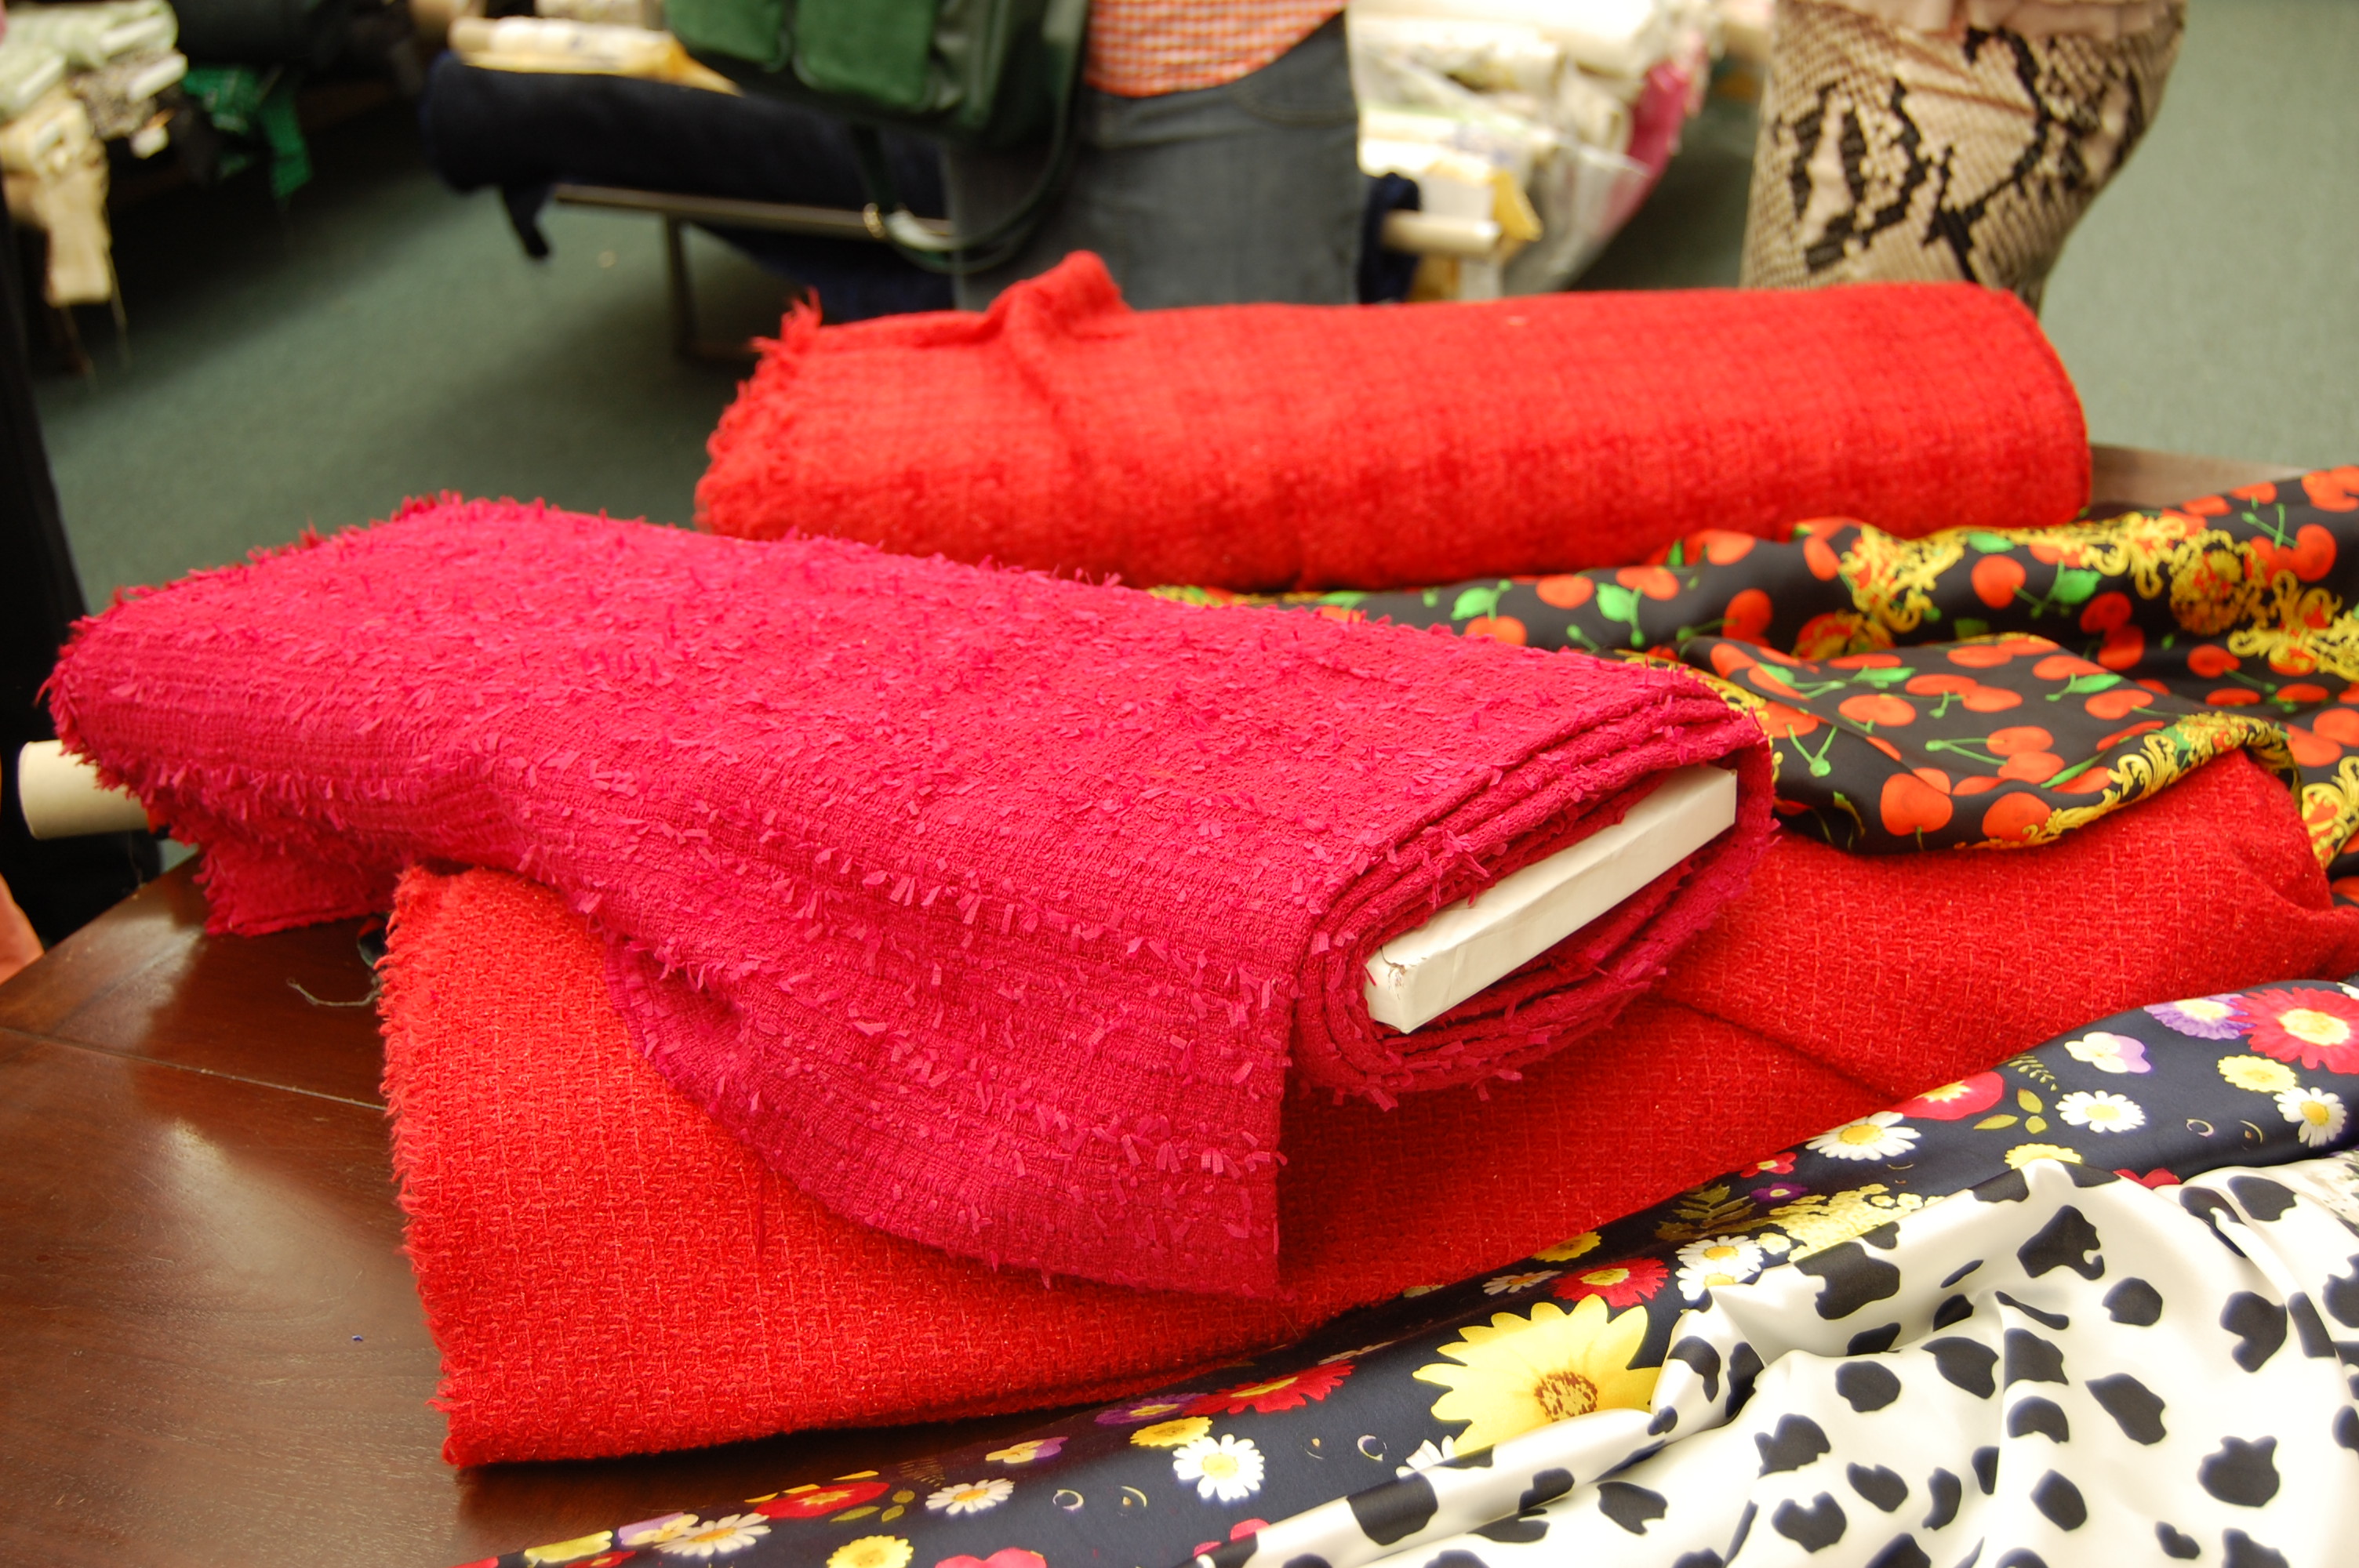
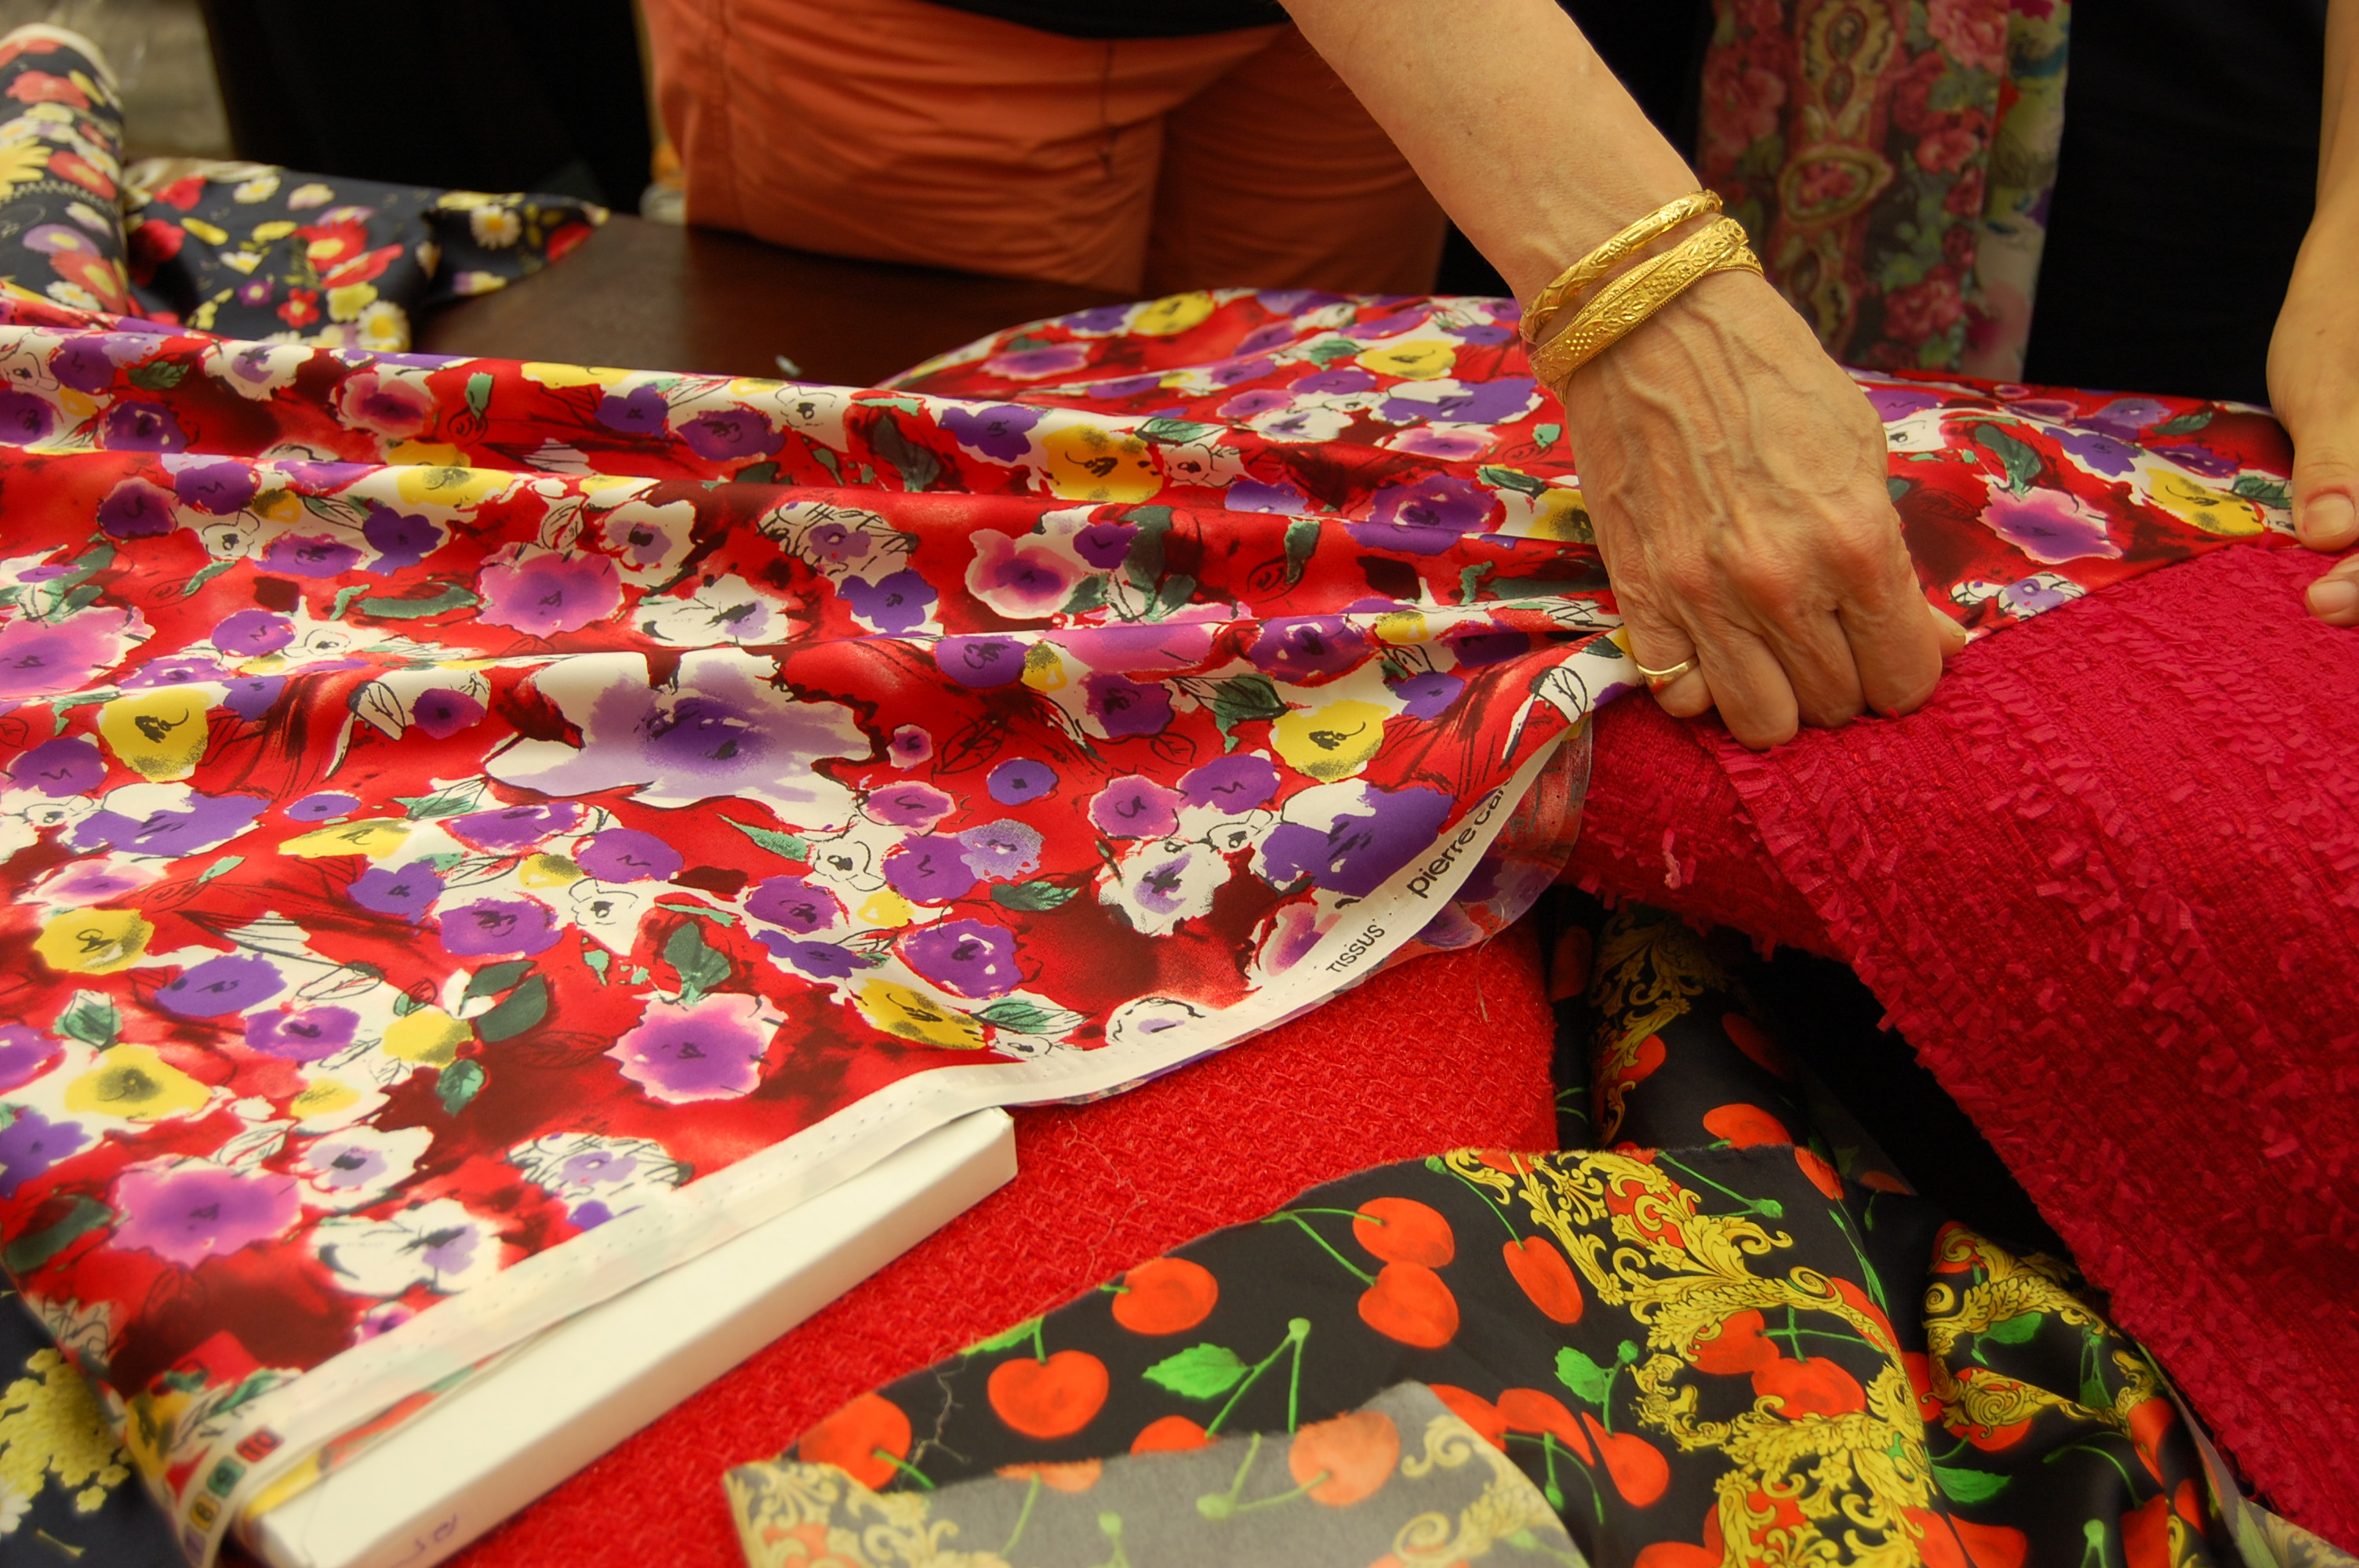
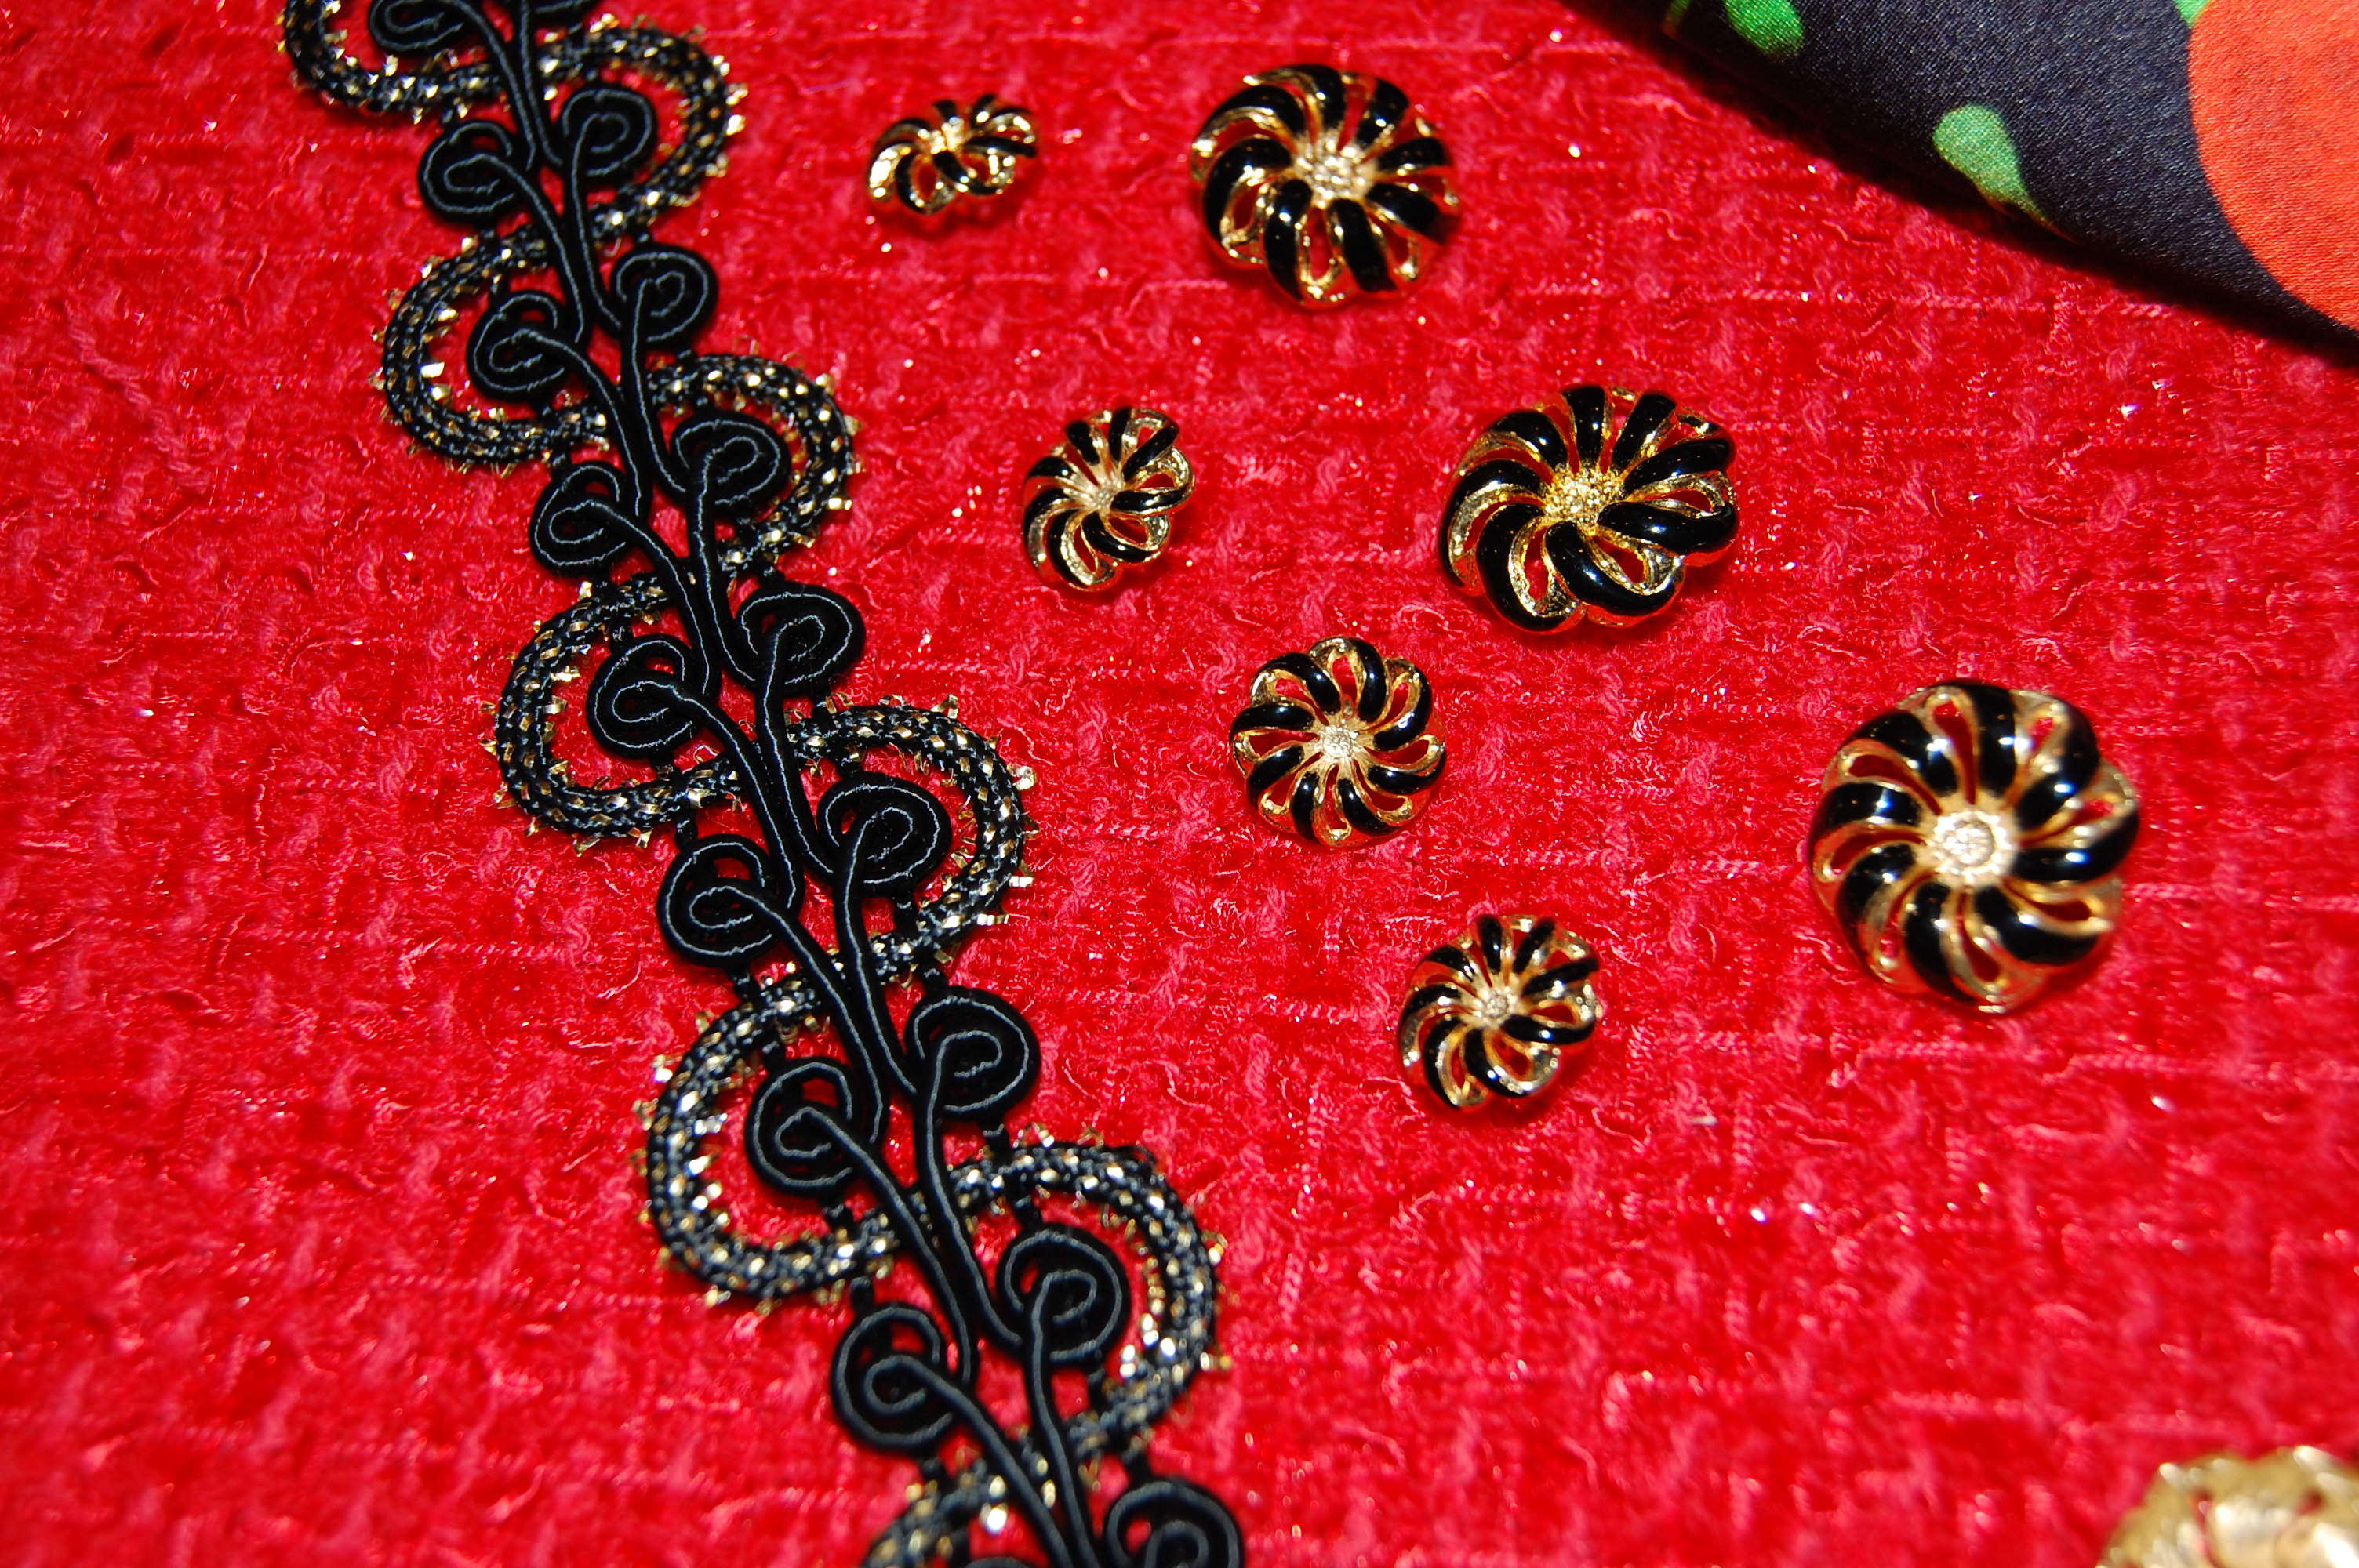
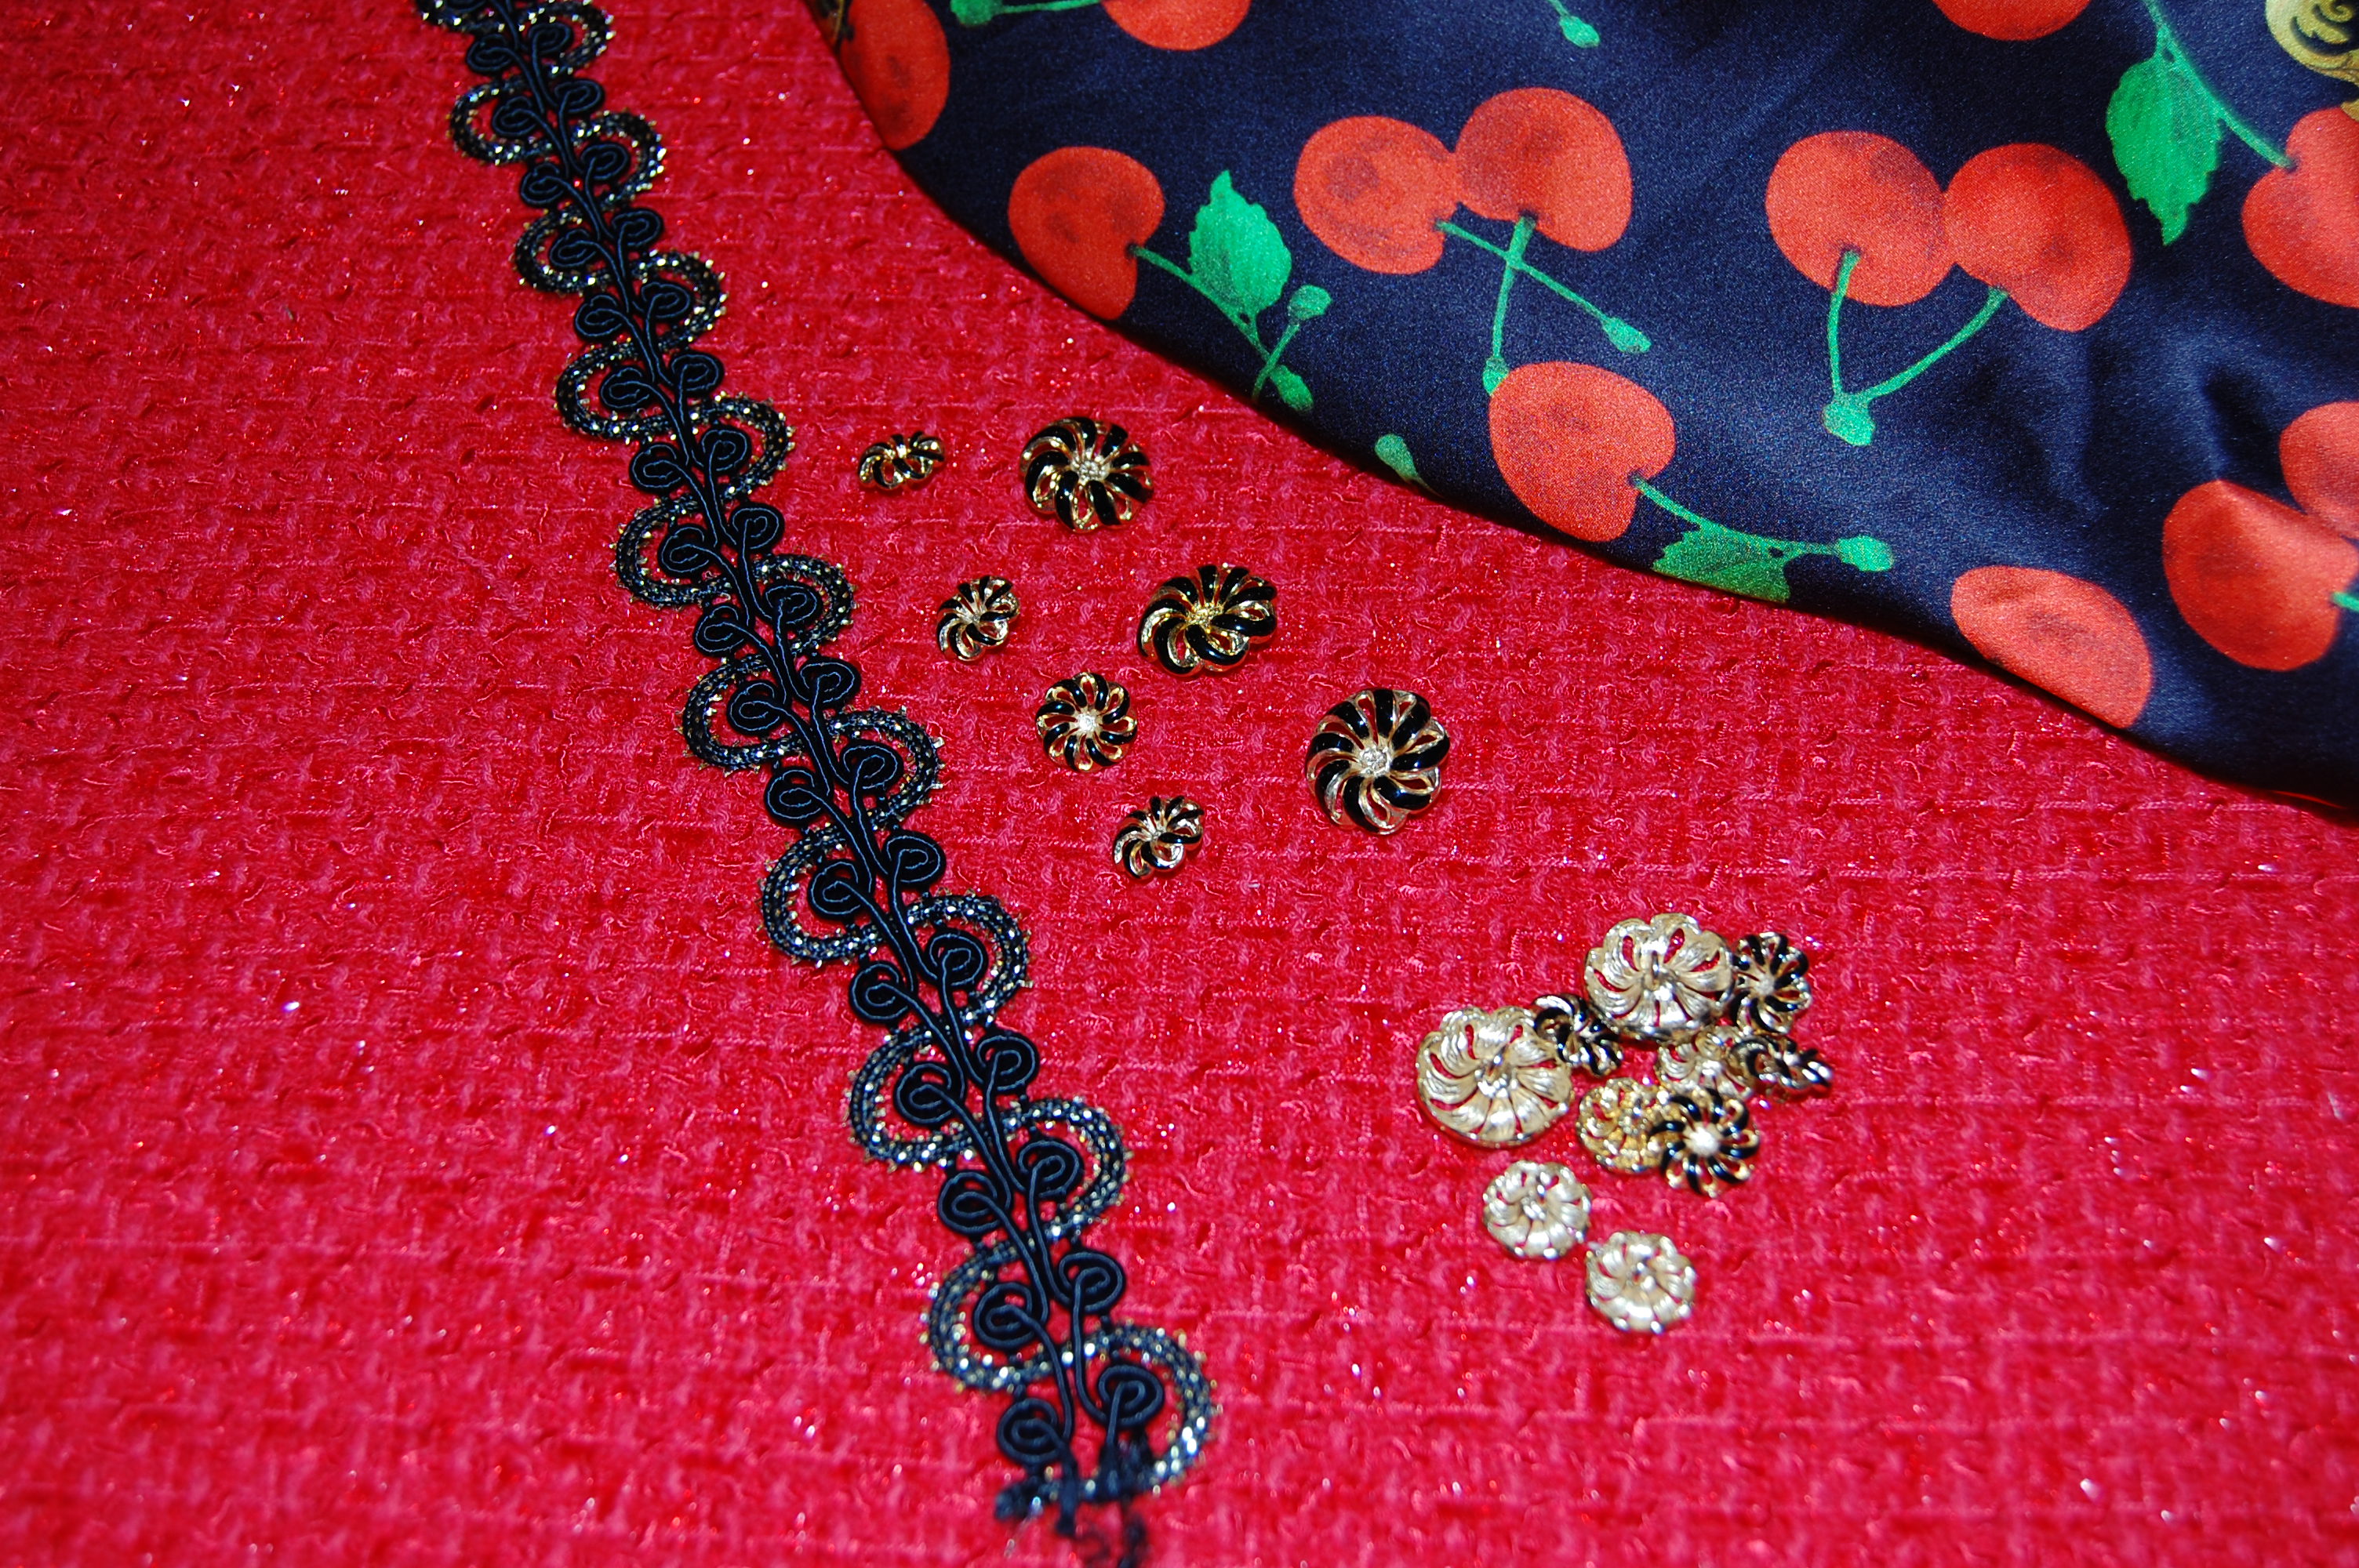
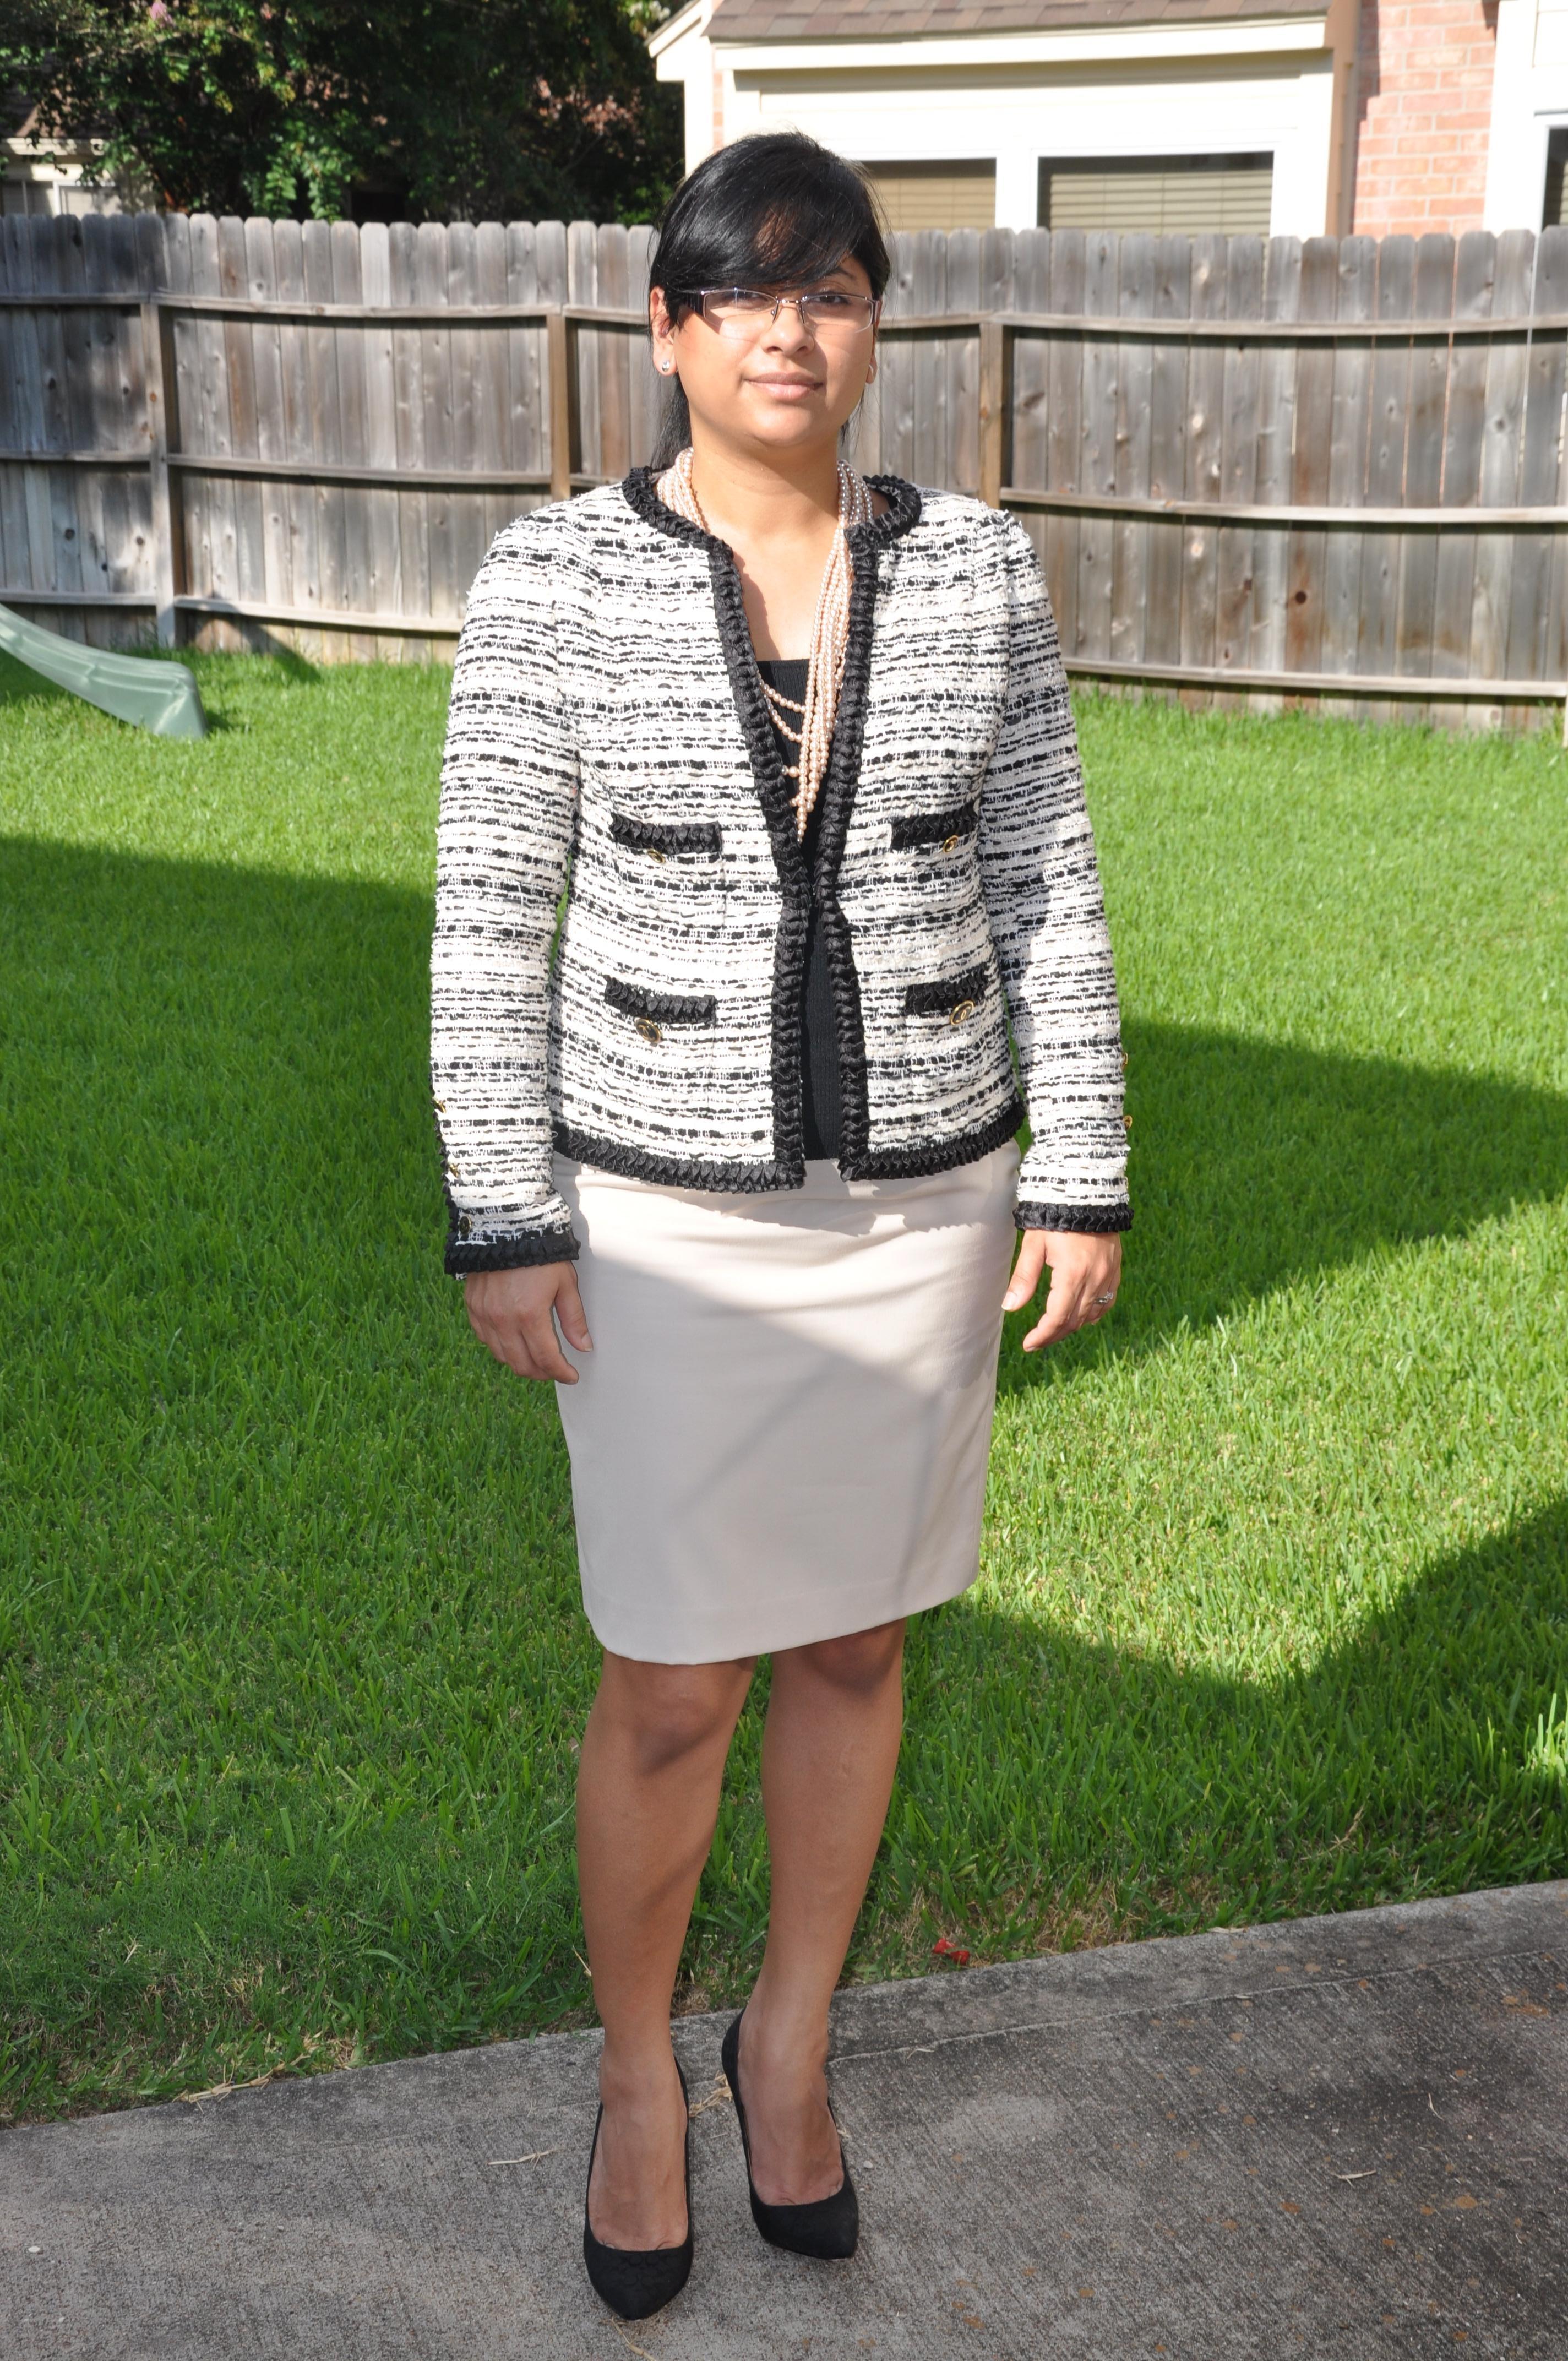
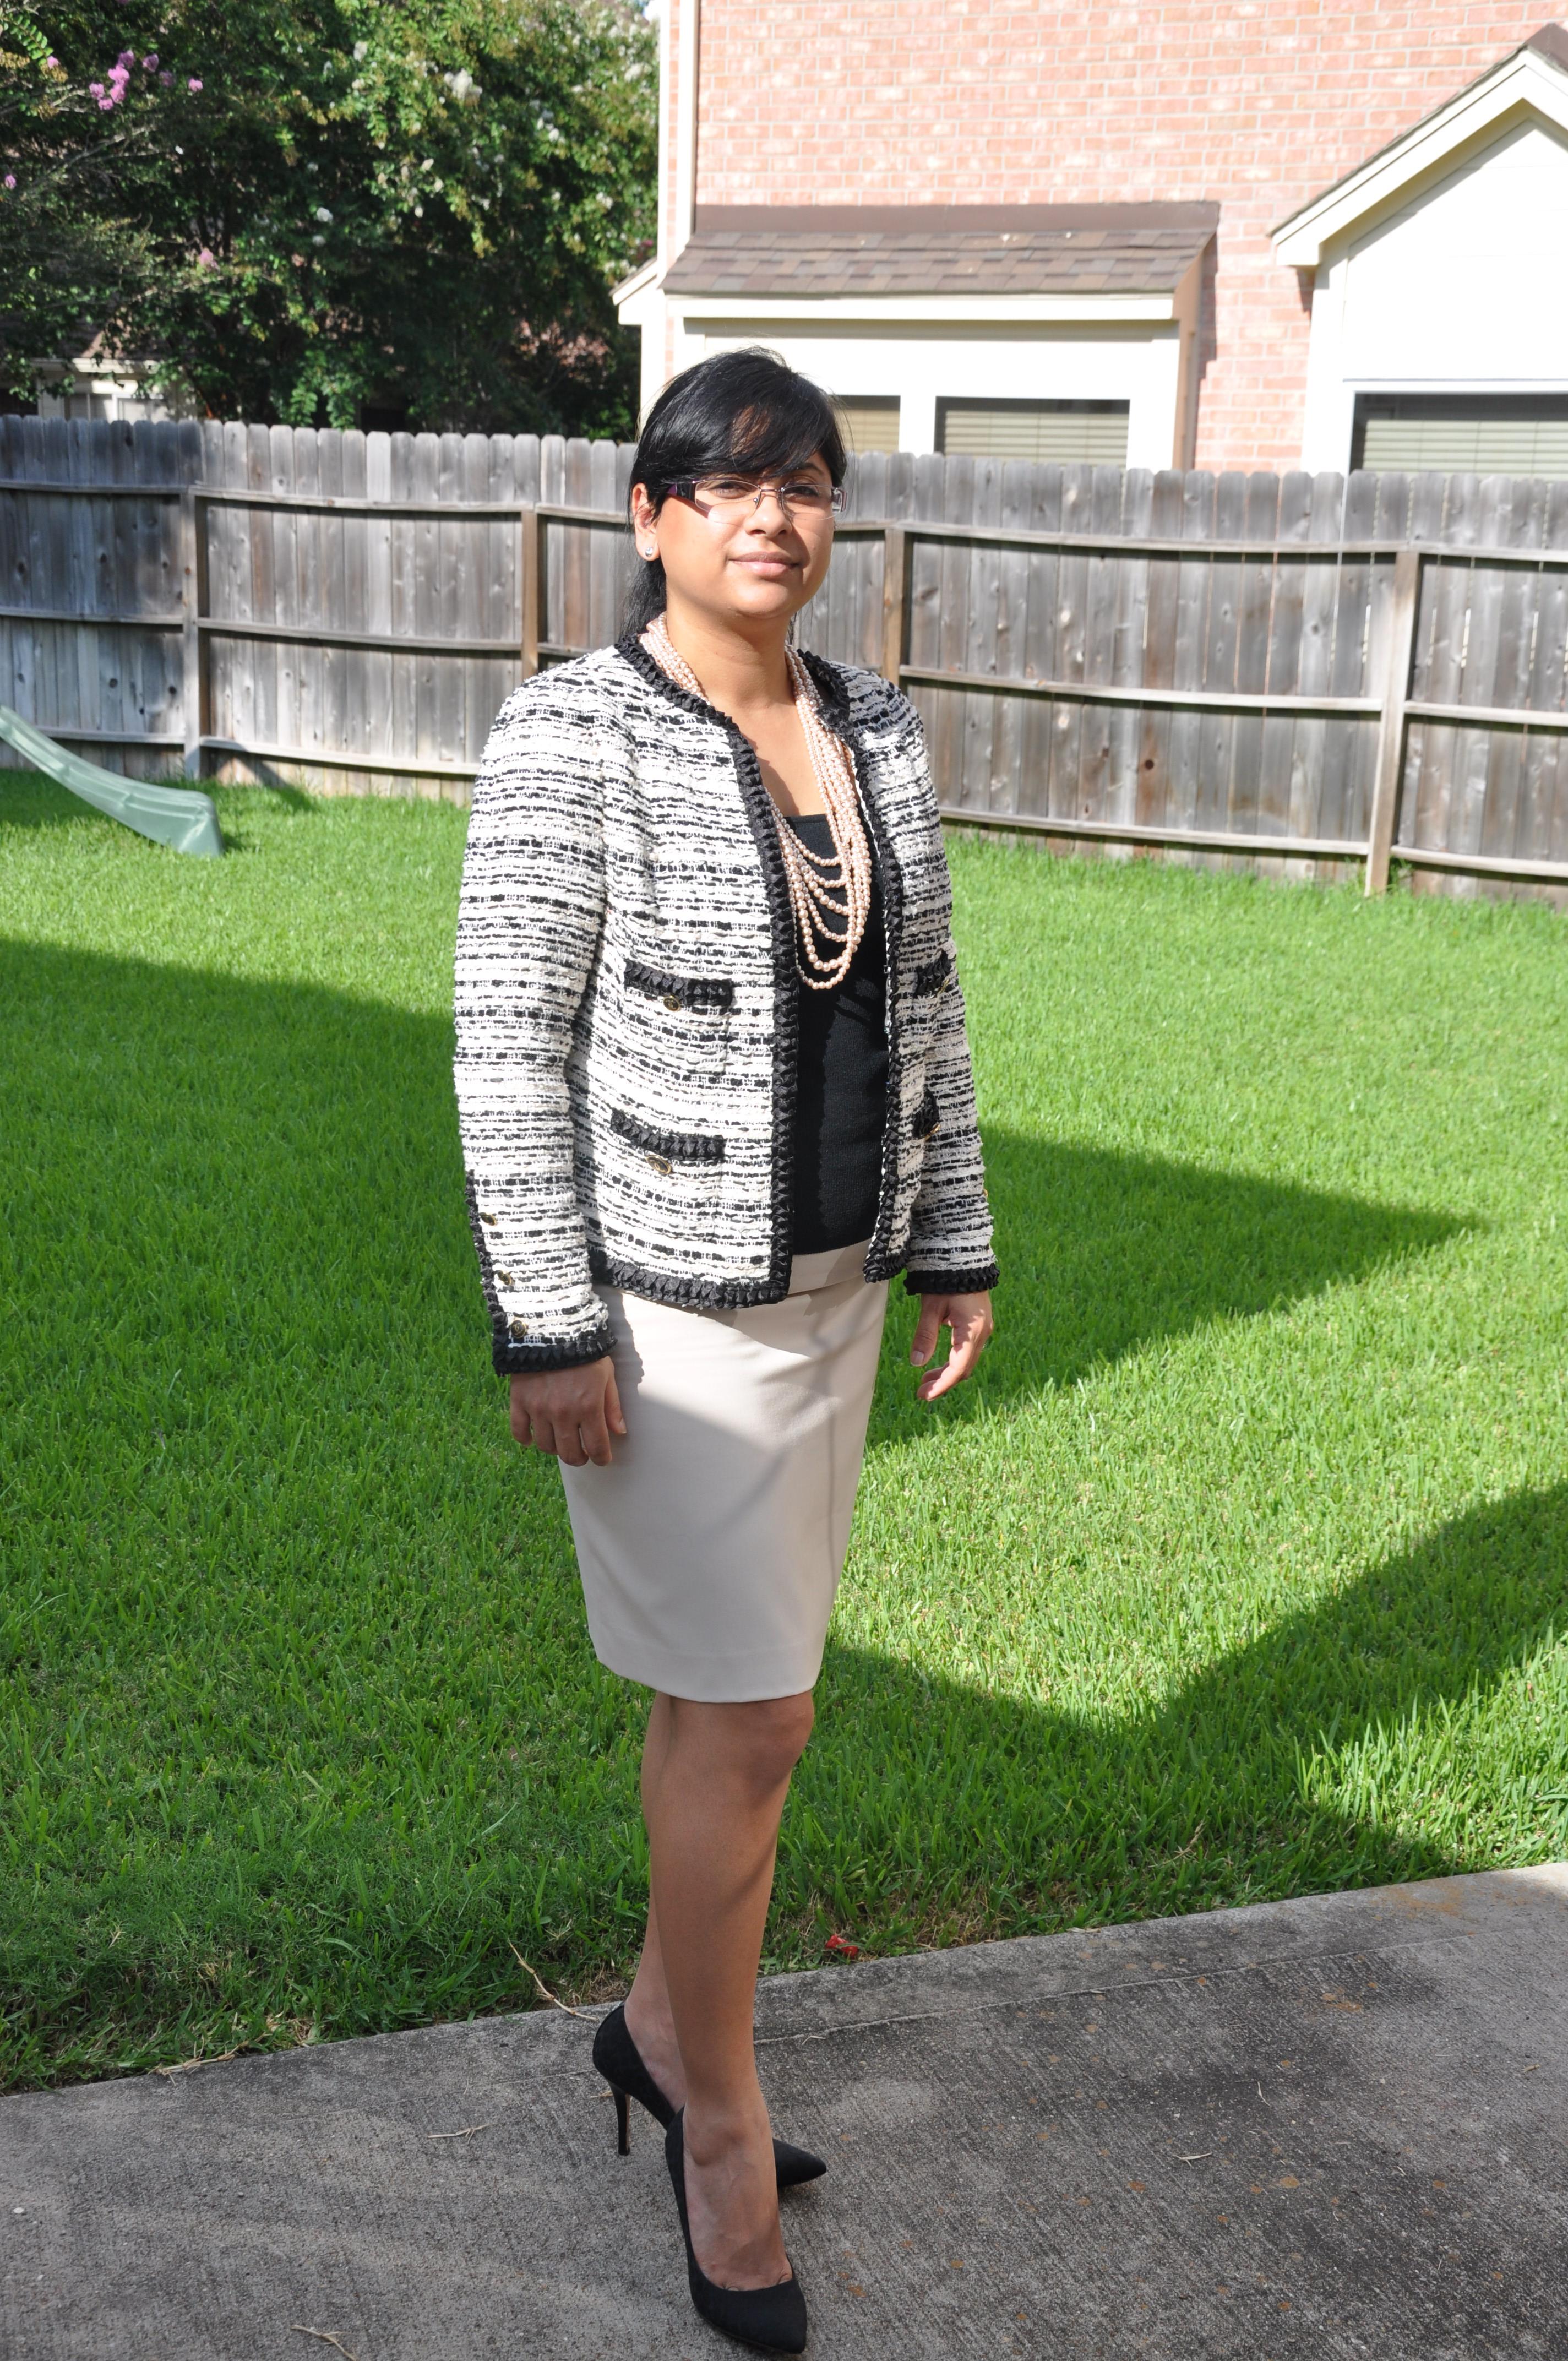
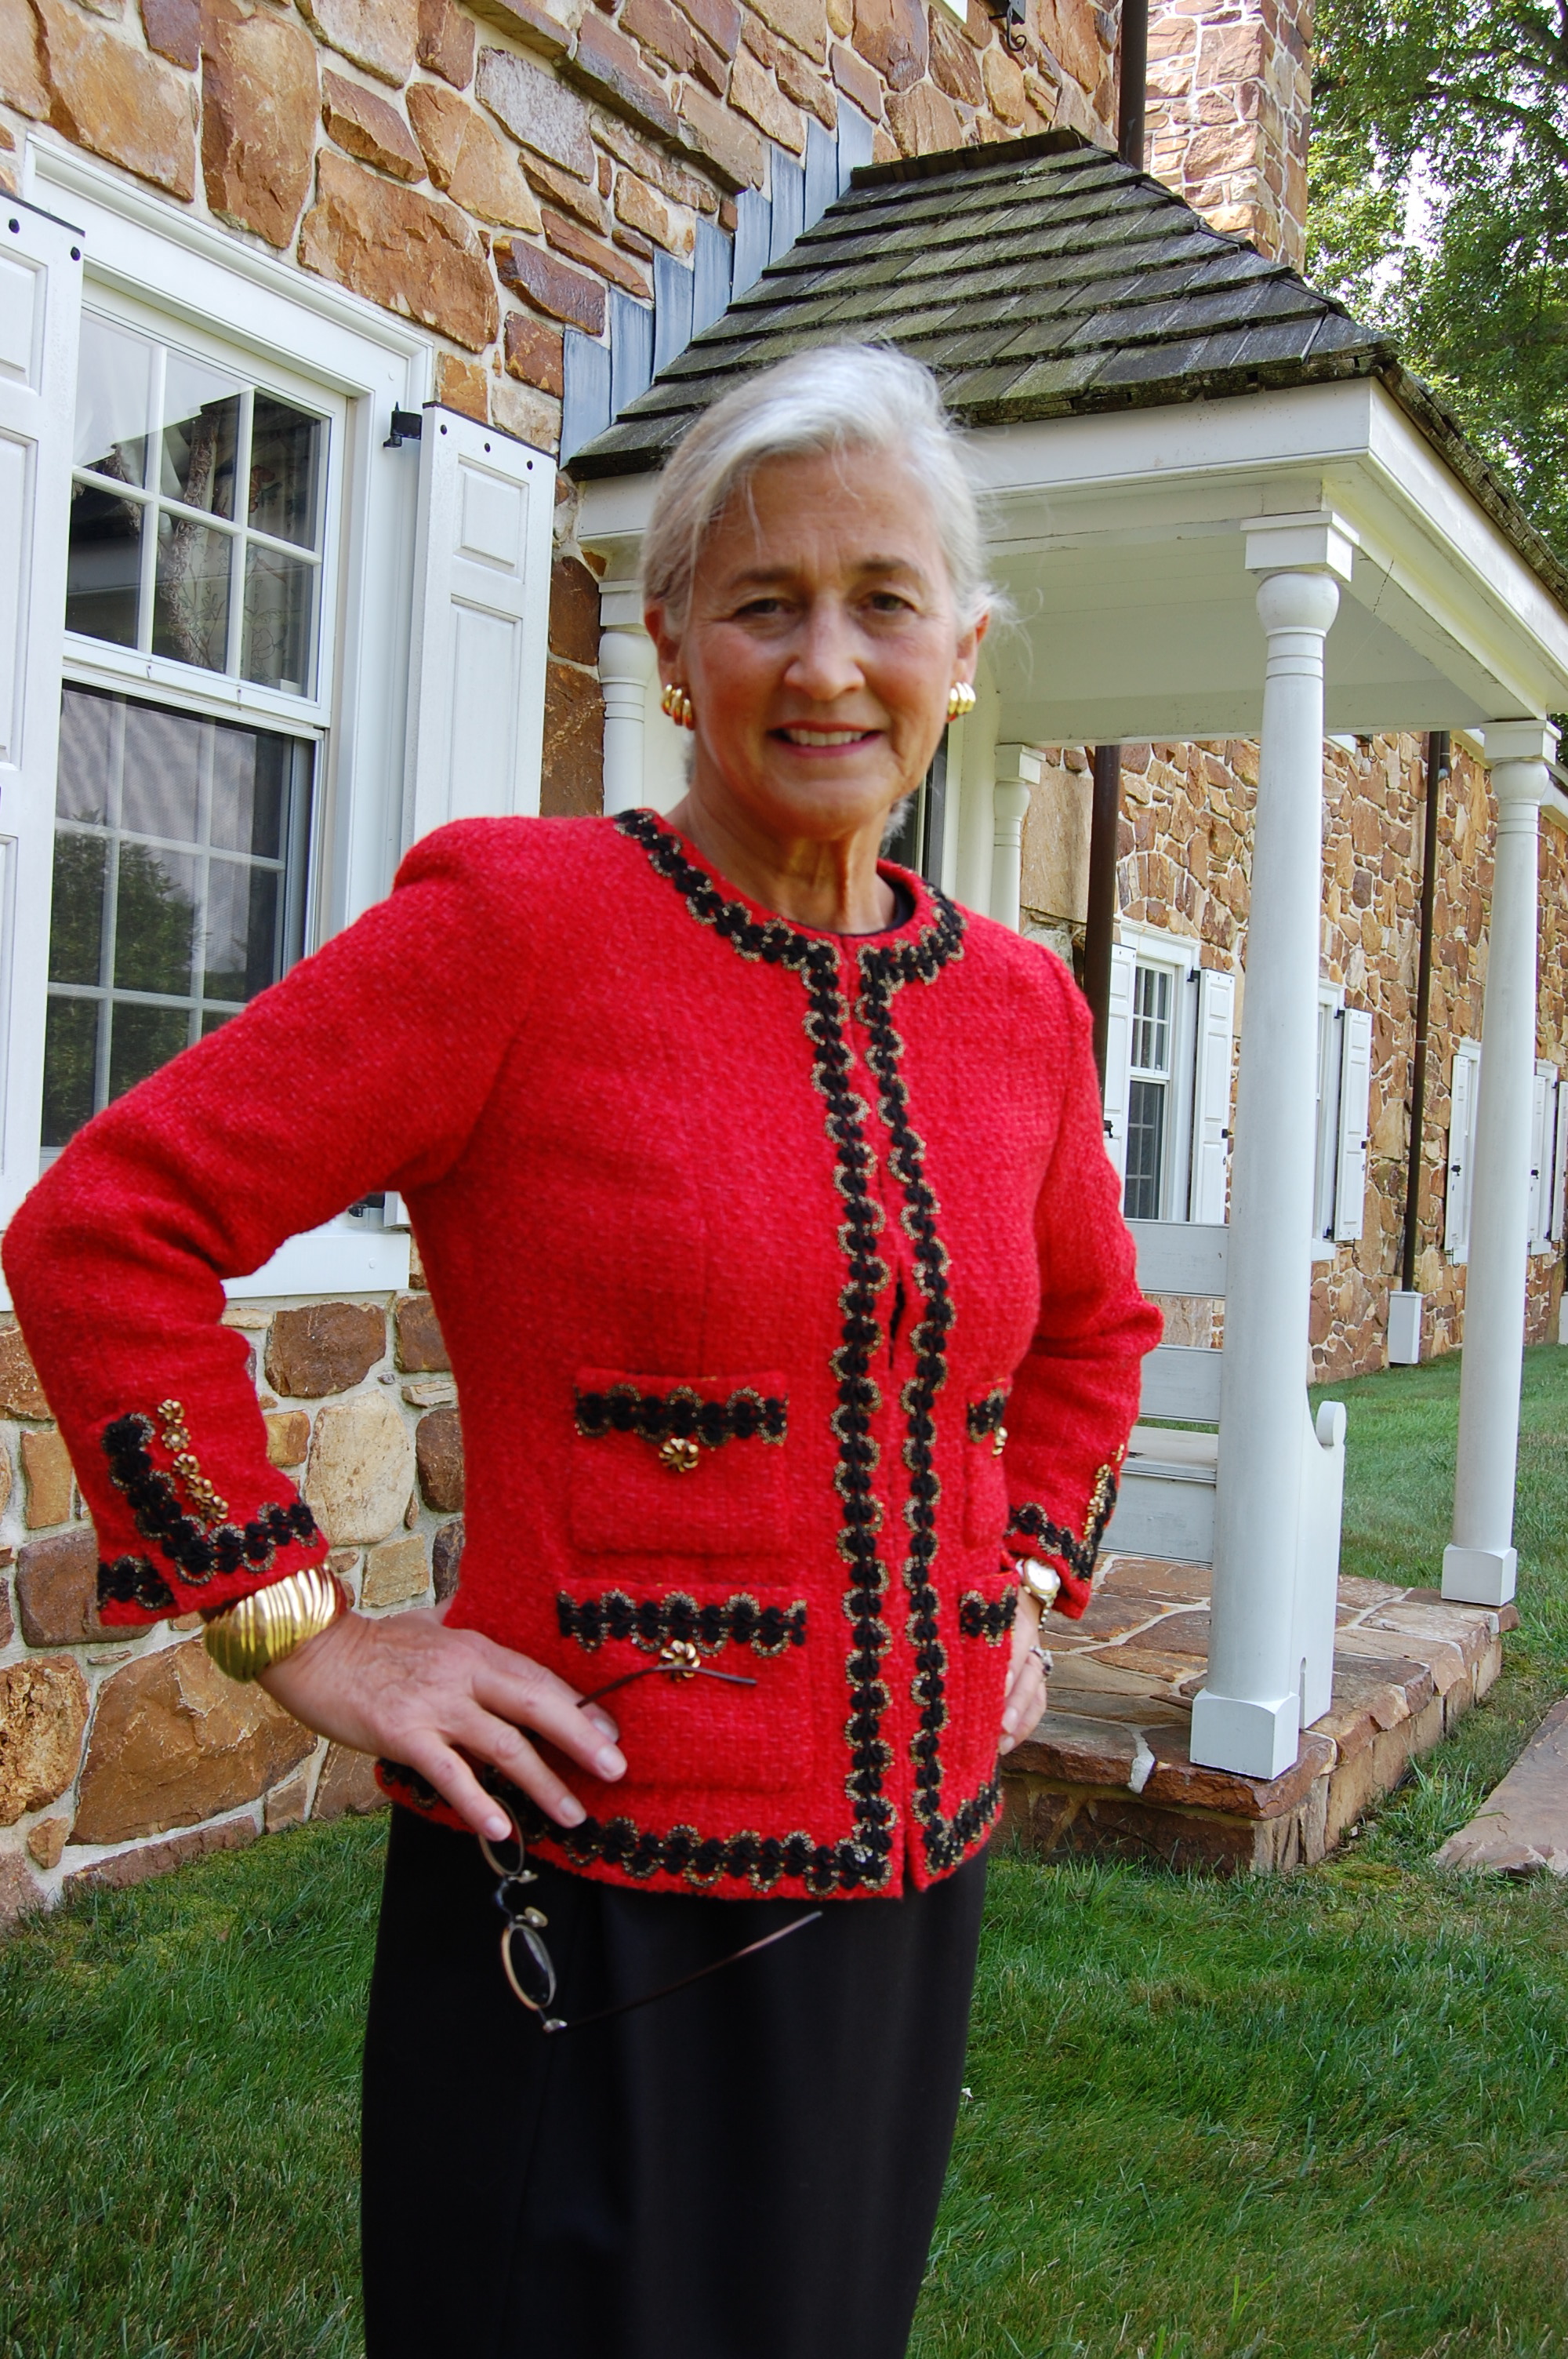
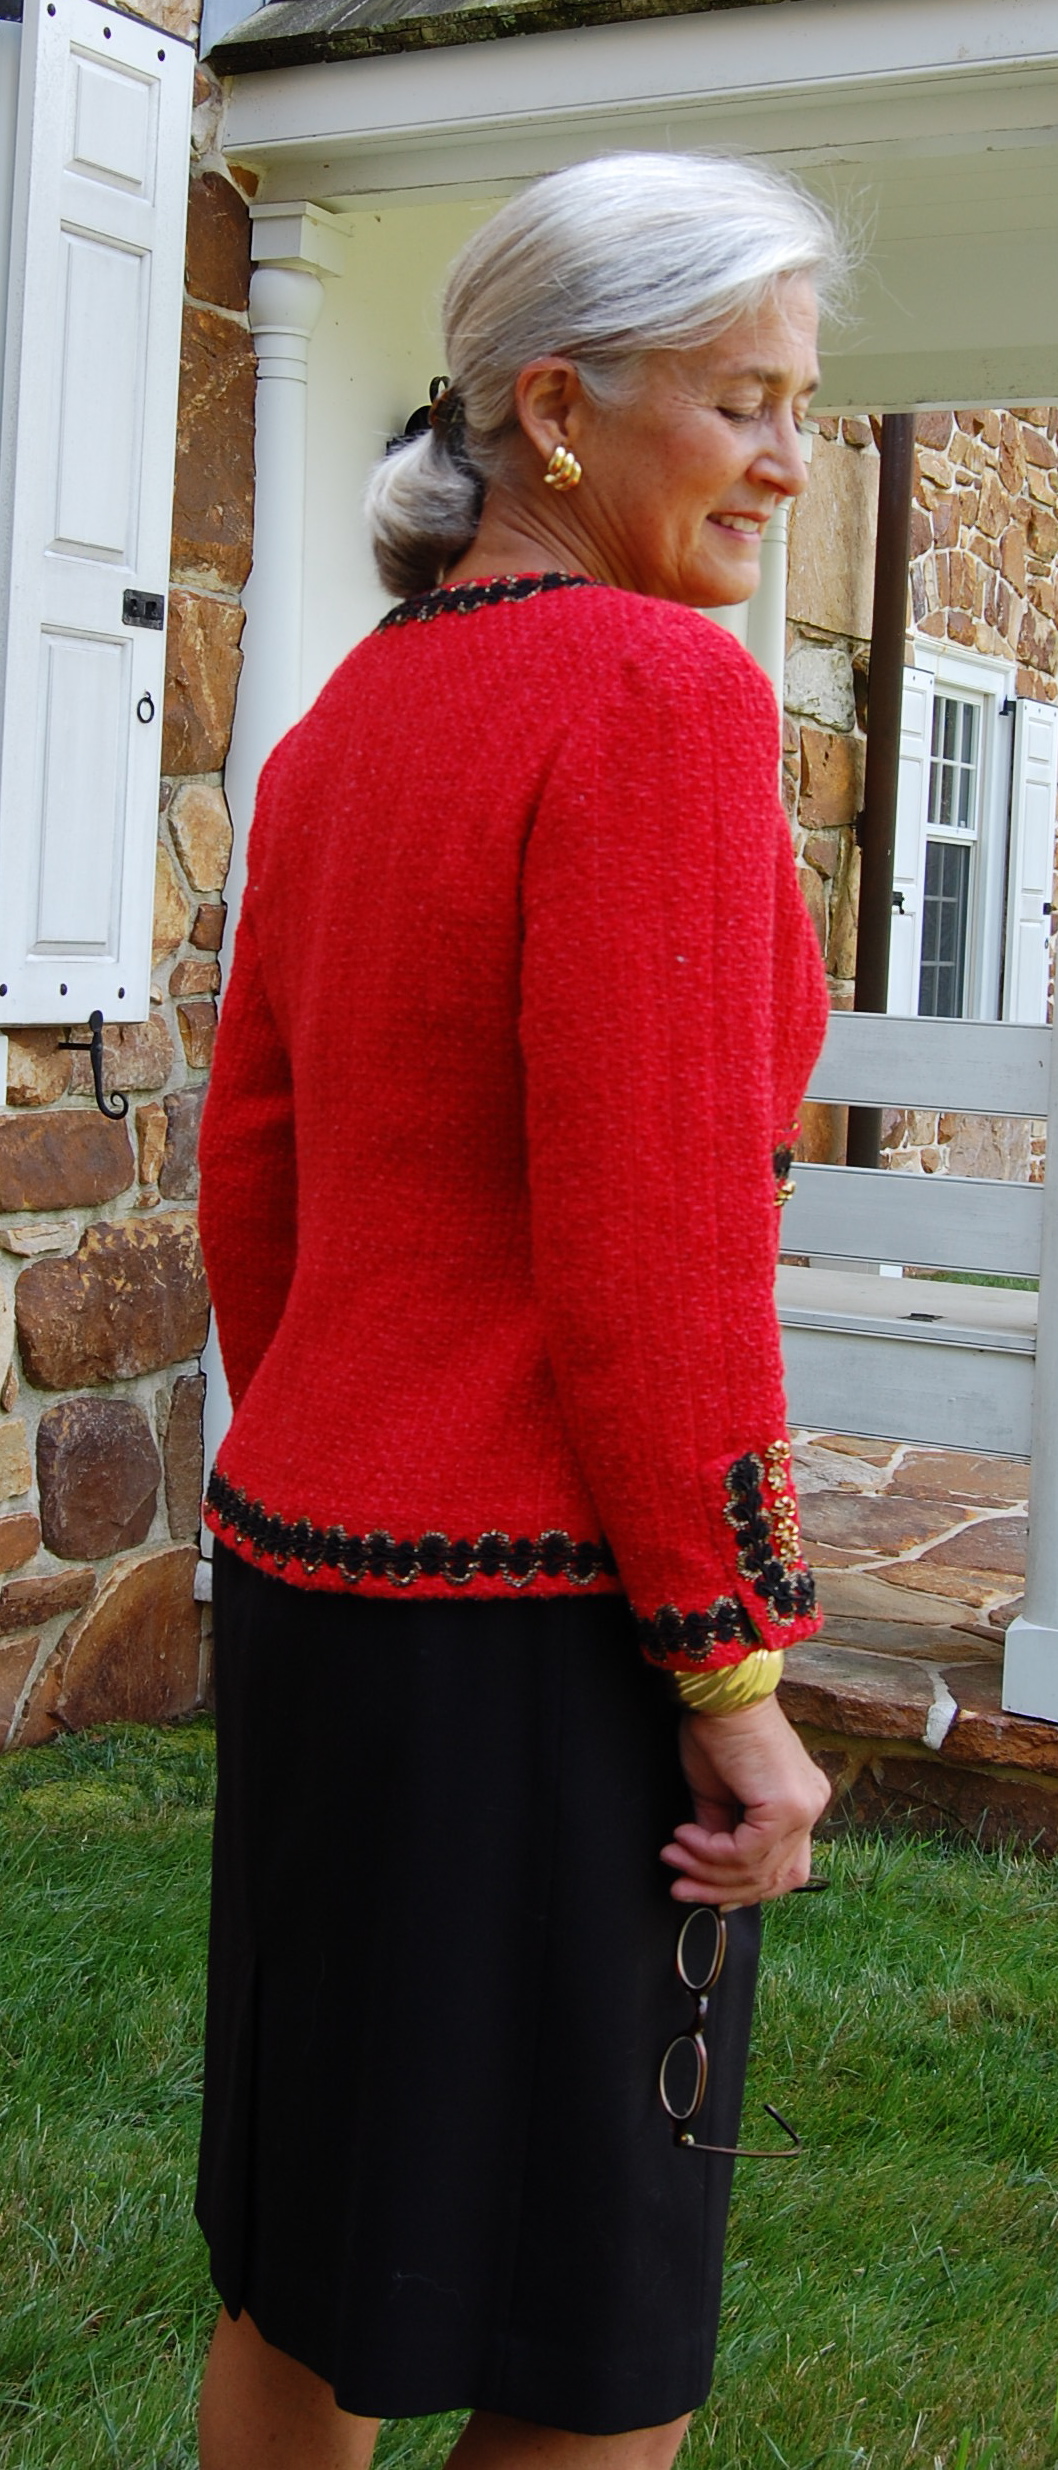
One of the many fun aspects of the class was the color variety of jackets being sewn. While there were other deep shades (raspberry pink, royal blue, true purple) I was the only one making a red jacket.

For starters, here is my jacket hanging.

A few details.
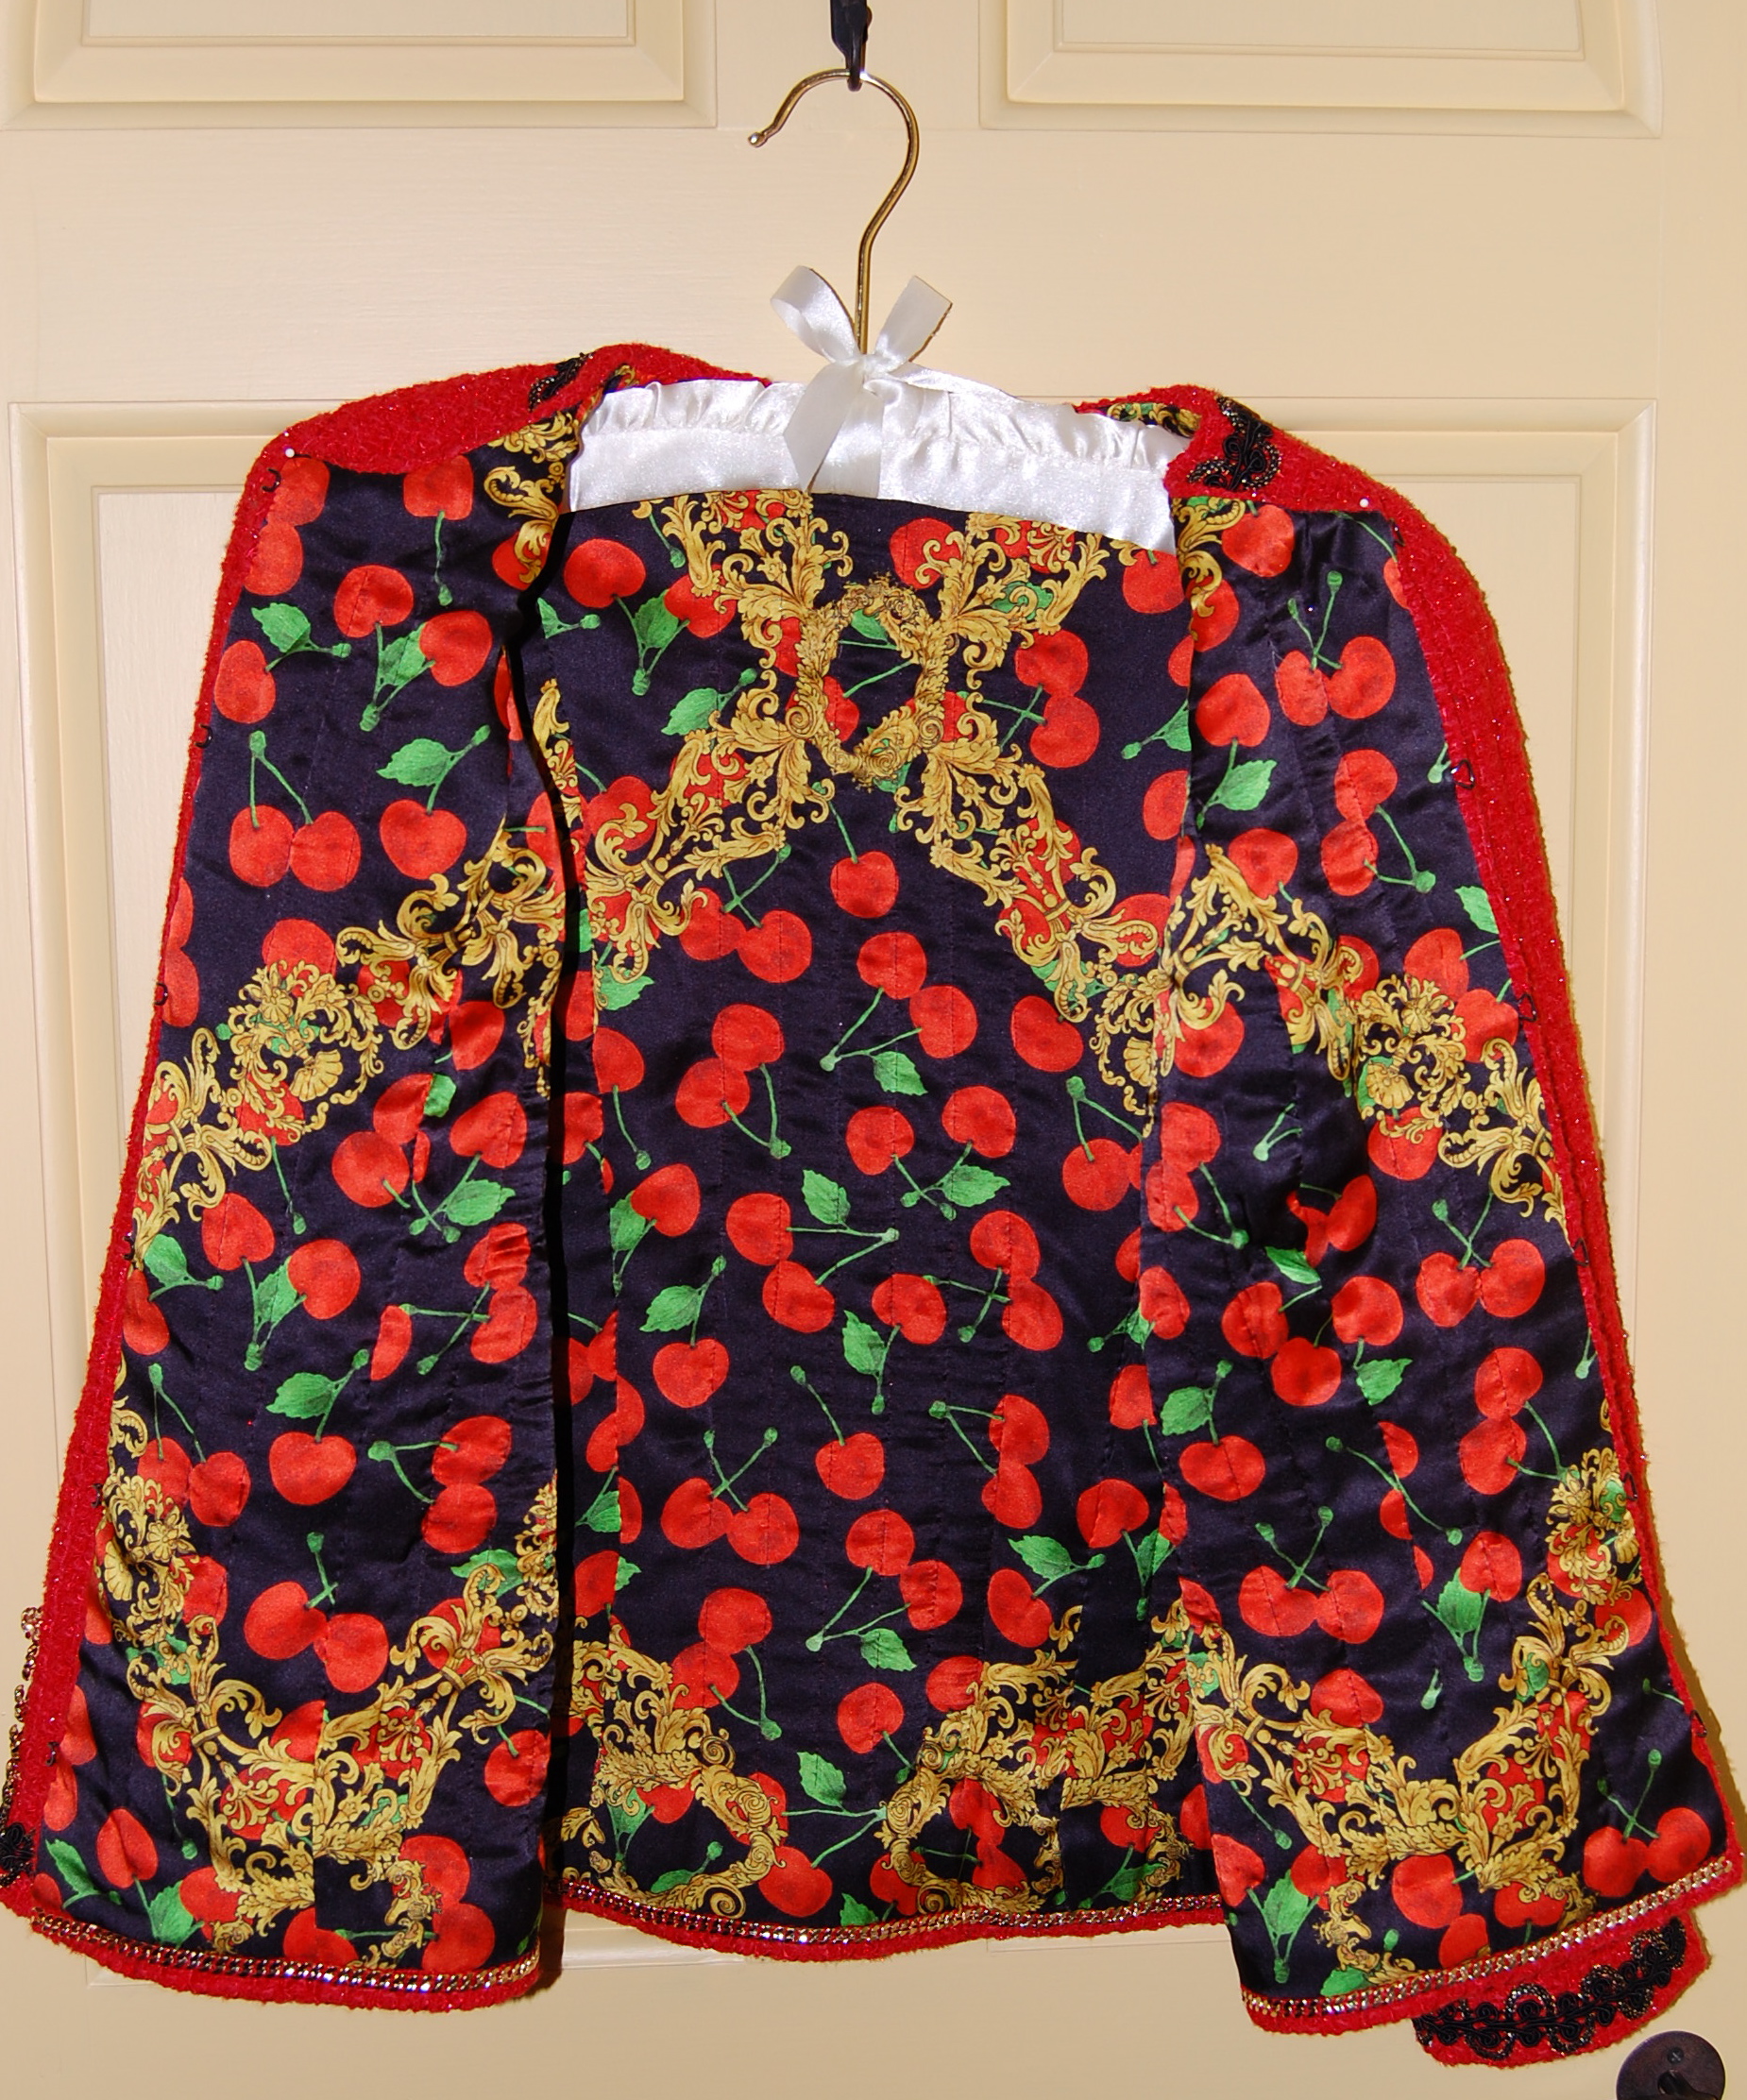
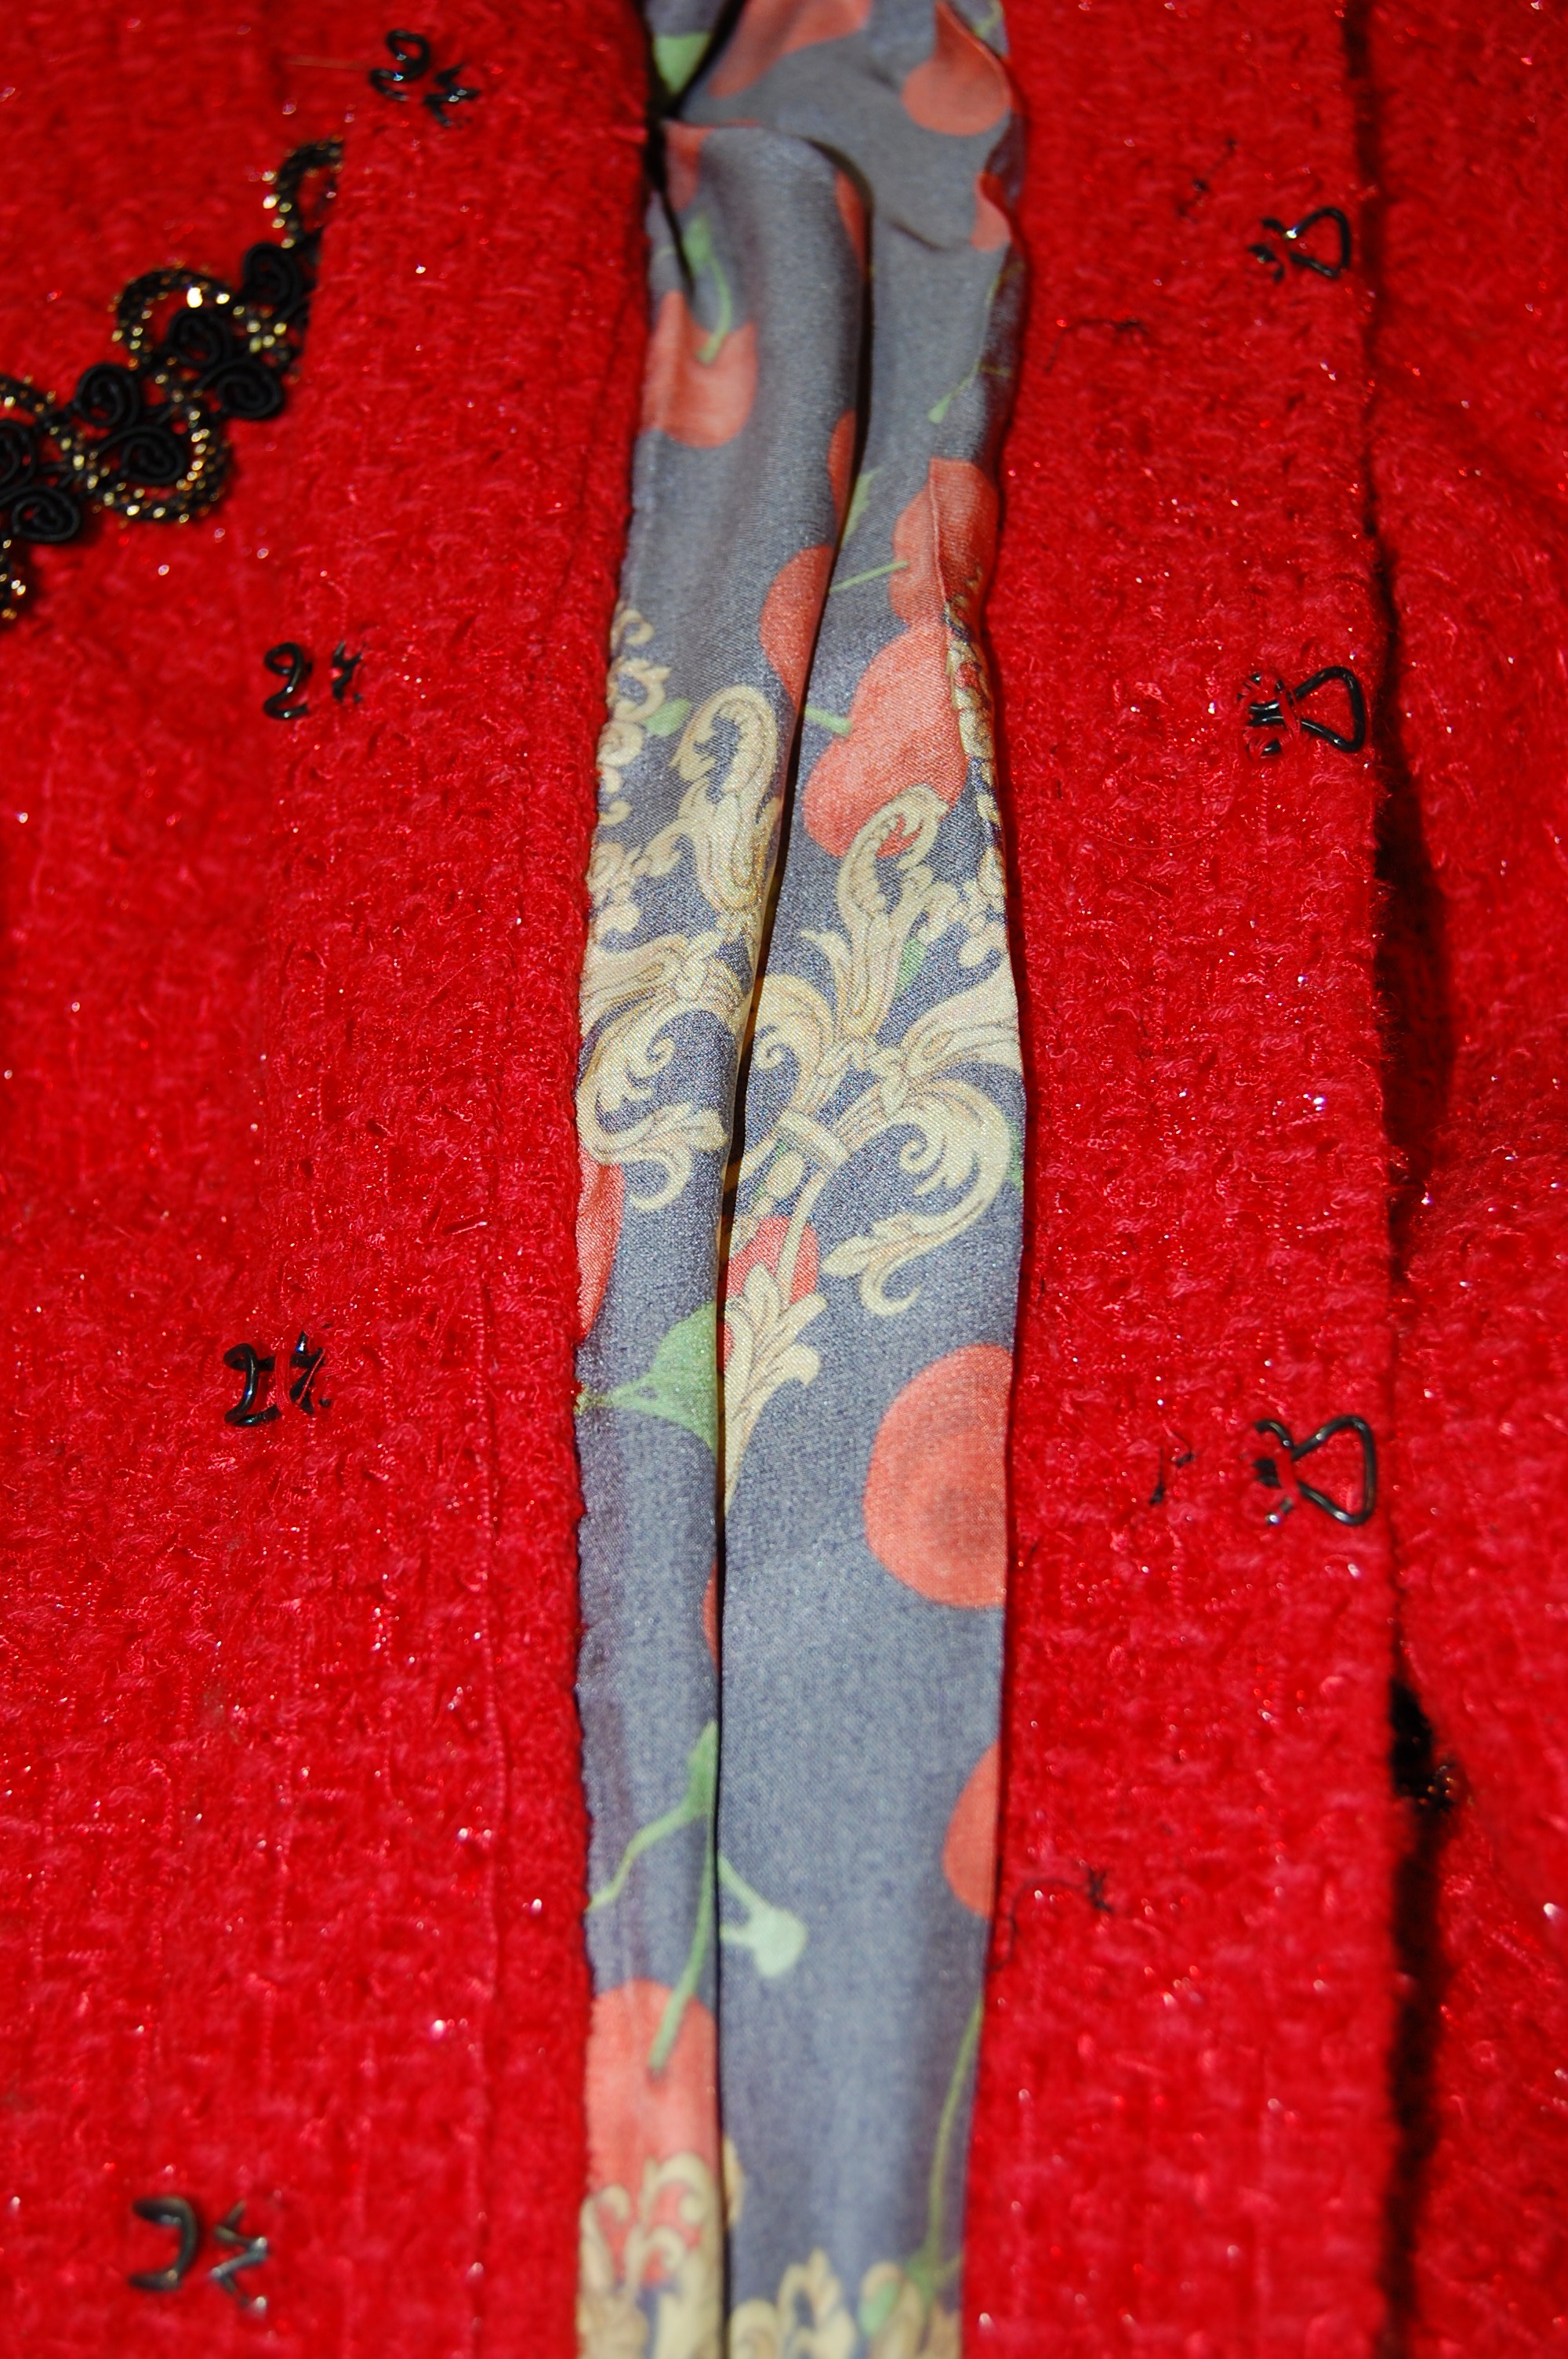
A view of the lining.
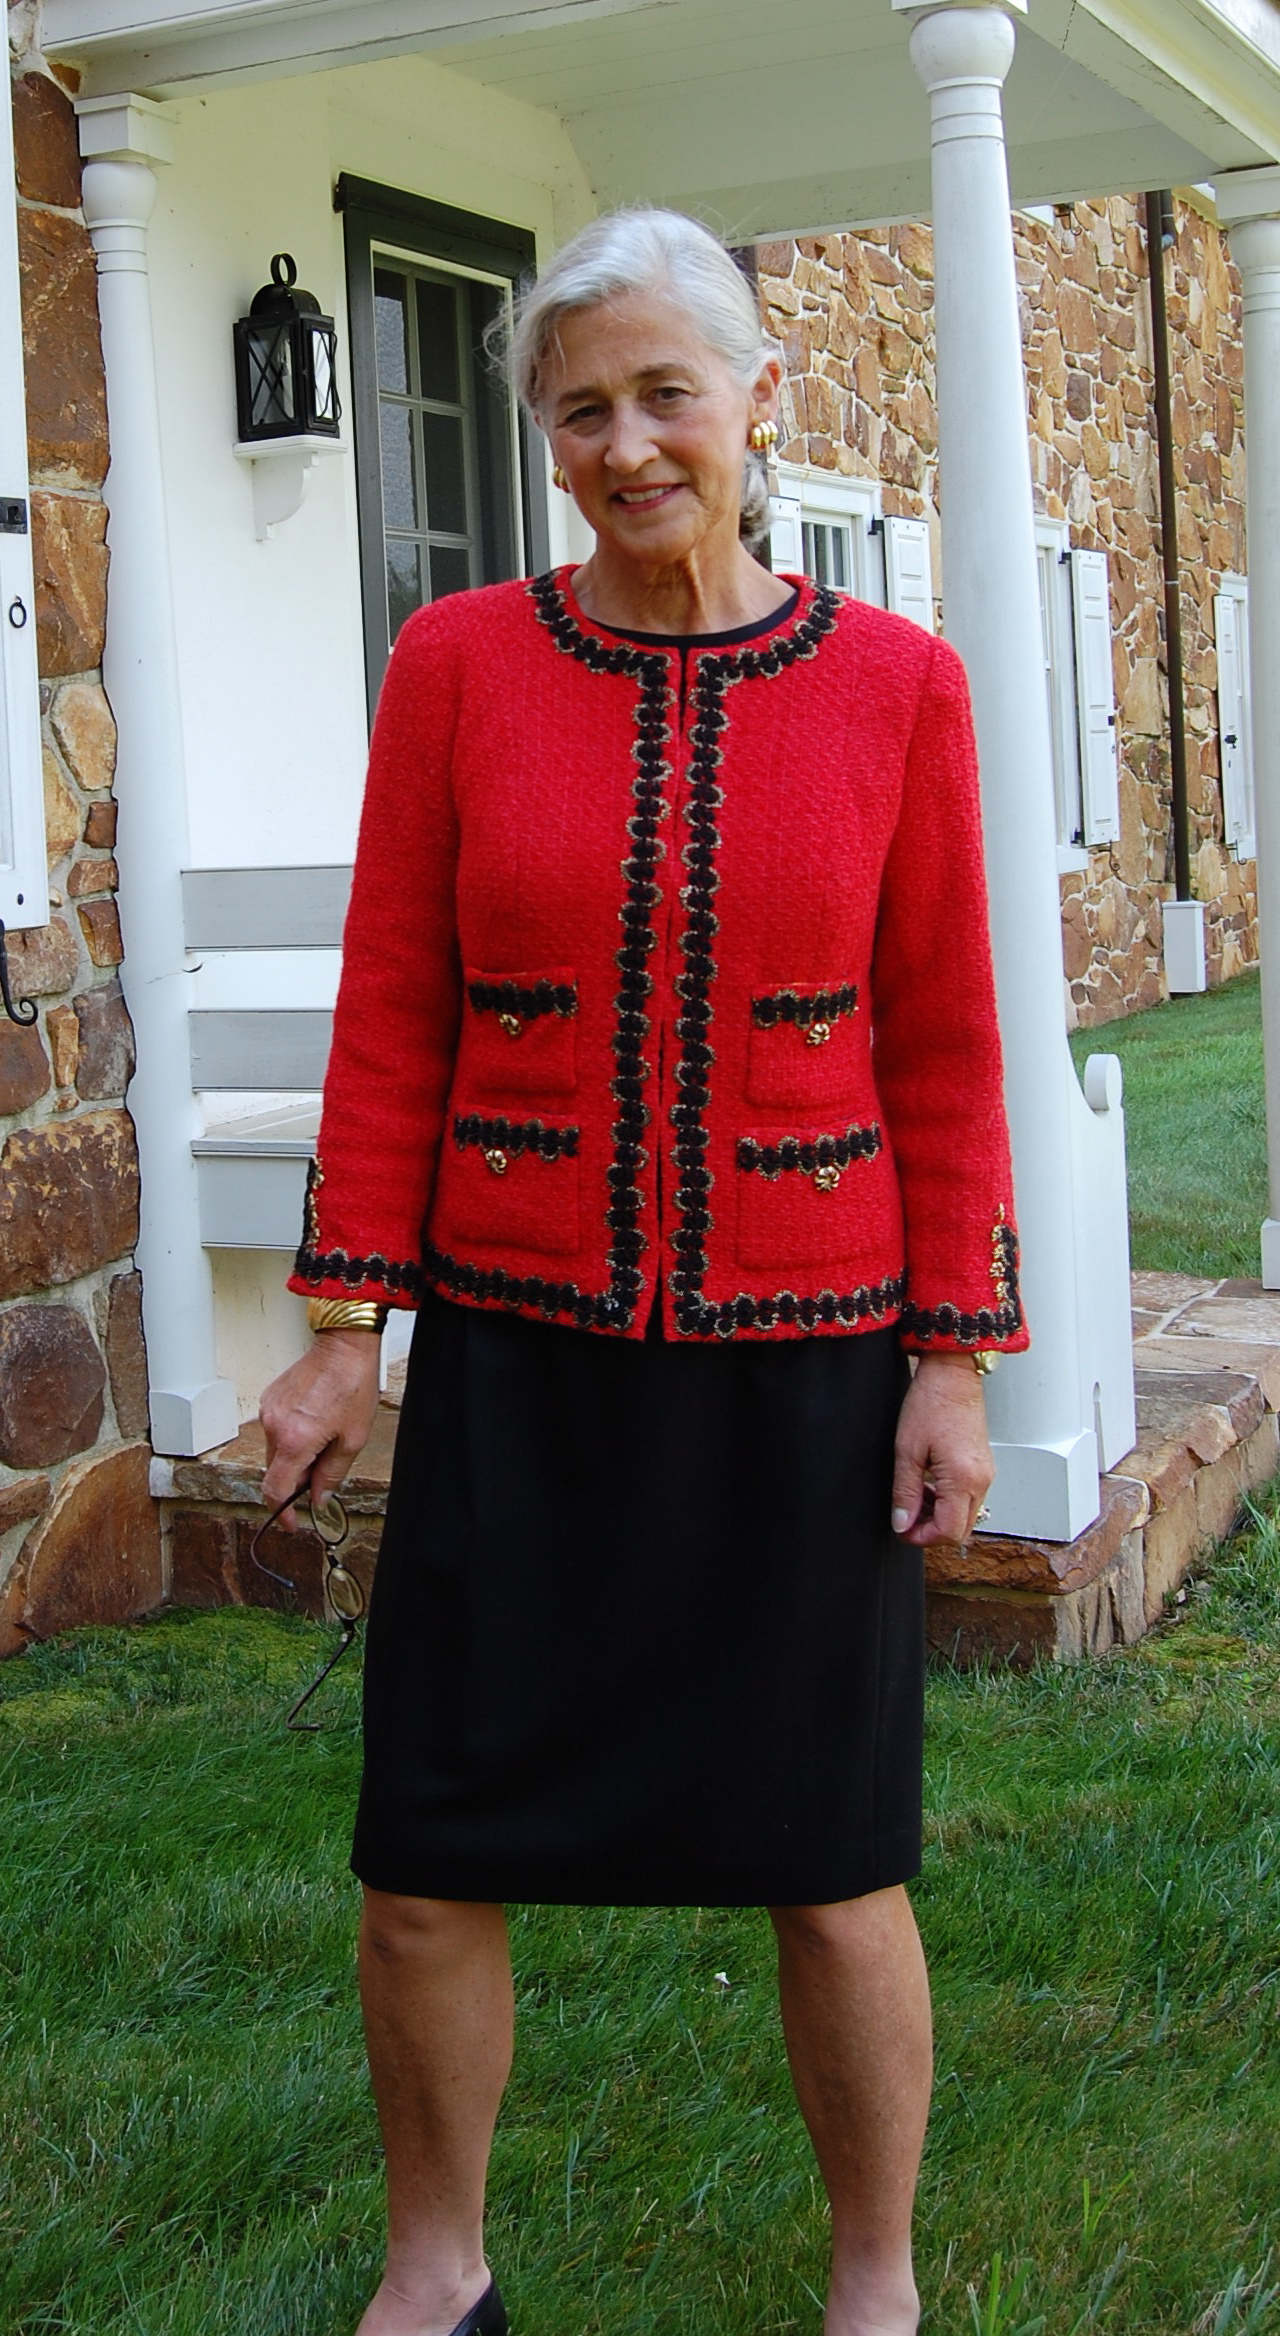
Shown with basic black.
I can’t believe it’s finished!

I added a gradual 1/4″ to the back length, which gives it a more graceful line, I think. This was one of Susan’s many excellent suggestions.
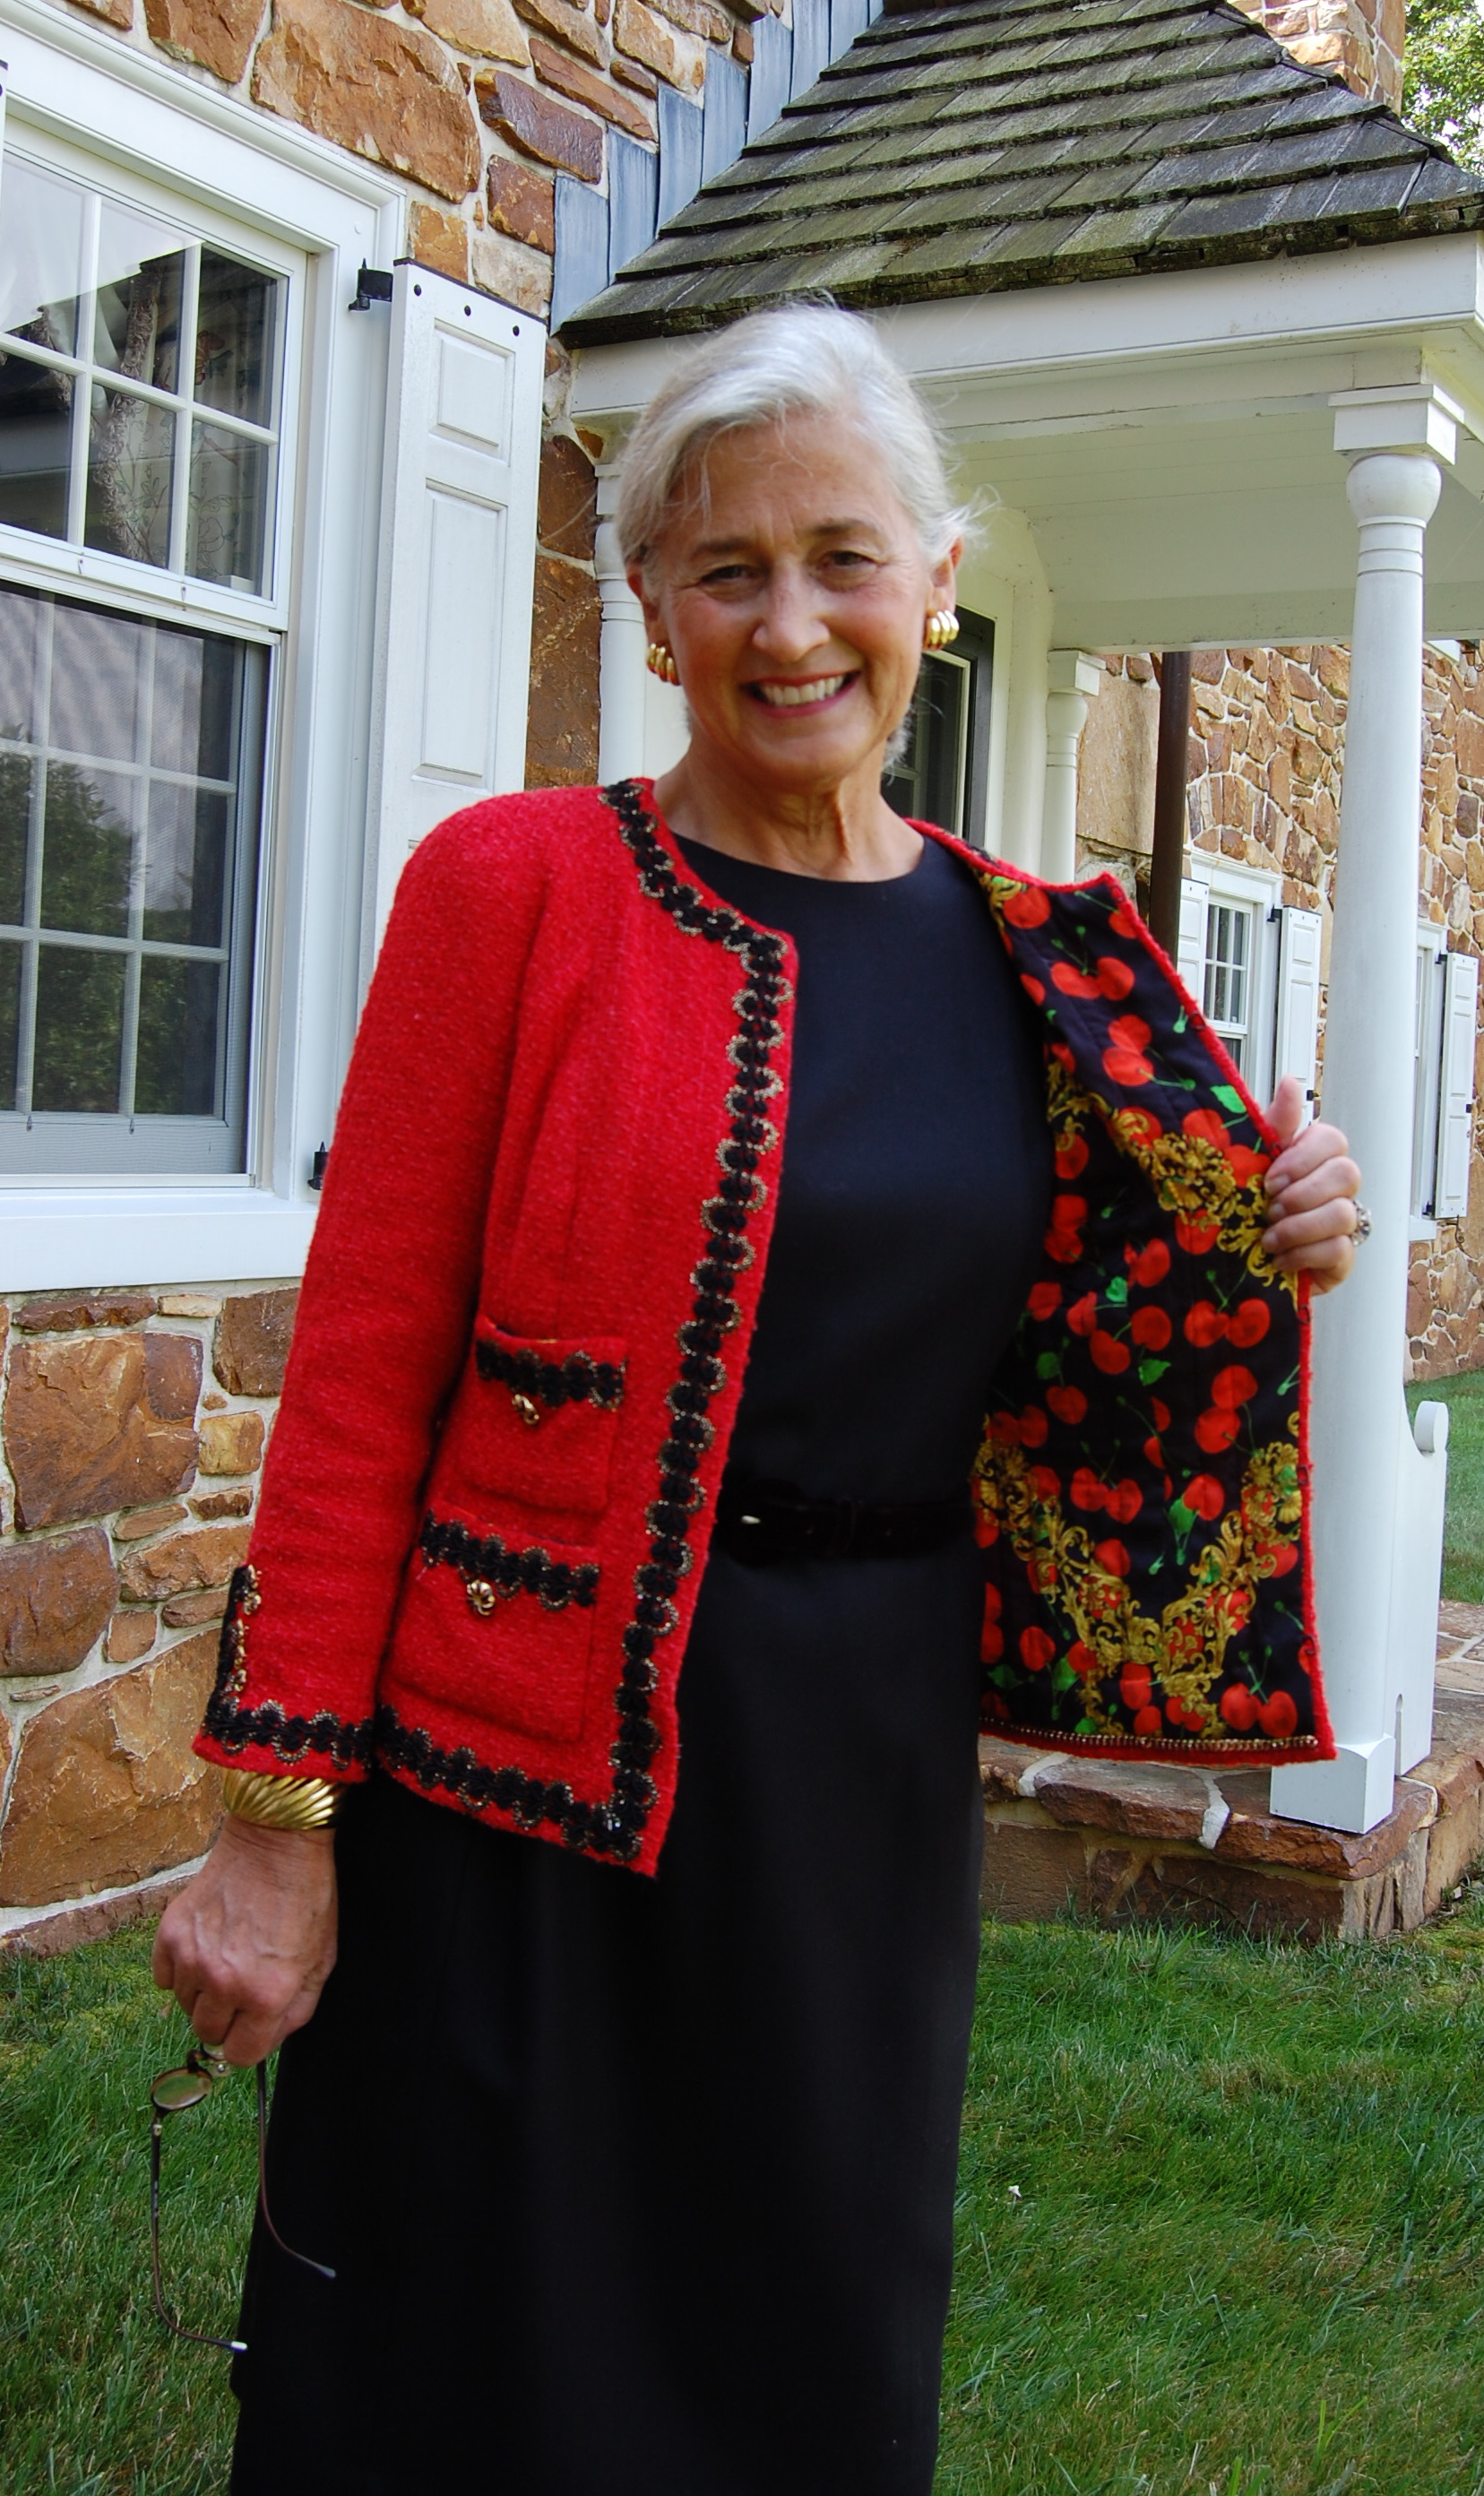
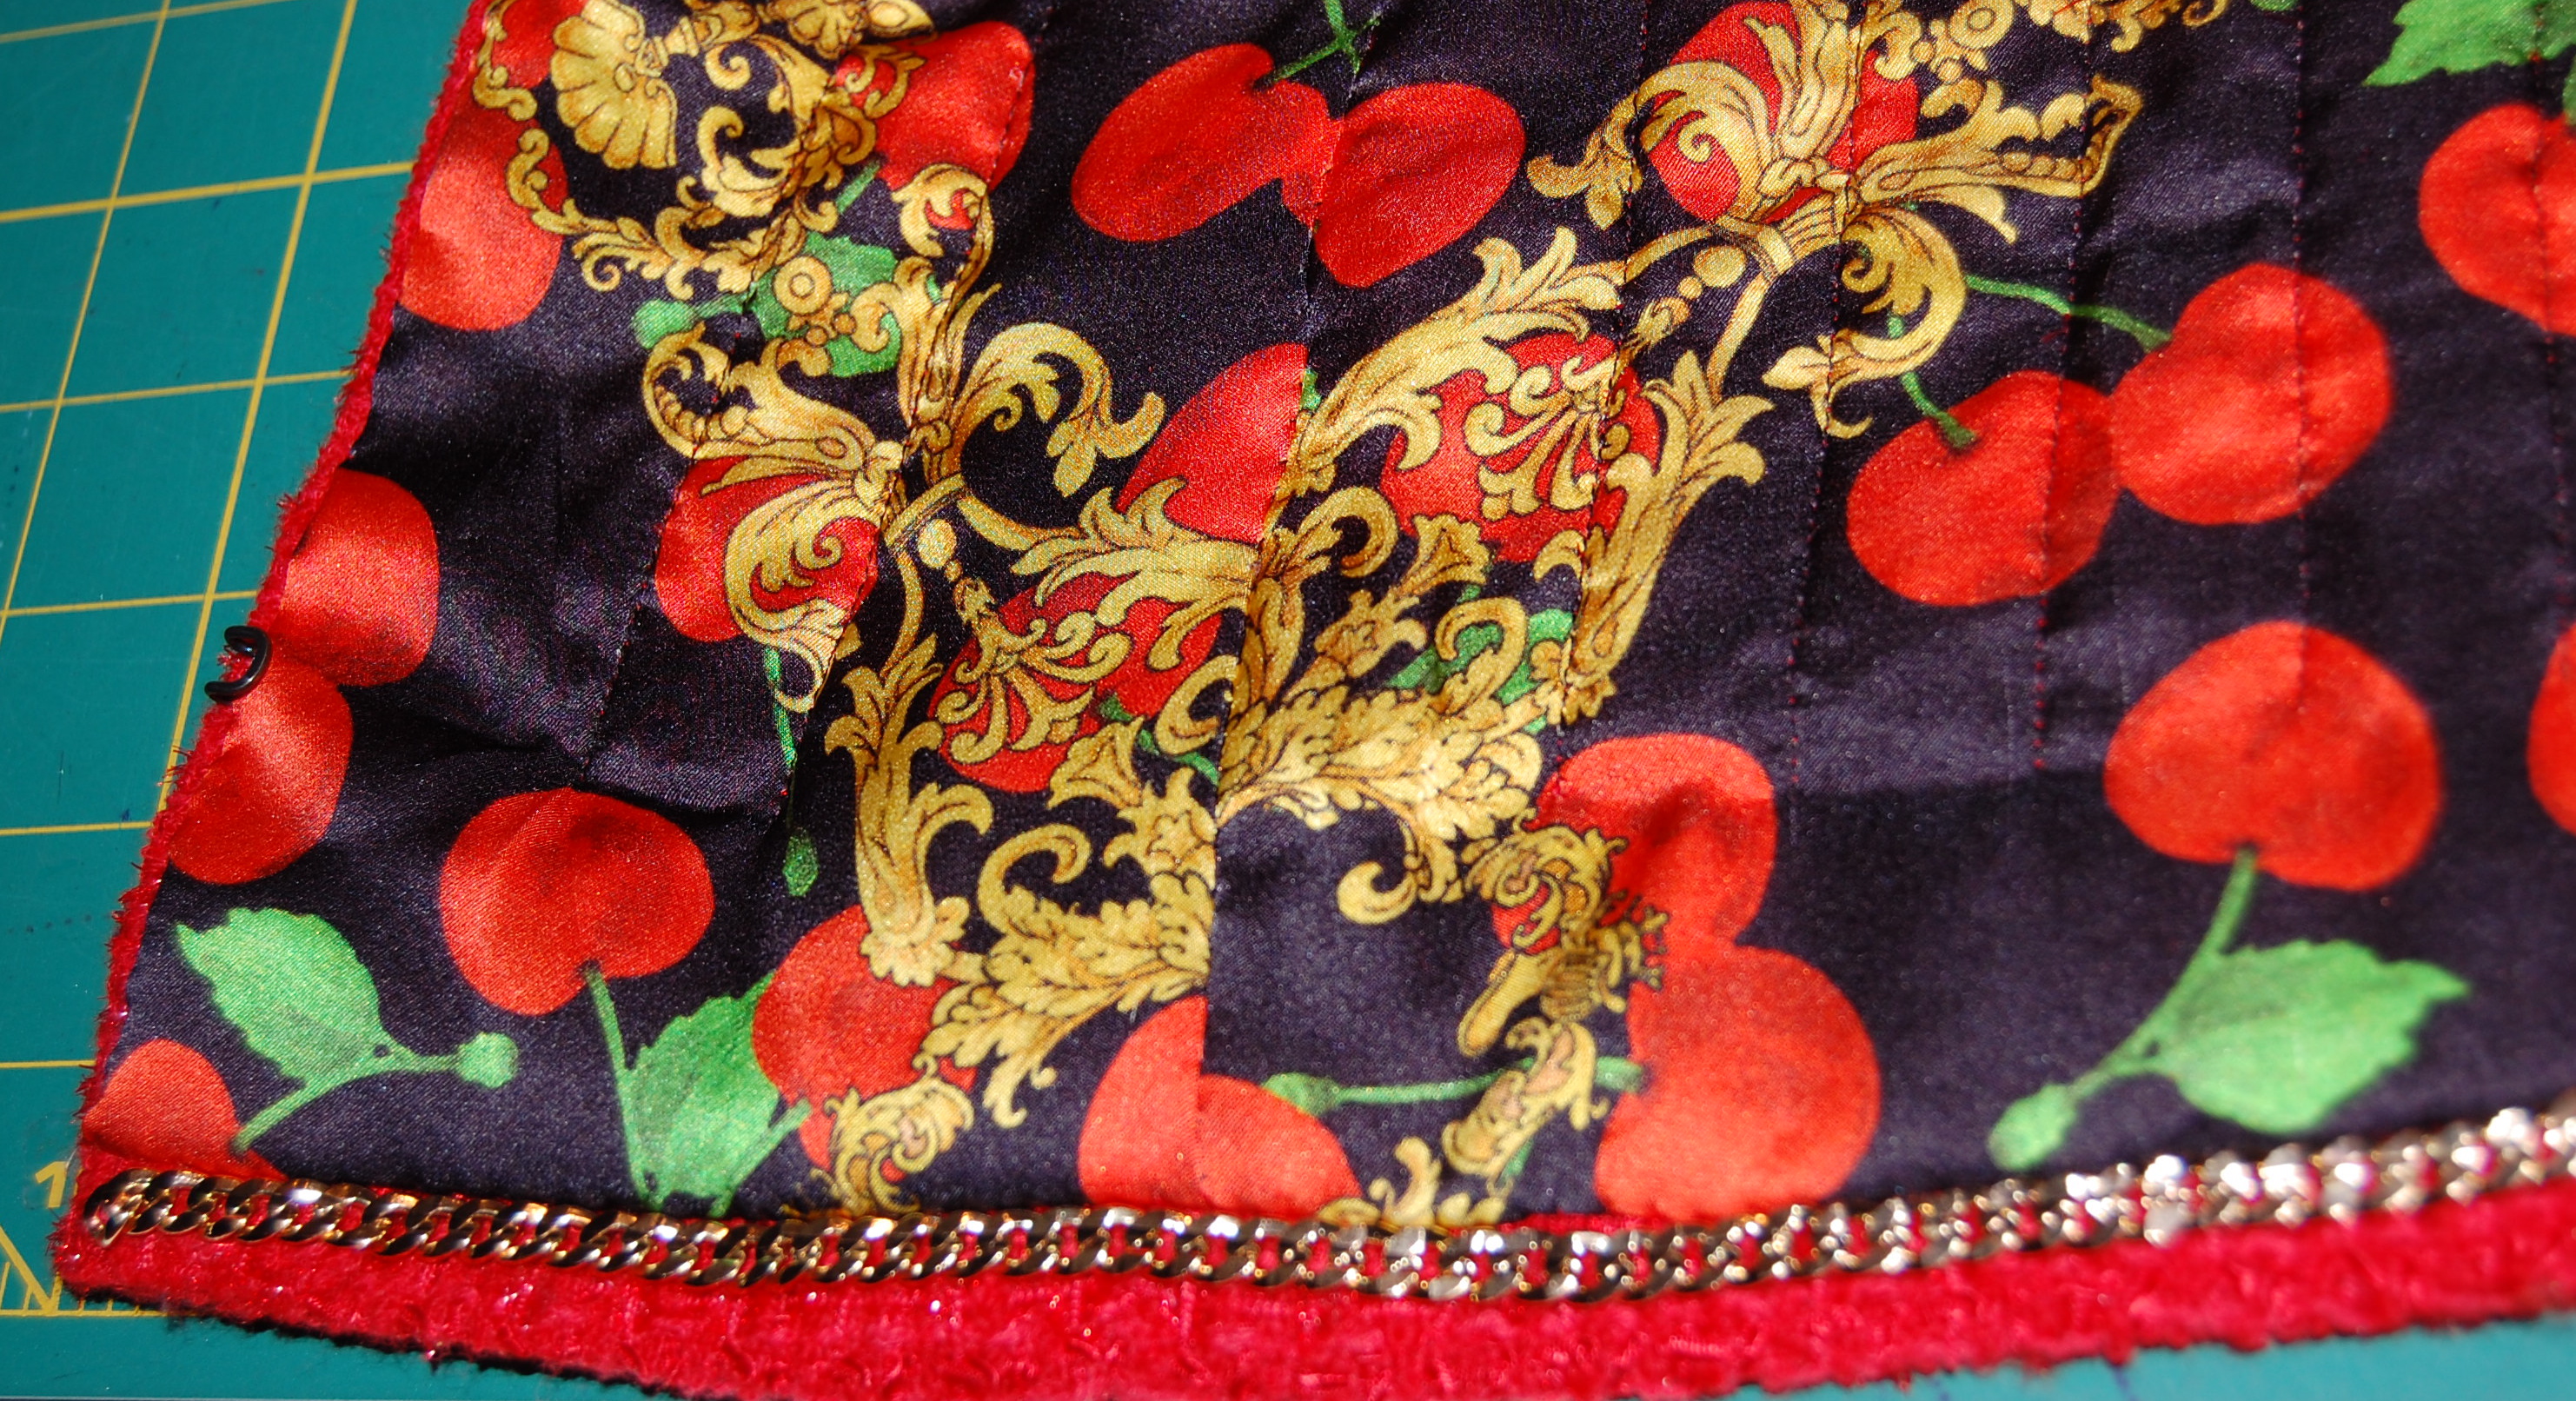
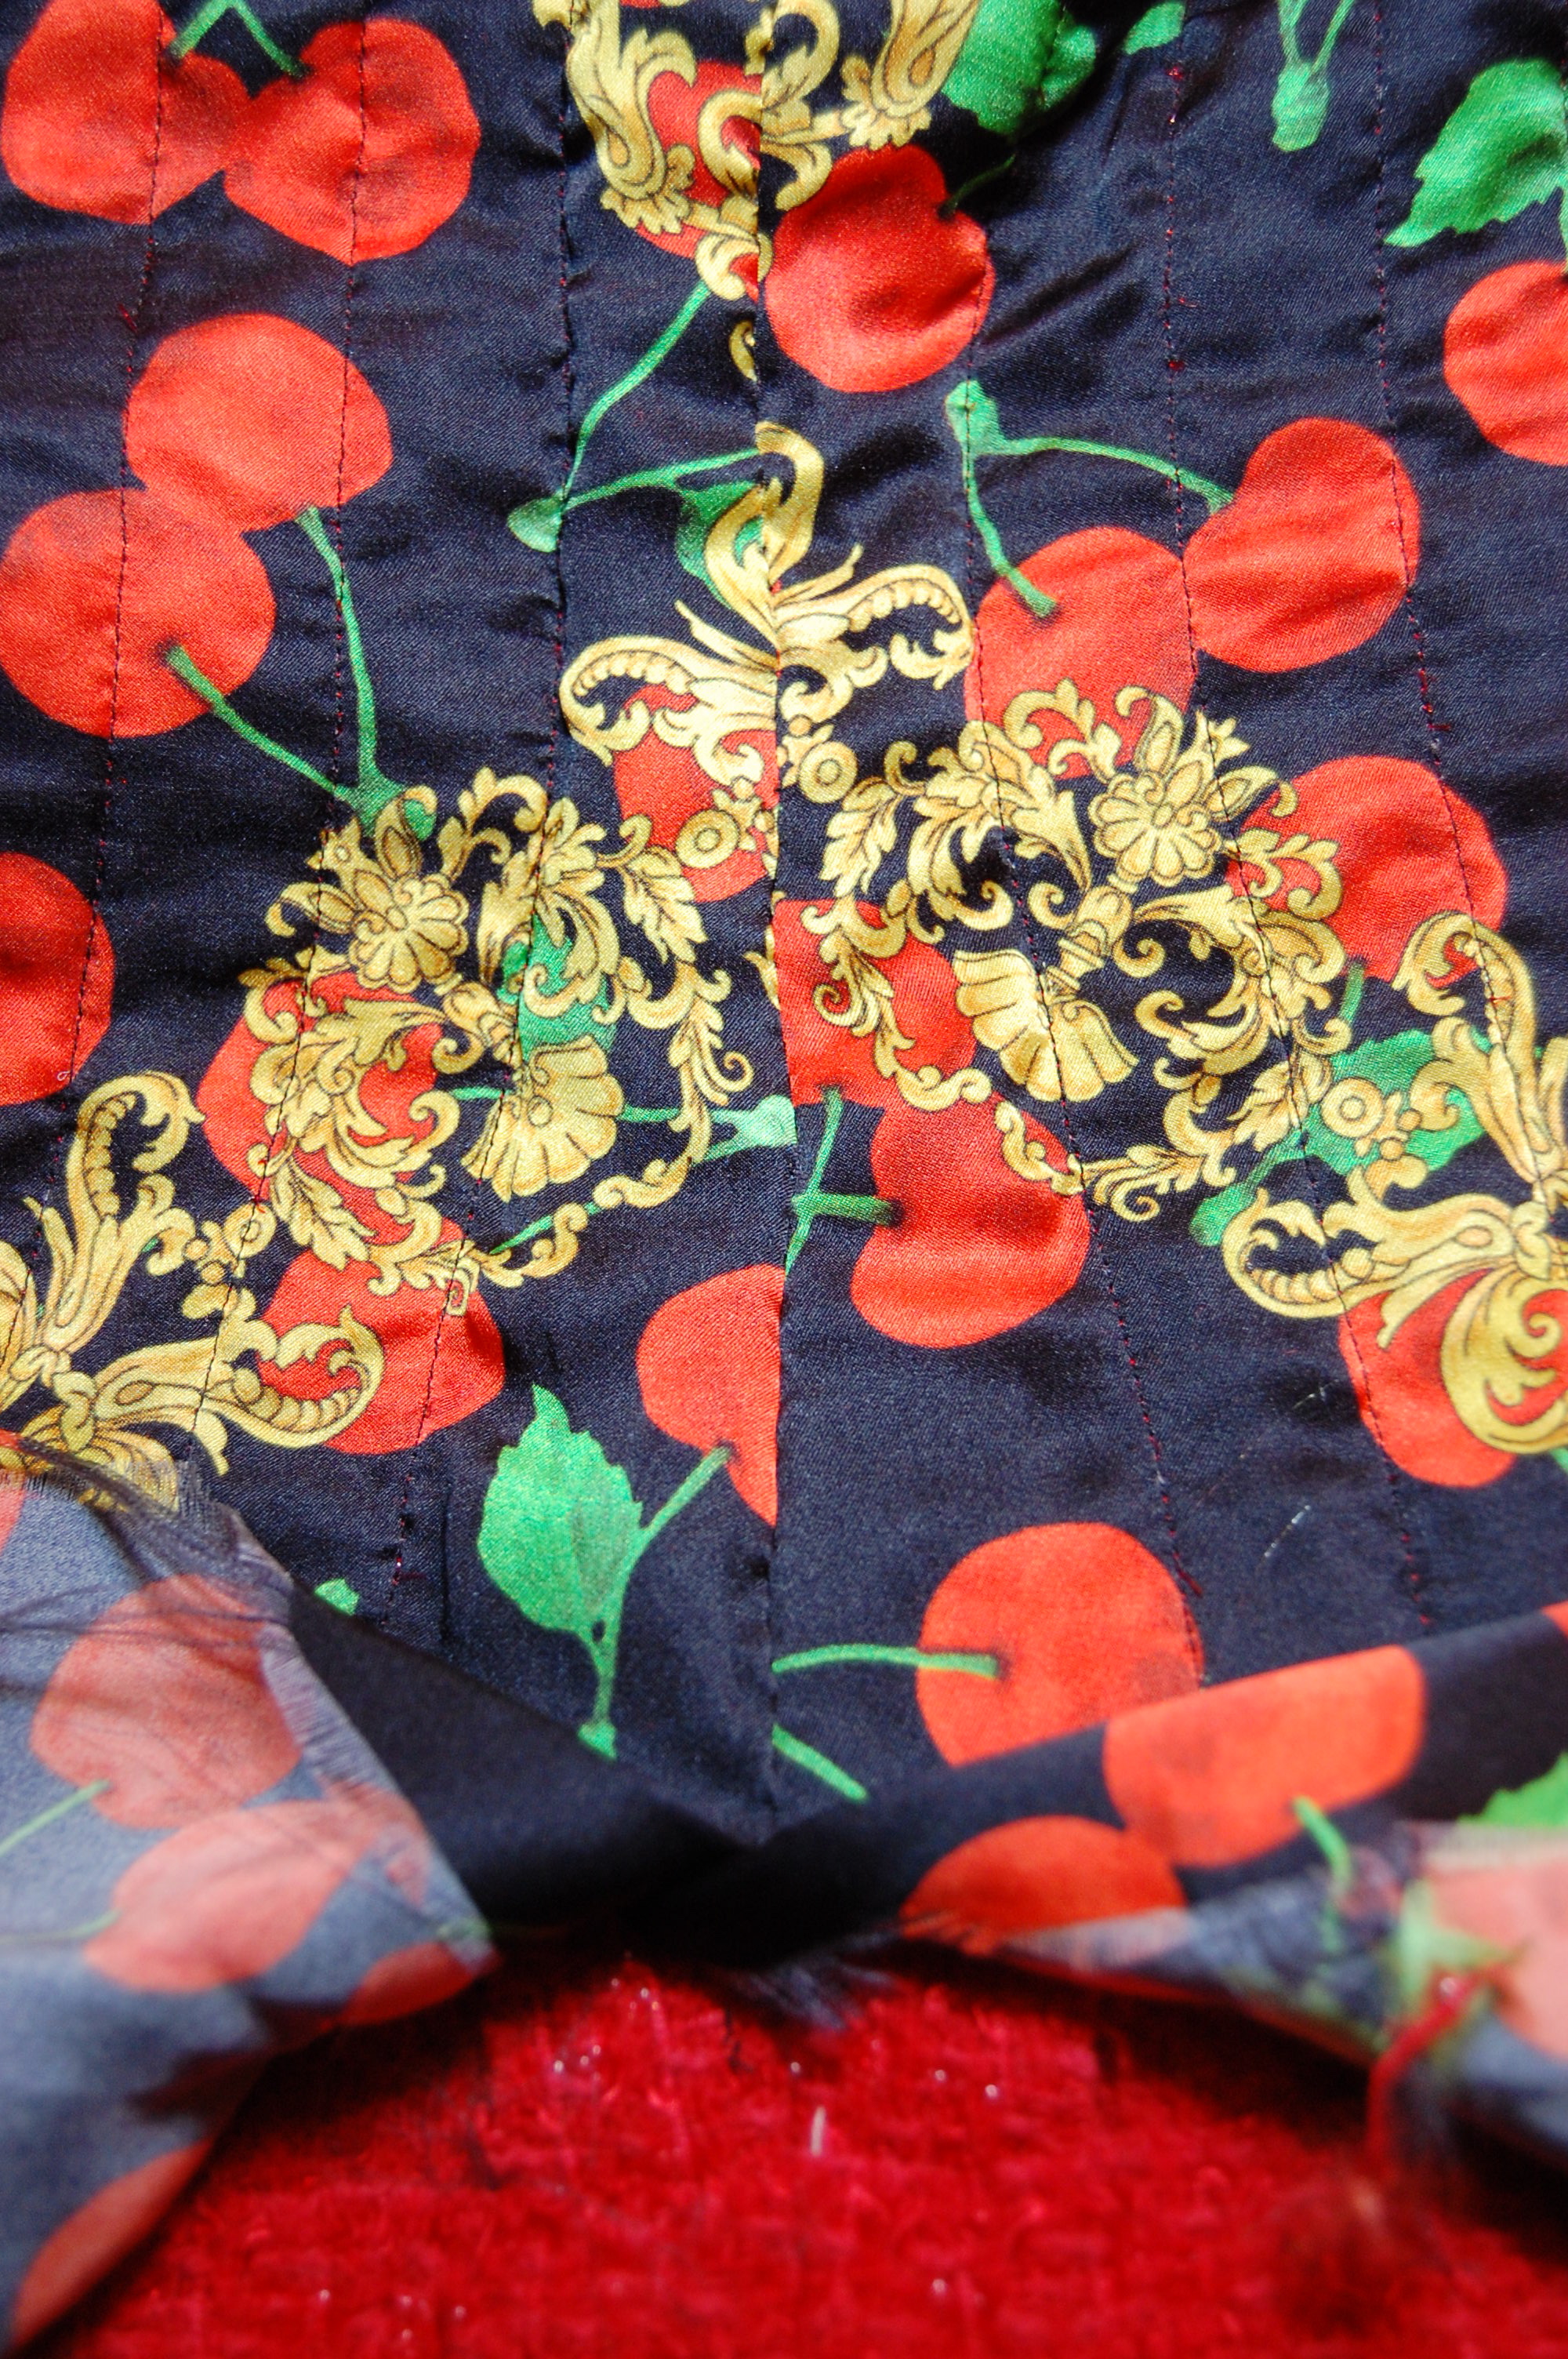
There is nothing shy about this lining fabric!
During the lengthy process of making my jacket, I have had lots of time to reflect on some of its charms:
1) Boucle is wonderful for hand-sewing, as one’s stitches simply disappear into the fabric.
2) This is “common sense” sewing: every step (of which there are many) adds in subtle or significant ways to its wear-ability, appearance, or fit.
3) Finishing a project like this is empowering. I felt like I grew as a “dressmaker” during this process. And beware . . .
4) Finishing a project like this is addictive. Yes, I already have a boucle for my next one . .
However, before I start my next one, I have one thing to (start and) finish: That charmeuse I used for the lining? I purchased enough to make a sleeveless sheath dress to wear with my jacket.
What was I thinking??