
Blouses, sweaters, tops. These three categories gave me plenty to pair with dressier slacks and more casual pants. I took along one solid black, jewel neck embroidered cotton sweater and two cotton cardigan sweaters which I always wear fully buttoned to use as dressy tops. They were perfect for three of the days in Paris. I had two cashmere/cotton blend pullover collared sweaters which were equally perfect for more casual days and a few more versatile pullovers. Then I had blouses. I love blouses. I decided I needed a new silk blouse to take to Paris with me.
I saw this Italian silk twill on the website for Britex Fabrics:
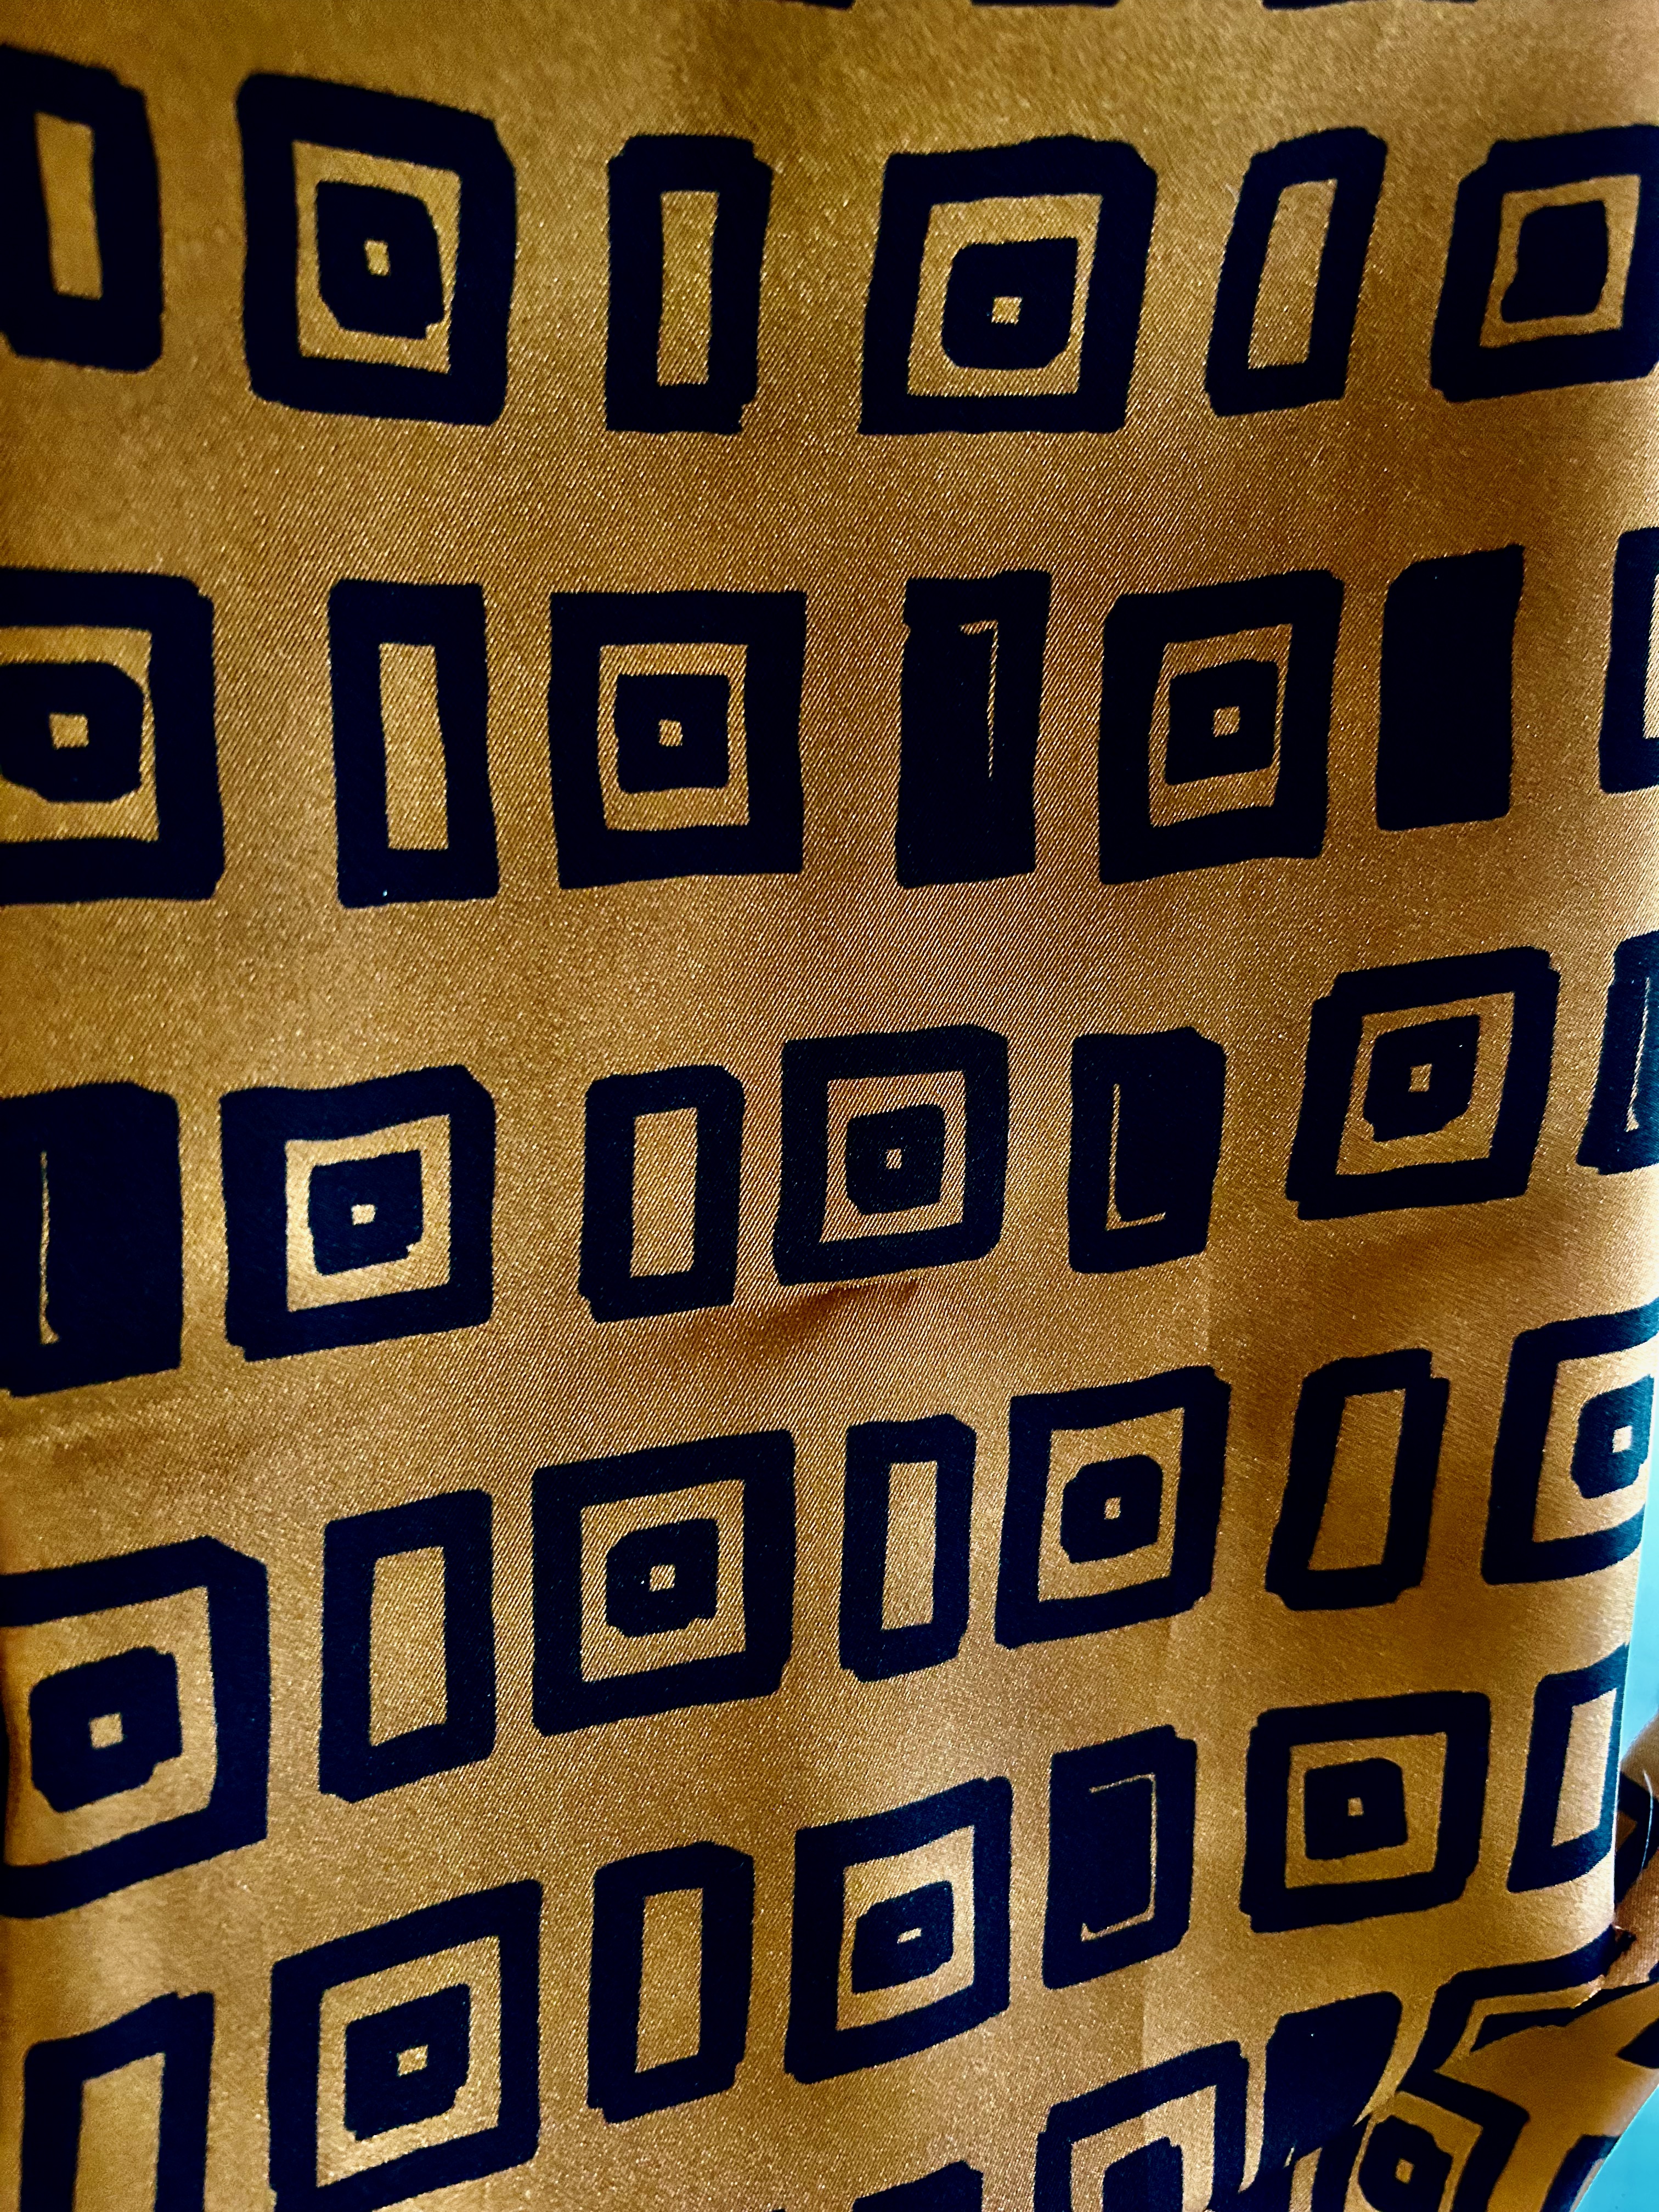
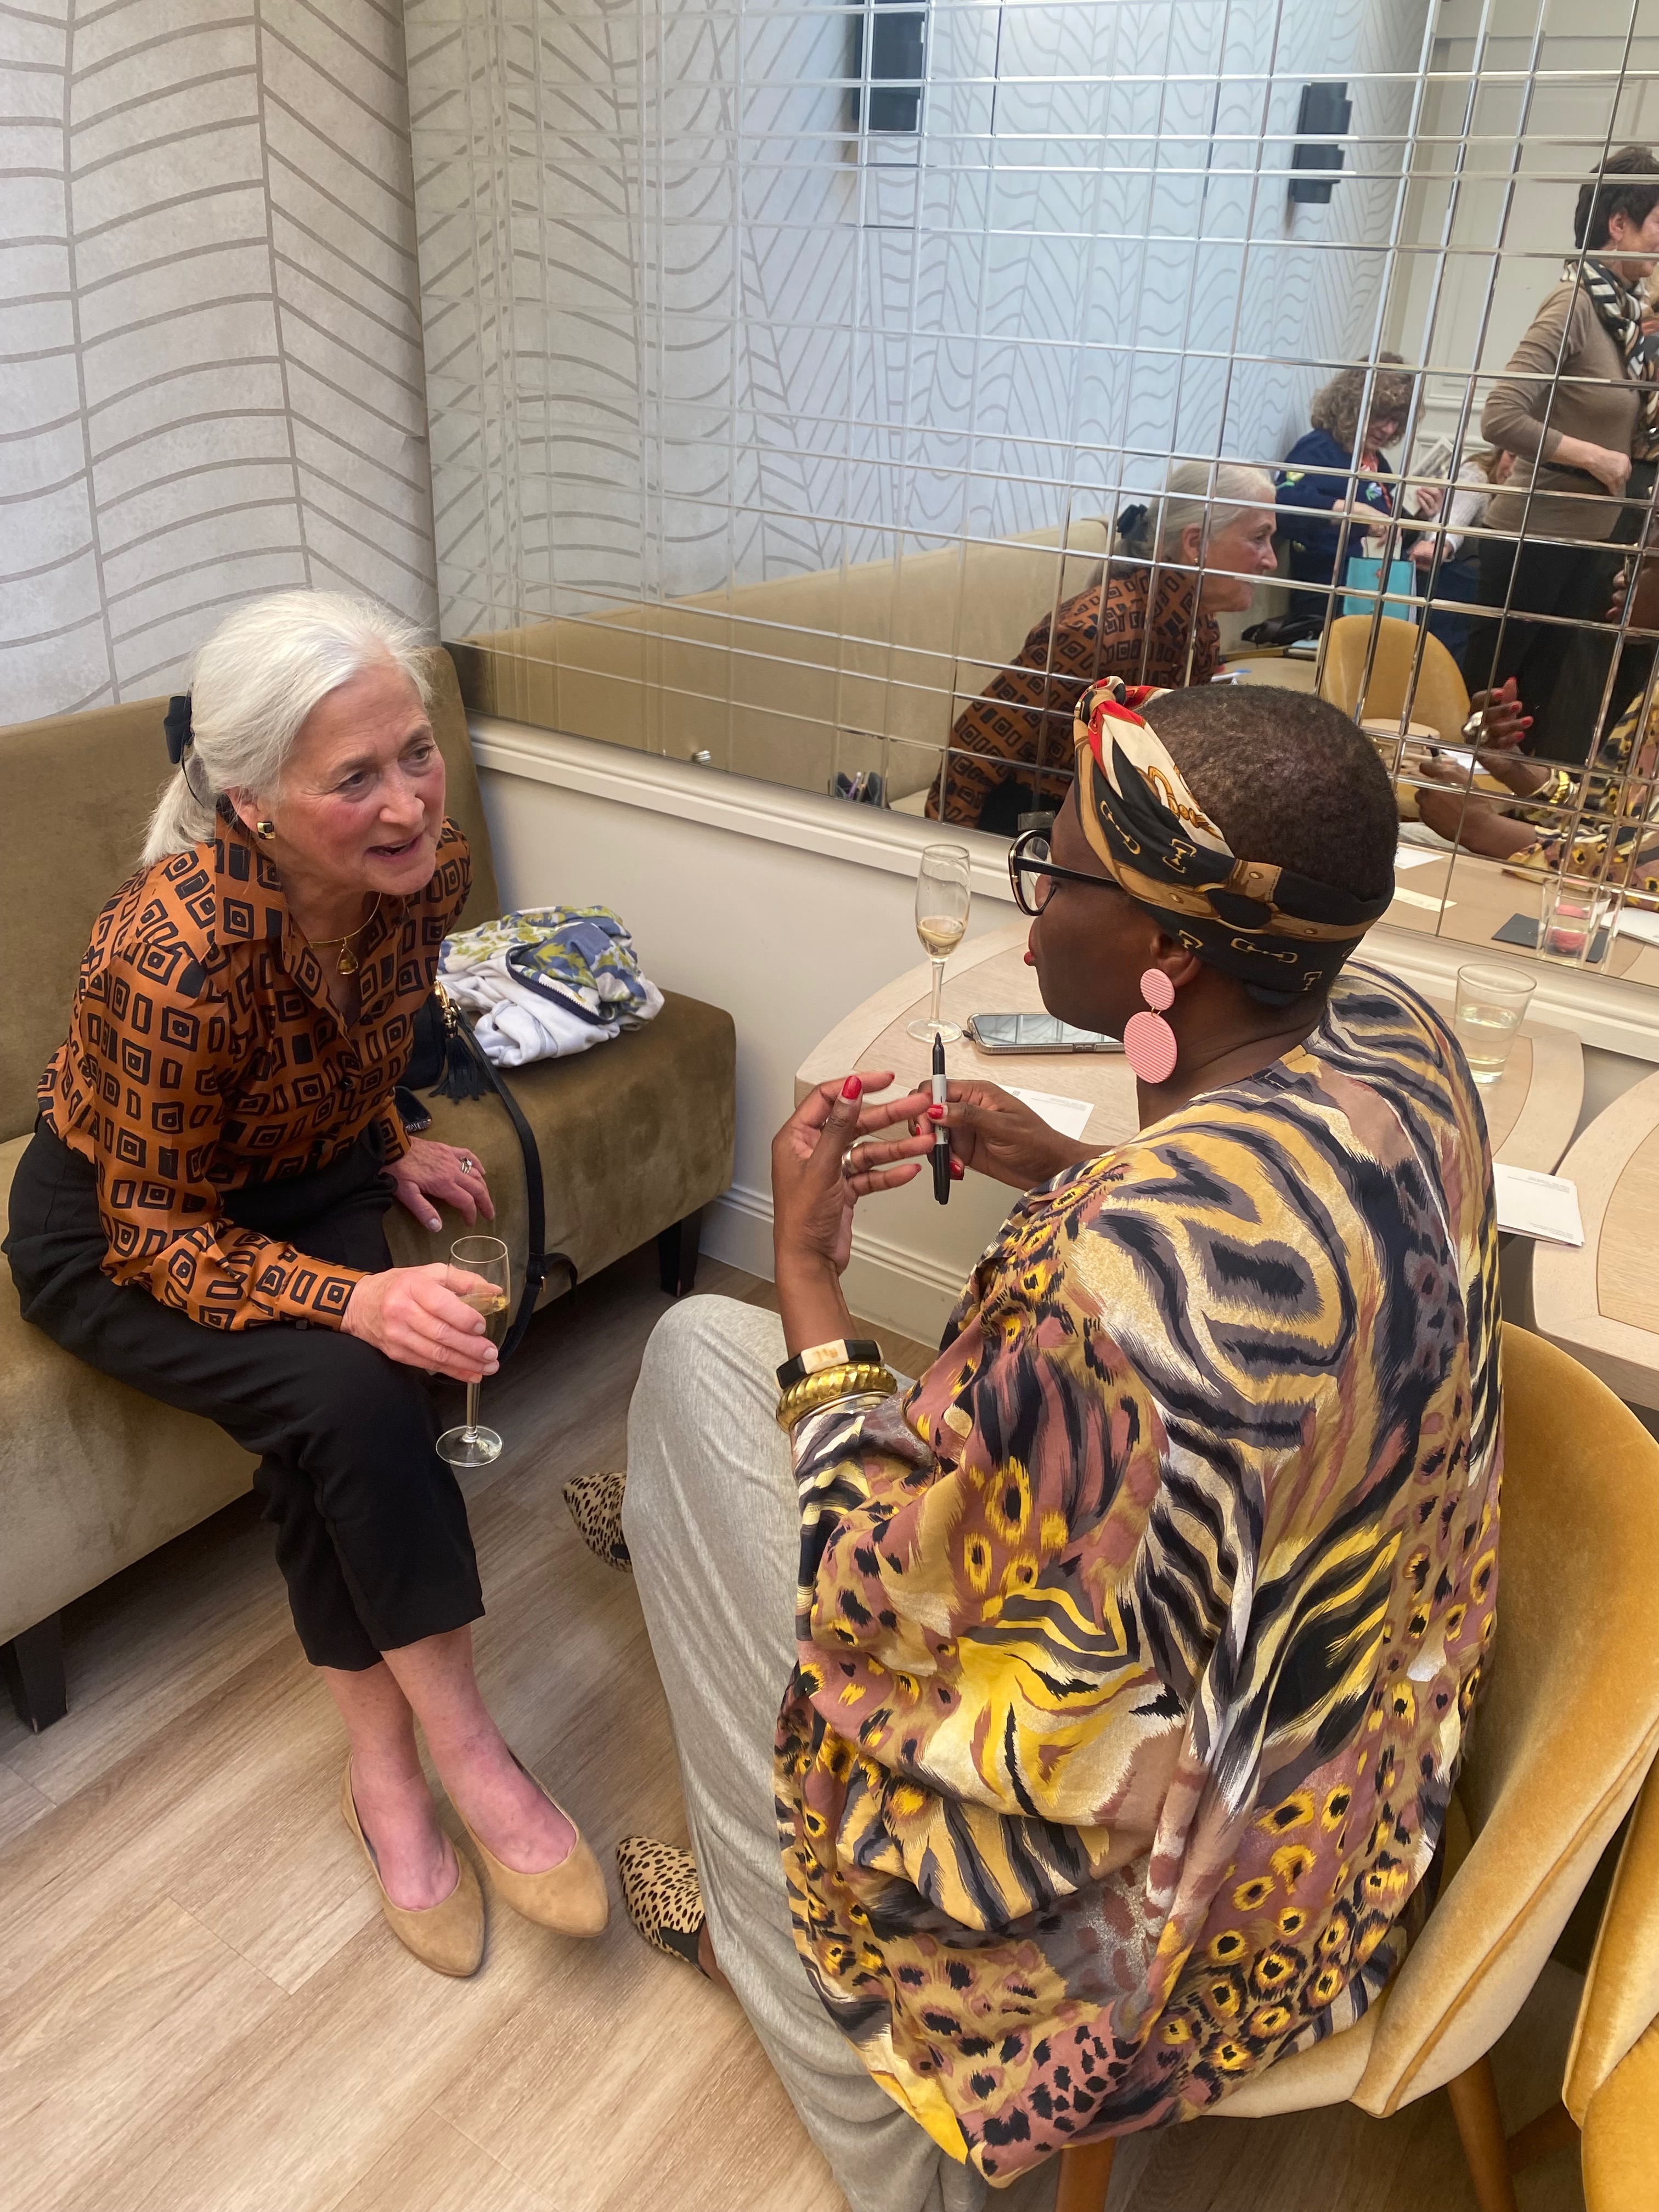
It appealed to my love of geometrics, and additionally I thought it was just so classy looking. So I bought it and proceeded to make a blouse.
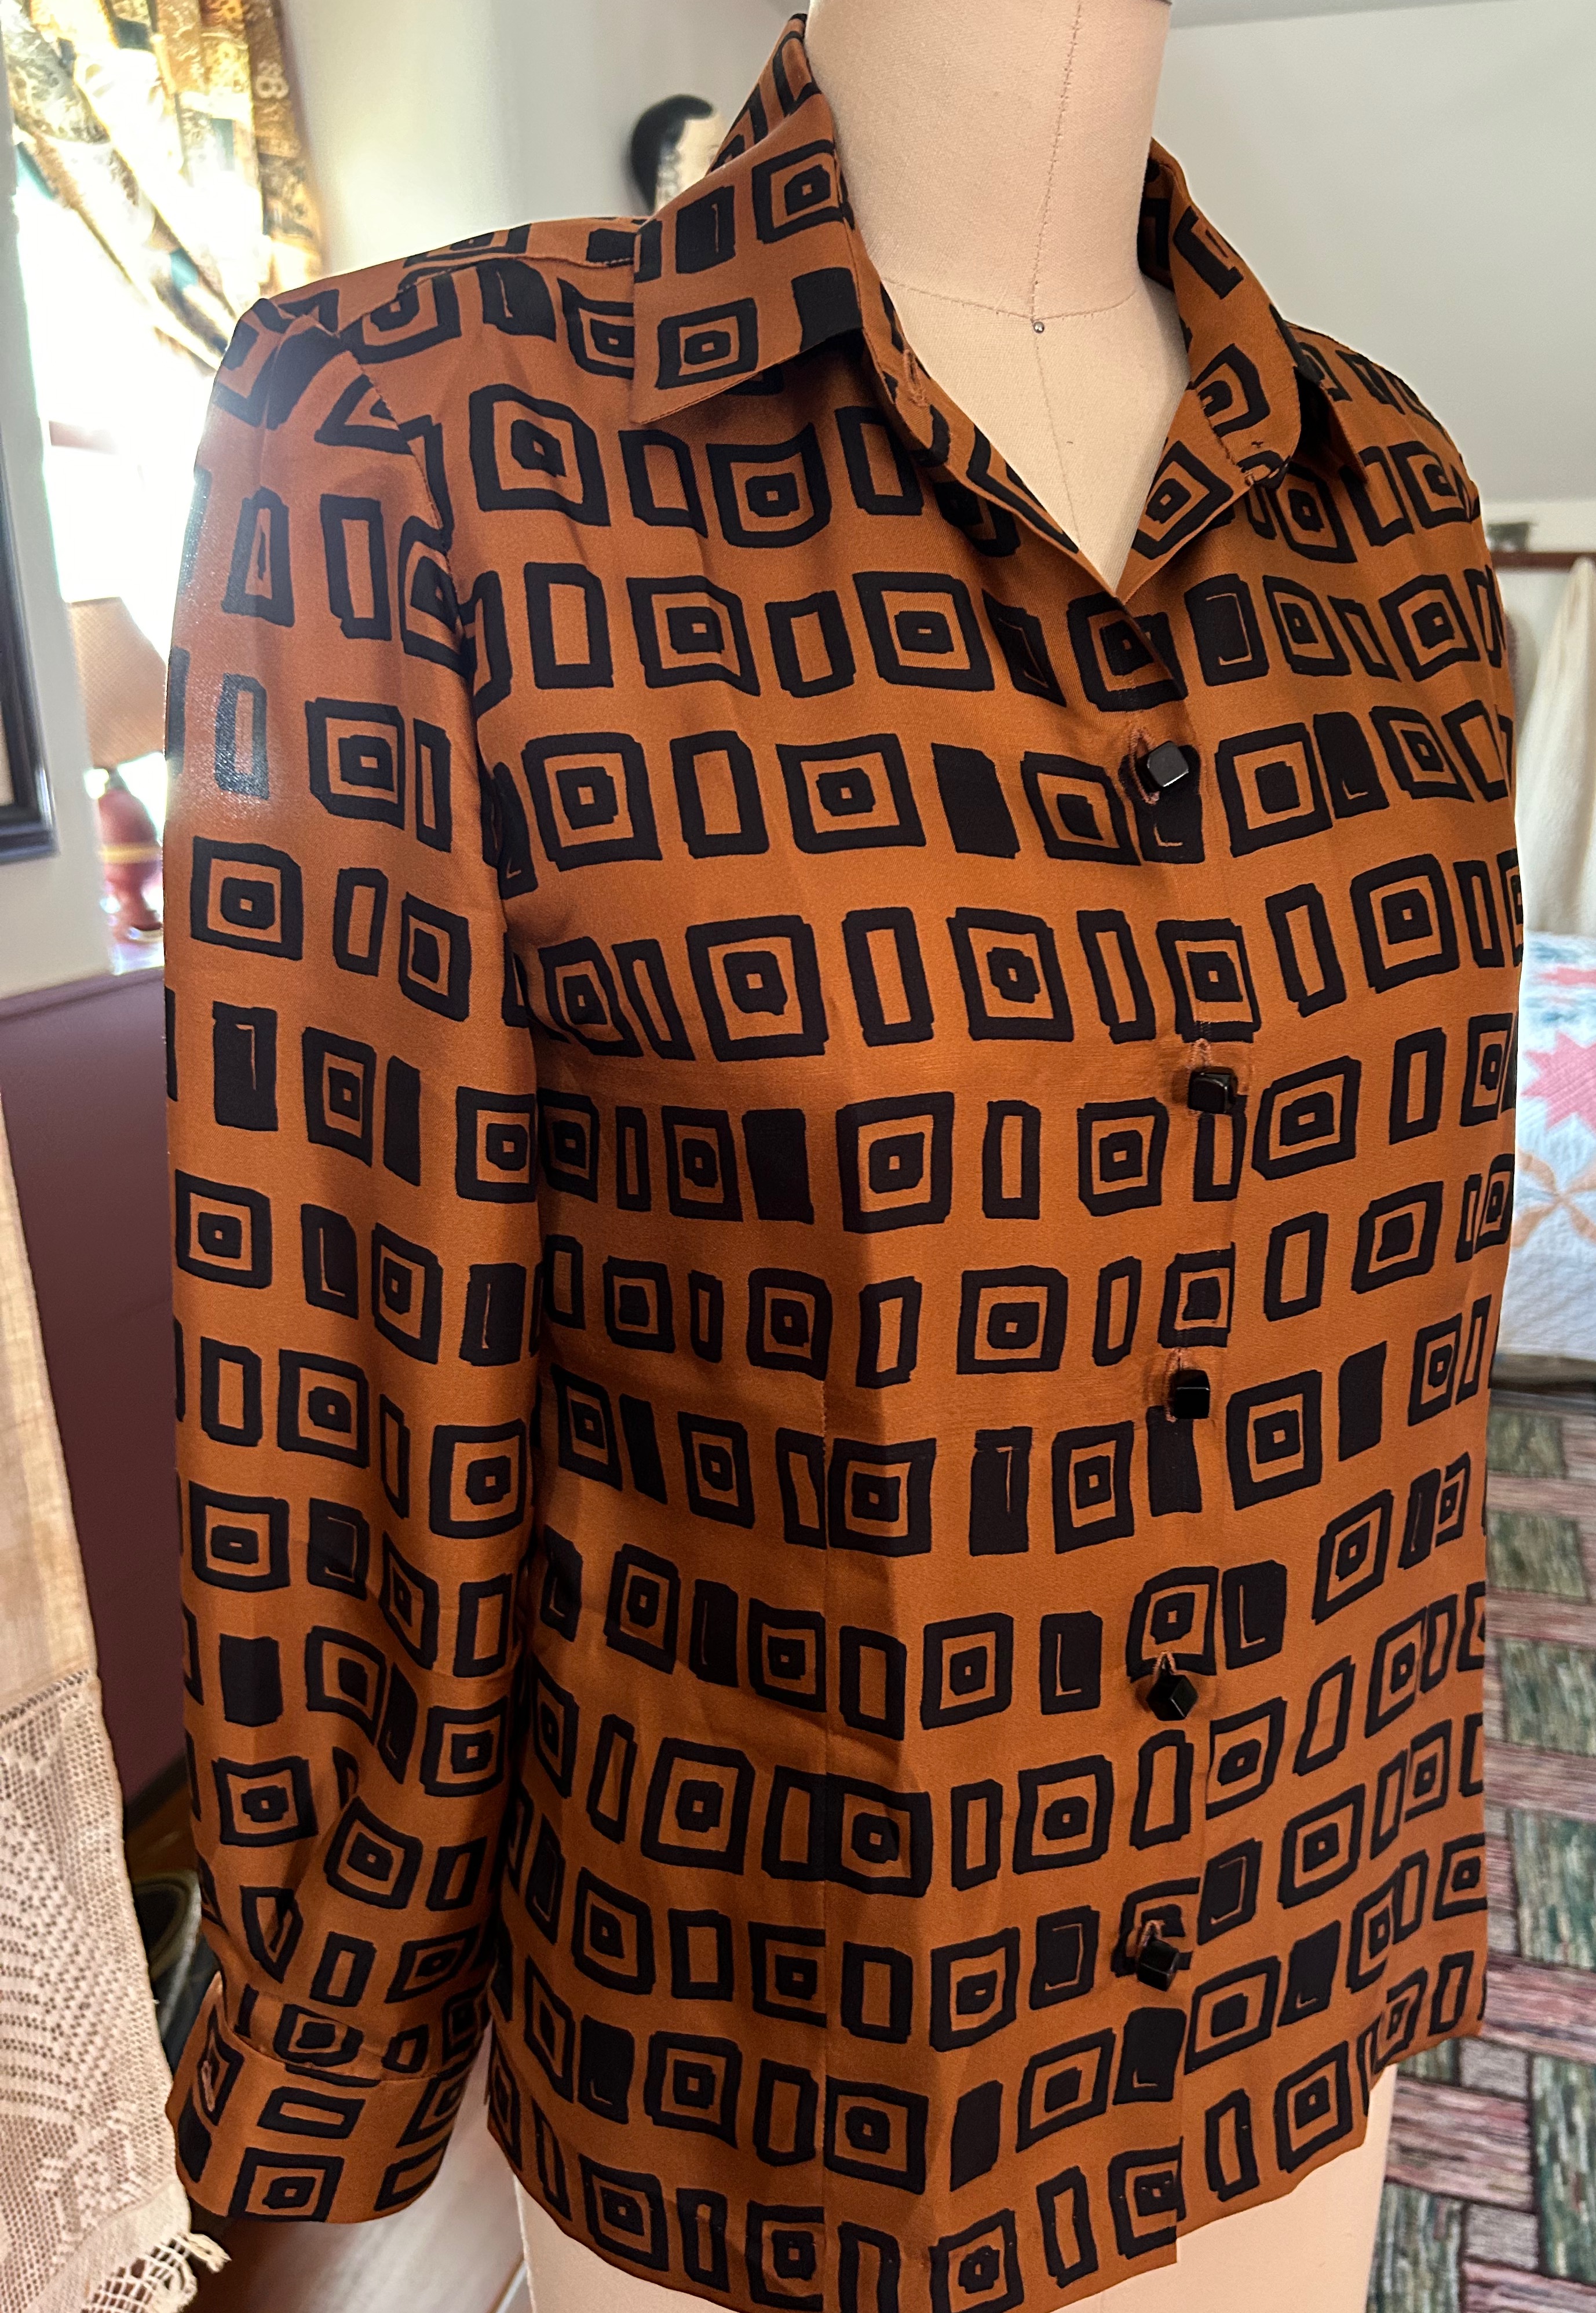
For a twill, it frayed a bit more than expected, but the weight was lovely. I tweaked my go-to blouse pattern once again for this blouse. I eliminated the back box pleat below the yoke which I have added in previous makes. I wanted a more streamlined appearance and less bulk to tuck in. To that end I also added very slim front vertical bust darts.

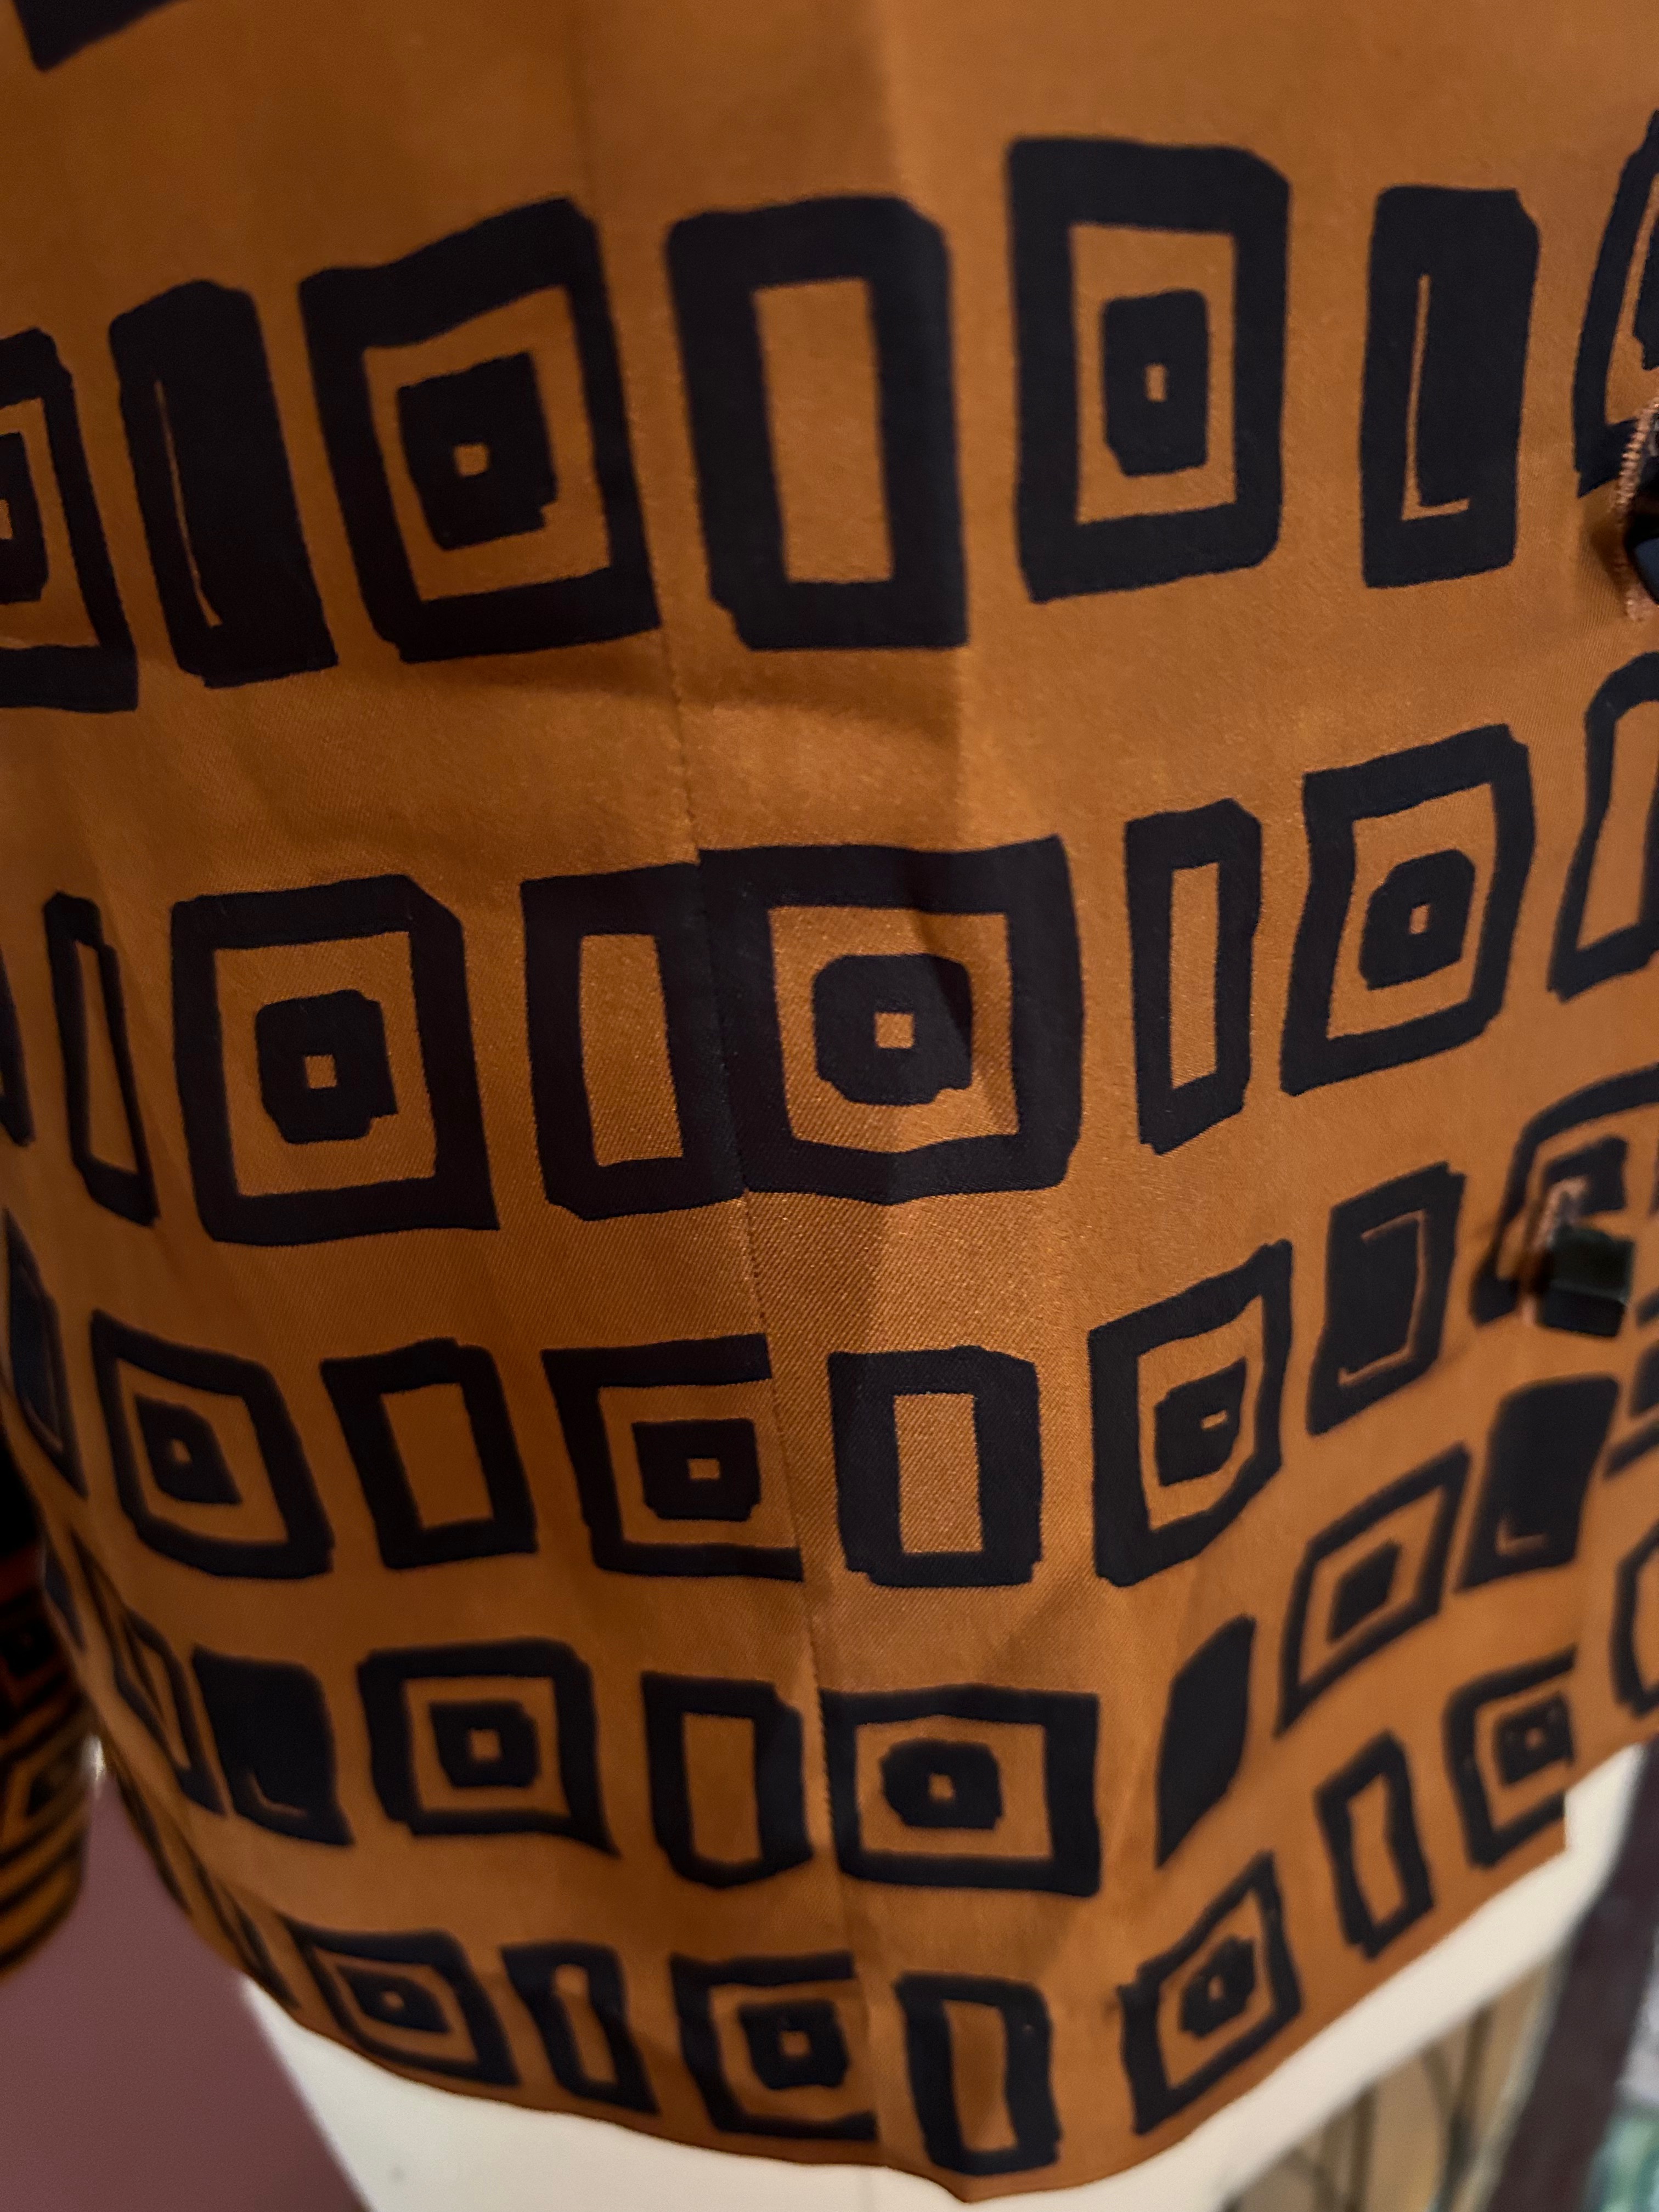
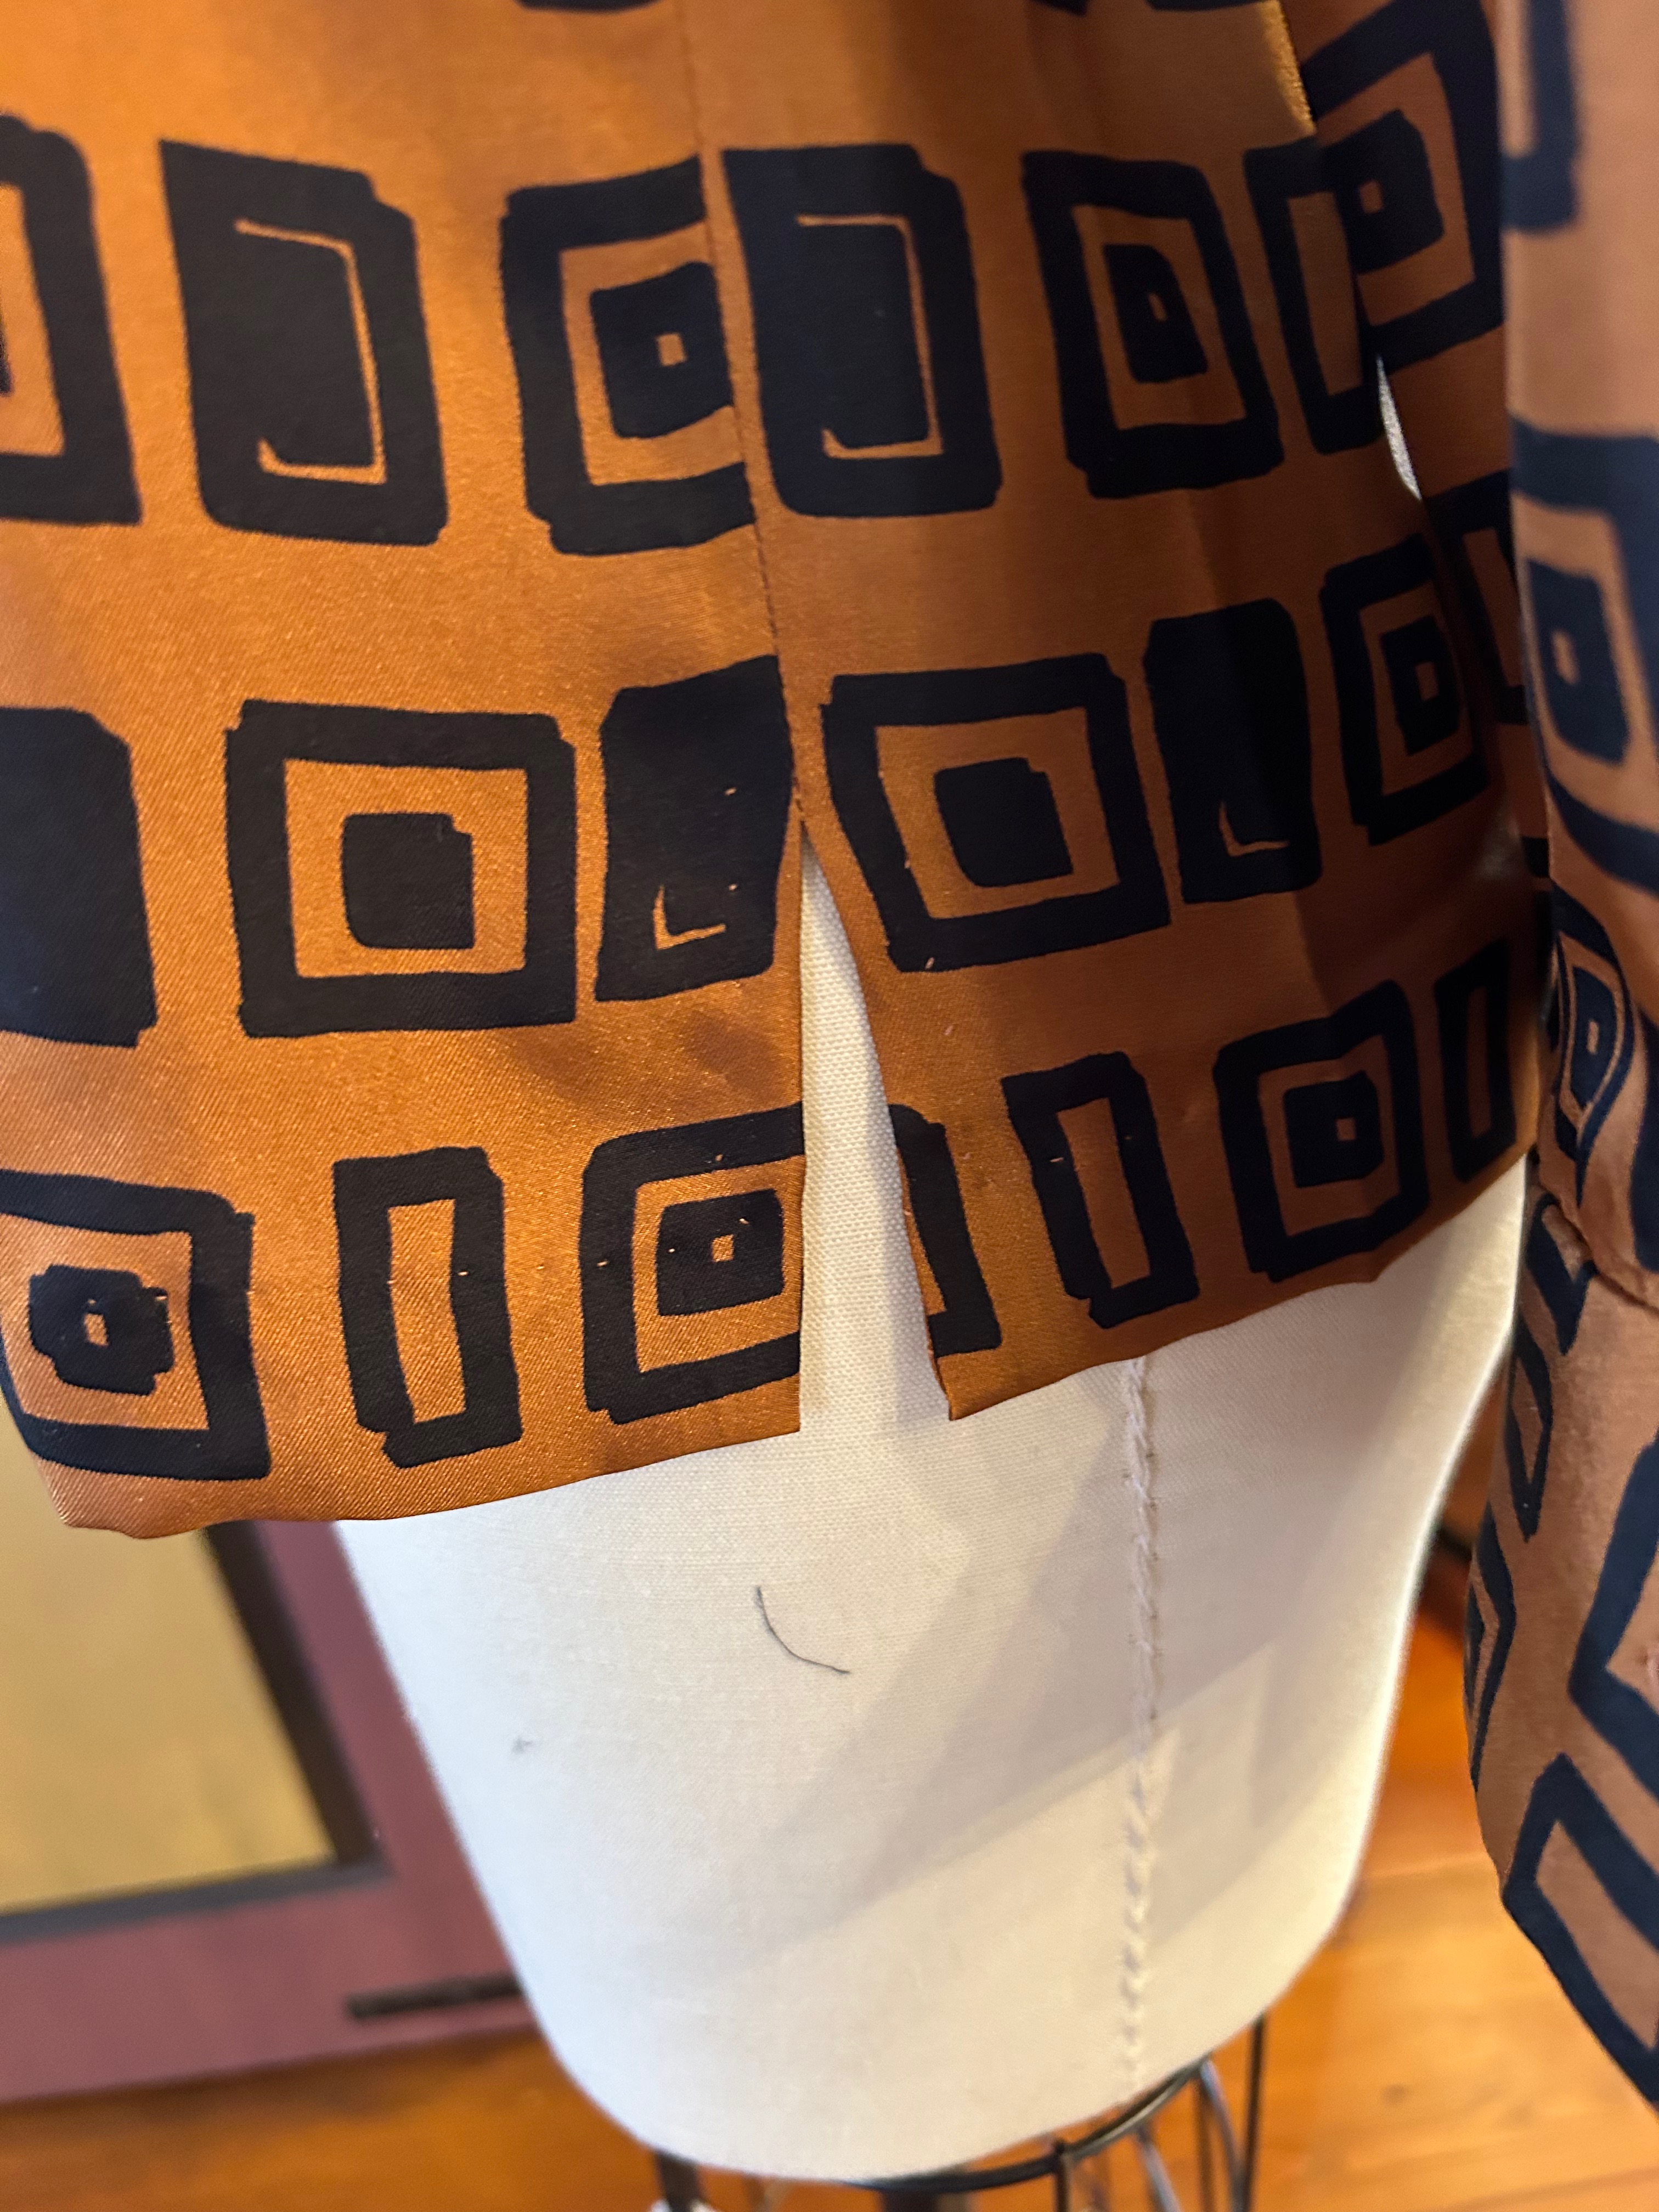
I also shortened the hem by one inch and squared it off with slits at the side seams.
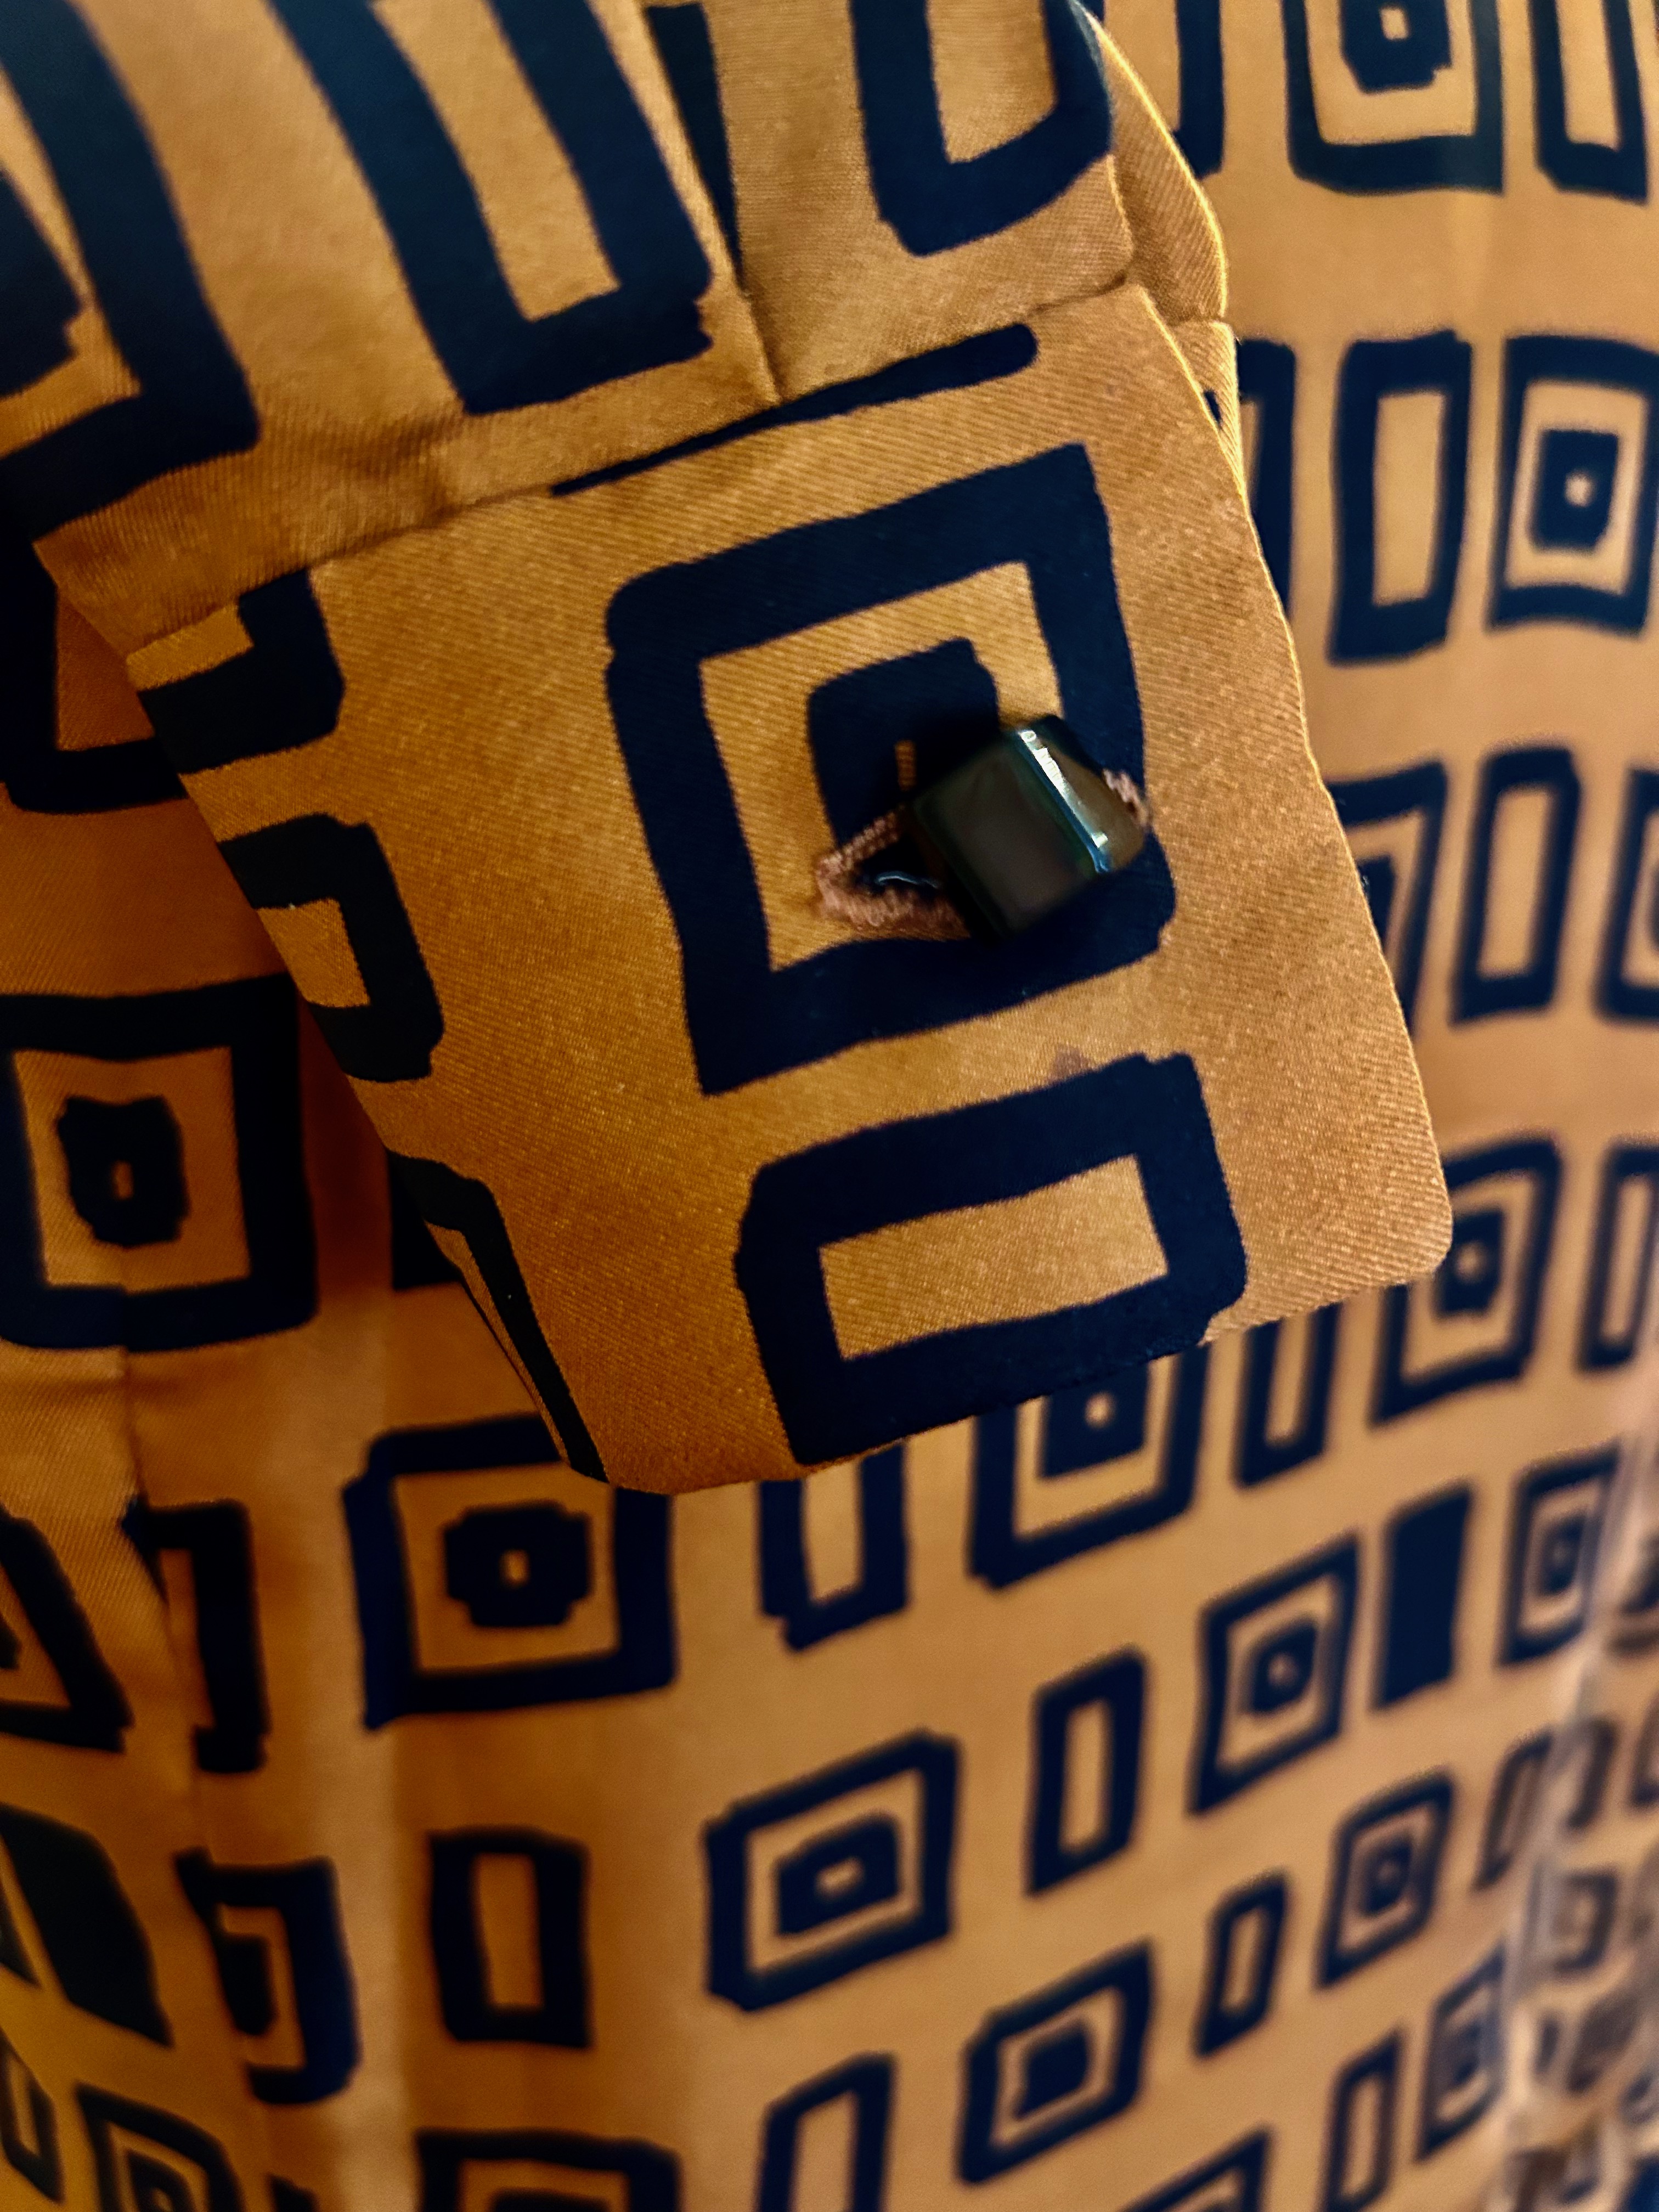
What to do for BUTTONS!? I had selected 3 varieties from which to choose – all from my collection assembled over the past umpteen years.

Usually, a winner is clear to me, but this time I needed some assistance. So, I asked my sewing friend, Debra, for her input, which was a brilliant move on my part. How wonderful to have confirmation from her trained eye that the buttons I was leaning toward were her choice as well. Her decisiveness was quick and instinctive.
The only problem was they were already on a blouse which I made years ago. No problem, I just took them off that bouse, with a promise to find replacements at some point. The other sweet thing about these black cube buttons – and I digress here – is that I was with my daughter, Susanna, when I purchased them. We have wonderful memories of that day long ago, spent together at a vintage textile show in New England. So from the fields of Massachusetts to the streets of Paris, these vintage Bakelite buttons continue to add layers to their history.
I thought it would be a good idea to have a “fancier” blouse along on the trip. It was already in my closet, having been sewn a number of years ago. It continues to be one of my favorite makes ever, although I do not get the opportunity to wear it very often.

I wasn’t sure when I would wear it, but somehow I knew I would find the perfect day and time. By Friday morning of the trip, I had decided to wear it that evening to our Gala Dinner, with dressy black slacks. I had brought along specific jewelry to pair with it, and I was quite confident I would look well attired for that special night. And then… as luck would have it, one of our stops that day was to a scarf store in Paris. Susan had expressed her great admiration for this store and their goods, so we were all looking forward to our time there.
Truth be told, I could have easily purchased three or four scarves that afternoon. The selection was wide-ranging, both in design and fabric. But there was one scarf I knew would go home with me.
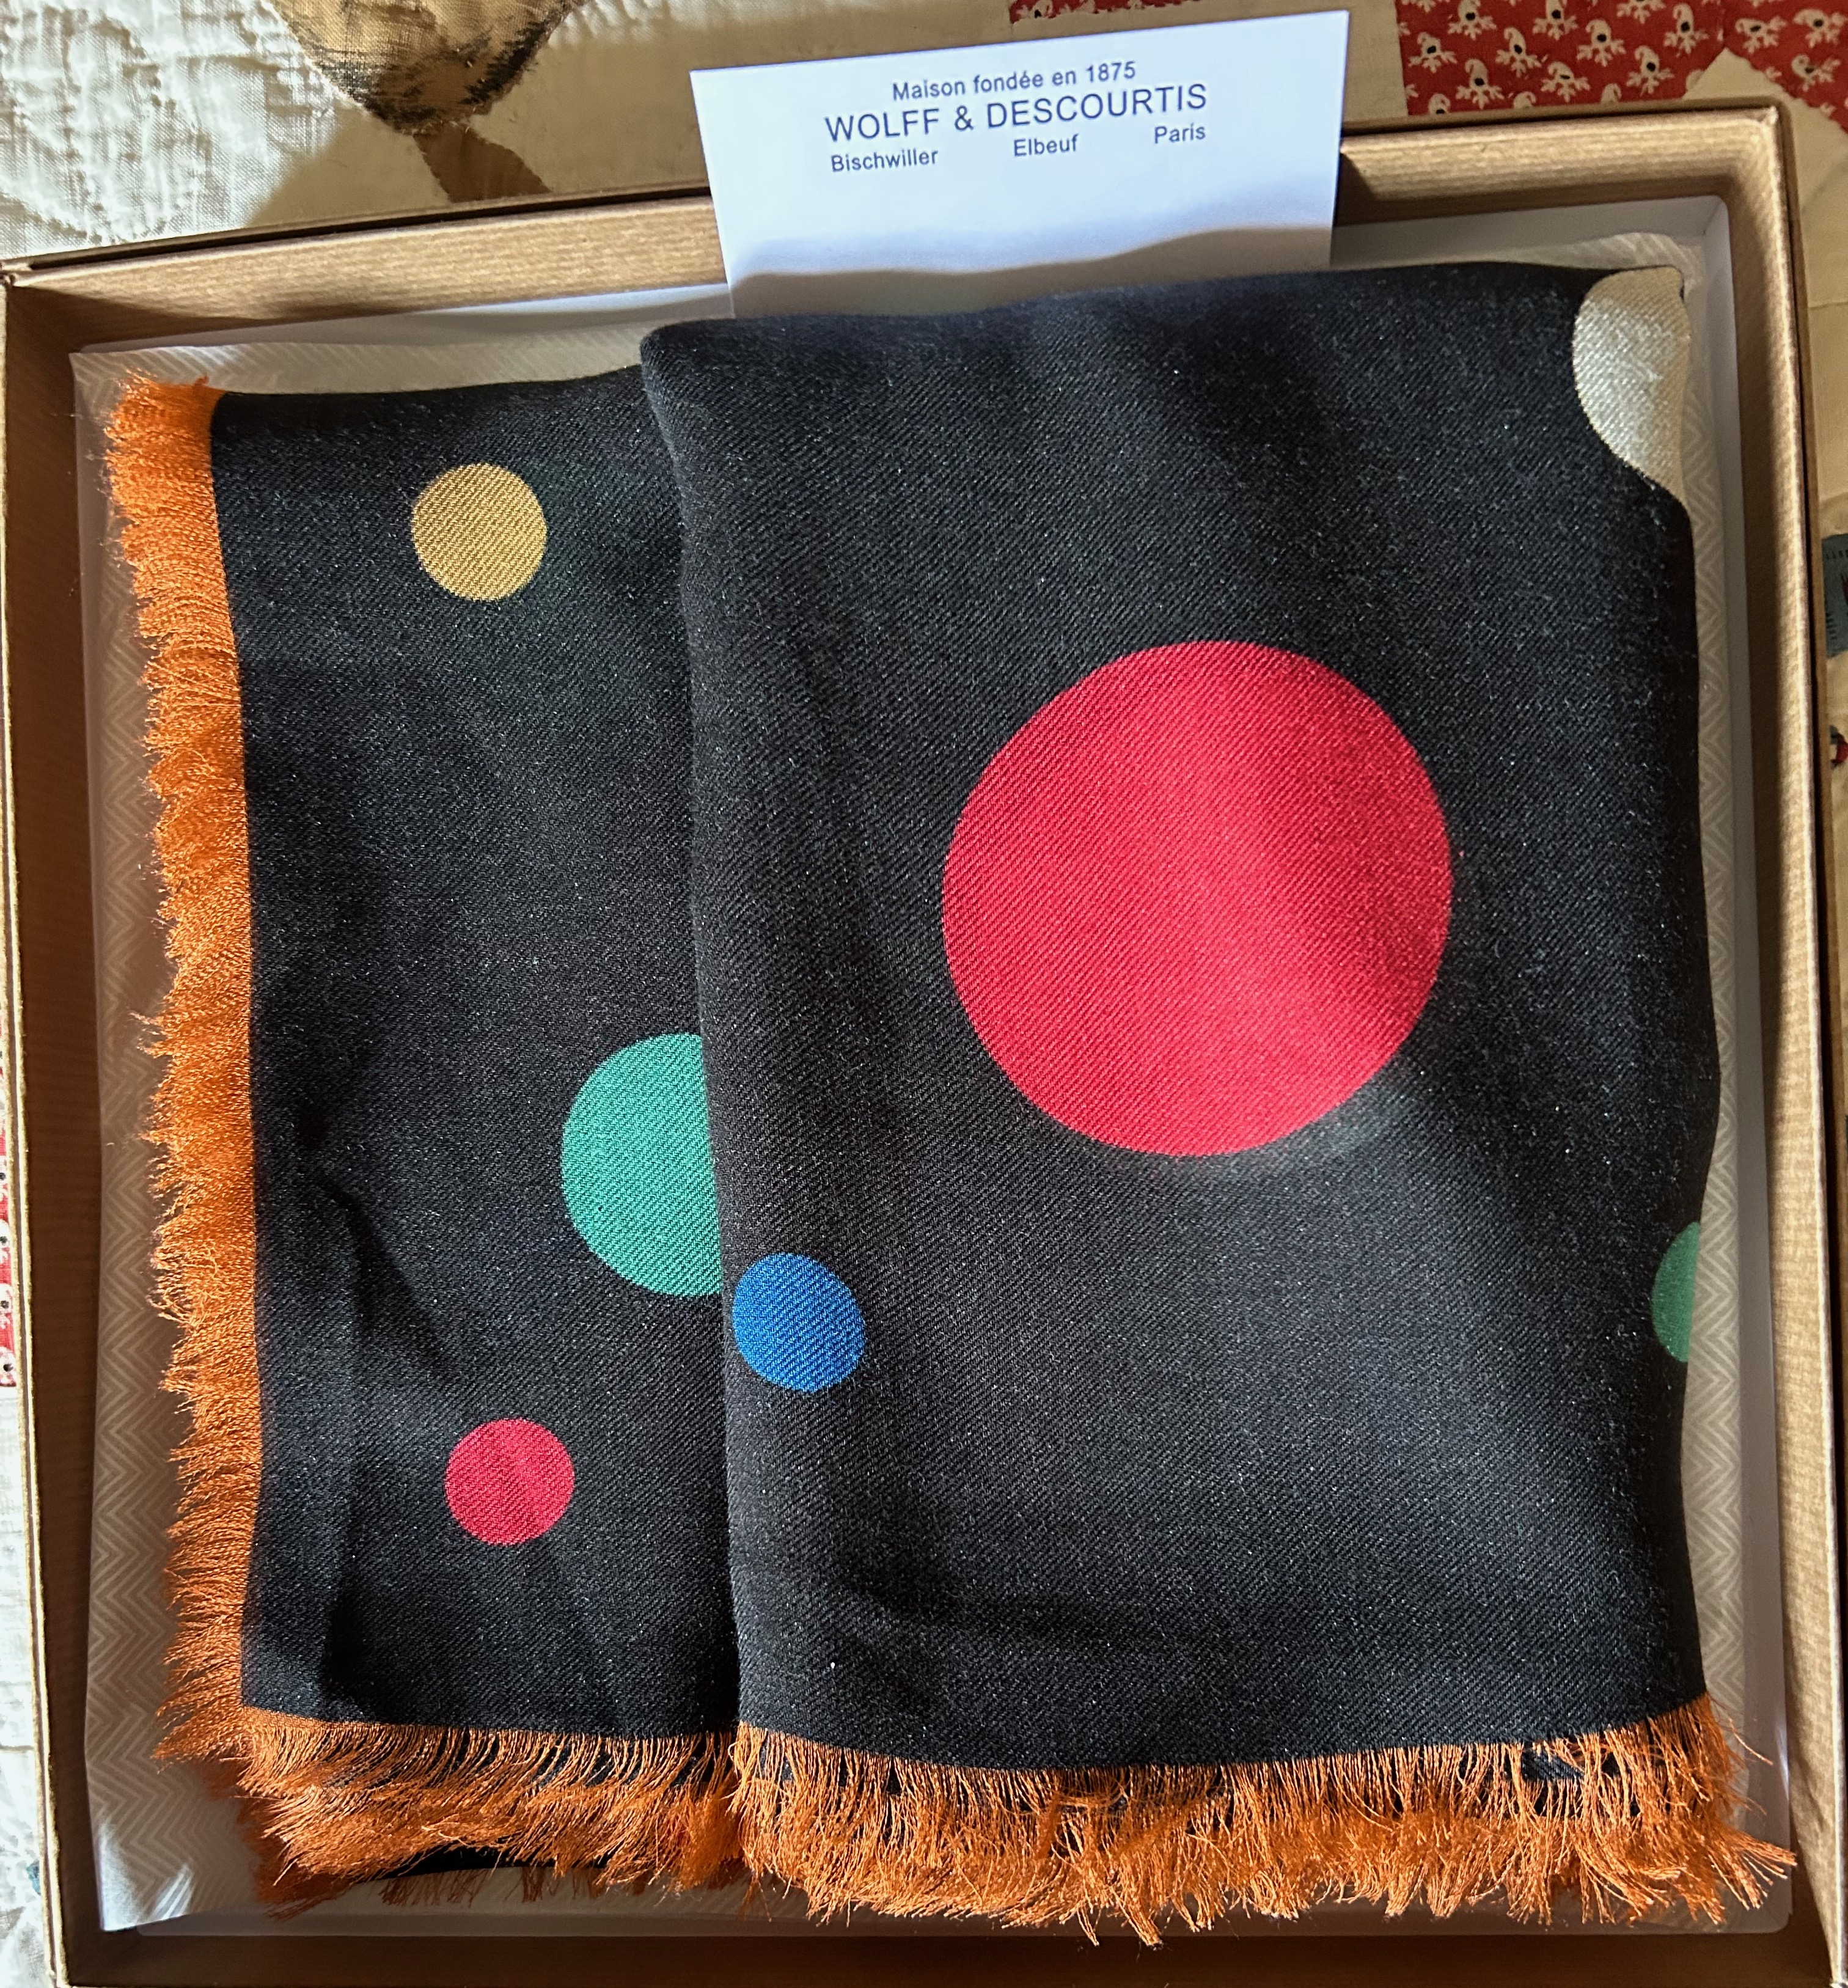
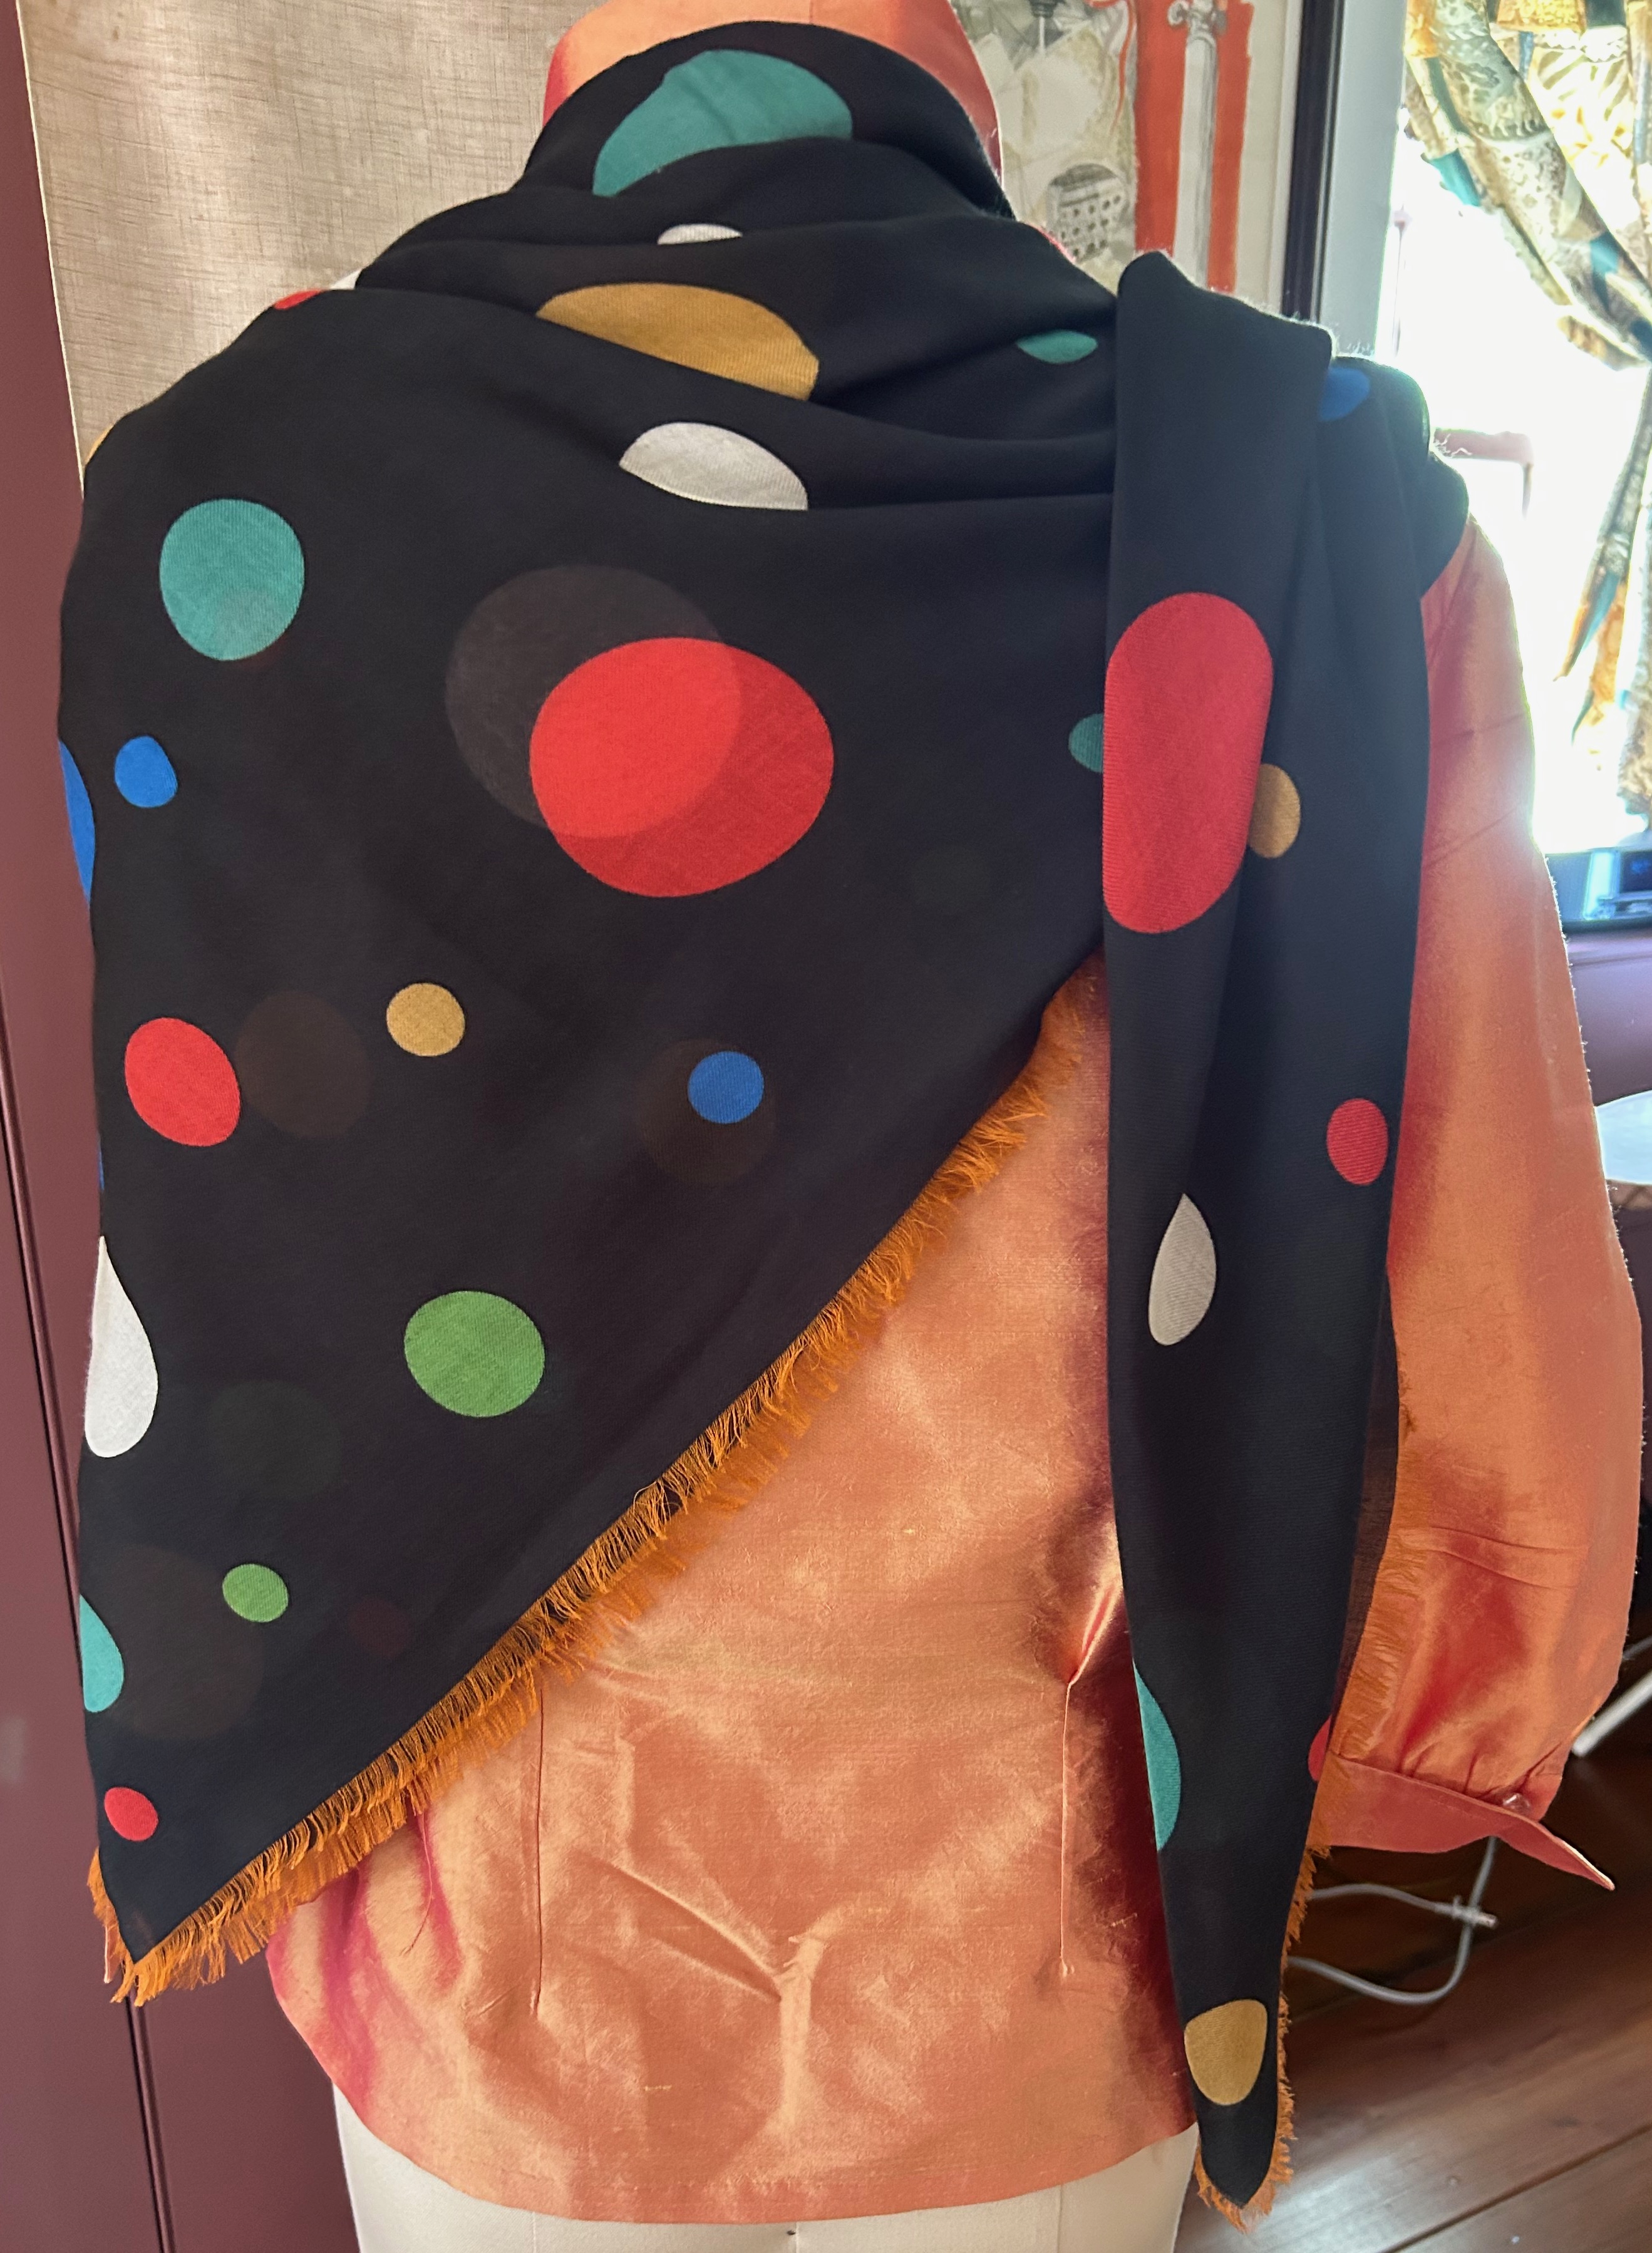
The funny thing is, when I purchased it, I was not thinking about the blouse I planned to wear that evening. But when I got back to my hotel room, I realized what a great duo they would make. As the evening was a bit chilly, and we had a short walk to the restaurant, having this cashmere blend scarf wrapped around my shoulders was the perfect addition.

It was a fun evening, and I felt perfectly attired! Of course, from now on, I shall refer to this scarf as my Paris wrap.
At this point you may be wondering if I actually wore a dress while on my trip. As a matter of fact, yes, I did. Our instructions were to be dressily attired the evening we attended the Ballet at the Palais Garnier. I decided to take along this dress which was ready for another outing.

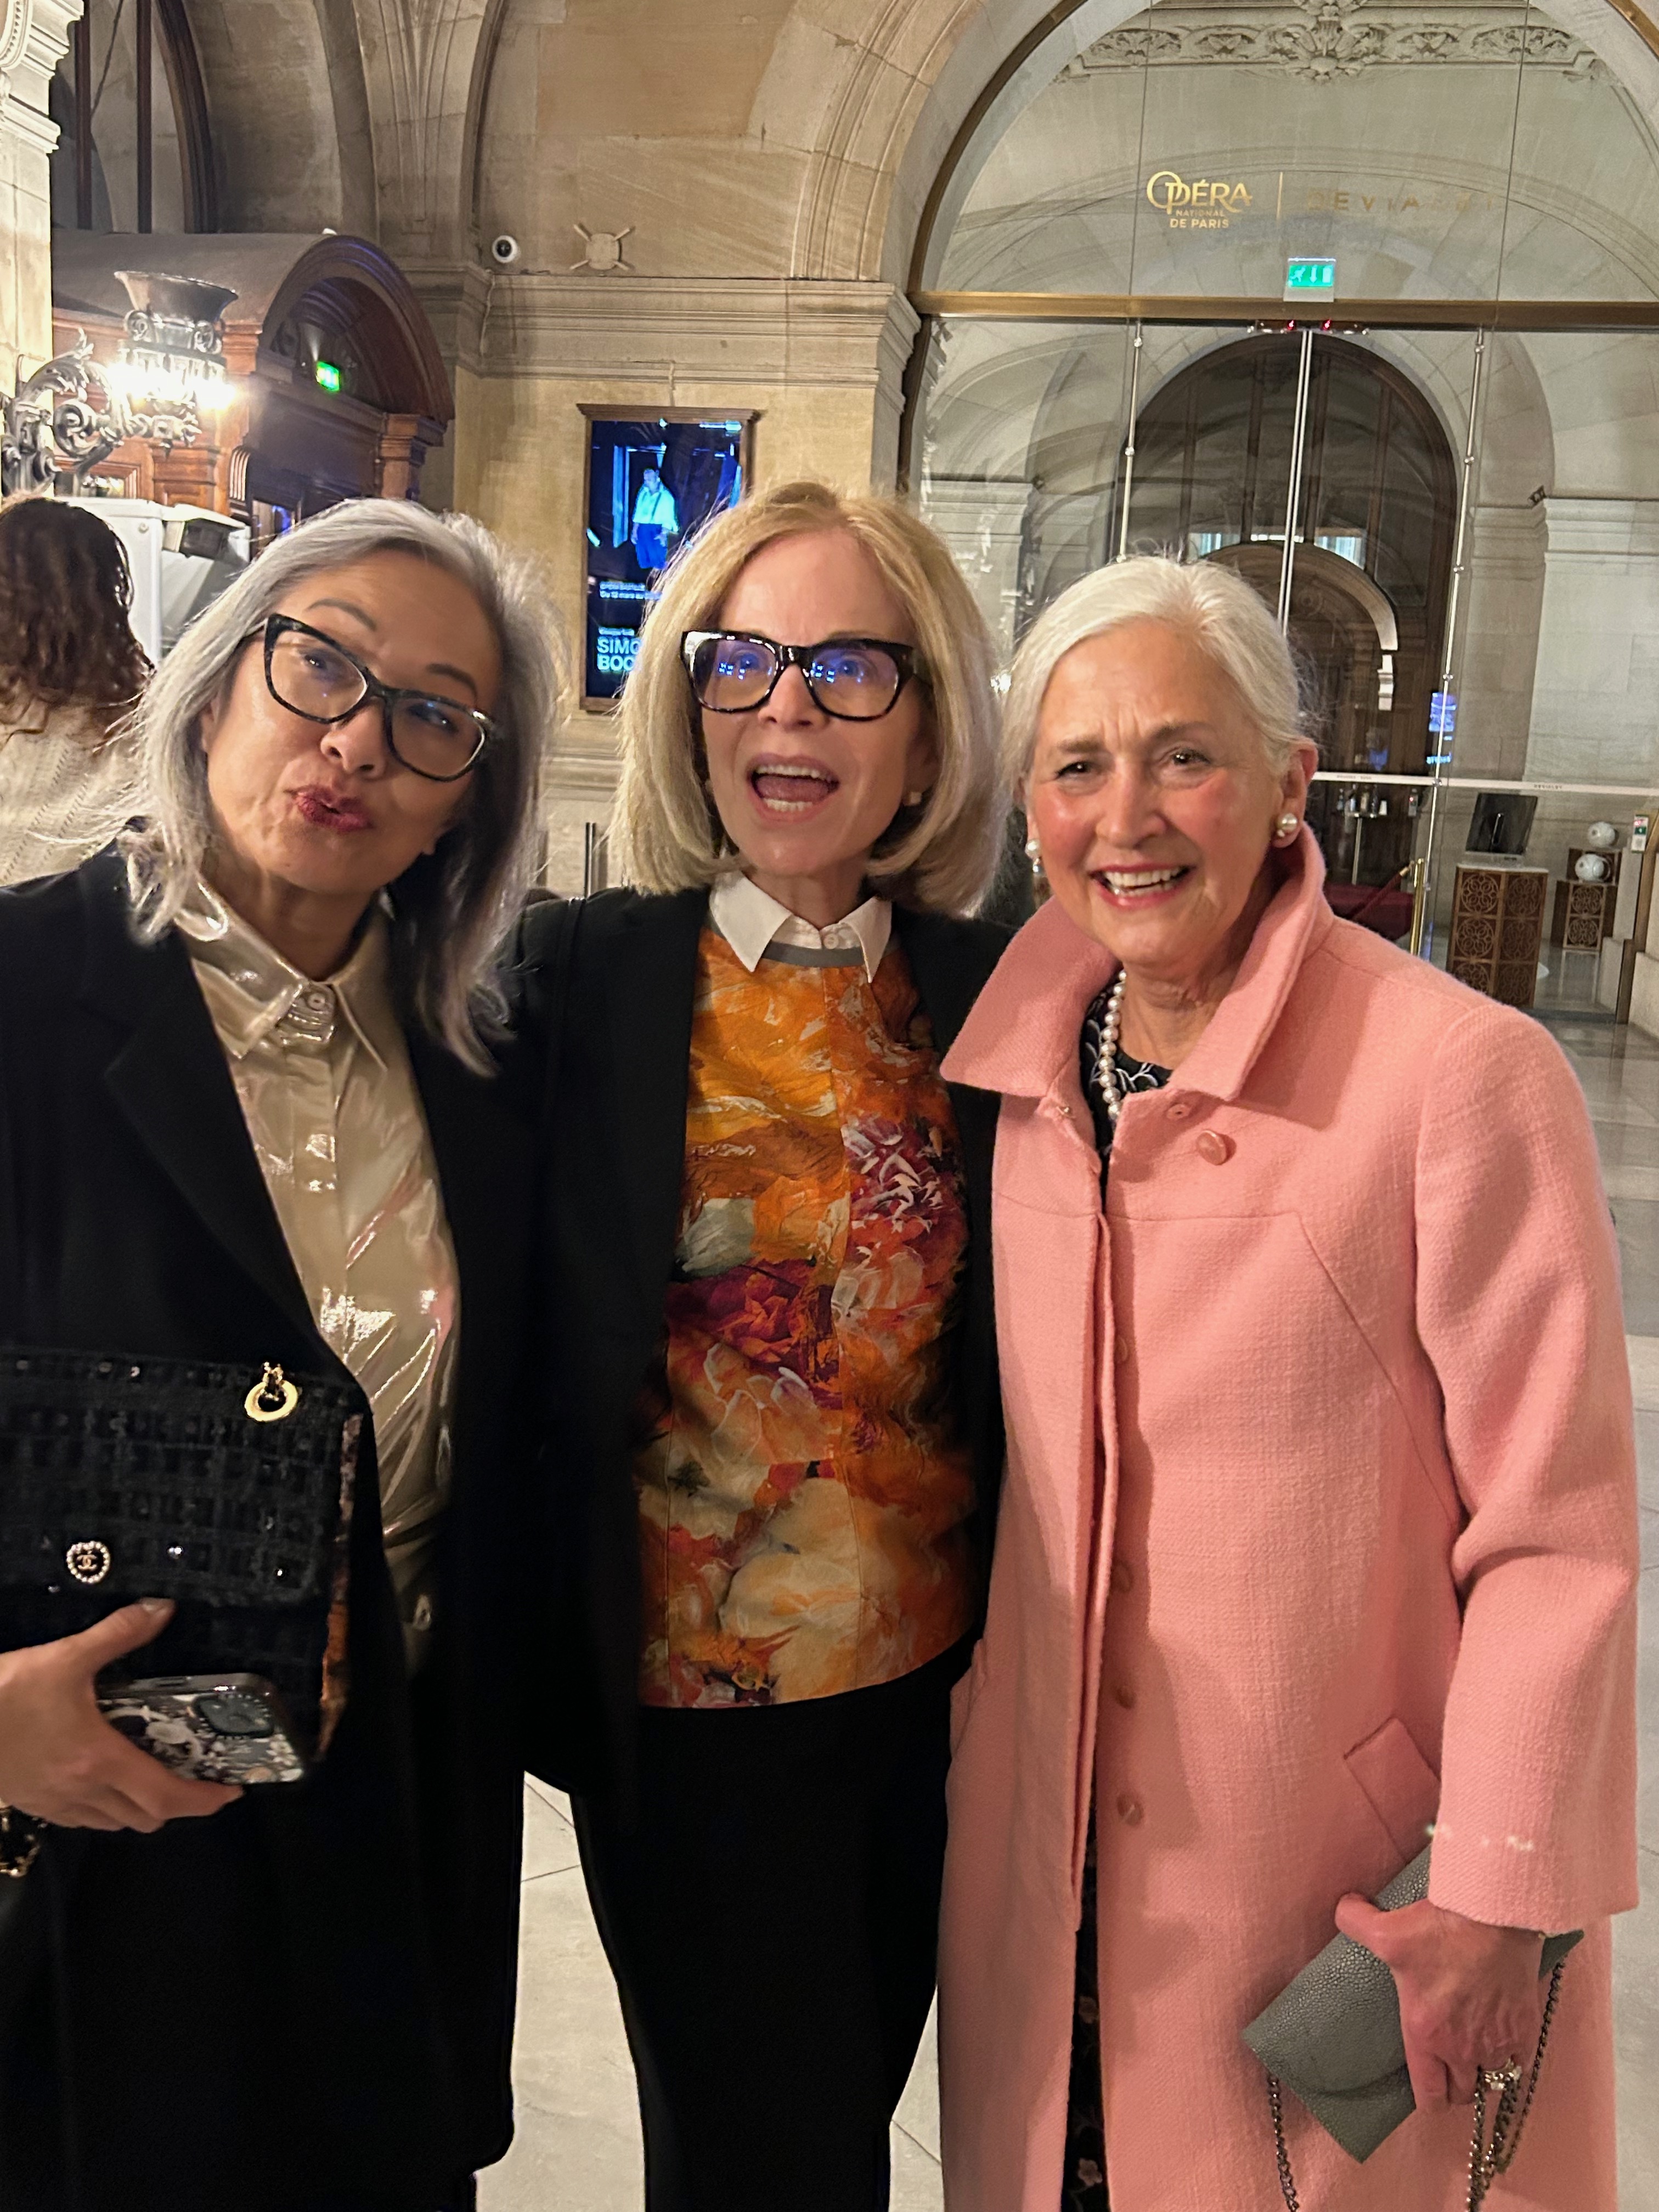
It is dressy and comfortable, but the best thing about it is – it pairs well with my pink coat, forever a favorite.
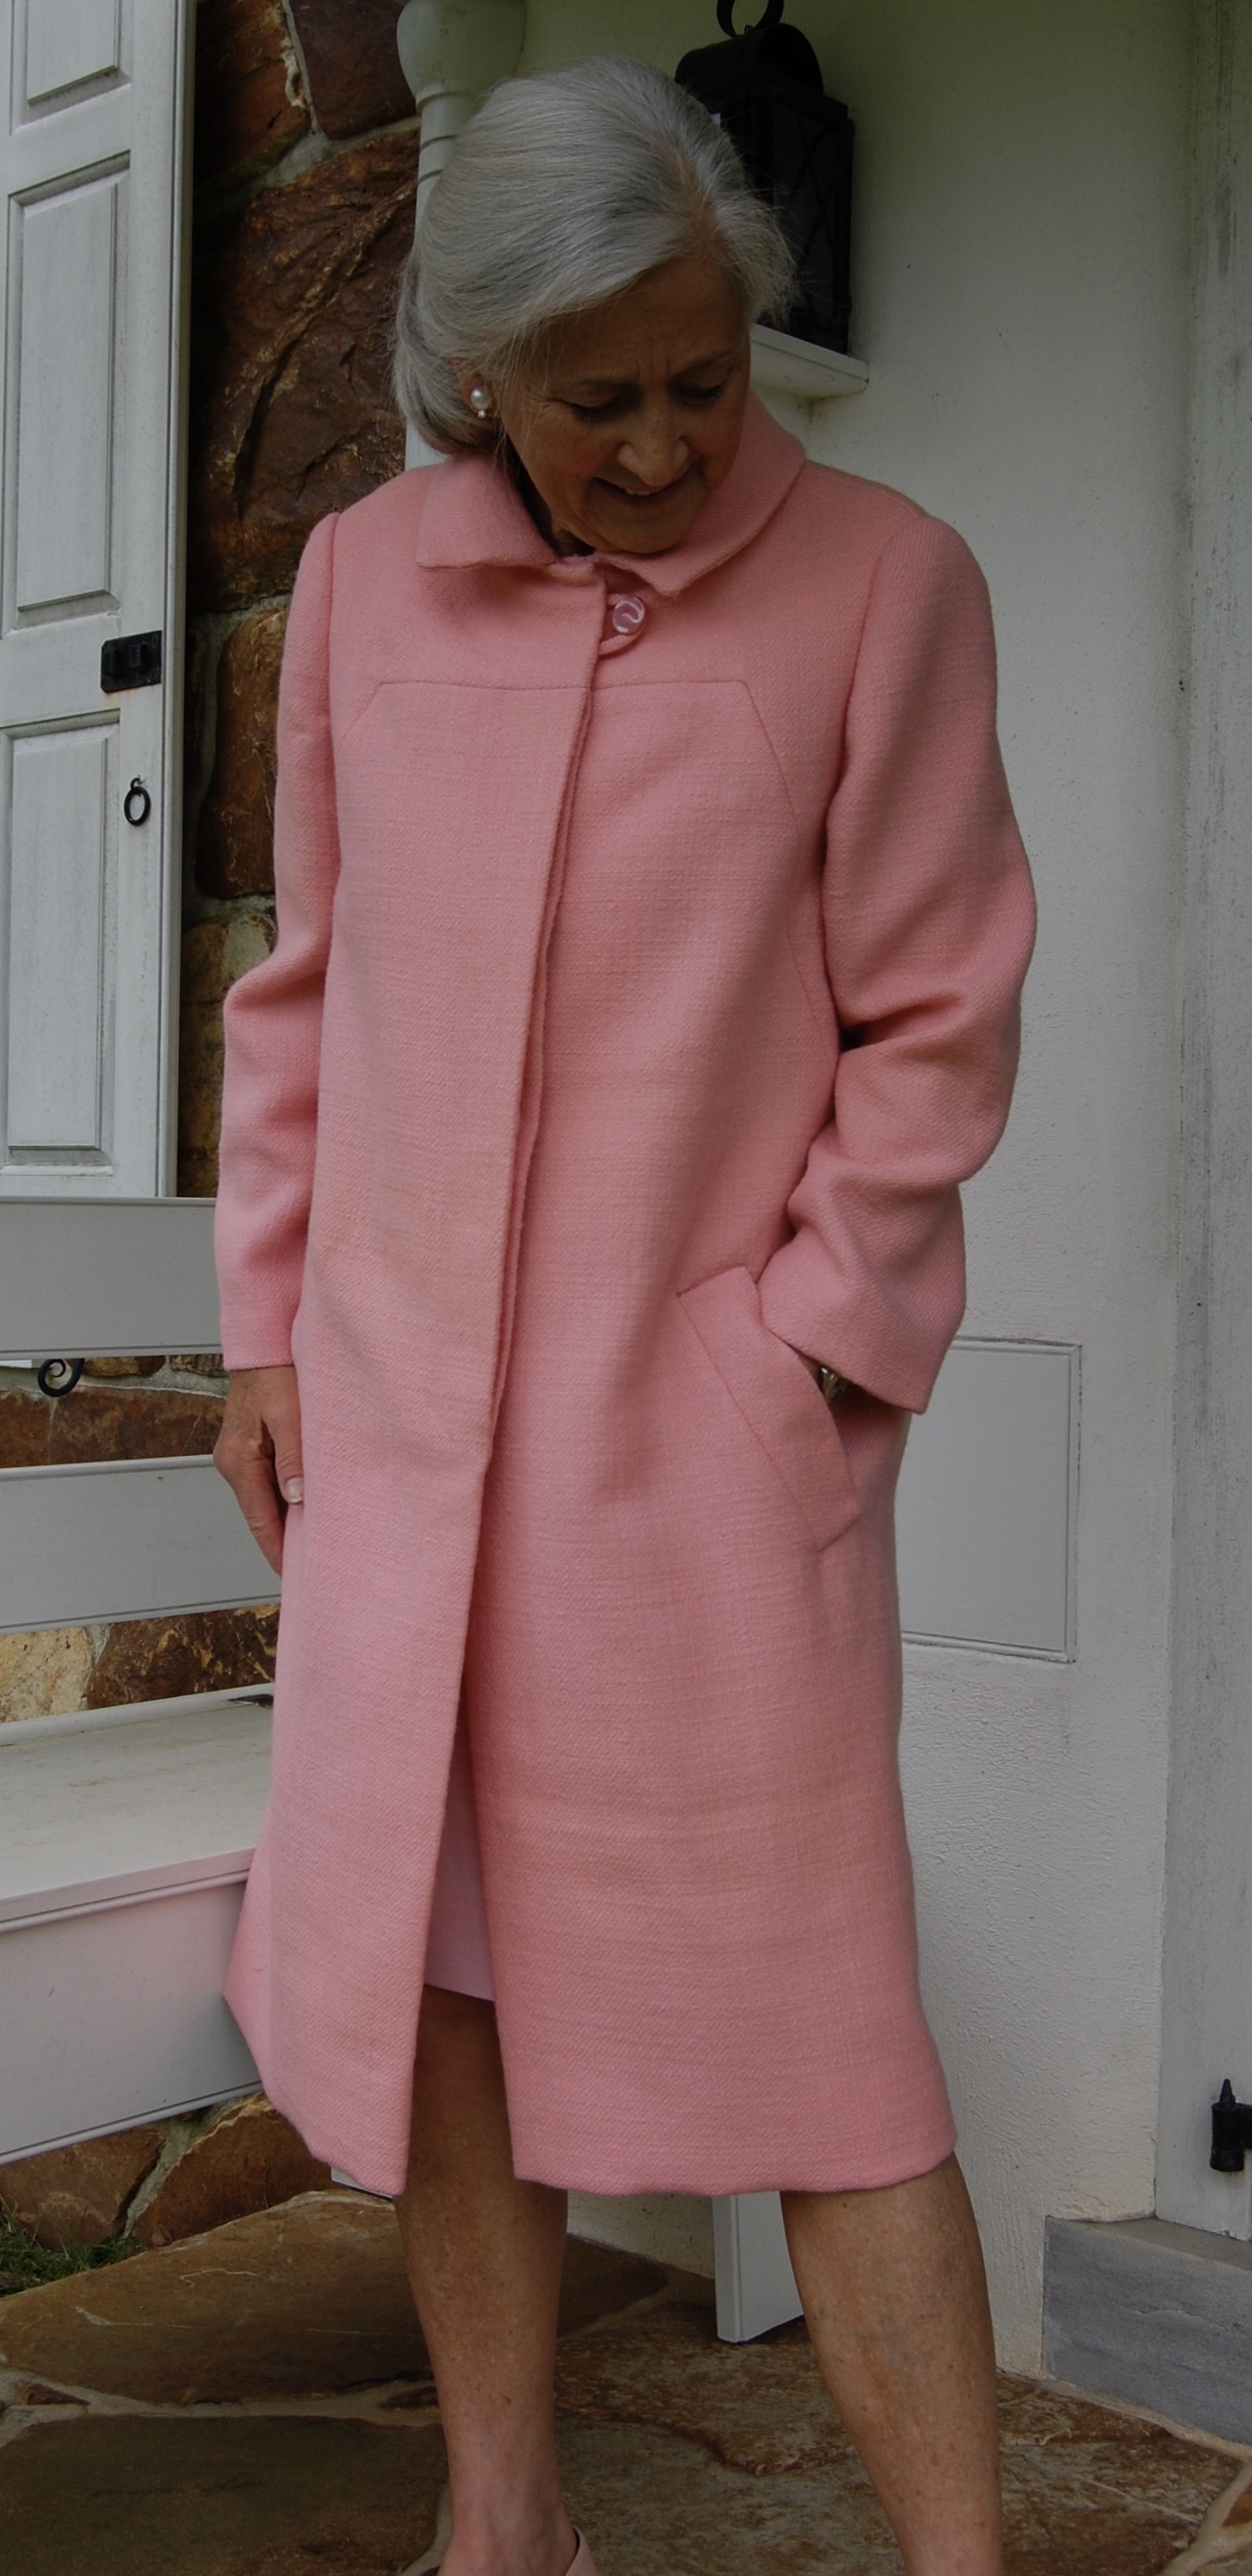
I was determined to take this lightweight Spring wool coat to Paris. I made it from vintage Lesur wool made in France and for some reason, I just had my heart set on wearing it in Paris. The weather wasn’t all that cooperative as it was a bit warm for a wool coat. That did not deter me. I donned it anyway, and that’s the end of the story!
However, there is more to come, as I will share a bit about other parts of the trip next time.


