There is something endearing about pumpkins. A native North American squash, the name “pumpkin” was coined by early settlers to this country. I think they knew a good thing when they saw it, as the popularity of all things pumpkin continues to grow. In many ways our Fall is defined by all that this beautiful and delicious vegetable offers us. There are pumpkin pancakes, pumpkin muffins, pumpkin scones, pumpkin spice cakes, pumpkin pasta, traditional pumpkin pie, pumpkin flavored coffee, pumpkin butters, toasted pumpkin seeds – the list goes on and on. There are carving pumpkins, sugar pumpkins, gigantic pumpkins, mini pumpkins, gourds that look like pumpkins, but really aren’t! And then there are pumpkins made out of fabric.
I decided I could not let this October pass by without sewing a little pumpkin fun for my granddaughter Aida. First up would be a bib for this one-and-a-half year old.
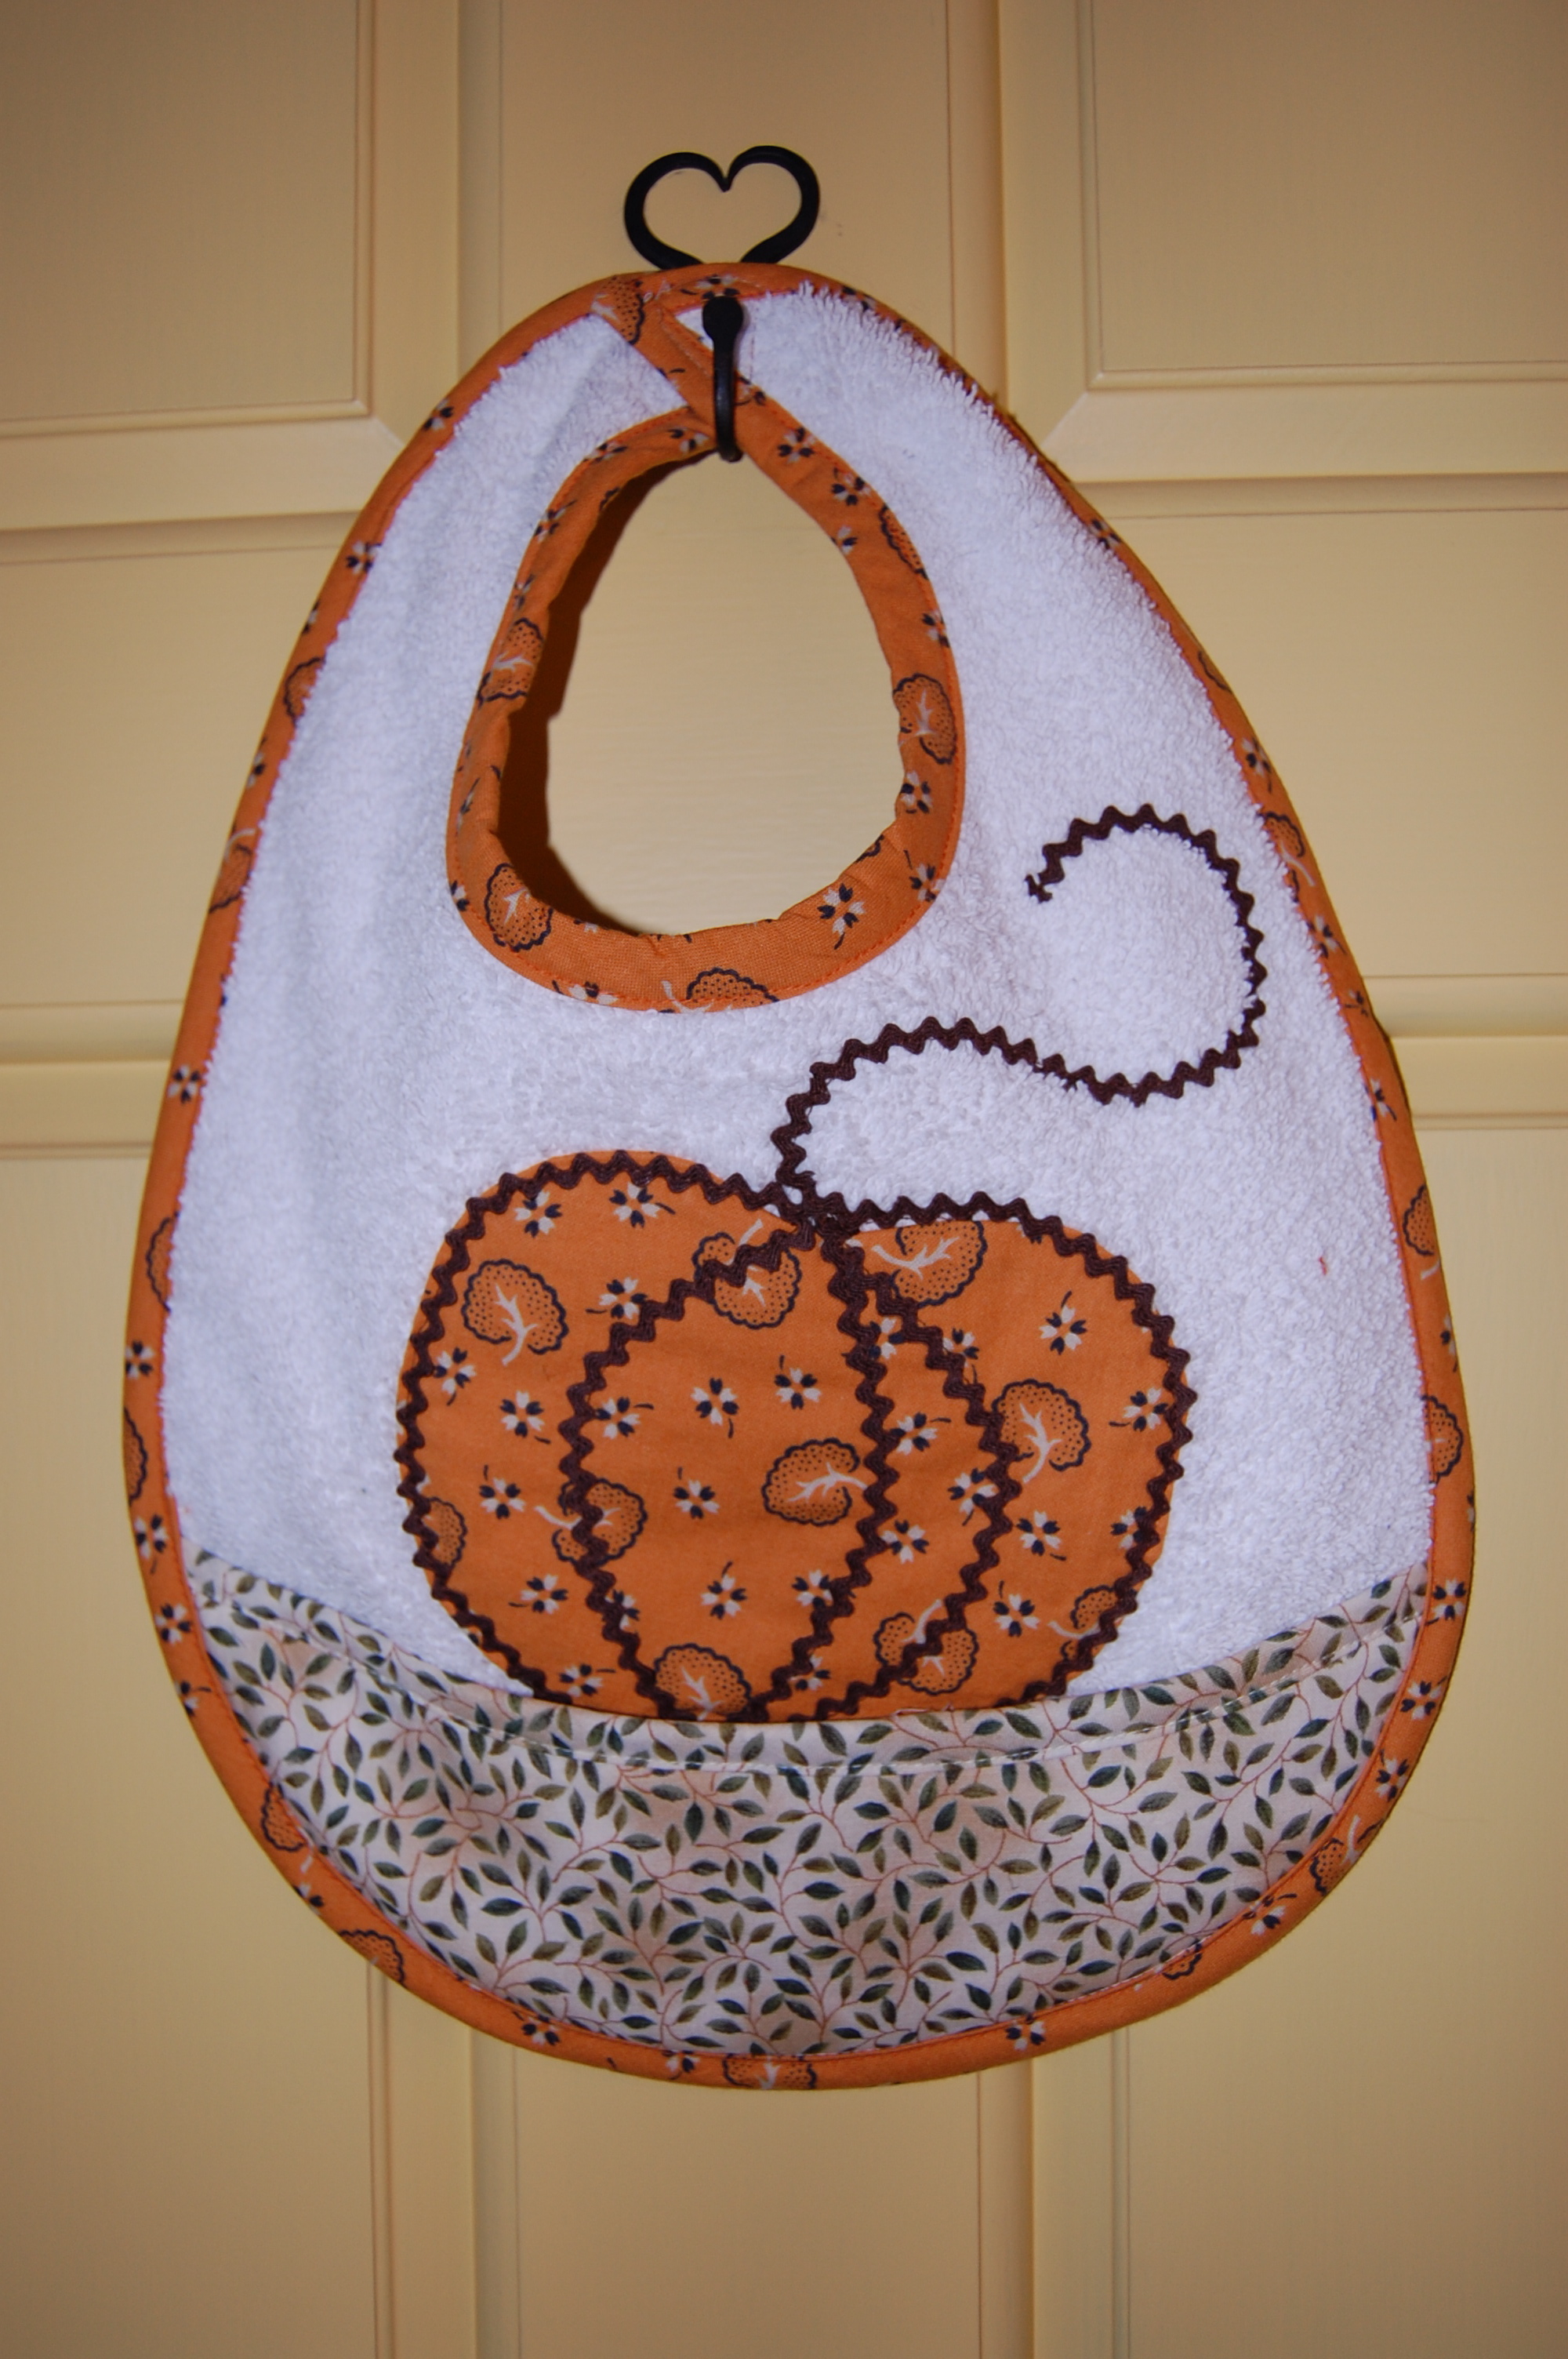
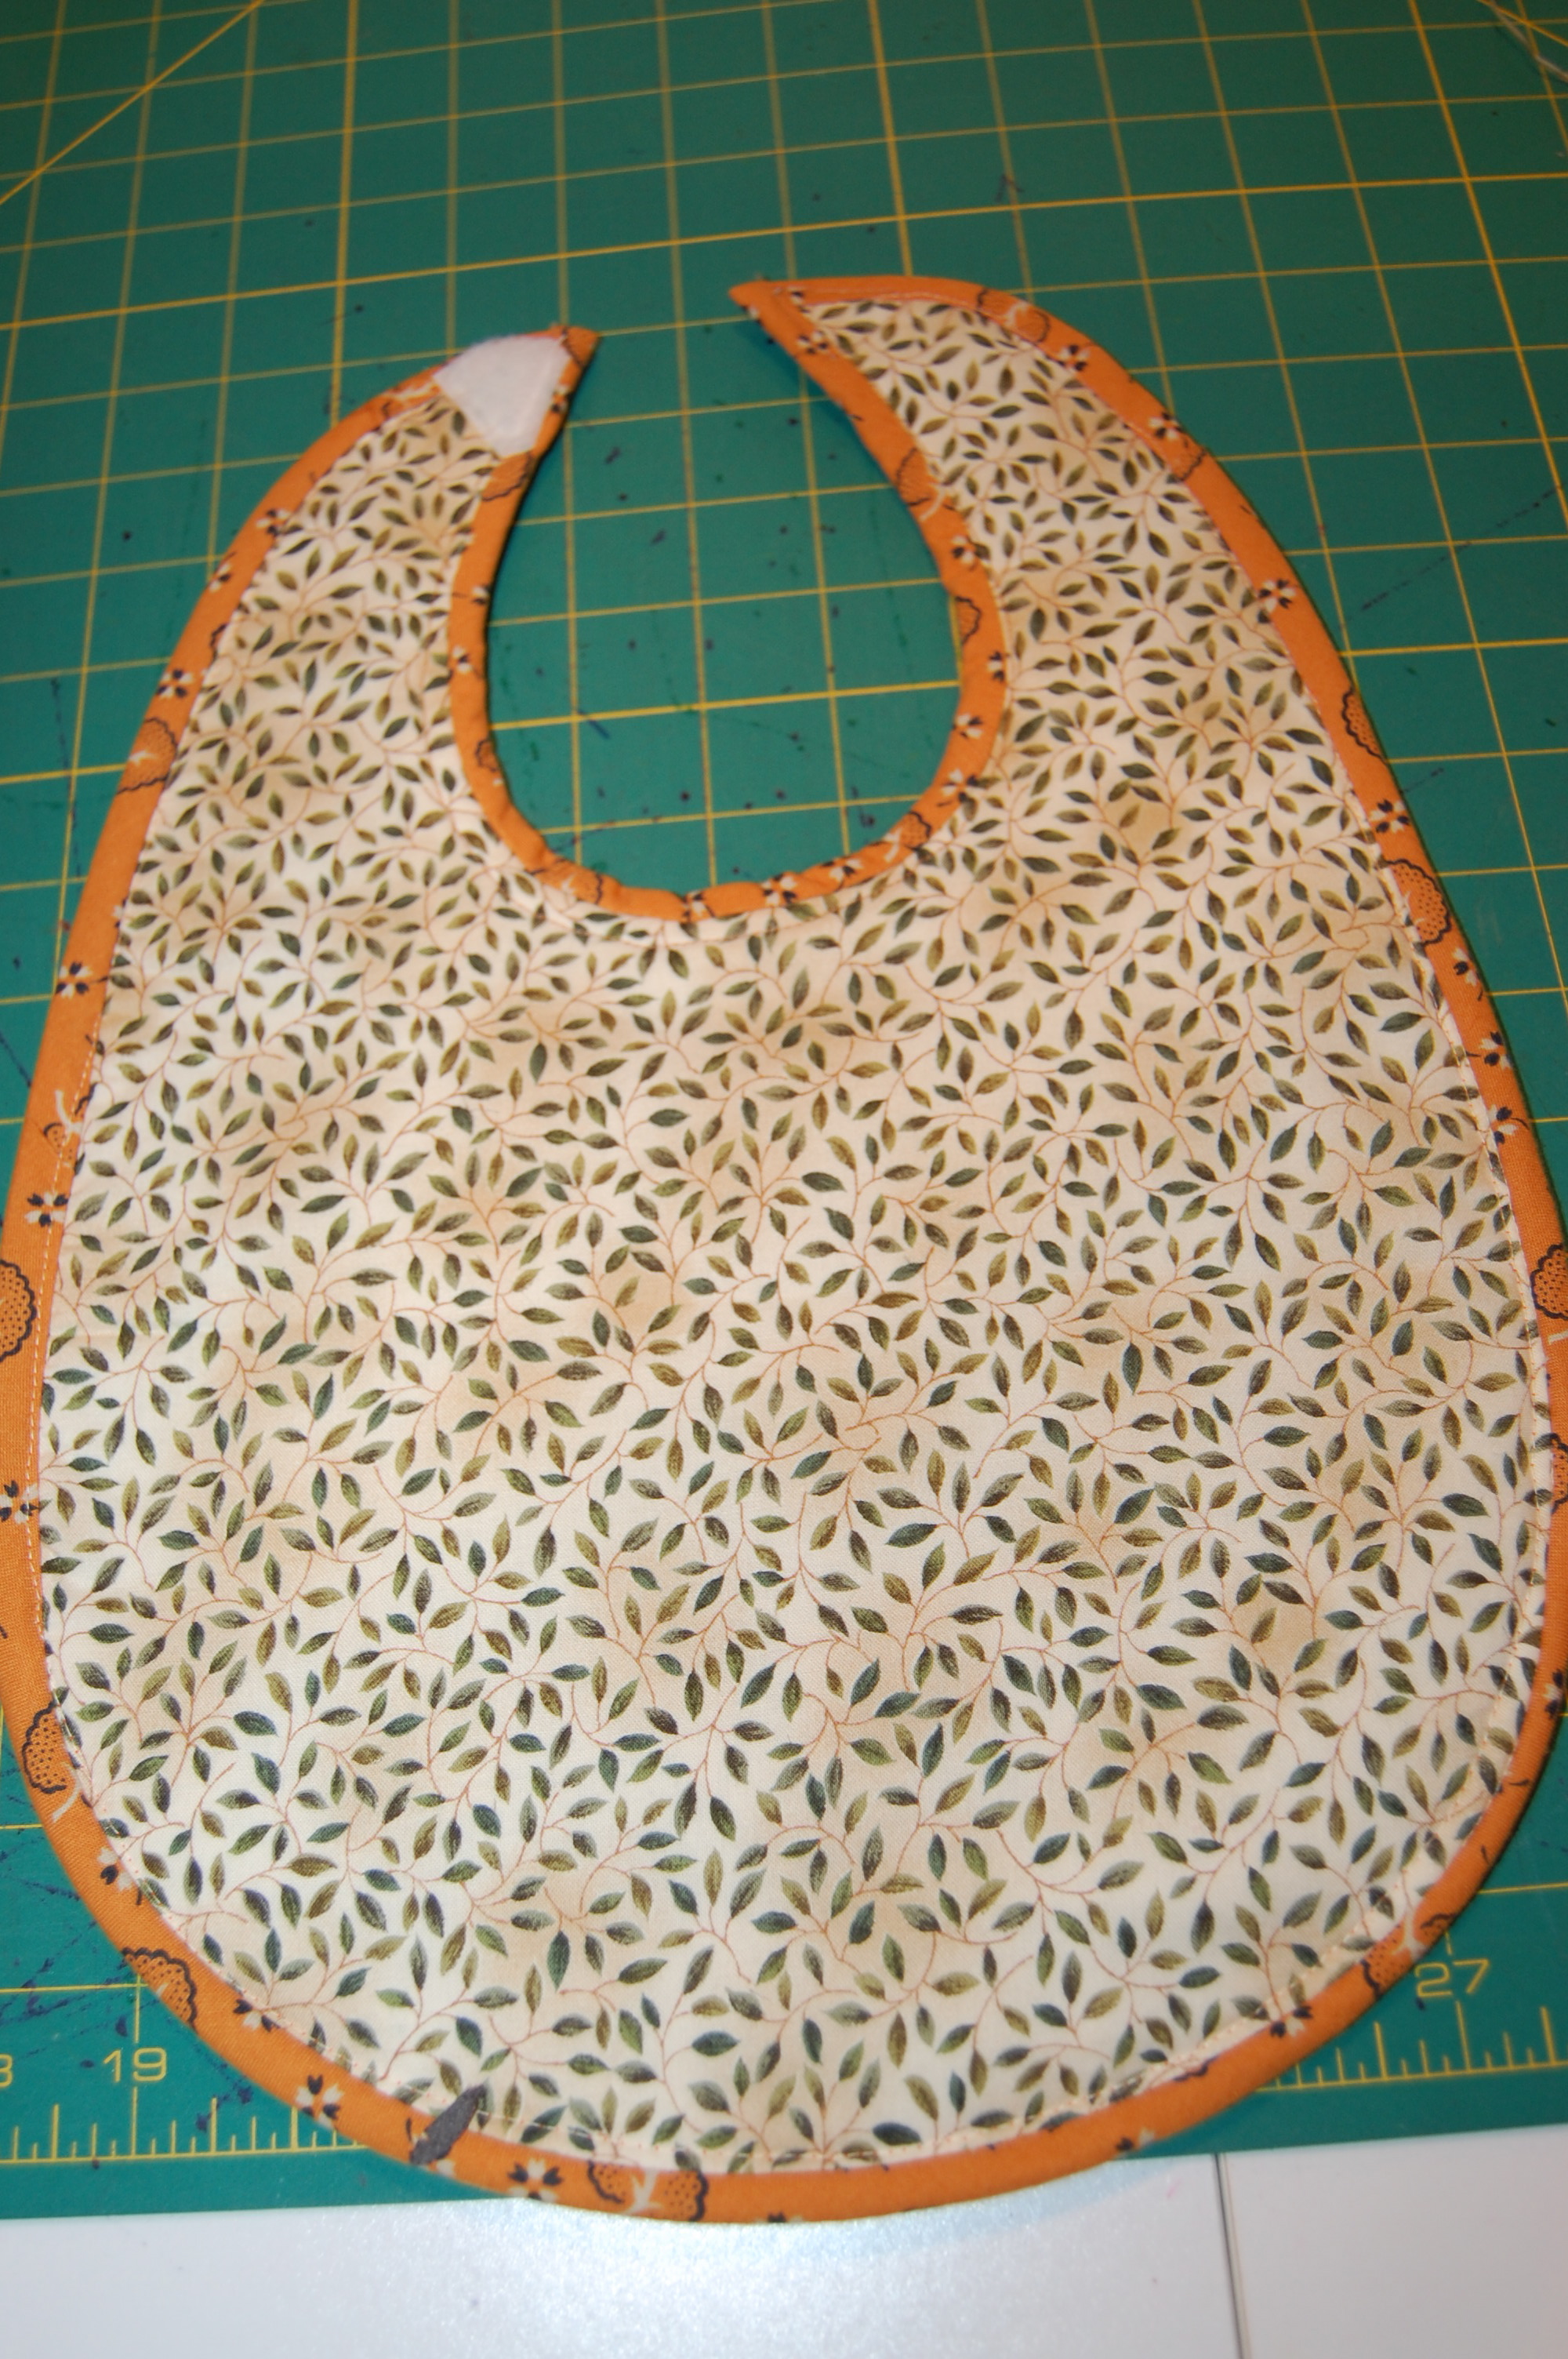
My study of the perfect bib for this age resulted in one which I designed to have these details: 1) large size to cover the entire front of a wiggly toddler:
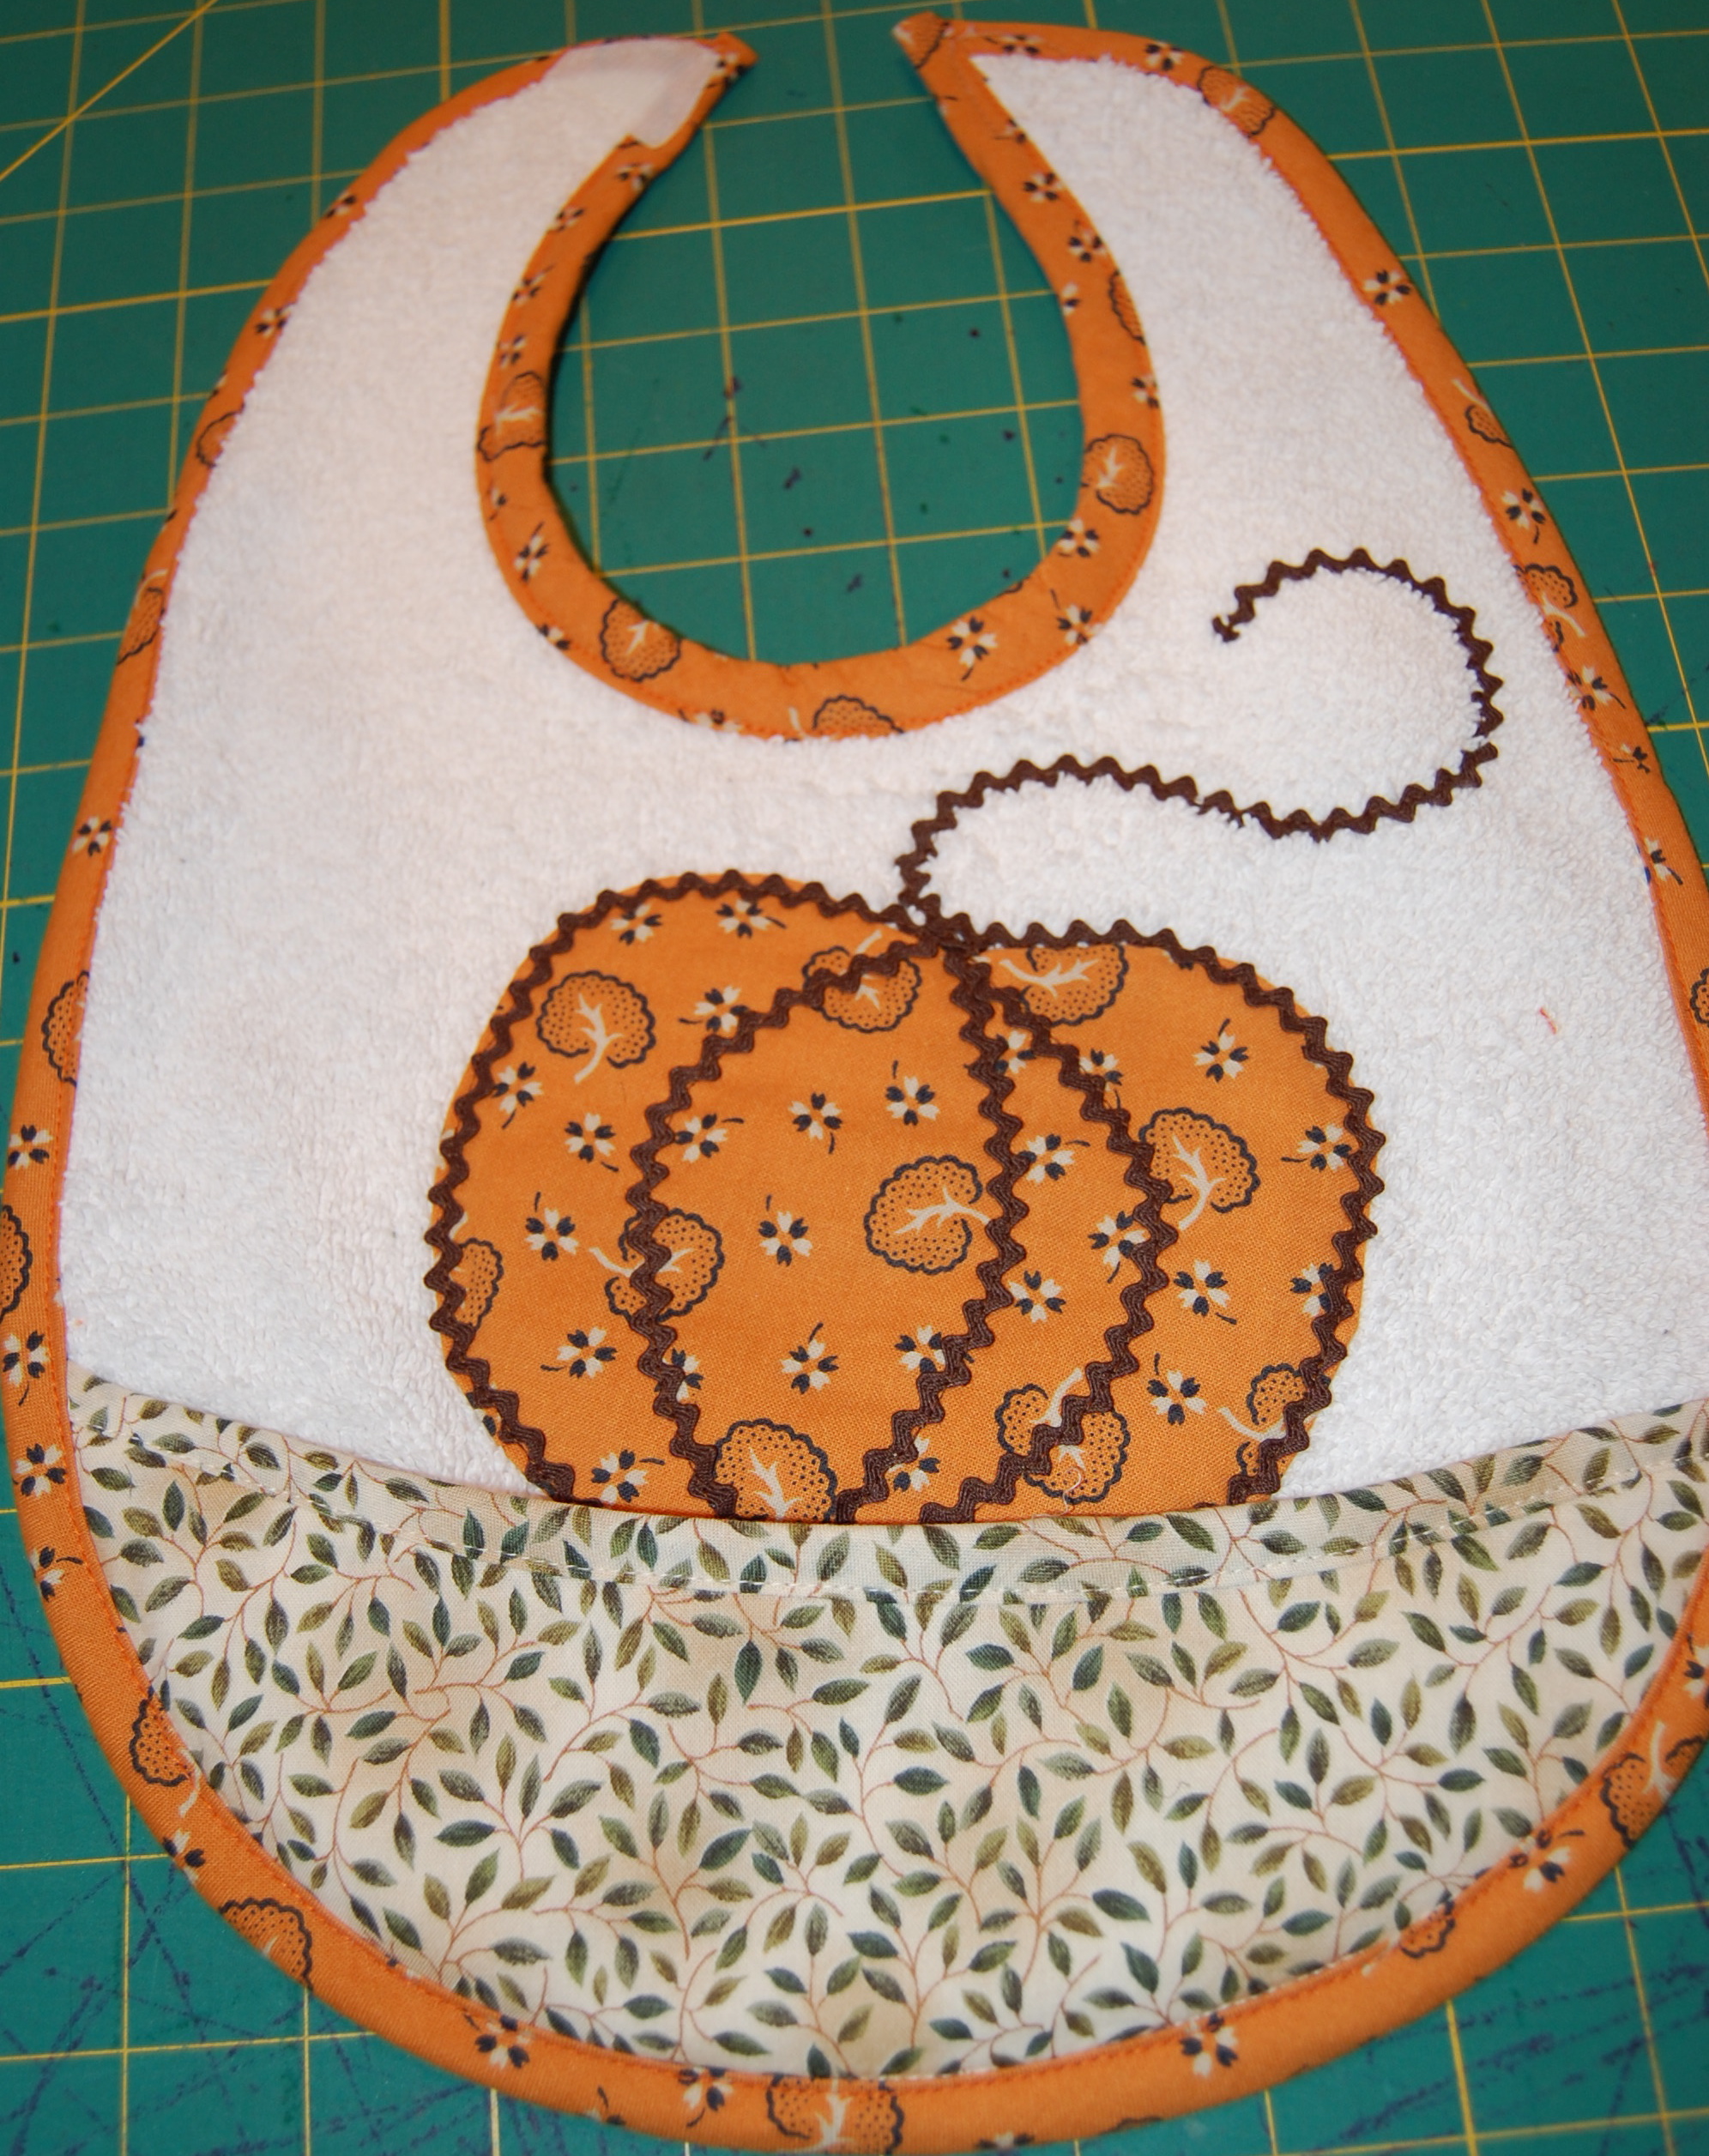
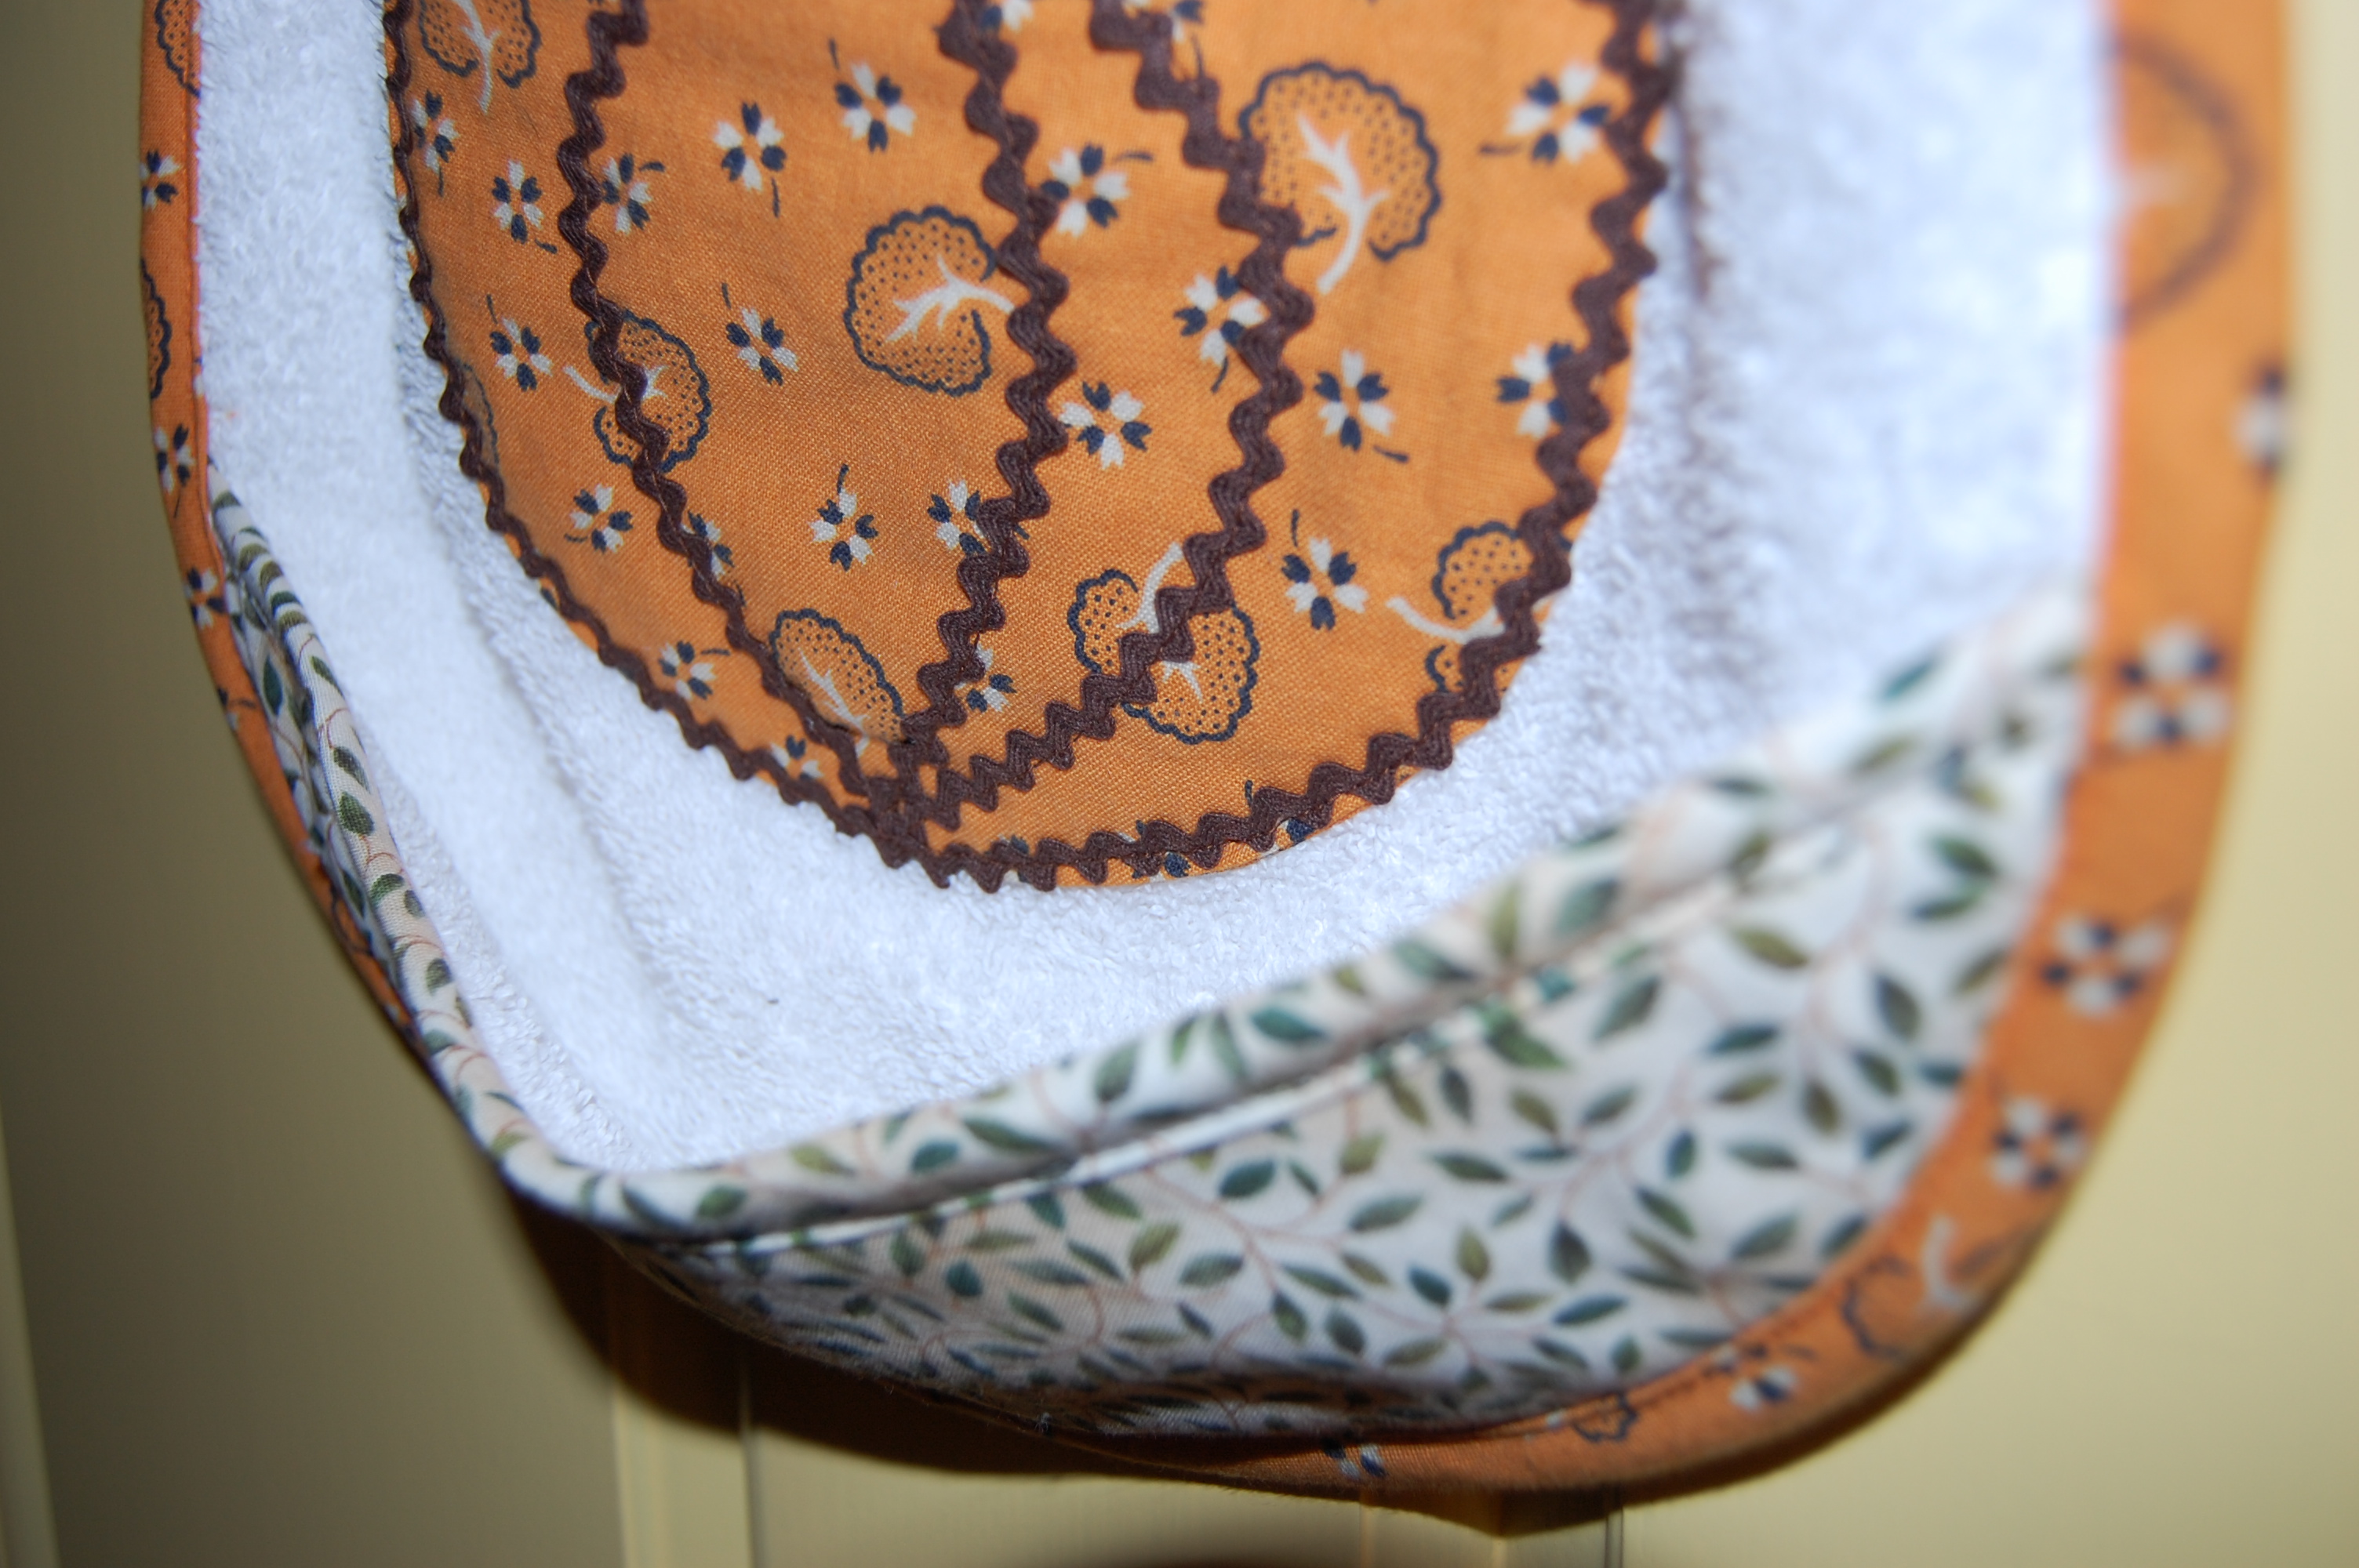
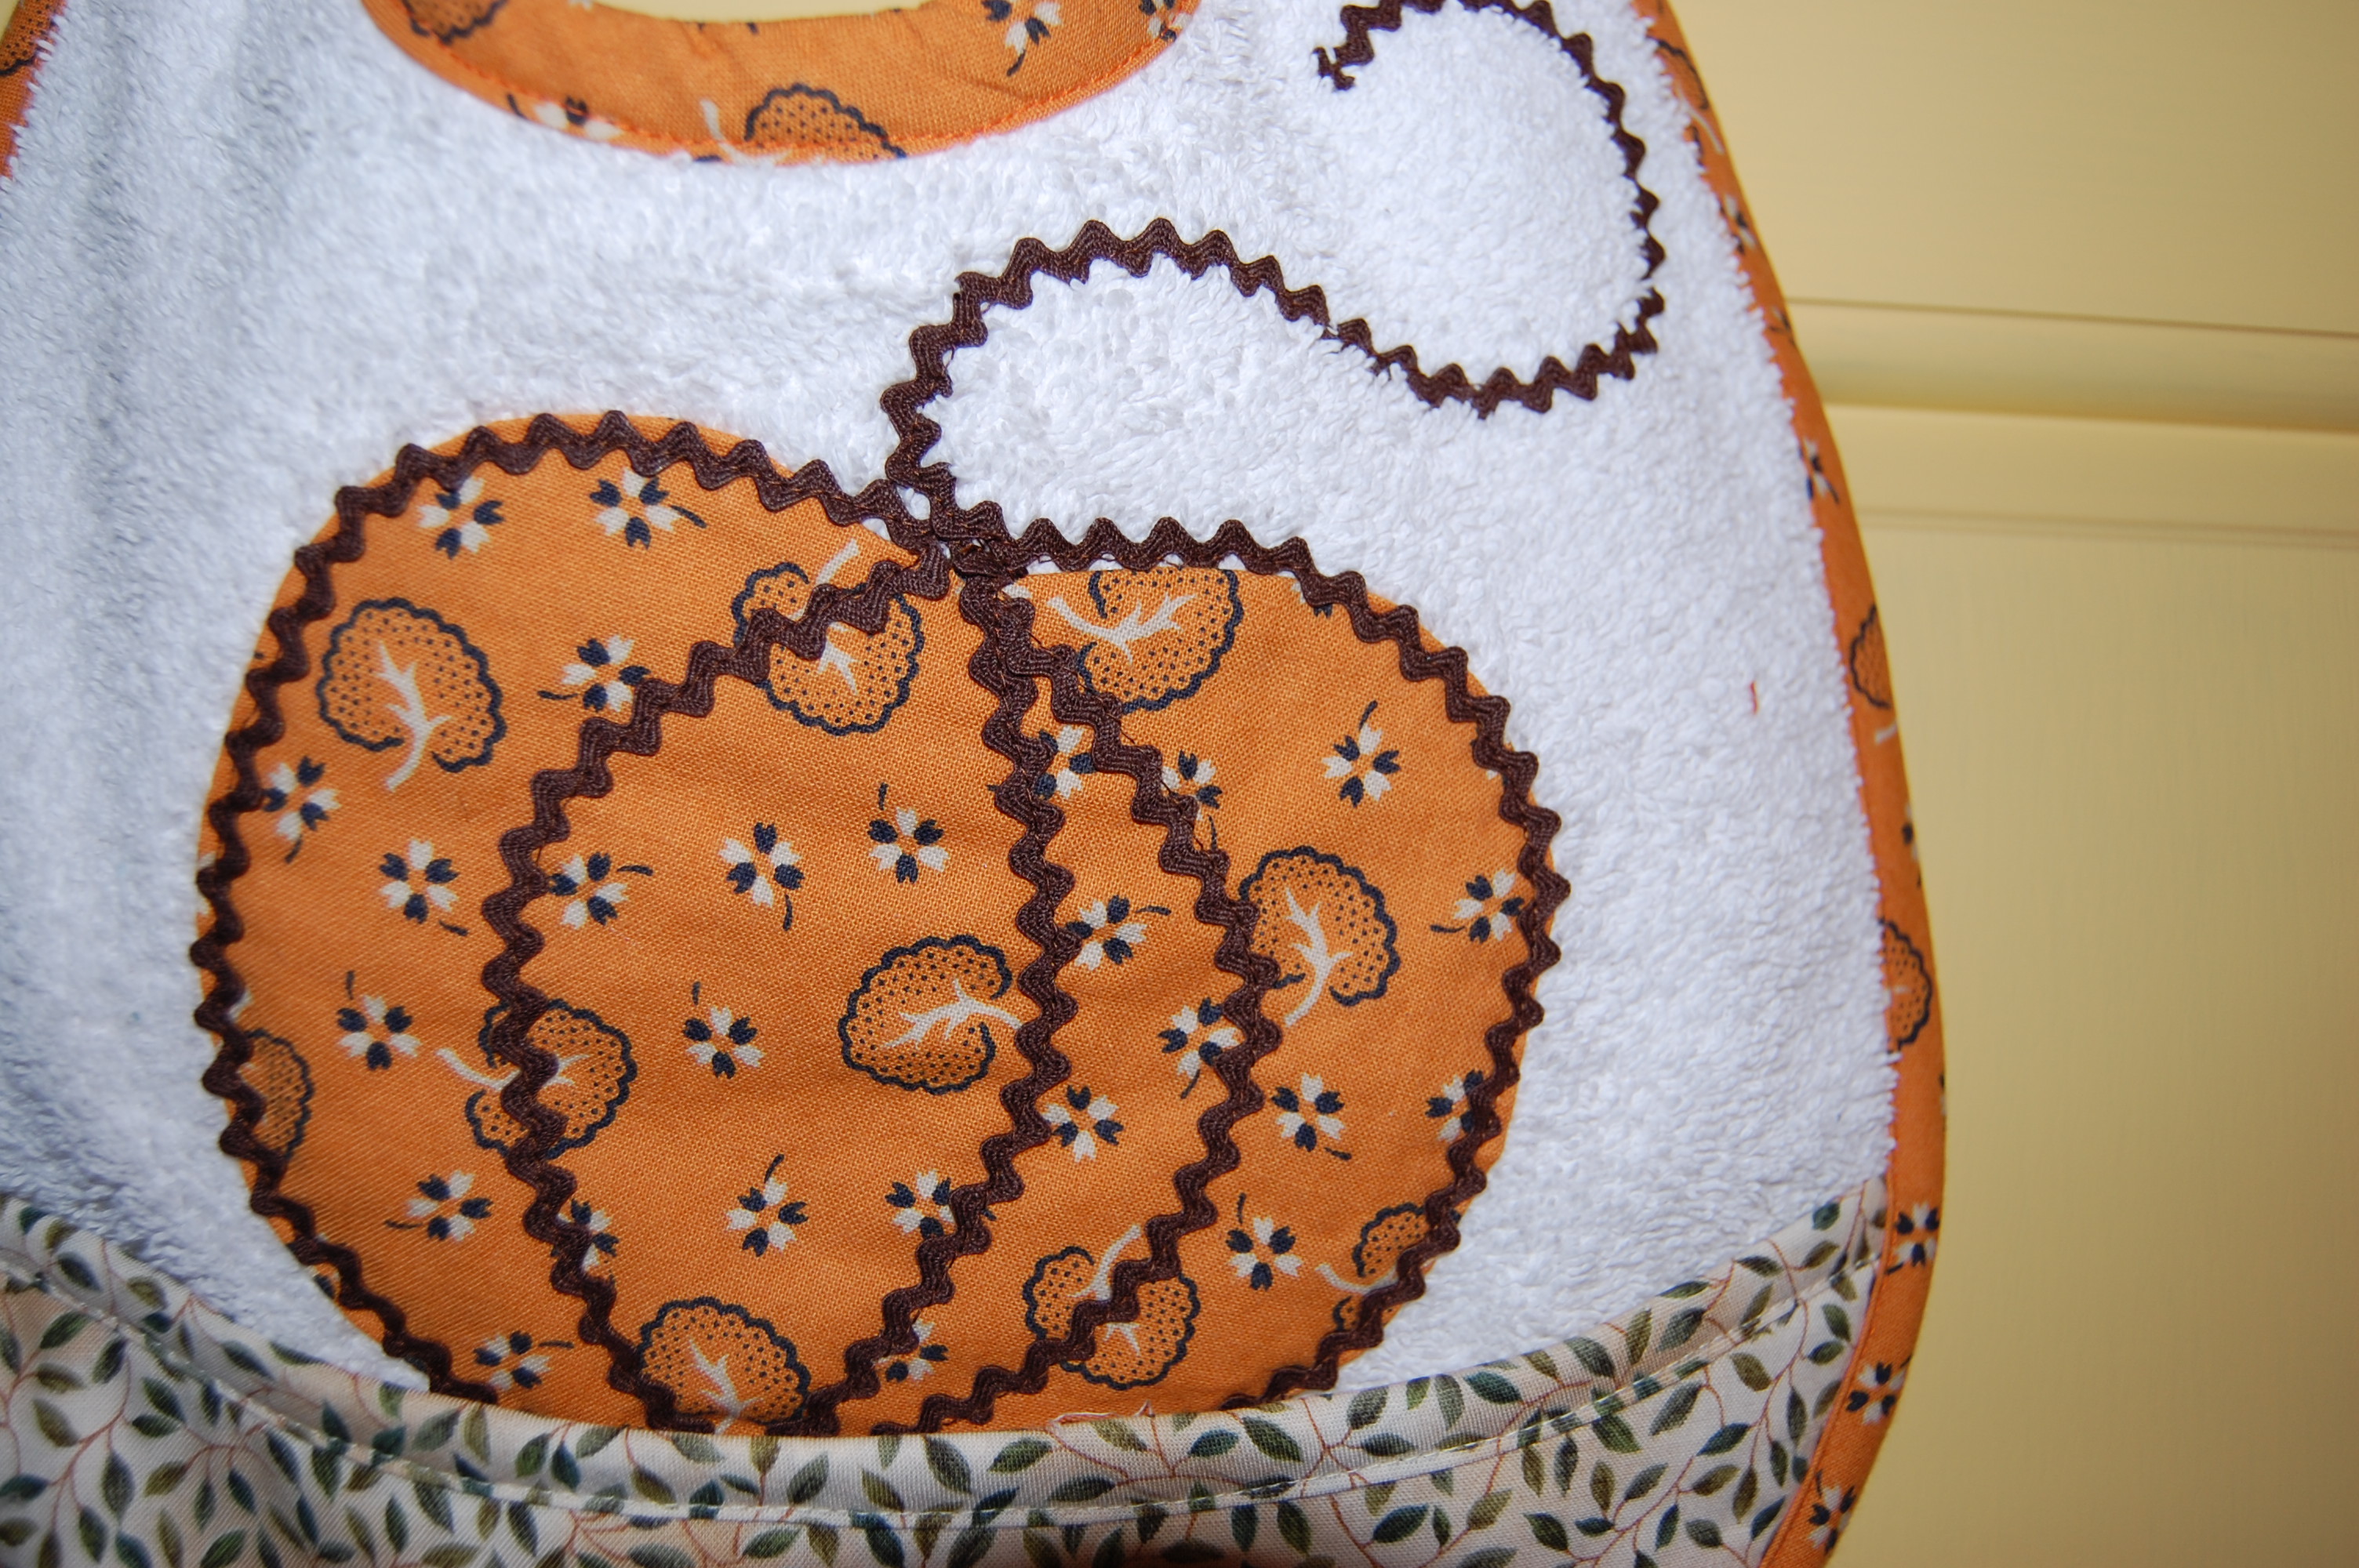
2) front made out of terry cloth to quickly absorb sloshy, drippy food, 3) a pocket at the bottom which protrudes just a bit, to catch errant Cheerios and other things that may fall off of little silver spoons and forks:
4) a Velcro closure at the back neck to make it easy for MaMa and DaDa, 5) a cotton backing to make it the perfect weight:
and 6) a nice plump fabric pumpkin happily sitting in its patch, embellished with rick rack.
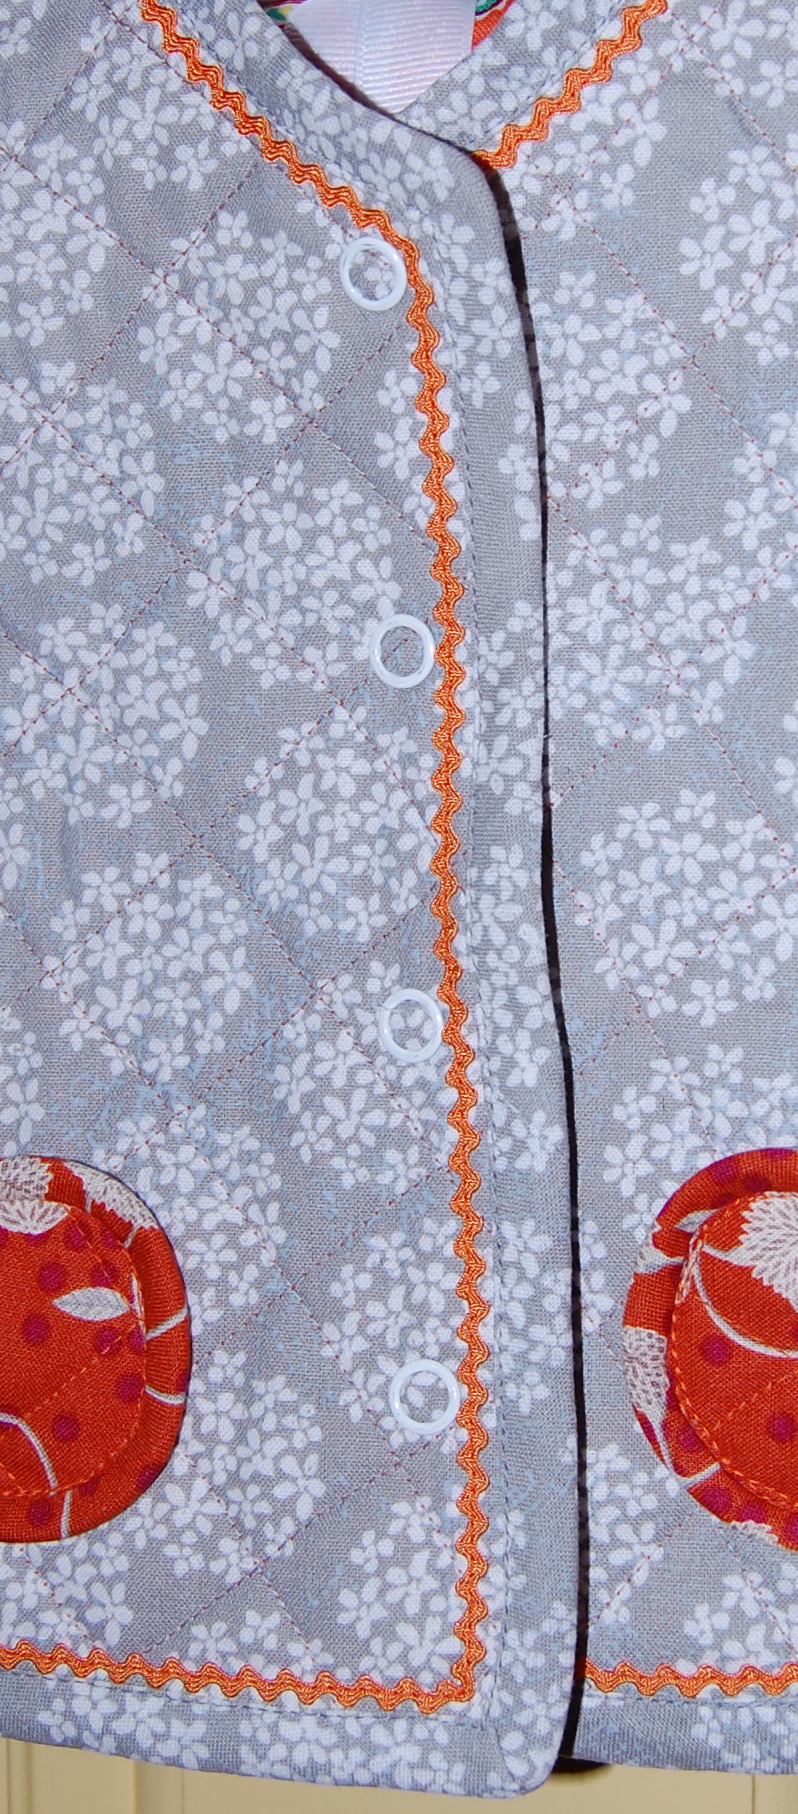
Next on my list was a snuggly little vest for Aida to wear with her play clothes and add warmth without too much bulk. I paired an orange-flowered fabric with a medium gray-colored calico. The shell of the vest would be out of the gray, the inside of the vest would be out of the orange fabric, and I would make two orange
“pumpkin pockets” for its front, because, well, Aida likes pockets!
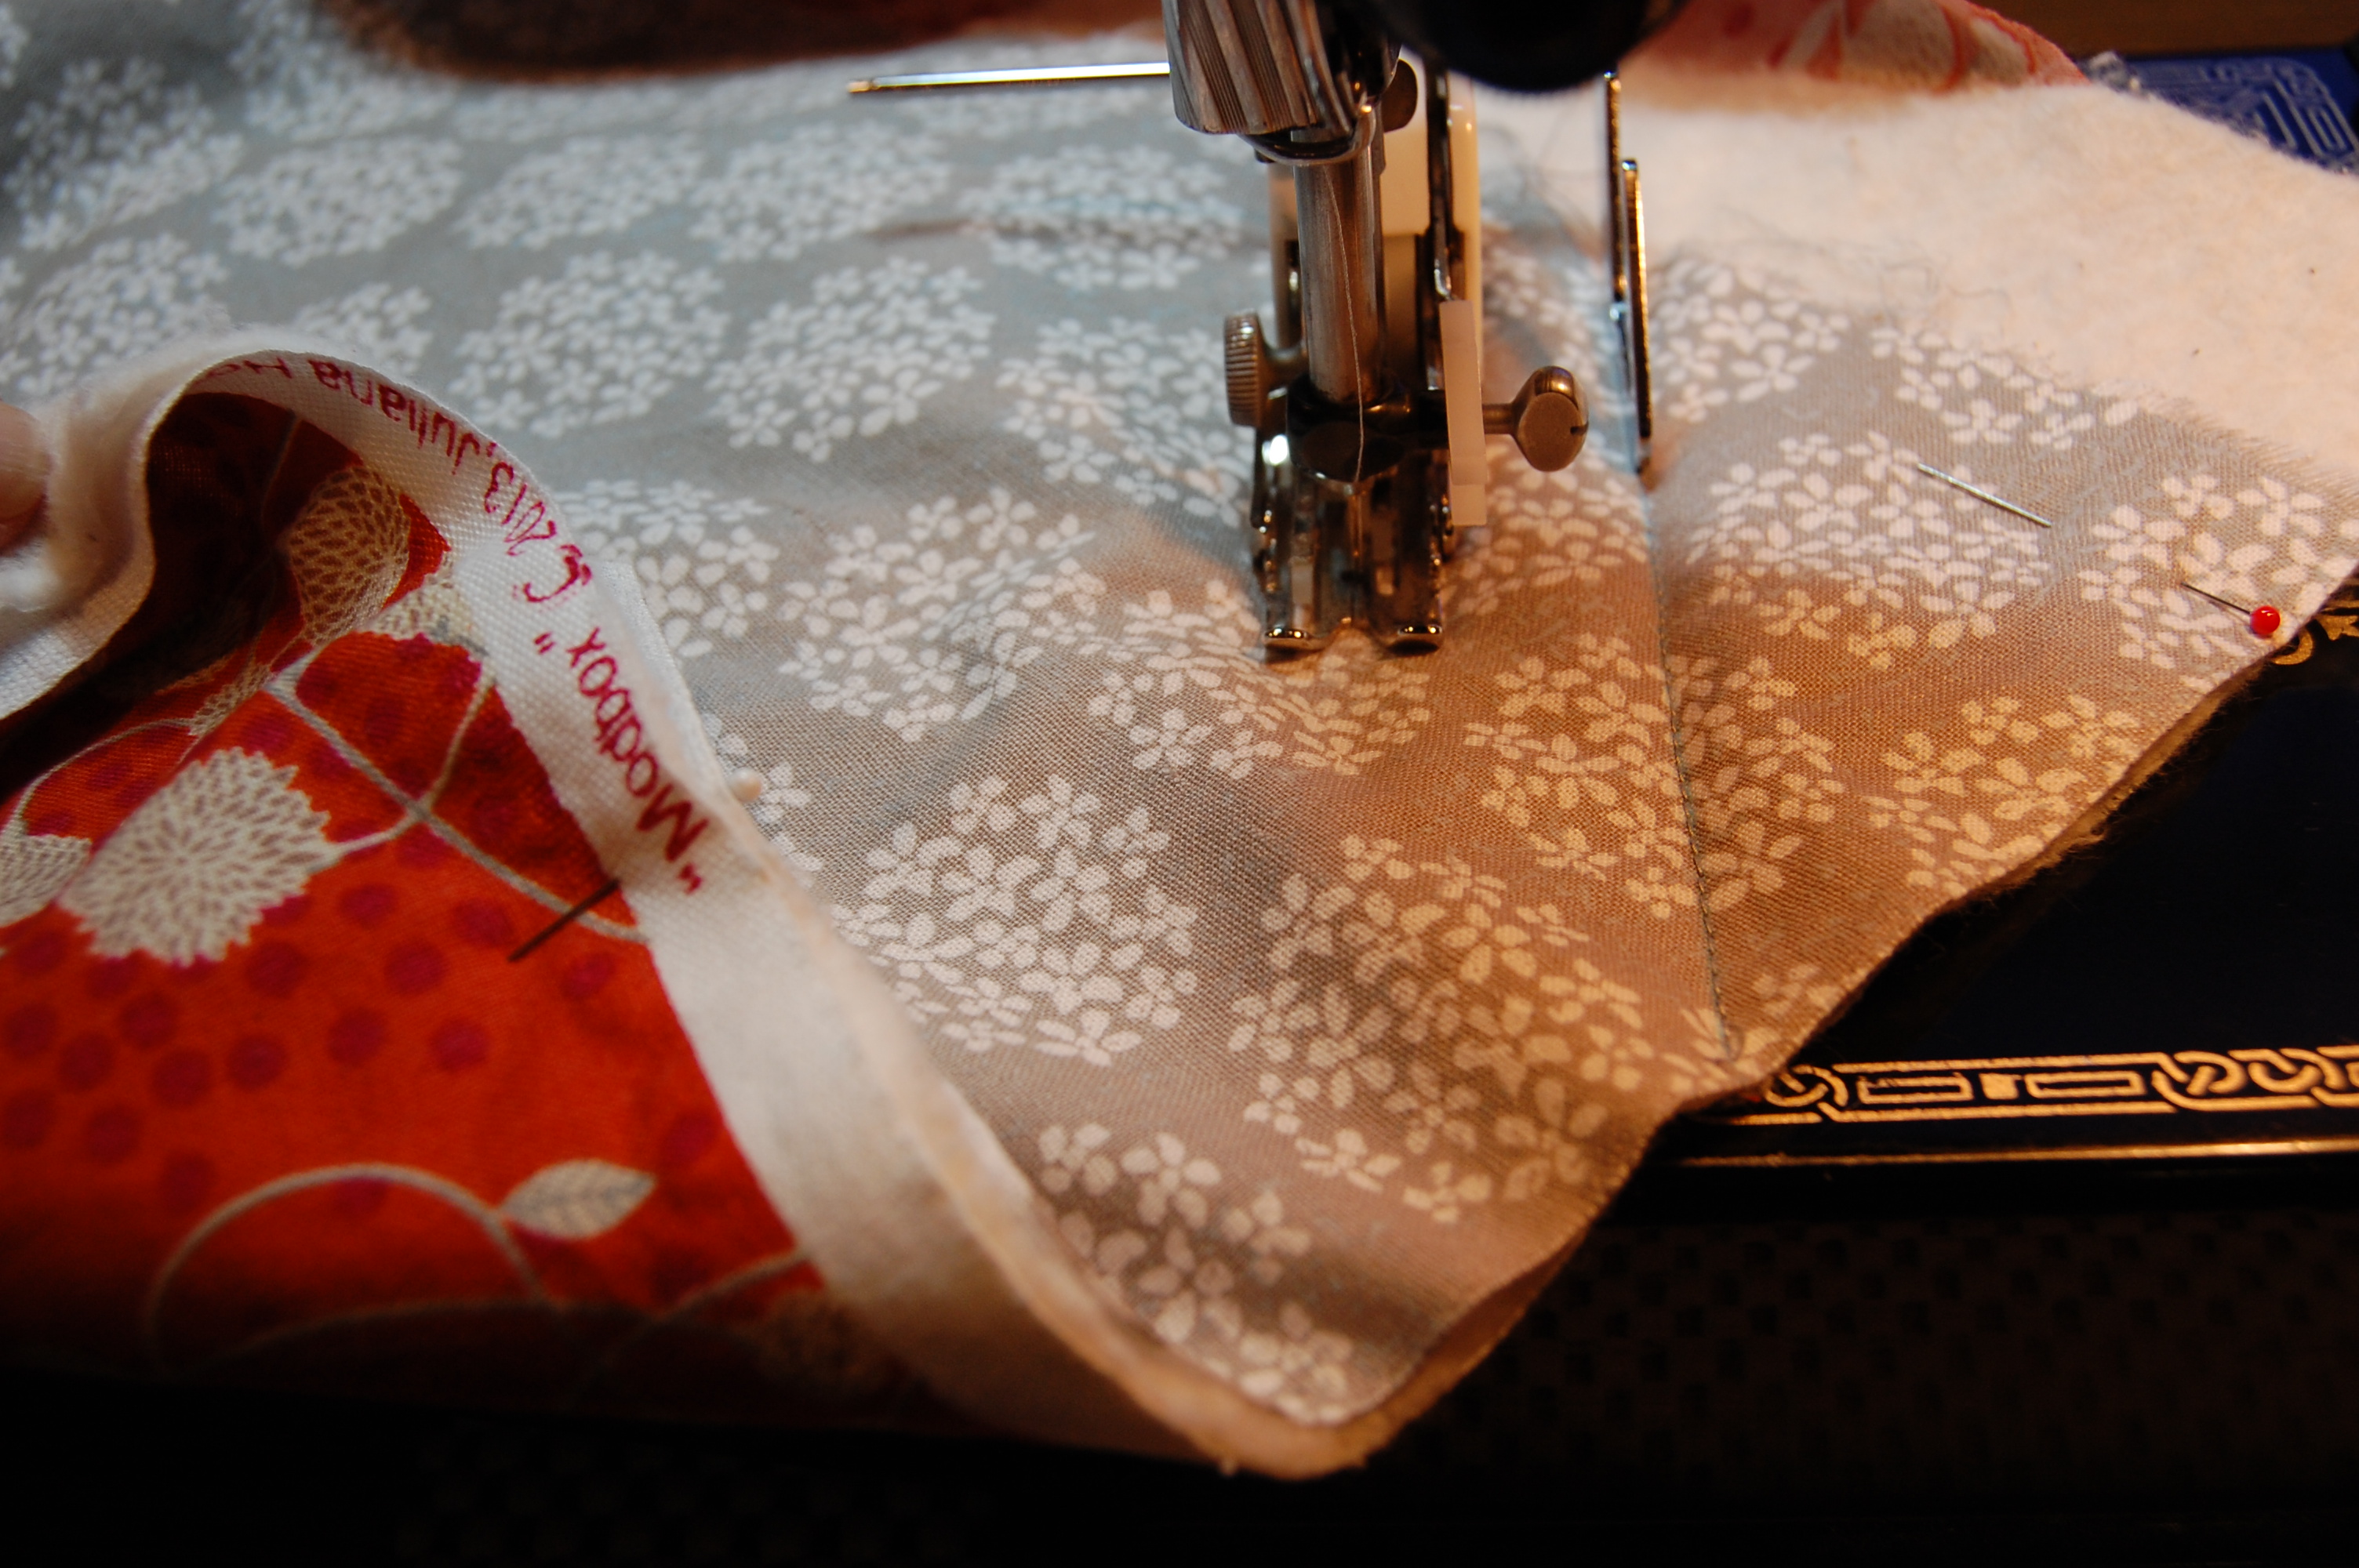
The first thing I did was machine quilt the gray and orange fabrics together, using washed natural cotton quilt batting between the fabric layers.
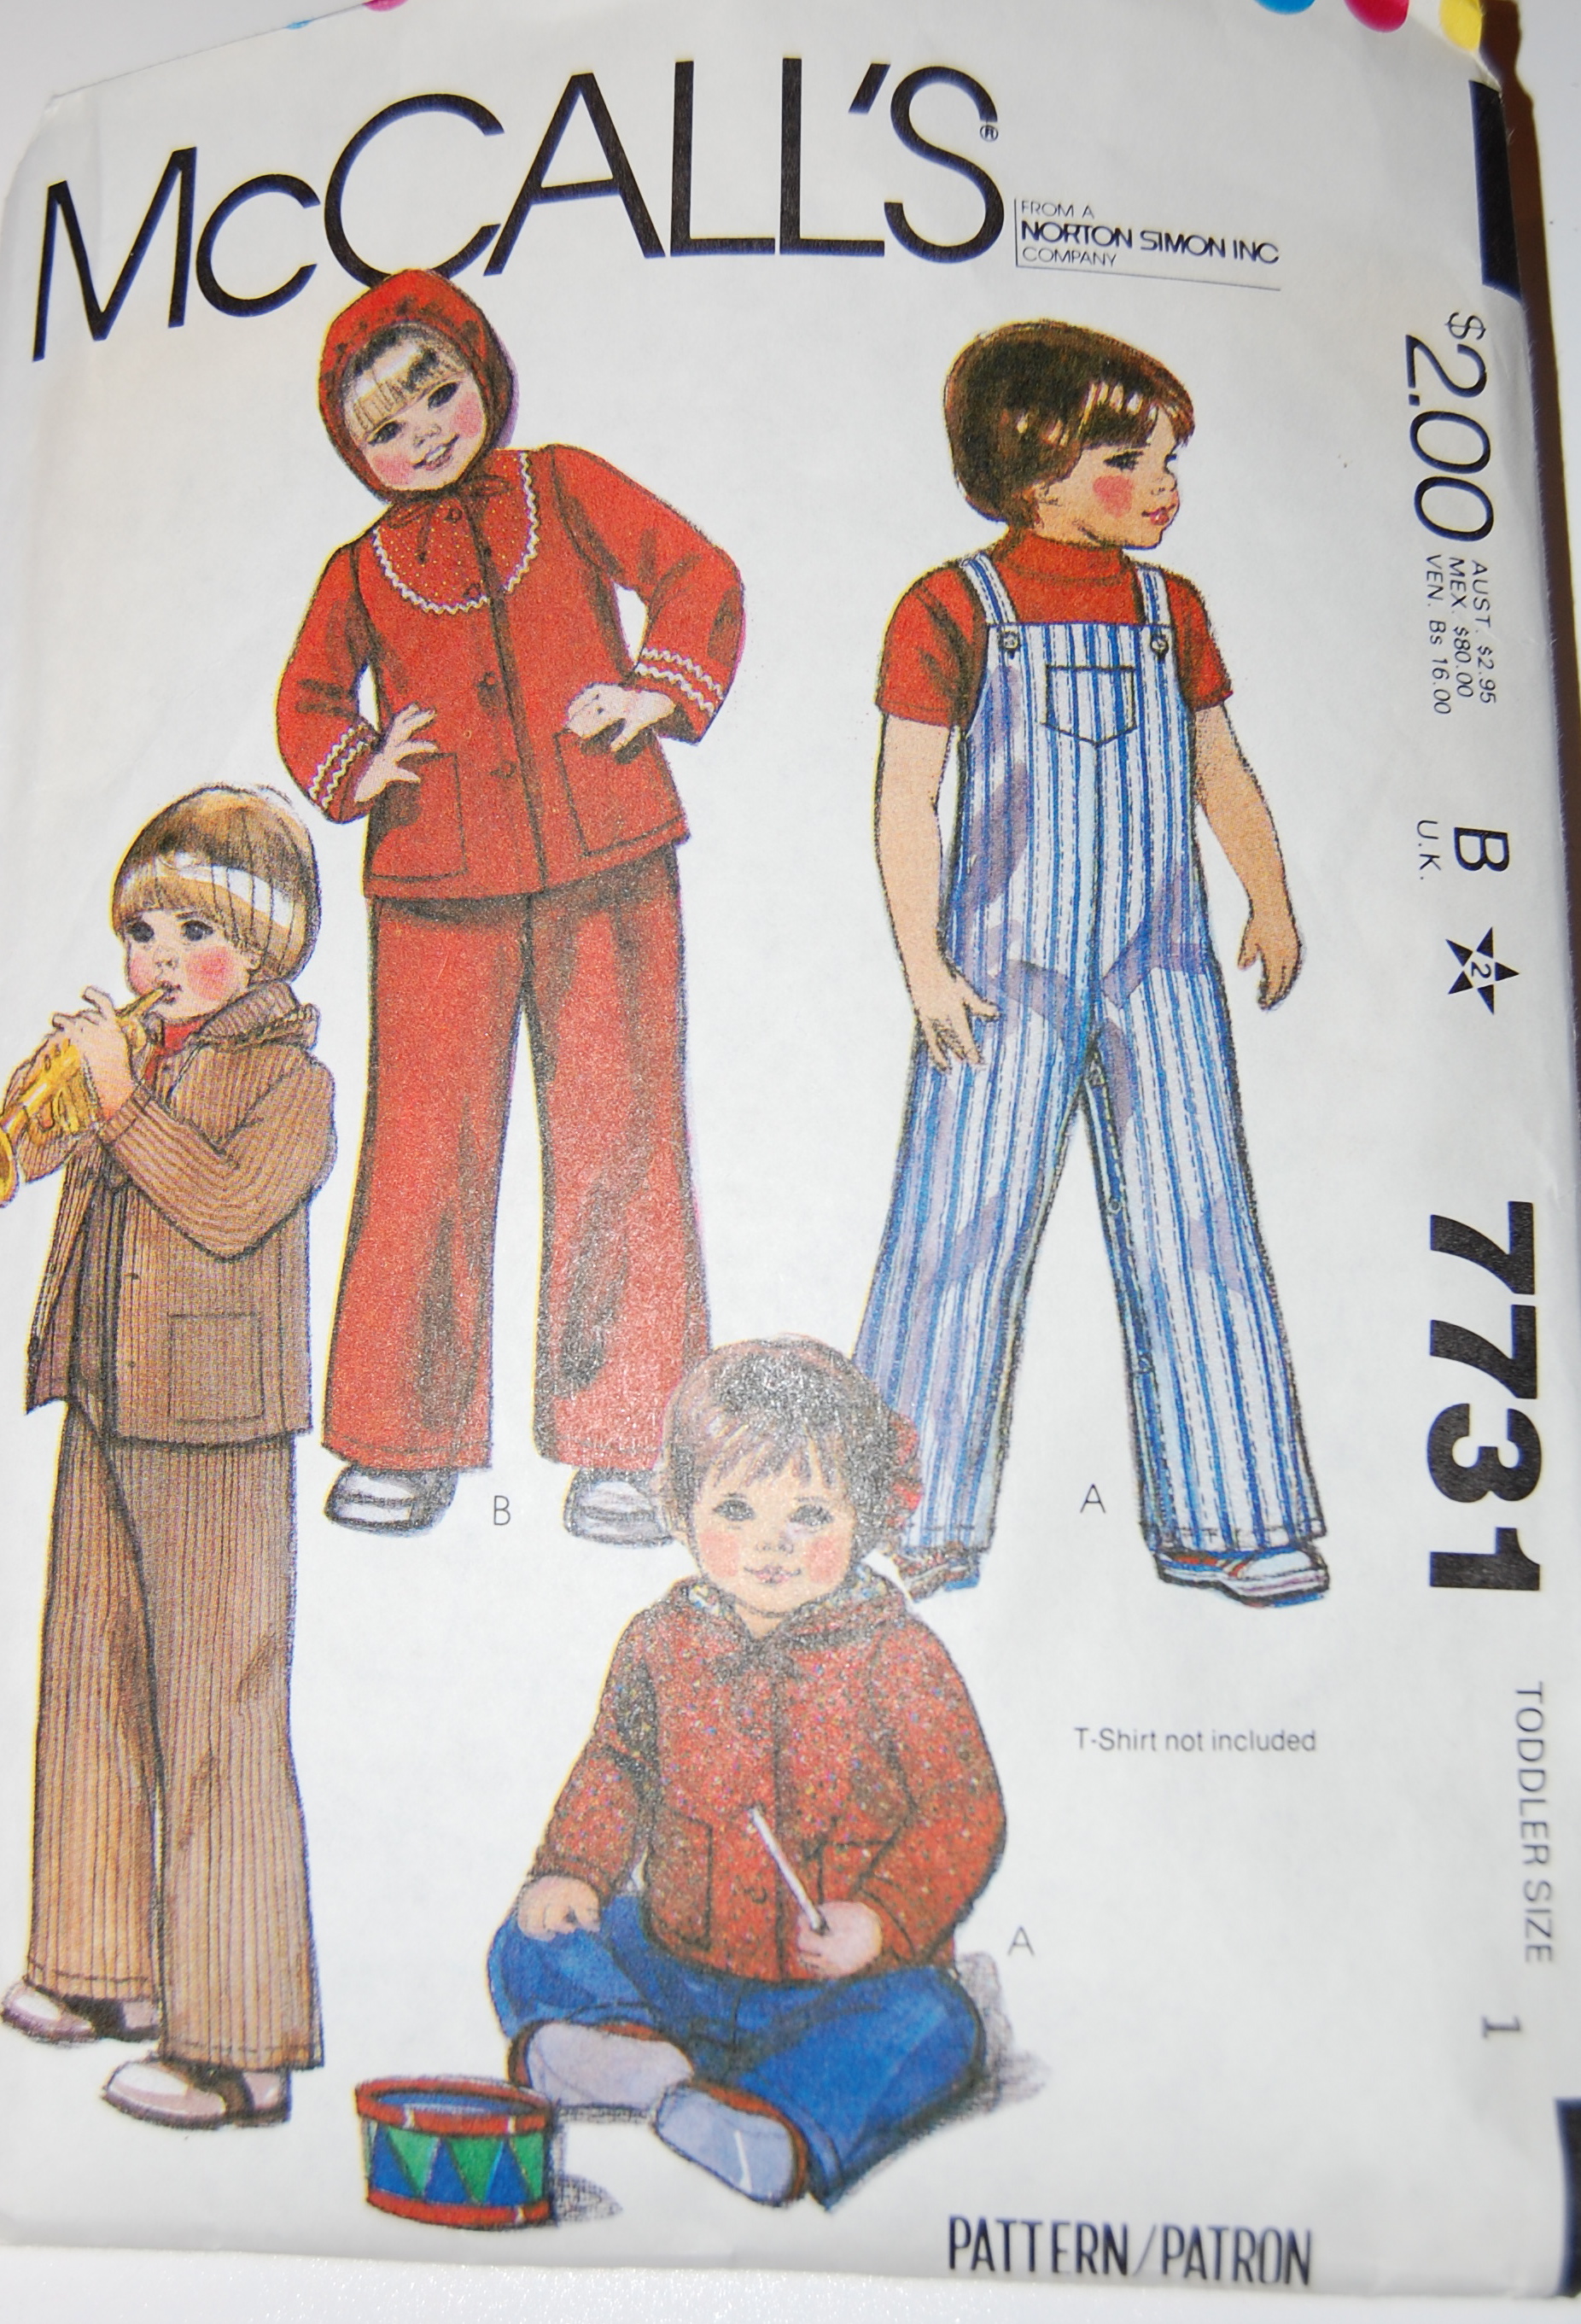
I used an old McCalls jacket pattern left over from my own children as a guide for the vest, but I had to cut it down quite a bit.
I cut out the pattern on the seam lines, as I planned to use a self bias-binding to finish the armholes, neck, front and around the lower edge. Before assembling I finished off those interior seams with Hug Snug seam binding.
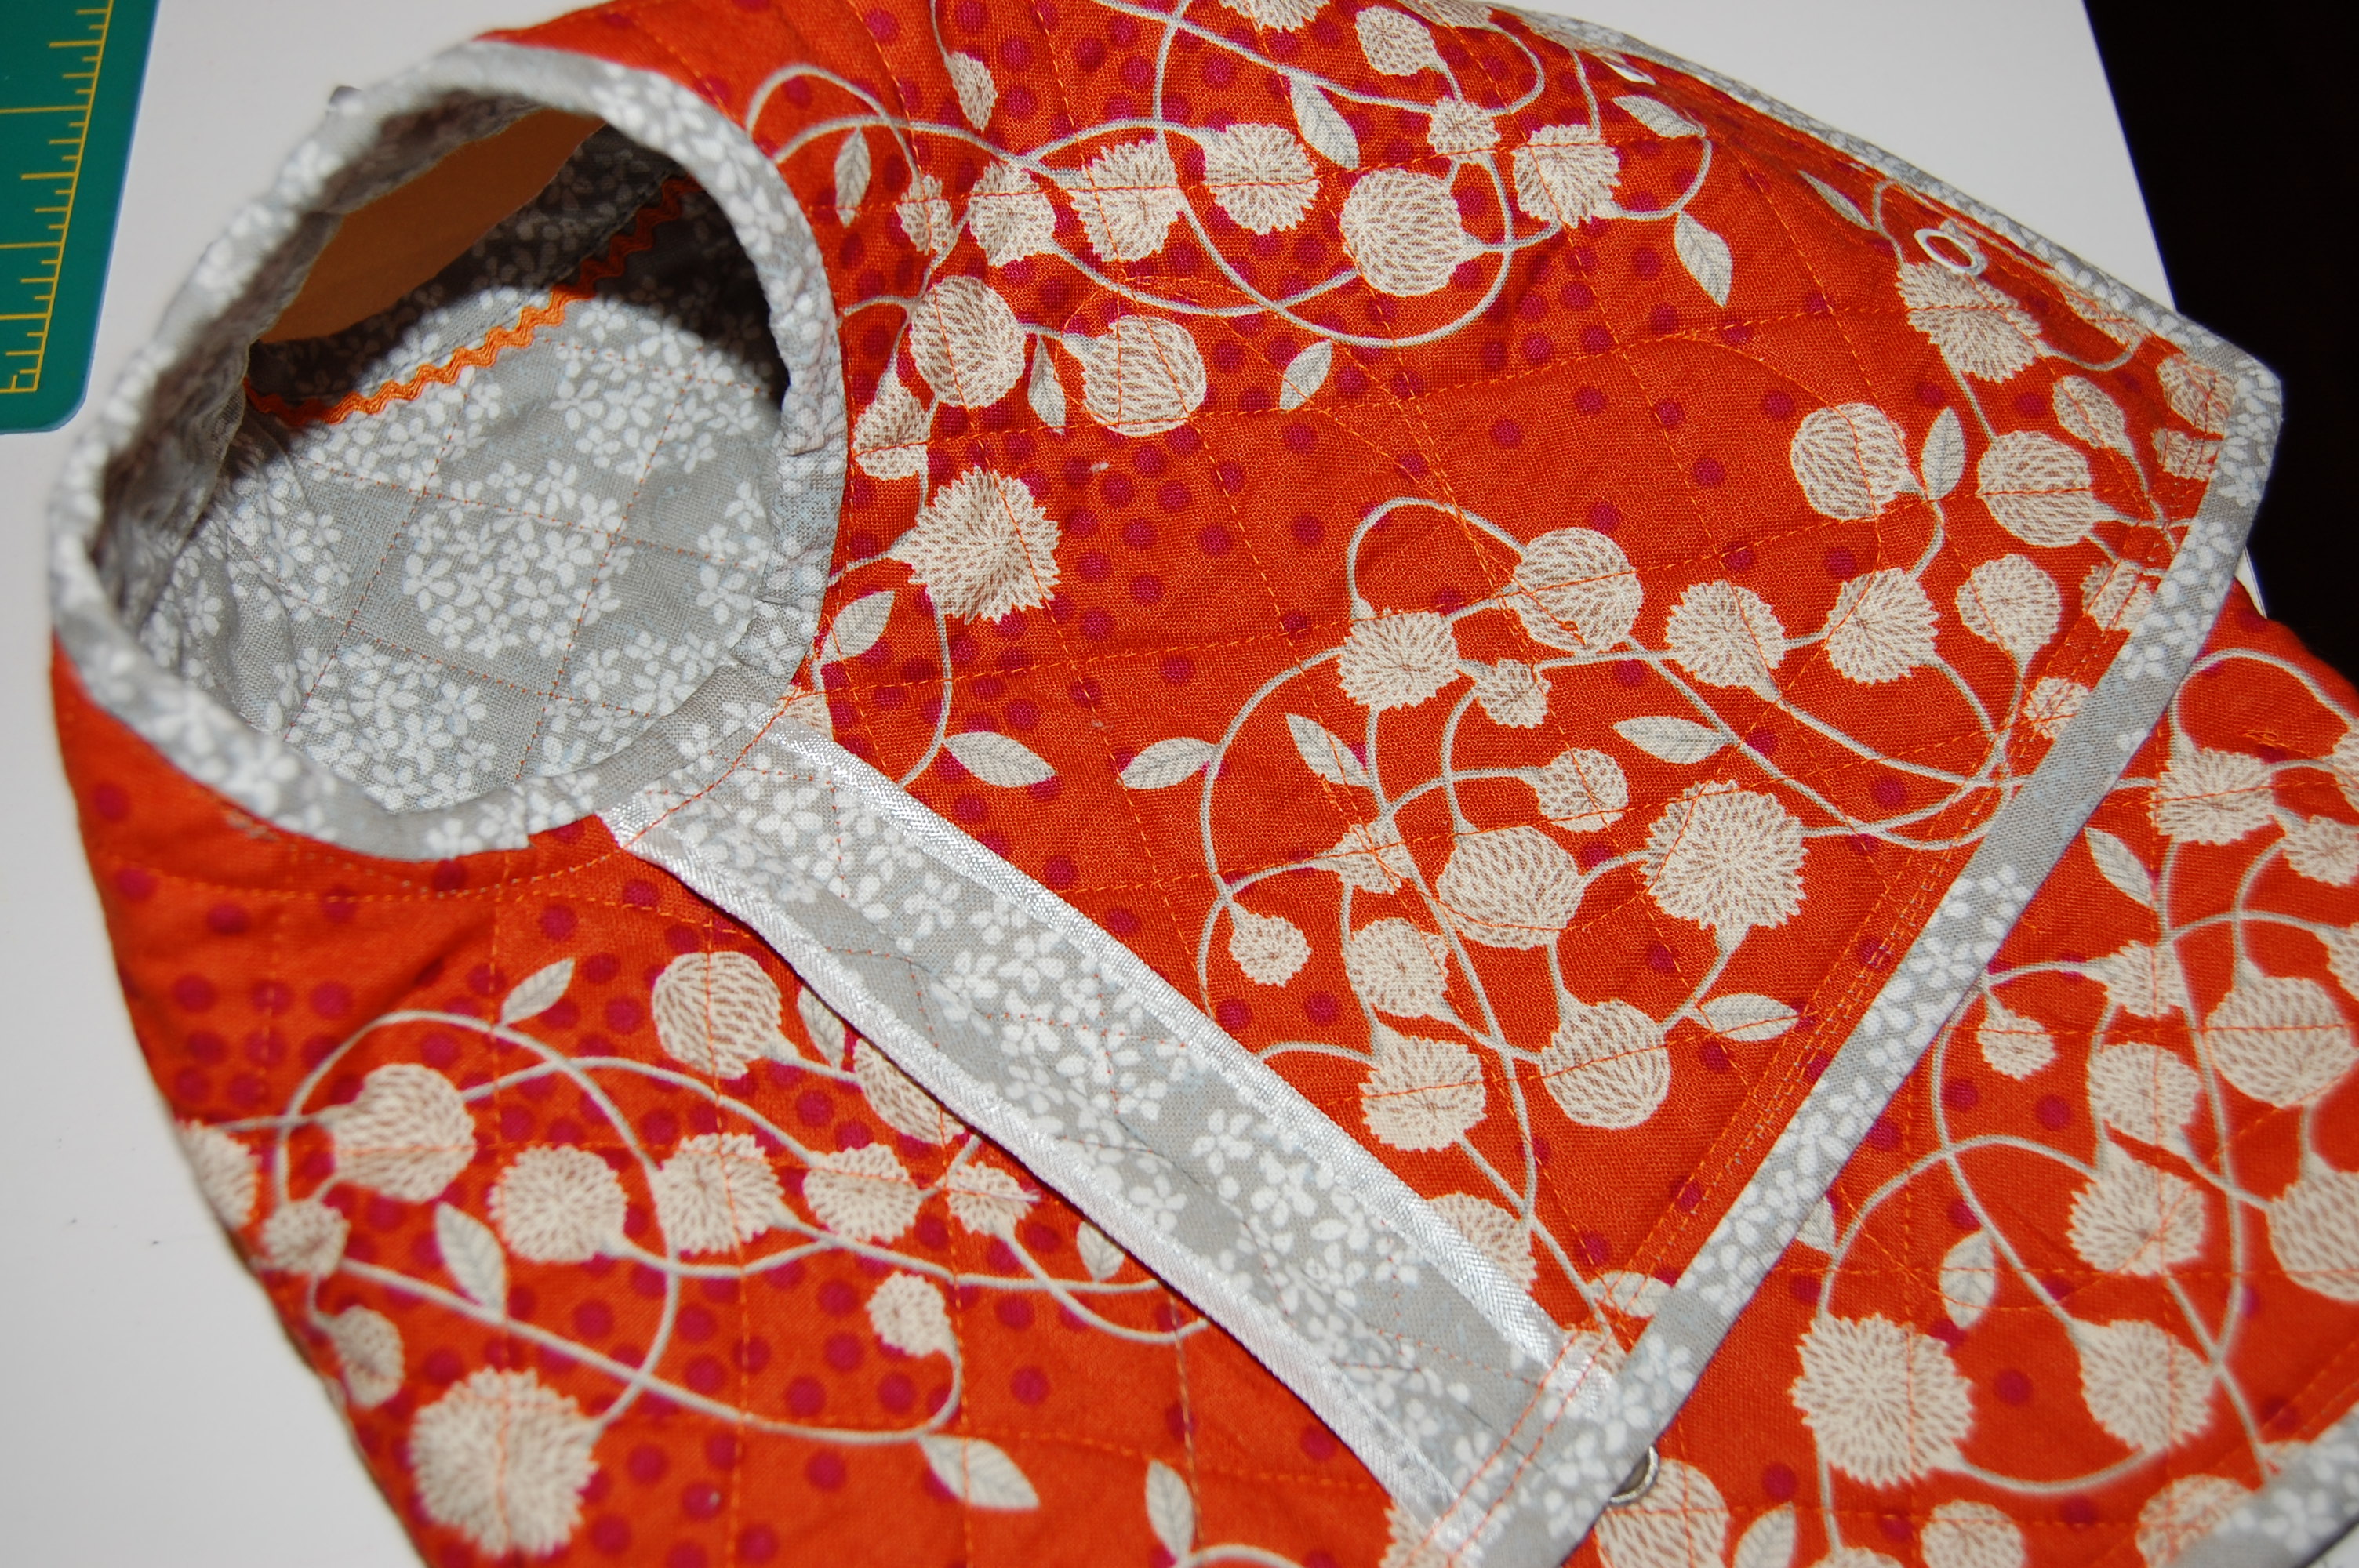
The self bias binding and the finished seams are clearly visible here.
I literally cut the pumpkin pockets freehand out of some scraps of the quilted fabric, and bound each one with self bias binding.
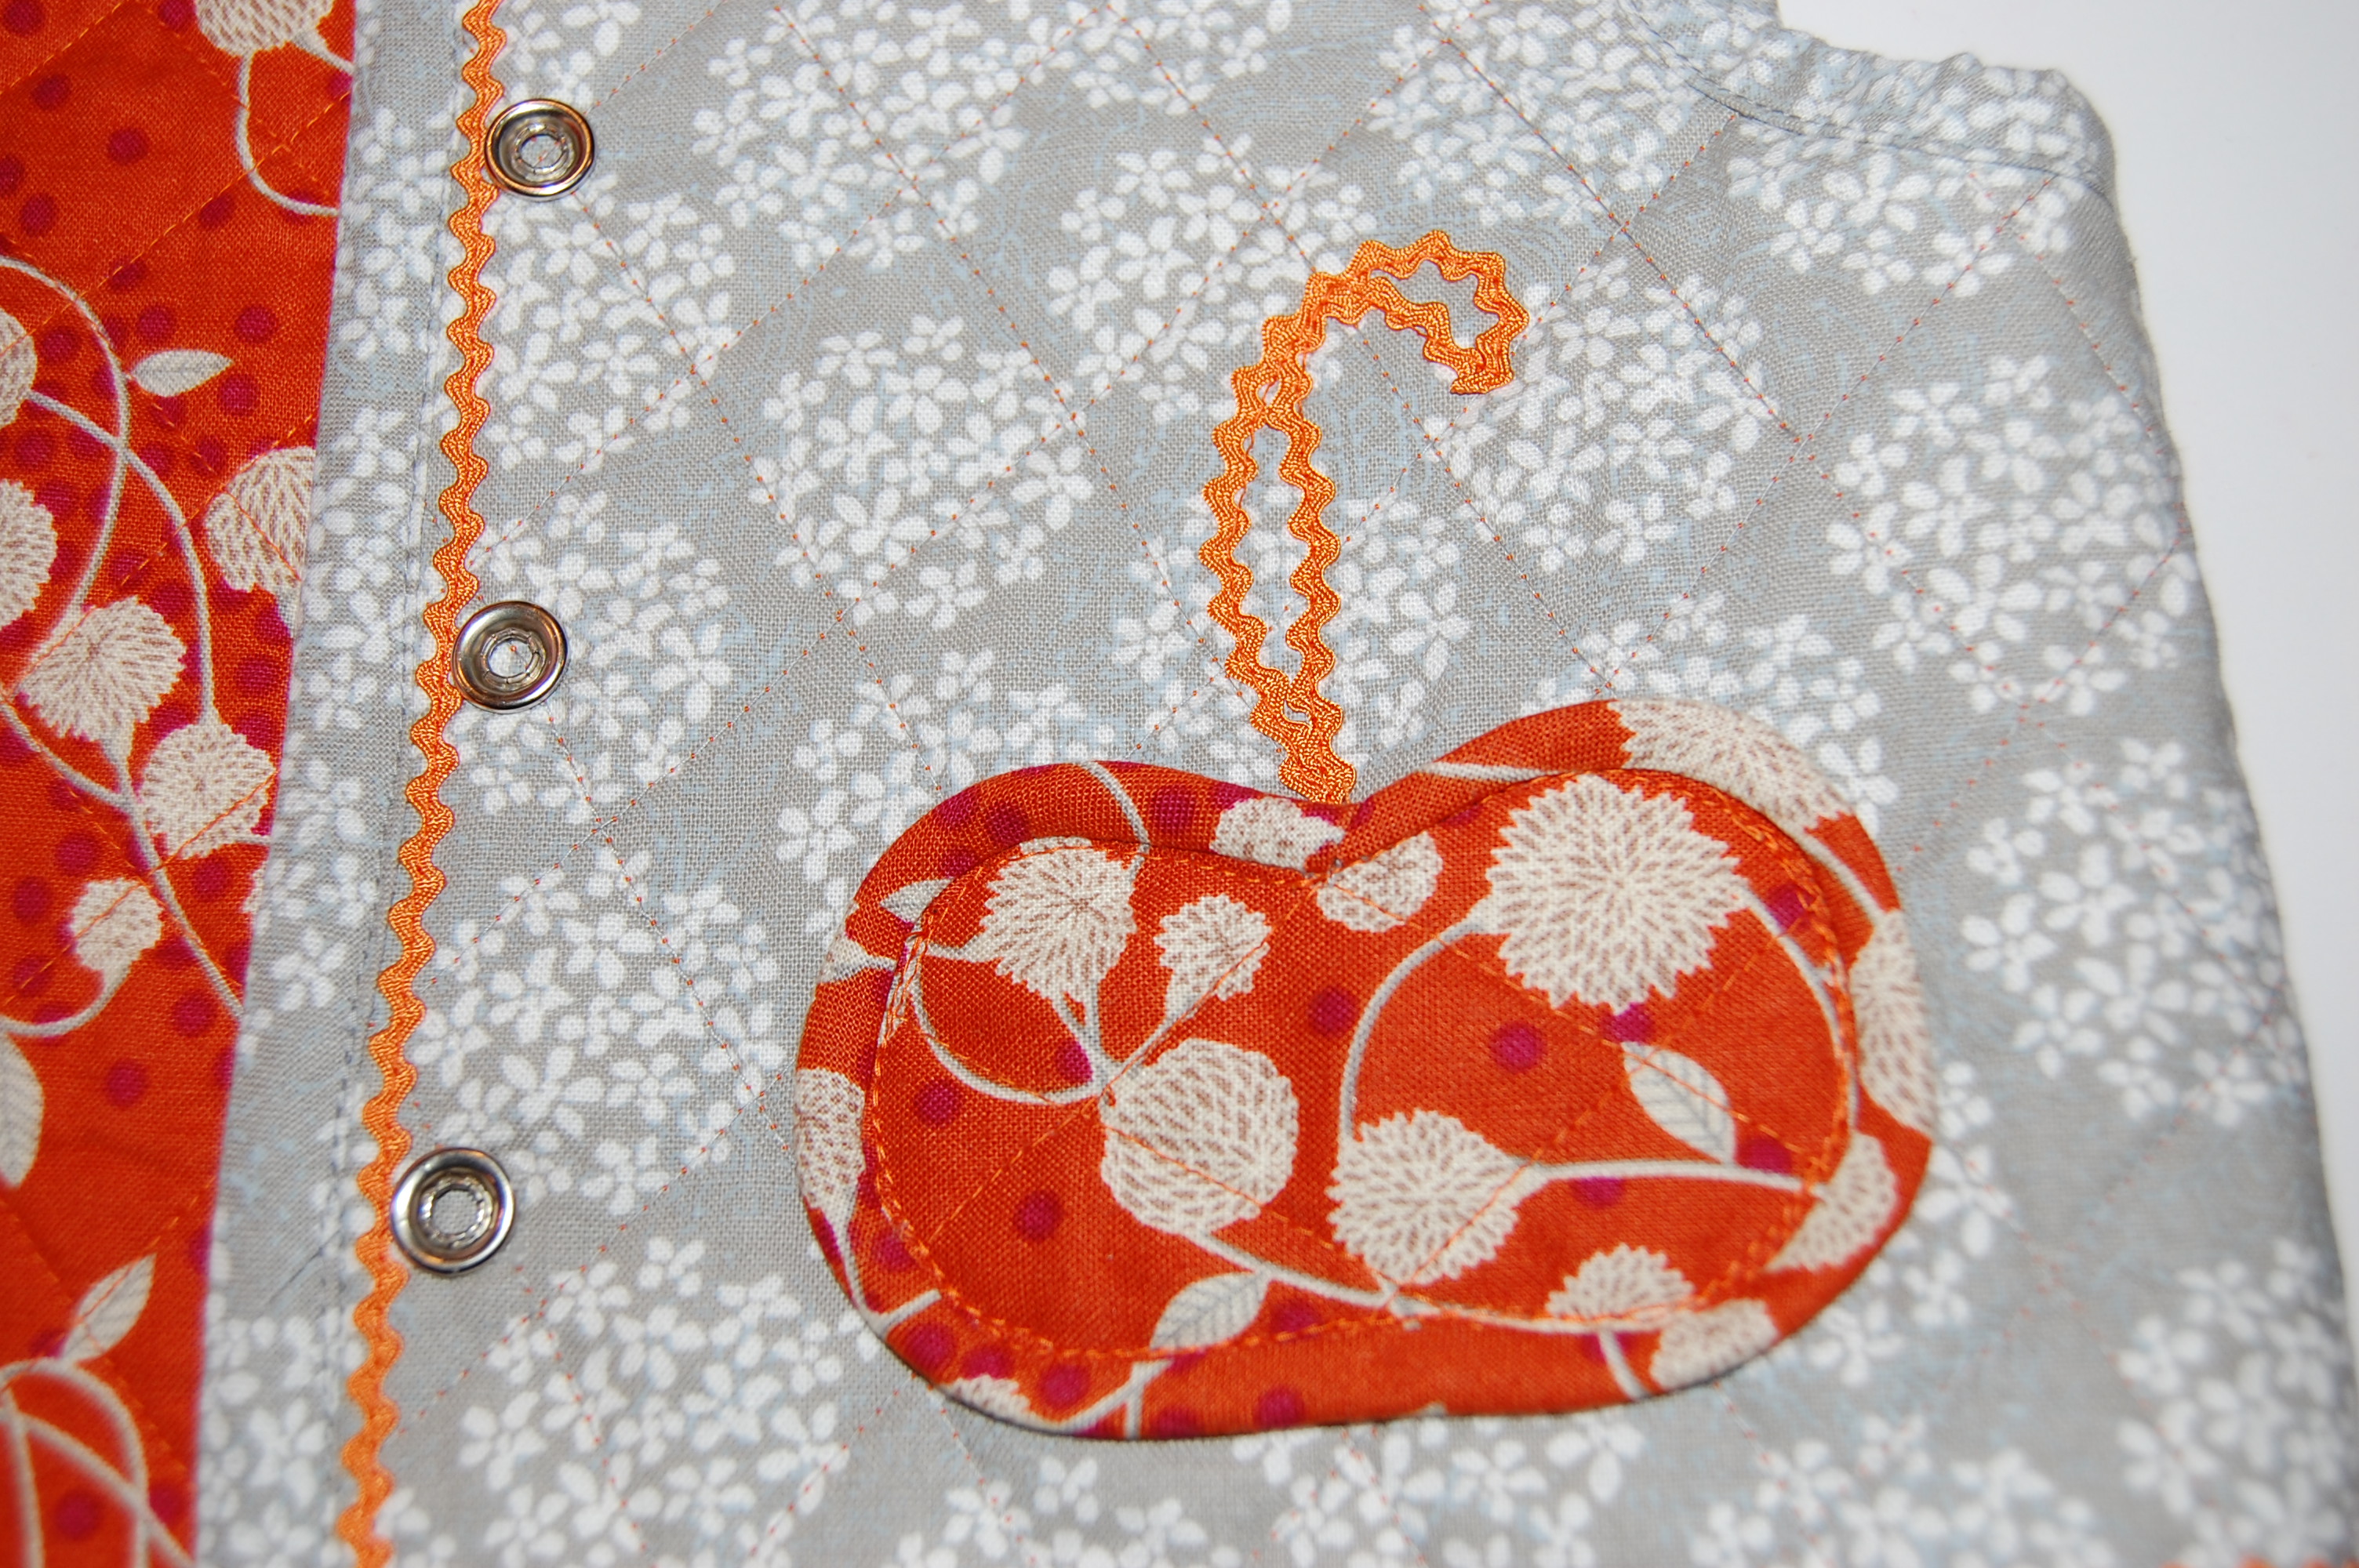
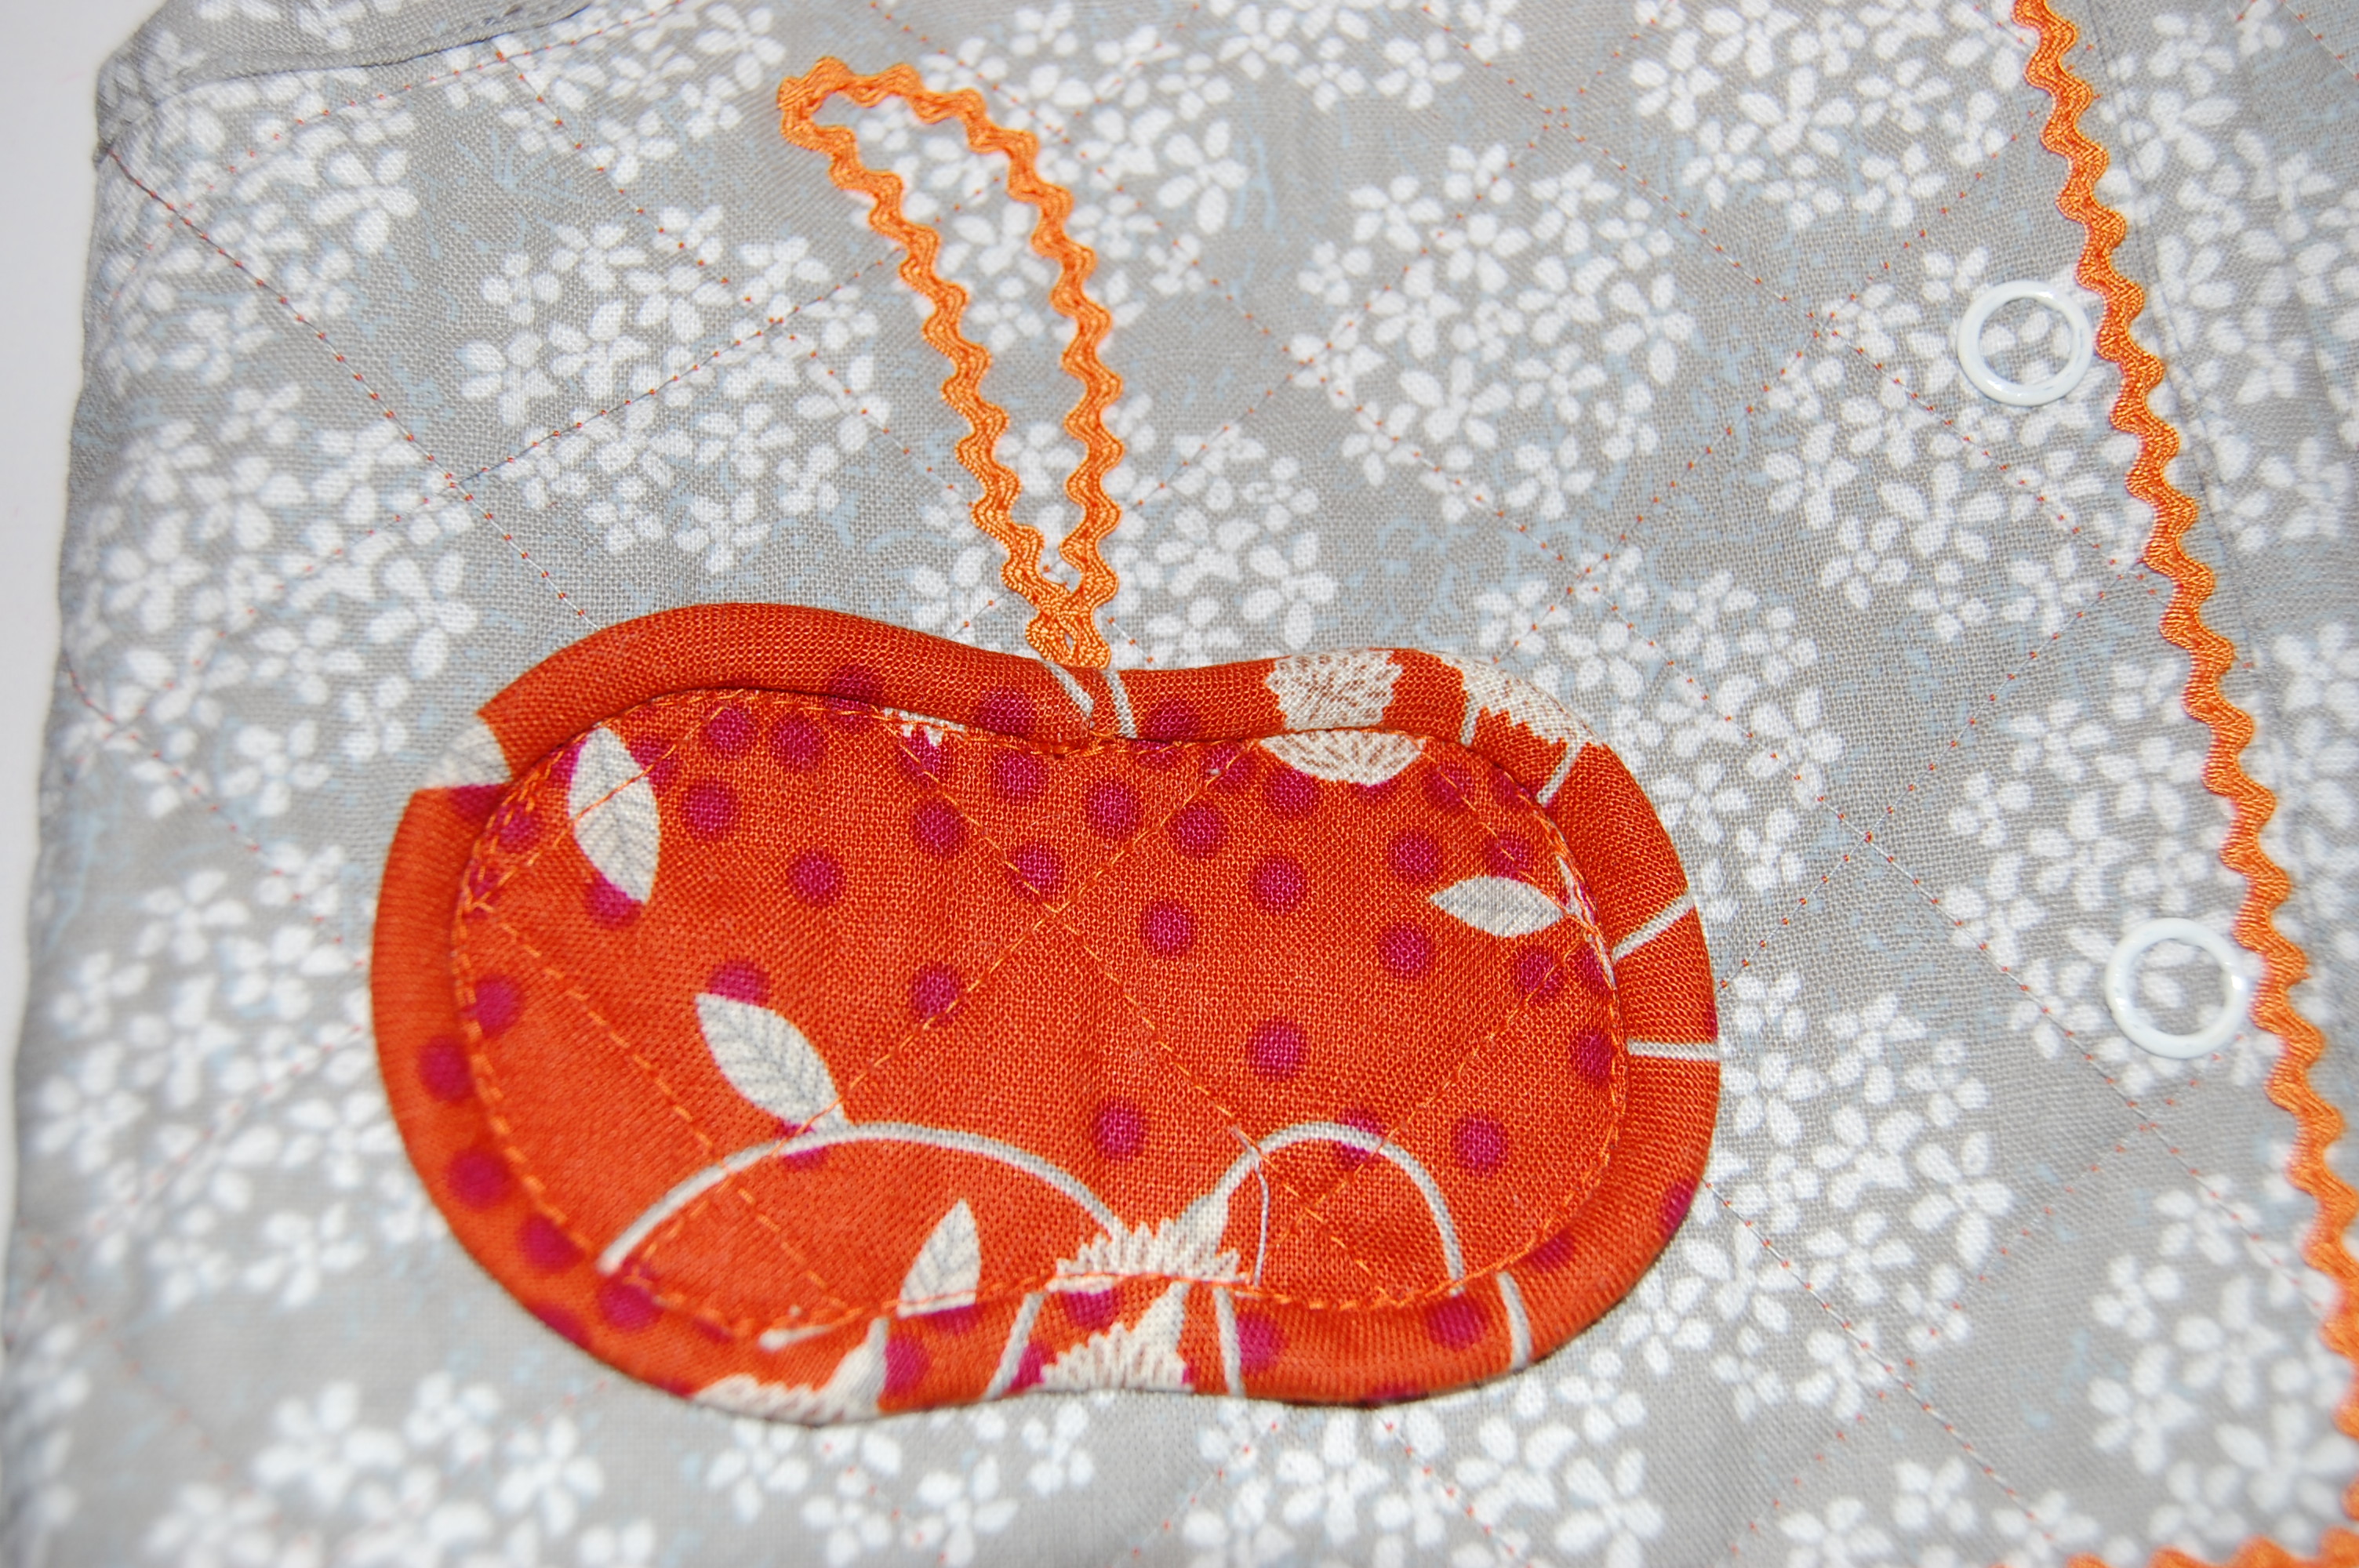
Orange rick rack provided the twisted pumpkin stems, and then I decided to add it around the outer edges of the vest, too.

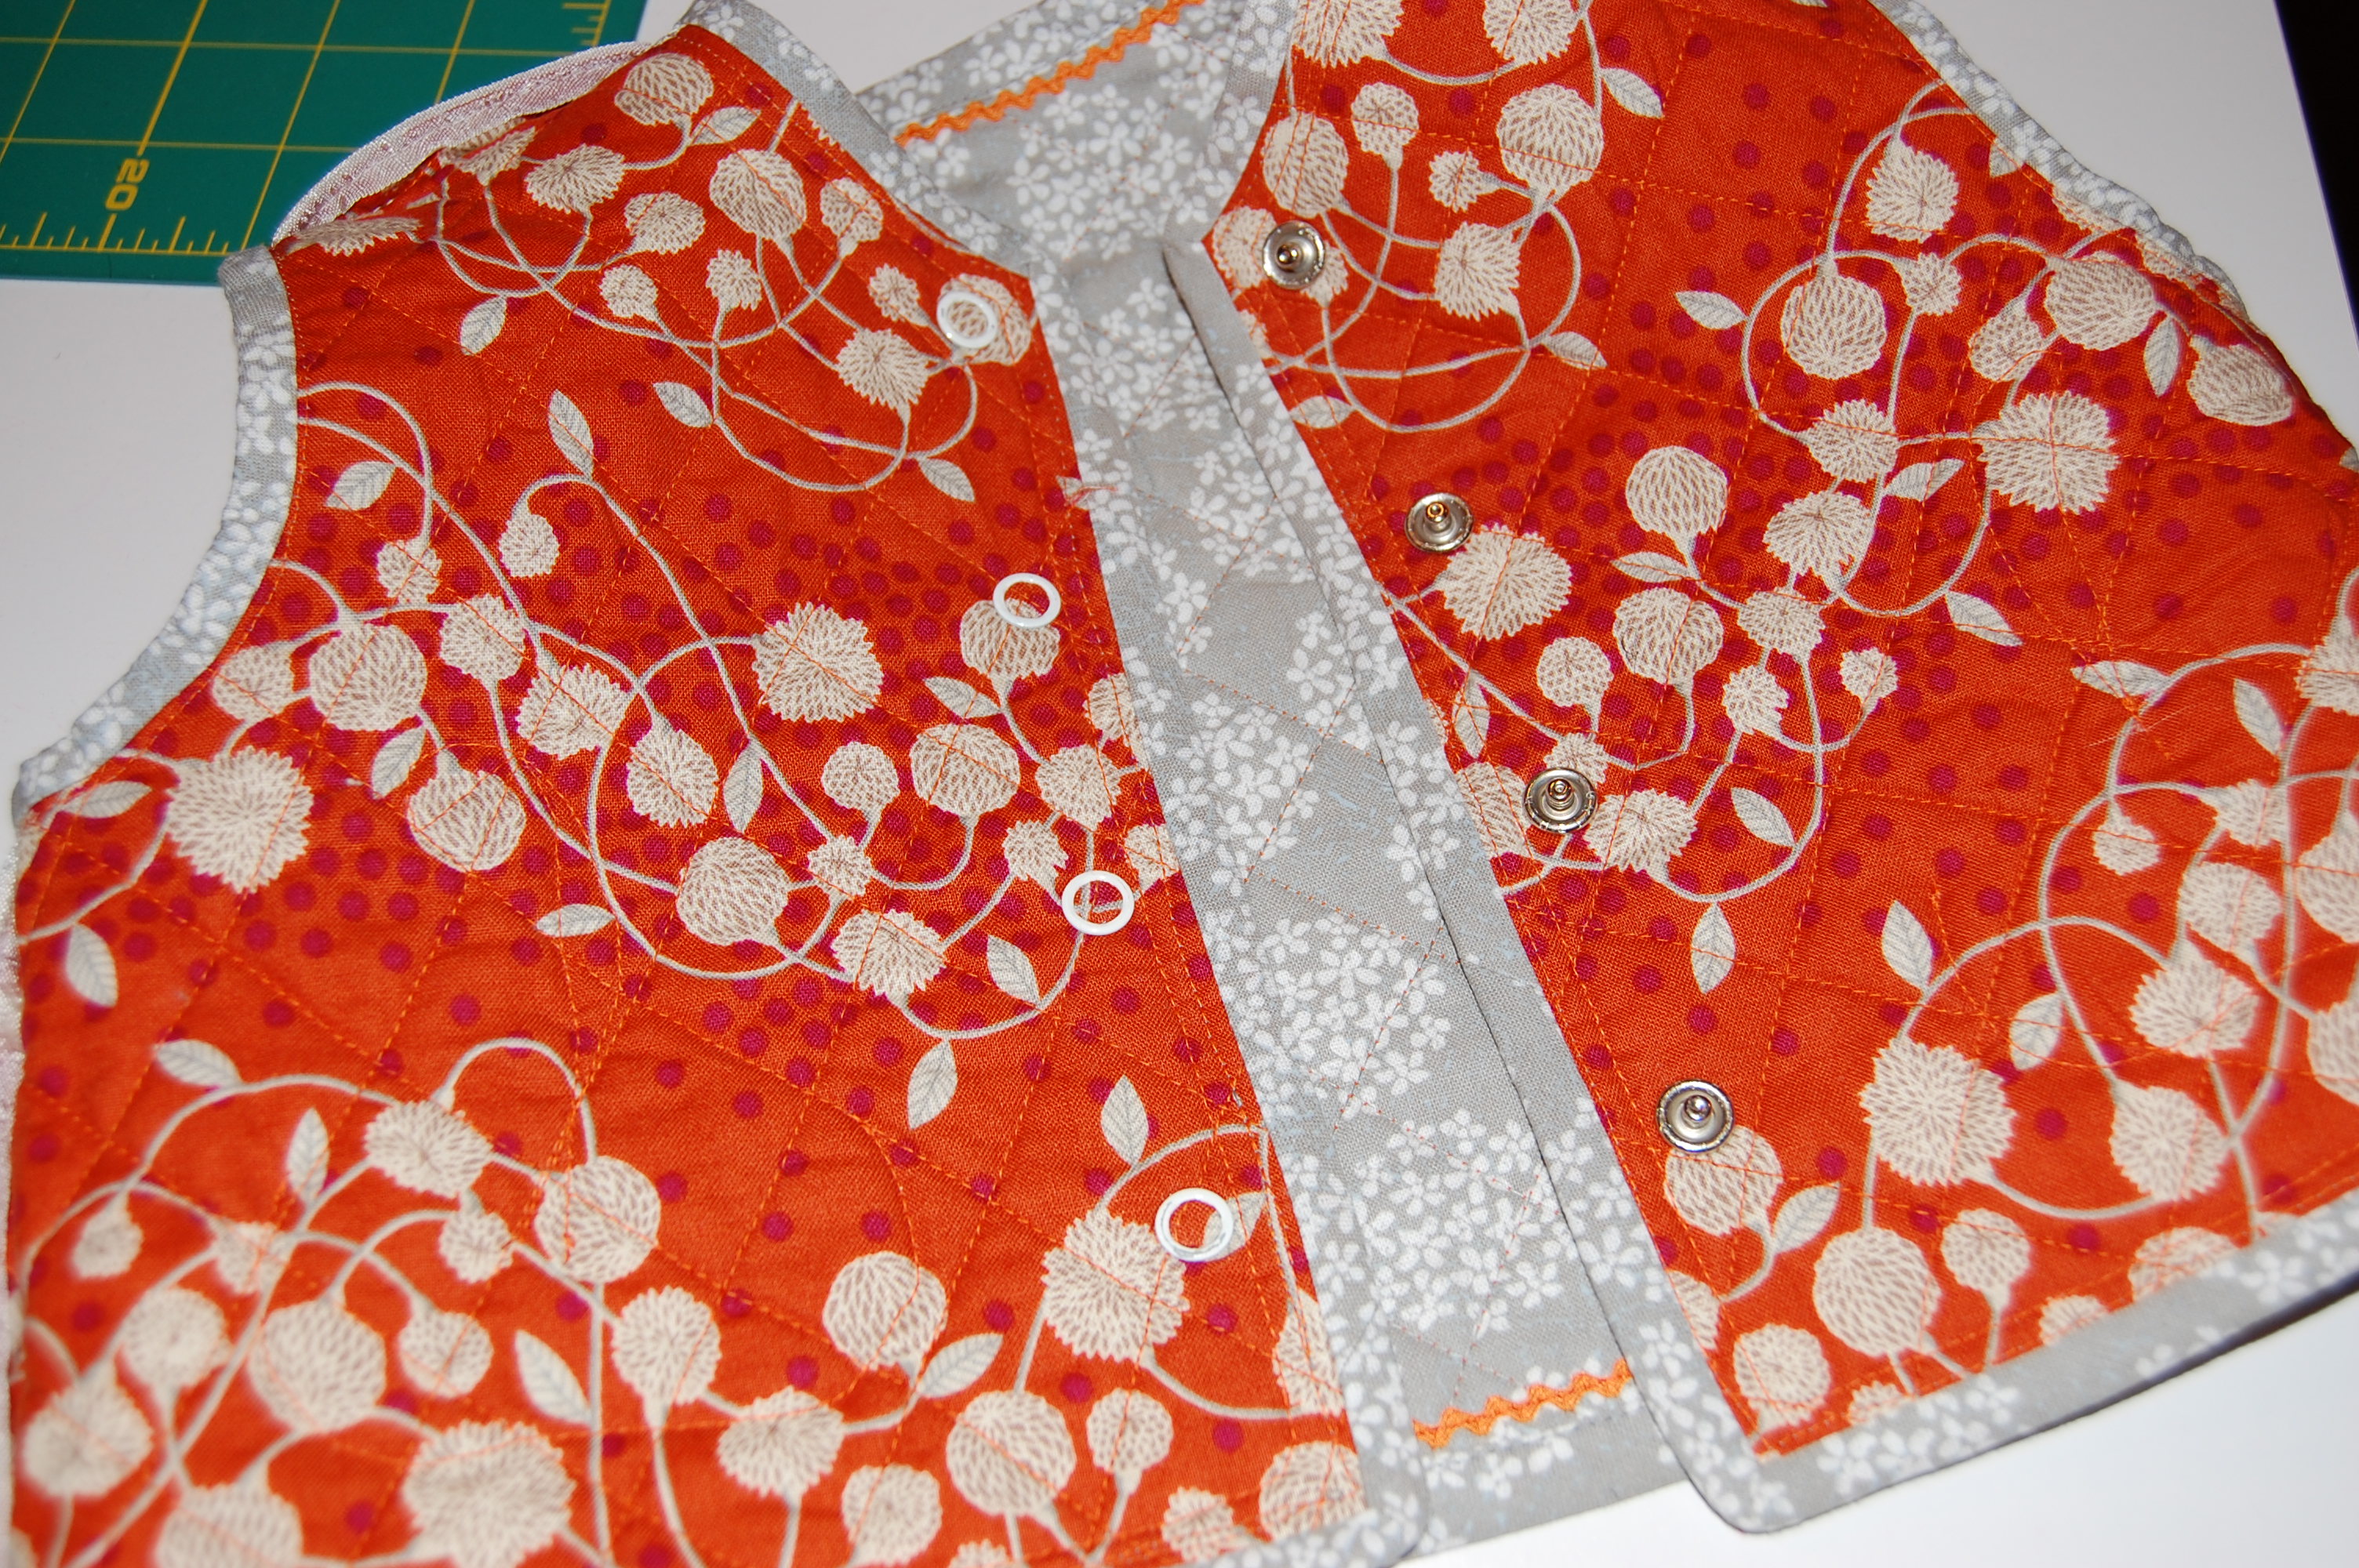
Instead of buttons, I applied snaps, thinking they would be easier for a toddler and her parents to fasten.
 I think this vest is perfect for the season, but not too Halloween-y to limit its usage during other cold months to come.
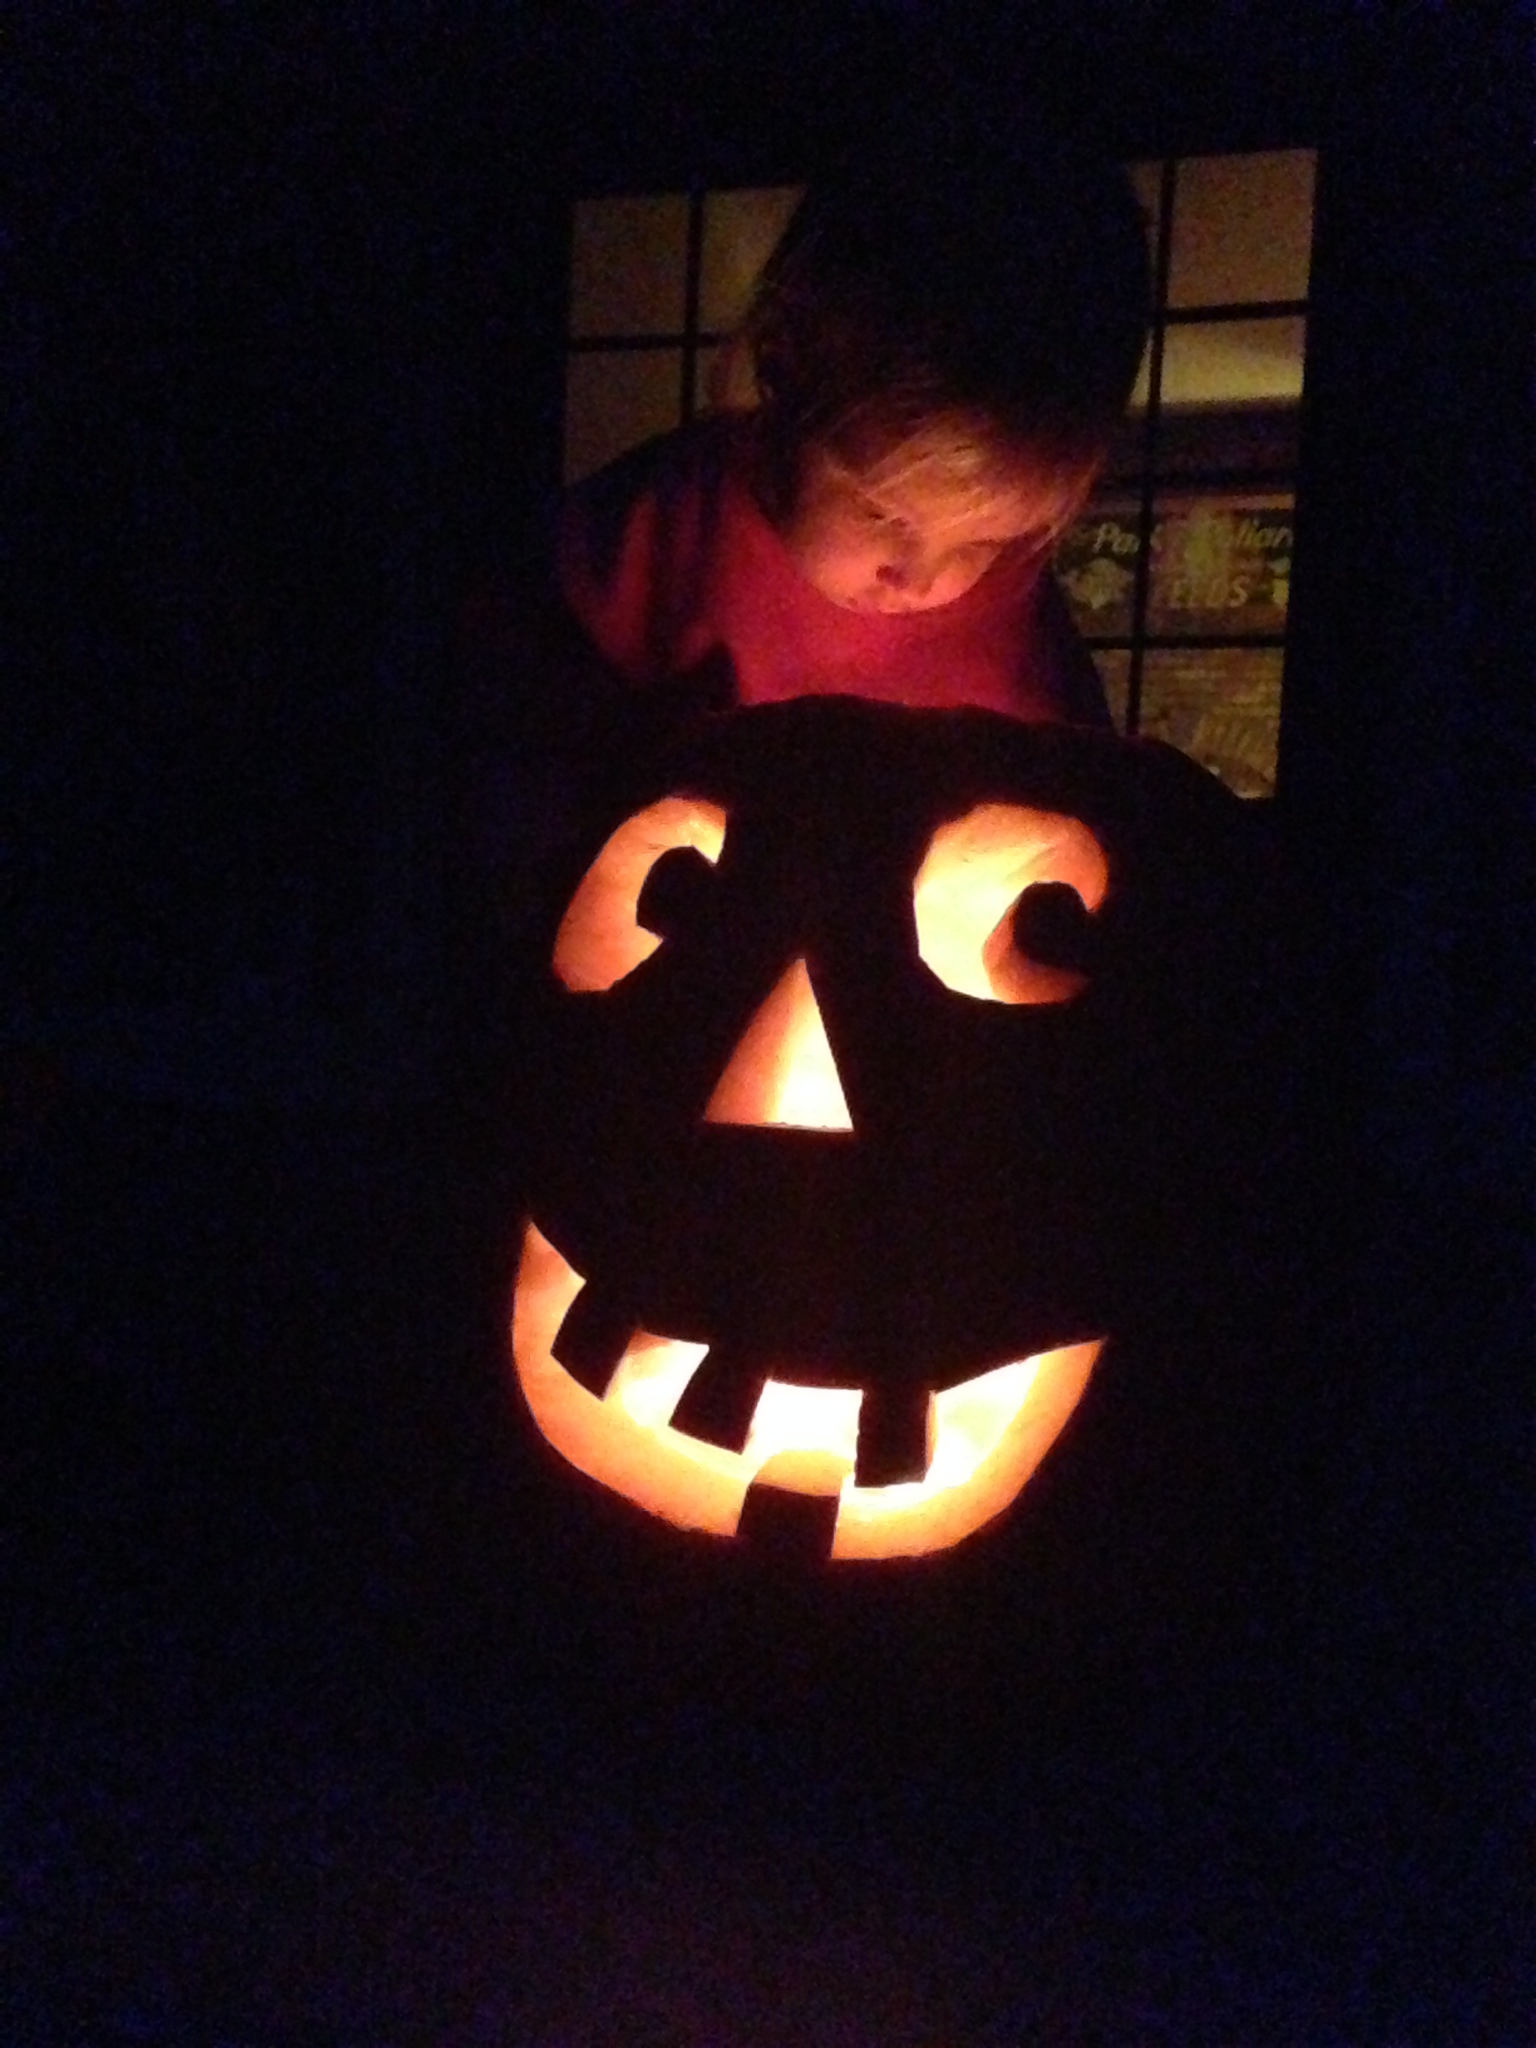
What’s inside of this??
Now, this Halloween pumpkin is the one with the real magic to it!