When is a sewing project really, really, finally finished? That was the question I was asking myself after I thought I had finished my Pink Coat, but then decided I had more to do. Or, more precisely, I had things to undo and then redo.
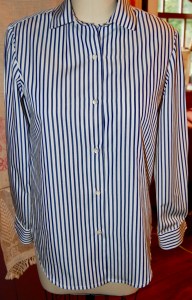
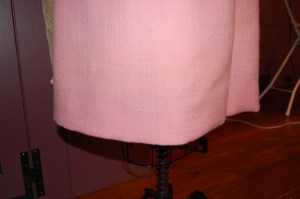
After seeing the photos I posted on this blog, my eye went right to that crinkled hem.

I had not noticed how crinkled the hem appeared until I saw these photos.
I had purposely steamed the hem lightly, not wanting to make it a knife edge, but after seeing these crinkles, I went back and steamed it again. I still had crinkles. My expectation at this point was that I would probably have to take the hem out and redo it. This suspicion was confirmed when I sought advice from Susan Khalje. She oh-so-gently agreed with me! First she suggested removing the silk organza from the bottom of the coat up to the fold line of the hem, and lightly catch-stitching it along the fold, which would not show. I did this after taking out all the stitching along the lining, the facings, and the seam allowances, in order to undo the hem.
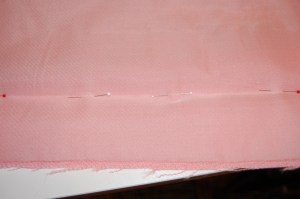
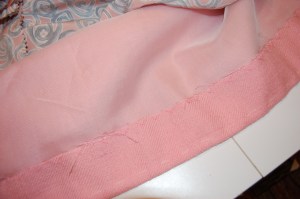
The pins mark the fold line of the hem; as you can see, the silk organza underlining extends to the bottom edge of the coat.
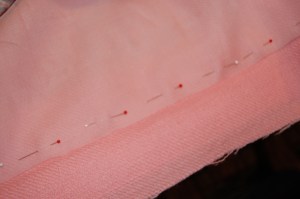
I then pinned about a half inch above the hem line, so I was able to remove the silk organza right at the hem fold. I then used a catch-stitch to secure the silk organza right along the fold line.
Doing this helped, but the hem was still not as soft as I thought it should be. Susan’s next suggestion was to add a bias strip of flannel to the interior of the hem, which I suspected was what I had needed to do from the start. I went to my trusty Vogue Sewing Book from 1970 to get guidance and found this:
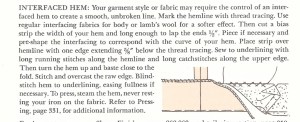
From: The Vogue Sewing Book, edited by Patricia Perry, Vogue Patterns, New York, New York, c1970, page 324.
I used all cotton white flannel, cut 2½ inches wide, the width of the hem. I positioned it so that ⅝“ was below the fold line, with the remaining above. I used a catch-stitch on the wider section of flannel, securing it to the silk organza. Then I did a loose running stitch right on the fold line. After every step, I gently steamed the area.
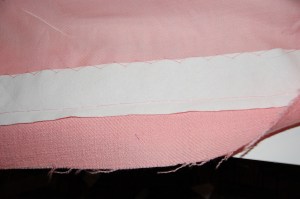
Obviously I had to take out the catch-stitching along the lower portion of the center back seam, and then I was able to slip the flannel under the seam allowance.
Then I was ready to put the hem back in, and reattach the facings and lining.
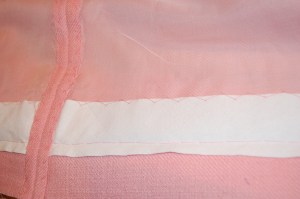
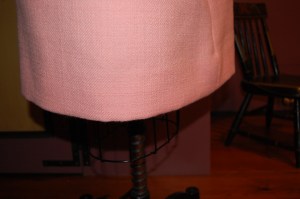
None of this was difficult, but it was time-consuming. However, I am much happier with the appearance of the hem now. It is soft and hangs with more grace.
A much smoother, softer hem!
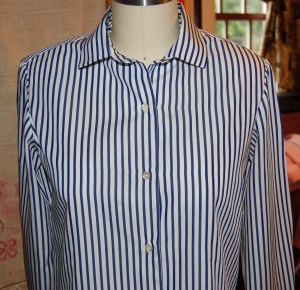
Susan also suggested that I make an adjustment to the front edges of the collar. Although I had under-stitiched it, I apparently did not coax the front-edge seams back away from the edge enough, allowing them to show more than they should. So I took out a majority of the understitching and re–did it, too.


The collar lays flatter now, and I am really happy with it.
Needless to say, I was a bit discouraged that I was facing so much work to correct these problem areas, but I knew it needed to be done. I considered waiting until next Fall to tackle these fixes, but I decided I would feel less like doing it then than now, so I dug in. It became a good learning experience, and a good reminder that different fabrics behave in different ways. It is up to the dressmaker to seek out the best solution for a problem area and then do it, or in this case, re-do it. Hooray, the Pink Coat is finally – really – finished.