Category Archives: vintage Vogue Designer patterns

An Italian Cotton for an American Summer

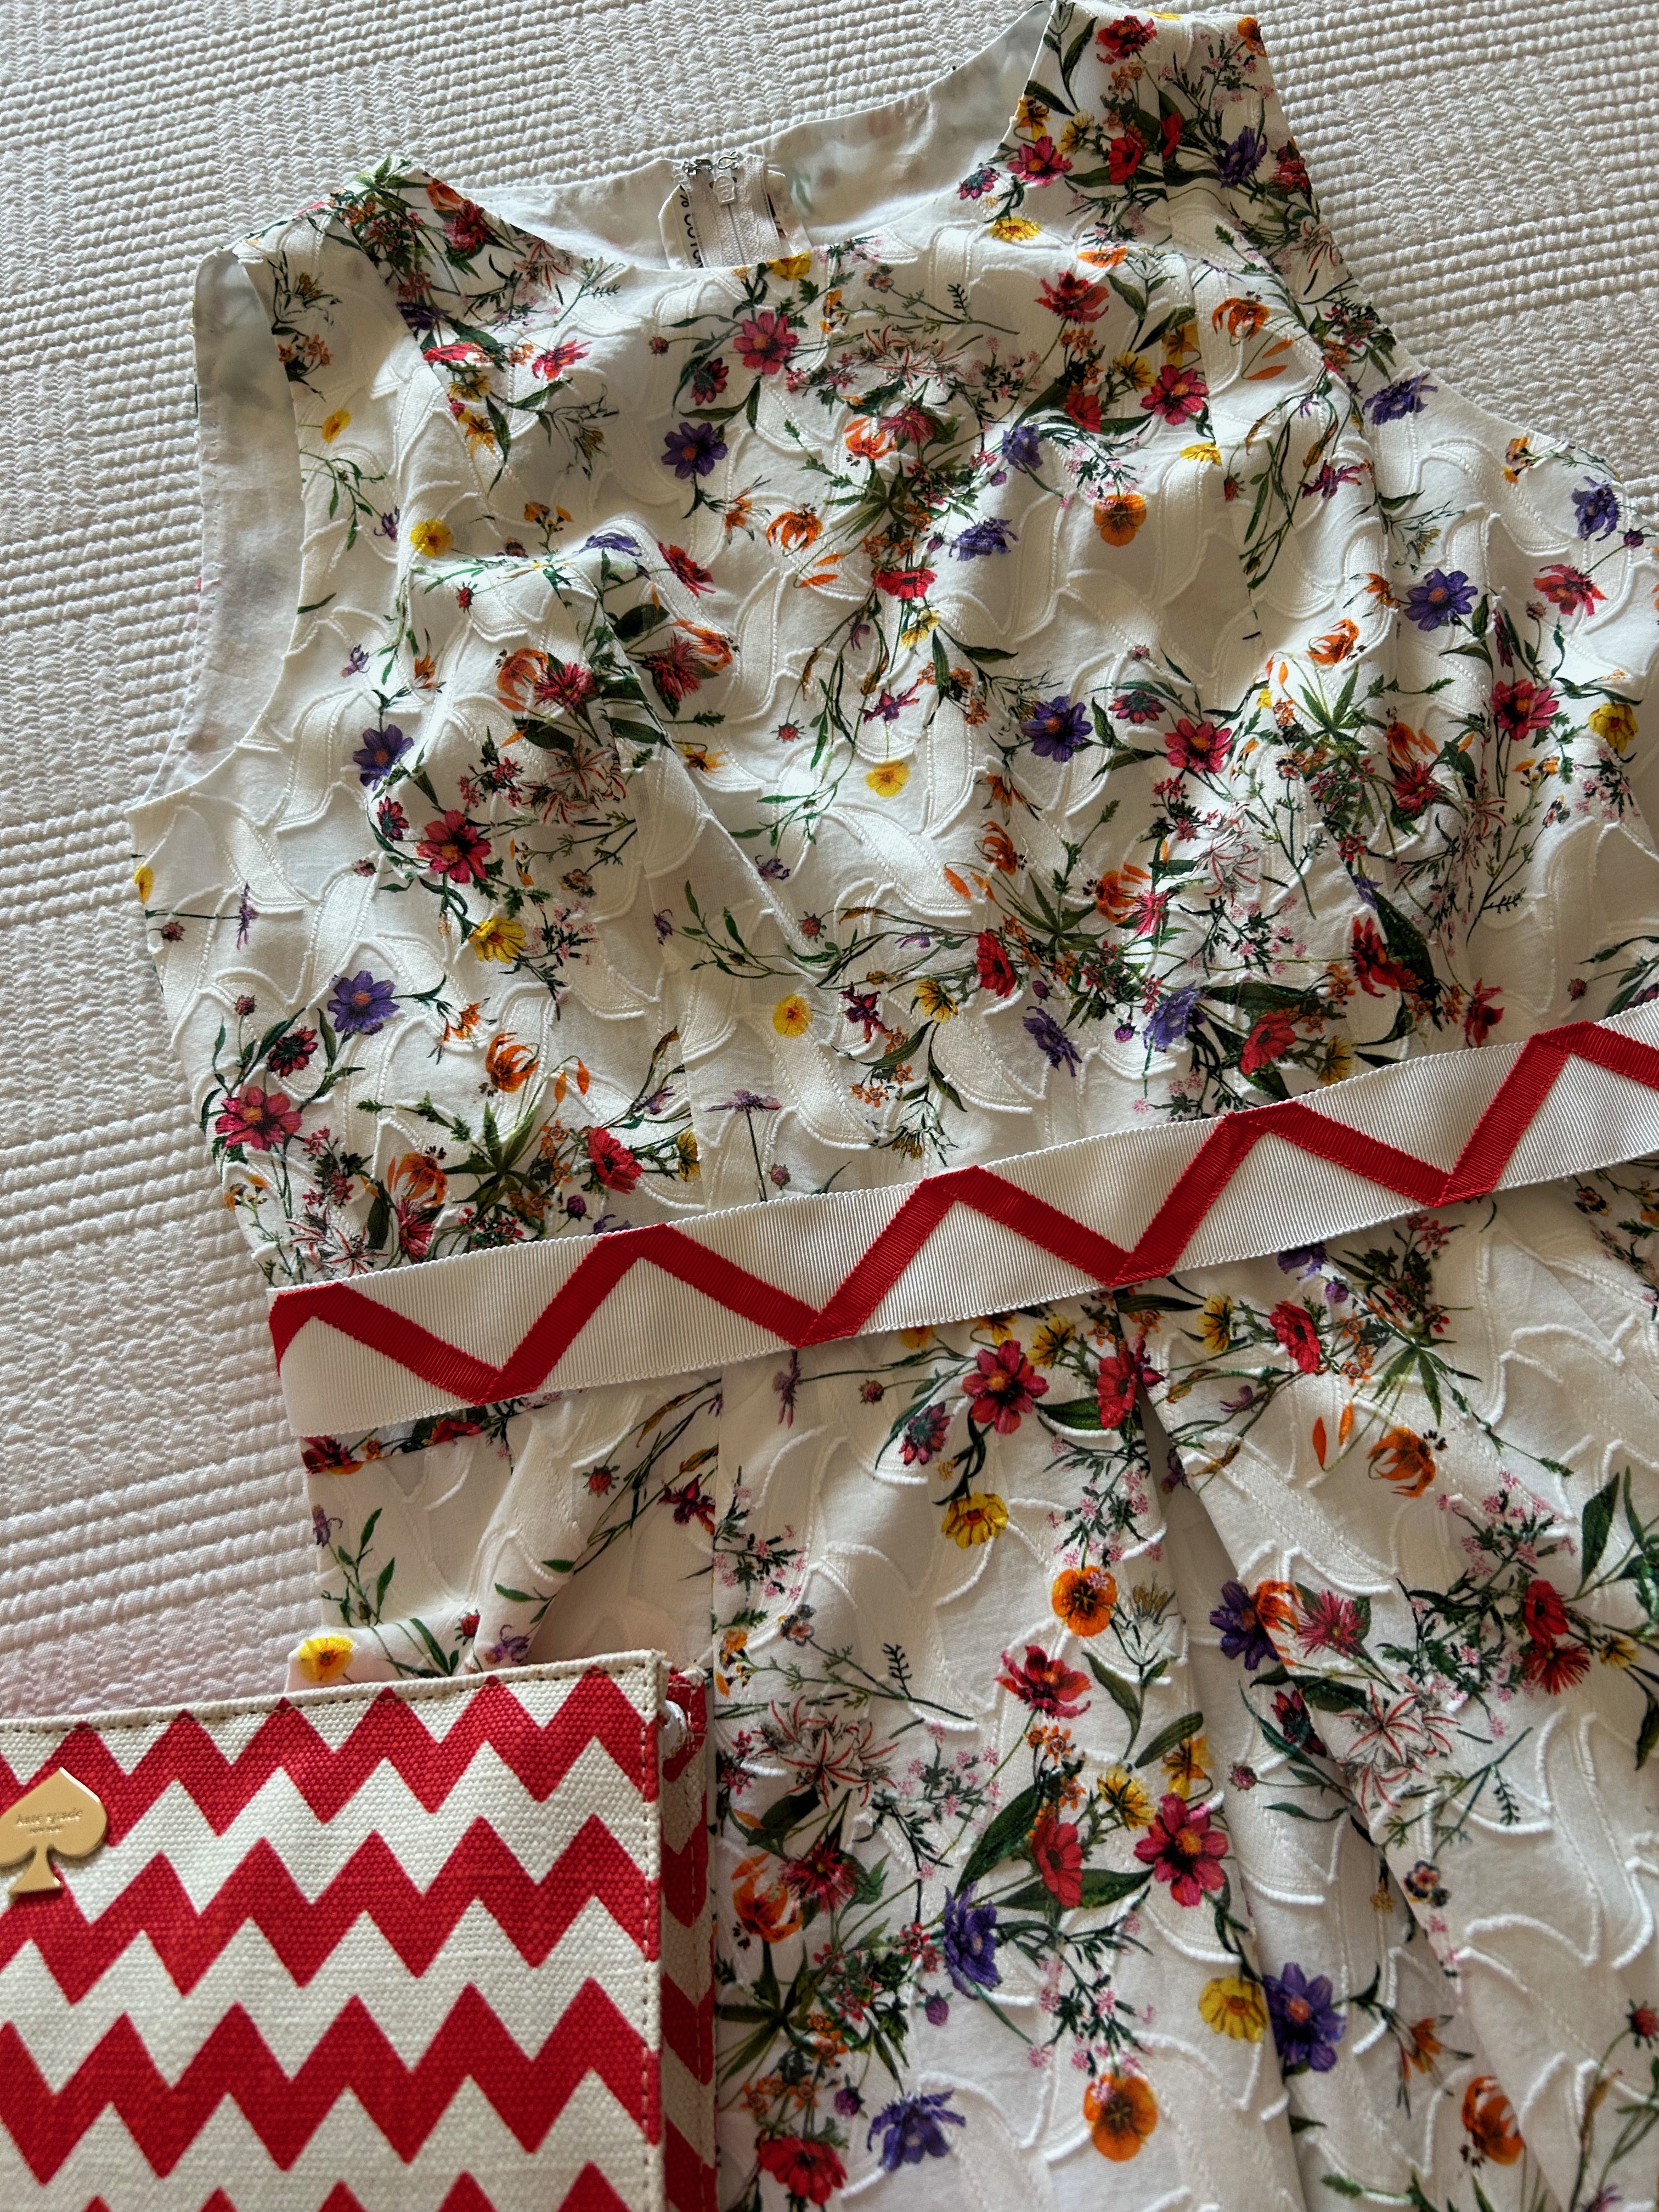
For a number of years this light, filmy, patterned and printed cotton, made in Italy,  had been lurking in my “cottons basket.”  I had purchased two yards of it from Mendel Goldberg Fabrics, for a “future” dress presumably.

This fabric is partially sheer. The print is overlaid on what appears to be a “burn-out” cotton, ie., two-layered.

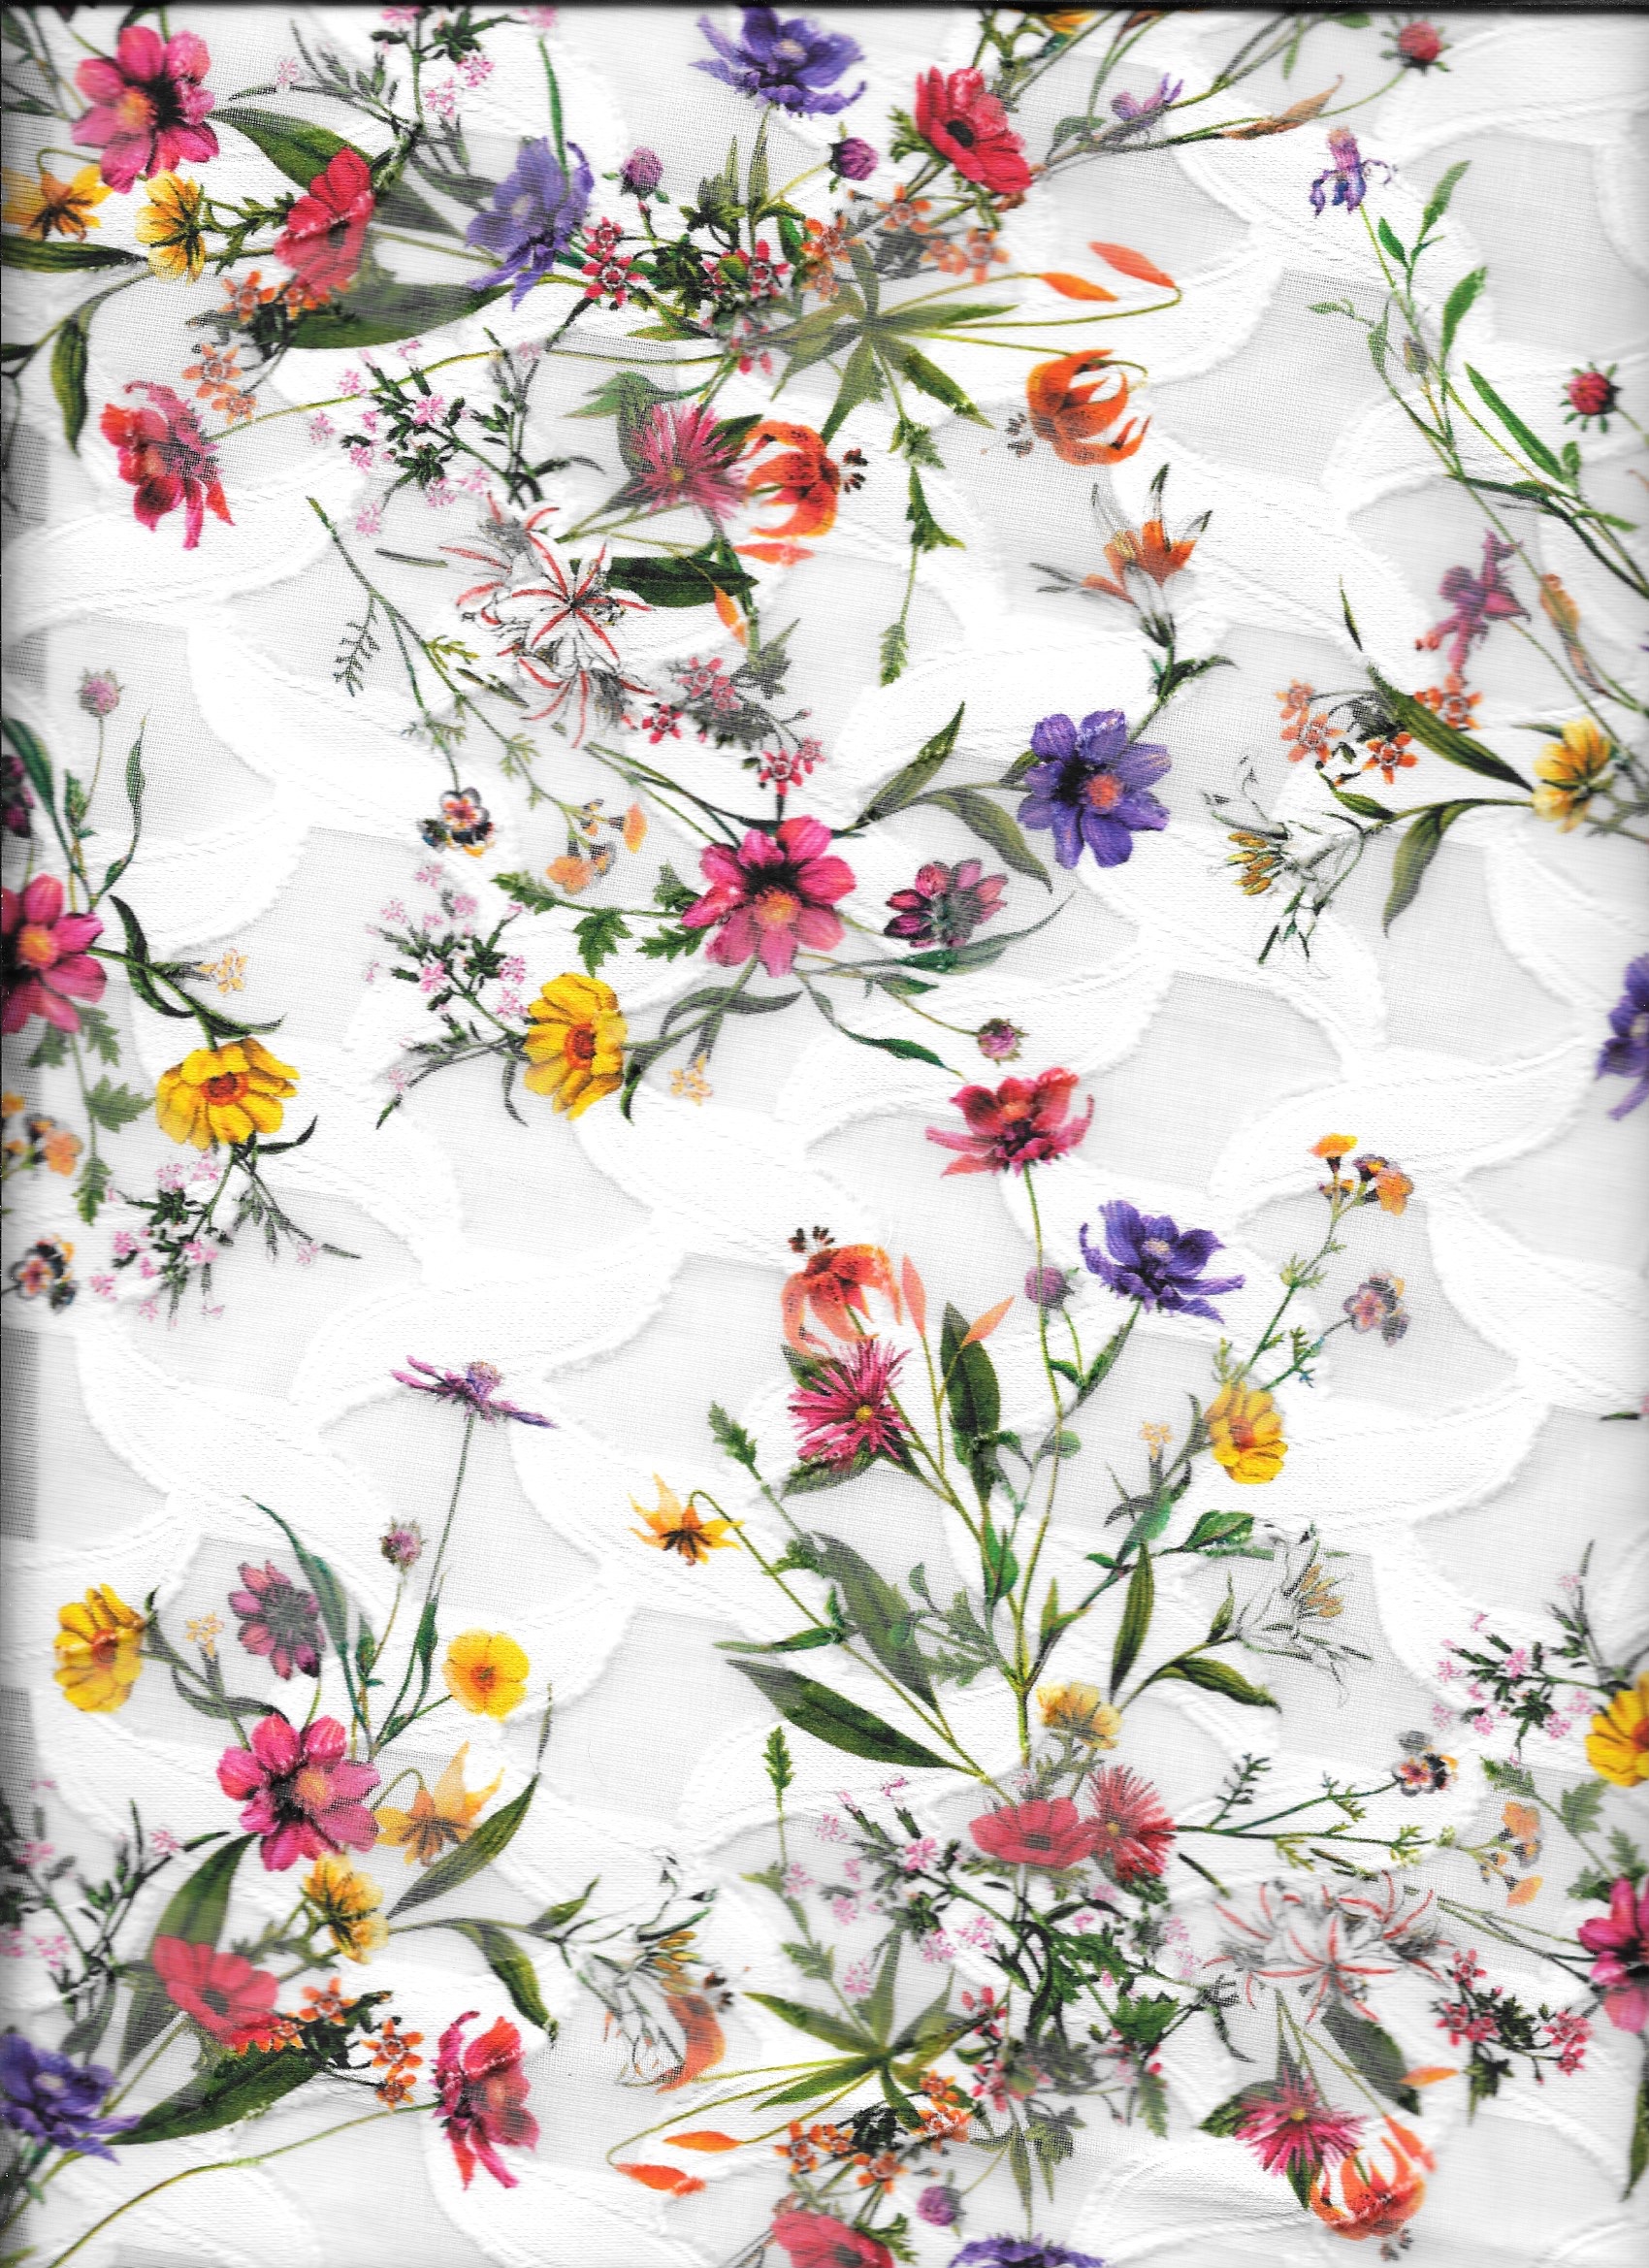
At 60” wide, I knew two yards would be sufficient for just about any summer style I chose to make.  It seemed like every Spring I would take it out and consider the possibilities for it, not reaching a decision.  But this Spring, the “future” had finally arrived, at least for this fabric.

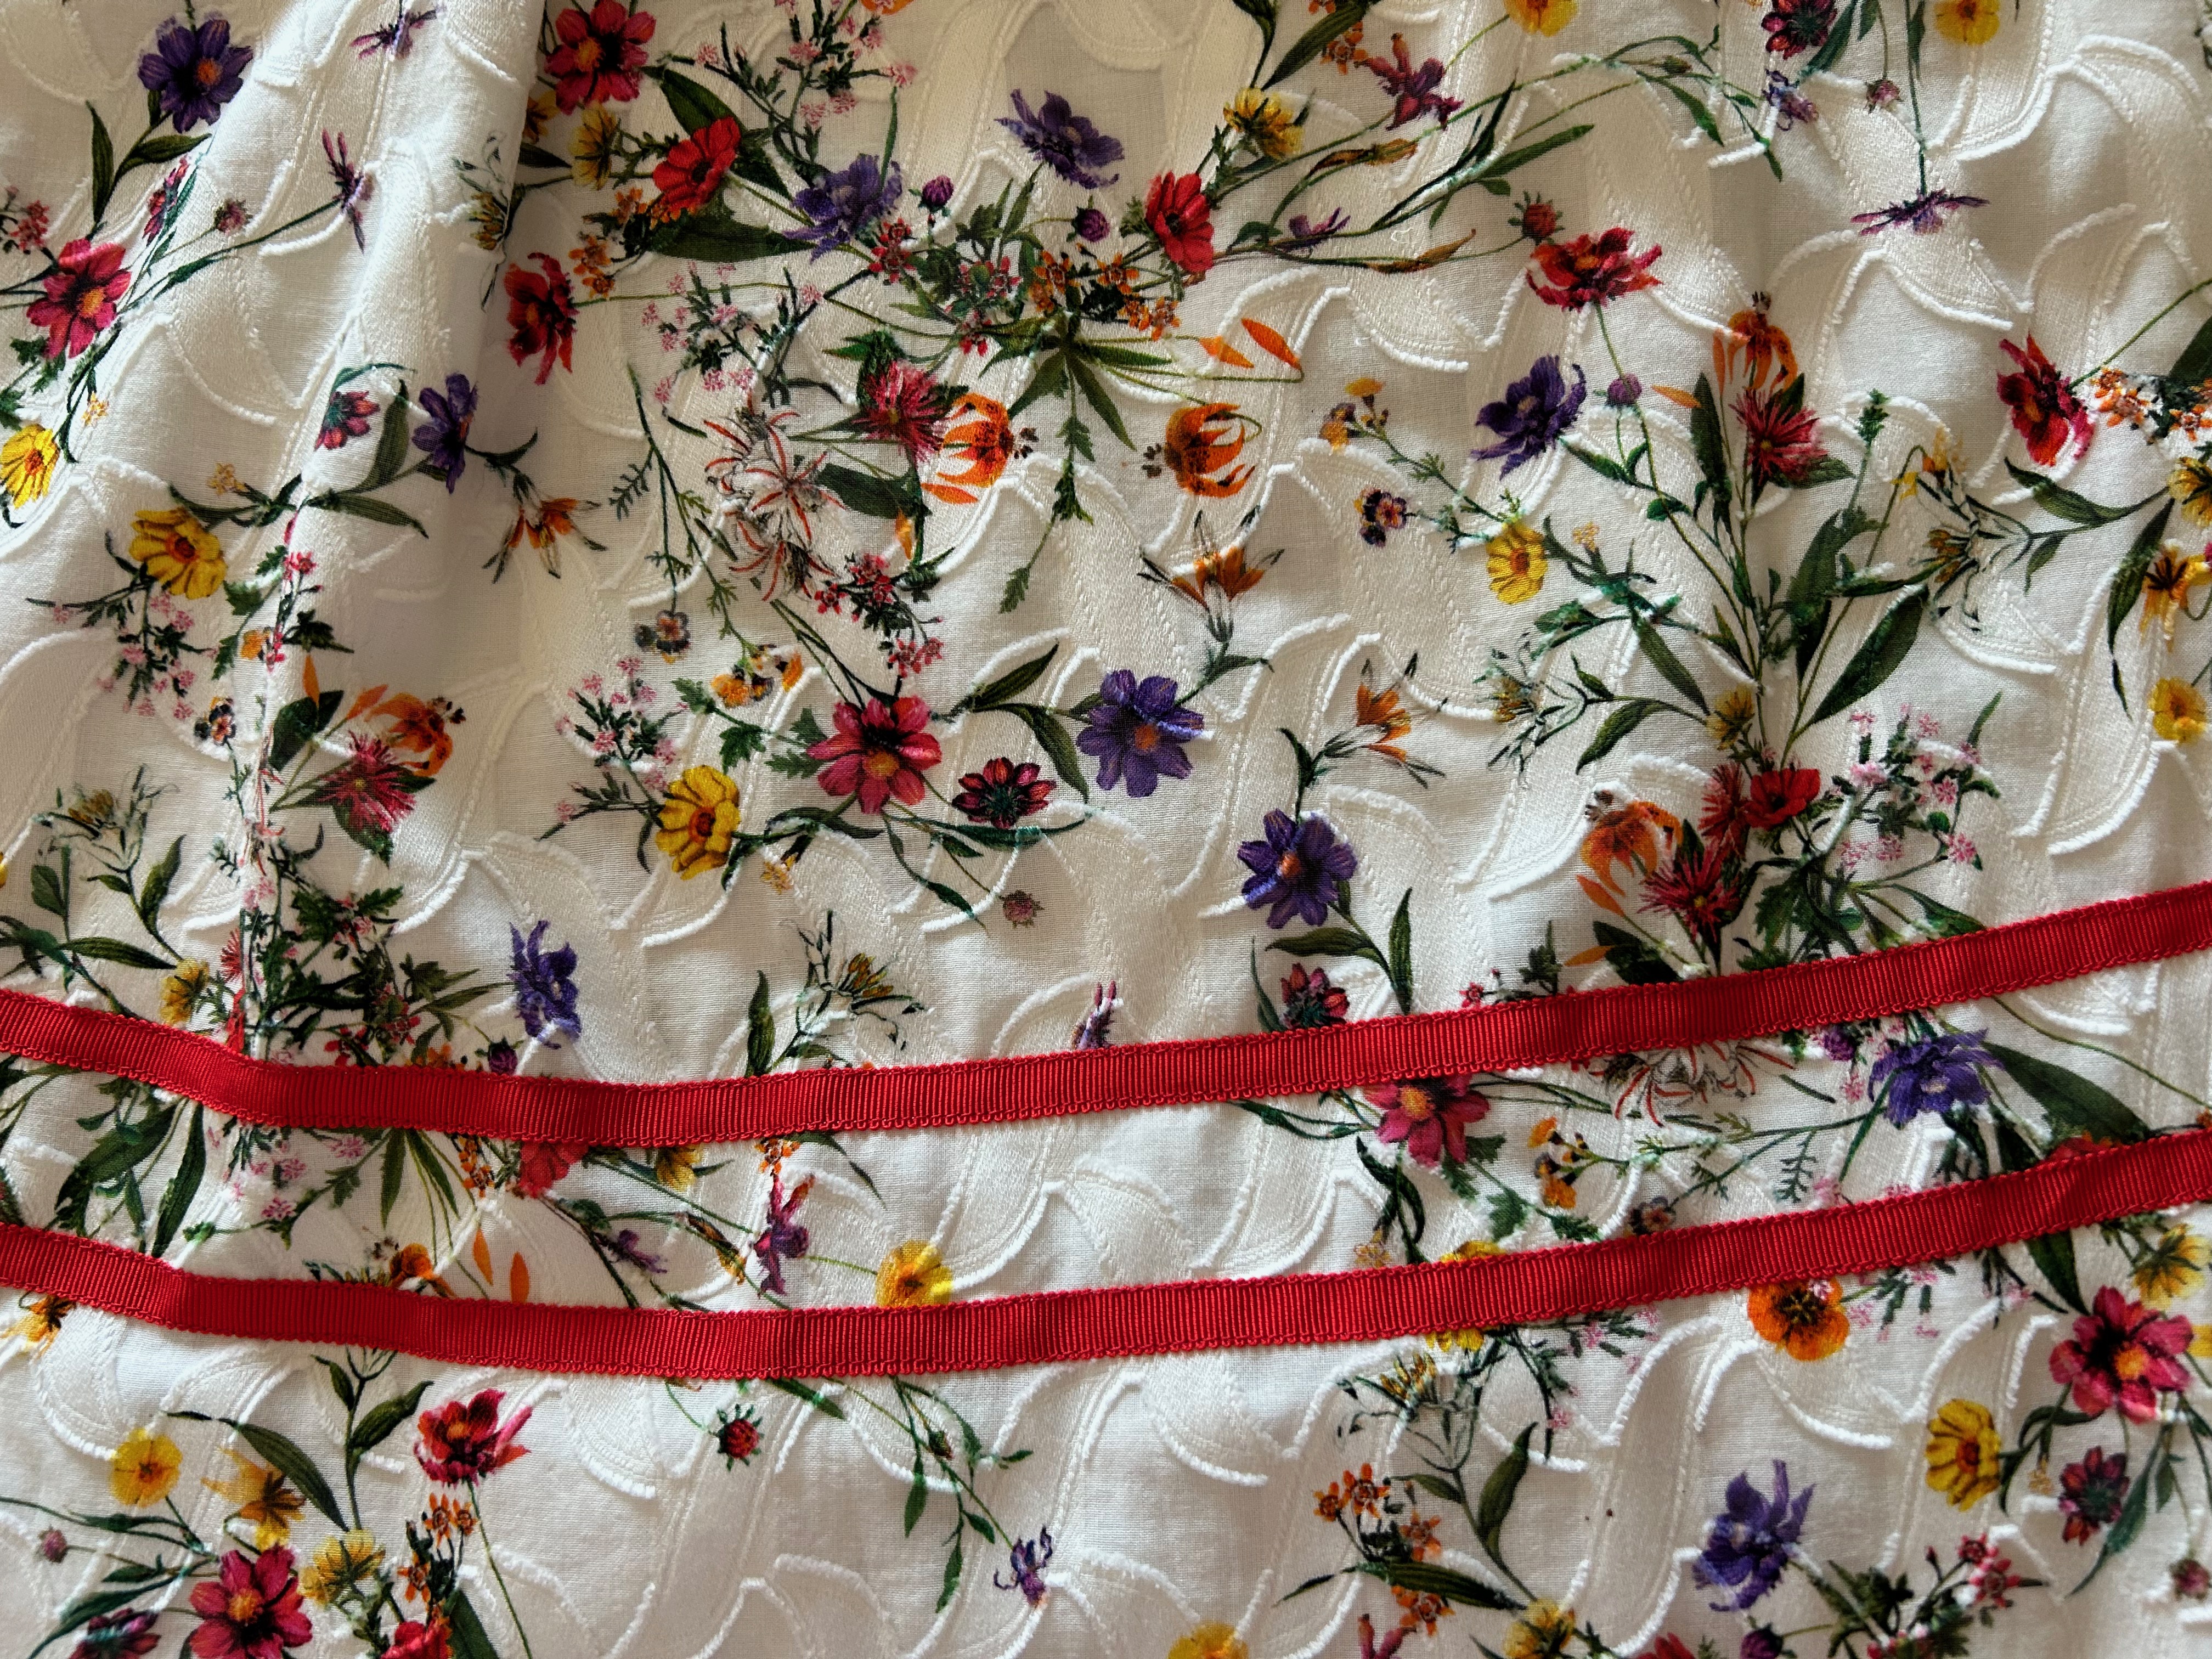
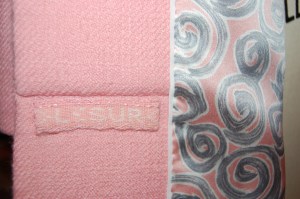
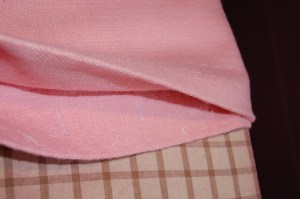
I’m not sure how I came up with the idea to trim it with a coordinating tape/ribbon, but I liked the definition it gave to the colors in the printed floral sprays.  First, I thought purple would be a great color to pair with it, then I went to yellow, then to pink.  None of those seemed to make the fabric pop the way I anticipated they would.  So, even though red is not a dominant color in the print, I decided to try it. And that was it – it worked!

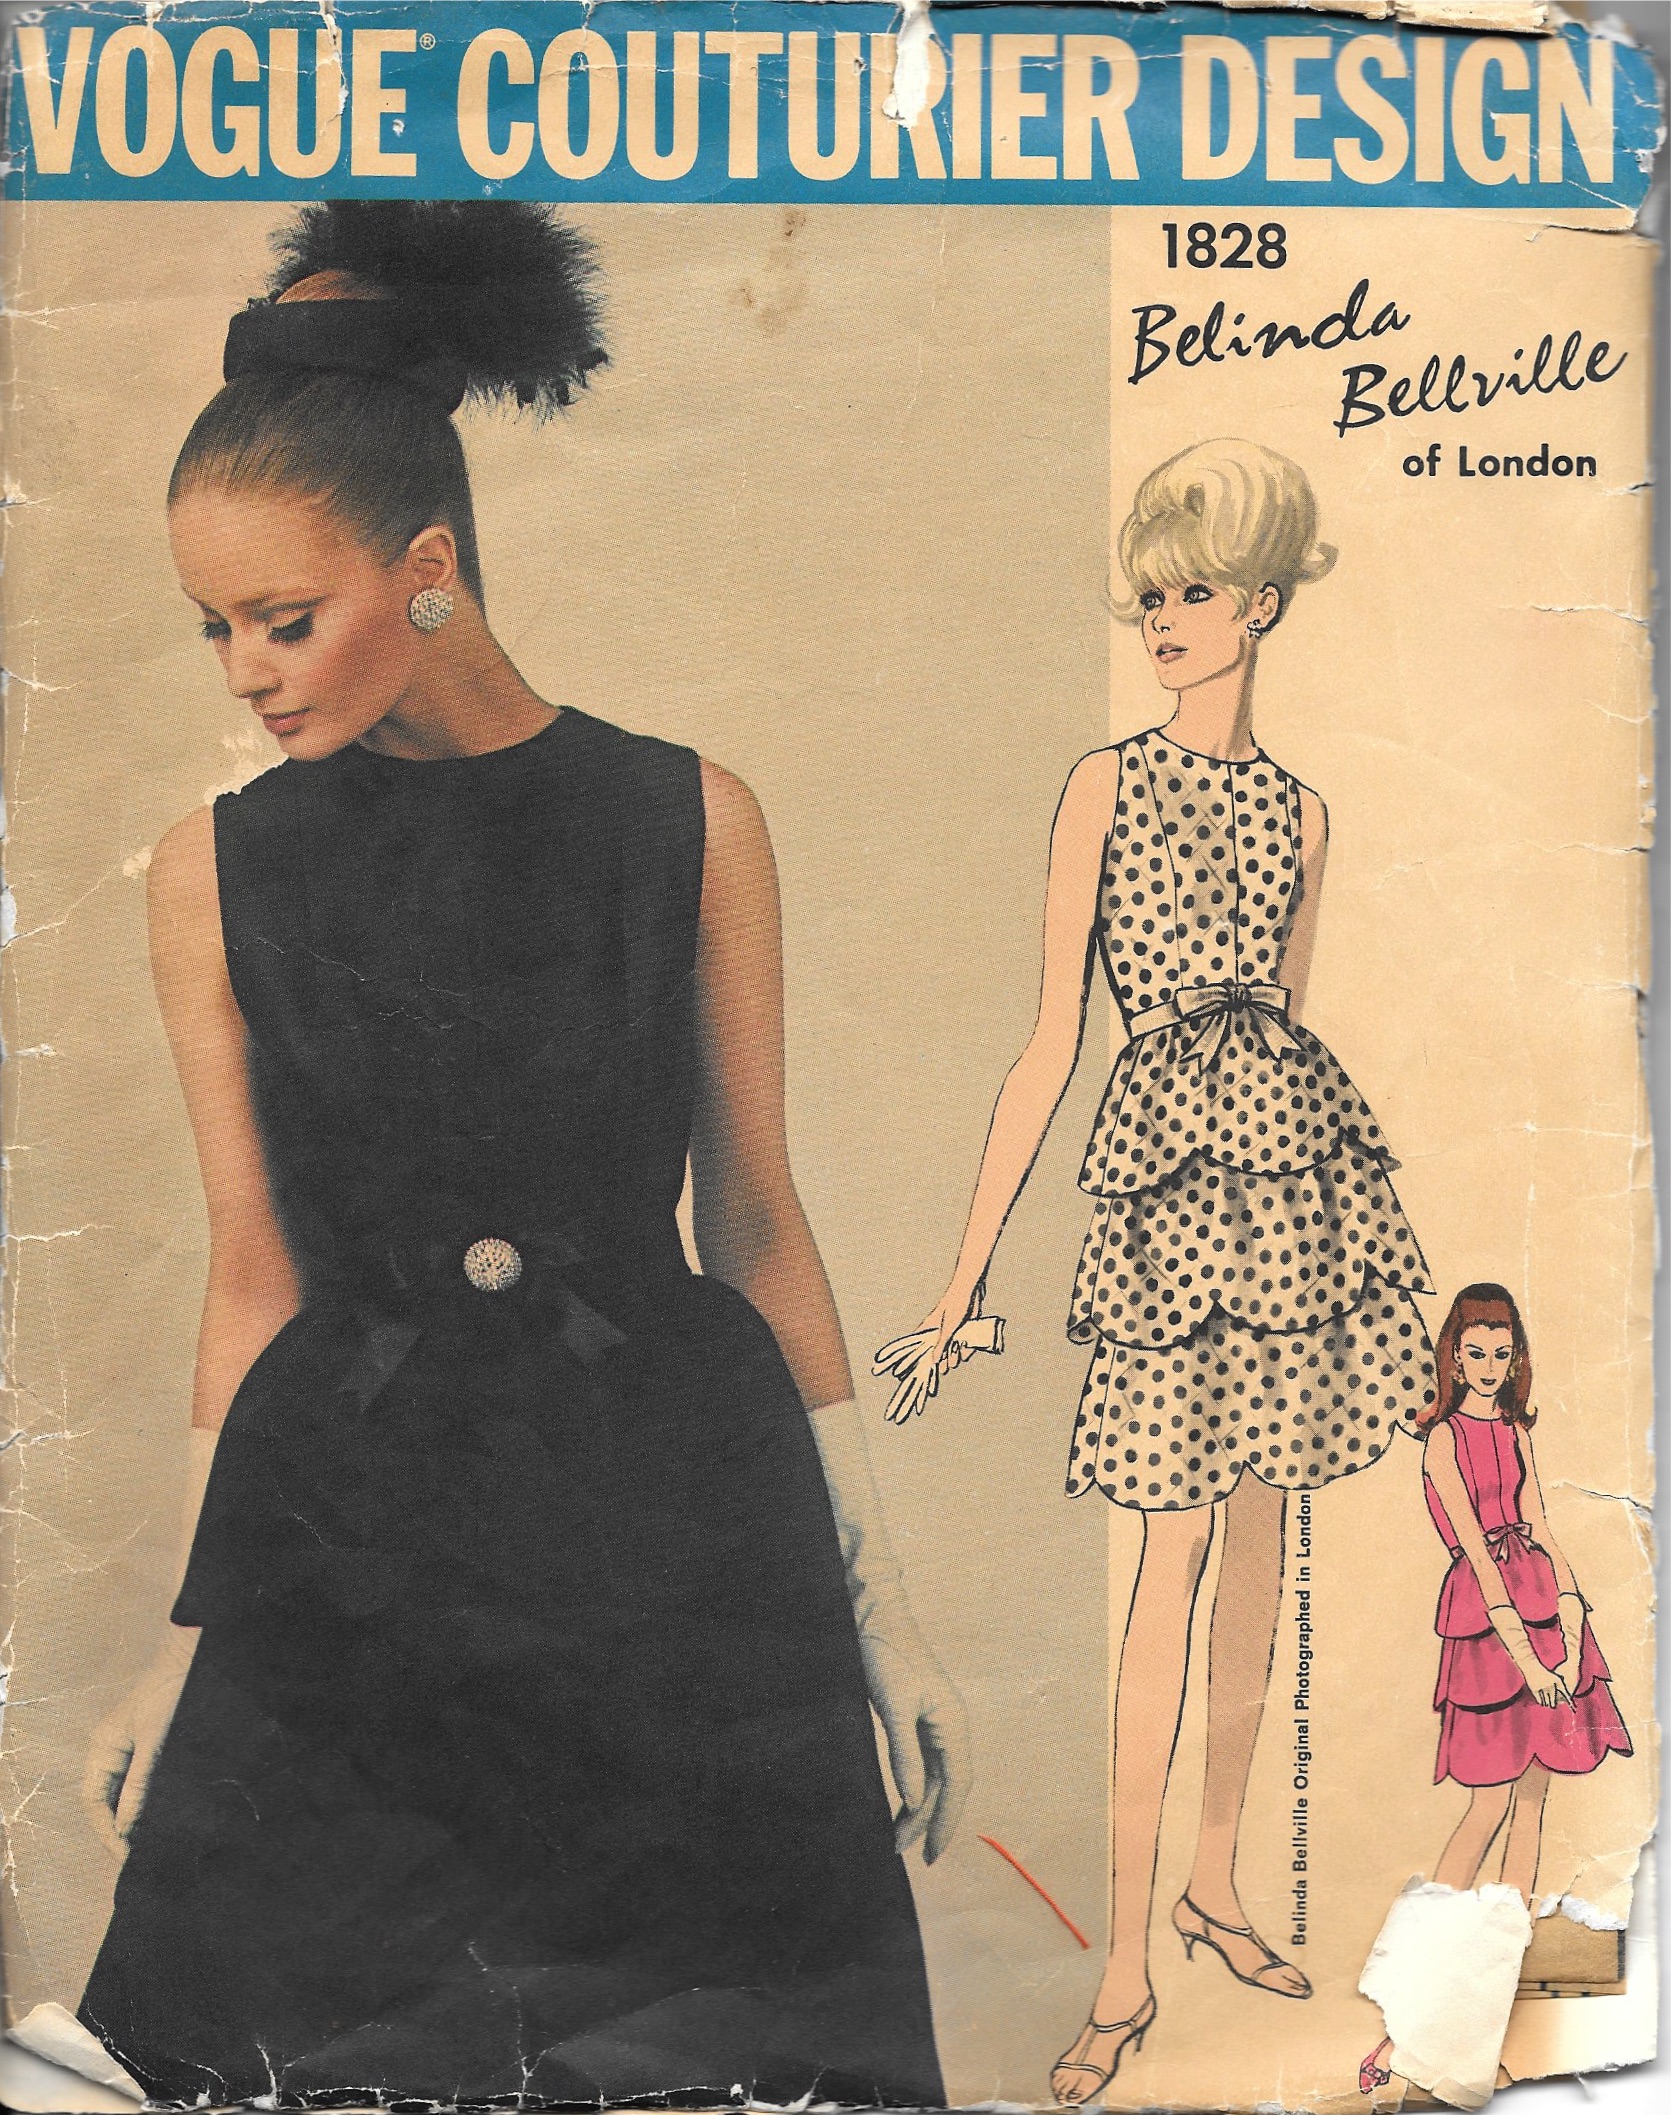
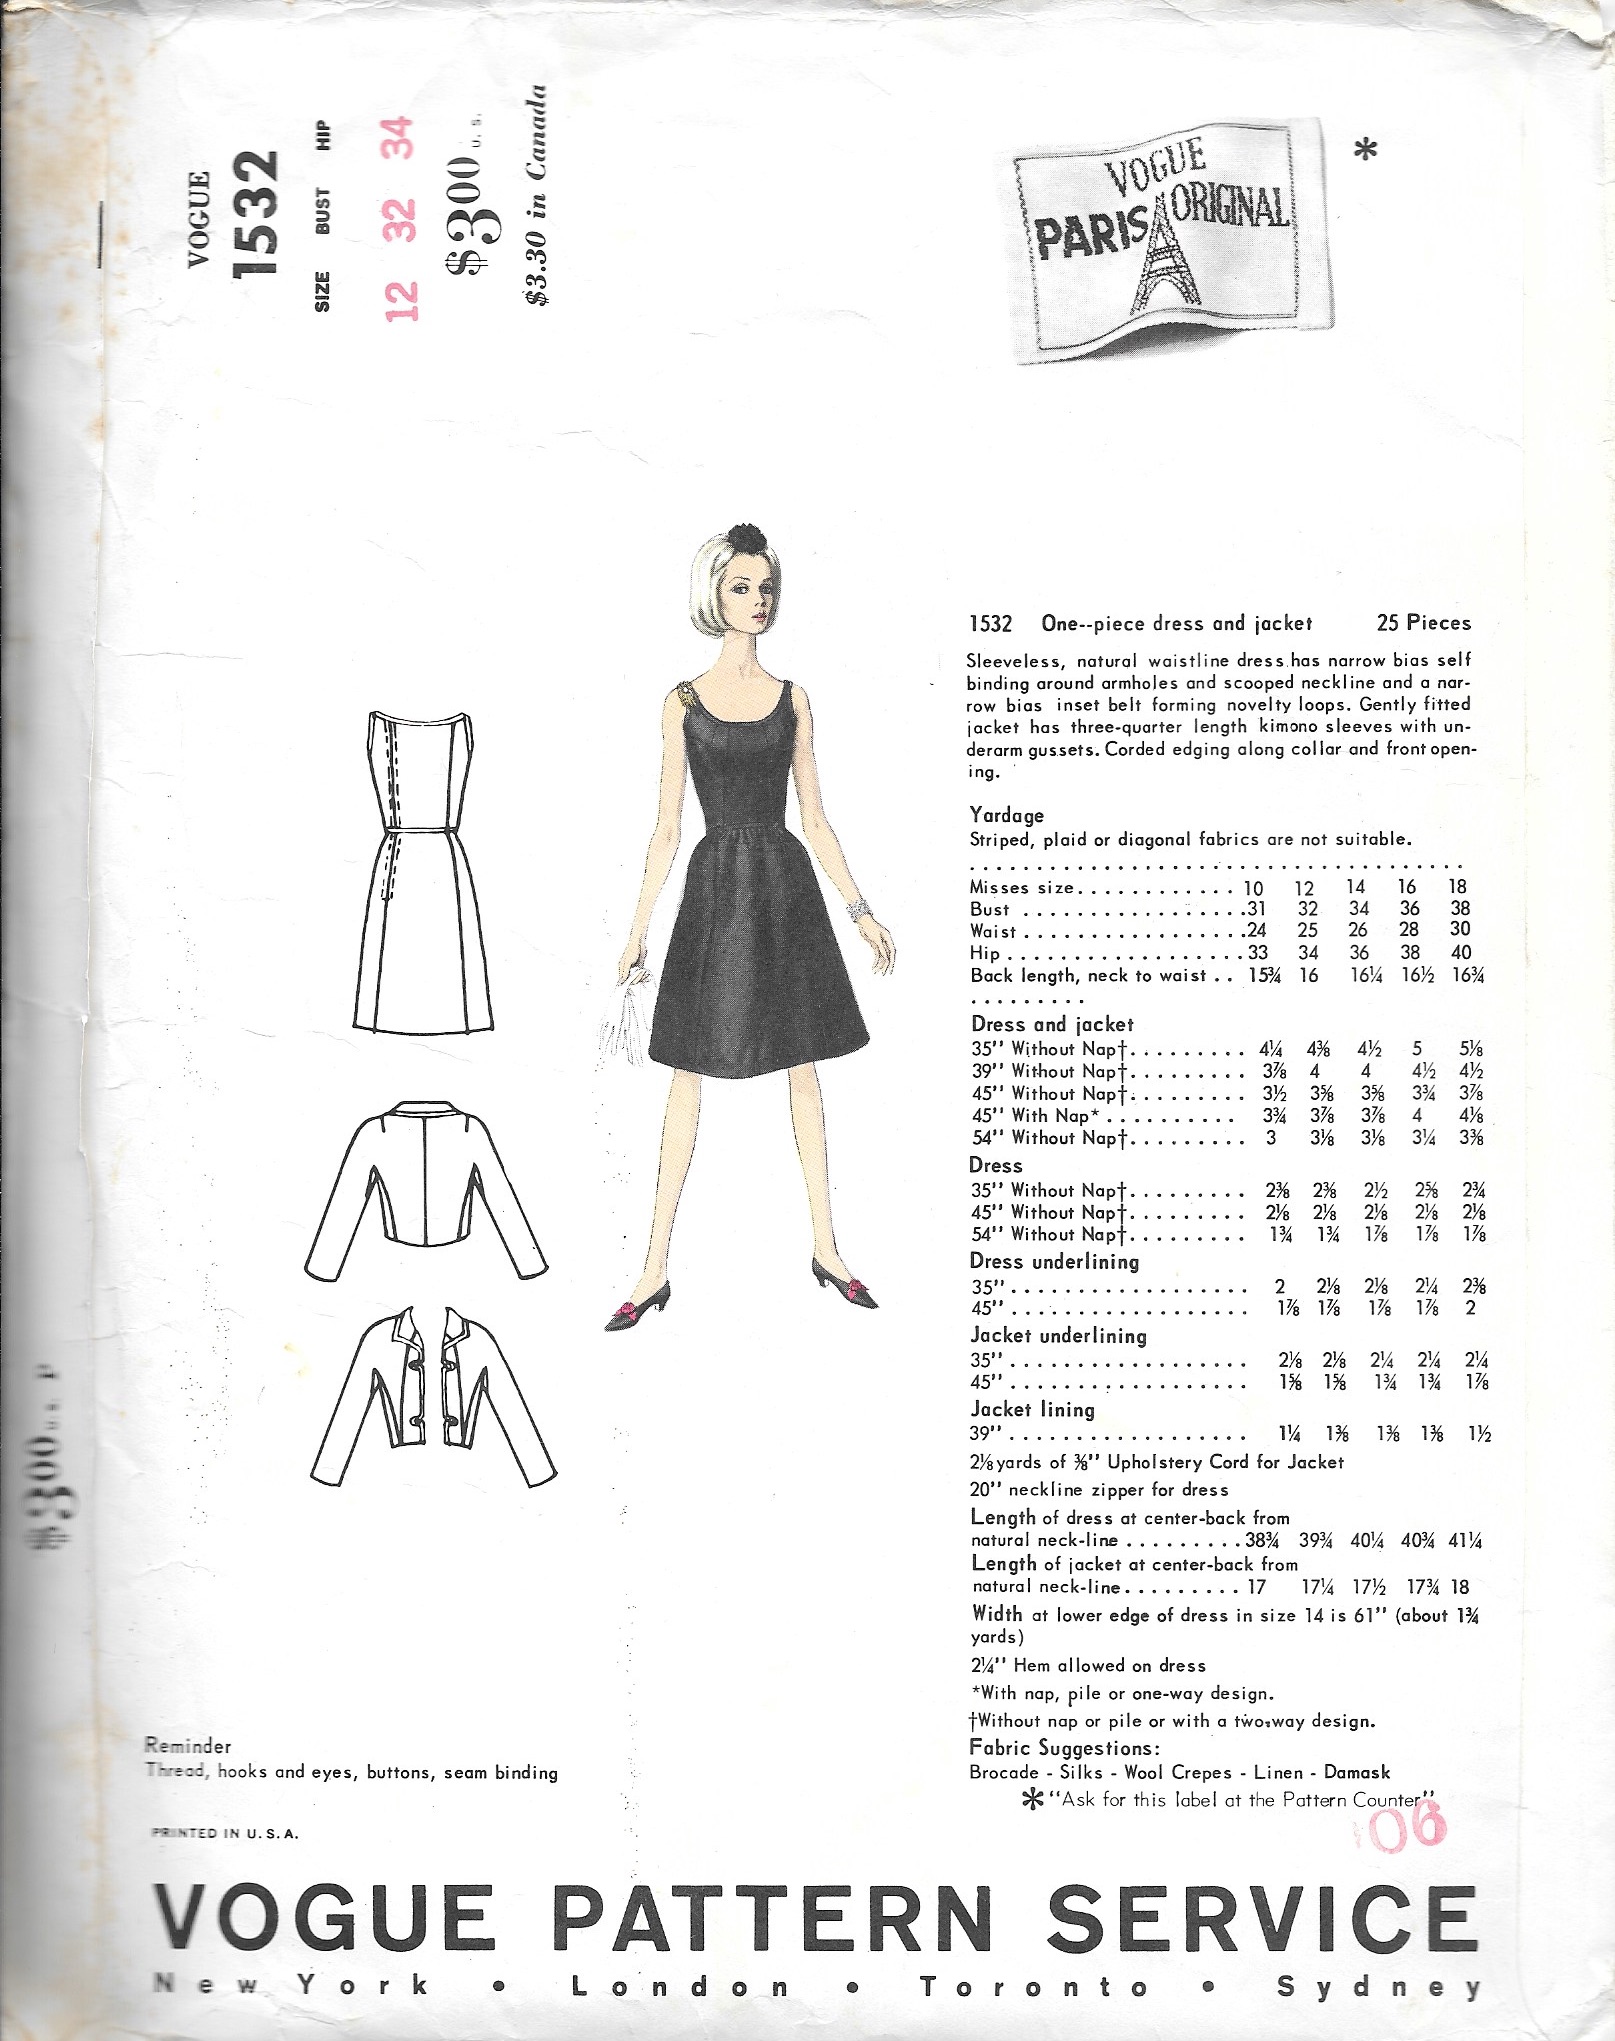
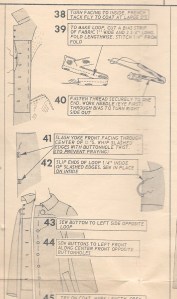
I had already decided on a Vogue pattern I had previously used twice, albeit with a number of obvious changes.  

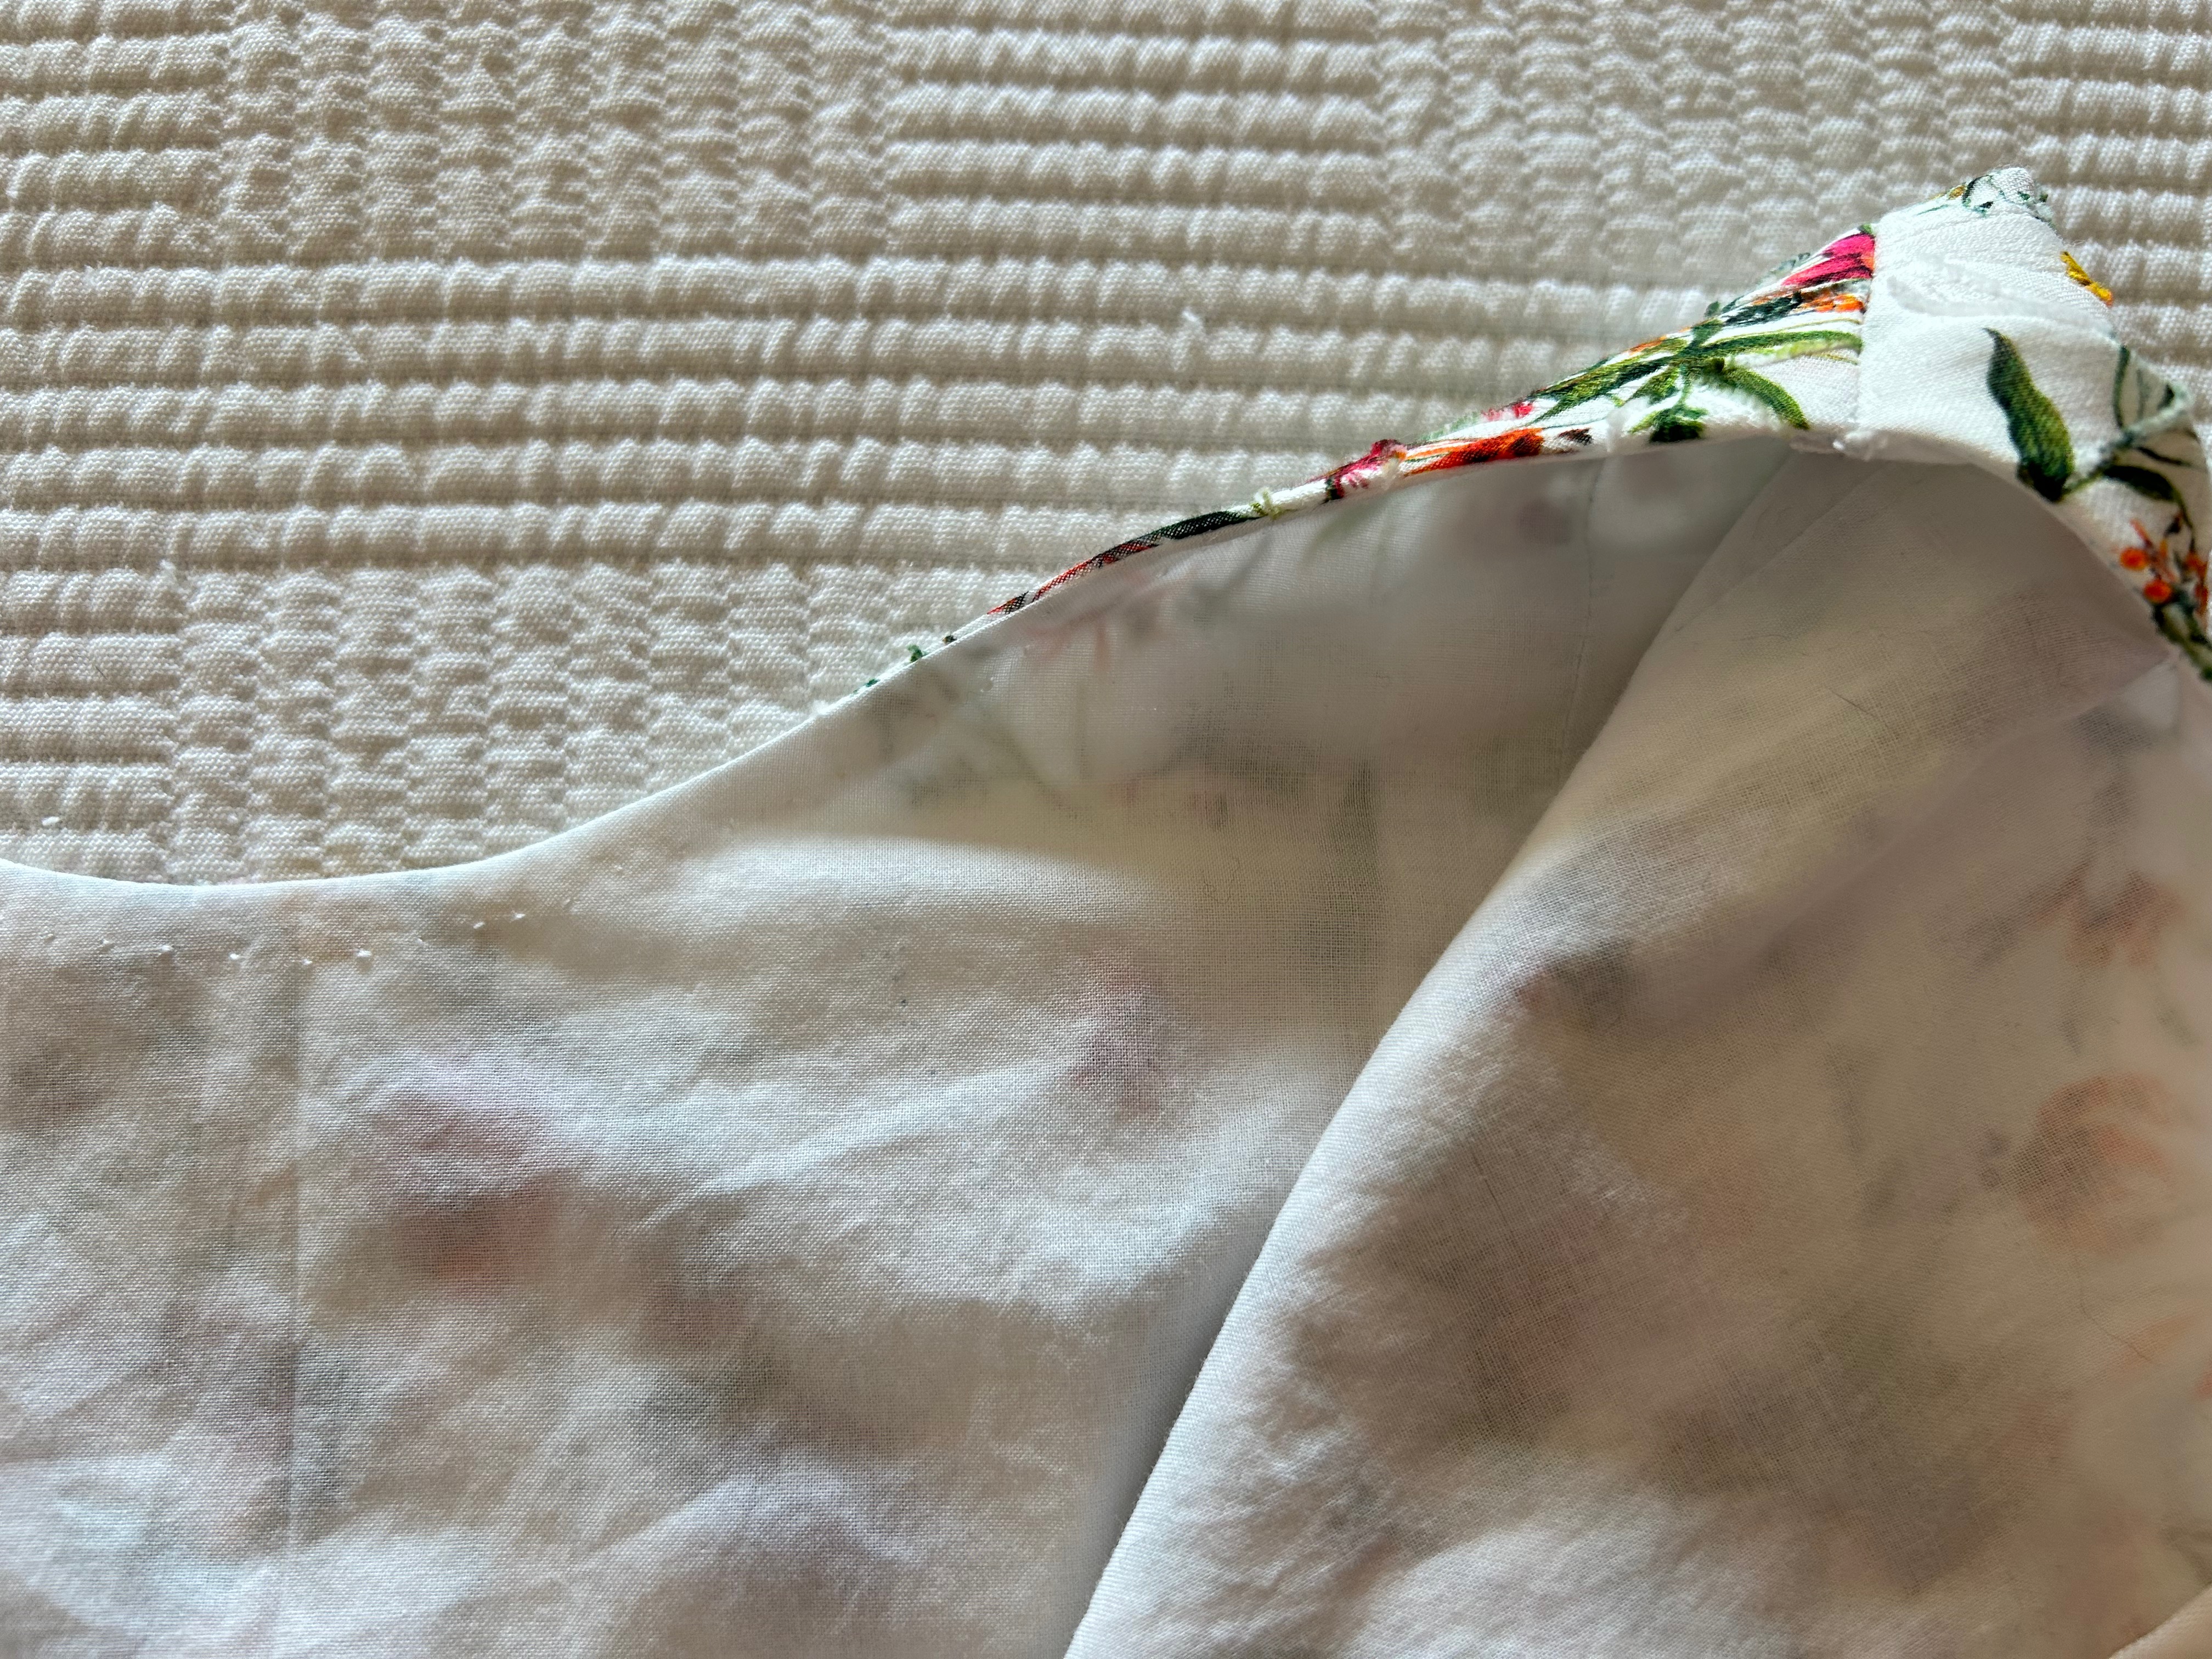
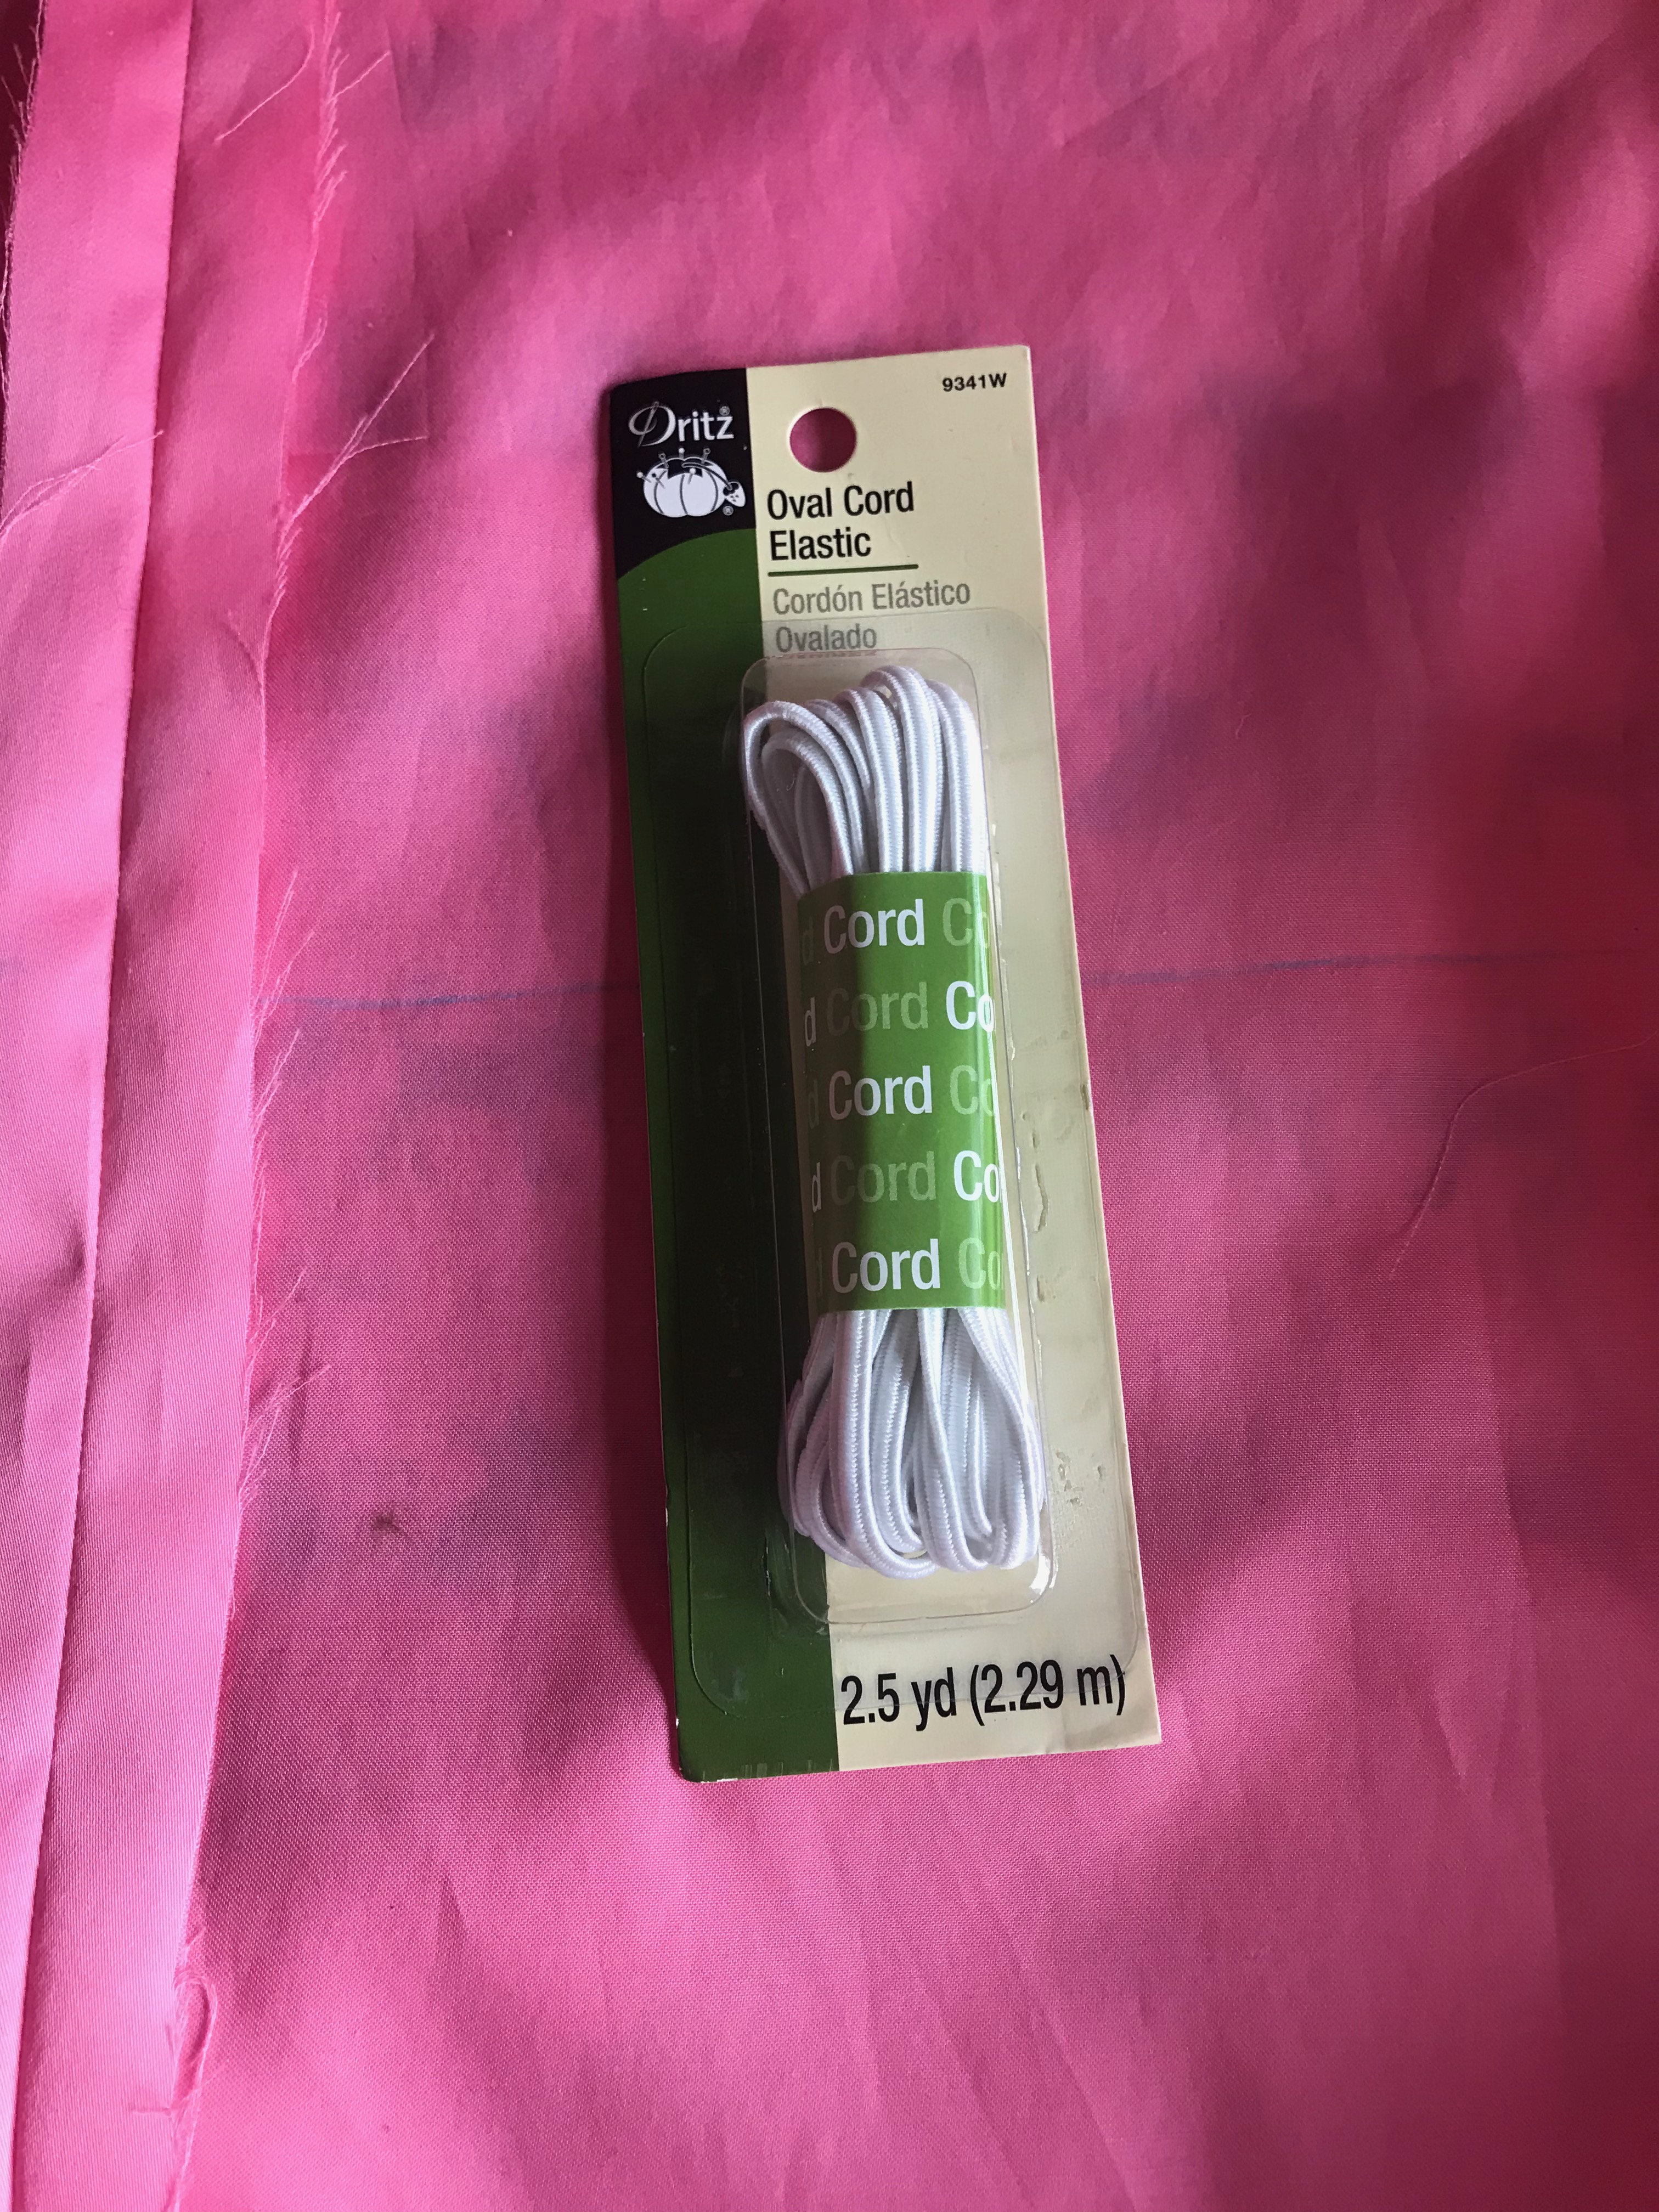
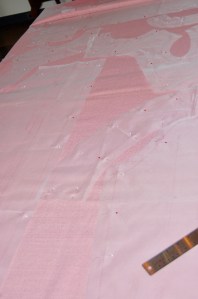
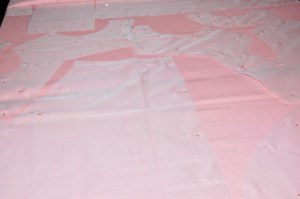
The first construction decision facing me was whether to underline it with cotton batiste and then also line it with – I wasn’t sure what; or just line it and hope that would be sufficient.  I wanted to preserve the light, airy feel of the fabric, but I also needed to address the sheerness of part of the fabric.  

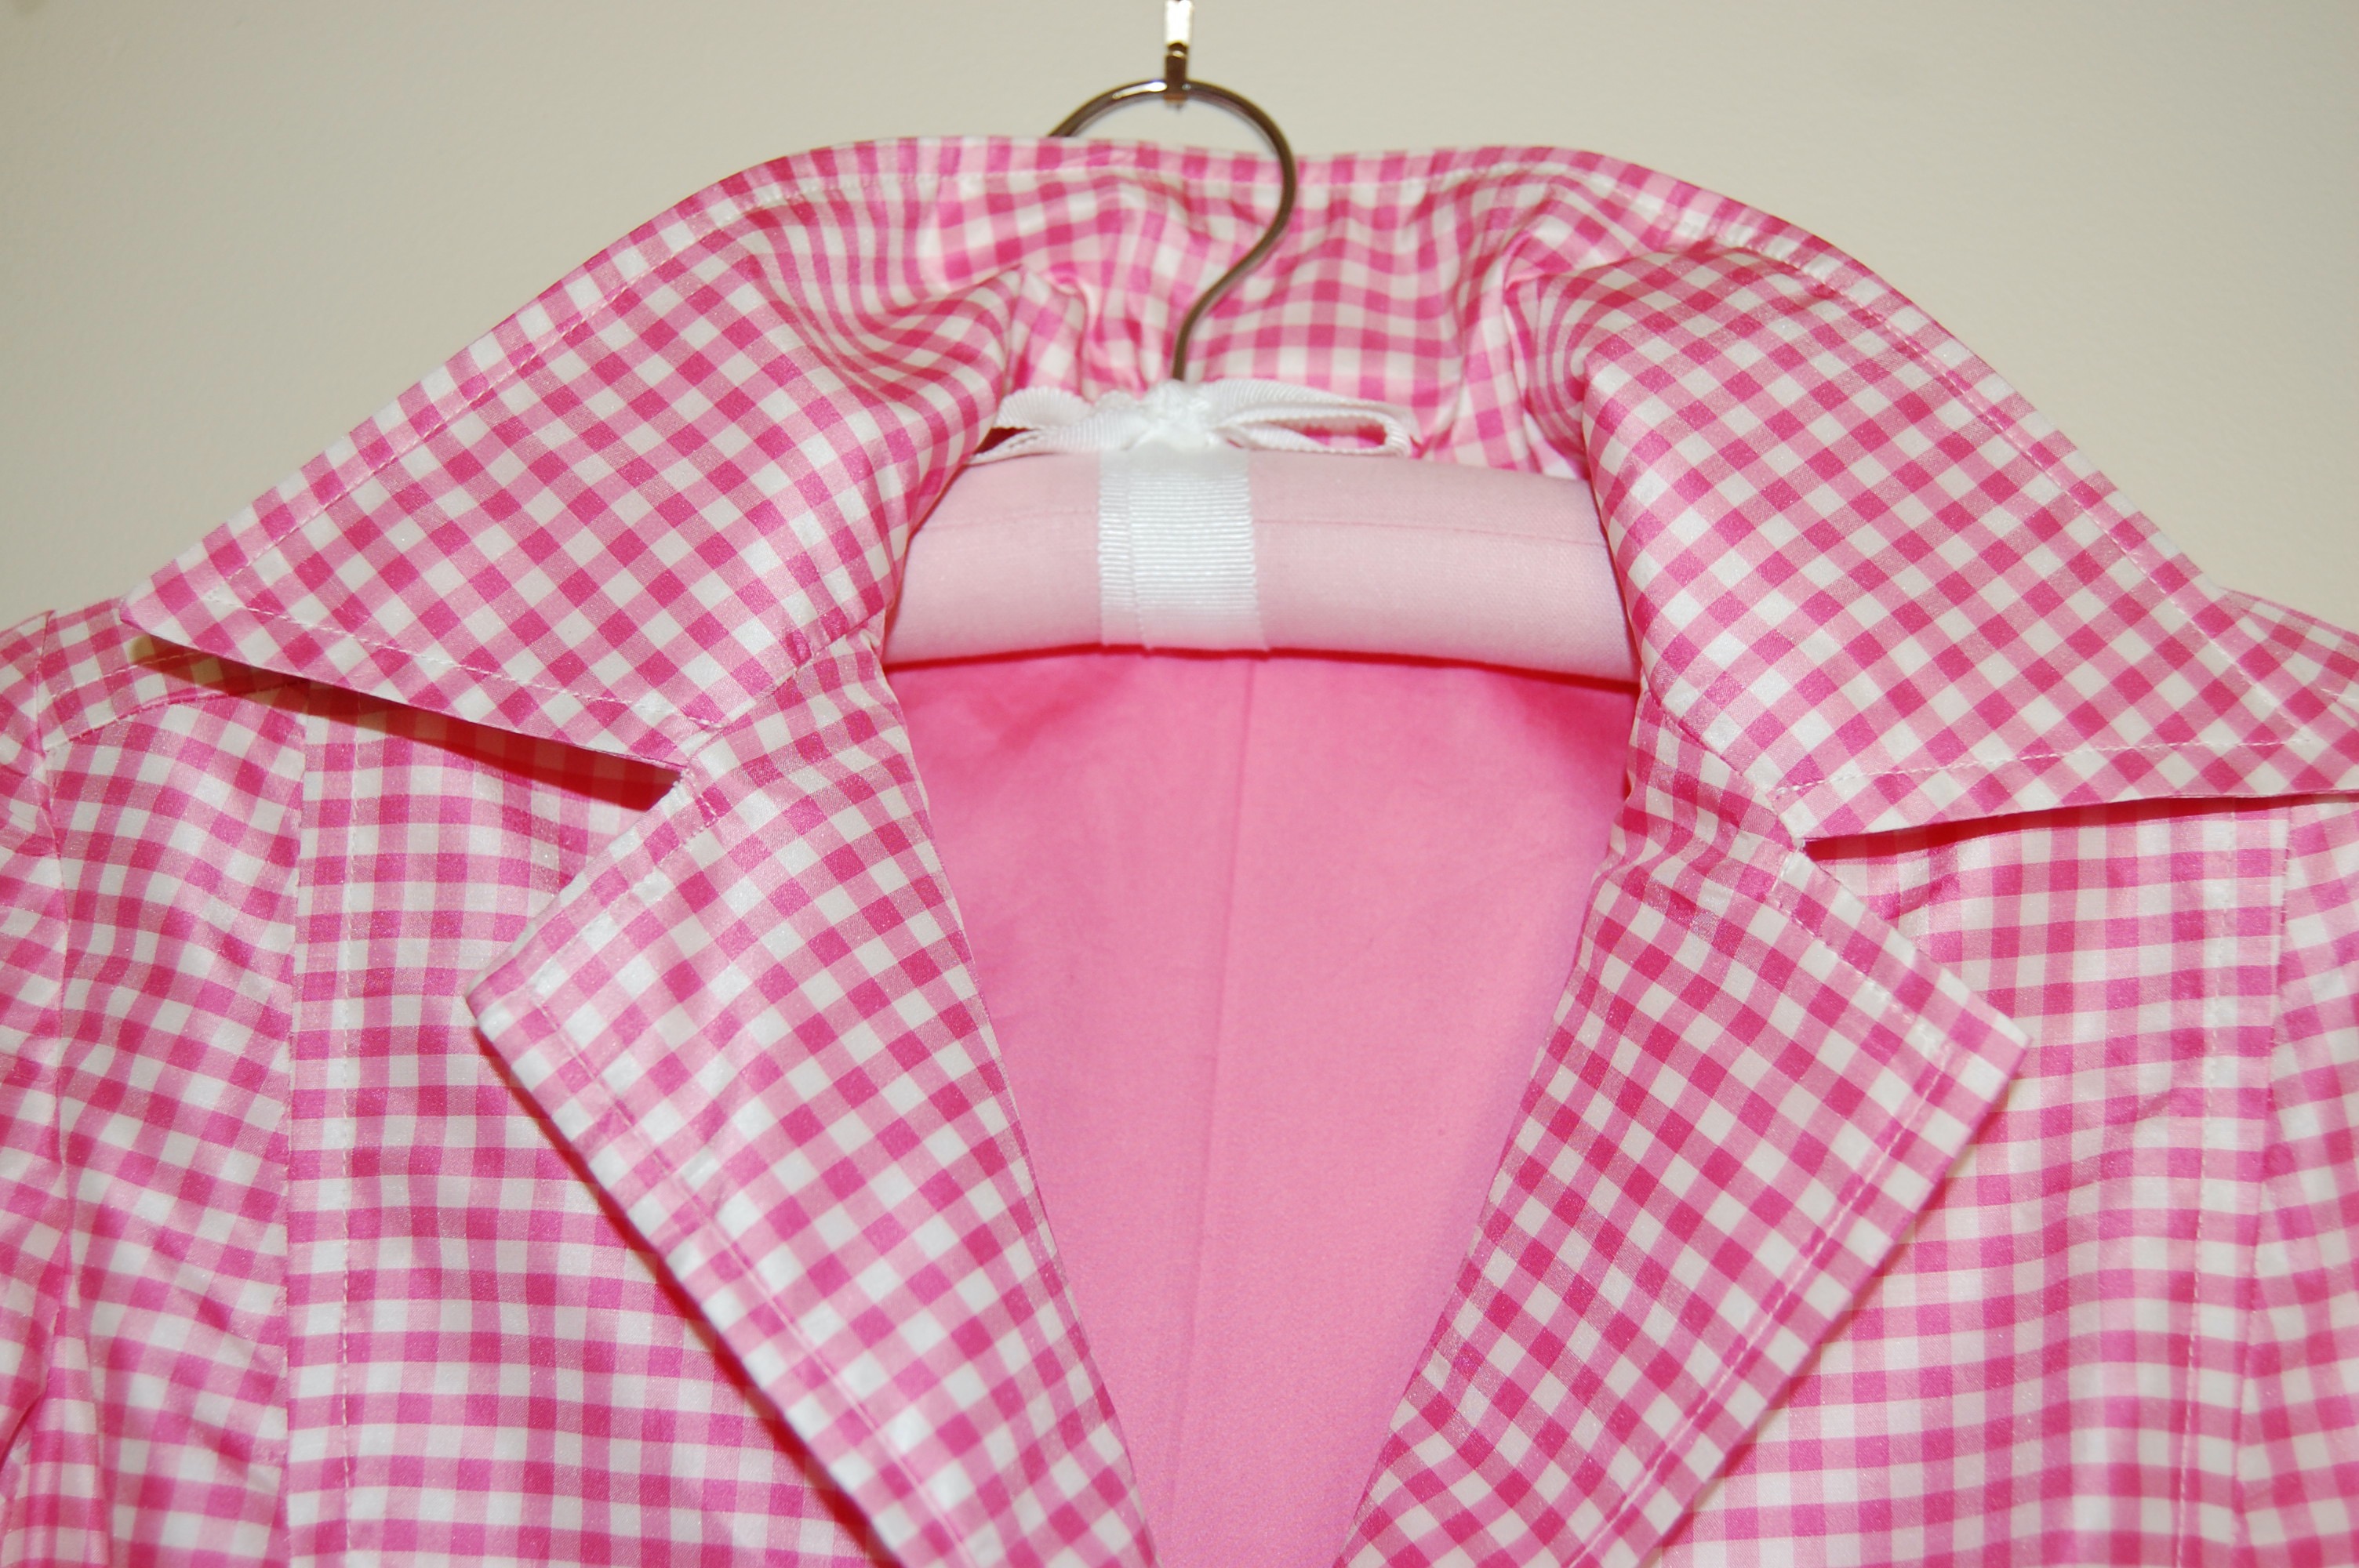
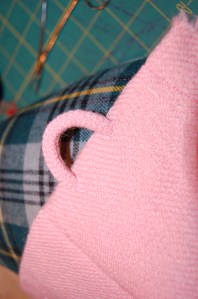
After much thought and experimentation, I went with using only a simple cotton batiste lining. That turned out to be the right decision.  I under-stitched around the inside of the neckline and armscyes even though I did not have an underlining upon which to secure those stitches.  However, the under-stitching – which caught only the seam allowance – still had enough of a stabilizing effect to secure those edges. 

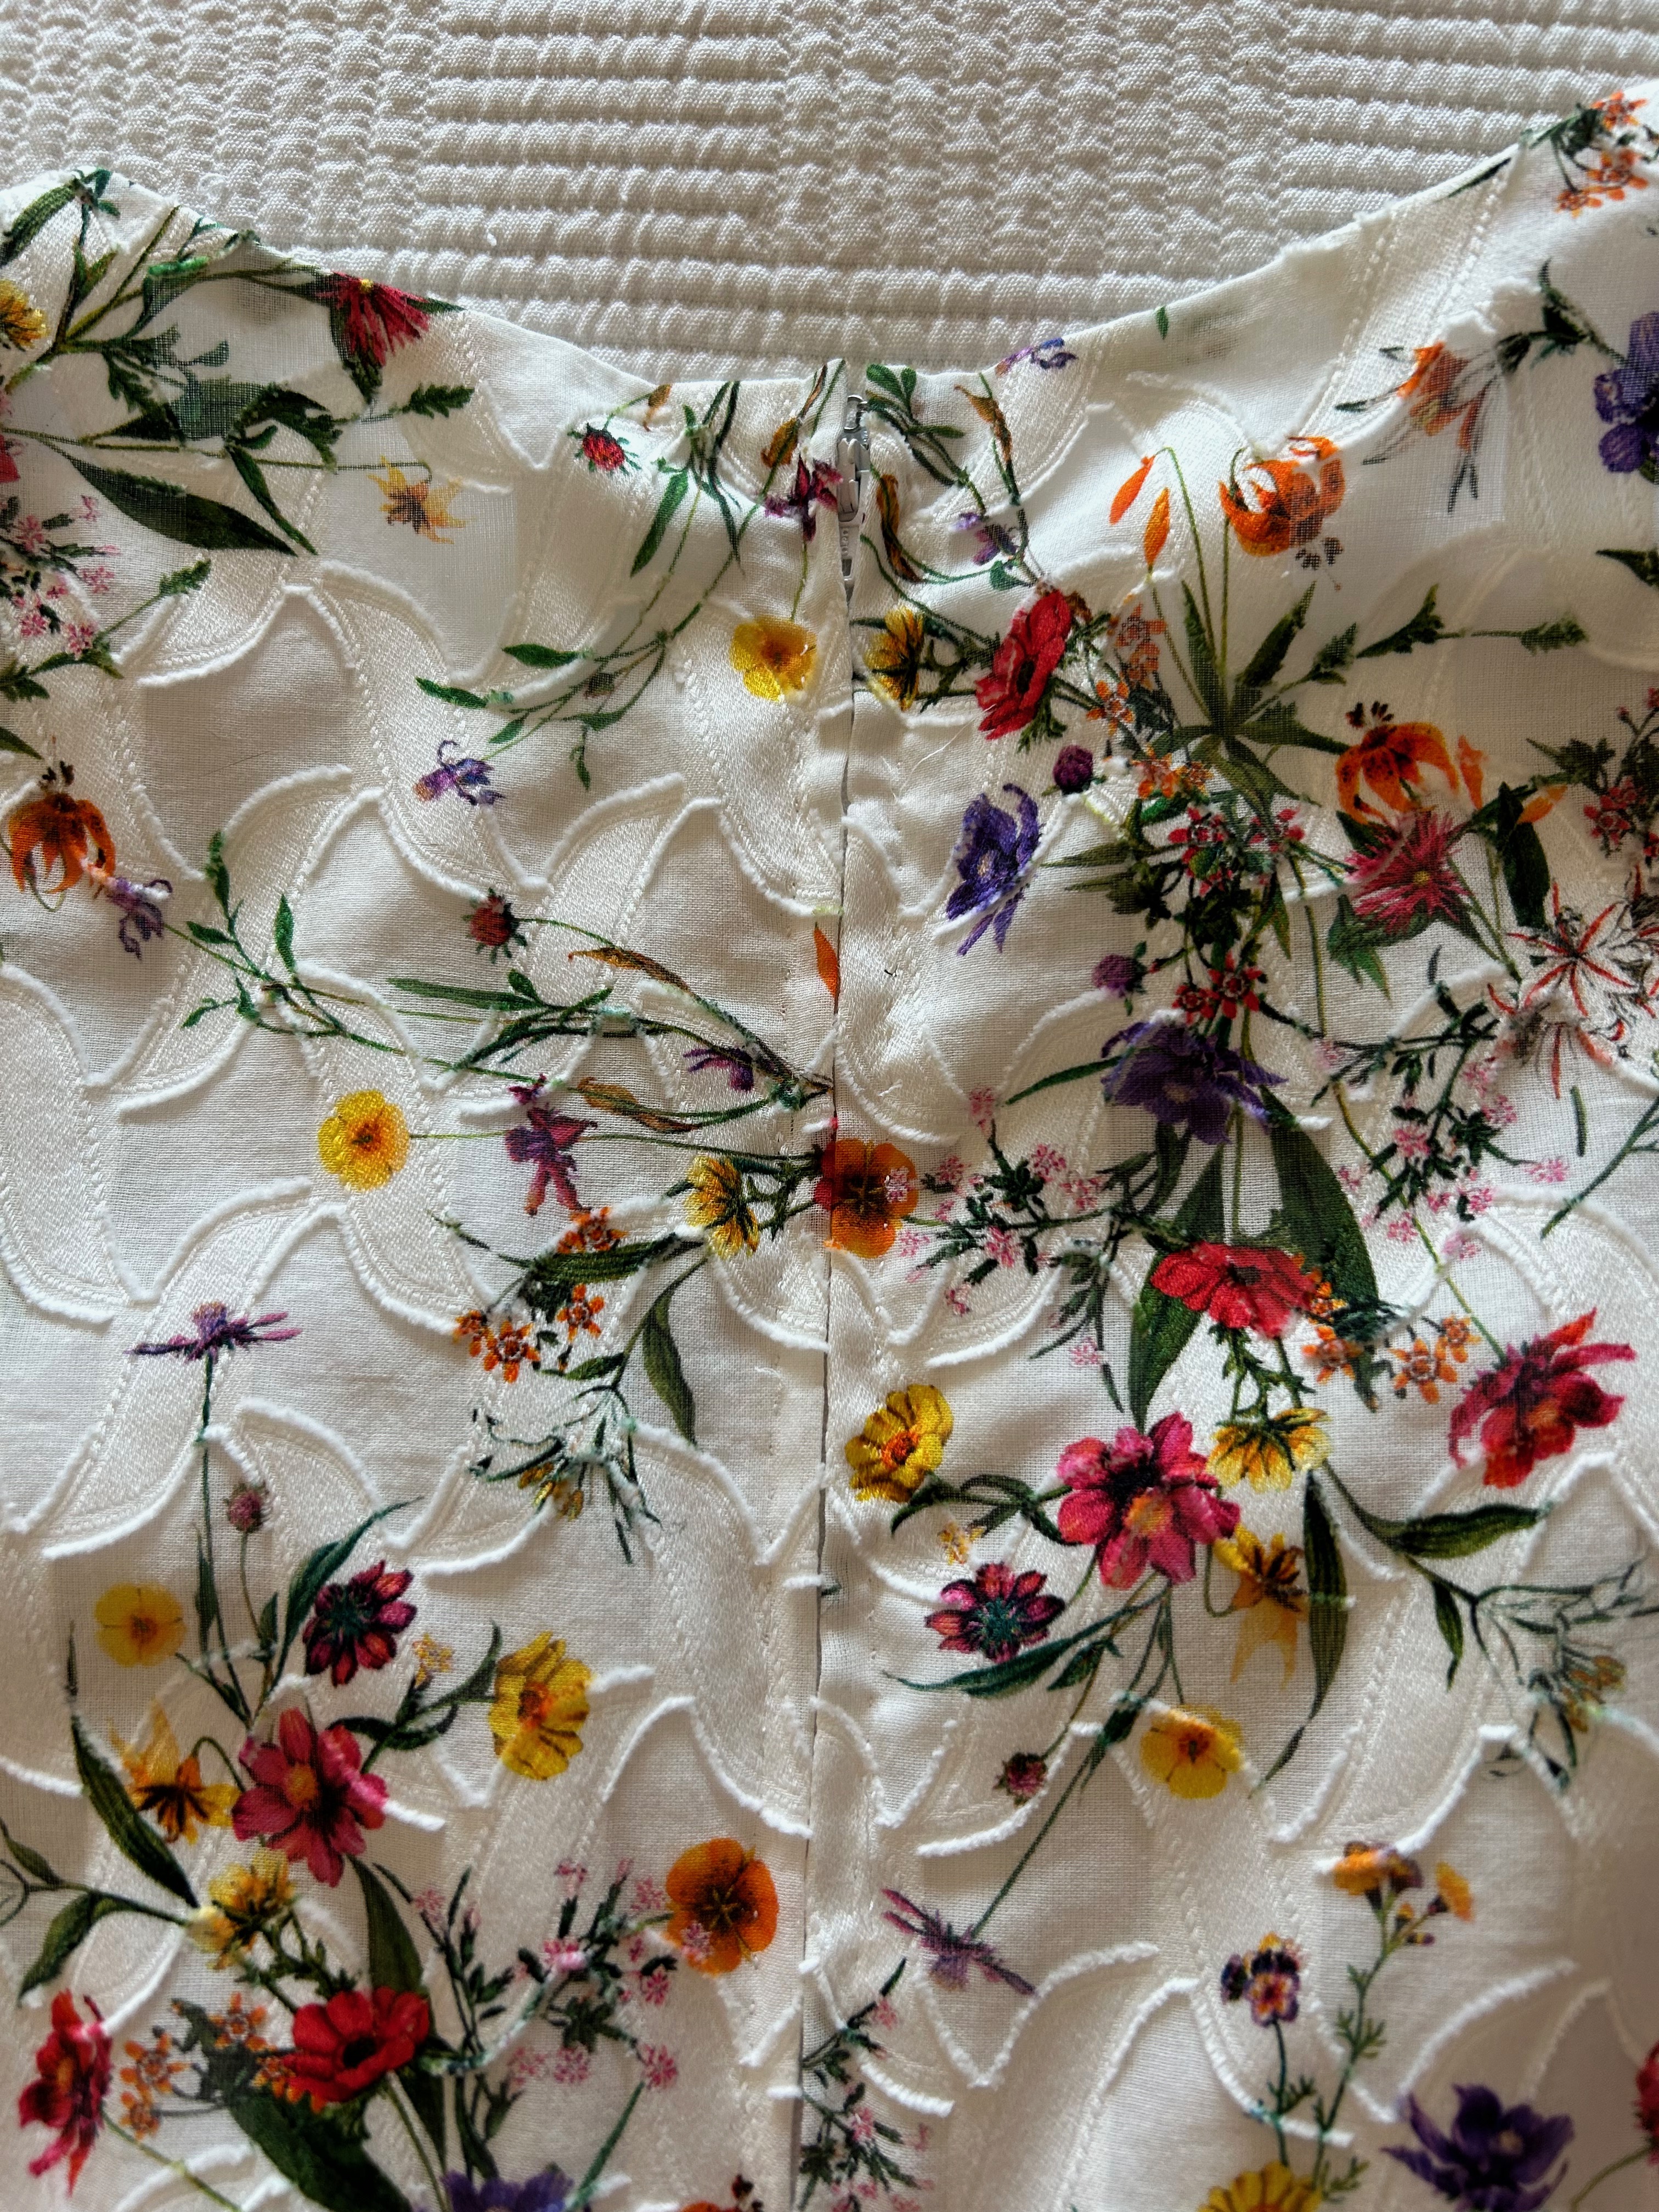
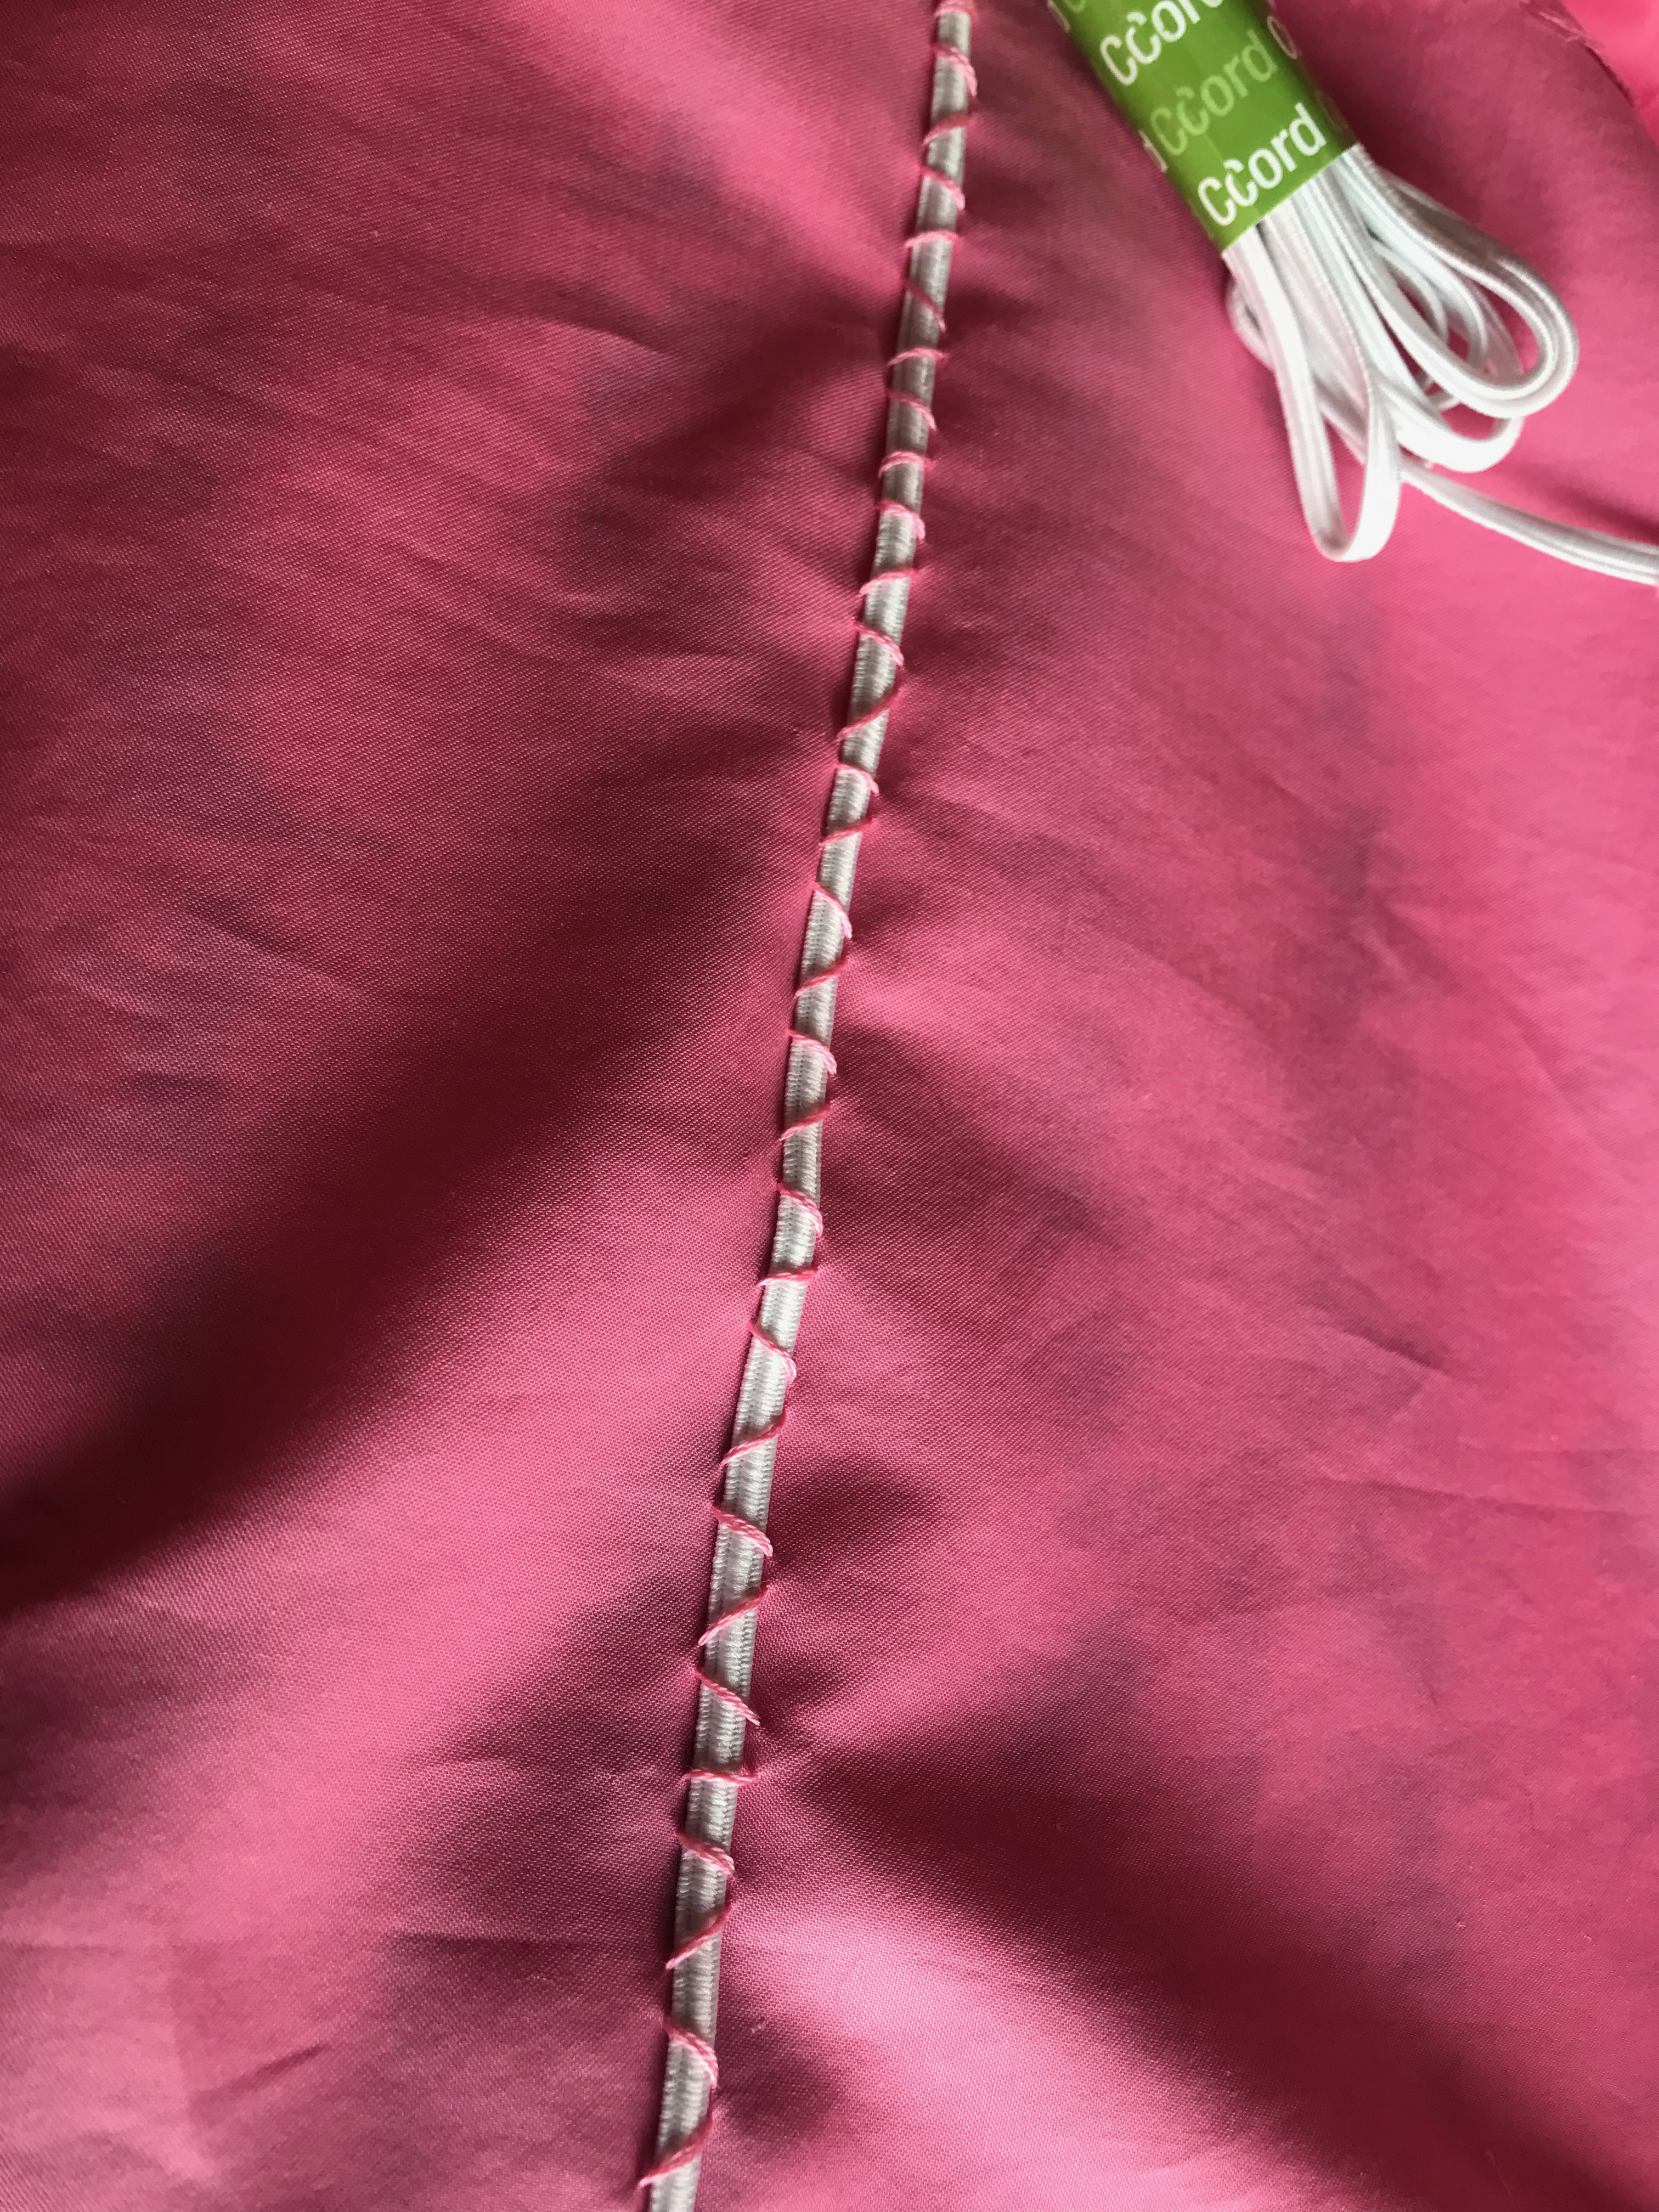
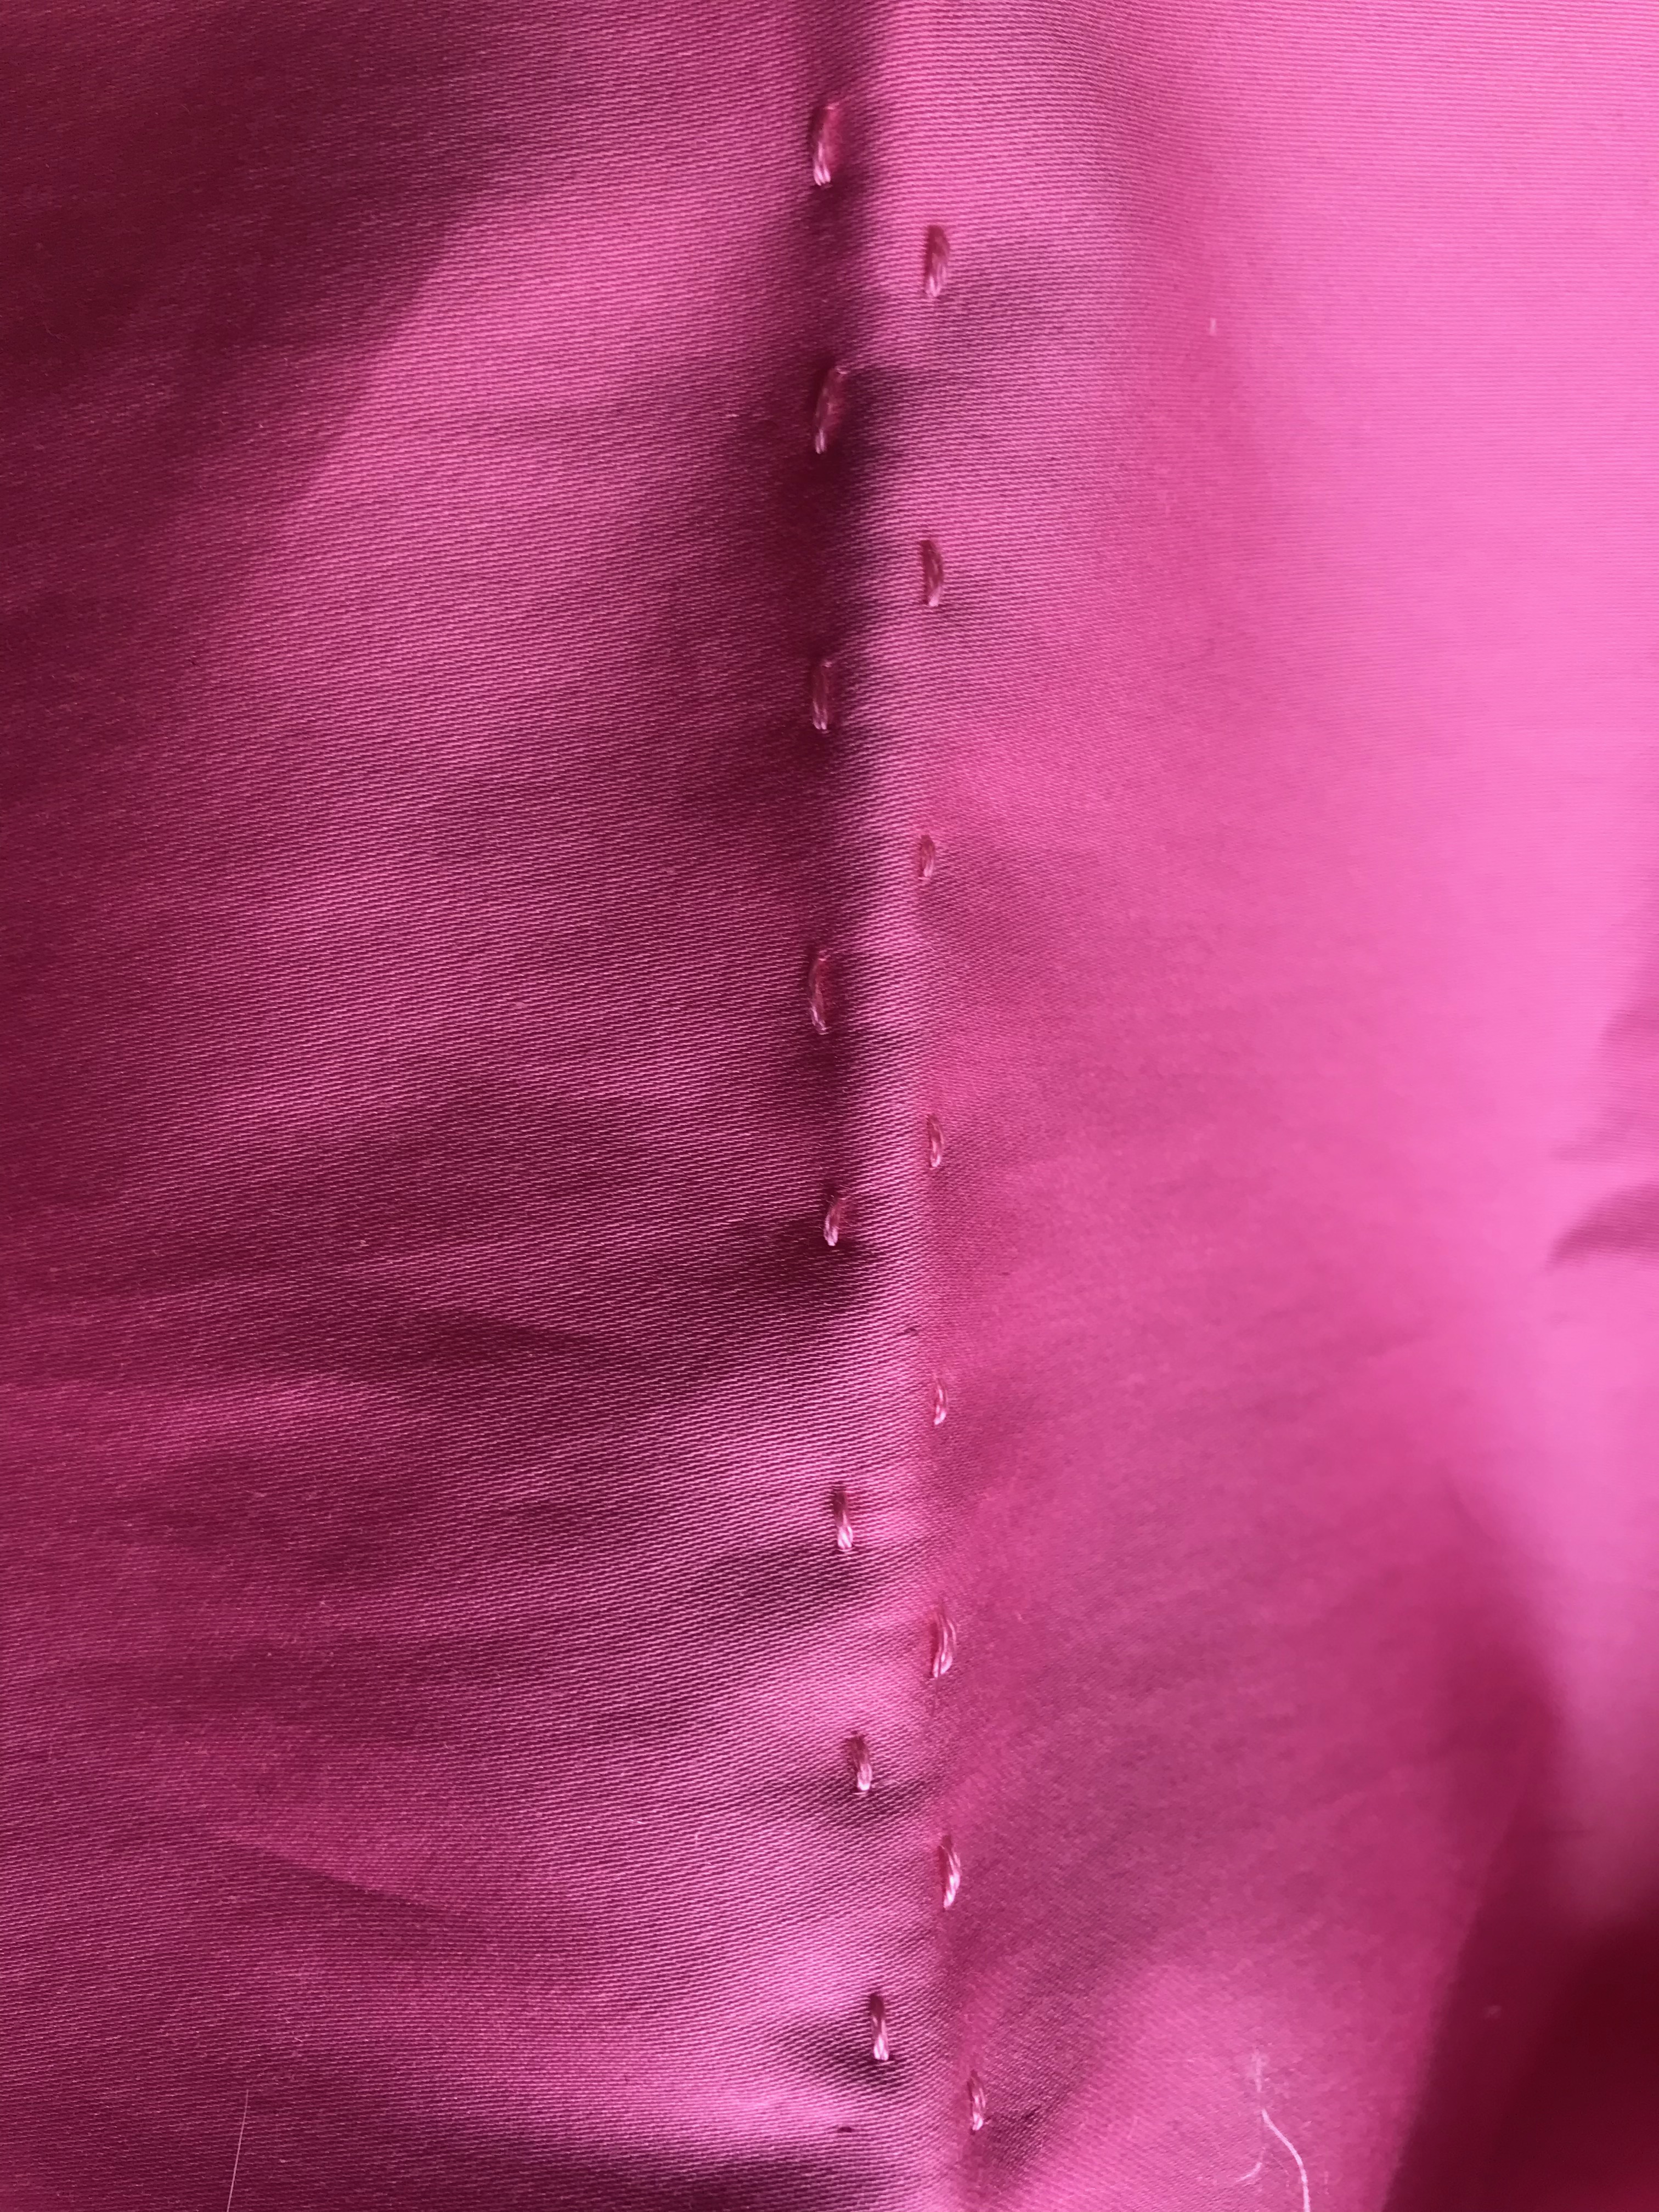
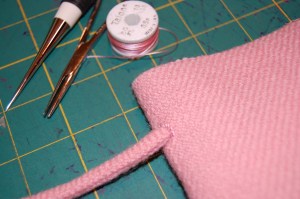
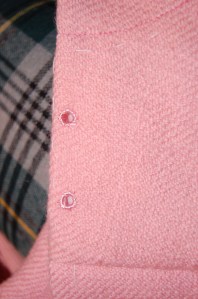
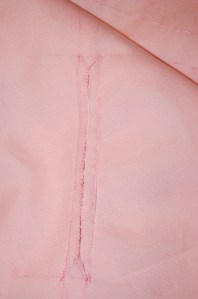
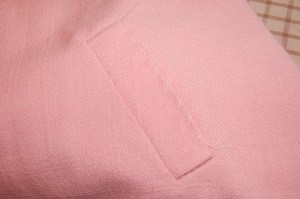
A hand-picked zipper is always a lovely detail to add to a dress like this:

There was some subtle pattern placement on this dress, but no matching.

I’m getting ahead of myself here, but to make this dress, I was eking out small snippets of sewing time during a complicated Spring.  And when the time came to do our annual Summer migration from Pennsylvania to Wyoming, 2200 driving miles west, the dress was unfinished.  

So, I packed it up along with a lot of other sewing-related things, and I eventually picked up where I left off.   I remembered to bring the zipper for the dress, – and the red Petersham ribbon for its embellishment – but I forgot to bring the extra dress fabric.  Why was this a big deal, you might be asking?  Well – I needed to make a belt for the dress, and my intention was to make a self-belt, edged with the red ribbon.  

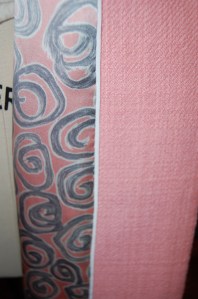
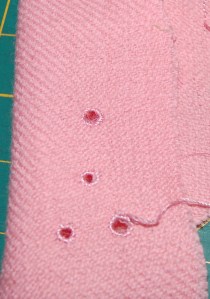
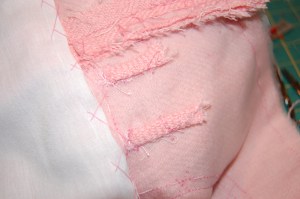
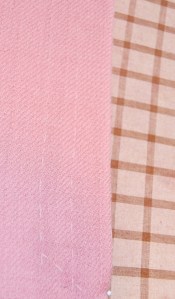
Once again in my sewing life, I found myself going to Plan B – necessary, if I had any thought of wearing this dress this summer.  (Plan B stands for “It BETTER work.”)  I hemmed and hawed and decided there were two options.  One was a white belt and the other was a red belt.  I came to the conclusion a red belt would be too overpowering for the delicate nature of the fabric.  So that left me with a white belt, which wasn’t too exciting.  Then I had a eureka moment when I realized I could pick up the somewhat zigzag overlay motif in the fabric and embellish the belt with my extra red Petersham ribbon, applied in a zigzag pattern.  

This actually shows the back of the bodice. I used flat hooks to secure the belt.

Plan “B” seemed like a good idea when I remembered I had this Kate Spade Summer clutch to pair with my dress.

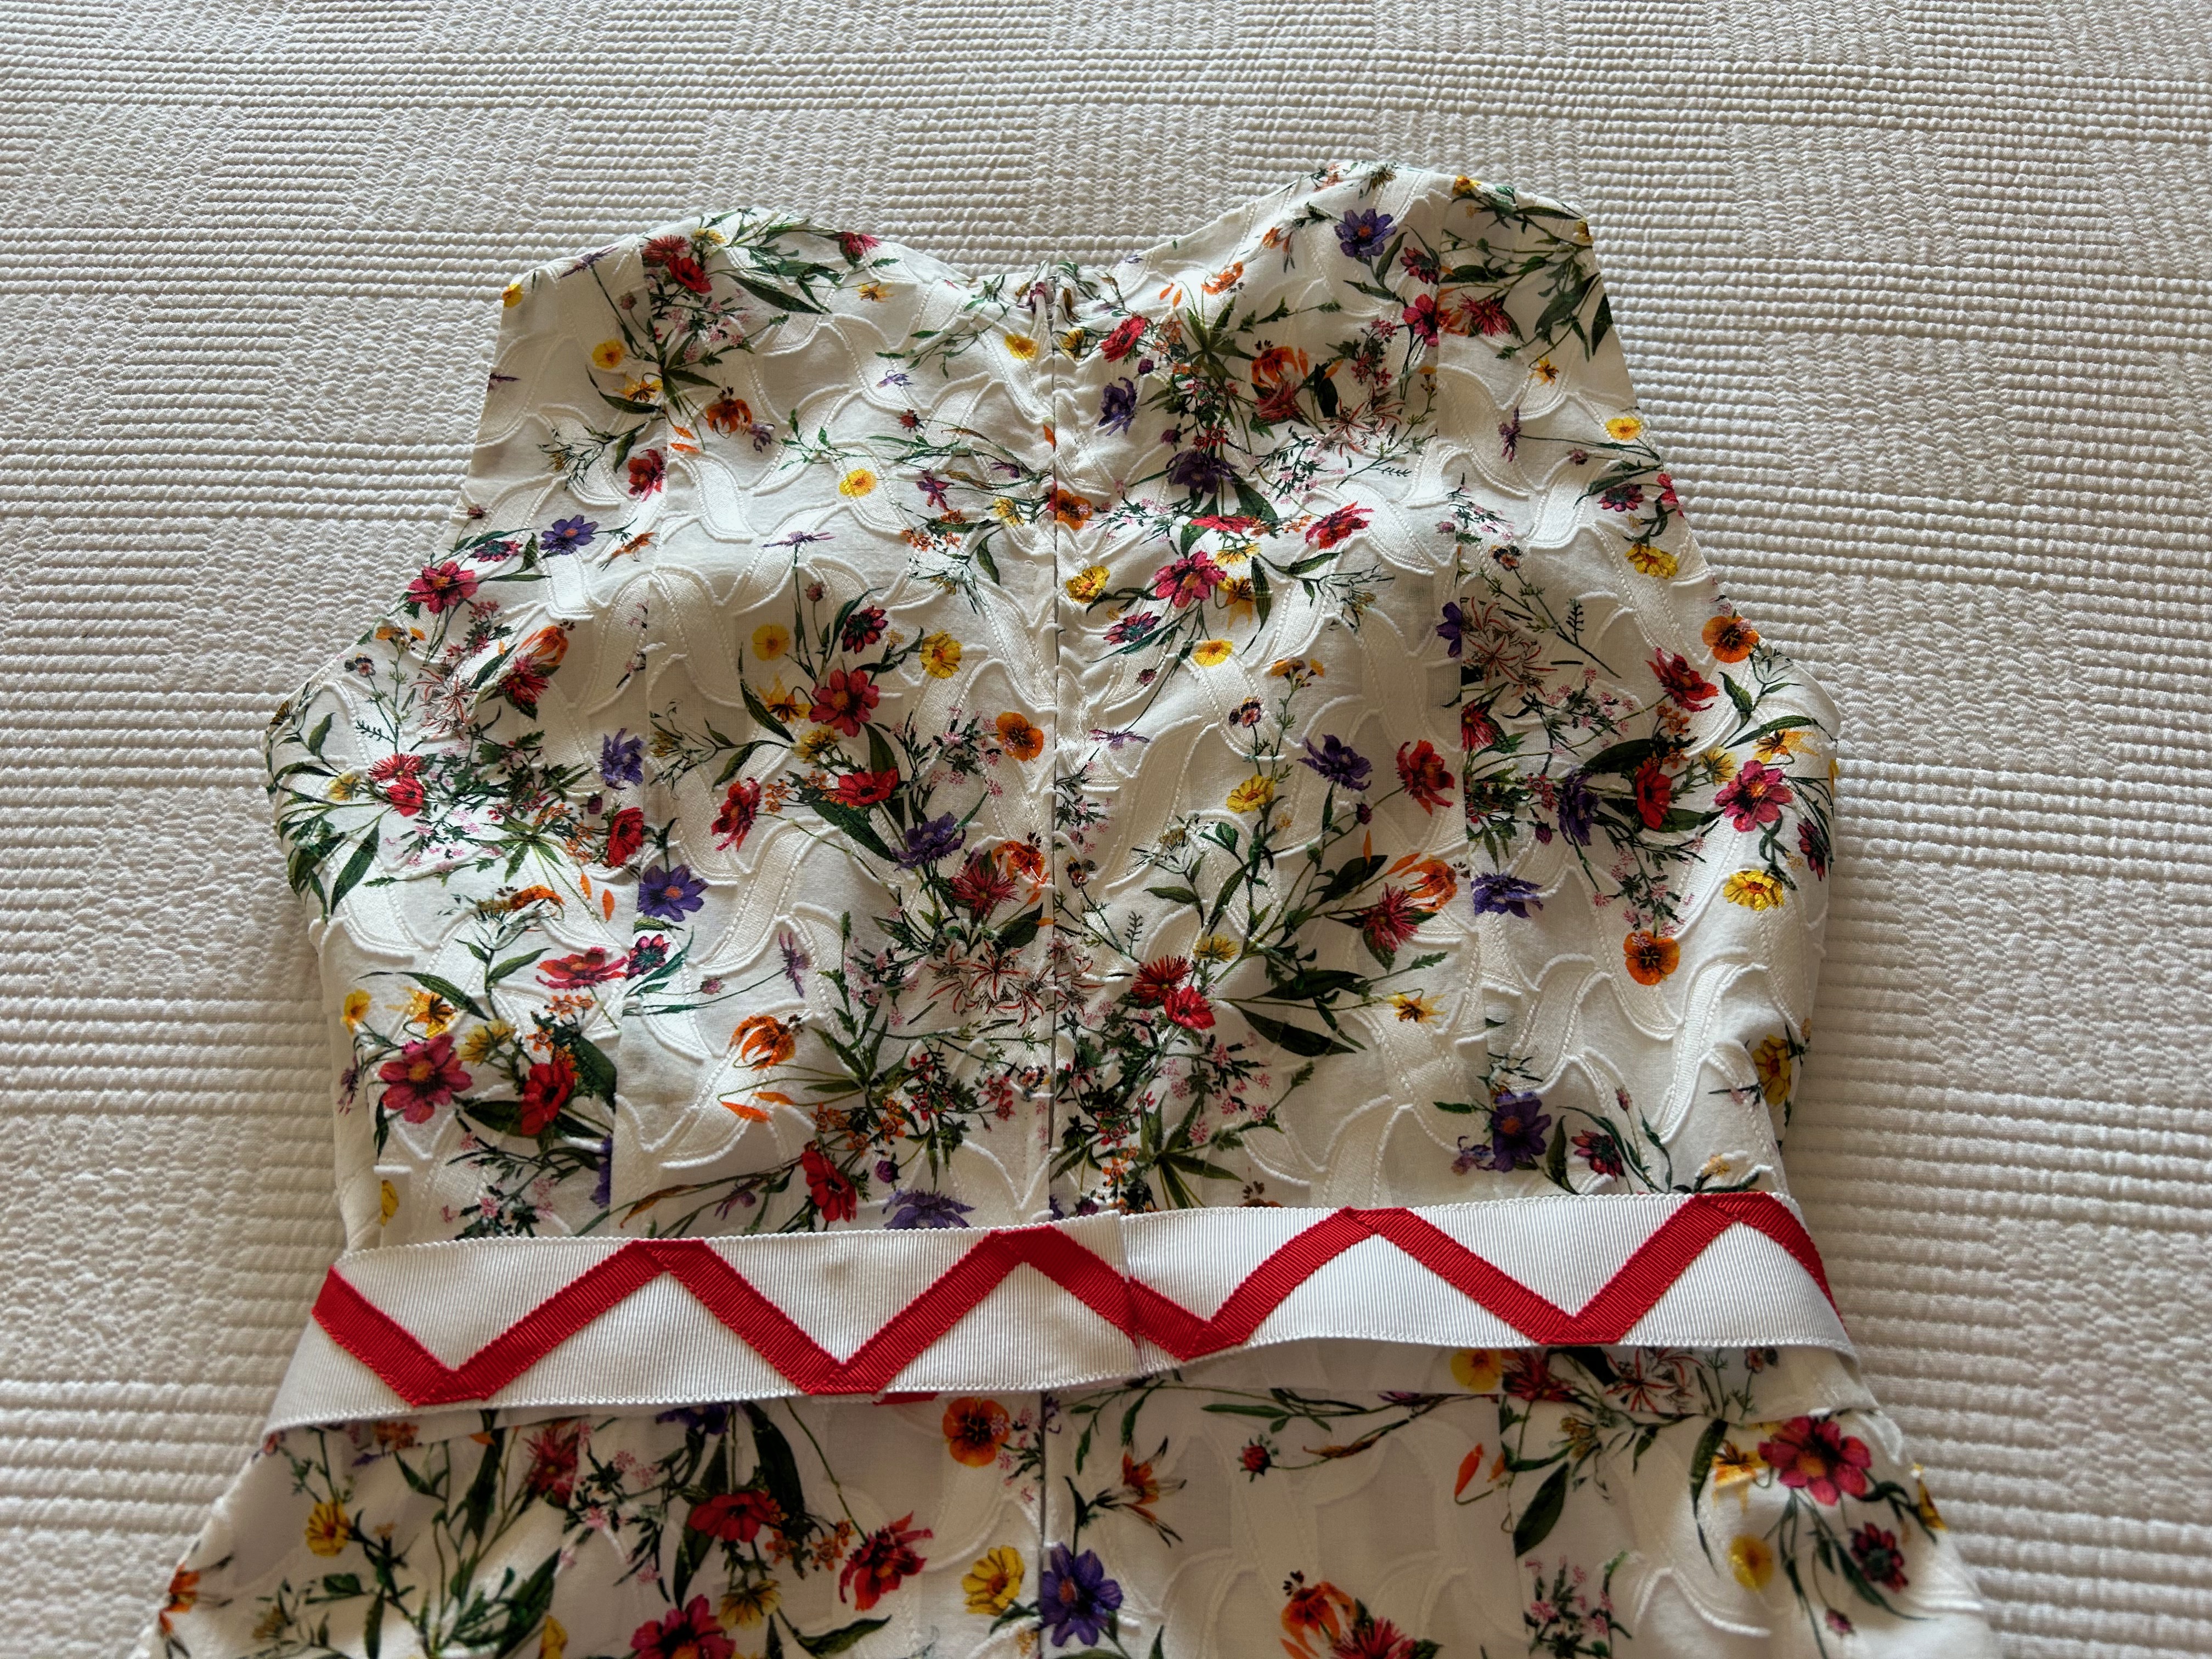
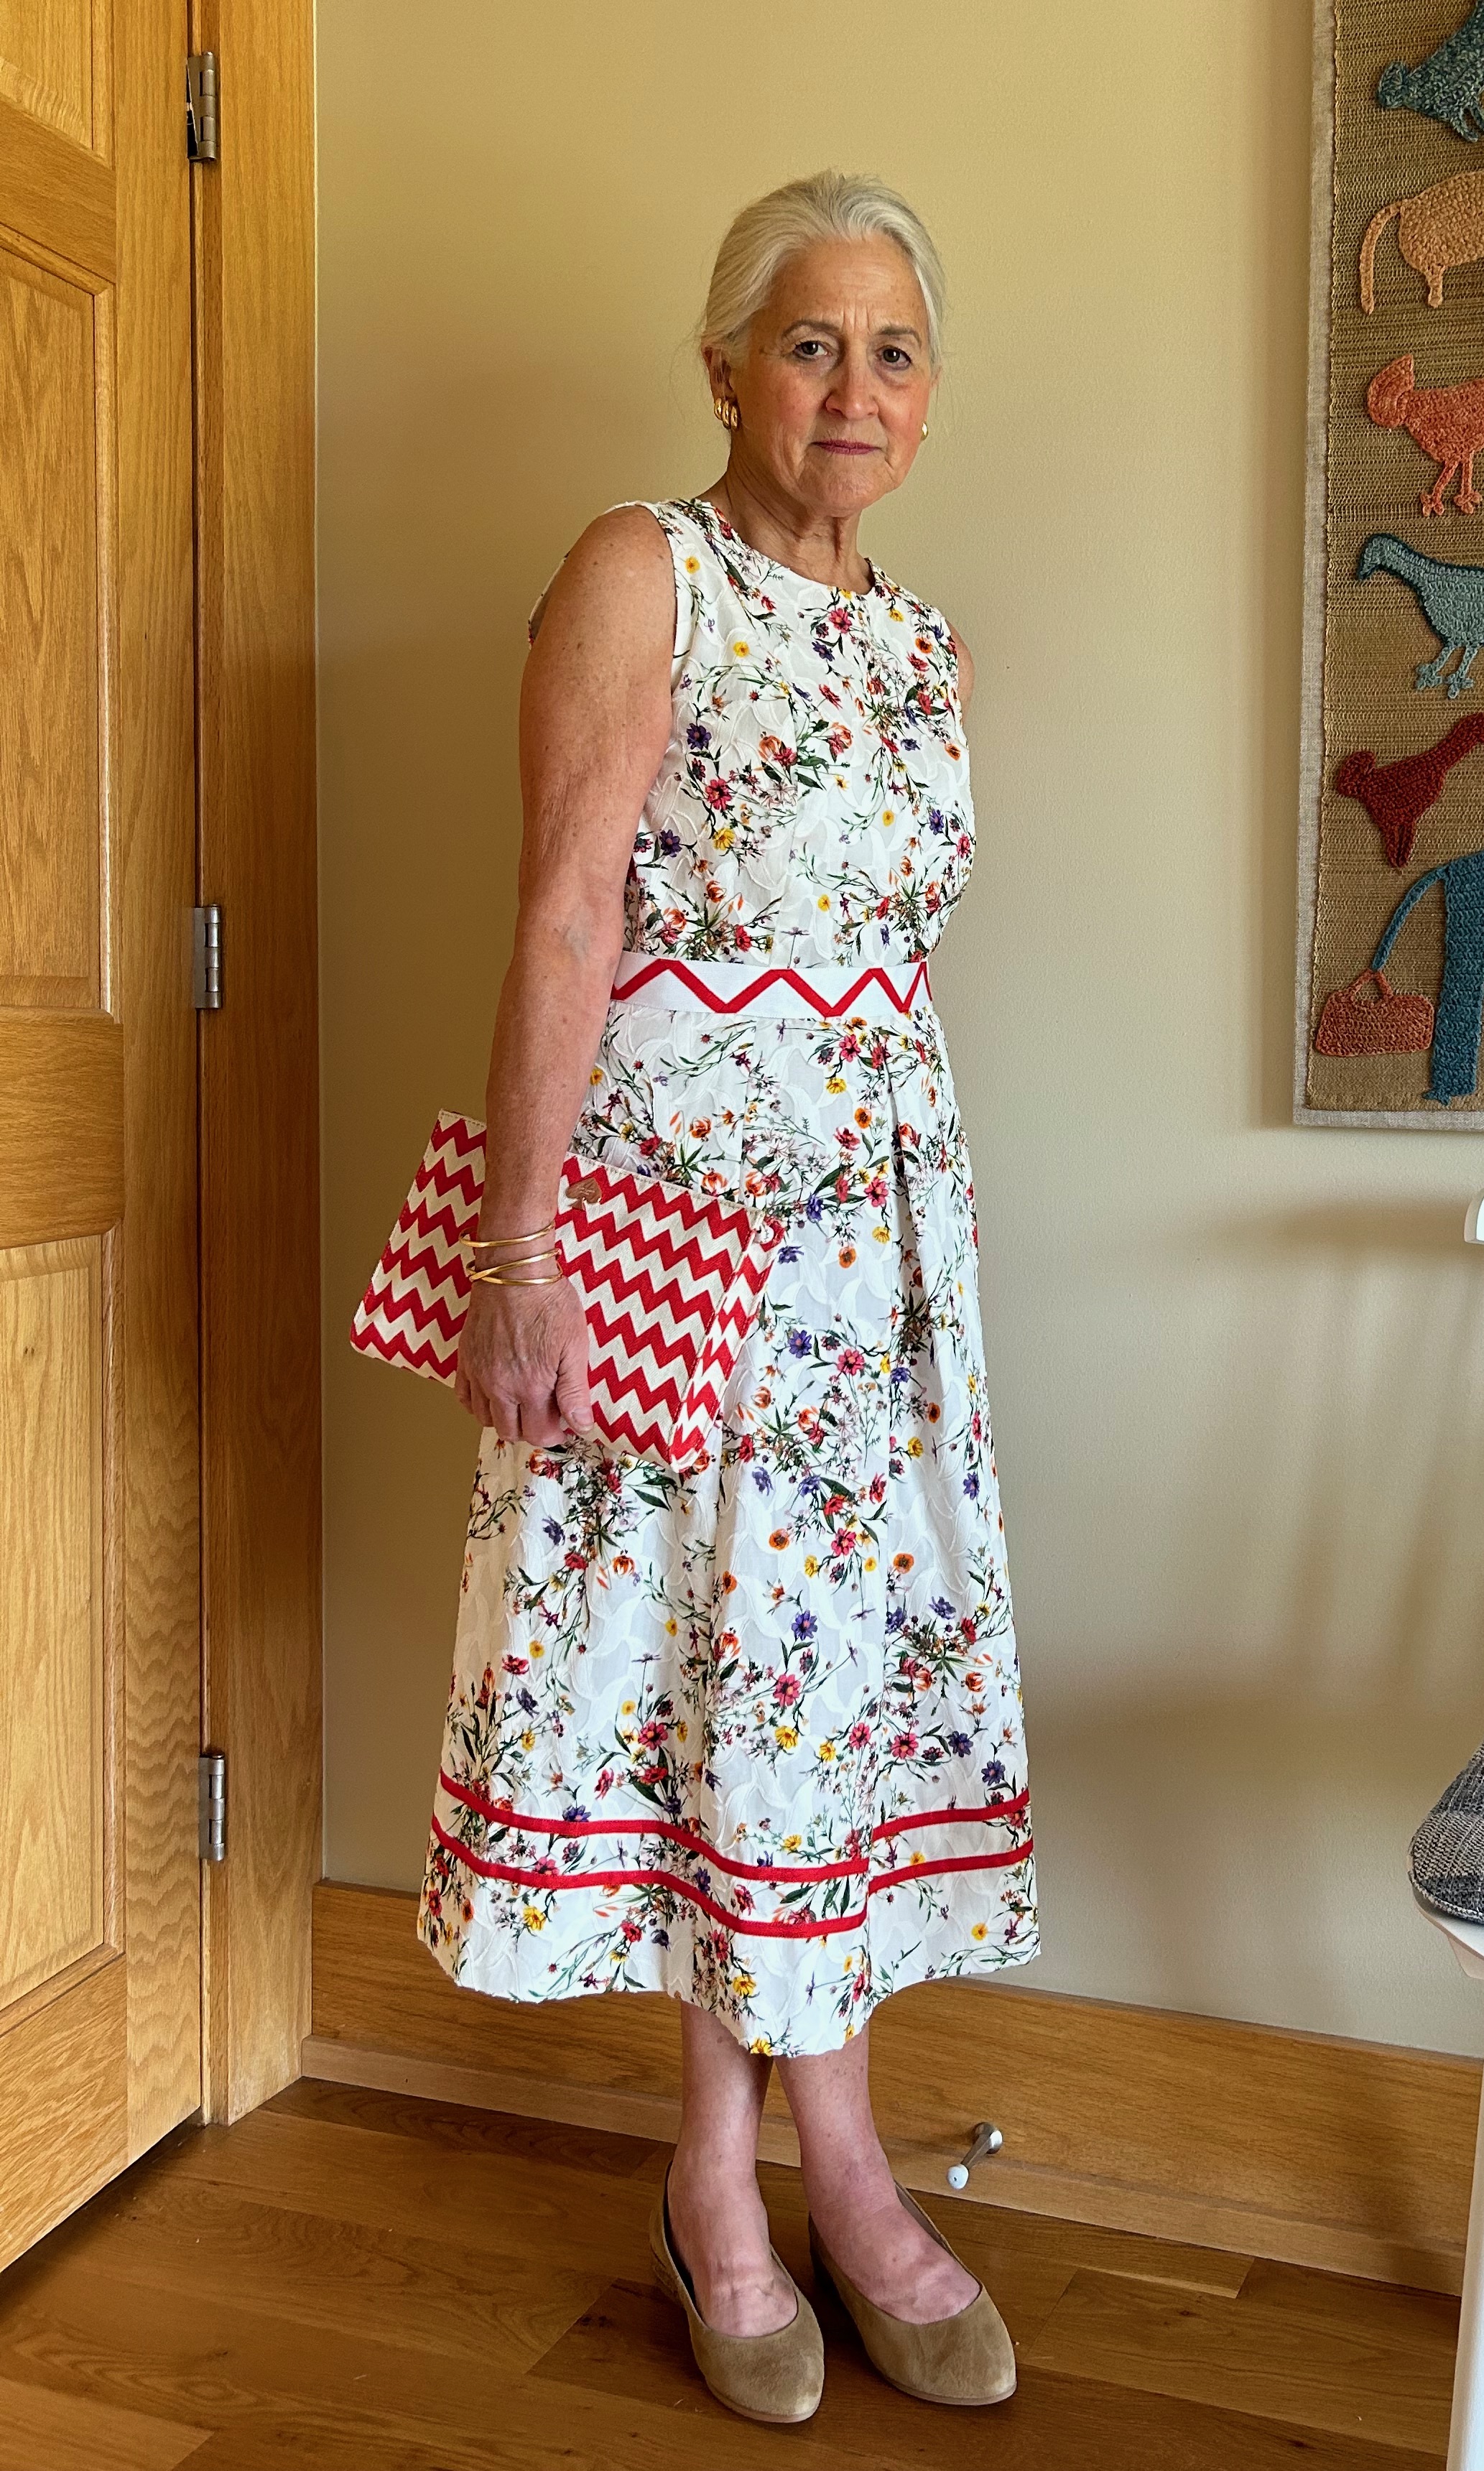
So – I rather like the Plan B belt although I may decide at some point to make a self-belt as I had originally intended.  We shall see.  One thing I know I will do is make belt loops for this dress from its remaining fabric sleeping back in Pennsylvania.

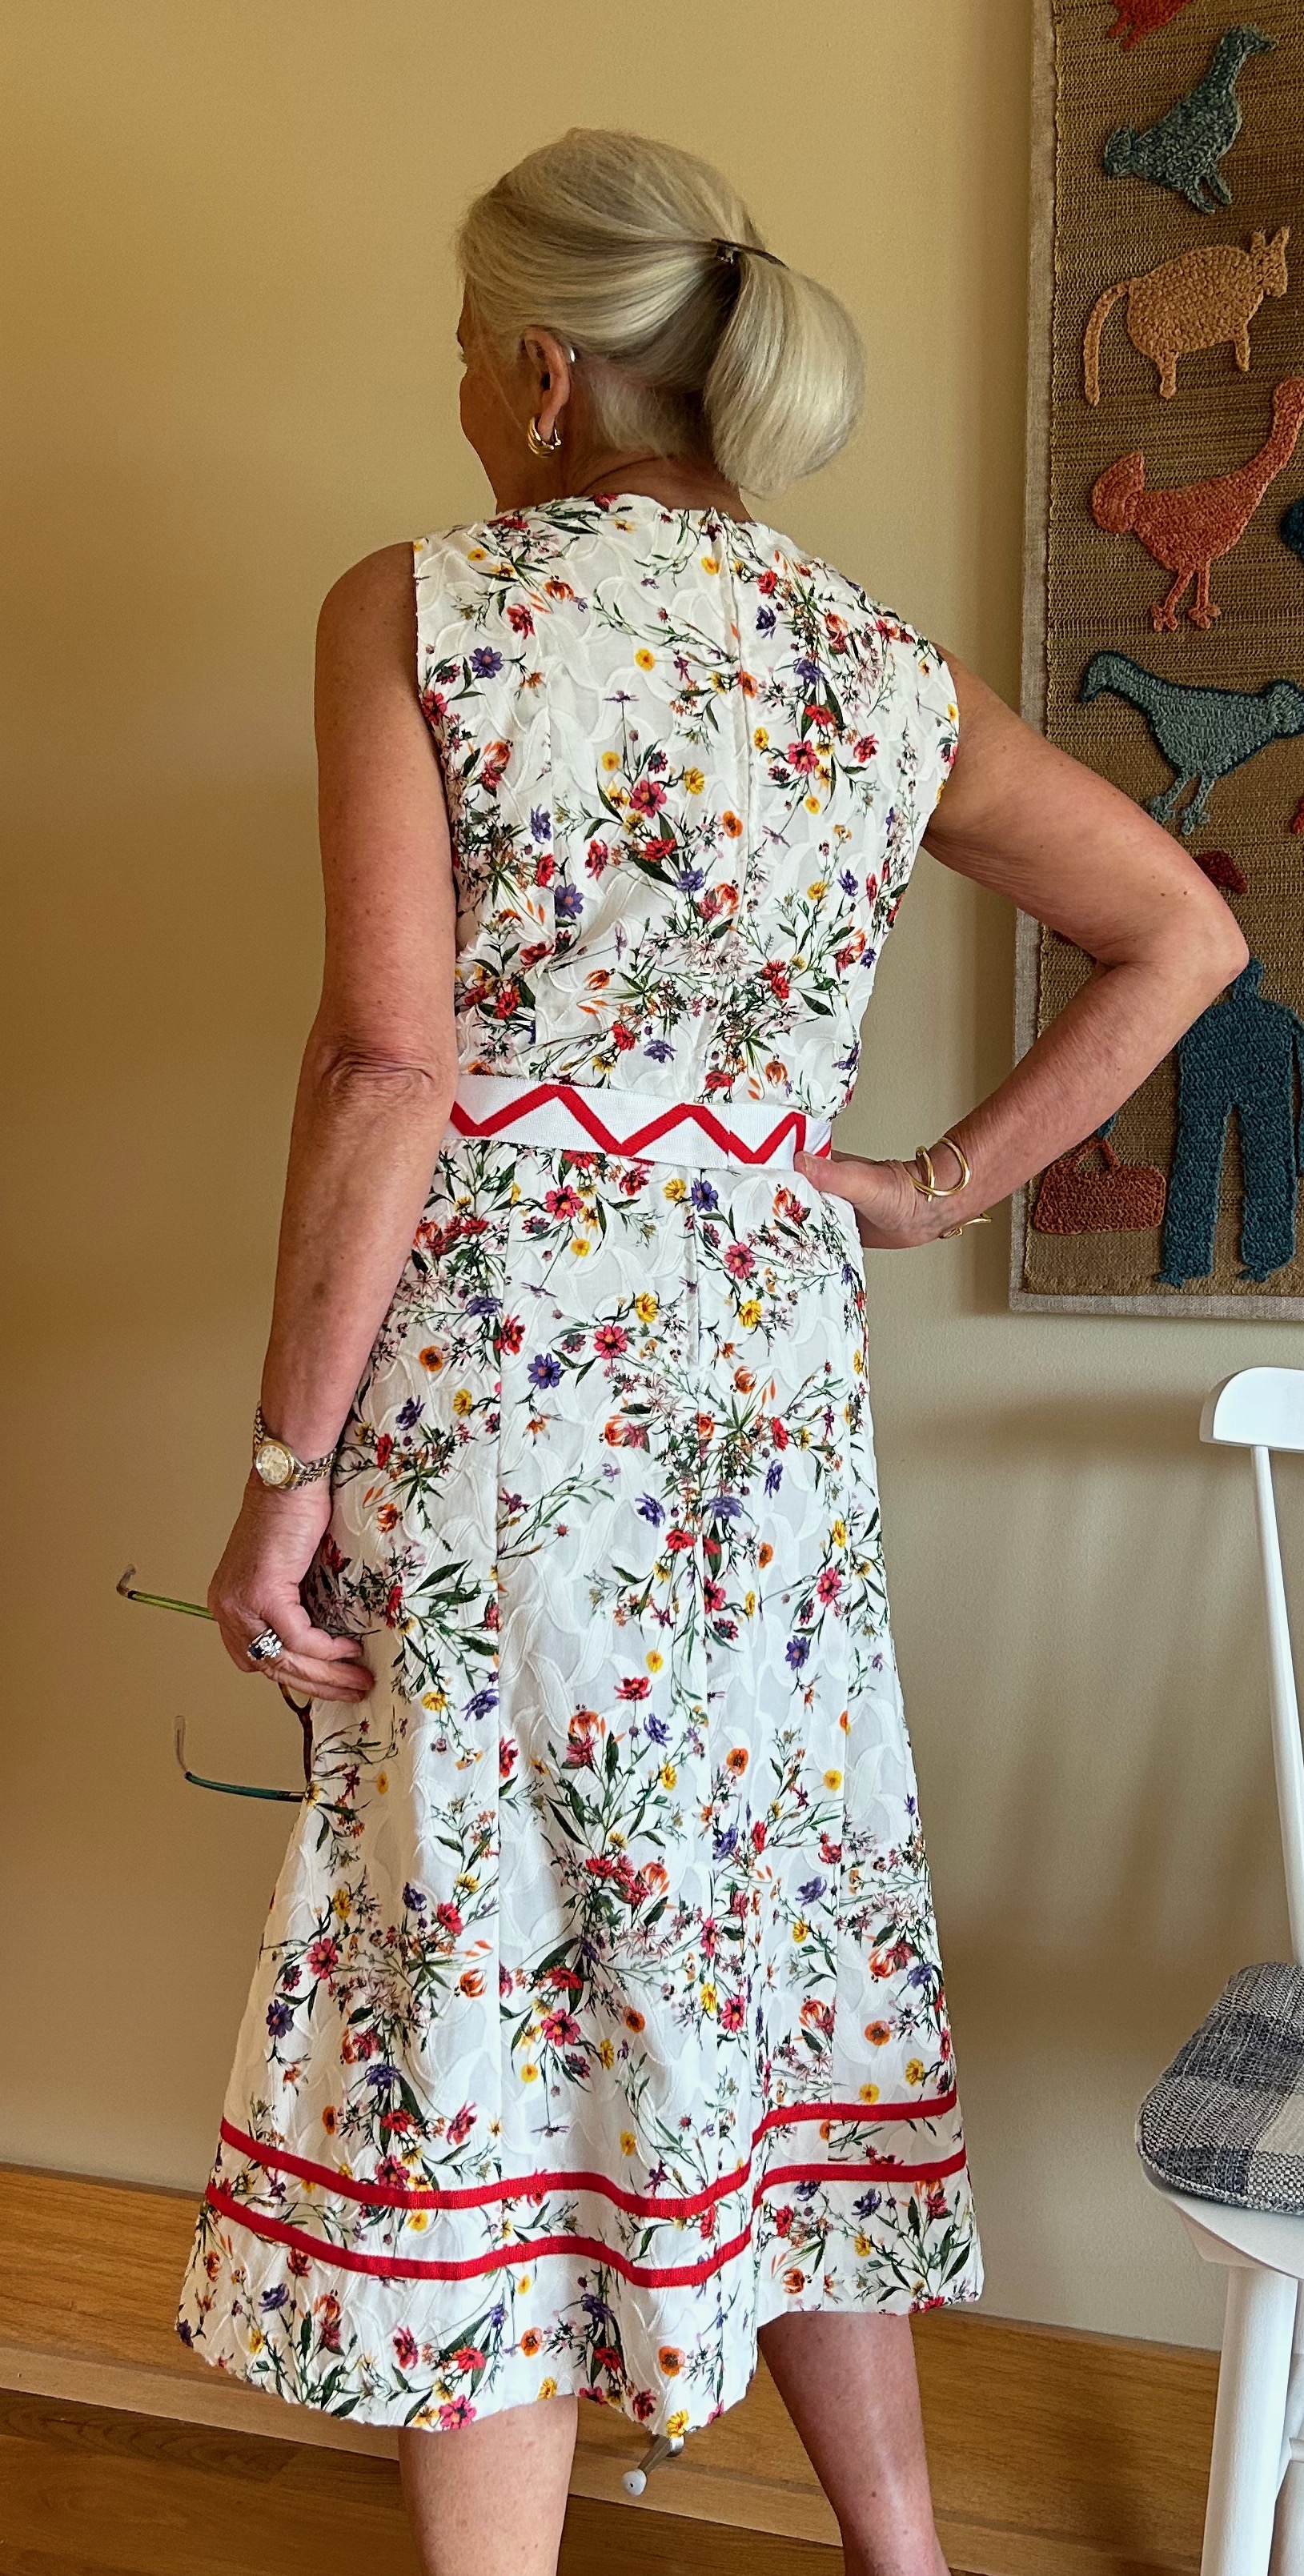
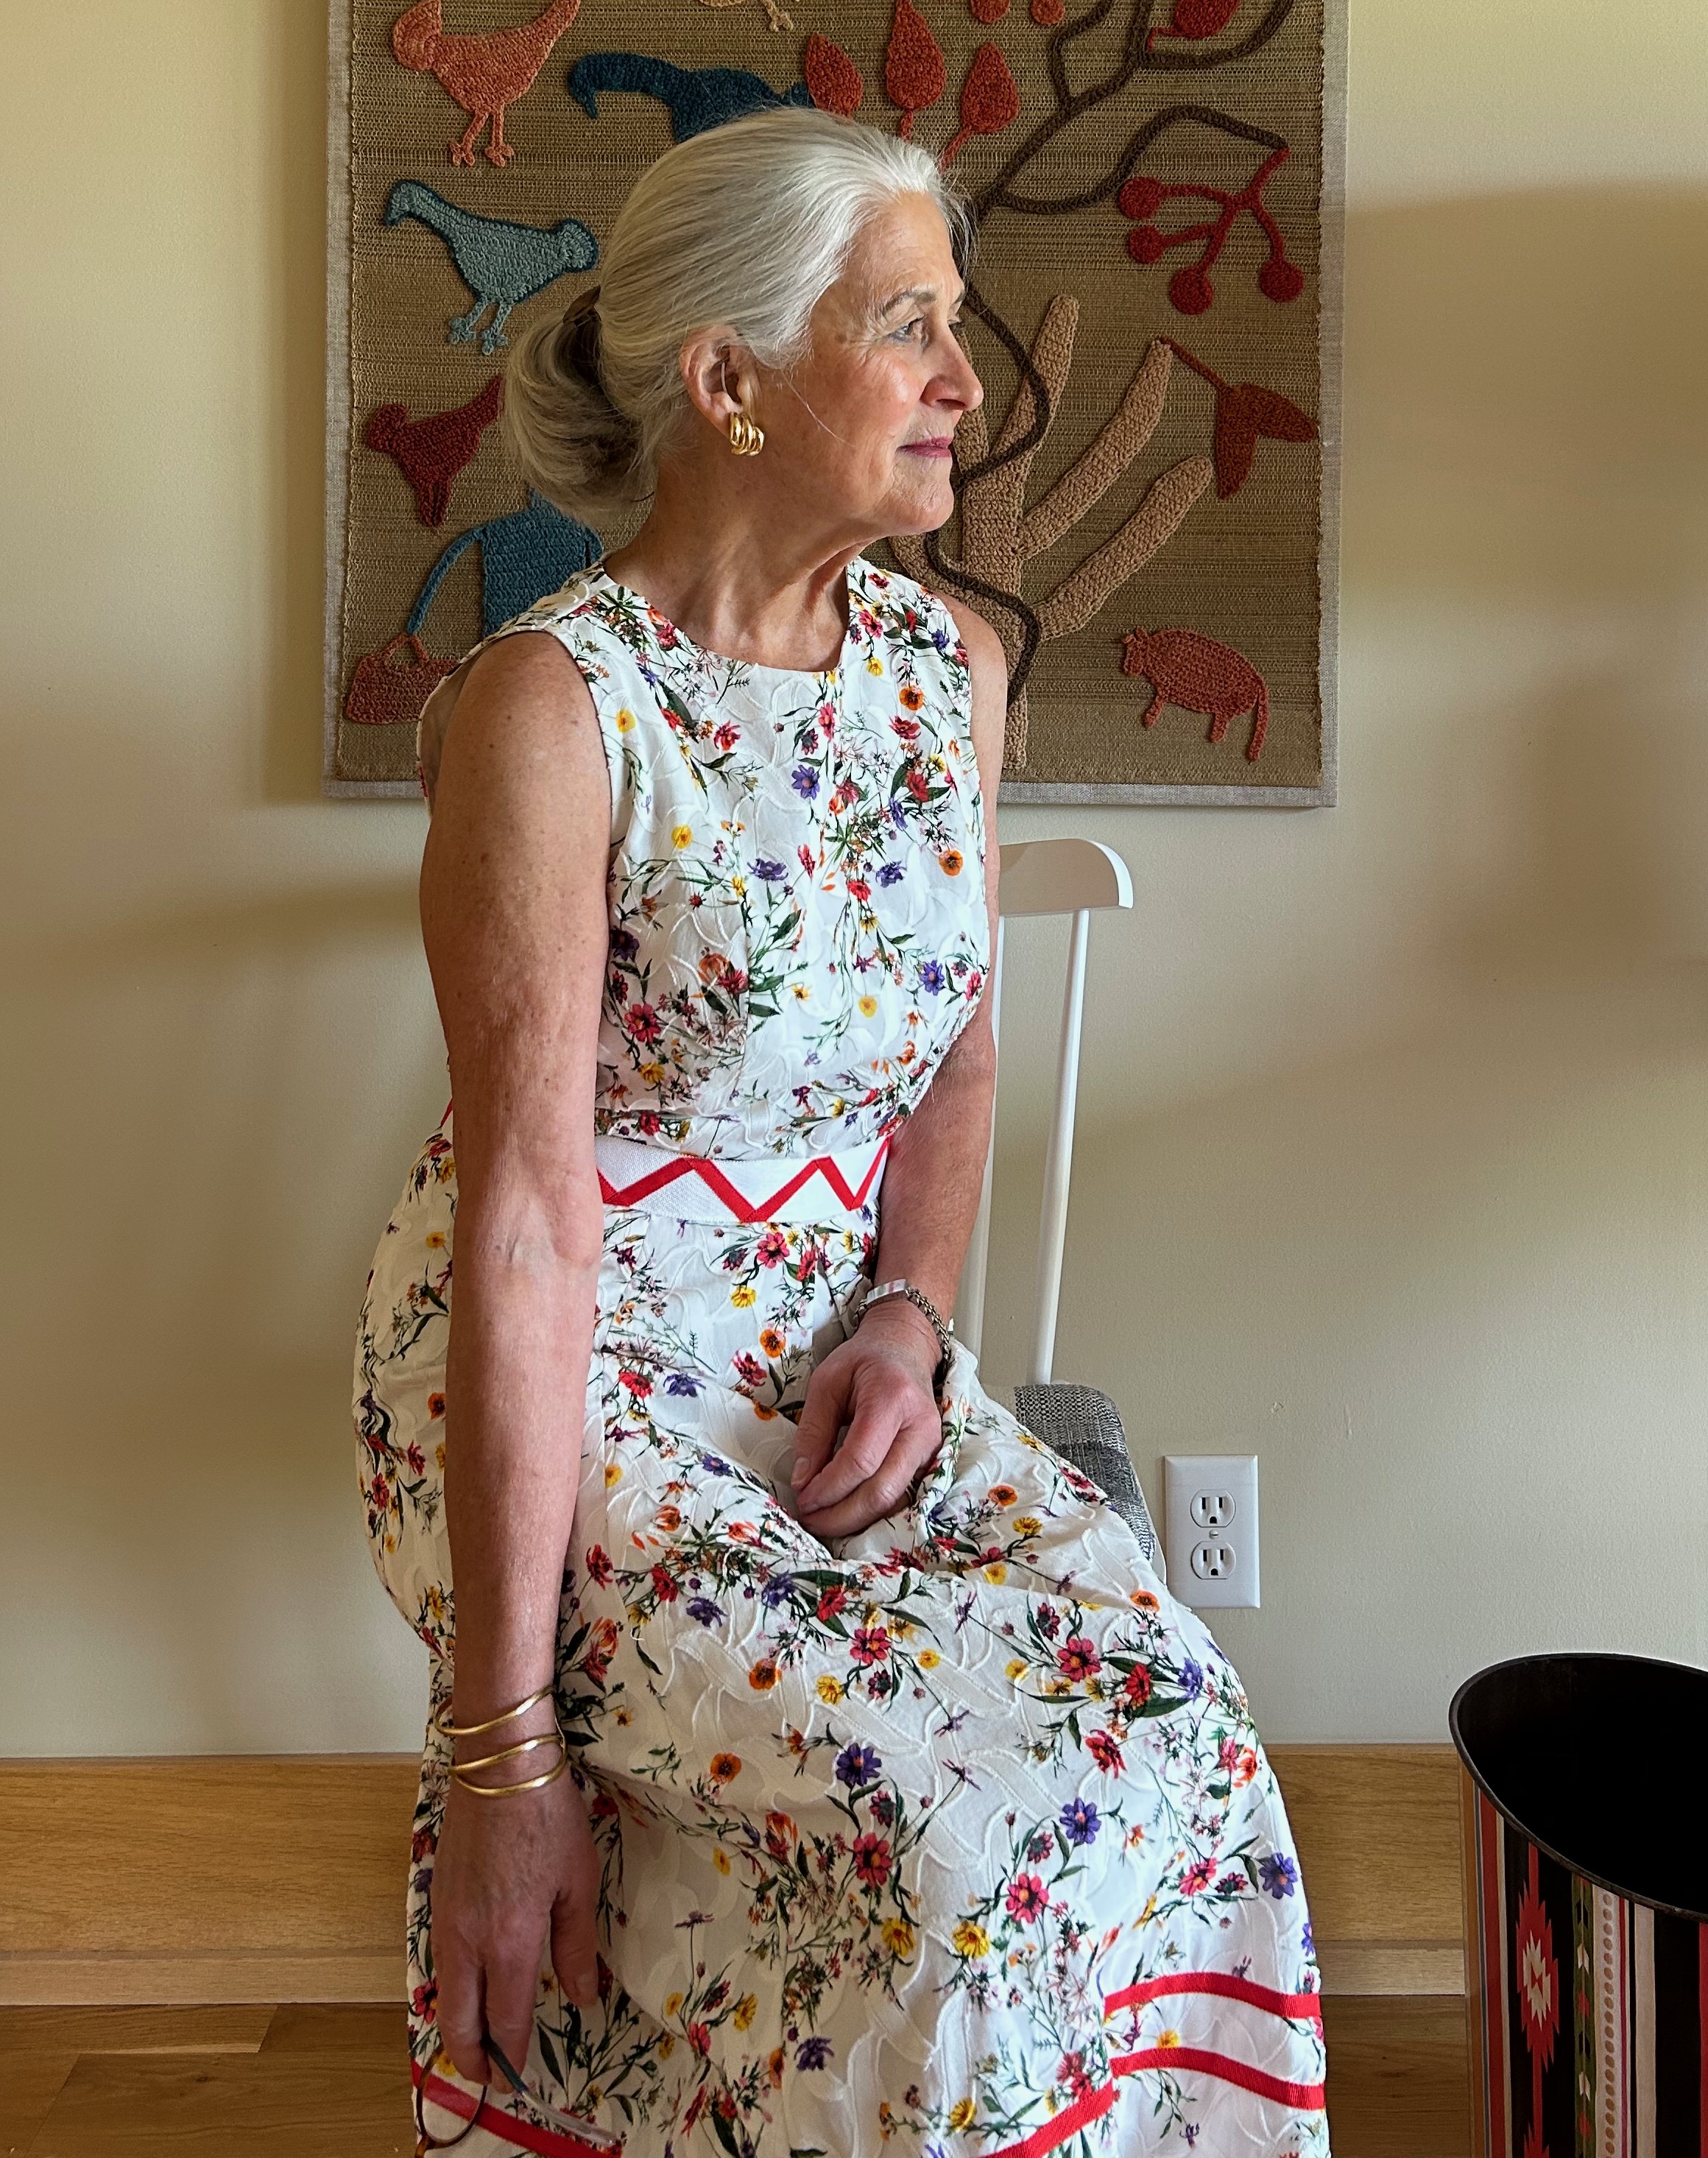
In the meantime, this is a good dress for a hot American summer.

Ciao!

33 Comments

Filed under couture construction, hand-sewn zippers, Linings, Summer sewing, Uncategorized, vintage Vogue Designer patterns, vintage Vogue patterns from the 1970s

Life Isn’t Perfect…

…but Your Outfit Can Be.  I took a picture last summer of this sign at a Western wear store in Pinedale, Wyoming (Cowboy Shop).   I loved the saying, but little did I know how often I would reflect on it this summer, which has had its difficulties.  

And even when my outfit, like Life, is far from perfect, which has been often, I know there is always Hope, and yes, that is hope with a capital H.  

*******

What a long hiatus it has been between my last musings about Trench coats and Dressmaker coats and pink gingham.  The final, finishing  stitch in my pink checked coat was in mid-June, and at this point I can hardly remember what I wanted to say about it.  

I purchased the pink silk gingham from Farmhouse Fabrics several years ago.

It does seem appropriate to start with the changes I made to the pattern, of which there were two major ones.  The first change was to the size of the collar.  In the 1970s long pointed collars were a trend.  Although I like a pointed collar, one with a more petite profile seemed to be a little more flattering and classic.  To achieve this desired look, I shortened the collar’s points by about an inch on either side.  

For comparison purposes, here is a good look at the original collar.

When I made this coat in 1974, I remember being a bit disappointed with the volume of the back of the coat.  I was using a cotton twill, so it was a heavier fabric than the silk taffeta in my new version, making the volume seem even more pronounced.  But even so, I thought I would be happier with a less full back.  I experimented around with my muslin/toile until I got the desired girth.  It turned out I eliminated a total of three inches from the back pattern pieces, 1 ½” from each side back panel.

Again, the image of the 1974 pattern illustrates the volume of the gathering in the original design.

In addition to these alterations, I had a slight construction change.  The instructions for the  gathering of the lining at the back waistline called for using elastic thread.  First of all, I didn’t have any elastic thread, nor did I think it would give the look I wanted even though it would not be very apparent on a lining.  Instead, I had some elastic cord, and I attached it by hand, using embroidery floss in a criss-cross stitch enclosing it the width of the back.  Worked like a charm, and I like the effect it made.

This is the wrong side of the lining, showing the criss cross I achieved with embroidery floss.
And here is what it looks like on the right side of the lining. The lining gathers beautifully with this thread channel for the elastic cord, as is apparent in the image below.

Once I had the coat partially assembled, I decided I would have liked it to be a bit longer than I planned with the muslin.  I was very tight with fabric, so I really could not have cut it longer and still been able to get the coat out of the fabric I had.  So, to gain another inch and a half, I decided to face the hem right to the point where the lining would be attached.    It certainly took extra effort, but I’m glad I did it as I much prefer the slightly longer length.  

The one thing I would change should I ever make this coat again (which I doubt) would be to add about an inch or so to the diameter of the cuffs.  I would like to keep them buttoned and be able to slip my hands through them.  As they are, they are too tight to do that.  This was something I could have determined had I made a muslin/toile with completed sleeves, which I did not.  All I did was check the length.  A good reminder to me to be more thorough in situations like this.  

When I was planning this coat, I intended to use this vintage silk fabric for the lining.

However, even though I underlined the fashion fabric with white cotton batiste, I felt there was a slight “see-through” of the black details in the print of the intended fabric.  In the meantime, I had ordered a piece of polished cotton in “Paris Pink” from Emma One Sock Fabrics.  Although not an exact match, the two fabrics – the pink checked taffeta and the polished cotton – made a pretty pair so I changed course, and the rest is history.

I am quite happy with this pink lining!

No report on this coat would be complete without mention of the buttons. Again, I went with vintage mother-of-pearl buttons. These have a carved detail in them, which I thought would pair nicely with the gingham.

I chose to do machine buttonholes on this silk coat.

This was an involved, lengthy project.  I was rather in awe of my 24-year-old self for attempting it “back in the day.”  But making it again brought back hidden memories (good ones) and new appreciation for all that I have learned over the ensuing years.  Wearing my new version of this Trench-inspired coat will, I believe, fall into the “nearly perfect“ category.  

44 Comments

Filed under Buttons - choosing the right ones, Christian Dior, Coats, couture construction, Dressmaker coats, Linings, Mid-Century style, Silk taffeta, Uncategorized, vintage buttons, vintage Vogue Designer patterns, vintage Vogue patterns from the 1970s

Diversionary Tactics

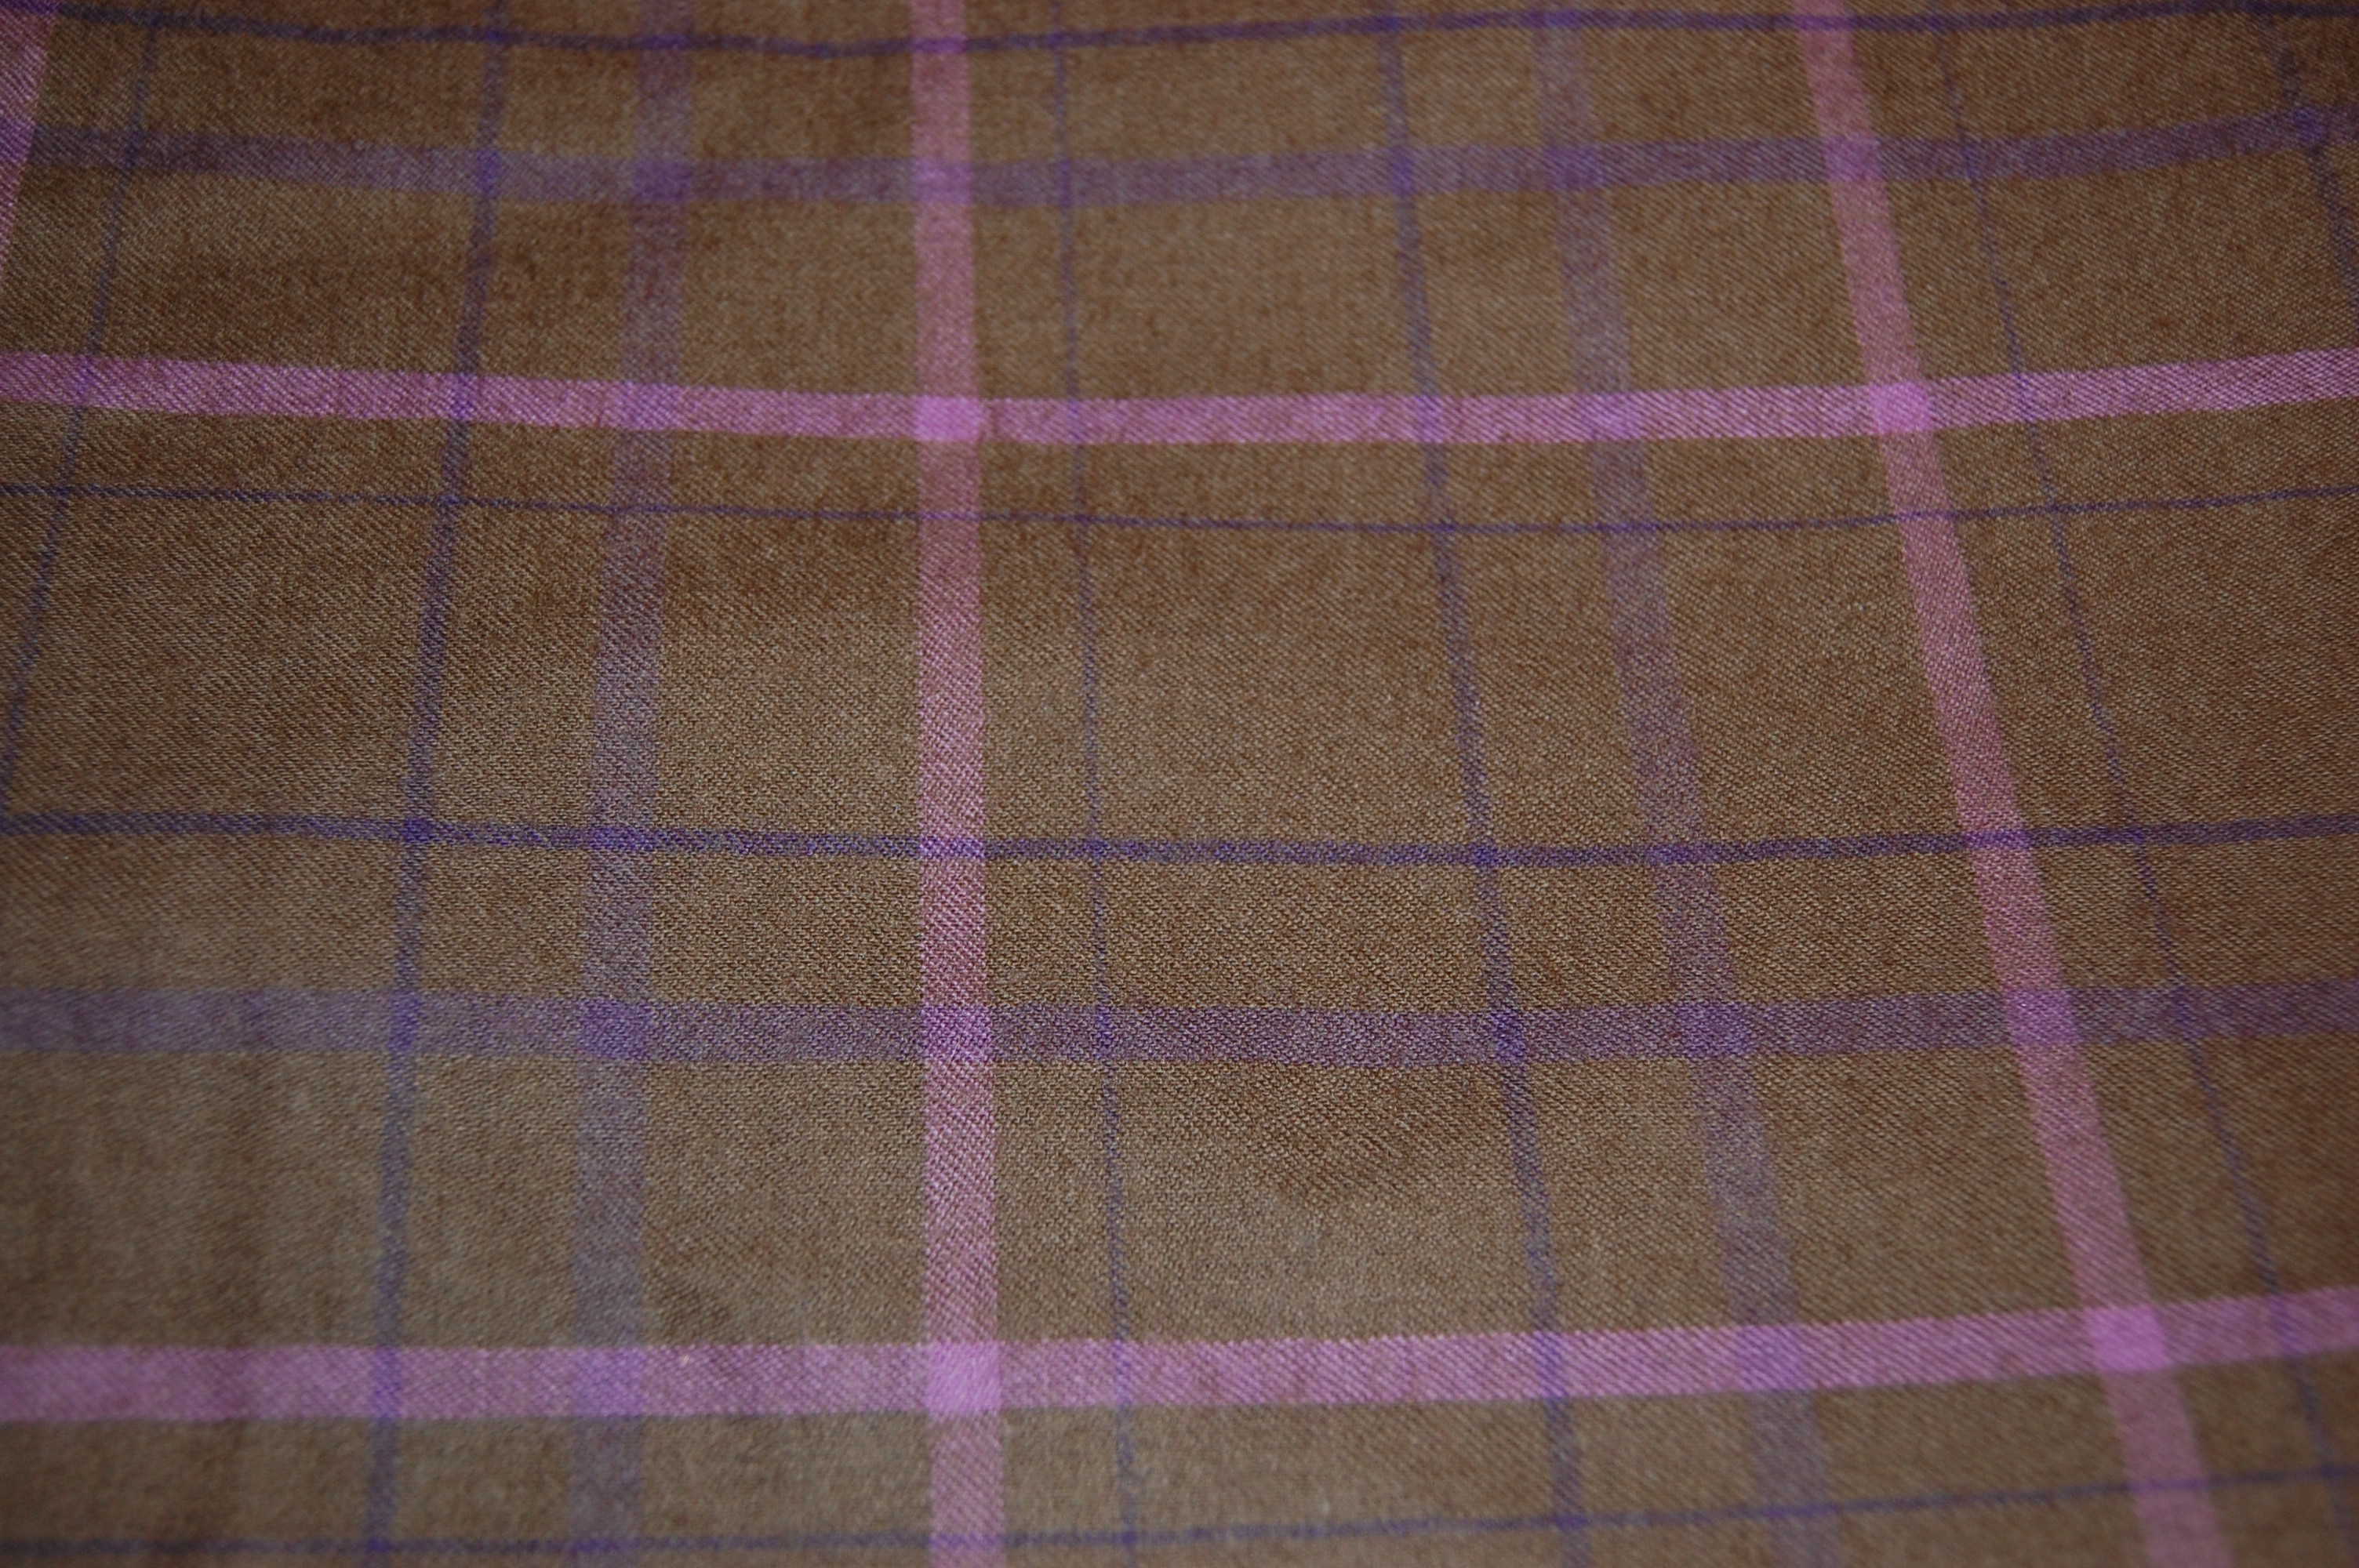
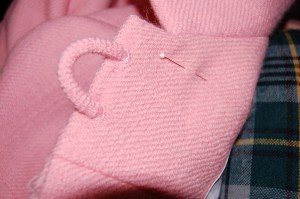
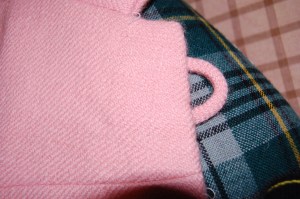
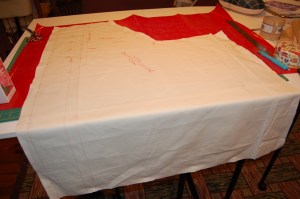
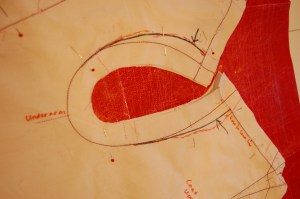
While bogged down in the fitting of these wool slacks, my mind has been thinking about capes instead. 

Almost ready for the waistband!
But first – finish inserting the lapped zipper and the silk lining.

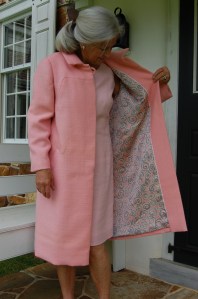
I know myself well enough to recognize it is always prudent to work on the least favorable item first and save the ”goodies” for later, and that is what I have done with this cape and slacks ensemble introduced in my last post.  There is a reason I have made few pairs of slacks in my years of sewing:  I find fitting them tedious.  So, while I think I am just about satisfied with how they are coming along, the thing which has kept me sane is the prospect of making that beautiful cape. 

All of this has led me to do a little research into capes.  I started with Fairchild’s Dictionary of Fashion, as I often do when investigating a sewing/fashion topic.  Well, oh my!   There happen to be no fewer than 8 pages of entries for capes, cloaks, and shawls!  It turns out a cape is not just a cape, and the history of capes is long indeed.  For my purposes here, the simple definition of a cape is sufficient:  “Sleeveless outerwear of various lengths usually opening in center front; cut in a full circle, in a segment of  a circle, or on the straight – usually with slits for arms.  A classic type of outerwear worn in one form or another throughout history….”  (The Fairchild Dictionary of Fashion, Third Edition, by Charlotte Mankey Calasibetta and Phyllis Tortora, Fairchild Publications, Inc., New York, New York, c2003)

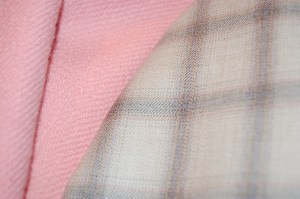
Interestingly, Christian Dior has no entry for capes in his Little Dictionary of Fashion, another one of my go-to reference books.  But as luck would have it, the newest J. Peterman Company catalogue, Owners Manual No. 197, Holidays 2021, arrived in my mailbox this week.  And there on page 5, he has offered for sale a Plaid Wool Cape, with the enticing caption:  “Capes are mysterious.  Alluring.  Functional. In the past, they’ve existed as an alternative to coats so you wouldn’t crush your real clothing…”  He goes on to say one will not want to take off this particular cape, as there could be nothing better under it.  Well, I guess that’s an arguable point, but you get the picture.  Capes demand attention, but in a good way.

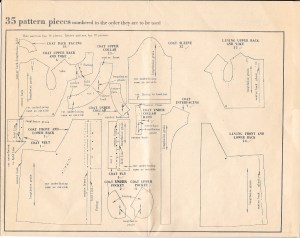
I started thinking about the patterns I have gathered over the years, and I remembered at least two which feature capes.  Once I got into my pattern collection, I found four besides the one I am currently using.  

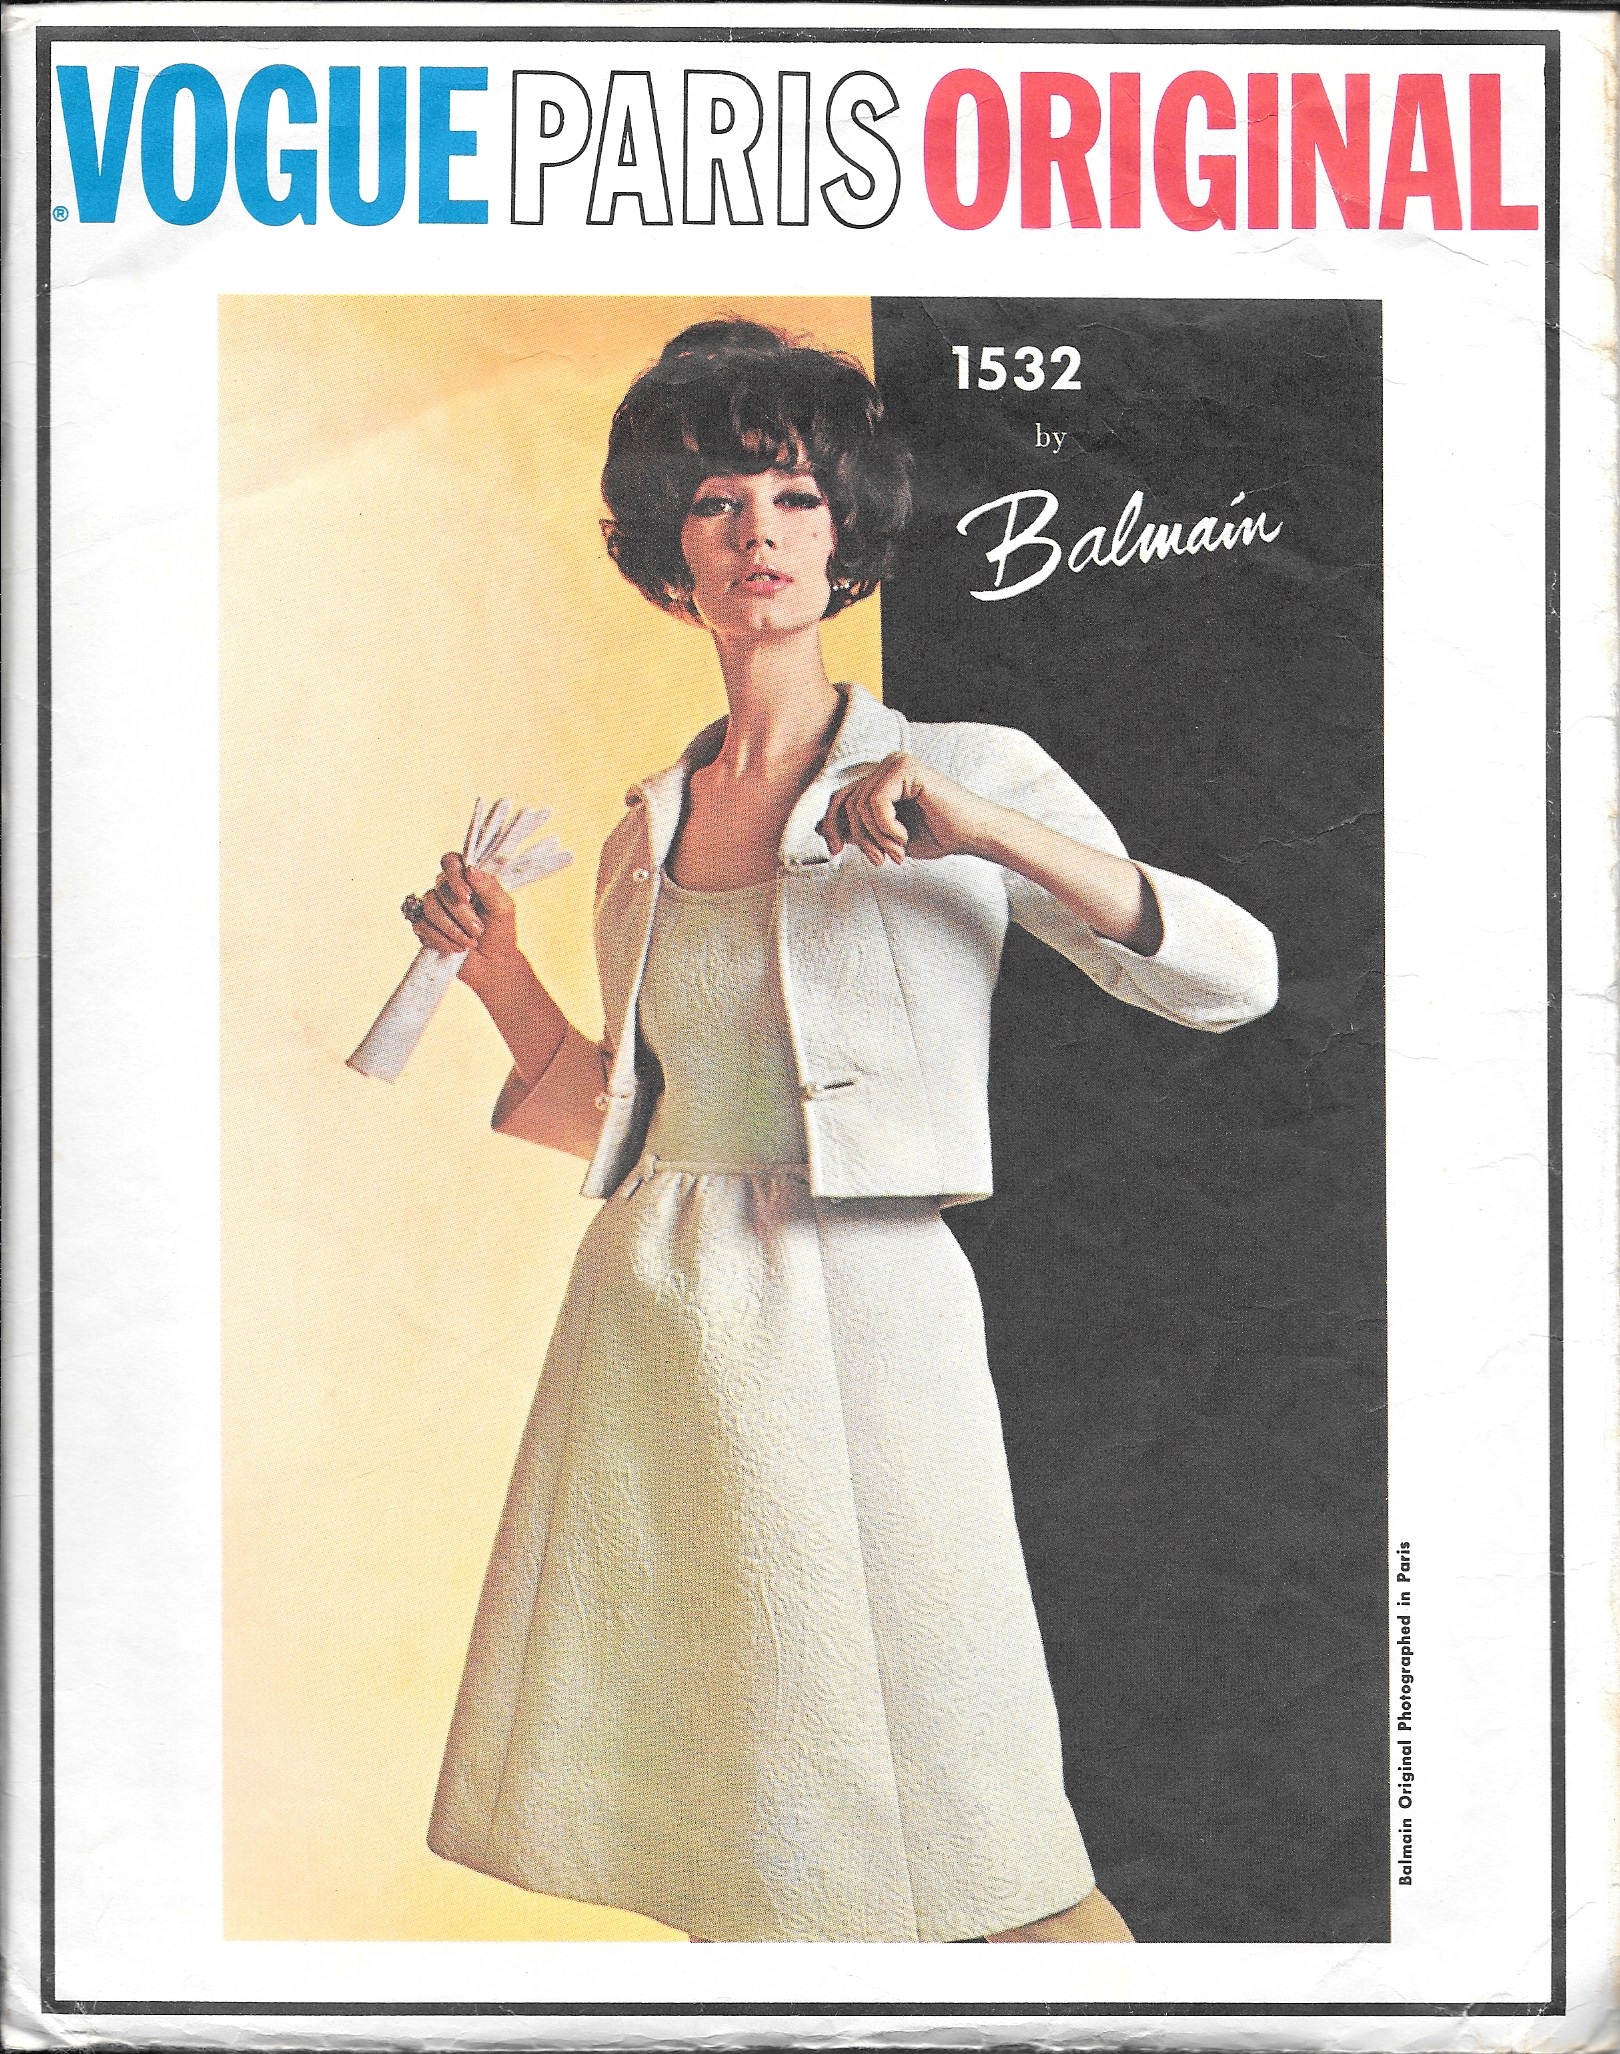
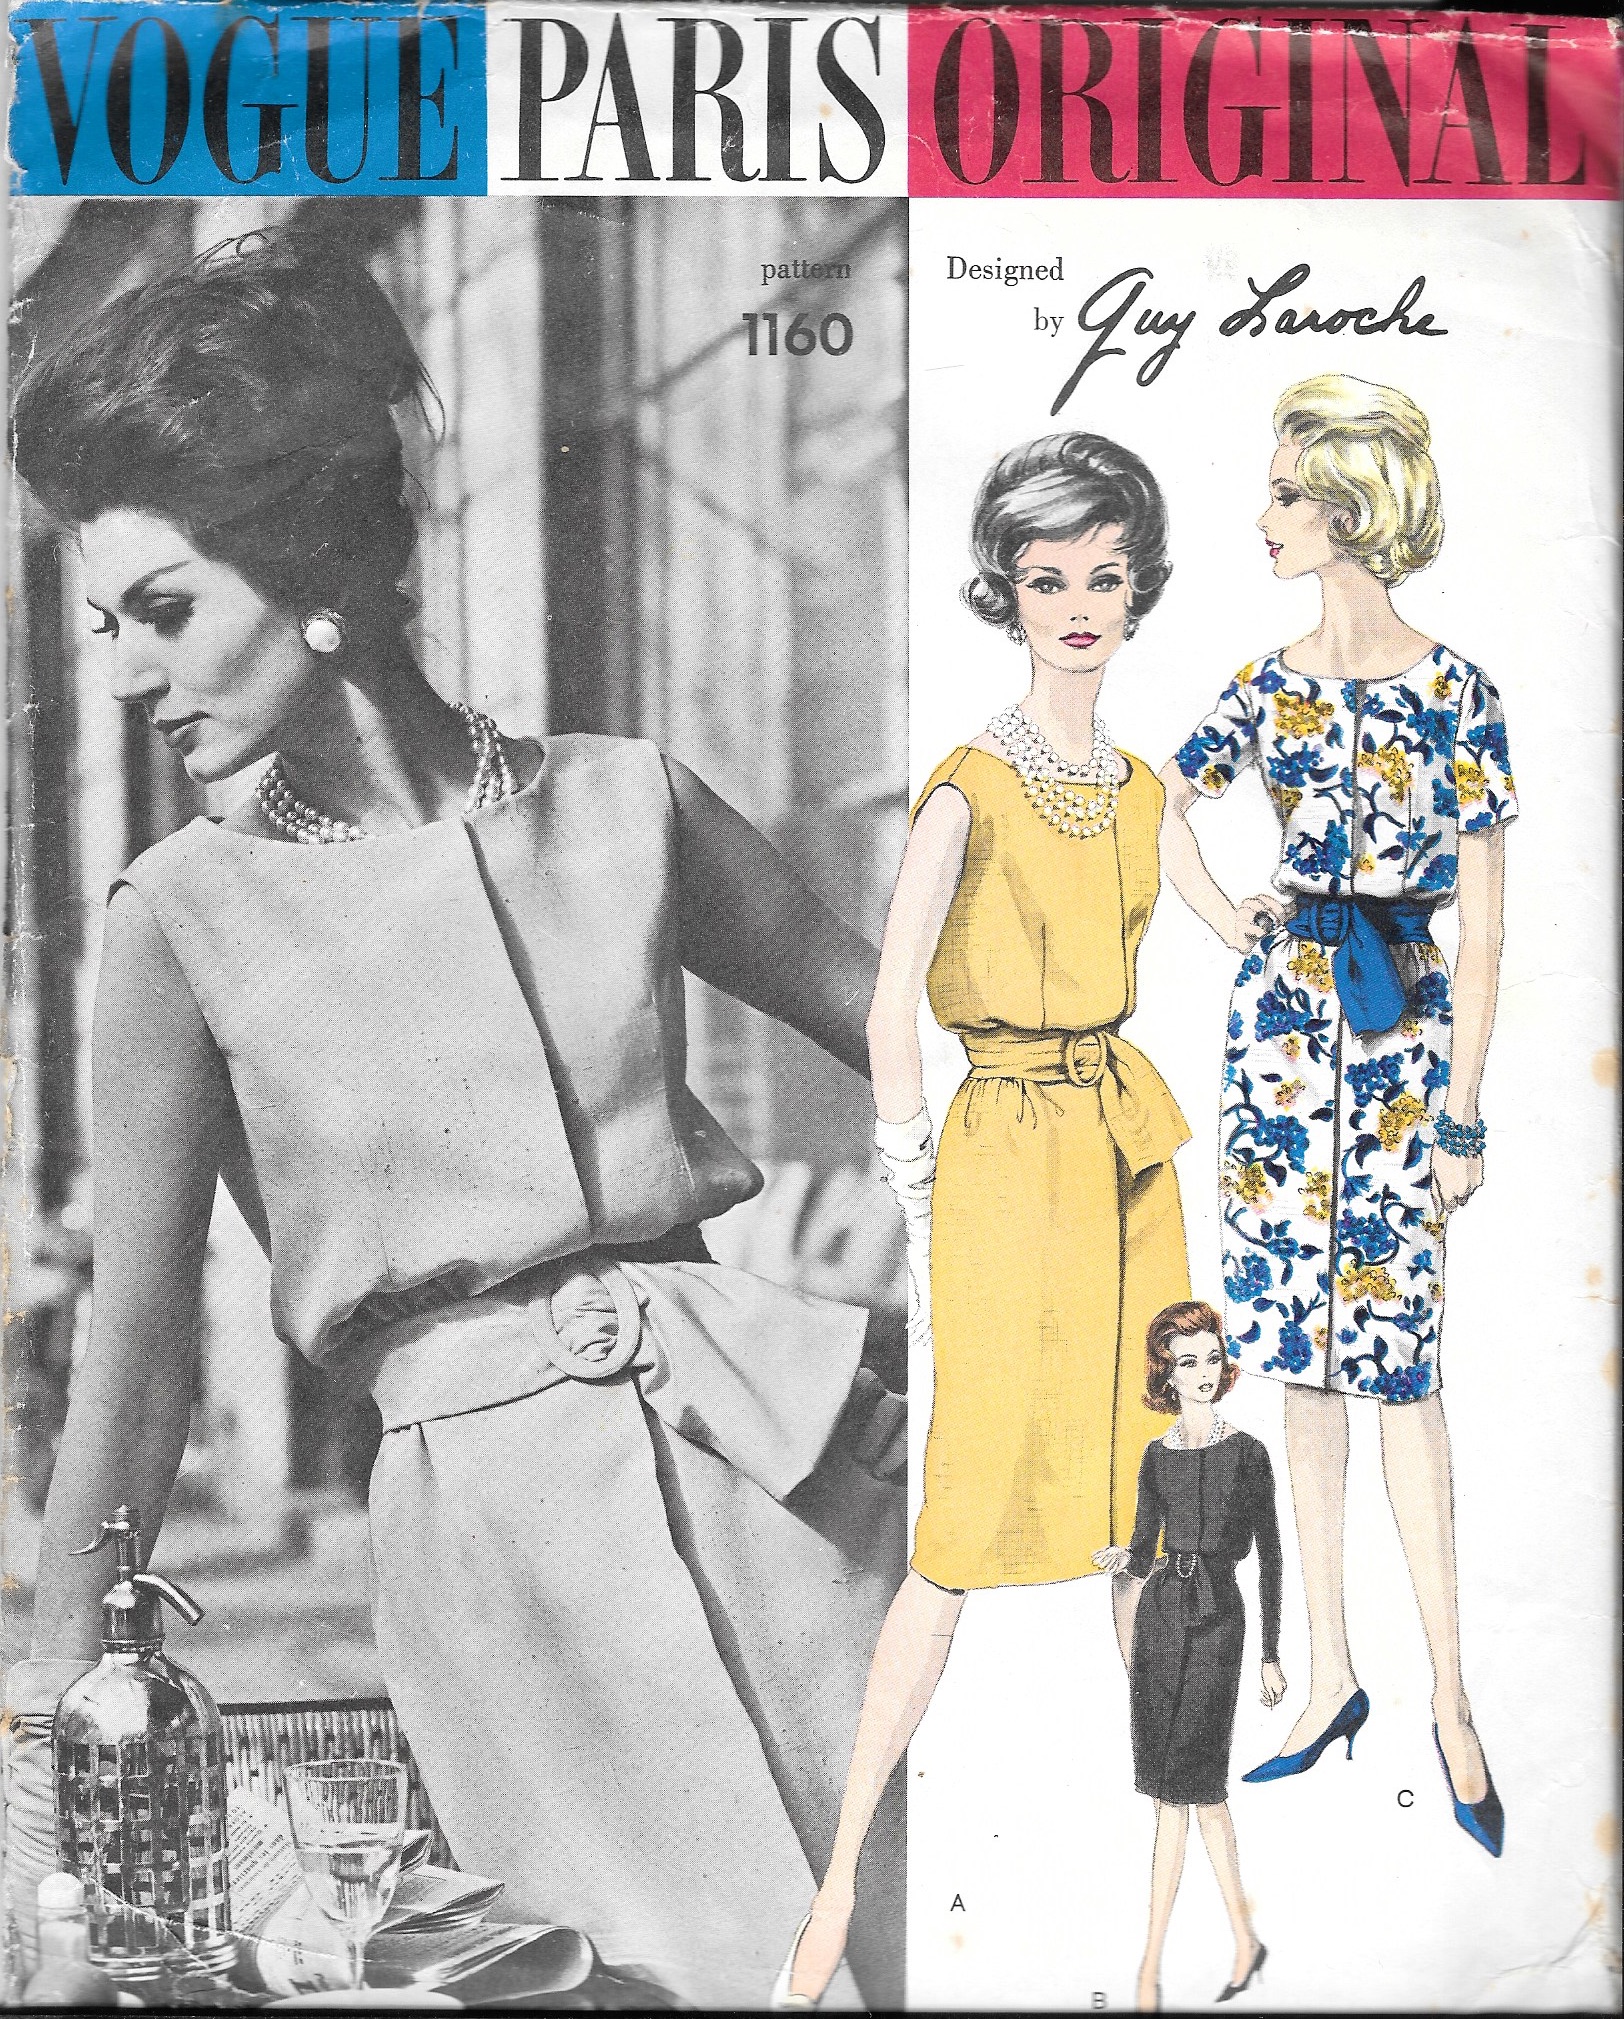
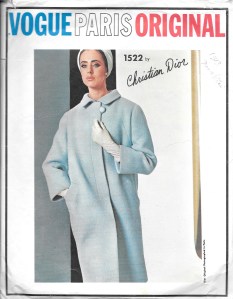
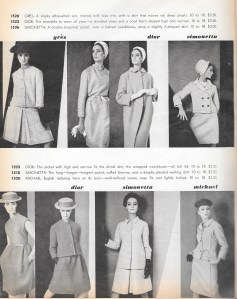
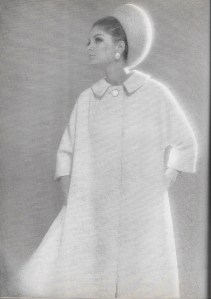
The earliest one is clearly this Vogue Couturier Design from the second half of the 1950s.

Its description reads:  “Suit and Reversible Cape.  Easy fitting jacket with concealed side pockets buttons below shaped collar.  Below elbow length sleeves.  Slim skirt joined to shaped waistband.  Reversible, collarless cape has arm openings in side front seams.”  I think this is pretty spectacular, and while the suit is lovely, it is enhanced many times over by the addition of the short cape.

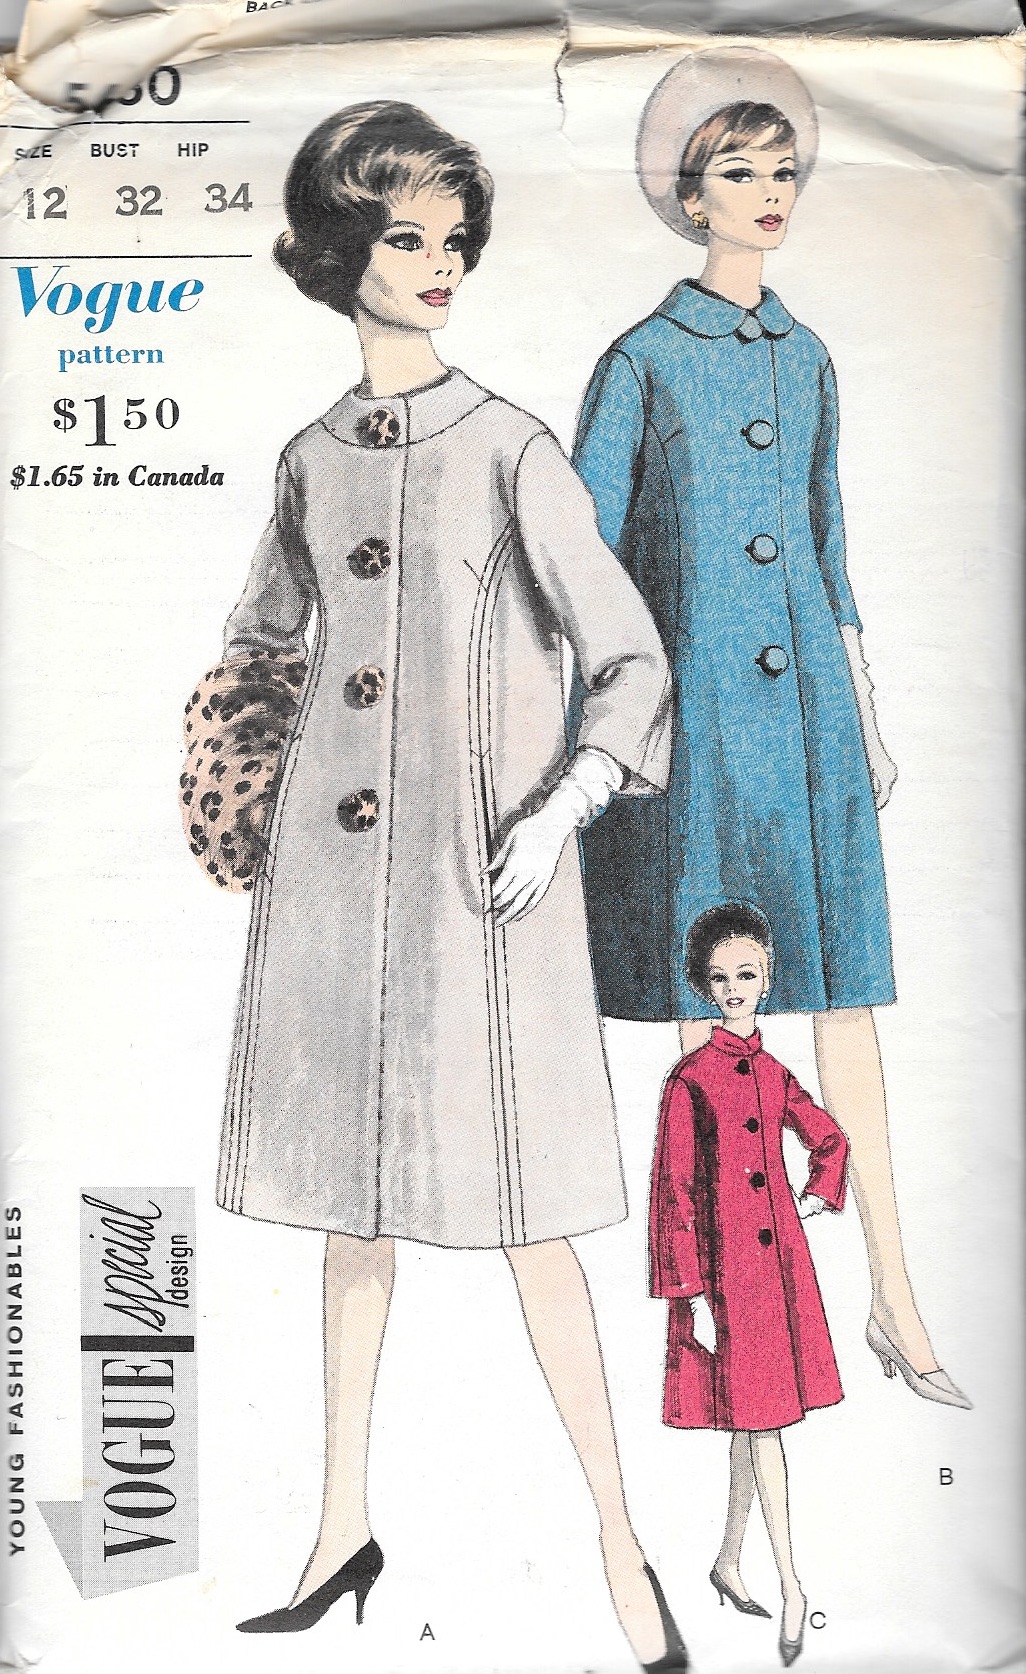
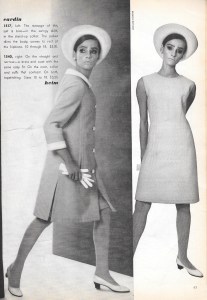
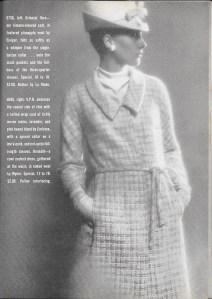
Next is this Advance pattern from the 1960s, a cape in two lengths.  

The more I look at capes, the more I think I like the shorter versions.

I was attracted to this pattern because of its lengthwise darts, its rolled collar and back neckline darts.  

This diagram from the back of the envelope shows the finesse of the design.

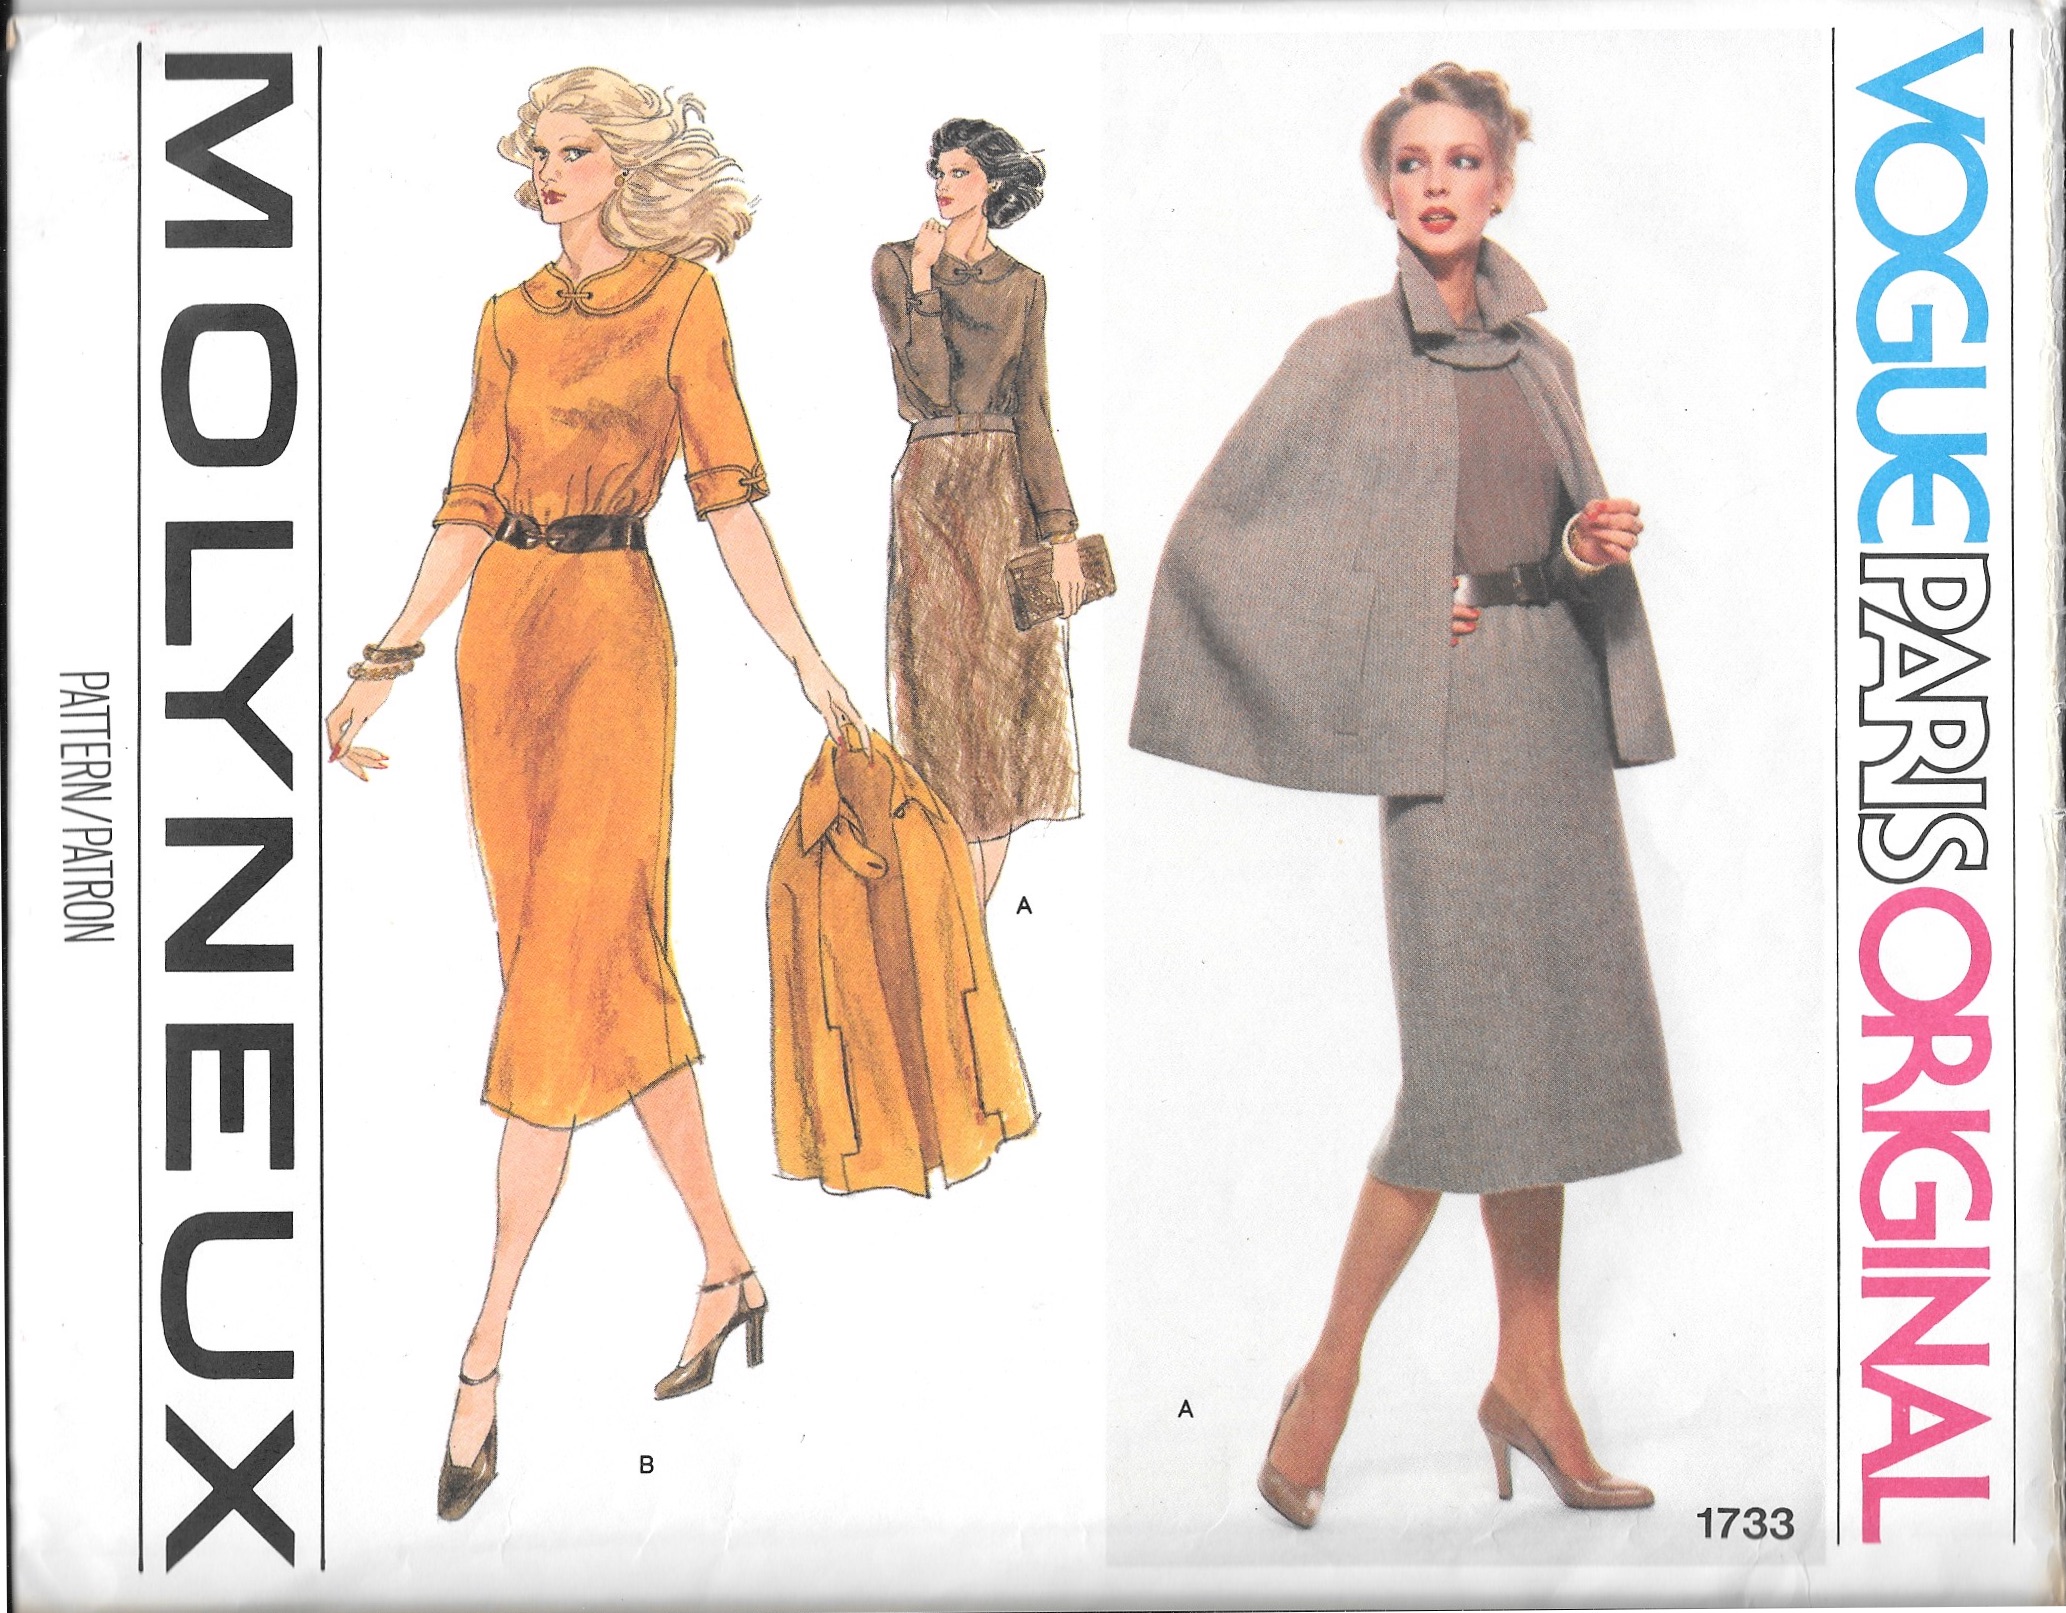
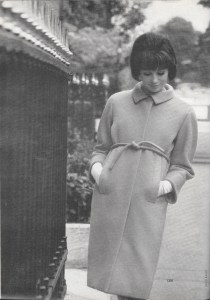
The 1970s is represented by the Molyneux pattern I am using and two more: a Pucci design and a Sybil Connolly design.

I purchased the Pucci pattern for the dress (which I now believe to be too “youthful” for me), but its cape certainly completes the outfit.  The description reads:  “…Cape with jewel neckline has arm openings in side front seams; back vent [which I find interesting}.  Top-stitch trim.”

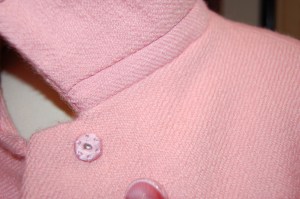
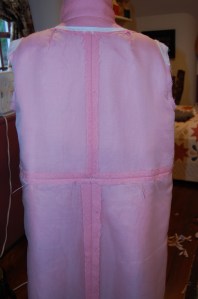
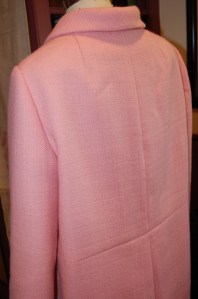
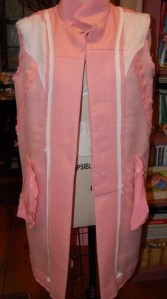
And the final cape pattern I own – almost a capelet – is this Sybil Connolly design.  The caption states “…Short asymmetrical flared cape has side button closing.”  No arm slits in this cape.  

I actually made this cape a number of years ago, but I must admit I have worn it infrequently.  The wide stance of the neckline makes it a little unstable.  I guess there is a good reason most capes have a tighter neckline – and open in the center front.  

So there is my whirlwind cape tour. What do you think?  Are capes alluring and mysterious?   Functional and sophisticated?  I, for one, think capes have a slightly romantic charm to them. Do you?  

17 Comments

Filed under Advance vintage patterns, Capes, Fashion commentary, Mid-Century style, Uncategorized, vintage Vogue Designer patterns, vintage Vogue patterns from the 1950s, vintage Vogue patterns from the 1970s

A Fabric Full of Surprises

Several years ago I purchased a piece of vintage French Lesur wool, which I subsequently made into one of my favorite pieces ever, my pink Christian Dior-designed coat.  

When I received the length of pink wool from the eBay seller, I wrote her a note to tell her how excited and grateful I was to have the opportunity to purchase that fabric.  It apparently had been from the estate of an accomplished dressmaker, known for her good taste.  The seller then kindly offered me another piece – very different in aspect – from the same collection.  The photos she sent me showed a wool plaid which looked to be a medium khaki background with purple and lavender lines woven into it.  It wasn’t exactly what I usually gravitate to, but I knew the quality of the fabric would be superb, and being a pushover for vintage fabric, I decided to purchase a five-yard length from her.  

When the fabric arrived, it wasn’t at all what I had expected.  This is one of the downsides of purchasing fabric – especially vintage fabric – online.  You don’t always get what you think you are getting.  This fabric was deep brown and the purple and lavender intersecting lines were more the colors of eggplant and lilac.  It seemed kind of dark to me. Except for black and navy blue, I’m not usually a dark-wearing person.  The quality of the fabric, however, was indeed superb.  Soft, lightweight with a beautiful hand to it.  

I was a little disgruntled about this purchase, though.  I don’t like to spend money frivolously, and this suddenly seemed like an unwise decision.  But – it was done, so I put the fabric in my fabric closet for storage.  Every once in a while I would take it out and ponder it.  I started to like it more and more, but I couldn’t for the life of me figure out what to make with it – all 5 yards!  

Now. . .  I have discovered with fashion sewing, that sometimes time allows creativity and inspiration to blossom, and that is what happened with this fabric. At some point over the summer, I decided this wool would make beautiful slim slacks.  But what to do with all that remaining fabric?  Somehow, a matching jacket did not appeal to me at all – and then I remembered a lovely vintage Vogue pattern, designed by Molyneux, I had in my collection at home in Pennsylvania.  I knew it would be perfect with the pants – and the fact that I had long wanted to make its featured hip-length cape sealed the deal!  

In preparation for this project, I needed to order lining fabric, both for the pants and for the cape. I selected 5 shades of brown silk charmeuse on Emma One Sock’s website and sent off for swatches.  (I often prefer to use a contrasting color for a lining, but in this case I determined a matching lining would allow me greater flexibility in wearing the cape with something other than the matching pants.)  The swatches arrived in short order, and I was astounded to discover that not one of them was even close to a matching color.  

The swatch second from the right was the closest match, but it was still a long way from viable, even more so in person than in this photo.

And then it hit me – like an iron in the face! – this wool was not brown, it was a true olive green!  No wonder it had started to appeal to me.  I have long been a fan of olive green, which I now know to be a little bit of an enigmatic color.  Off I sent for 5 more swatches of silk lining, this time in shades of deep green.  When the swatches arrived, it was a Bingo moment.  One was clearly a perfect match.  

The center swatch “reads” brown in this photo, but it is a true olive green, as is the background of the wool fabric.

Please stay with me in the next couple of posts, as I work through this two piece outfit – a project whose time has finally come.  

16 Comments

Filed under Capes, Christian Dior, Linings, Uncategorized, Vintage fabric, vintage Vogue Designer patterns, vintage Vogue patterns from the 1970s, woolens

And There Went March.

March was not home to much sewing at Fifty Dresses this year.  The reasons were manifold, but suffice it to say, my loved ones and I weathered through the storm. Now sweet April is here, adorned in grace and gentleness and goodness, like a balm to our collective souls.  April is filled with promise.  

And I have given April much to make promises about!  I may have not been able to sew throughout most of March, but that did not prevent me from looking at fabric, patterns, buttons, books, and fashionable inspirations.  Despite my best intentions of not succumbing to new fabric purchases, my discipline failed me and I found two silk fabrics at Britex which I decided were too special to pass by.  They are so different from each other, but each one appeals to certain design penchants I have finally admitted are my weakness.  One is for geometric and linear prints:

This is a silk crepe de chine, blouse weight.

The second penchant is for whimsical, scattered florals, in multi-color.  This one is especially appealing to me as it also has polka dots in its motif.  Polka dots are especially difficult for me to resist.  

This is a silk twill, dress or blouse weight. I’m not sure what I will make with this yet. If I thought I would have occasion to wear a hostess skirt, that would be it, but …. it is all still to be determined.

By this point I have an extensive collection of vintage patterns, so it is rare when I find one which fills a gap for me.  But such was the case with this purchase of a Vogue Paris Original by Pierre Balmain.  I had not come across this pattern before, and I believe it was rightly advertised as “rare.”  

I wanted this pattern for the jacket.  The neckline is lovely with its small, rolled collar, and the lines in the jacket appear to be very flattering.  The corded front edges are an interesting design feature which will require the right weight fabric to be finished correctly, I think.  And the four buttons certainly have a prominent position for a jacket not meant to be buttoned!  I will relish finding buttons for this project.  

As with most of my vintage patterns, where I am never quite satisfied until I am able to assign a copyright/production date to them, such was the case with this pattern.   Being a Designer pattern made it easier to narrow my search through my Vogue Pattern Book Magazines.  Also, at this point I have developed a “decade” sense for styles, so I instinctively started with the mid-1960s.  Bingo – the second issue from the mid ‘60s through which I looked featured this pattern.  It was included in an article “Just Arrived – 33 Great Imports” in the October/November 1965 Vogue Pattern Book Magazine.

I like this image of the pattern (on the far right) as I believe it shows the lines of the jacket in a more flattering way than on the pattern envelope.

What made it especially rewarding for me was that my pink Dior coat pattern is included in the same feature.  It must have been a good year.  

The caption for my pink coat pattern, top and center in the same feature of “33 Great Imports”, reads: “DIOR: The ensemble to wear all year – a dirndled dress and a coat that’s shaped high and narrow.”

Pink was on my mind (well, truth be told, pink is always on my mind) during the waning days of March as I zeroed in on making “birthday” dresses for my granddaughters.  (Time and looming dates have a wonderful way of getting me back on the sewing track.)  And yes, they are pink.  However, they are also under wraps – and wrapping paper – to be opened by the birthday girls next week.

Hopefully April will not hurry away, as these months are wont to do.  There are promises to keep and there is more sewing to happen at Fifty Dresses.    

22 Comments

Filed under Mid-Century style, Polka dots, silk, The Conde Nast Publications, Uncategorized, vintage Vogue Designer patterns, vintage Vogue patterns from the 1960s

A December Tradition

Is there any month more steeped in tradition than December?  I think not.  It is important to remember that traditions, according to Webster, are “the handing down of statements, beliefs, legends, customs, etc., from generation to generation, especially by word of mouth or by practice,” and therefore, they help to define our lives.  Suspending tradition goes contrary to our desires and our goals and our self-expression.  

I suspect most of you are having to suspend some of your December/Holiday/Christmas traditions this year, as am I.  So I was pleased to see that Pantone has once again continued their tradition of introducing the Color of the Year for the year to come, 2021.  In a vote of confidence – and perhaps because we need to be thinking expansively in the year to come – their color of the year is actually two colors, Ultimate Gray (PANTONE 17-5104) and Illuminating (PANTONE 13-0647), a vibrant yellow.  This gray is “emblematic of solid and dependable elements which are everlasting and provide a firm foundation.”  “Illuminating is a bright and cheerful yellow sparkling with vivacity, a warming yellow shade imbued with solar power.”  

Here is a very “illuminating” yellow silk taffeta jacket I made back in 2016.
And an “ultimate” soft gray cashmere coat, also made in 2016.

Leatrice Eiseman, Executive Director of the Pantone Color Institute, talks about this color combination:  “ The union of an enduring Ultimate Gray with the vibrant yellow Illuminating expresses a message of positivity supported by fortitude.  Practical and rock solid but at the same time warming and optimistic, this is a color combination that gives resilience and hope.  We need to feel encouraged and uplifted; this is essential to the human spirit.”  

As one who loves both yellow and gray, and as one who has sewn with both colors over the years, as detailed above, this choice sent me to my pattern collection, where I quickly found examples of gray and yellow pattern art from years past.  Here are two:

I also went to Christian Dior’s Little Dictionary of Fashion to read, once again, his take on gray and yellow.  

Some of the language and expressions in this little book seem a bit old-fashioned, but it contains a wealth of information and advice.

About Gray:  “The most convenient, useful and elegant neutral color.  ….There is nothing more elegant than a wonderful, gray satin evening dress.  For day frocks, suits and coats it is ideal.  I would always advise it.”  Page 50.  That is quite an endorsement for gray.

About Yellow:  “The color of youth and of the sun, and of good weather.  A beautiful color for frocks and also for accessories and right for any time of the year.  …There is a shade of yellow for everyone – but you have to take the trouble to find it.”  Page 124.  

Cheerfulness, elegance, optimism, fortitude – these are worthy goals to set for living in the months to come – and for sewing – whether or not we blend the colors of gray and yellow into them.  Right now, however, with the enduring promise which defines December, I am focused on the colors of the season, red and green, and of keeping what we can of beloved traditions – knowing that, like finding that perfect yellow, we have to take the trouble to make this holiday season glow and sparkle in its own way. 

I wish all of you, my readers, a warm, happy and even MERRY, Christmas and holiday!

From my house to your house, Merry Christmas! (Cavallini & Co. vintage-inspired tag)

18 Comments

Filed under Christian Dior, Coats, Pantone Color of the Year, Uncategorized, vintage Vogue Designer patterns, vintage Vogue patterns from the 1960s, vintage Vogue patterns from the 1970s

The Pink Coat Odyssey, The Finish!

Is it possible to fall in love with a coat?  If so, then that is what has happened with my pink coat.  It was a relationship which grew over several years.

First, I found the pattern, this Vogue Paris Original Designer Pattern from 1965.  It was an eBay purchase made several years ago, with a promise to myself that one day, when I found the right fabric, I would make it.

Next I found this silk charmeuse couture fabric on the website of Mendel Goldberg Fabrics. It was an end cut, 2.25 yards, and when I purchased it, I envisioned another wrap dress, not the lining of a coat.  Luckily I had no urgent plans to use it, and thus it eventually found its way inside the pink coat.

I am showing the lining silk here along with the pink wool to show how well they complement each other.

And then – I found the pink wool.  Also an eBay purchase, this wool was not inexpensively priced, but I recognized its rarity and its “presence” in the posted pictures.  Then I hoped it would live up to its promise once I received it and saw it in person.  Over the years I have found some amazing things on eBay, but this wool is one of the real treasures.

Because I have already posted quite a bit about the coat’s muslin/toile and certain salient details, I will not go into too much more description about the coat’s construction.  But I do want to point out some of this pattern’s engineering charms.

1) On the photo on the pattern envelope, I believe the soft shoulder of the coat is evident.  I used a “cigarette-type” sleeve heading in each shoulder to enhance the smooth transition from the shoulder to the top of the sleeve.  Not so evident on the pattern illustration is the drape of the back of the coat from the shoulder line.  I realized this drape works so well because of the two neckline darts.  They are in the neckline, not the shoulder seam; they add necessary shaping without disturbing the drape.

Can you see how the dart comes off from the neckline, not the shoulder seam?

2) The collar is an engineering marvel in my mind.  The under-collar  is constructed from four pieces, two main sections cut on the bias, and a 2-piece collar band, seamed at the center back.  The band helps the collar to turn beautifully.

This photo clearly shows the components of the under-collar. You can also see the under-stitching I did in silk buttonhole twist.

3) When I made the toile, I was concerned about the fullness of the back of the coat.  It seemed a bit much, and I have already written about my intention to add a half belt to draw in the fullness, if needed. Nope!   I am so happy with the finished look – it has that 1960s’ vibe without being overwhelming.  I did move the vertical back seam line up 1.25” to rest at my natural waistline, rather than below it.  For me, this was the correct alteration.  It may not be on someone else who has more height than I do.  Another consideration was that a half belt would have concealed the seam detailing which is so lovely on the back of the coat.

An inside look at the back of the coat, showing its drape from the shoulder seams.

The other significant alteration I made was to remove 1.5″ of width from each sleeve.  I possibly could have taken out even more, but I will be wearing this coat over sweaters and perhaps even a jacket, so the sleeves as I cut them will still accommodate that bulk.  But I would not want them any fuller!

Although the pattern did not call for it, I added flat piping to the edge of the lining.  I chose white silk crepe de chine for this contrast detail.  I felt any other color would have been too demonstrative.

The coat kind of looks like a sack of potatoes in this photo of its front edge!

The finished look of the lining edge.

I had some difficulty finding pink buttons.  I ended up with two varieties found in two Etsy shops.  I used a larger pink-swirly one for the looped closure, and smaller pink pearl-y ones for the concealed opening.  If I ever find ones I like better, that’s a easy switch.  But the more I see these, the more I like this combination.

Basting threads are still evident in this photo.

Alas, it is much too warm for wearing wool coats now, but it is ready for next Fall’s cooler days.  By then I hope to have a  windowpane checked skirt, in delicate gray, white and pink wool, specially made to wear with this coat.

It is always interesting what photos reveal. I am thinking I may need to redo the hem to get a softer look to it. It looks like it has crinkles in it!

I will take any excuse to show the inside of this coat!

I cut a piece of the selvedge with the Lesur name on it and attached it to the right front facing of the coat right below the placket.  I think this is an important part of the story of this project.

There is a very slight bow to the back of the coat, again reminiscent of the ’60s.

This coat is almost making me anxious for next Fall!

As I worked on this coat, I came to realize how perfectly suited the pattern and the wool were for each other.   It was such a privilege to spend so many hours with such quality.  No wonder I fell in love!

34 Comments

Filed under Buttons - choosing the right ones, Christian Dior, Coats, couture construction, Dressmaker coats, Linings, Mid-Century style, Uncategorized, Vintage fabric, vintage Vogue Designer patterns, vintage Vogue patterns from the 1960s, woolens

The Pink Coat Odyssey, Part 2

Sometimes it is the smallest little detail which can make or break a sewing project.  In the case of my pink coat, it was that single loop at the top front edge.

Normally loops are very straightforward, but with this pattern, that was not the case. When I looked ahead at the pattern instructions, this is what I found:

Because the front facing is not a separate piece, but rather folded back from the front edge, there was no seam within which to secure that loop.  The instructions directed me to “slash” the yoke front facing through the center of the “squares,” shown here in basting:

The basted “squares” indicating where the “slashes” should be are in white just to the right of the center fold line in the photo.


And this was supposed to be done after the collar was already on and the facing properly secured in place.  Well, I knew I wasn’t going to be slashing anything without getting a second opinion, and furthermore, I knew I would need to do the installation of the loop before the collar was on and the facing turned.  I did not know how I could ever secure the loop without access to the inside of the facing.

I went online to Susan Khalje’s Couture Sewing Club which is by subscription on Facebook.  Once I posed the question about the best way to accomplish this task, Mary Funt of the blog Cloning Couture suggested I use an awl to work holes where those squares were, separating the wool threads and enlarging the openings to the size I needed.  Then I could whip the edges with silk buttonhole twist to secure them.  Mary also suggested I use a medical clamp (hemostat, which I highly recommend as a vital sewing tool! I have had mine for years and use it frequently), to help flatten the raw ends of the loop.

This shows the awl, the hemostat, and my spool of vintage pink silk buttonhole twist, along with a sample “insertion” of the loop.

First I practiced! Here are my practice holes:

Practice holes helped me determine how large the hole needed to be to accommodate the loop.

The hemostat was also helpful in pulling the end of the loop through the holes I made.  Susan Khalje further suggested that the loop would need to be very securely fastened inside, and she suggested I under-stitch that part of the facing, catching the loop in the stitching.

The completed holes, bound with silk twist.

The loop inserted into the facing.

This shows the secured ends of the loop inside the facing.

The under-stitched facing, in which I further secured the loop.

Oh my goodness! Thank you Mary Funt and Susan Khalje!  Using this method produced exactly the results I wanted.

The finished loop.

After the mystery of the loop was solved successfully, it was on to the collar, and ultimately on to the final steps before attaching the lining.  The completion of this coat is in sight, after all this time. I can’t wait!

25 Comments

Filed under Christian Dior, Coats, couture construction, Dressmaker coats, Loops for buttons, Uncategorized, vintage Vogue Designer patterns, vintage Vogue patterns from the 1960s

The Pink Coat Odyssey, Part 1

Instruction sheets for patterns always intrigue me, and especially so, instruction sheets for vintage Vogue Designer patterns.  They so often include a quirky method of handling one aspect of construction. And often the construction details for an entire complicated dress or coat fit on one side of one sheet, completely at odds with the amount of time involved in the actual process from beginning to end. The beginning of my pink coat, however, commenced long before I started at “ number 1” in the Instructions.

With my adjusted and fitted muslin (toile) completed, and with its pieces disassembled again, I transferred it onto white silk organza to be used as both the pattern for the fashion fabric and as its underlining.  This was the point about which I was both equally excited and terrified! There is a real thrill involved in laying out the pattern on your fashion fabric, but my pink coating wool is no normal fashion fabric.  A rare survivor, this French Lesur wool from the mid 1960s, needed some special attention before I could begin to lay out my organza pieces on it.

Often vintage wool displays a crease down its center point where it has been folded for decades. Fortunately, this Lesur wool was folded with the right side in.  There was a definite crease line, and it looked a bit soiled as well.

In the left half of this photo, you can see a line of light soil along the crease.  This is the wrong side of the fabric.

I used a Woolite spot remover pad and worked gently along the fold line to reduce the minor discoloration.  Then I put the entire length of wool in the dryer with a Woolite dry cleaning cloth to freshen it.  When it came out, the crease line was practically gone, but I noticed that the wool appeared just a bit thinner along that line.  I knew I would have to work around this when I laid out my pattern pieces.

It is barely visible, but there is a line of thinner wool close to the center of the photo.

Working single layer, as is customary with couture construction, I spread out the wool on my dining room table.  The “coat front and lower back” piece is quite wide, and extended across the center point line of my wool.

You can see how wide the Coat Front and Lower Back pattern piece (#3) is, on the lower left.

Because the longest straight edge of the piece is the front facing, I knew I had to make sure that line of “thinner” wool  was on the facing and not on the main body of the coat.  Fortunately the wool had no nap, so I was able to stagger those two very large pattern pieces with different vertical orientations, which saved the day!

A number of pieces were on the bias which always seems to use more fabric.

All in all, it was tight fit to get all the pattern pieces on.  I let it all sit overnight so I could doublecheck myself with fresh eyes before I actually started to cut.  Knowing how special this wool is made taking that first cut with scissors extremely nerve-wracking.  However, I figured it was now or never, and so I cut!  One by one, the pieces piled up and when I was finished , all I had left was this small mound of scraps!

I have just enough left to make a half belt, should I choose to do so.

Next up was a part I always enjoy for some strange reason: basting the silk organza underlining and the fashion fabric together.  And then to the Instruction Sheet, only to remember that the first thing to do was the pockets!  I like detail work, but whenever I have to make a slash in the main body of anything, I get anxious.  Fashion Sewing is not for sissies!

Here is one of the pockets slashed and ready to turn.

With lots of basting, lots of double-checking, lots of talking to myself, I finished with two flapped pockets that look they way they should, thank goodness!

I basted the pockets closed to protect them while I finish the rest of the coat.

And then, no rest for the weary, the next item on the sheet was the fly for the concealed front. Actually these are not difficult, although this one was done a bit differently than the one I put on another coat I made several years ago.

The buttonholes on a fly front need to be as flat as possible, so even though I was working in wool, which would normally dictate bound buttonholes, I made these five buttonholes by machine.  Obviously they do not show, being within a concealed opening, so this was the way to go.

Here is the front of the coat with the concealed placket underneath. Top-stitching will be added later.

Remember what I said about quirky construction?   I had already looked ahead (of course…) to see what next important step I was facing, and indeed, it was a facing!  That looped button which is a design feature on the coat, turns out to be anything but normal. I will cover this interesting – and quirky – application in my next post, as the Pink Coat Odyssey continues.

17 Comments

Filed under Christian Dior, Coats, couture construction, Dressmaker coats, Mid-Century style, Uncategorized, Vintage fabric, vintage Vogue Designer patterns, vintage Vogue patterns from the 1960s, woolens

The Best Laid Plans

The best laid plans sometimes need revision.  As a person who likes to make careful lists and schedules, I find it difficult at times when life conspires to upset those plans.  Especially difficult is when my sewing plans go awry!

I have been dreaming about making this coat in my treasured vintage pink wool.

With new enthusiasm after seeing the Dior Exhibit in Denver, I was sure this coat would be well underway by the end of March. However, for an unexpected, albeit happy, change of events, here we are at the end of March and all I have finished is my toile.  But my enthusiasm is still on track!

A fun part of any project in which I use a Vogue Designer pattern is devoted to finding out more about the initial debut of the pattern, and documentation of its appearance in Vogue Pattern Book Magazine.  Although I had a good hunch that this pattern was from the mid-sixties, I was quite delighted to see it included in a feature of new Designer patterns debuting in  the October/November 1965 VPBM.       .

The caption for my coat pattern, top and center, reads: “DIOR: The ensemble to wear all year – a dirndled dress and a coat that’s shaped high and narrow.”

 Of course this was when Marc Bohan was the Creative Director at Christian Dior, a period of the 1960s known for its gorgeous dressmaker coats and ensembles.  Here is a sampling of some other designs appearing in the same time frame in a few Vogue Pattern Book Magazines.

I actually own this pattern, too. I have always loved the look of this coat.  This pattern is shown in the same issue of Vogue Pattern Book Magazine as the Dior design, October/November 1965.  What a great year for coats.

This kimono-sleeved coat was shown made in textured pineapple wool by Einiger. I made my purple coat from vintage Einiger wool, so I know what fabulous quality it is.

This coat features a spread collar on a low V-neck.  This coat and the one above are shown in the February/March 1966 Vogue Pattern Book Magazine.

This coat is described as being “the total look of the Chanelesque tradition.” It, too, was made from “mossy-surfaced” Einiger wool.

And this coat is reminiscent of the Dior design I am making, with its pointed collar, straight-shape and concealed closing. The tubular belt is a brilliant addition. This design is by Guy Laroche and both it and the pink coat shown above were included in the February/March 1964 Vogue Pattern Book Magazine.

Back to my toile: I made the first one without any alterations to the pattern.  The first thing I noticed is that the horizontal seam which extends around the back and angles up on either side of the front, seemed to add extra “baggage” in the lower back.

Here was my first toile atop the waxed marking paper. This shows the lower front and back piece, with its angled side seam.

The seam was designed to be below the waistline, but I determined it might look better on me if it were reset to fall exactly on the waist.  This adjustment would keep the spirit of the design, but would be more flattering on me for some reason.

I made another slight adjustment to the shoulder line.  First I cut the shoulder line on the body of the coat back about ½ inch on either side, to reduce some excess fabric across the upper chest.  That made some pulling in the top of the sleeves. So then I added about ½ inch to the top half/curve of each sleeve.  So it was an even swap, just distributed differently.

This shows my markings on the upper shoulder.

And the adjustments to the top of the sleeves.

Interestingly, the sleeves have no shaping by darts or seams on this pattern.  They seemed a bit too full to me, so I tapered the seam to reduce the width of each sleeve by about 1.5 inches.  I have had to make this adjustment to other coat patterns from the same time period, so perhaps a fuller sleeve is a hallmark of that era.  I did not want to narrow the sleeves too much, as they need to be comfortable to wear over long sleeved dresses and sweaters.

I am contemplating adding a half belt, secured with buttons to the back of the coat.  That’s a decision I’ll make as the coat comes together.  The drape of the wool, as opposed to the drape of the muslin, may convince me I do not need it, but I rather like the appearance of a back belt.

Here is a rough mock-up of a possible belt, but this needs much more thought!

I found this picture of another coat which has a high back belt, probably about the length of one which I might add. It is so helpful to find examples like this of design details.

Lots of pink featured in coats from the 1960s. This design was featured in the February/March 1968 International Vogue Pattern Book.

So, I have embarrassing little to show for the past three weeks regarding this coat.  Perhaps the next three weeks may be kinder to me. We shall see!

17 Comments

Filed under Christian Dior, Coats, Dressmaker coats, Fashion history, Mid-Century style, Uncategorized, vintage Vogue Designer patterns, vintage Vogue patterns from the 1960s