
Among the highlights on The Paris Tour with Susan Khalje were several visits to fashion exhibitions, shopping excursions to three fabric stores, and one to a fabulous scarf store.
The first exhibit we visited was at the Yves Saint Laurent Foundation.

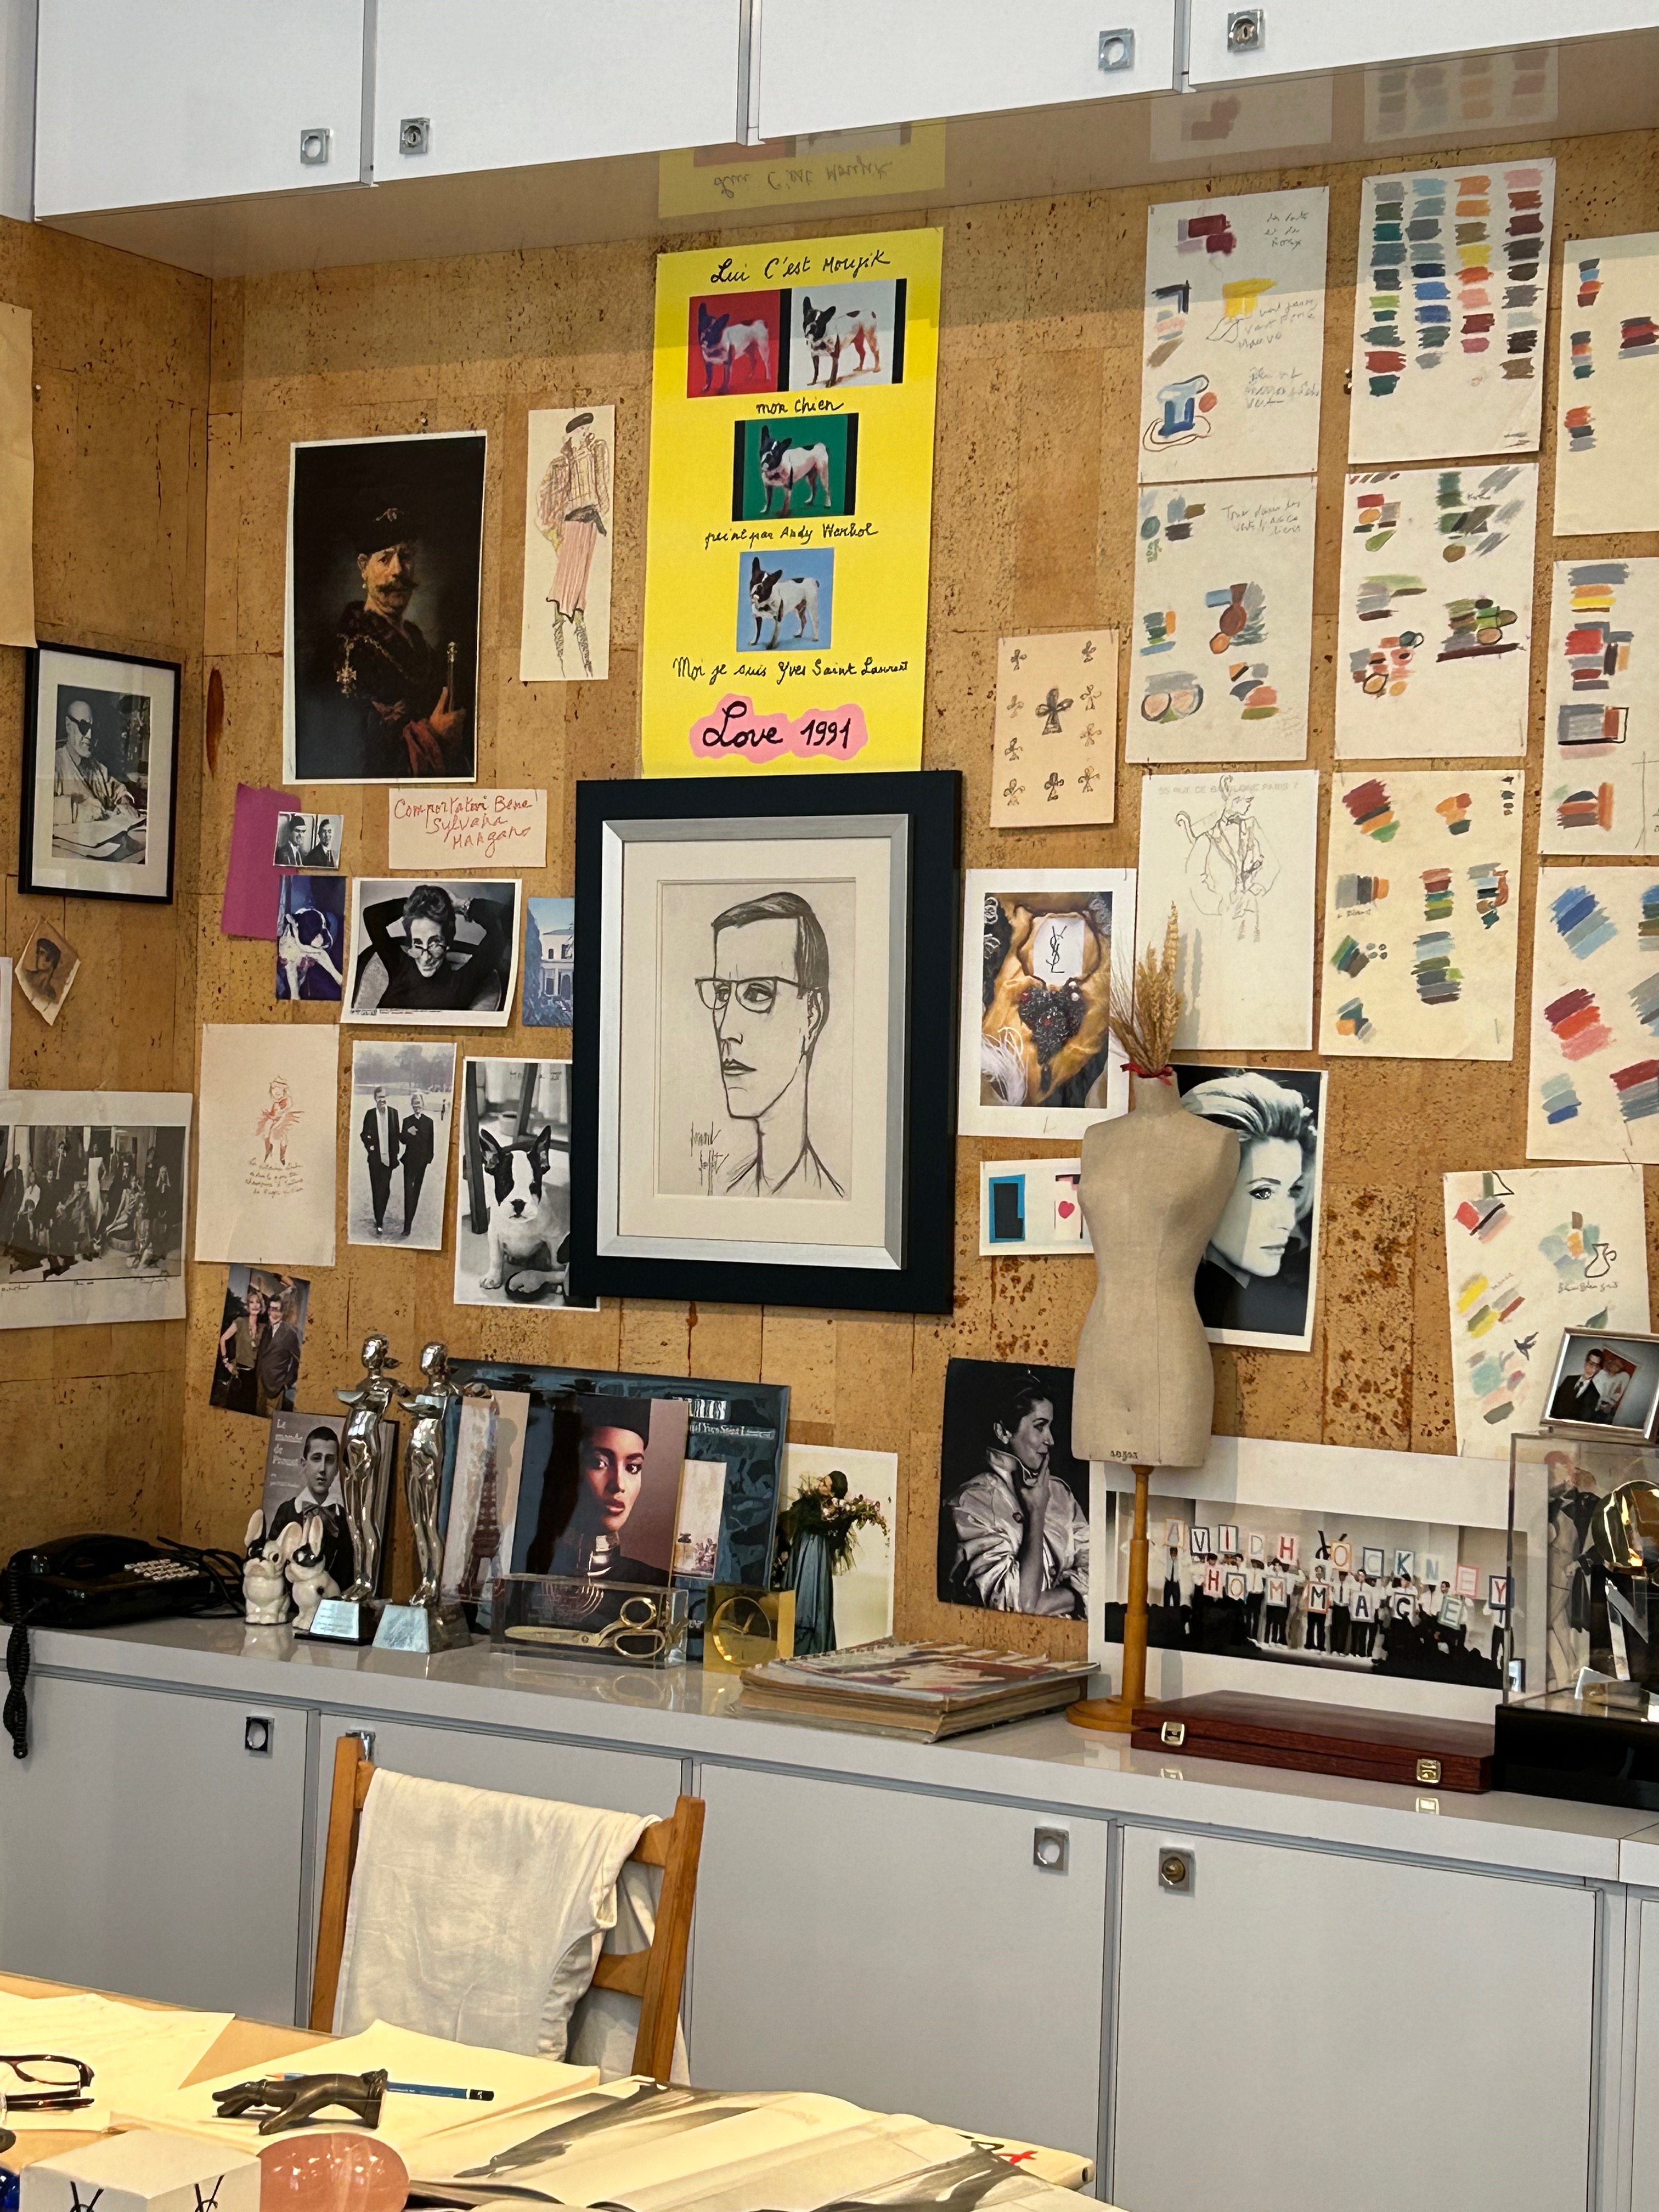
In addition to the selections on display in the current “Sheer: the diaphanous creations of Yves Saint Laurent,” we had the opportunity to see his studio where he worked.


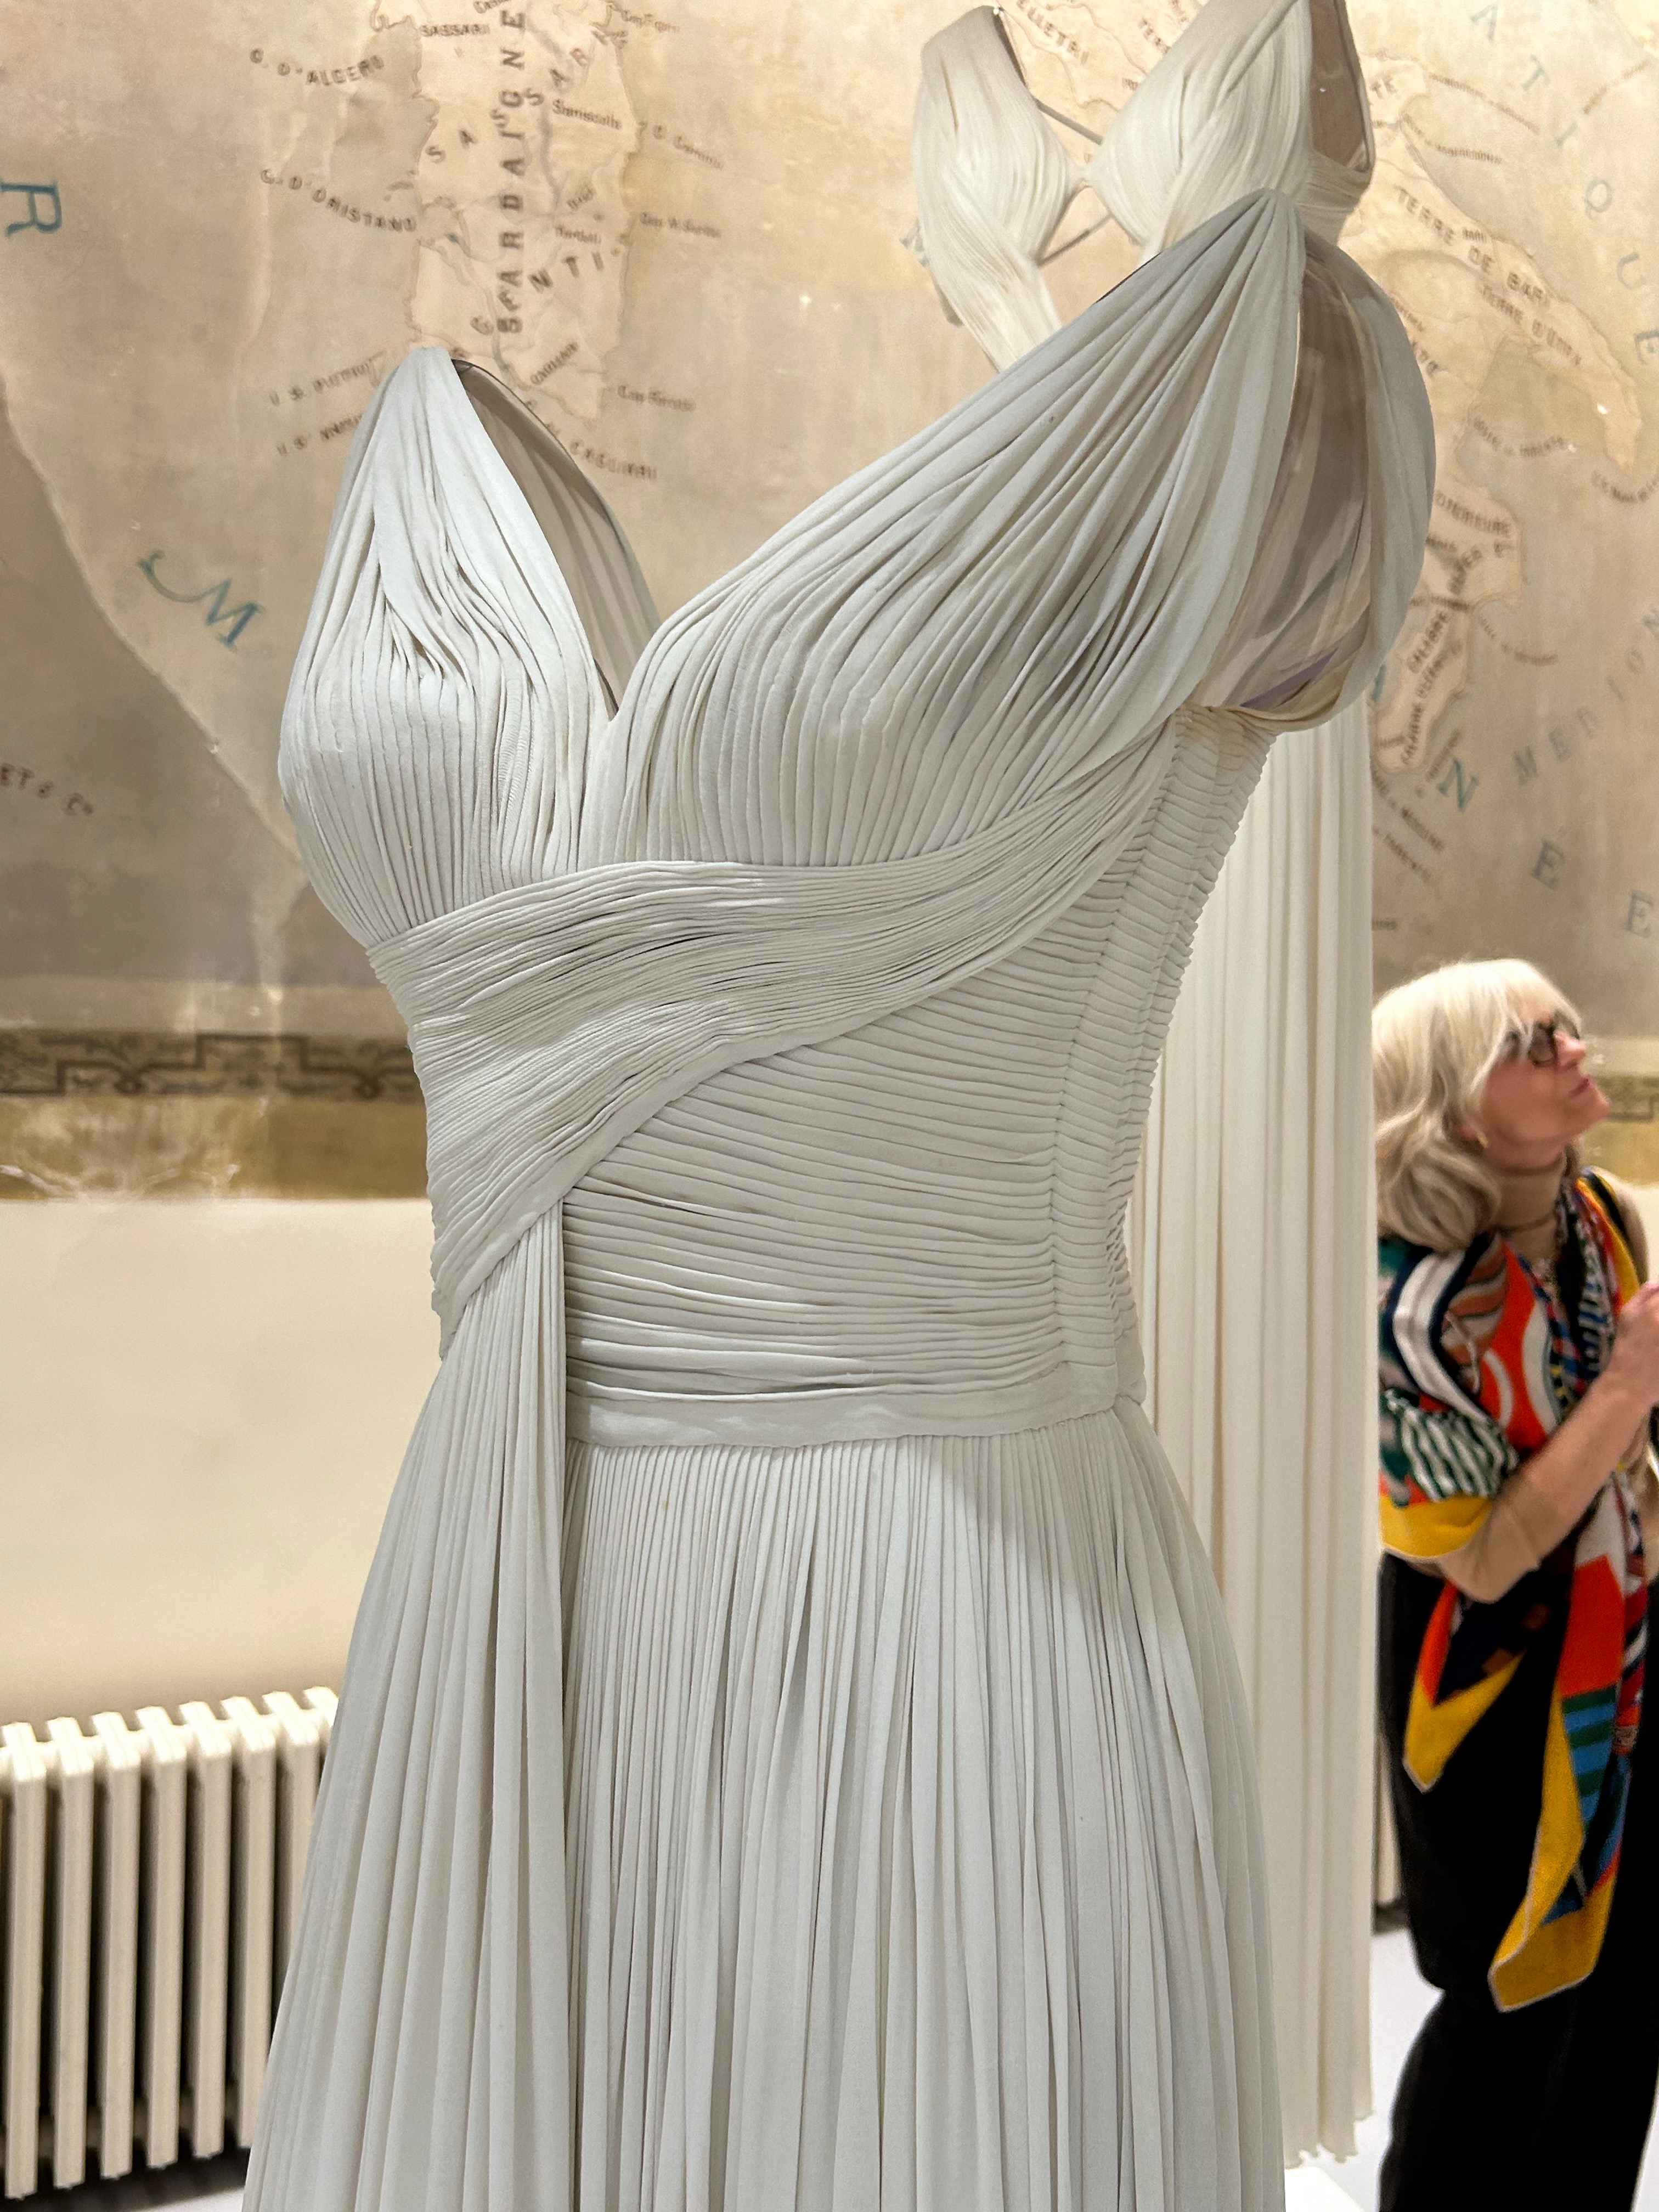
Later that same day, we went to the Musee des Arts Decoratifs where the current exhibit of the works of Iris Van Herpen were on display. Some of the members of our group were quite taken with her designs. I was not one of them. I much preferred our visit to the Alaia Foundation to see the newly-opened exhibit featuring works by Azzedine Alaia and Madame Gres. I have long been a fan of the design aesthetic of Madame Gres. Her works served as a point of great inspiration for Alaia. To see so many of her designs on display, many alongside the more contemporary works of Alaia, was captivating.

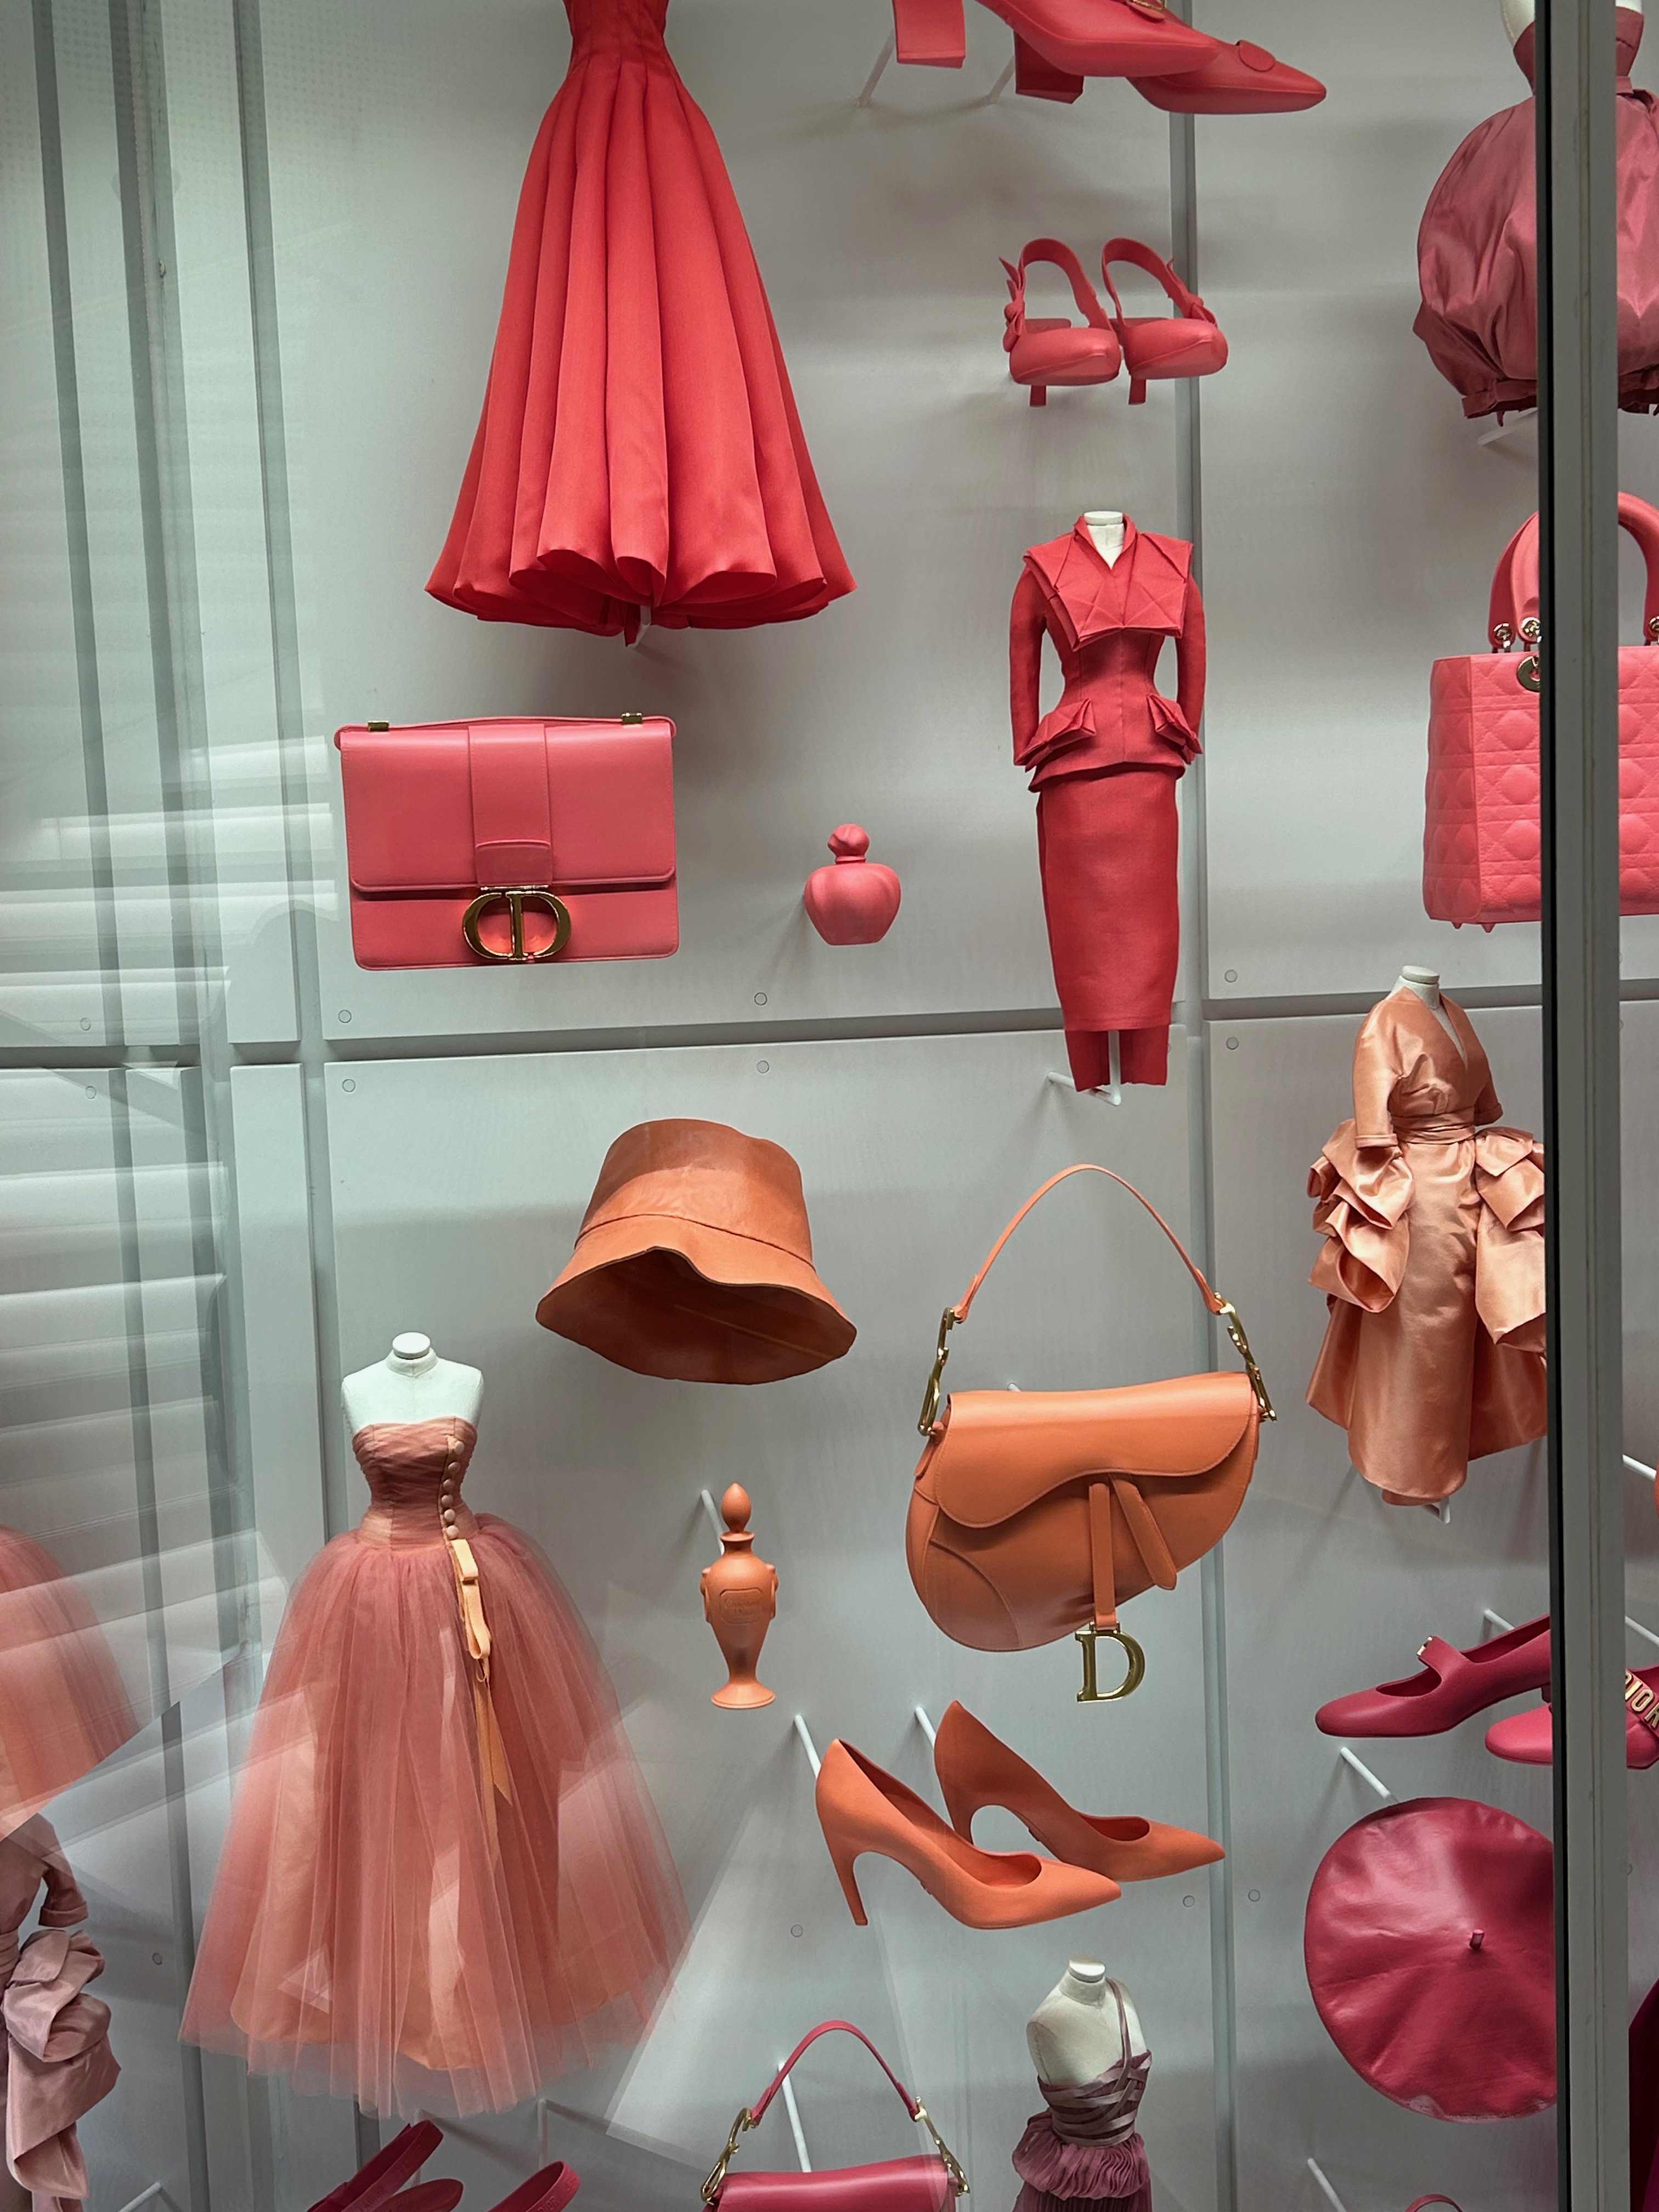
The crème de la crème was our visit to La Galerie Dior, newly reopened and quite spectacular. Having seen the Dior Exhibit when it was at the Denver Museum of Art five years ago, I wondered how similar the two presentations might be. There were obviously some repeats of the iconic dresses and ensembles of Christian Dior before his untimely death in 1957, but somehow everything seemed fresh and newly considered. The building is beautiful, masterfully lit, with a logical, but innovative floorplan. Entrance to the Galerie is by timed tickets, and at no time did the galleries seem crowded or uncomfortable.
I could have spent hours studying the walls and walls of accessories and miniature clothing which lined the stairwell.
.


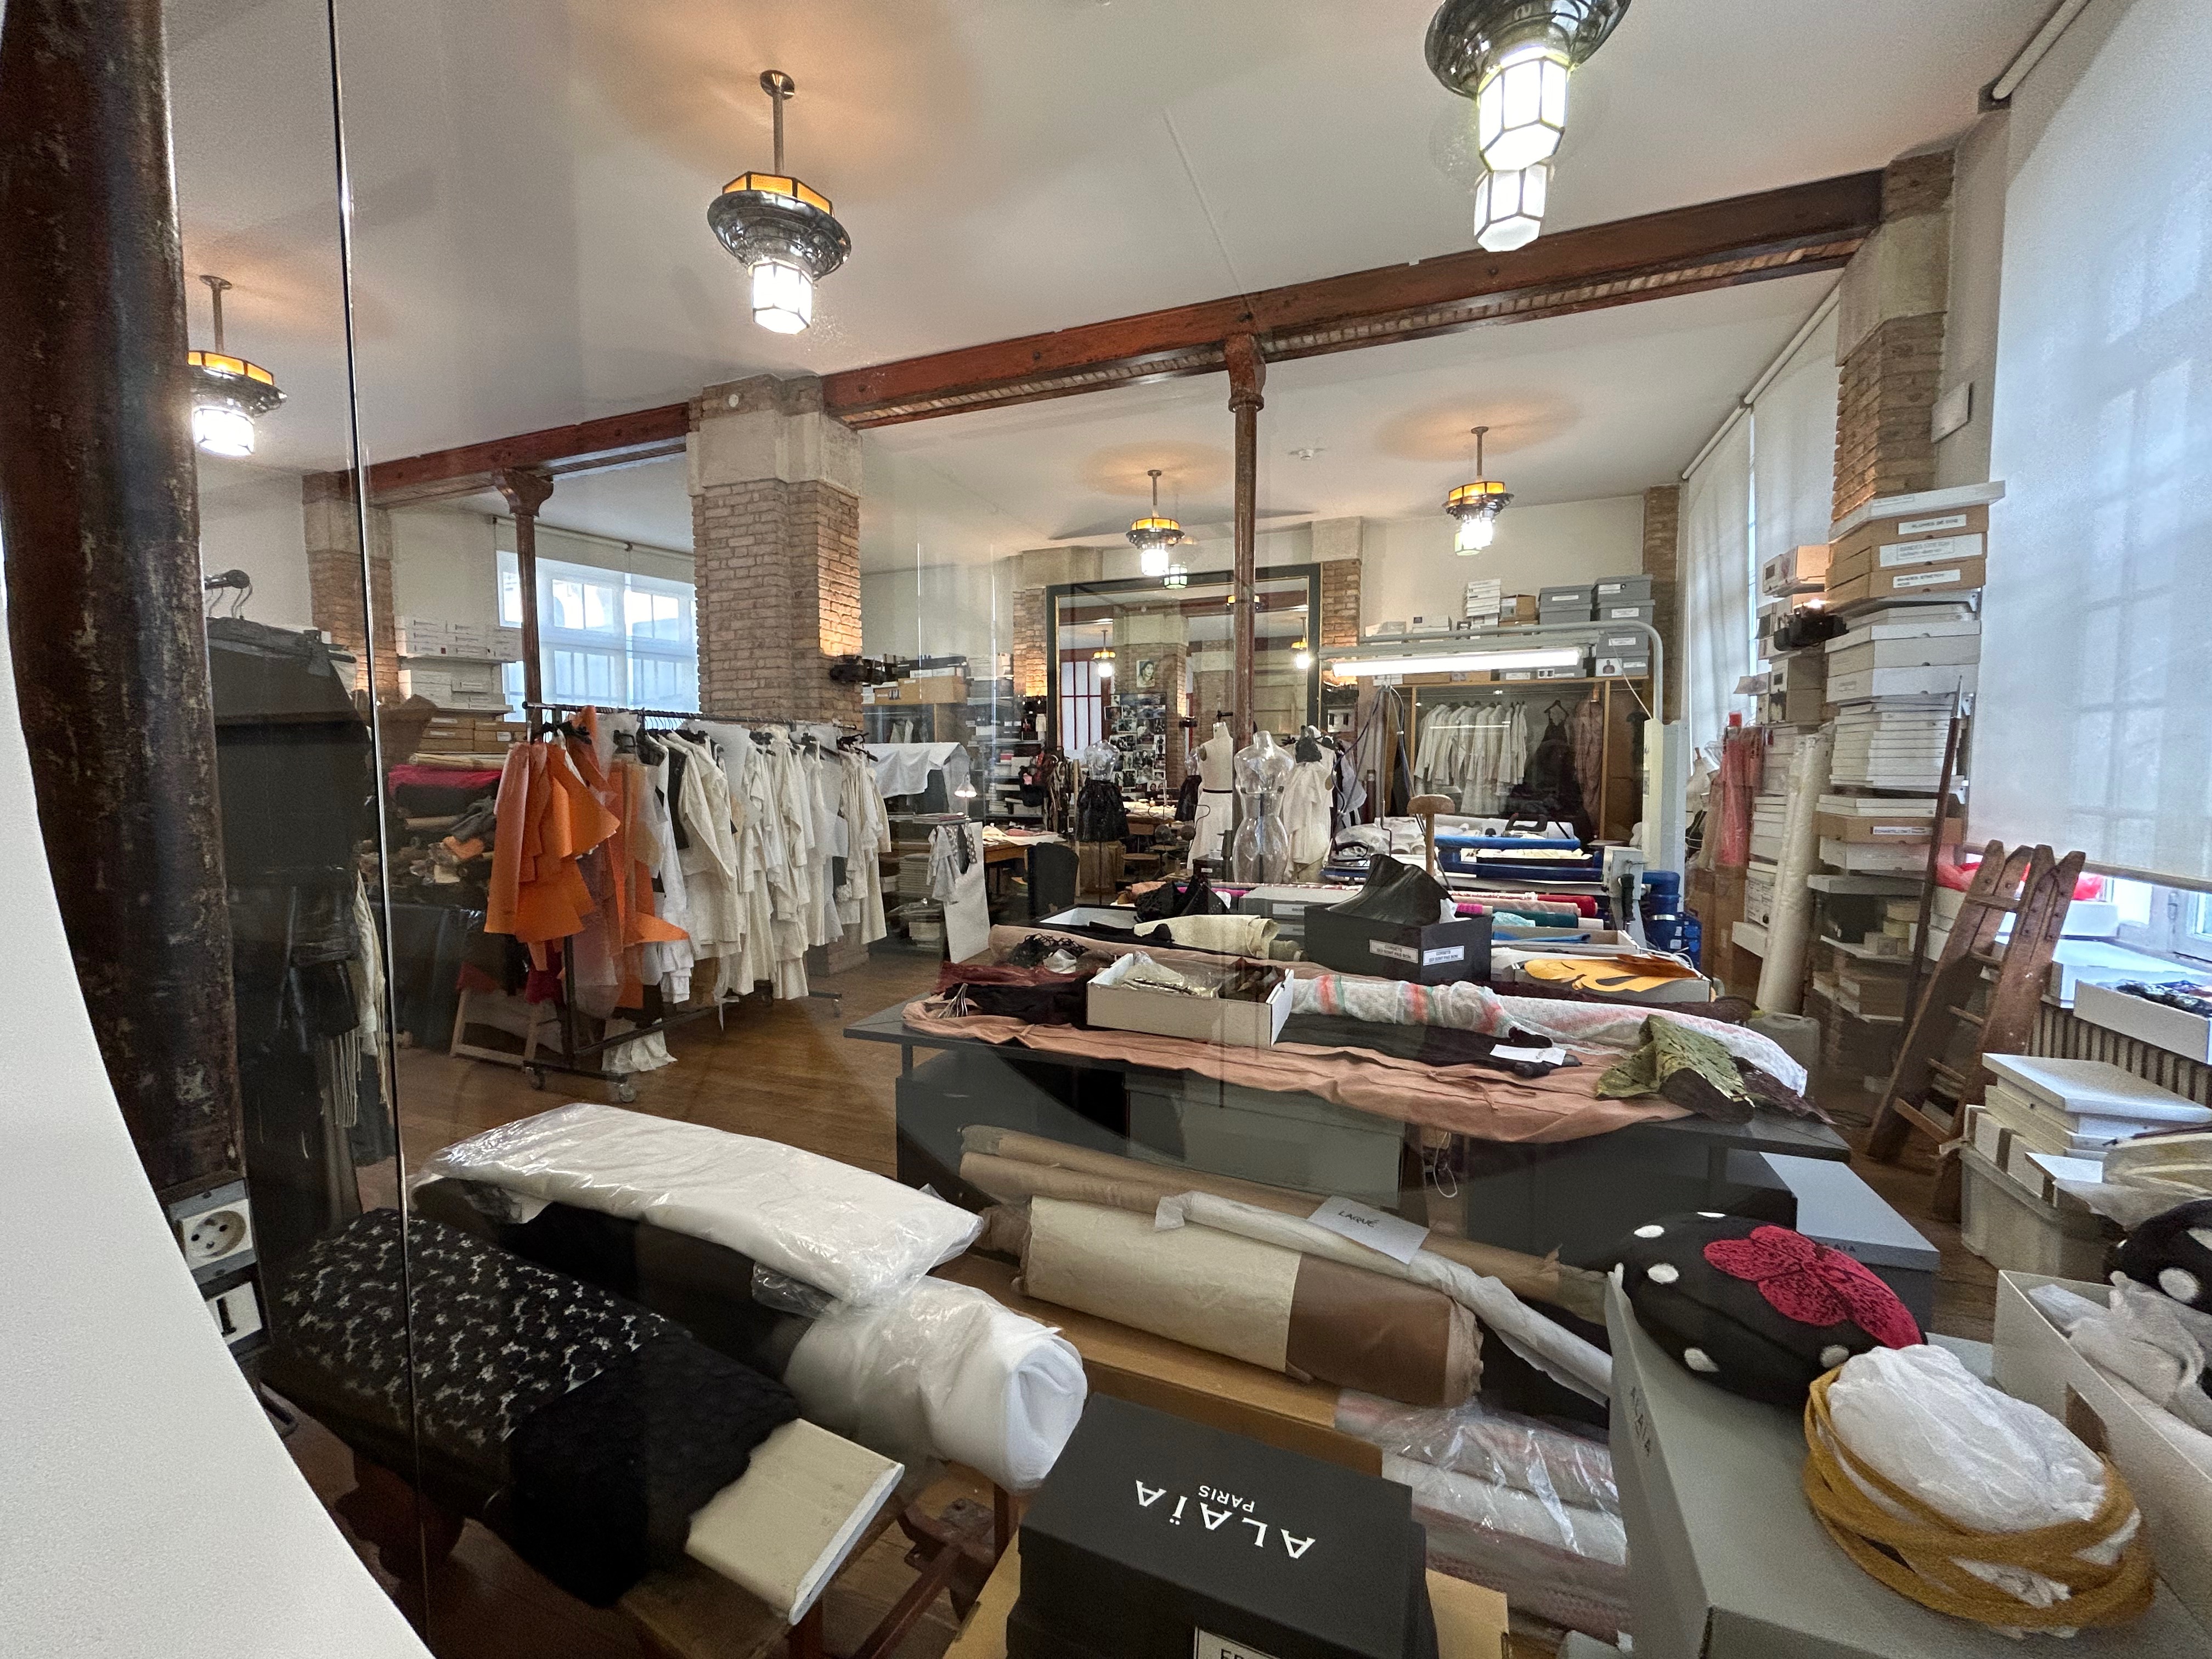
After all this inspiration, it was fun to go to three fabric stores. The first one on the agenda was Tissus Edre.
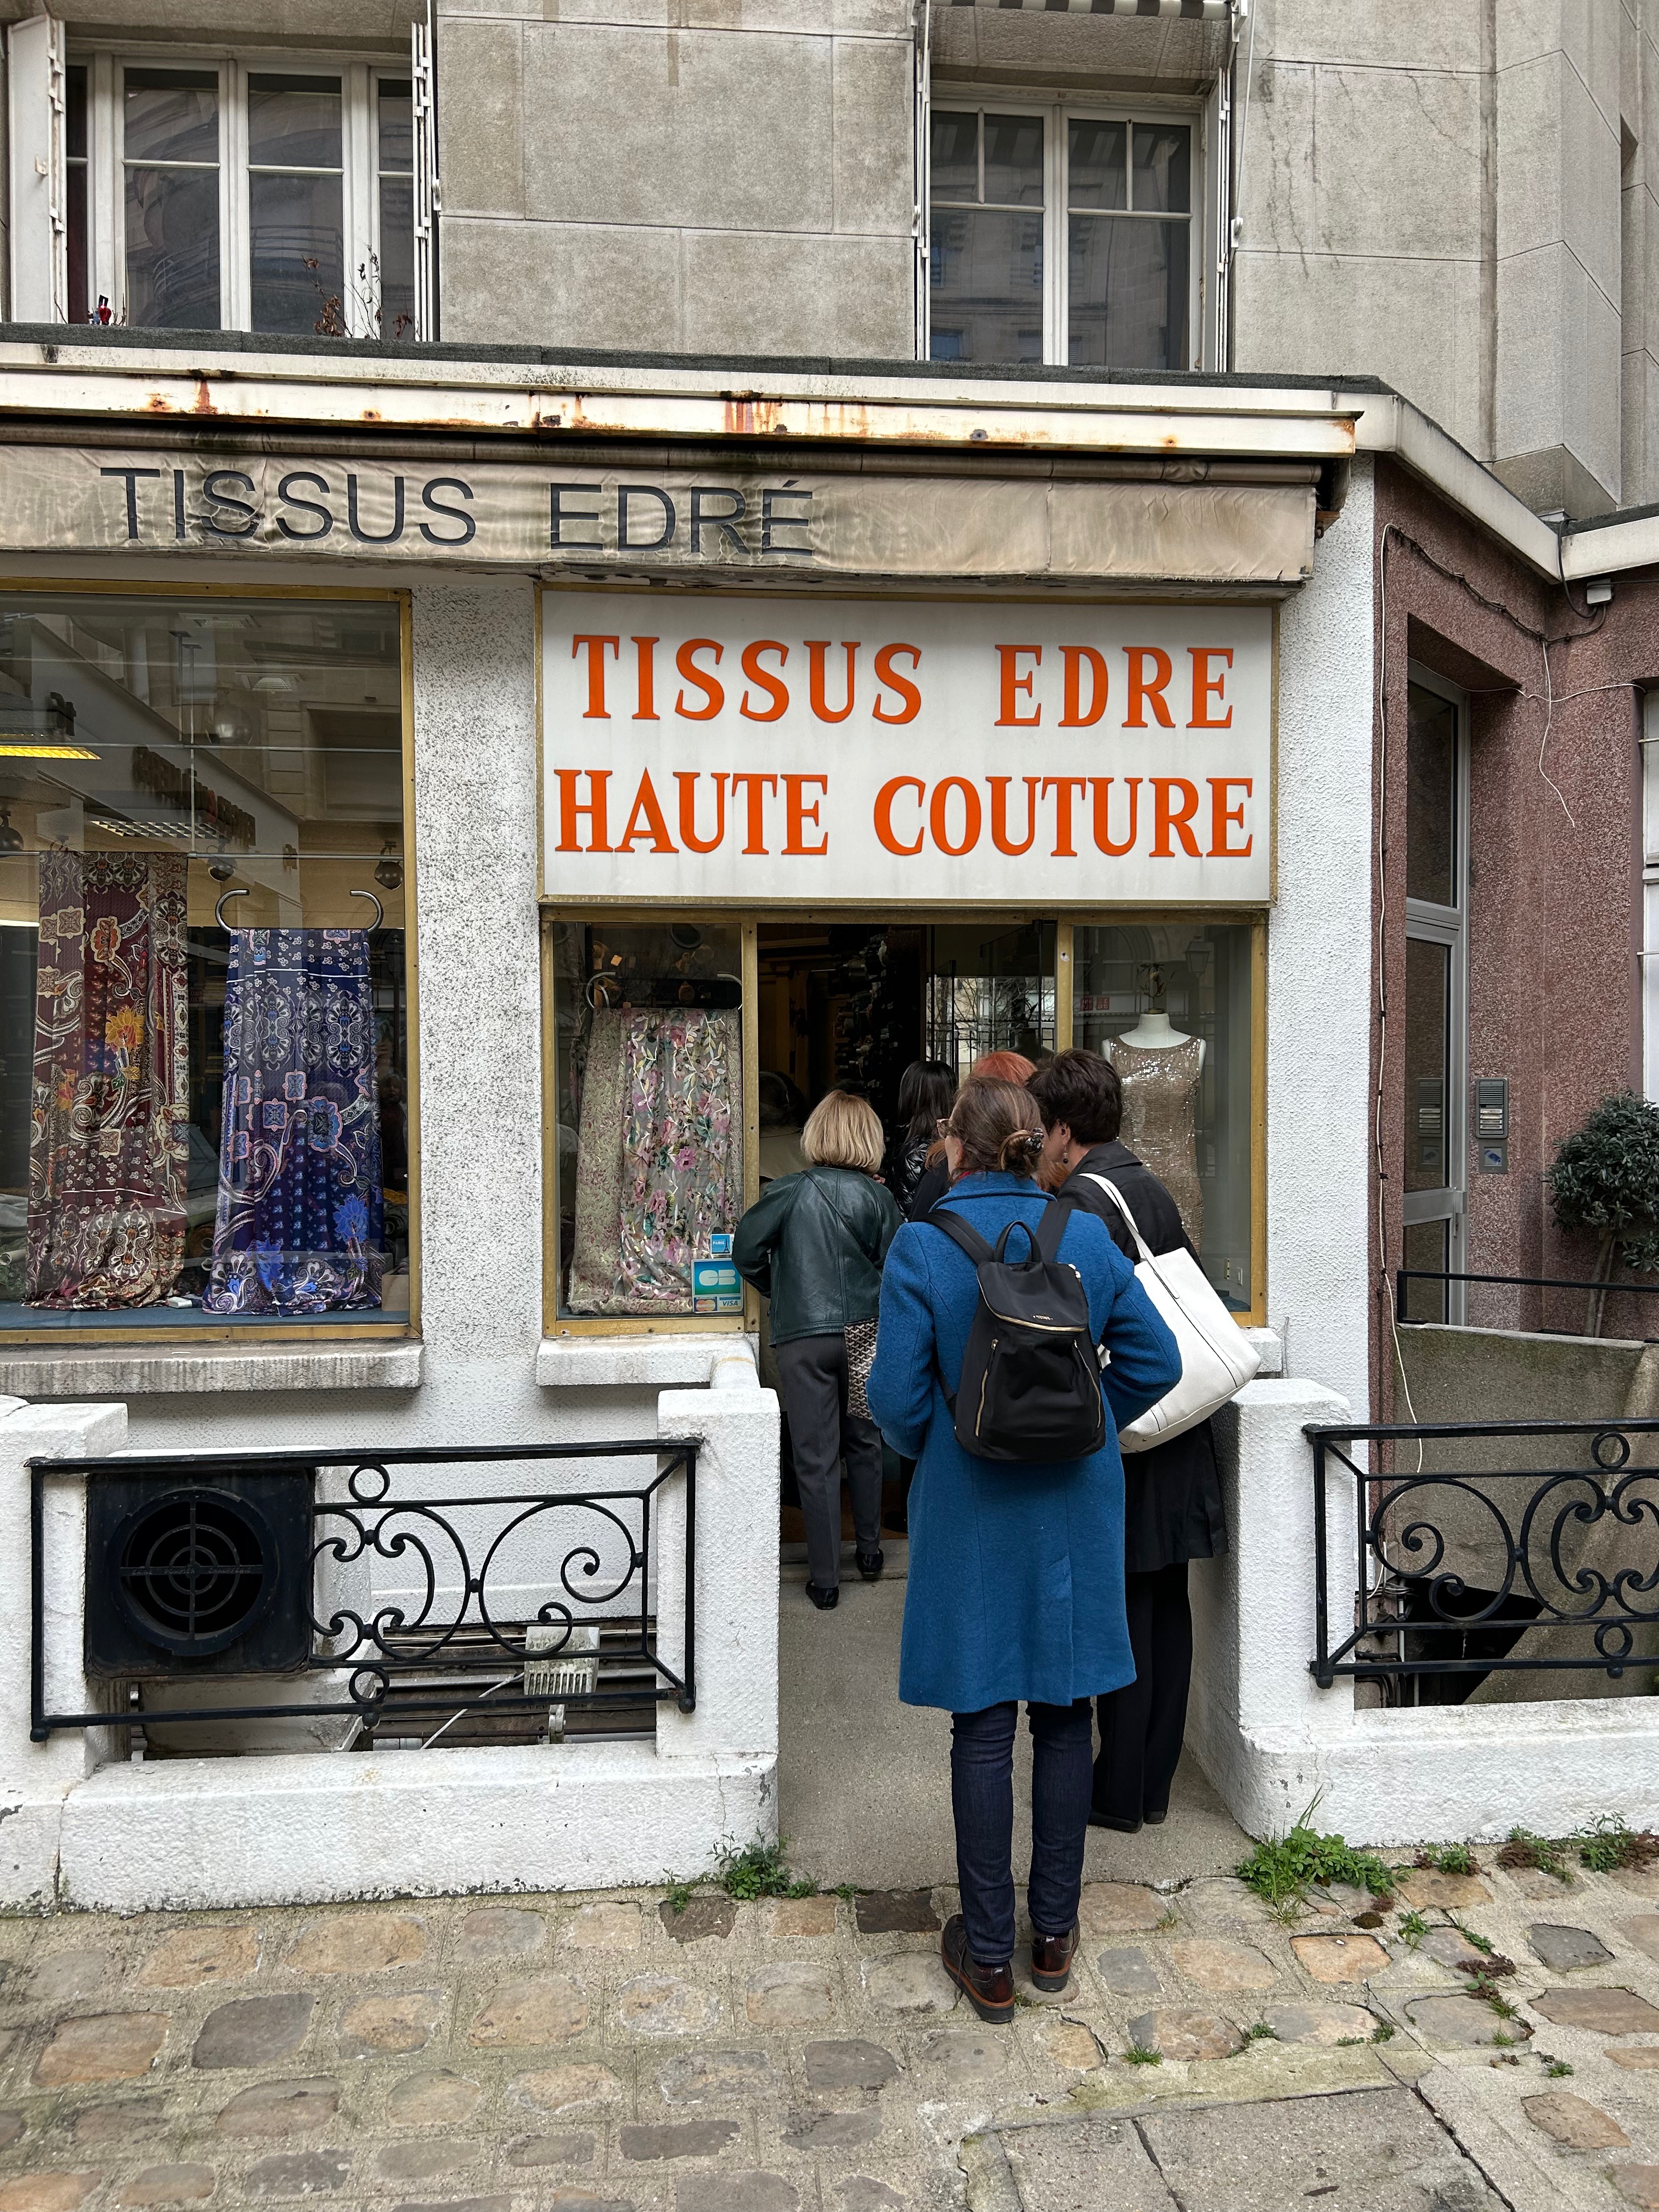
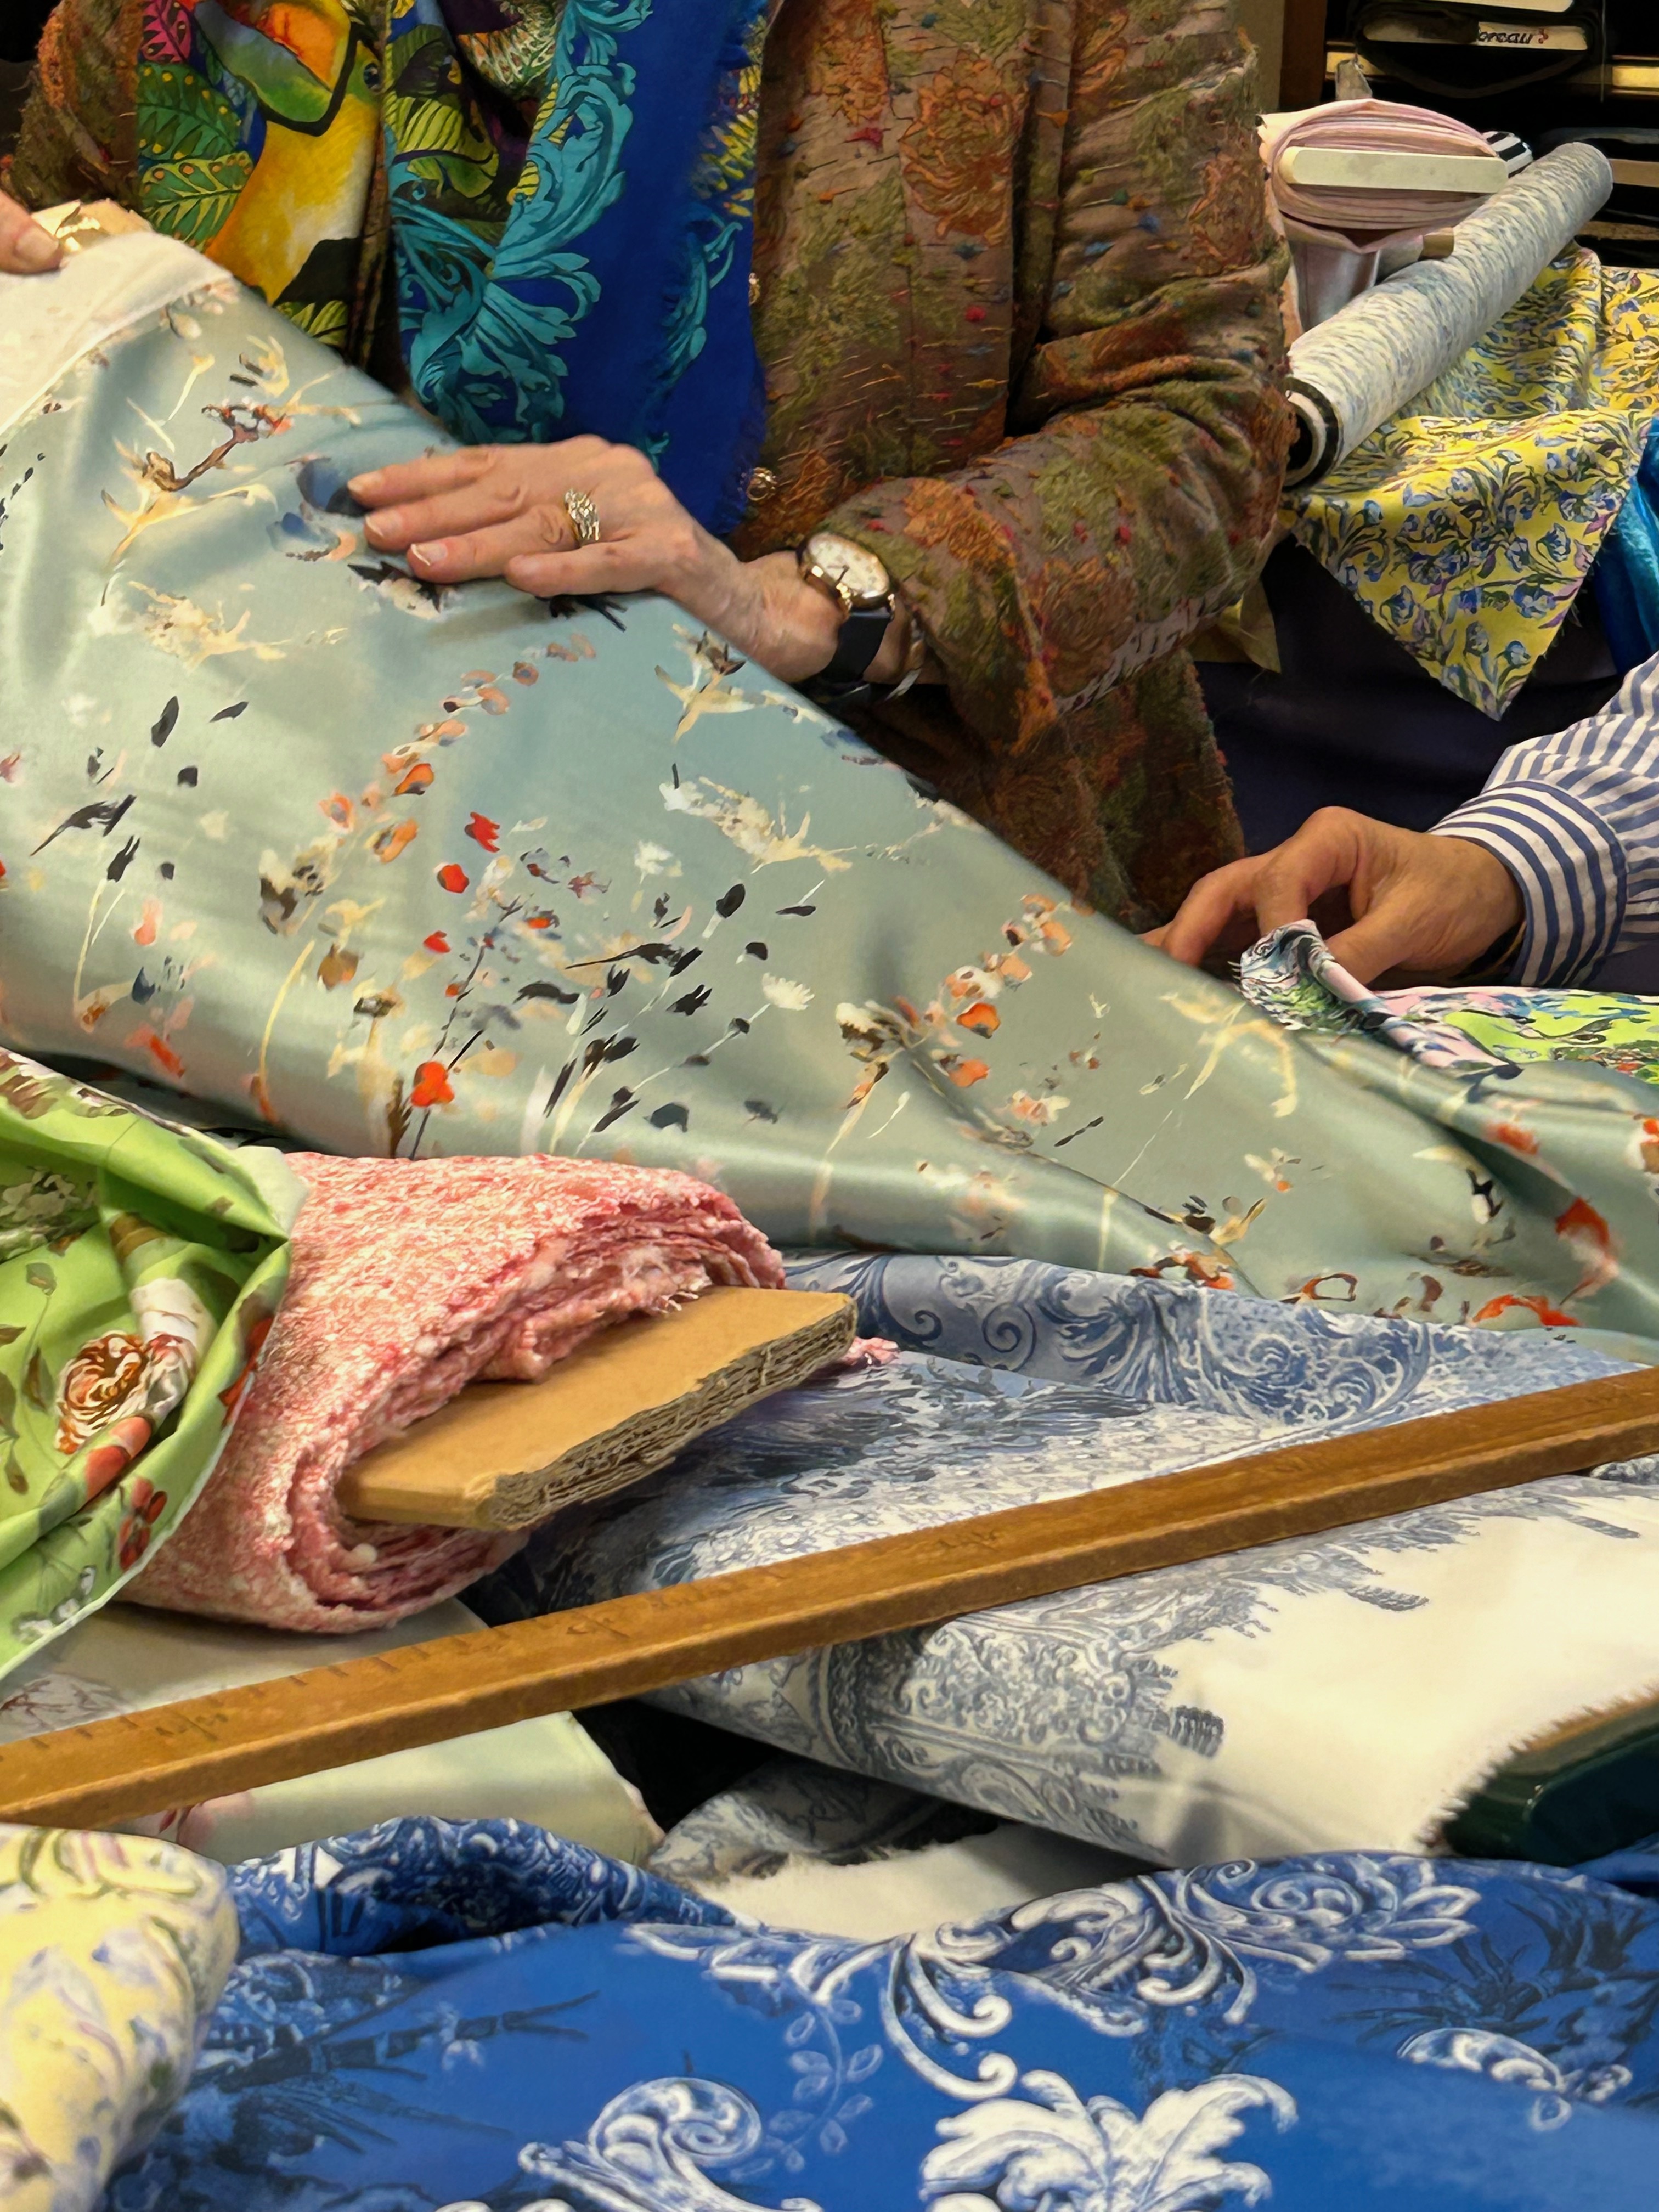
This store sells end cuts from the couture houses, and there is a lot to see. There is not much order to the “presentation” which meant we had to dig our way through the piles of offerings. I admit to having some problems with this type of fabric store.

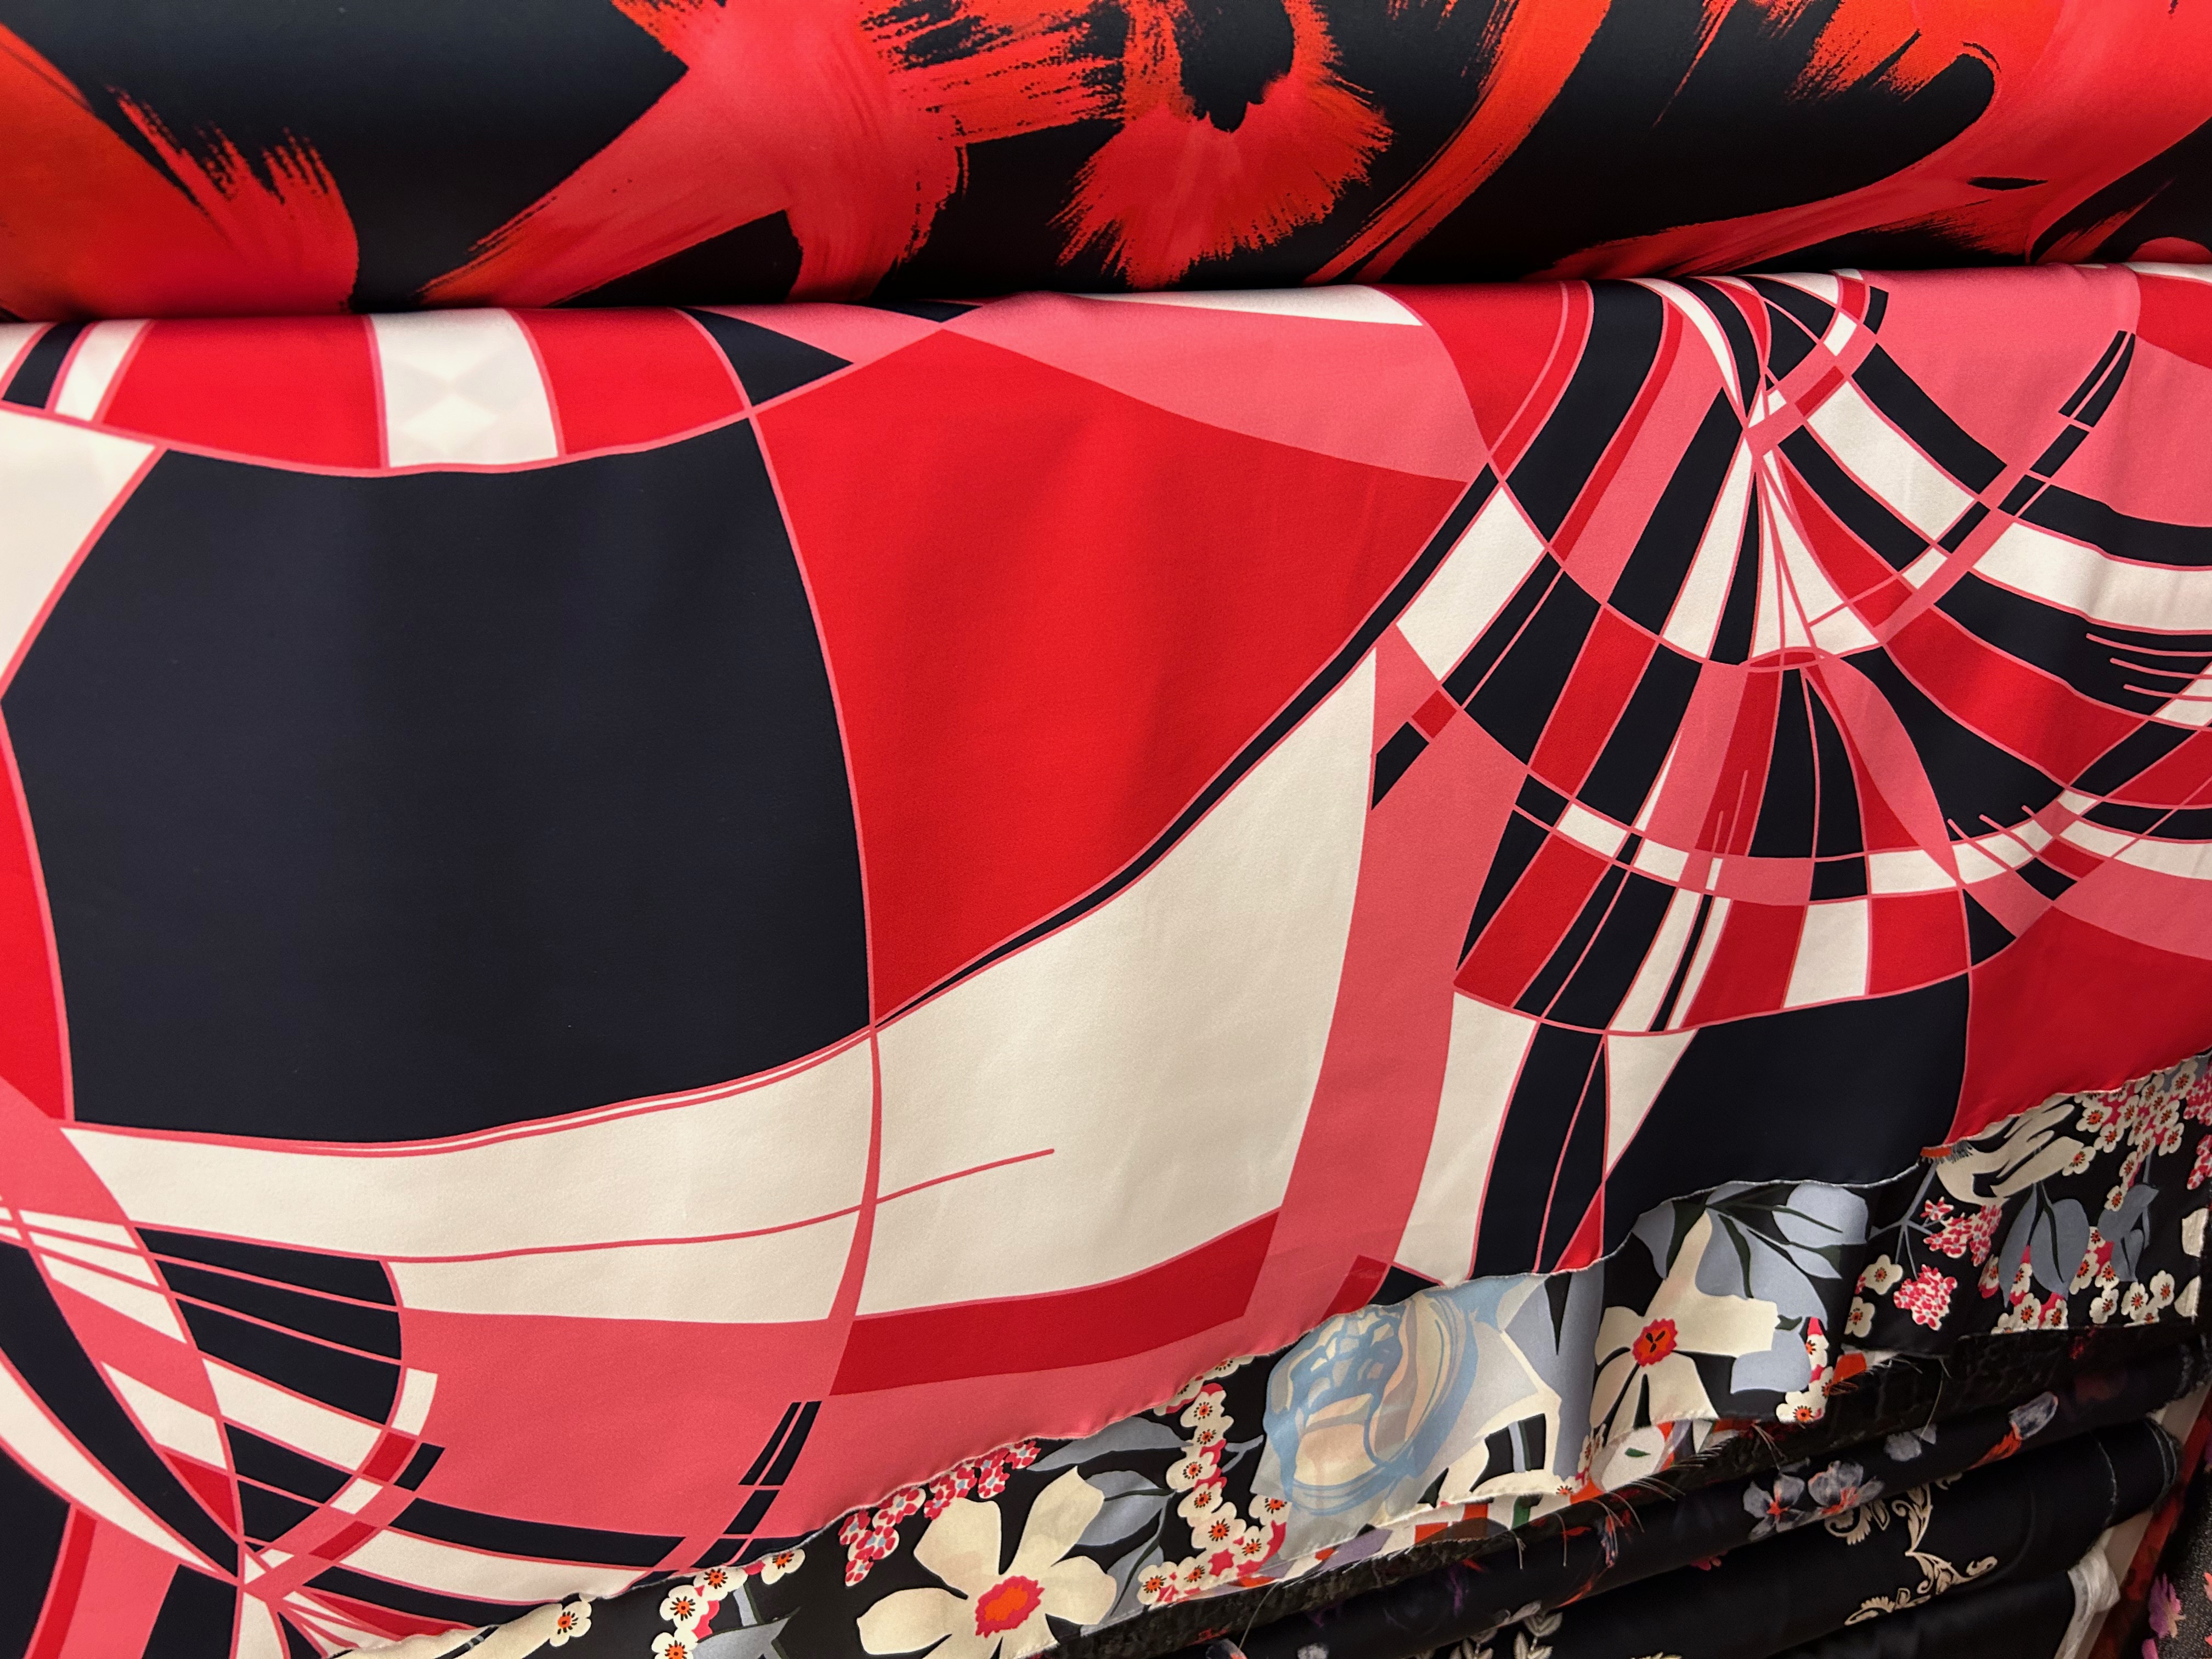
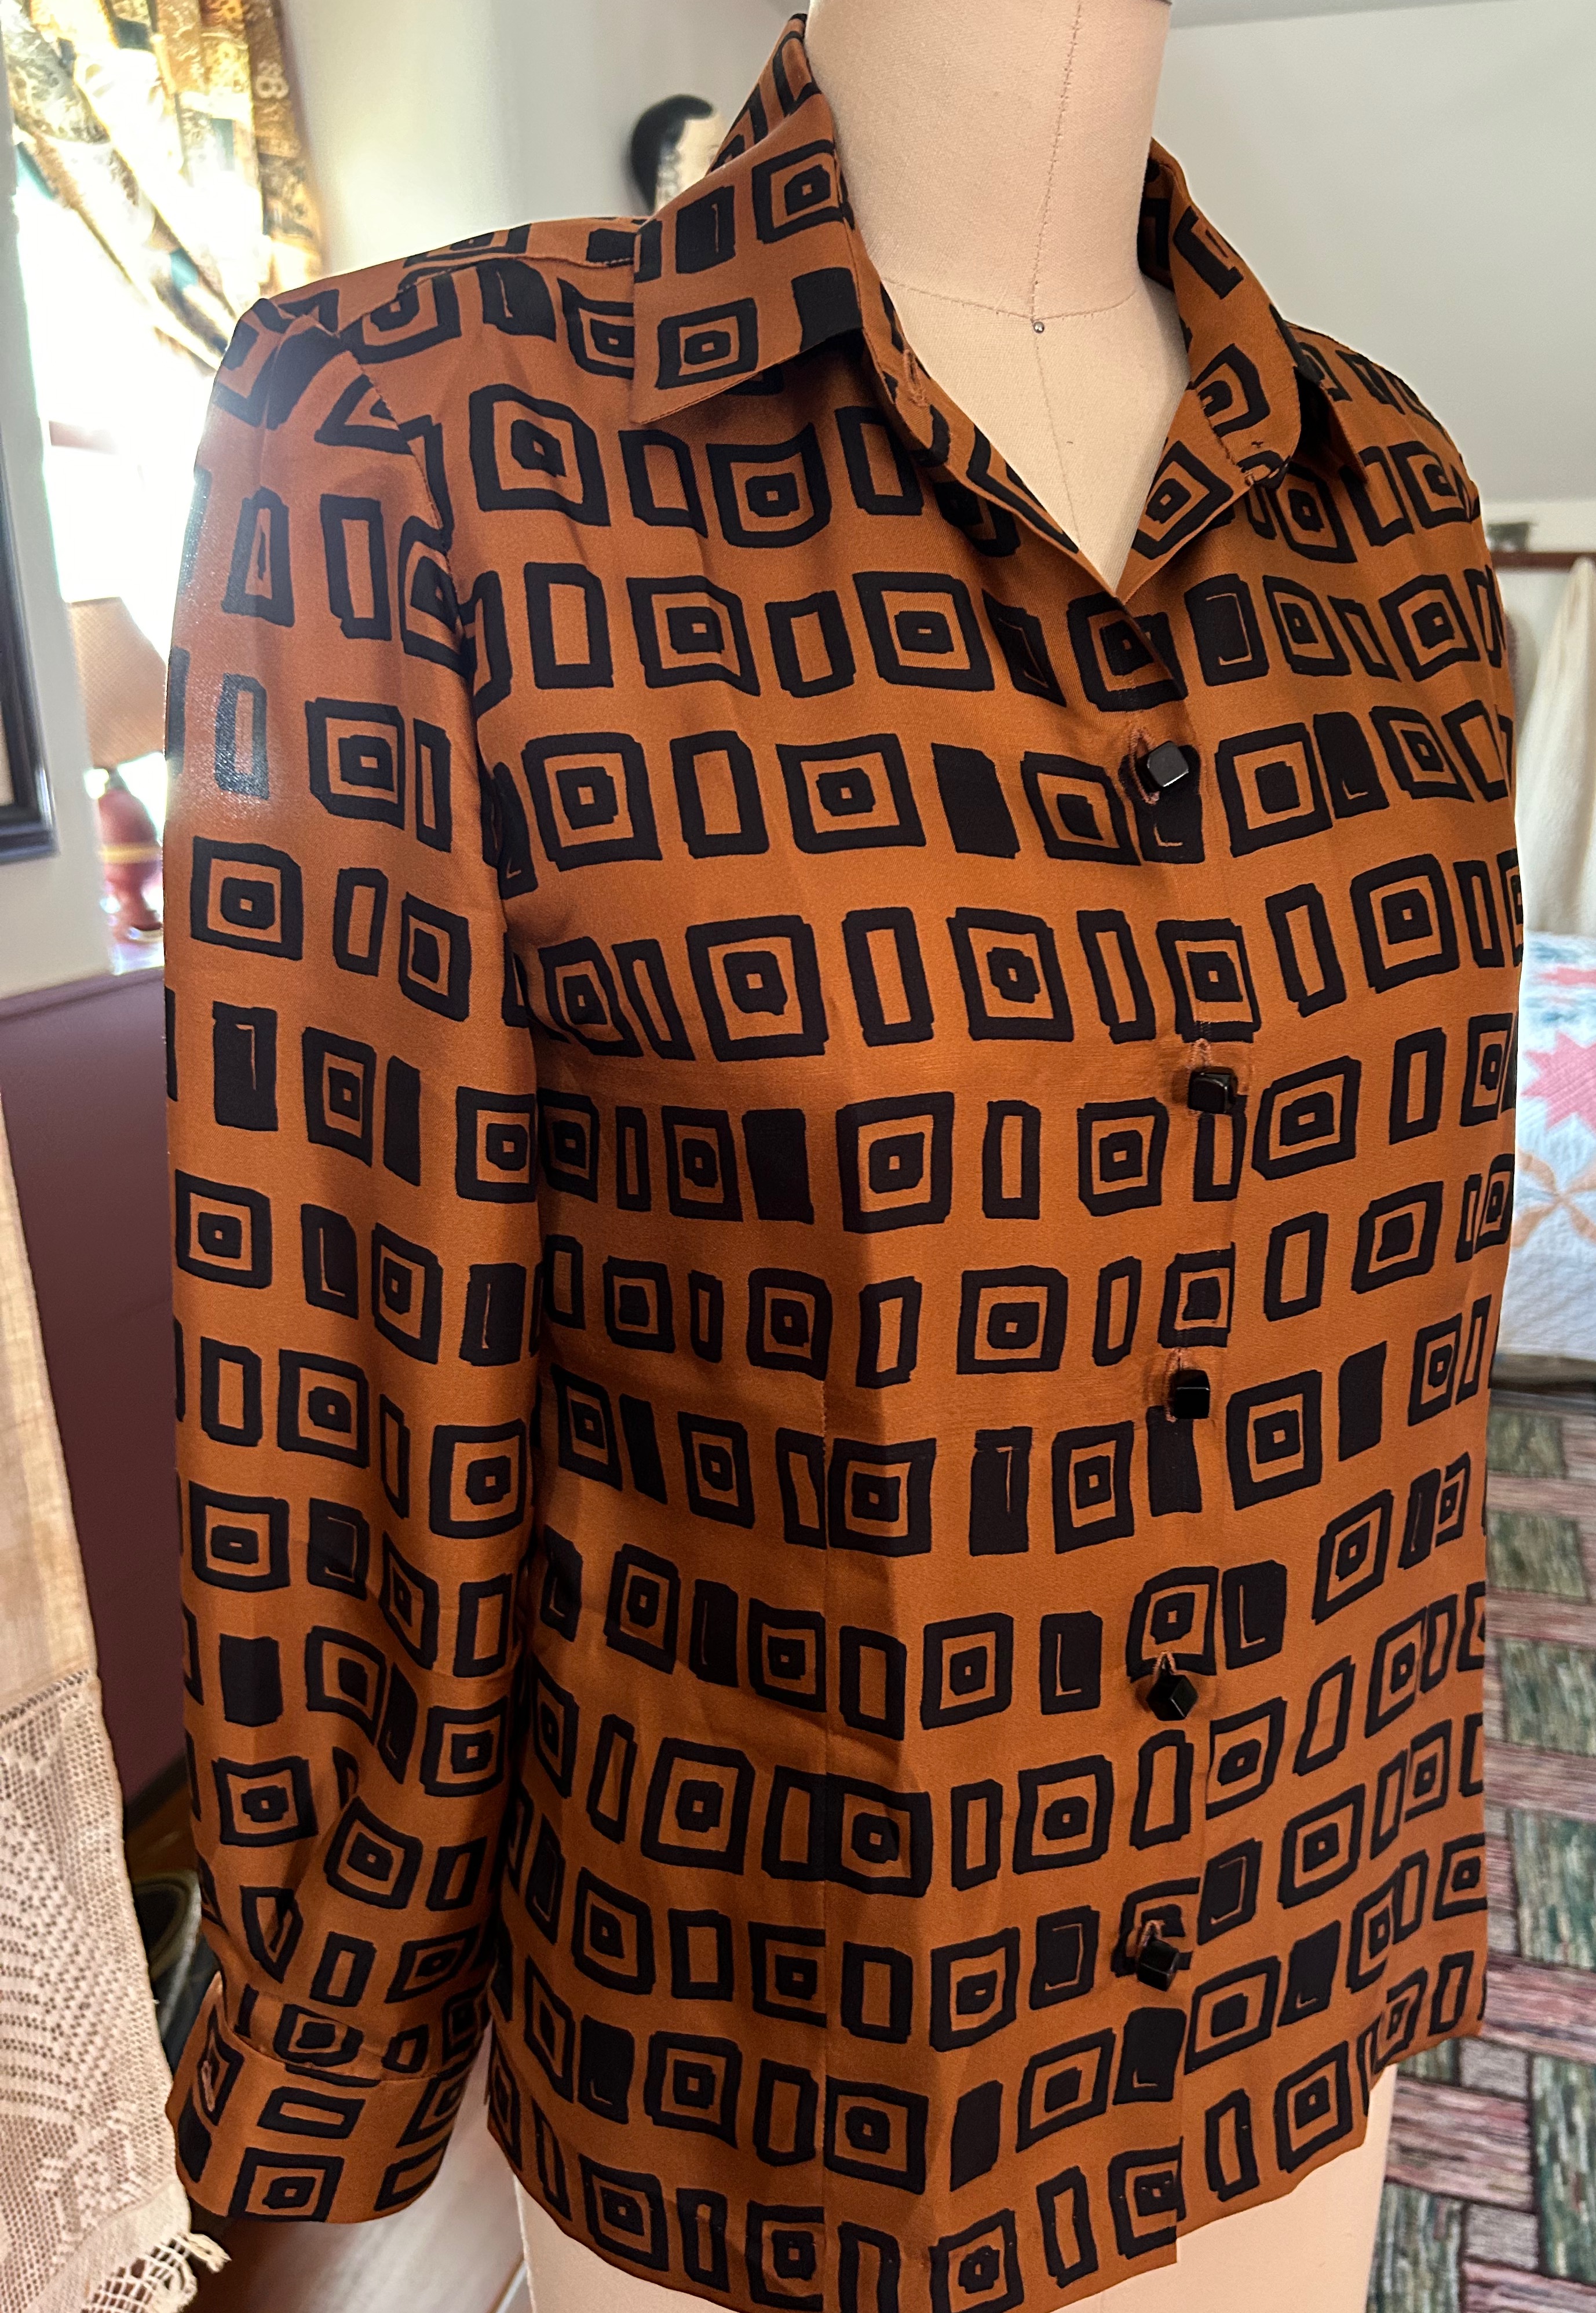
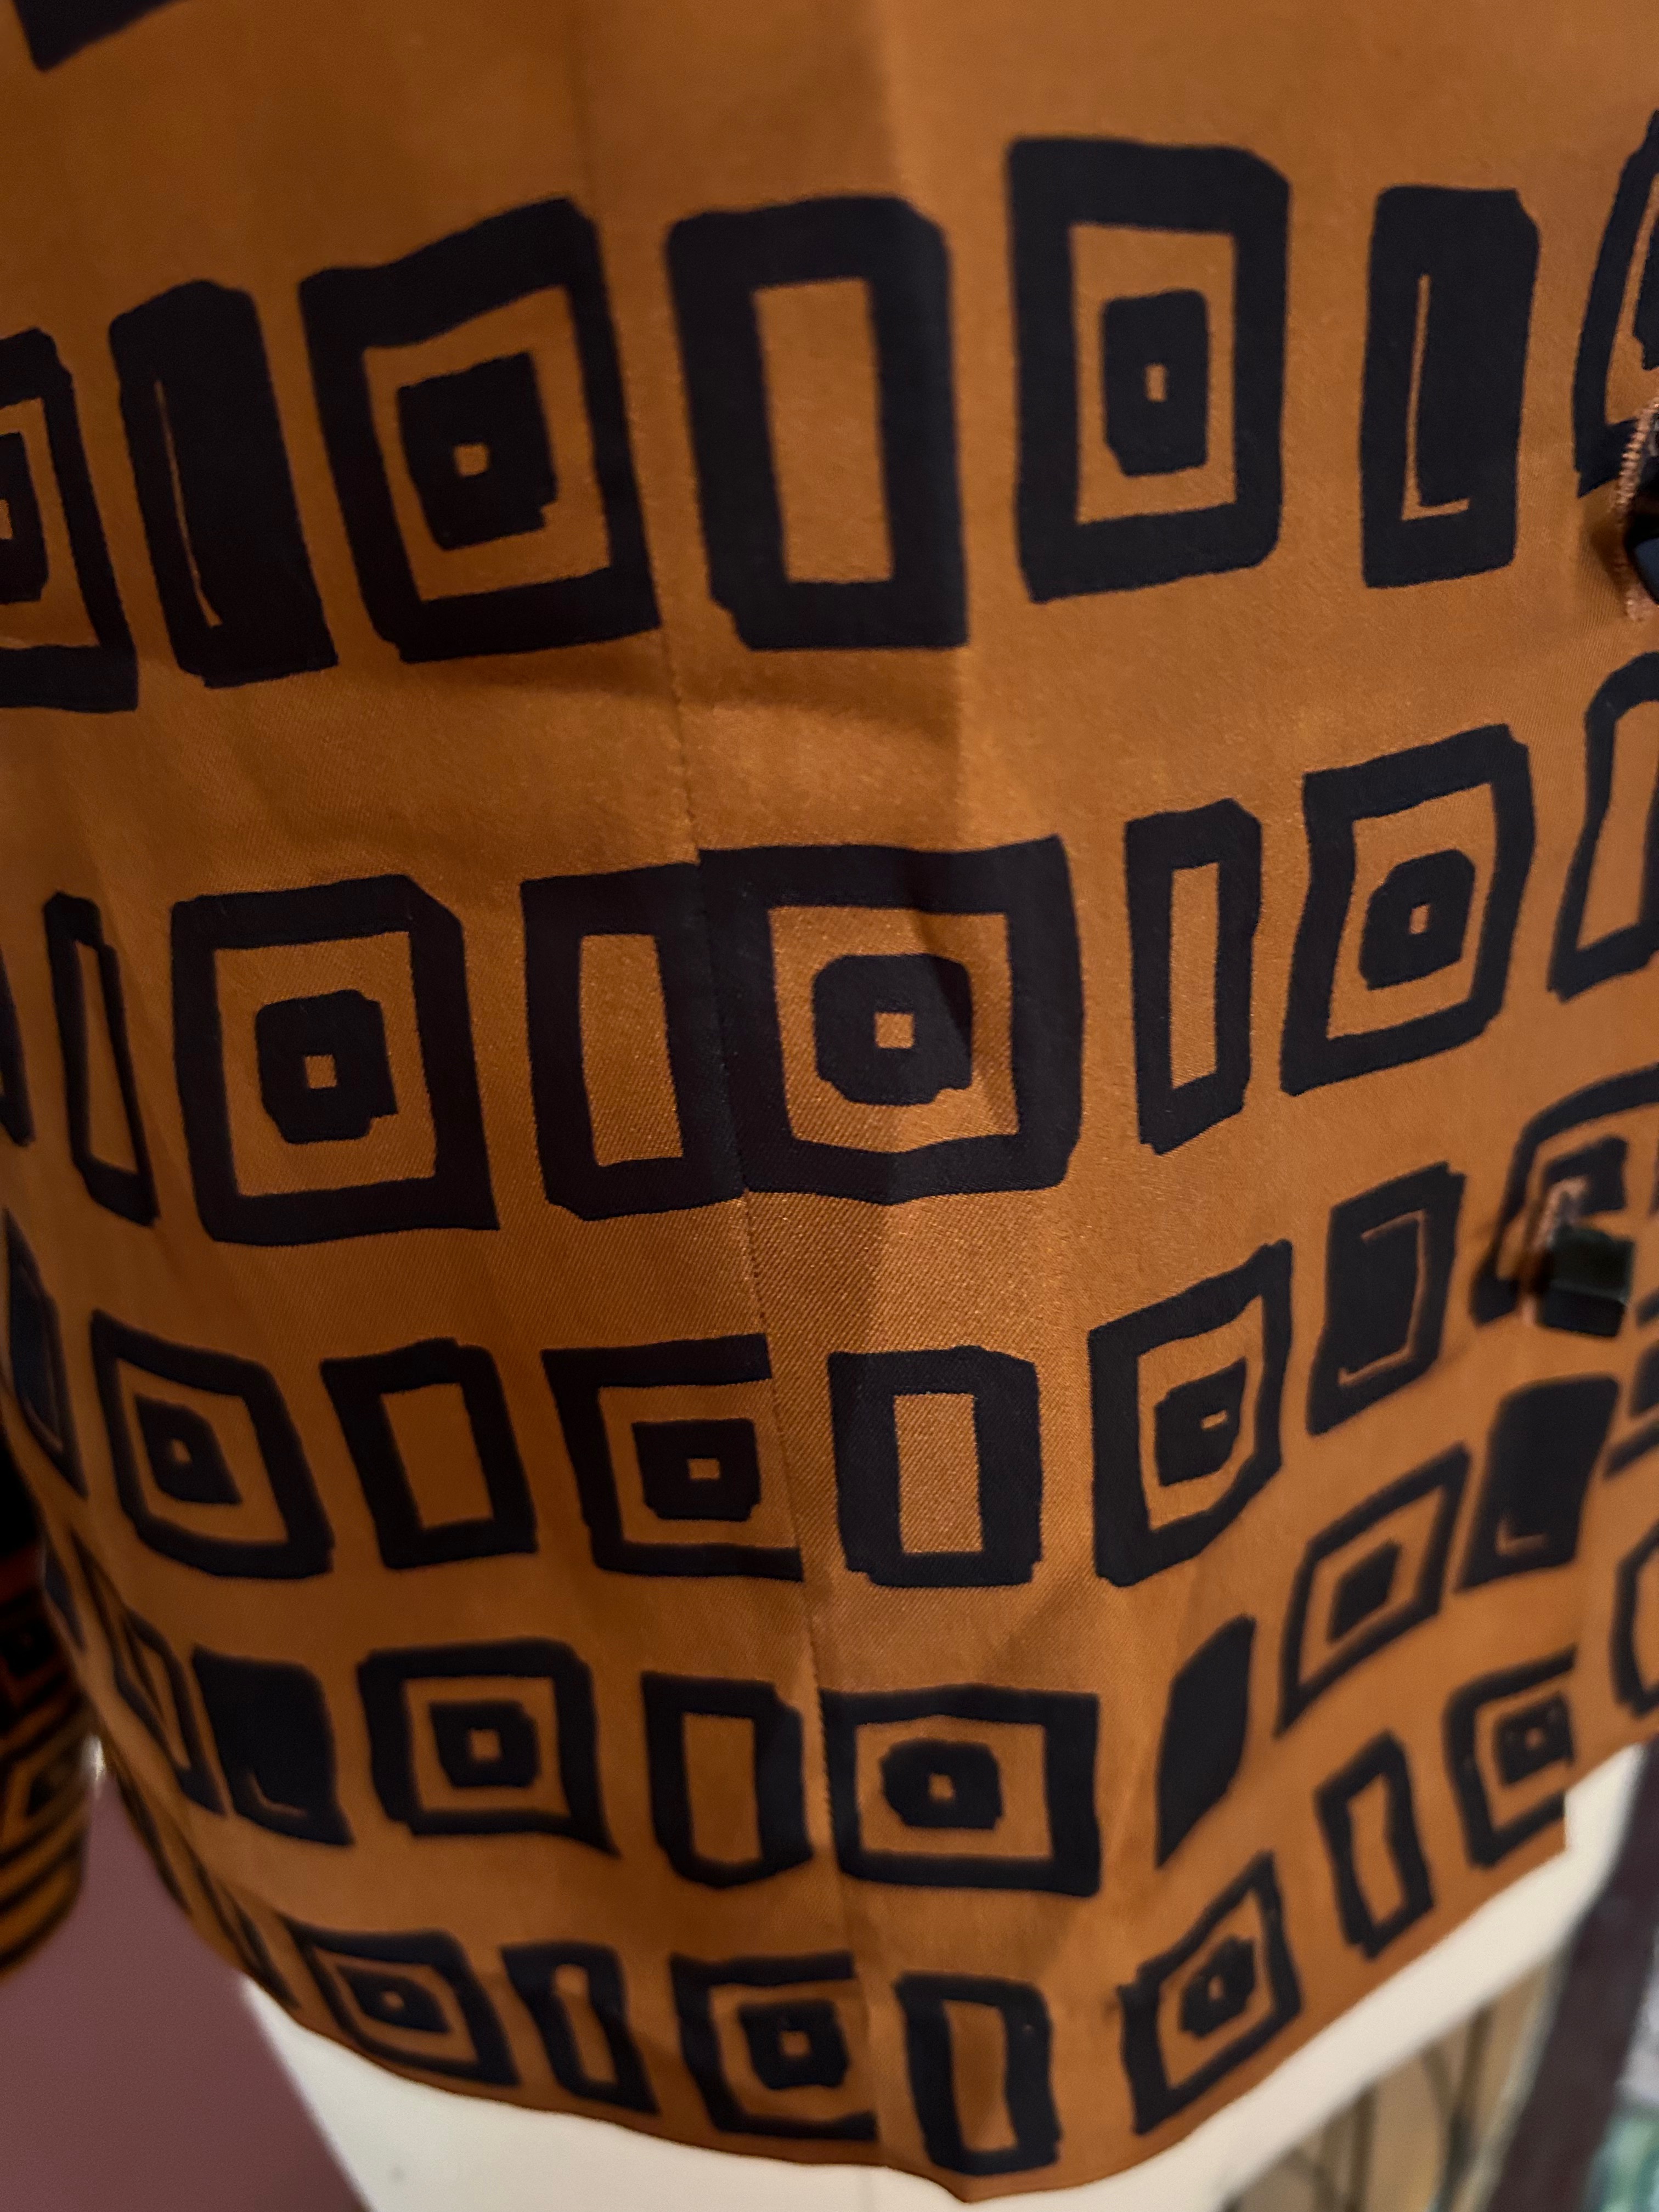
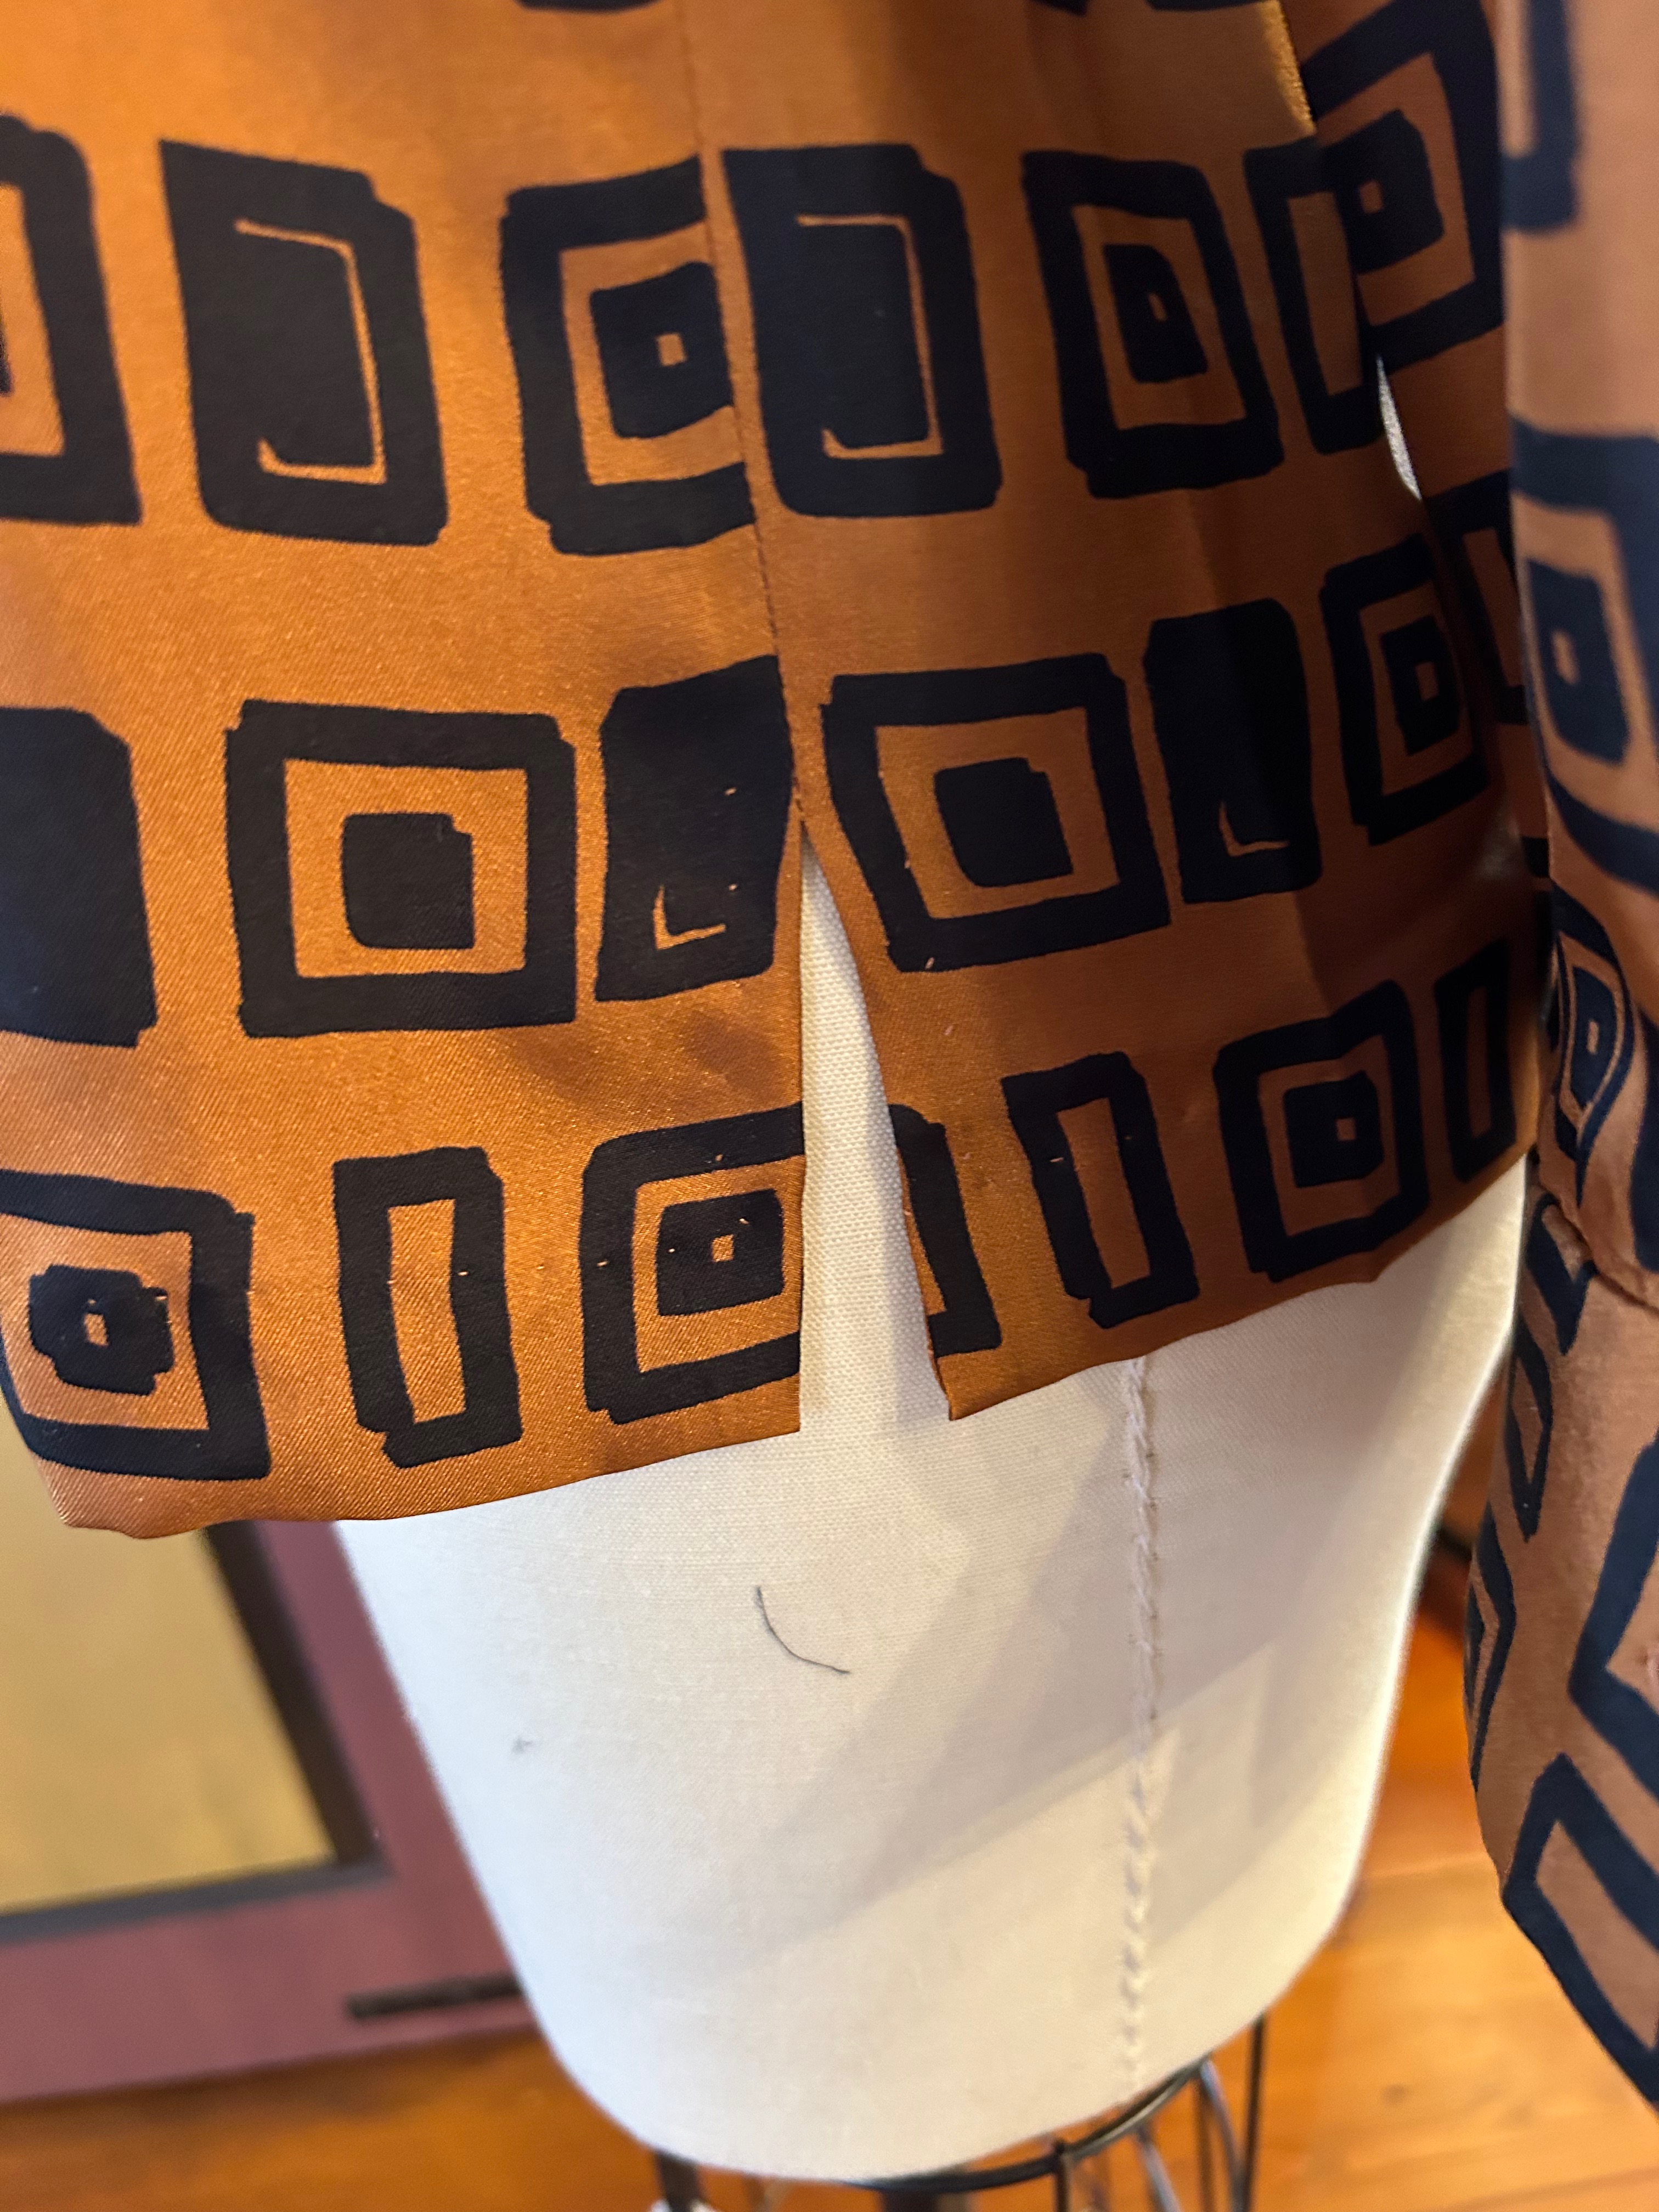
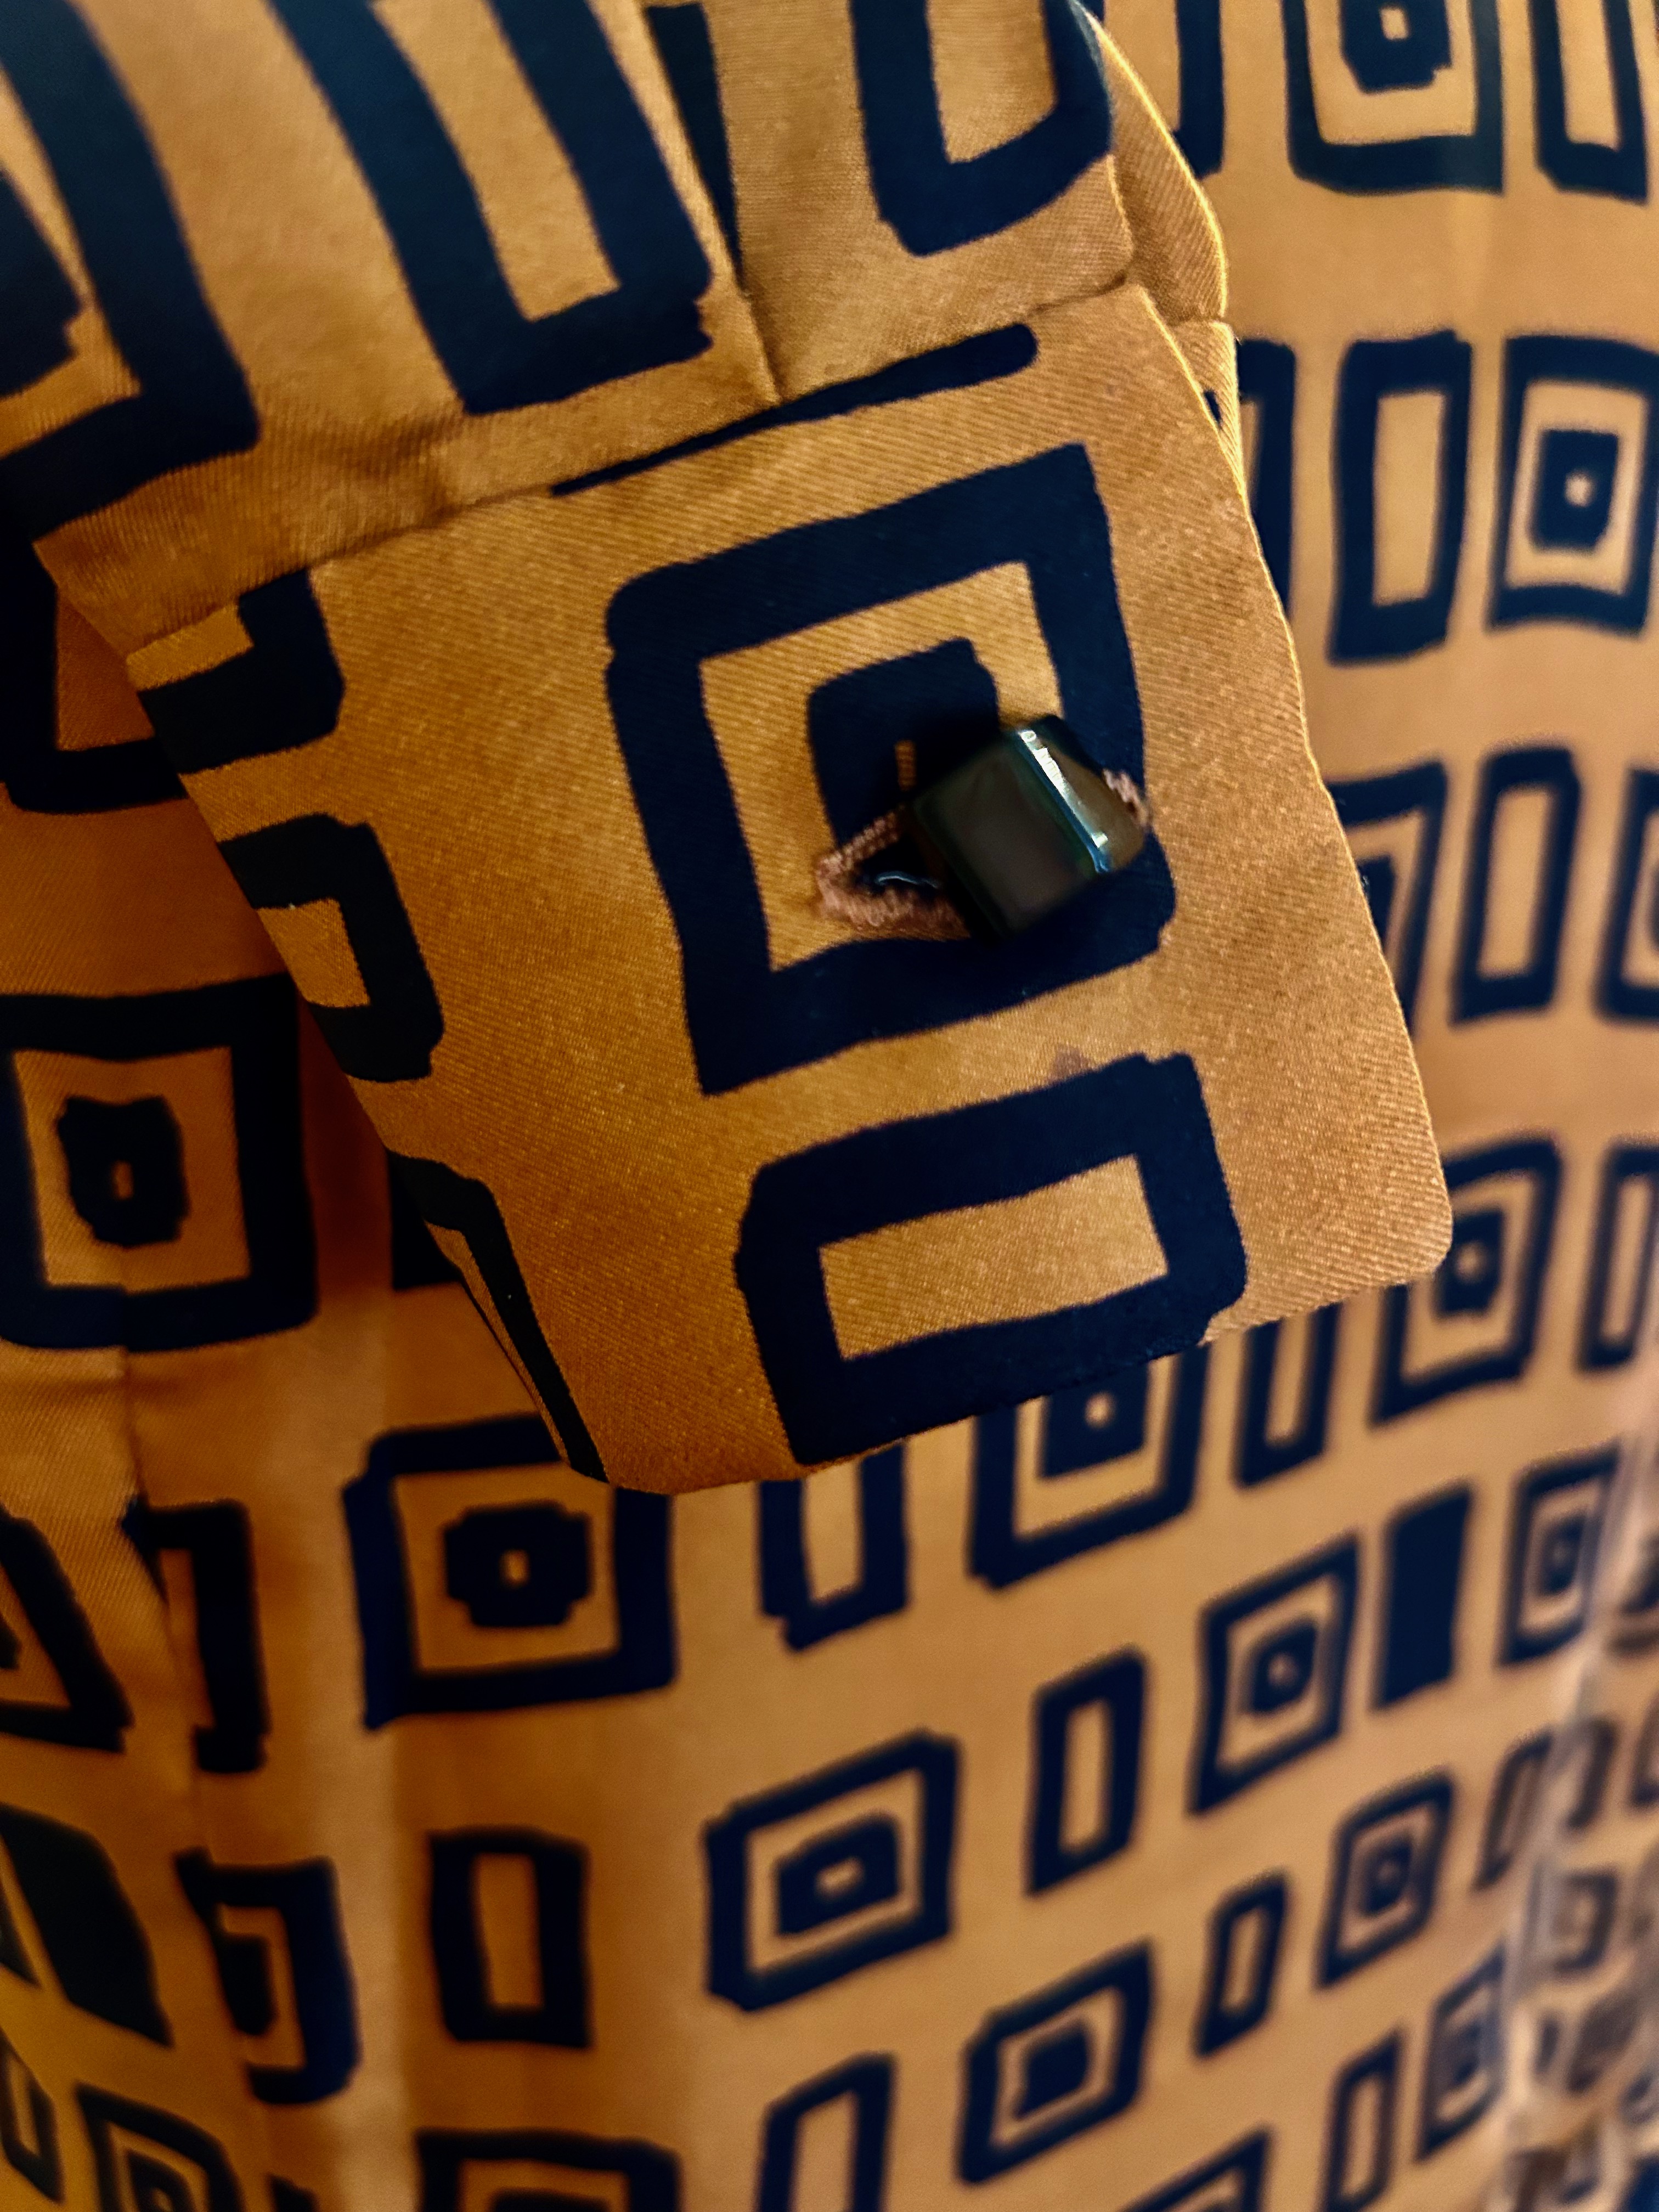
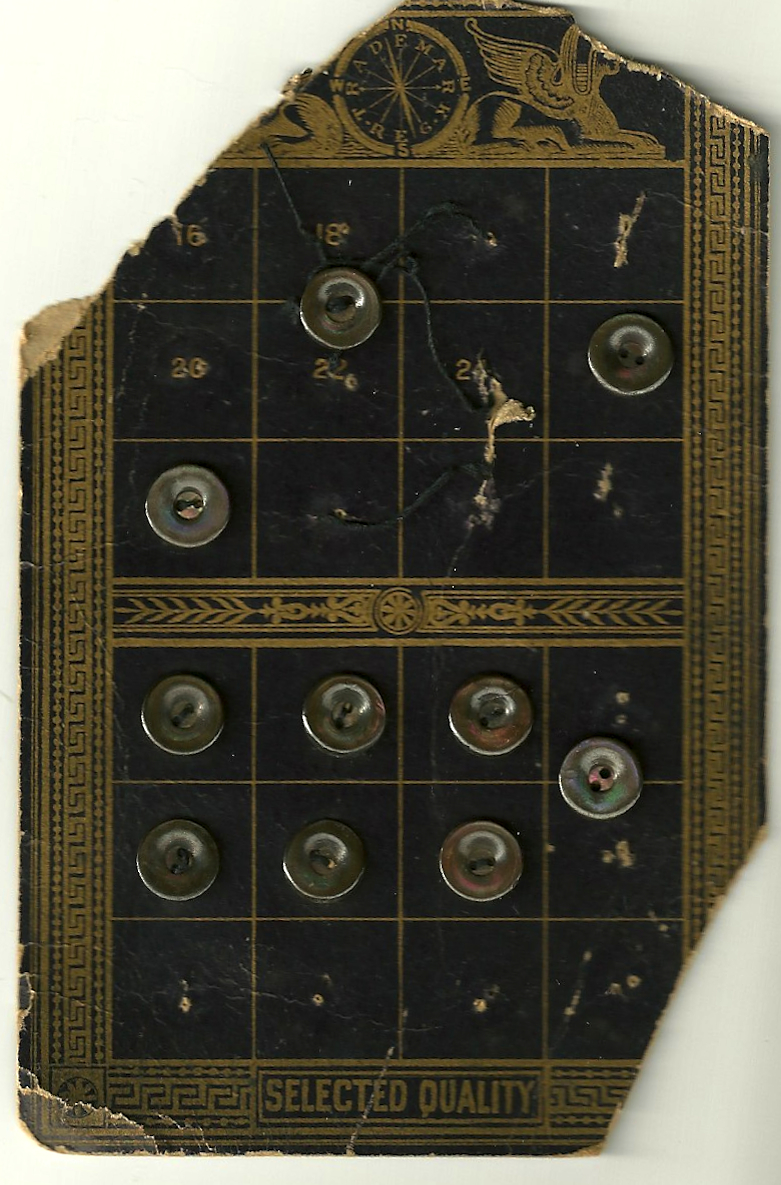
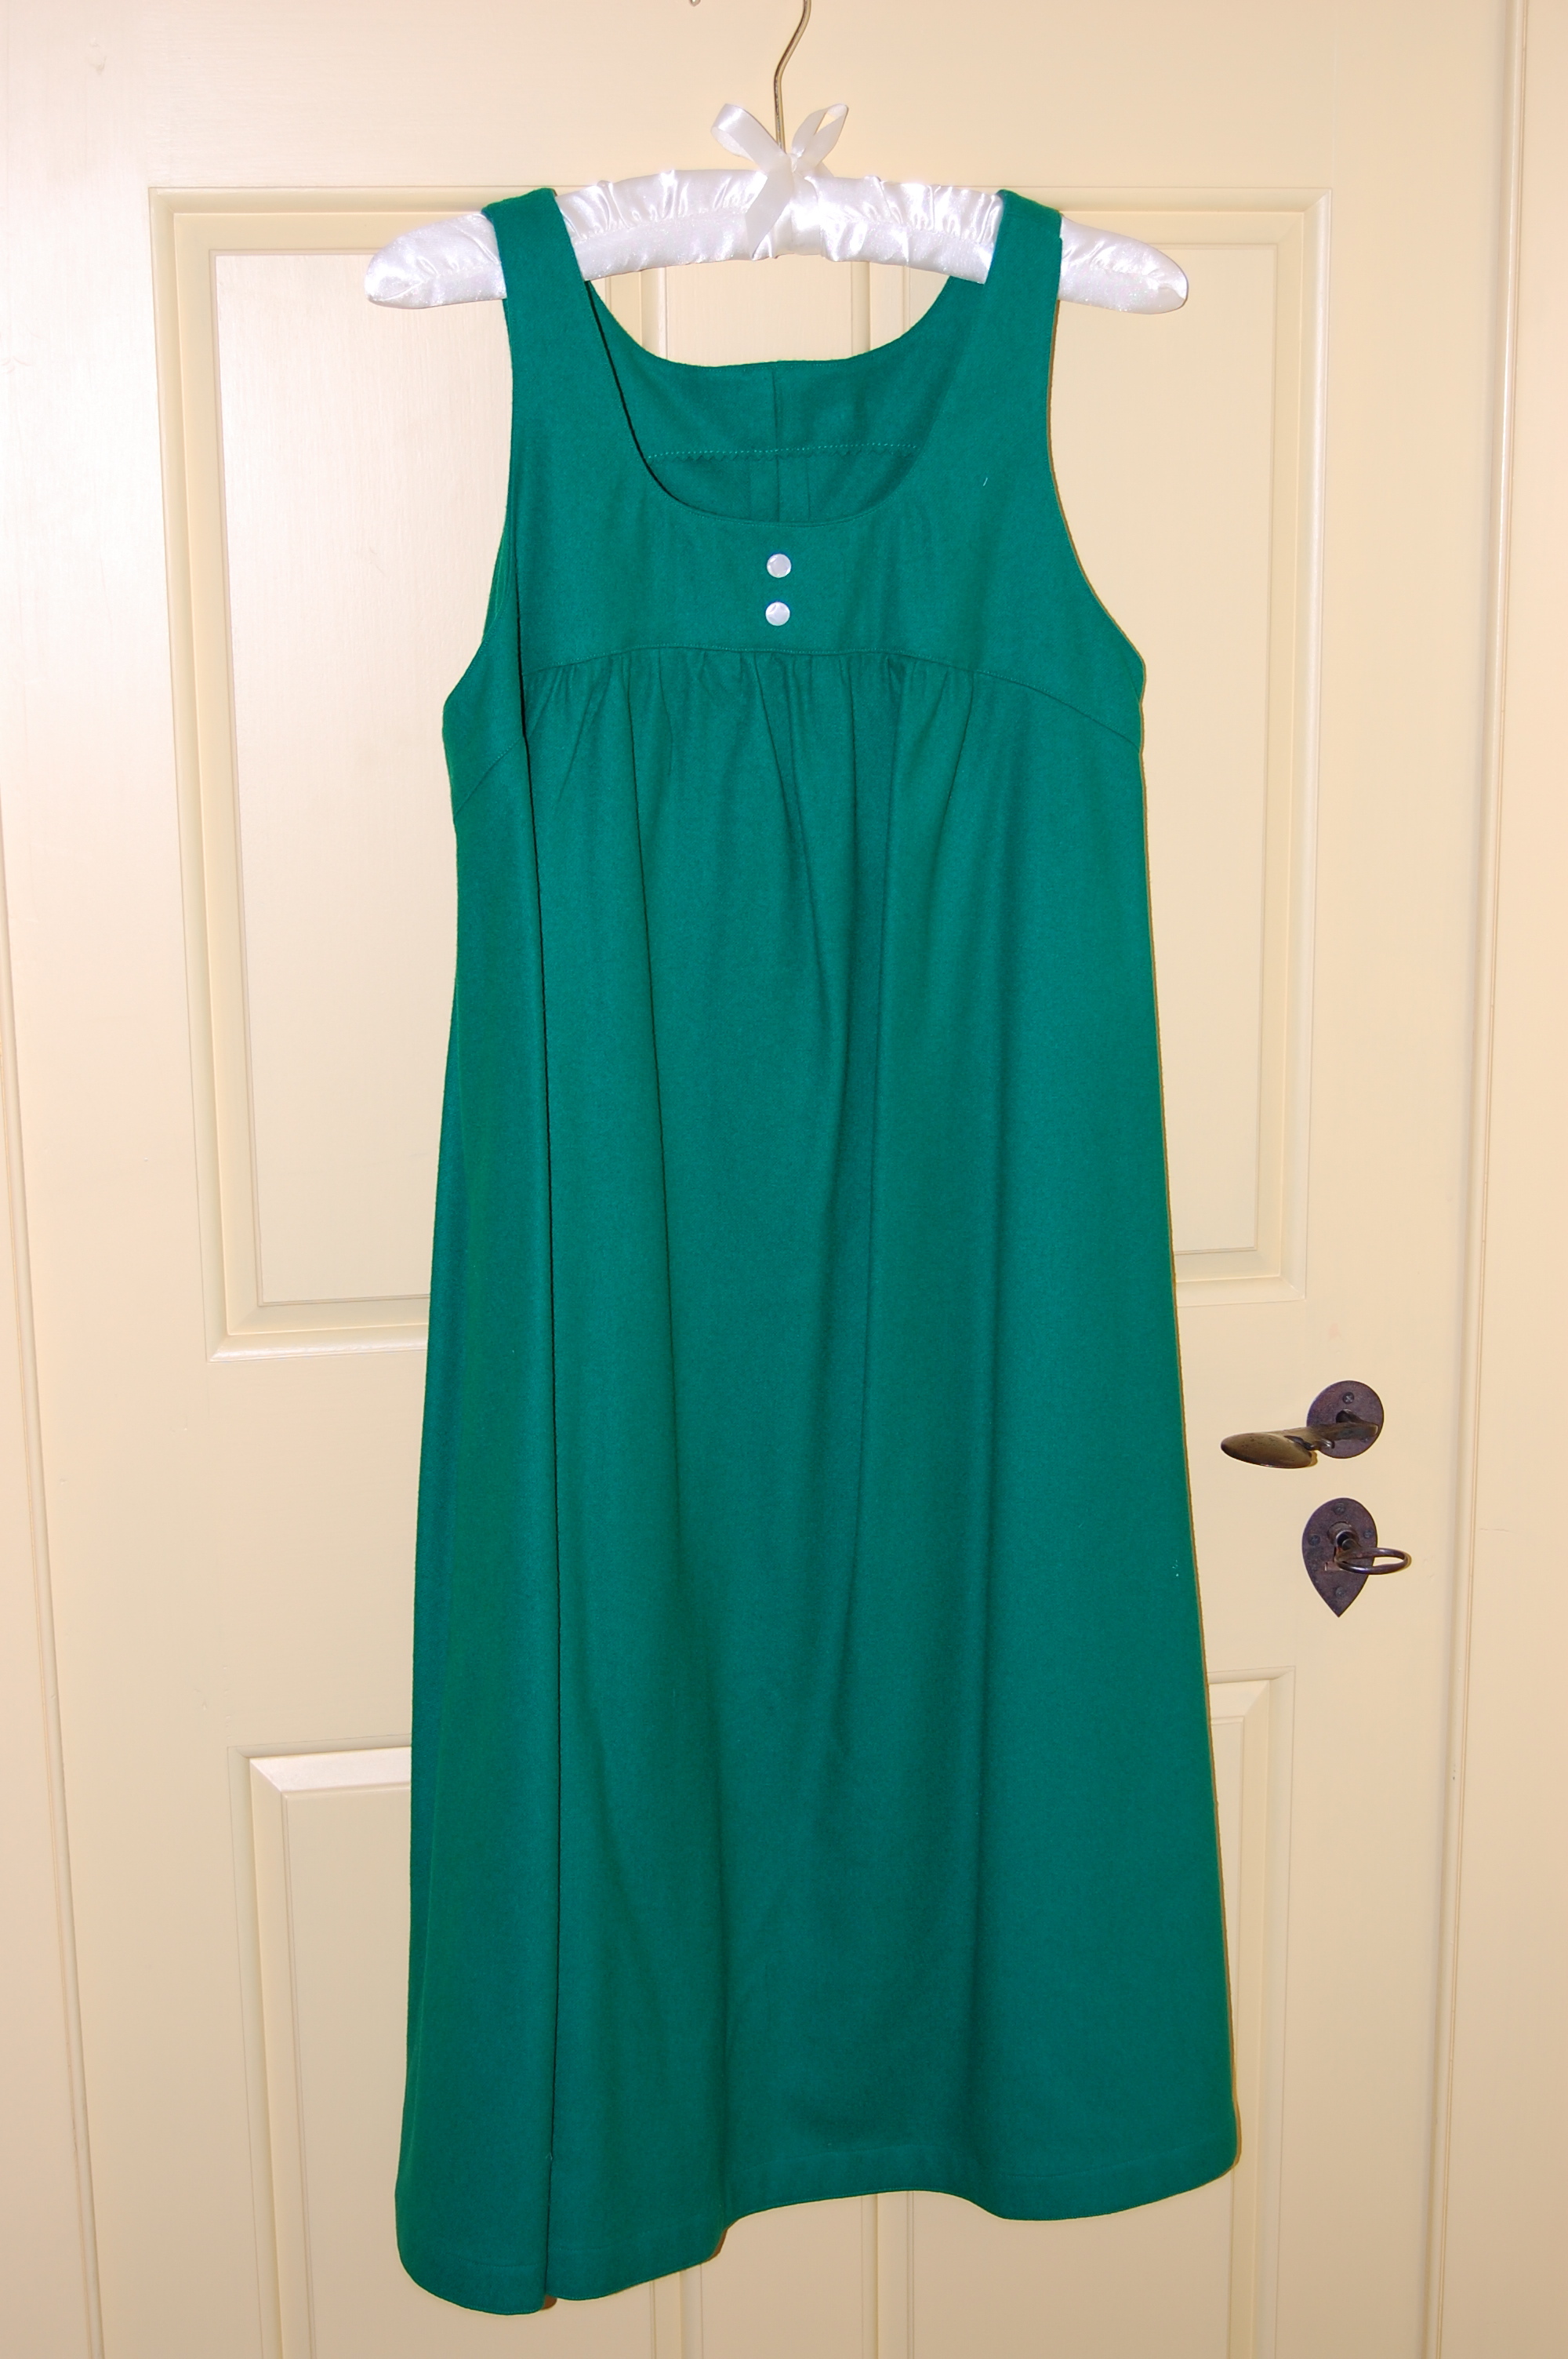
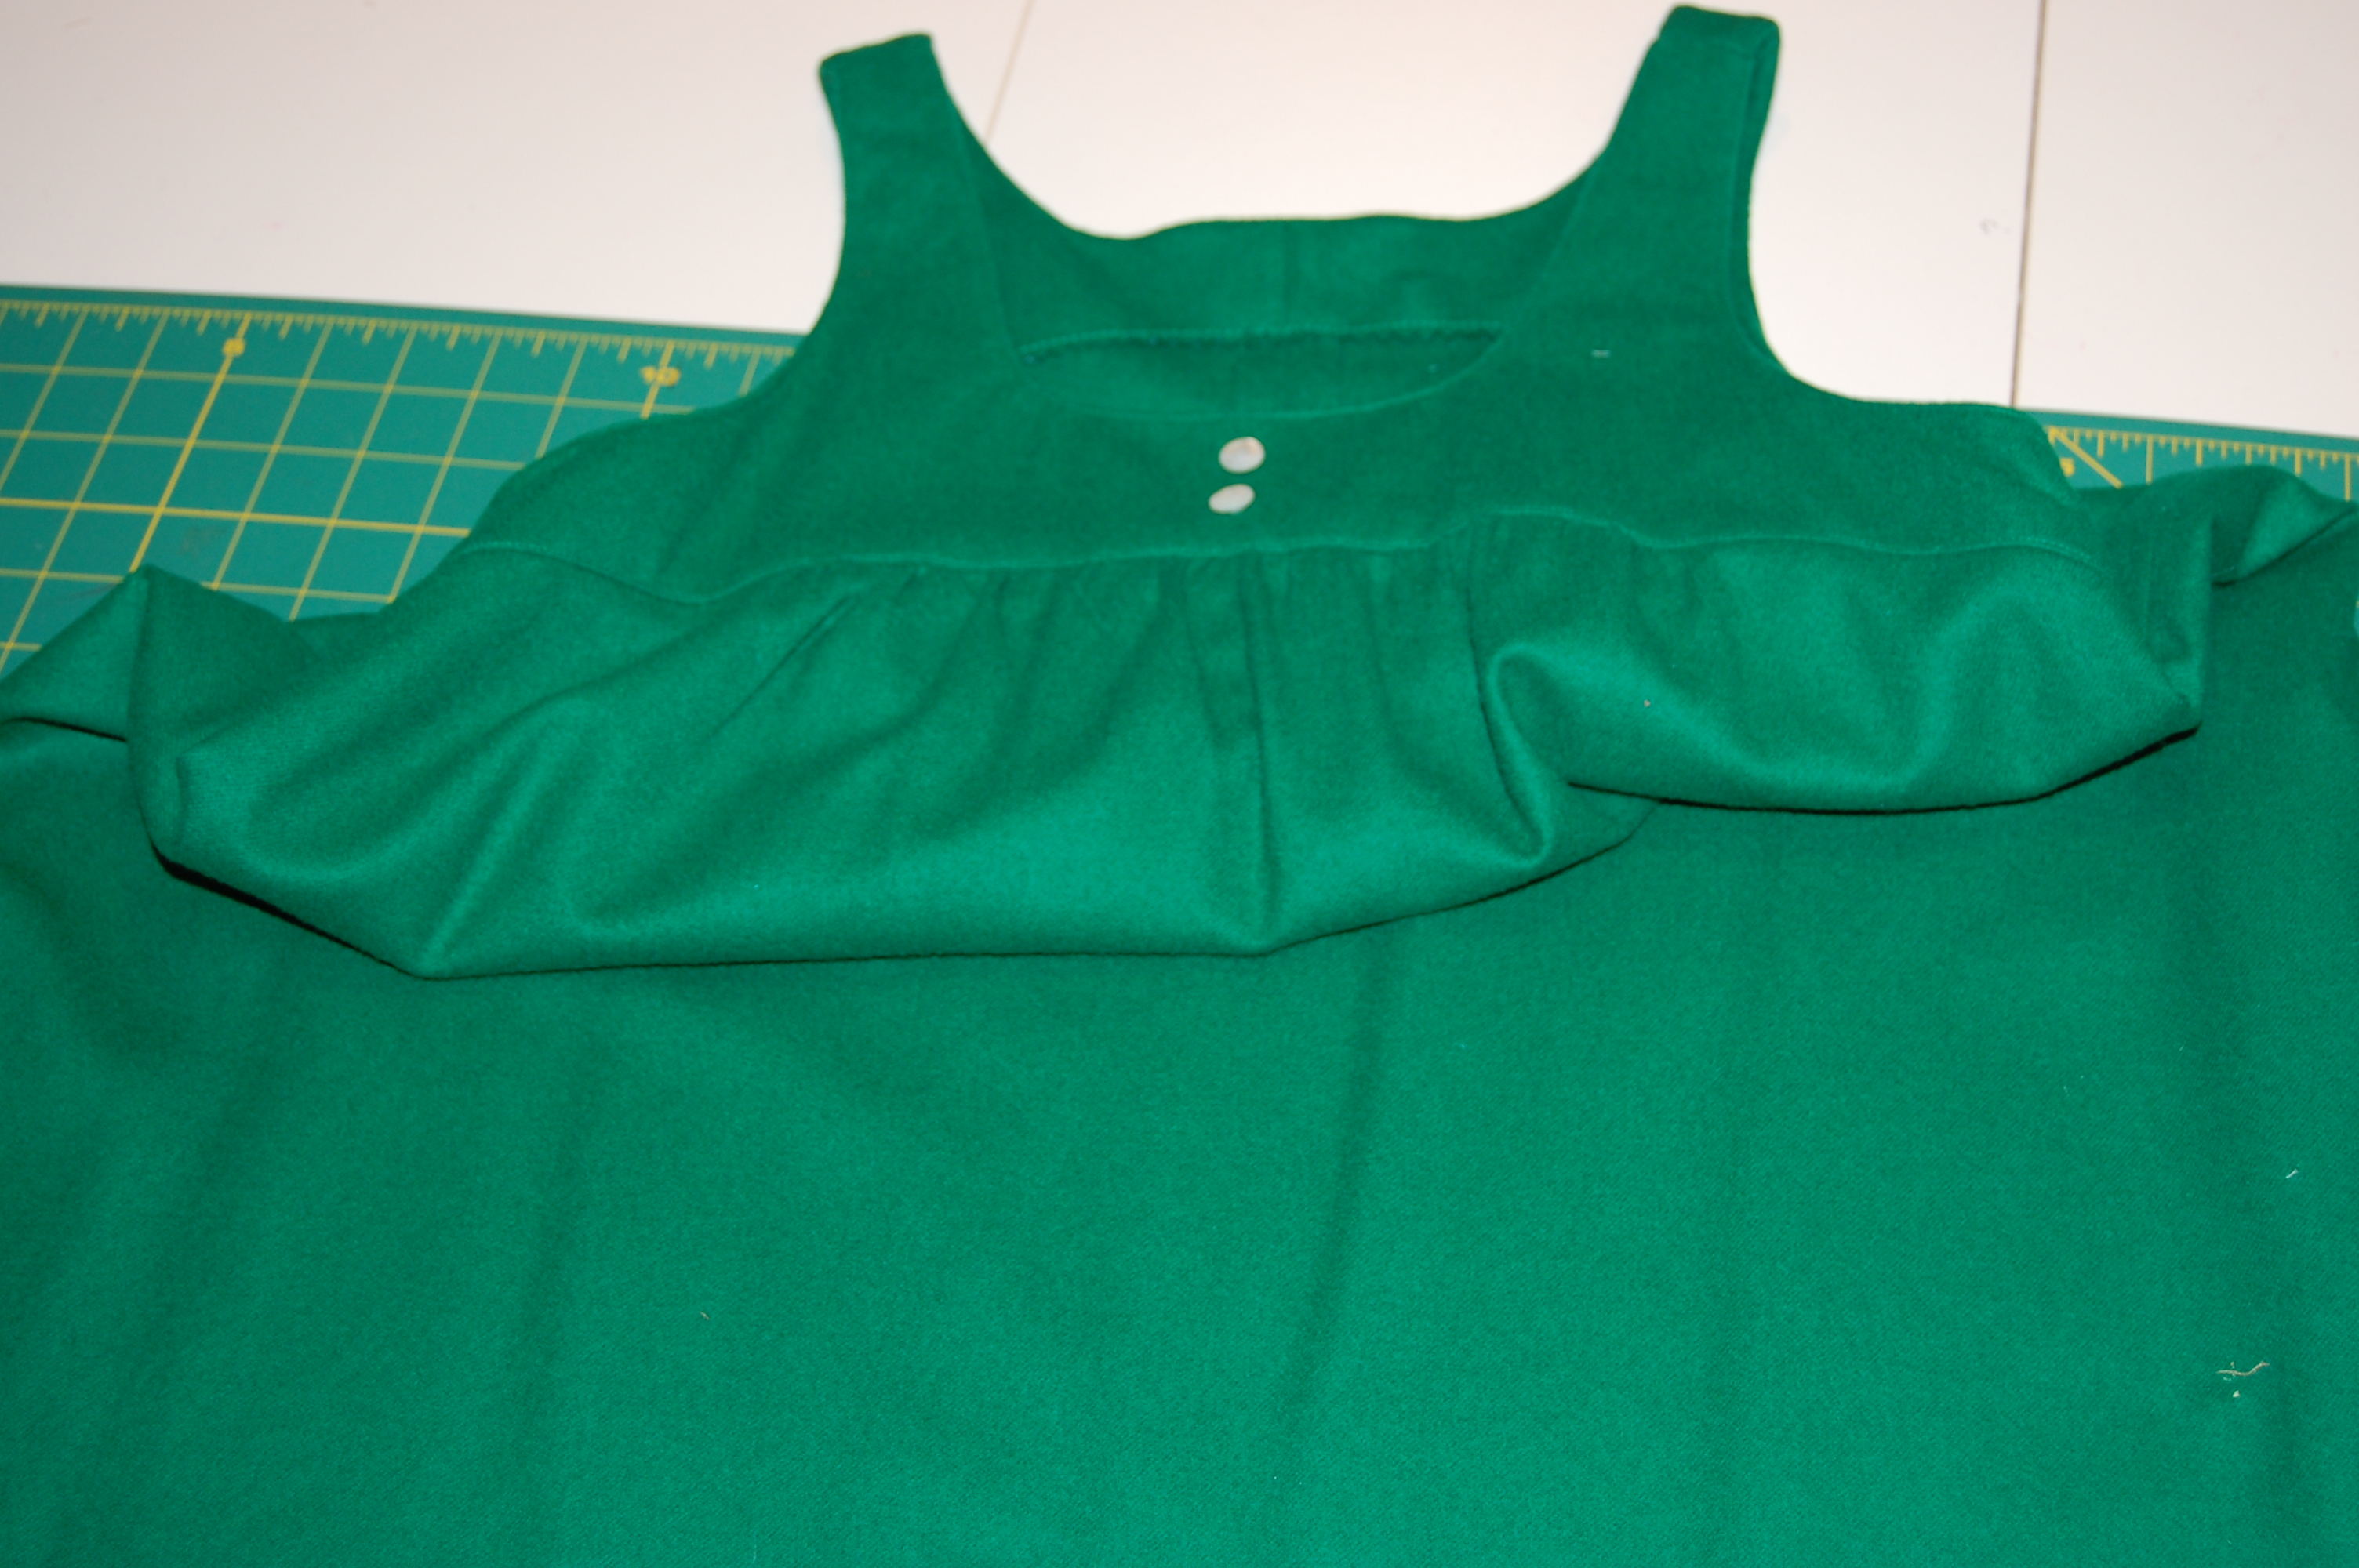
It was only after a fellow member of our group found this silk charmeuse shown below, that I noticed it.
The second fabric store we visited was the world renowned Janssens + Janssens.

This store was the antithesis of the prior one in its ordered rows of bolts of fabrics both upstairs and downstairs. I spent much of my time with the silk charmeuses and twills although this store is probably known best for its exquisite laces.


Finally, we went to a fabric store in the garment district by the name of General Diff. It, too, features end cuts from the couture houses among other selections. Again, it was a jumble, with fabric piled high on large tables. They had some lovely lightweight wool, but I declined to be tempted, as my suitcases were reaching capacity at this point.
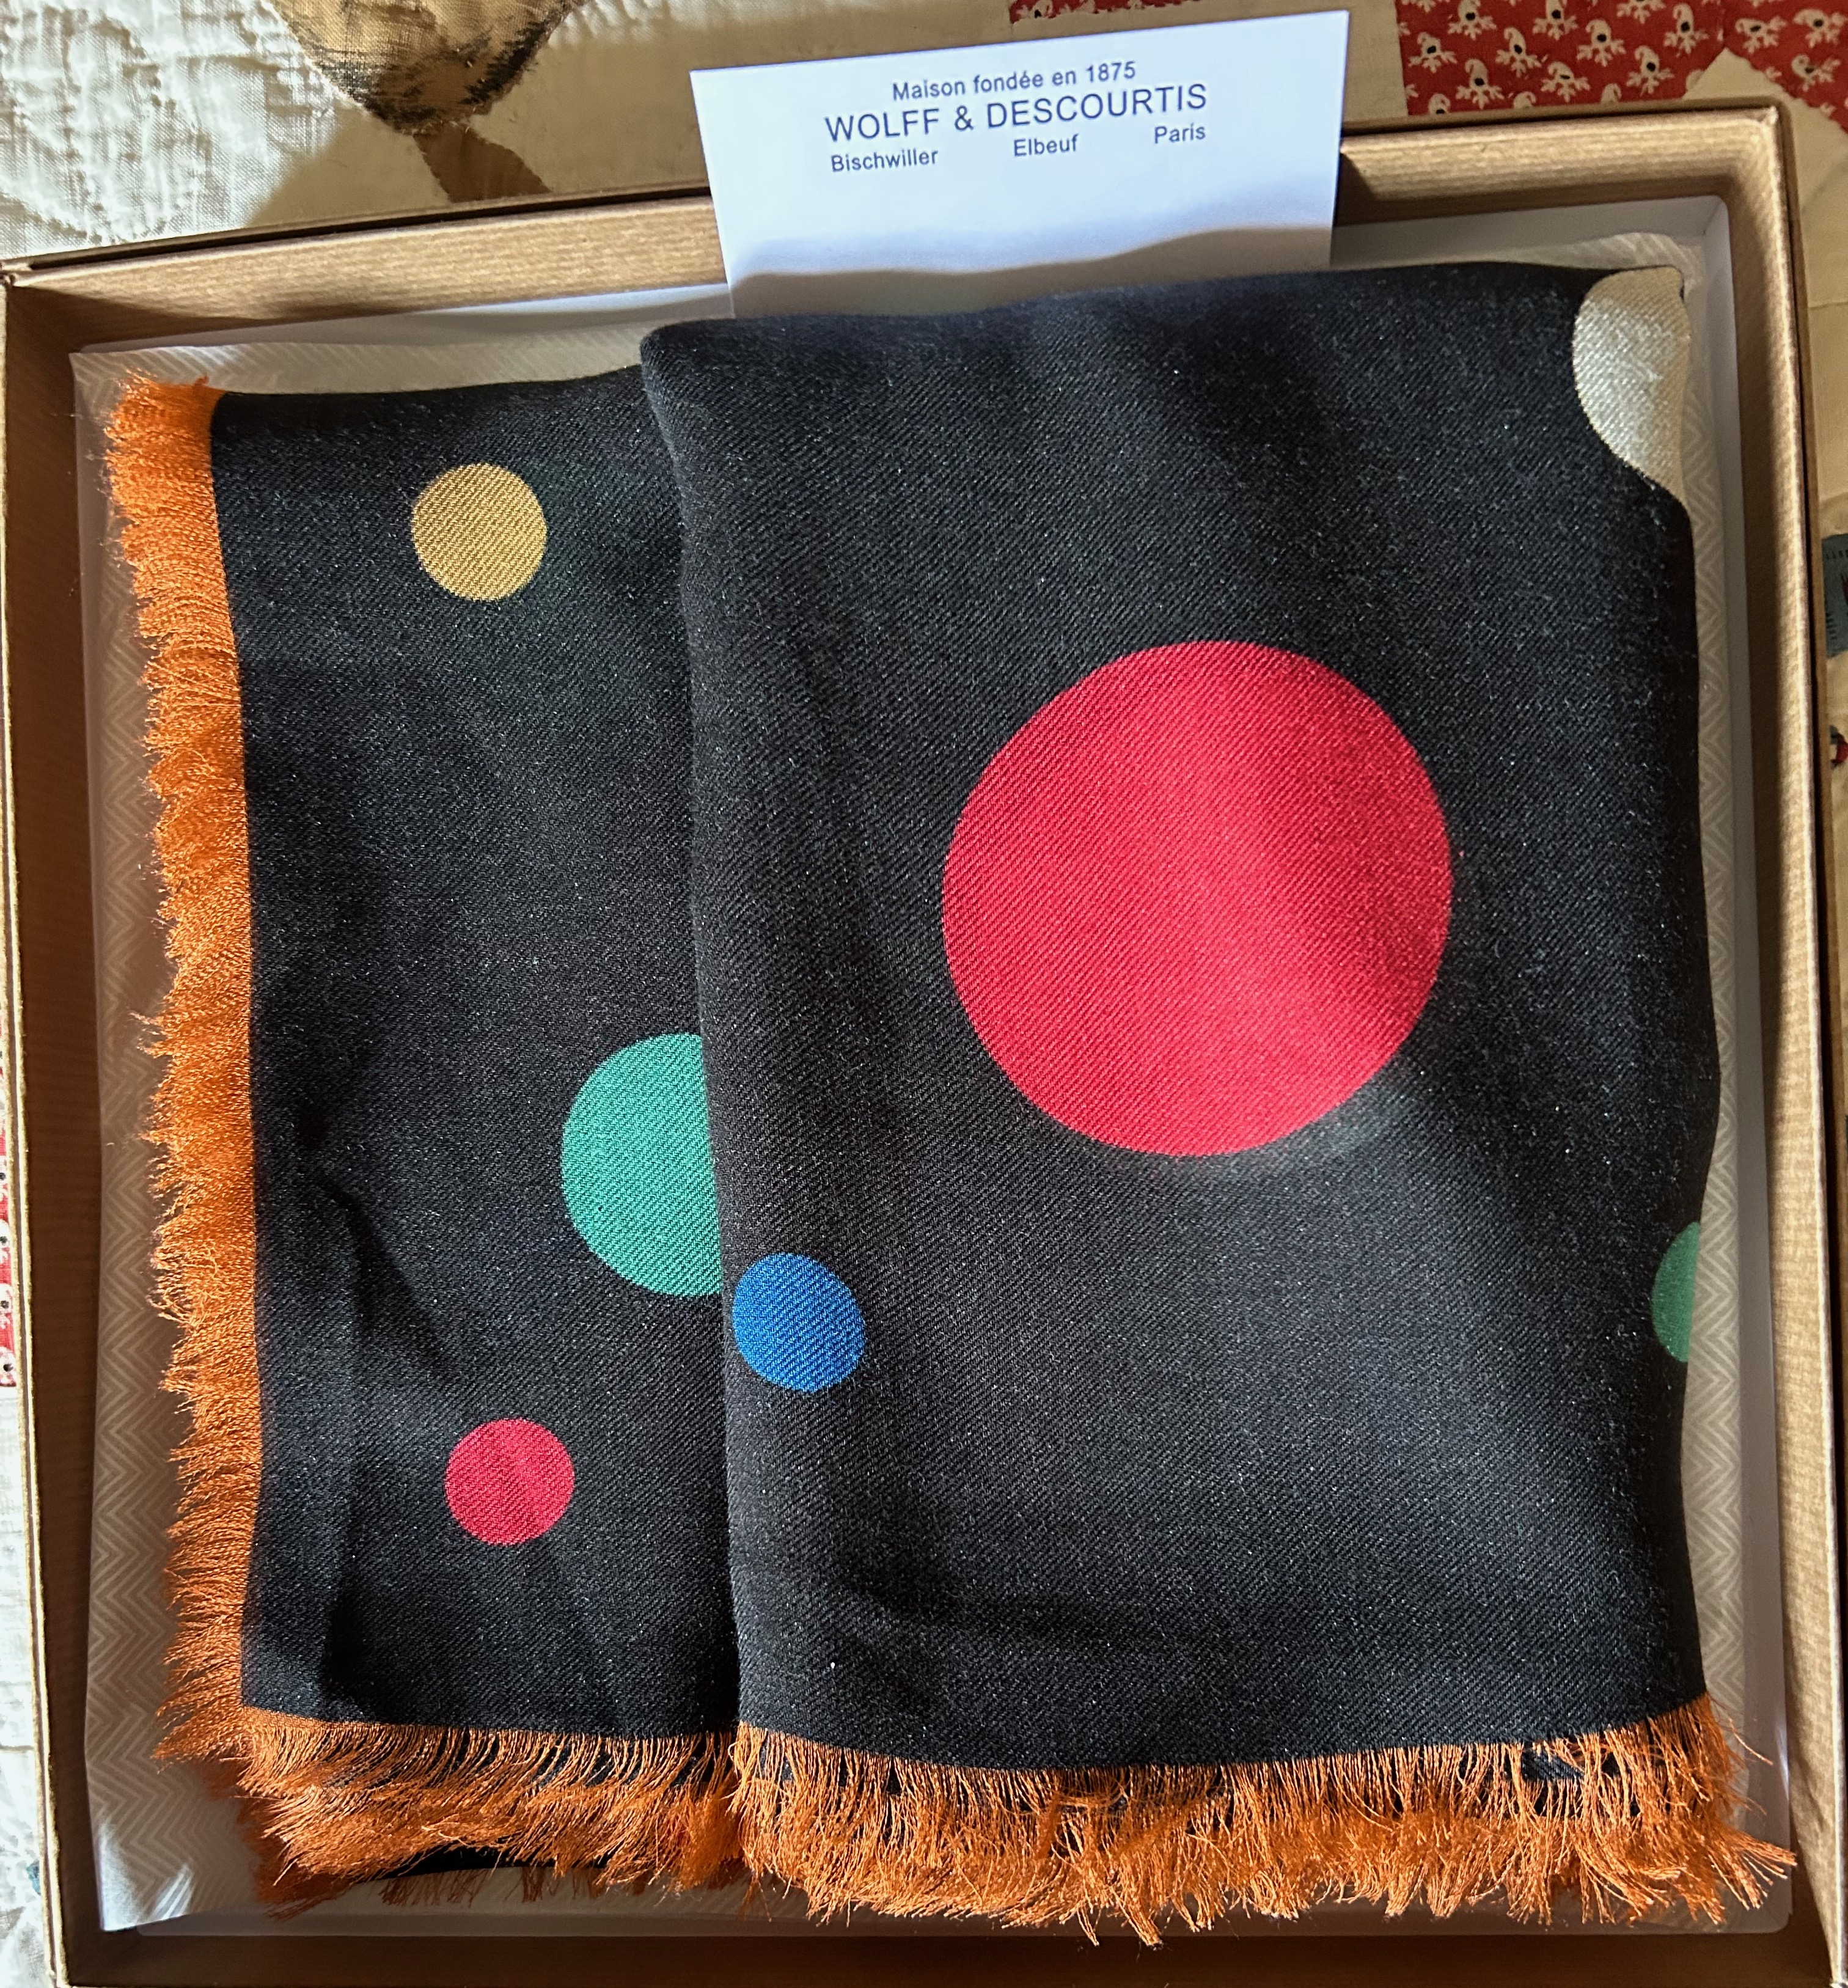
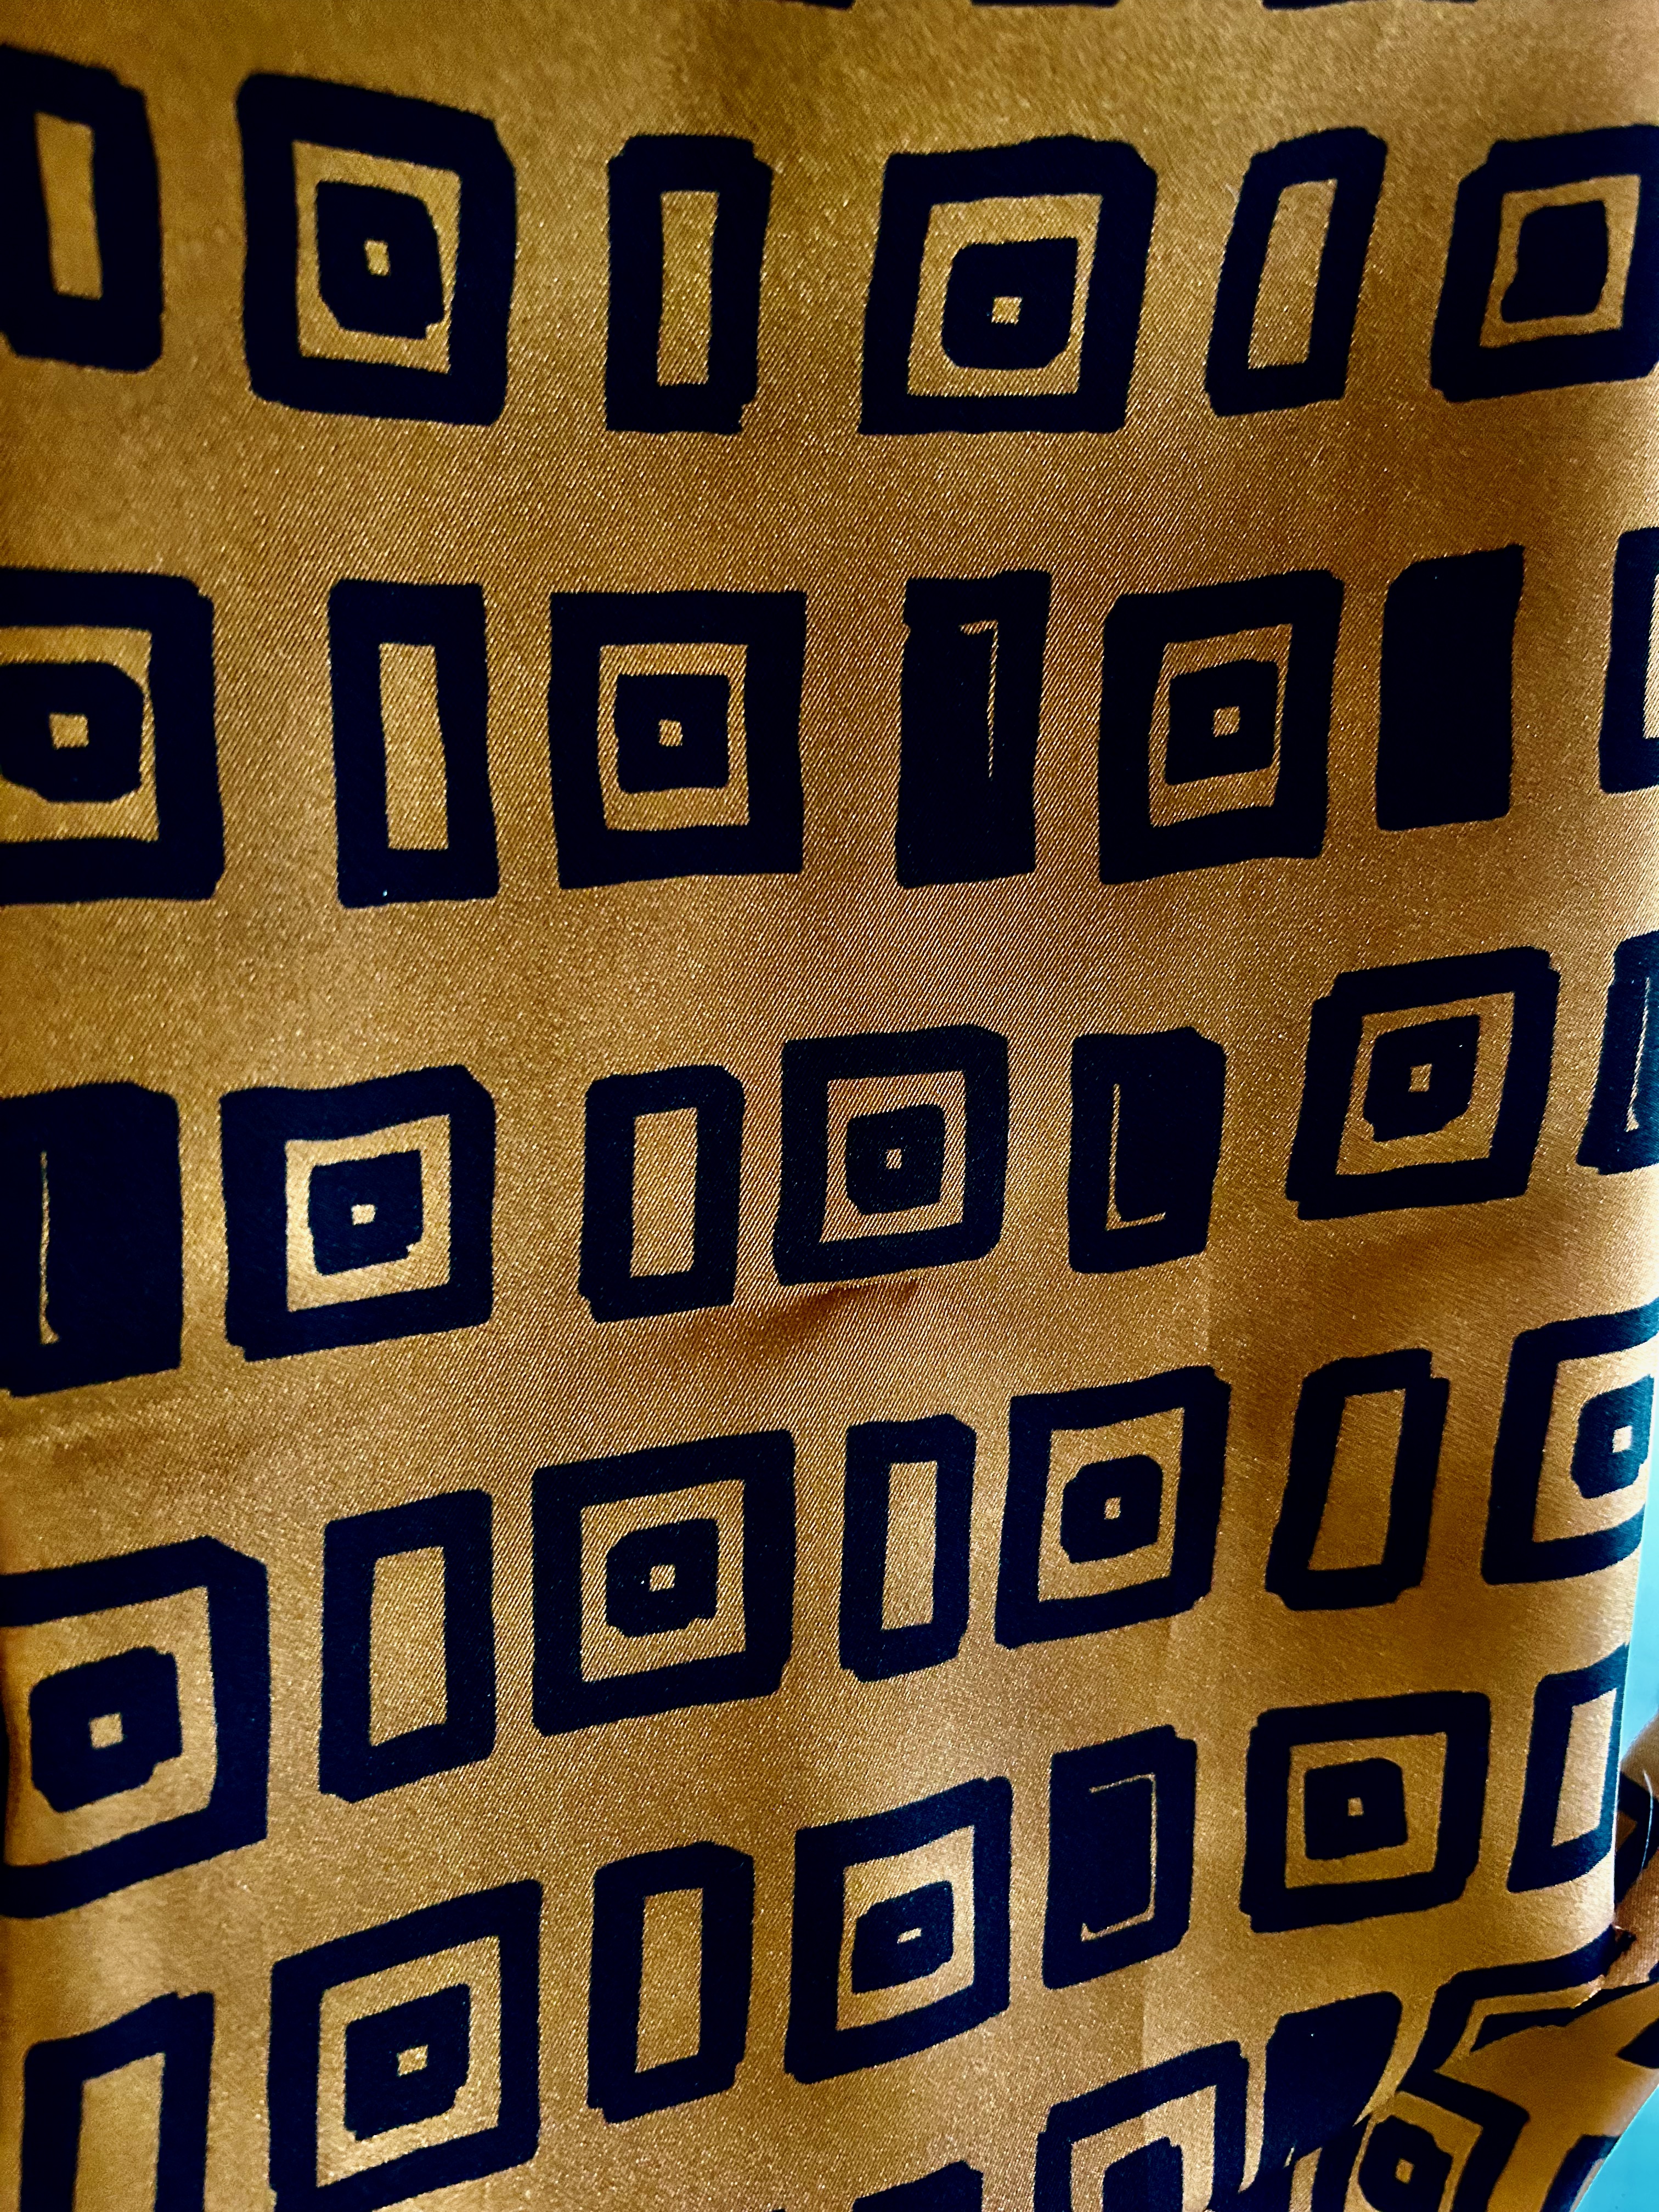
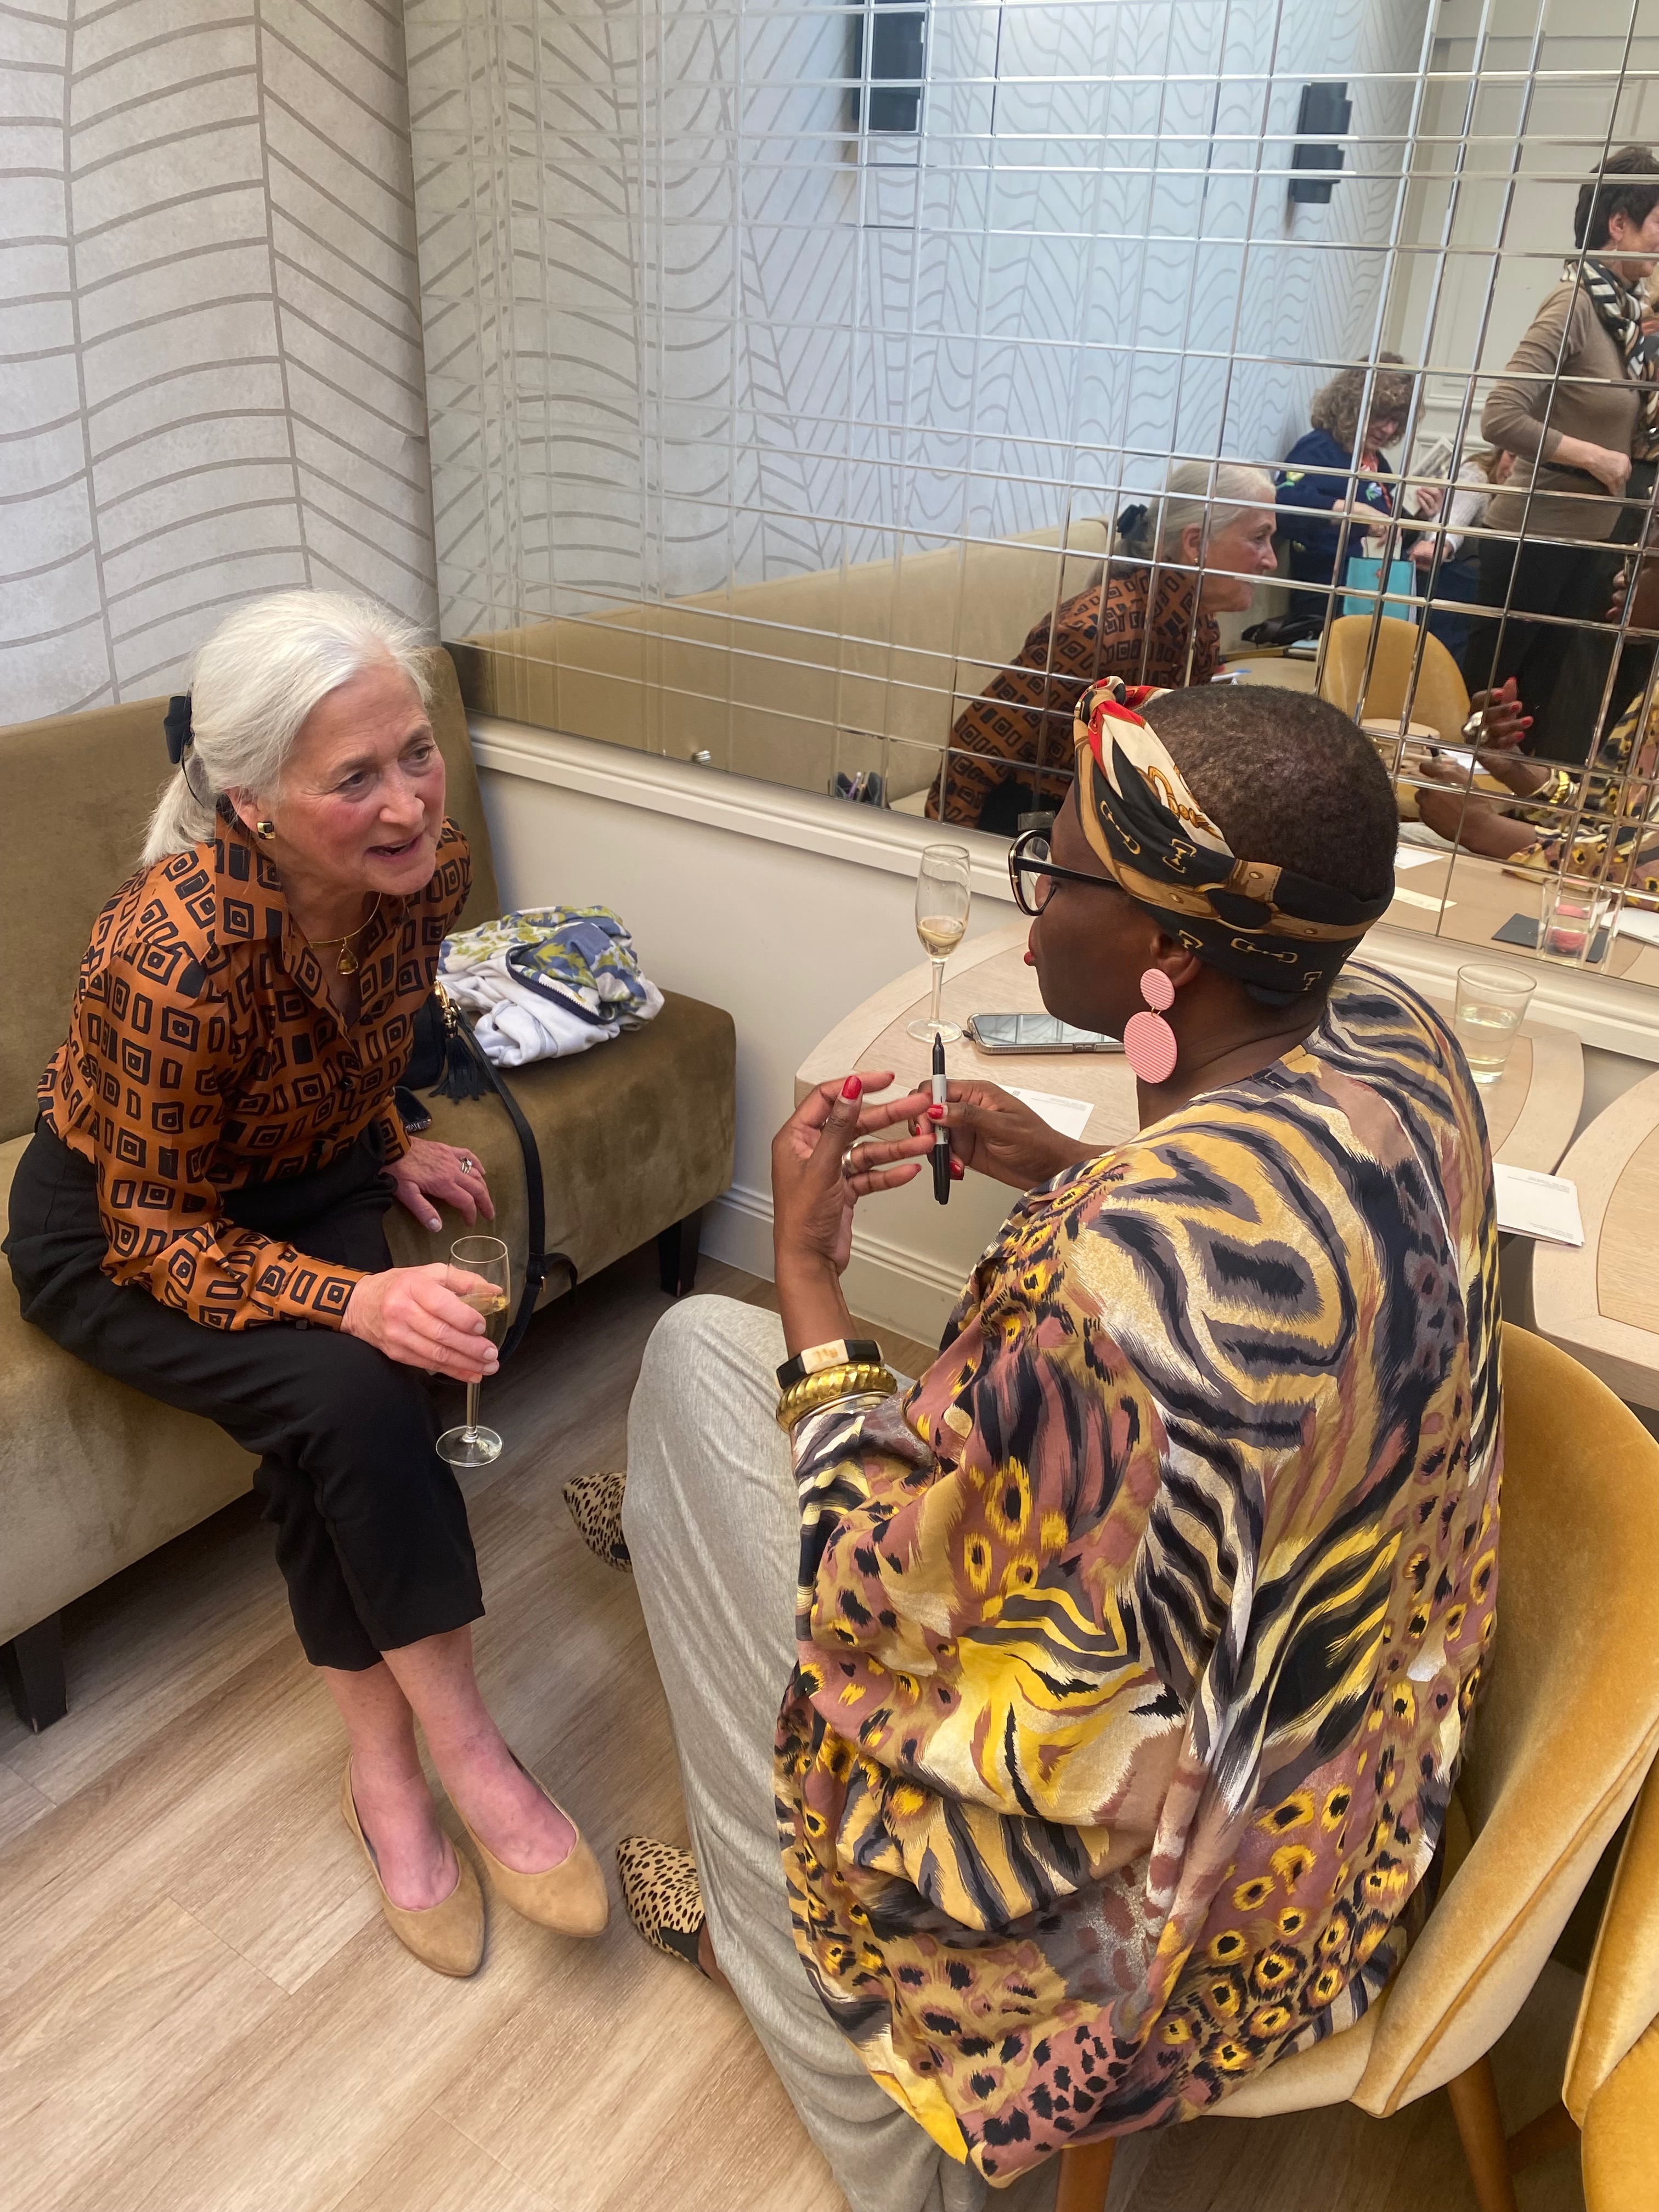
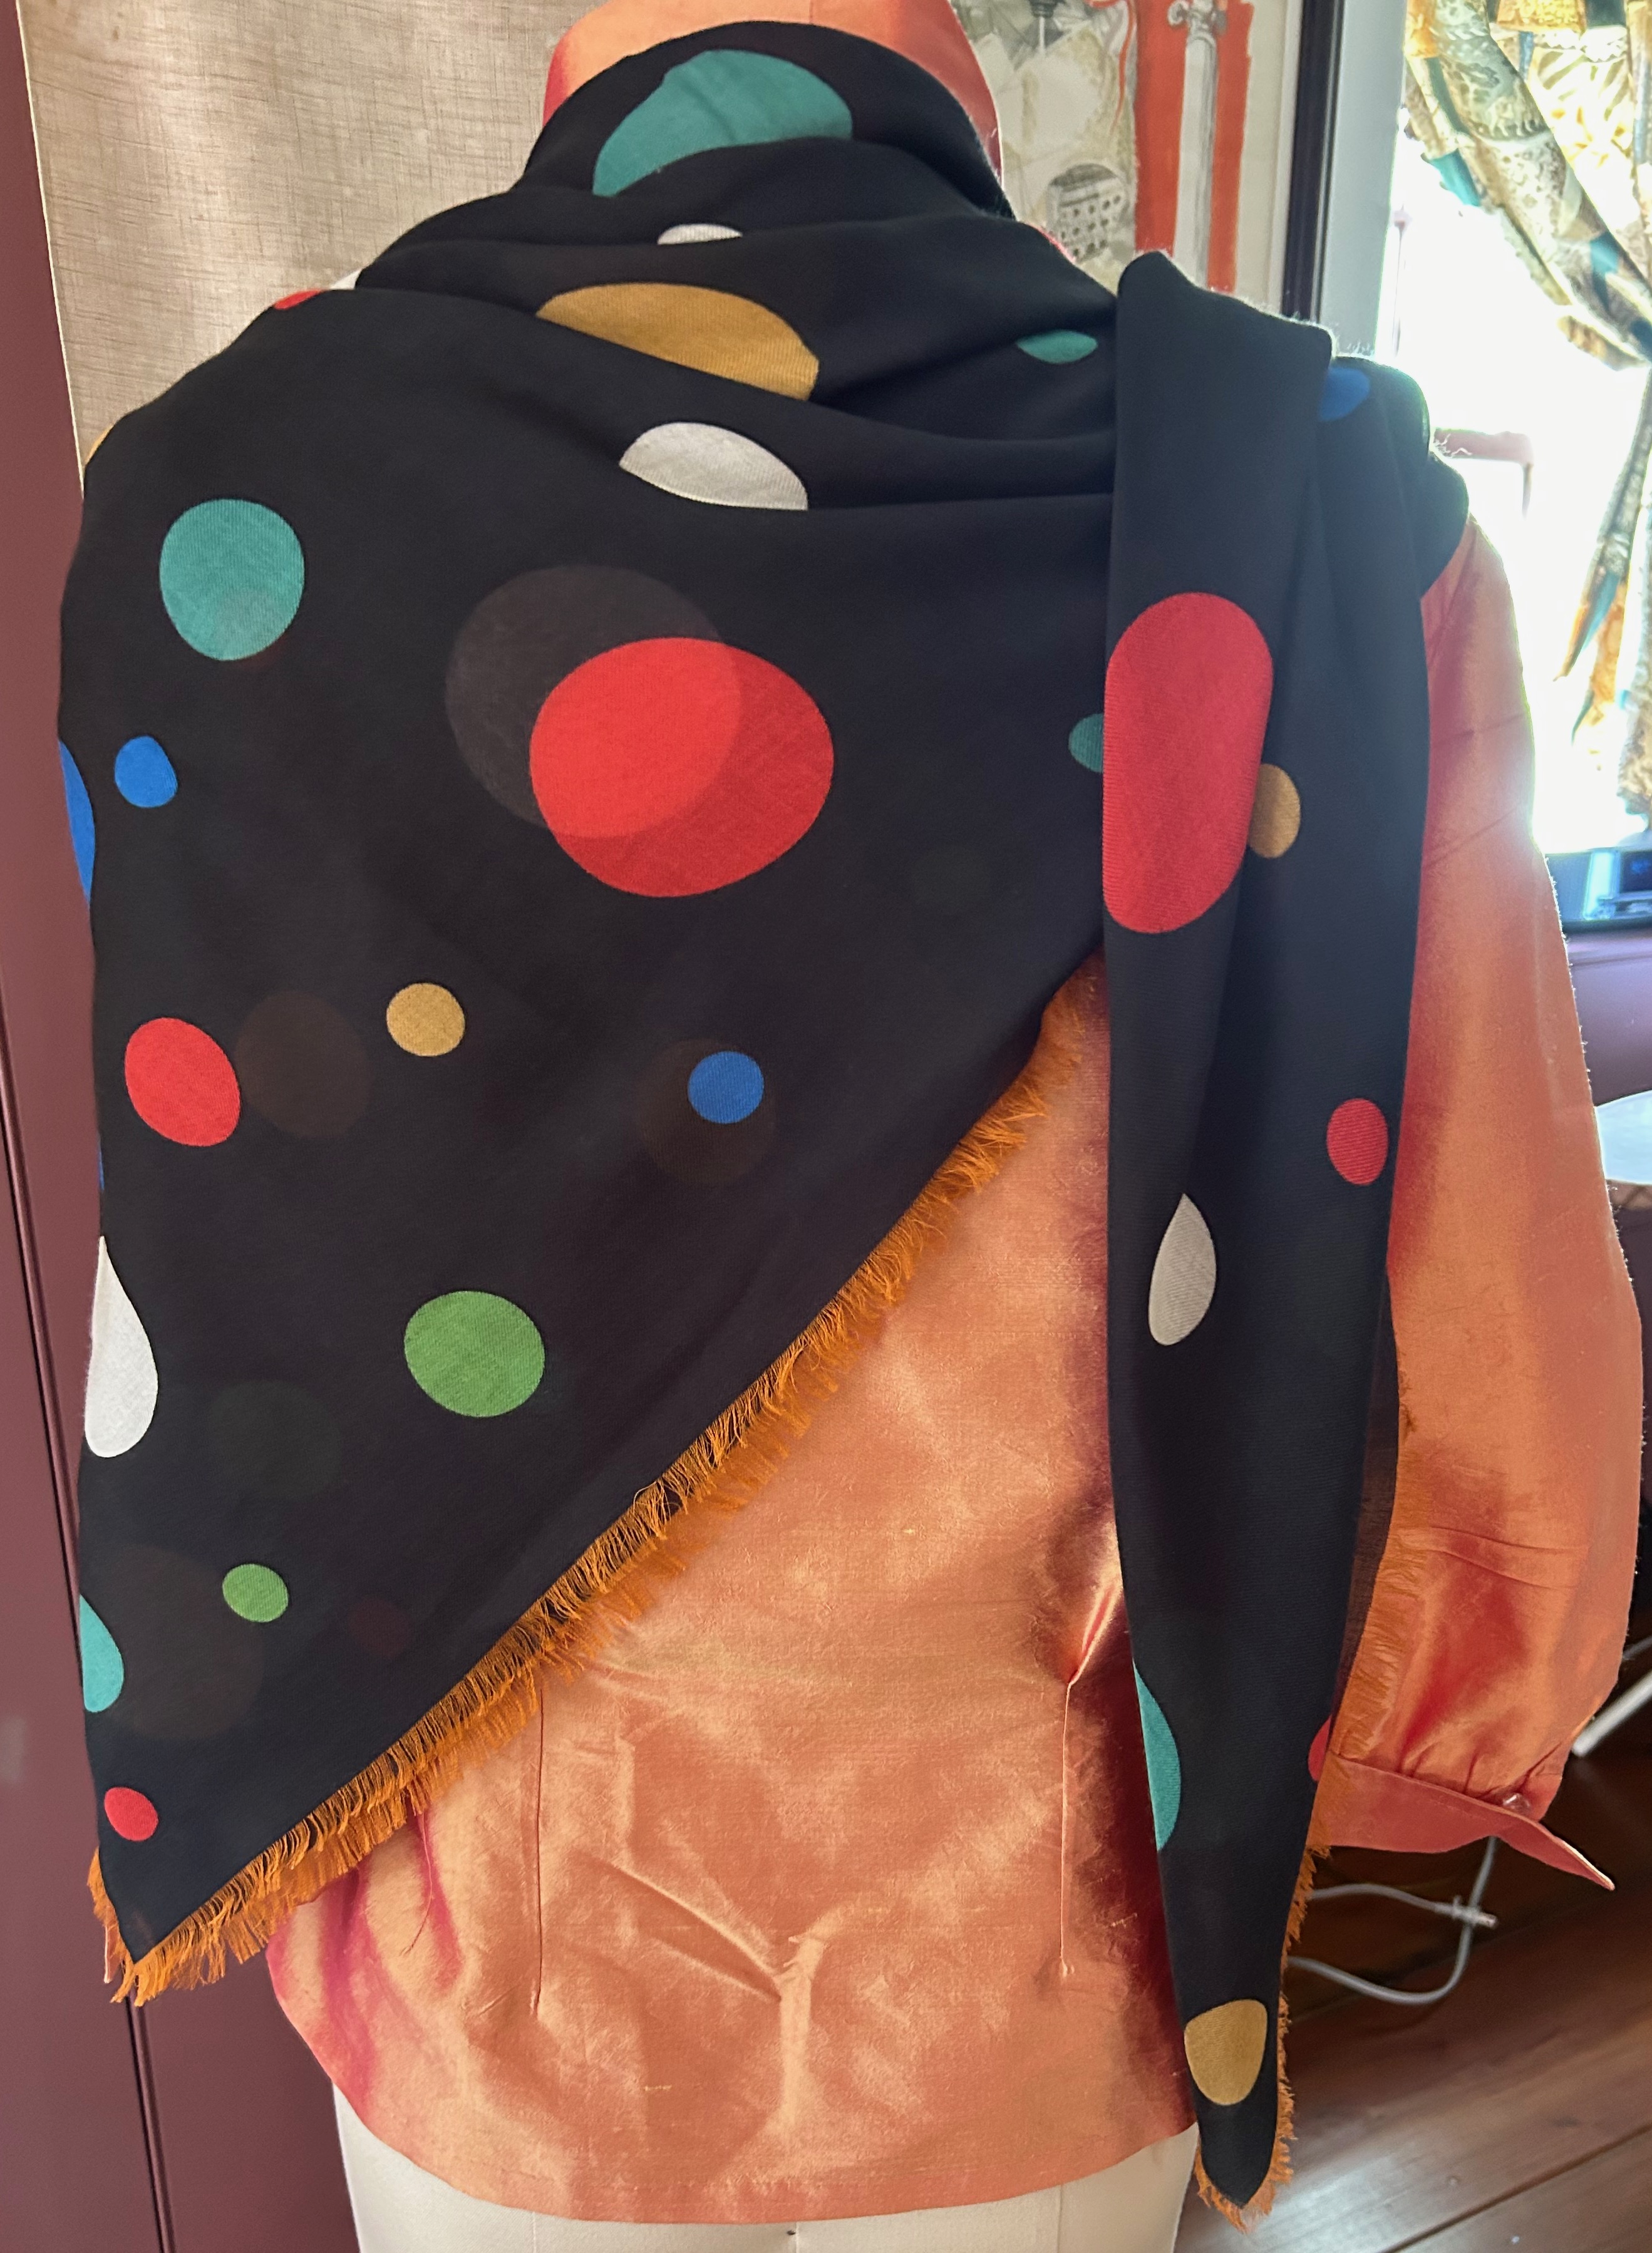
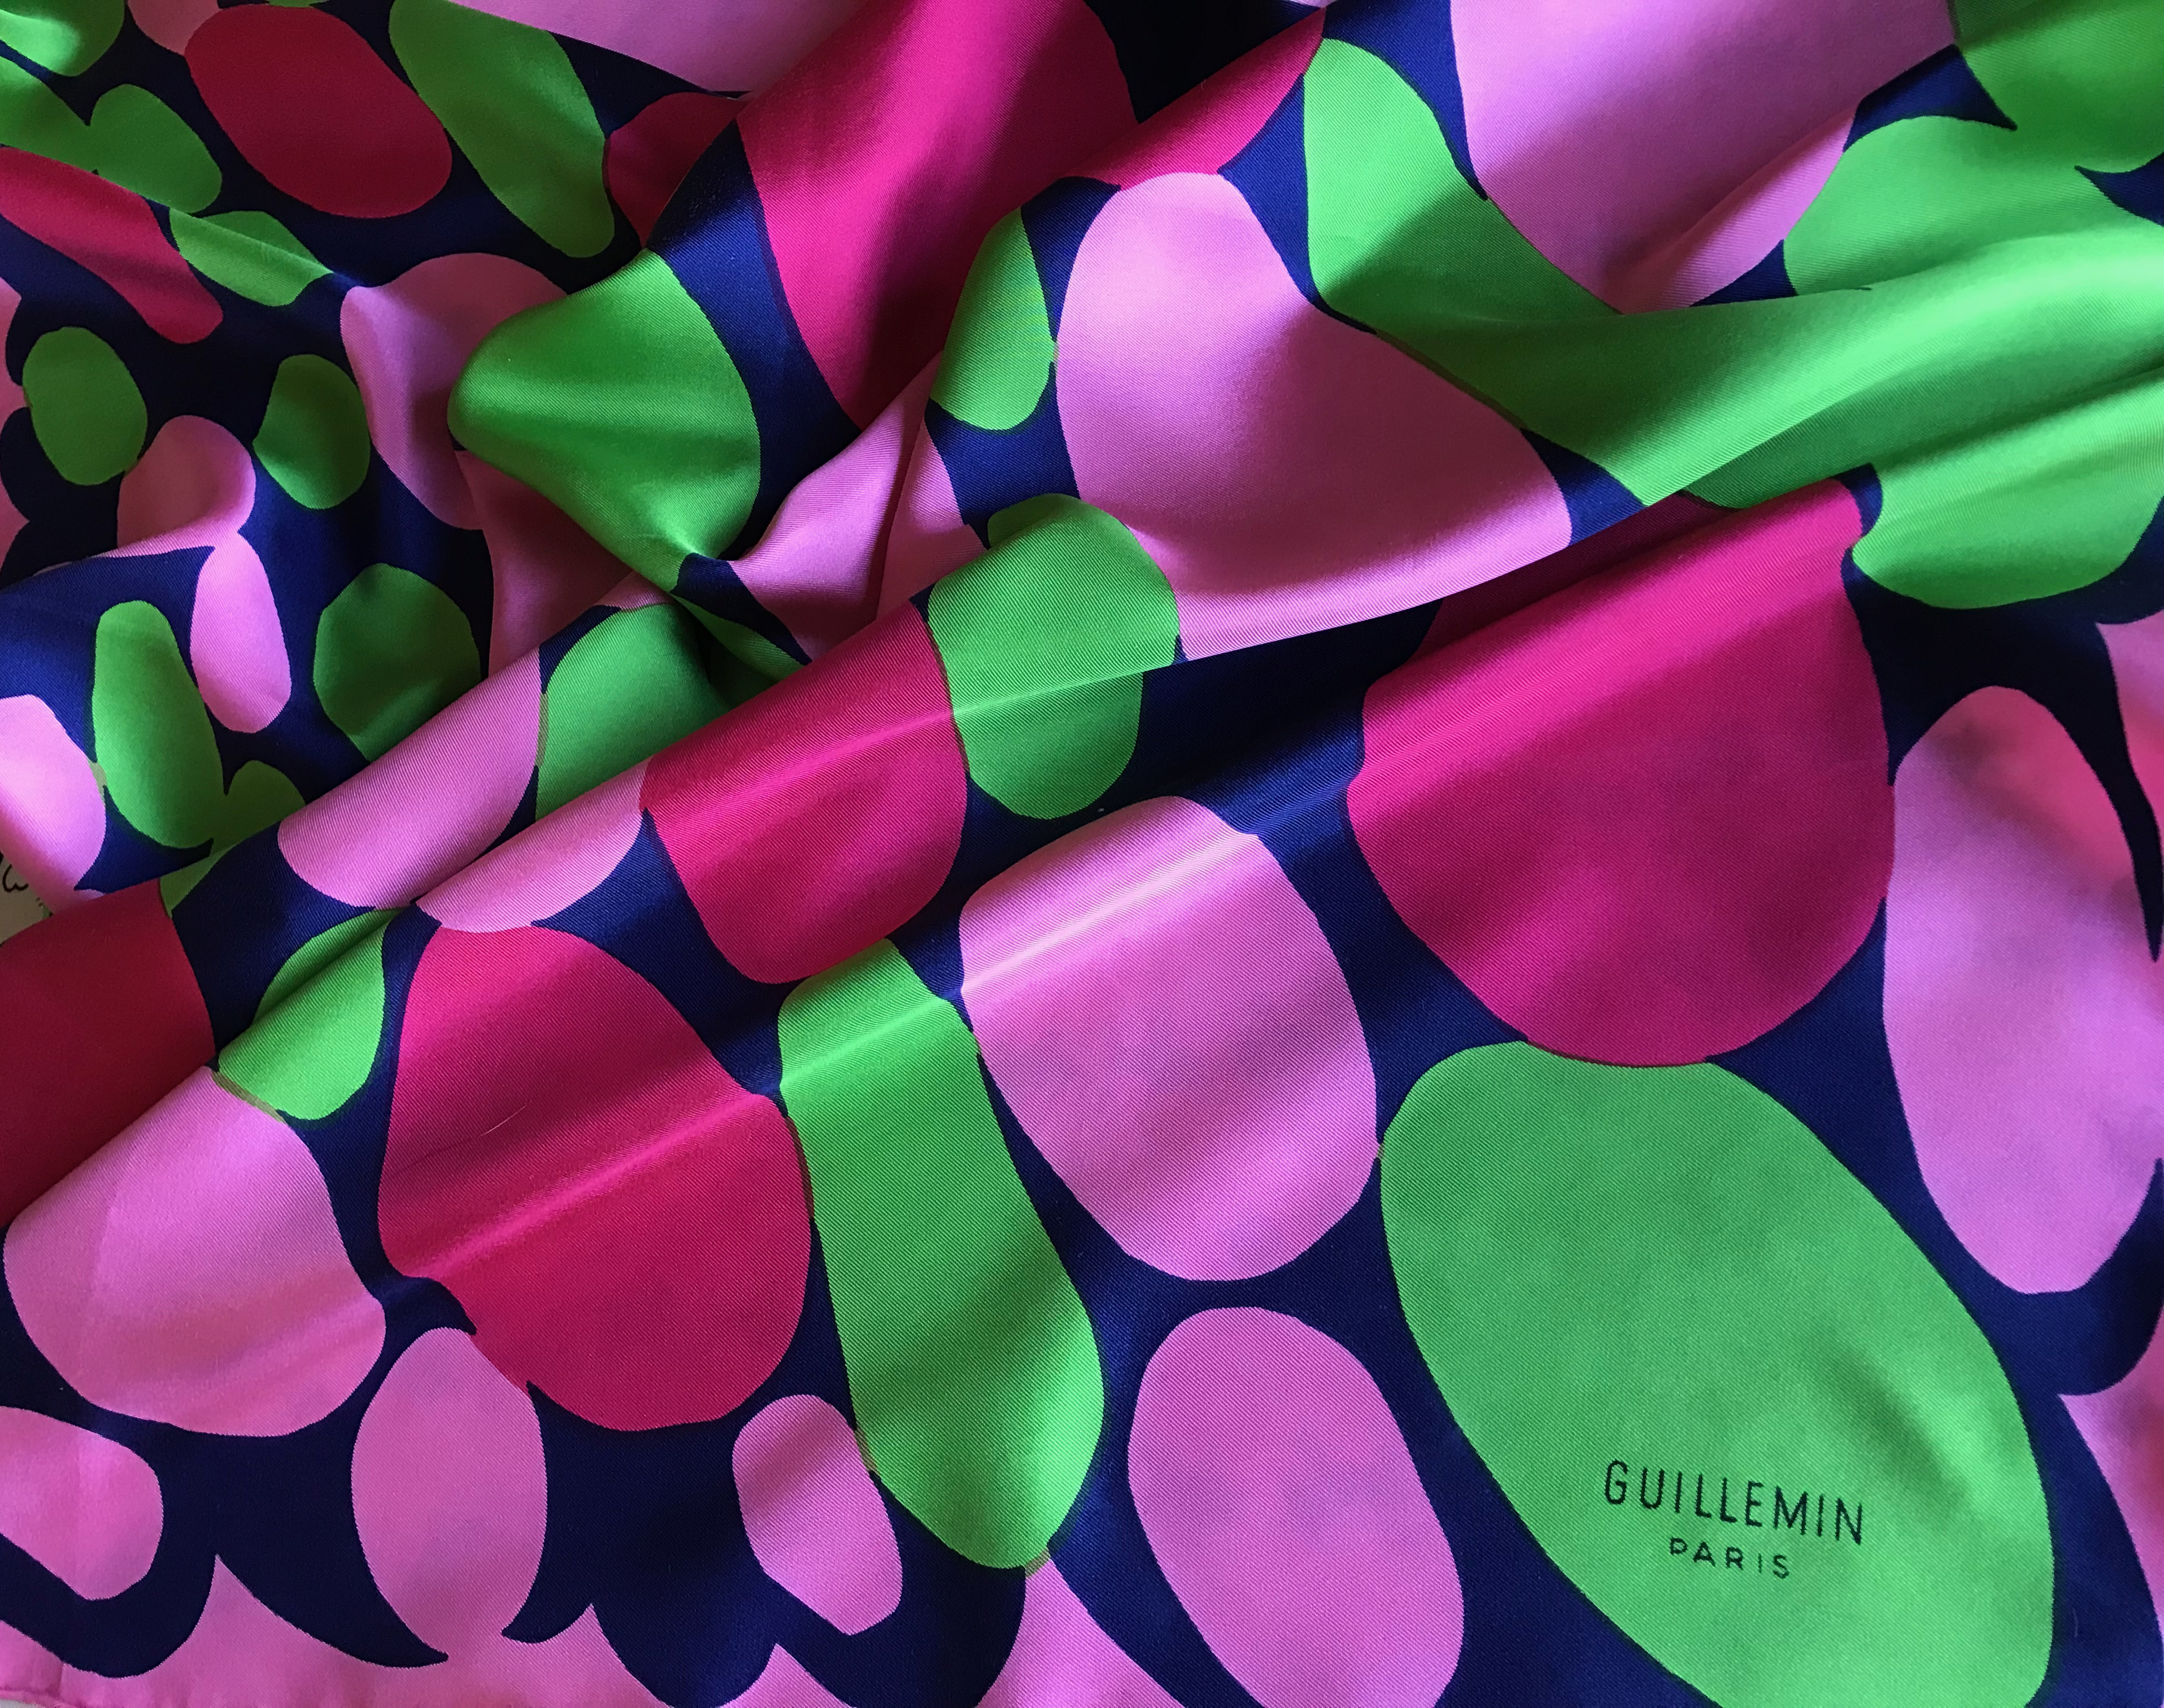
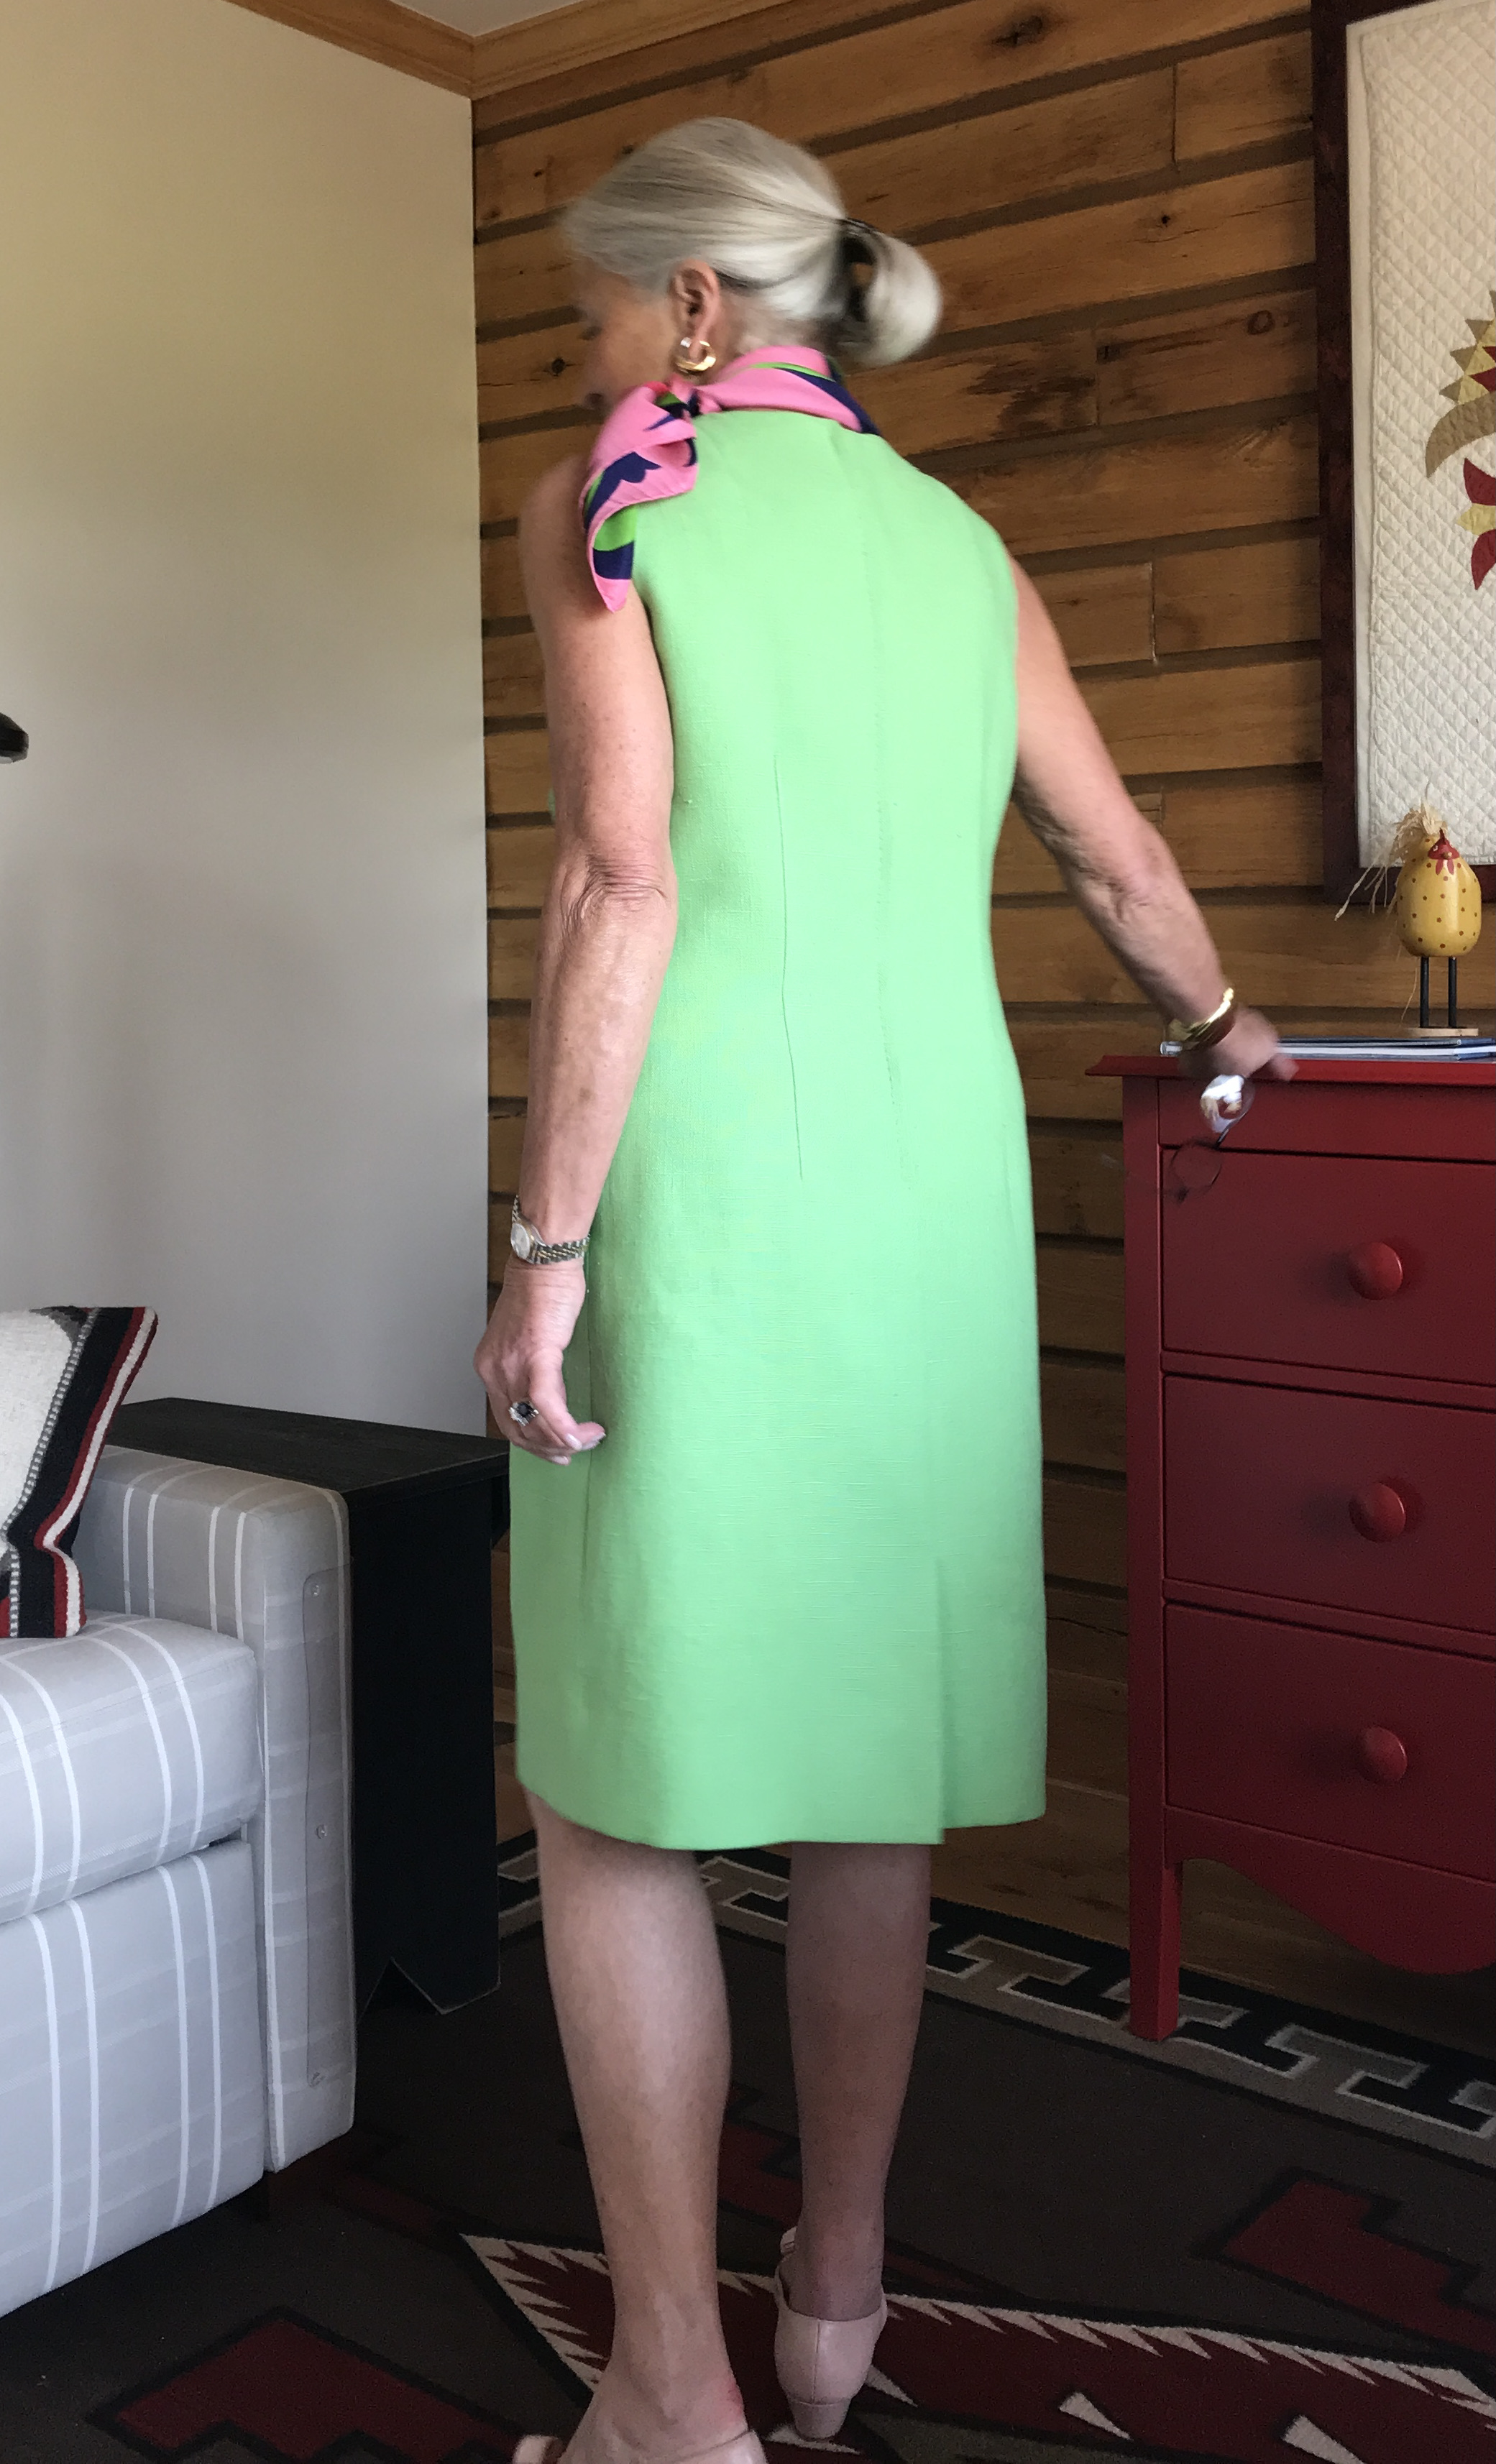
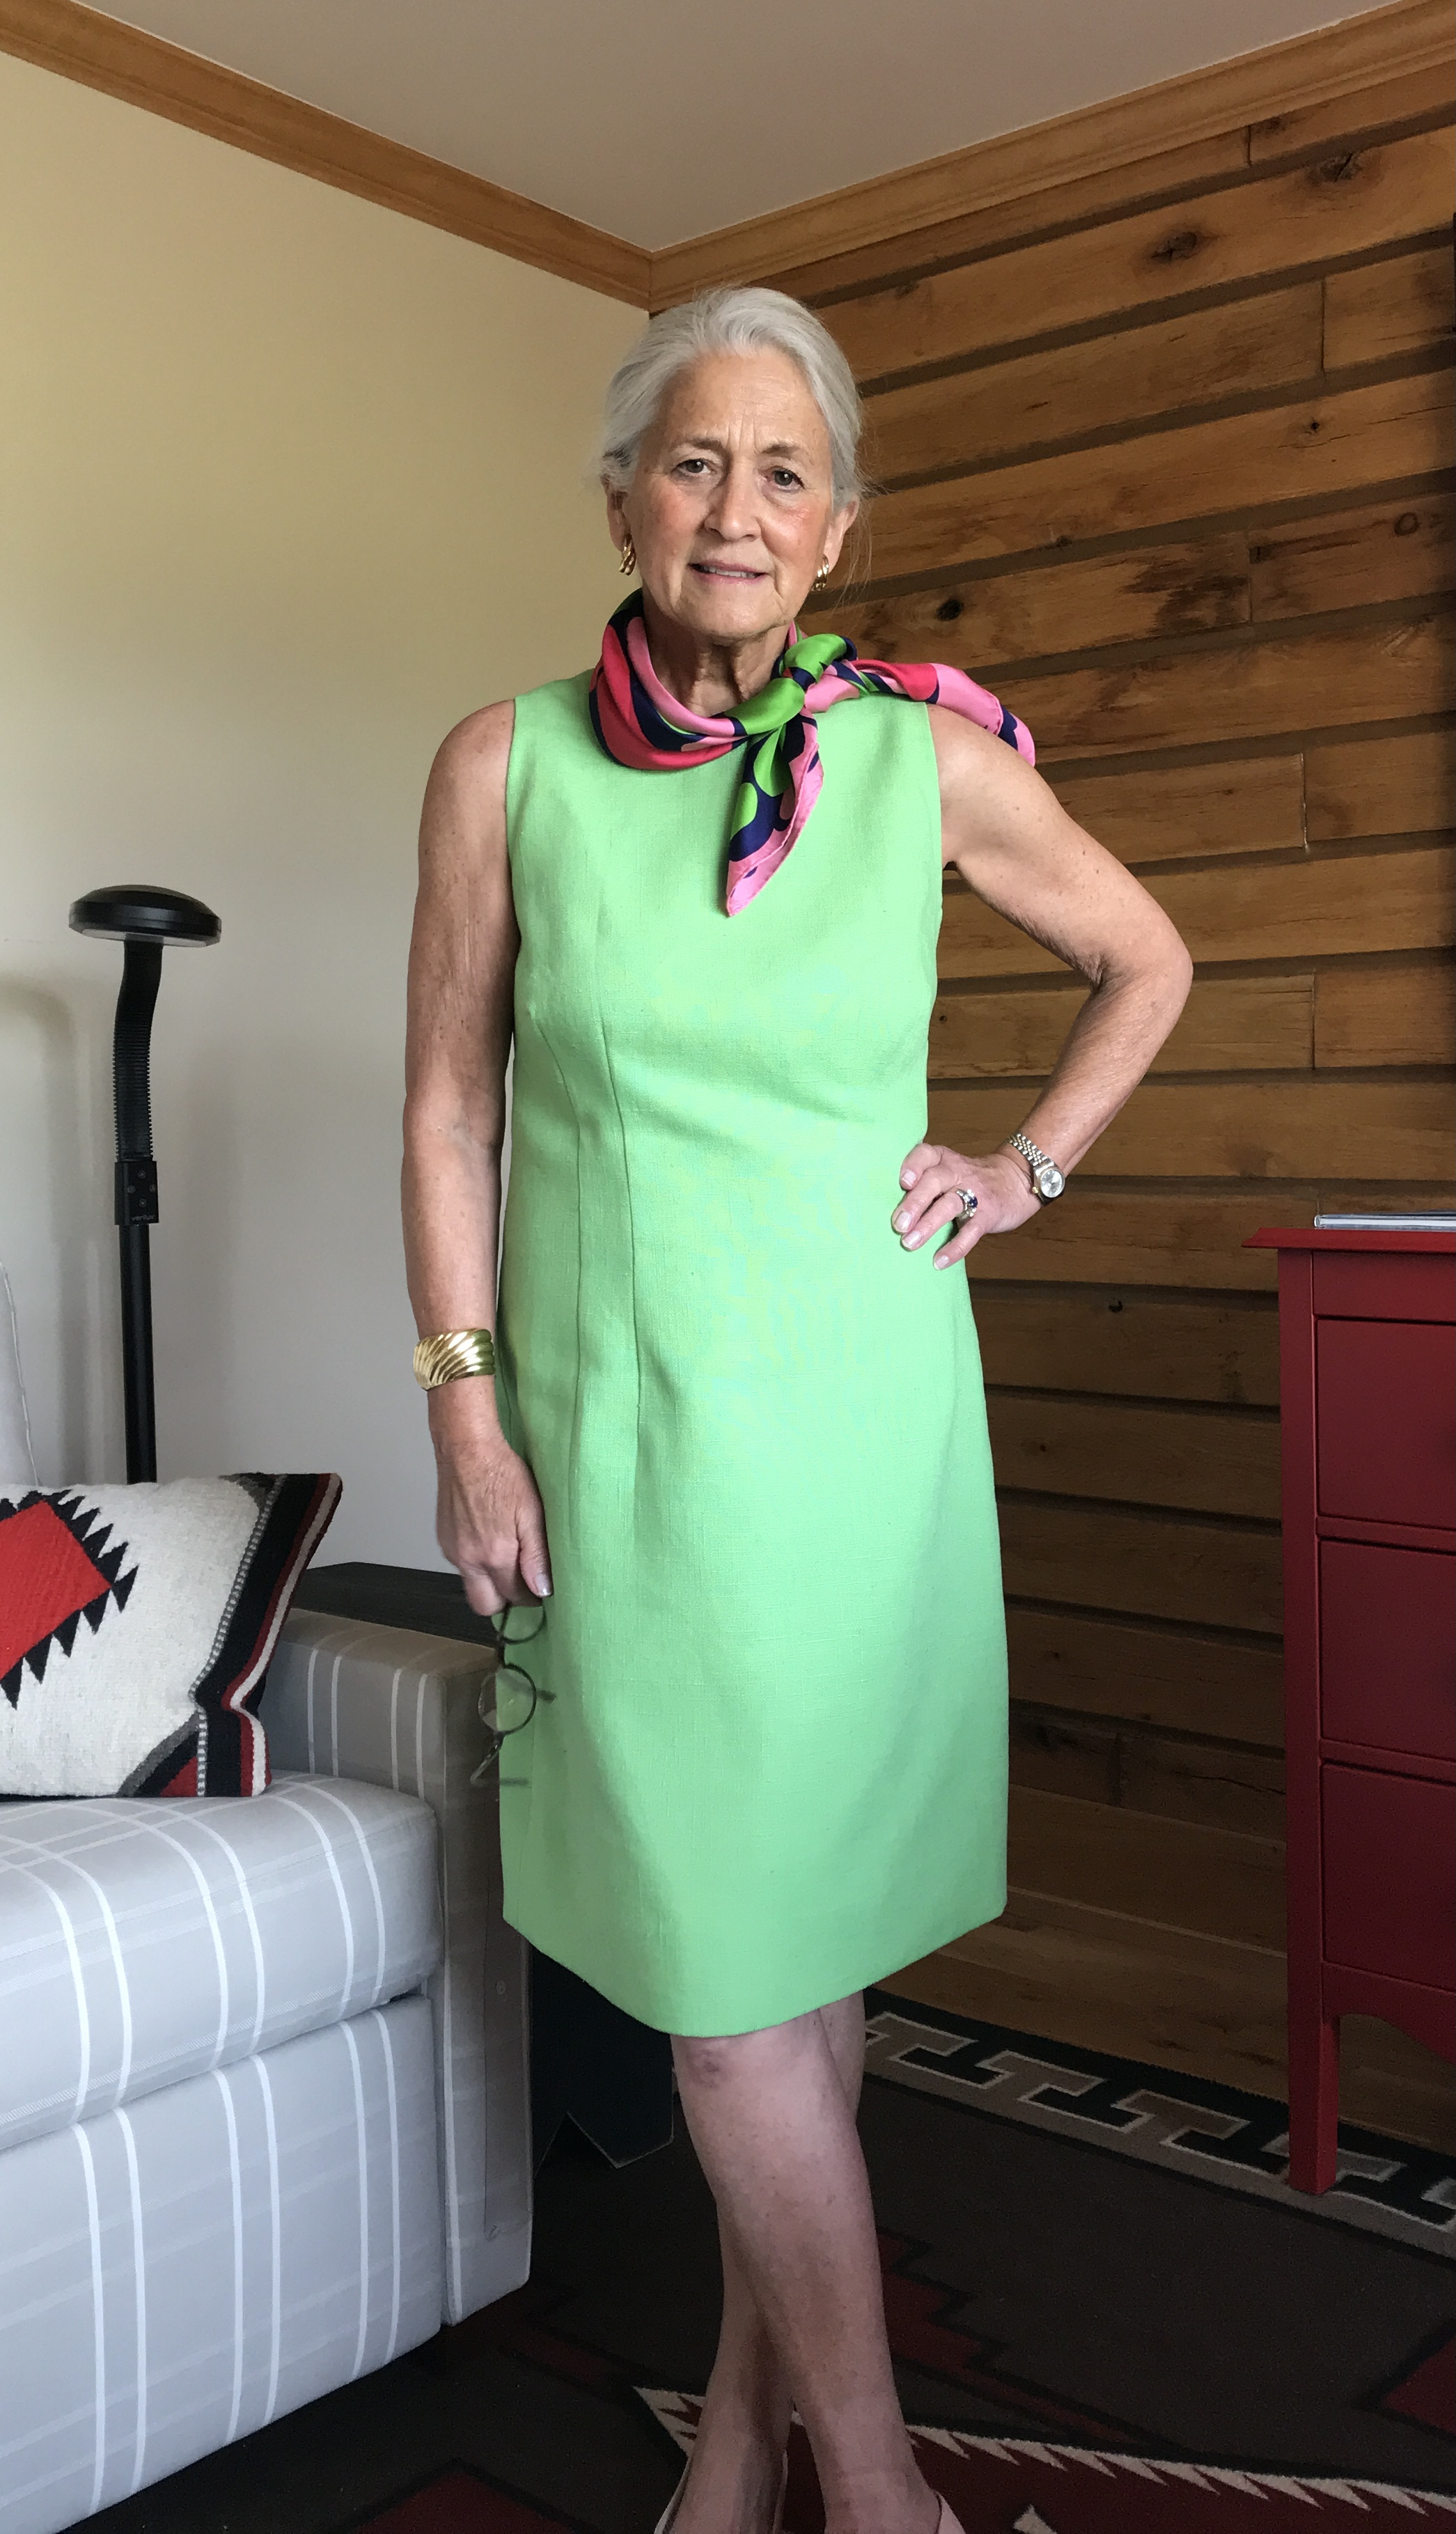
Finally, here are some photos from Wolffe et Descourtis, the wonderful scarf store which captivated us all. This business has remained in the same family for many decades , and indeed the proprietress is Victoria Wolffe, of the original founding family.
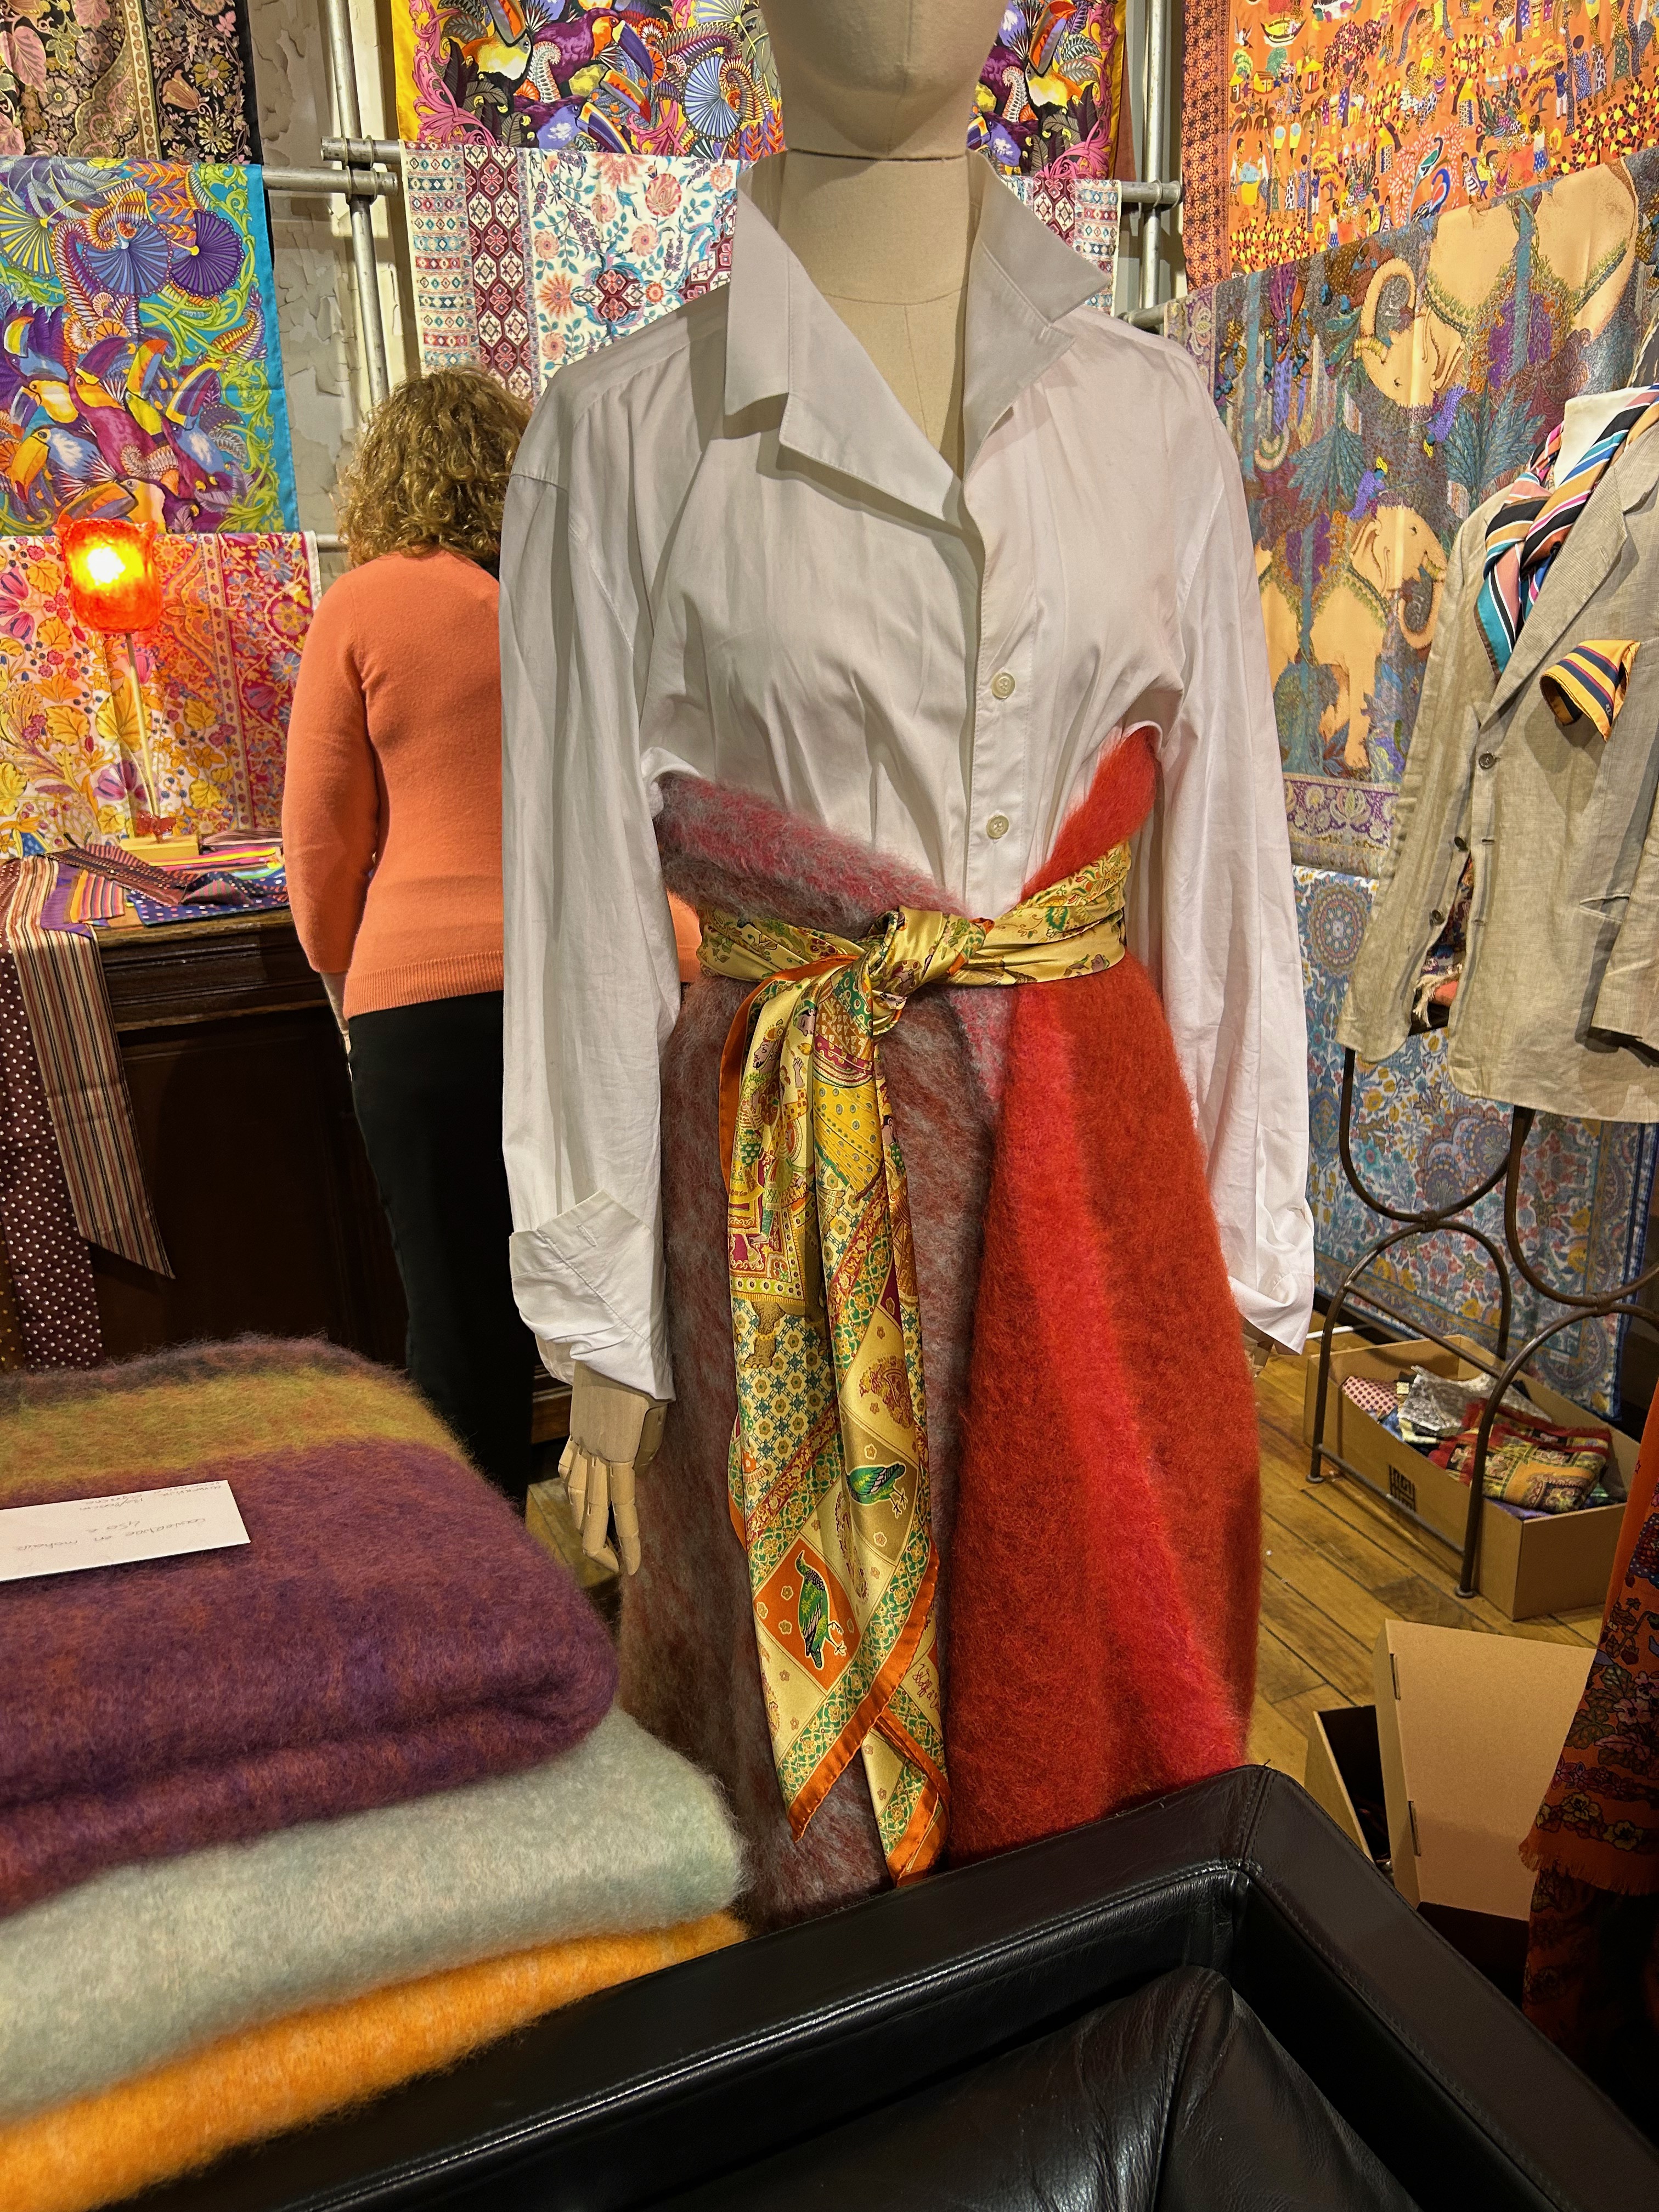
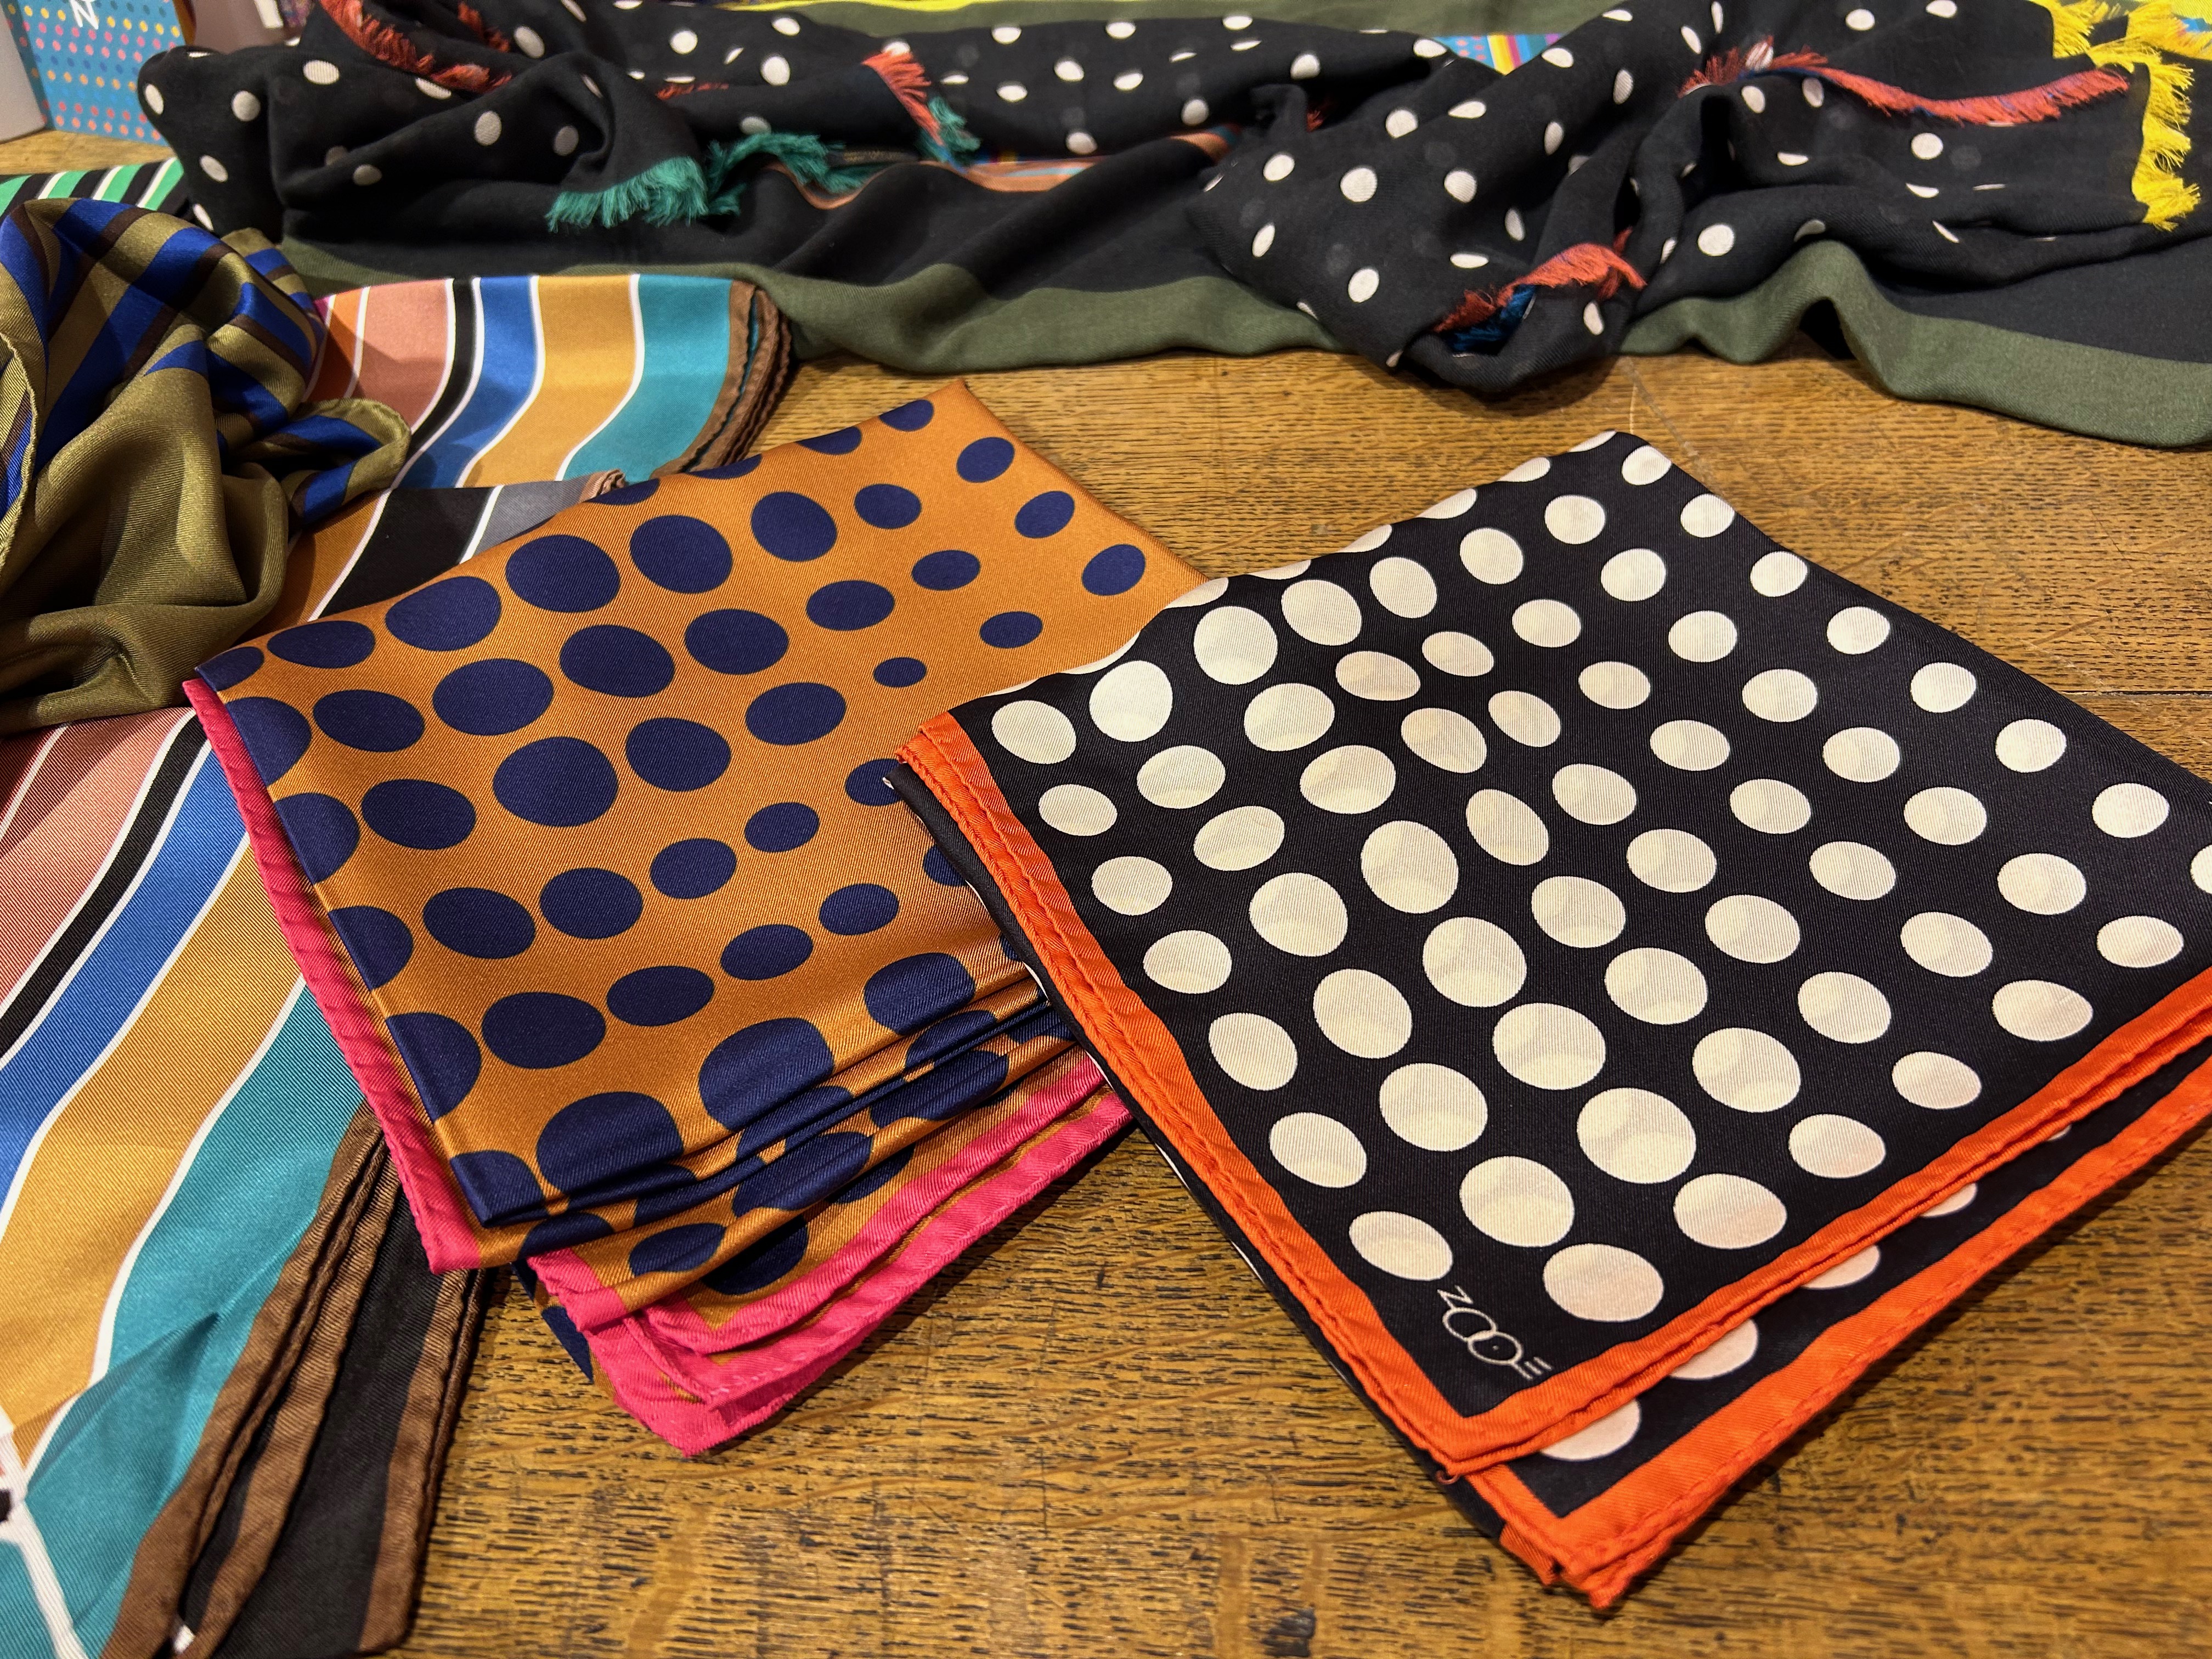

What fun to come home with my beautiful scarf!
This ends my monologue on the Paris Tour, despite there having been additional places we visited, people we met and things we did. Summer sewing has already cranked up, with my attention back here in the States. Happy Sewing June to all of you!


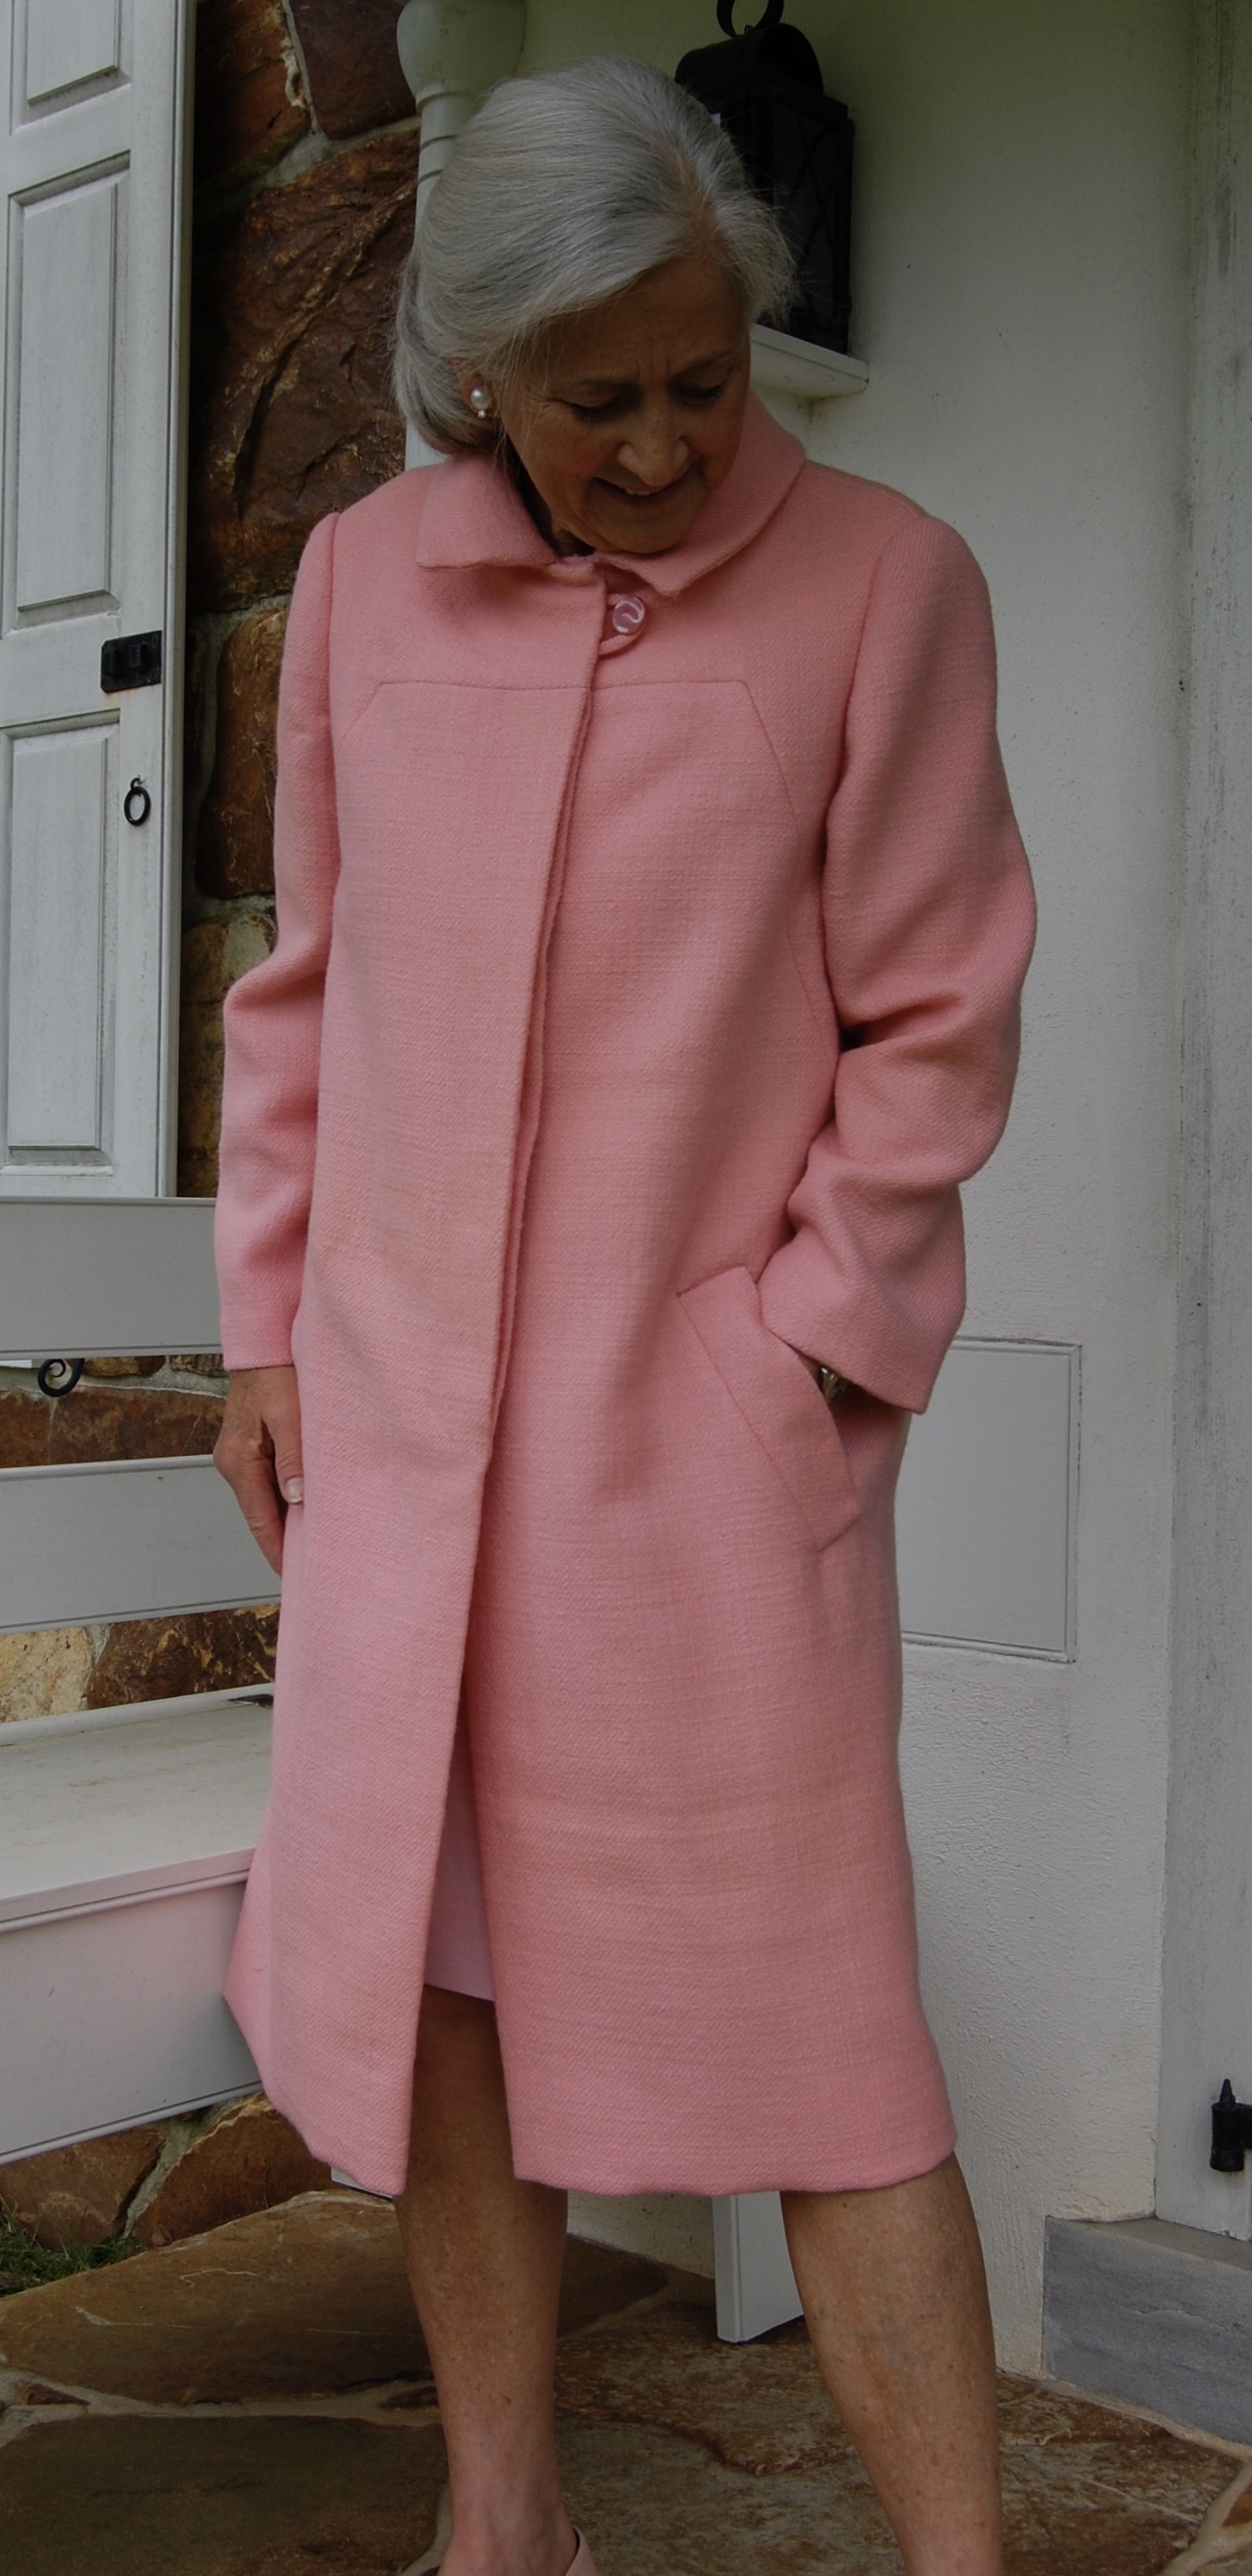
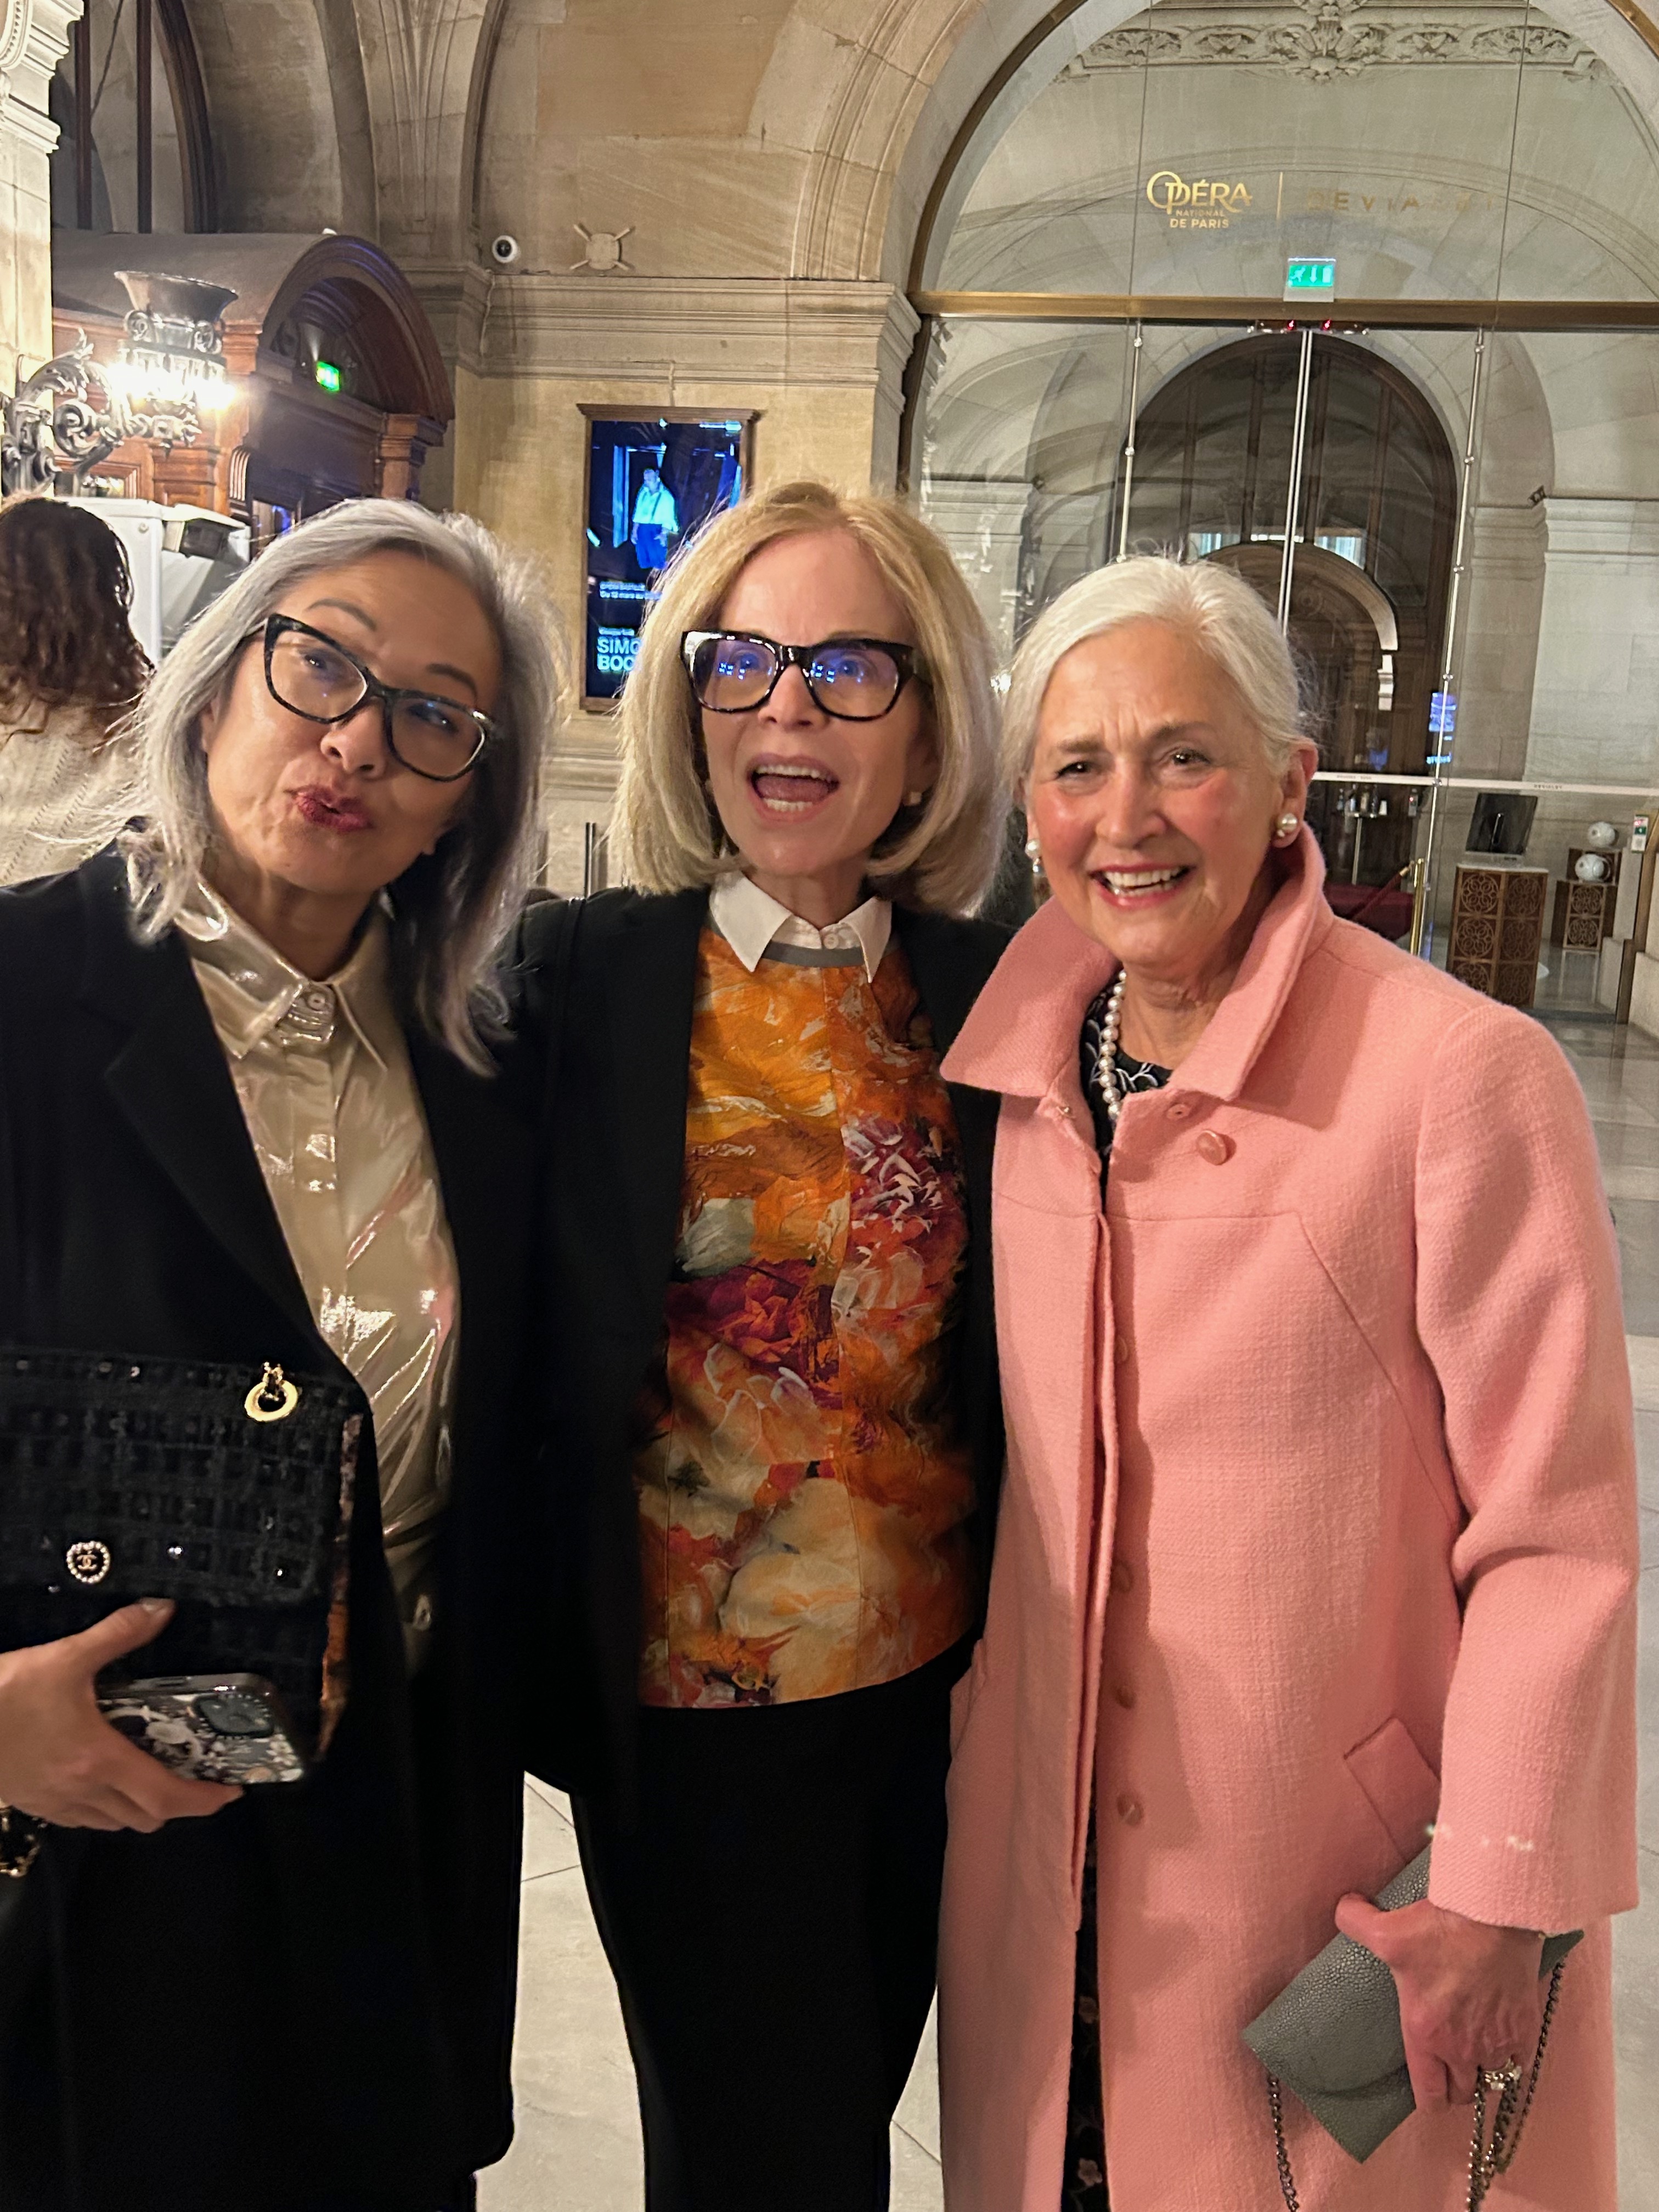

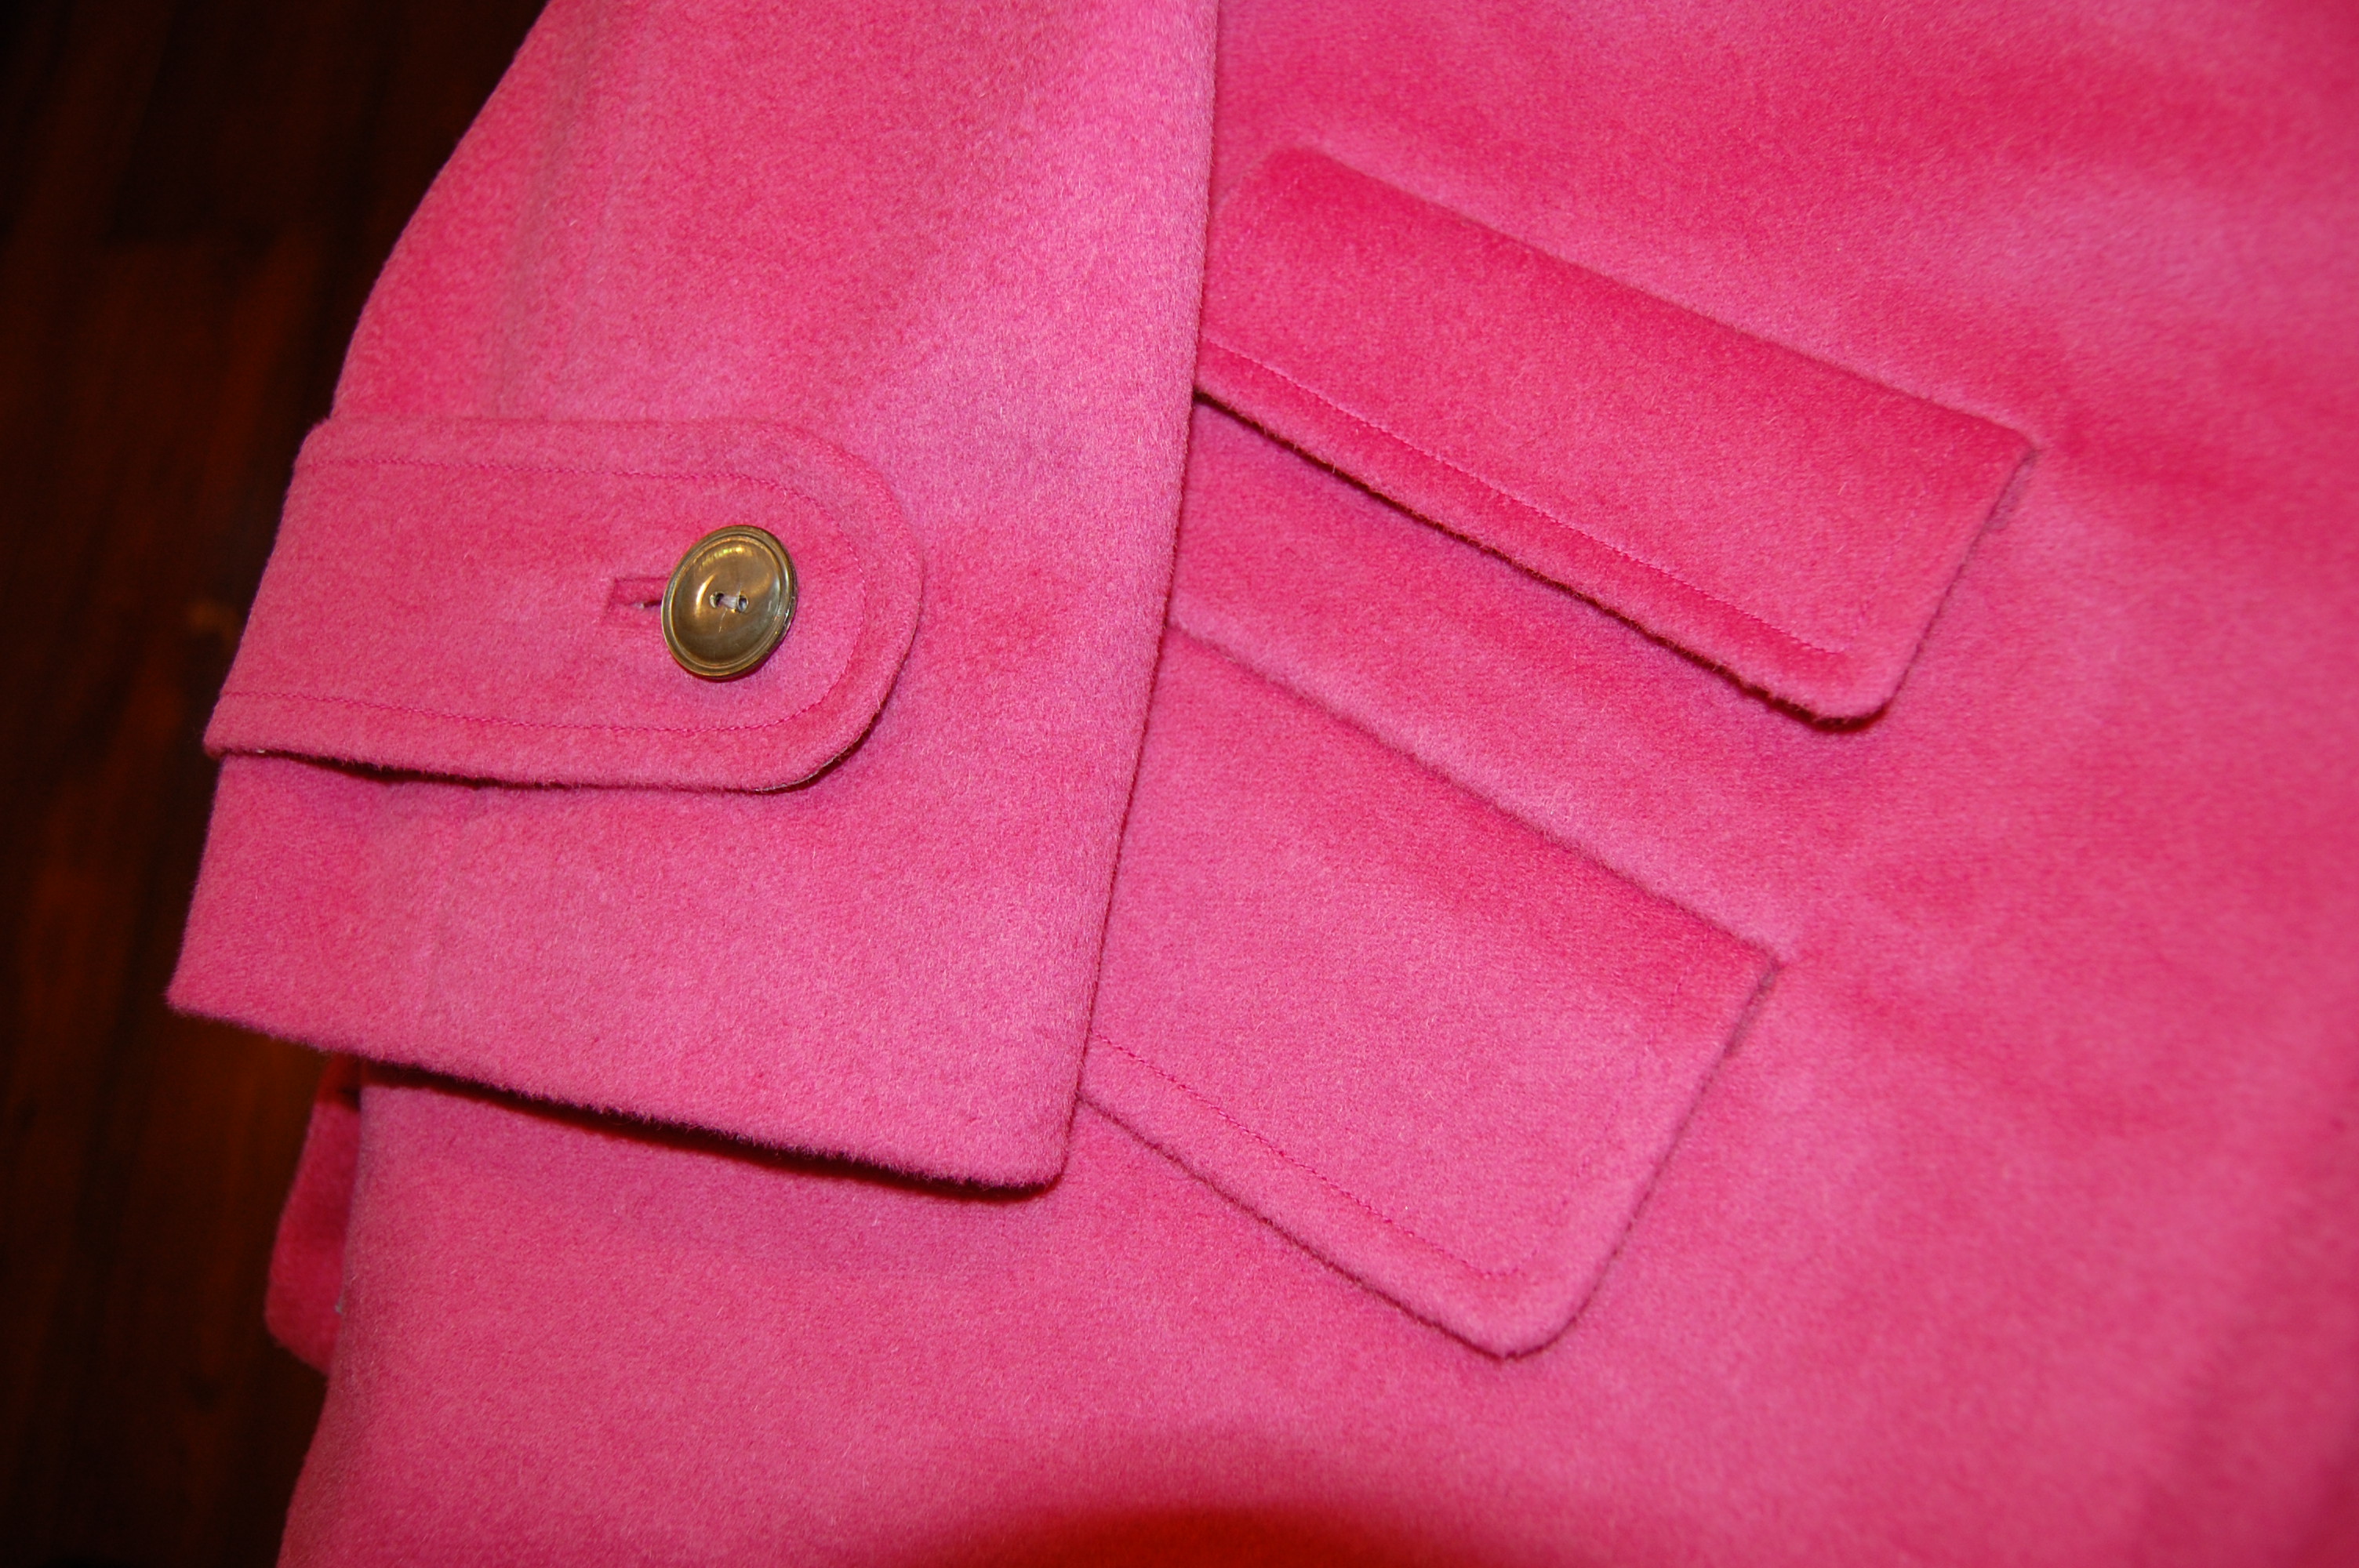


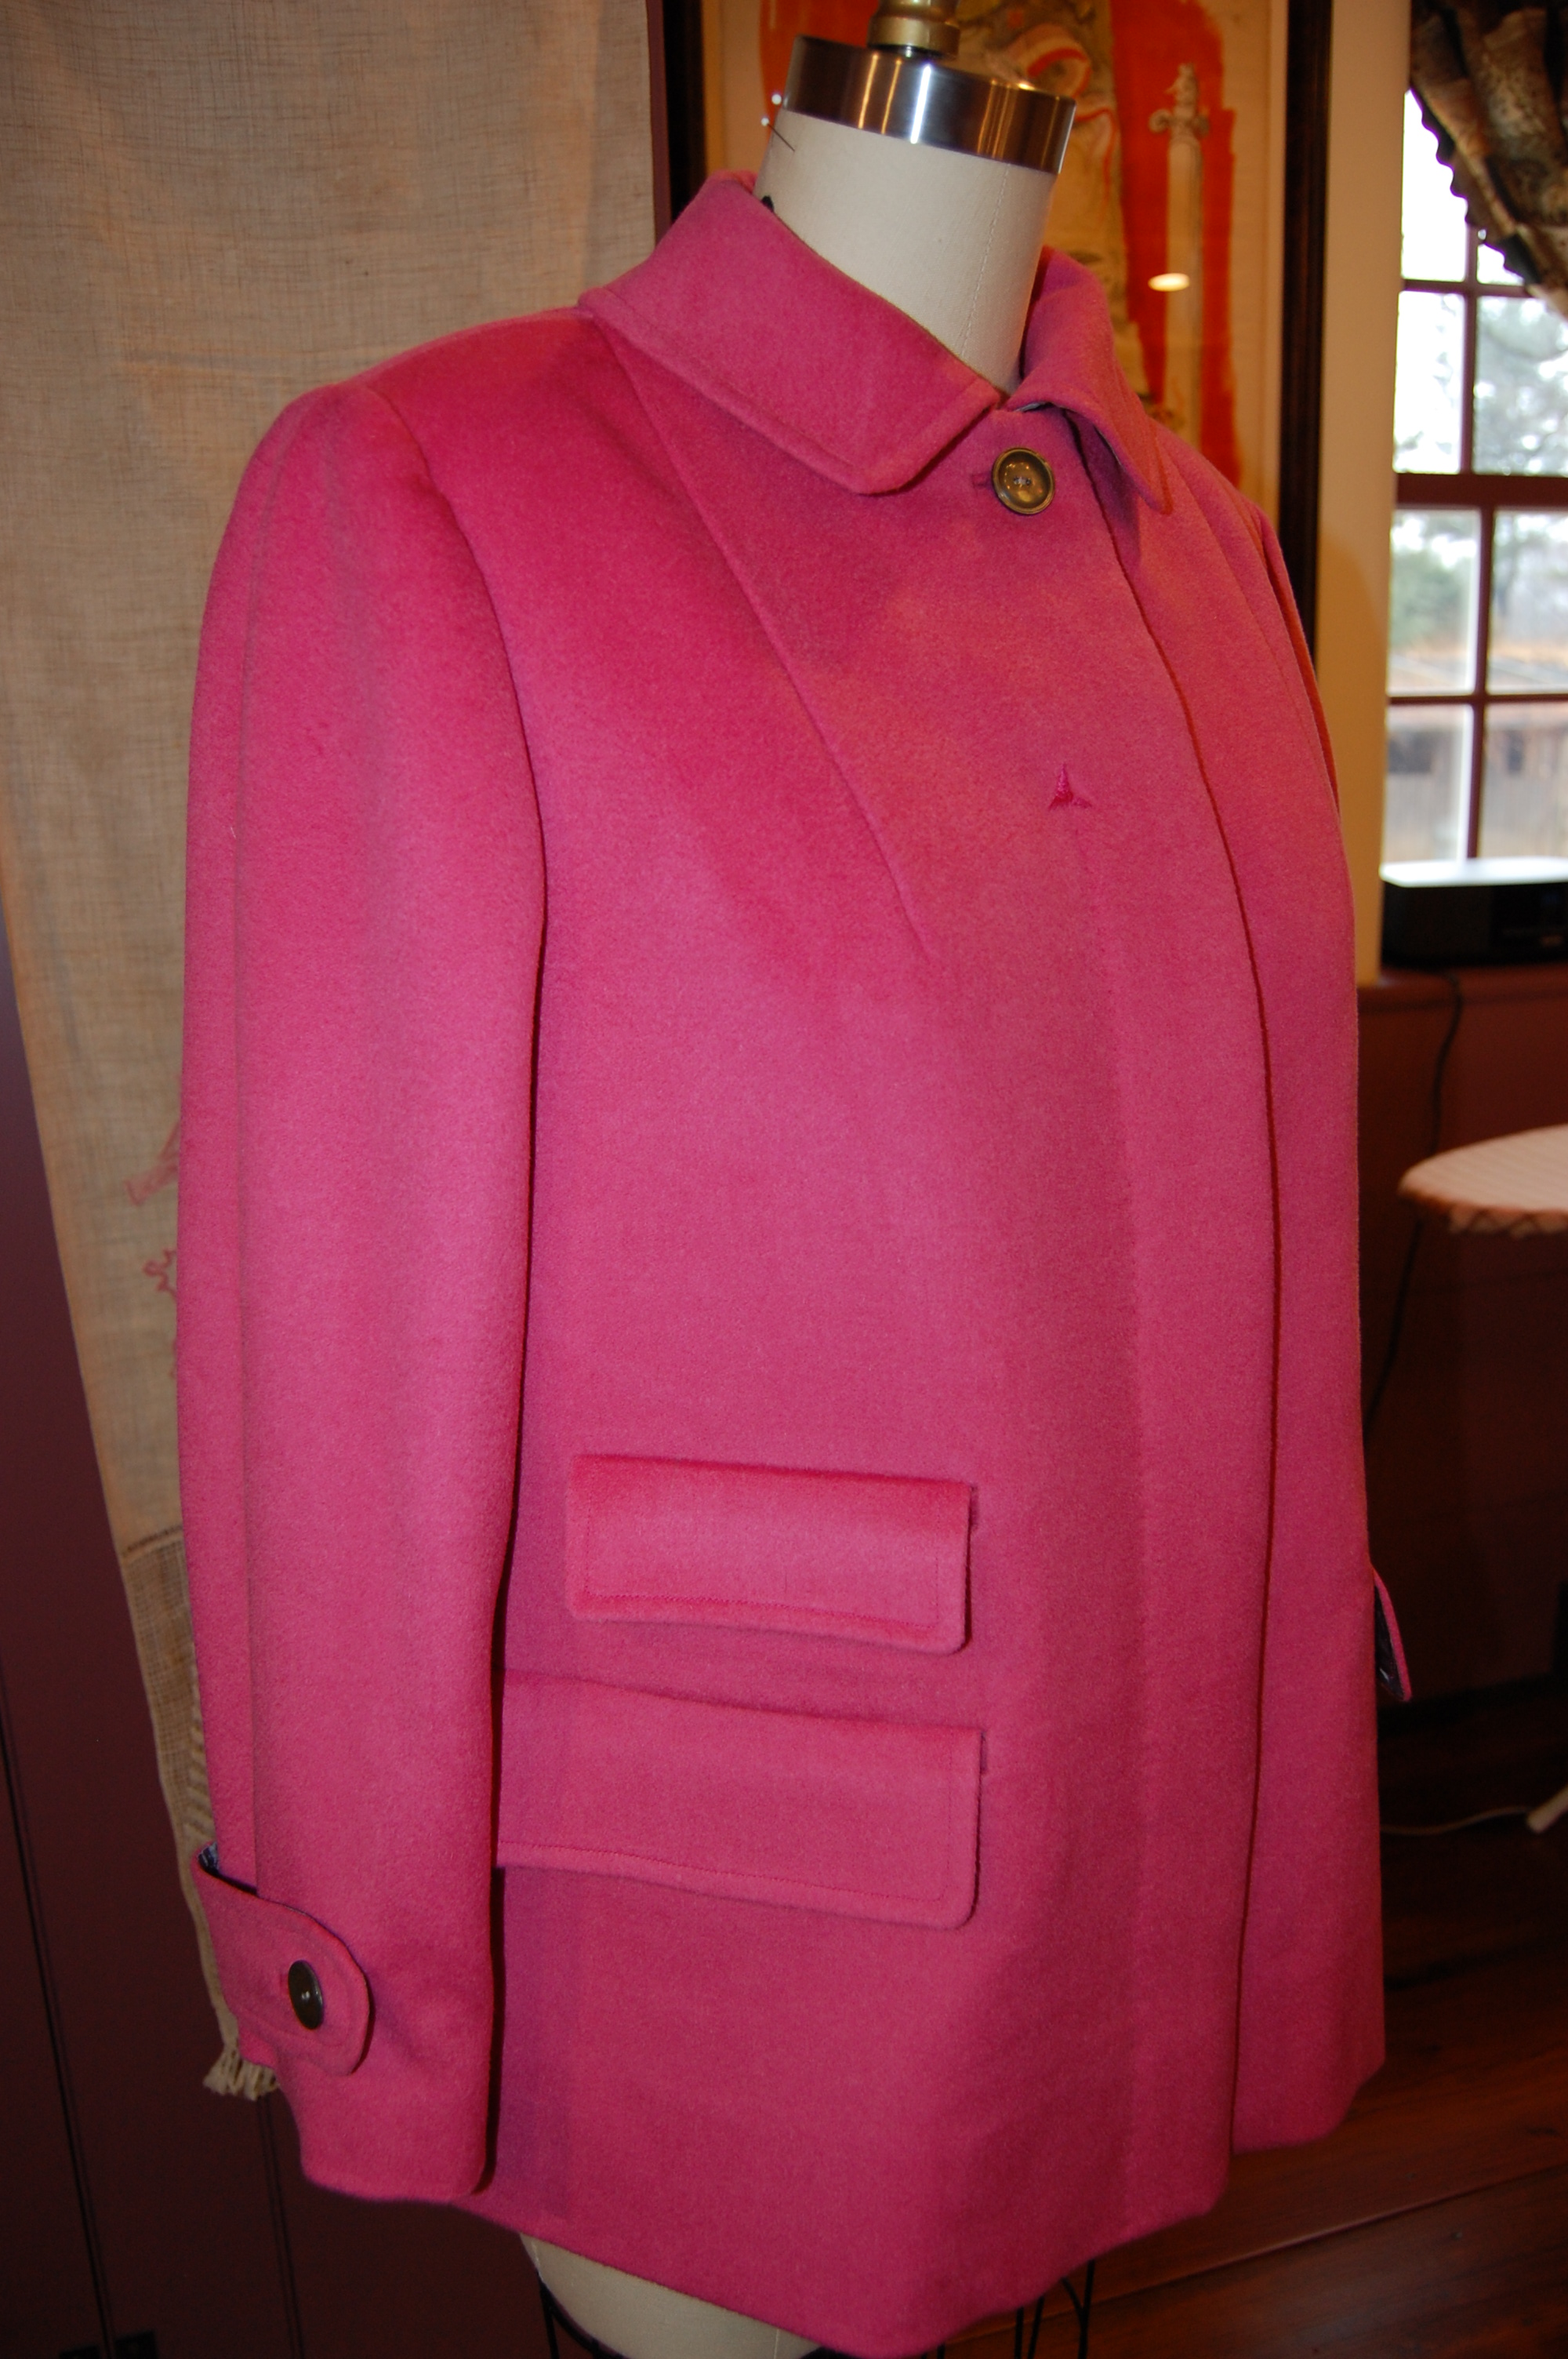


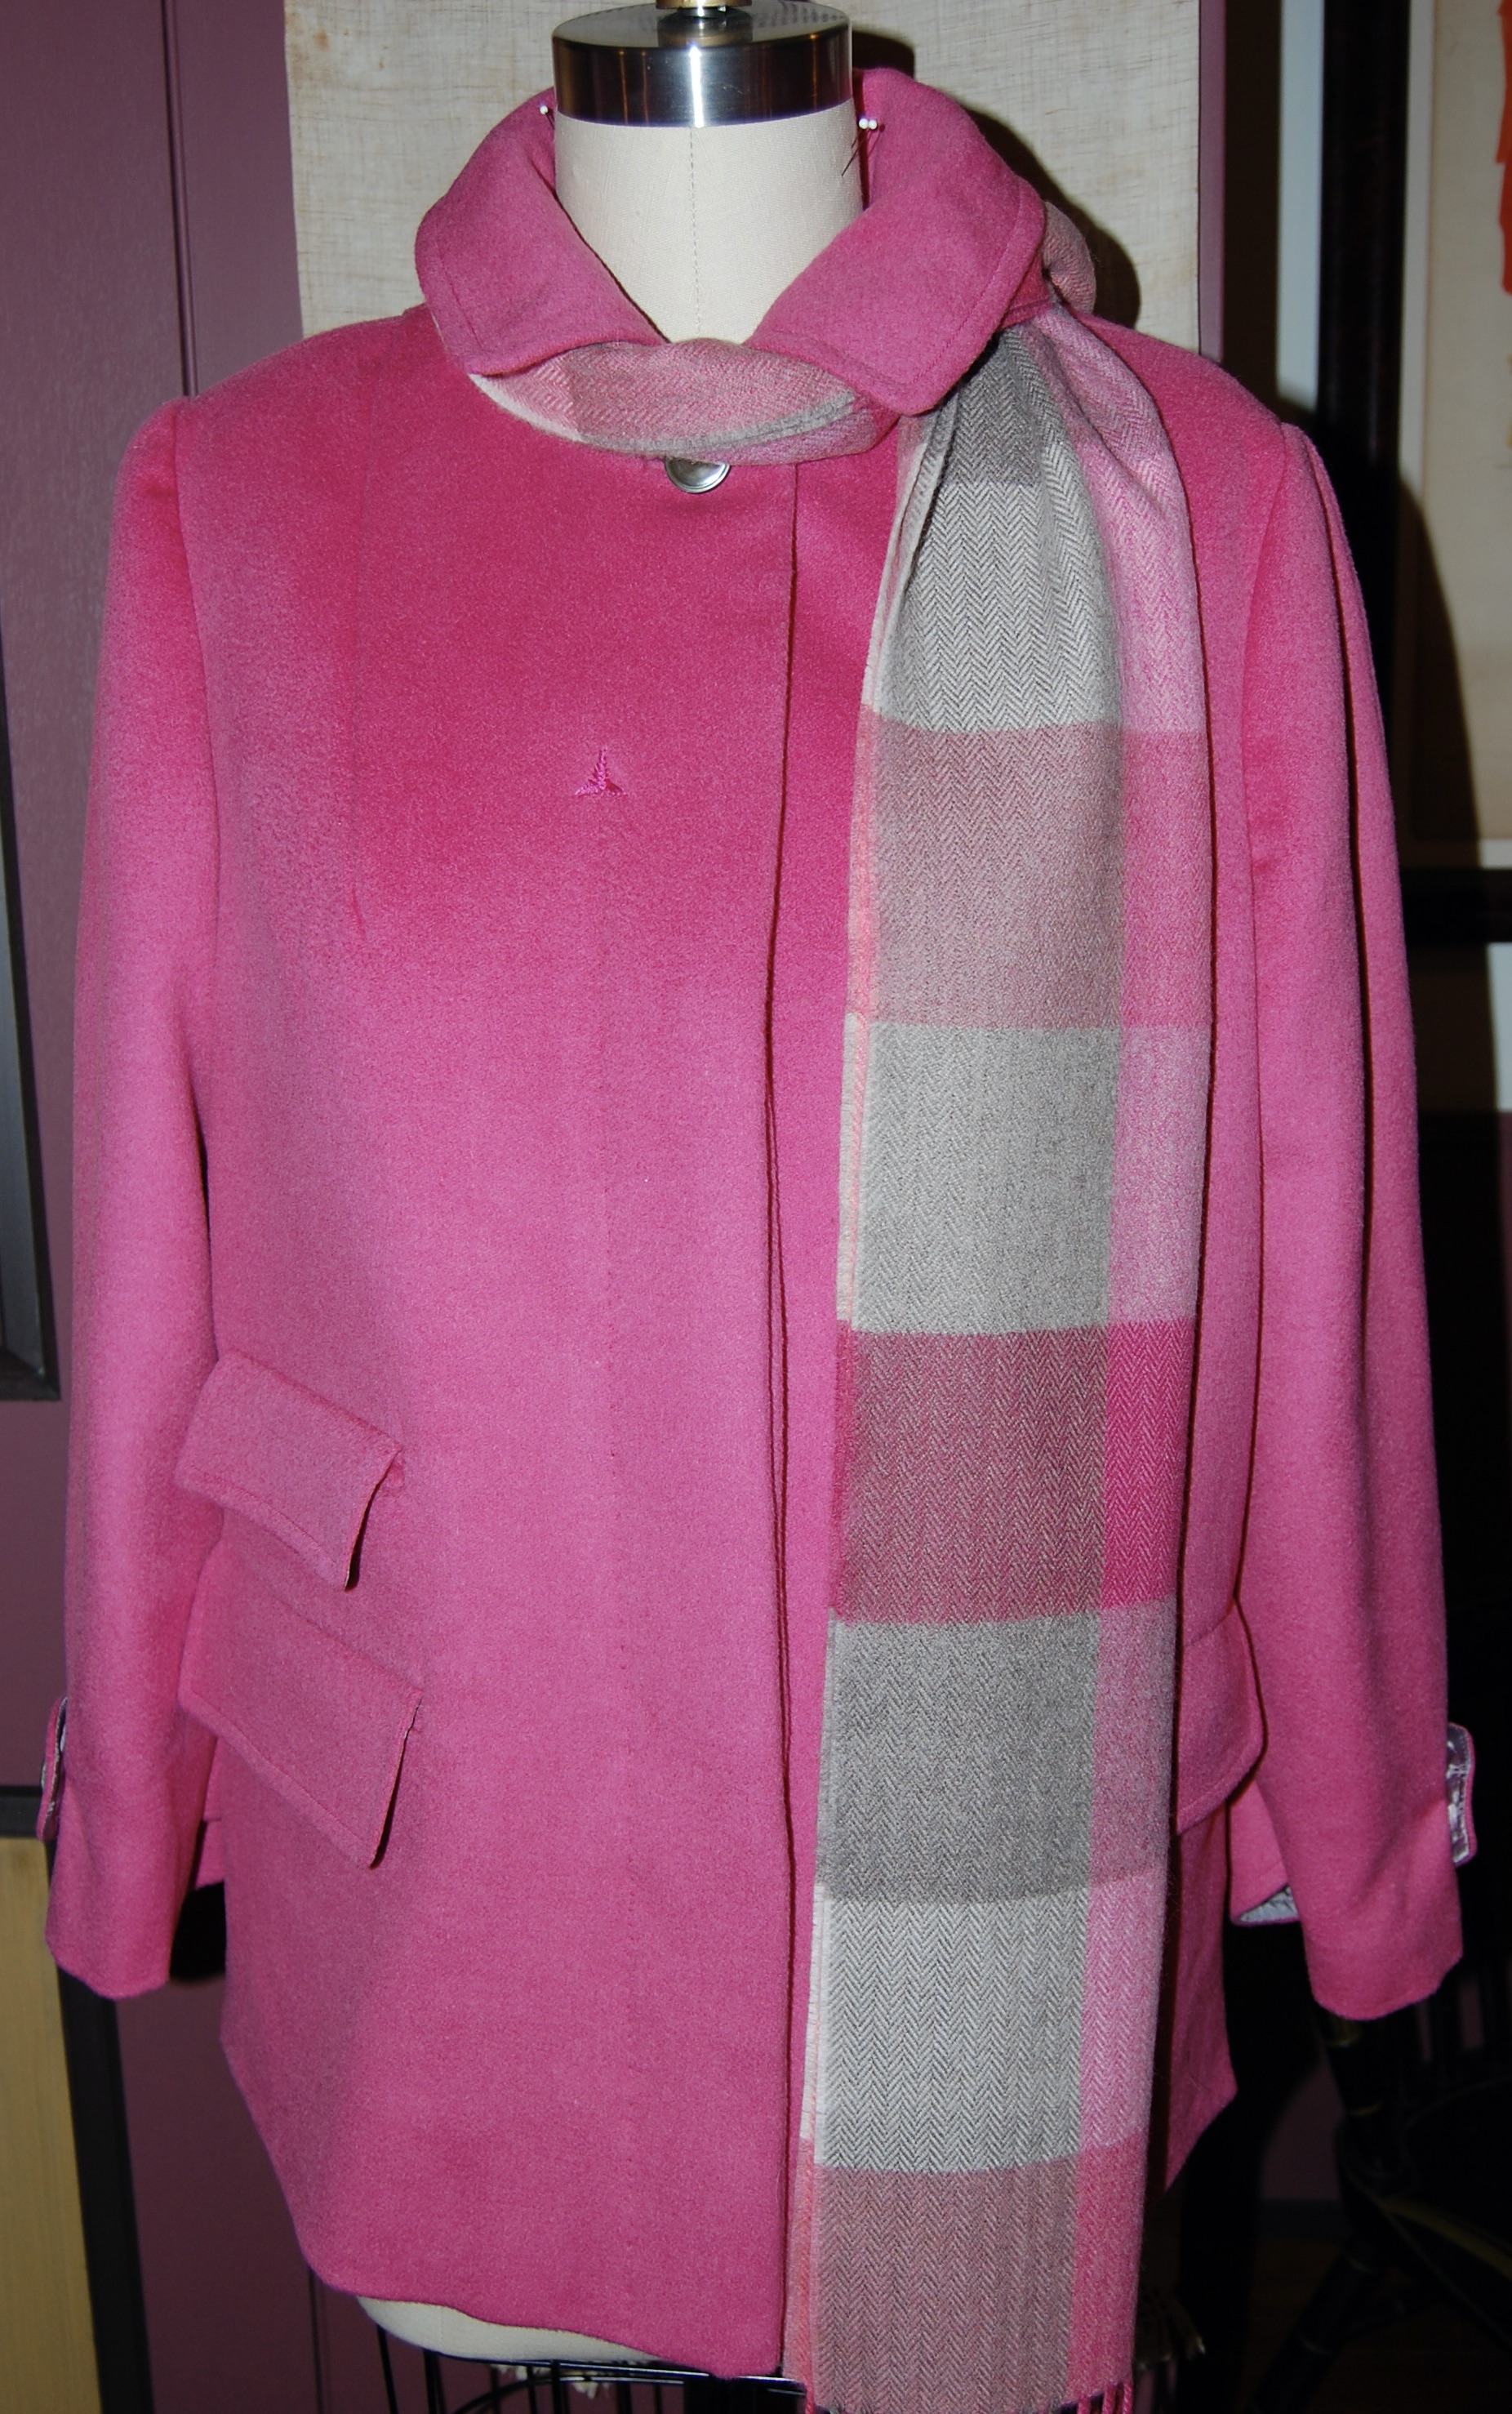


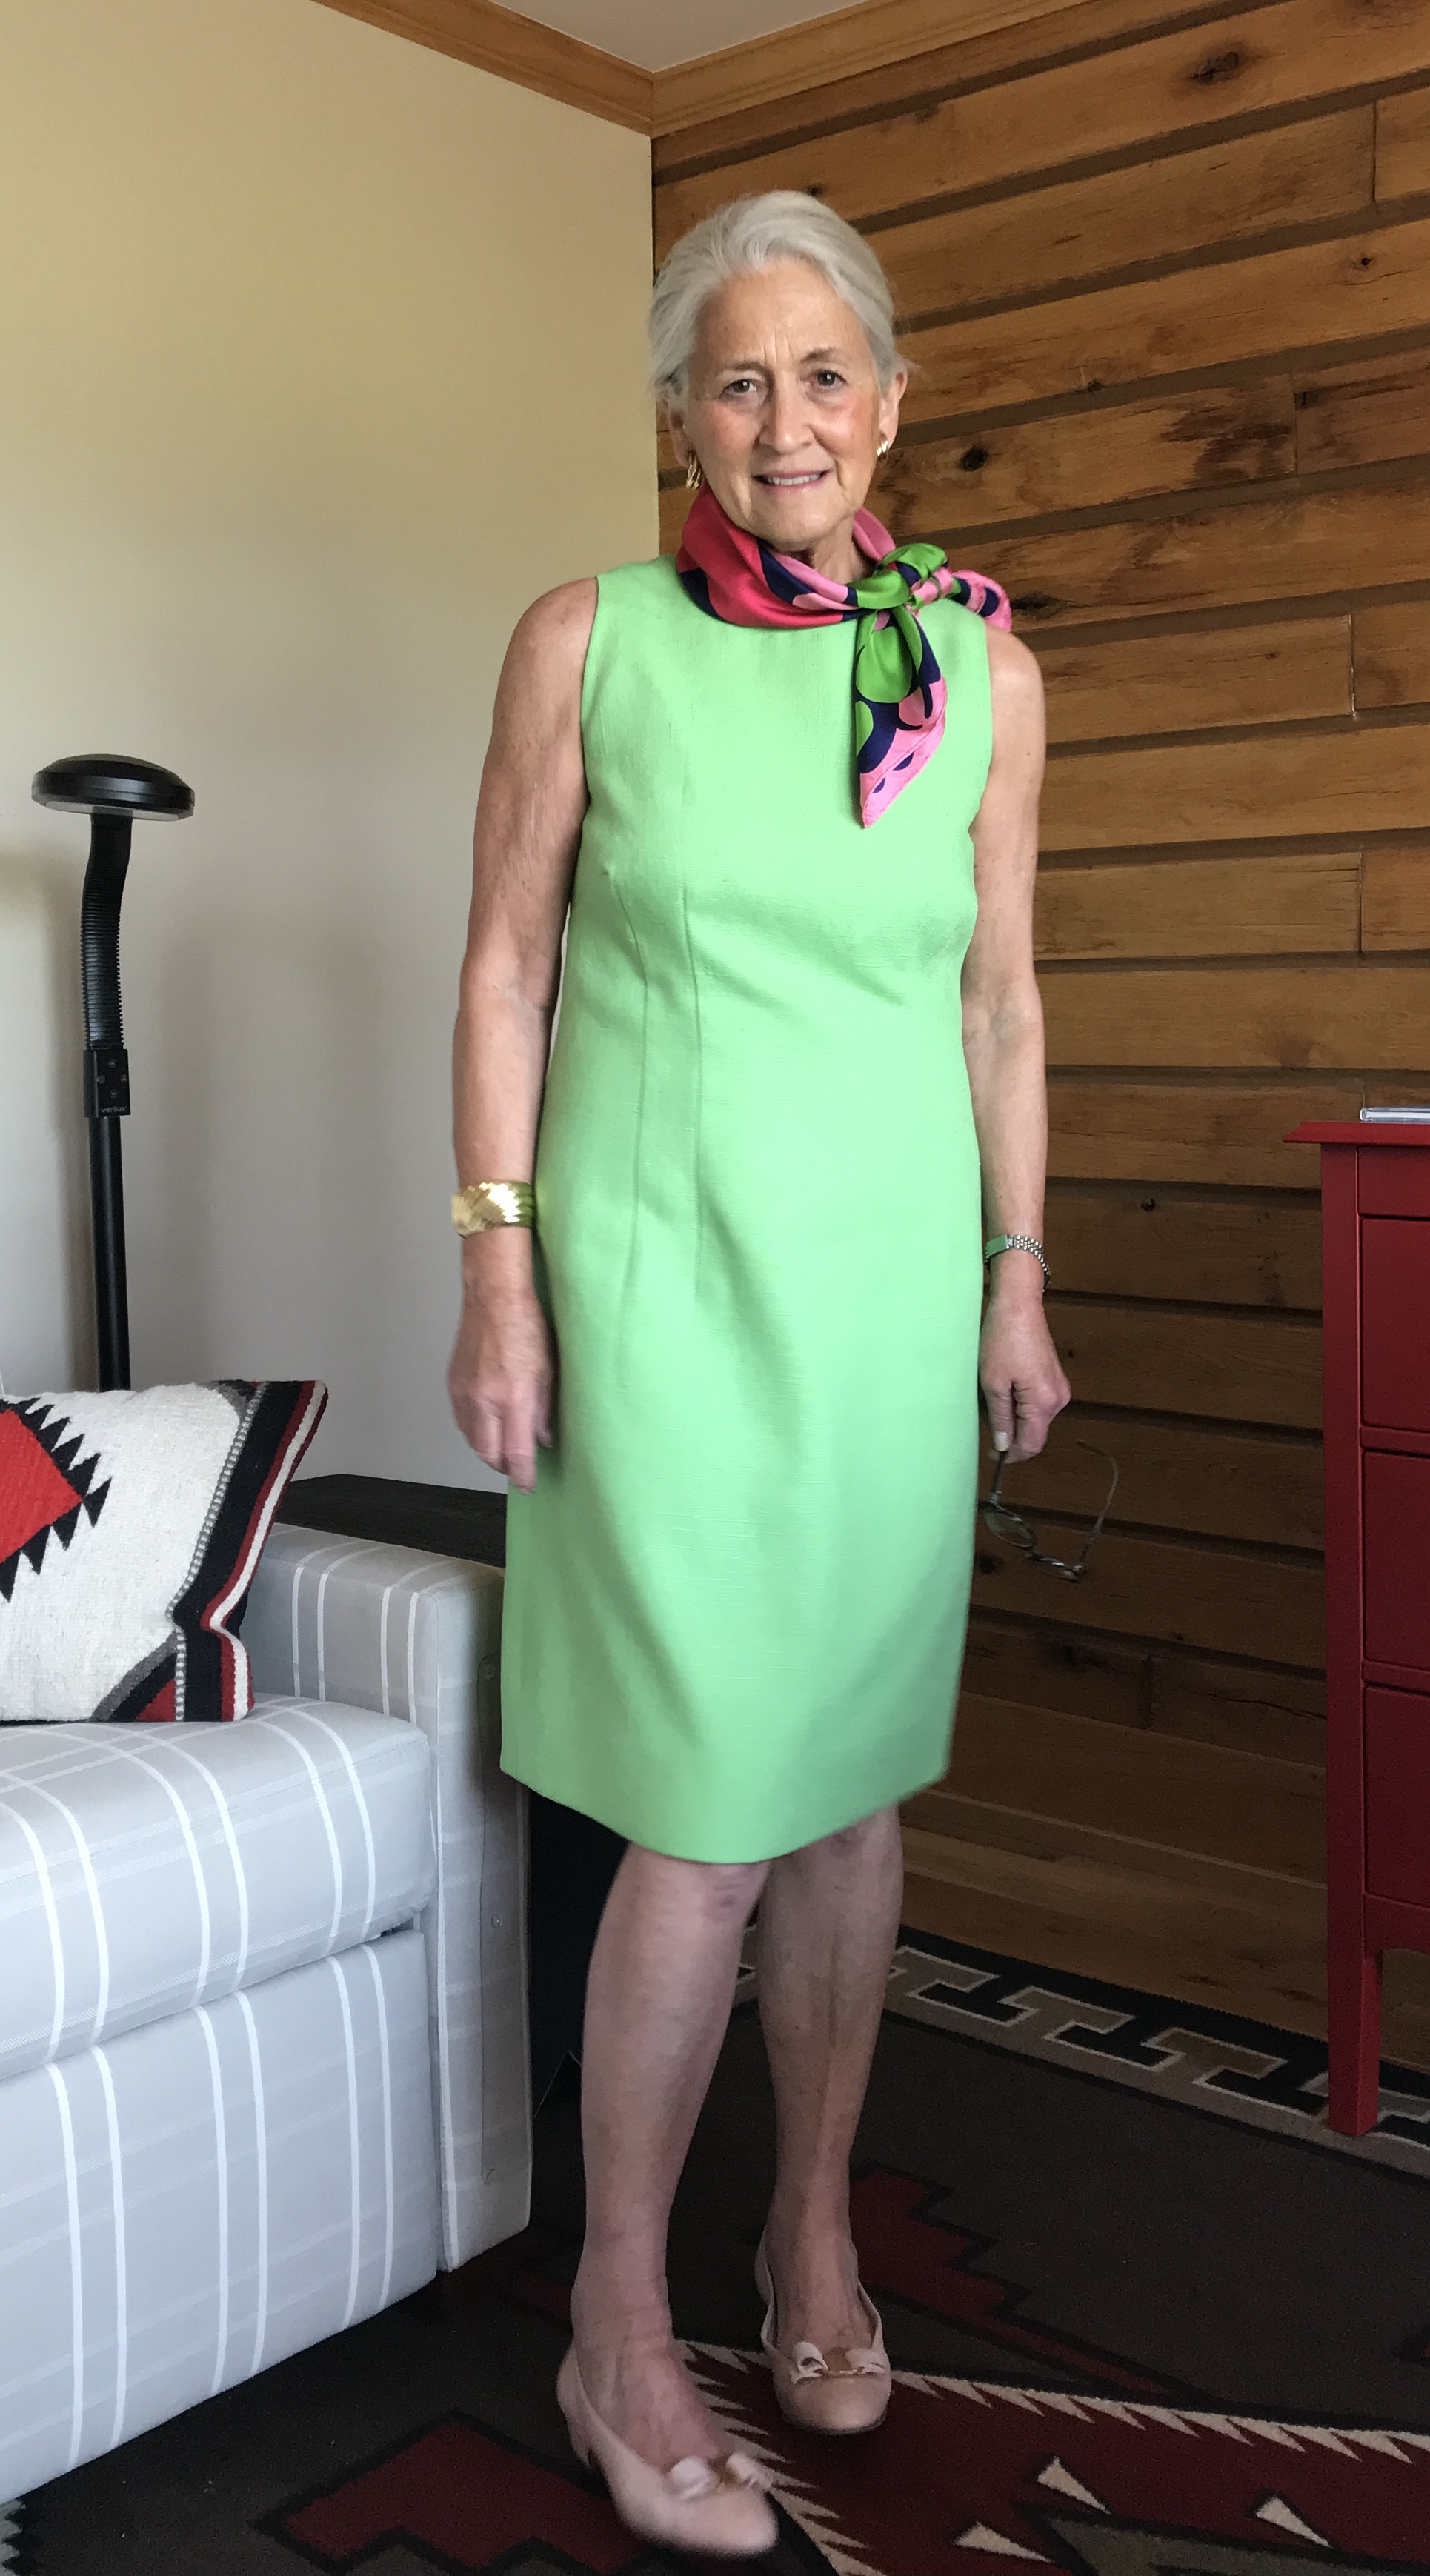
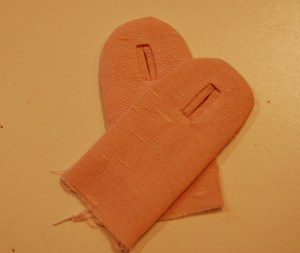
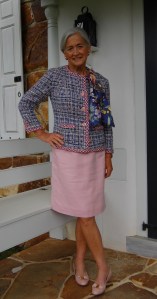


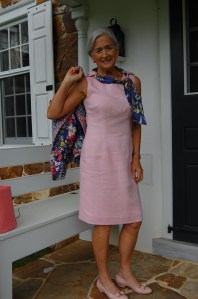


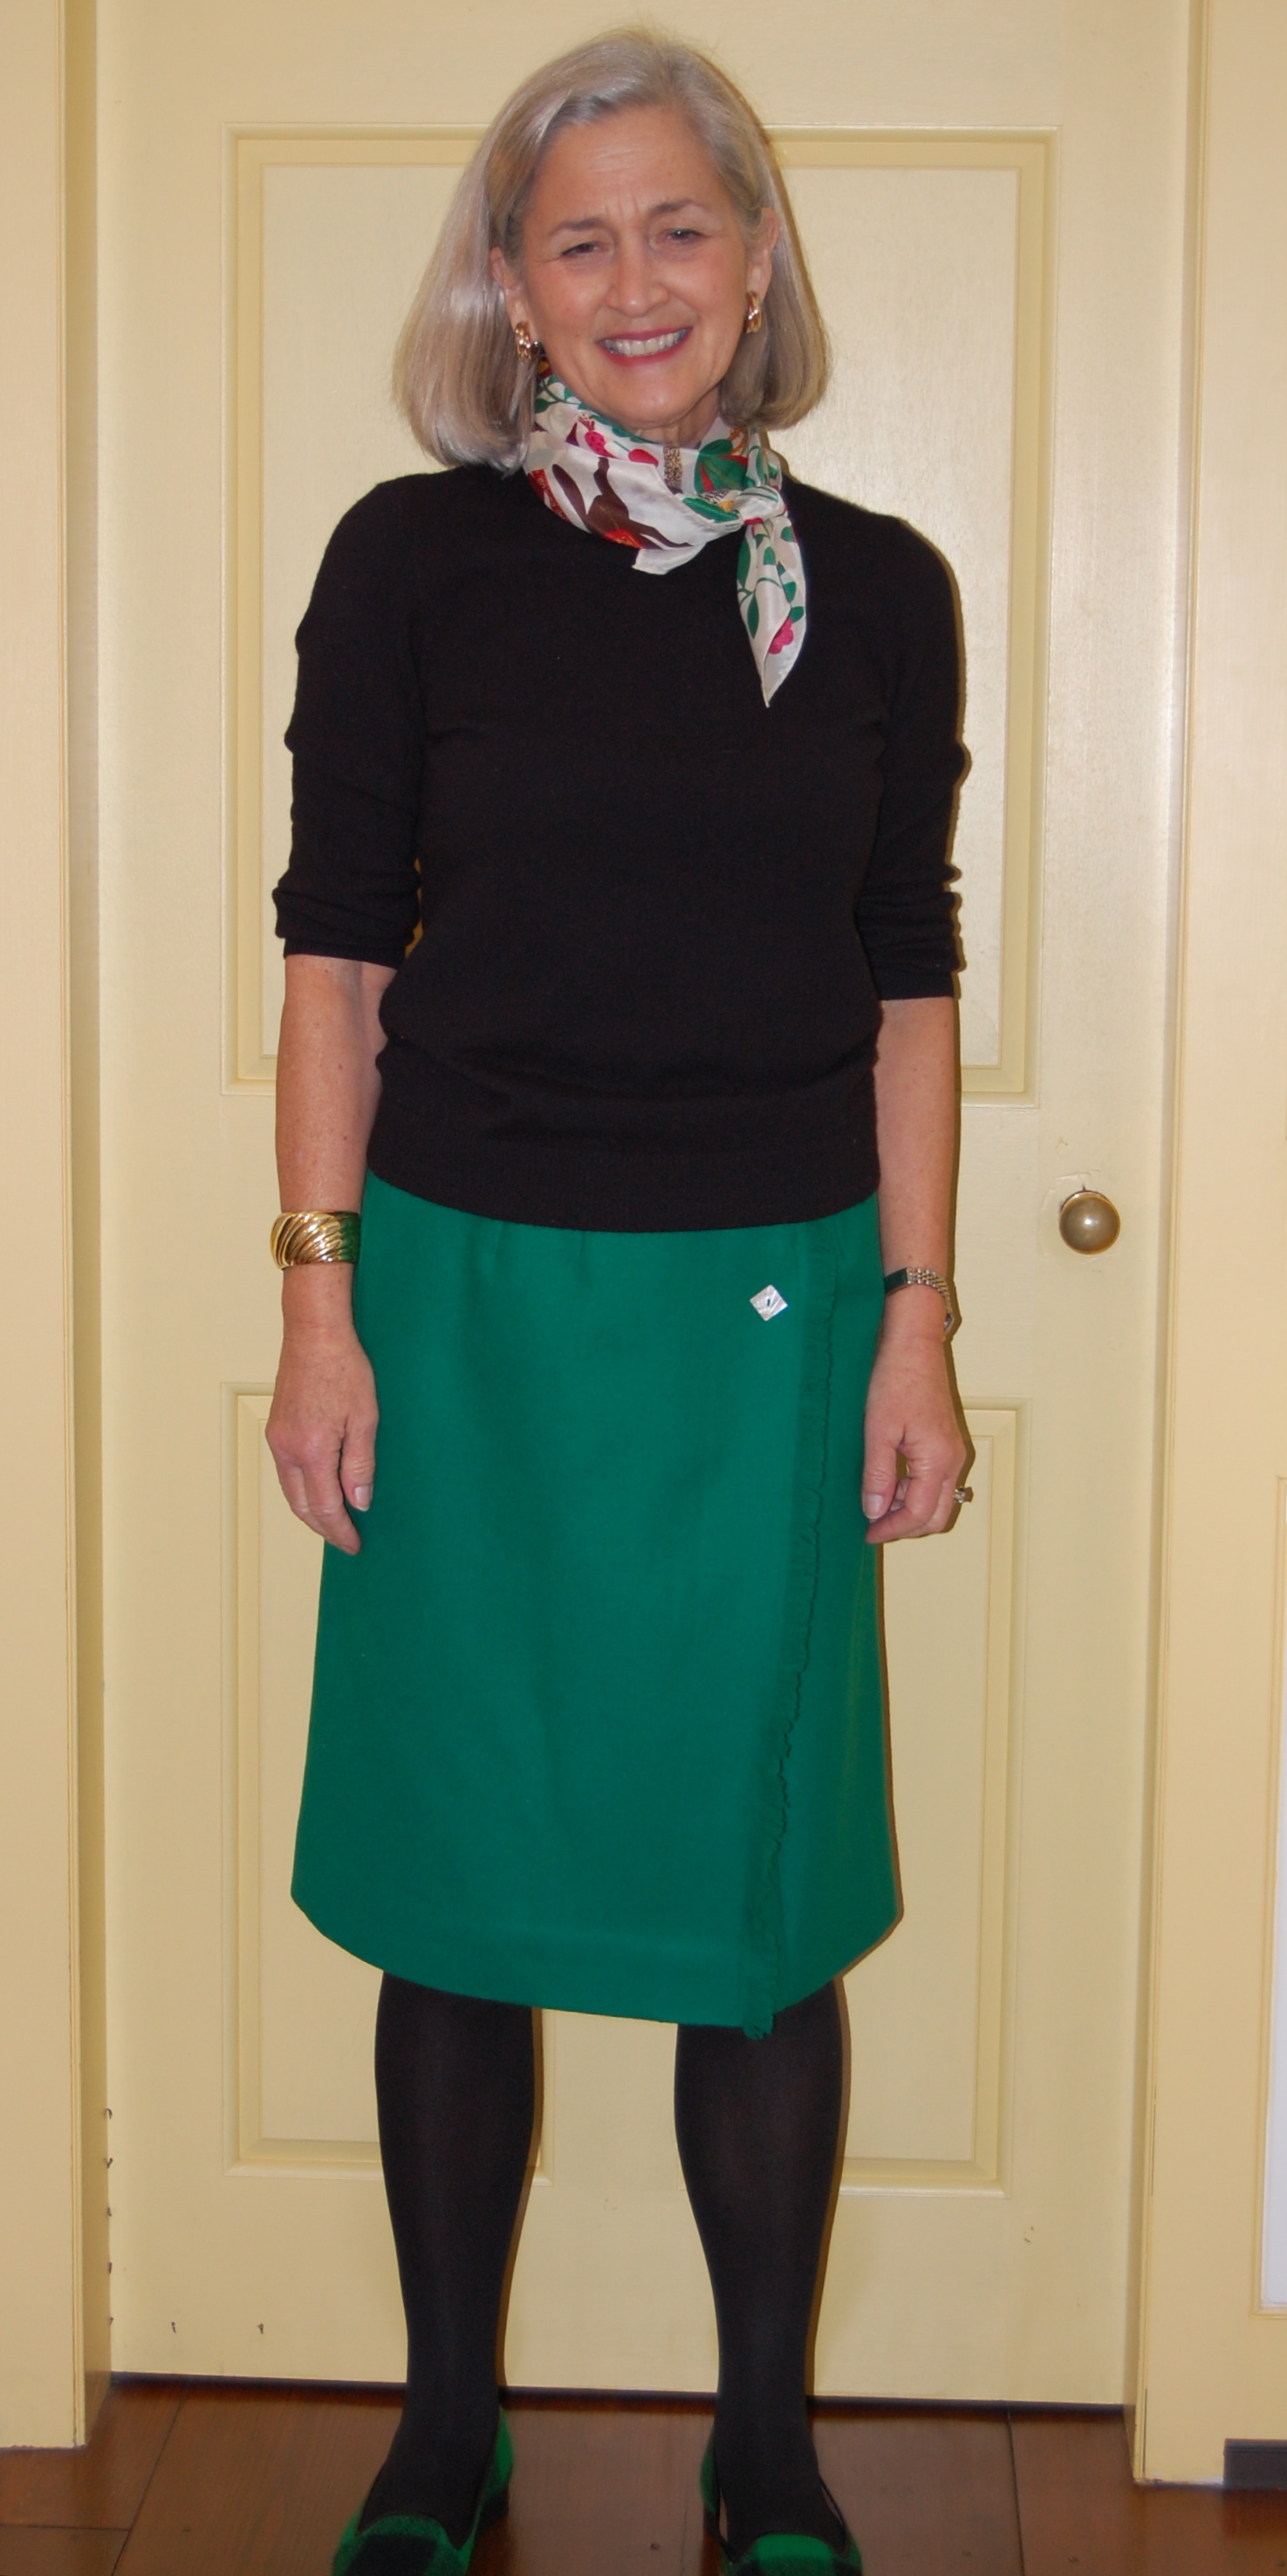
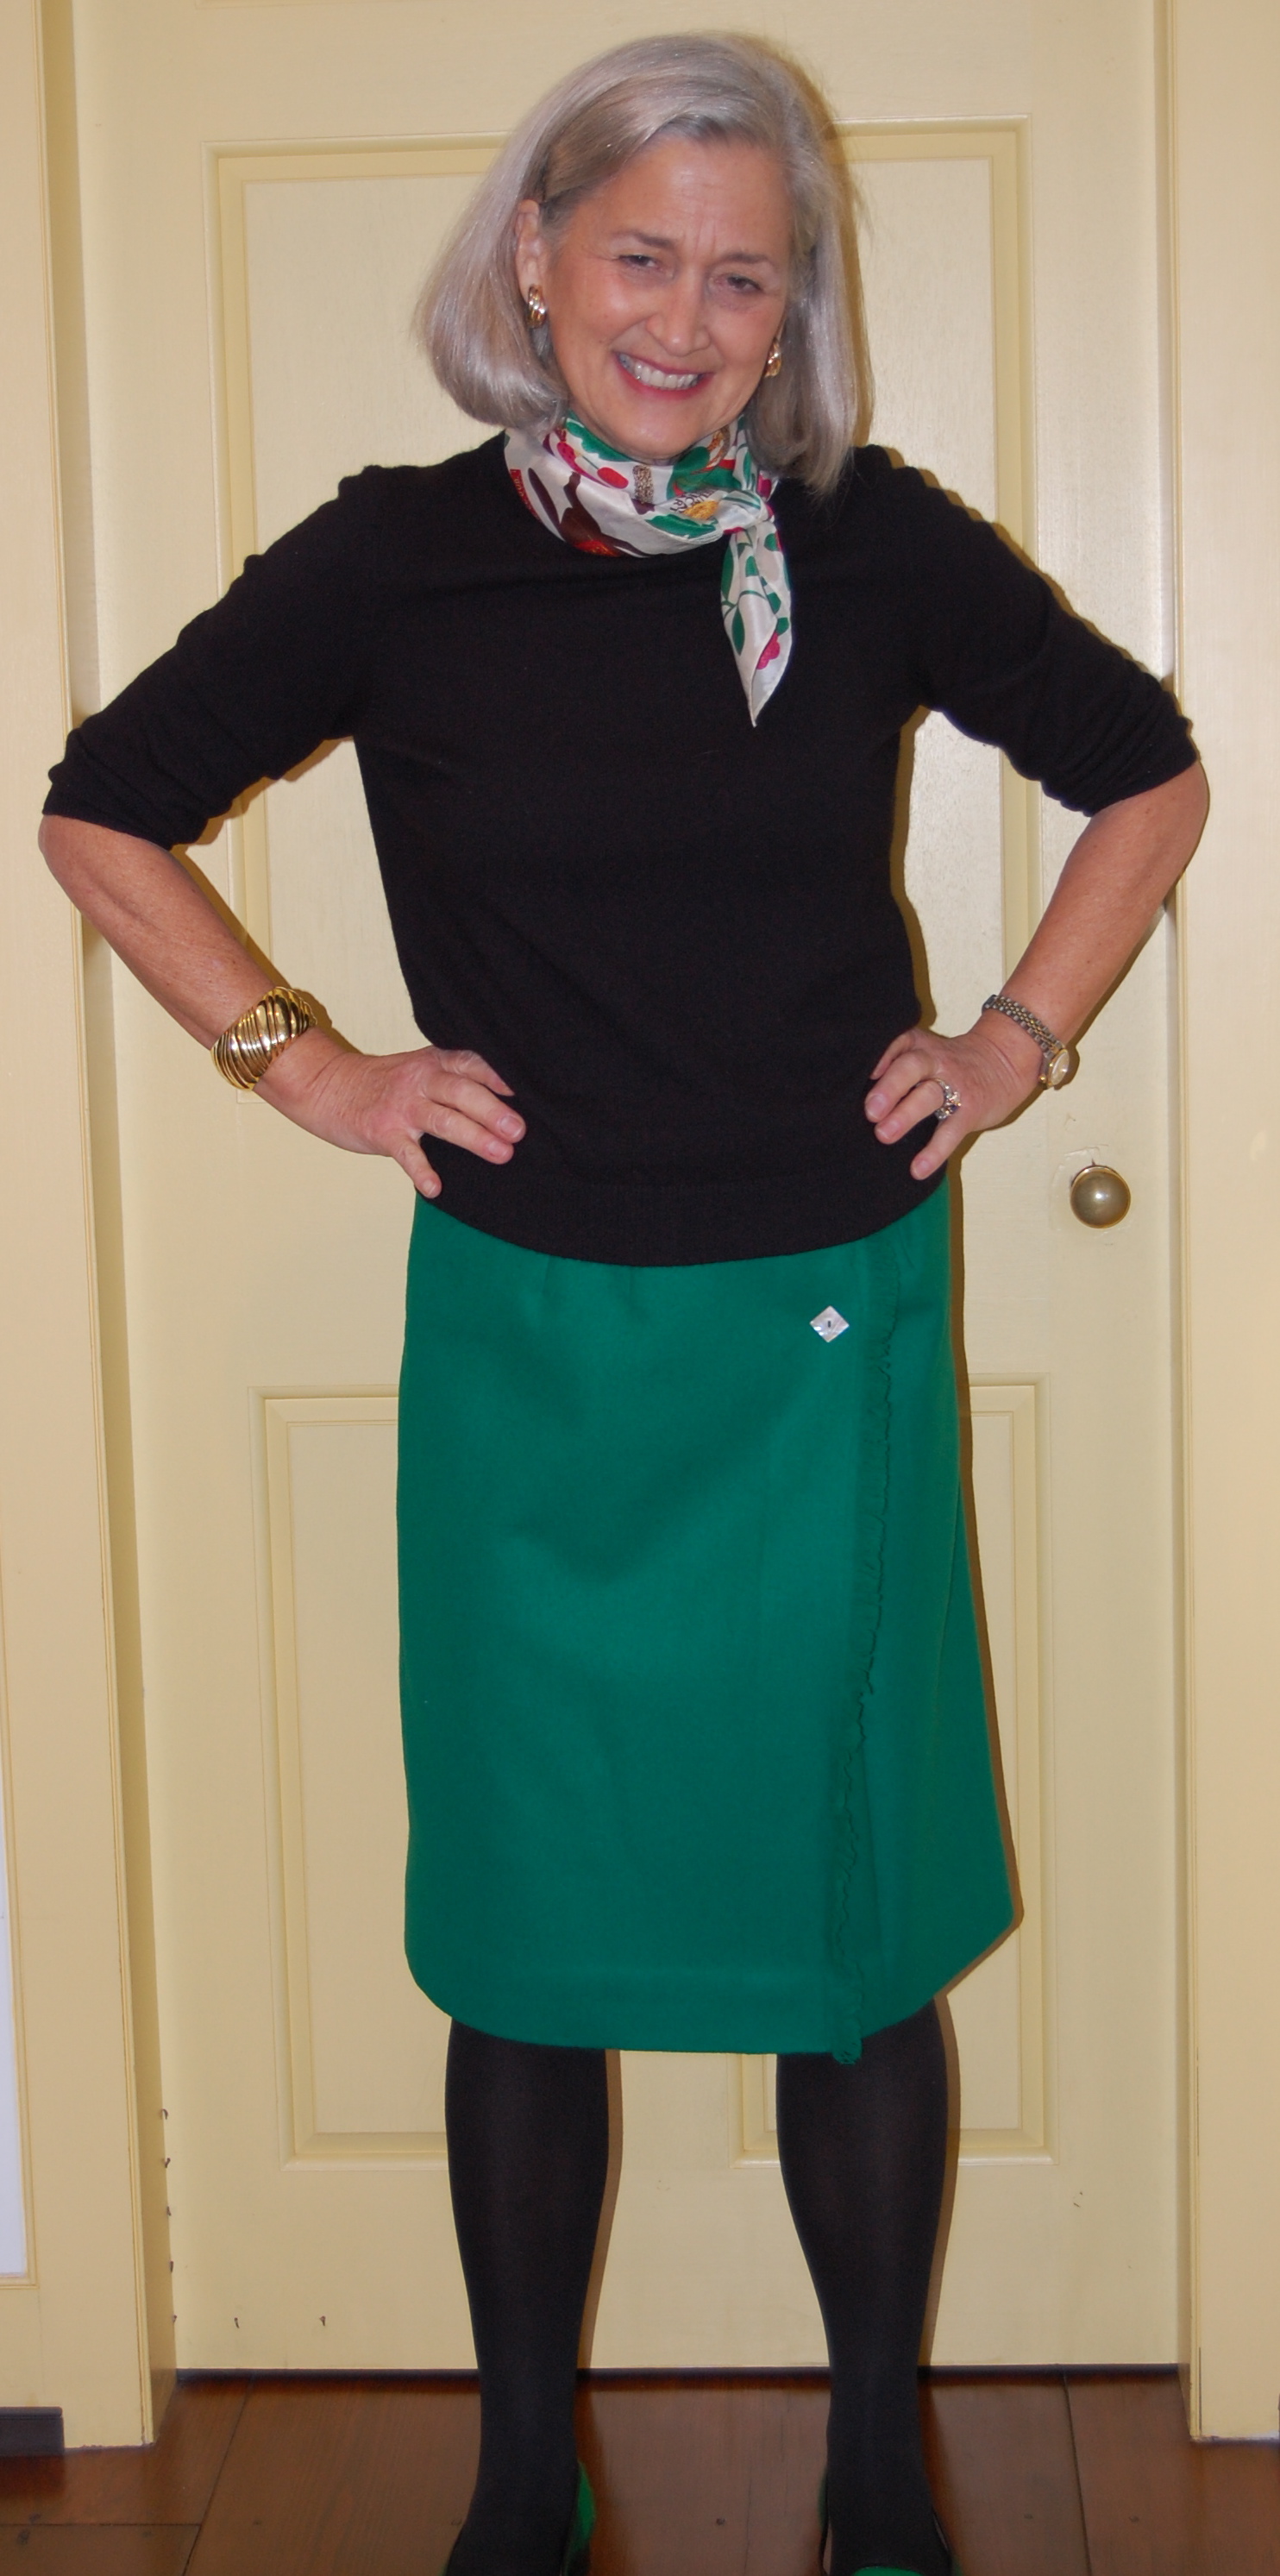


Completing the Pink Coat Ensemble
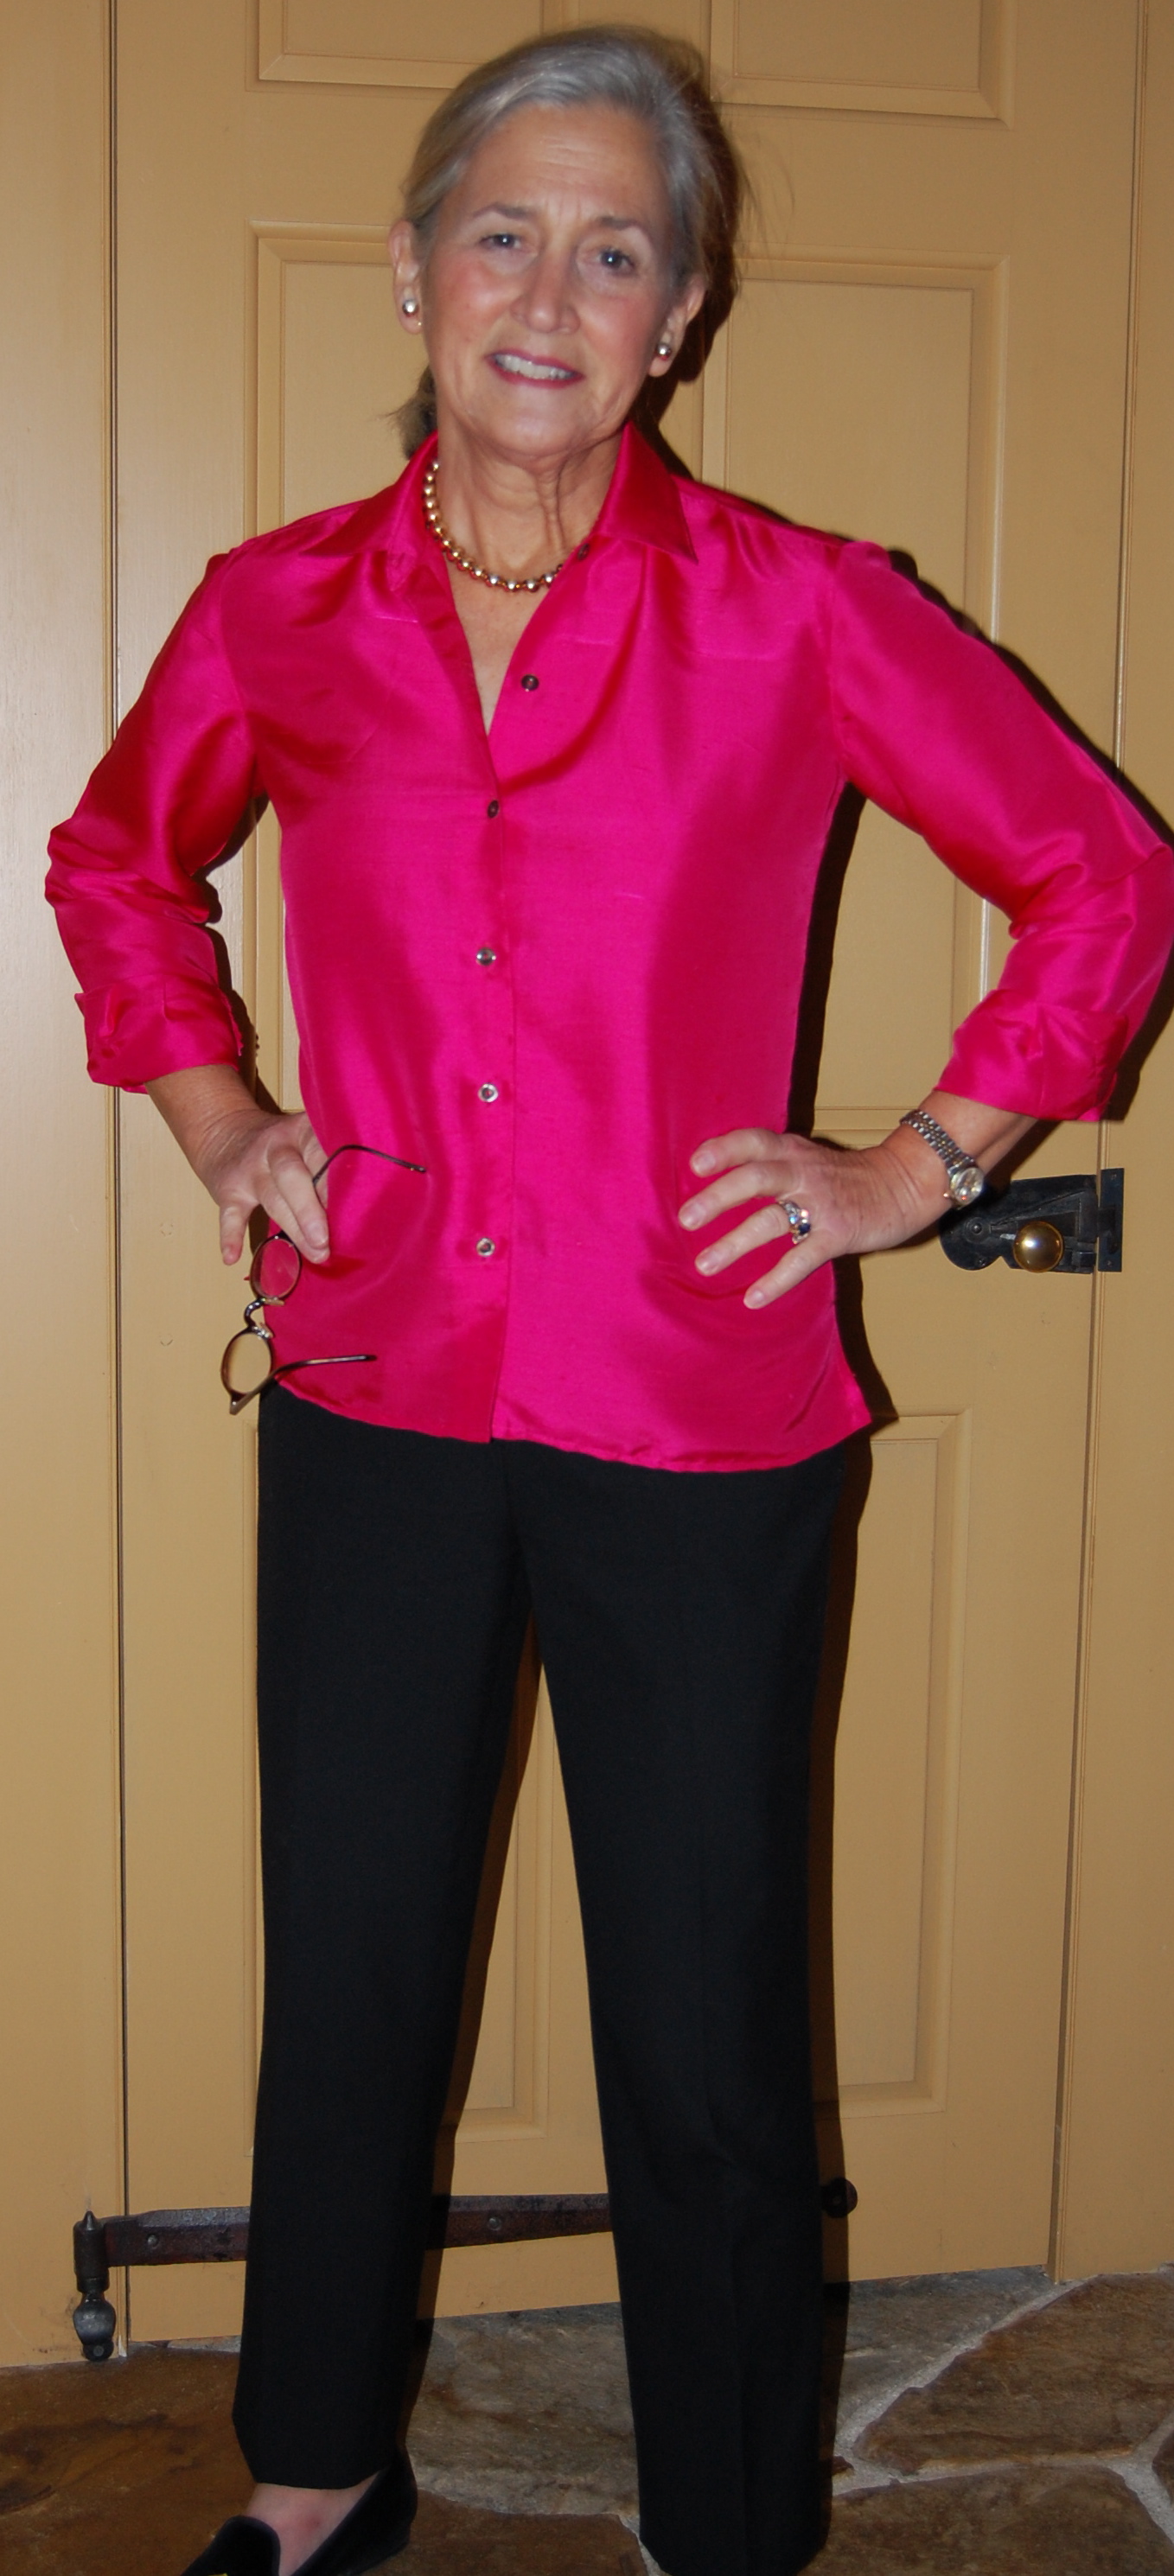
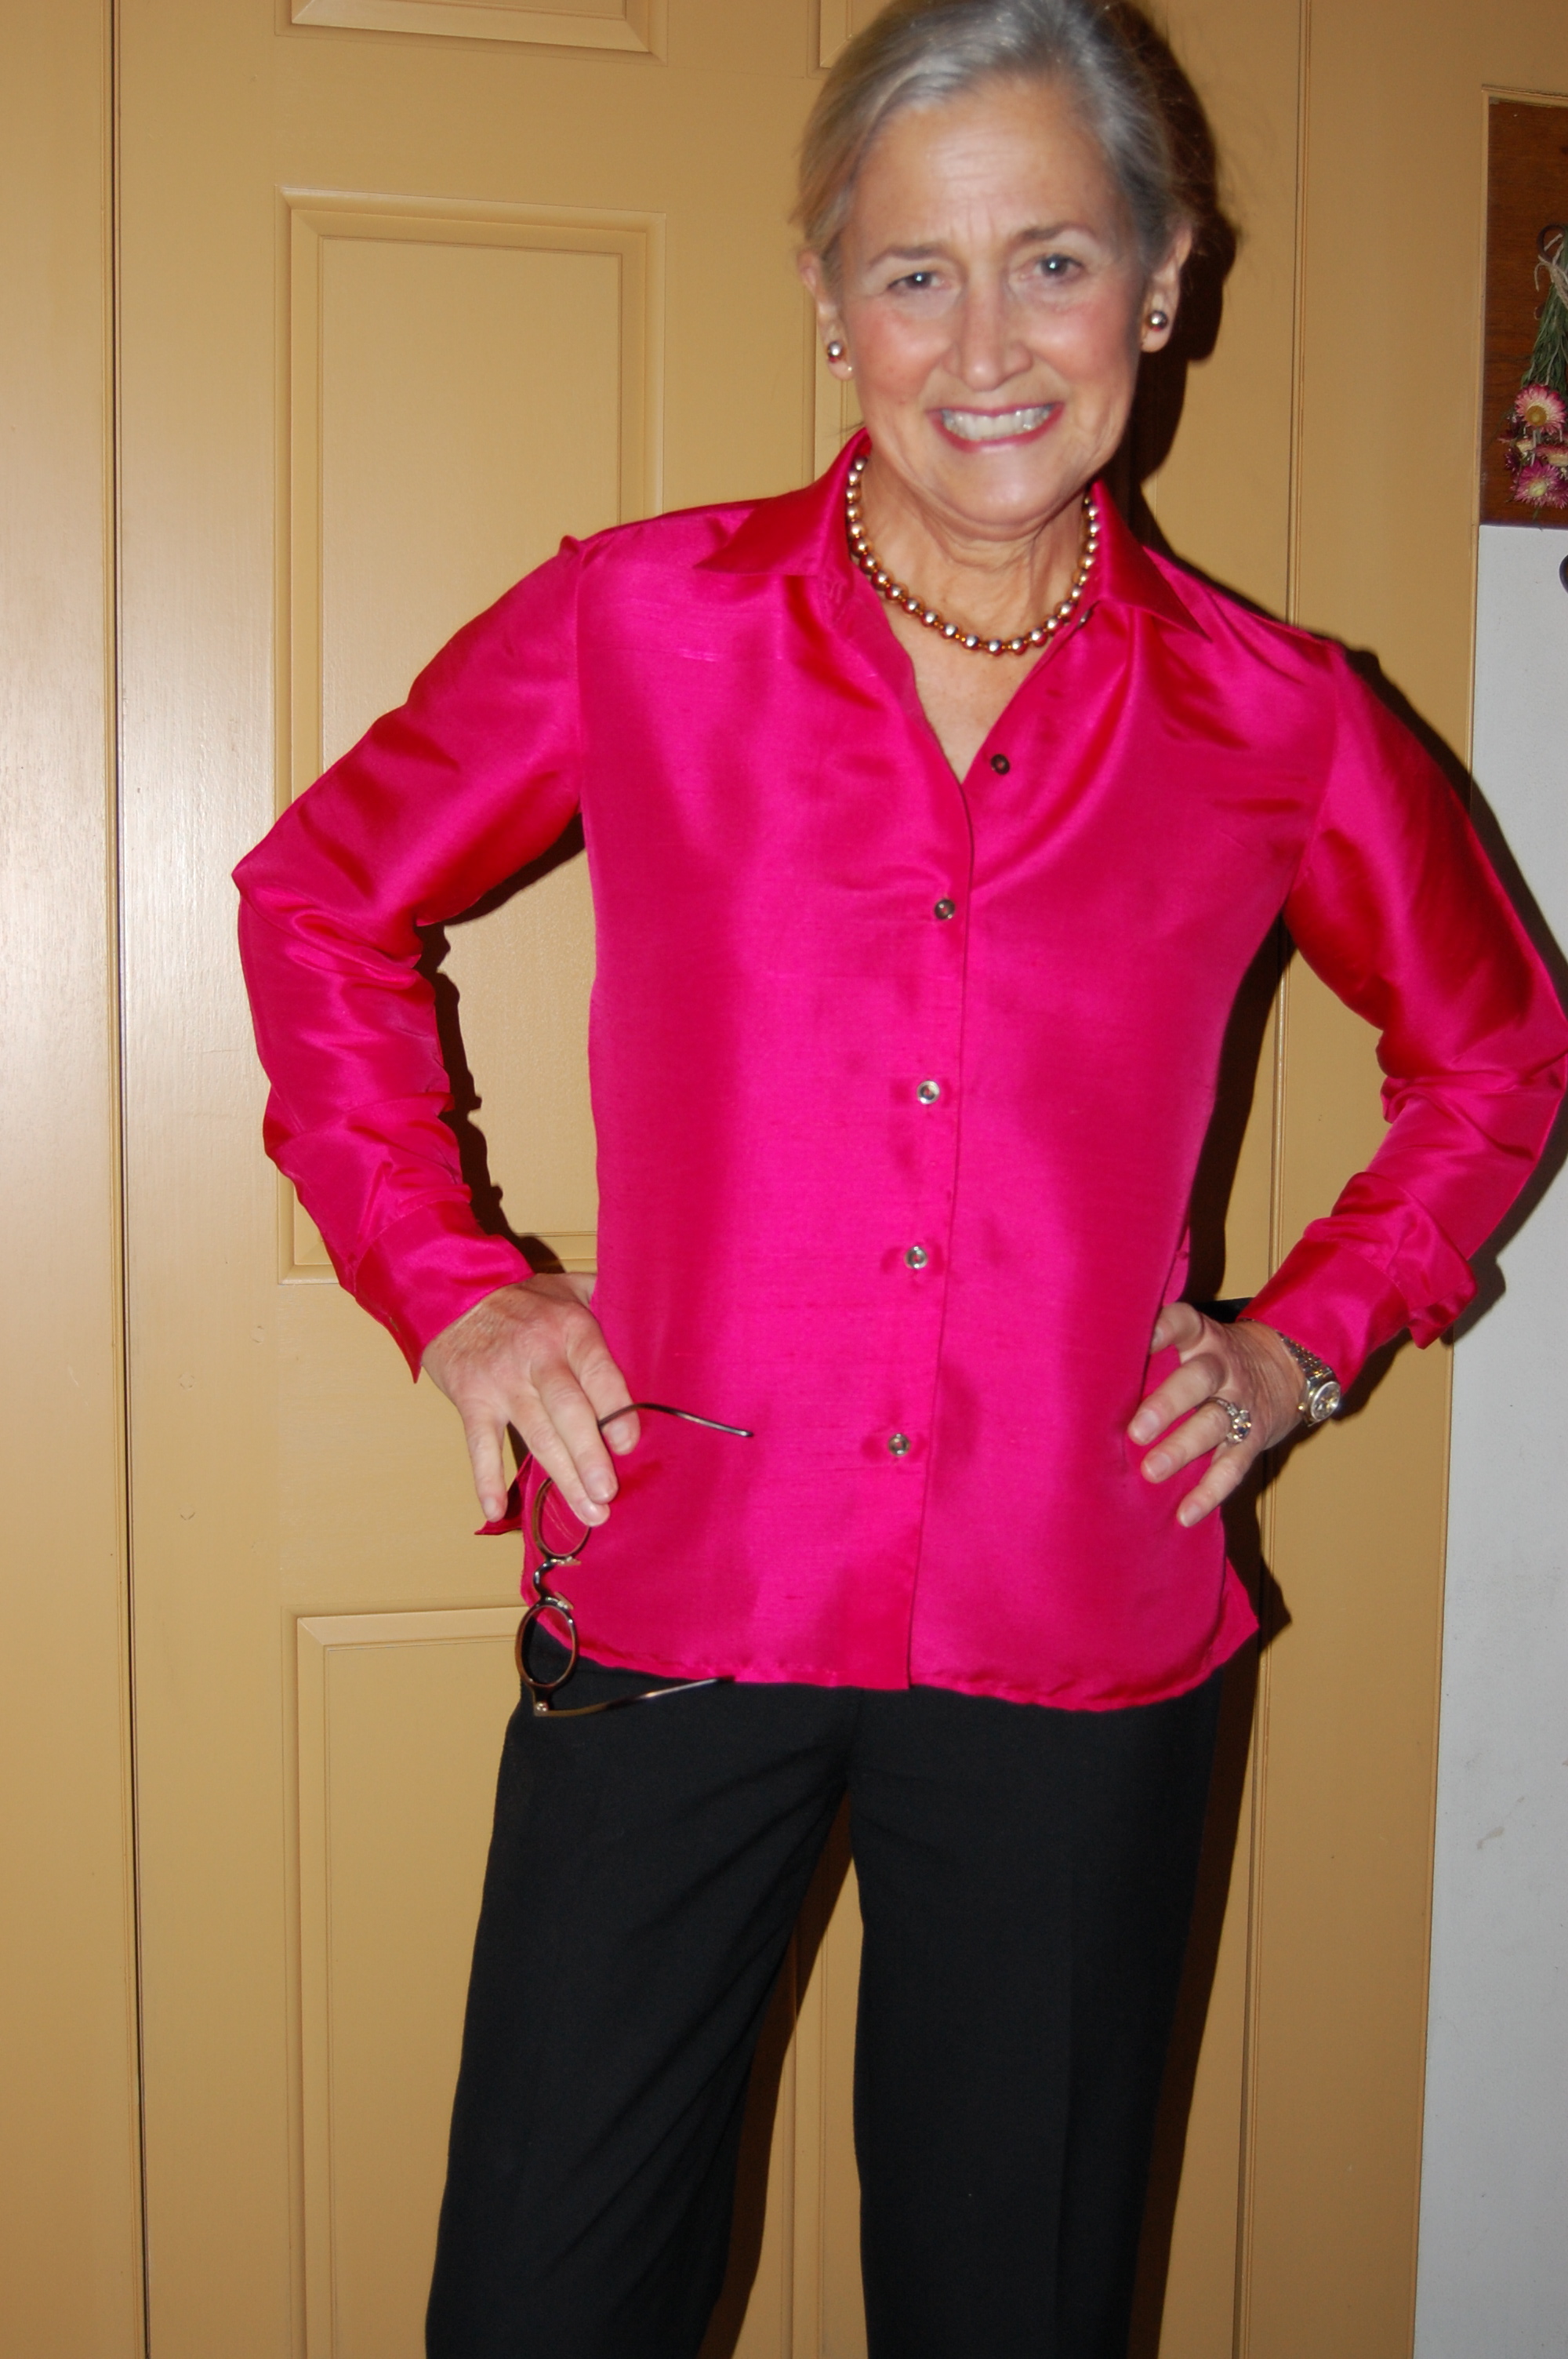
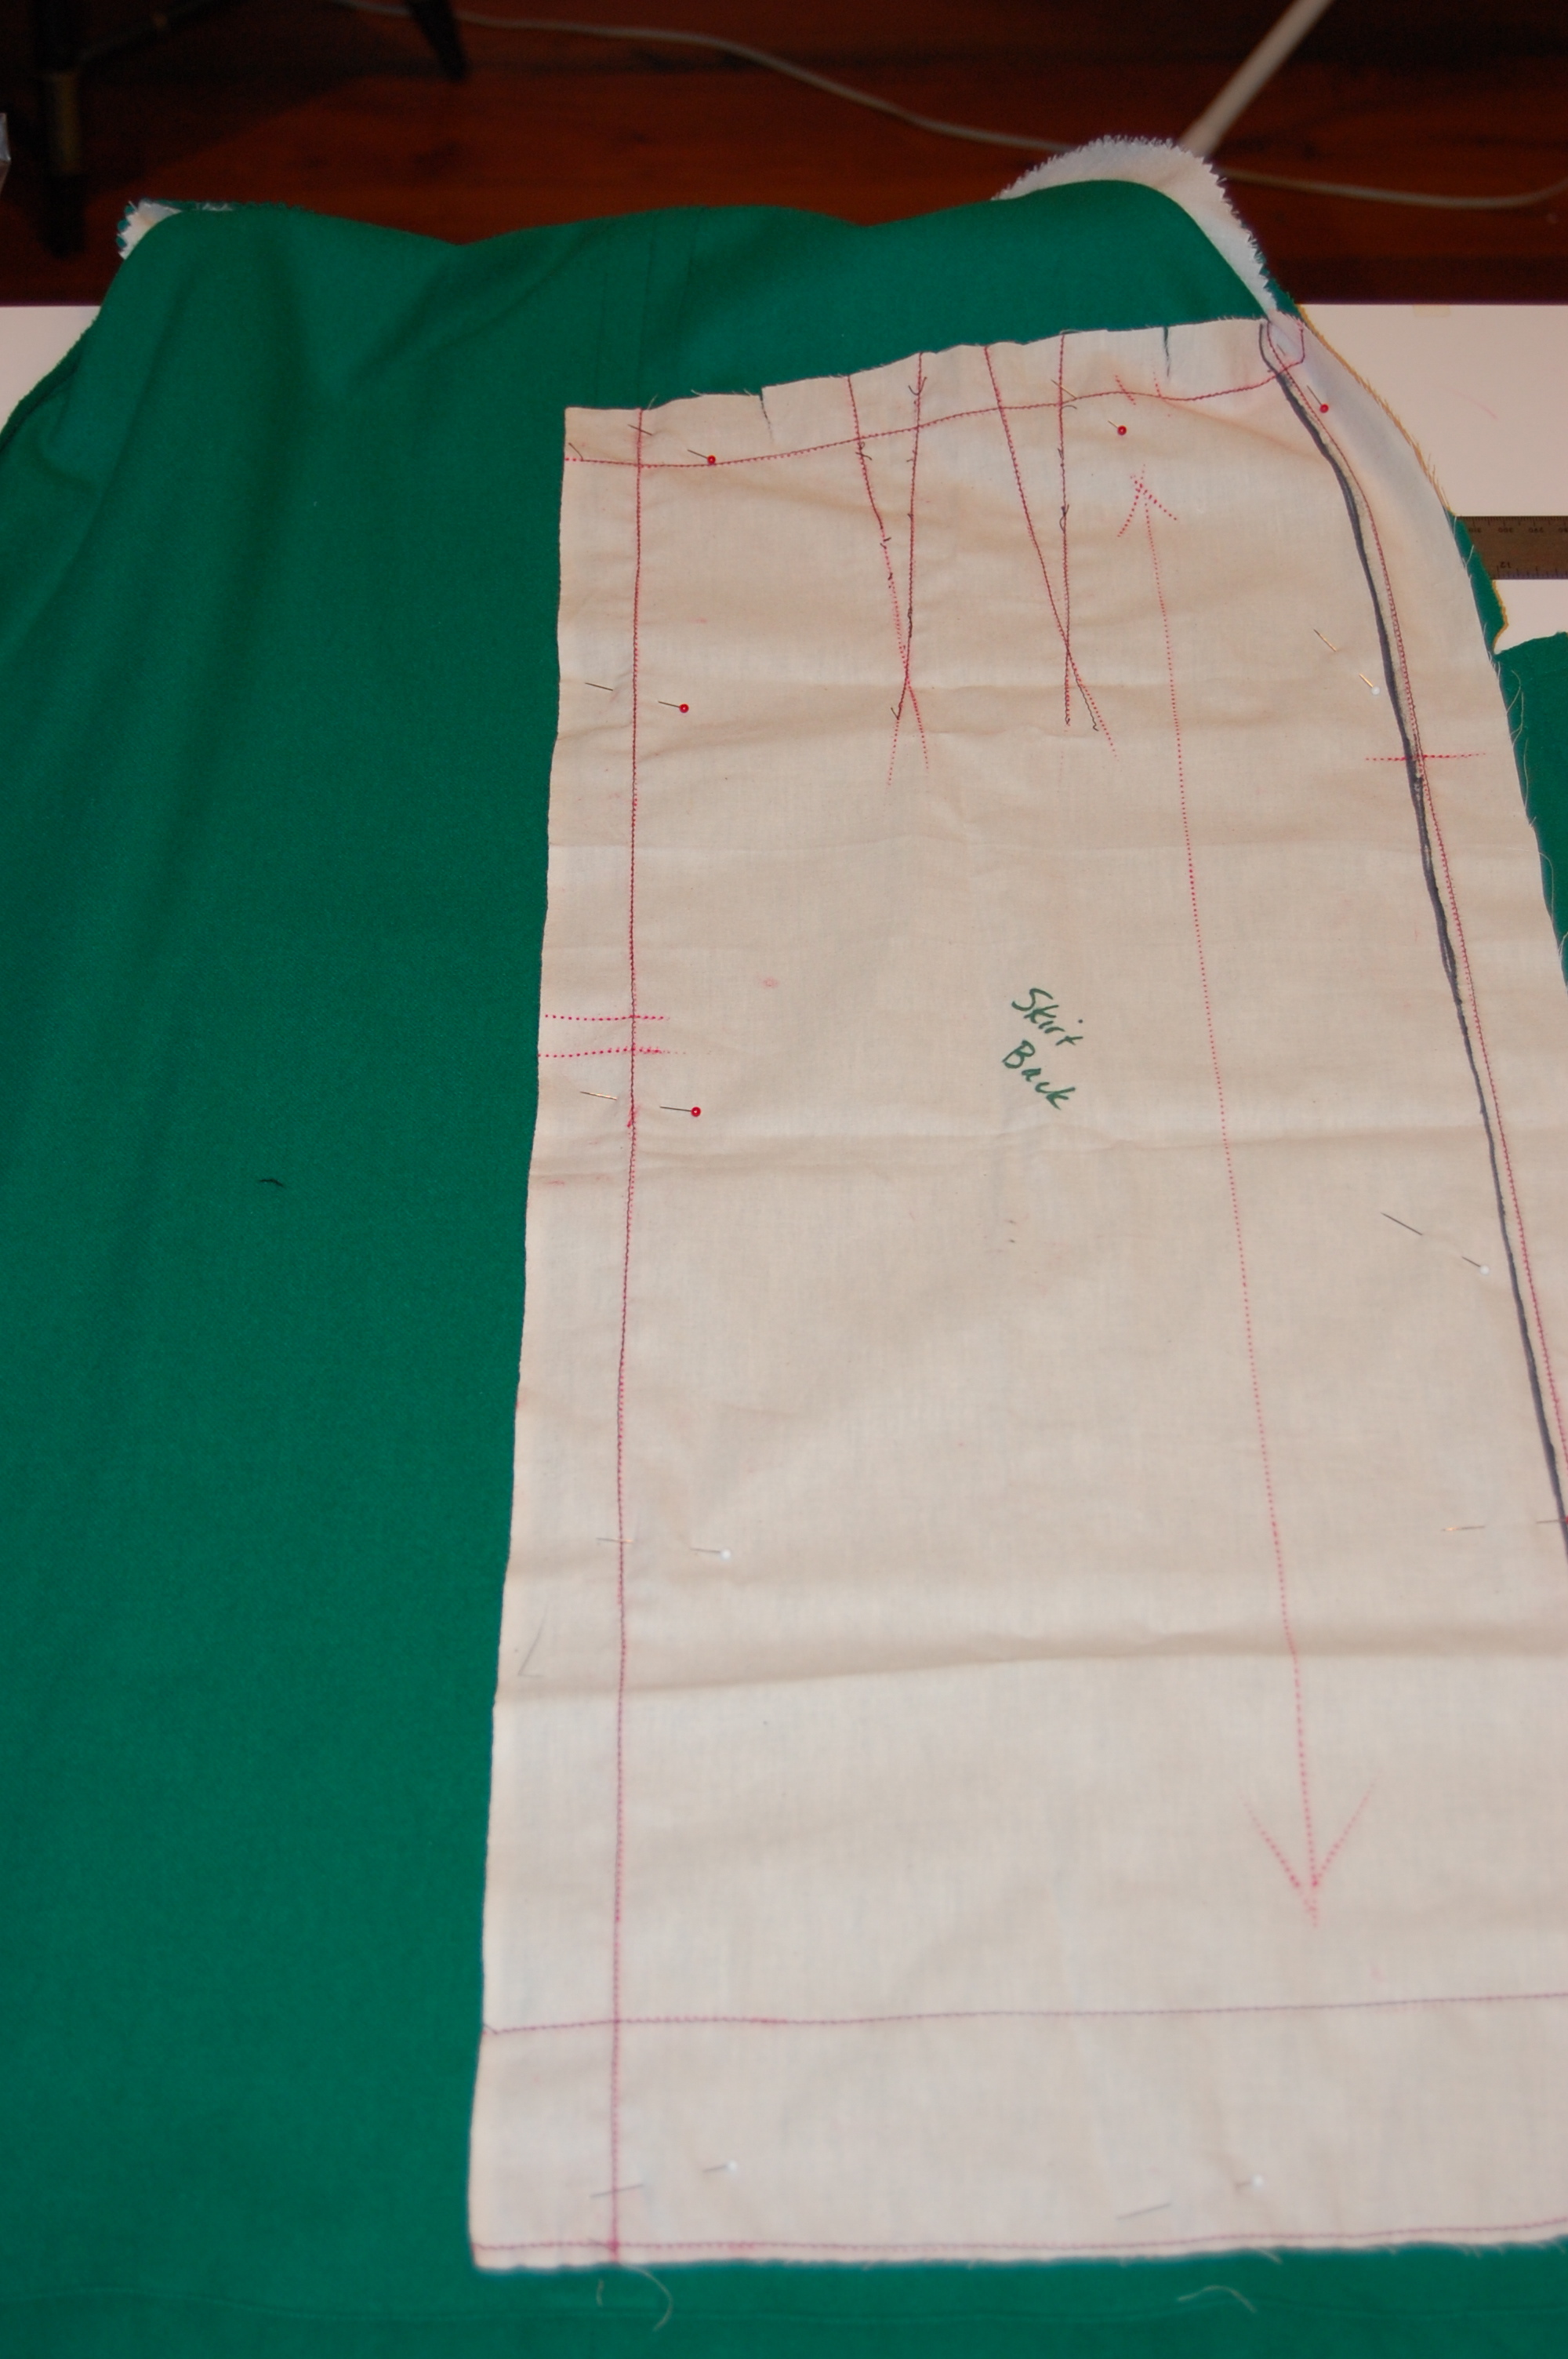
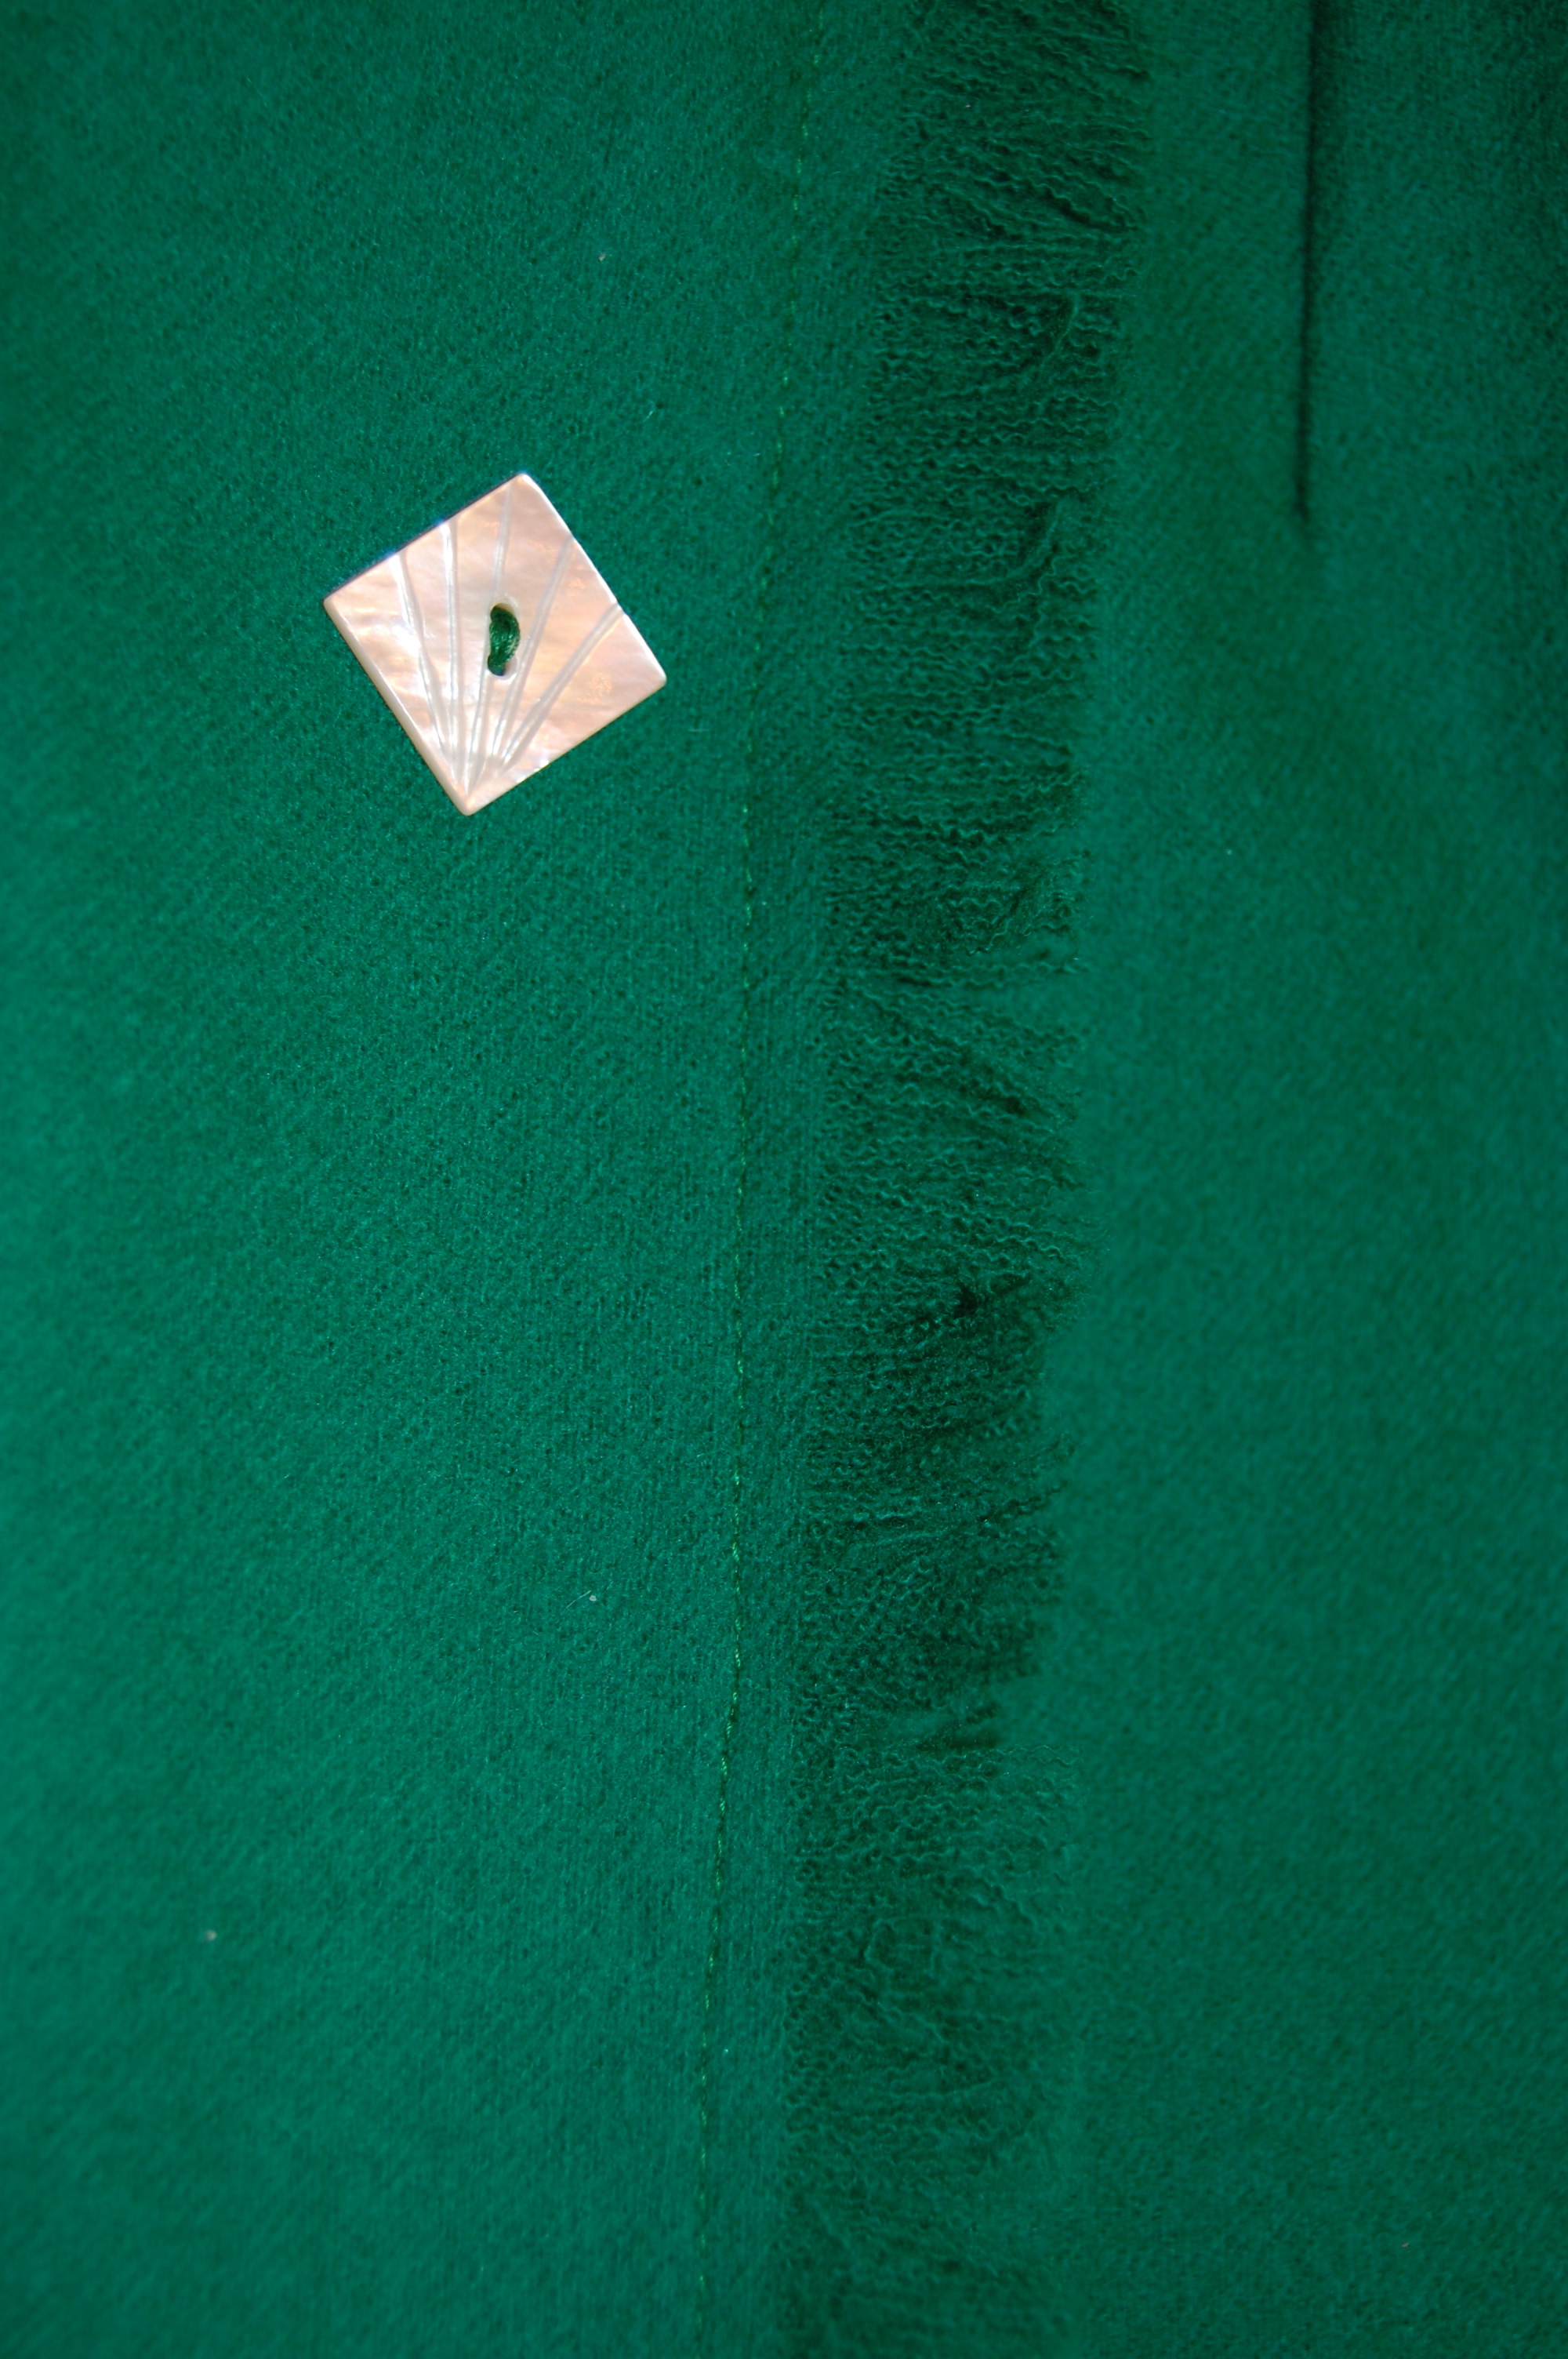
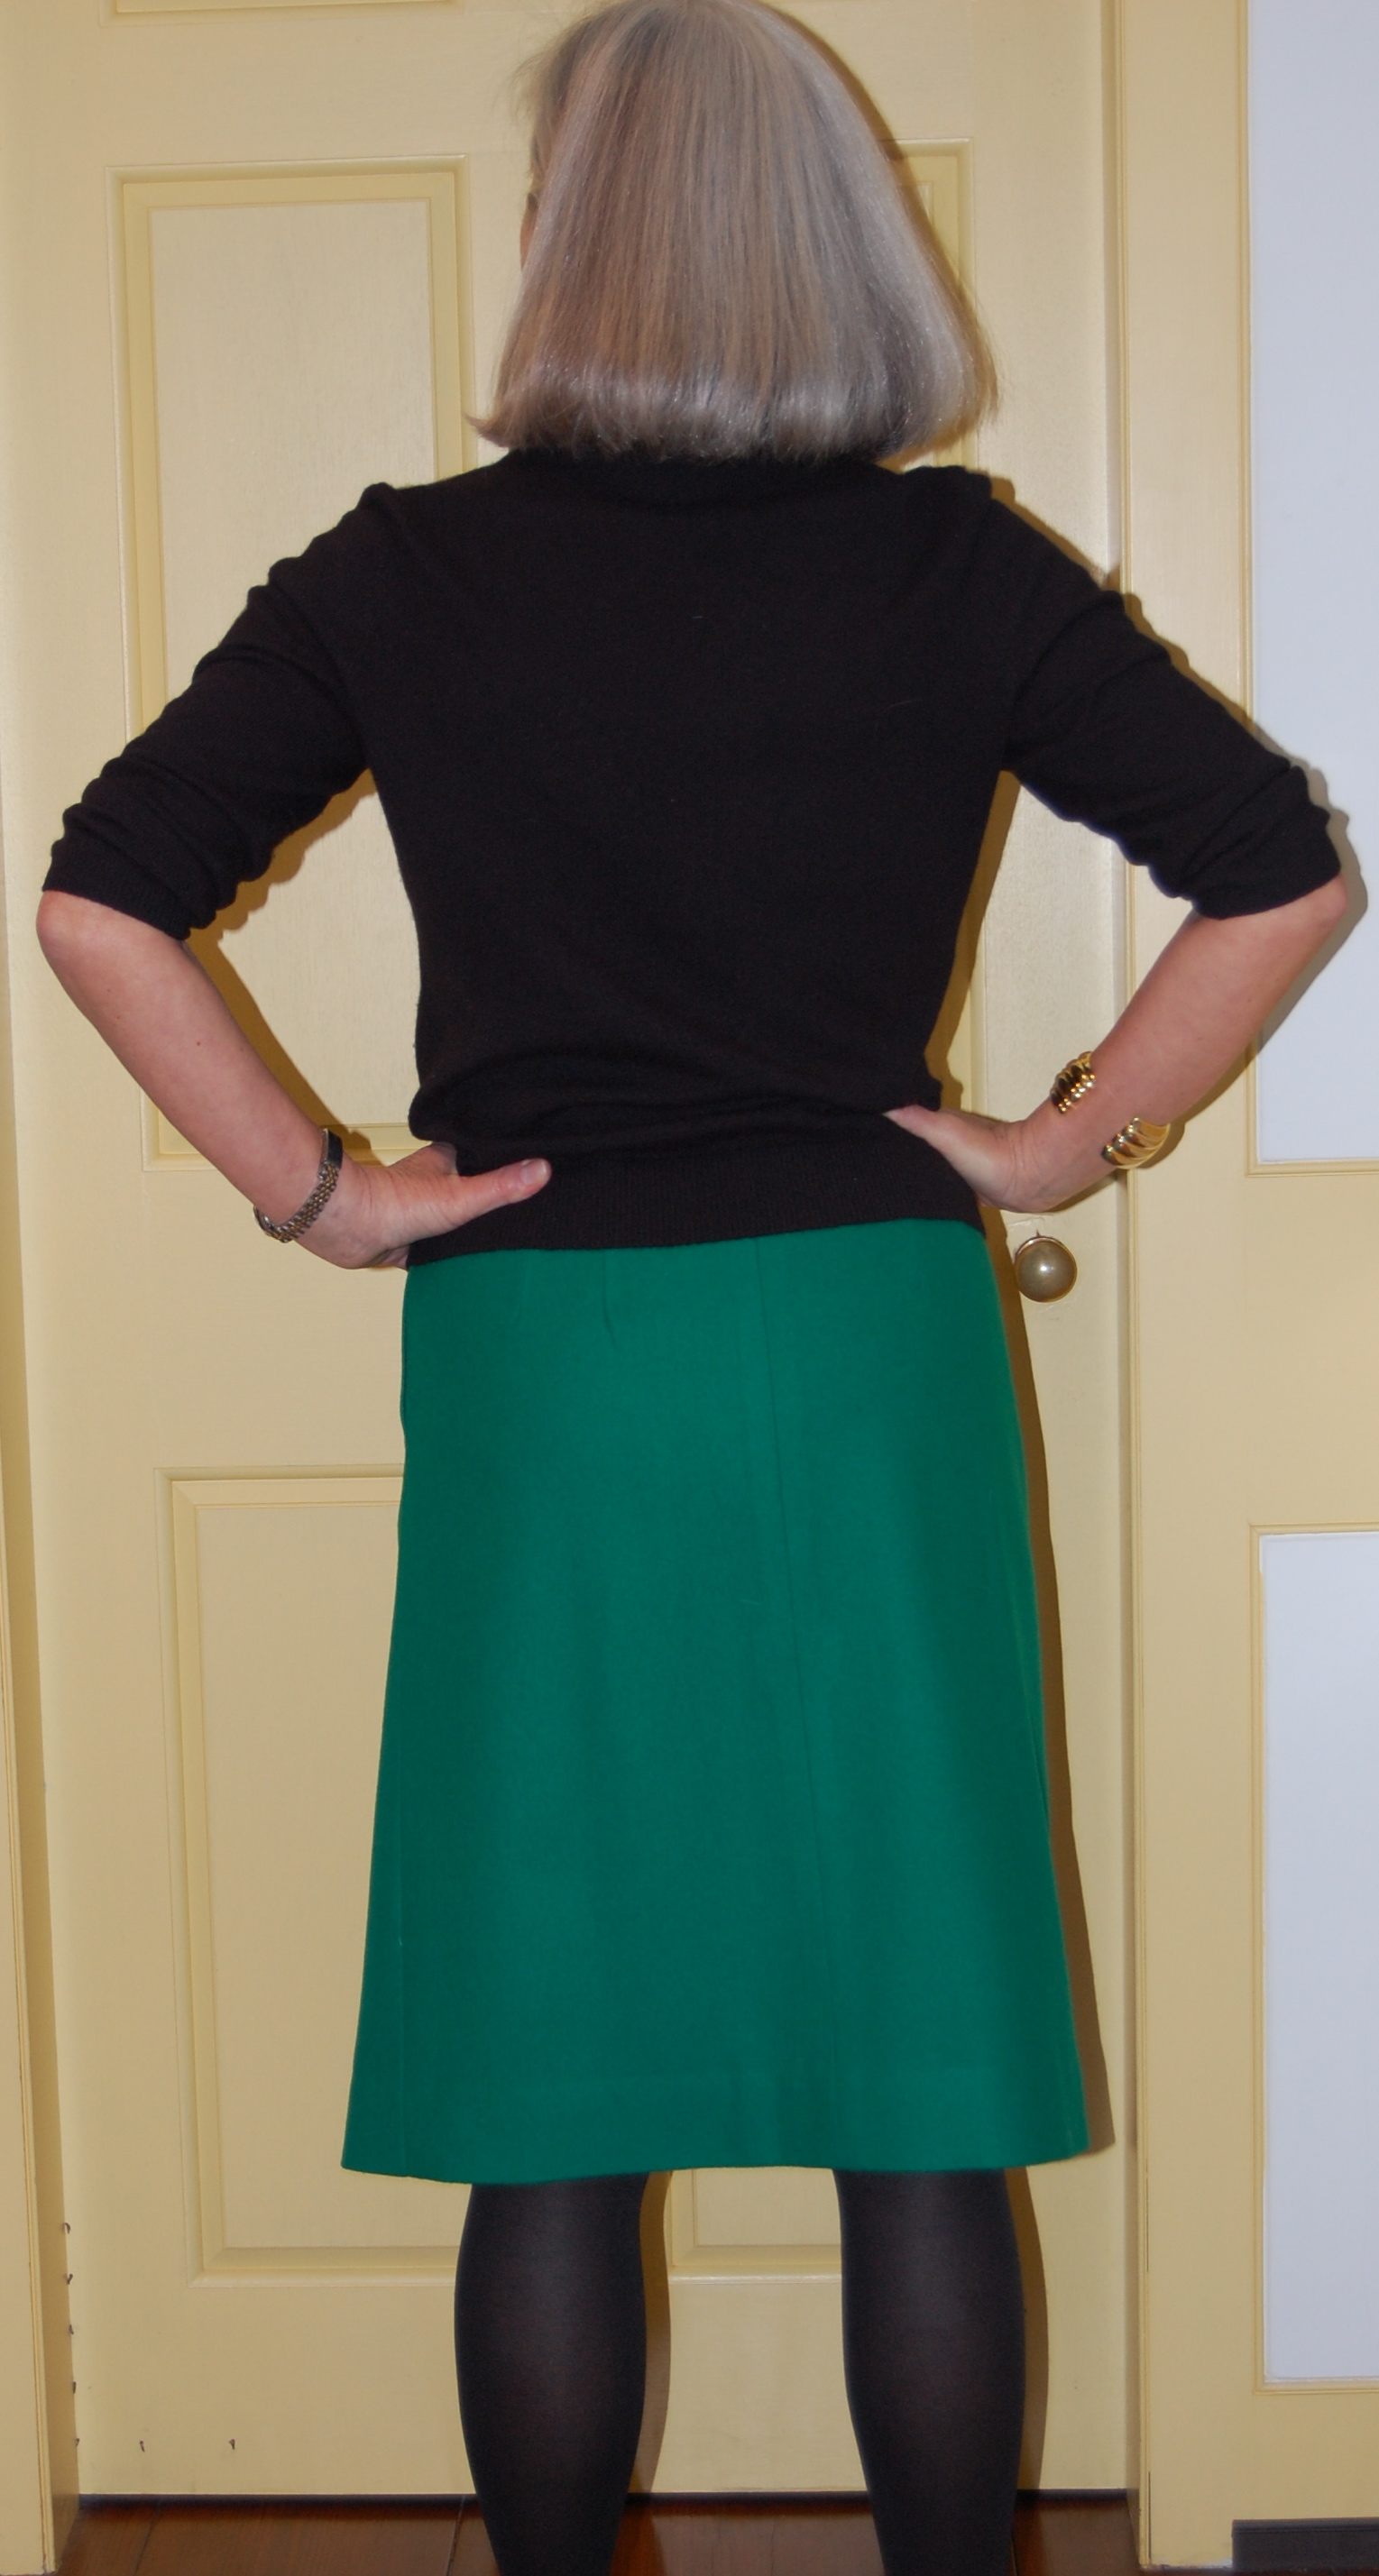
Although I hope to wear my pink wool coat (completed Spring of 2019) with various dresses and skirts, I particularly wanted to make a skirt which would coordinate with it. That way I would have a “planned” ensemble. I envisioned a petite pink-and-gray houndstooth wool, or a mini-checked pink-and-gray wool. After a wide search and coming up empty-handed, I was just about convinced I was not going to find either of those two fabrics, at least not in the time frame I planned. And then I found a lightweight wool and silk blend on the website of Farmhouse Fabrics. It was a variegated gray and oyster-white plaid with a pink pinstripe running through it on the cross-grain. Although it looked lovely on my computer screen, I wasn’t sure it would fit my needs, so I ordered a swatch. From the swatch I could see its beautiful quality – and its perfect colors – so my search was over.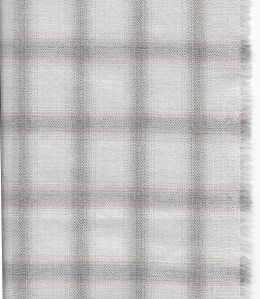
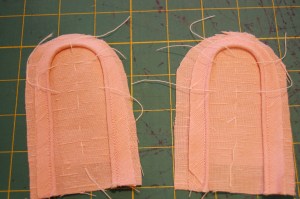
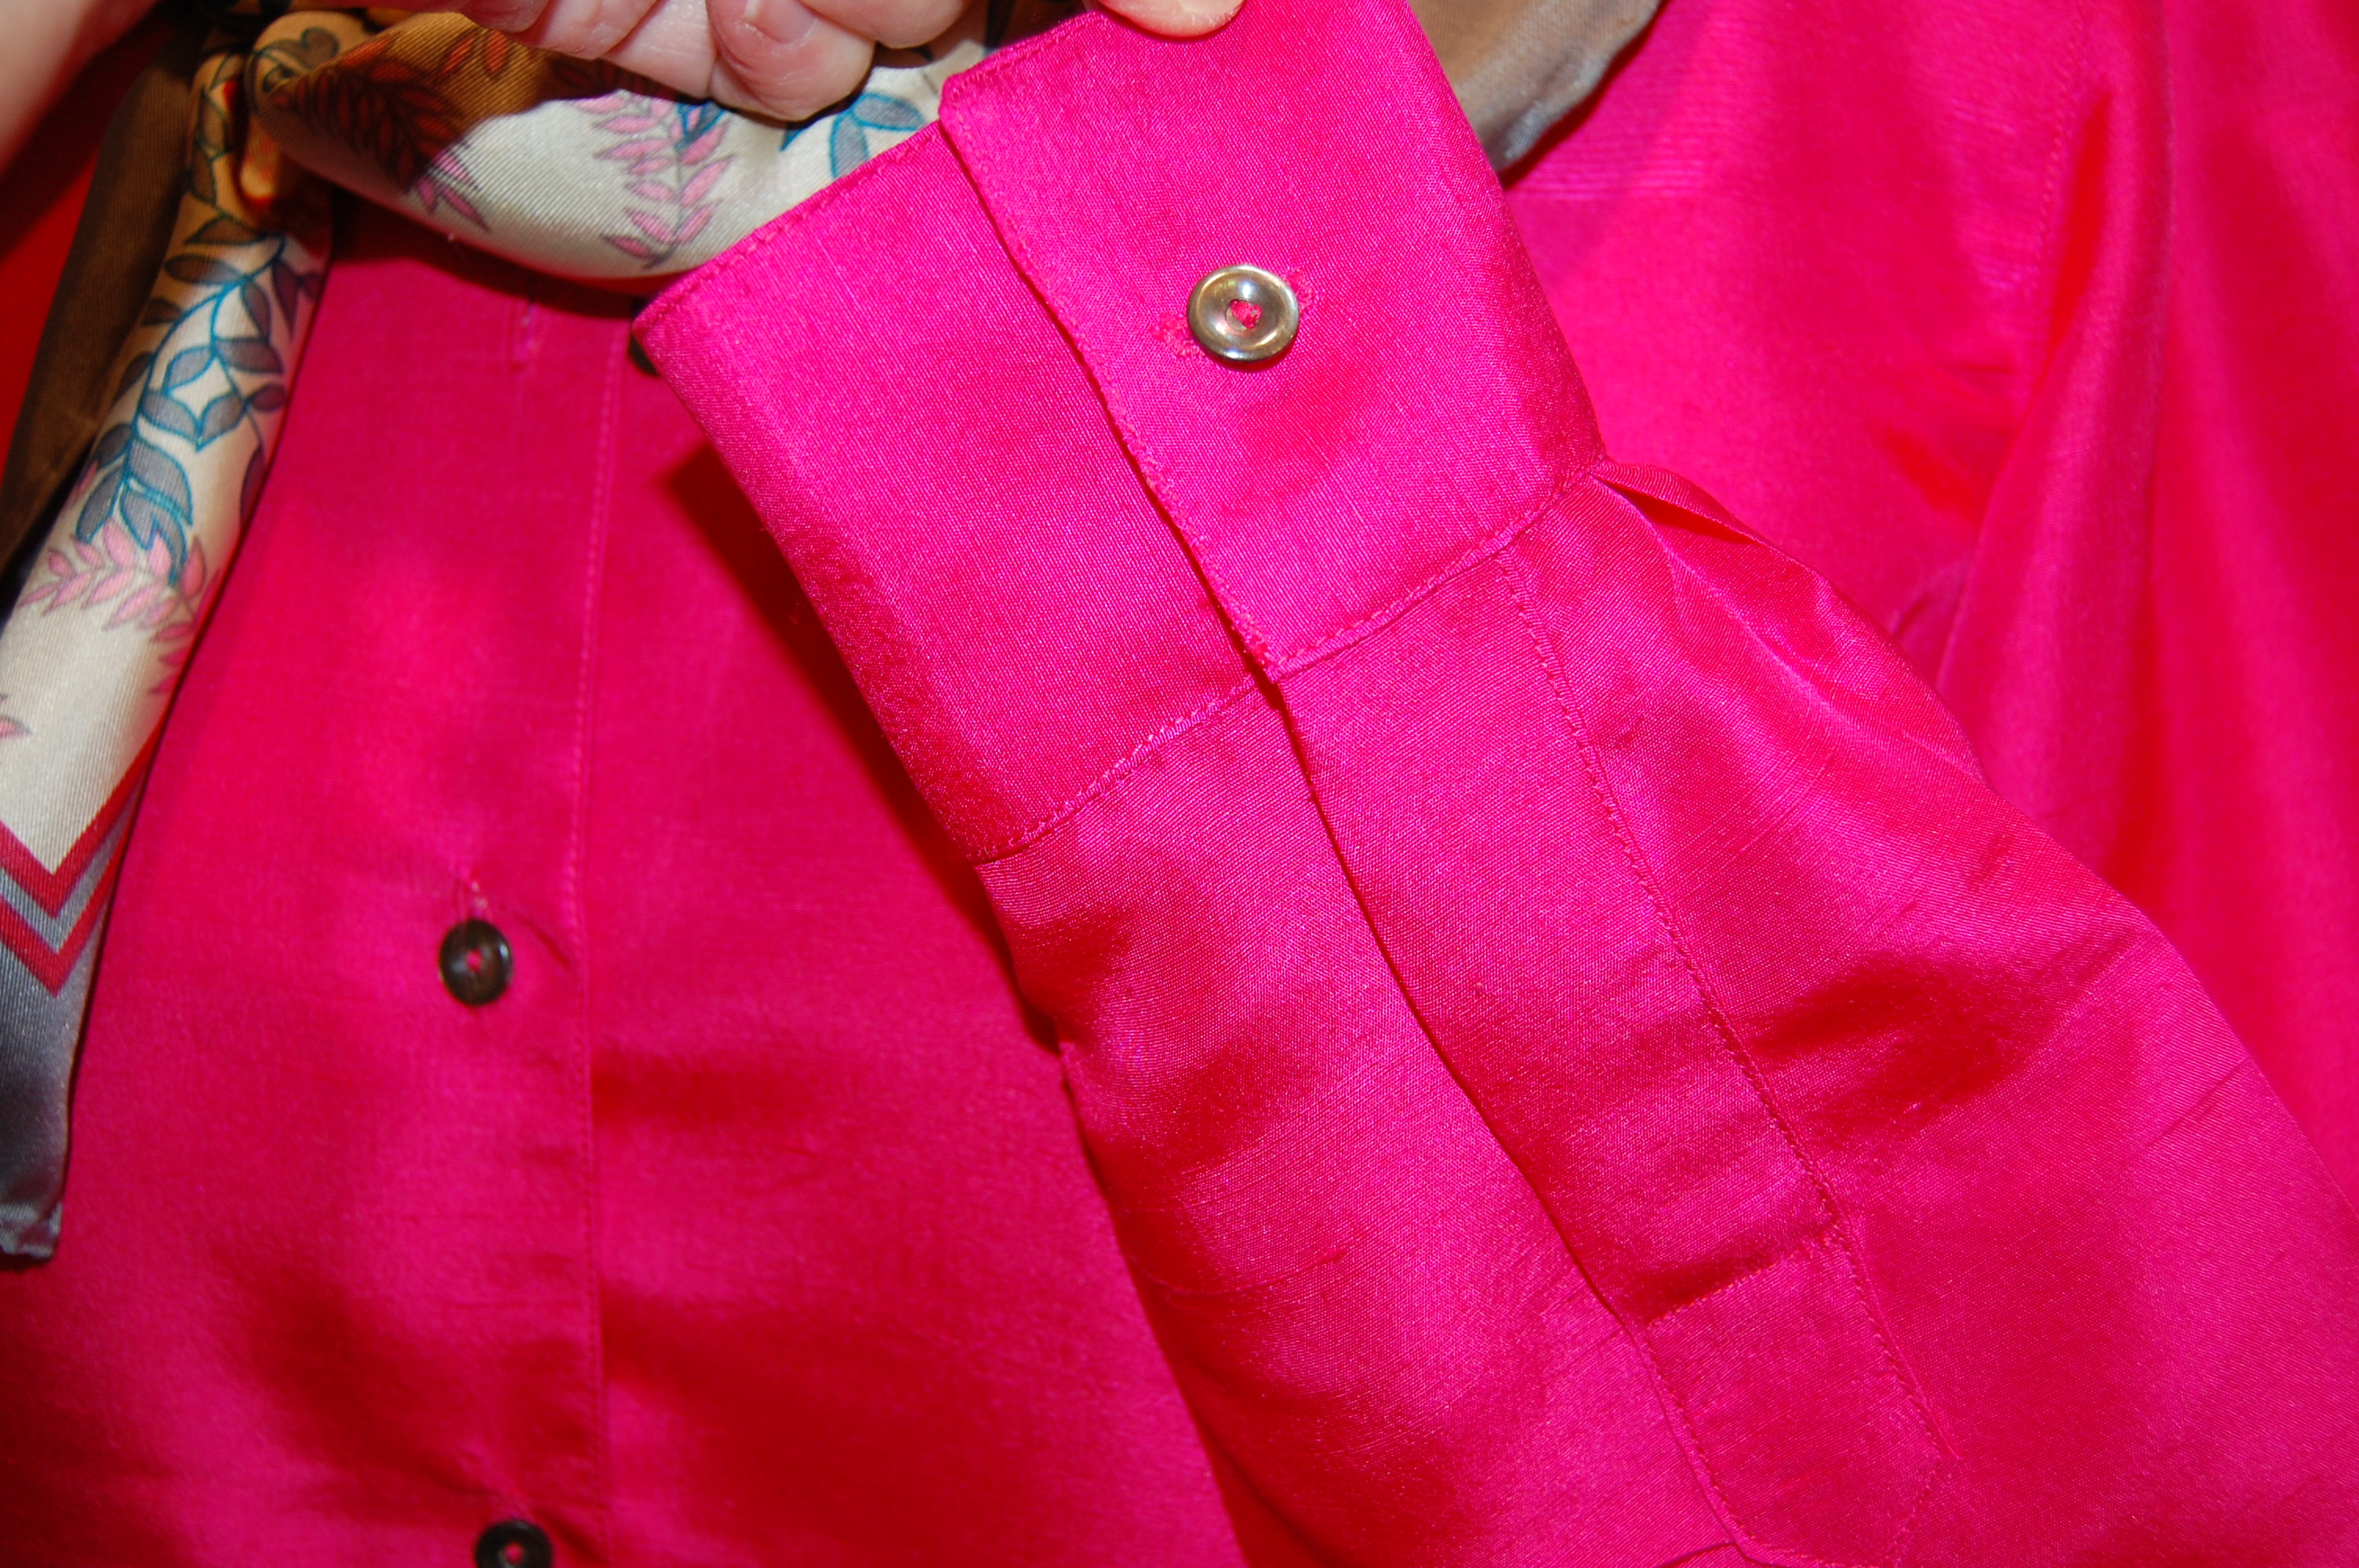
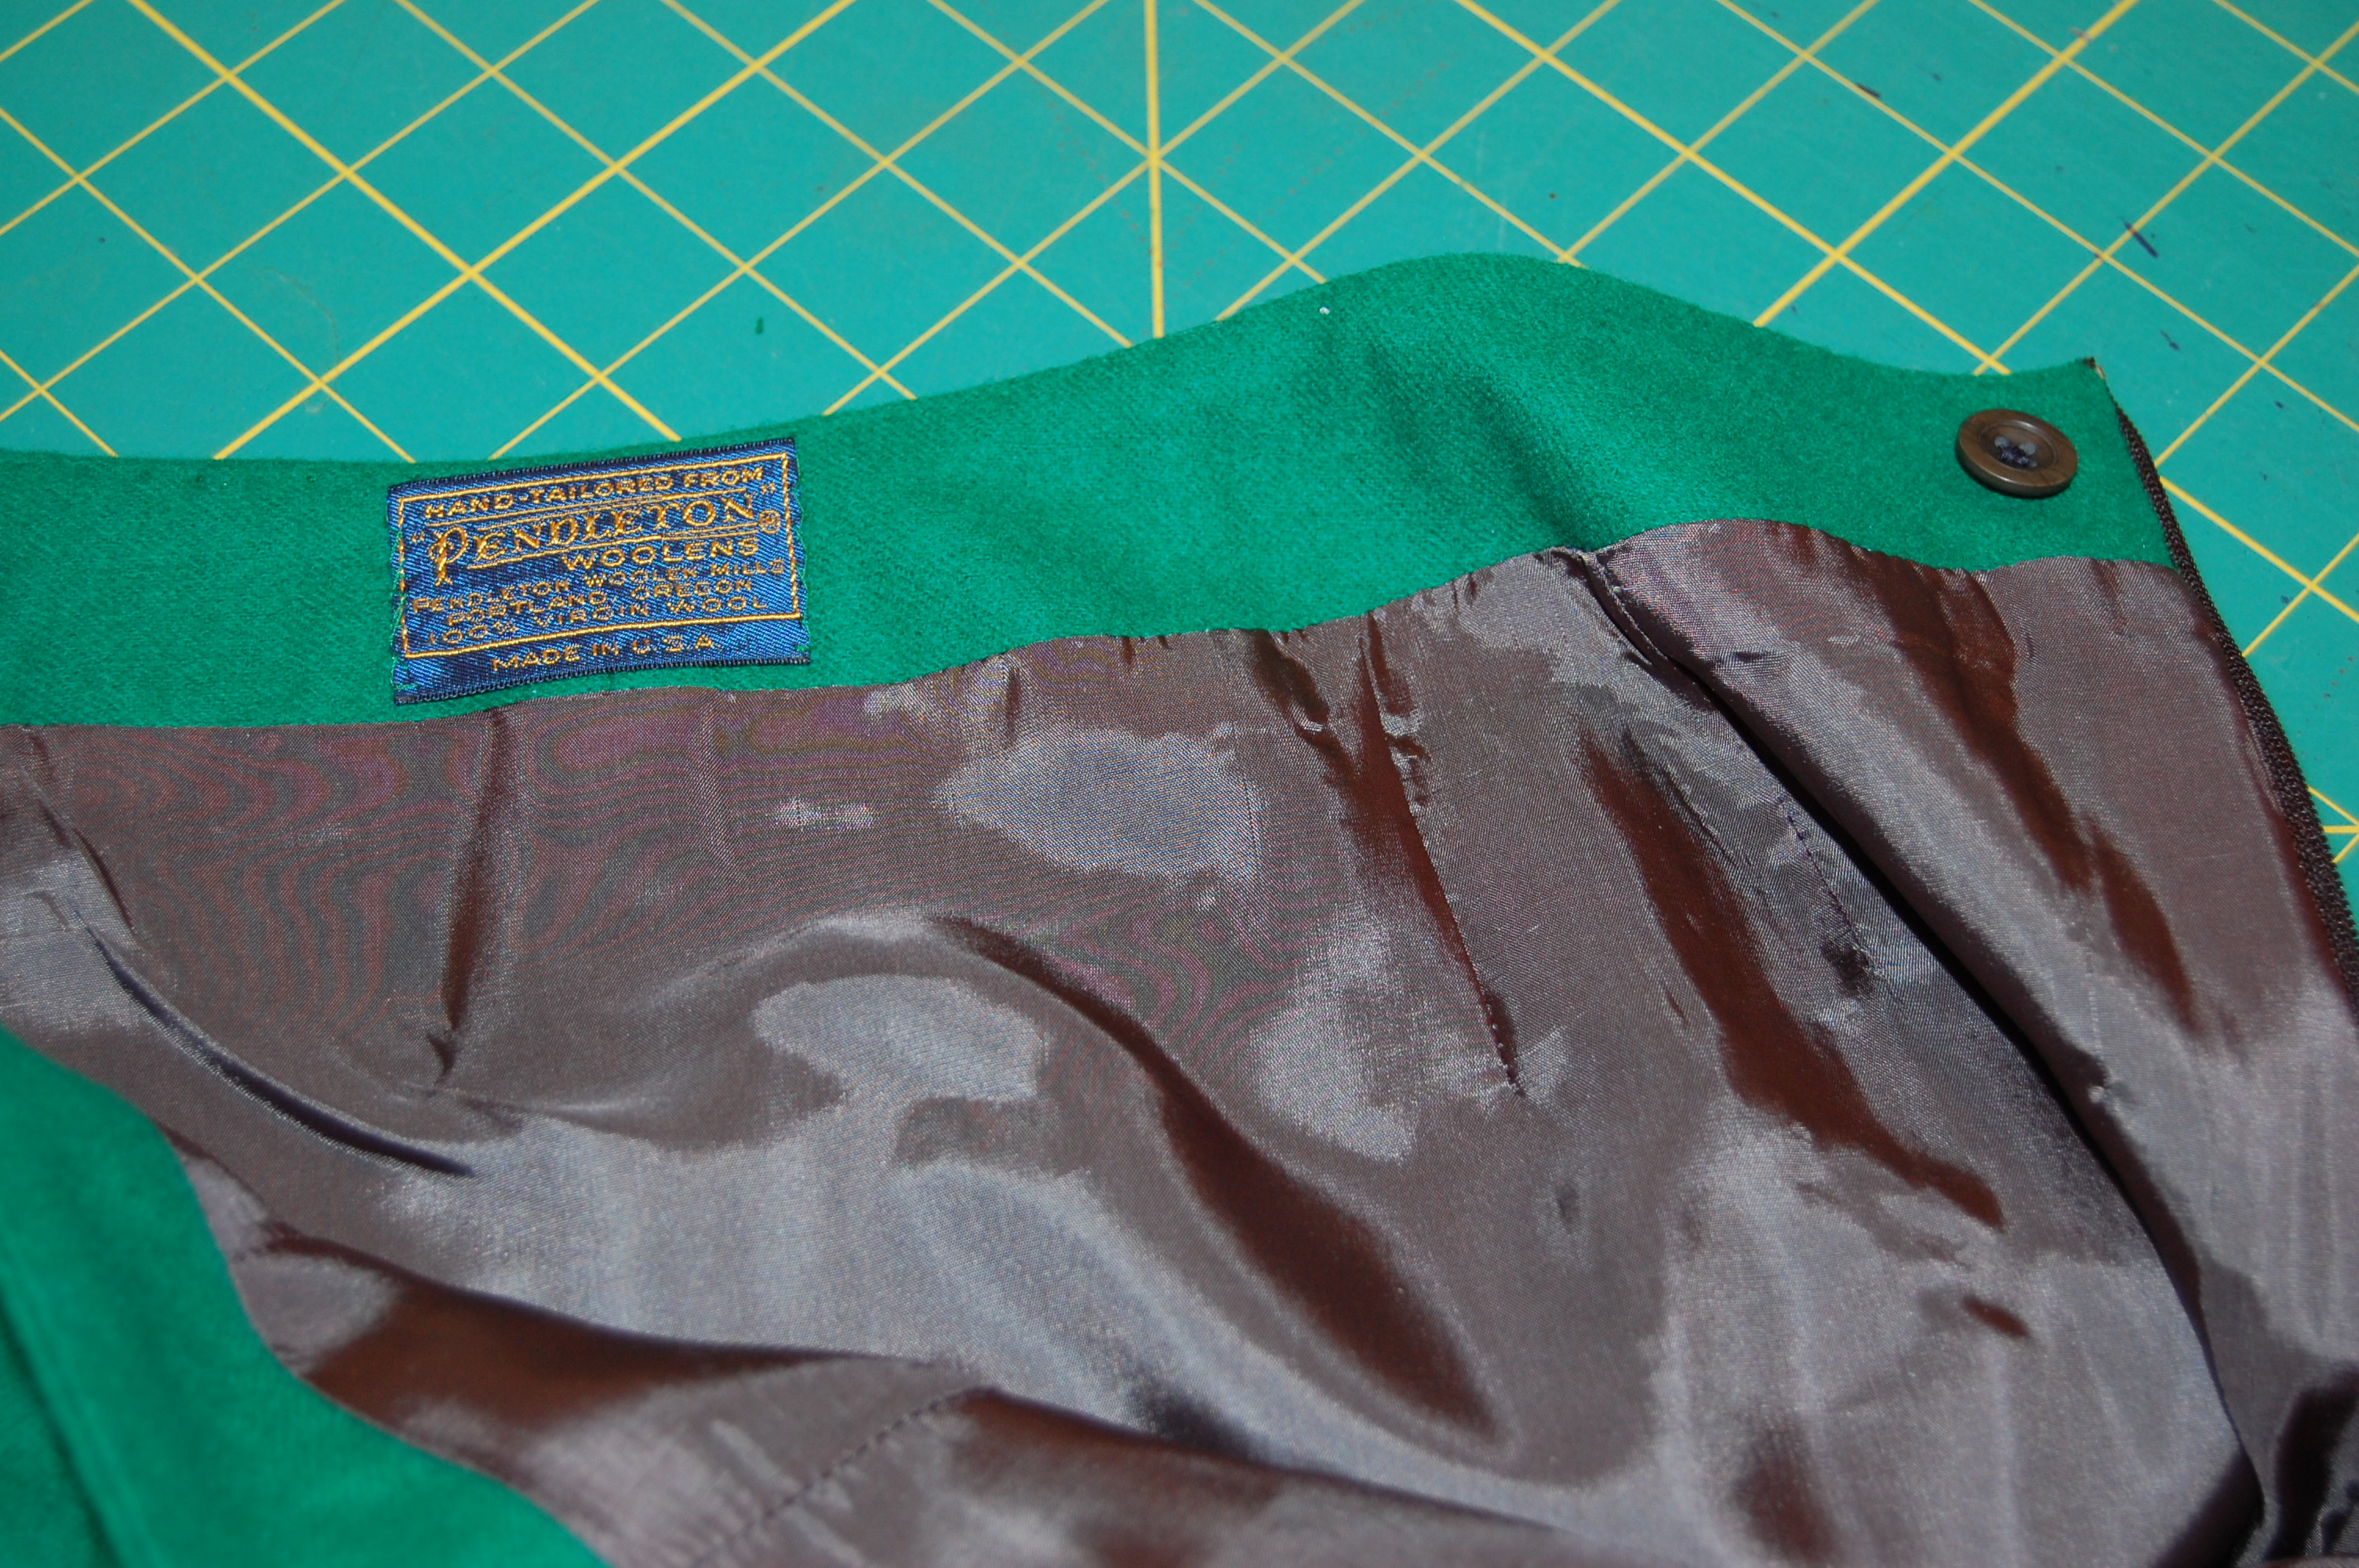
I am so accustomed to using silk organza as my underlining, but the incredible softness and delicacy of this fabric made me think twice. I thought silk organza would undermine the fluidity of the wool/silk blend, so I decided to use a very lightweight cotton batiste instead. Using the Susan Khalje pattern for which I already had a toile (yay!), I made a very simple straight skirt. Just for fun I decided to line it in pink silk charmeuse. I had some in stock as I had used it for the pocket linings in my pink coat. I also lined the waistband, which I like to do when sewing with wool.
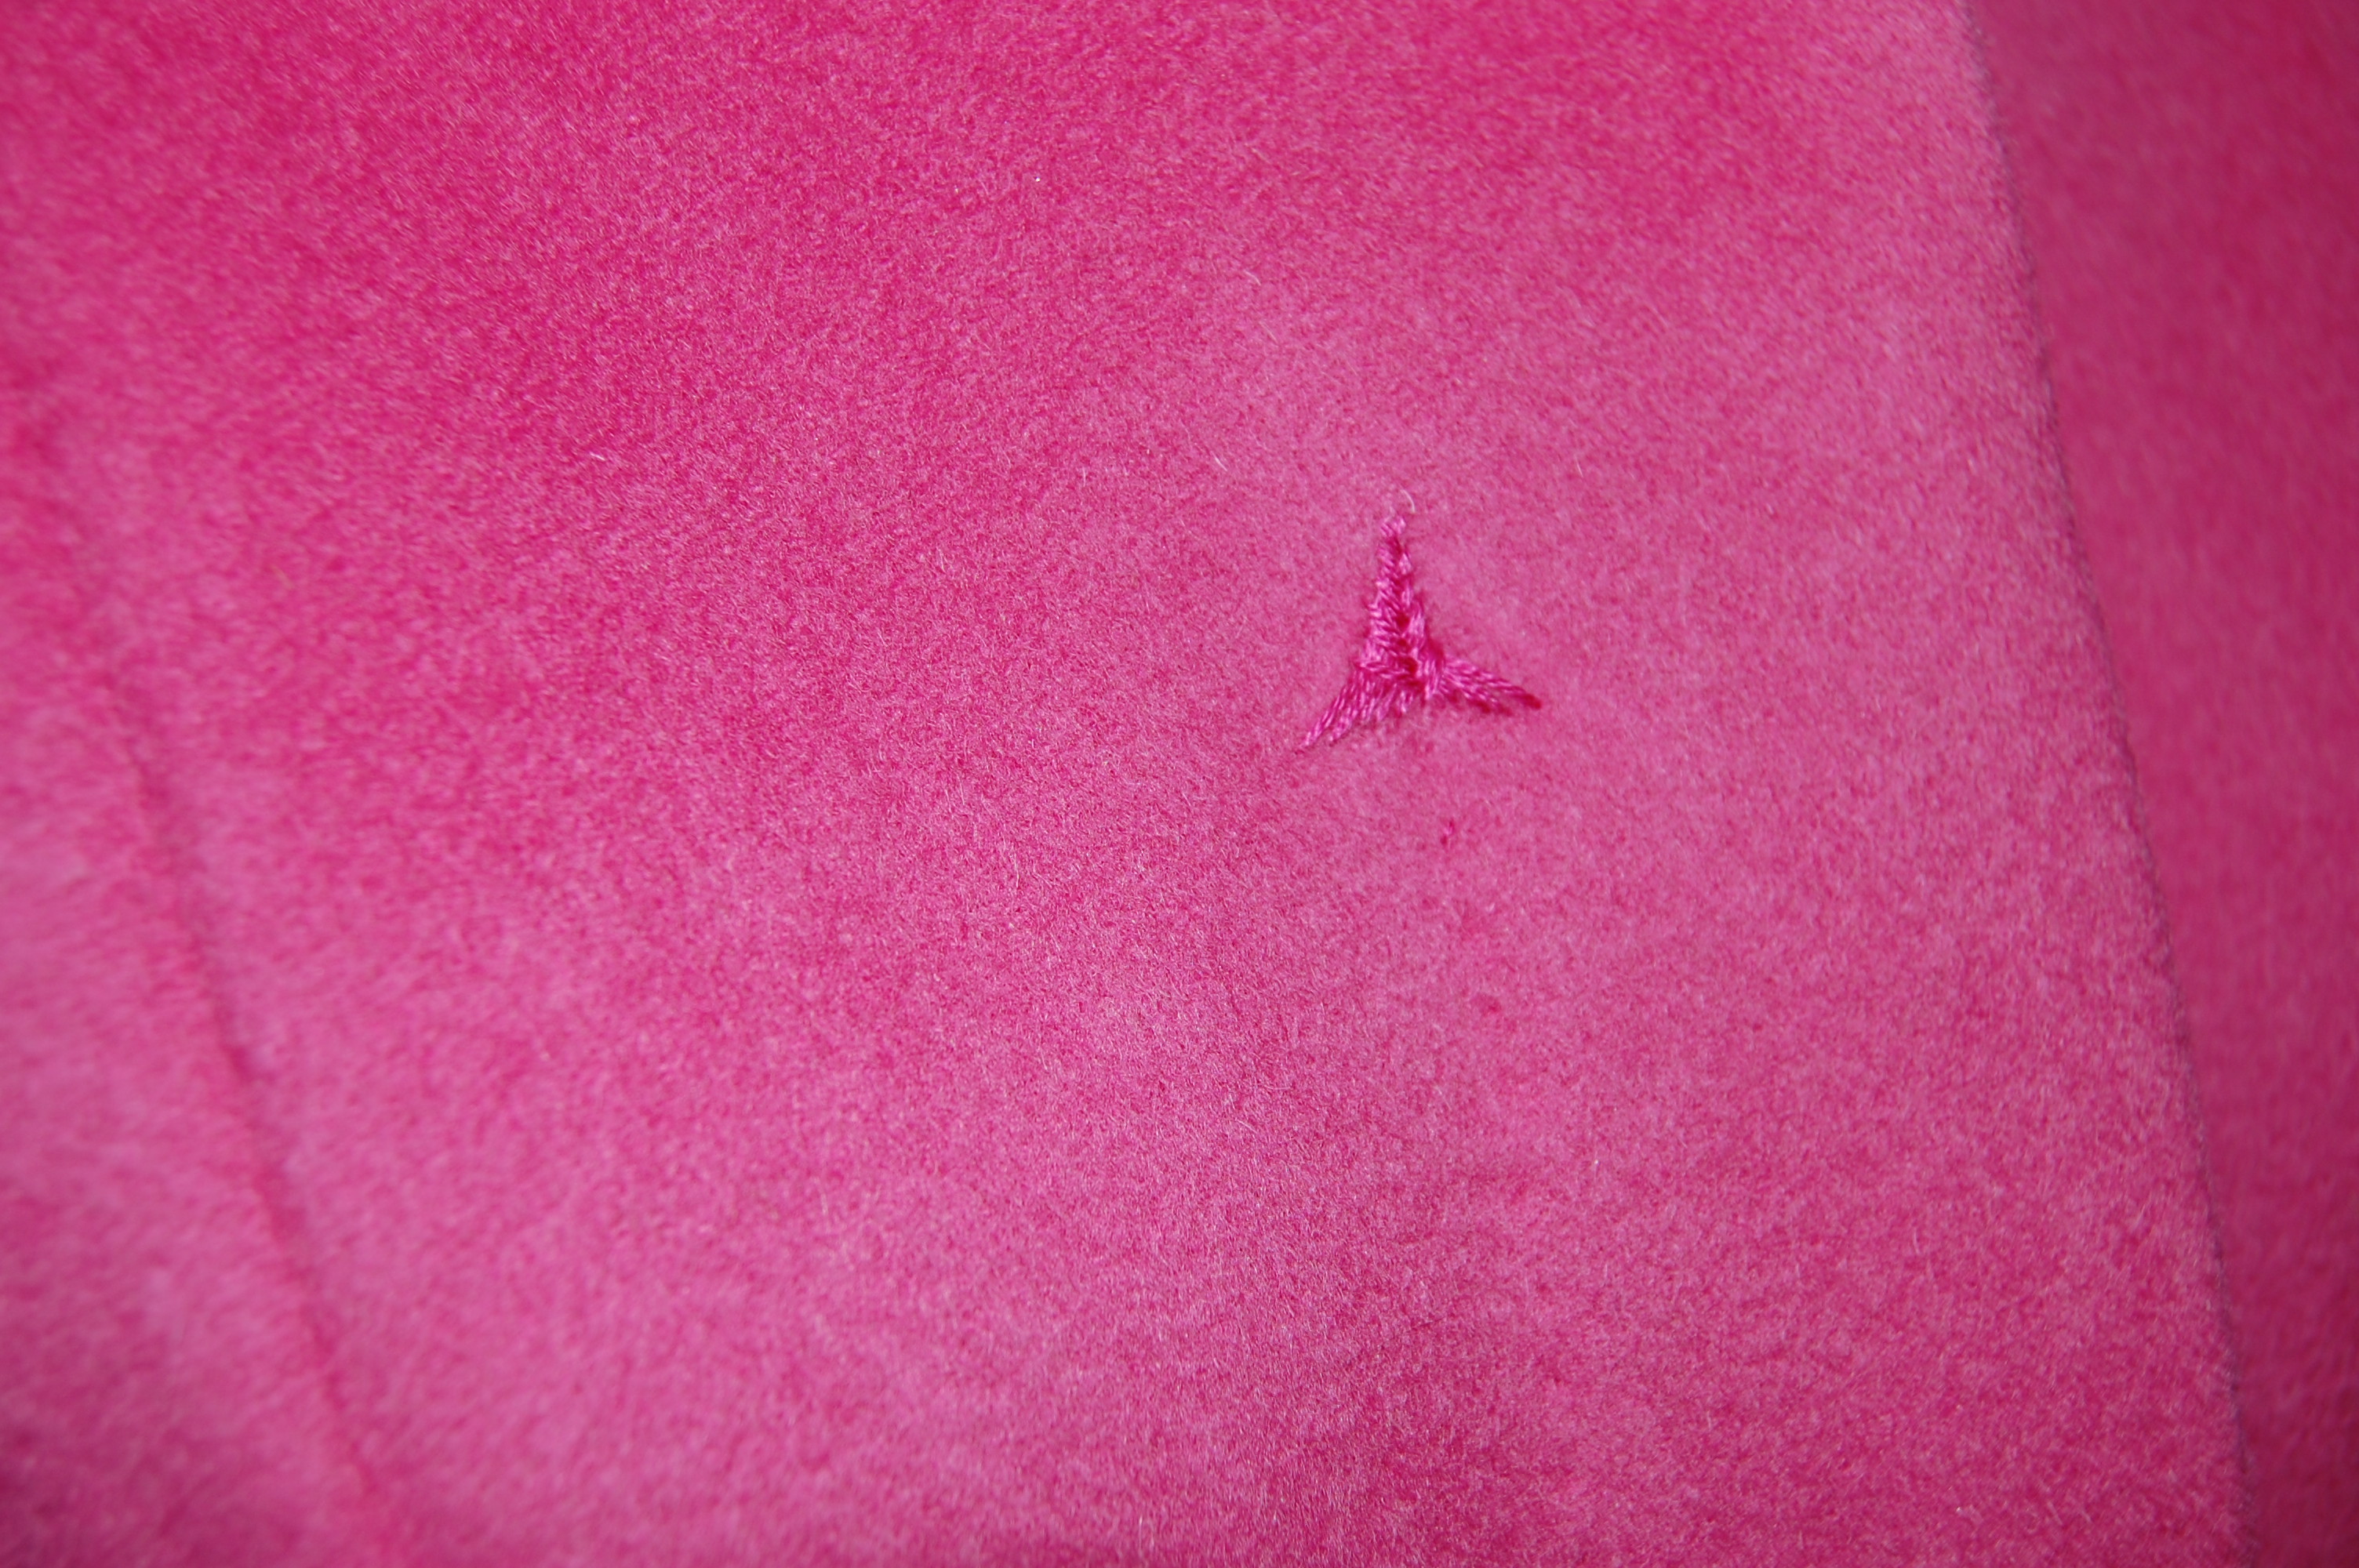
The pink charmeuse lining is my unseen homage to this color which I love so much.
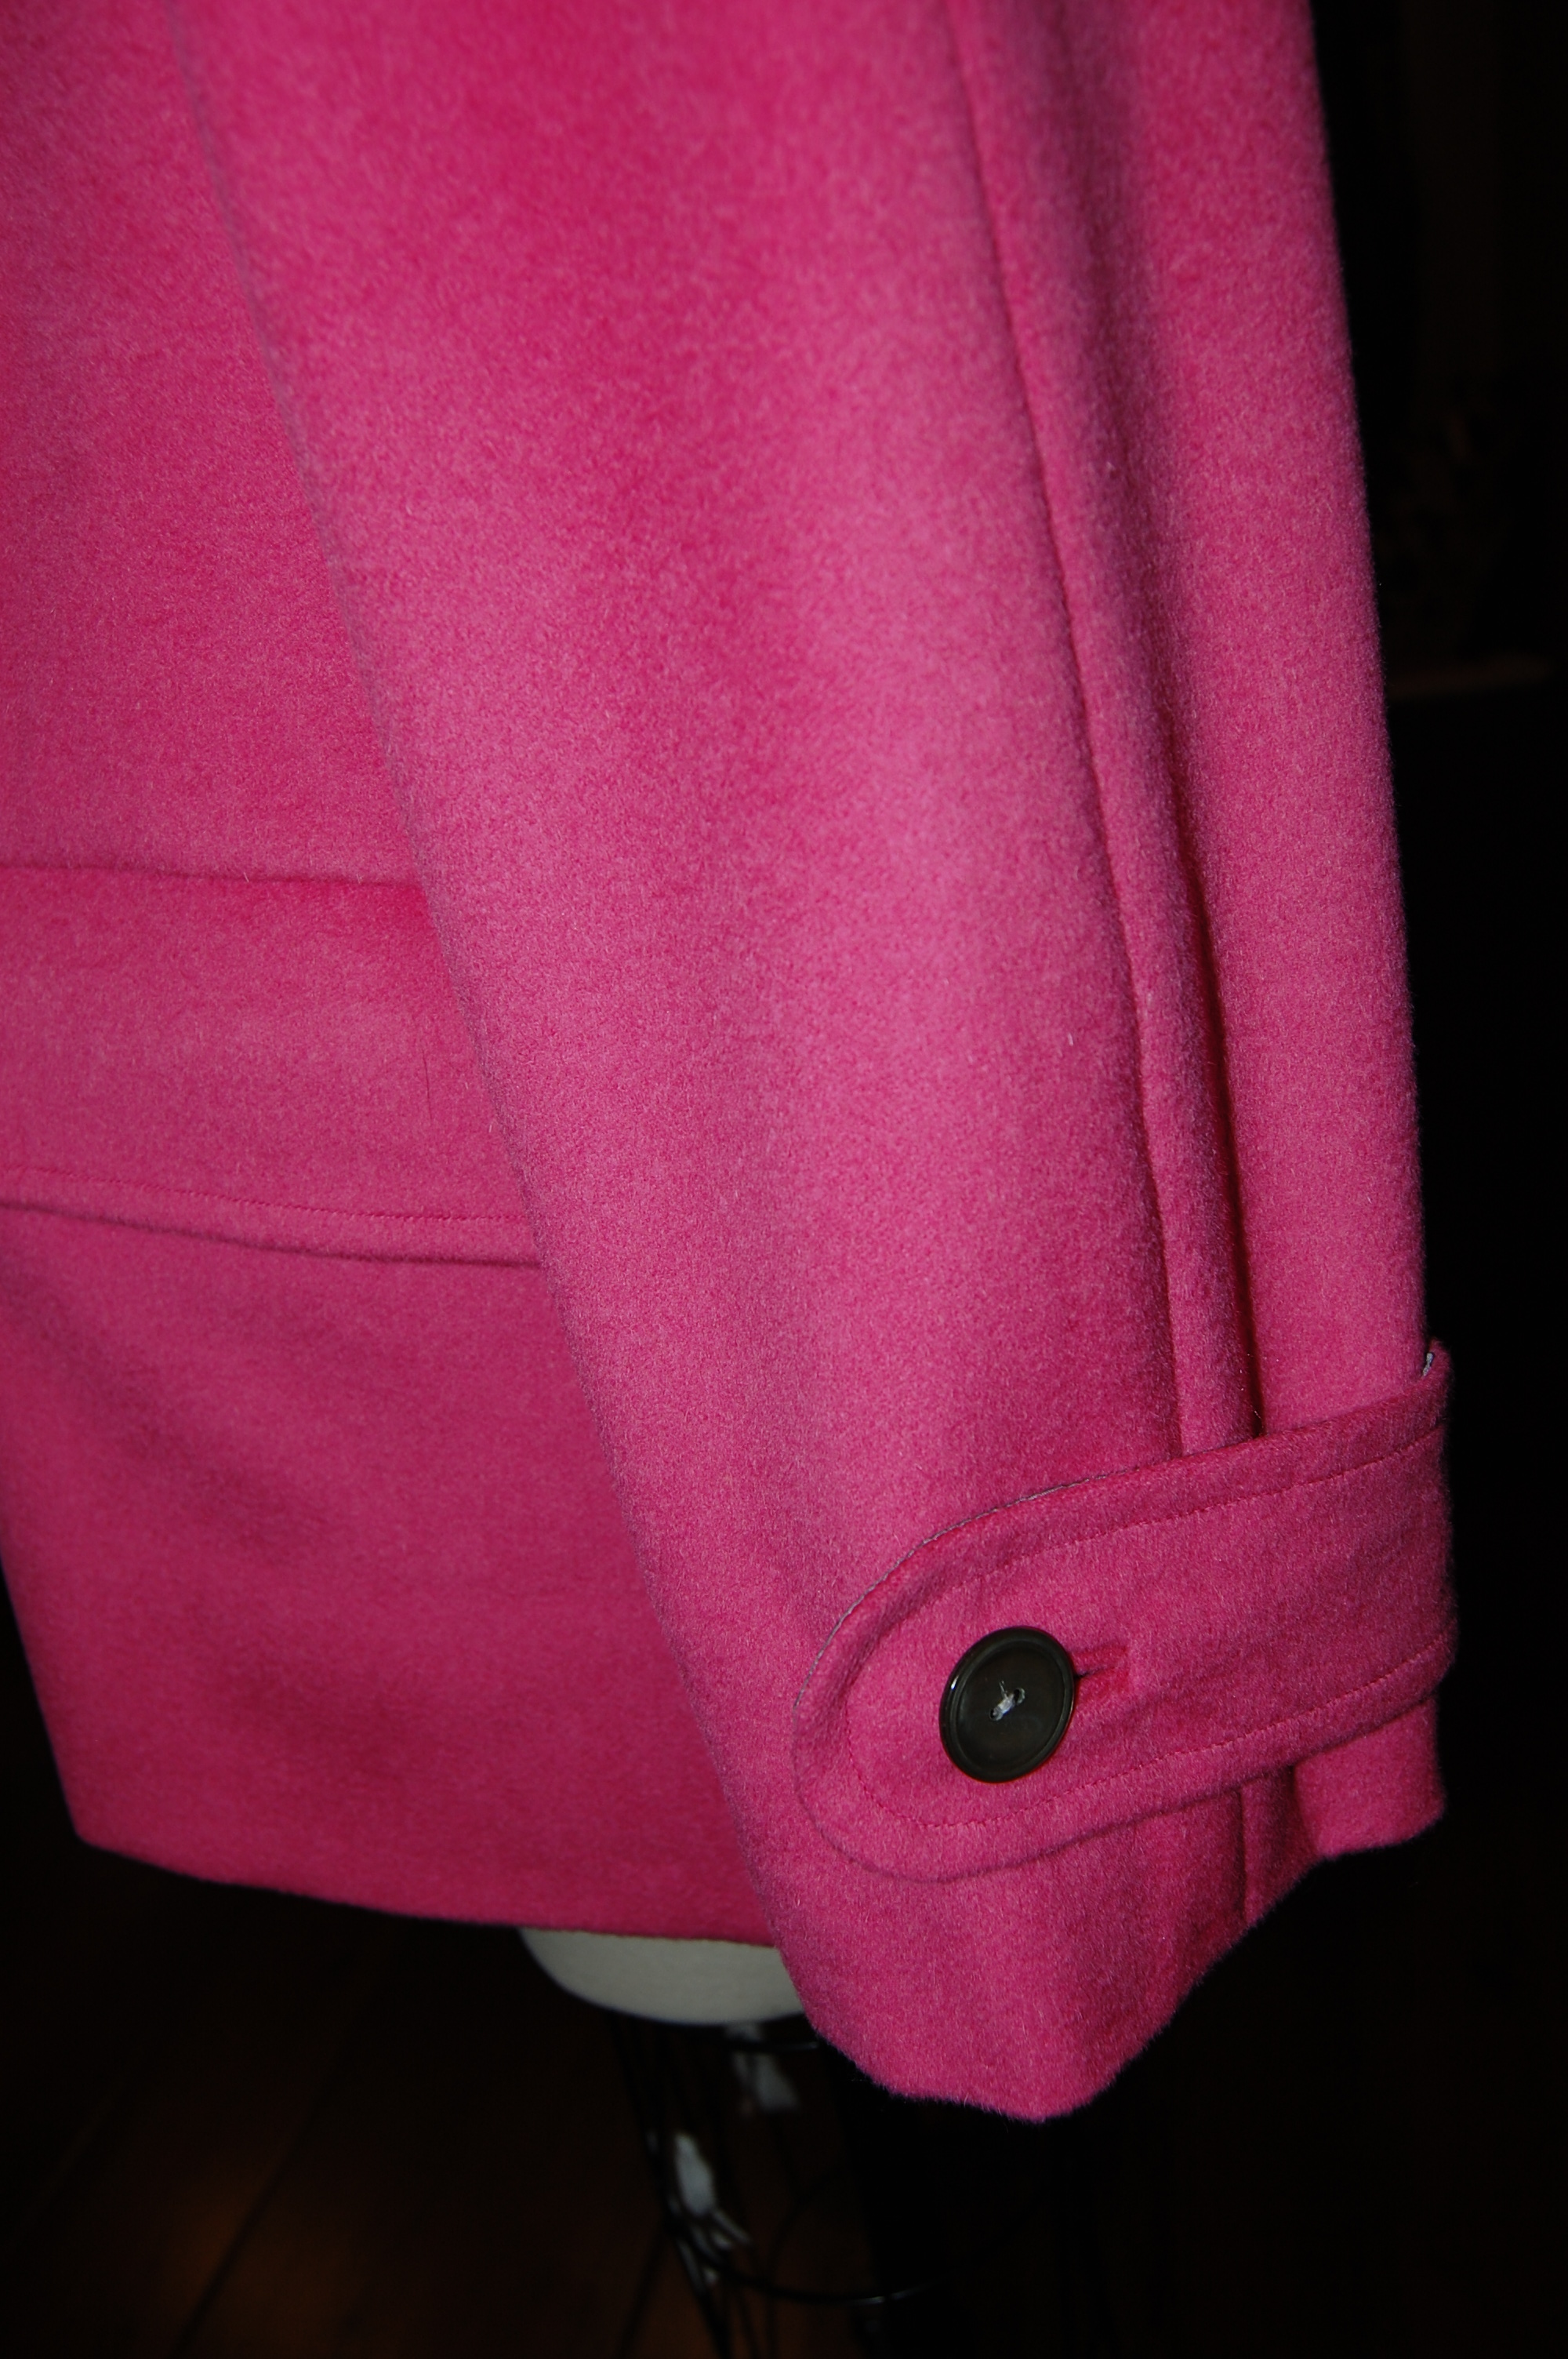
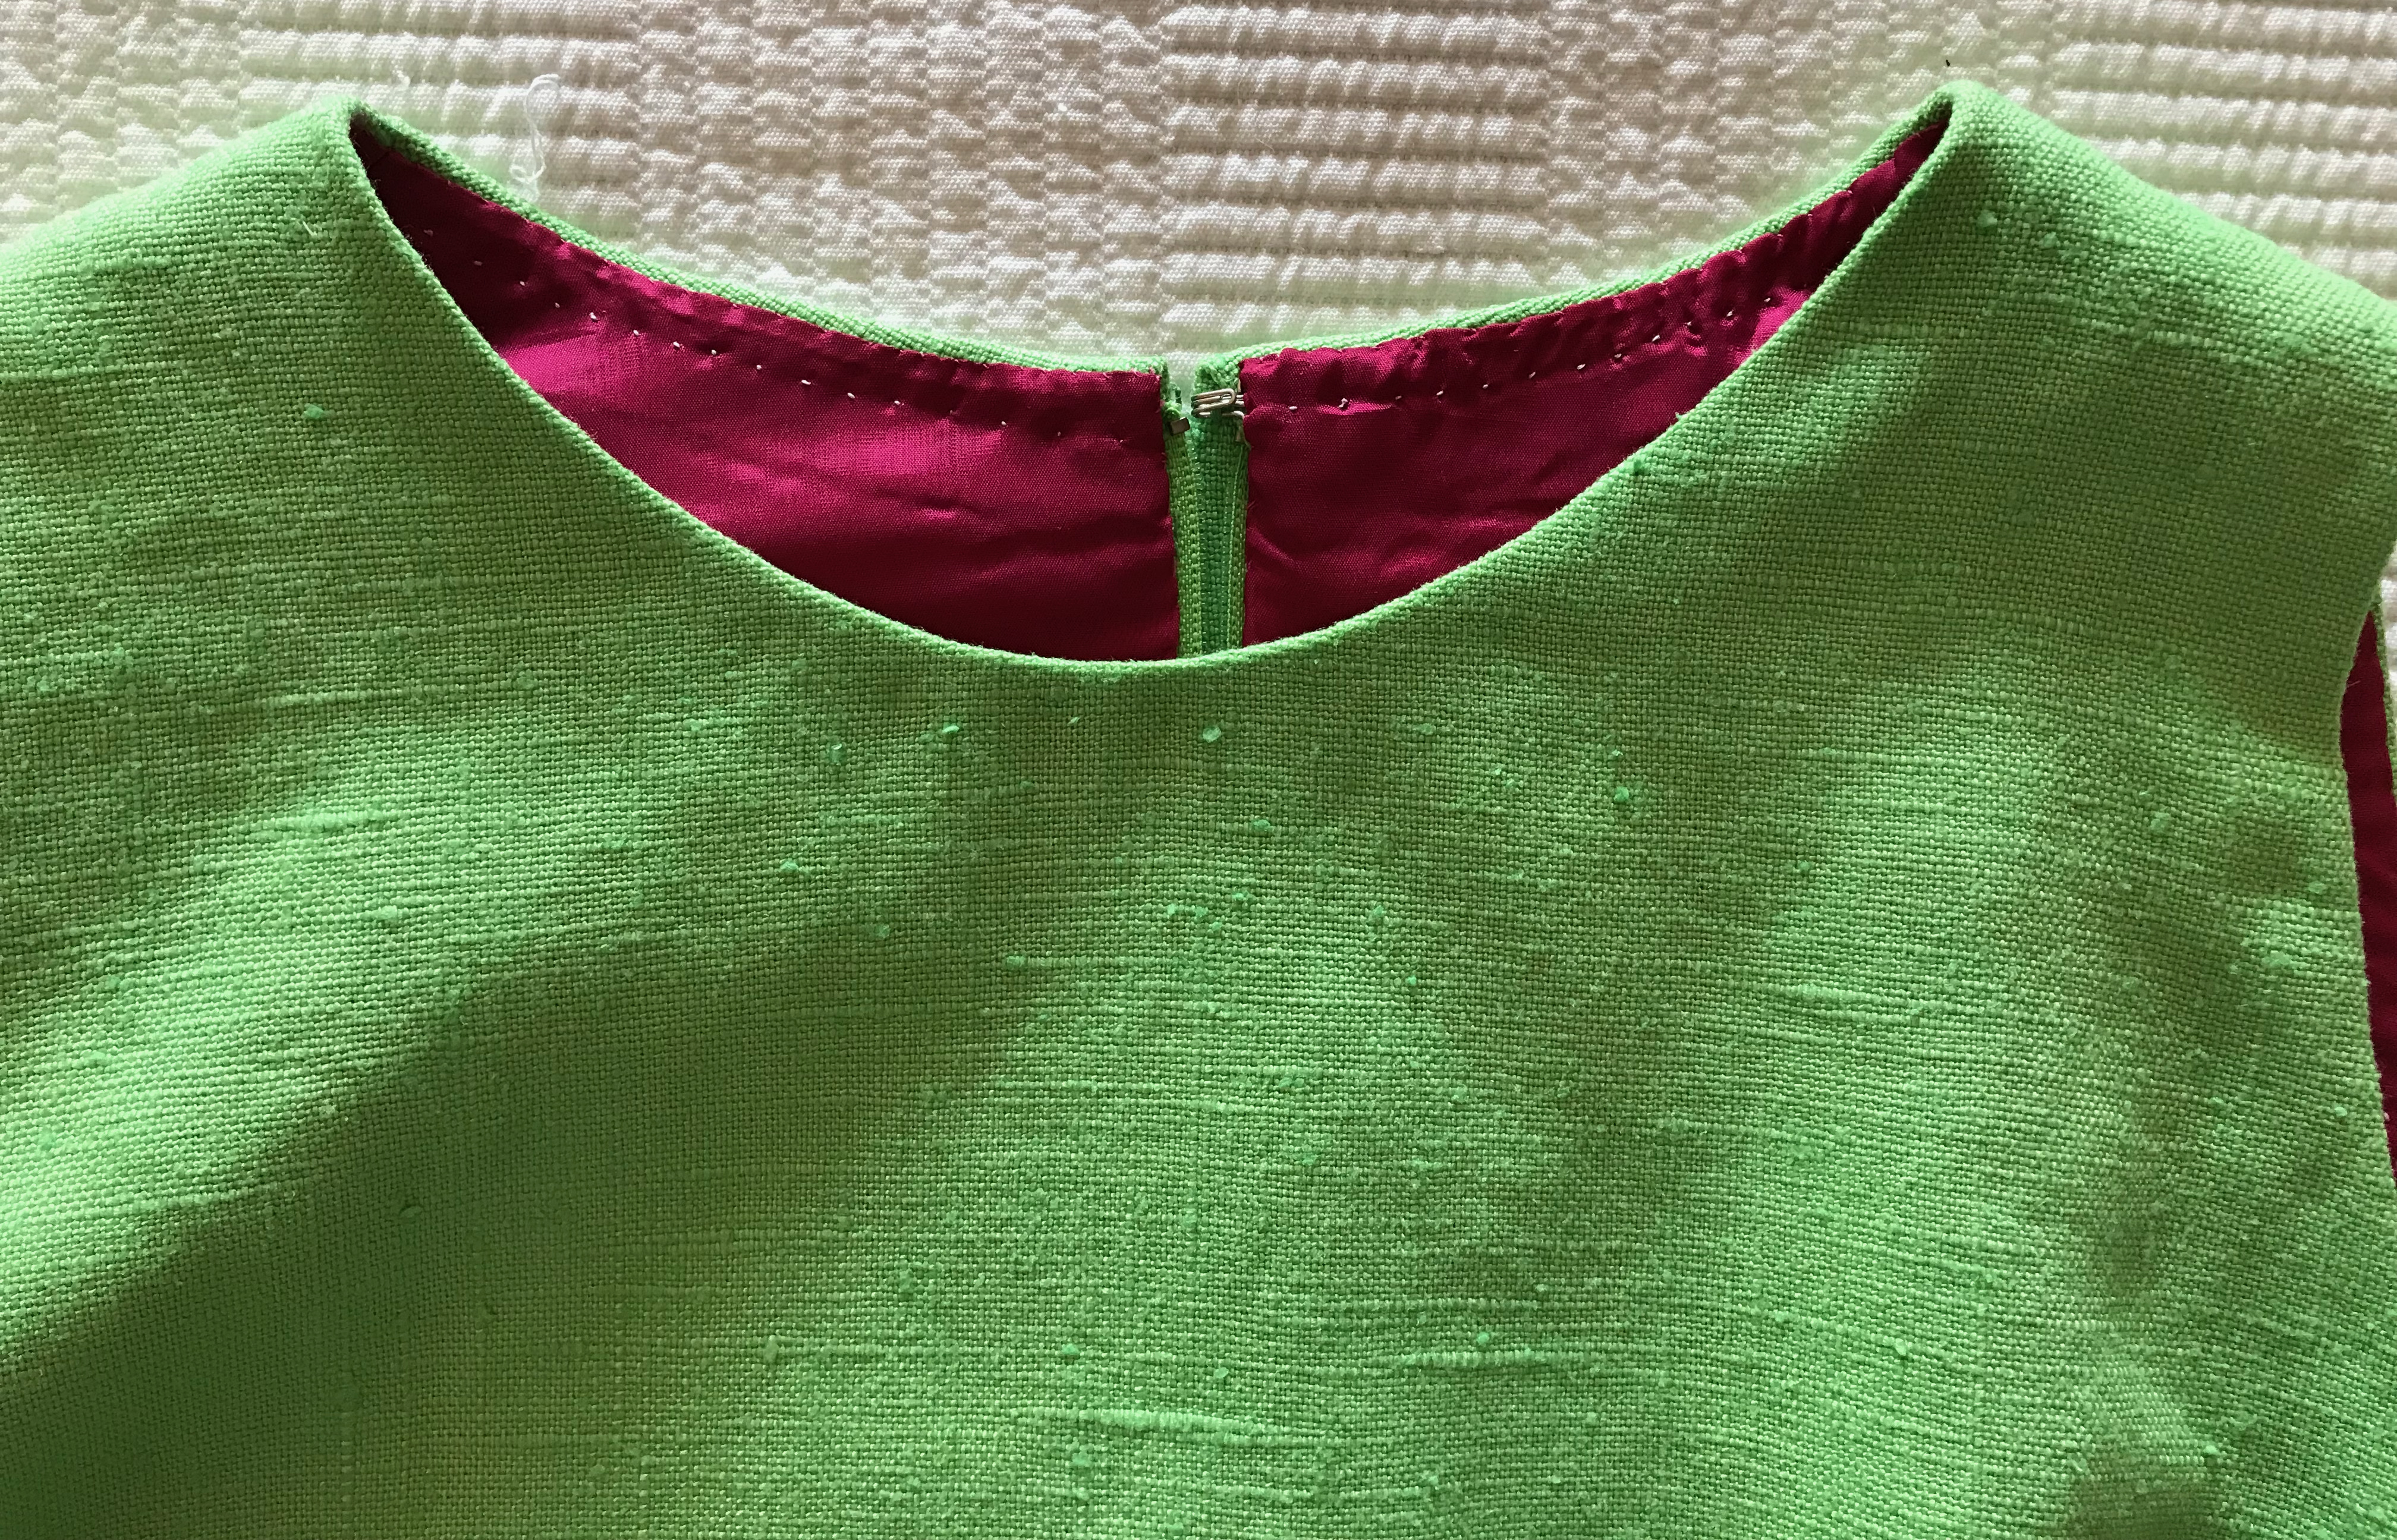
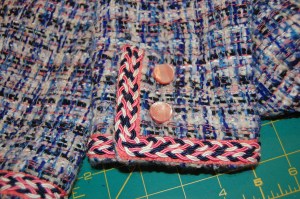
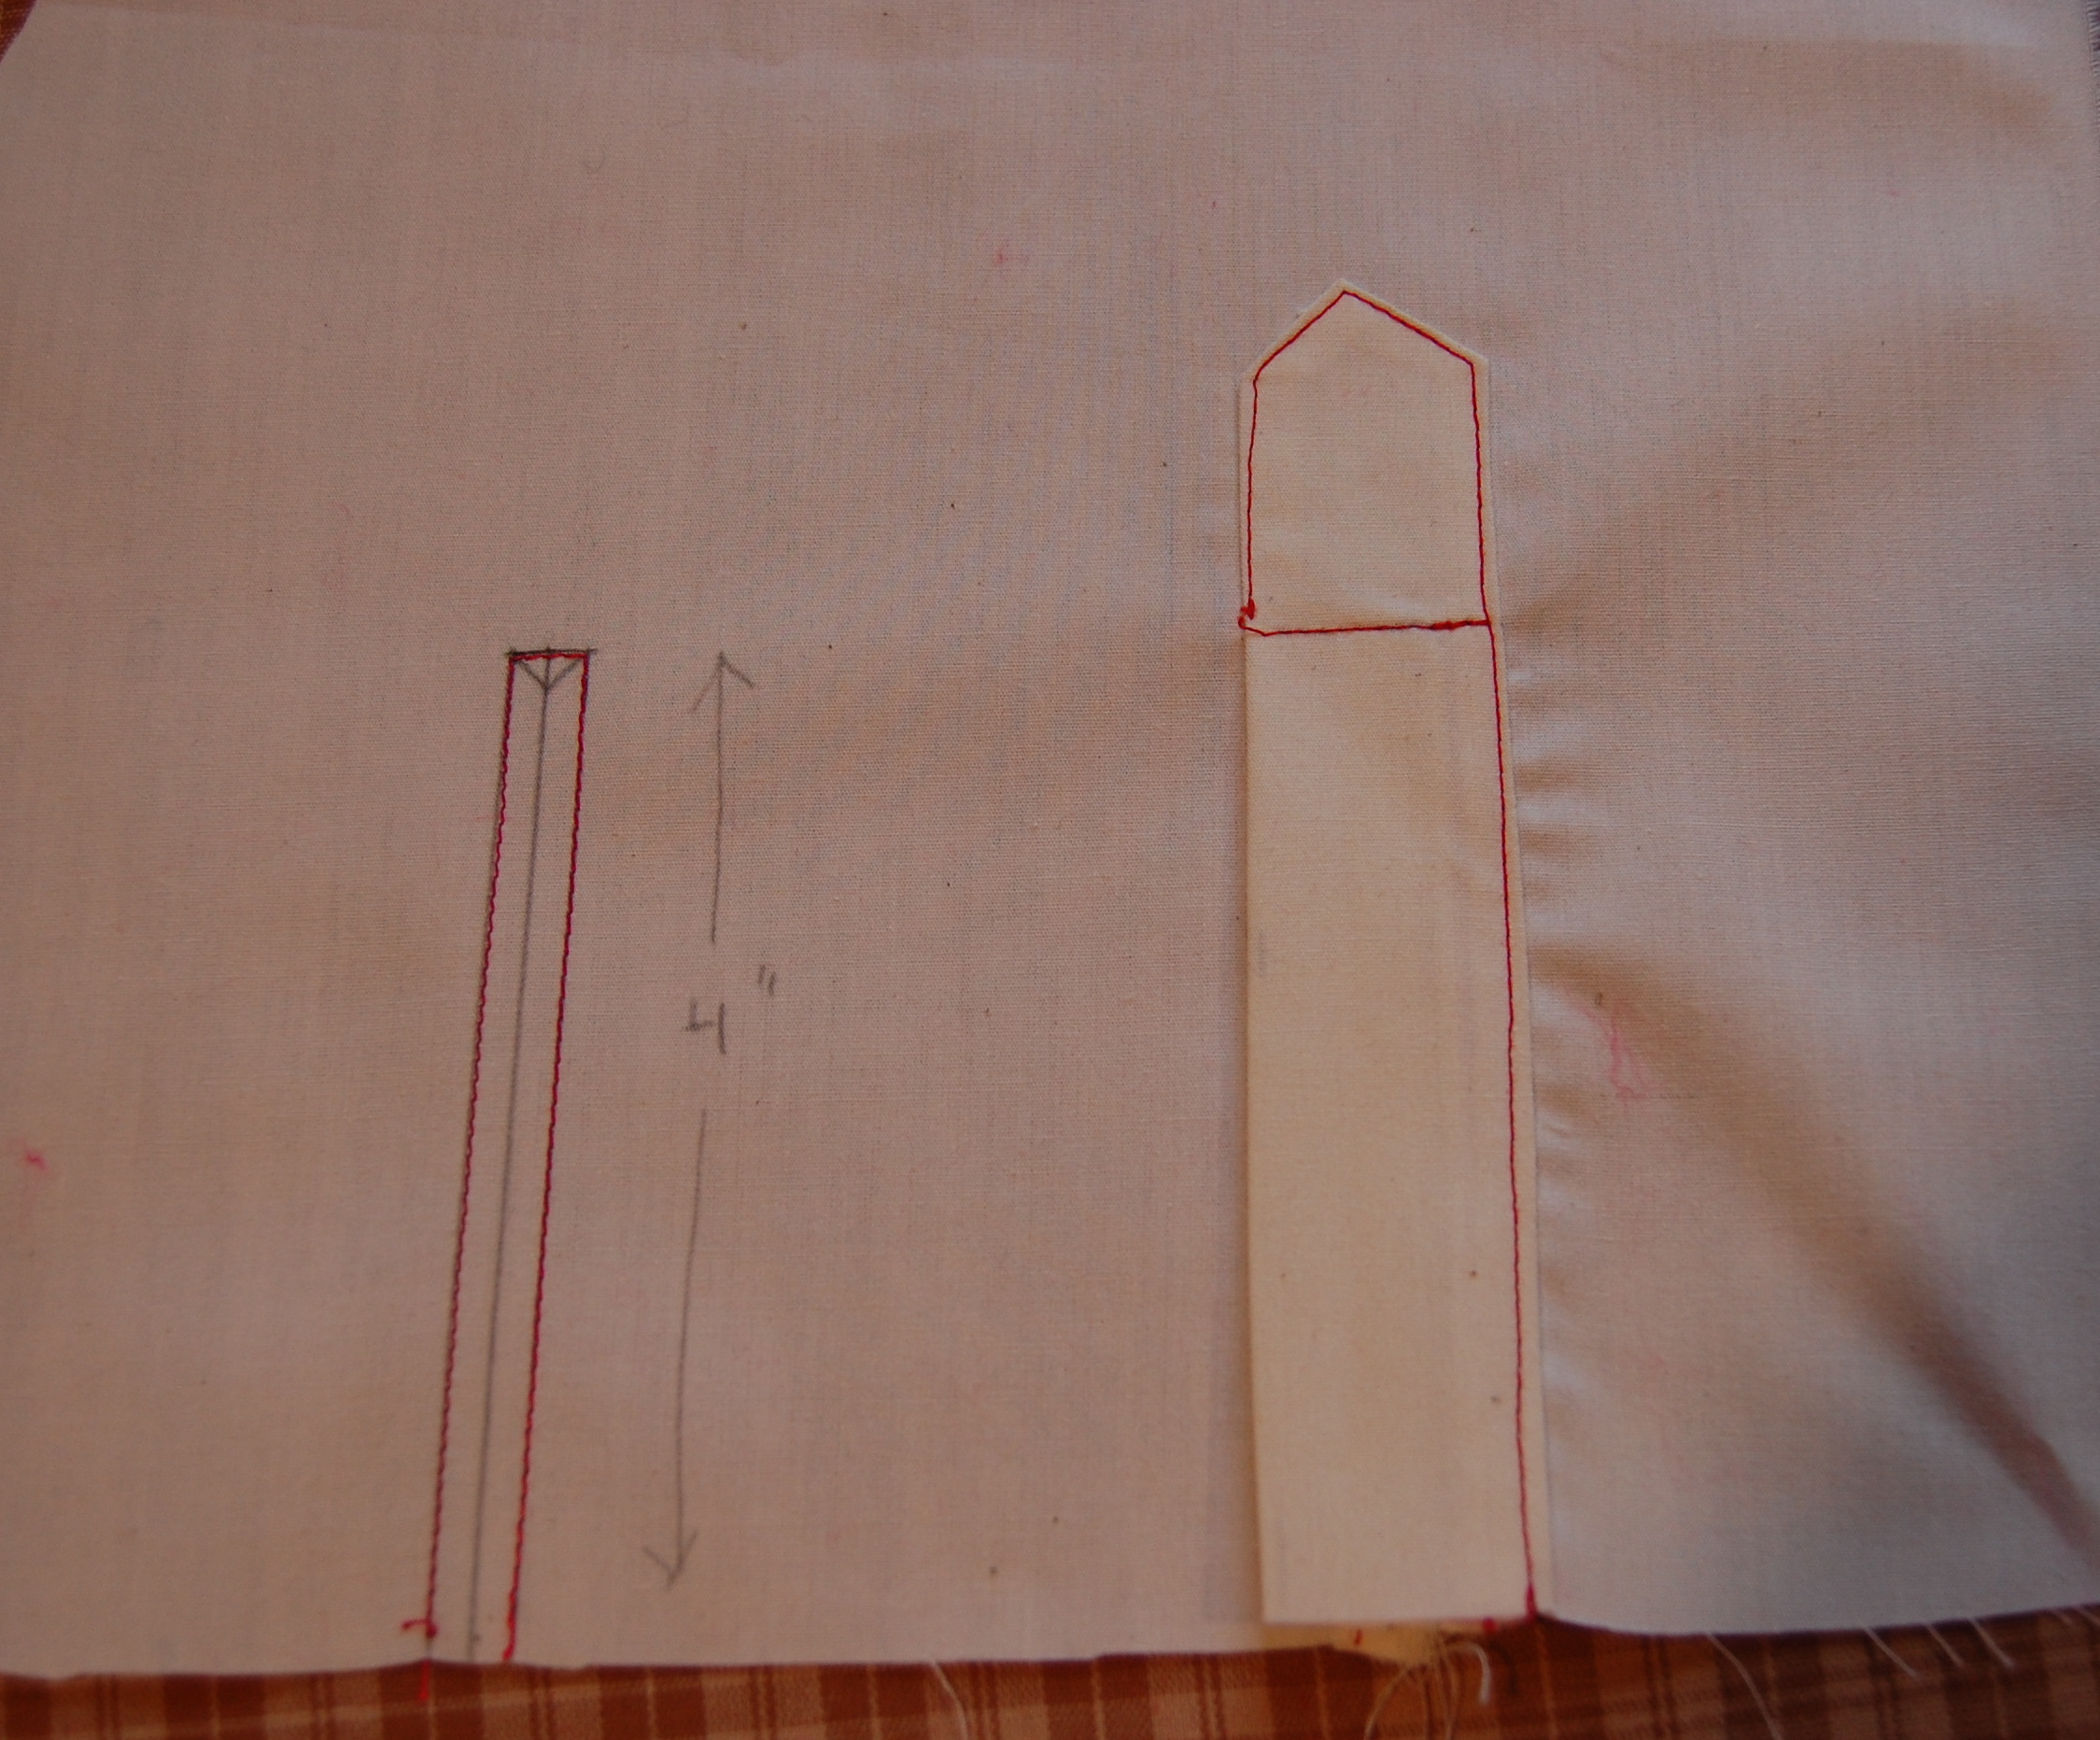
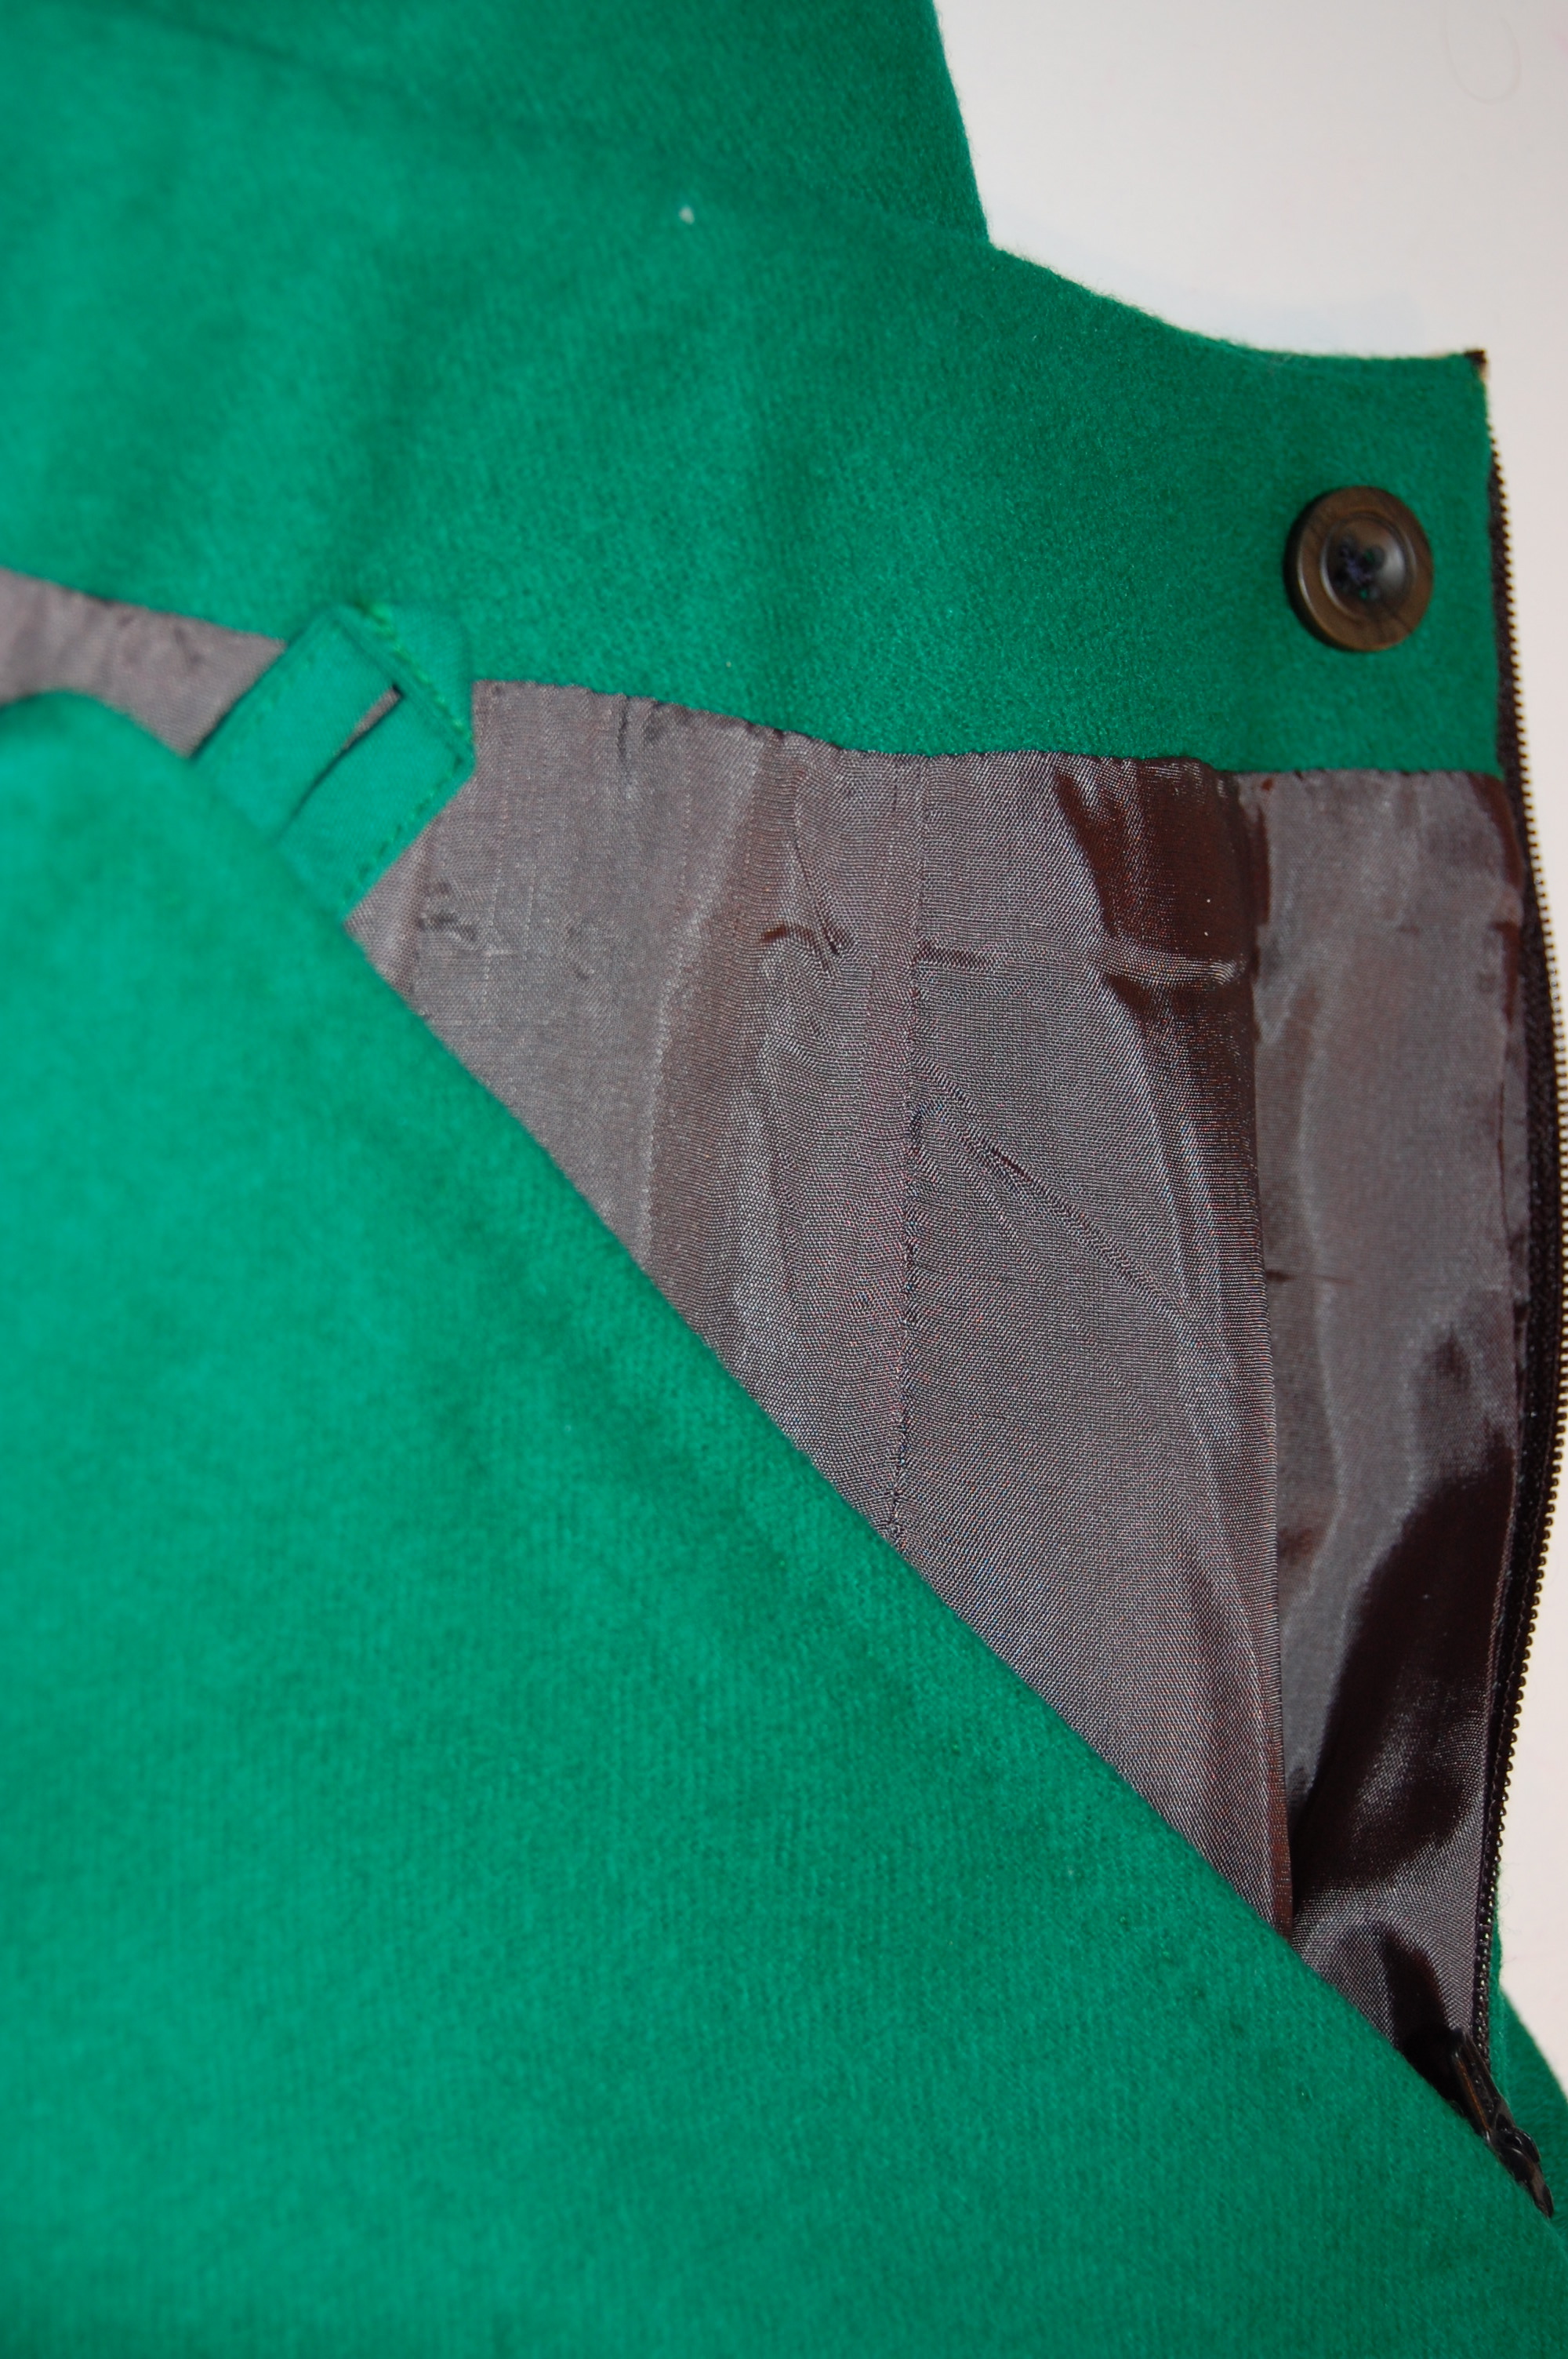
I inserted a lapped zipper by hand in the center back seam.
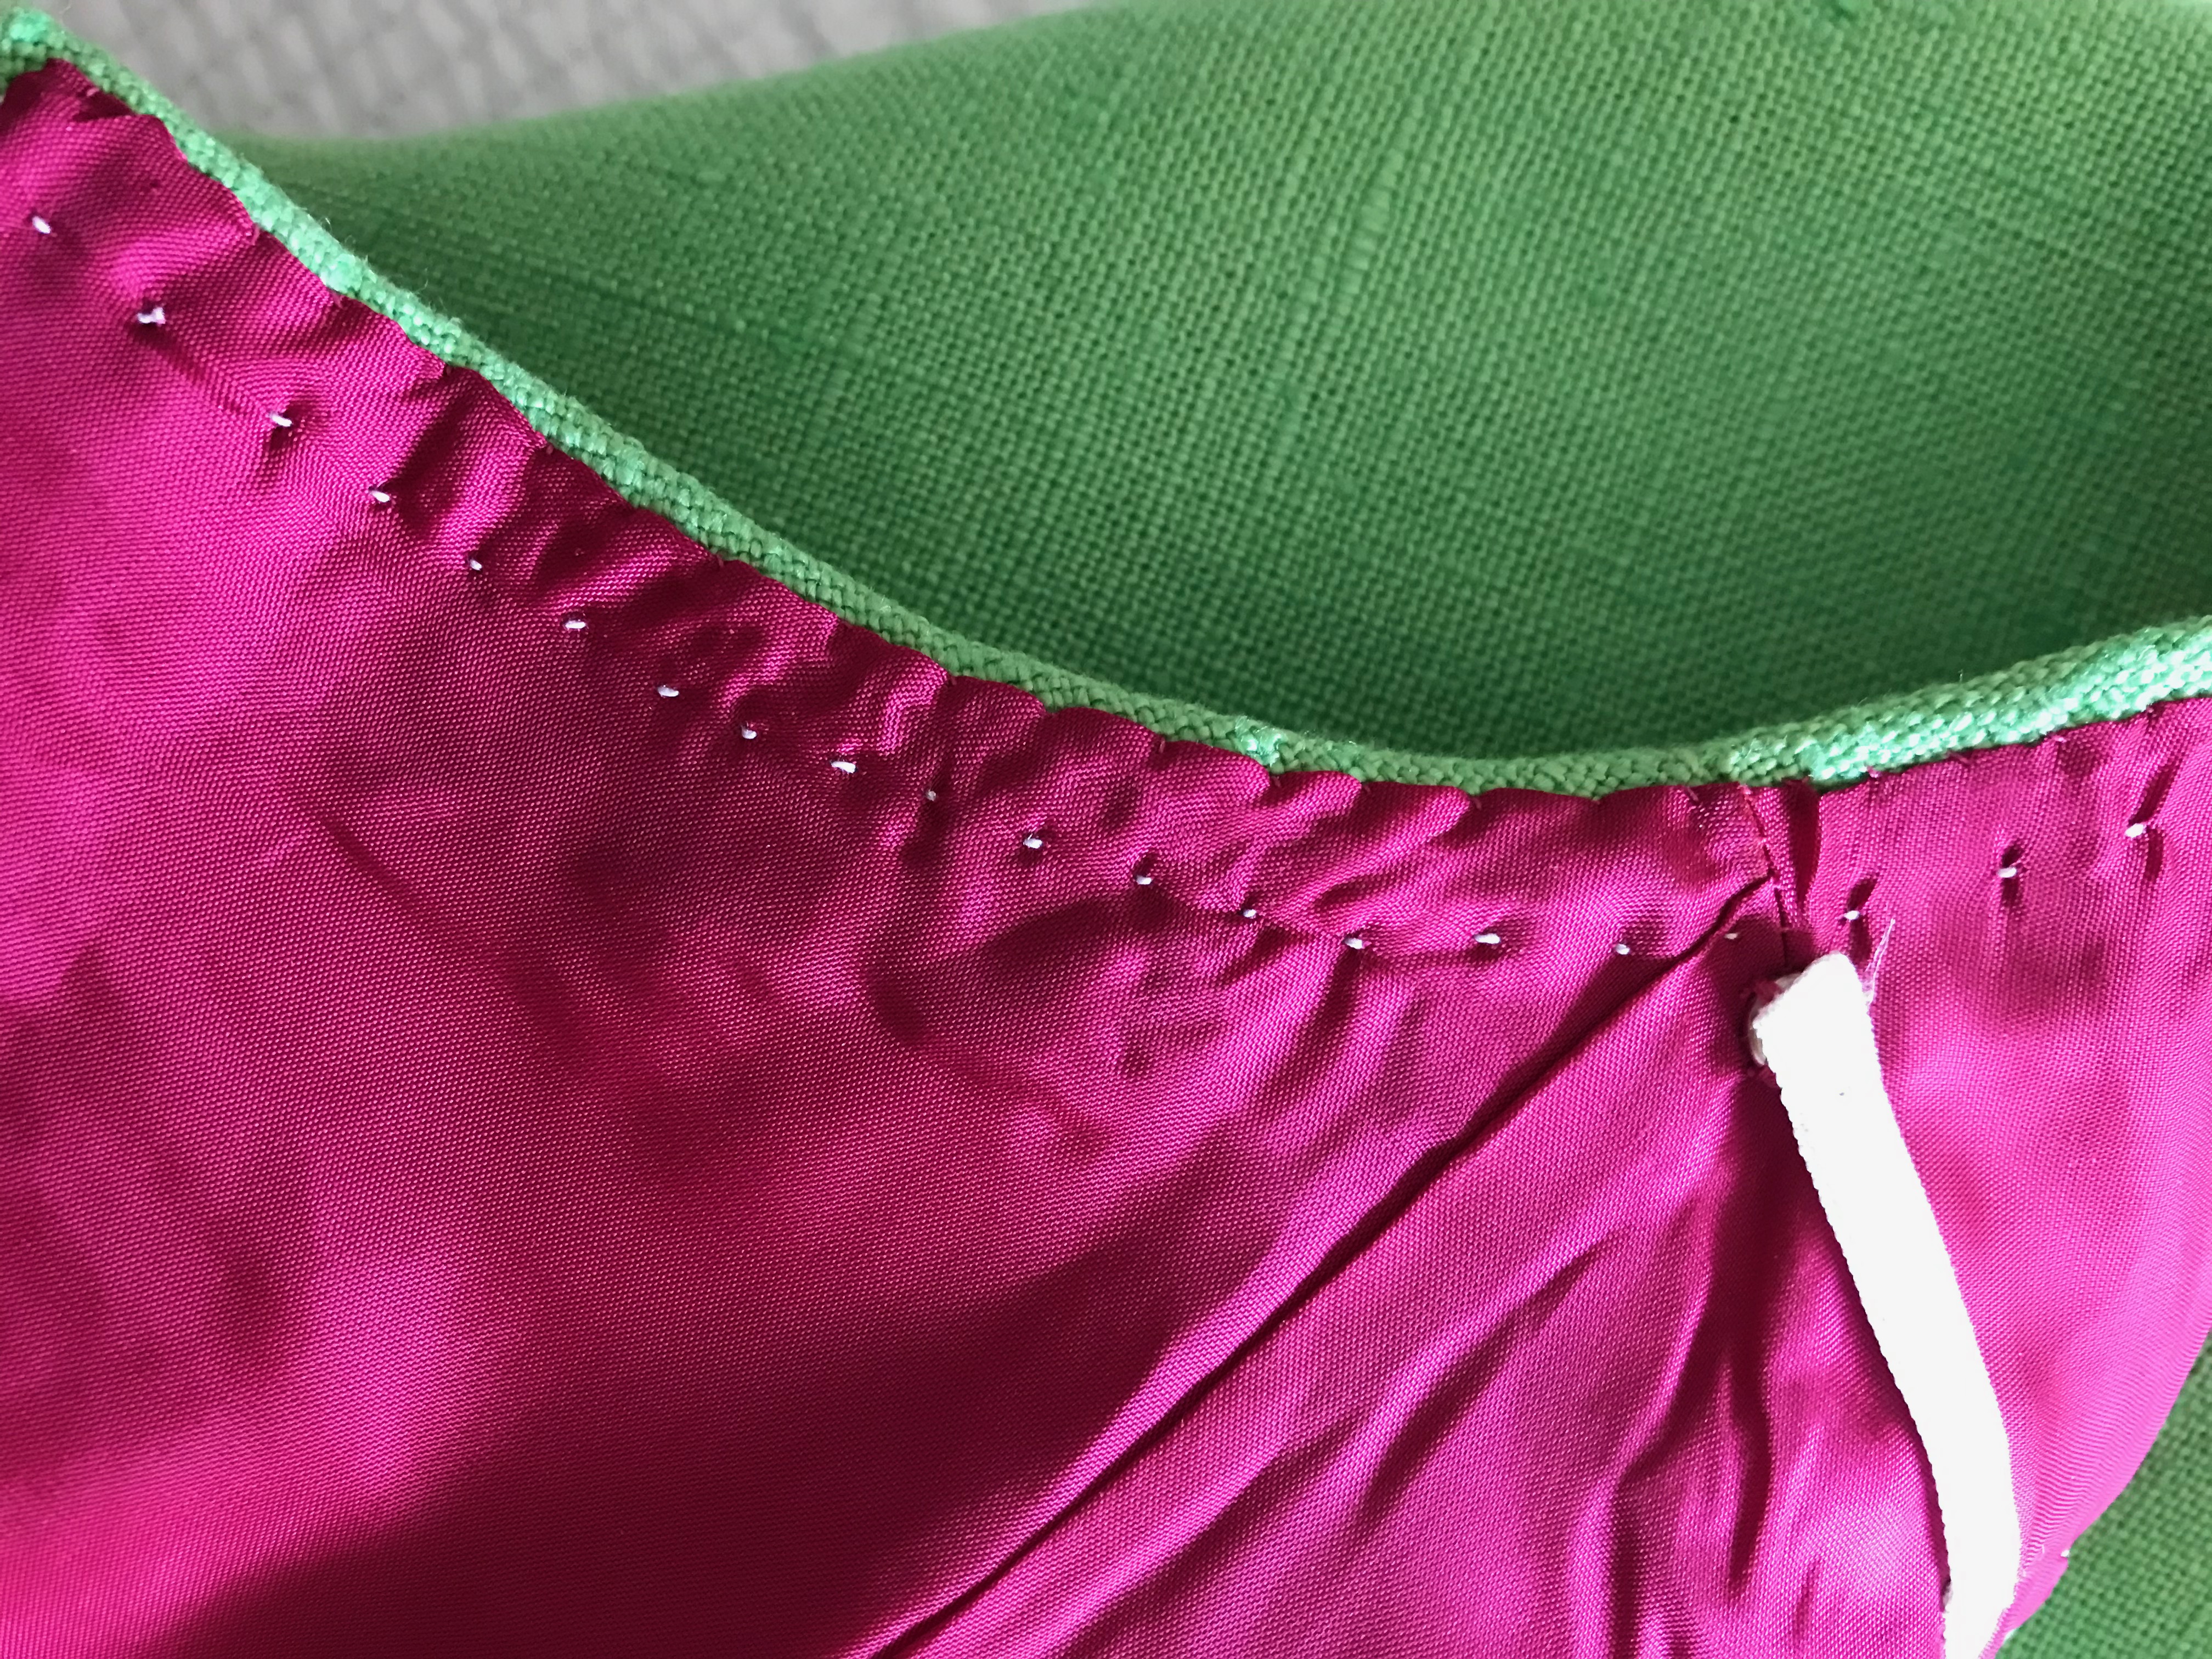
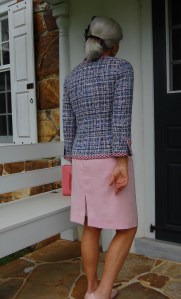
I angled the center back vent toward the center back seam so that it will hang evenly when I am wearing the skirt.
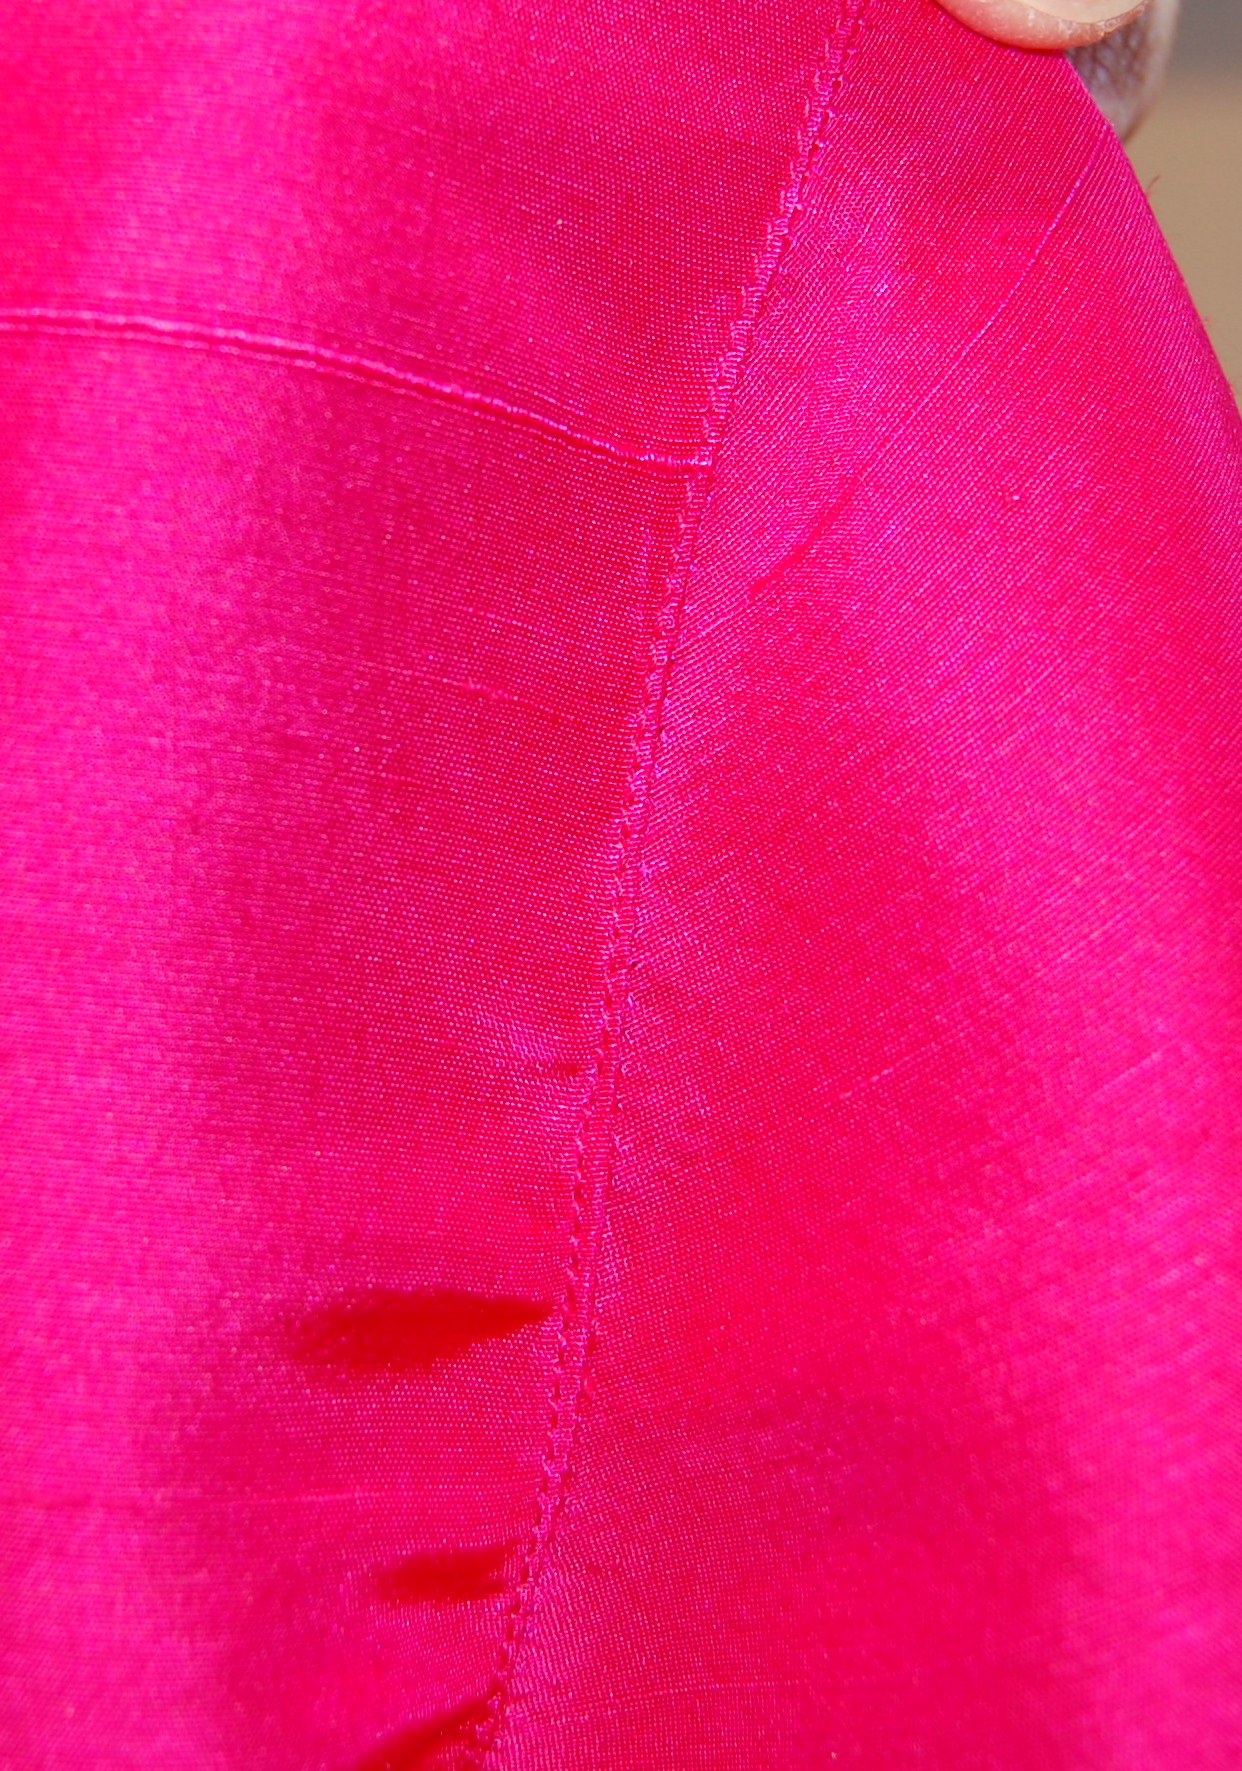
It is easy to see the angle on the vent with this particular fabric.
One side of the vent folded back.
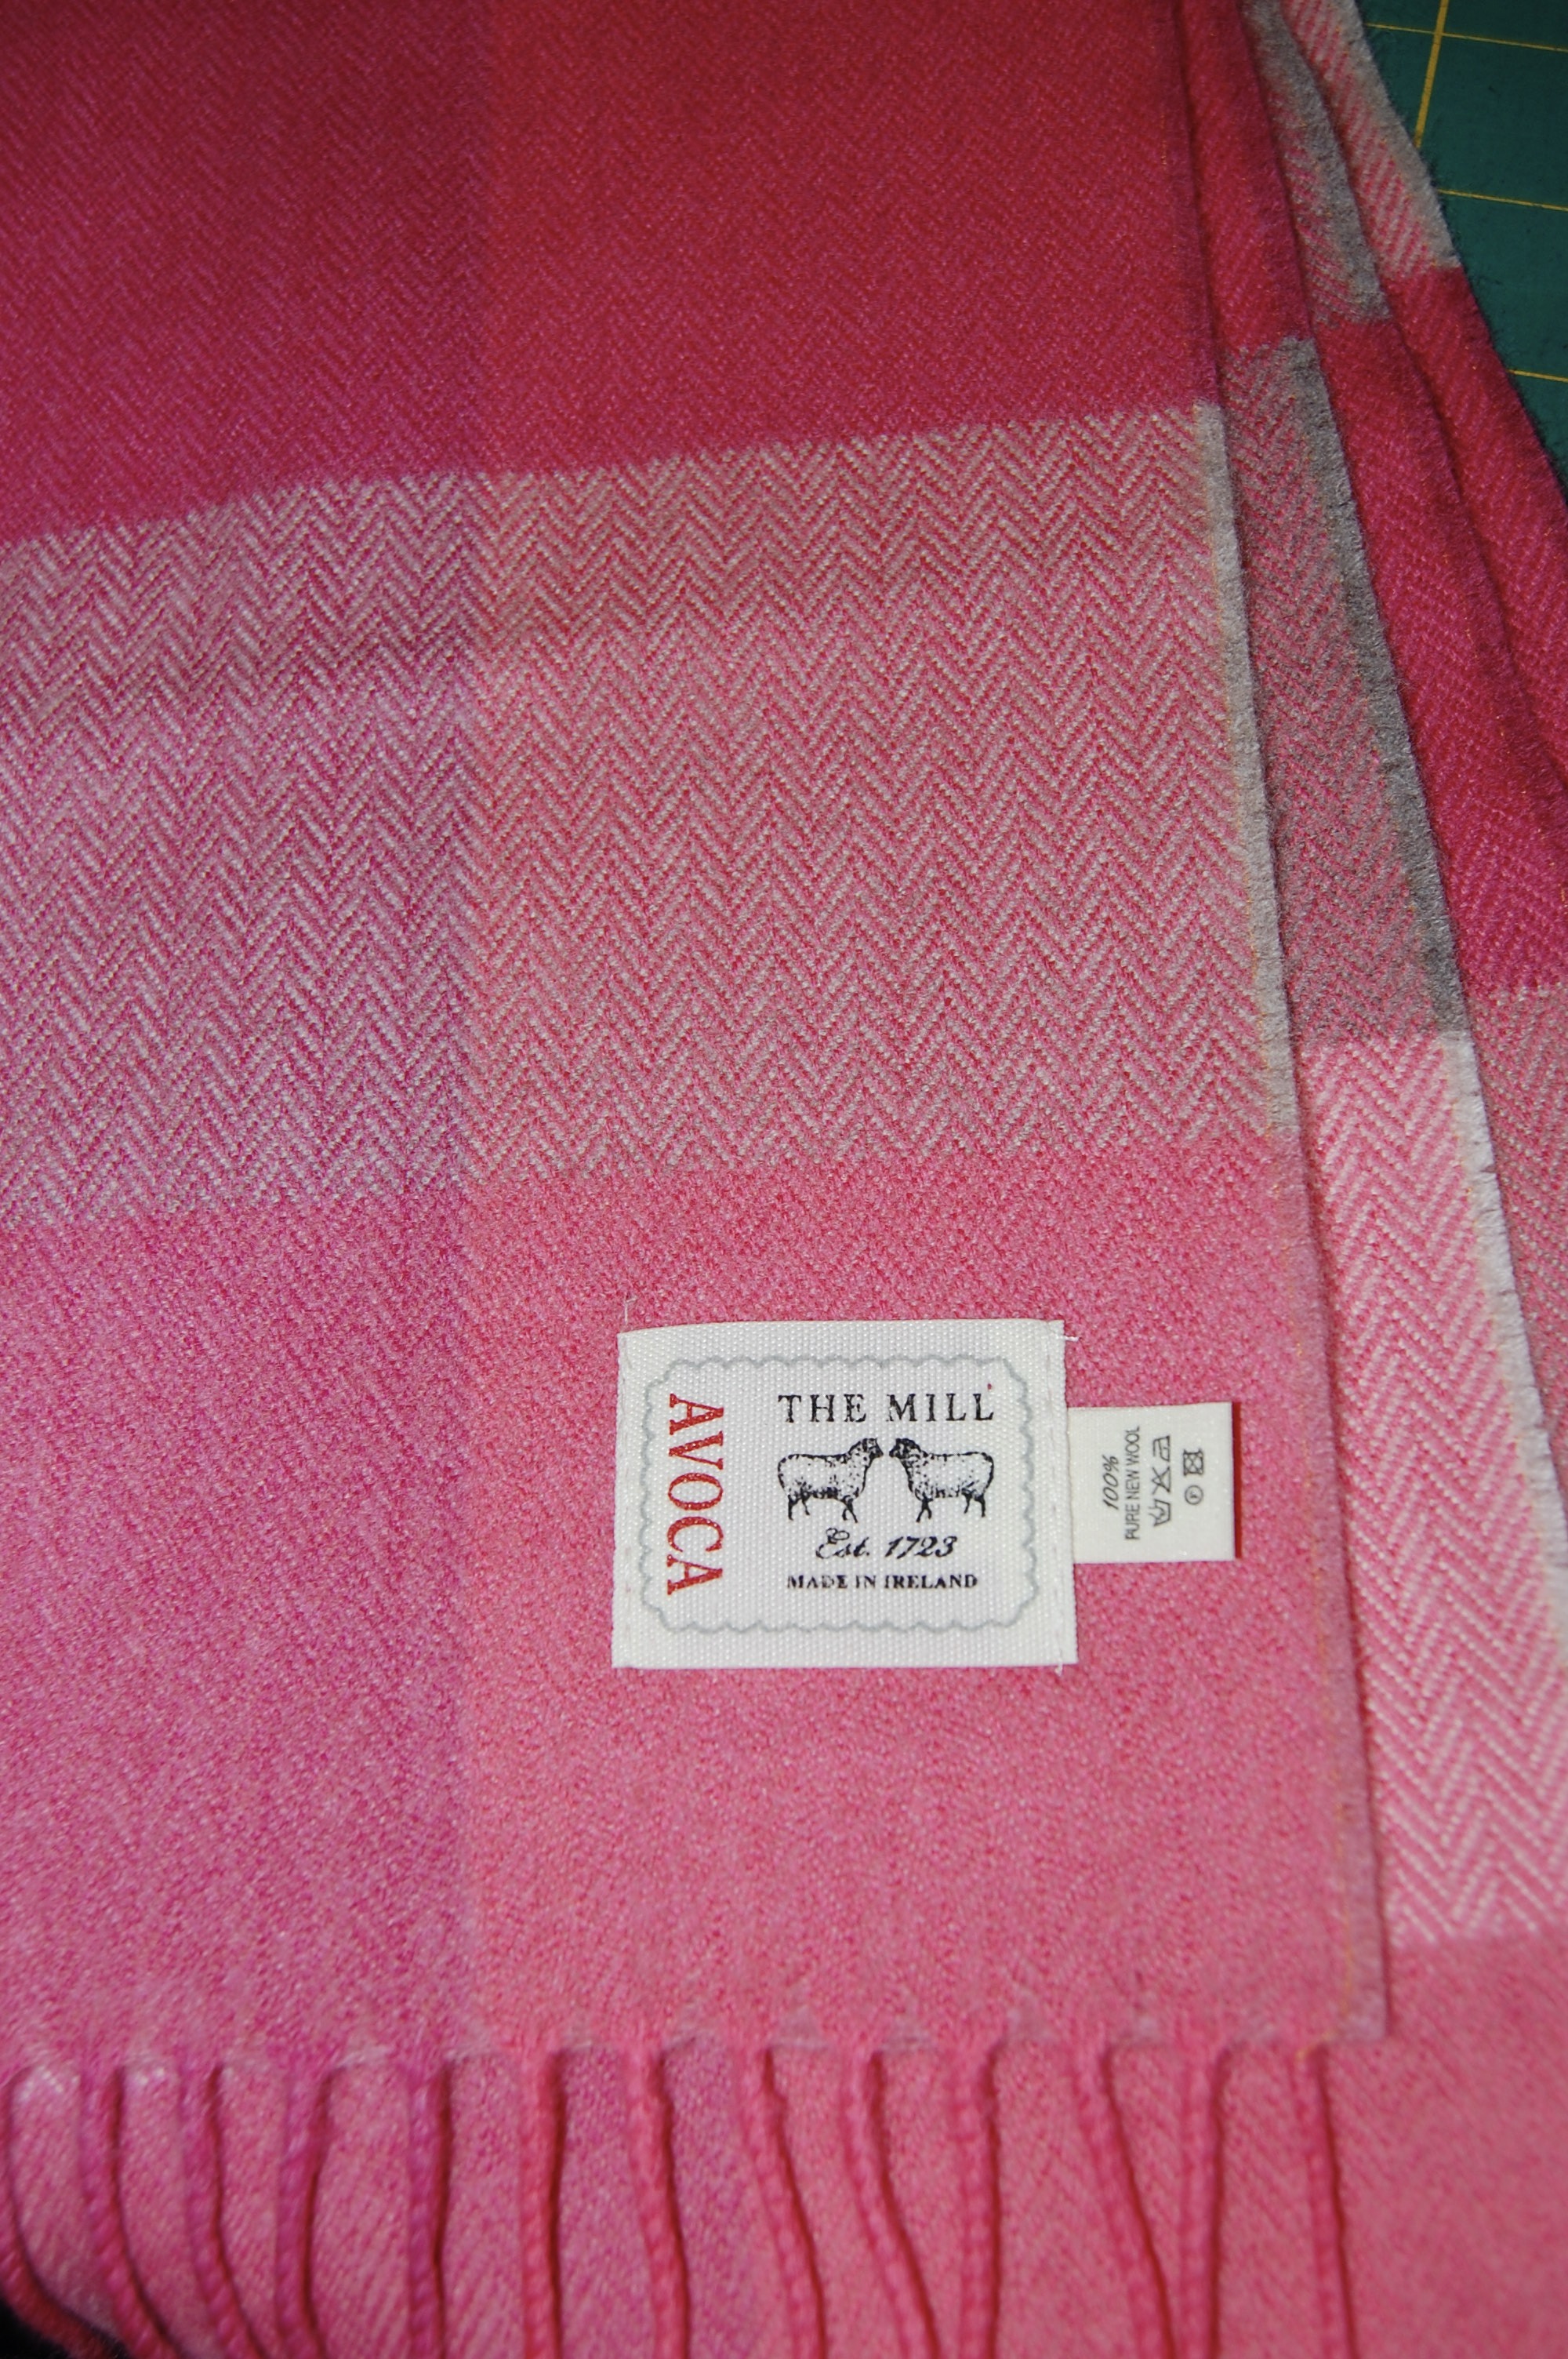
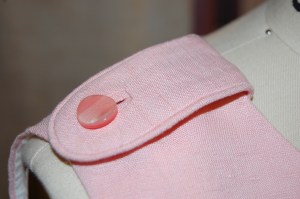
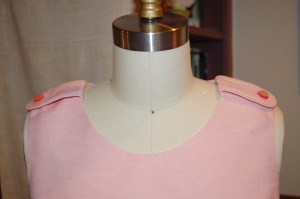
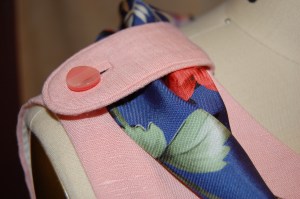
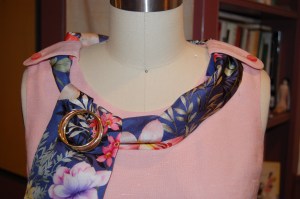
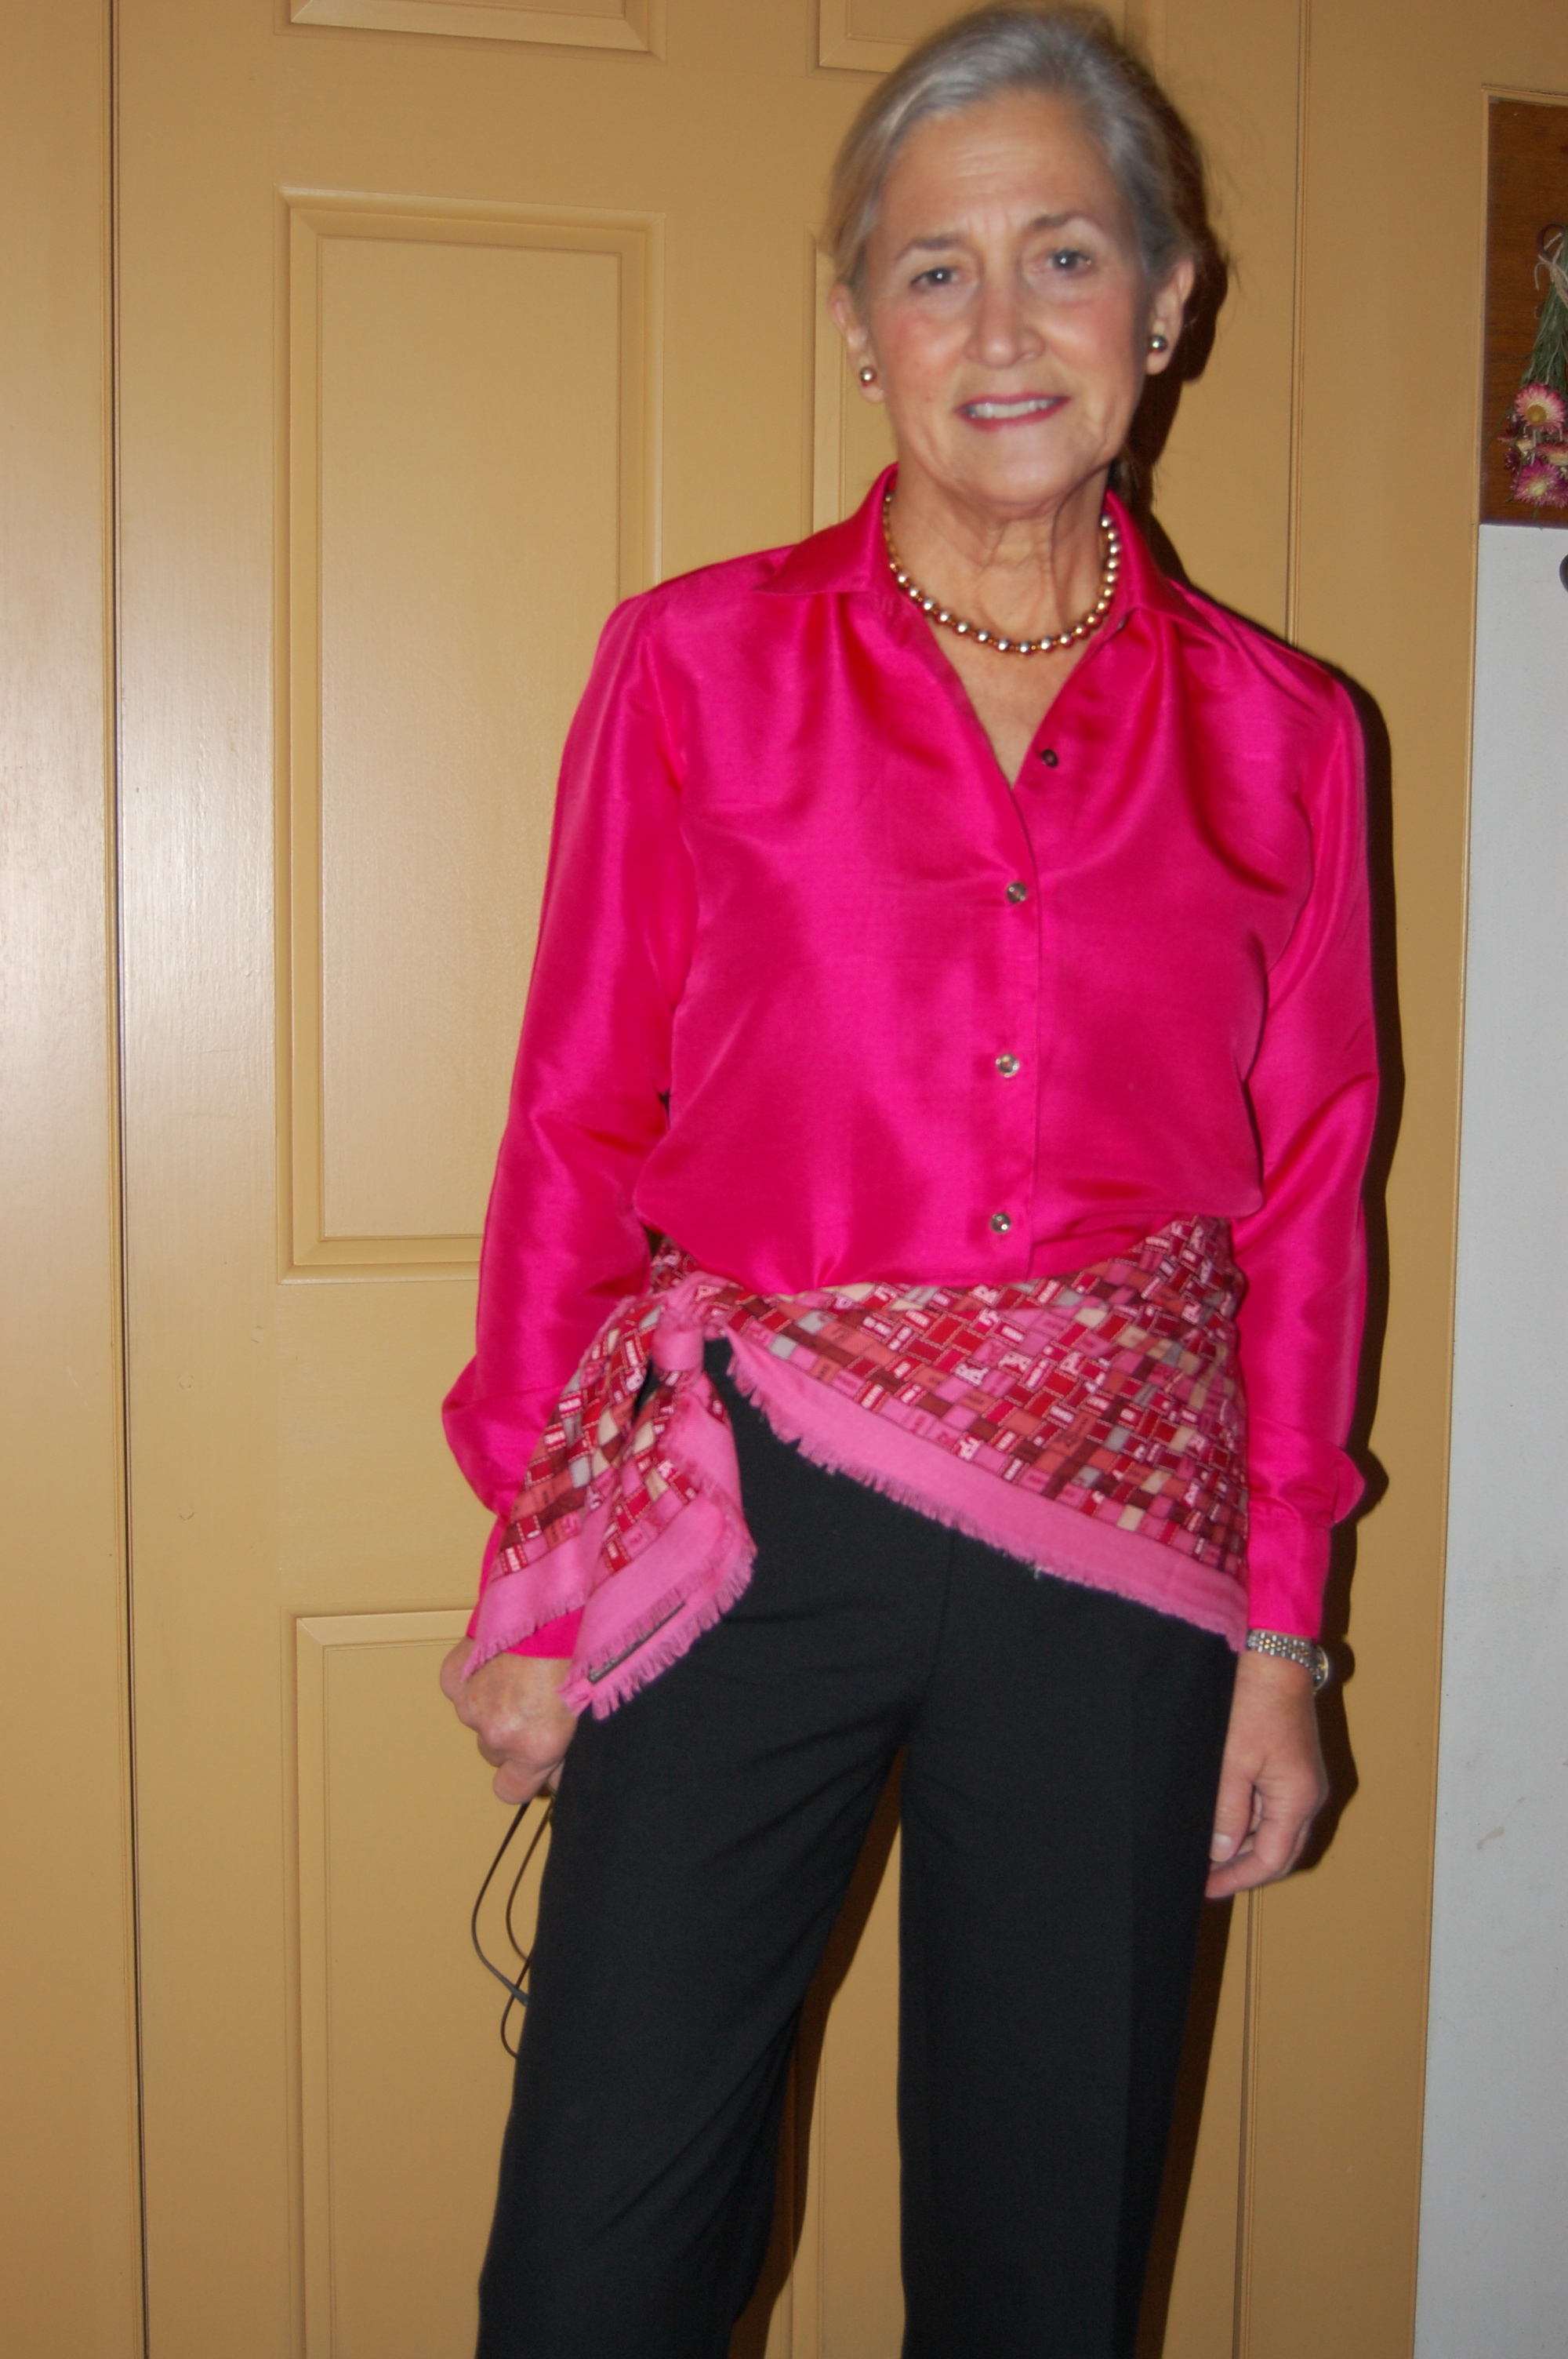
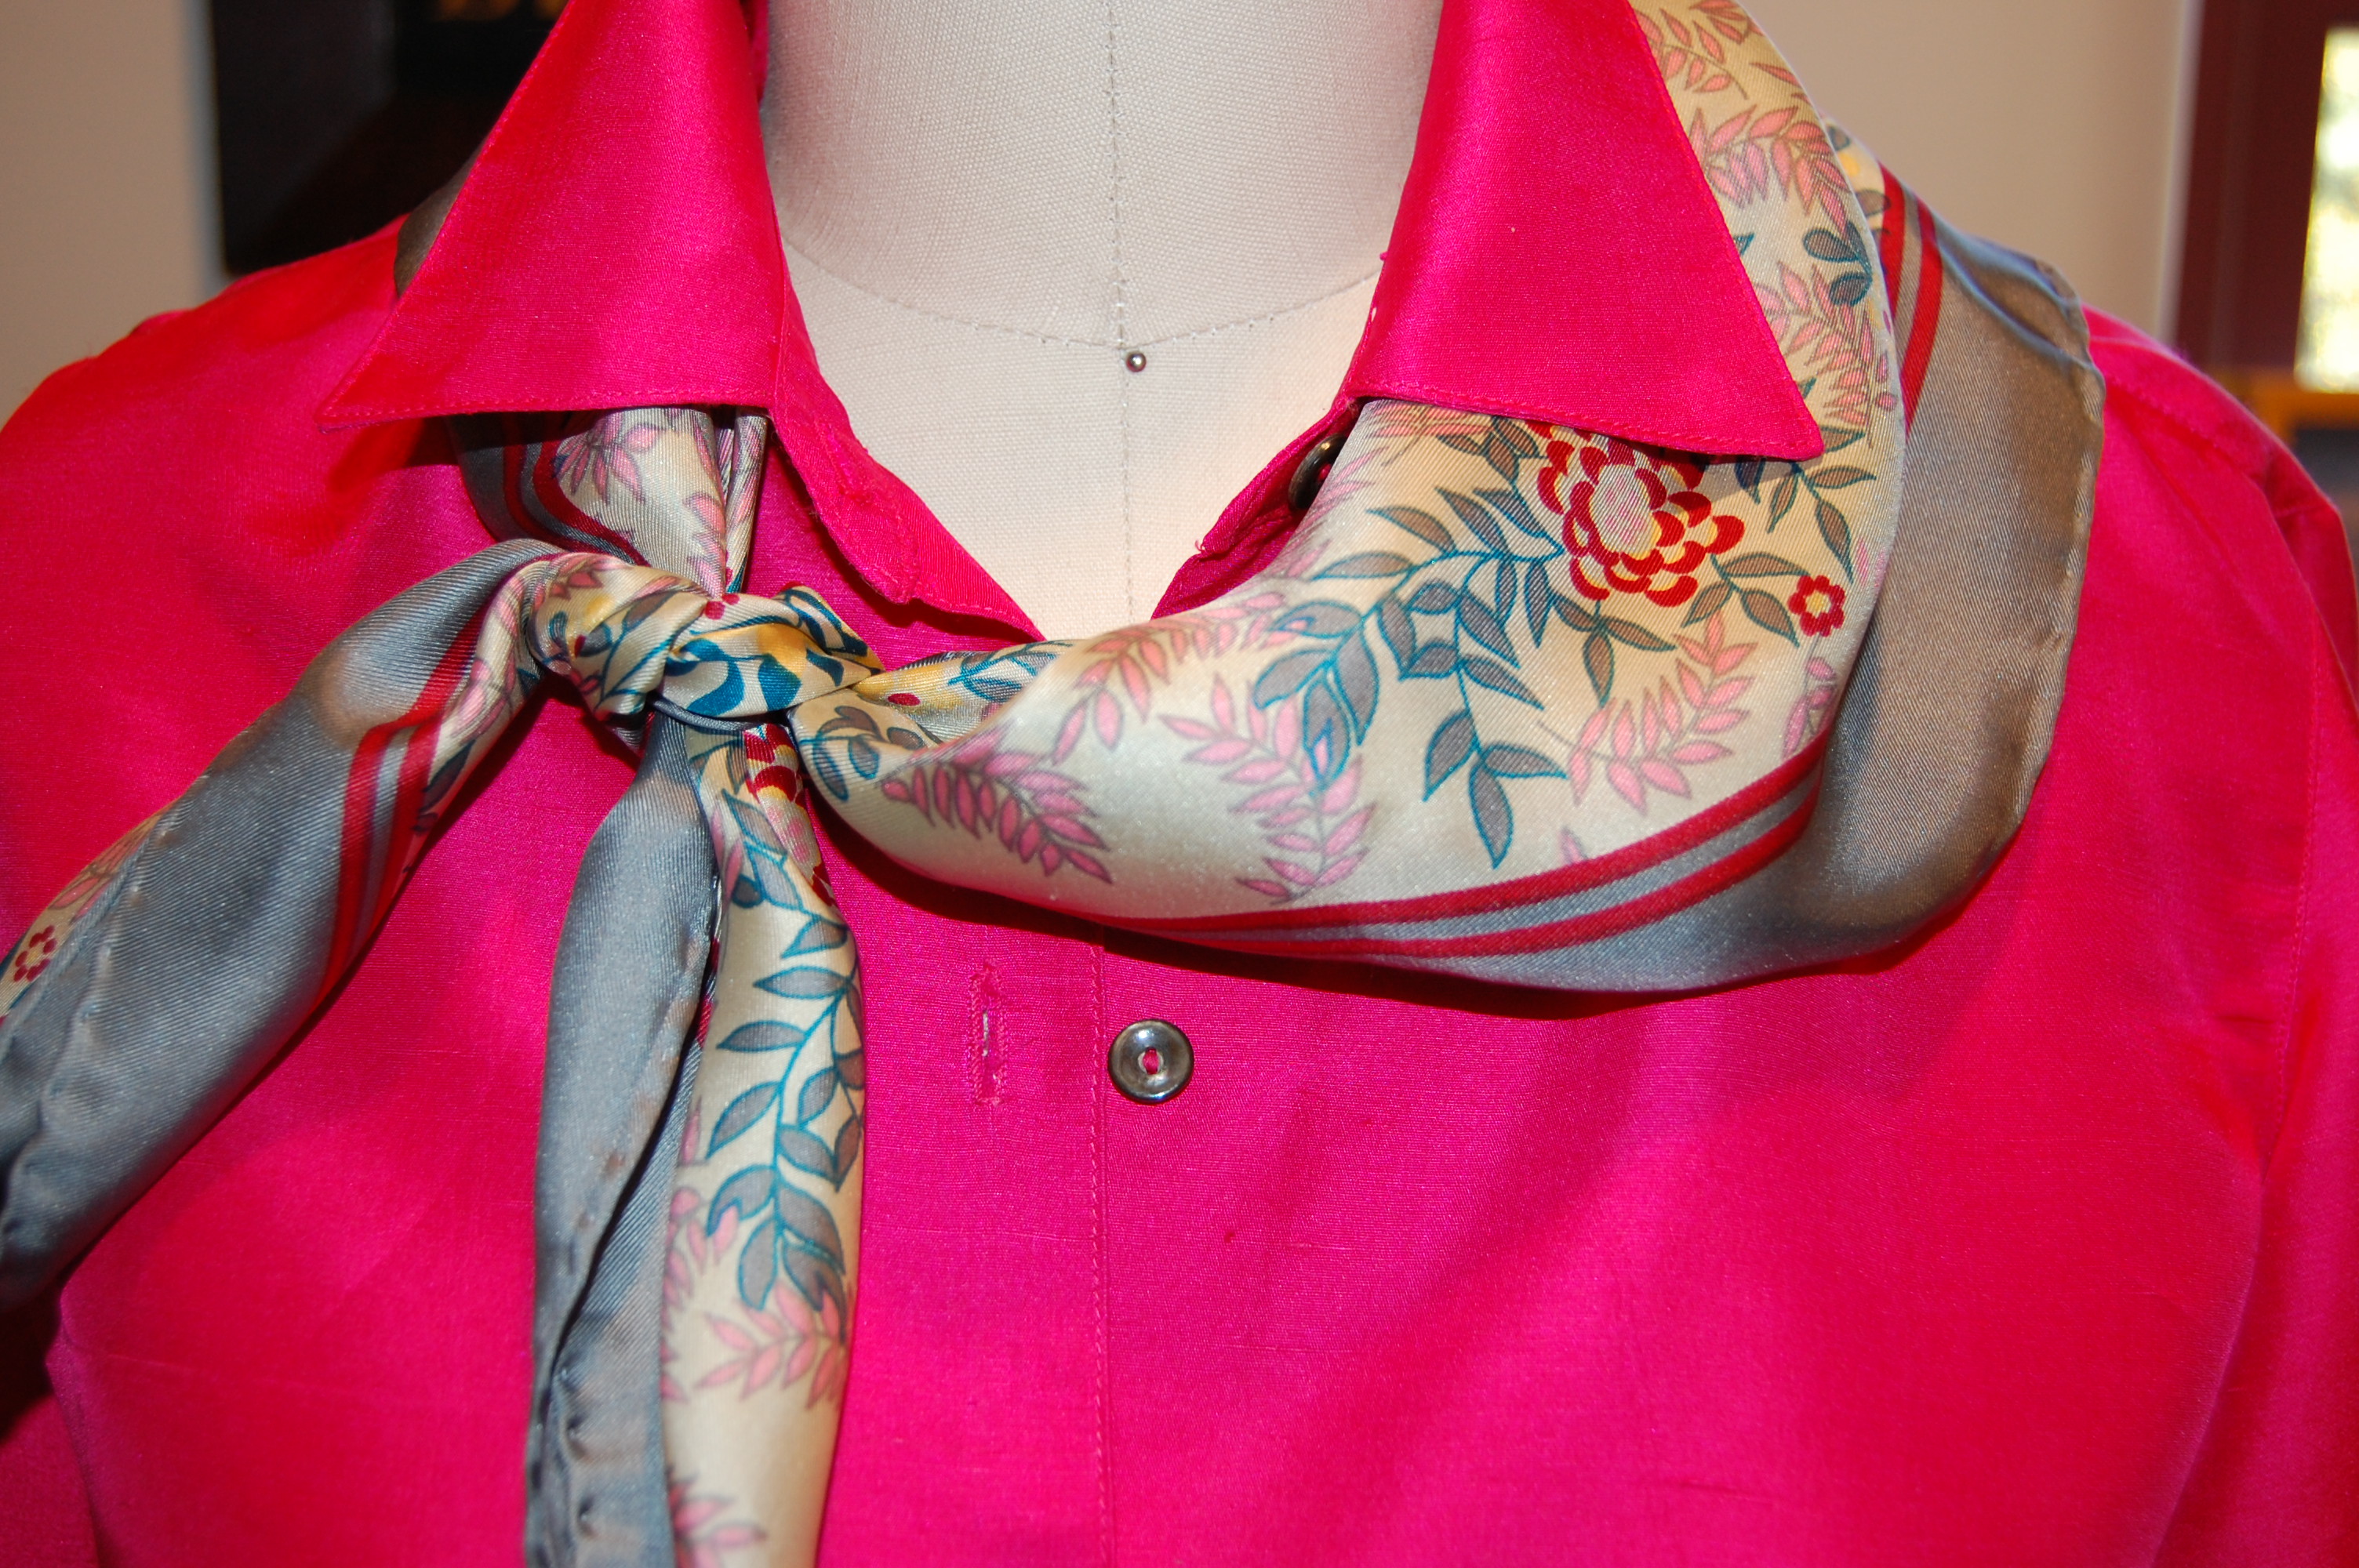
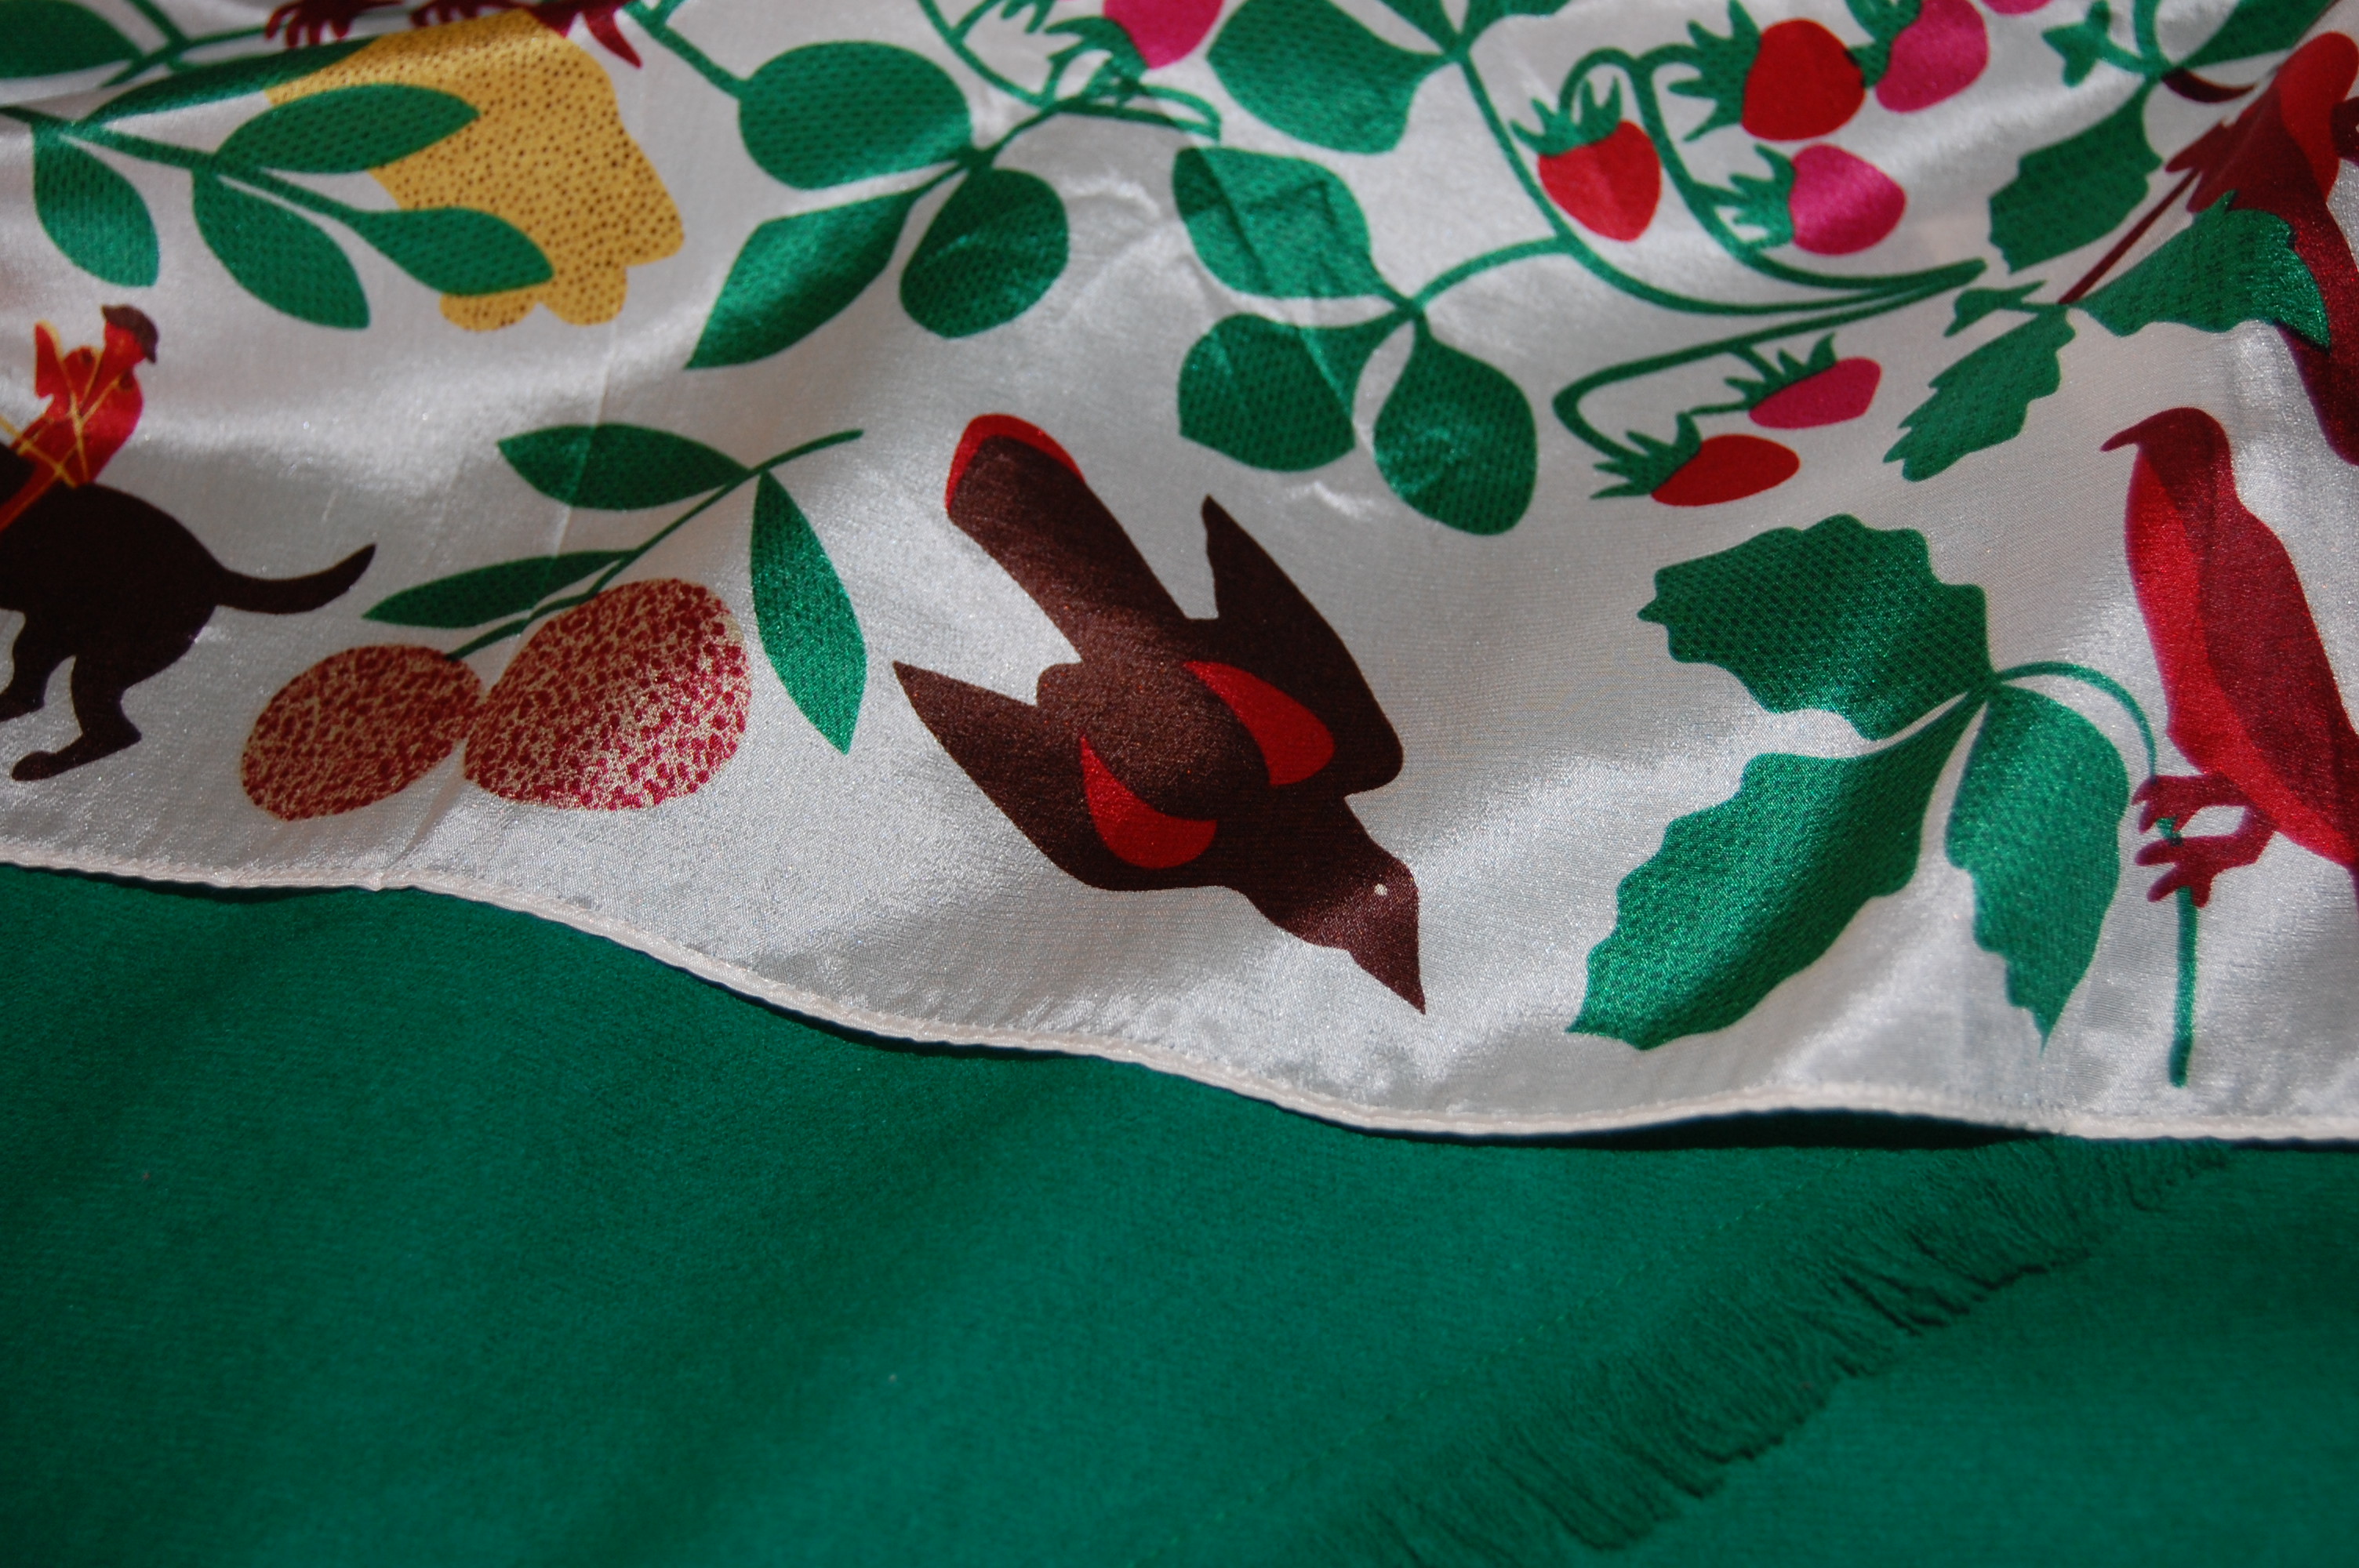
When I cut out the lining for the coat, I maneuvered the pattern pieces to give me a long narrow length of the silk, which I made into a scarf.
Paired with a V-neck gray sweater, it proves to be the perfect accessory. As Christian Dior said in The Little Dictionary of Fashion, “In many cases, a scarf gives a final touch to a dress.”
It’s a nice combination of colors!
The scarf is a pretty addition to the coat, I think.
It is rewarding to see my vision become reality!
So, now the big question, one which I have been asking myself frequently as of late, “When and where will I be wearing this lovely ensemble?” It seems life is just so despairingly casual now, affording few opportunities to wear pretty dresses and skirts and specialty coats. I try to buck the trend when I have the place and time to do so – and I have yet to feel like I have been overdressed. Of course, Christian Dior had something to say about this, too. “Generally it is very bad to be overdressed, but I think that in certain circumstances it is very impolite and wrong to be underdressed.” I could not agree more and personally prefer to be slightly overdressed than underdressed. How about you? I do hope my pink coat, paired with this gray skirt, will prove to be the perfect dressing for many occasions. I am certain I will enjoy wearing them.
48 Comments
Filed under Christian Dior, Coats, Fashion commentary, hand-sewn zippers, Linings, Scarves, Straight skirts, Uncategorized, underlinings
Tagged as Christian Dior, coats, couture construction, Farmhouse Fabrics, fashion sewing, scarves, Straight skirts