
What do you do with all those scraps of fabric which are often left over from a sewing project? Sometimes I just throw them out, feeling guilty while I do so. Sometimes I fold them up neatly and put them away in a very big box I have reserved for such things (to “think about another day.”) And sometimes, if there is a sizable amount remaining, I’ll put my leftovers in a “giveaway” box, to be recycled in some charitable fashion. But recently I have come up with another solution. I have started making padded hangers with my fabric leftovers.
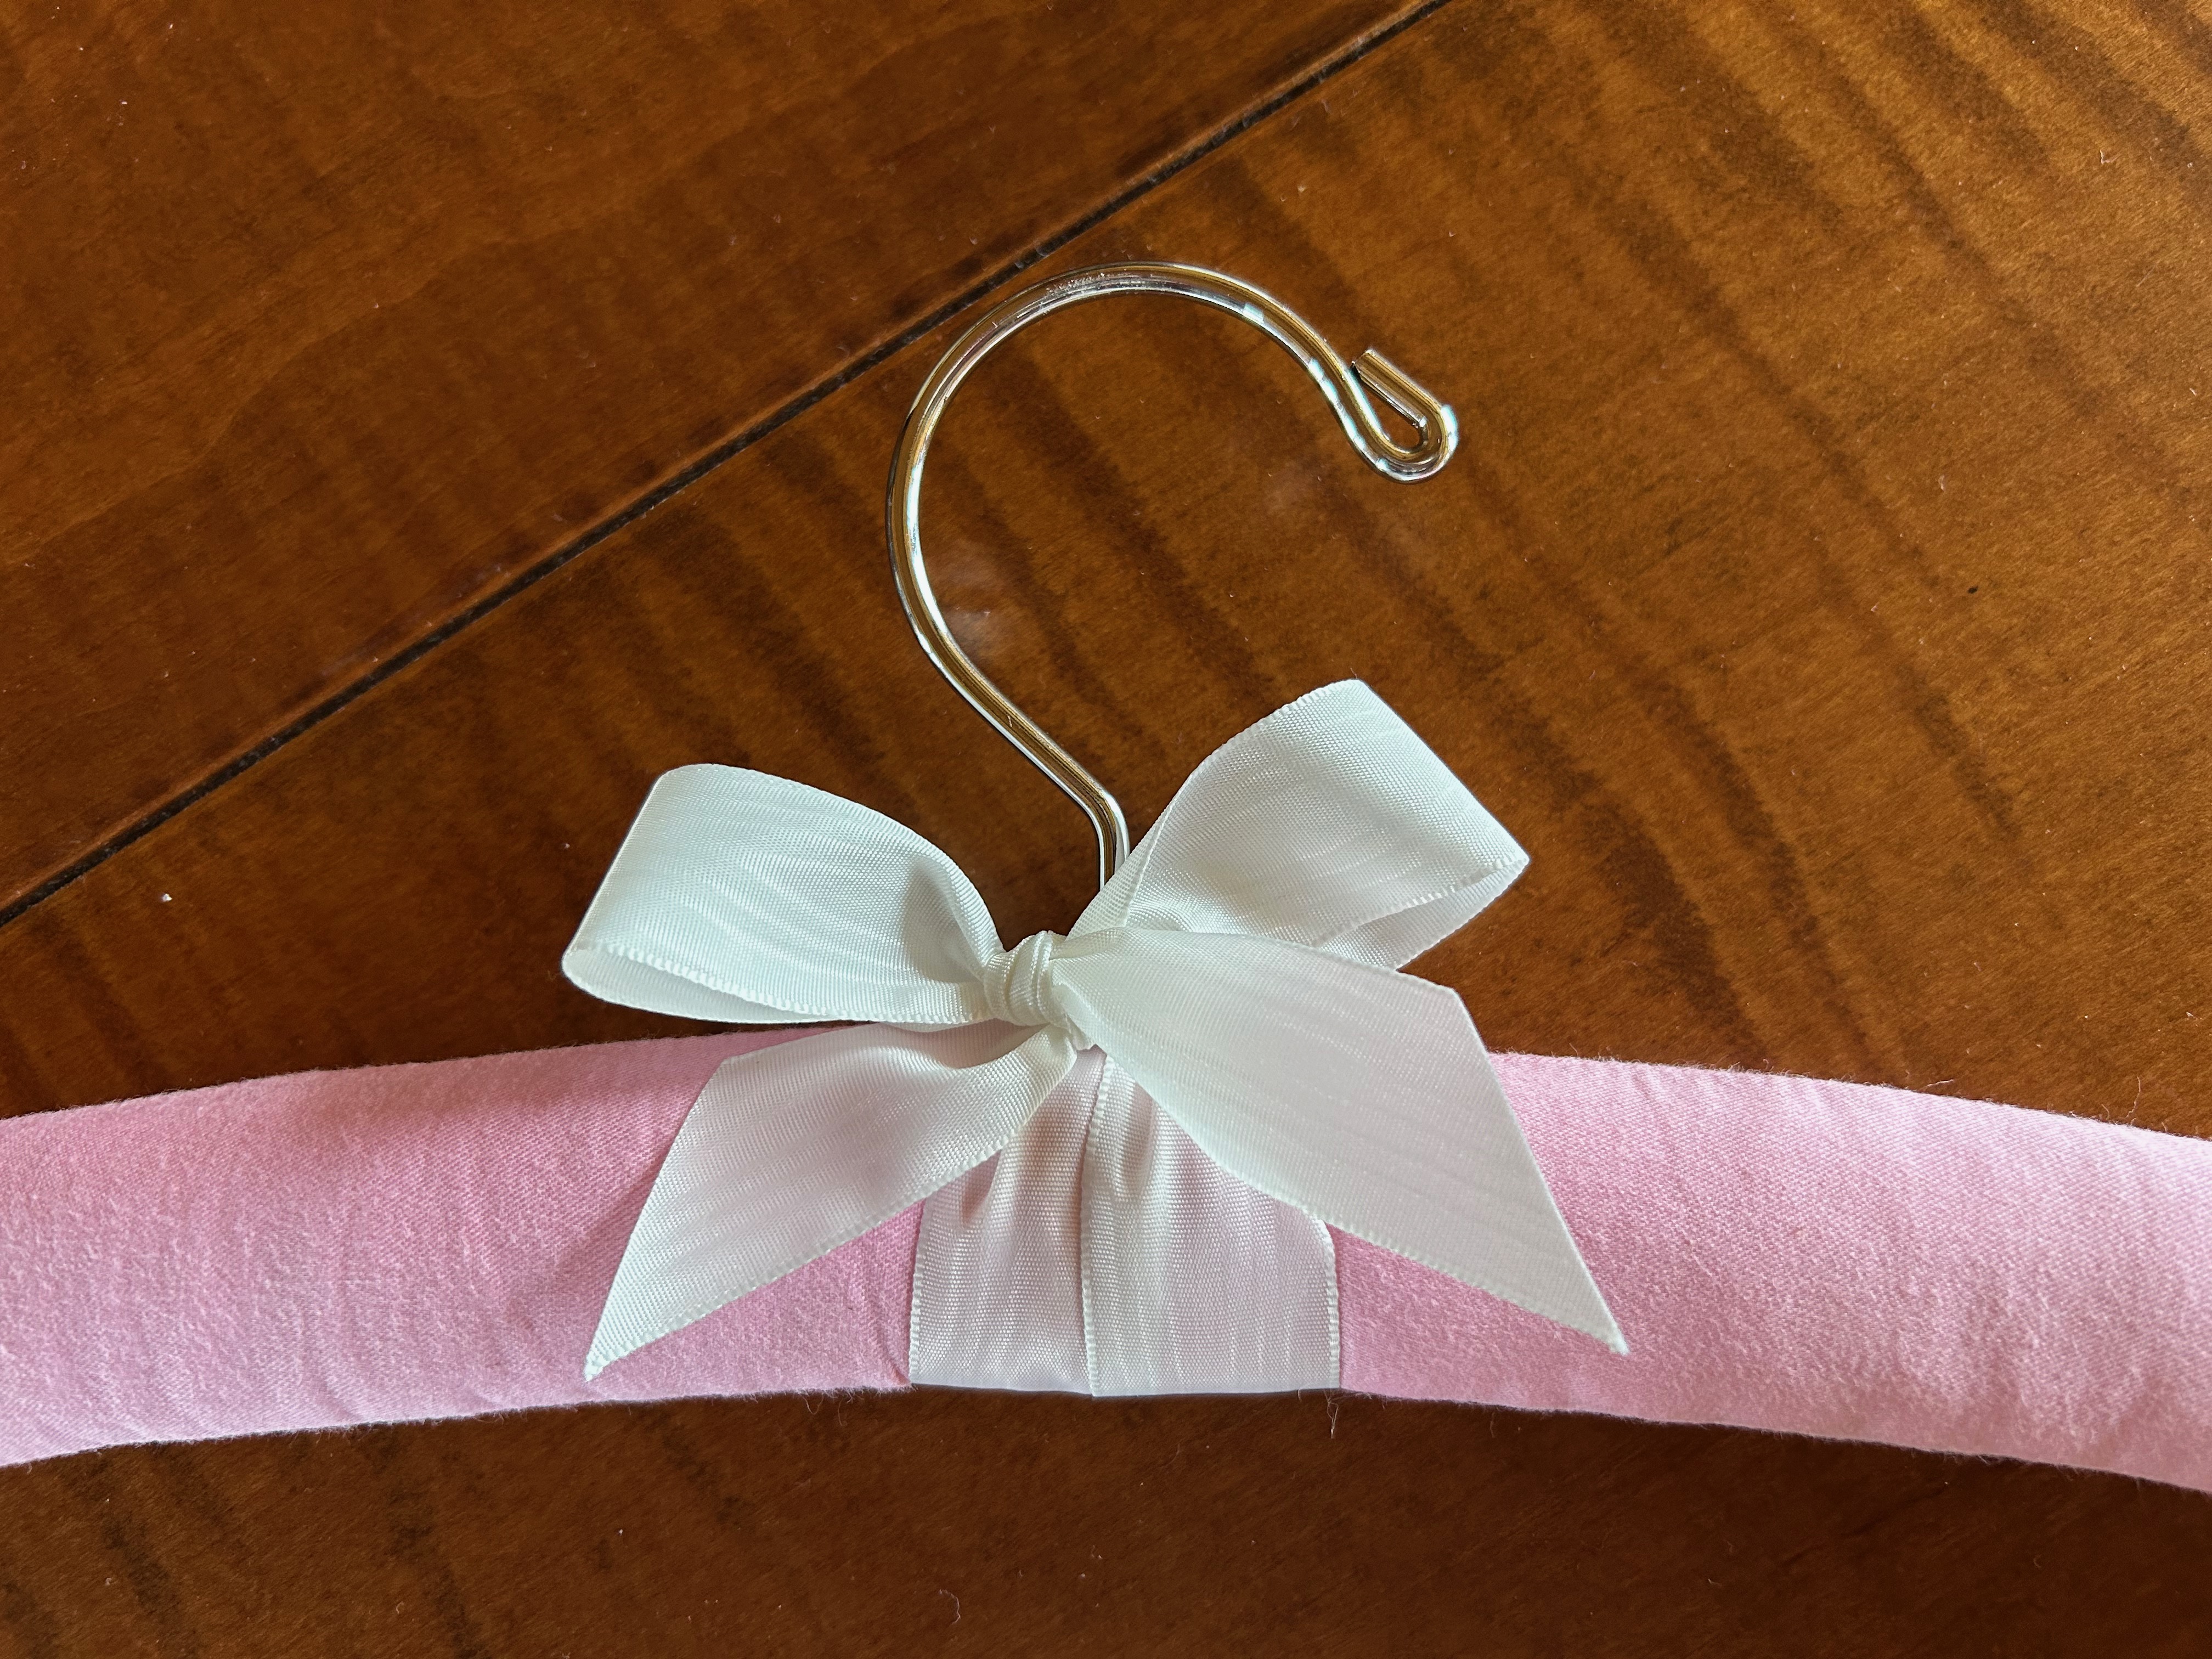
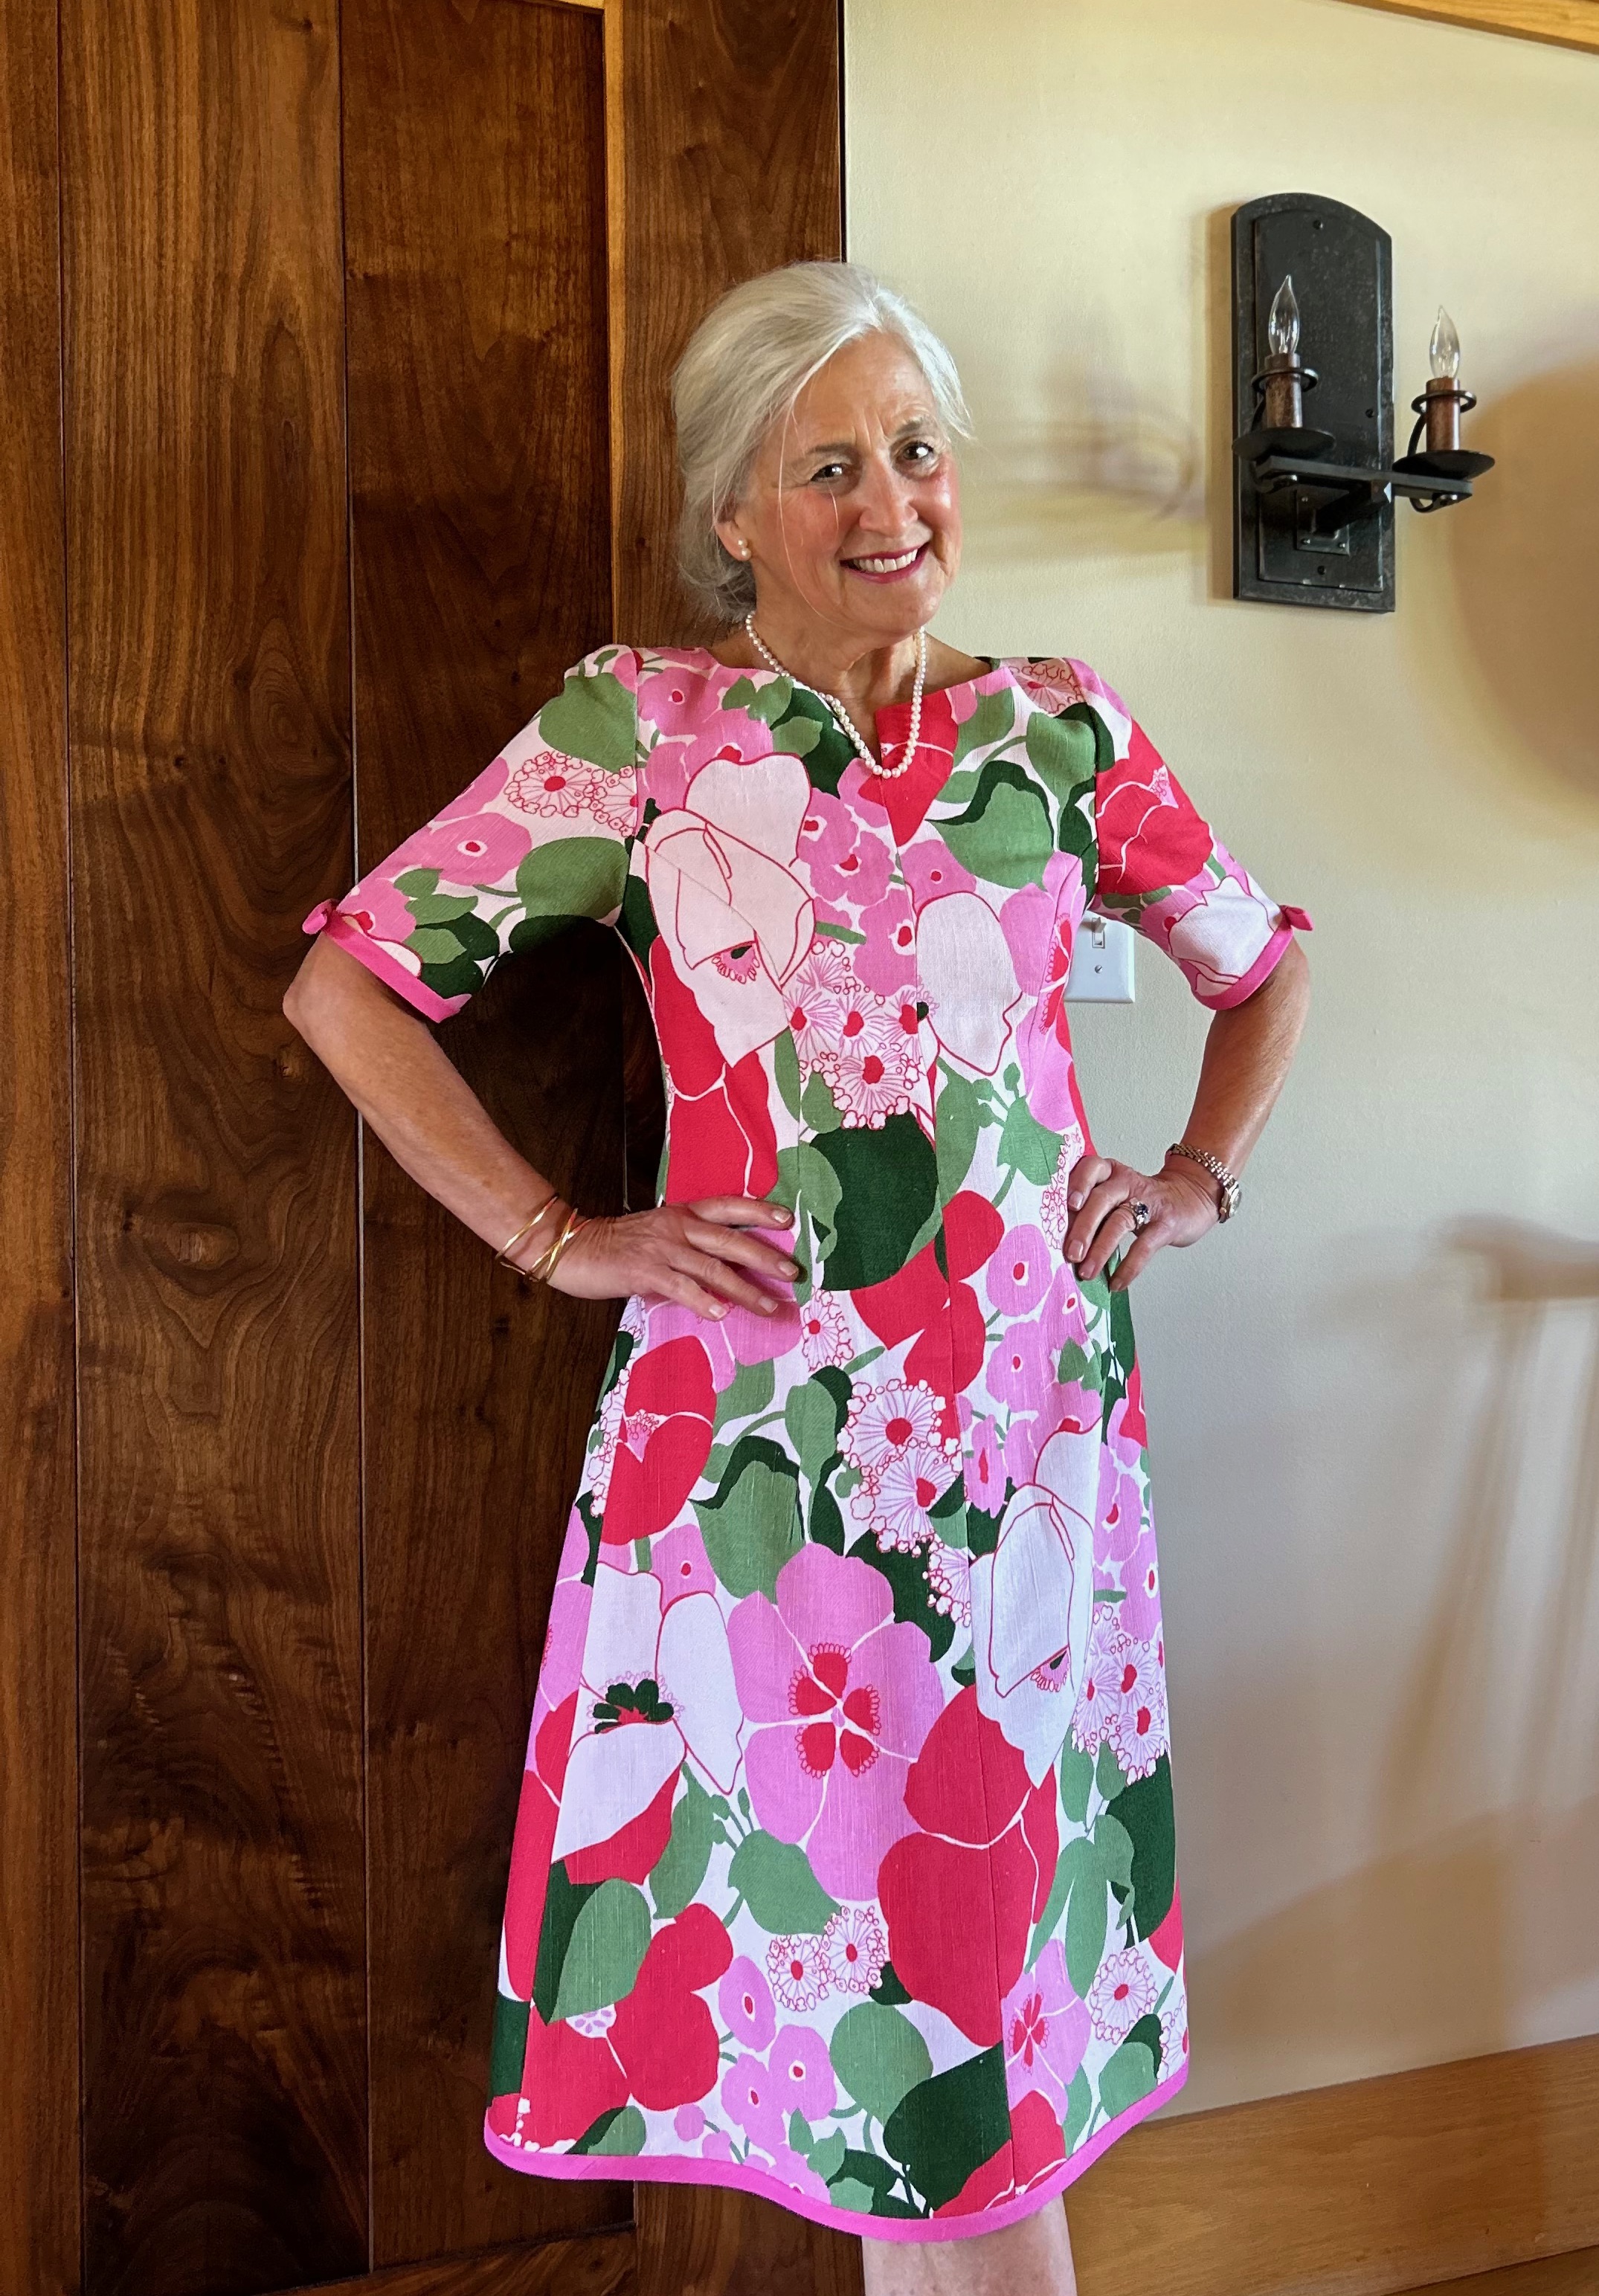
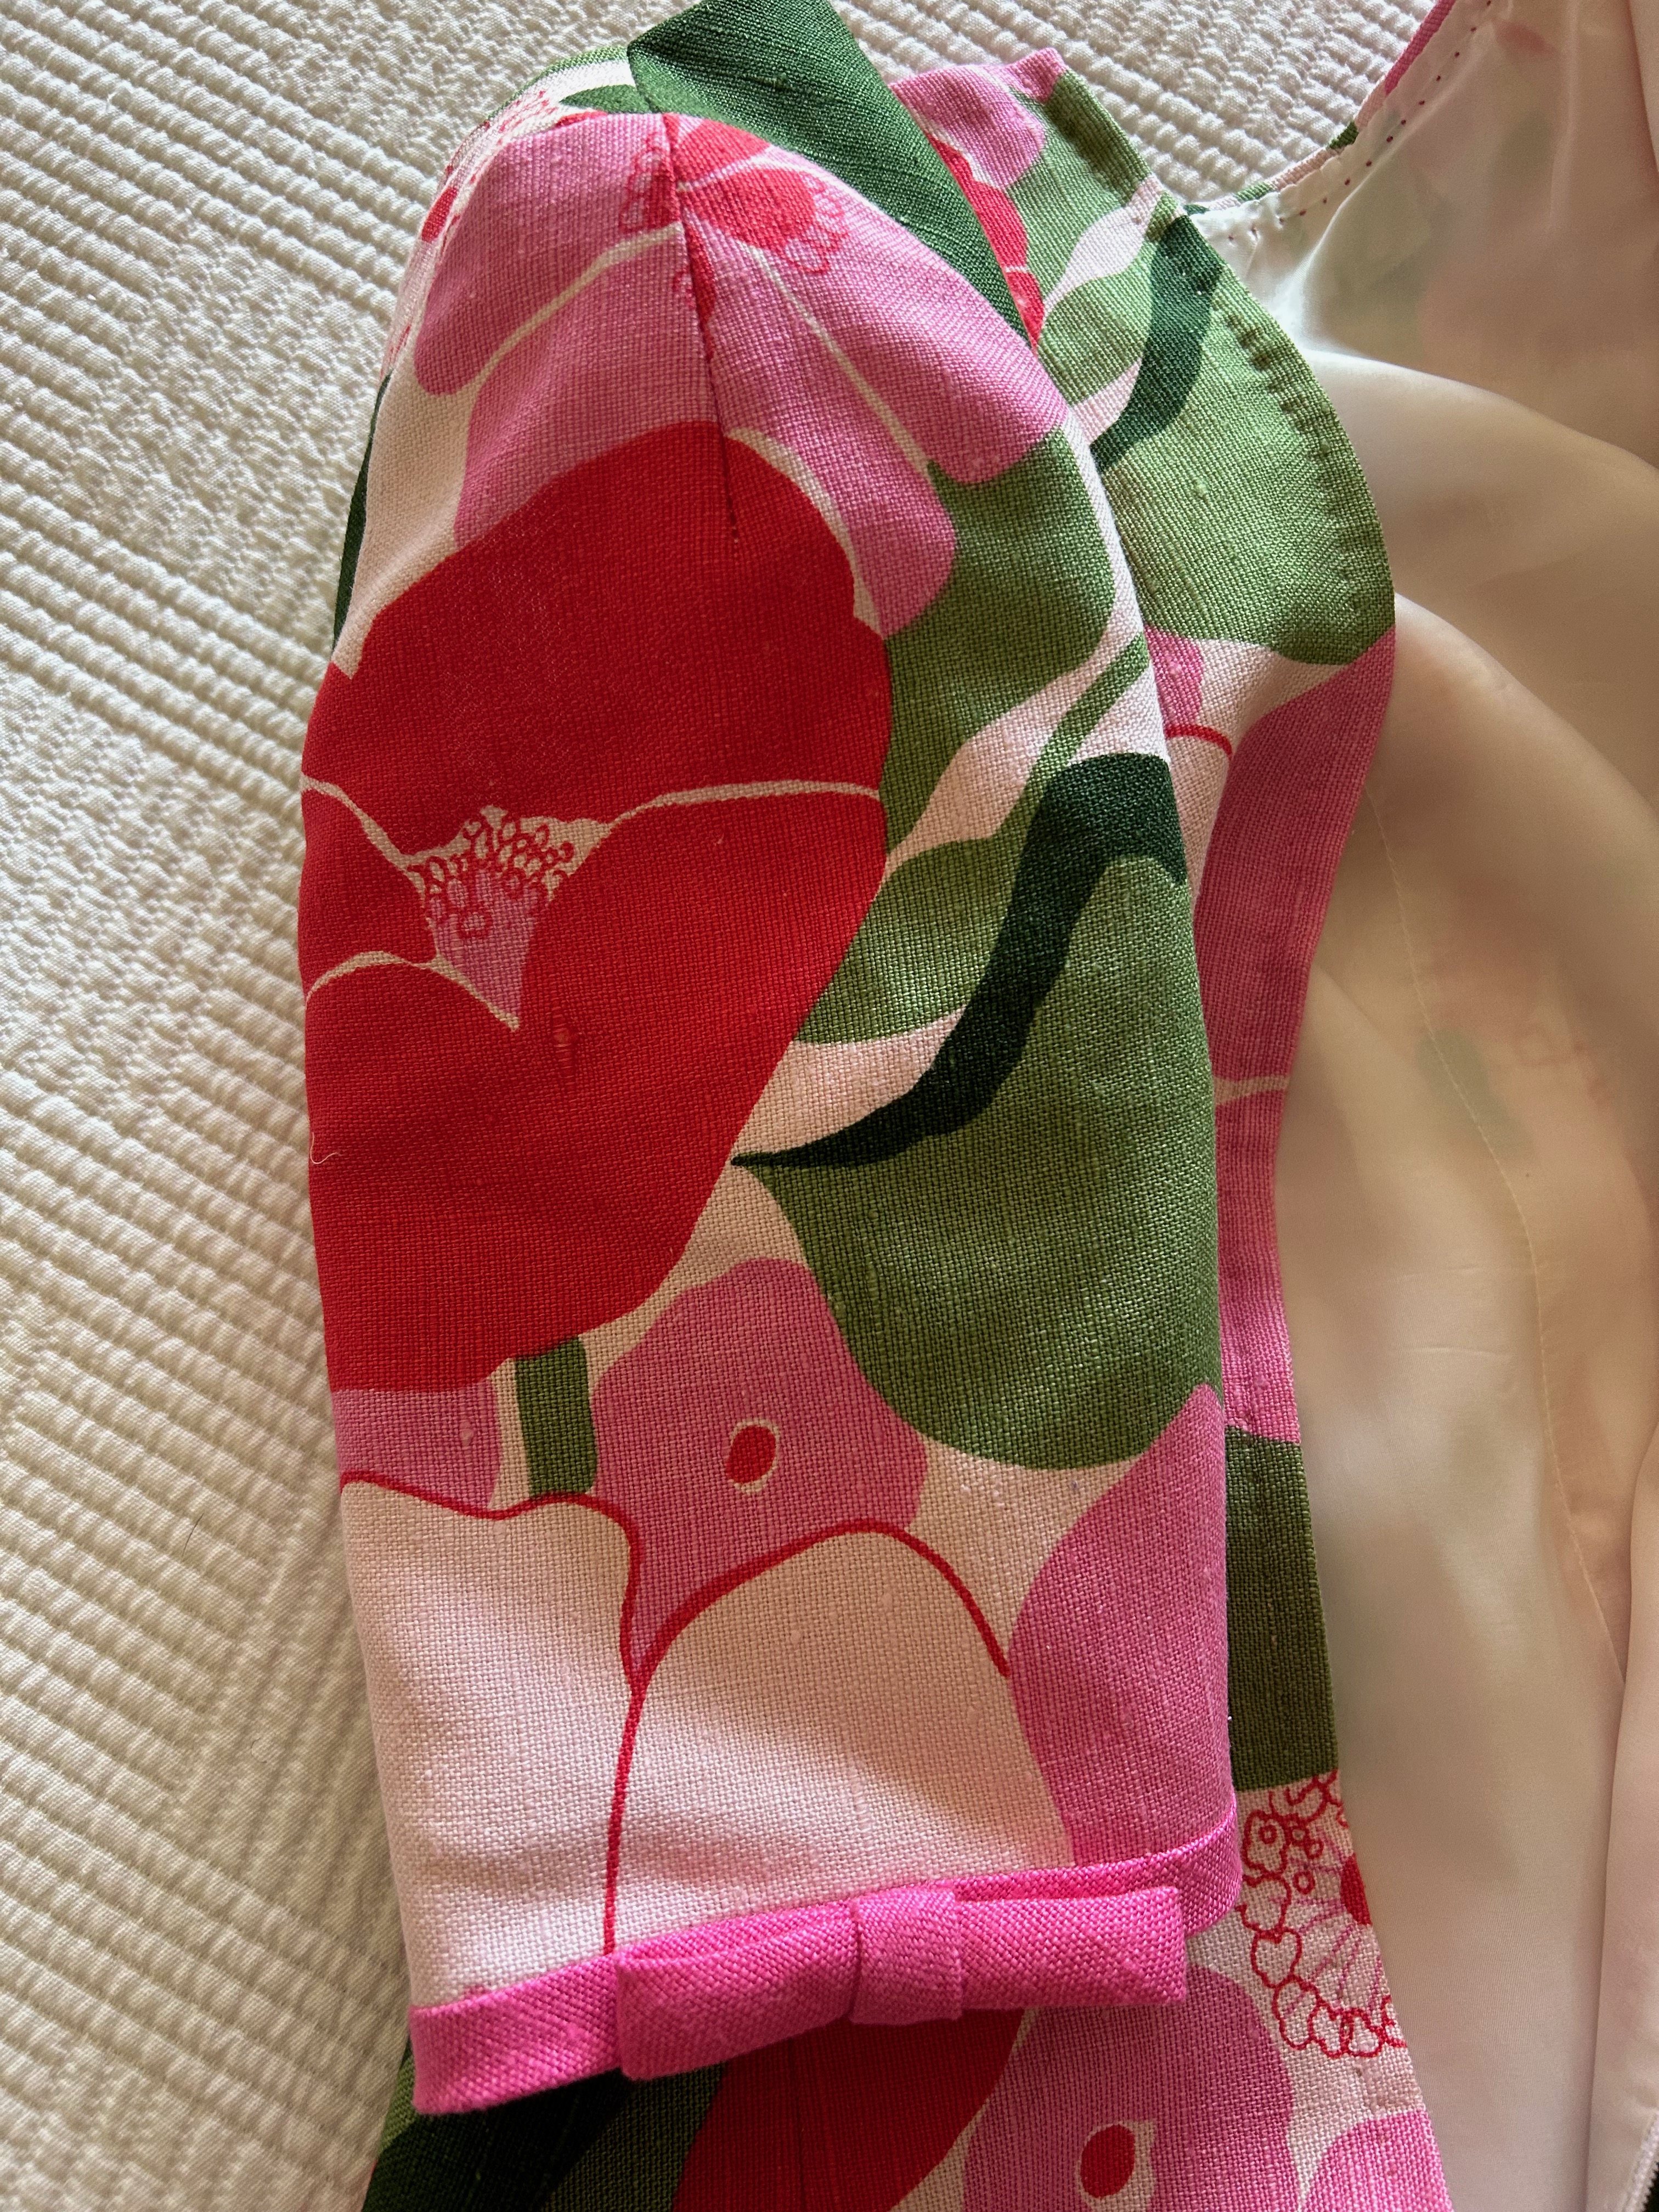
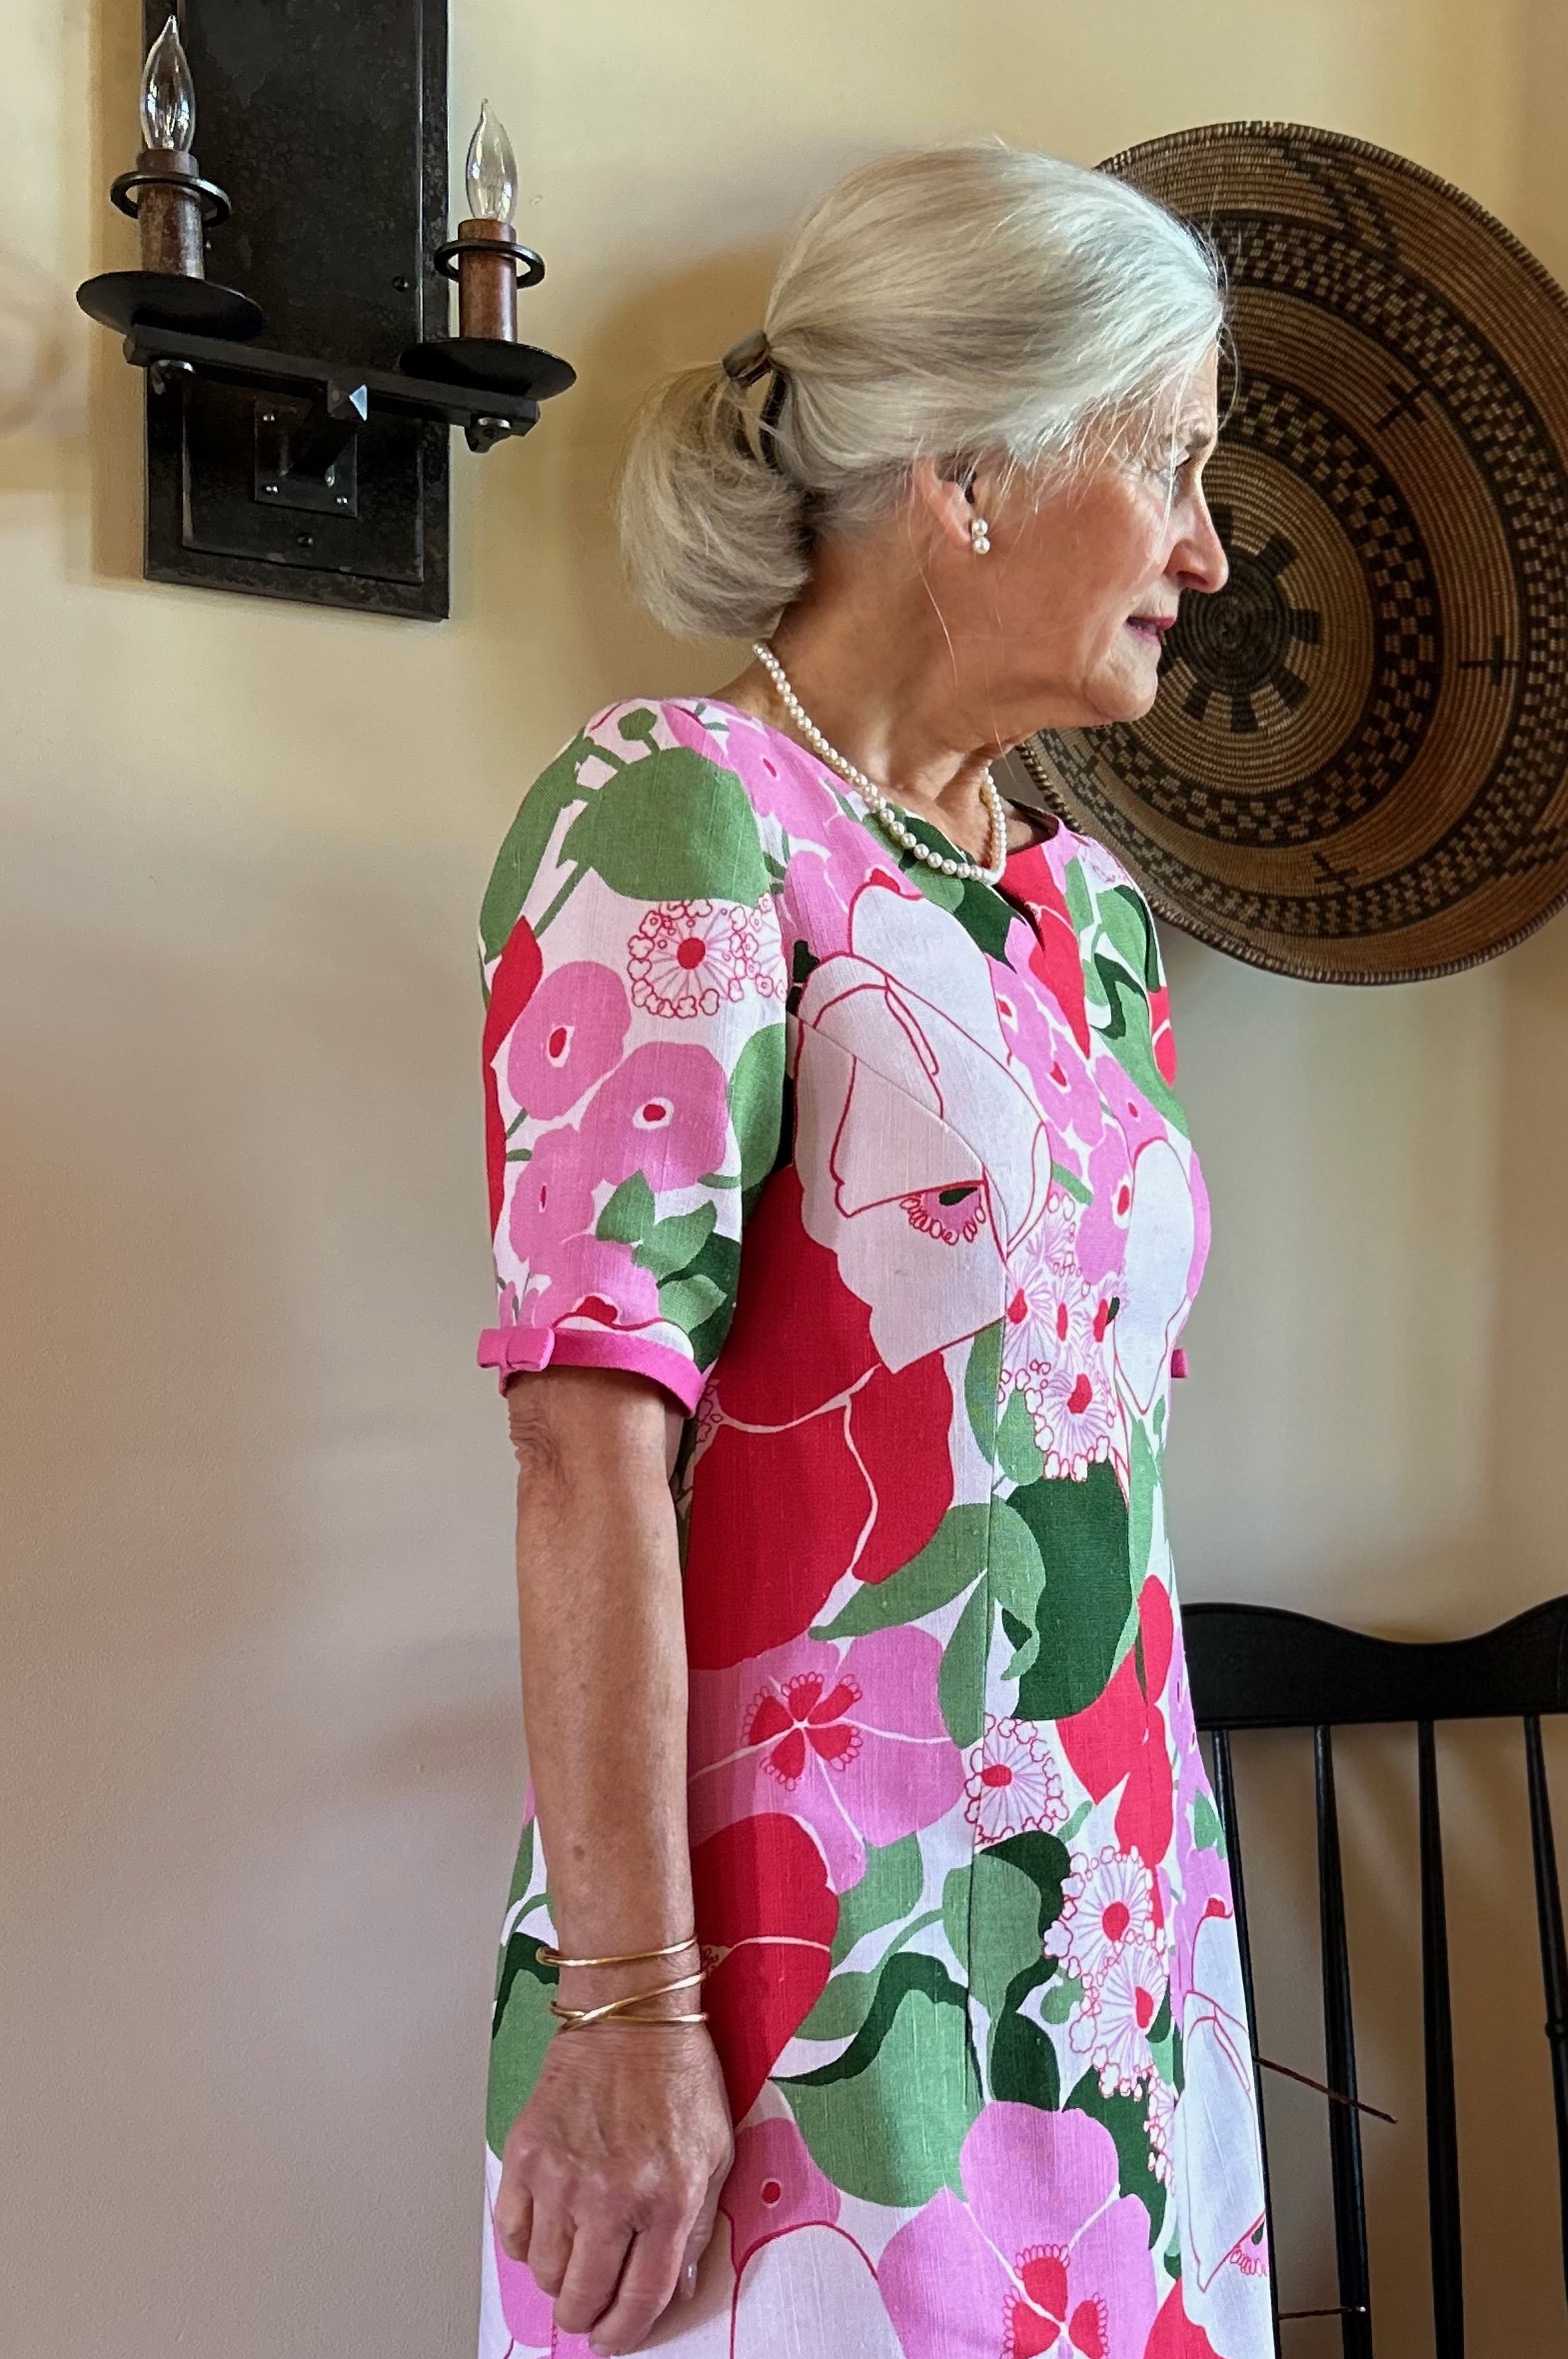
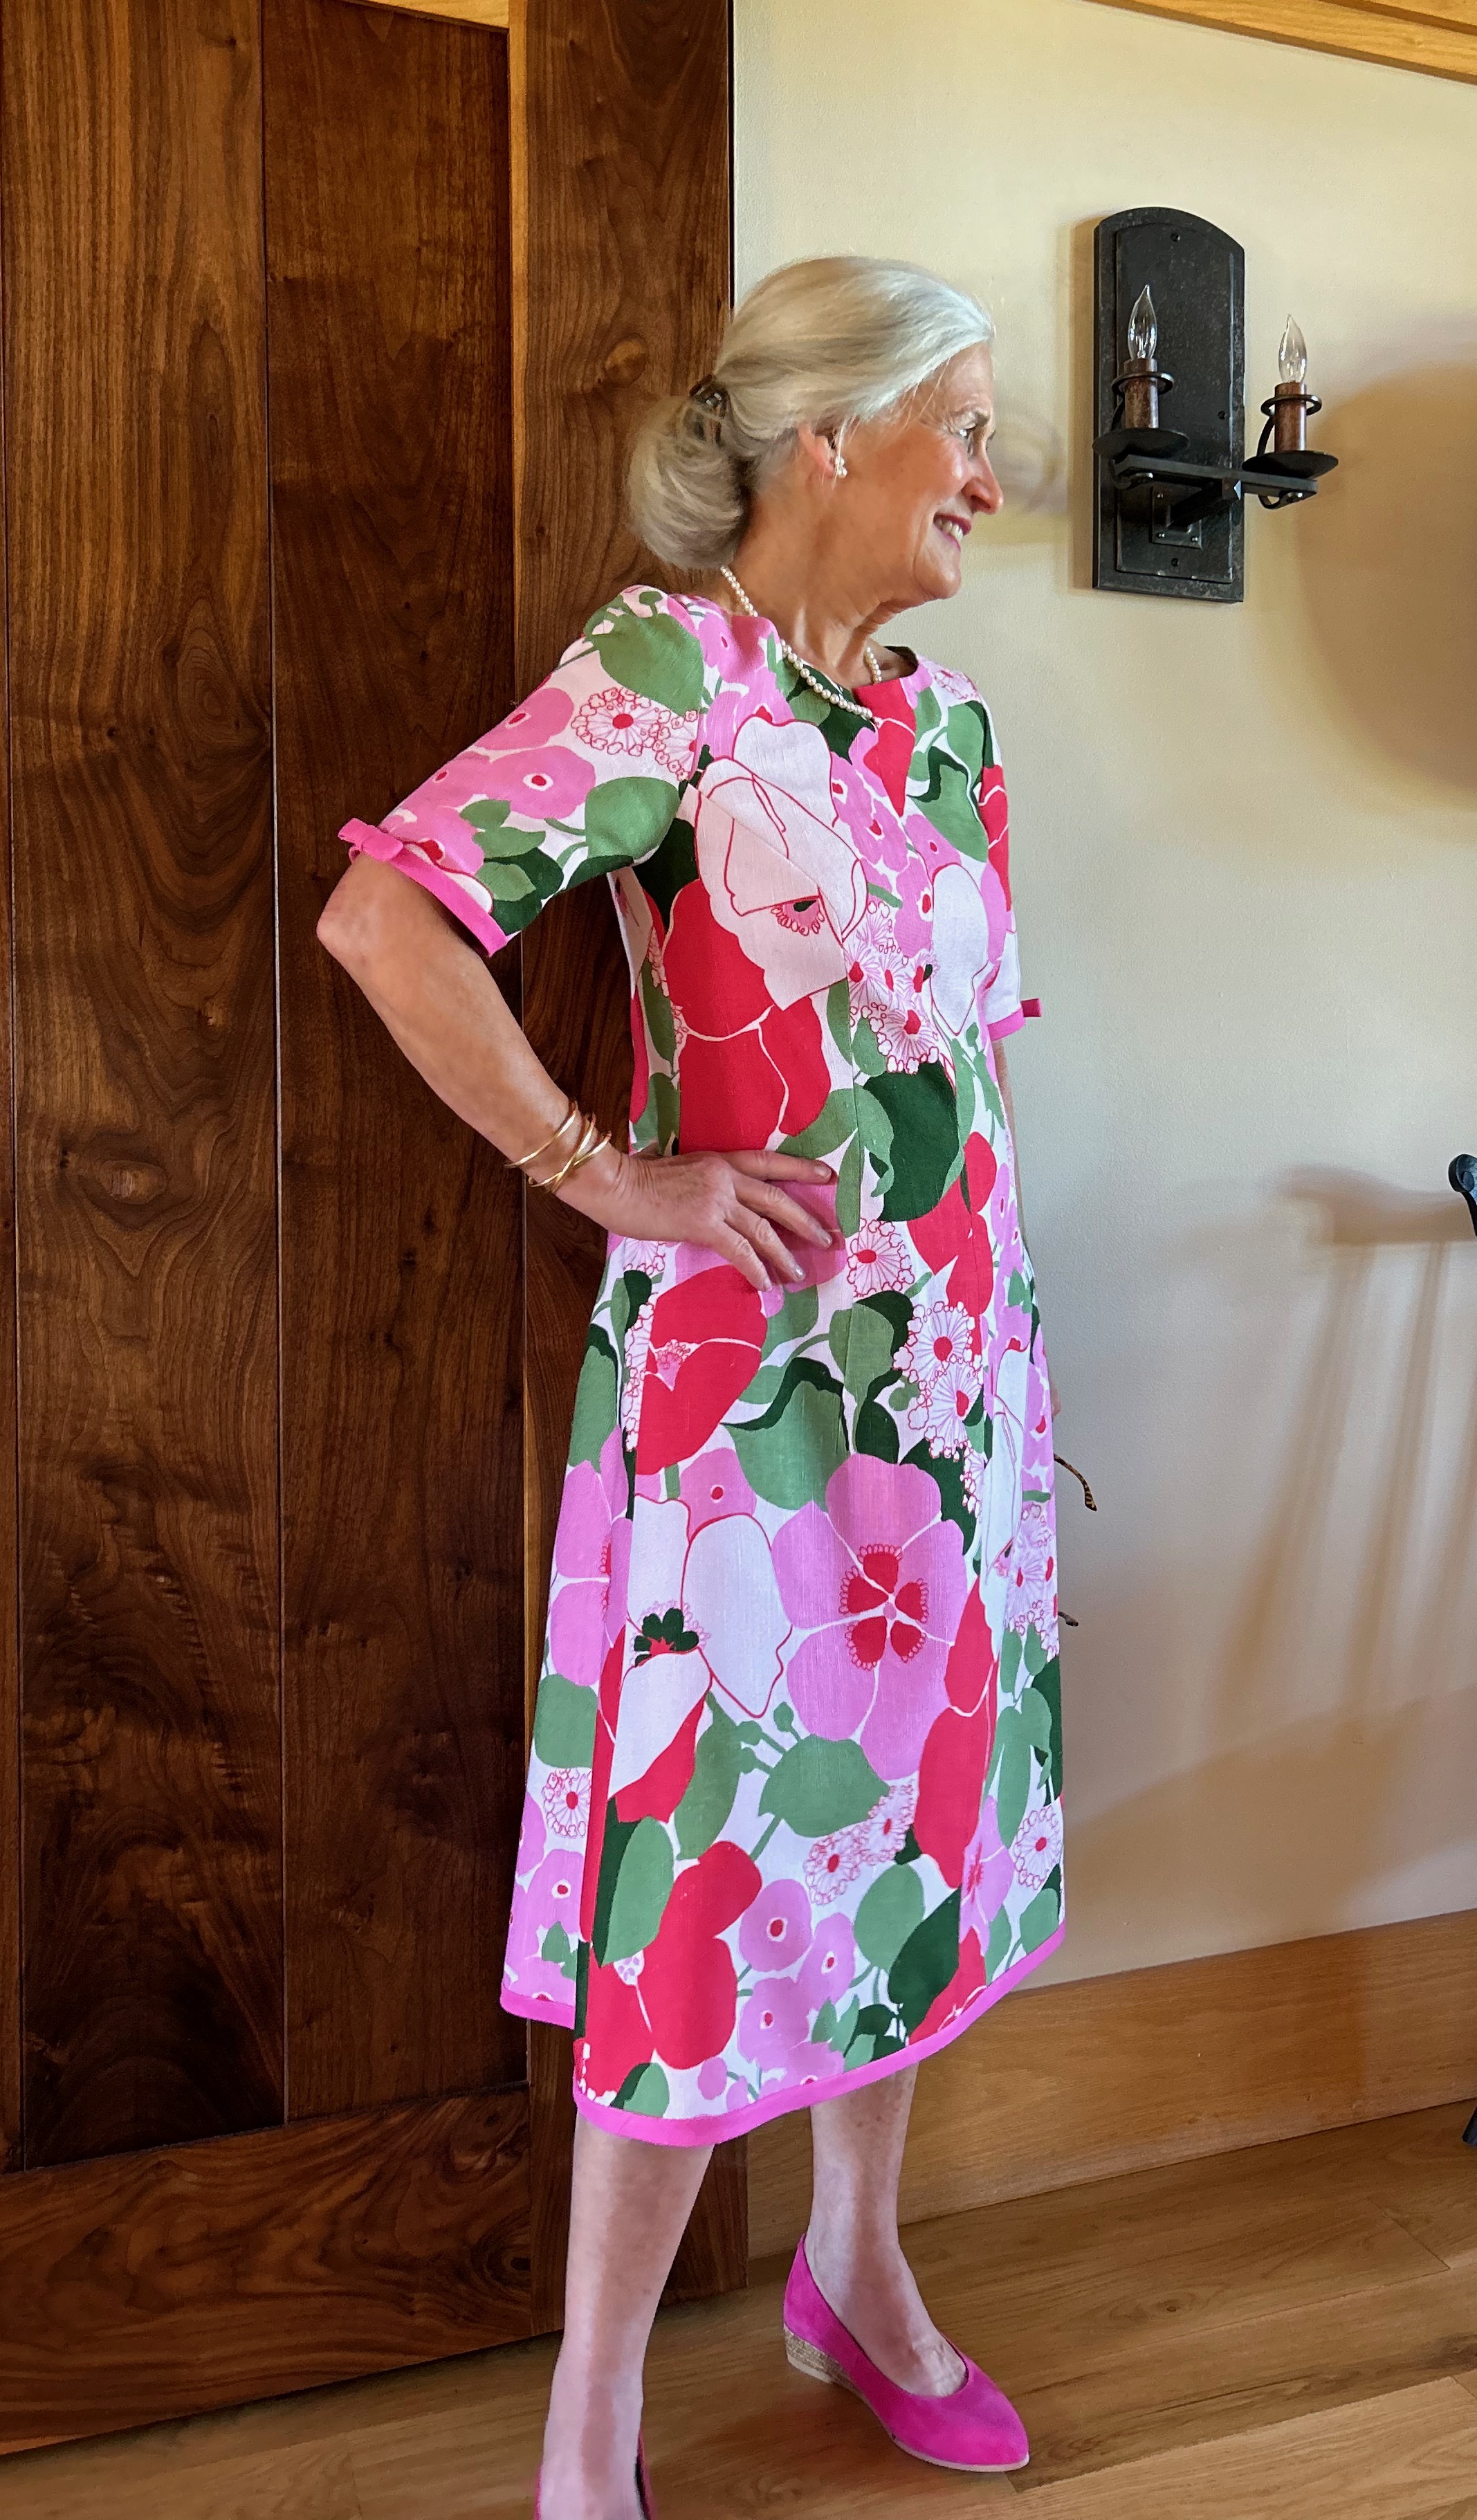
Remember that small amount of fabric remaining from my recent pink striped dress? I could have easily pitched that scrap (and not even felt particularly guilty about it), but I knew I had just enough fabric left to make a matching padded hanger for my dress.
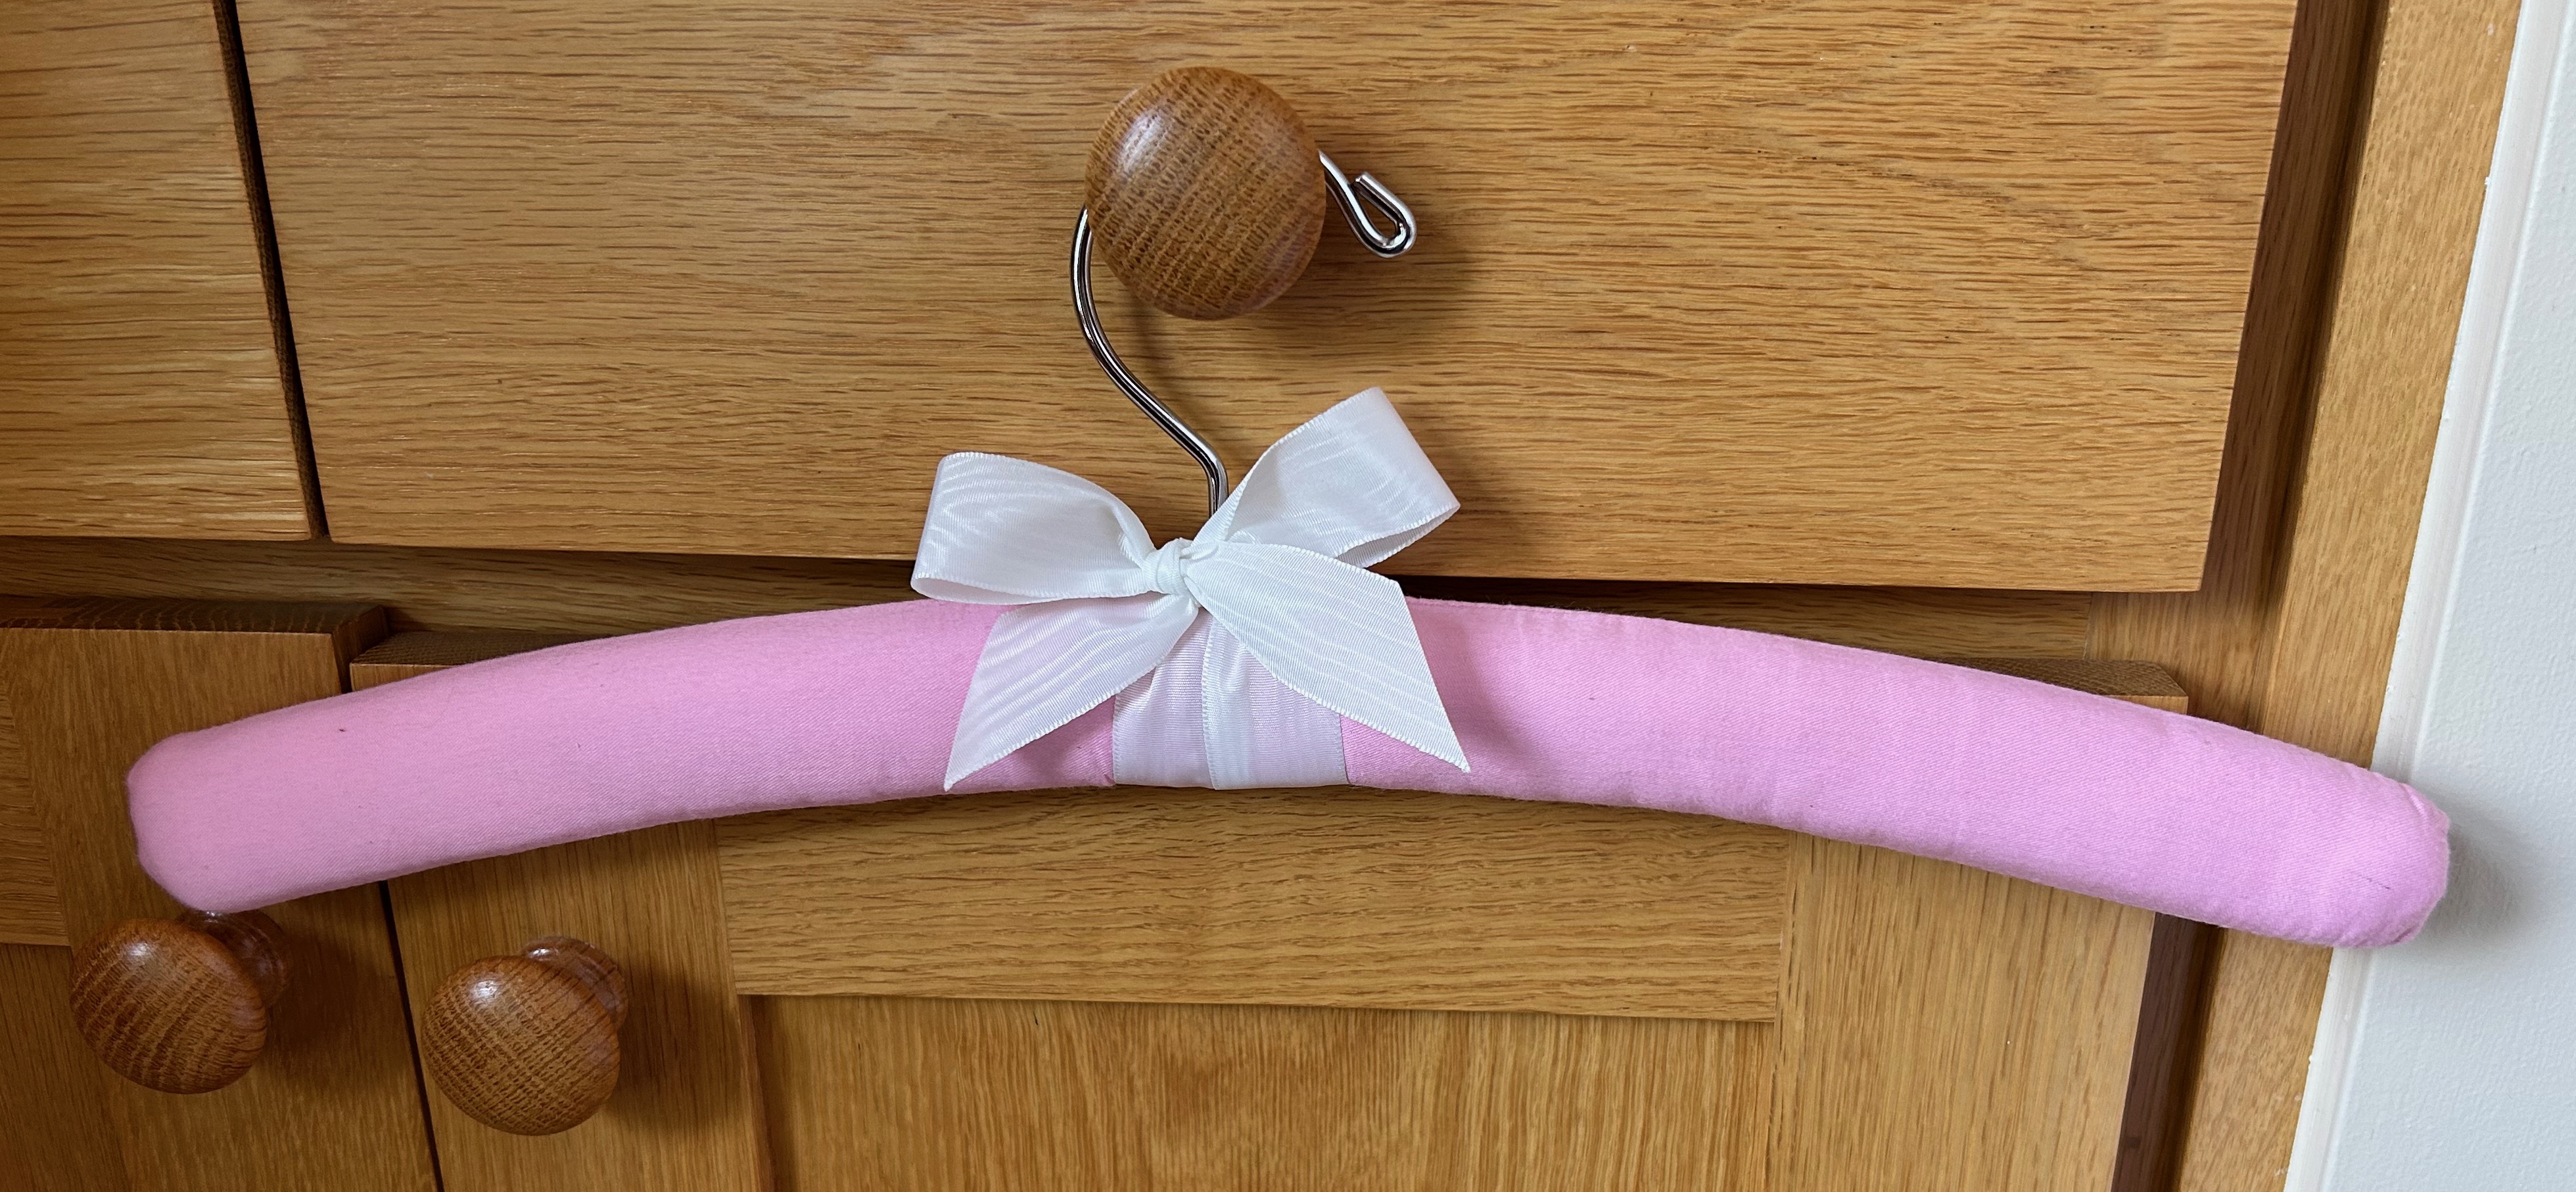
I had already made a few of these hangers in various scraps, using a You-Tube video for the basics, with several trial-and-error sessions to tweak the method and pattern to my satisfaction. Feeling confident with my new-found “expertise,” I plowed ahead and squeezed out just enough for a hanger to match my dress.
Now, I should add here that I have been a fan of padded hangers for a long time, purchasing quite a few from a couple of Etsy shops in recent years. However, I have always thought it would be lovely to make matching hangers for some of my creations – or – just pretty hangers to mix and match.
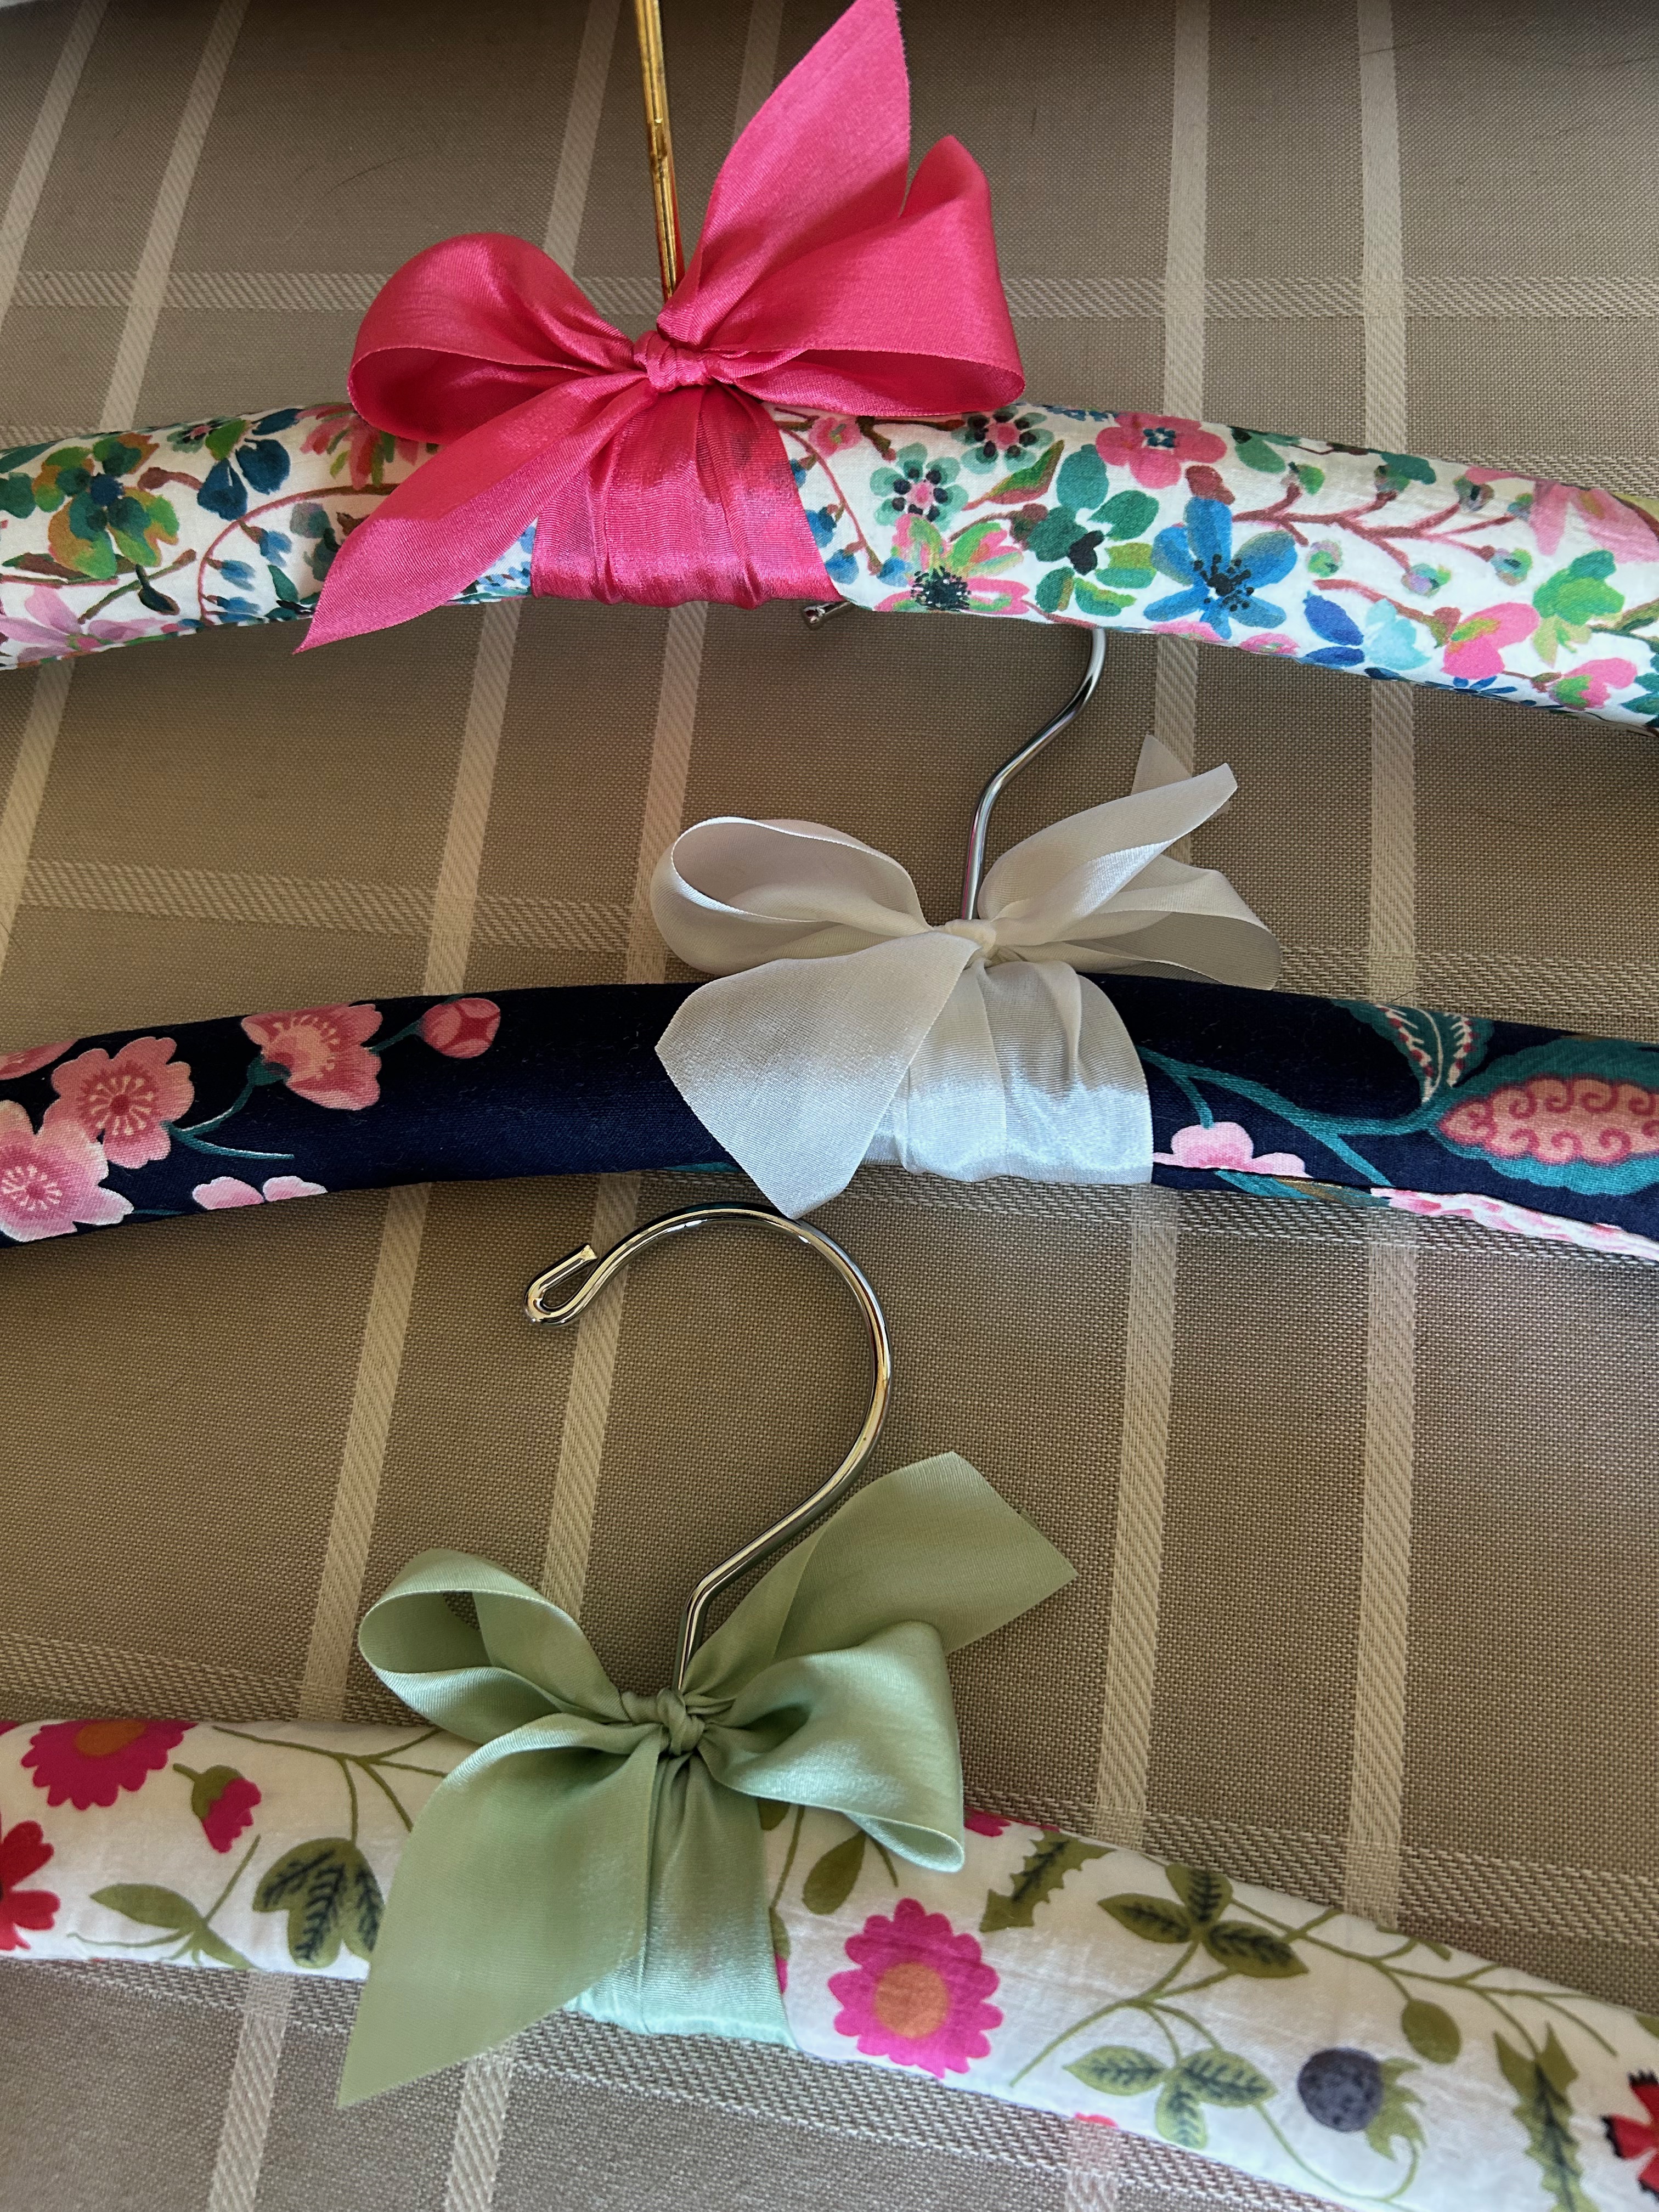
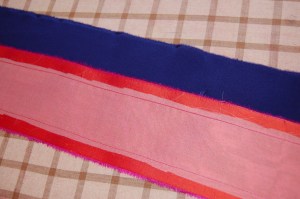
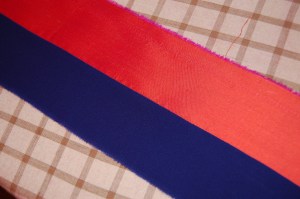
Here are three I have recently made.
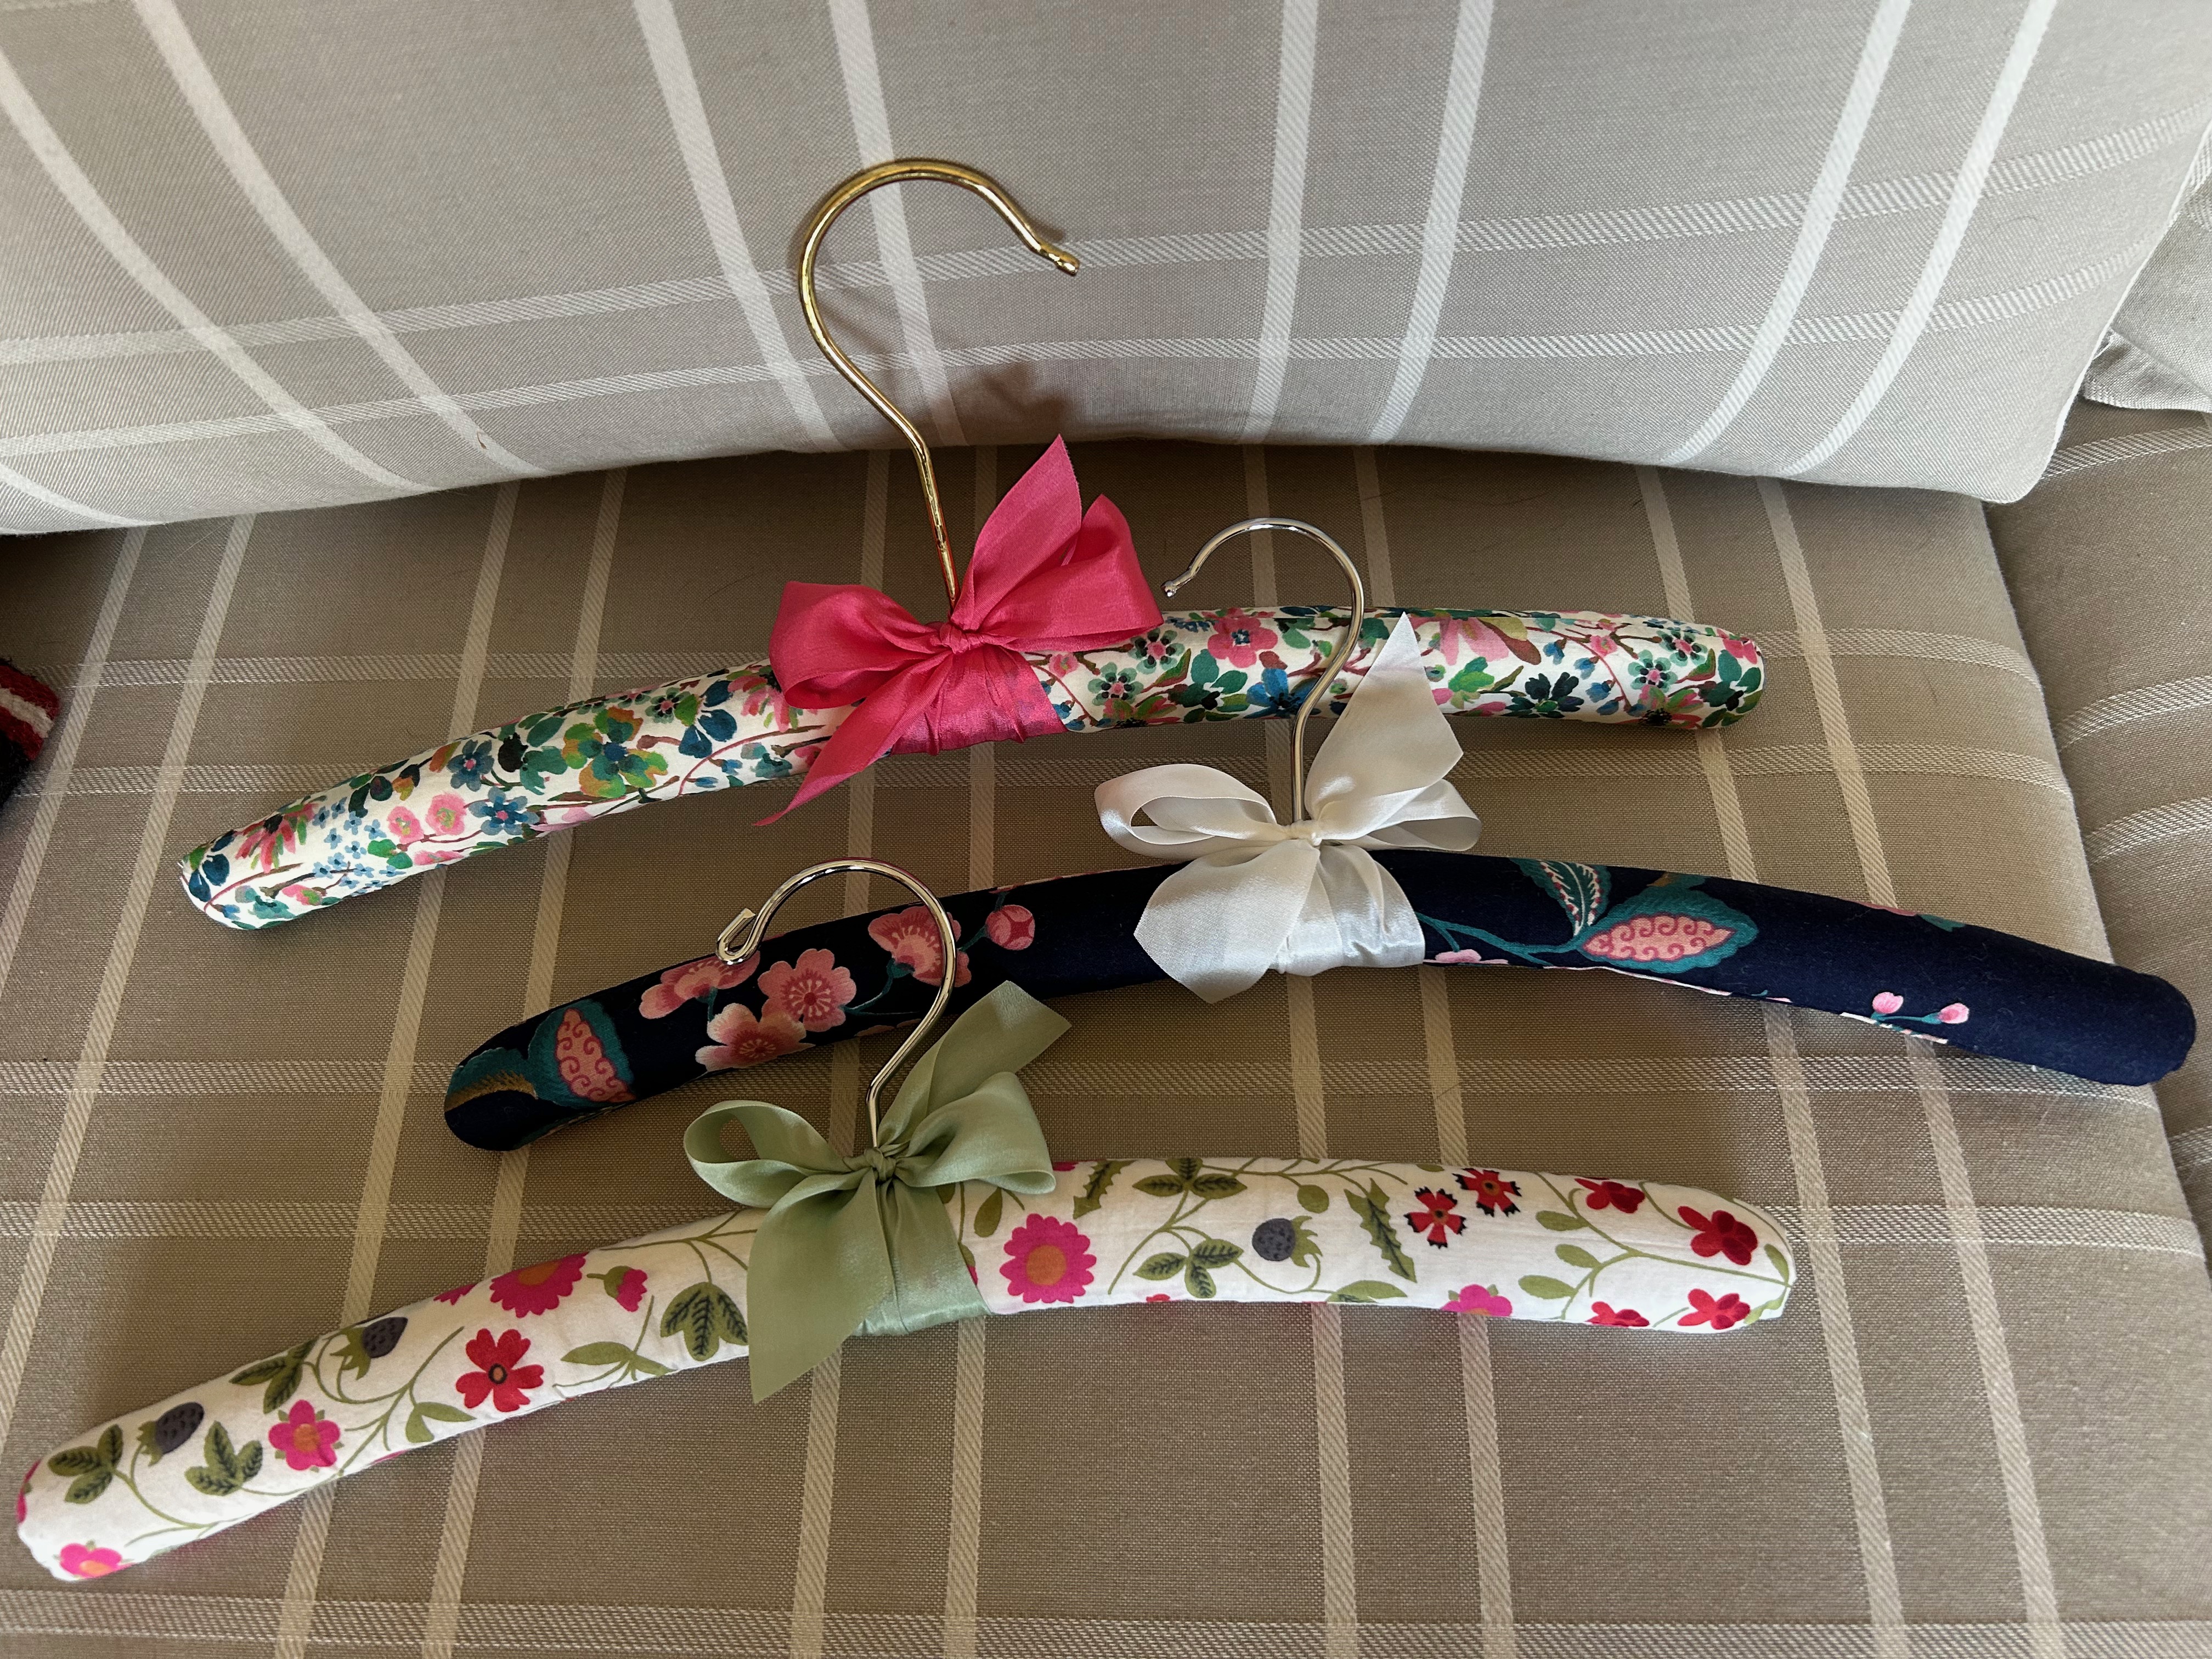
Two of them are made from Liberty fabrics, and the dark blue one is made from fabric left over from a skirt I made at least 25-30 years ago. There is something particularly rewarding about using Liberty scraps, as the fabric is expensive and its tight weave lends itself beautifully to being stretched over the padded wooden hanger forms.
Speaking of the hanger forms – I have yet to find a source for these raw wood hangers. To get what I need, I have purchased cheap, polyester satin covered hangers in bulk and taken off the fabric and yucky foam padding to reveal the raw wood hanger form inside it all. This works, but I would really love to find a source for basic, uniform, raw-wood hangers with the swivel, silver-toned hardware that I prefer for these small projects.
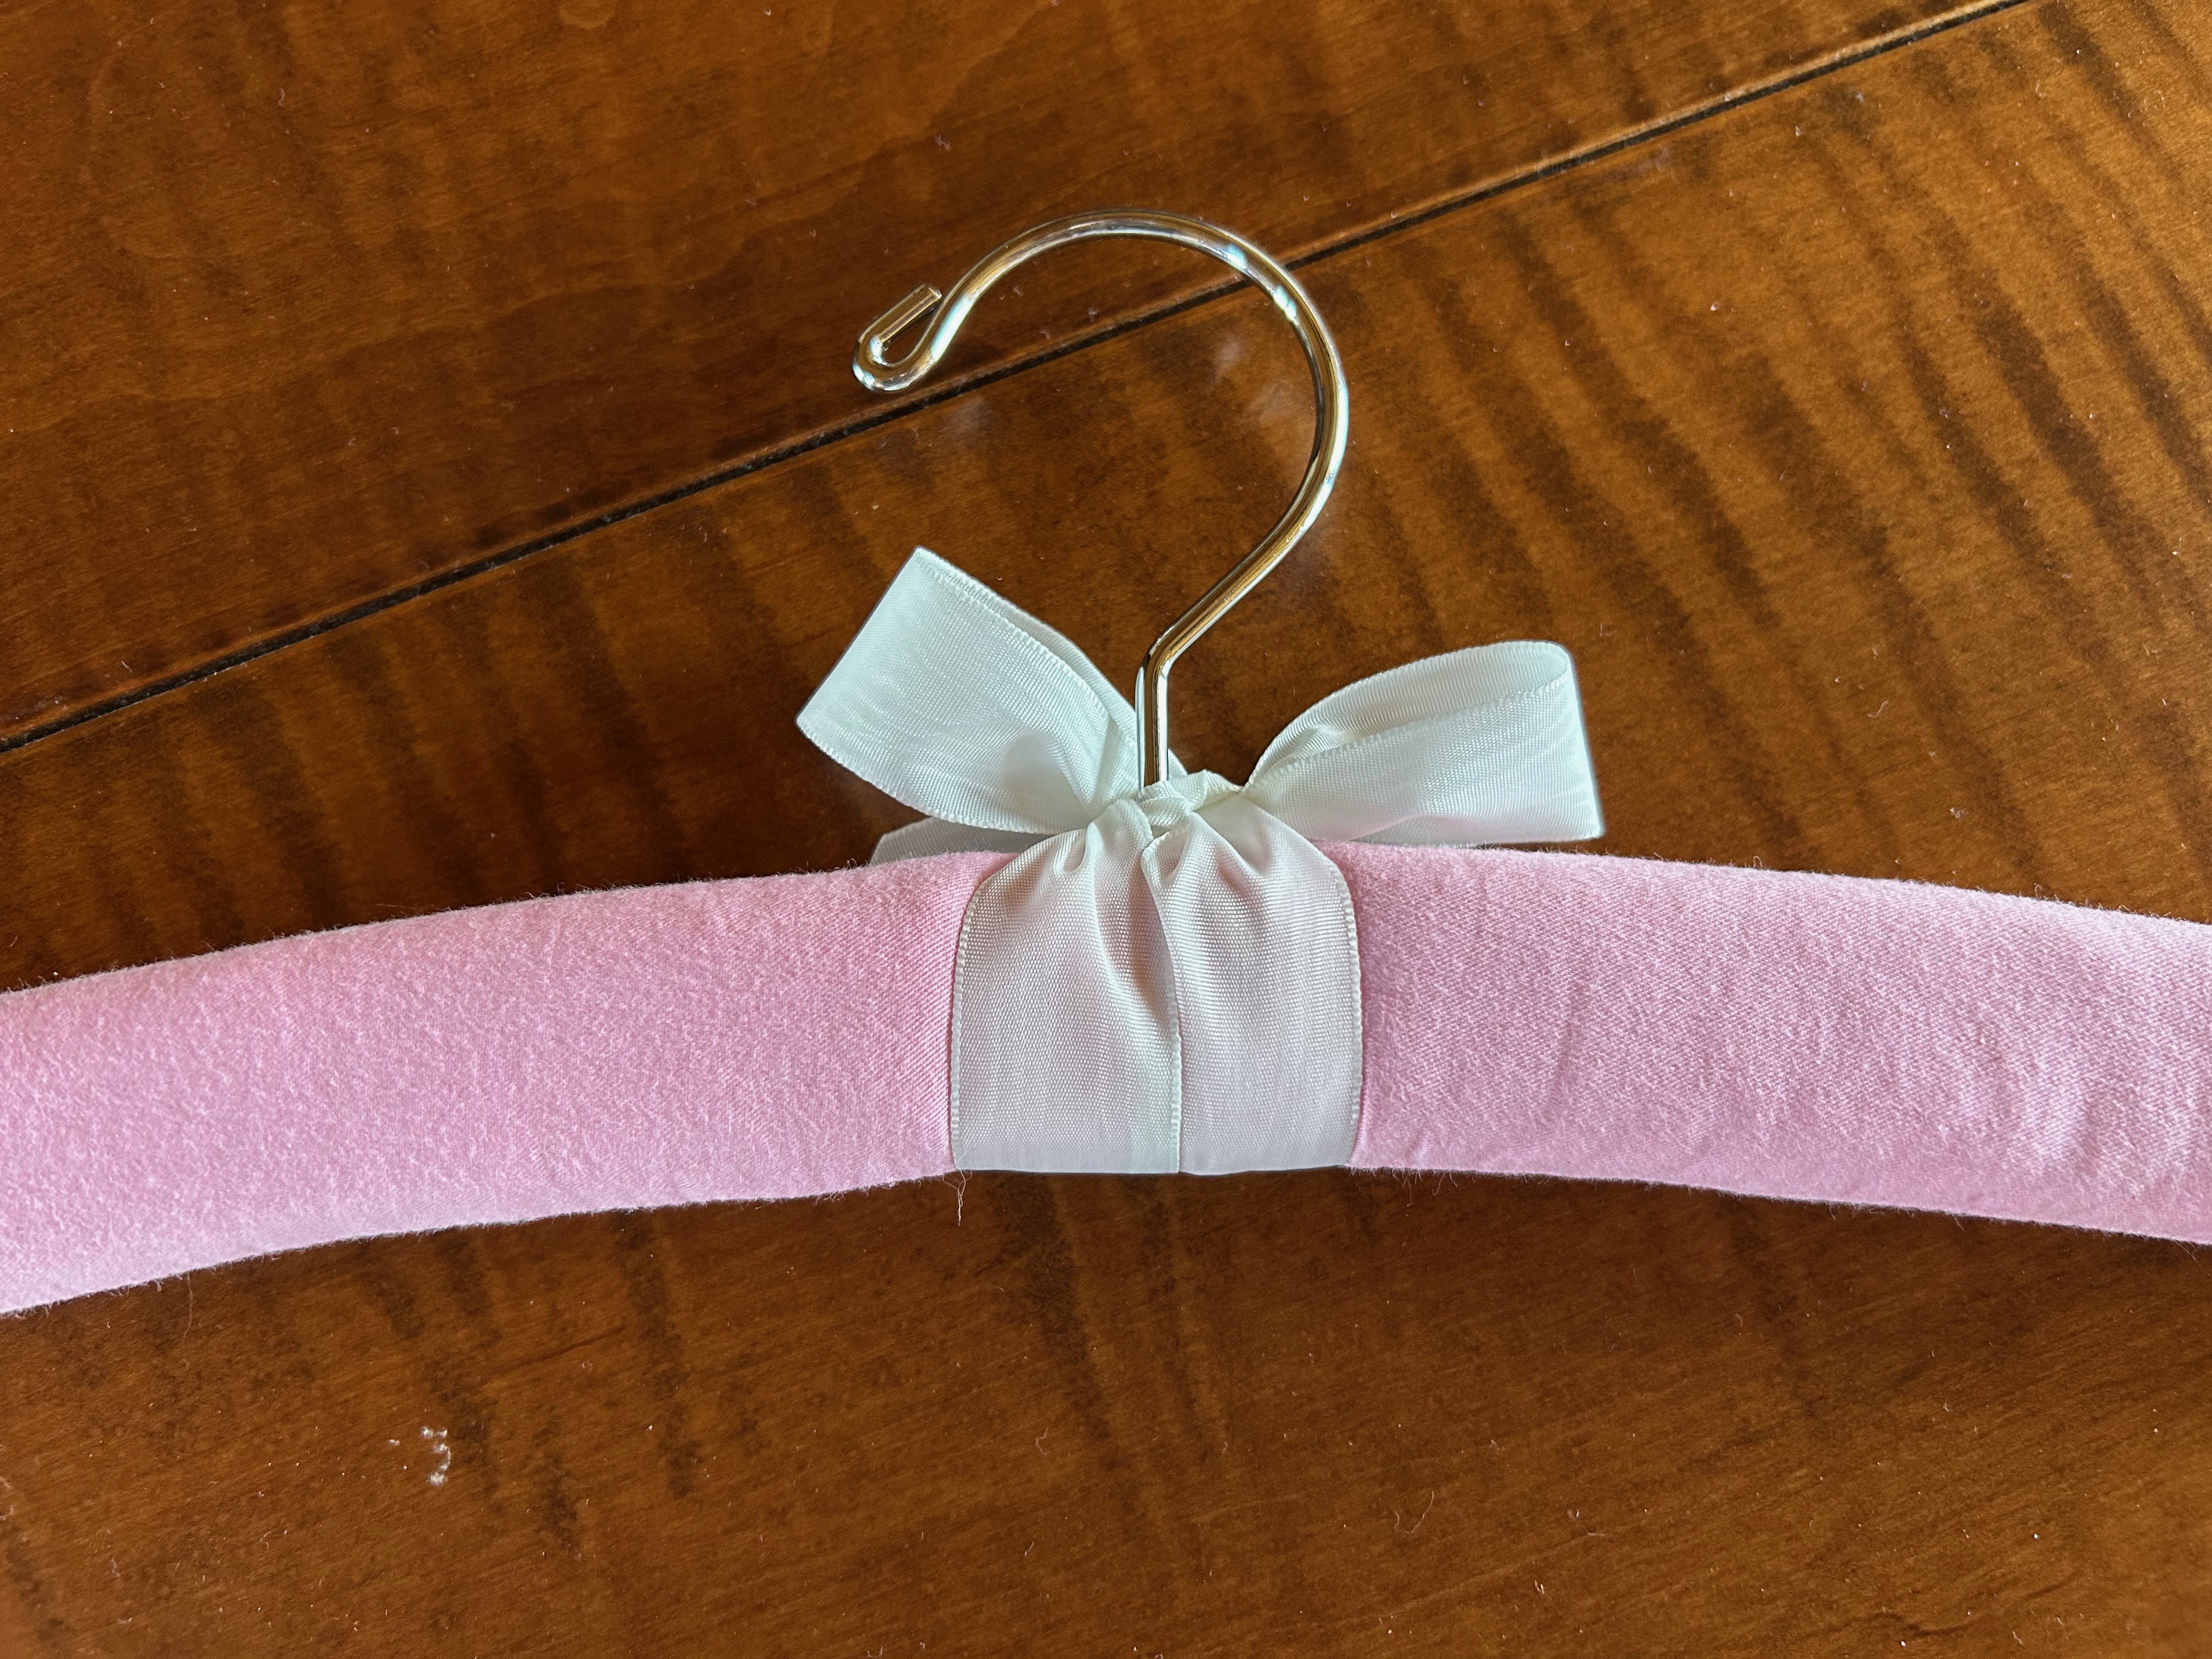
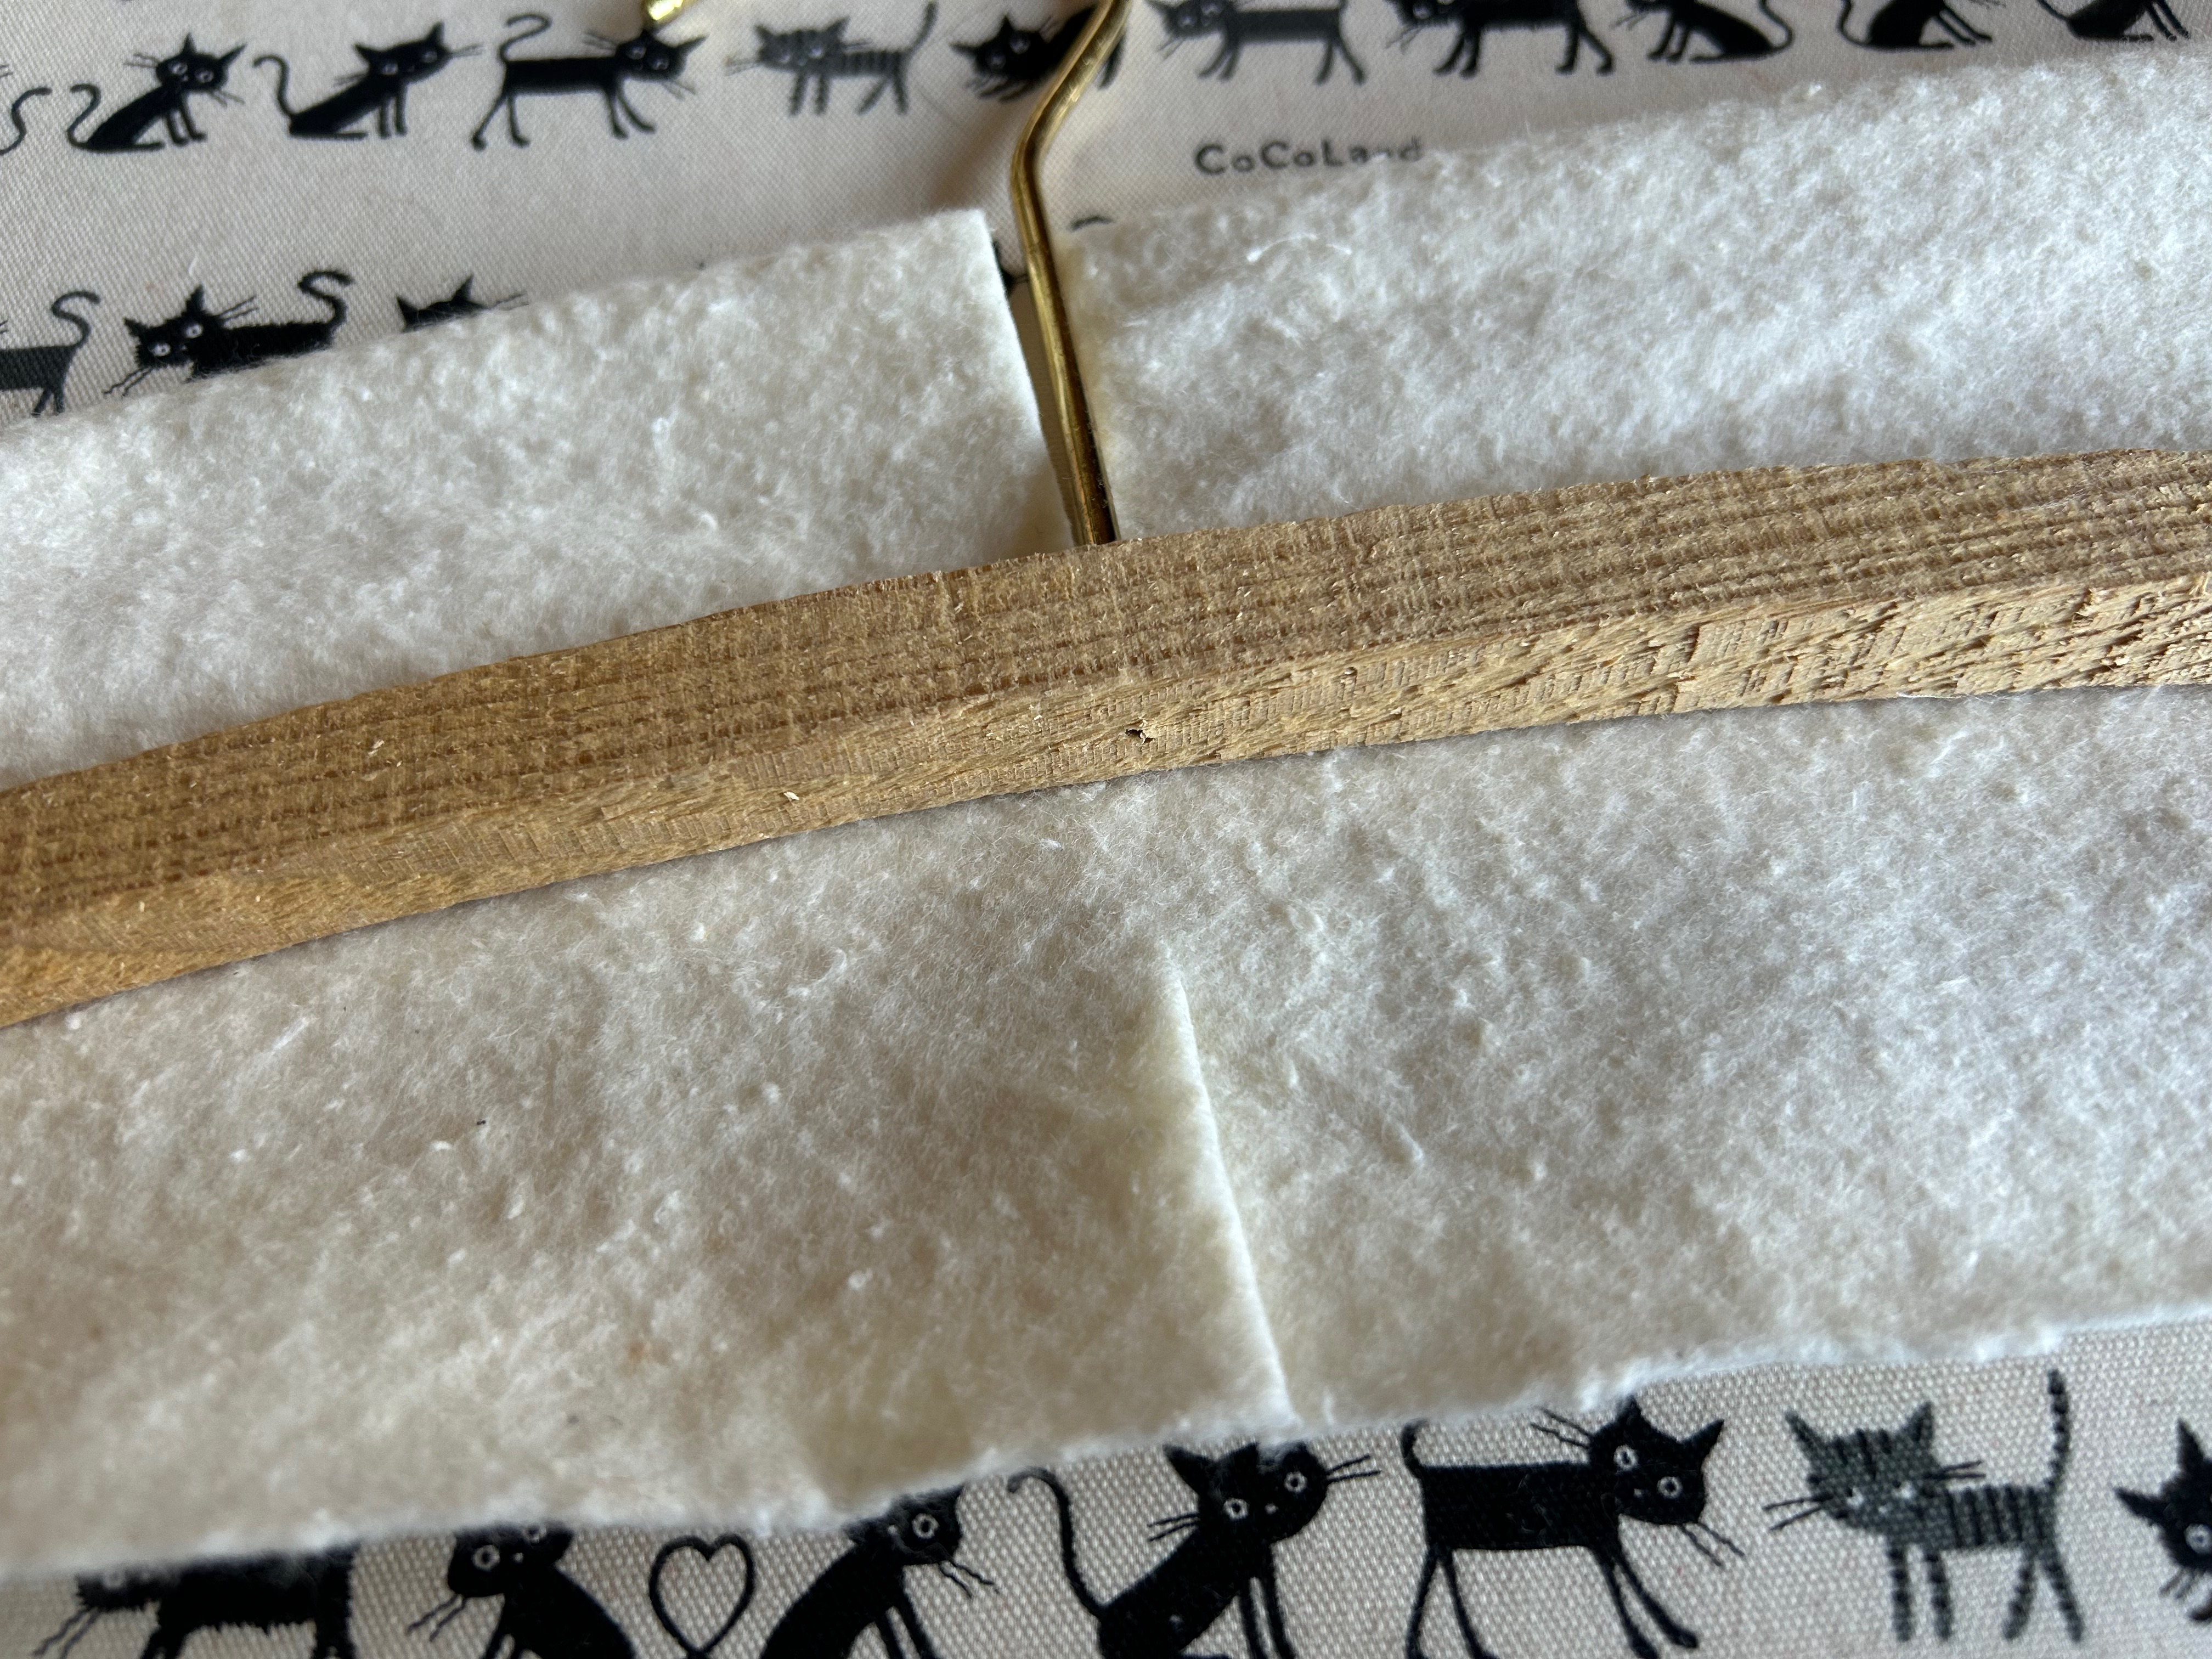
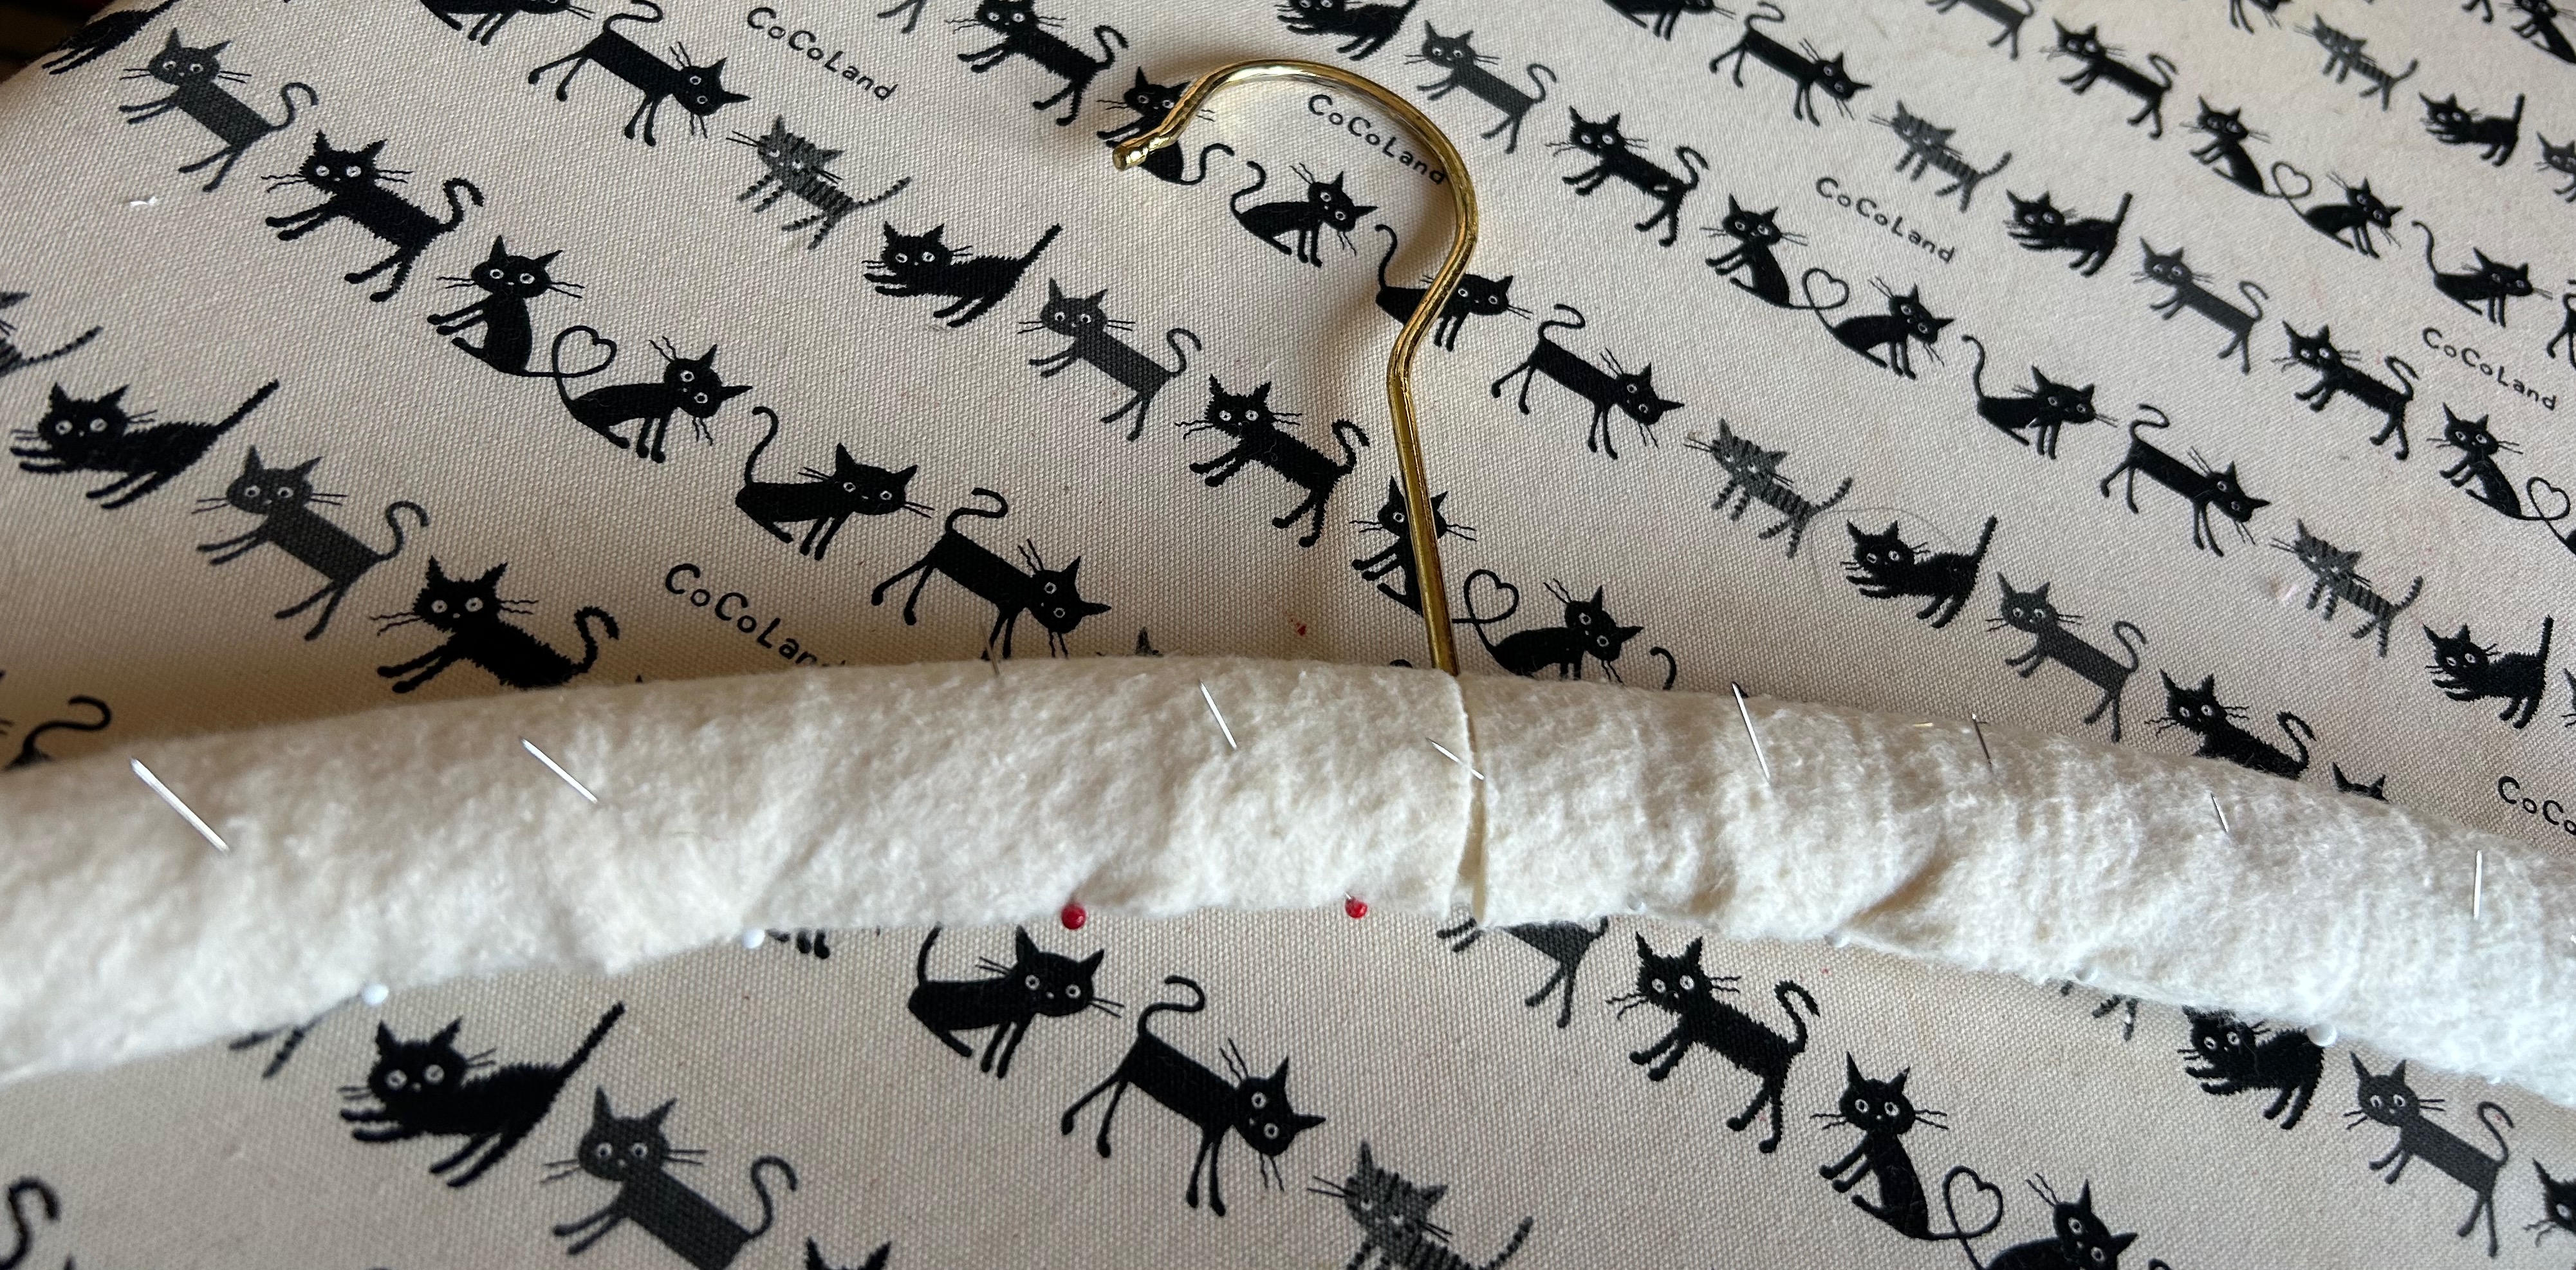
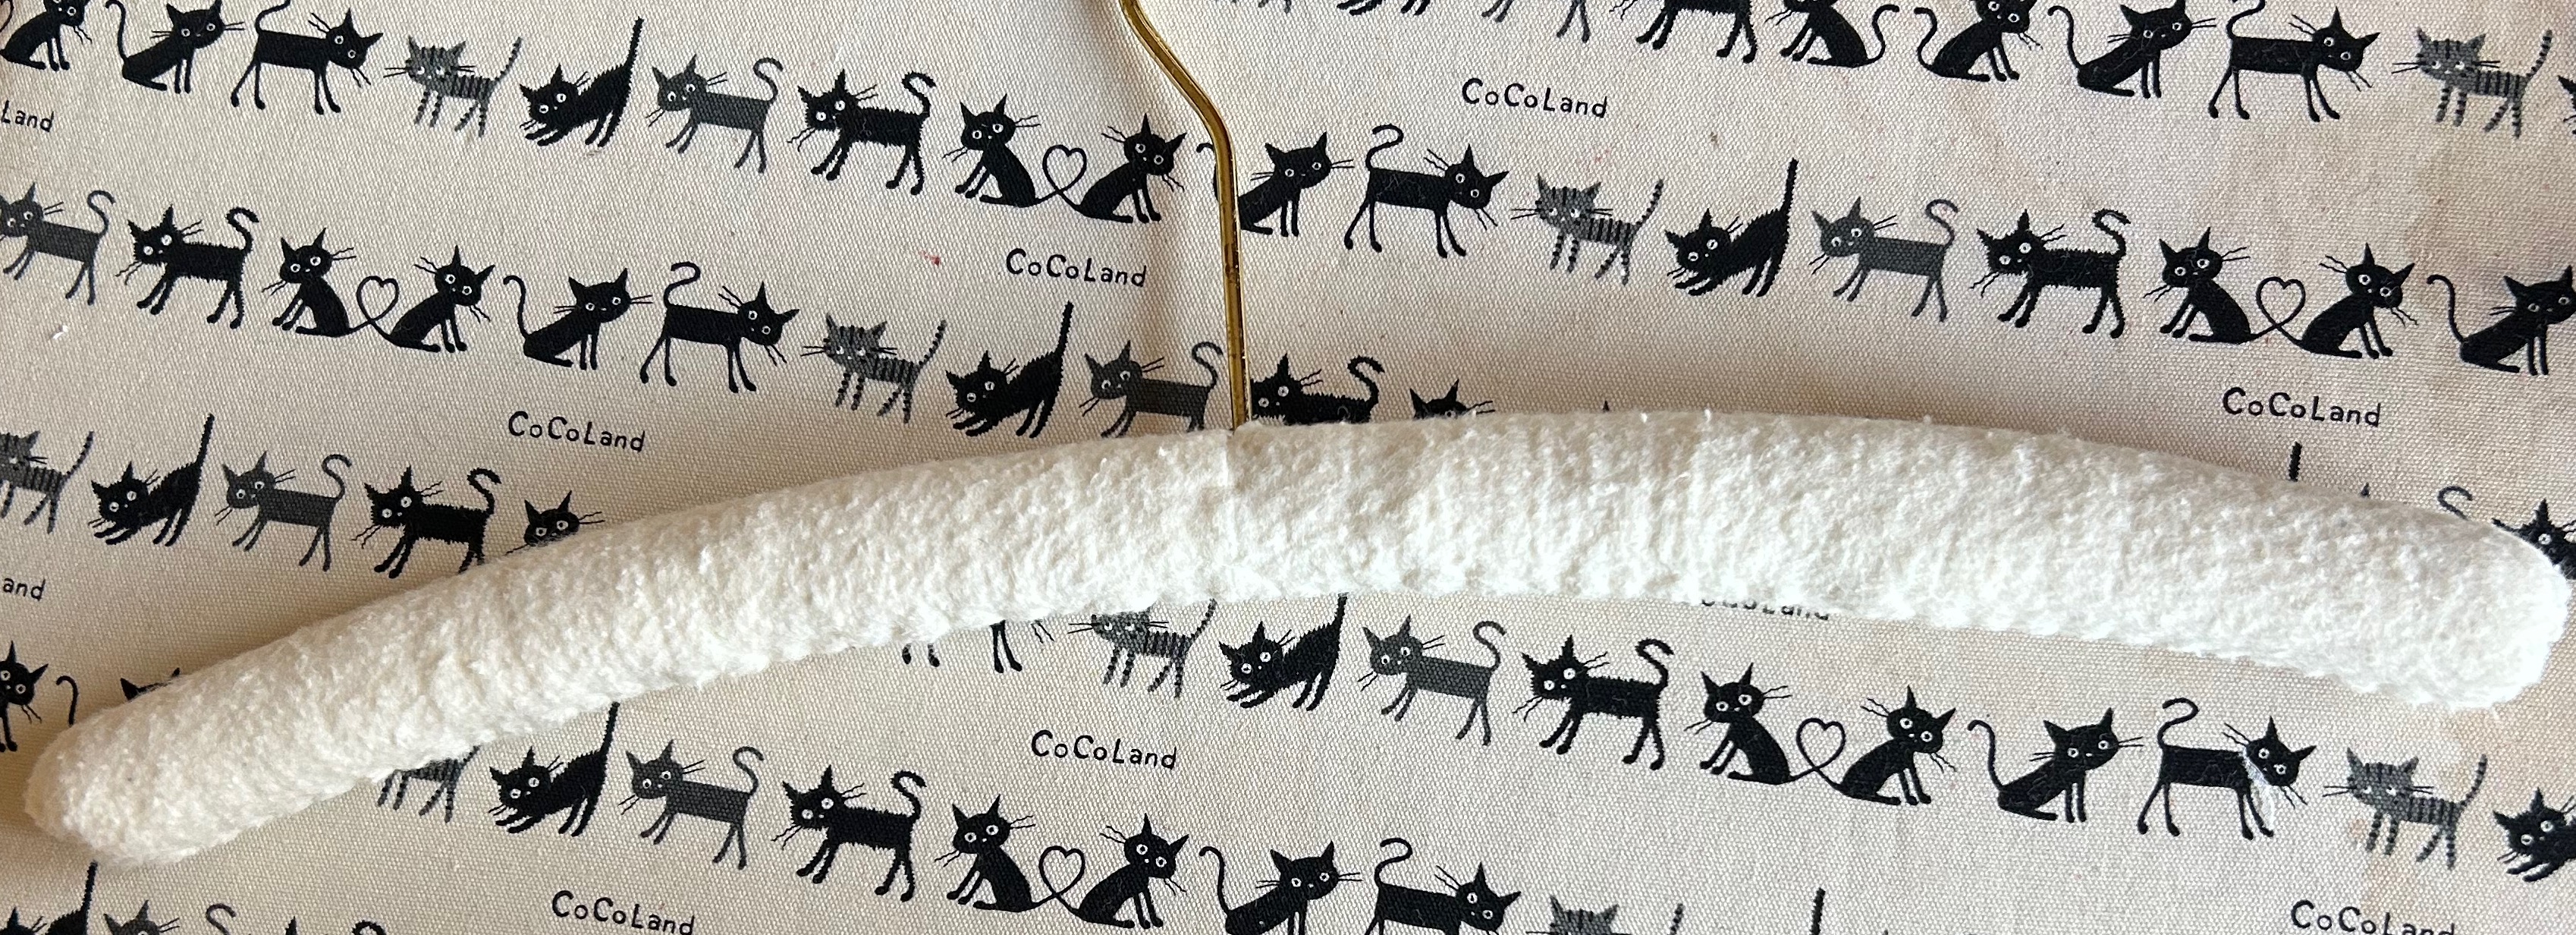
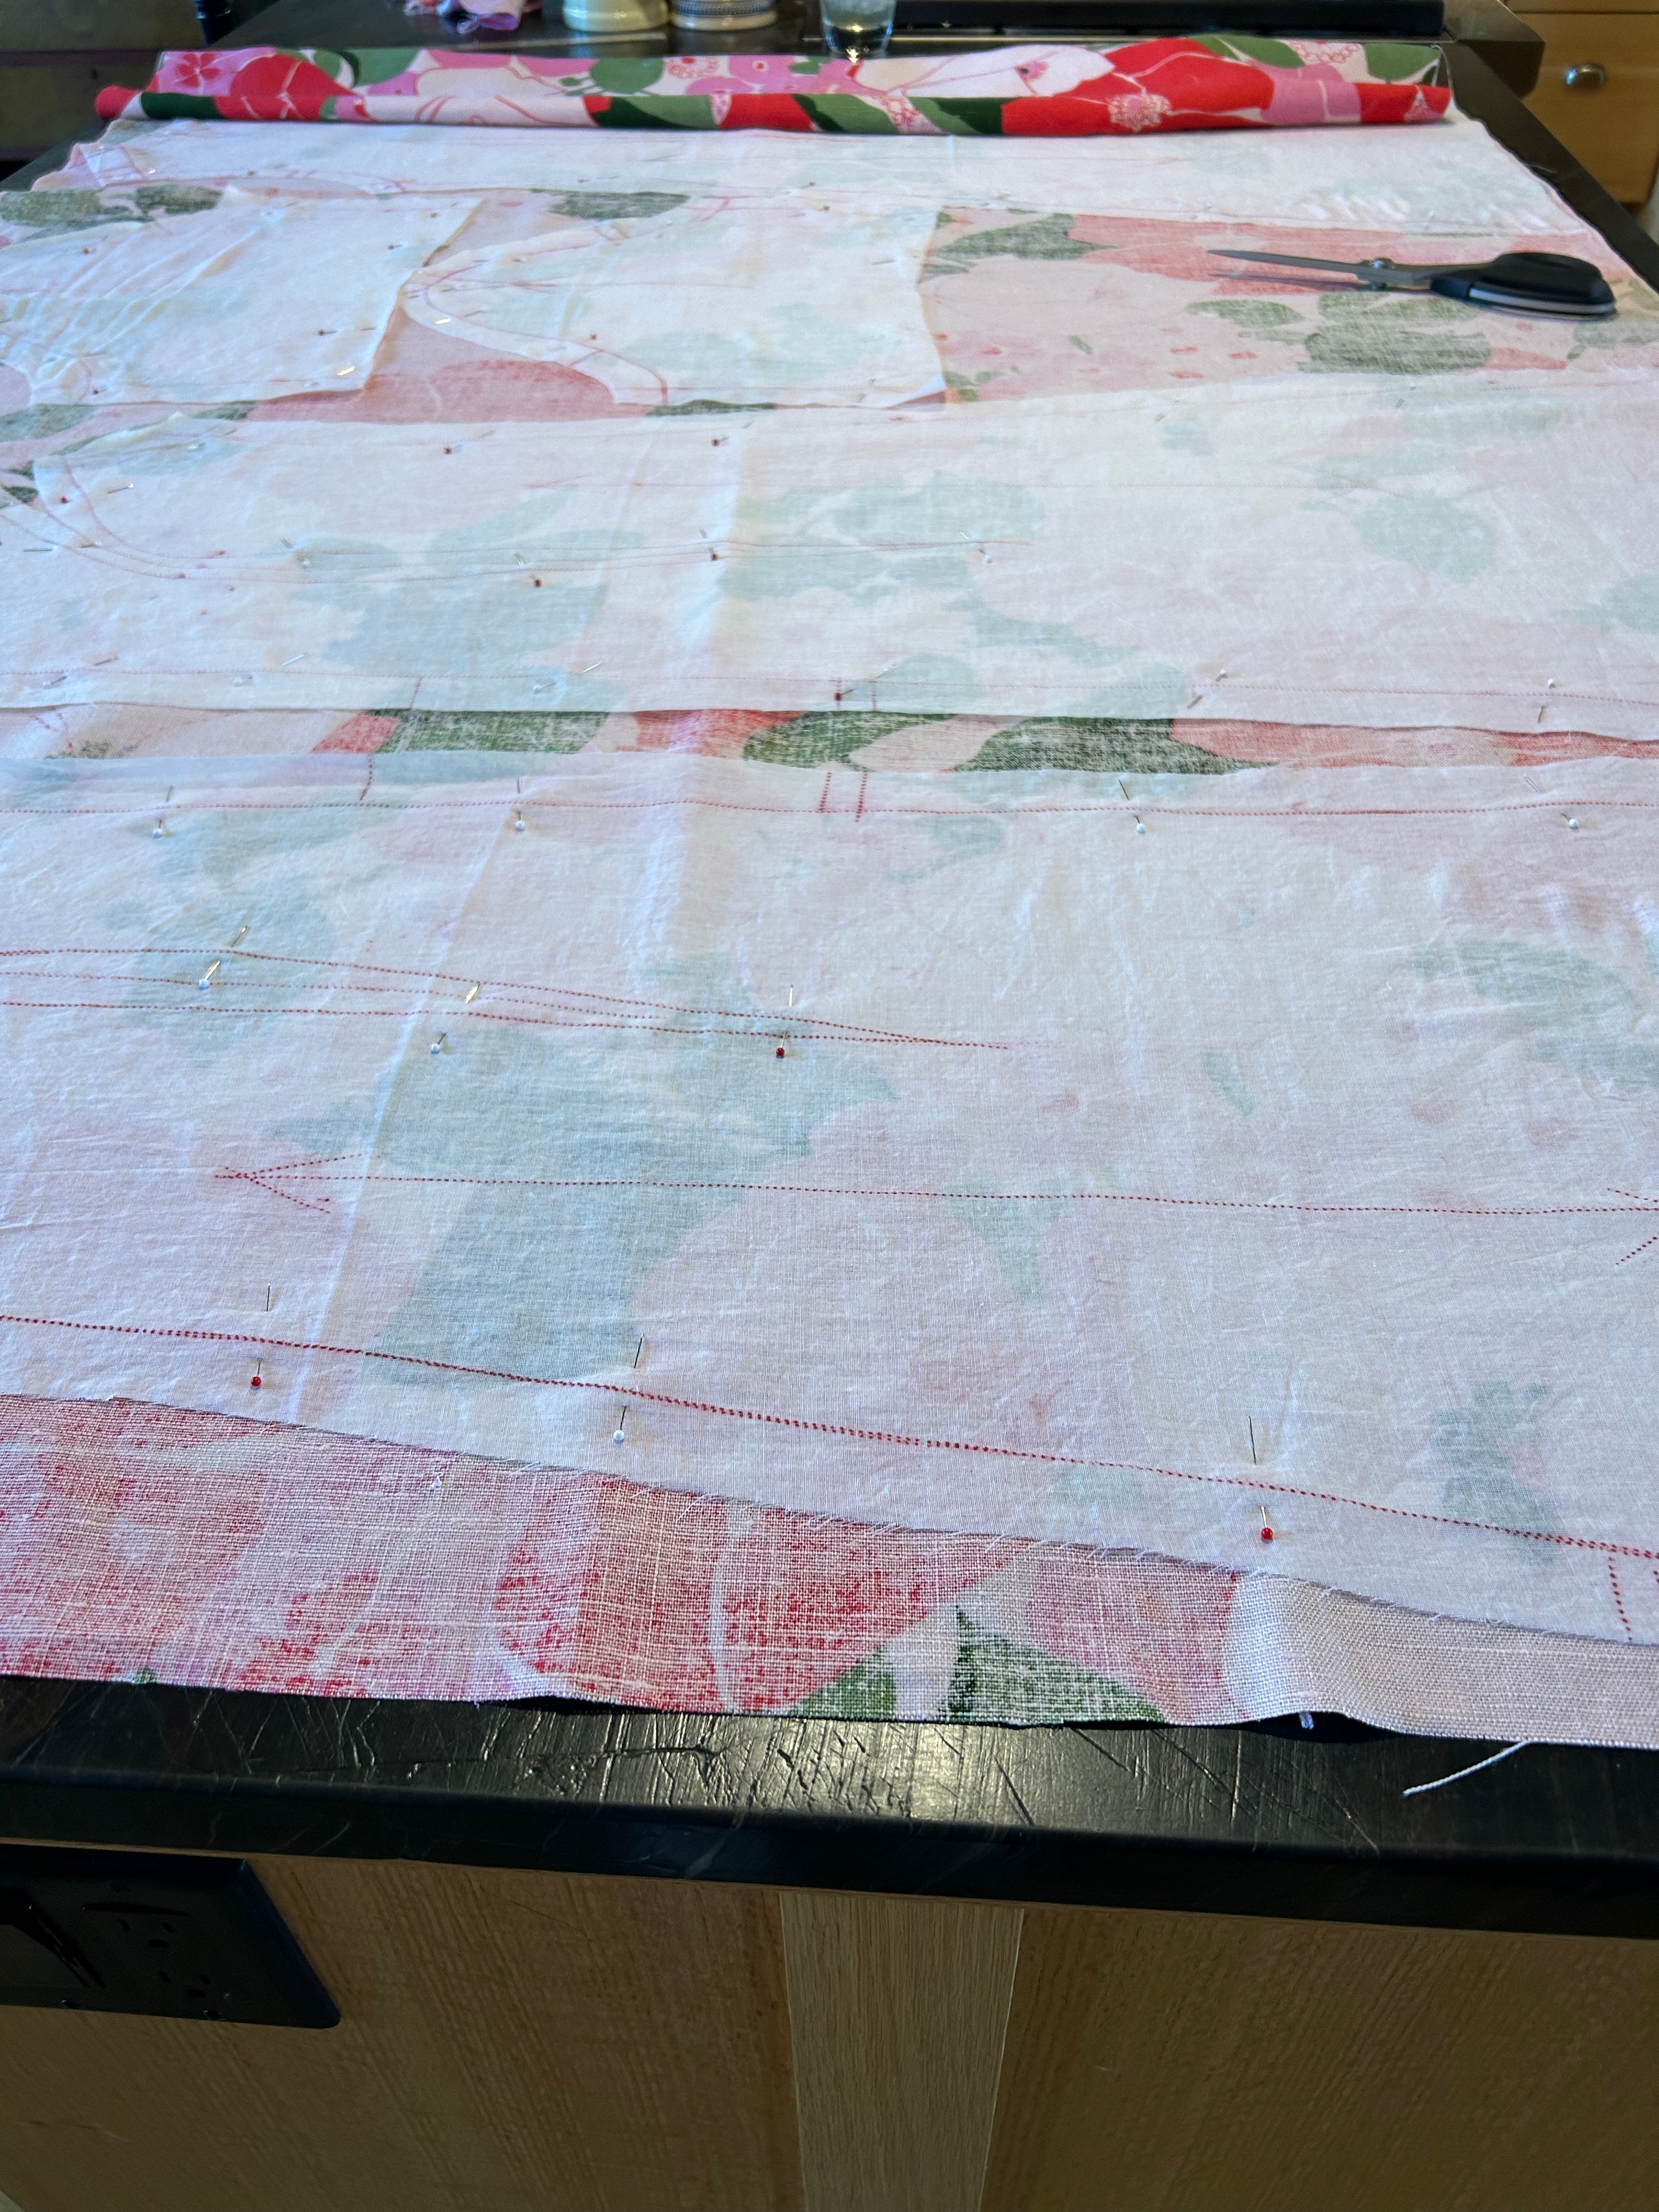
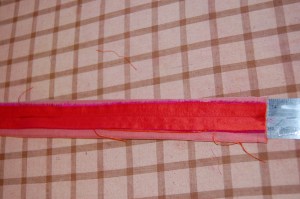
Here are a few pictures of my process, not intended to be a tutorial.
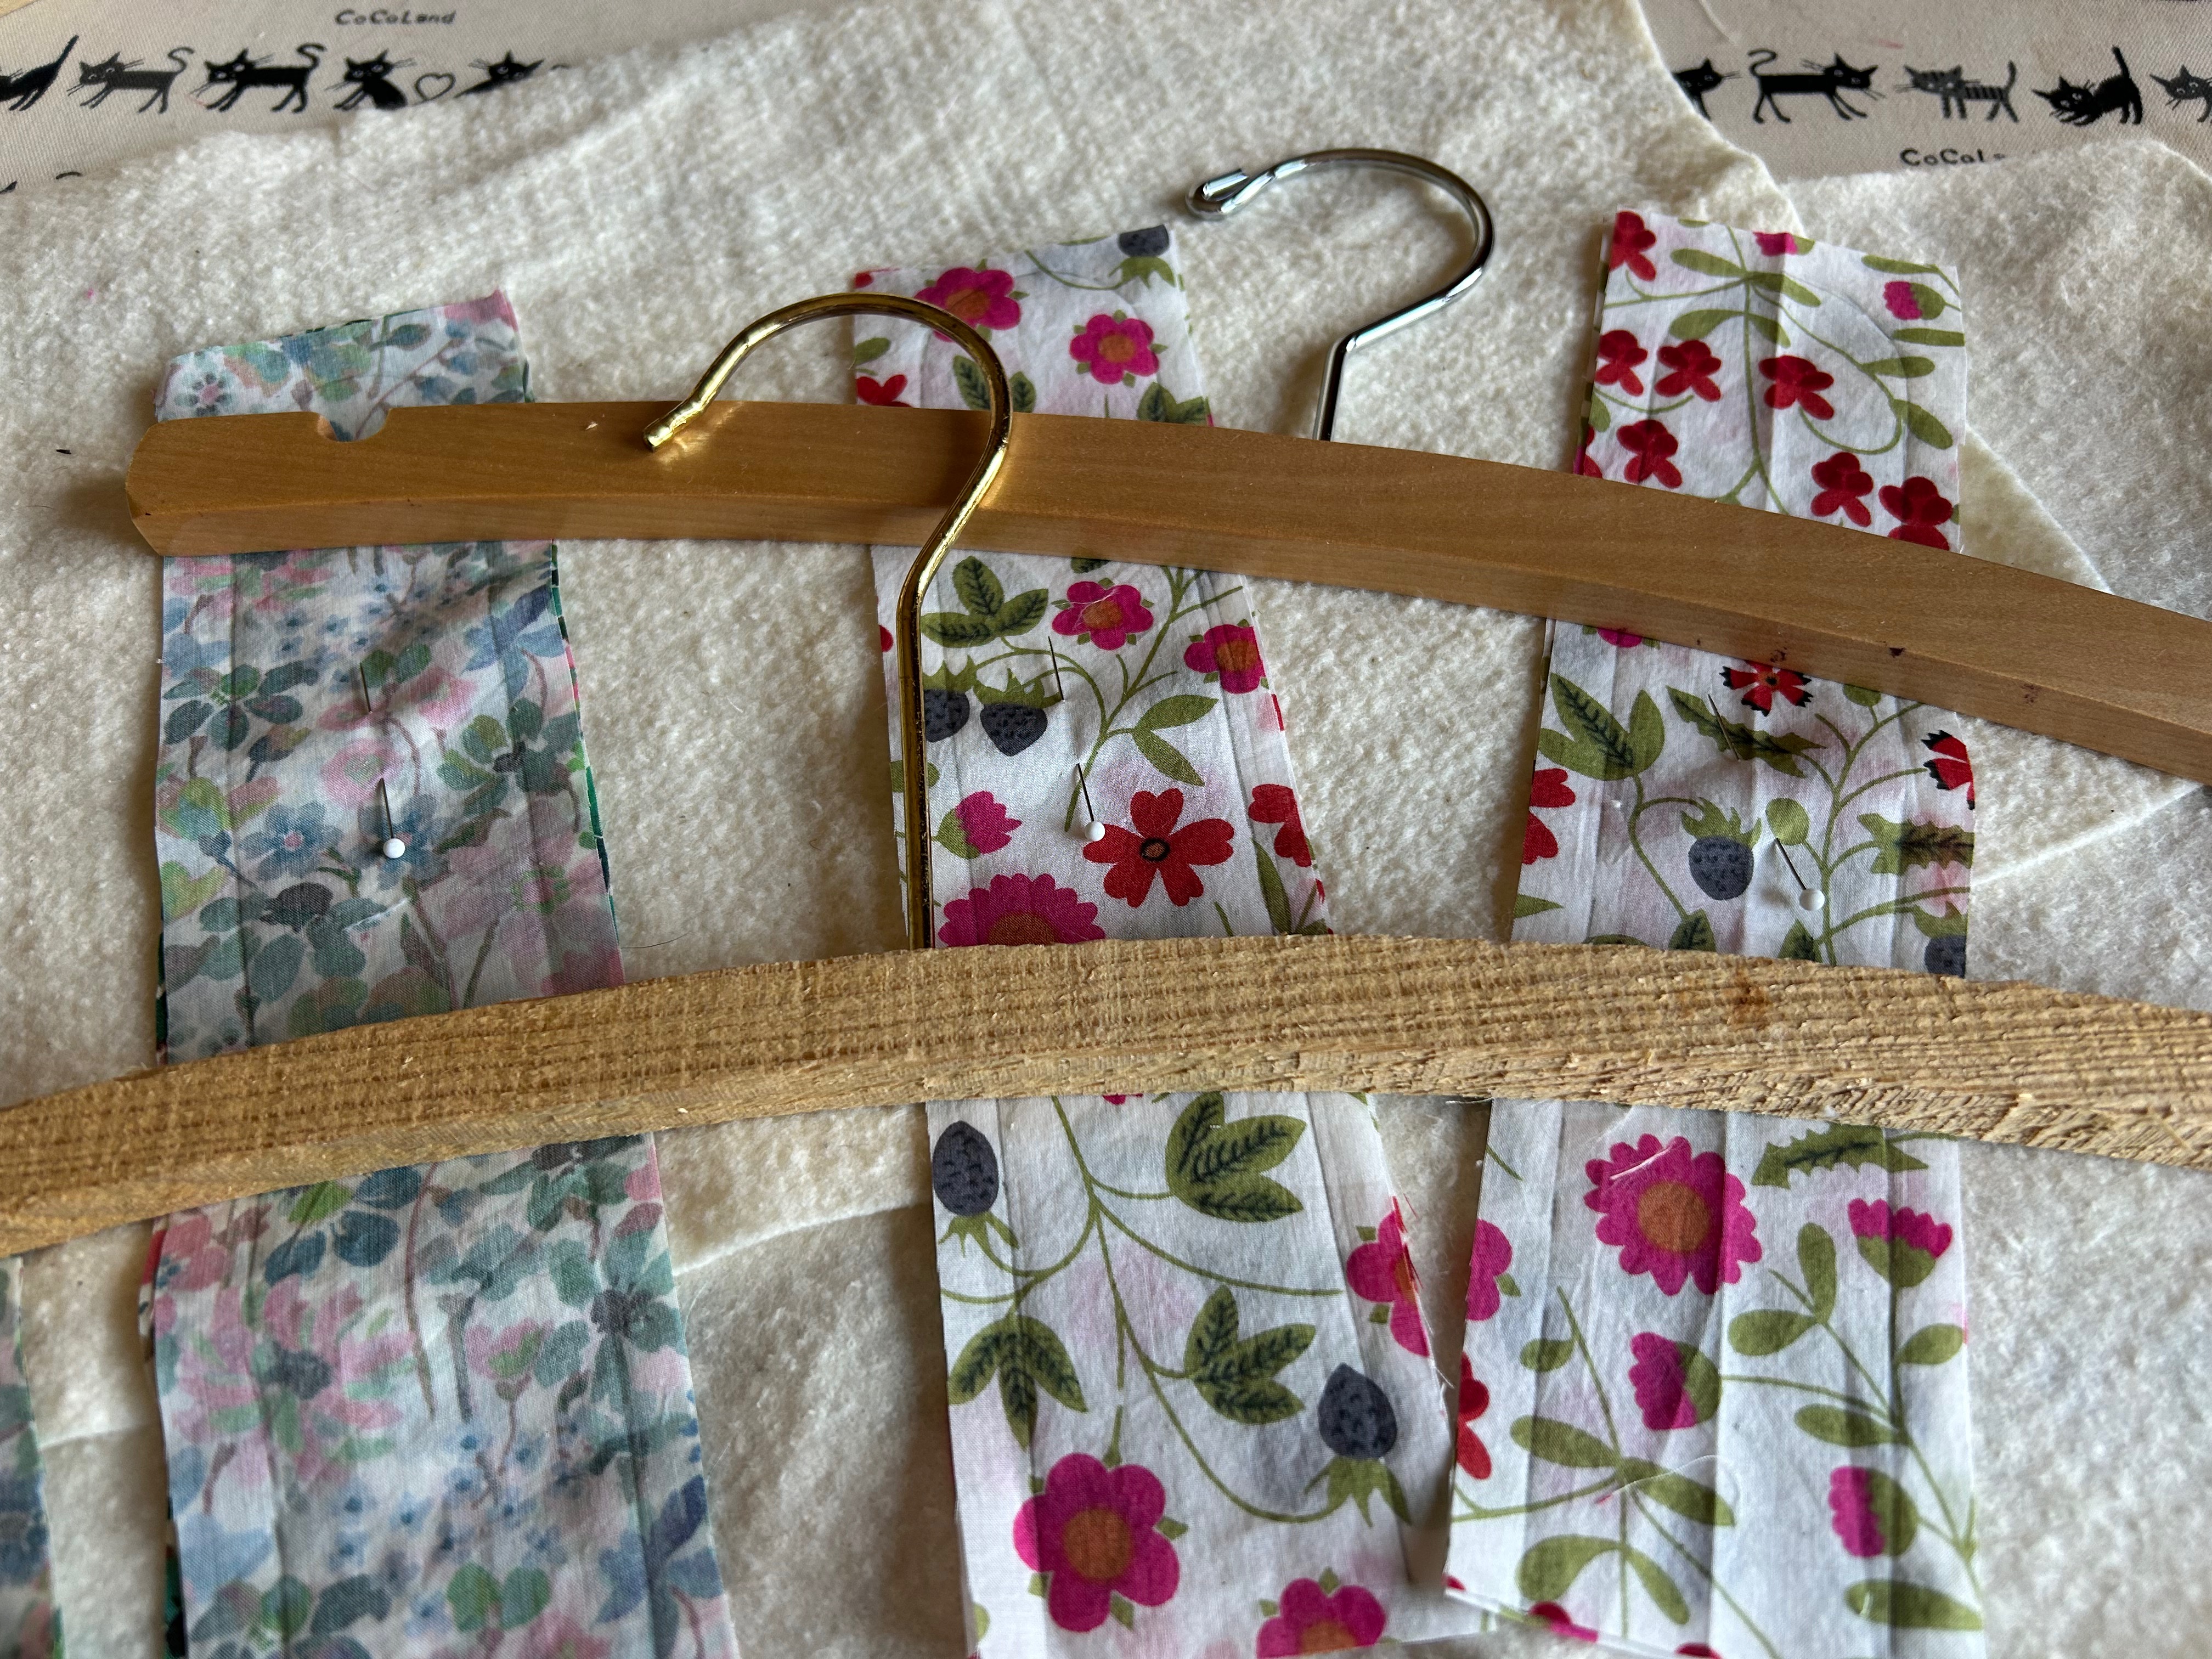
Shown here are two varying wooden forms I happened to have on hand. The unfinished – or raw – wood one is specifically intended for being covered. The other one is a “finished” wood hanger which I turned into a padded hanger.
Let me tell you why there is something very rewarding about making these hangers.
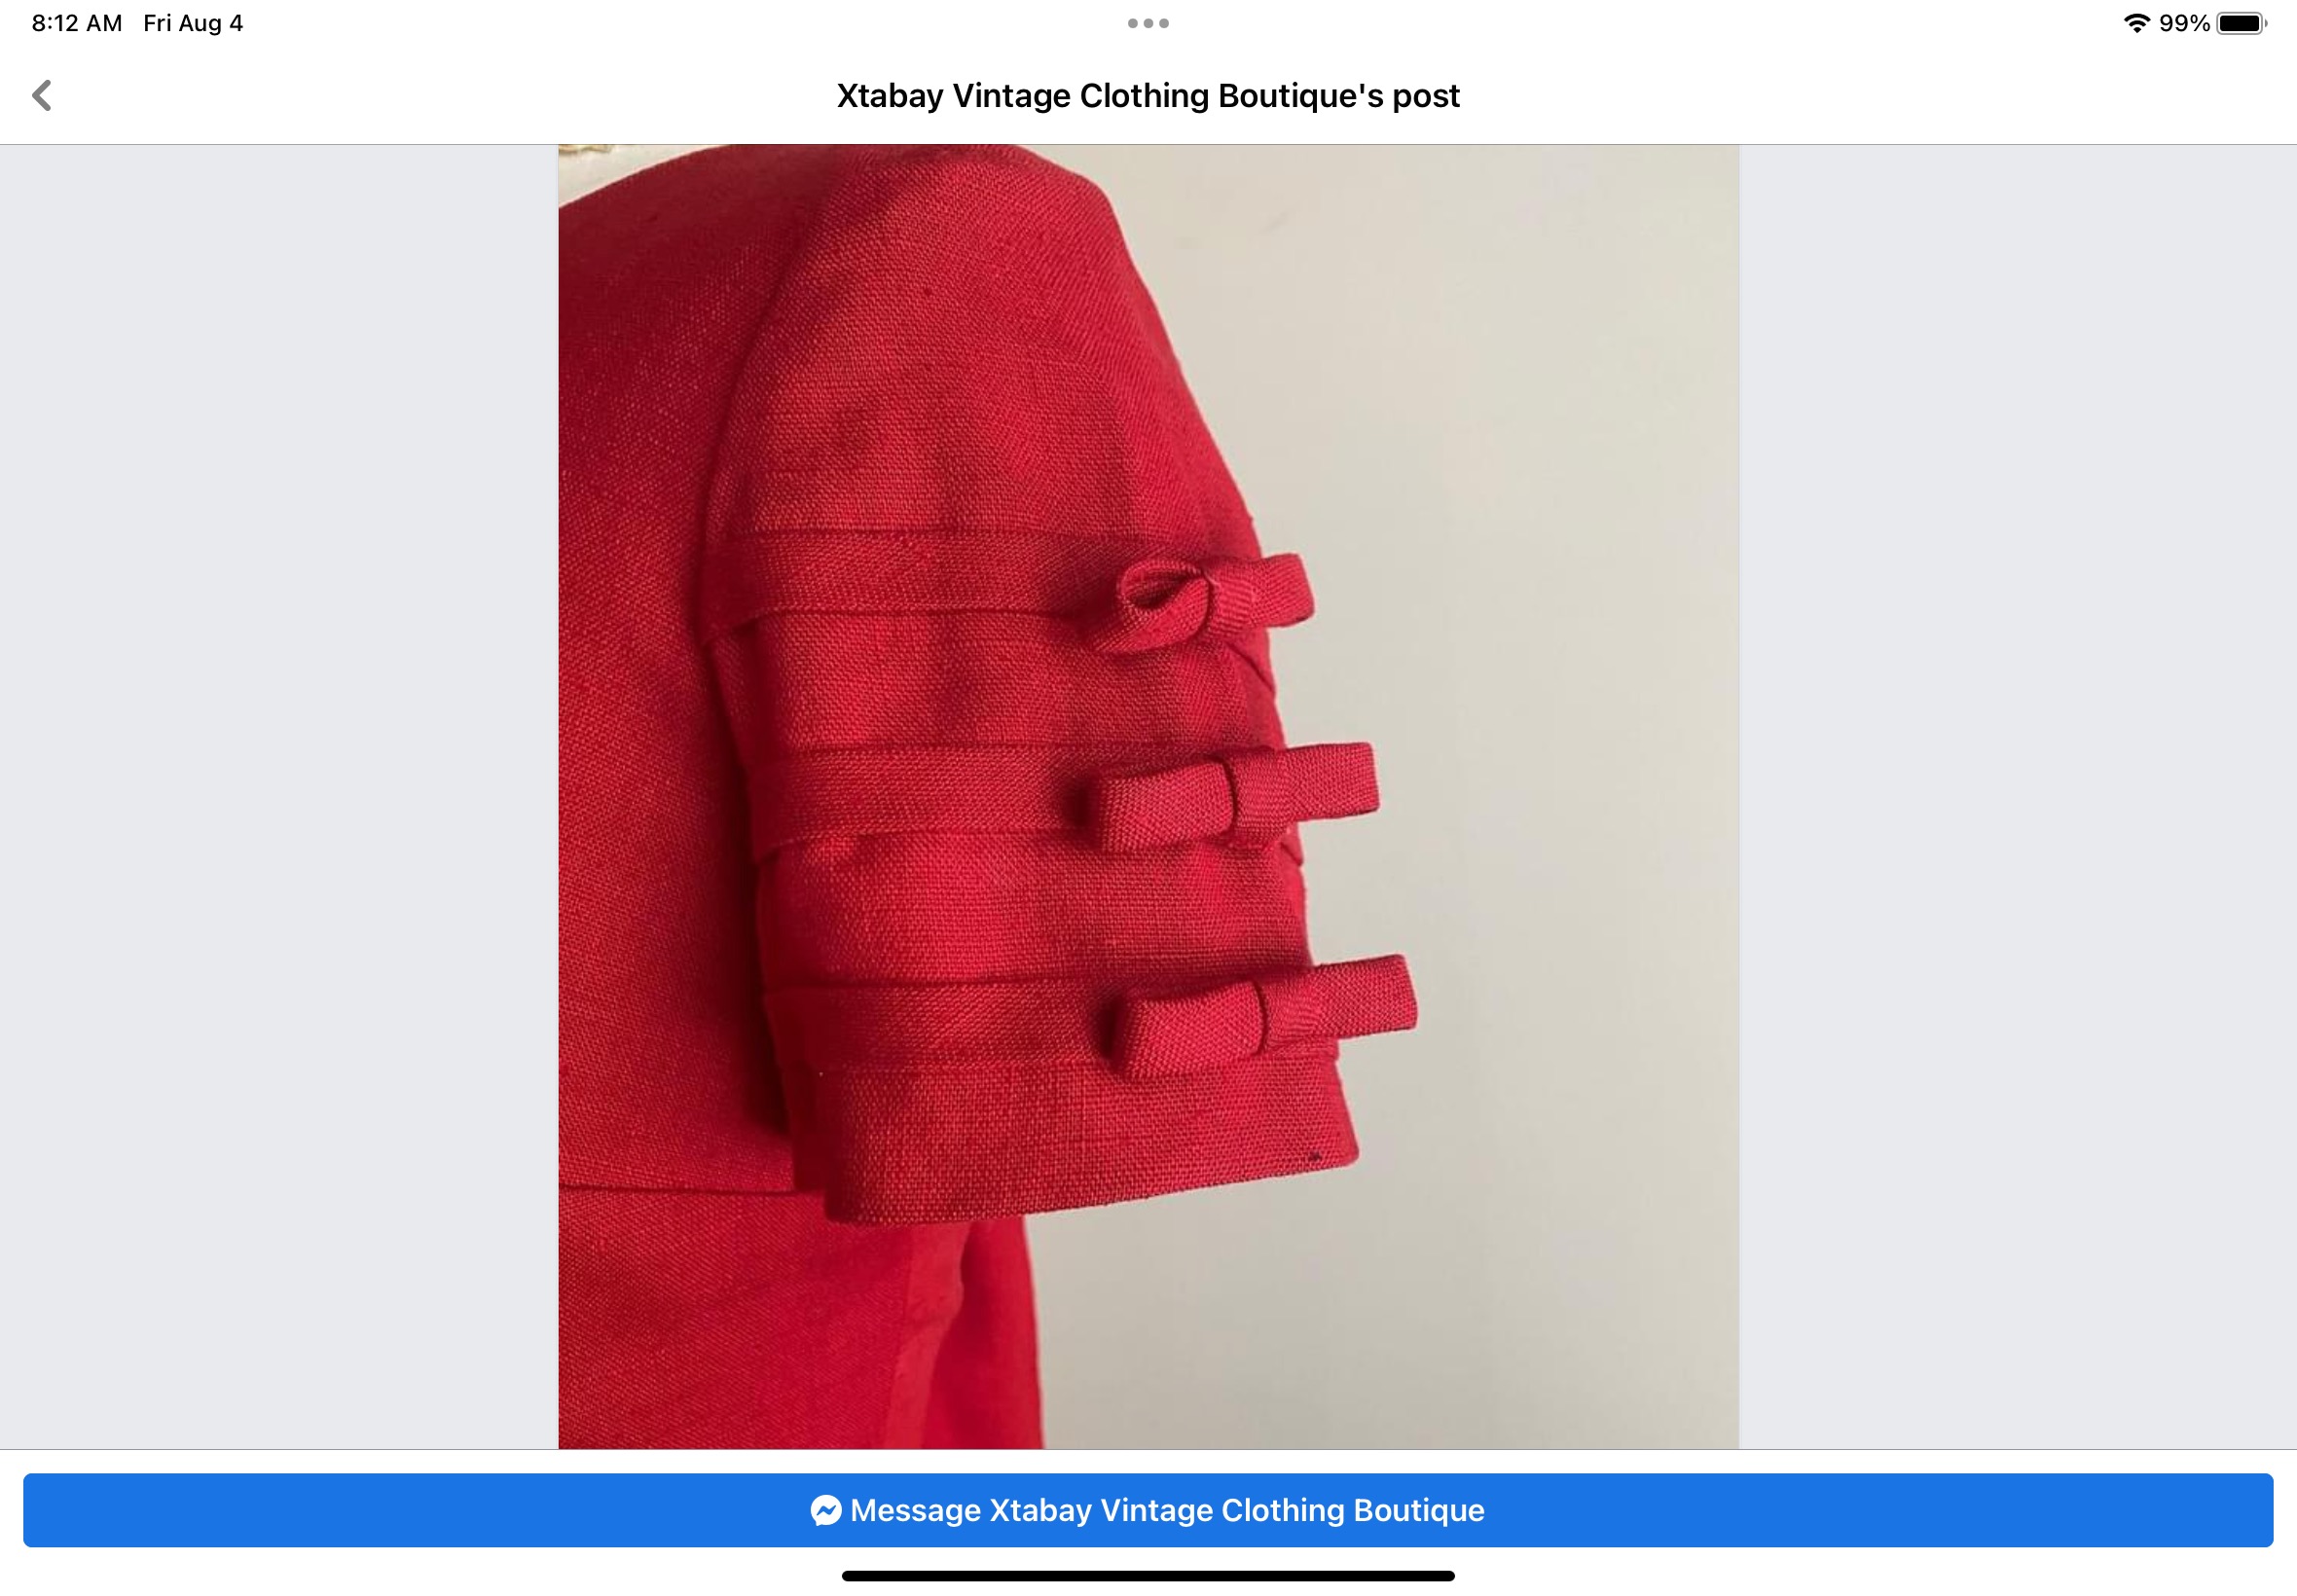
- First of all, they really don’t take much time, perhaps 35-40 minutes per hanger.
- Second, it is the perfect combination of hand and machine sewing.
- Third, as stated, it is a wonderful way to use up scraps.
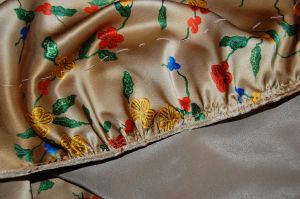
- Fourth, I can use the fabric that is best suited for these closet accessories – tightly woven cottons, light-weight linens or damasks, and never anything slippery, such as satin, which causes your garment to slide off one side. I am particularly looking forward to making hangers with some of my scraps of vintage cottons and linens, a unique way to preserve samples of these special fabrics.
- Fifth, handmade padded hangers make very sweet small gifts for friends and family.
- And finally, making my own hangers allows me to use coordinating color ribbon. White is always nice, but using coordinating colored ribbon makes your hangers just that much more personal.
Often, between sewing projects, especially if they are major projects, I like to make something quick and easy and fun to “decompress” and get ready for the next big undertaking. Making a padded hanger is the perfect solution.


A Three Piece Outfit for the Holidays, Part 3: The Sash
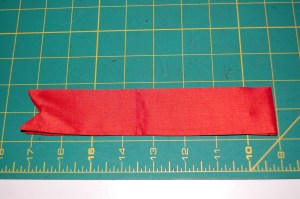
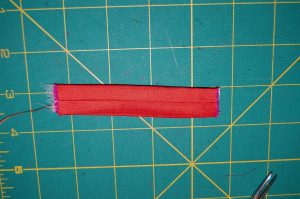
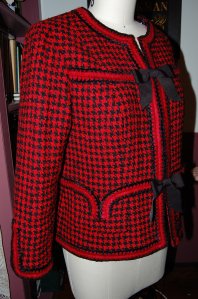
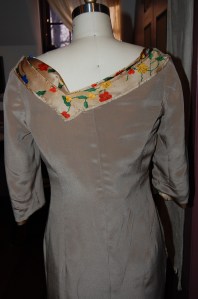
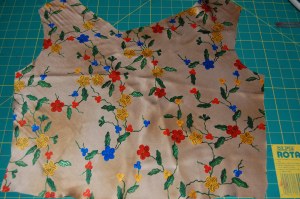
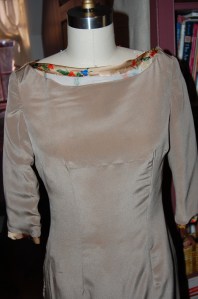
The sash started it all. After finishing this silk taffeta coat last year, I was left with about 1 and ½ yards of that luscious coral fabric.
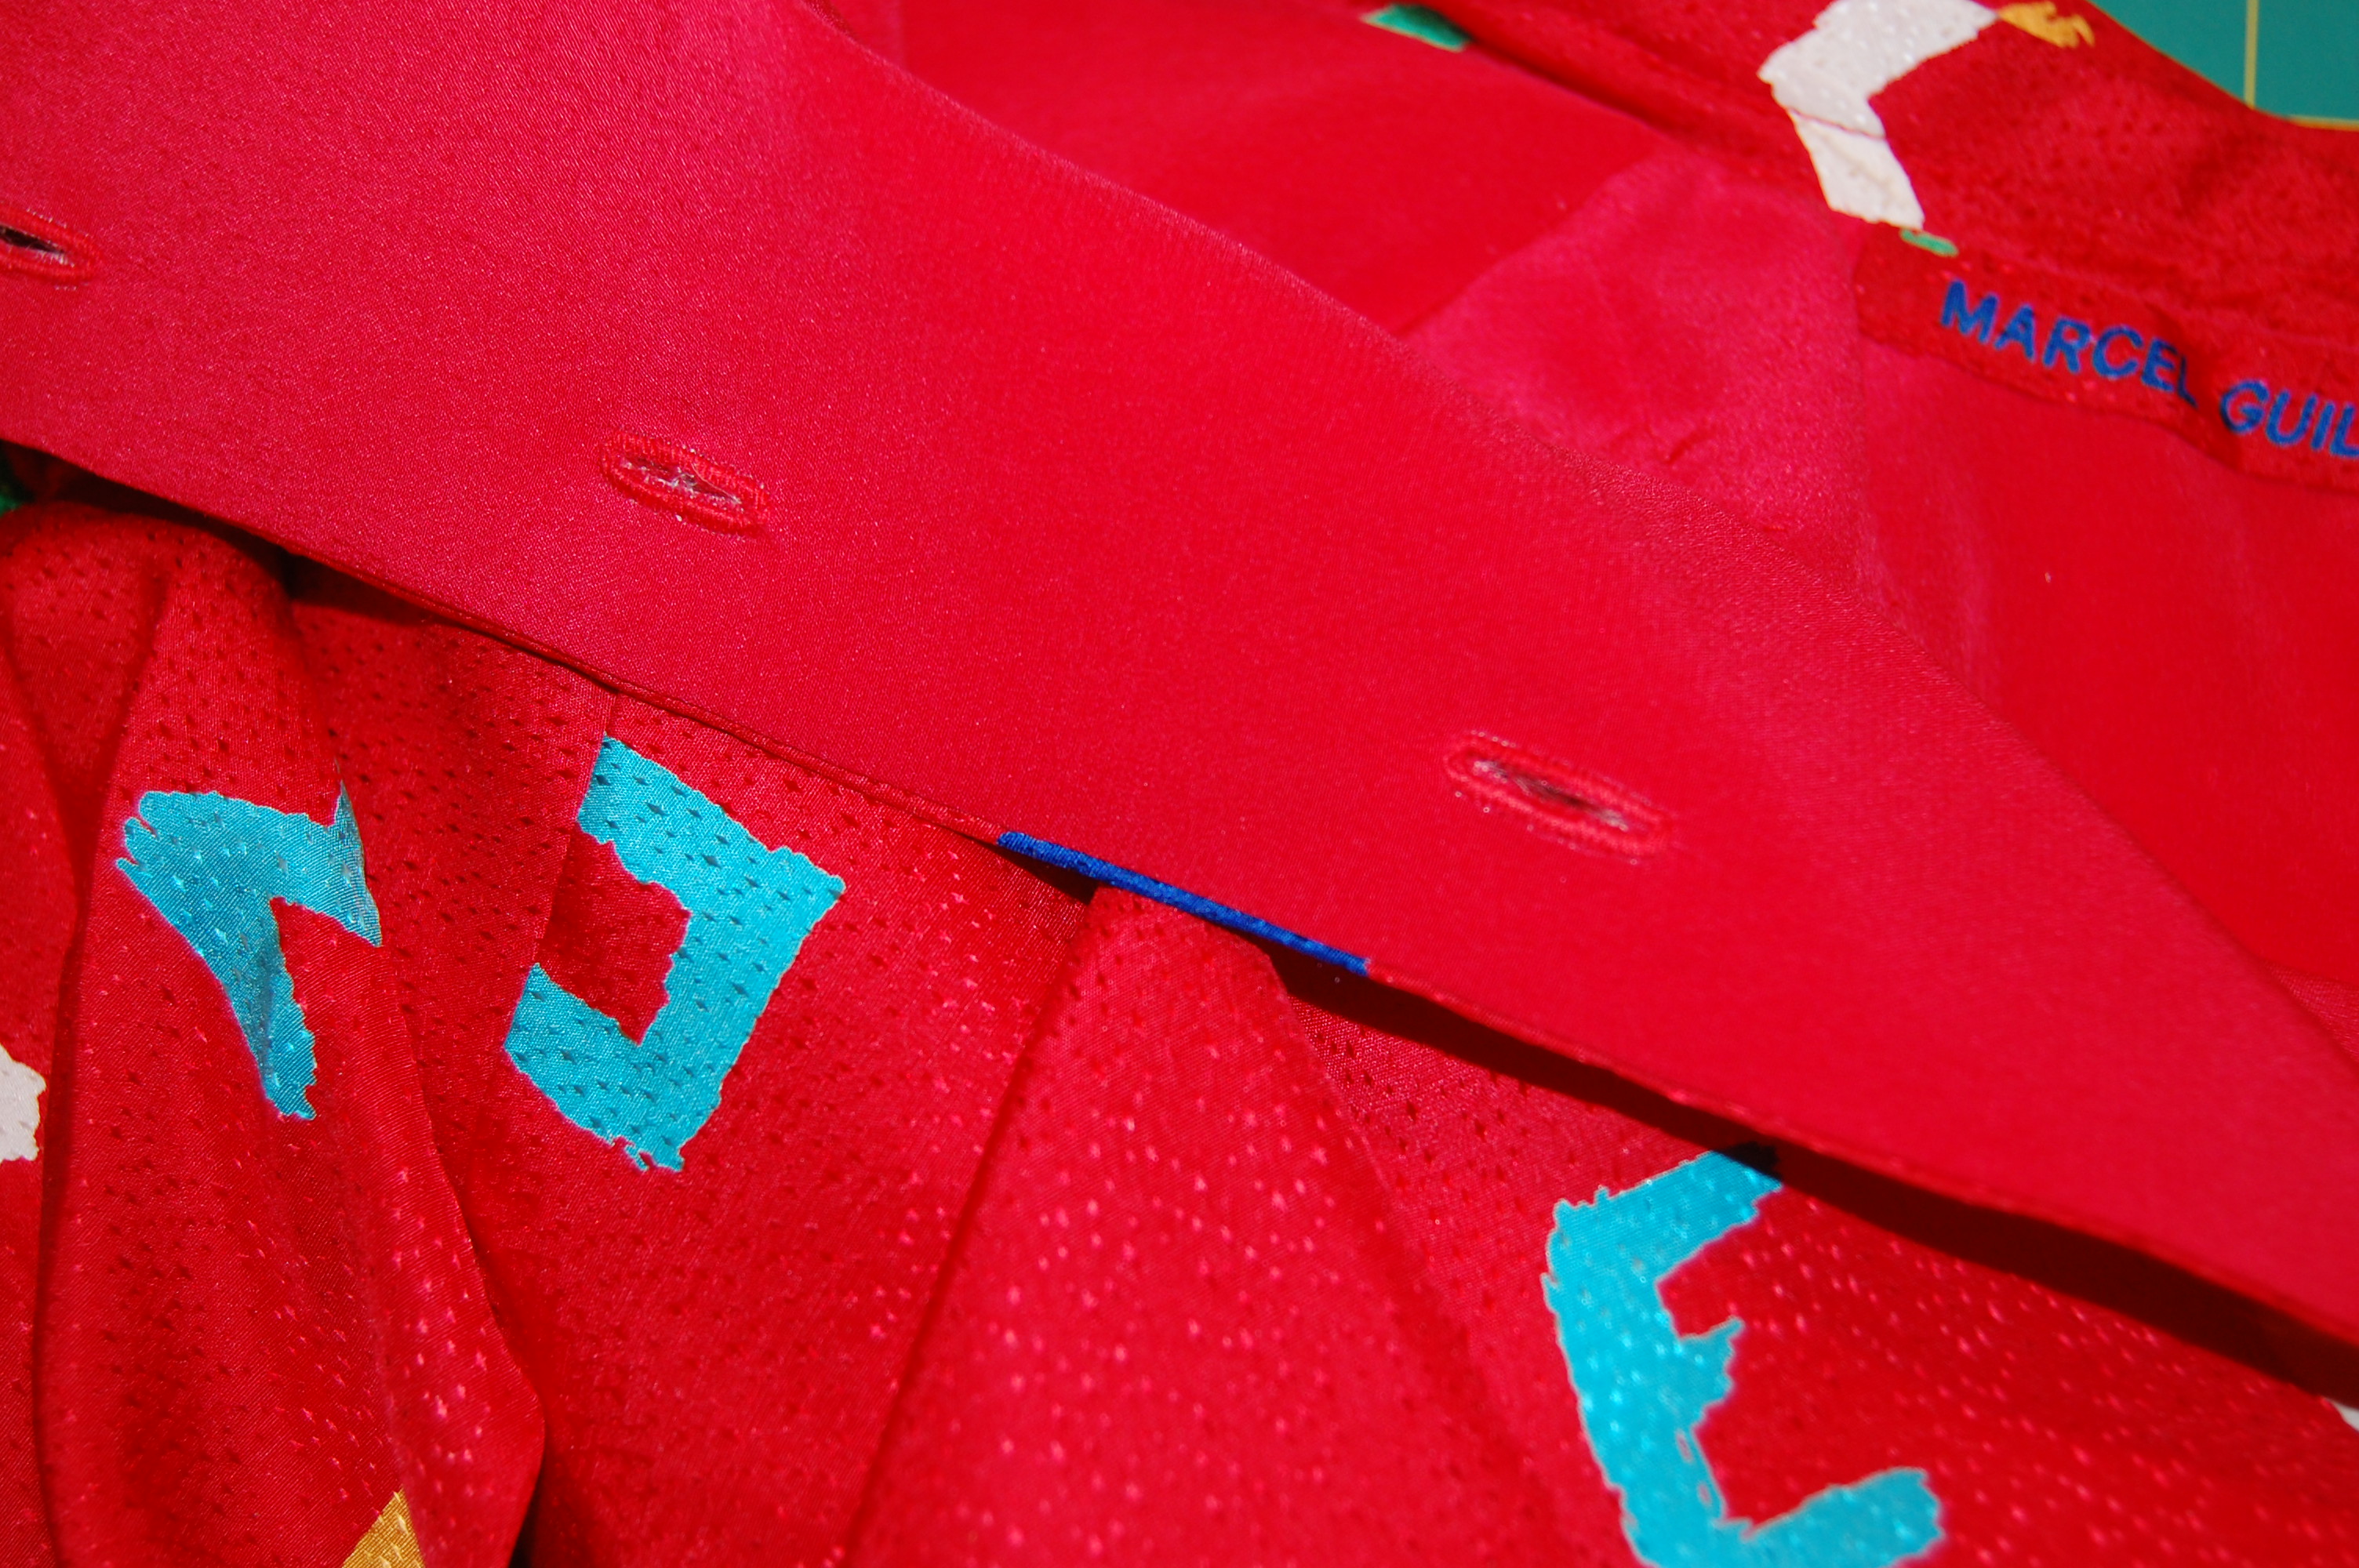
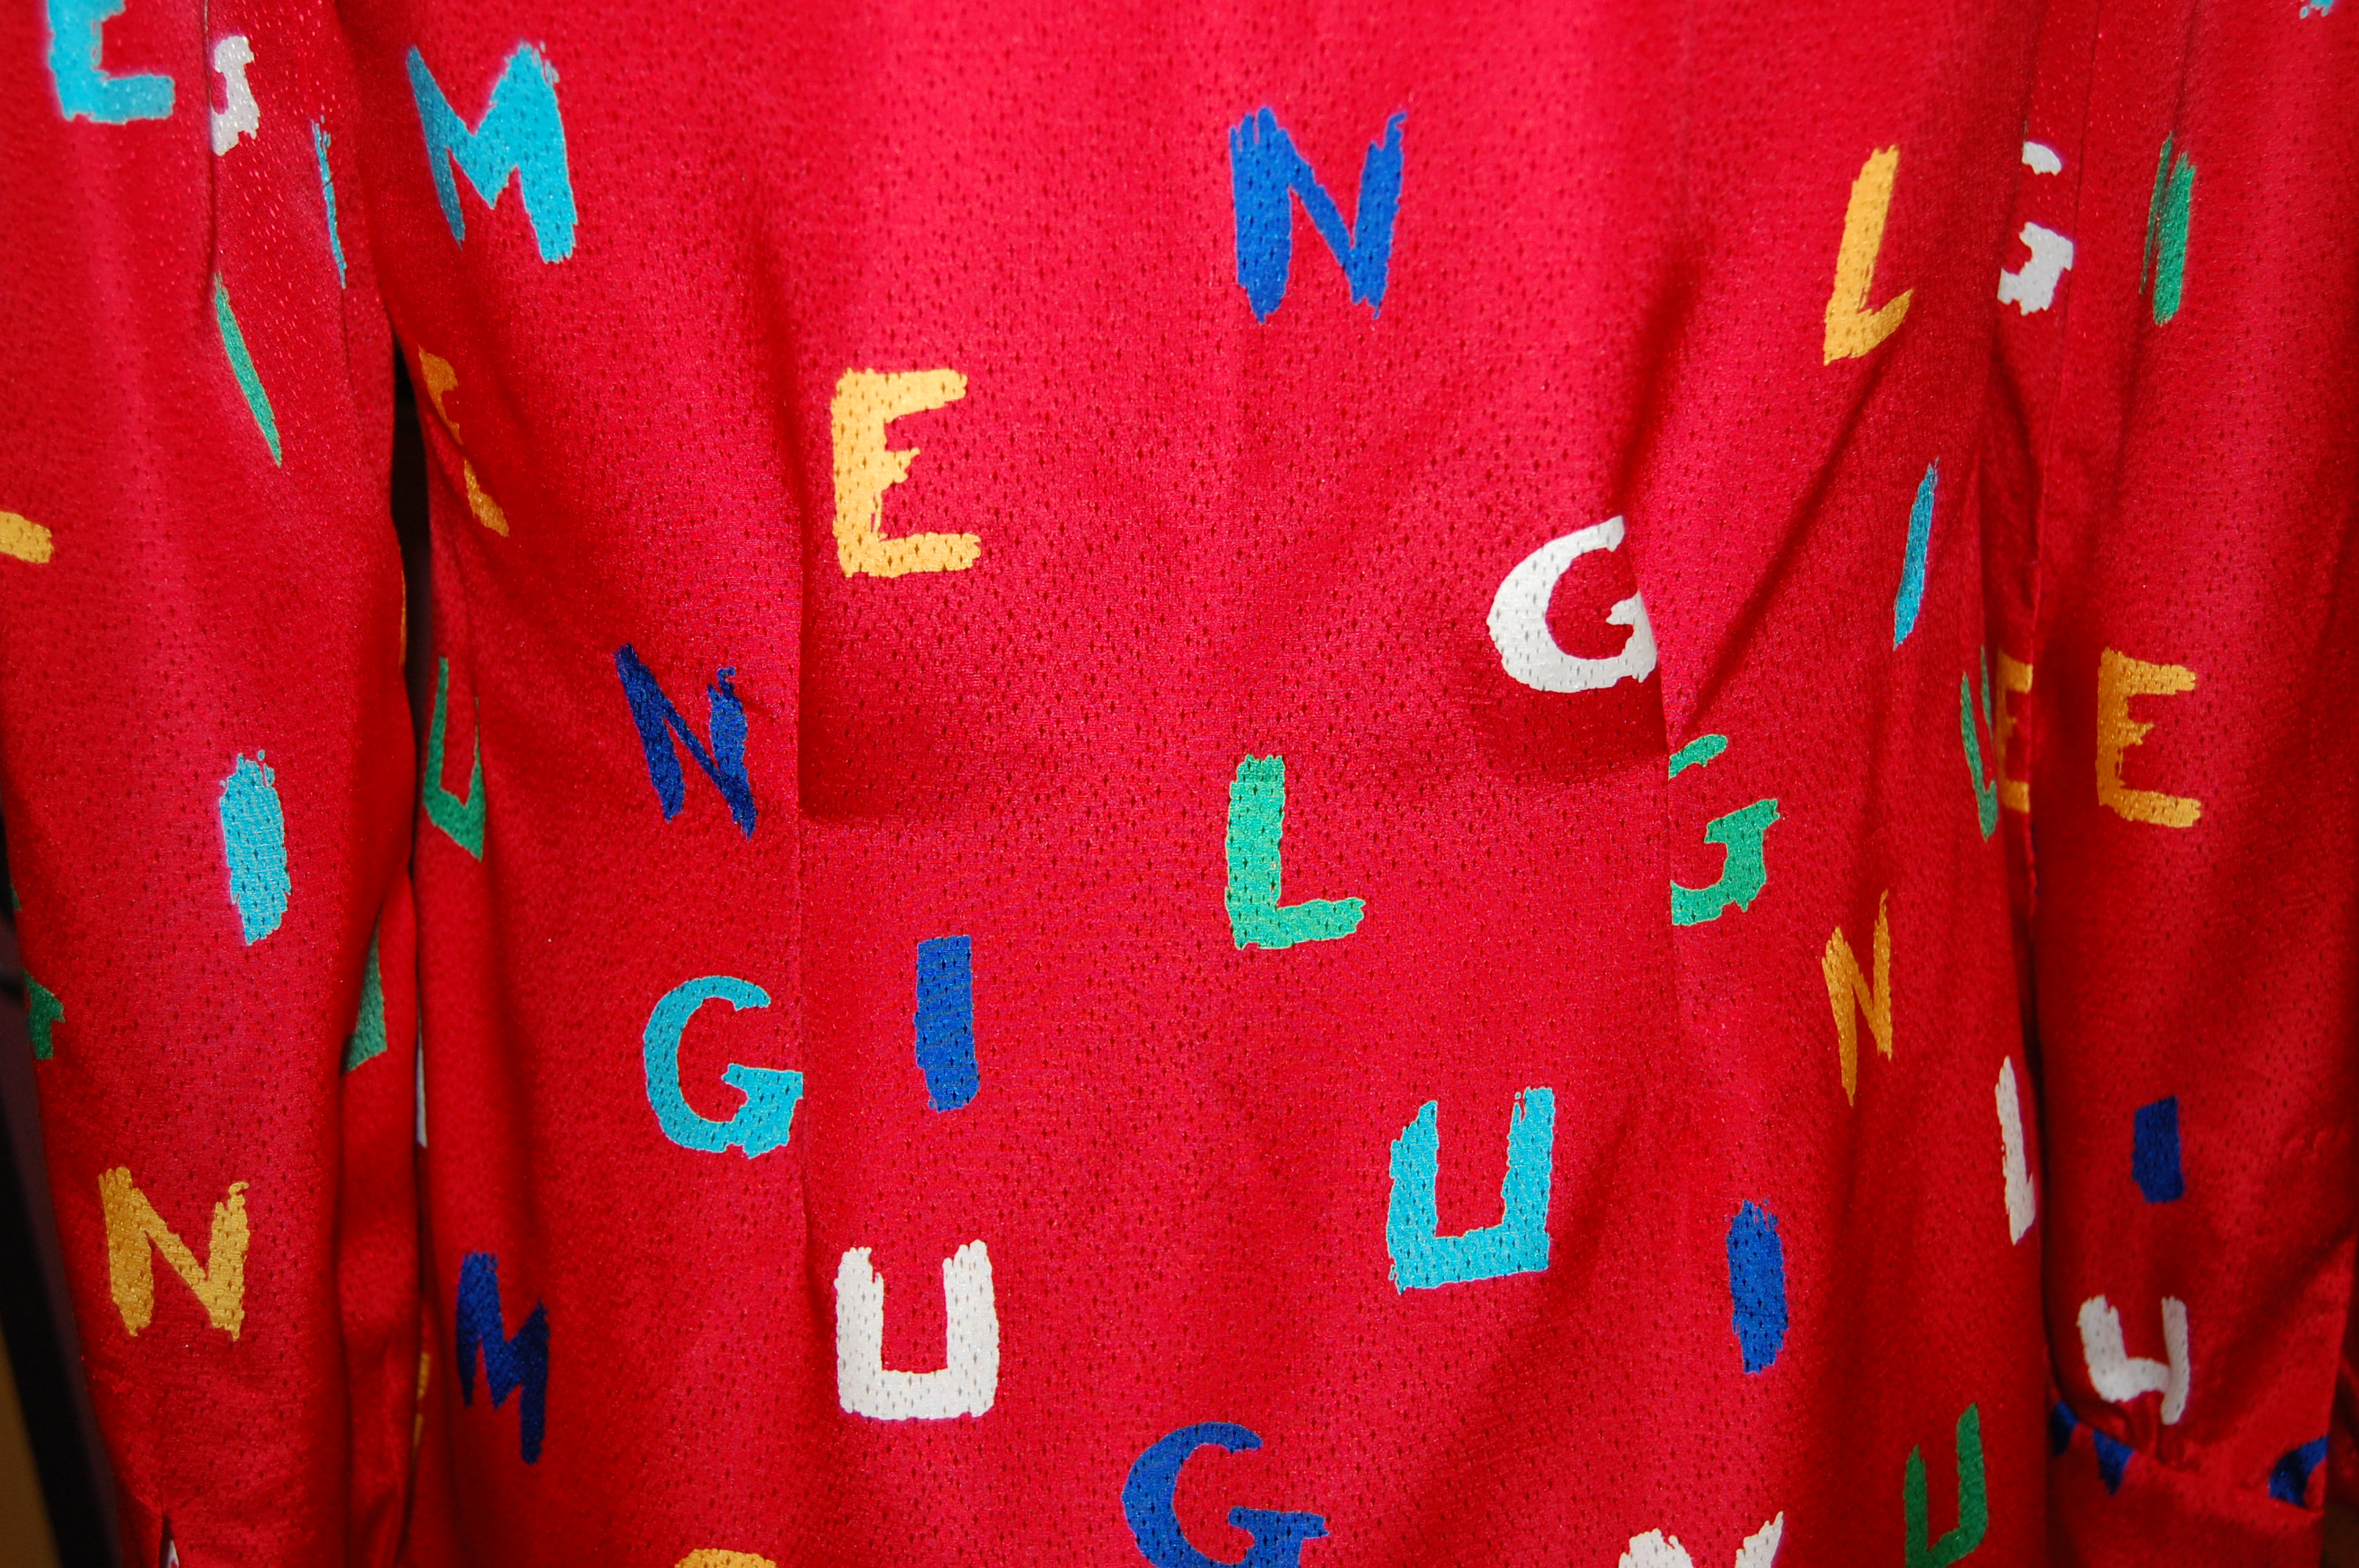
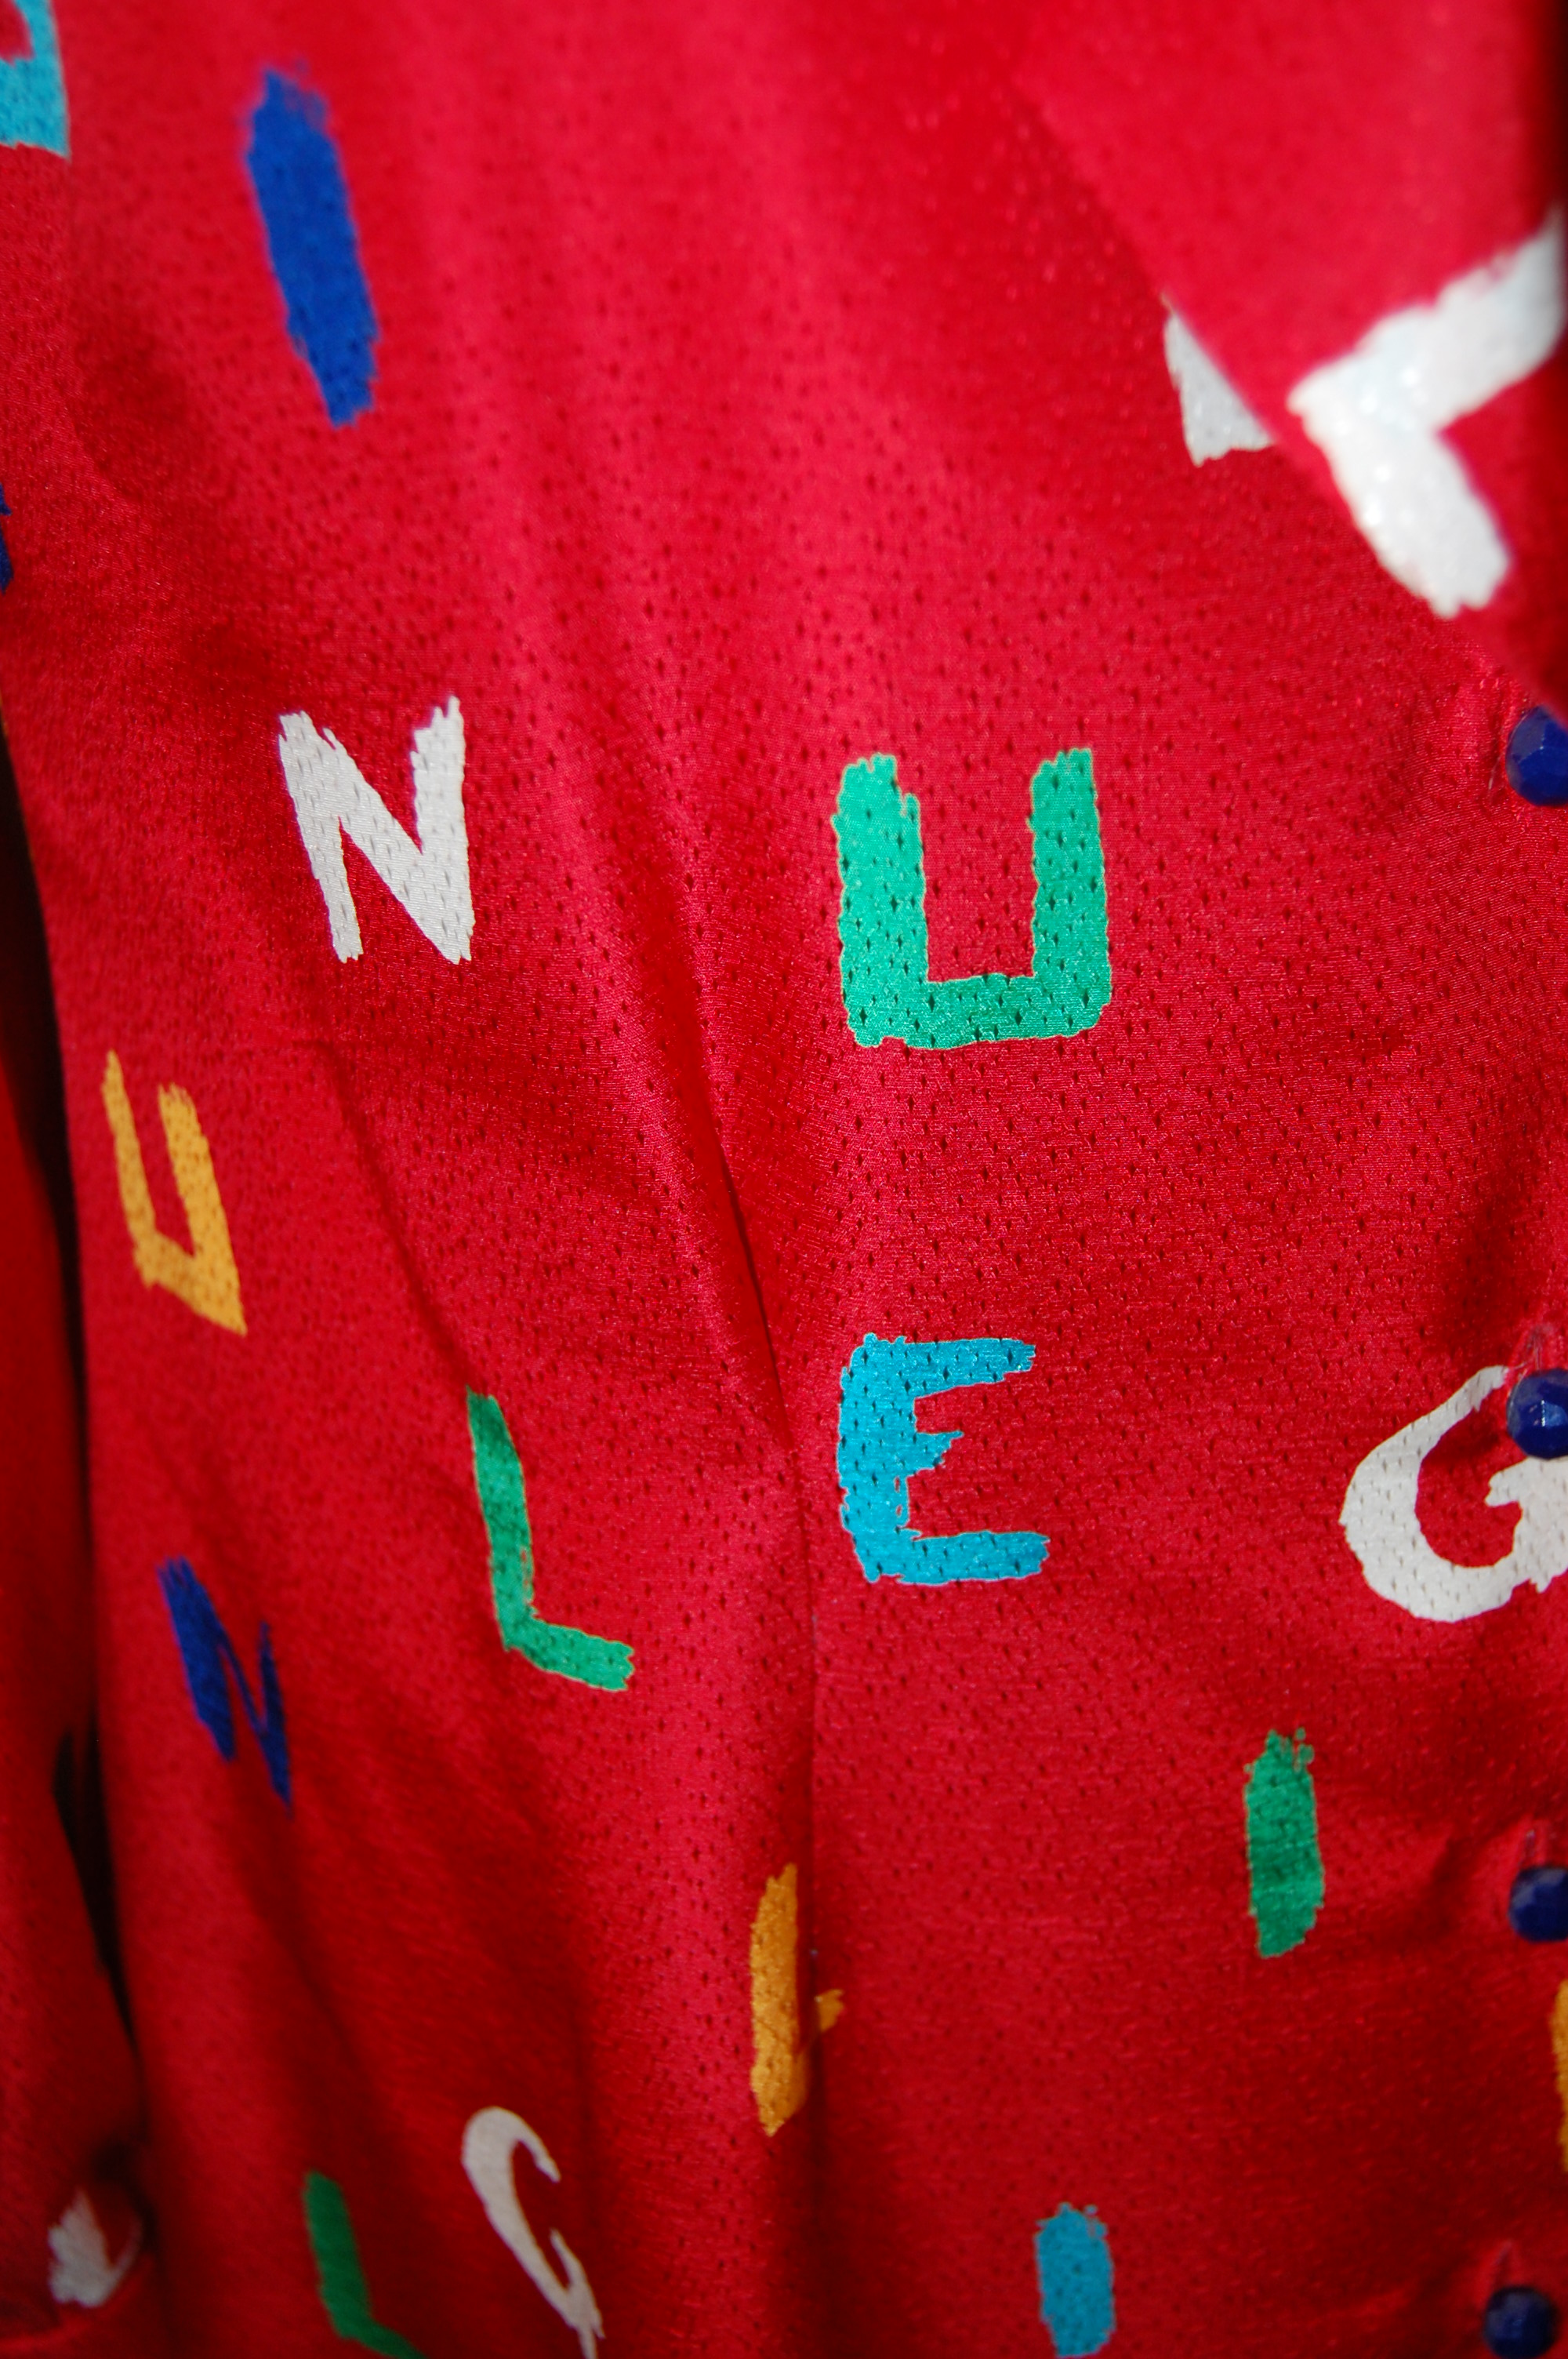
I just could not stand the thought of having that yardage sitting in my fabric closet, unused, as I found it so delightful to sew and to wear. That is when I got the idea to combine this fabric with the Guipure lace, also sharing space in that closet of wonders. However, my first thought was to make a blouse from the fabric and also use it as the fashion fabric for a lace skirt, knowing I would need at least one more yard to accomplish this plan. I contacted Britex Fabrics, from whence the fabric came, and to my dismay, they were sold out, with no more available to special order. Undeterred, I then came up with the idea of coordinating fabrics for the blouse and skirt, and using the coral silk to tie it all together. After receiving swatches of several silks from Britex, I settled on the bronzy brown and the apricot colored fabrics for the skirt and blouse, respectively.
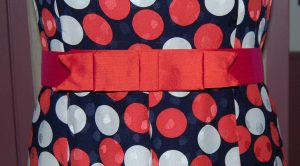
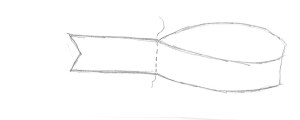
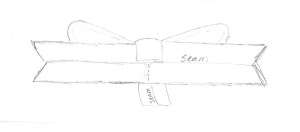
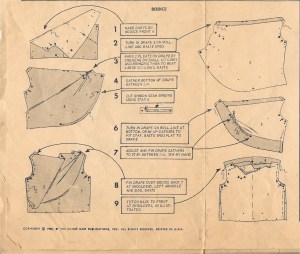
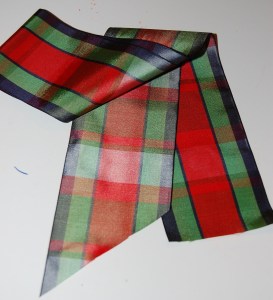
A sash should really be straightforward, right? Well, yes; however, I thought it would be good if the sash had a slight curve to it to follow the curvature over the upper hip. That’s when I went to my closet and pulled out a silk sash that I purchased from J. Crew years ago. I had remembered correctly that it had a slight curve to it:
I often think of the tip in the book 101 Things I Learned in Fashion School, page 86: “When in doubt, look in your closet.” Looking at something that is “Ready to Wear” will often help you with construction methods or design ideas.
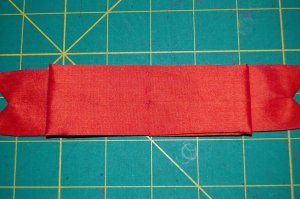
The J. Crew sash is 72 inches long. A trial tying of the bow proved to me that I needed to add more length to the sash if I wanted to tie a full bow at the waist, which was my intent. I determined that adding 12 inches would do the trick. Then I used that sash as a template to make a pattern, not quite knowing how sewing that long, slow curve was going to work (the sash has one long seam on the concave side of the curve, meaning that some give would need to be worked into that seam.) As it turned out, ironing was the trick to get it to behave correctly, as is so often the case!
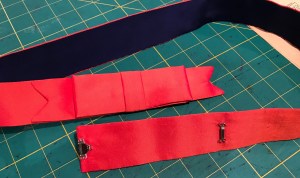
84″ proved to be the perfect length to tie a complete bow.
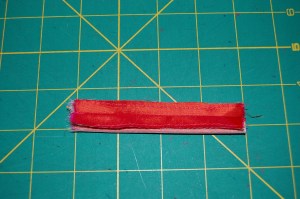
I had to piece the sash in the center back, but I knew that ahead of time and it really does not bother me.
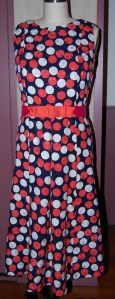
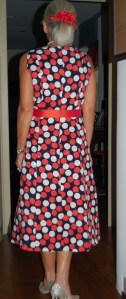
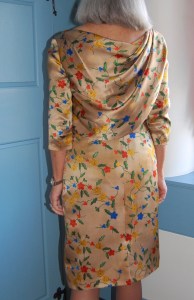
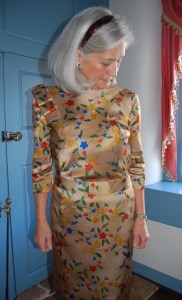
After trying on this completed outfit for the photos, I know that I need to somehow tighten up the interior waist of the skirt (you many recall from my last post, that I added what turned out to be unnecessary width to the circumference of the waist.) My blouse is not going to stay tucked in if I don’t, and the skirt feels like it is drooping on me. I am going to try adding interior waist elastic to straddle the side seams and see if that might do the trick. I am not about to take the skirt apart and remake it! And the sash should help conceal any bobbles in the waistline.
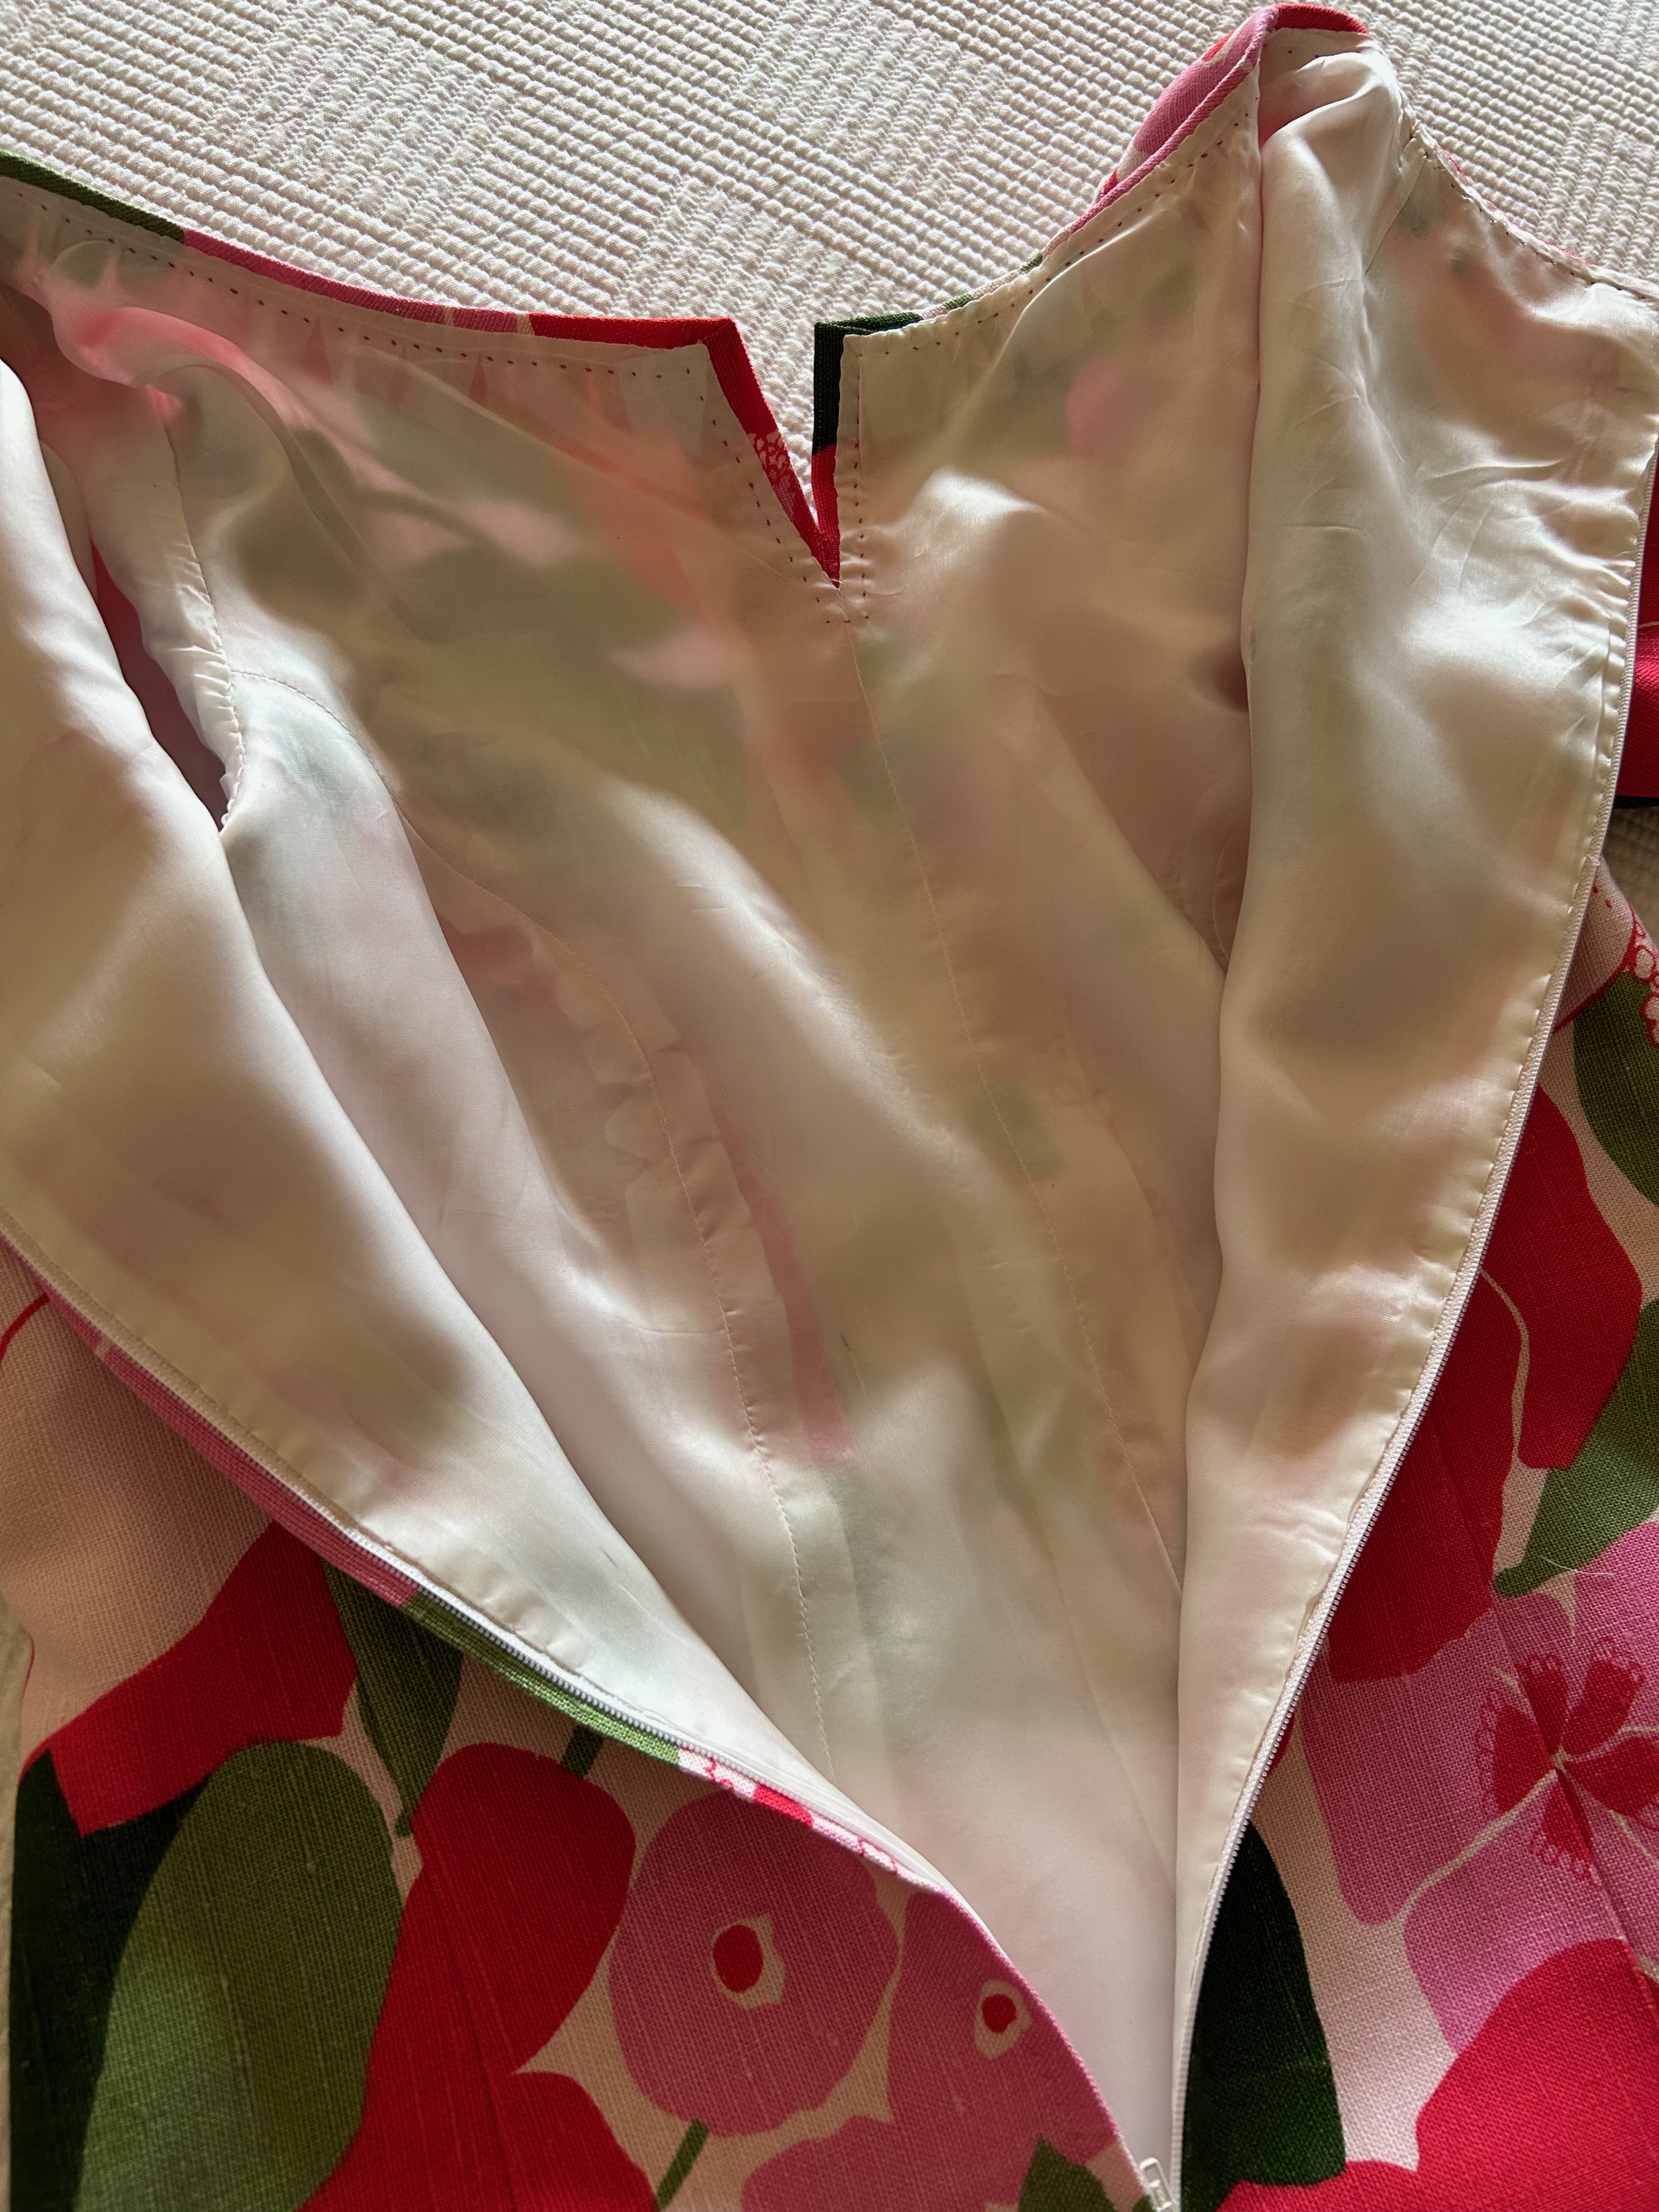
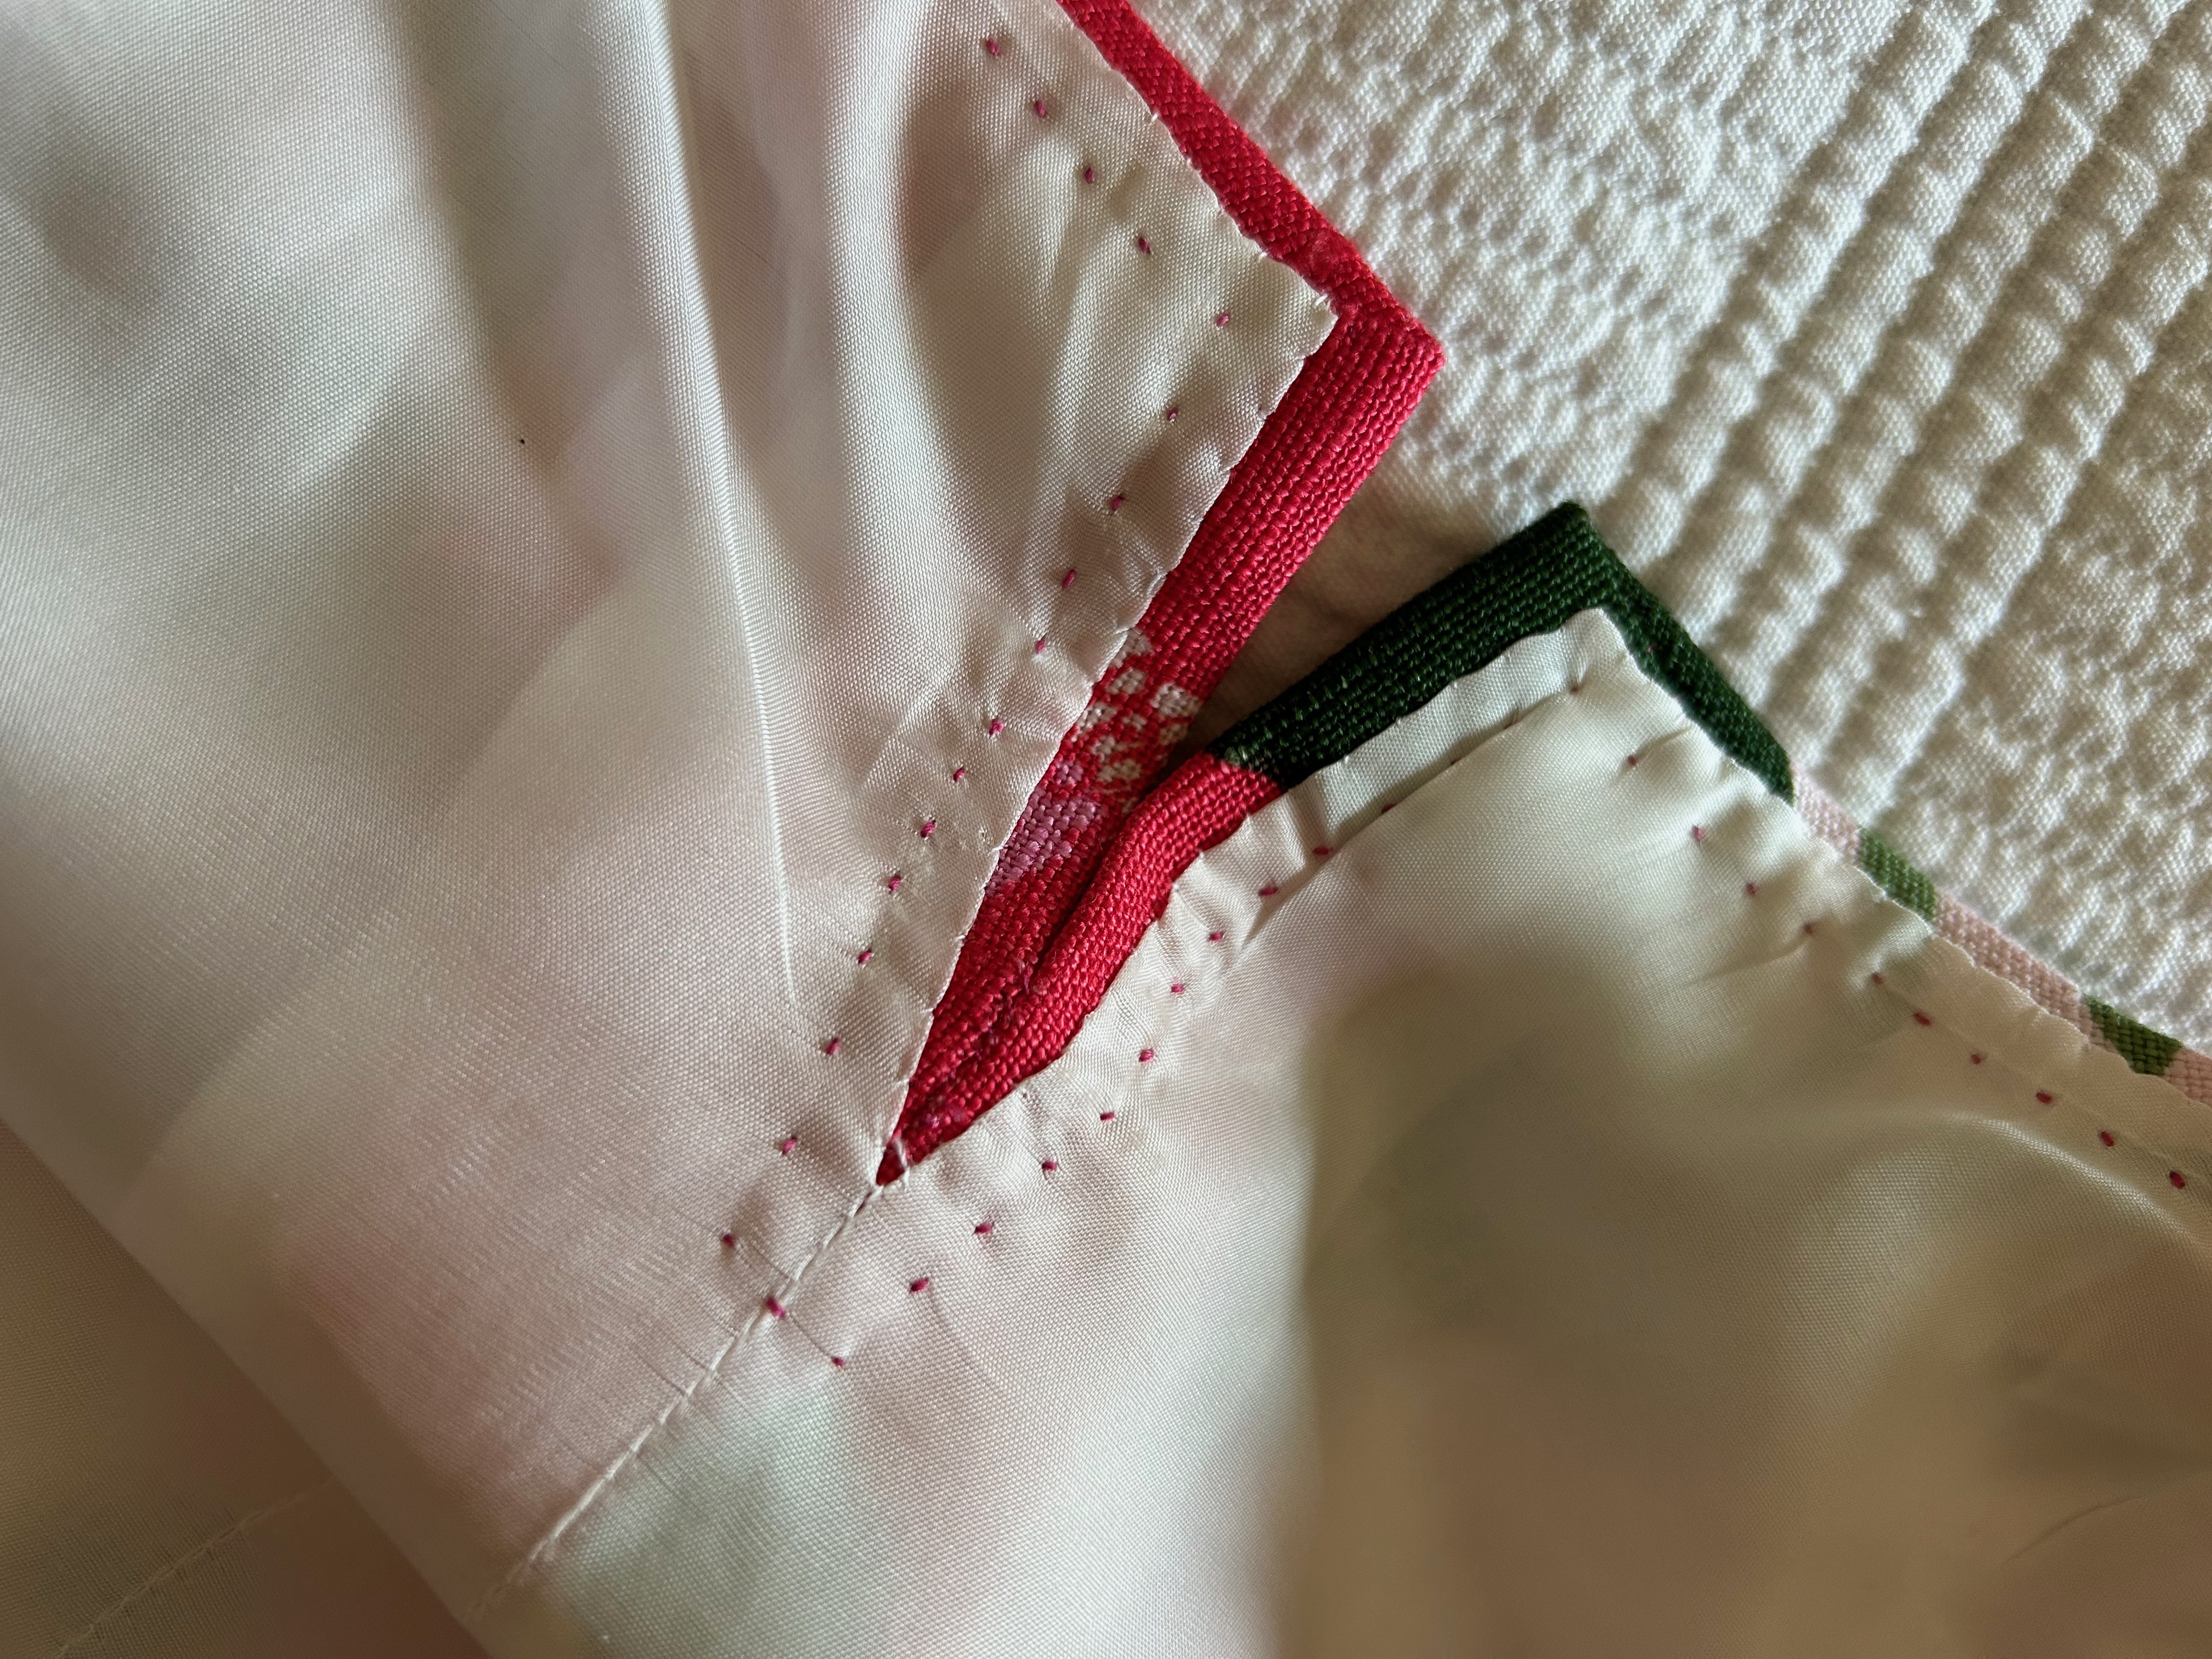
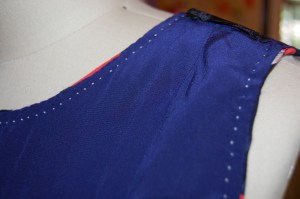
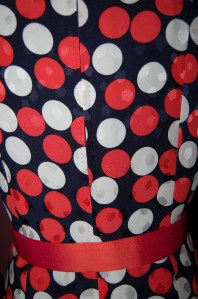
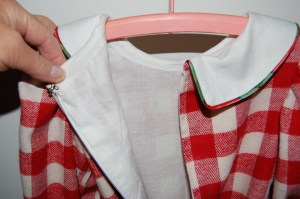
The “concealed zipper.”
It was cold and blustery when I took these photos! I could not wait to get back inside for a cup of hot tea!
Sewing for the holidays is such an anticipatory activity, and one that I love to do. There is already a festive feeling in the air here in late November, and so much more to sew…
28 Comments
Filed under Blouses, Bows as design feature, Fashion commentary, Lace, Silk taffeta, Uncategorized
Tagged as Blouses, Britex Fabrics, fashion sewing, Sashes and bows, silk