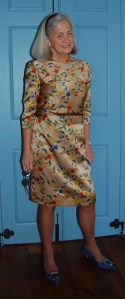
It is a fact of sewing life that the construction of some dresses is just more difficult and time-consuming than other ones. This was a difficult dress to make and at times I really wondered just how long it would take to finish.

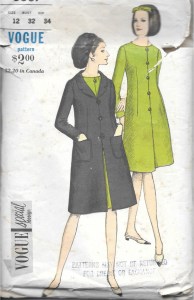
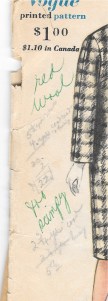
Before I go into the making of this dress, I want to put its pattern into historical context. This pattern is one of Vogue Patterns’ “Paris Originals.”
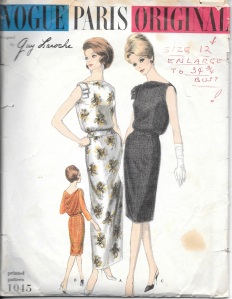
A former owner of this pattern made the notation about the bust enlargement.
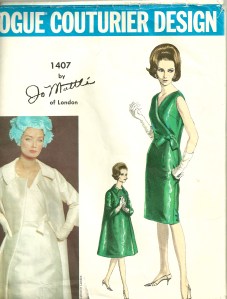
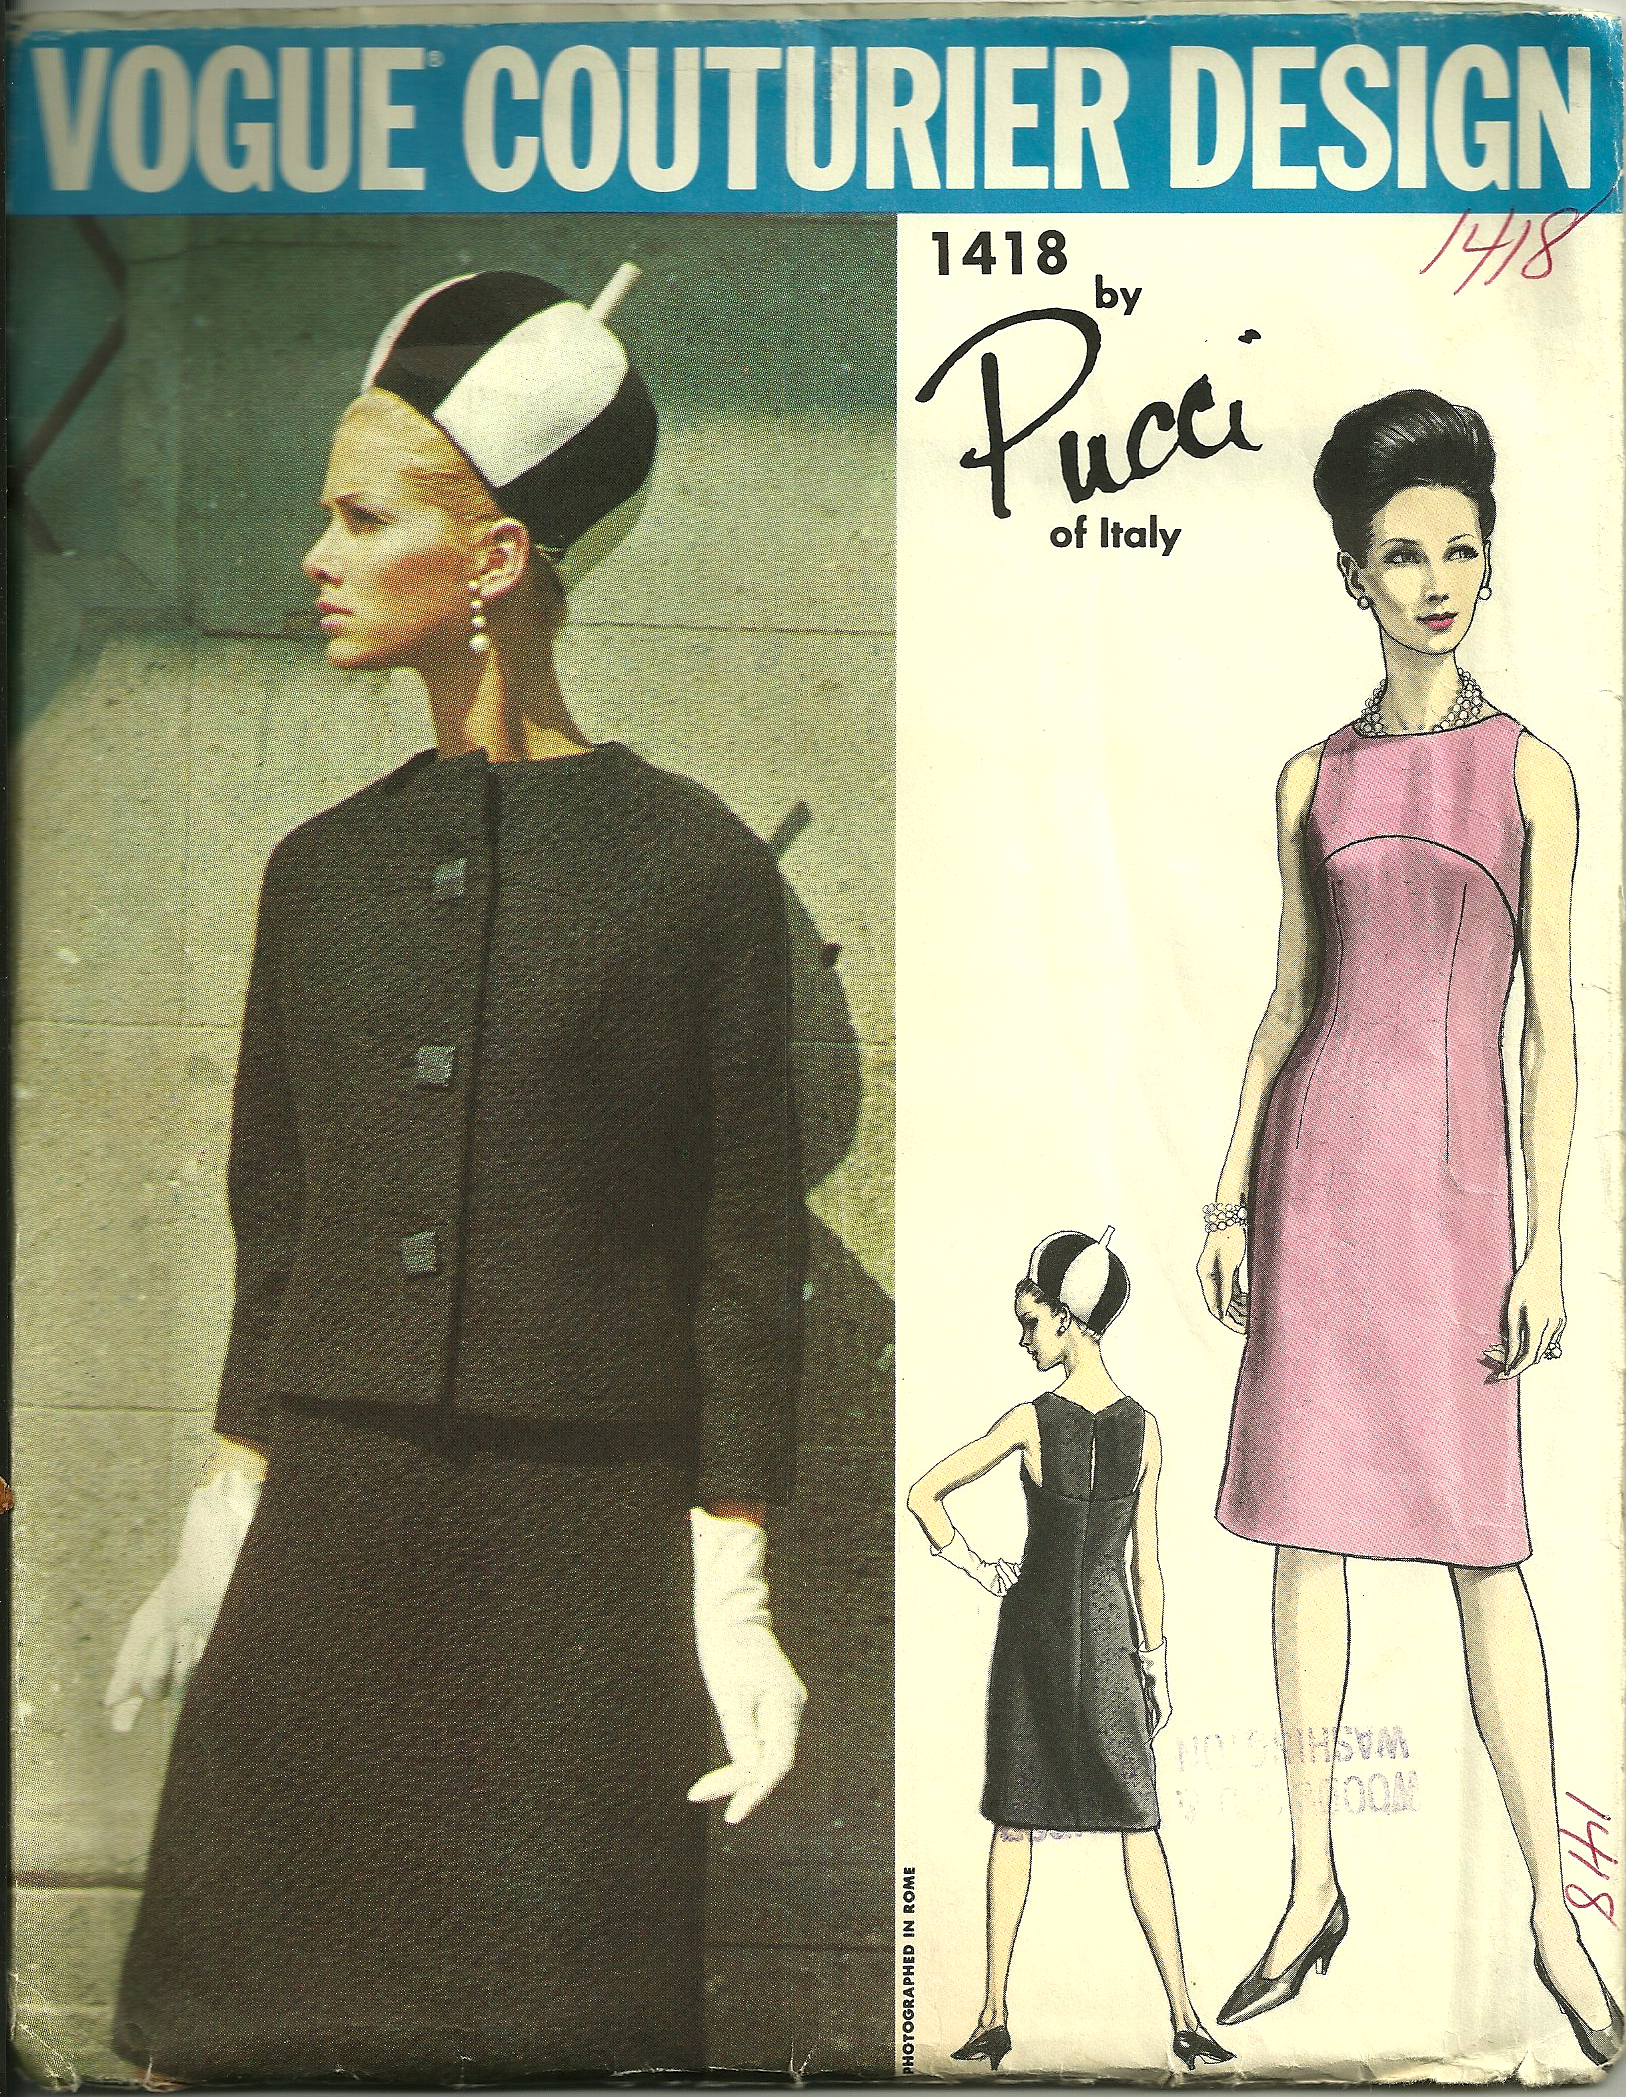
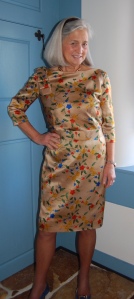
As is obvious from the envelope cover, the dress was designed by Guy Laroche (1923-1989; pronounced Ghee Lah-rush); it is copyright 1960. According to the St. James Fashion Encyclopedia, Laroche was a French couture and ready-to-wear designer who worked for Jean Desses from 1950-57. Desses was known for his intricately draped dresses, asymmetry in his designs and ornament derived from the “architecture” of the garment, according to his profile in The St. James Fashion Encyclopedia by Richard Martin, Visible Ink Press, Detroit, MI, c1997, page 100. Bingo! It appears that Laroche learned well from his time with Desses and incorporated some of the same details into his couture designs once he opened his own fashion house in 1961.
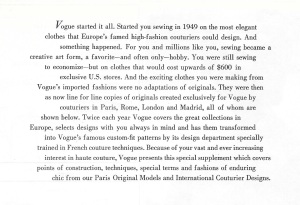
I find it interesting that this pattern is dated 1960, one year before Laroche opened his couture house. Perhaps this statement in the Vogue Sewing Book from 1963 helps to explain how Vogue Patterns managed to obtain a Guy Laroche design before he had his own eponymous line:
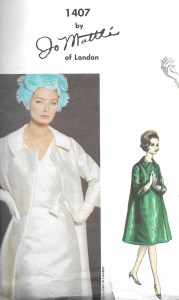
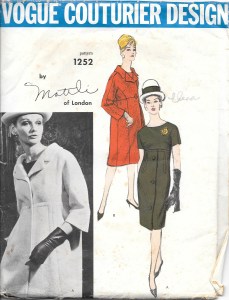
Please click on the image to enlarge the print.
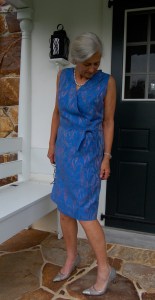
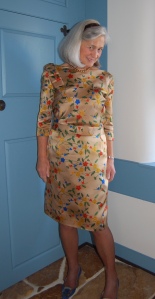
In any event, the appeal of this pattern, for me at least, was the asymmetrical draped bodice back and the tailored bow which anchors the drape on the right shoulder of the dress. It was also these details – and others – which made it a time-consuming project.
I made some alterations to the pattern before I even got started, as I wanted to eliminate some of the blousing above the waist of the dress. I do not have enough height to carry off too much excess around the mid-section, so I pulled most of the blousing into darts. Doing this made me rethink the instructions for the lining, the waistline of which was supposed to be sewn to the waistline of the dress itself. I assume the joining of these two elements was to insure that the blousing of the dress remained at the proper “elevation.”
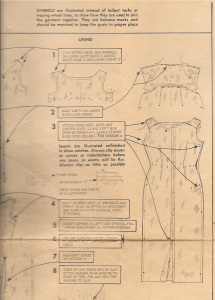
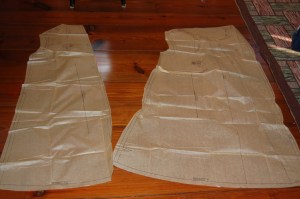
The series of dots around the waistline indicate the sewing line to anchor the dress to the lining.
Having removed most of the blousing, I did not need to anchor the dress to its lining, so I left the lining loose.

This photo shows the loose lining and also the back neckline. Ordinarily, in couture sewing, facings are eliminated. However, in this case, knowing that the weight of the drape would be added to the back neck, I chose to use the facing to add more stability. I finished its edge with Hug Snug tape.
As you can see from the diagram of the lining (above), the back neckline is asymmetrical, to accommodate the attached drape on the bodice. I’m not sure why, but I found this rather confusing, resulting in sewing the lining together, first correctly, then thinking I had done it wrong, redoing it in what I thought was correct – and then realizing I had it right the first time. Fortunately it was easy to remove the stitching from the crepe de chine lining silk, but really? Three times? And then guess what this is?

Yes, this is a backwards back bodice! Apparently I had flipped (or marked incorrectly) my silk organza underlining/pattern when I placed it on the fashion fabric, cut it out incorrectly and even had the underlining and the fashion fabric all carefully basted together. When I discovered my mistake, you can imagine my panic until I realized I had enough of the charmeuse left to cut it out again, this time correctly. Of course, then I had to baste it to the organza underlining for a second time. Tick tock, tick tock!
Things then went along fine until I got to the front neckline, which presented a quandary to me. From the instruction sheet, it seemed there was to be no interior finishing of it. It appeared to be a draped version of a bateau neckline. When I tried the dress on, it was uncomfortable as it pulled too tightly from the shoulders (which did not show up in my muslin). It also did not look good. I decided the only way out of this predicament was to reshape it. I carefully basted and clipped and trimmed and clipped and trimmed some more (no photos of this, I am sorry to say. I was too intent on the task at hand to even think about photos!) But it all worked out. The front neckline certainly isn’t as draped as was intended, but I love the way it fits and looks.

The lining is not supposed to be attached to the dress at the front neck, according to the instruction sheet. In order to finish the neckline without adding any bulk (which would surely show up on that wide bias expanse), I stay-stitched and then catch-stitched the raw edge to the organza underlining. Not as finished a look as I would like, but it works well.
Another section of the pattern which did not present a proper interior finish for this very particular dressmaker, was the drape. It is partially gathered as you can see from the instruction sheet.

#7 shows the gathering of the interior drape.
As I did not care for a raw edge to be hiding under the drape, I decided to bind the edge with Hug Snug tape. This worked out so well and looks nice and tidy!
Besides these time-consuming corrections and additions, there were the hours of work involved in making the bow, attaching it to the dress, and making the belt. Then when I thought I was just about finished, I remembered I needed to add lingerie keepers, due to the wide stance of the shoulders. Okay, I thought. What else??
I have decided the belt is a little loose, so I need to reset the fasteners… What else, indeed!
What a good feeling of accomplishment to finish this dress and like it!


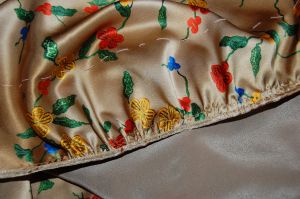
Here is a detail of the bow. I do love a tailored bow!
I haven’t worn it yet for any occasion, but when I do, I hope there is champagne involved, as I am going to toast myself for successfully finishing this one!