It is not all that unusual for a big sewing projects to begin in some sort of controlled chaos, whether it is unwieldy pattern pieces, or slippery fabric, or complicated instructions – or no instructions! But nothing quite comes up to the chaos that making a classic French jacket creates.
Two main things contribute to the chaos. The first is the nature of boucle fabric, which is the building block of the jacket. Boucle is, by nature, a loosely woven, sometimes wildly variegated fabric. The loose weave is what gives it the ability to be quilted “invisibly” to its lining. But, it is also what makes the fabric fray so easily, demanding careful handling throughout the construction process.
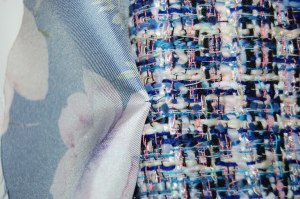
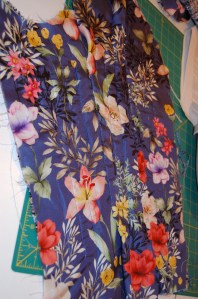
Then there is that quilting process. To say that the construction of this type of jacket is unconventional is an understatement. Once one has her fashion fabric (boucle) pieces thread traced and cut out, the lining is cut to conform to the shape of each individual jacket and sleeve piece. Then, the lining is quilted onto the boucle following guidelines (selected by you!), but dictated by the boucle.
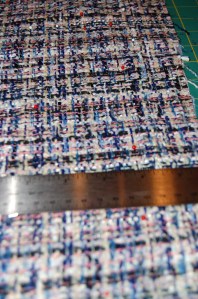
A ruler and pins help me determine where my quilting lines should be, generally about an inch apart from each other and set in an inch from the side seams.
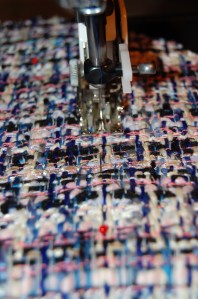
Quilting with a walking foot.
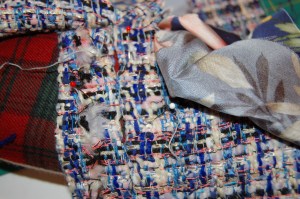
The ends of the quilting lines stop a couple of inches from the top and bottom of the marked seam lines, and the loose threads are fished into the inside and tied off, each one with three loops to secure the knot.
Although it is difficult to see, here is the tying off of one quilting line in-between the two layers.
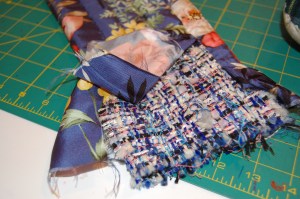
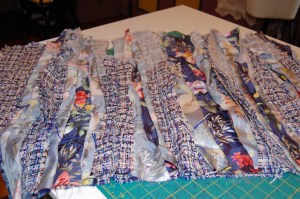
How strange is this? Then the edges of the lining are hanging loose while you proceed to sew the seams of the boucle. I pin the edges of the lining back in order to make this process a little more orderly, but it is still kind of a mess.

One of the sleeves, quilted, with its lining pinned back.
I have a great advantage in making this jacket, in that I have a muslin pattern which I know fits me well. Knowing this allows me the option of finishing the sleeves before I do the main part of the jacket, and that is what I have done.
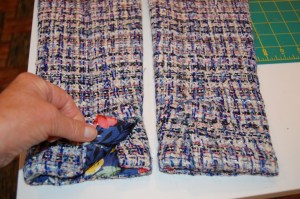
I have finished off two of the three sleeve seams here before sewing the final, third seam.
All the sleeve seams are now sewn, and I am about to finish attaching the lining at the cuff ends of the sleeves.
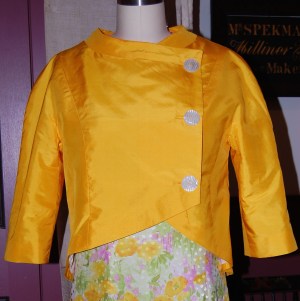
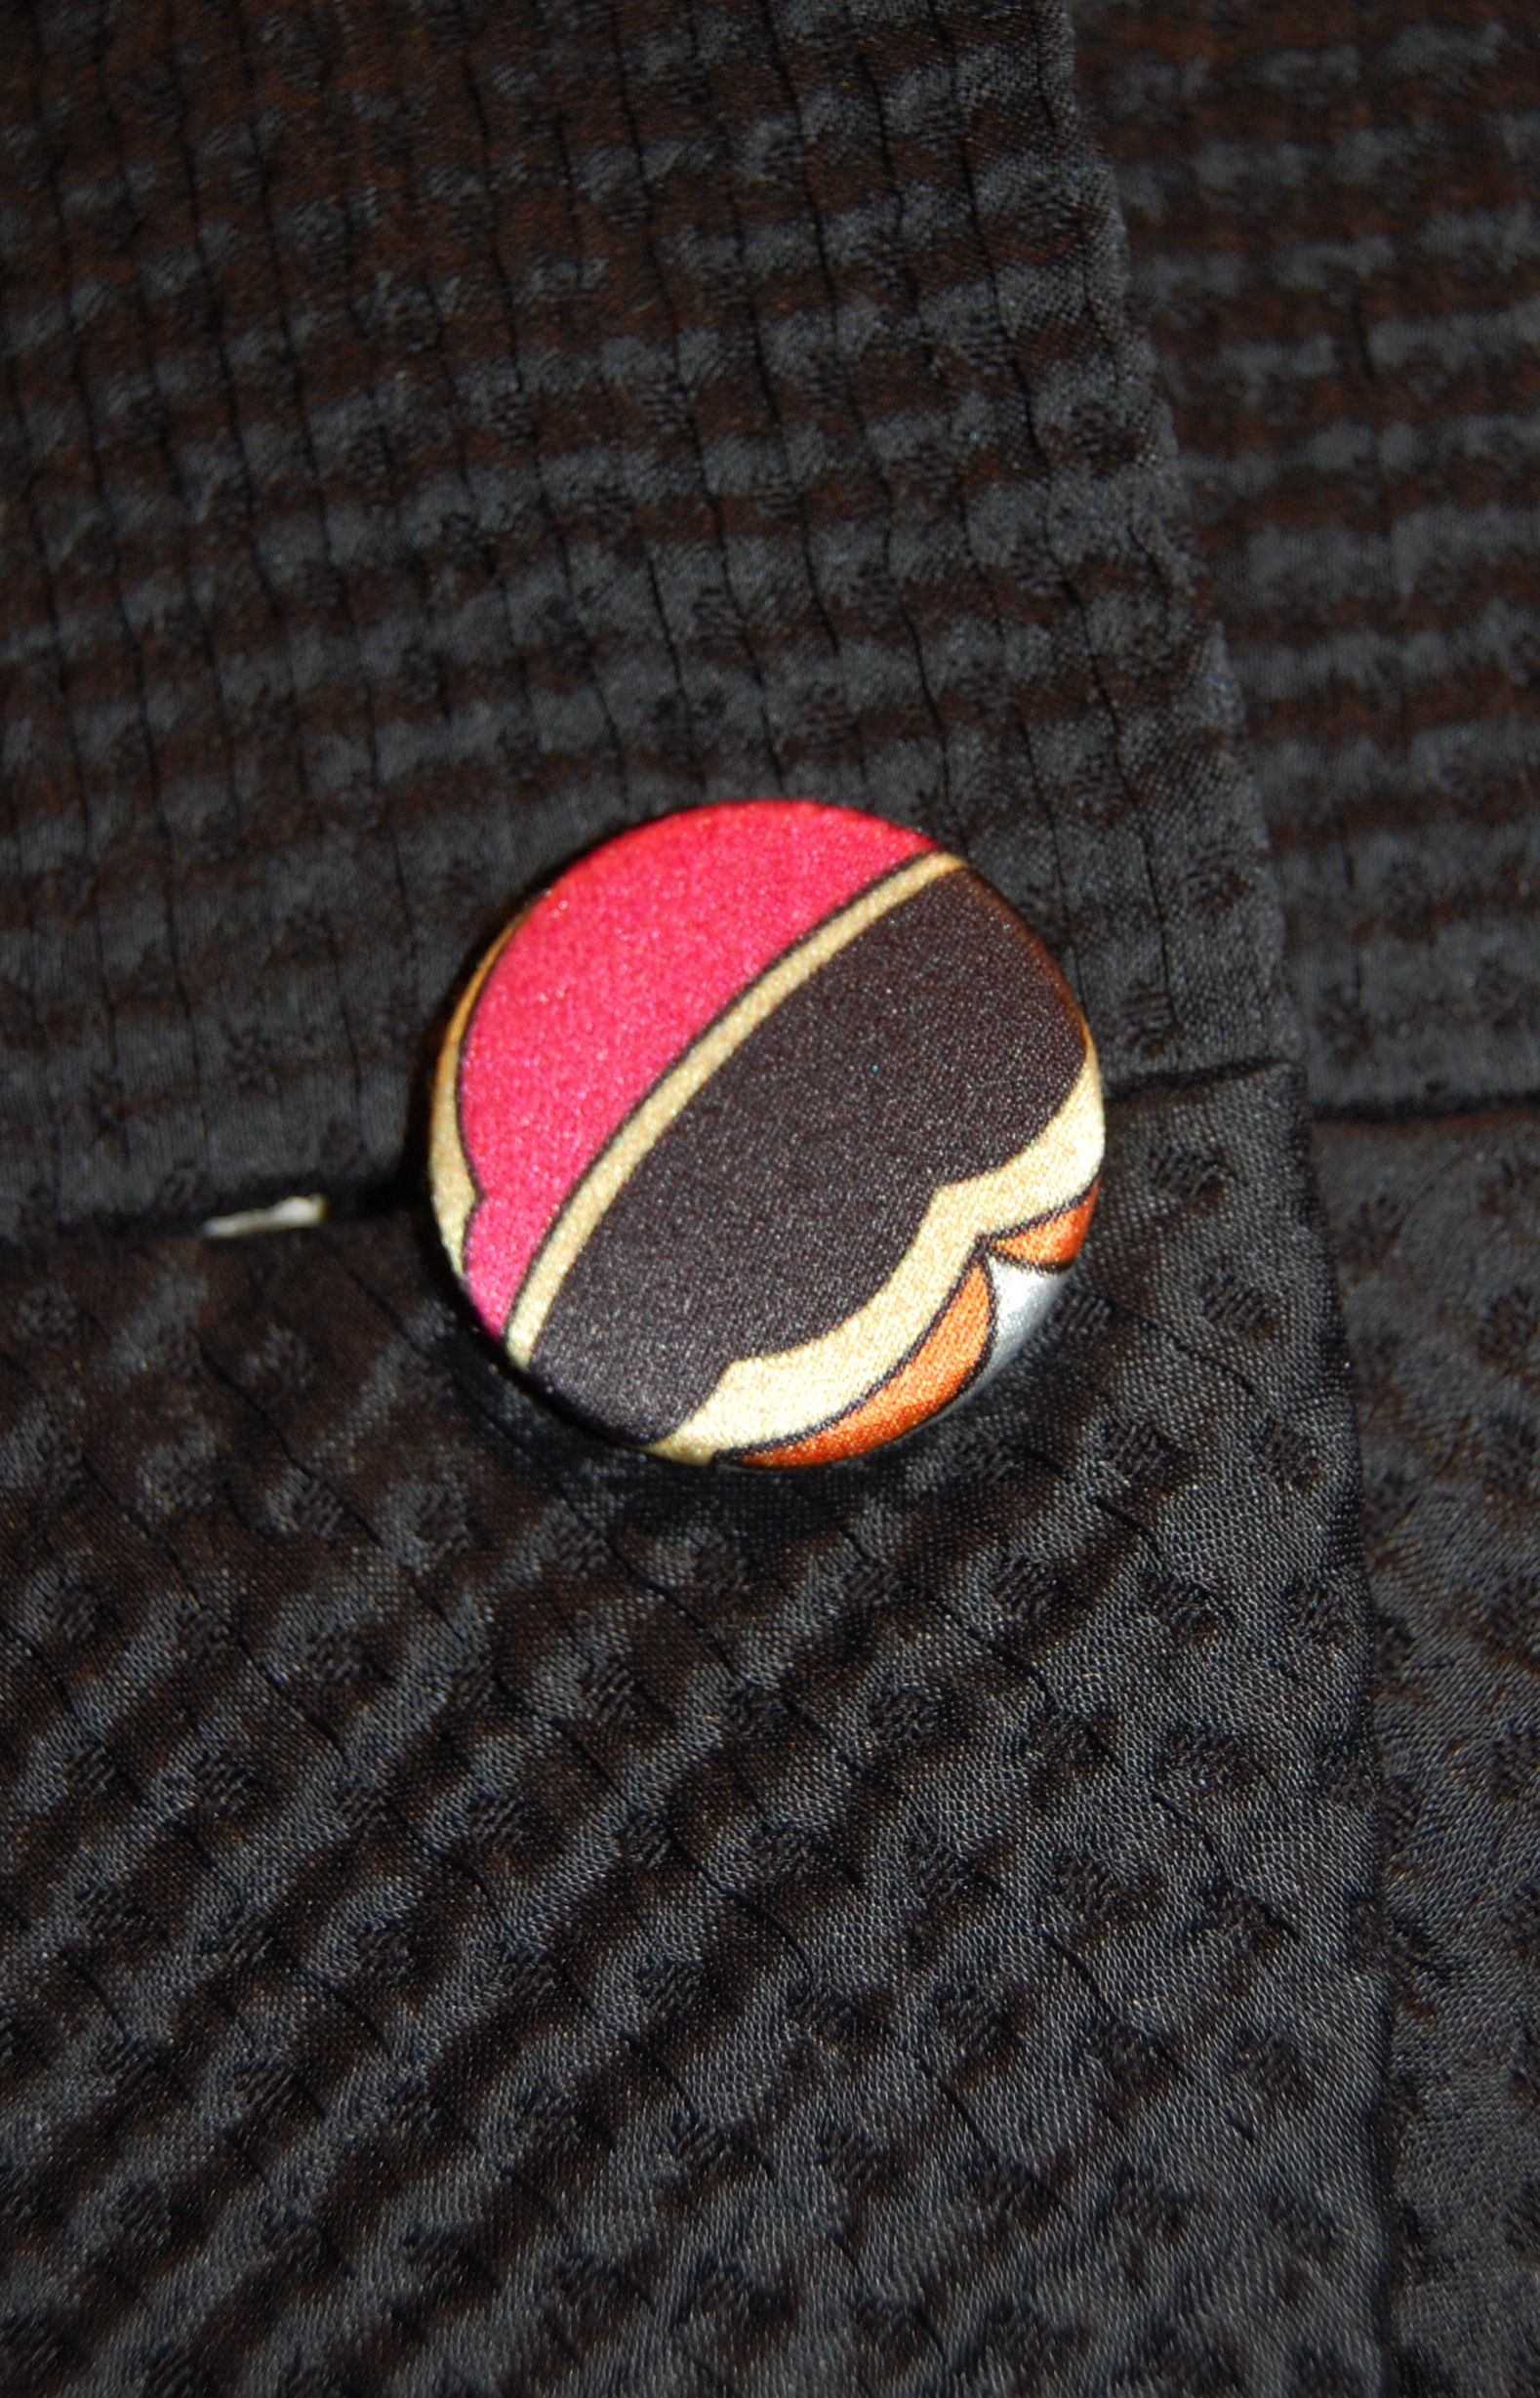
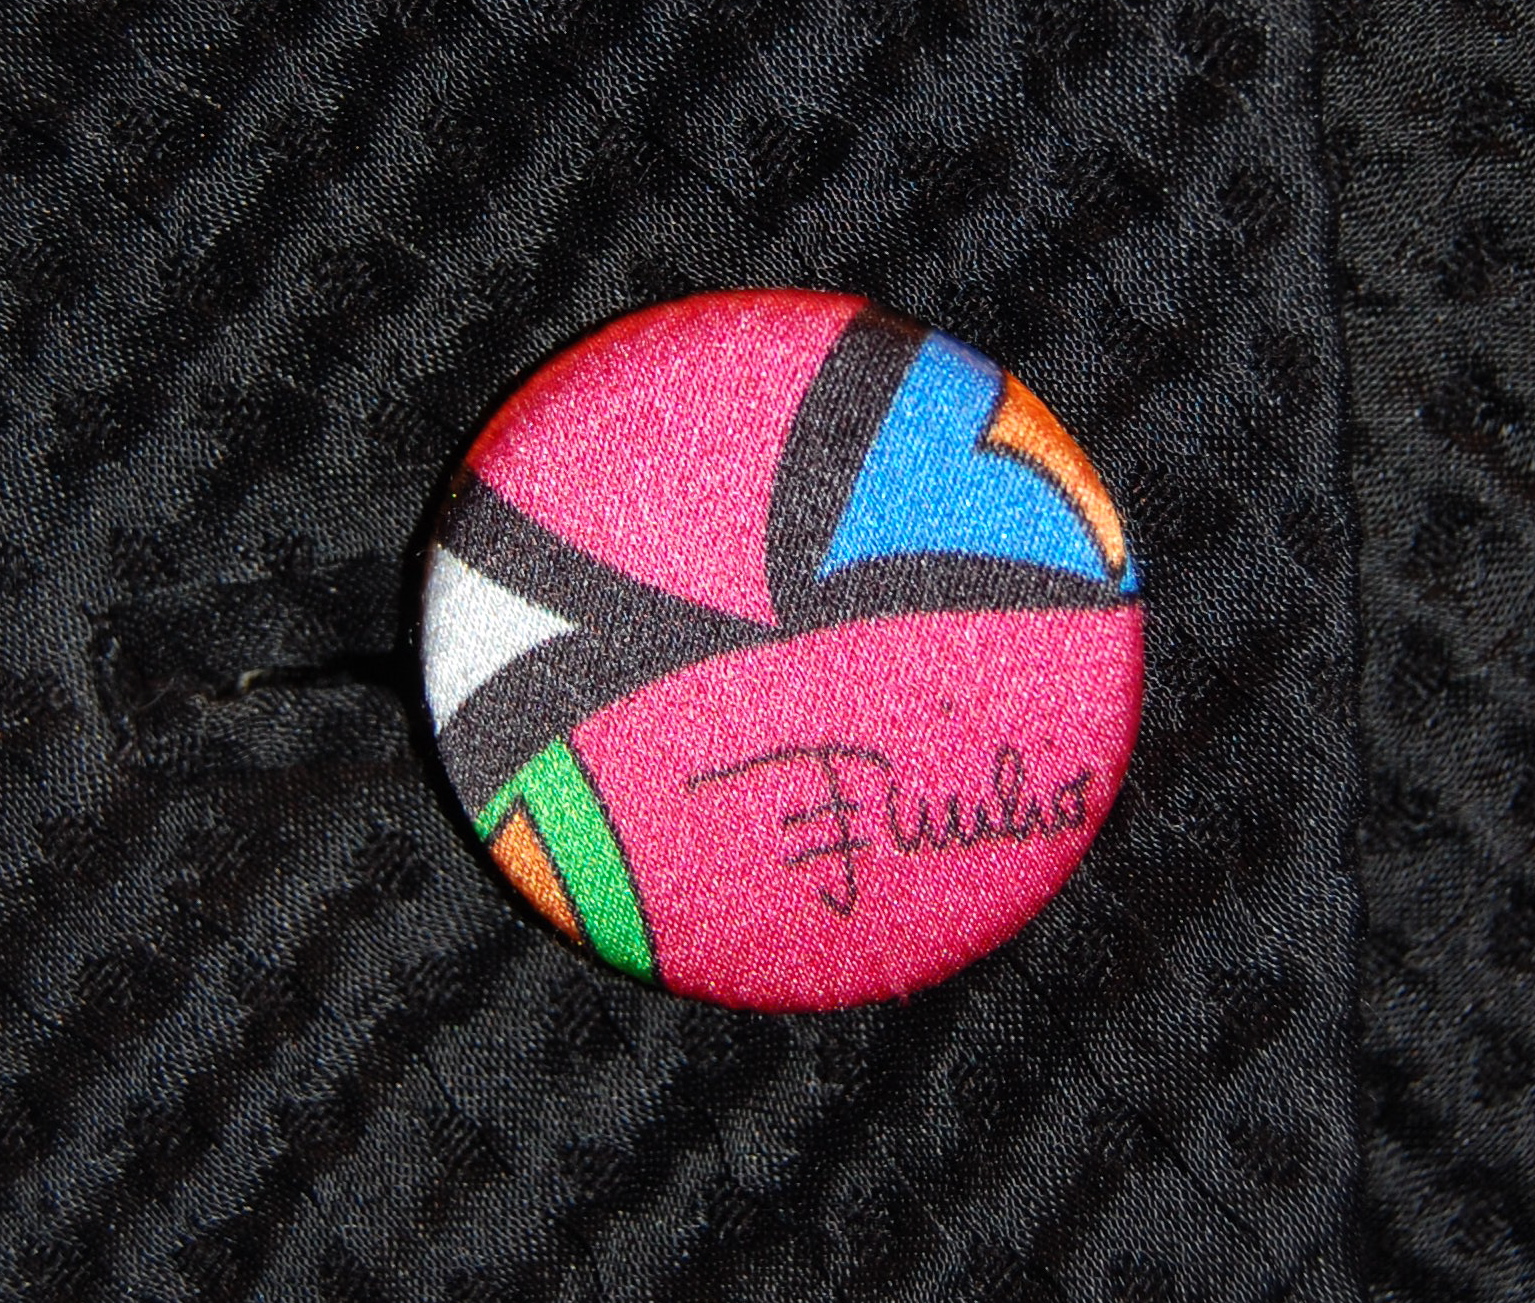
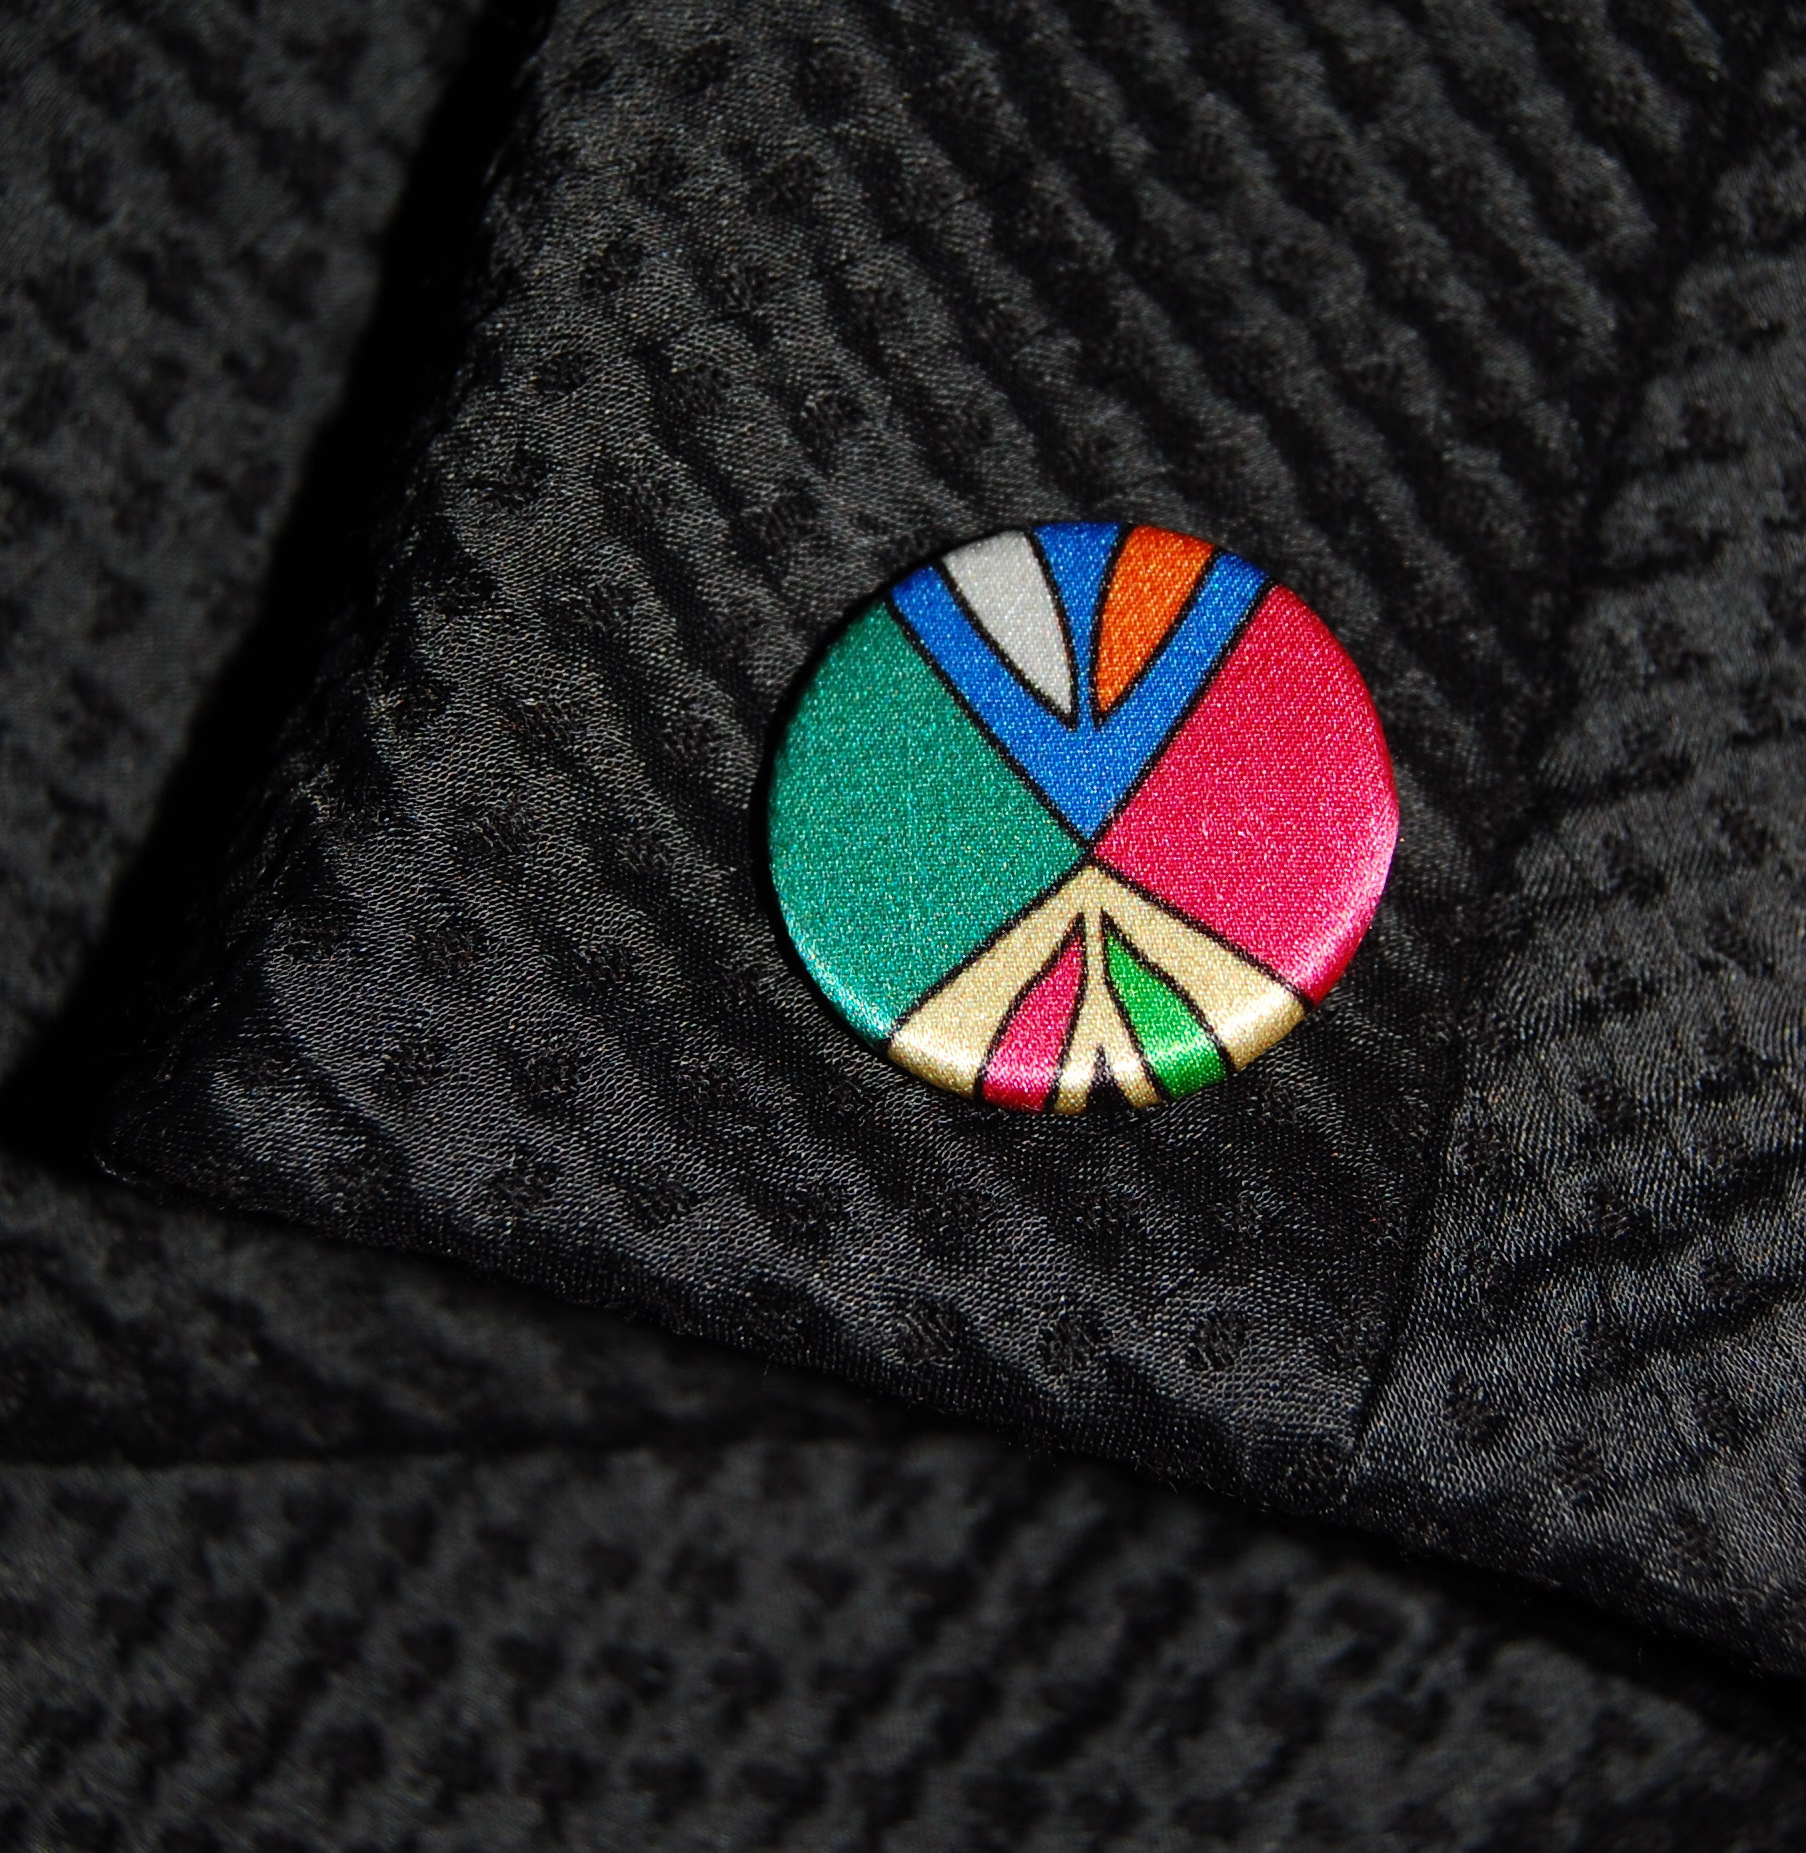
I also decided once again to make slot-seam buttonholes on the sleeves and at the center front.
Here is the extension on the sleeve cuff. Normally cut as one with that section of the sleeve, I make it a separate piece so that I can leave two openings for the buttonholes. If you look closely at this photo, you can see the slots for the buttonholes.
This shows the extensions for the buttonholes.
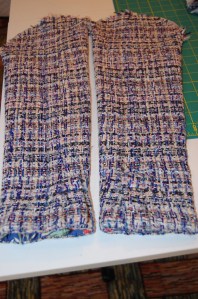
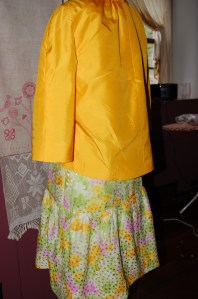
Two finished sleeves, except for the trim, of course.
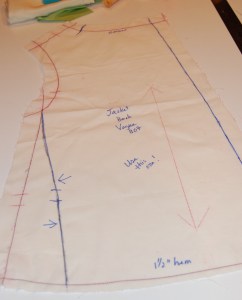
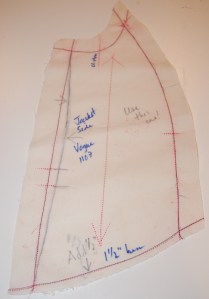
Now, here is a diagram of what I do to make the slot-seam buttonholes for the front of the jacket.
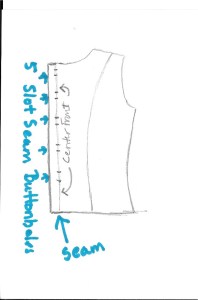
It is important to know how much width you need for your trim and buttons before deciding the width of that extra extension piece sewn onto the front. In this case, I determined I needed a piece with a finished (not including seam allowances) width of 1¼“. Then I proceeded to sew the seams together.
The body of the jacket really looks like chaos here!
Gradually the chaos will begin to be tamed as I hand-stitch the edges of the lining in place.
Perhaps the eventual control of such chaos is what helps to make the construction of these types of jackets so appealing. It is a good thing to remember that the creative process can be messy and tedious and very time-consuming. Sometimes, as in life, you just have to see it through to the other side to be able to appreciate the journey.