Western style (as in American cowgirl and cowboy) is not something that regularly occupies my mind – until I see something that is quintessentially Western fashion, and then it grabs my attention. I have often wondered if the styling on the pattern envelope for my color-blocked coat, featuring the model in a Western-style cowboy-inspired hat, may have been added to my great predilection for this coat!

Because I knew I was going to be spending a good bit of my 2015 Summer in Wyoming (in the American West), I thought it might be fun to see if I could find Vogue patterns (or anything else) featured in any of my vintage Vogue Pattern Book Magazines, that were clearly Western style. Well, there is no doubt about the Western theme of this decorator fabric pictured in an ad in the February/March issue of VPB Magazine:
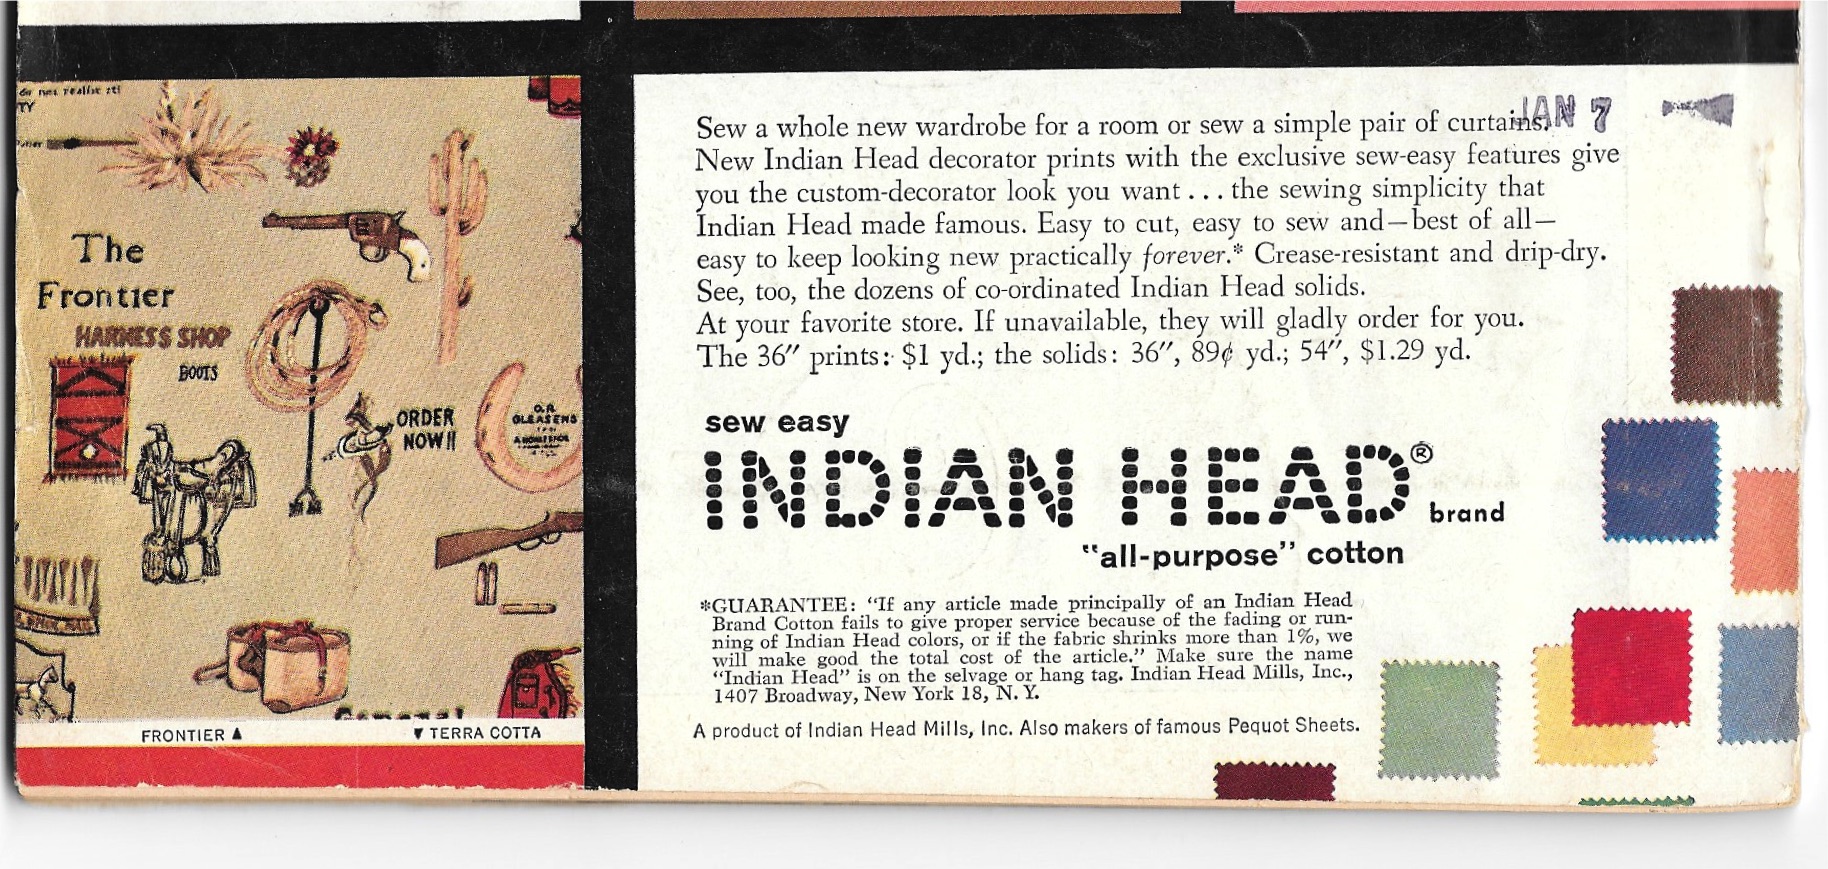
What little cowboy – or cowgirl – in 1958 would not love curtains made of this fabric?
And what could be more Western than cowboy and cowgirl shirts? The July/August 1974 issue of VPB Magazine clearly met my challenge:


Somehow, however, I just can’t see myself making a cowgirl shirt. Out here in Wyoming, it would look like it belongs. Wearing something like this at home in Pennsylvania might get heads turning for the wrong reason. So my search continued for something else that evoked the West without screaming it. Who would have ever thought I was going to find it in the same Vogue Pattern Book Magazine that featured Diane von Furstenberg on its cover?

Sure enough, this September/October 1976 issue featured a coat constructed out of an American-made blanket. (Anyone who reads my blog will perhaps remember the jumper I made from an Irish blanket last year. When one can’t find yardgoods, buy a blanket and see what happens!)
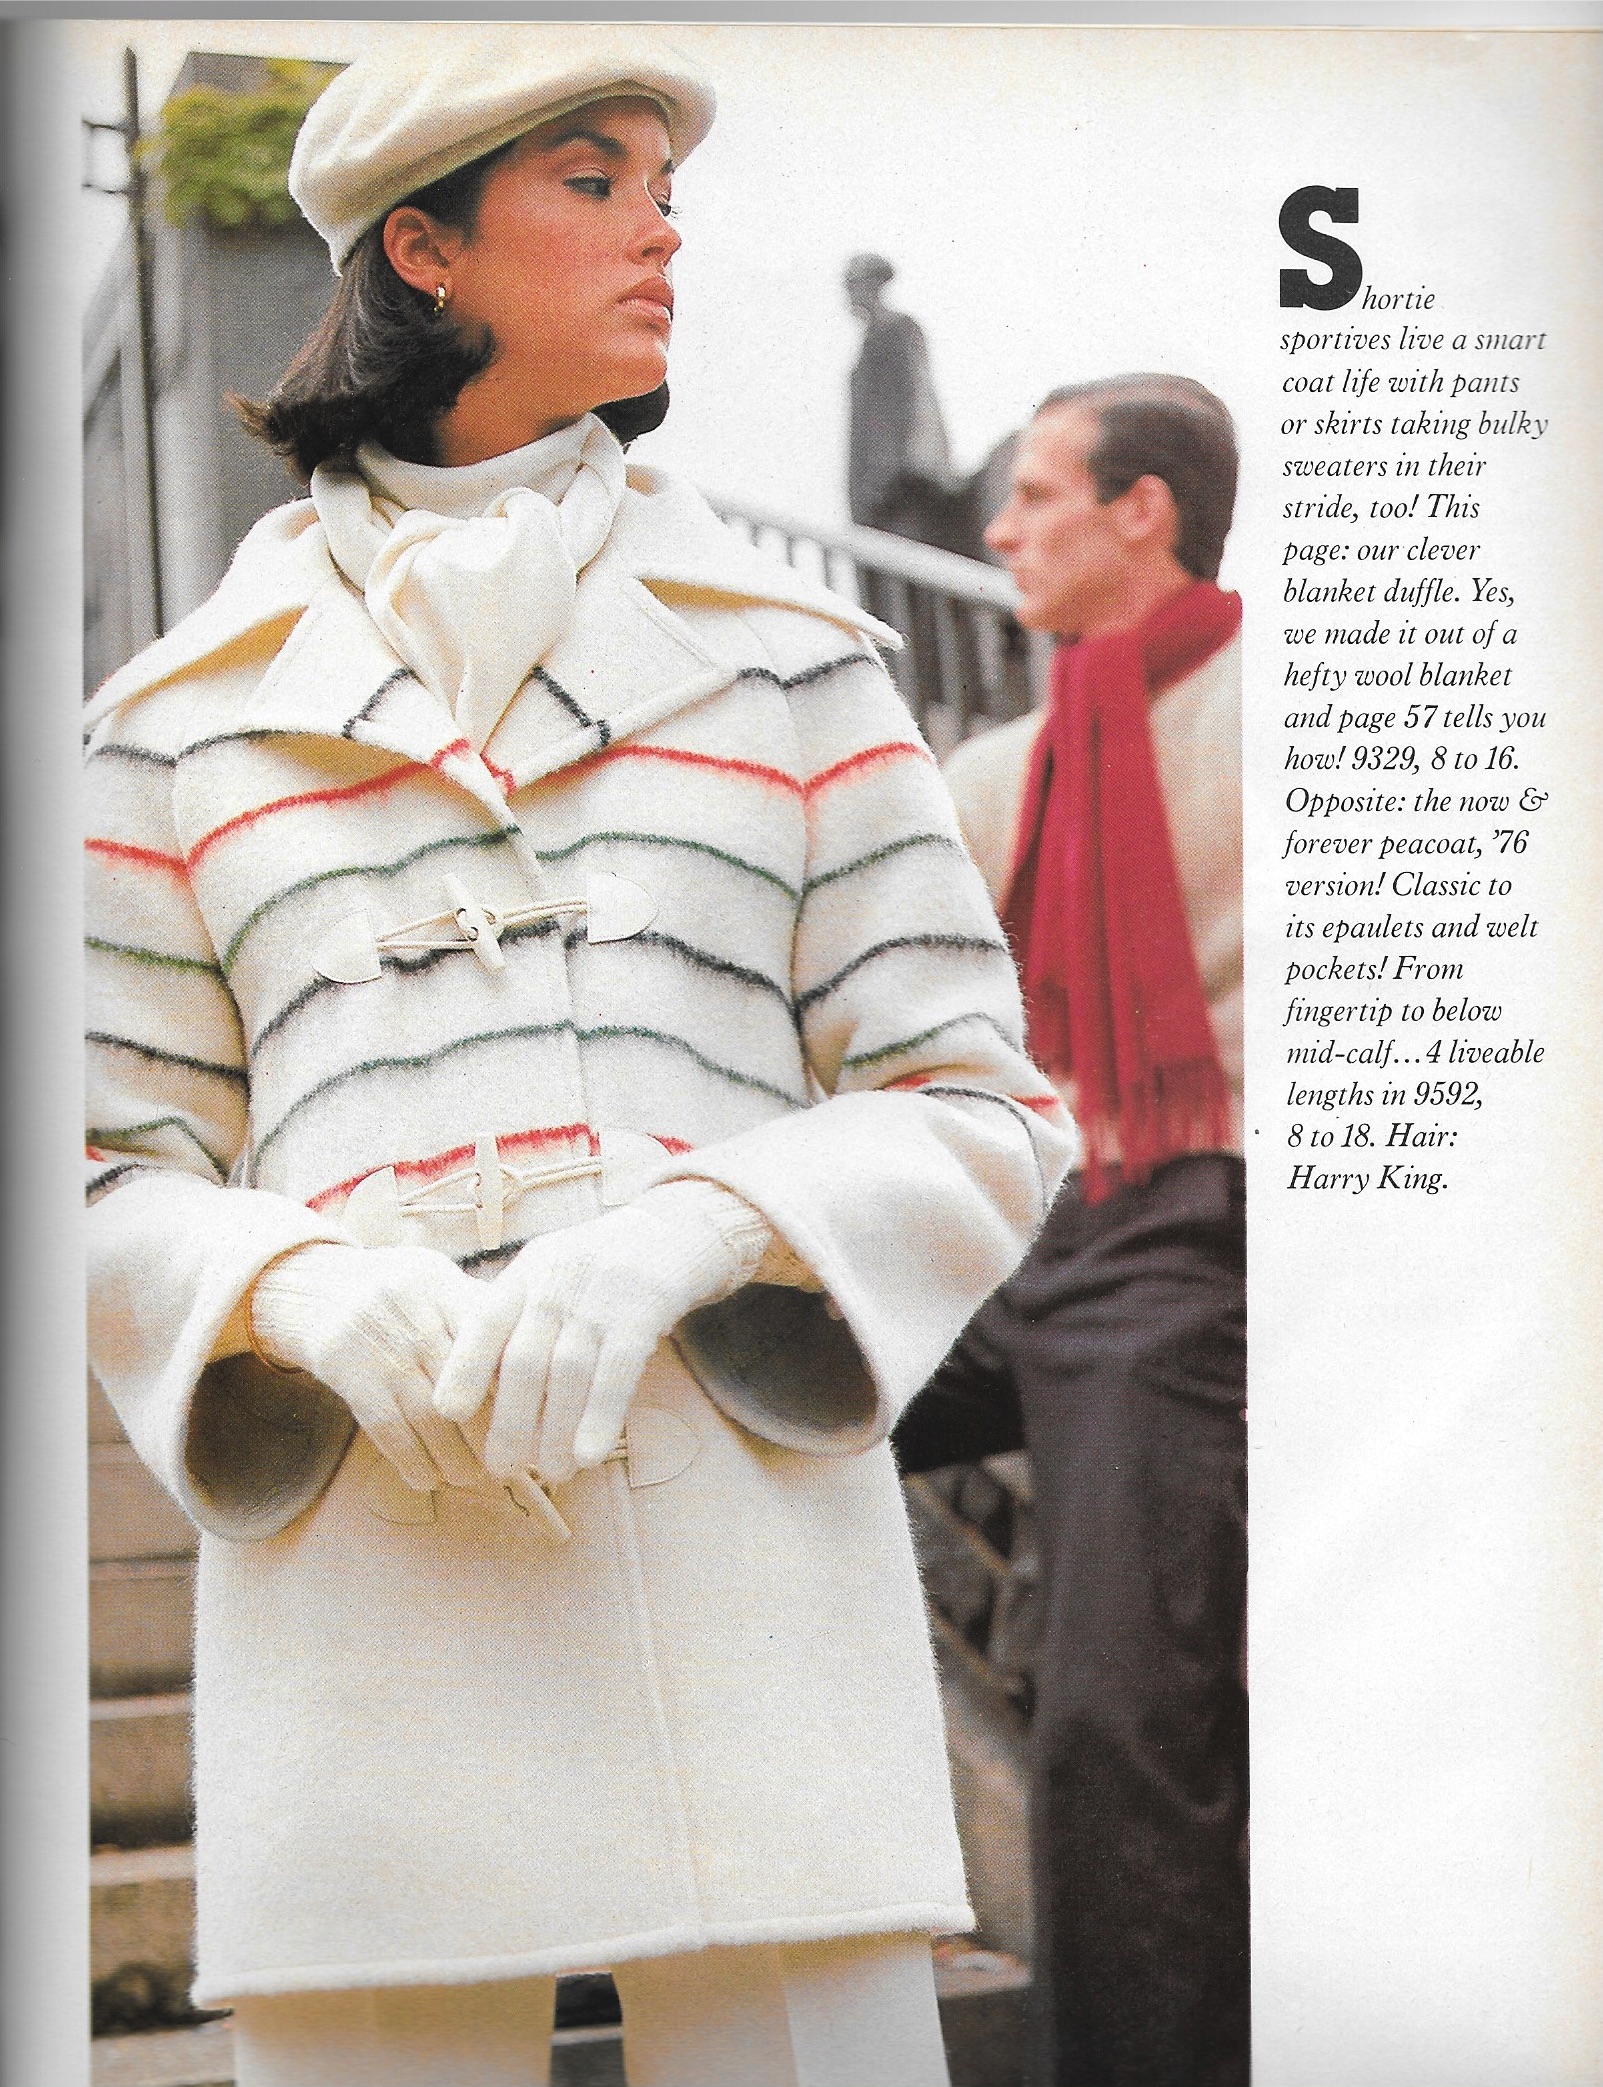
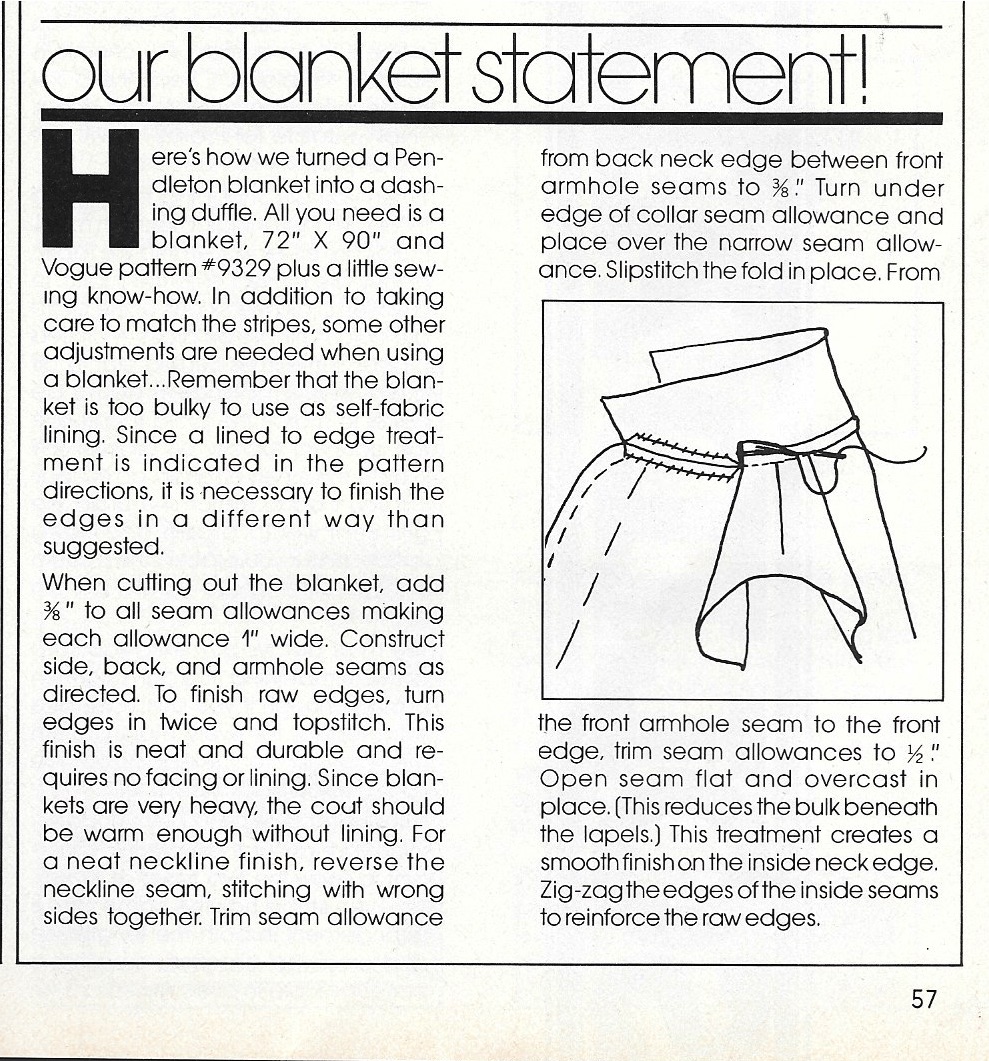
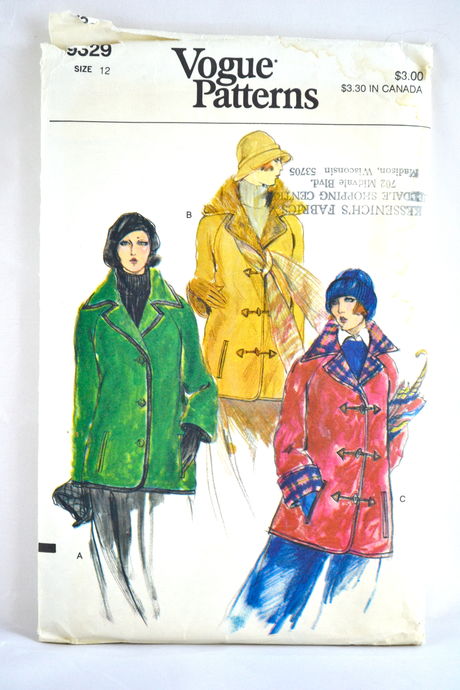
Accompanying the picture in the magazine were these instructions for making a “blanket coat” using Vogue pattern 9329:
Forty years later the same thing is being done with Pendleton blankets. I never miss the opportunity to look at the handsome Western and Native American-inspired Pendleton blankets in the Pendleton Store in Jackson, Wyoming. Hanging on one of the clothing racks in the store was this custom-made coat:
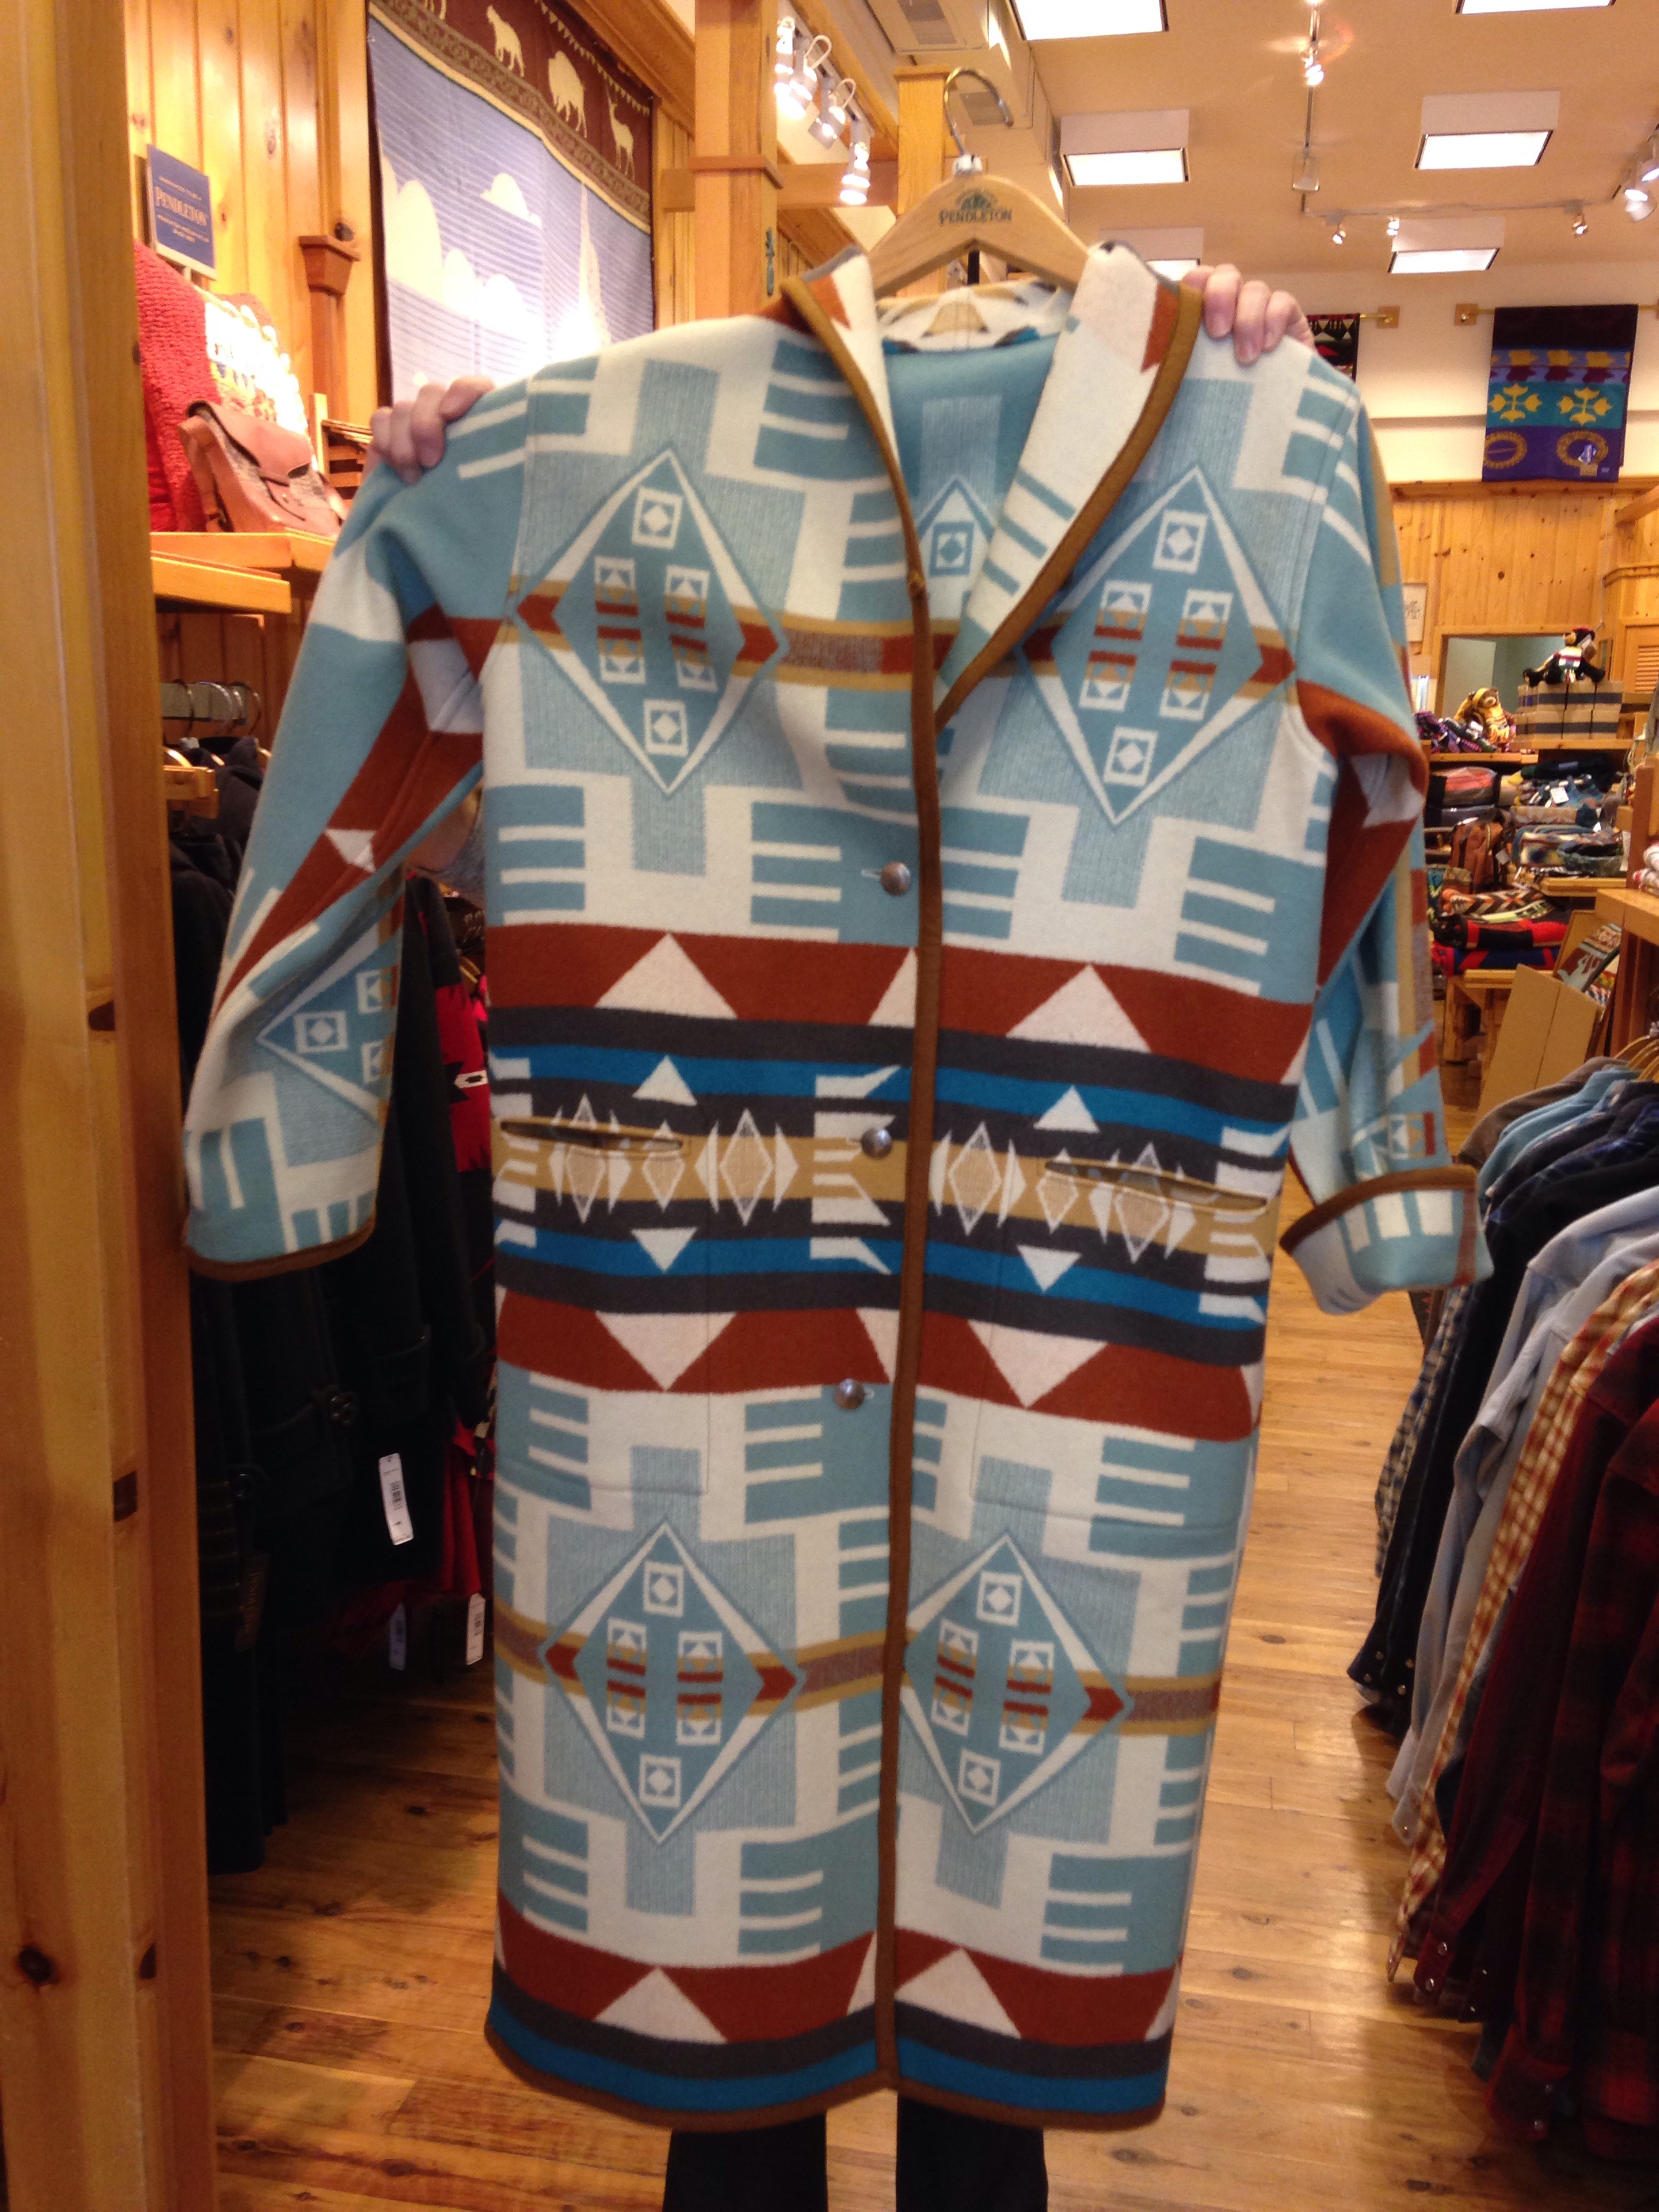
This particular coat was made for a very large lady, which just goes to show that a twin size blanket is sufficient for all sizes of coats.

The back of the coat.
Made, as stated above, from a twin-size blanket, the coat can be made in long, medium or short lengths, with hood or without hood, with pockets or without them – and it is reversible, too. Customers in the store pick out the blanket they like, measurements are taken: both are sent off to a coat-maker, with whom the store has a relationship, and returned about 6 weeks later. The construction is very much the same as what is detailed in the instructions above; however, the coat-maker removes the narrow wool binding from the blanket before cutting into it. Then she uses that binding for all the edges of the coat.
The lovely staff in the Pendleton store pulled out this blanket to tempt me:
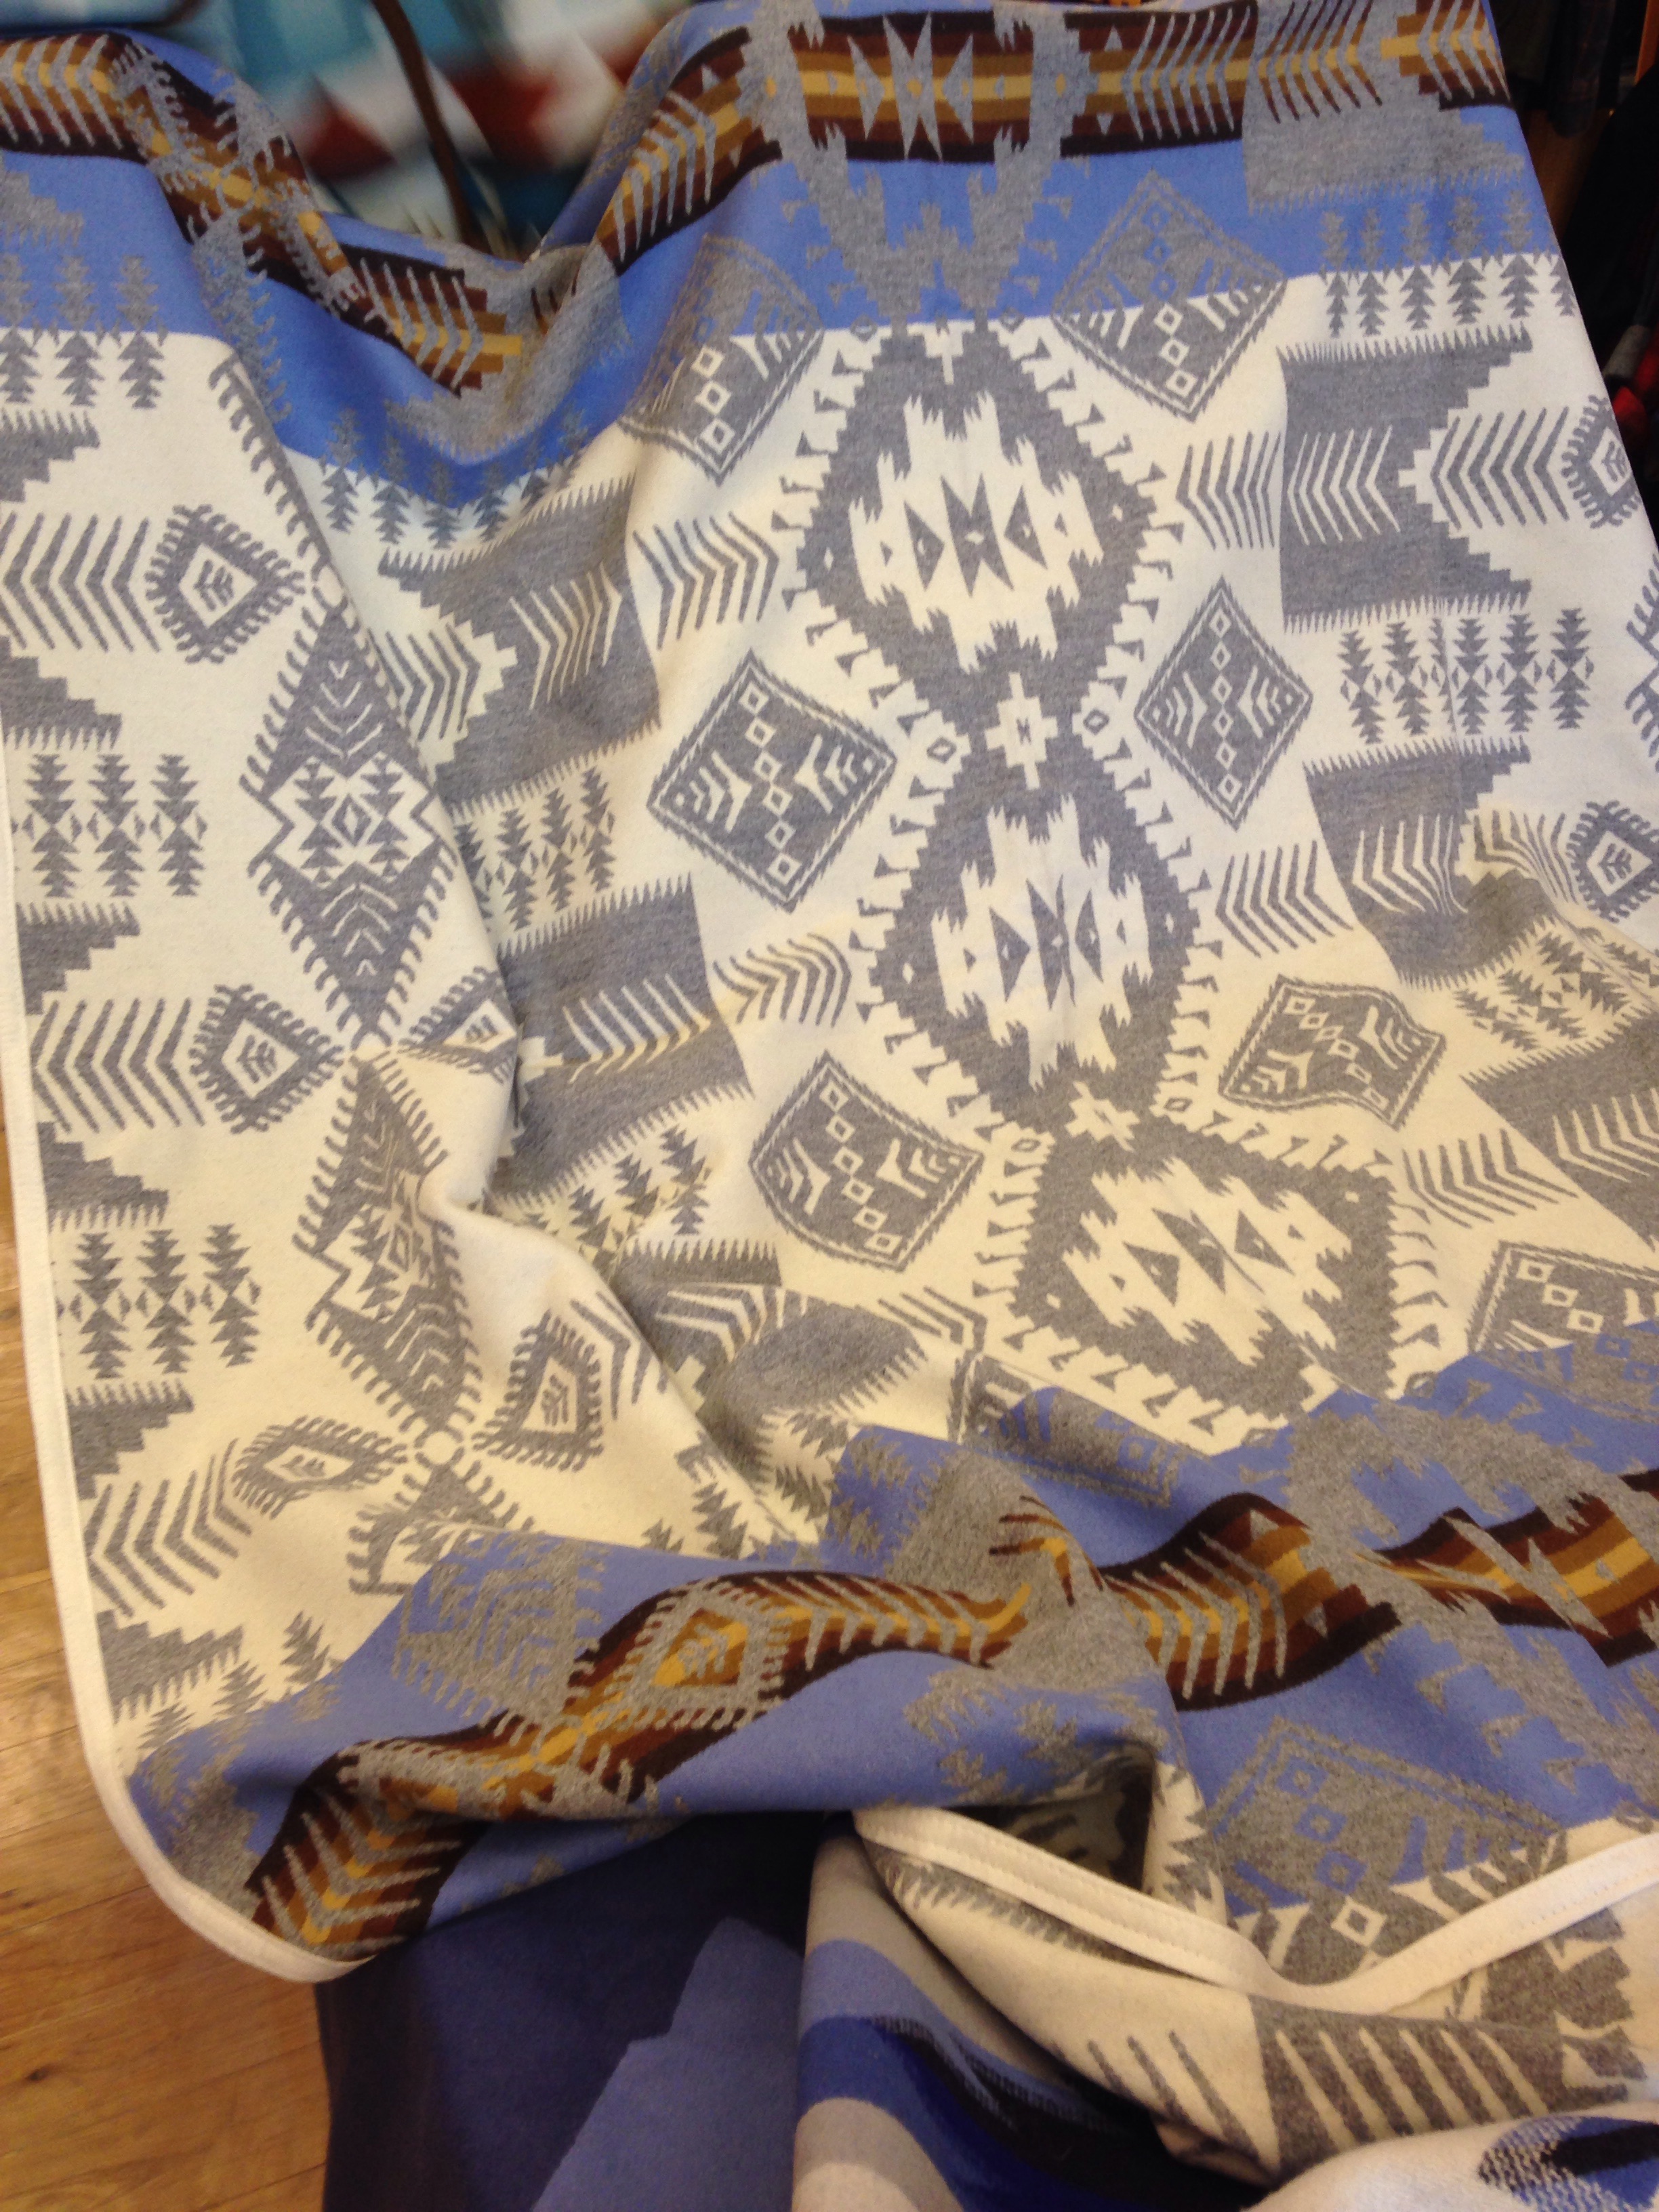
The grey, white and periwinkle blue colorway would definitely compliment me, I think.
So far, however, I have resisted the urge to make a blanket coat, although it might be a fun project with just the right blanket – sometime. But for now I am saddling up to head East, home to beloved Pennsylvania, back to animals and pets I love, back to my by-now-overgrown gardens, and back to my snug little sewing machine who must be wondering where I have been!