
What do you do with all those scraps of fabric which are often left over from a sewing project? Sometimes I just throw them out, feeling guilty while I do so. Sometimes I fold them up neatly and put them away in a very big box I have reserved for such things (to “think about another day.”) And sometimes, if there is a sizable amount remaining, I’ll put my leftovers in a “giveaway” box, to be recycled in some charitable fashion. But recently I have come up with another solution. I have started making padded hangers with my fabric leftovers.
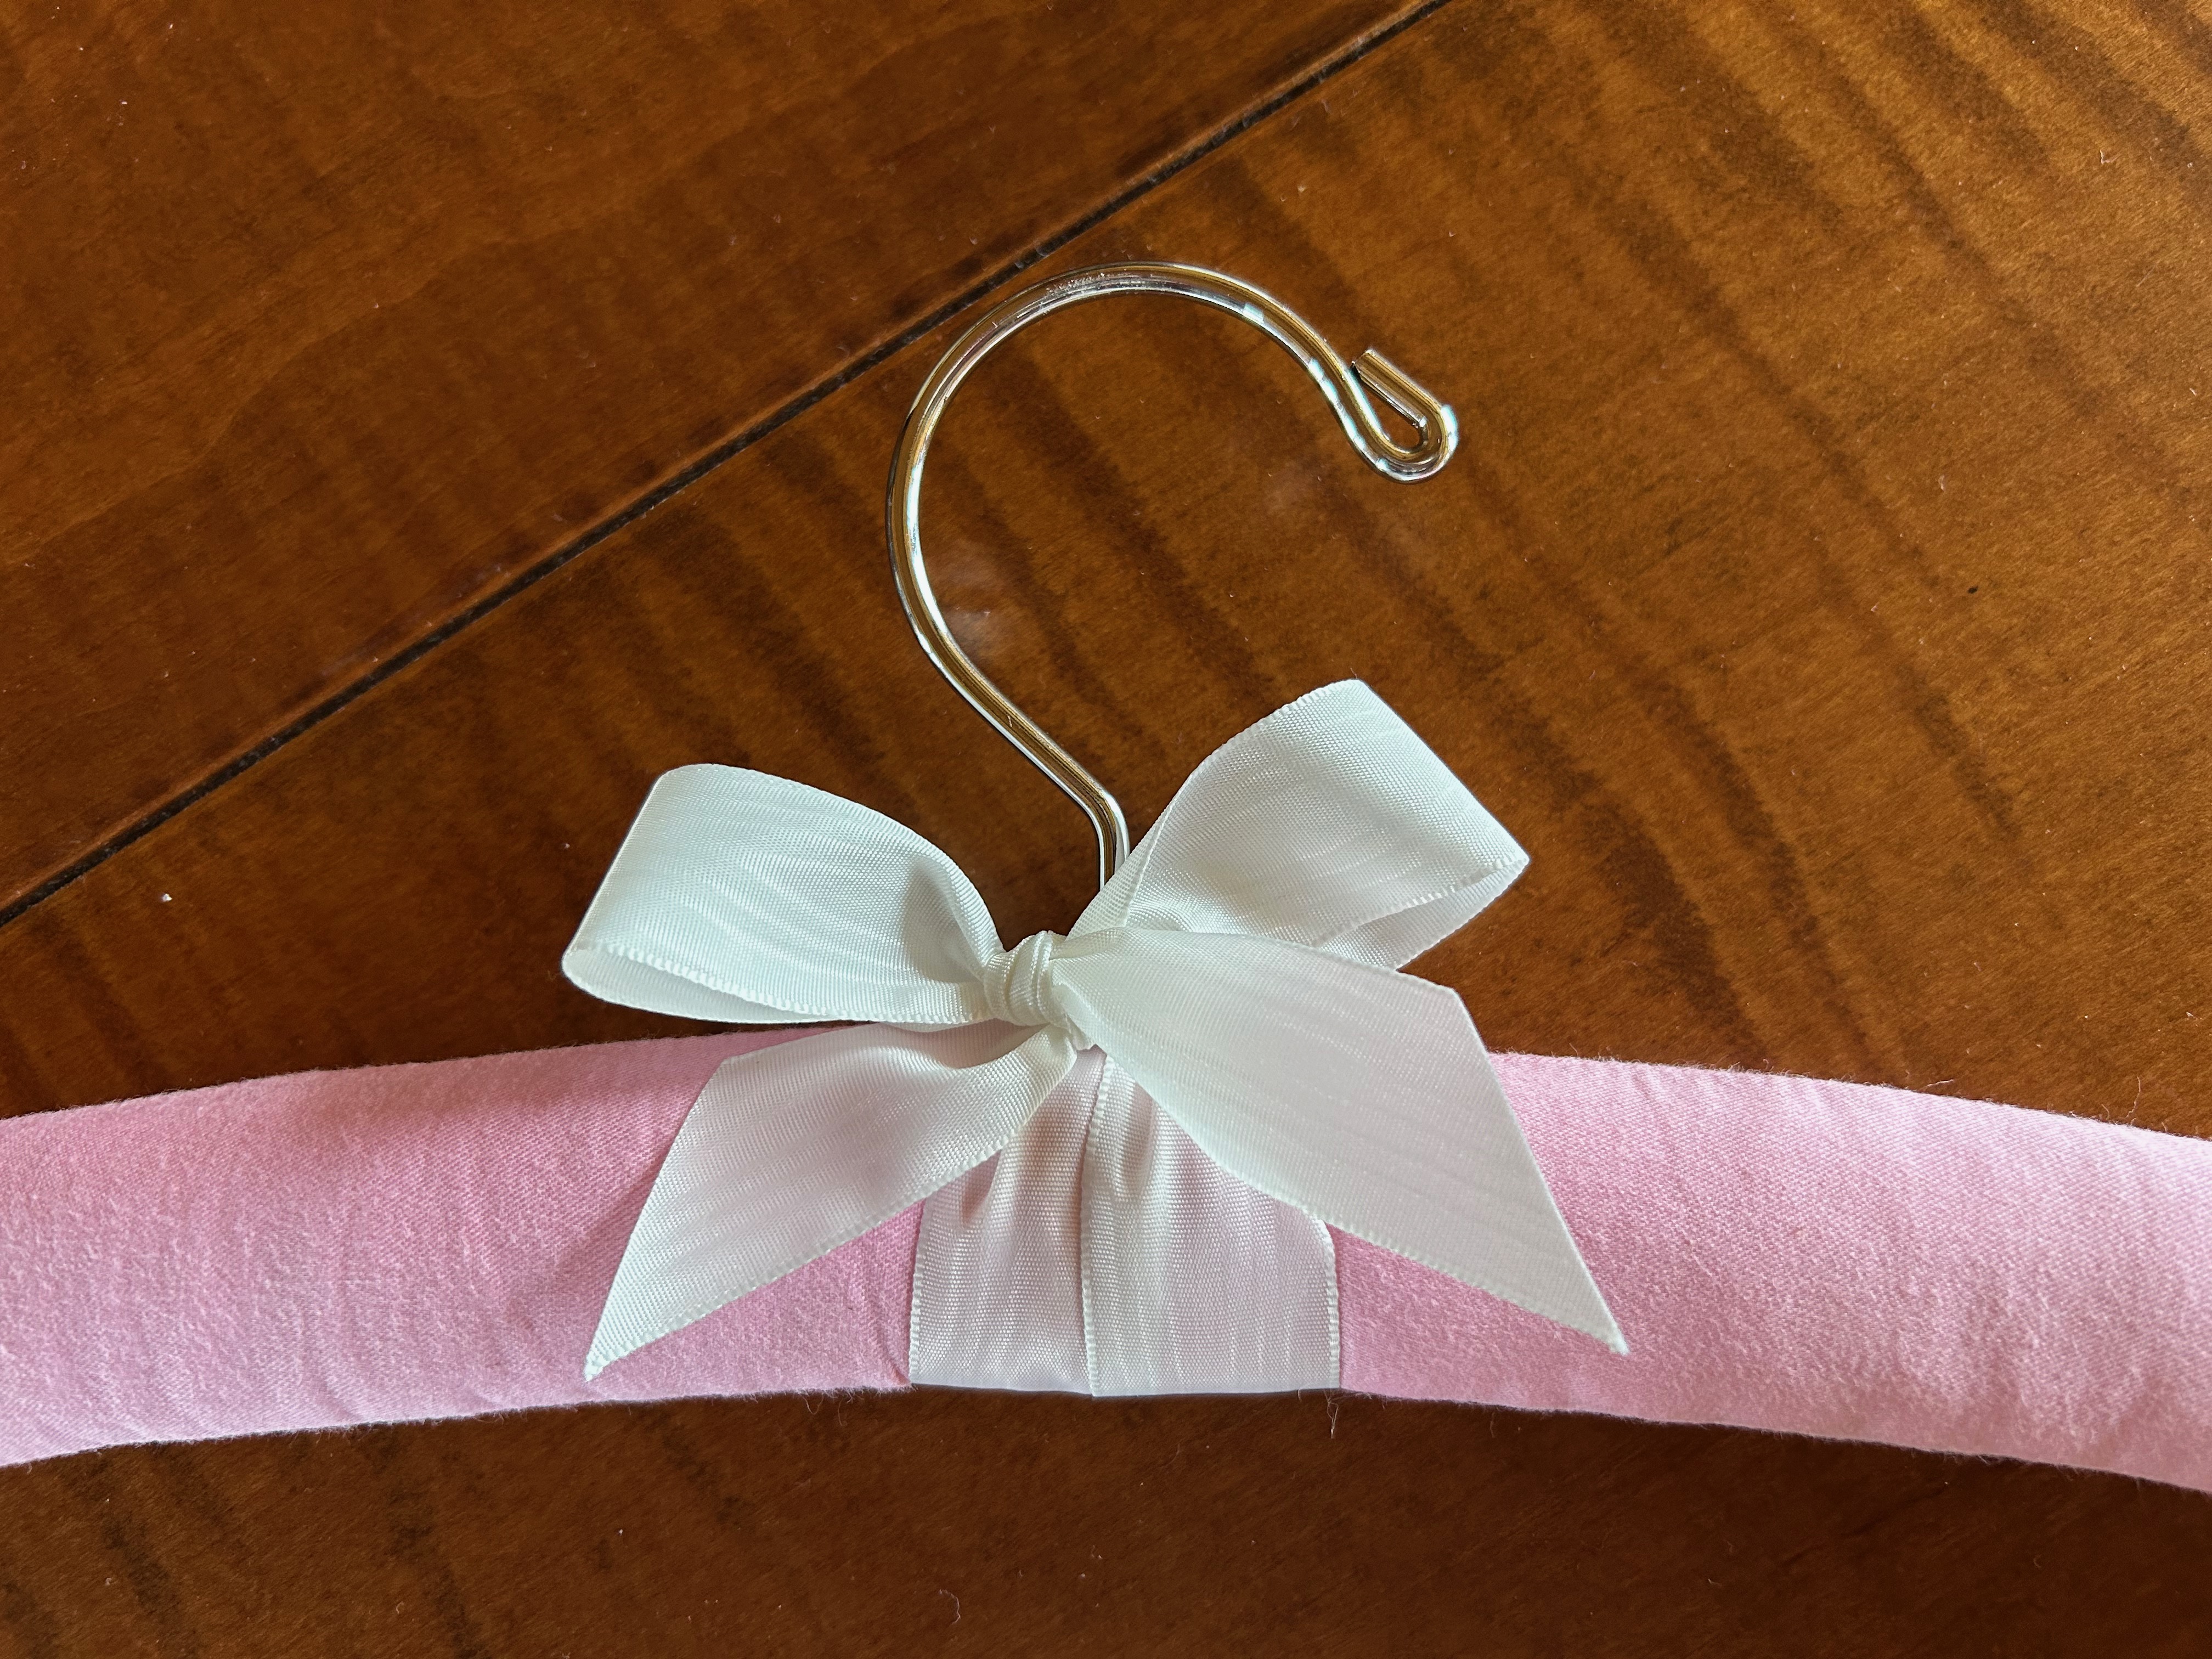
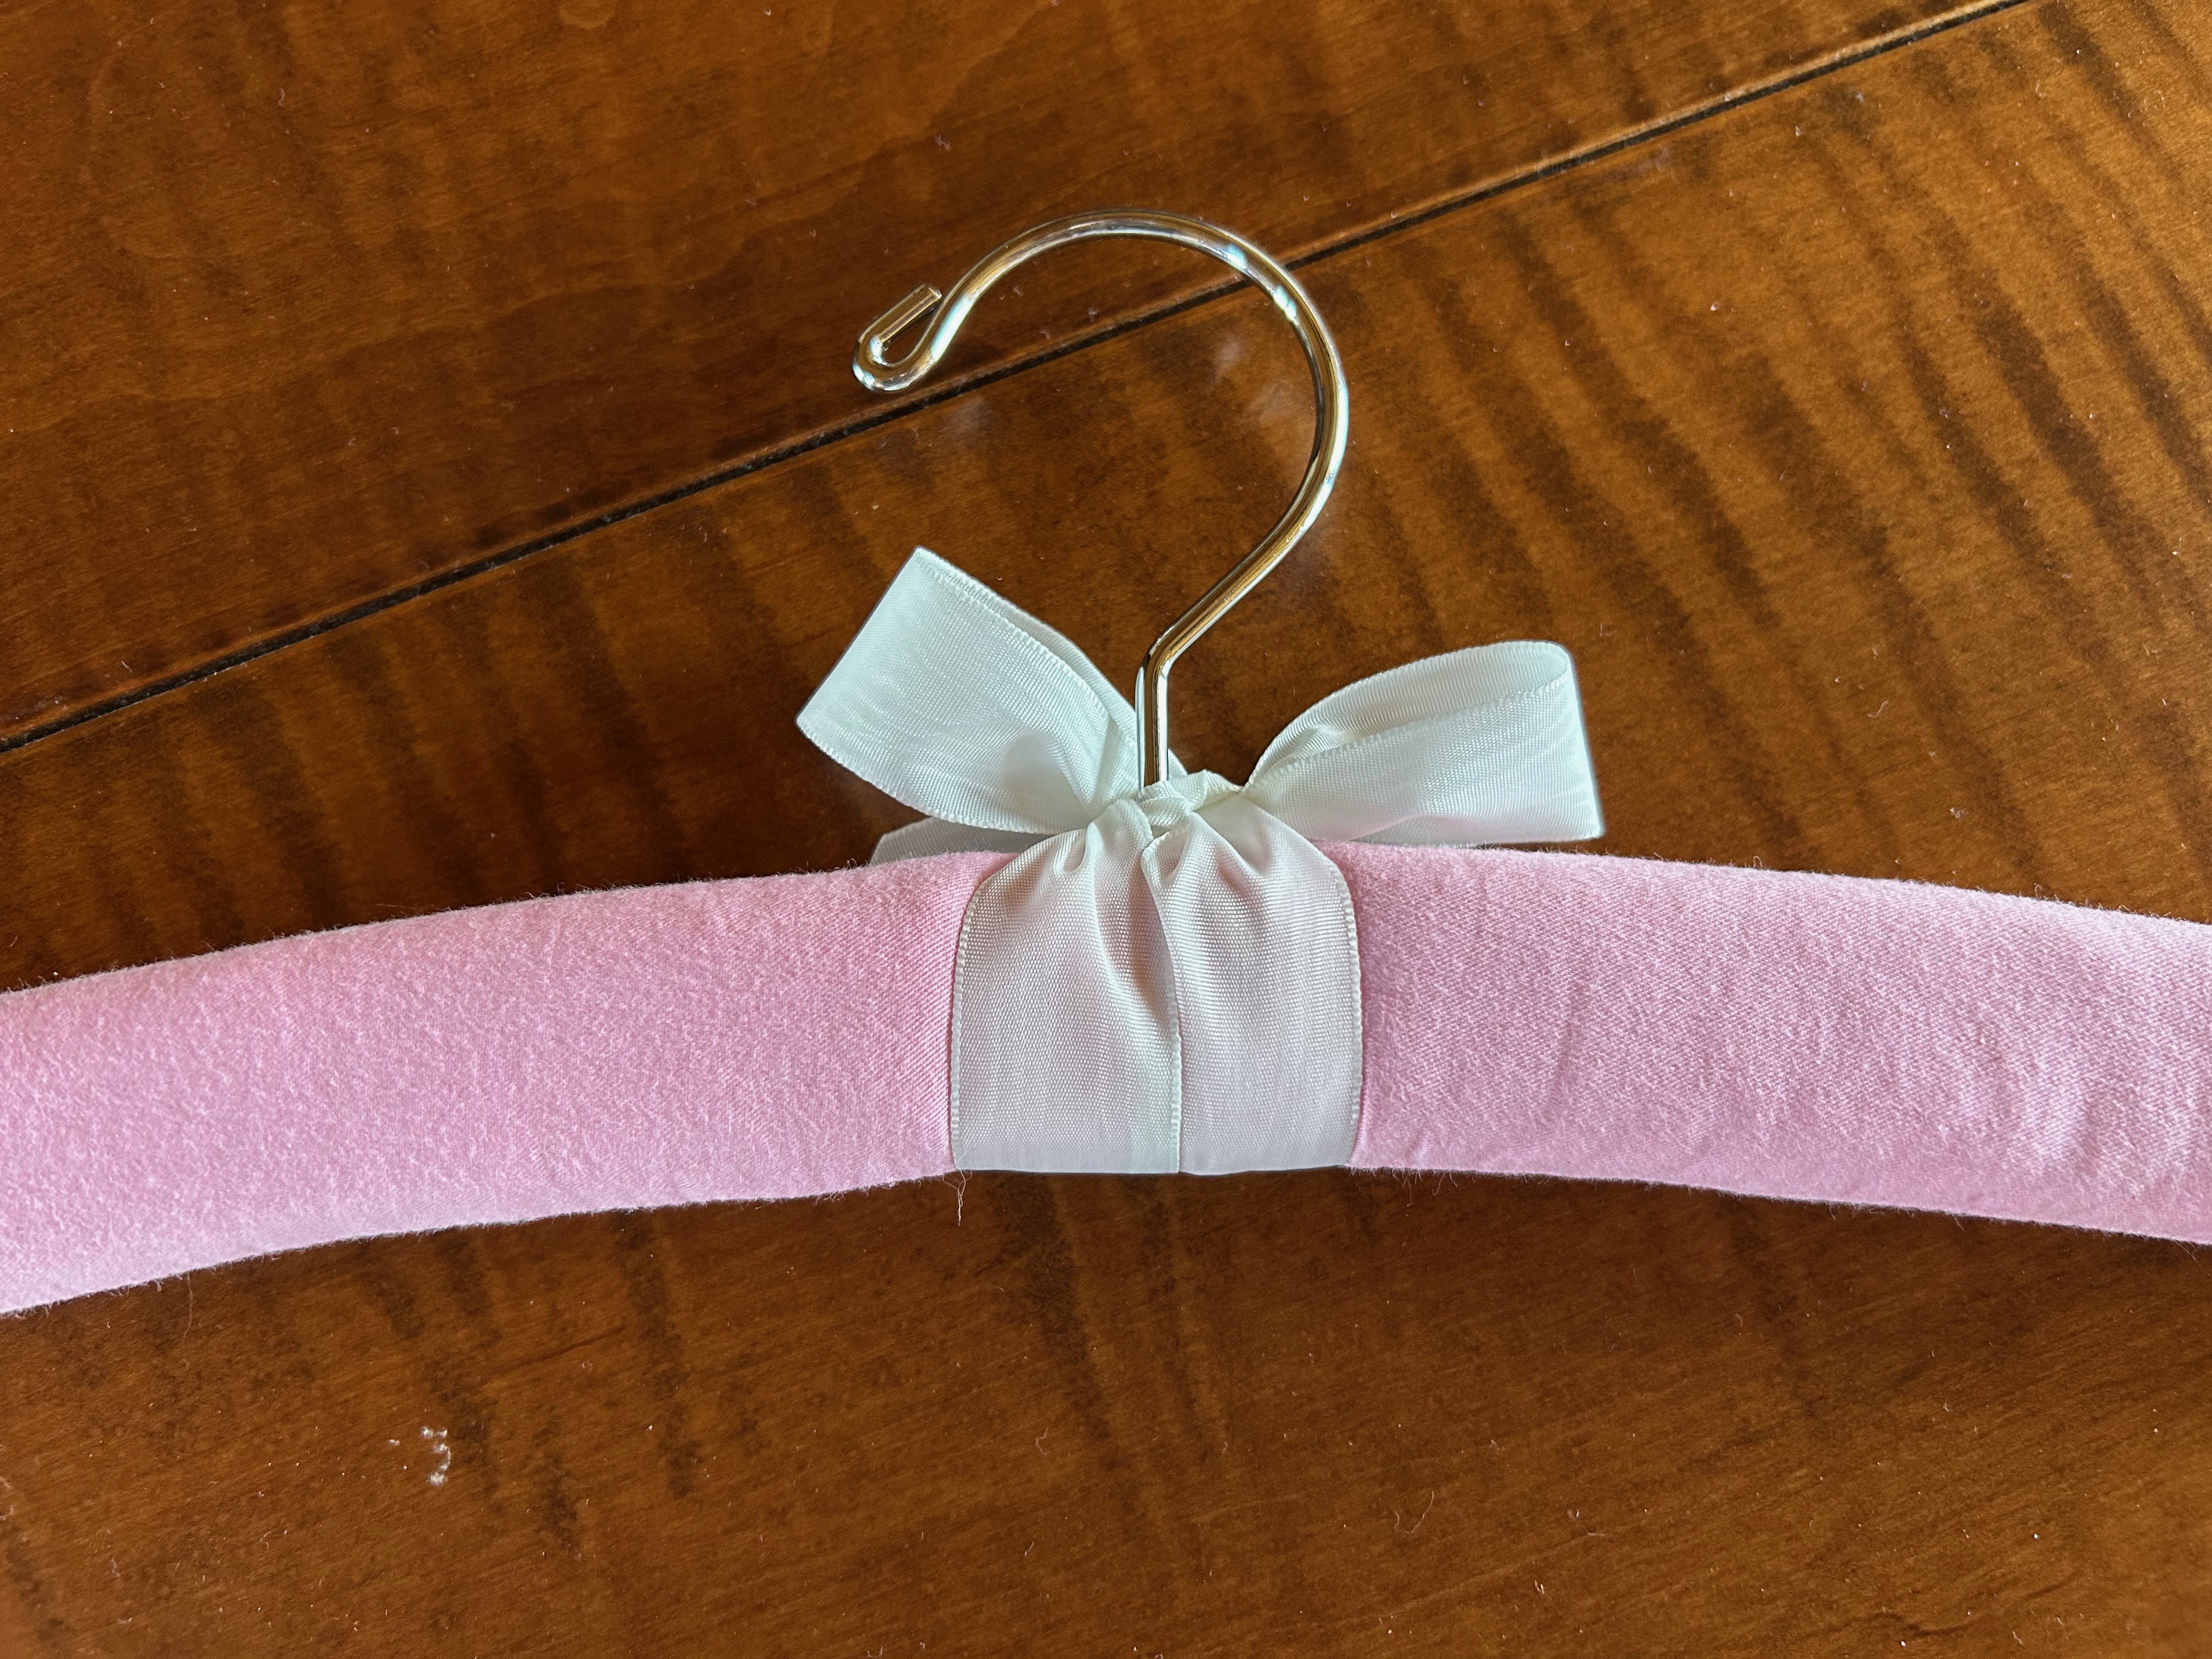
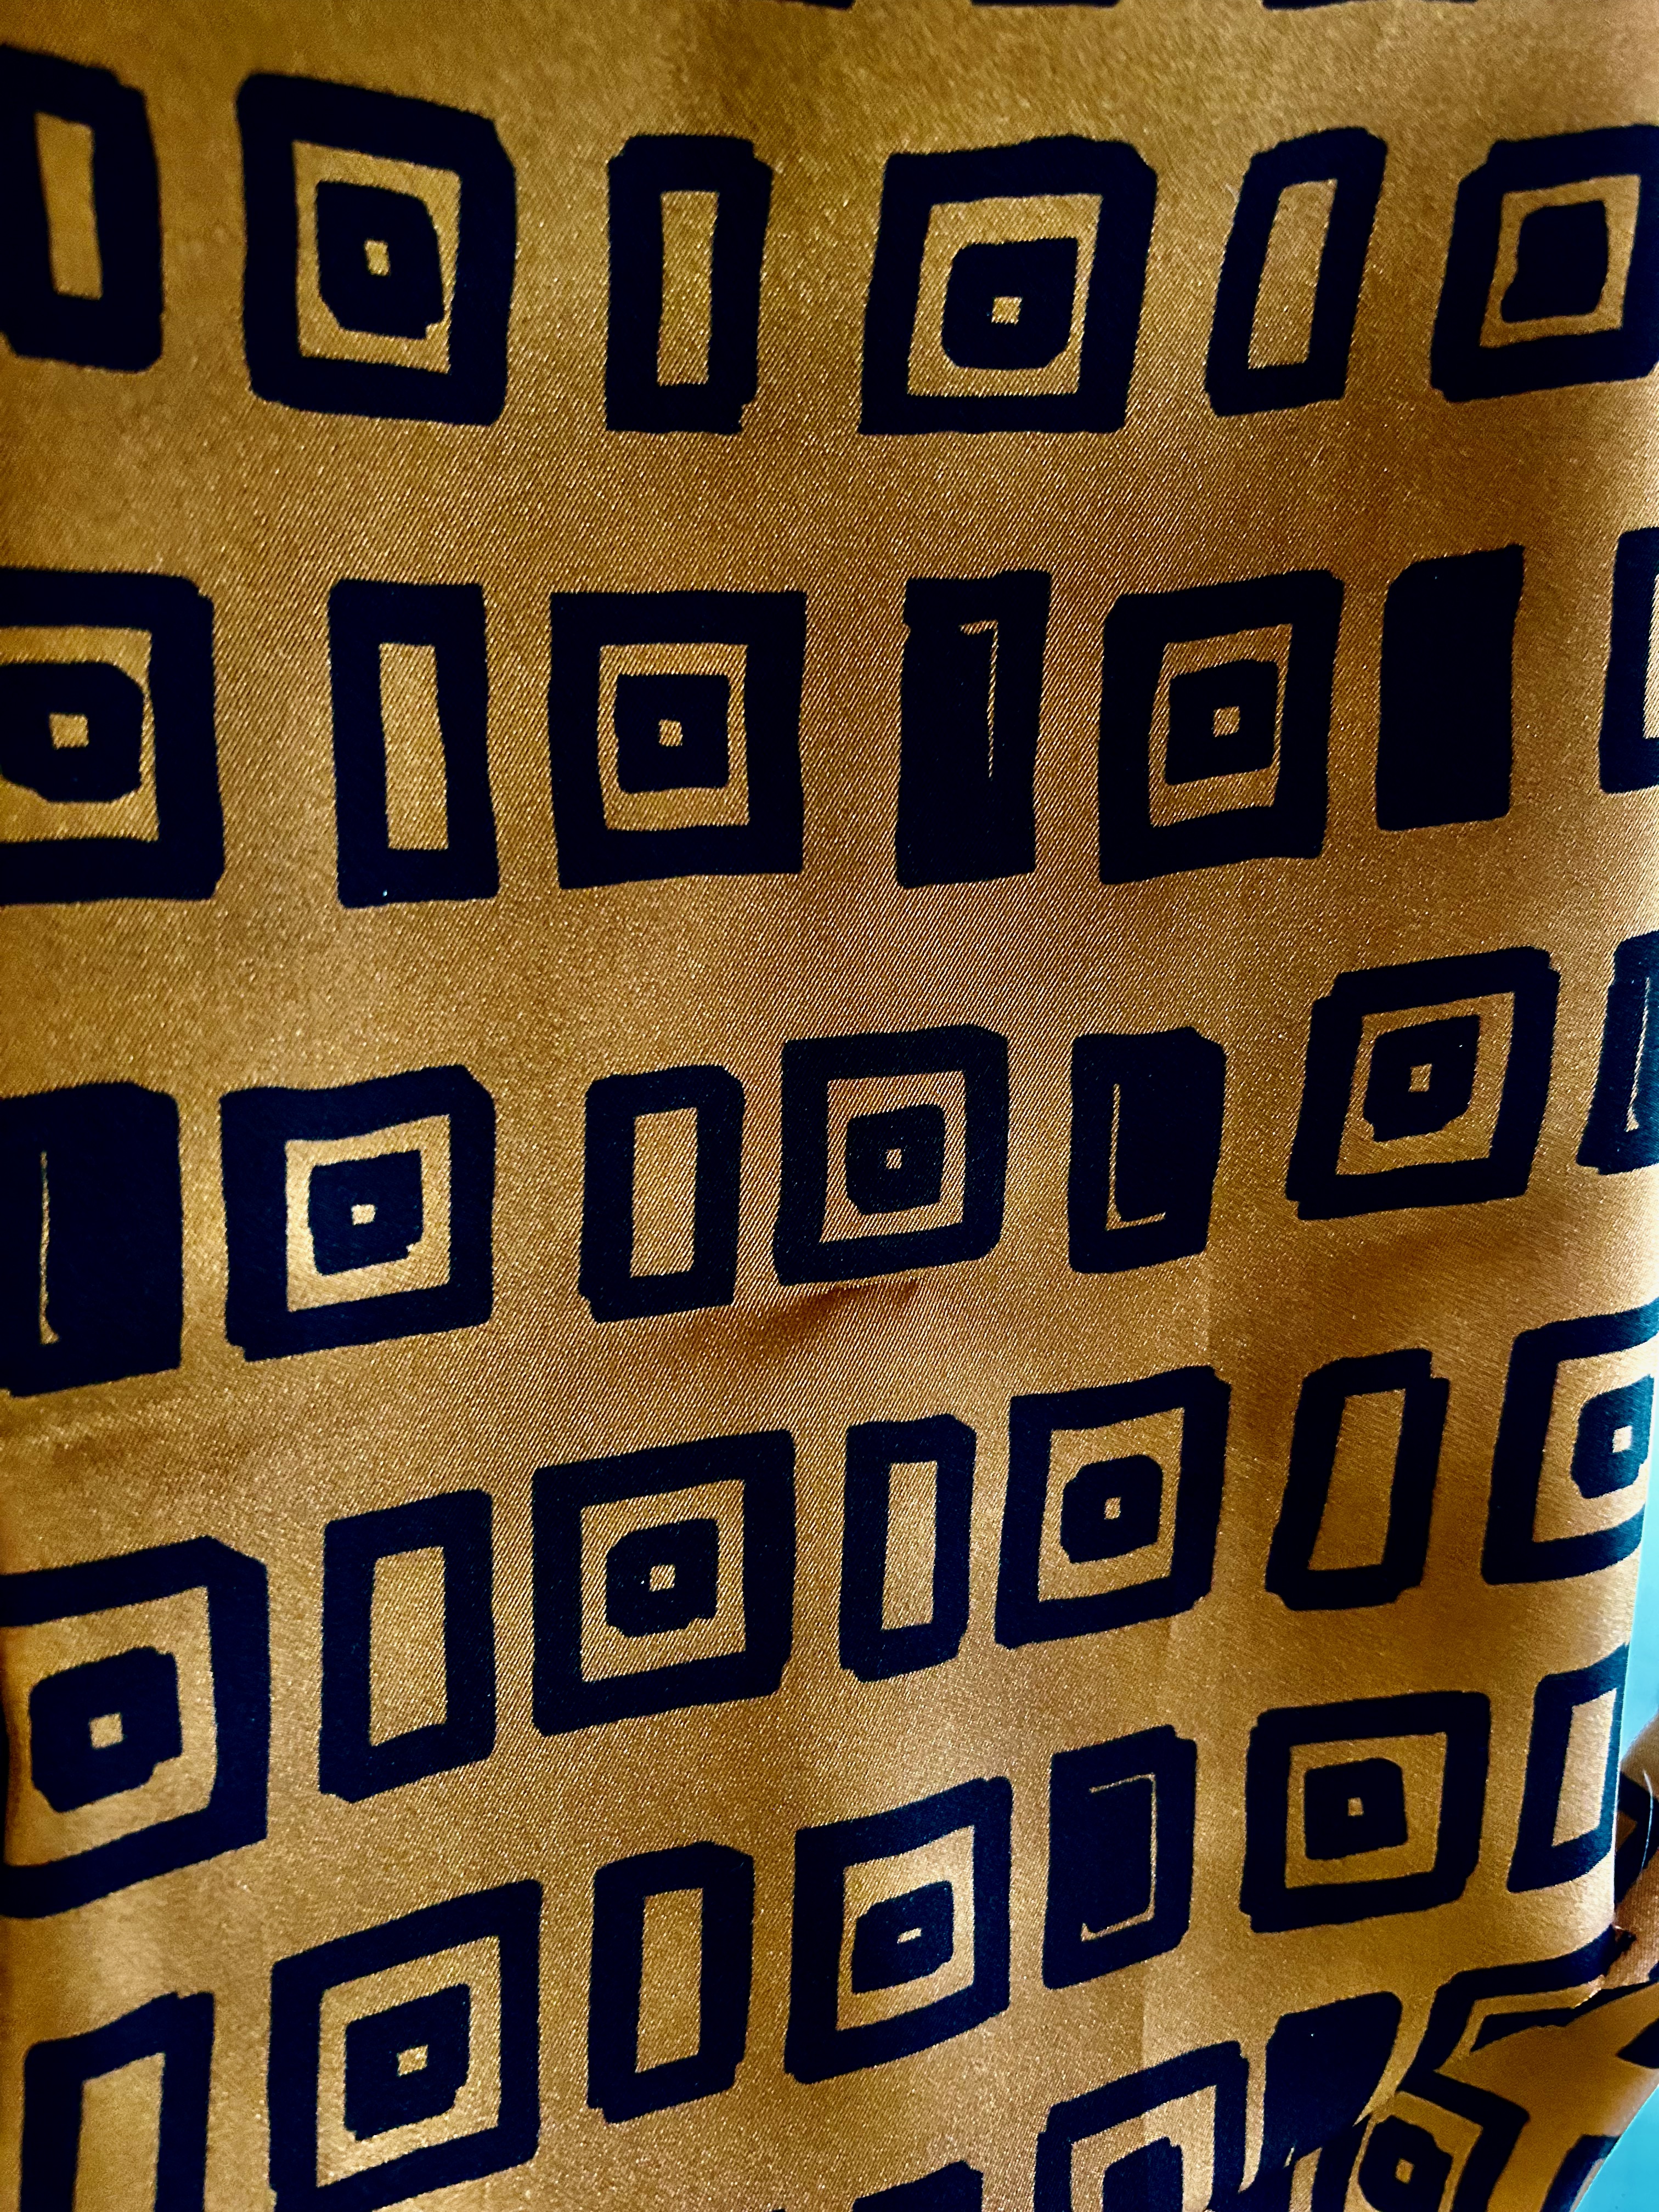
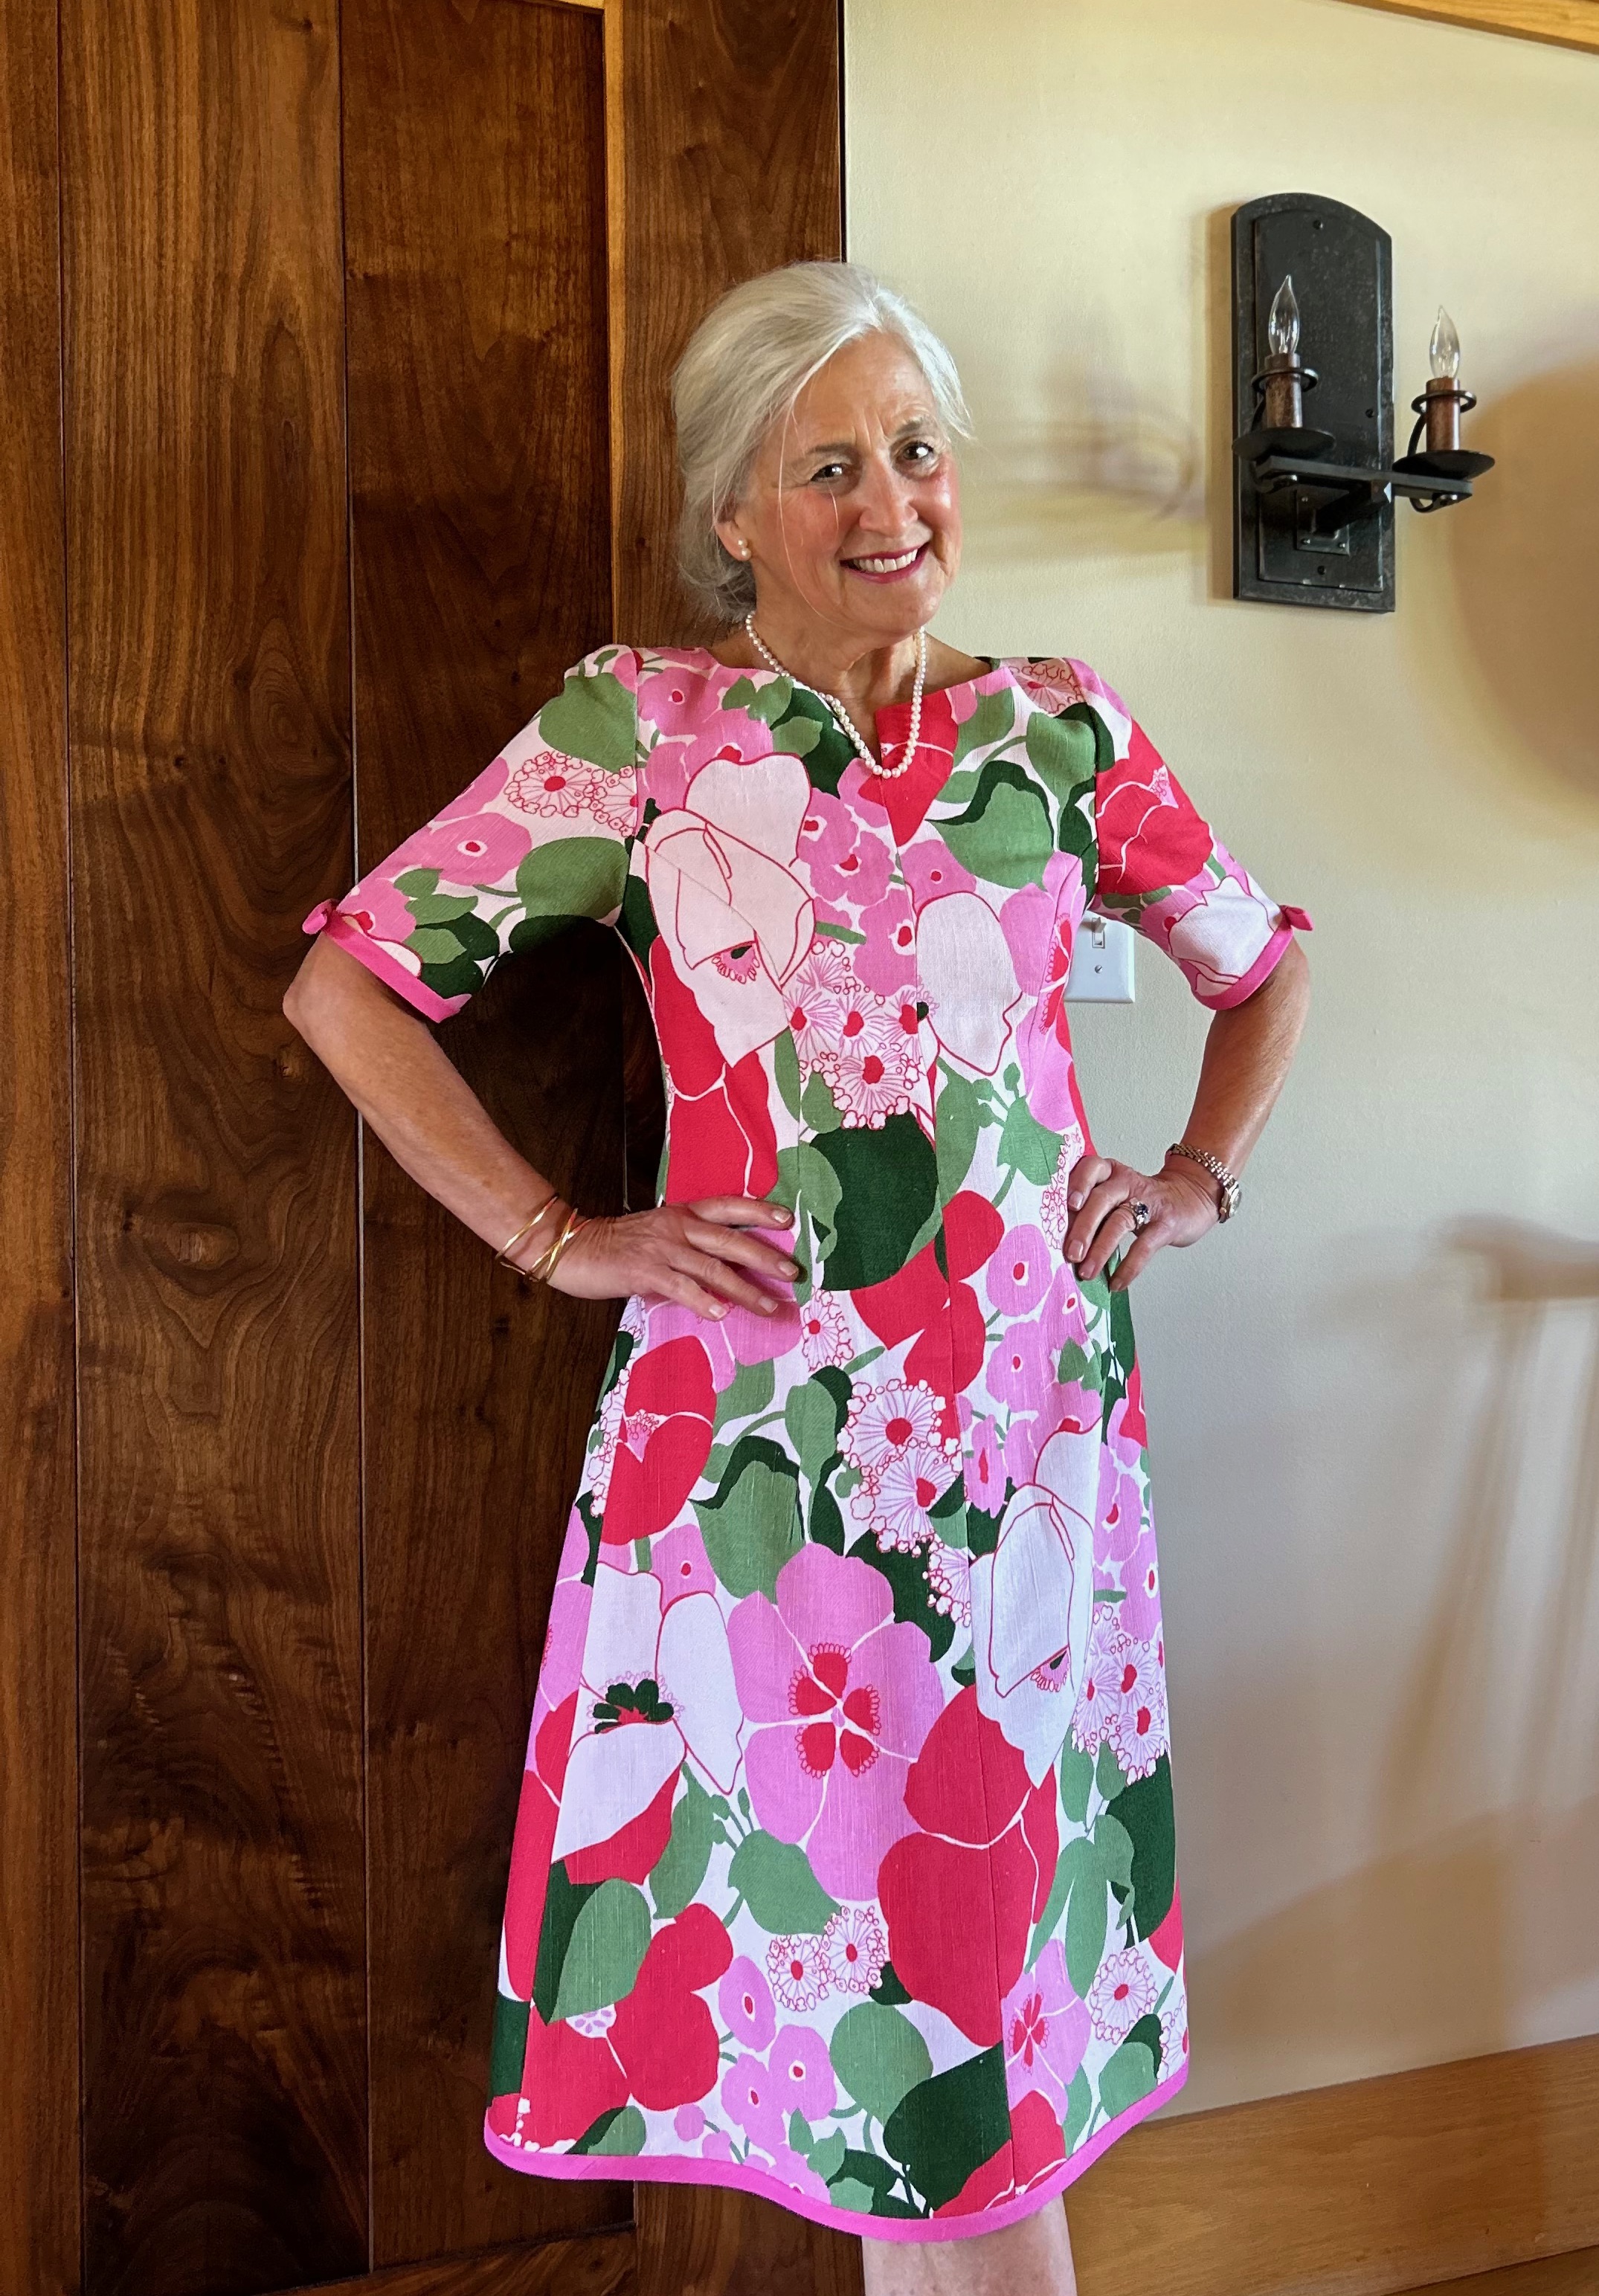
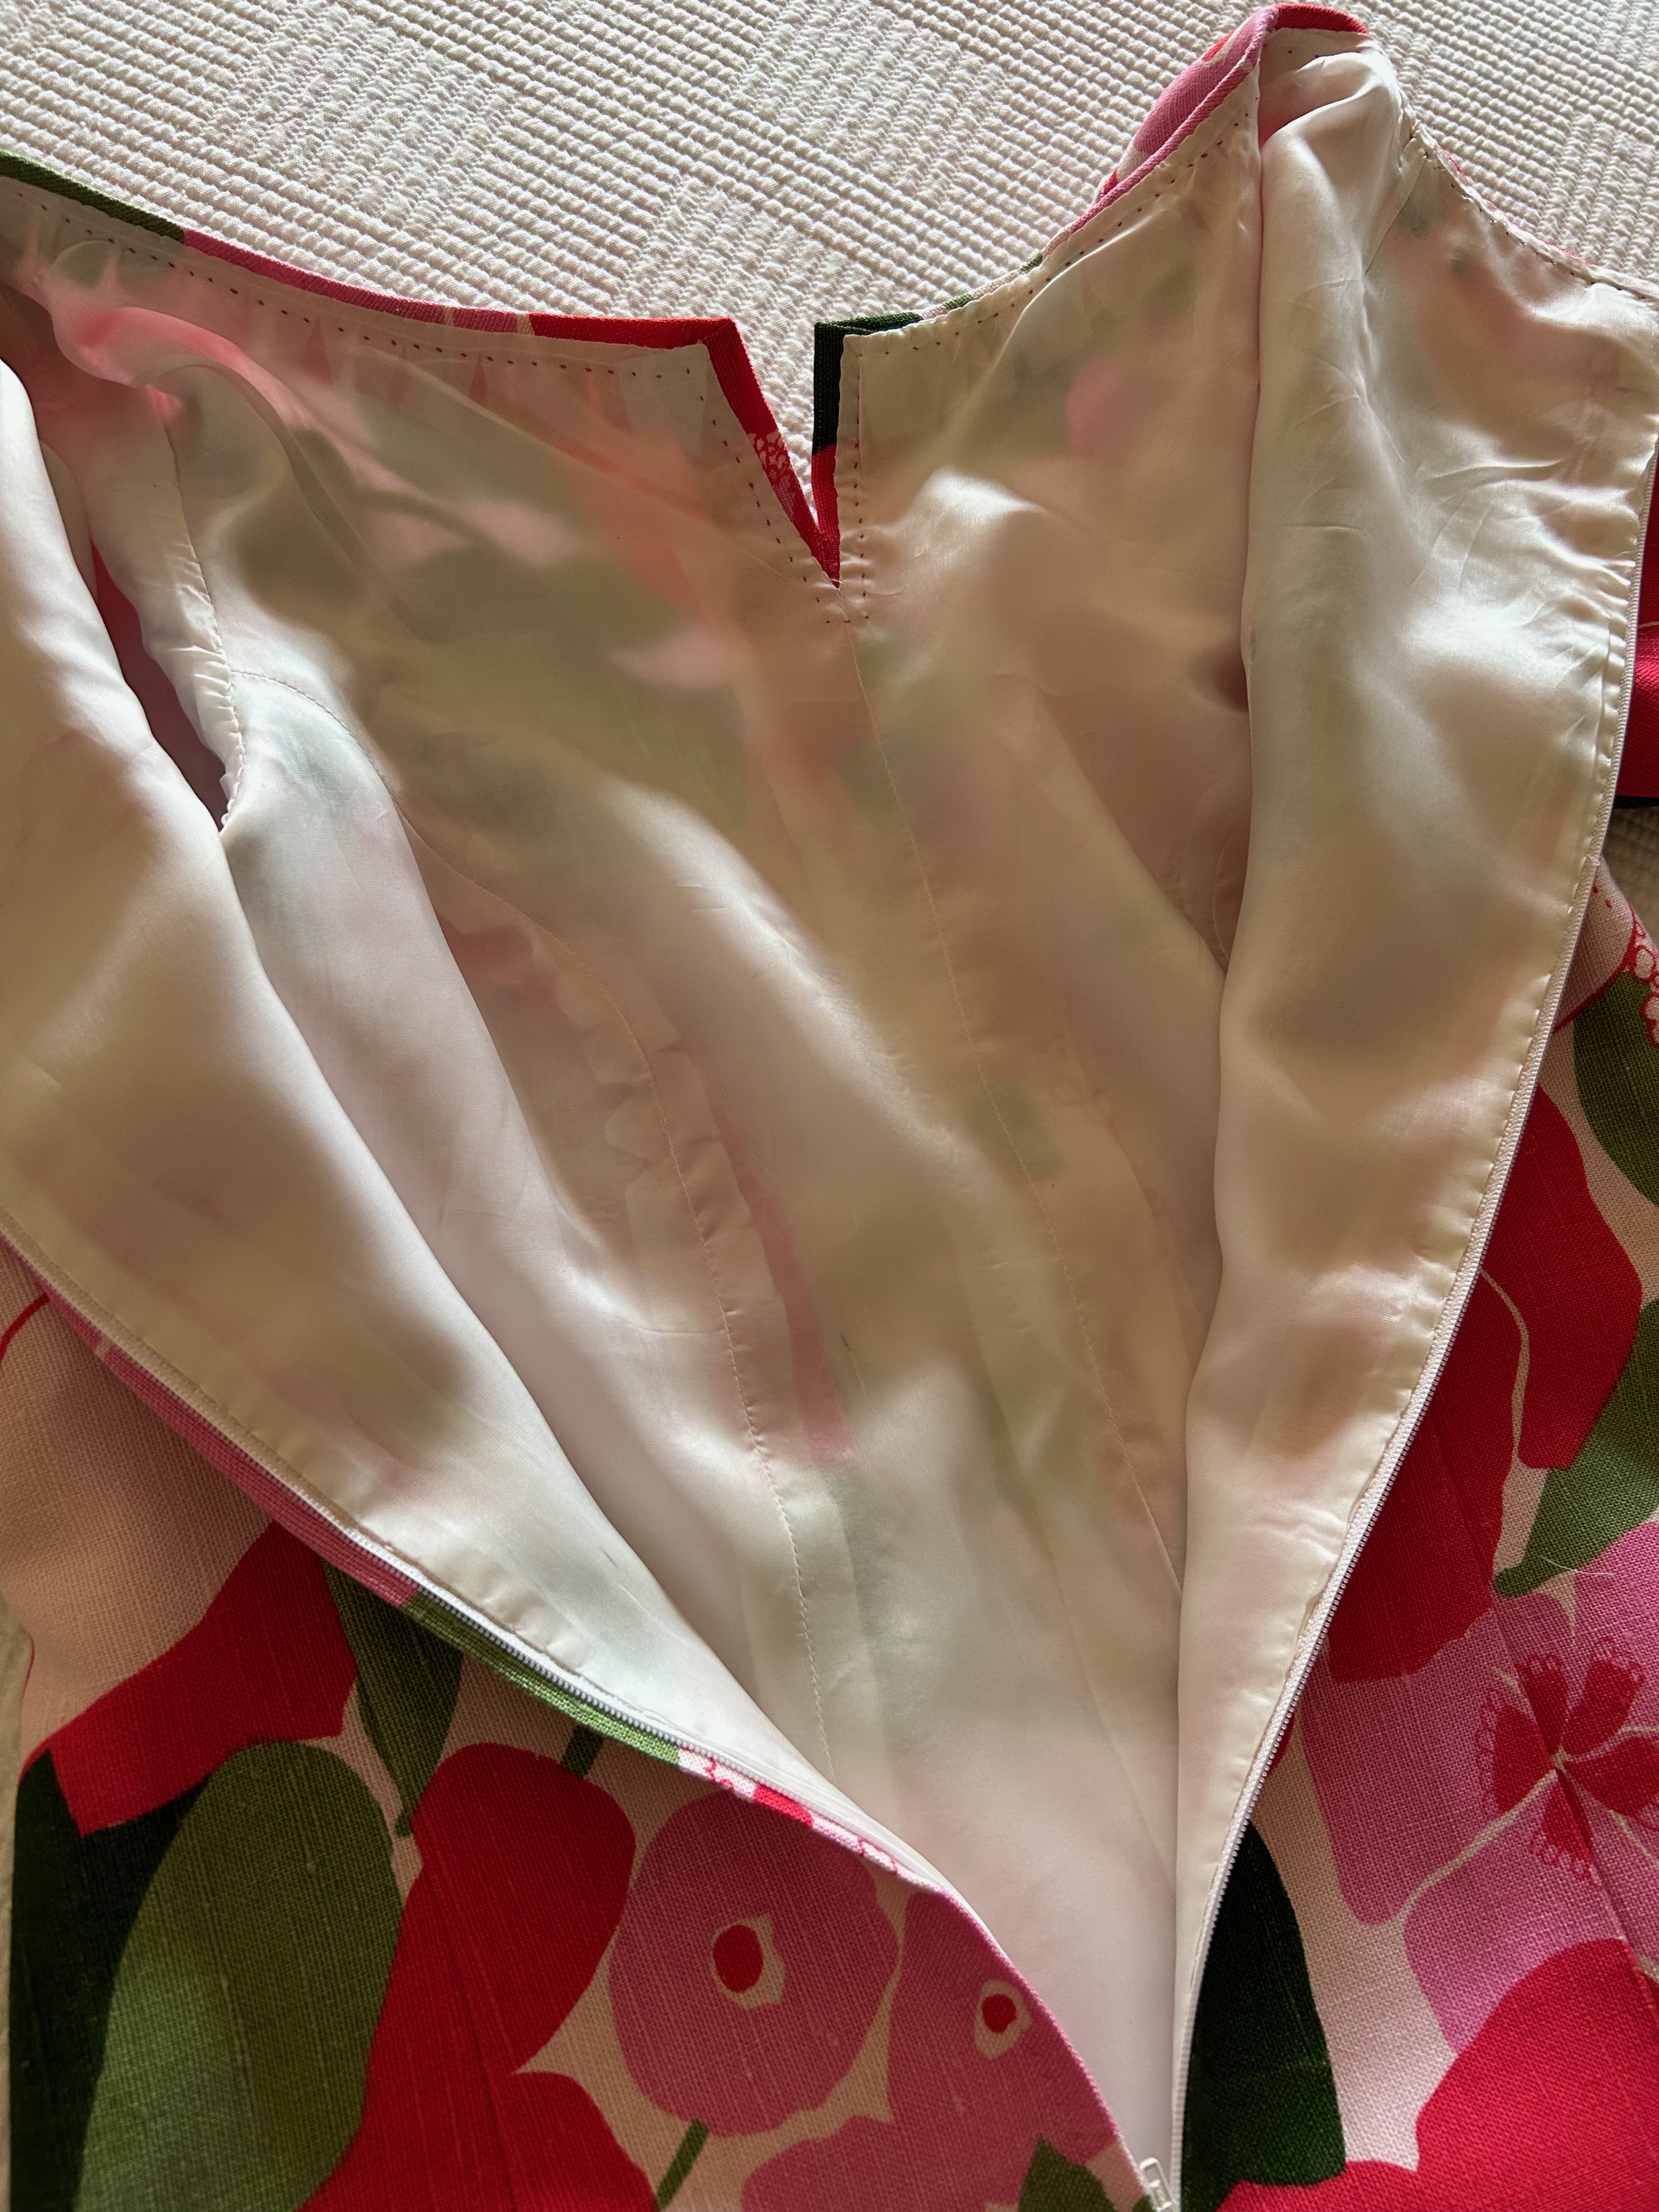
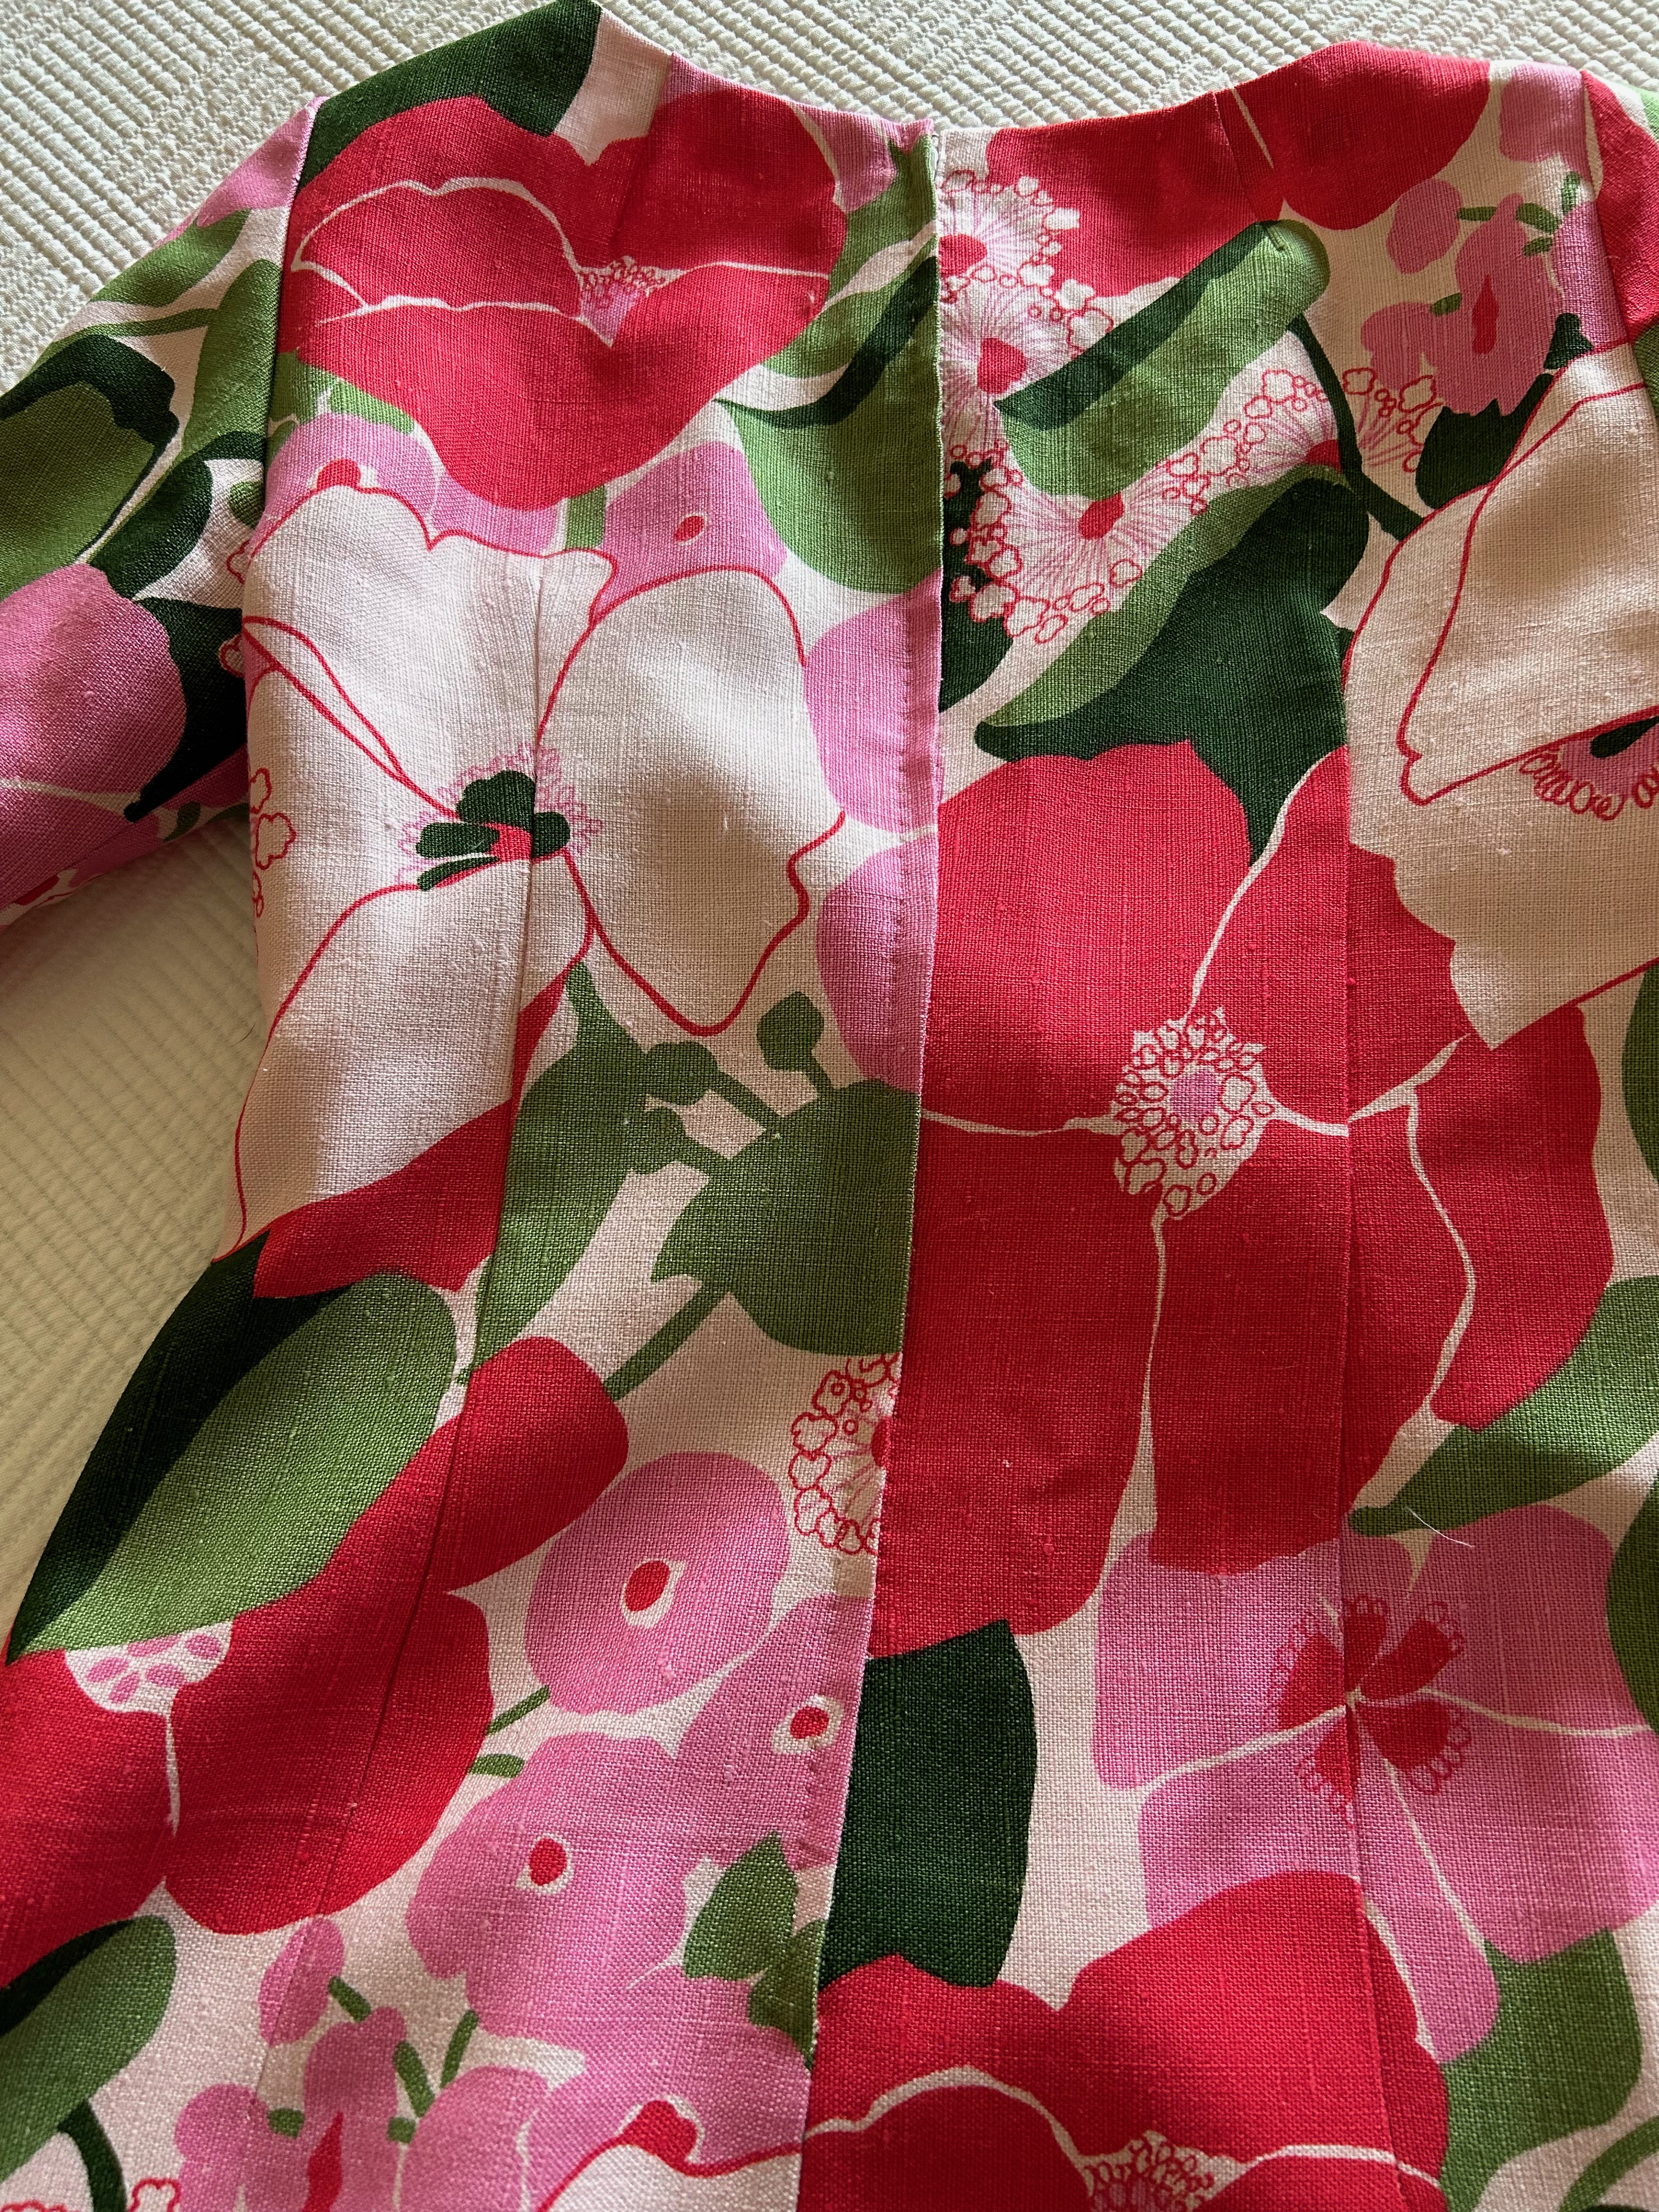
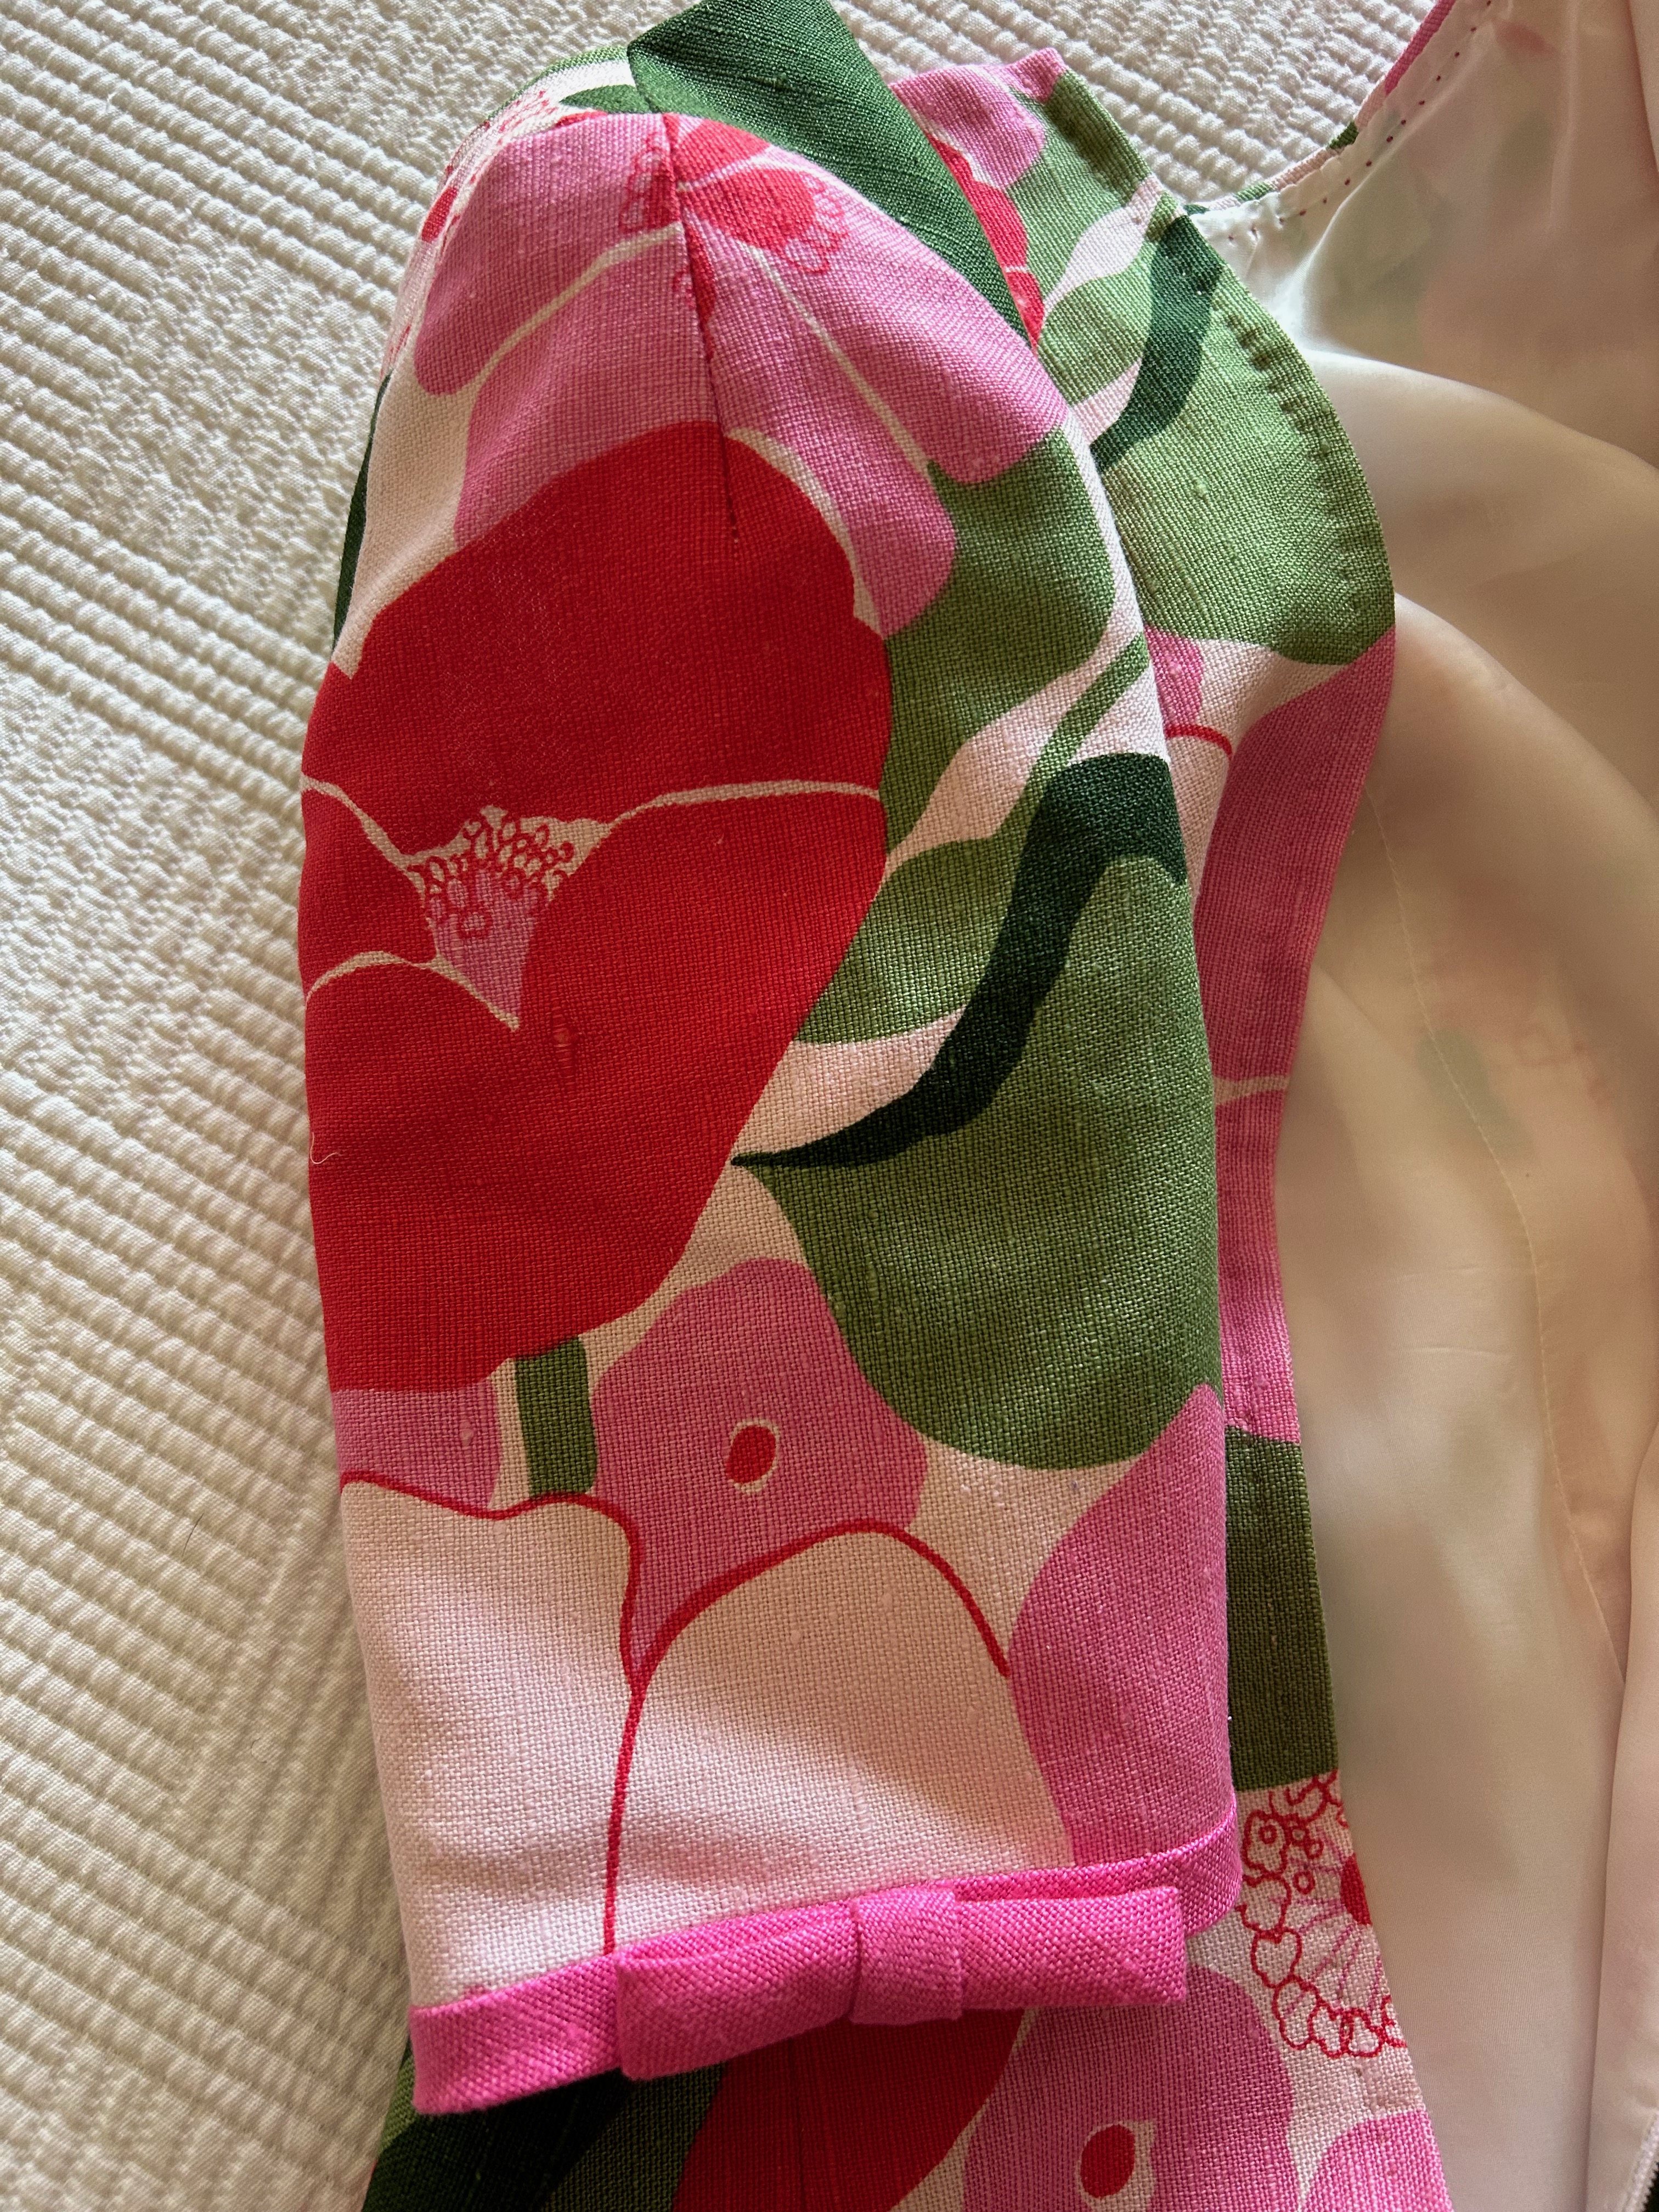
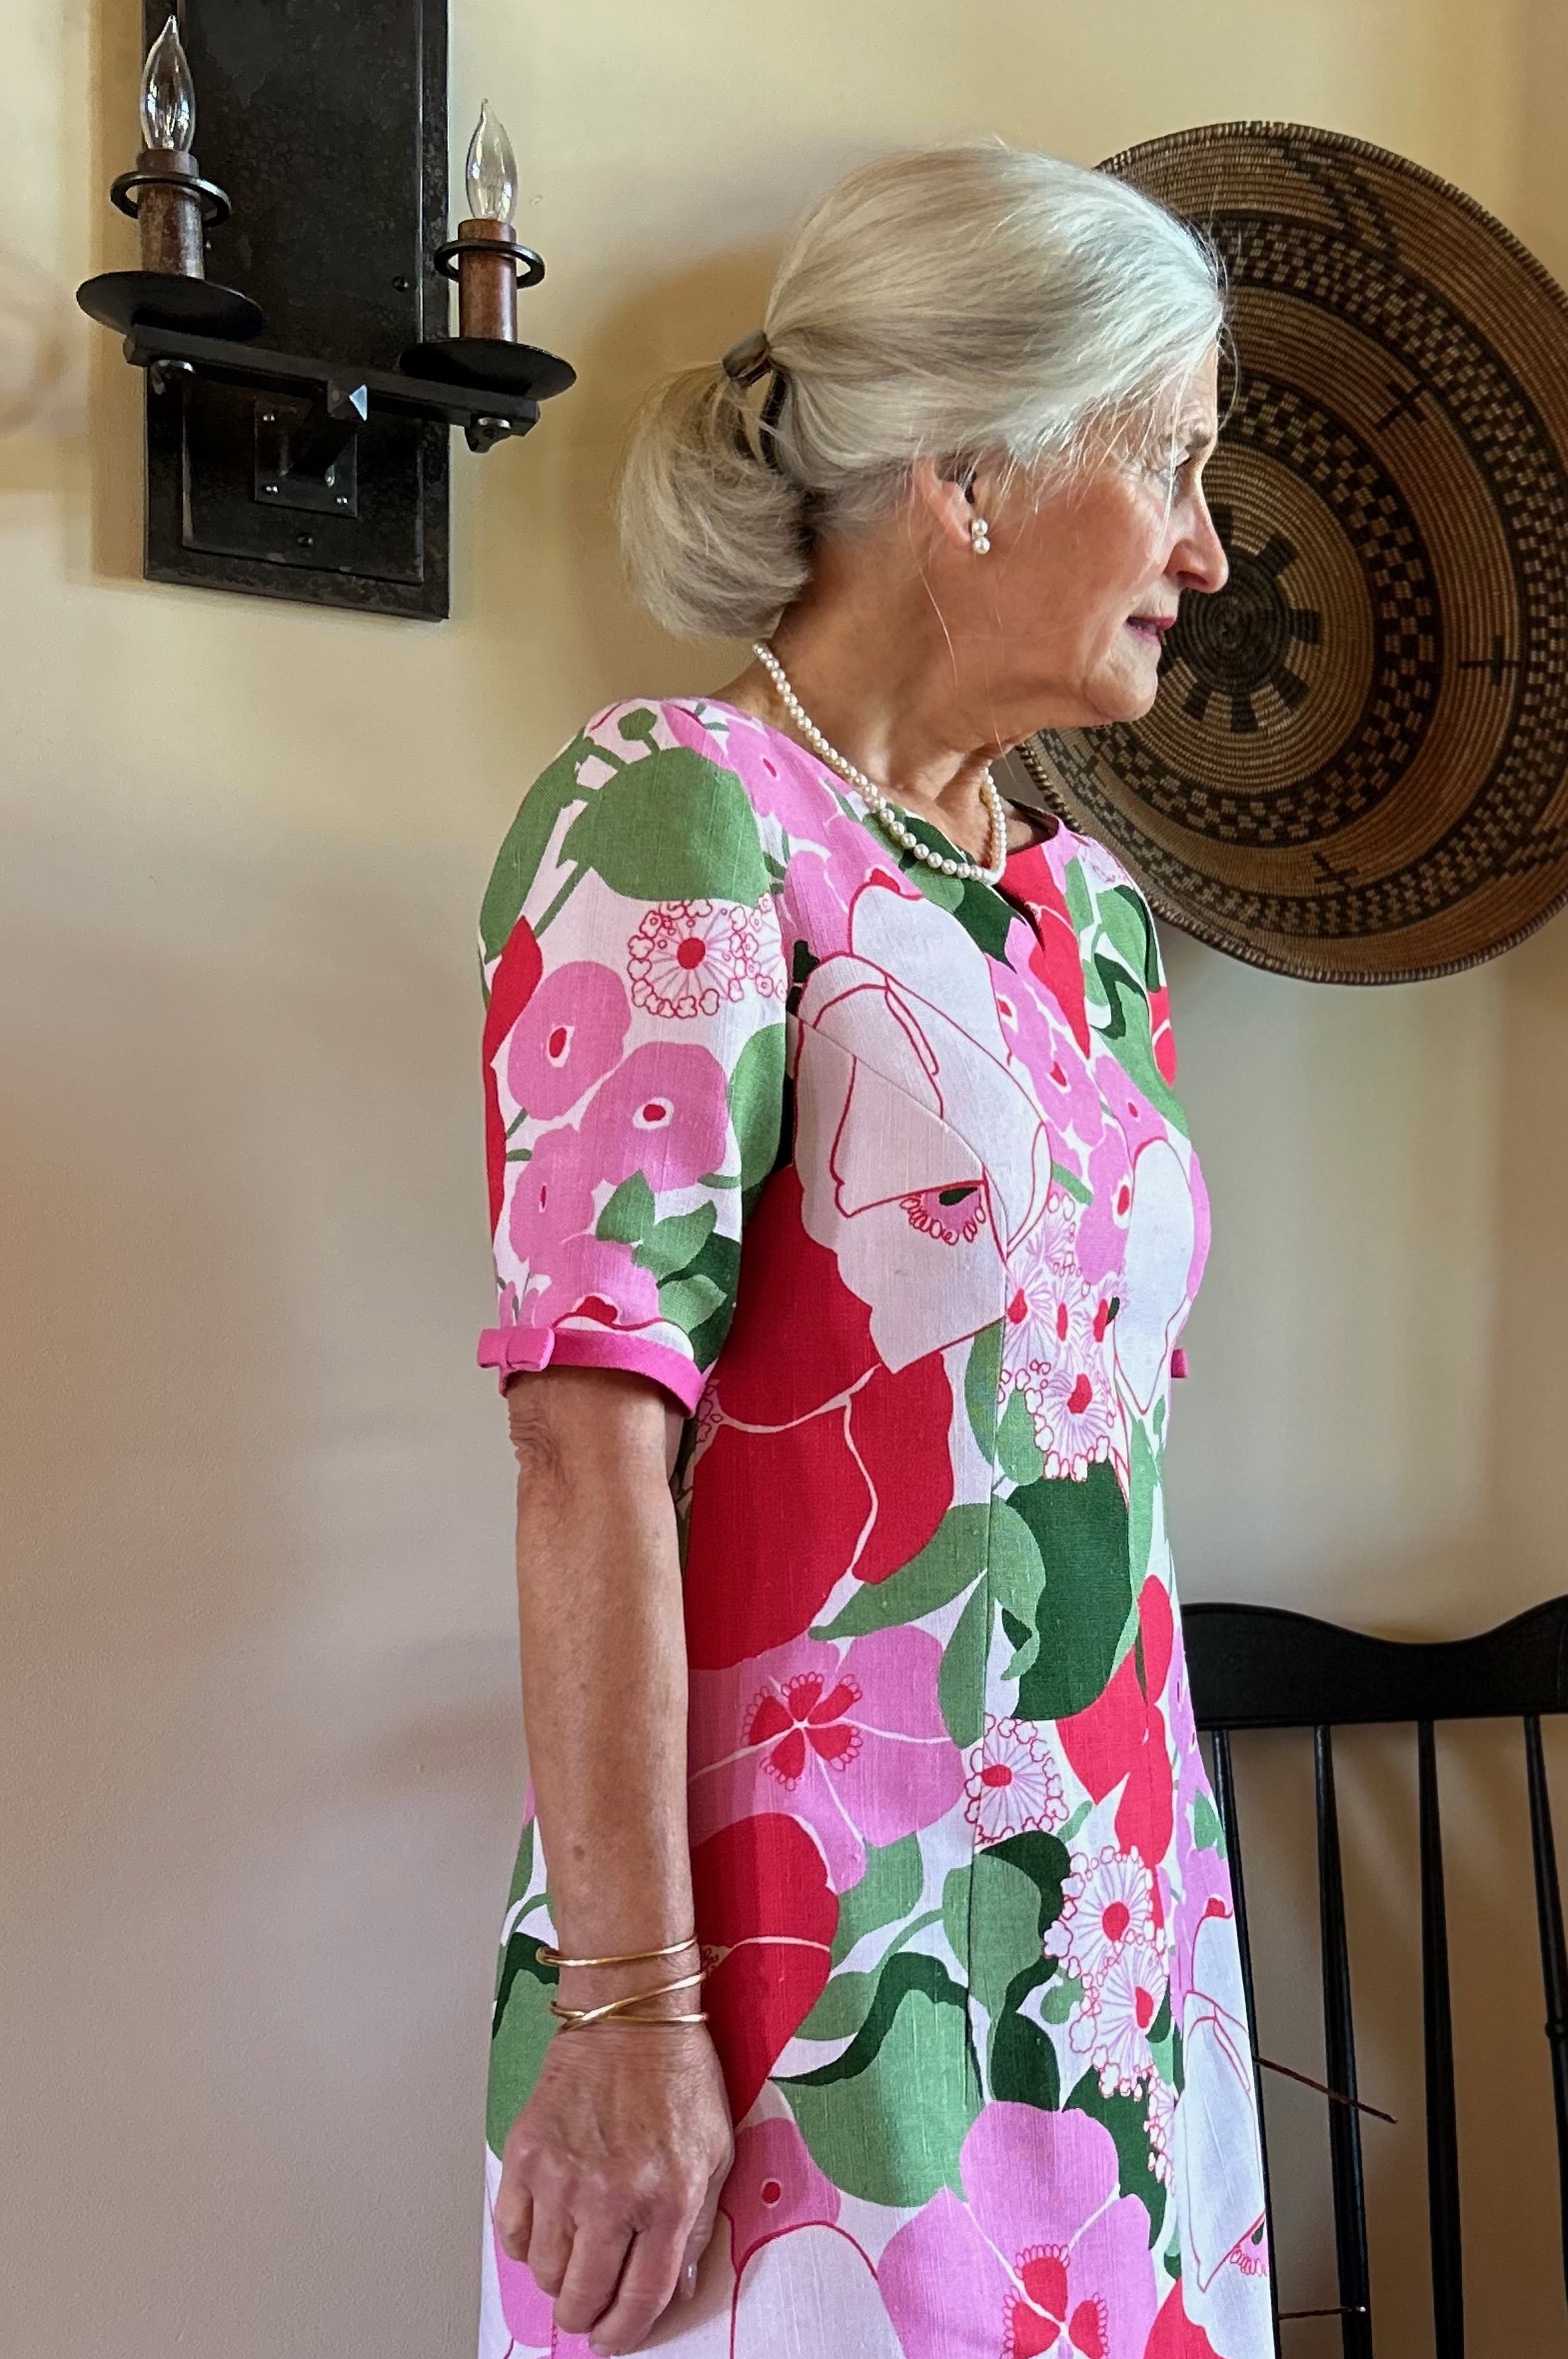
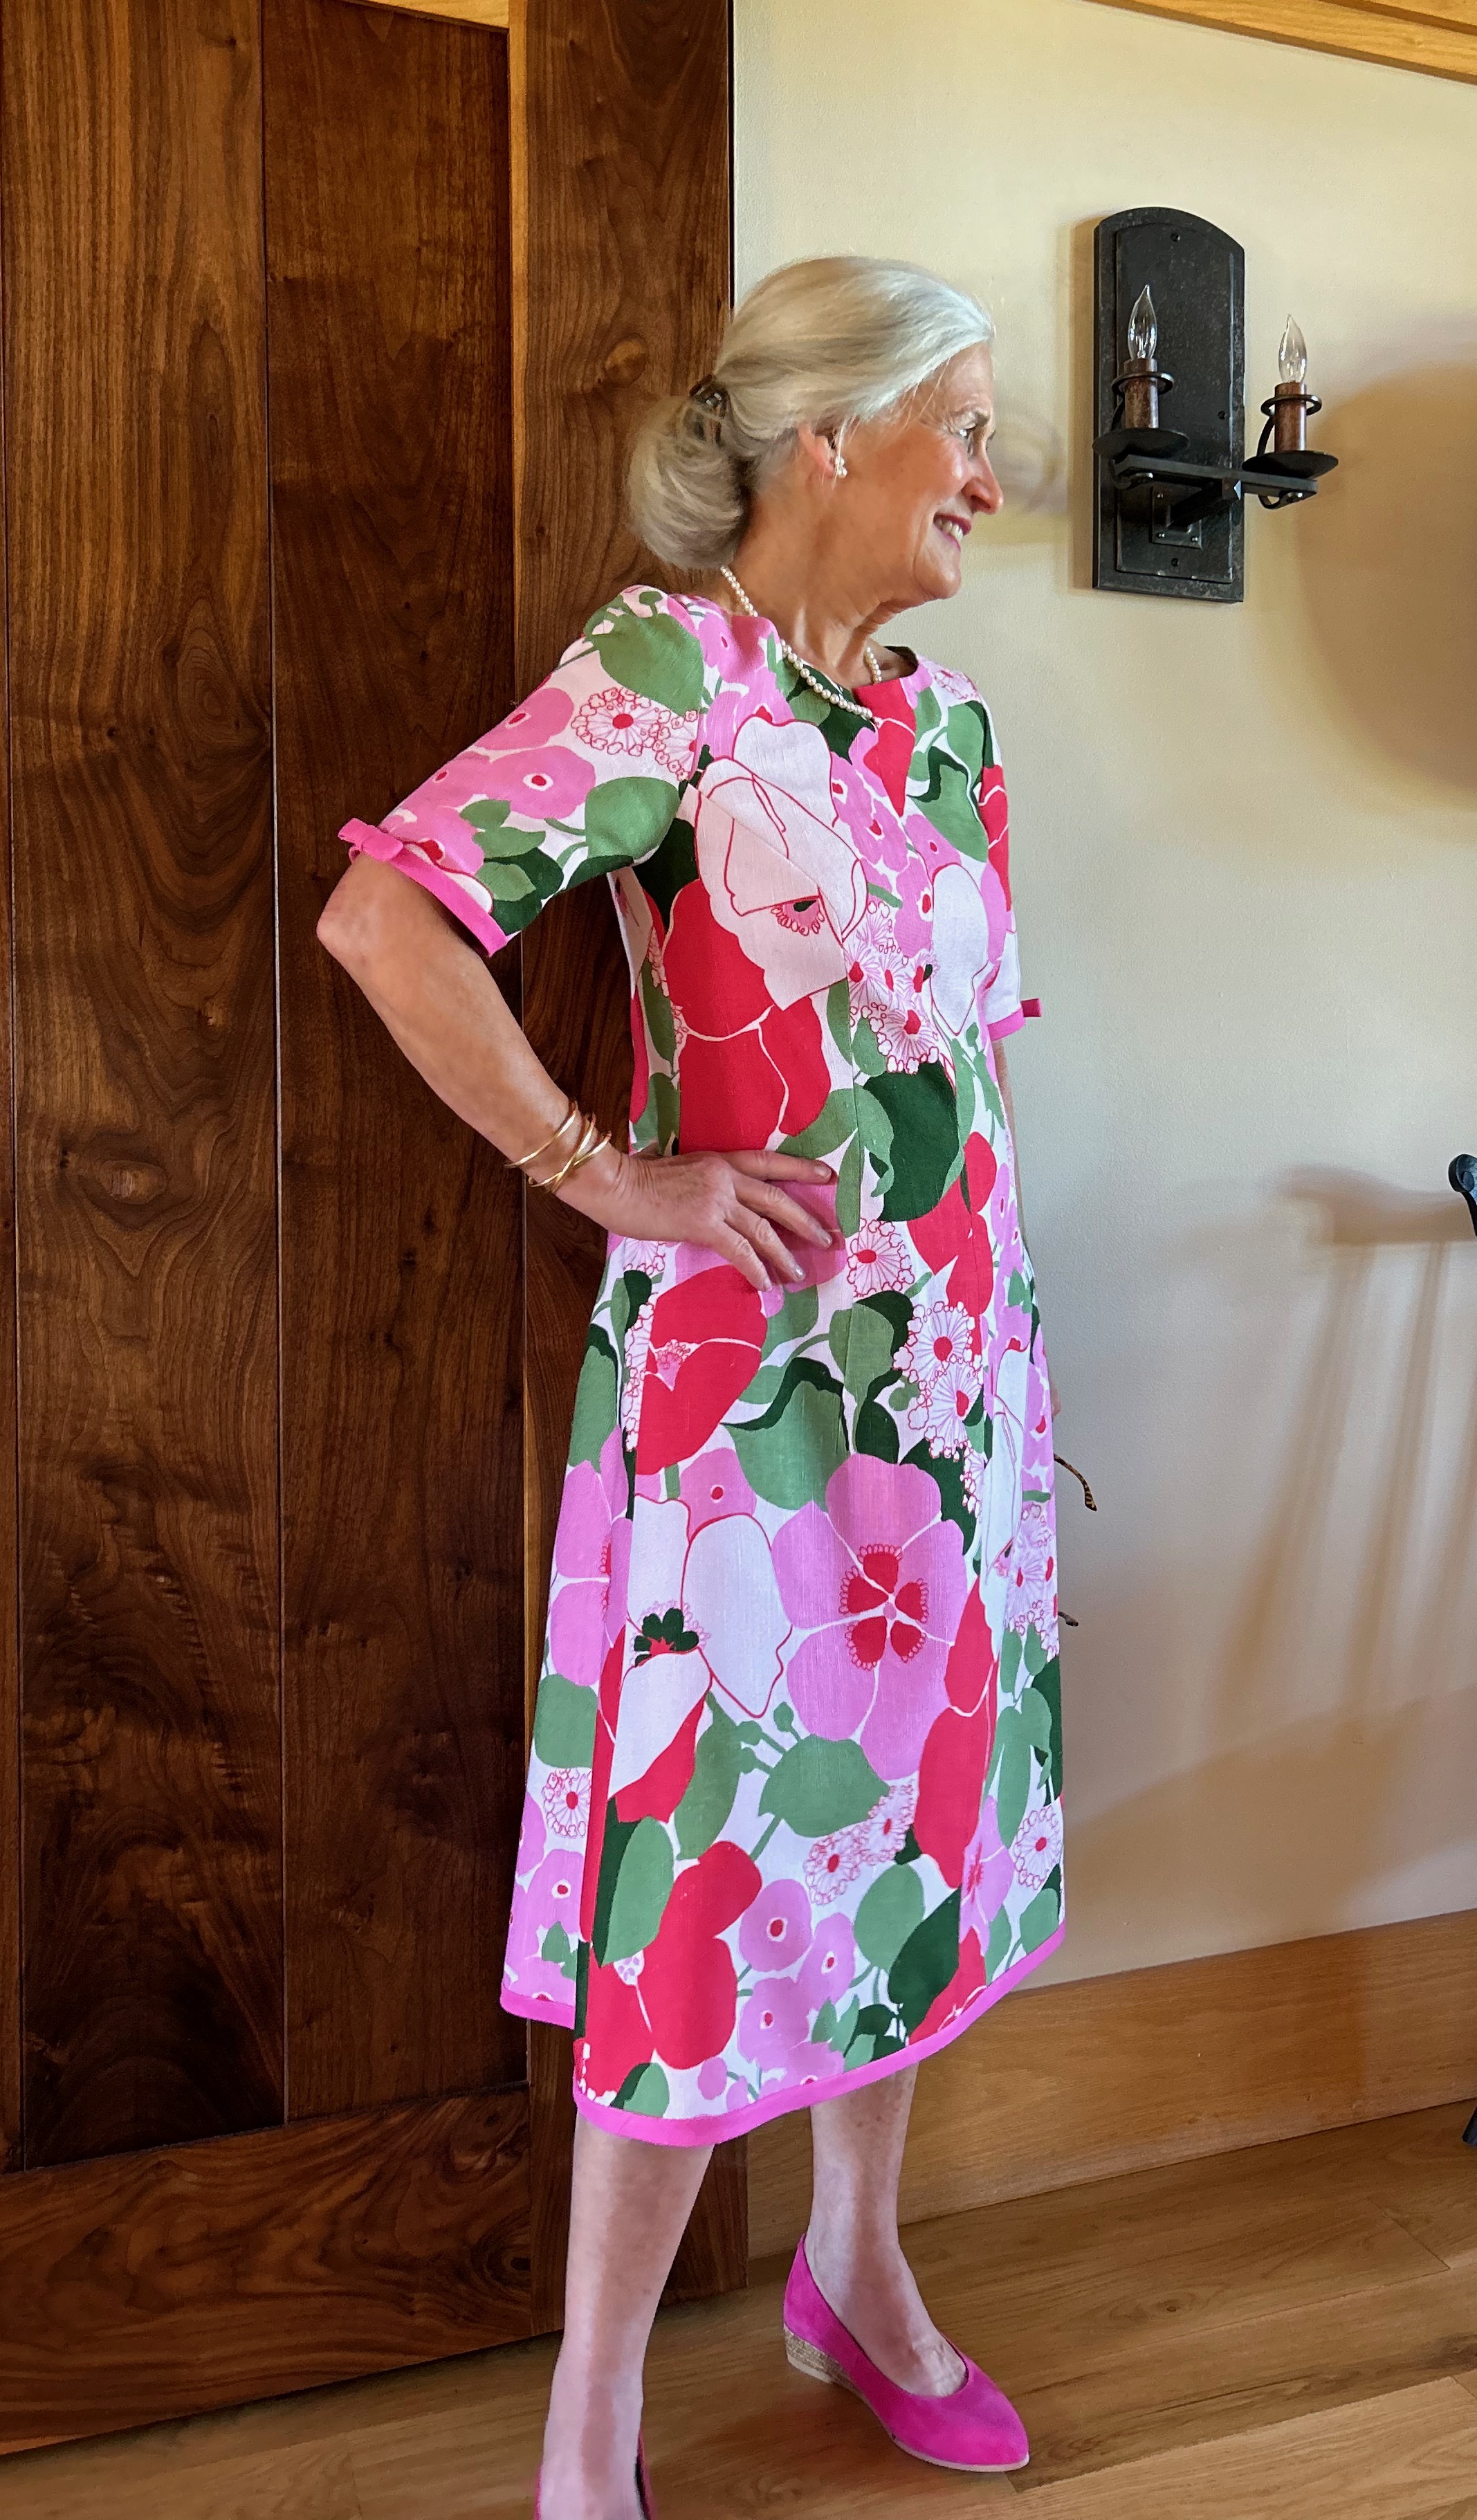
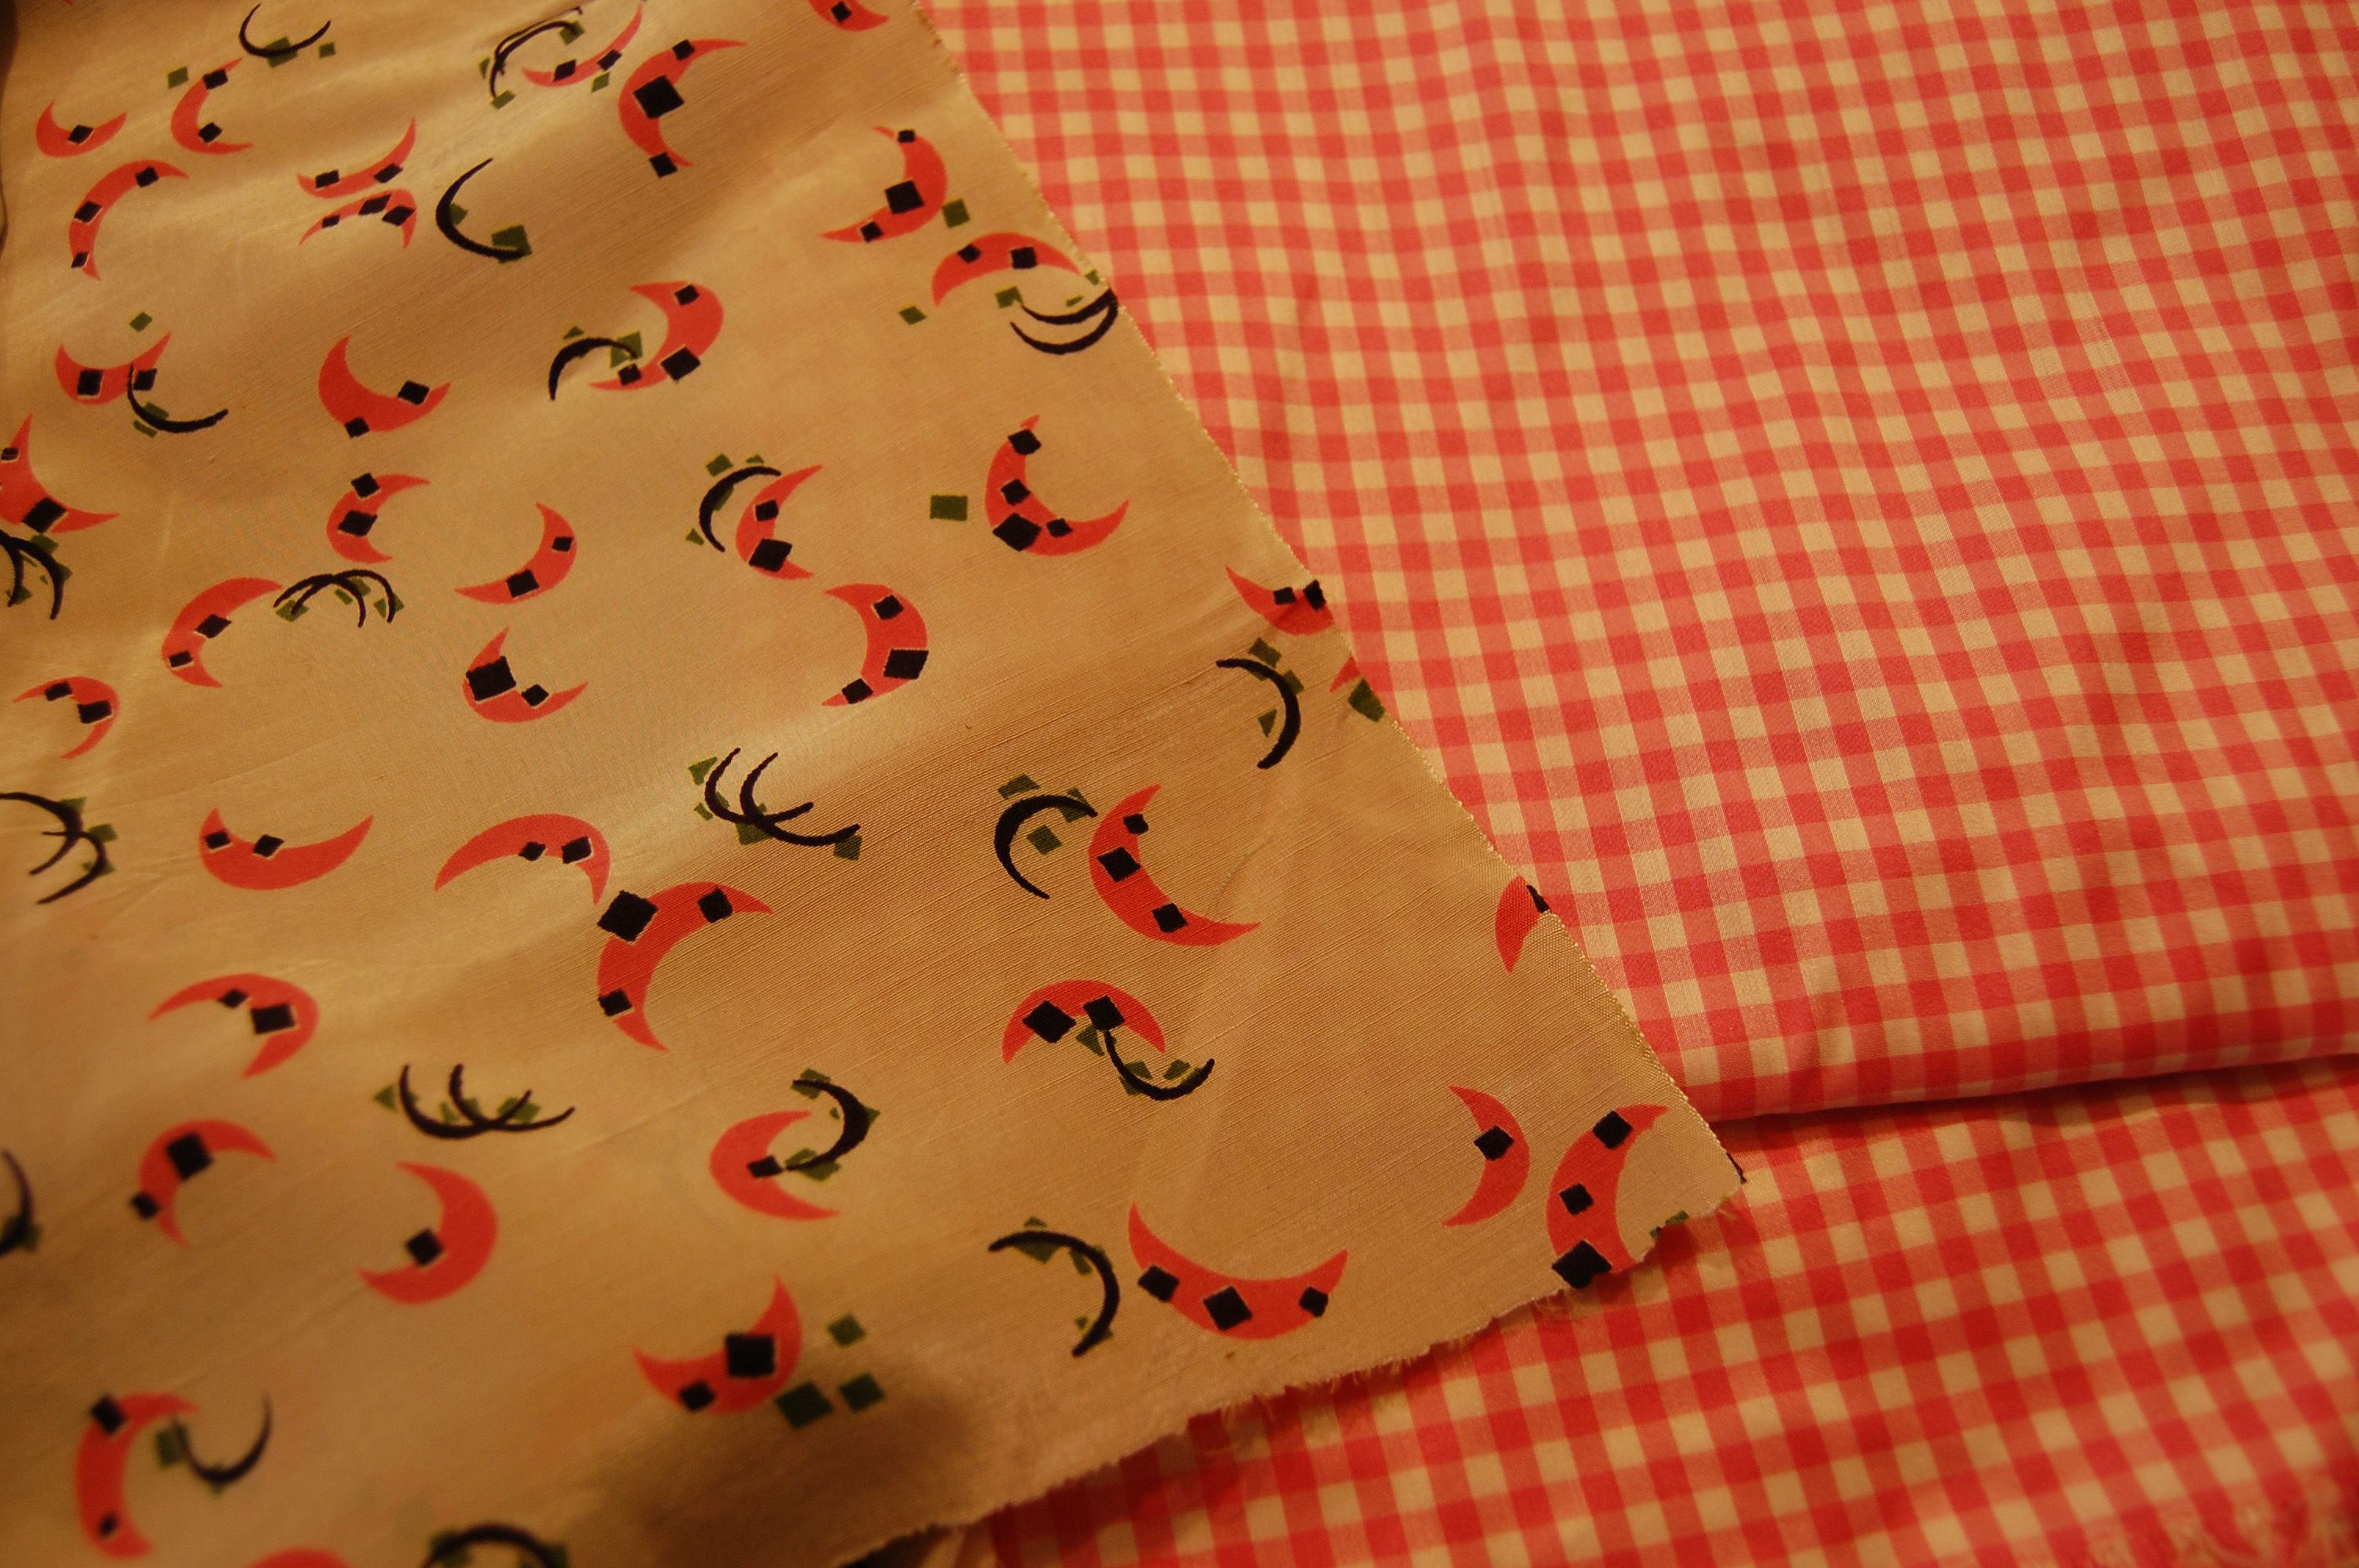
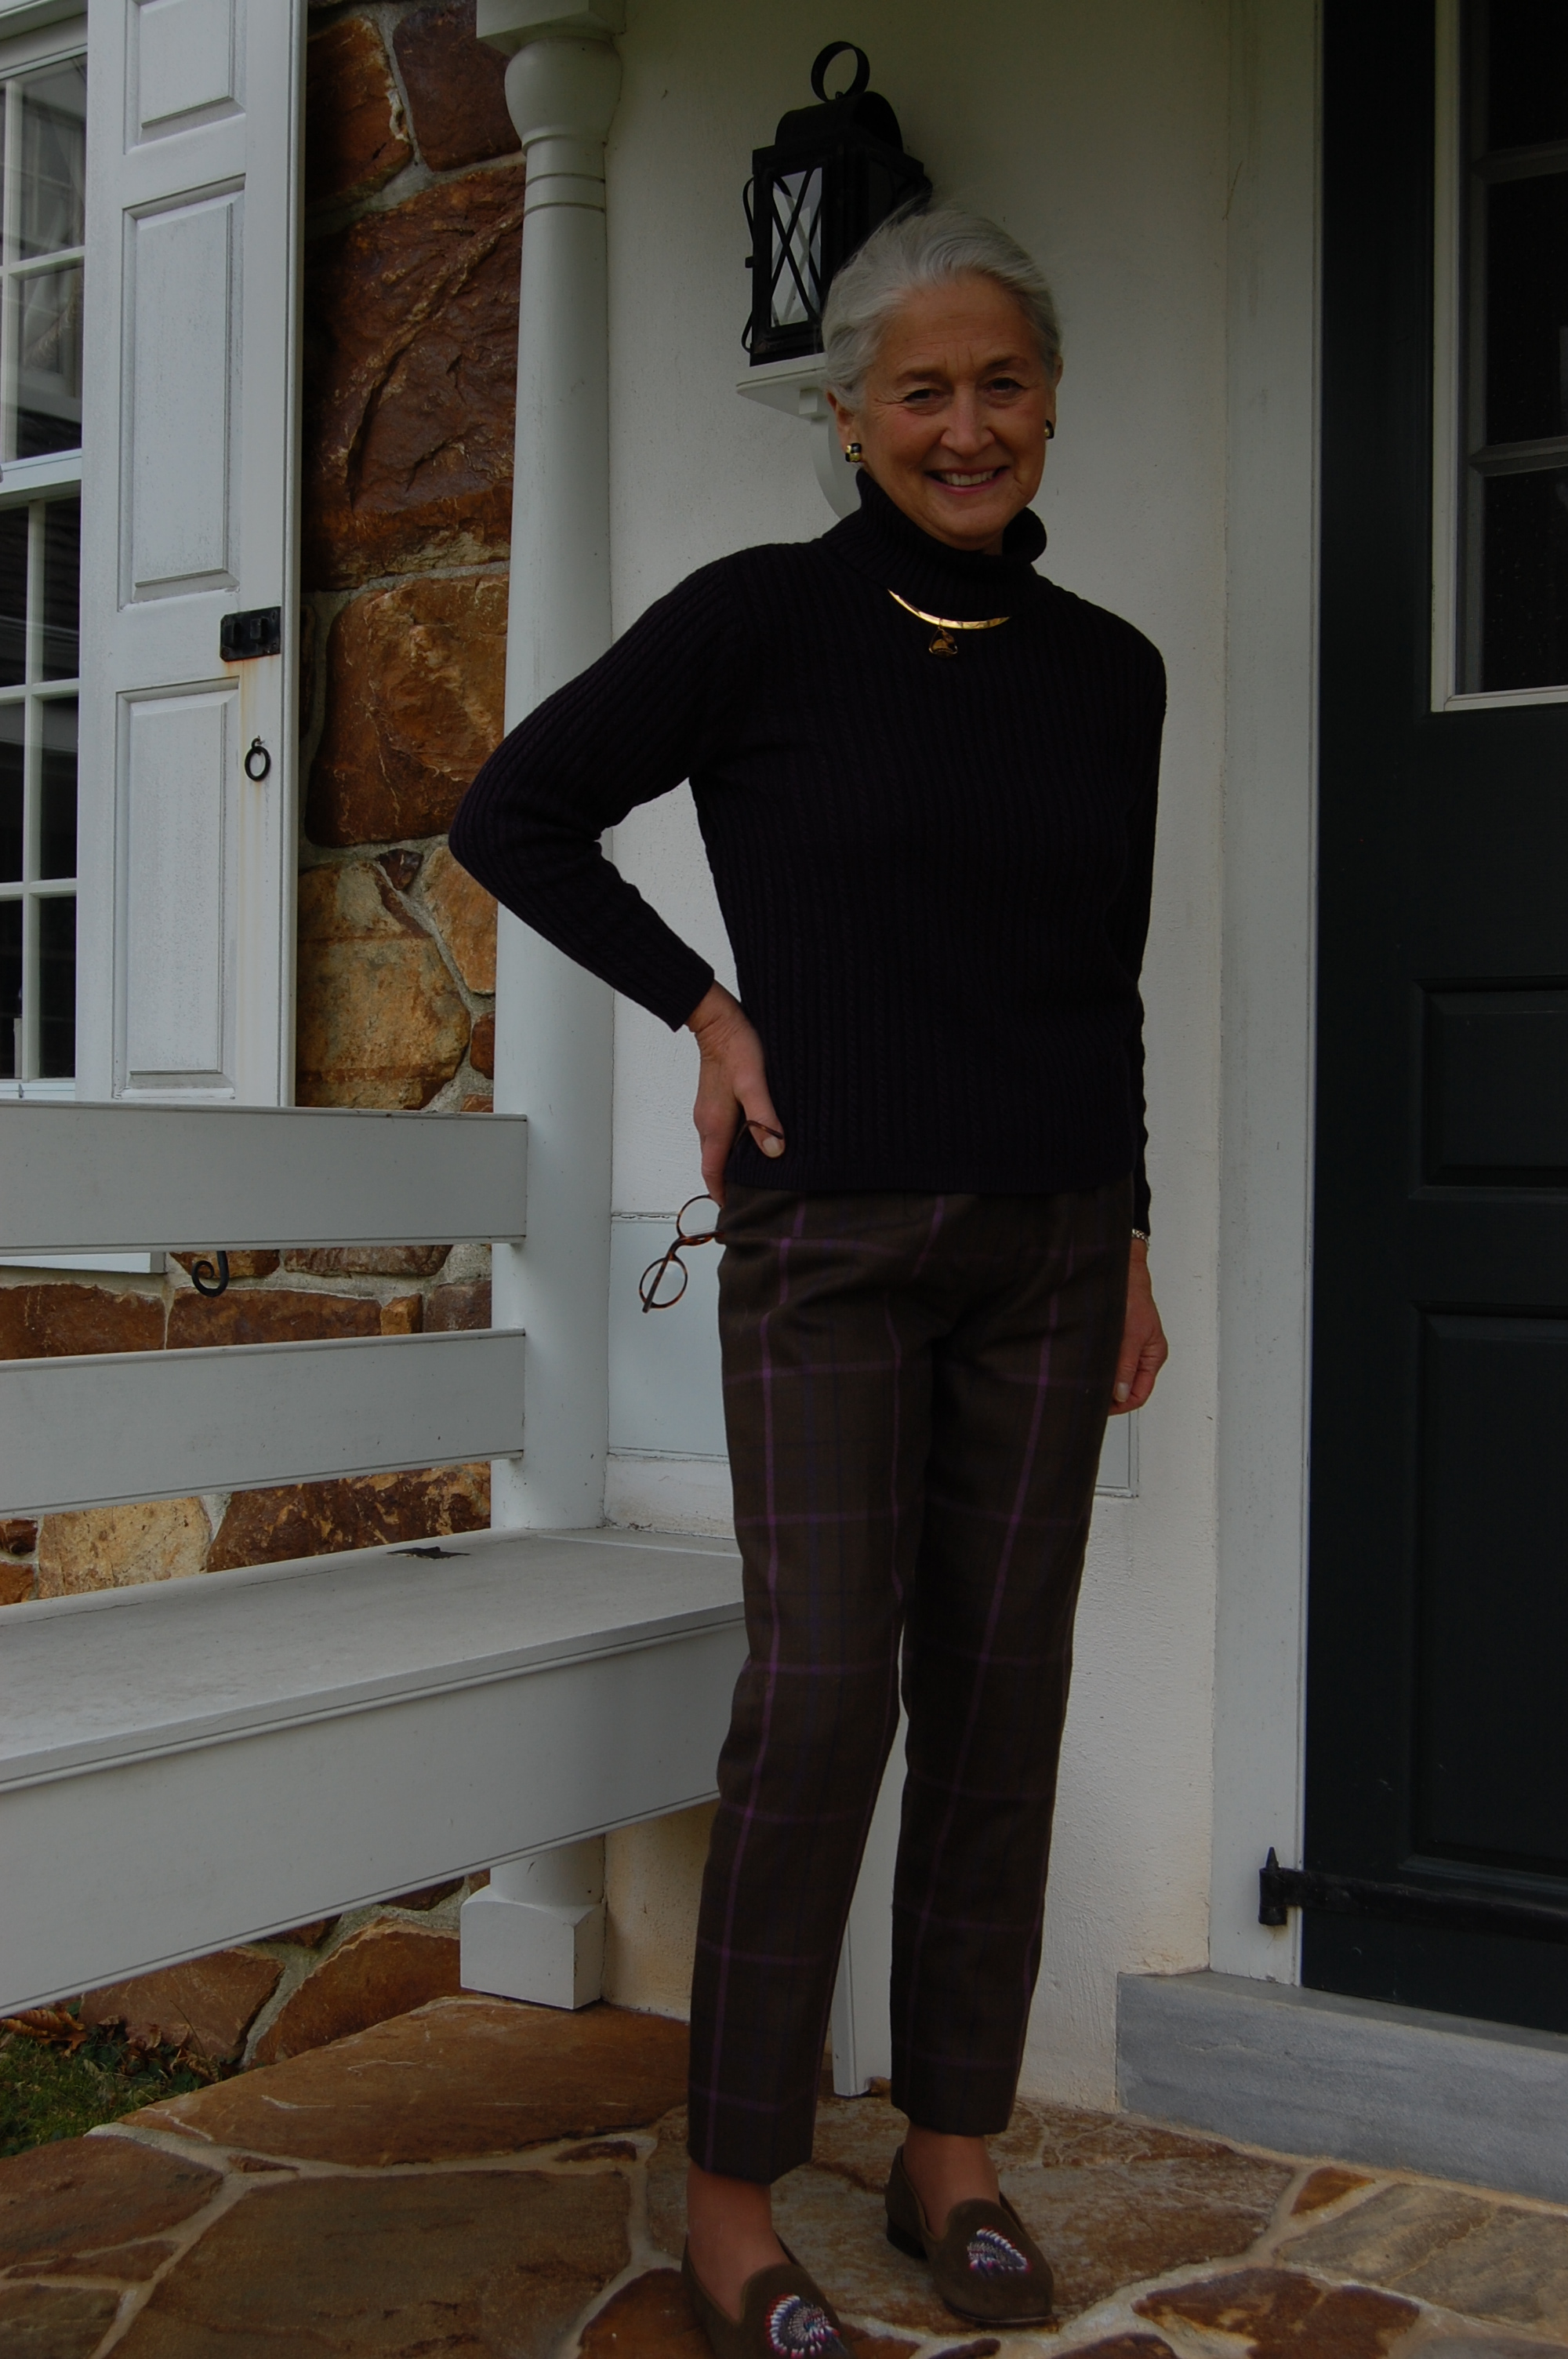
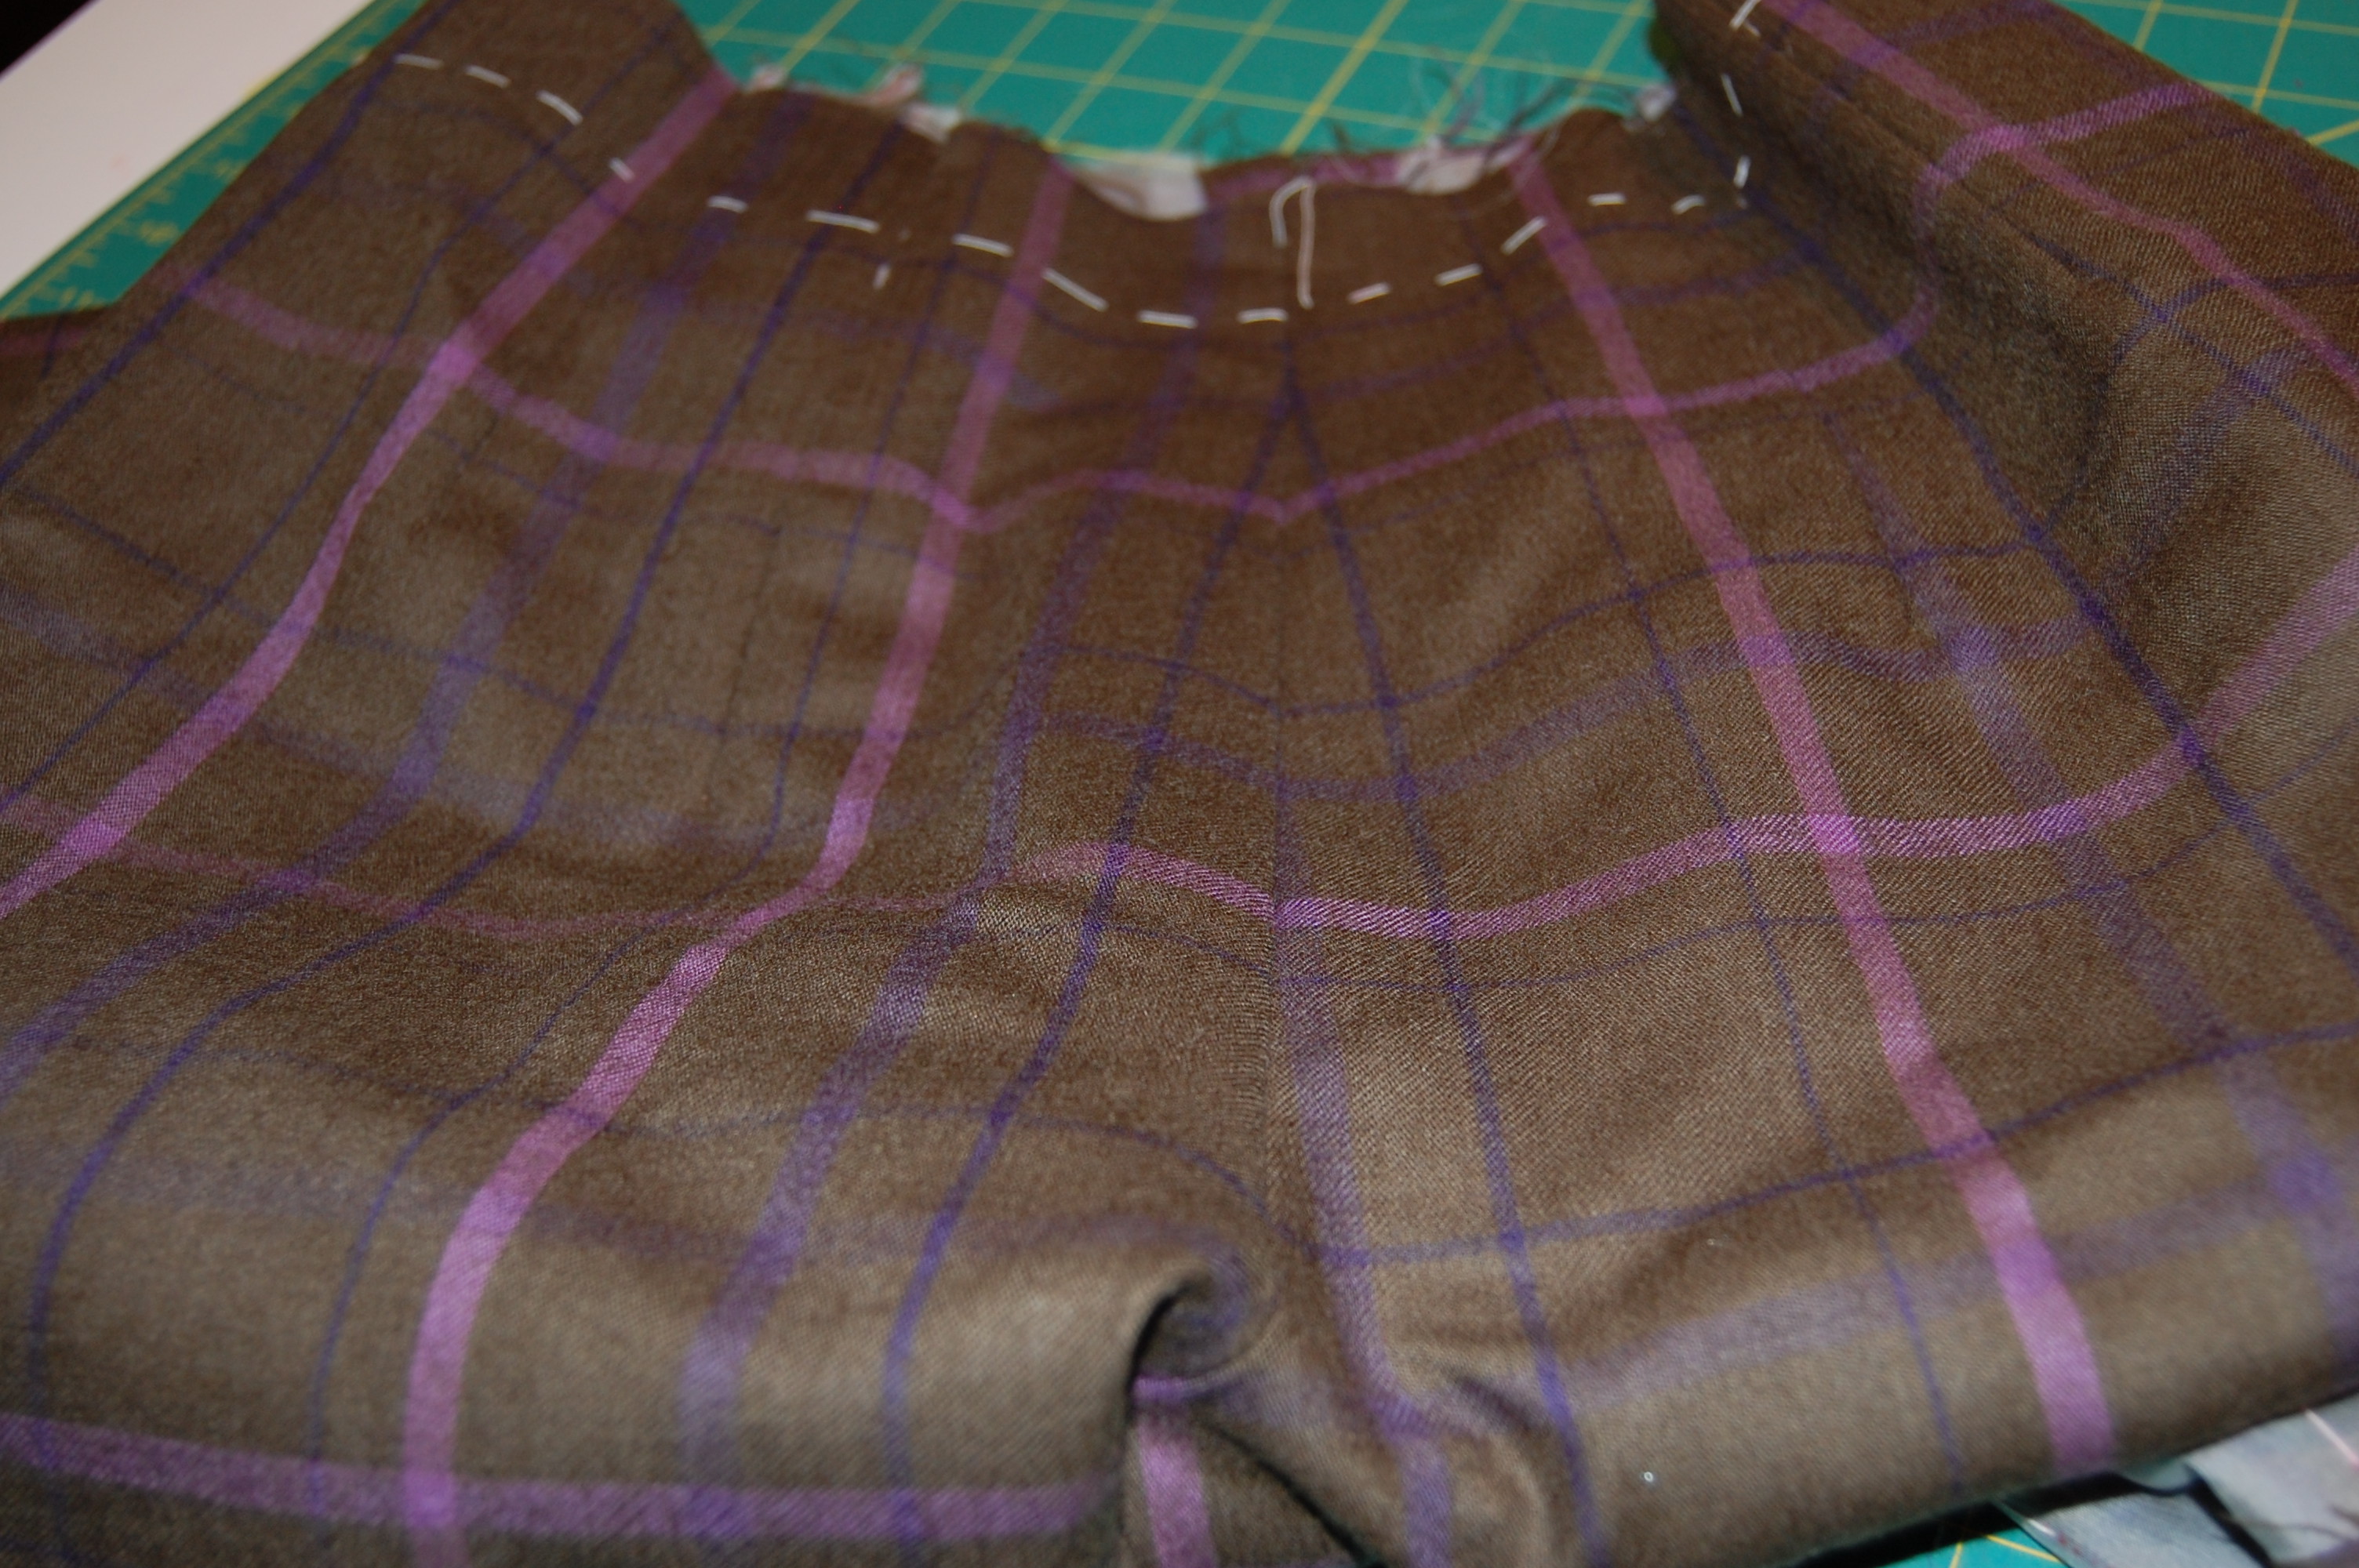
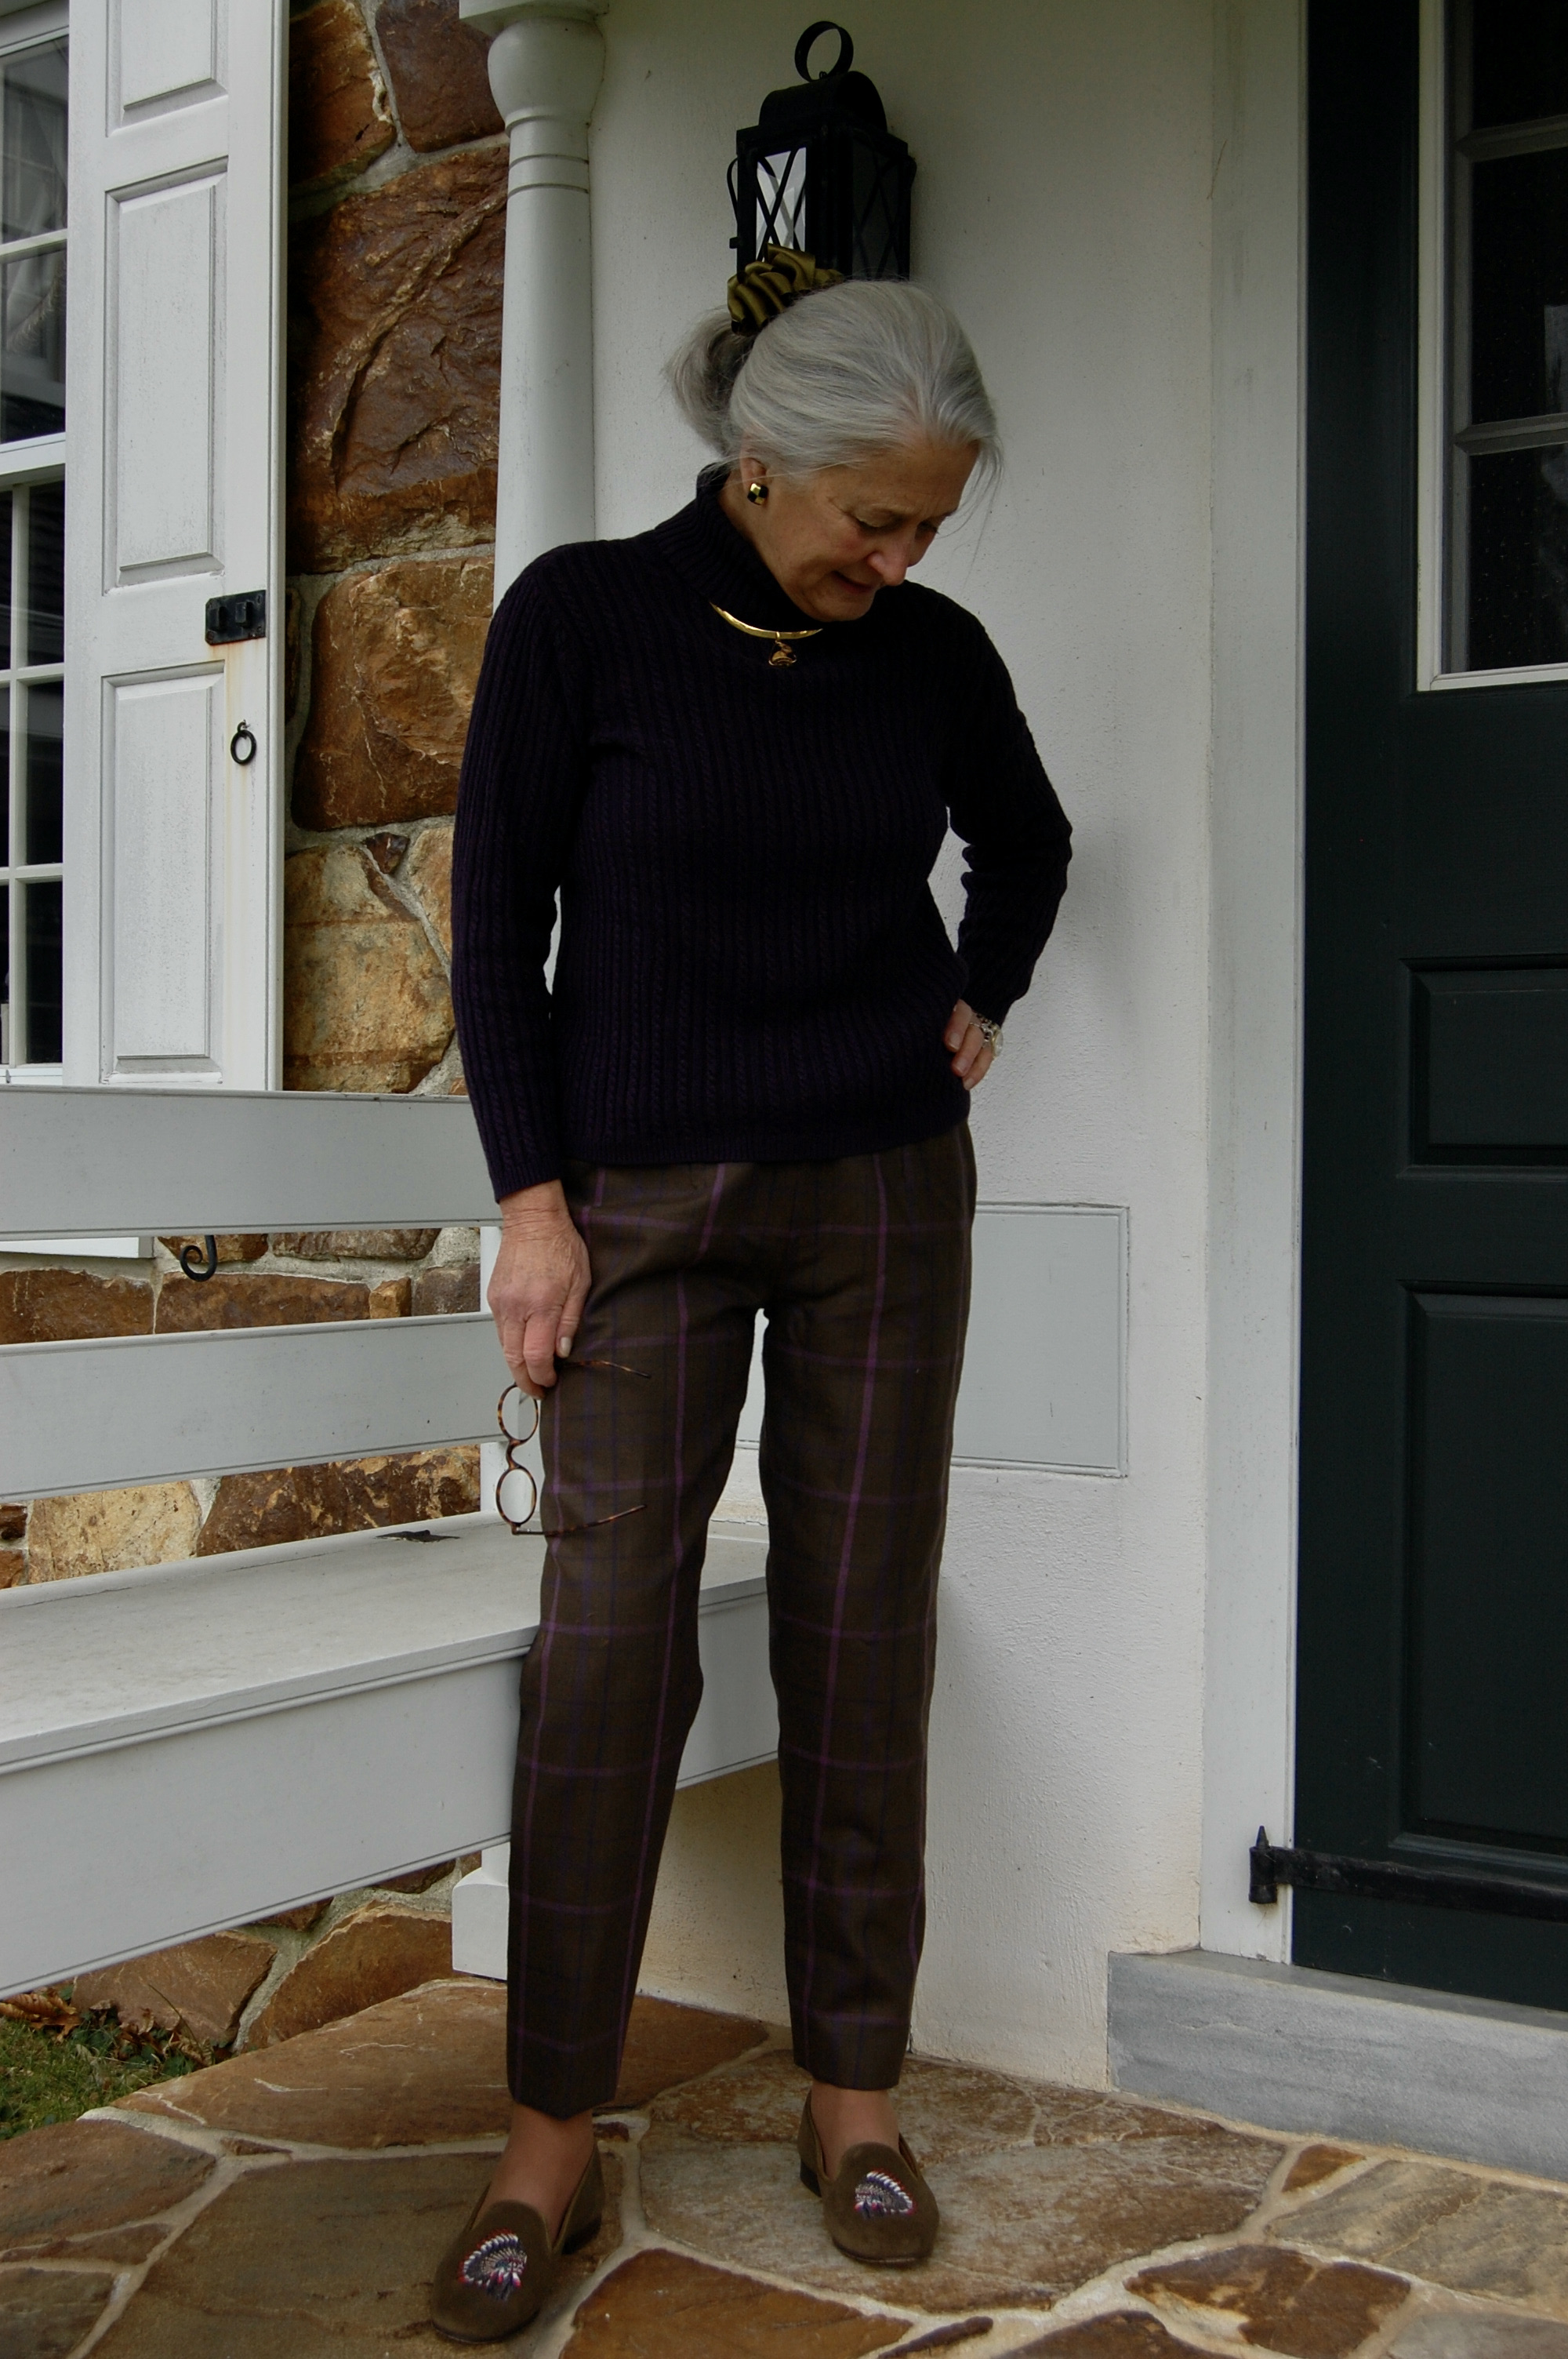
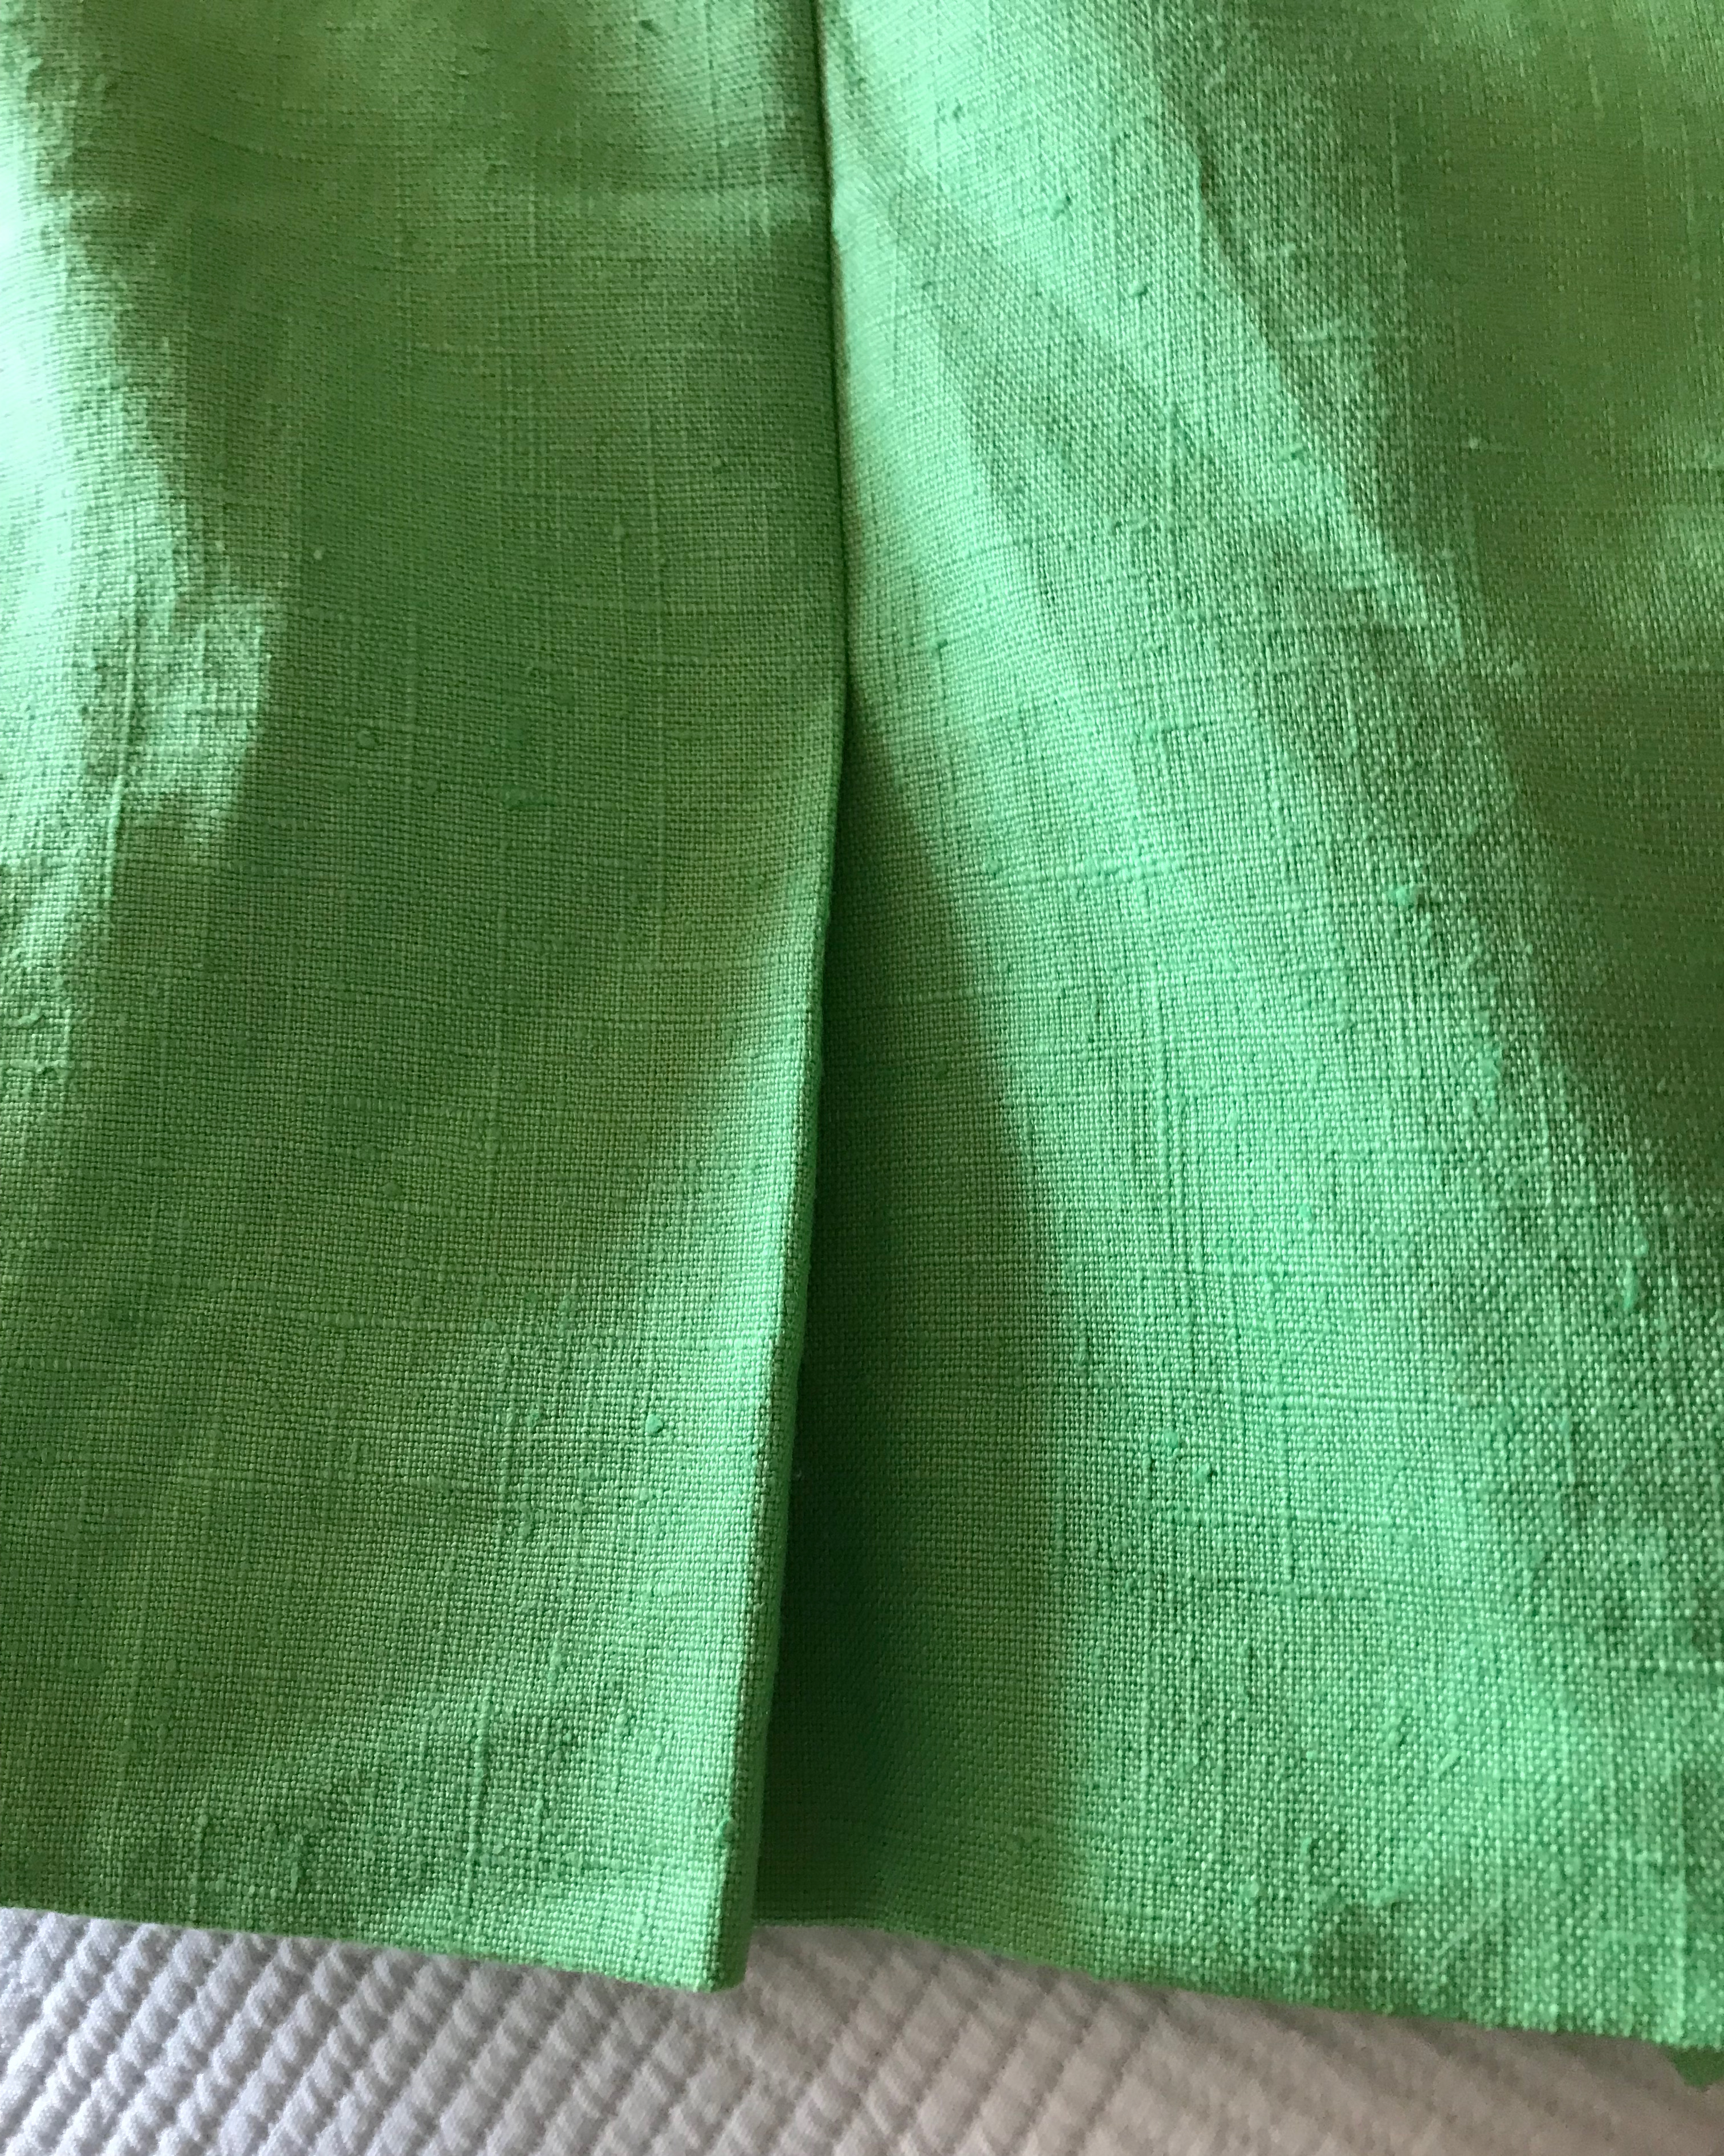
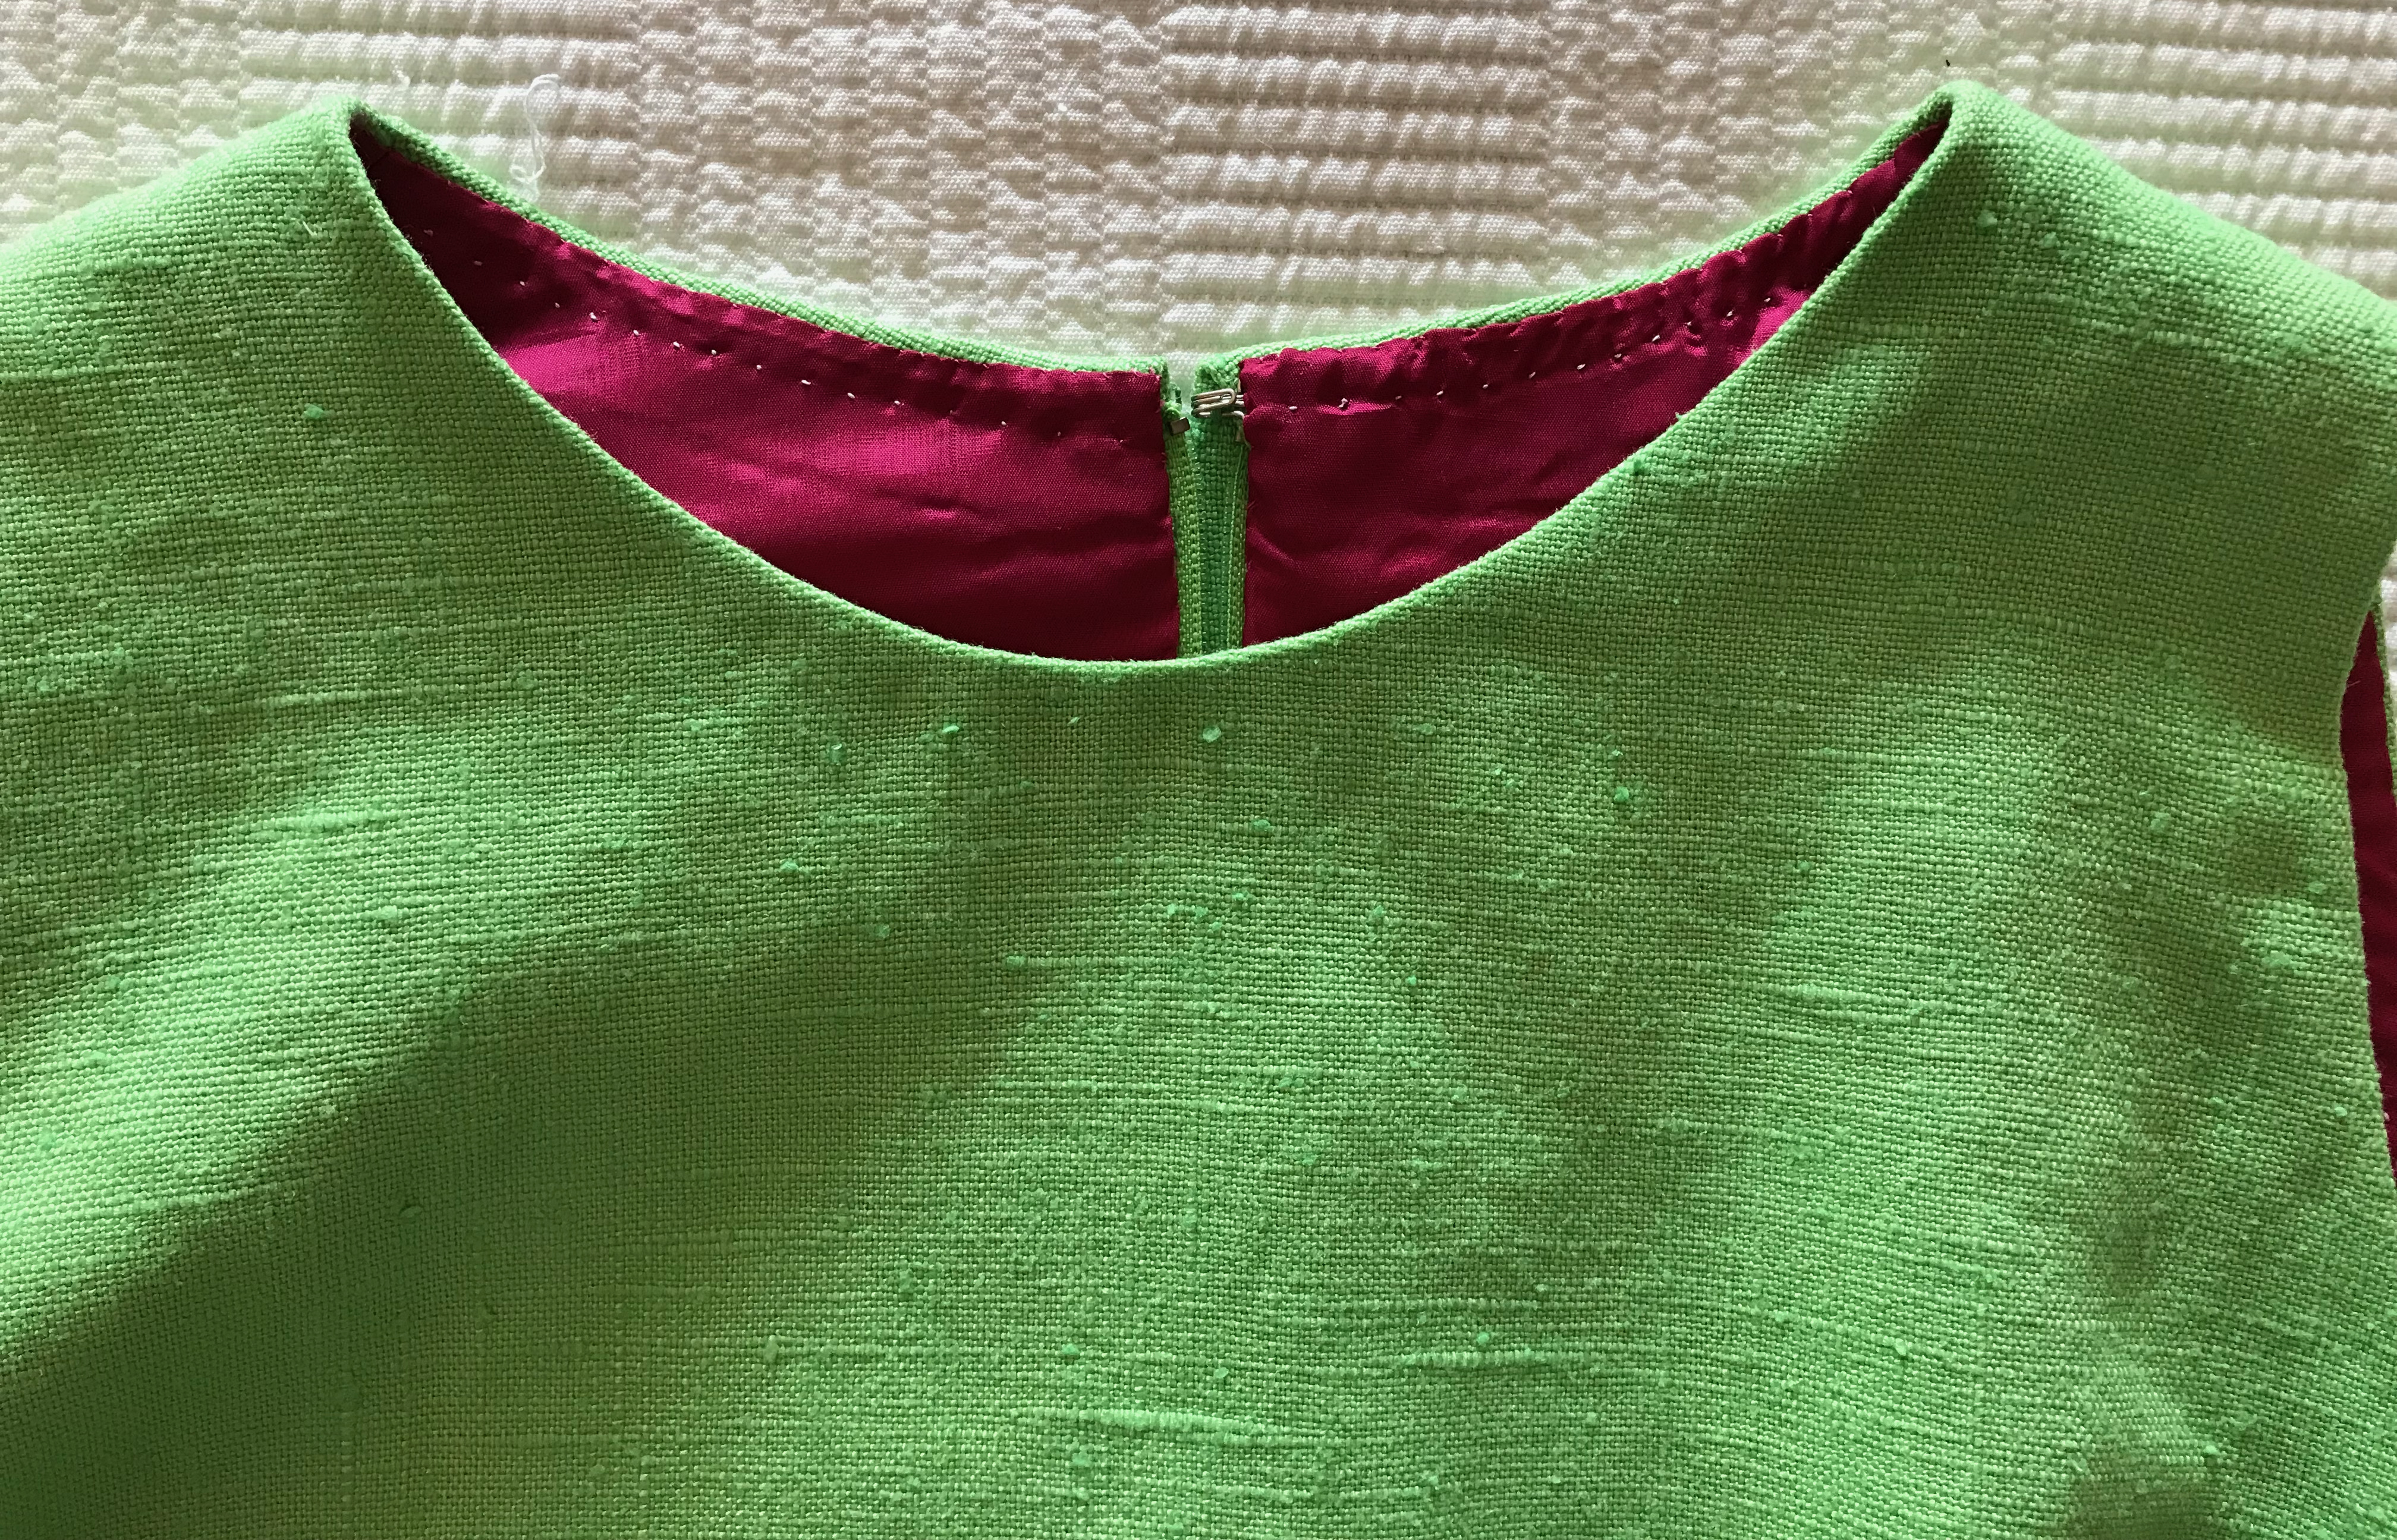
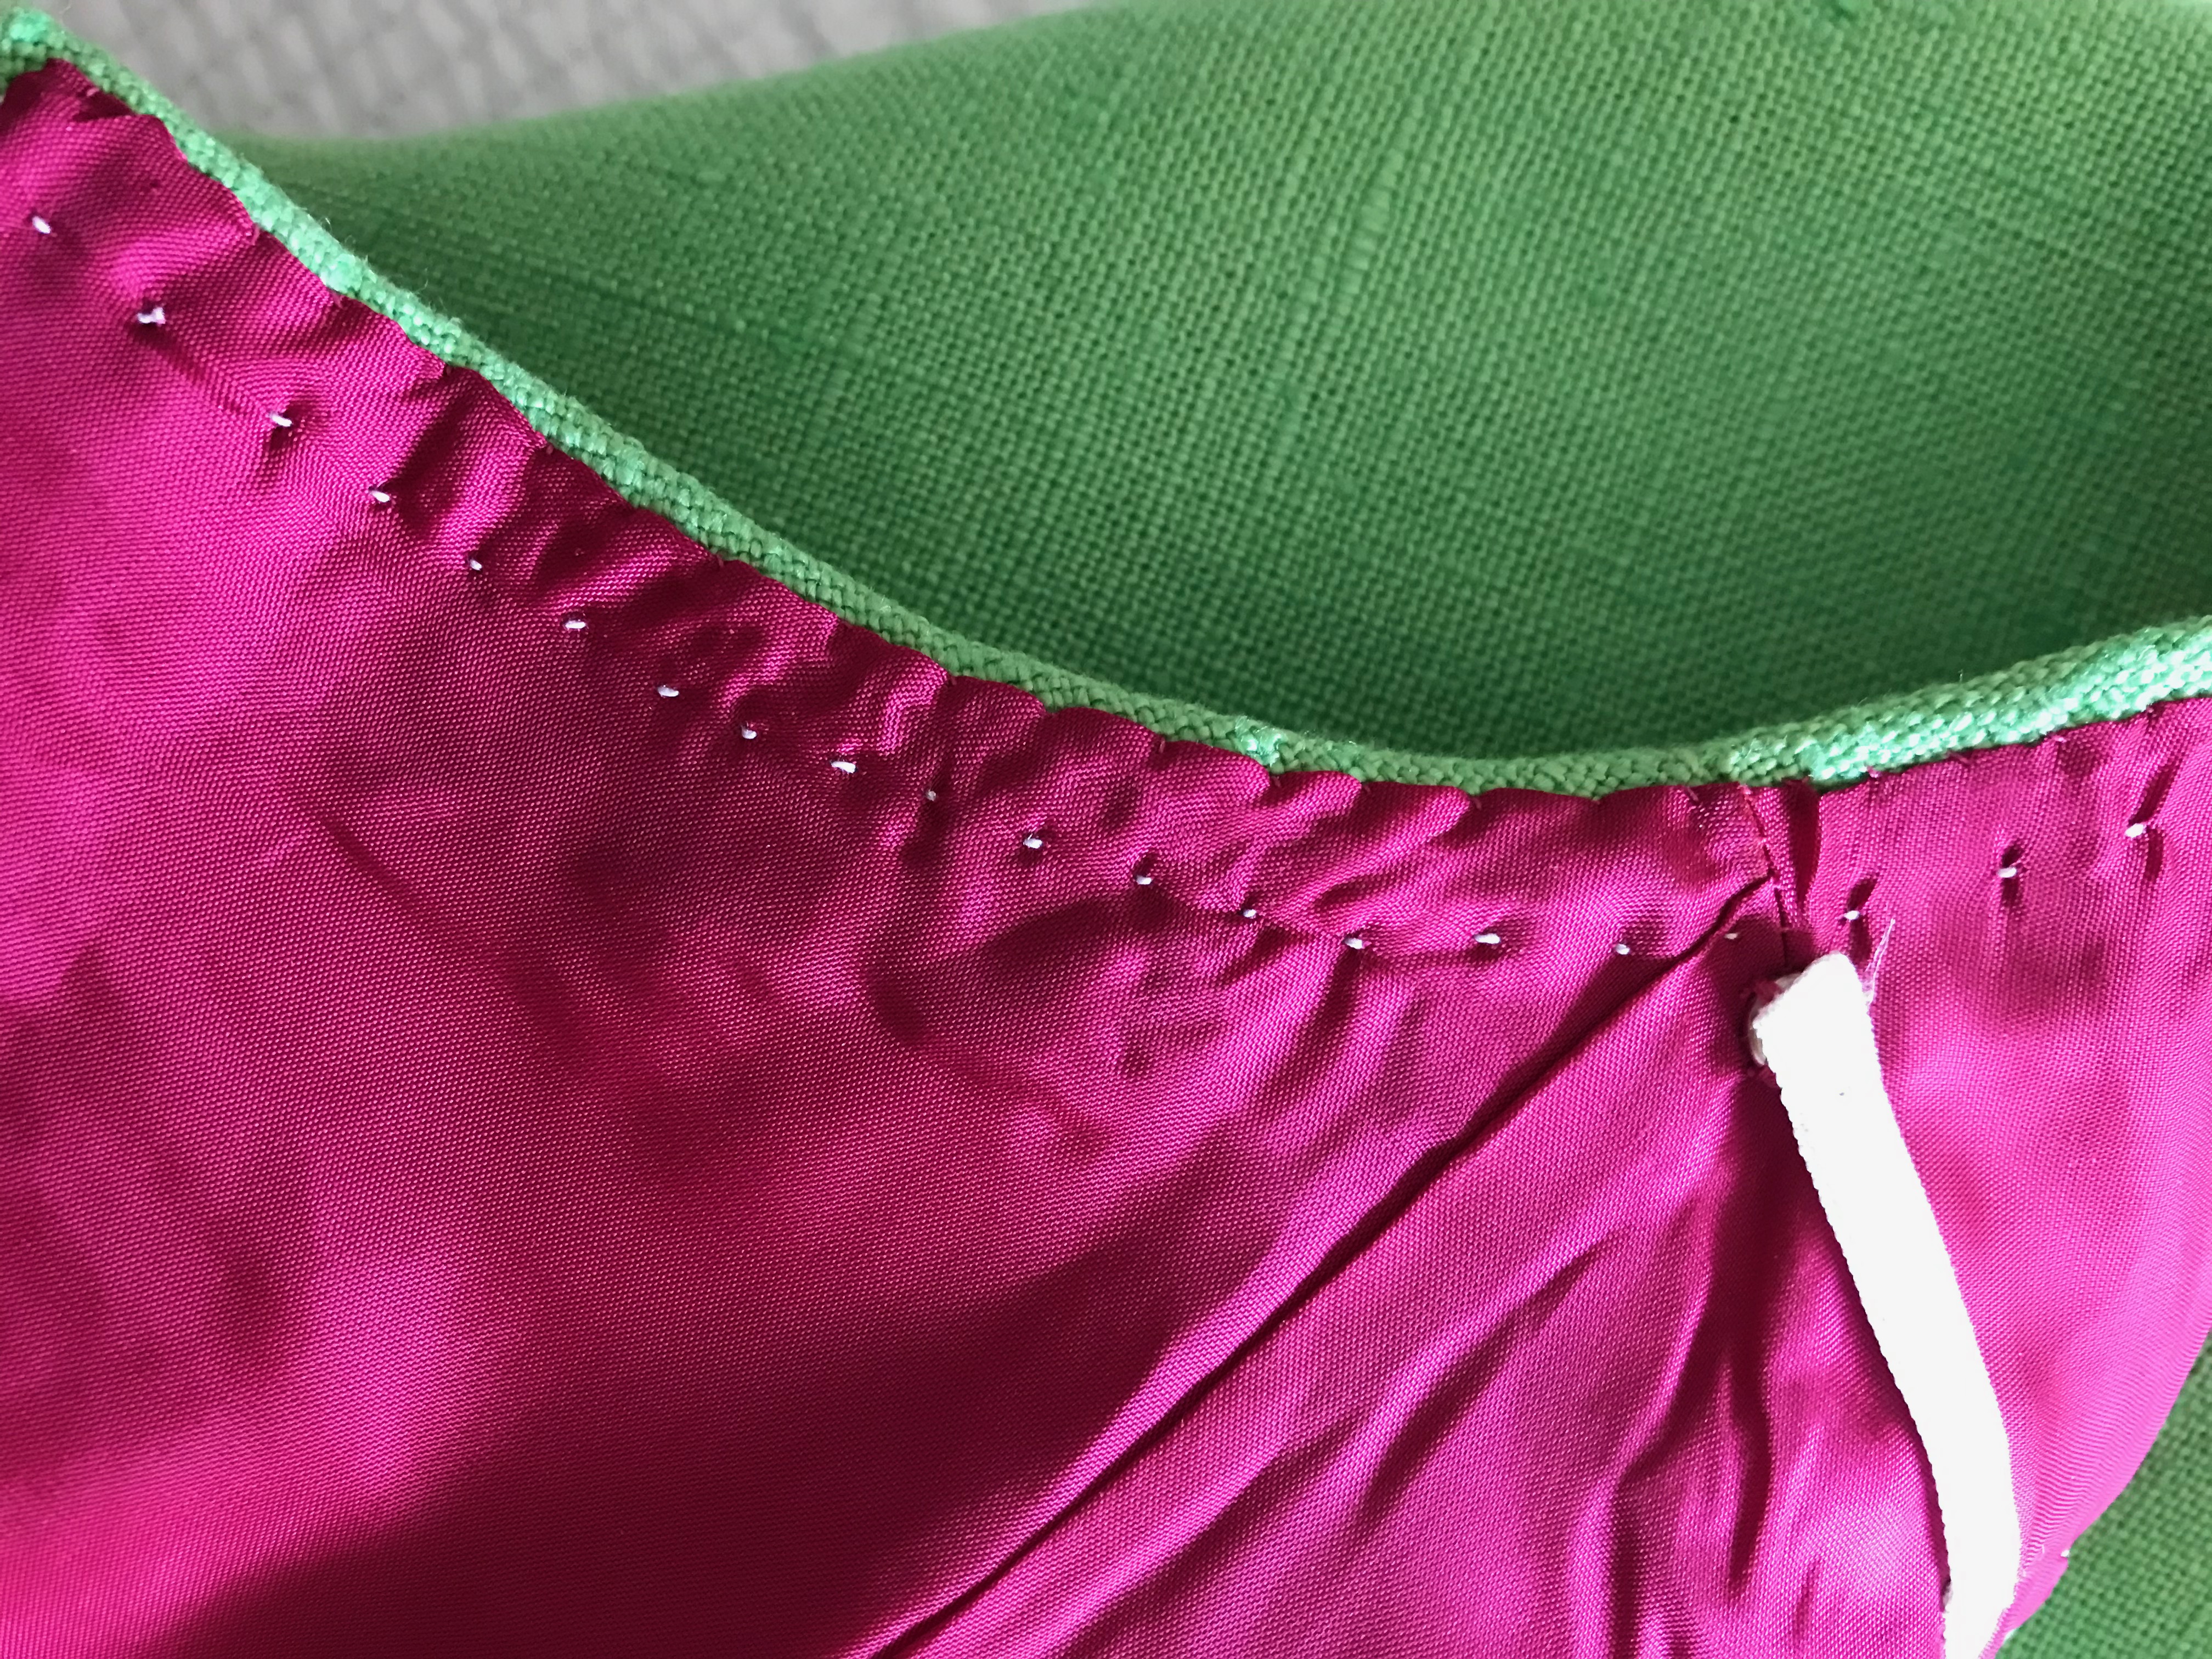
Remember that small amount of fabric remaining from my recent pink striped dress? I could have easily pitched that scrap (and not even felt particularly guilty about it), but I knew I had just enough fabric left to make a matching padded hanger for my dress.
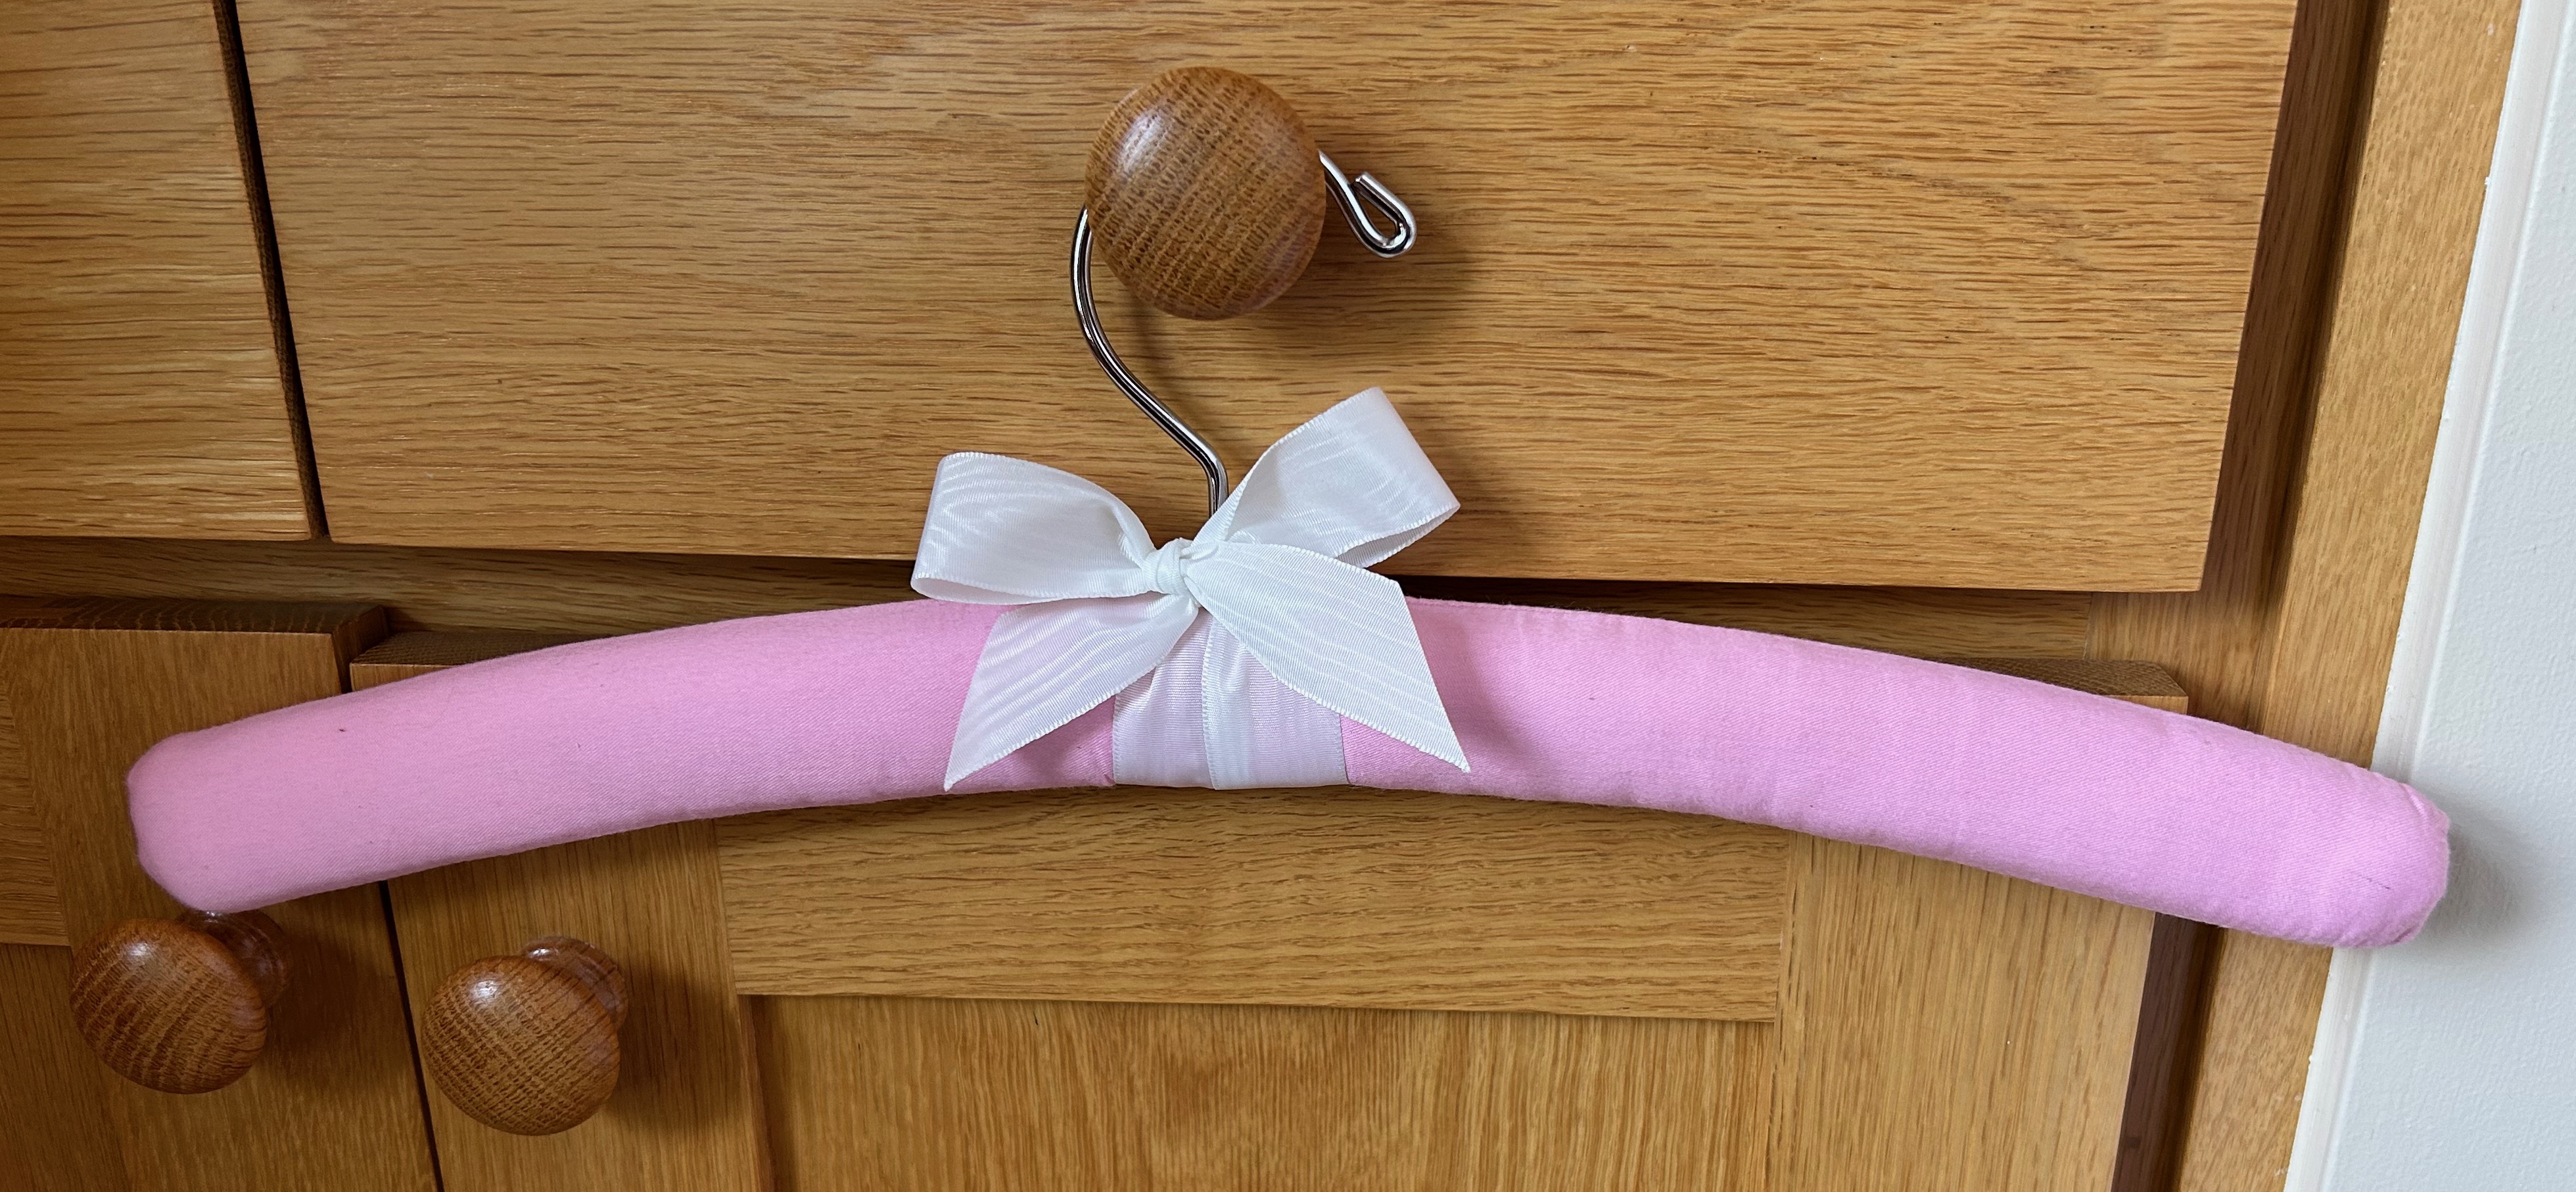
I had already made a few of these hangers in various scraps, using a You-Tube video for the basics, with several trial-and-error sessions to tweak the method and pattern to my satisfaction. Feeling confident with my new-found “expertise,” I plowed ahead and squeezed out just enough for a hanger to match my dress.
Now, I should add here that I have been a fan of padded hangers for a long time, purchasing quite a few from a couple of Etsy shops in recent years. However, I have always thought it would be lovely to make matching hangers for some of my creations – or – just pretty hangers to mix and match.
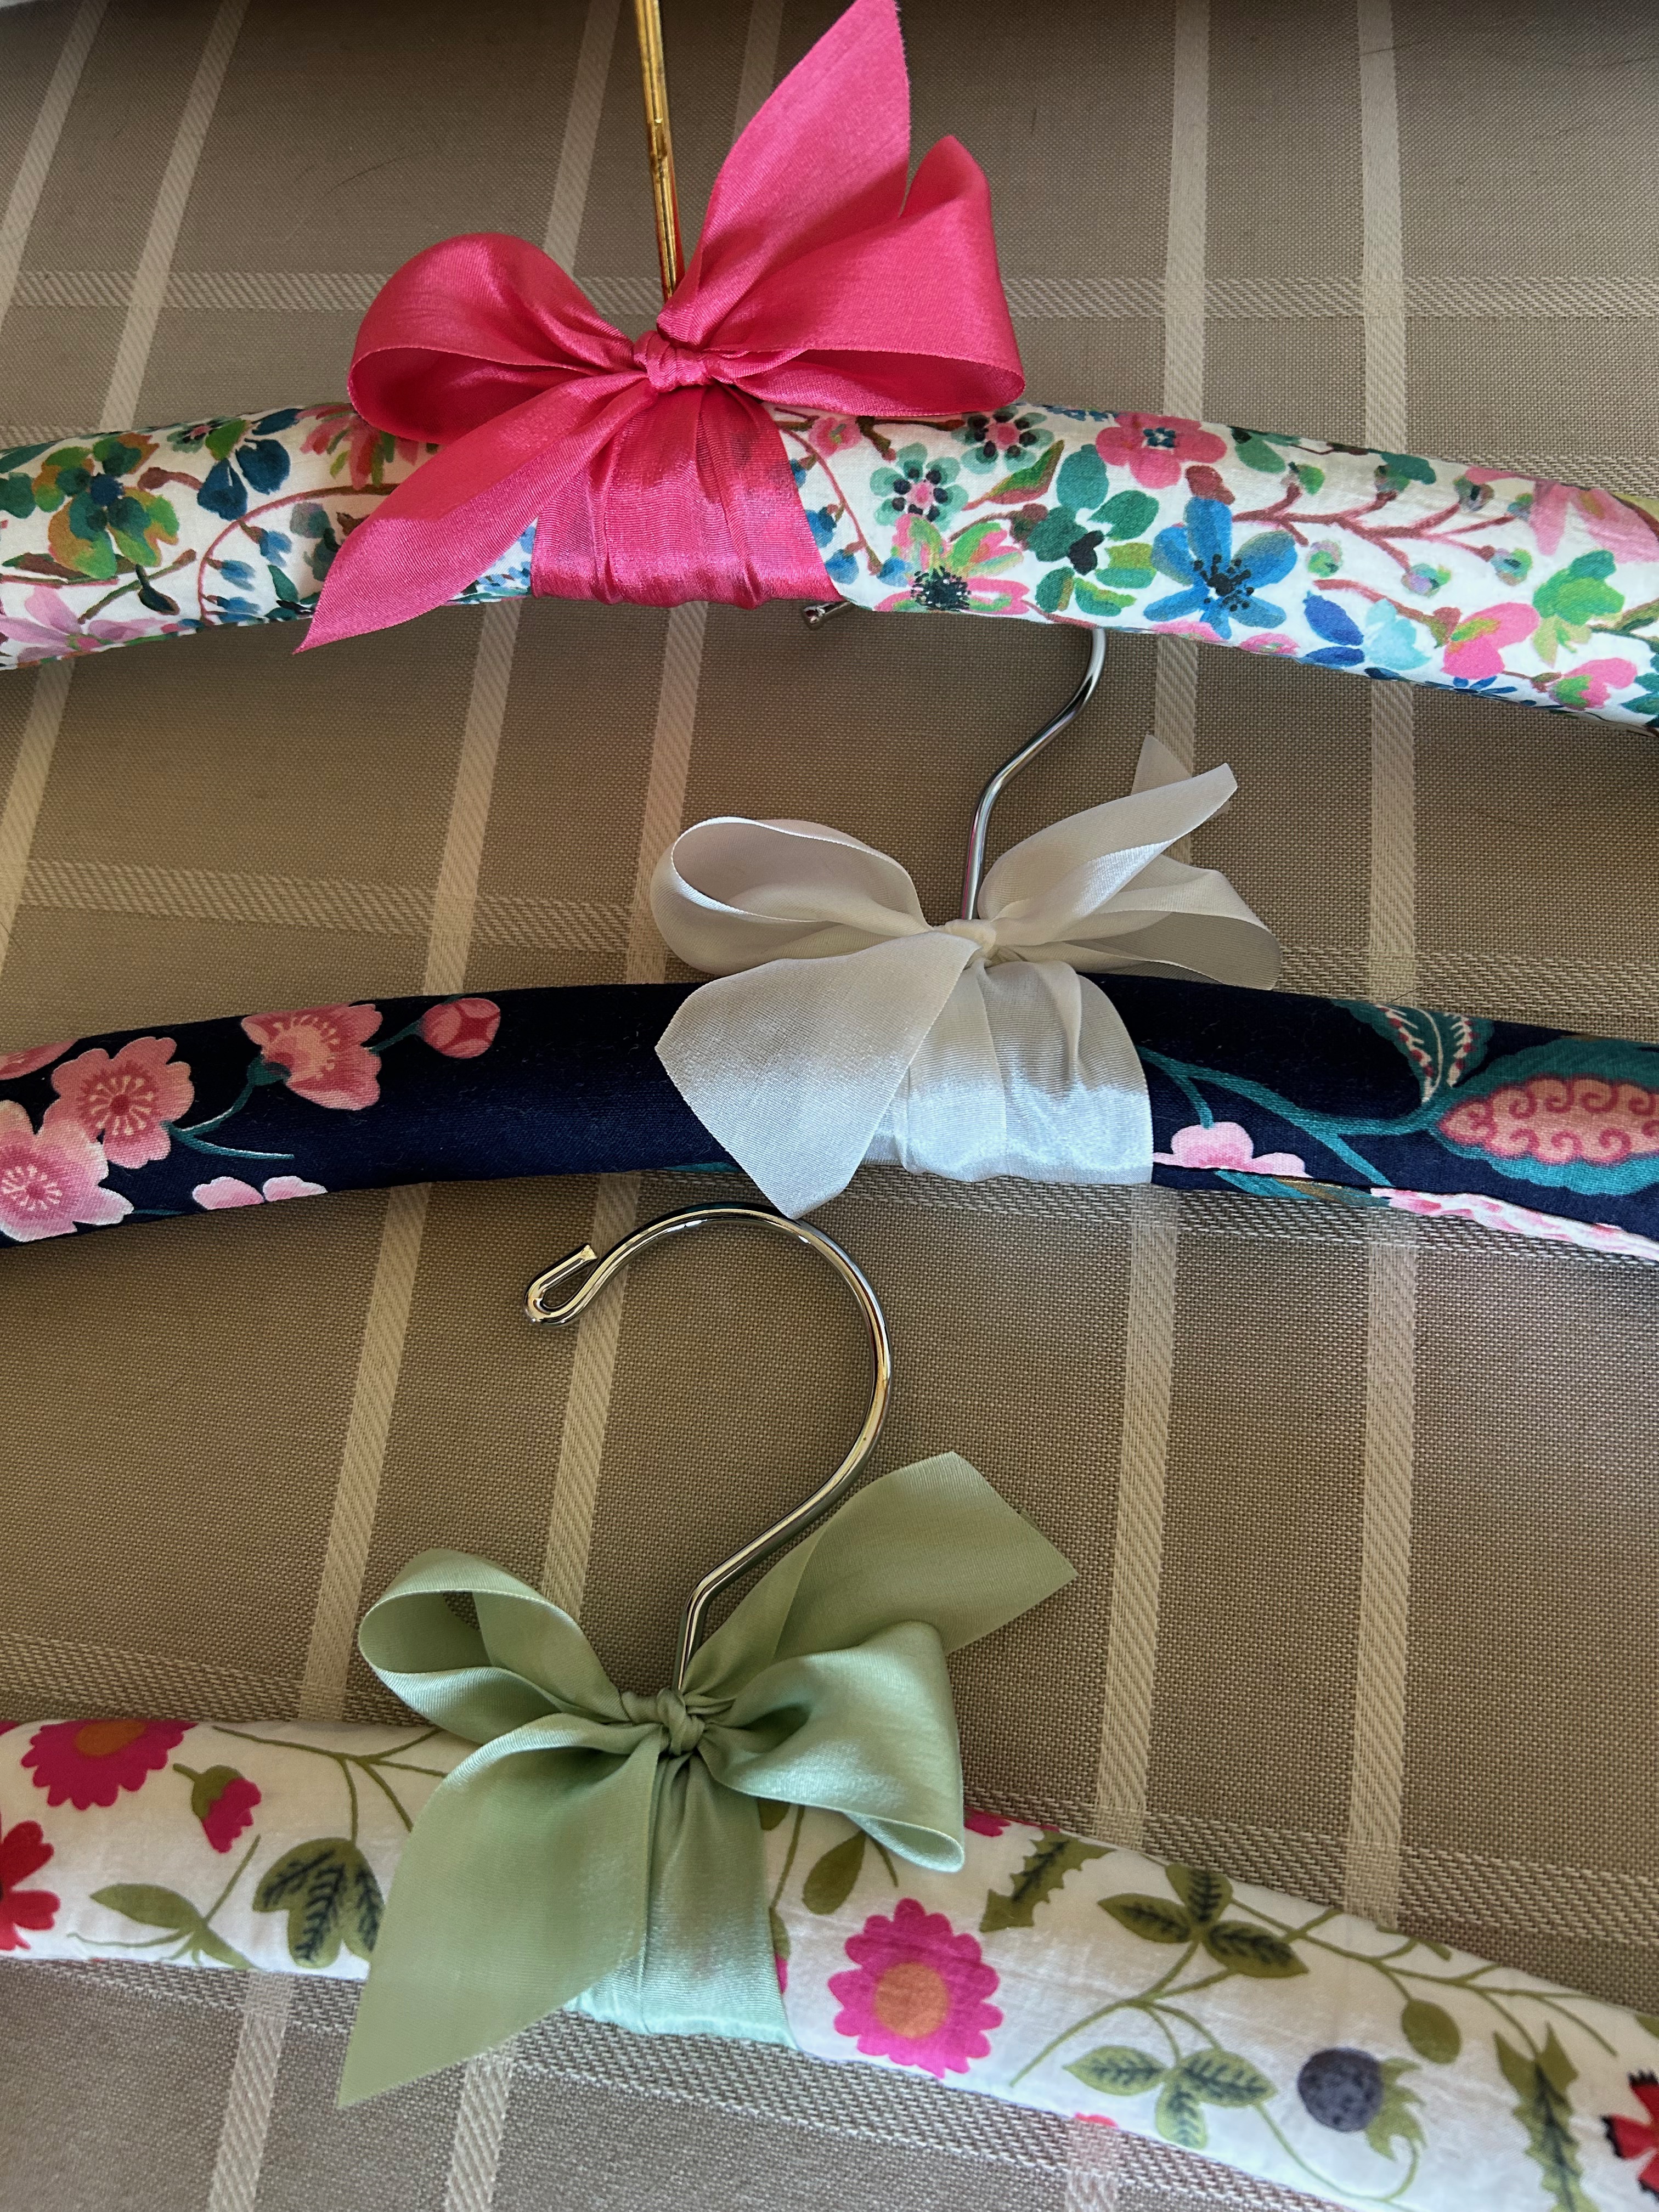
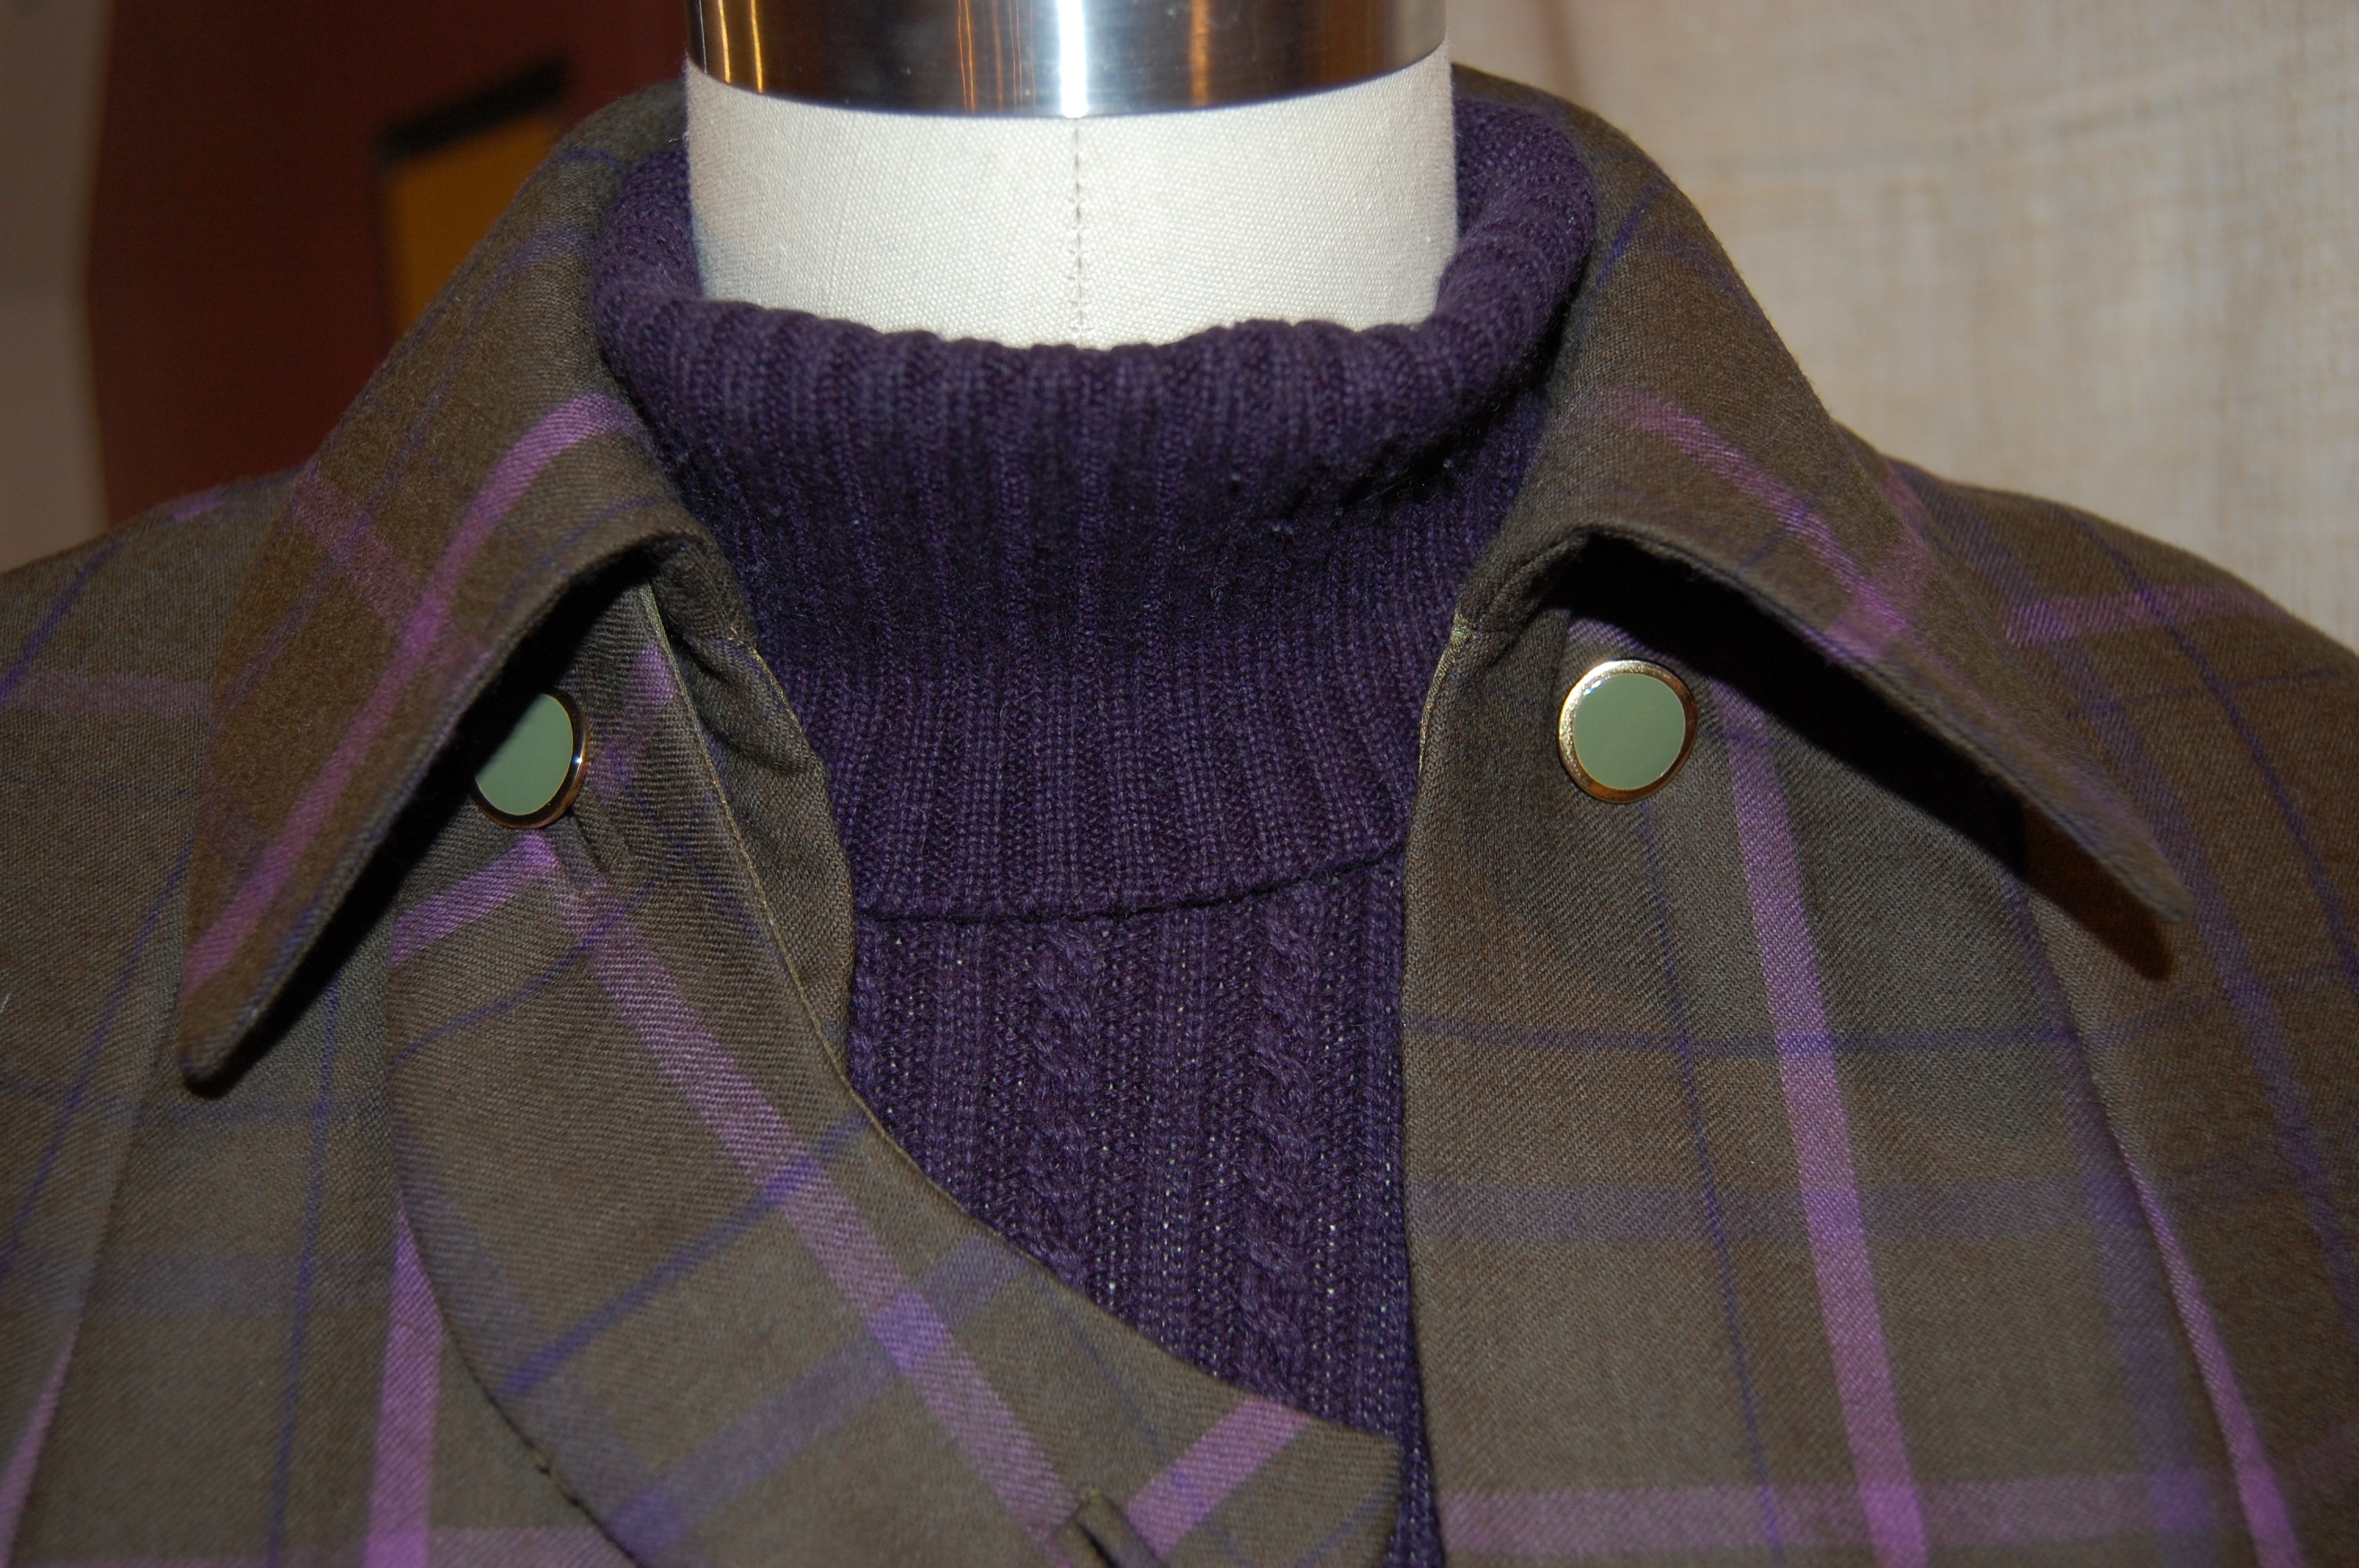
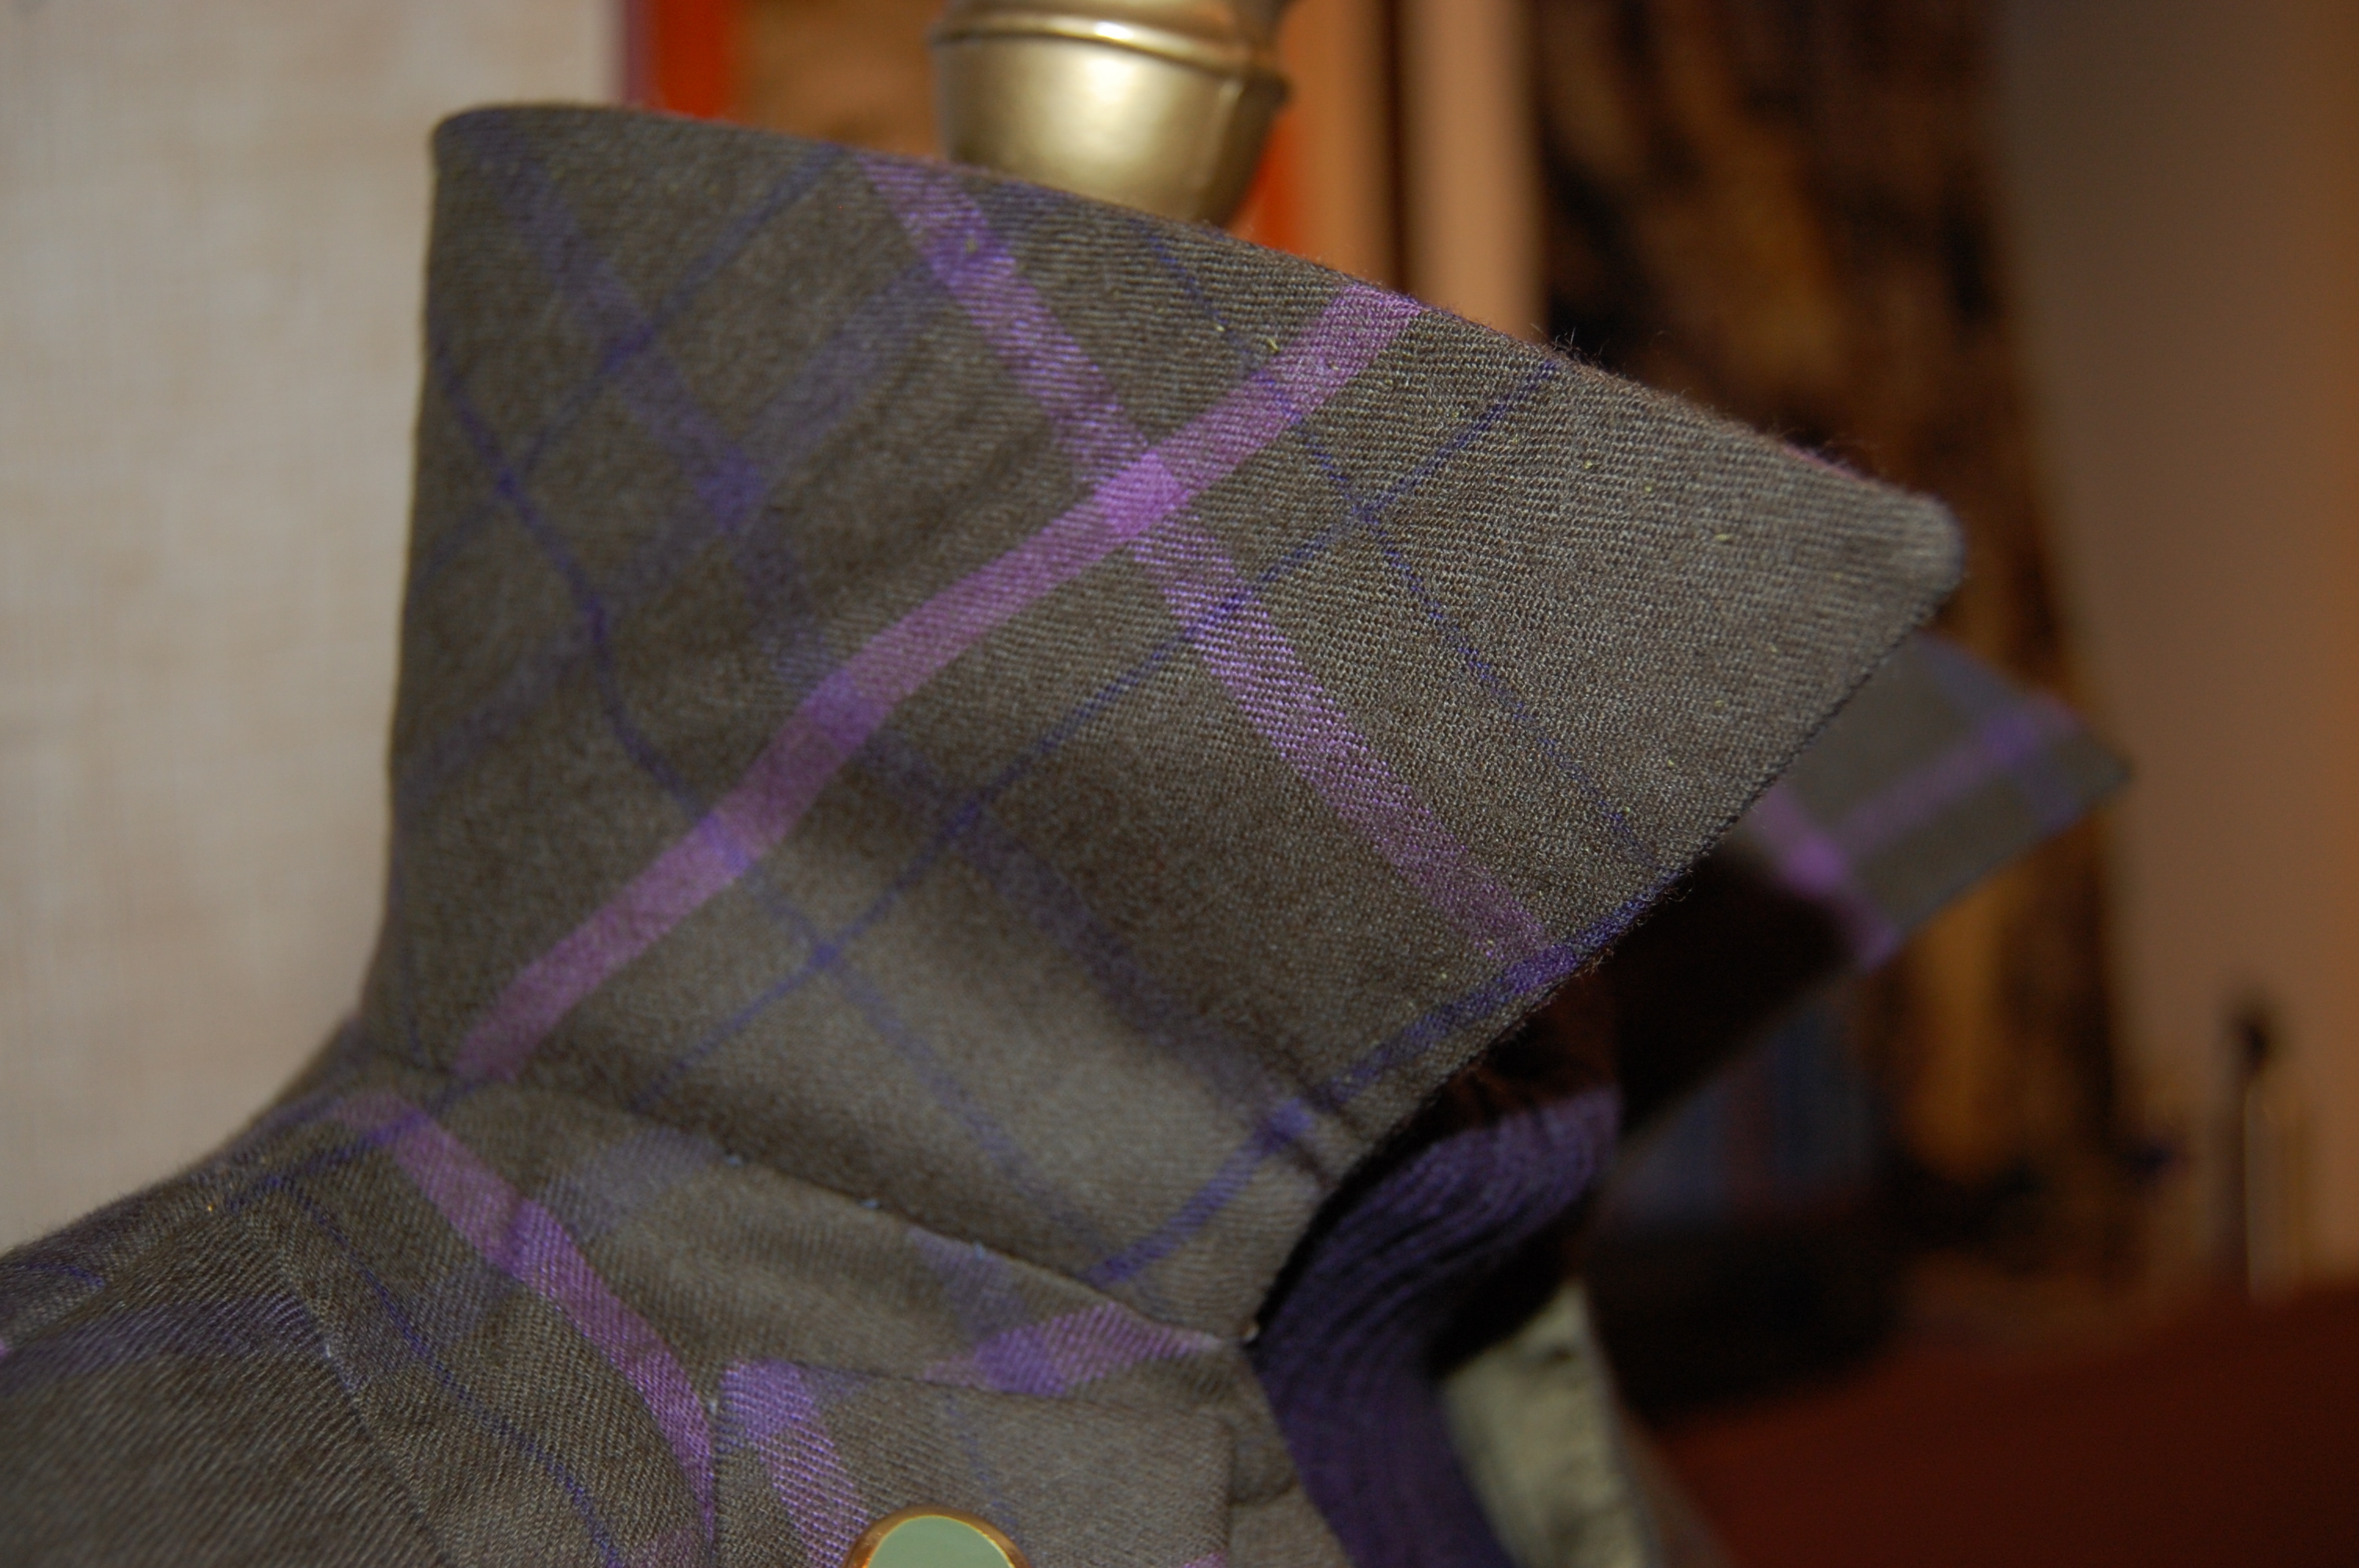
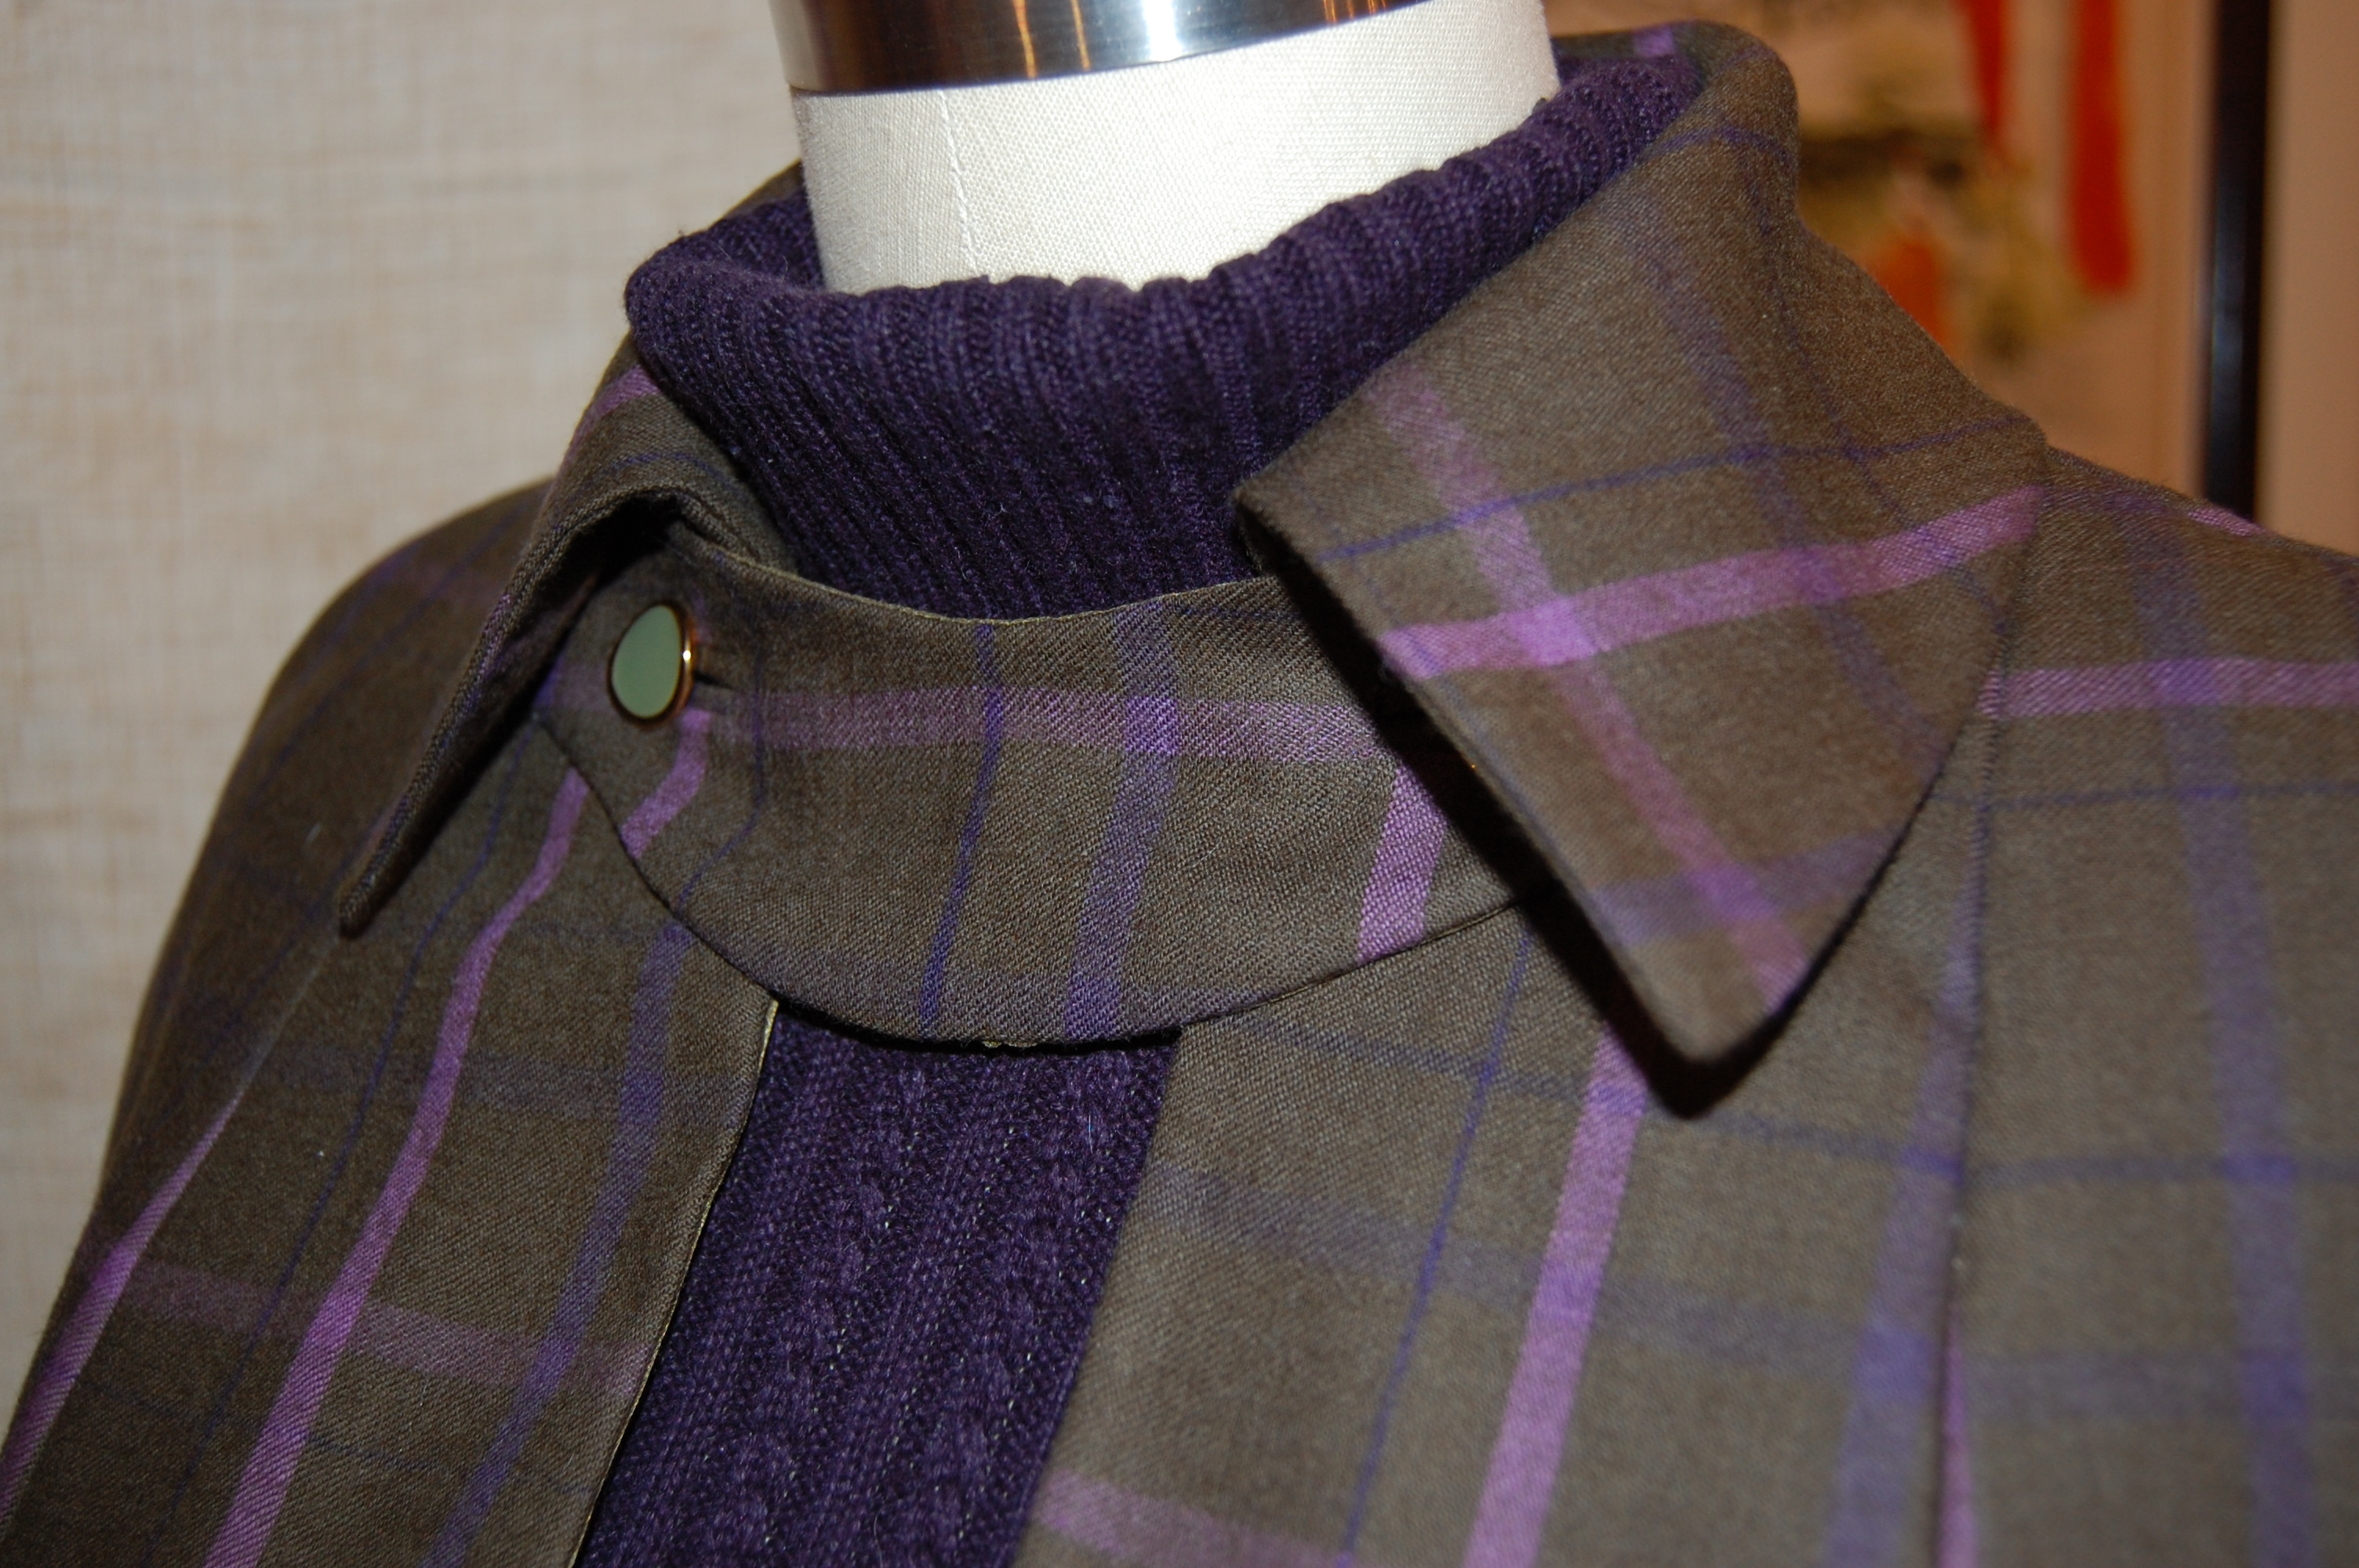
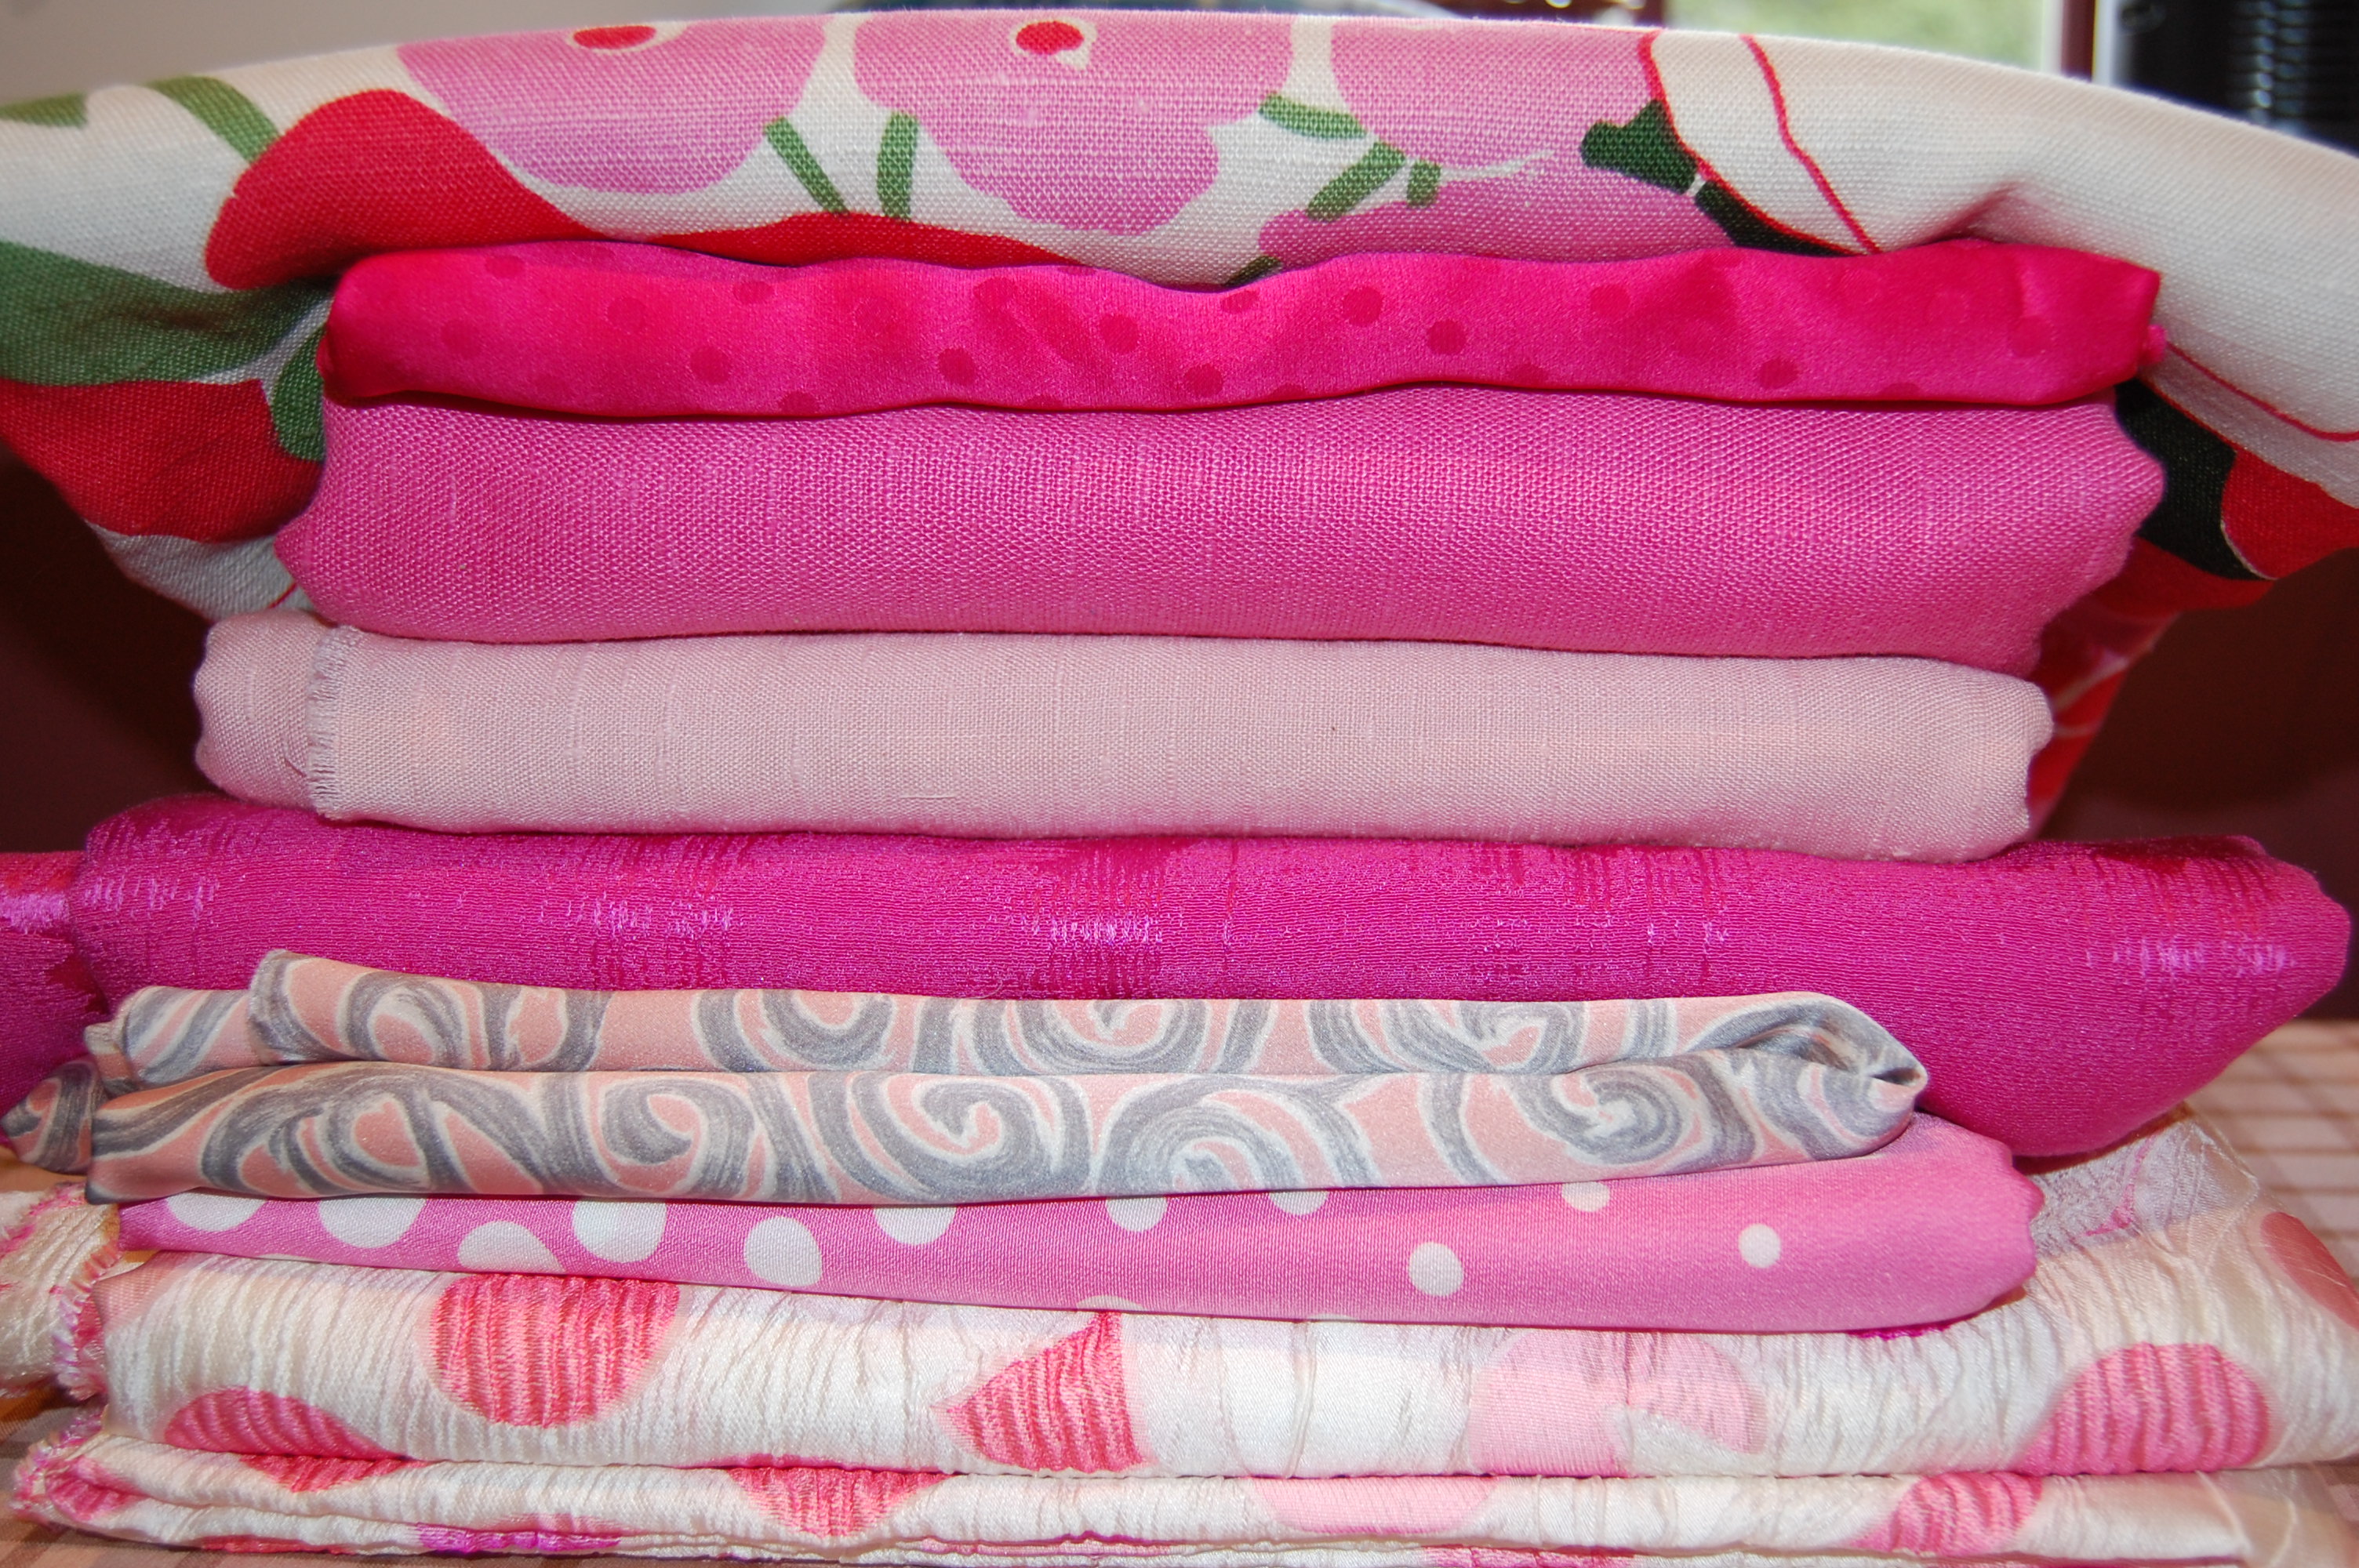
Here are three I have recently made.
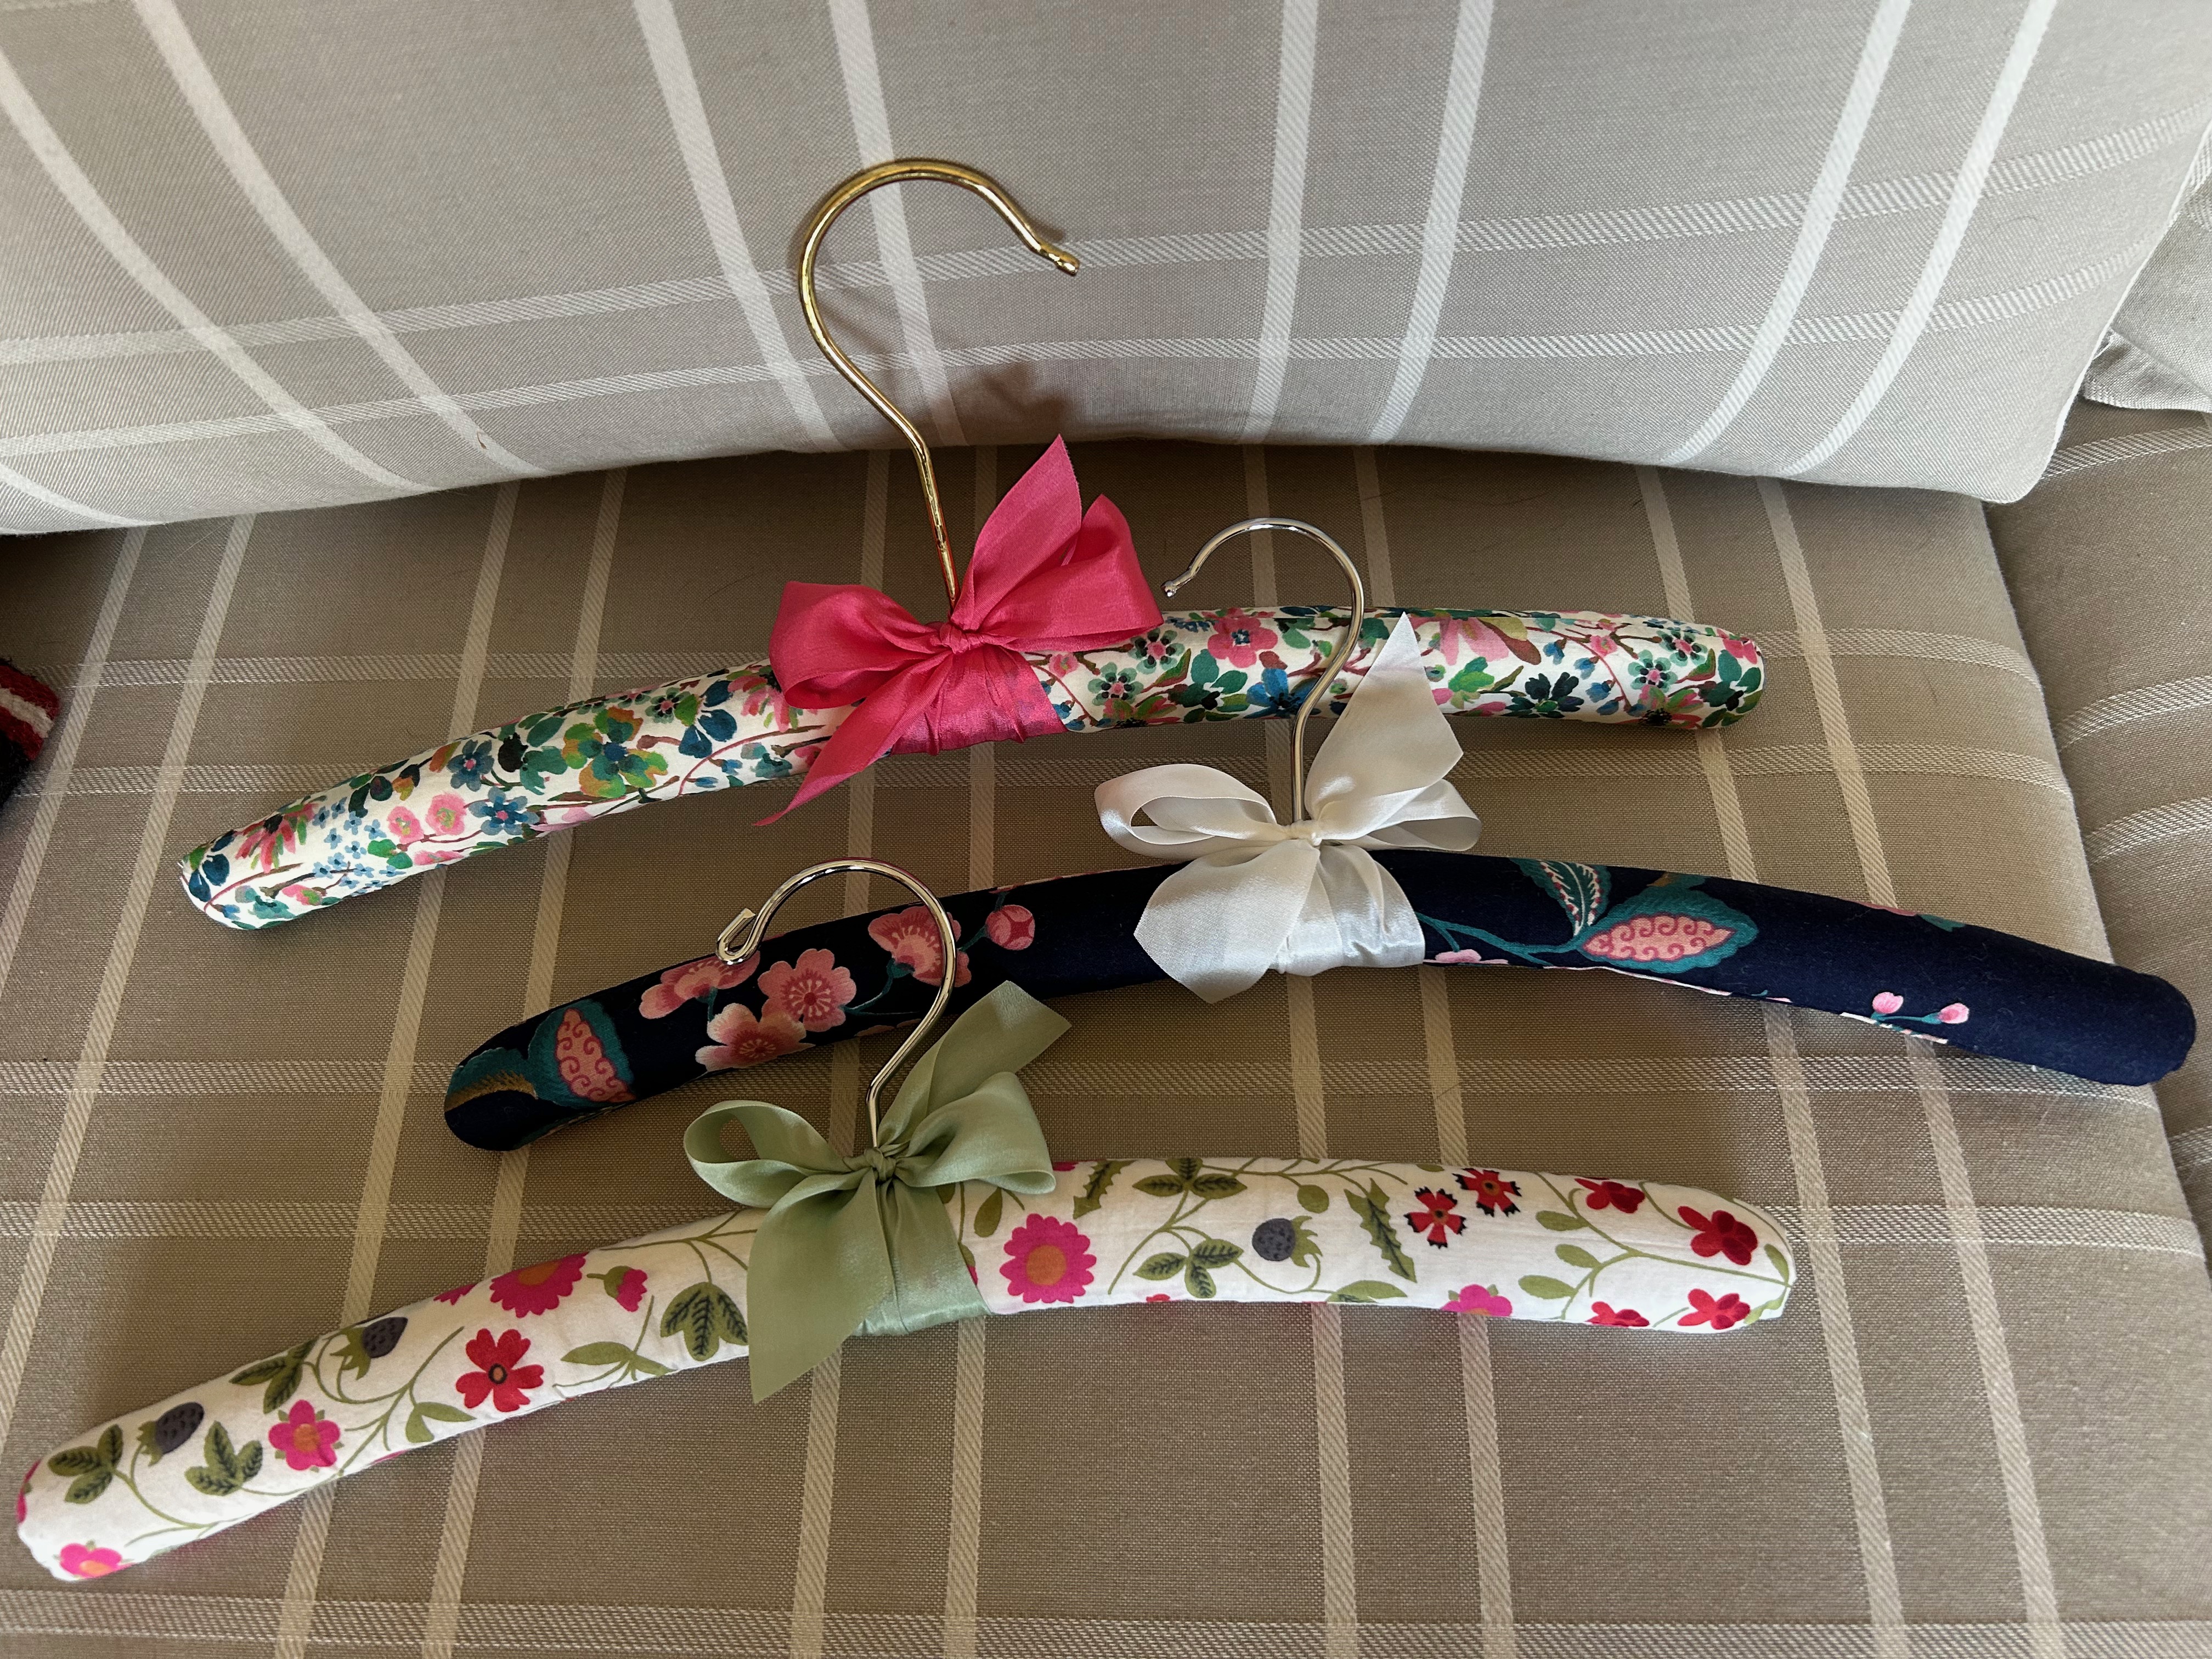
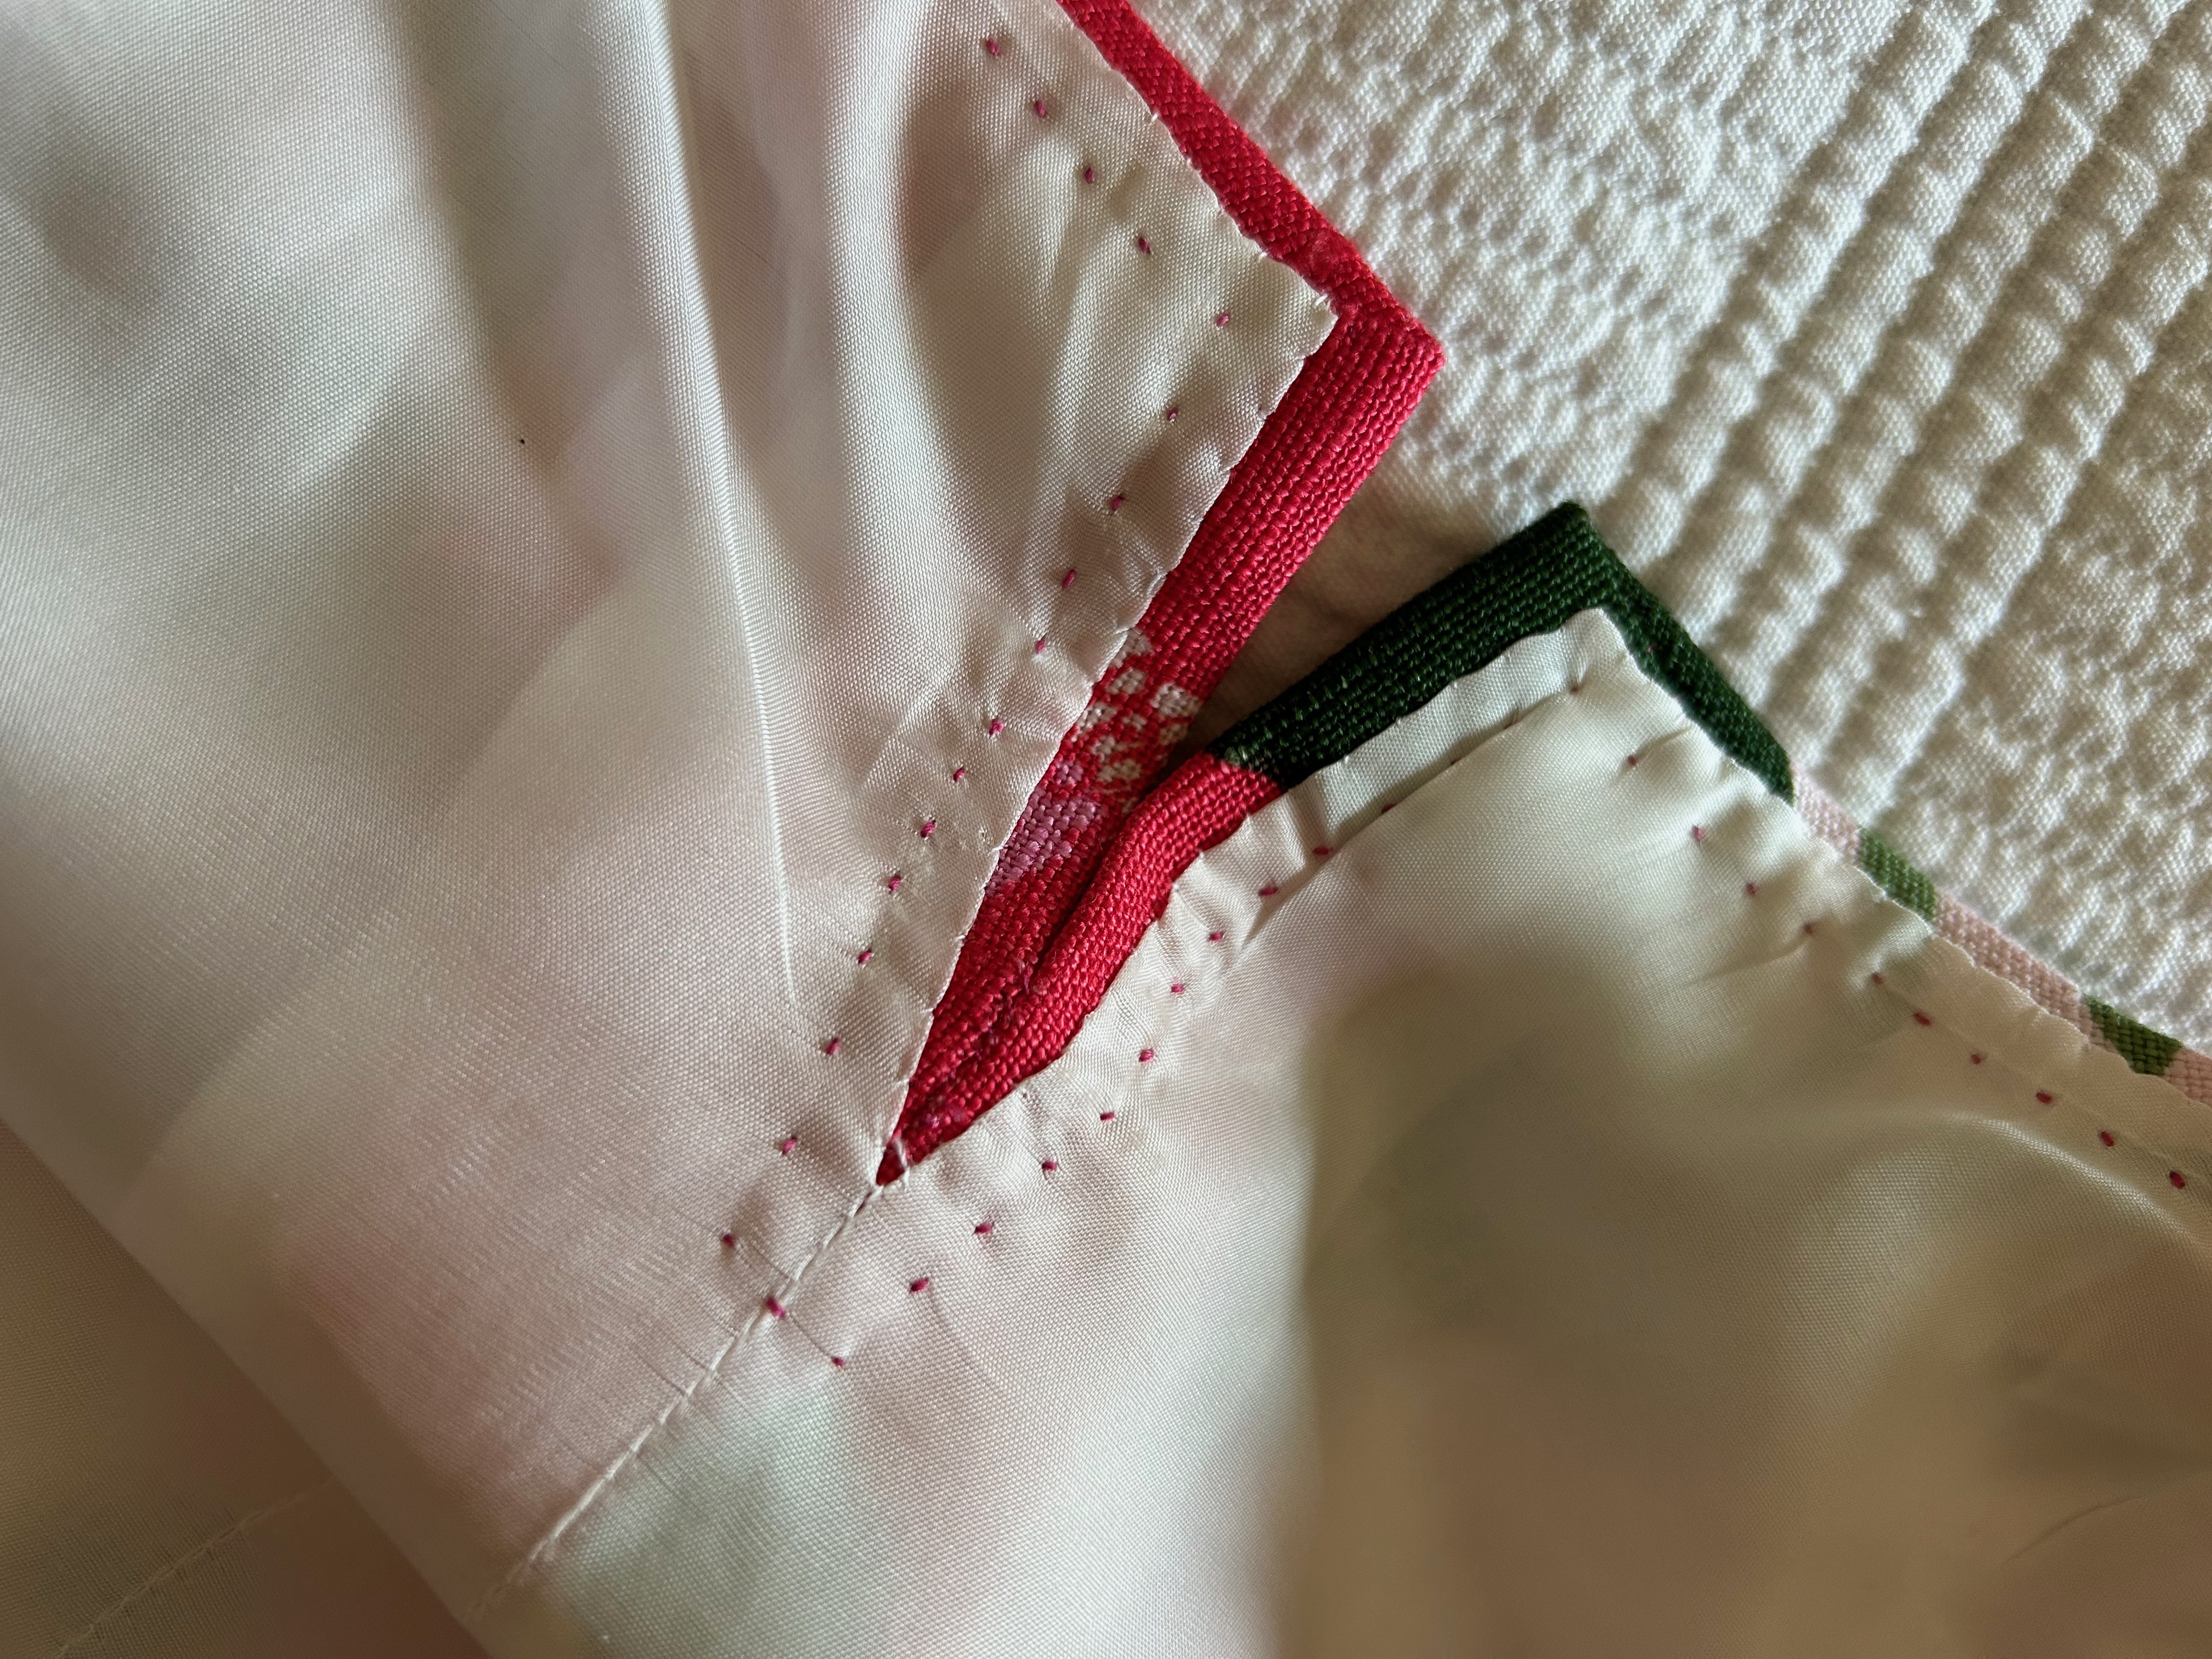
Two of them are made from Liberty fabrics, and the dark blue one is made from fabric left over from a skirt I made at least 25-30 years ago. There is something particularly rewarding about using Liberty scraps, as the fabric is expensive and its tight weave lends itself beautifully to being stretched over the padded wooden hanger forms.
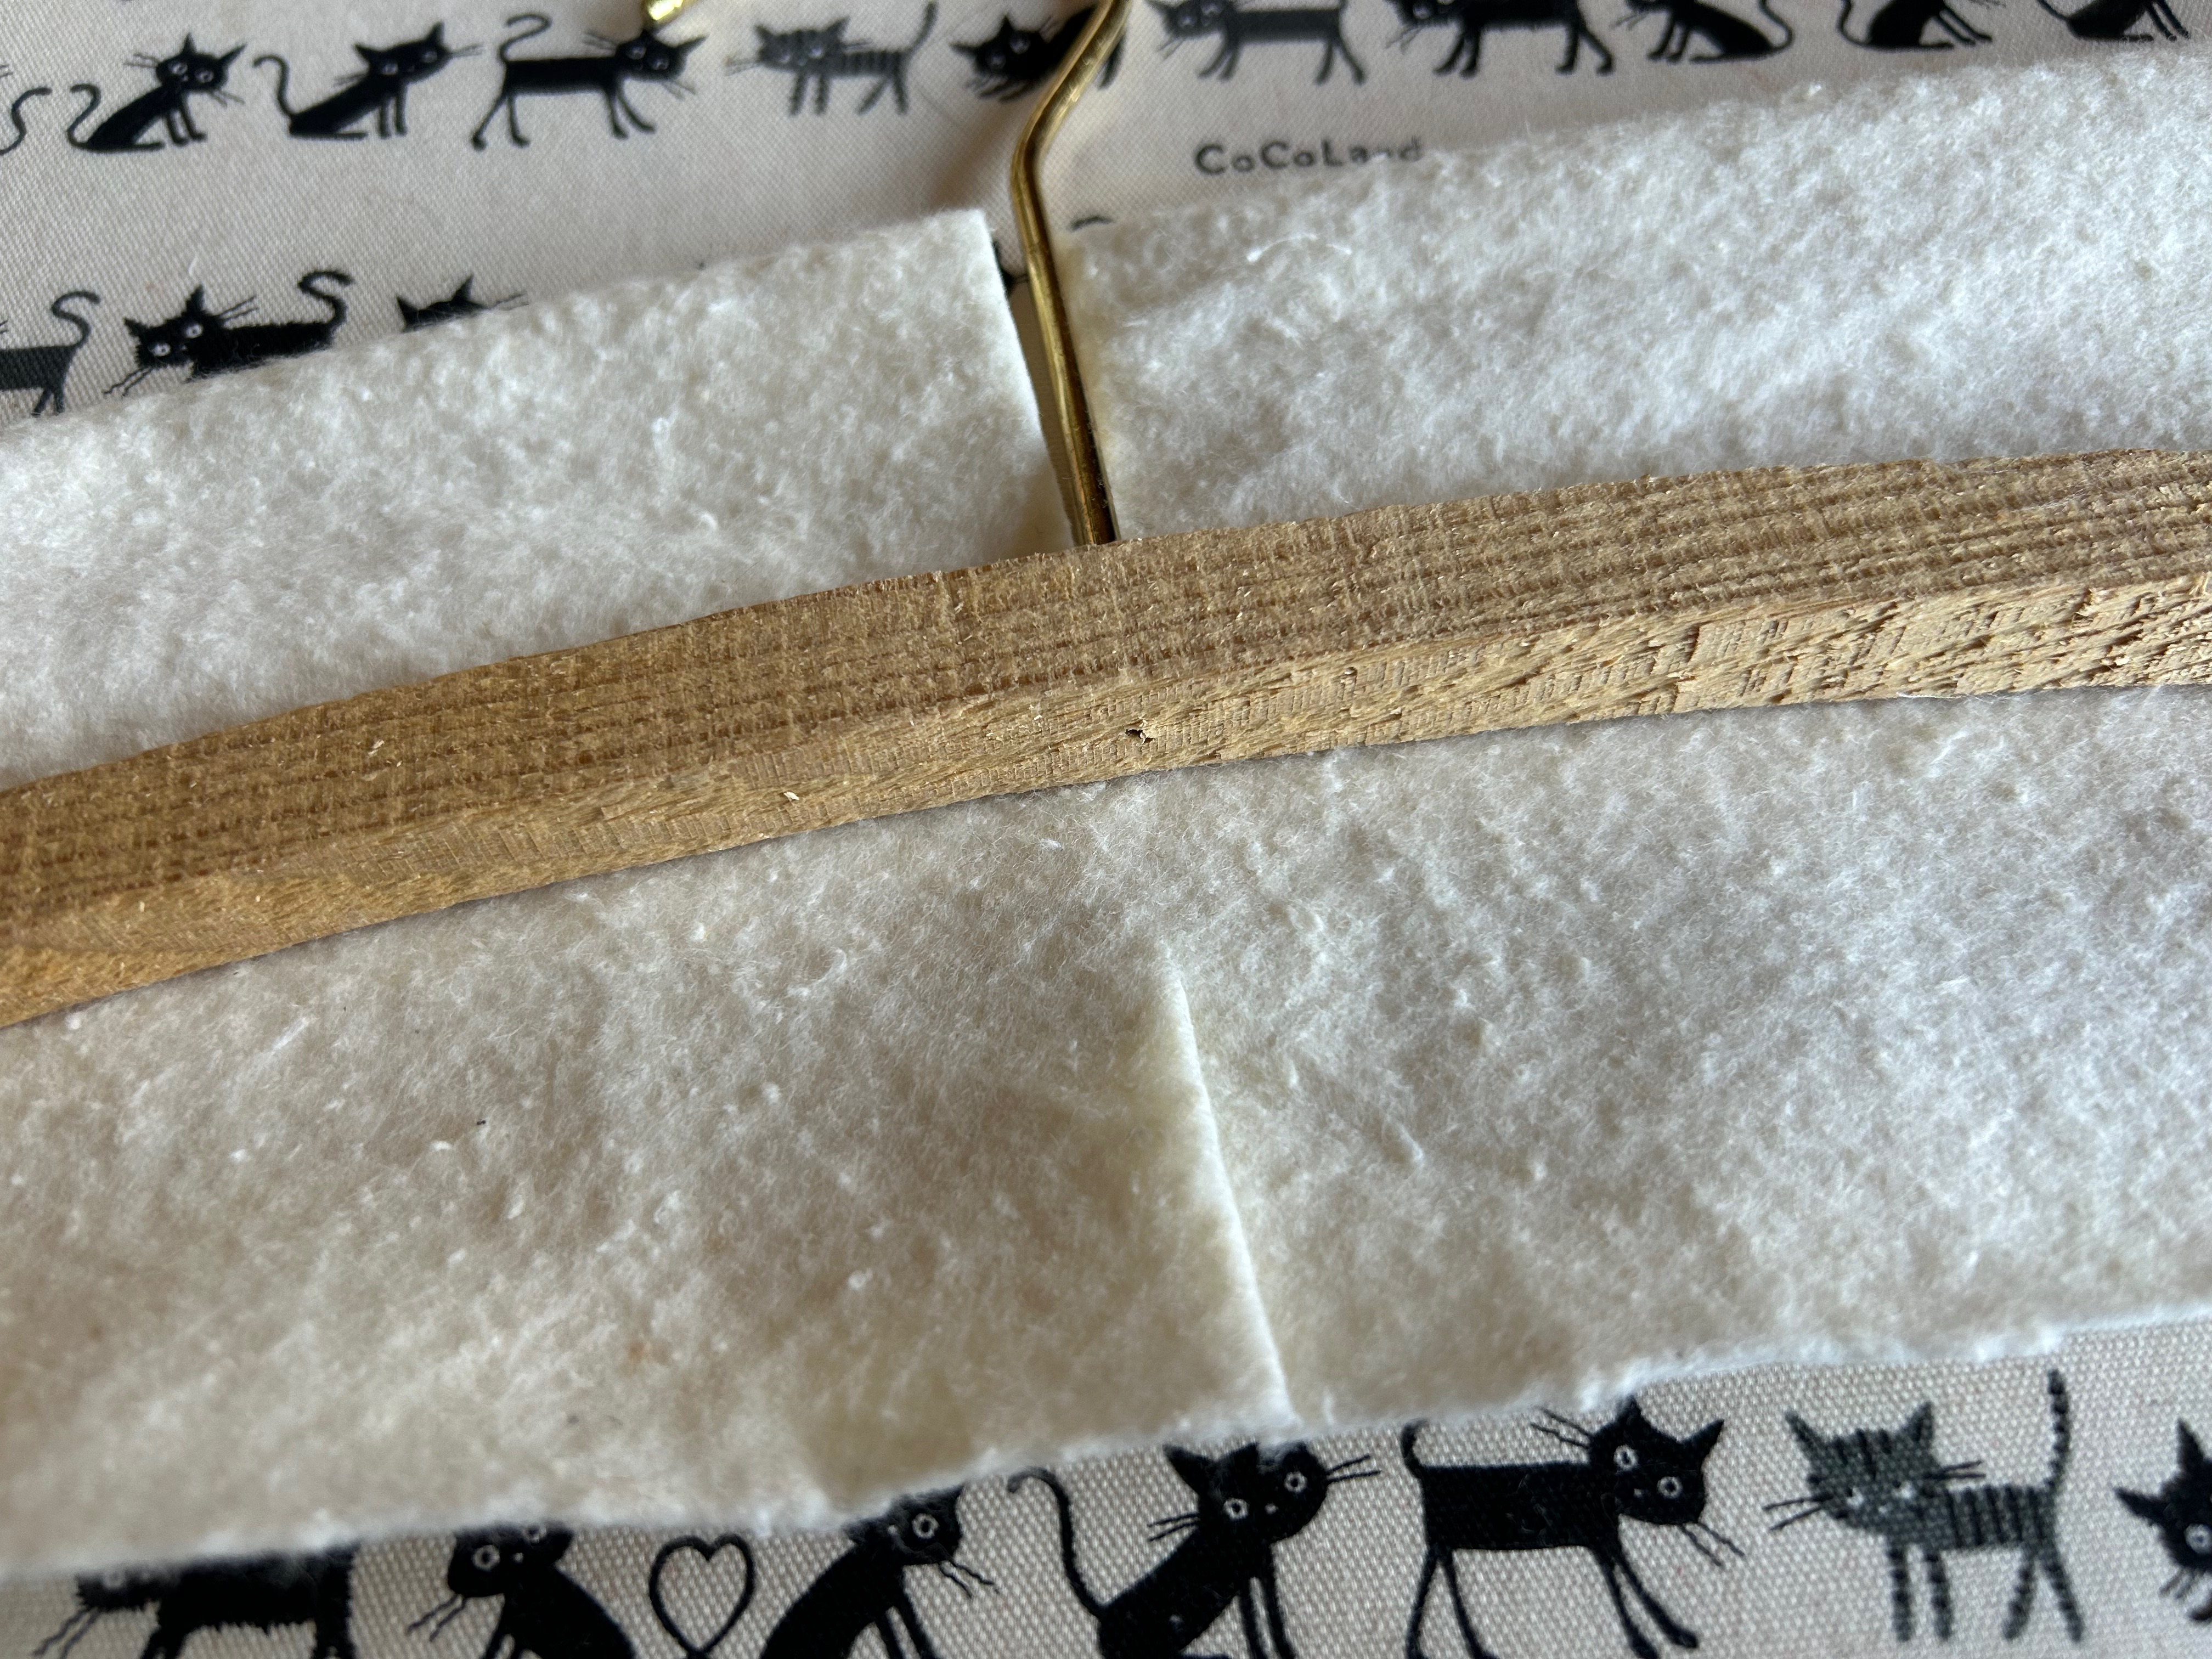
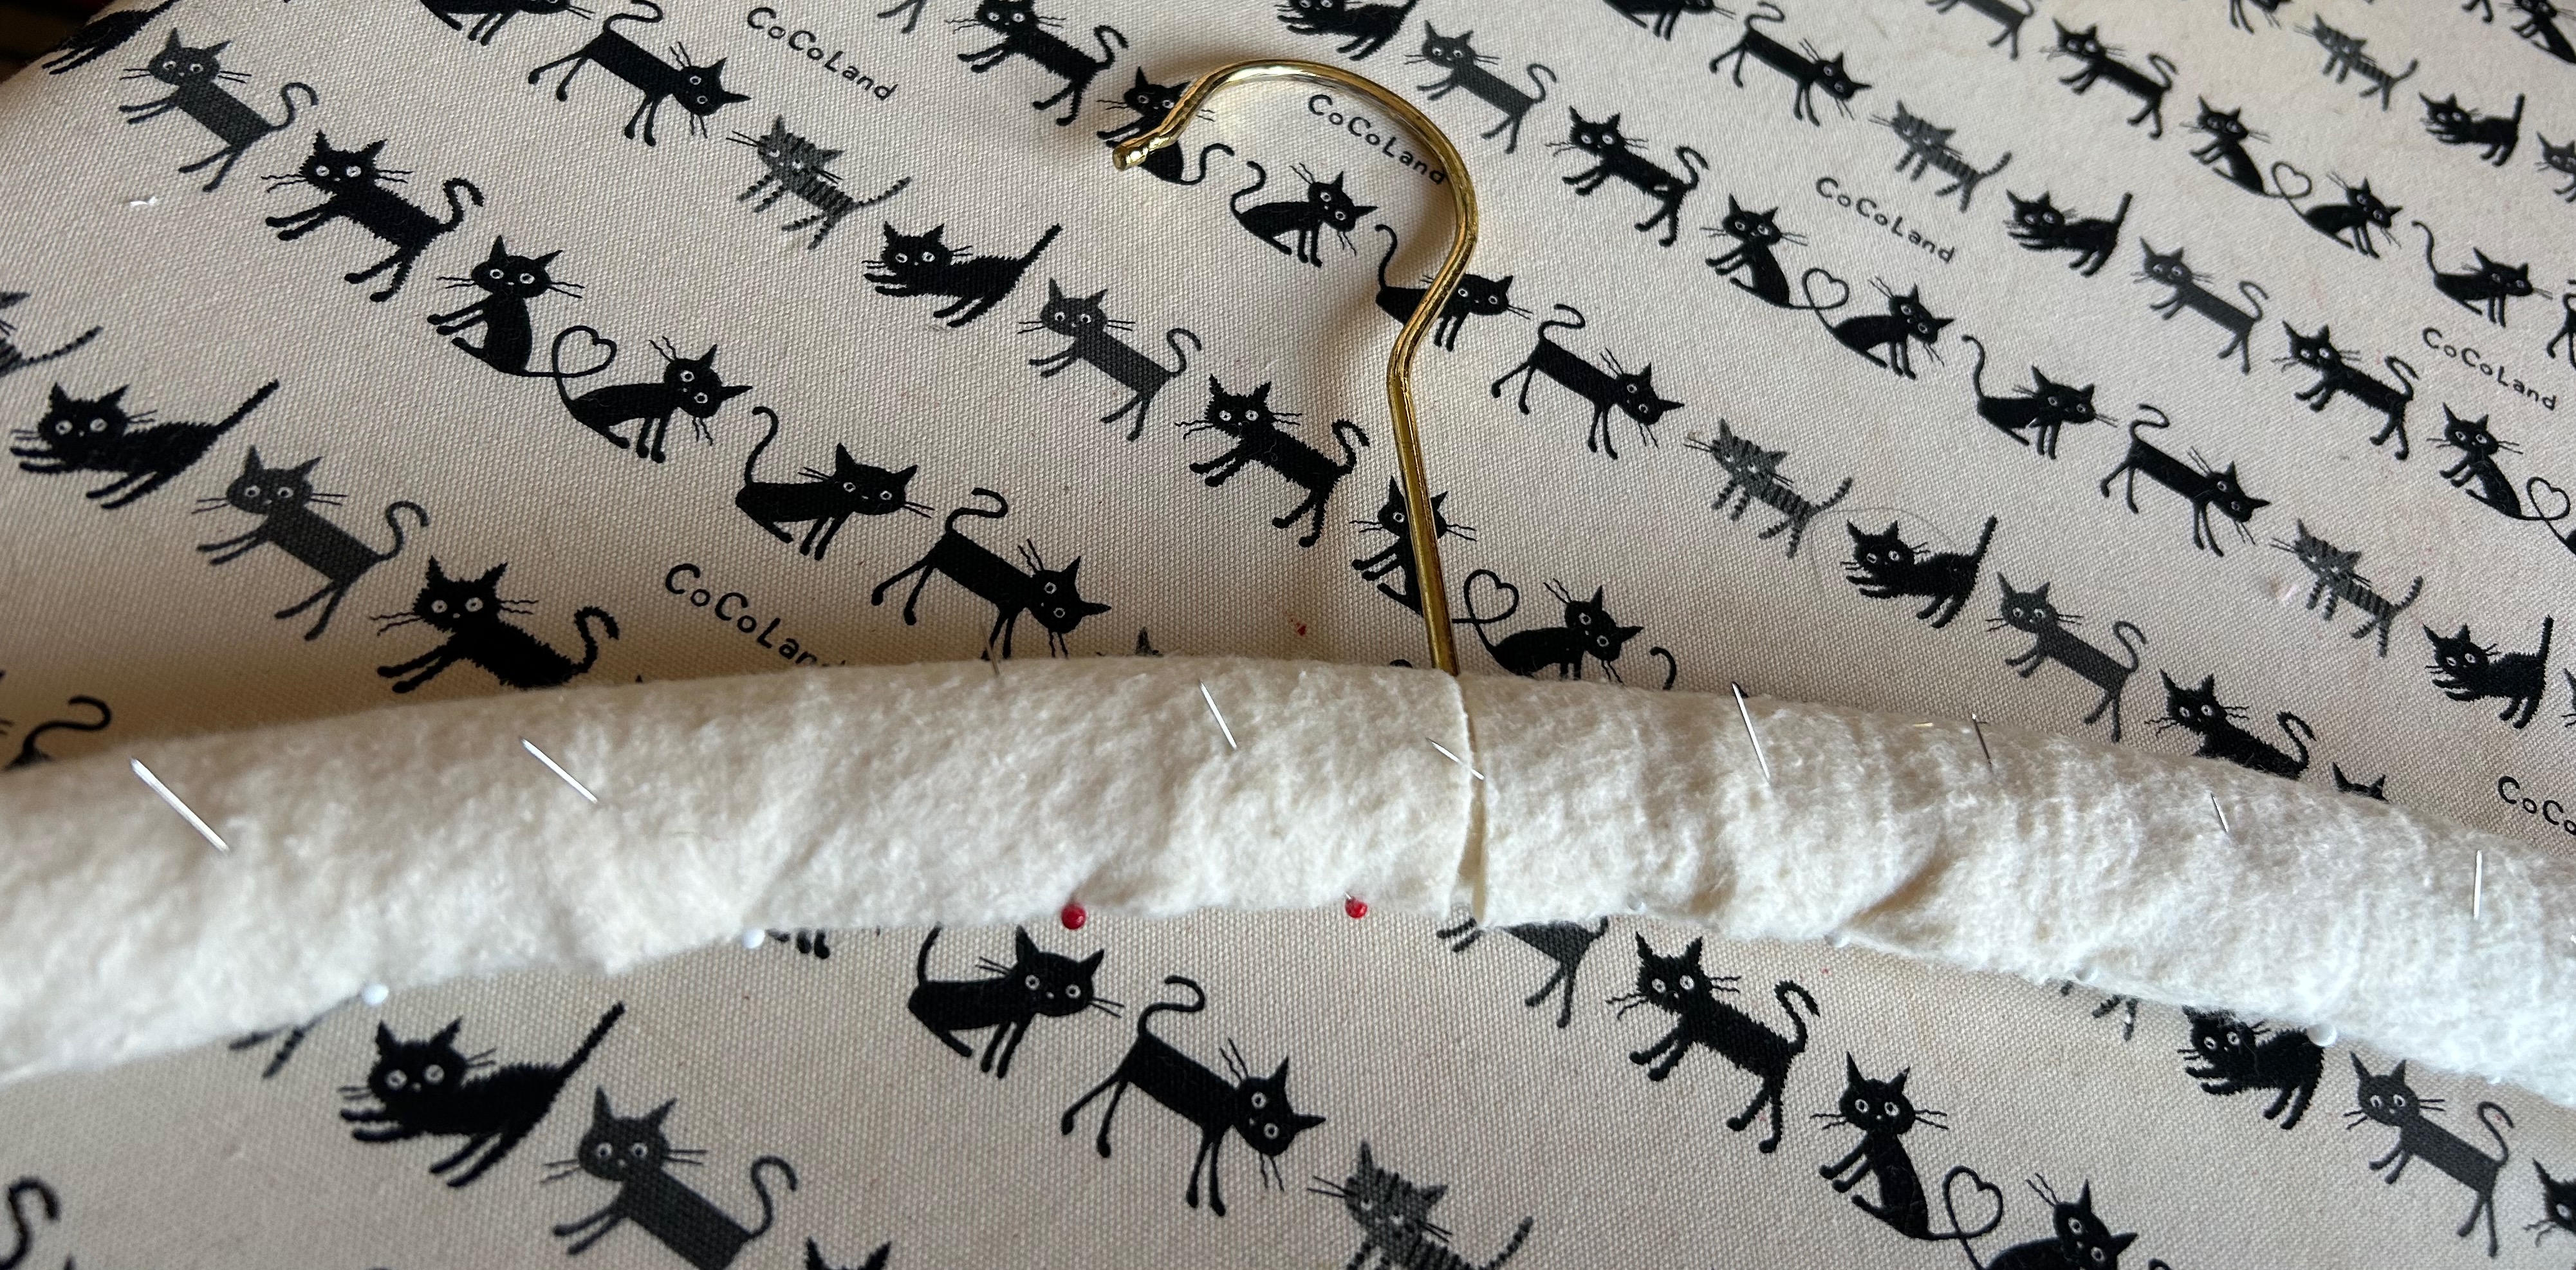
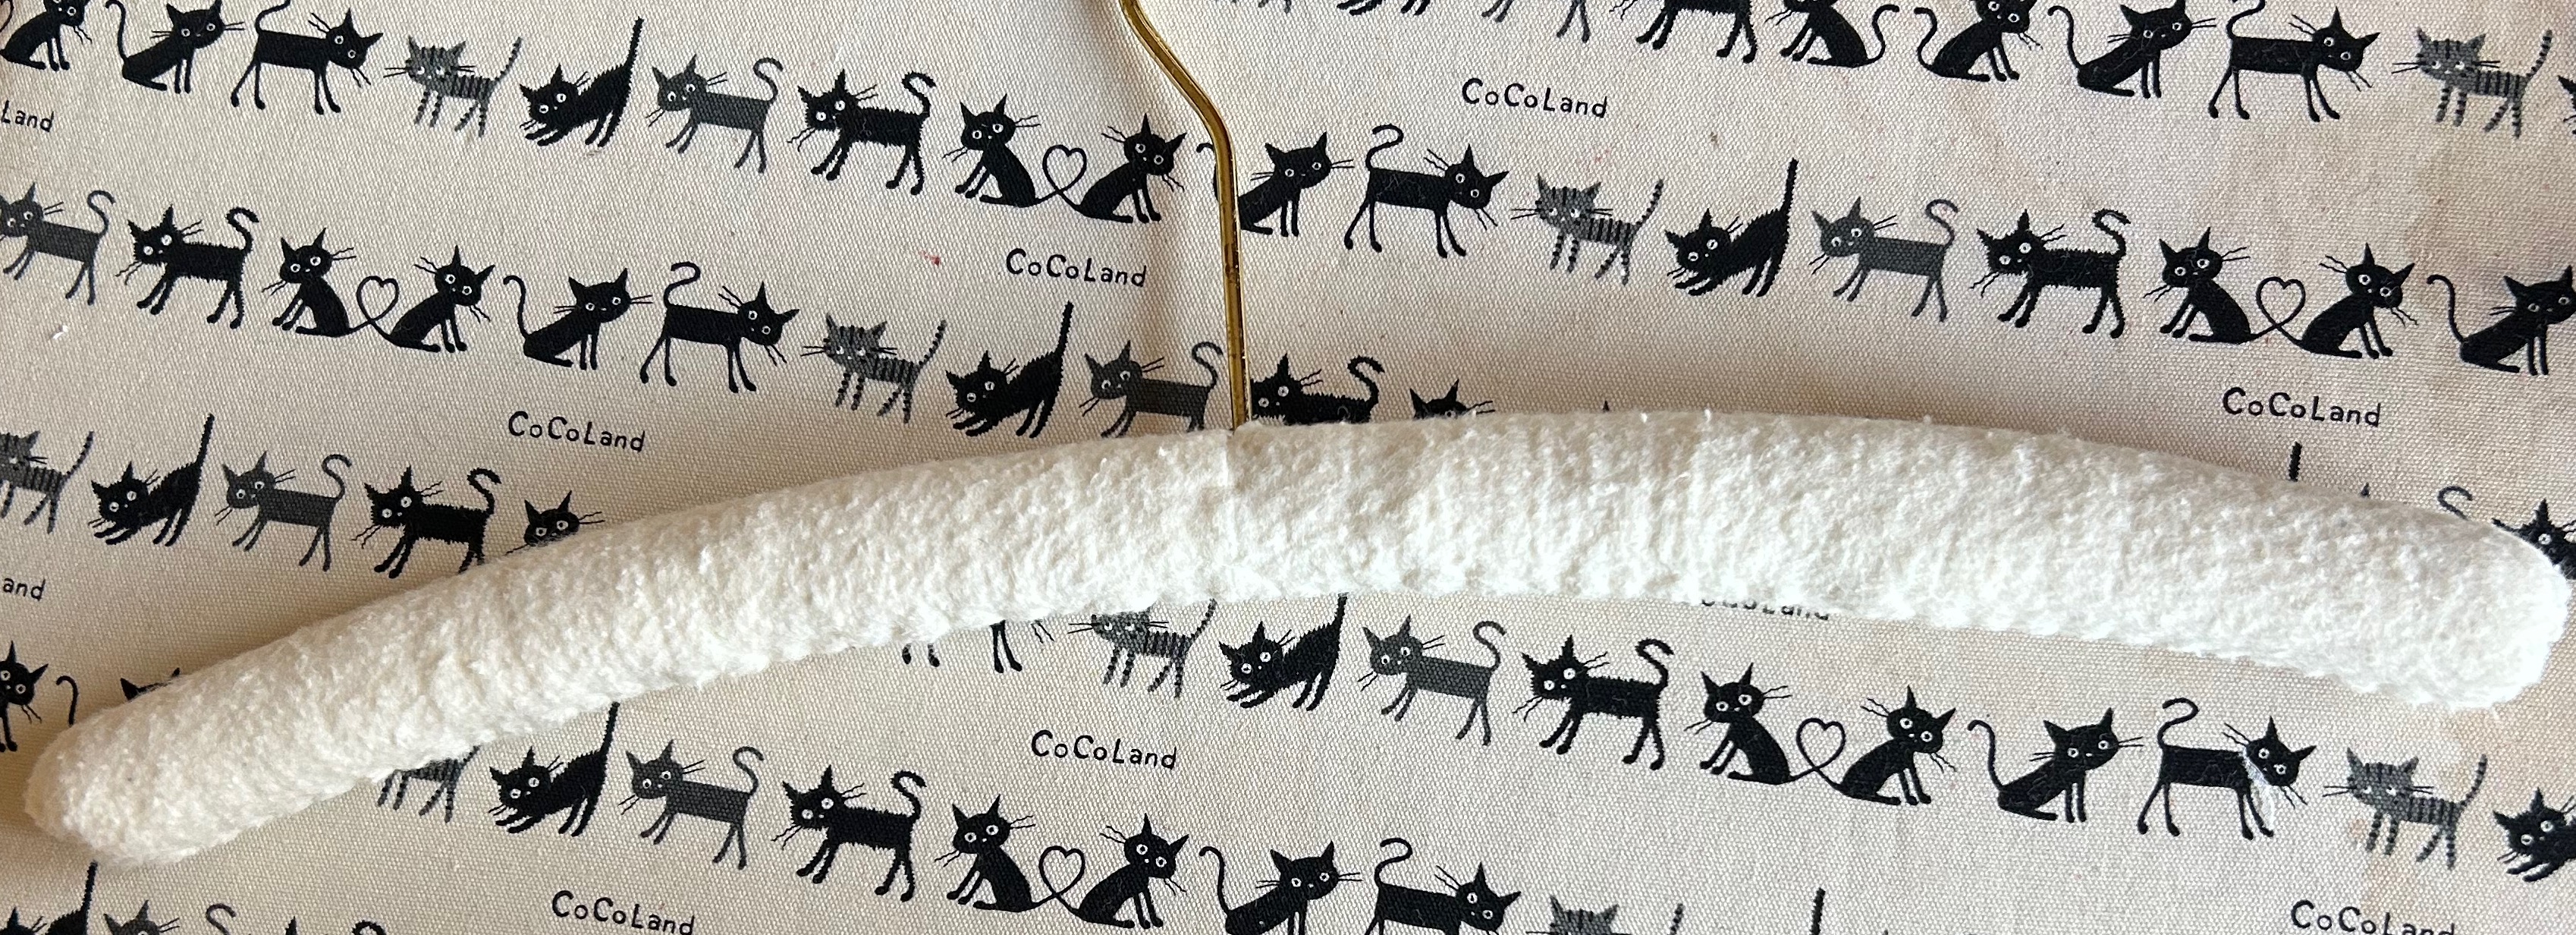
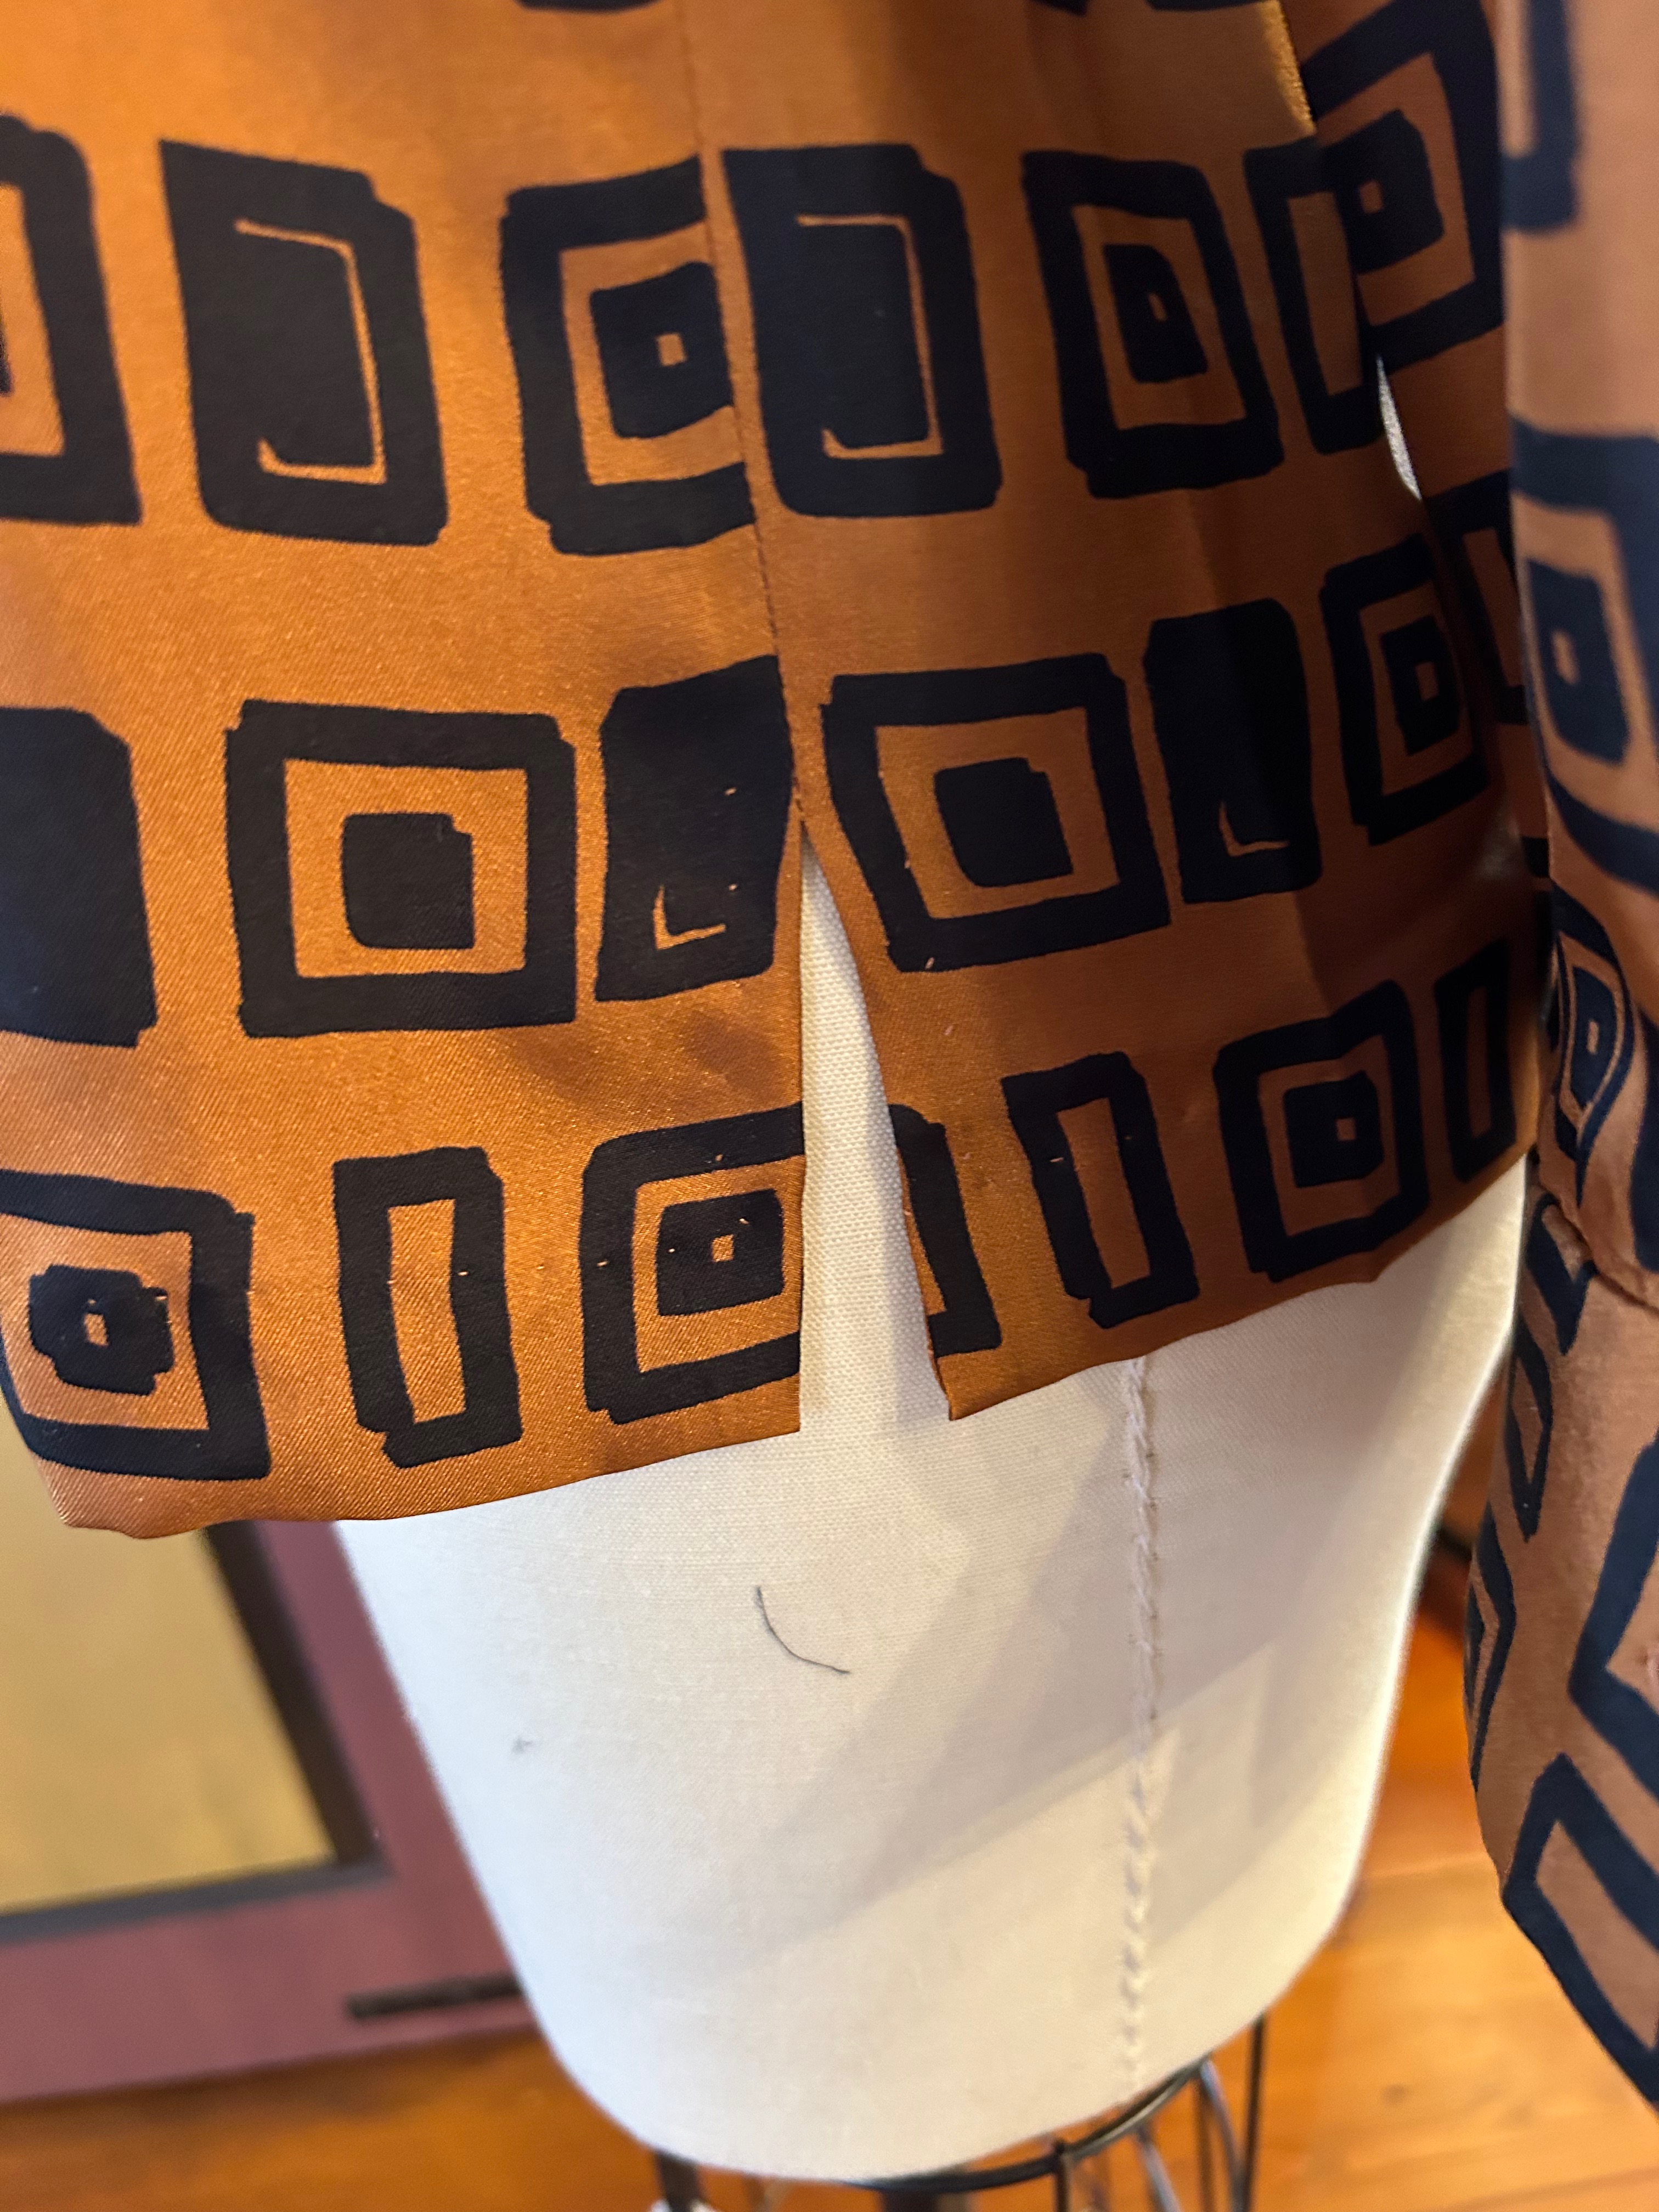
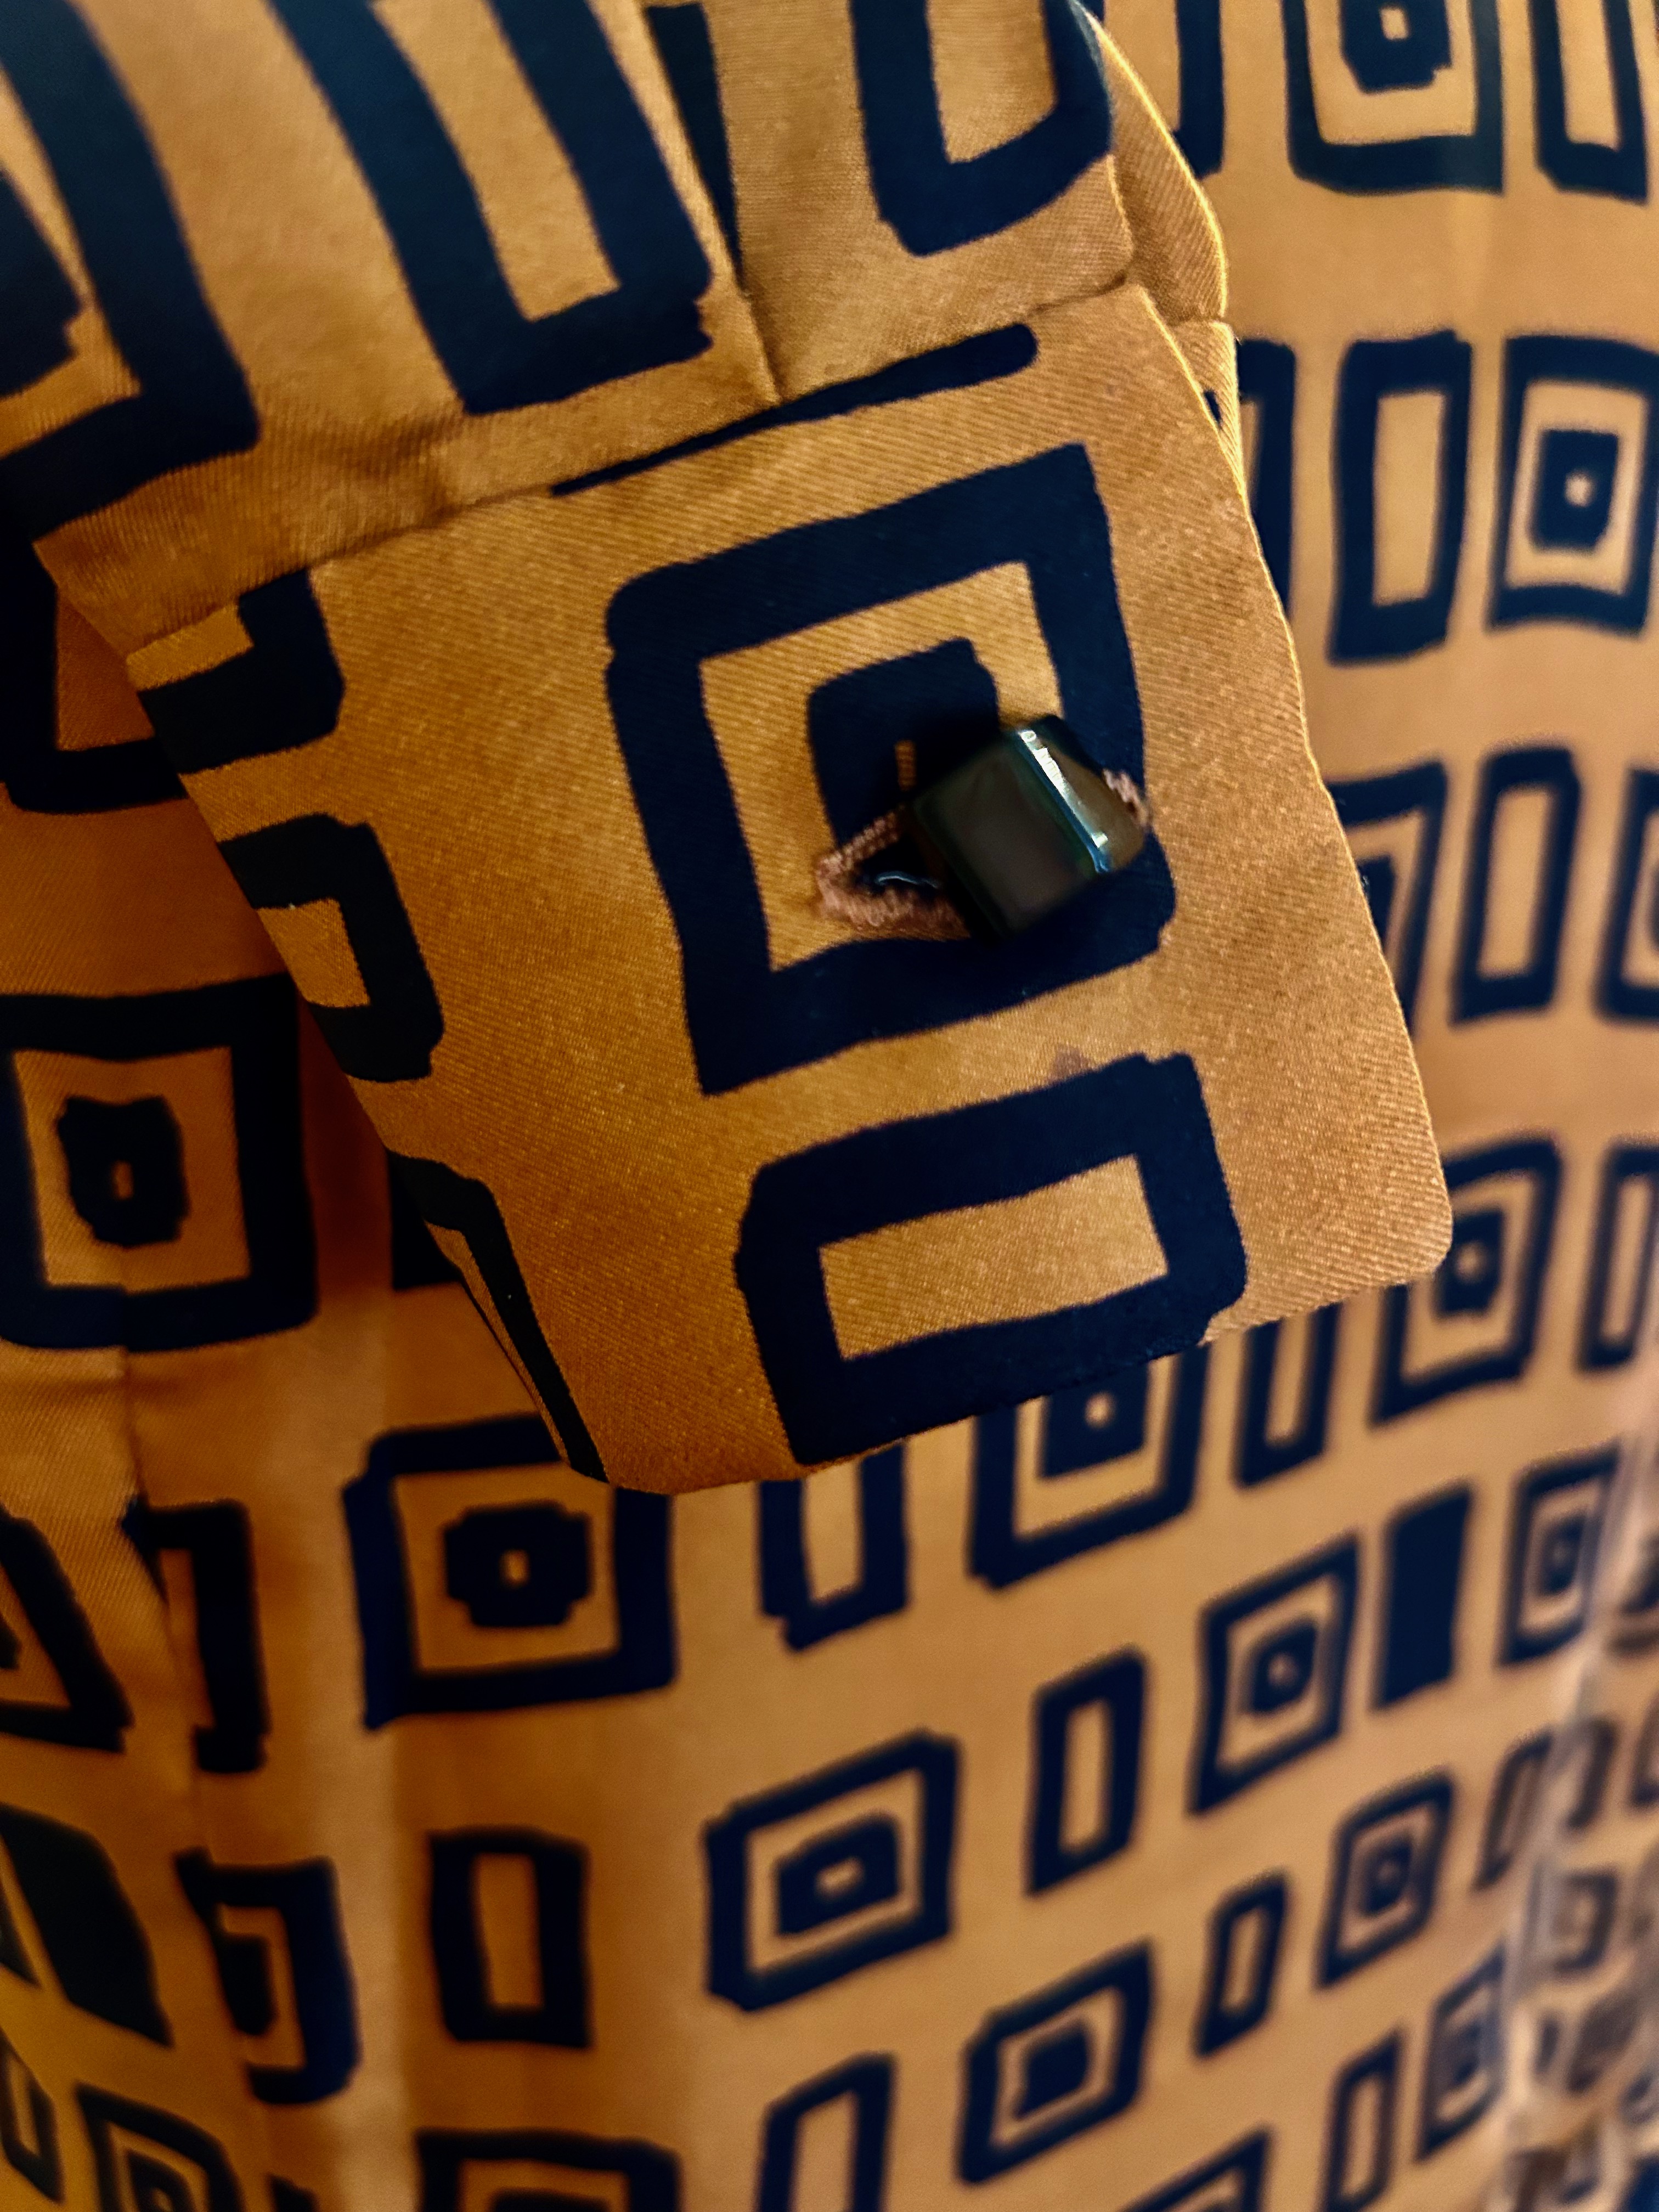
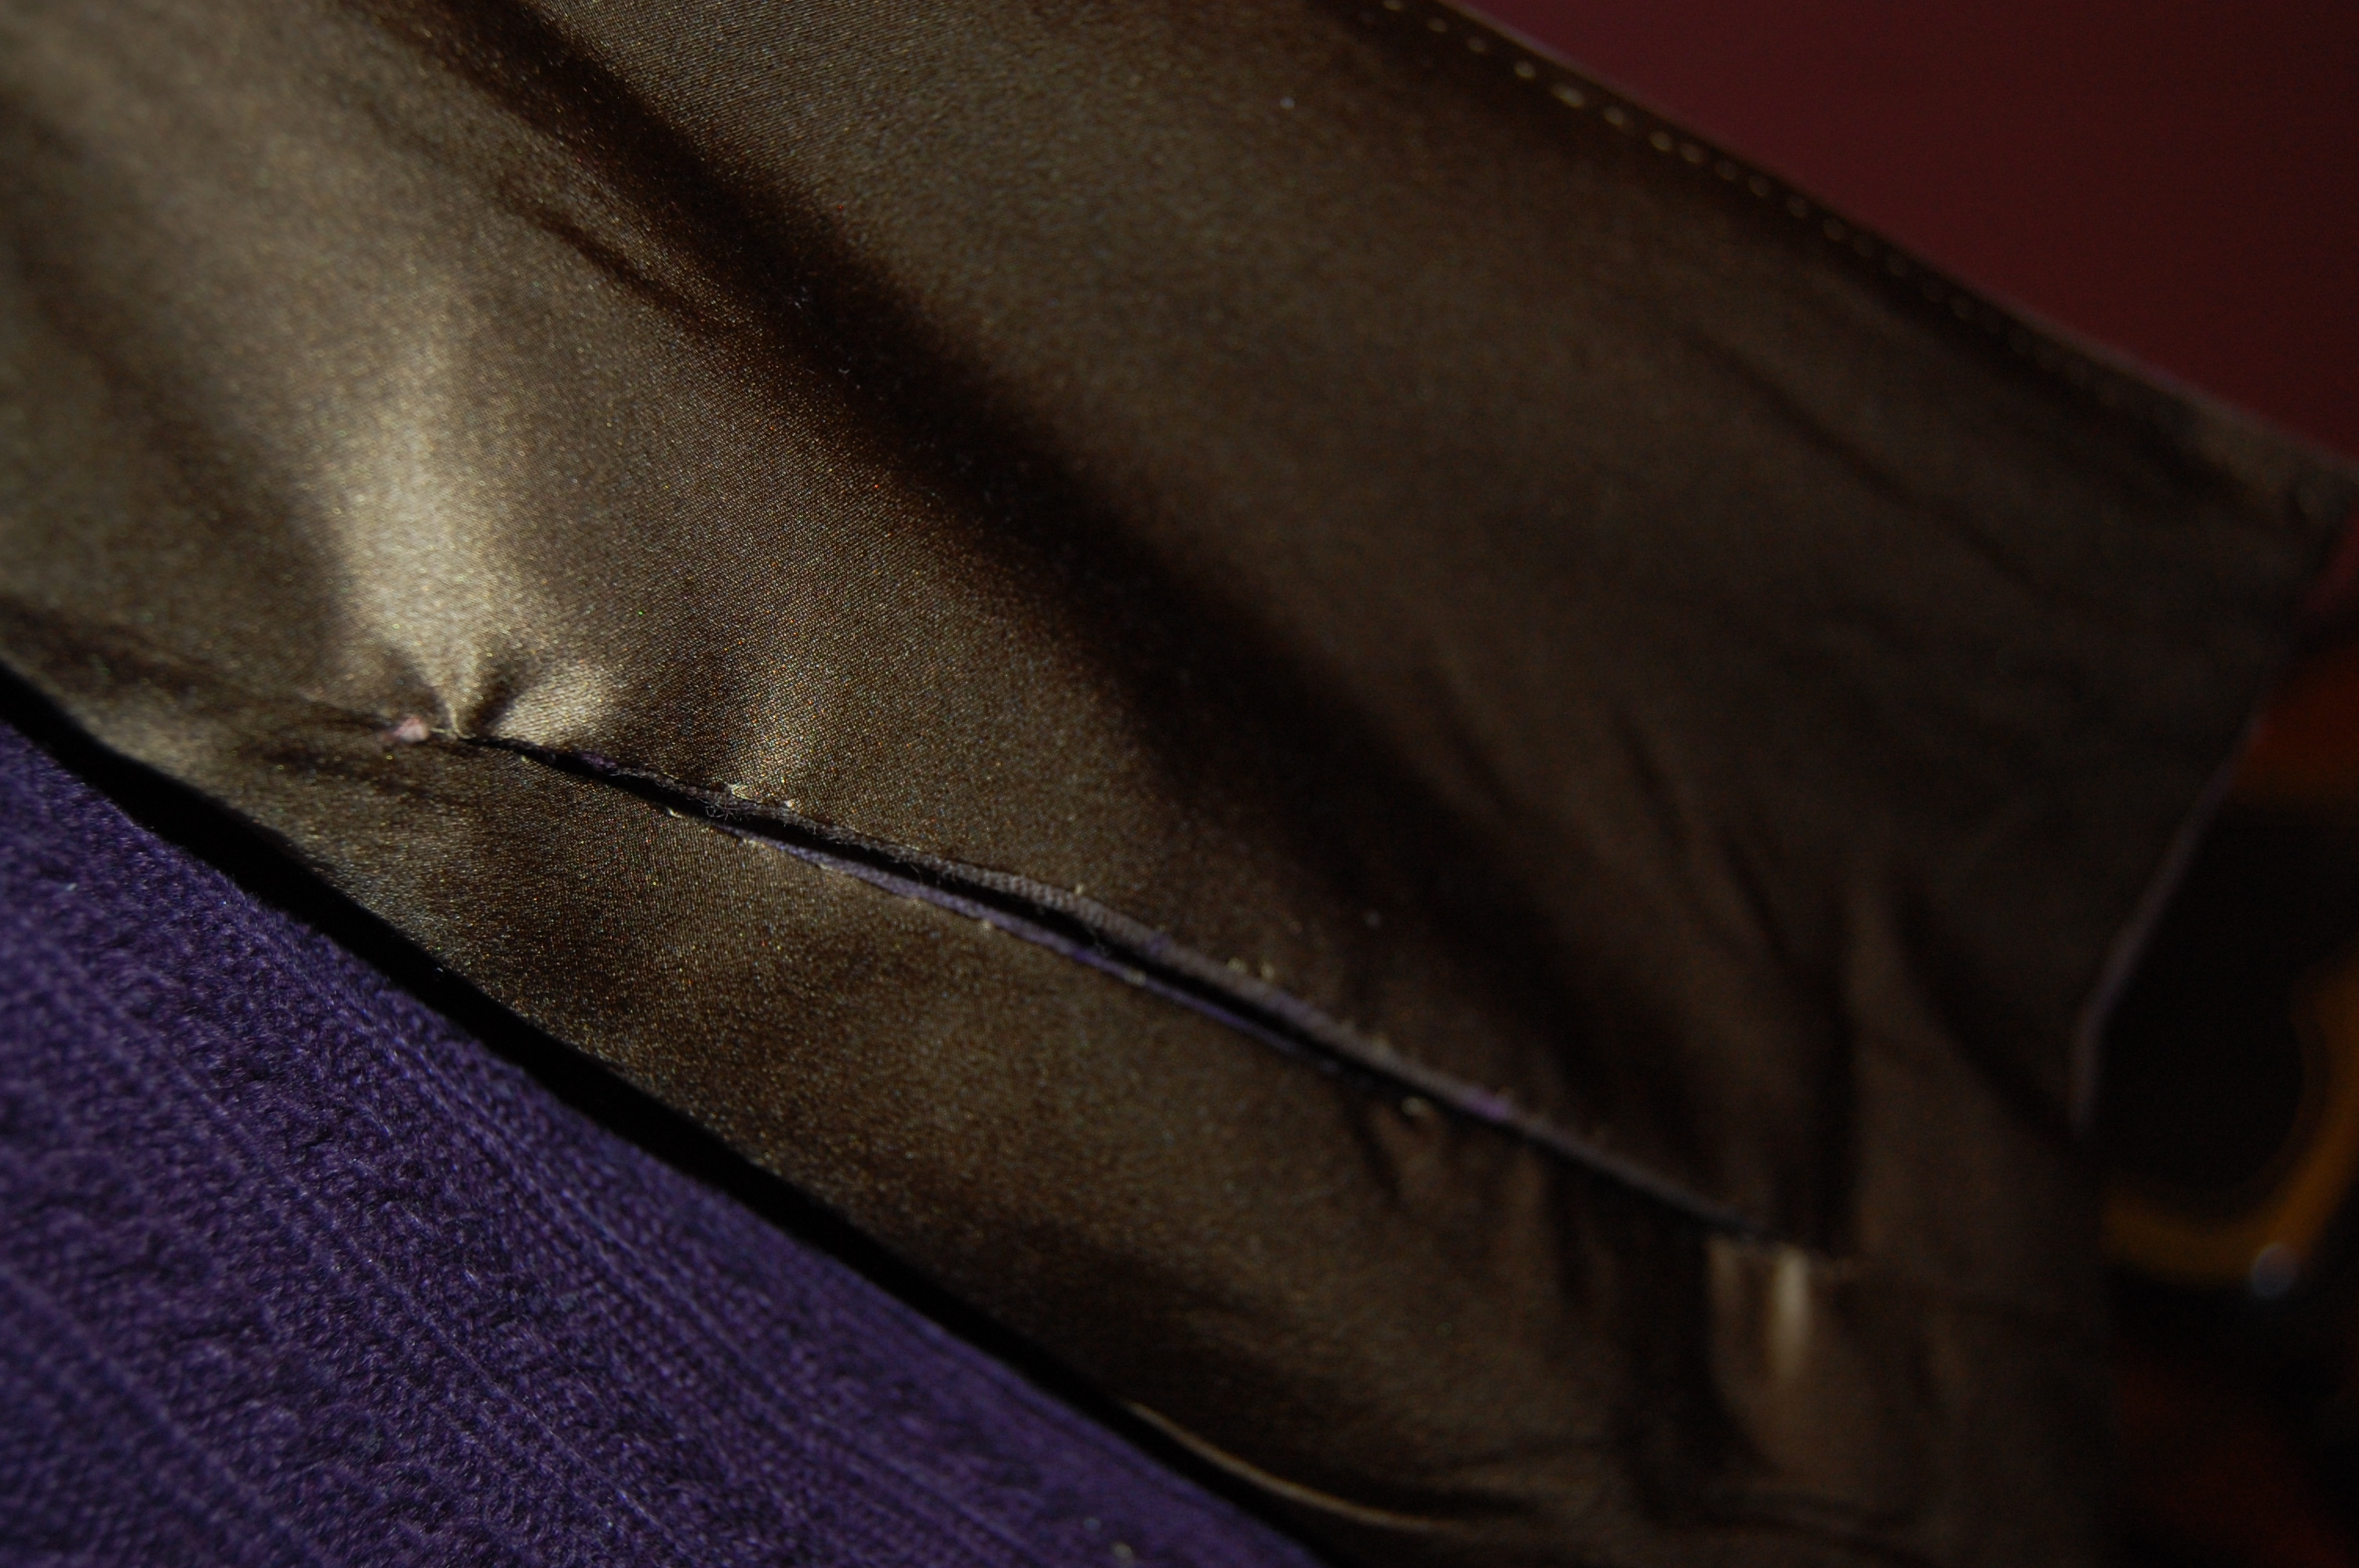
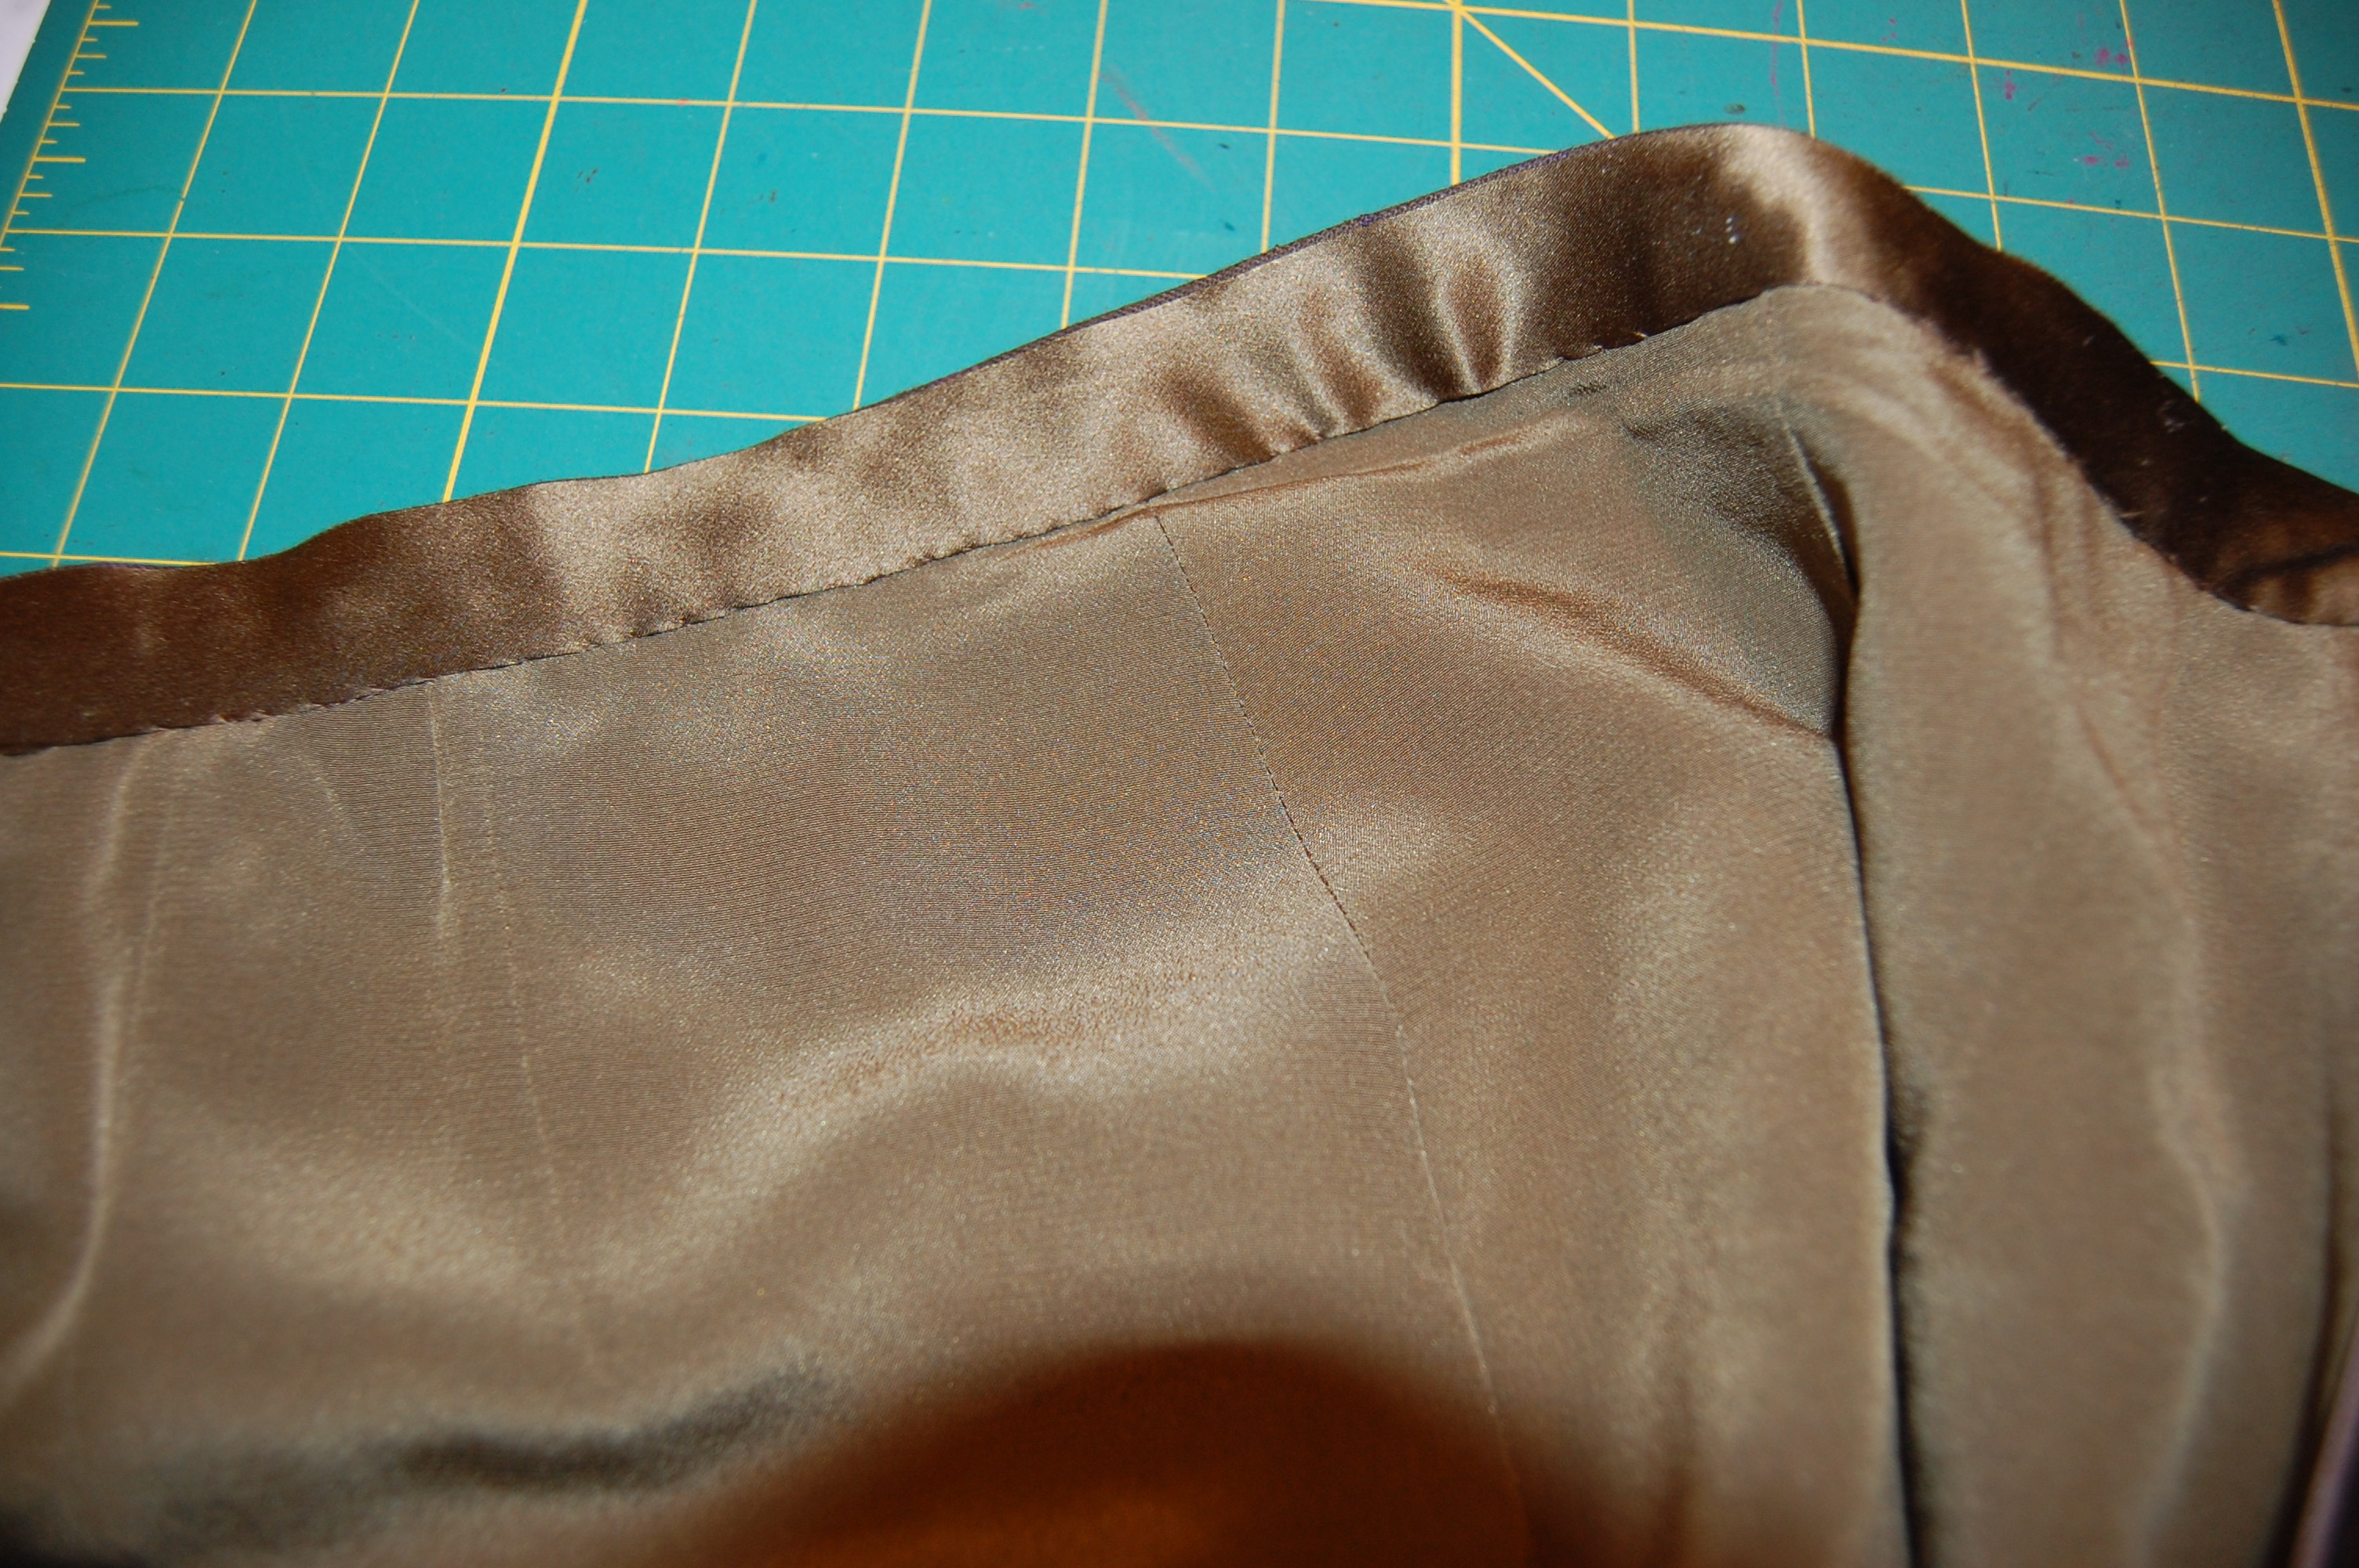
Speaking of the hanger forms – I have yet to find a source for these raw wood hangers. To get what I need, I have purchased cheap, polyester satin covered hangers in bulk and taken off the fabric and yucky foam padding to reveal the raw wood hanger form inside it all. This works, but I would really love to find a source for basic, uniform, raw-wood hangers with the swivel, silver-toned hardware that I prefer for these small projects.
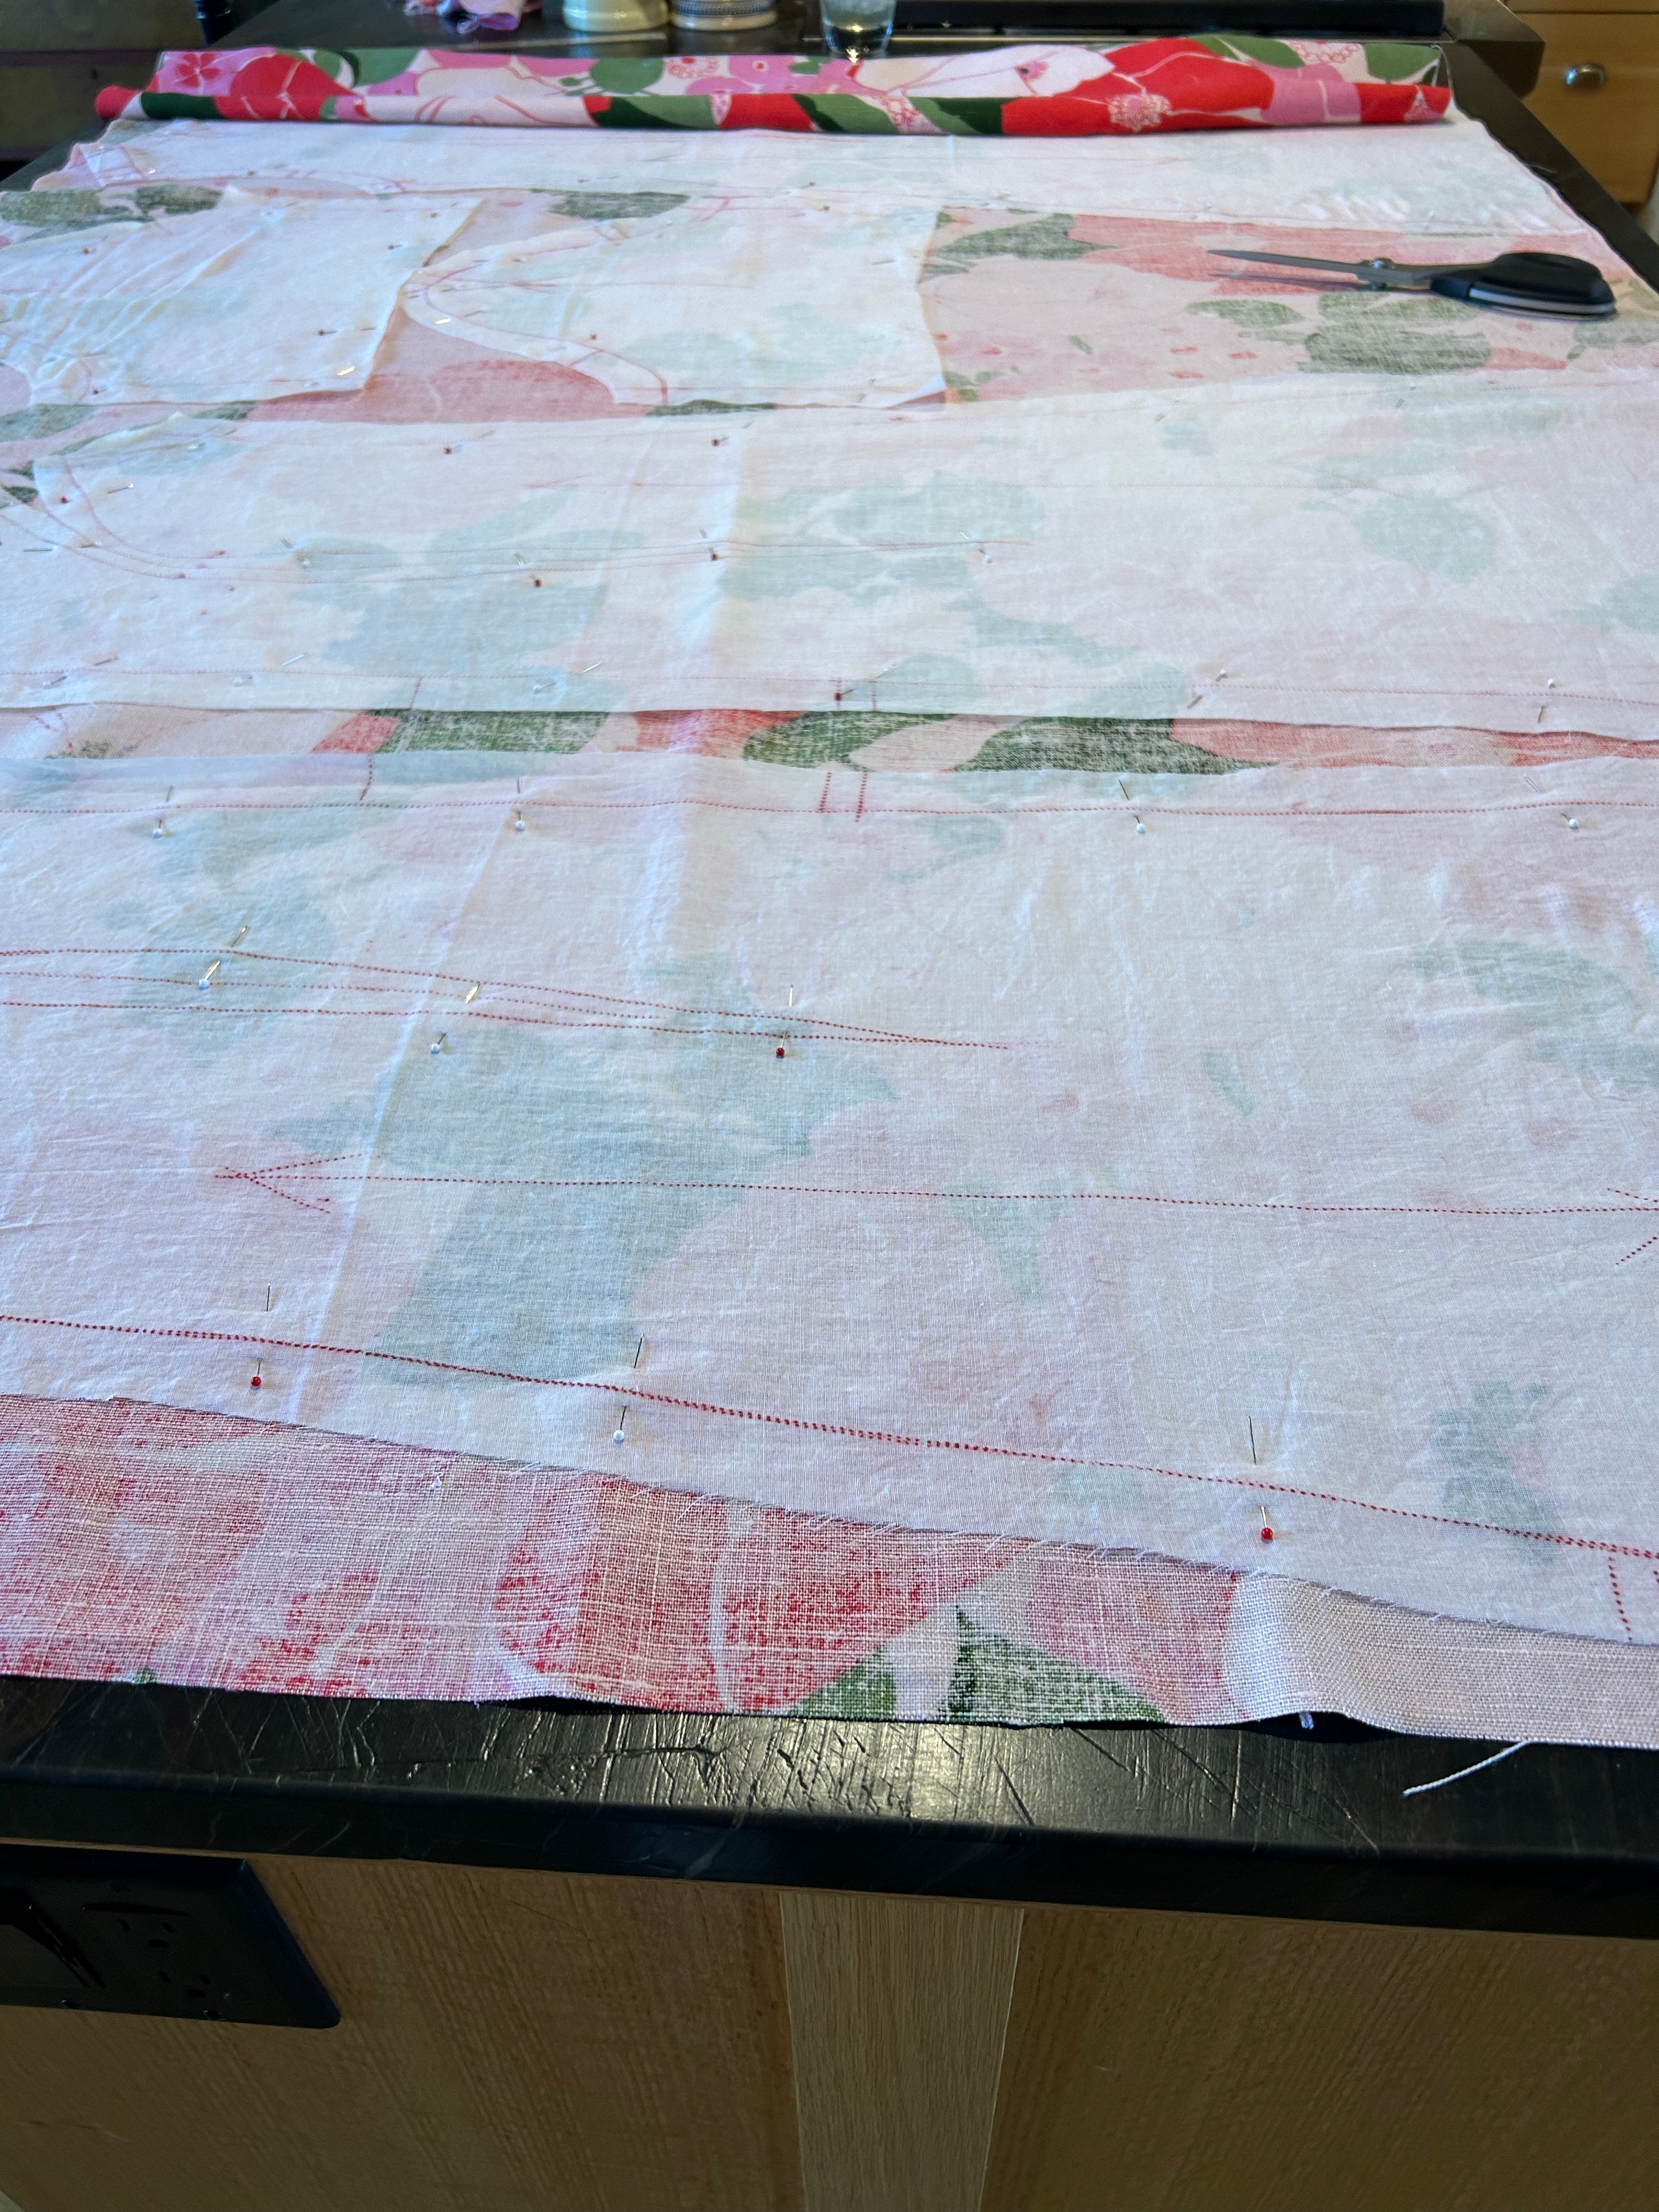
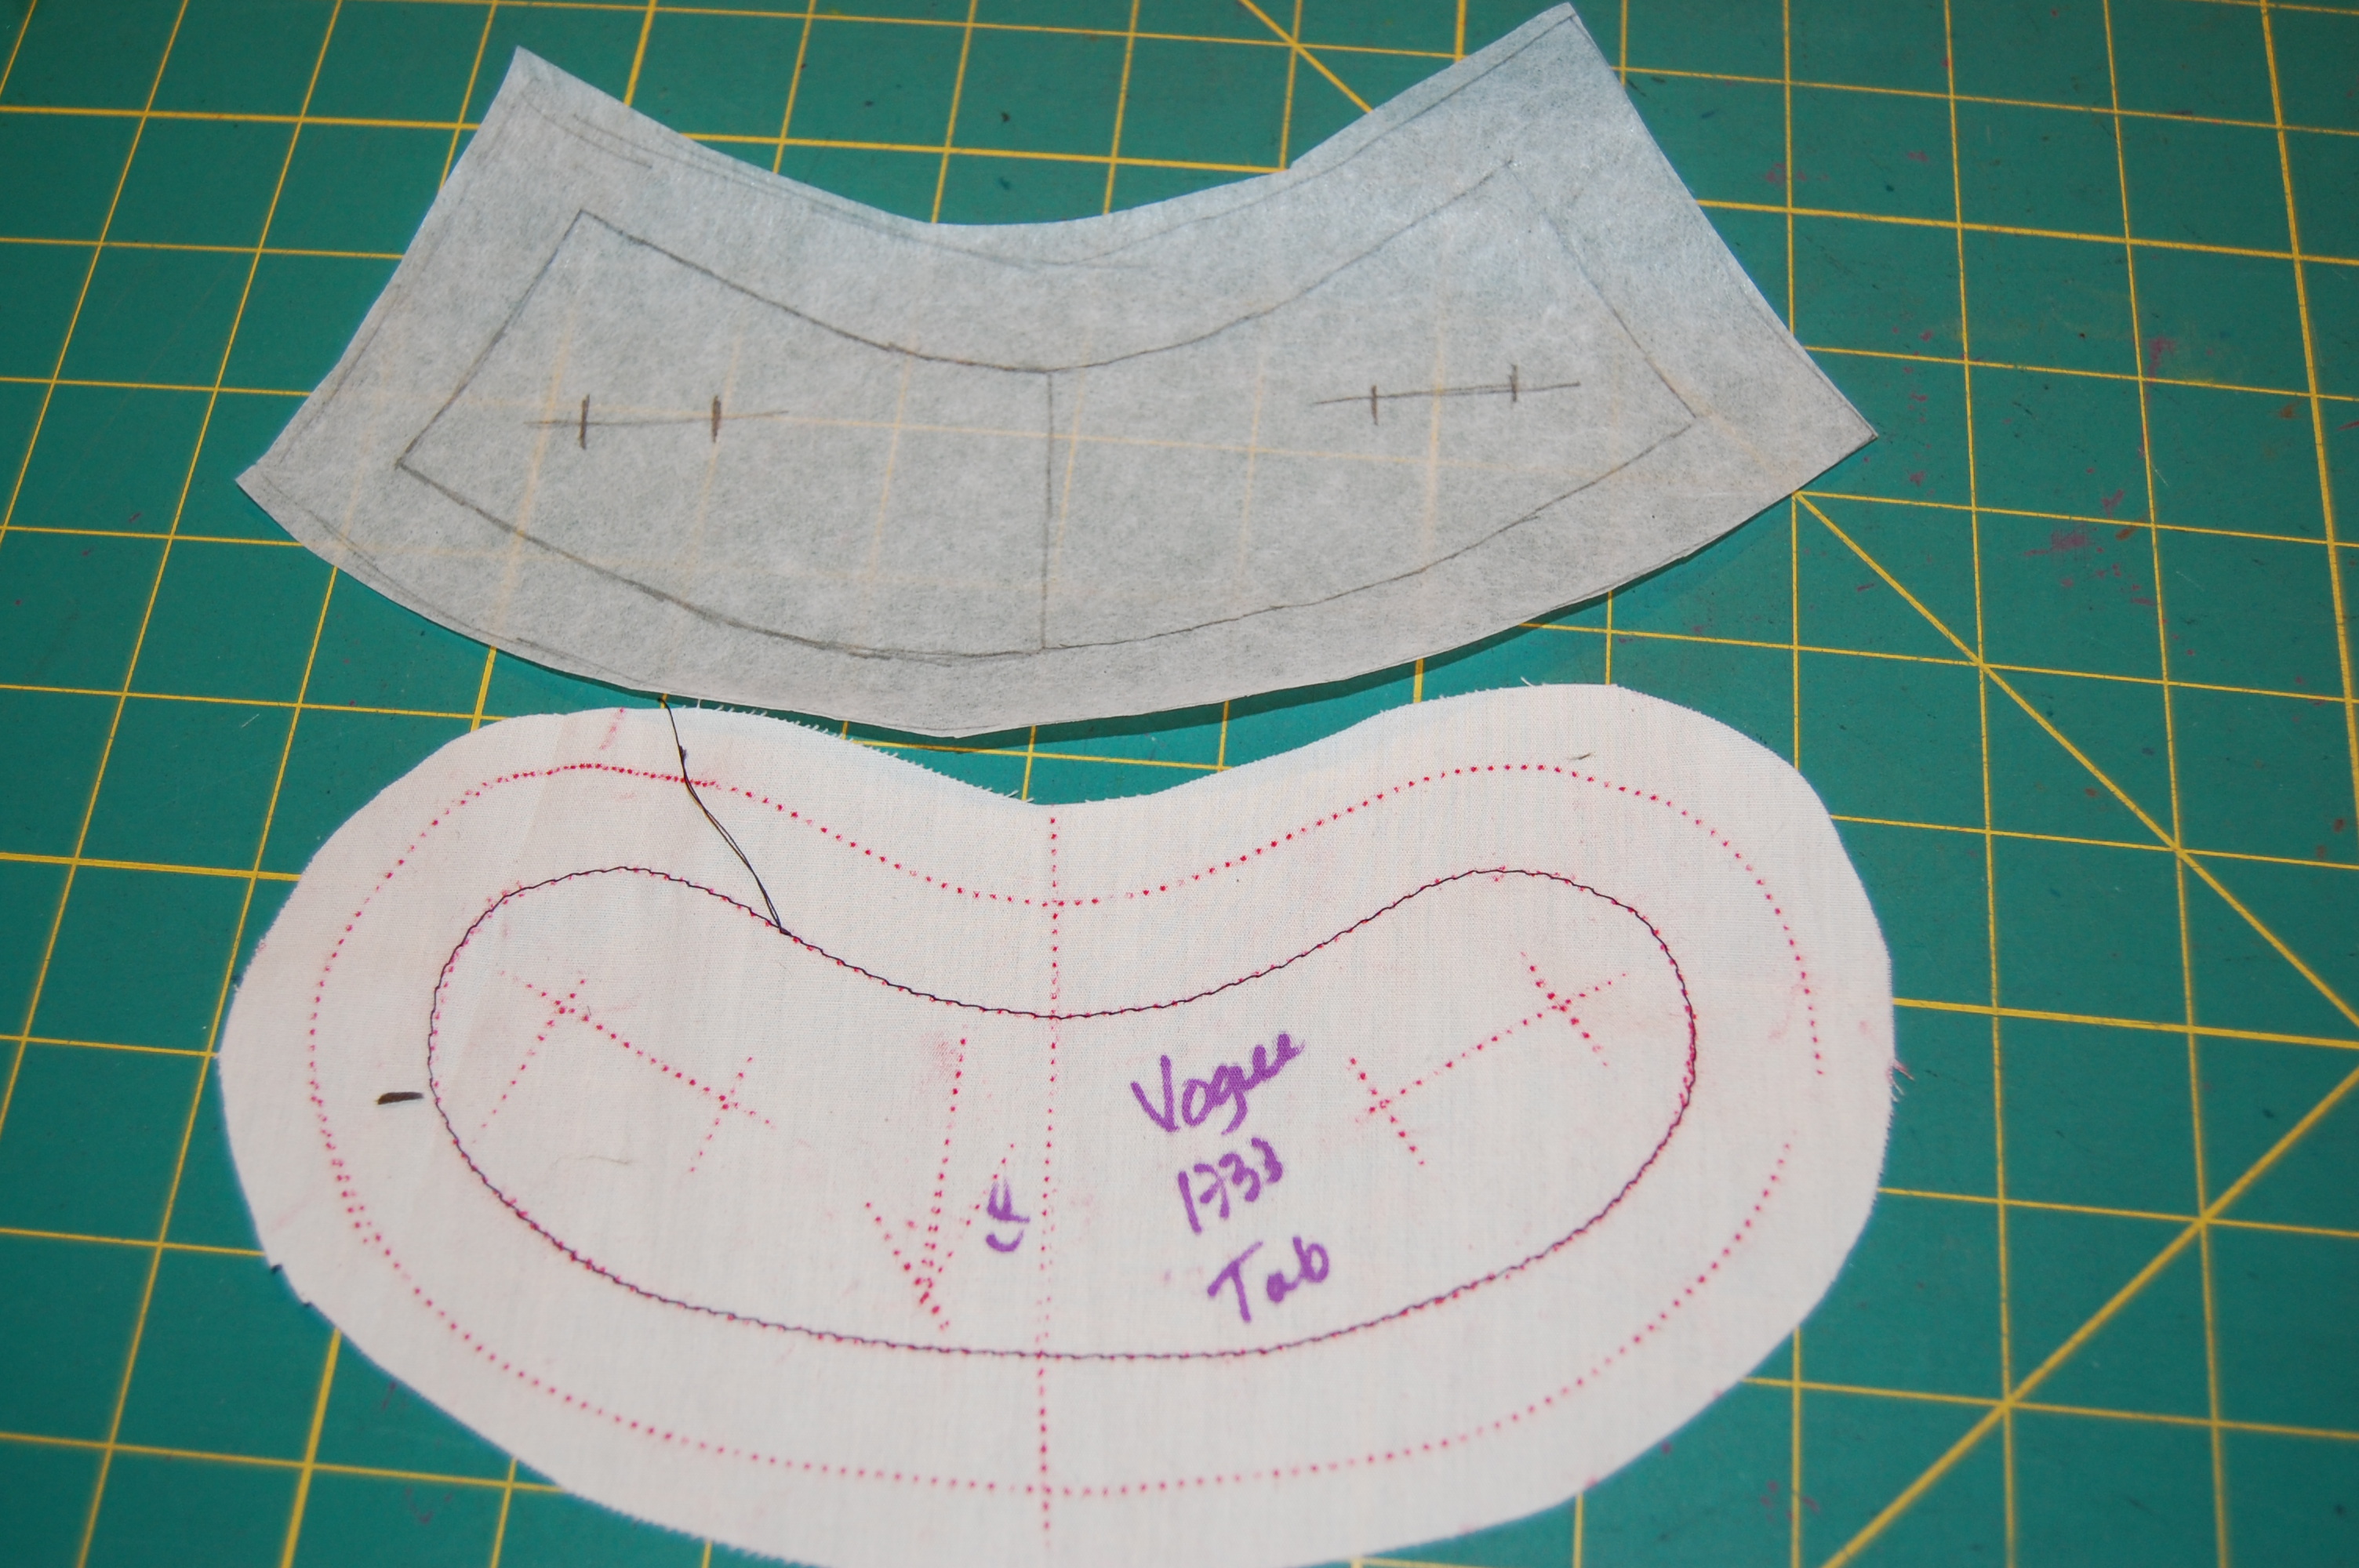
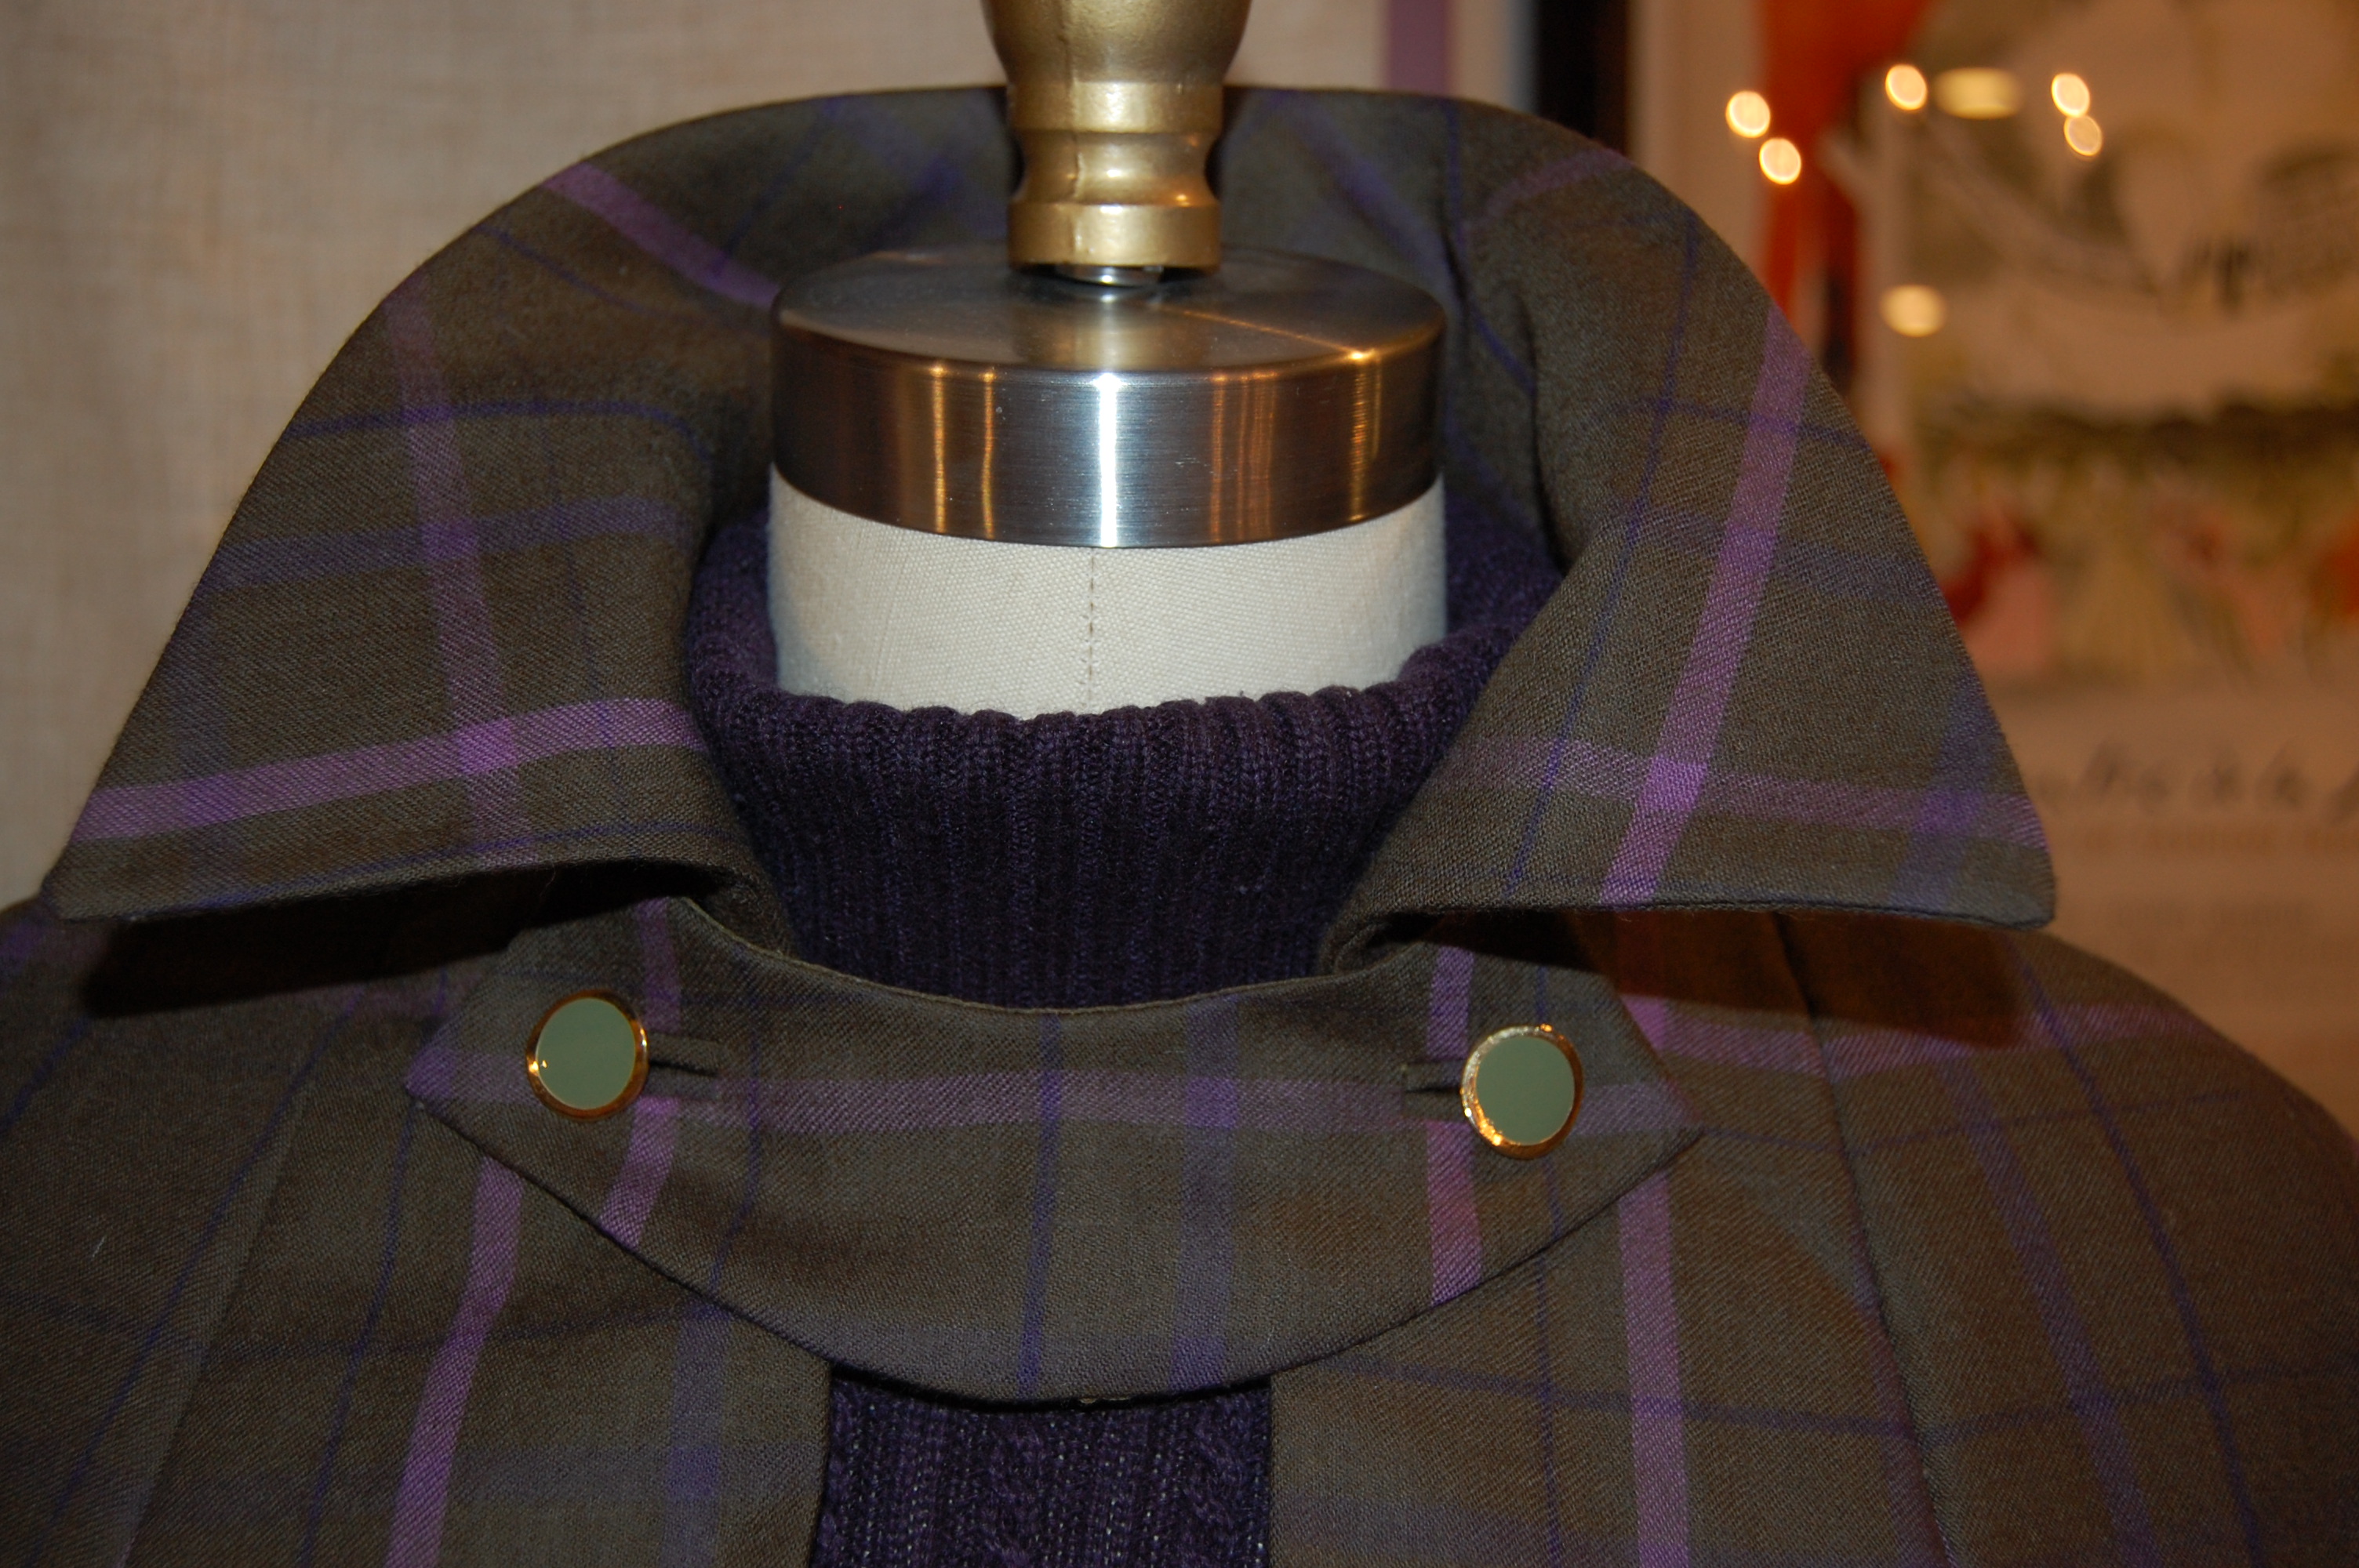
Here are a few pictures of my process, not intended to be a tutorial.
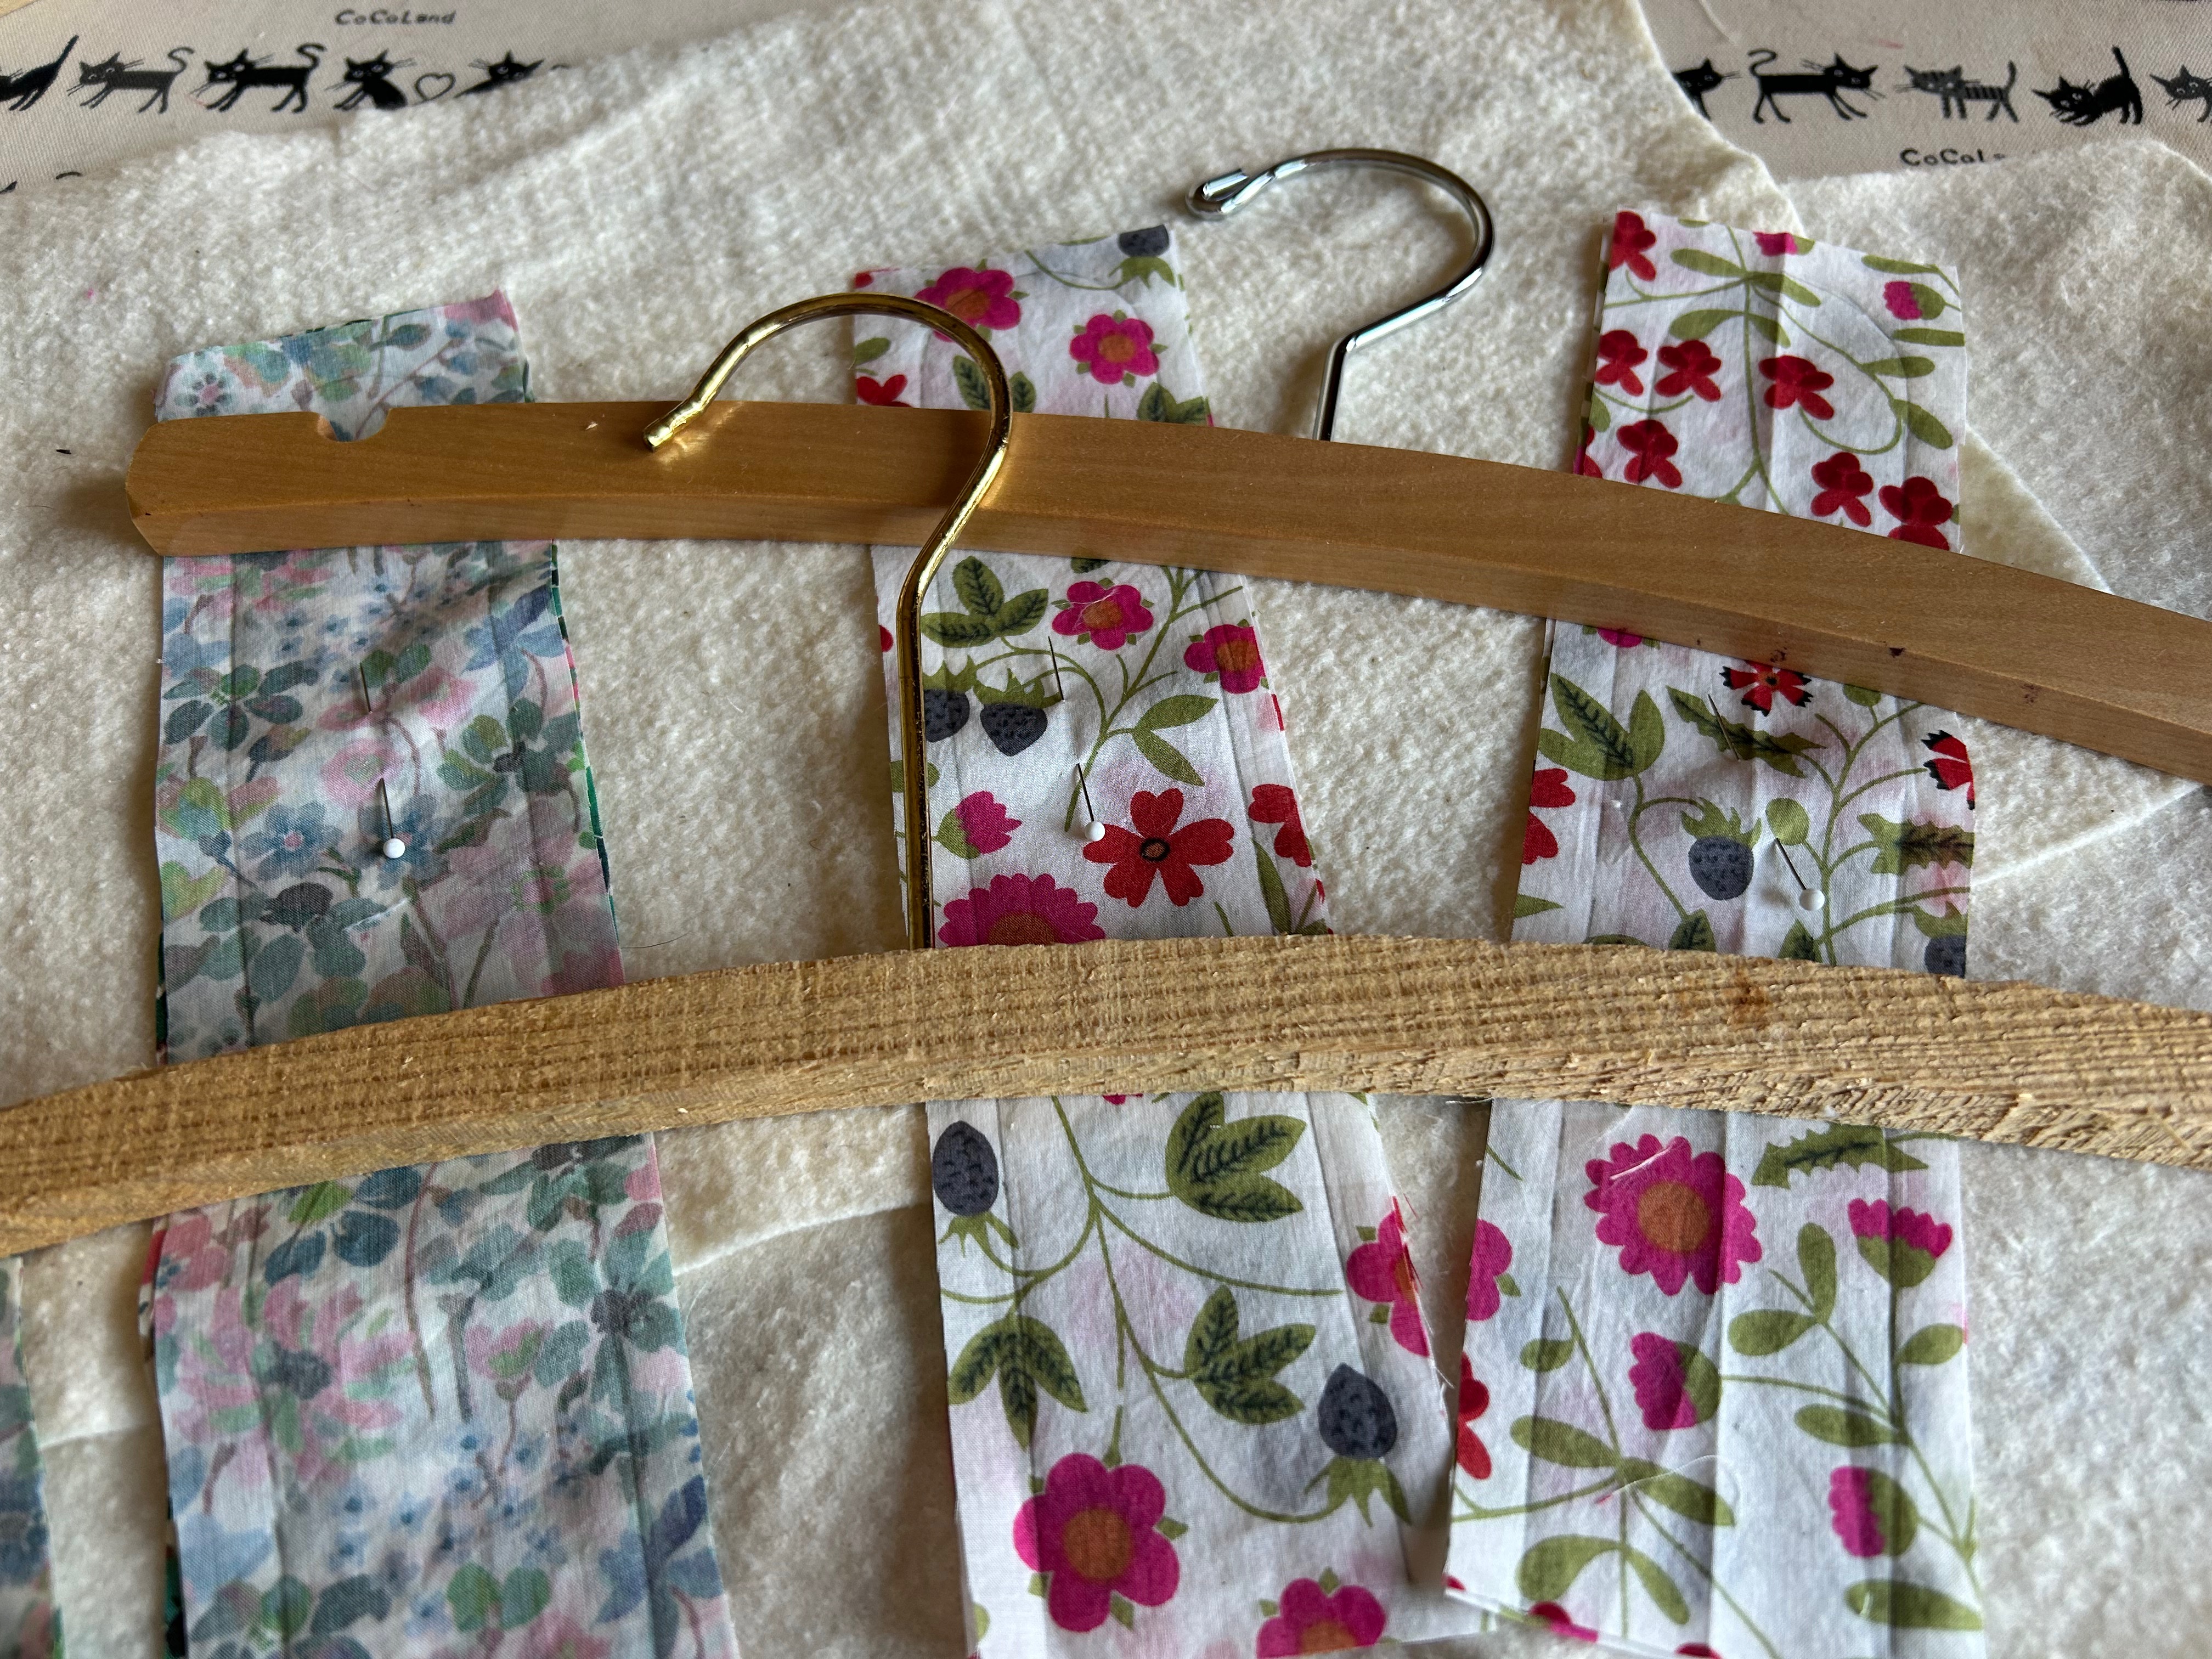
Shown here are two varying wooden forms I happened to have on hand. The unfinished – or raw – wood one is specifically intended for being covered. The other one is a “finished” wood hanger which I turned into a padded hanger.
Let me tell you why there is something very rewarding about making these hangers.
- First of all, they really don’t take much time, perhaps 35-40 minutes per hanger.
- Second, it is the perfect combination of hand and machine sewing.
- Third, as stated, it is a wonderful way to use up scraps.
- Fourth, I can use the fabric that is best suited for these closet accessories – tightly woven cottons, light-weight linens or damasks, and never anything slippery, such as satin, which causes your garment to slide off one side. I am particularly looking forward to making hangers with some of my scraps of vintage cottons and linens, a unique way to preserve samples of these special fabrics.
- Fifth, handmade padded hangers make very sweet small gifts for friends and family.
- And finally, making my own hangers allows me to use coordinating color ribbon. White is always nice, but using coordinating colored ribbon makes your hangers just that much more personal.
Often, between sewing projects, especially if they are major projects, I like to make something quick and easy and fun to “decompress” and get ready for the next big undertaking. Making a padded hanger is the perfect solution.


A Book Review: The Dress Diary of Mrs. Anne Sykes – Secrets from a Victorian Woman’s Wardrobe, by Kate Strasdin.
Every once in a while, I find myself having fallen under the spell of a particularly noteworthy and engaging book. Such was my fate with this remarkable story of an Englishwoman (1816 -1890) and her journal of fabric swatches, saved from her own life and collected from family, friends, and acquaintances over the course of decades, beginning in September of 1838.
With over 1200 fabric entries, the diary – or journal – gradually revealed its secrets to the author, a fashion historian, who painstakingly transcribed the often sparse notations accompanying each fabric sample, piecing together the fascinating life and times of Anne Burton Sykes. The research is meticulous, and the author, Kate Strasdin, shares her eureka moments which allowed her to expand not only Anne’s life, but those of her friends and family as well. Written in an engaging style, this non-fiction book often reads like a novel, a wonderful story of love, friendship, adventure, and vibrant personalities.
There is so much to learn here about Anne’s life in the larger context of world history and events, but it is the personal experiences and expressions which spoke so loudly to me. Yes, there are many details which, by the nature of the journal, must be extrapolated and surmised, which the author is careful to note. But the picture of Anne – and her husband Adam – which evolves is one of two very likeable people, engaged in their community, industrious and thoughtful, friendly and adventurous, and undoubtably well-dressed.
The first entries in the journal, of Anne’s wedding attire, were actually placed and annotated by Adam. He was the one to give Anne the journal on their wedding day. He refers to her as “my charming Anne.” Not beautiful, not sweet, not dear, but “charming.” That single selection of adjective spoke volumes to me about each of them.
She also must have been brave, enduring a four-month sea voyage from northern England to Singapore, where Adam’s business took them two years after their marriage. There they built a life among other English-speaking neighbors and acquaintances, in the stifling heat and humidity of the south China sea. After seven years in Singapore, they went on to Shanghai for two years (where the diary goes silent for the duration), and then back to England.
Anne’s friendships with other women throughout her life are apparent in the swatches she receives from so many in her circle. The exchange of gifts and tokens of friendship take form in dress-goods (cotton, wool, silk), ribbons, pieces of lace, and snippets of sashes. There appeared to be a remarkable camaraderie among all ages and between the sexes.
The author has done a masterful job in deciphering the life and persona of Mrs. Anne Sykes through so many diverse fabric swatches. Anne’s kindness, her circumspection, her devotion to family and friends, and her small place in history make for a wonderful, enlightening story. I am very grateful to have had the opportunity to read and savor this book.
11 Comments
Filed under Book reviews, Fashion commentary, Fashion history, Uncategorized, Vintage fabric
Tagged as Book reviews