
Blouses, sweaters, tops. These three categories gave me plenty to pair with dressier slacks and more casual pants. I took along one solid black, jewel neck embroidered cotton sweater and two cotton cardigan sweaters which I always wear fully buttoned to use as dressy tops. They were perfect for three of the days in Paris. I had two cashmere/cotton blend pullover collared sweaters which were equally perfect for more casual days and a few more versatile pullovers. Then I had blouses. I love blouses. I decided I needed a new silk blouse to take to Paris with me.
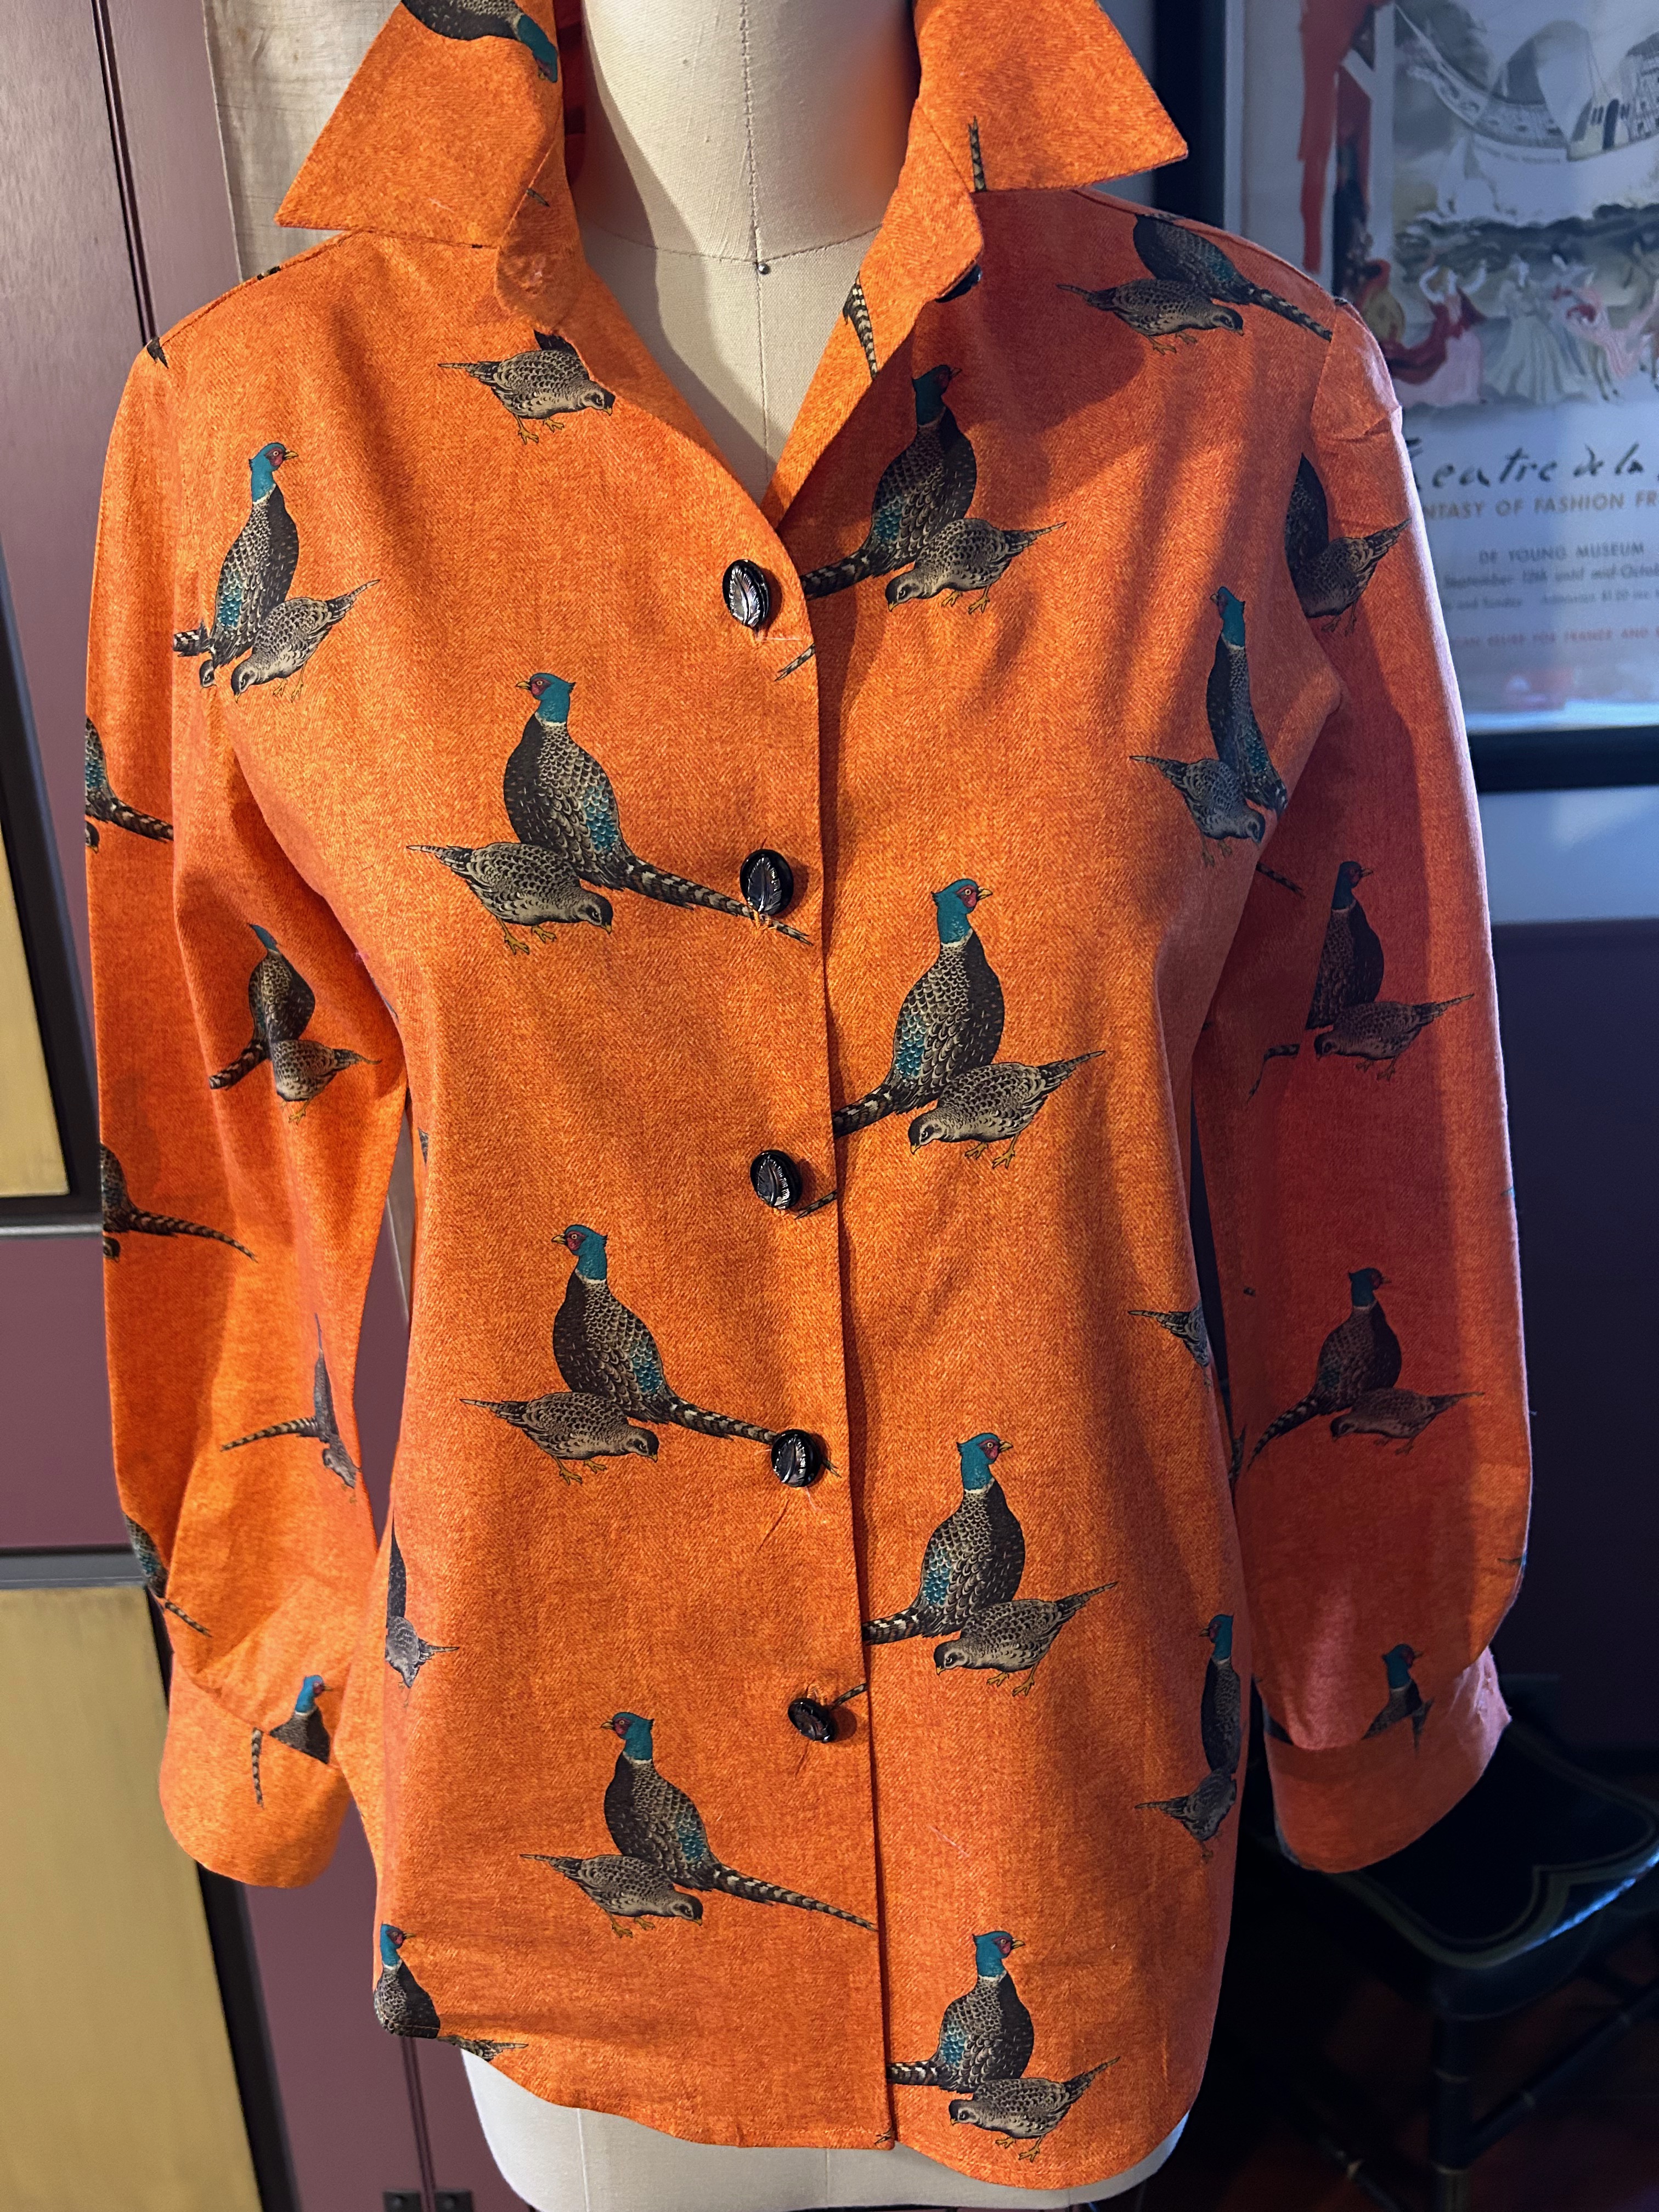
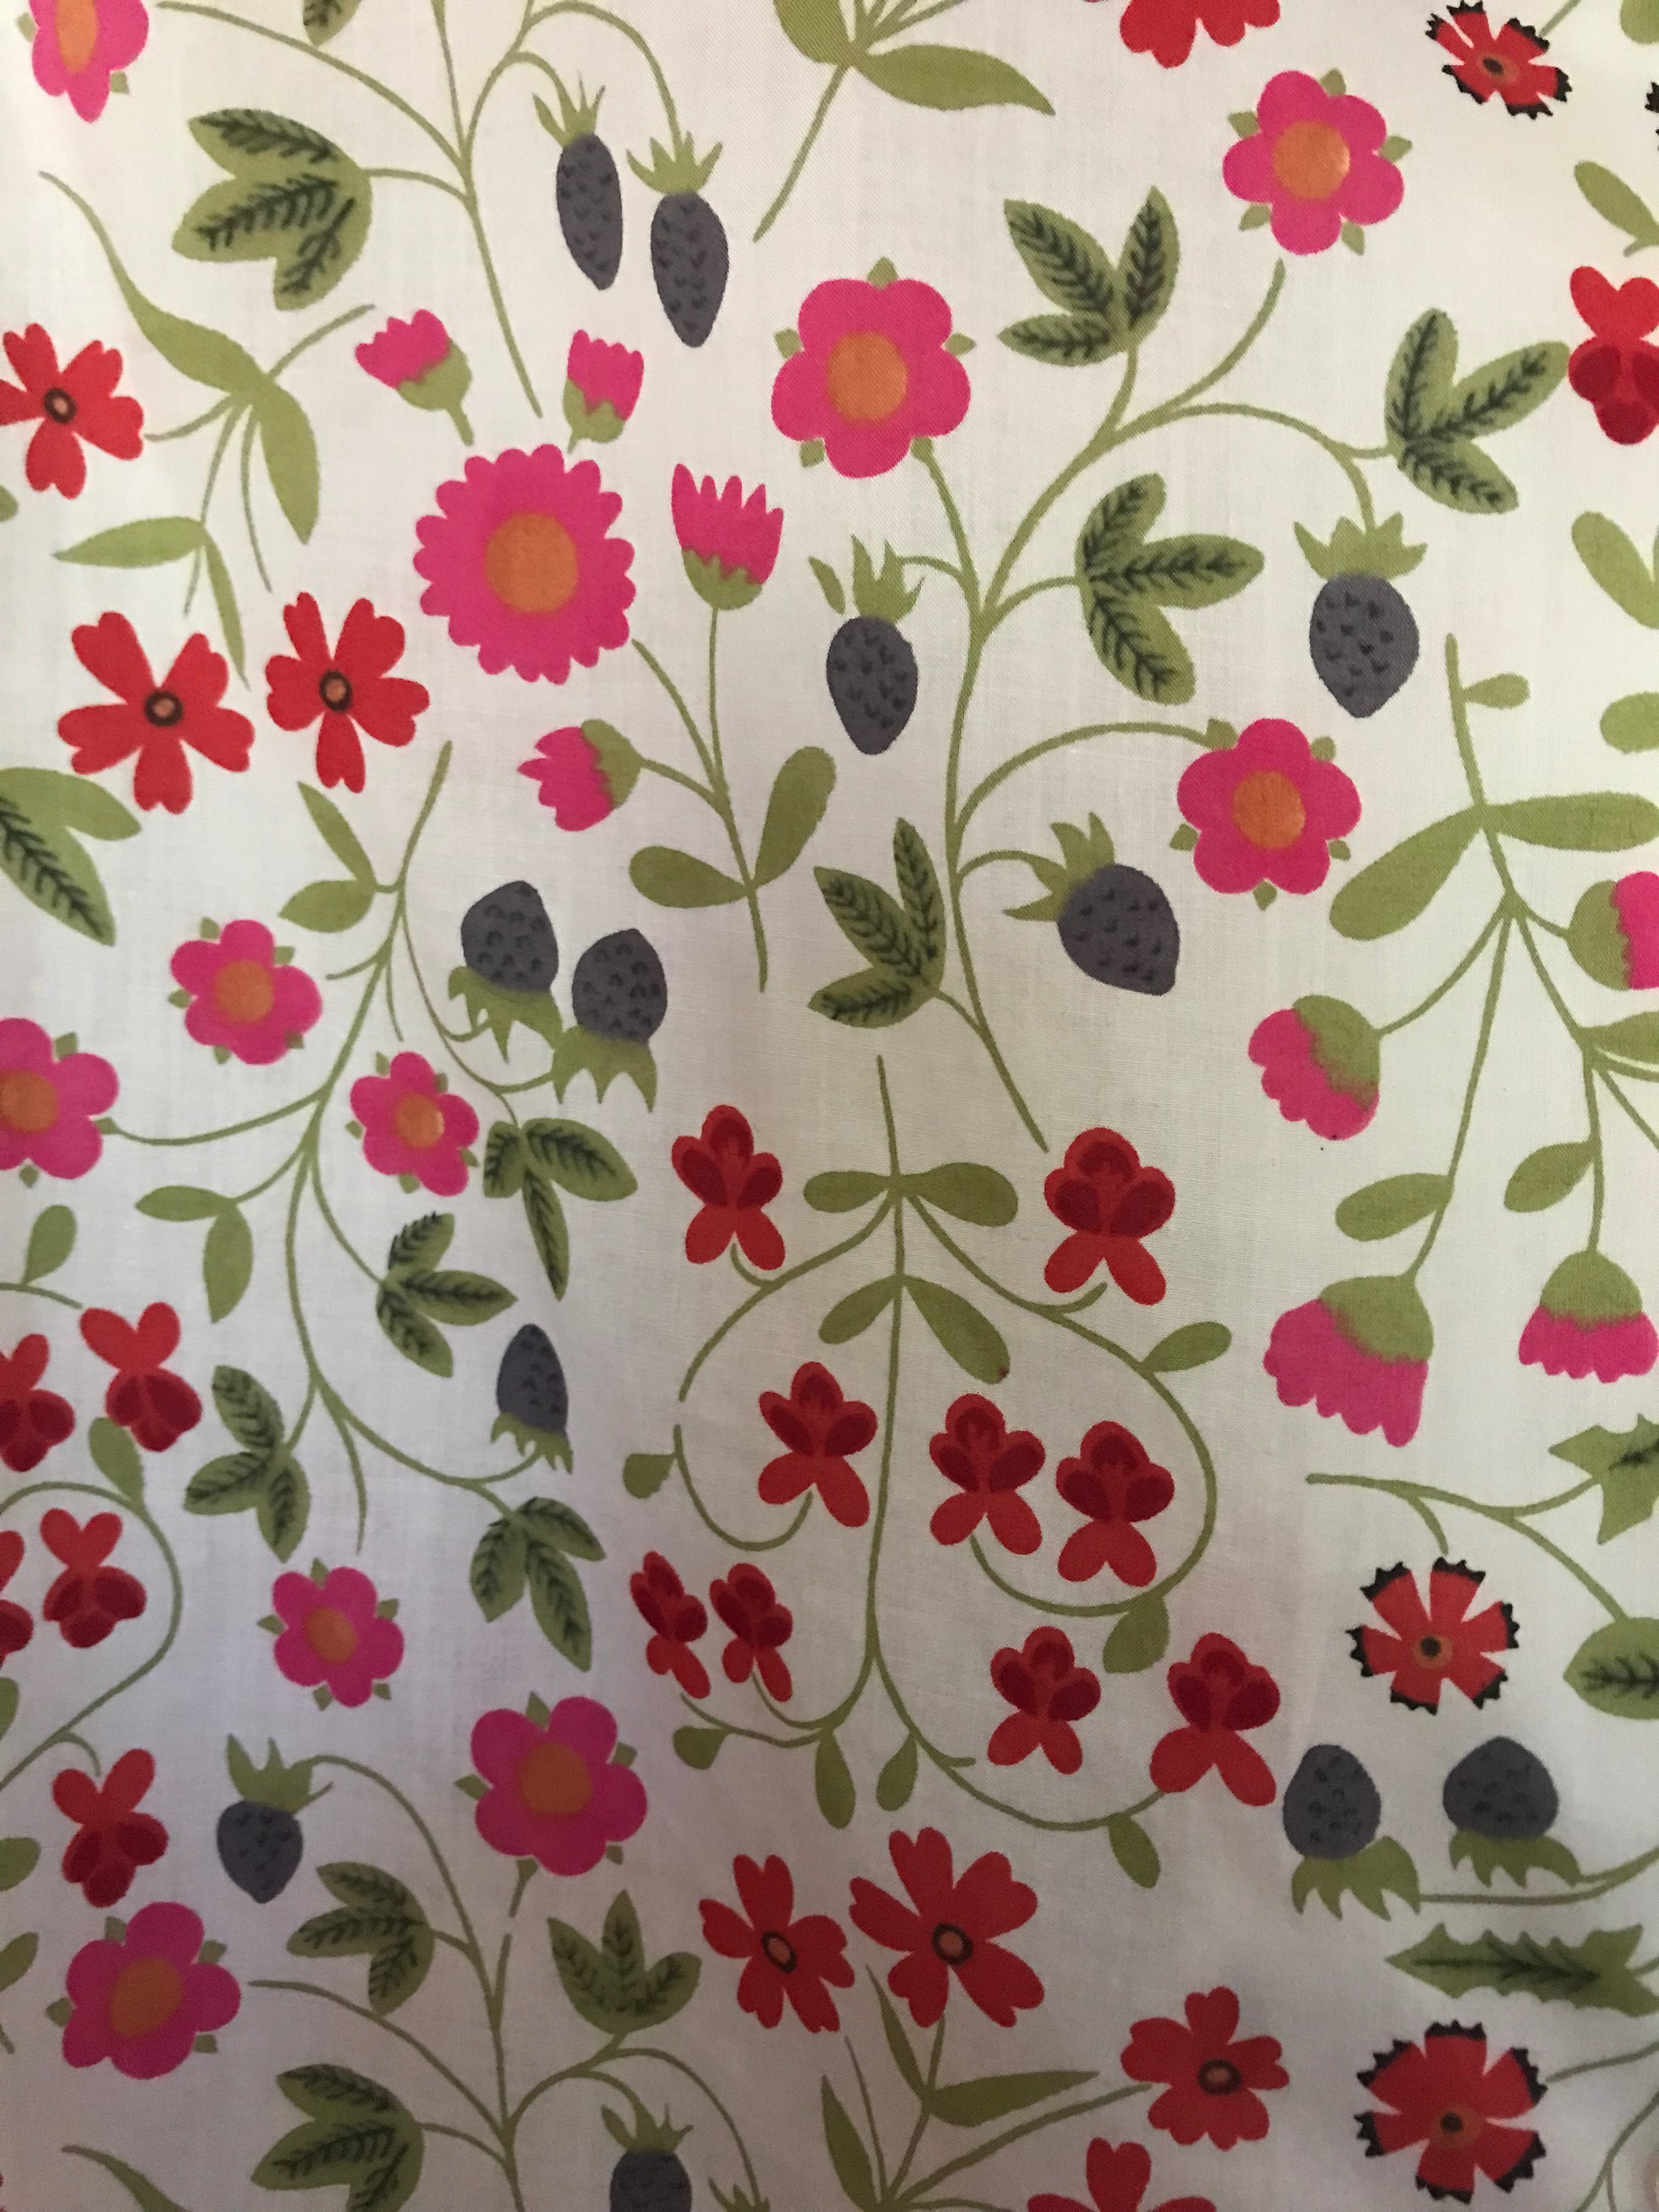
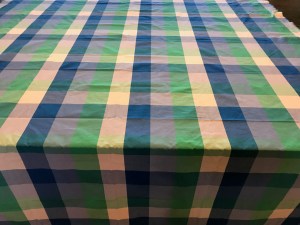
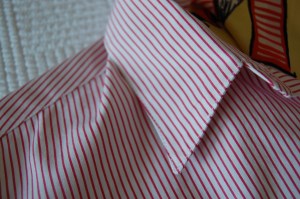
I saw this Italian silk twill on the website for Britex Fabrics:
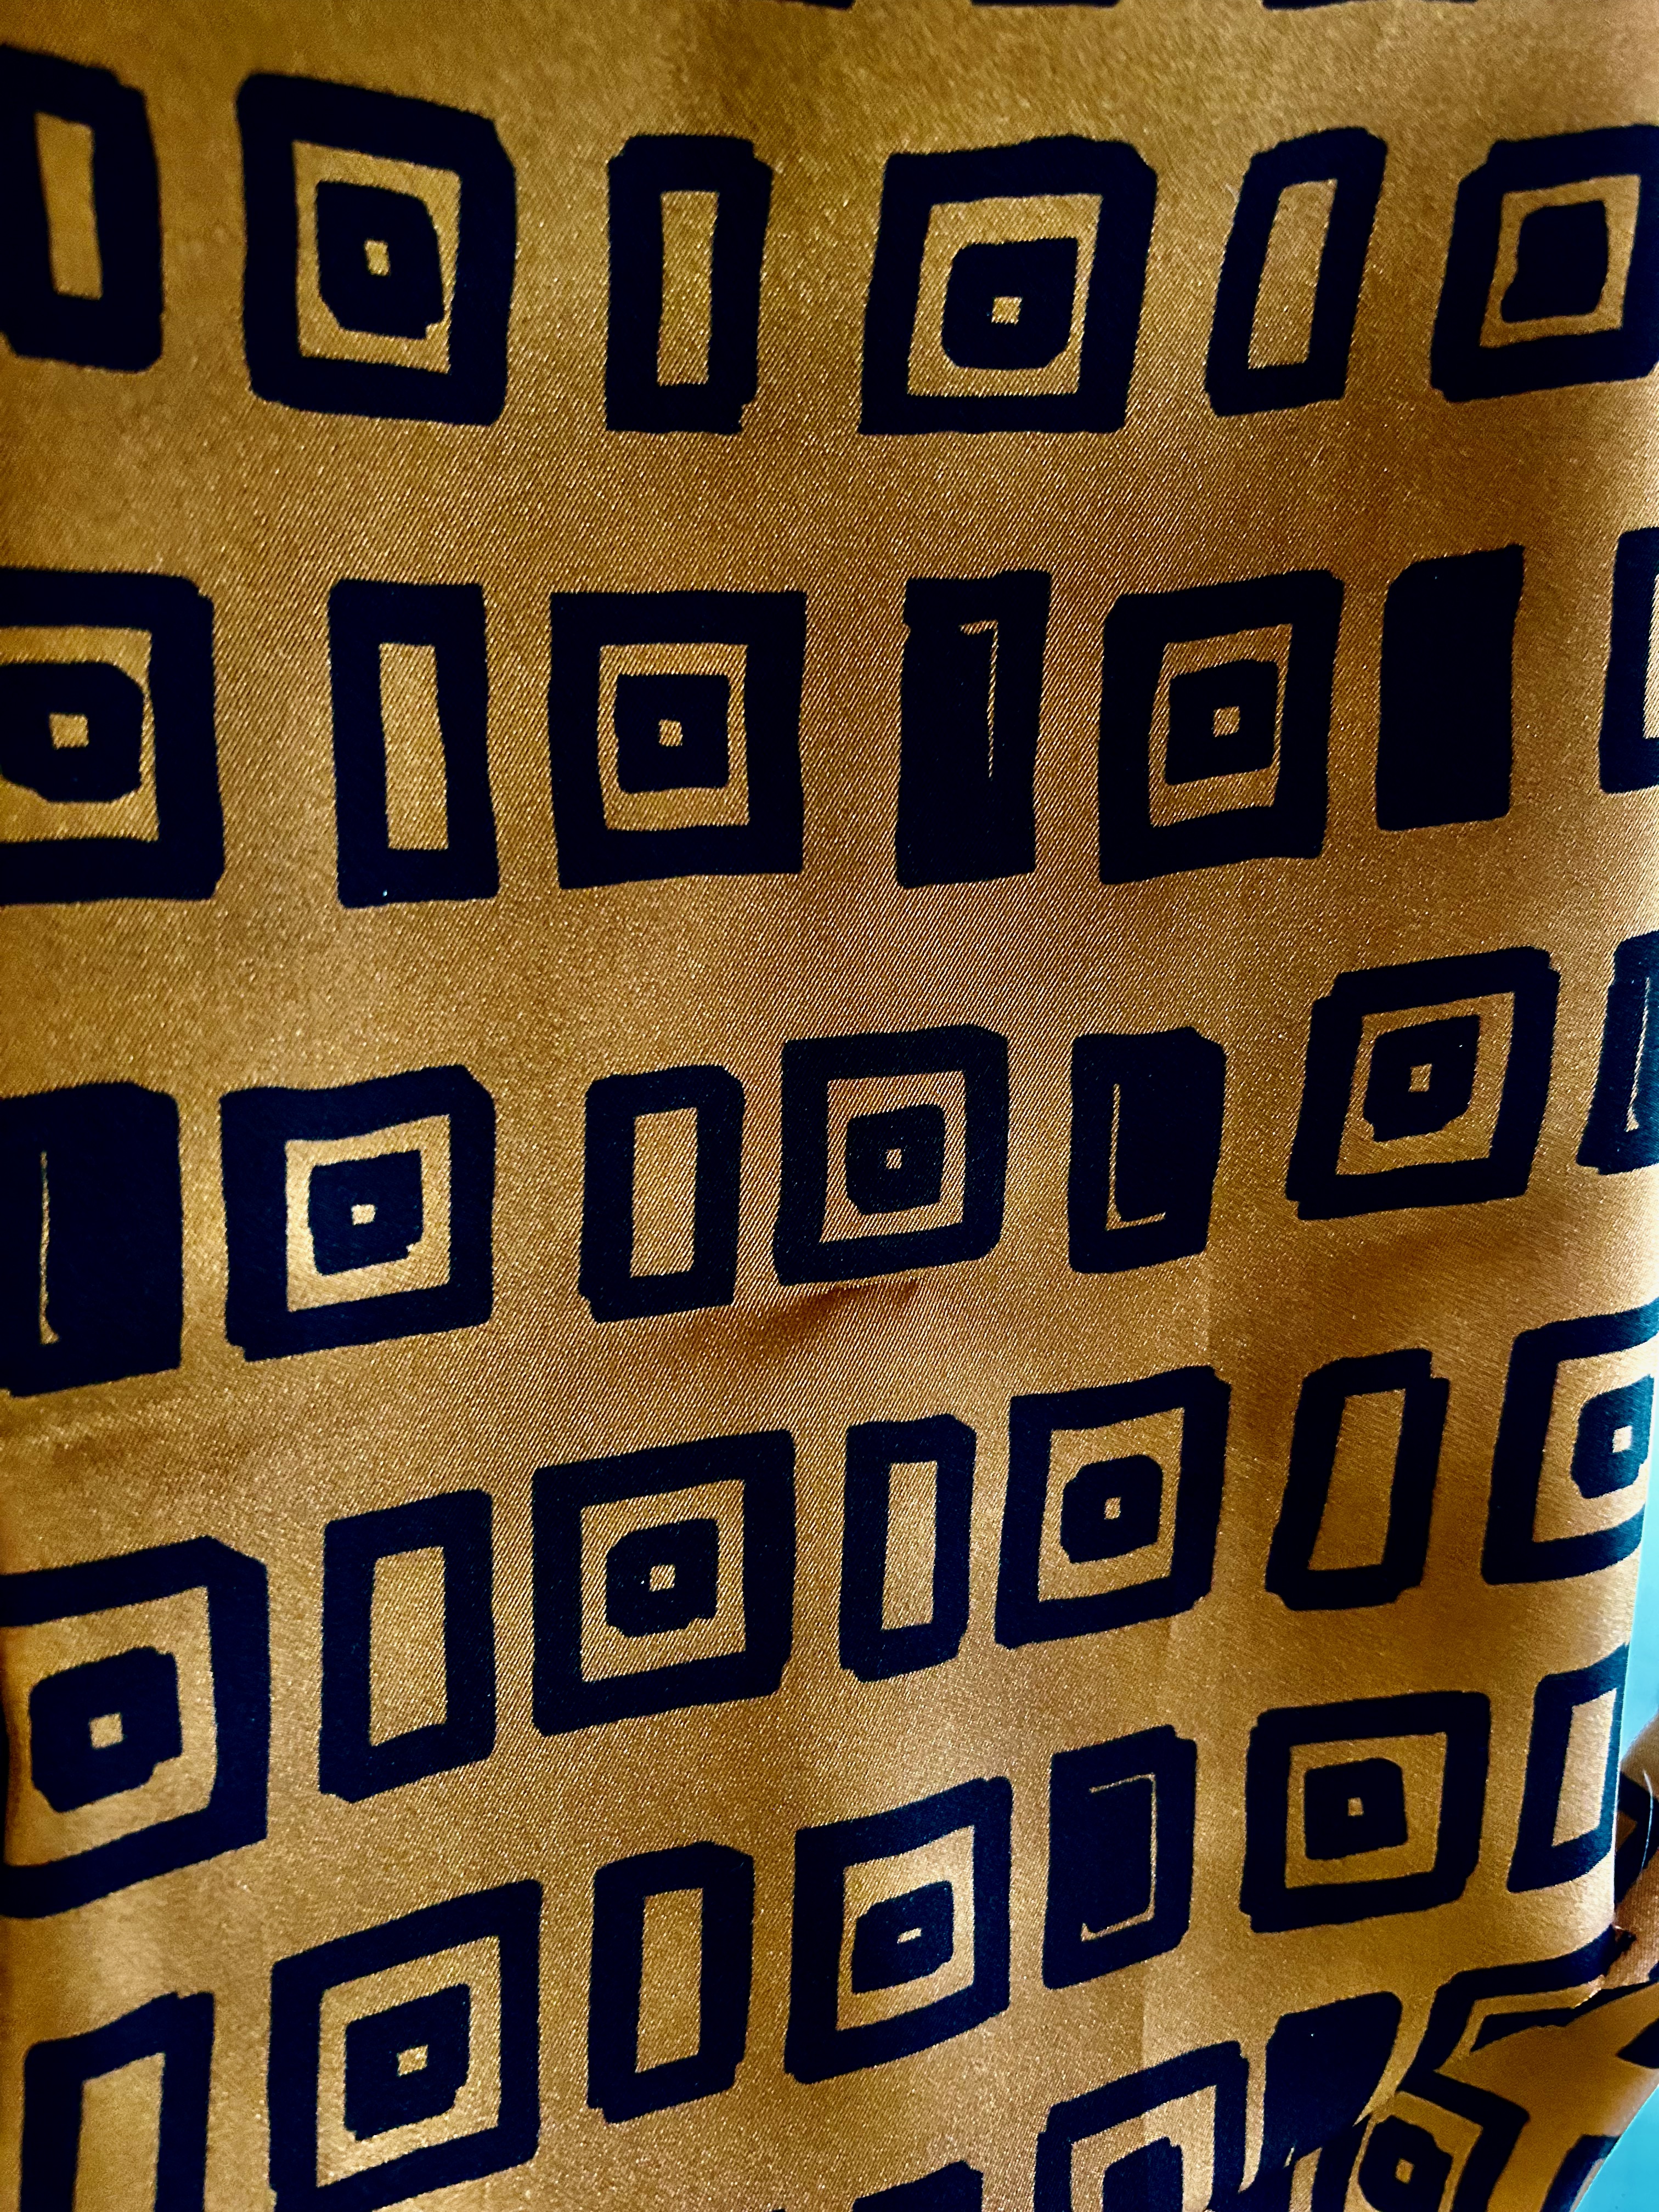
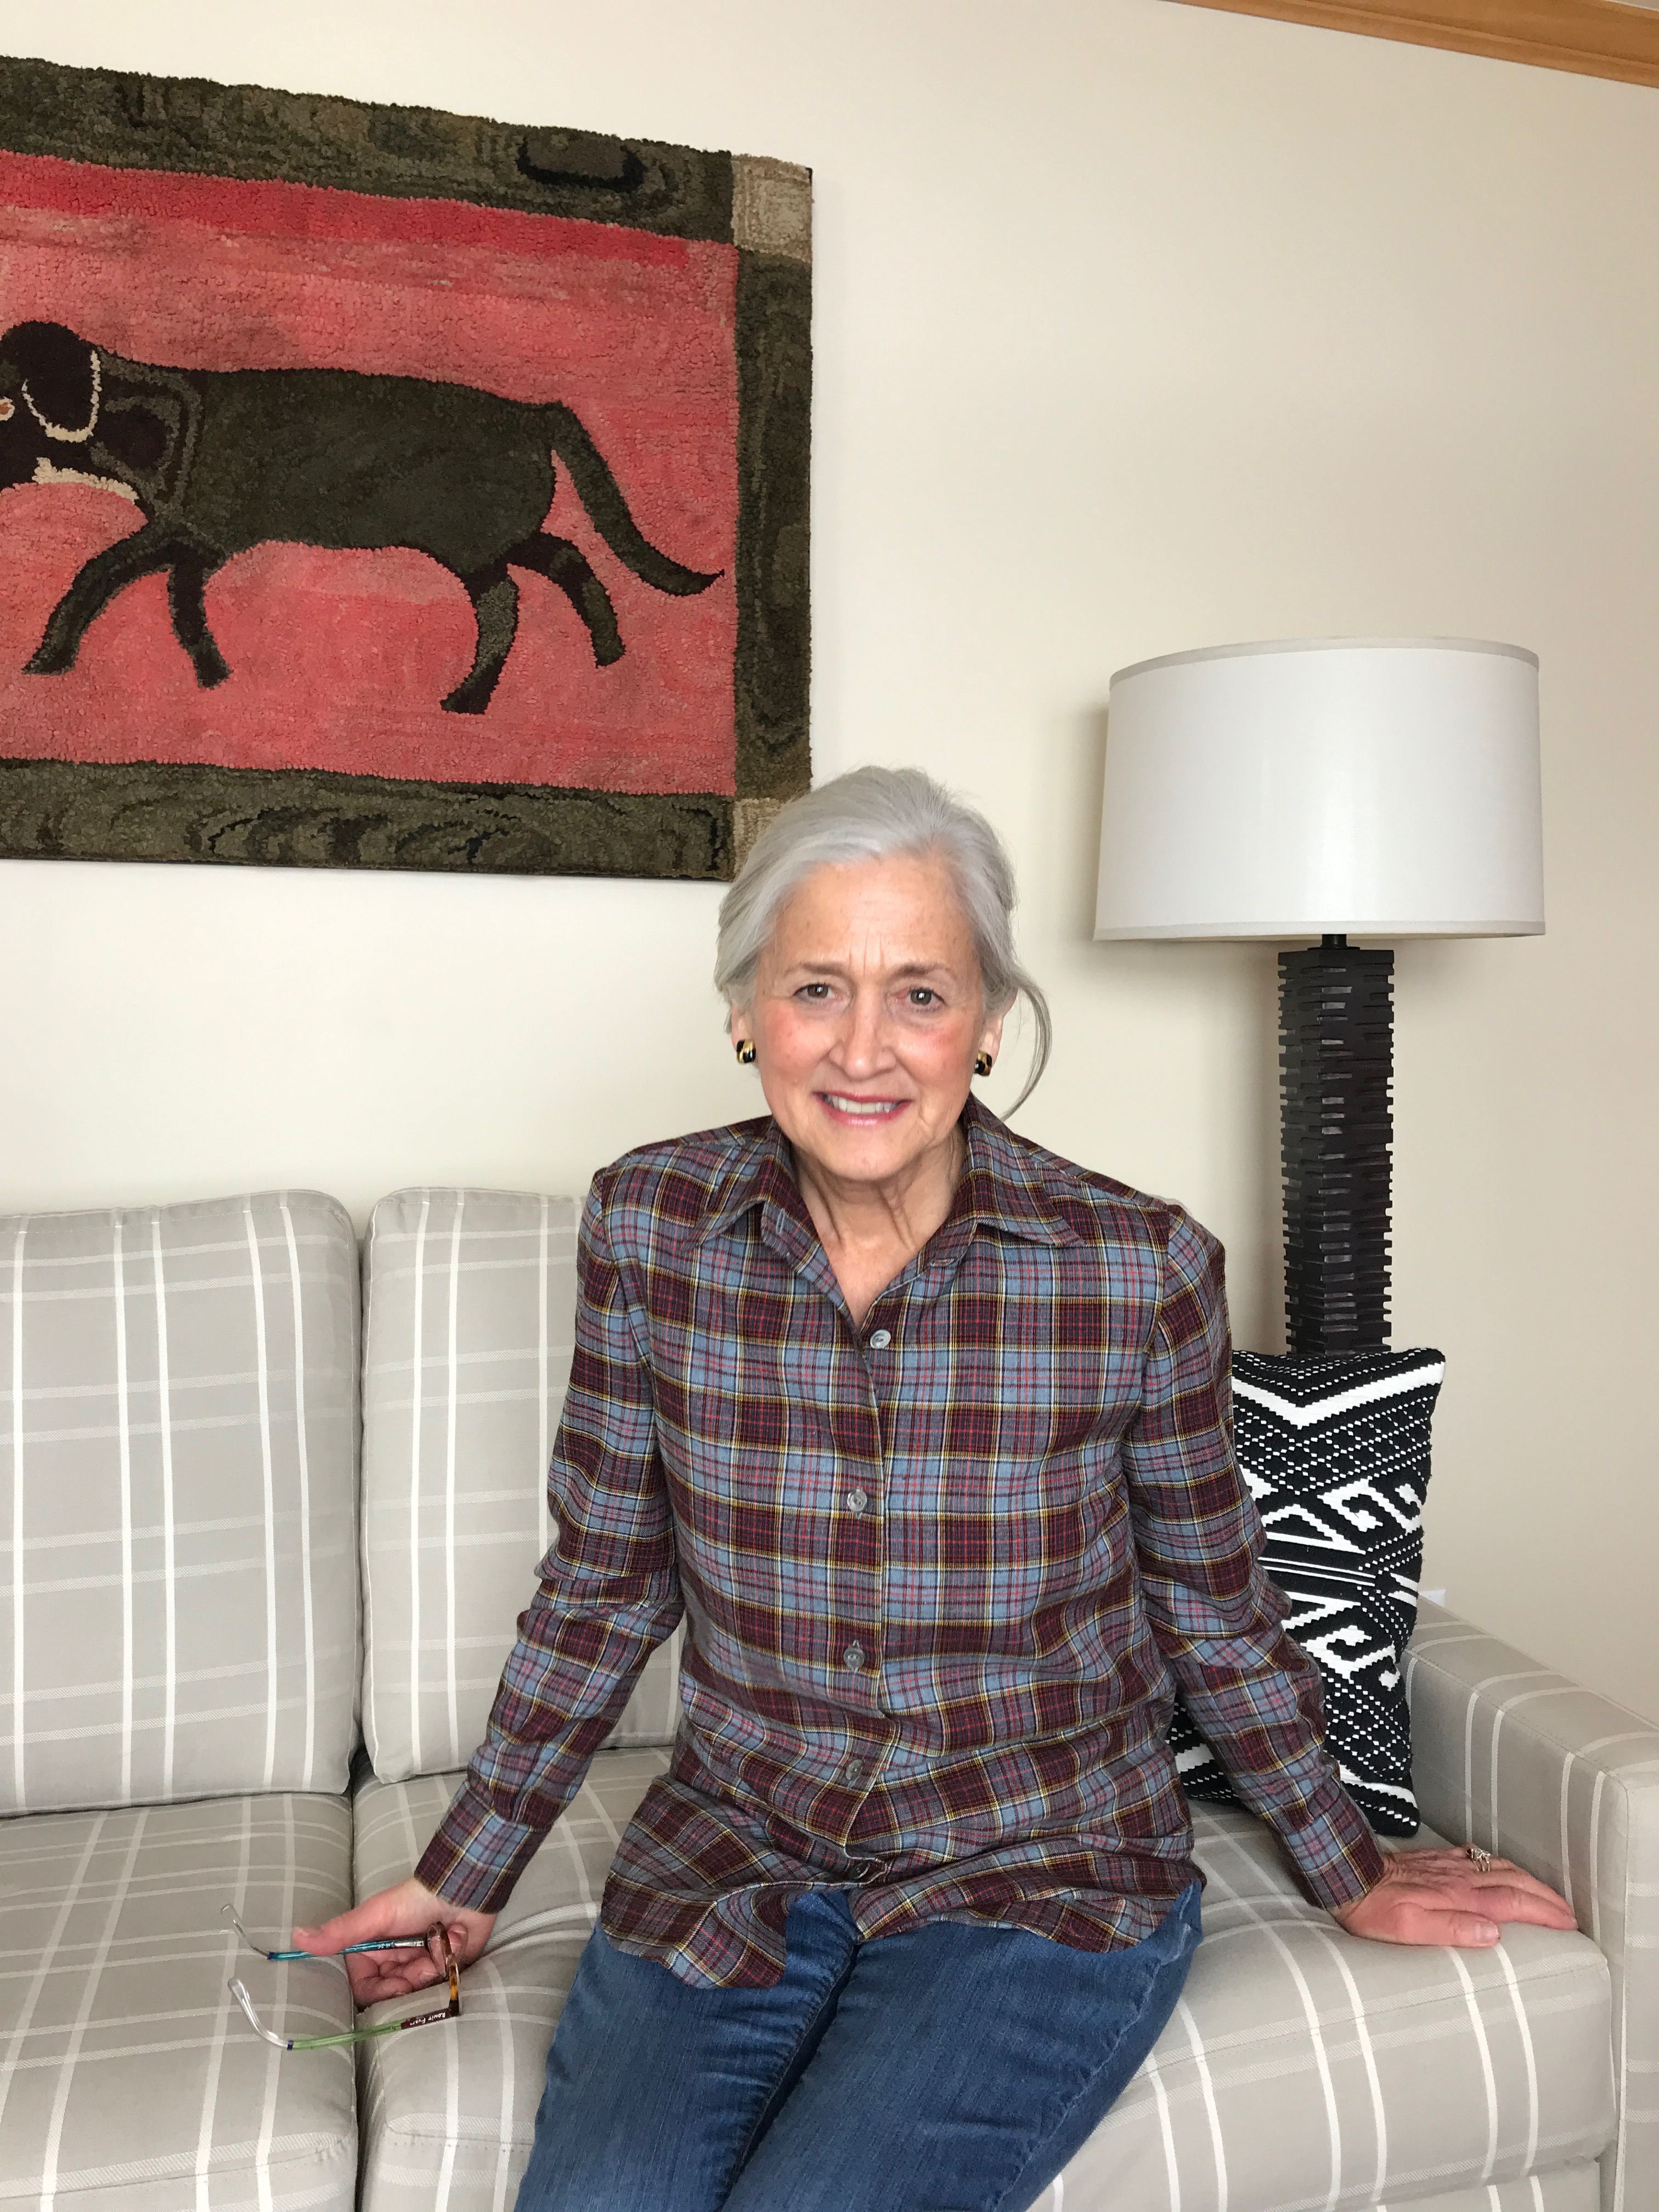
It appealed to my love of geometrics, and additionally I thought it was just so classy looking. So I bought it and proceeded to make a blouse.
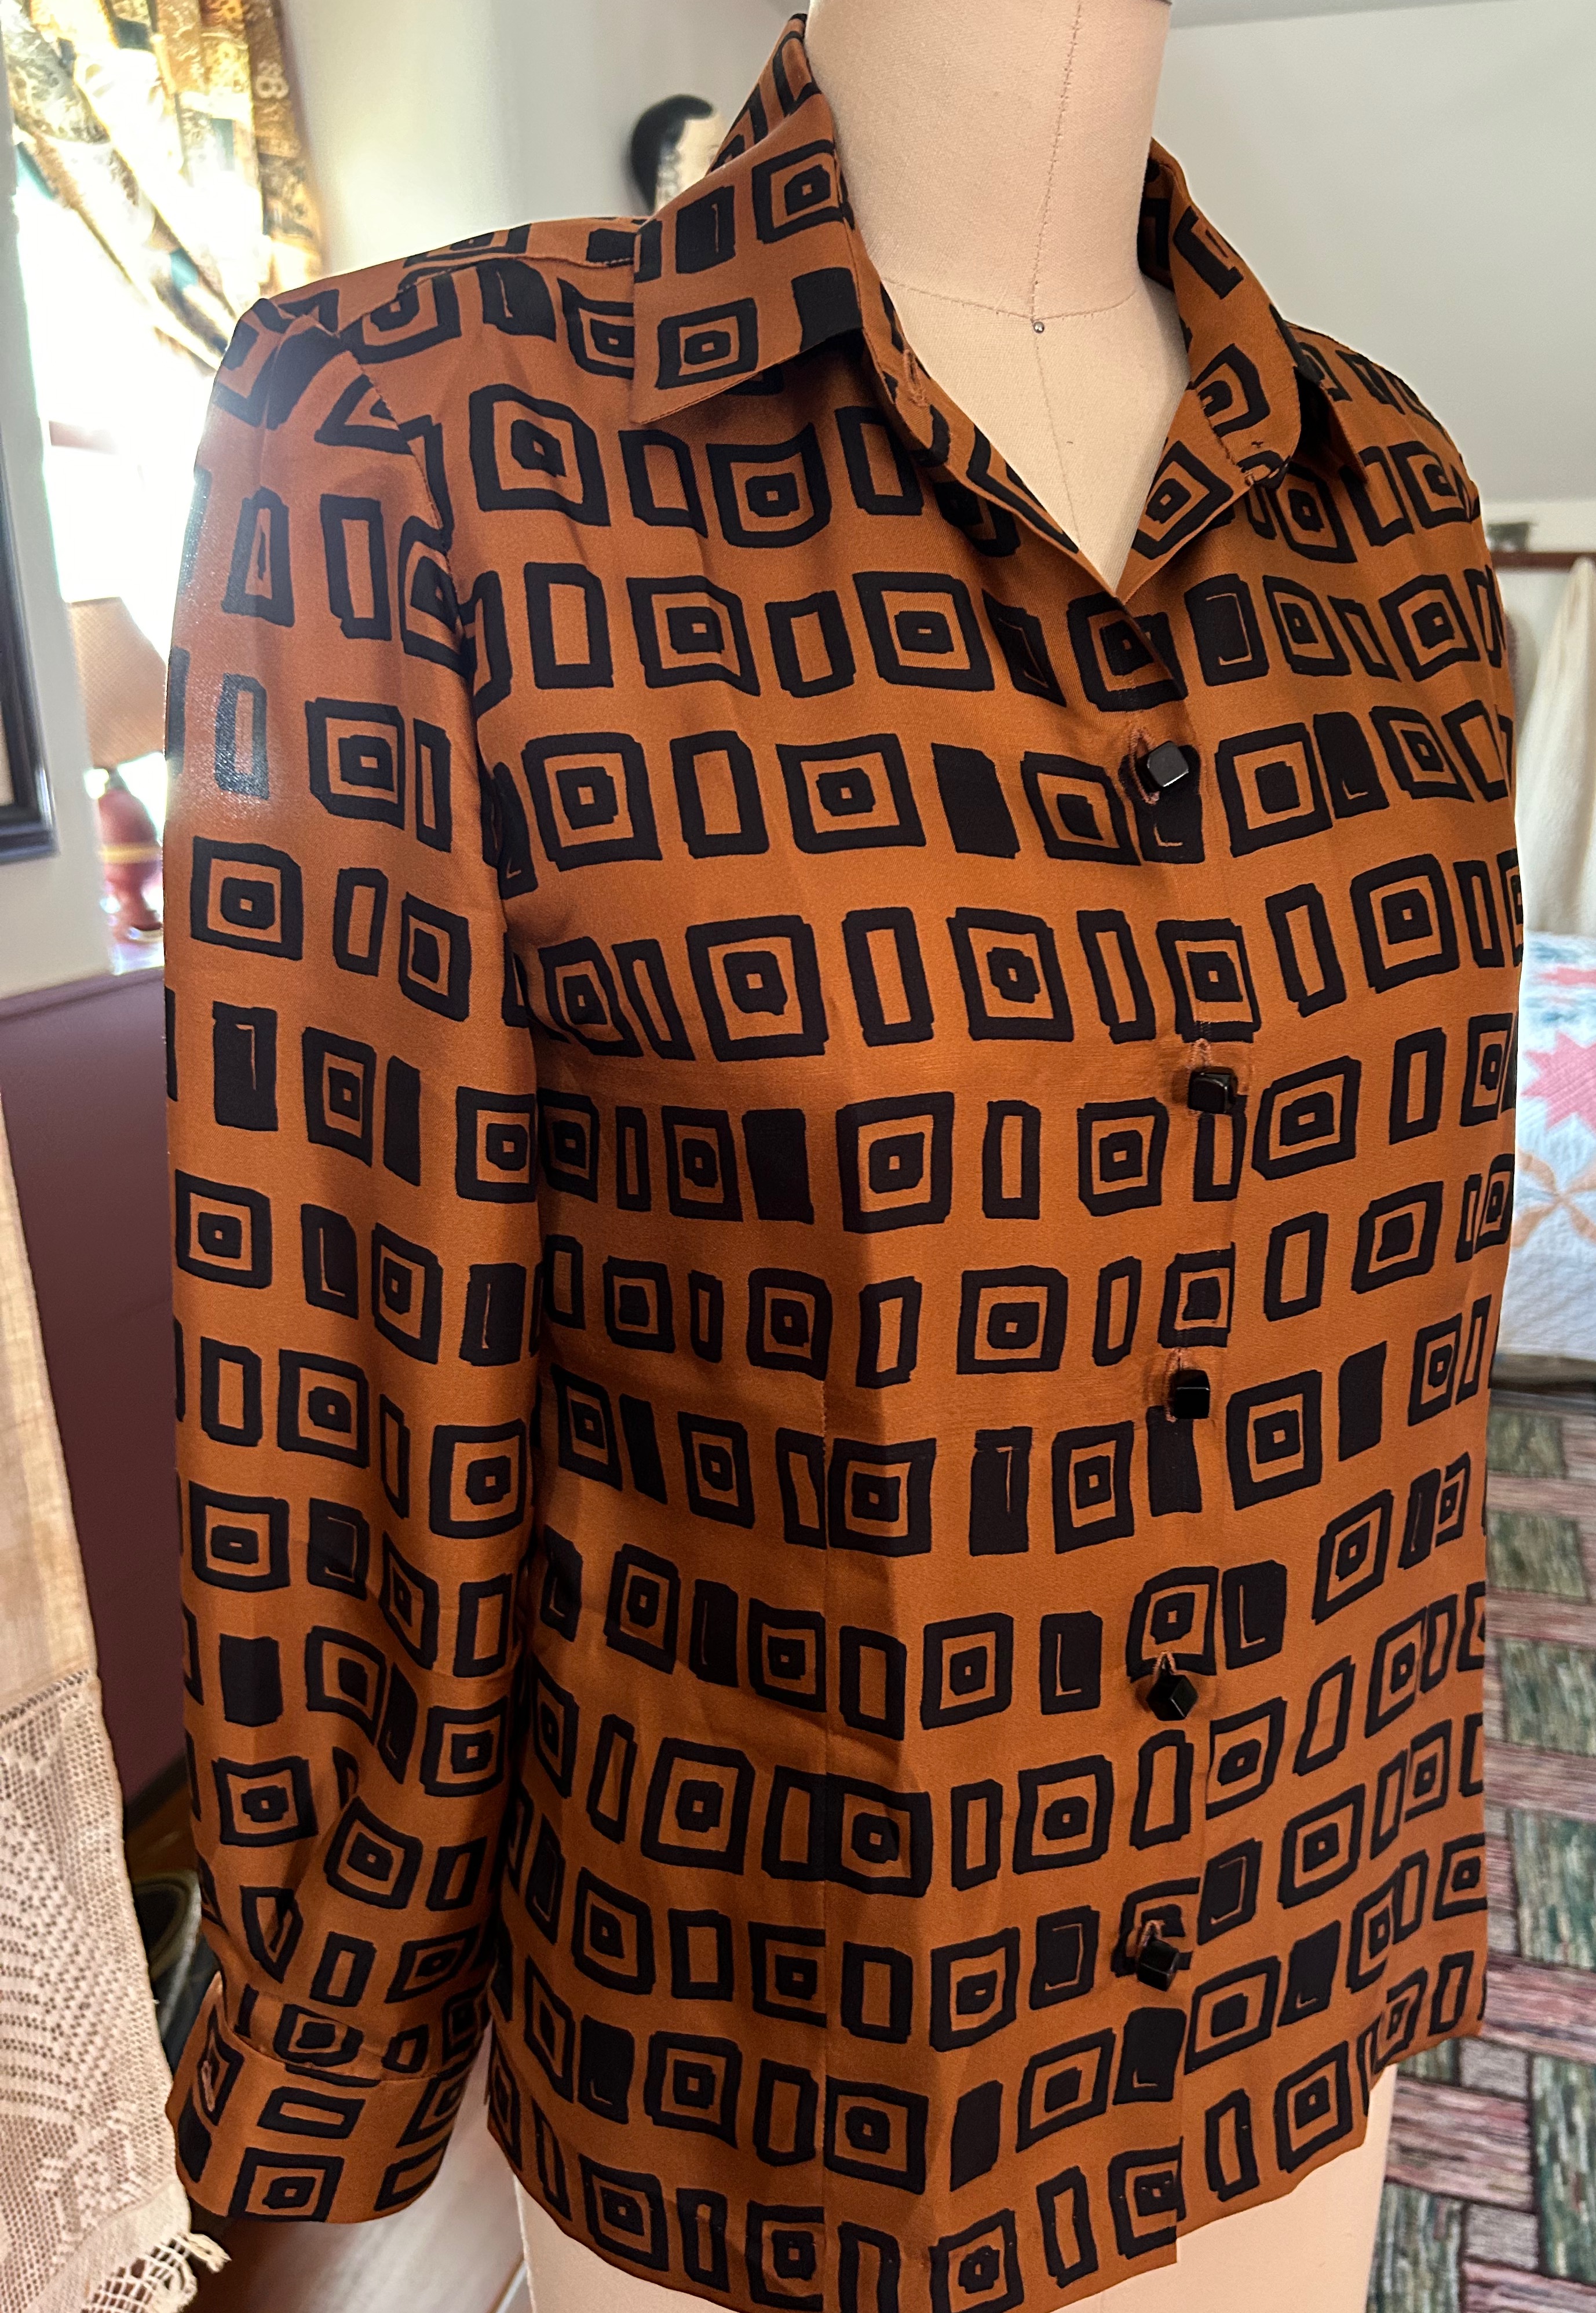
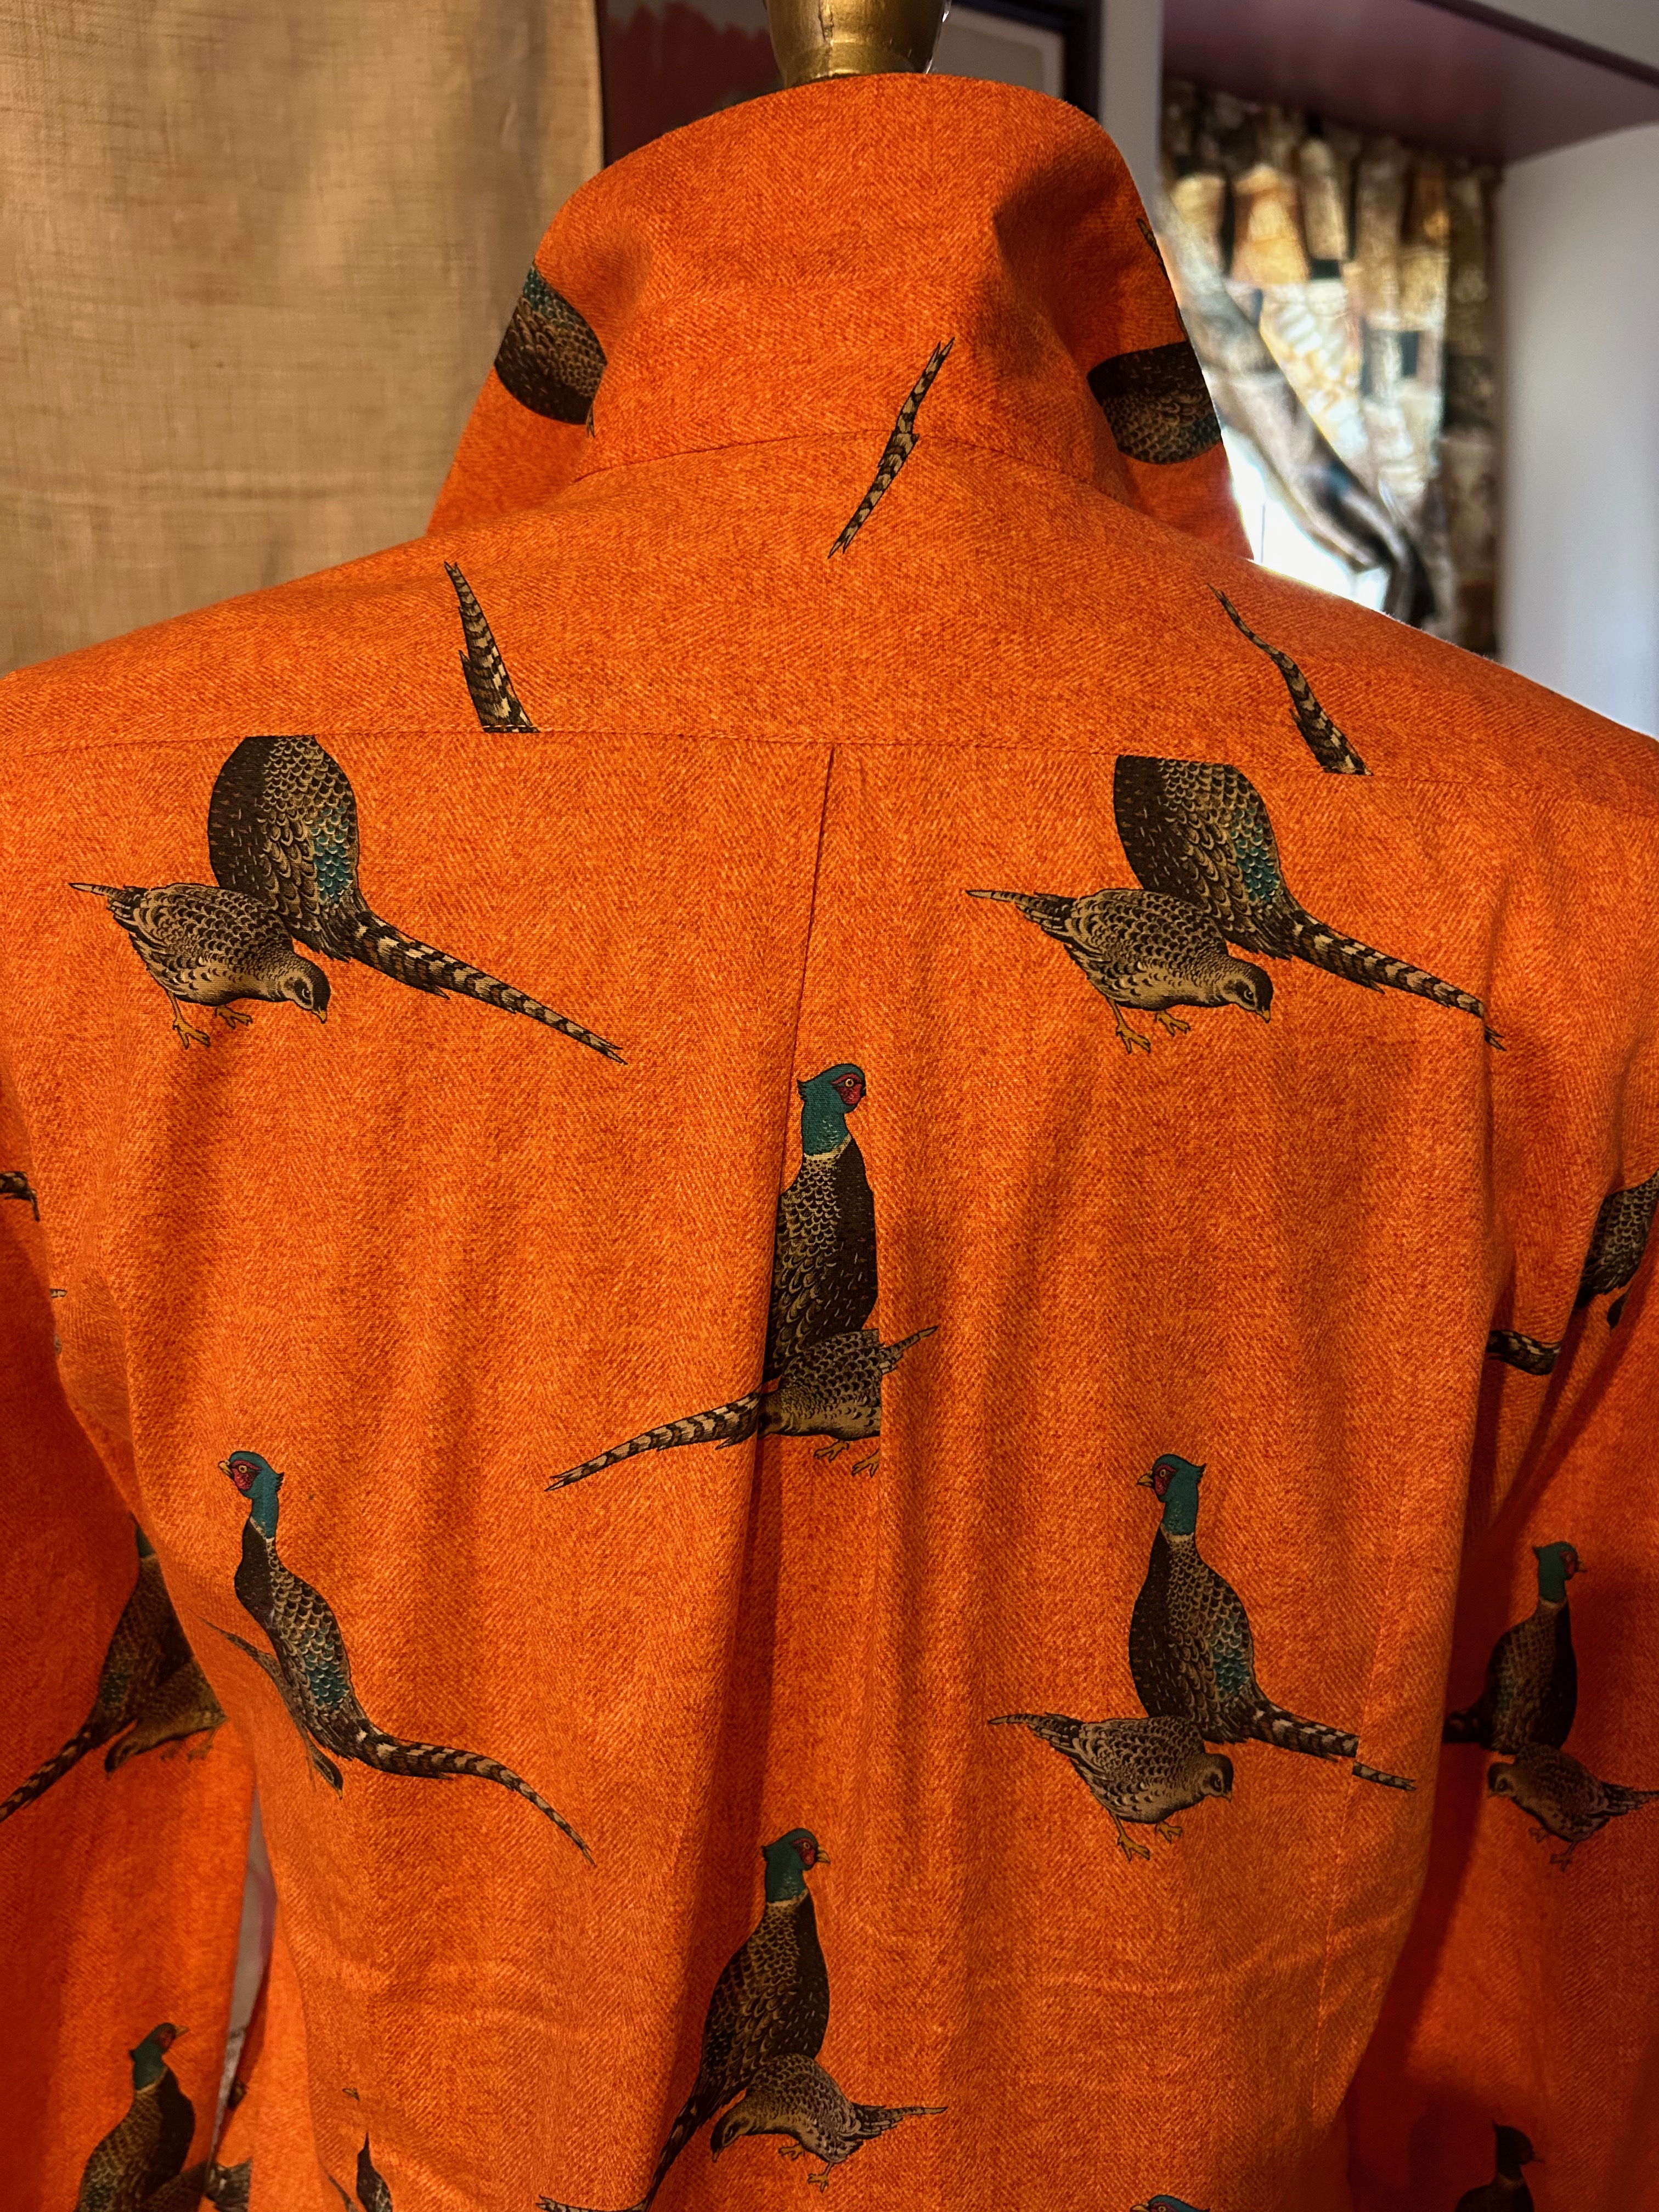
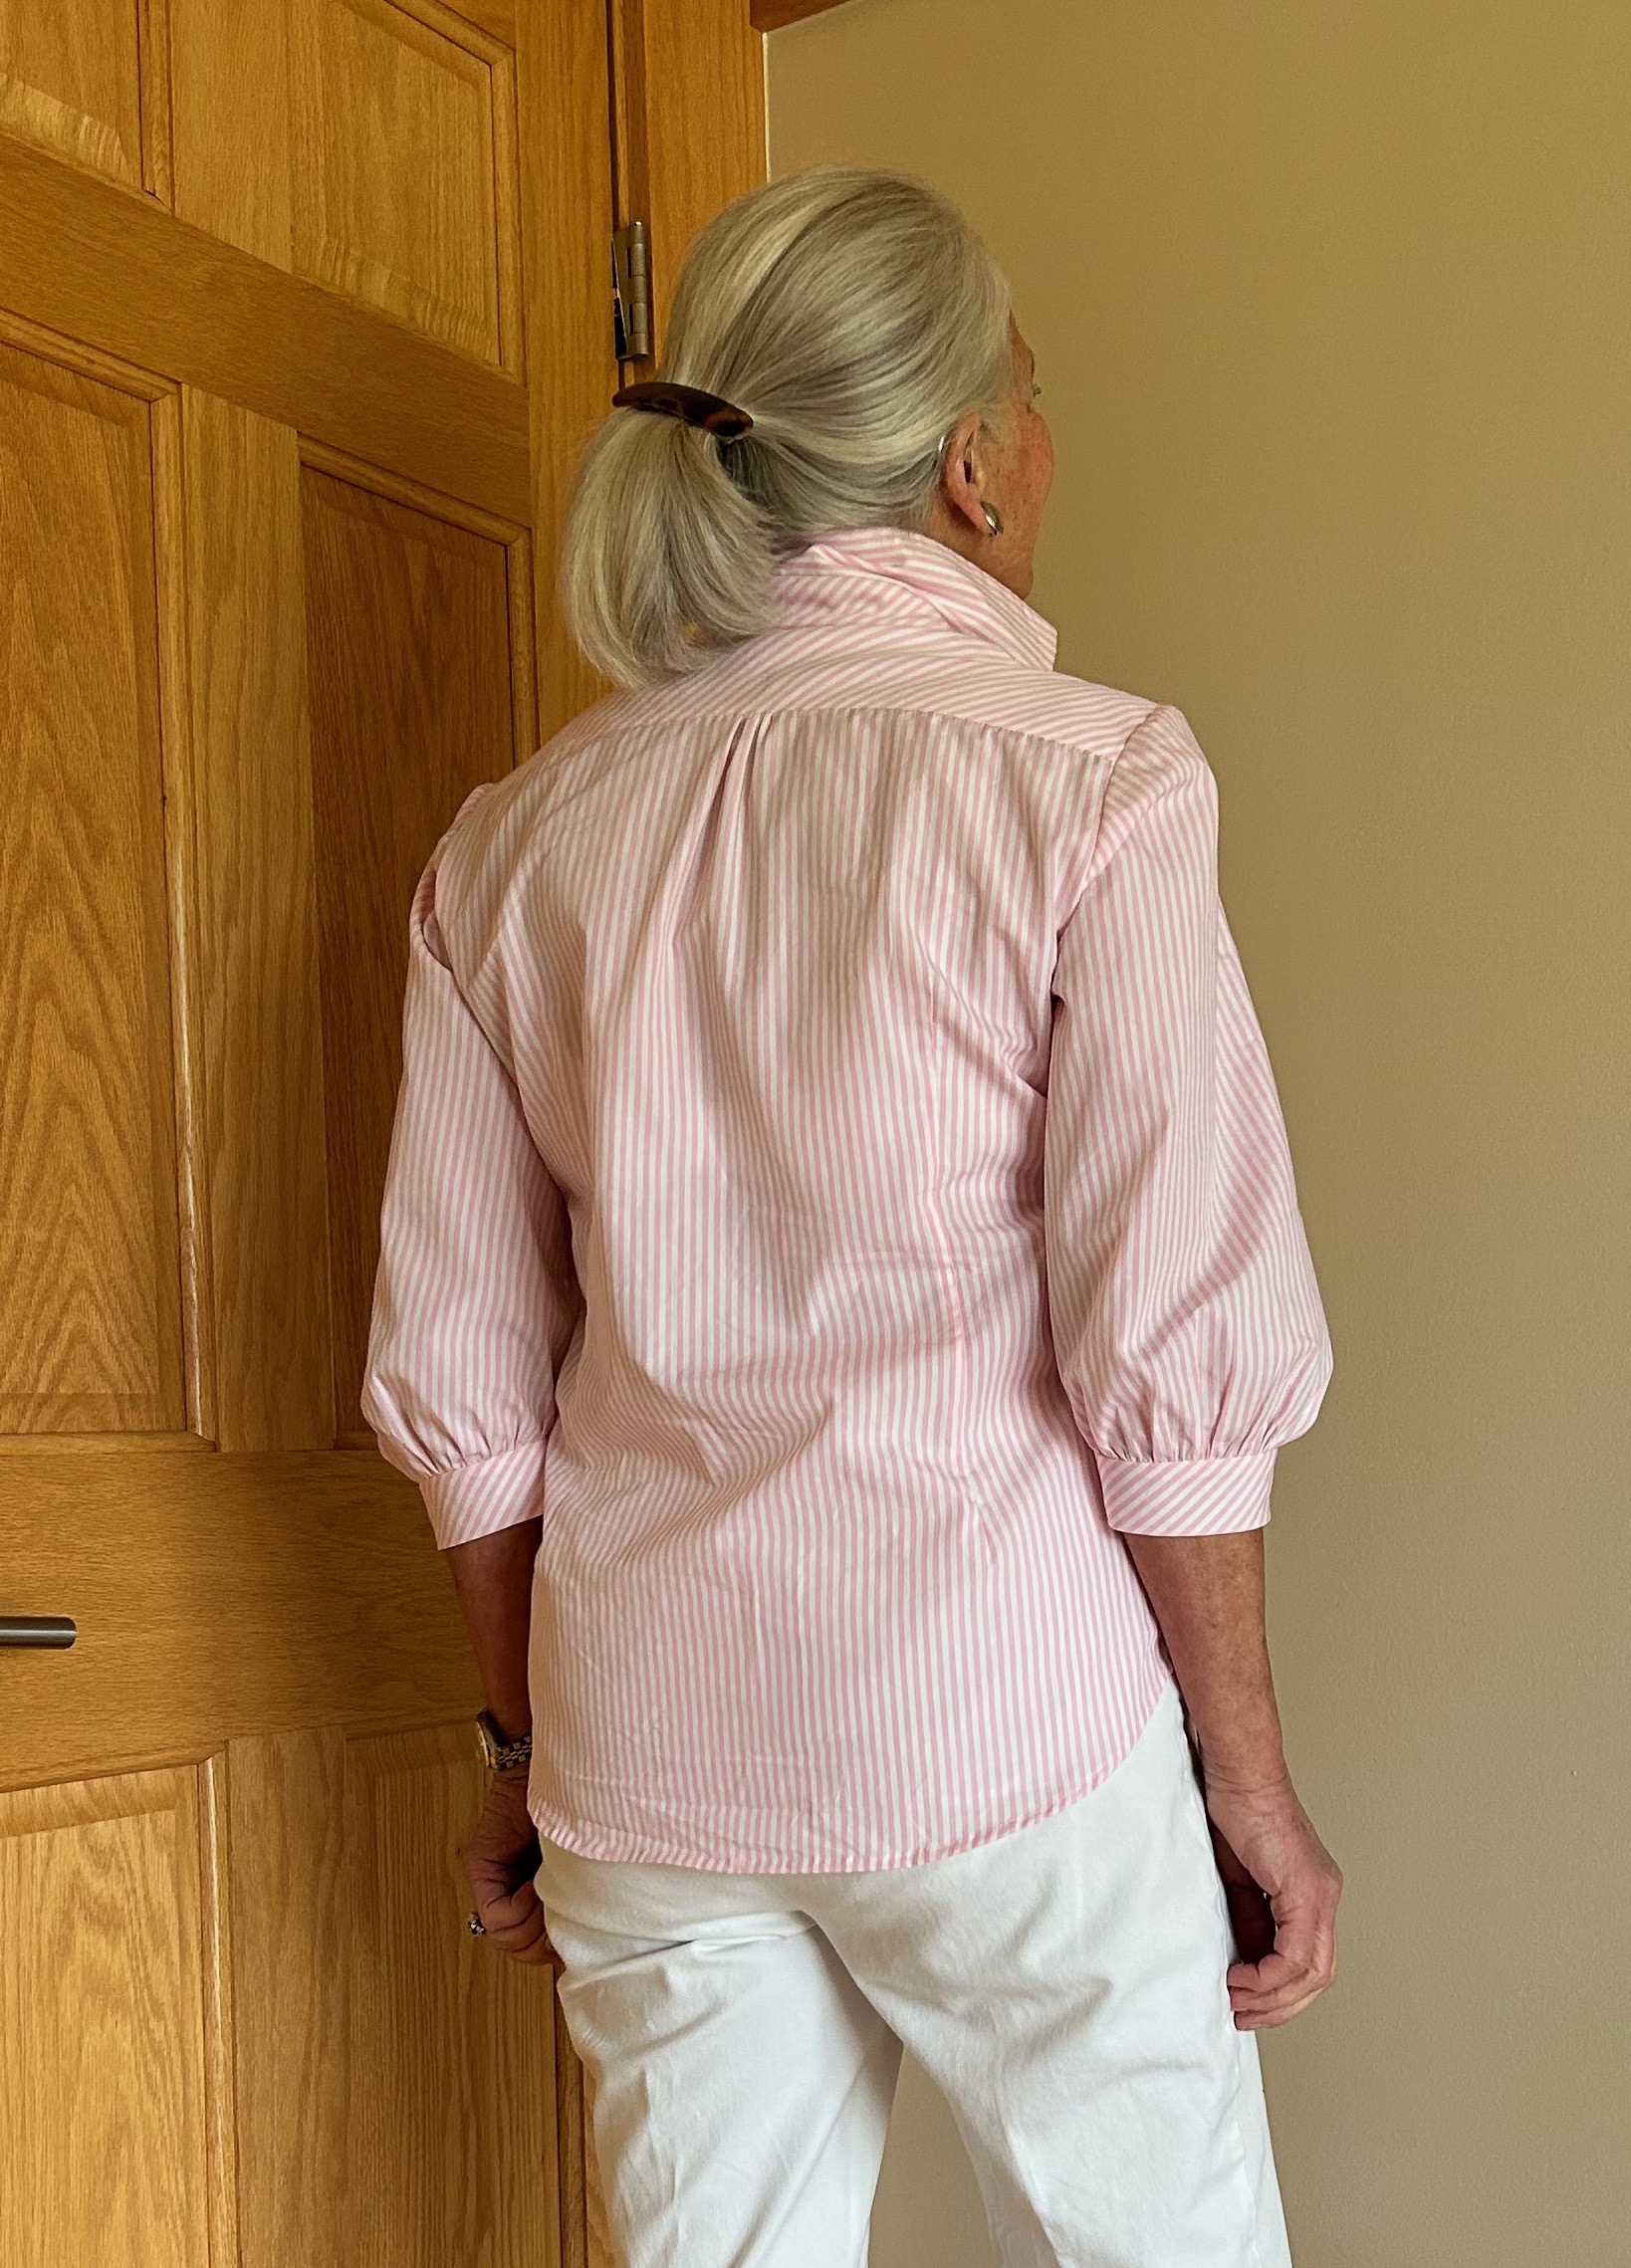
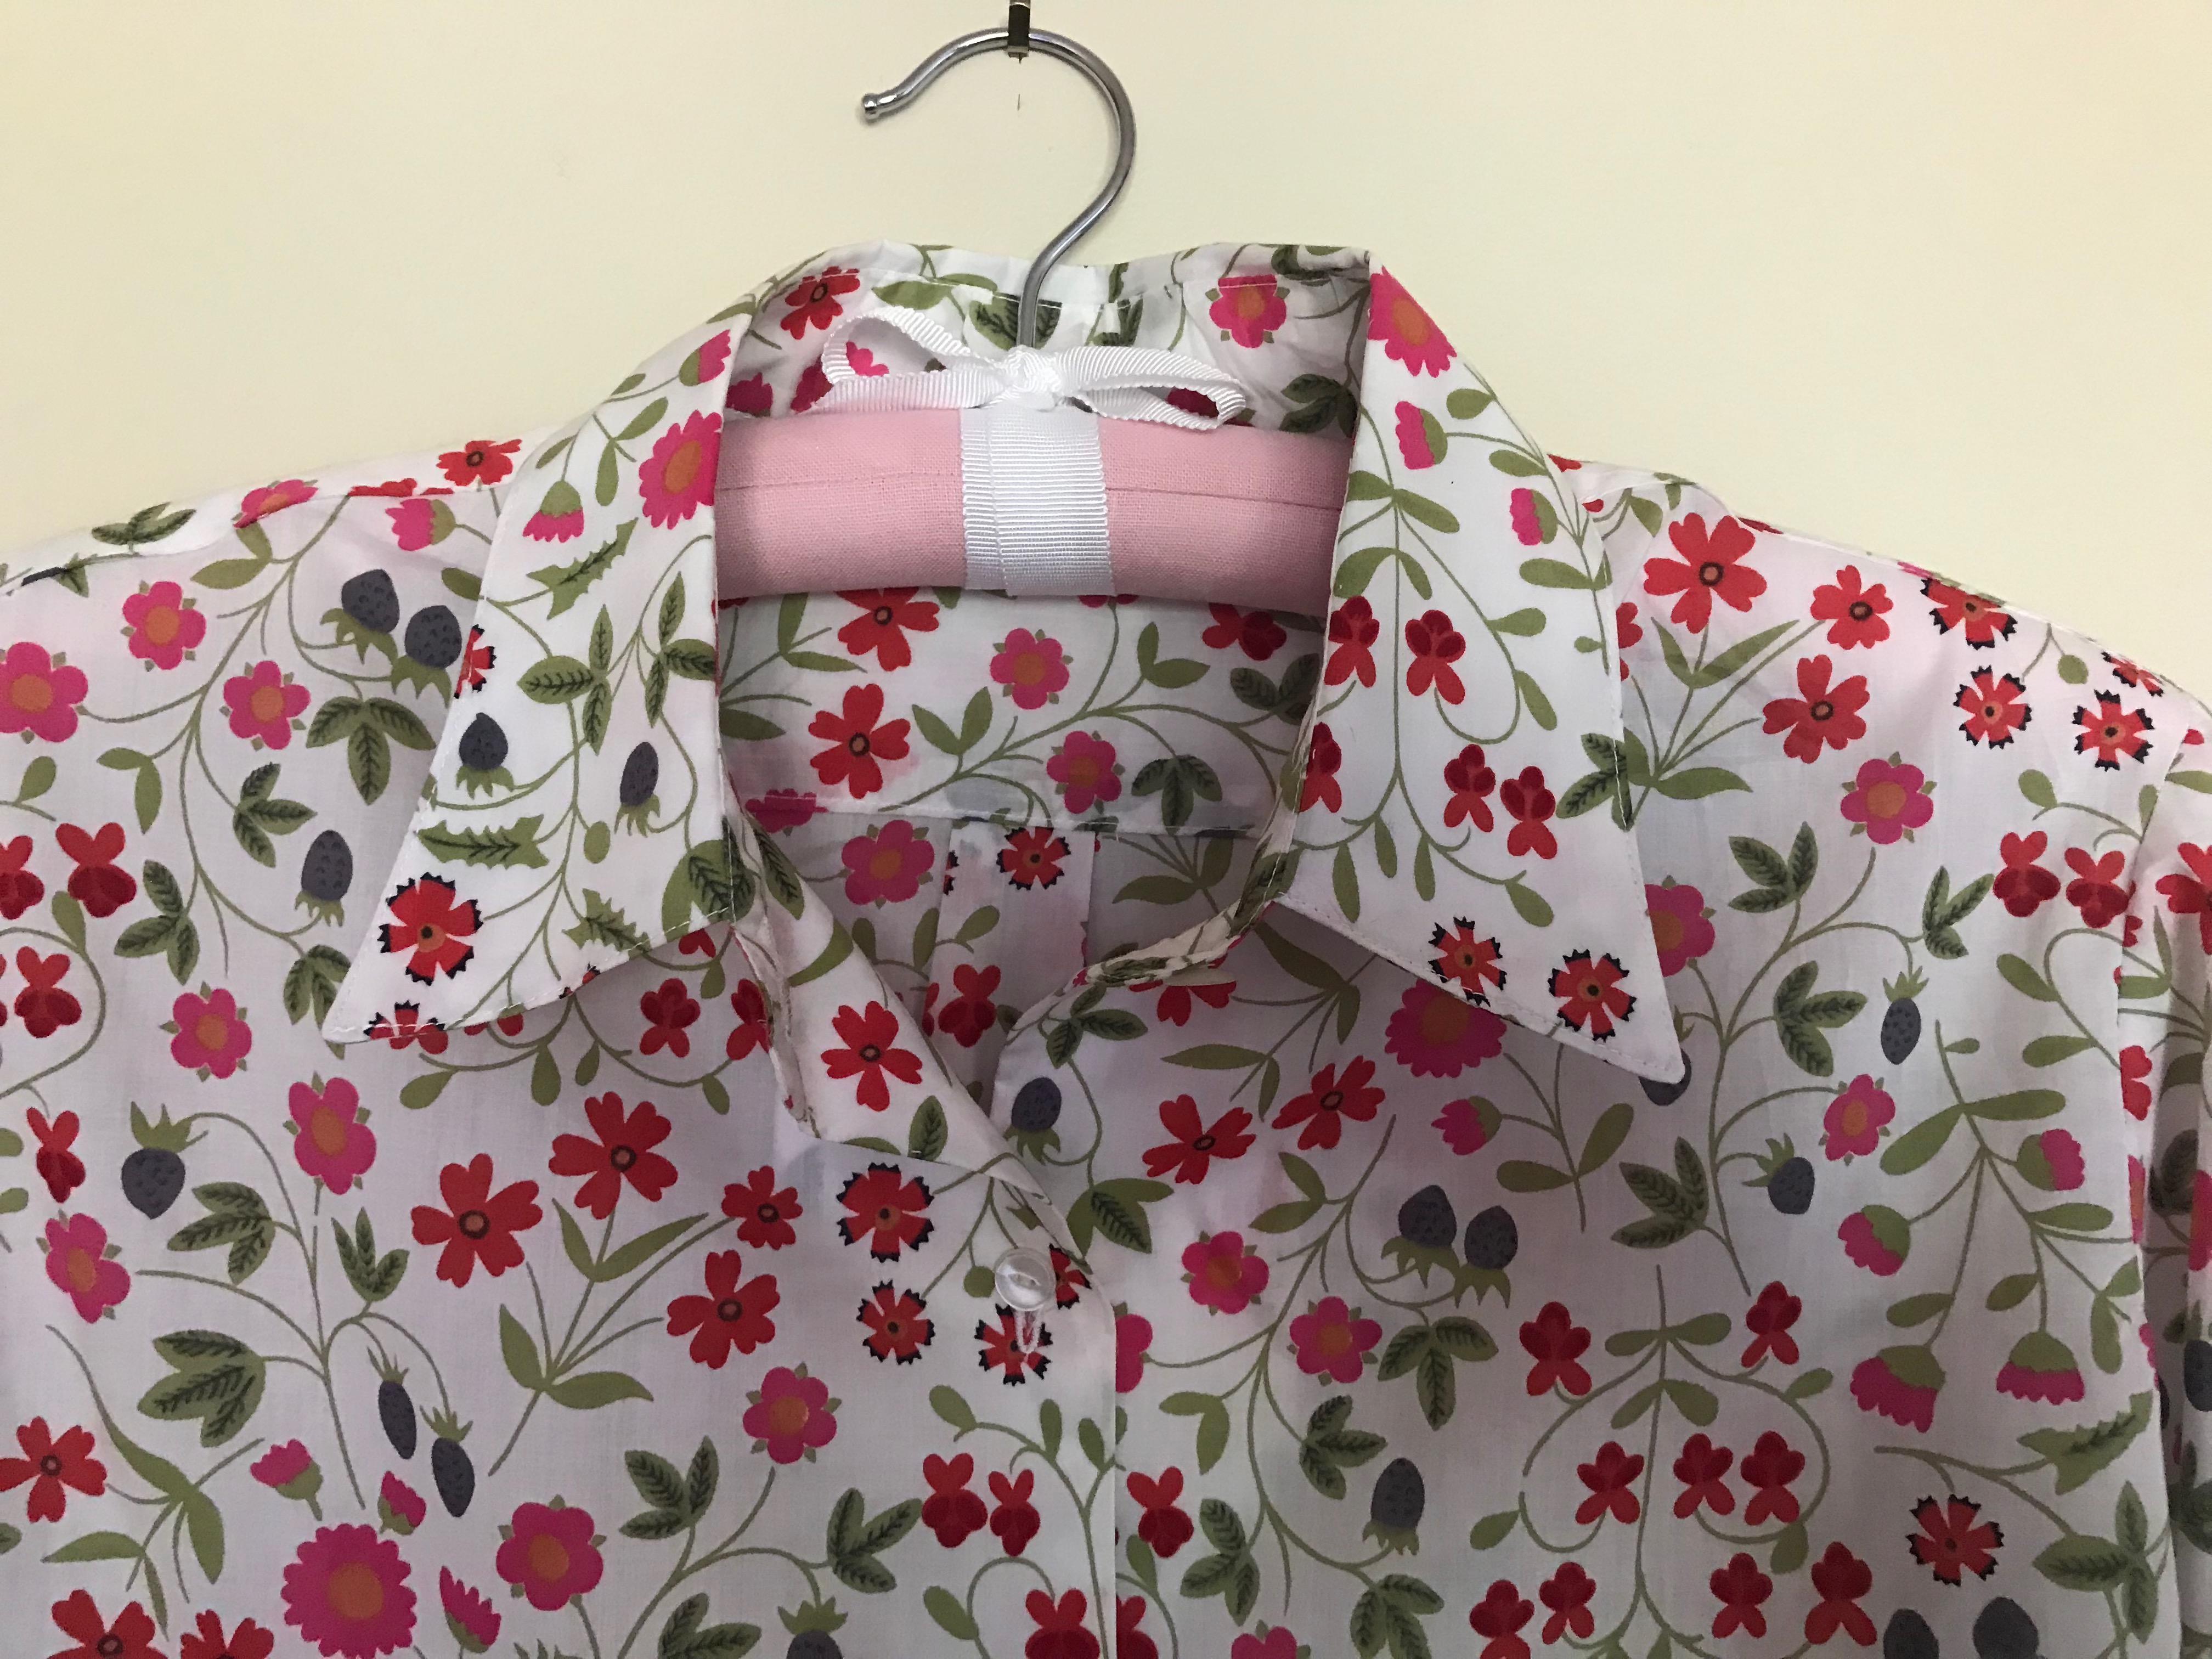
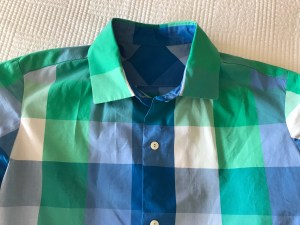
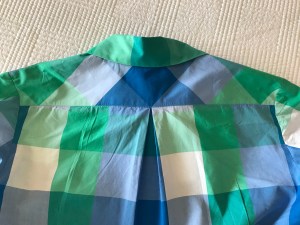
For a twill, it frayed a bit more than expected, but the weight was lovely. I tweaked my go-to blouse pattern once again for this blouse. I eliminated the back box pleat below the yoke which I have added in previous makes. I wanted a more streamlined appearance and less bulk to tuck in. To that end I also added very slim front vertical bust darts.

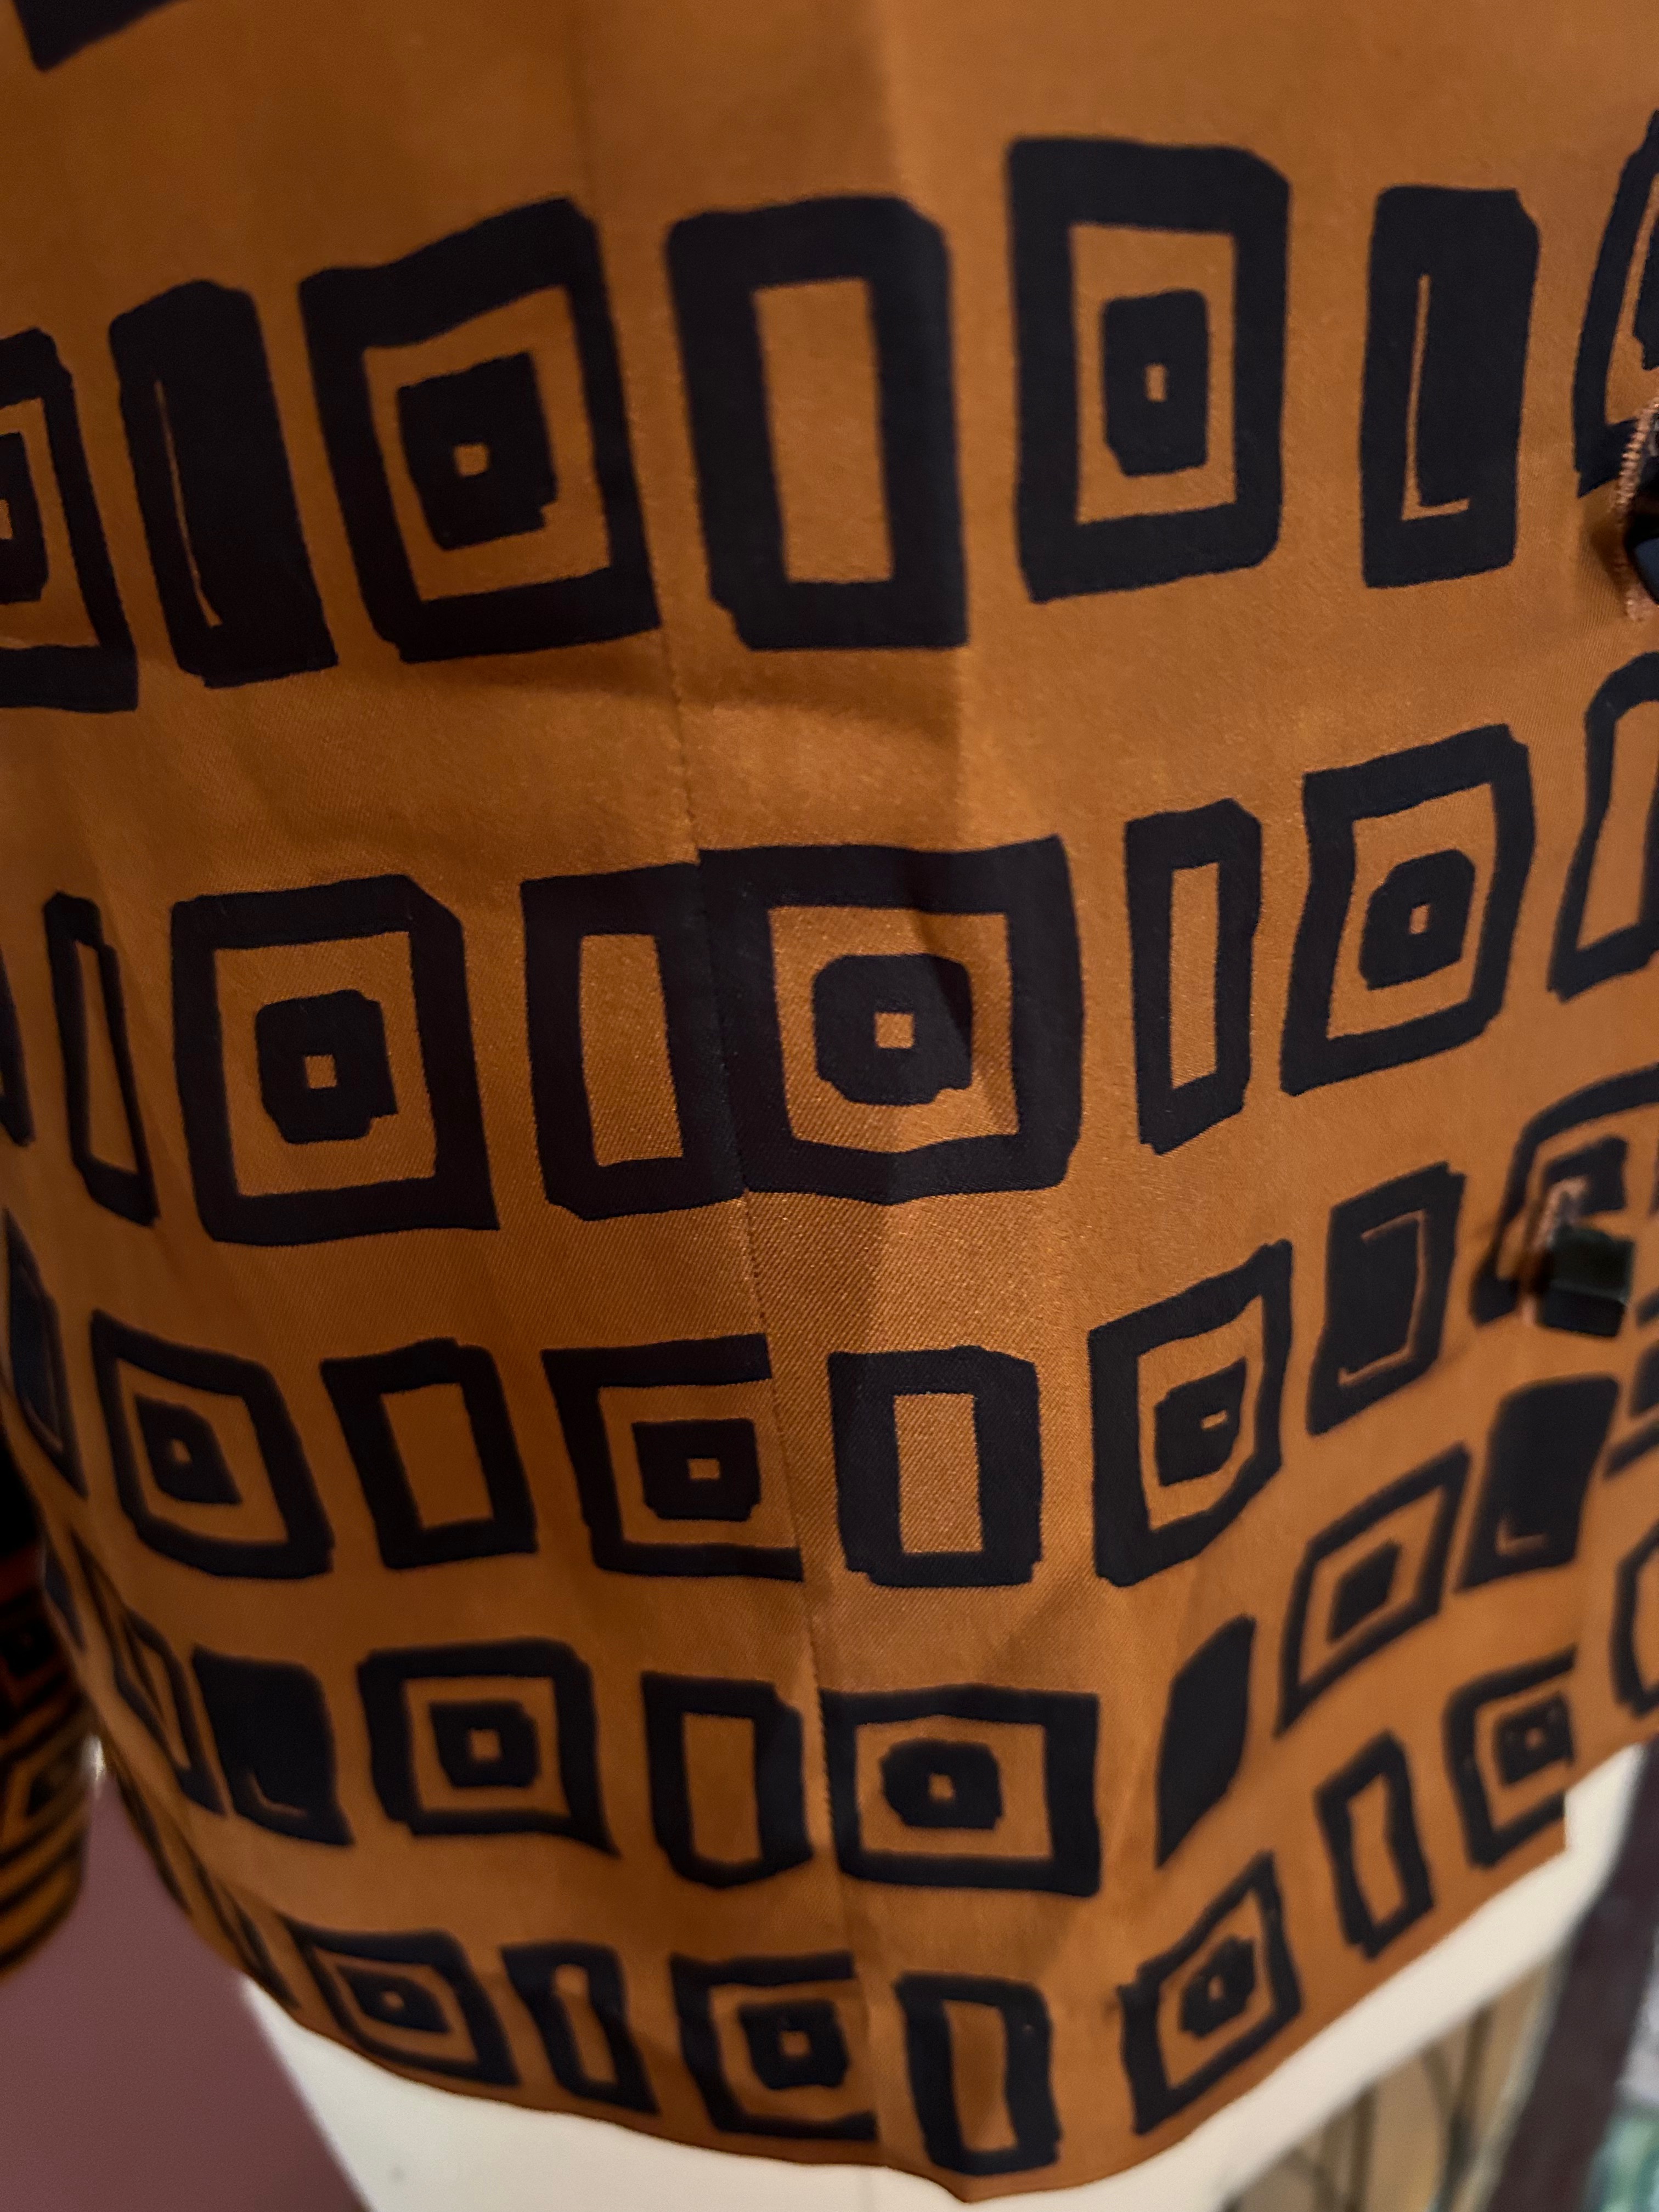
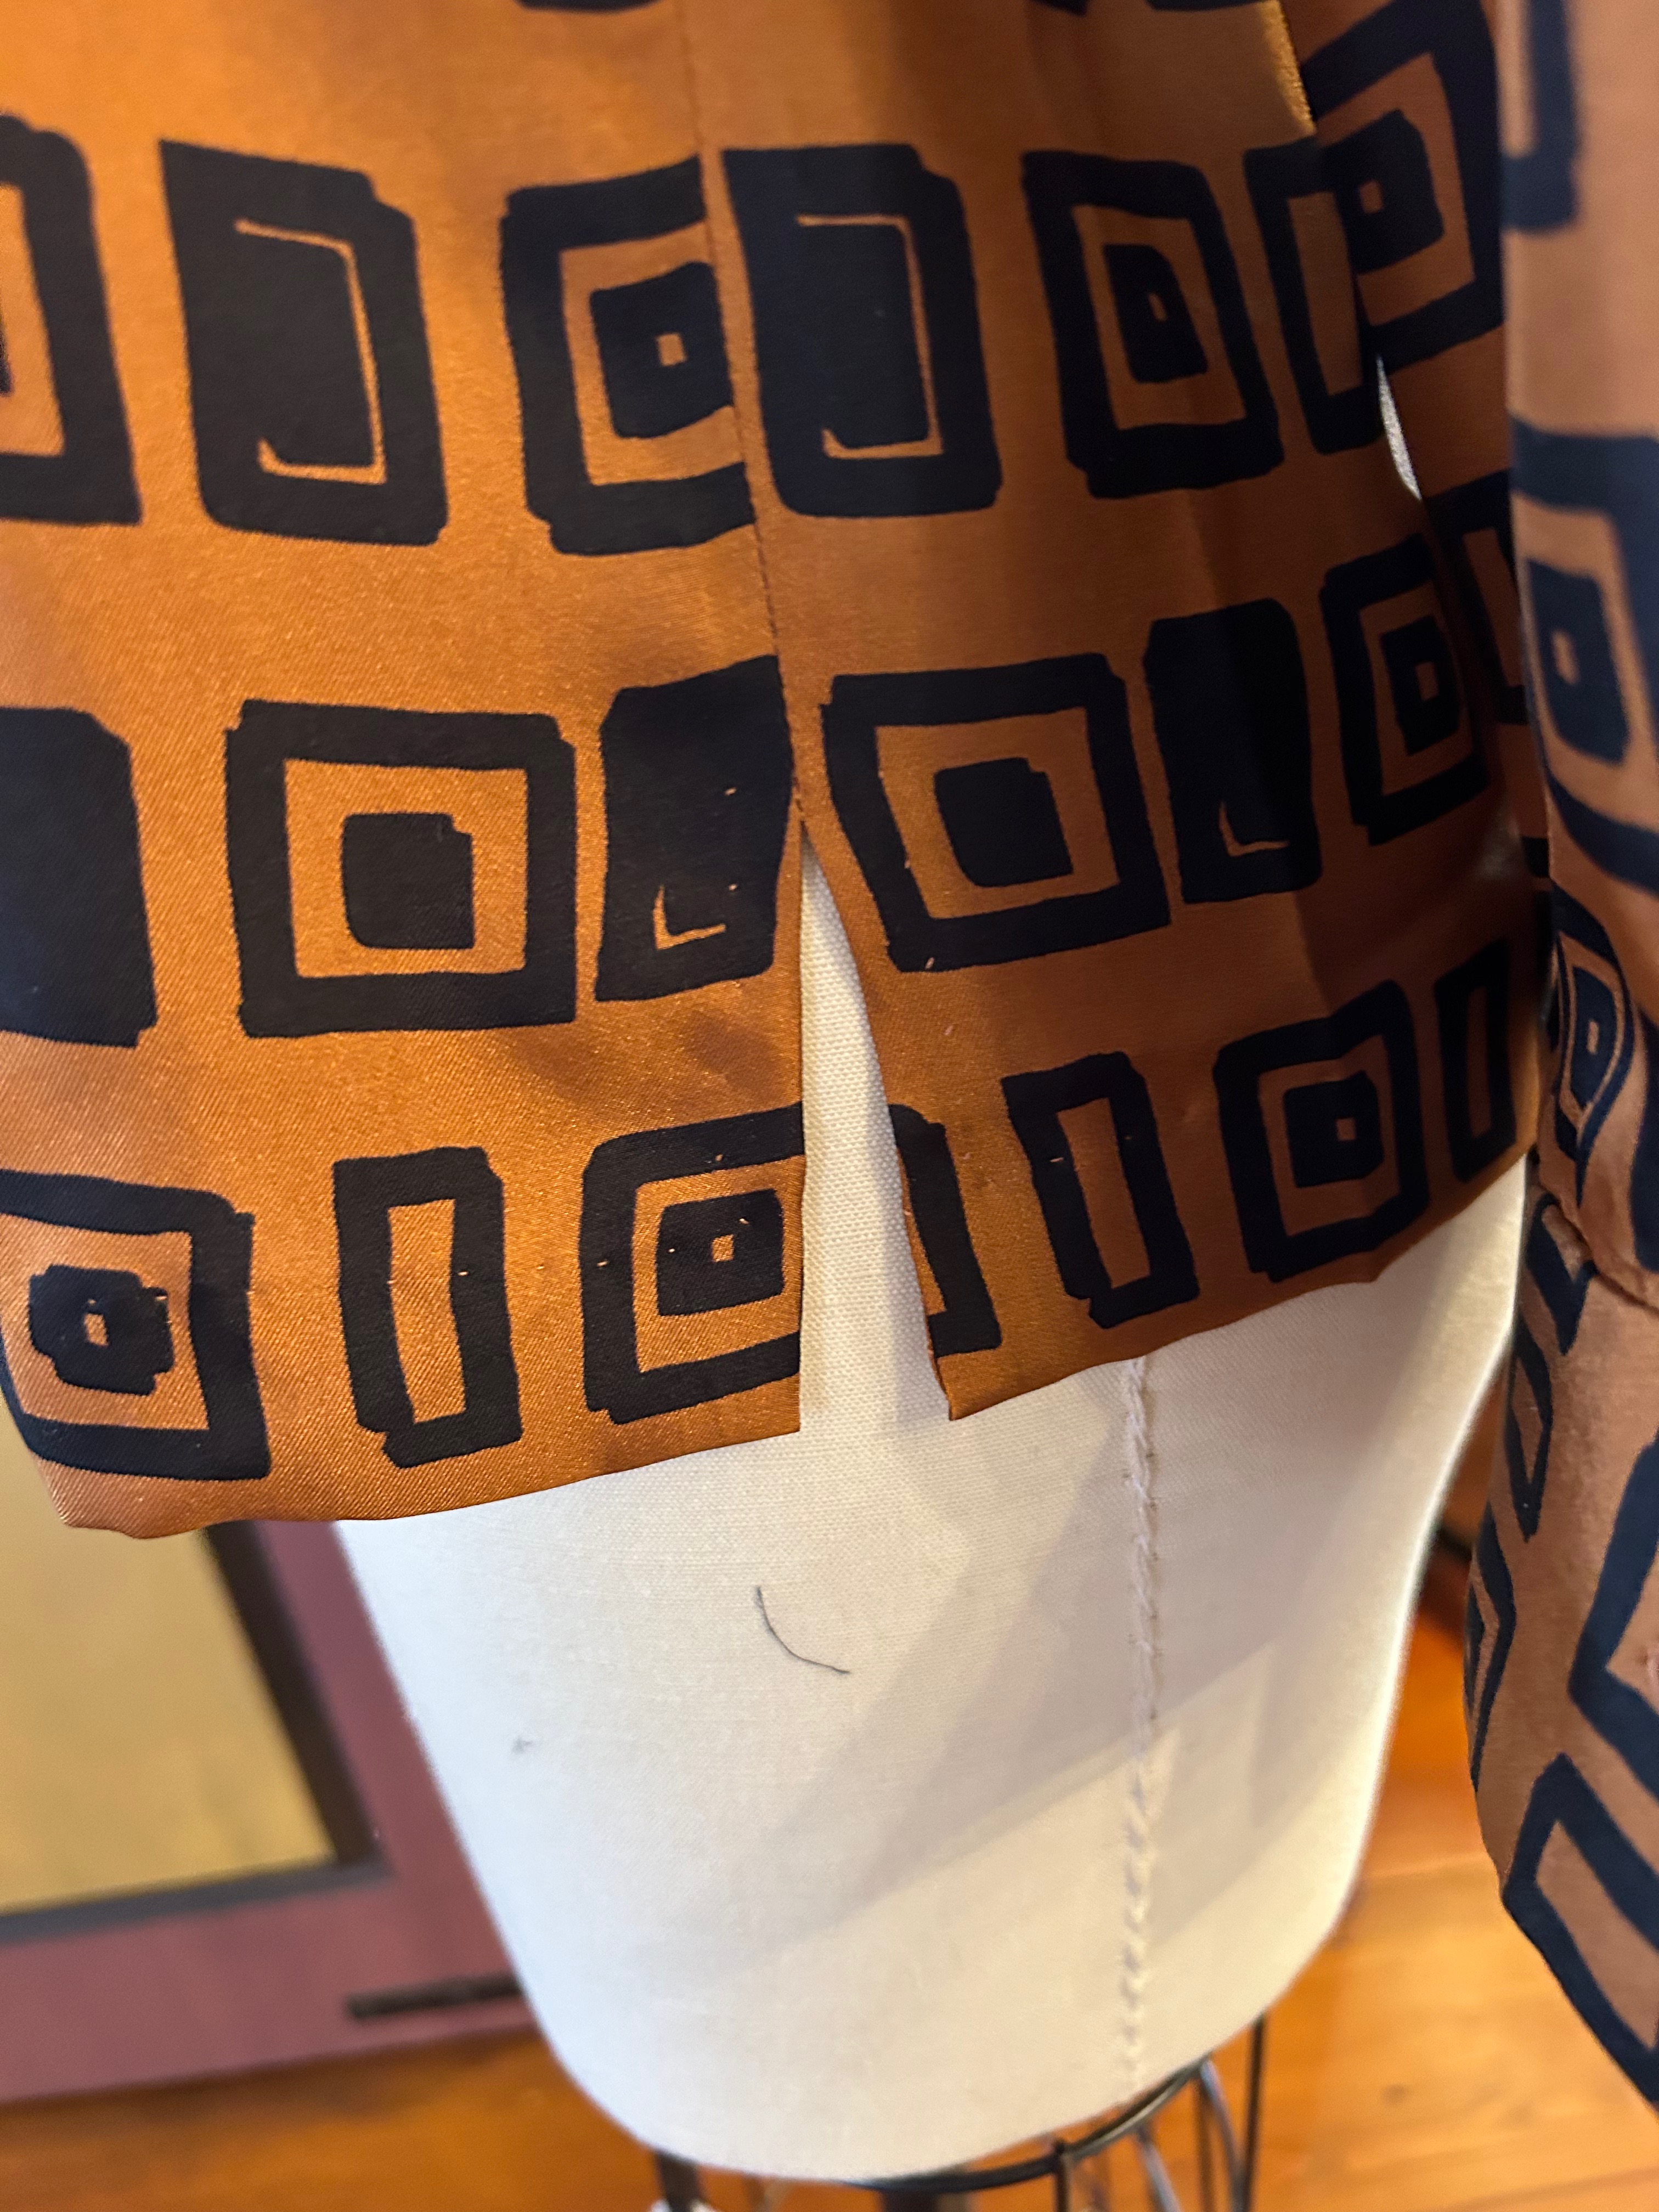
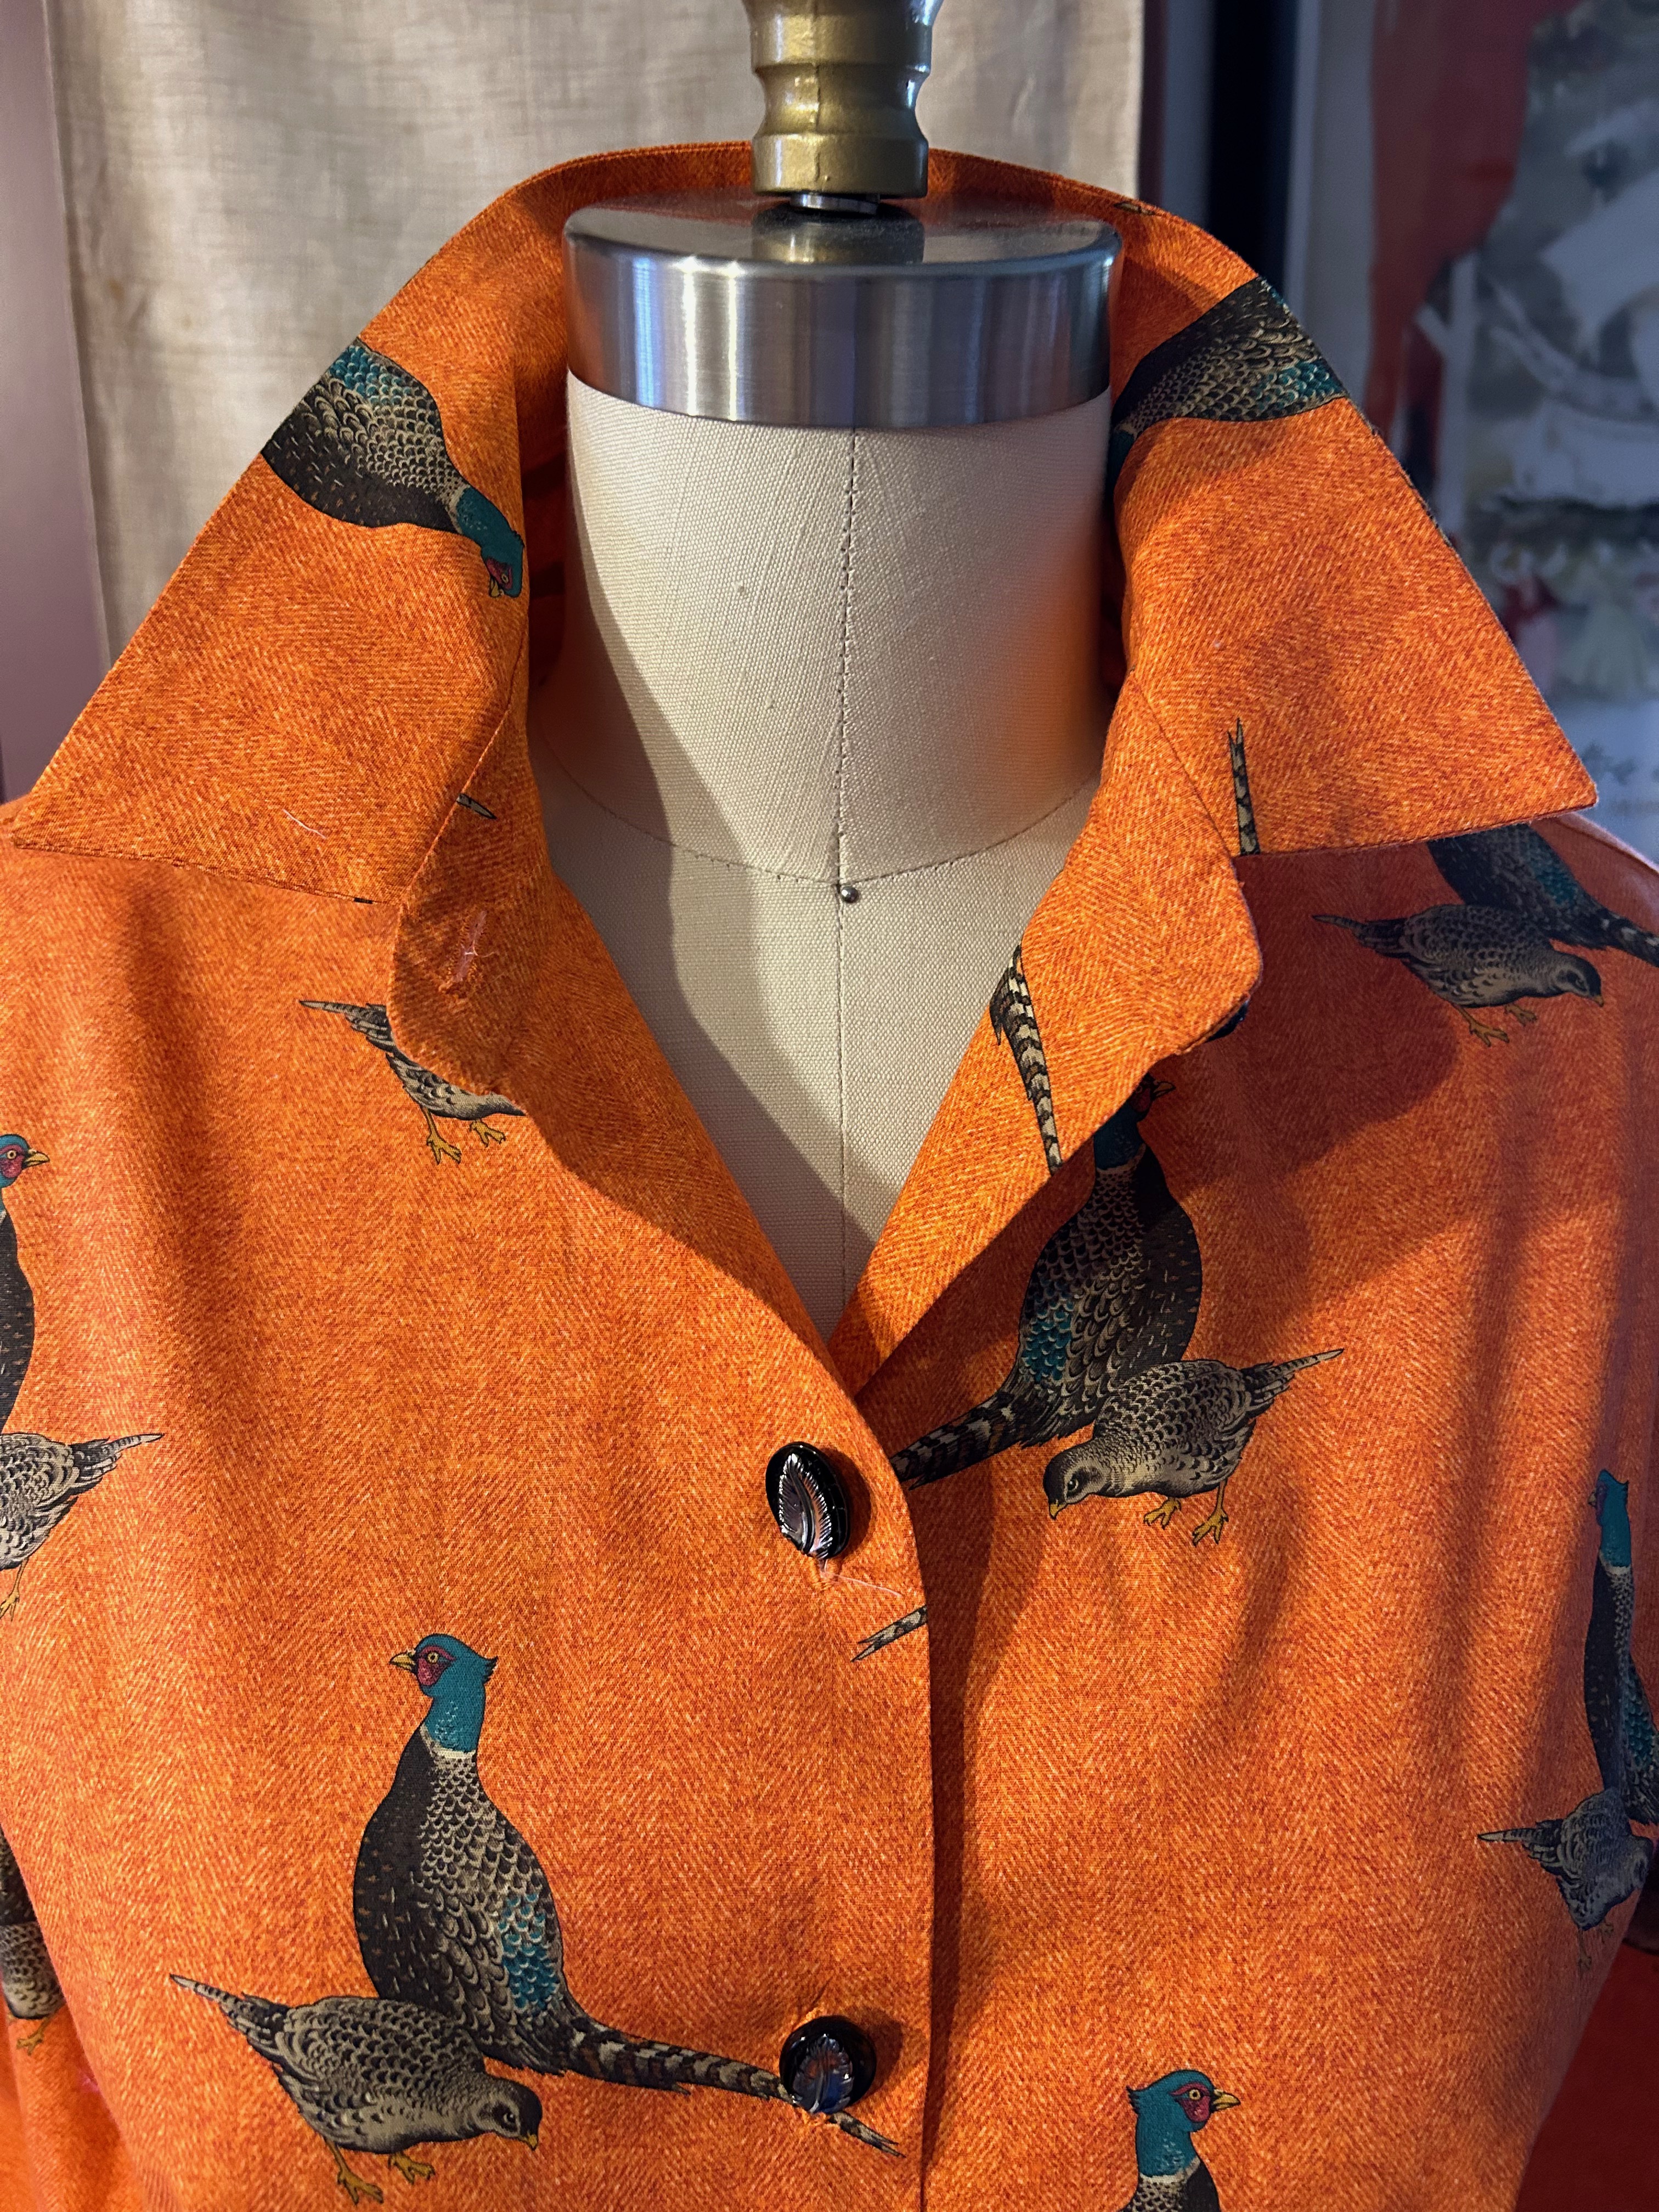
I also shortened the hem by one inch and squared it off with slits at the side seams.
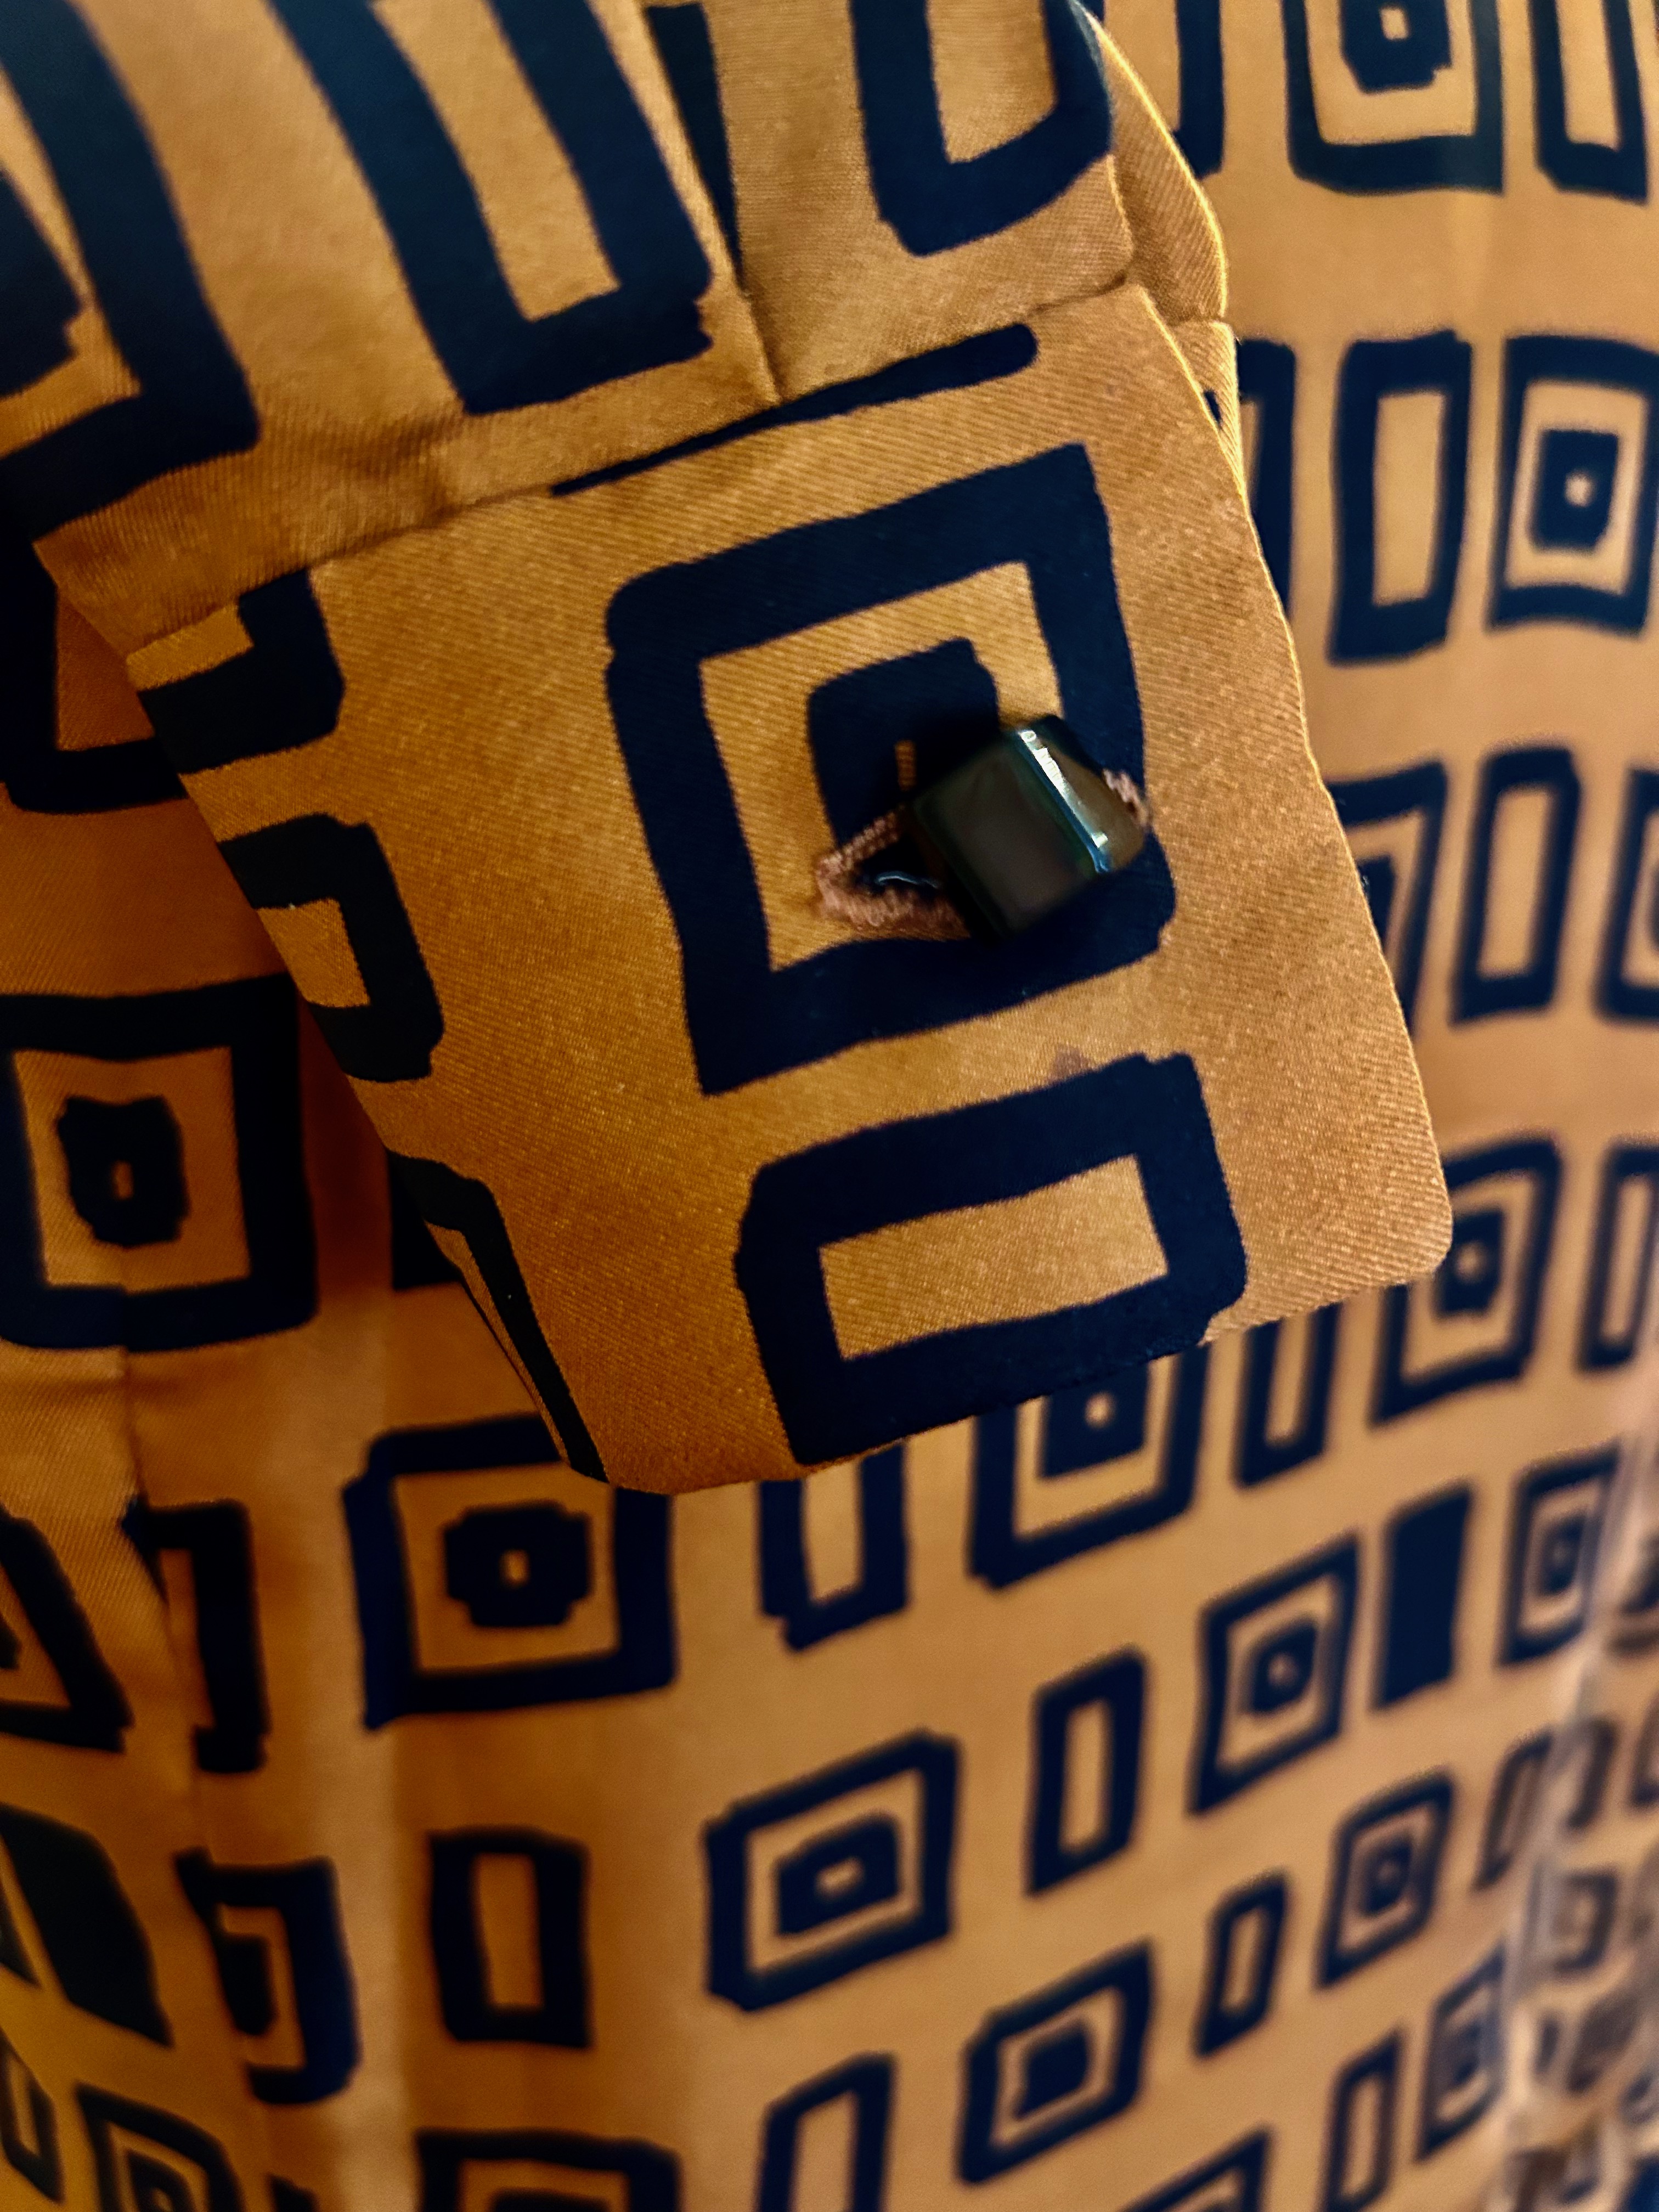
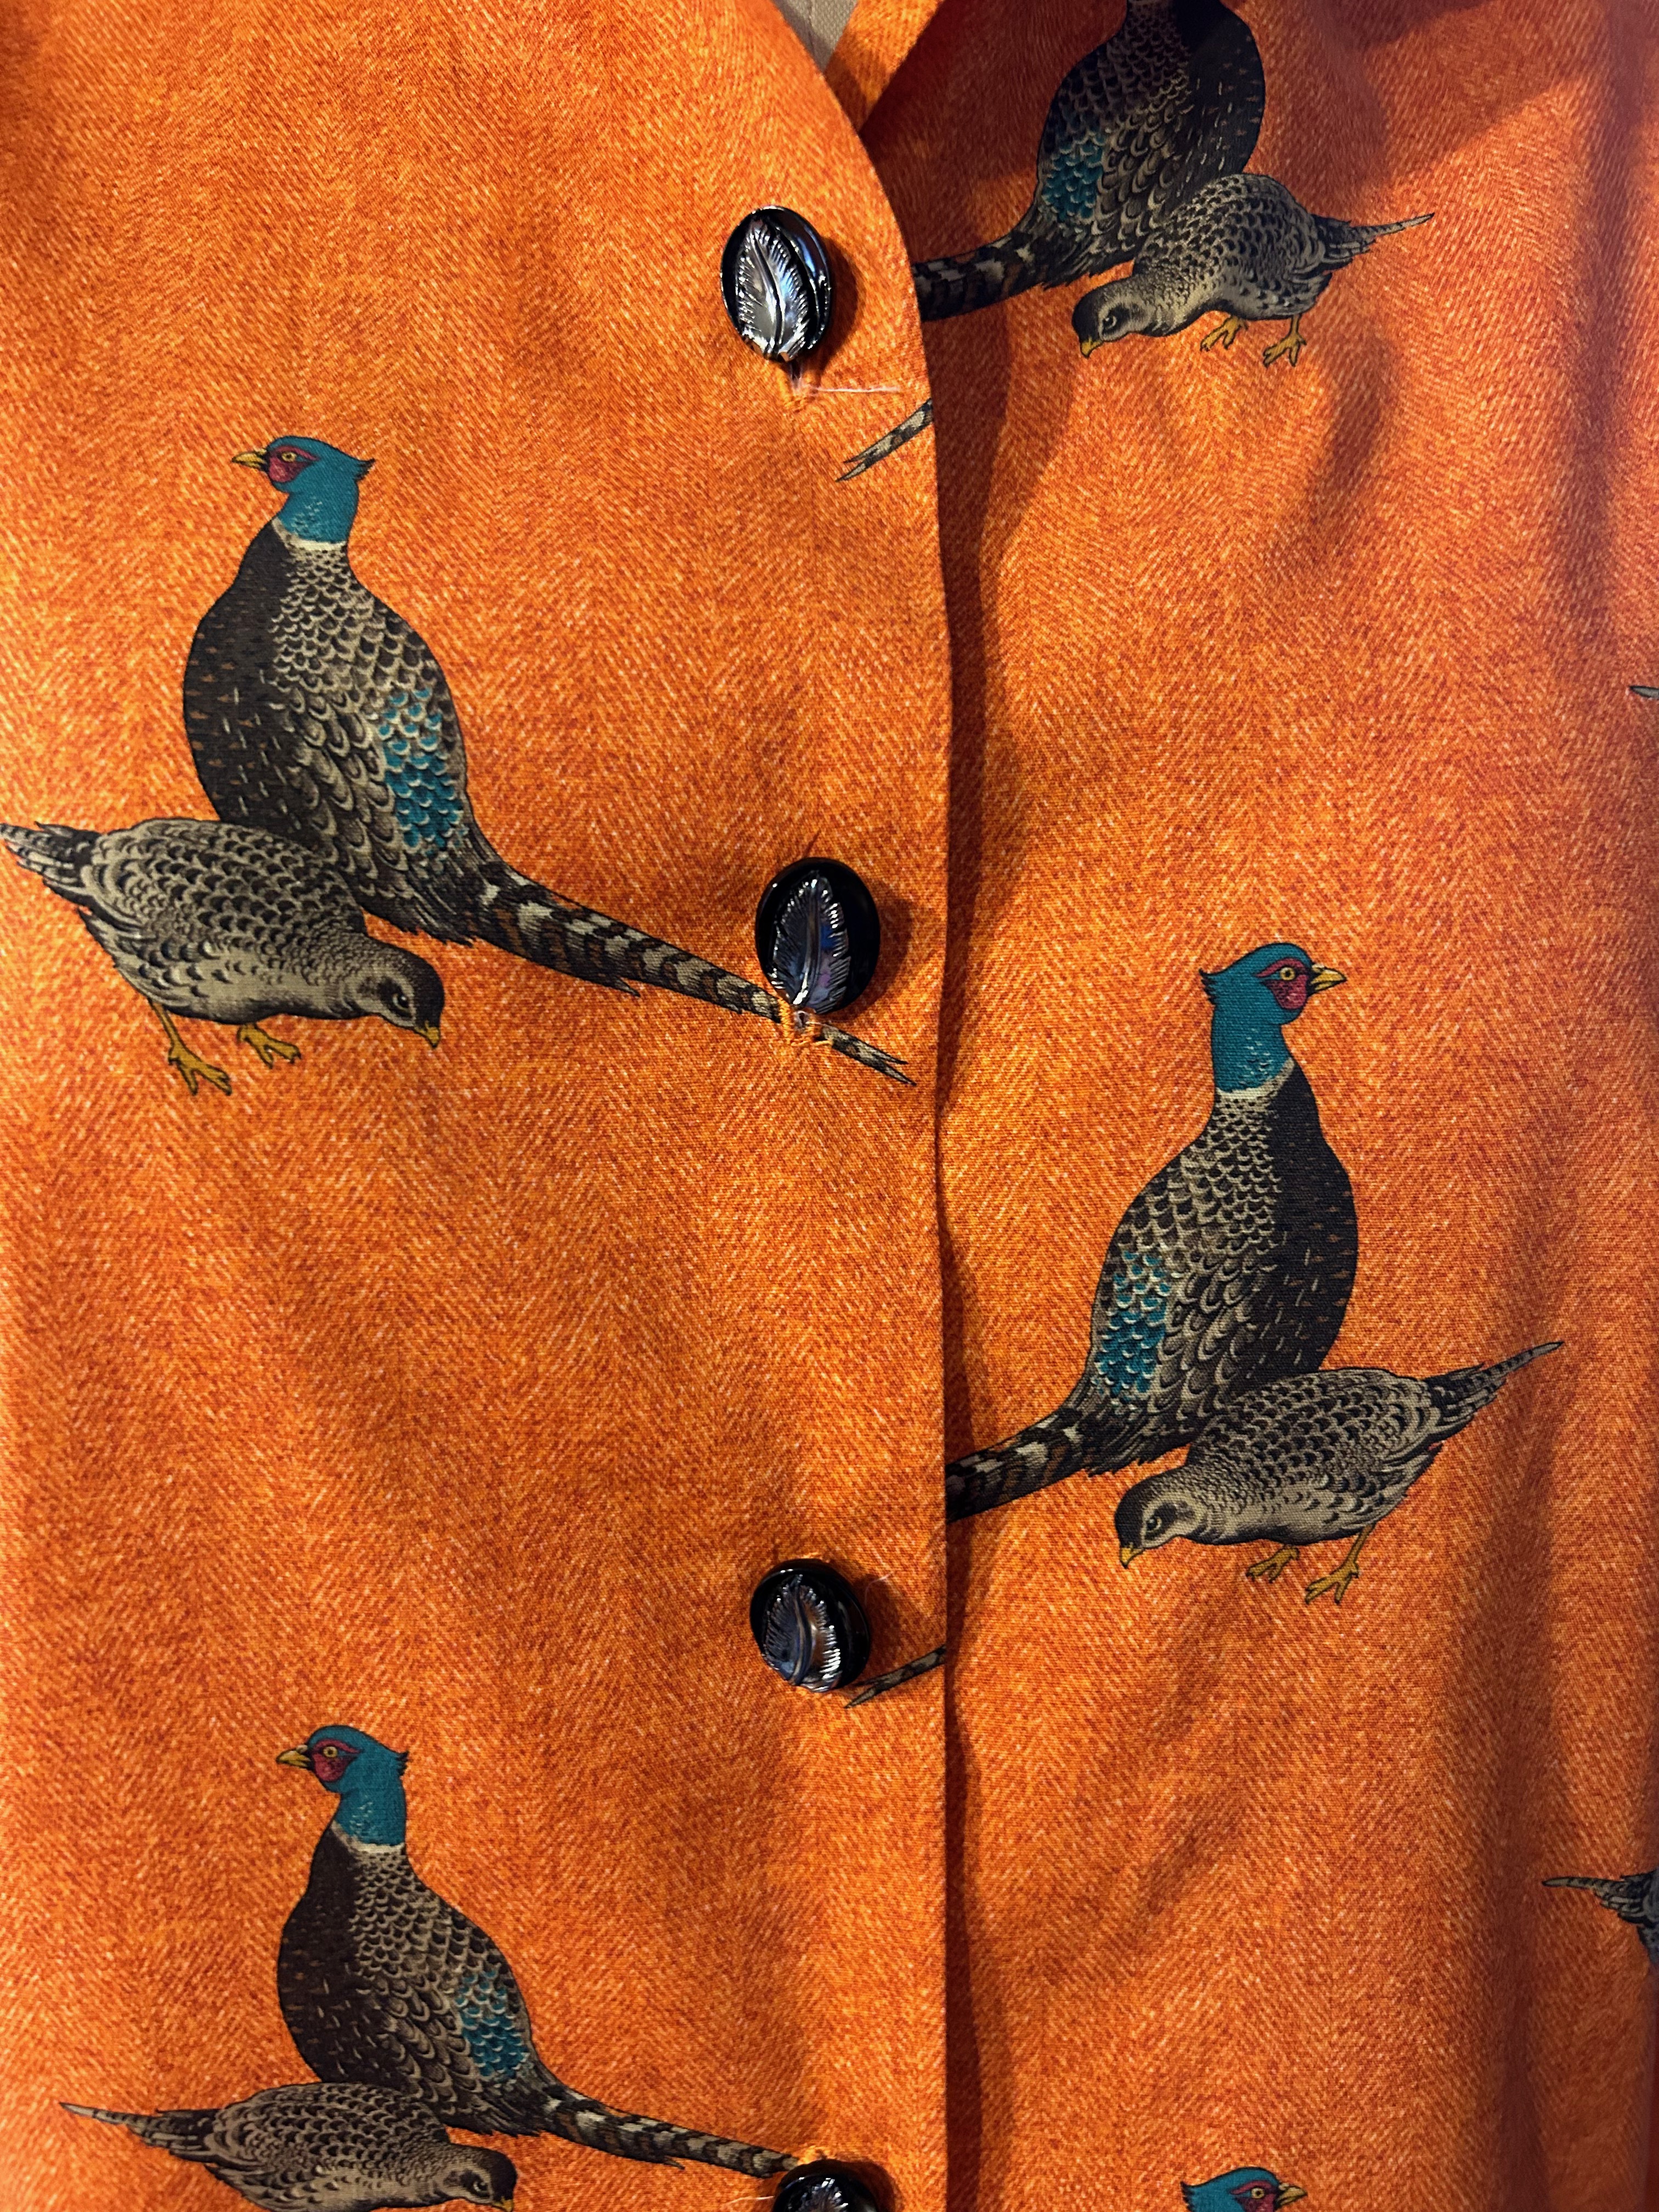
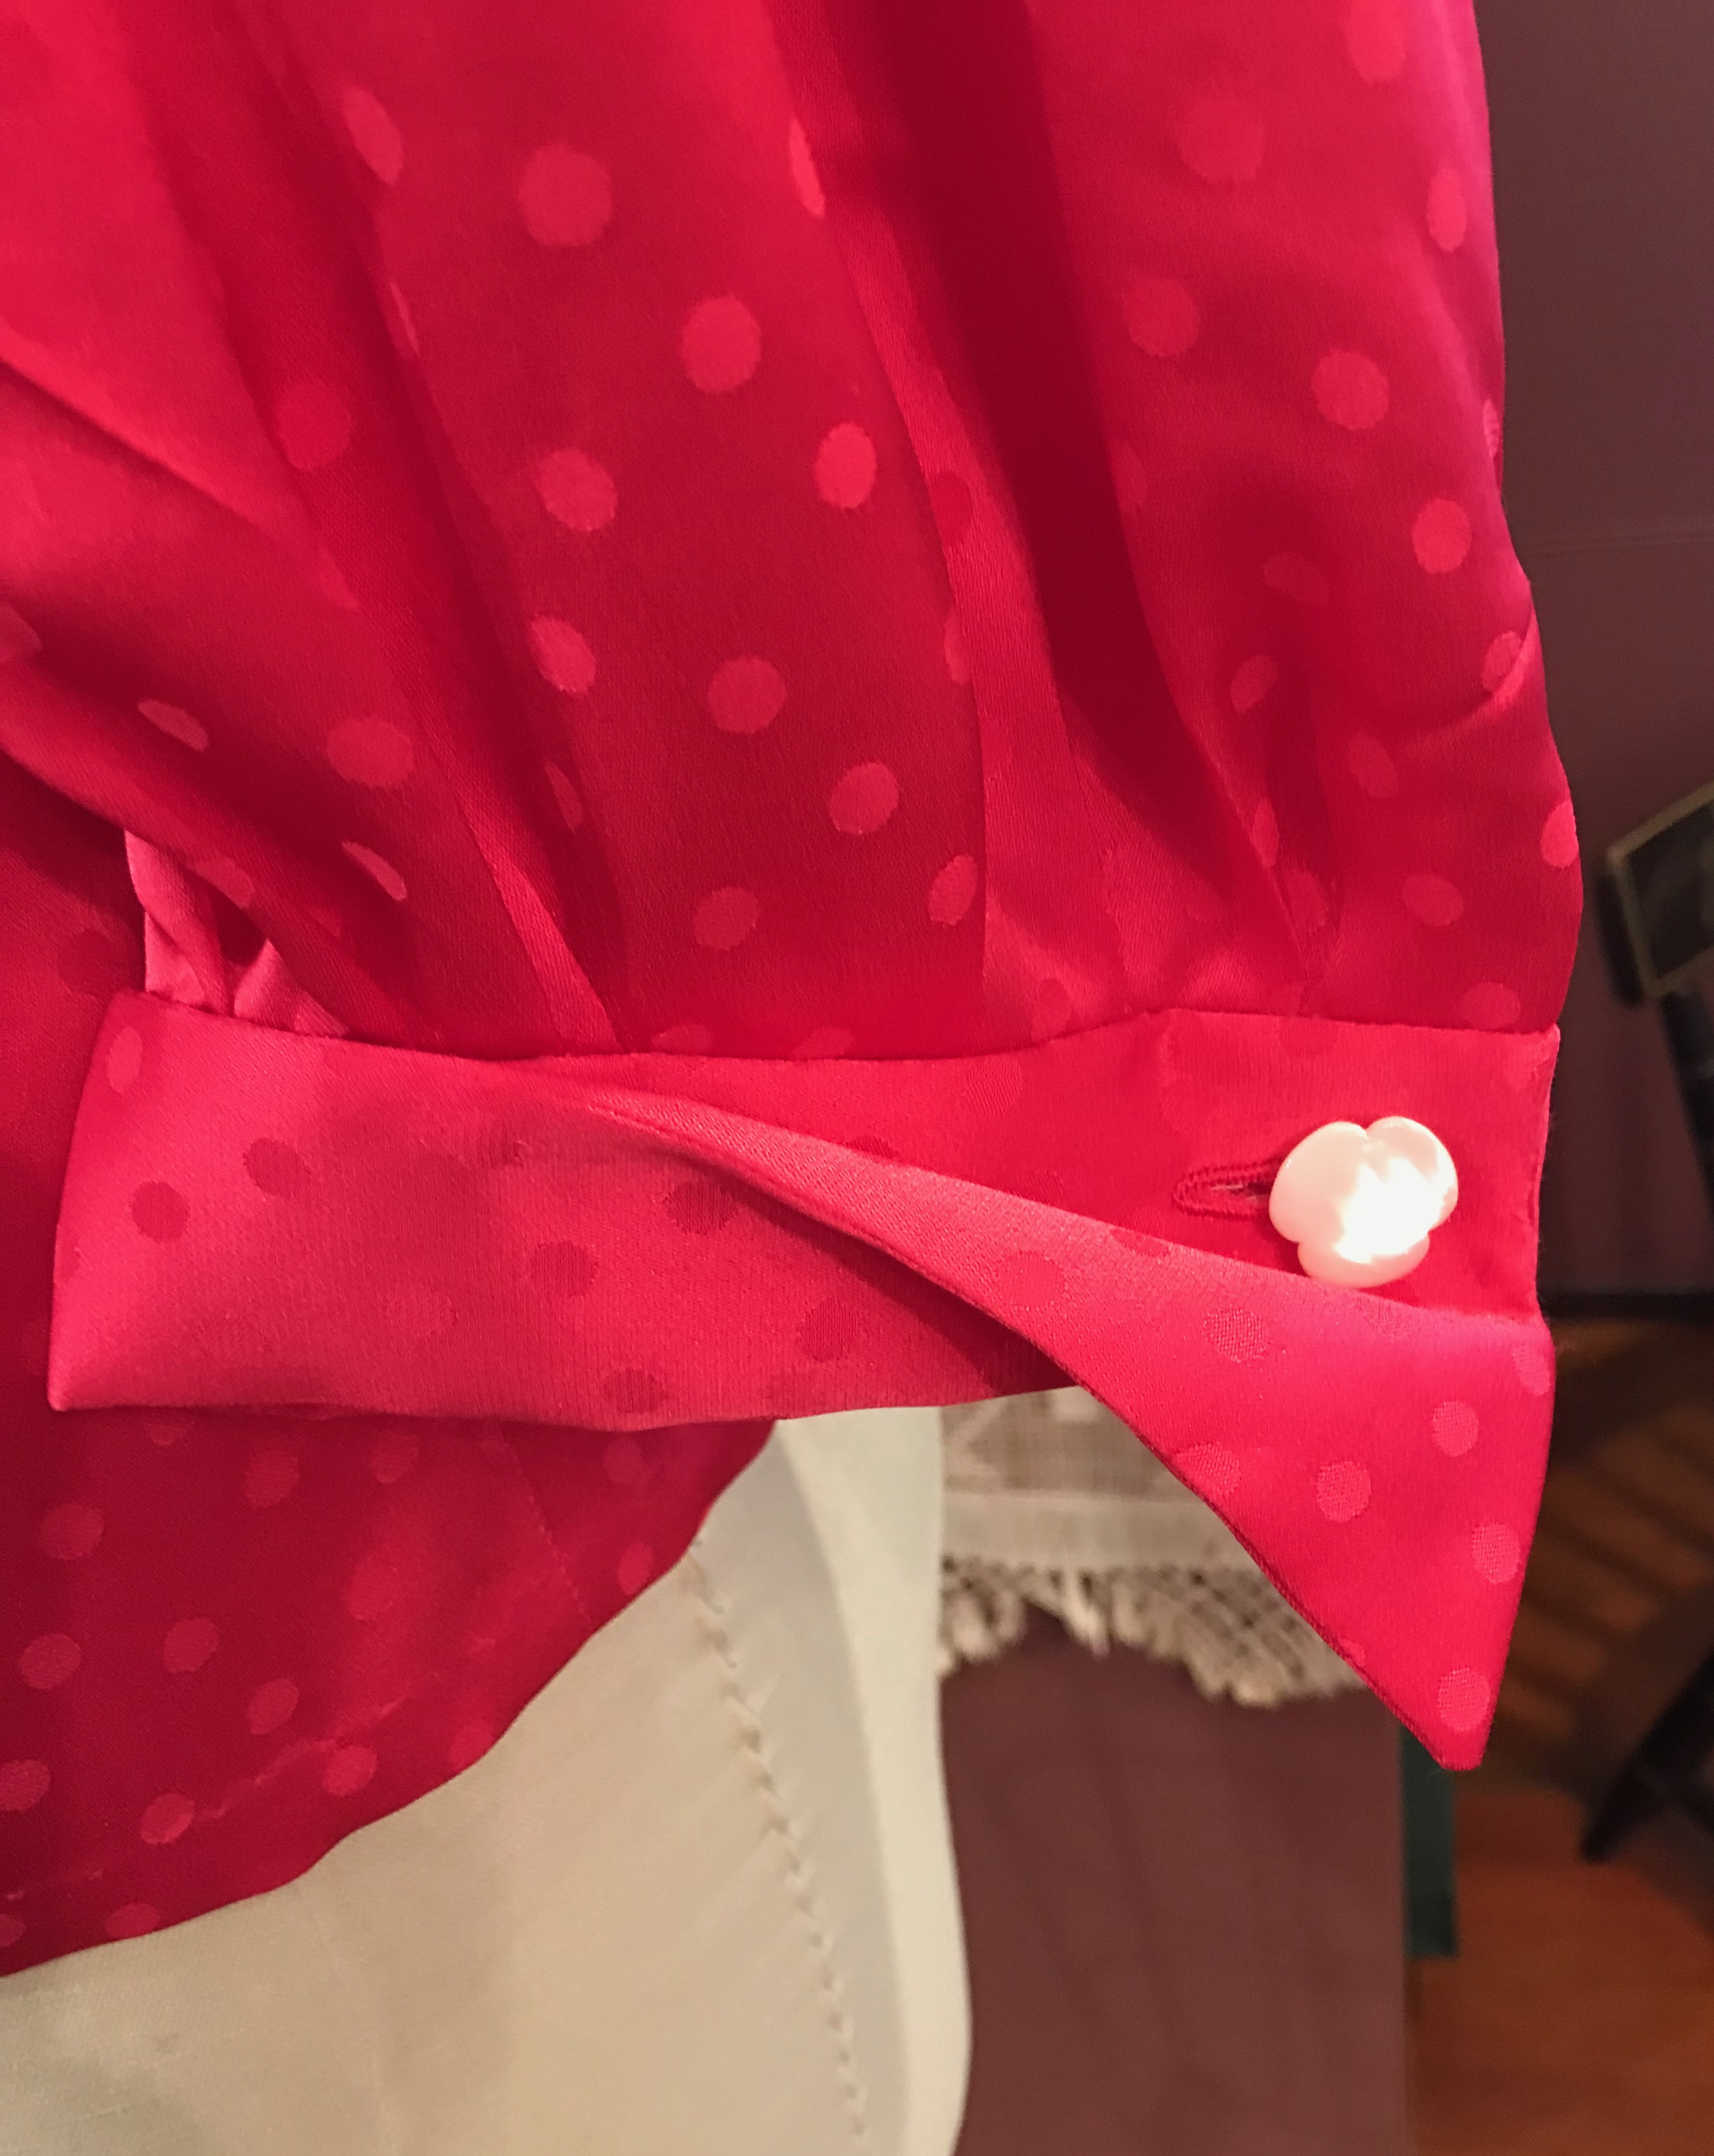
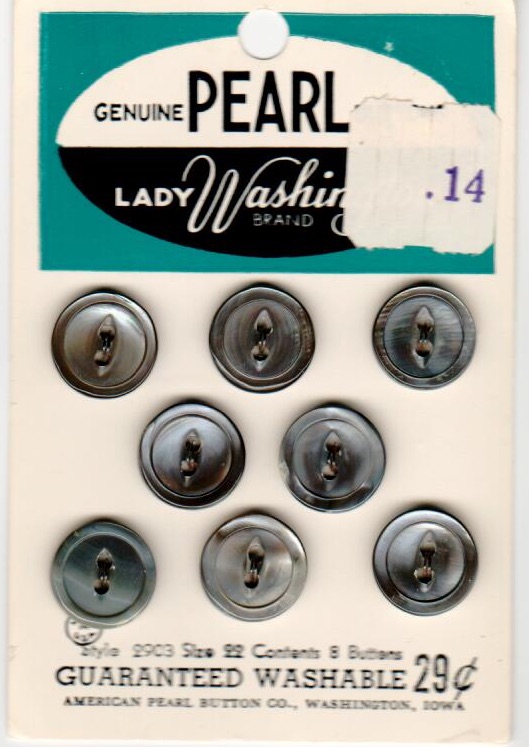
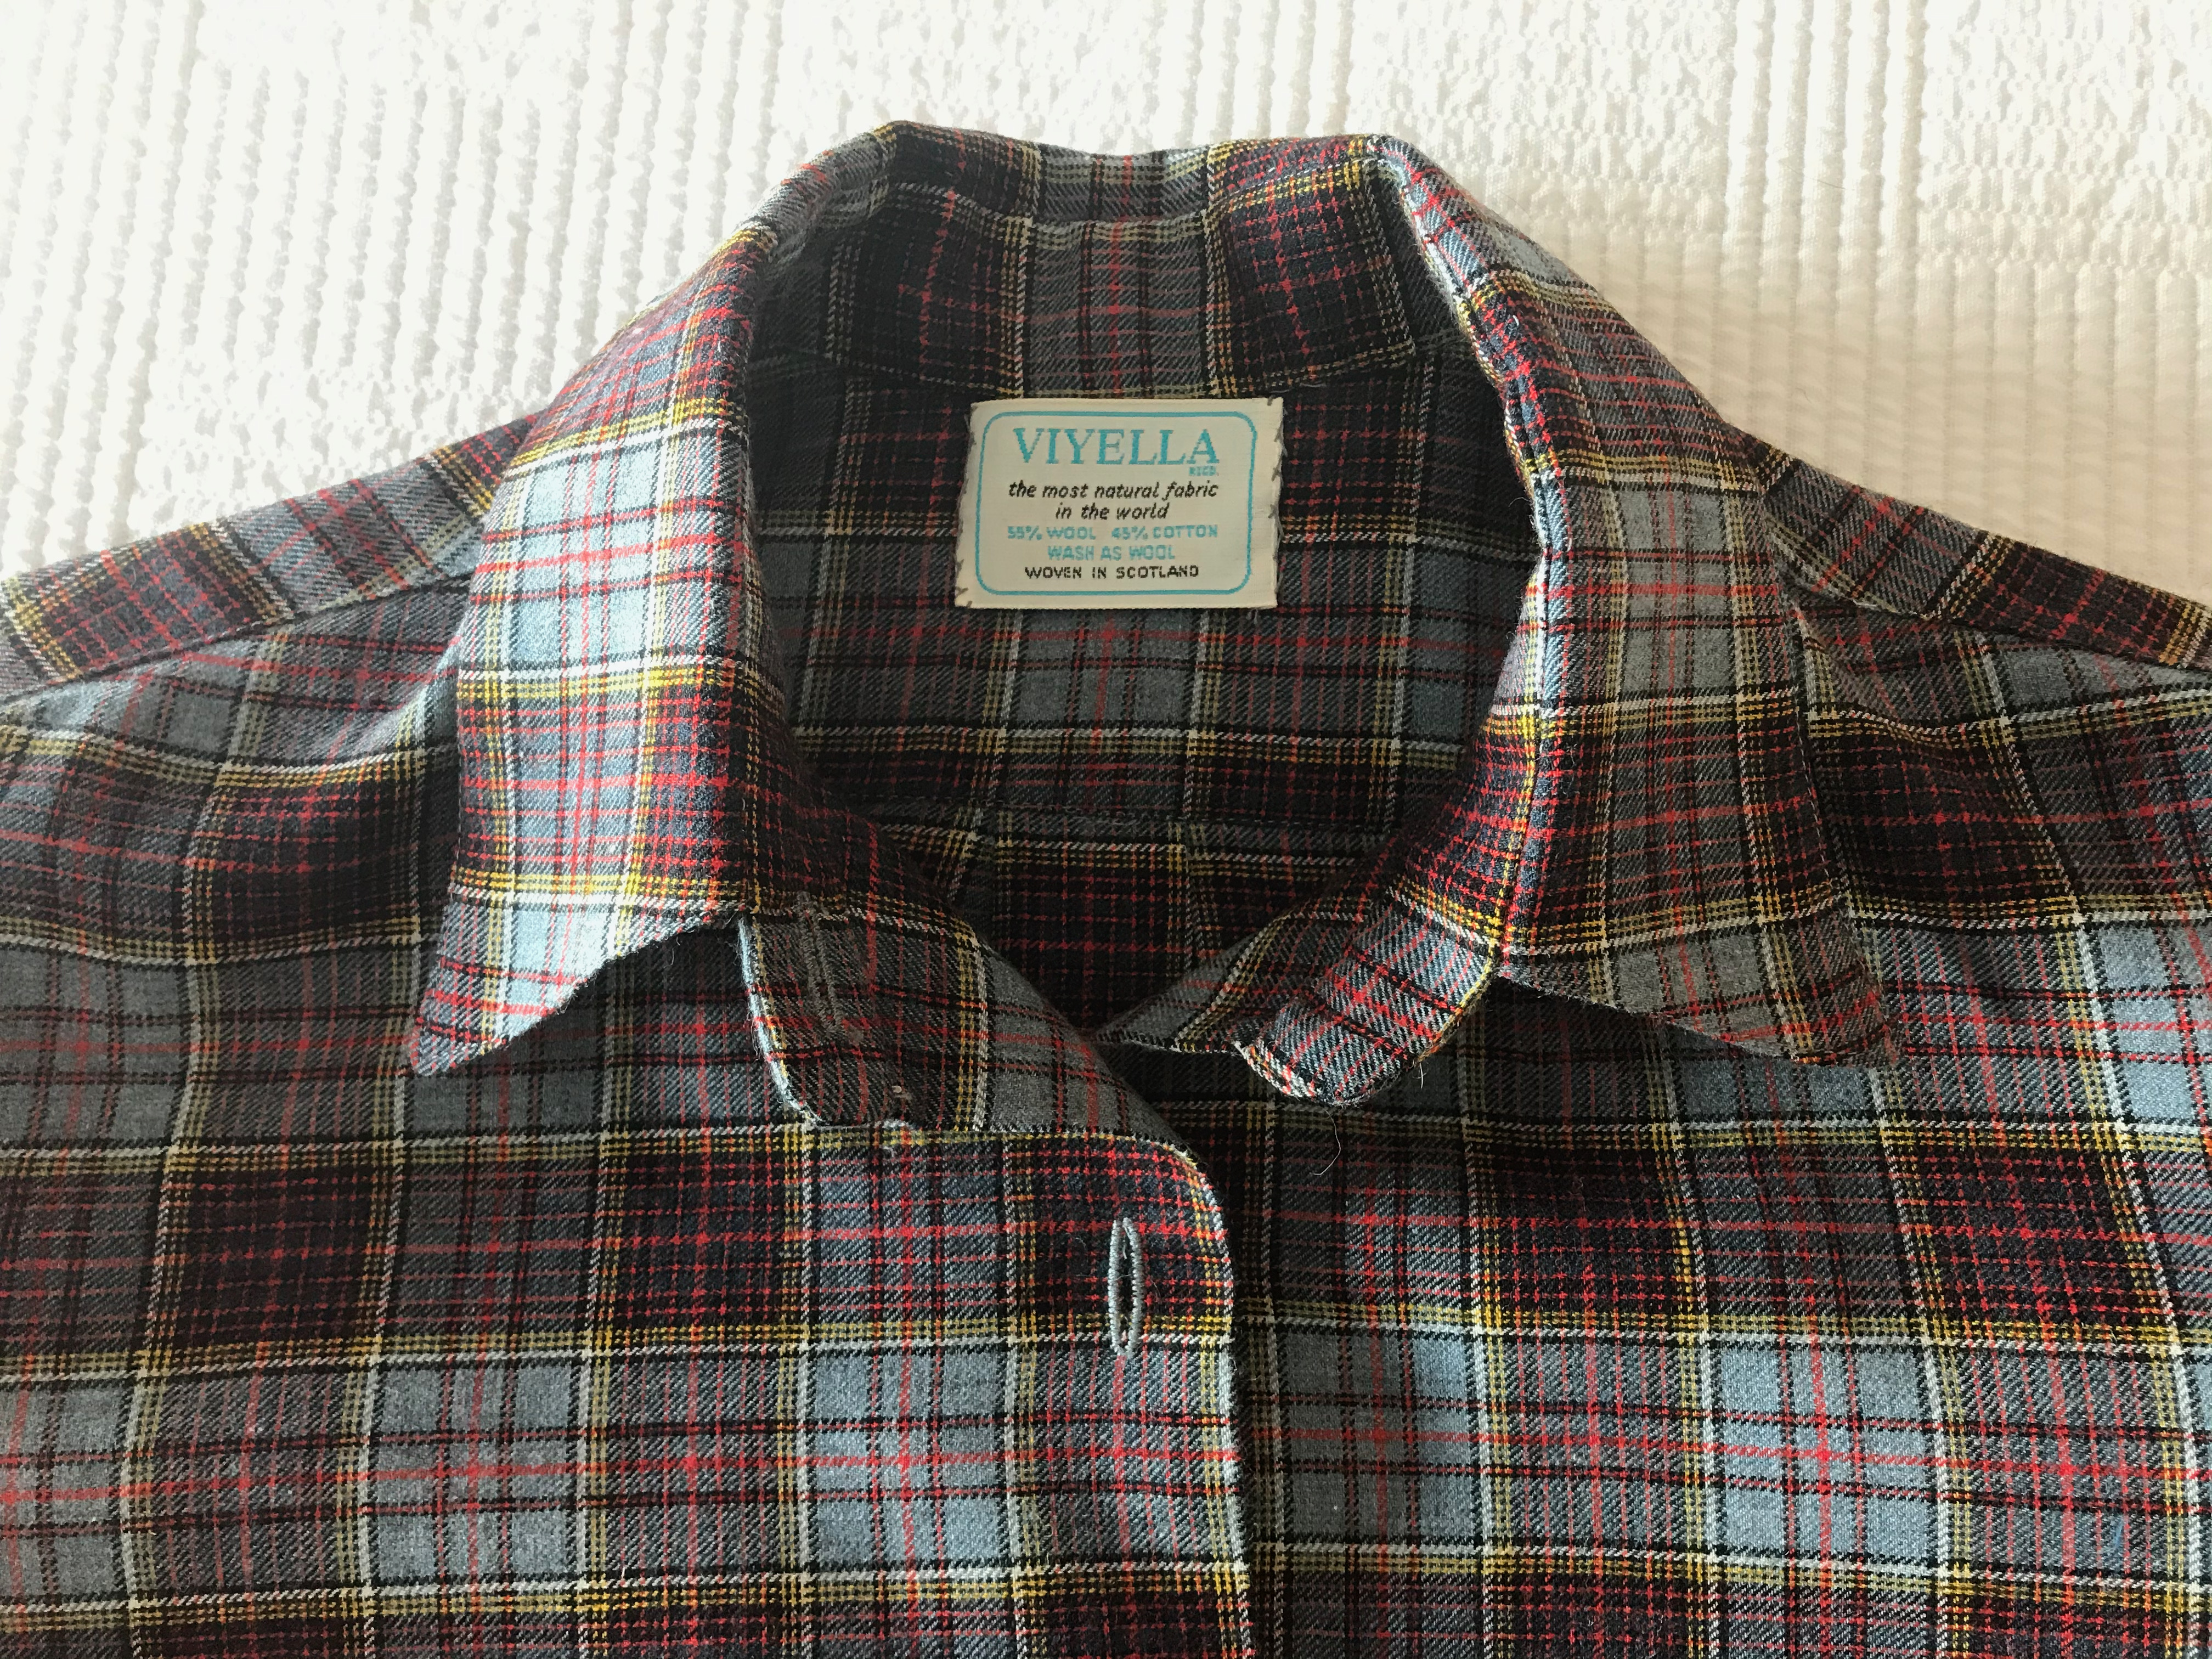
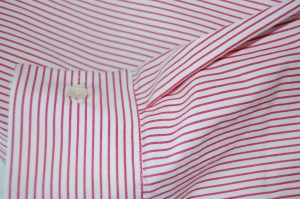
What to do for BUTTONS!? I had selected 3 varieties from which to choose – all from my collection assembled over the past umpteen years.

Usually, a winner is clear to me, but this time I needed some assistance. So, I asked my sewing friend, Debra, for her input, which was a brilliant move on my part. How wonderful to have confirmation from her trained eye that the buttons I was leaning toward were her choice as well. Her decisiveness was quick and instinctive.
The only problem was they were already on a blouse which I made years ago. No problem, I just took them off that bouse, with a promise to find replacements at some point. The other sweet thing about these black cube buttons – and I digress here – is that I was with my daughter, Susanna, when I purchased them. We have wonderful memories of that day long ago, spent together at a vintage textile show in New England. So from the fields of Massachusetts to the streets of Paris, these vintage Bakelite buttons continue to add layers to their history.
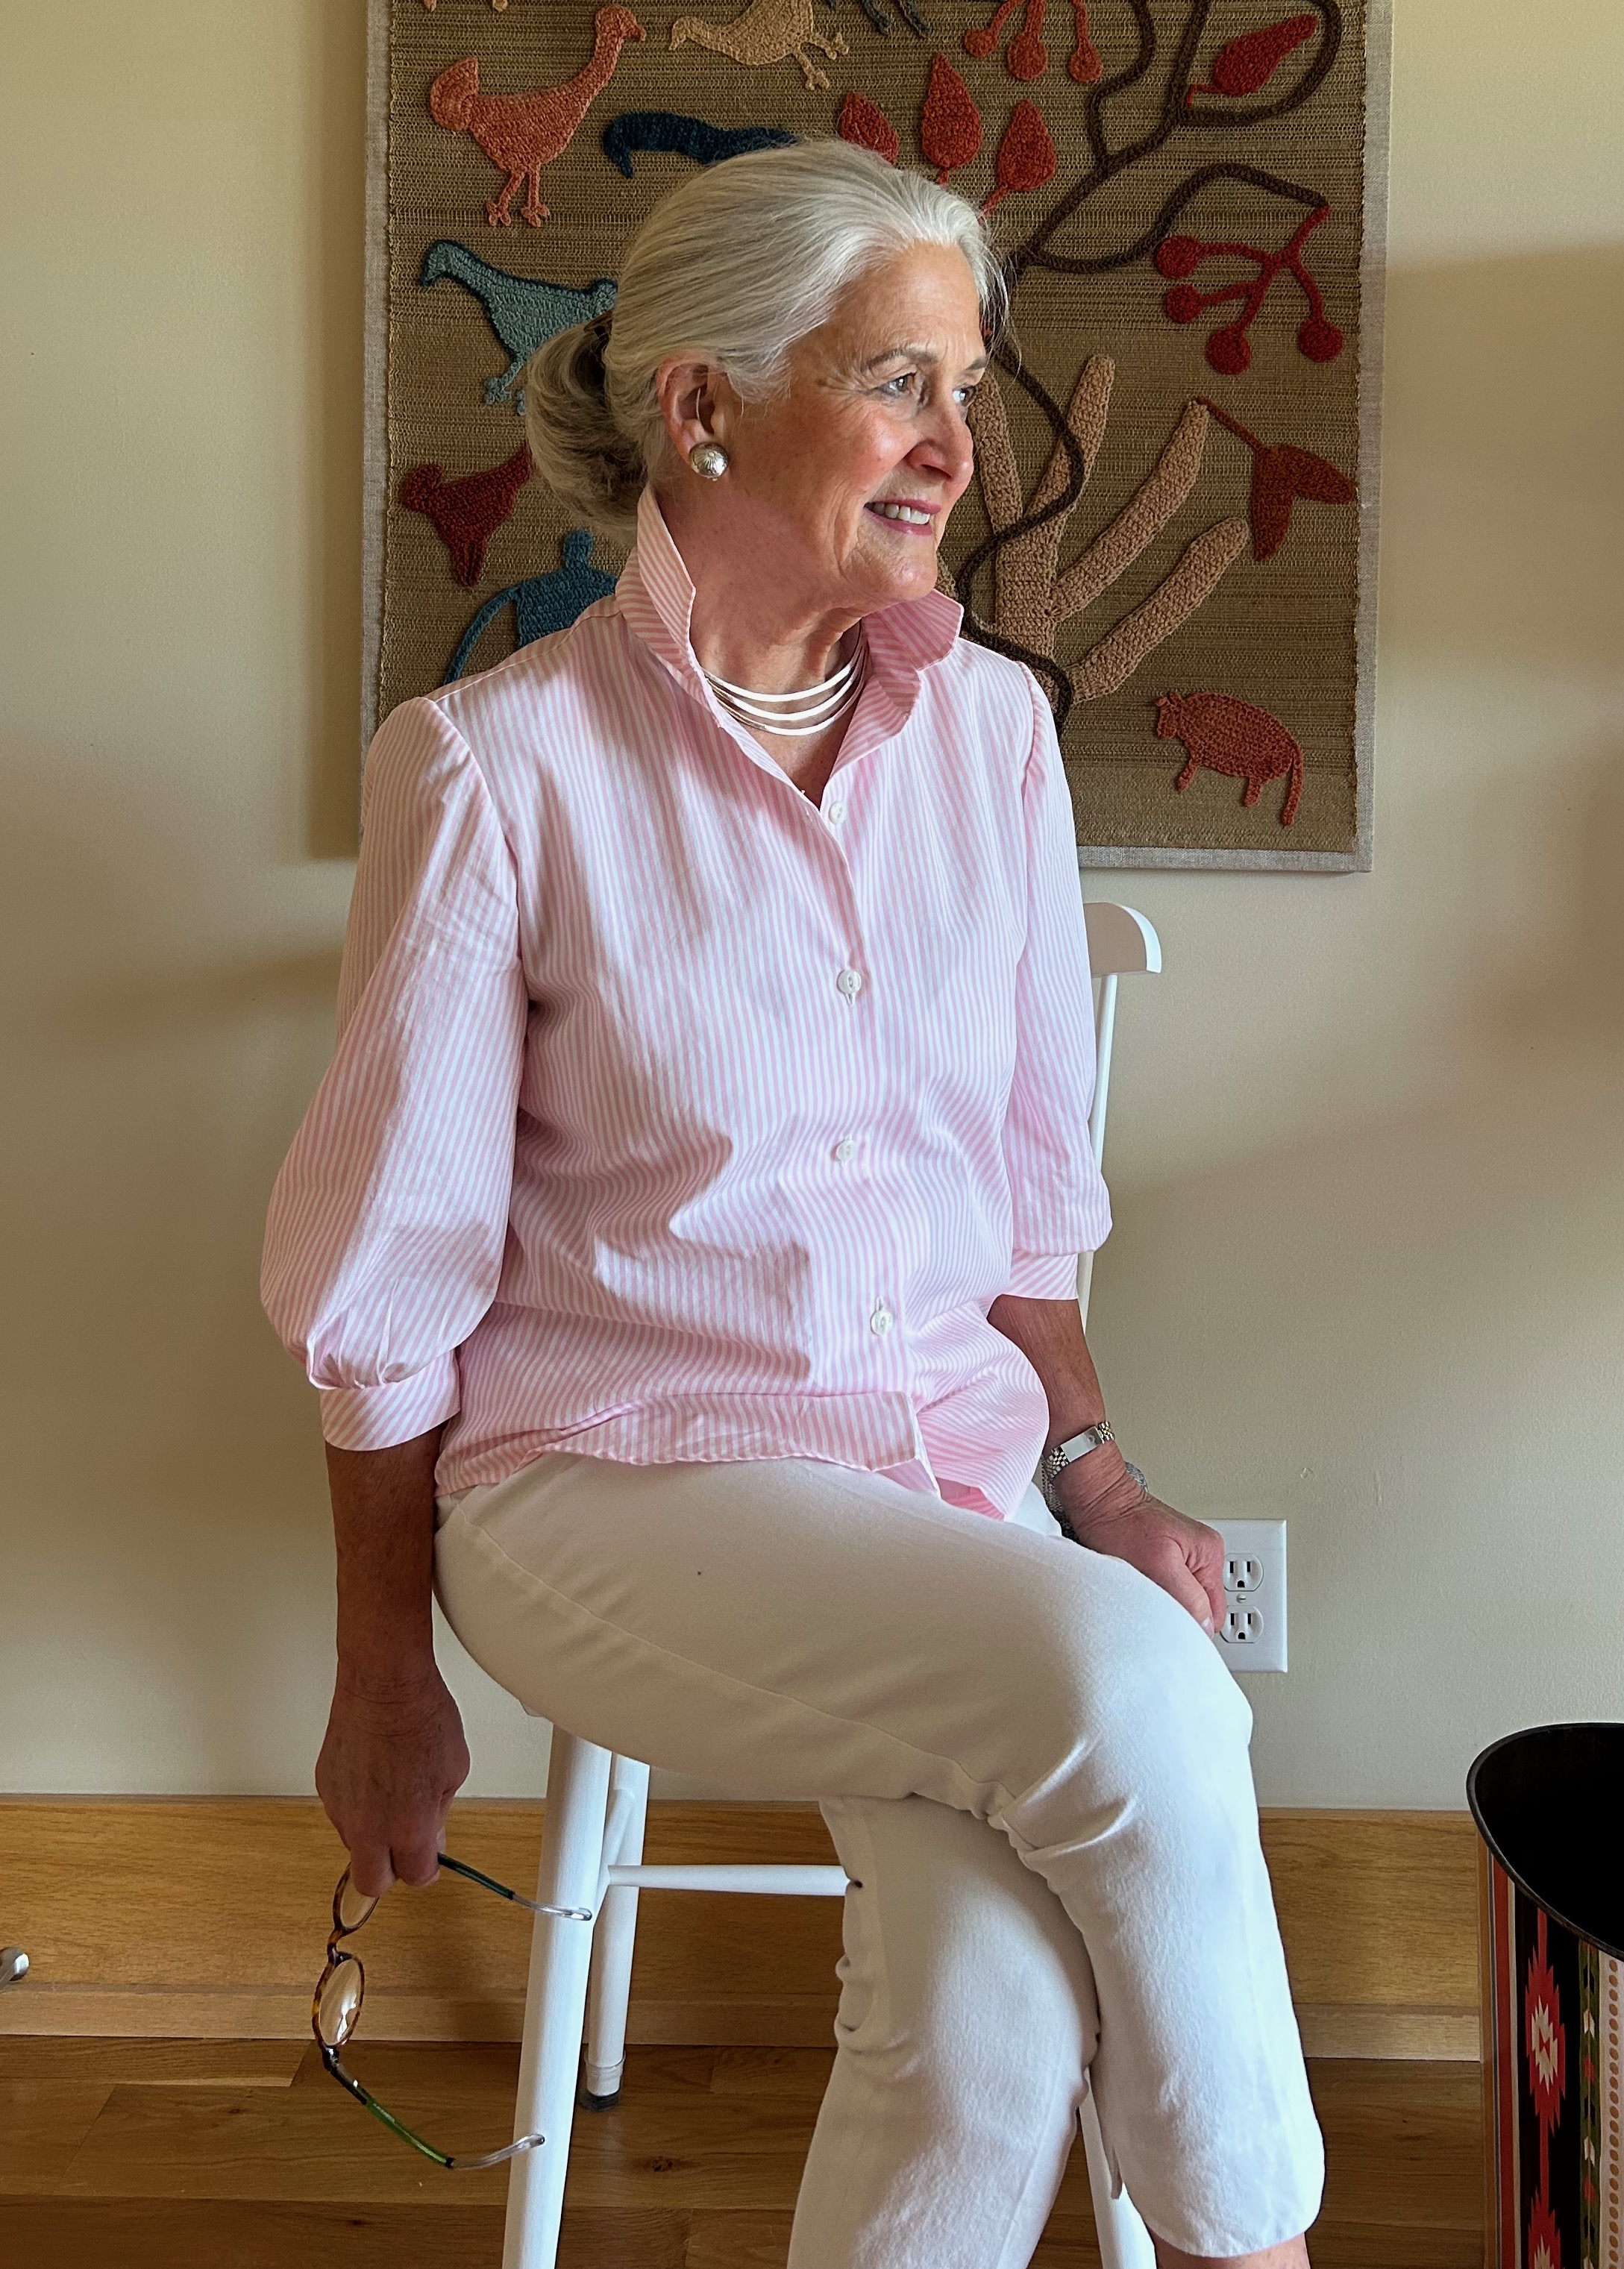
I thought it would be a good idea to have a “fancier” blouse along on the trip. It was already in my closet, having been sewn a number of years ago. It continues to be one of my favorite makes ever, although I do not get the opportunity to wear it very often.

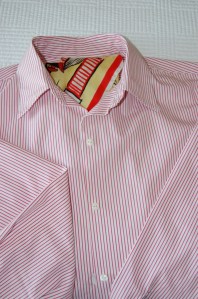
I wasn’t sure when I would wear it, but somehow I knew I would find the perfect day and time. By Friday morning of the trip, I had decided to wear it that evening to our Gala Dinner, with dressy black slacks. I had brought along specific jewelry to pair with it, and I was quite confident I would look well attired for that special night. And then… as luck would have it, one of our stops that day was to a scarf store in Paris. Susan had expressed her great admiration for this store and their goods, so we were all looking forward to our time there.
Truth be told, I could have easily purchased three or four scarves that afternoon. The selection was wide-ranging, both in design and fabric. But there was one scarf I knew would go home with me.
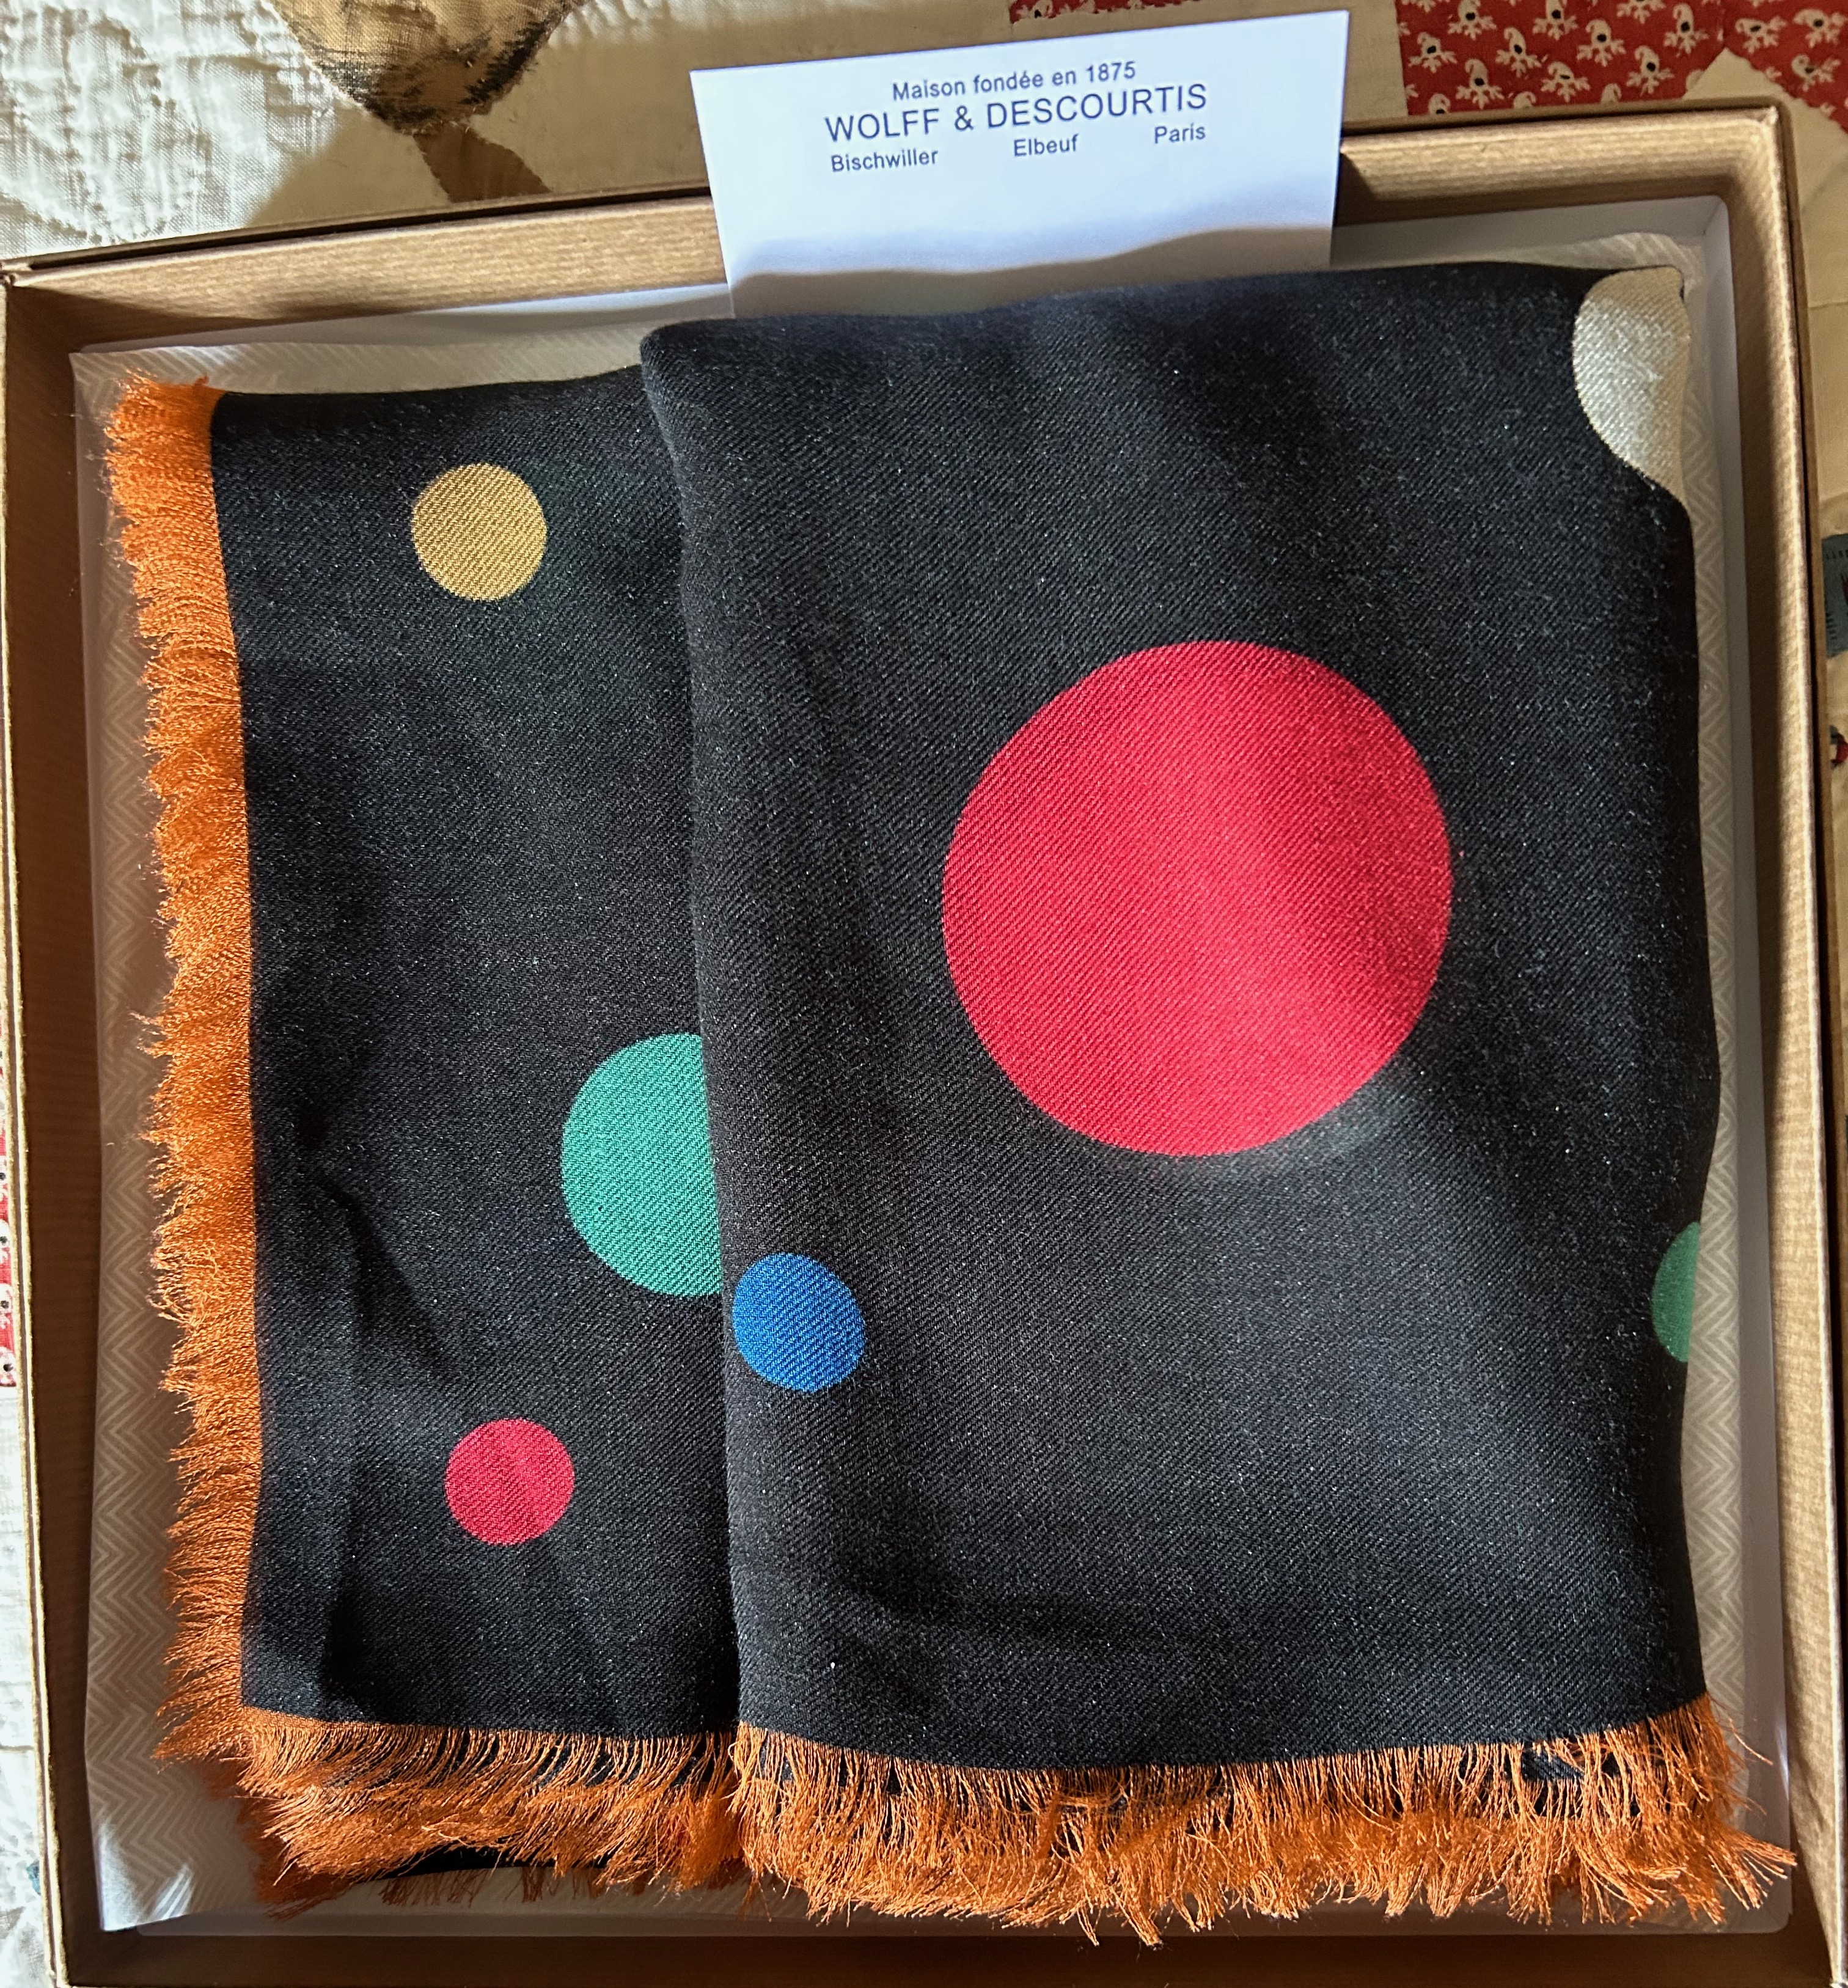
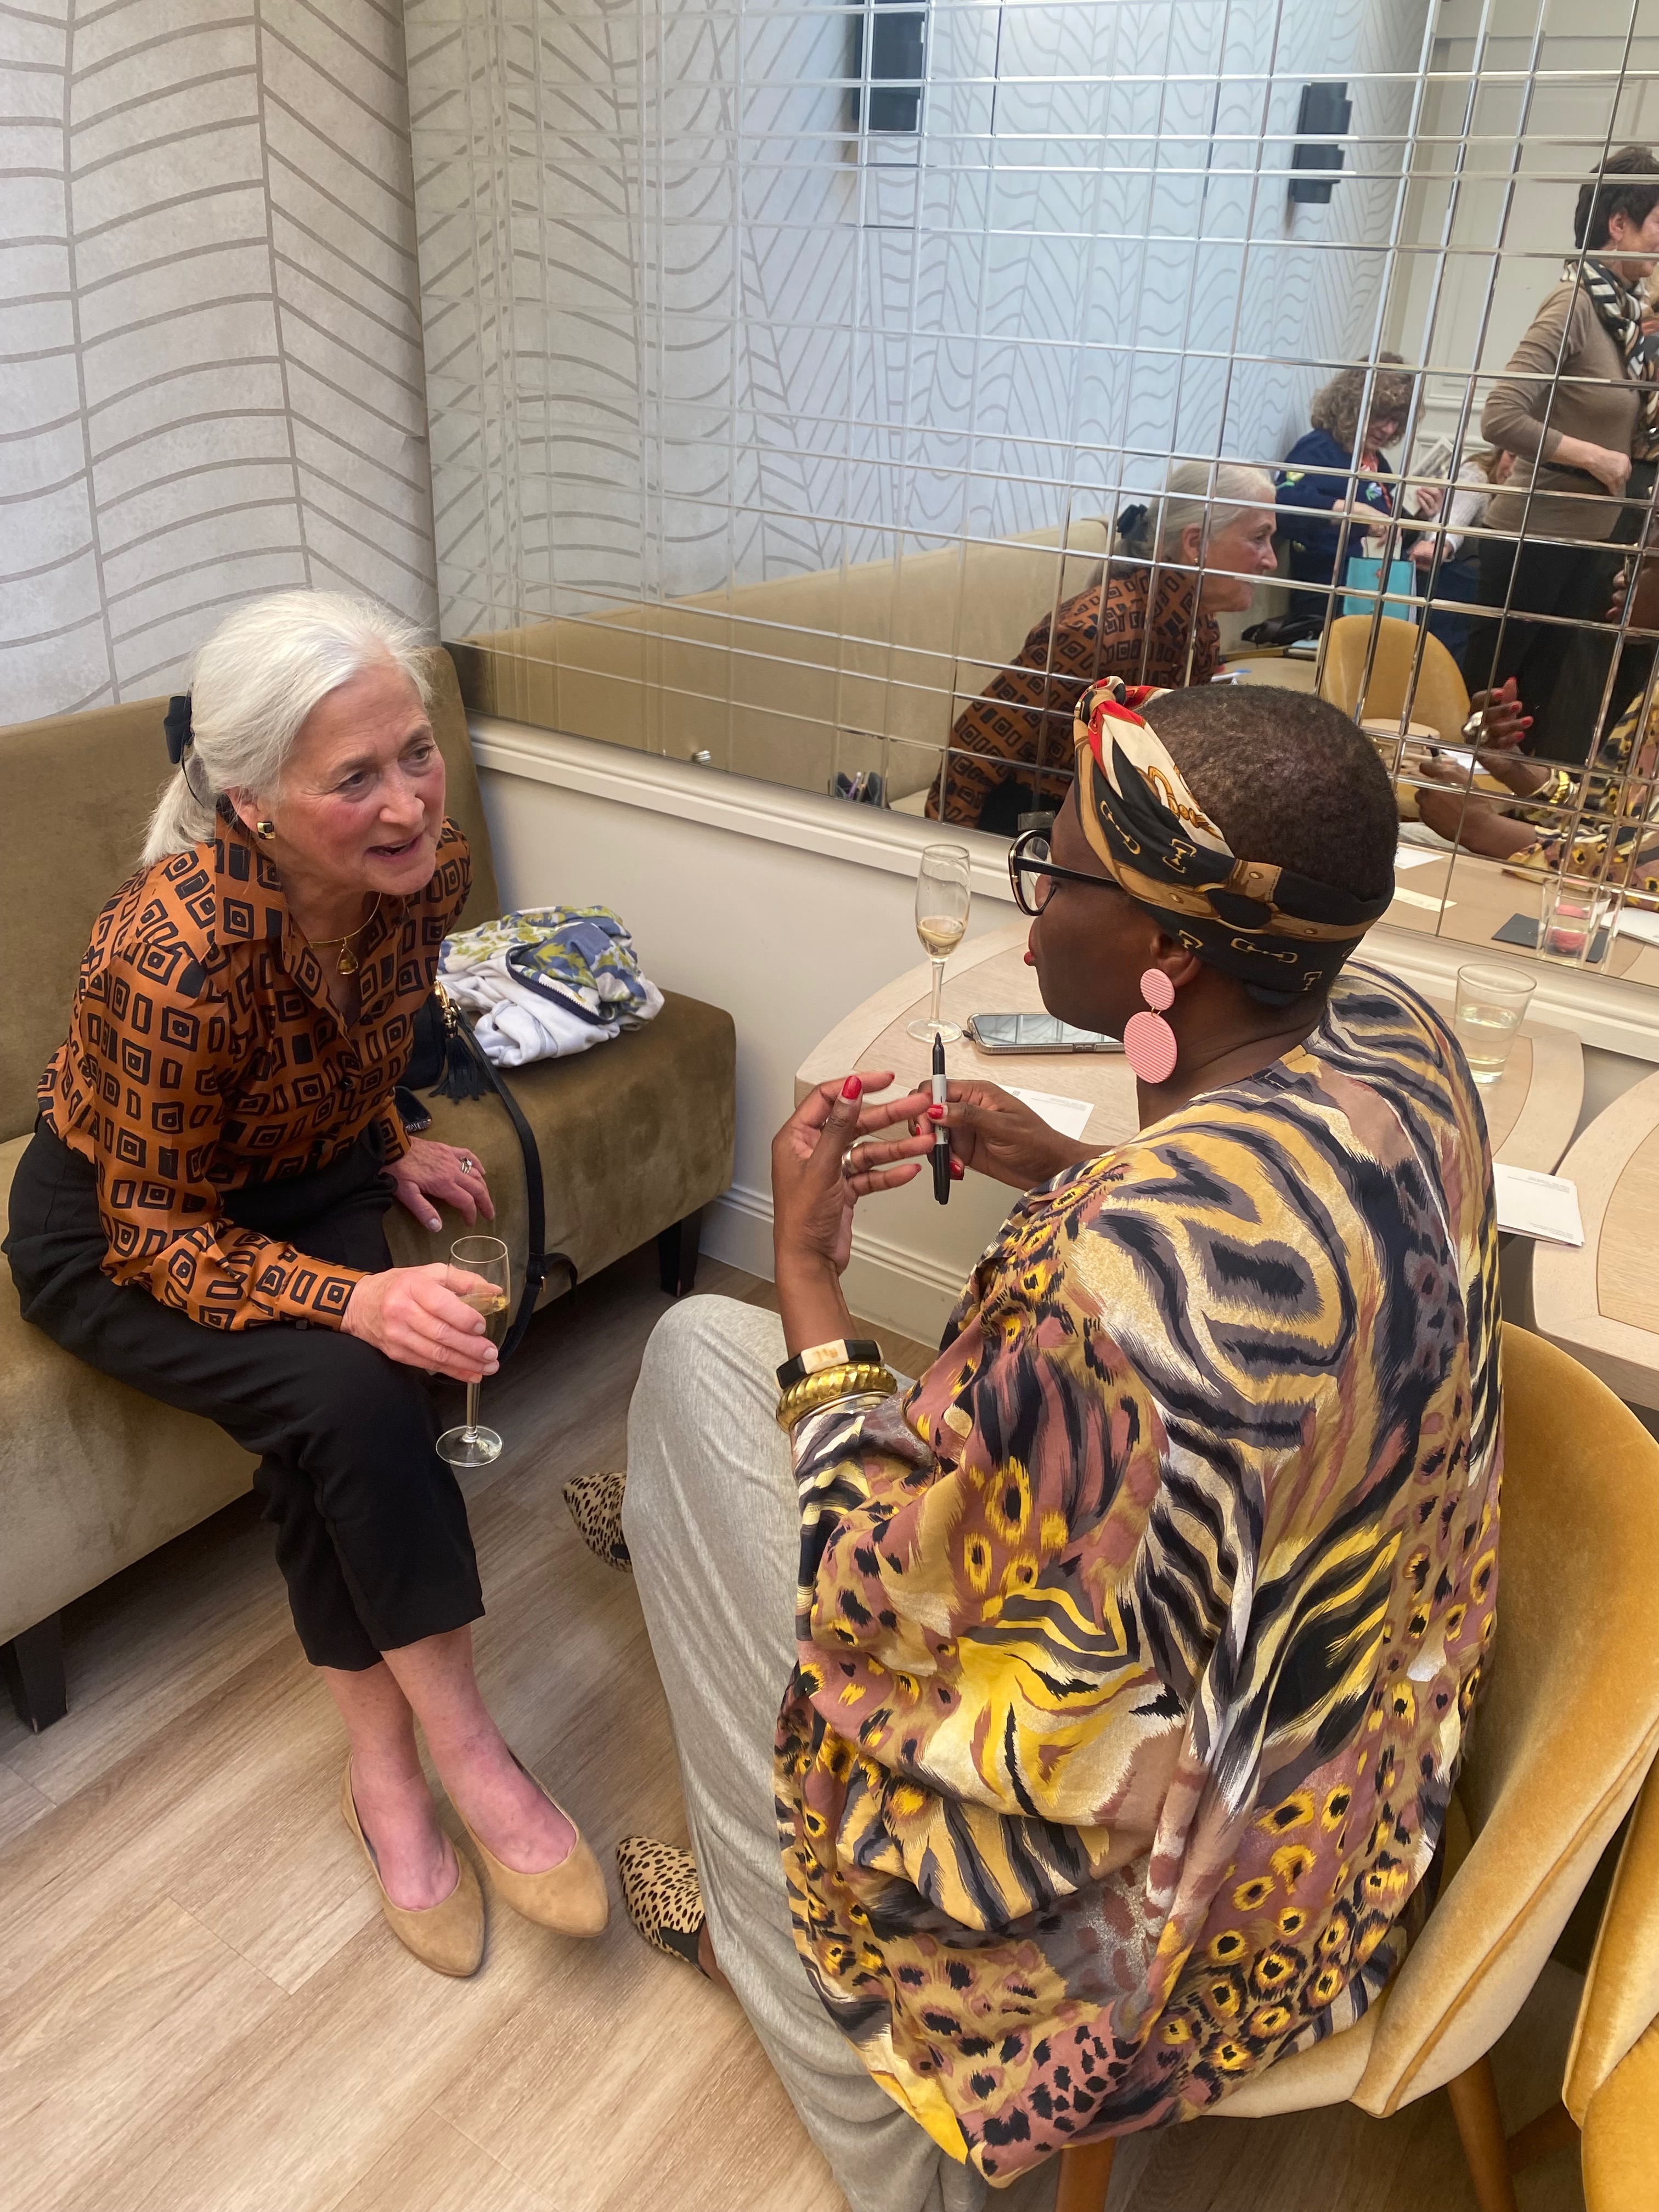
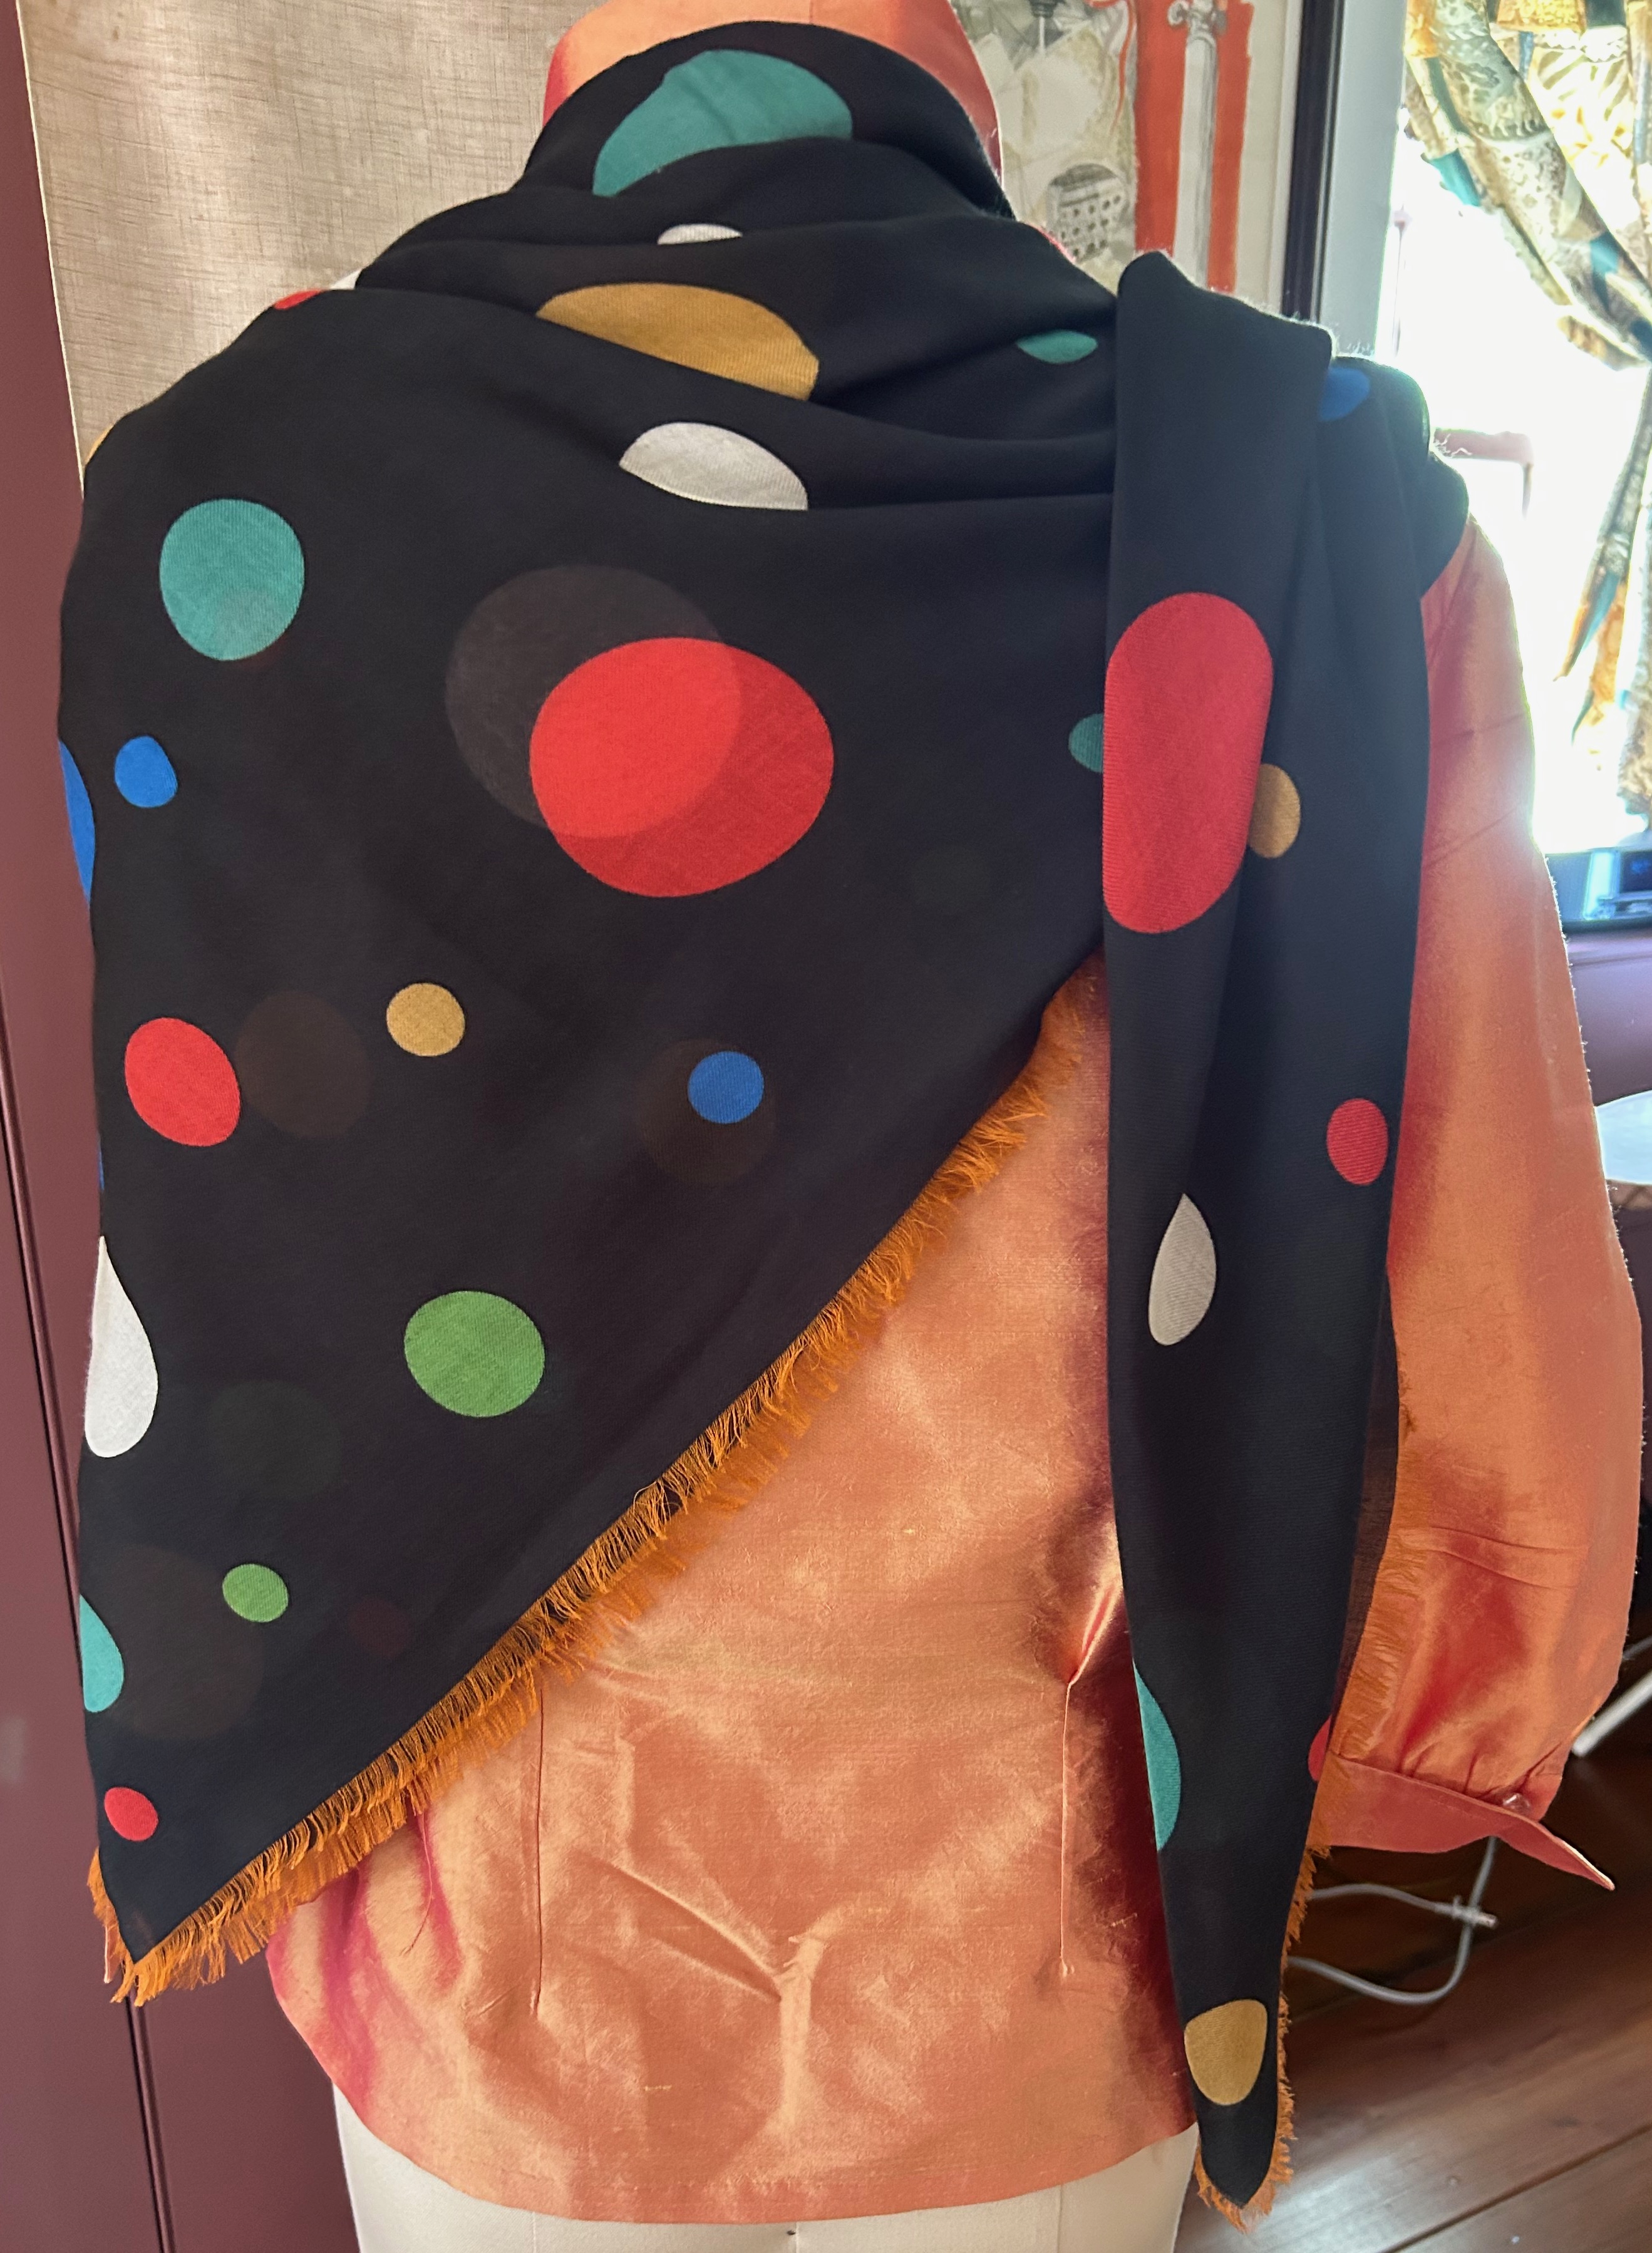
The funny thing is, when I purchased it, I was not thinking about the blouse I planned to wear that evening. But when I got back to my hotel room, I realized what a great duo they would make. As the evening was a bit chilly, and we had a short walk to the restaurant, having this cashmere blend scarf wrapped around my shoulders was the perfect addition.

It was a fun evening, and I felt perfectly attired! Of course, from now on, I shall refer to this scarf as my Paris wrap.
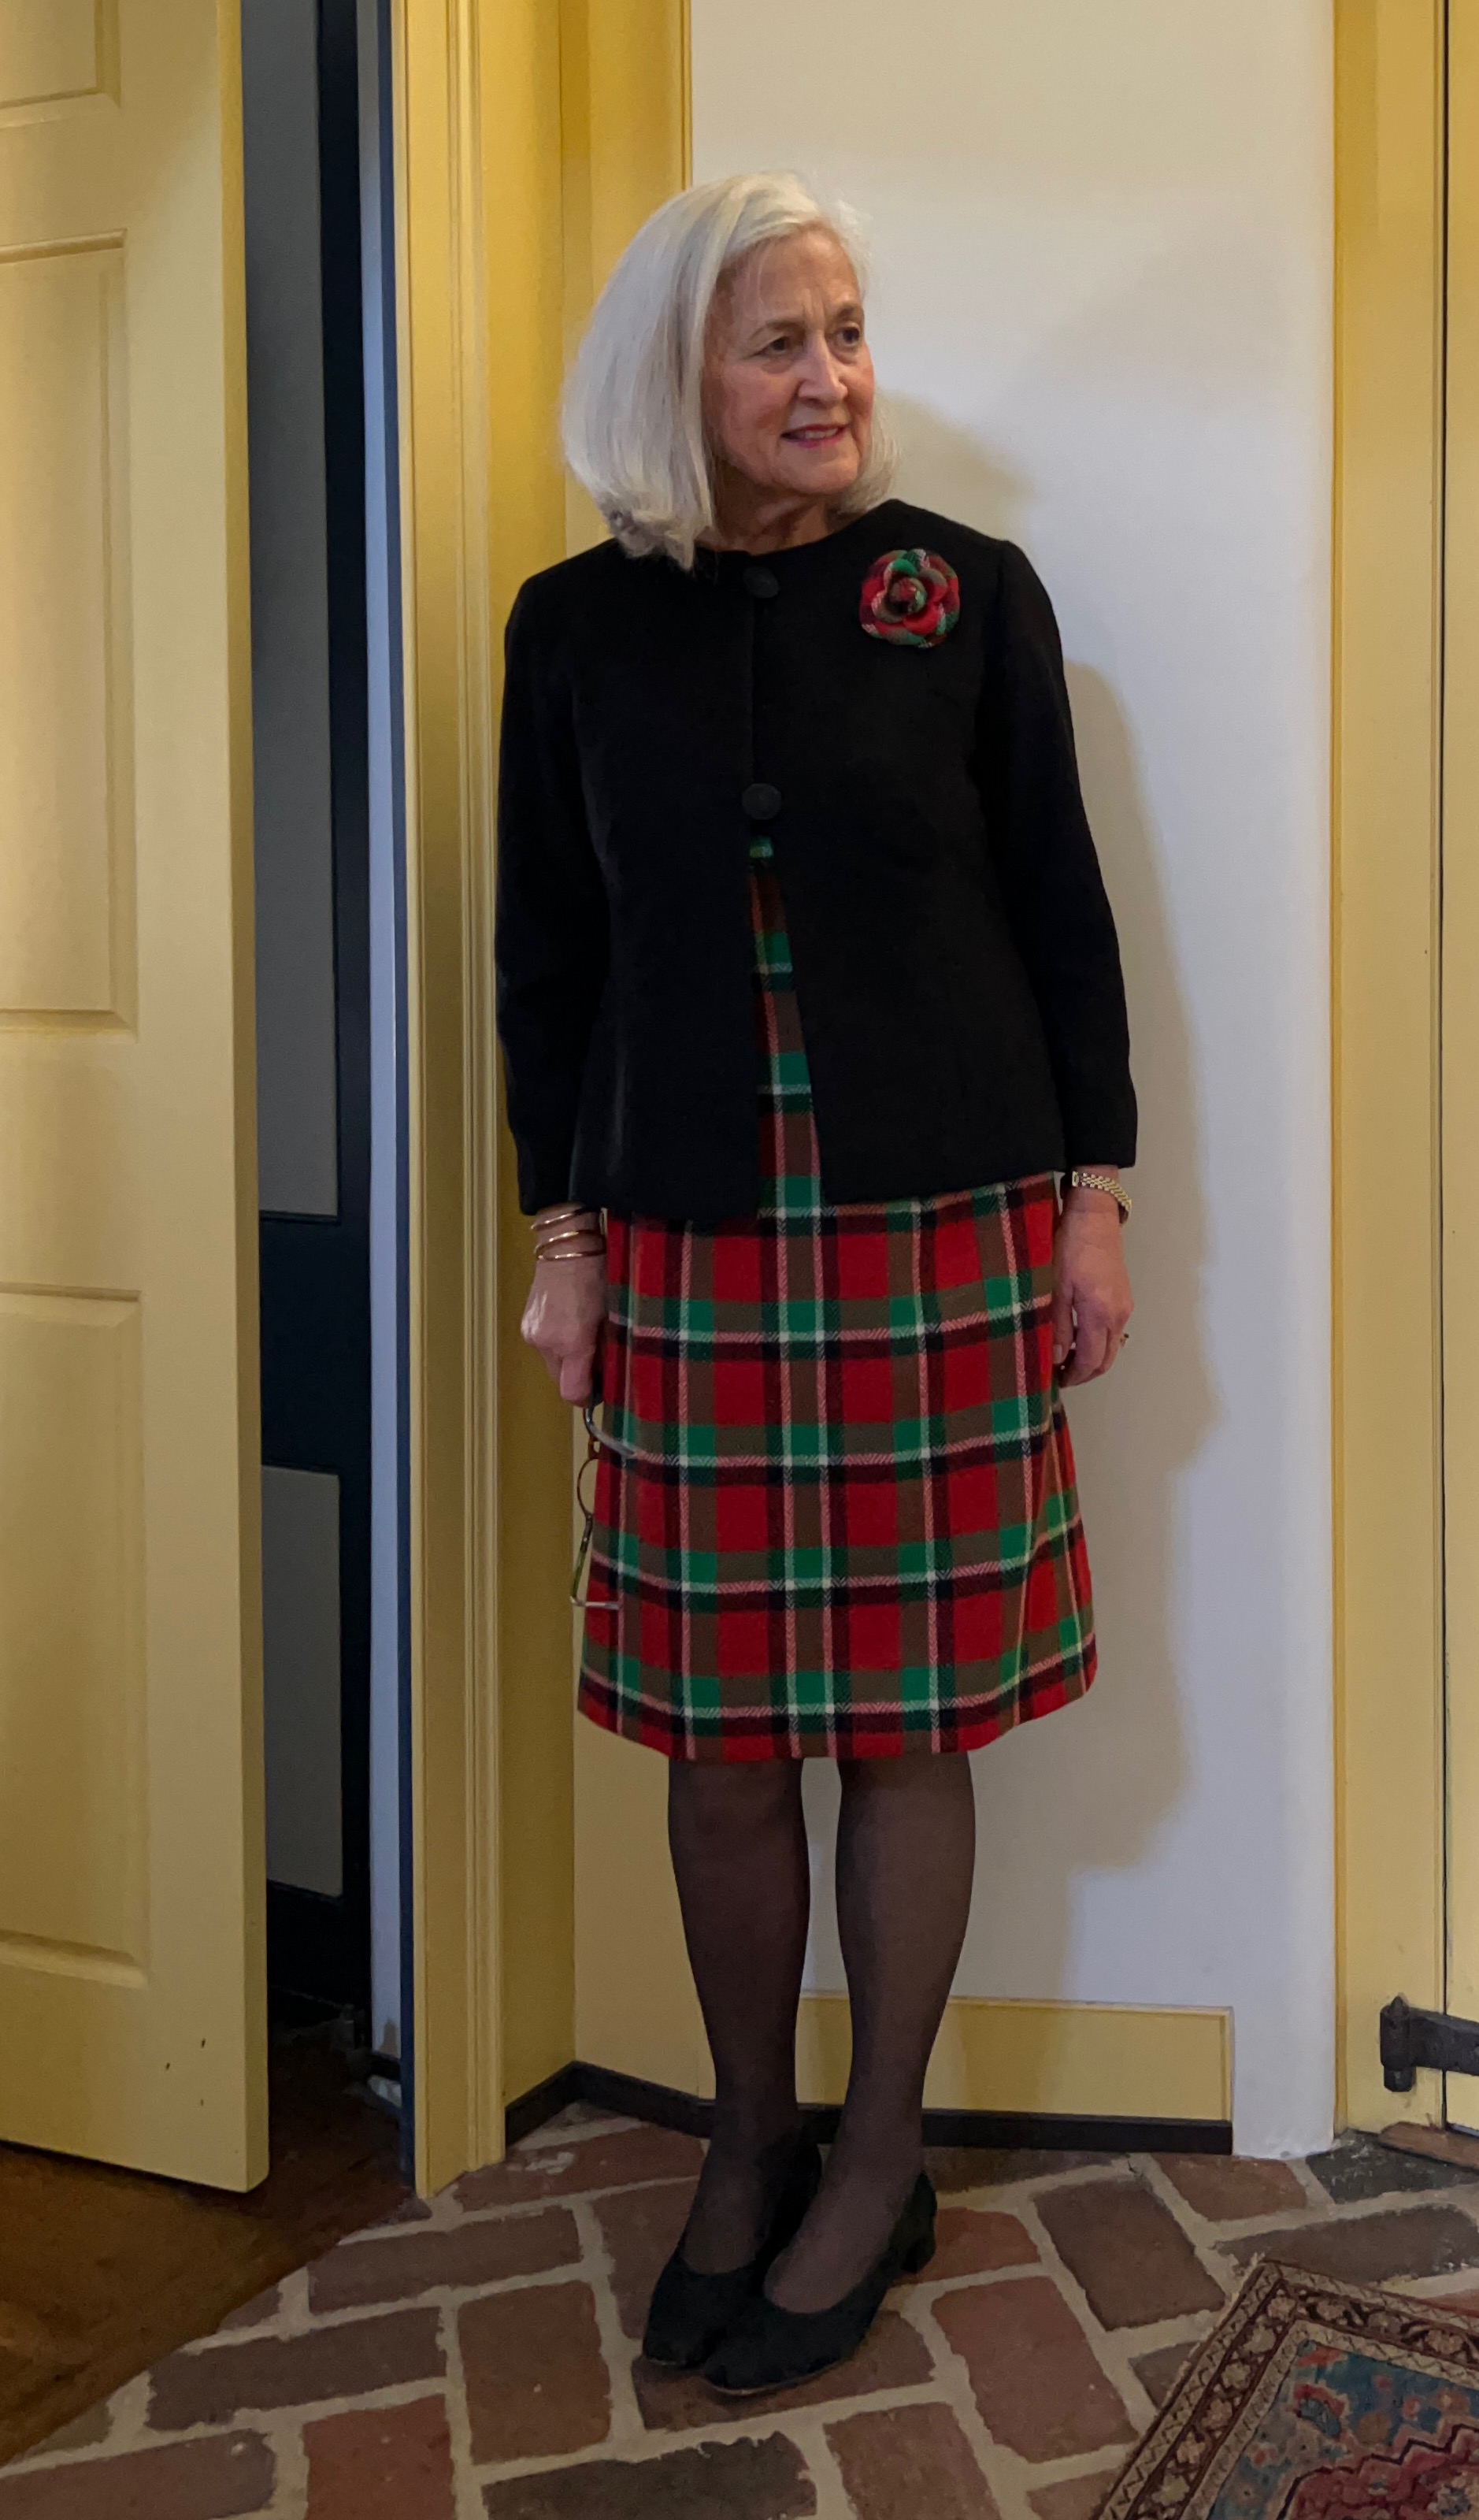
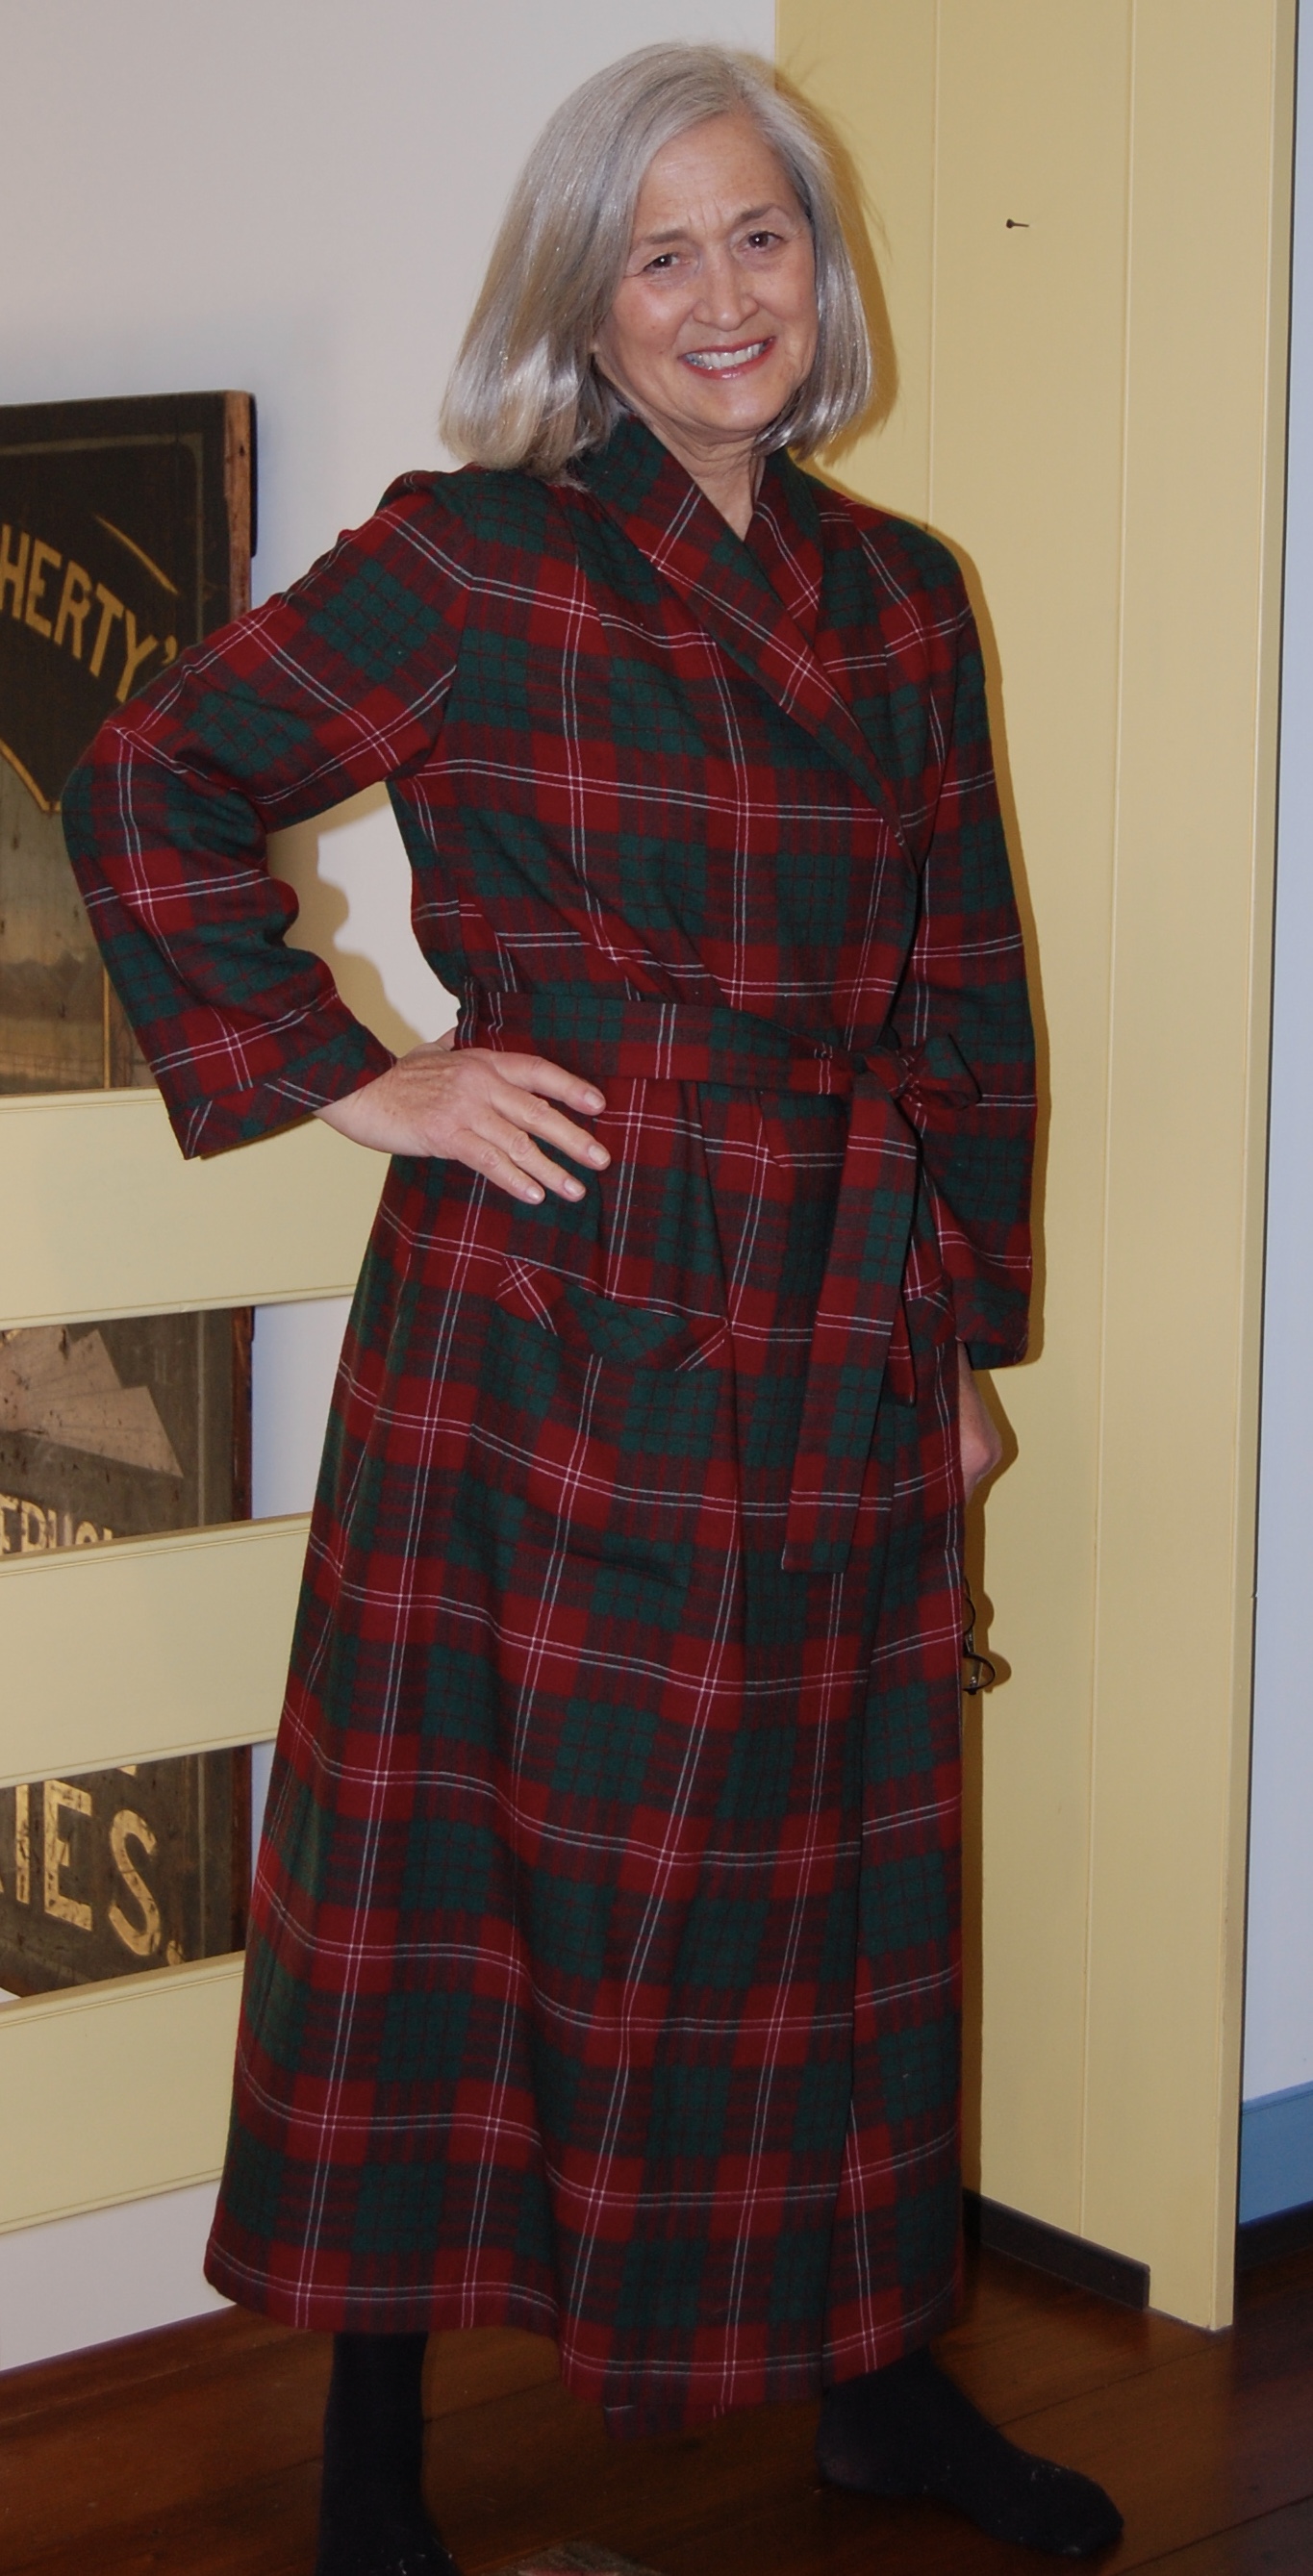
At this point you may be wondering if I actually wore a dress while on my trip. As a matter of fact, yes, I did. Our instructions were to be dressily attired the evening we attended the Ballet at the Palais Garnier. I decided to take along this dress which was ready for another outing.

It is dressy and comfortable, but the best thing about it is – it pairs well with my pink coat, forever a favorite.
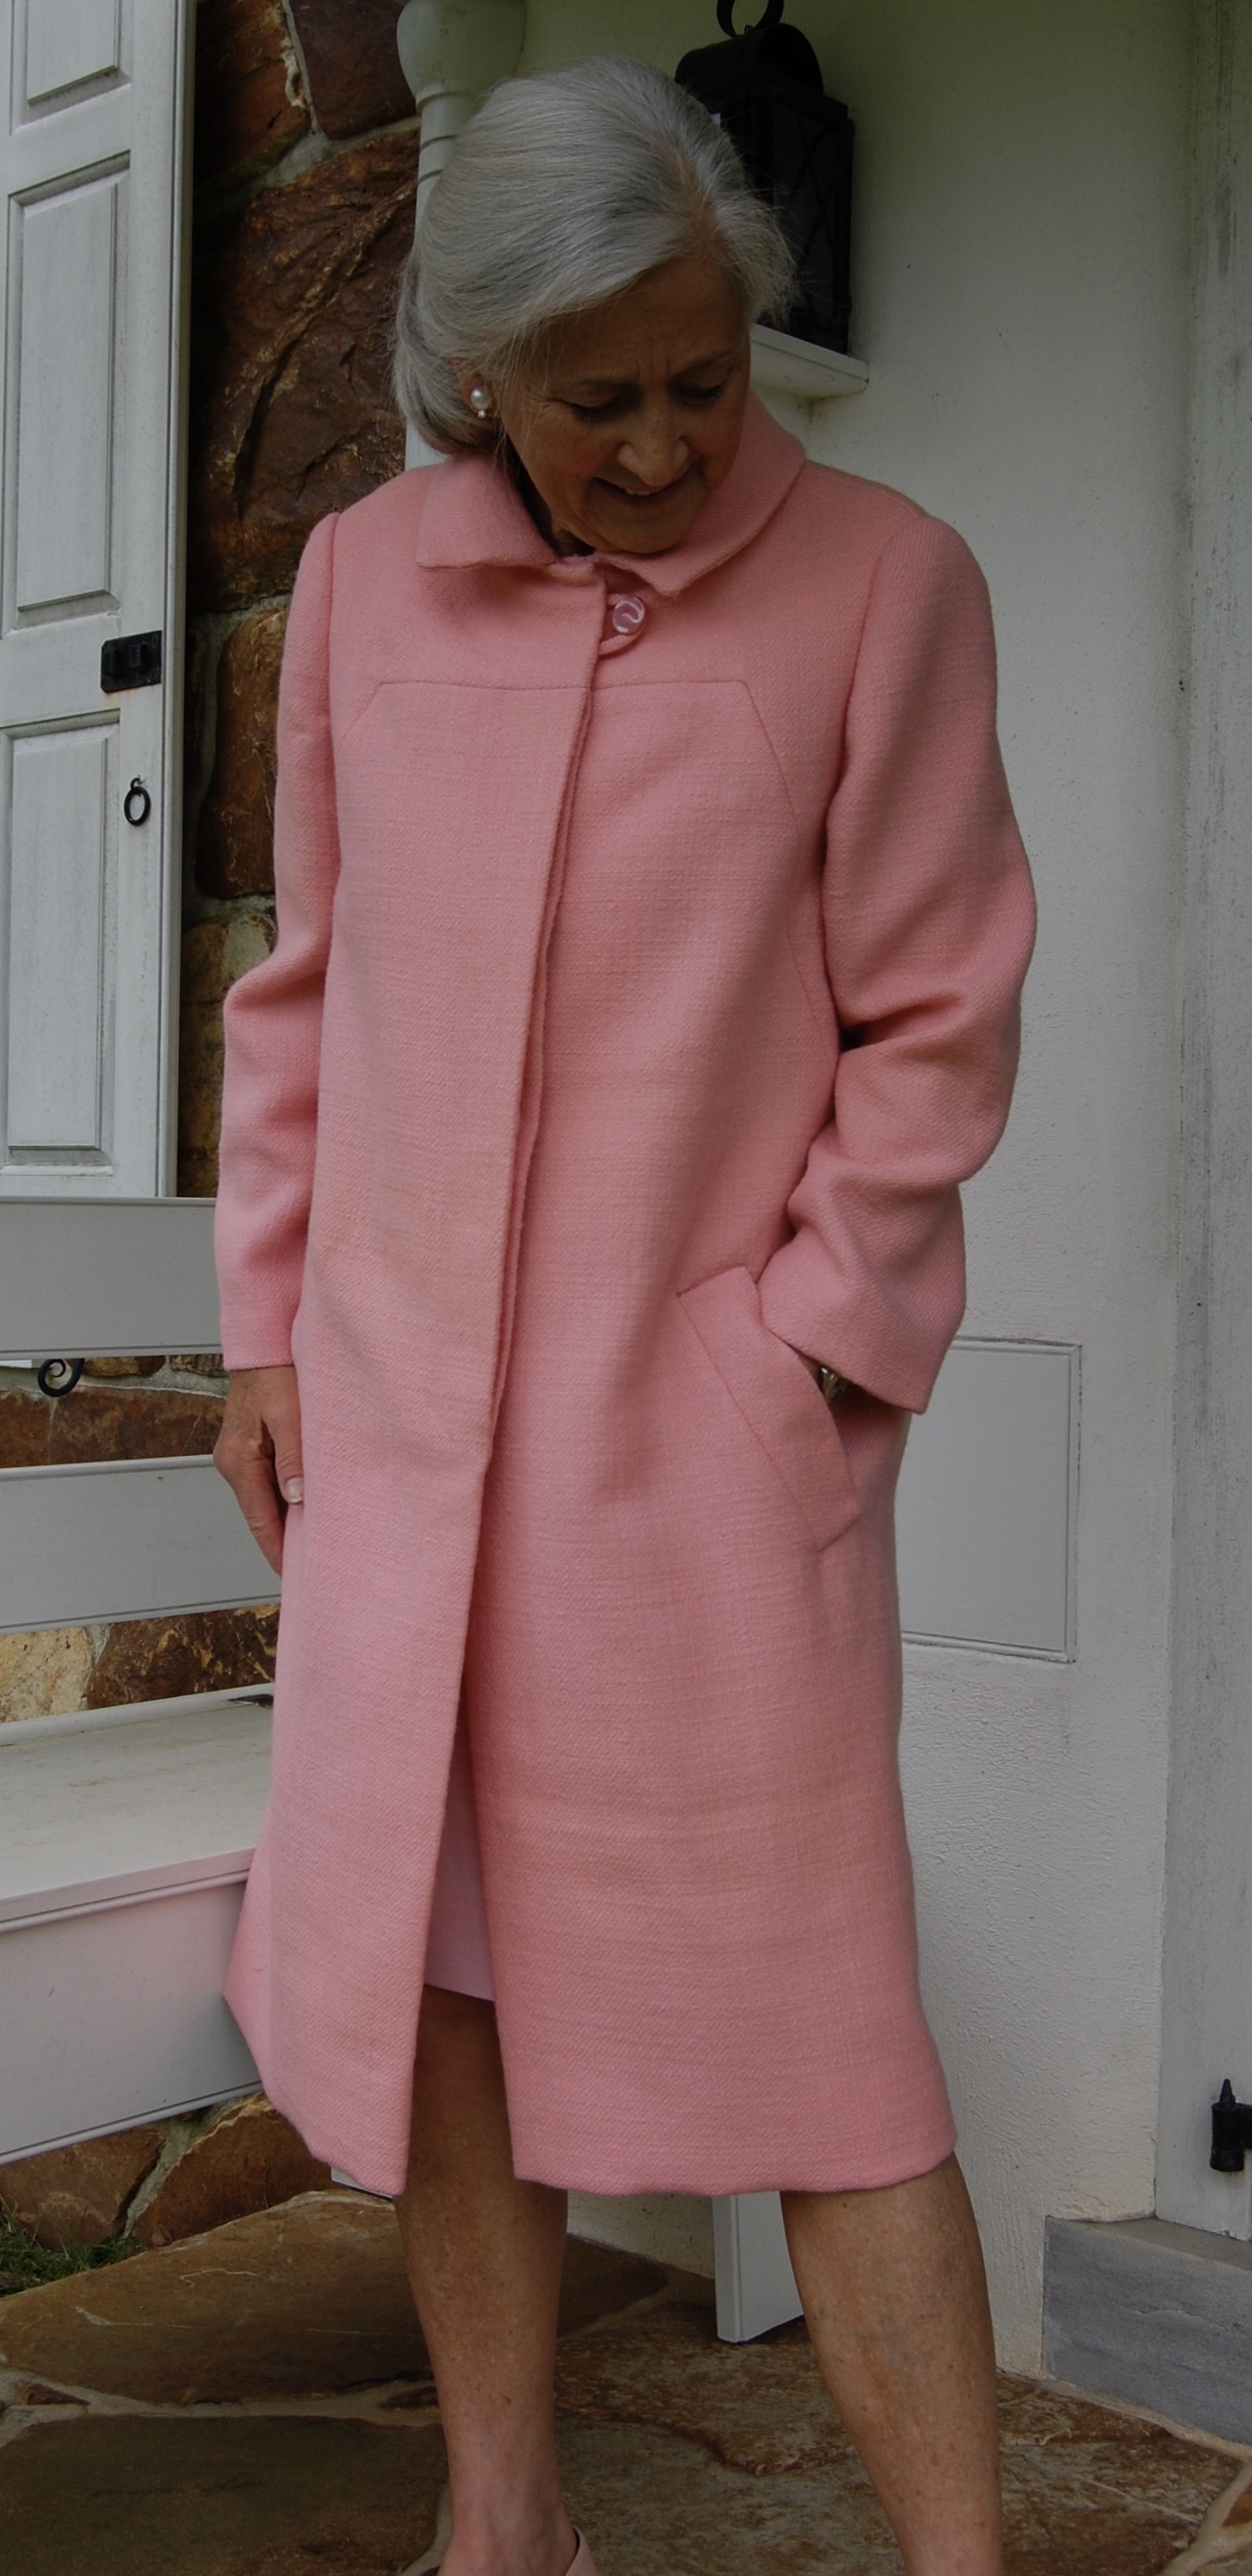
I was determined to take this lightweight Spring wool coat to Paris. I made it from vintage Lesur wool made in France and for some reason, I just had my heart set on wearing it in Paris. The weather wasn’t all that cooperative as it was a bit warm for a wool coat. That did not deter me. I donned it anyway, and that’s the end of the story!

However, there is more to come, as I will share a bit about other parts of the trip next time.


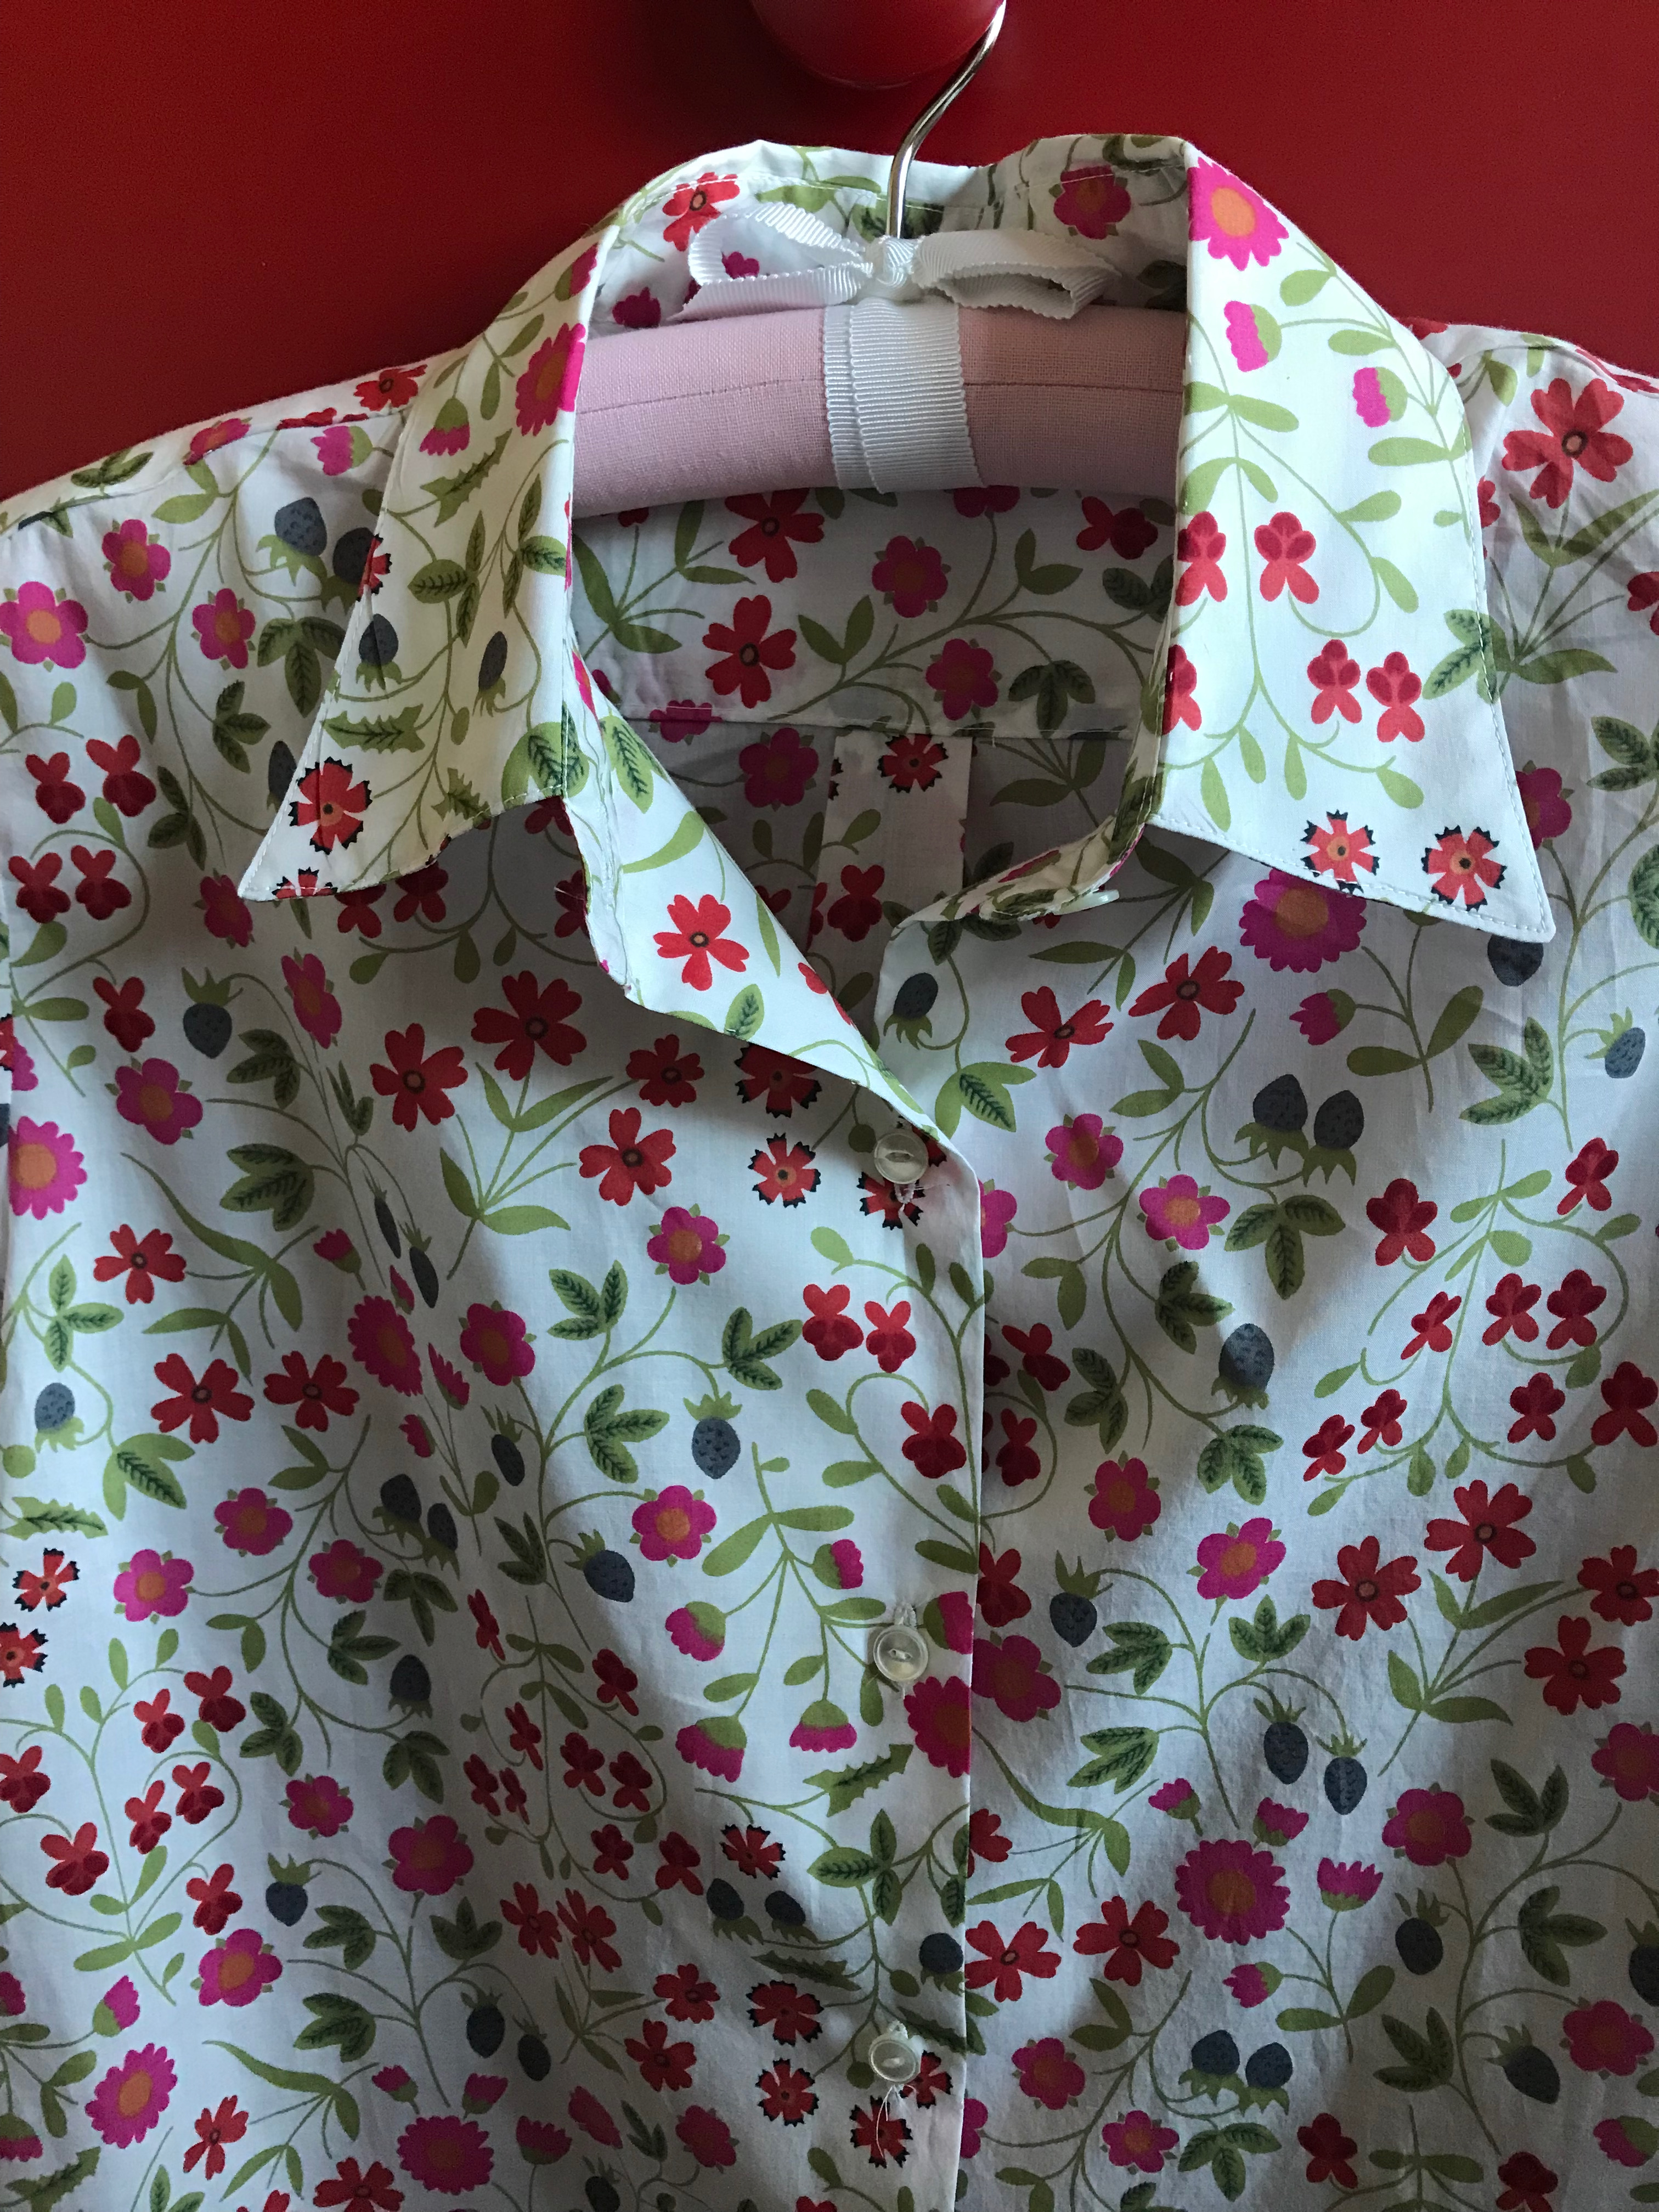


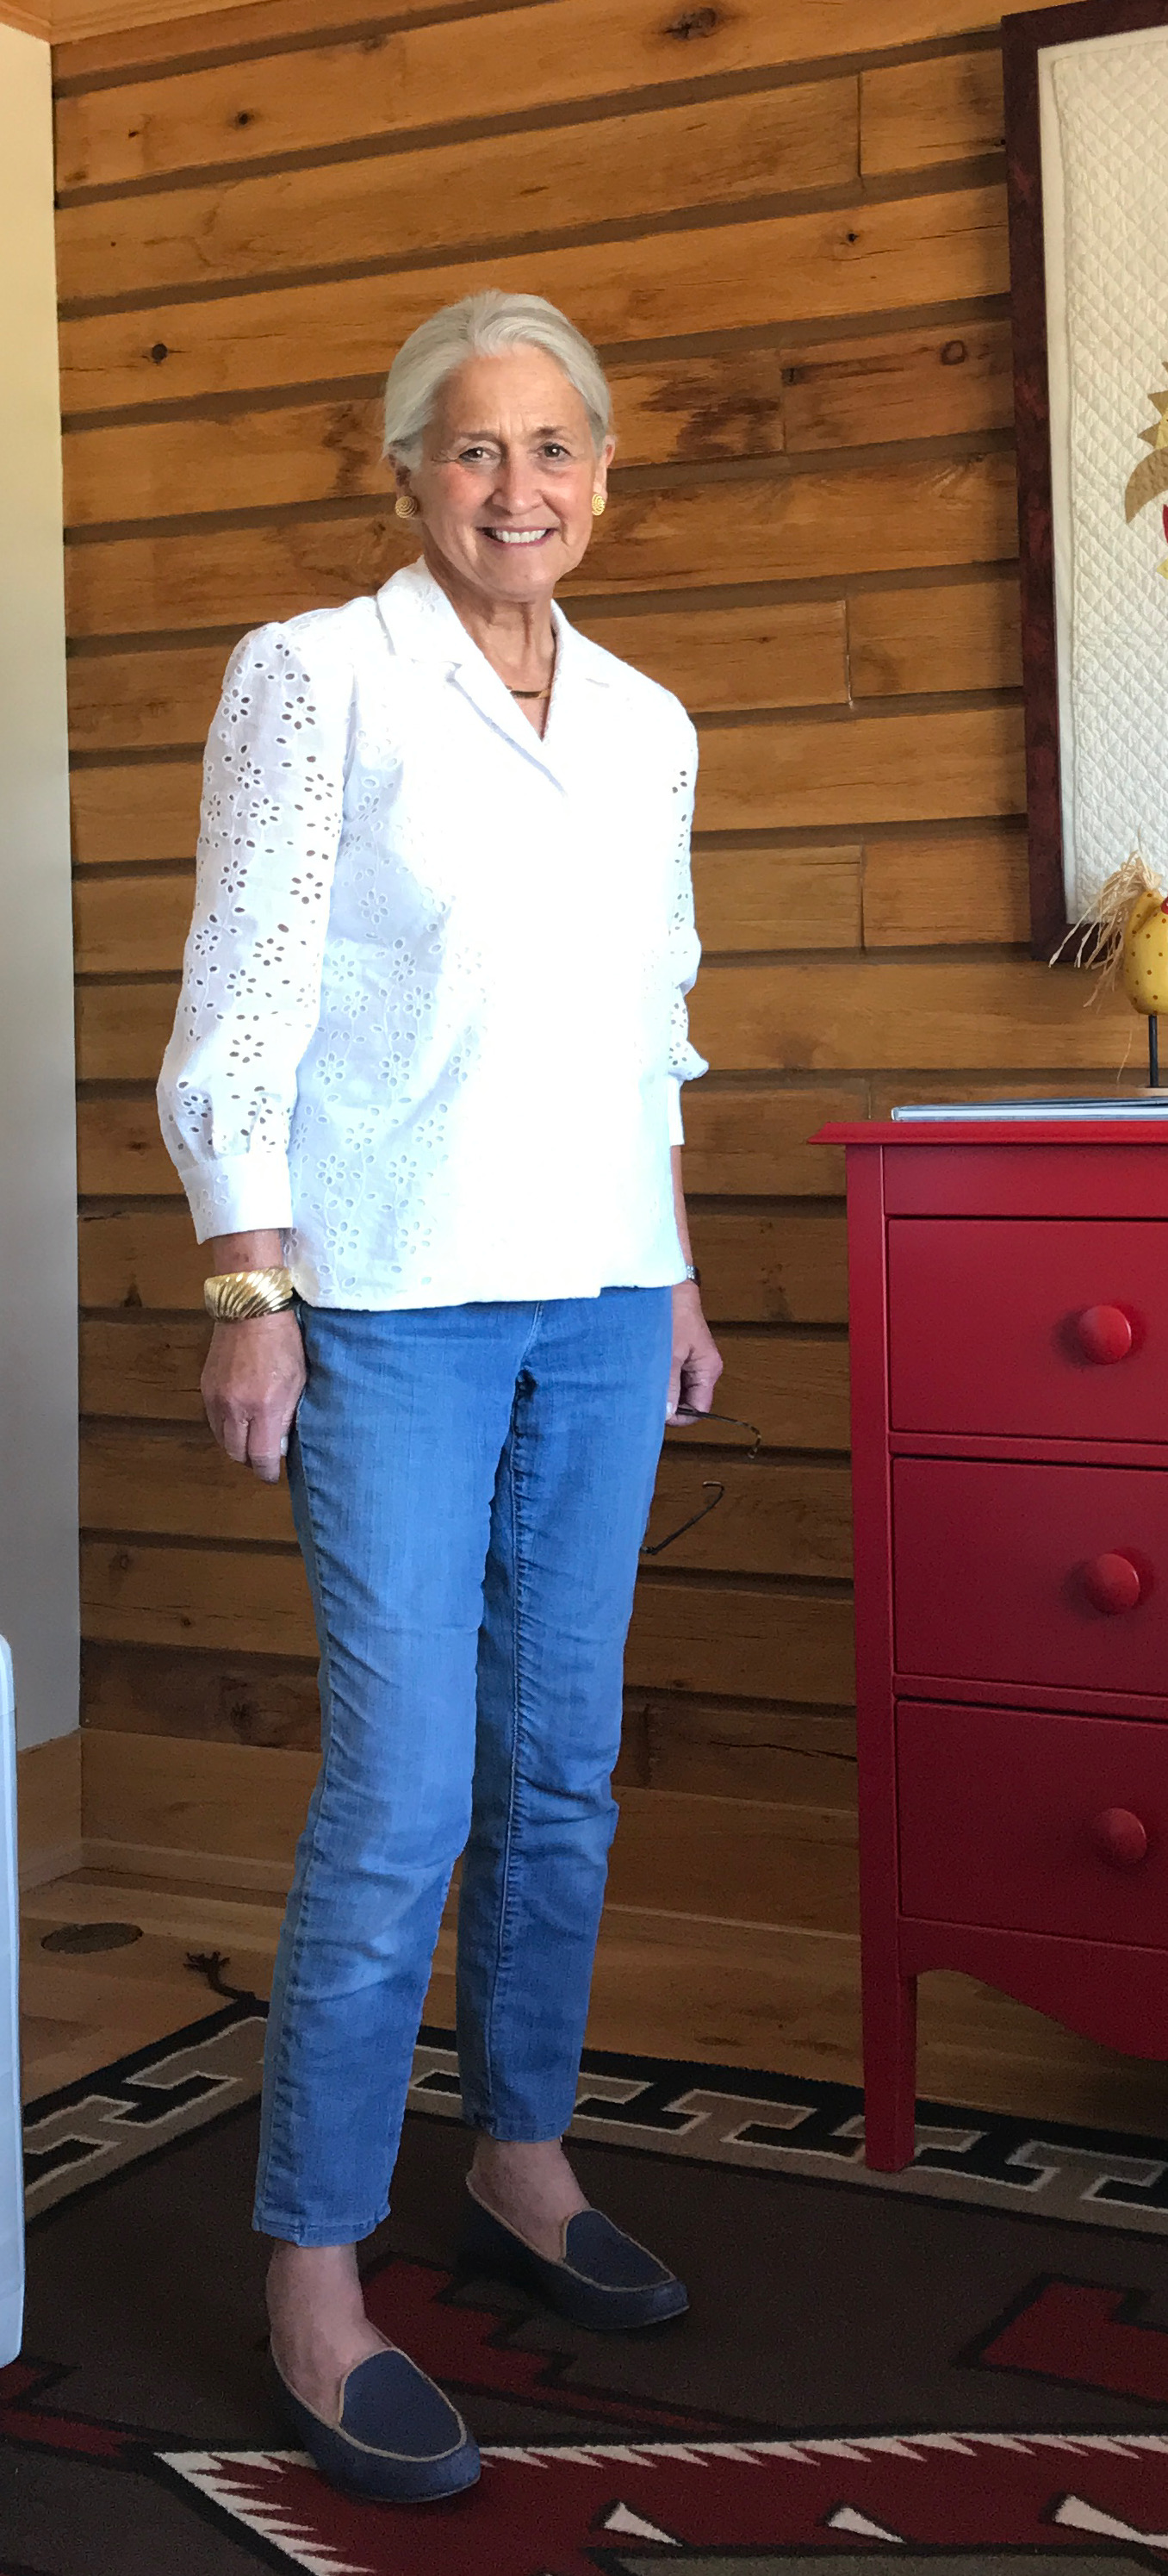


A Blue, White and Pink Tunic Top
Perhaps many of you are familiar with this famous quote from Edith Head (American costume designer, 1897-1981): “A dress should be tight enough to show you’re a woman and loose enough to prove you’re a lady.” When it comes to tunic tops, my very inelegant redo of that quote is: “A tunic should be fitted enough to not be baggy and loose enough to be able to get into it.” I find that combination to be a difficult task. Let’s see how I did with this one:
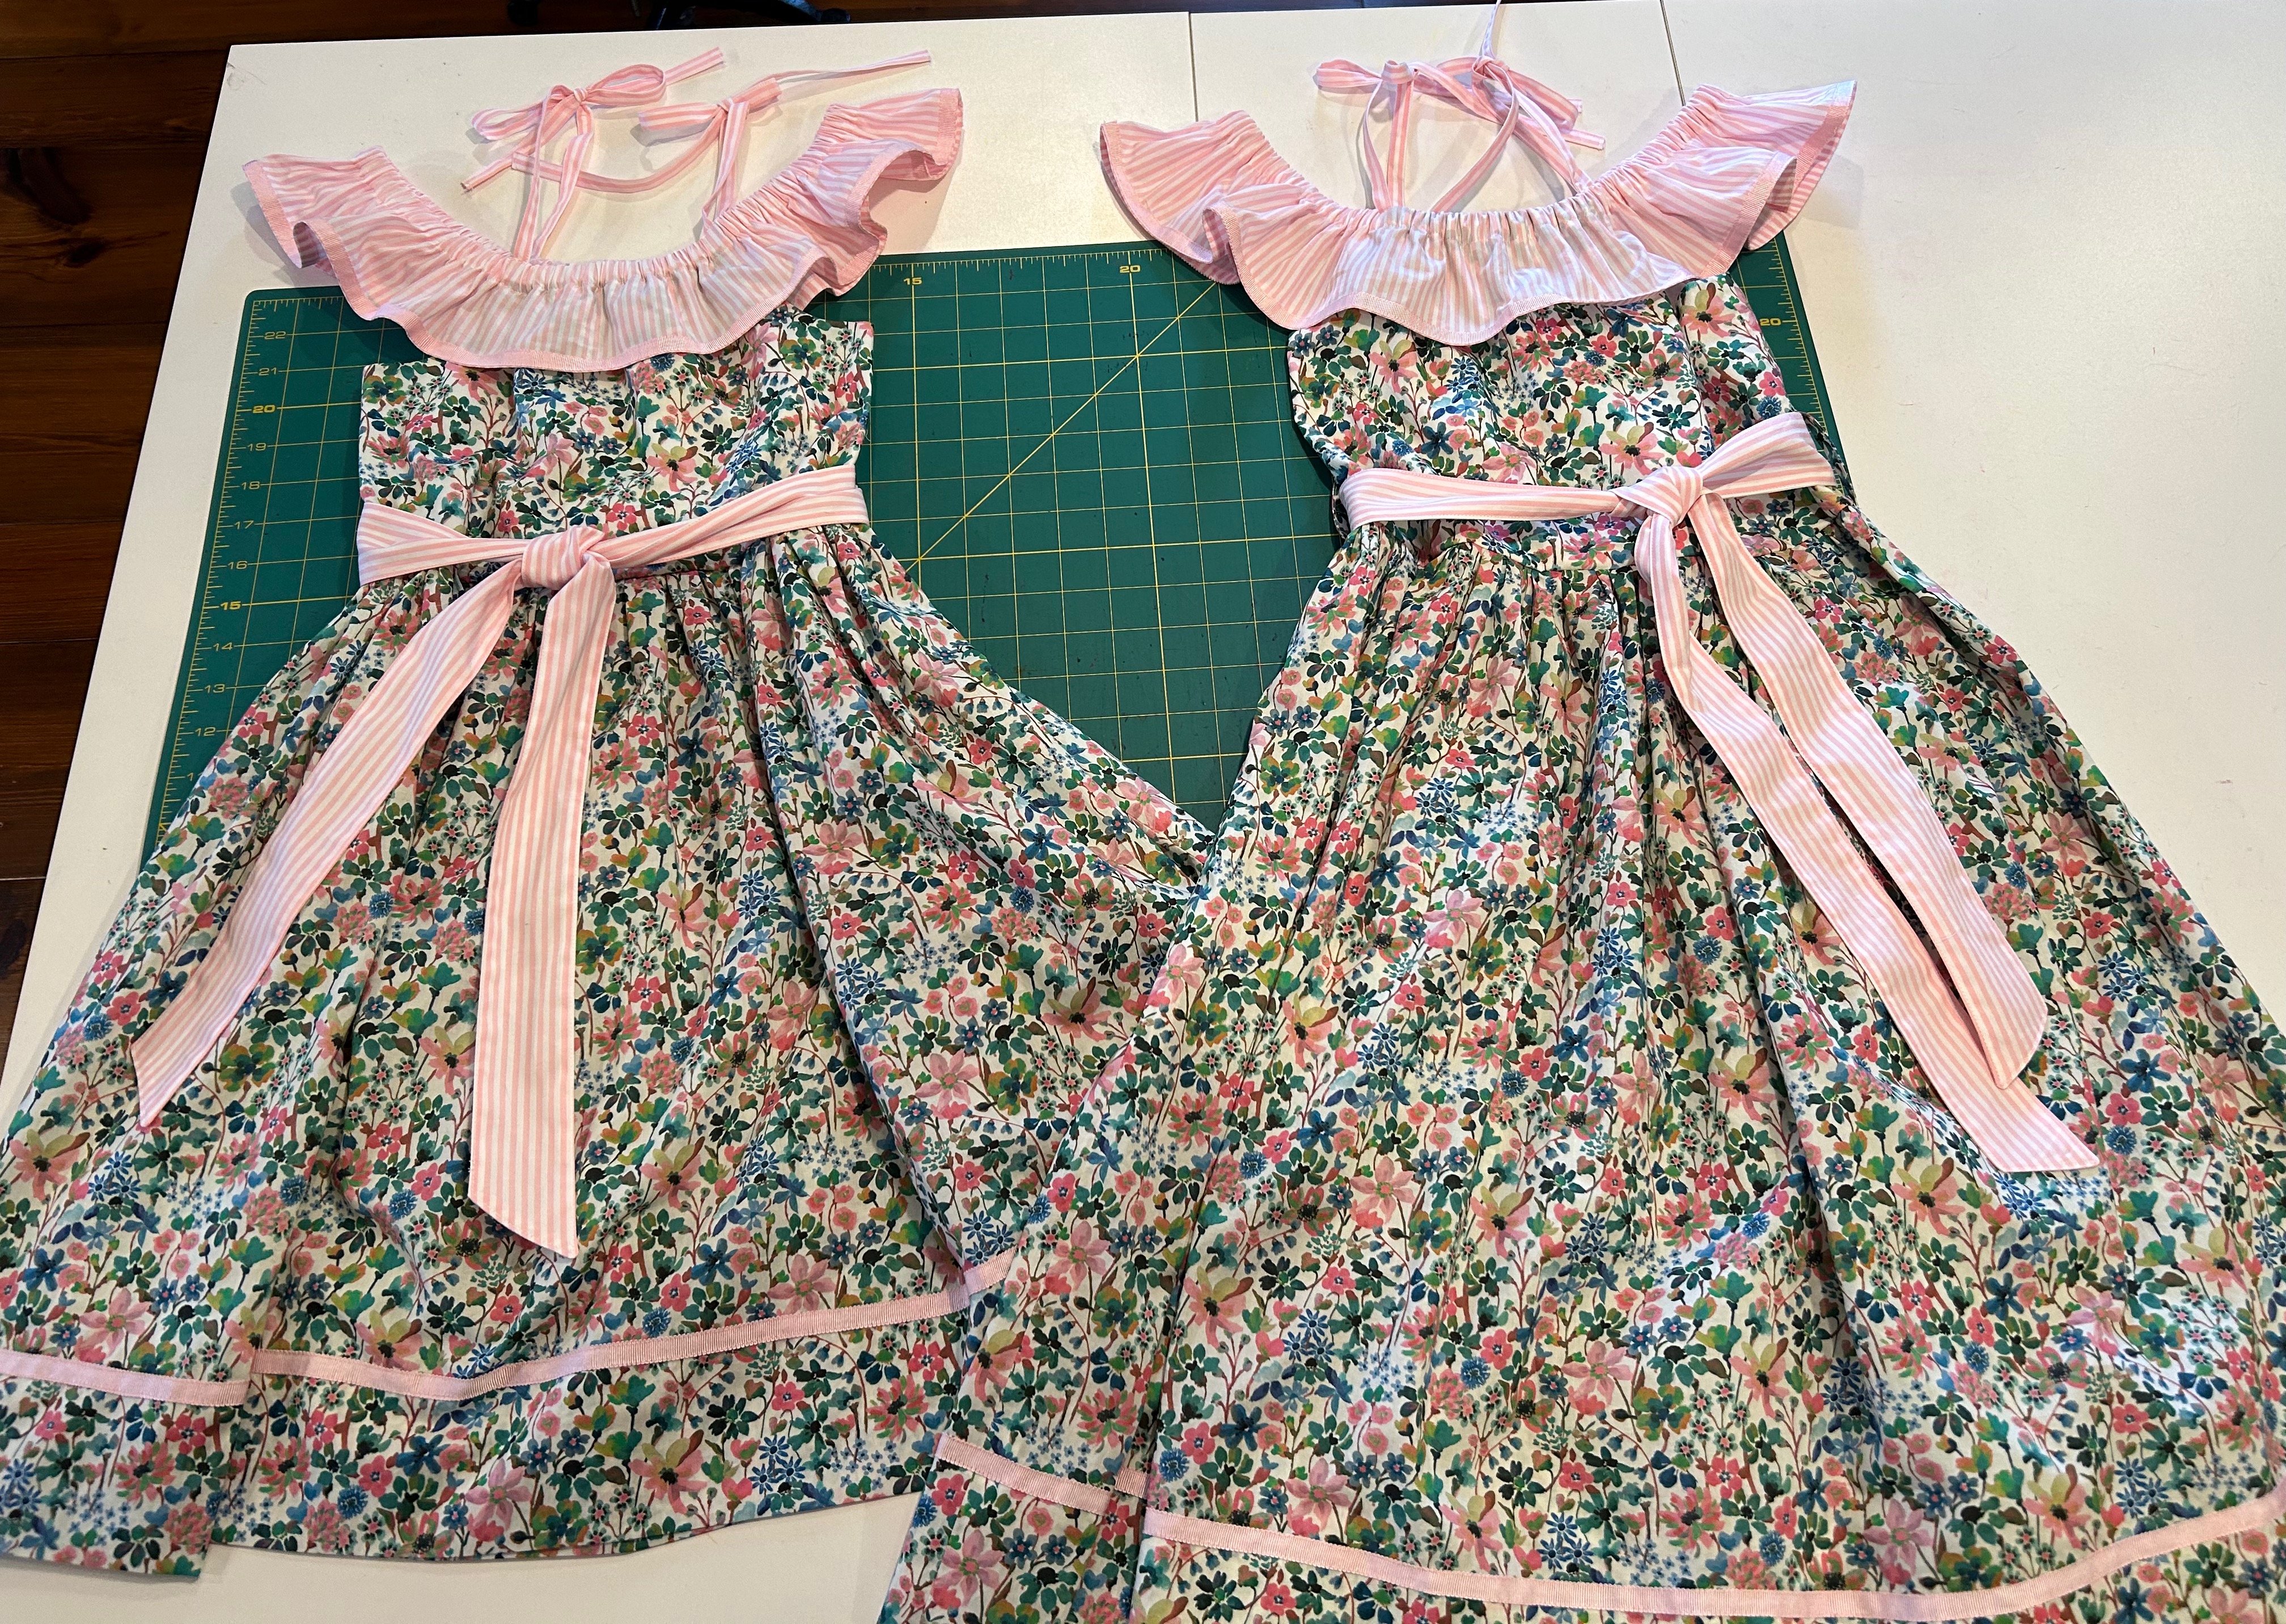
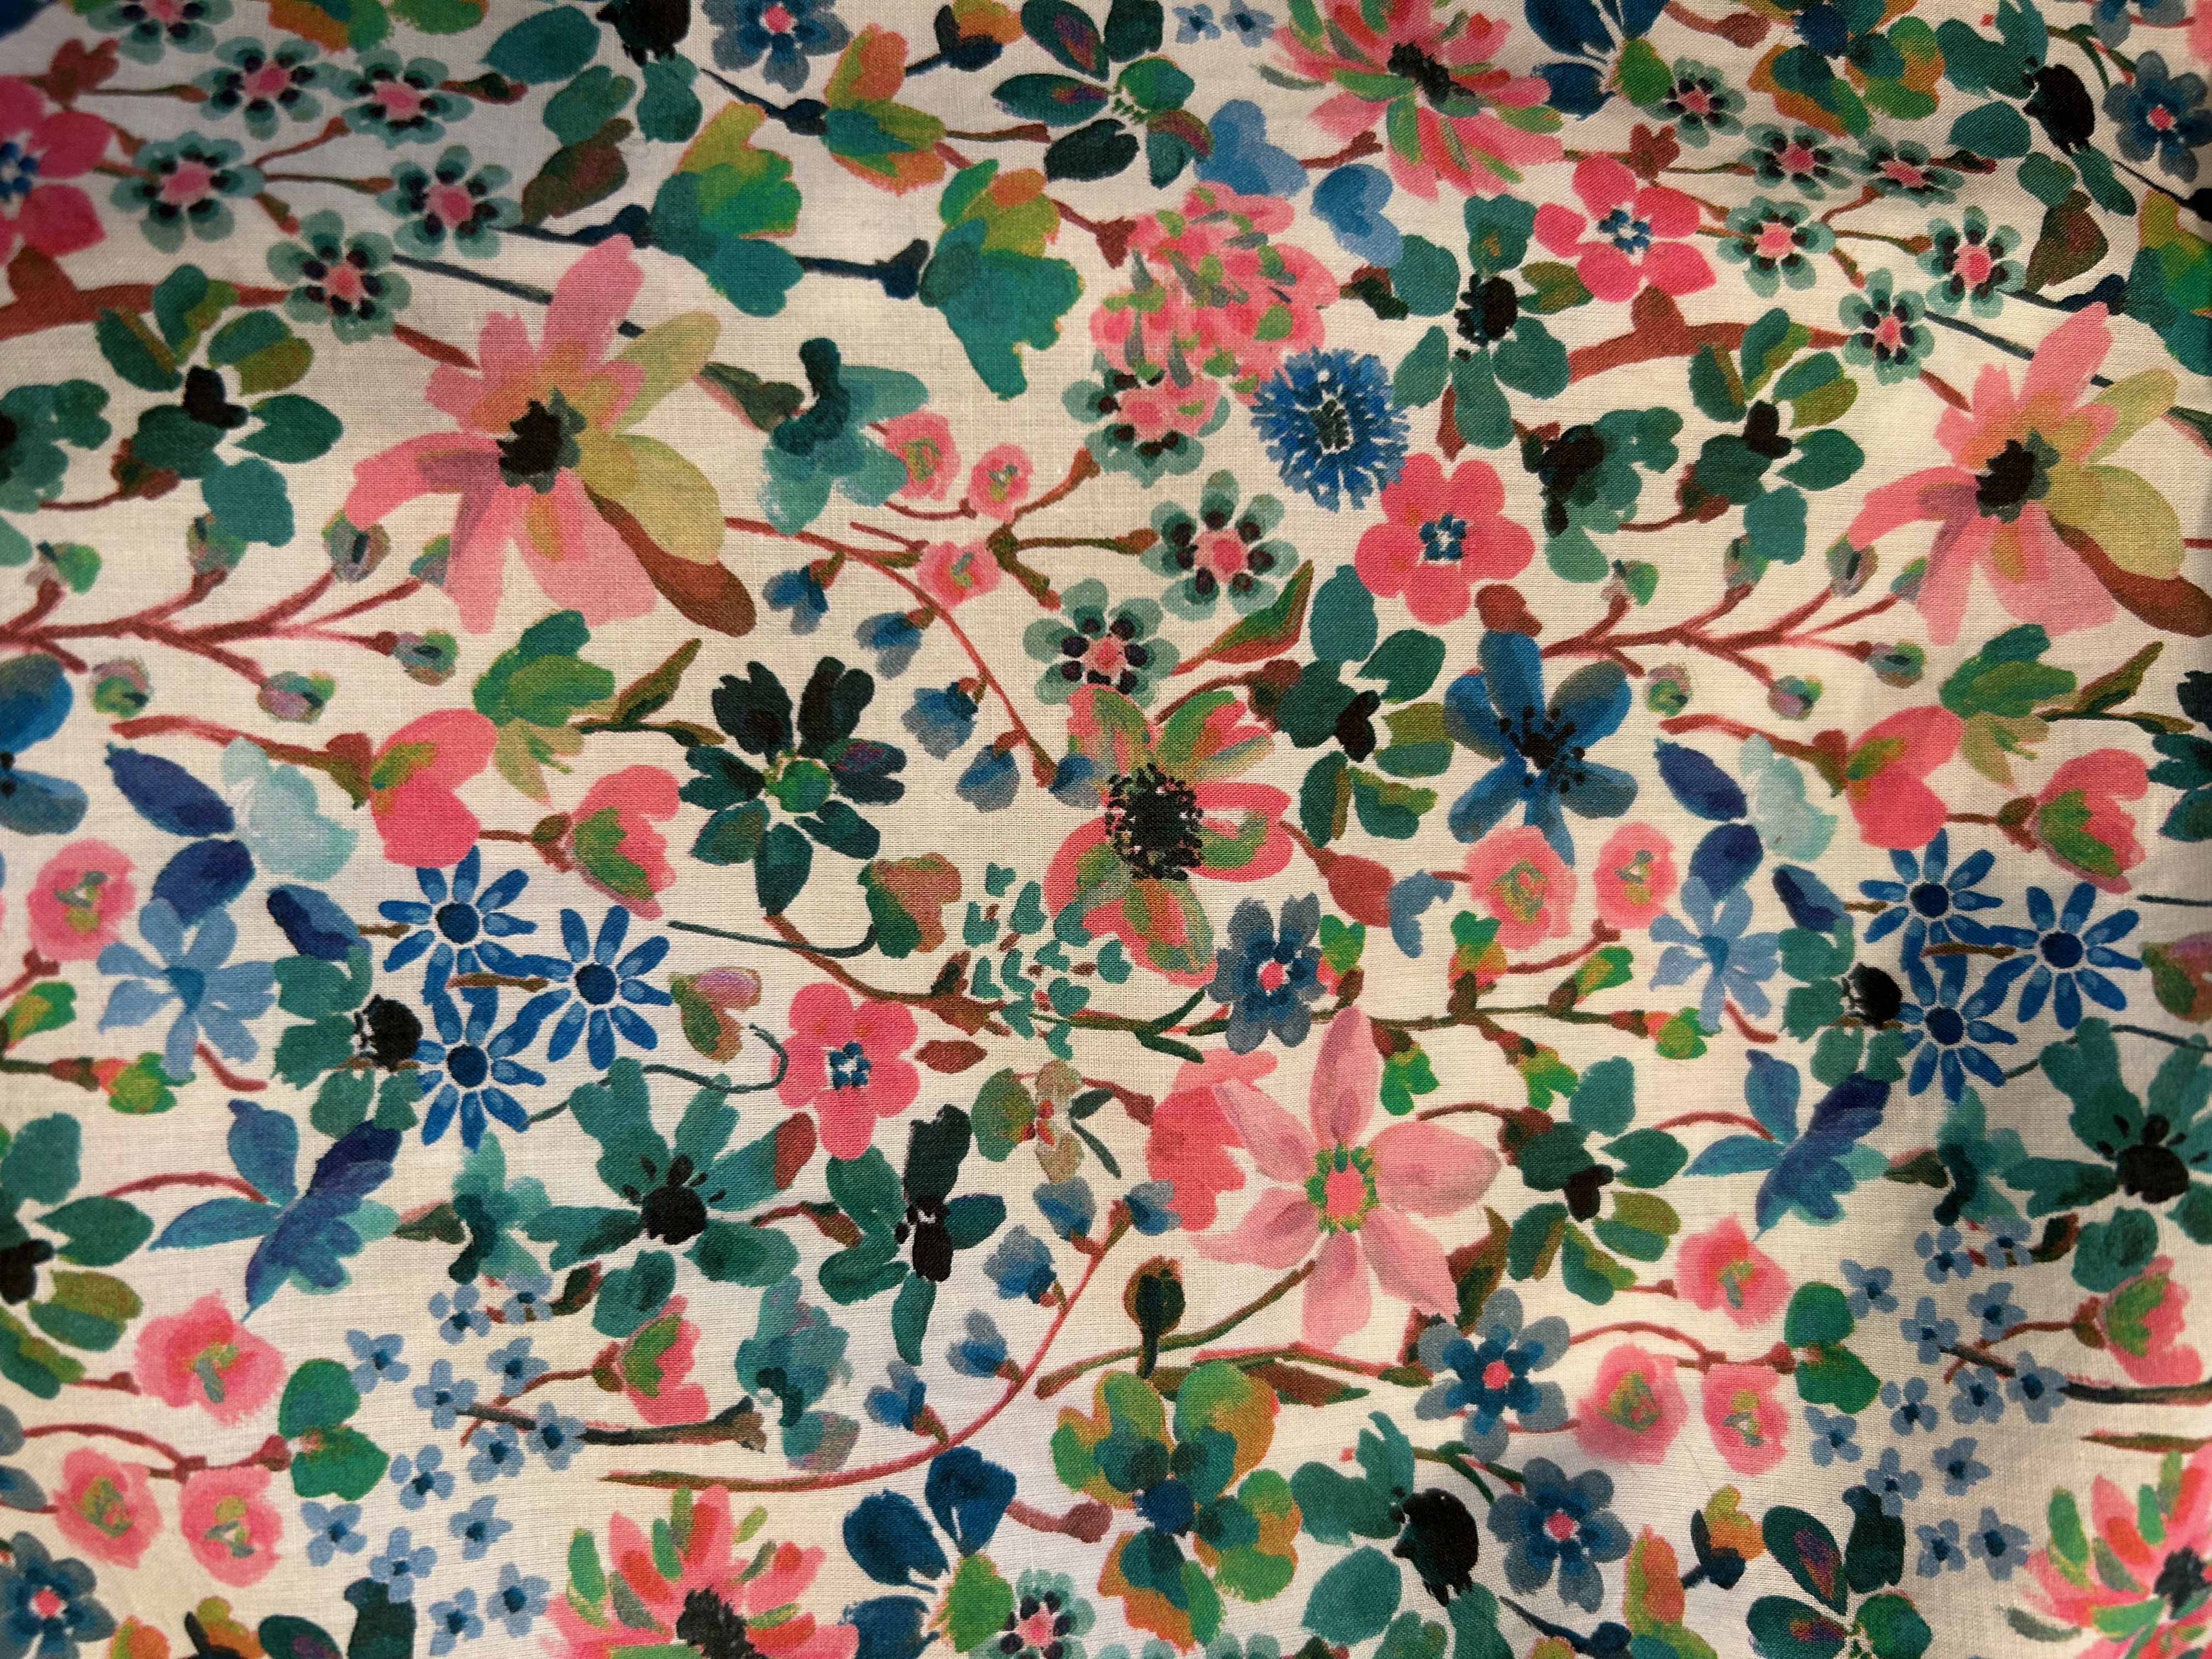
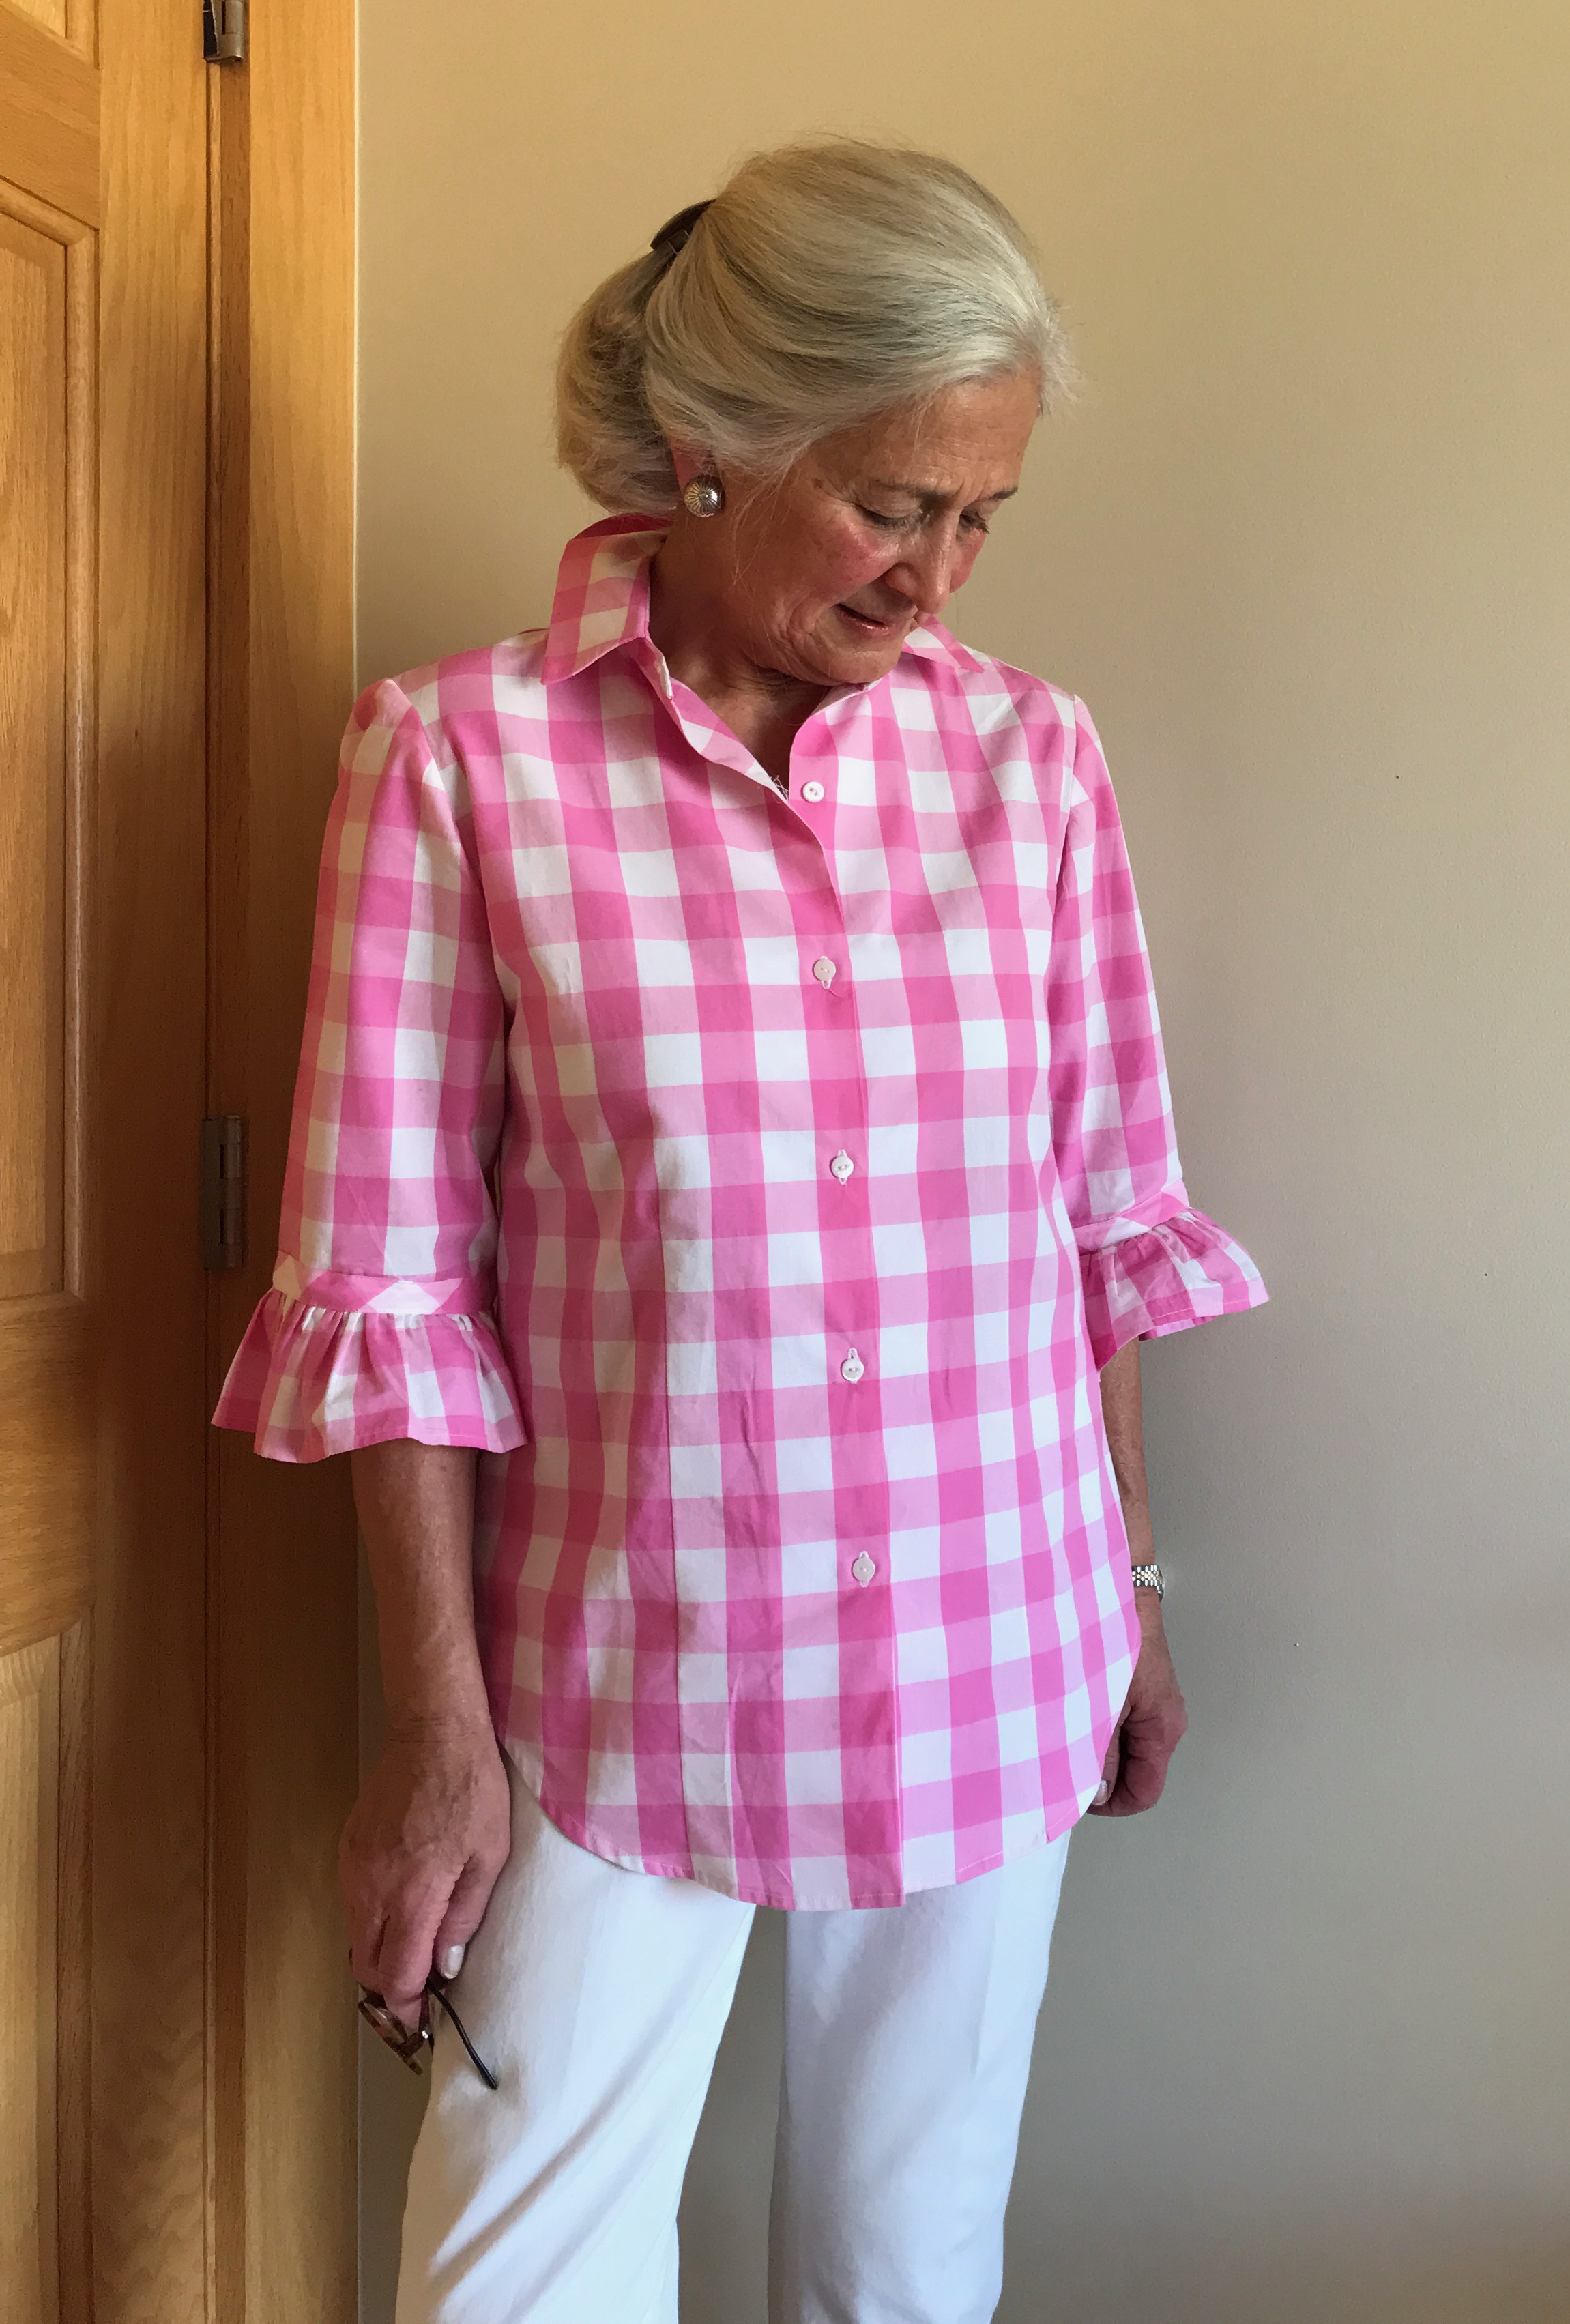
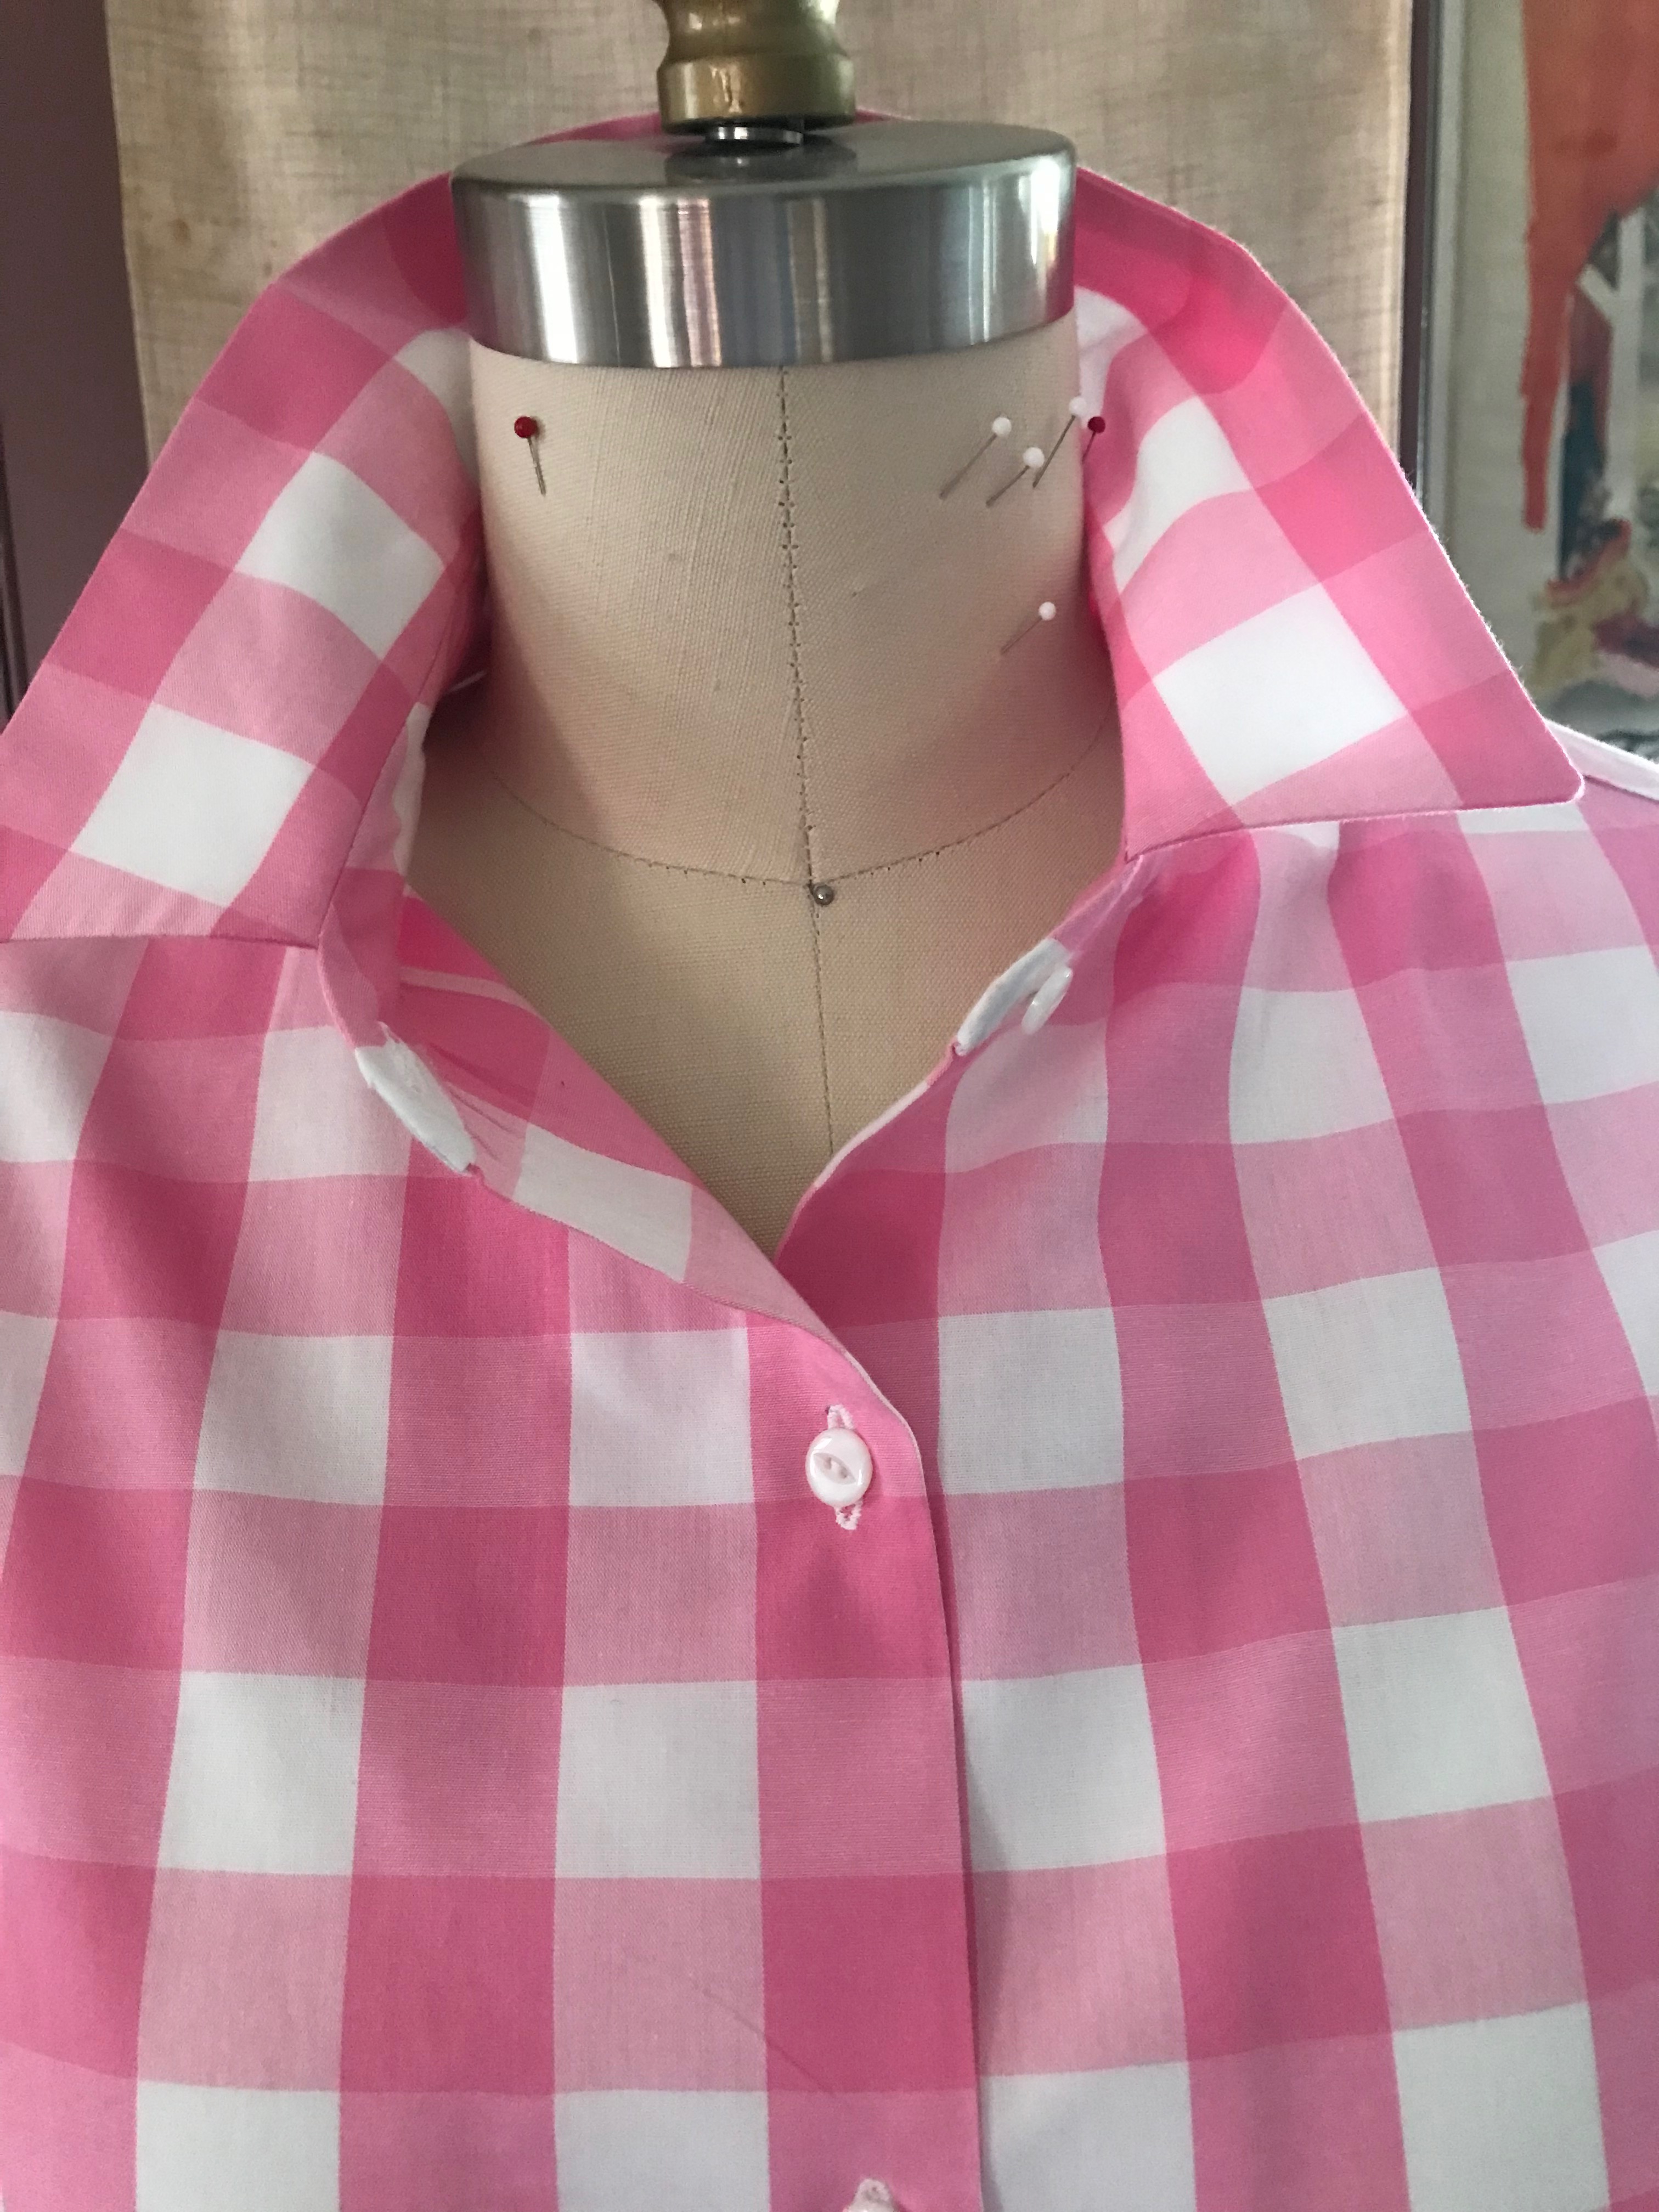
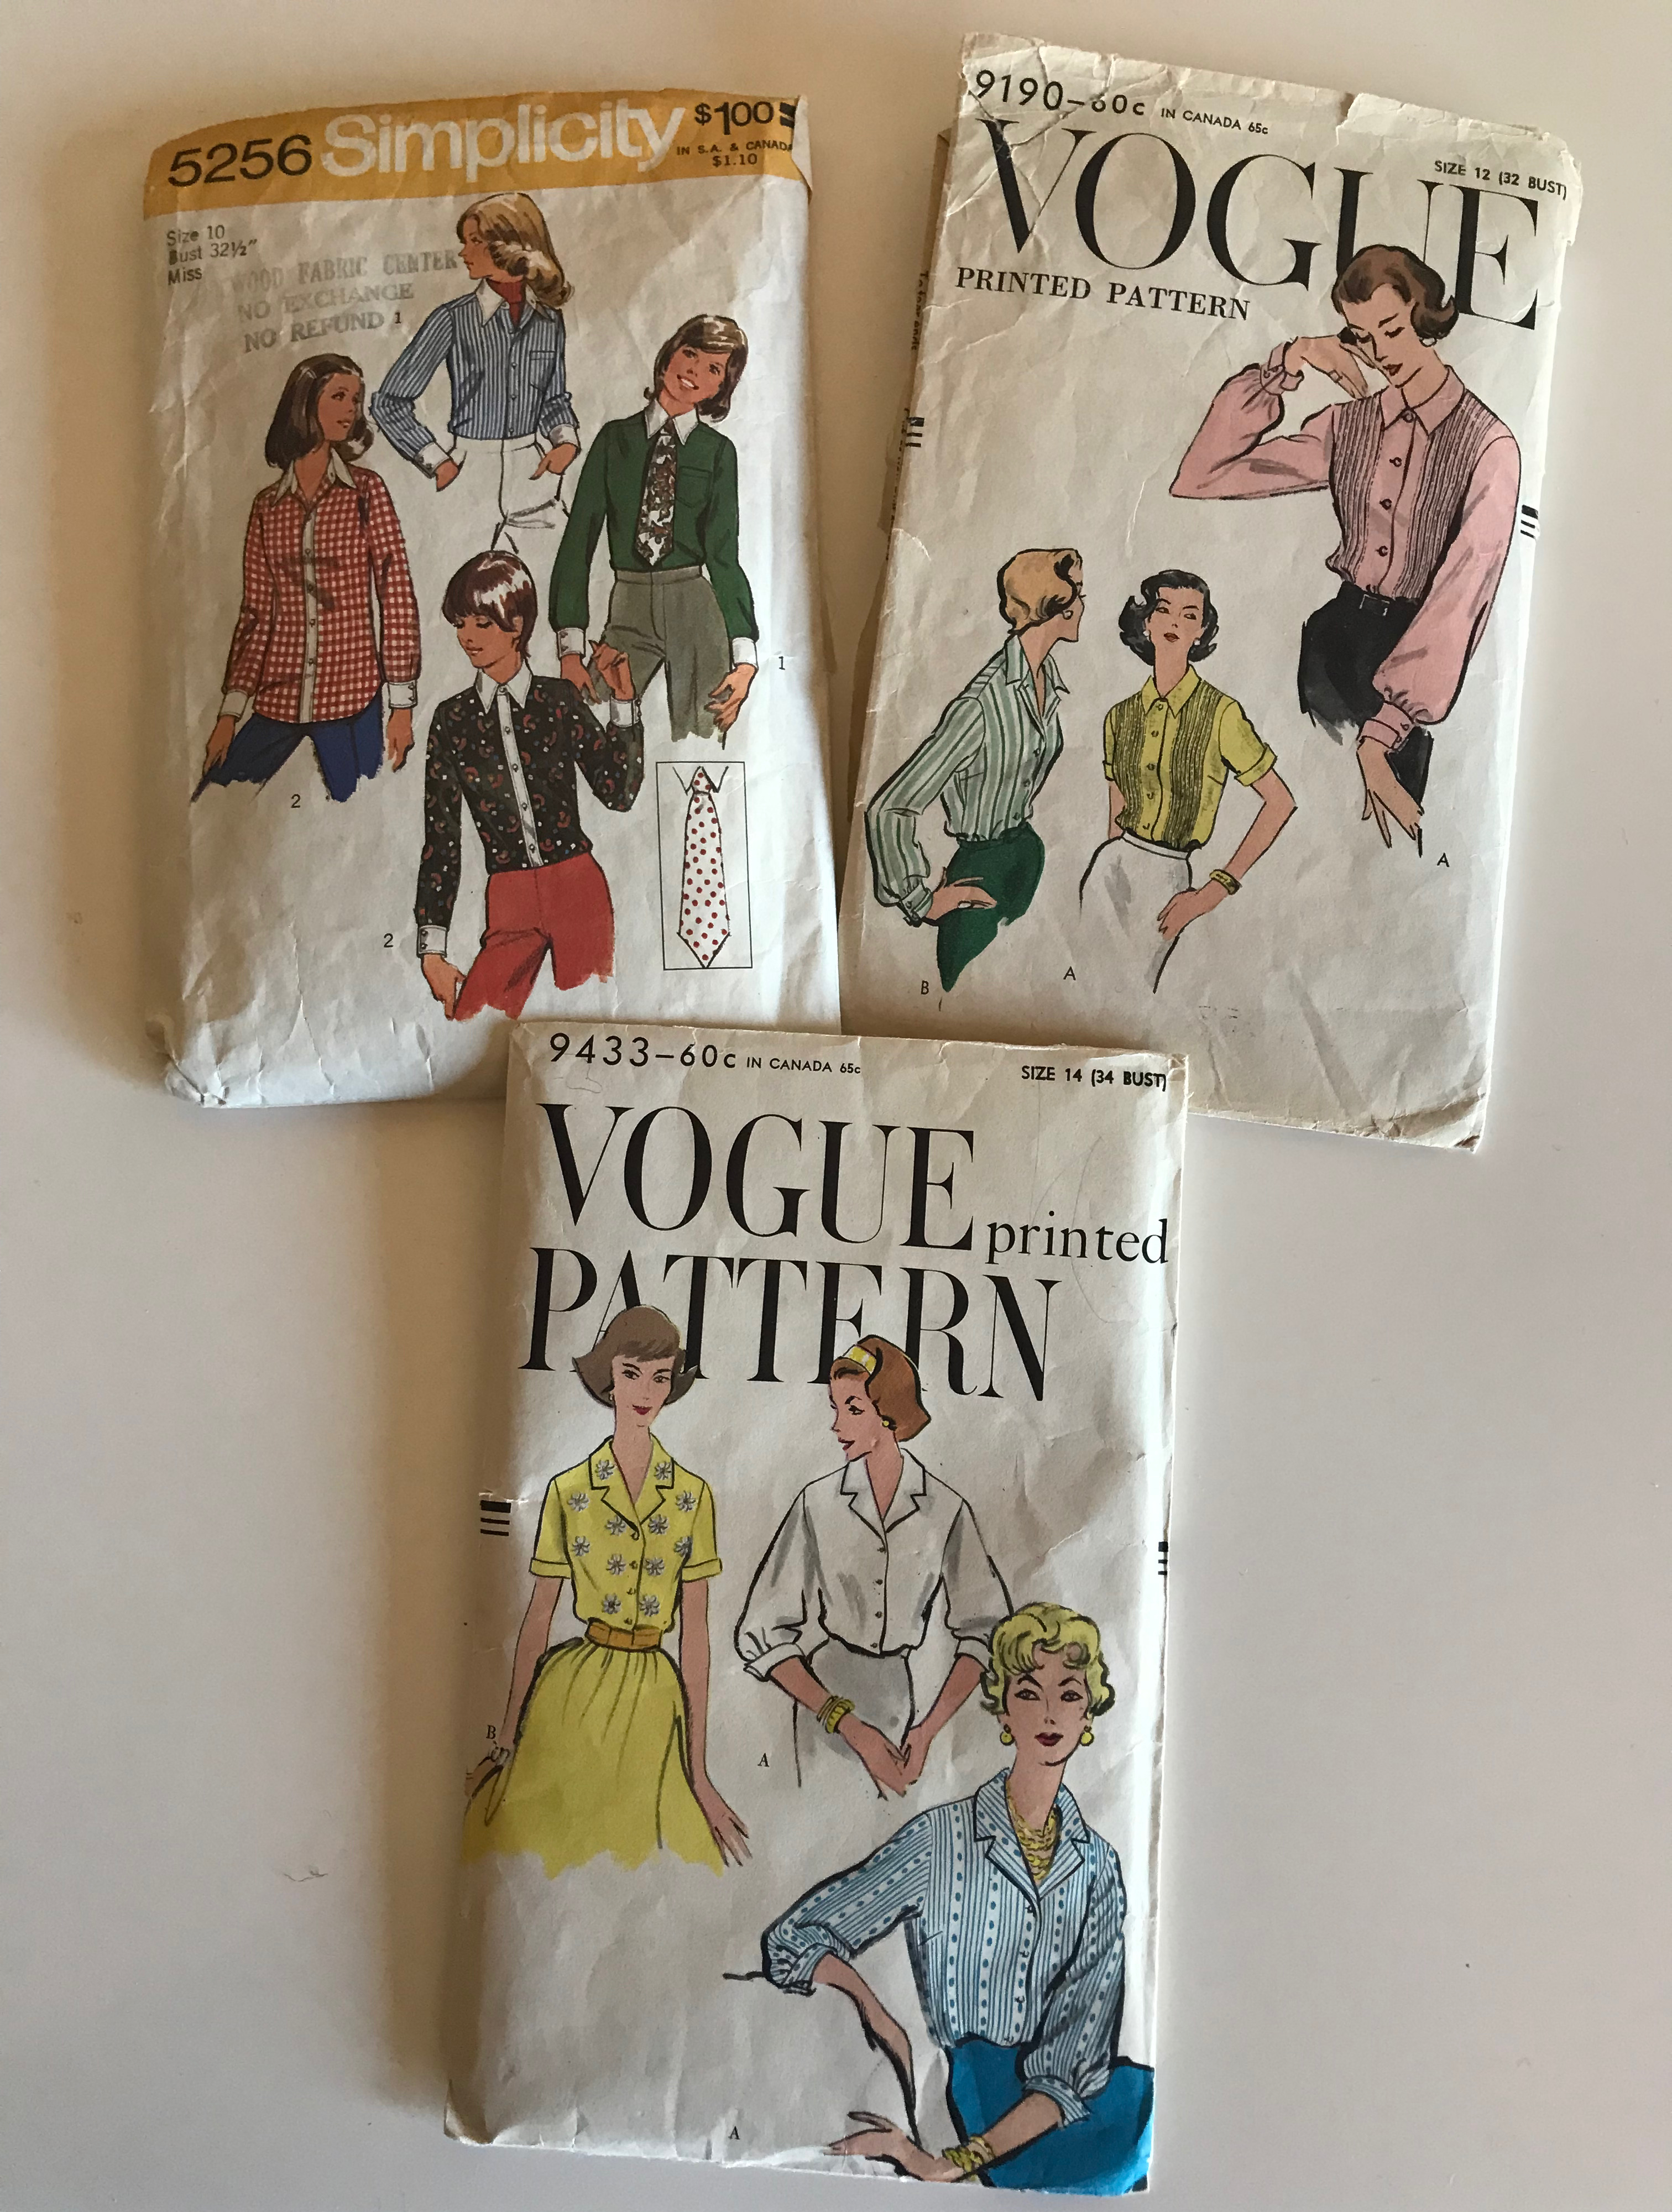
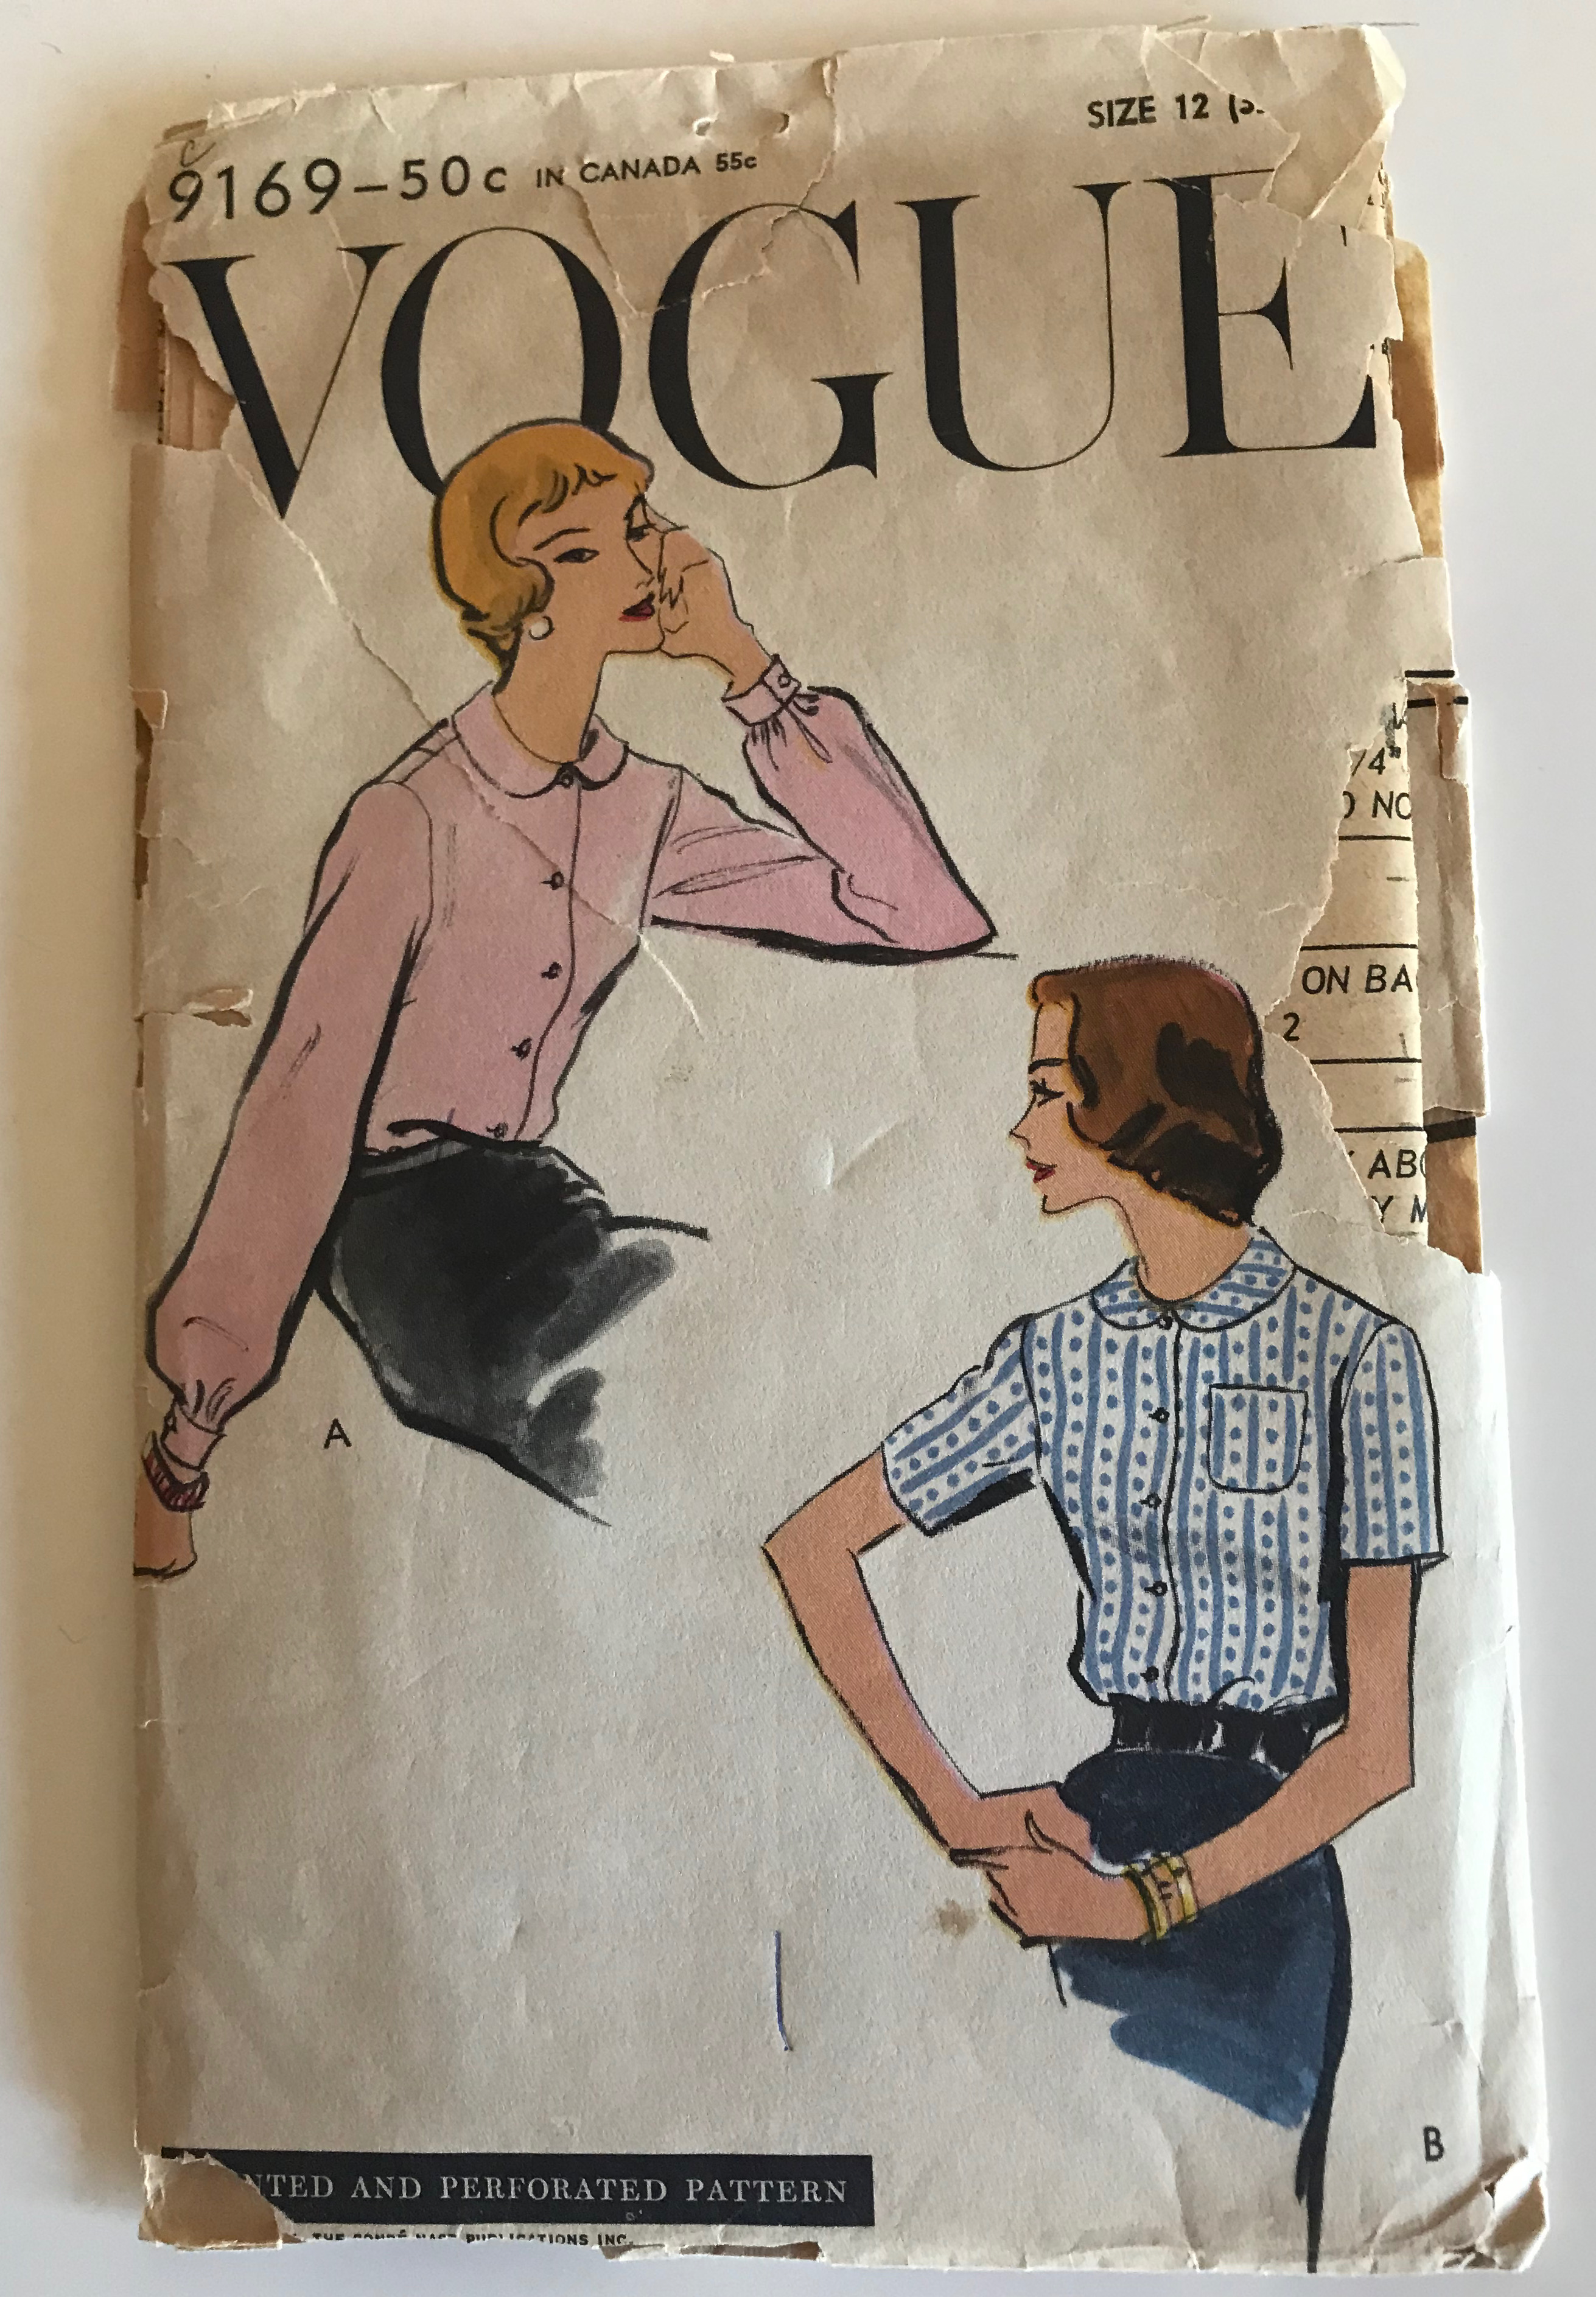
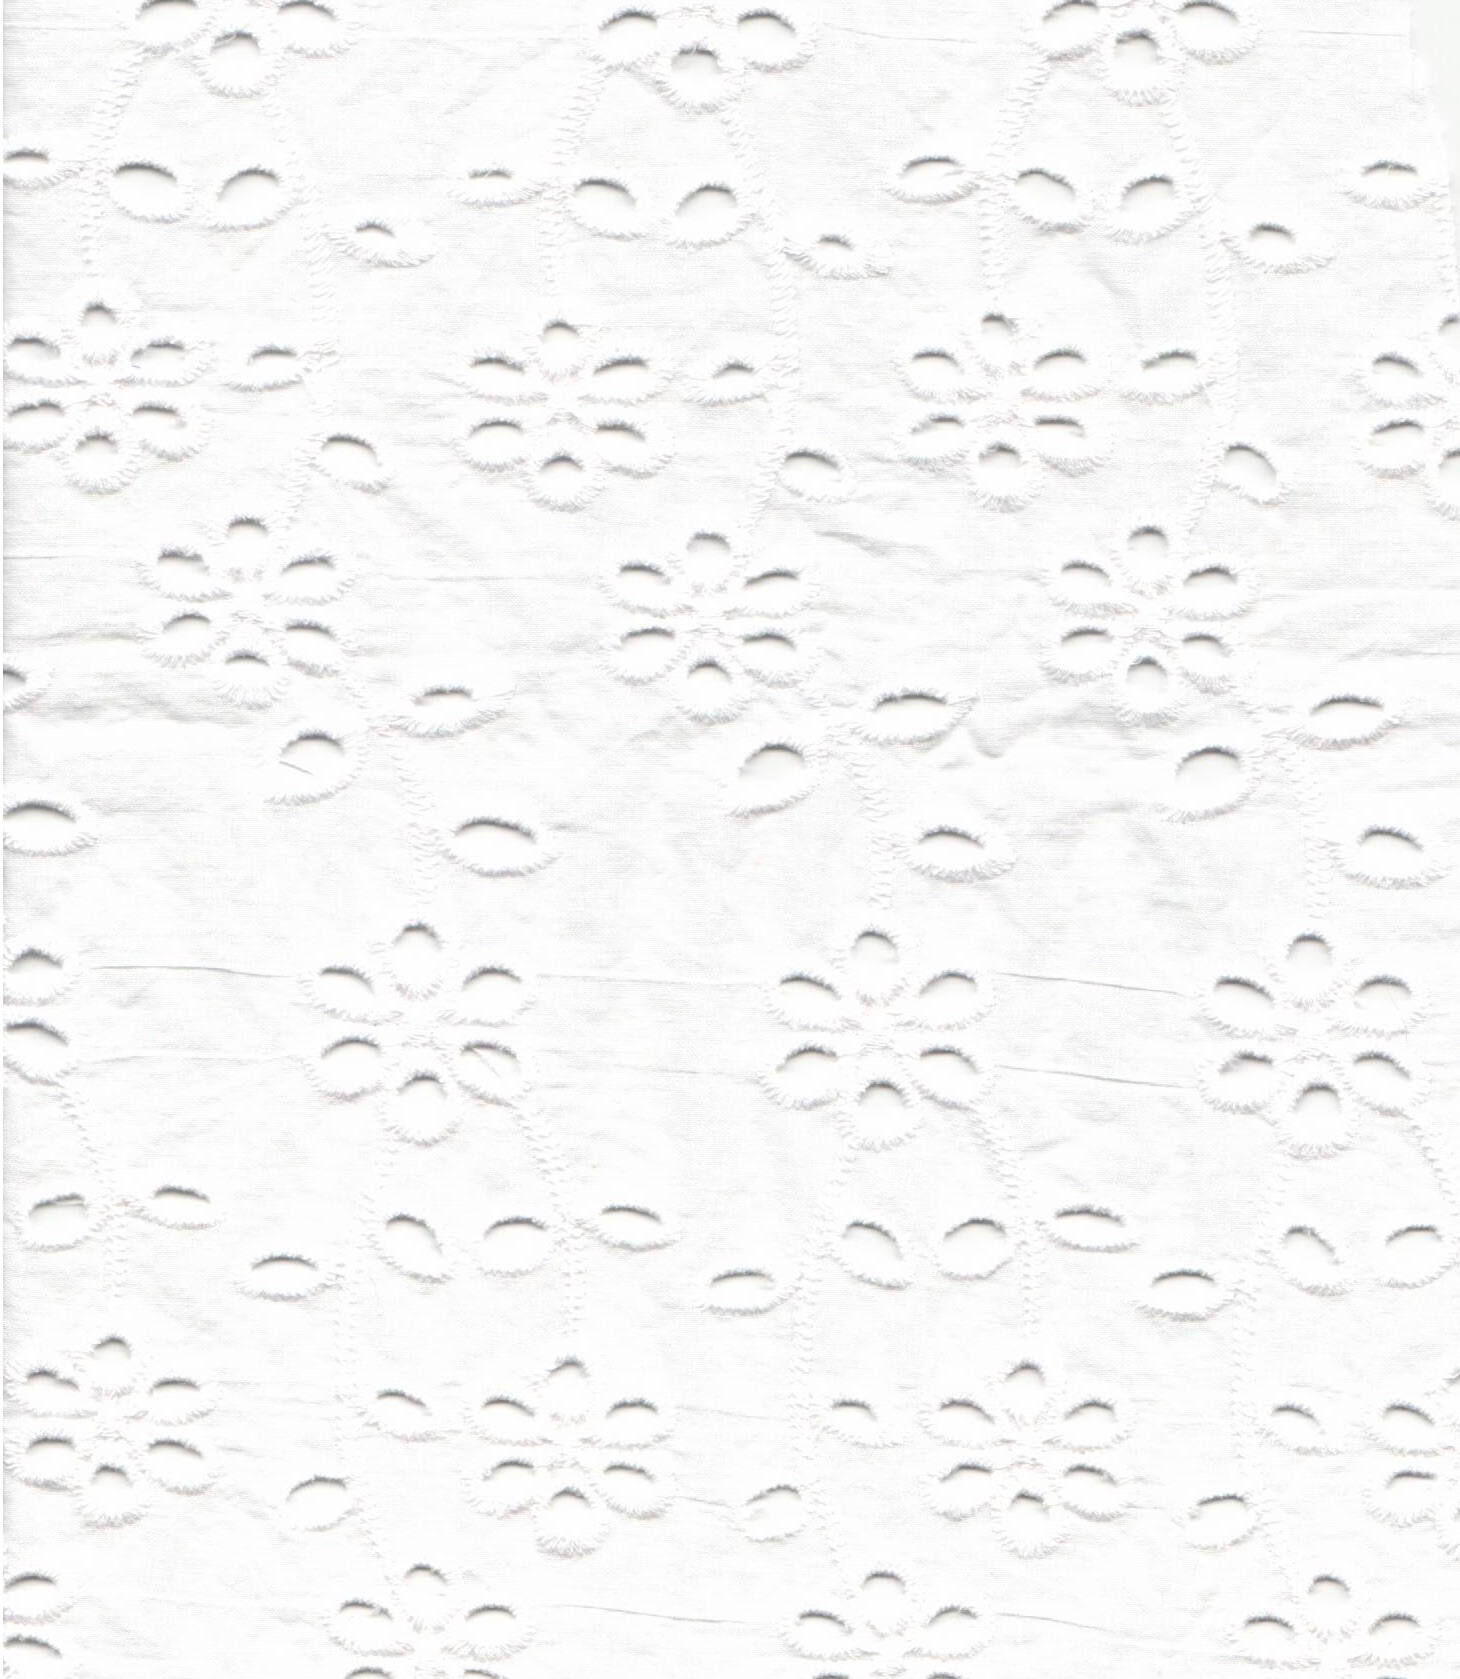
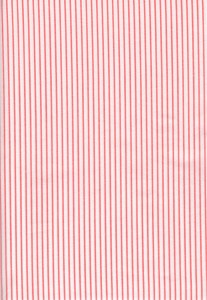
When I saw this pretty fabric on Emma One Socks’s website, I just knew I needed to purchase a length of it. All cotton, it is finely woven and silky soft. Originally, I thought I would make a dress, but when it arrived, I saw it as a tunic top, trimmed in pink, of course. I have a couple of tunic patterns, but I went back to this one because the front opening is longer than most, making it easier to get on and get off.
The interesting thing about this pattern is that there is no fastener/button indicated for that long opening. I’m not sure how one would keep a degree of modesty – or even keep the tunic properly on one’s body – without a button or at least a hook and eye. More about that later.
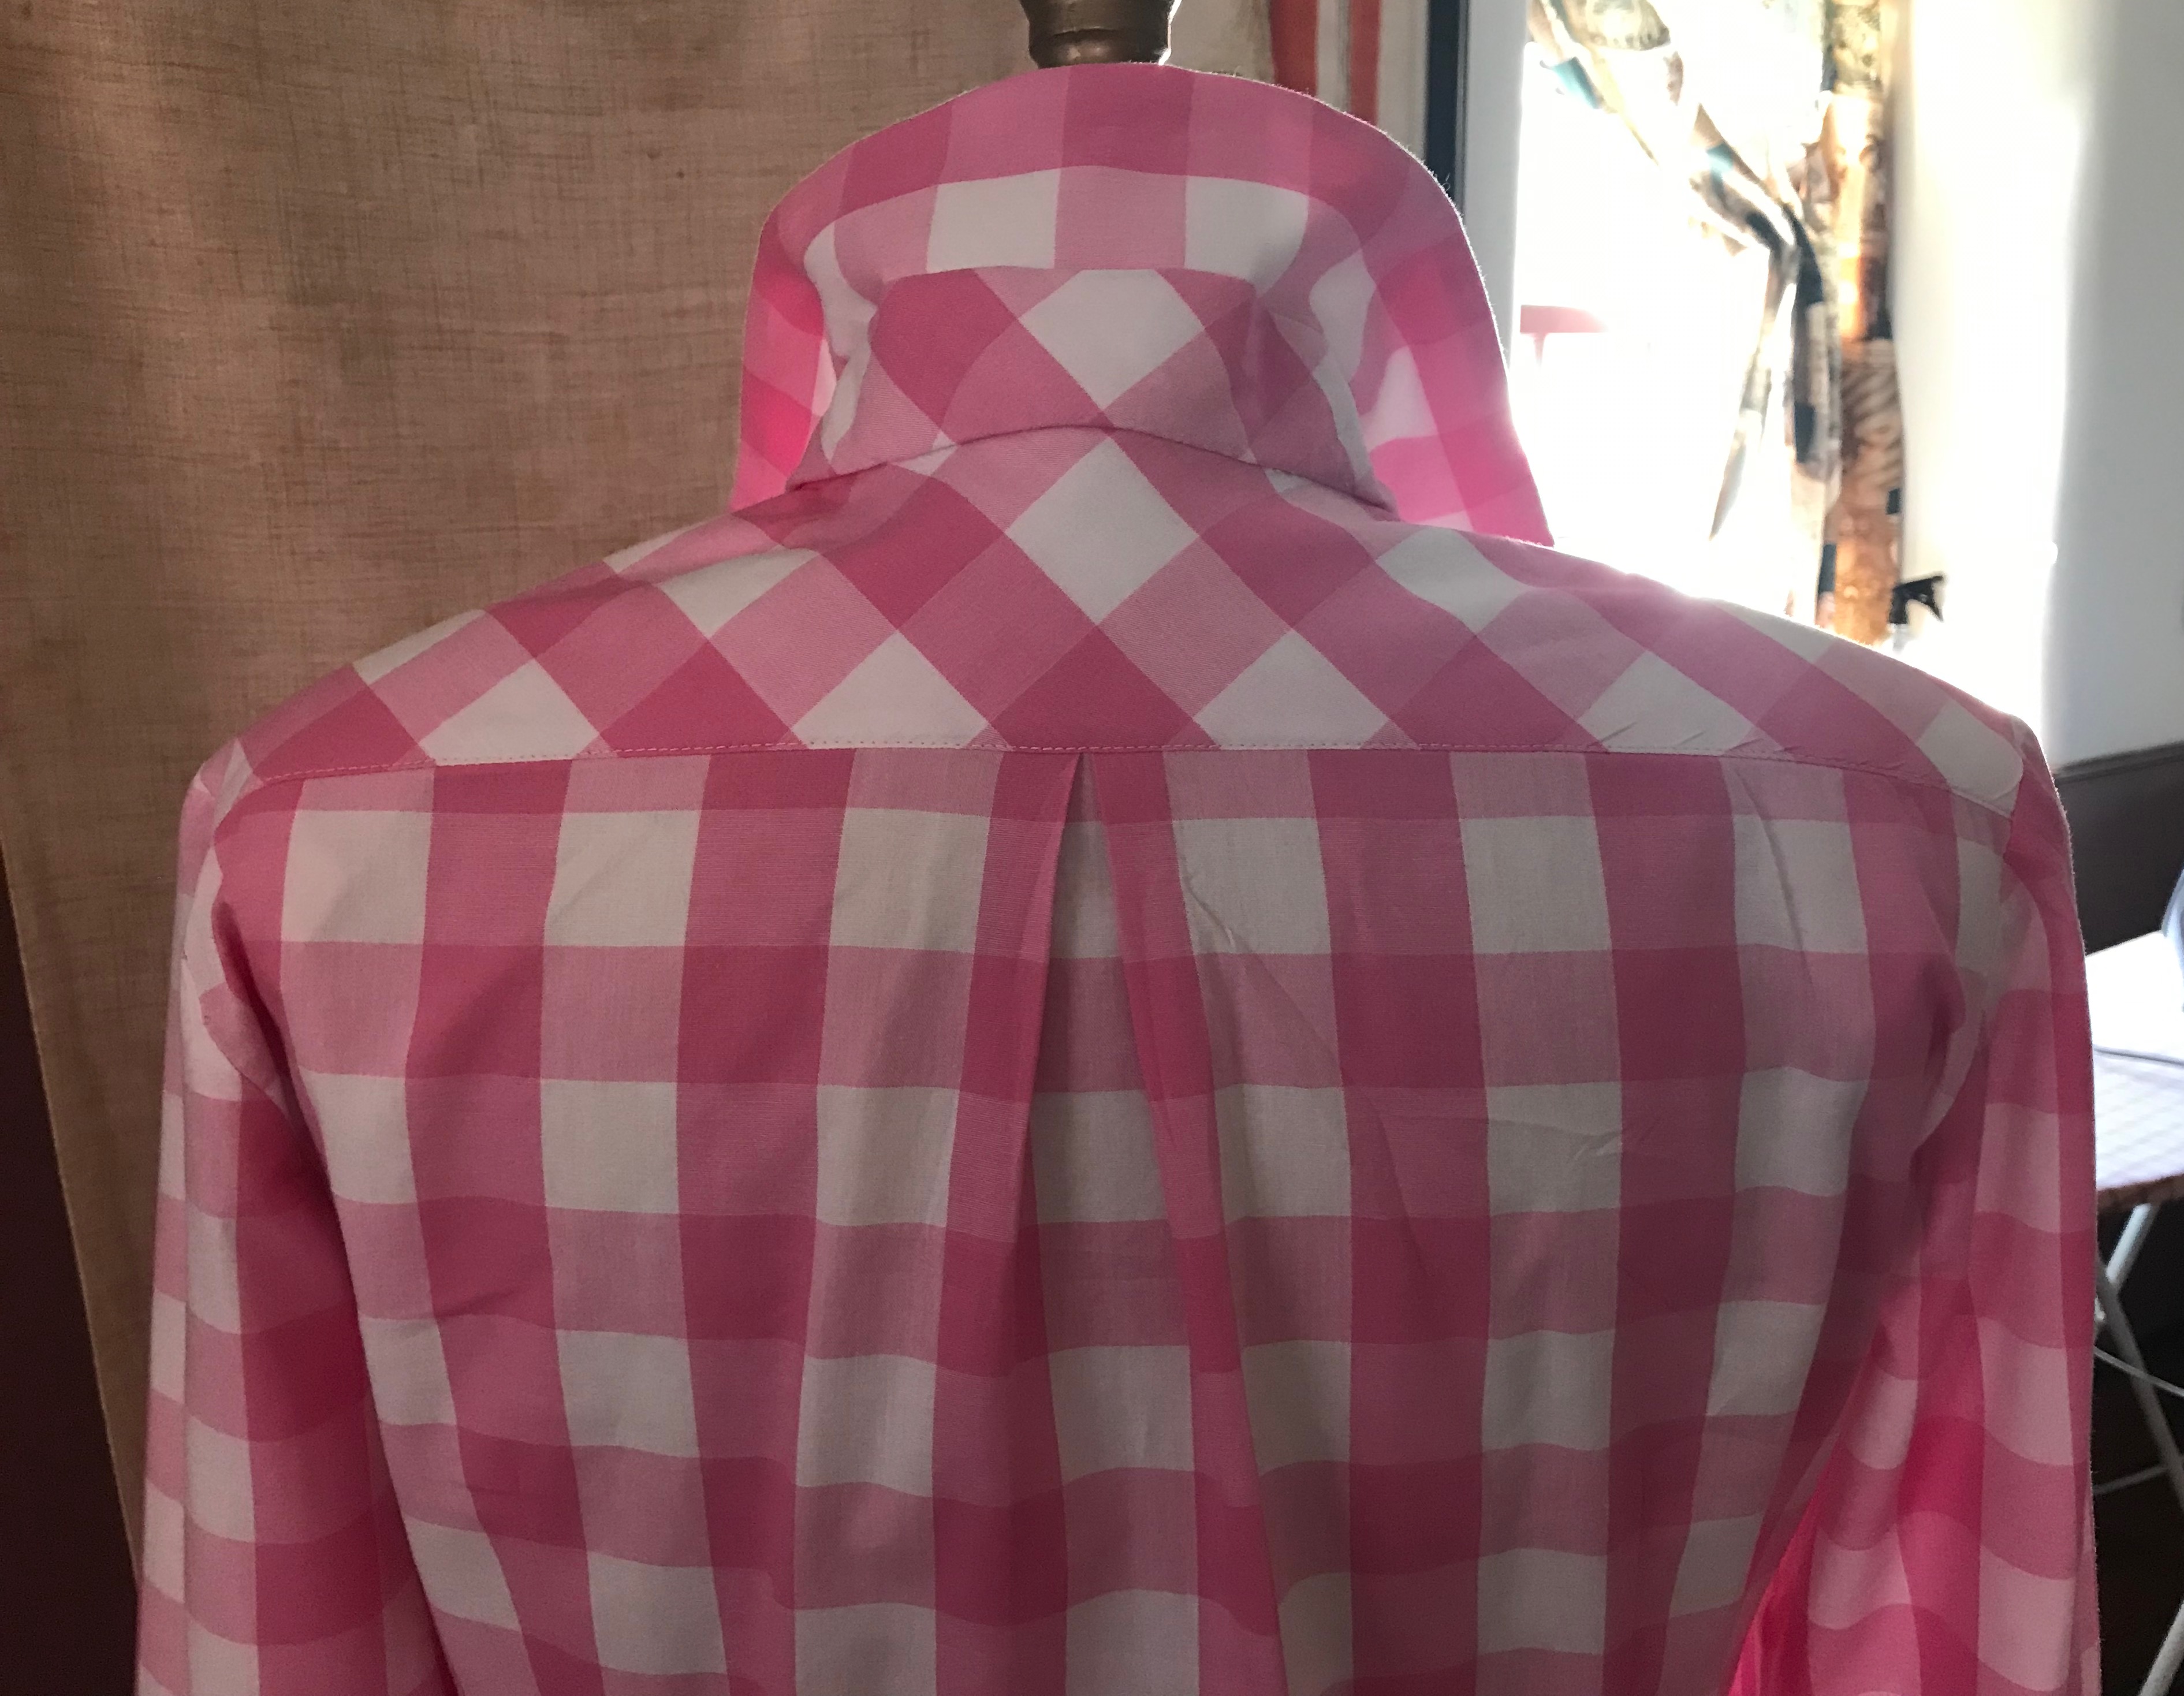
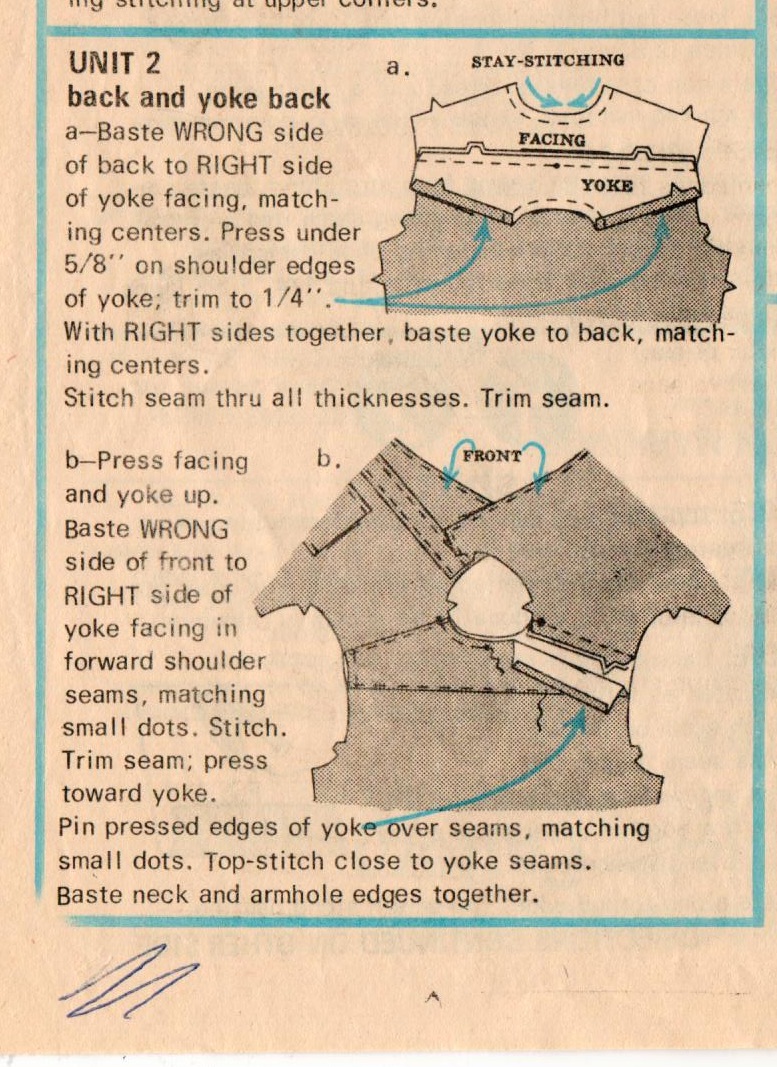
There are a couple of features of this pattern I like, besides that long opening in the front. It has shoulder darts in the back, which I always find add just a little necessary fitting finesse.
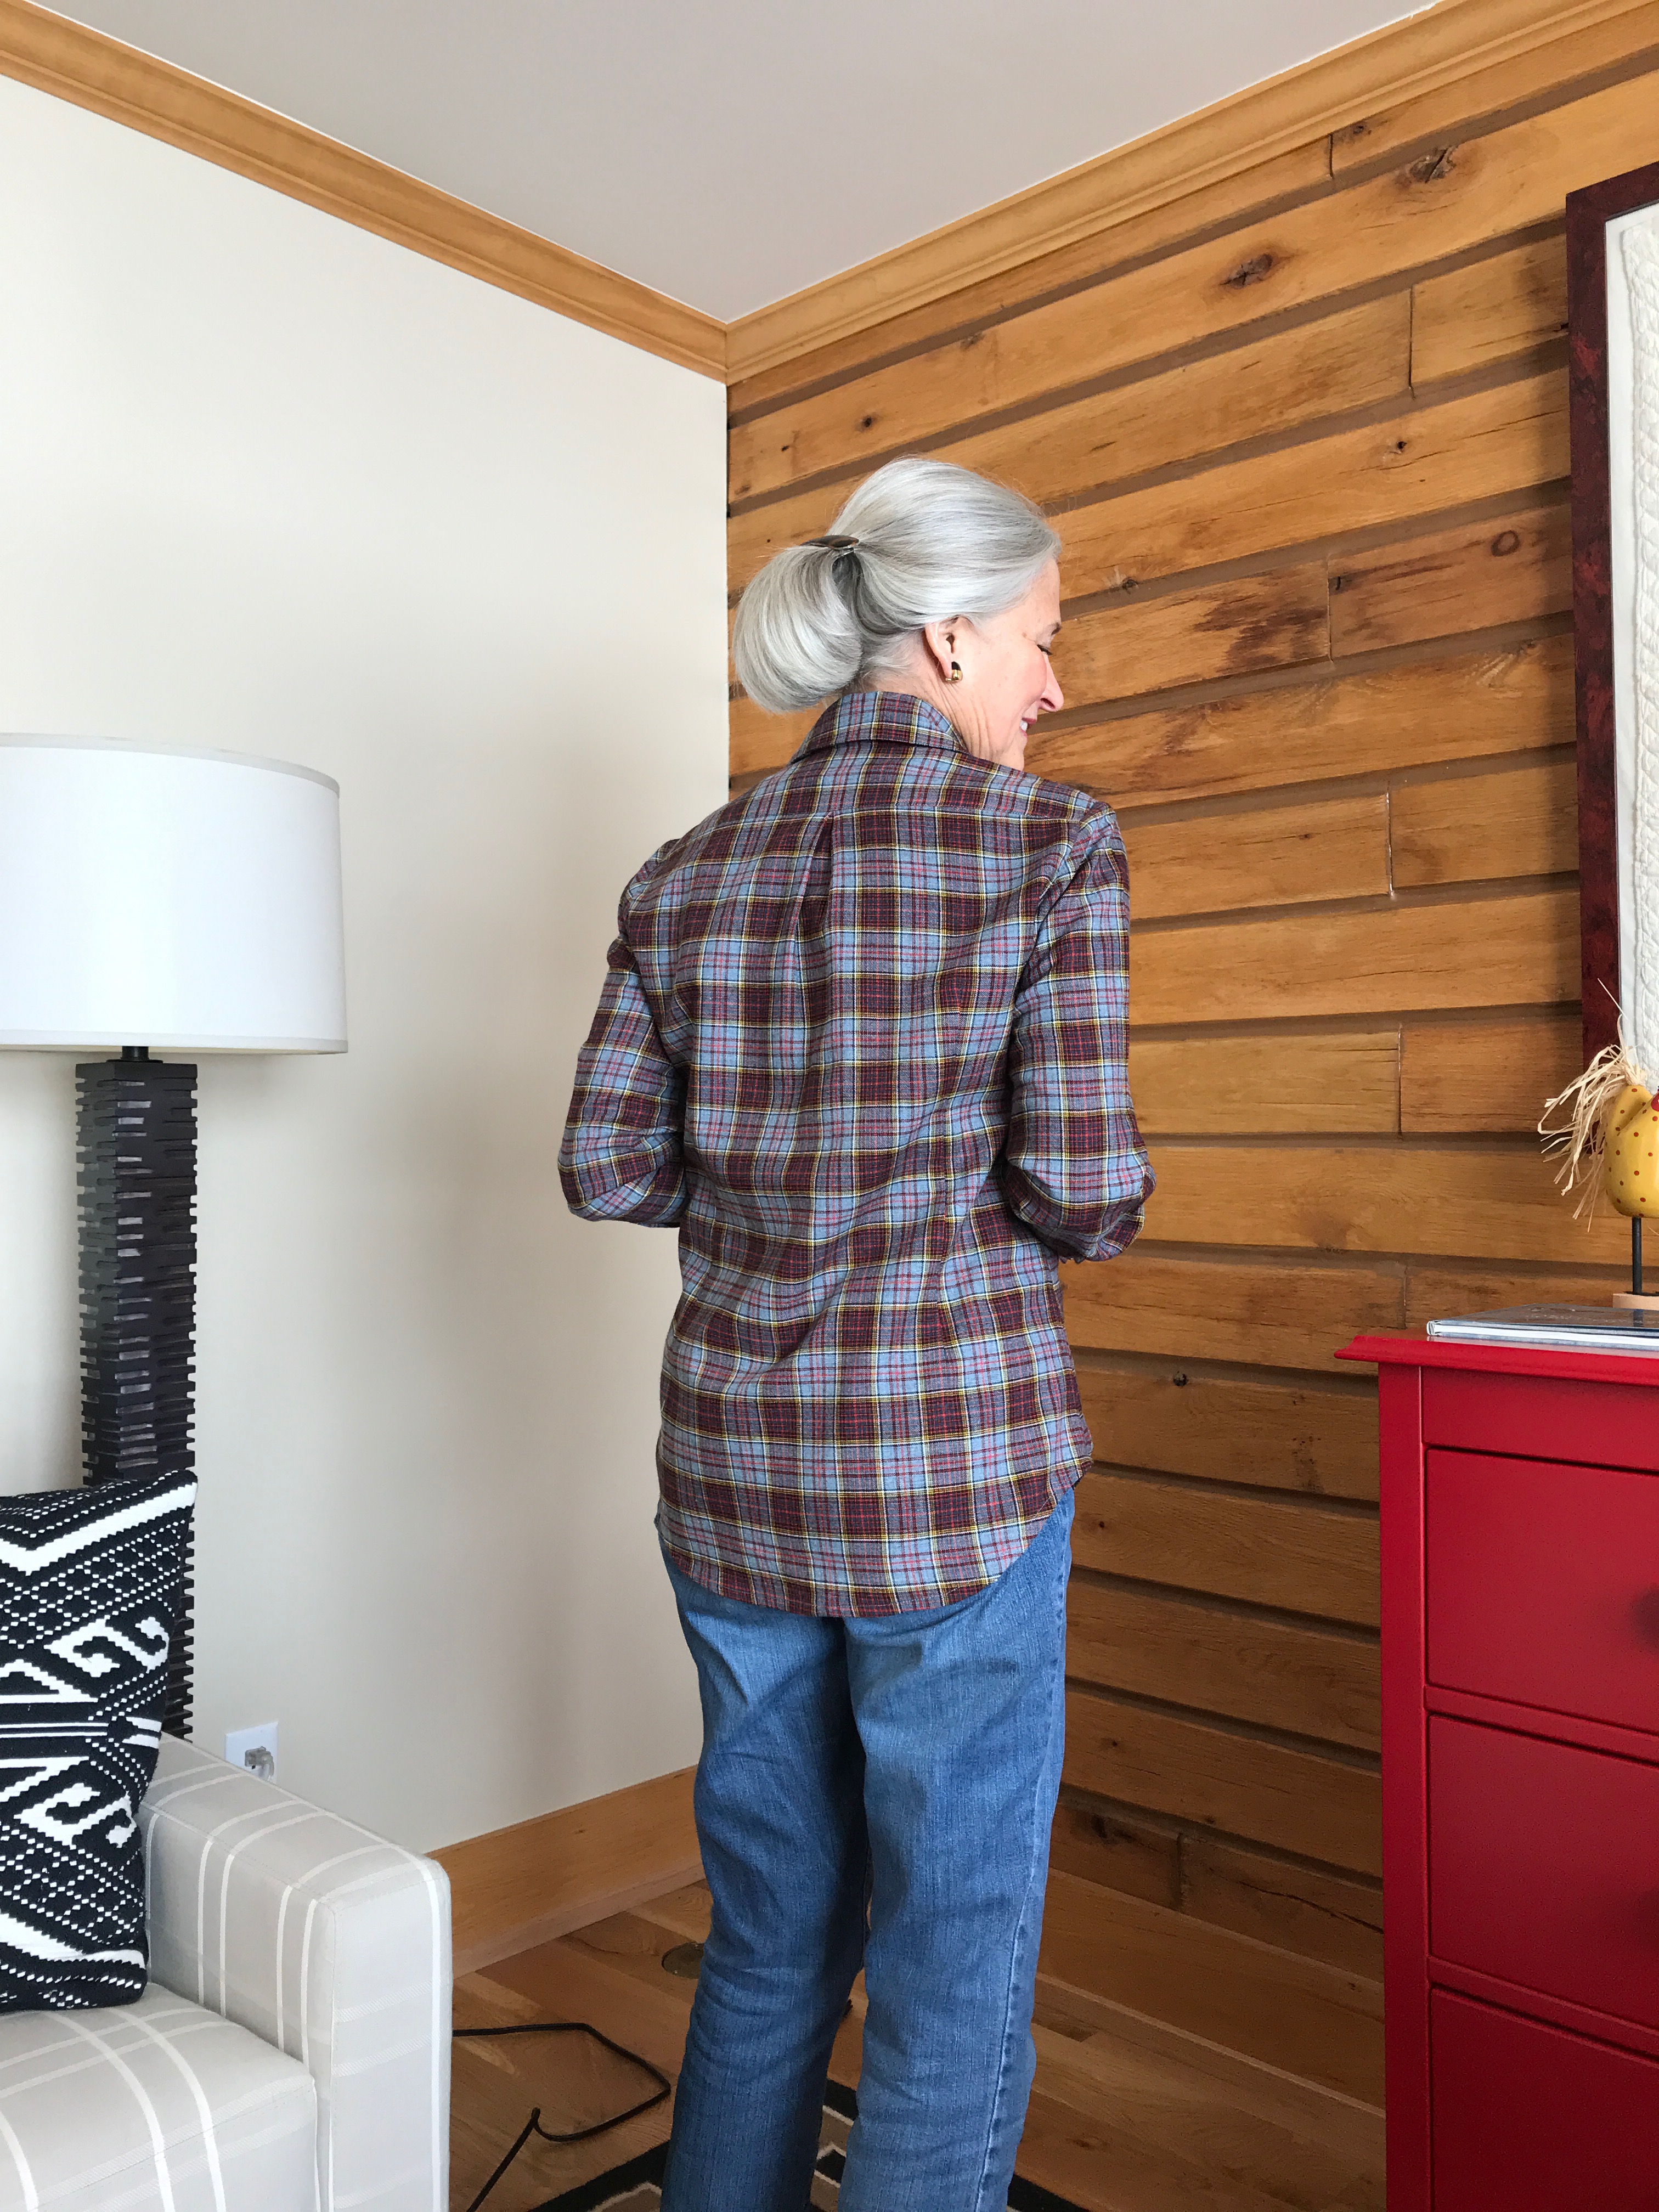
I also like the way the front facing is constructed, and the width of the stand-up collar. However, the pattern lacks slimming darts in the back. My limited experience with sewing tunics has taught me that without long defining fisheye darts in the back, my tunic is going to be baggy and look like a sack. So, I added them.
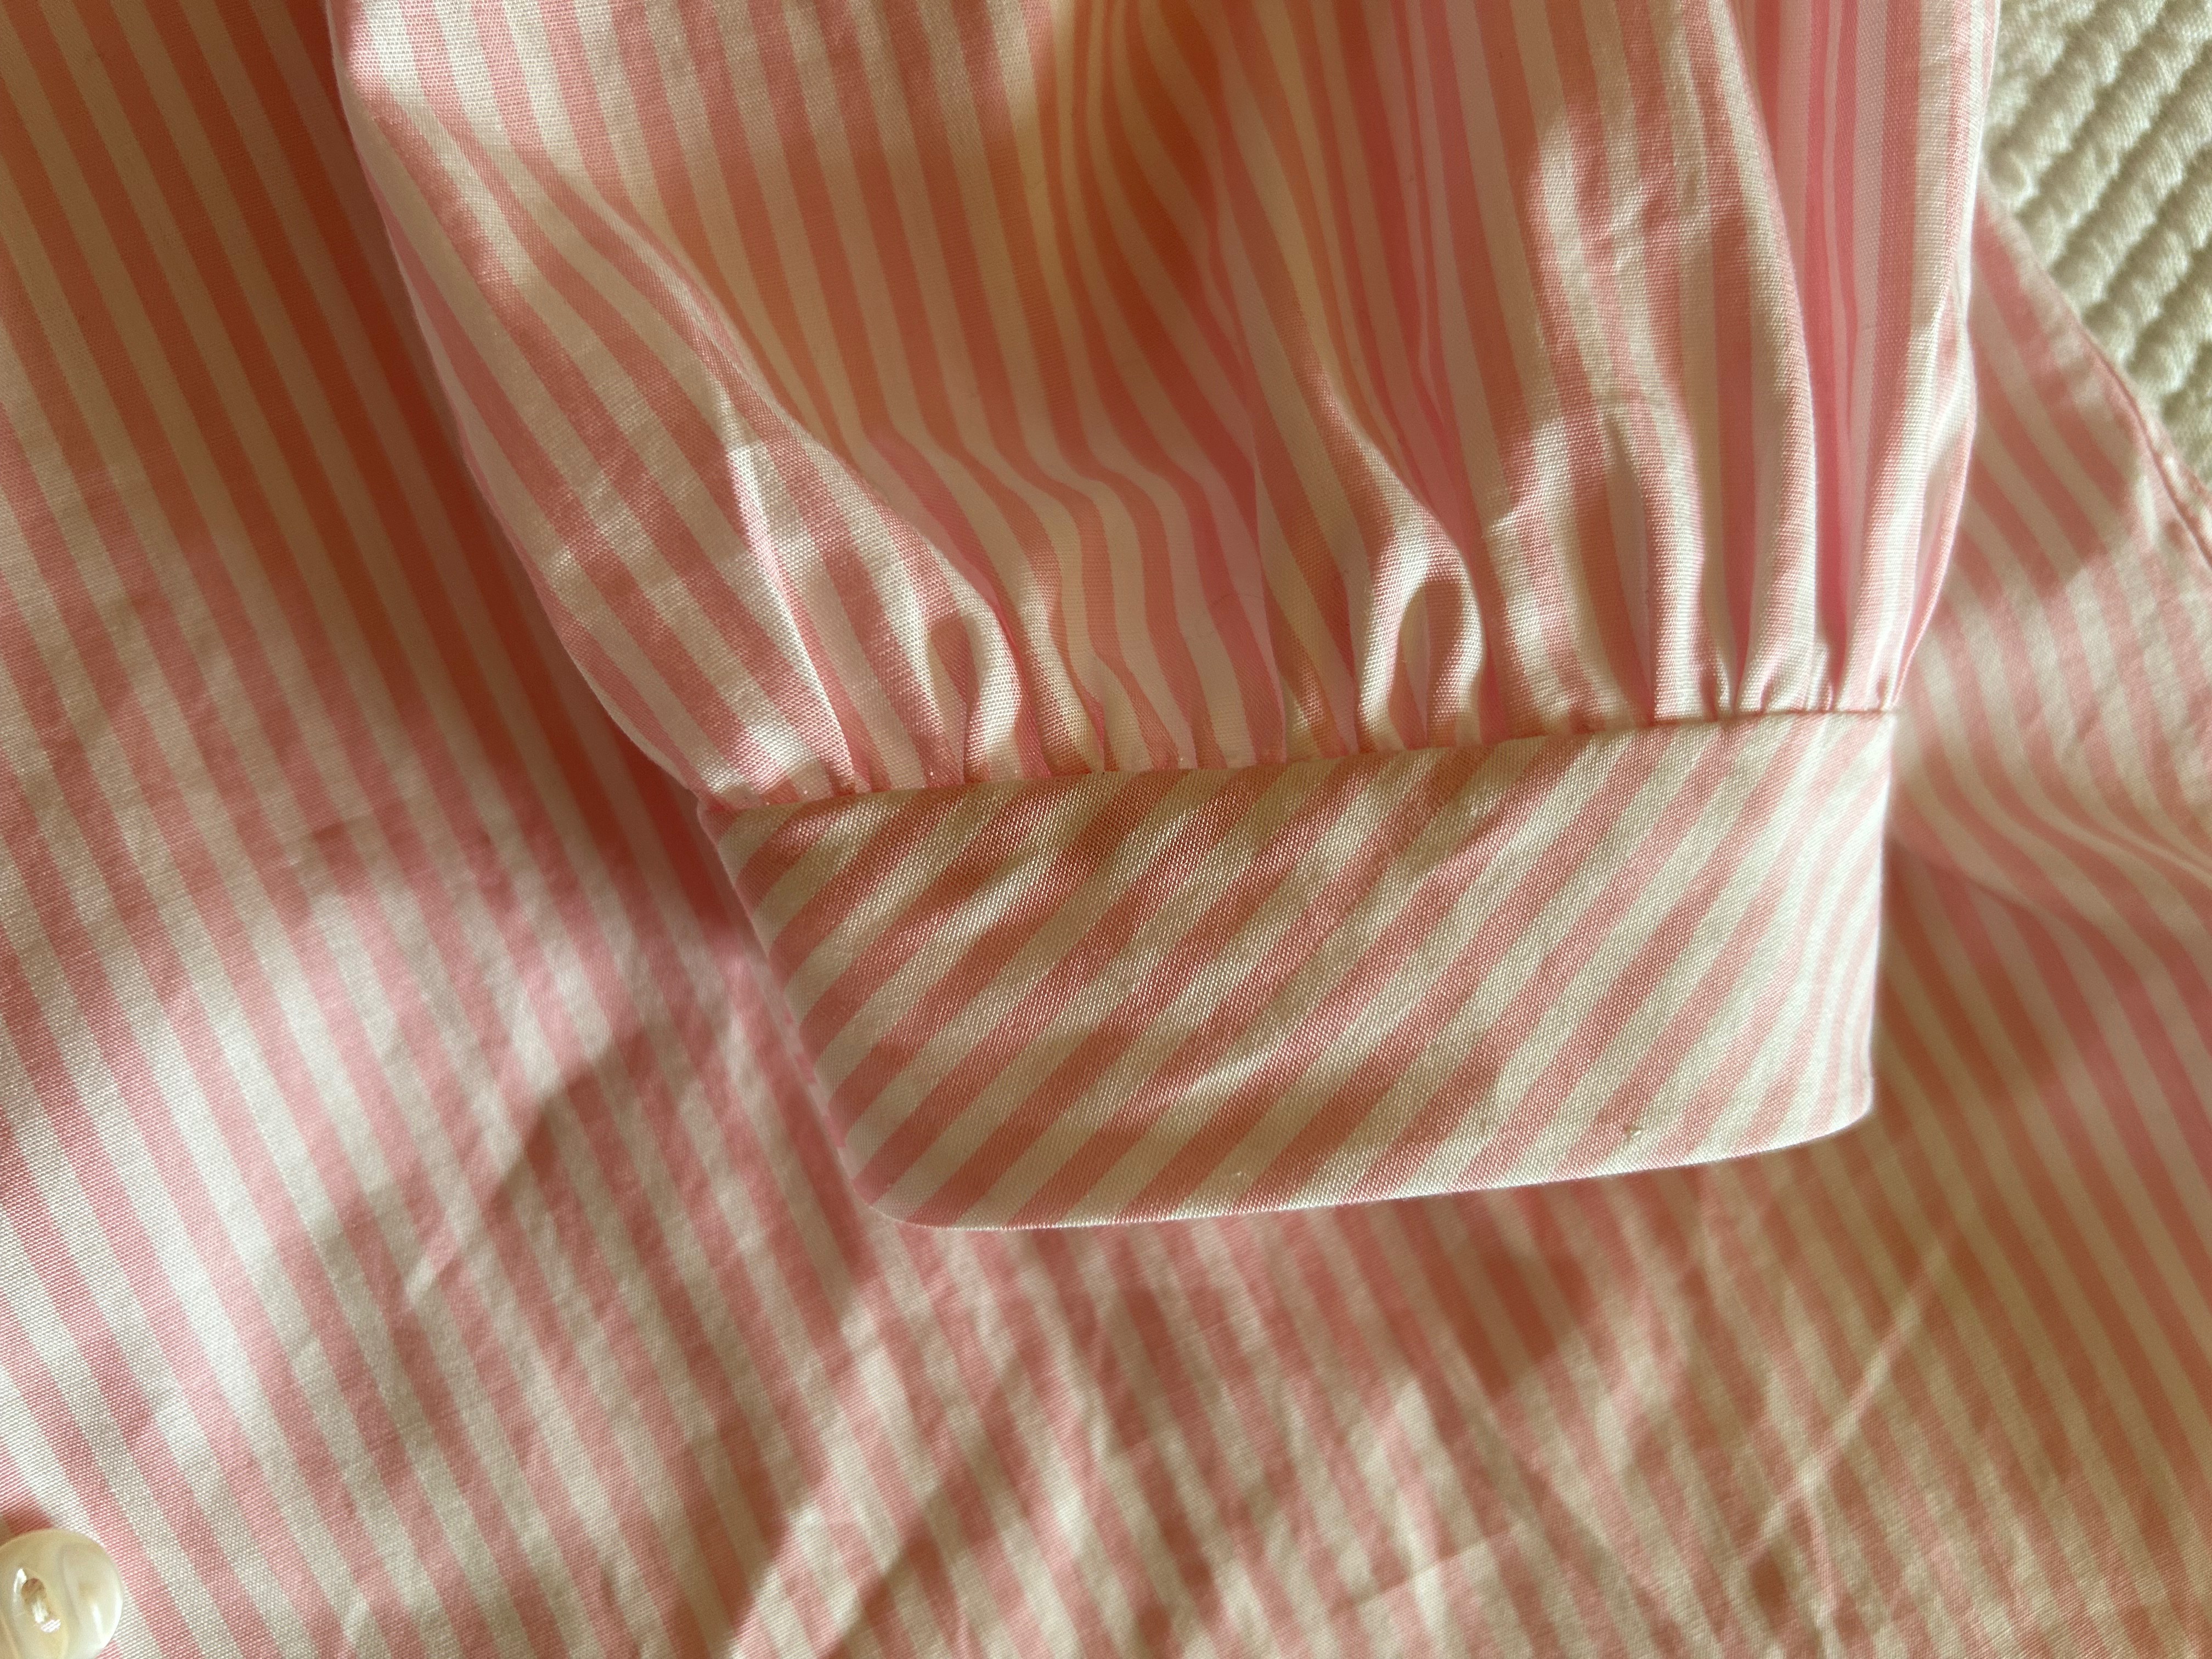
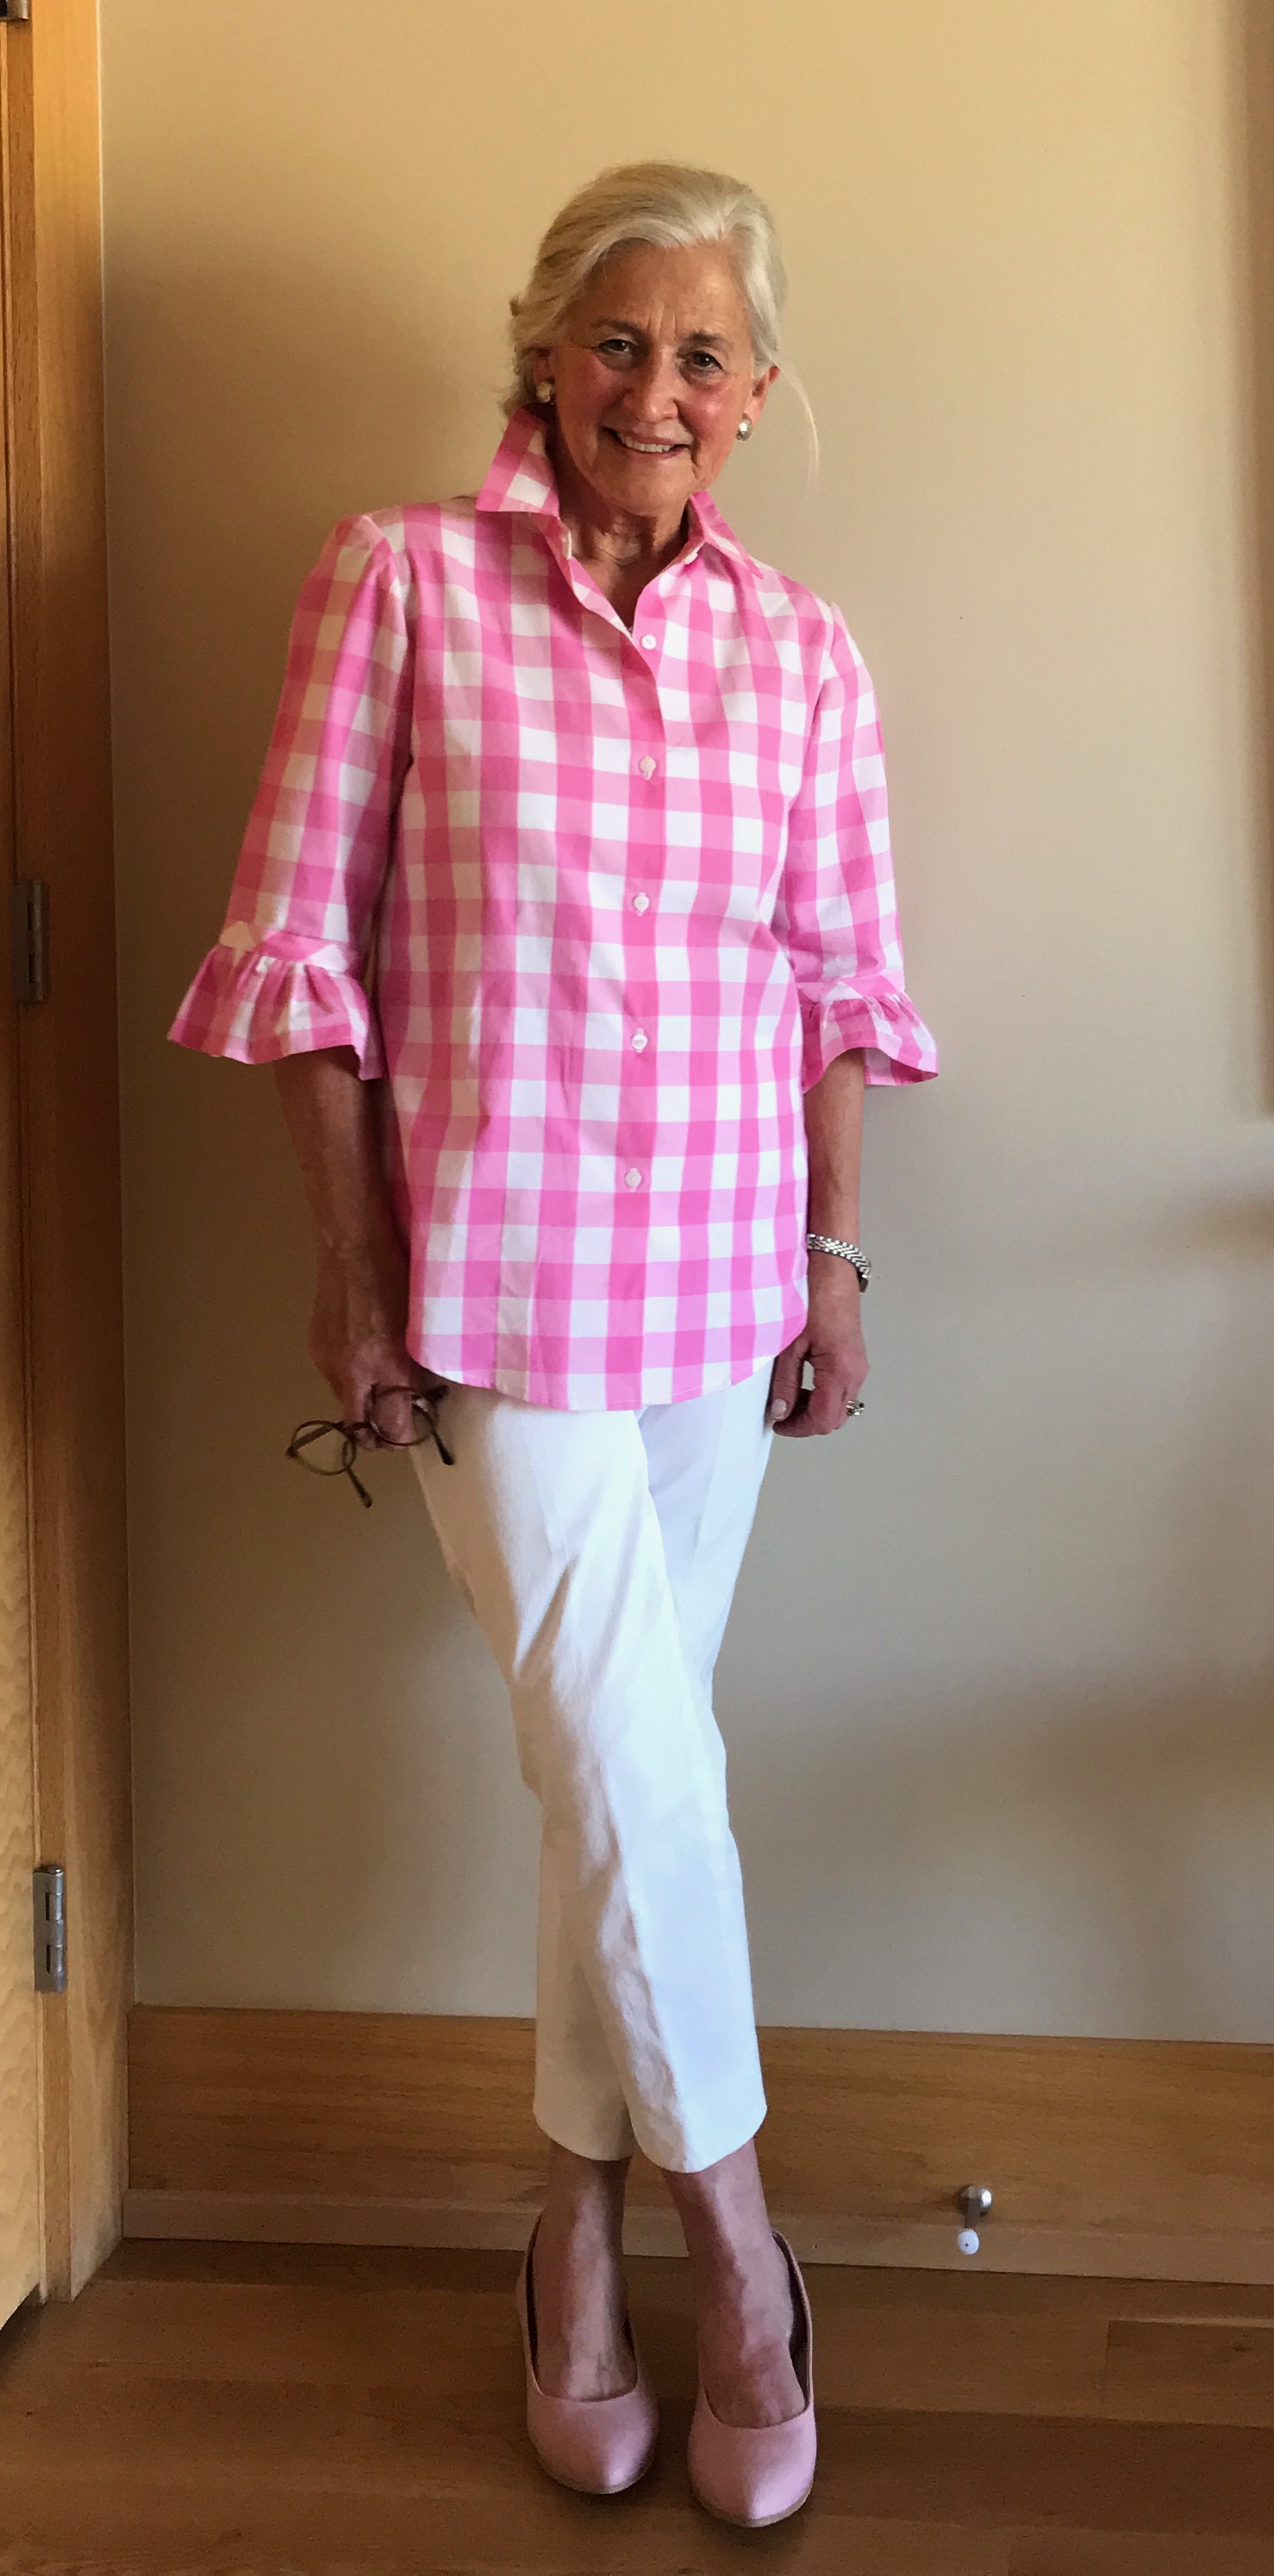
I also shortened the sleeves, as I prefer a length just below the elbow, and I took out some of the width of the “trumpet.” Even with a narrower sleeve, I knew turning up a hem on it would result in a less than smooth finish. To get around this, I took the pattern piece for the bottom panel for the long sleeve (shown on the pattern), flipped it, narrowed it, and shortened it to give me a facing which would be a perfect fit into the lower curve of the sleeve.
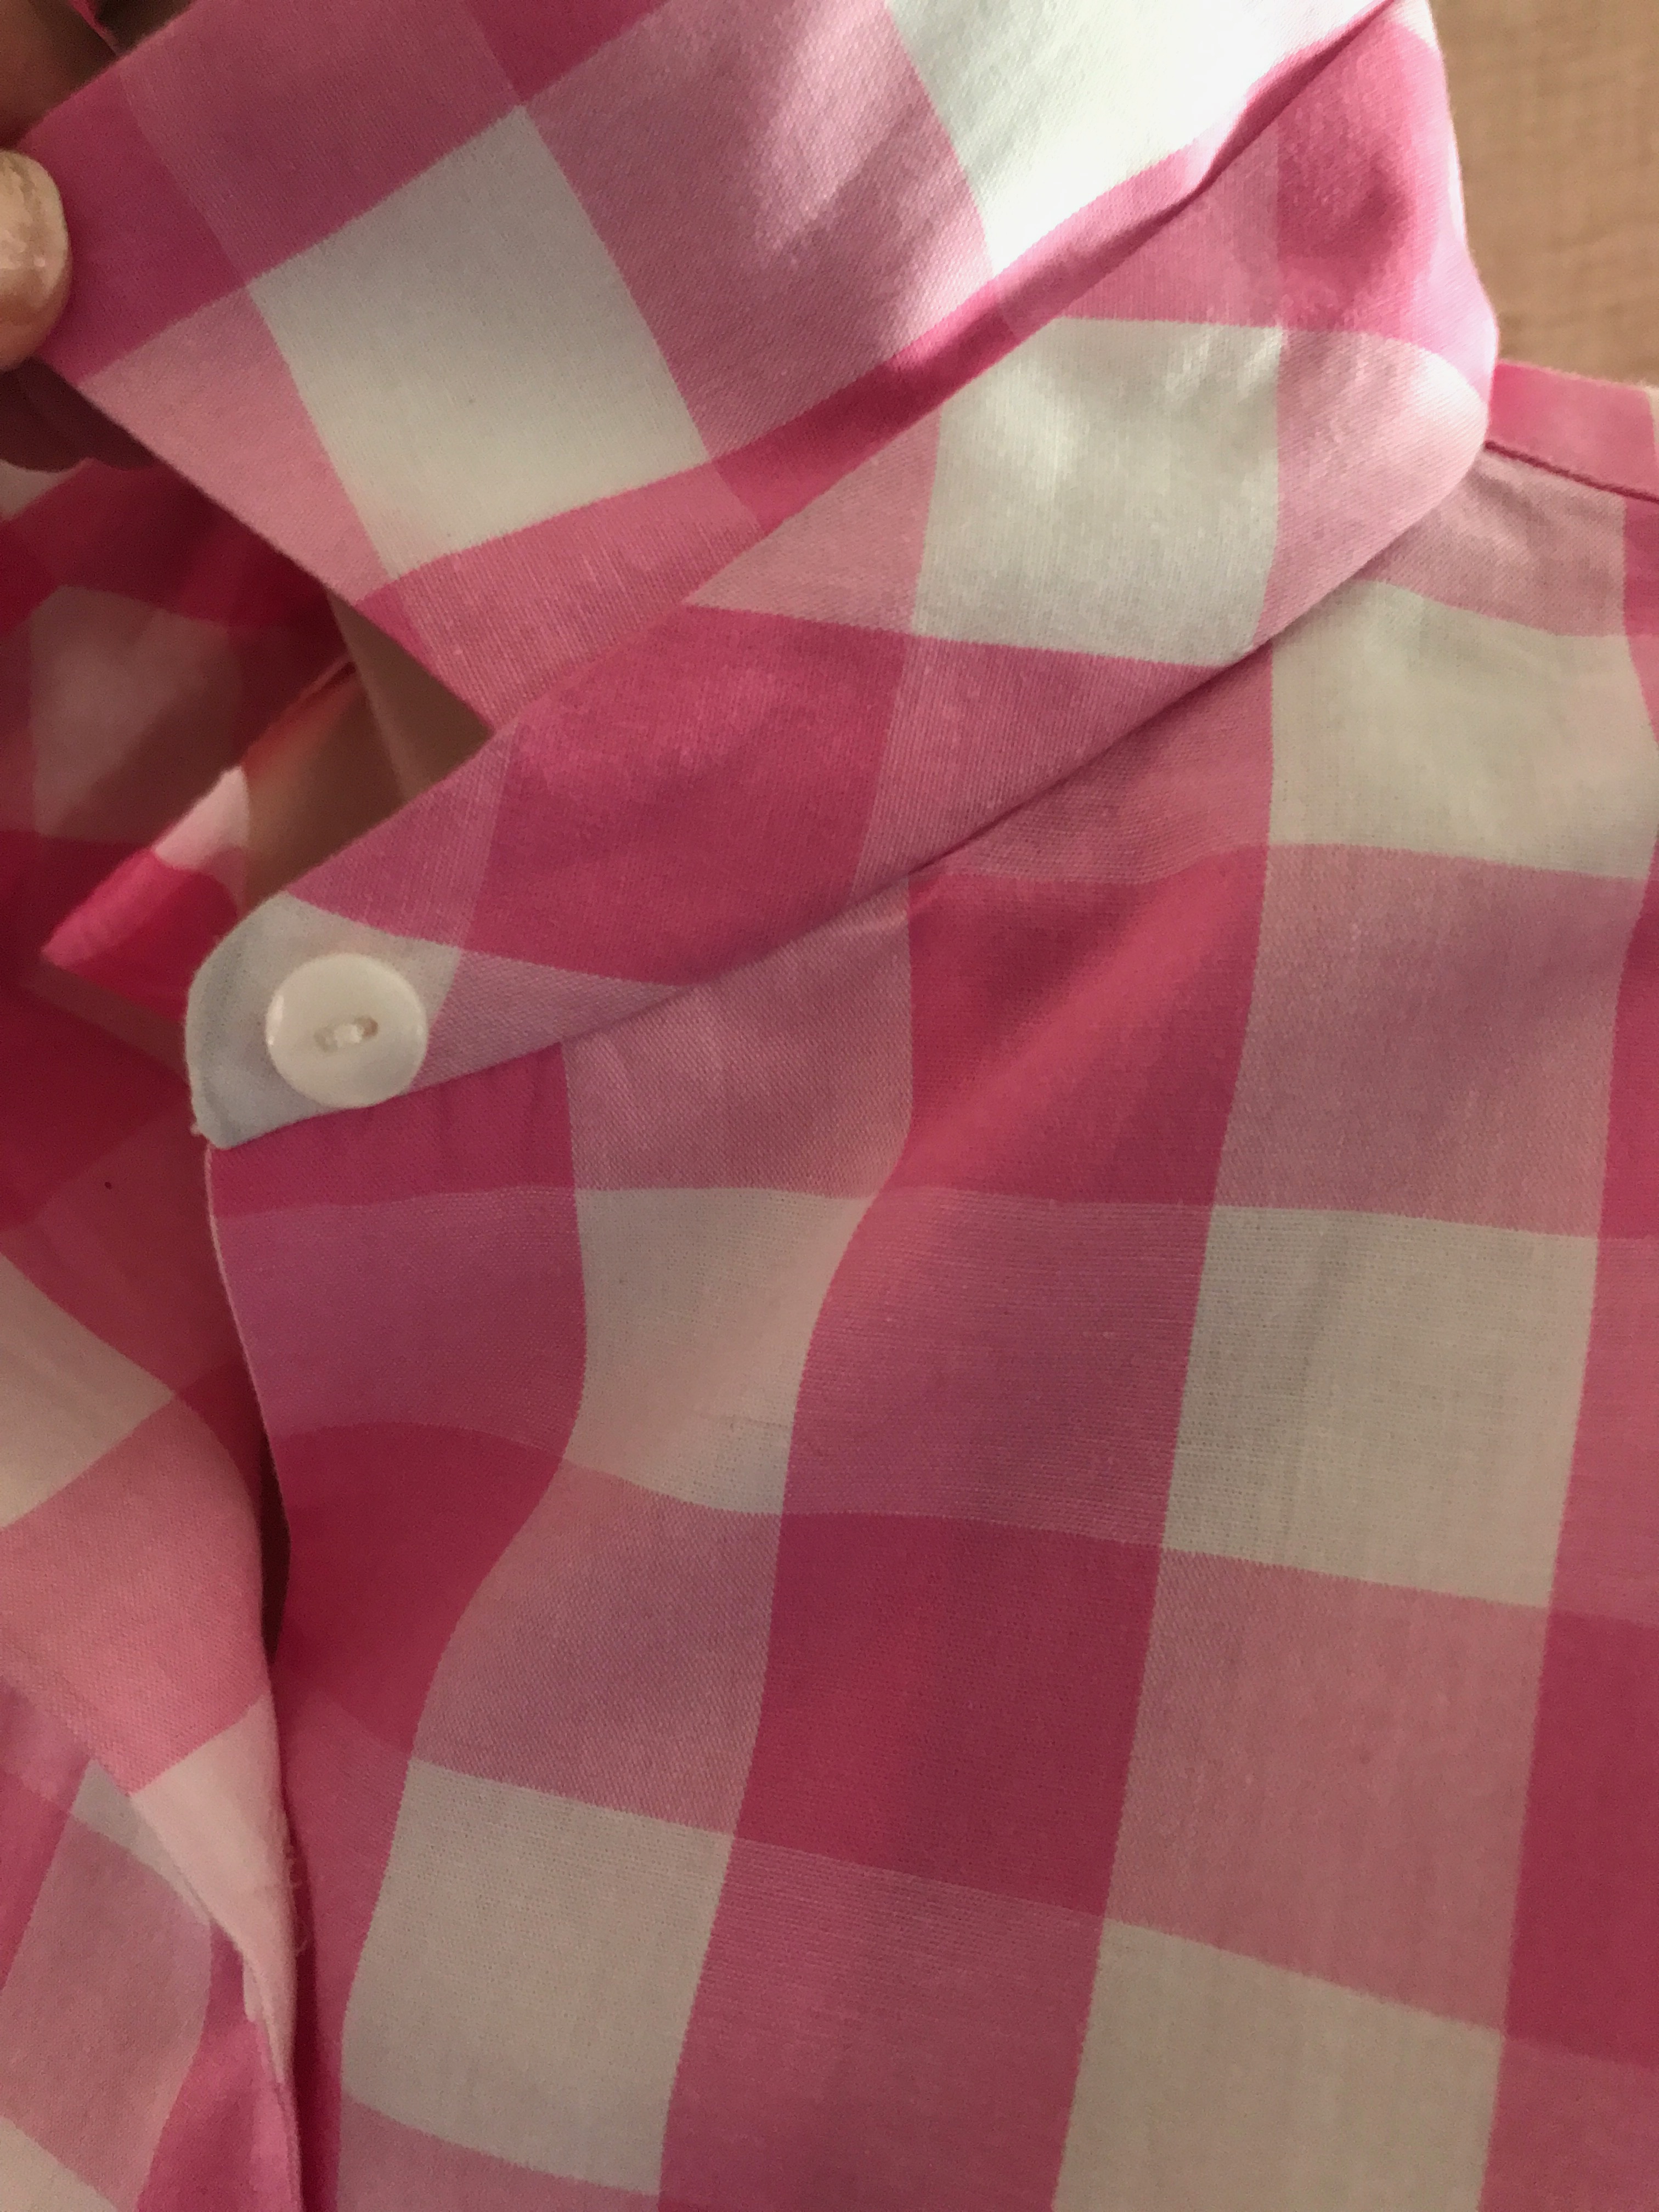
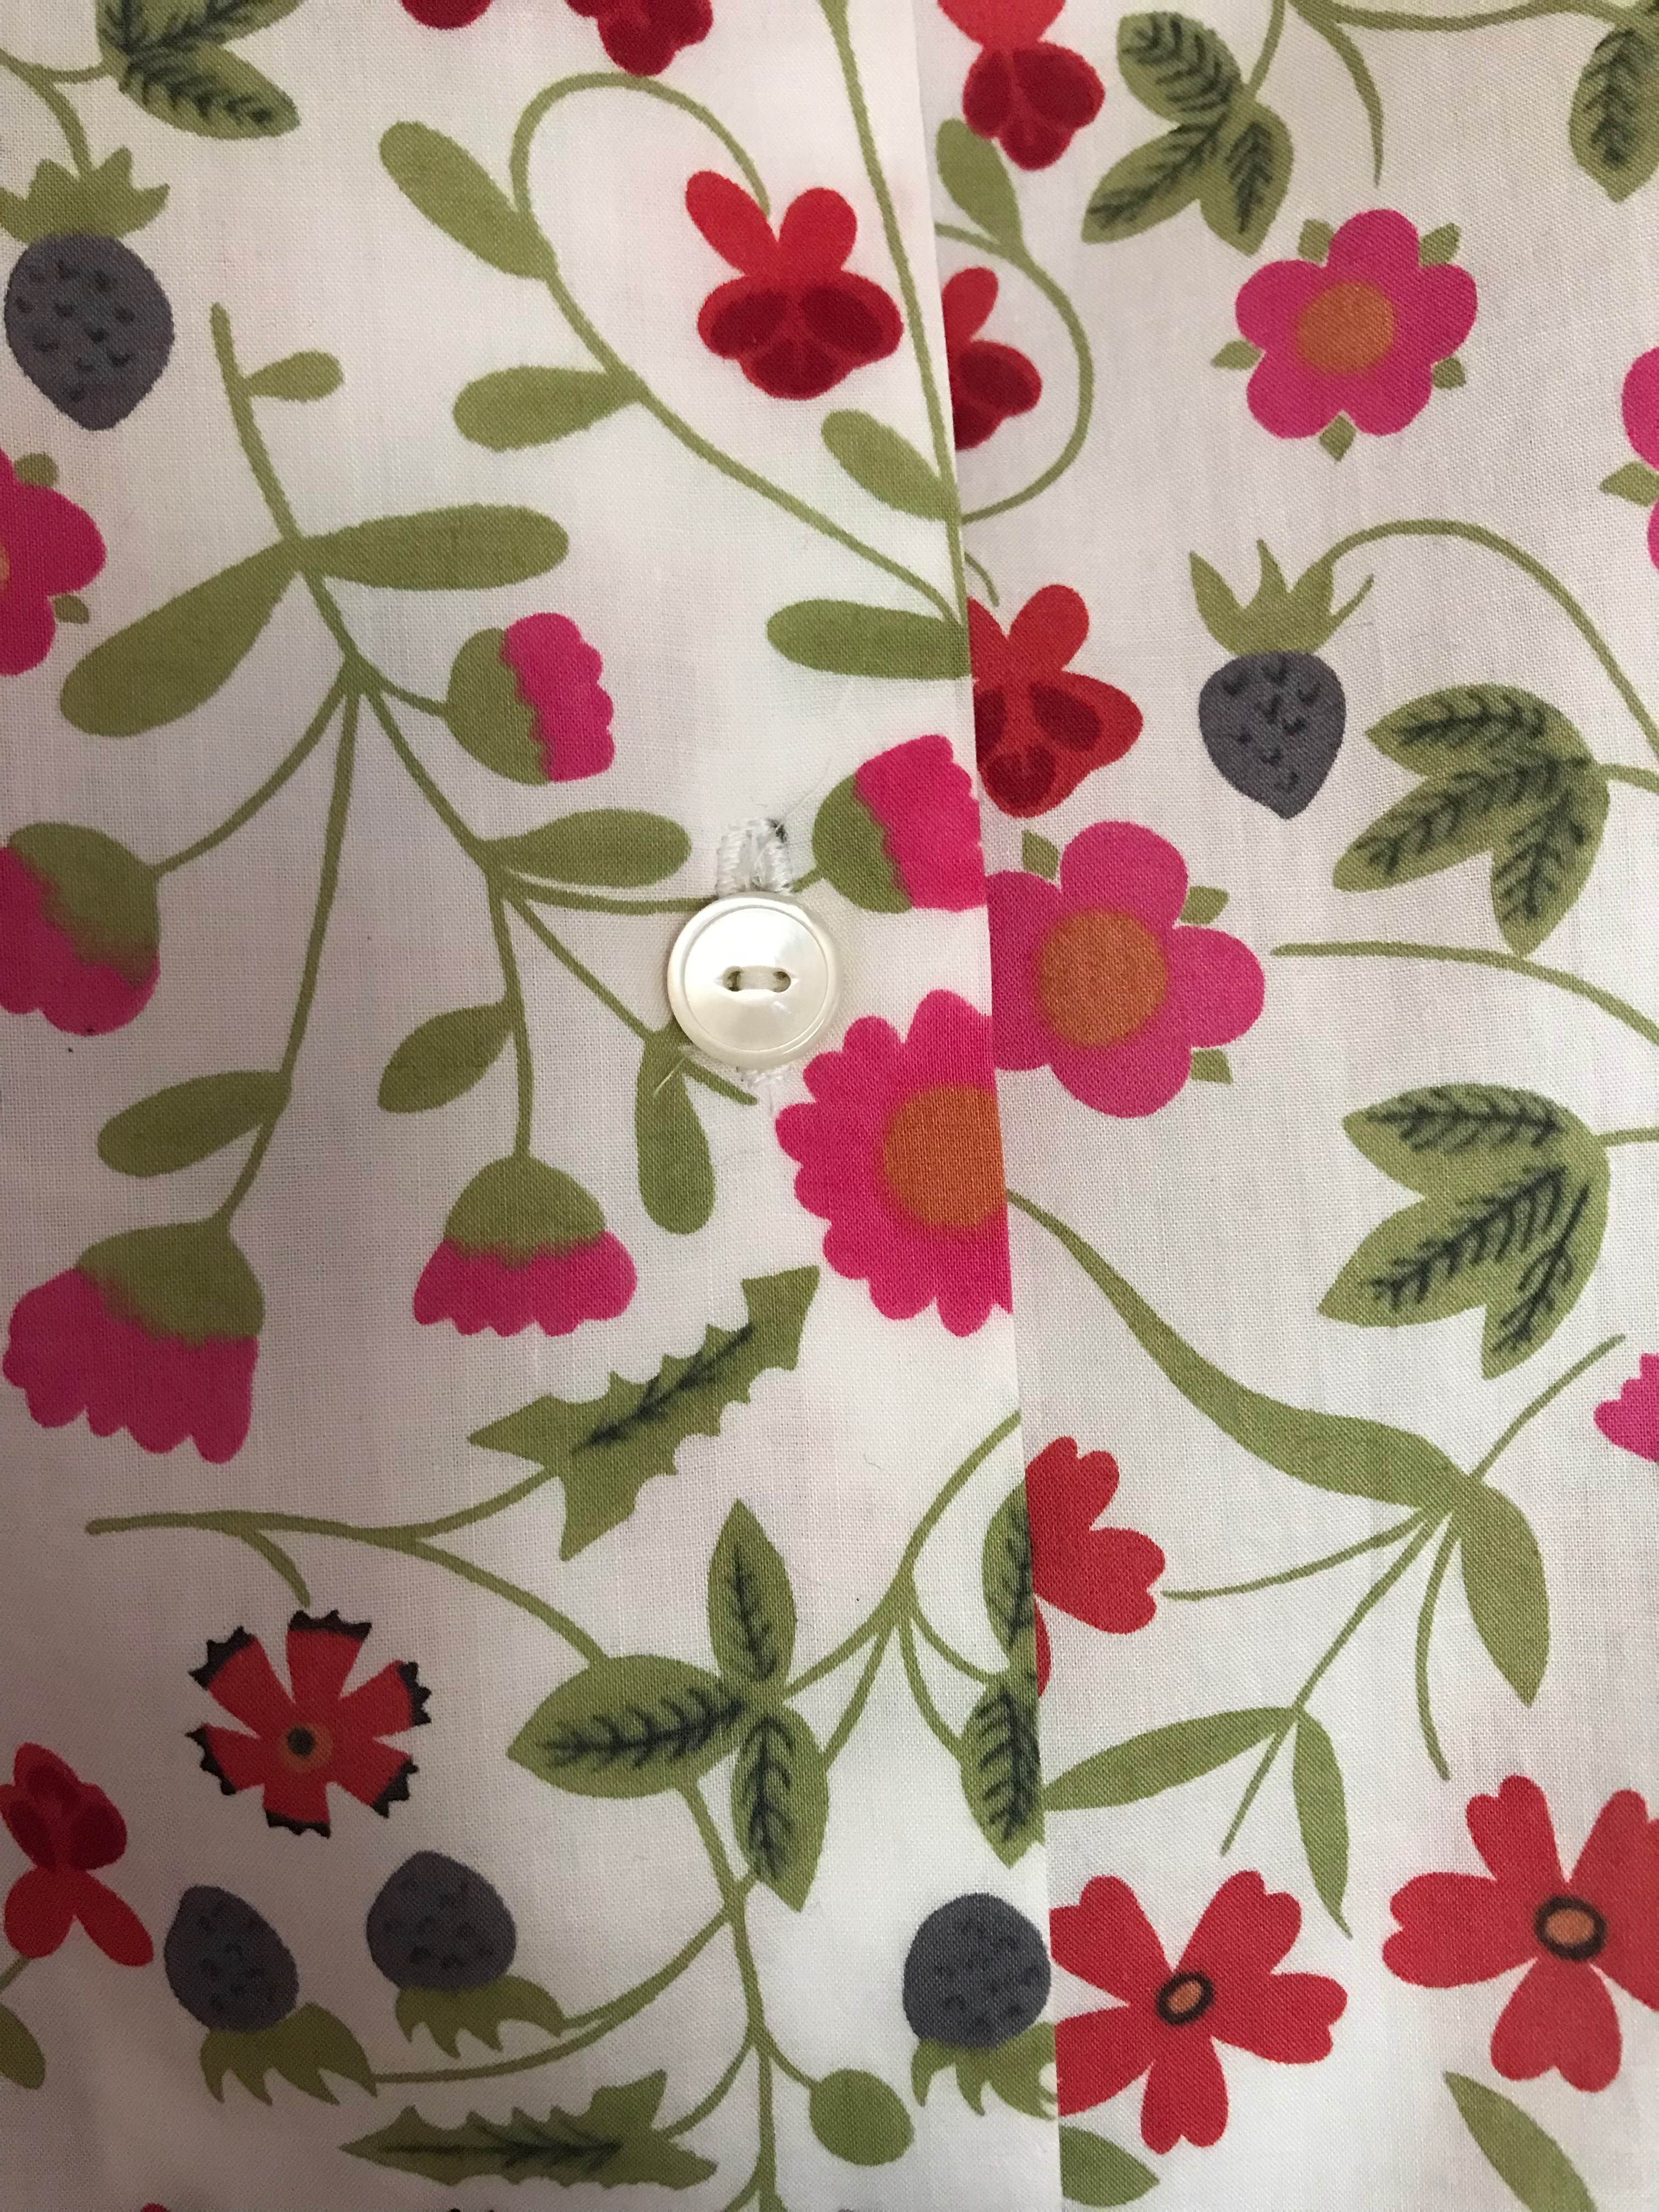
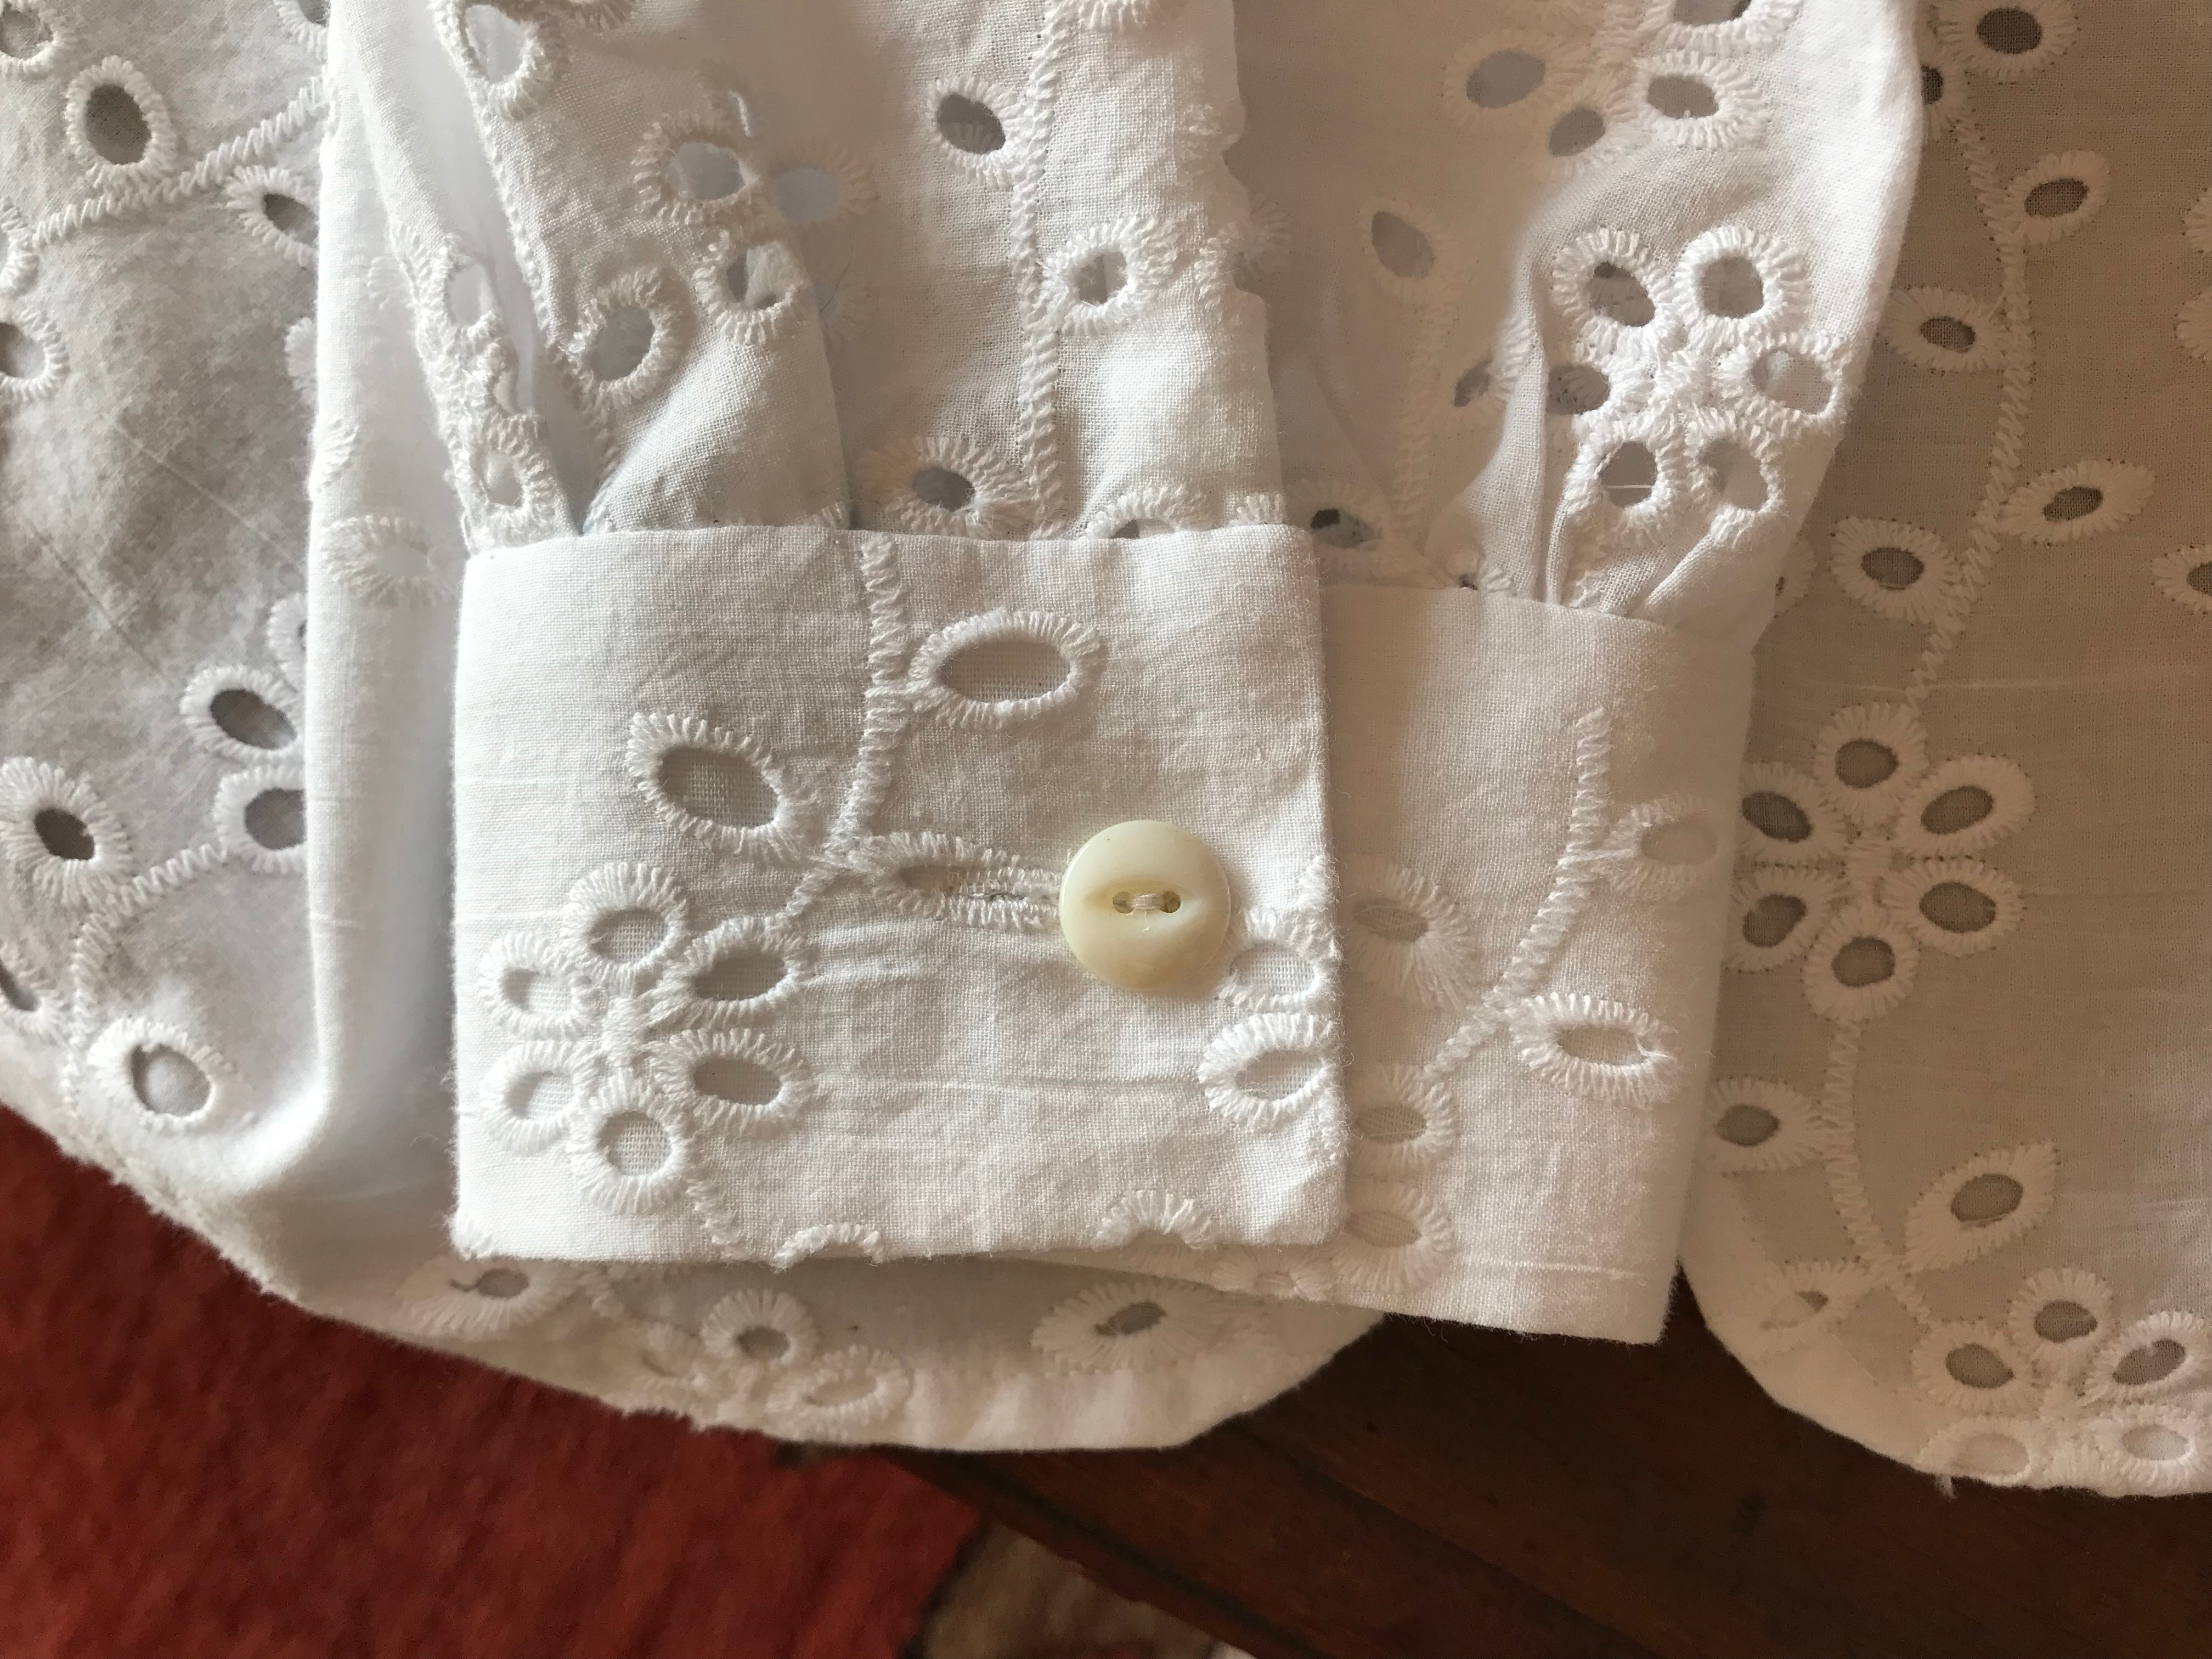
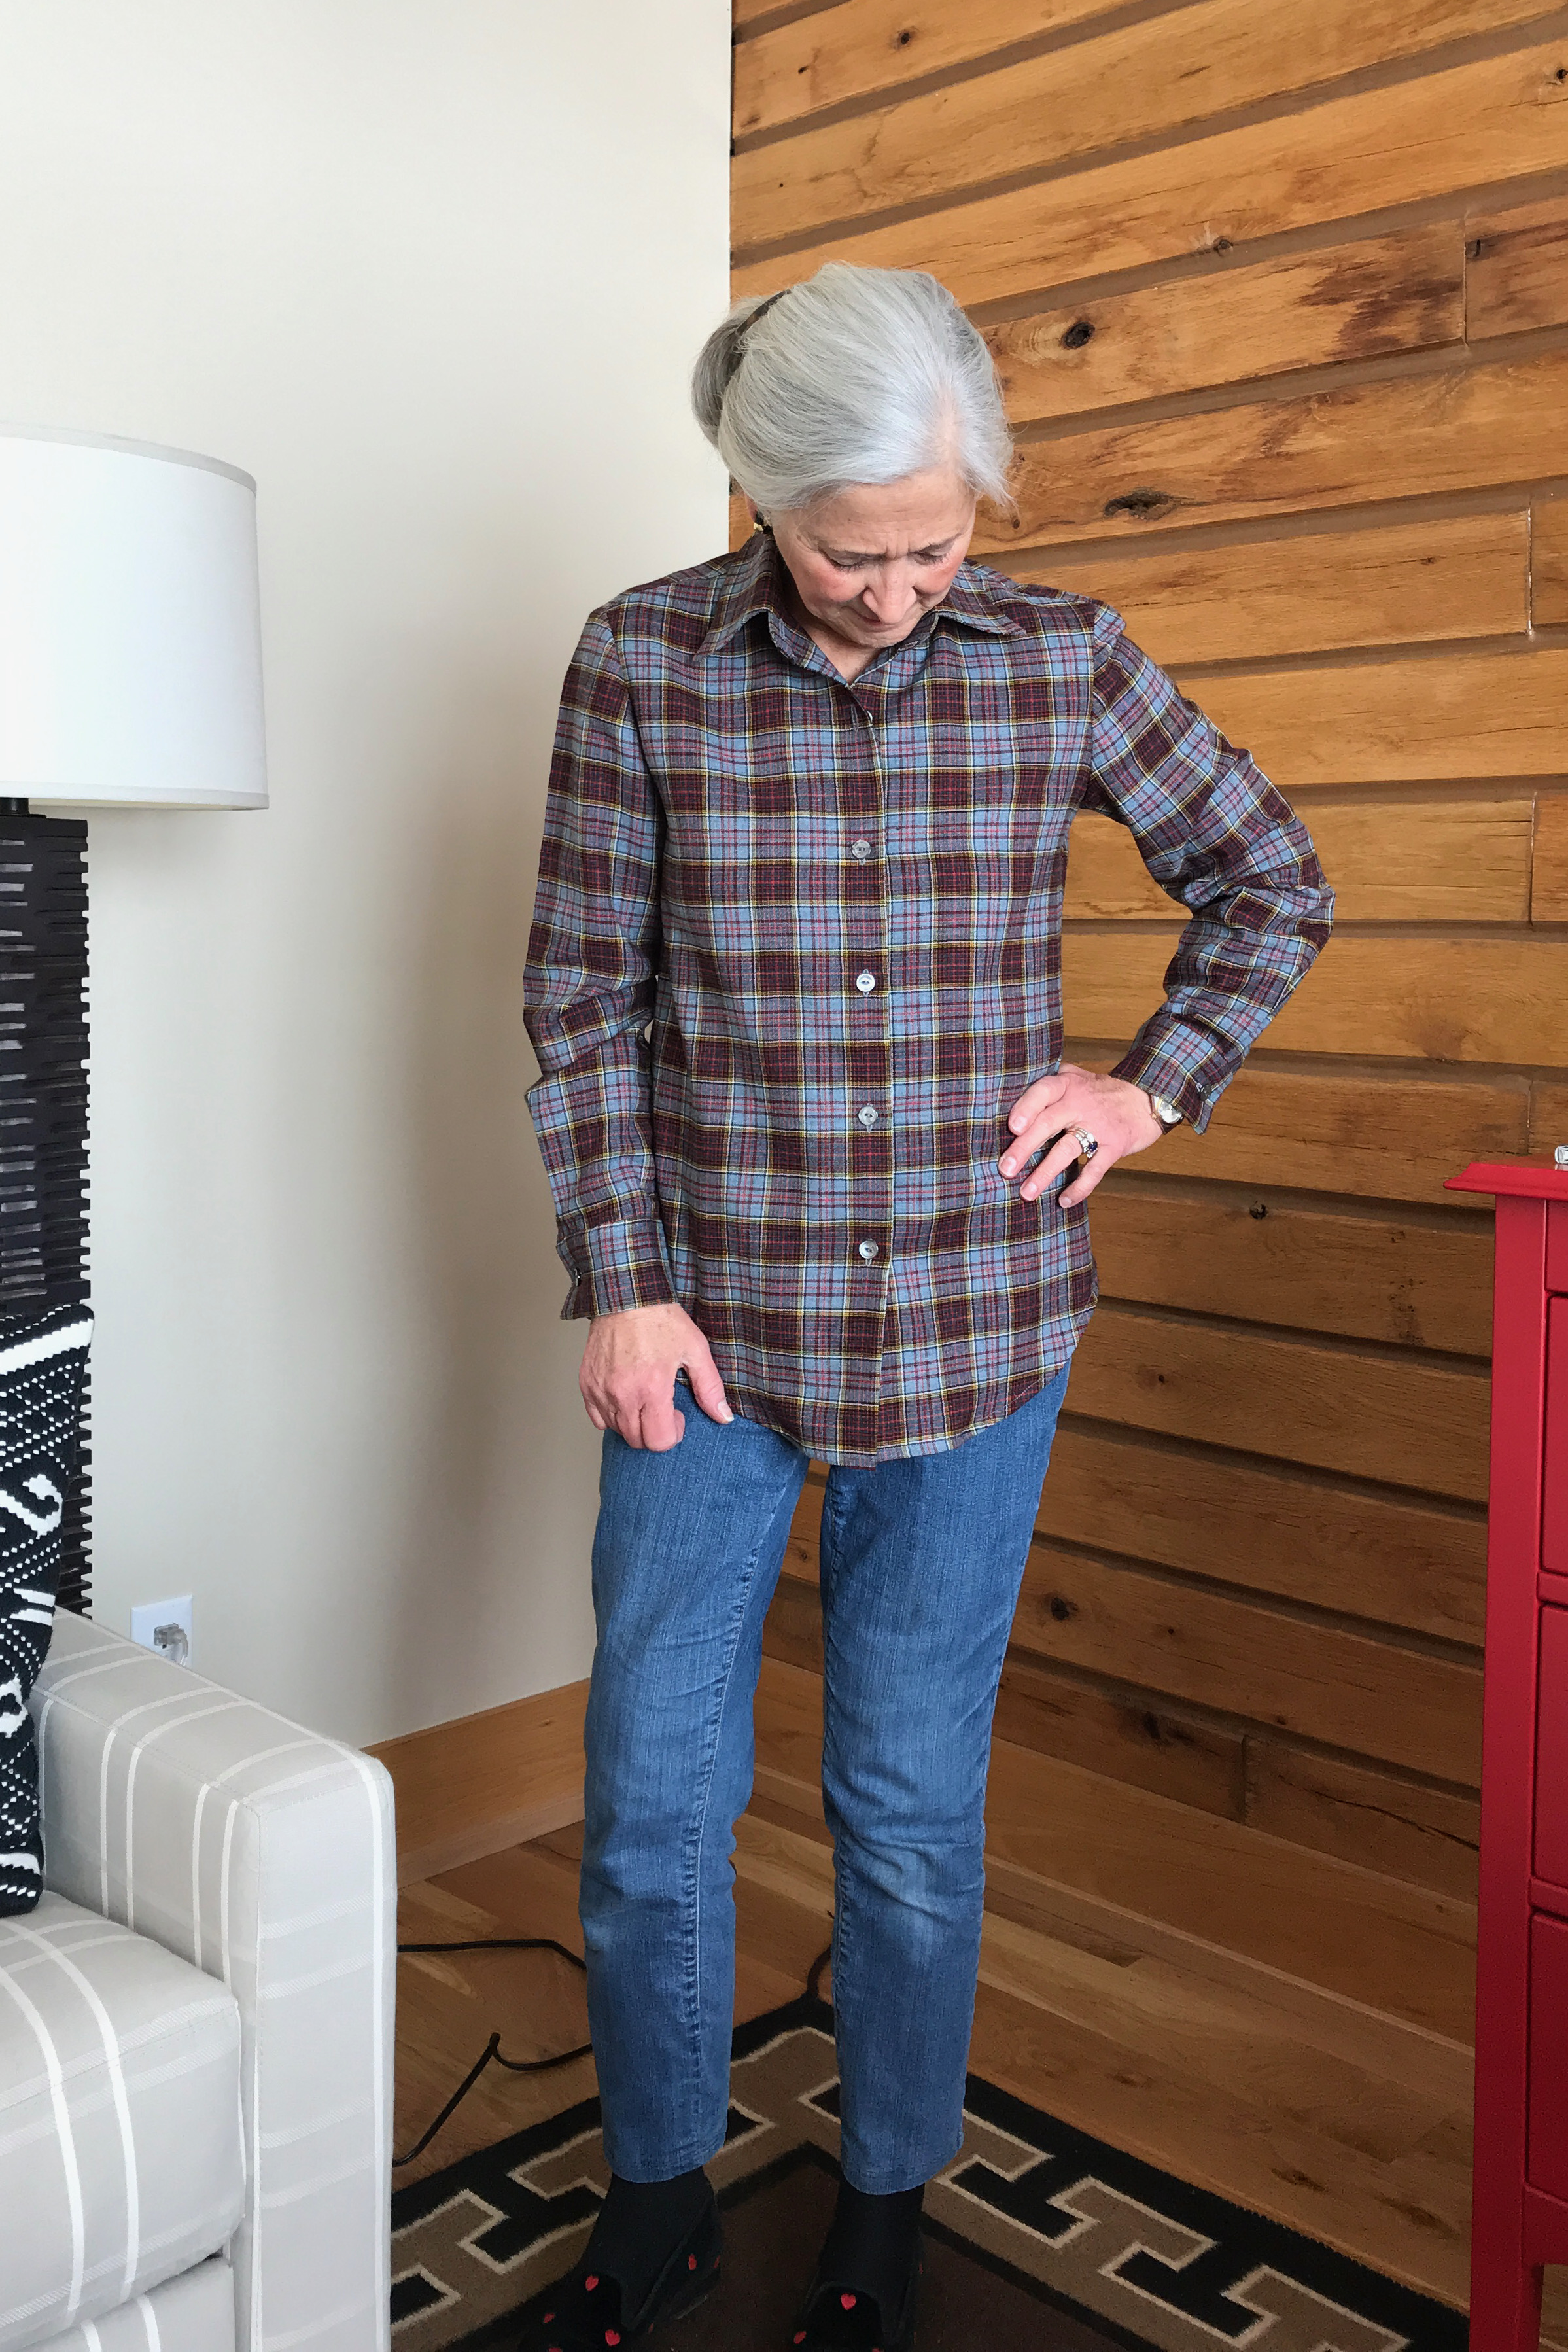
Back to that front opening: when sewing the facing on, I added a loop to the right side so that I could strategically place a button to keep the gap closed. On this fabric, it seems hardly noticeable, but oh my, is it necessary!
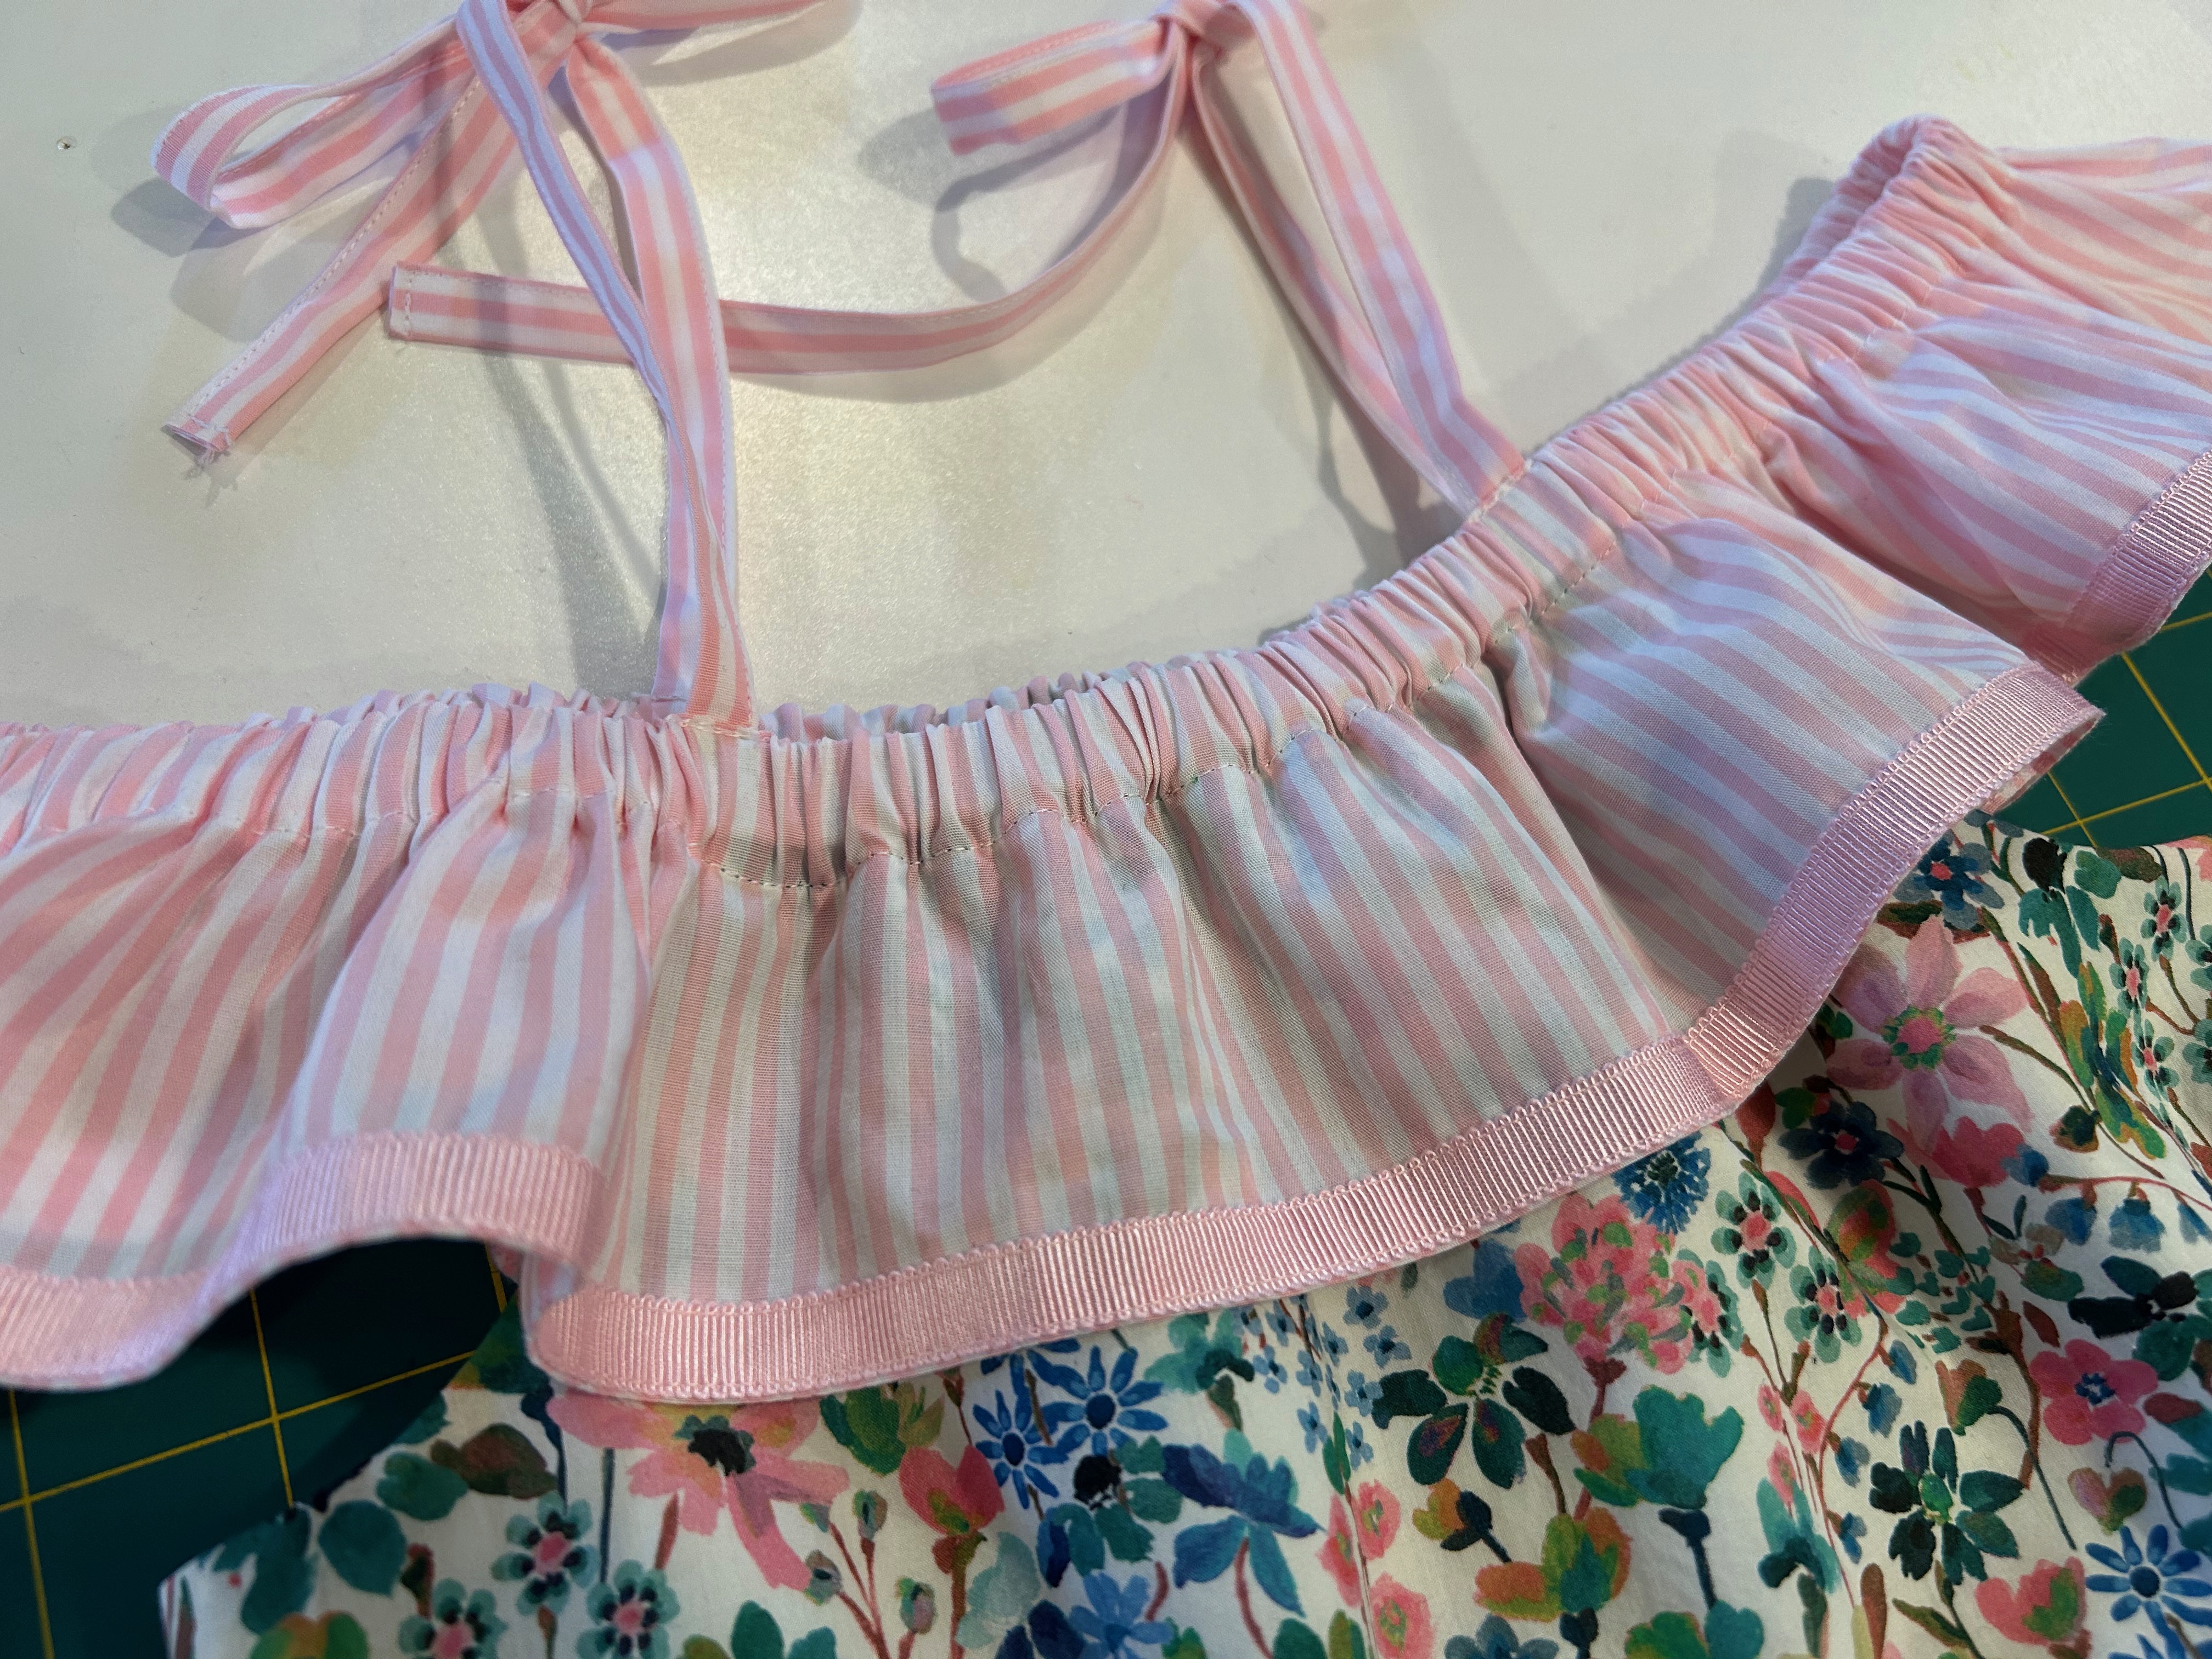
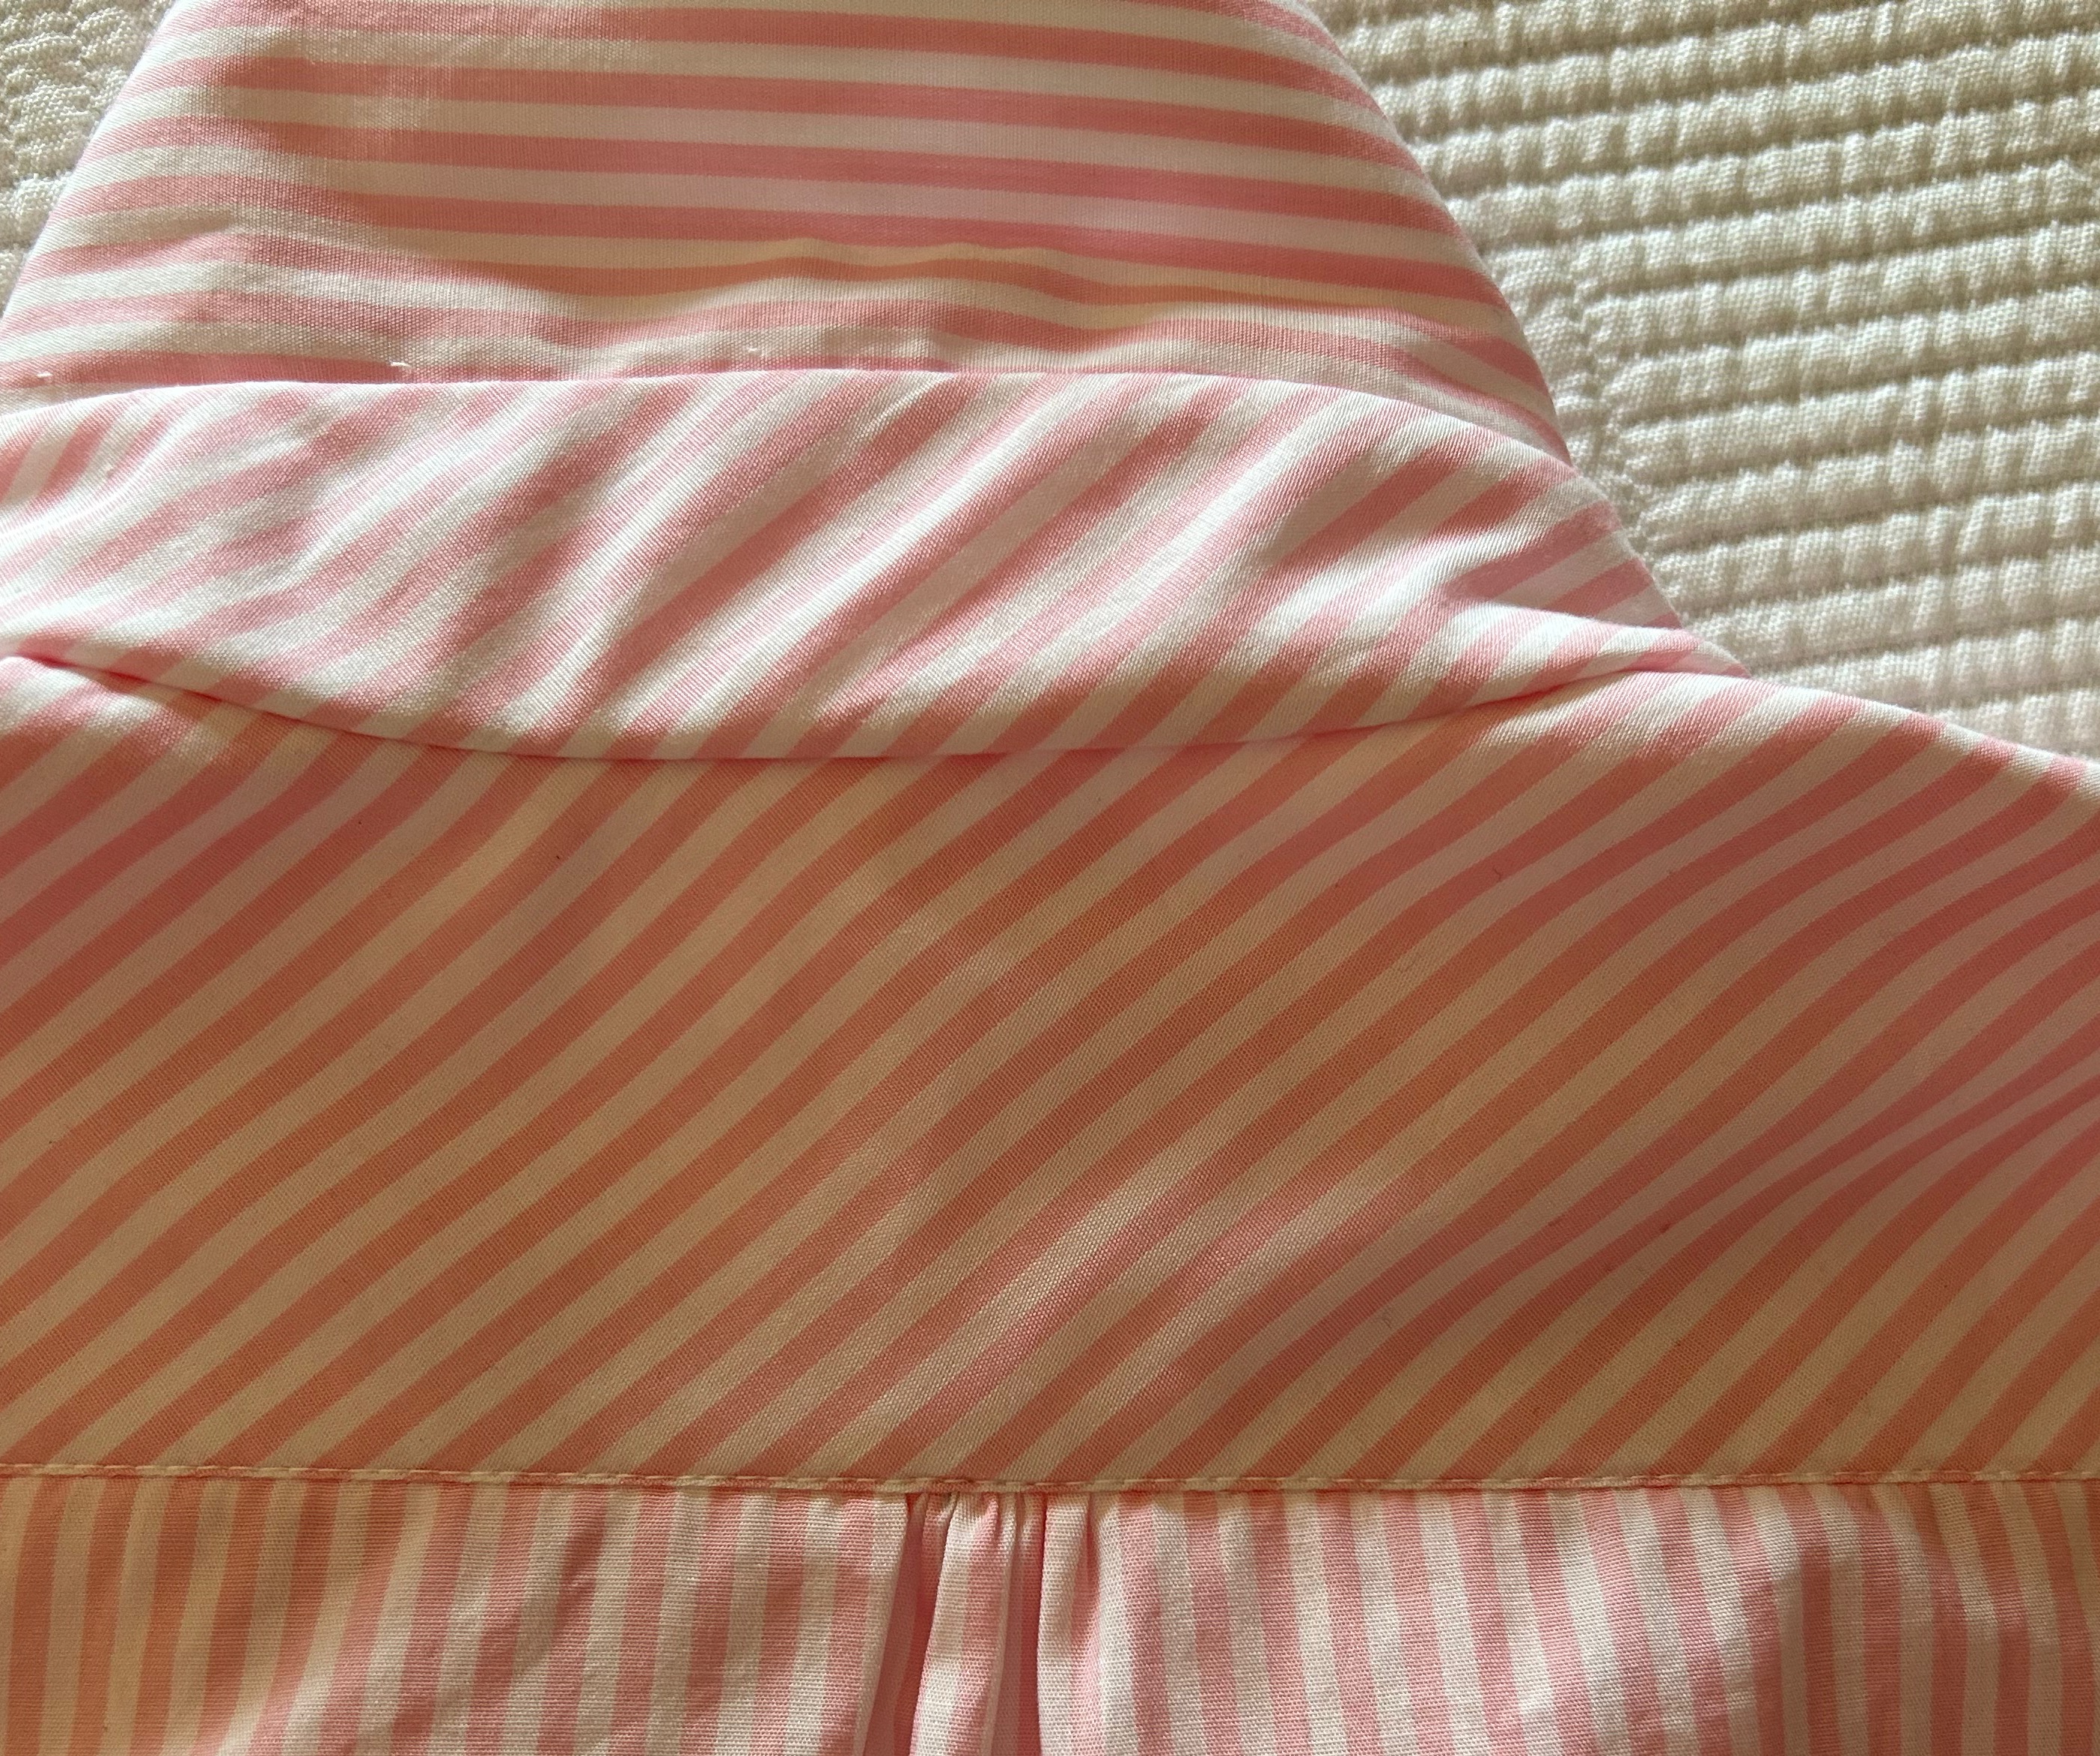
One of the beauties of tunics is there are no rules on how trim is applied or placed or even if it is used. I had purchased two widths of Petersham ribbon for use on this garment, fully intending on using two rows to echo the front opening. However, I determined that would be too much. Instead, I used the narrower ribbon on the collar and as the second row around the hem and the side slits. The sleeves seemed to look better with the wider width of ribbon. The ribbon adds a degree of stability to the hem, especially, which helps the tunic to hang properly.
By the way, sewing all that Petersham ribbon on is helped immensely by the use of Dritz WashAway adhesive tape.
Obviously I have not washed this tunic yet, but in its first laundering the tape securing the ribbon will, indeed, wash away. I expect a softer appearance of the ribbon at that point, which seems to have a few waves in it at present.
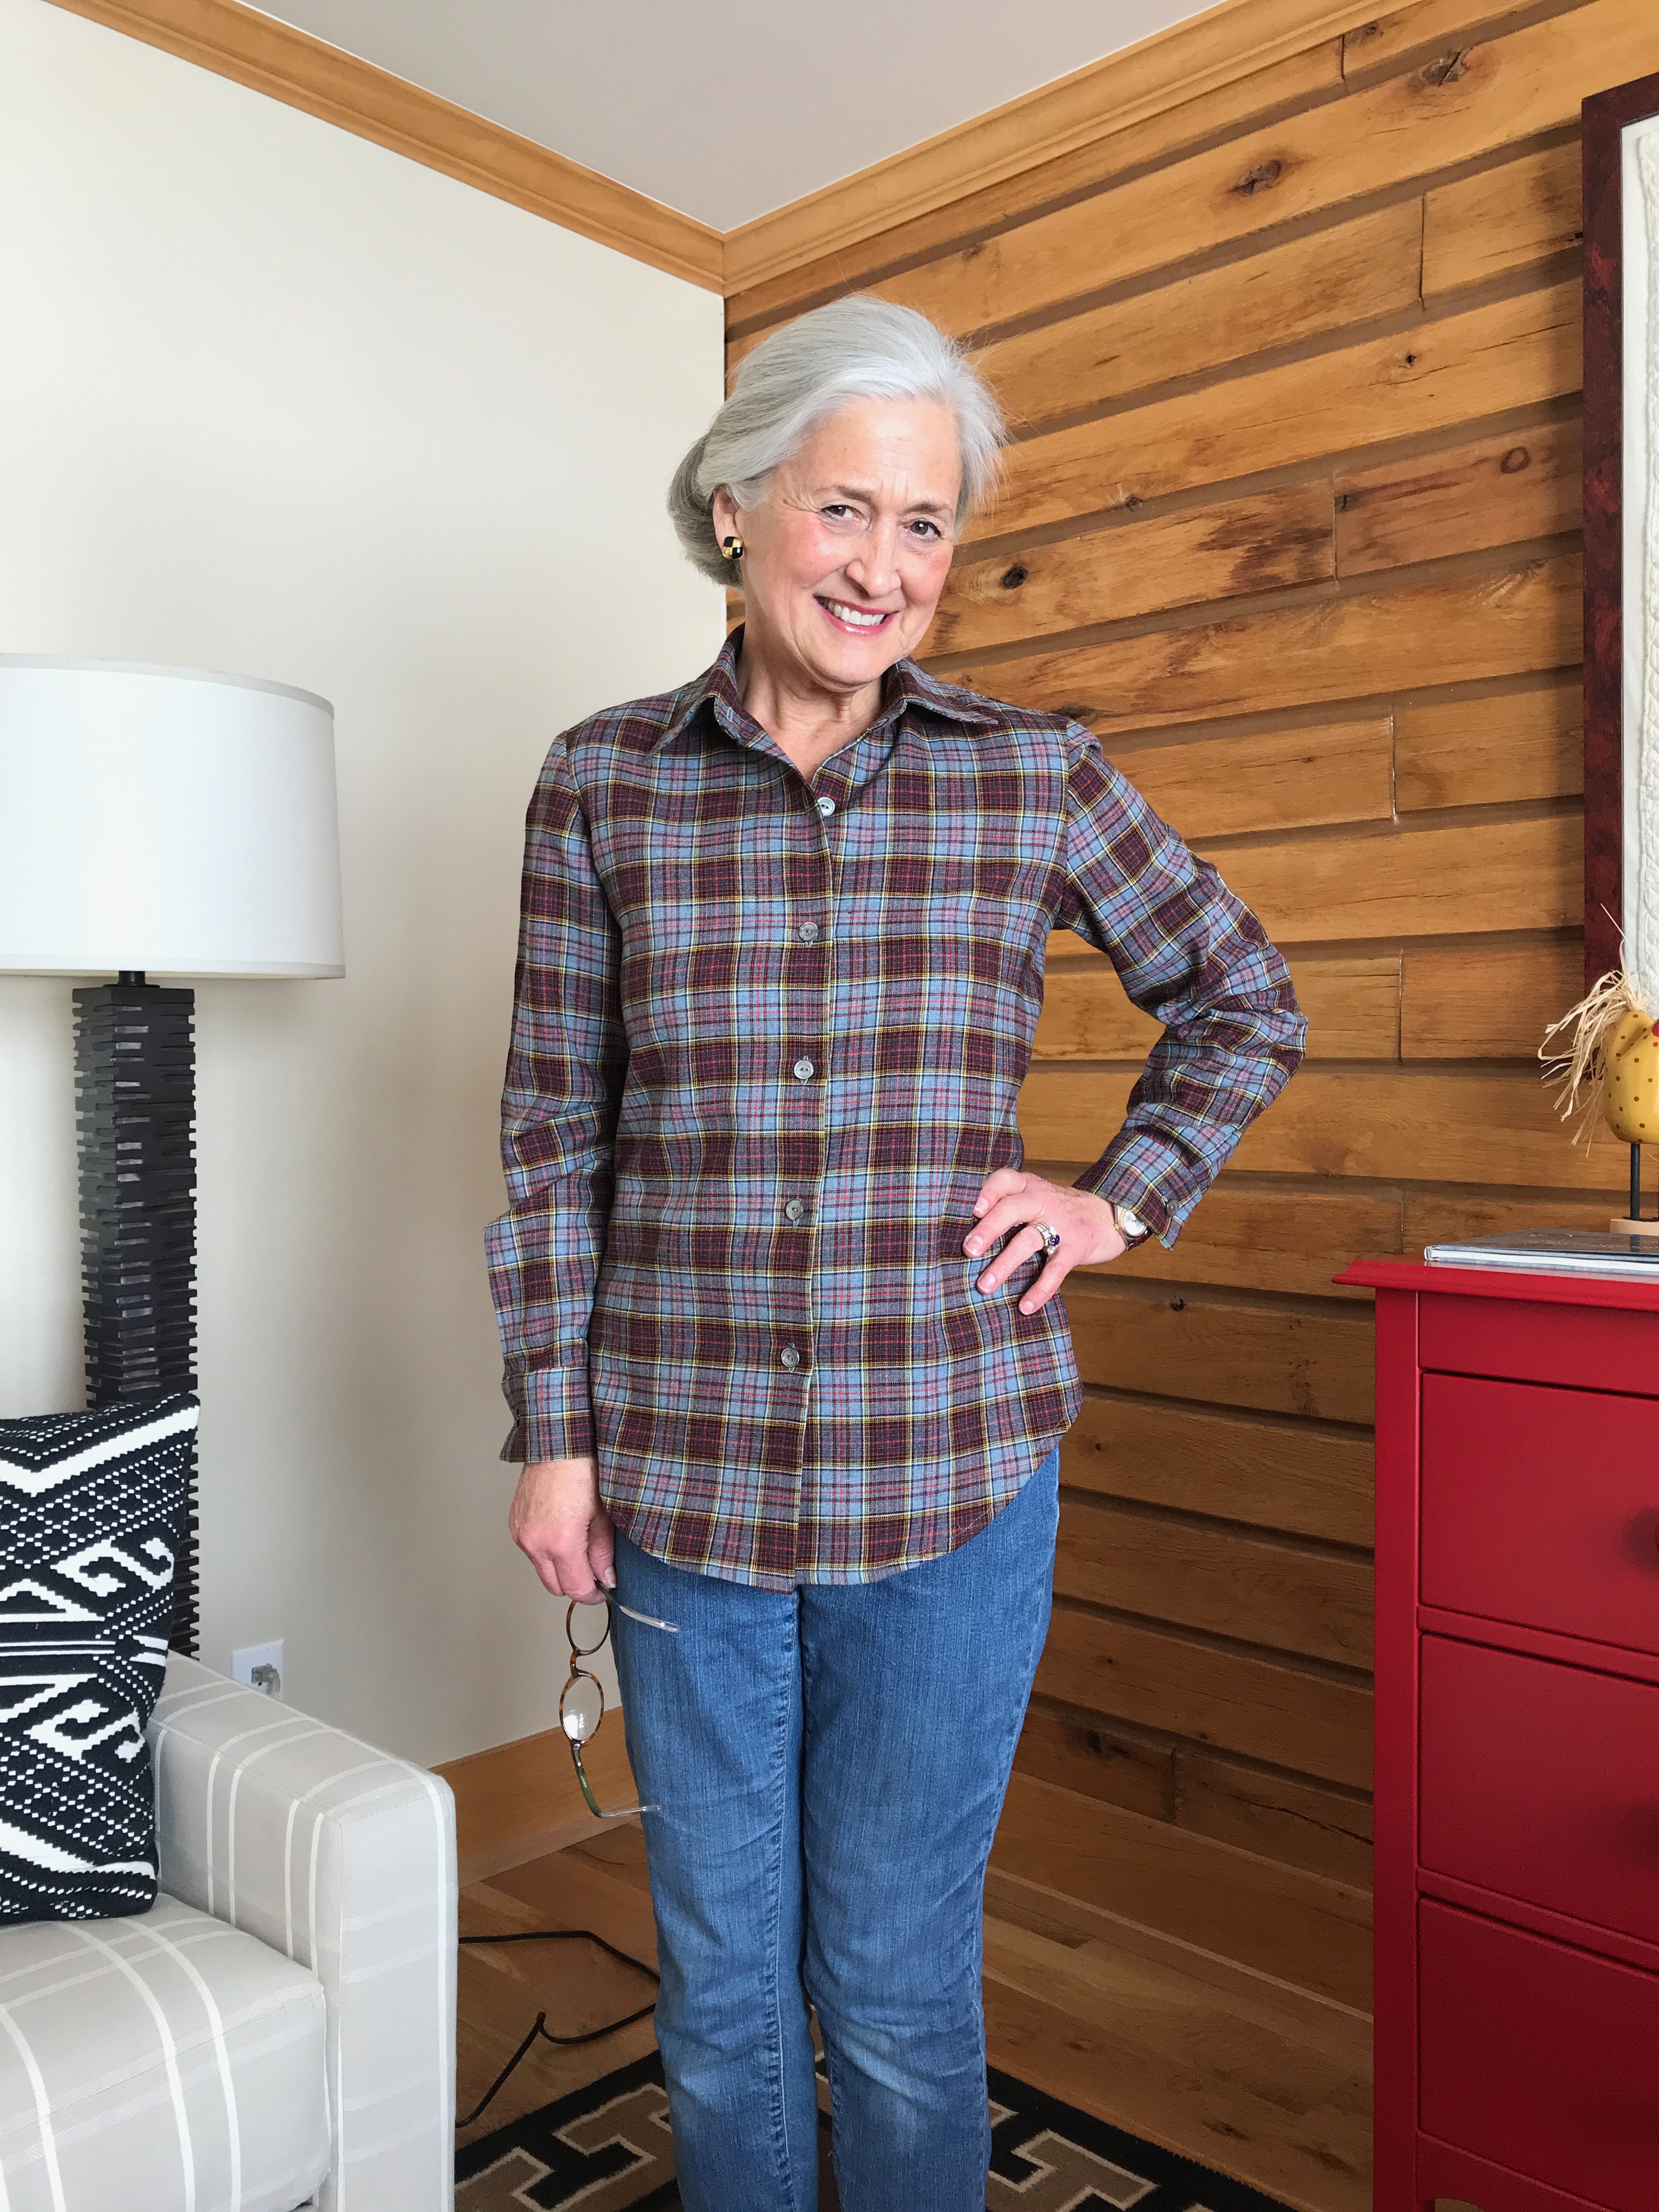
Pictures often are the best way to check fit on a garment (even after multiple try-ons to fine-tune it), and I was pleased with the final, slightly fitted, non-baggy appearance of this tunic. In other words, it does not look like a sack! It is easy to slip on, less so getting it off, but still very manageable. (Sometimes a side zipper can be – or needs to be – added to help with this task of dressing and undressing. The abbreviated length of this example precluded that option.)
I’m not sure what Edith Head would have thought about tunics, if anything (!), but I am thinking positively about this one.
27 Comments
Filed under Blouses, Fashion commentary, Loops for buttons, Tunics, Uncategorized, Vogue patterns
Tagged as Emma One Sock Fabrics, fashion sewing, sewing, tunic tops