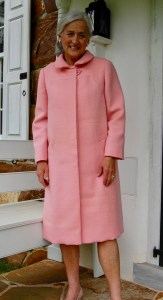
Is it possible to fall in love with a coat? If so, then that is what has happened with my pink coat. It was a relationship which grew over several years.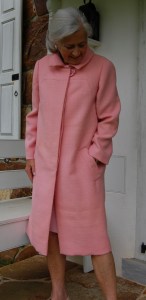
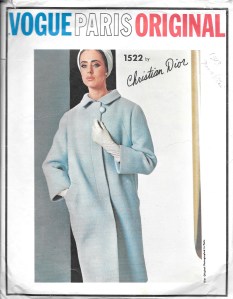
First, I found the pattern, this Vogue Paris Original Designer Pattern from 1965. It was an eBay purchase made several years ago, with a promise to myself that one day, when I found the right fabric, I would make it.
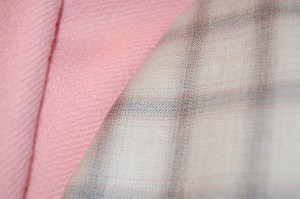
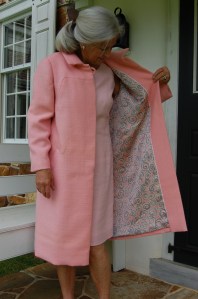
Next I found this silk charmeuse couture fabric on the website of Mendel Goldberg Fabrics. It was an end cut, 2.25 yards, and when I purchased it, I envisioned another wrap dress, not the lining of a coat. Luckily I had no urgent plans to use it, and thus it eventually found its way inside the pink coat.
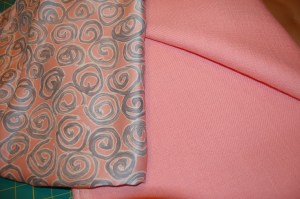
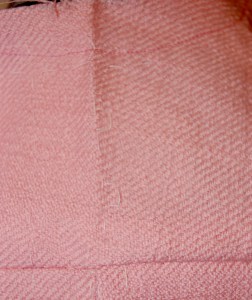
I am showing the lining silk here along with the pink wool to show how well they complement each other.
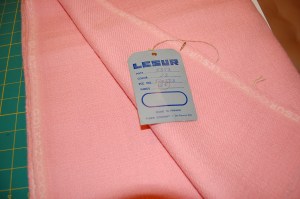
And then – I found the pink wool. Also an eBay purchase, this wool was not inexpensively priced, but I recognized its rarity and its “presence” in the posted pictures. Then I hoped it would live up to its promise once I received it and saw it in person. Over the years I have found some amazing things on eBay, but this wool is one of the real treasures.
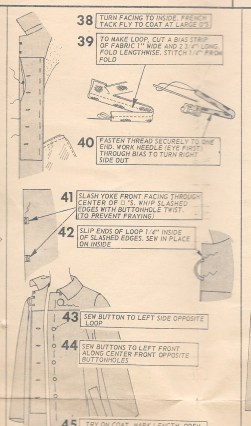
Because I have already posted quite a bit about the coat’s muslin/toile and certain salient details, I will not go into too much more description about the coat’s construction. But I do want to point out some of this pattern’s engineering charms.
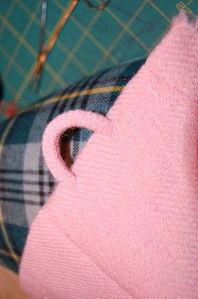
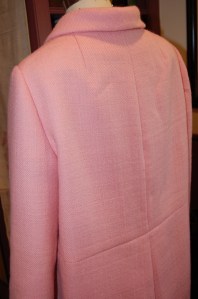
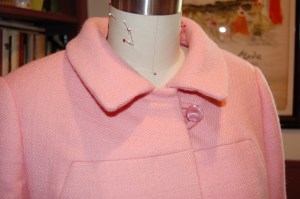
1) On the photo on the pattern envelope, I believe the soft shoulder of the coat is evident. I used a “cigarette-type” sleeve heading in each shoulder to enhance the smooth transition from the shoulder to the top of the sleeve. Not so evident on the pattern illustration is the drape of the back of the coat from the shoulder line. I realized this drape works so well because of the two neckline darts. They are in the neckline, not the shoulder seam; they add necessary shaping without disturbing the drape.
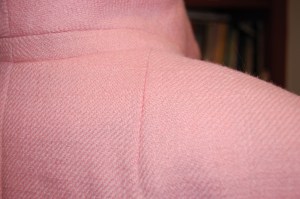
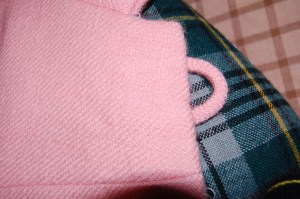
Can you see how the dart comes off from the neckline, not the shoulder seam?
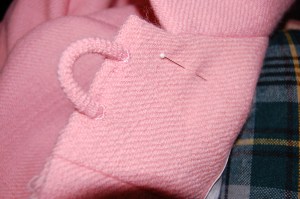
2) The collar is an engineering marvel in my mind. The under-collar is constructed from four pieces, two main sections cut on the bias, and a 2-piece collar band, seamed at the center back. The band helps the collar to turn beautifully.
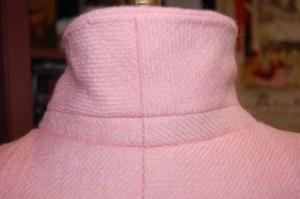
This photo clearly shows the components of the under-collar. You can also see the under-stitching I did in silk buttonhole twist.
3) When I made the toile, I was concerned about the fullness of the back of the coat. It seemed a bit much, and I have already written about my intention to add a half belt to draw in the fullness, if needed. Nope! I am so happy with the finished look – it has that 1960s’ vibe without being overwhelming. I did move the vertical back seam line up 1.25” to rest at my natural waistline, rather than below it. For me, this was the correct alteration. It may not be on someone else who has more height than I do. Another consideration was that a half belt would have concealed the seam detailing which is so lovely on the back of the coat.
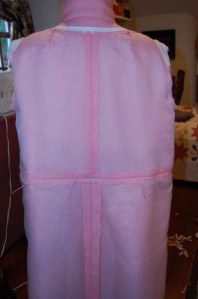
An inside look at the back of the coat, showing its drape from the shoulder seams.
The other significant alteration I made was to remove 1.5″ of width from each sleeve. I possibly could have taken out even more, but I will be wearing this coat over sweaters and perhaps even a jacket, so the sleeves as I cut them will still accommodate that bulk. But I would not want them any fuller!
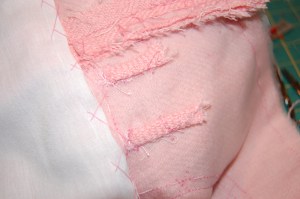
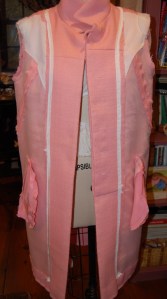
Although the pattern did not call for it, I added flat piping to the edge of the lining. I chose white silk crepe de chine for this contrast detail. I felt any other color would have been too demonstrative.
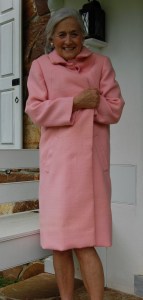
The coat kind of looks like a sack of potatoes in this photo of its front edge!
The finished look of the lining edge.
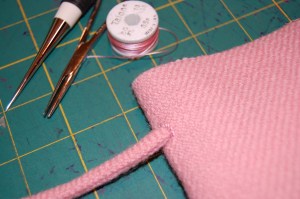
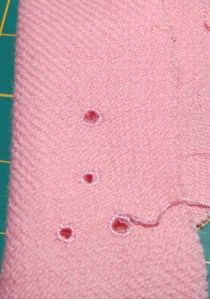
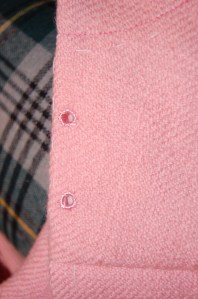
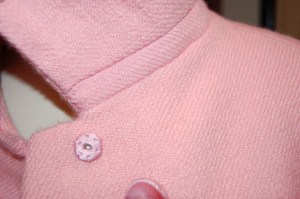
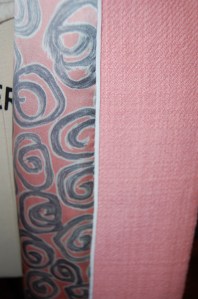
I had some difficulty finding pink buttons. I ended up with two varieties found in two Etsy shops. I used a larger pink-swirly one for the looped closure, and smaller pink pearl-y ones for the concealed opening. If I ever find ones I like better, that’s a easy switch. But the more I see these, the more I like this combination.
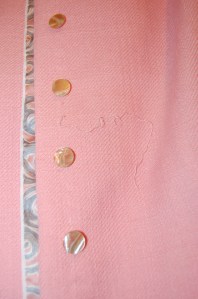
Basting threads are still evident in this photo.
Alas, it is much too warm for wearing wool coats now, but it is ready for next Fall’s cooler days. By then I hope to have a windowpane checked skirt, in delicate gray, white and pink wool, specially made to wear with this coat.
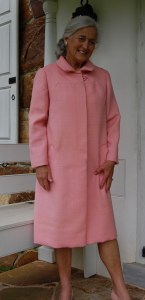
It is always interesting what photos reveal. I am thinking I may need to redo the hem to get a softer look to it. It looks like it has crinkles in it!
I will take any excuse to show the inside of this coat!
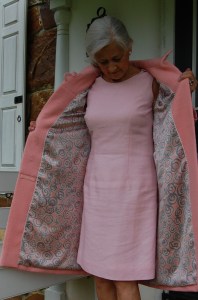
I cut a piece of the selvedge with the Lesur name on it and attached it to the right front facing of the coat right below the placket. I think this is an important part of the story of this project.

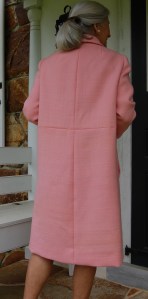

There is a very slight bow to the back of the coat, again reminiscent of the ’60s.
This coat is almost making me anxious for next Fall!
As I worked on this coat, I came to realize how perfectly suited the pattern and the wool were for each other. It was such a privilege to spend so many hours with such quality. No wonder I fell in love!