How did I go from this . . .
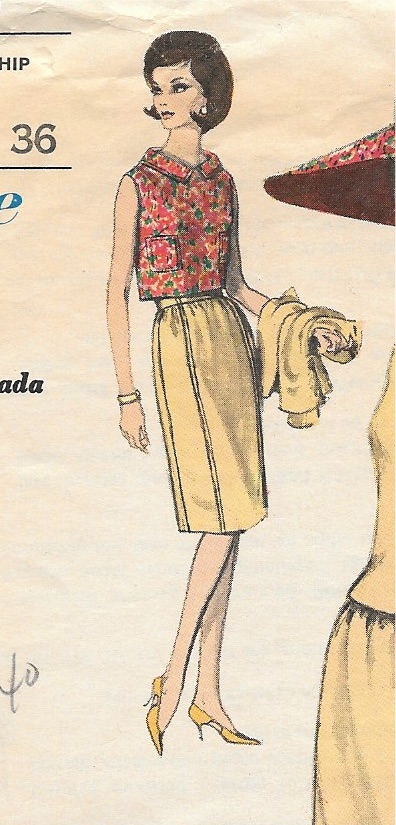
A collared overblouse.
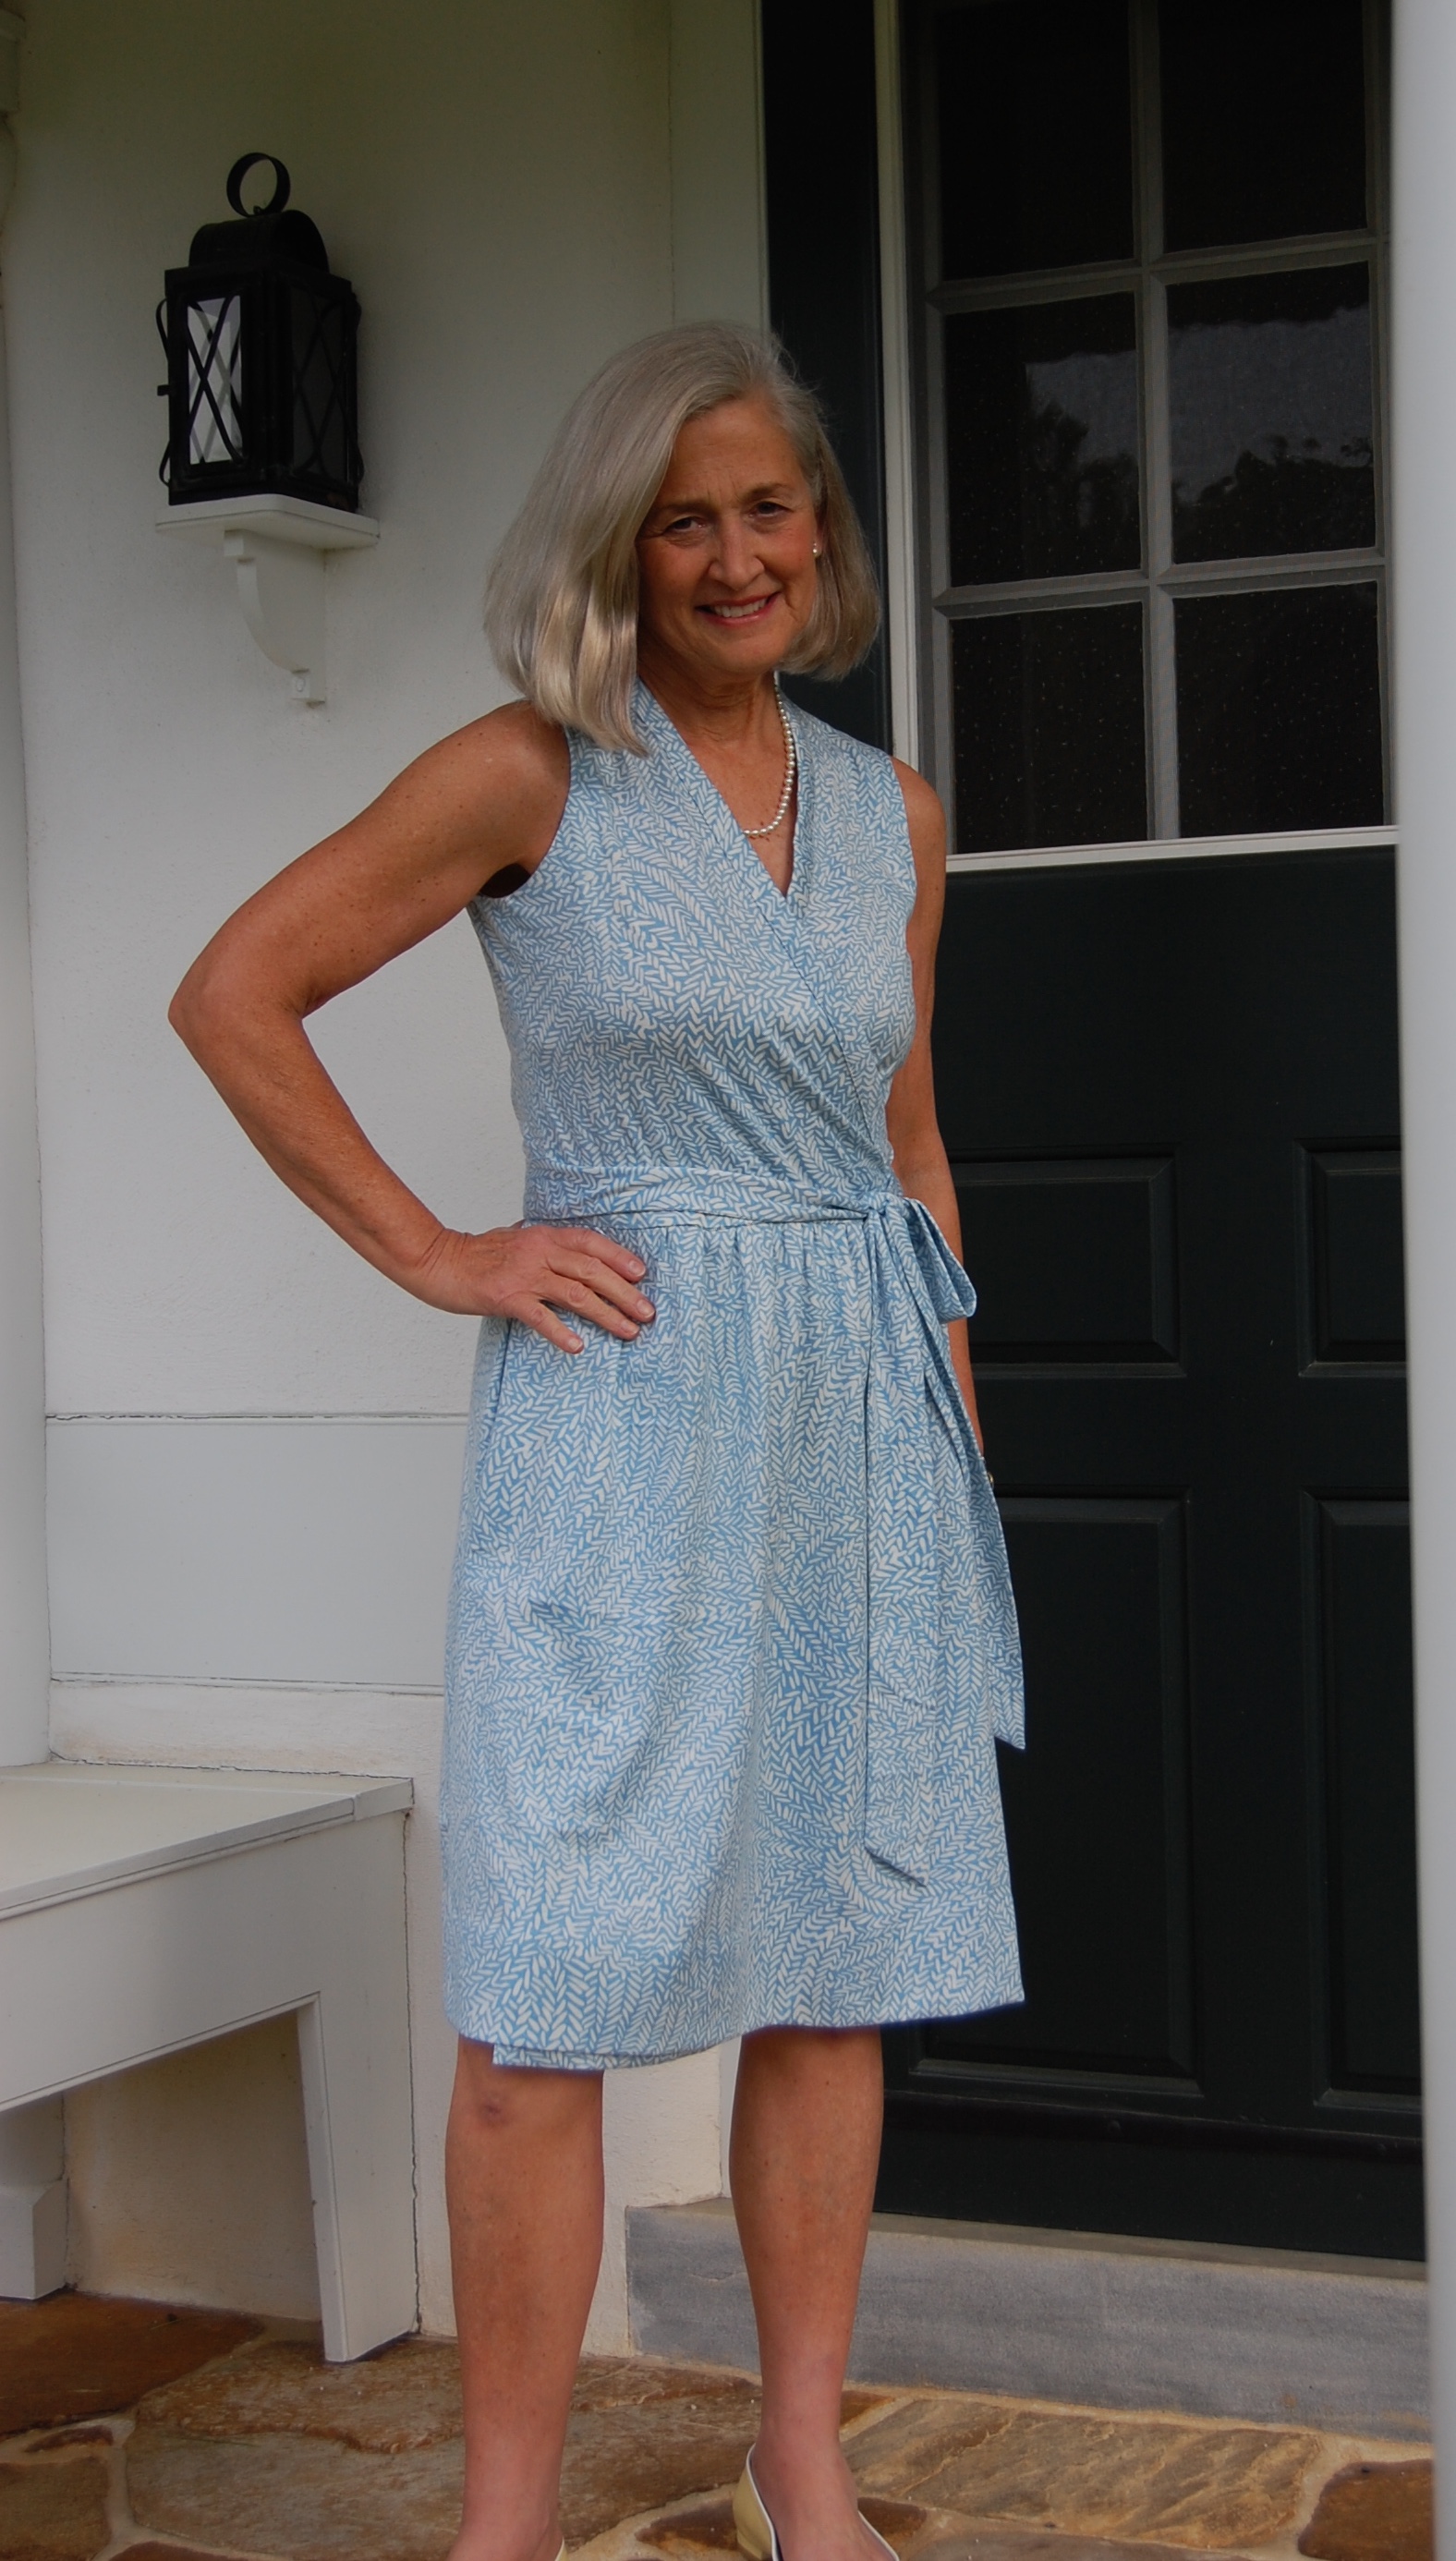
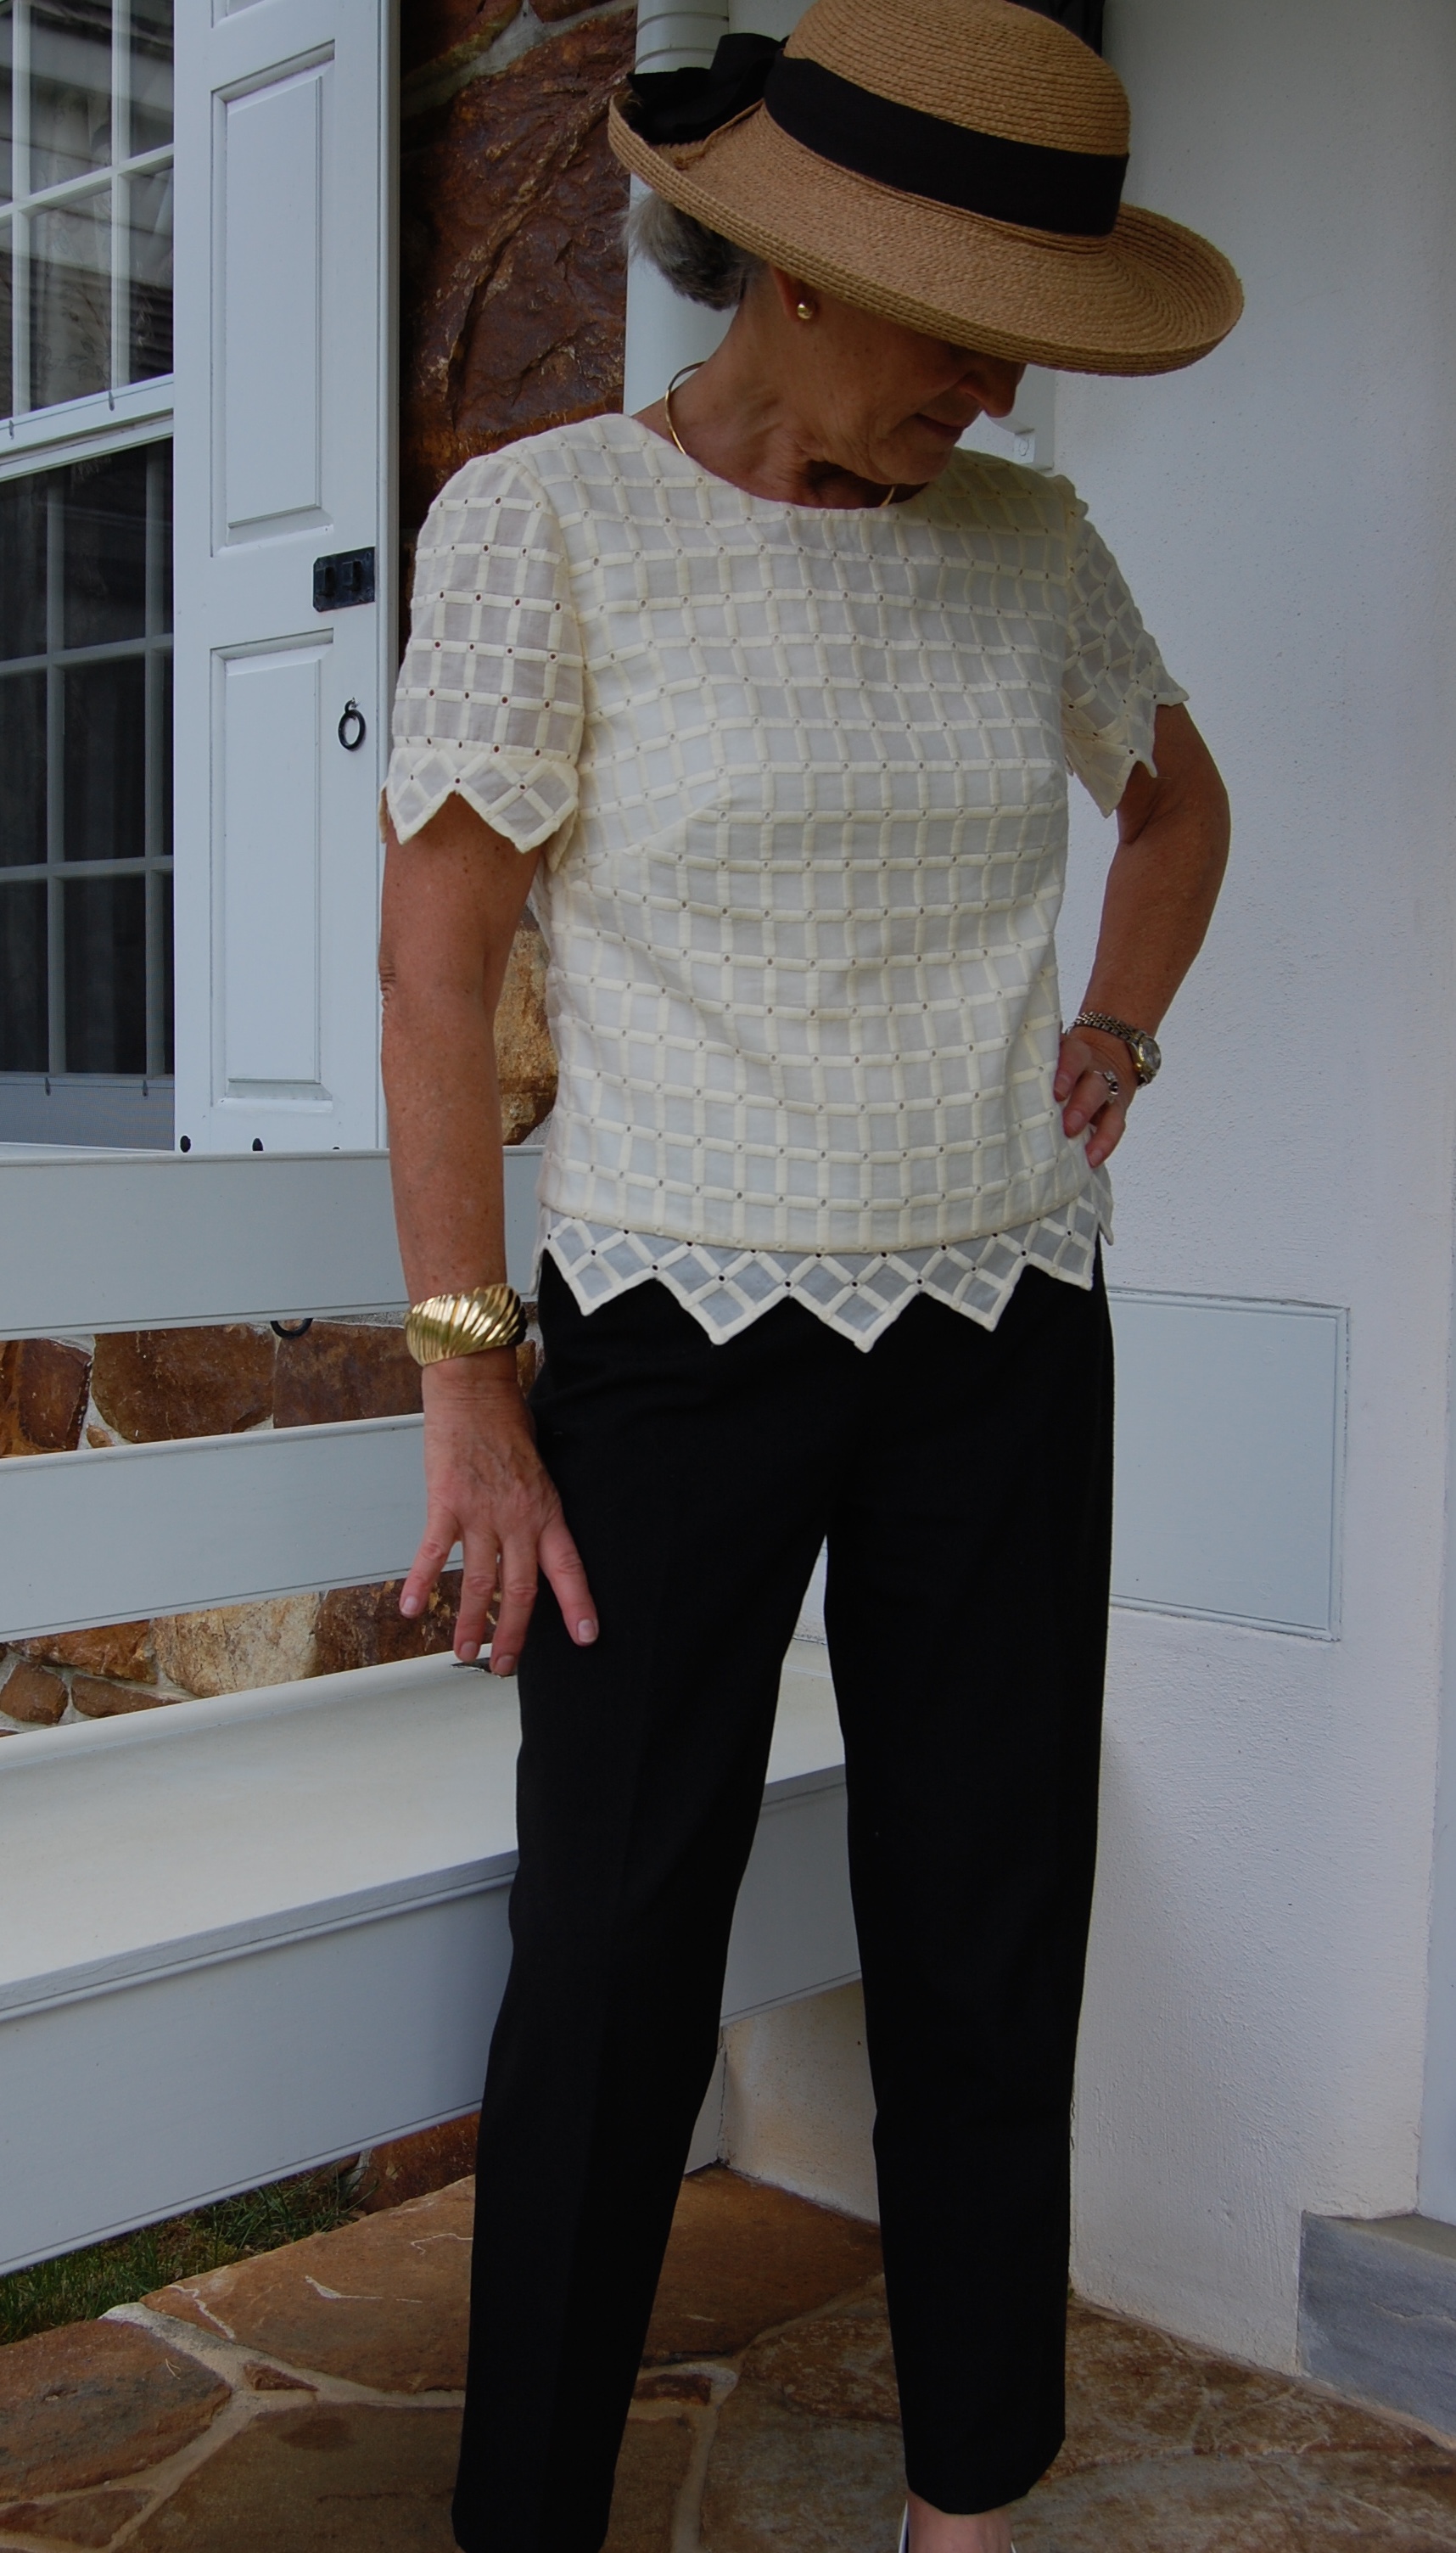
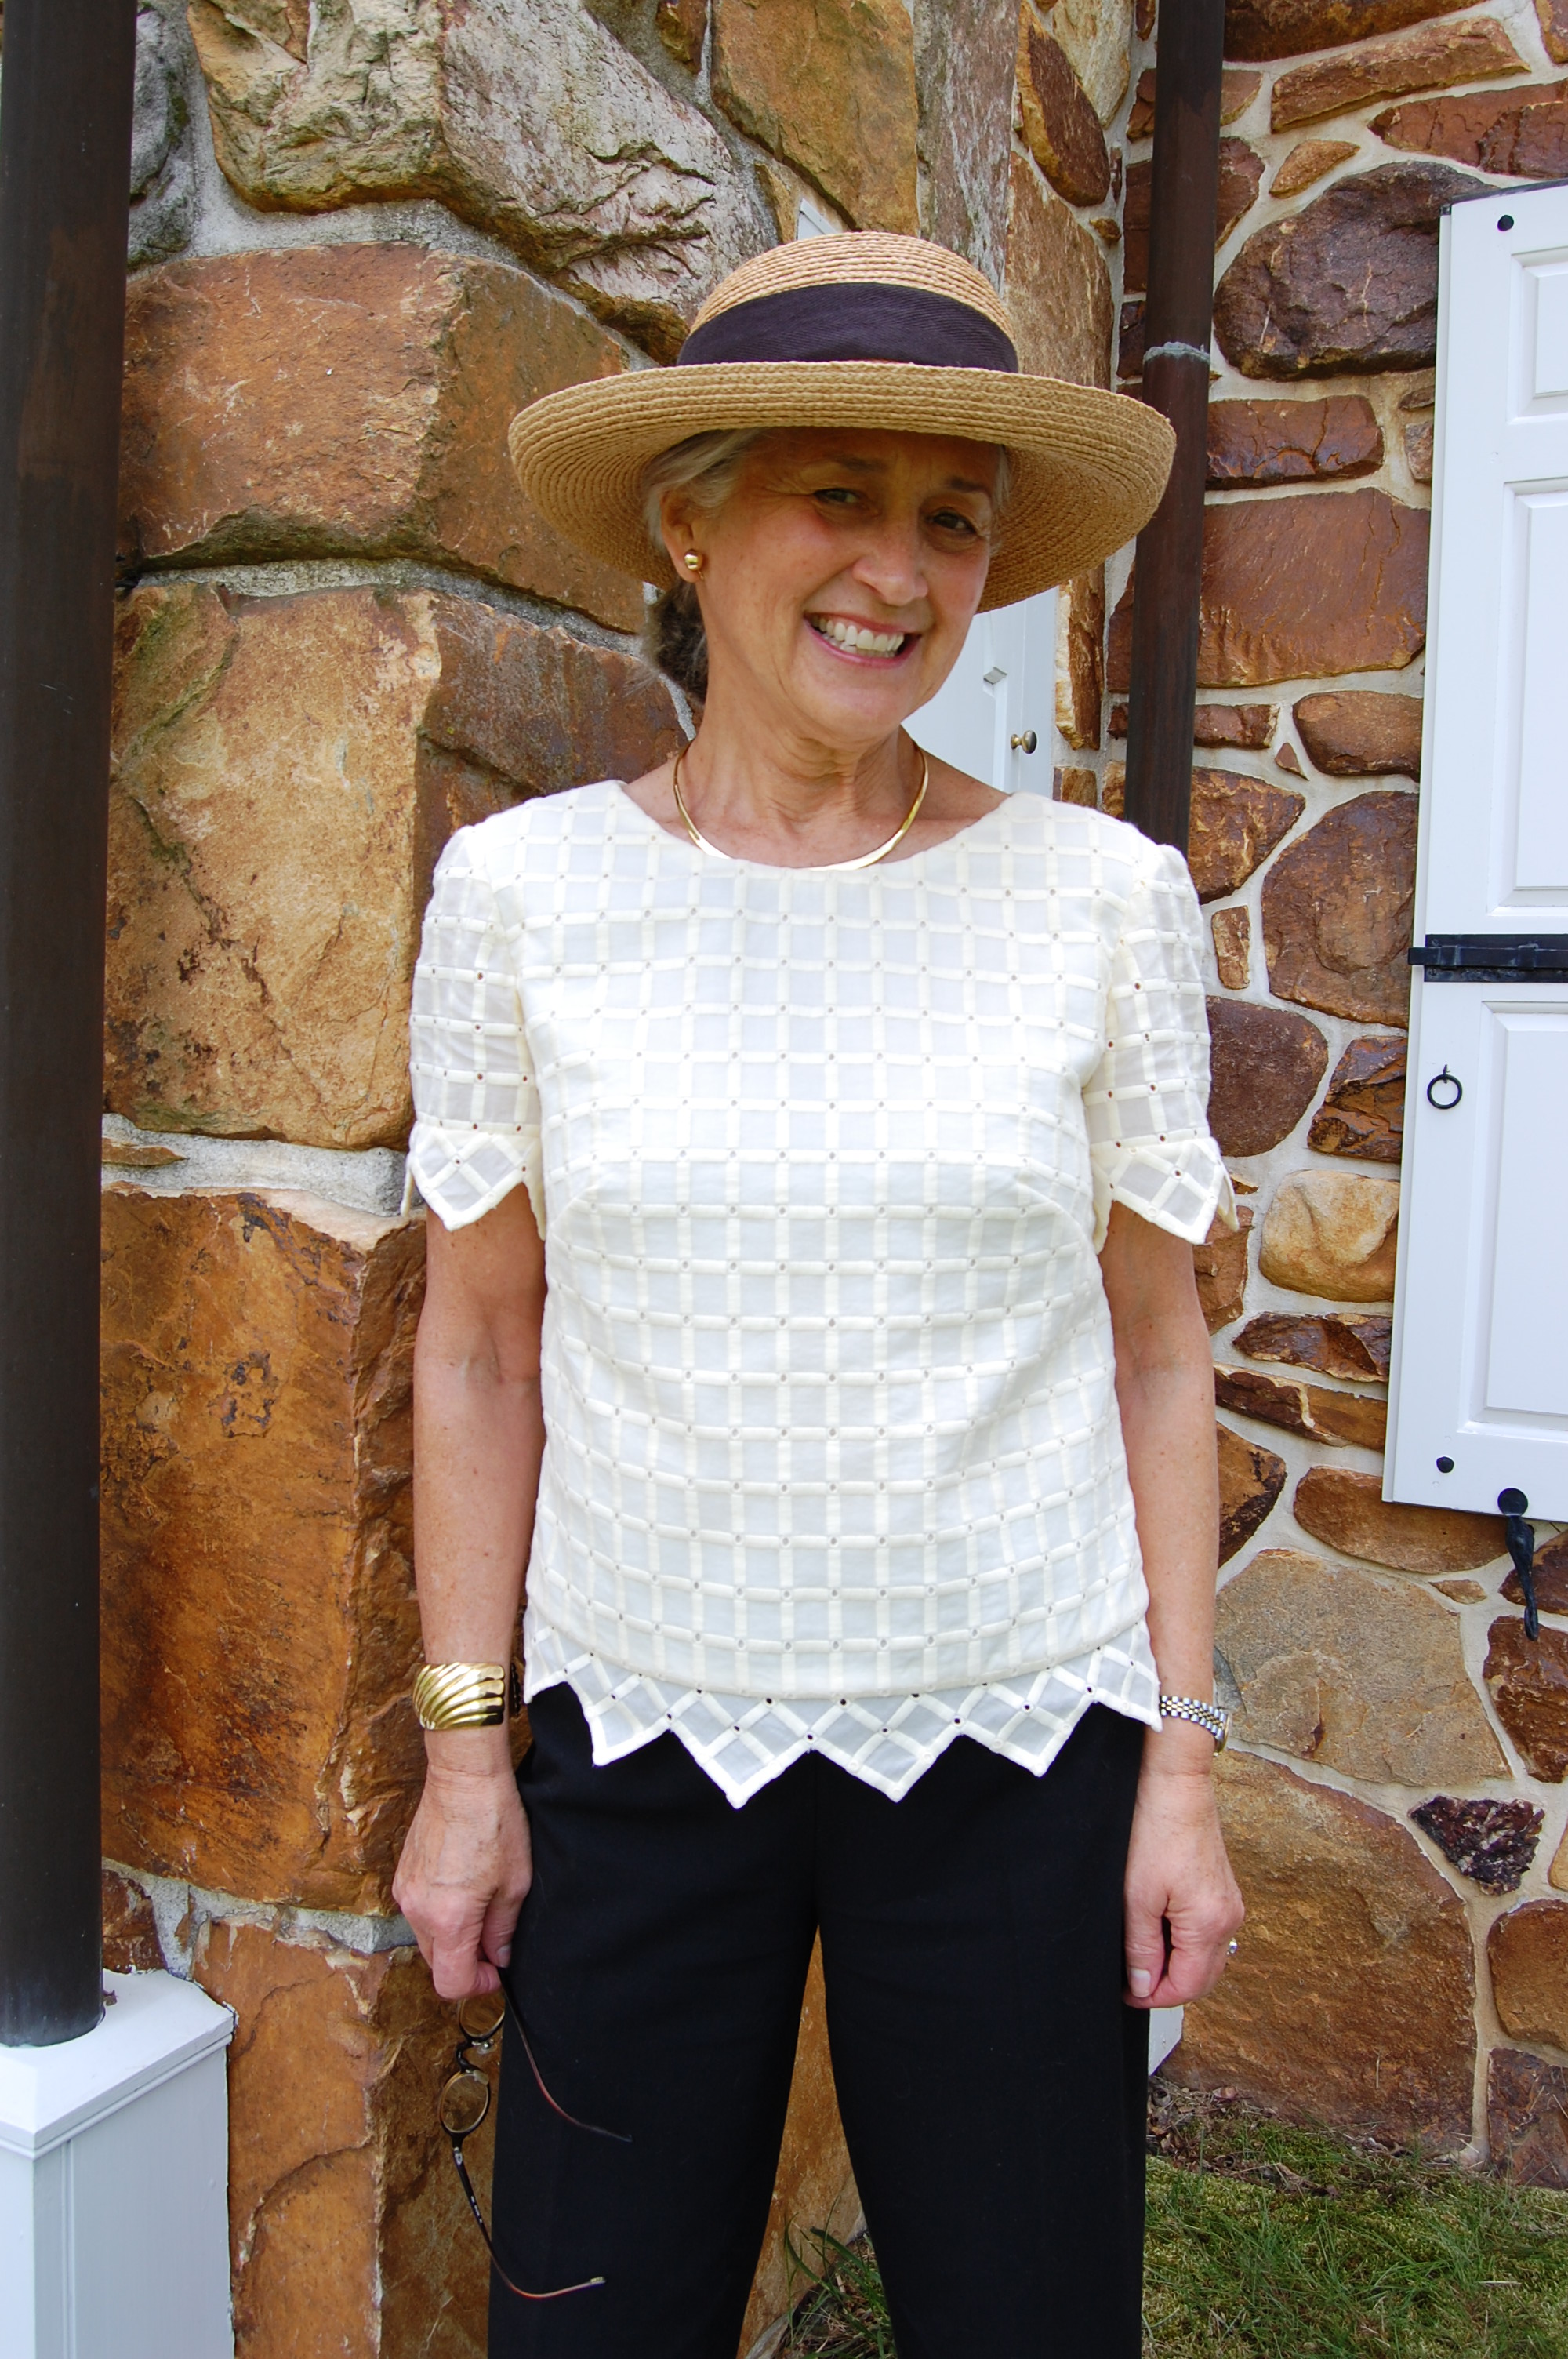
to this?
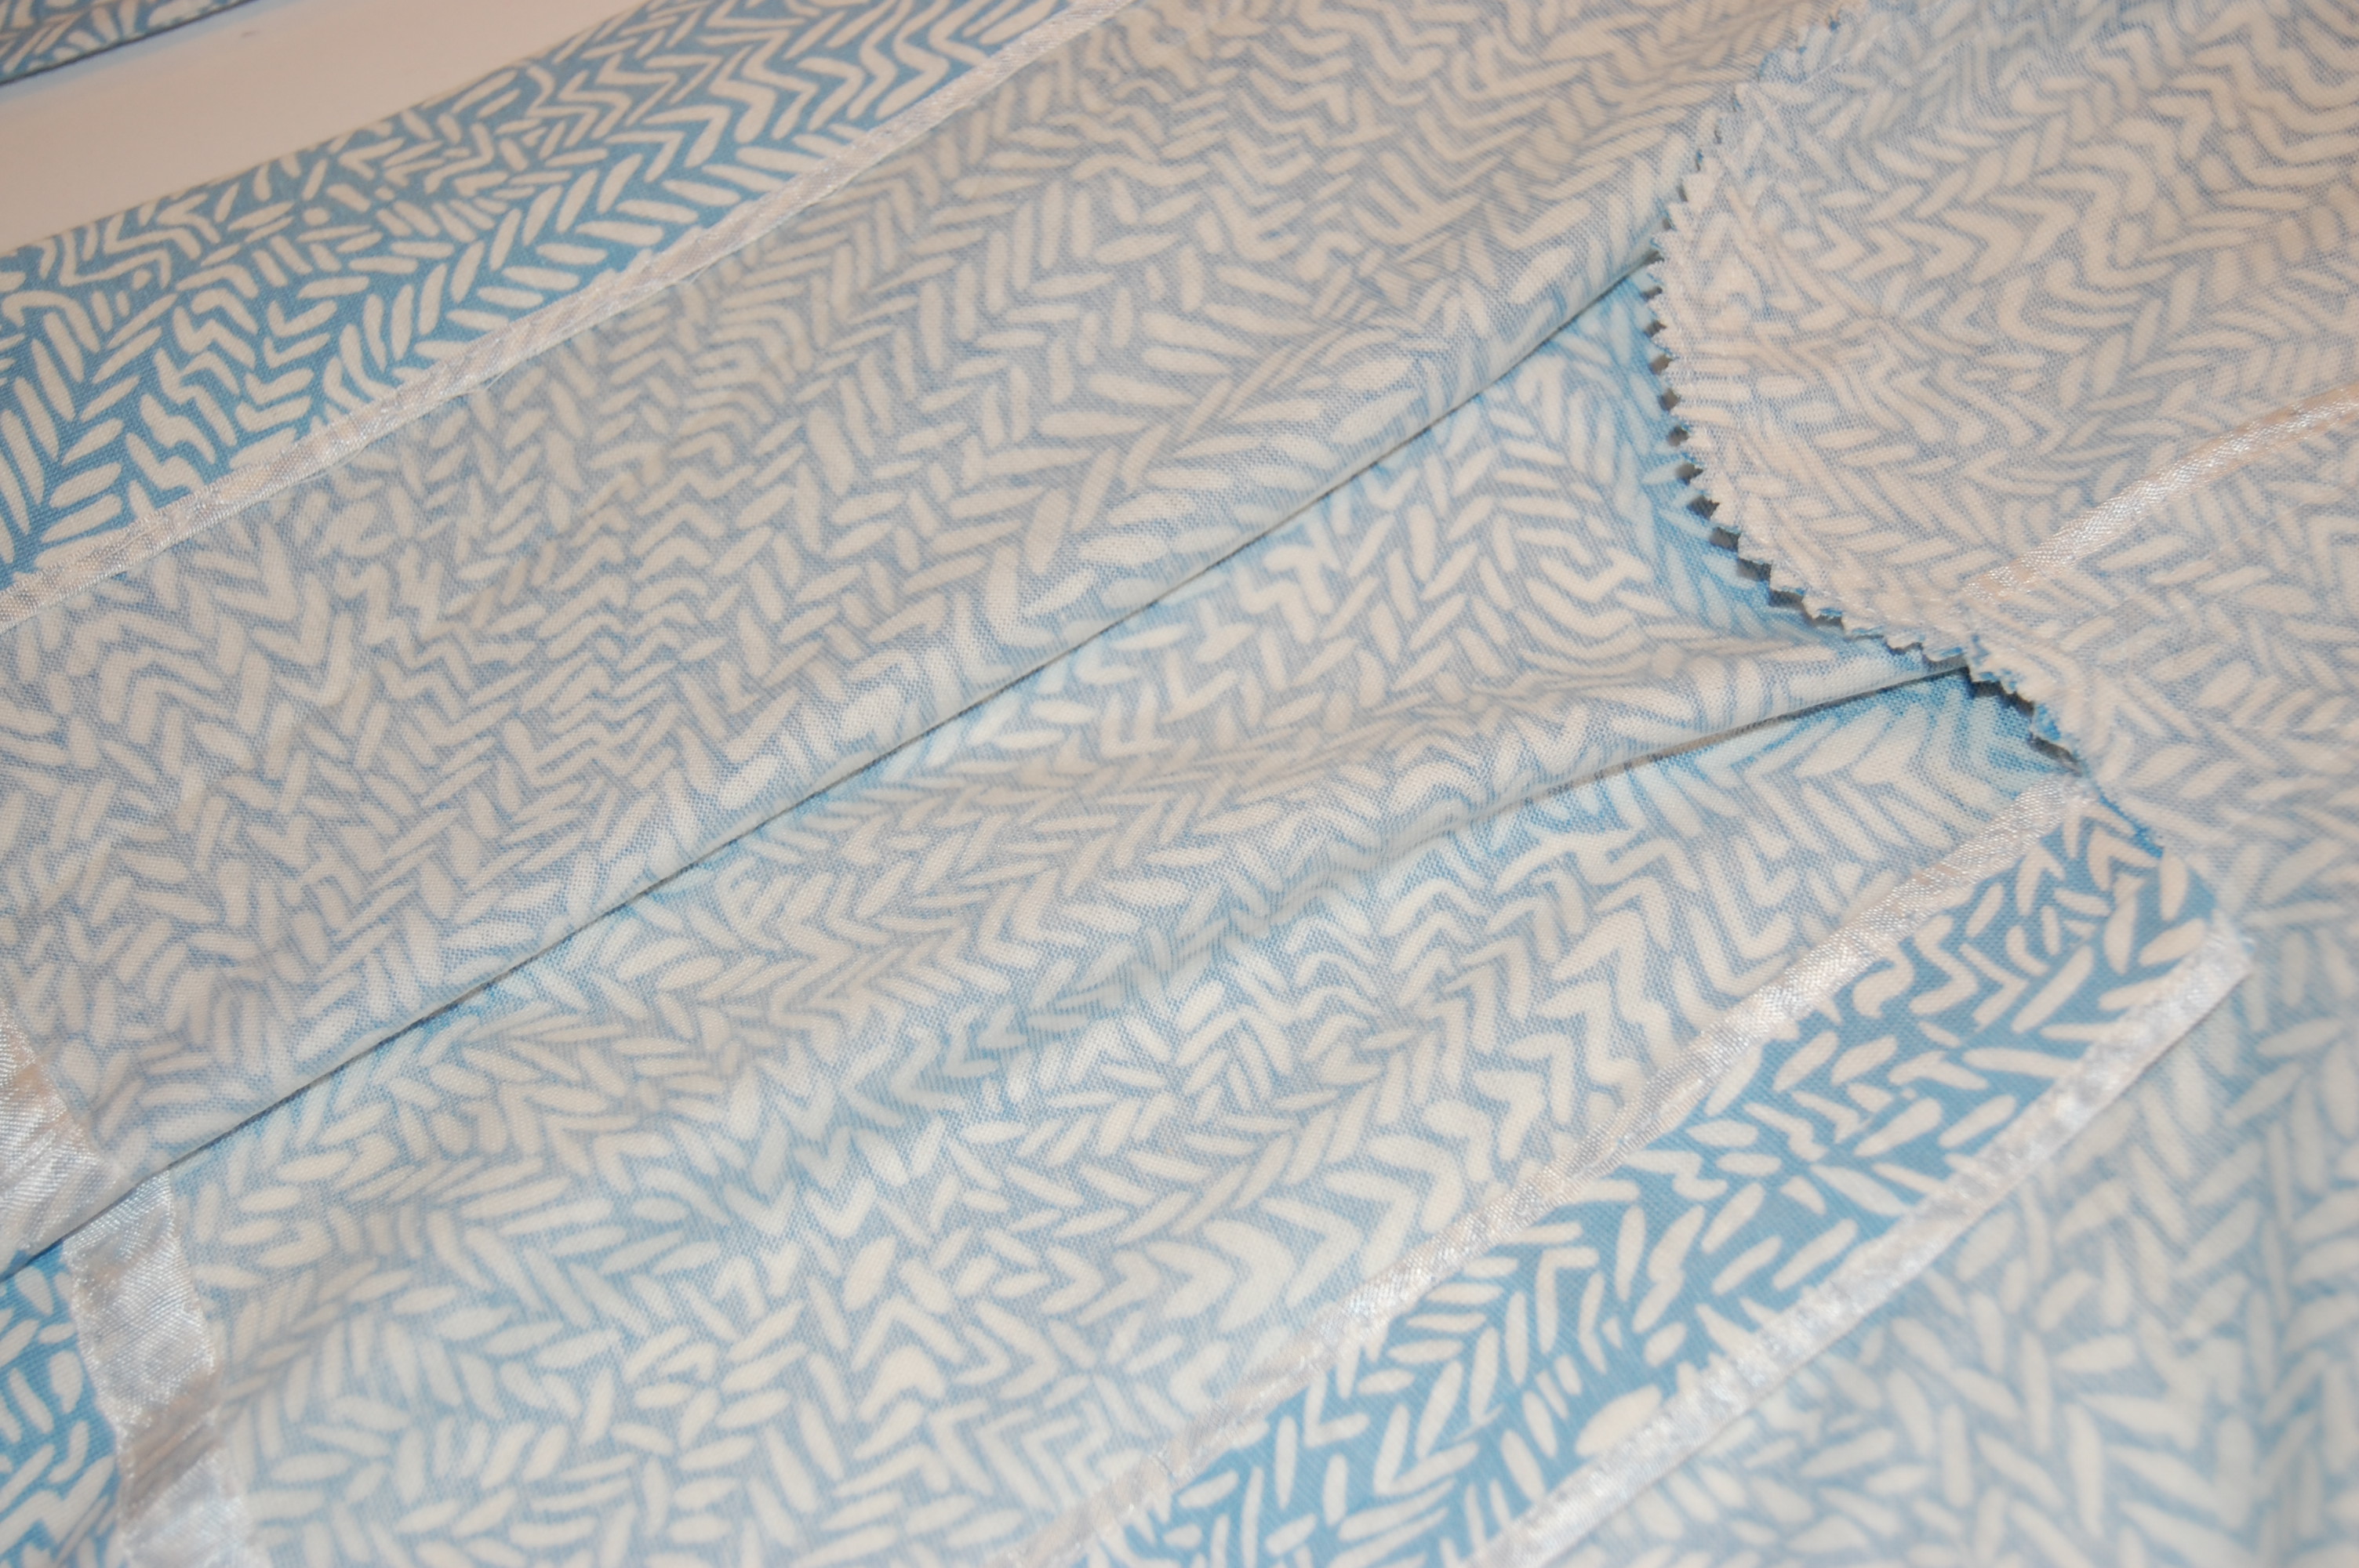
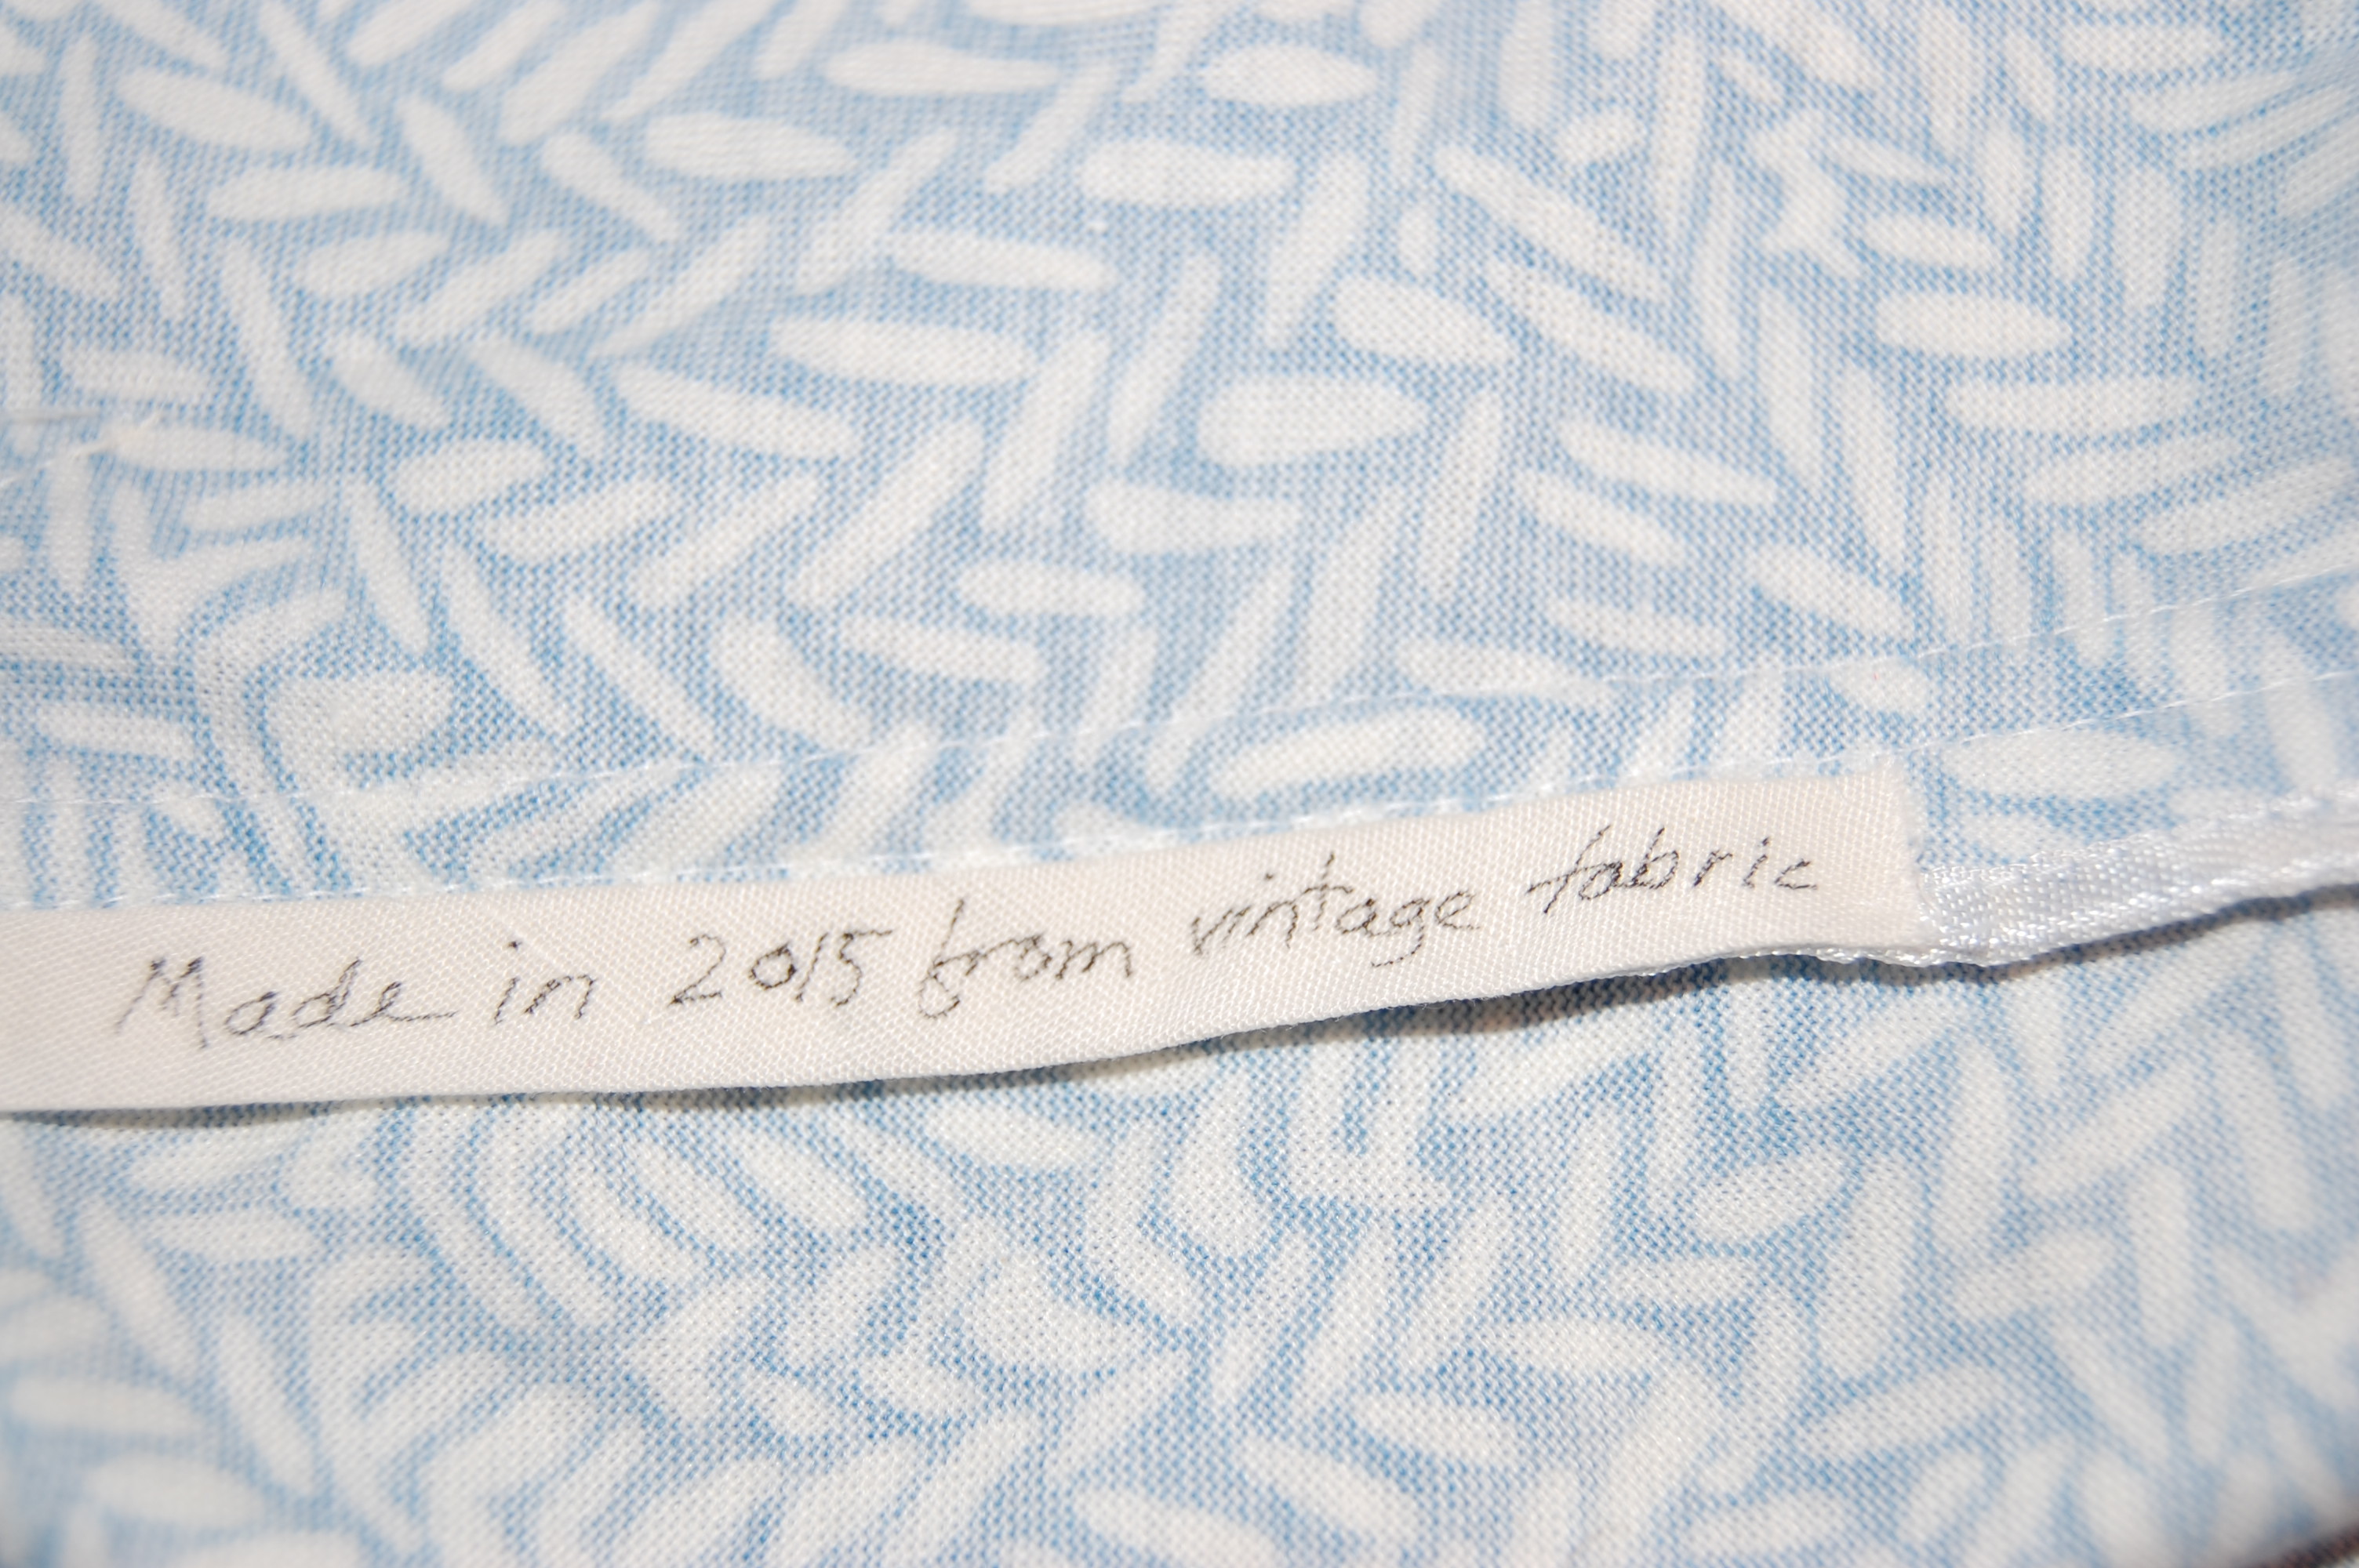
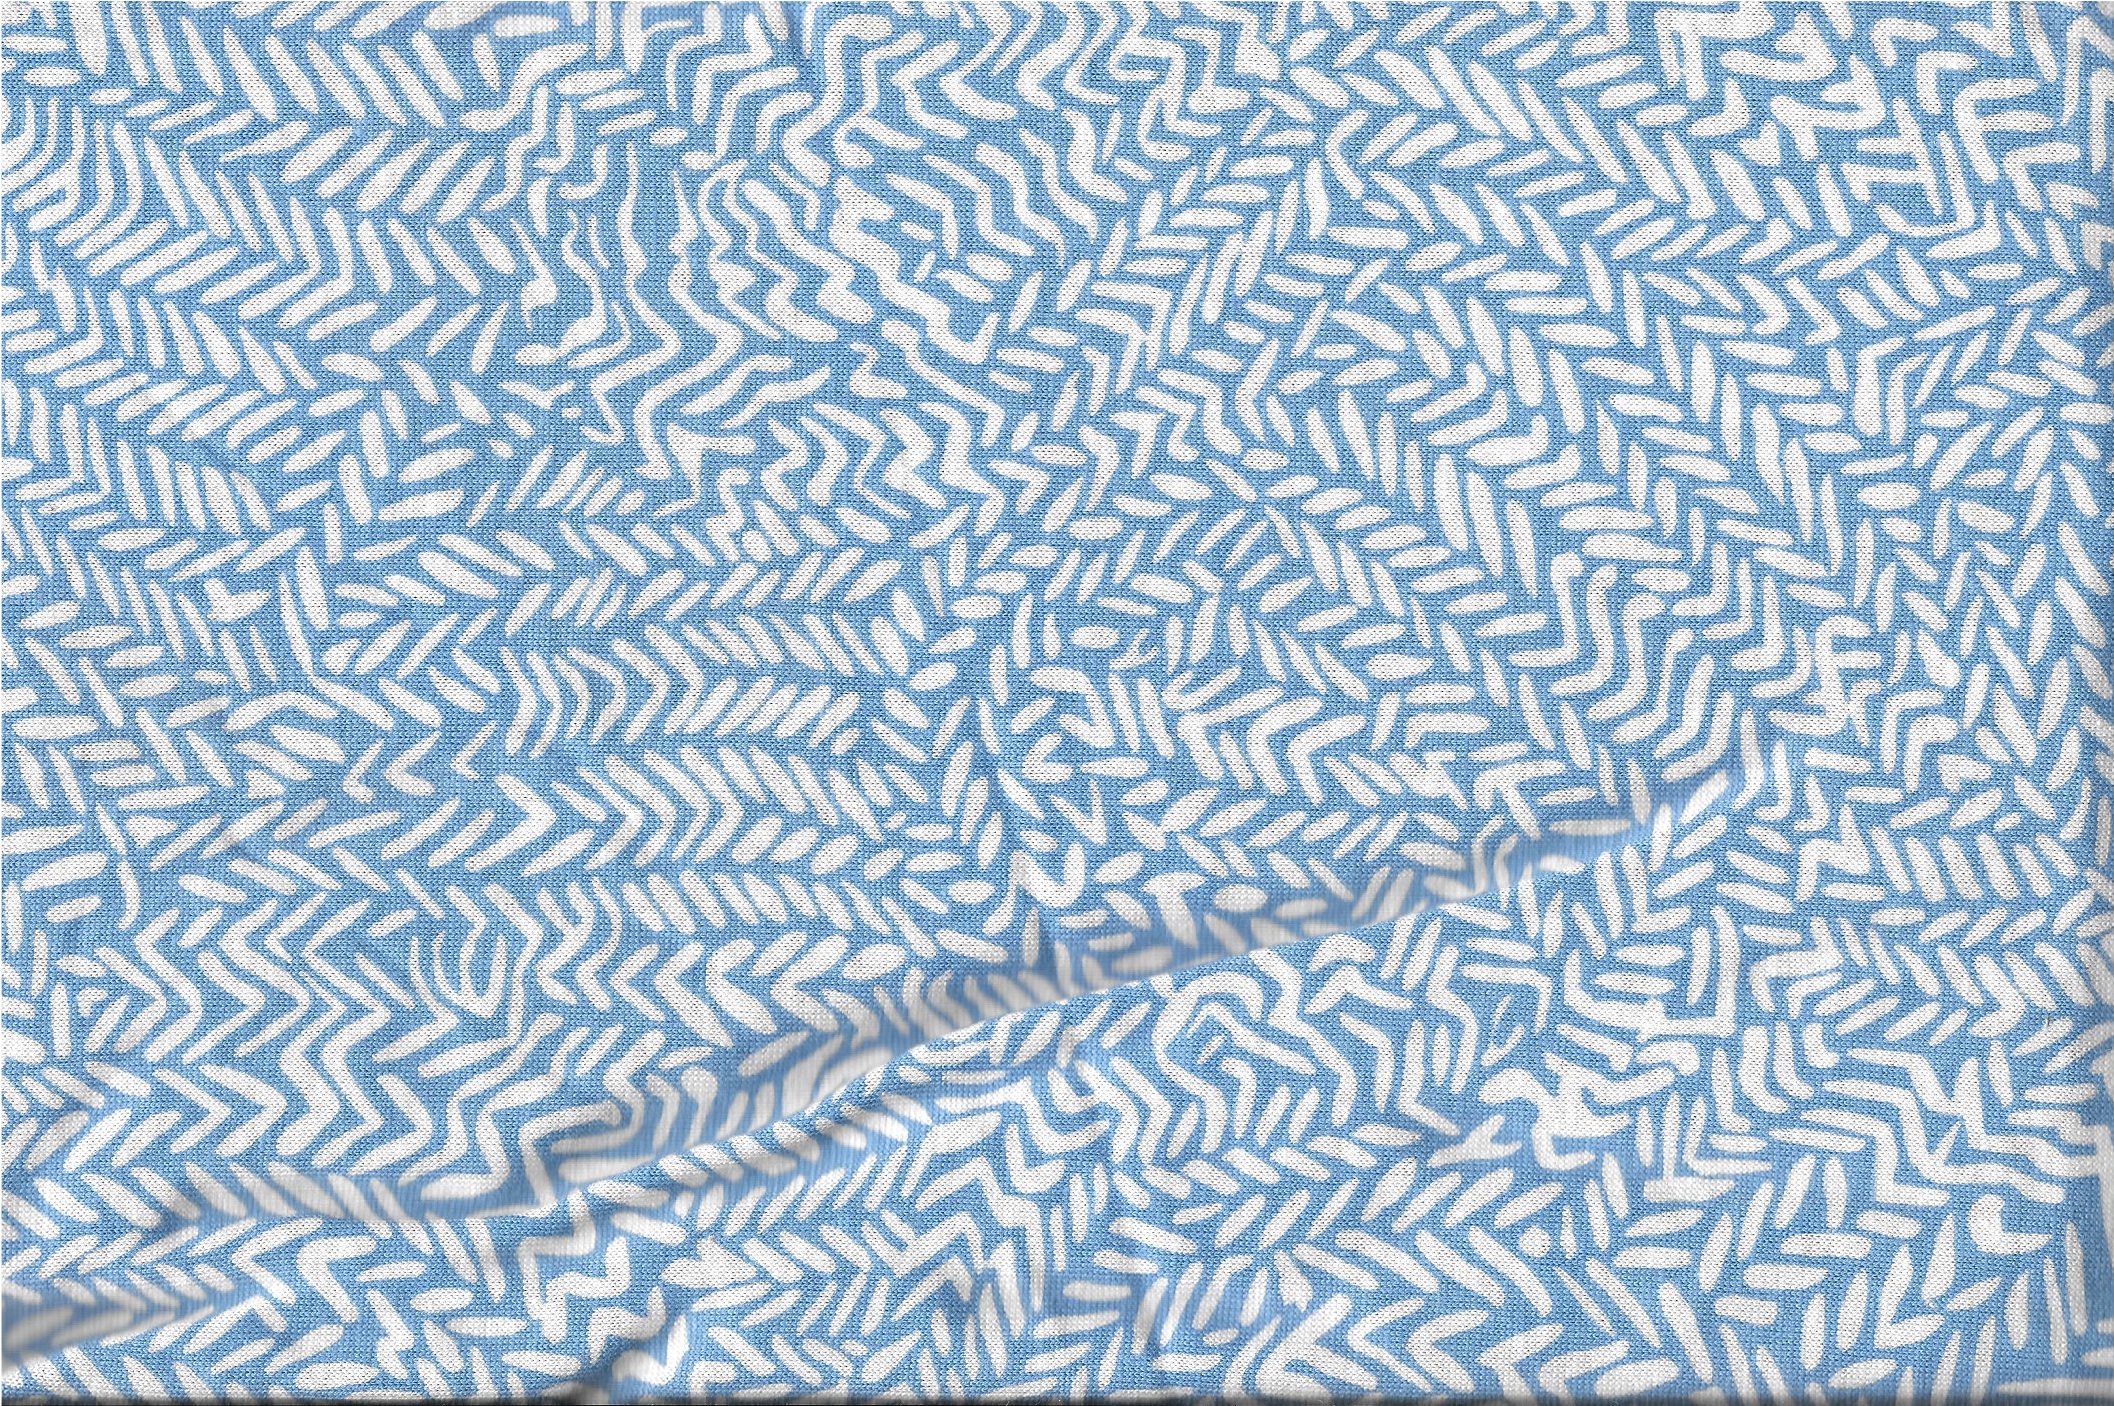
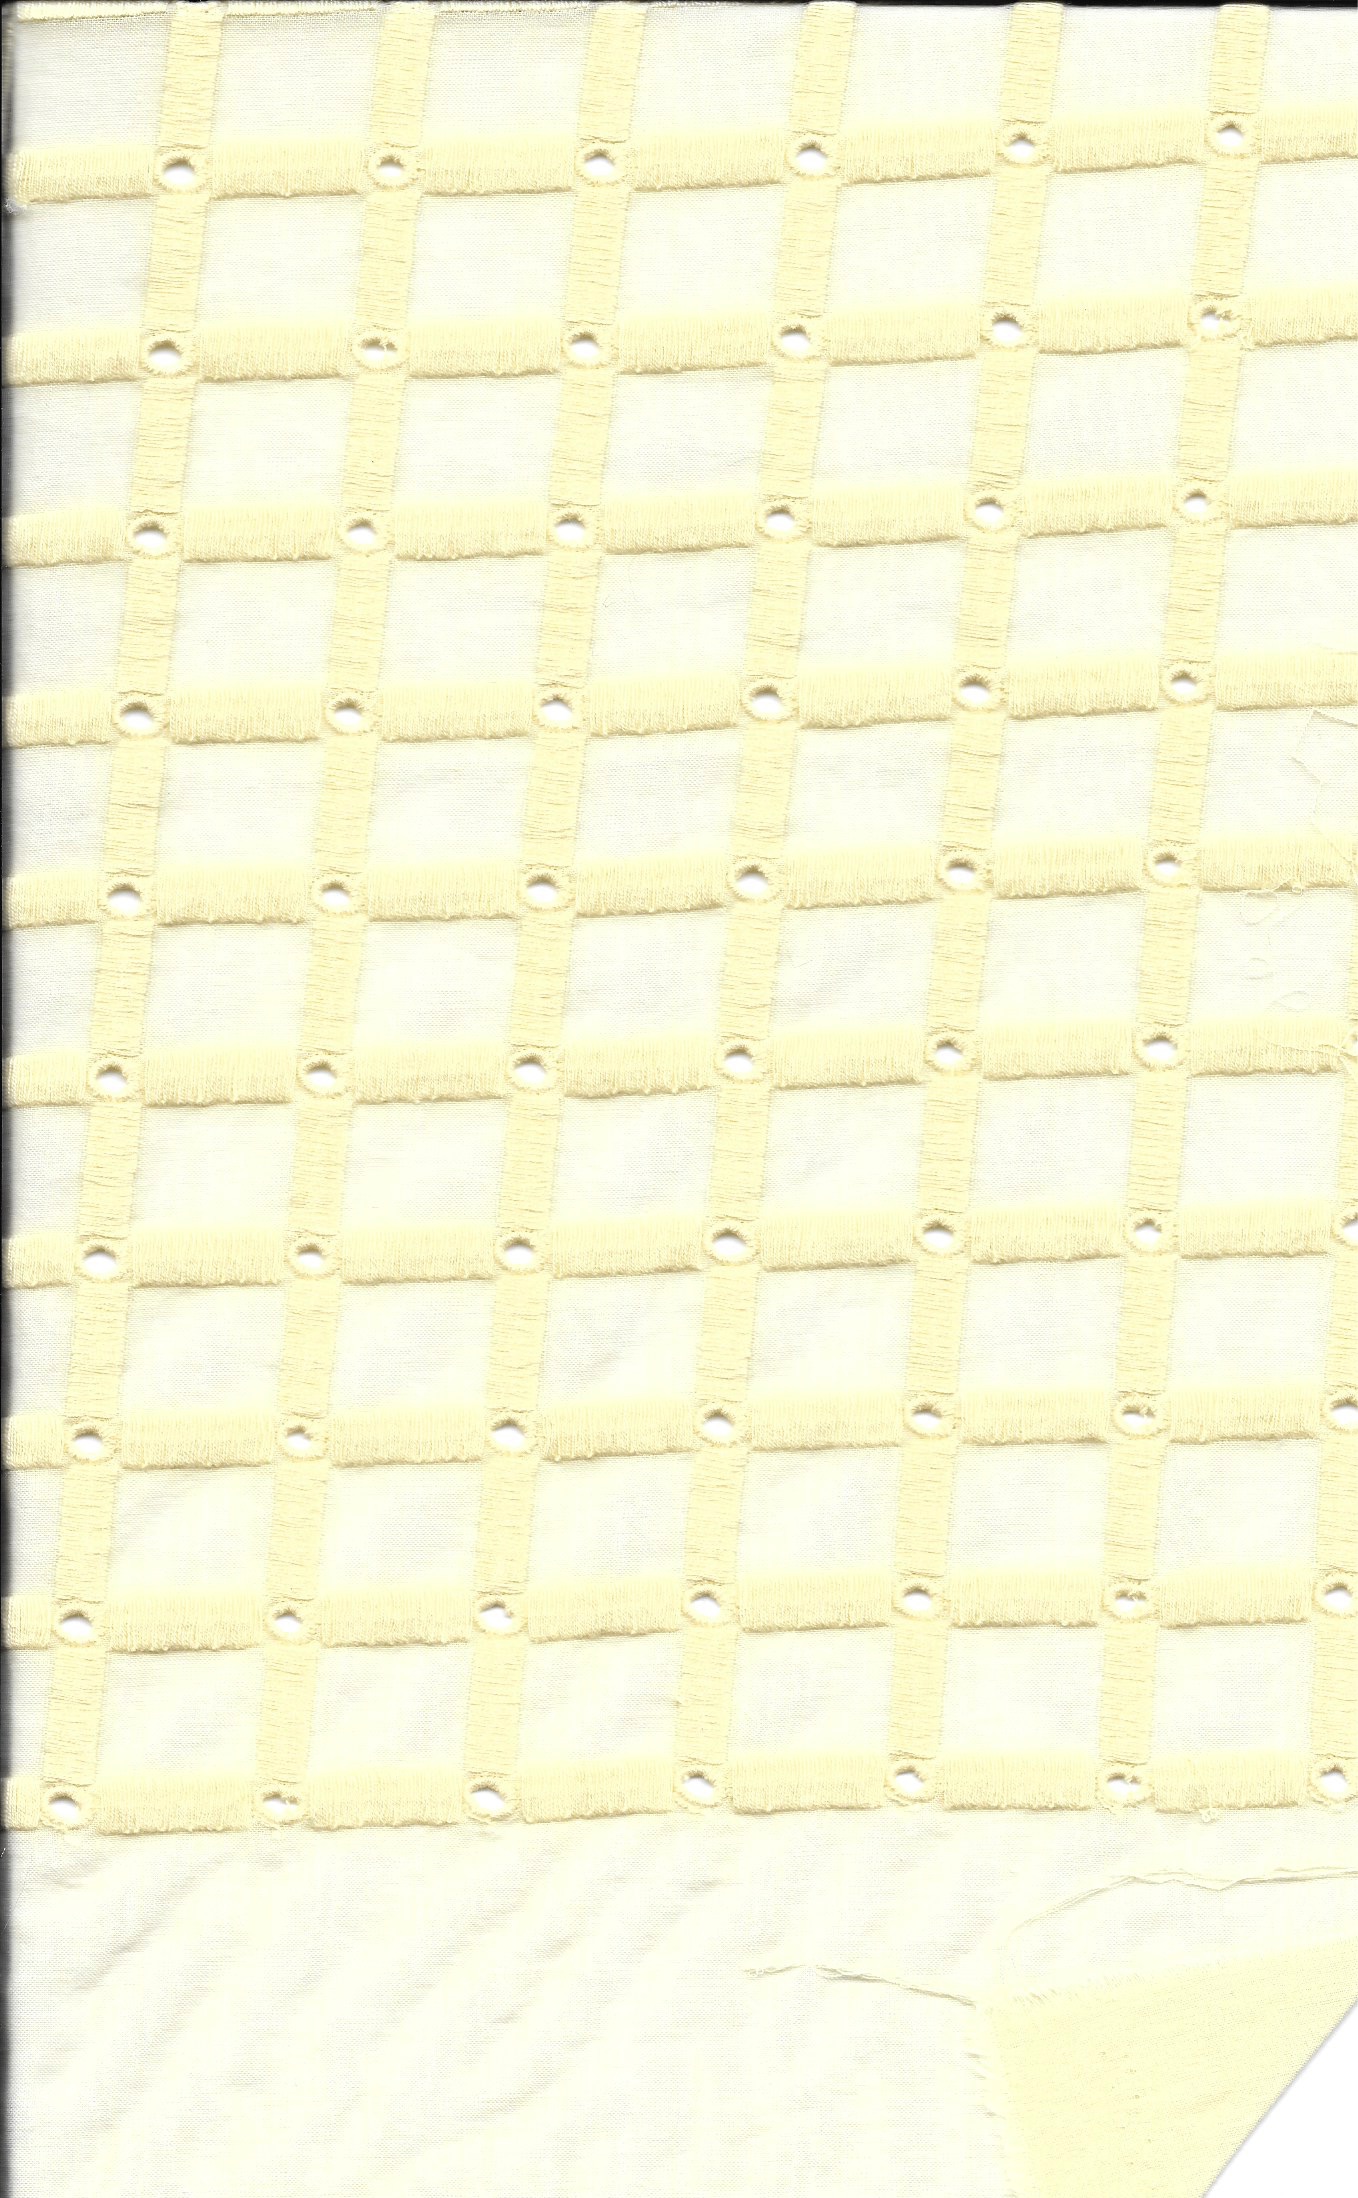
 It all started about a year ago when I saw this fabric – called Devonshire Cream Geometric Cotton Eyelet Batiste on the Britex Fabrics website. I sent off for a swatch and then ordered enough for a “blouse” although at the time, I wasn’t so sure what kind of a blouse it would be. I knew I would want sleeves in it. While the body of the blouse would need to be lined, the sleeves could be unlined to show off the gauzy design in the eyelet.
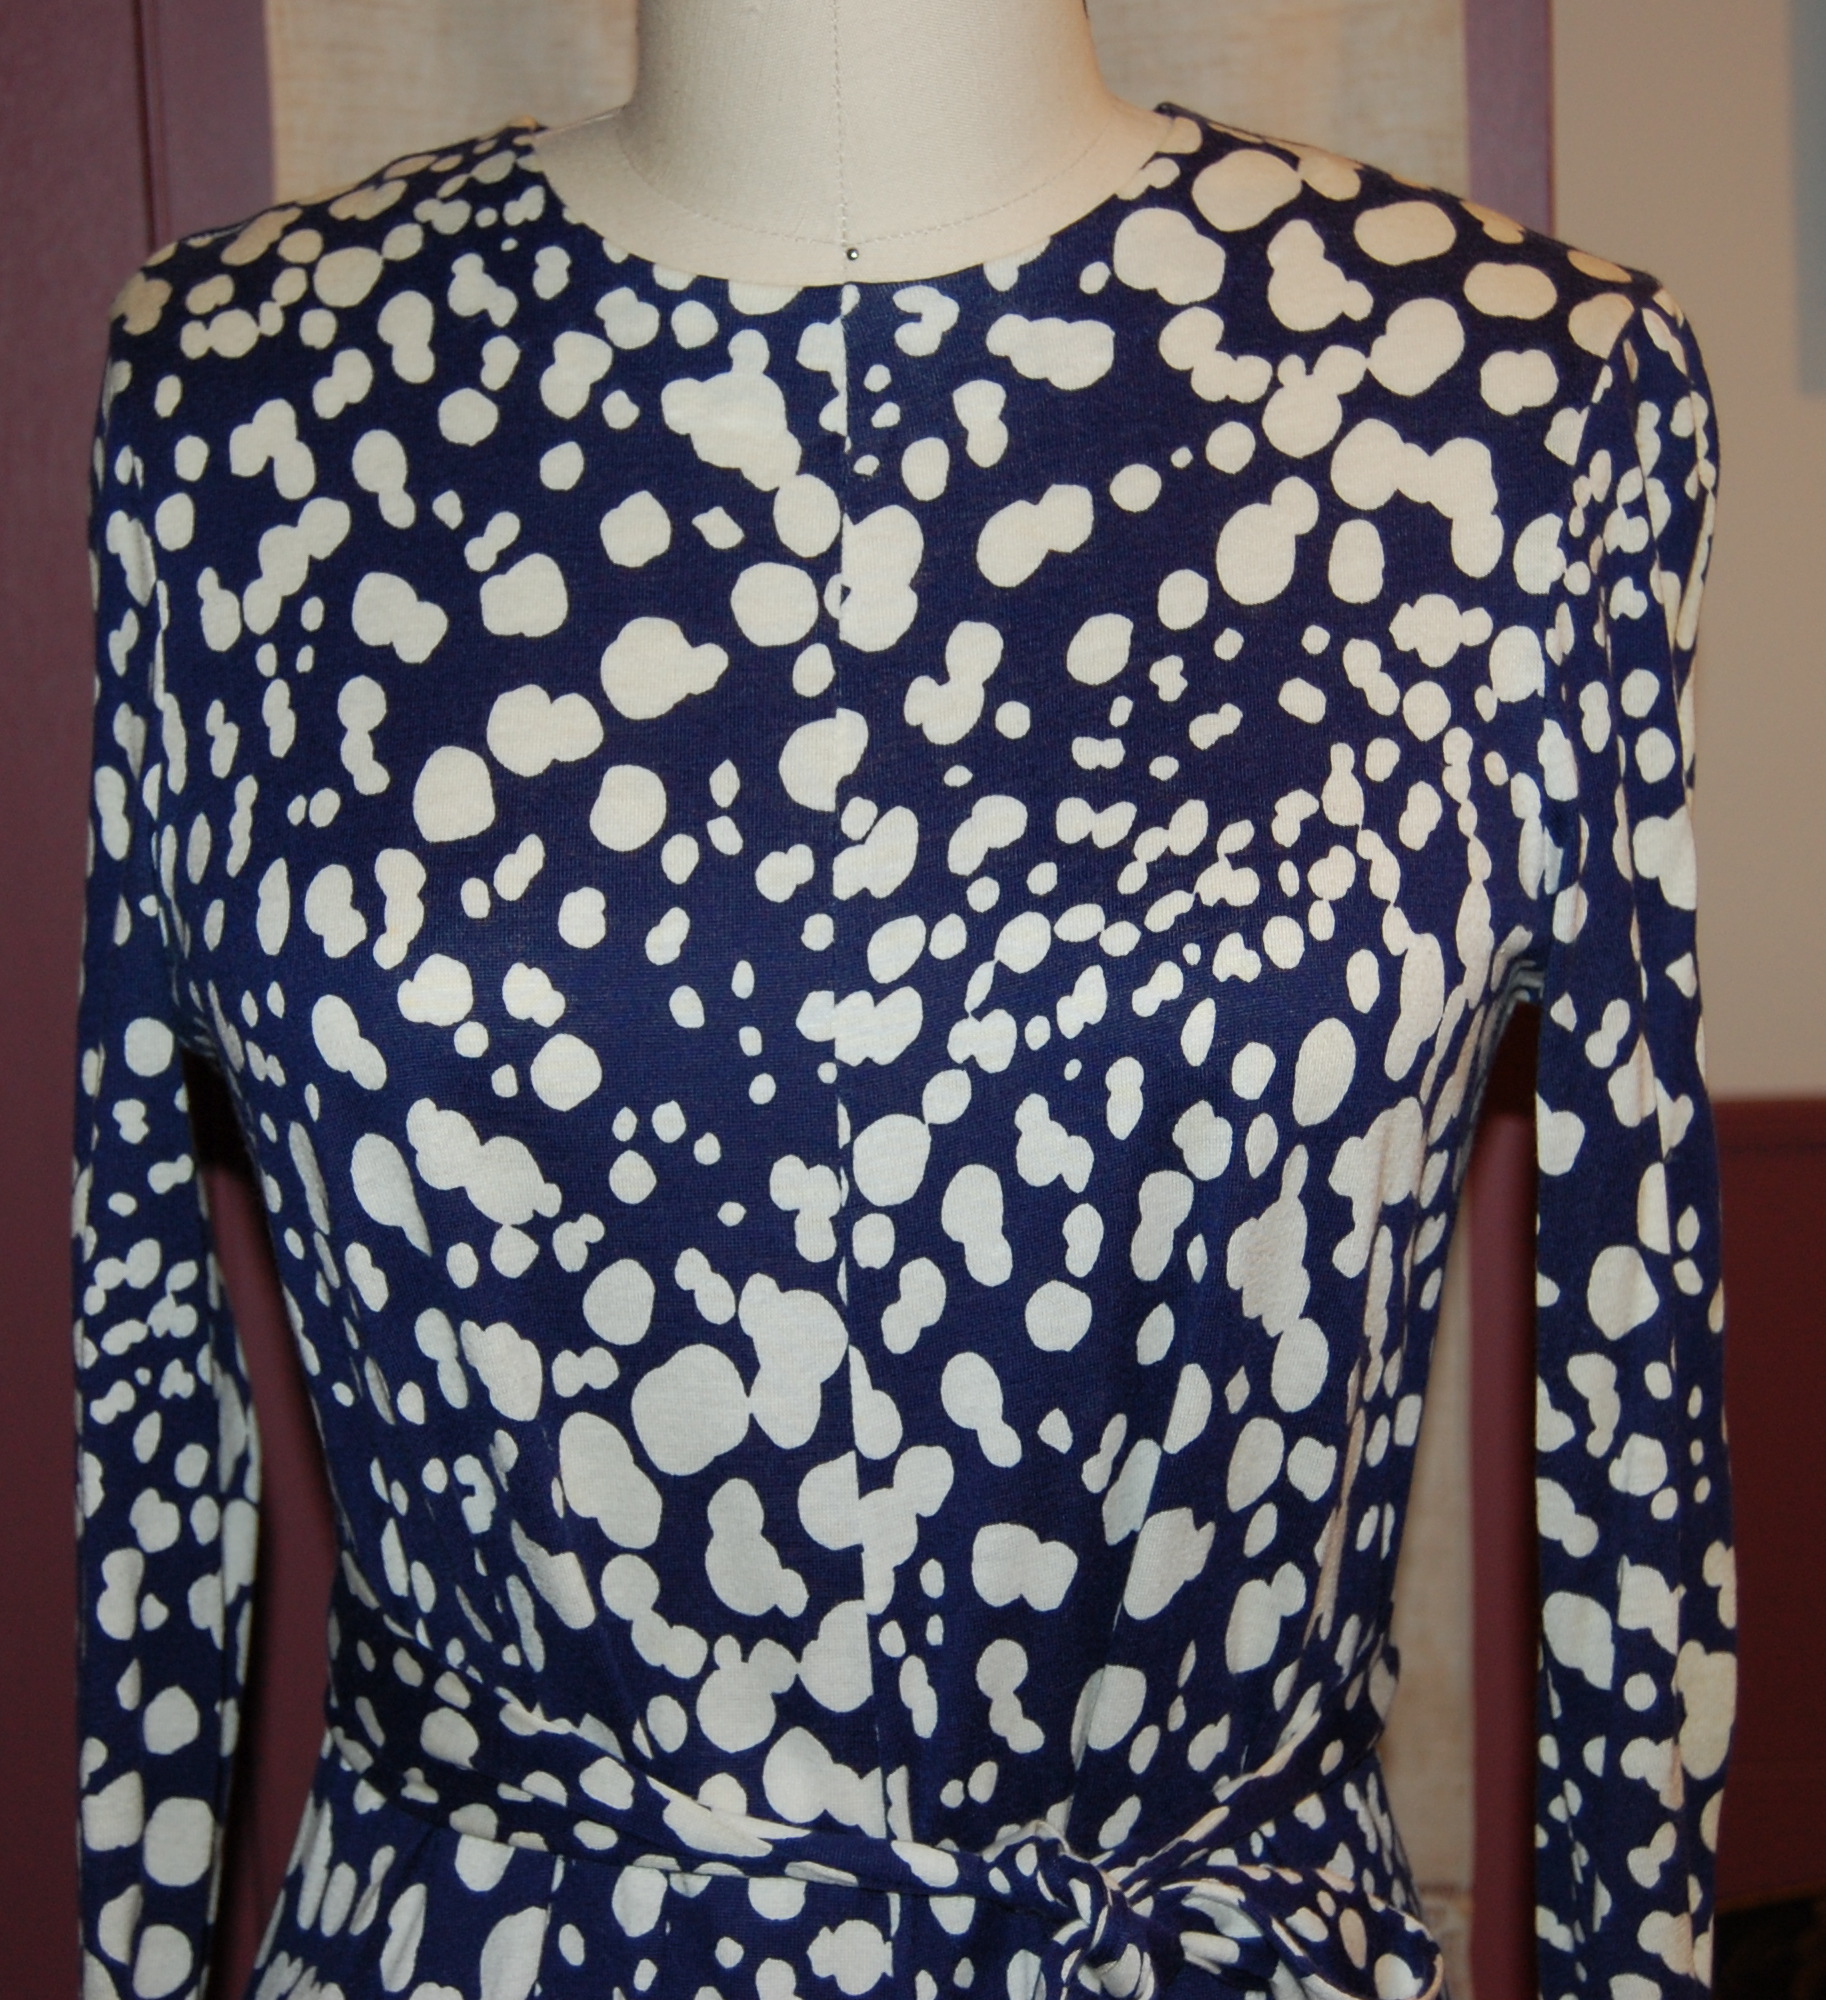
Inspiration finally struck a short few weeks ago when I got a small catalogue from J McLaughlin clothing company. Pictured in it was this “Lotus Blouse”:
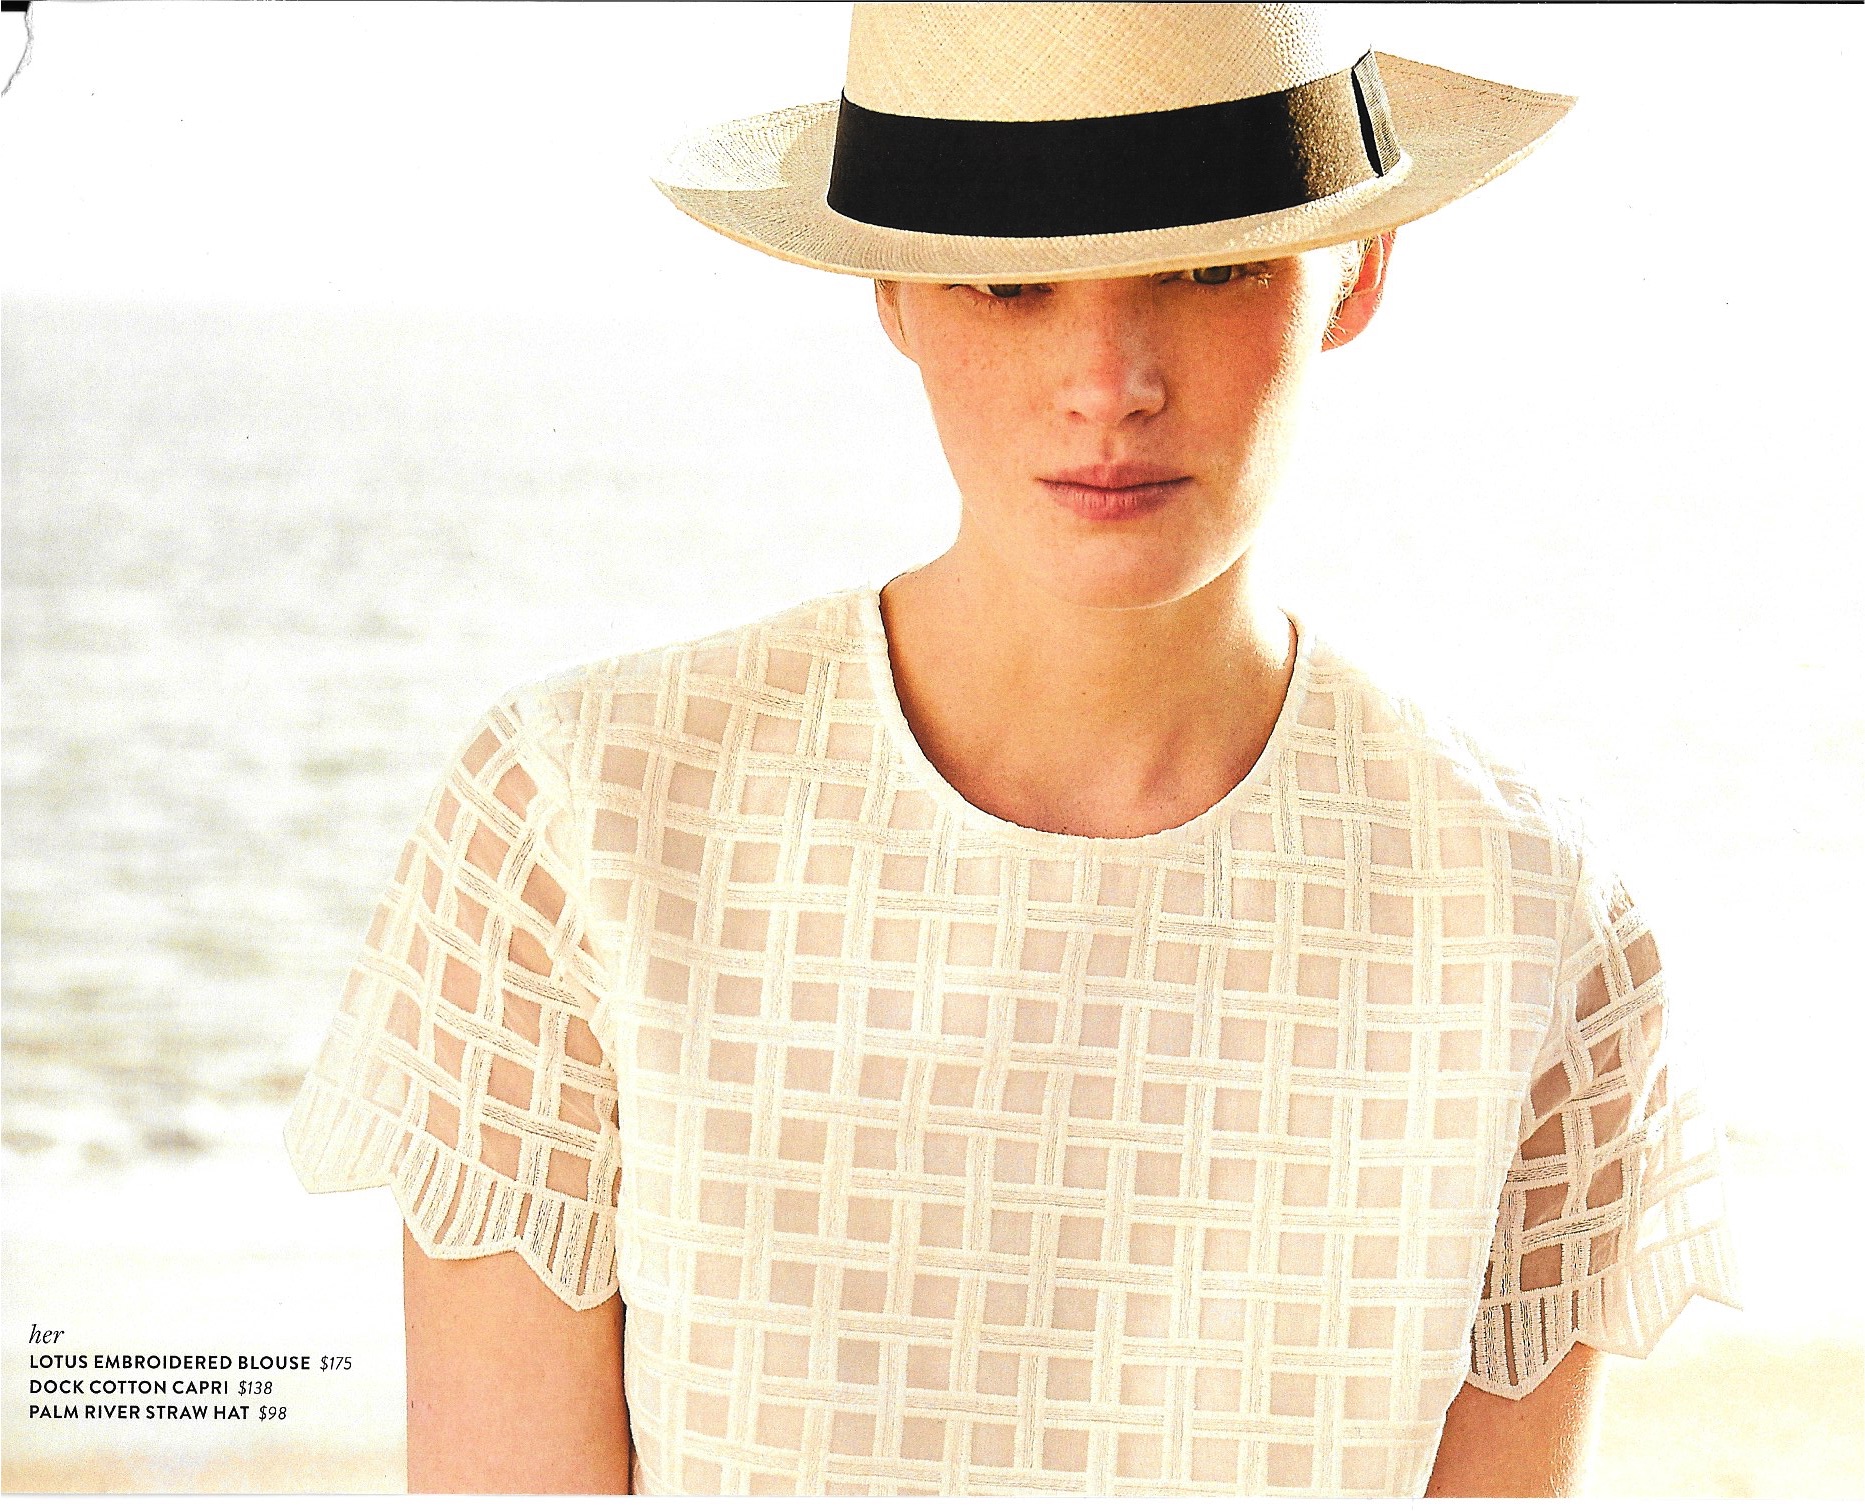
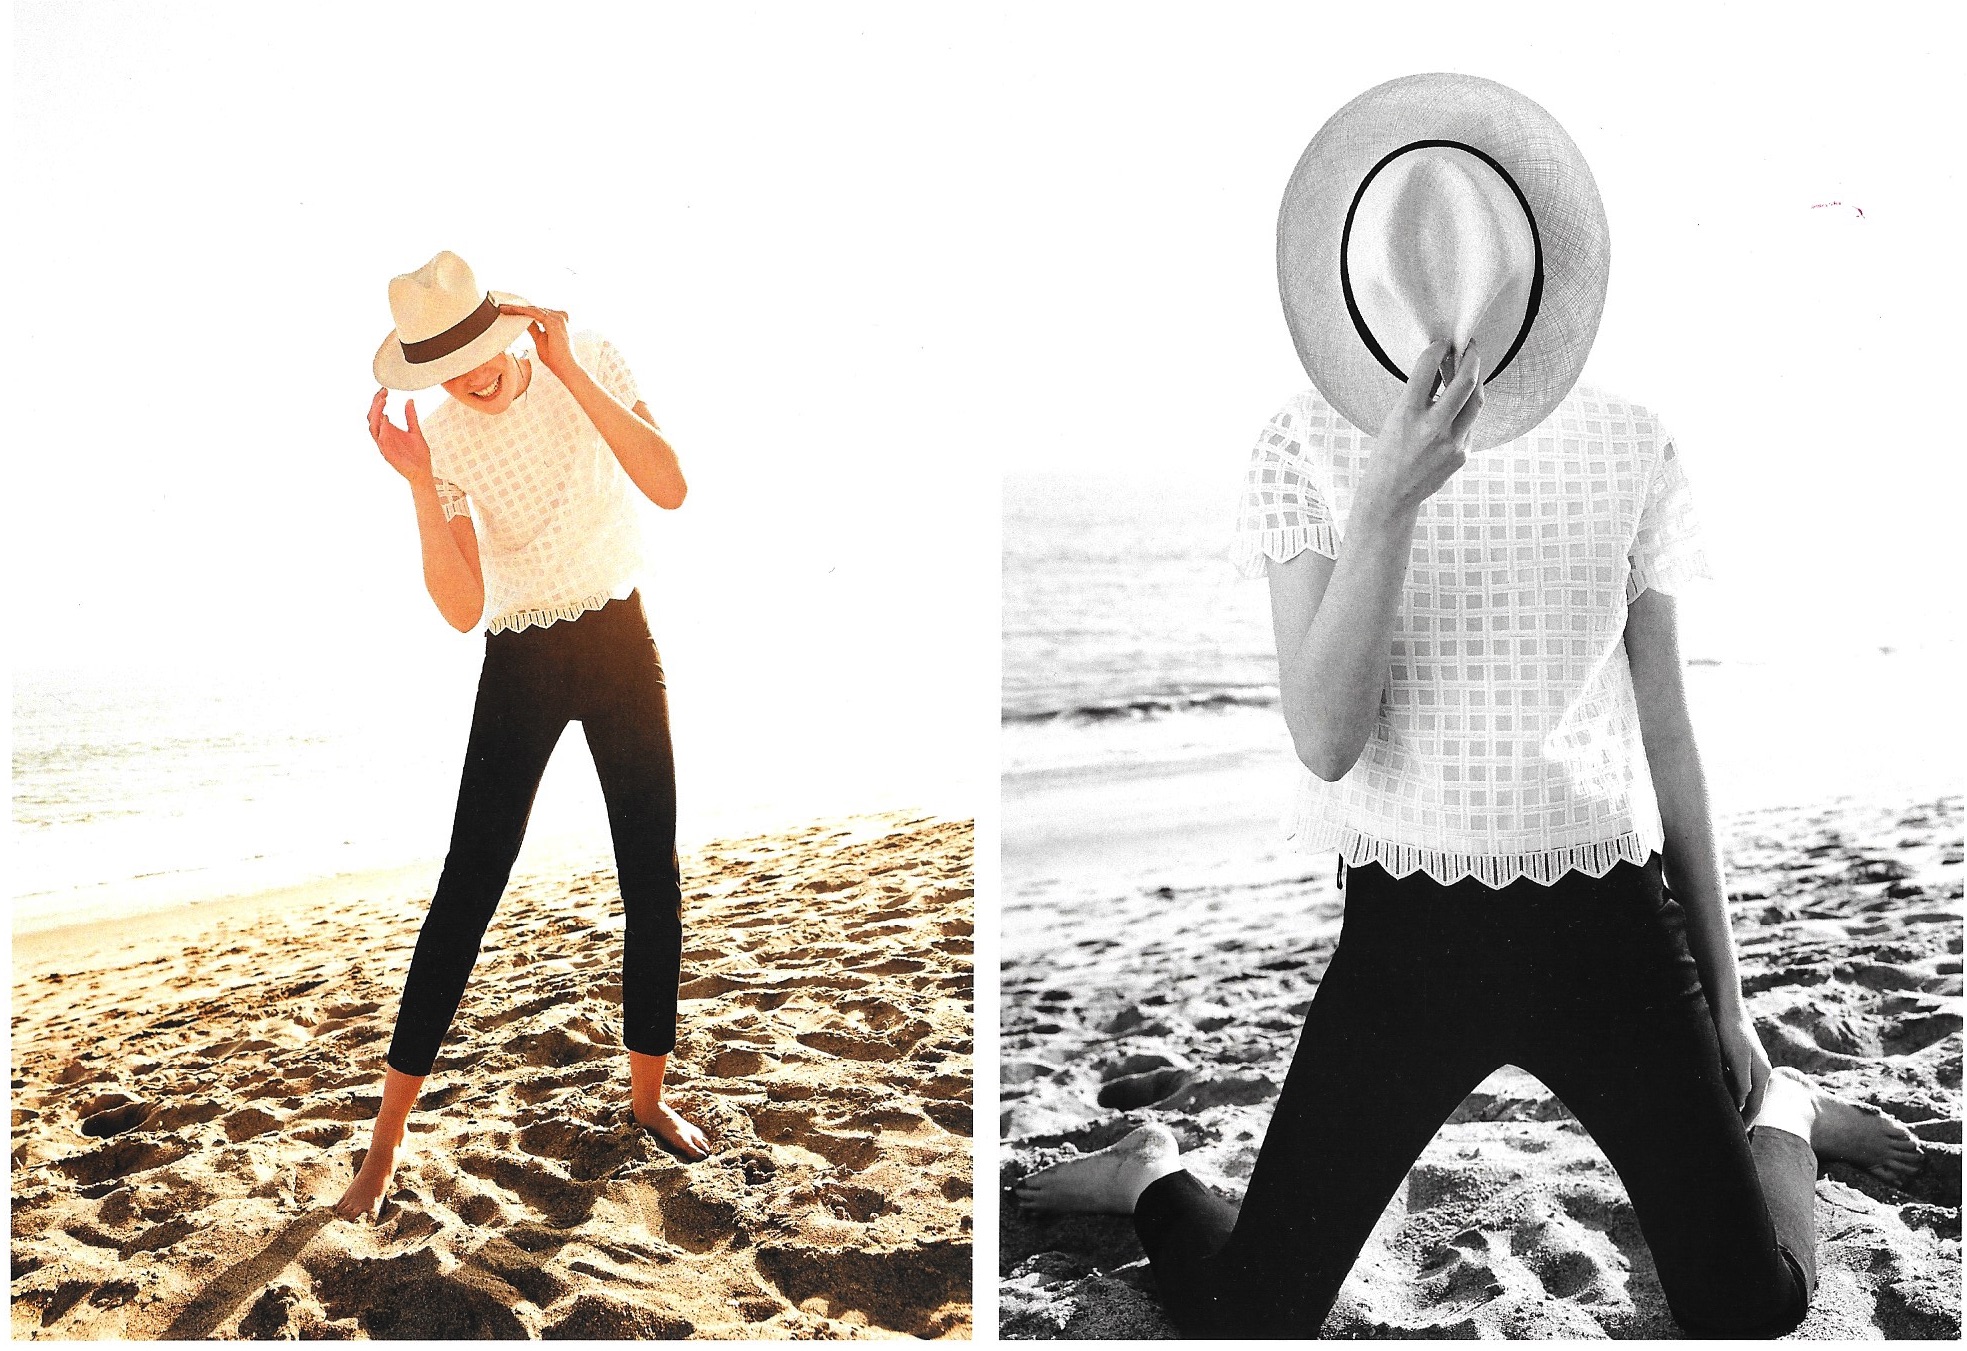
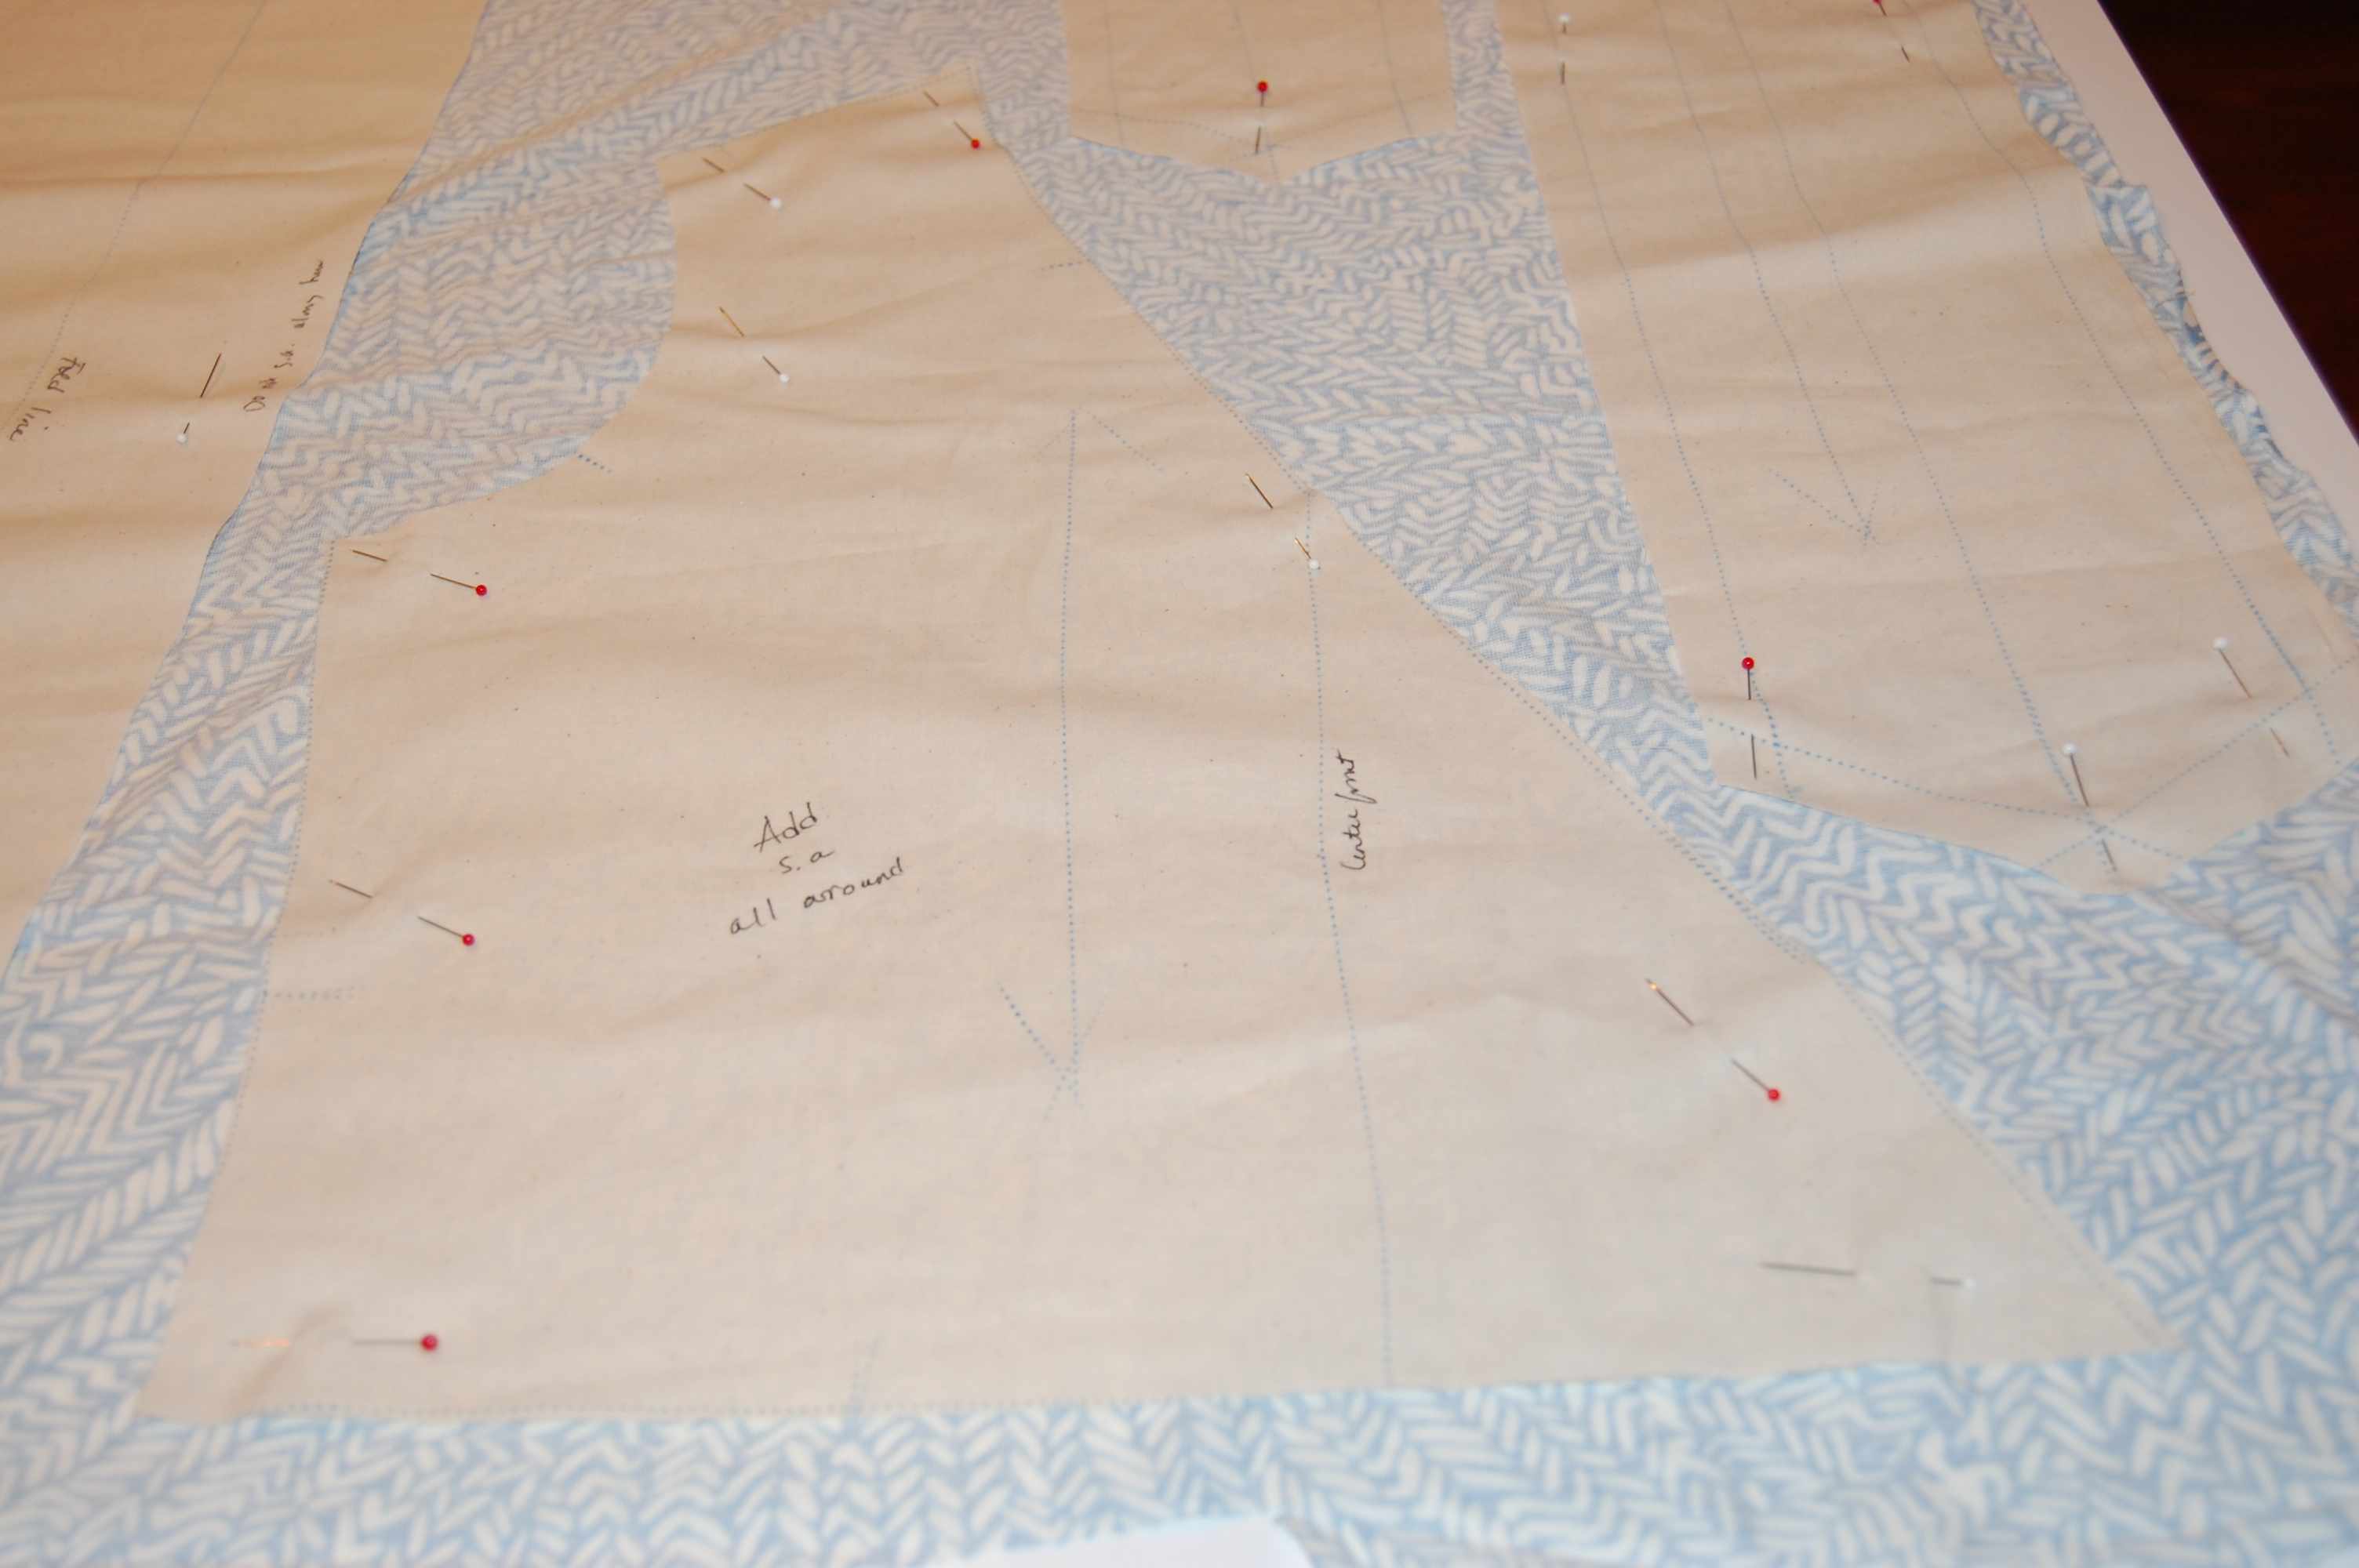
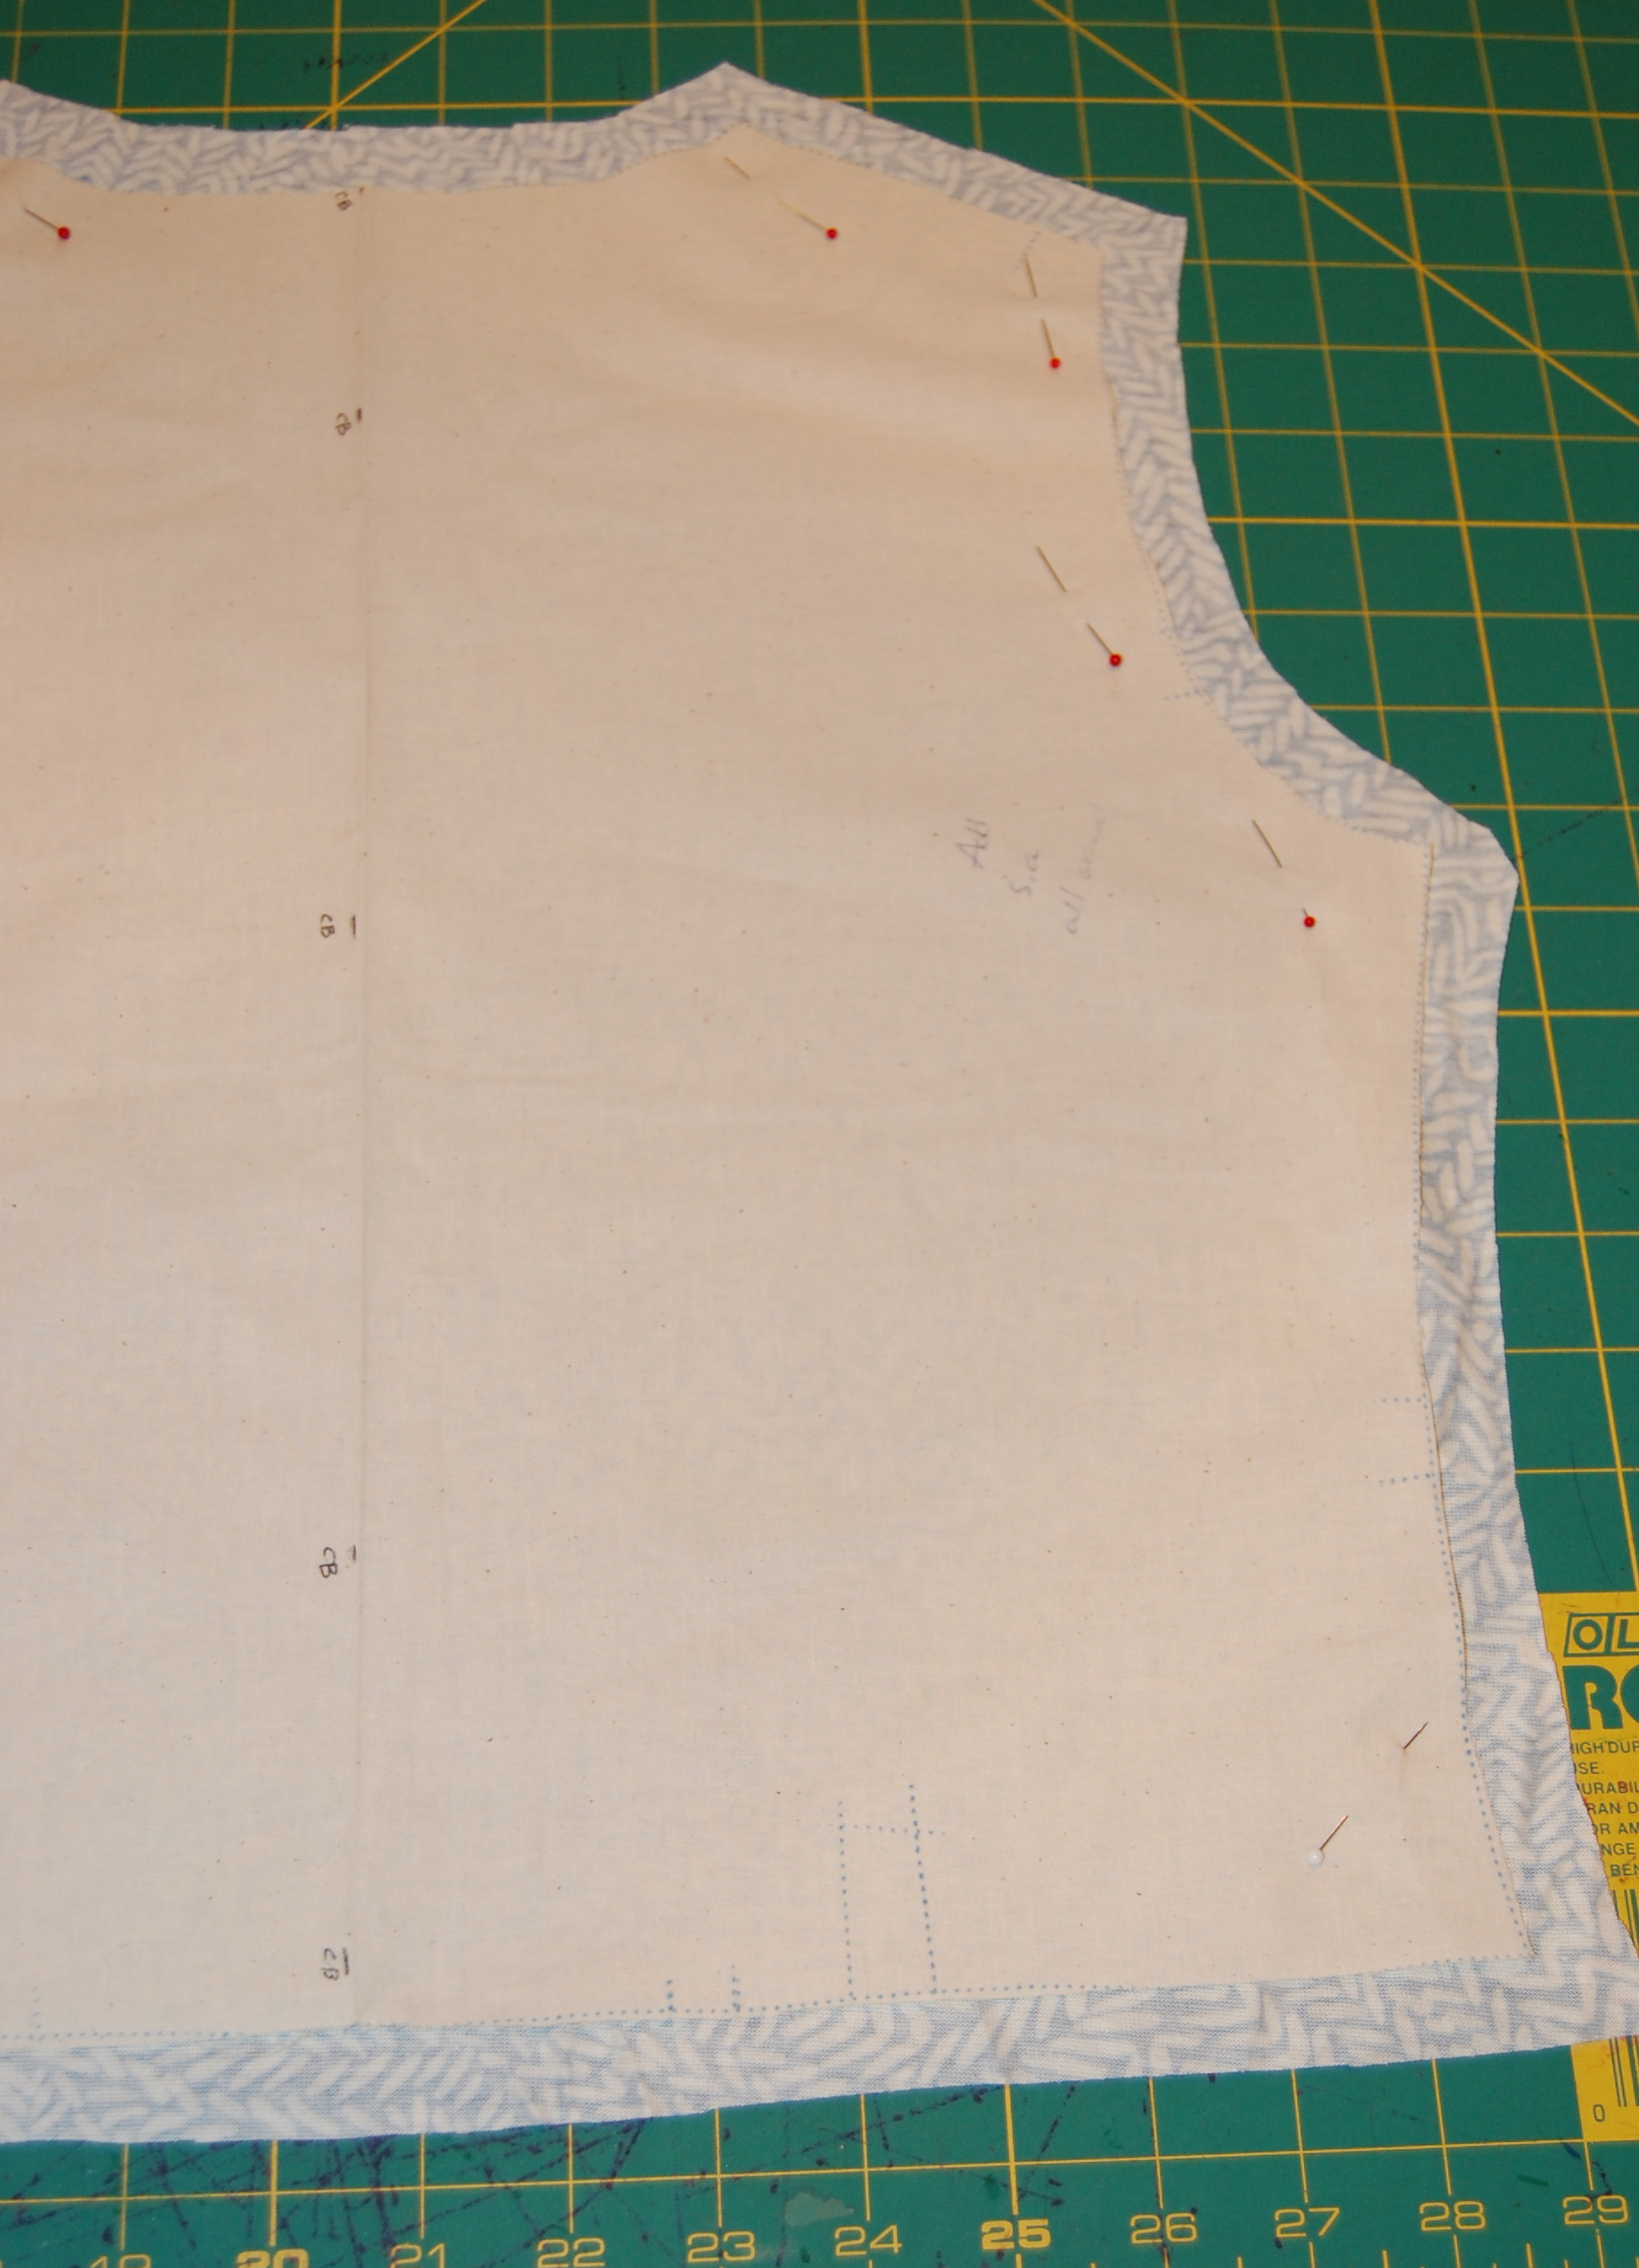
As soon as I saw the “square” design in the fabric, I thought of my eyelet – and then it did not take long for me to decide to make my own version of that blouse. The construction details? Well, I knew I would have to make those up as I went along. I started with the pattern shown above, a classic early 1960s short overblouse that zipped up the back. What could be better? It really didn’t matter that the neckline would be changed, sleeves added, inches added to the length – the basics were there and so I made a muslin/toile.
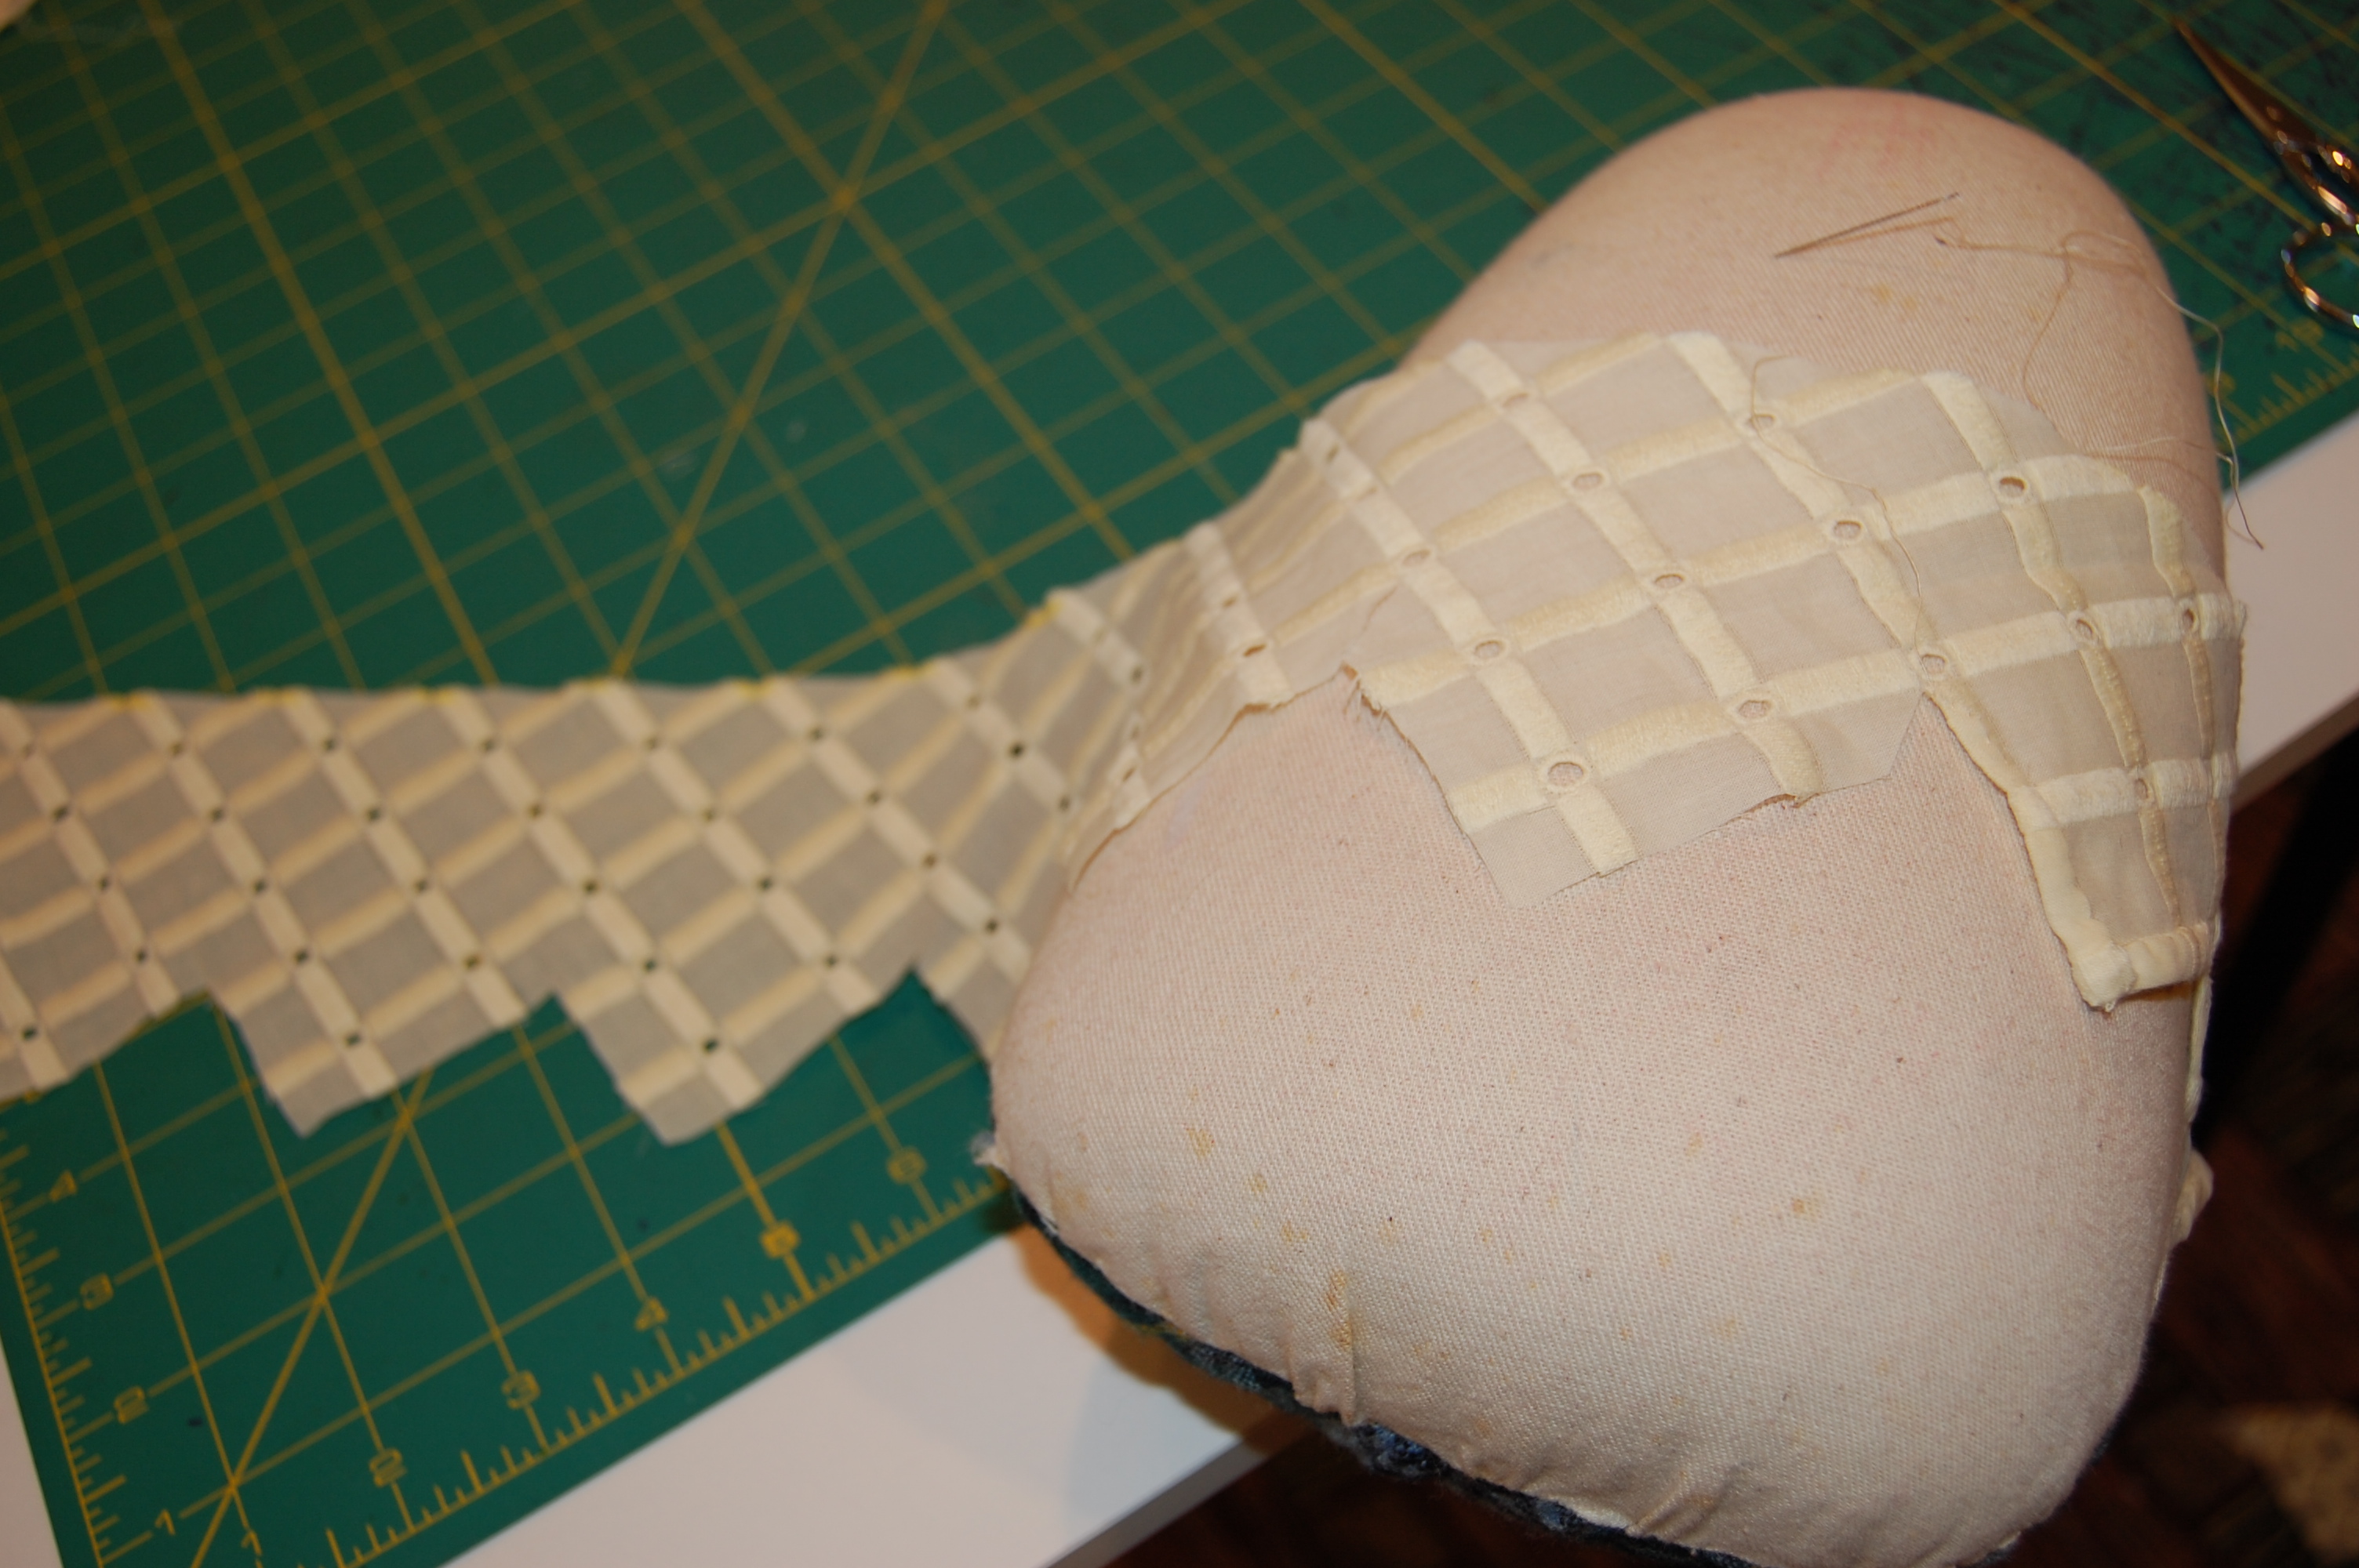
I cut an underlining for the body of the blouse from a lightweight linen/cotton blend that I always keep on hand. I marked the seam lines of that underlining with waxed tracing paper and then used it as my “pattern” for the eyelet, which allowed me to make sure that all the lines and corners of the eyelet matched across seams. I hand basted the underlining and the eyelet together which made machine sewing the darts and seams very precise.
In order to put a sawtooth edge on the sleeves and the bottom of the blouse, I knew I would have to cut fabric on the bias. But first I had to decide how deep to make this self-trim. I did some experimenting to figure that out:

Should it be this narrow?
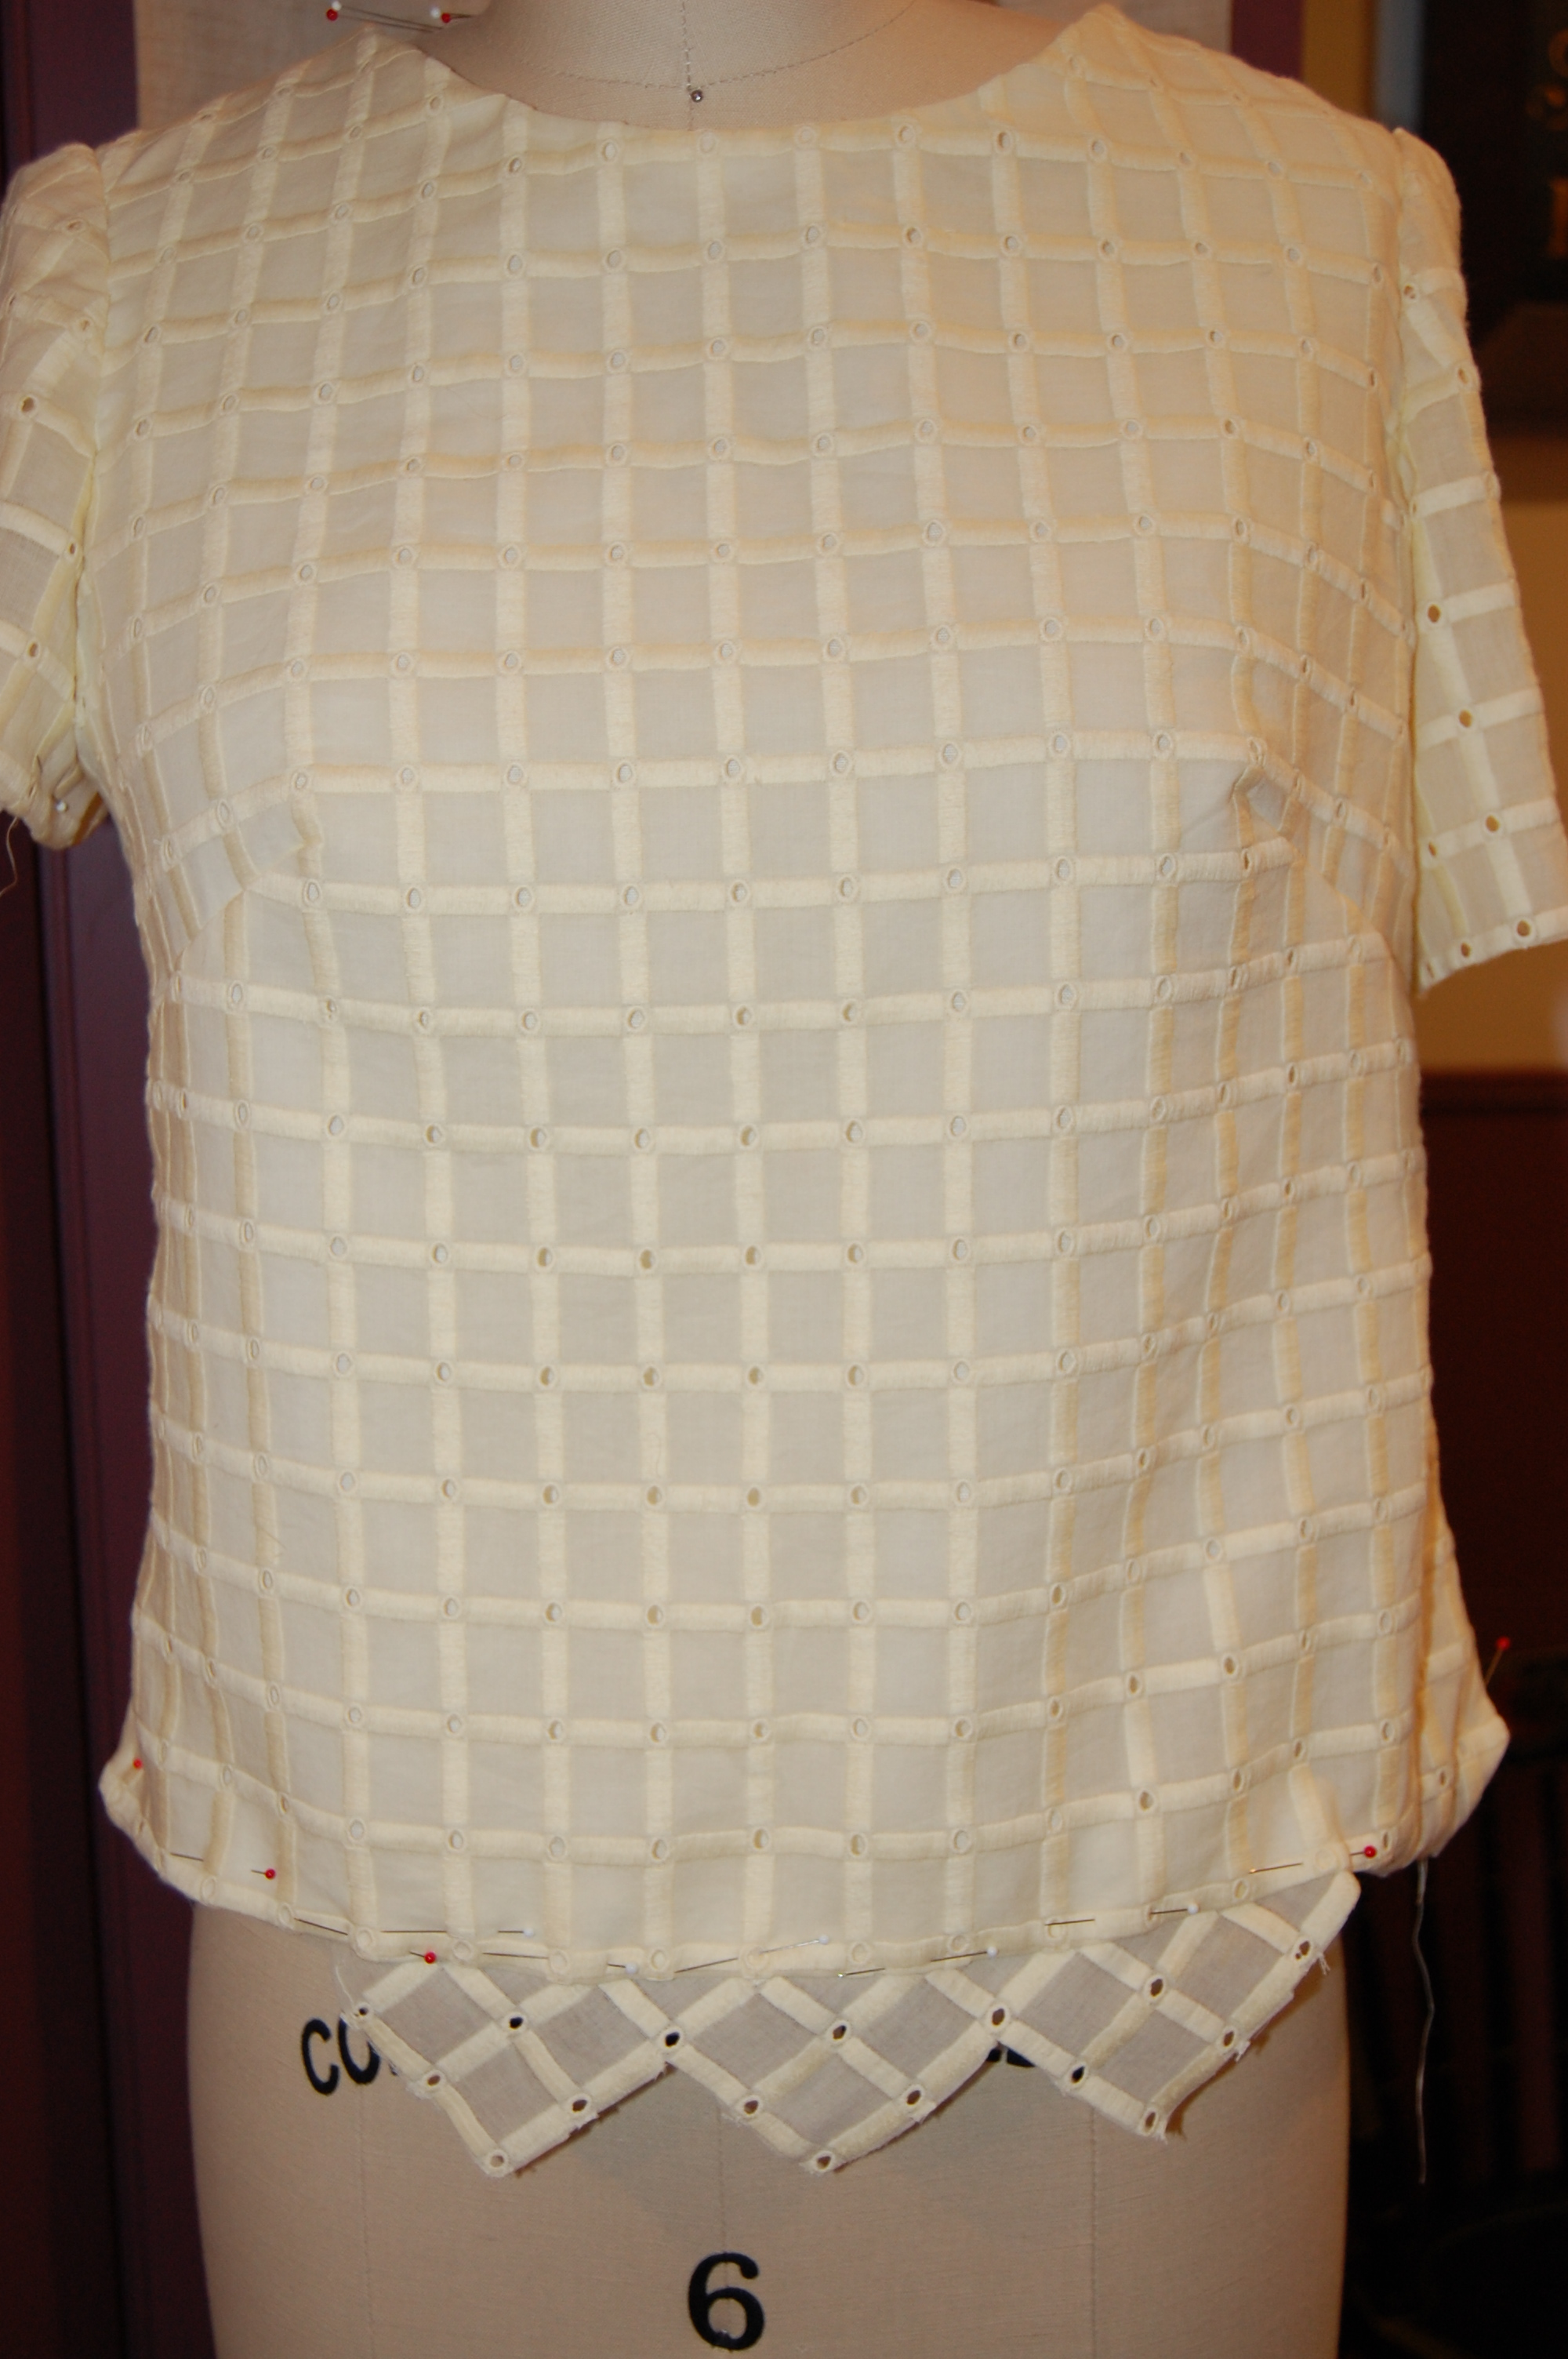
Or would a wider trim be better?
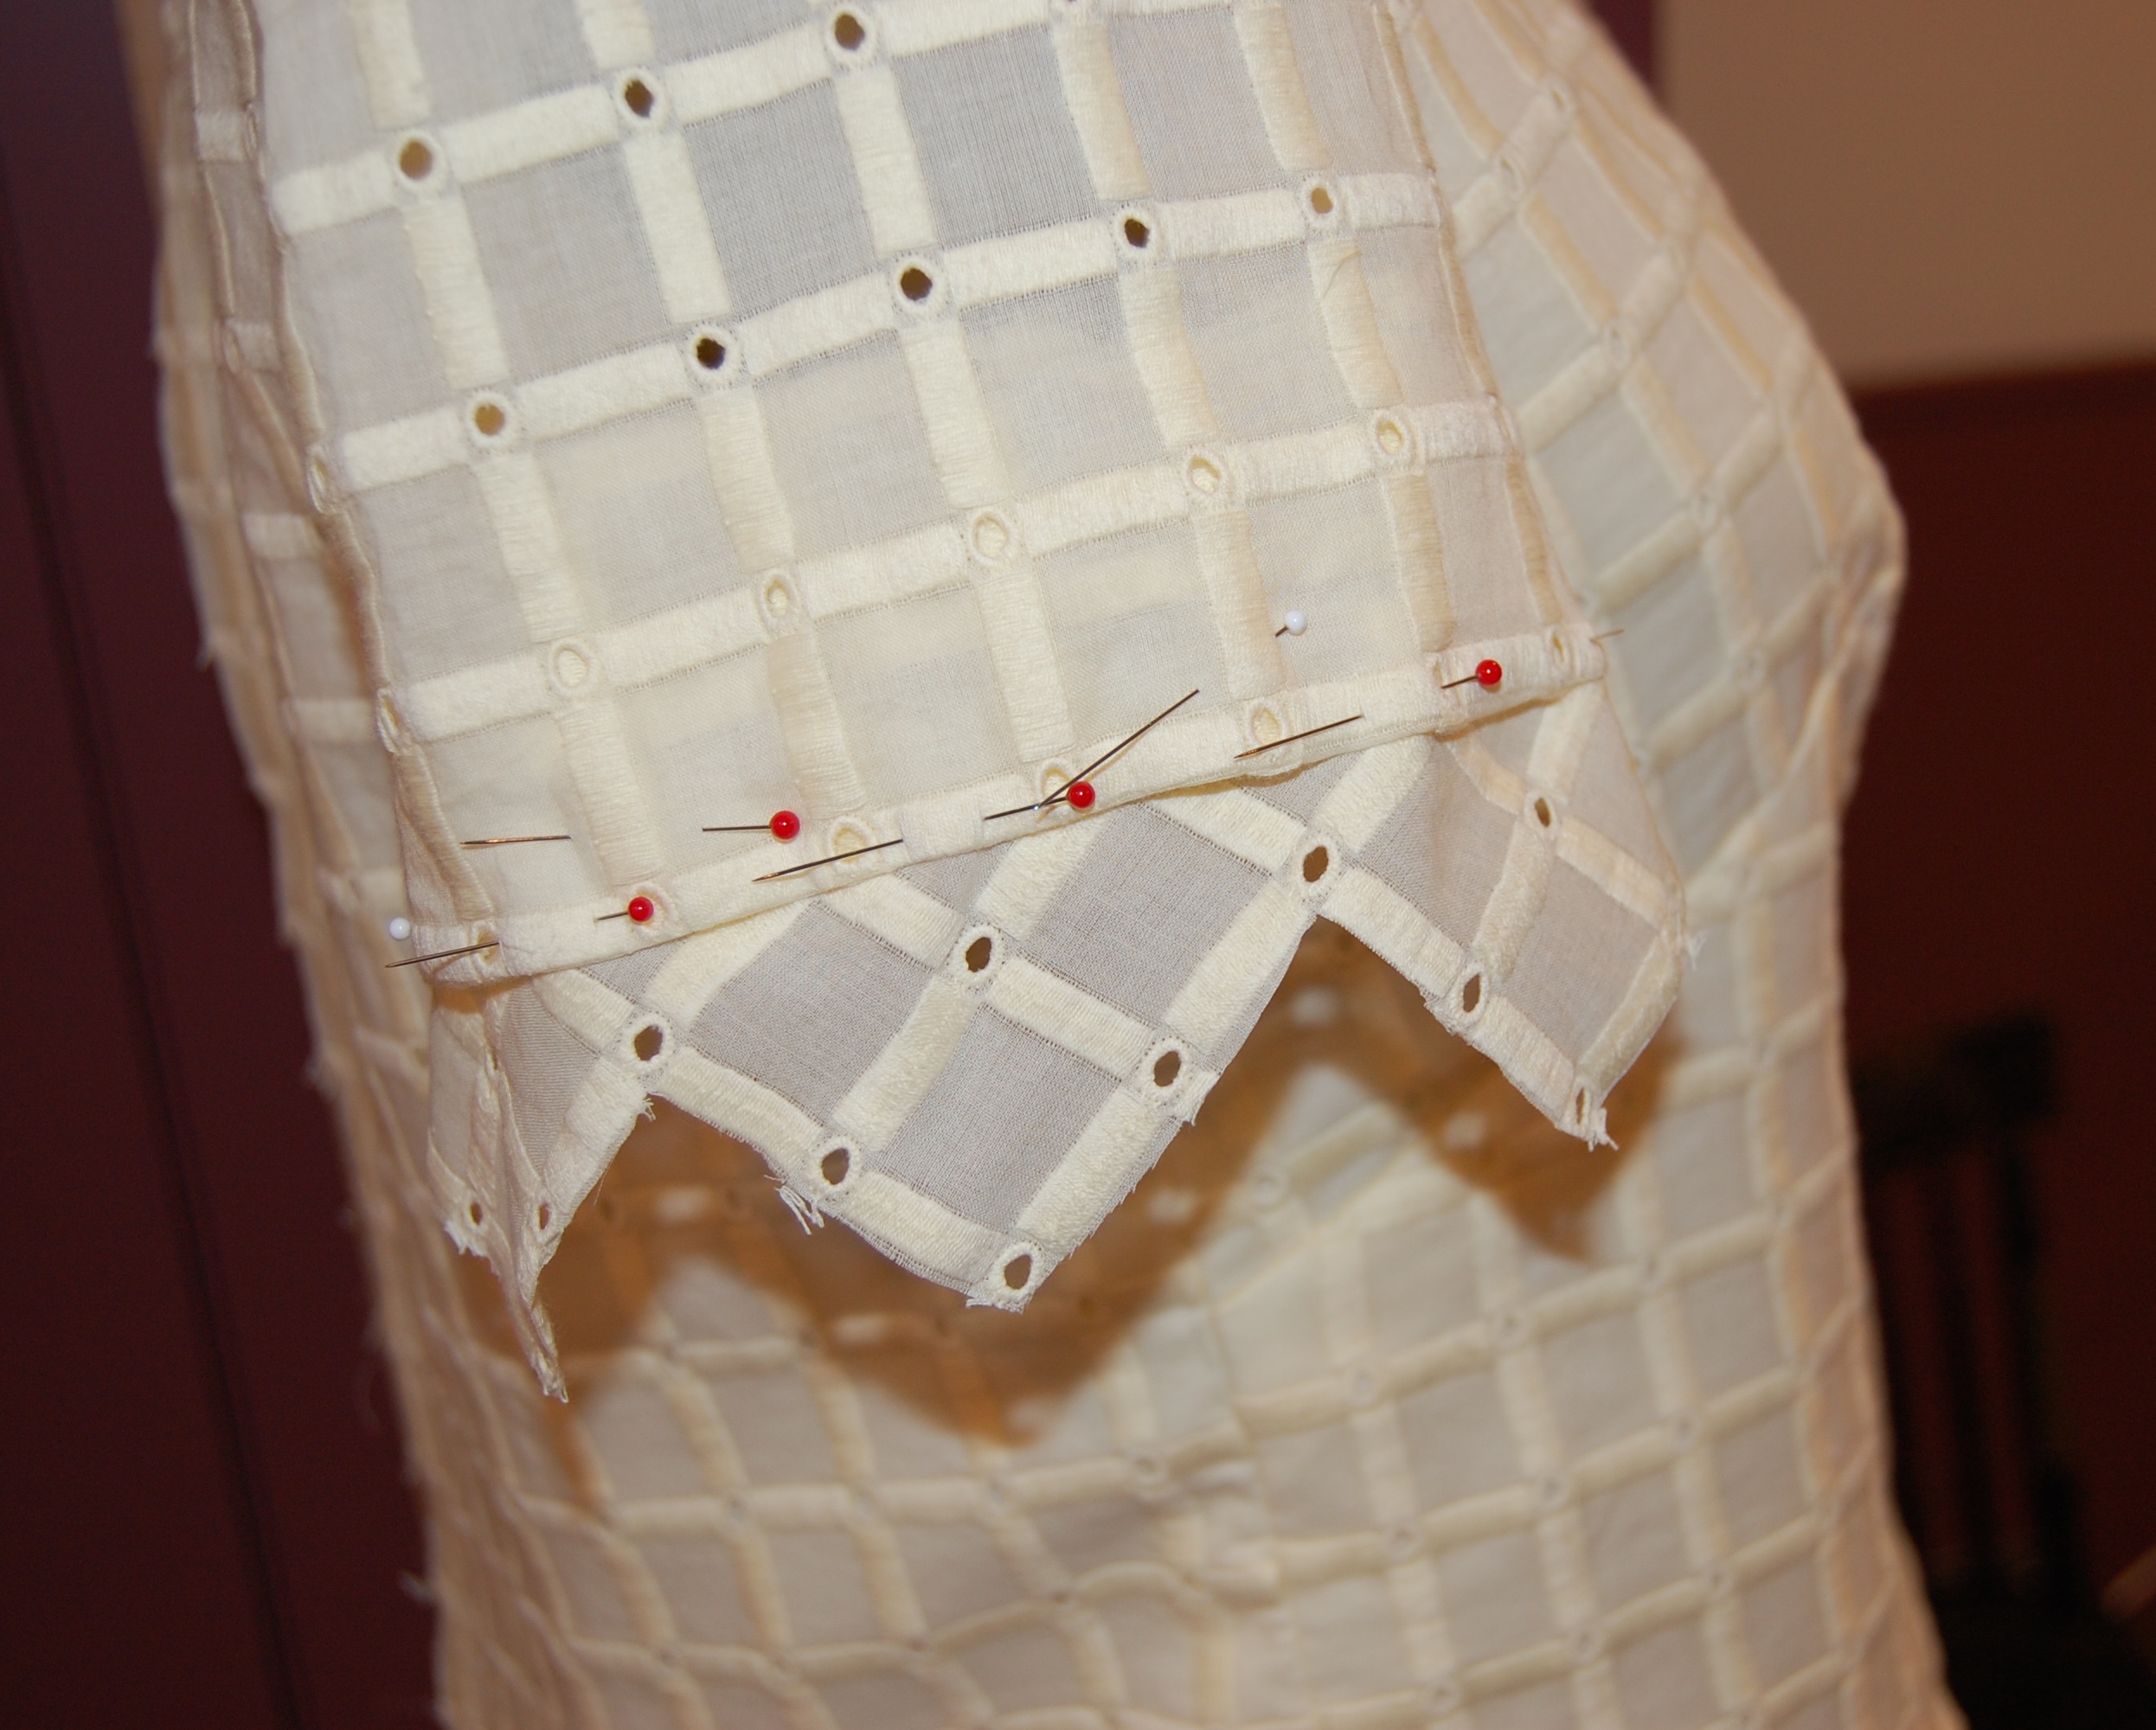
I decided the wider trim was necessary to make the proper impact. Here is a sample of it pinned onto one sleeve.
Once I decided the proper width of the trim, I set about hemming it by hand. Here is a photo of that “hemming” process.
On the right you can see one “peak” already stitched.
Having the trim cut on the bias gave me flexibility in attaching it to the sleeve and bottom edges. Then finishing the inside raw edges provided its own challenge. I had already used Hug Snug rayon tape to finish the interior seams. The soft, non-bulky nature of this wonder tape gave me the idea to use it for finishing the armscyes and the interior sleeve edges.
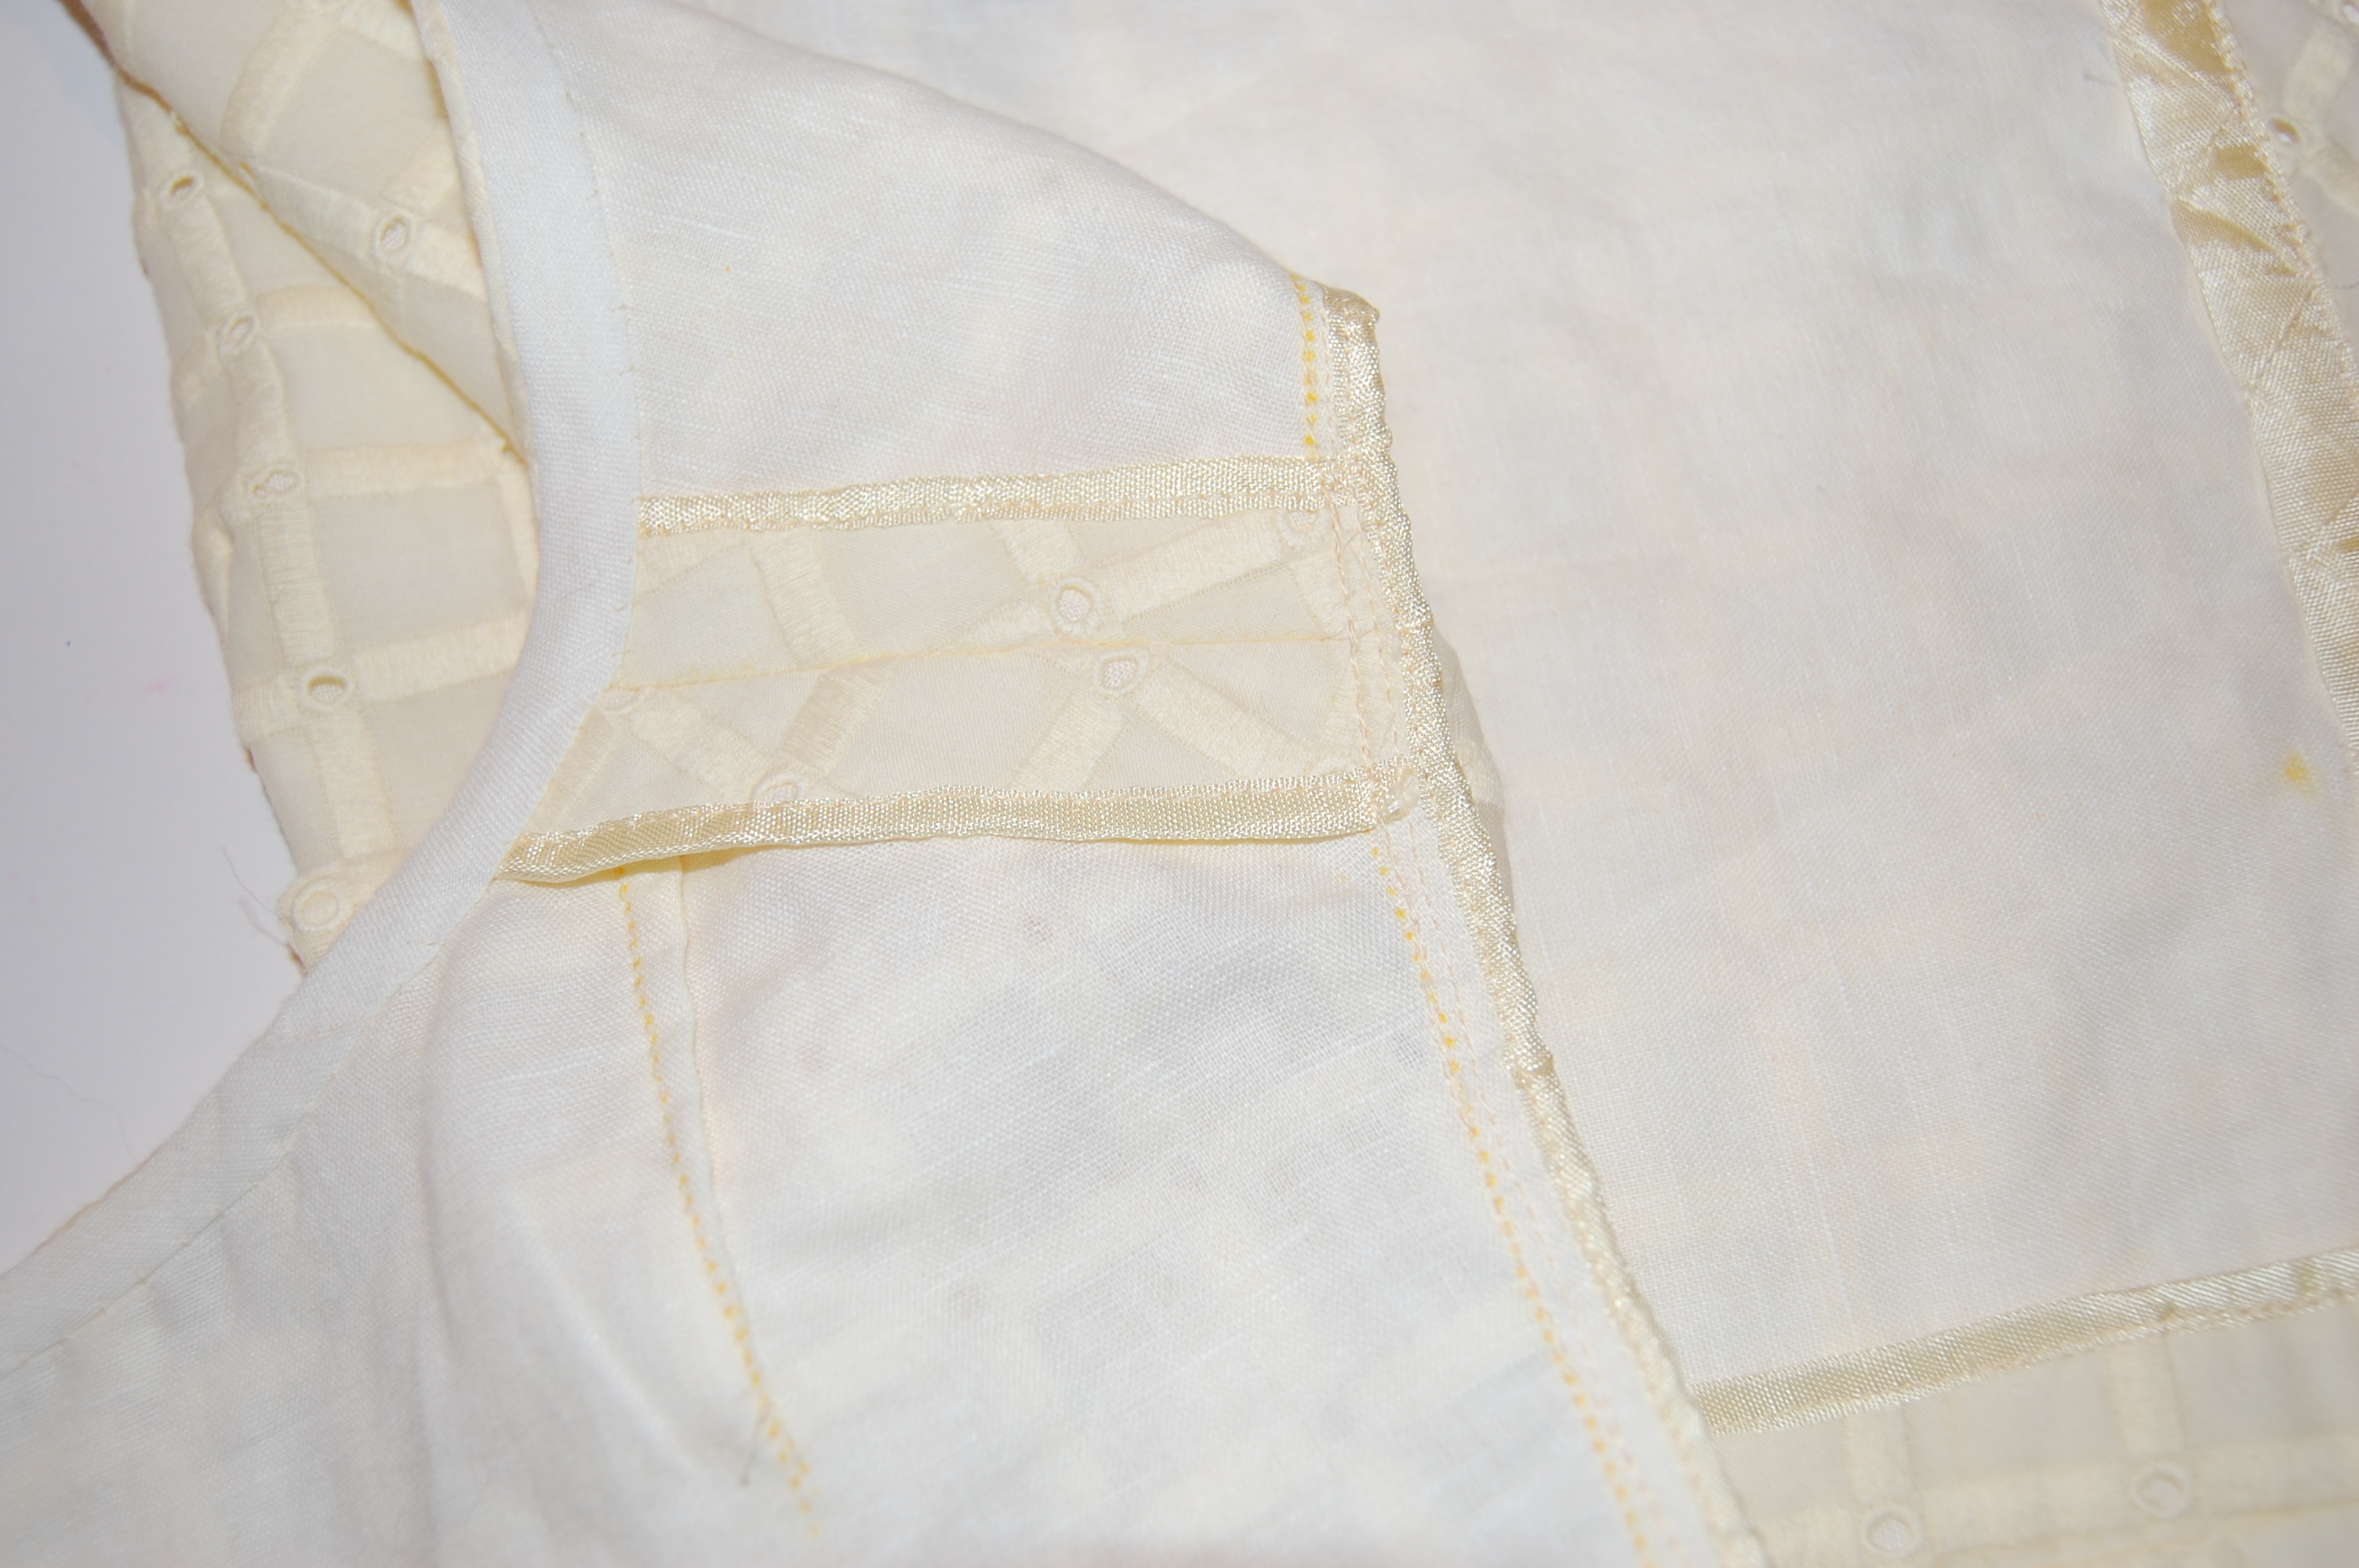
I made a bias tape out of the underling fabric to bind the neck edge. Seam edges are encased in Hug Snug. Click on the photo to see more detail.
The actual hem on the blouse presented me with three edges (the fashion fabric, the underlining, and the bias trim) to control and hold together. I used Hug Snug again, this time flat and sewn with a catchstitch (a fabulous idea I just got from Lilacs and Lace blog, which I will use again and again! Thanks, Laura Mae!)
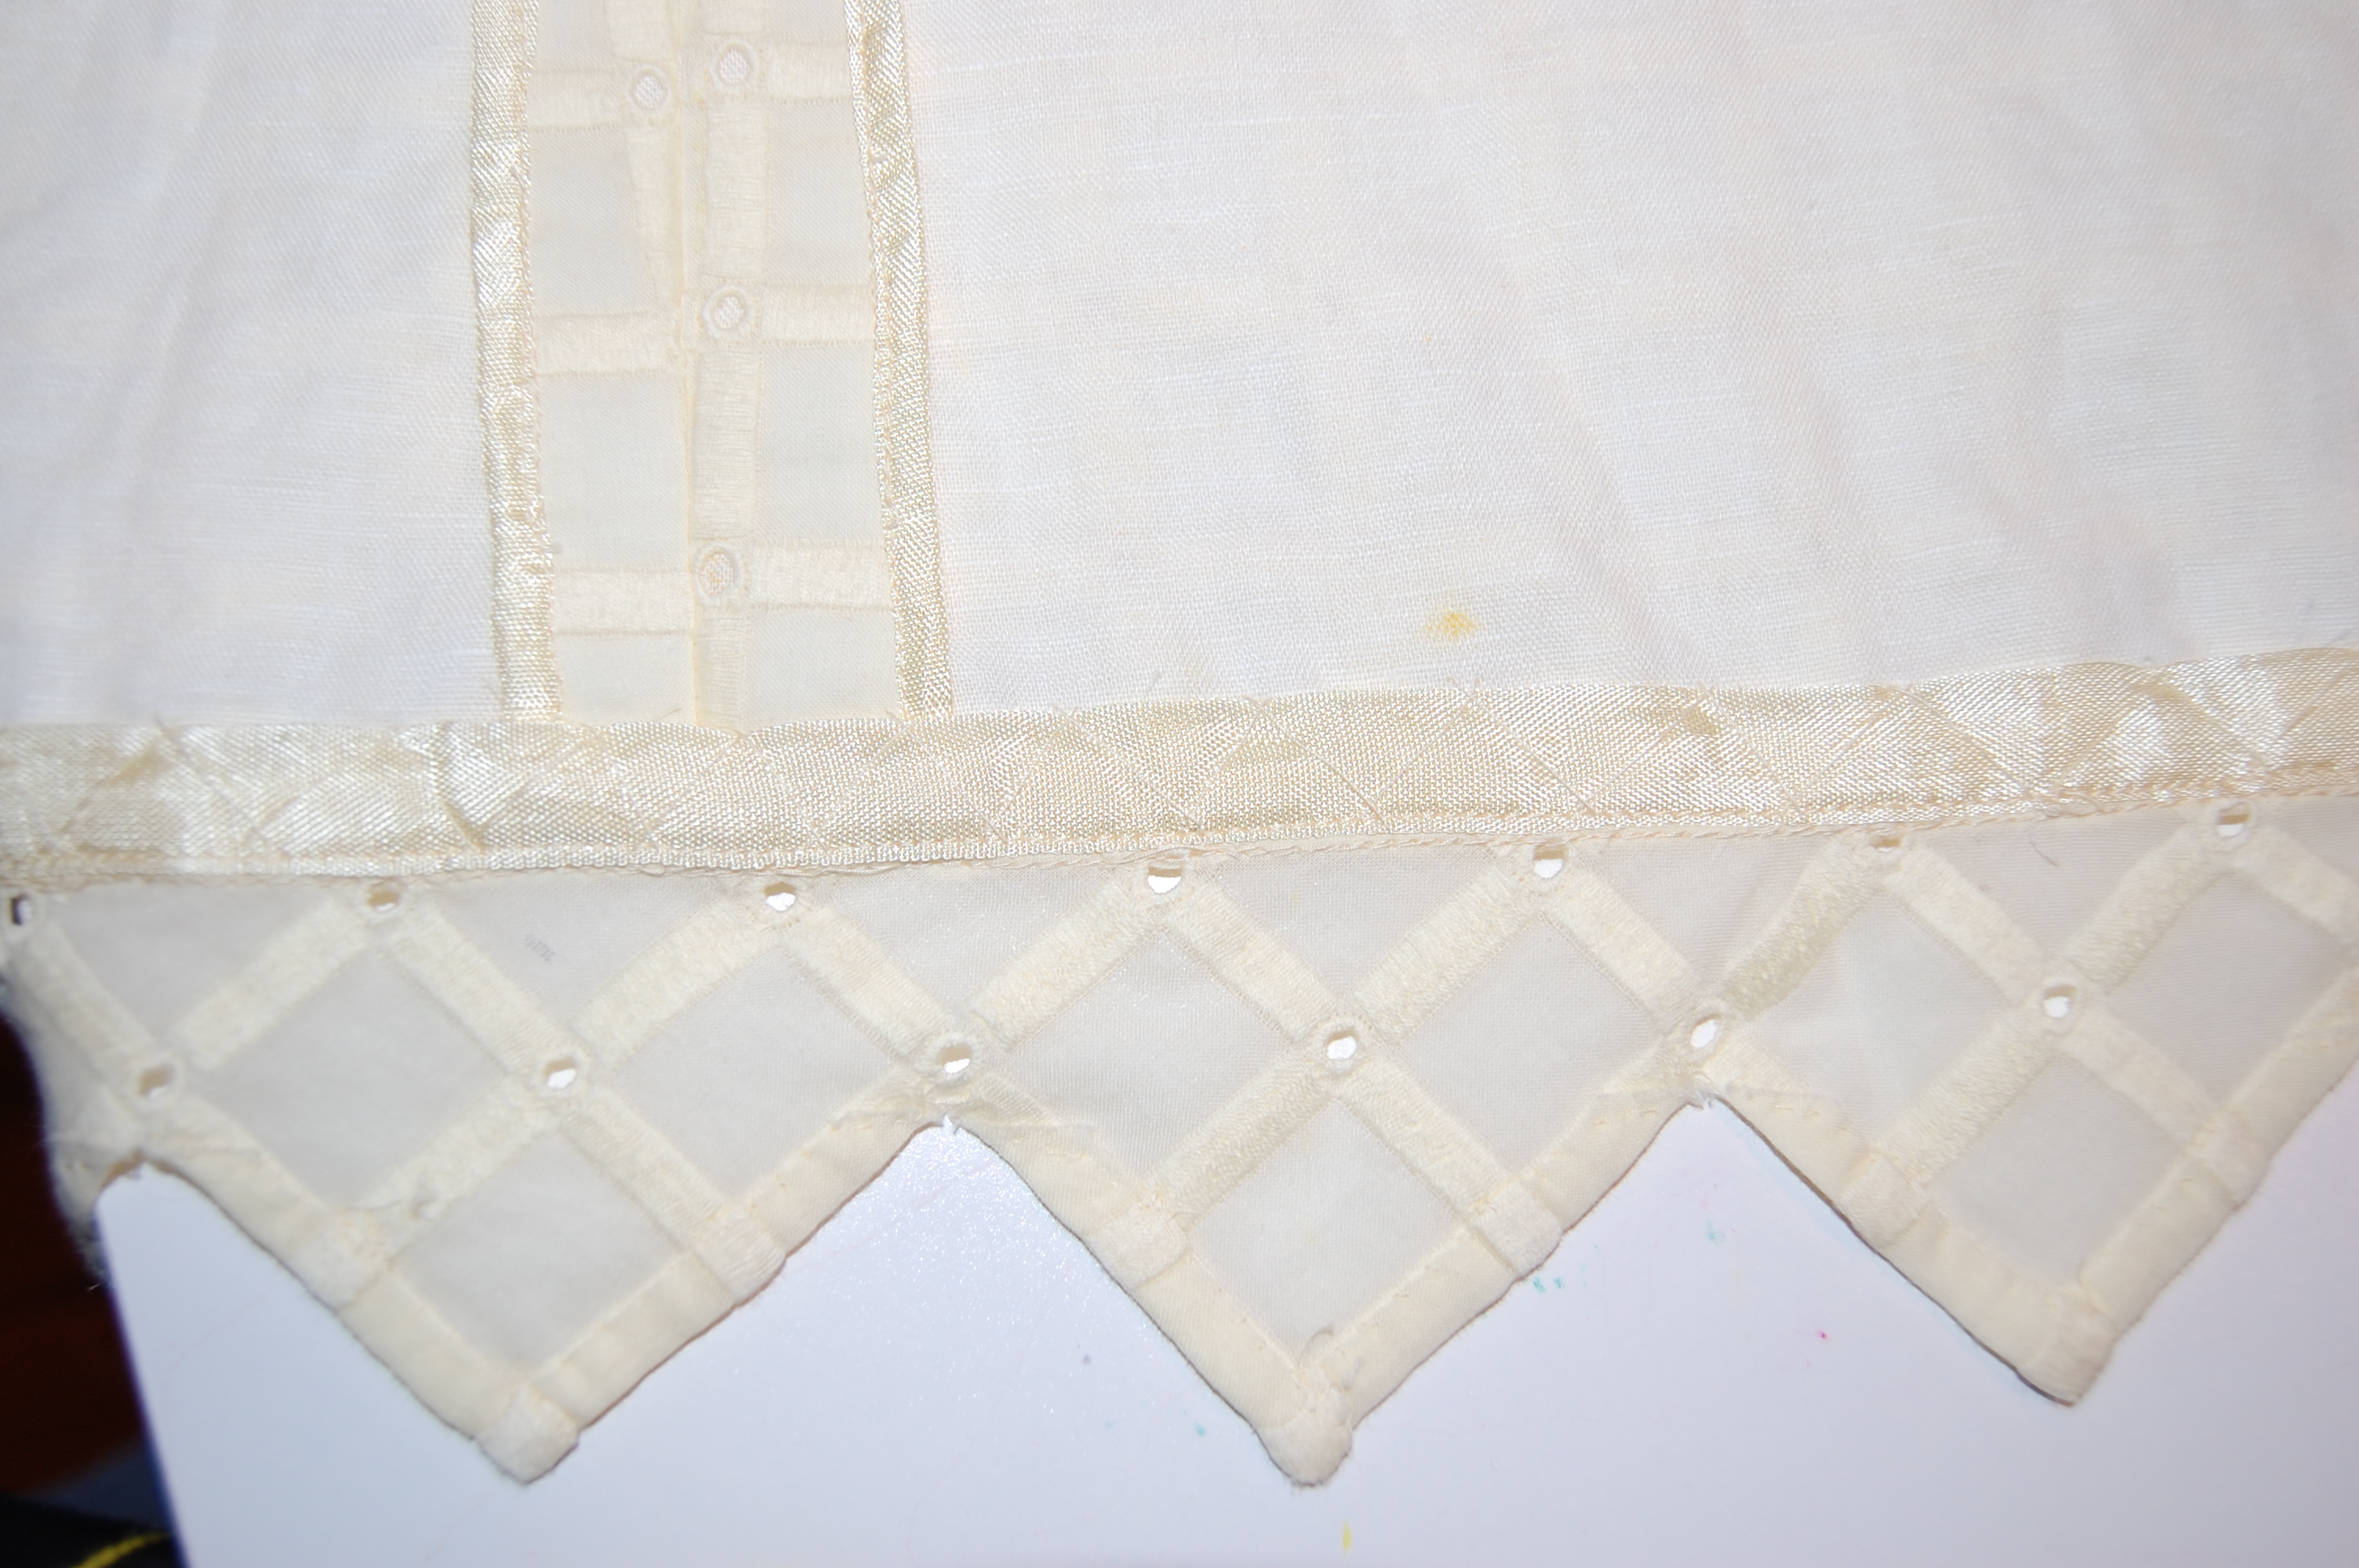
The catch stitch is done across the width of the Snug Hug tape. It is the perfect technique for this application. Again, click on the photo for more detail.
I had some difficulty finding an 18” separating zipper that was lightweight enough for this blouse. I still think the one I finally ended up using is a bit heavy, but until I find another one, this one will have to do.
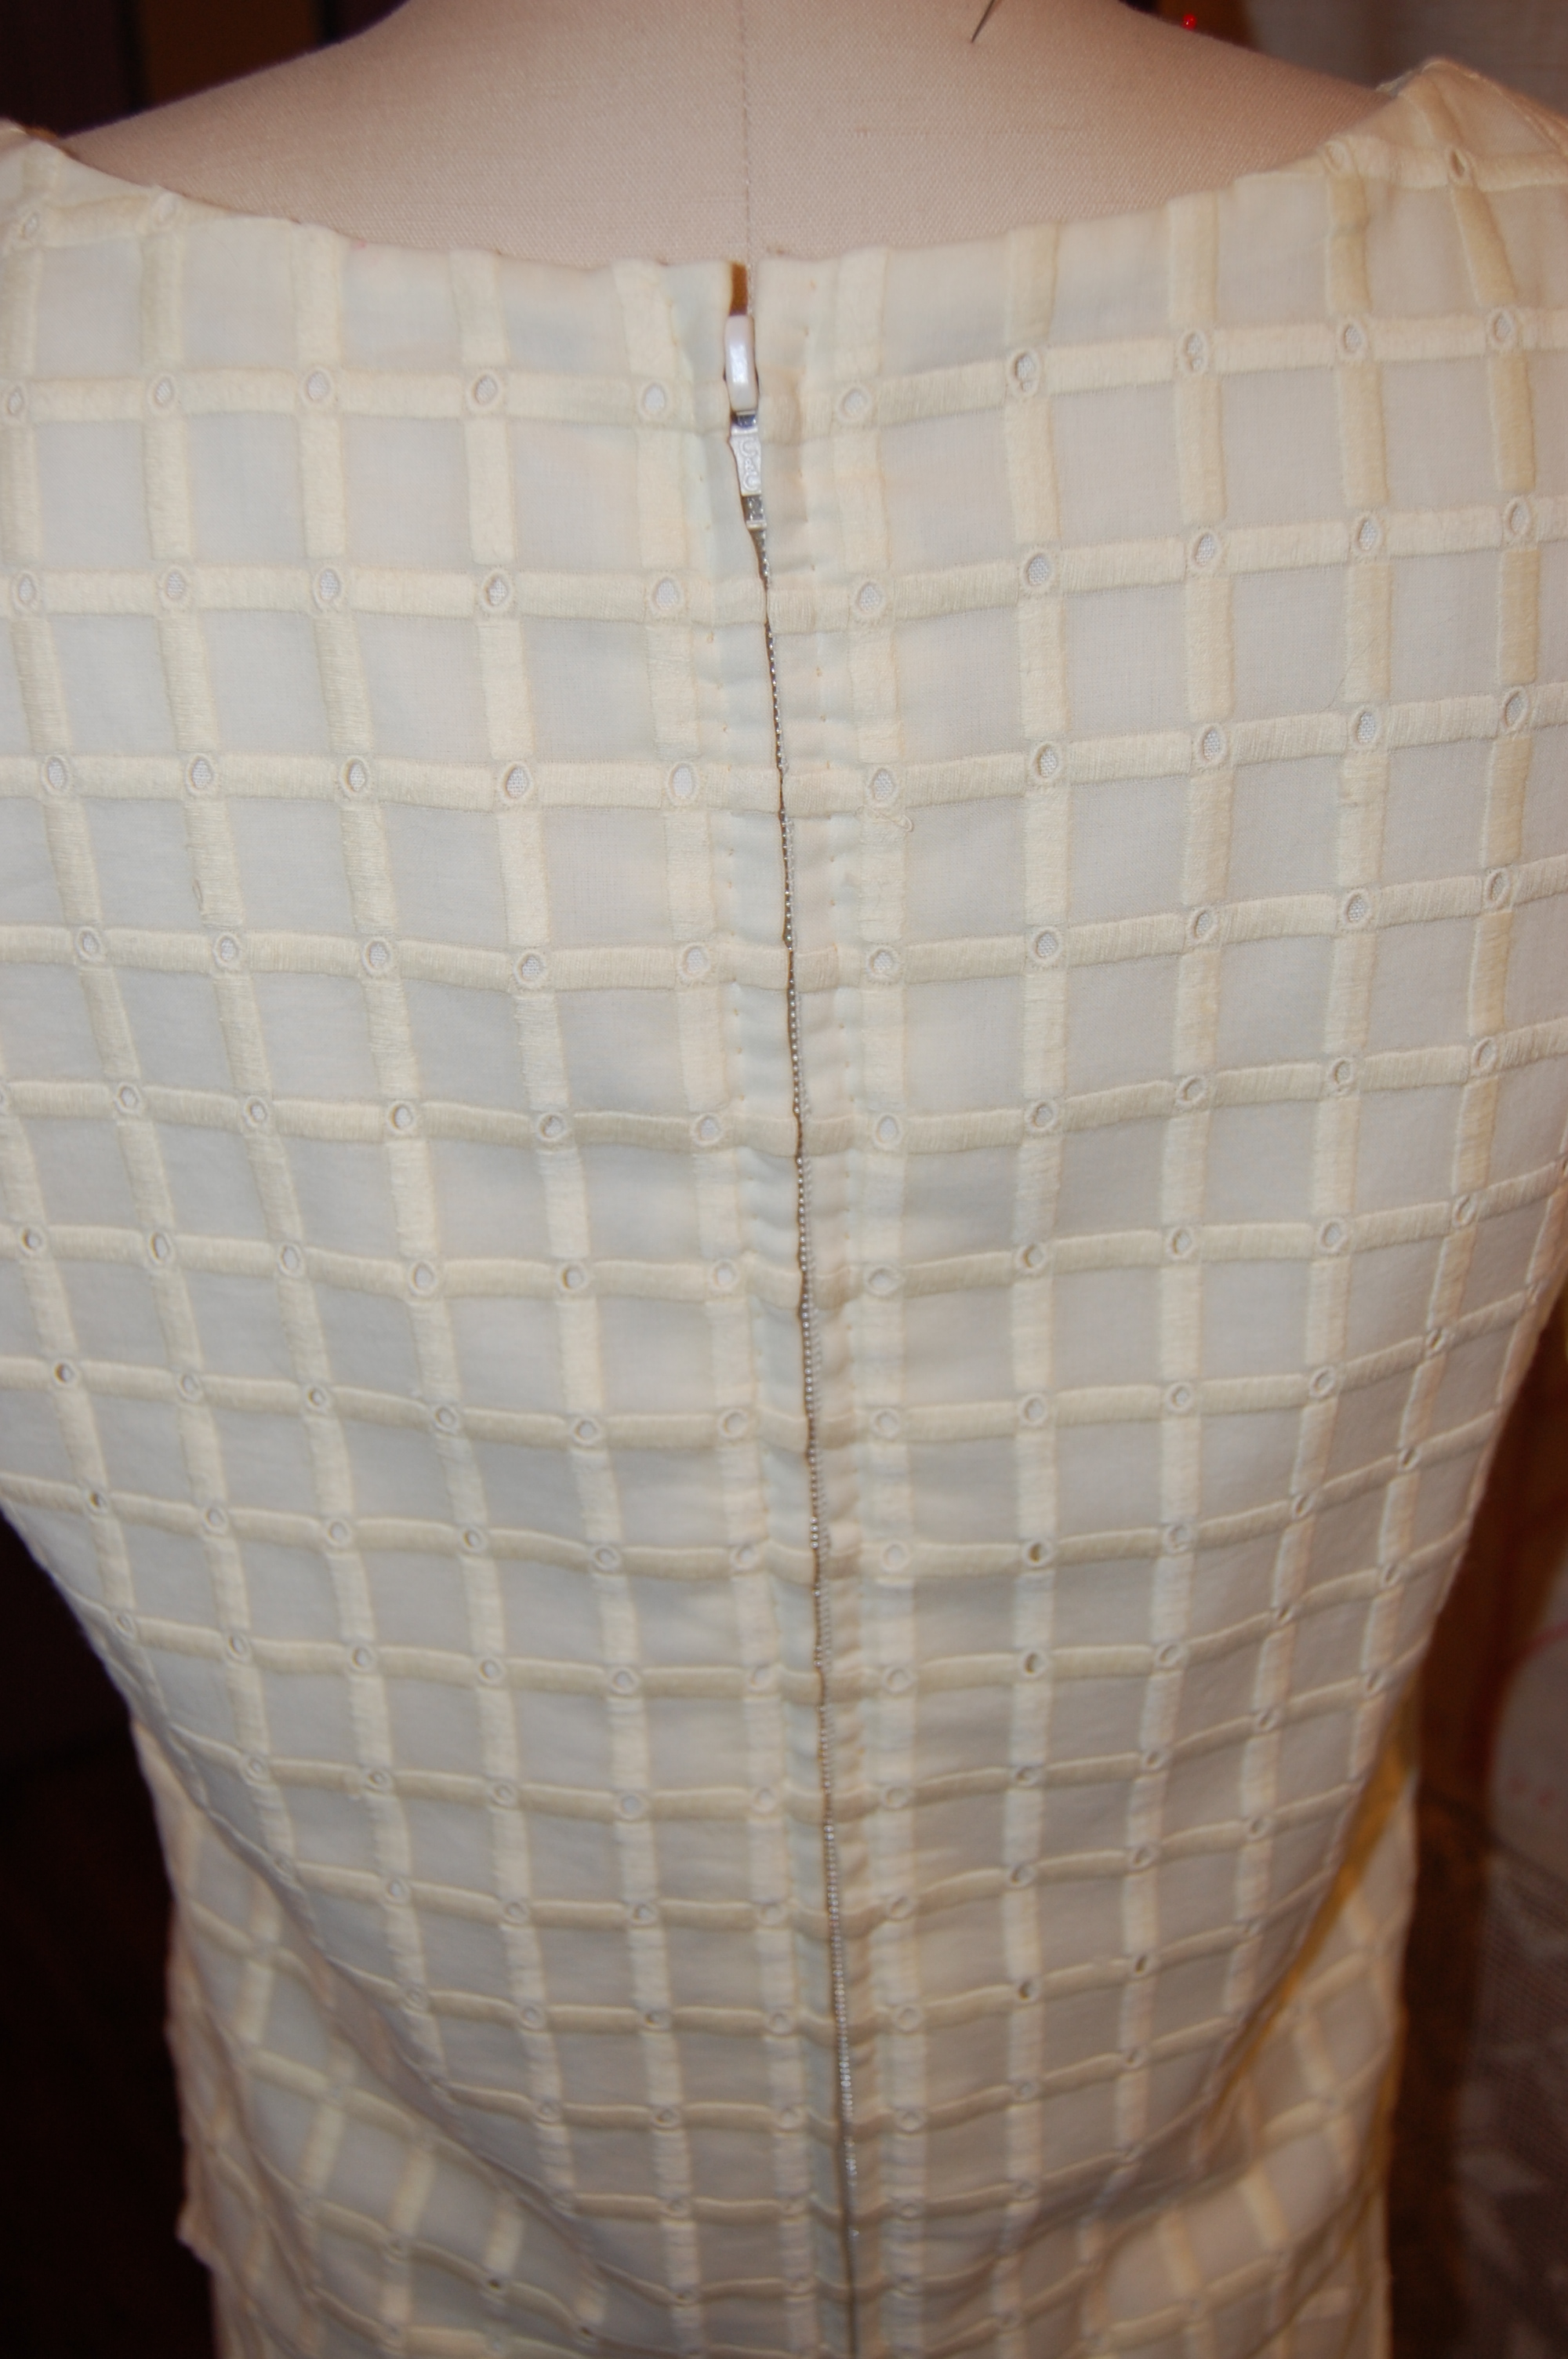
I still need to add a hook and eye at the top!
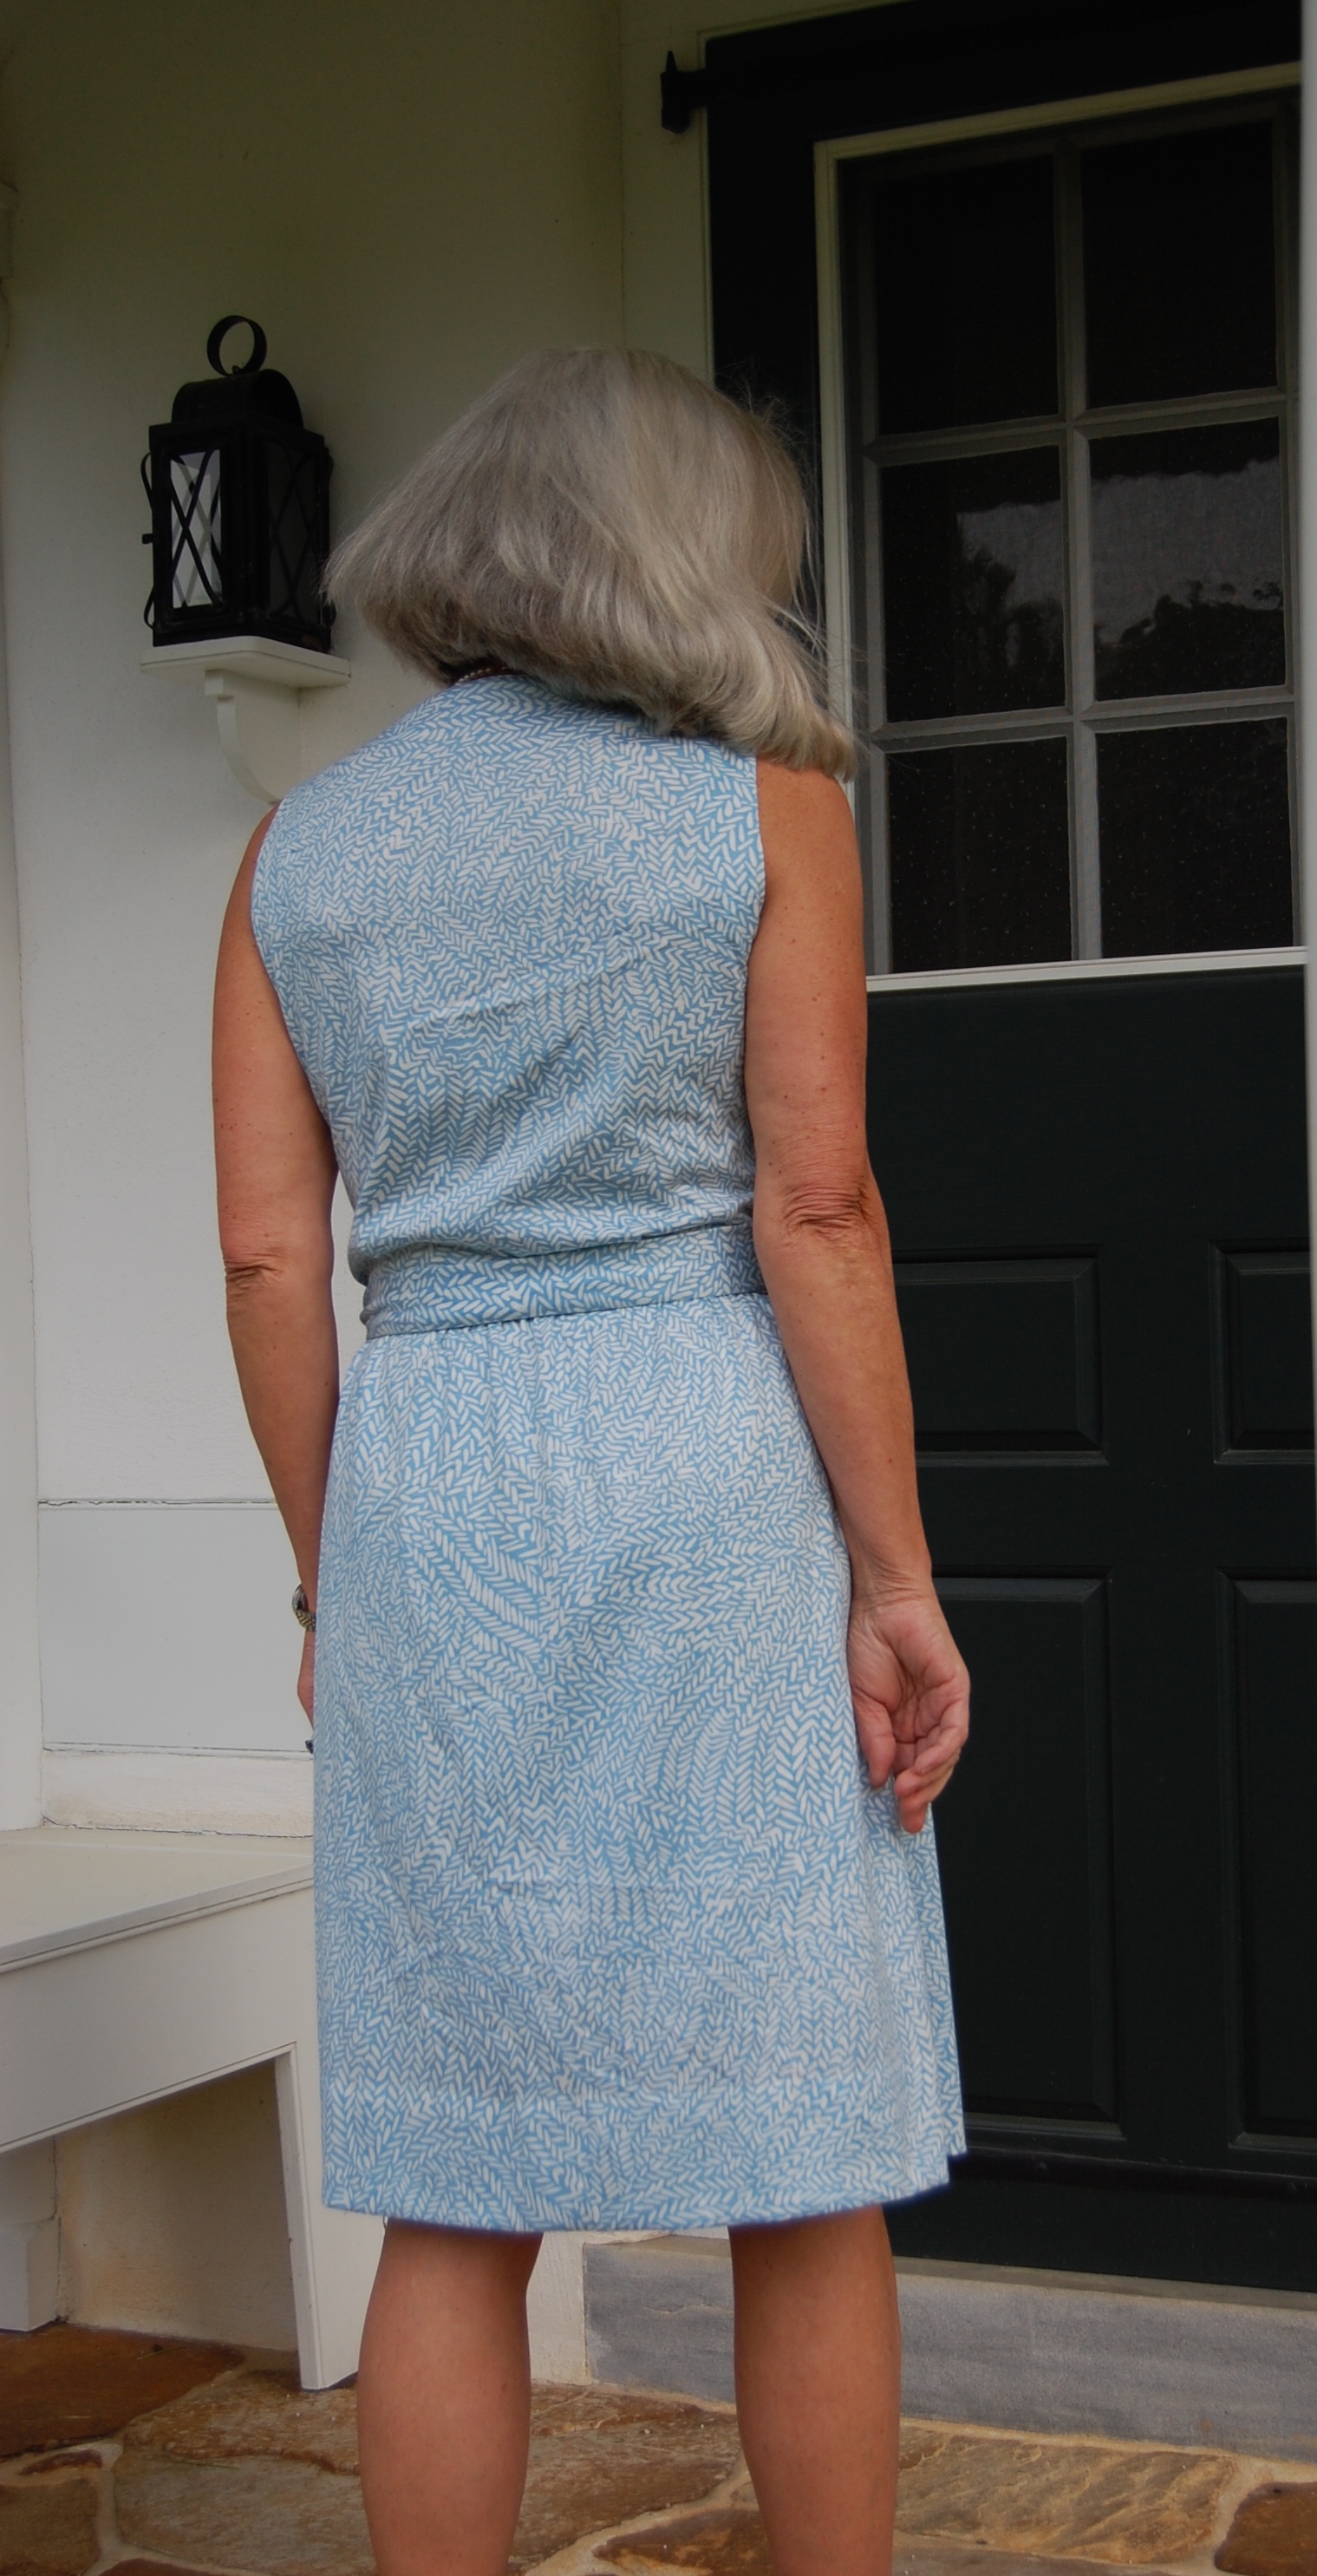
I have always loved overblouses. They are comfortable, classic, versatile, and just a little bit different of a look. I think this one fits that description well – I like it!
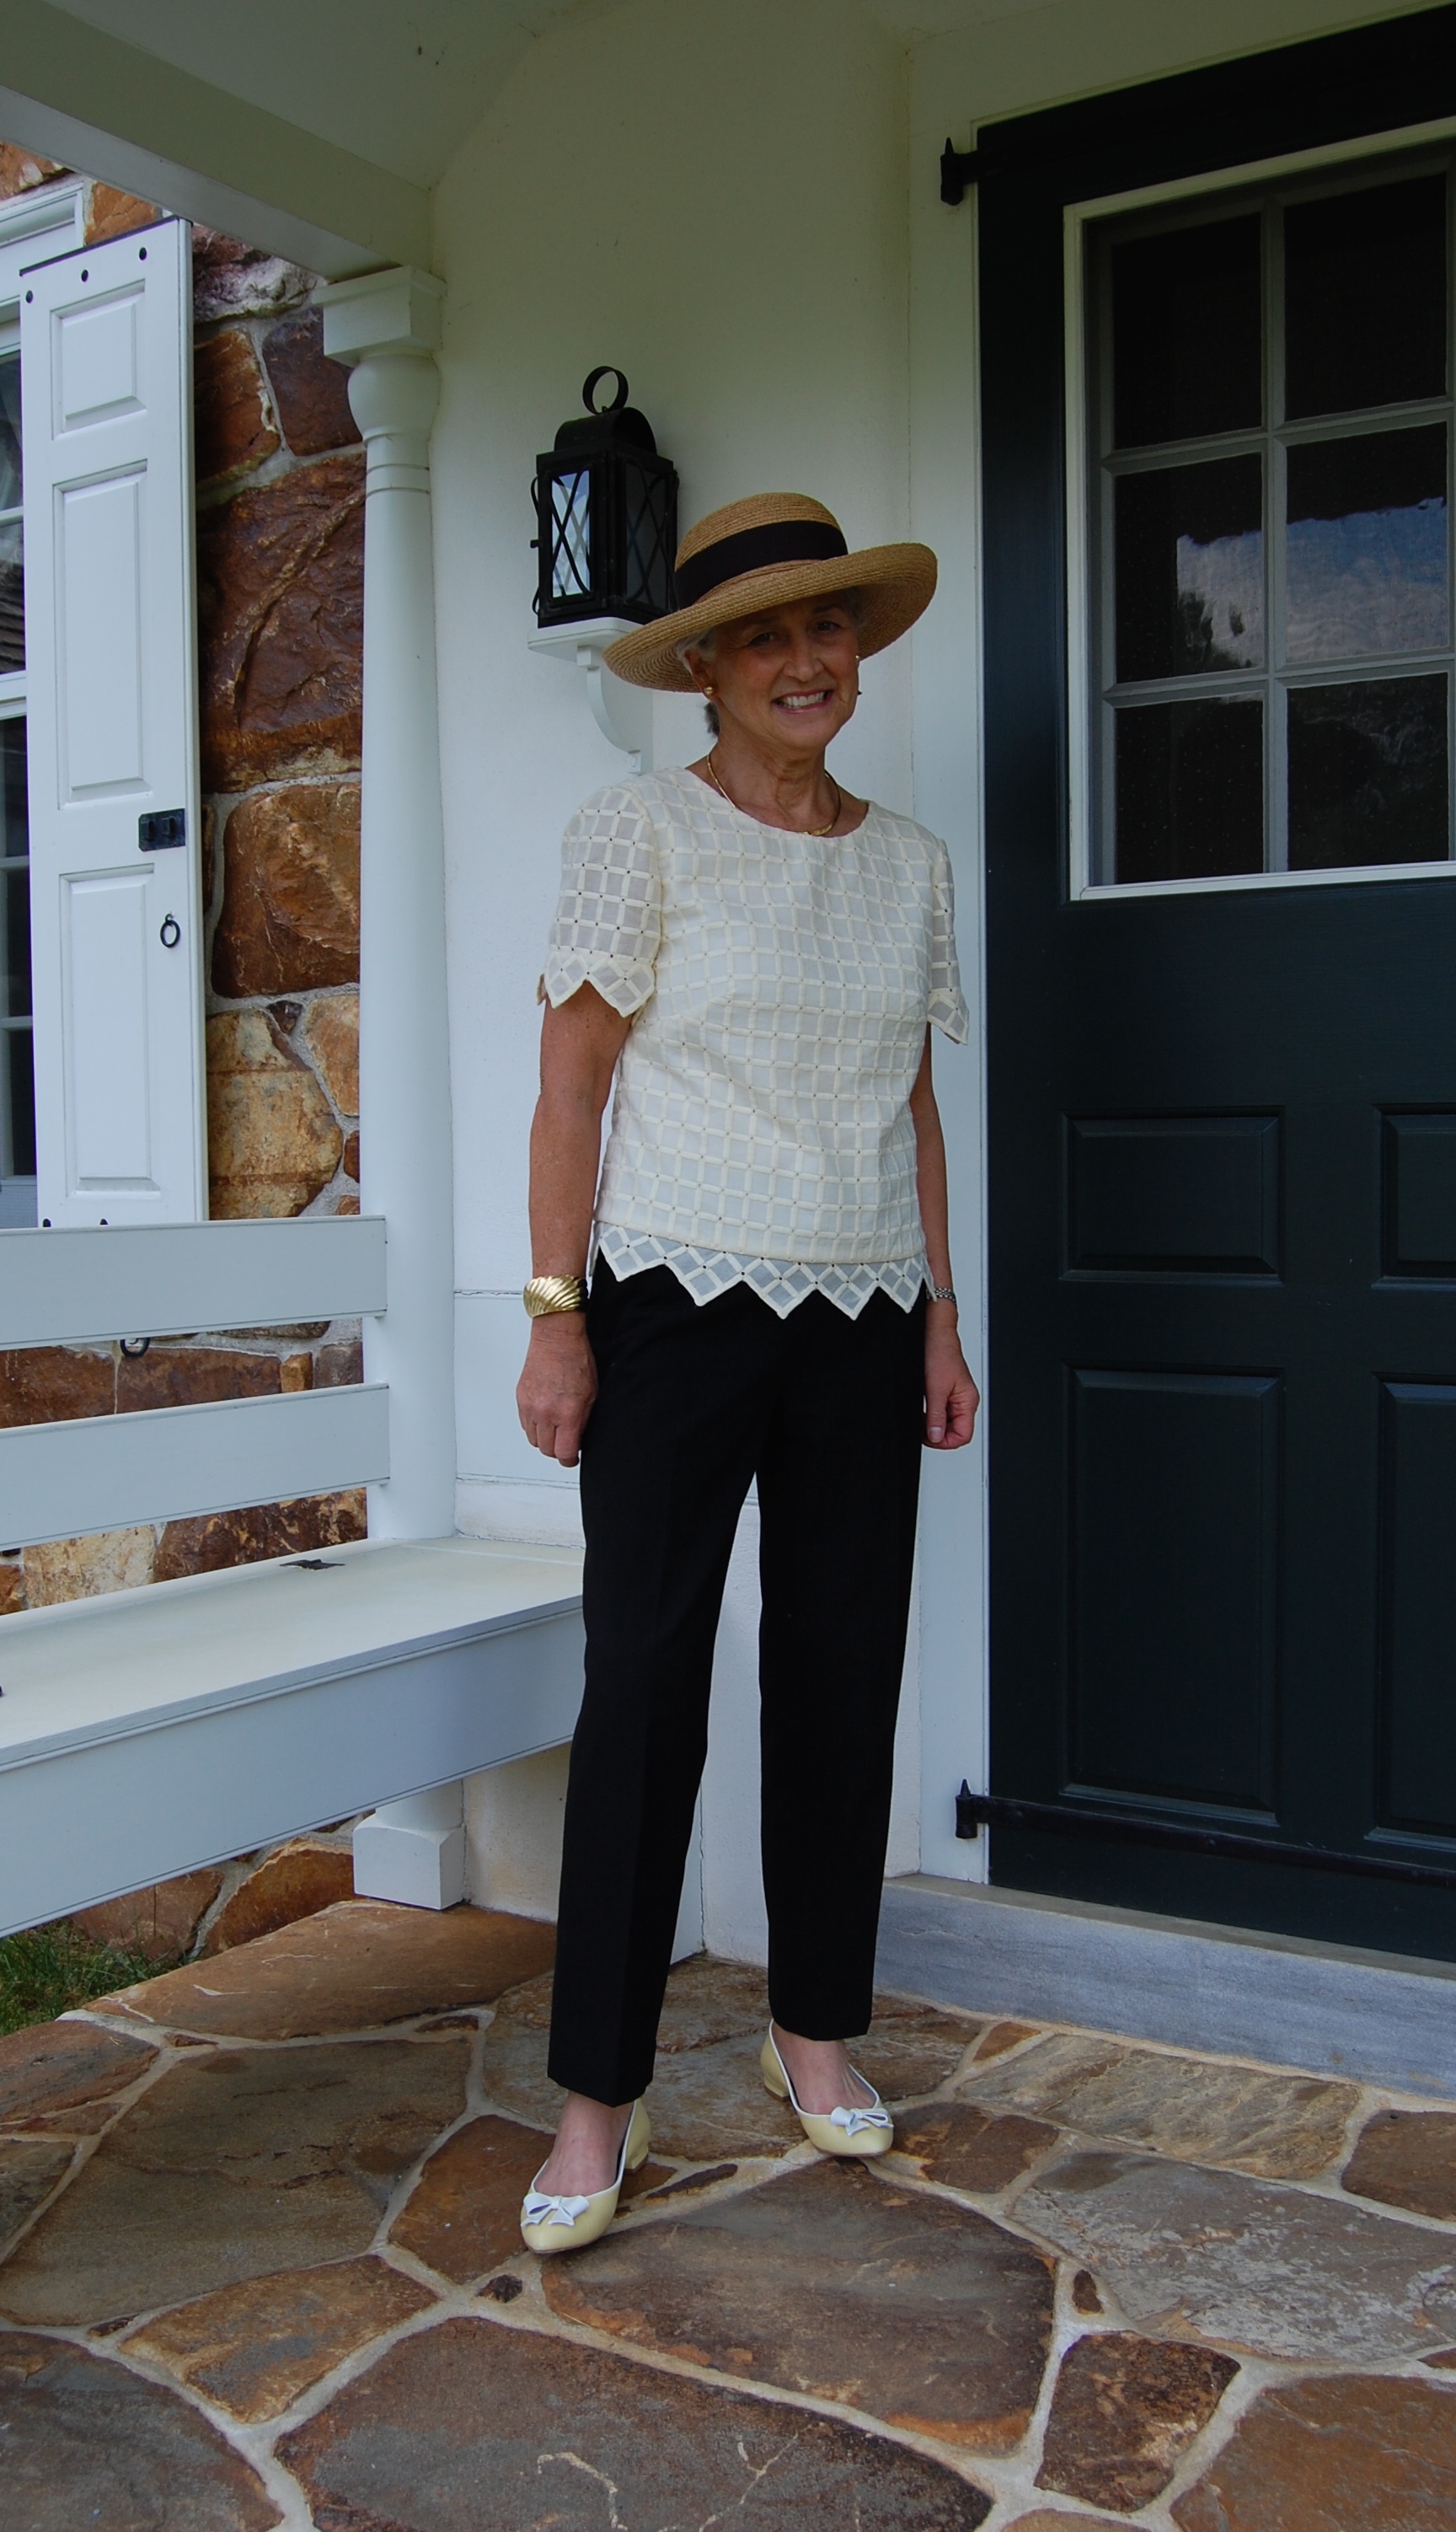
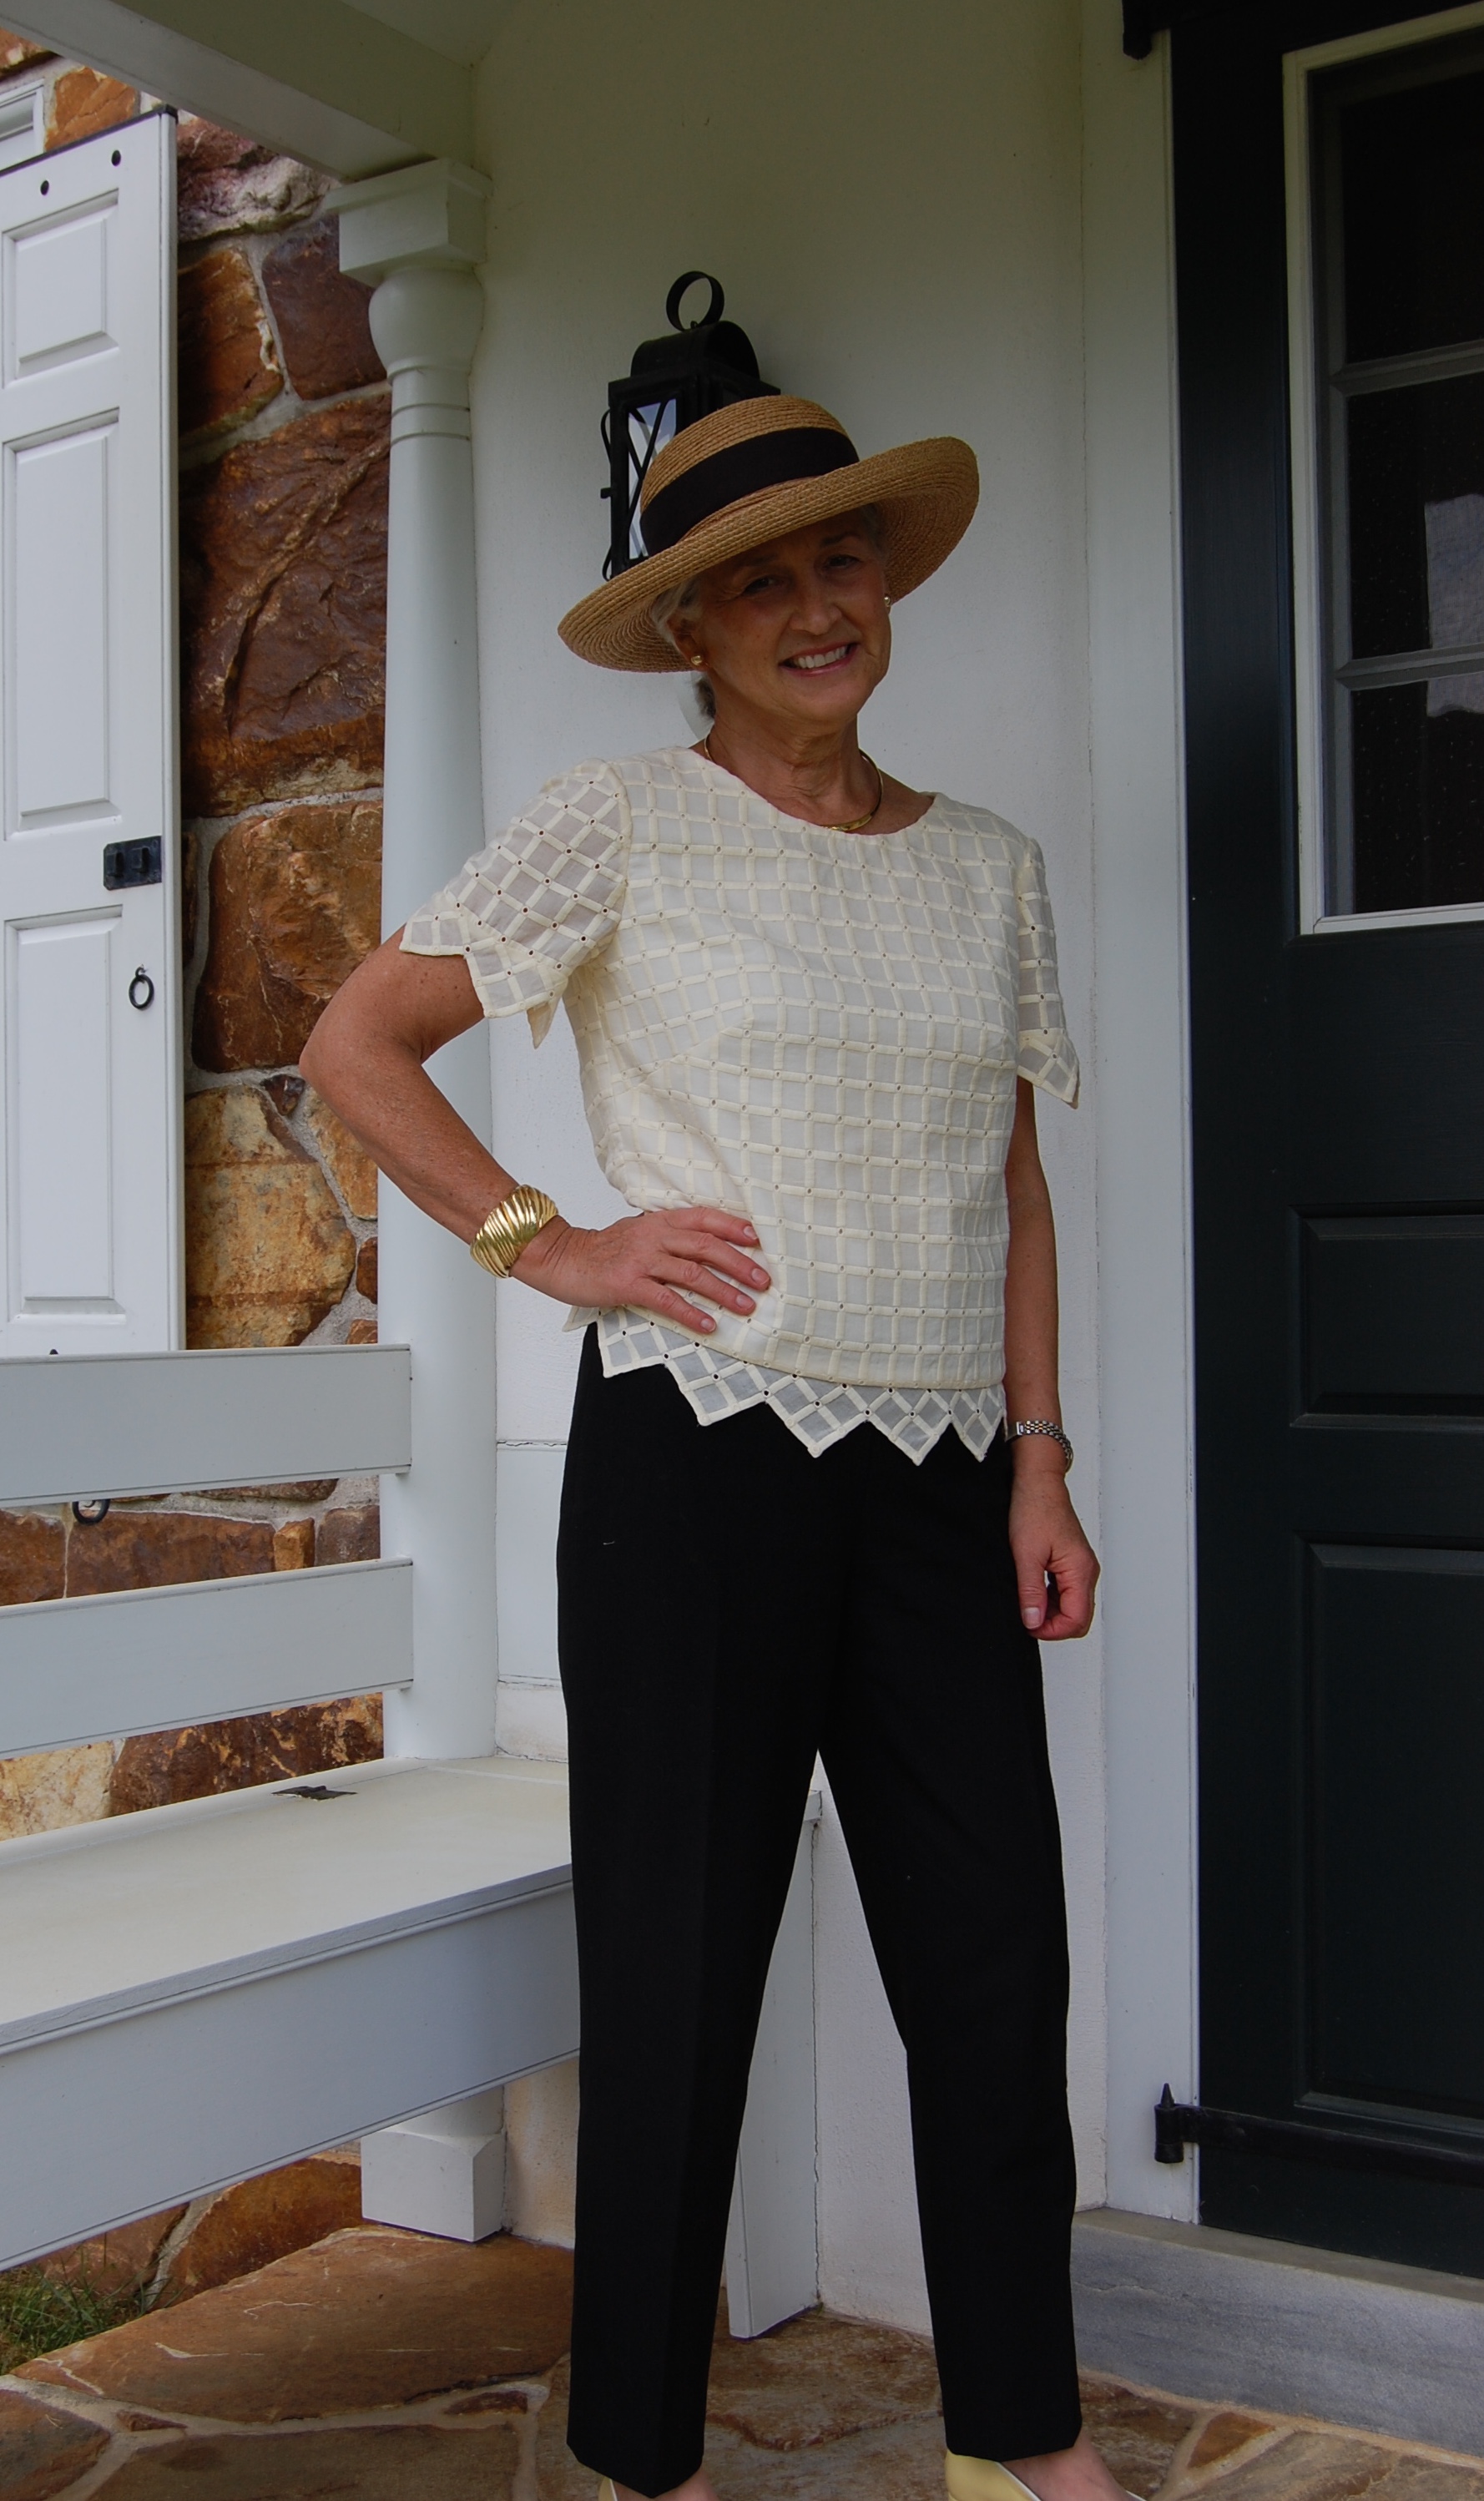
I could not resist styling this blouse with a hat!
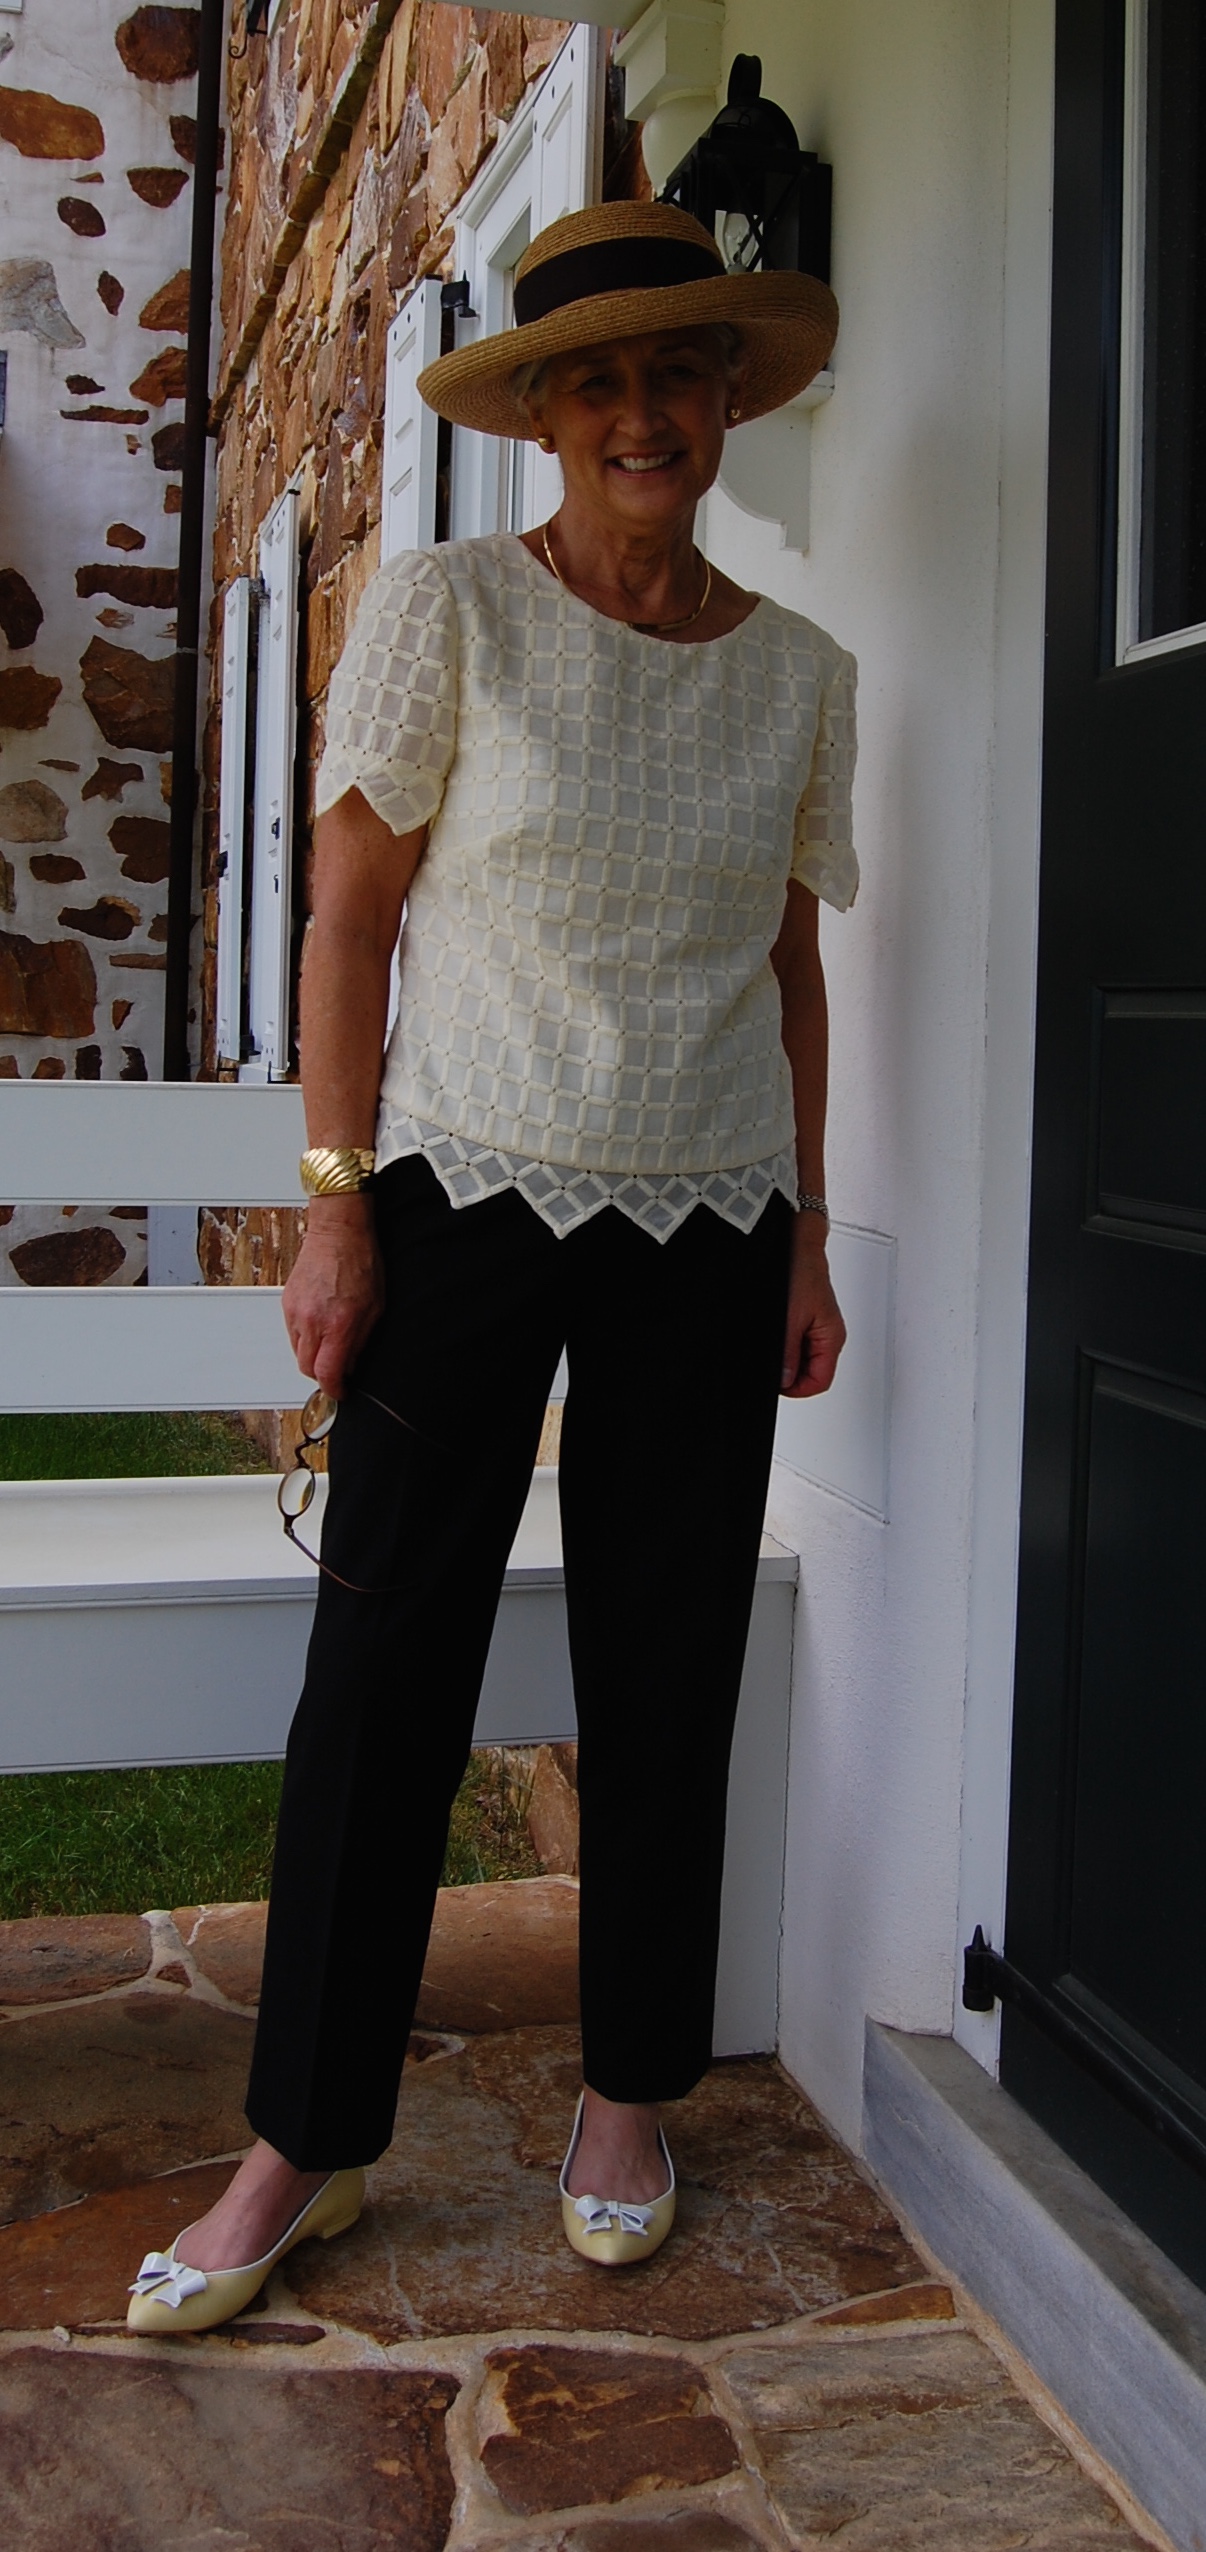
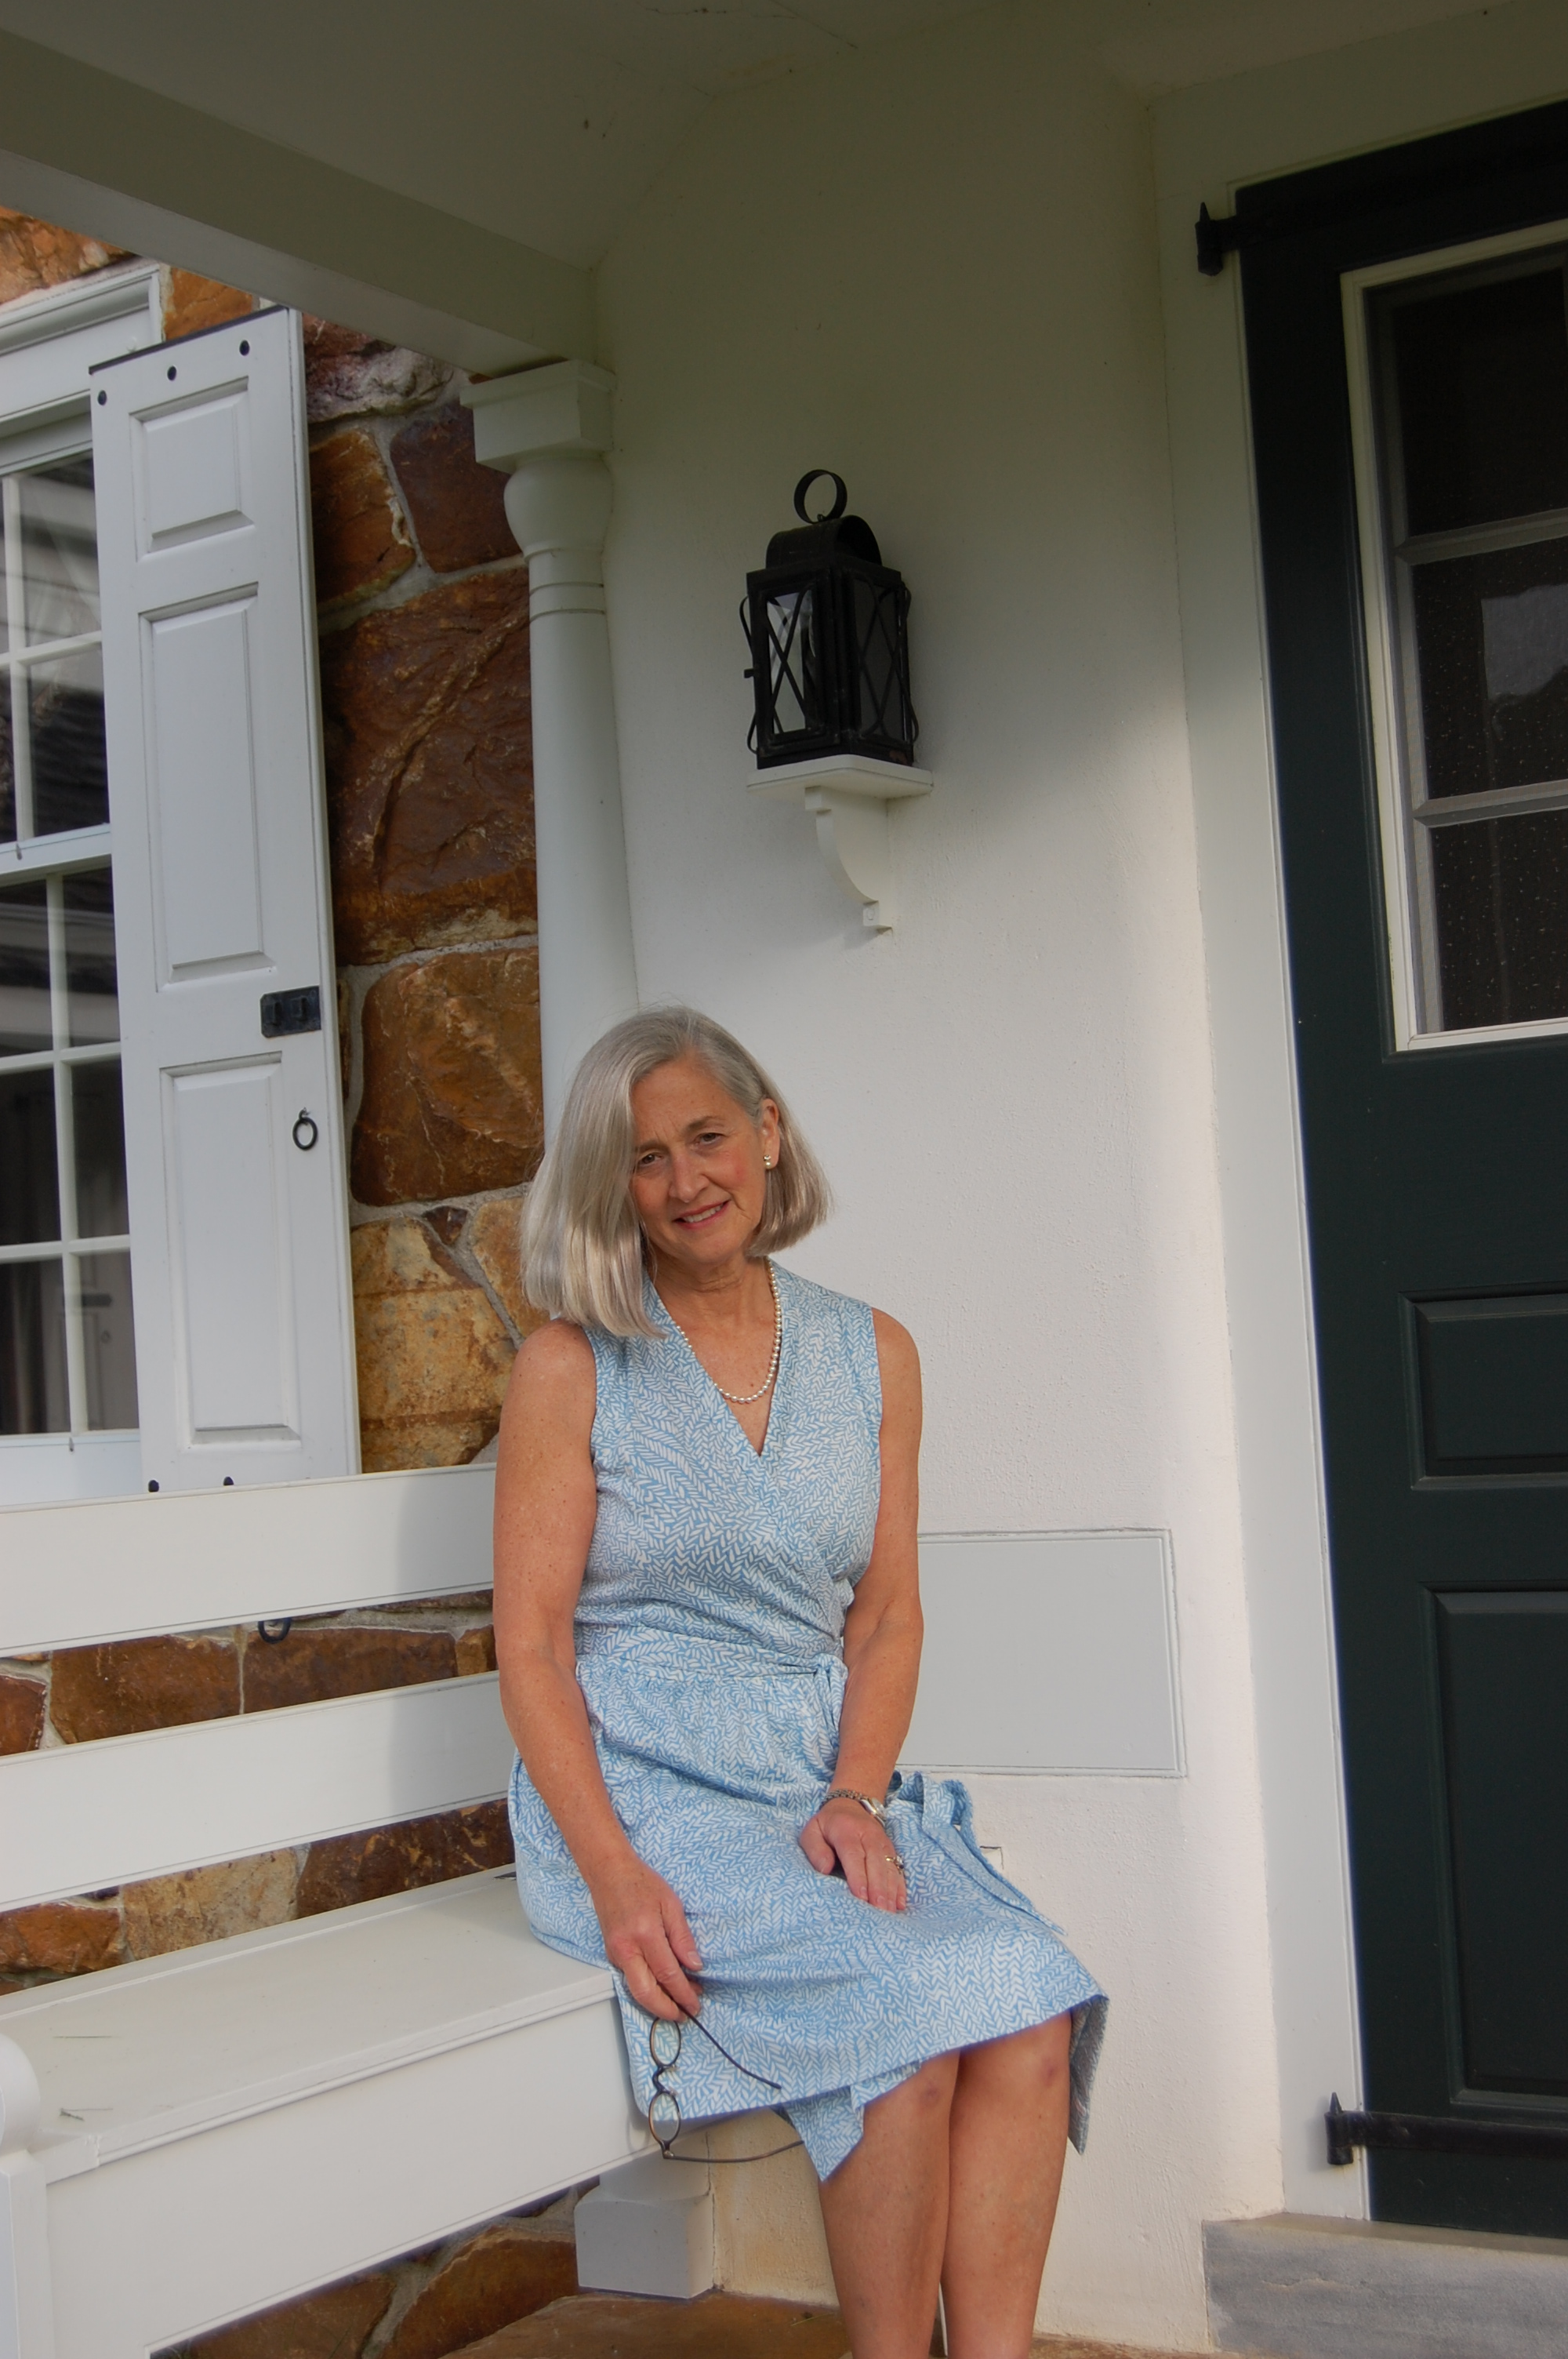
Pale yellow shoes help complete the outfit!
After Mellow Yellow, where do I go? My next project is anything but mellow – or yellow, for that matter. June will find me thinking – and making – fancy, but not frilly. Details soon . . .