Great fabric – just like great art – can (and probably should) elicit an emotional response from an engaged viewer and/or potential purchaser. It’s a very individual preference, of course, influenced by sewing knowledge, intended purpose, wear-ability, one’s fashion style, and nostalgia.
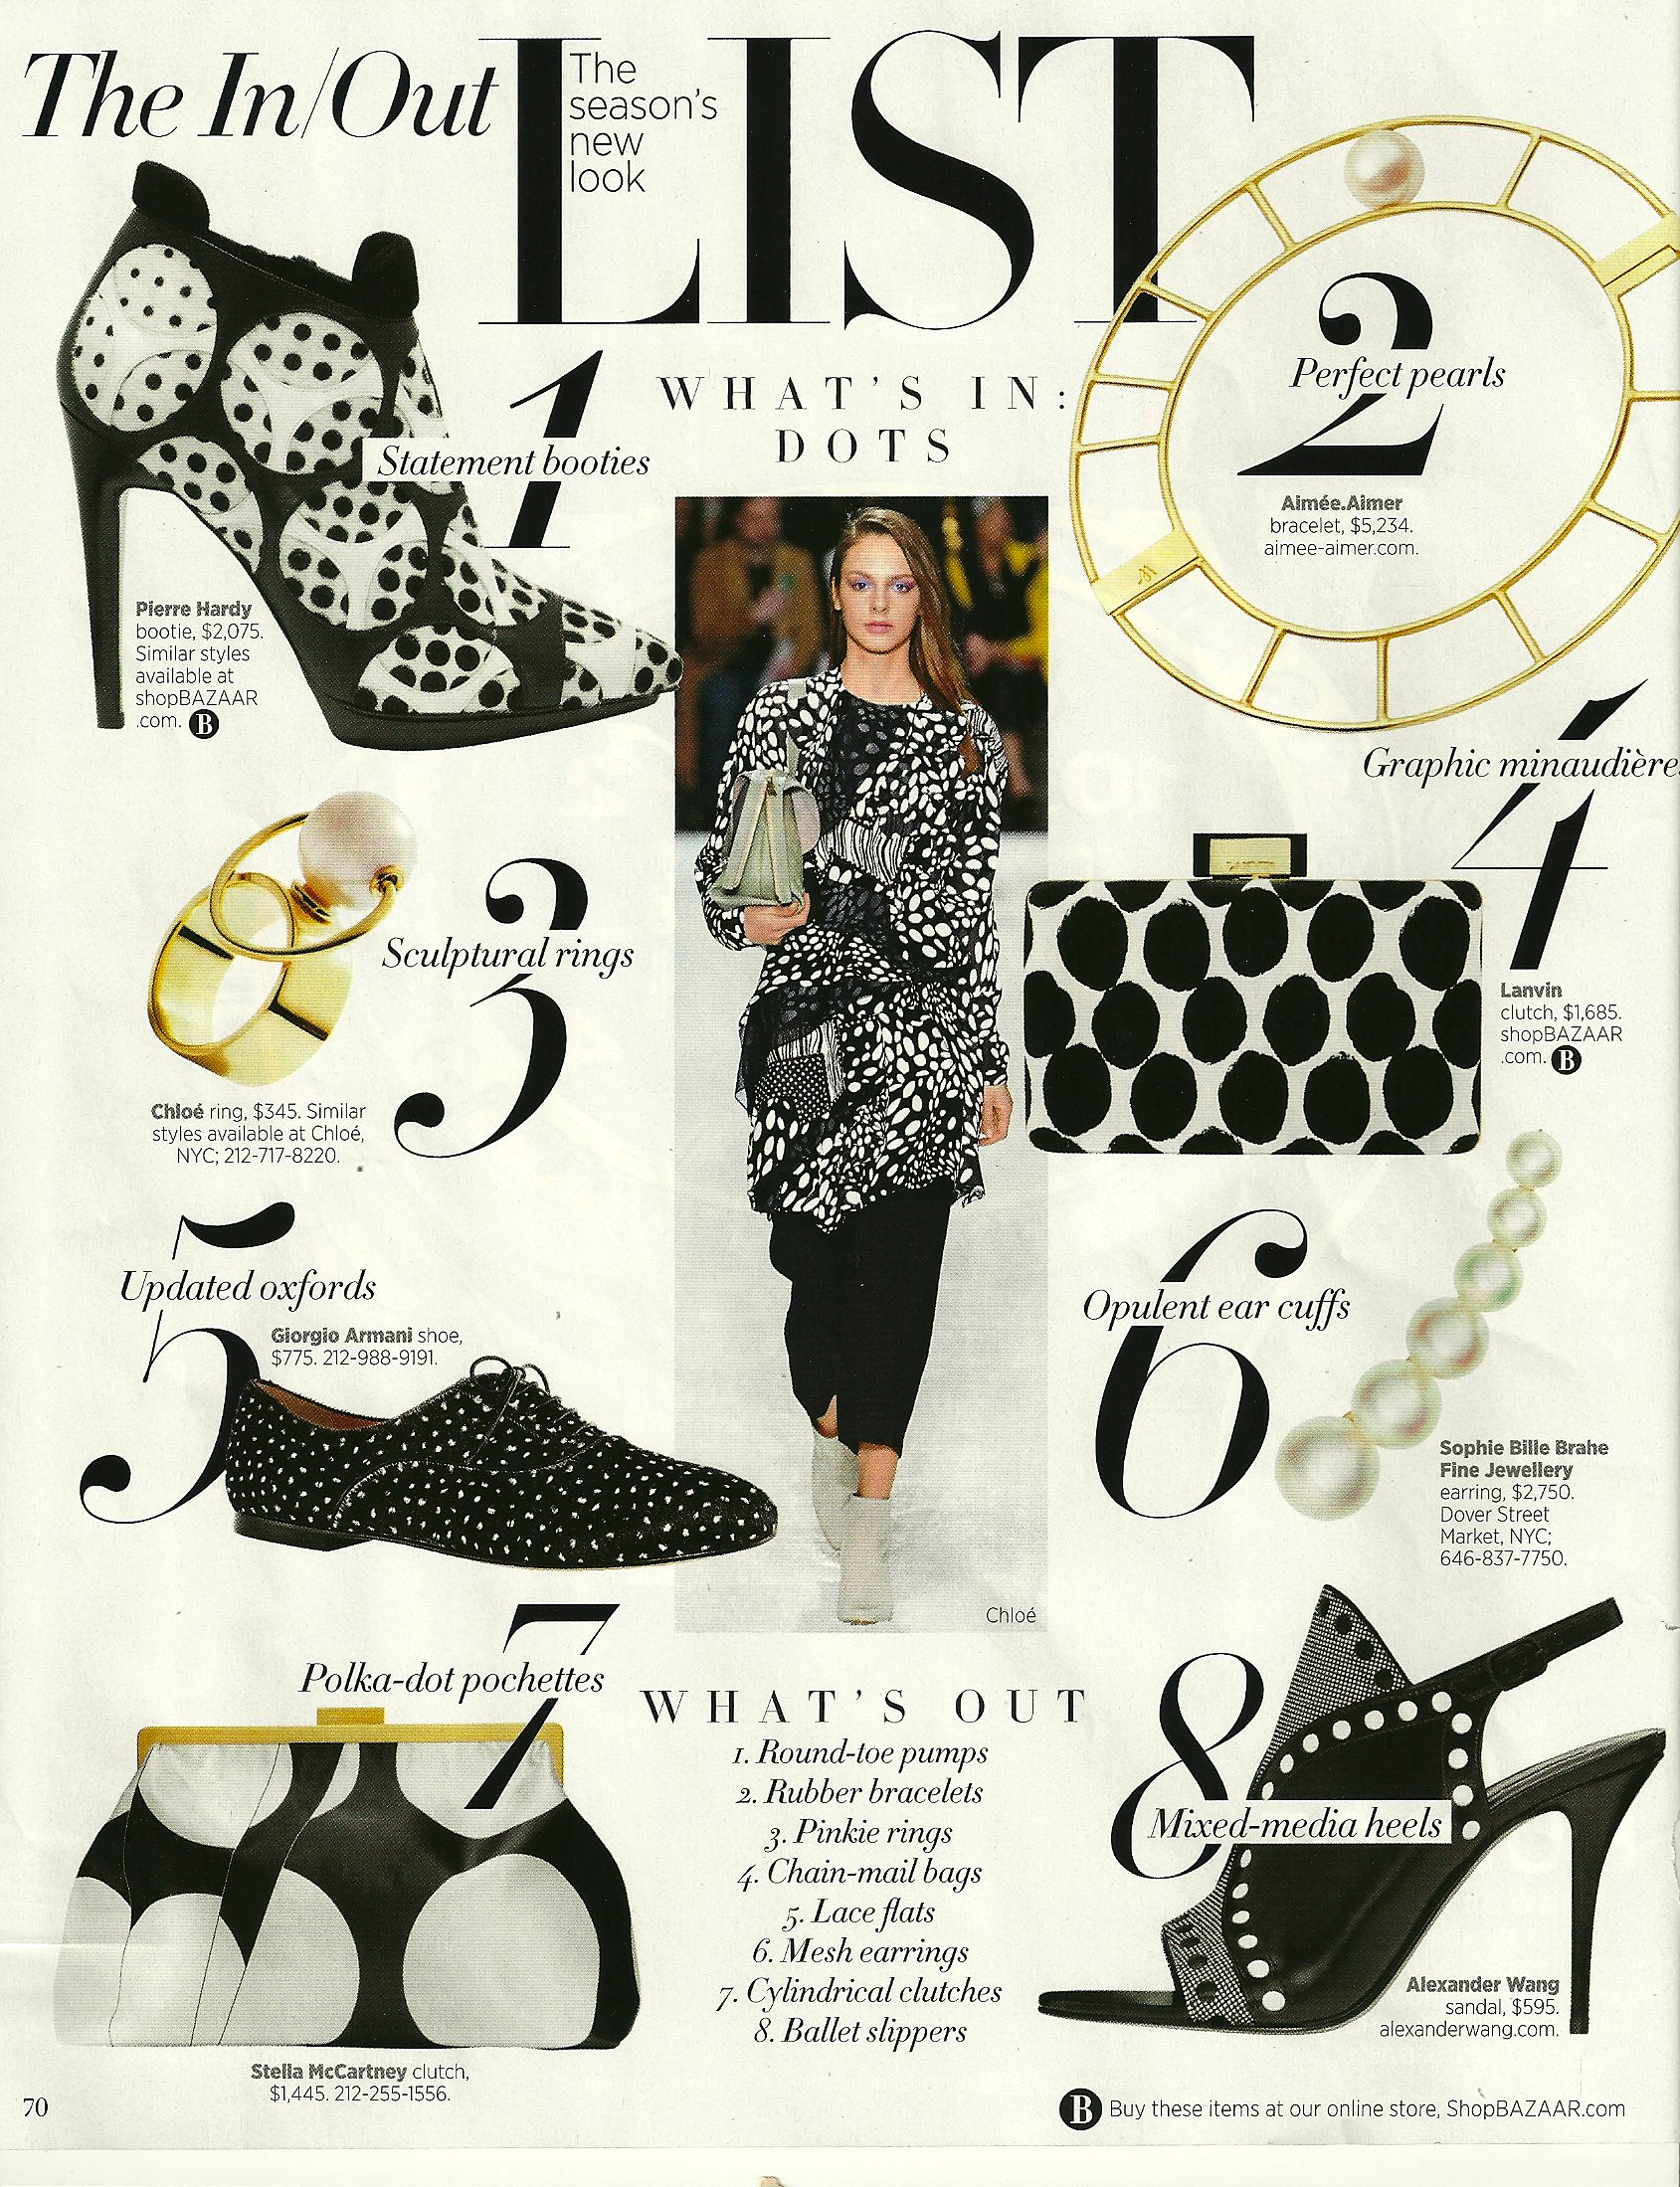
I freely admit to being nostalgic about polka dots. I have always loved them. And I have always been drawn to fabrics and fashions featuring dots, whether they be large, jumbo, small, tiny, or medium. In my fashion lexicon, they are never out of style, but it is always particularly rewarding to see dots featured as “fashion forward” – as in the July 2014 Harpers Bazaar.
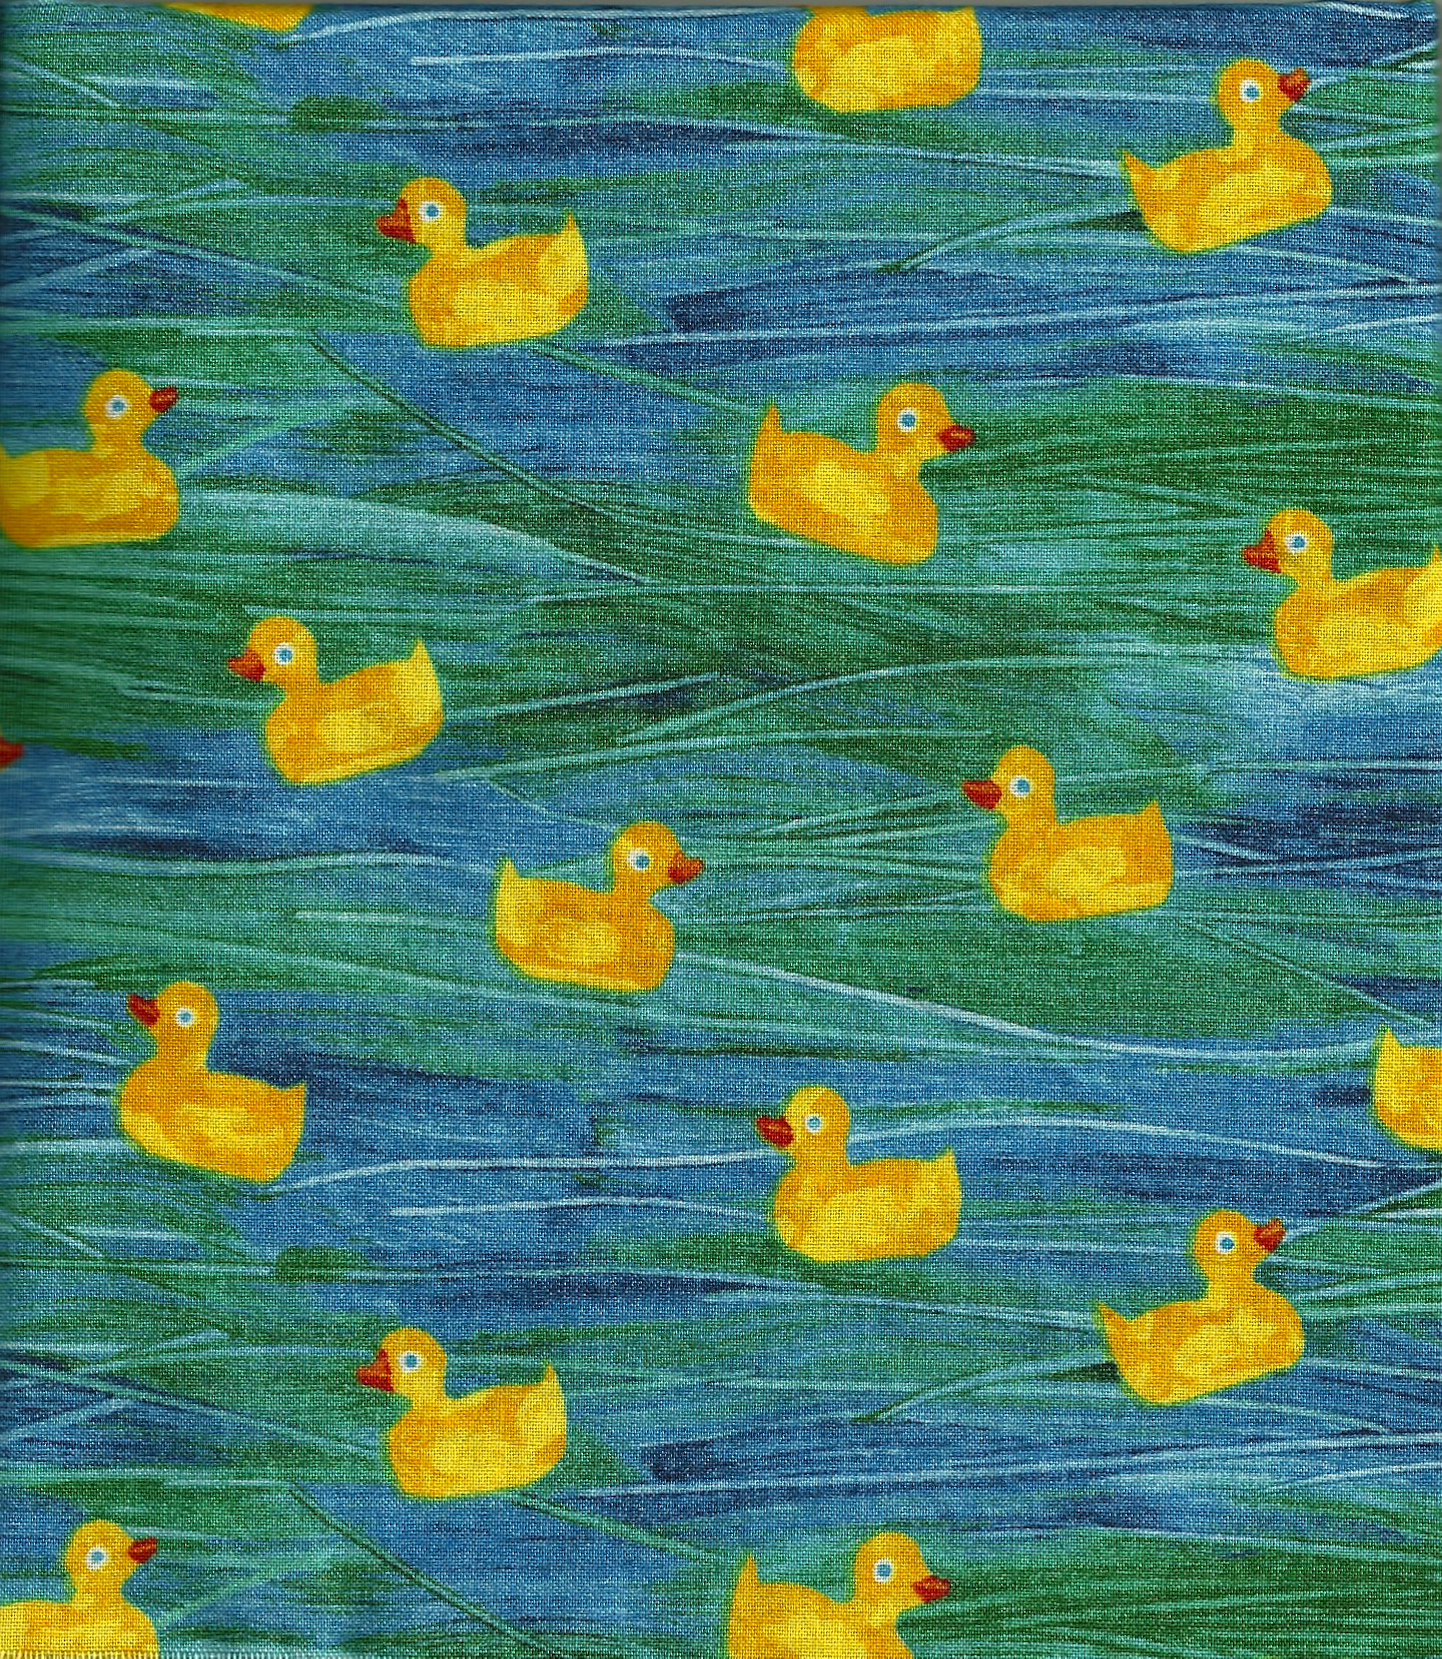
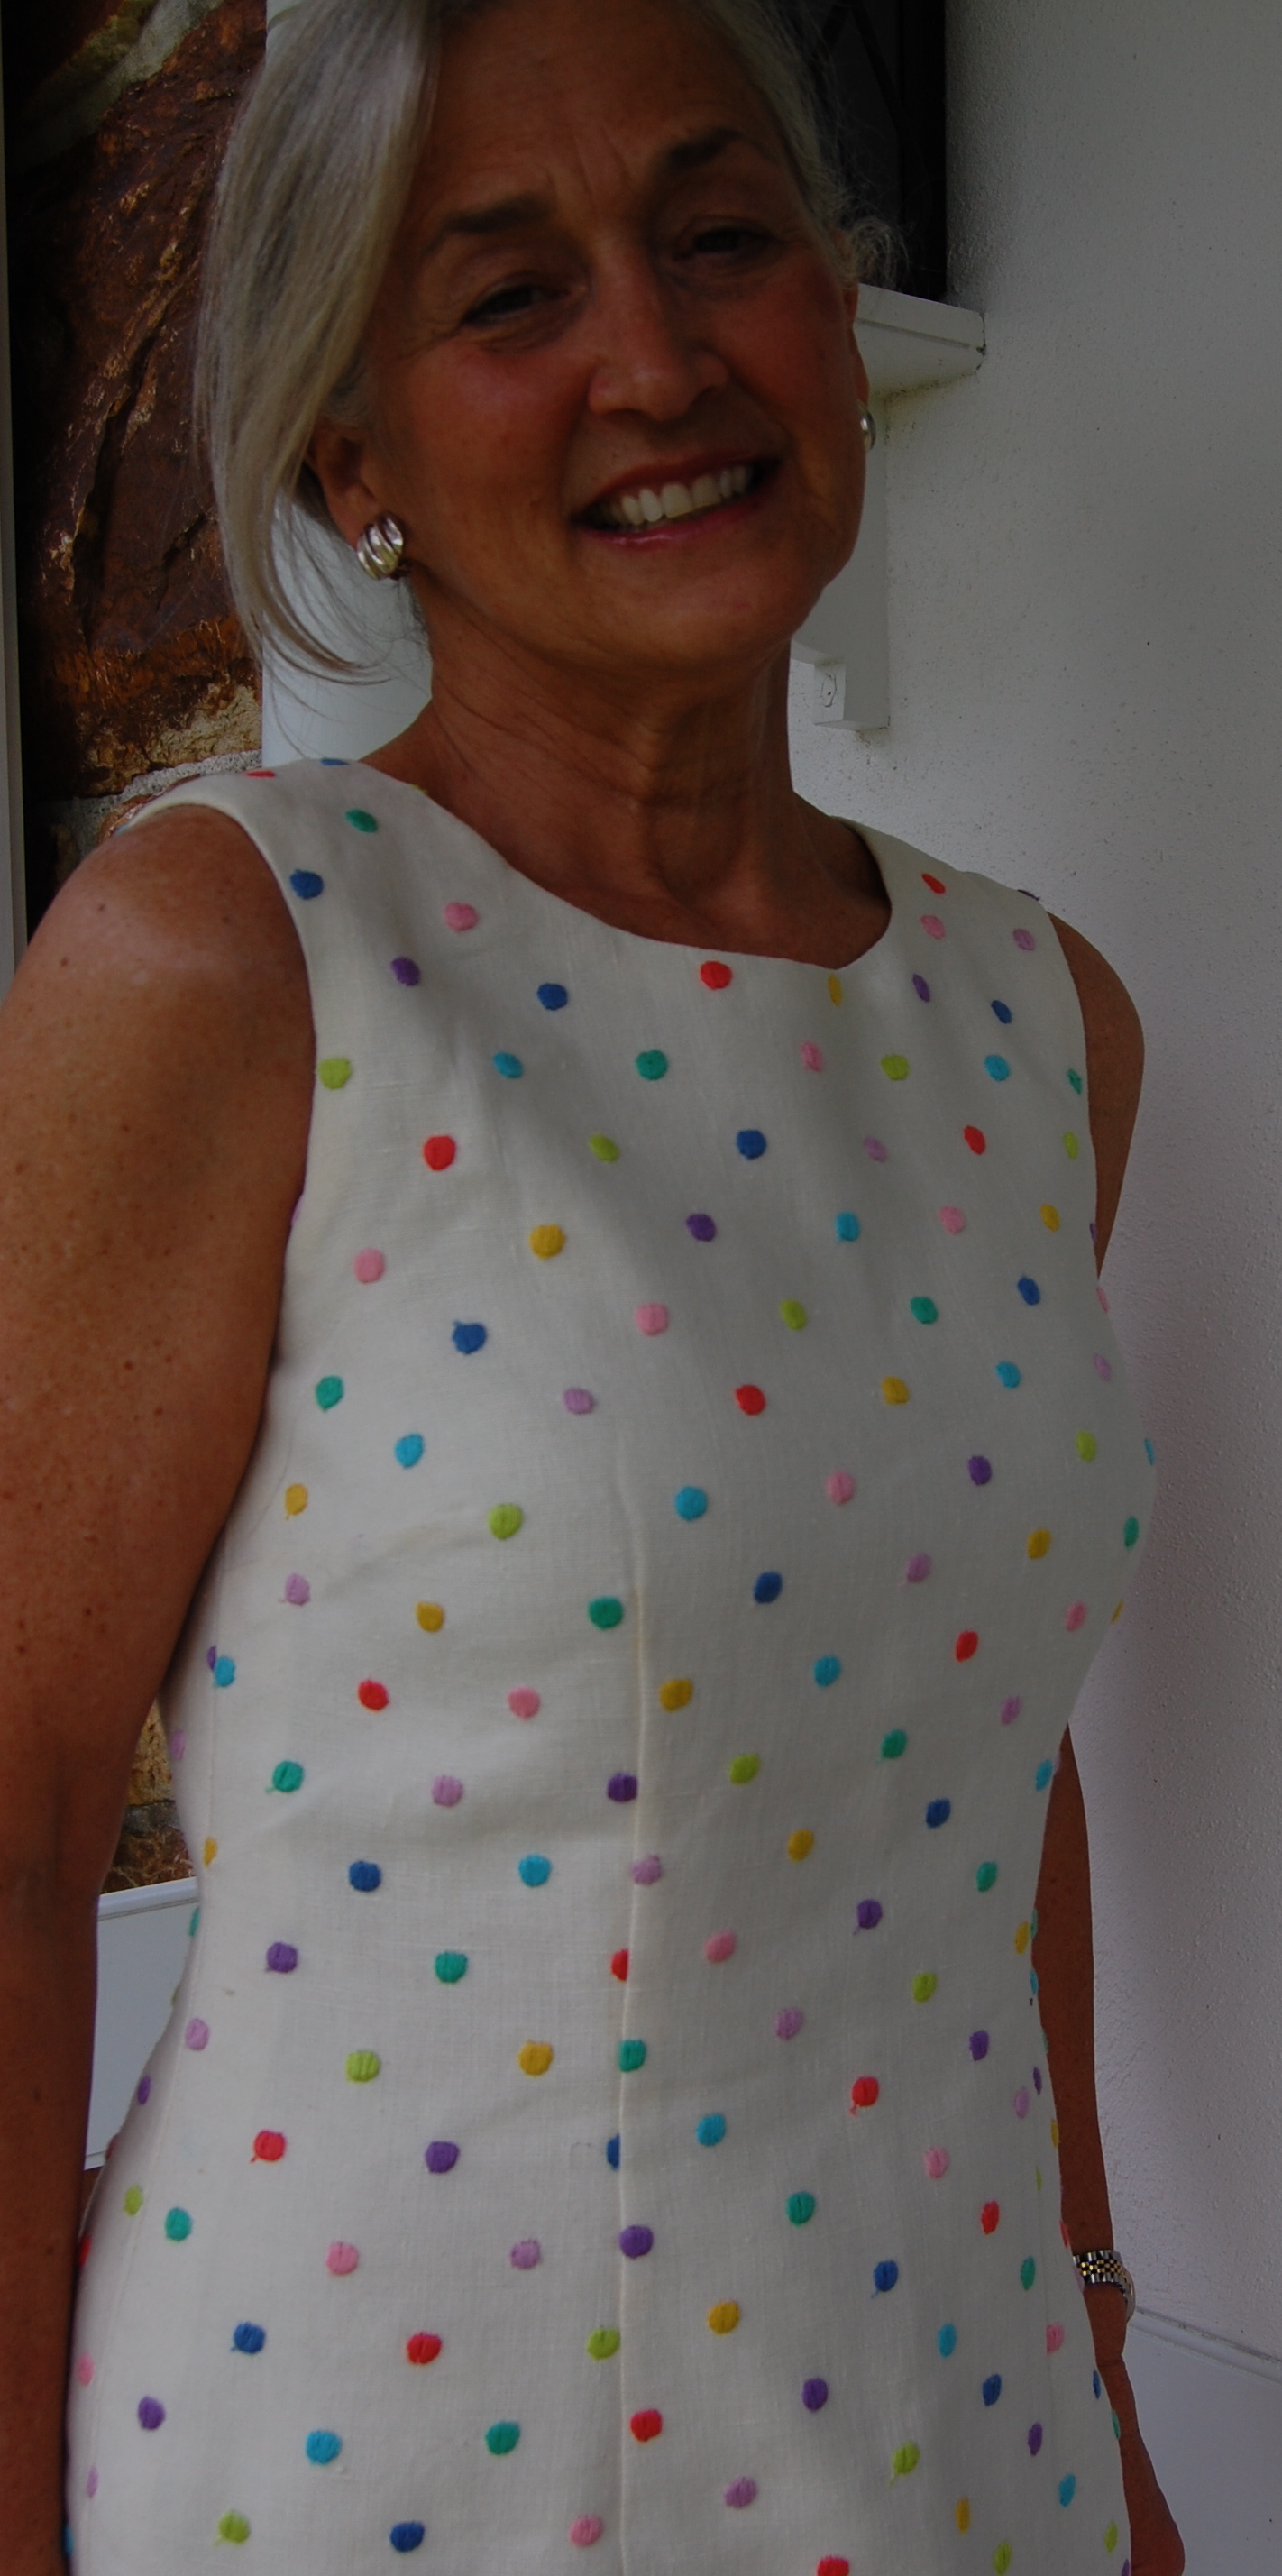
The dots I have been focusing on the last week or so, however, could tell those new dots a thing or two about fashion trends and durability. My beloved dots are probably celebrating their half-century mark, without a wrinkle to show for it!
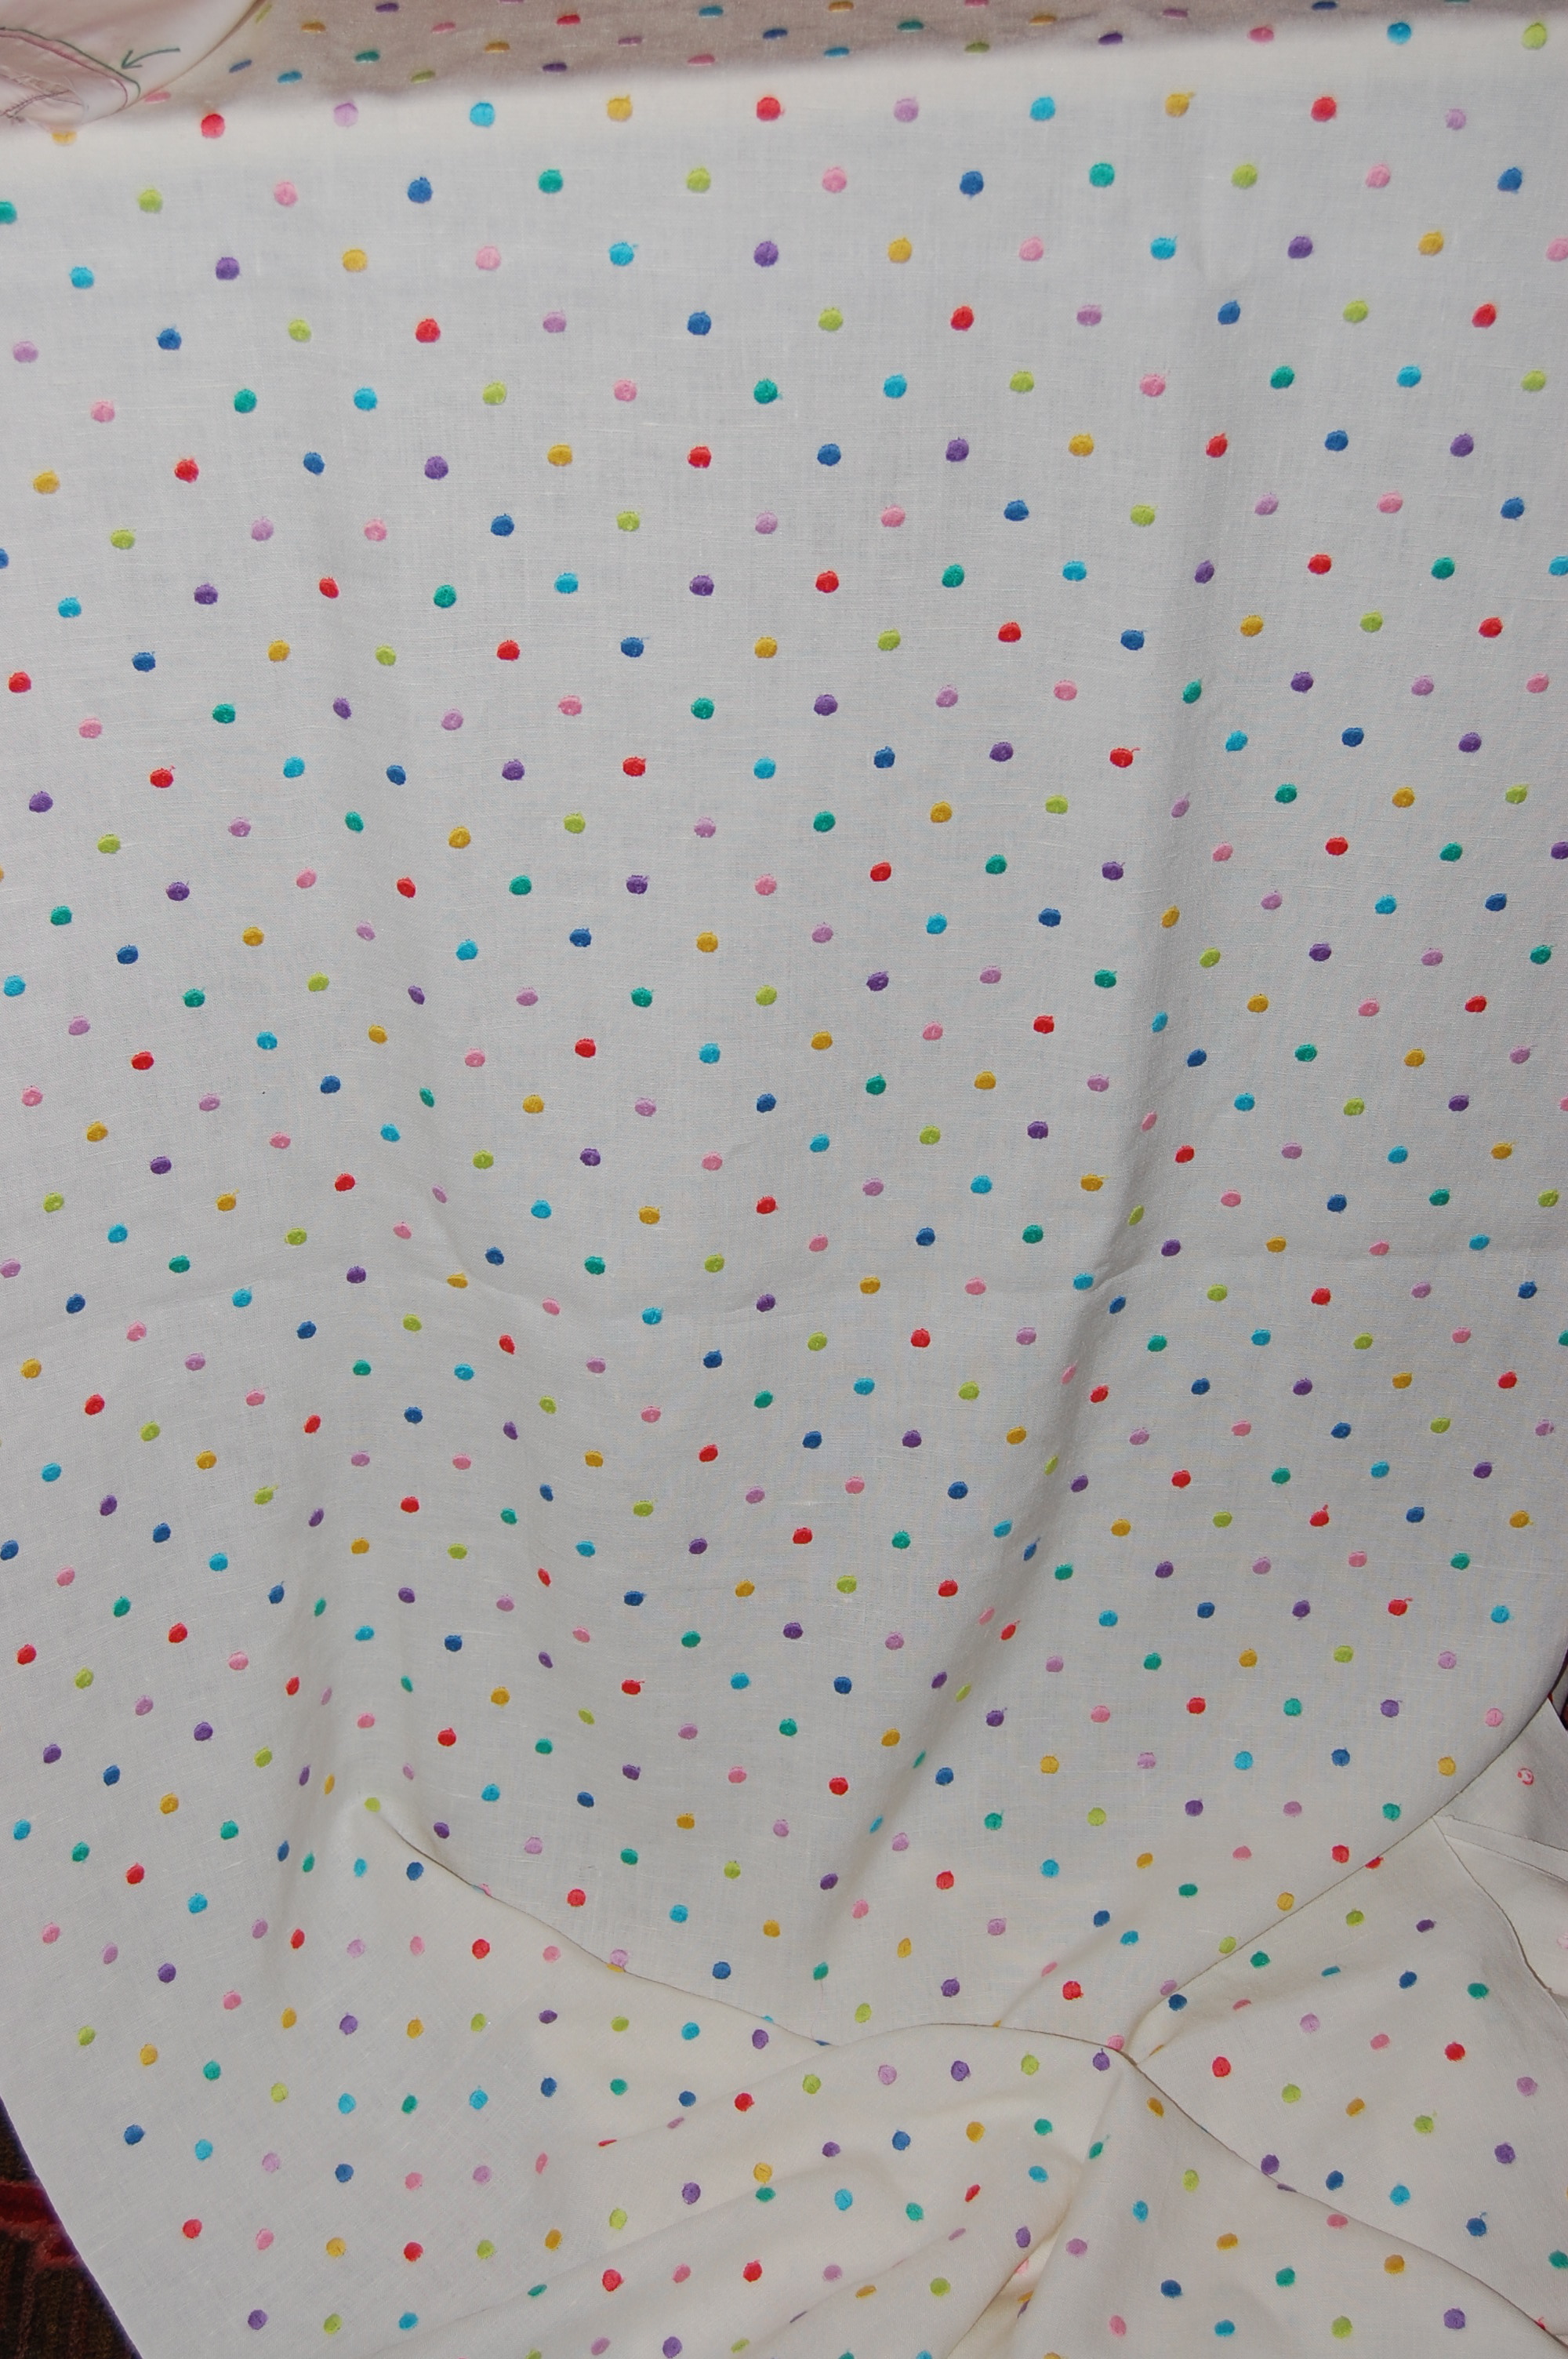
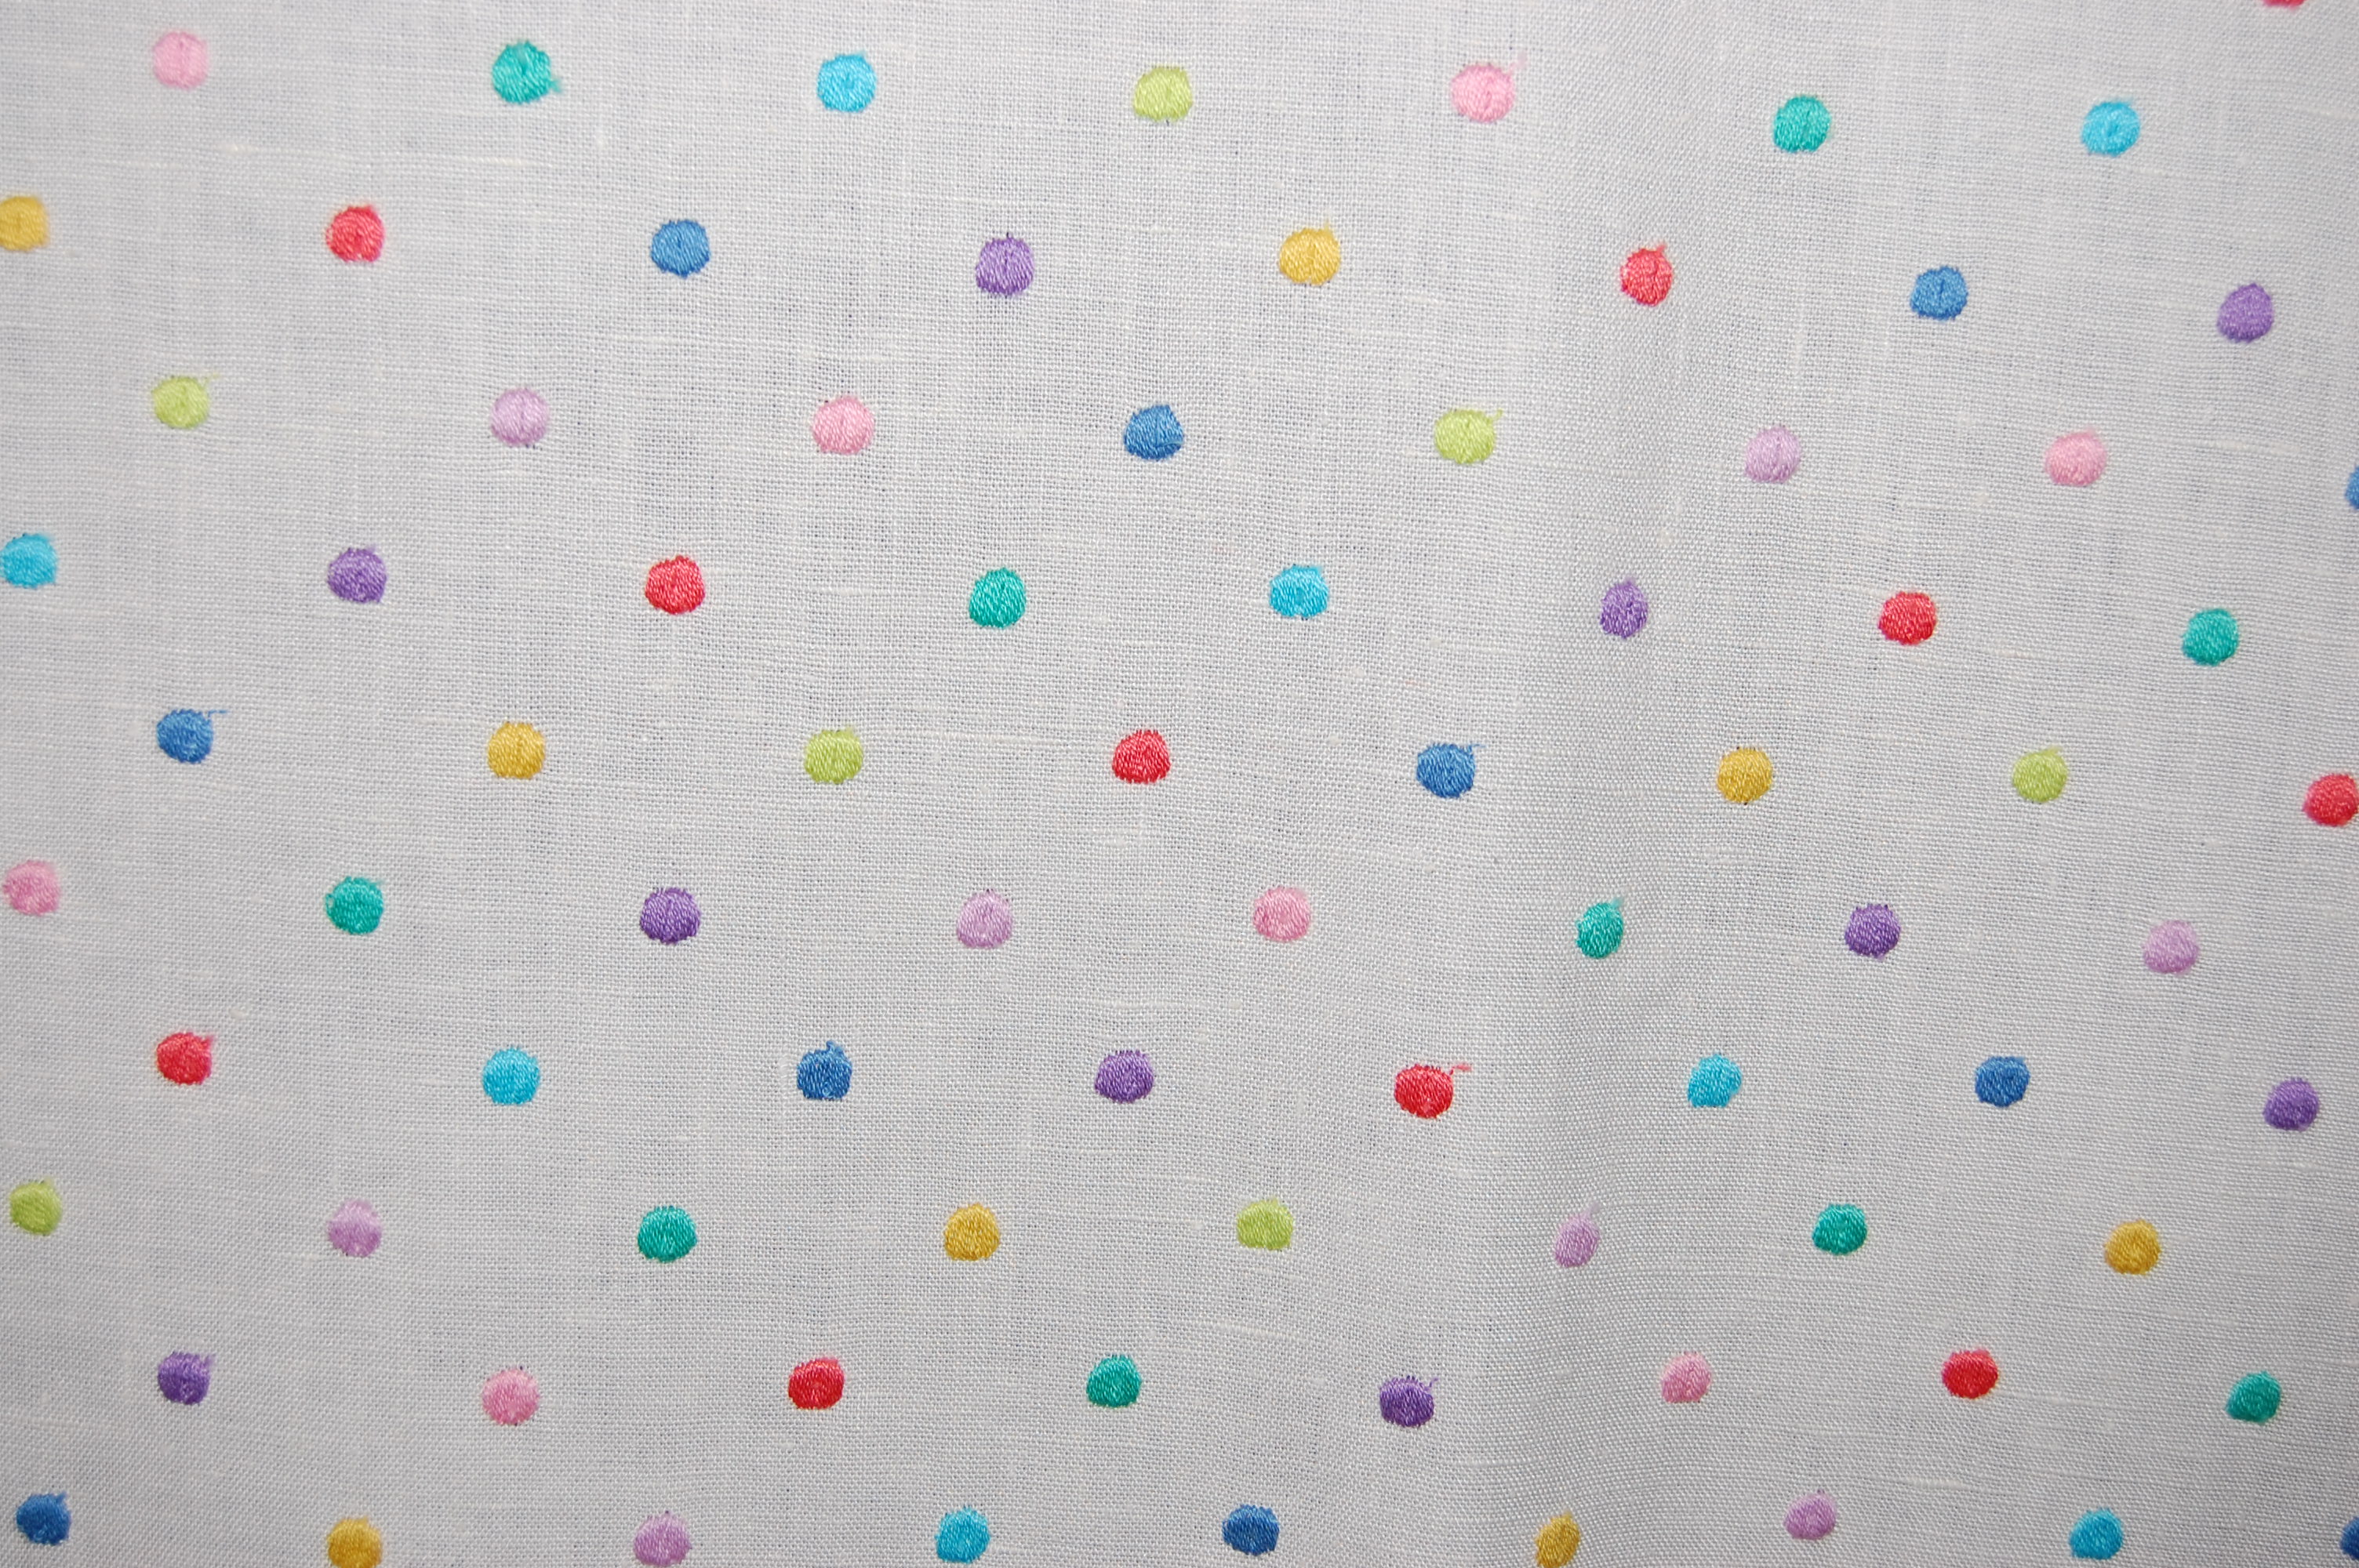
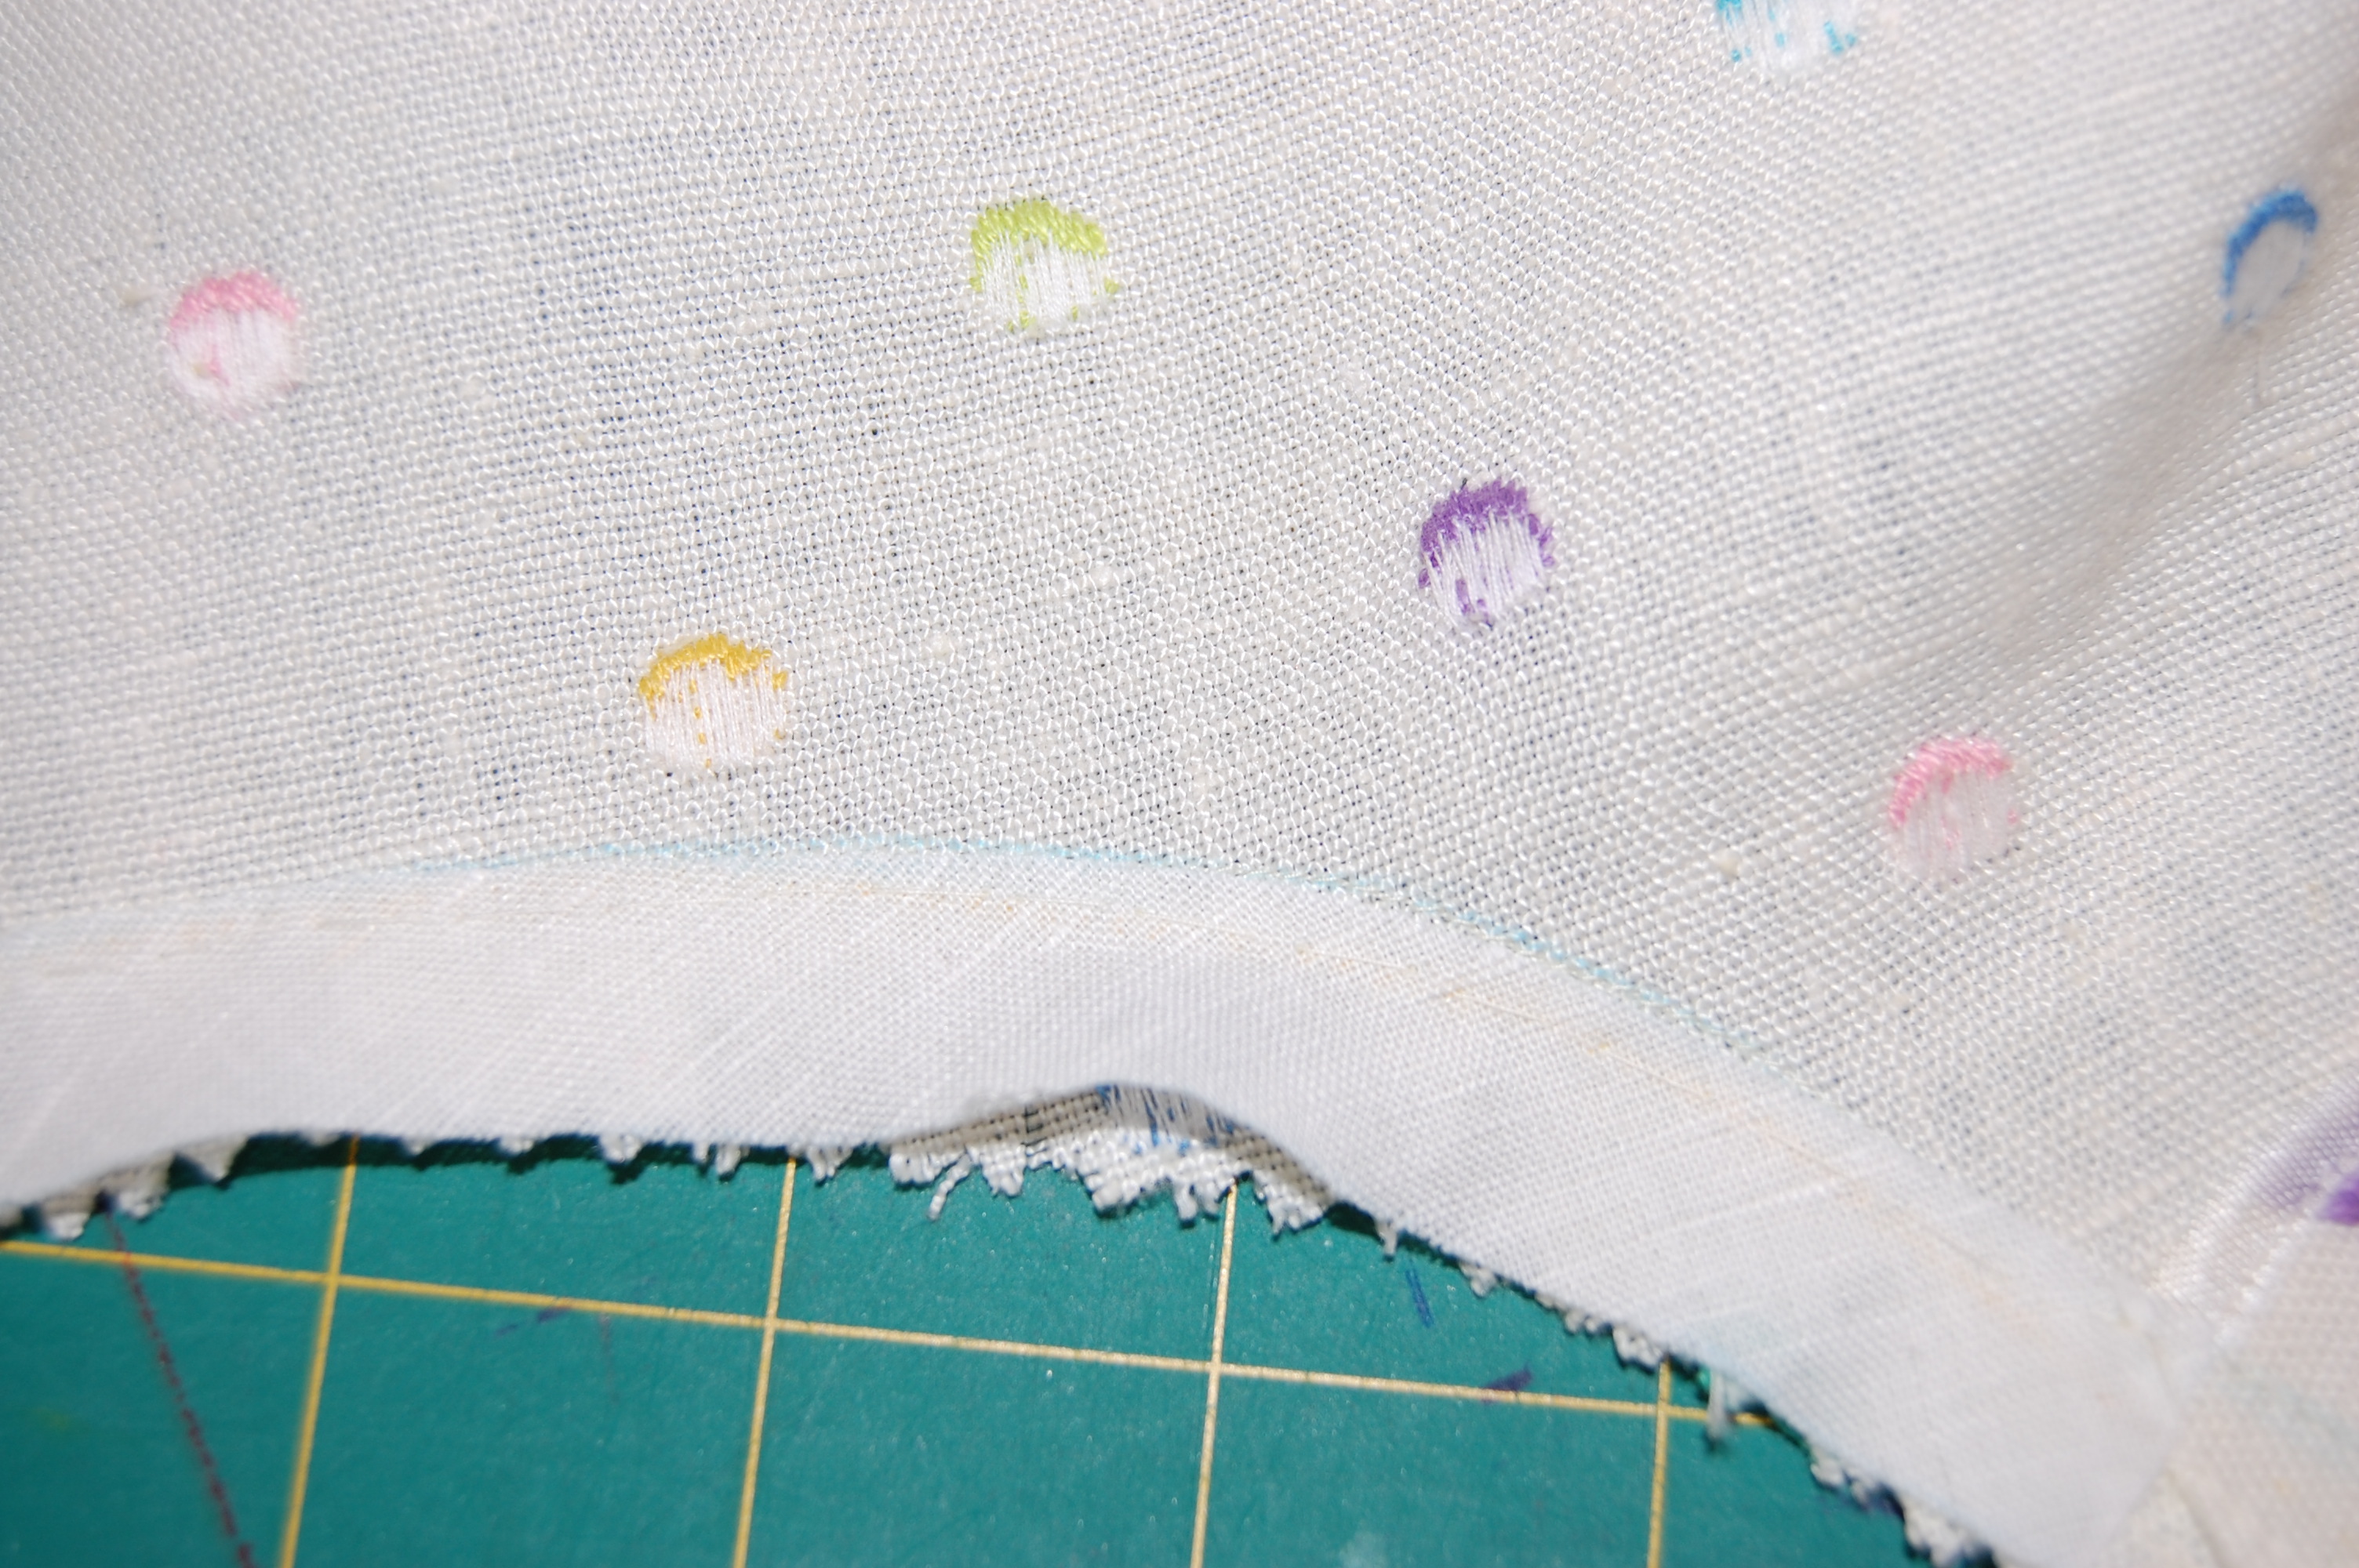
Each dot is individually embroidered onto the base linen fabric.
When I purchased this vintage linen fabric online, all I had was a photo or two. There was no selvedge marking, no attached label, no sales receipt to give any clue to its origin. However, the photos were clear, the weave of the fabric was visible enough, that I felt fairly confident that I was looking at a mid-century Moygashel linen. At 36” wide, I knew from experience it was prior to 1960. I also knew that Moygashel produced many embroidered dress linens in the 1950s. Here are two Moygashel linen ads which show both printed and embroidered linens:
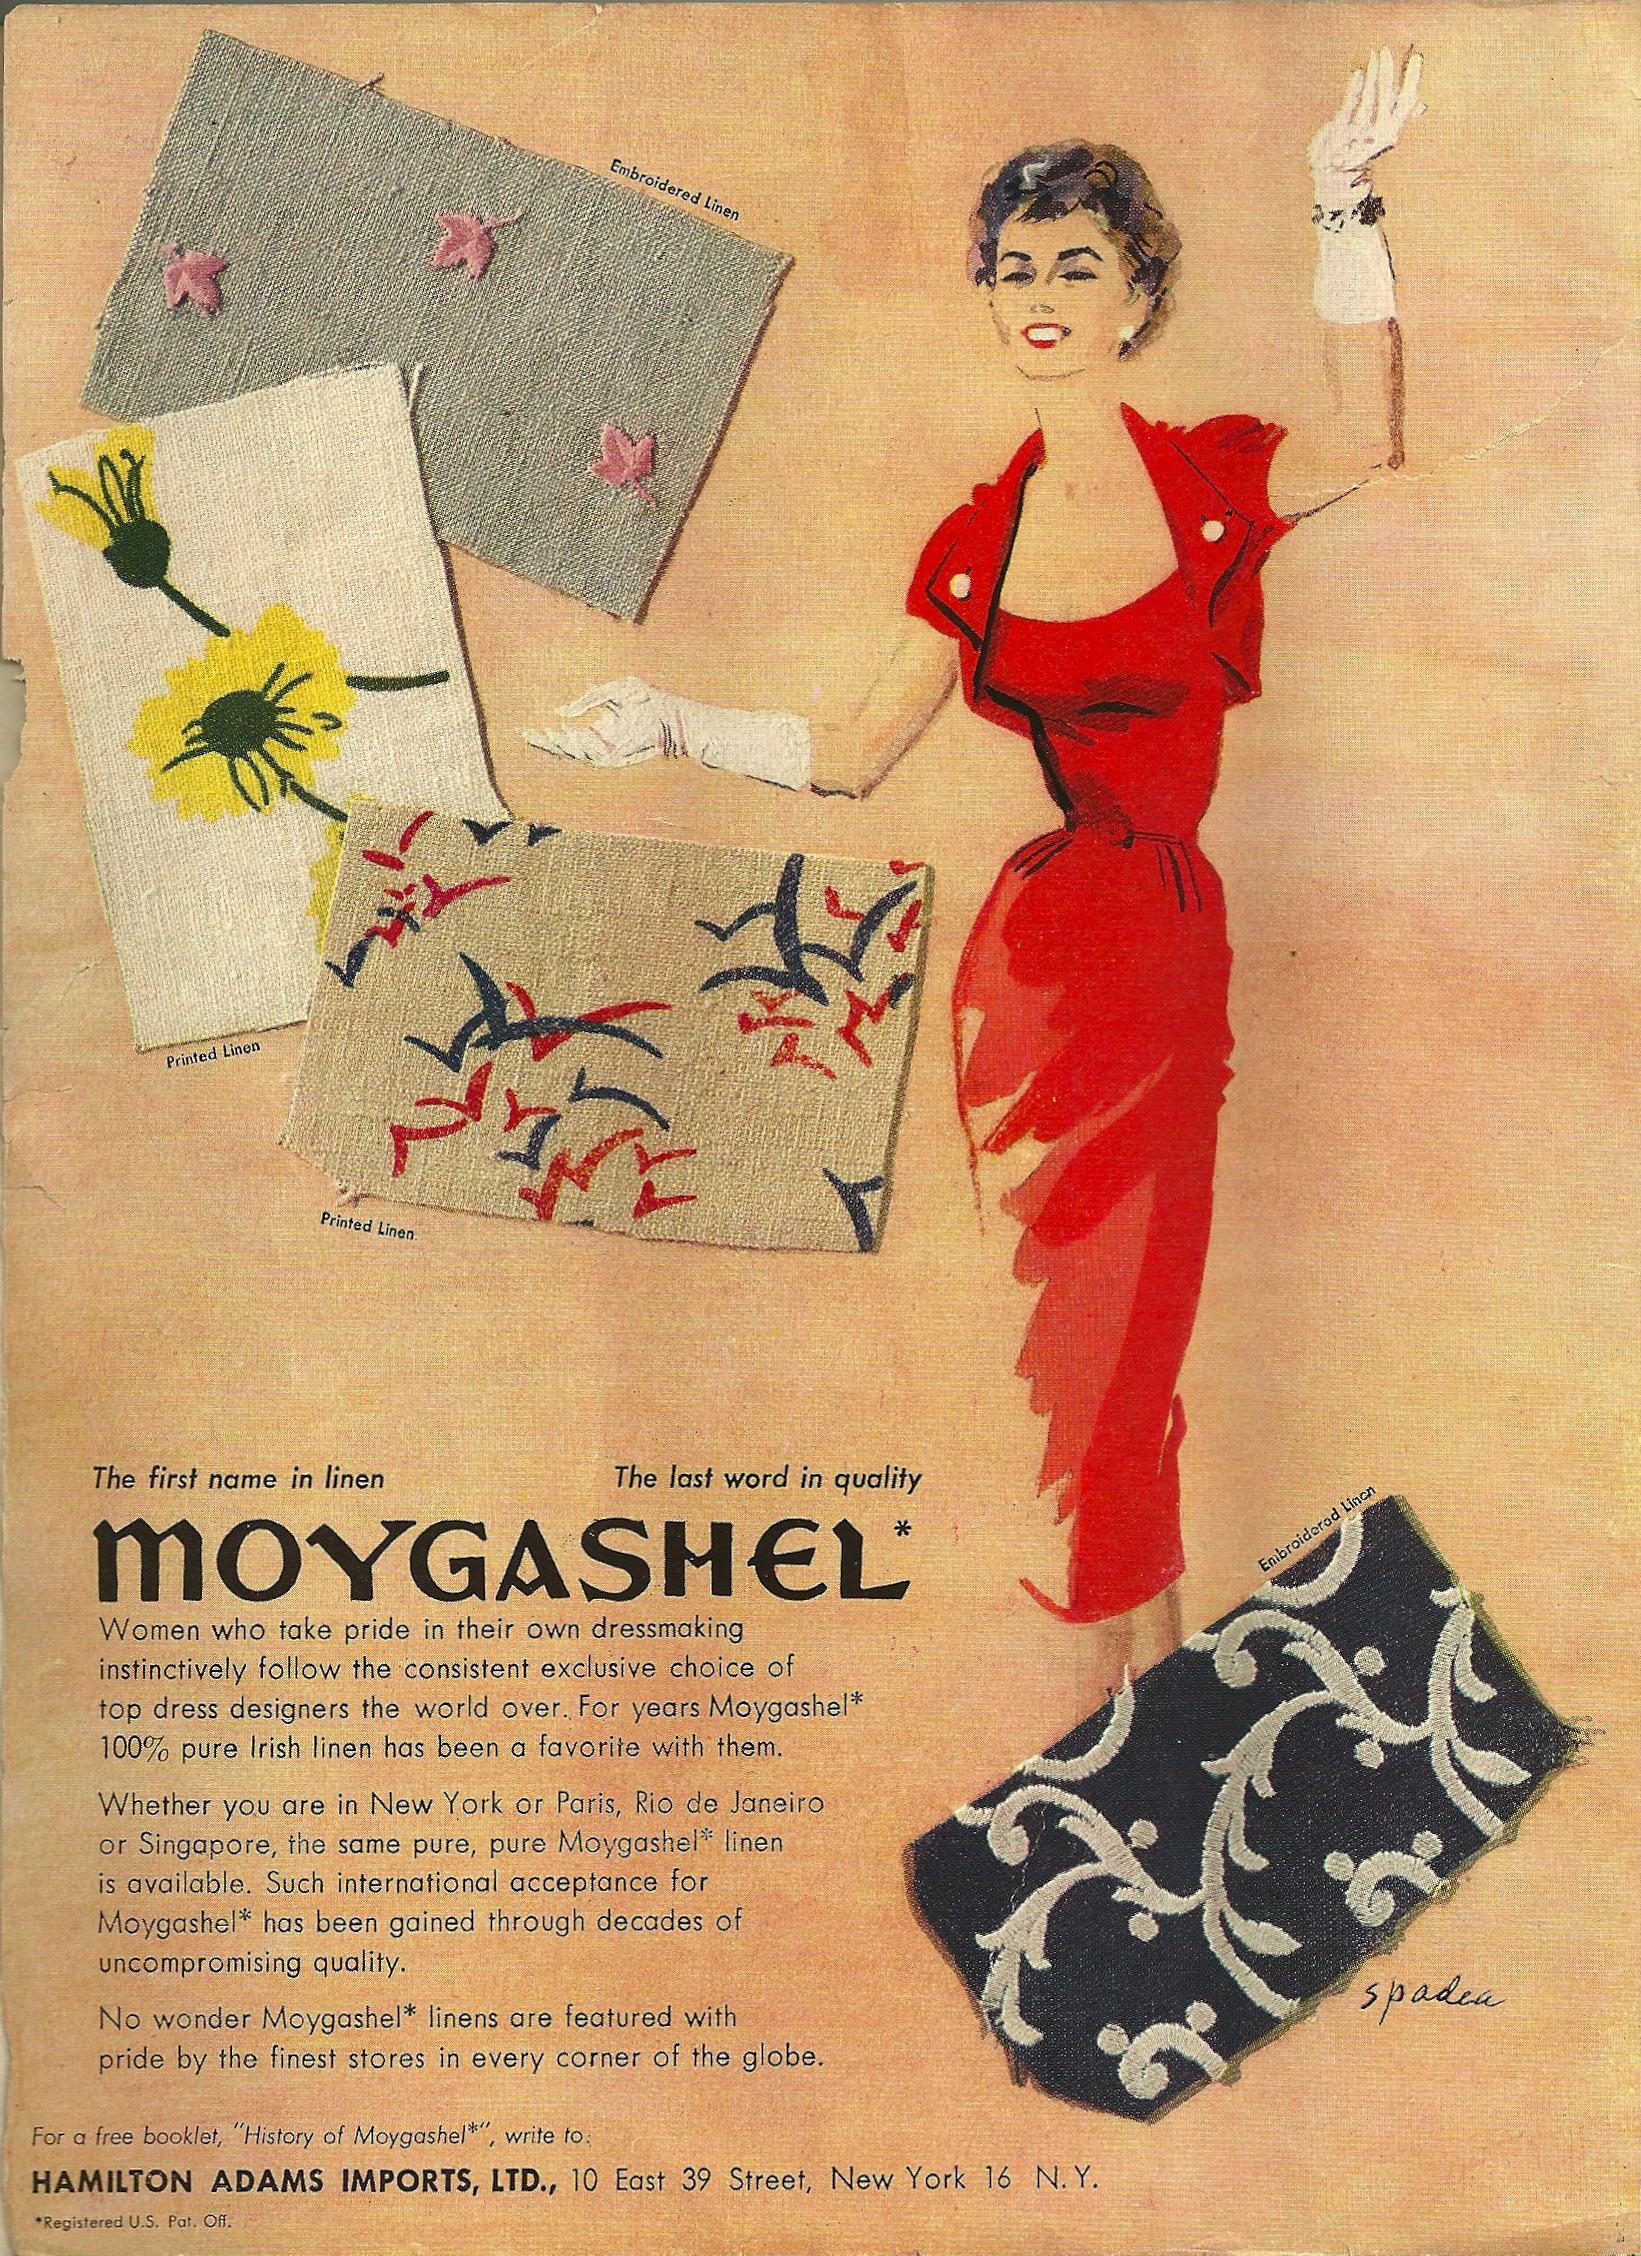
This ad was on the inside front cover of Vogue Pattern Book magazine from December/January 1953-54.
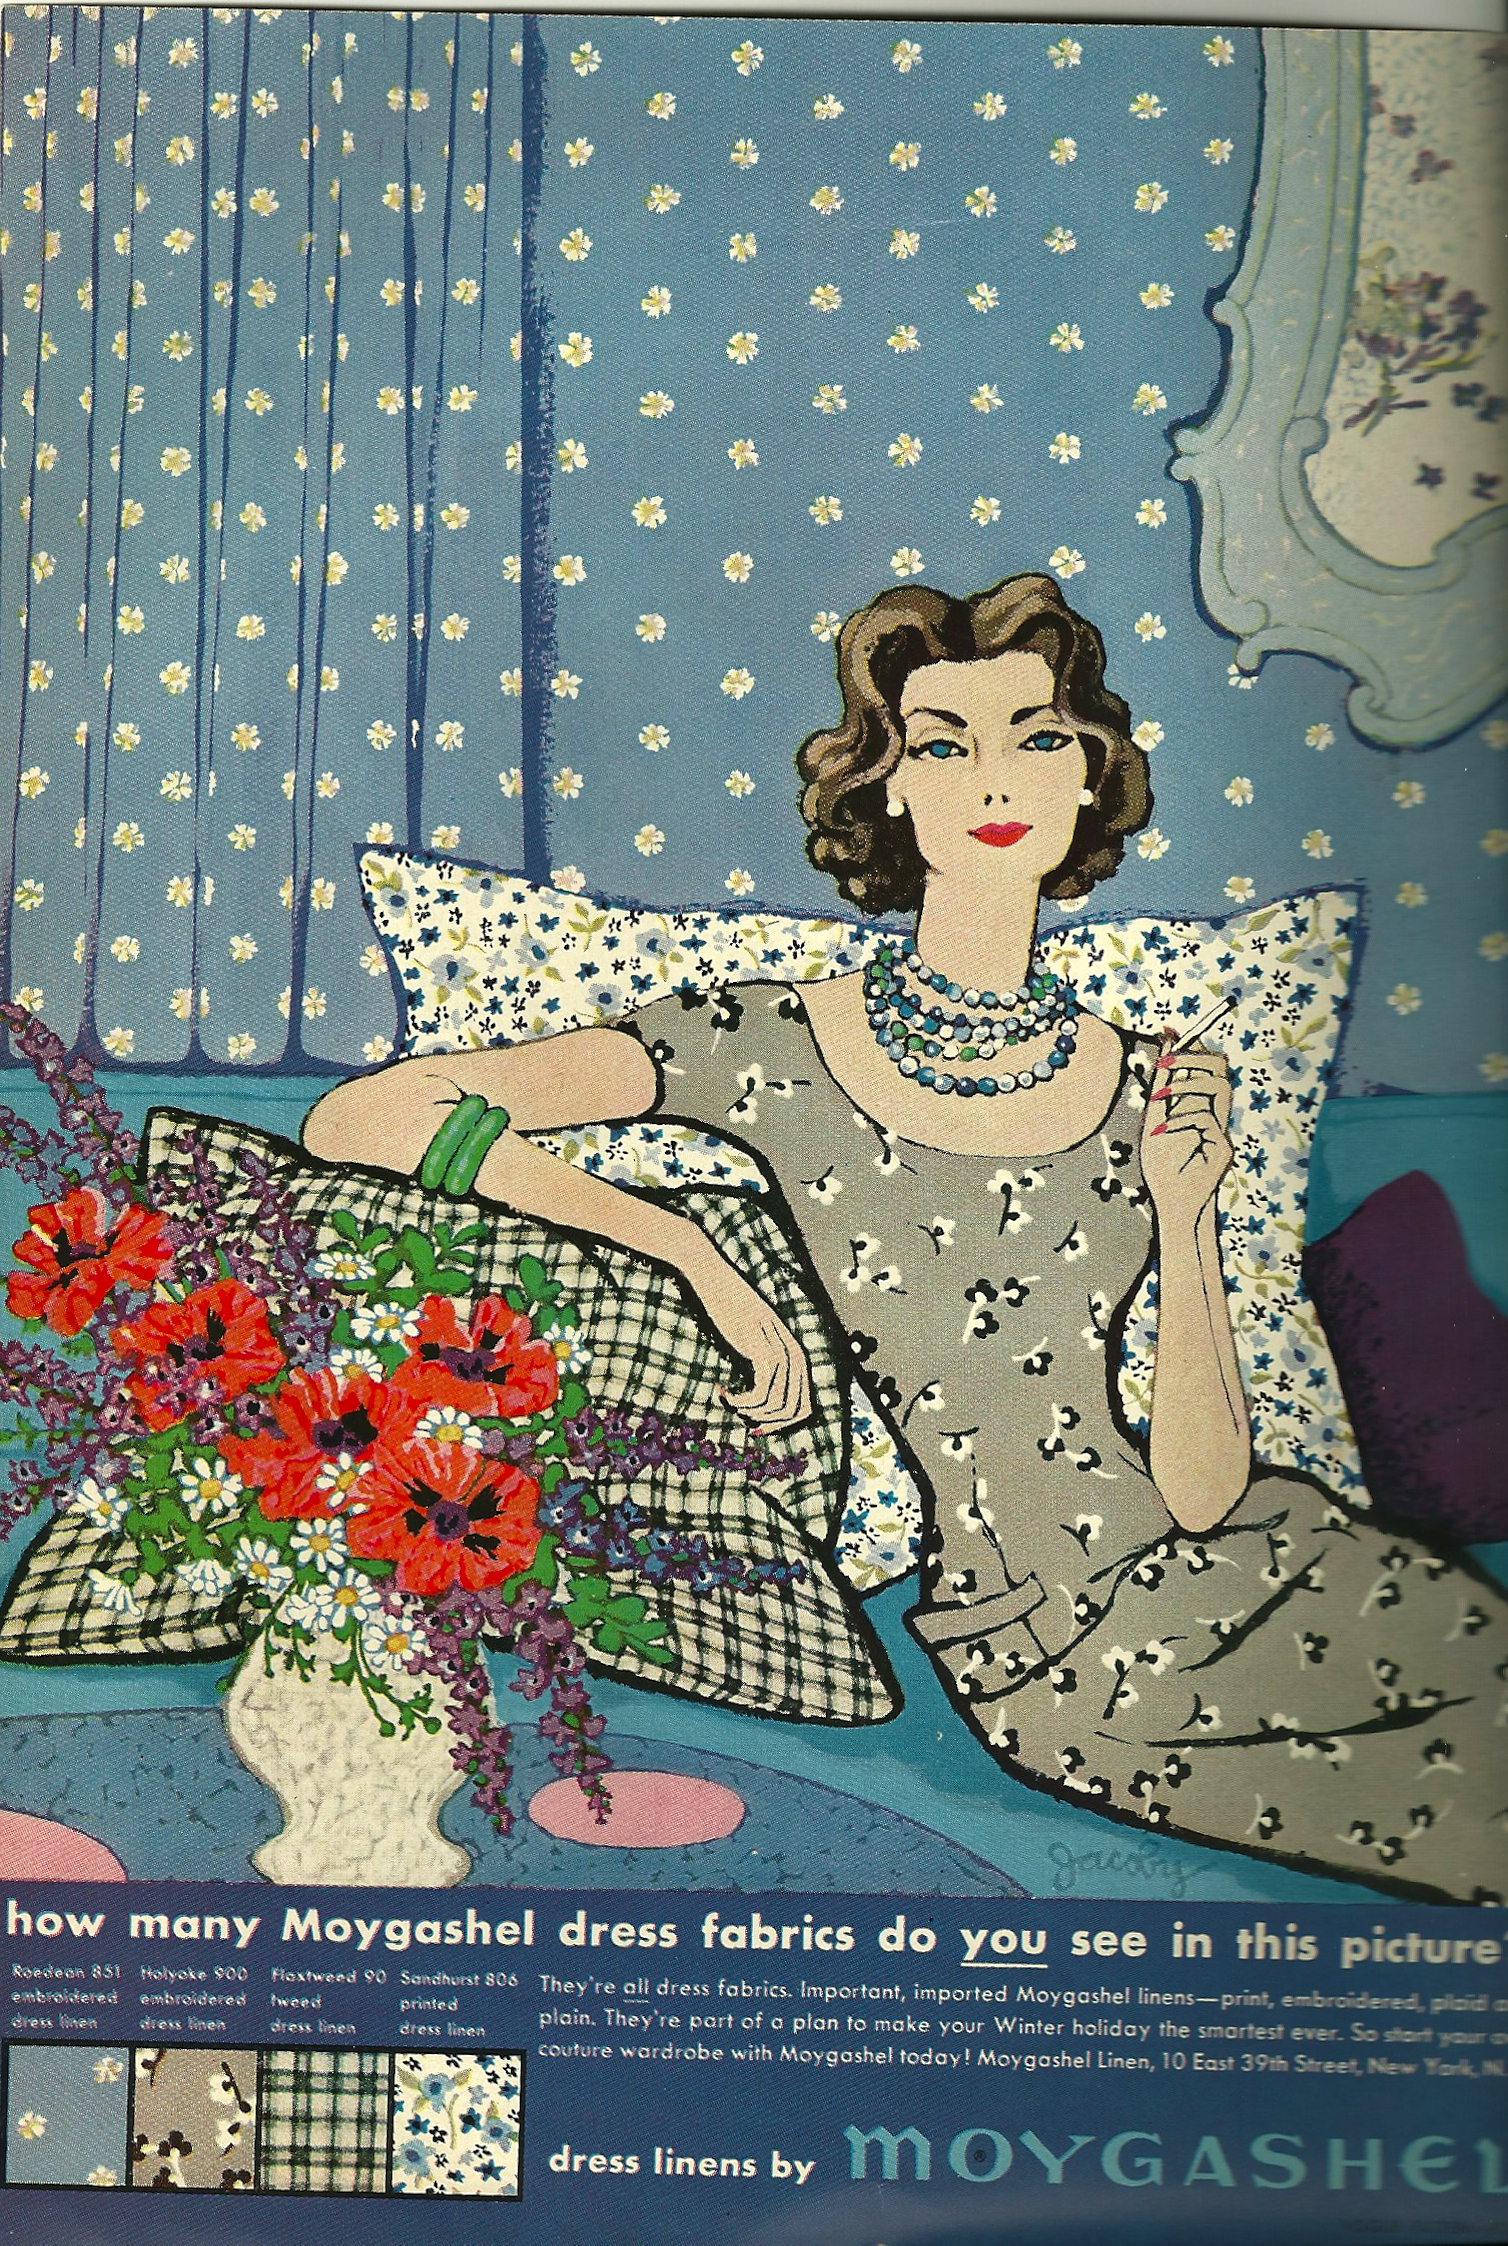
And this ad was on the inside front cover of Vogue Pattern Book magazine from December/January 1957-58.
I knew the real “proof of the pudding” – to authenticate the linen as Moygashel – would be in how it laundered. Moygashel linen was known for its resistance to wrinkling! Months went by after the fabric arrived in the mail, but a couple of weeks ago, I retrieved it from my fabric closet, put it in a gentle wash cycle (with Woolite detergent), tumble dried it on medium heat, and out it came, as I had hoped, crisp, clean, and looking like new. All it needed was just a quick ironing on high heat to make sure the fabric would lay flat for marking and cutting.
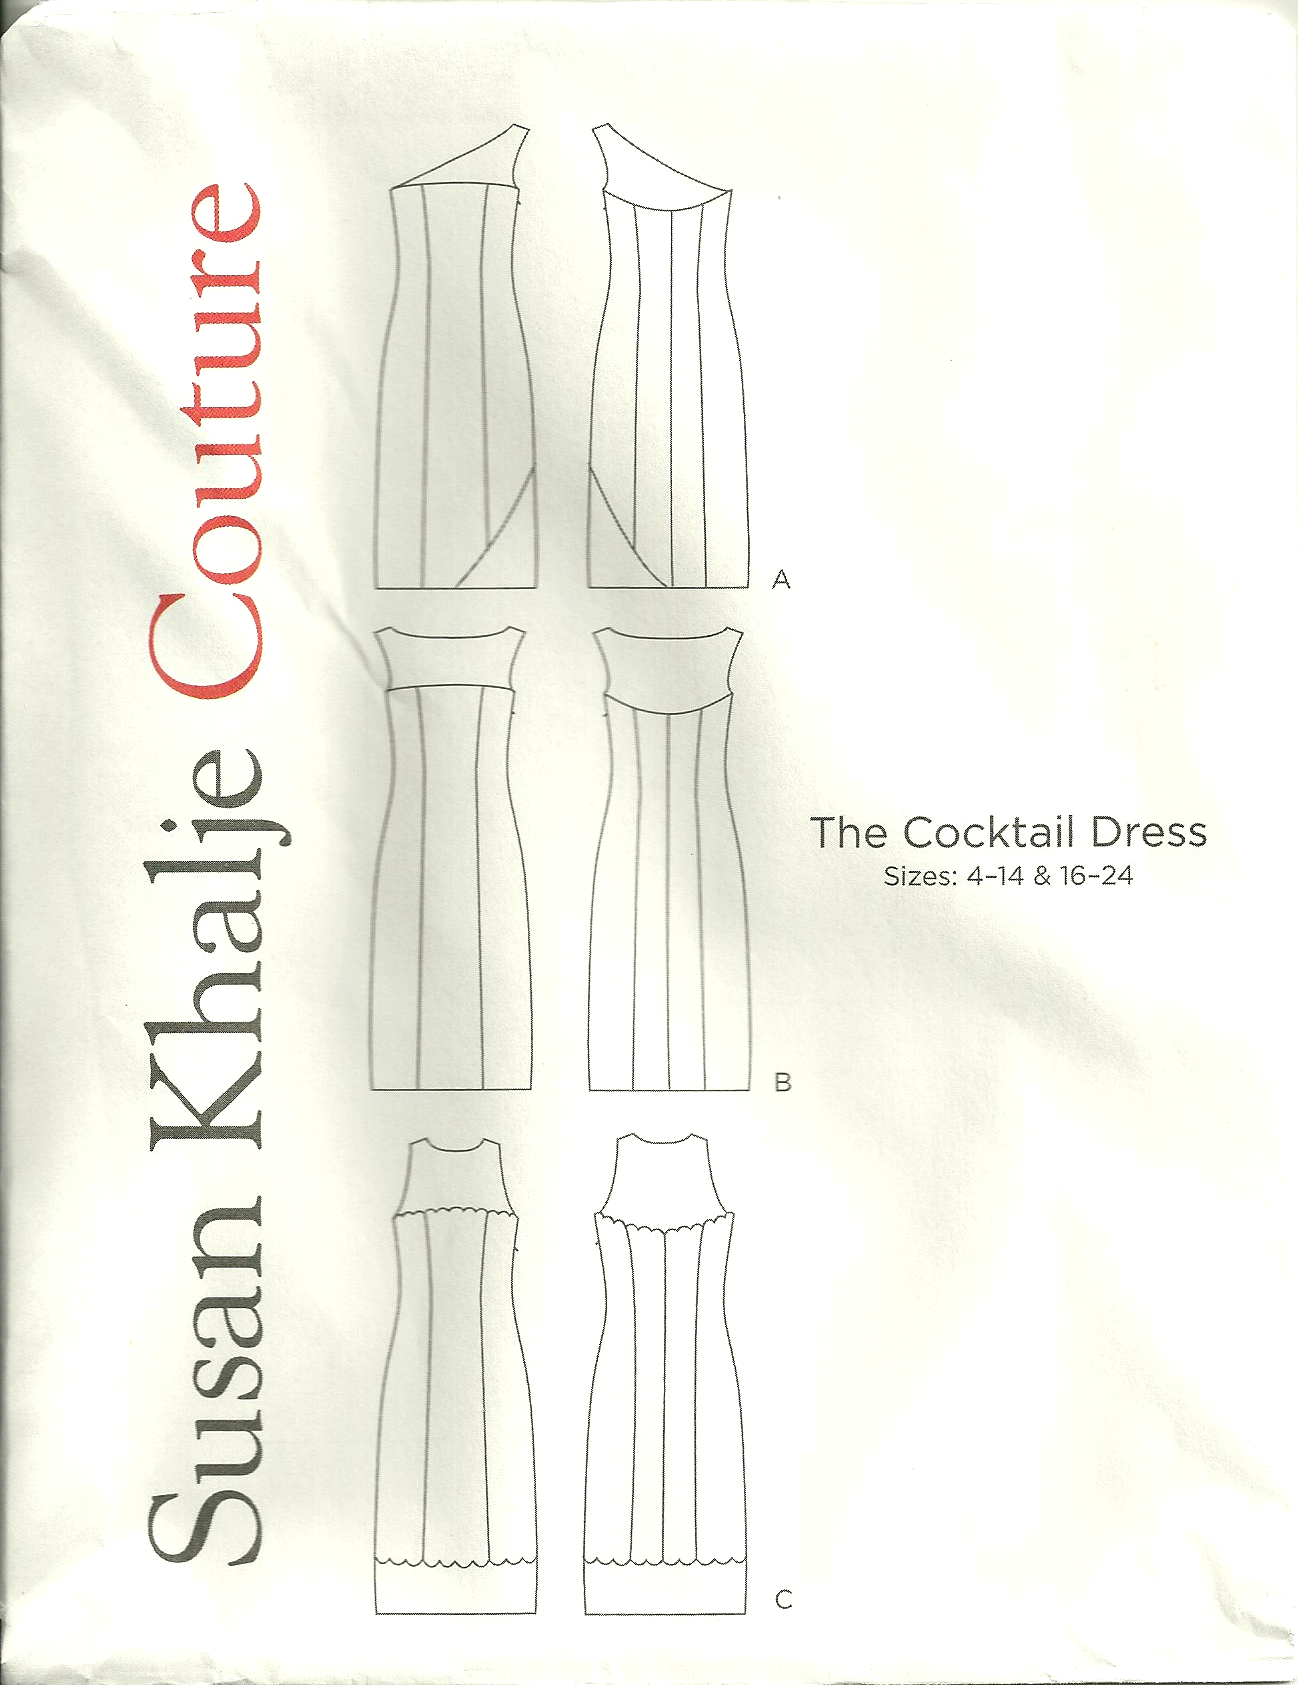
Yes, I knew I had an authentic Moygashel linen in hand, and I wanted to make a dress that would be all about the fabric. I envisioned a simple sheath, whose look could be changed so easily with different color accessories. Knowing I already had a sheath dress pattern that fit me well, I made my sewing life simple (for a change!) and went with it.
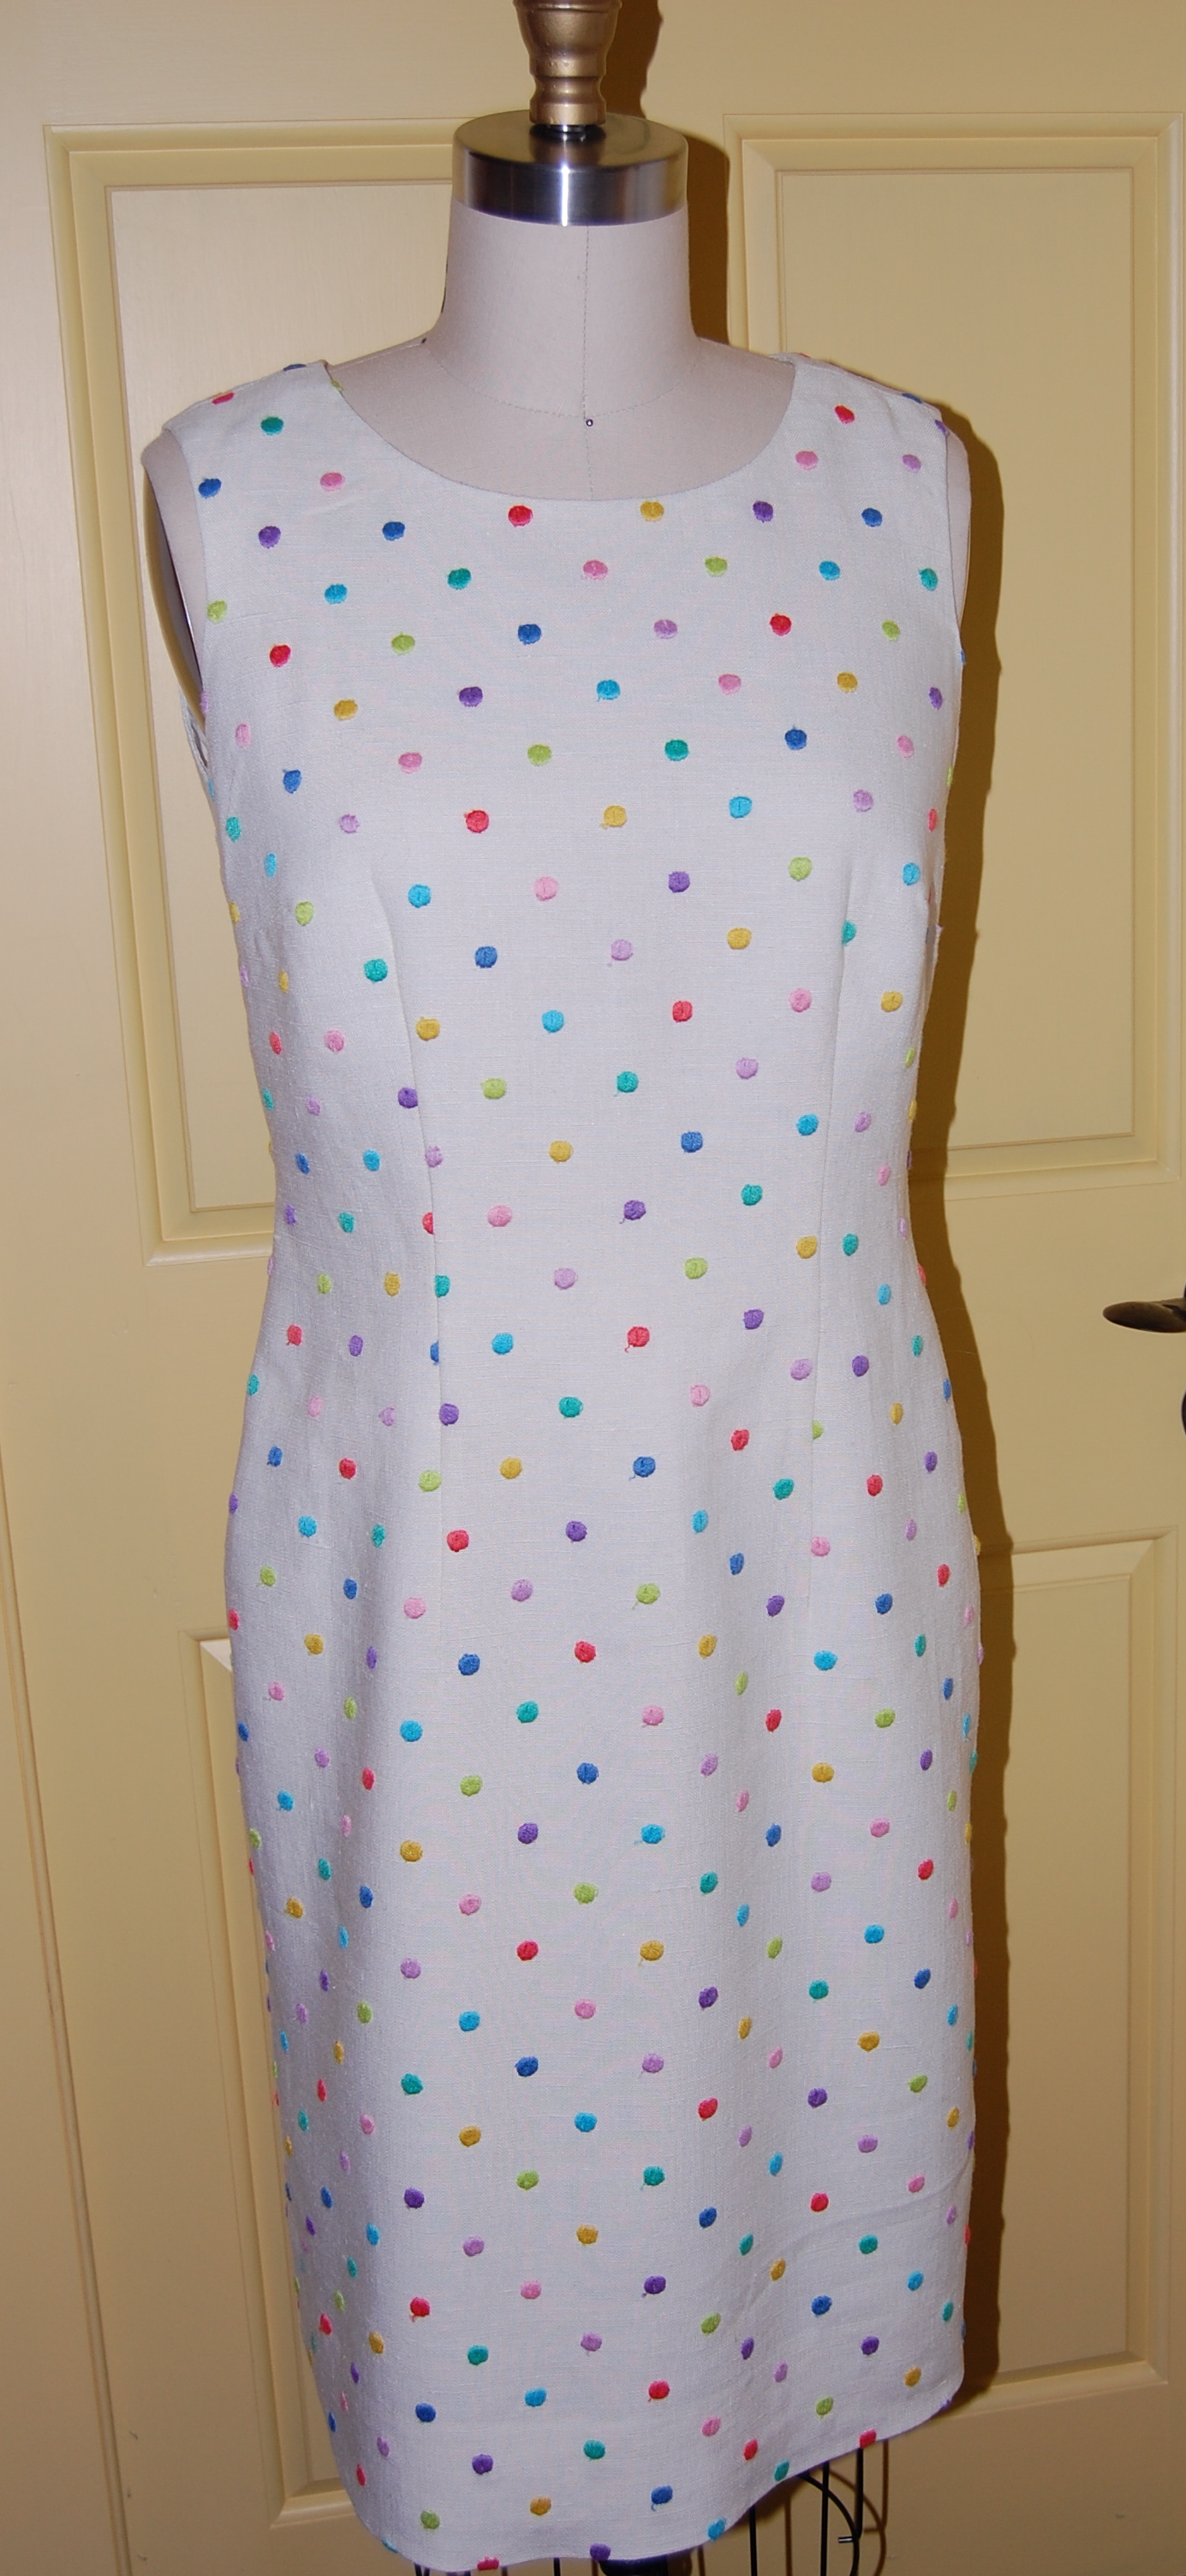
One can’t get much simpler than this classic sheath design!
First, a few details and precautions about sewing with embroidered linen:
1) All ironing must be done on the wrong side of the fabric, in order not to squash the embroidered details.
2) All ironing must be done on top of a towel, also for the same reason.
3) It’s best to sandwich paper under seam allowances before pressing to prevent “impressions” from going through to the right side of your fabric.
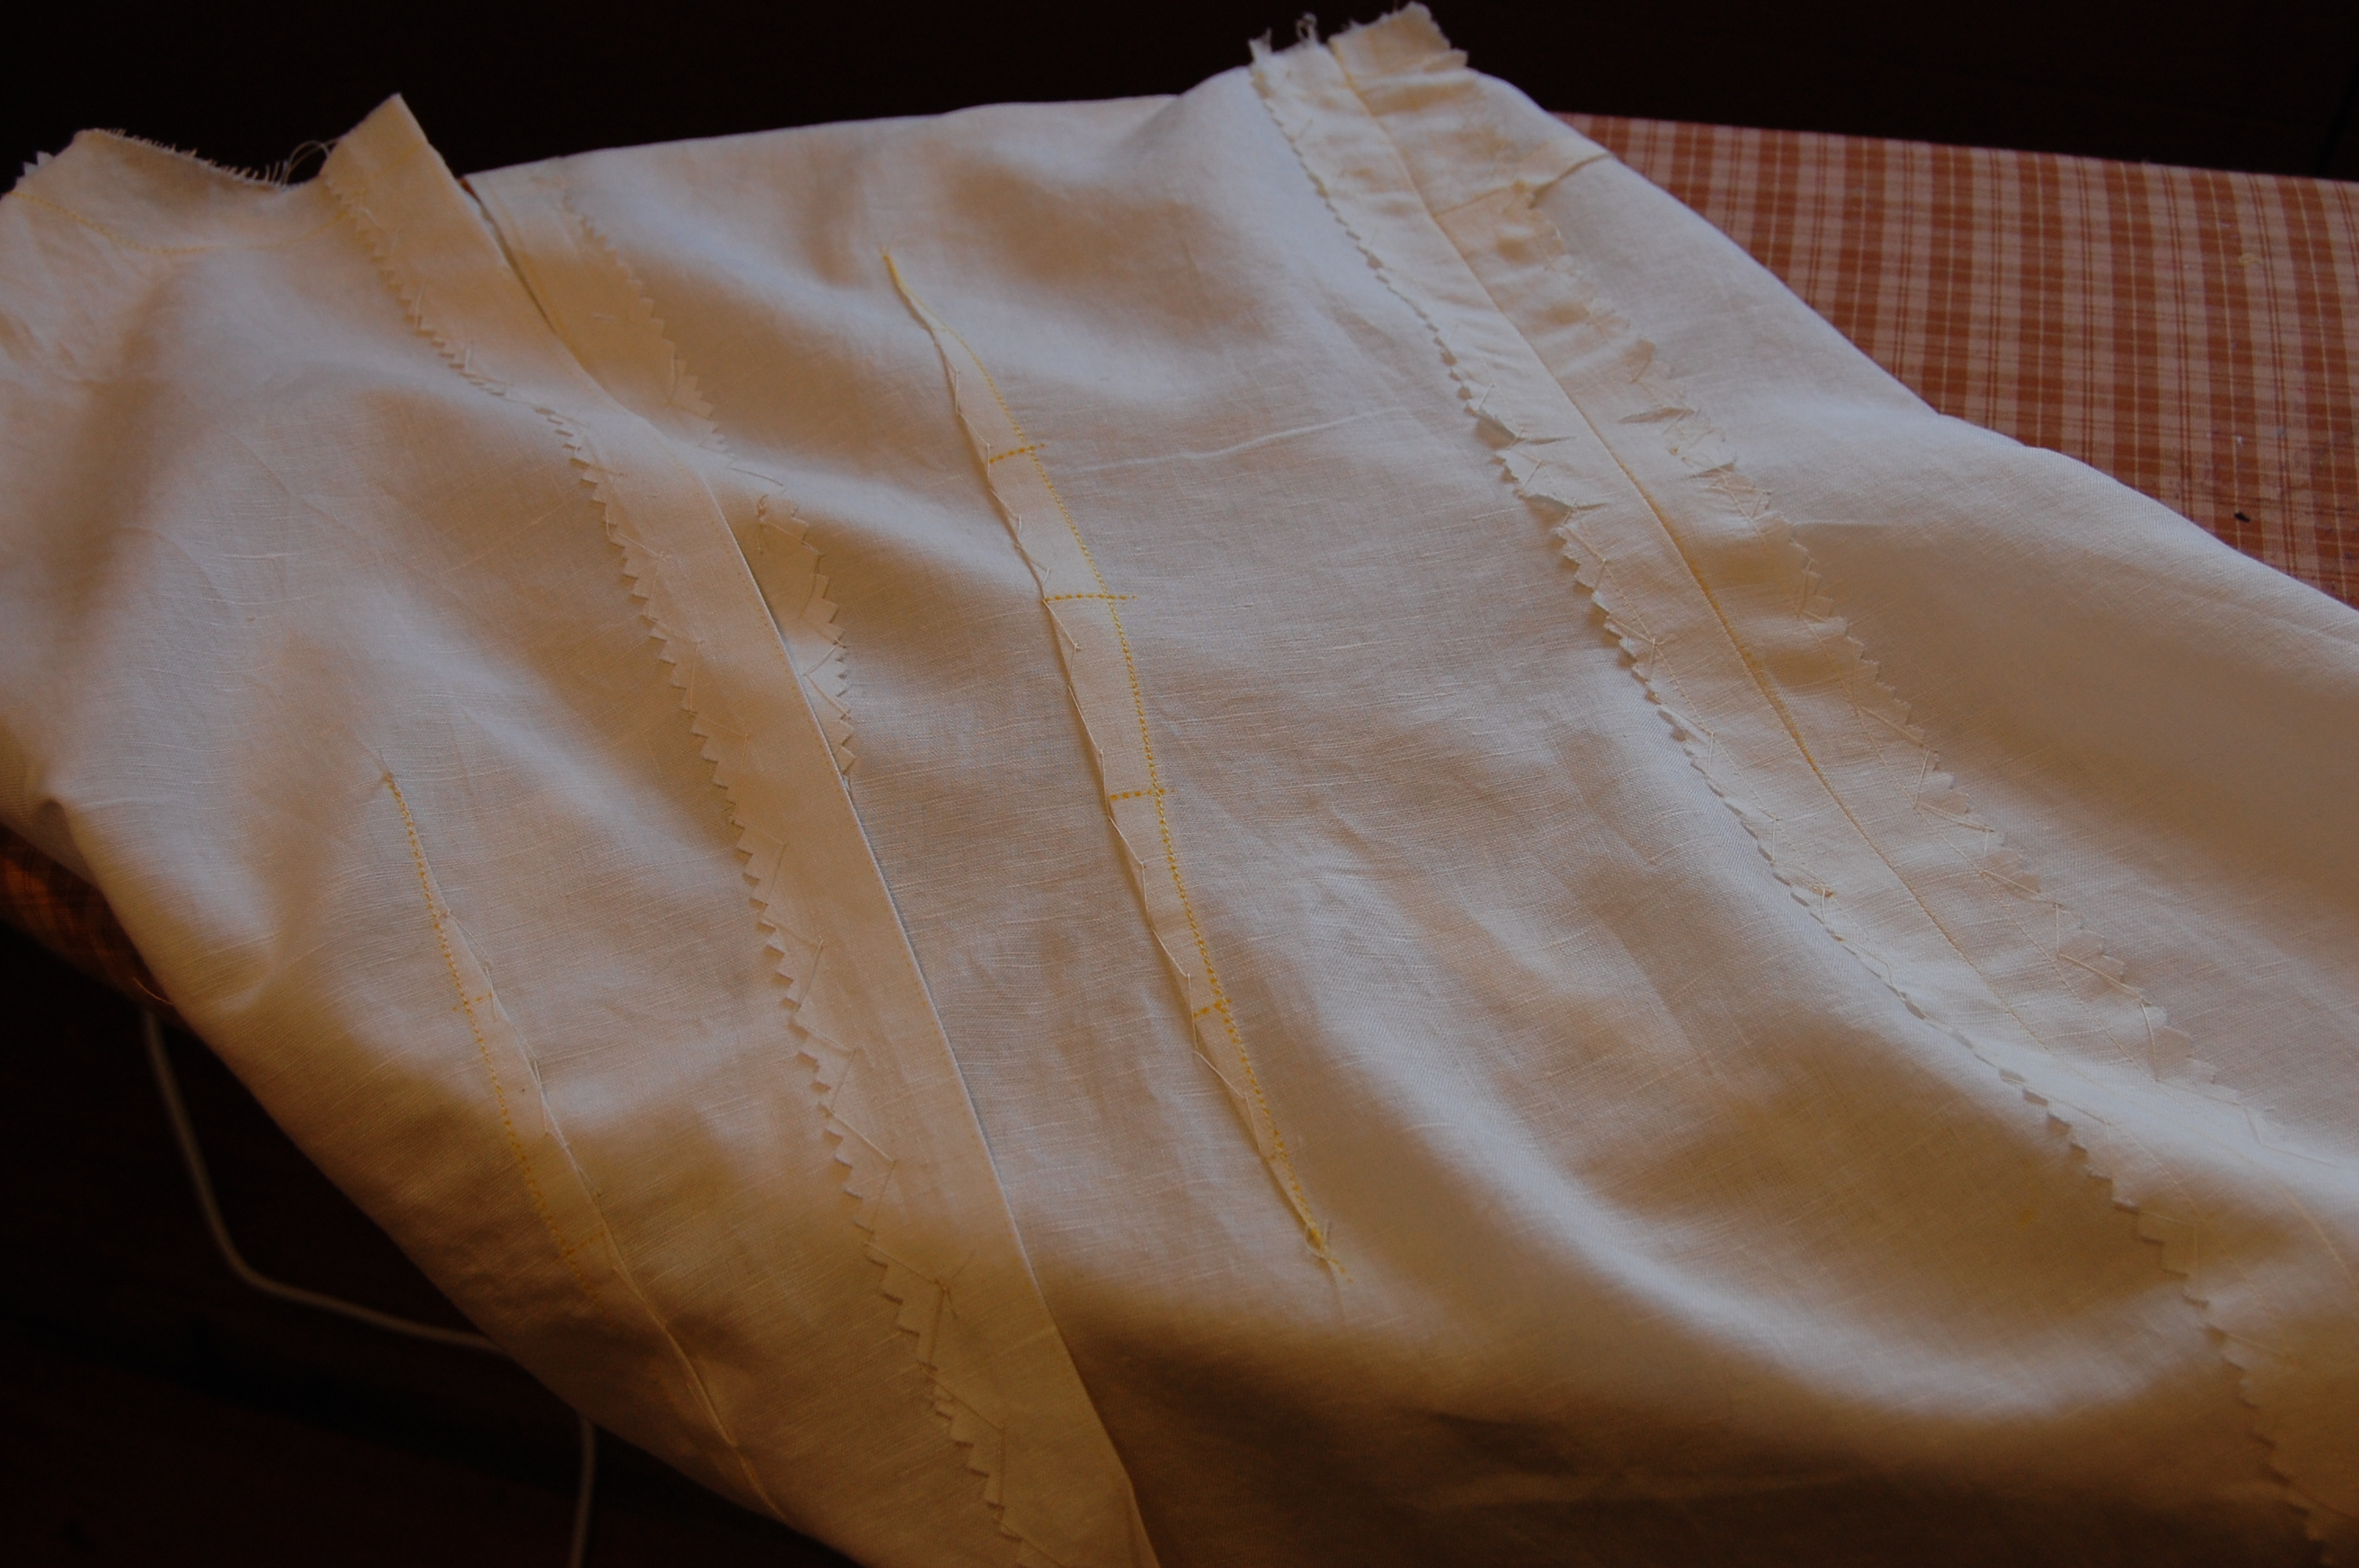
4) Because cut embroidery details have a tendency to fray along the edges of seam allowances, it is best to finish them with either a Hong Kong finish or with rayon (Snug Hug) hem tape. I used Snug Hug as it did not add any extra bulk to the inside of my garment.
Side seams finished with Snug Hug.
I did not want to underline my dress (as in silk organza), as I wanted to preserve the lovely breathability of the linen fabric. However, I did want to line it, so I used a very light, almost gauzy, cotton/linen blend.
I actually catch-stitched all the seams and dart edges on the lining, to help it mold as nicely as possible with the interior of the dress.
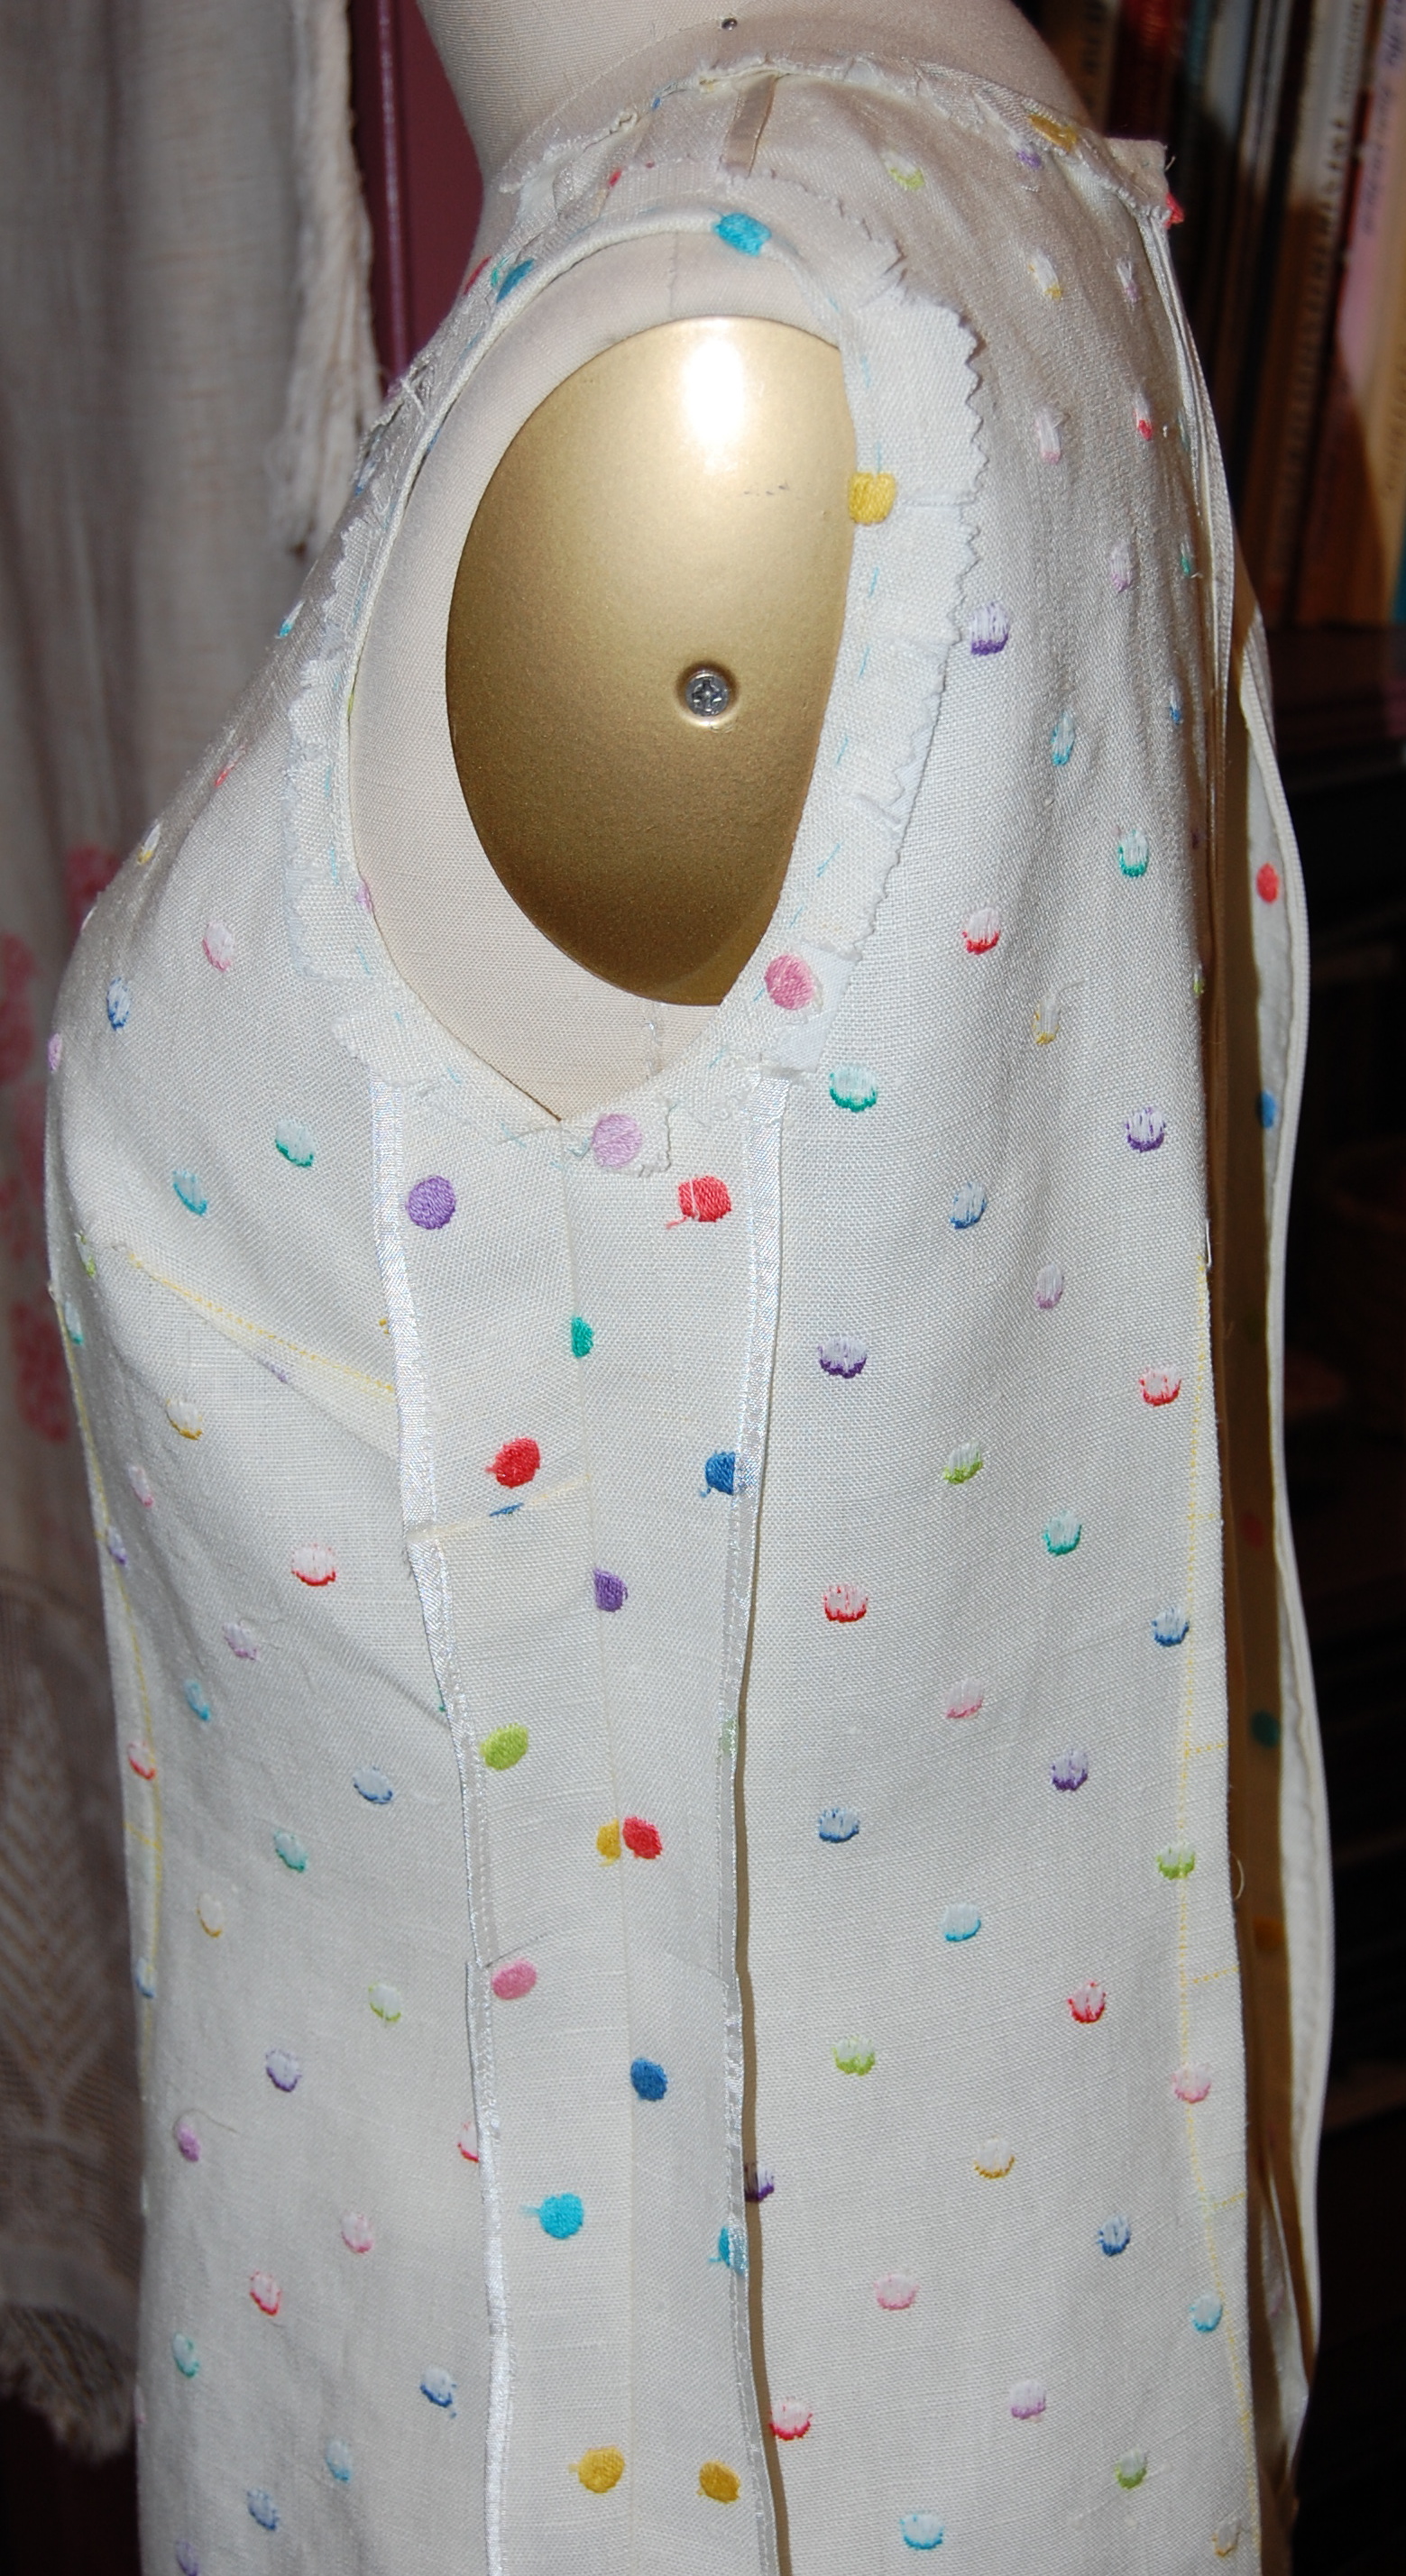
I decided to make the lining entirely separate and then attach it to the dress at the neck, armholes, zipper and back hem slit using a fell stitch. However, once I had my seam allowance folded back at the neck and armholes, I noticed a little bit of “shadowing through” of some of the colored dots along those edges.

Perhaps you can see the shadowing of the dots underneath the crossed pins?
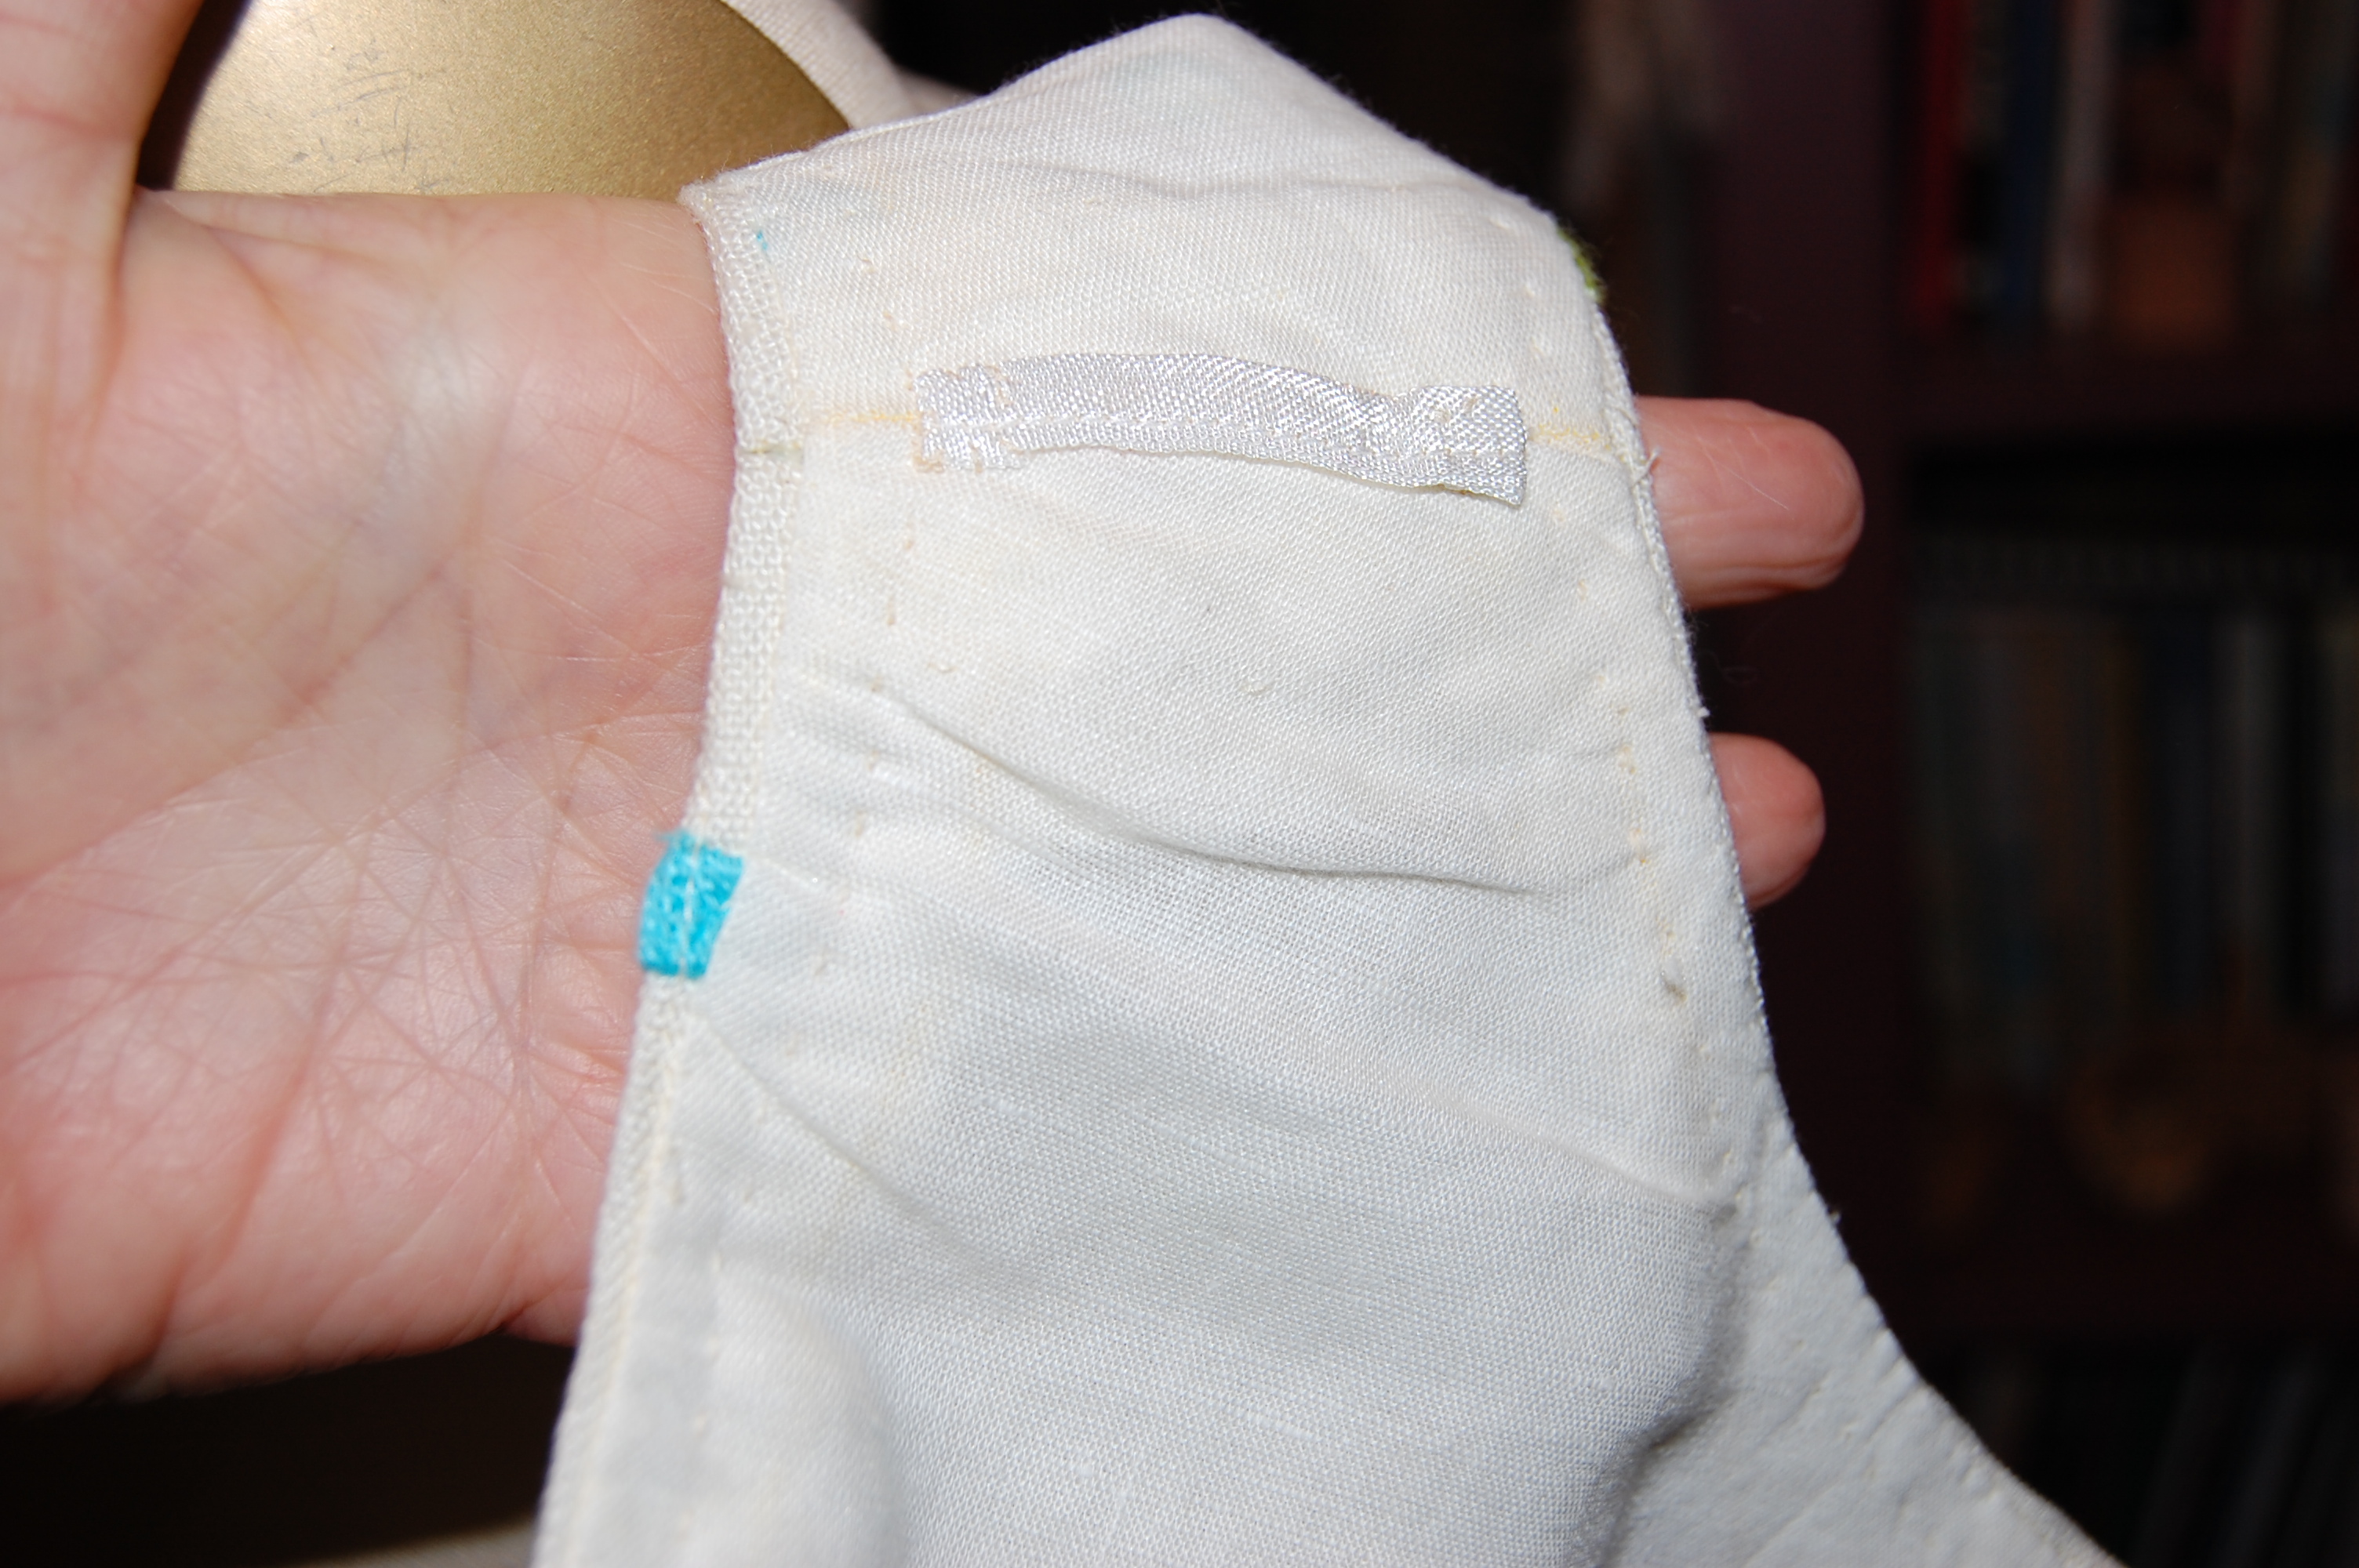
To remedy this, I cut 5/8” wide strips of bias lining fabric and basted them onto the seam allowances in those areas. That was just enough to take care of that problem.
This narrow strip of lining fabric prevents the color of those dots from showing through. This is the wrong side of the fabric.
Once the dress and lining were attached, I under-stitched the neck and armhole edges by hand. It really makes a lovely interior!
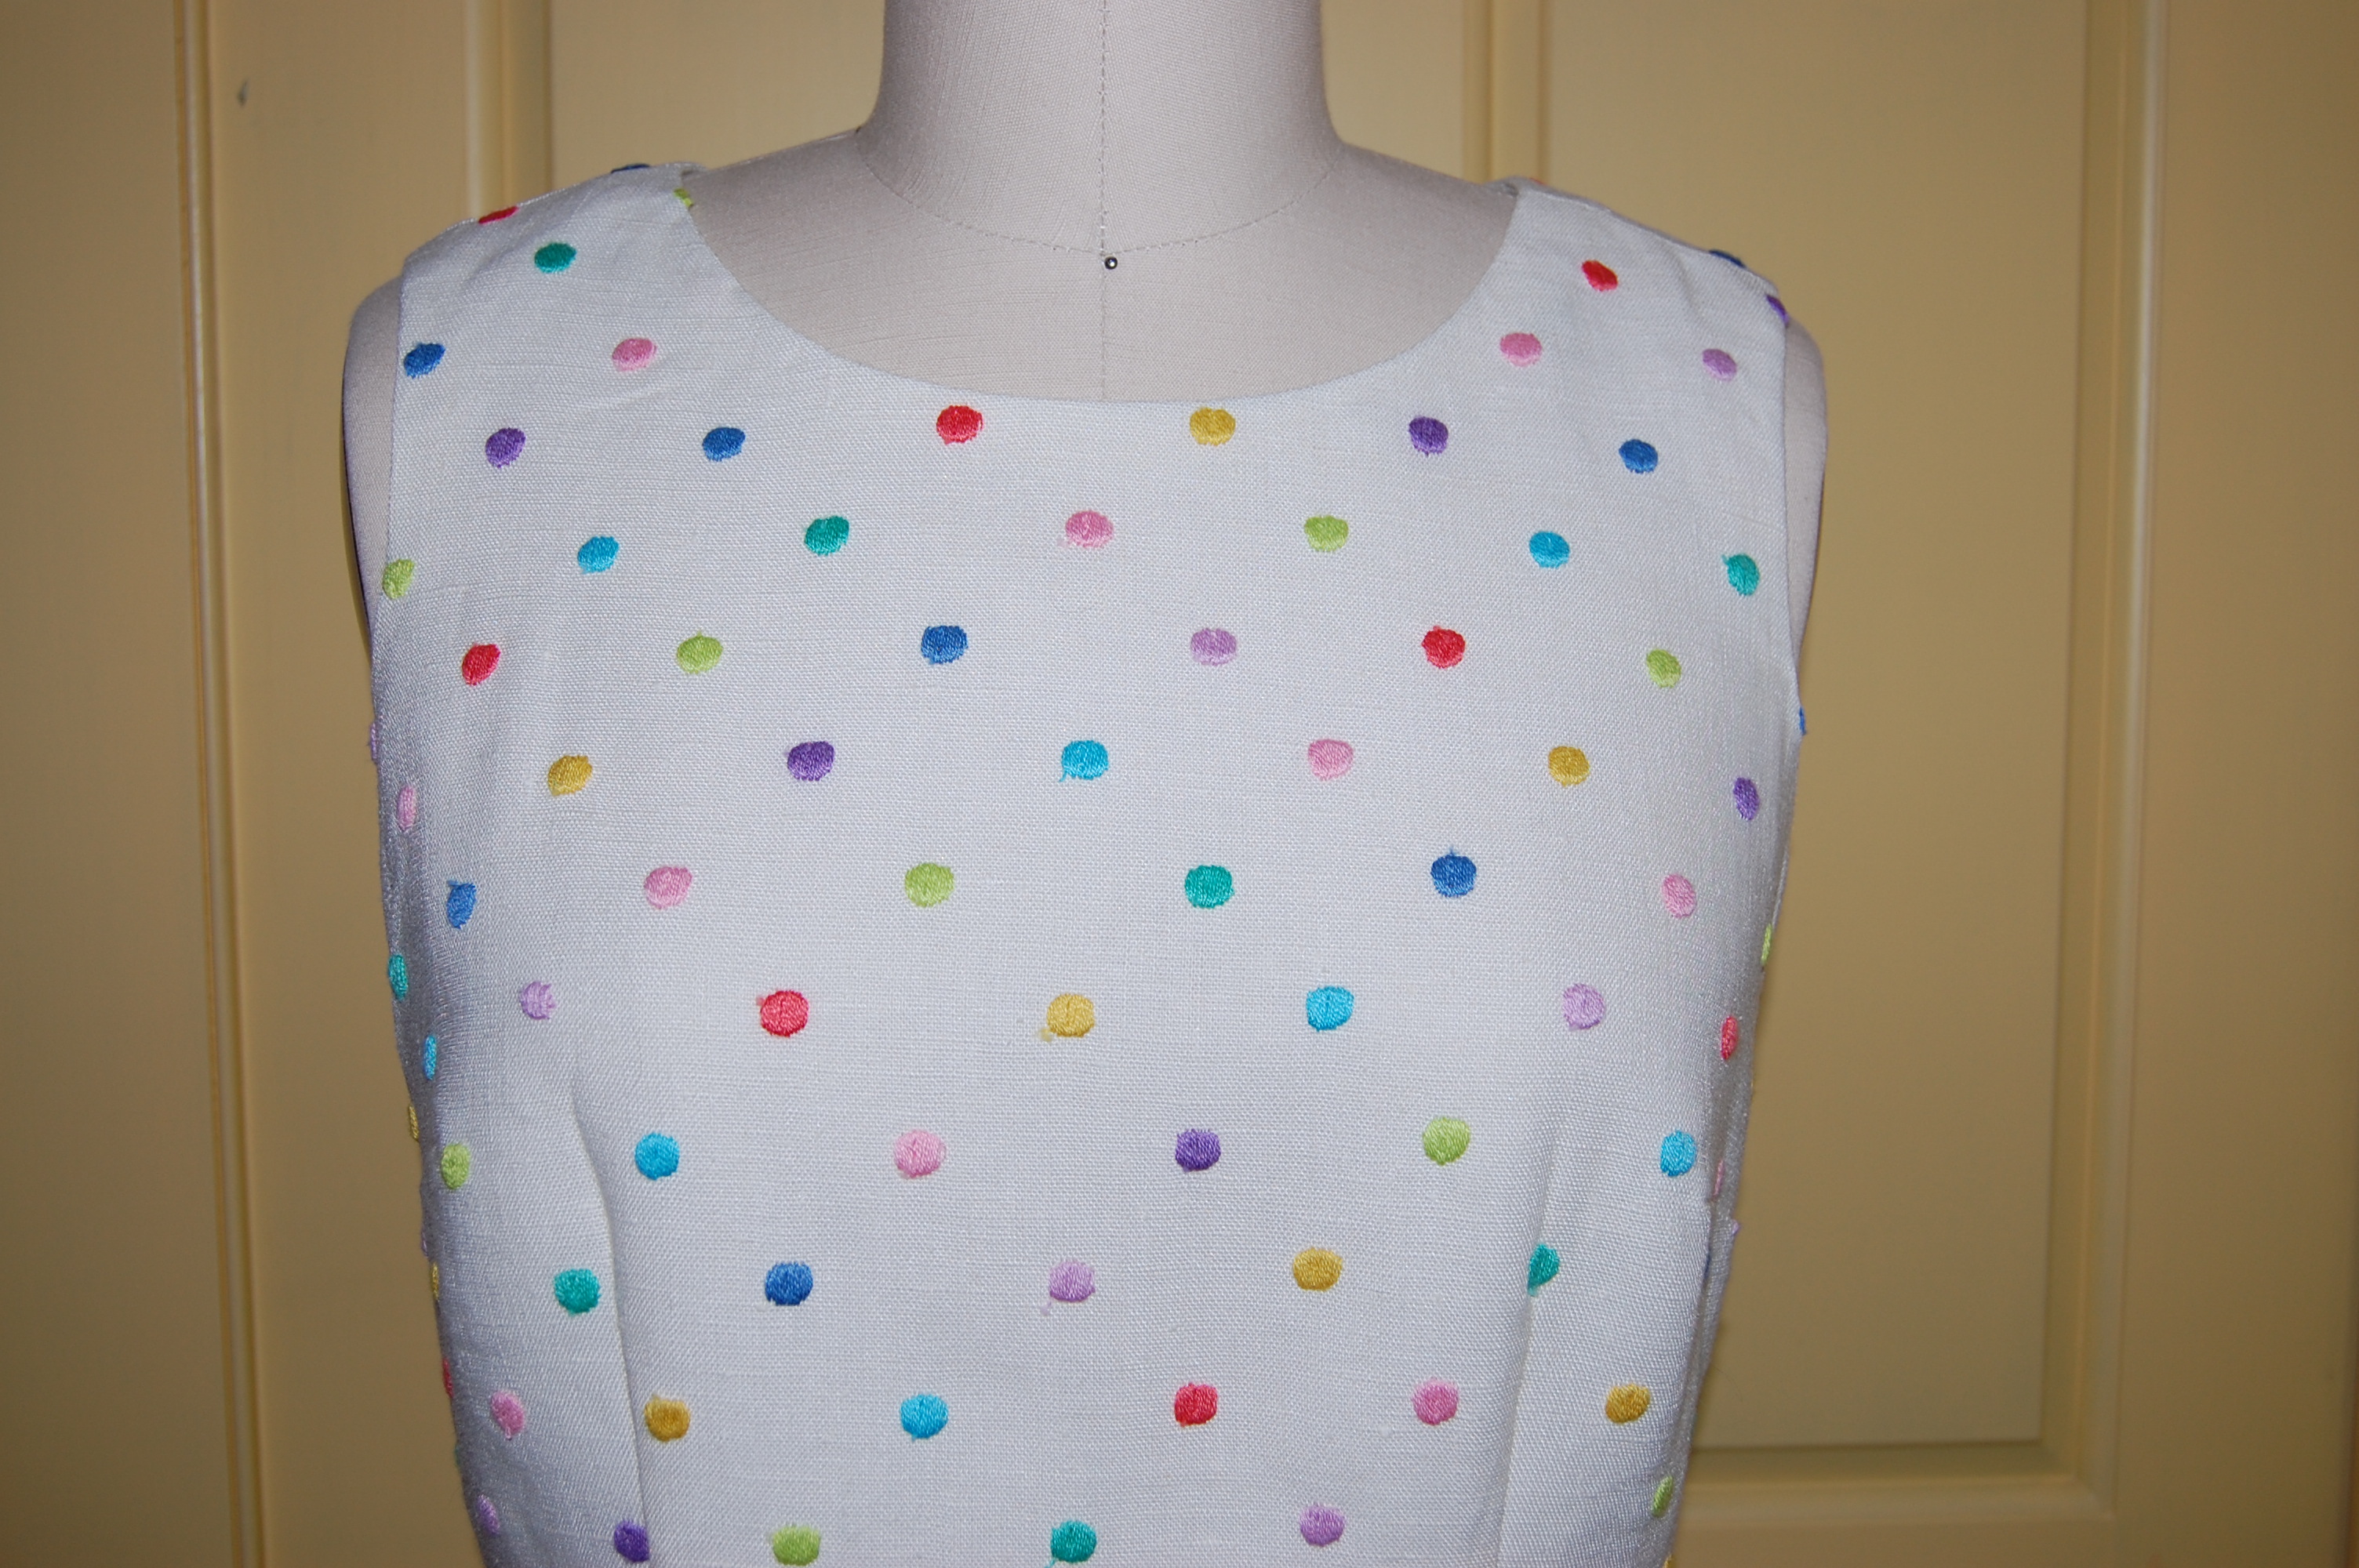
A close-up of the bodice.
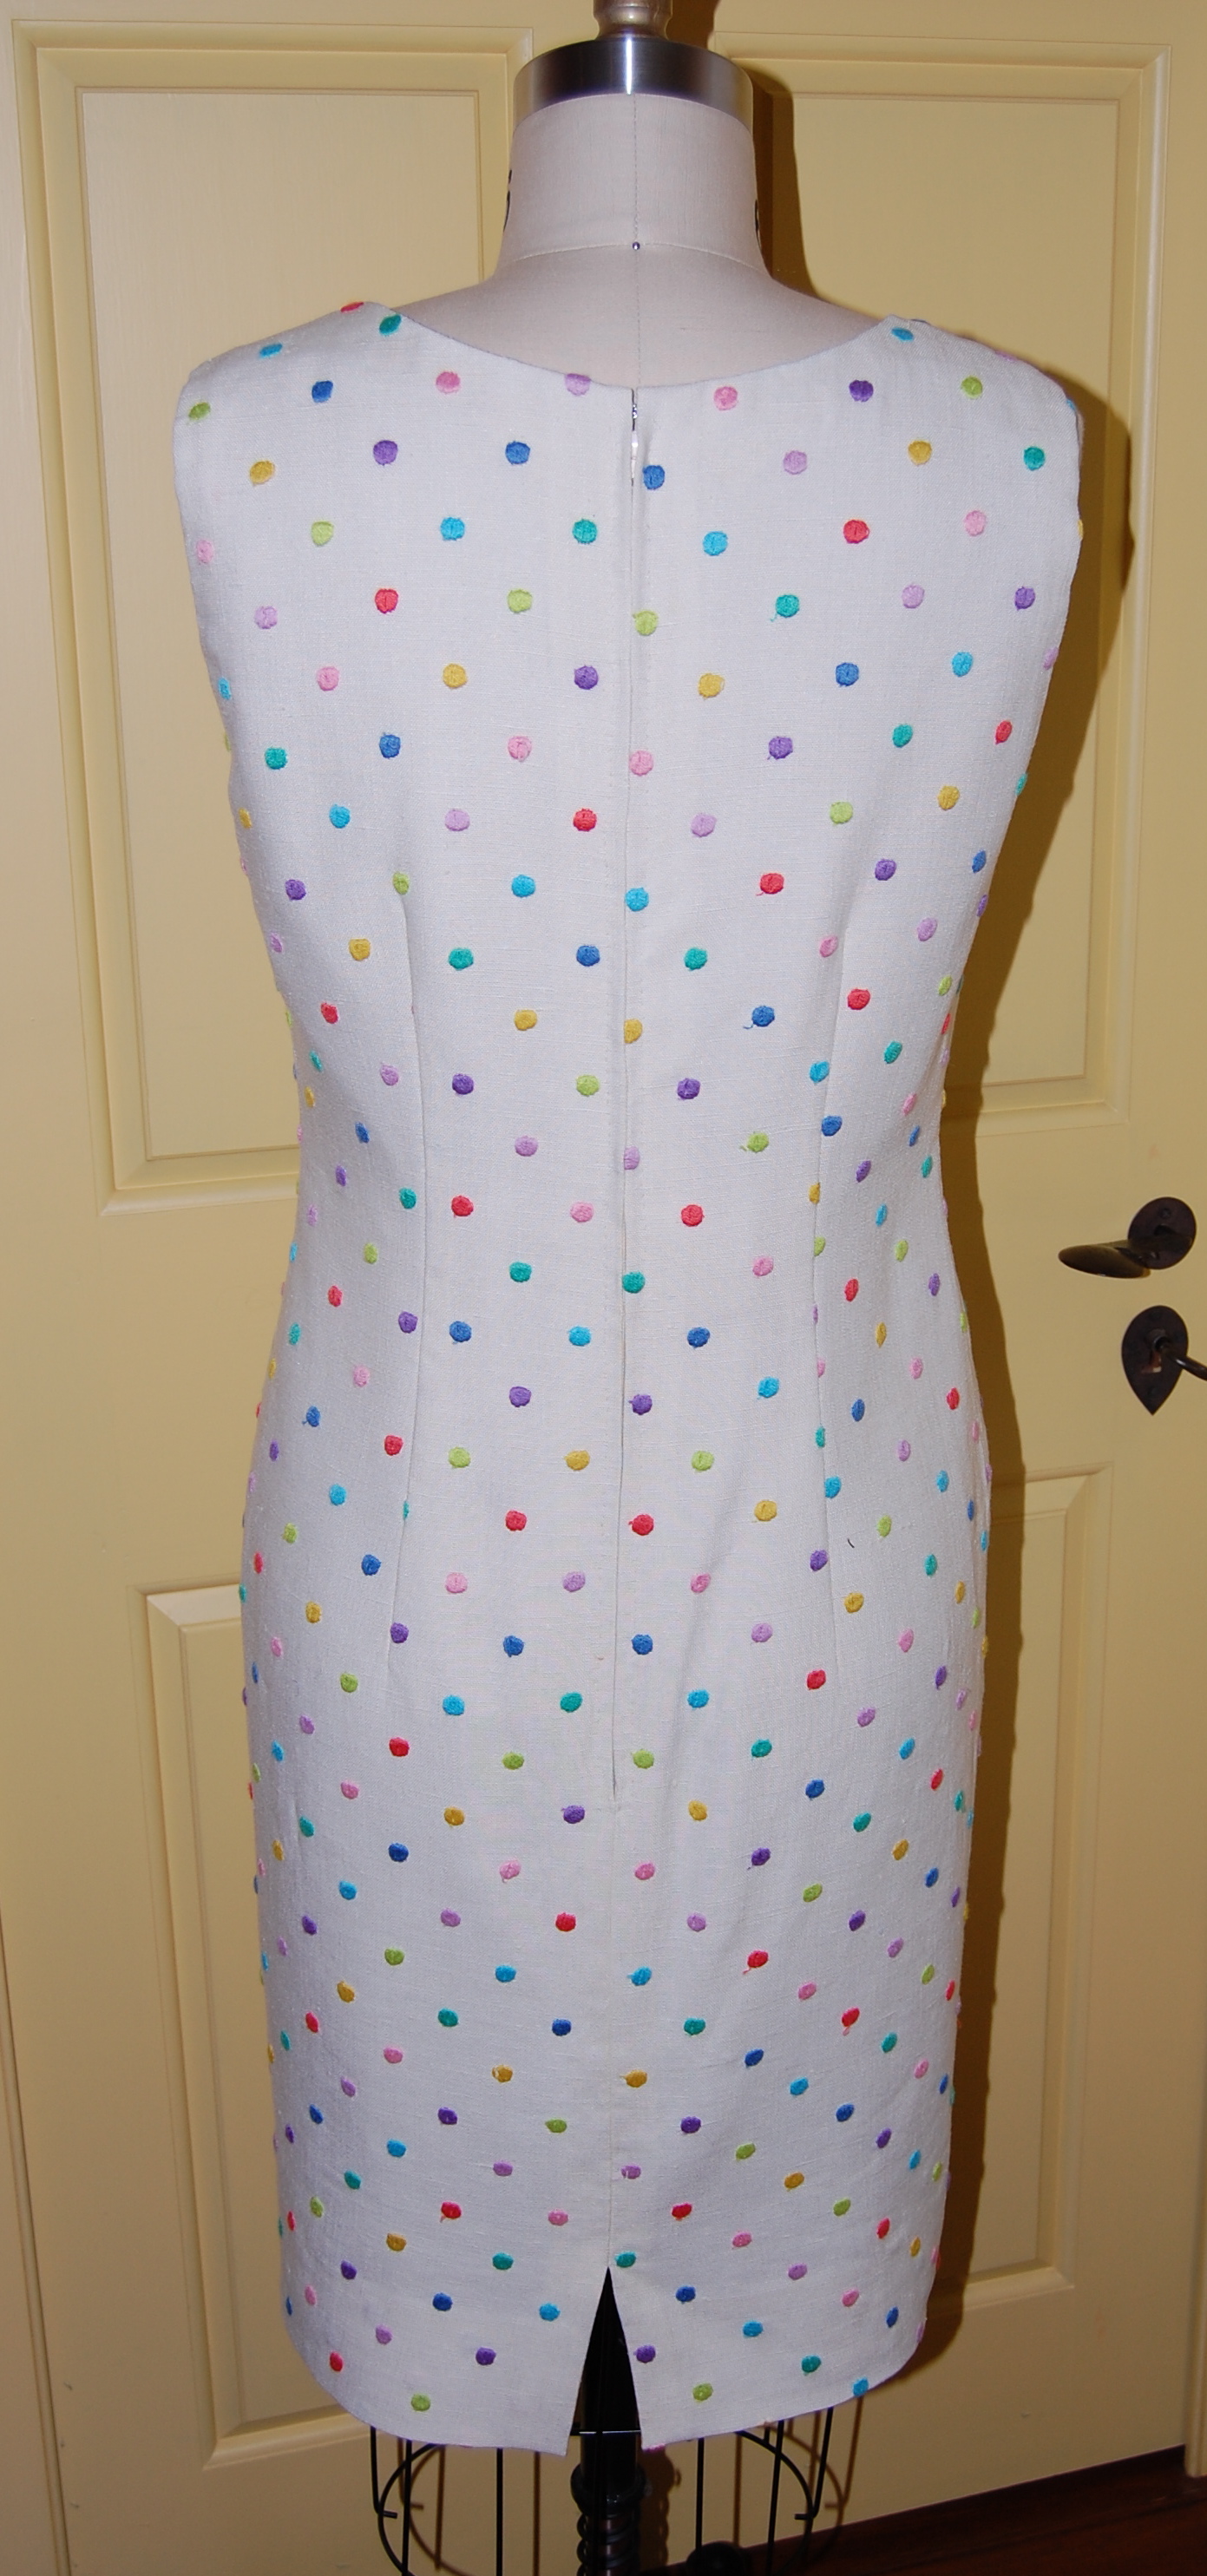
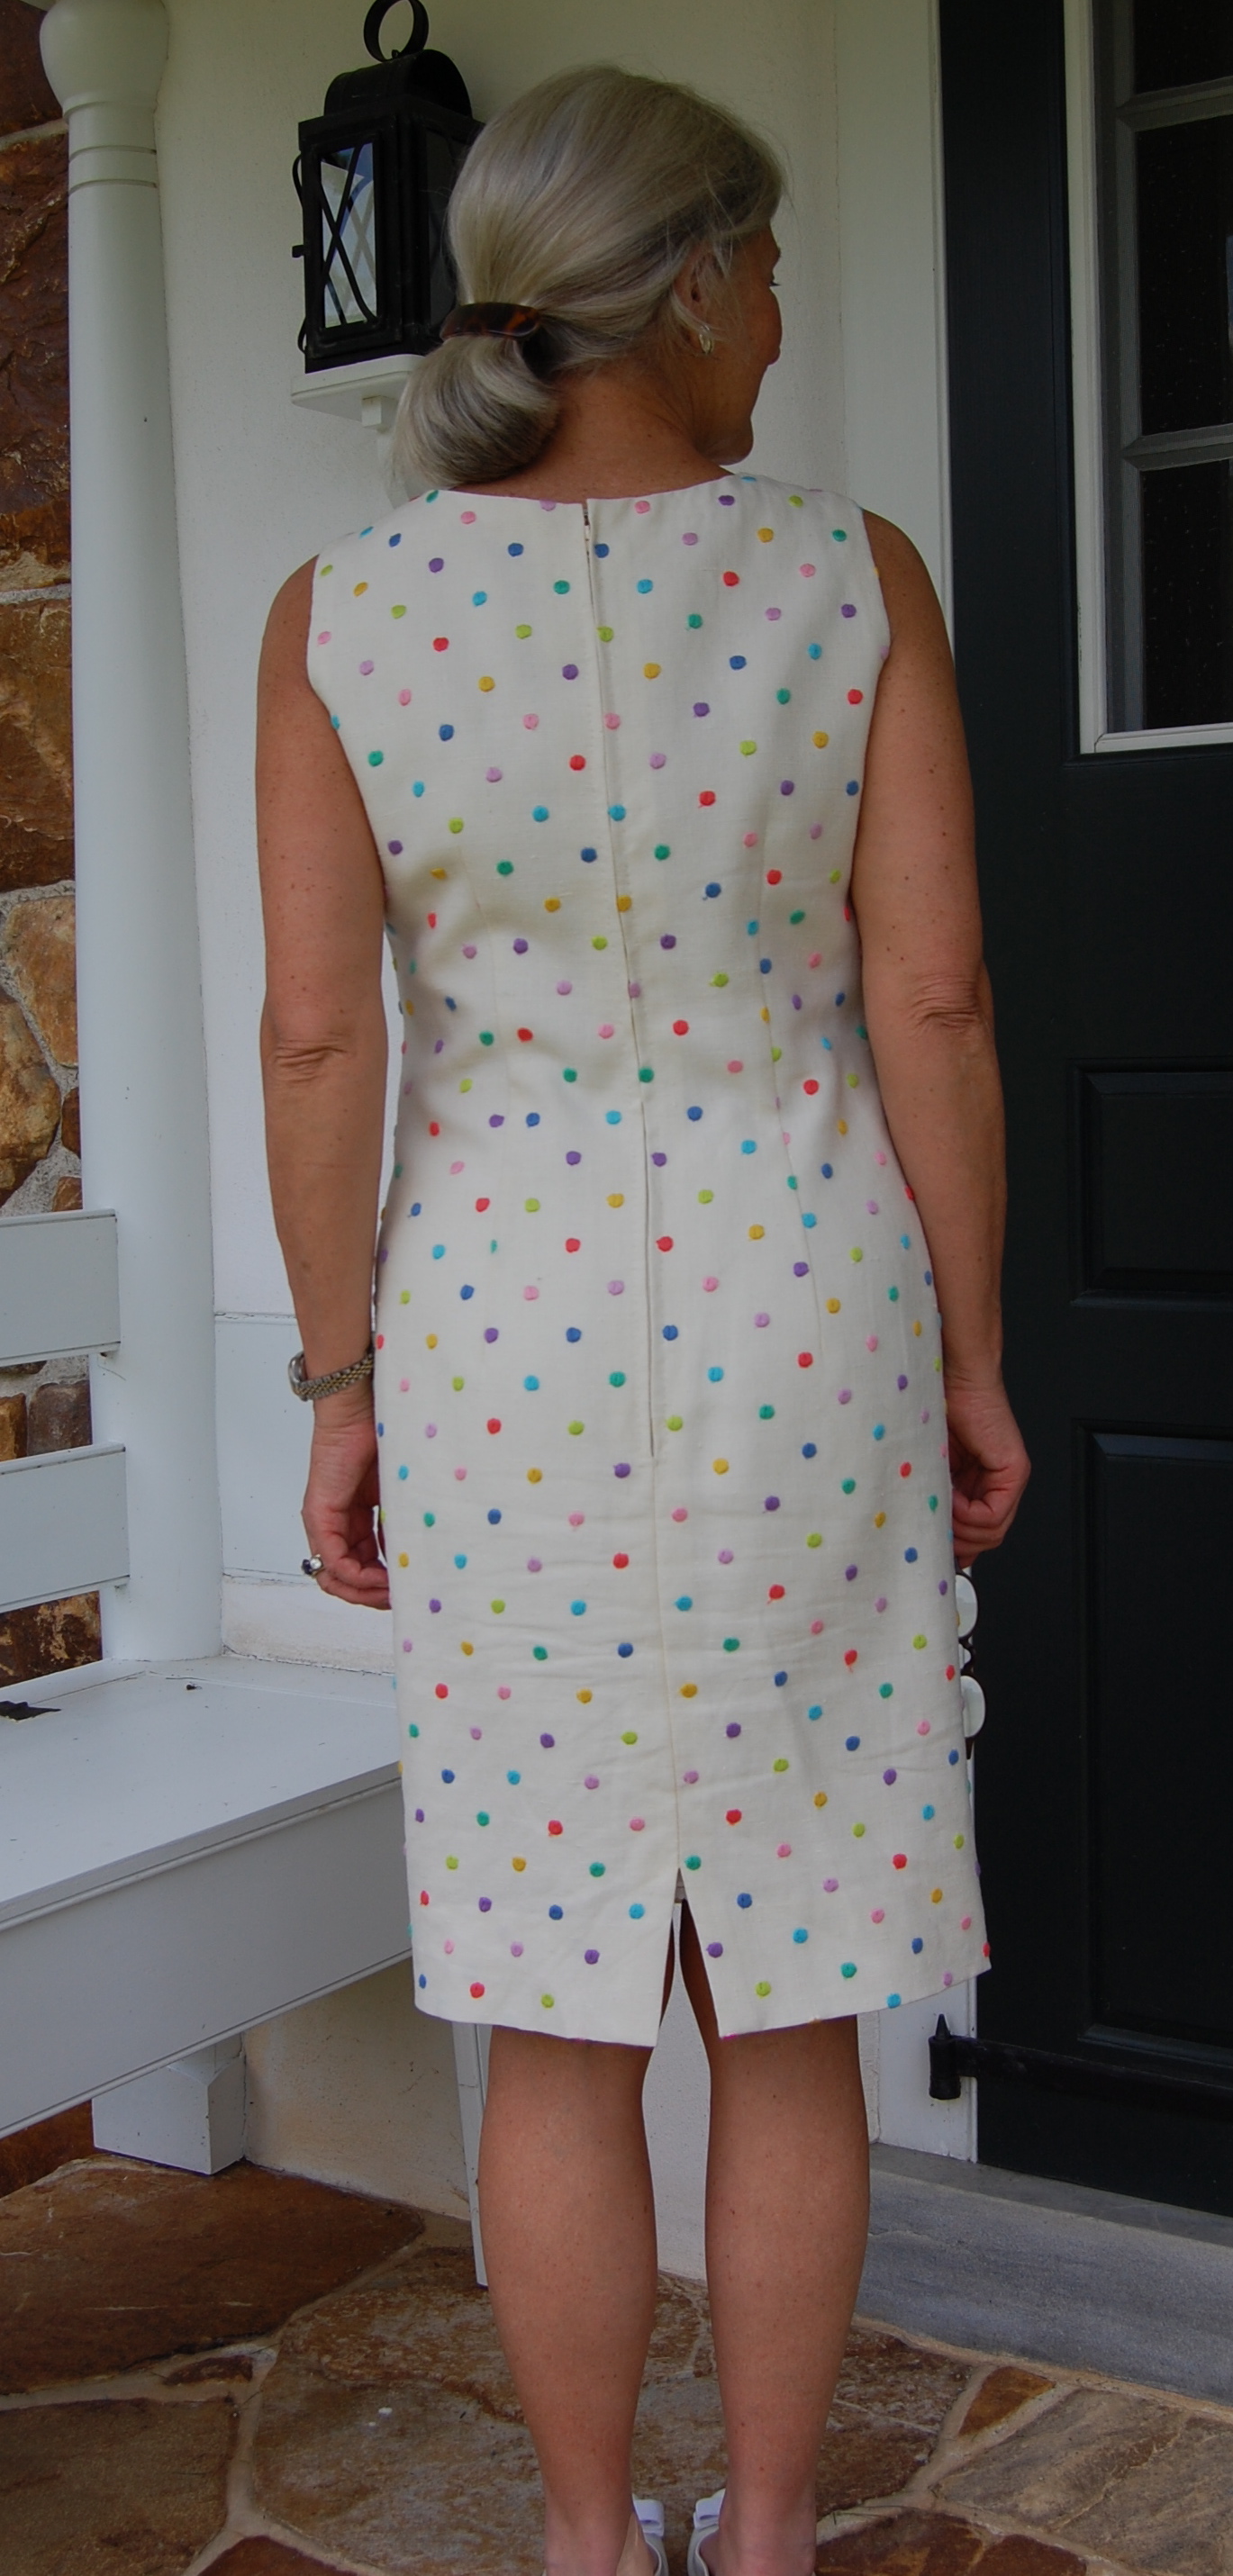
The back of the dress, with its hand-picked zipper.
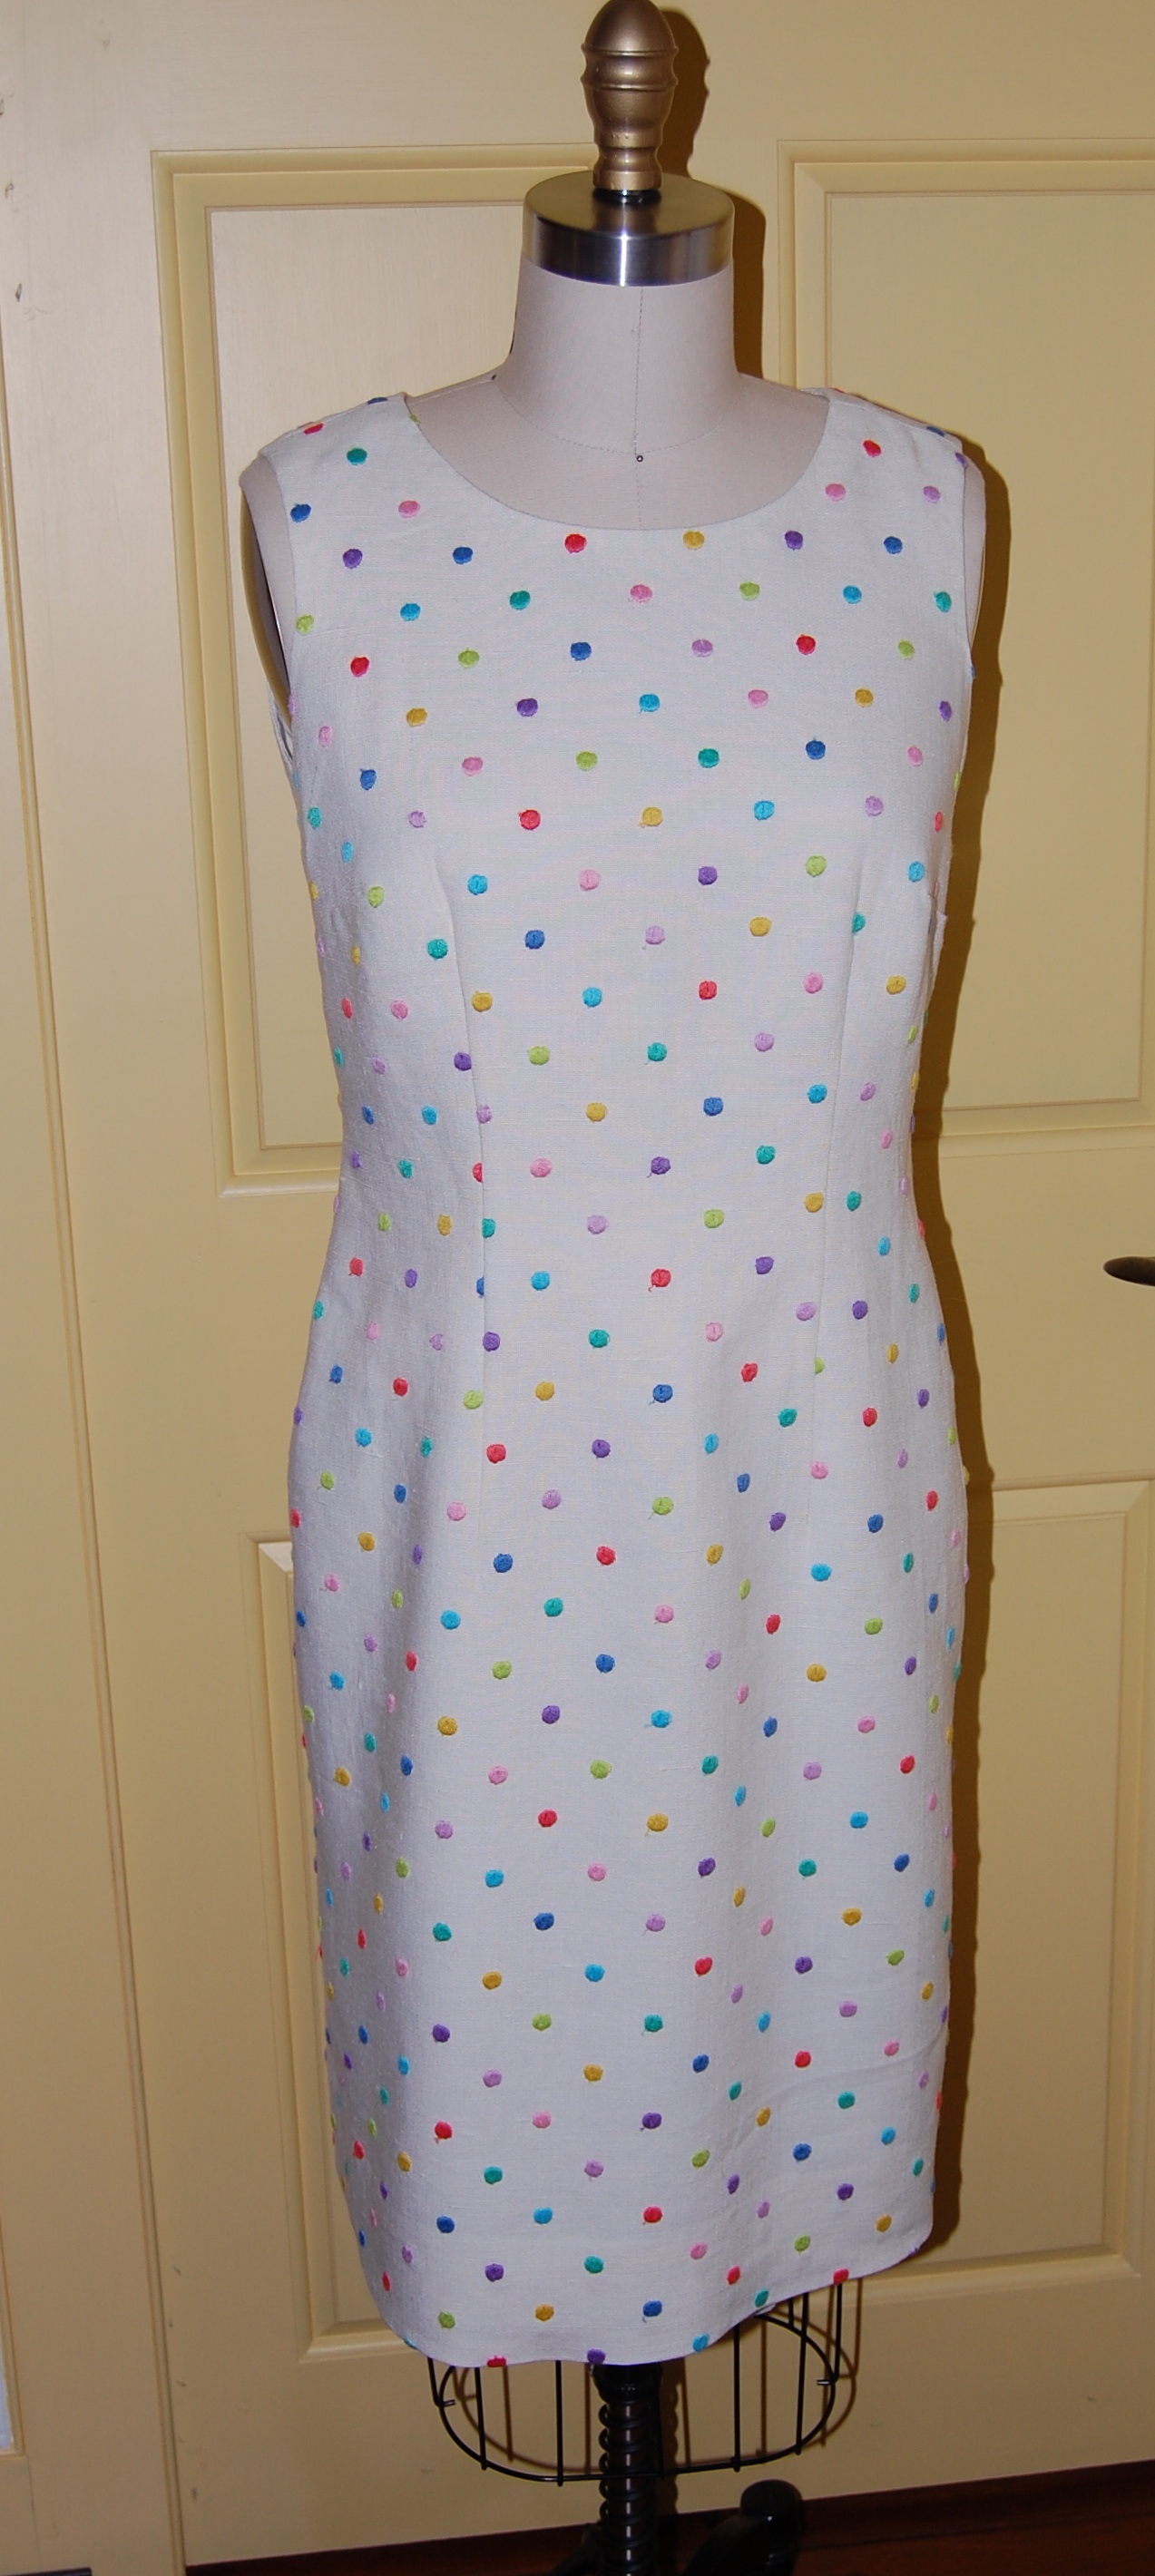
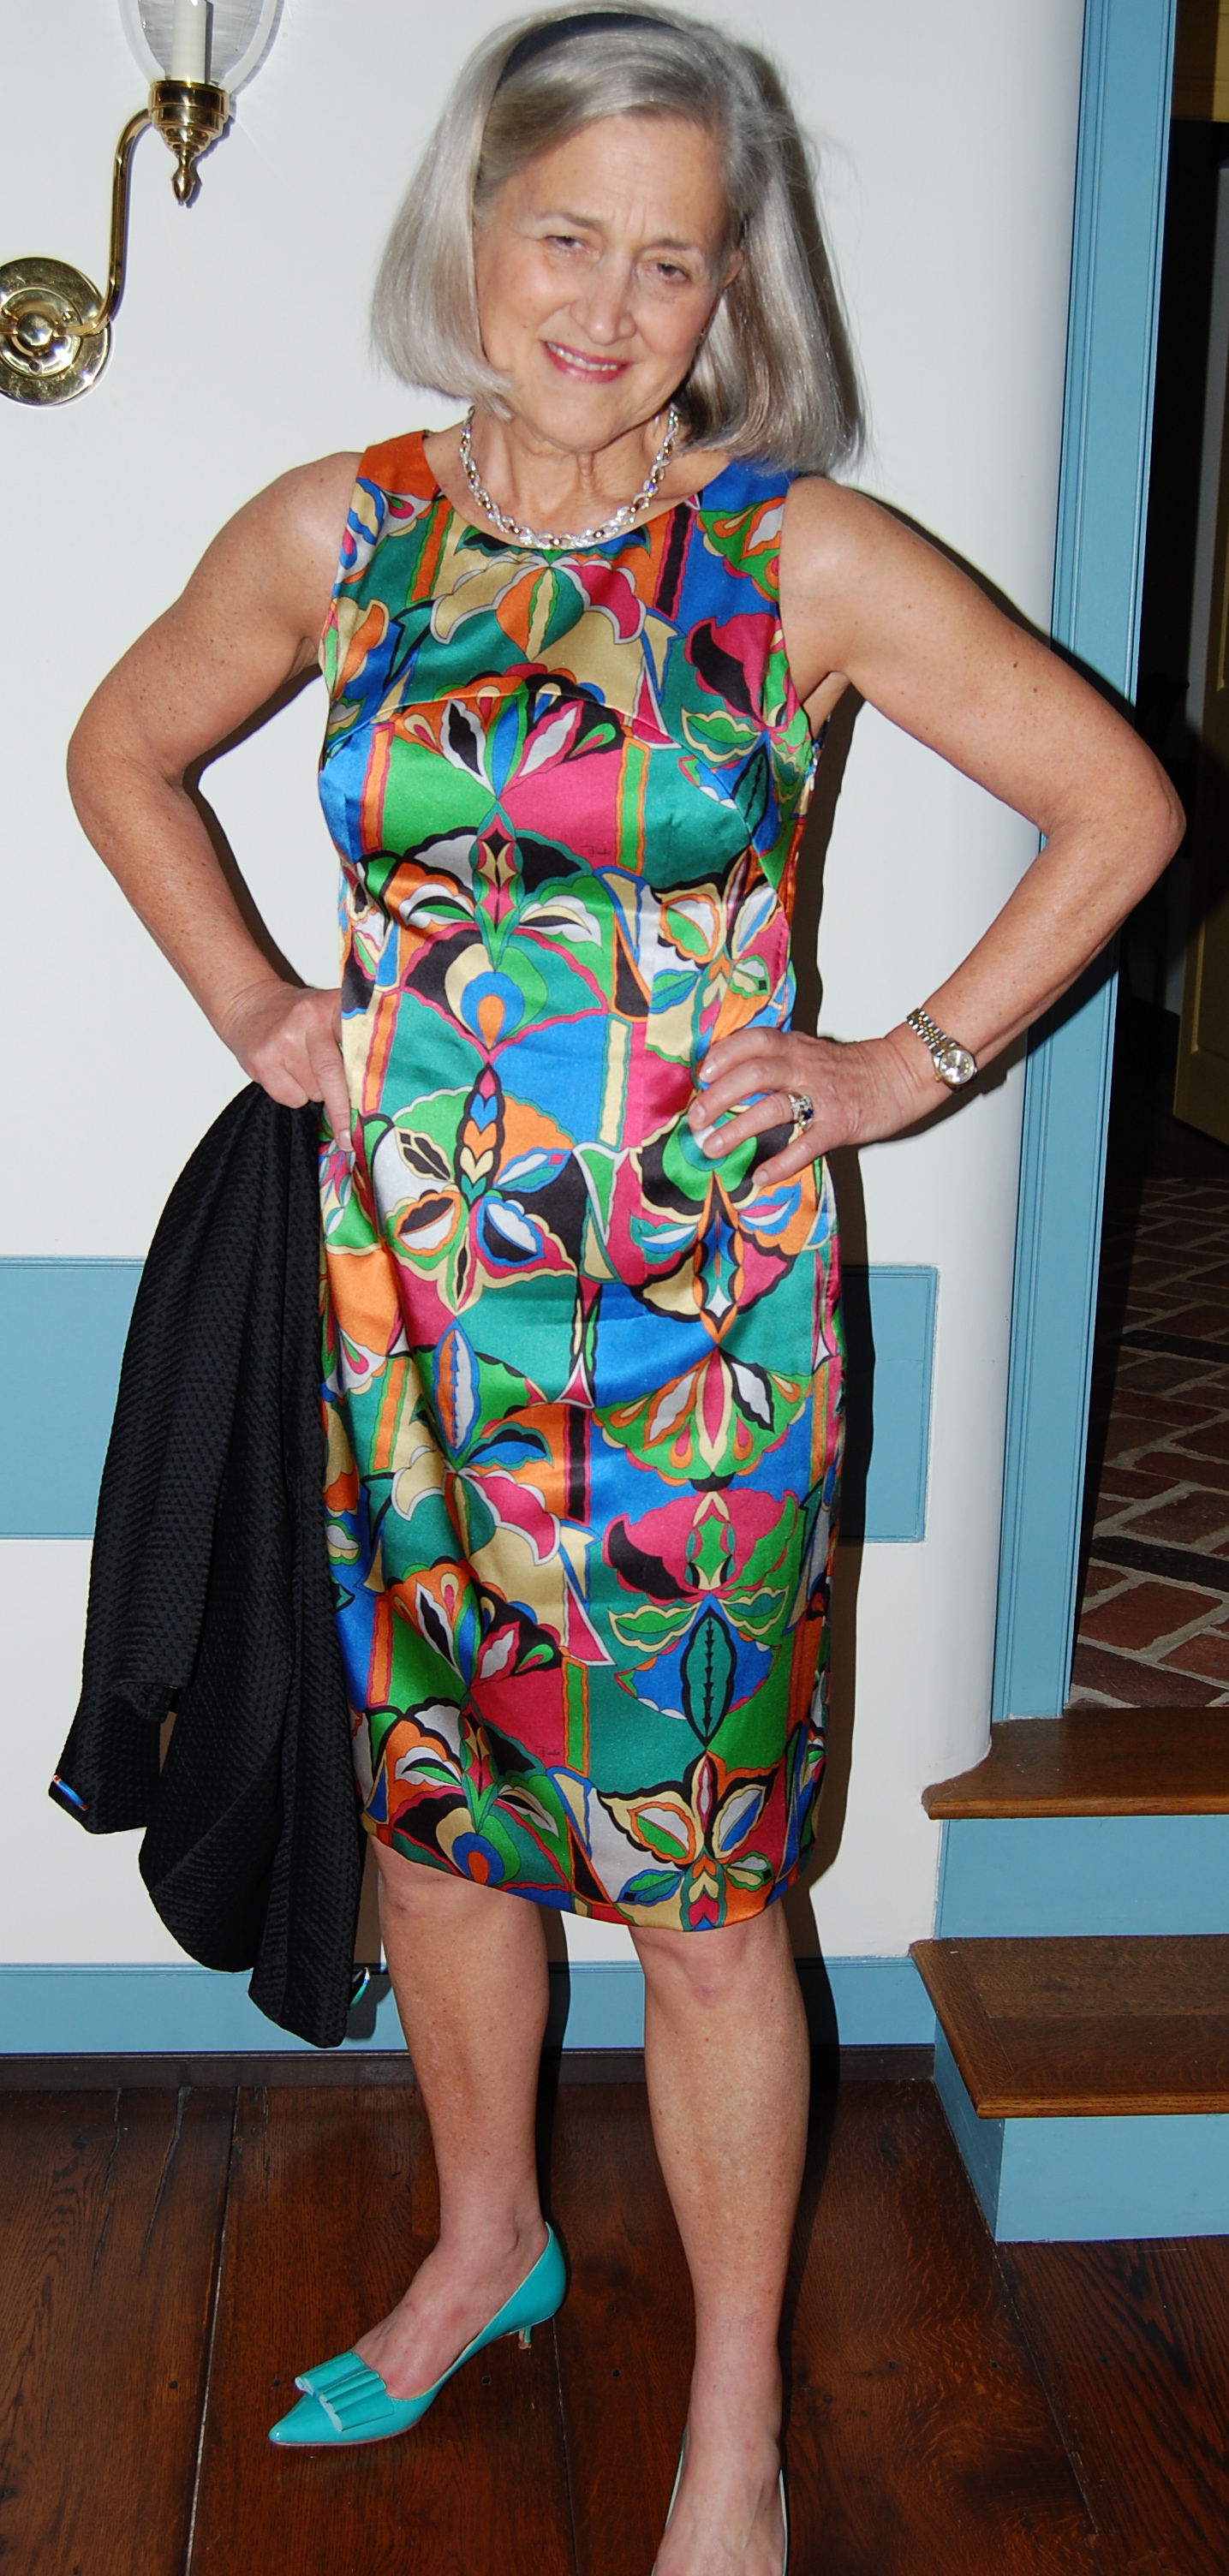
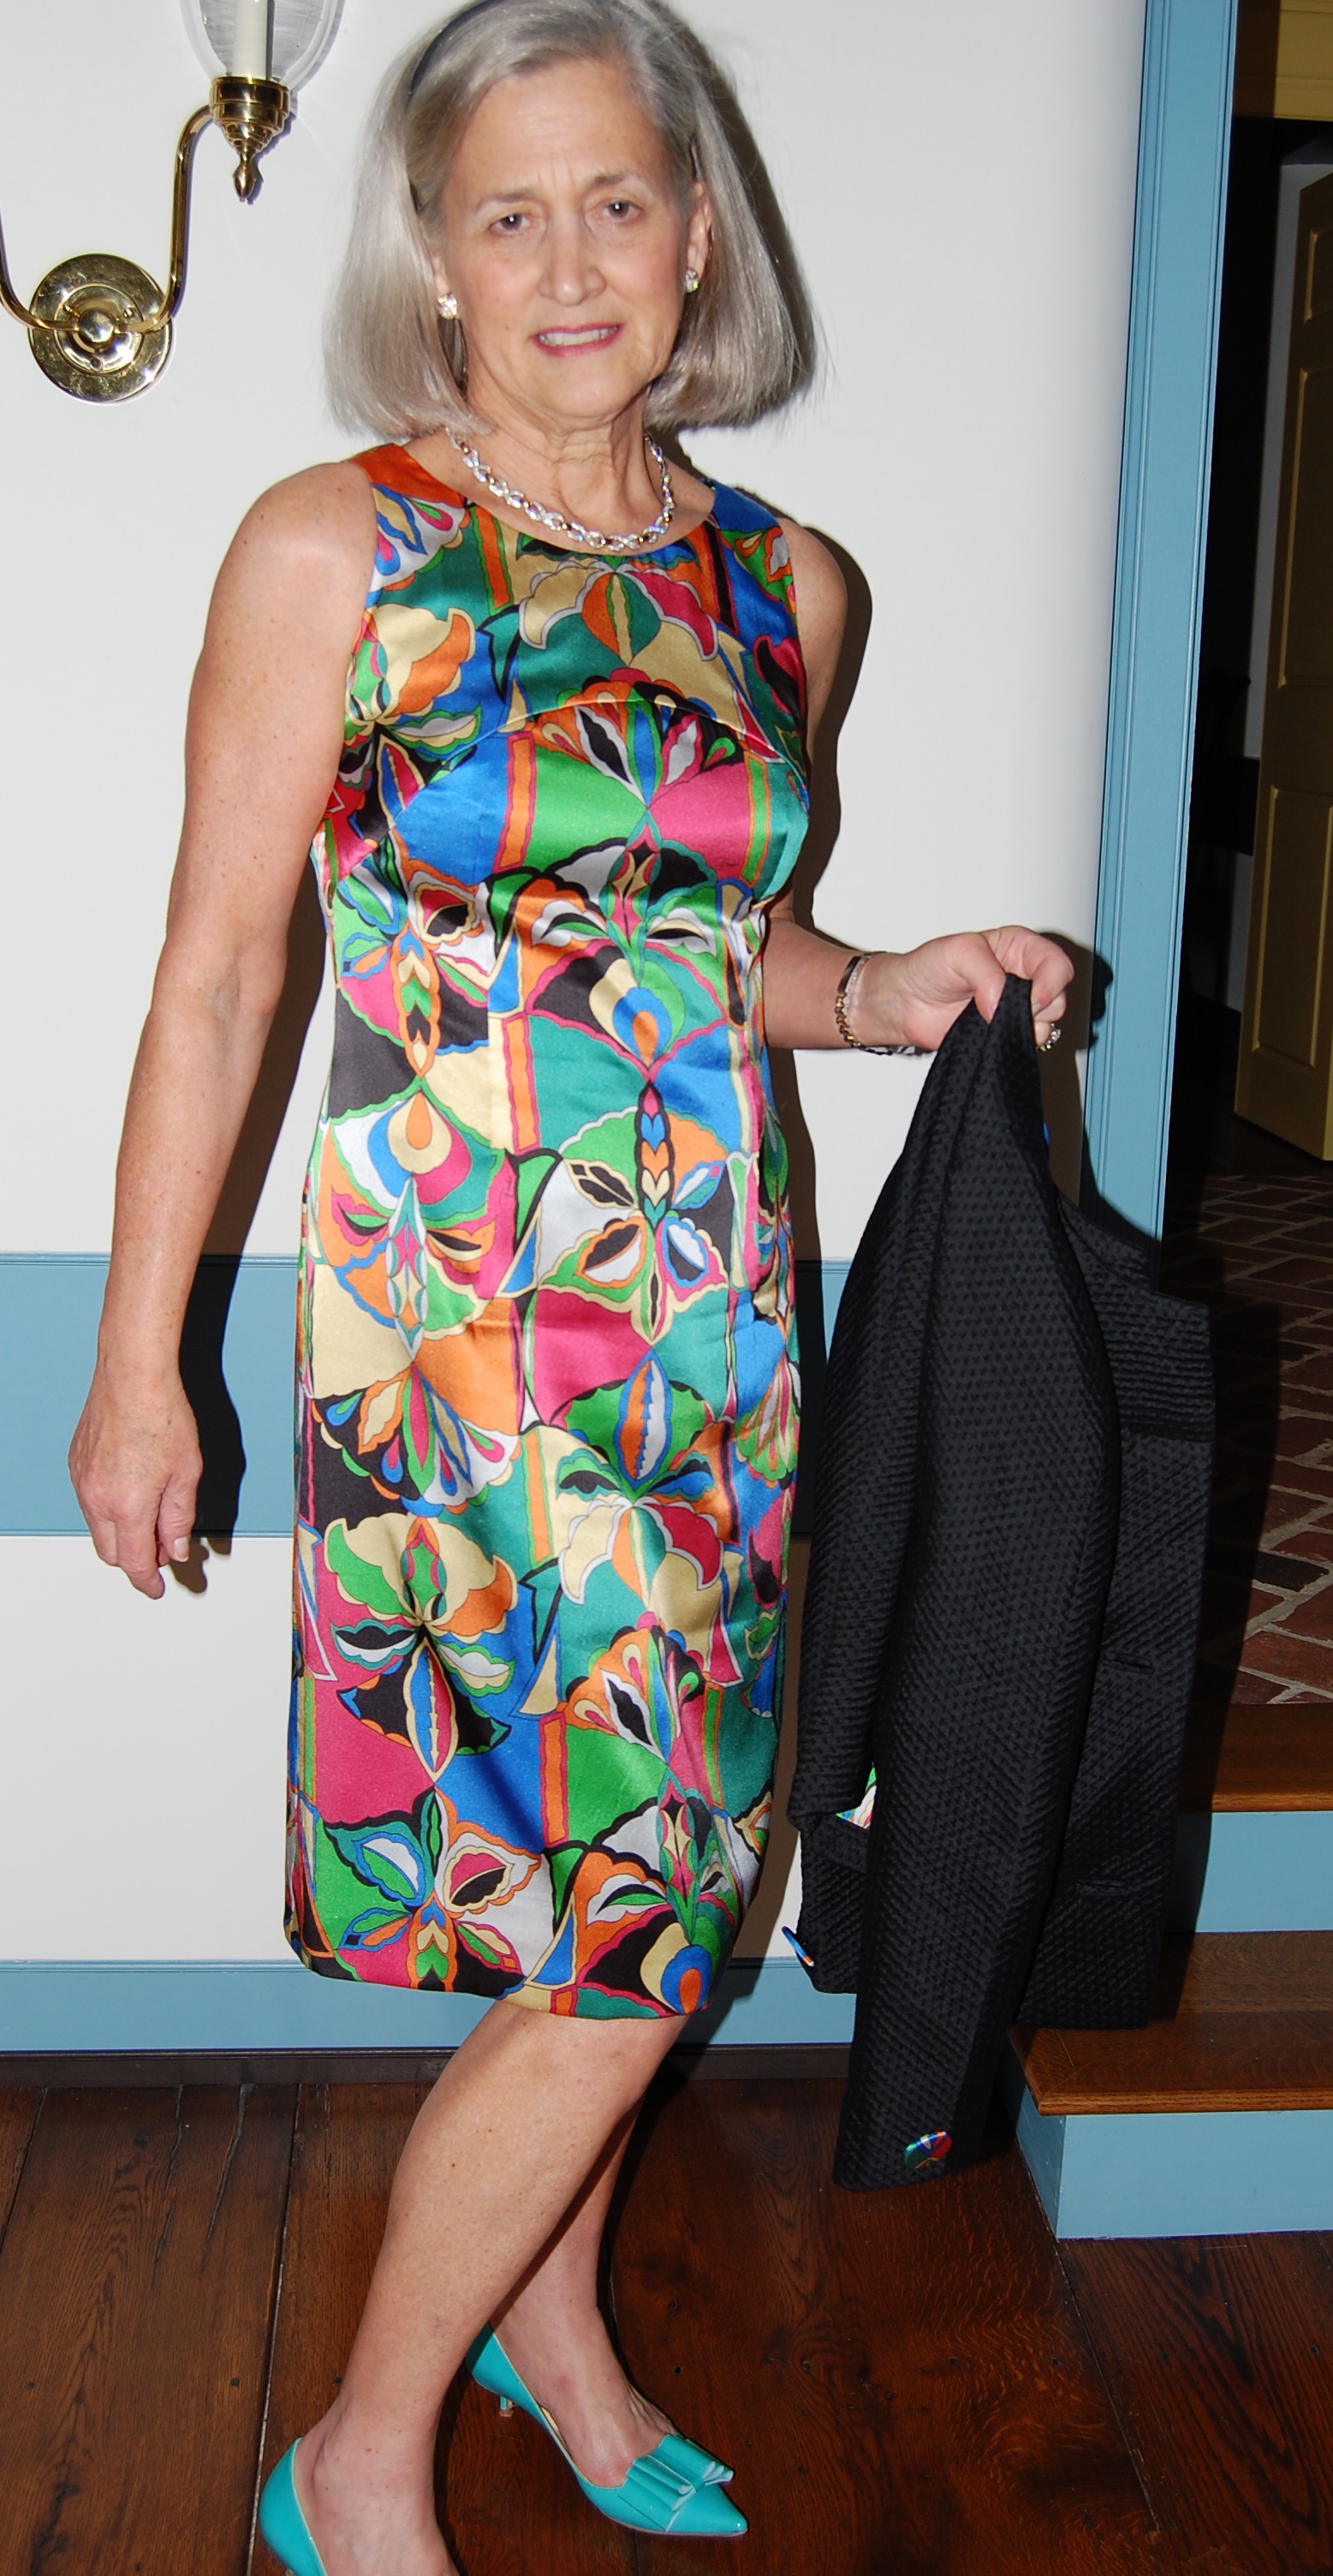
And one more view of the full dress.
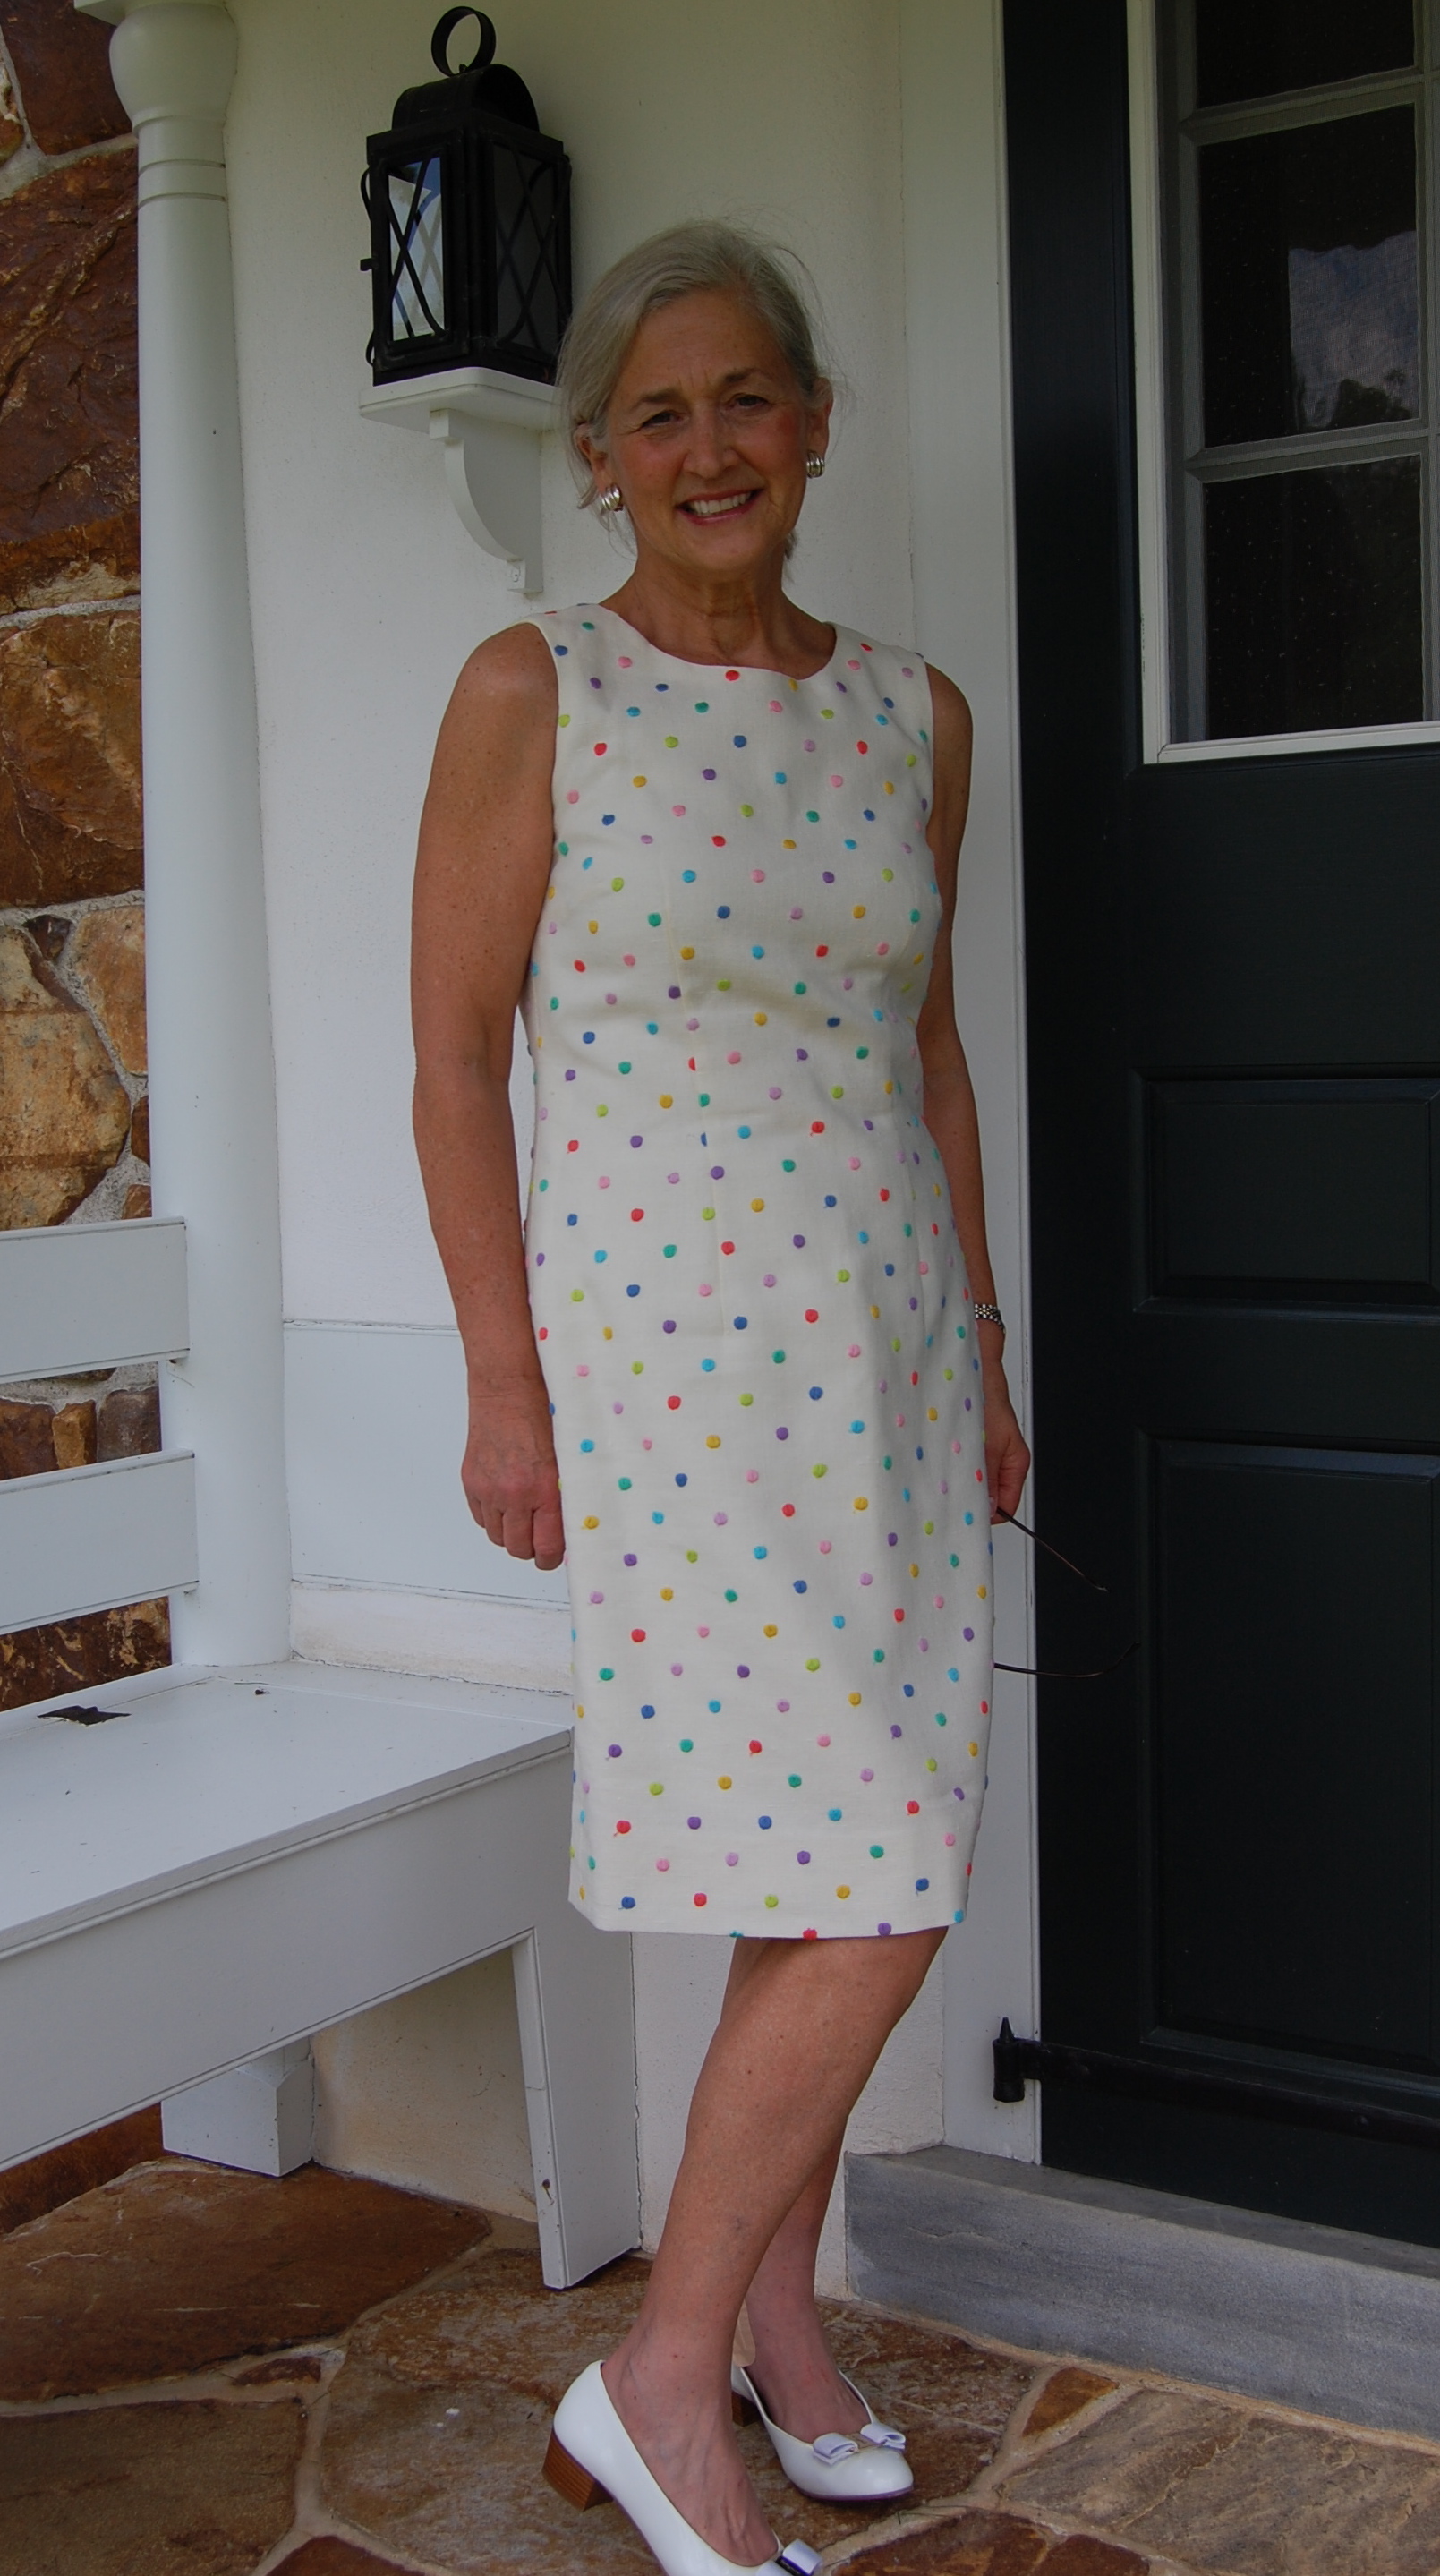
I finally (as of July 1, 2014) got some pictures taken!
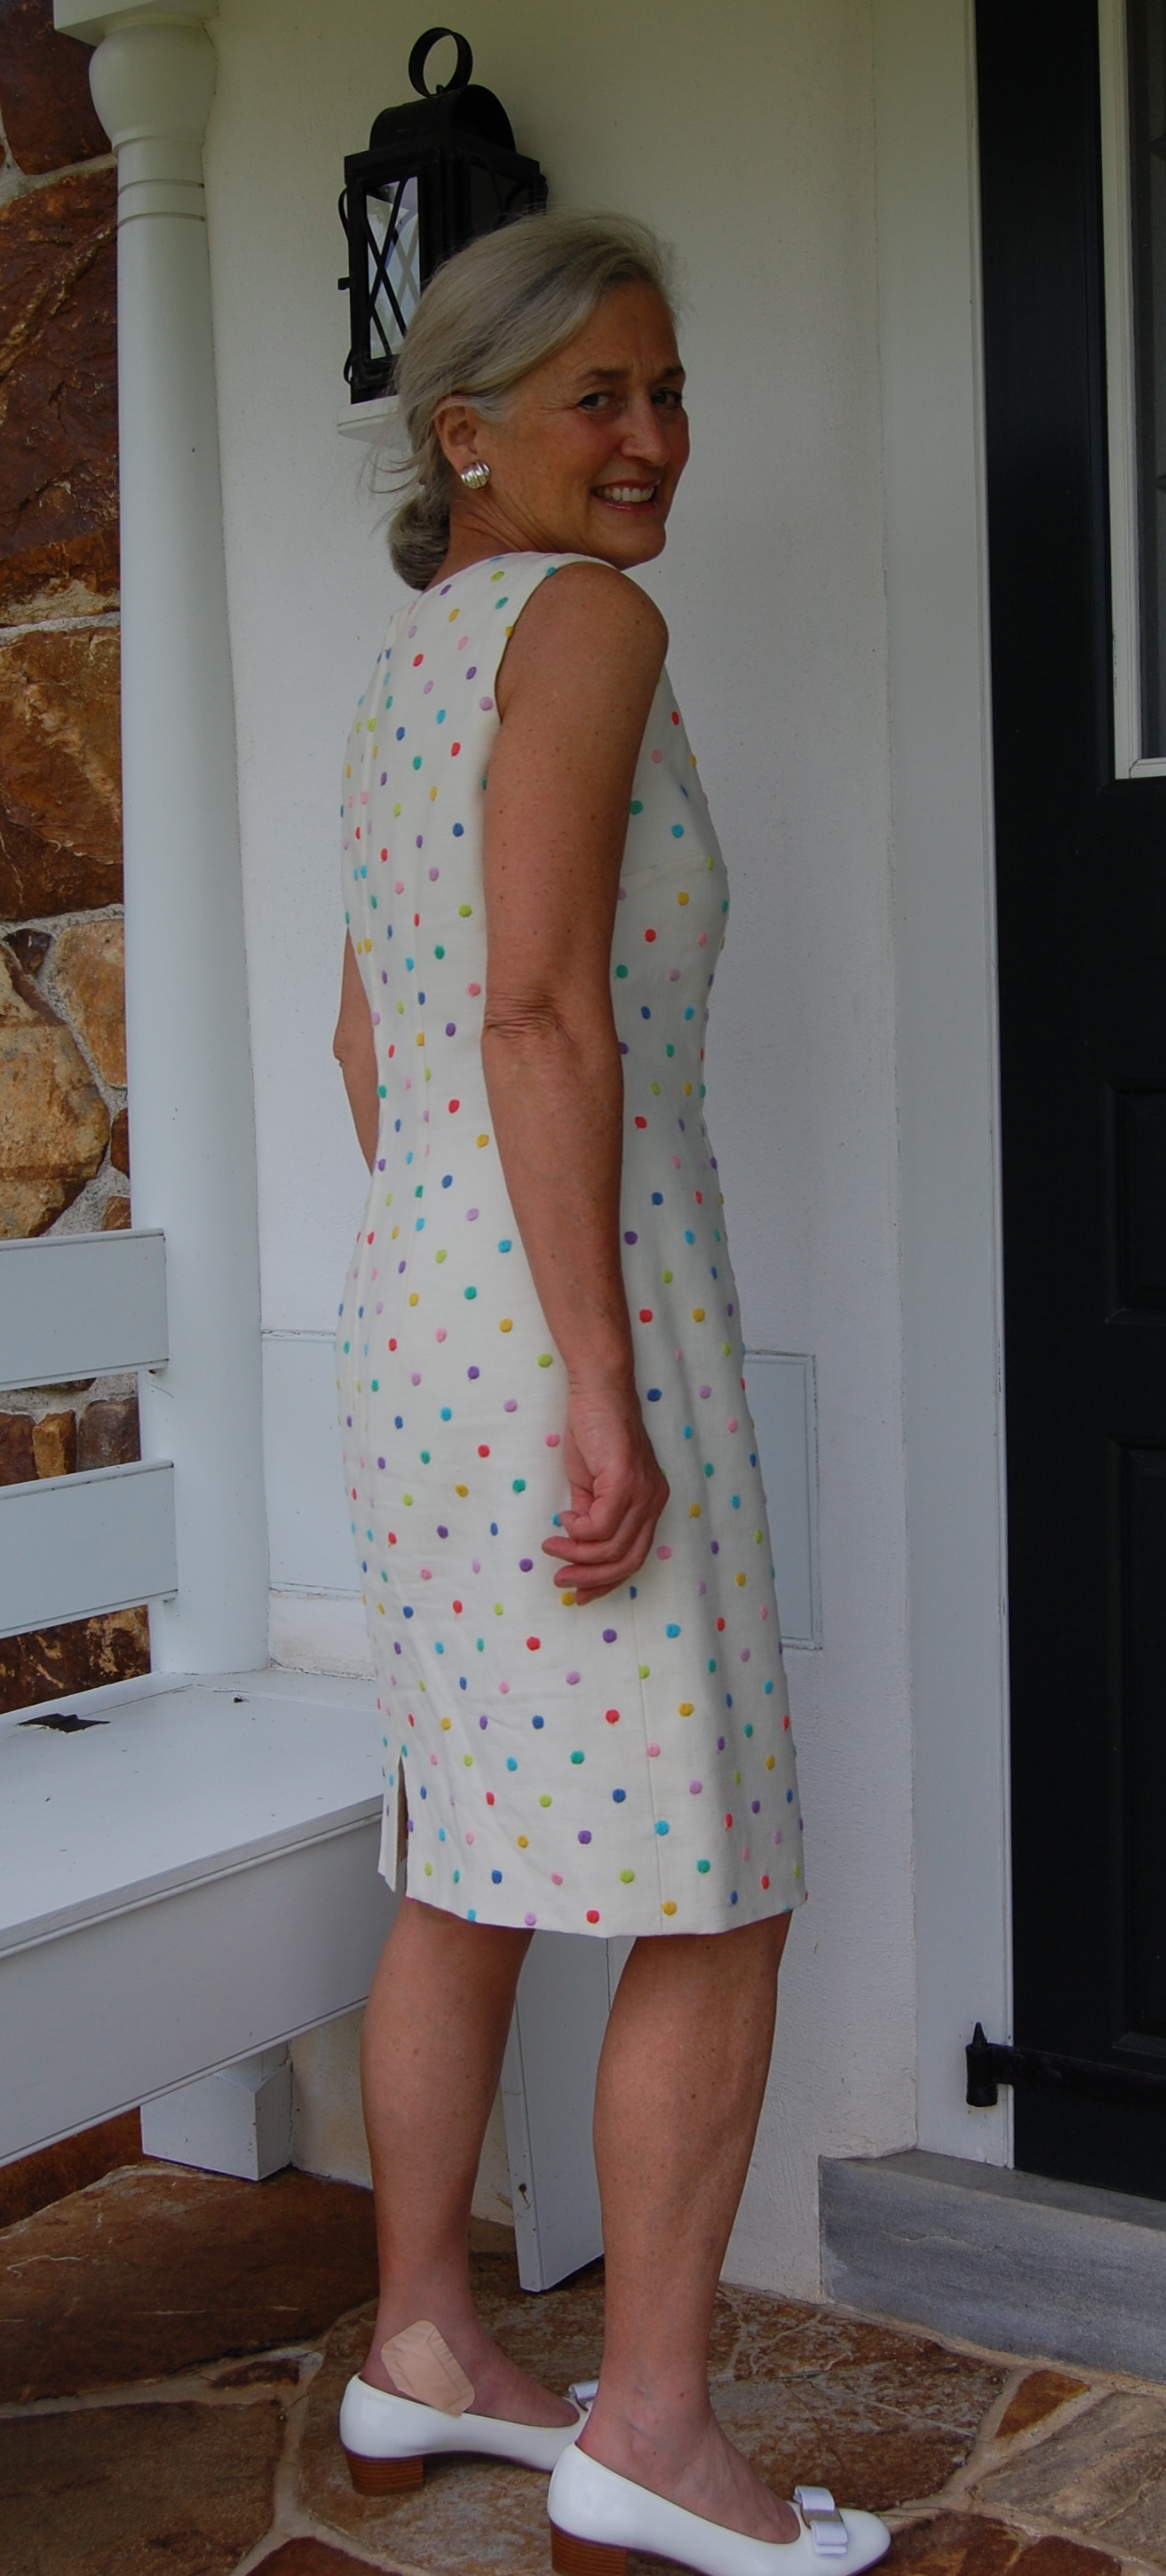
I love this dress!
Moygashel linen is, sadly, no longer manufactured, about which I have written previously. One of its tag lines was “The first name in linen – The last word in quality”. I might change that to read “… The lasting word in quality.” Of course, there are some beautiful linens being manufactured today, but none will ever command a dressmaker’s imagination in quite the same way that Moygashel linen did for decade after fashionable decade.