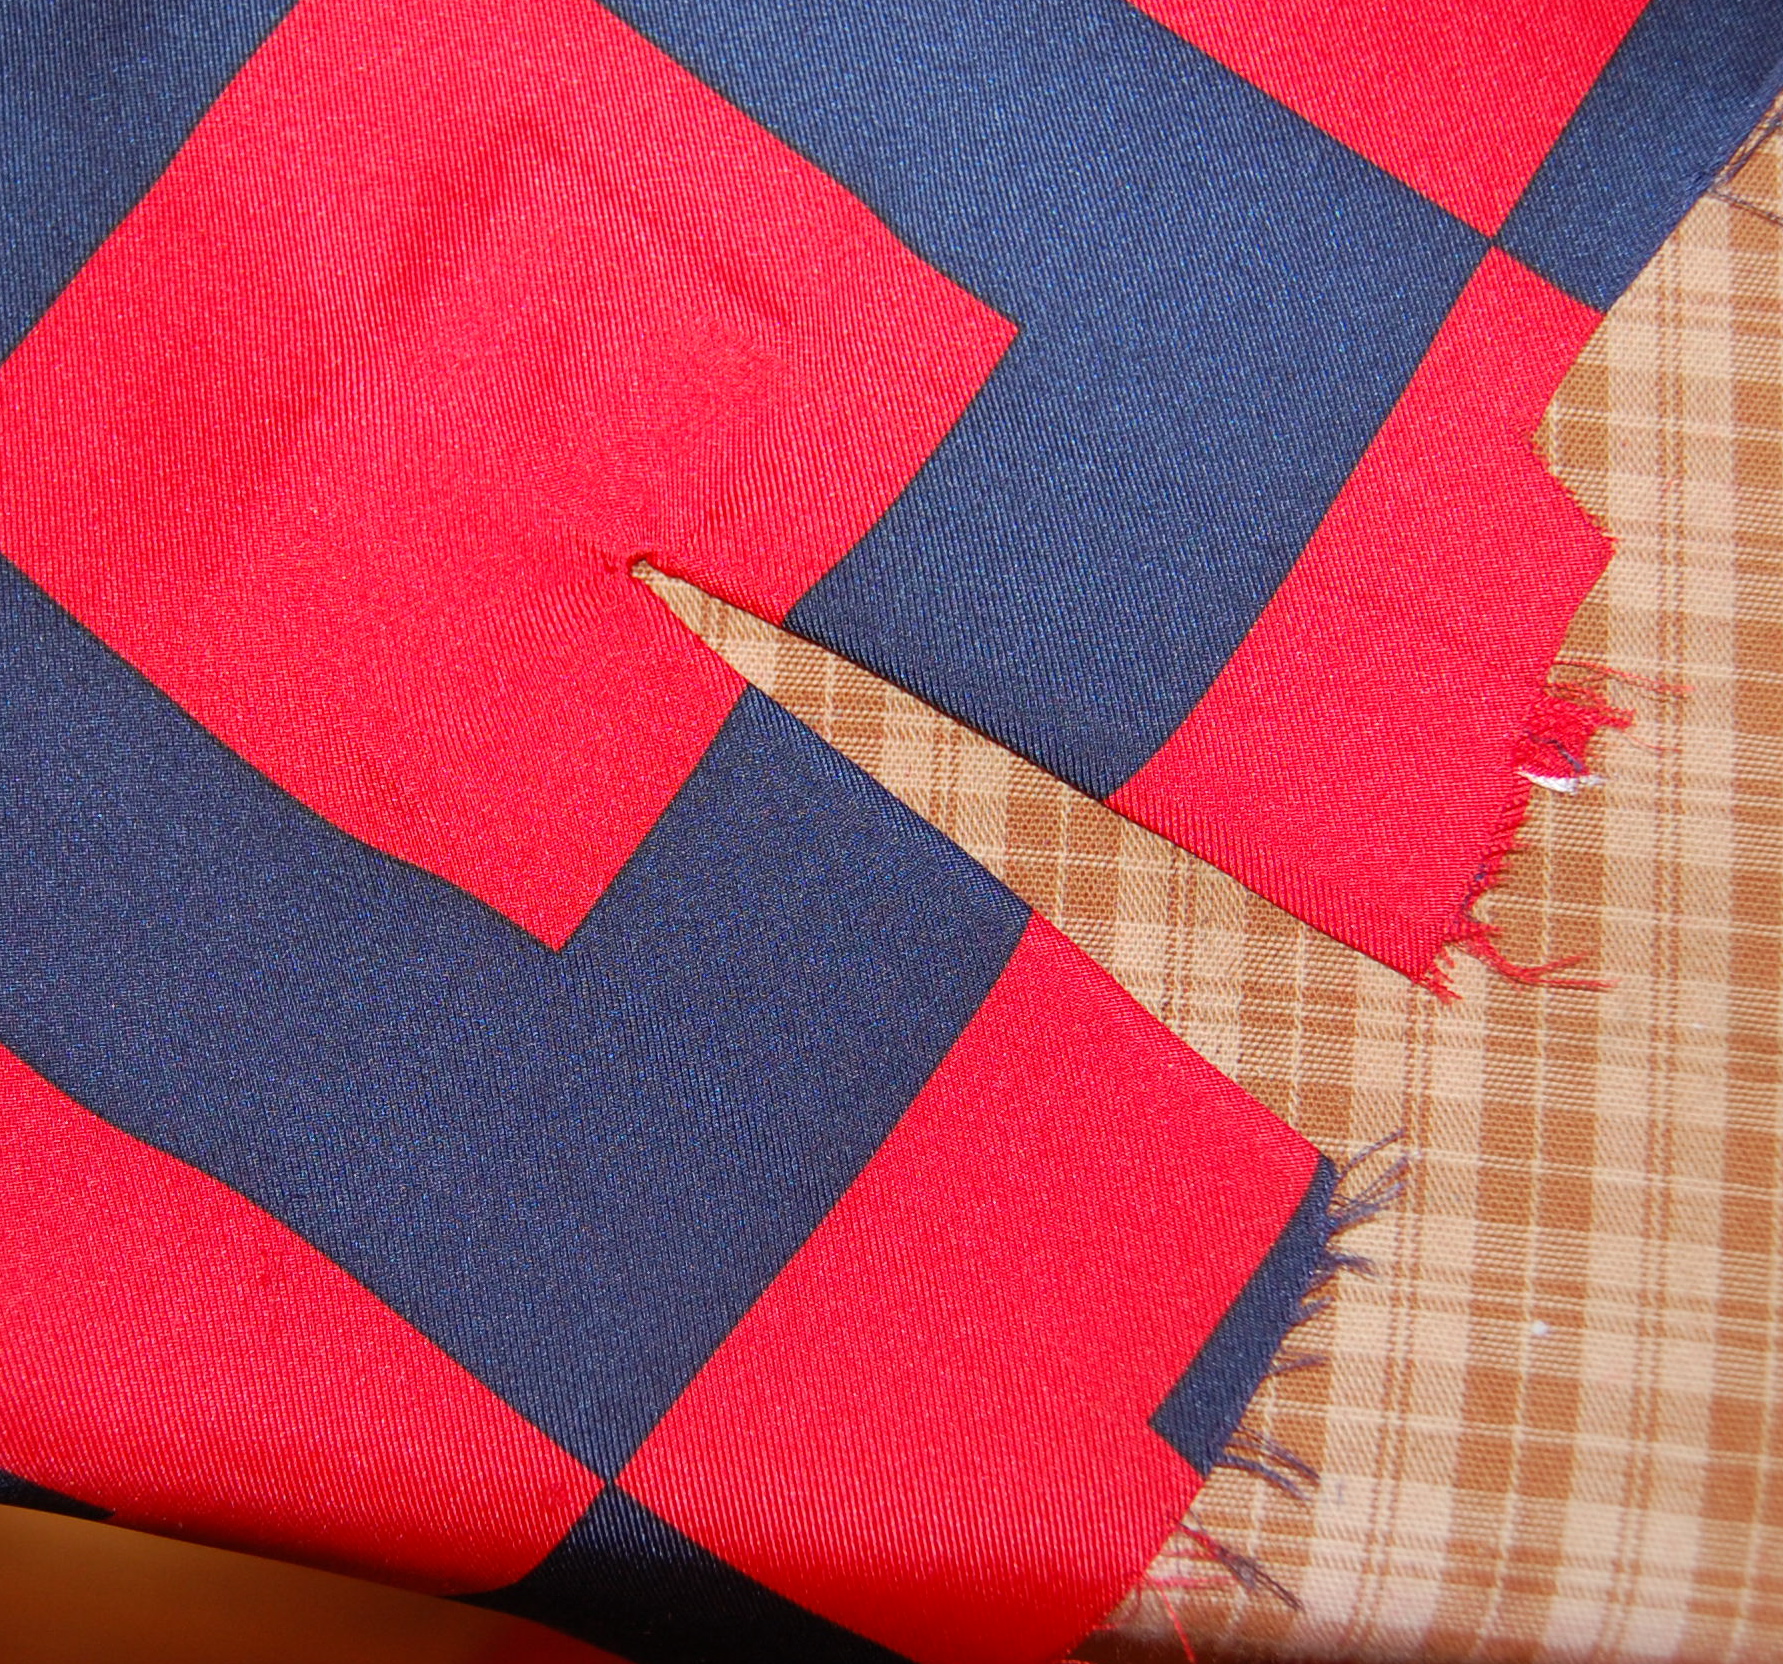
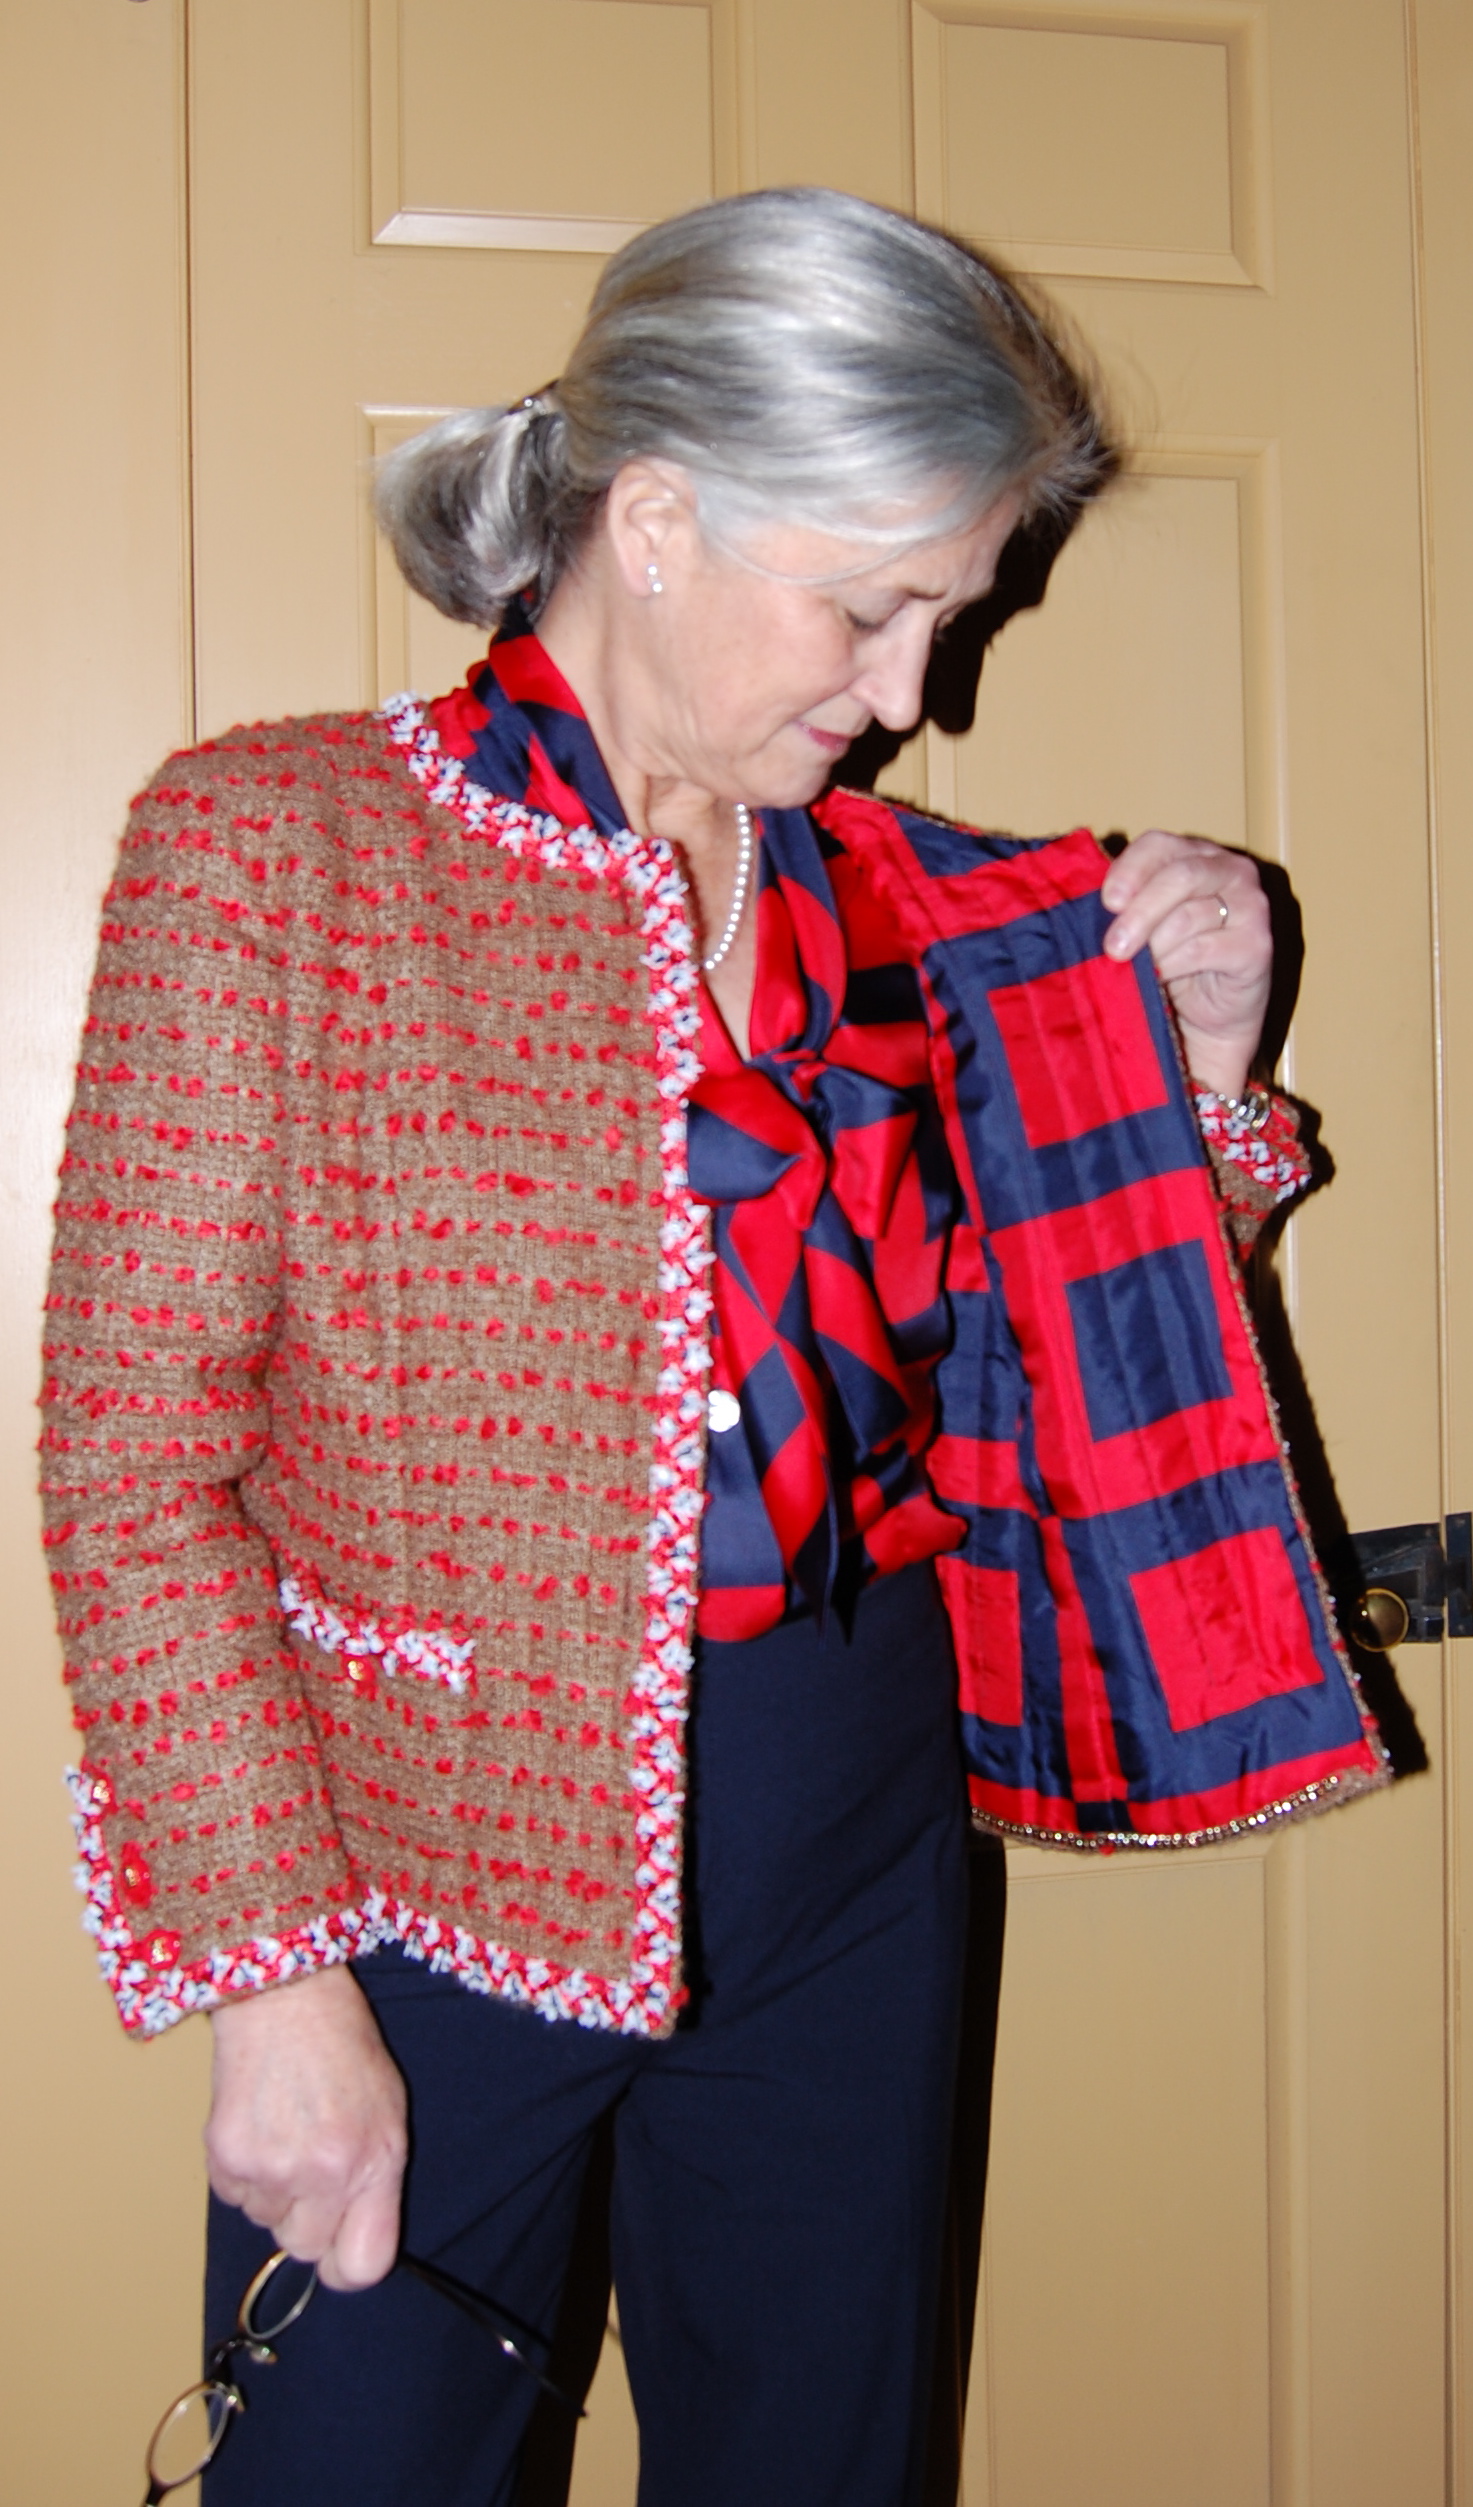
Fashion sewing is an interesting combination of inspiration, aspiration, indulgence and necessity, manifested singly or collectively. My newly completed bow blouse is an example of a bit of all of these motivations rolled into one. This is the blouse I made to go with my No. 2 Chanel-inspired jacket, made from the same red and navy blue geometric print silk with which I lined the jacket.
 Inspiration came from several sources. I was mostly inspired by the pattern, which is copyright 1957 by The Conde Nast Publications, Inc. (Vogue Patterns) – so much so, that I purchased it in a size larger than I usually wear, as that was what was available – and with vintage patterns, one is never sure to find a favorite one again soon – or ever.
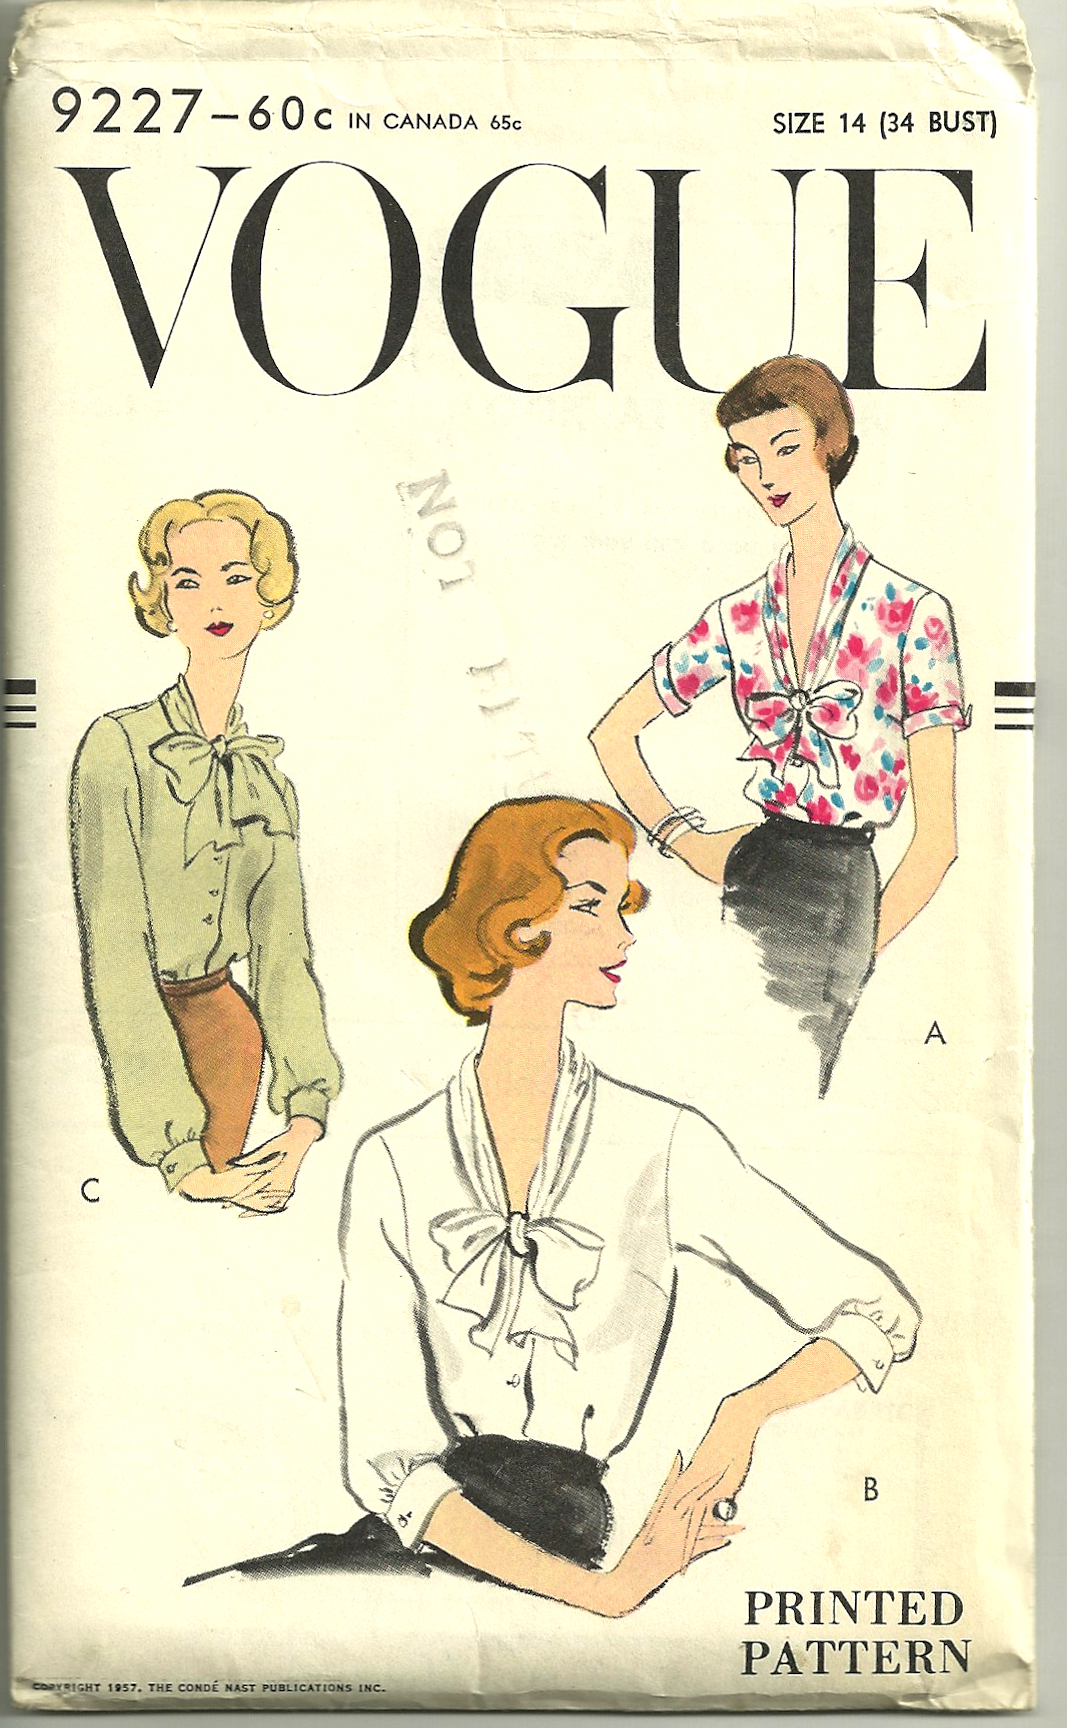
Some of the aspects of the pattern which appealed to me are: 1) the “dropped” bow shown in views A and B; 2) the various sleeve lengths; 3) the shaping in the body of the blouse – soft and understated, but very feminine. Just for fun, I looked through a few of my Vogue Pattern Book Magazines from 1957 and 1958, to see if I could find examples of this blouse pattern. That was easy! Here is one sketch and one photograph of Vogue 9227:

The blouse was featured in the December/January 1957-58 issue.
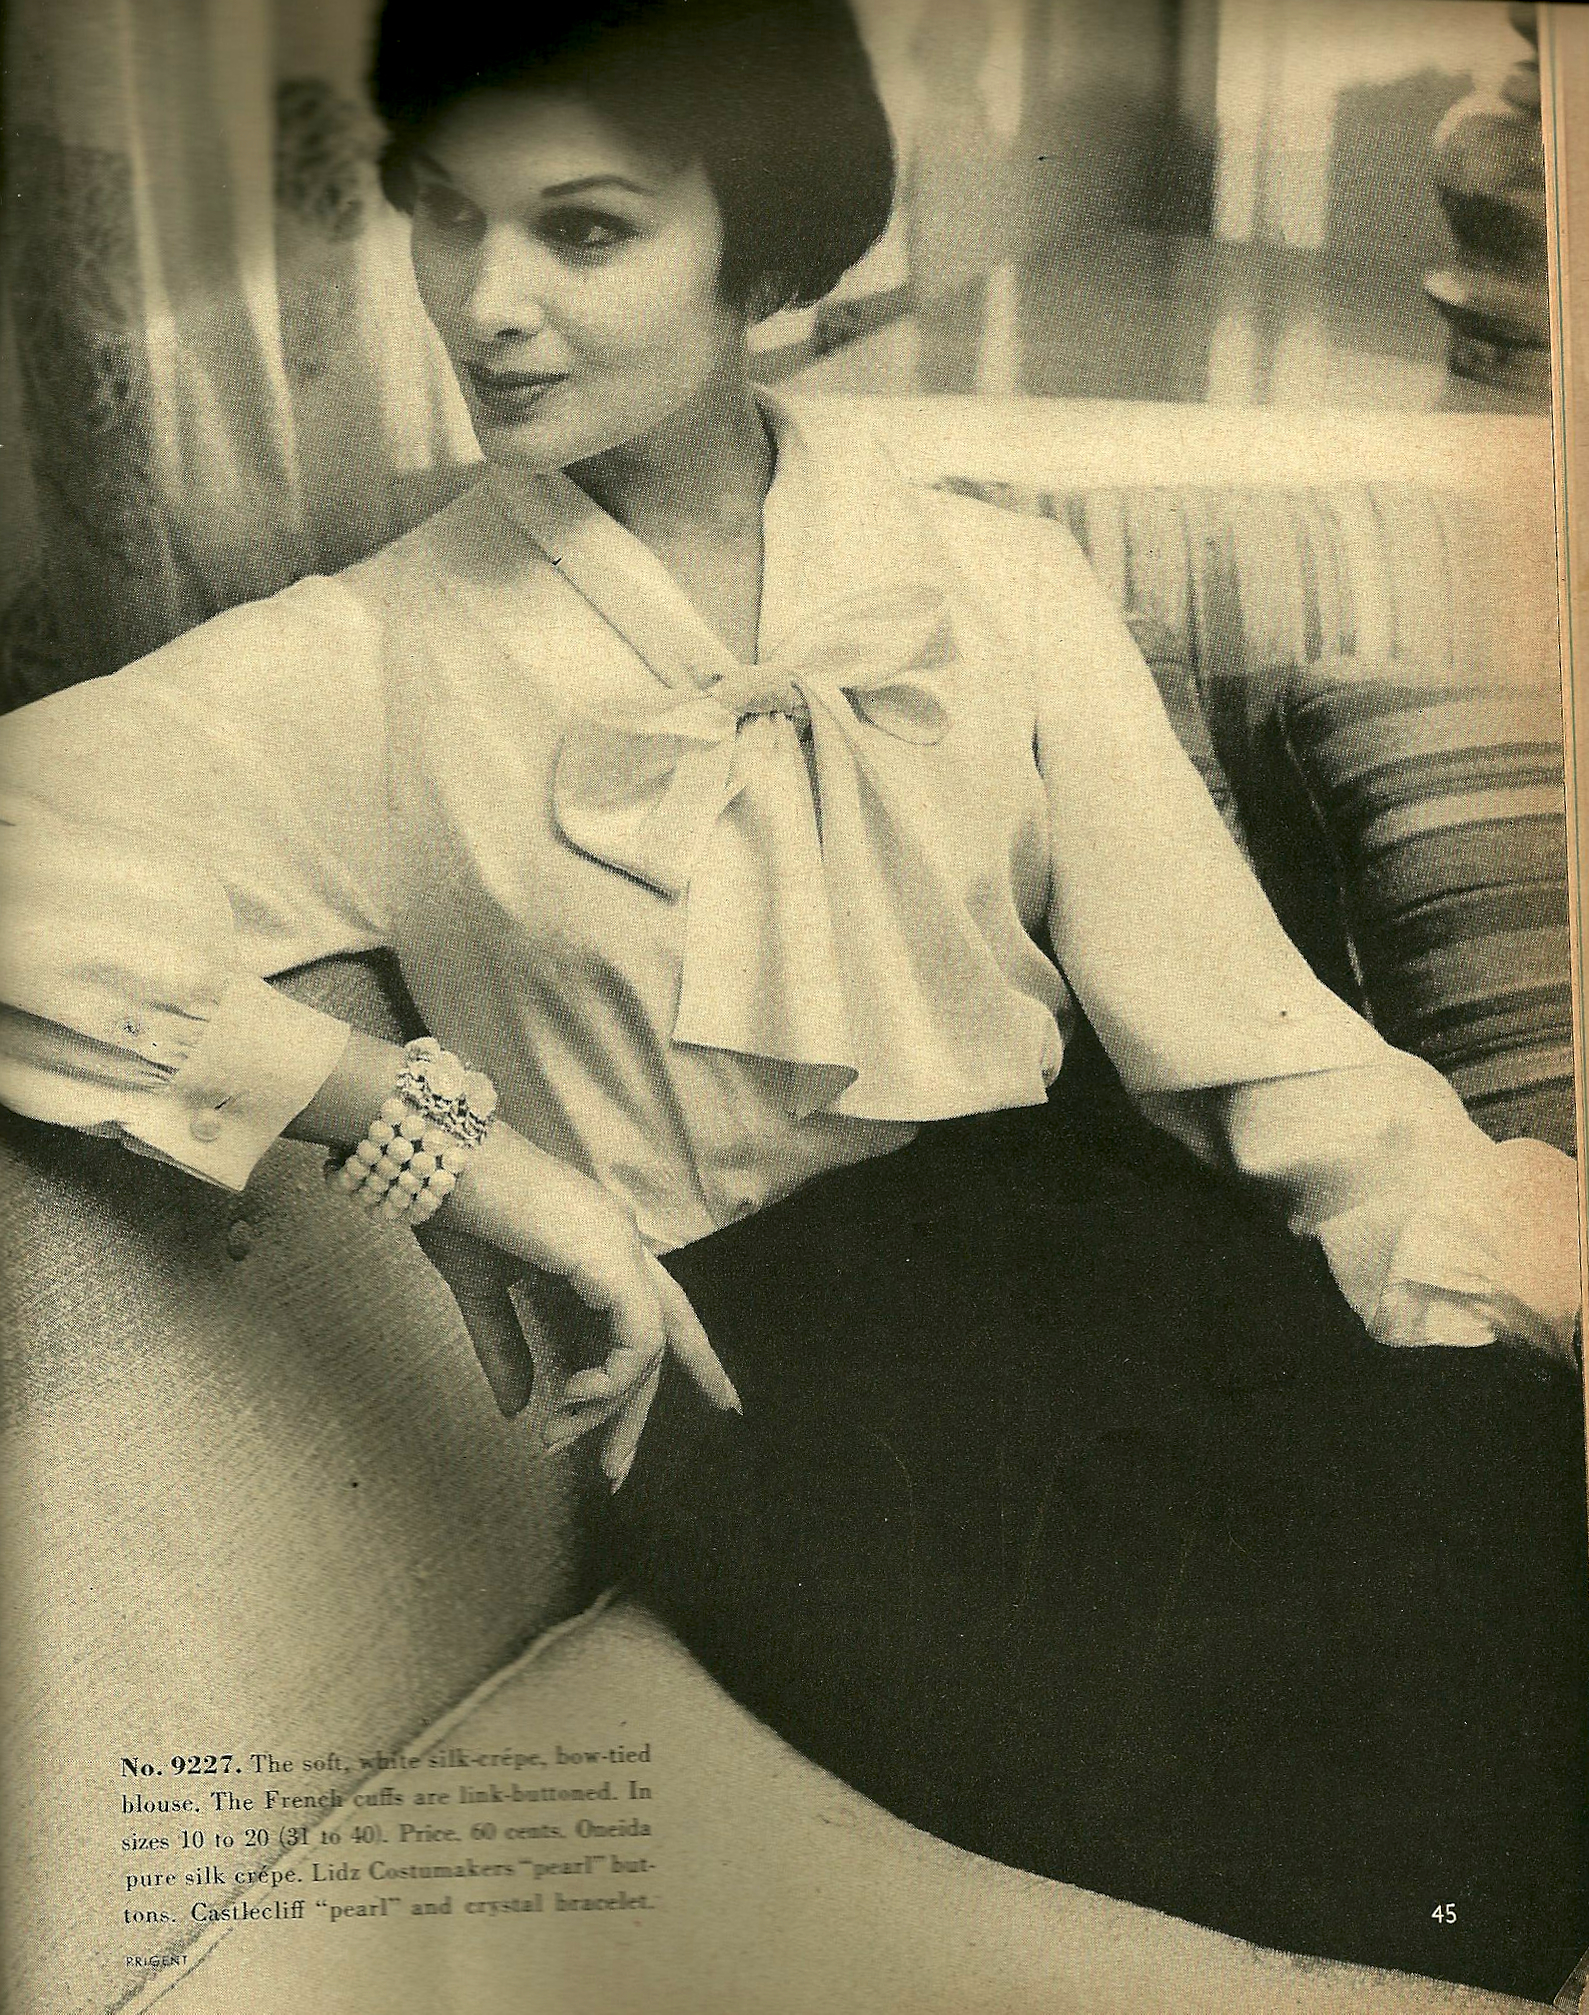
Part of a feature entitled “A new era for the soft BLOUSE.” In the August/September, 1957 issue of VPB.
After making a sheath dress to coordinate with my Chanel-inspired jacket No. 1, I aspired to pair my Jacket No. 2 with a suitable companion, too. A bow blouse seemed to be a versatile and useful solution. And then it became a necessity! I decided my Jacket No. 2 would not be complete until I finished this blouse.
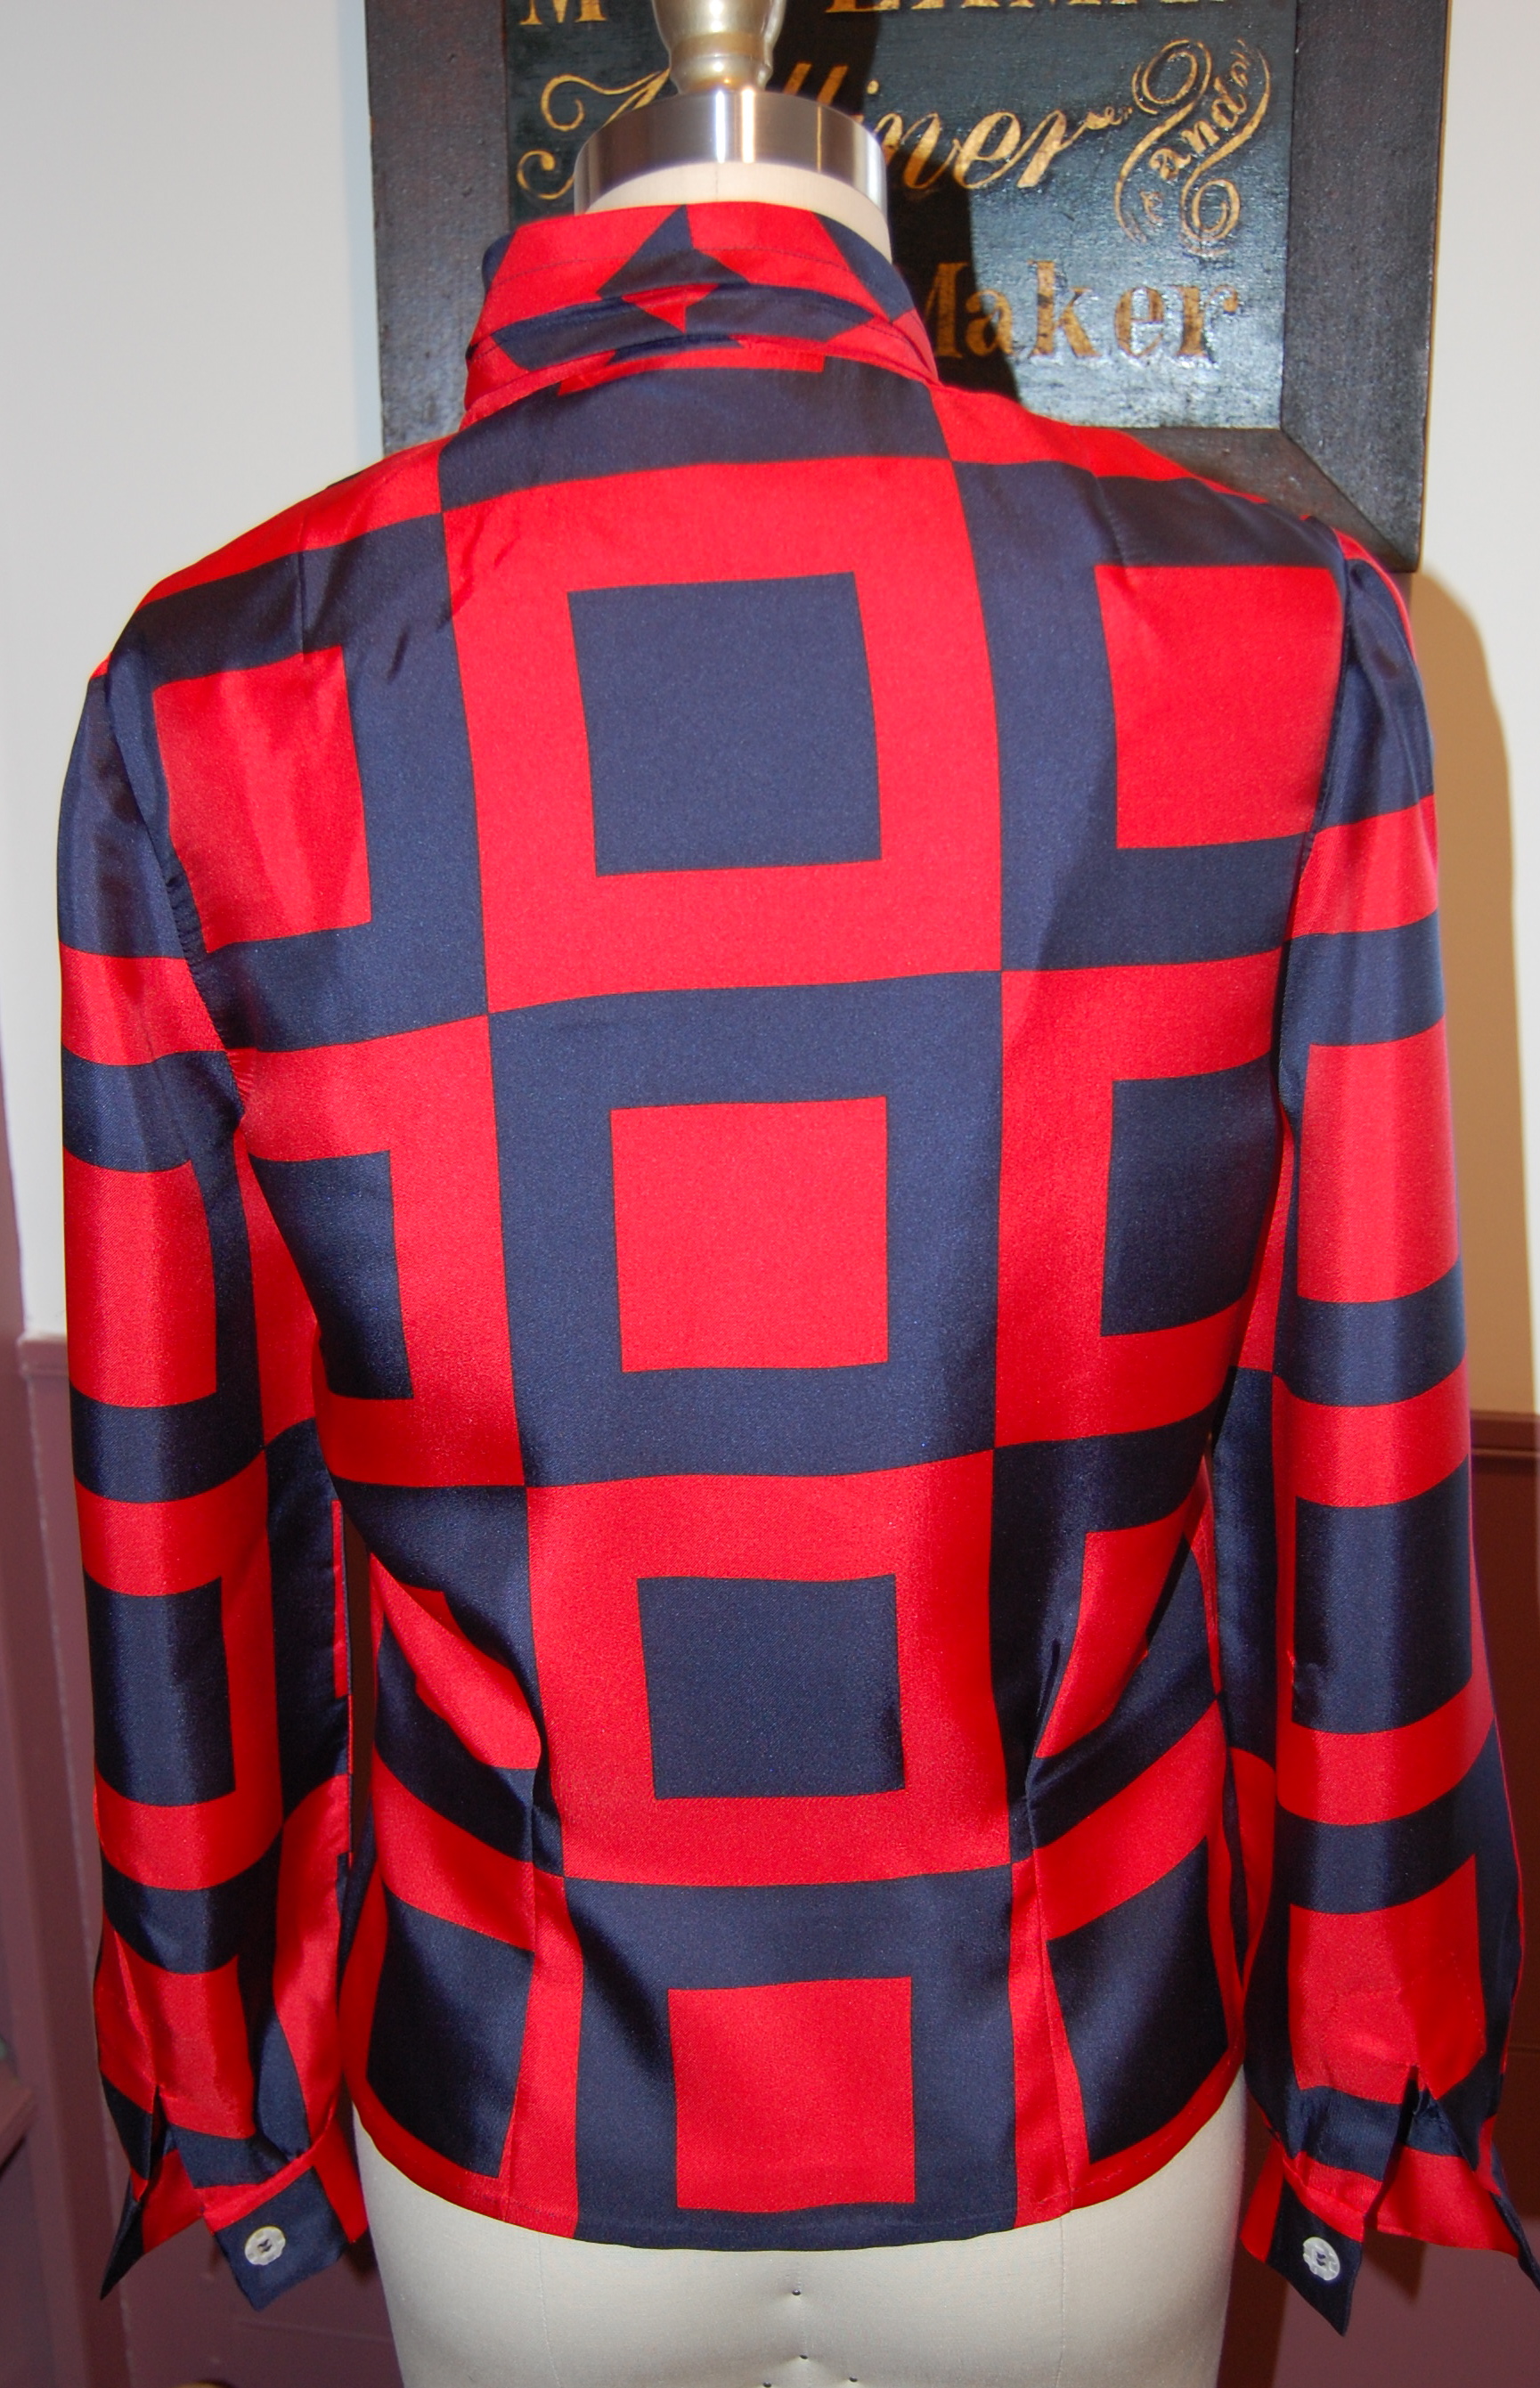
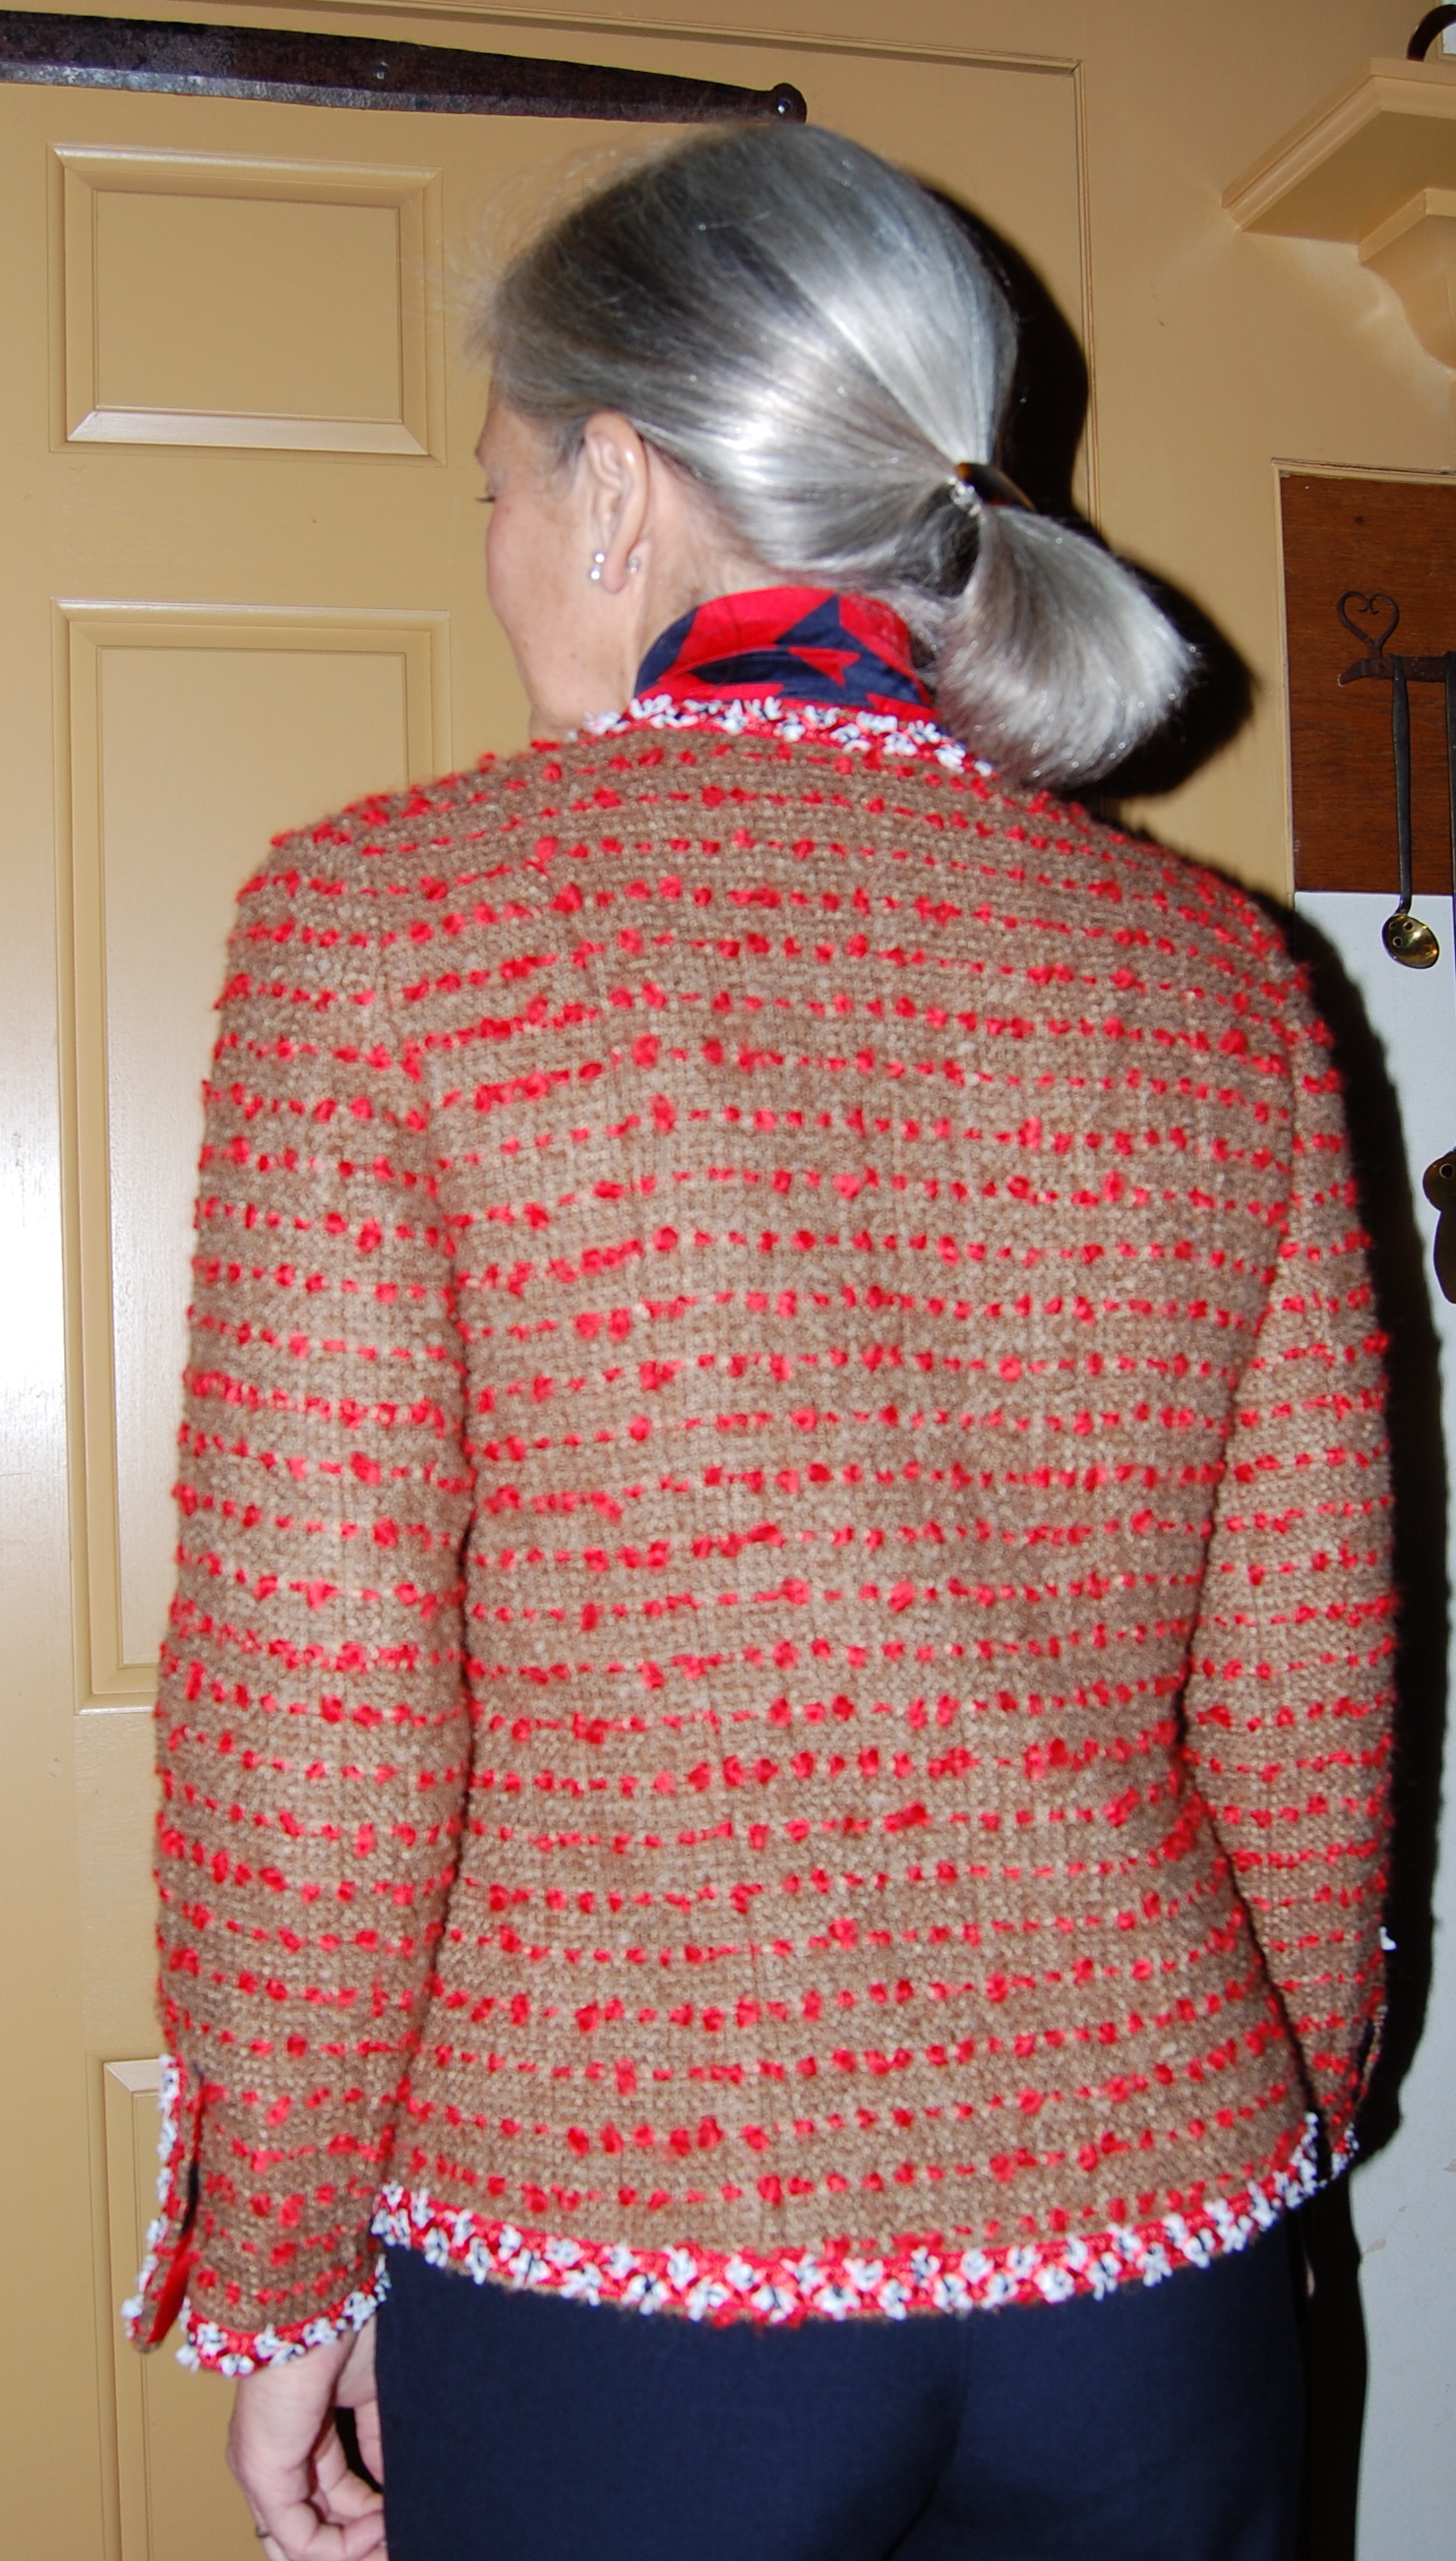
Back view
Step number one was to make a muslin (of course), knowing that I would need to alter the pattern to fit me correctly. Sure enough, I needed to take out the bagginess in the bust and body of the blouse, and I needed to shorten the sleeves. I went to my favorite book on making alterations which guided me through the correct changes:

I highly recommend this book.
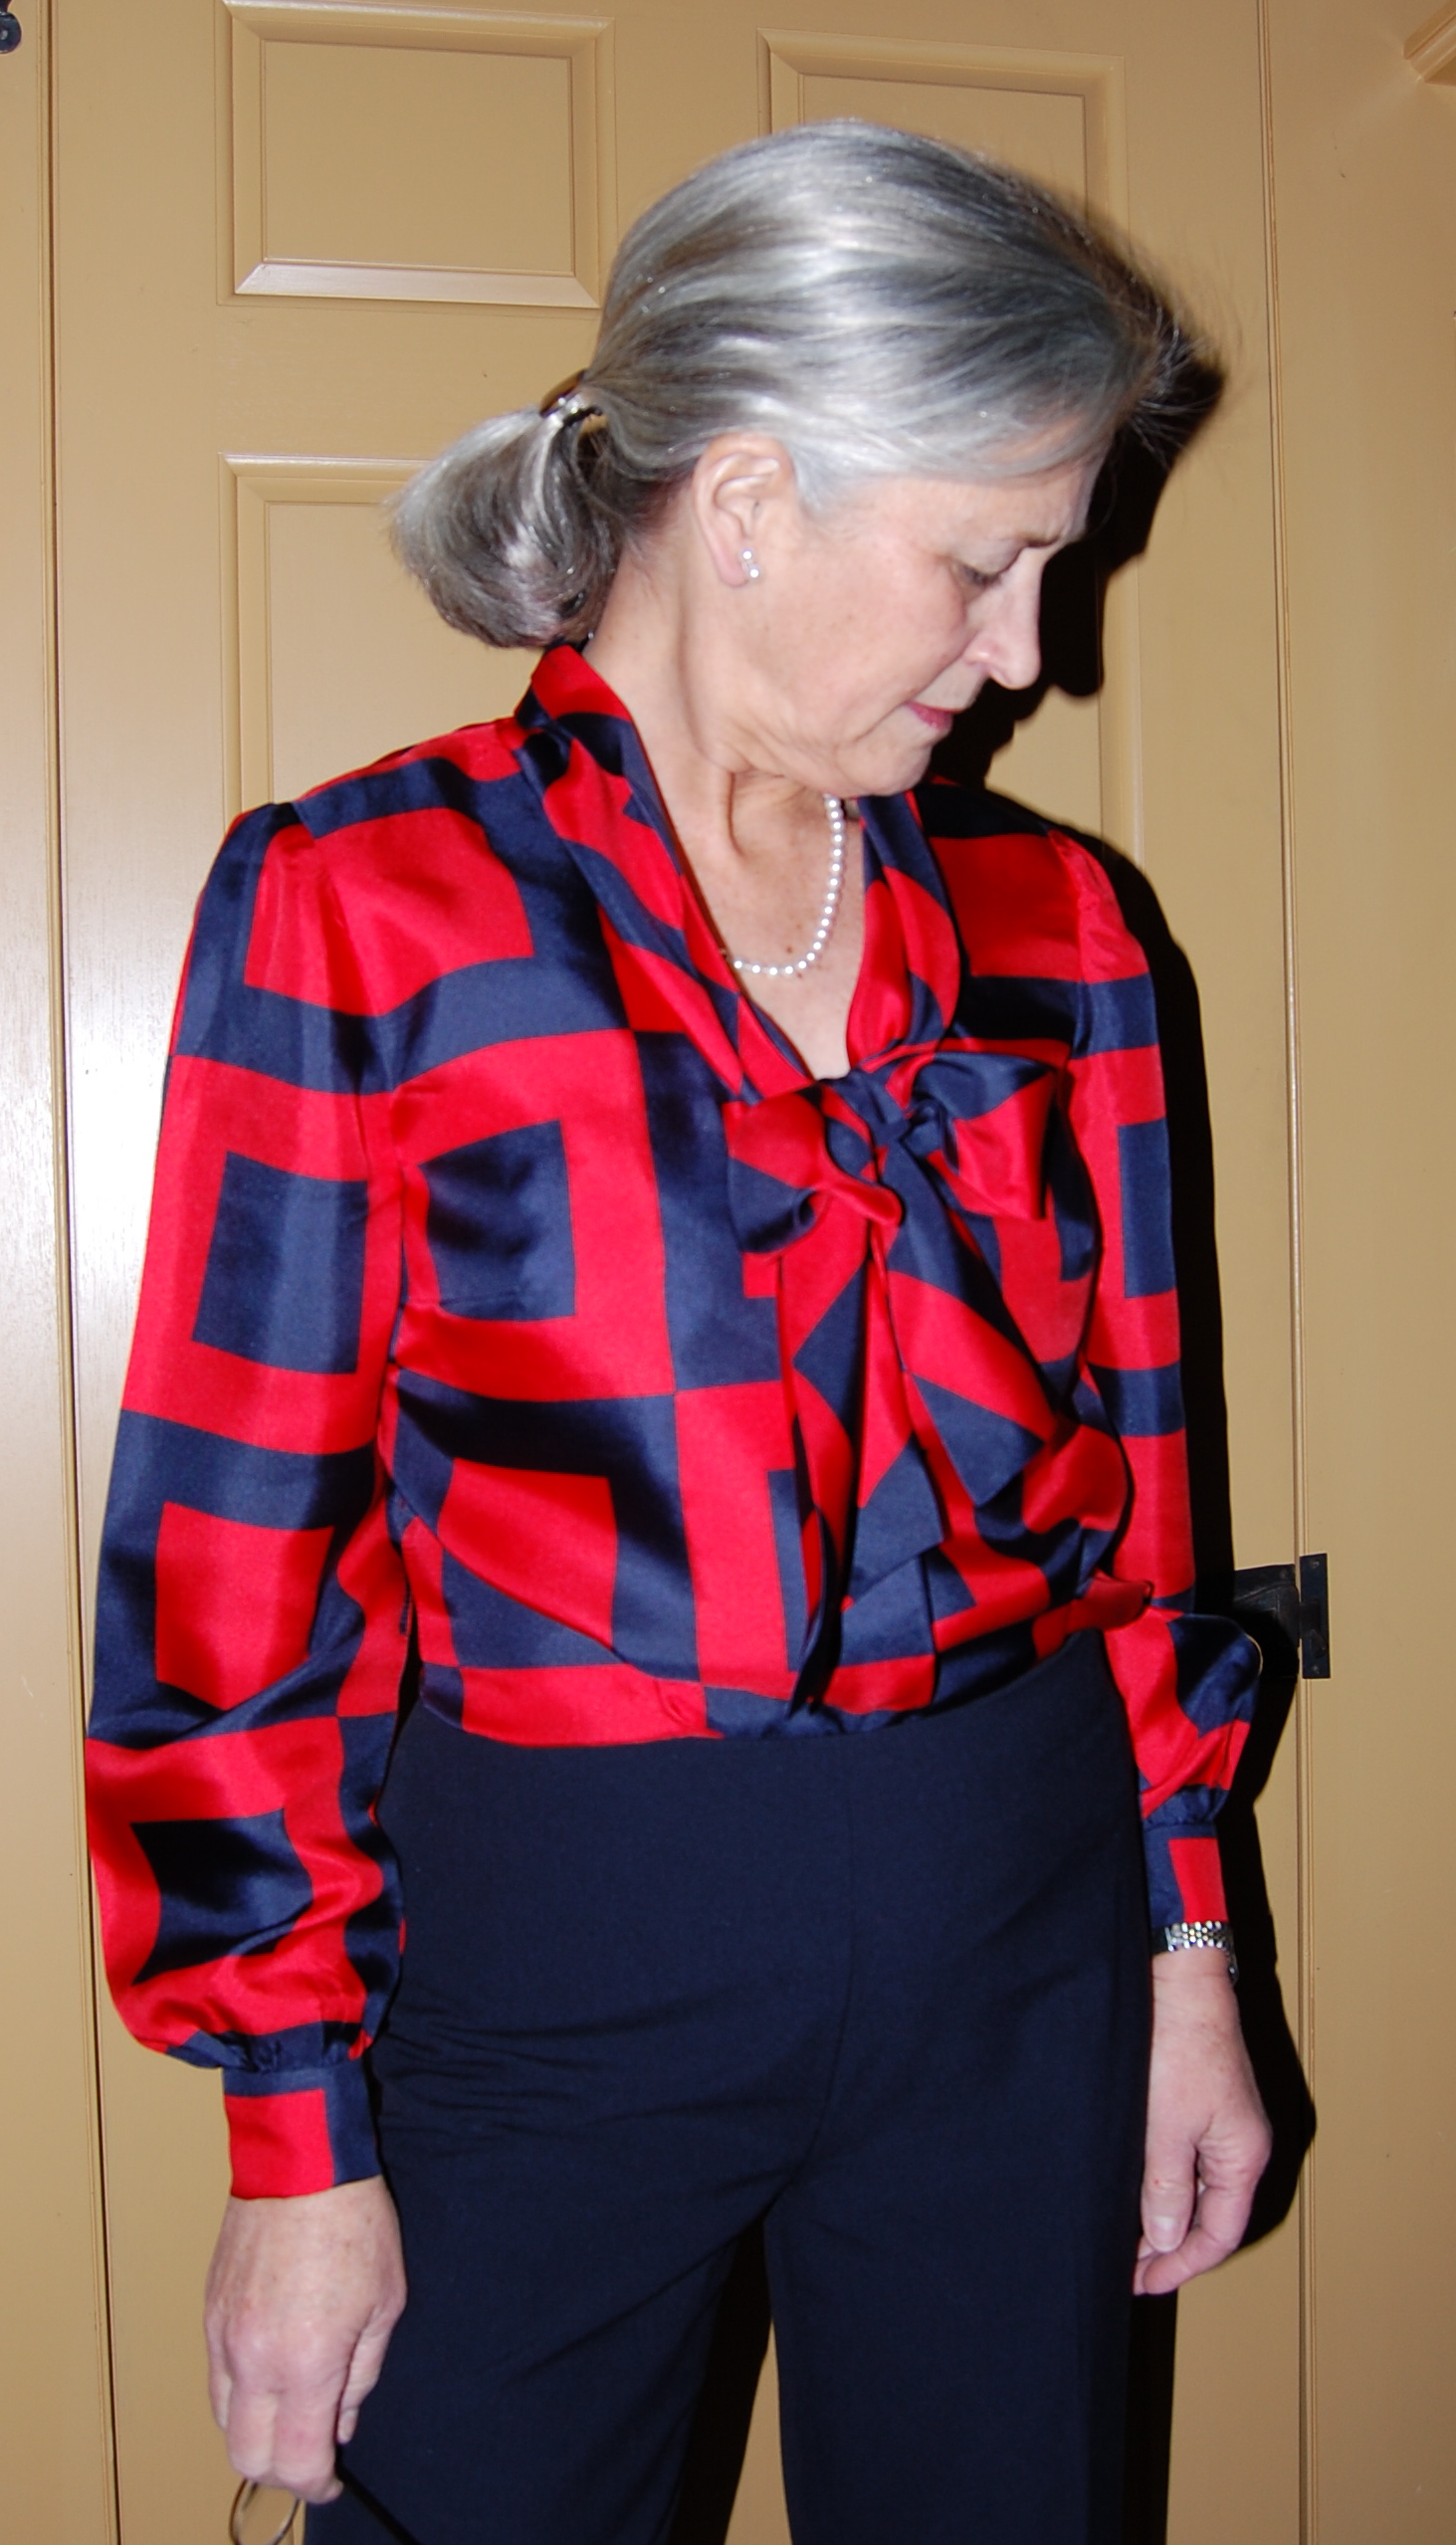
My muslin showed me that the sleeves were also a little too full for me and for current 2014 styles, so I removed some girth from them as well. I was skeptical of the bow (cut on the diagonal) when I looked at the pattern and then the muslin. Would it be too full? Made up in muslin it seemed a little overwhelming. But, my silk was so lightweight and fine, that I decided it might just be okay, using the original dimensions.
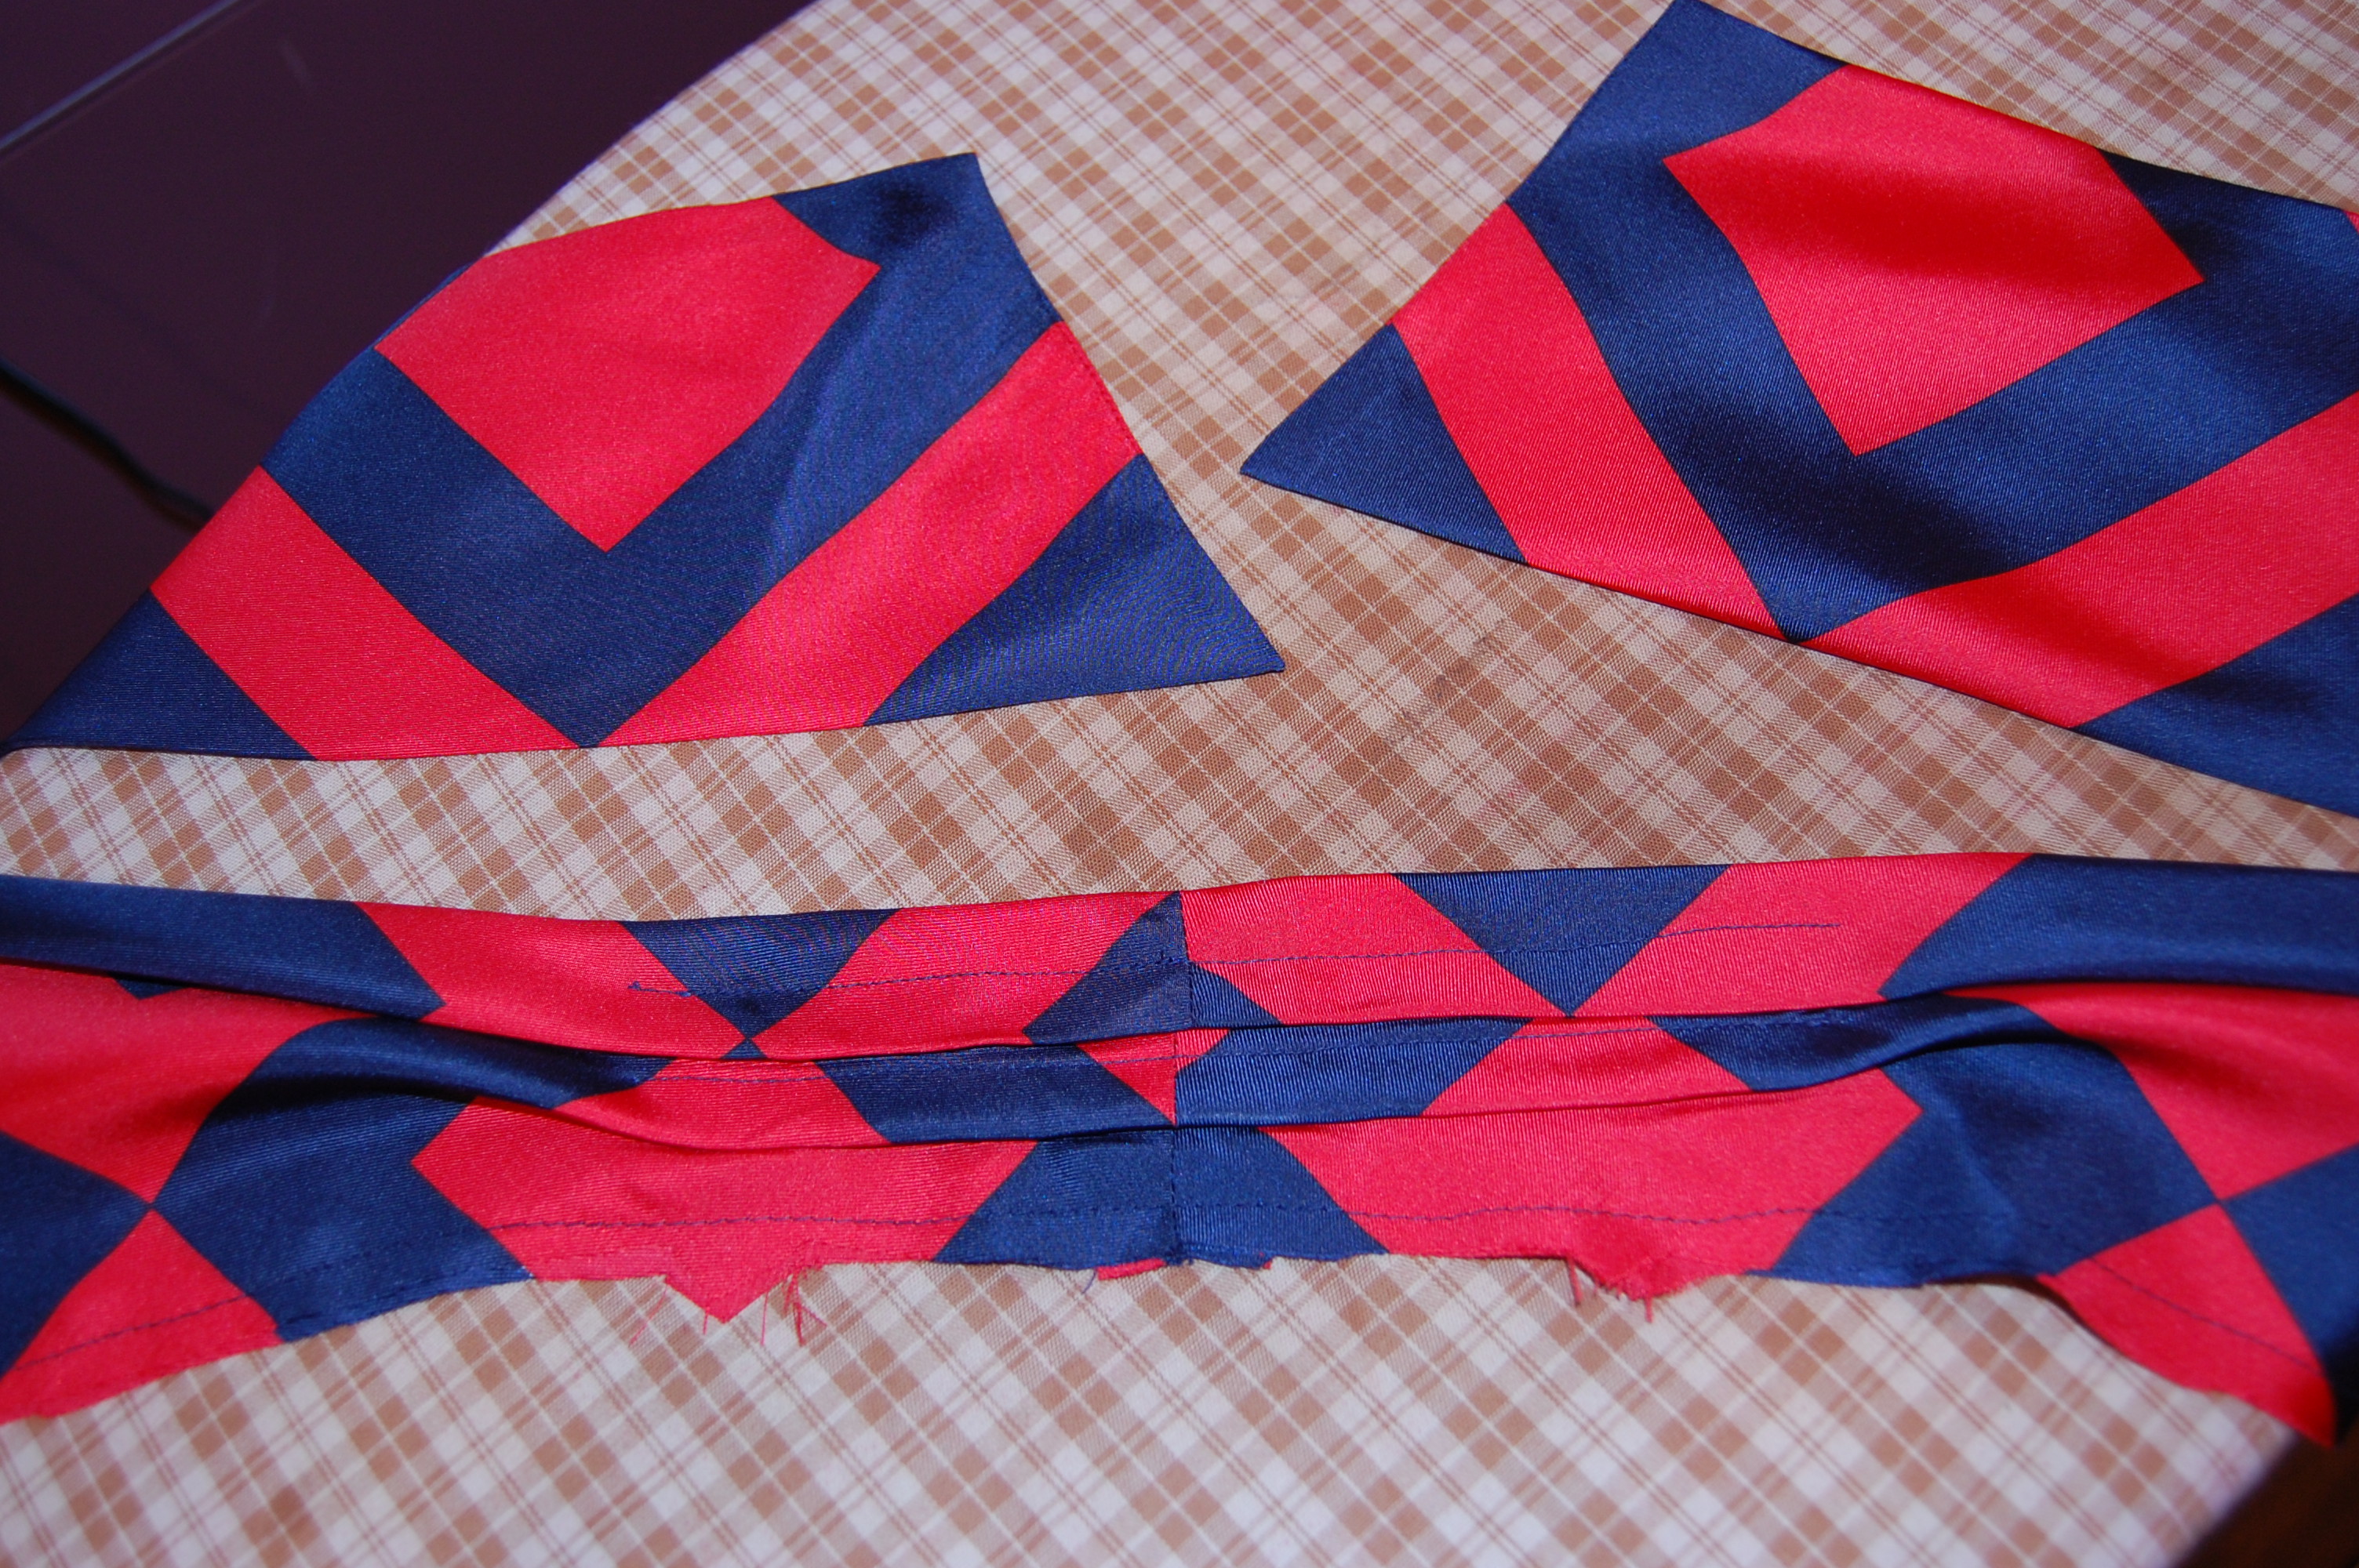
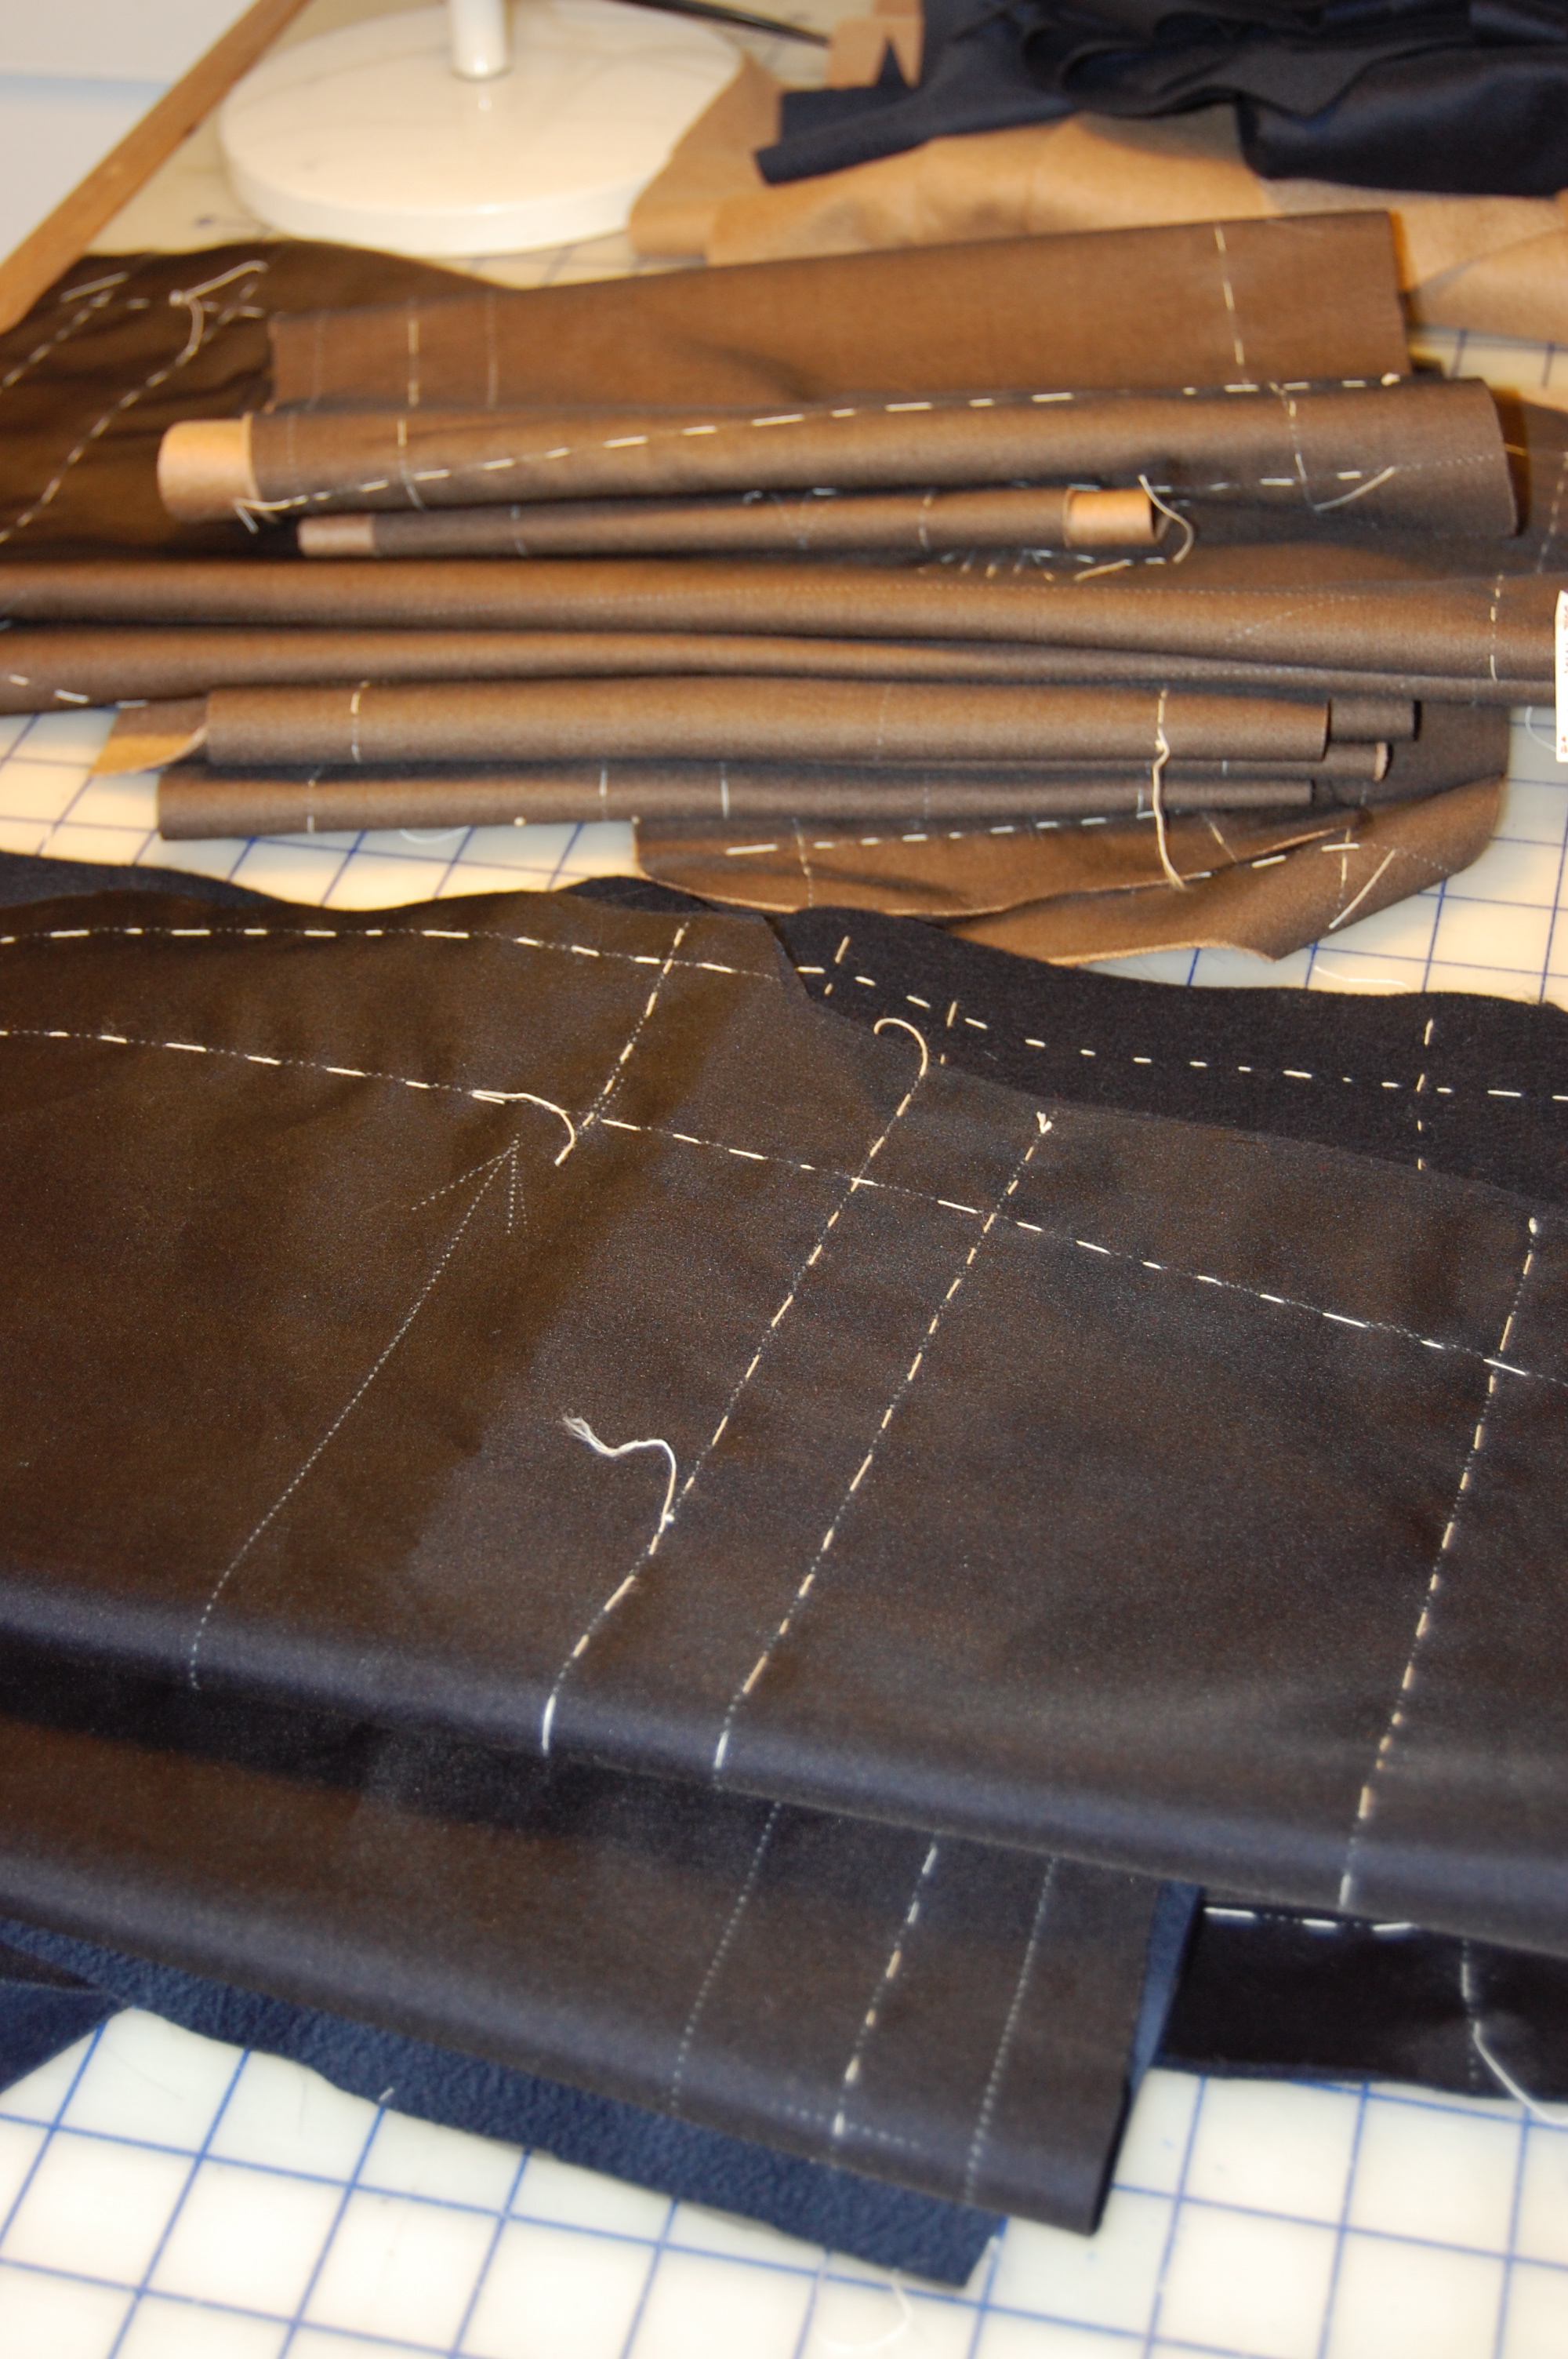
Here is the bow/collar ready to be attached to the body of the blouse.
This blouse went together quite as planned, although I worked on one side where the bow/collar joins the corner at the front facing for hours, until I had it inserted correctly. I kept making the same mistake over and over, which was a little irritating. I also added some extra hand-sewing, understitching the facing by hand and hand-stitching the hem.

Hand understitching looks just so much nicer than machine stitching!
When I started the blouse, I had not yet picked out buttons, thinking I would use some that I have in my vintage collection. But then I was on Waechter’s website and found these buttons, which seemed just about perfect:
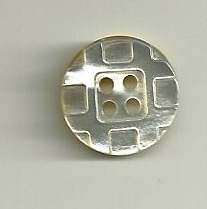
These buttons measure 5/8″.
(Sadly, Waechter’s is closing their business in Asheville, N. C., to my great dismay. This makes me even more grateful for Britex Fabrics in San Francisco, from which I purchased all the fabric for this blouse and my Jacket No. 2.)
Sewing with vintage patterns is such a pleasure in so many ways. For example, the sleeve vents had their own separate pattern piece:
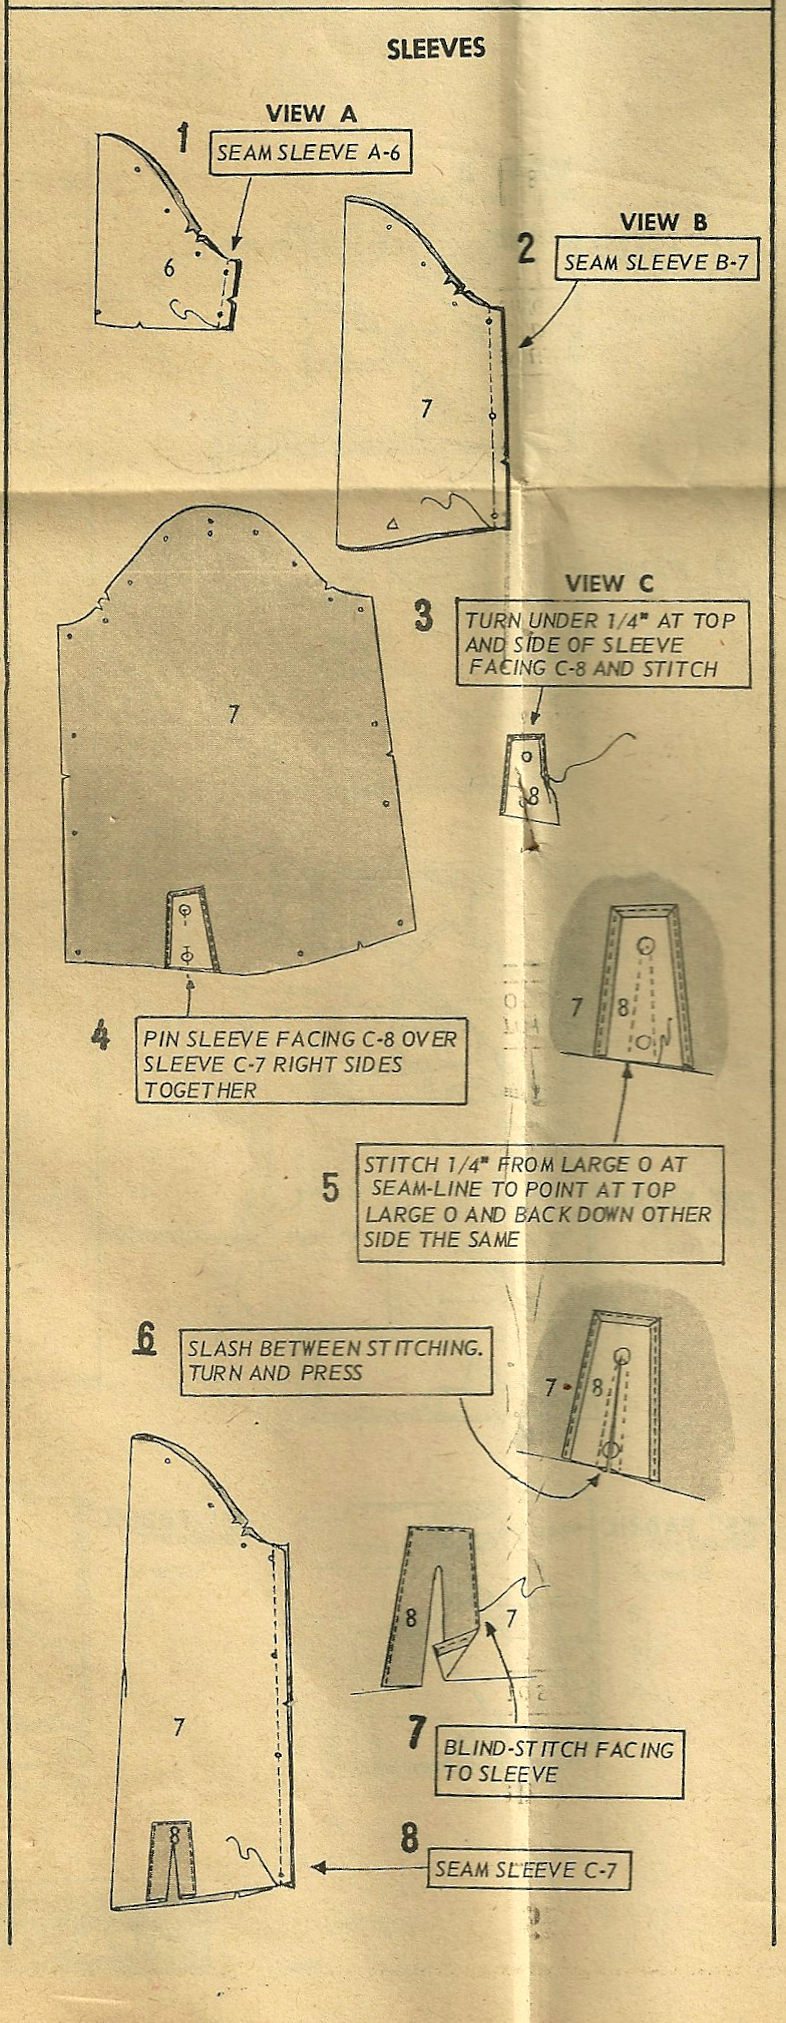
The instruction sheet from the pattern . . . .
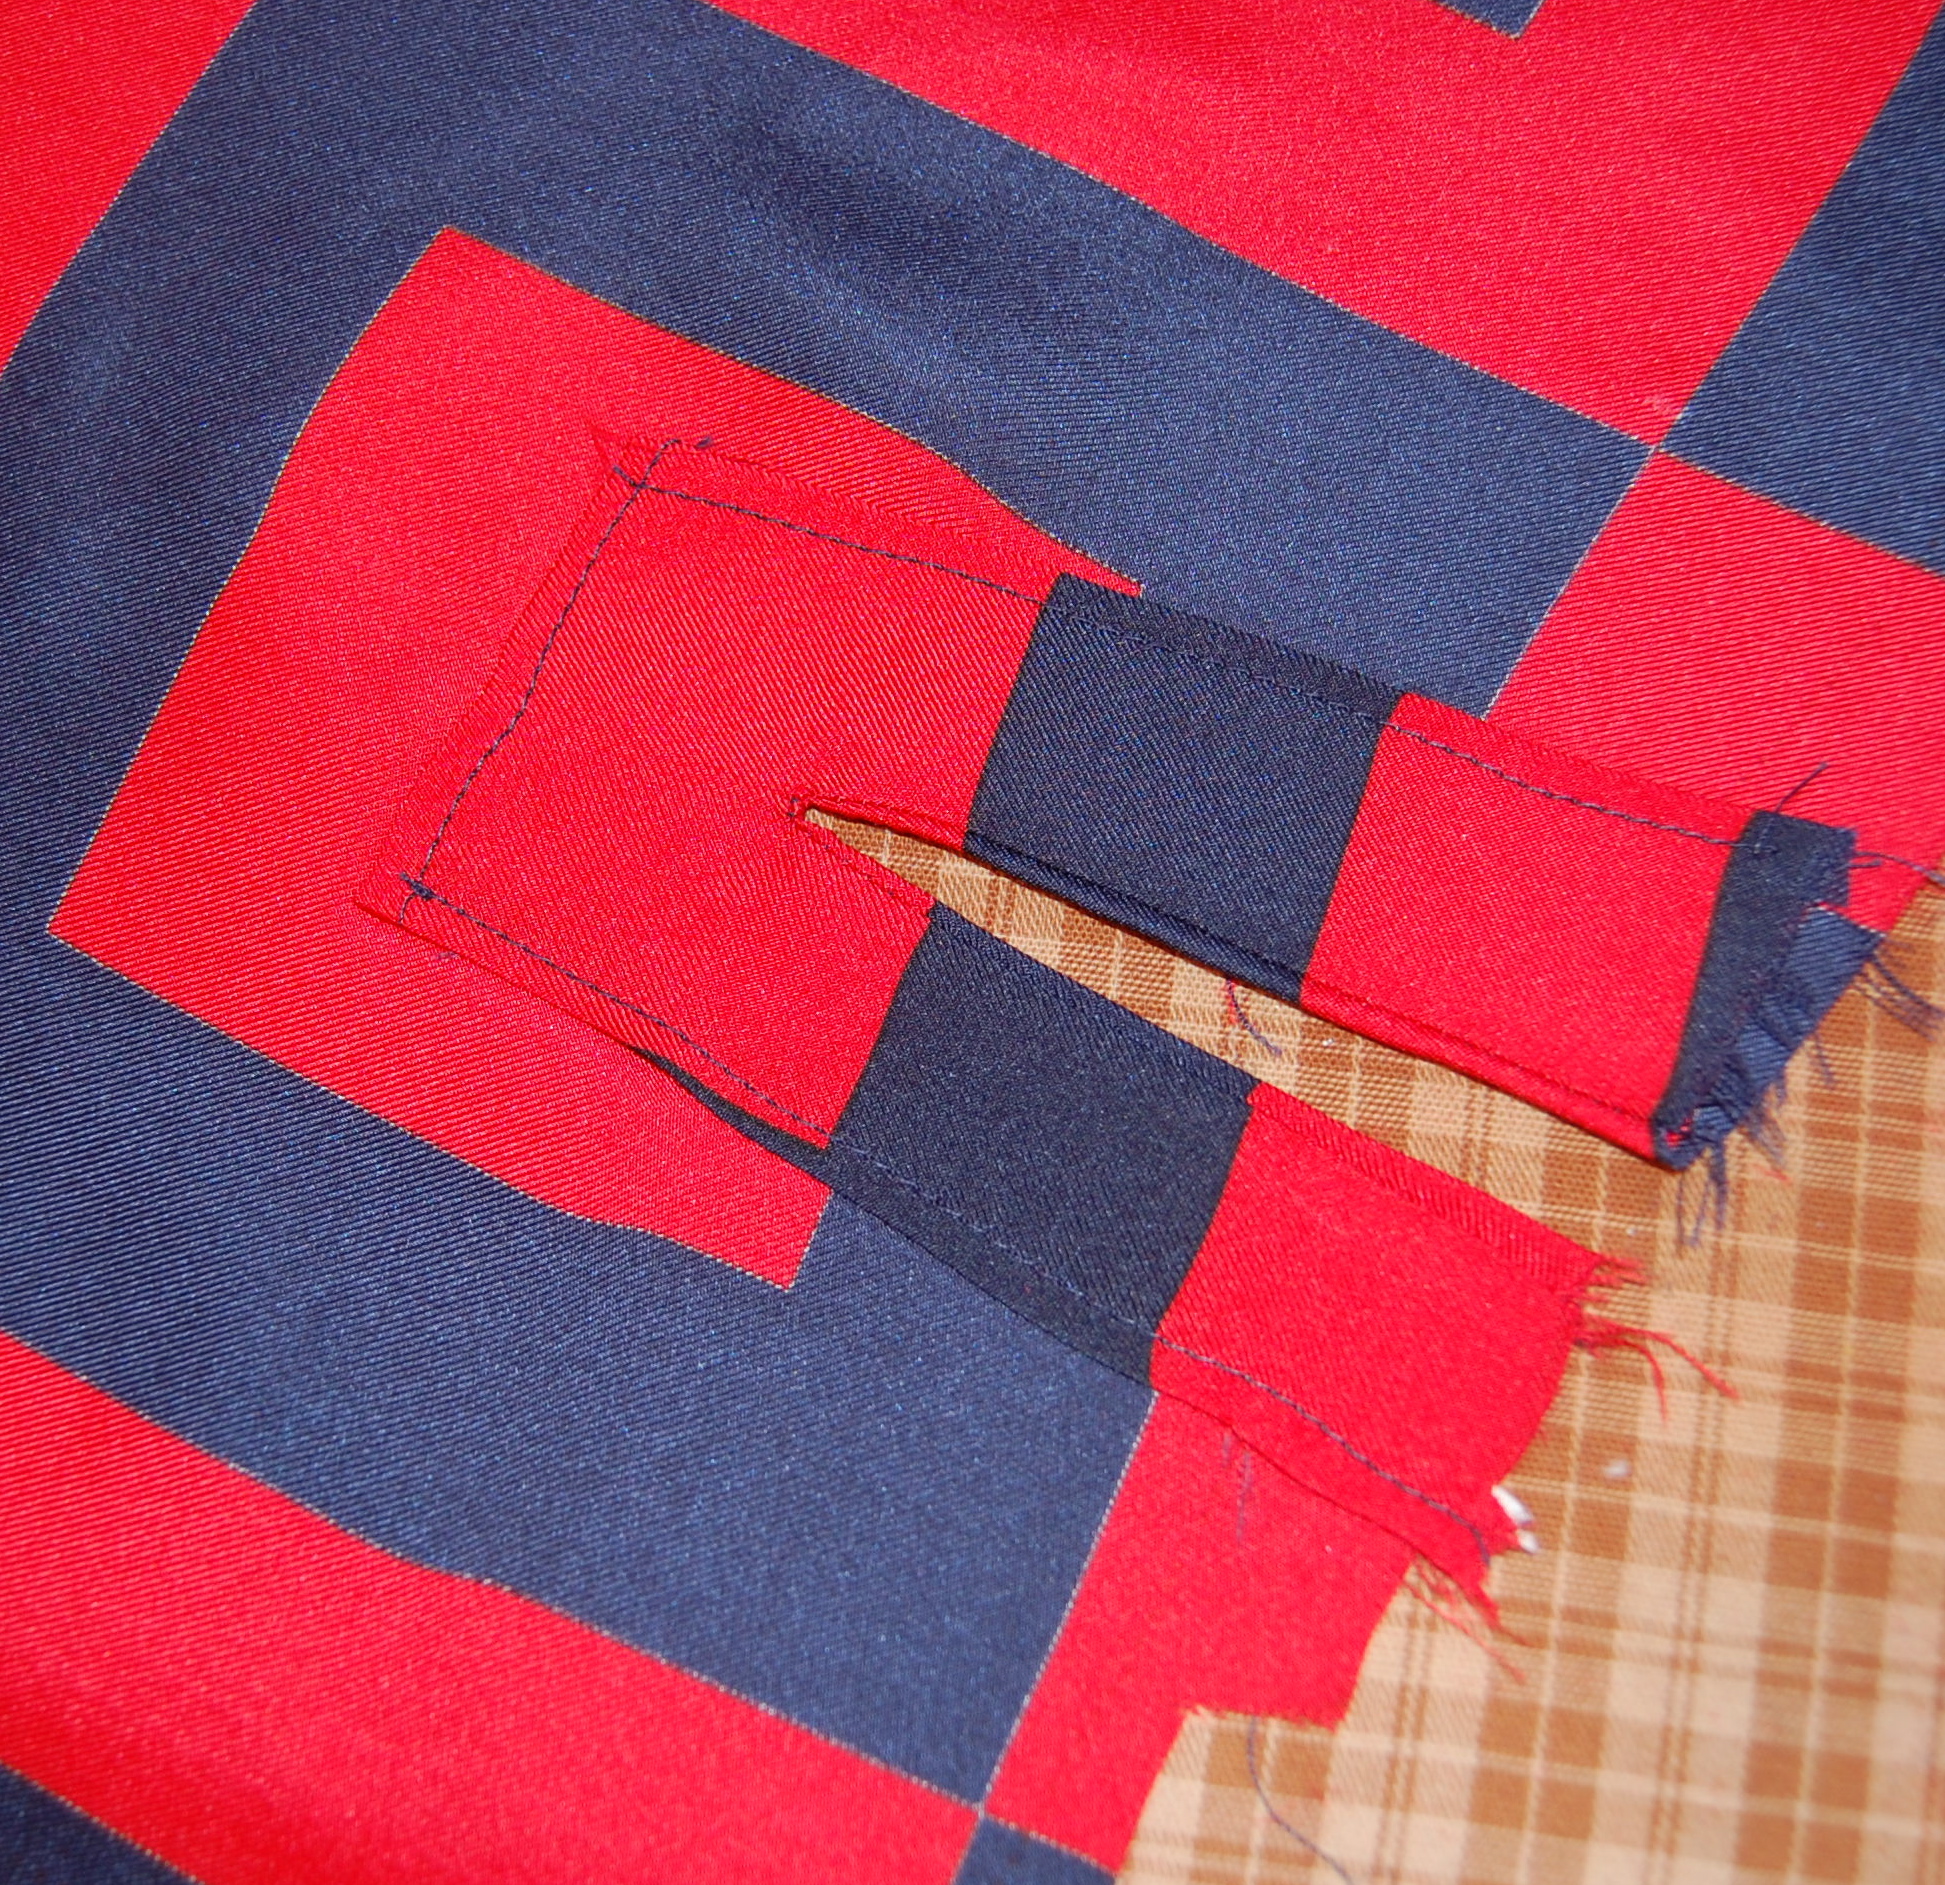
The vent sewn on . . . .
. . . . and the finished vent.
Another classic vintage aspect is the proscribed use of snaps – in this pattern, at the waist and below, which takes bulk away from the “tuck-in” part of the blouse.
And that bow? Once I had it made up, was it too much?
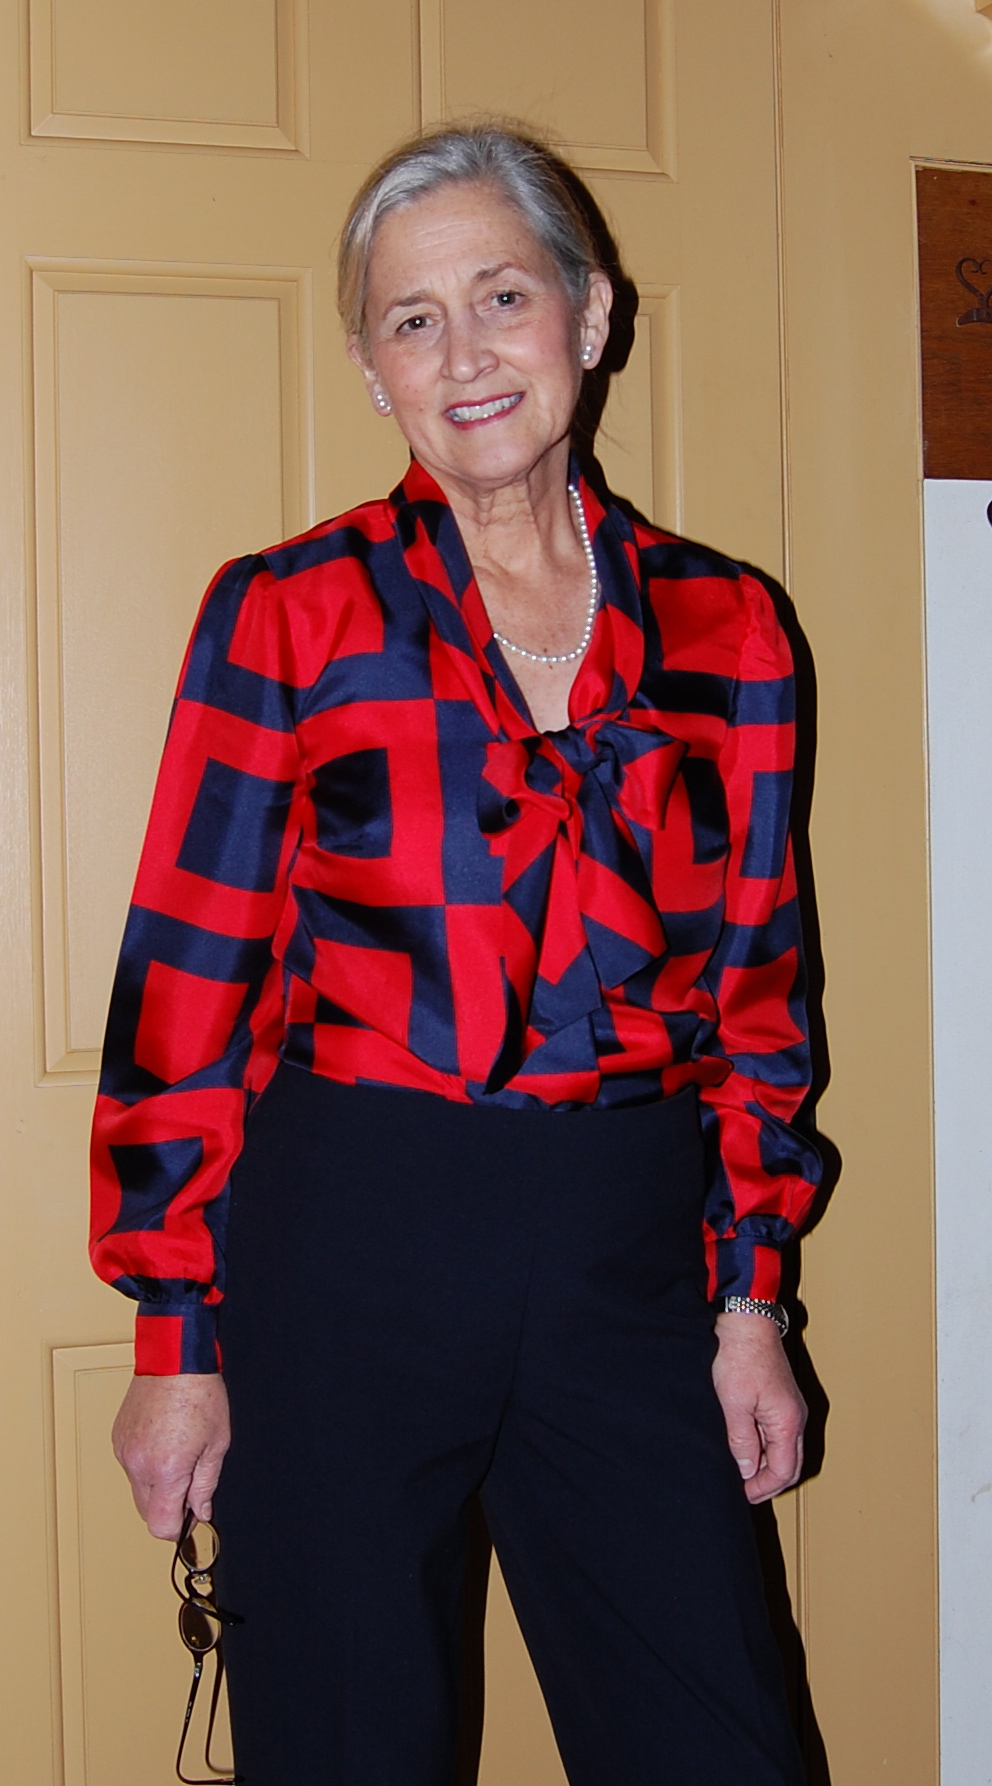
I think the bow is just about perfect.
I am very glad I didn’t tinker with the size of the bow!
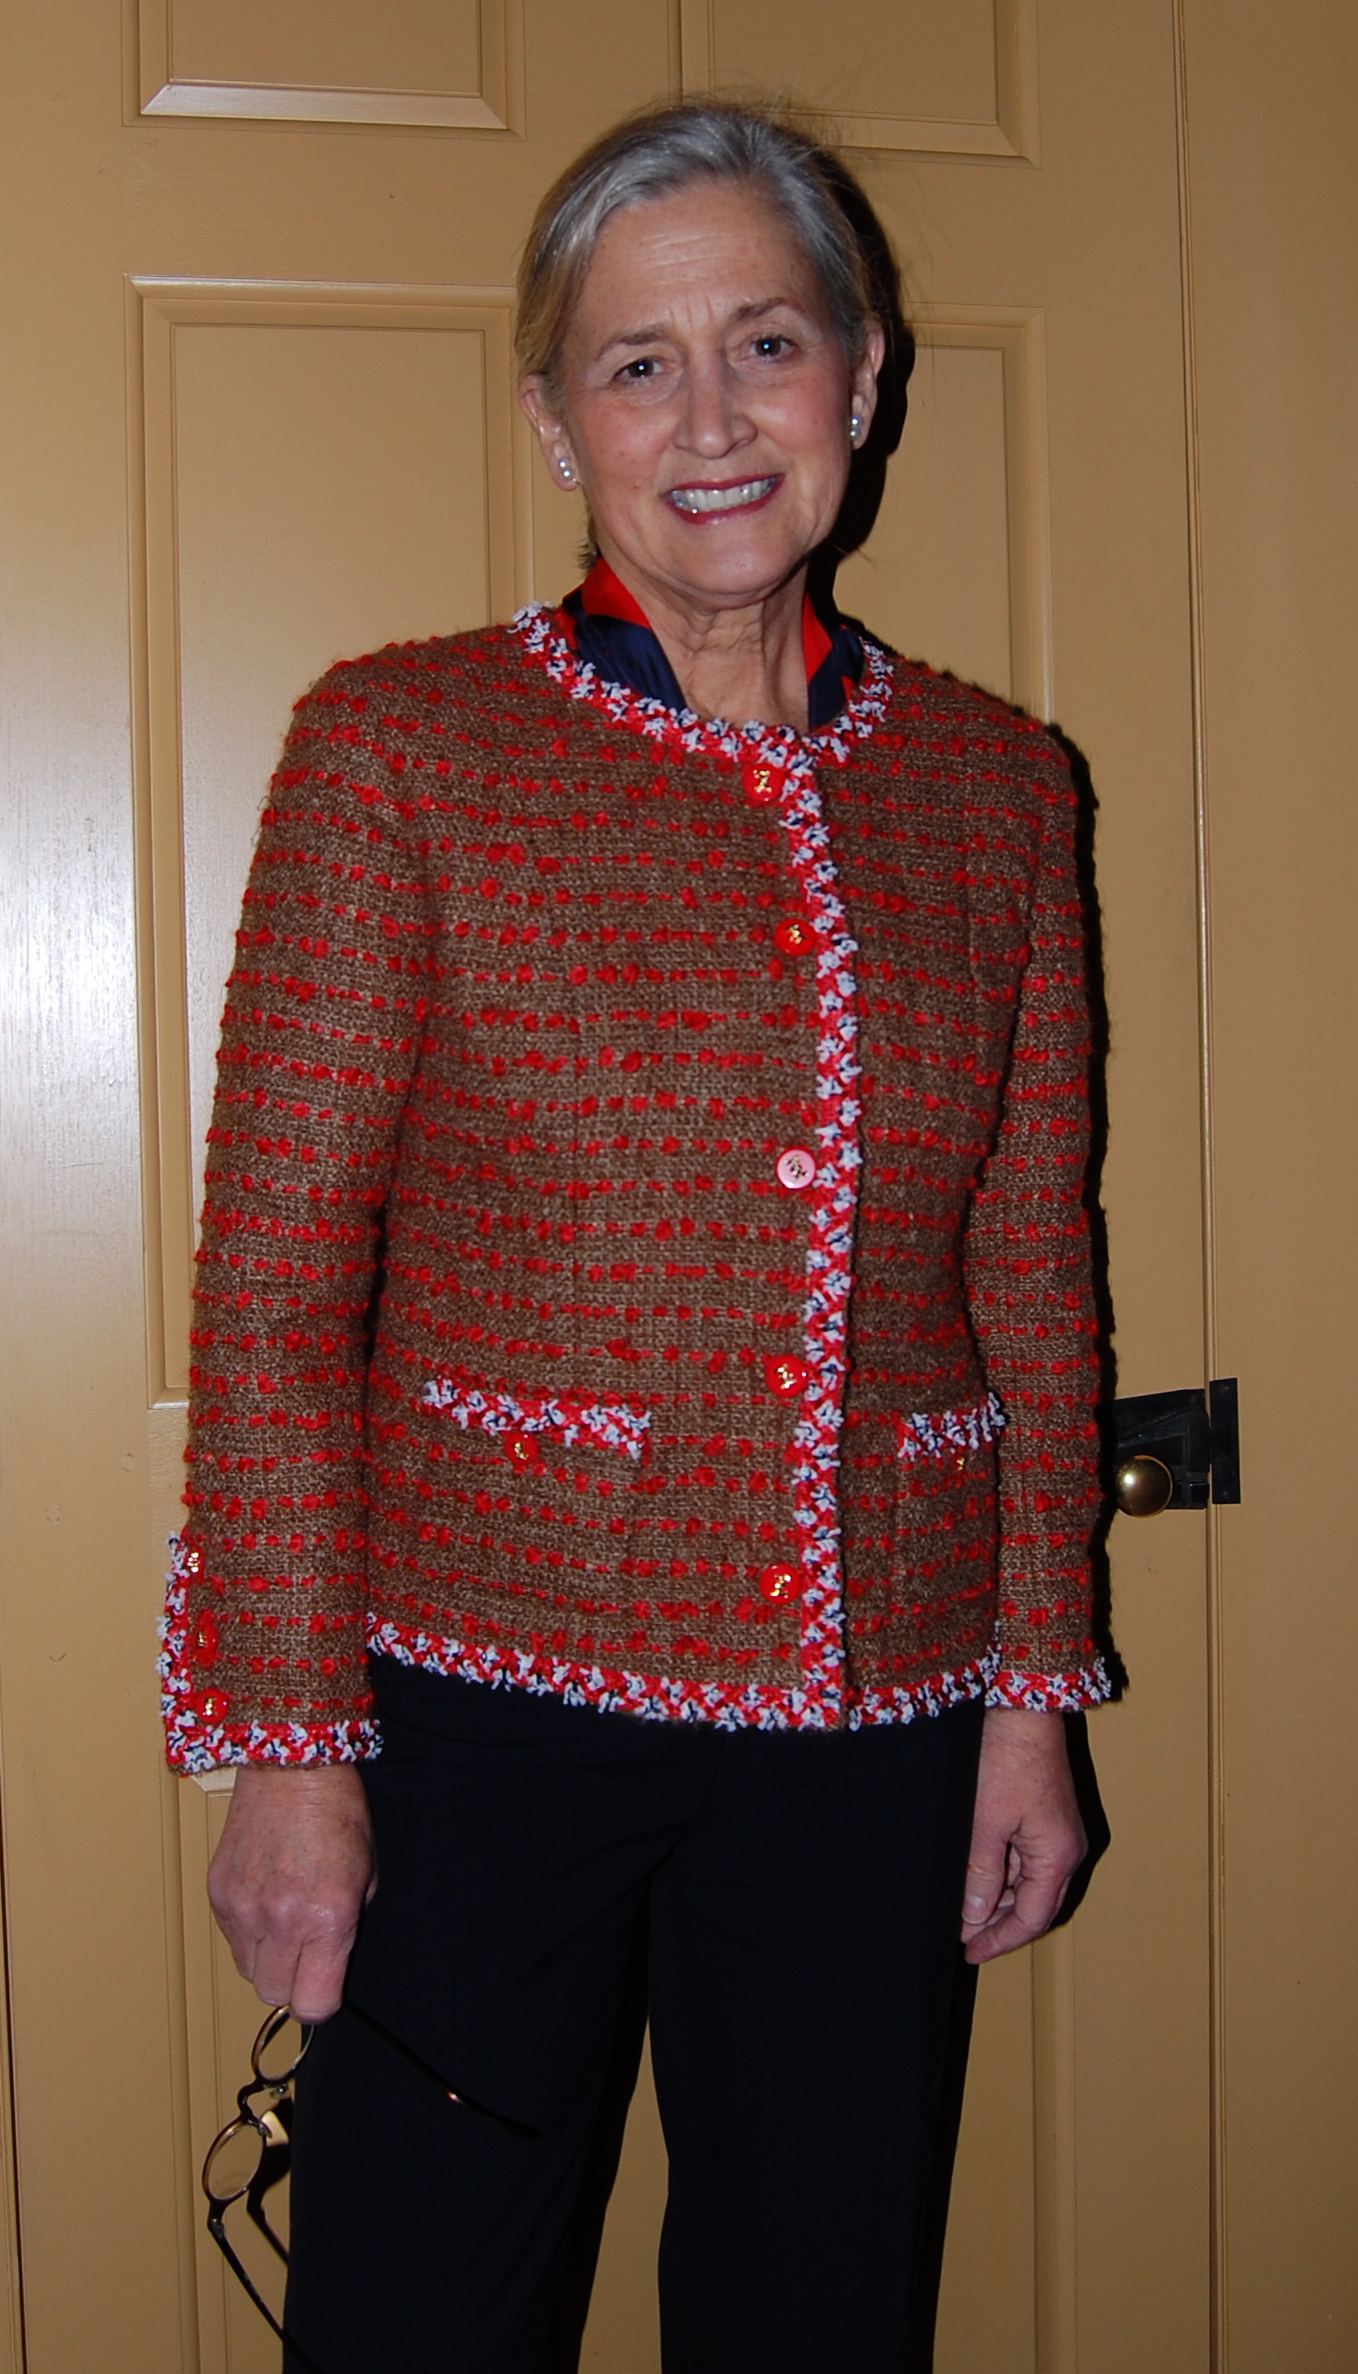
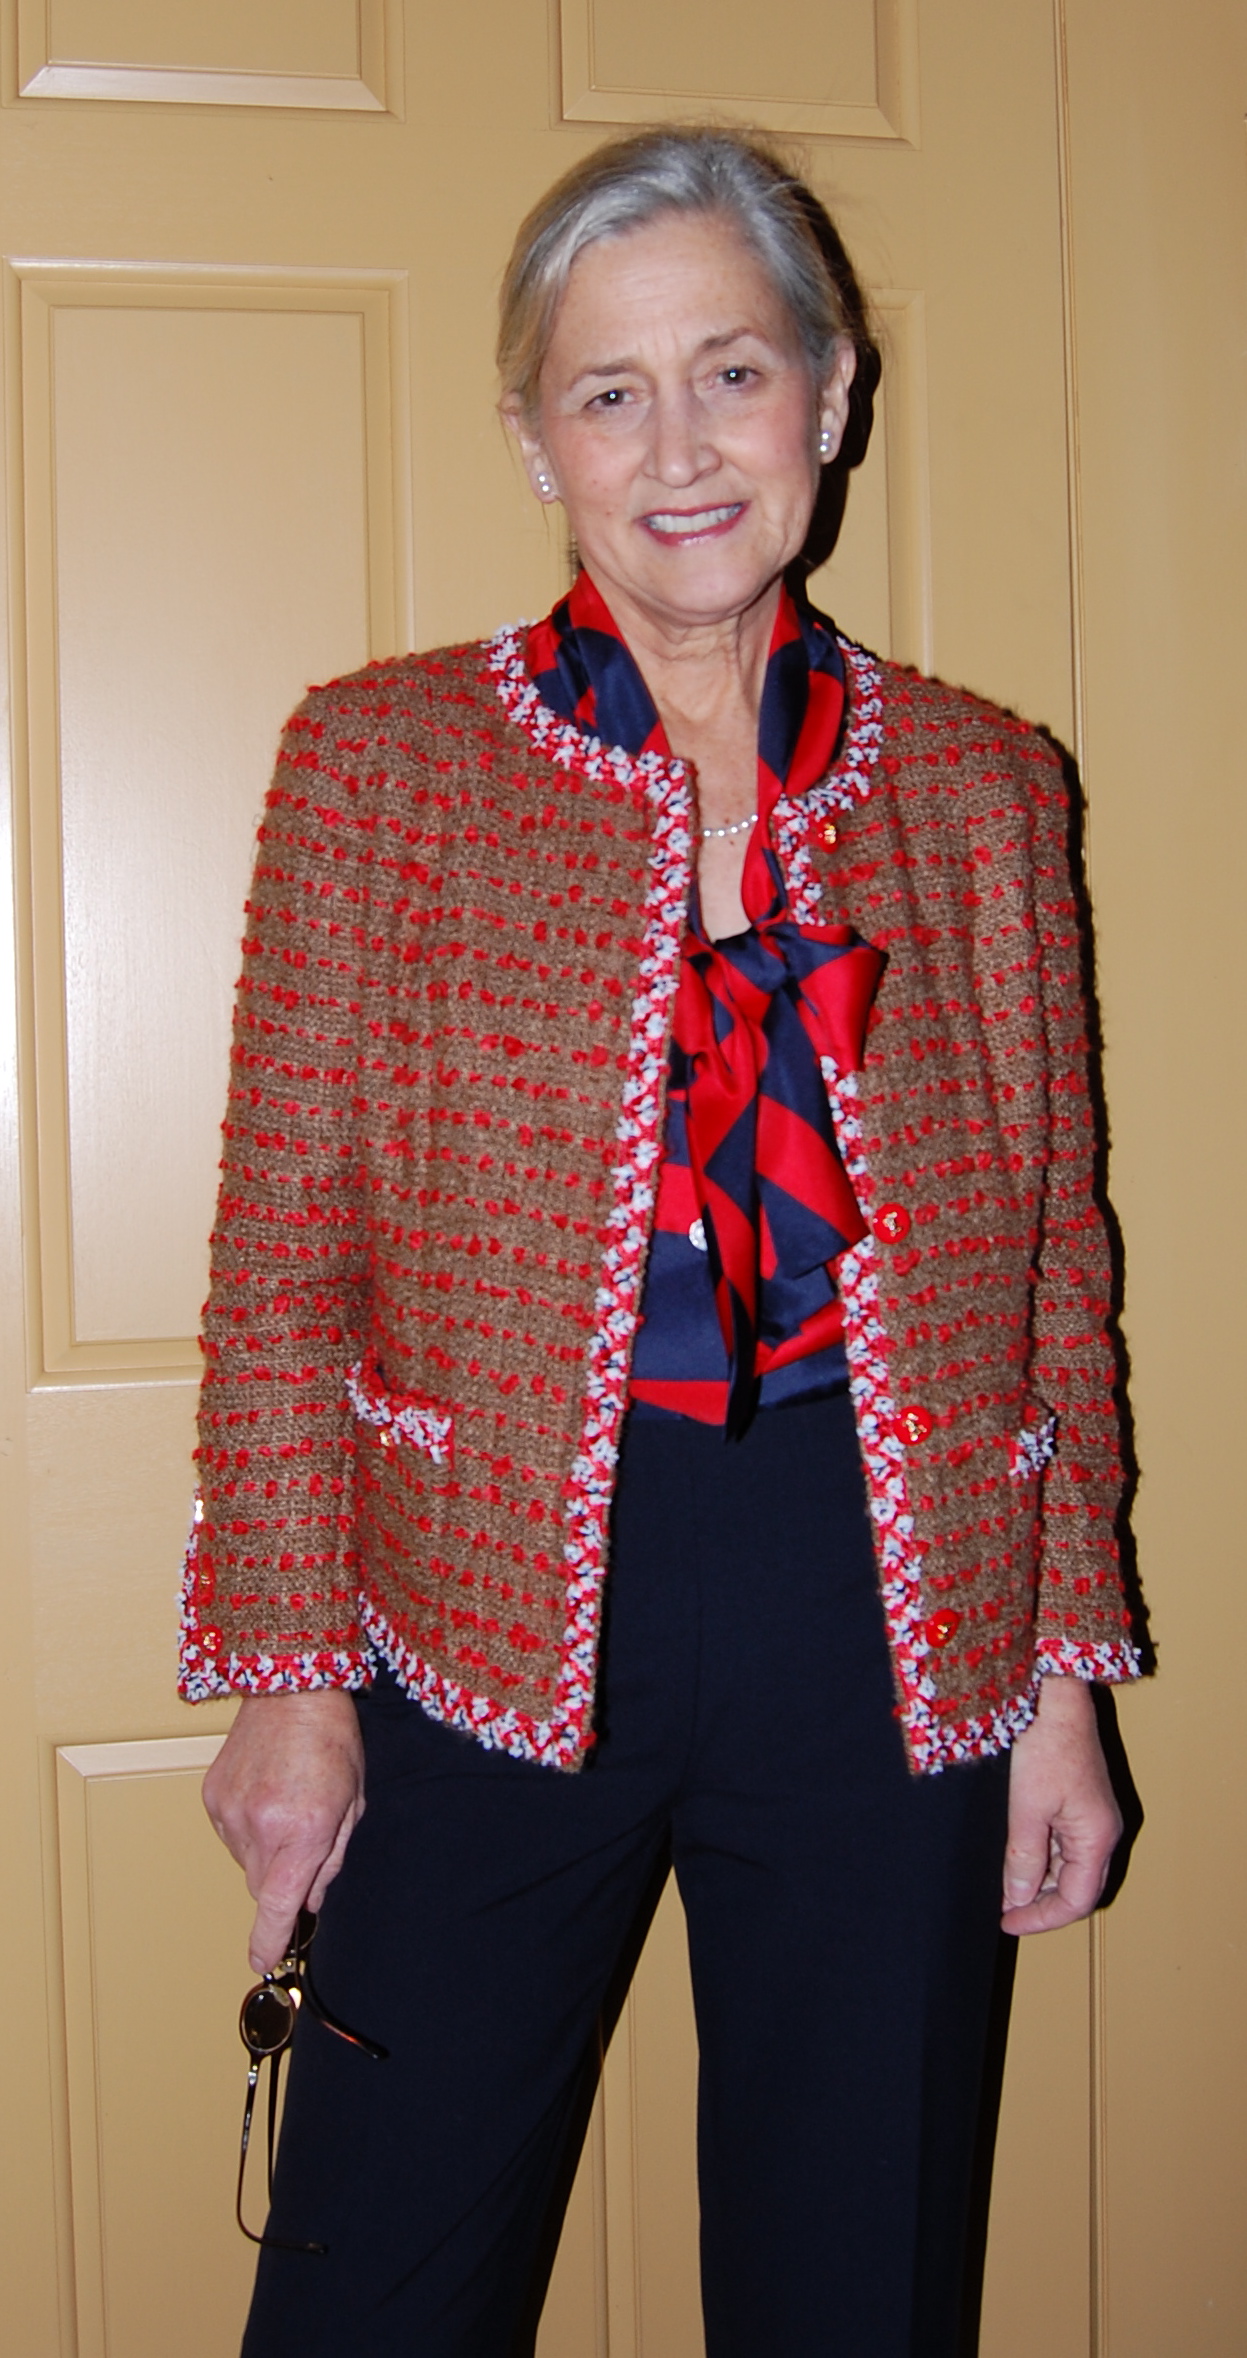
Shown with the jacket. I really like how the collar on the blouse shows a bit when I have the jacket on.
A comfortable fit.
Would be nice with a navy skirt as well …
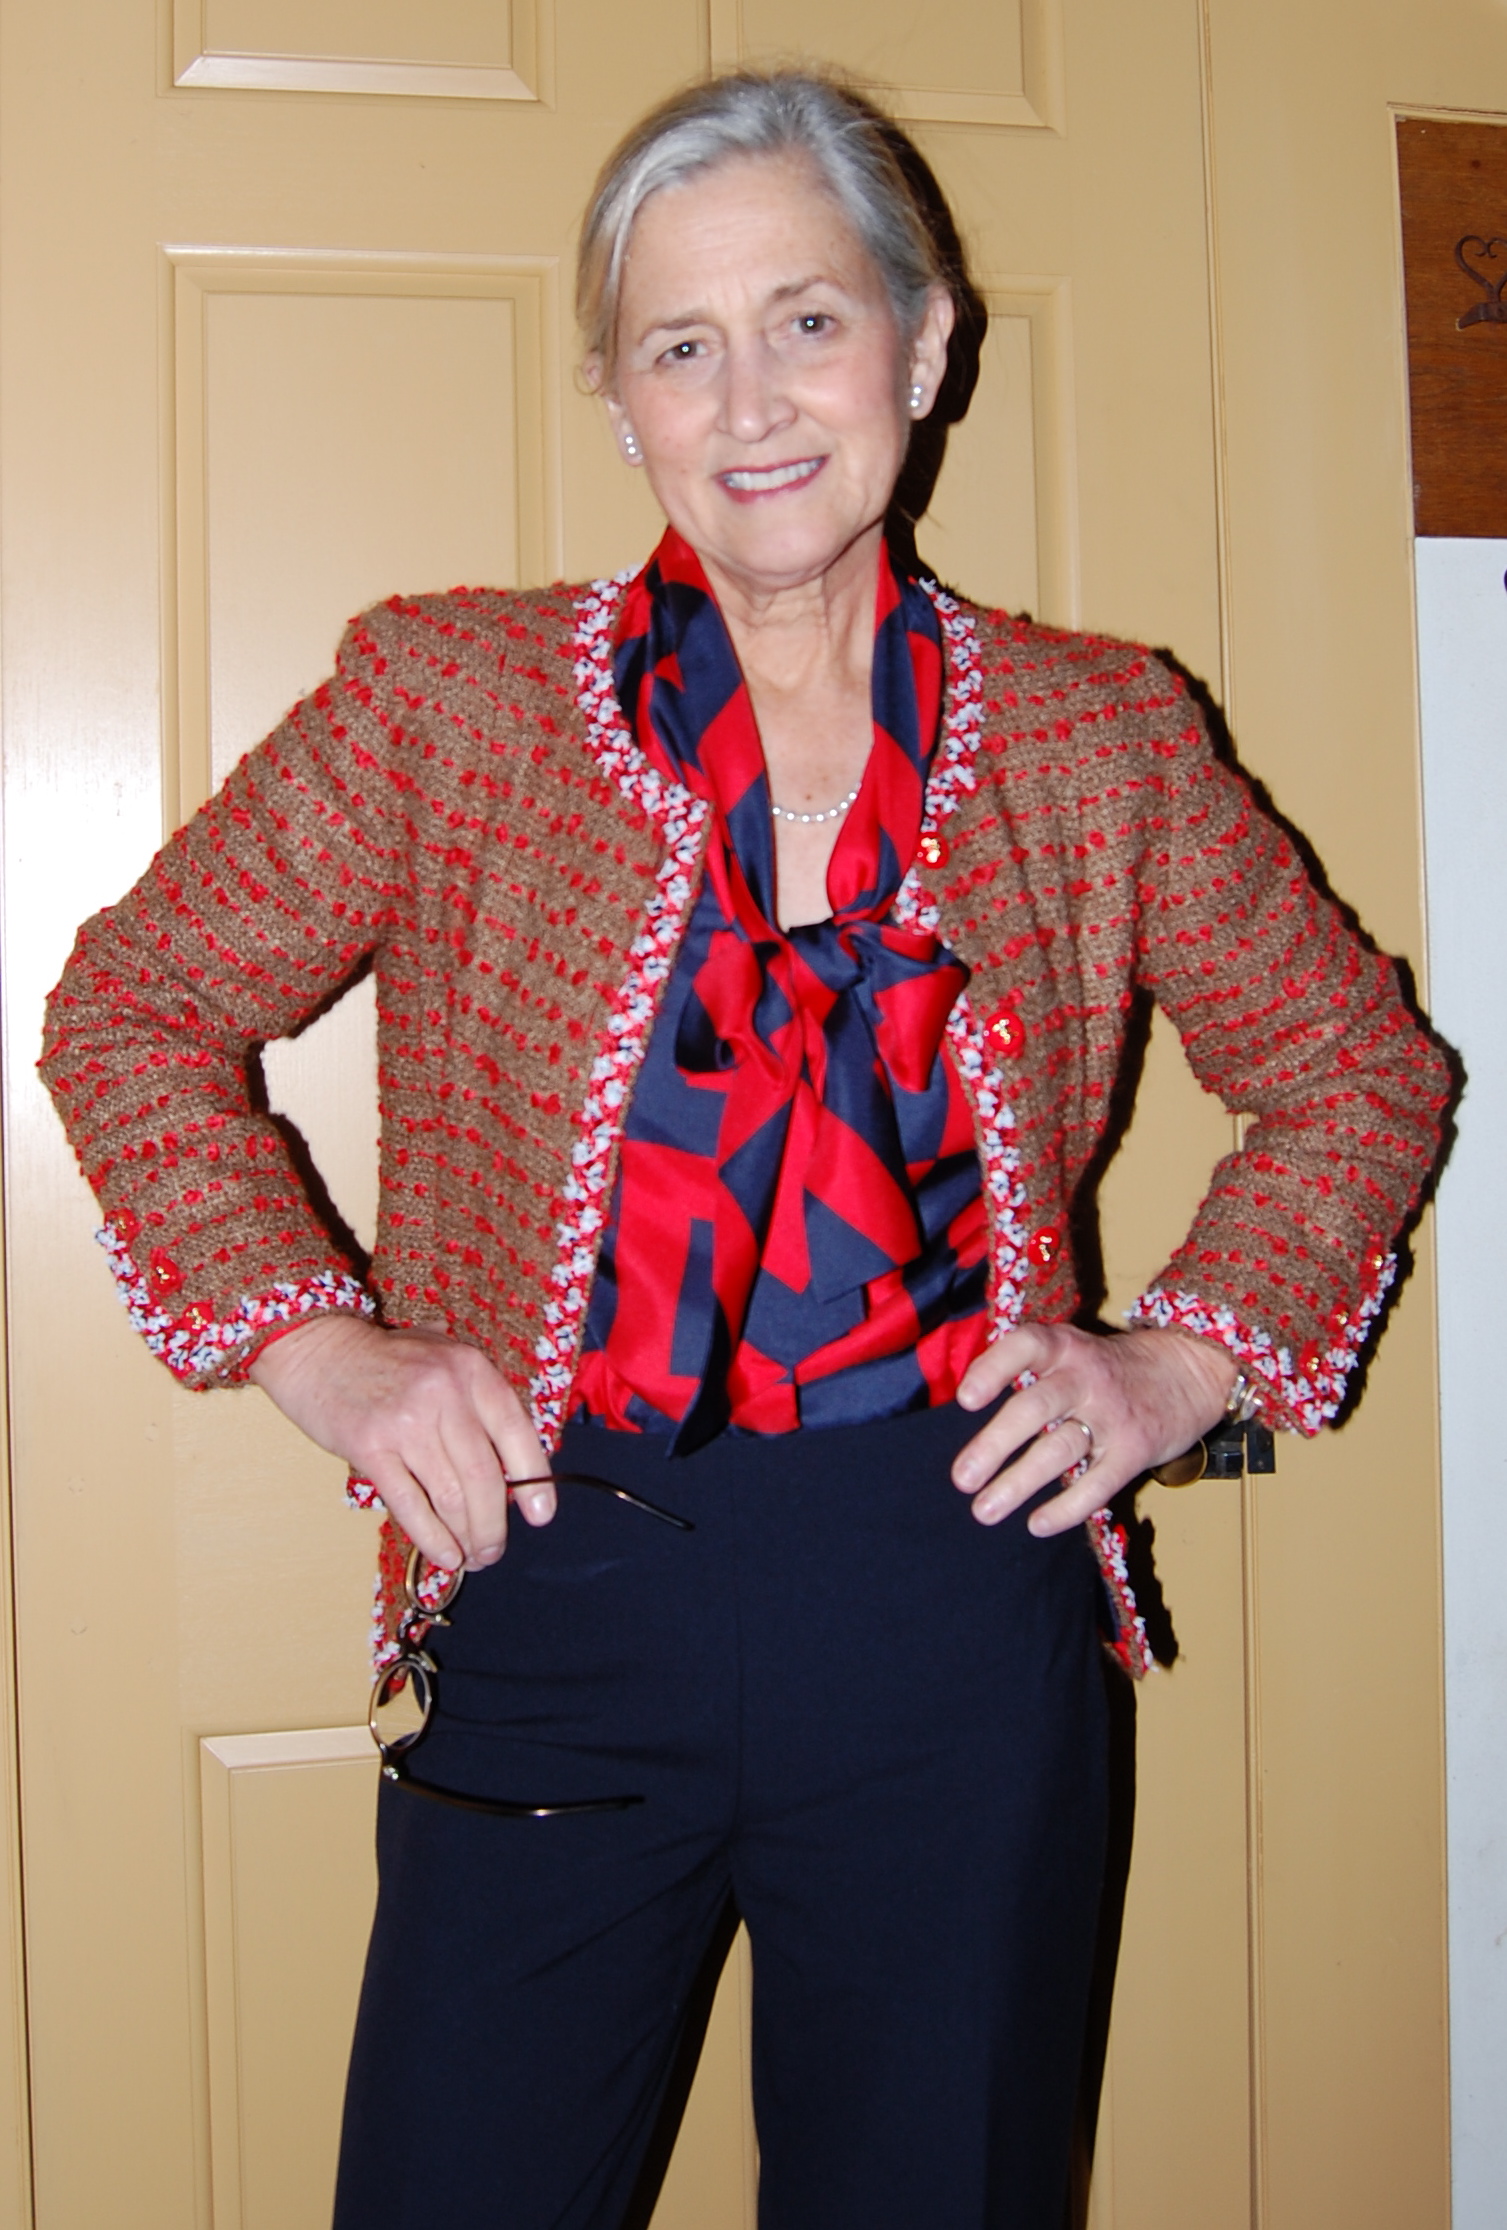
Whew! Blouse and jacket turned out as I had hoped!
I am feeling quite good about indulging in the extra fabric and extra time needed to make this blouse. Now that my No. 2 Jacket is complete, I can indulge in my other current project – my color-blocked coat – which might add a new word to the vocabulary of fashion sewing – obsession!