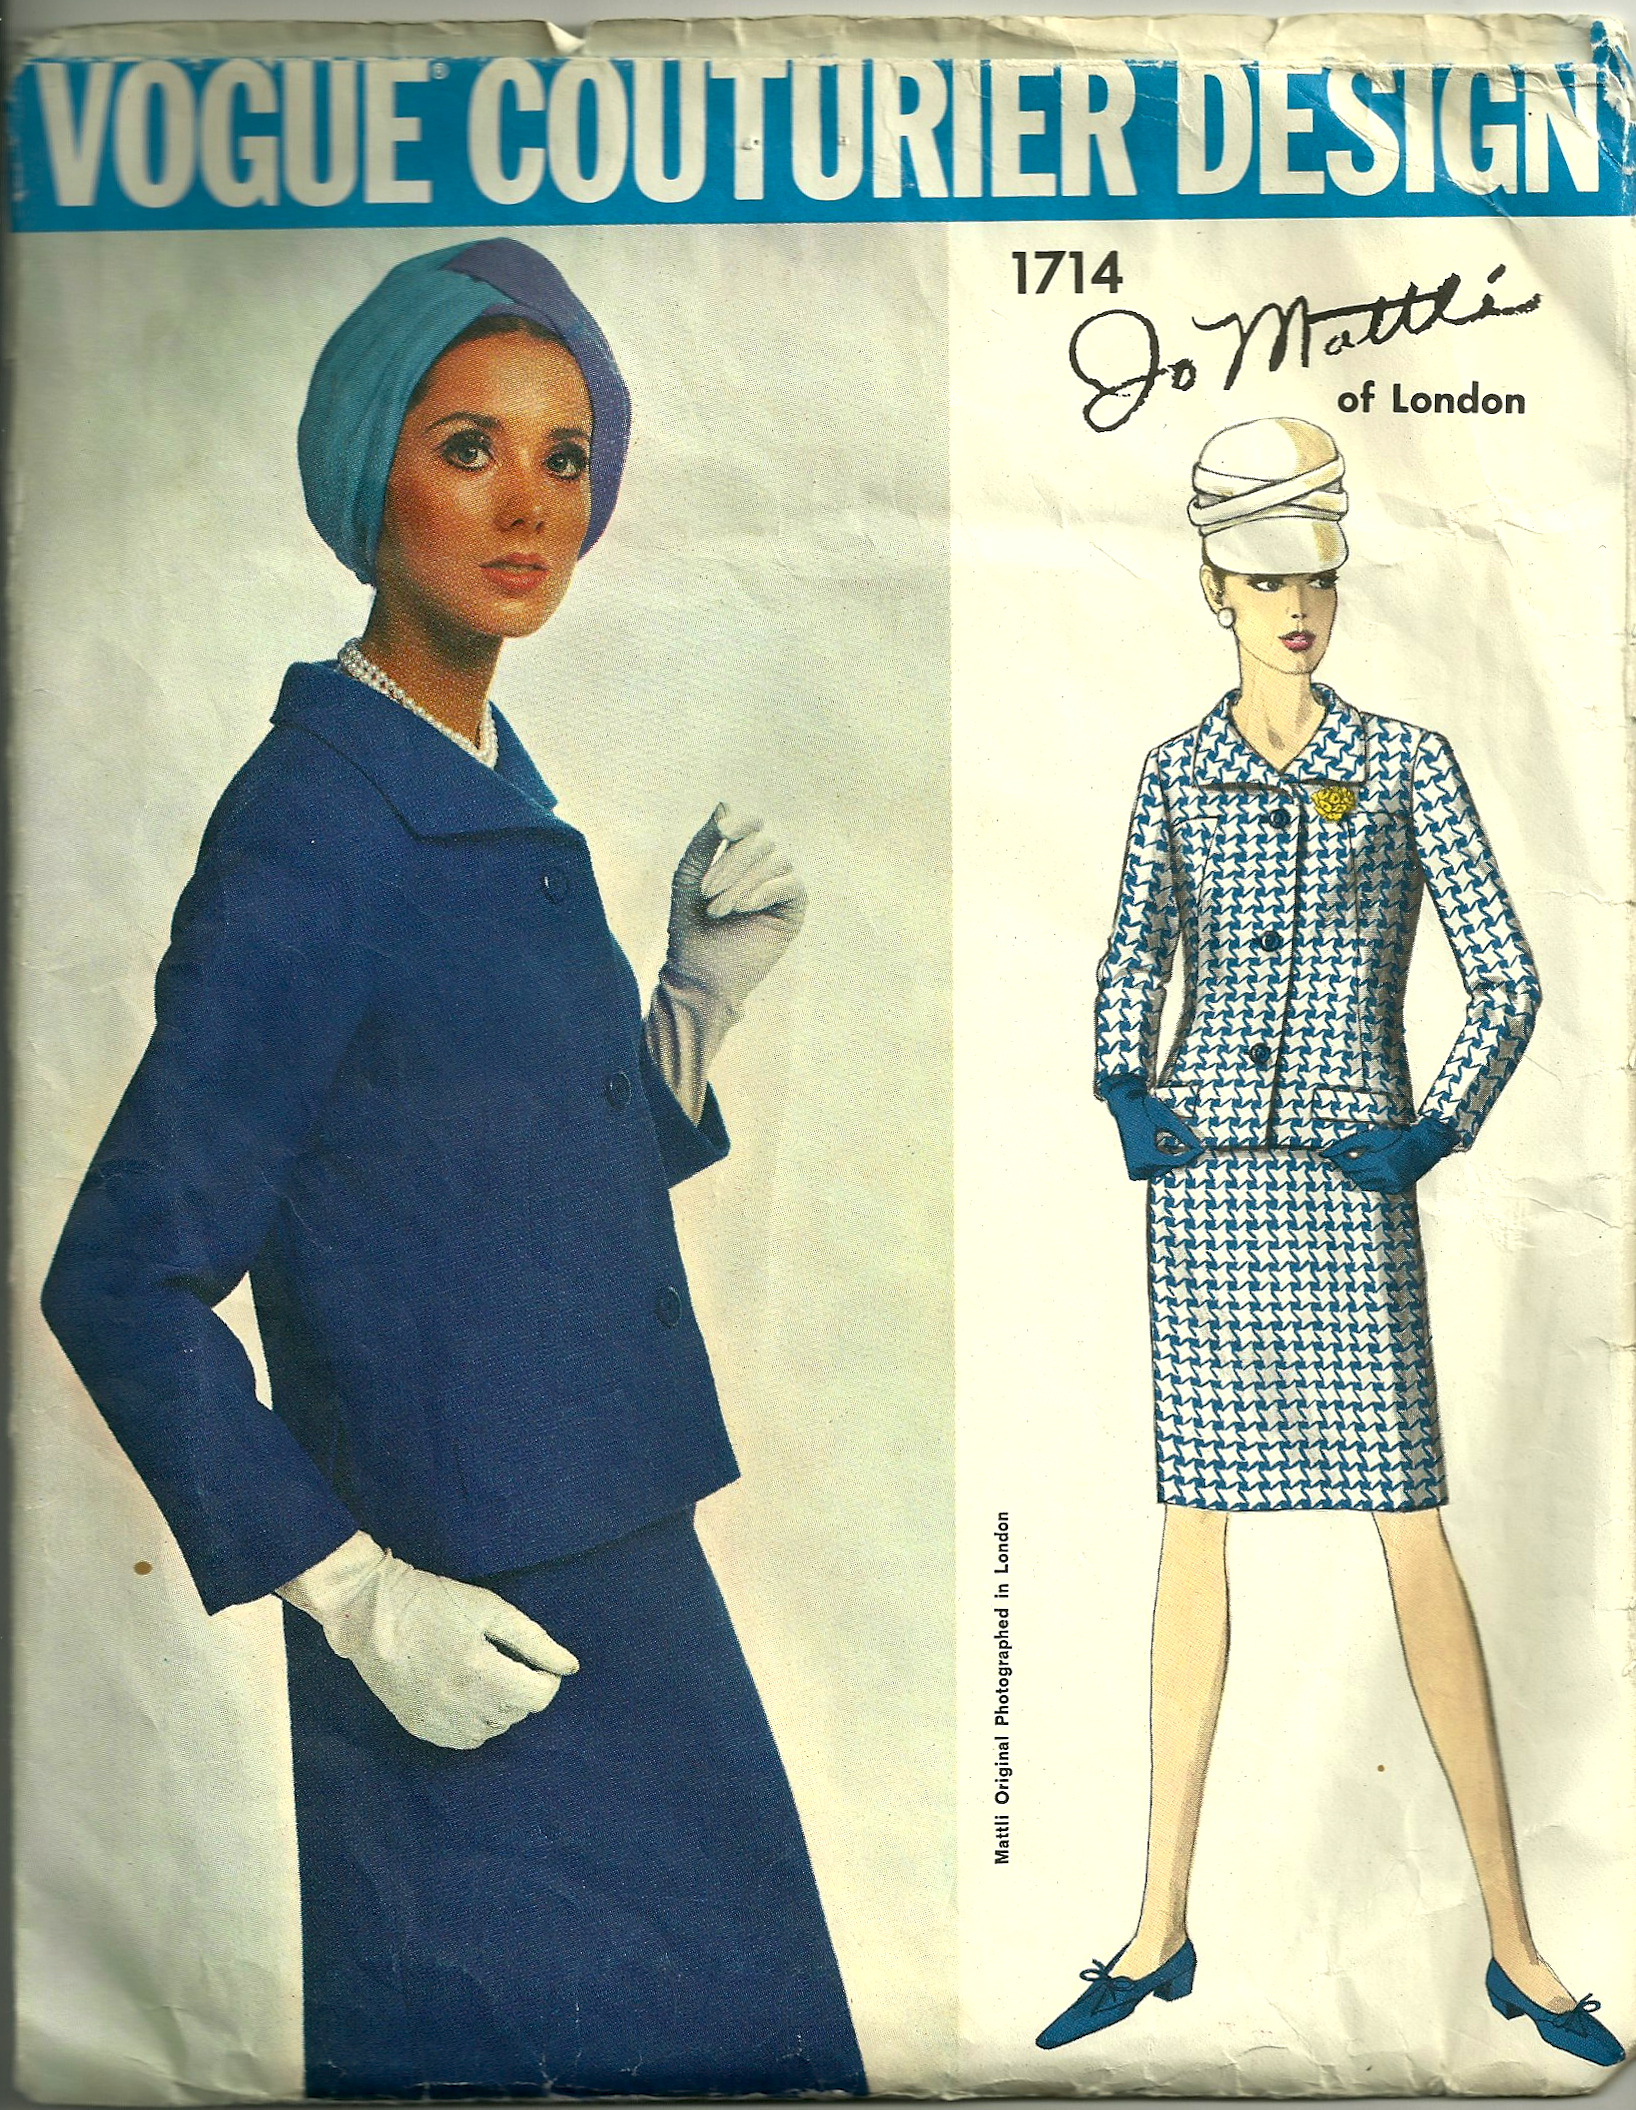
The New Vogue Sewing Book published in 1963 contained a “Couturier Supplement”. According to the Foreword in this magazine-styled book, “Only Vogue Patterns can bring you original designs from the Paris and International Couture houses, because of an exclusive arrangement with world famous designers.” One of the 17 designers featured in the supplement was Jo Mattli.
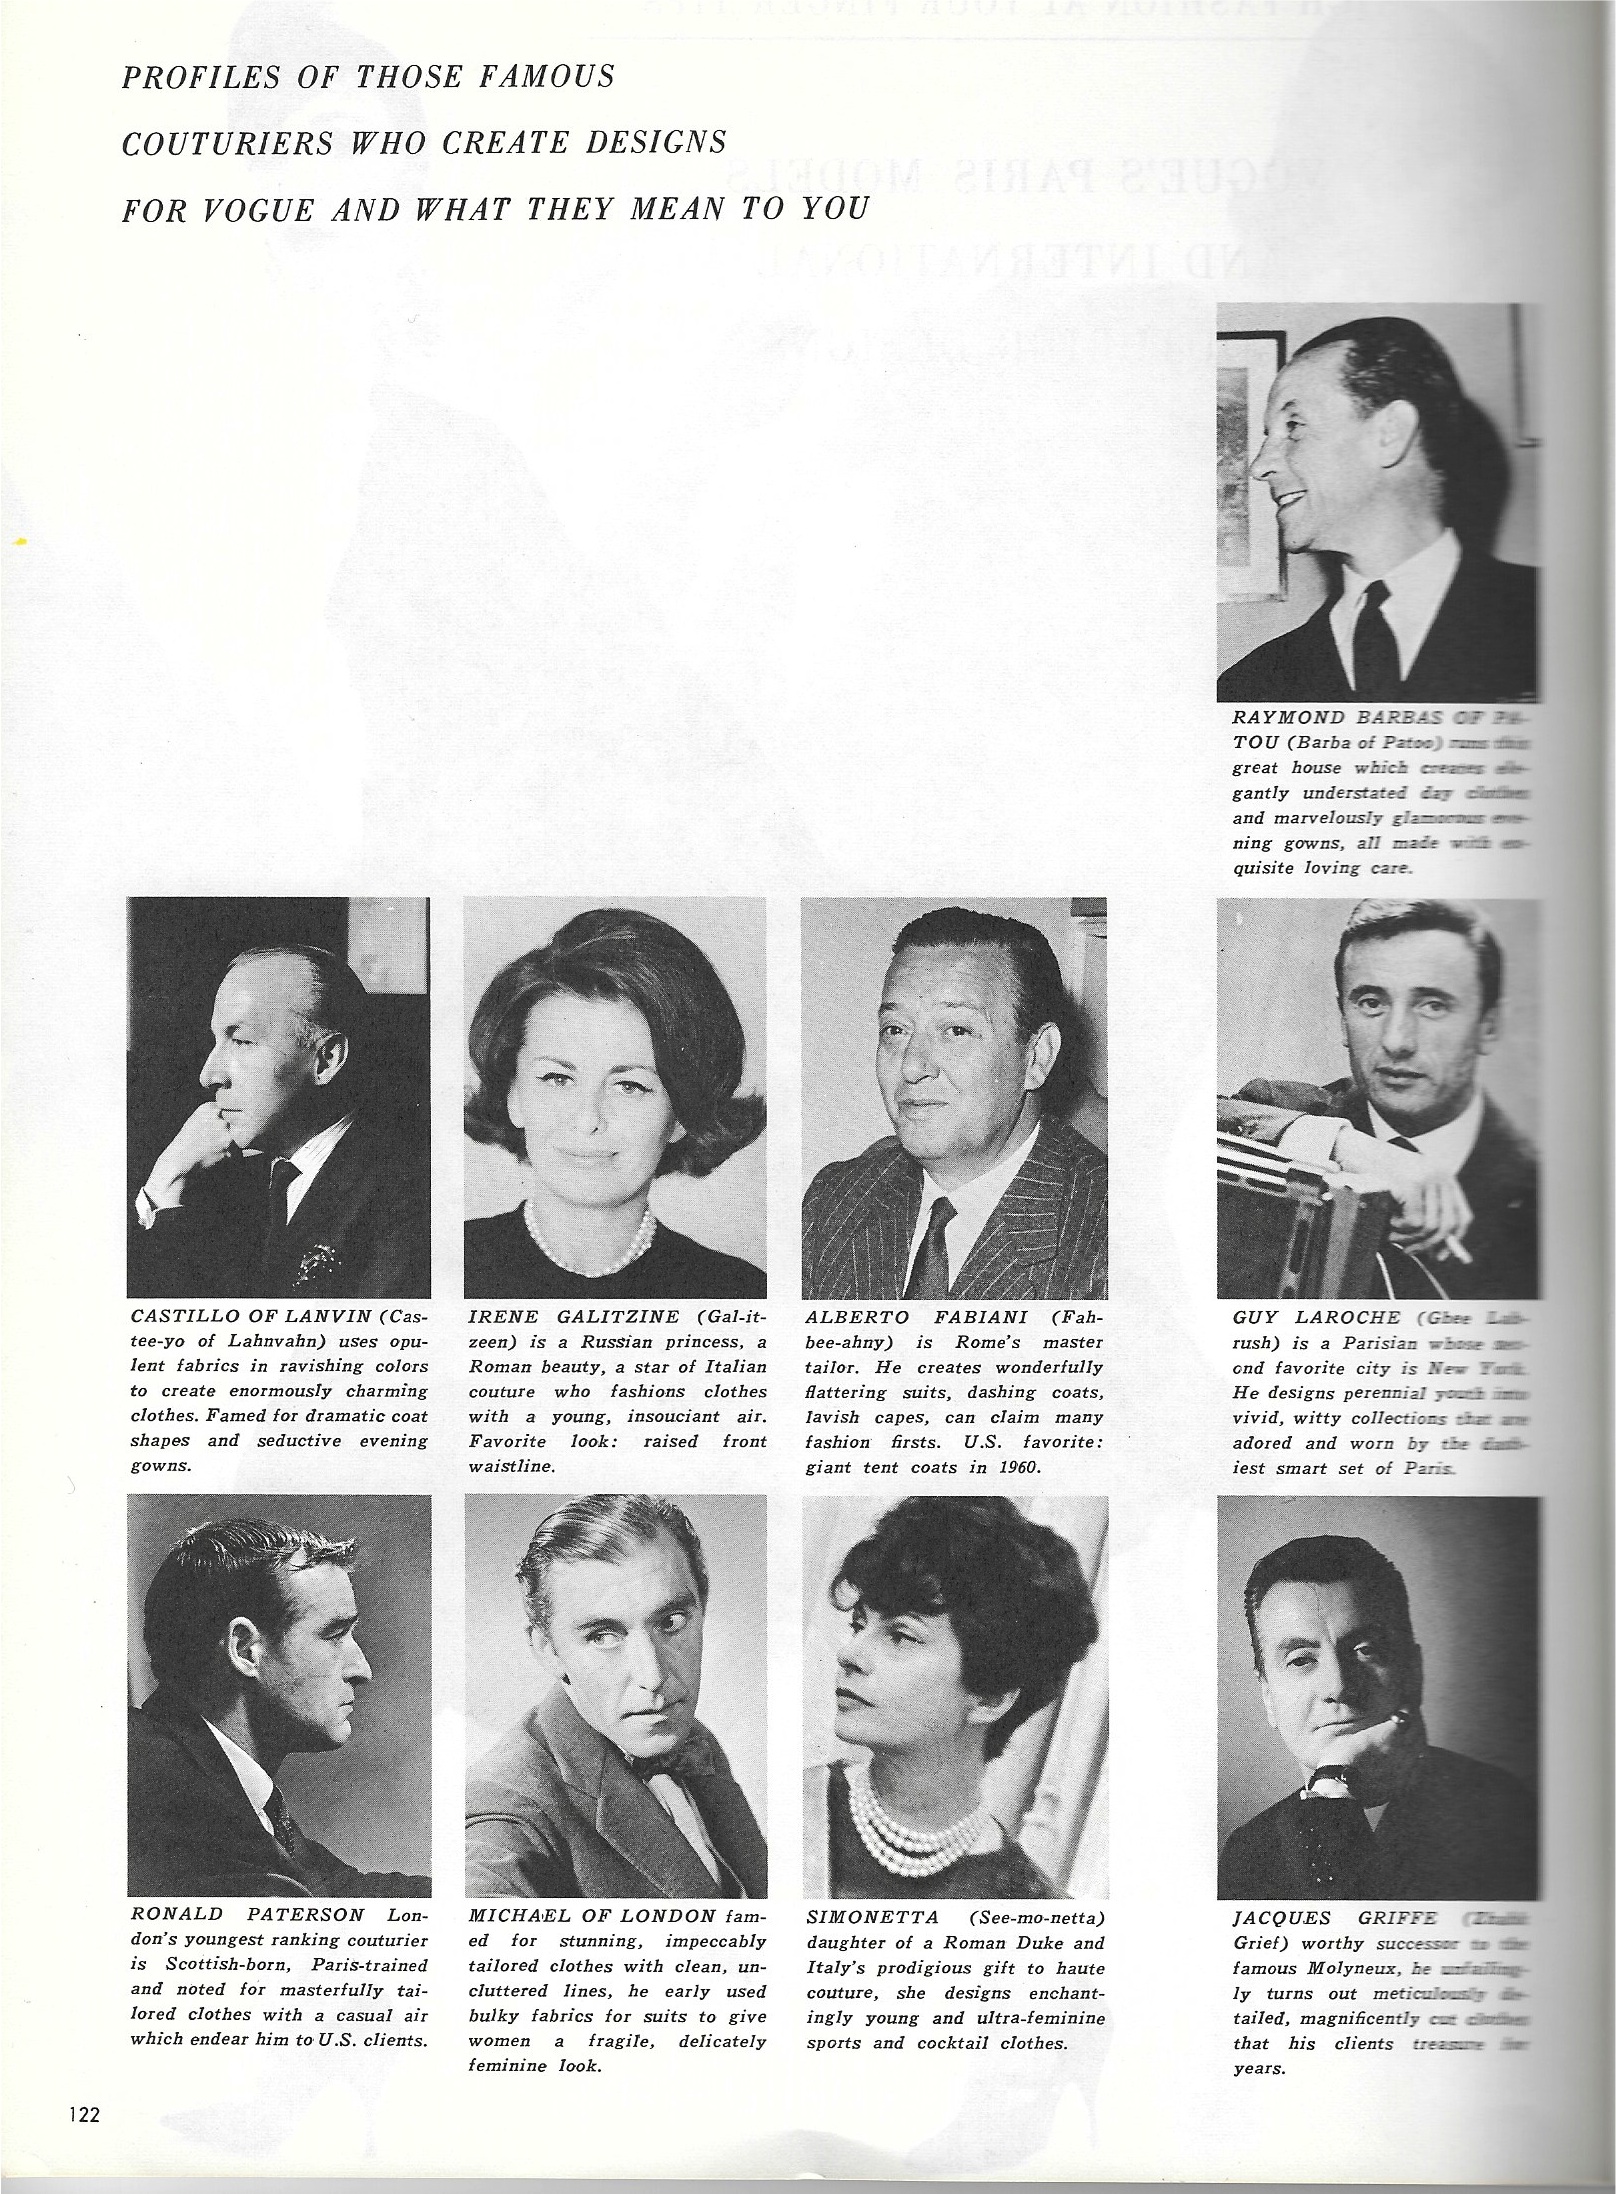
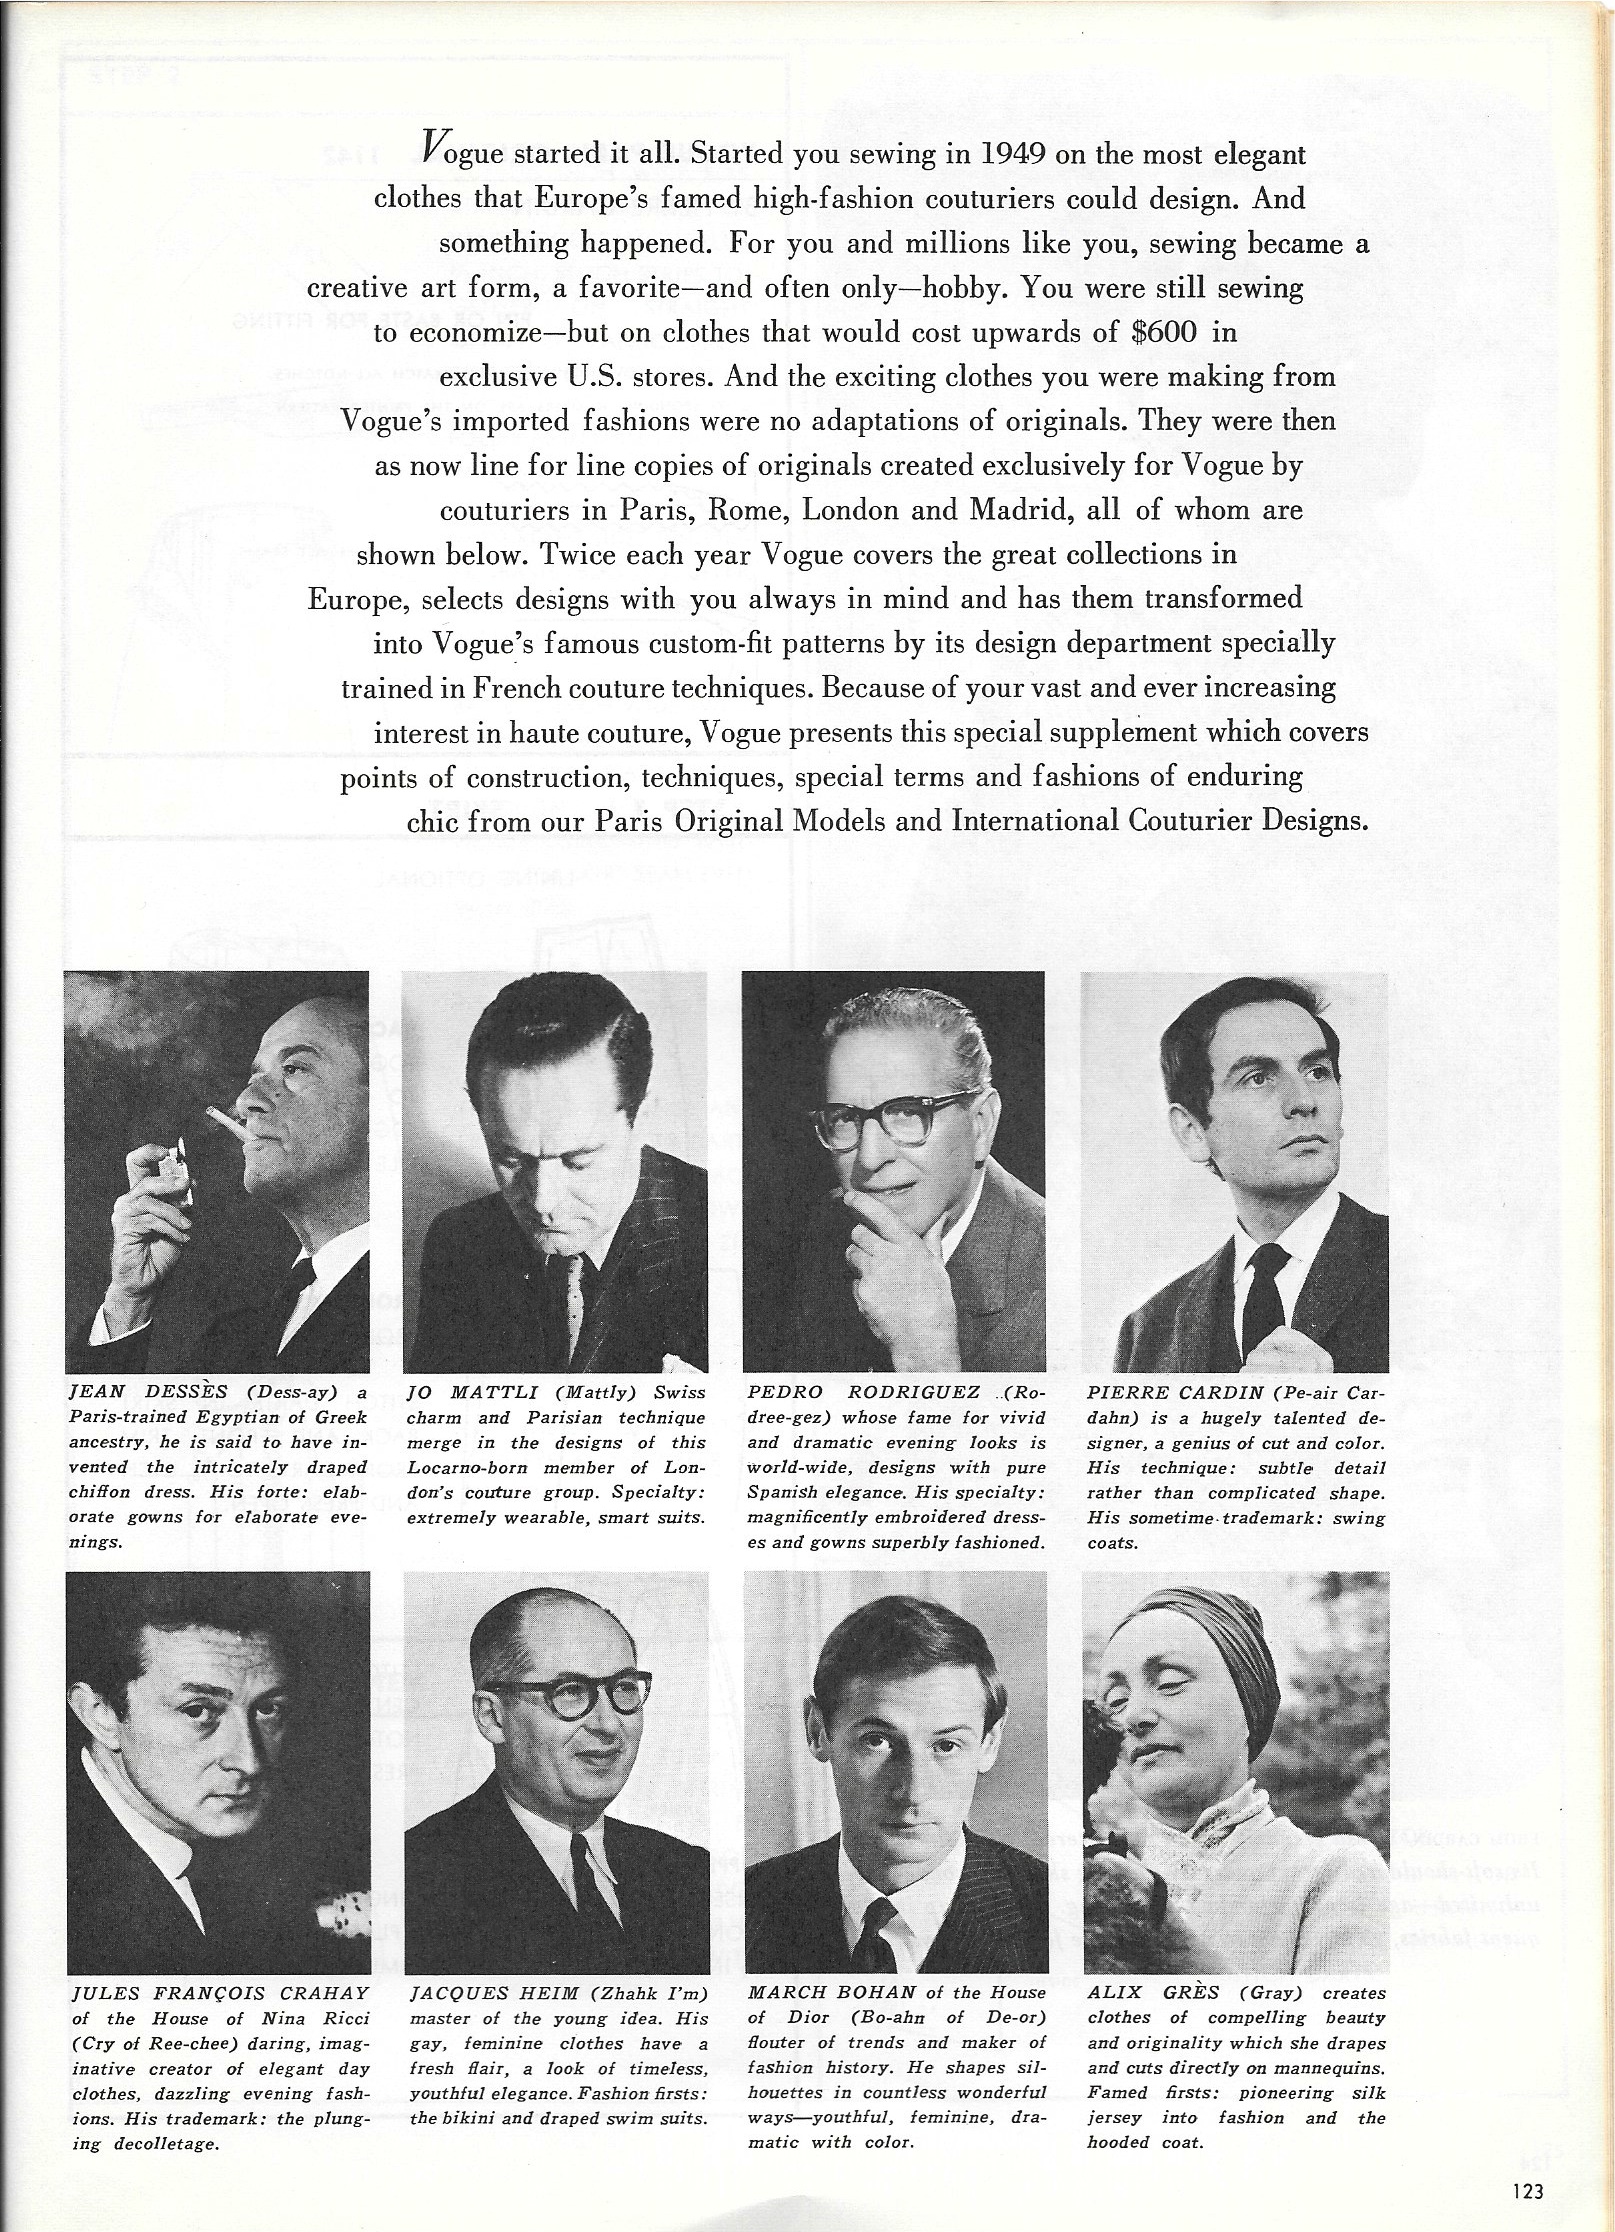
Jo Mattli is second from the left on the top row. Click on the photo to see the image up close.
A quick look at the two-page spread on these designers shows a veritable who’s who of fashion design, with names very much still known today. Except for perhaps Jo Mattli. (Mattli was born Giuseppe Gustavo Mattli in 1907 in Locarno, Swirtzerland; he died in 1982 in England). He is absent from The St. James Fashion Encyclopedia, even though he was considered one of the “big ten” London couturiers in 1953, when London Society was busy readying for the coronation of Queen Elizabeth II. Perhaps it was his move into ready-to-wear in 1955 that relegated him to lesser status among the world’s great couturiers. This did not keep Vogue Patterns from recognizing his wide appeal to stylish women who appreciated his attention to fine detailing, and his expertise in creating practical, wearable and charming dresses and suits. As one of Vogue’s featured designers in their Vogue Couturier Design-labeled series, Jo Mattli made his mark. Indeed, even he recognized the value of being part of Vogue Patterns, saying “the royalties from these patterns had helped support his couture business” (from Wikipedia, the free encyclopedia).
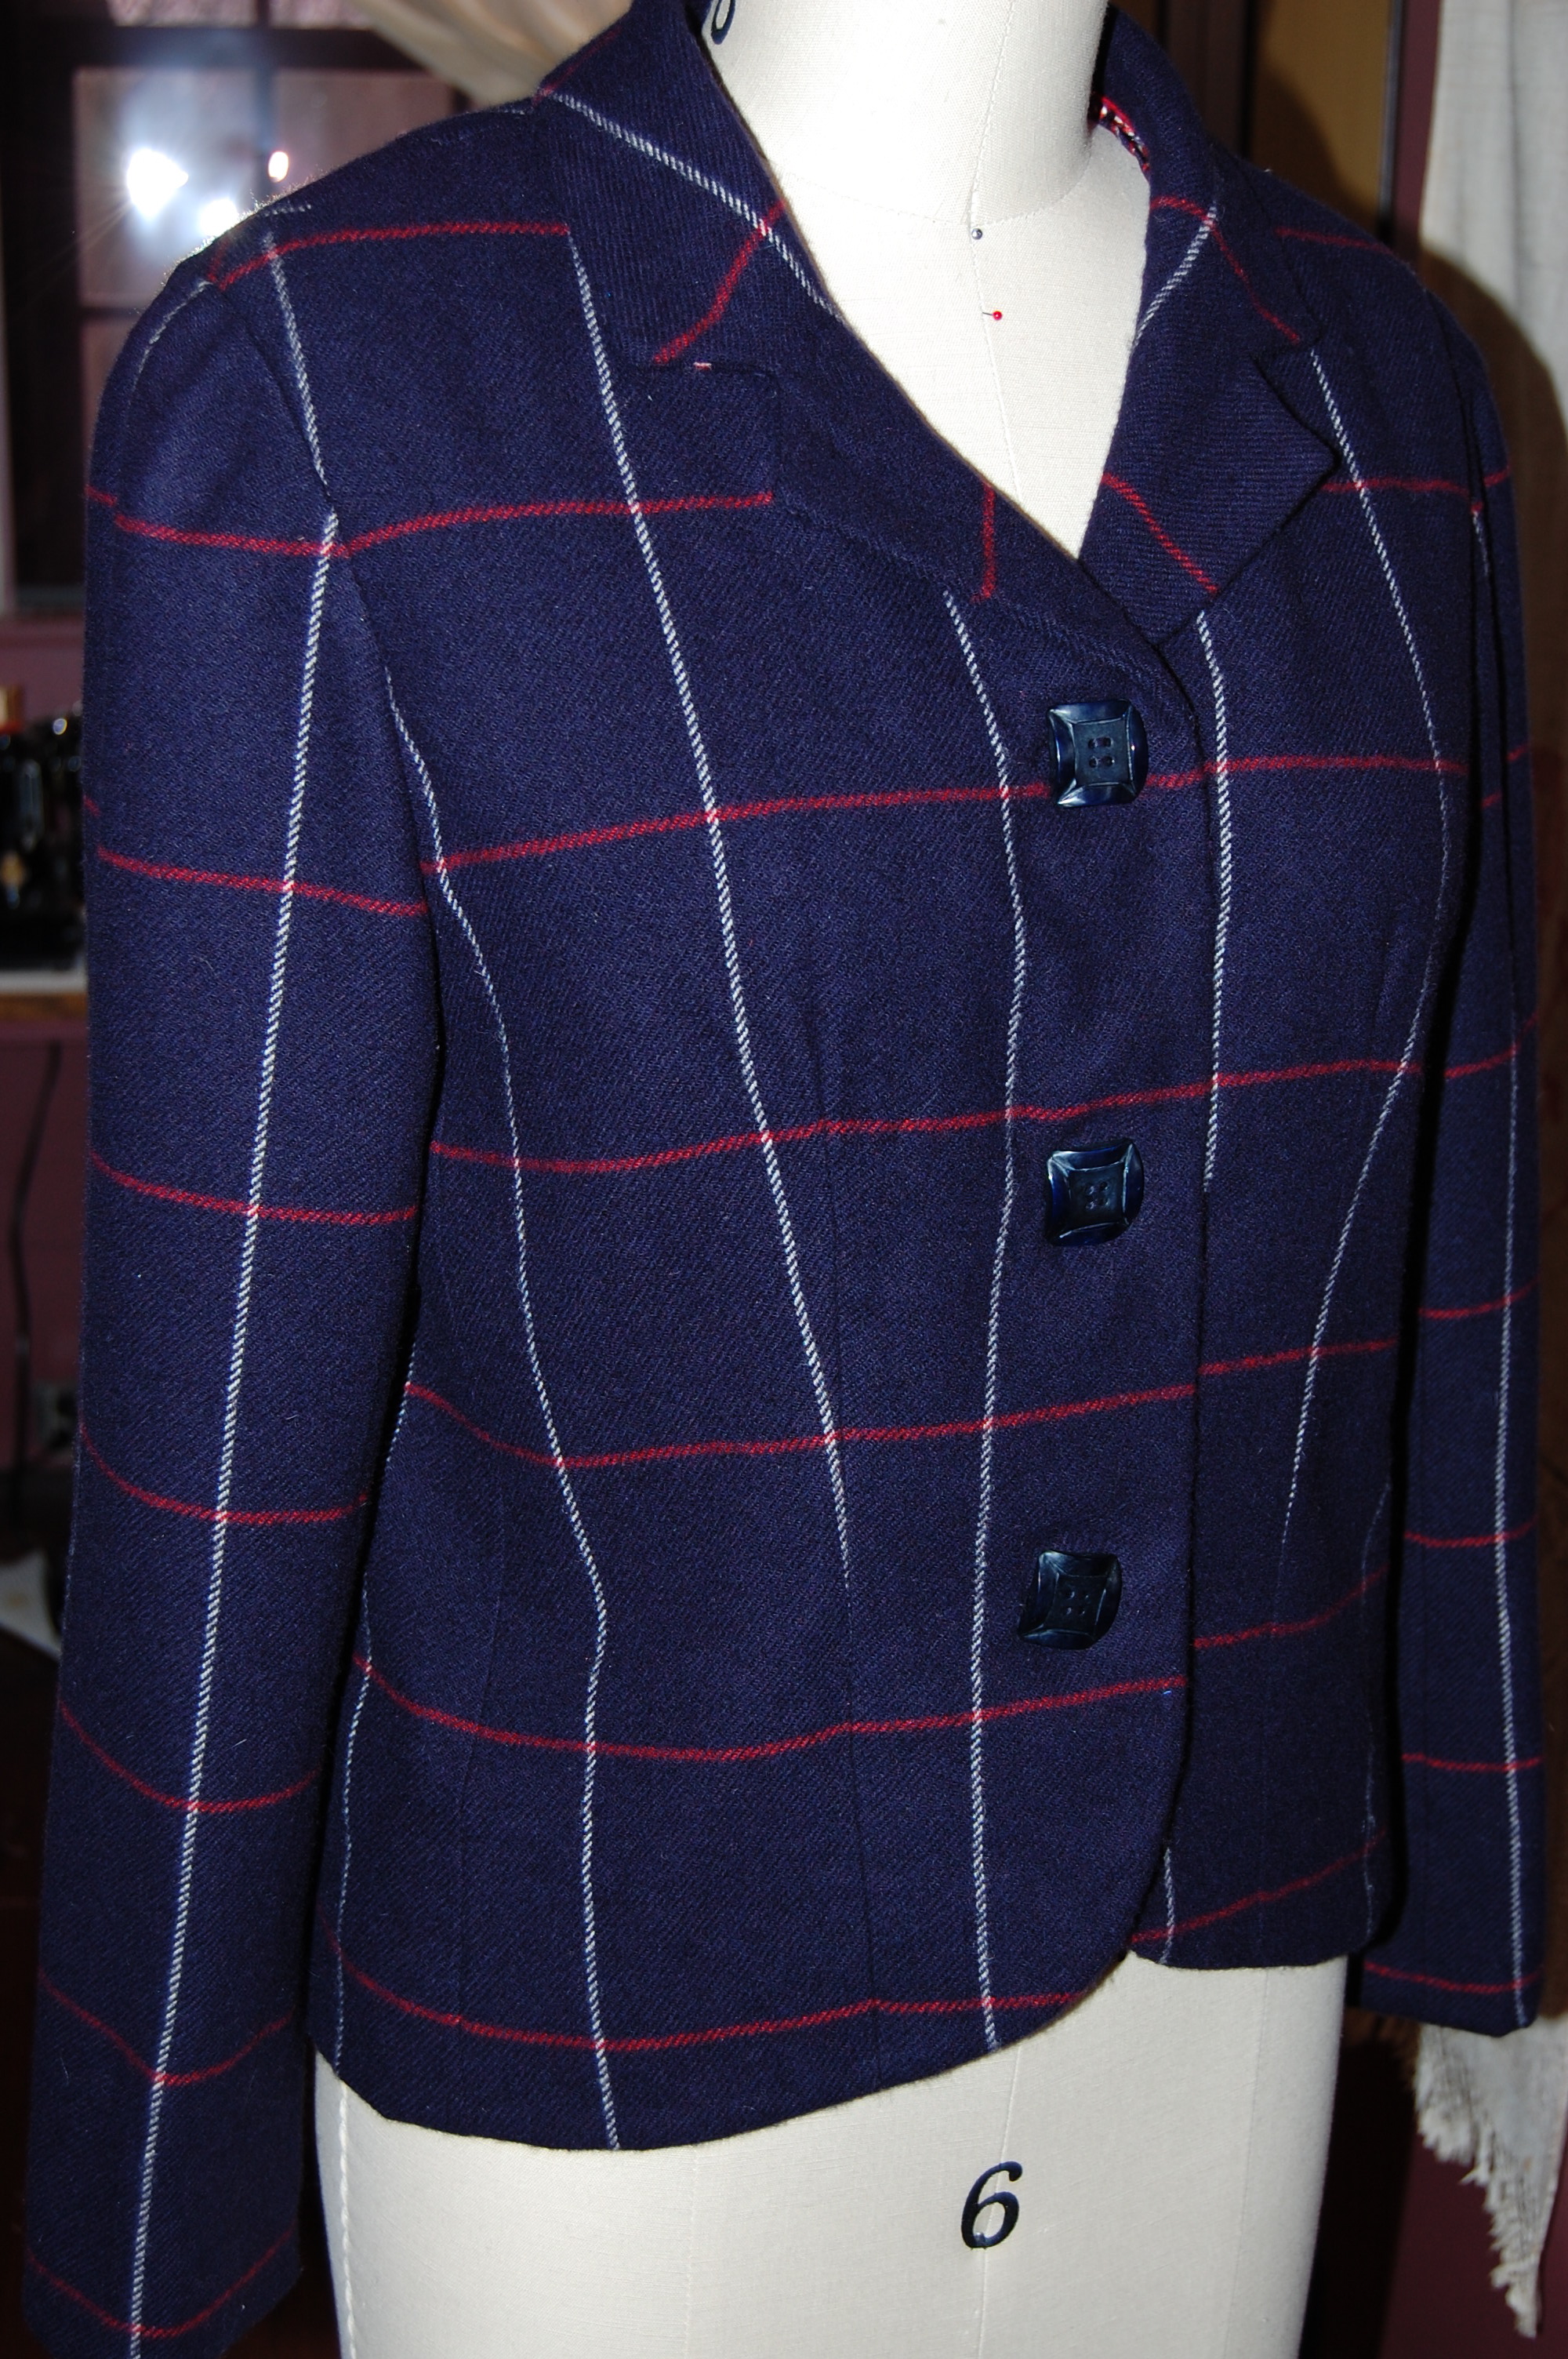
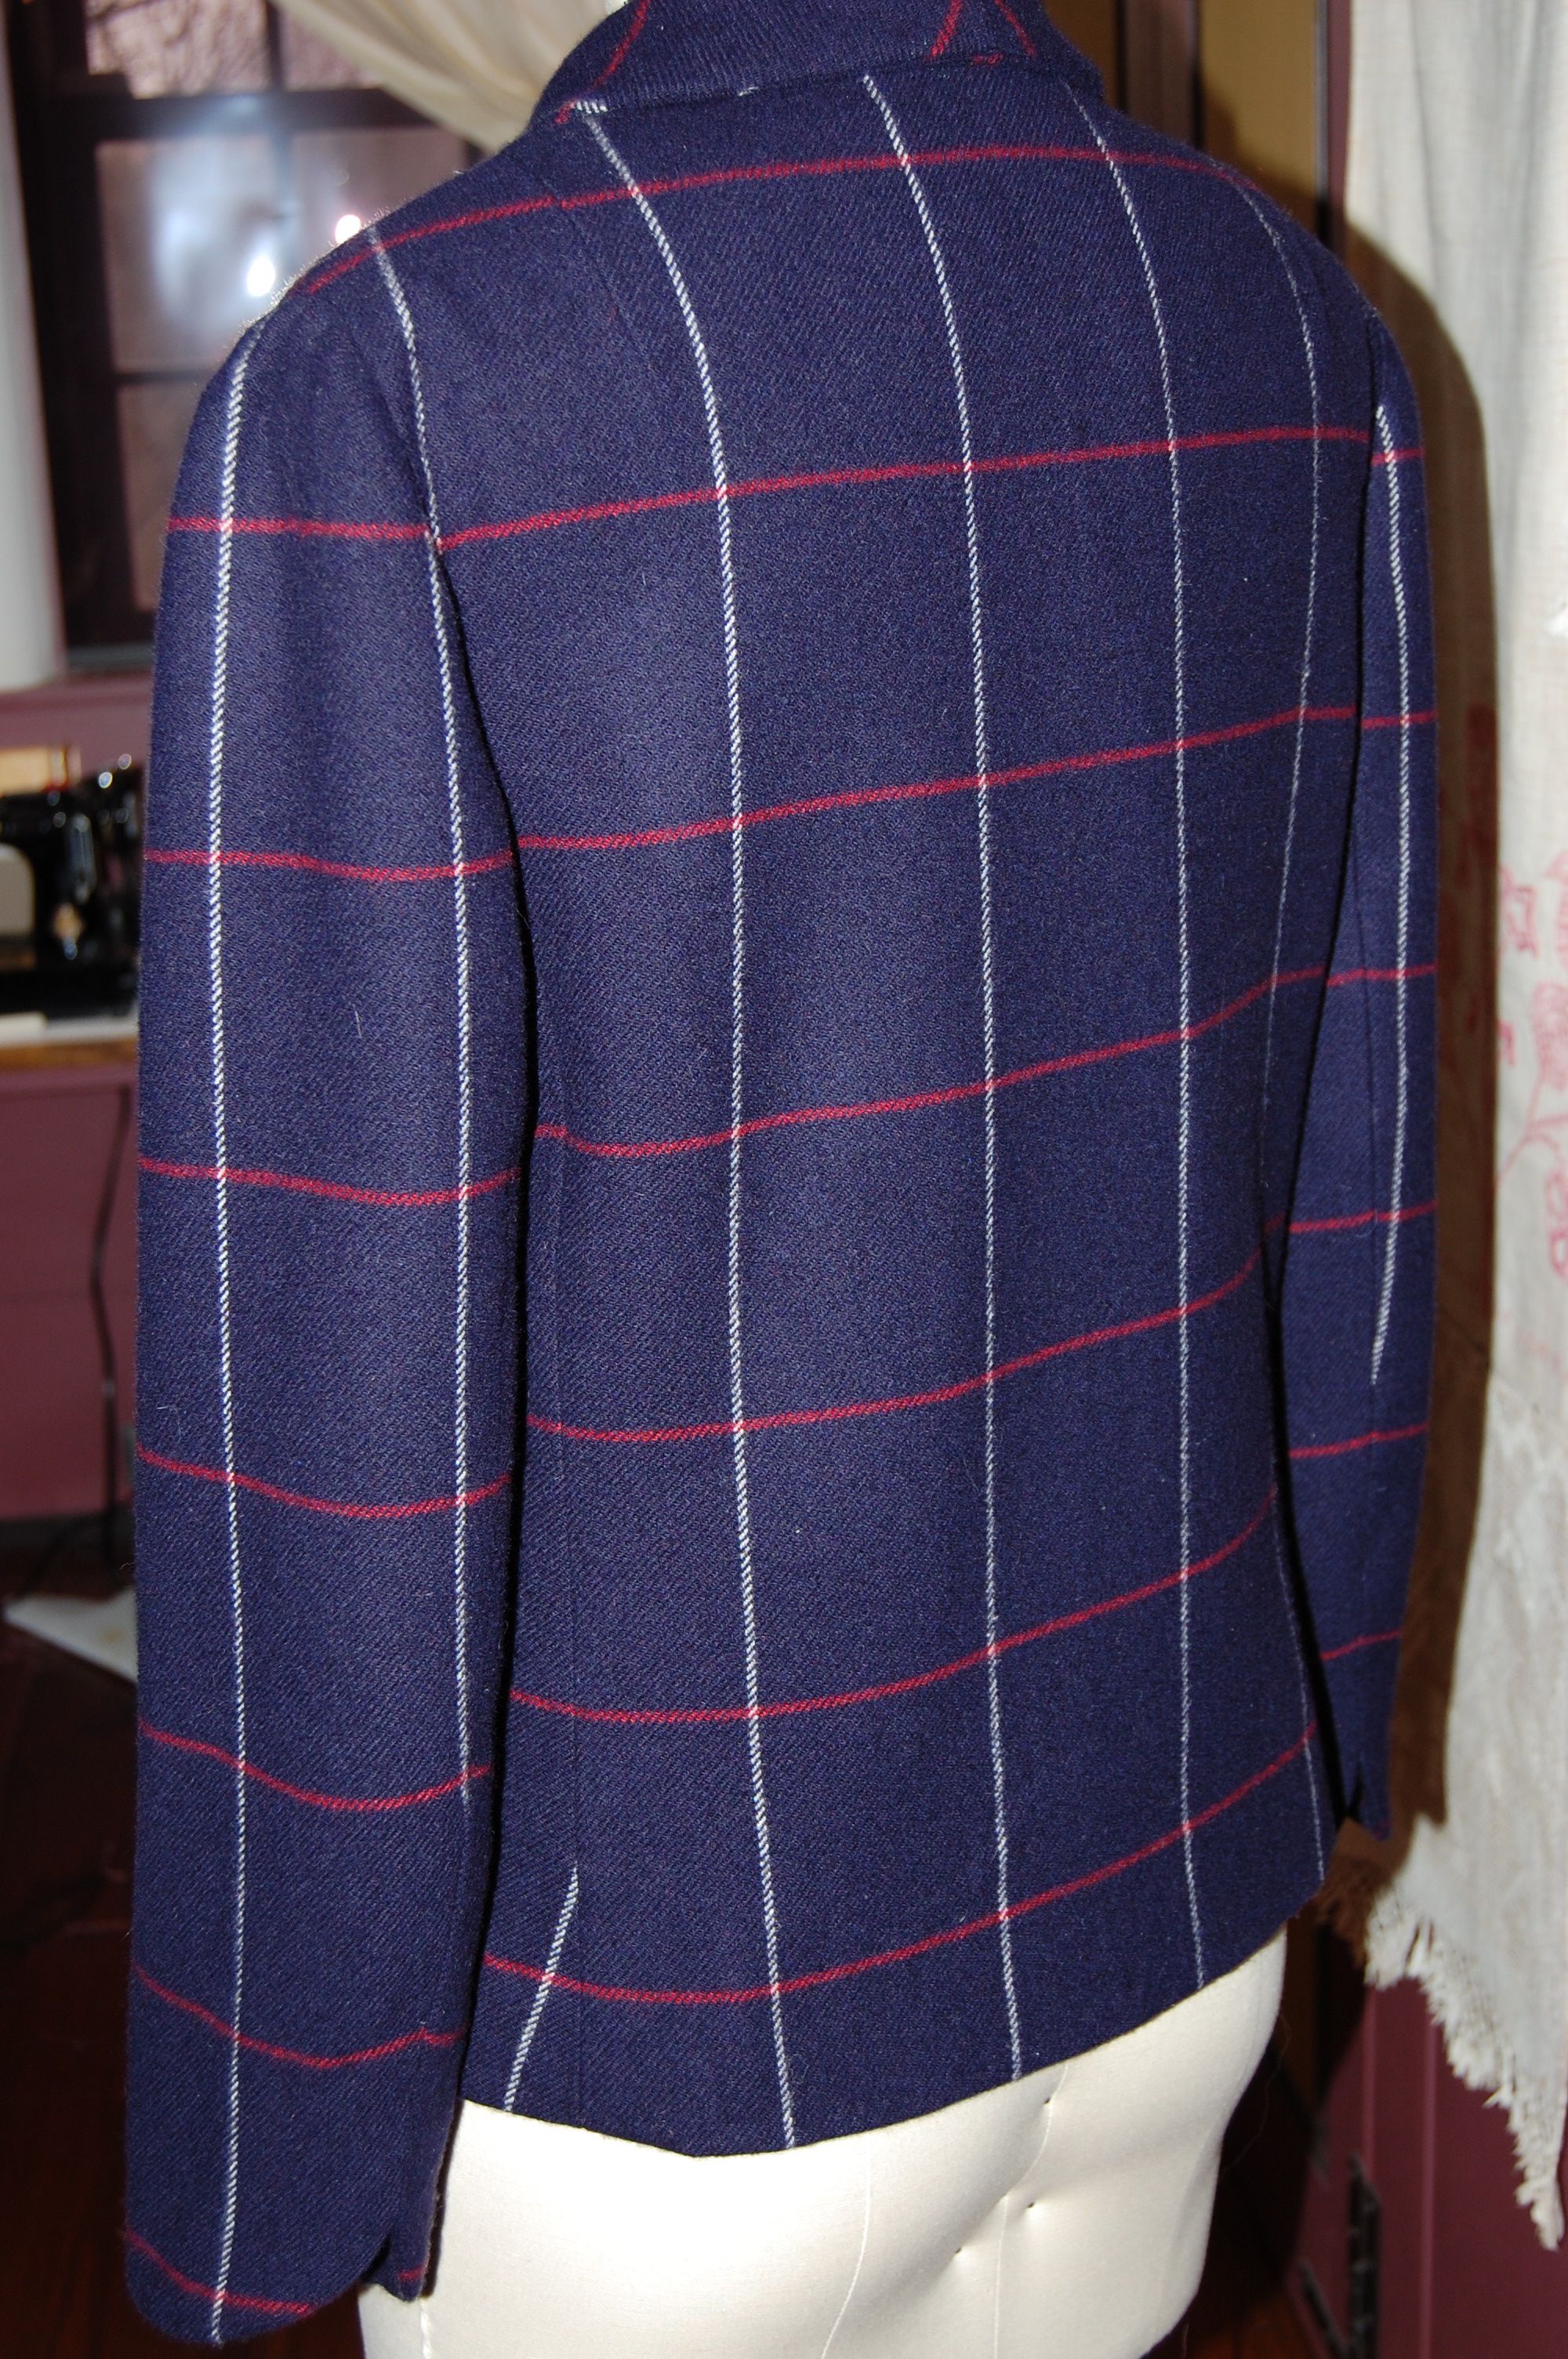
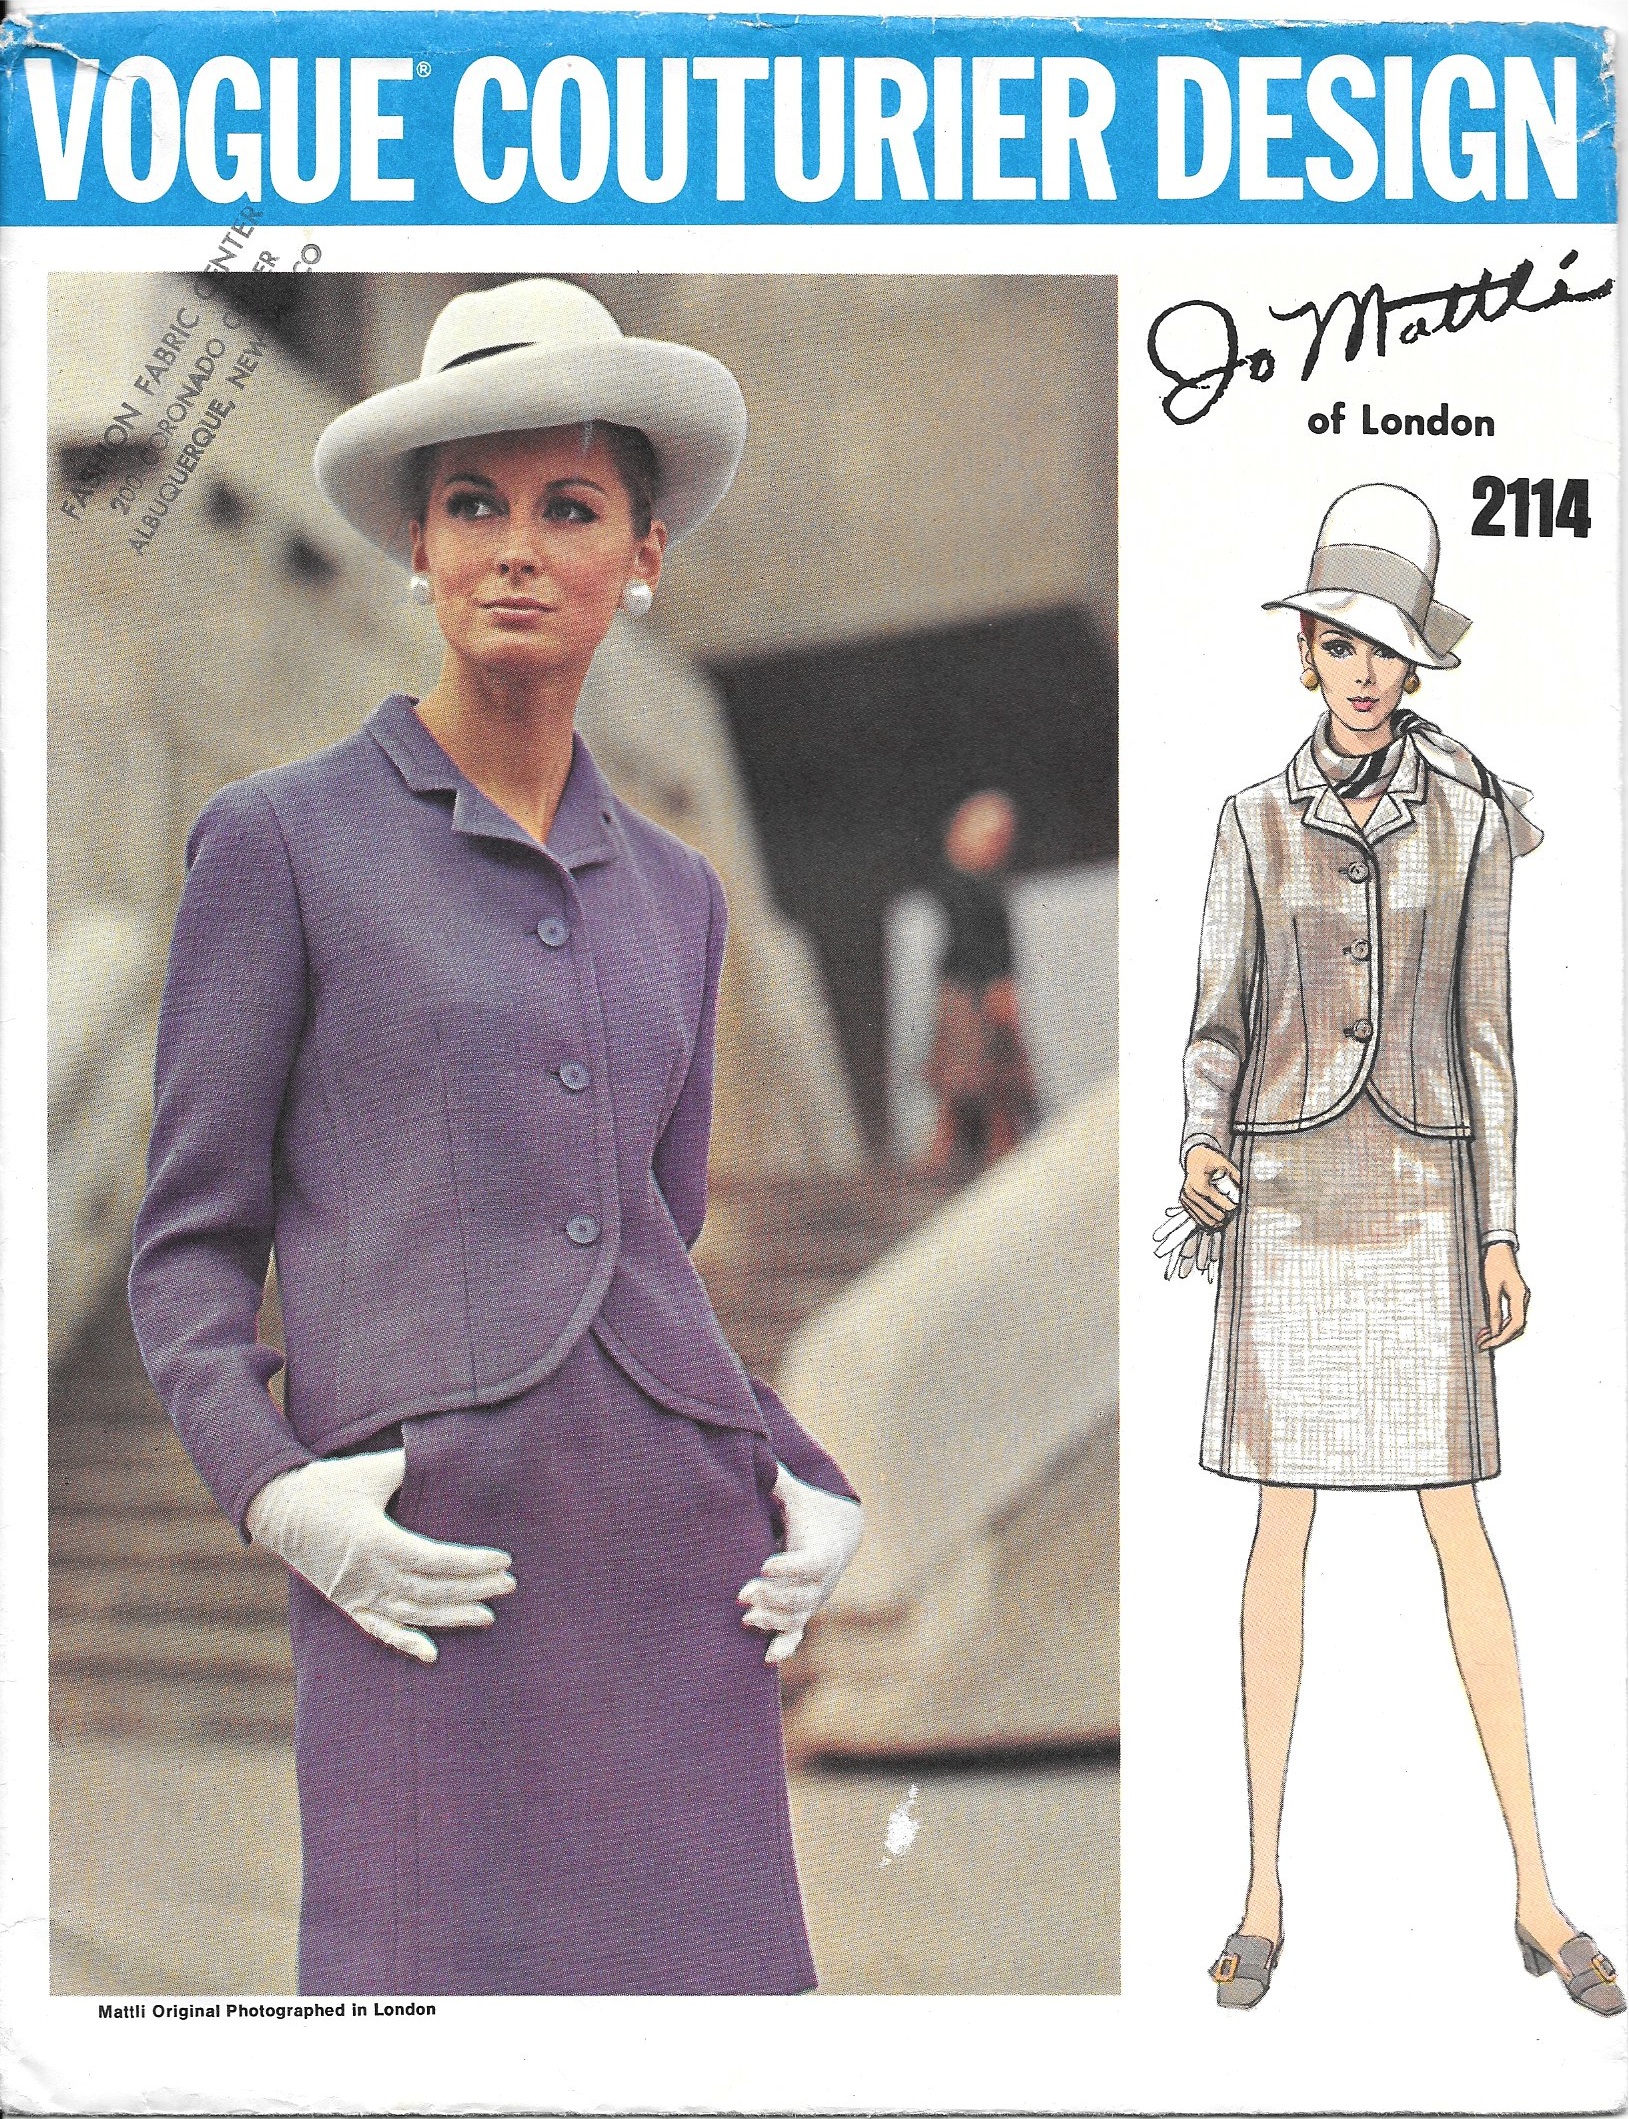
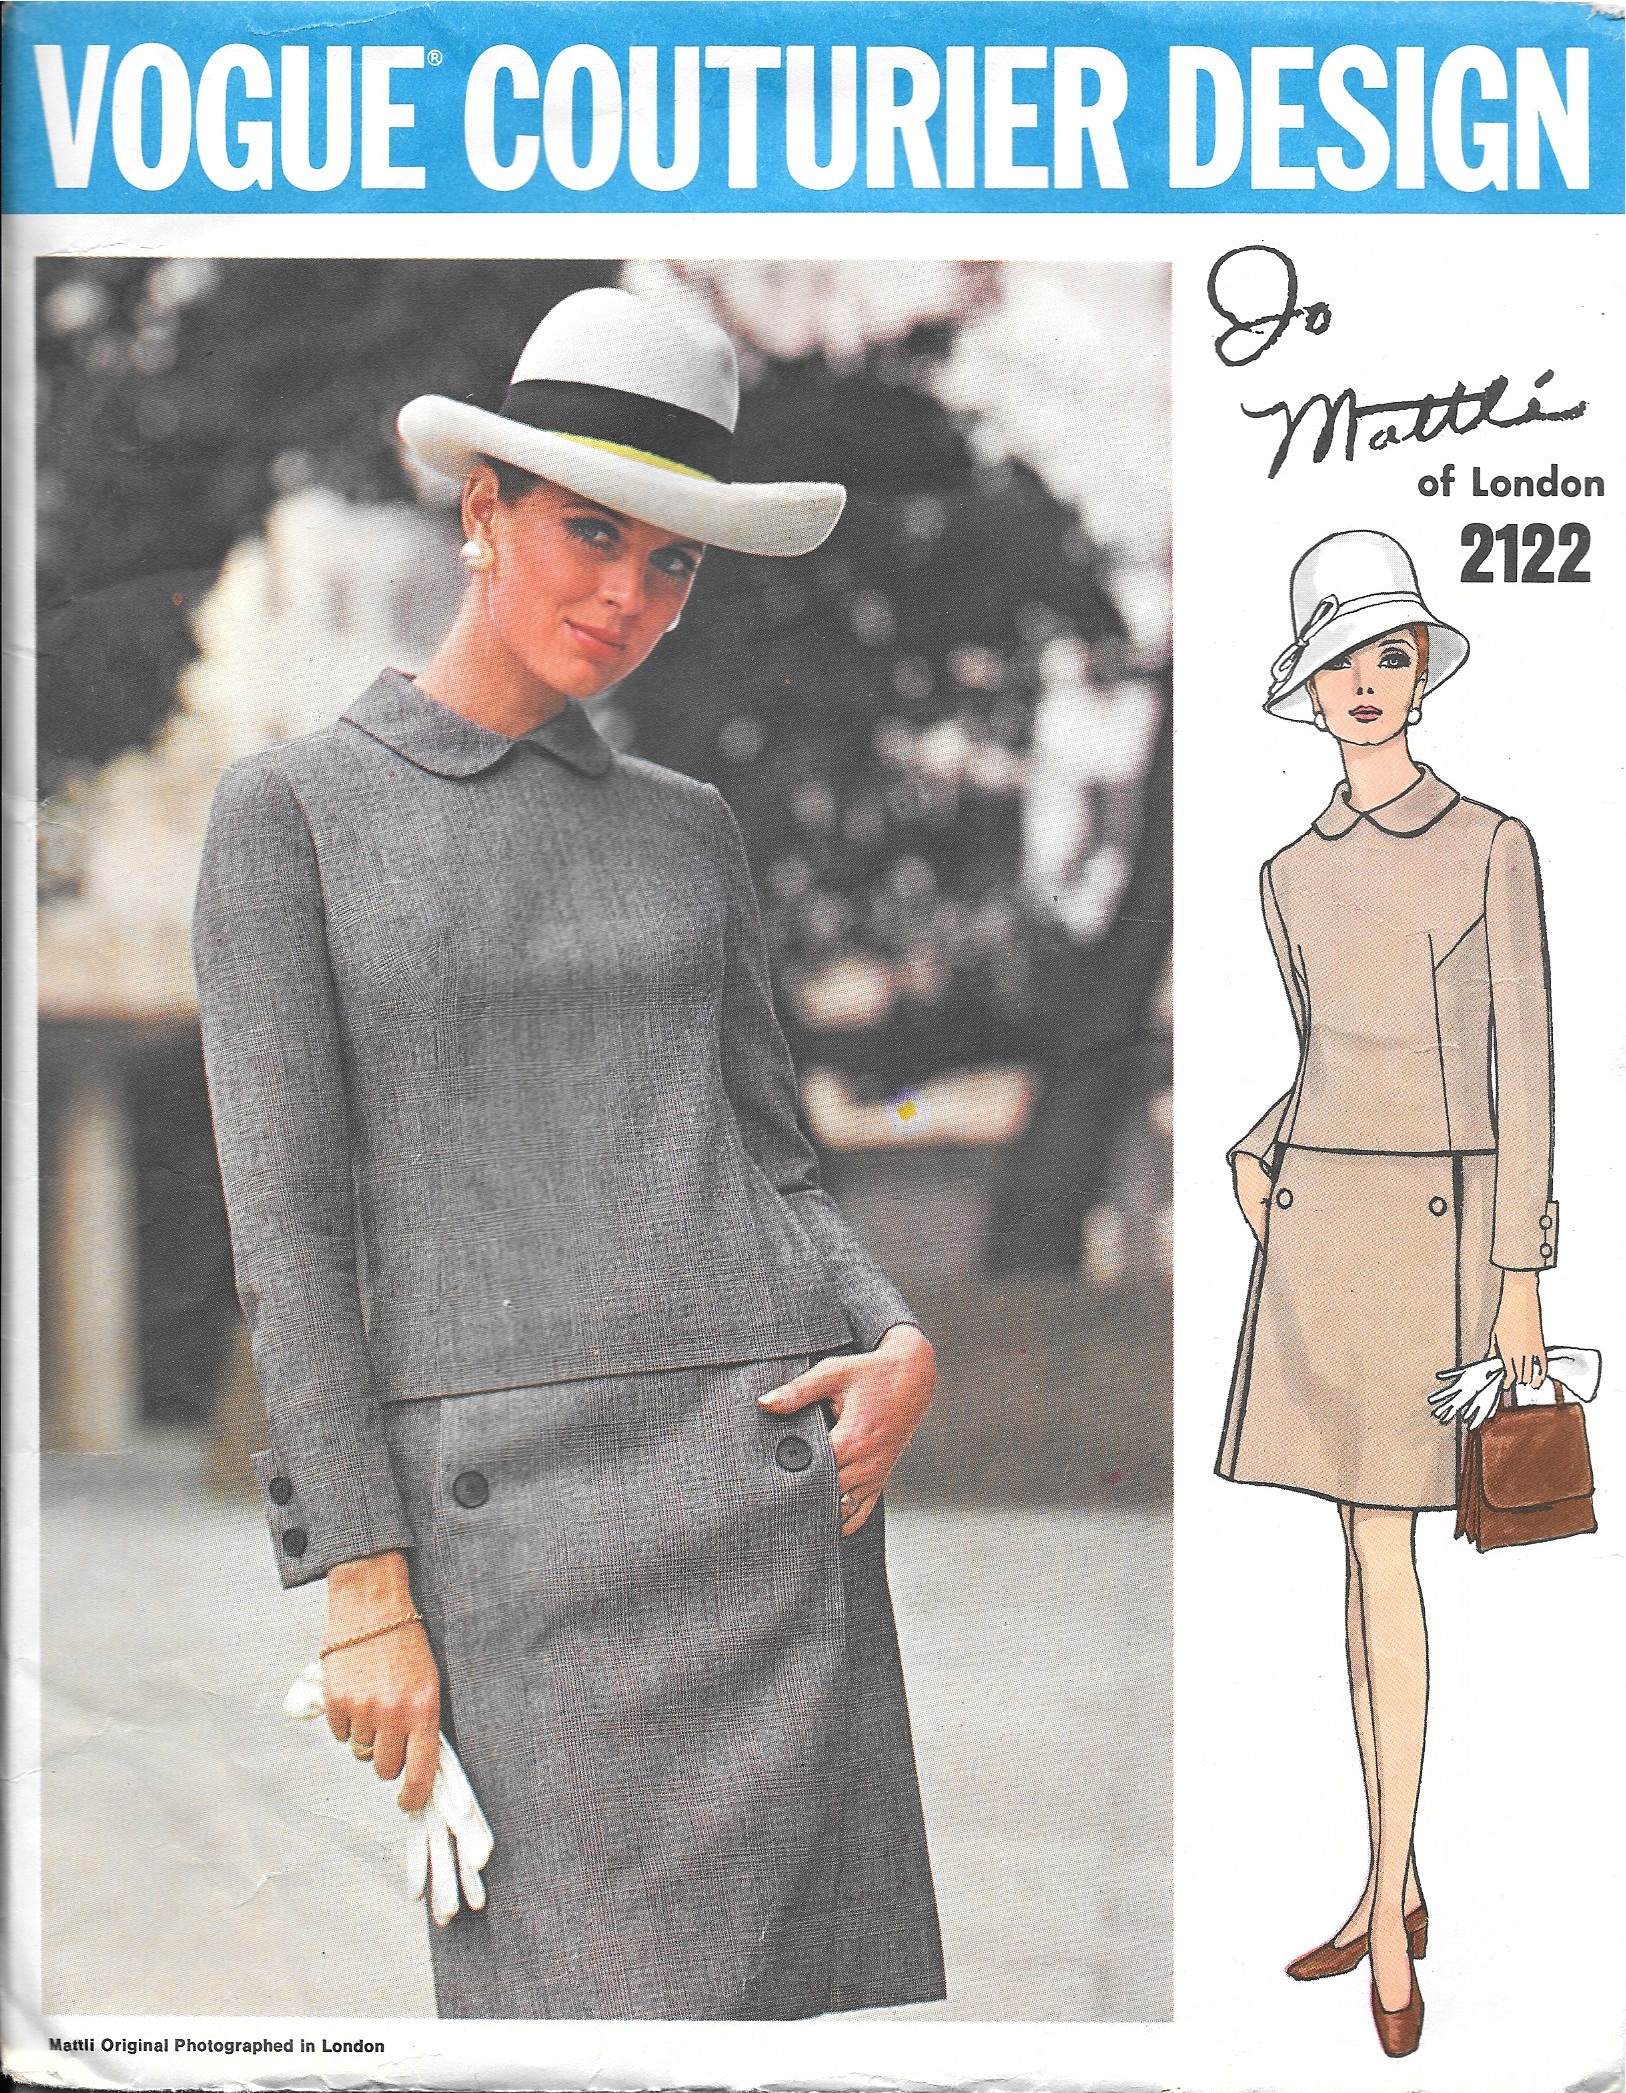
The jacket I just completed (part one of a two-part jacket and dress ensemble) is the third Jo Mattli Vogue design I have sewn. Two years ago I made a suit from this pattern:
I would like to make this pattern again. The first time I made it, the fabric I chose was too heavy, but the fit and the styling were excellent.
Late last summer I made a cocktail dress from this pattern:
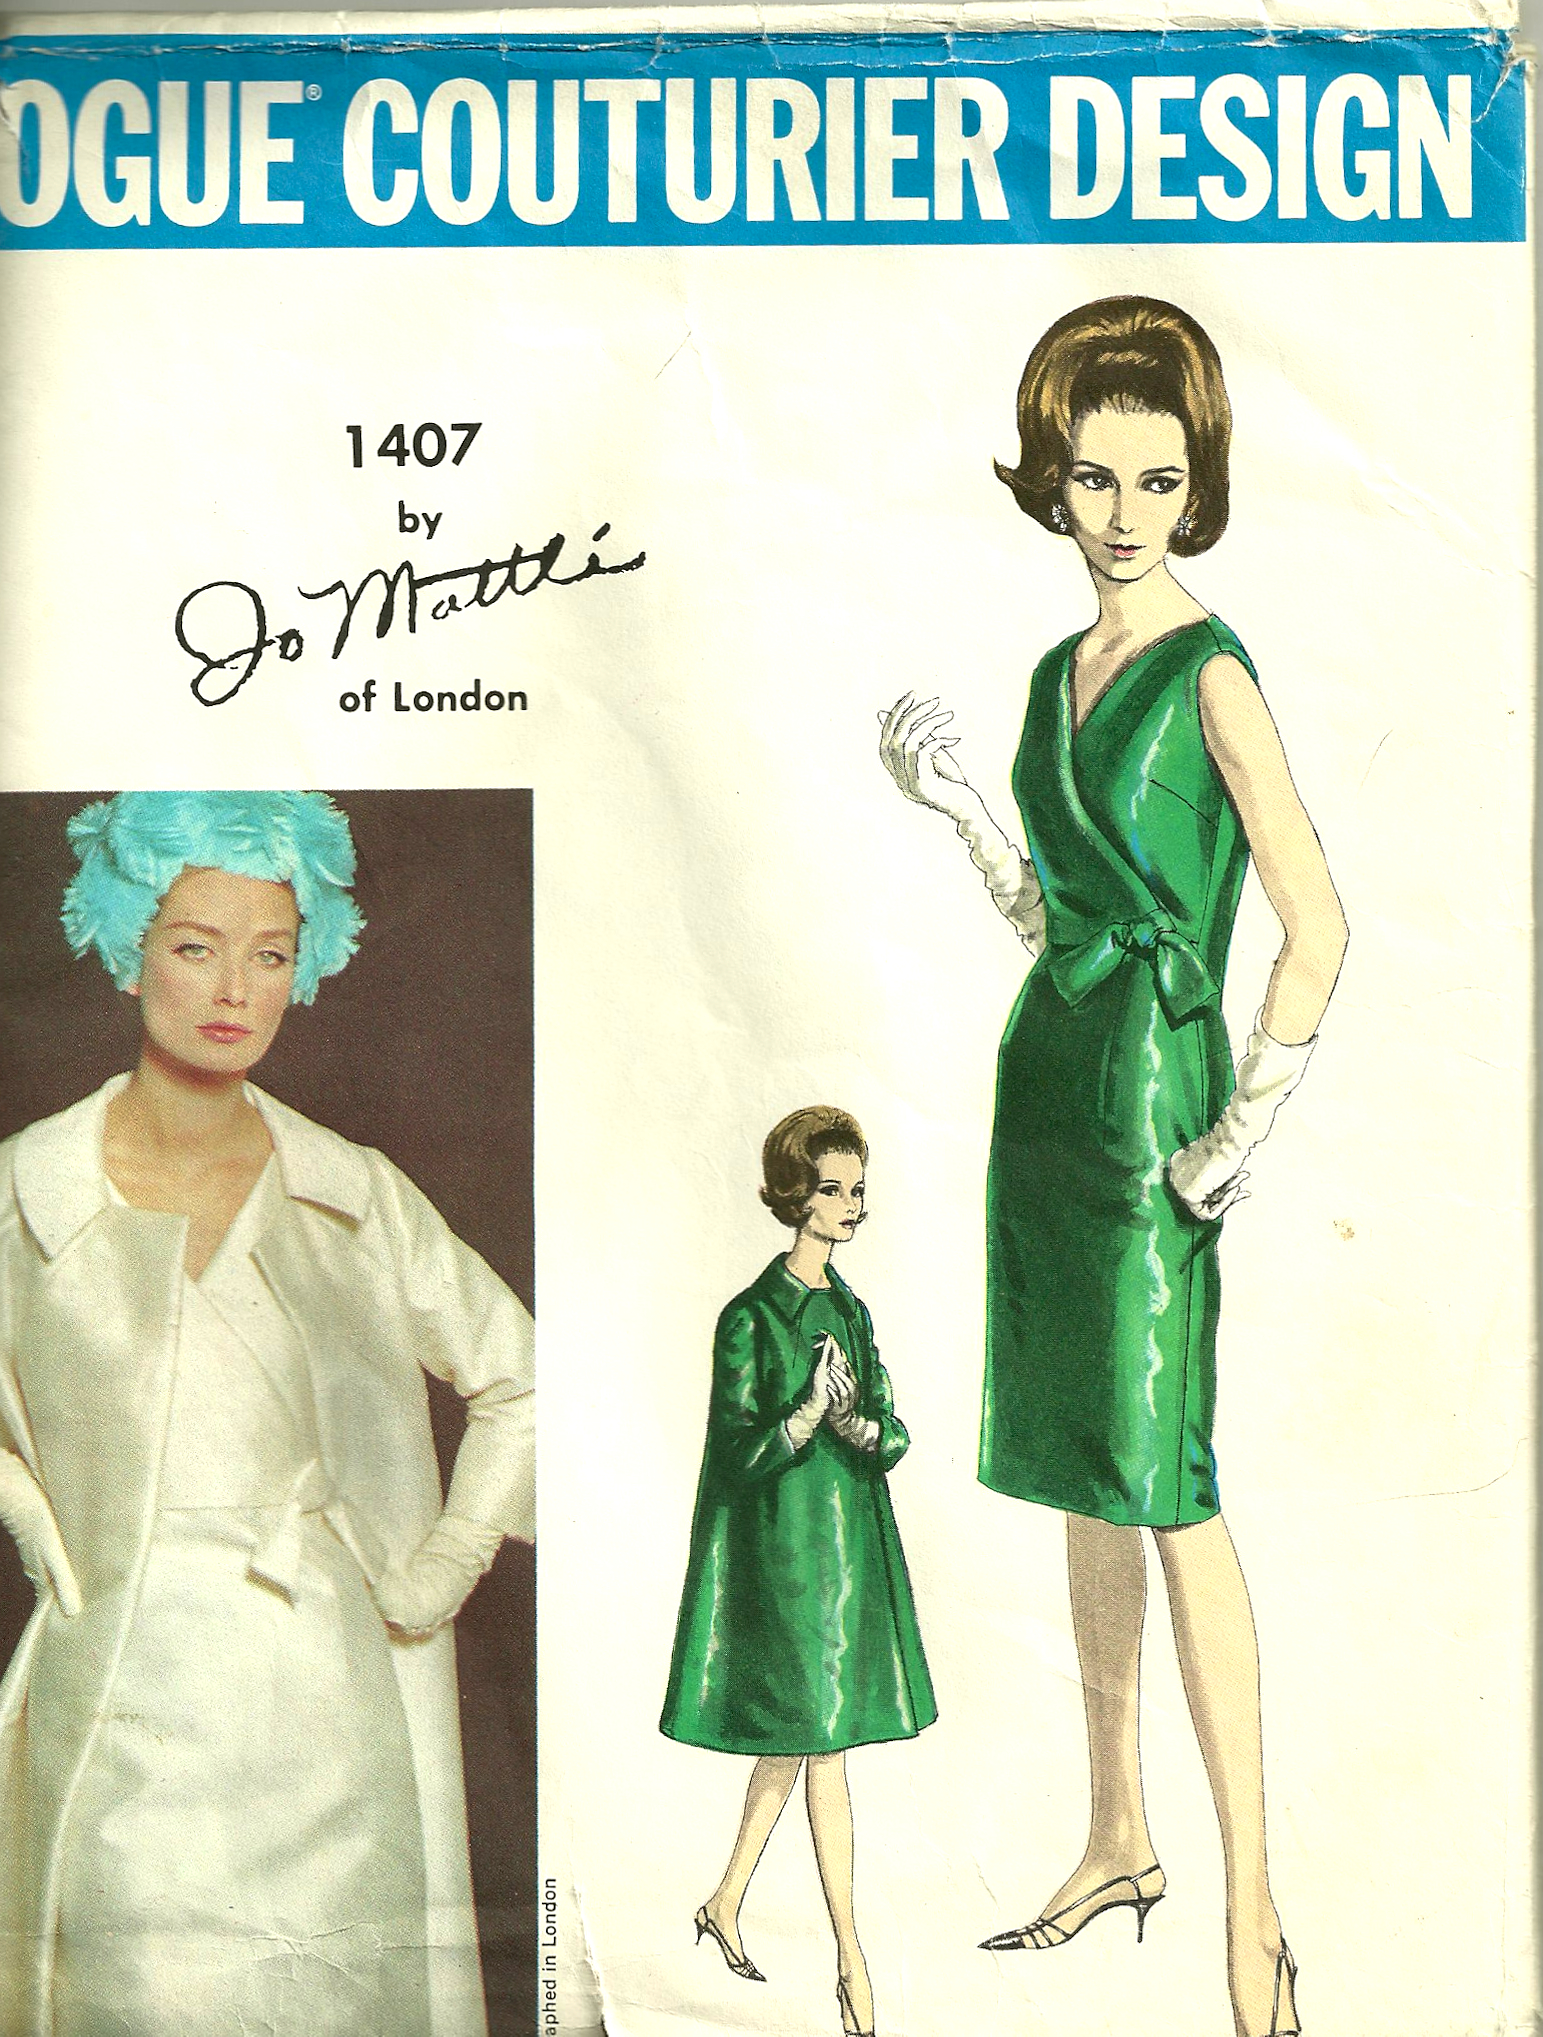
I still have plans to make the coat, to coordinate with the cocktail dress.
And now with three “makes” under my belt, my appreciation for Mattli’s design and construction sense is growing. Not only that, I realized after going through my pattern collection, that I have two more Mattli patterns, each of which also displays his characteristic and interesting seam detailing.
This is actually a one-piece dress, although it looks like it is a two-piece outfit.
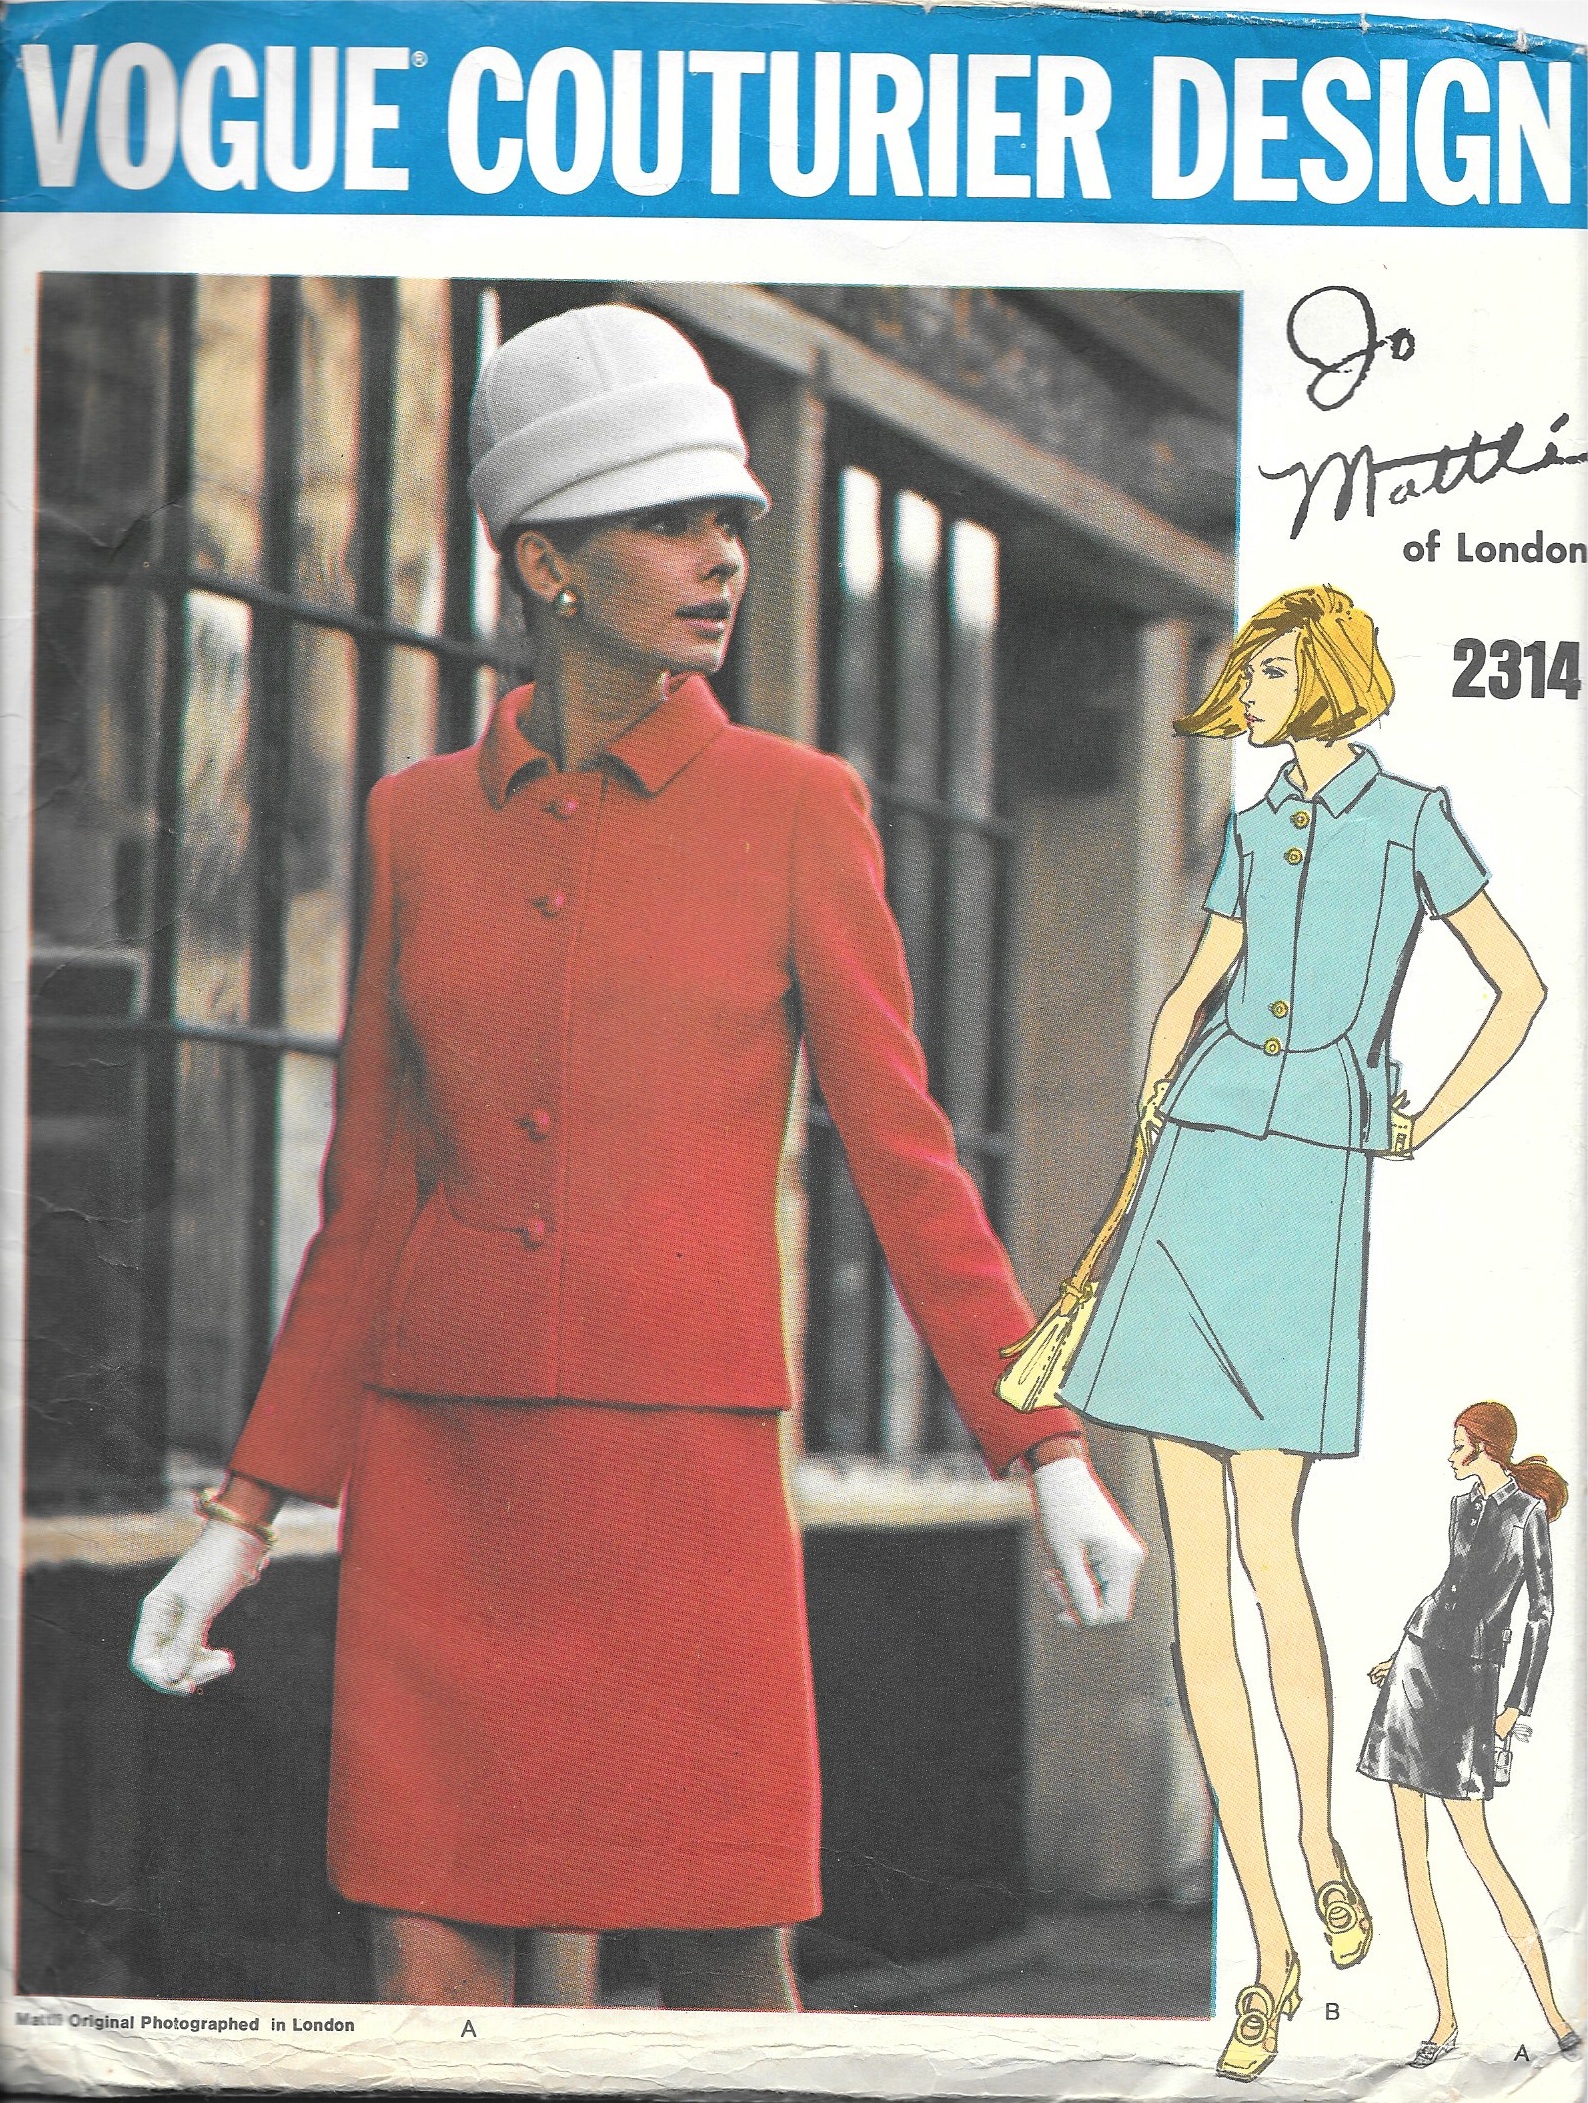
Another beautiful suit!
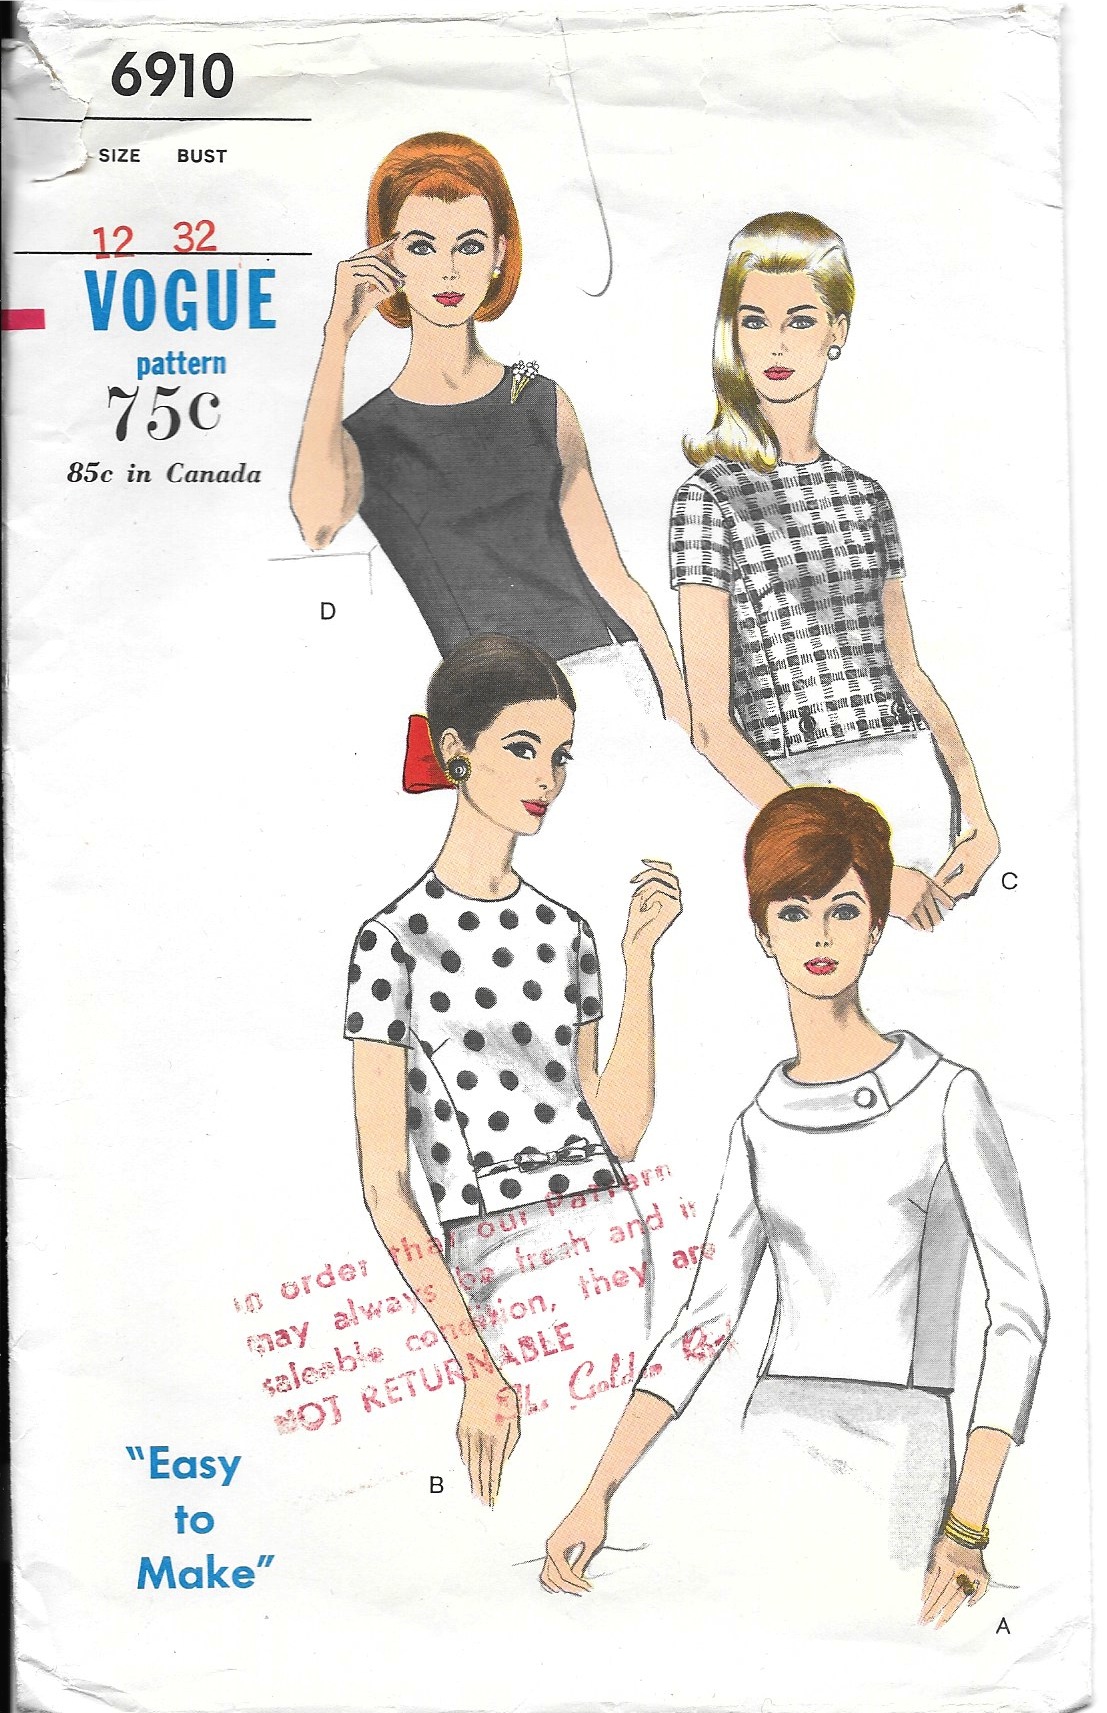
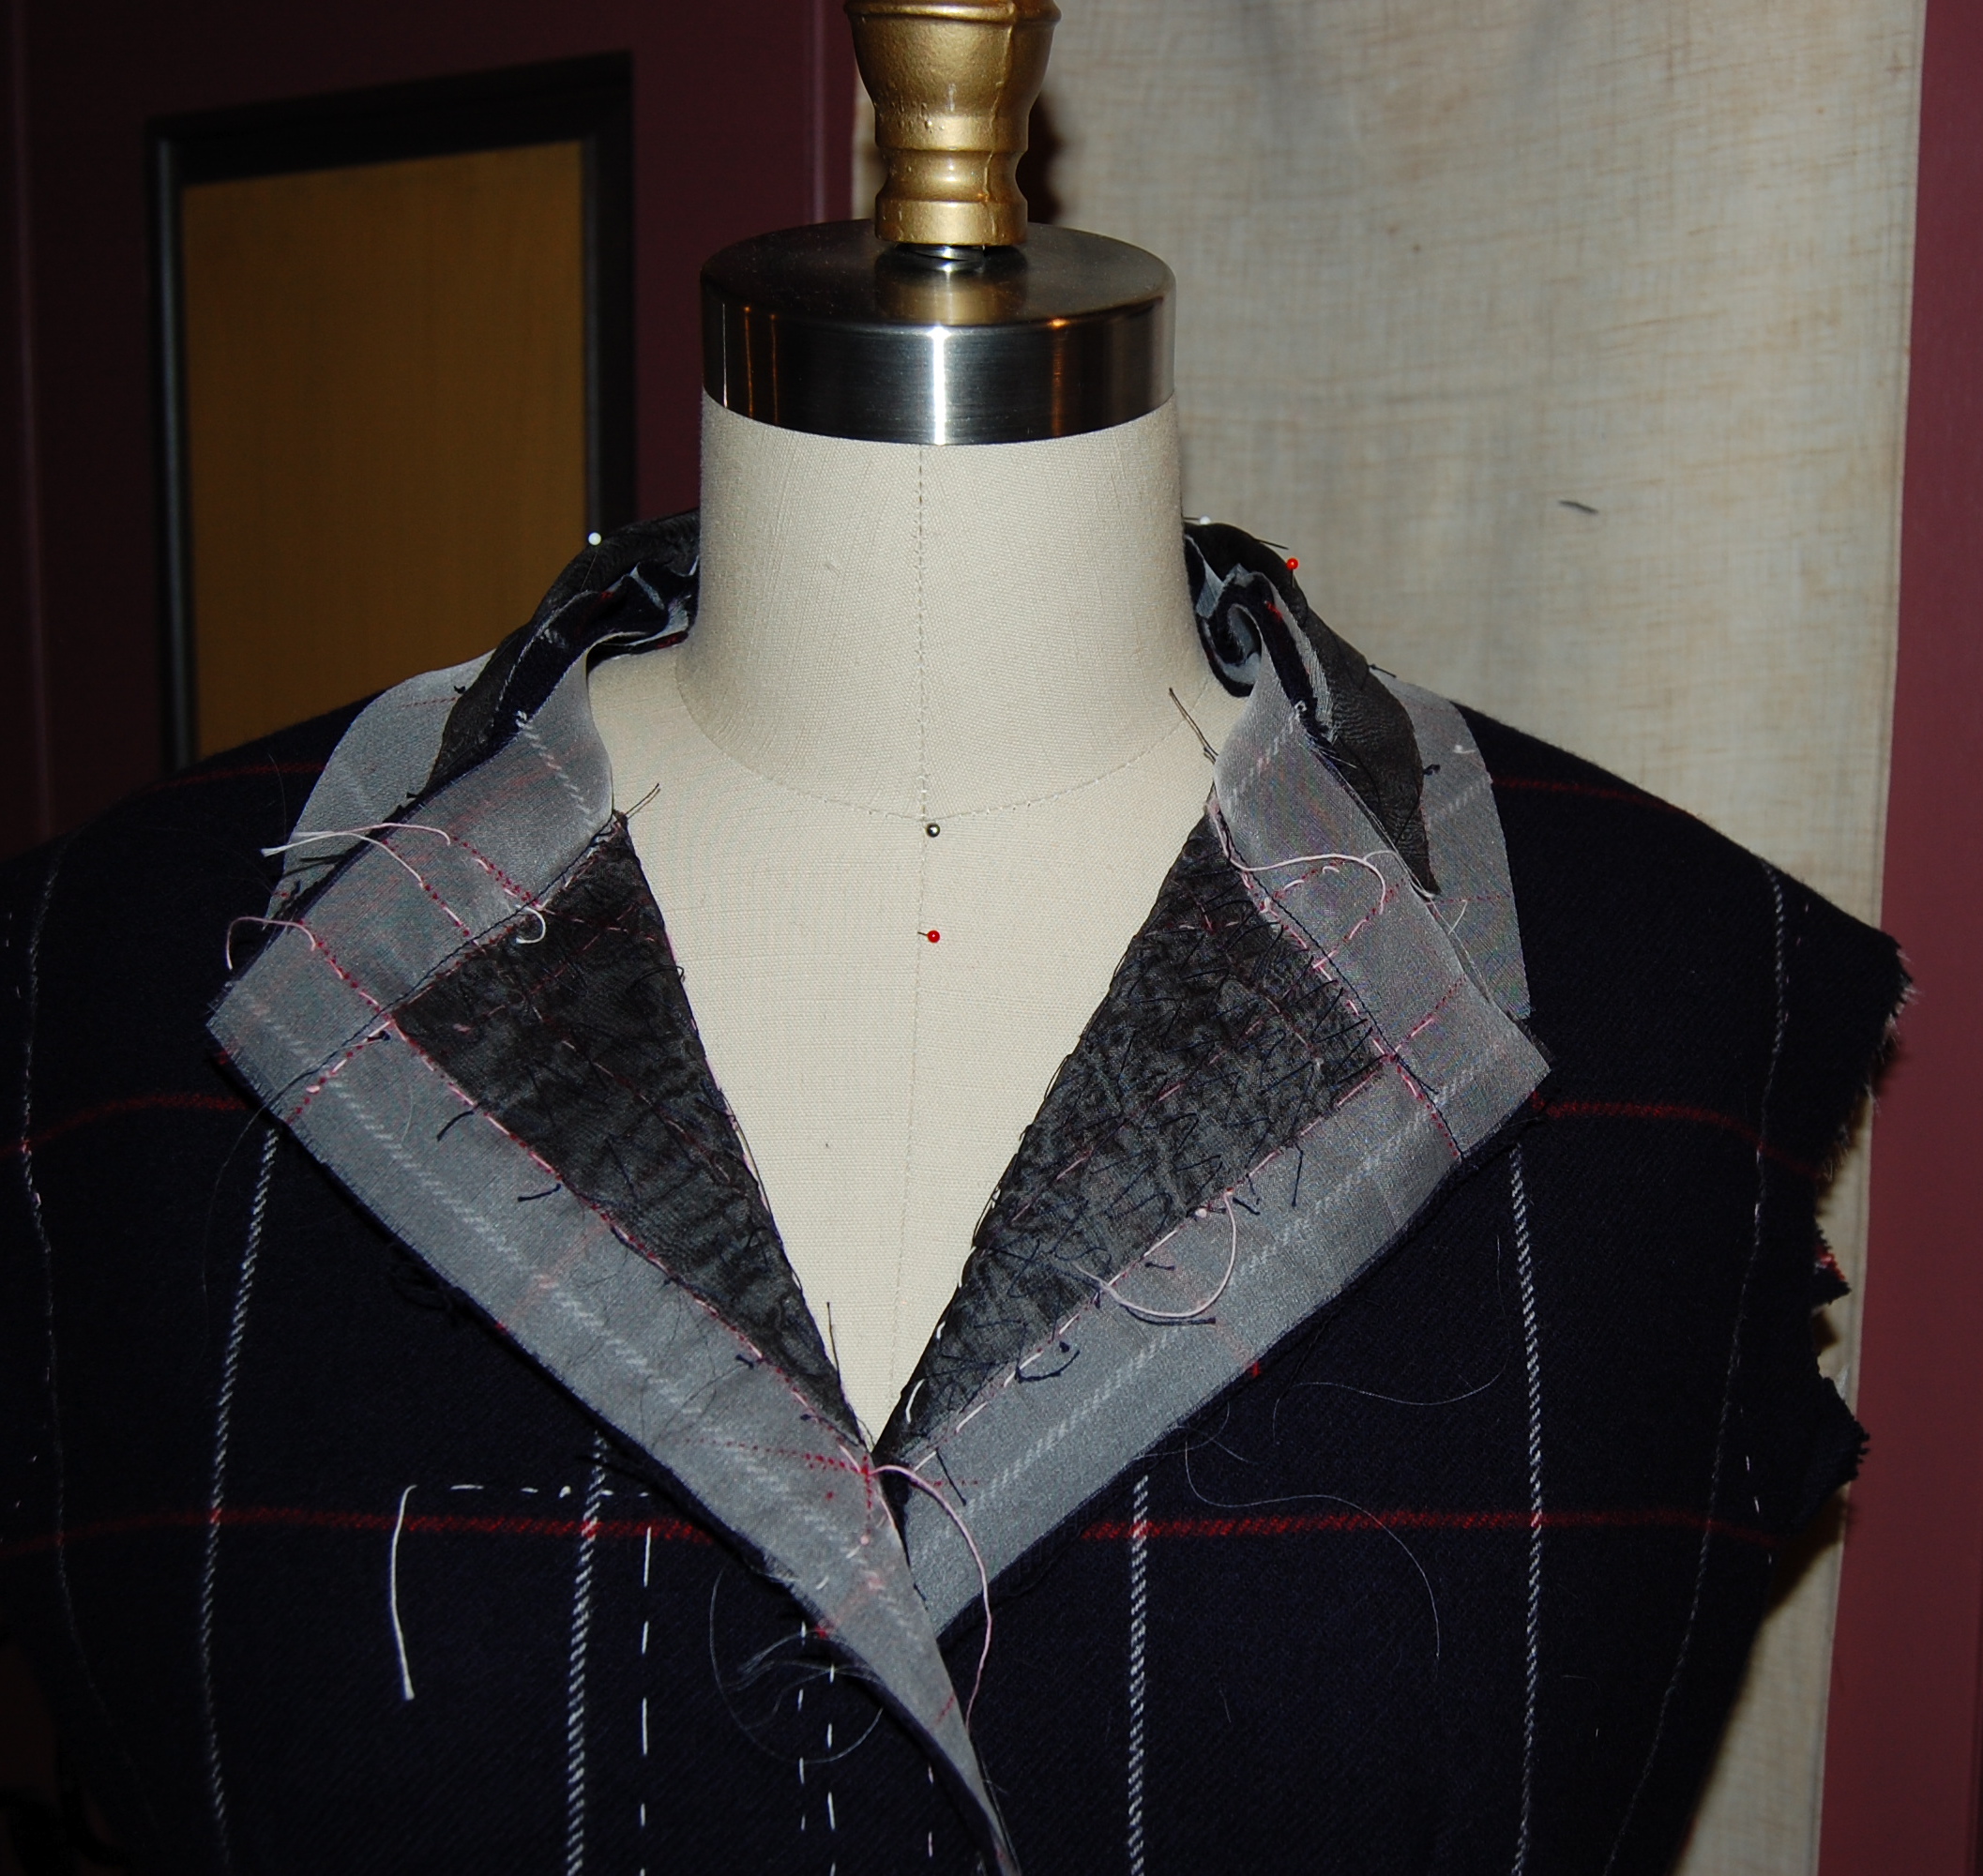
While the Mattli-designed jacket in my suit dress ensemble is certainly the star of the outfit, I am hoping the dress will have its own charms. After being out of town and away from my sewing all last week, I have now been able to turn my attention to the dress part of the outfit. I believe I have successfully combined two patterns (sheath dress and collared blouse) to create – what else? – a collared sheath!
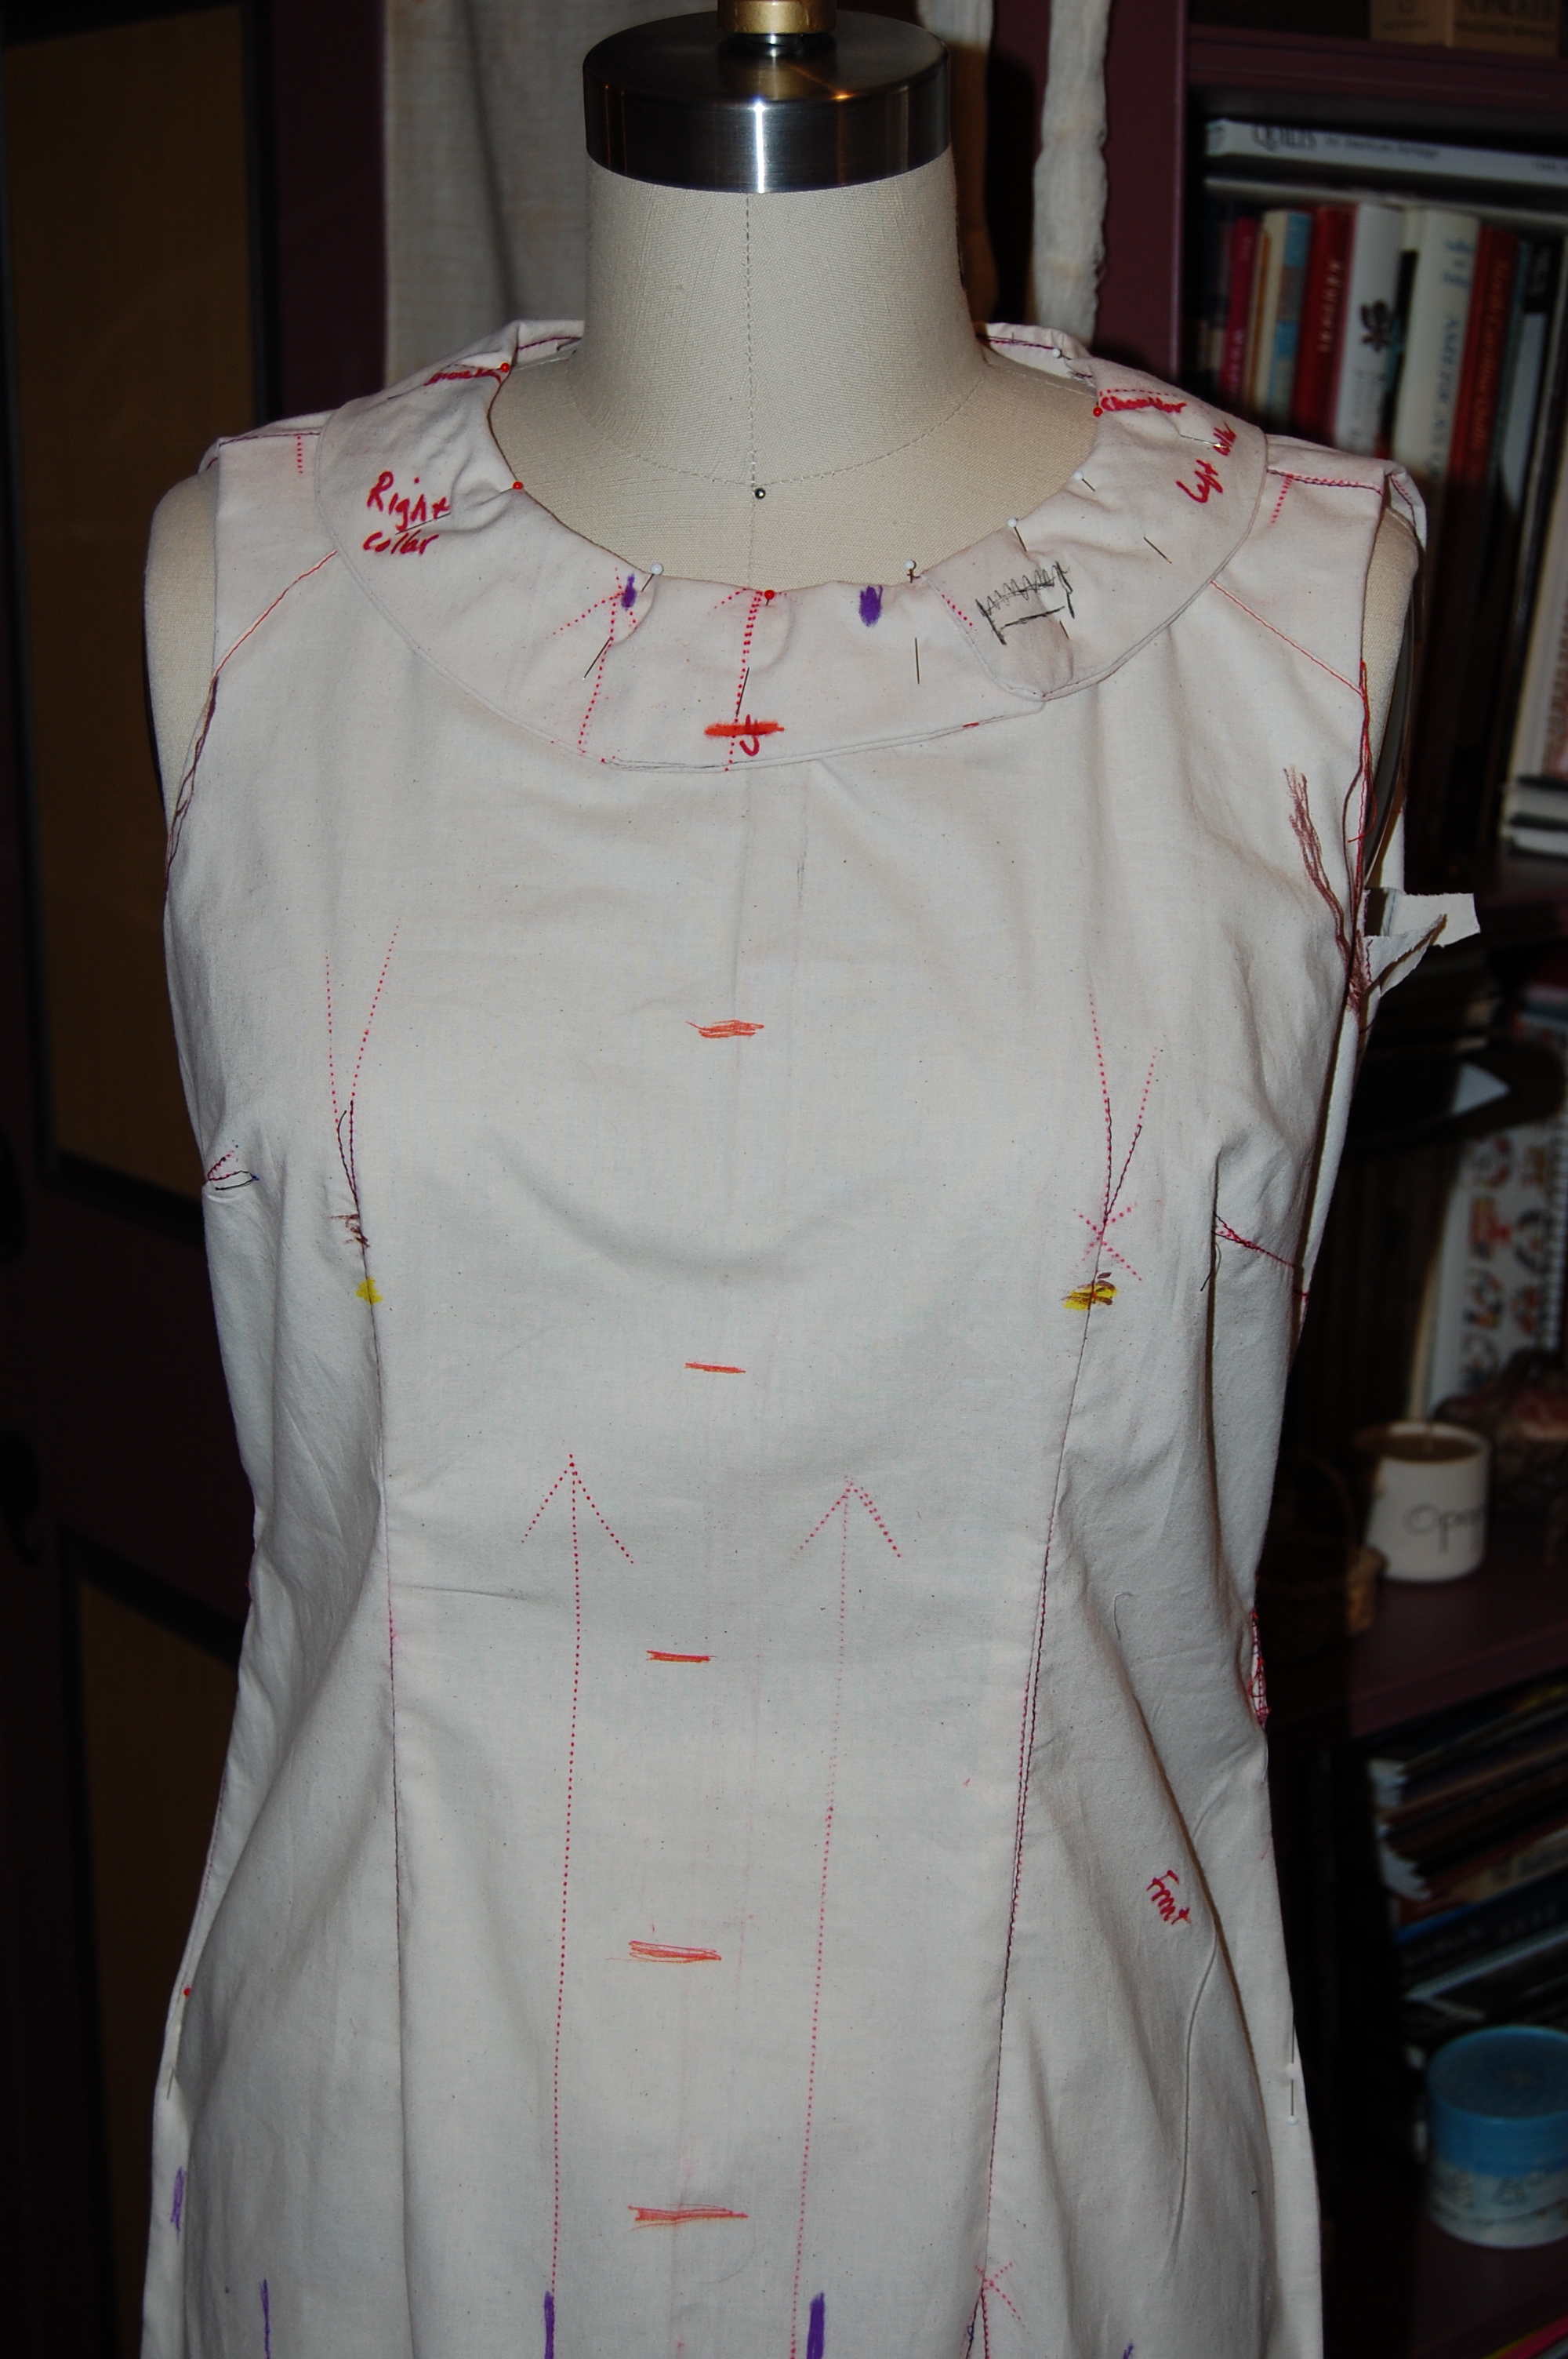
I was still adjusting the fit when I took this photo. Hopefully it will not look like a bag when I actually wear it!
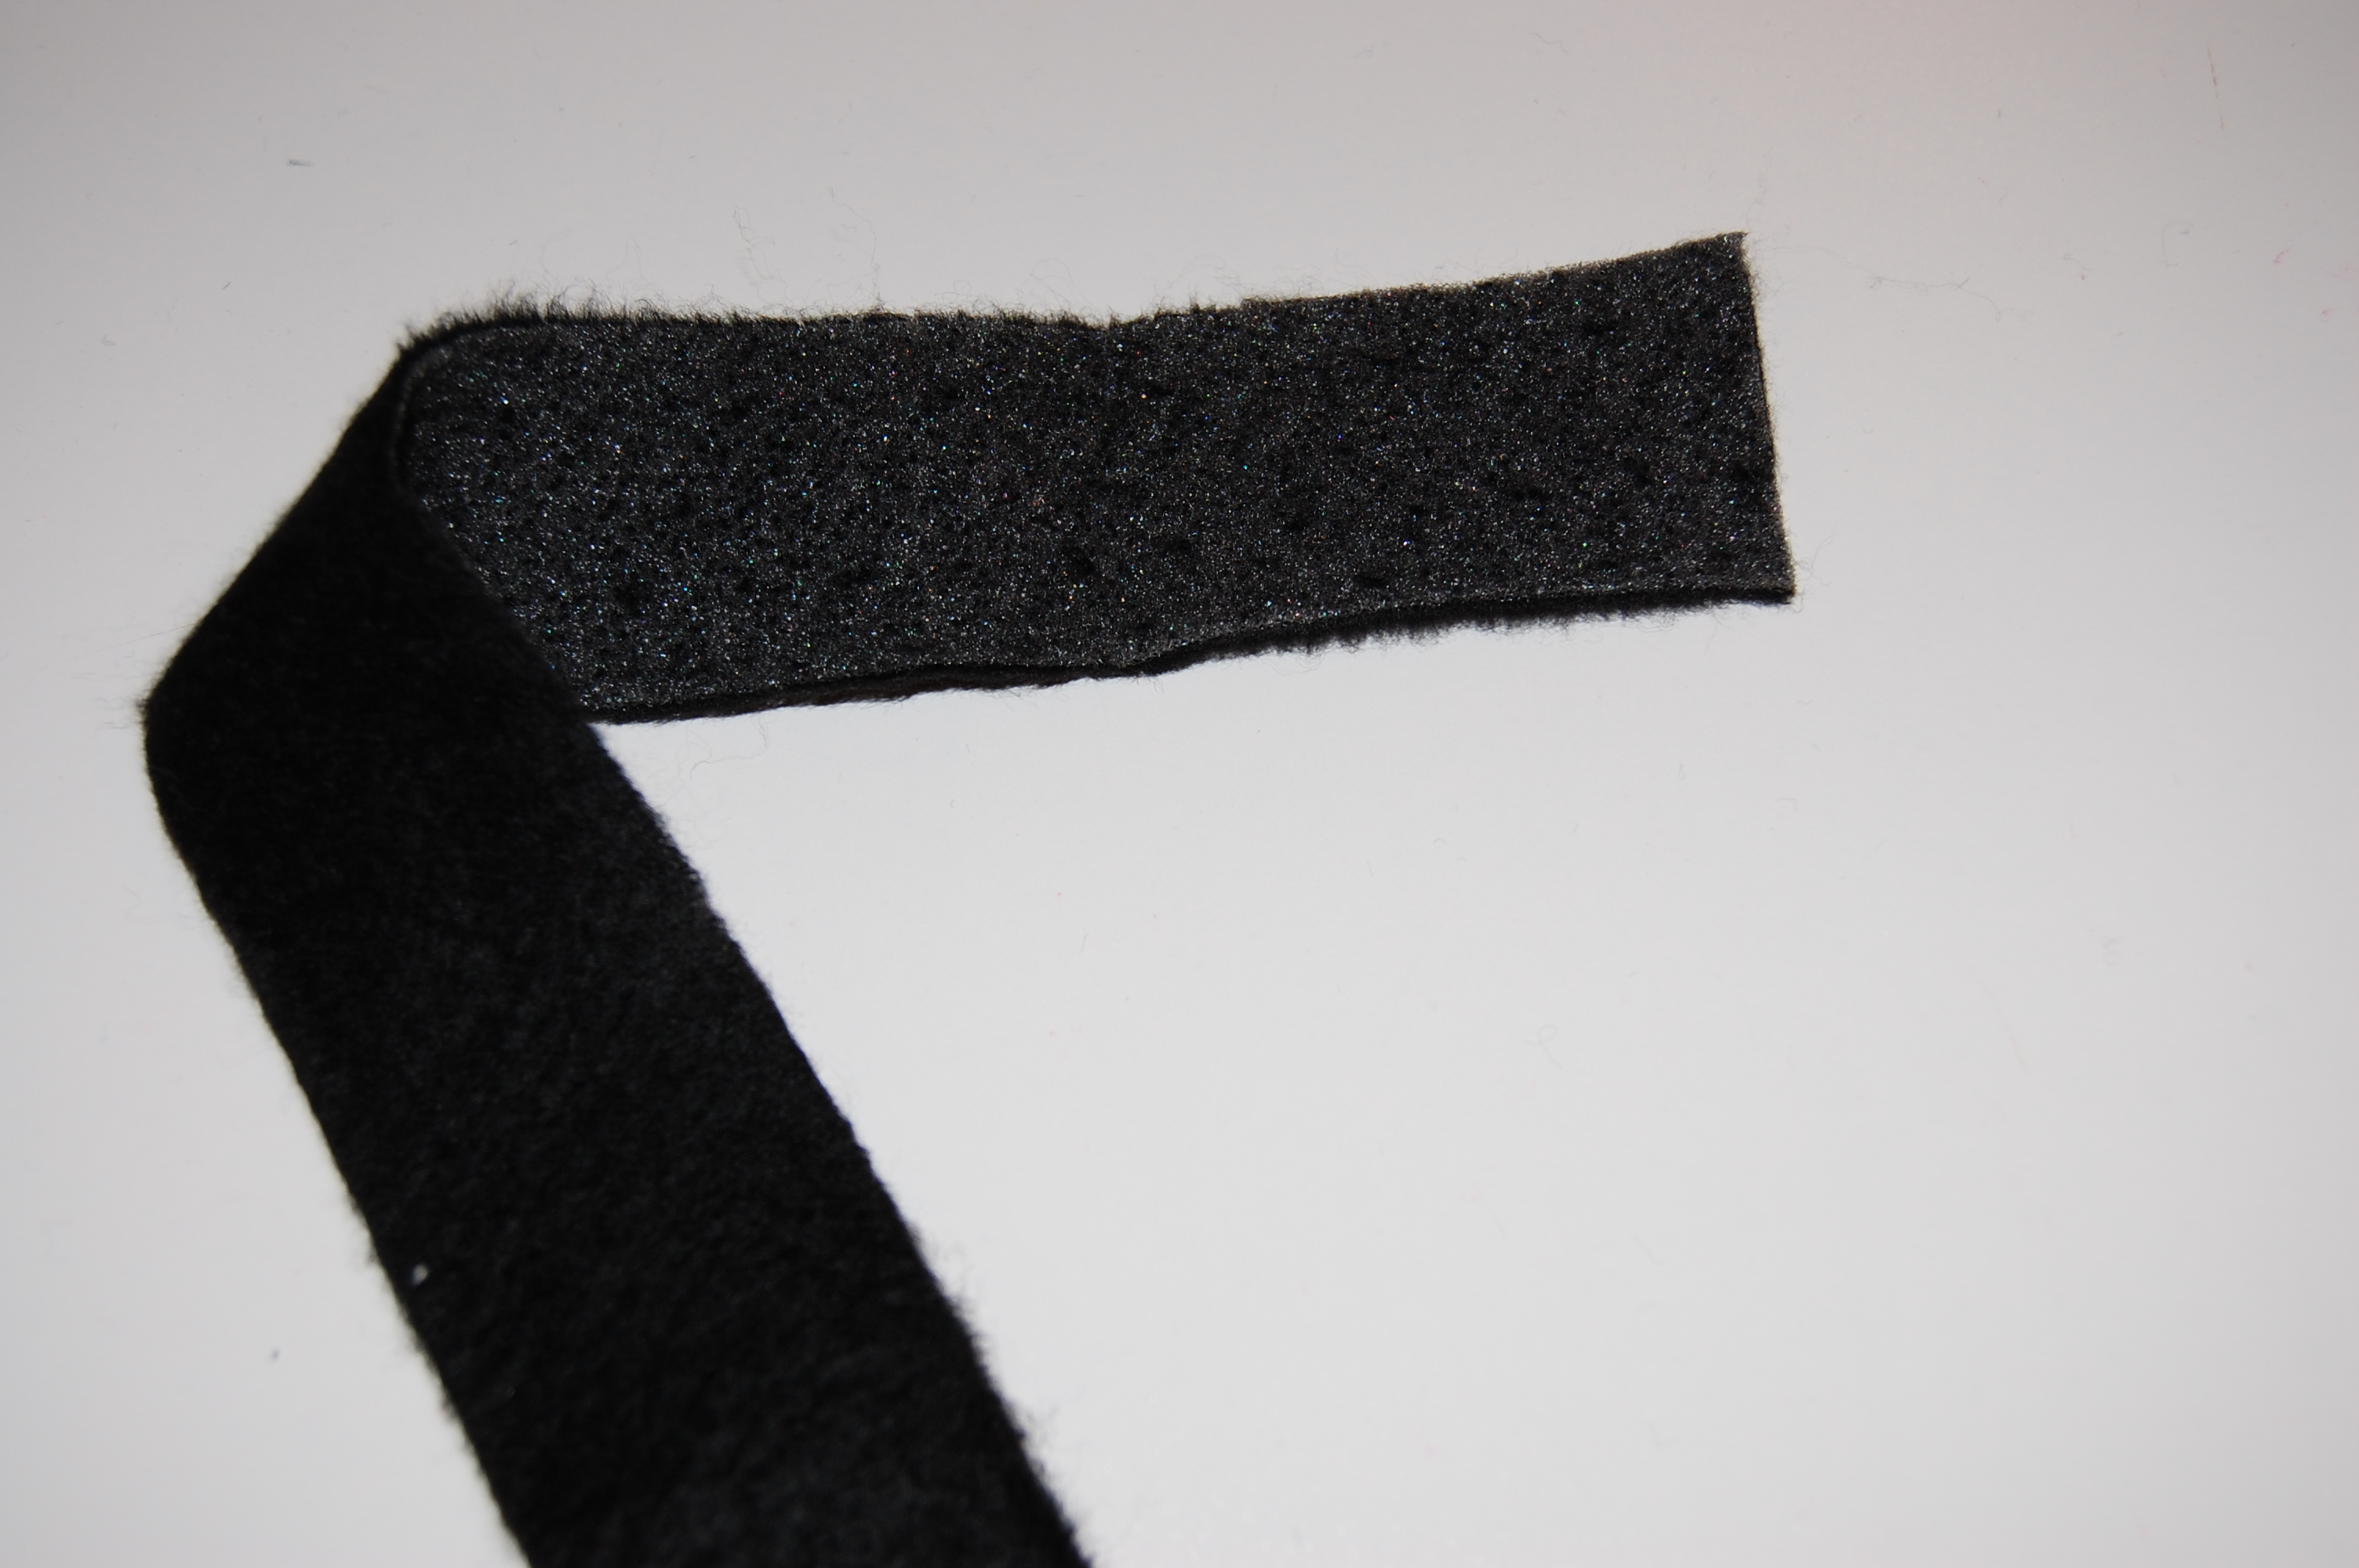
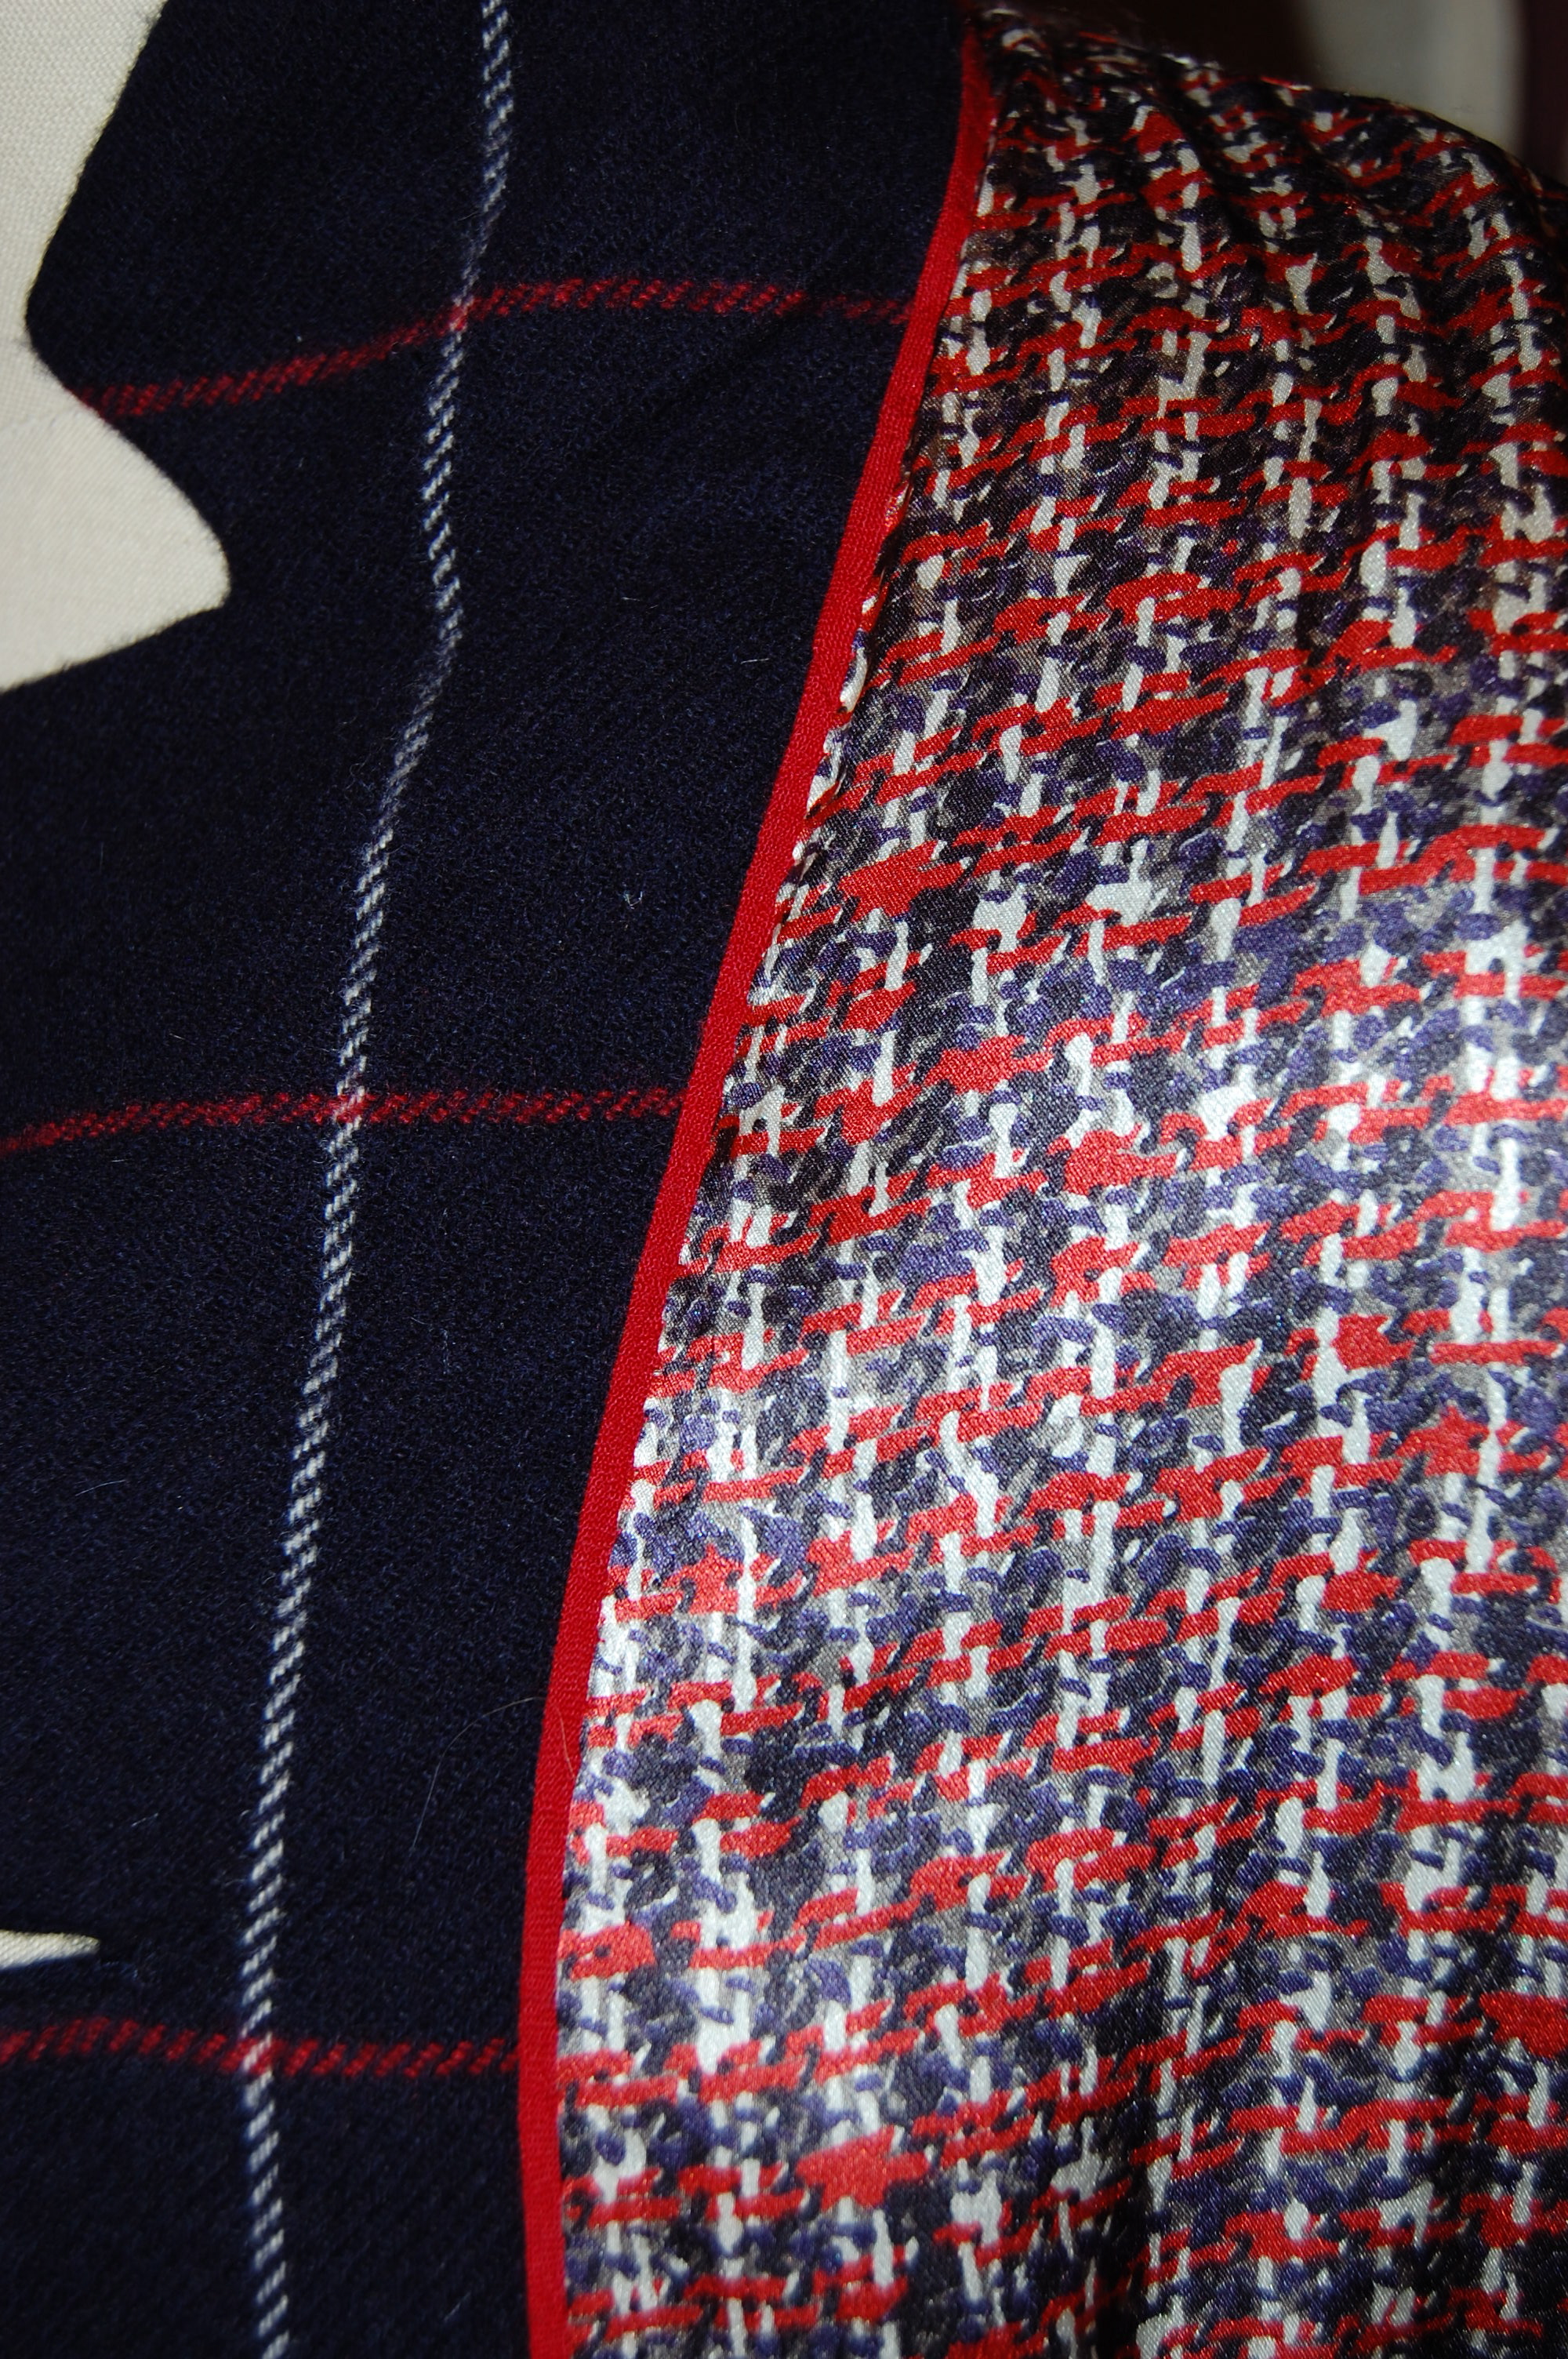
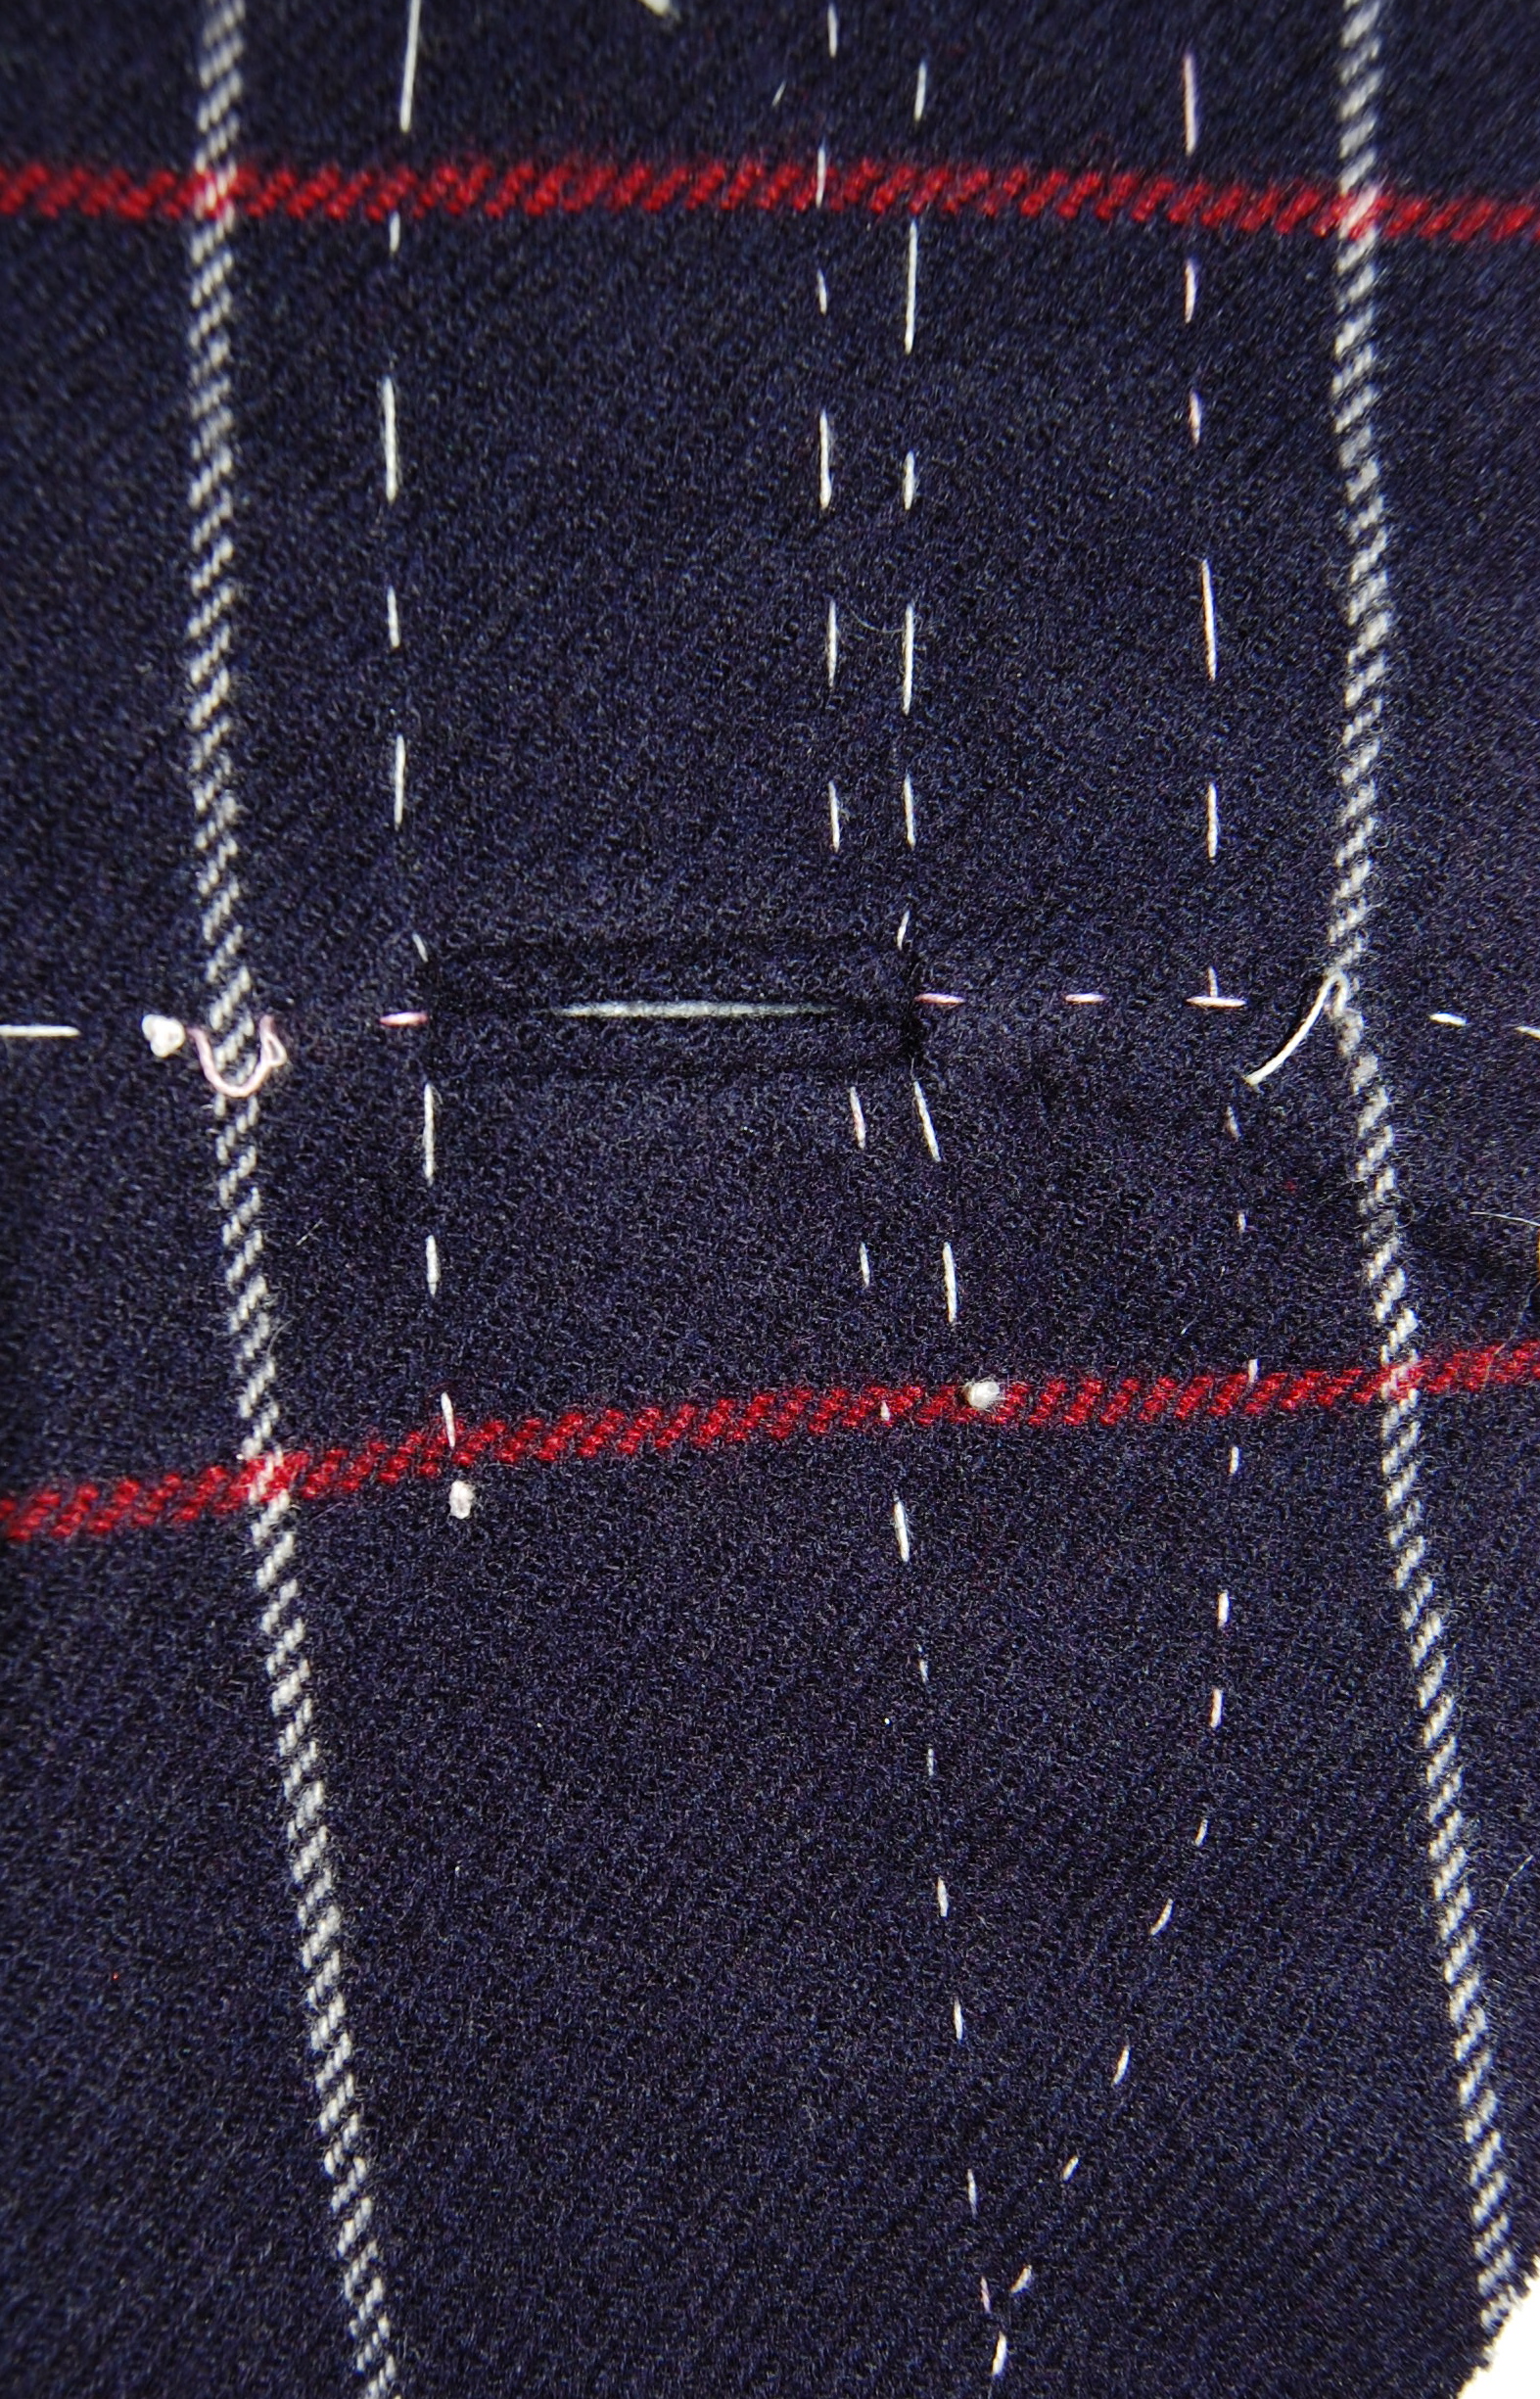
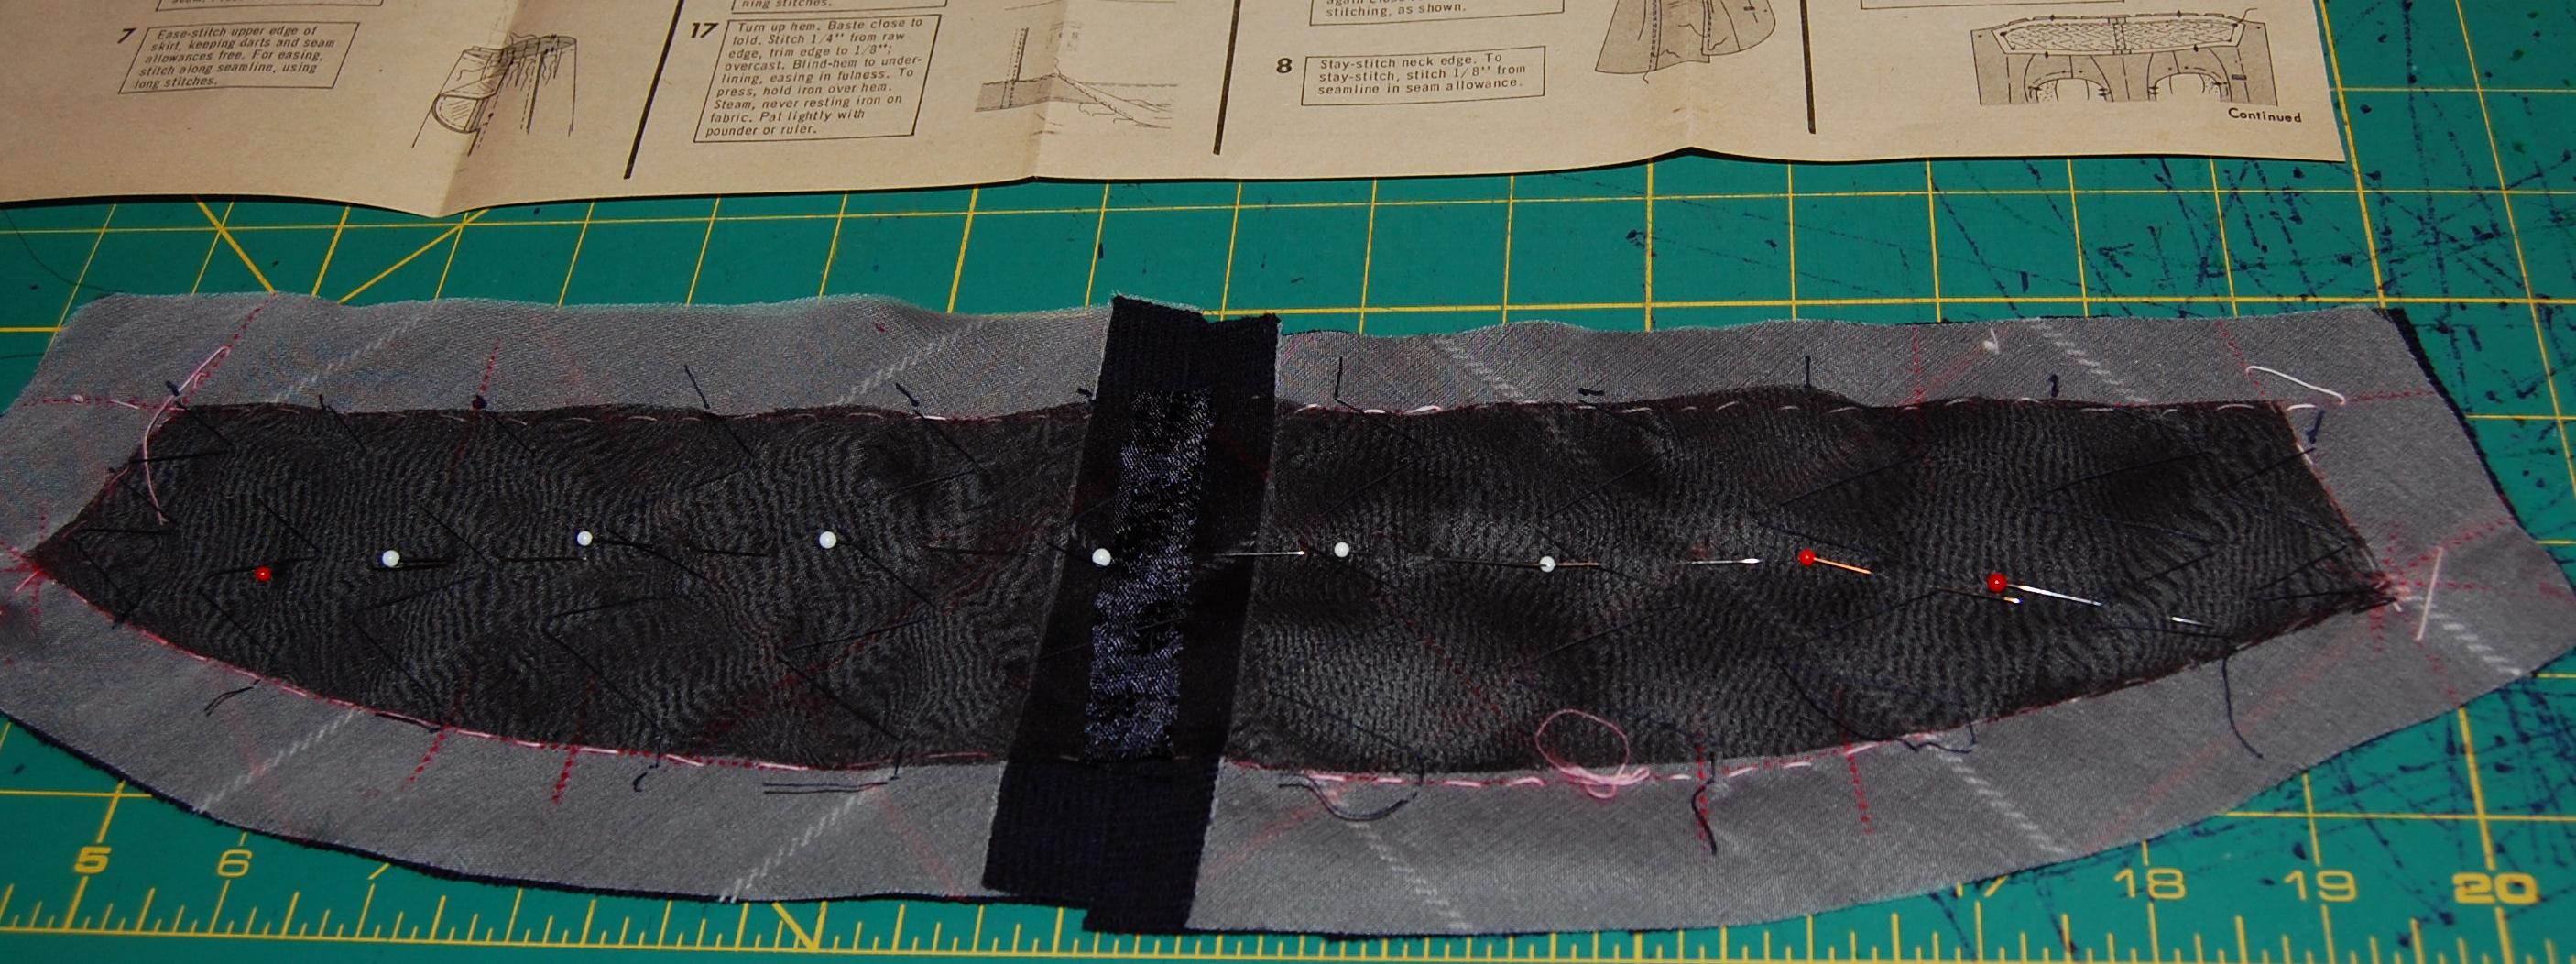
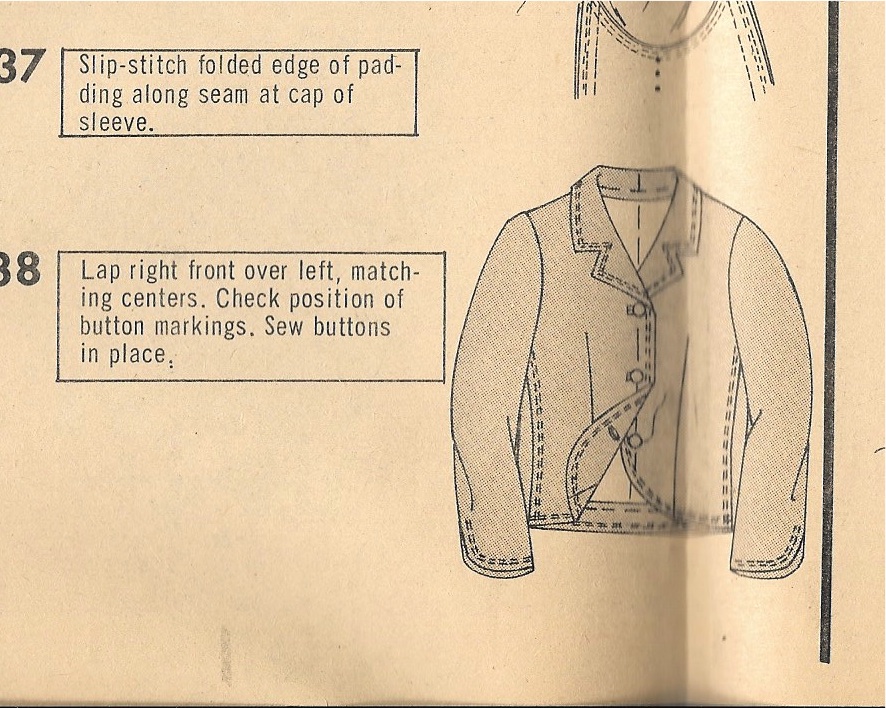
After I had the muslin fitted and completed, I got the idea to make the end of the tab on the collar rounded, to mimic the curves on the jacket’s sleeves and on the jacket’s lower front edges. I also had to take significant width out of the collar. I am hoping it will work and look good…
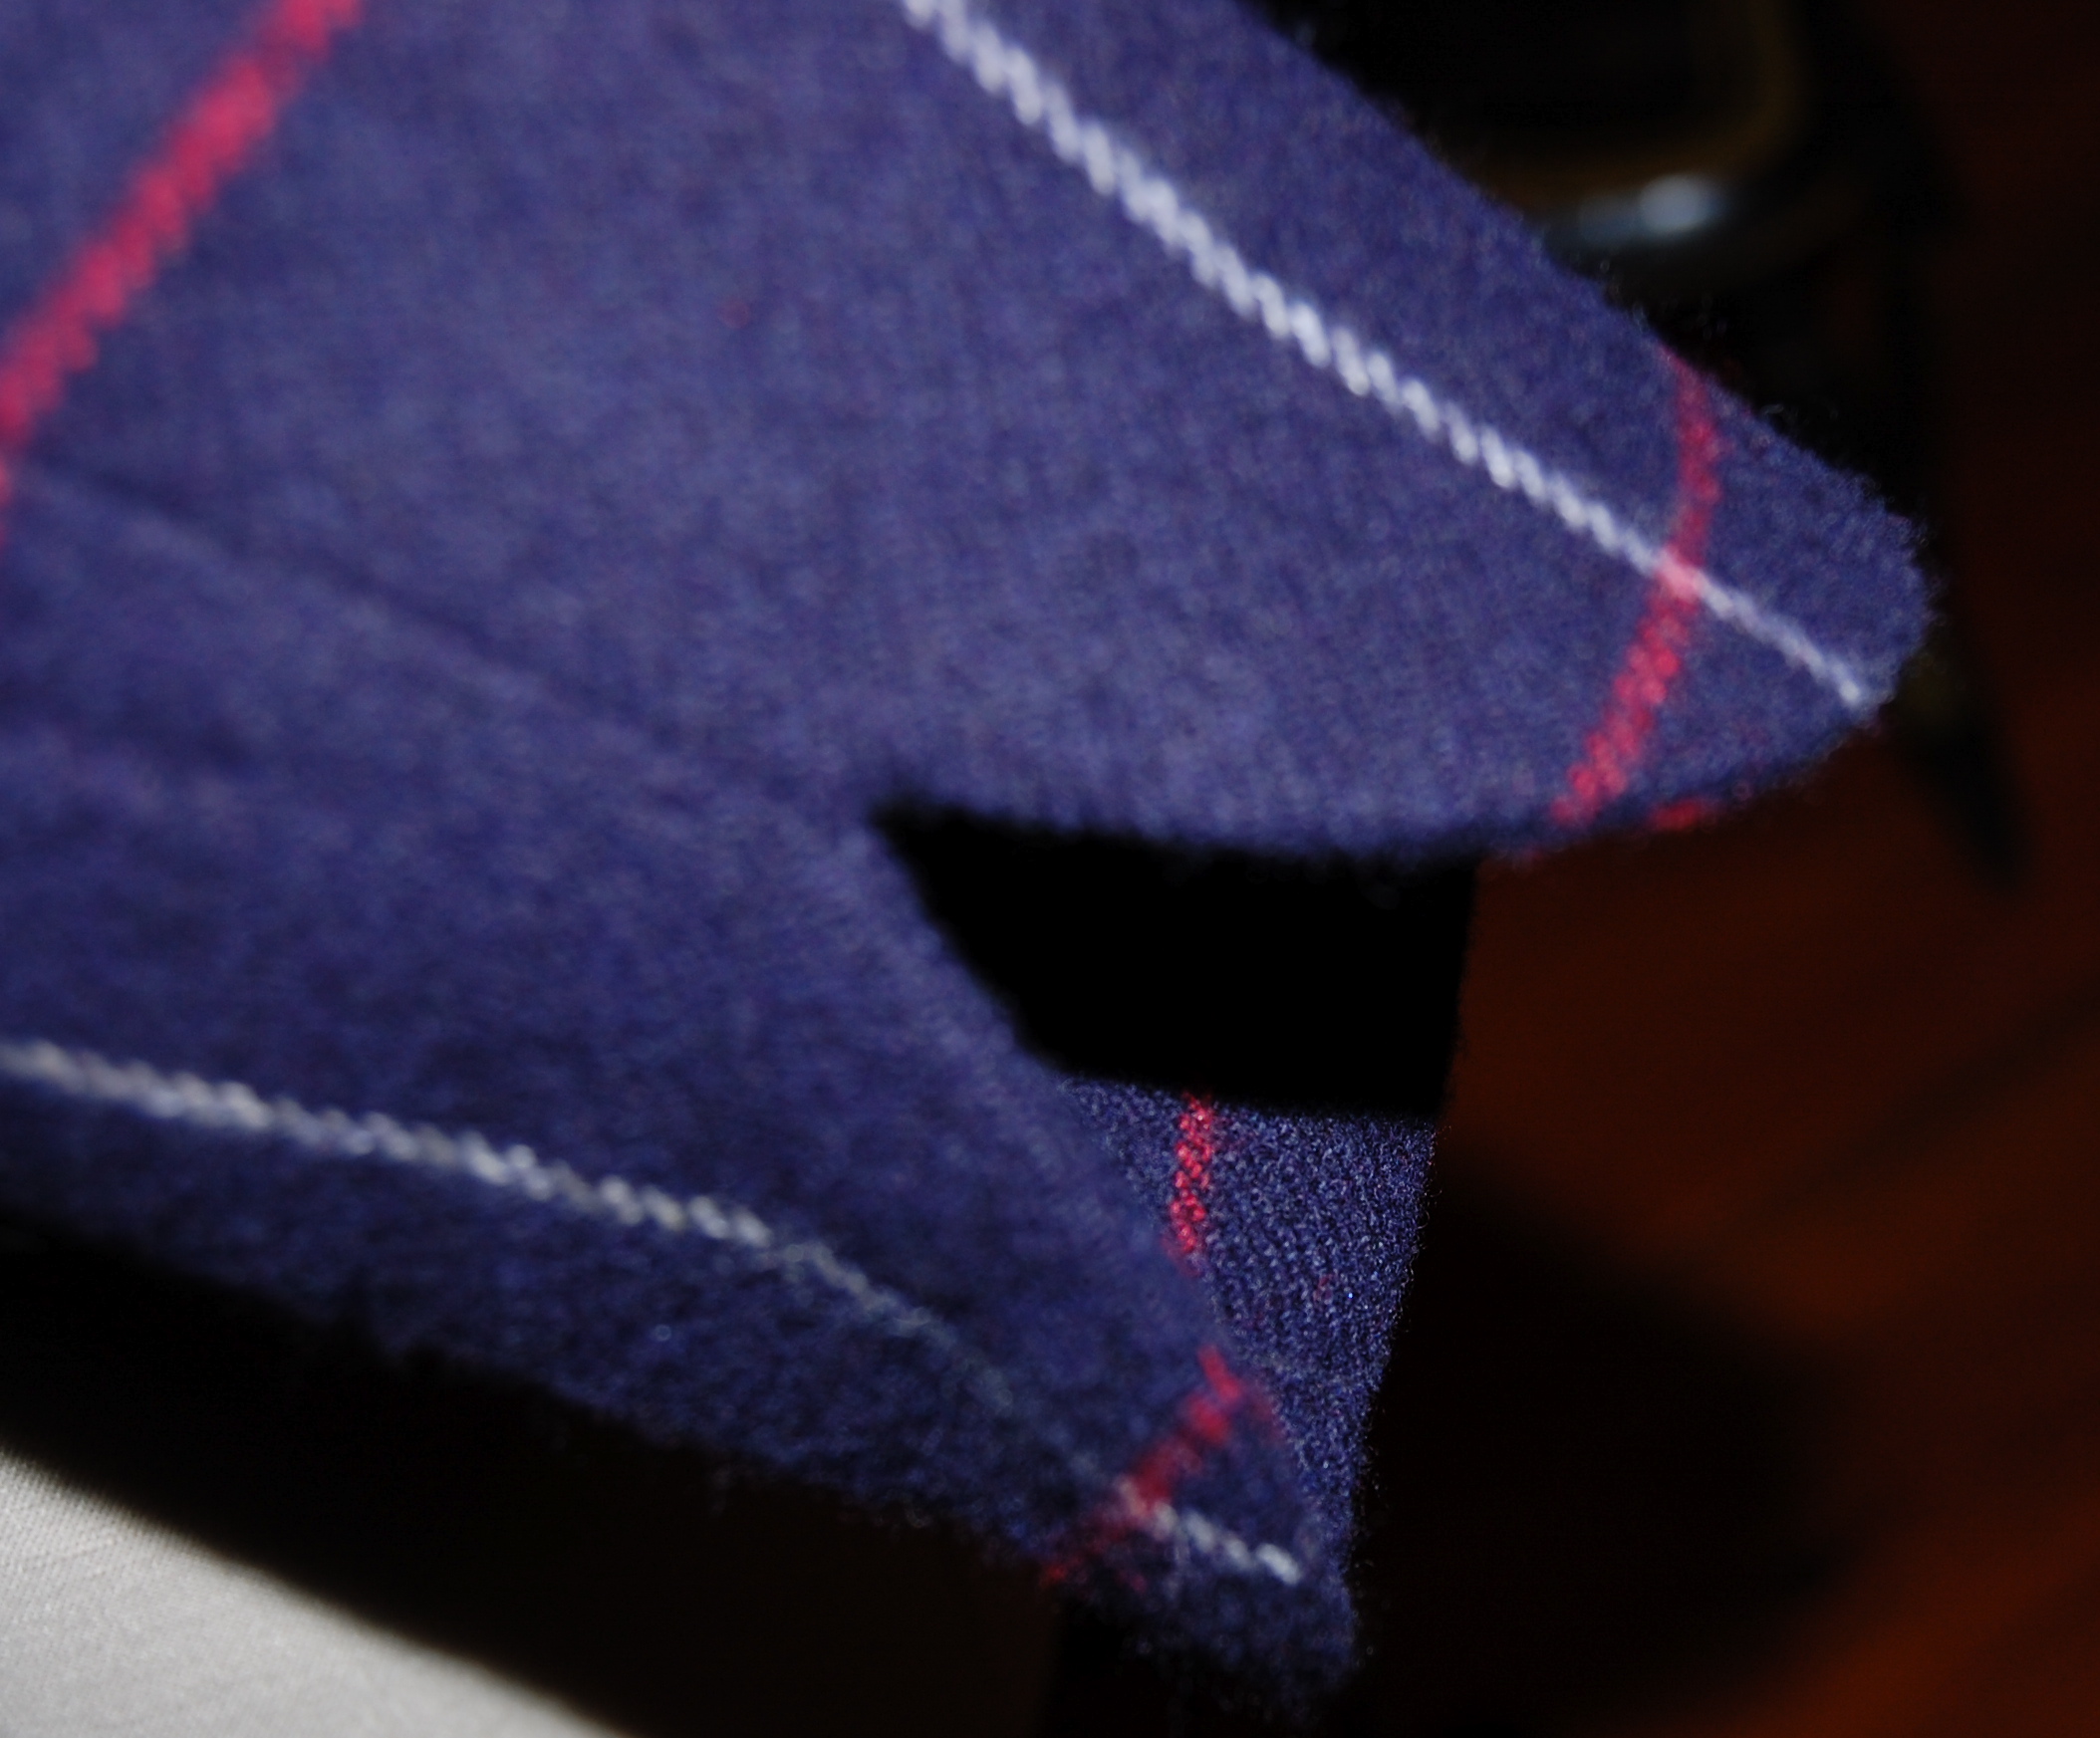
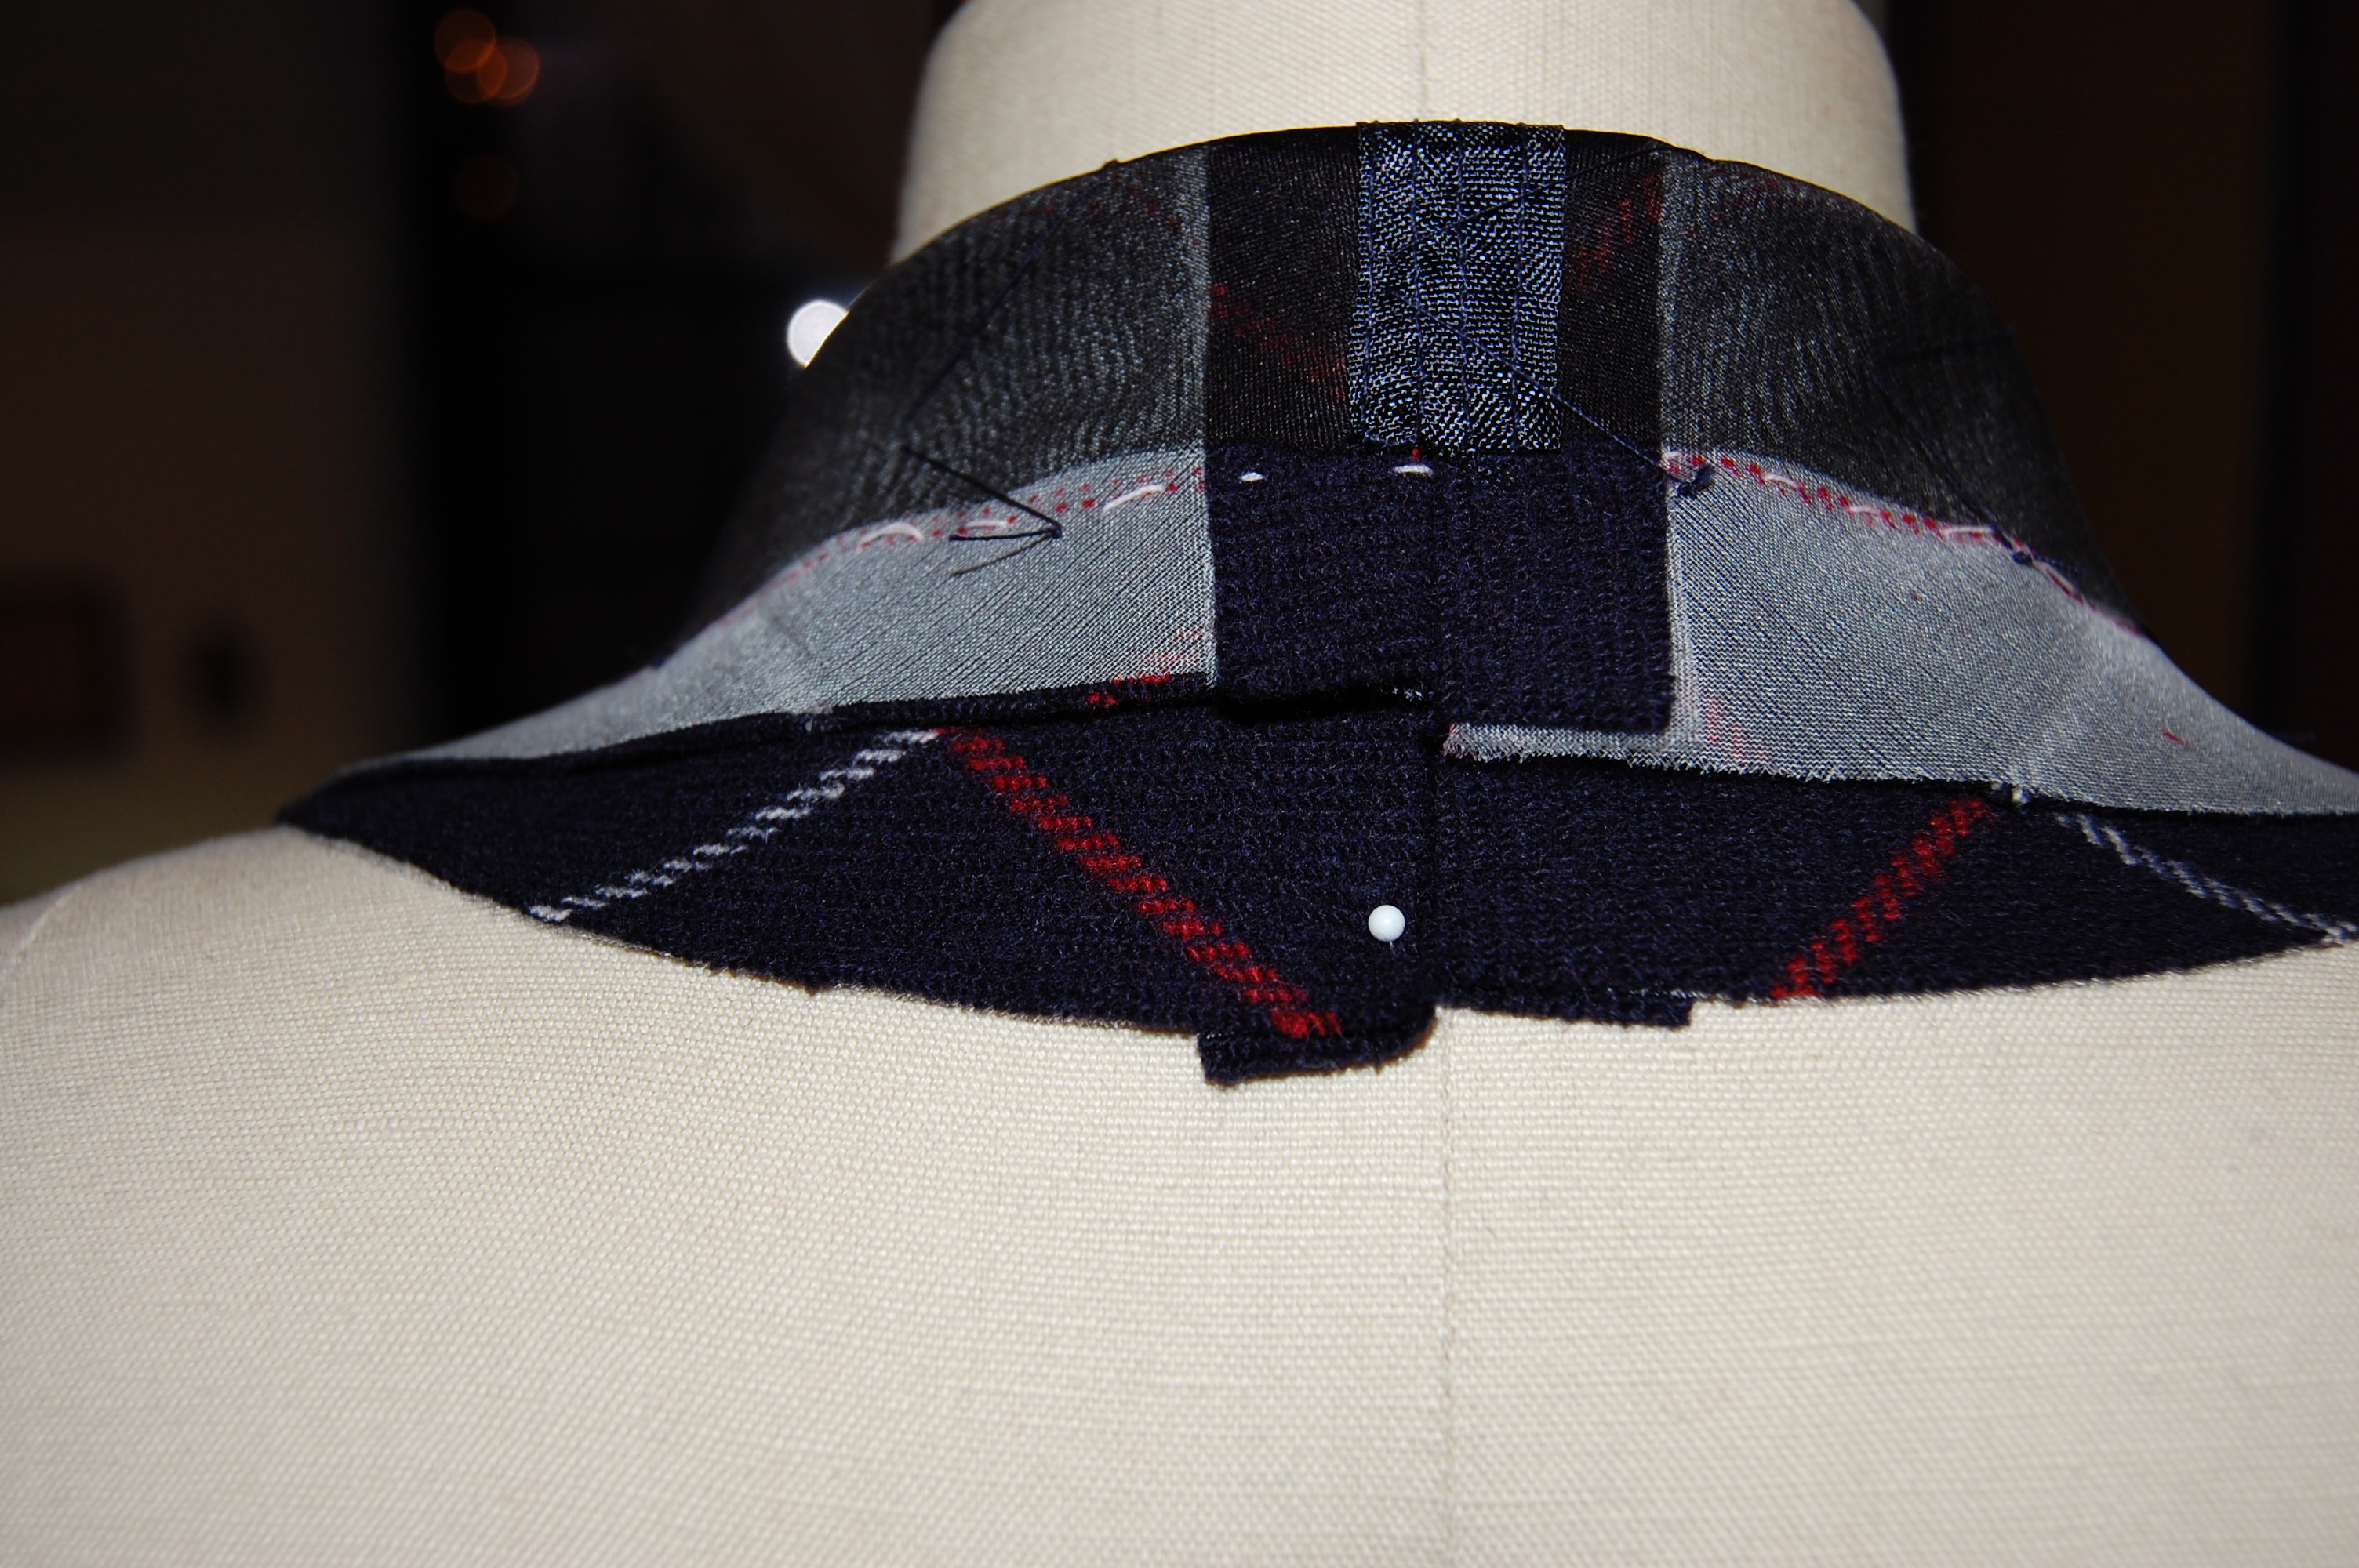
This shows the curved detail on the edge of the sleeve.
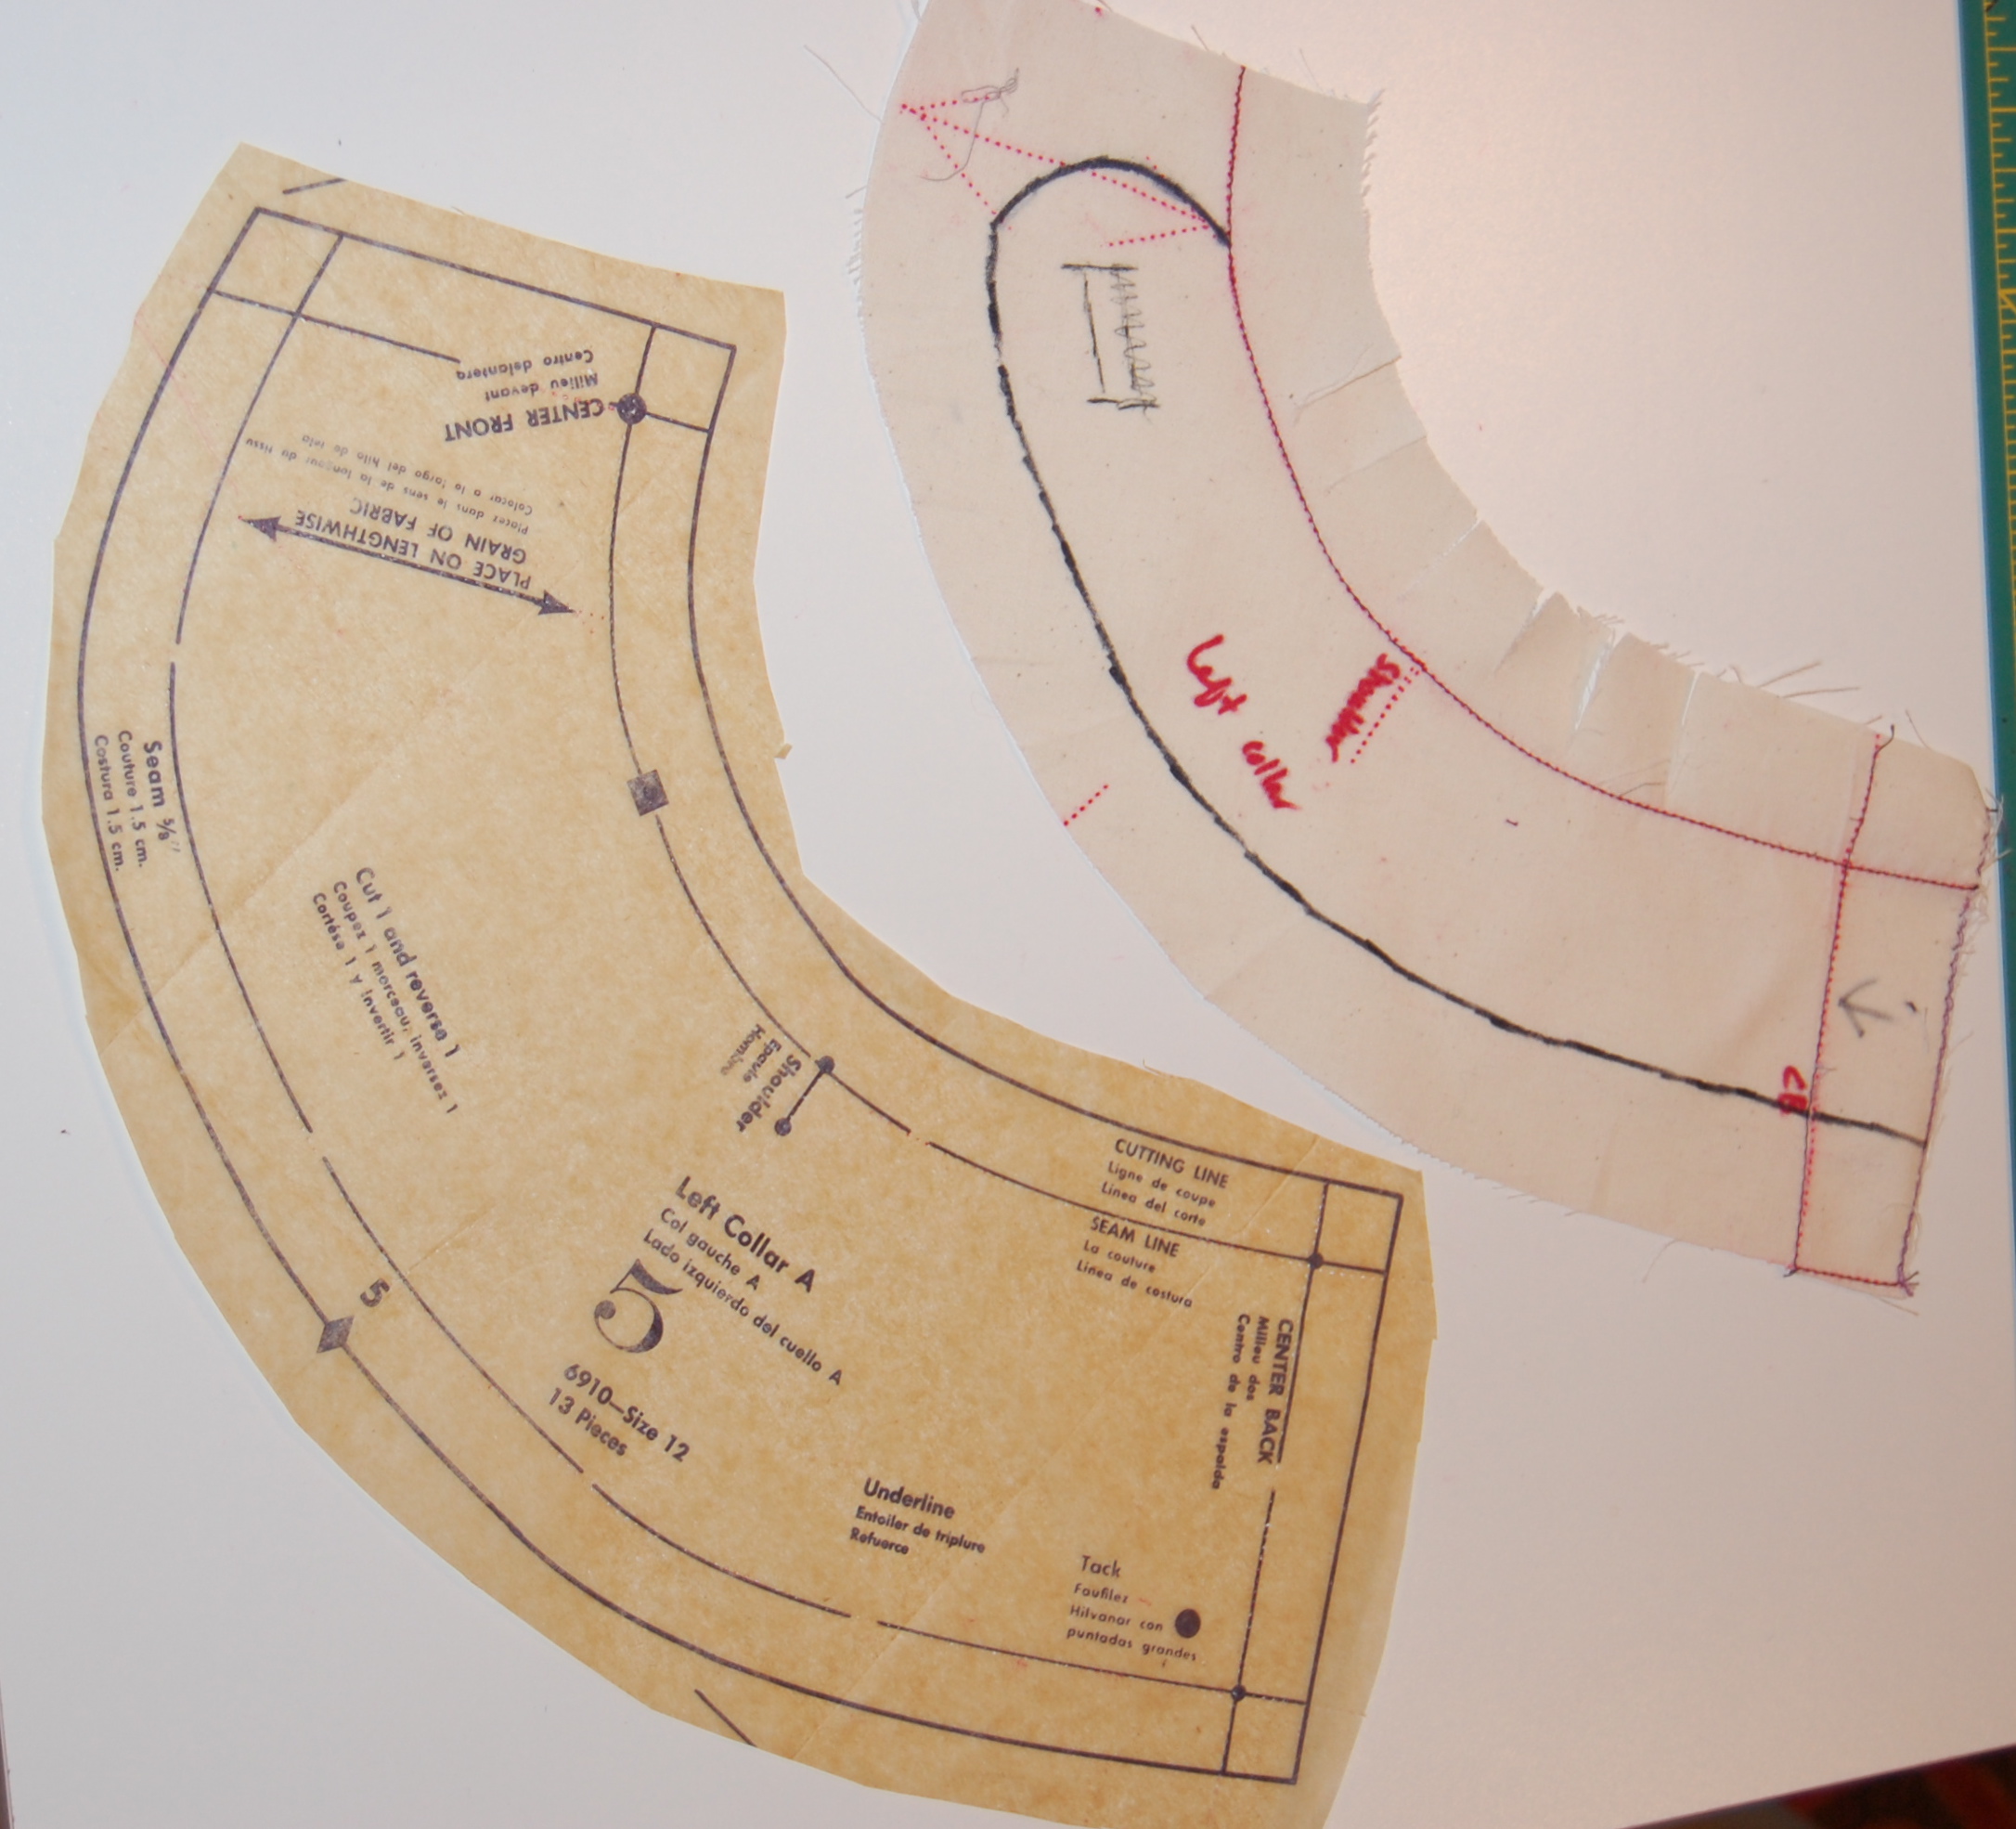
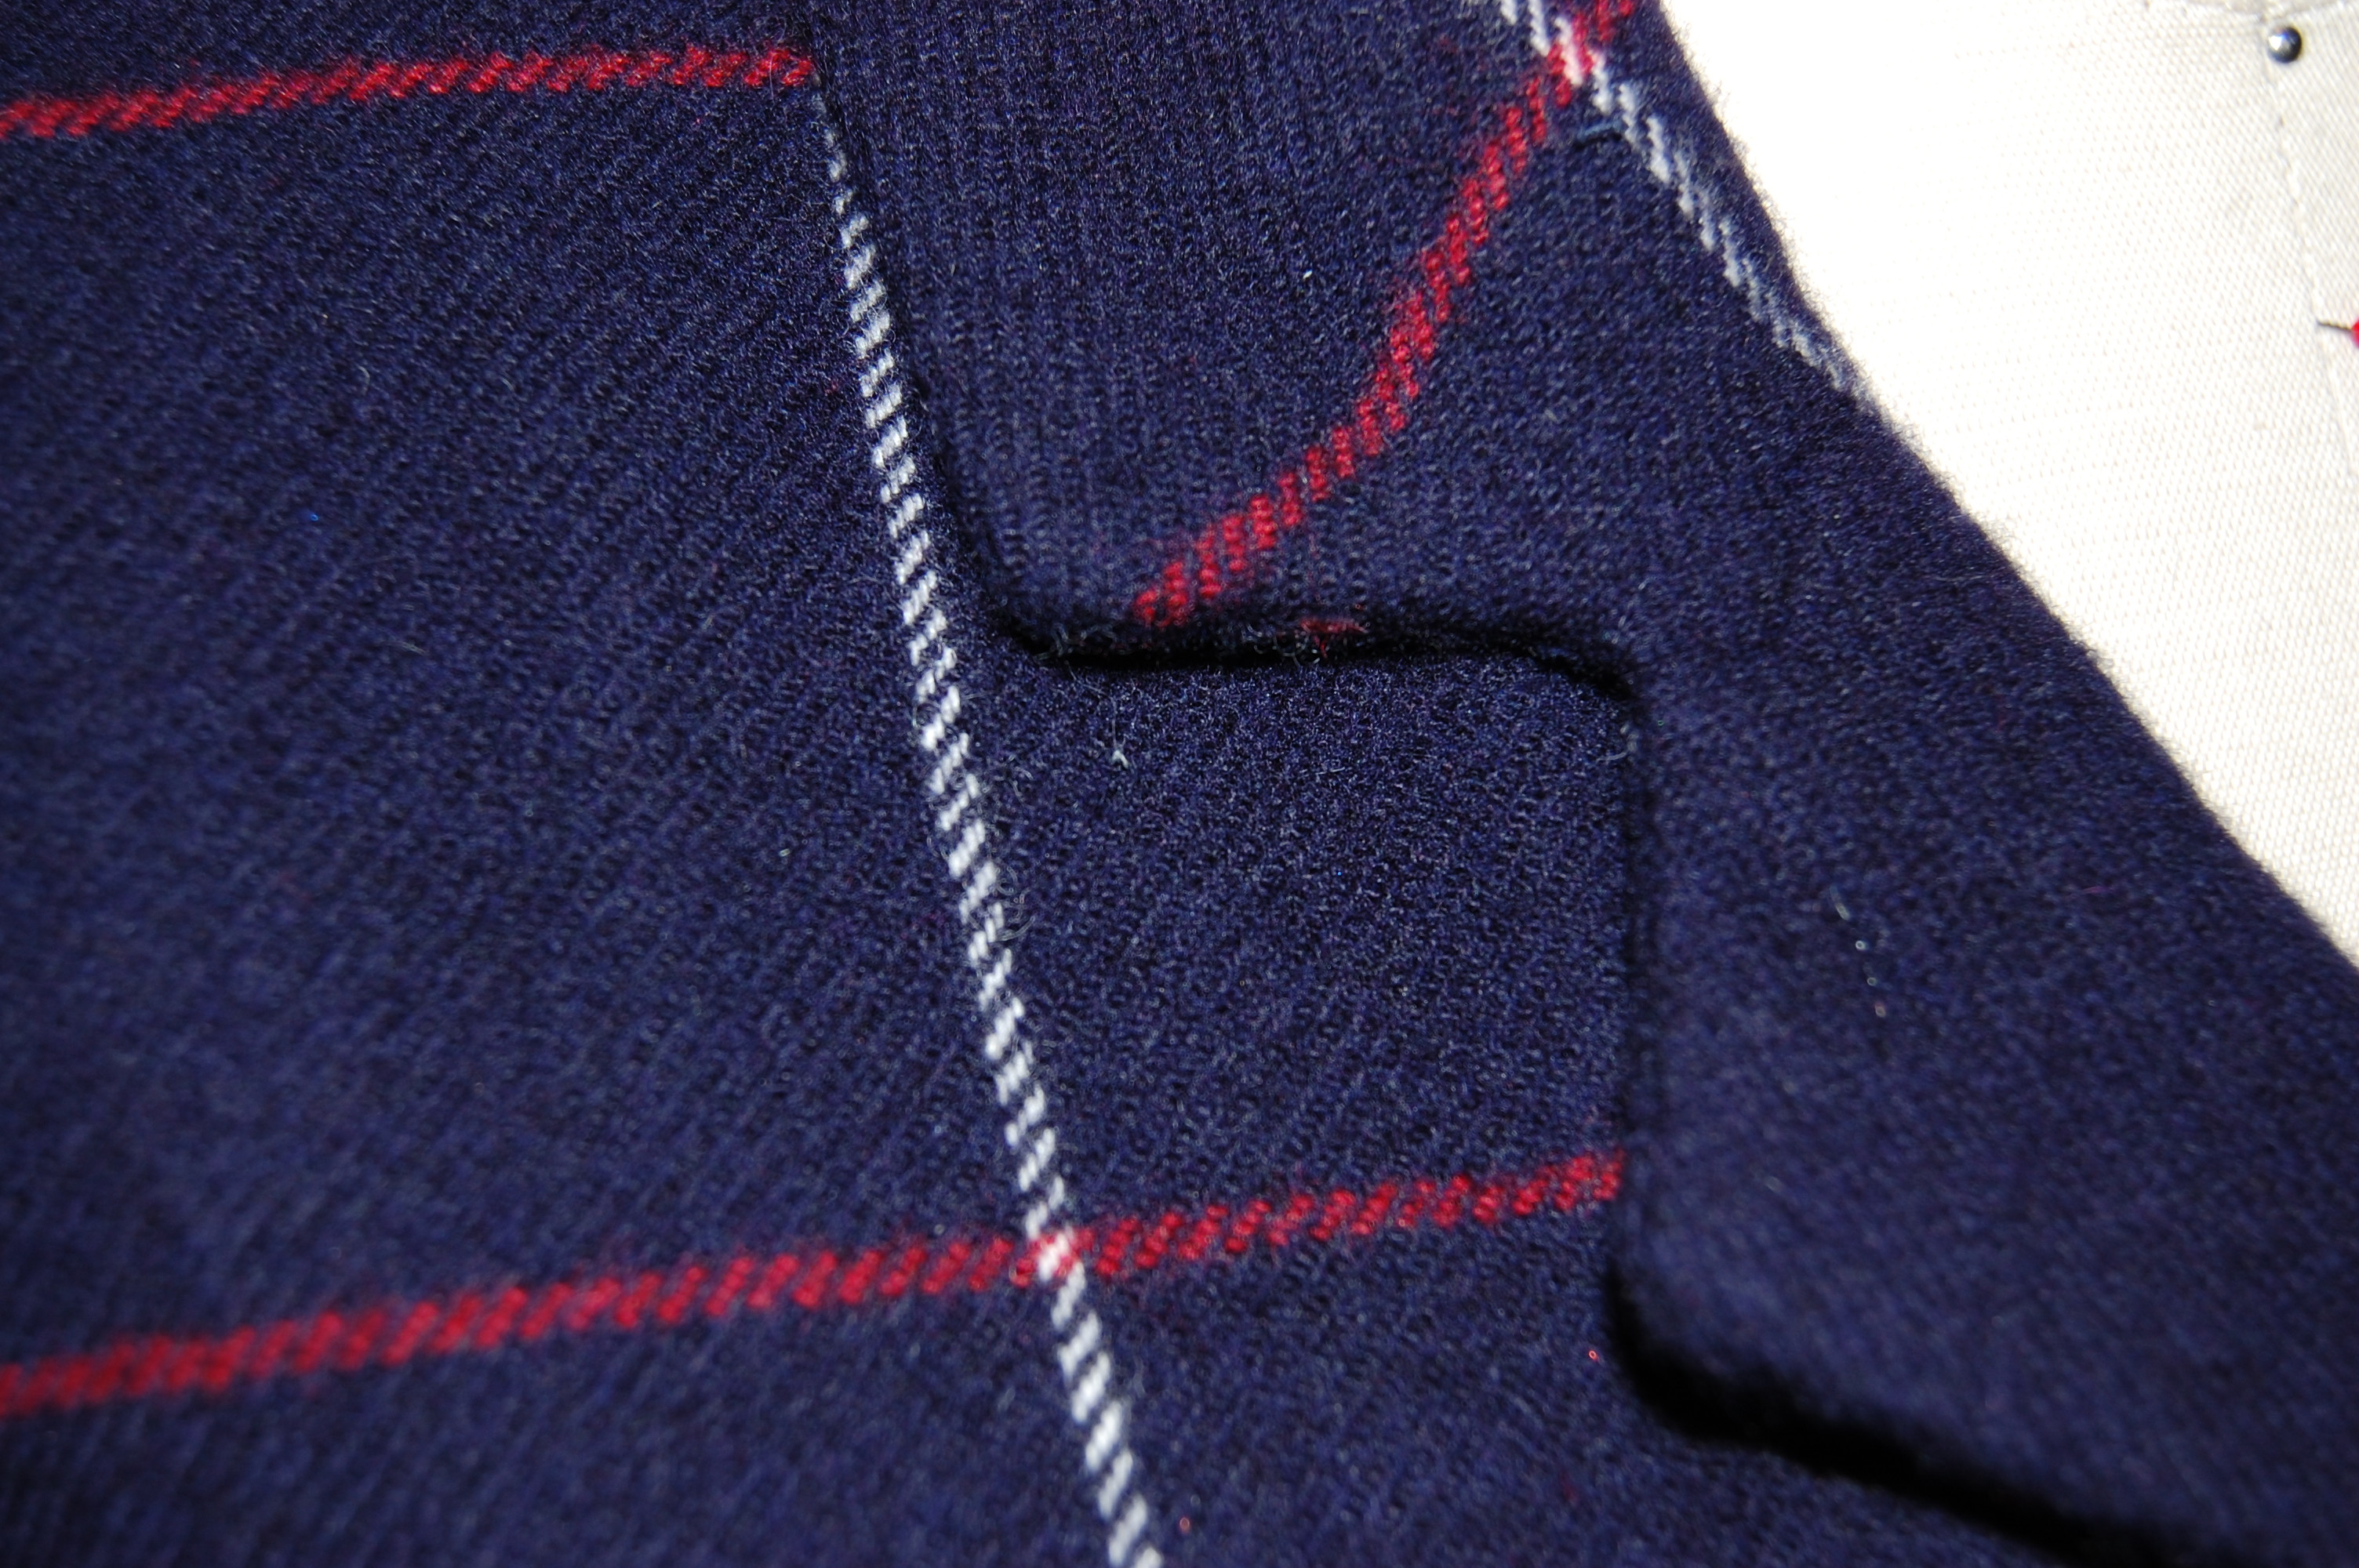
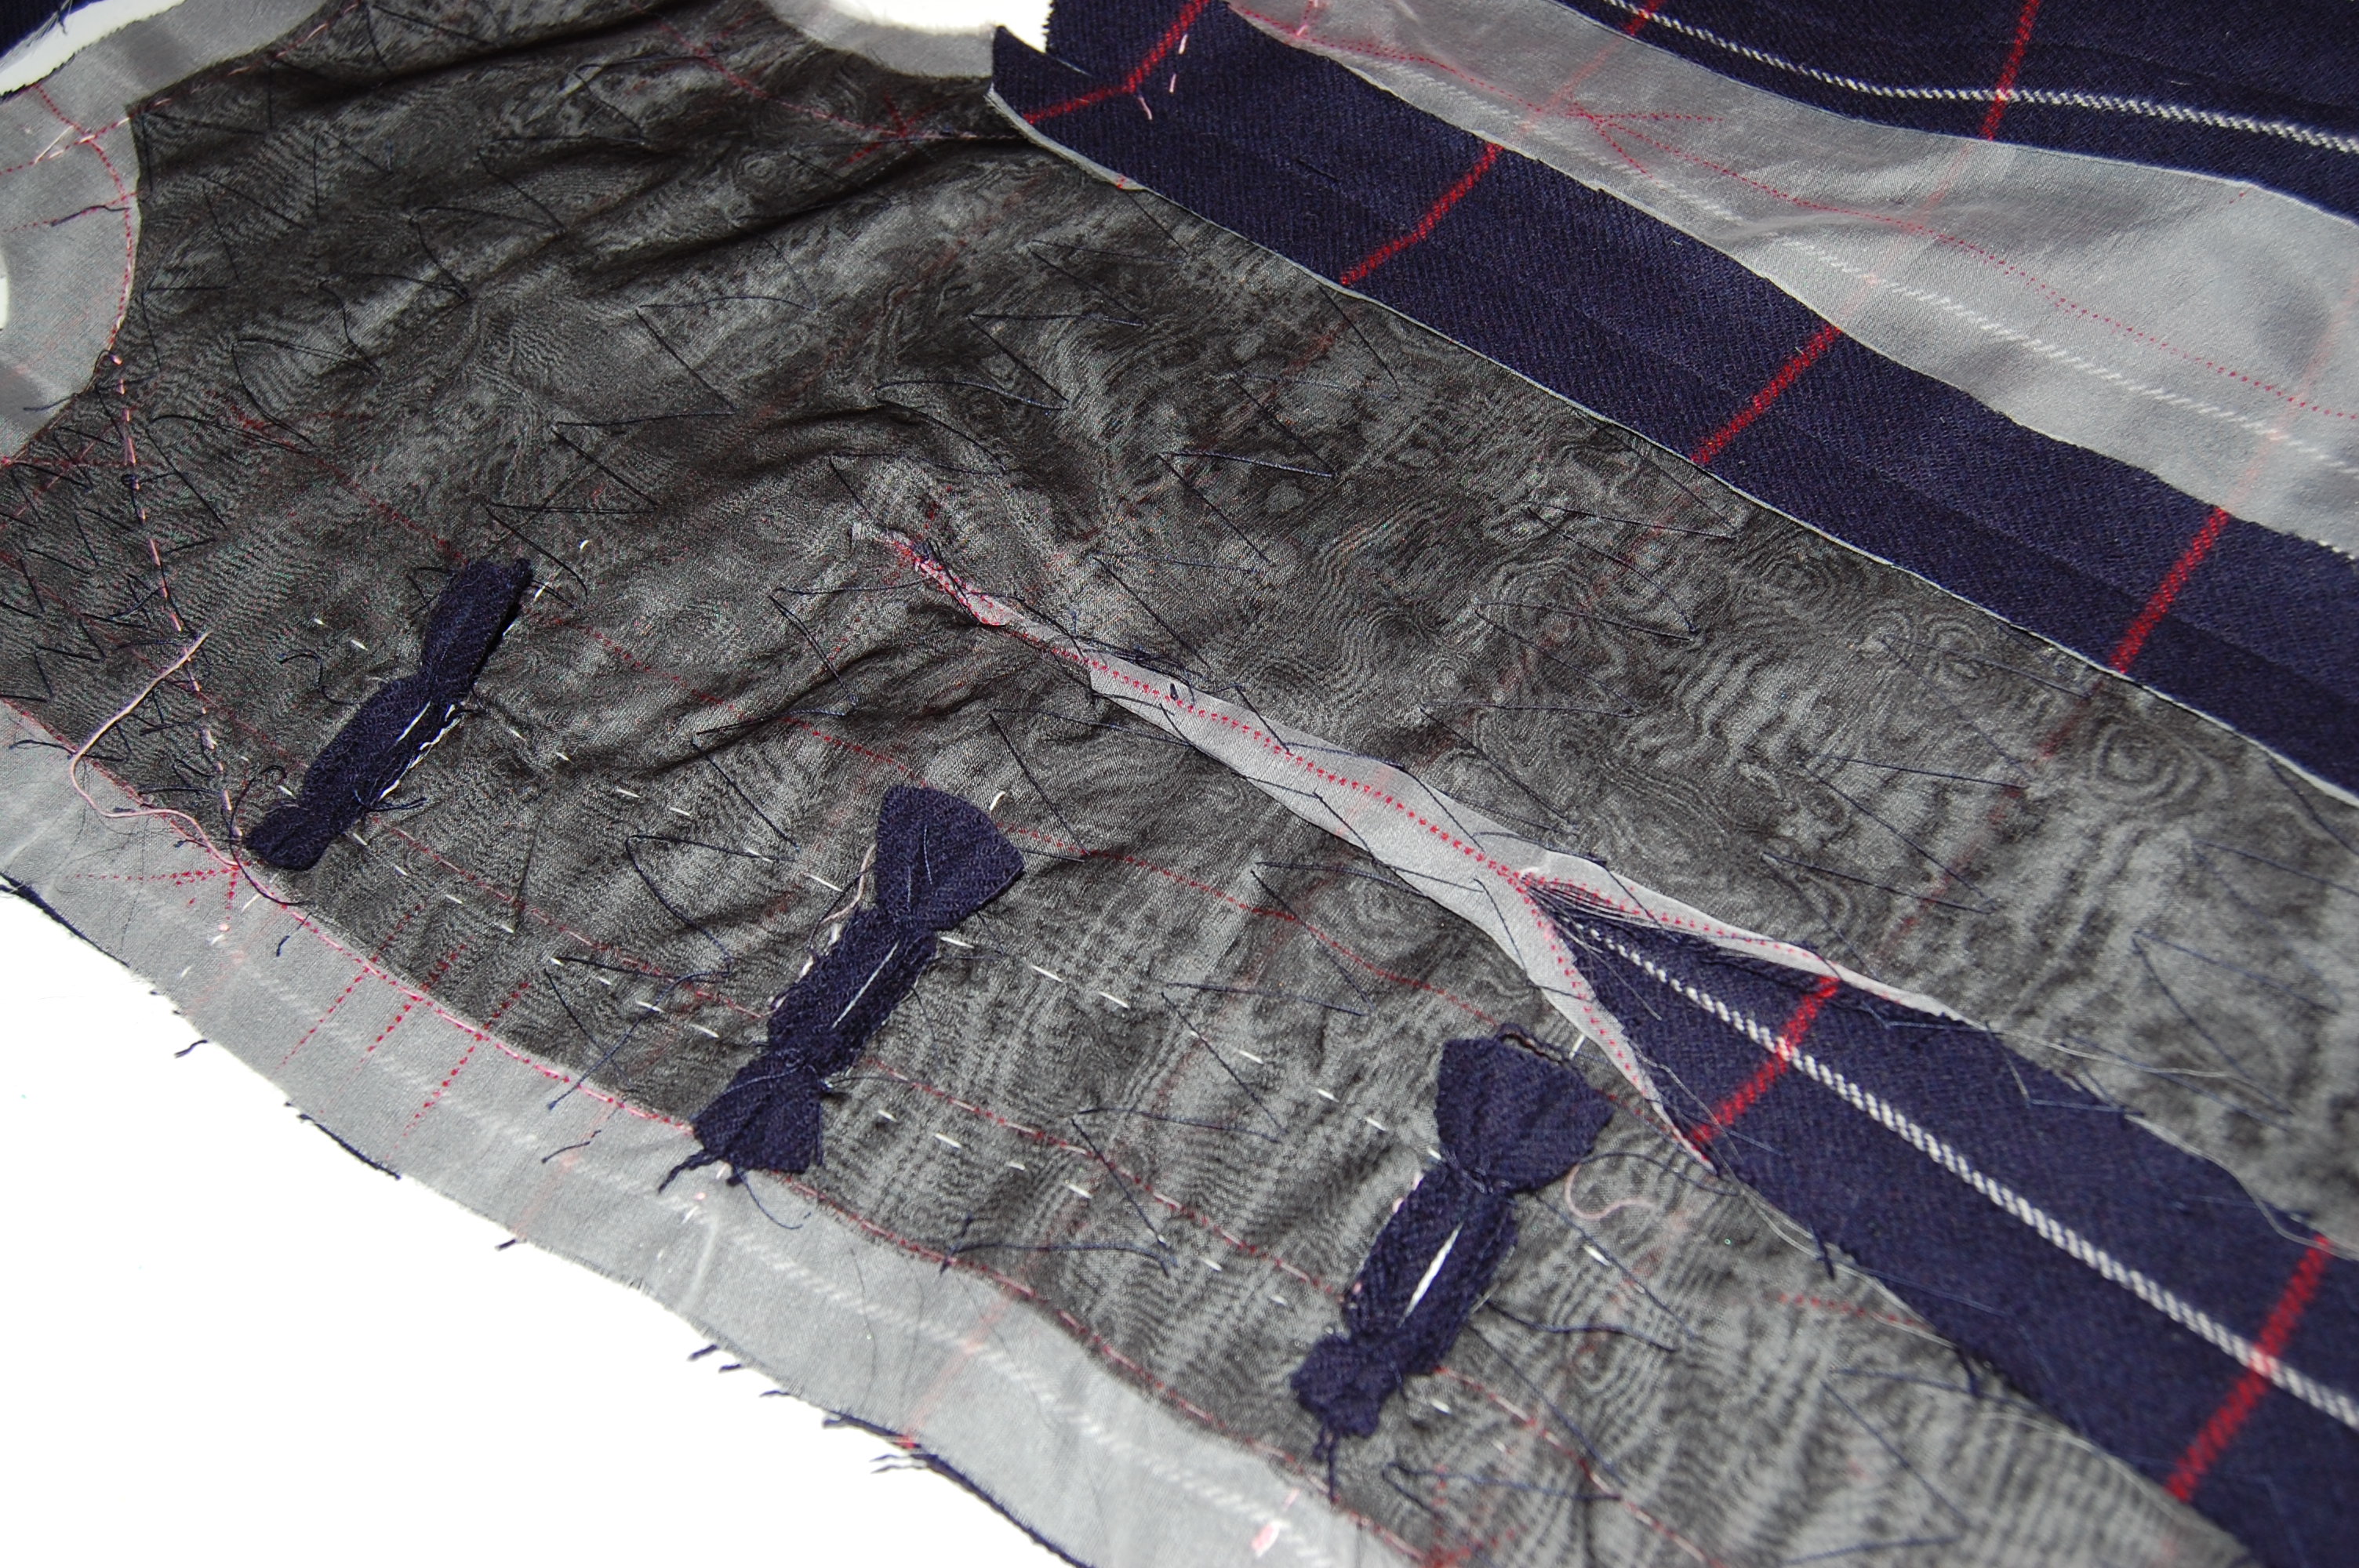
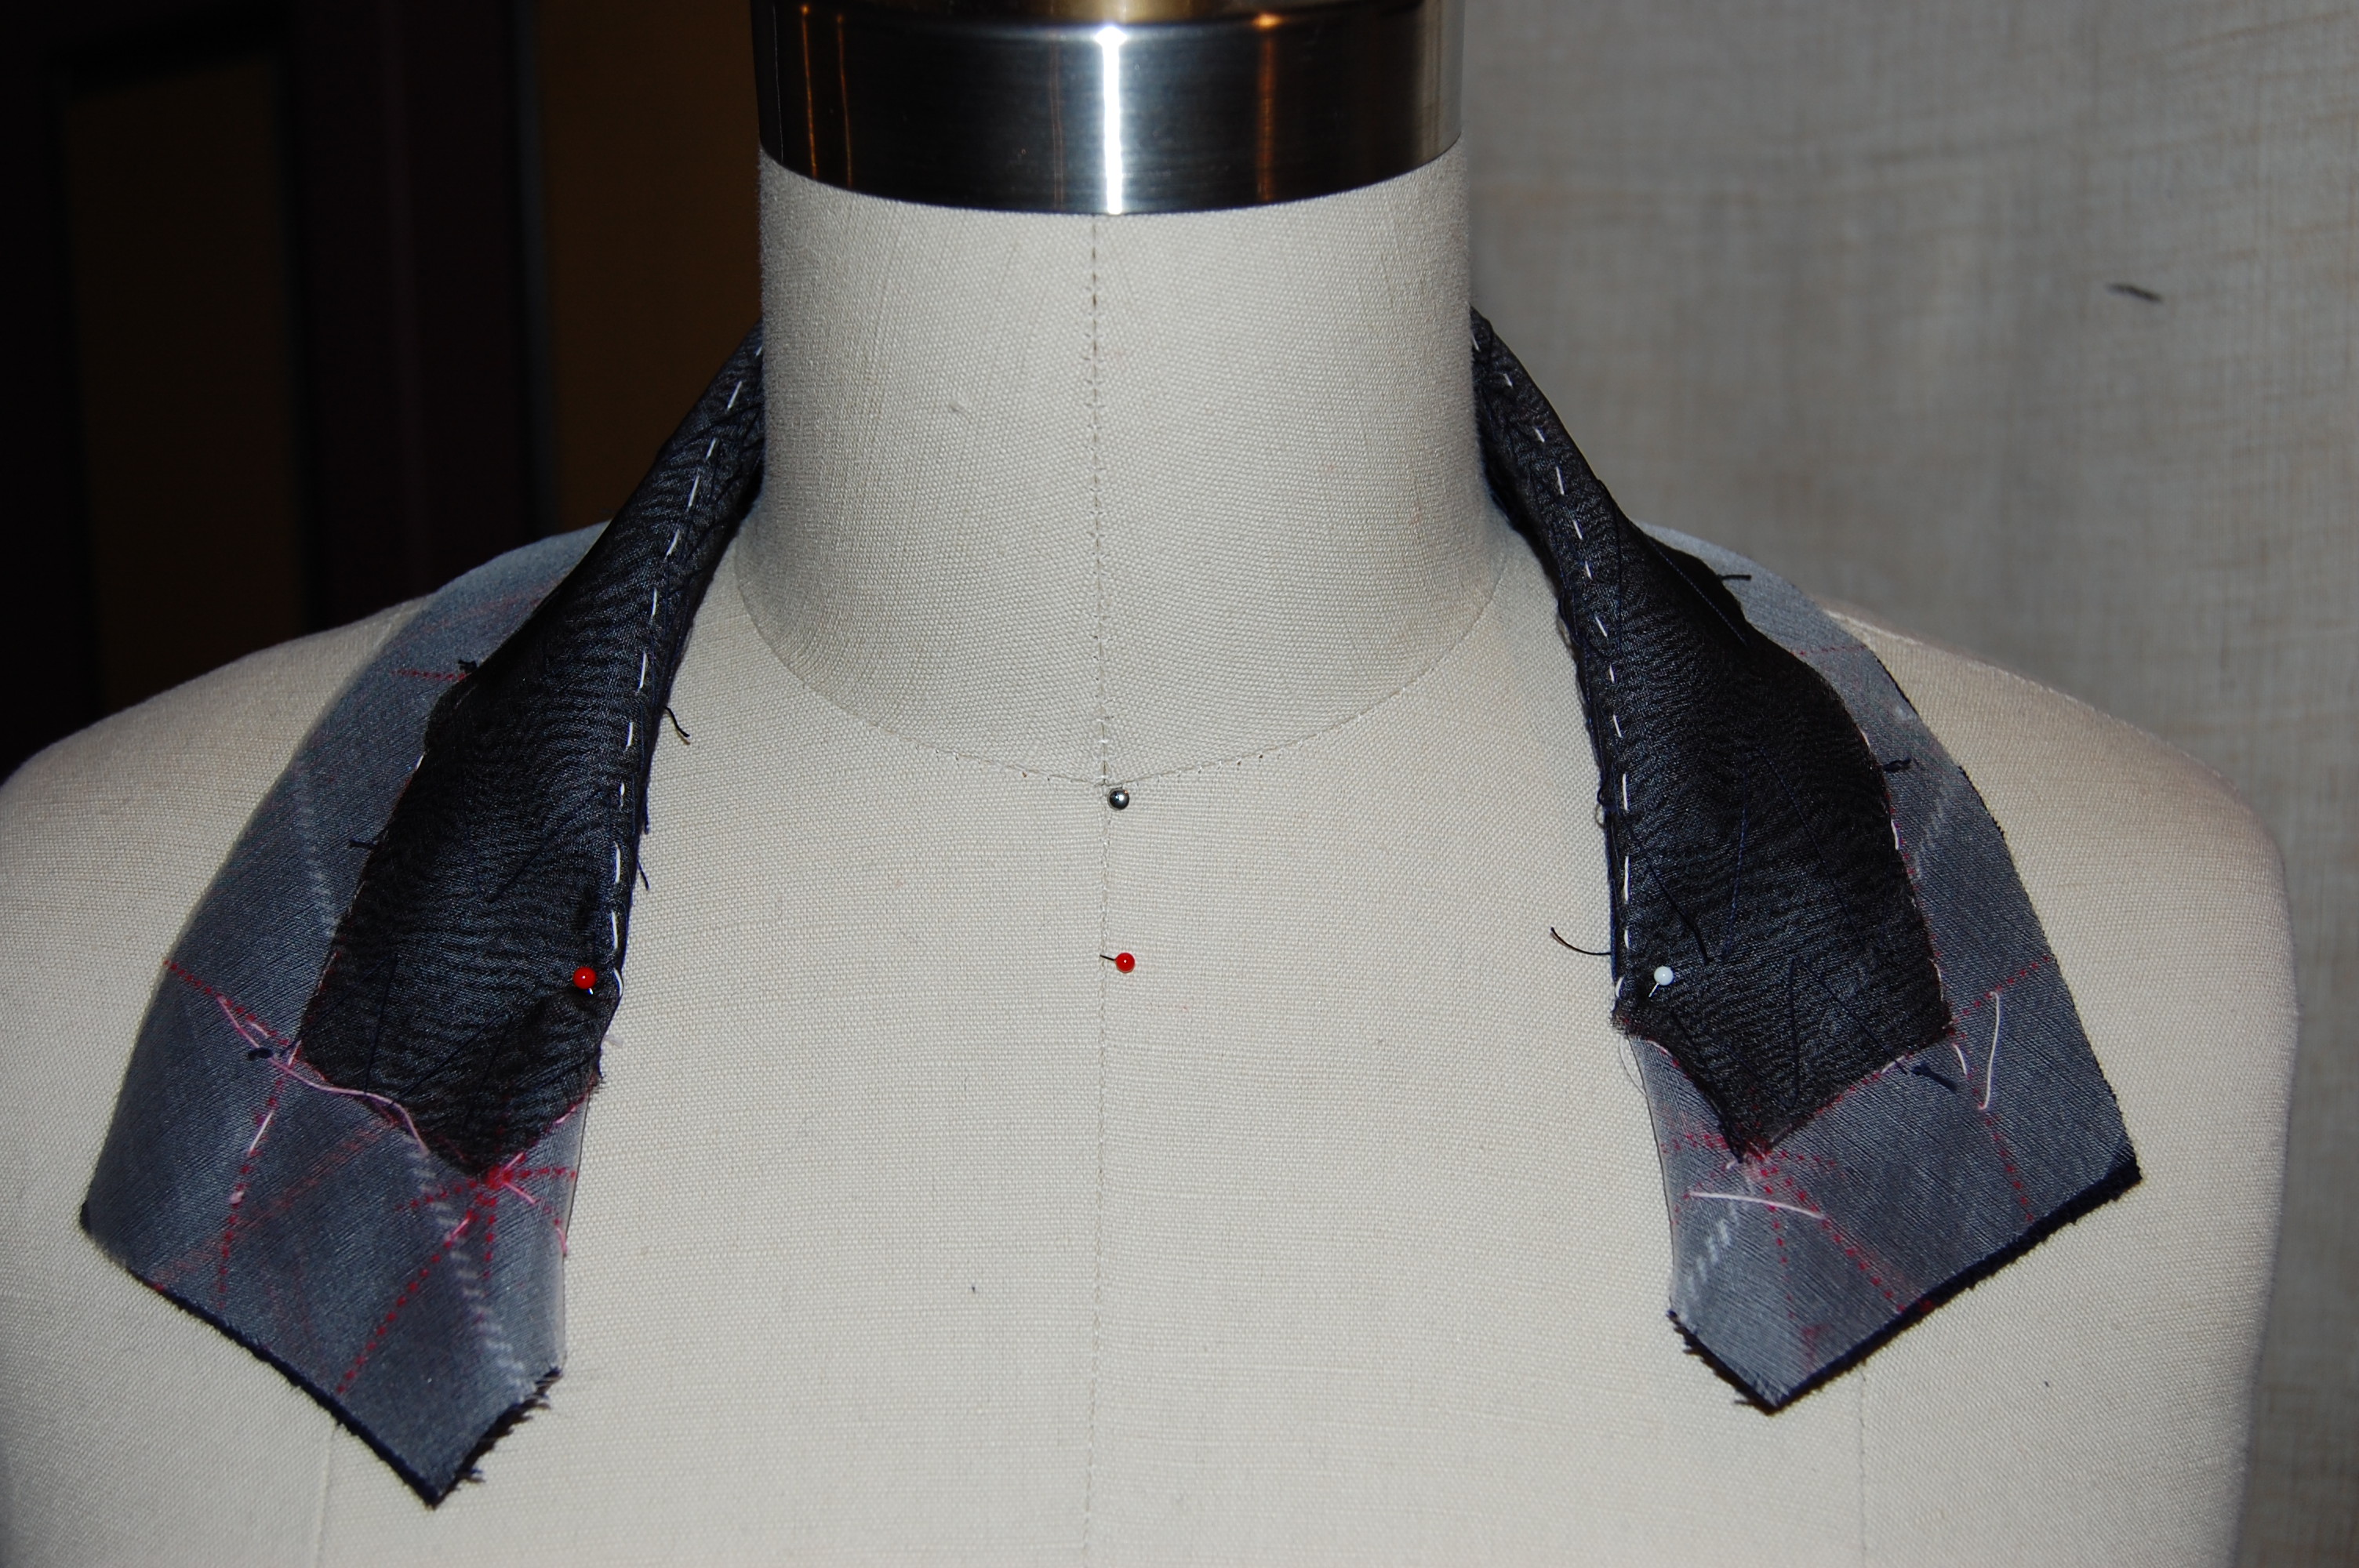
This shows not only the added curve to the left collar end, but also how much width I had to remove from the collar pattern.
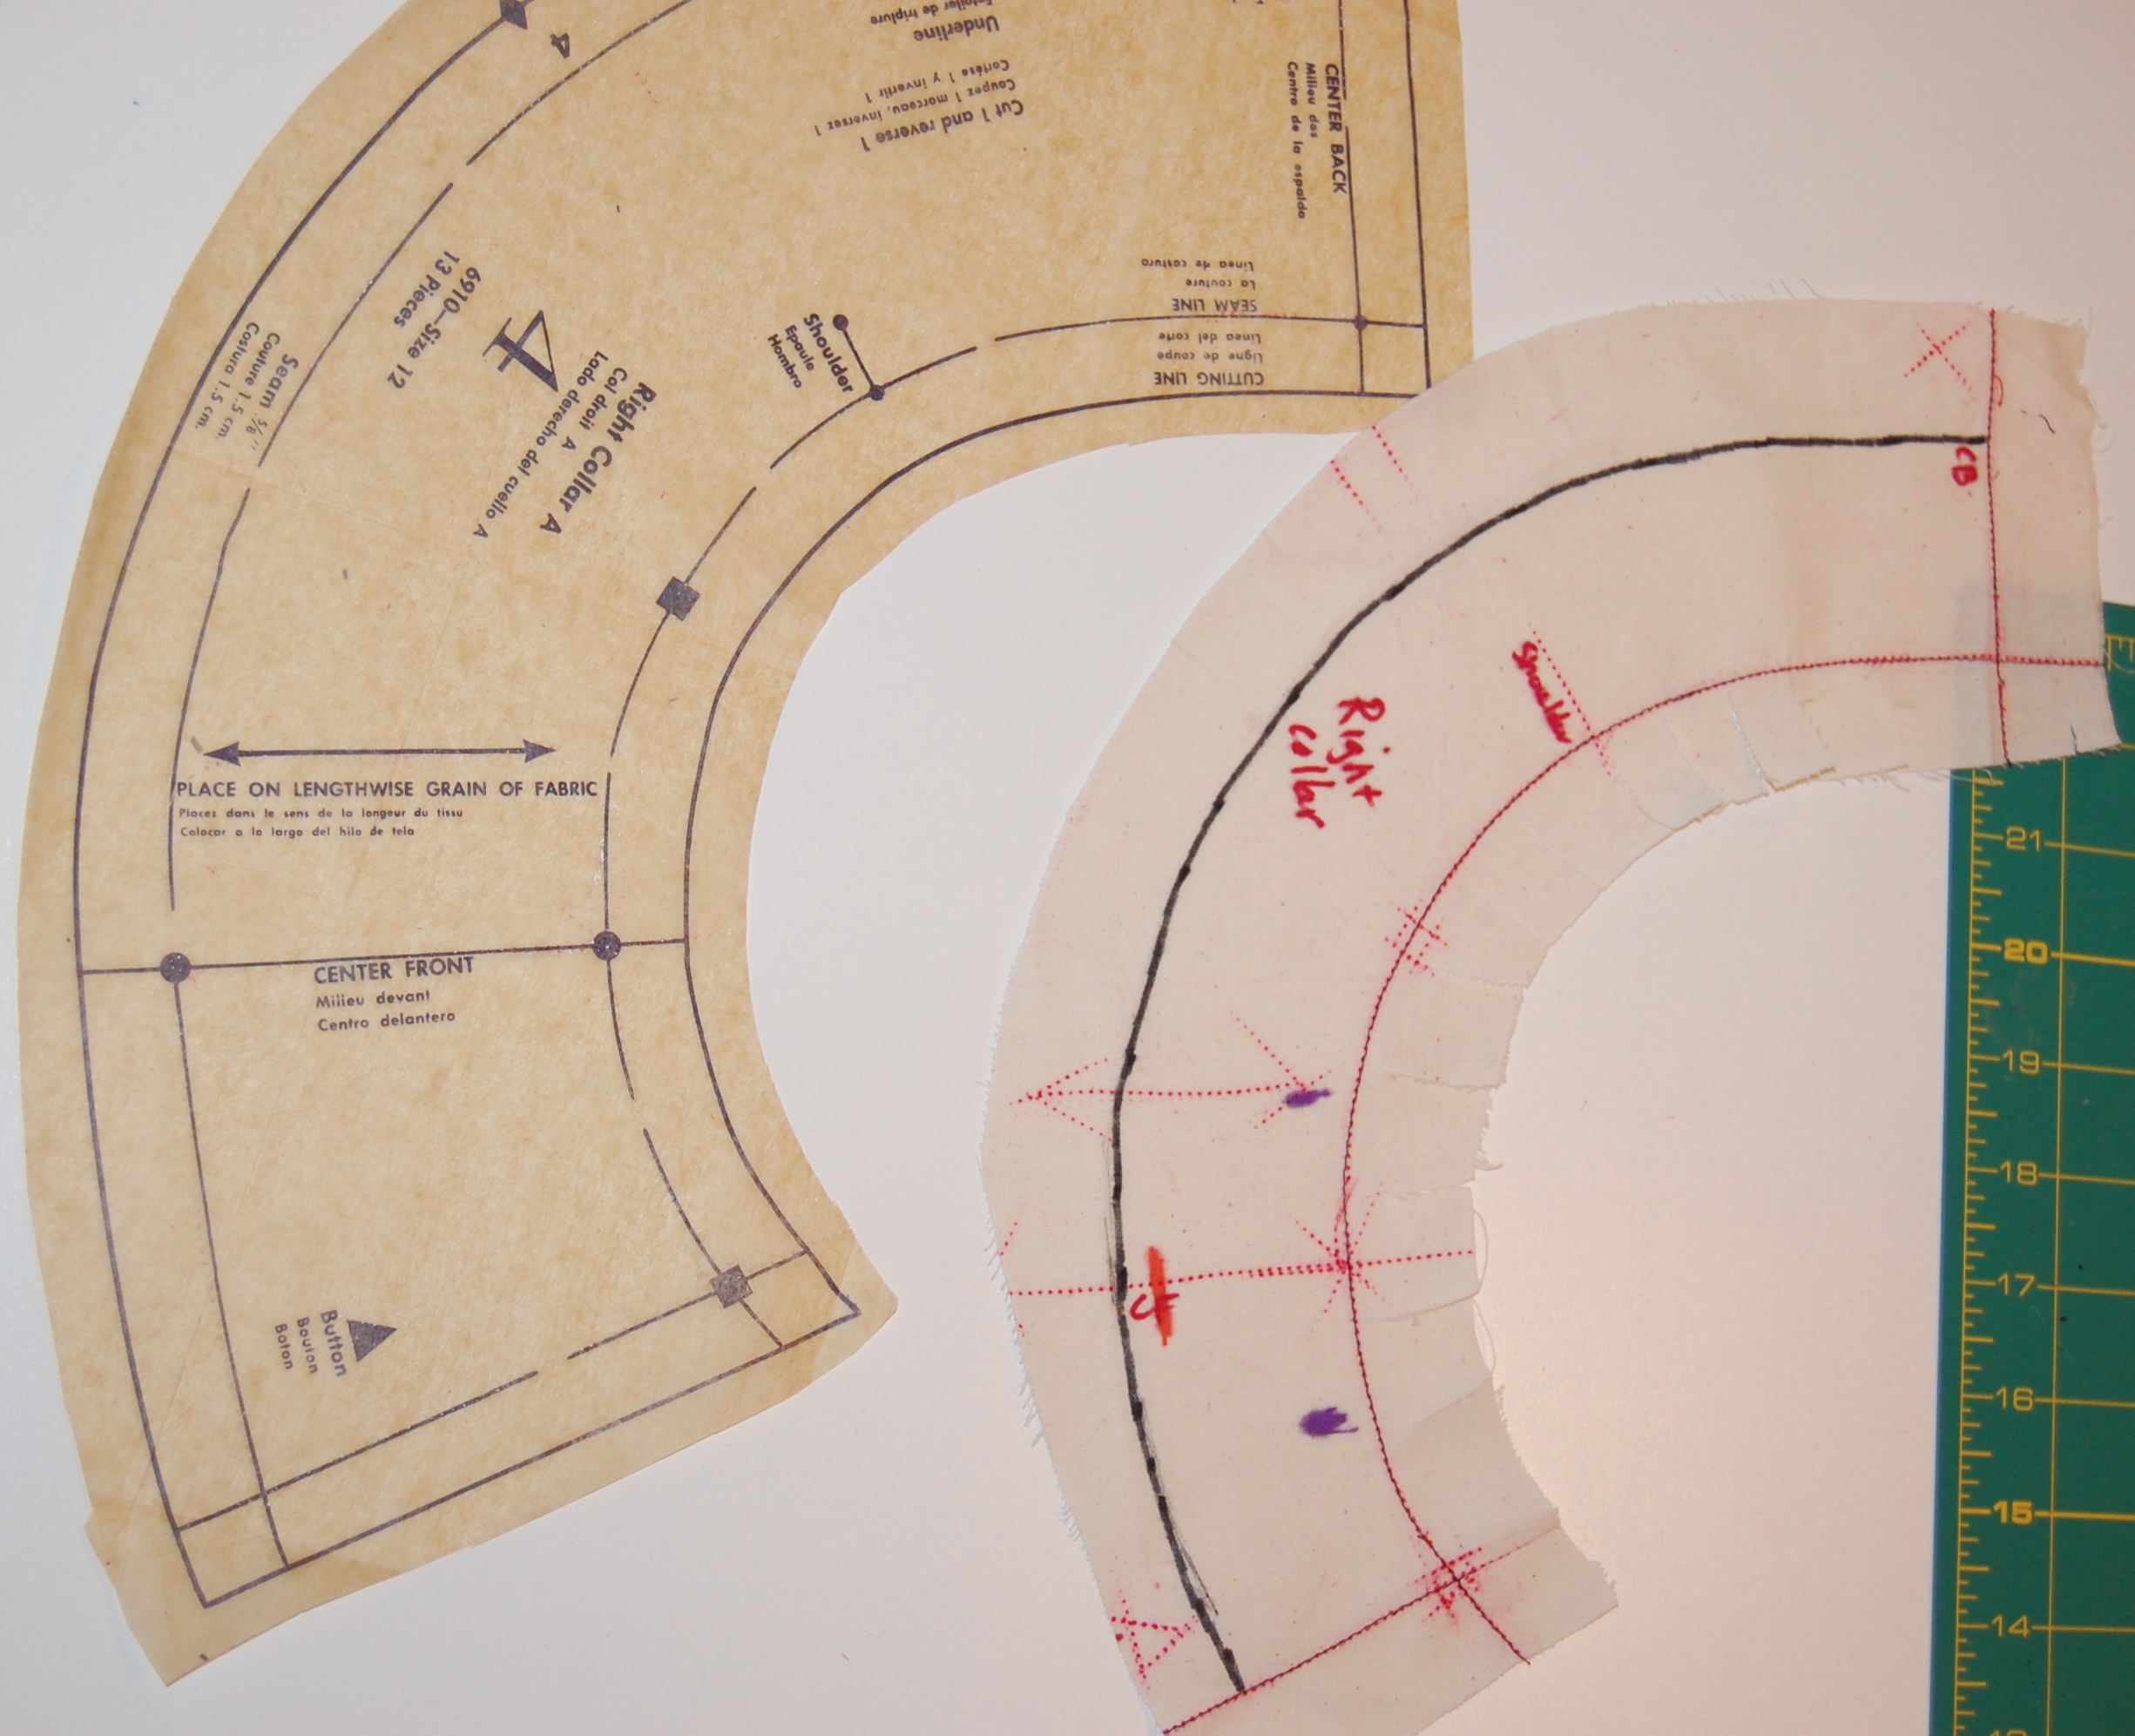
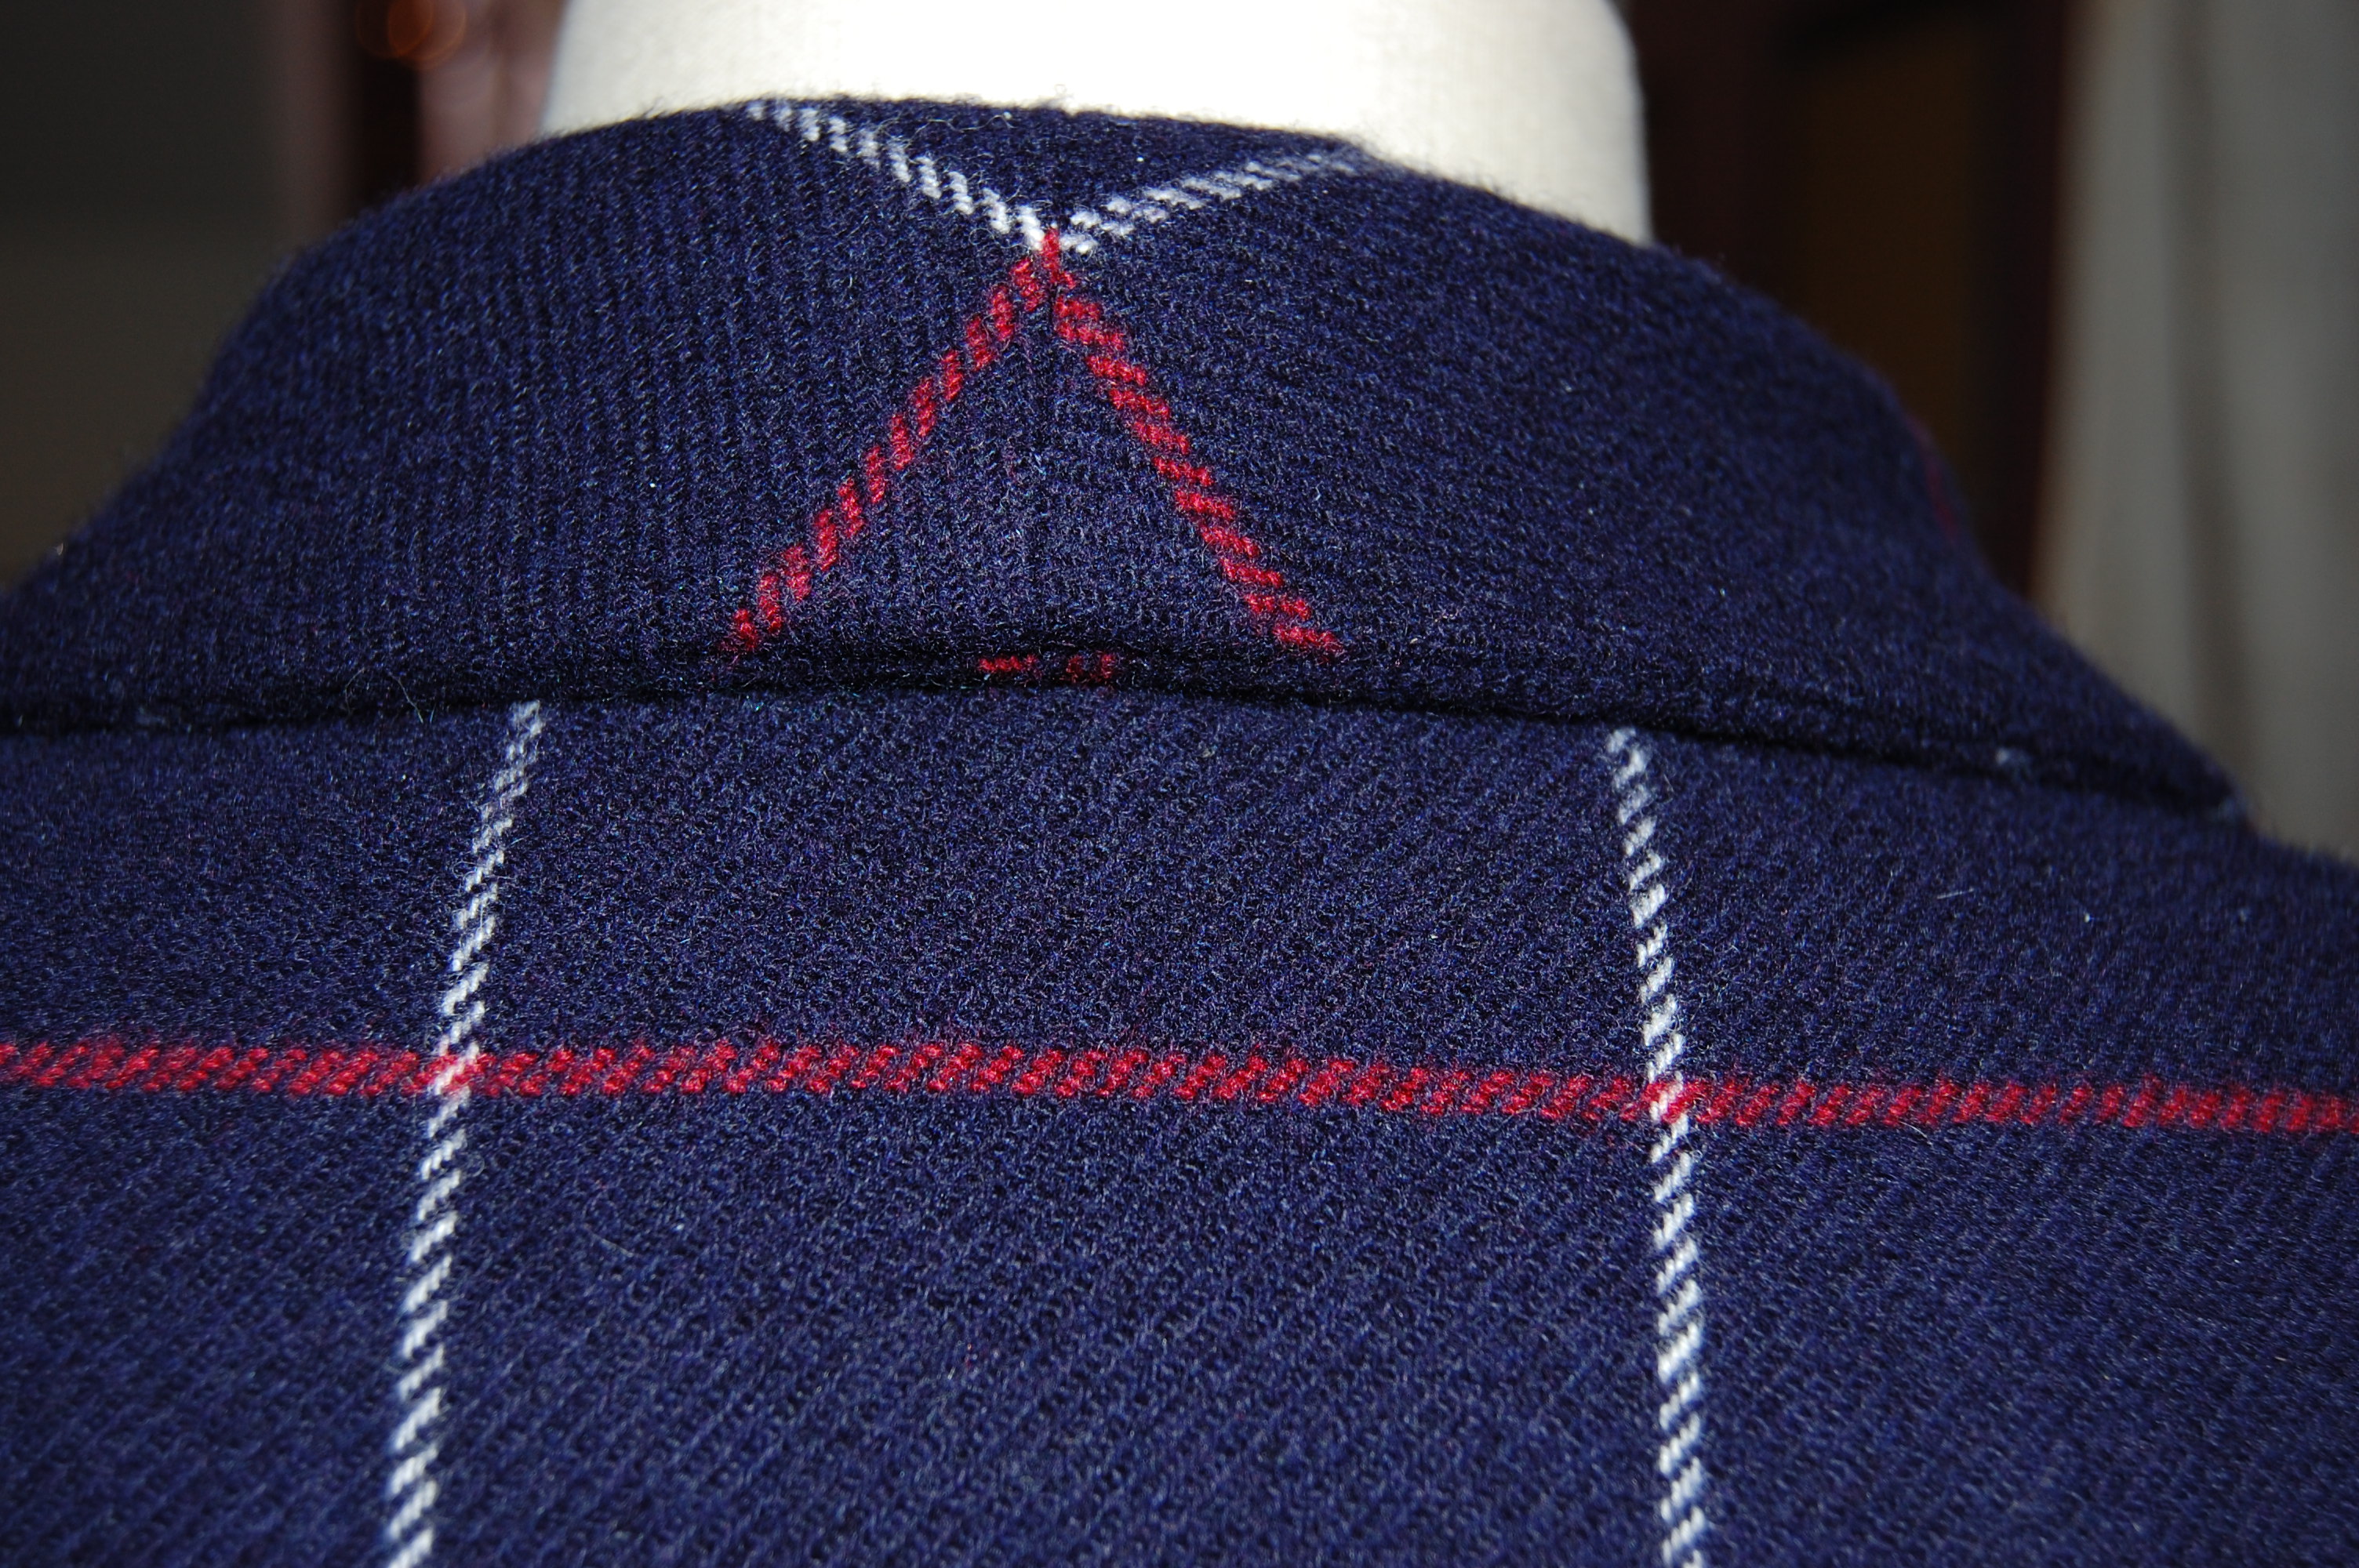
And here is the right collar section.
I hope that Jo Mattli would approve of a dress being paired with his jacket. He would probably refer to it as a “slimline afternoon dress” were he alive. I have no doubt he created many such beautiful dresses in his lifetime.
[NOTE: Jo Mattli is the subject of a thesis by Dr. Caroline Ness entitled Famous, Forgotten, Found: rediscovering the career of London couture fashion designer Giuseppe (Jo) Mattli, 1934-1980.]