Vogue patterns from the 1950s, ‘60s, and ‘70s never cease to amaze me. The intricacies of construction, the detailed instructions, and the artistic styling of so many of the patterns from those three decades make sewing from them such a pleasure. Each one is like a mini sewing lesson, neatly packaged with beautiful photos and/or sketches and precise line drawings.
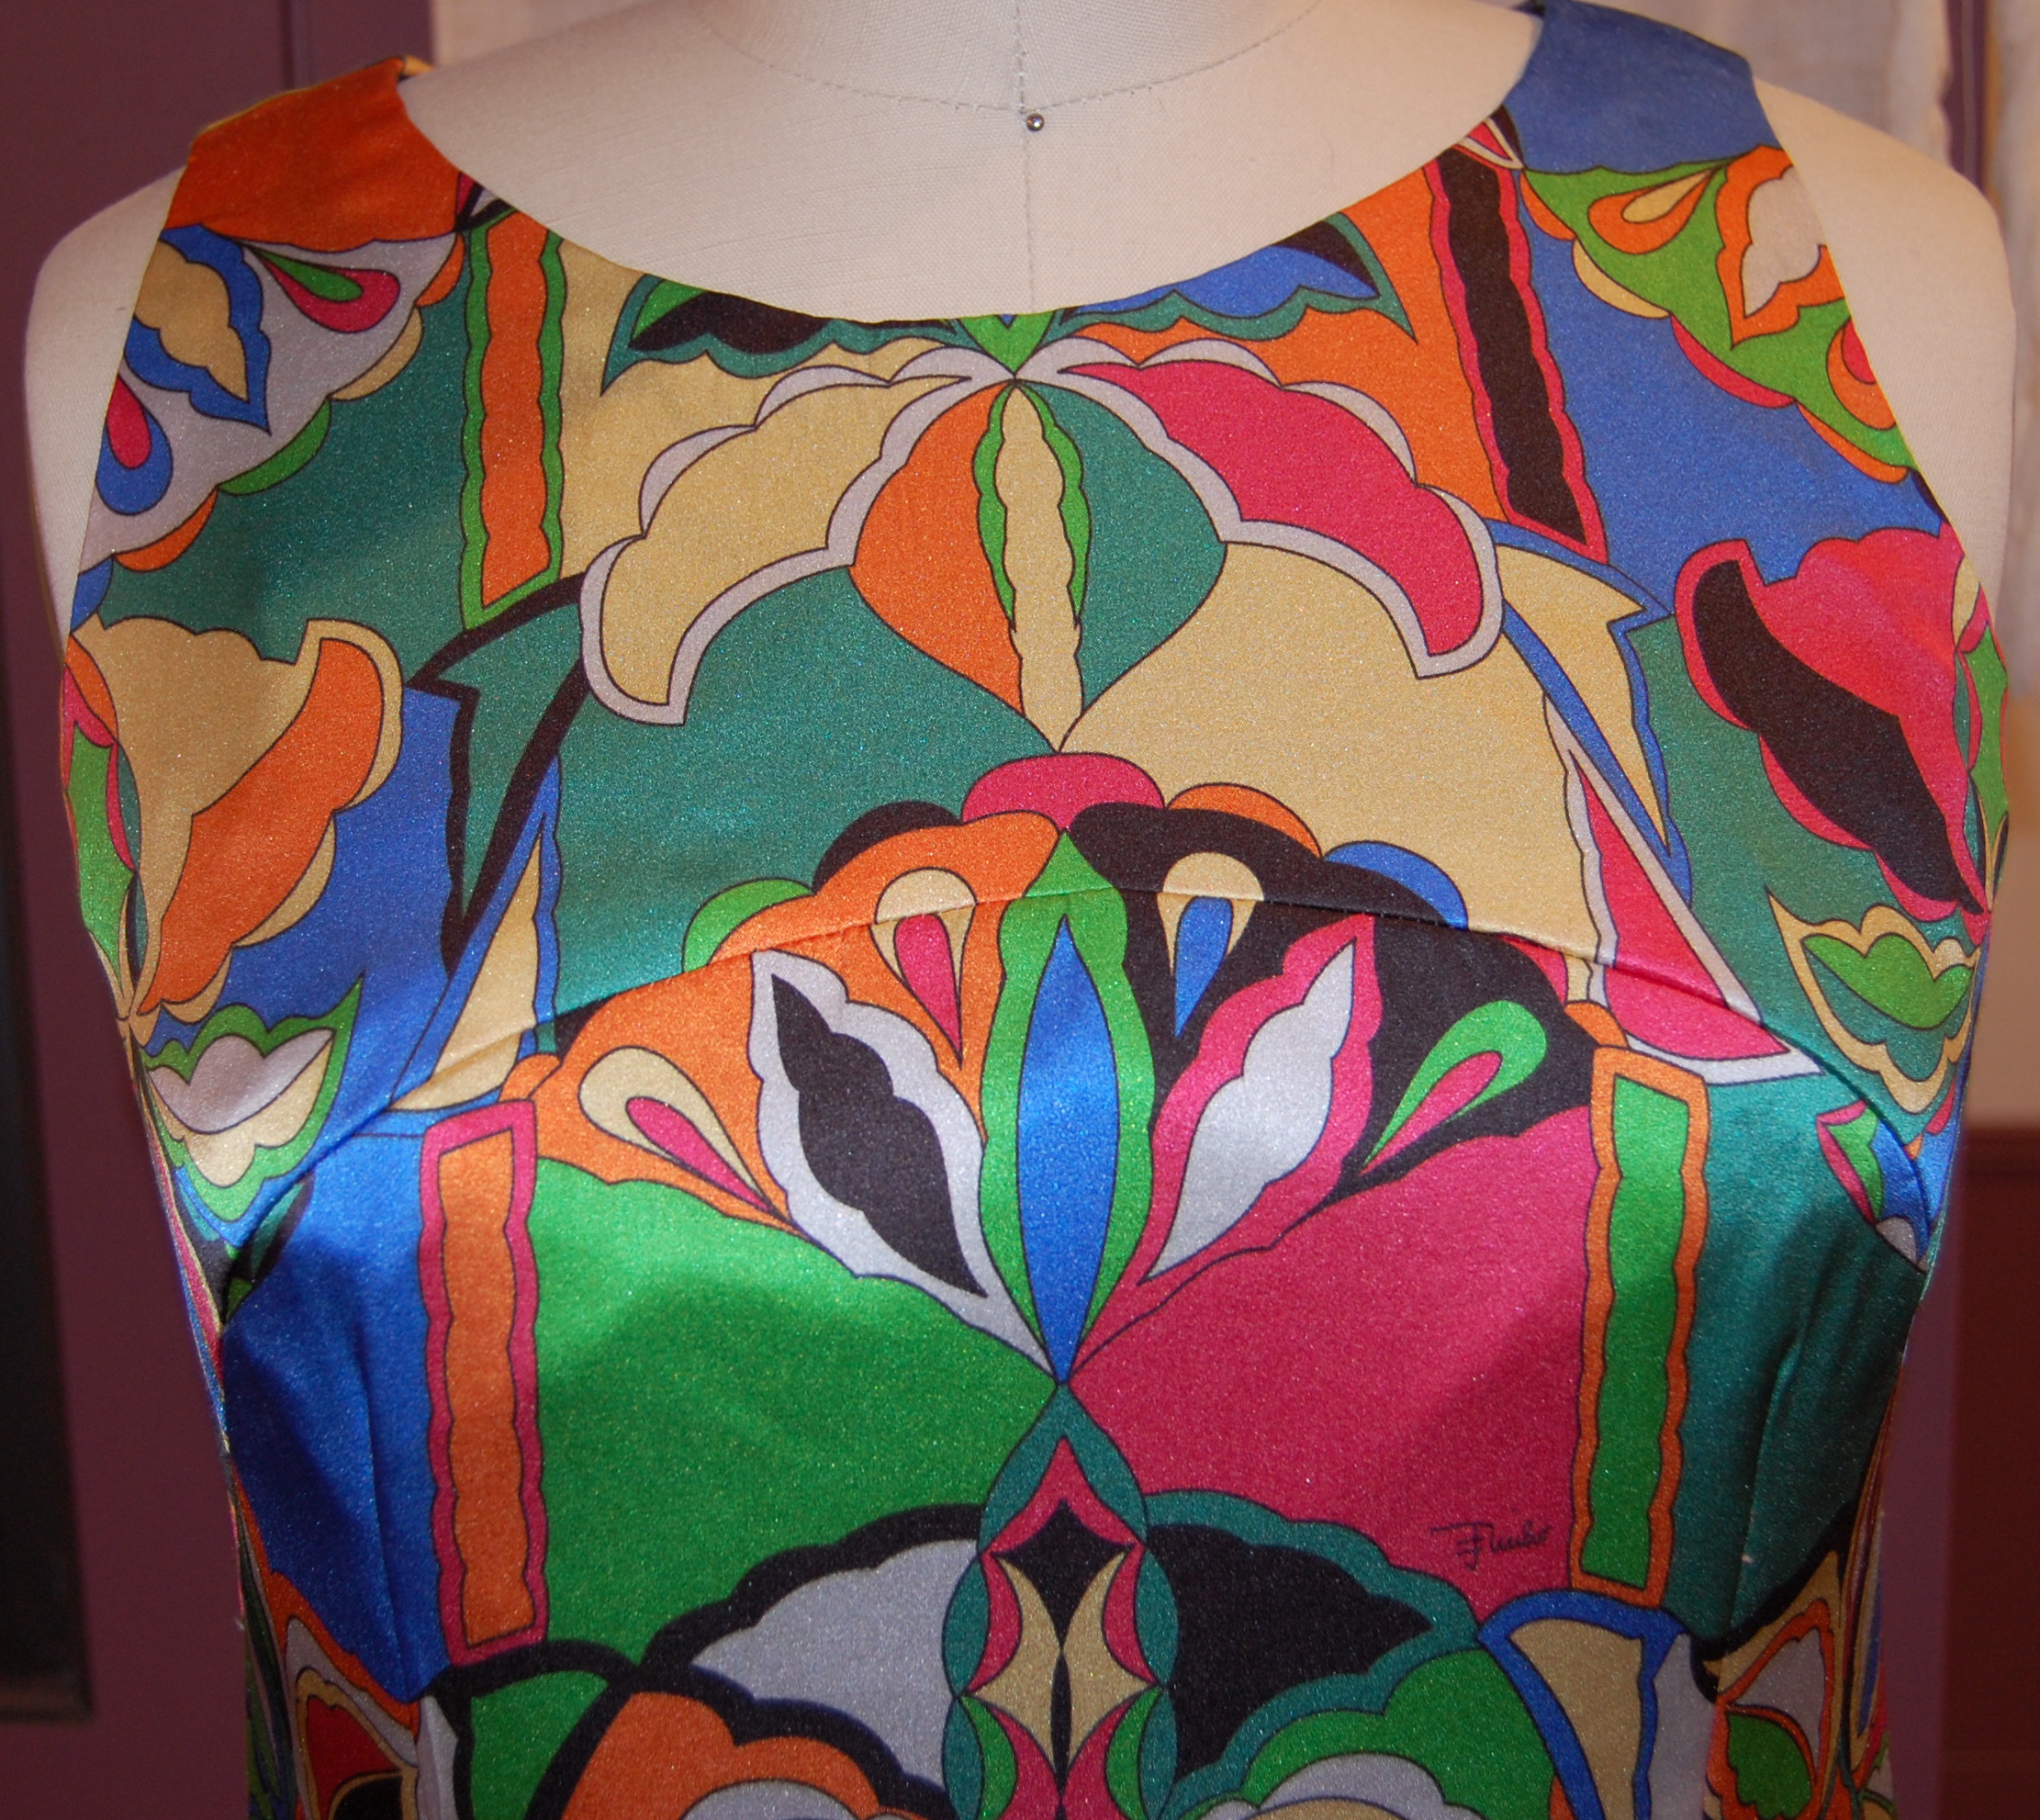
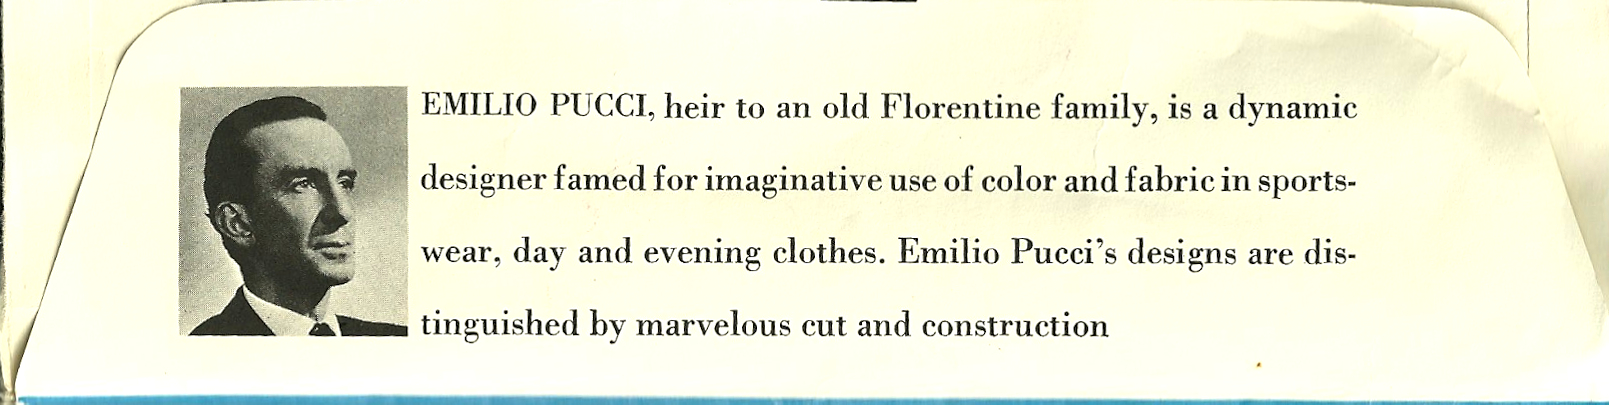
Such has been the Emilio Pucci Designer pattern on which I am currently working.
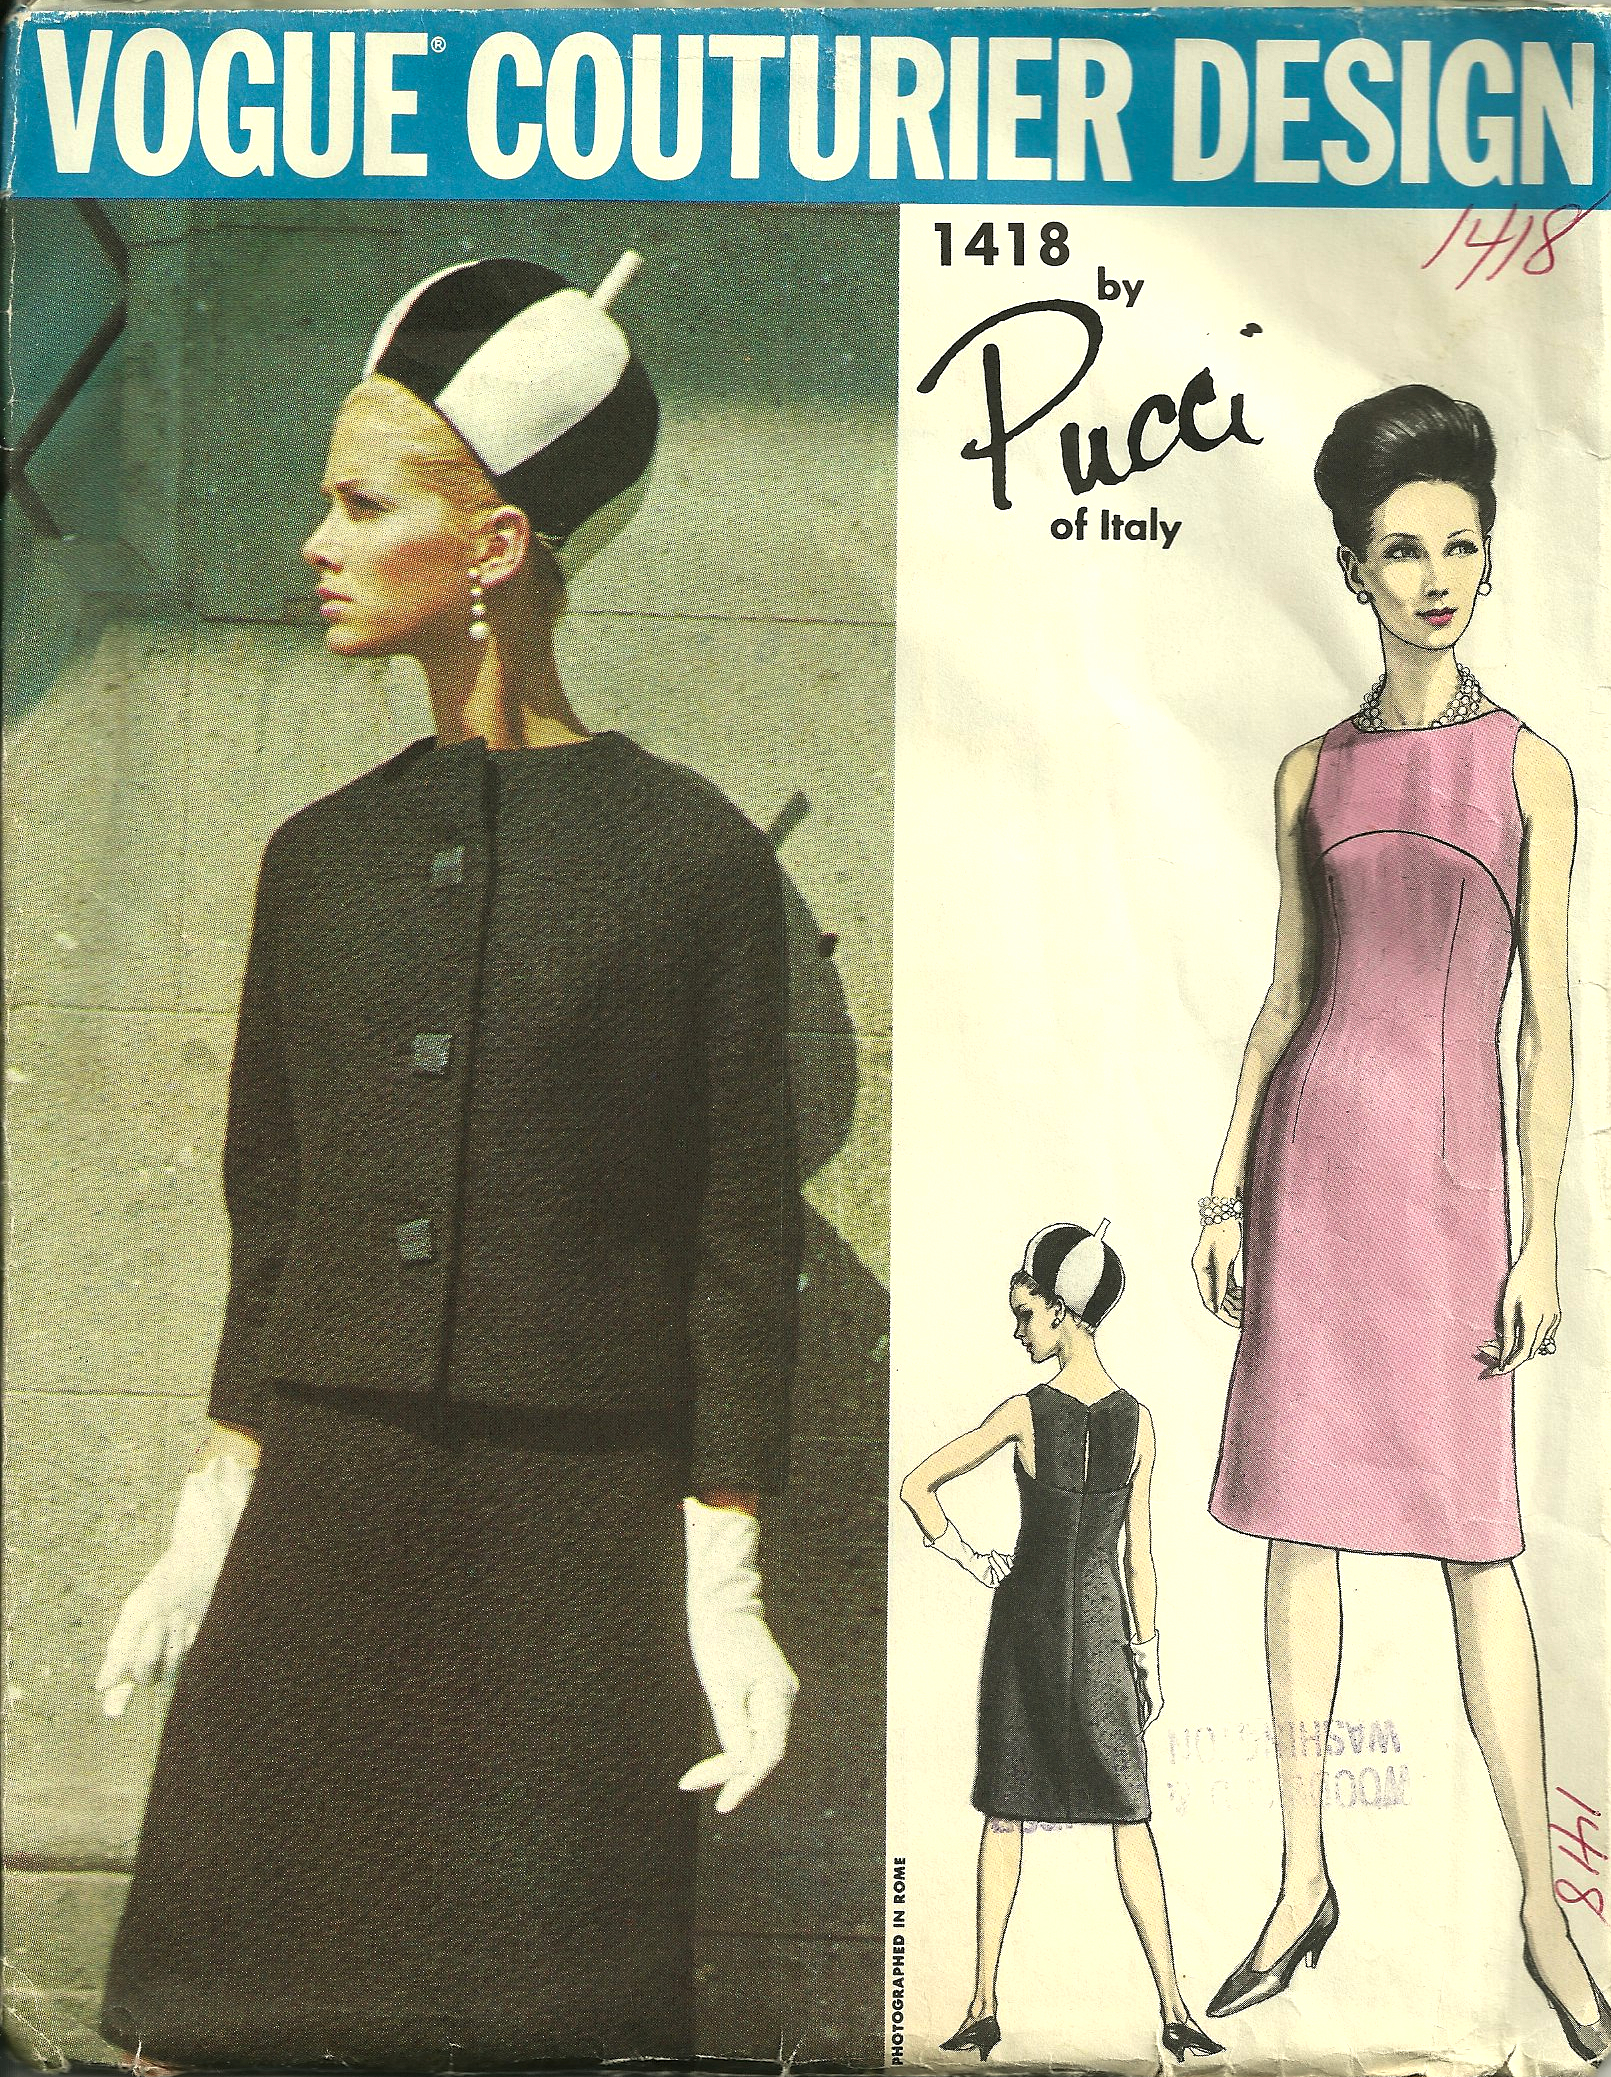
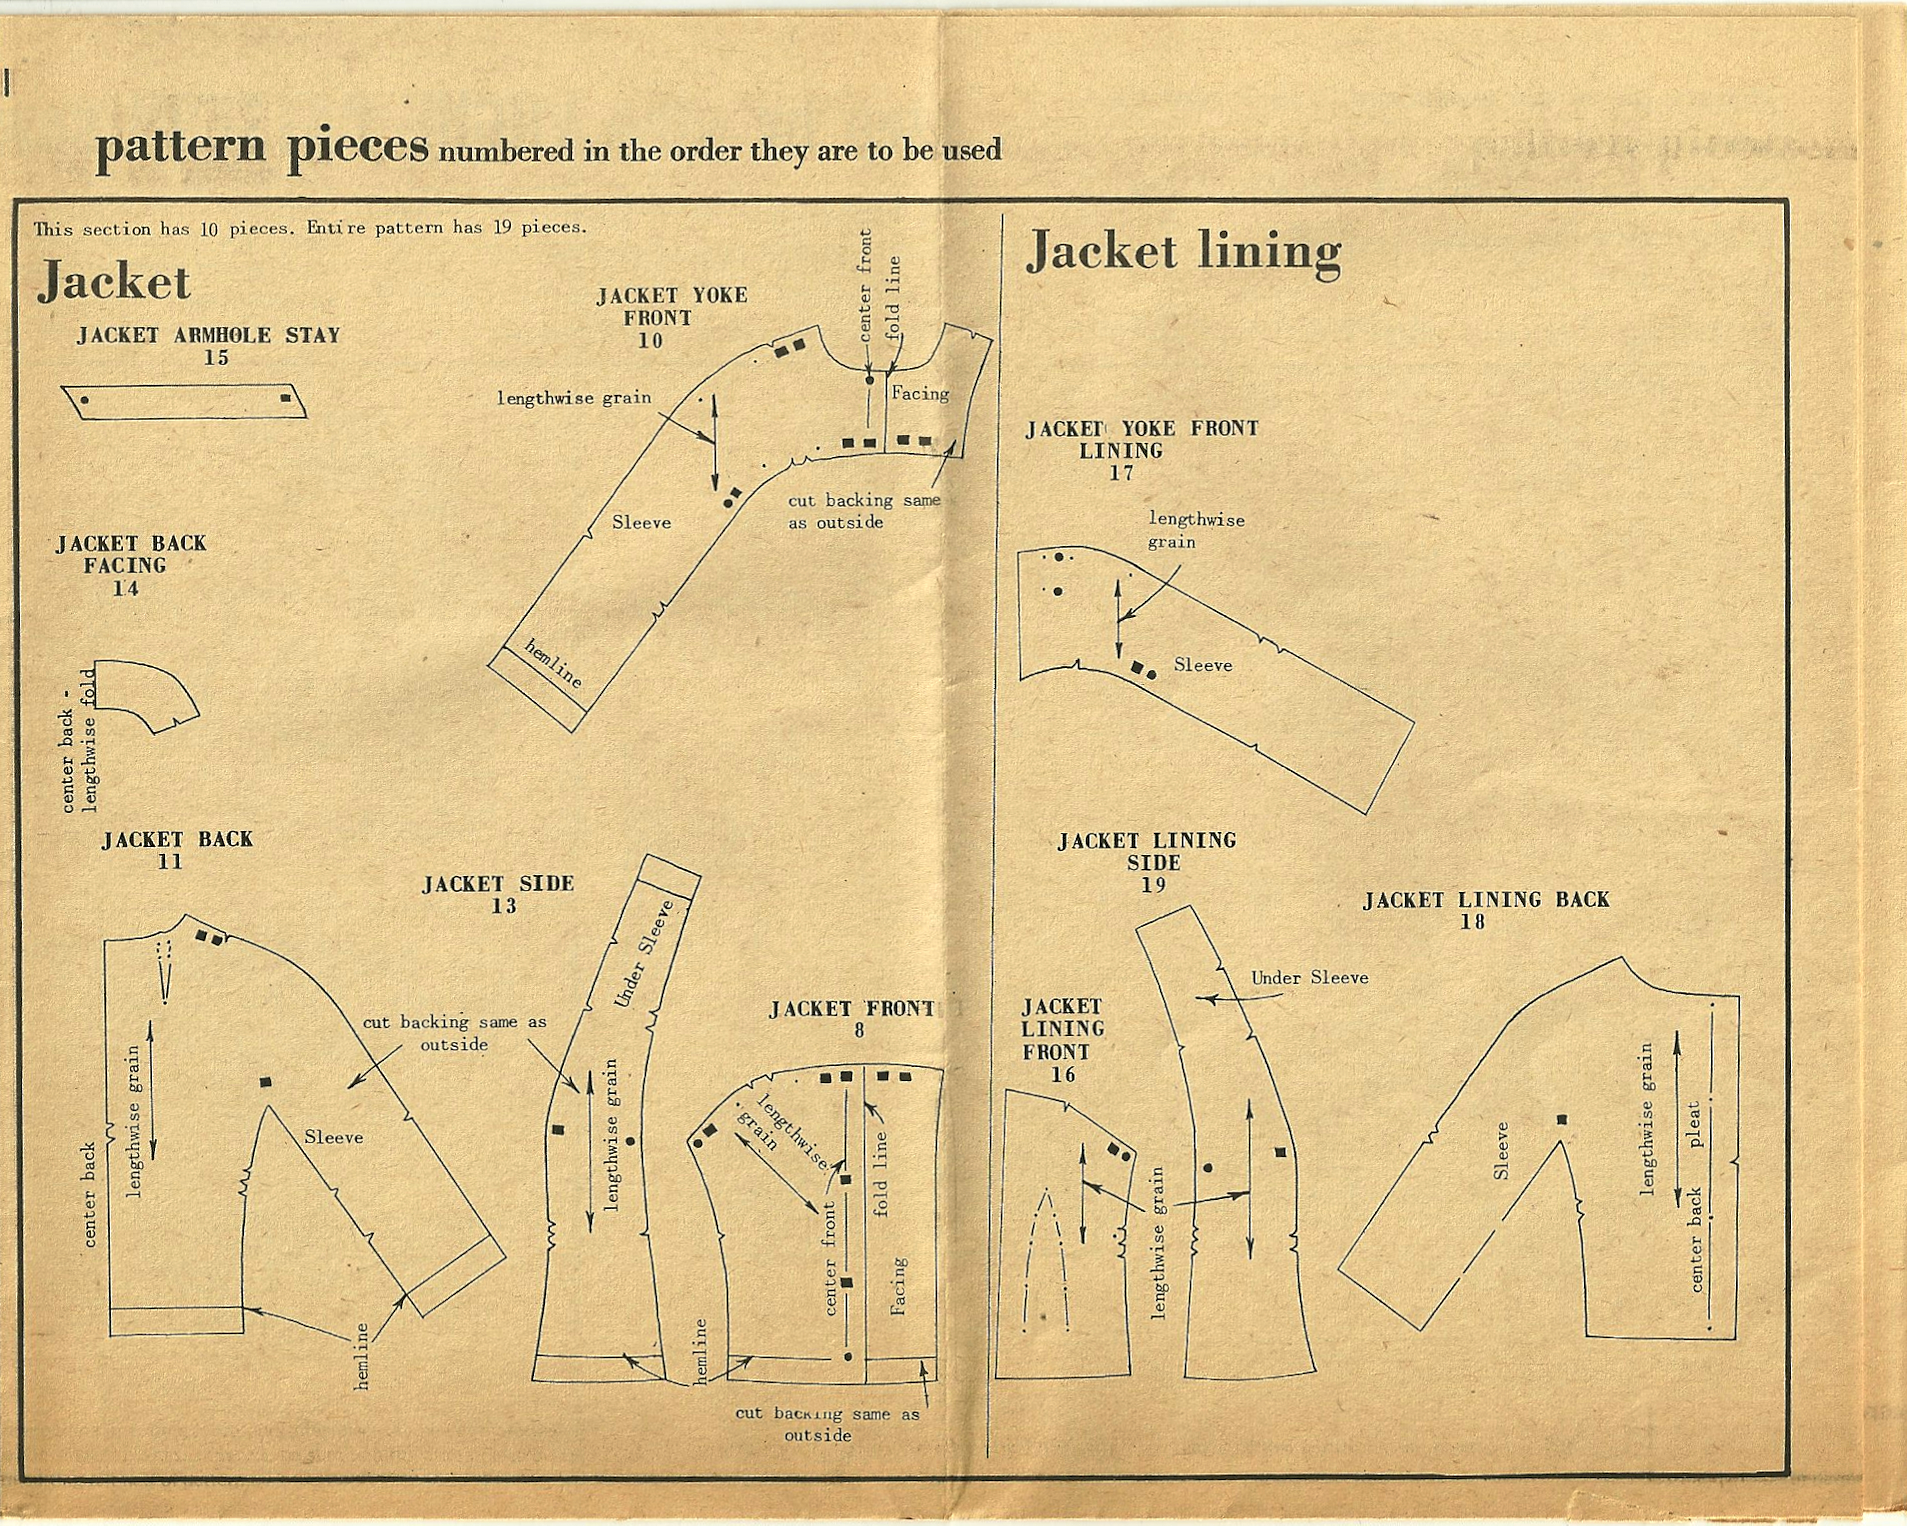
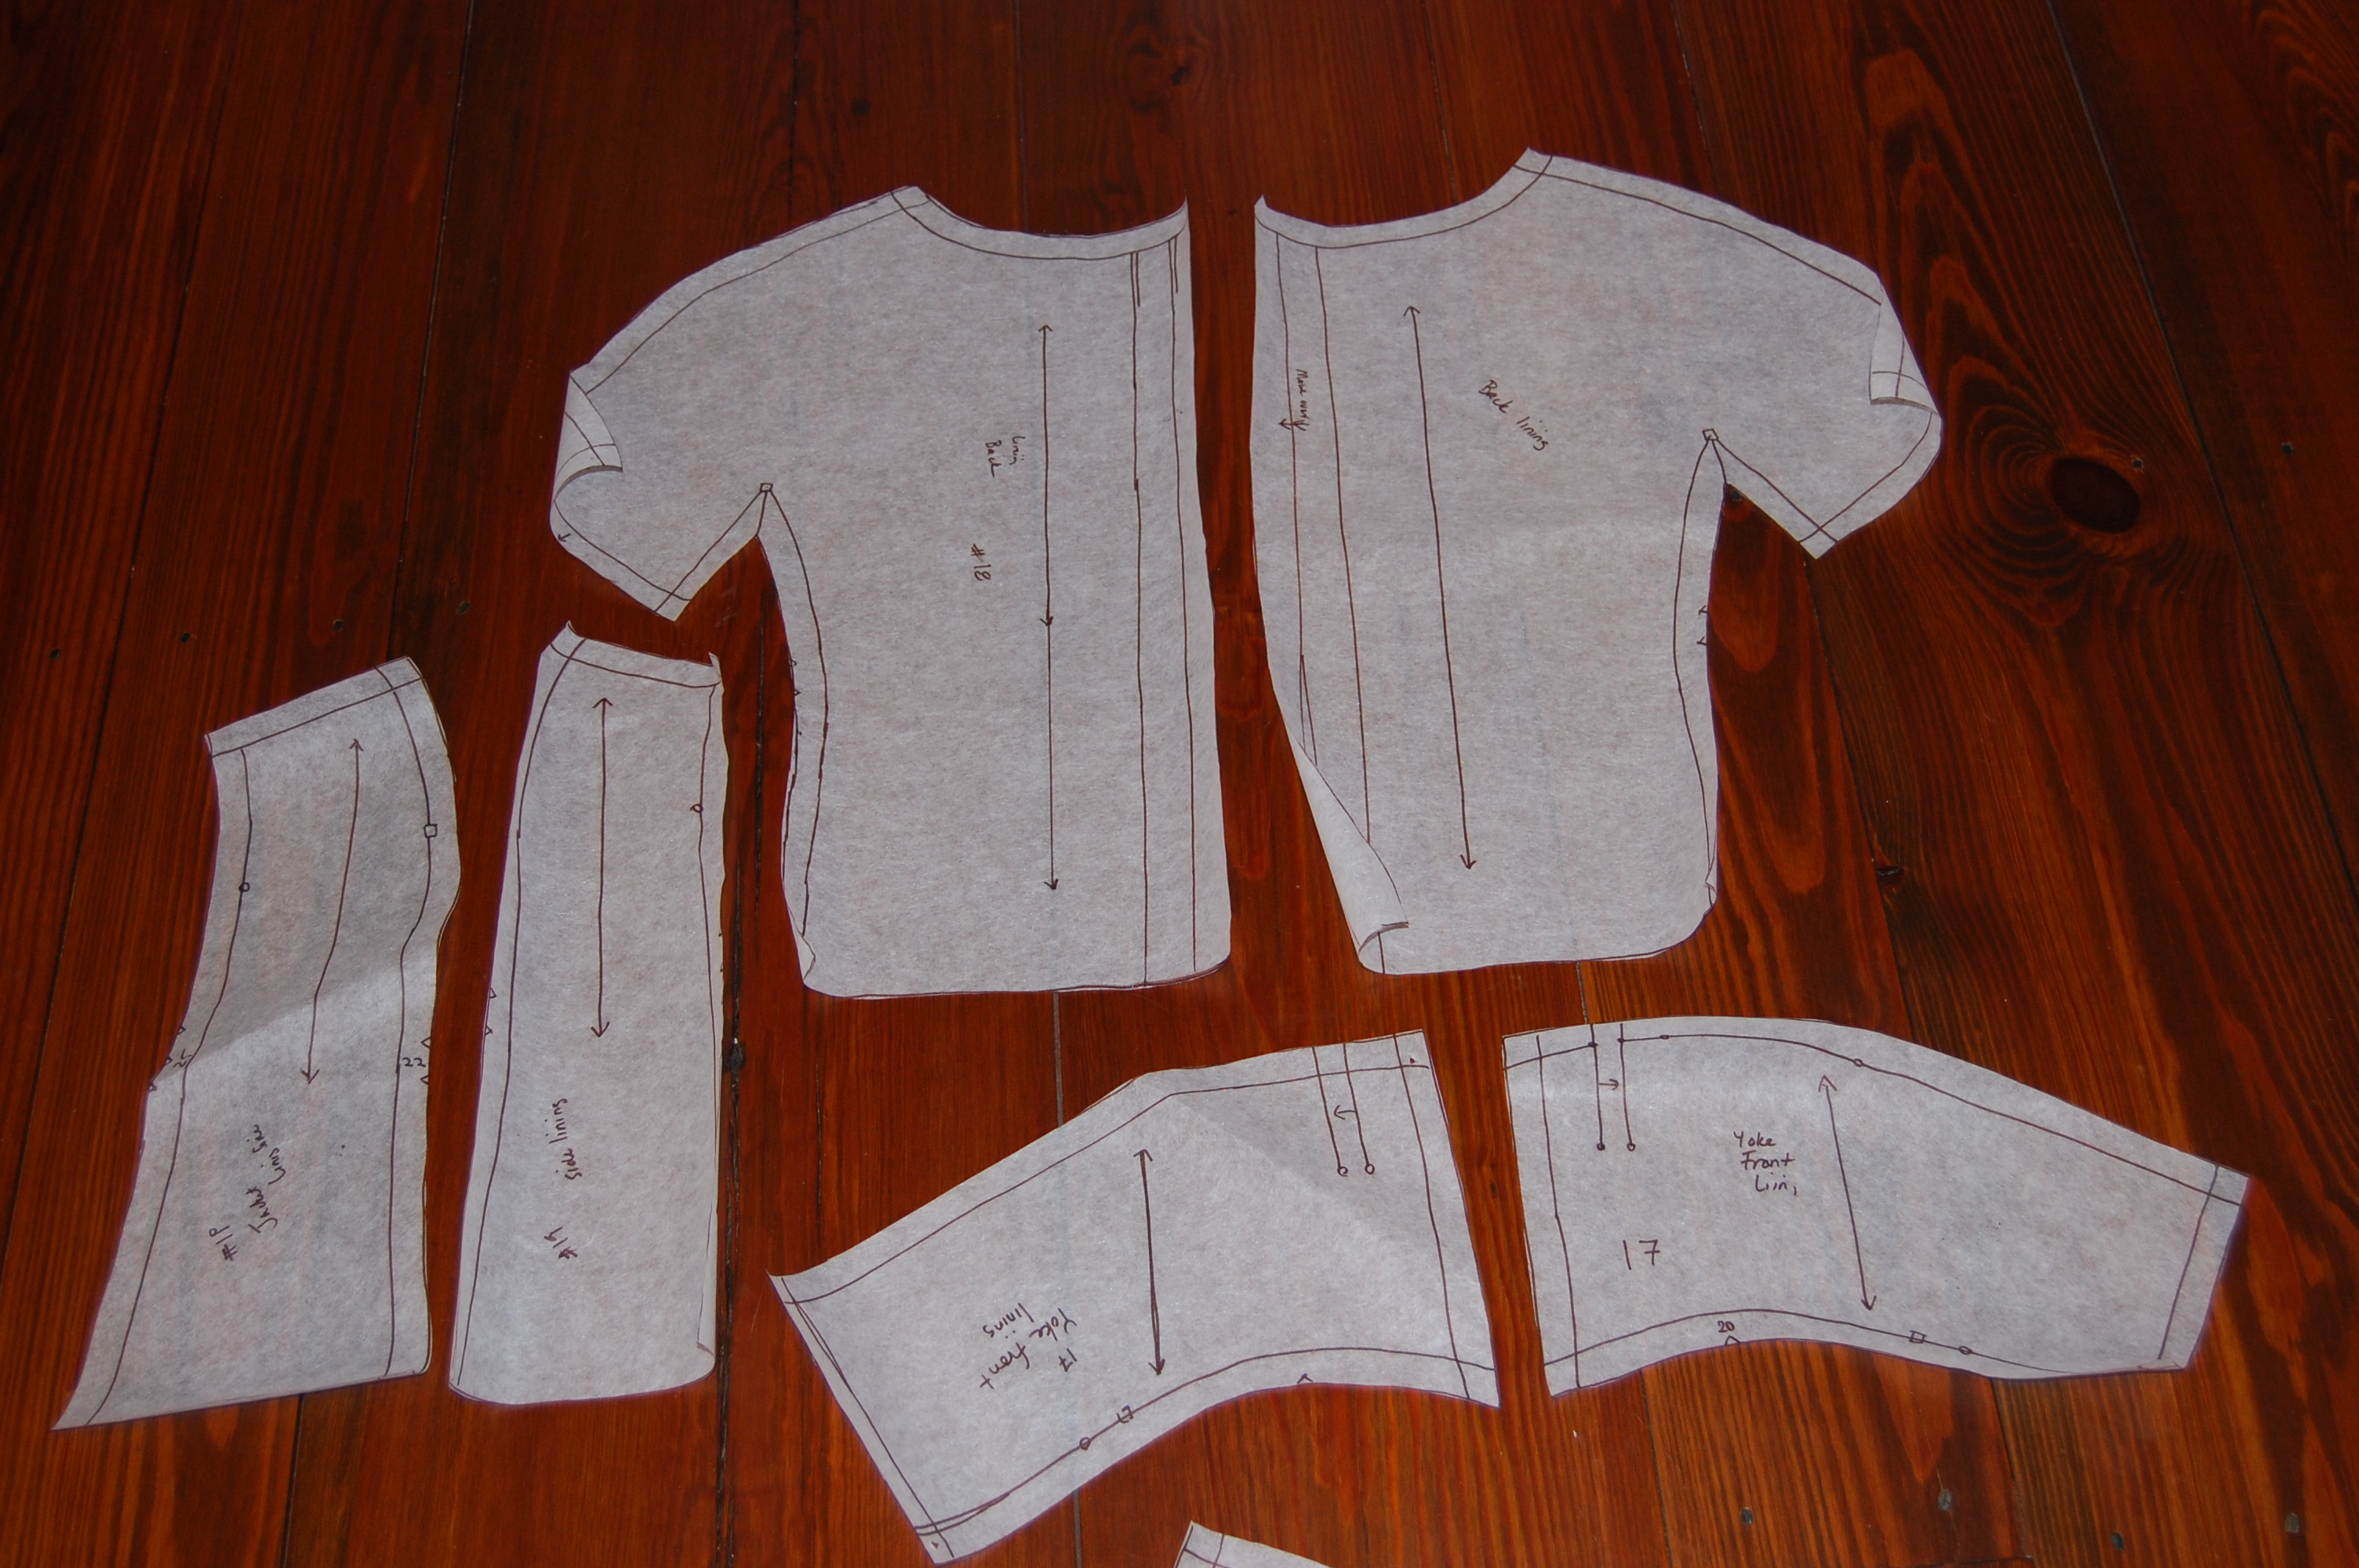
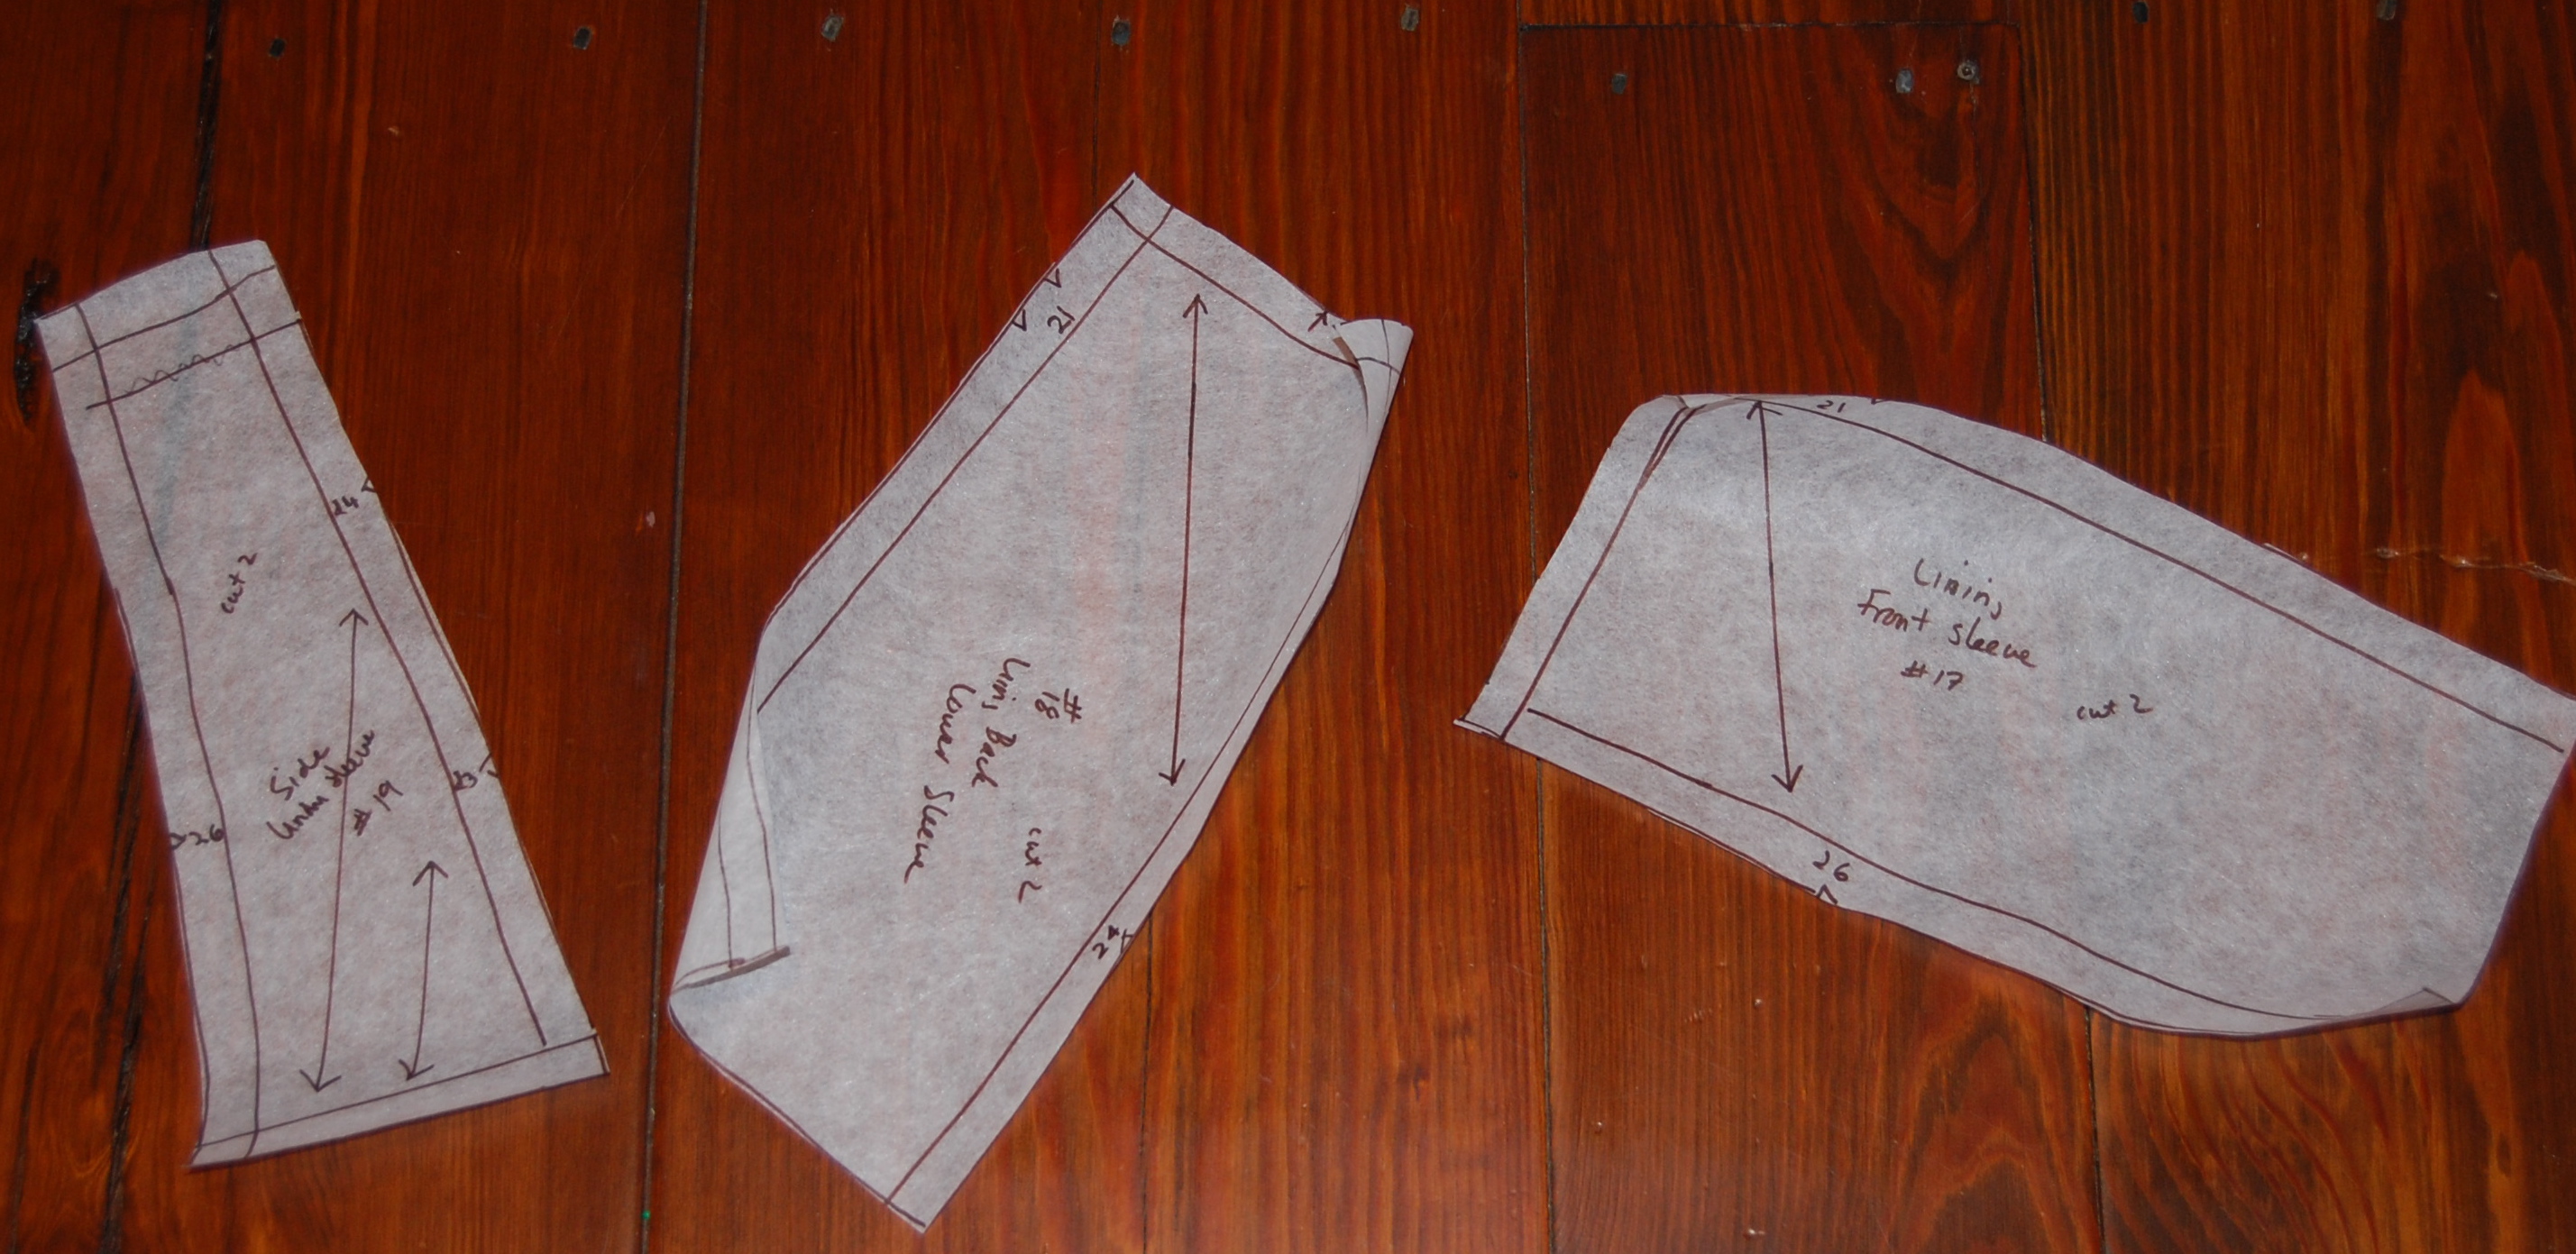
The unusual construction of the jacket caught my attention as I was trying to lay out its lining pattern pieces along with pattern pieces for the dress. As I mentioned before, the front of the jacket is cut on the bias. However the interfacing and the lining pieces for the front are cut on the straight of grain. How, I wondered, is that going to work? The answer to that question is one of the most fascinating construction methods I have ever come across.
The interfacing and the lining both have deep darts to form the bust line. Of course, the jacket front, cut on the bias, is going to have built-in give for the bust. But in addition to that, there was a “cup-like” pattern piece for adding to the front interfacing, clearly with the goal of enhancing the bust line, and defining it.

The “cup-like” pattern piece is in the lower right. Notice the large dart in the piece next to it.
Here is the instruction page for assembling these interfacings. In effect, it is a process for making an interior bra.
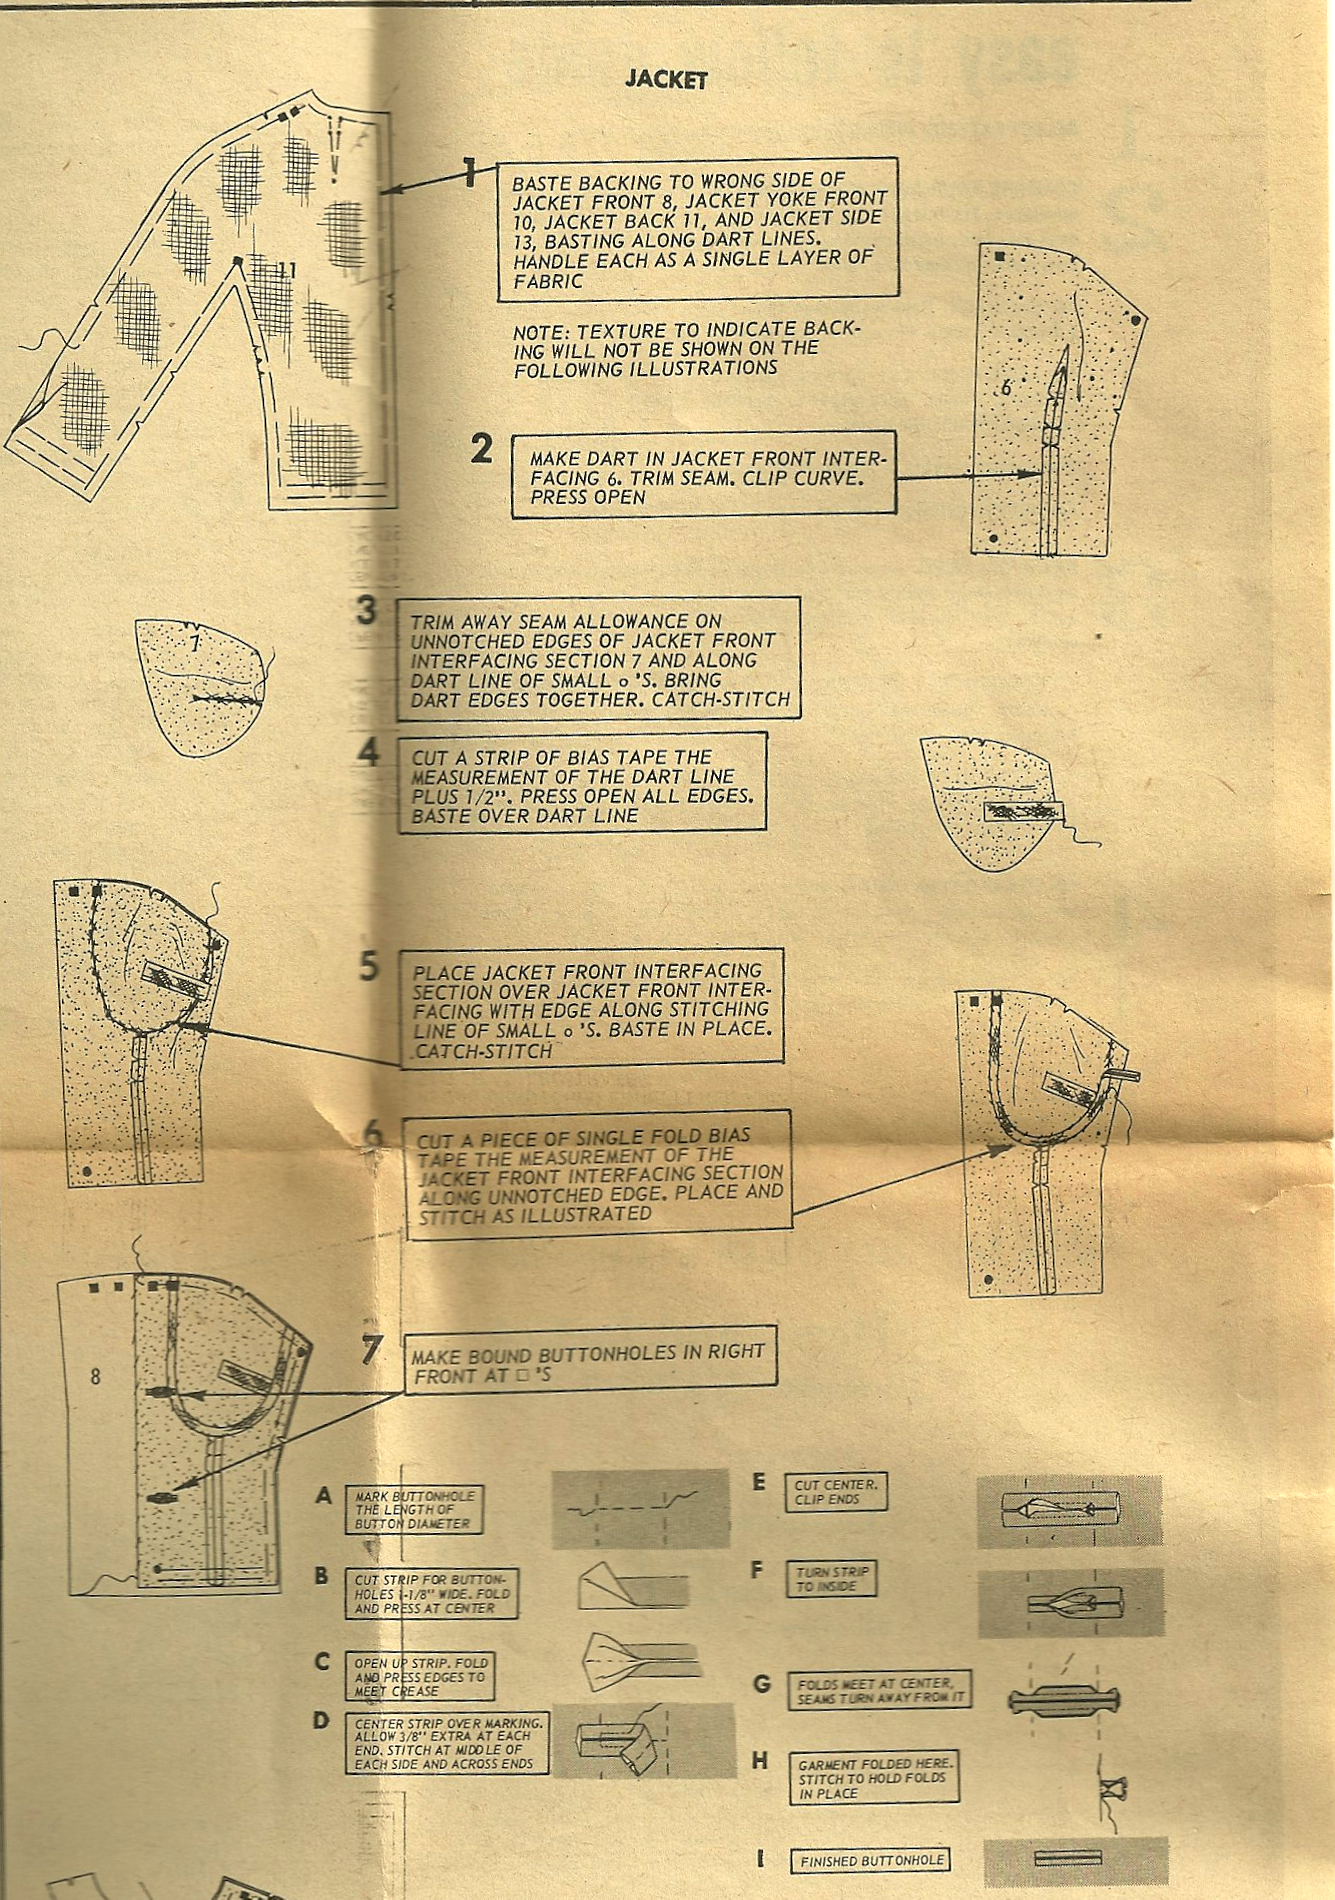
Click on the diagram to read it more easily.
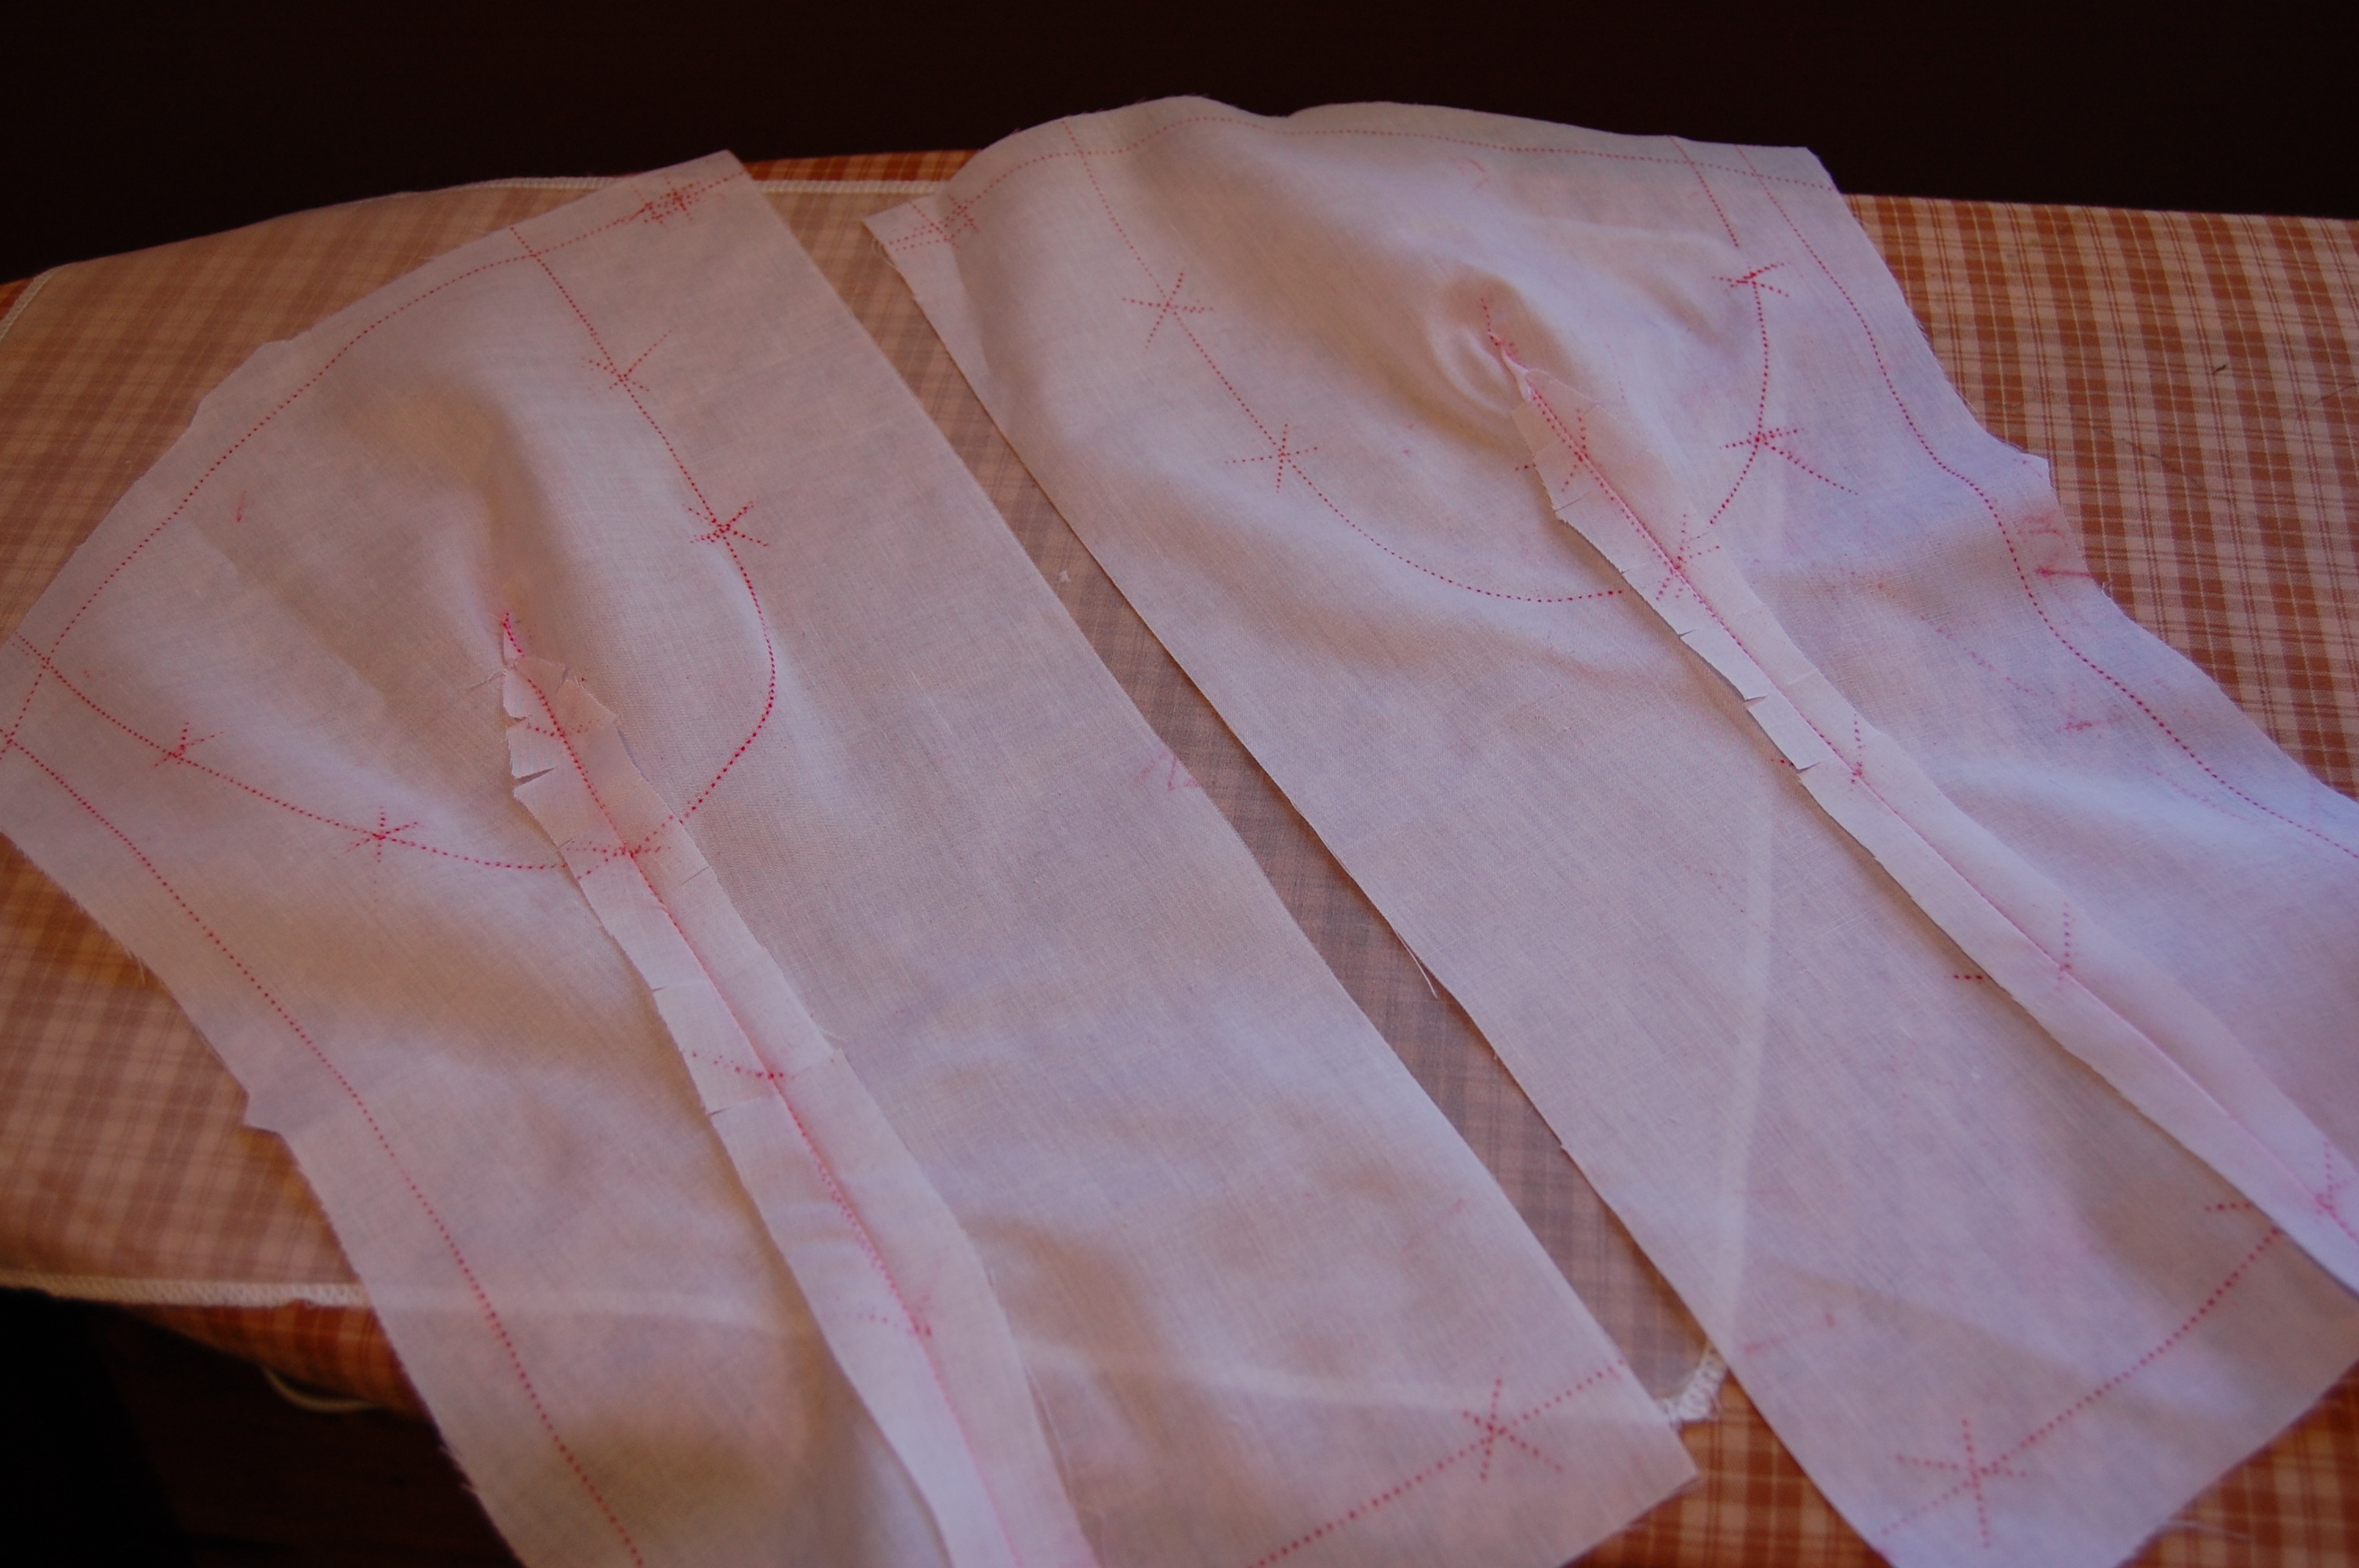
Here are my front interfacing pieces with the darts sewn.
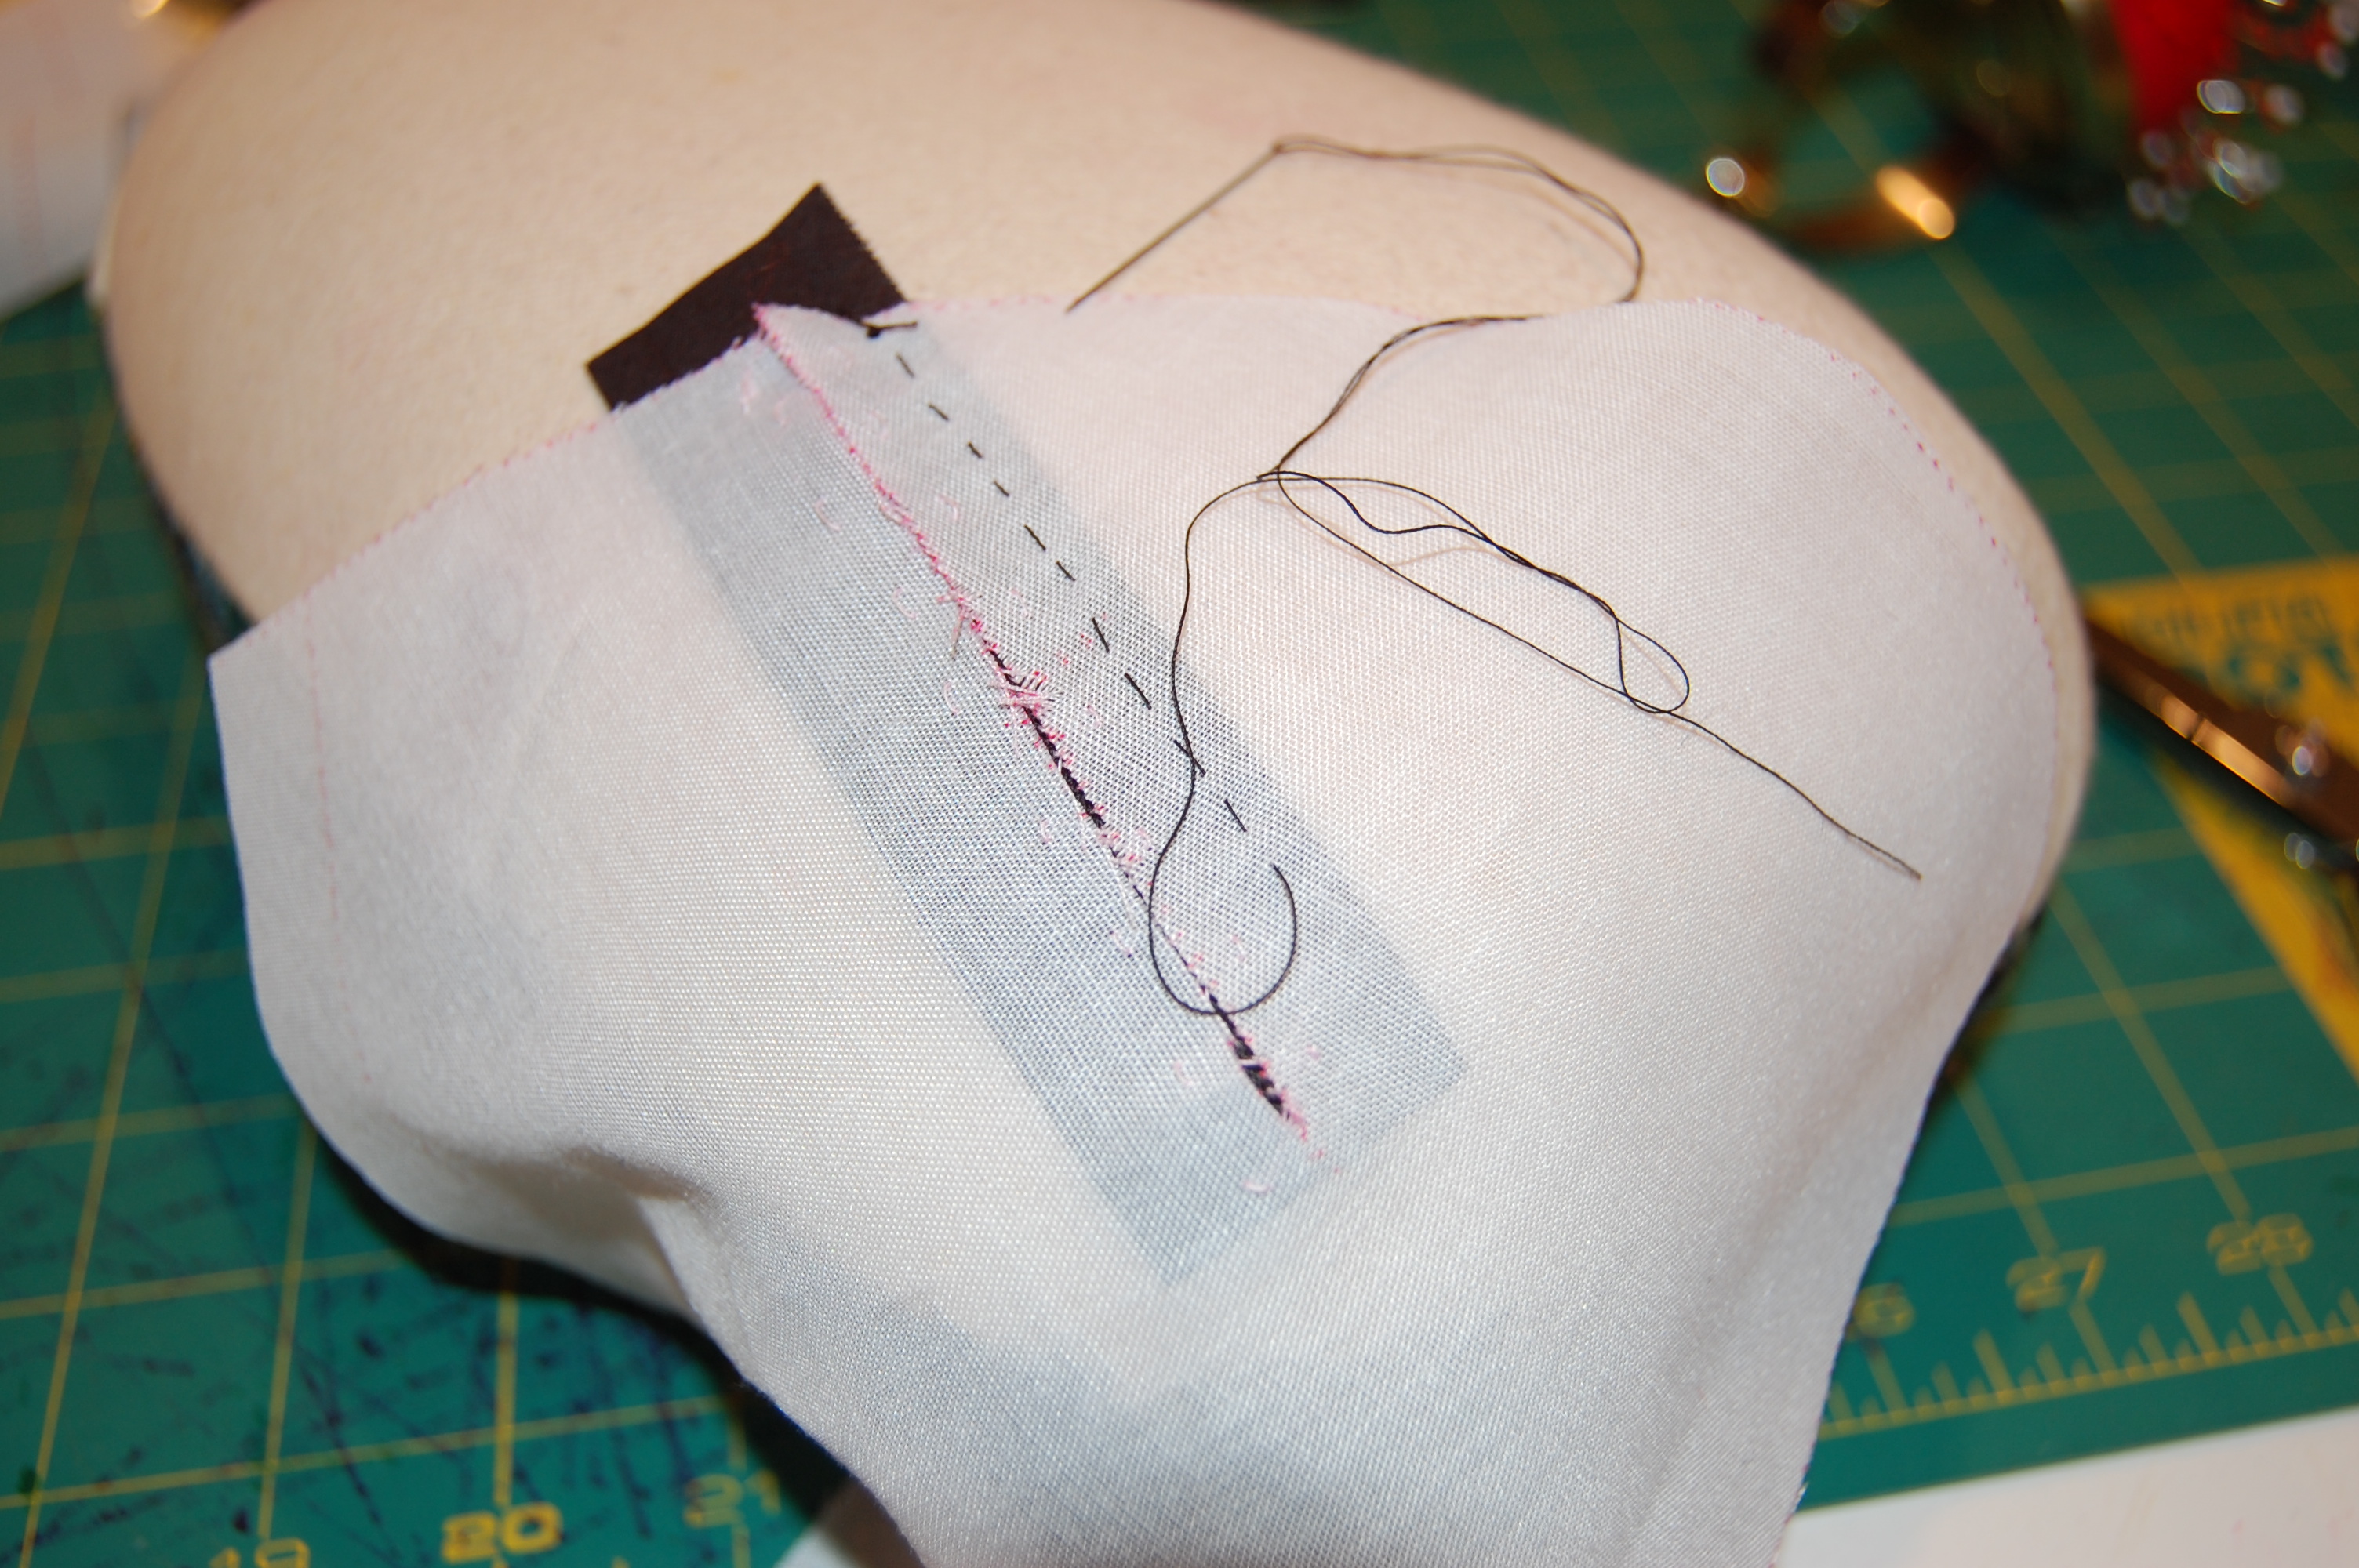
Here I am reinforcing the darts in the bust (cup) interfacings.
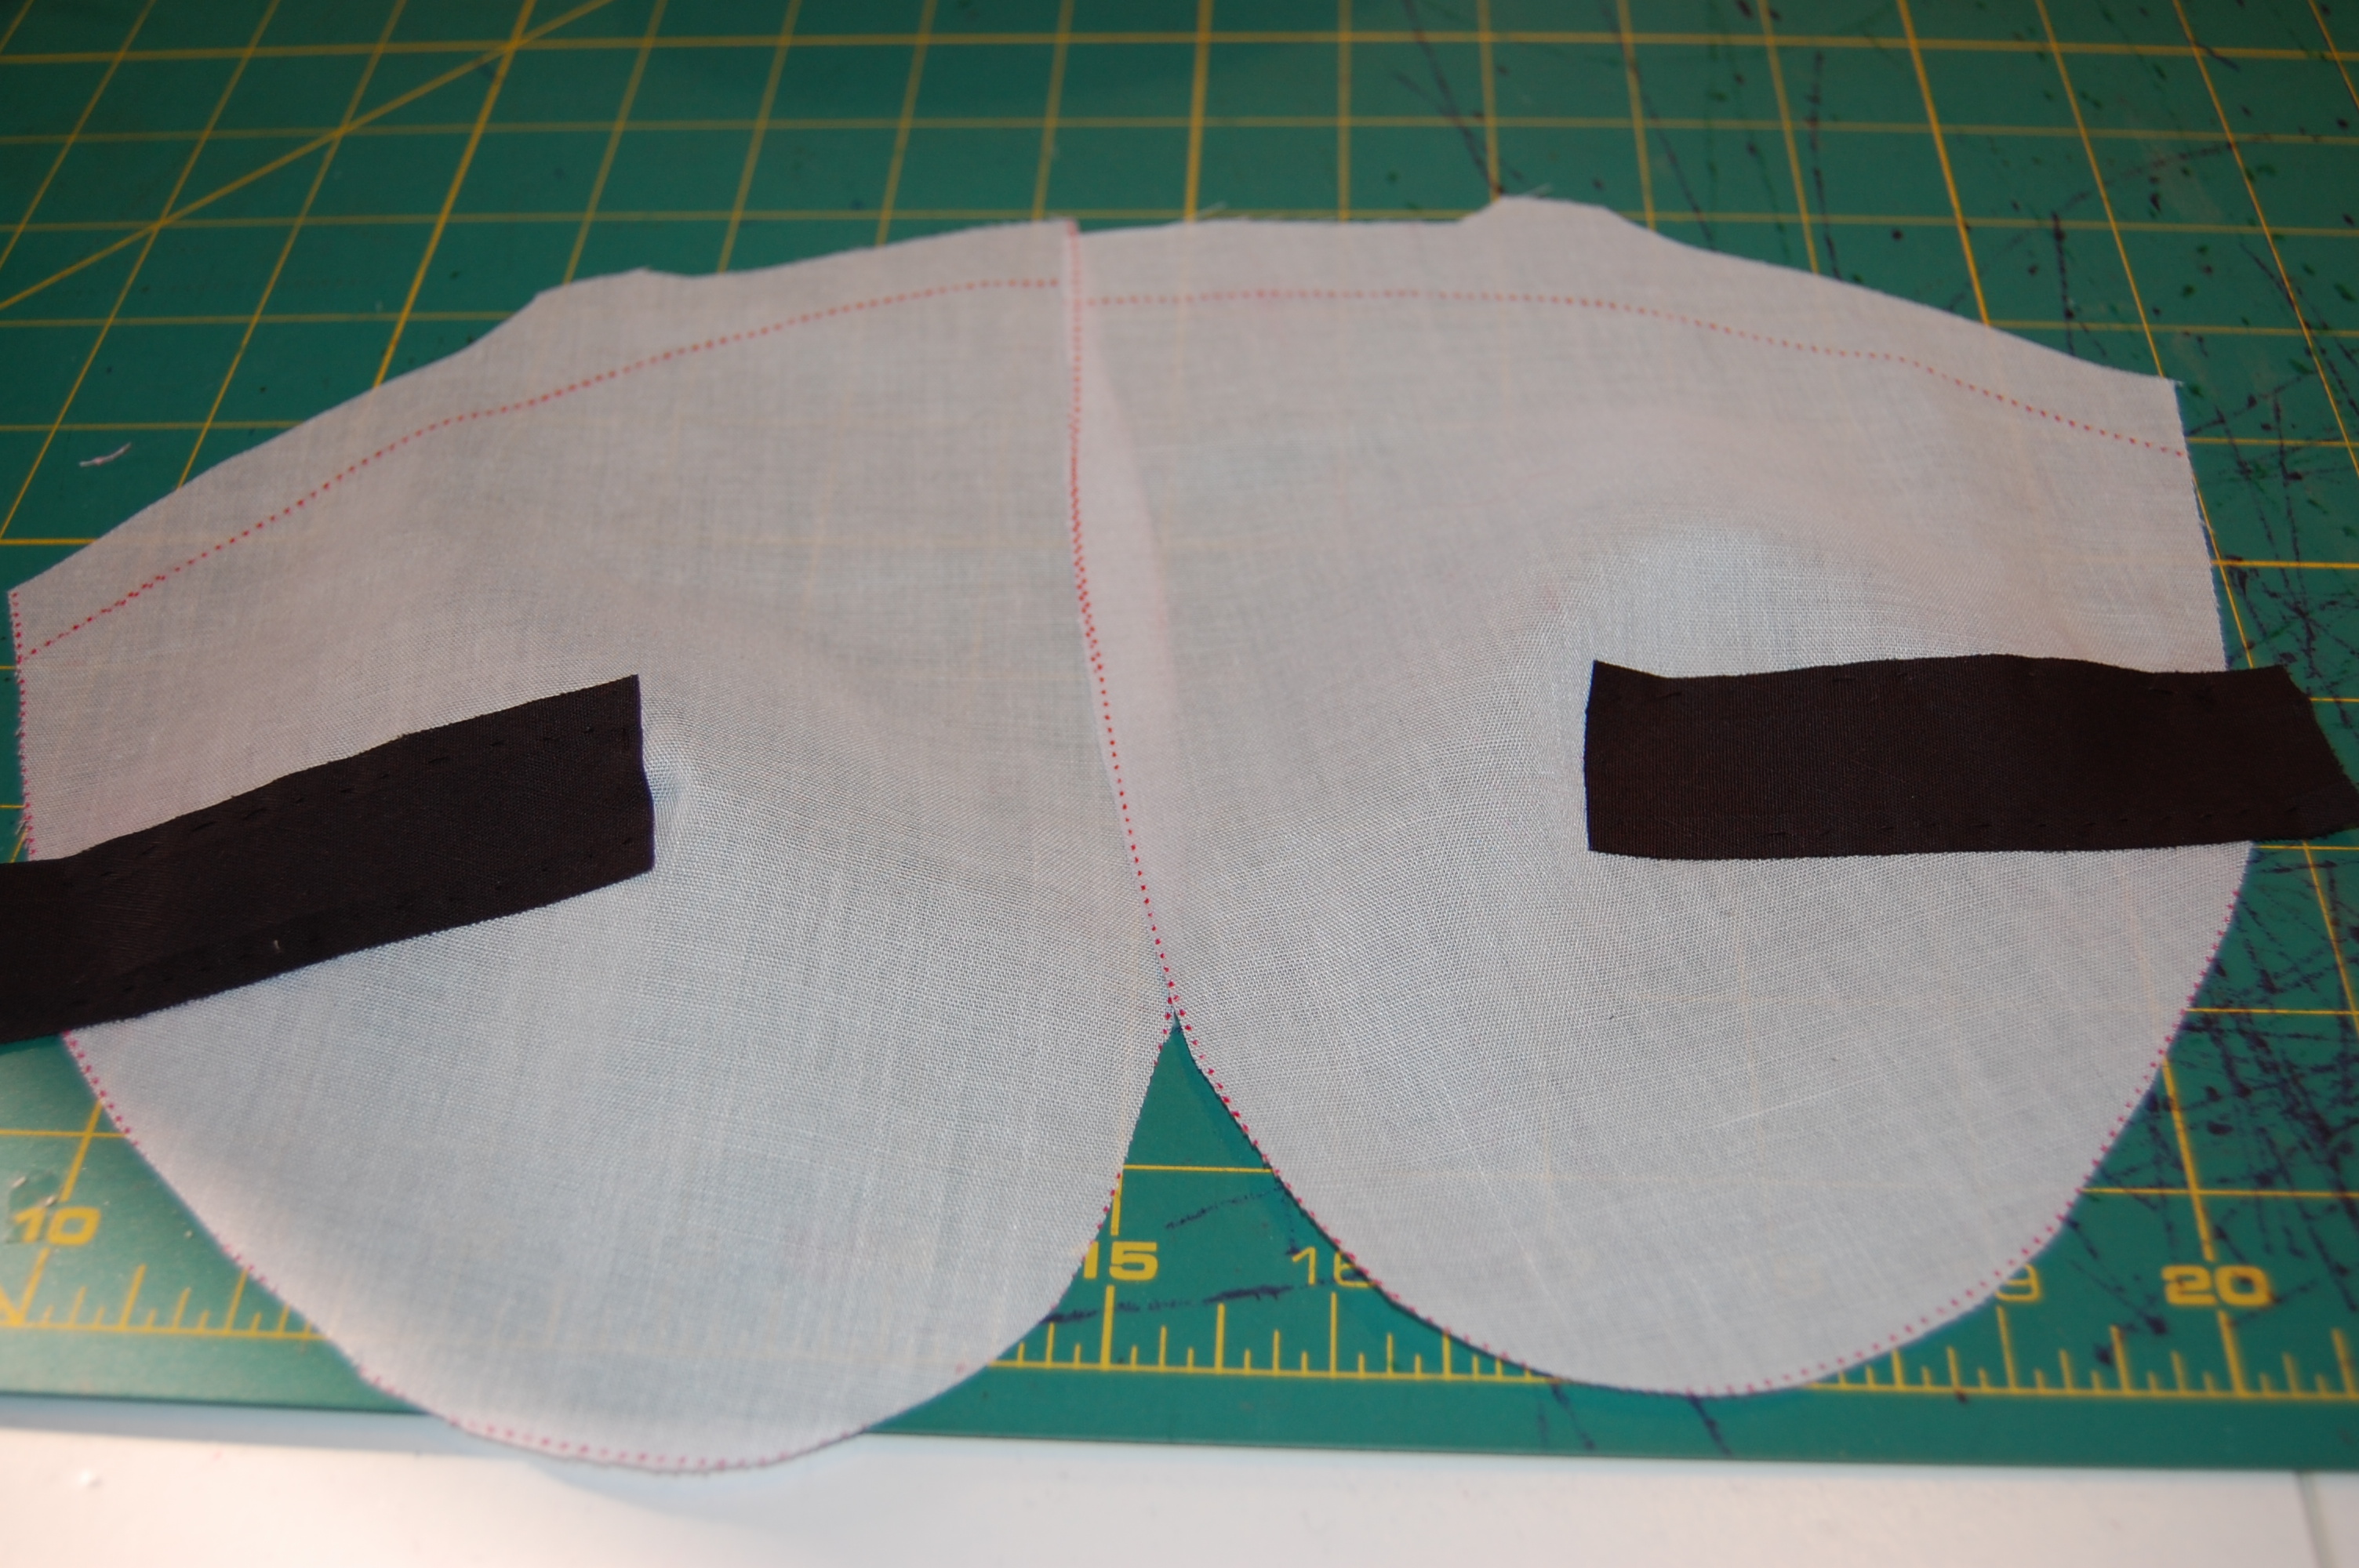
Here they are ready to be added to the base interfacing pieces.
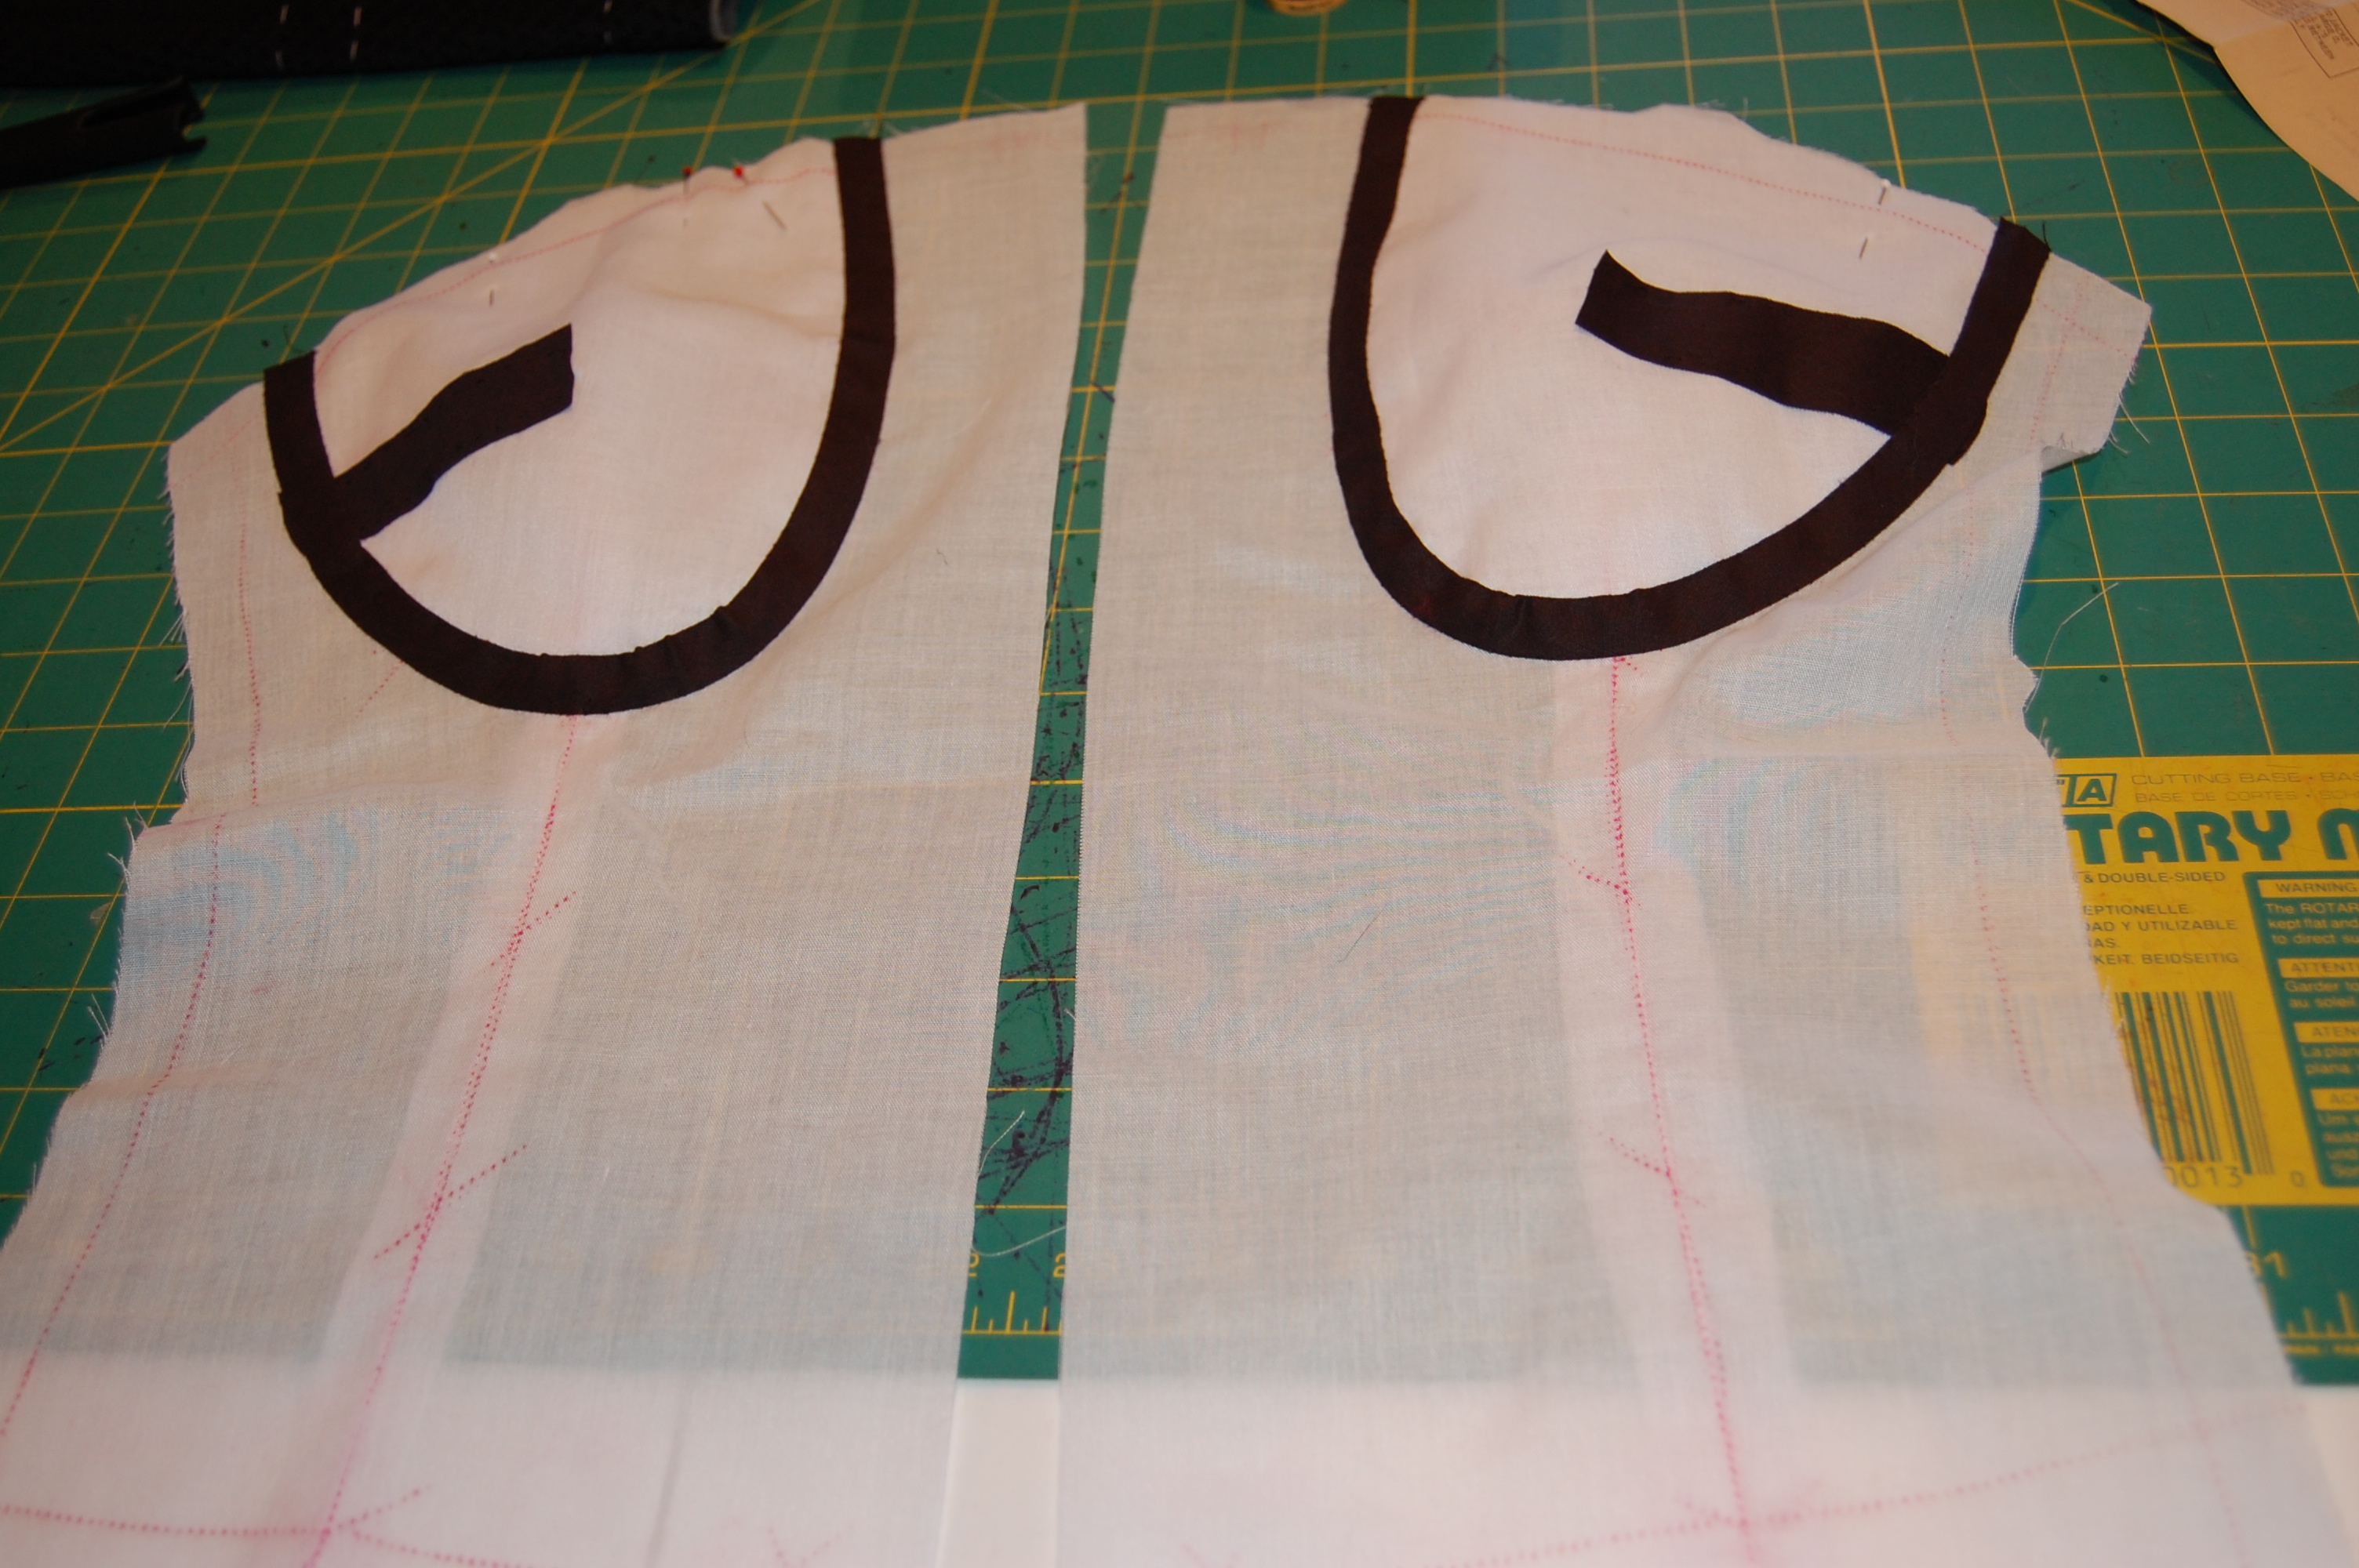
And here are the front interfacings assembled and ready to be attached. Looks kind of risque, don’t you think?
Note also the detailed instructions for making the bound buttonholes on the above instruction sheet. I did a practice run on a bound buttonhole, being careful to layer the fabrics exactly as they would be layered on the front of the jacket.
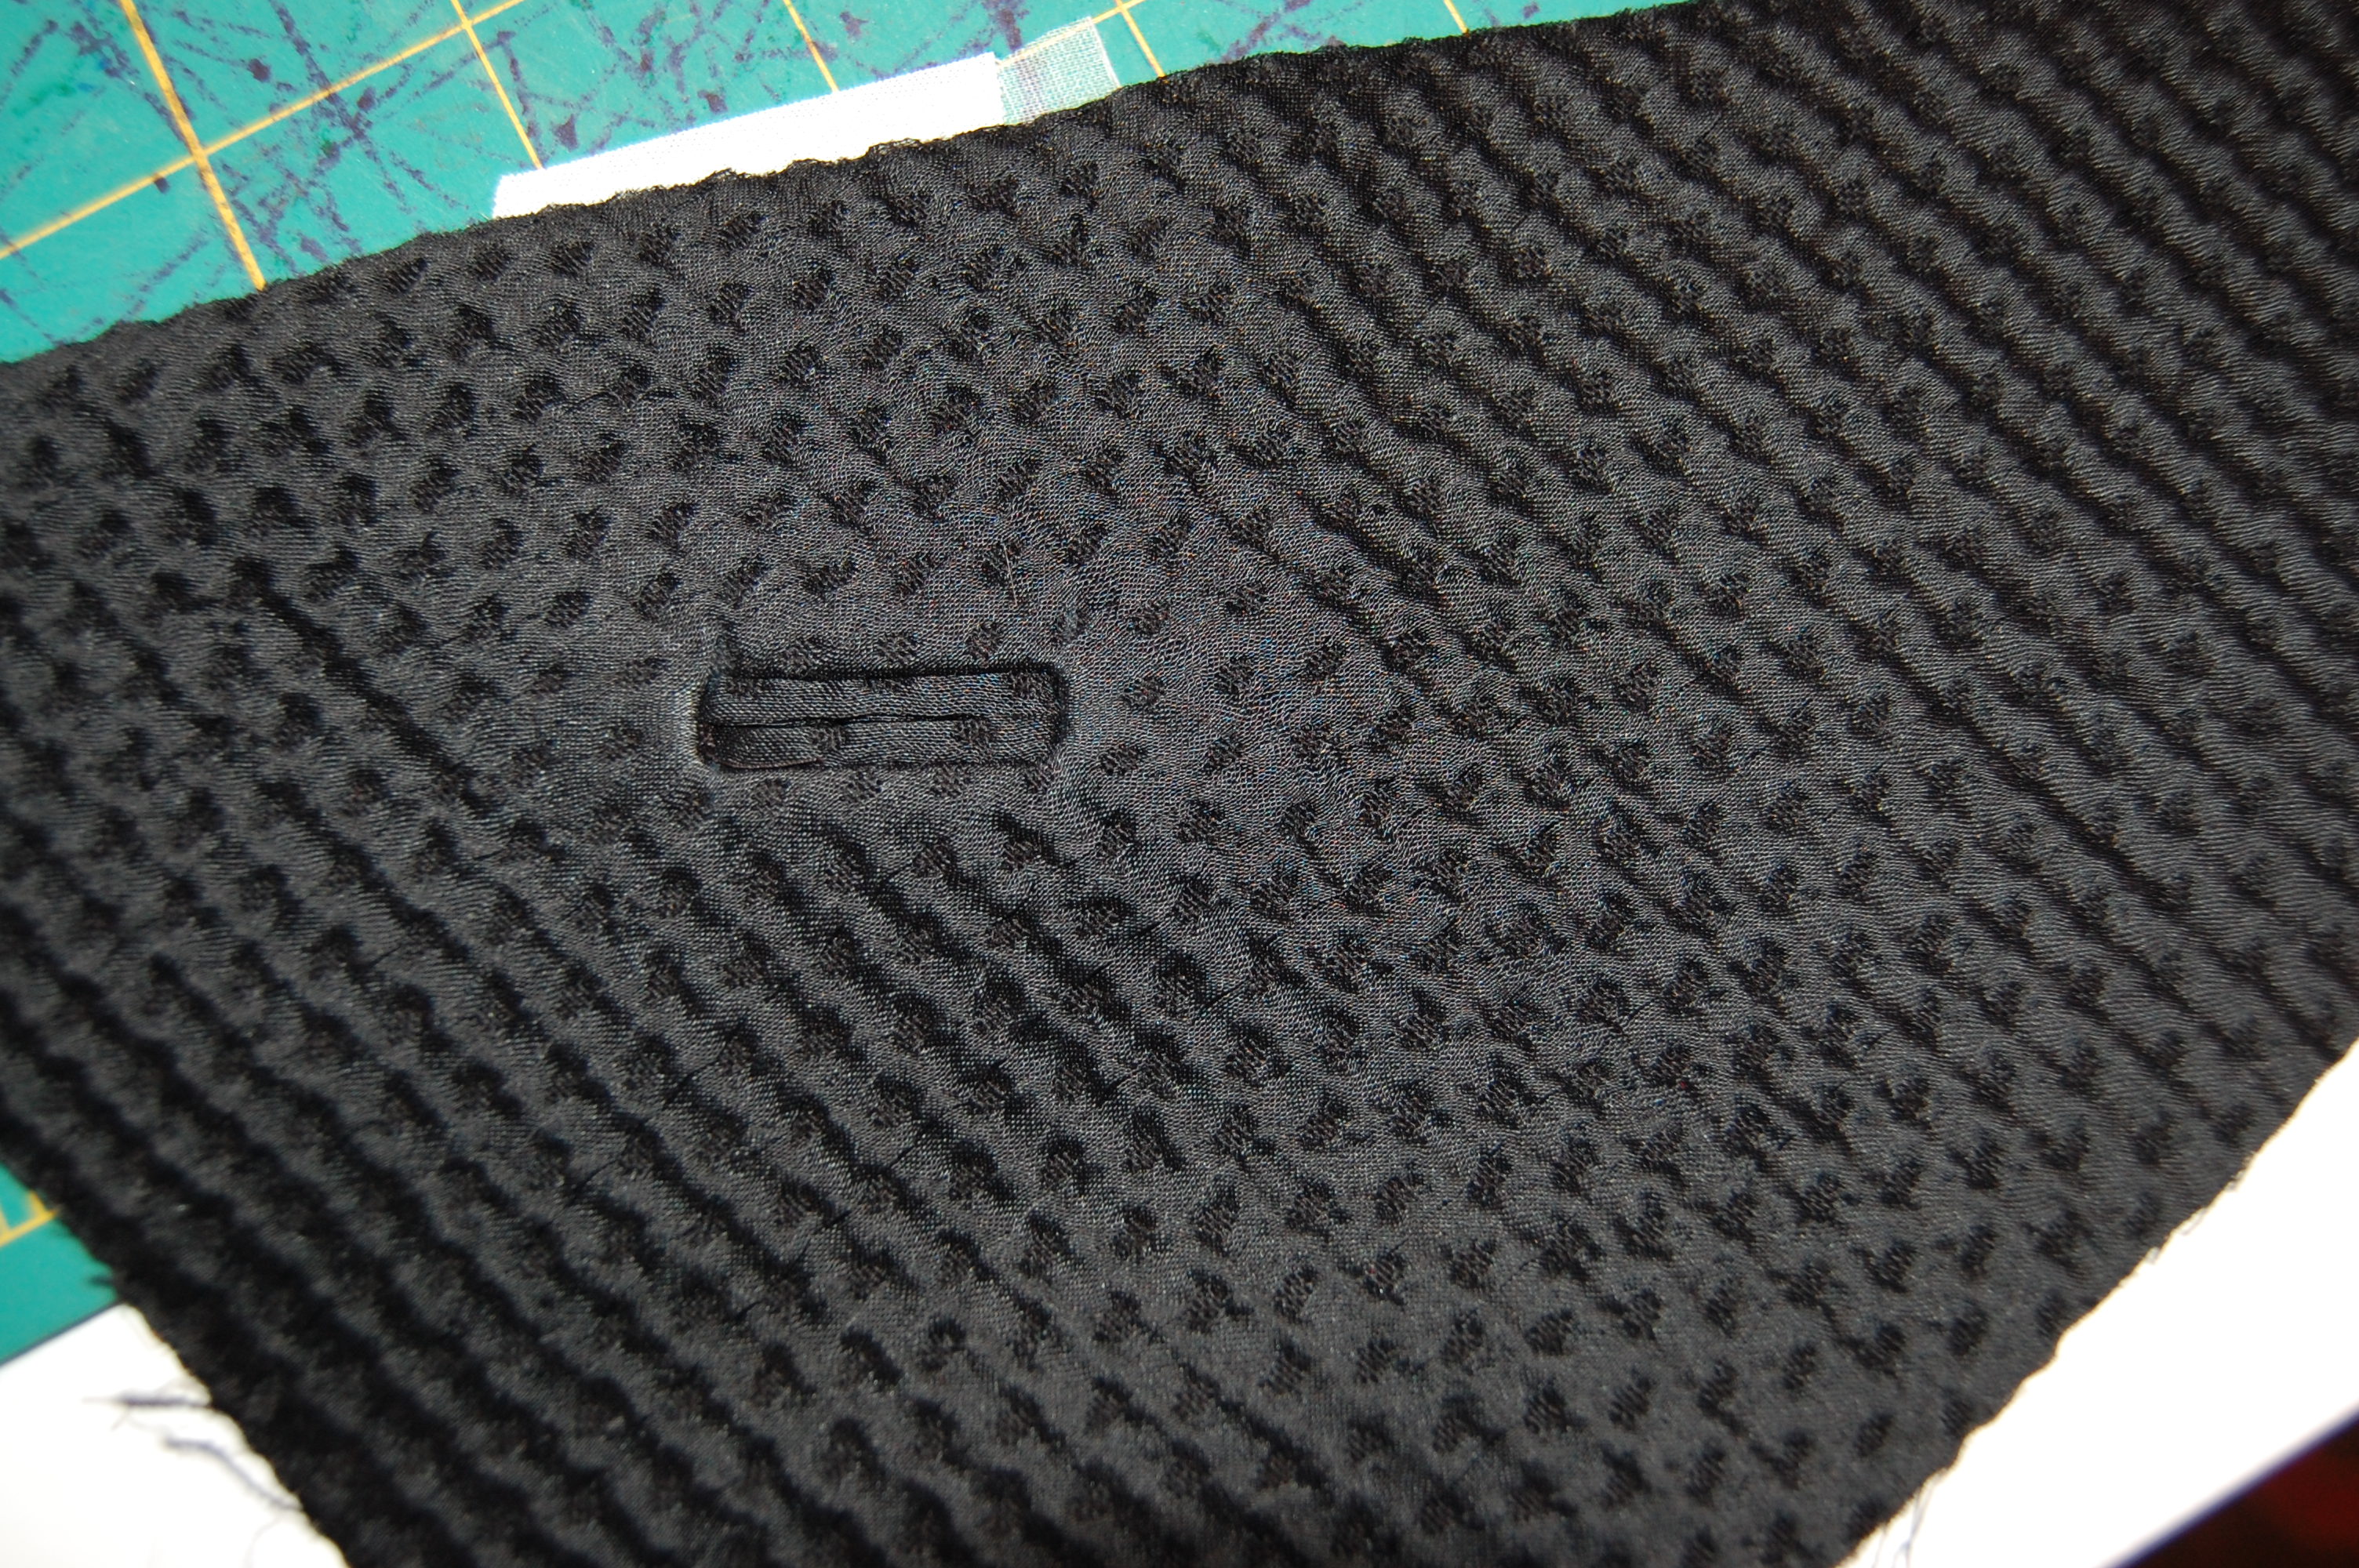
My sample buttonhole.
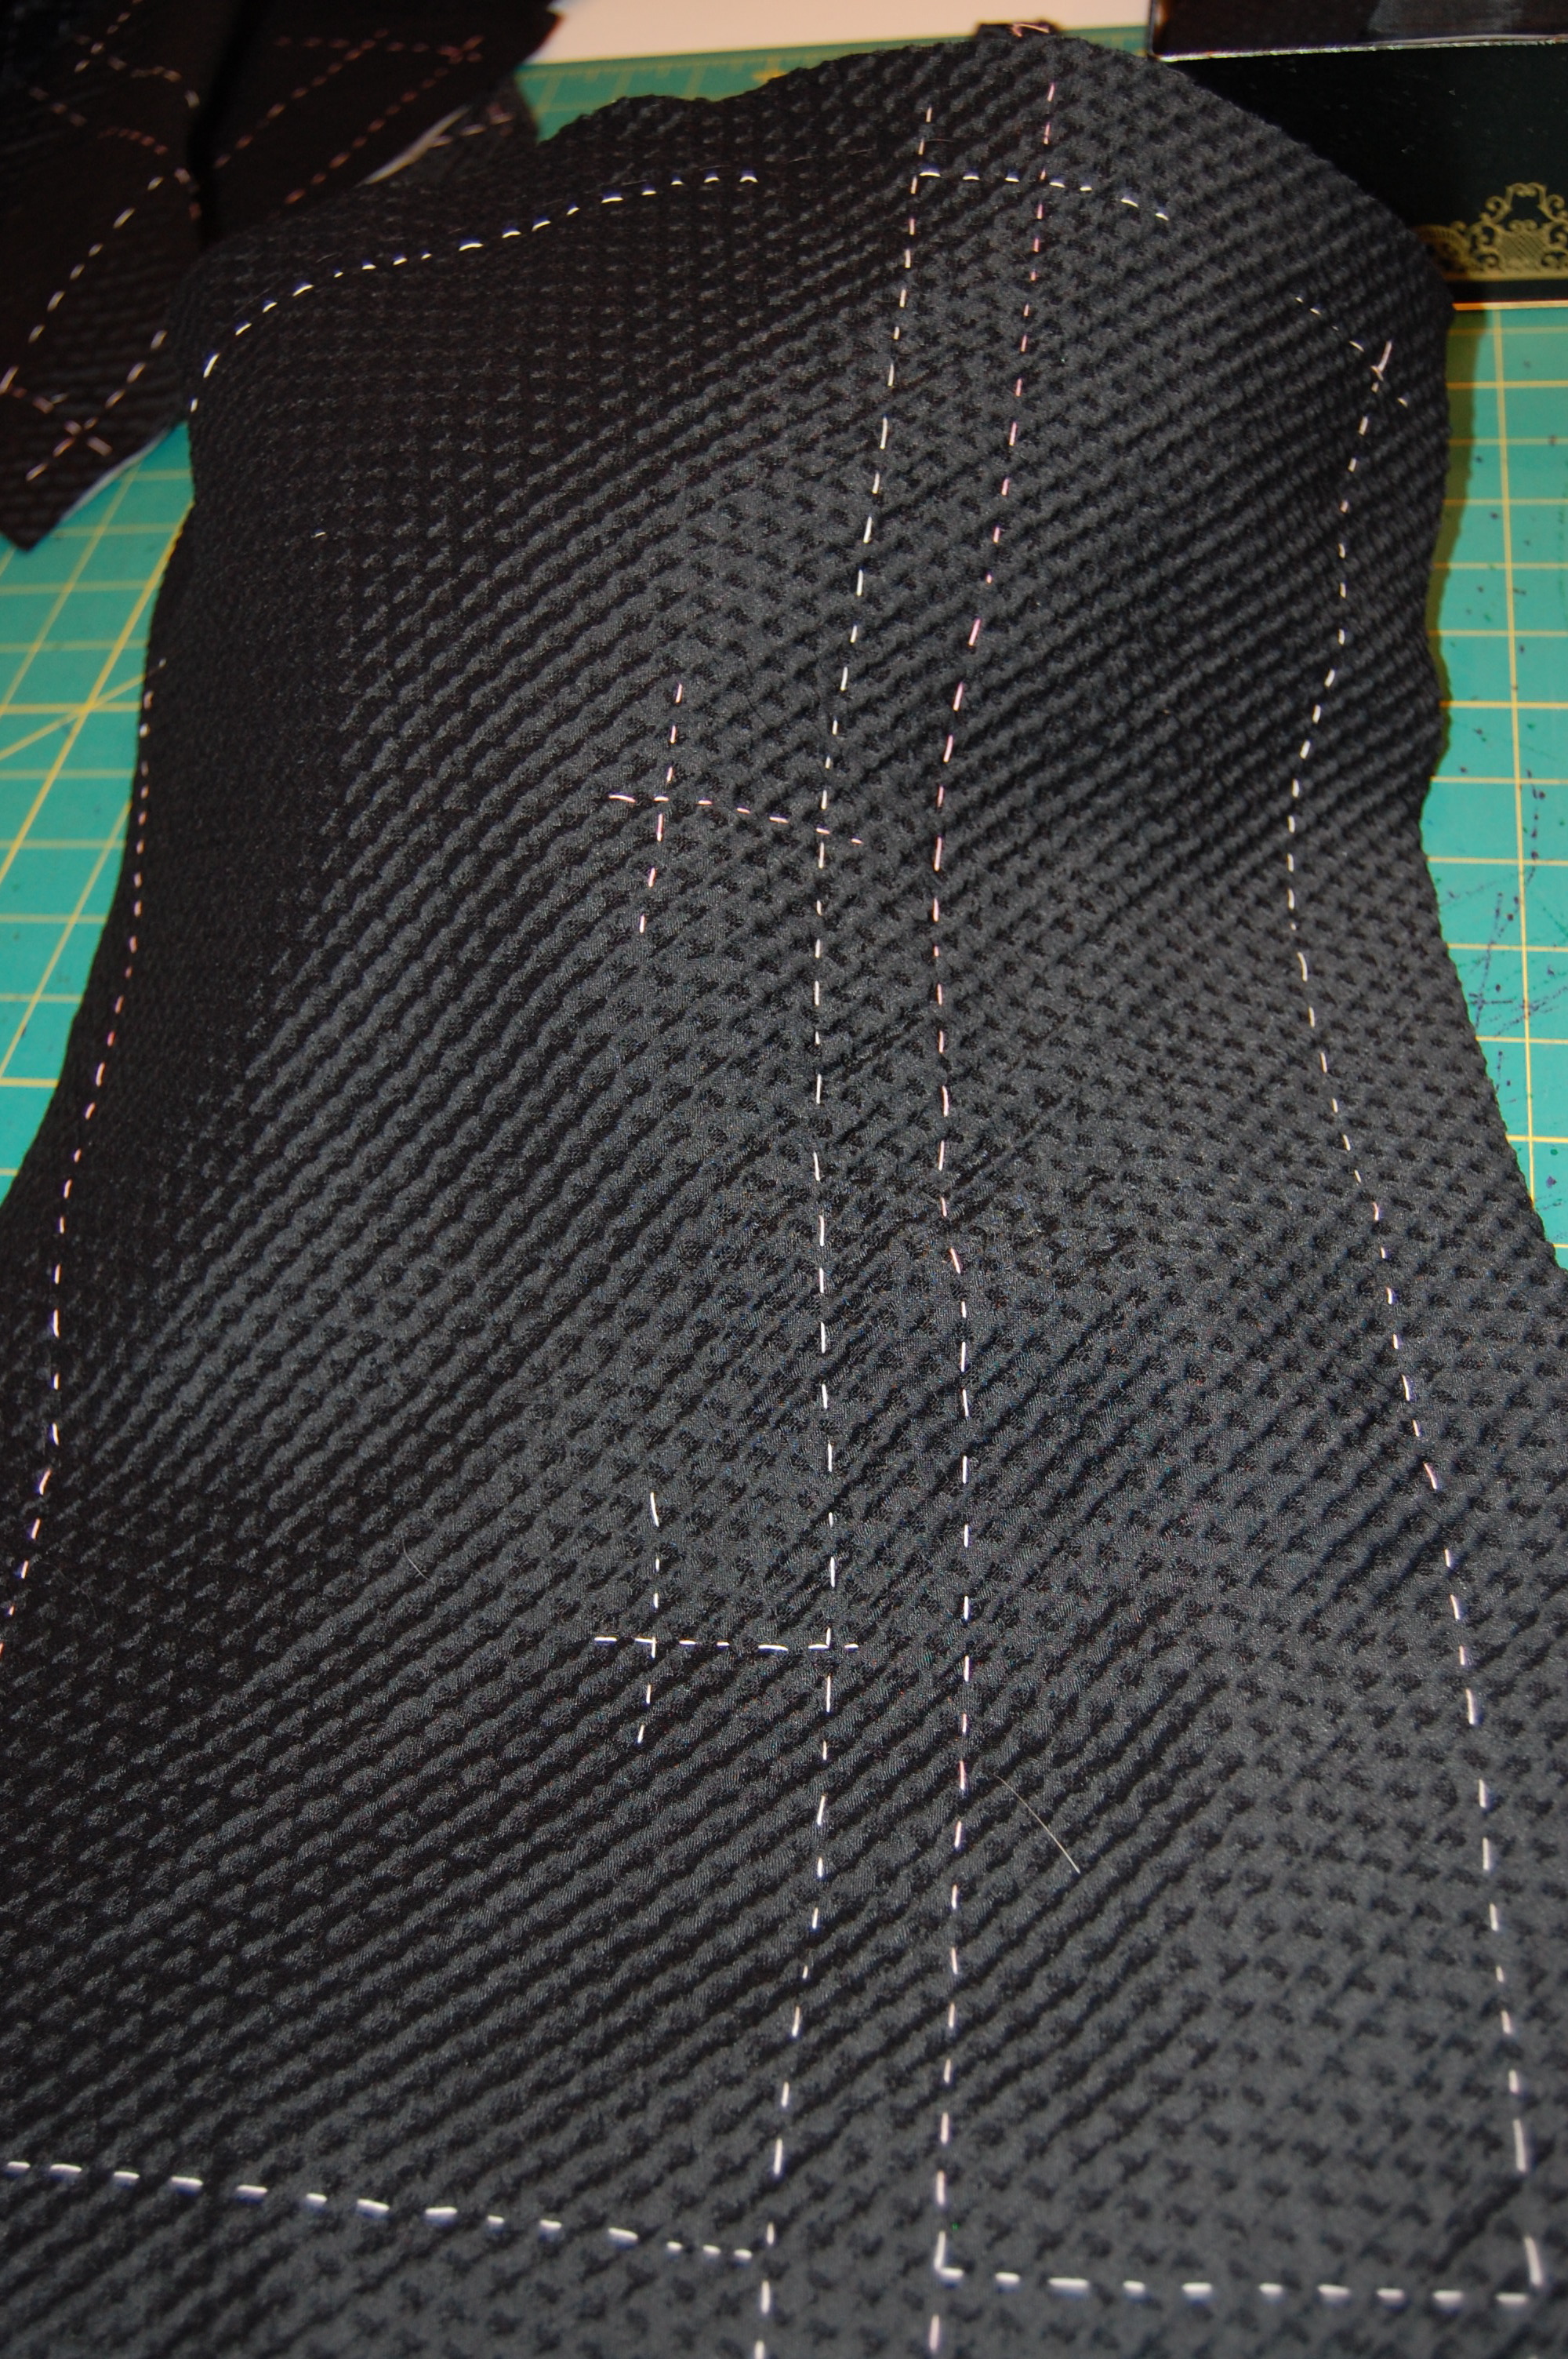
The right jacket front, marked for buttonhole placement.
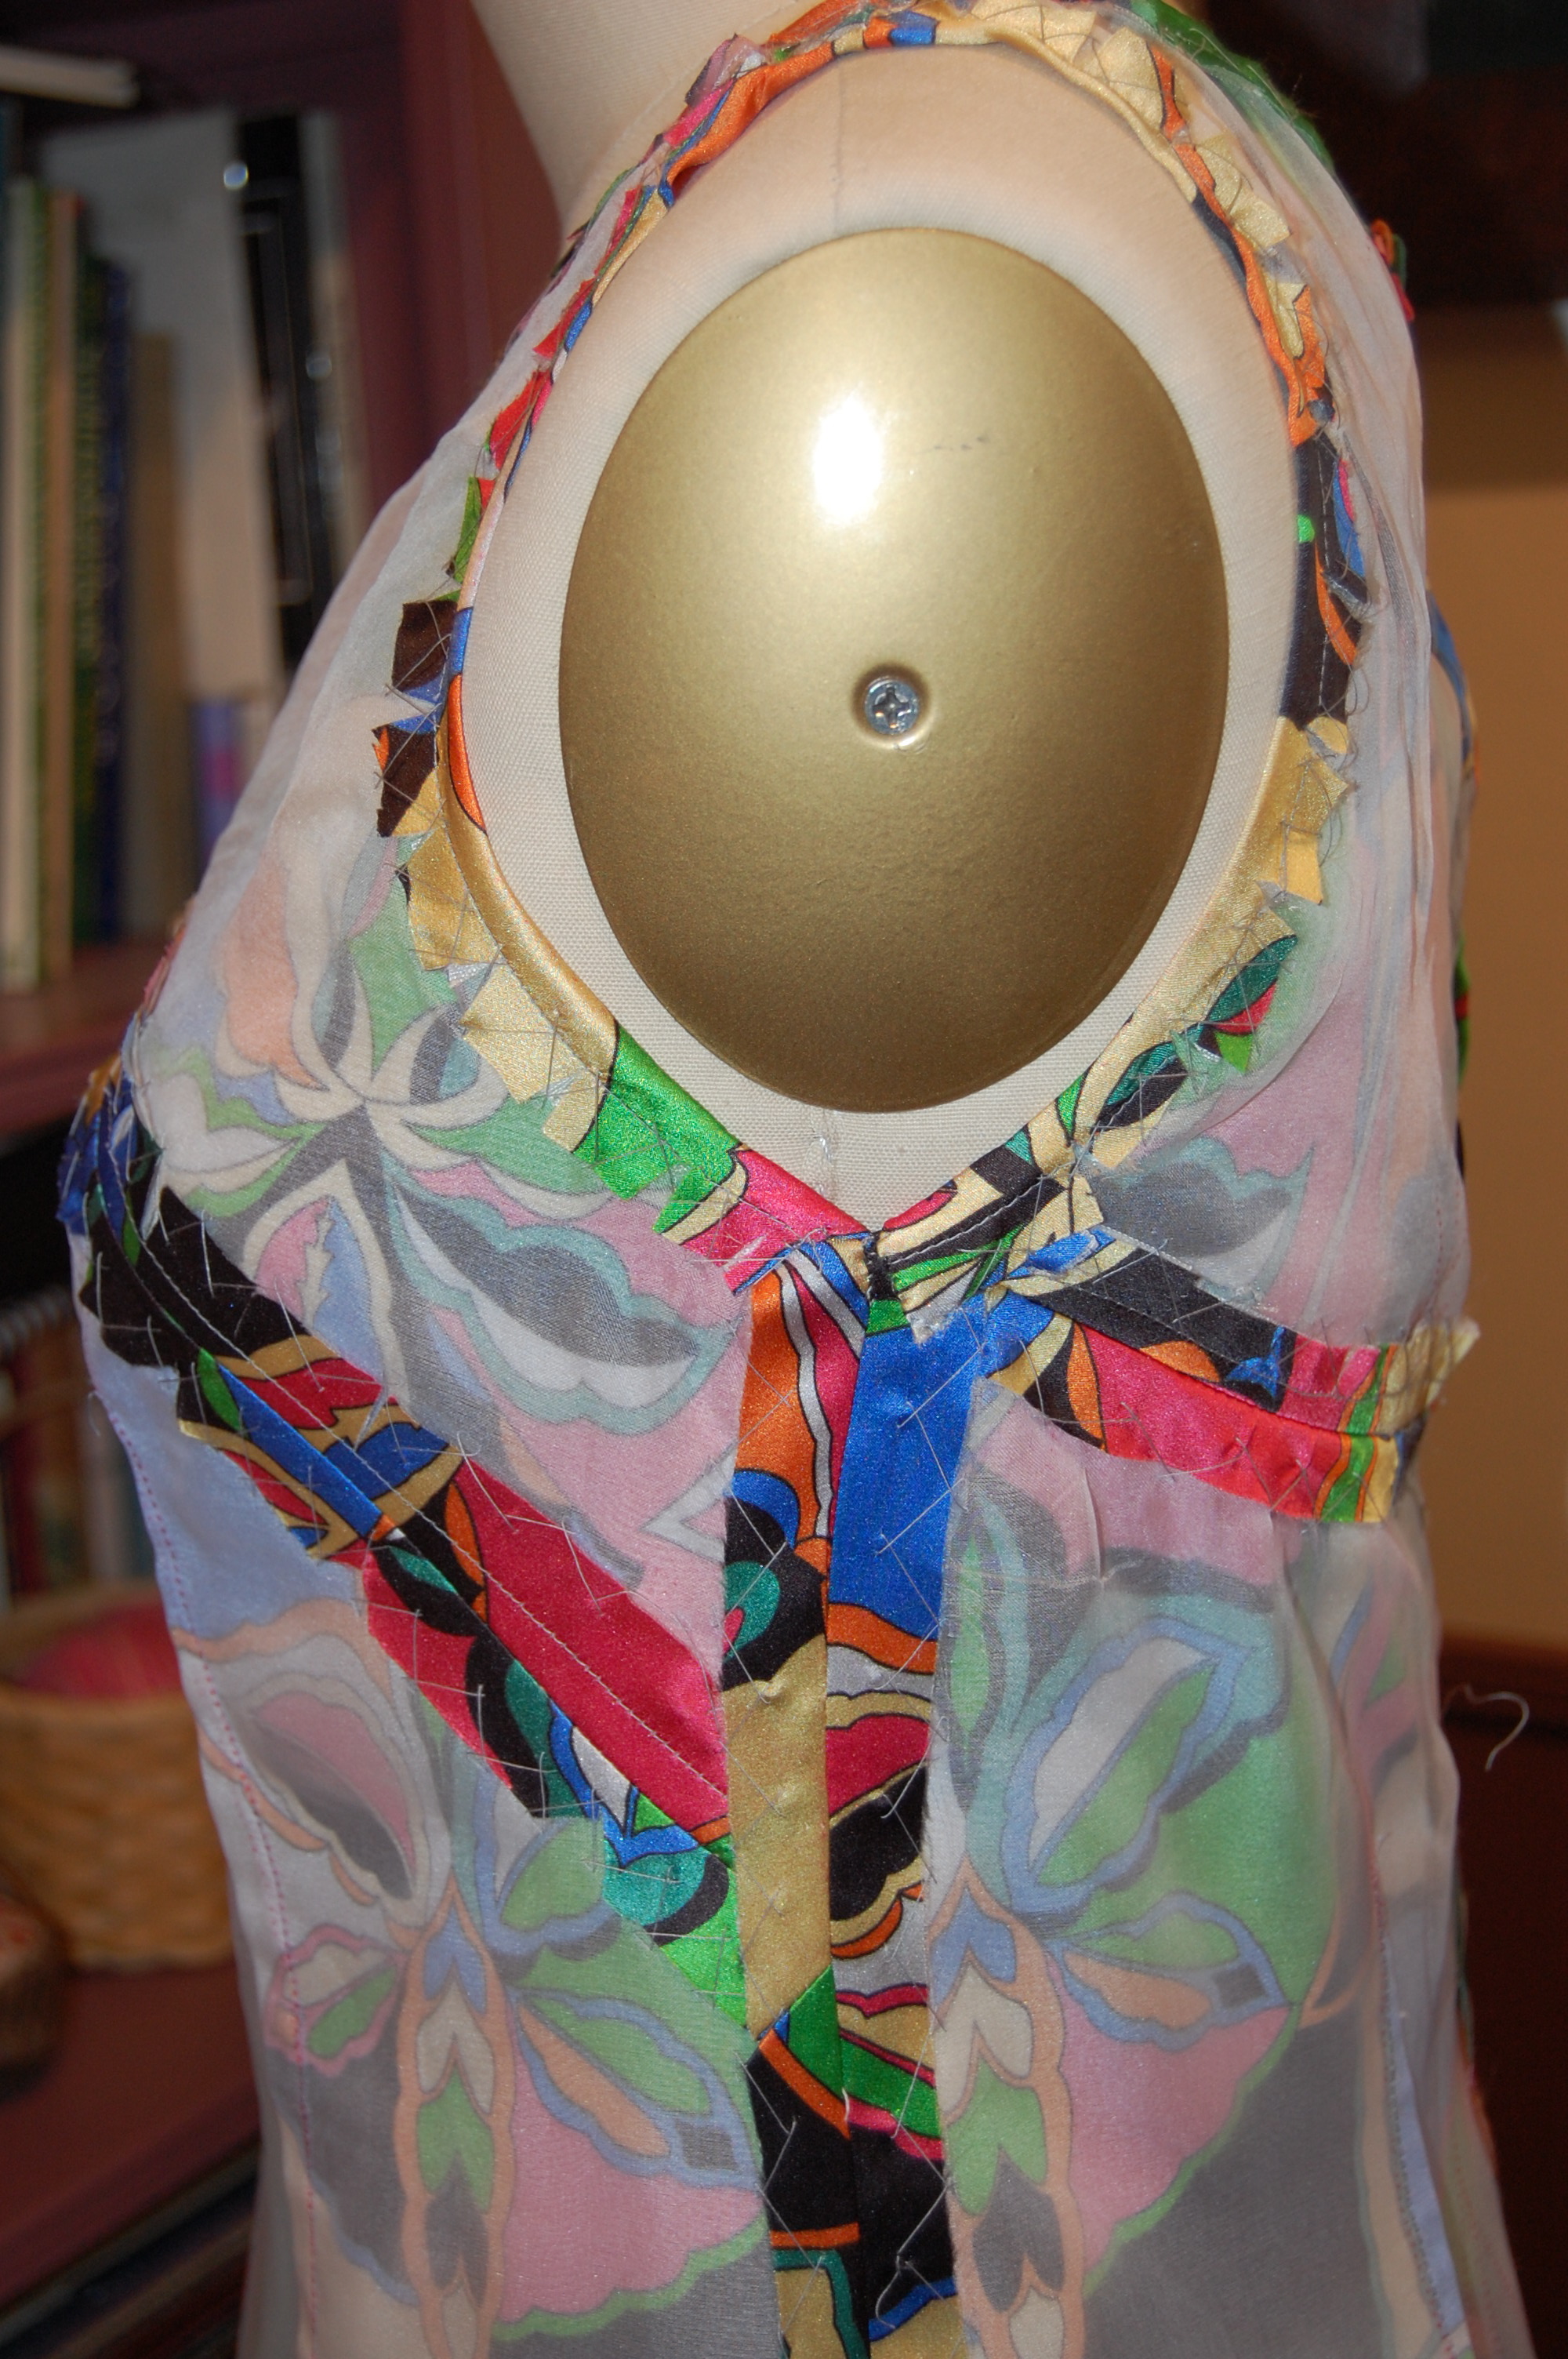
Another detailed instruction was given for the sharp angle under the sleeve. The instructions called for a 2” x 2” square of fabric to reinforce that corner. I used black organza.

The organza patch is sewn on the right side of the jacket and pressed to the inside.

The organza patch makes a very secure and precisely sewn corner possible.
And here are just a couple of photos of the interior of the jacket with the rest of the interfacings attached.
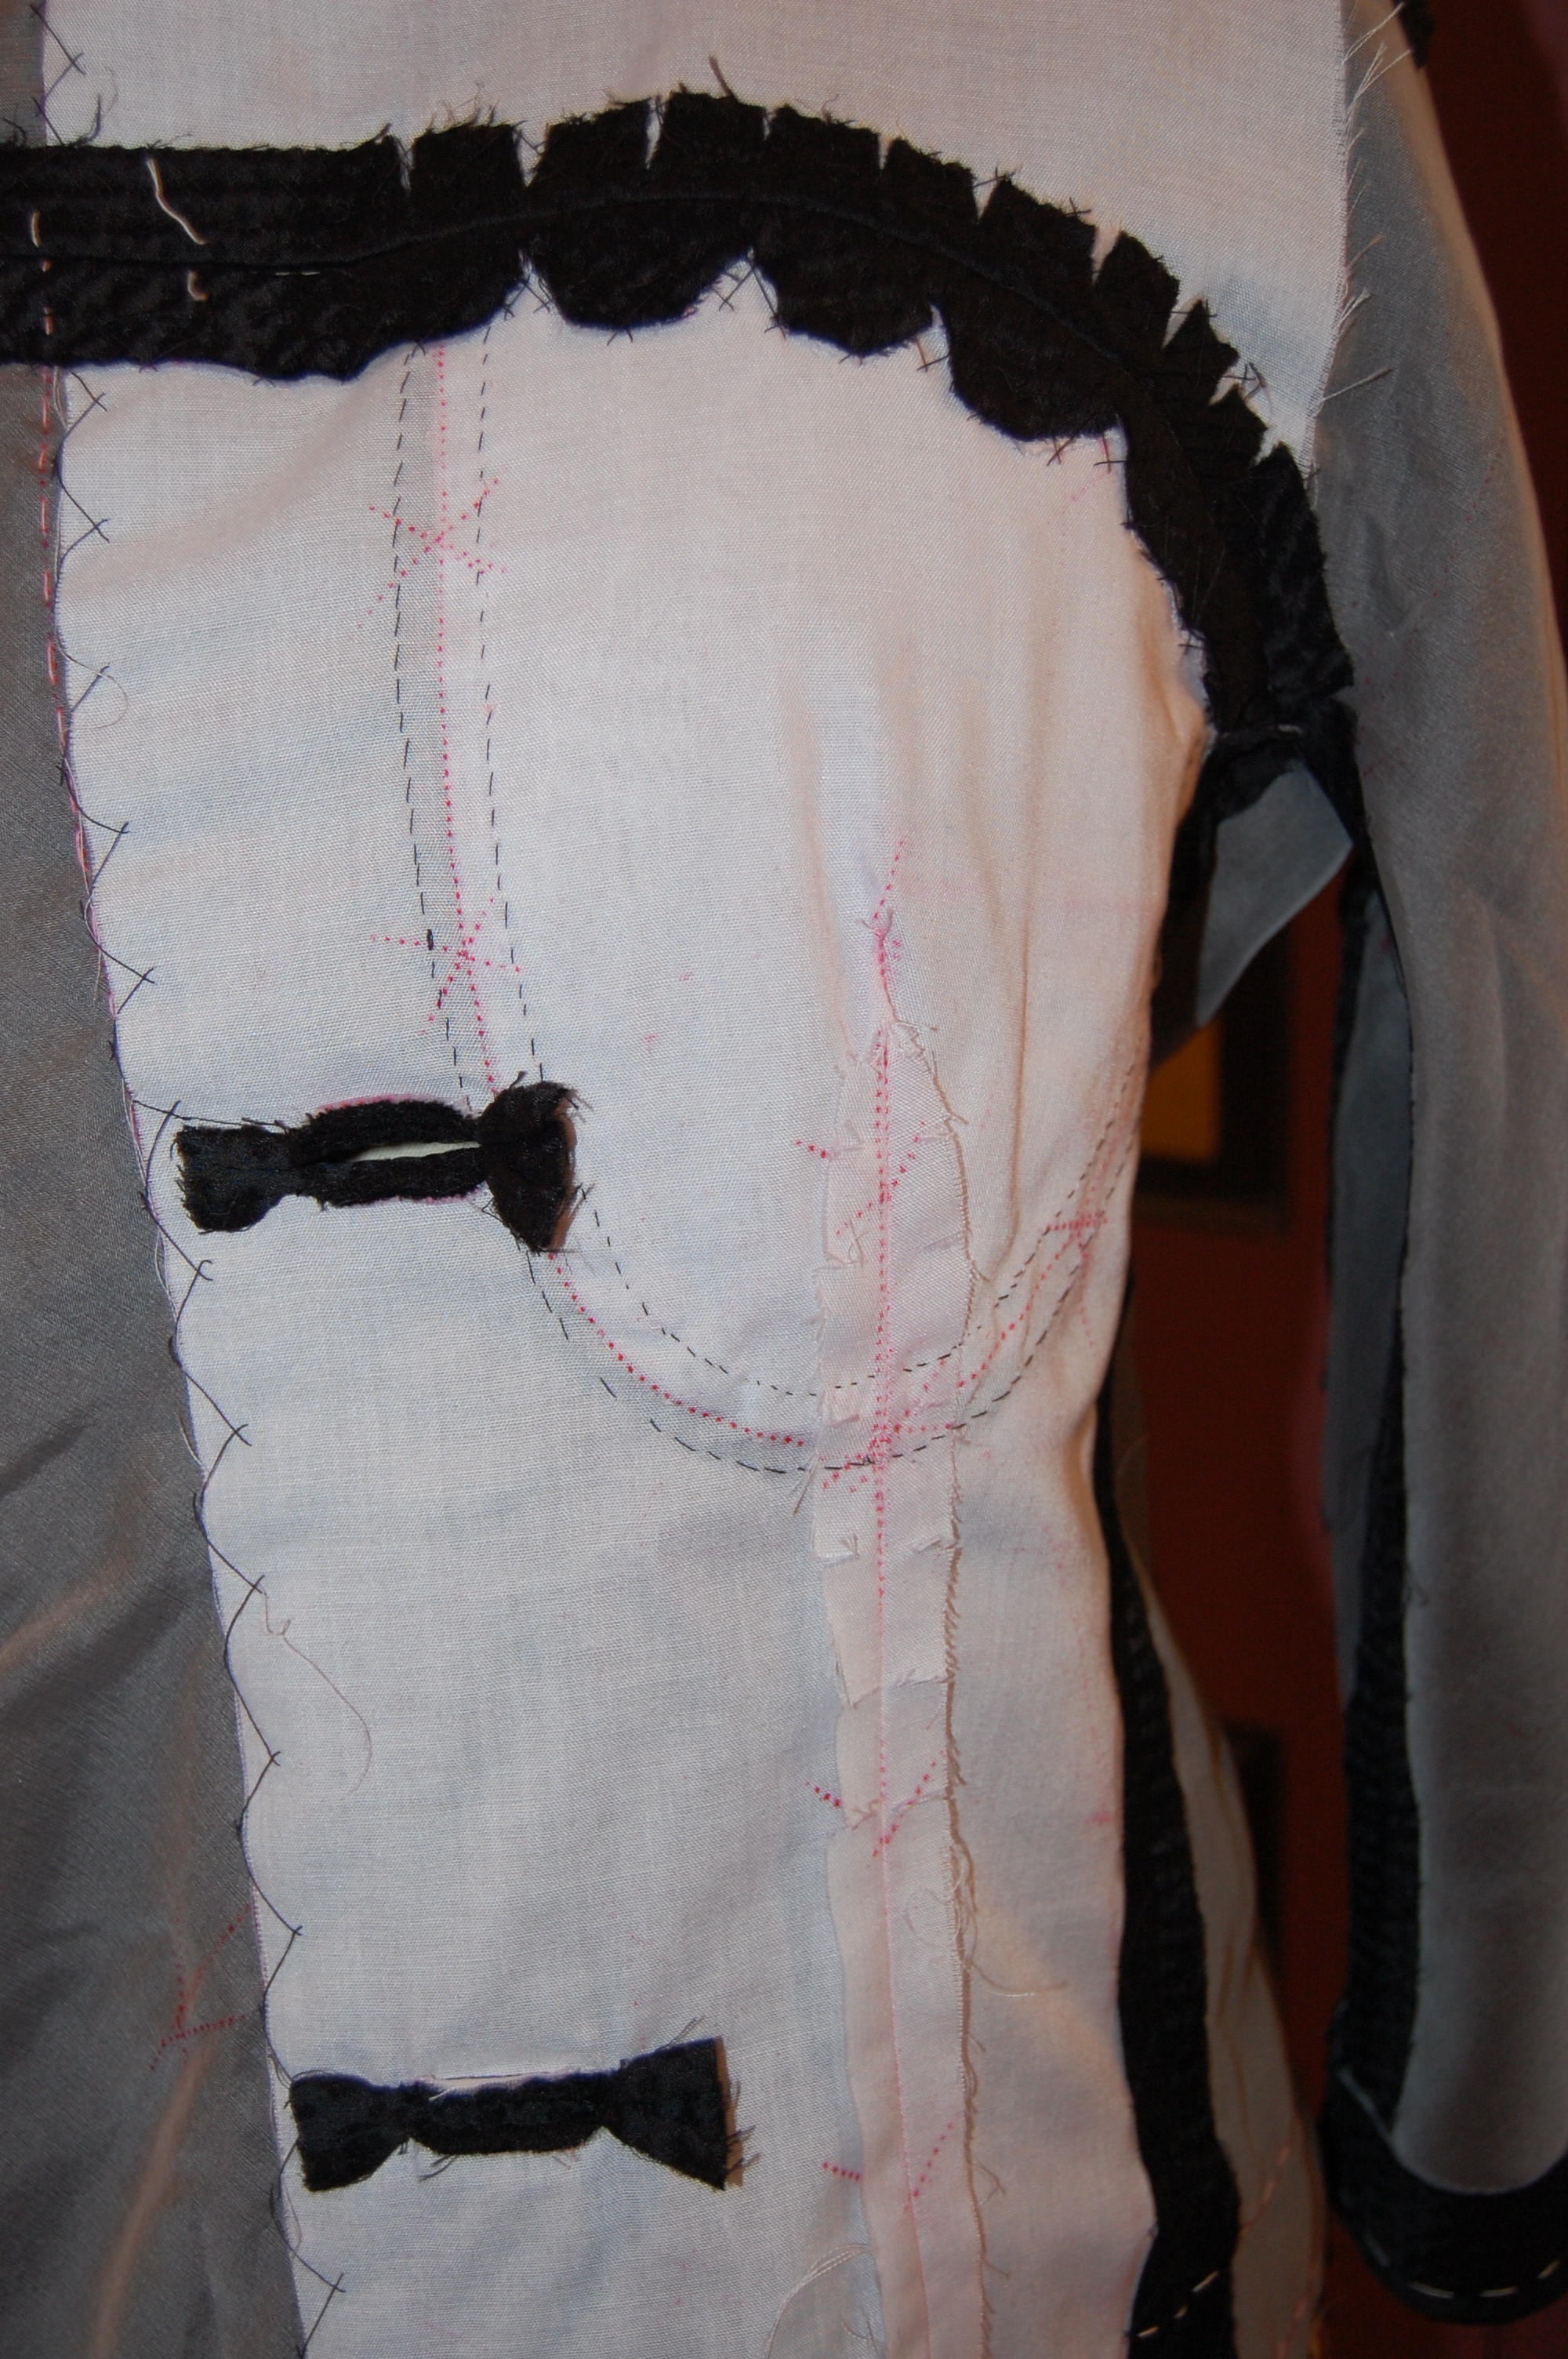
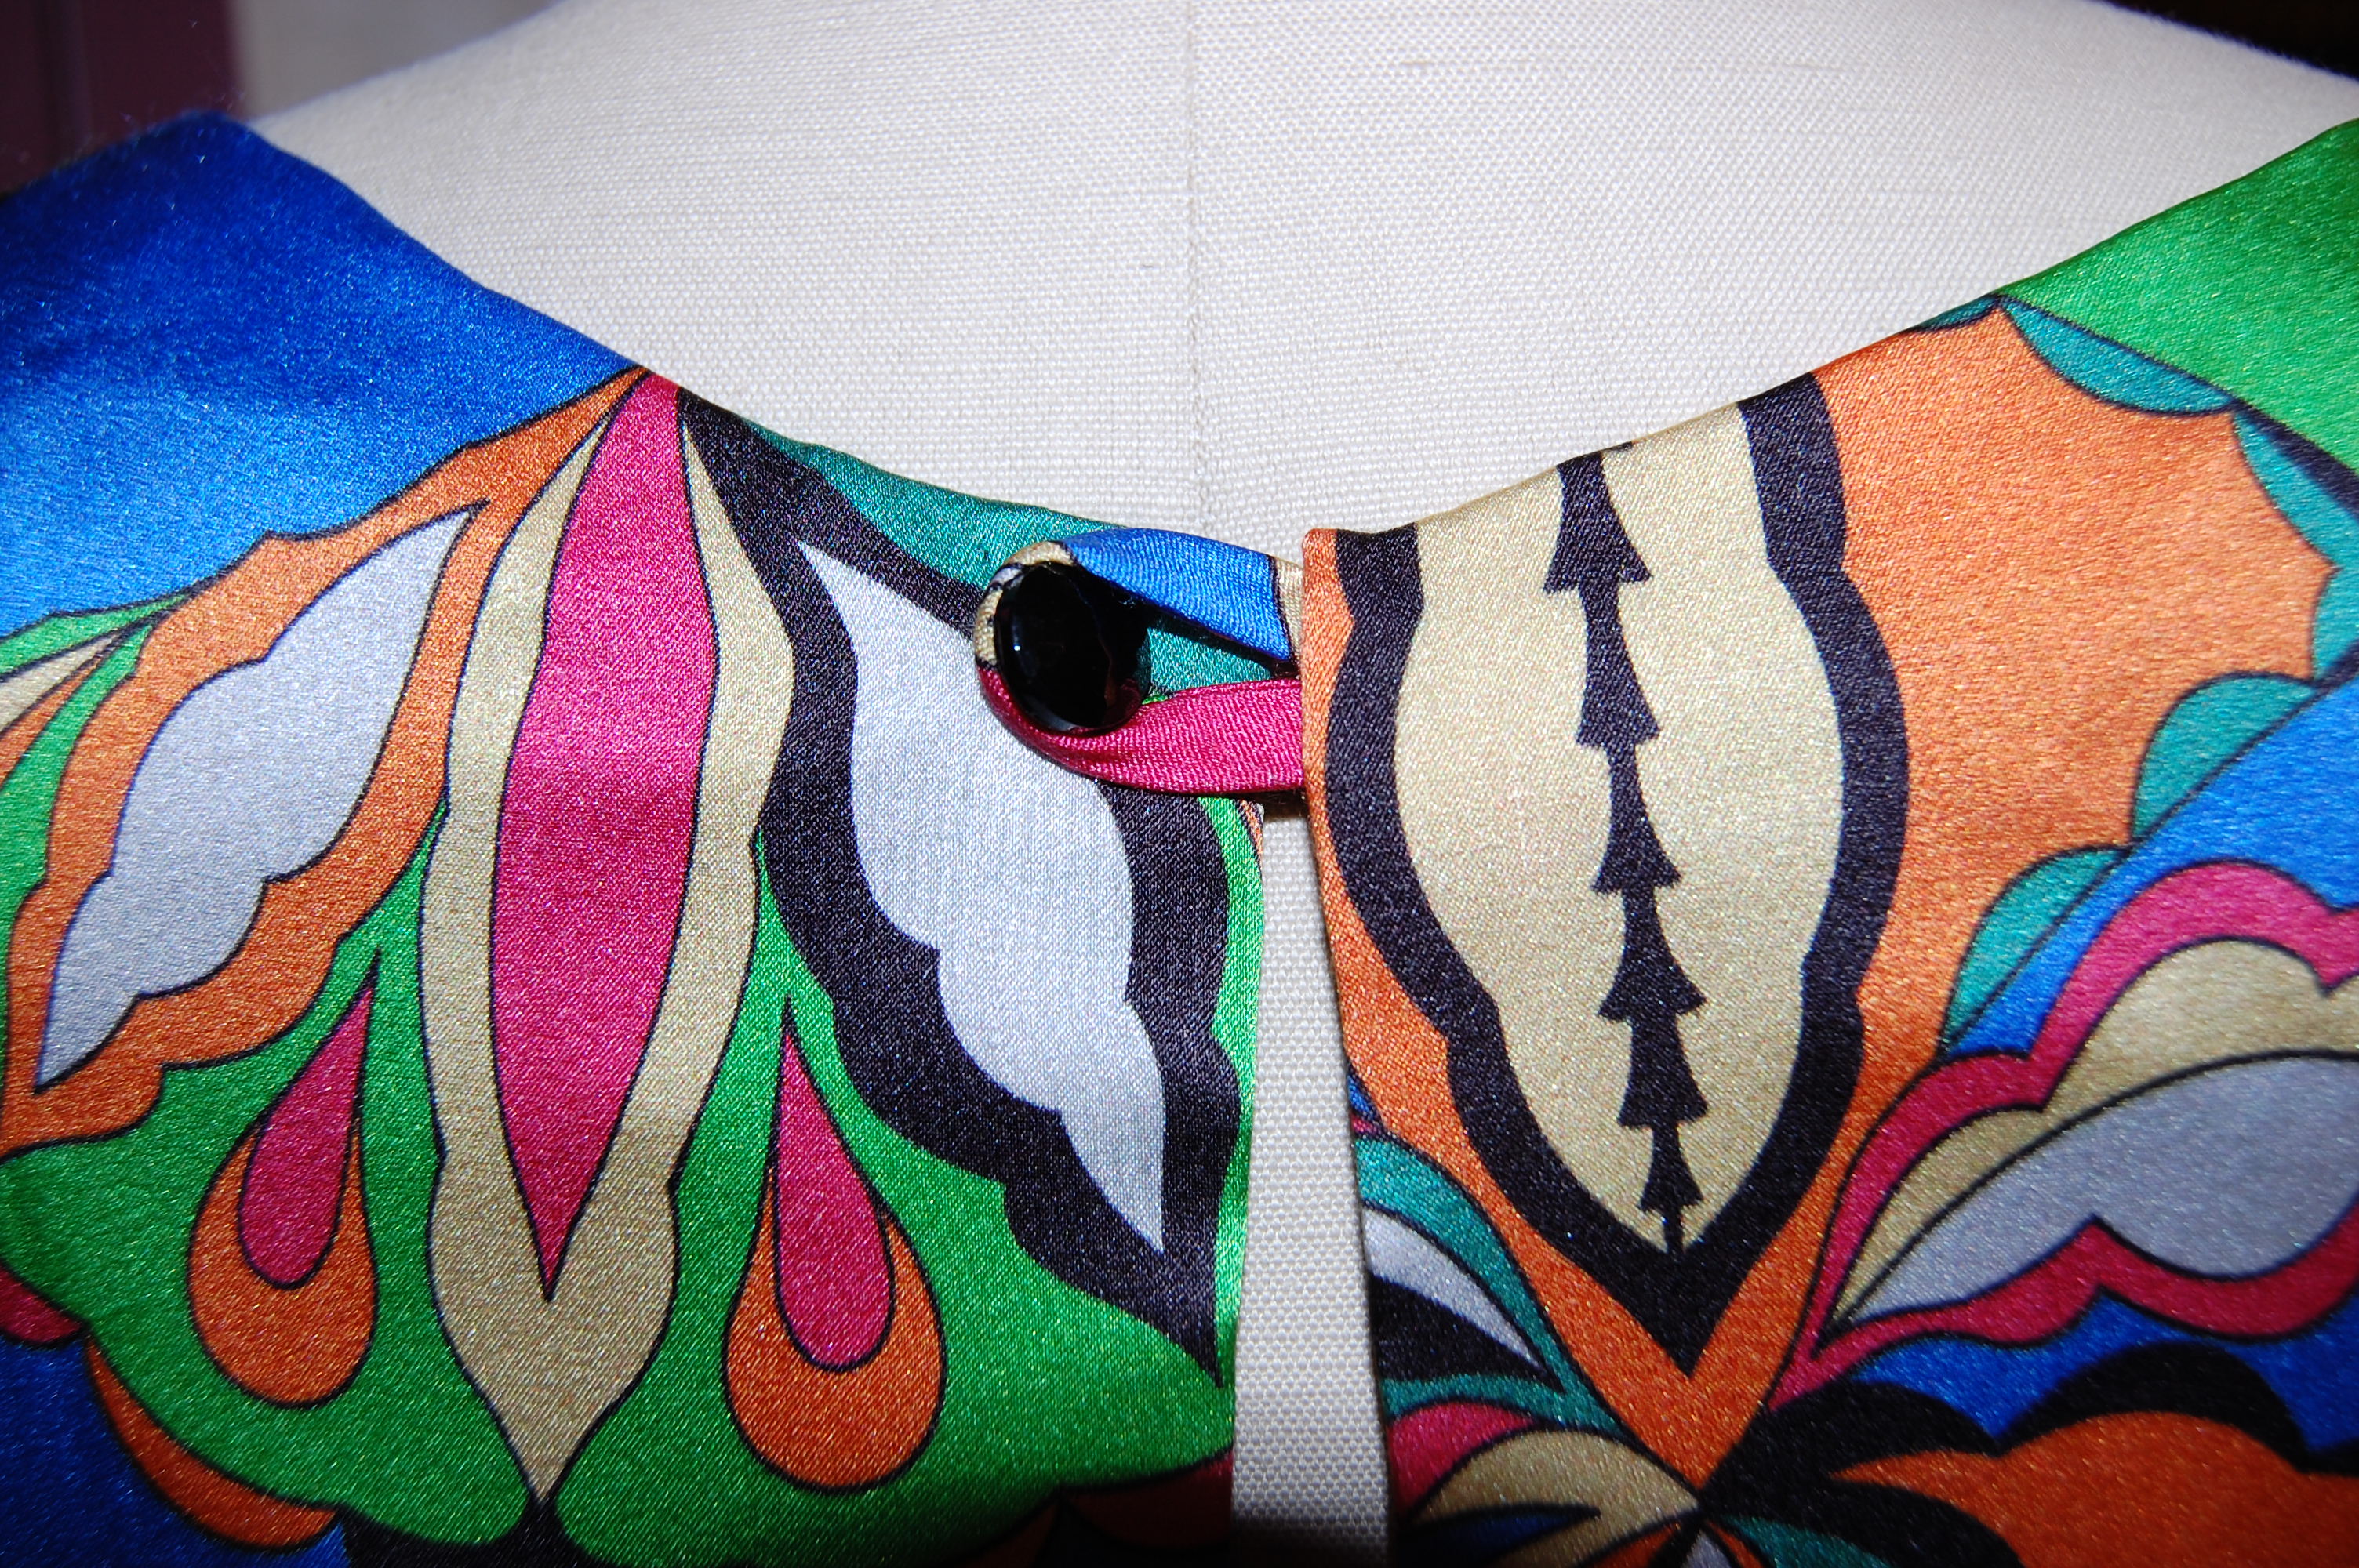
The right front of the jacket, with buttonholes sewn.

Thje front of the jacket. Note the “stays” made out of seam binding. They are loose except where they are attached at the underarm and at the neckline.
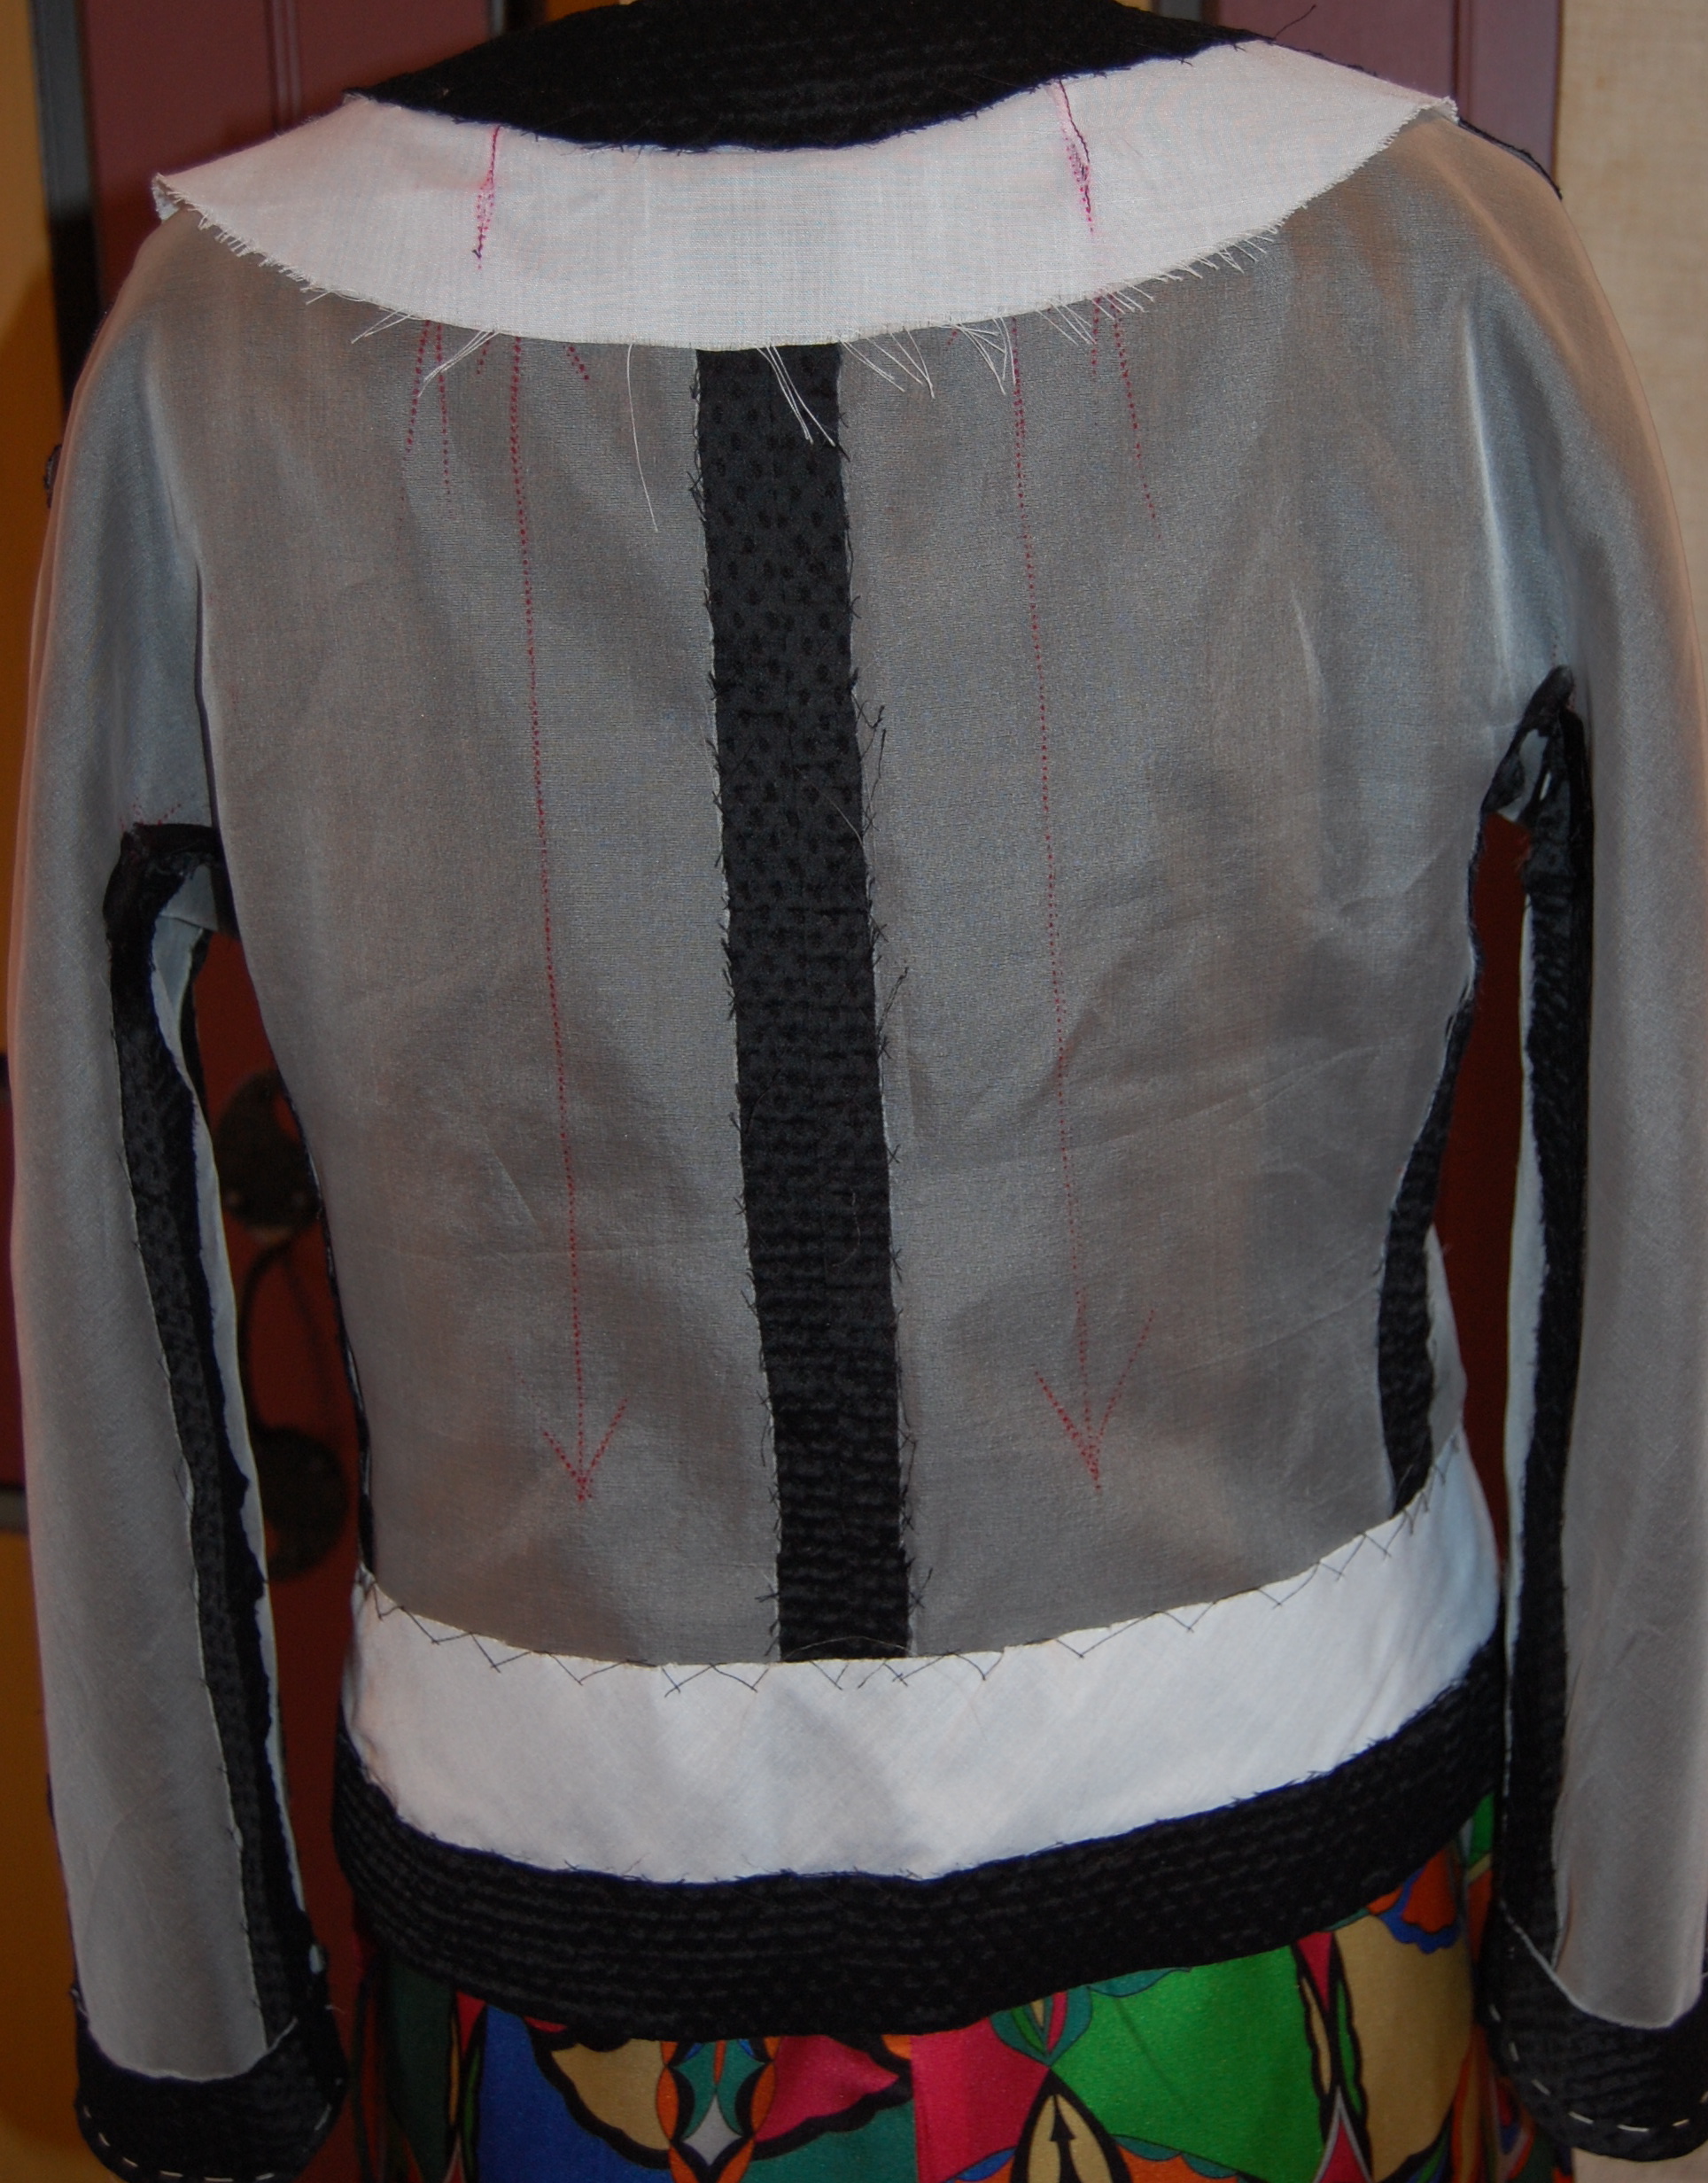
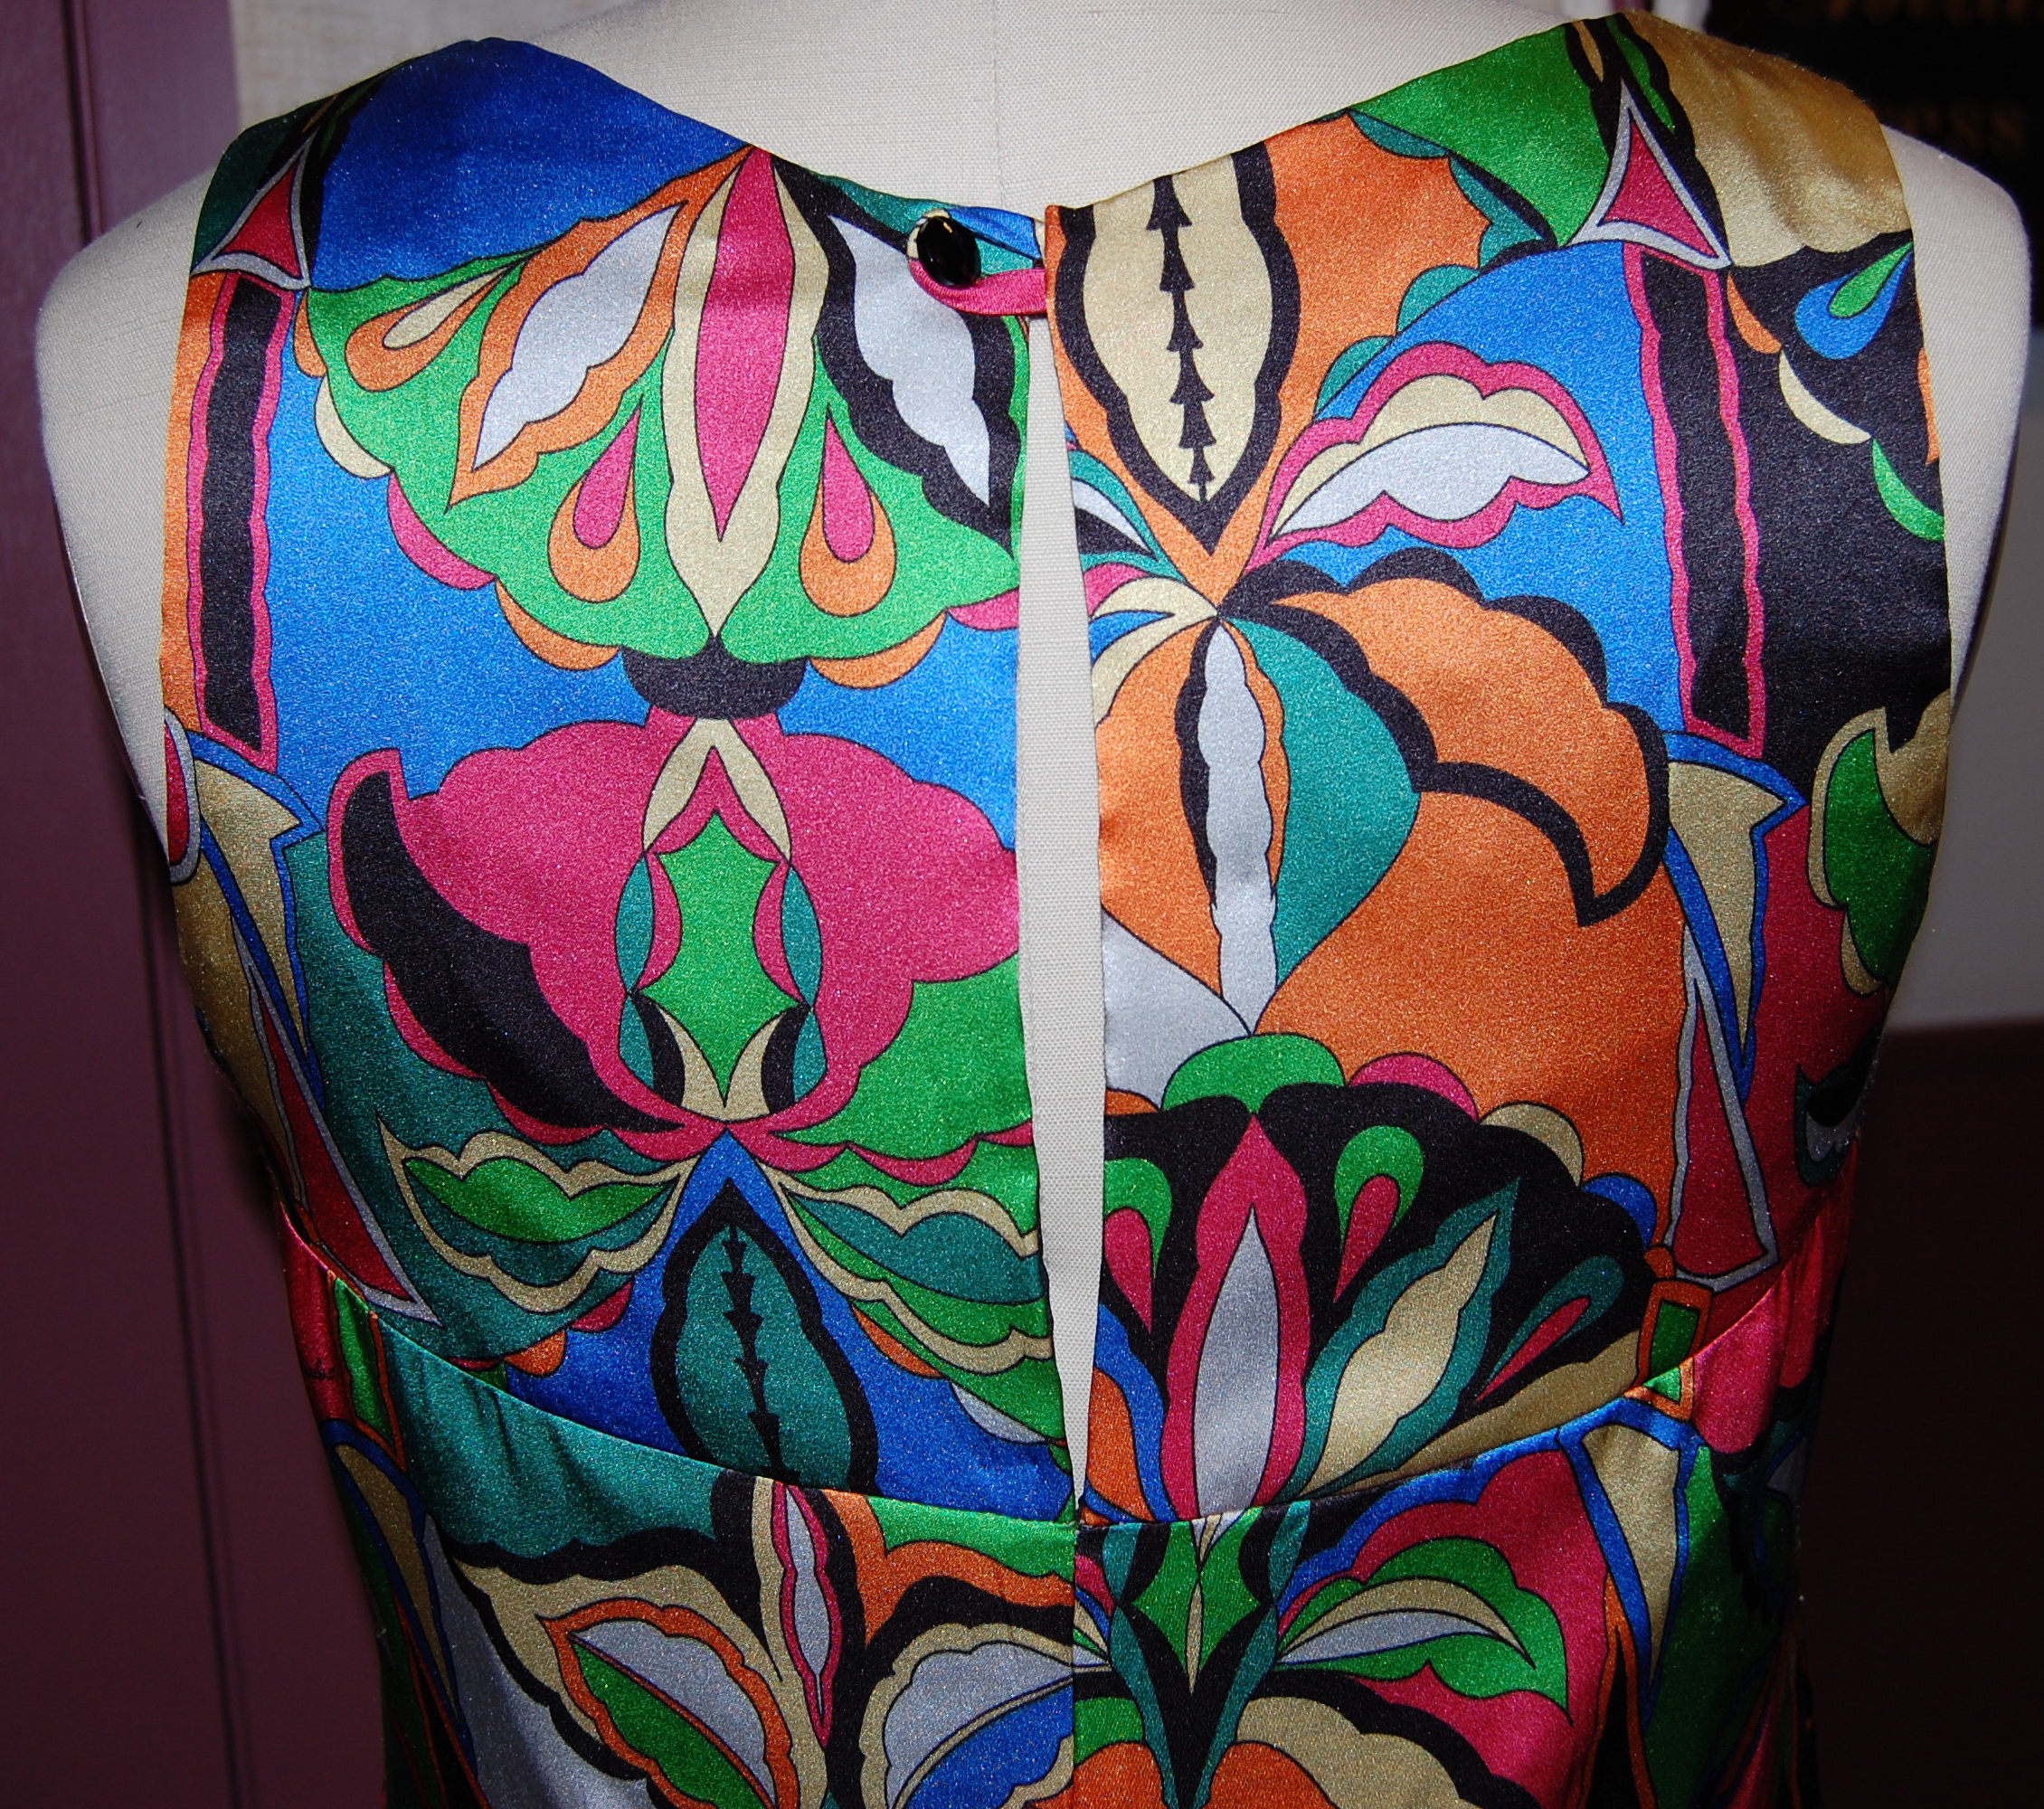
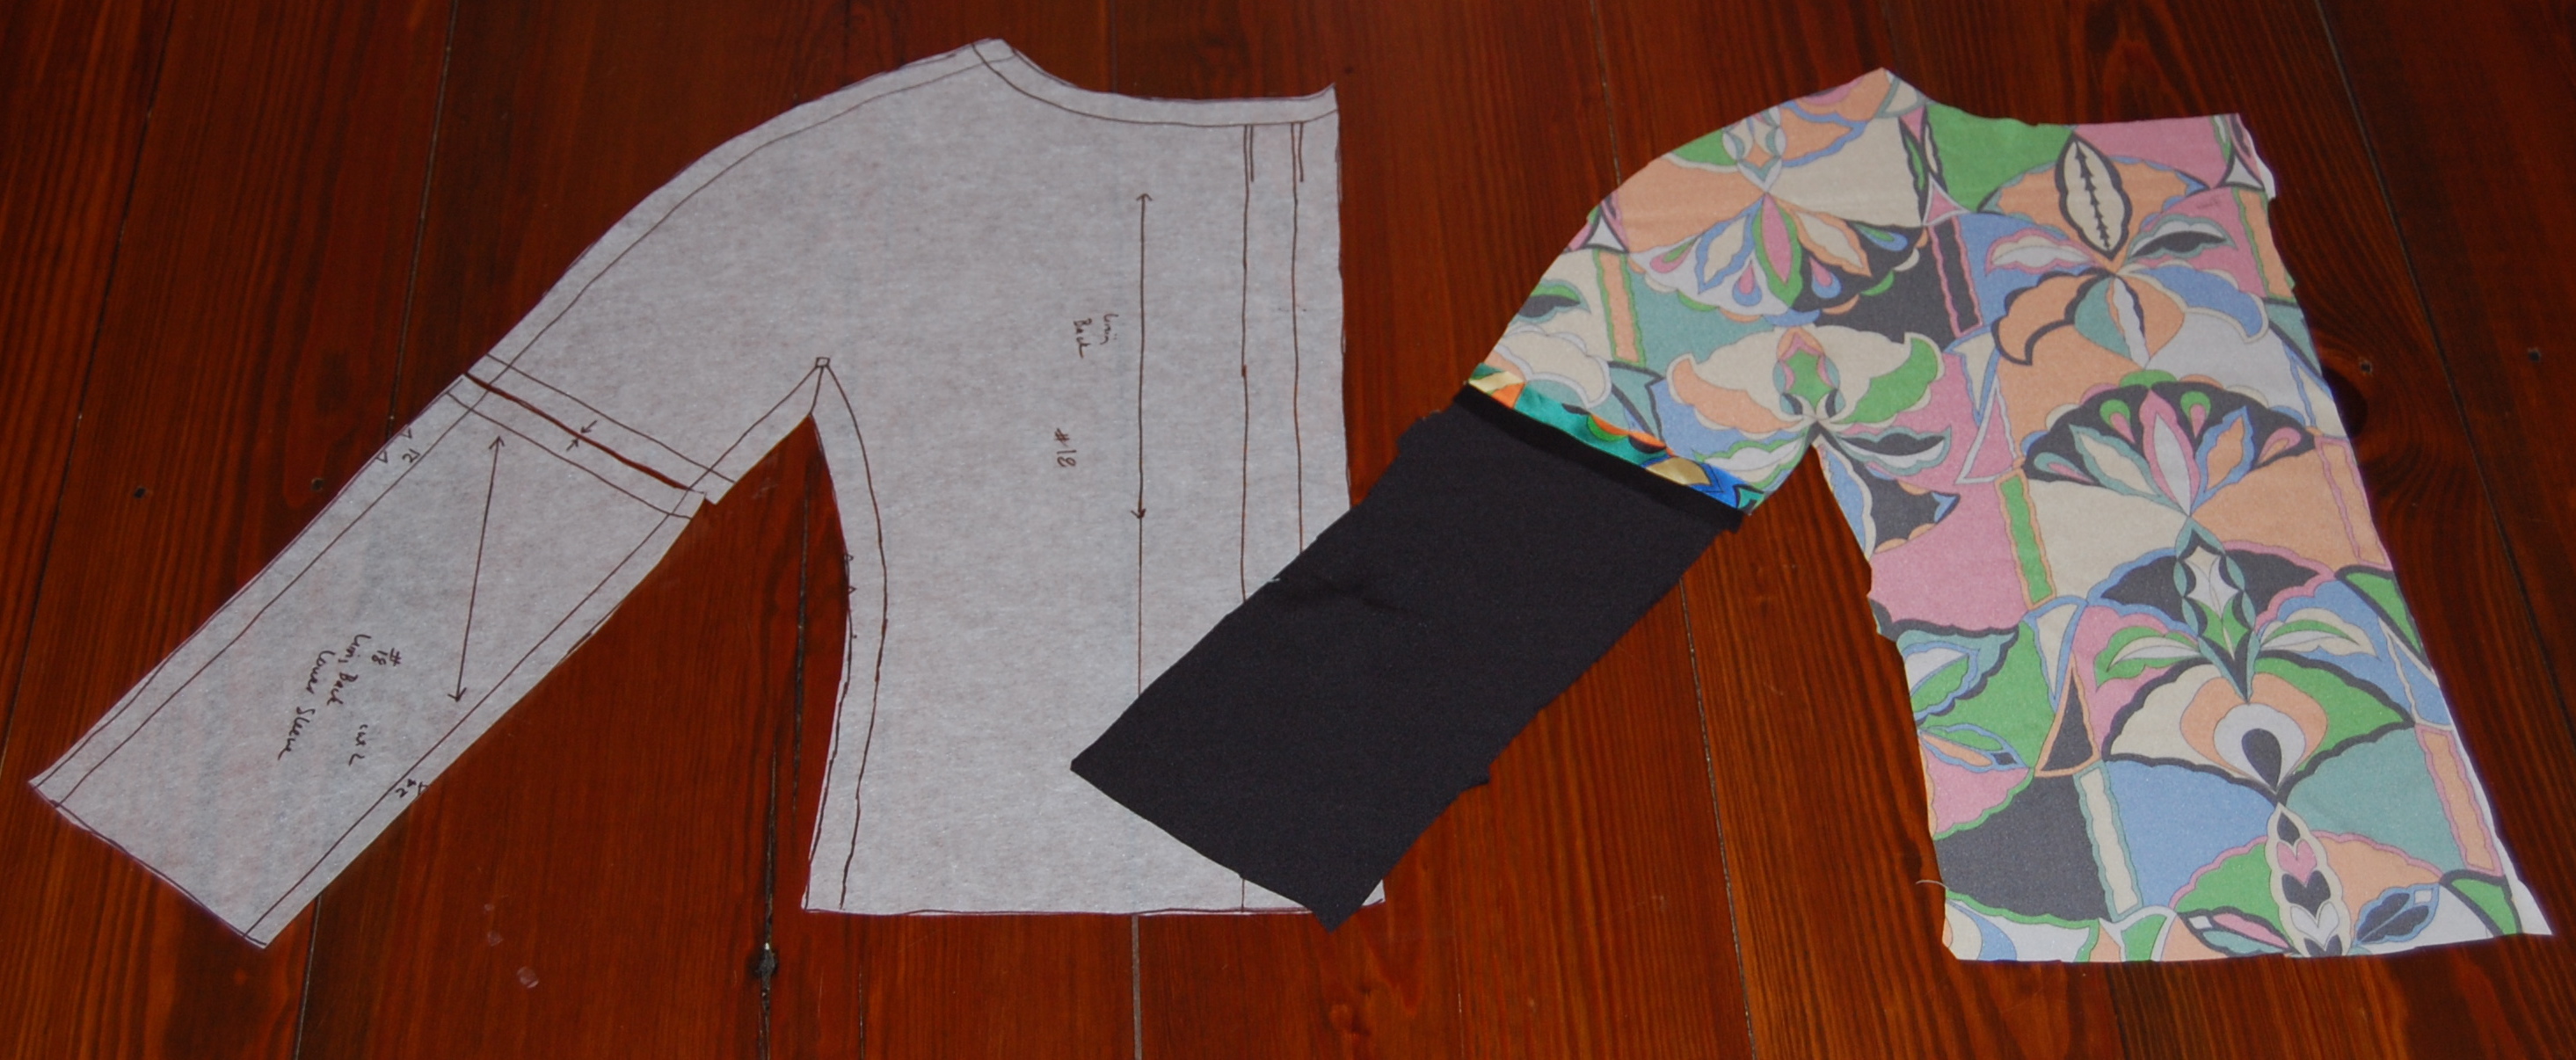
The back of the jacket – simple compared to the front!
There is something else that never ceases to amaze me either about these sophisticated vintage Vogue patterns. That is – how stylish and current so many of them are. Here’s an example of what I mean. Take a look at these recent jackets from current designers.
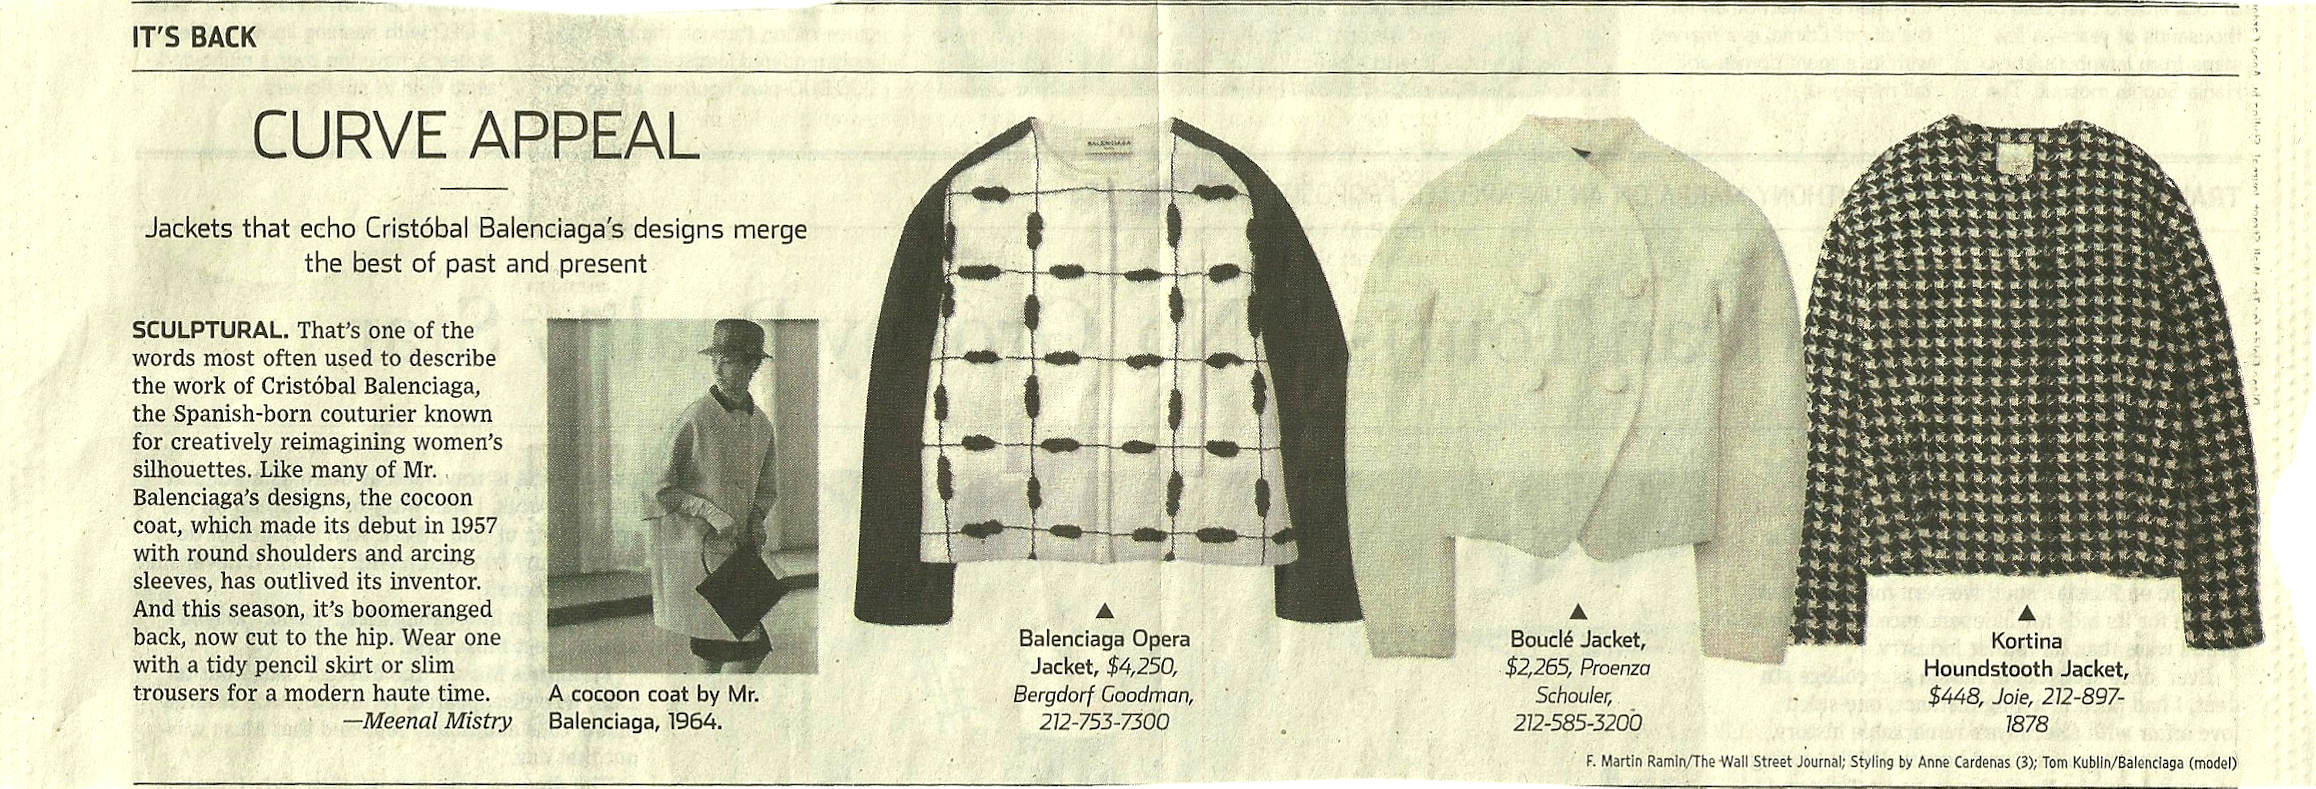
I clipped this out of The Wall Street Journal sometime within the past year, but I unfortunately forgot to note the date. Click on the photo for a close-up.
The article rightly makes the reference to Balenciaga, but look how similar these are to the Pucci jacket on which I am working.

These thumbnail sketches also help to show the similarity to the current jackets.
Well! I am looking forward to sharing some more details about this outfit when I can show it completely finished – in my next post – and answering those nagging questions, “Did piecing the lower sleeves on the jacket lining actually work? Will anyone guess my secret?”