Category Archives: Lace

A White Eyelet Blouse

Eyelet is one of those fabrics which can conjure up memories from one’s life.  So often associated with pinafores, eyelet is lovely for little girls’ dresses – and petticoats.  It is often used for lingerie or sleepwear for all ages, as well as dresses and blouses.  It is a summer fabric, with its “built-in” air conditioning – ie. all those little holes surrounded by embroidery.    Often eyelet trim – and sometimes eyelet yard goods – have one or two finished borders.  Such was the case with the eyelet I found earlier this year for the ruffled collars for sundresses for my granddaughters.  

This lace was a 14″ wide double scallop-edged panel, which I cut down the middle to use for the two collars.

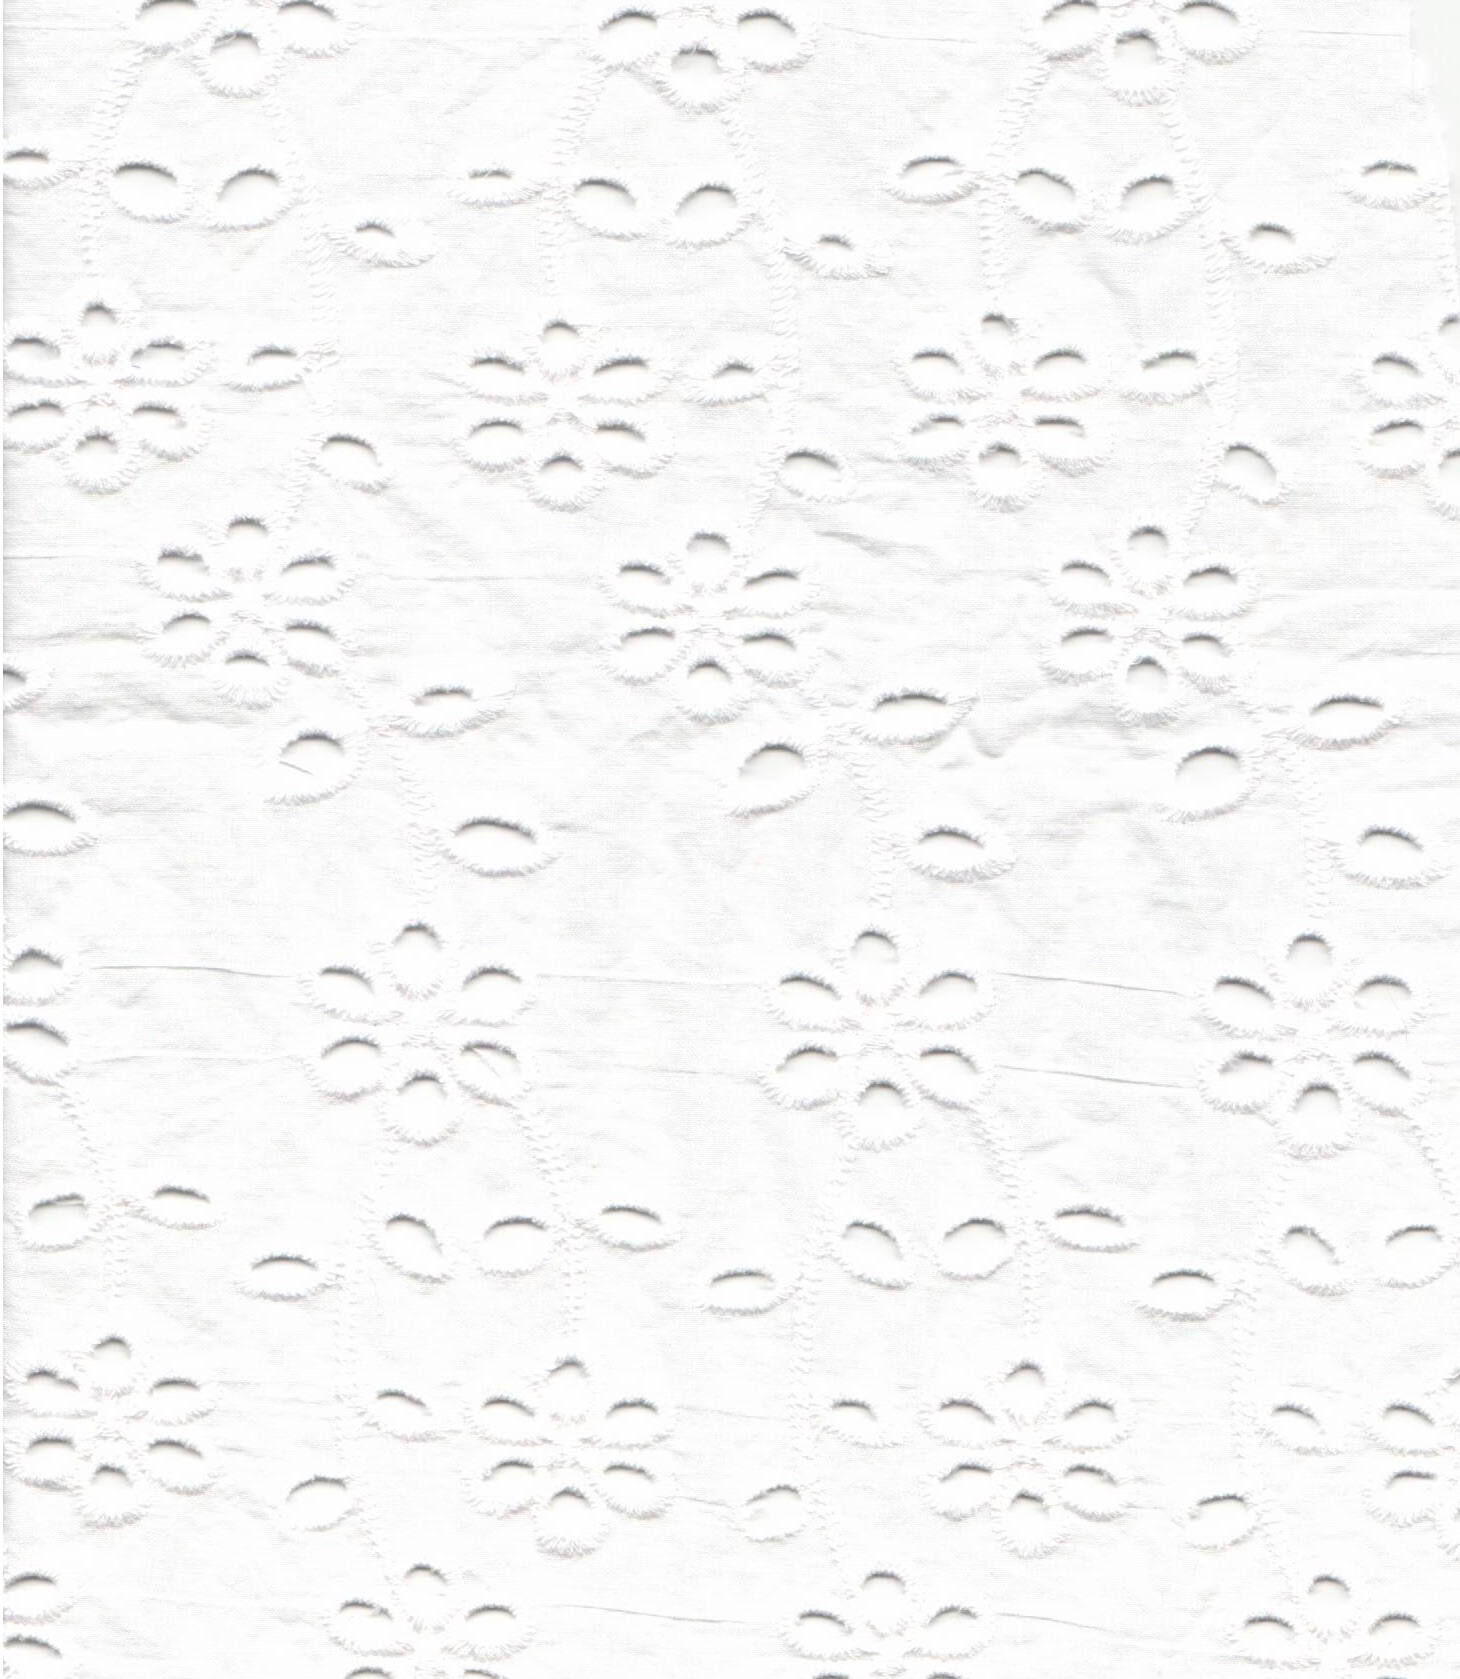
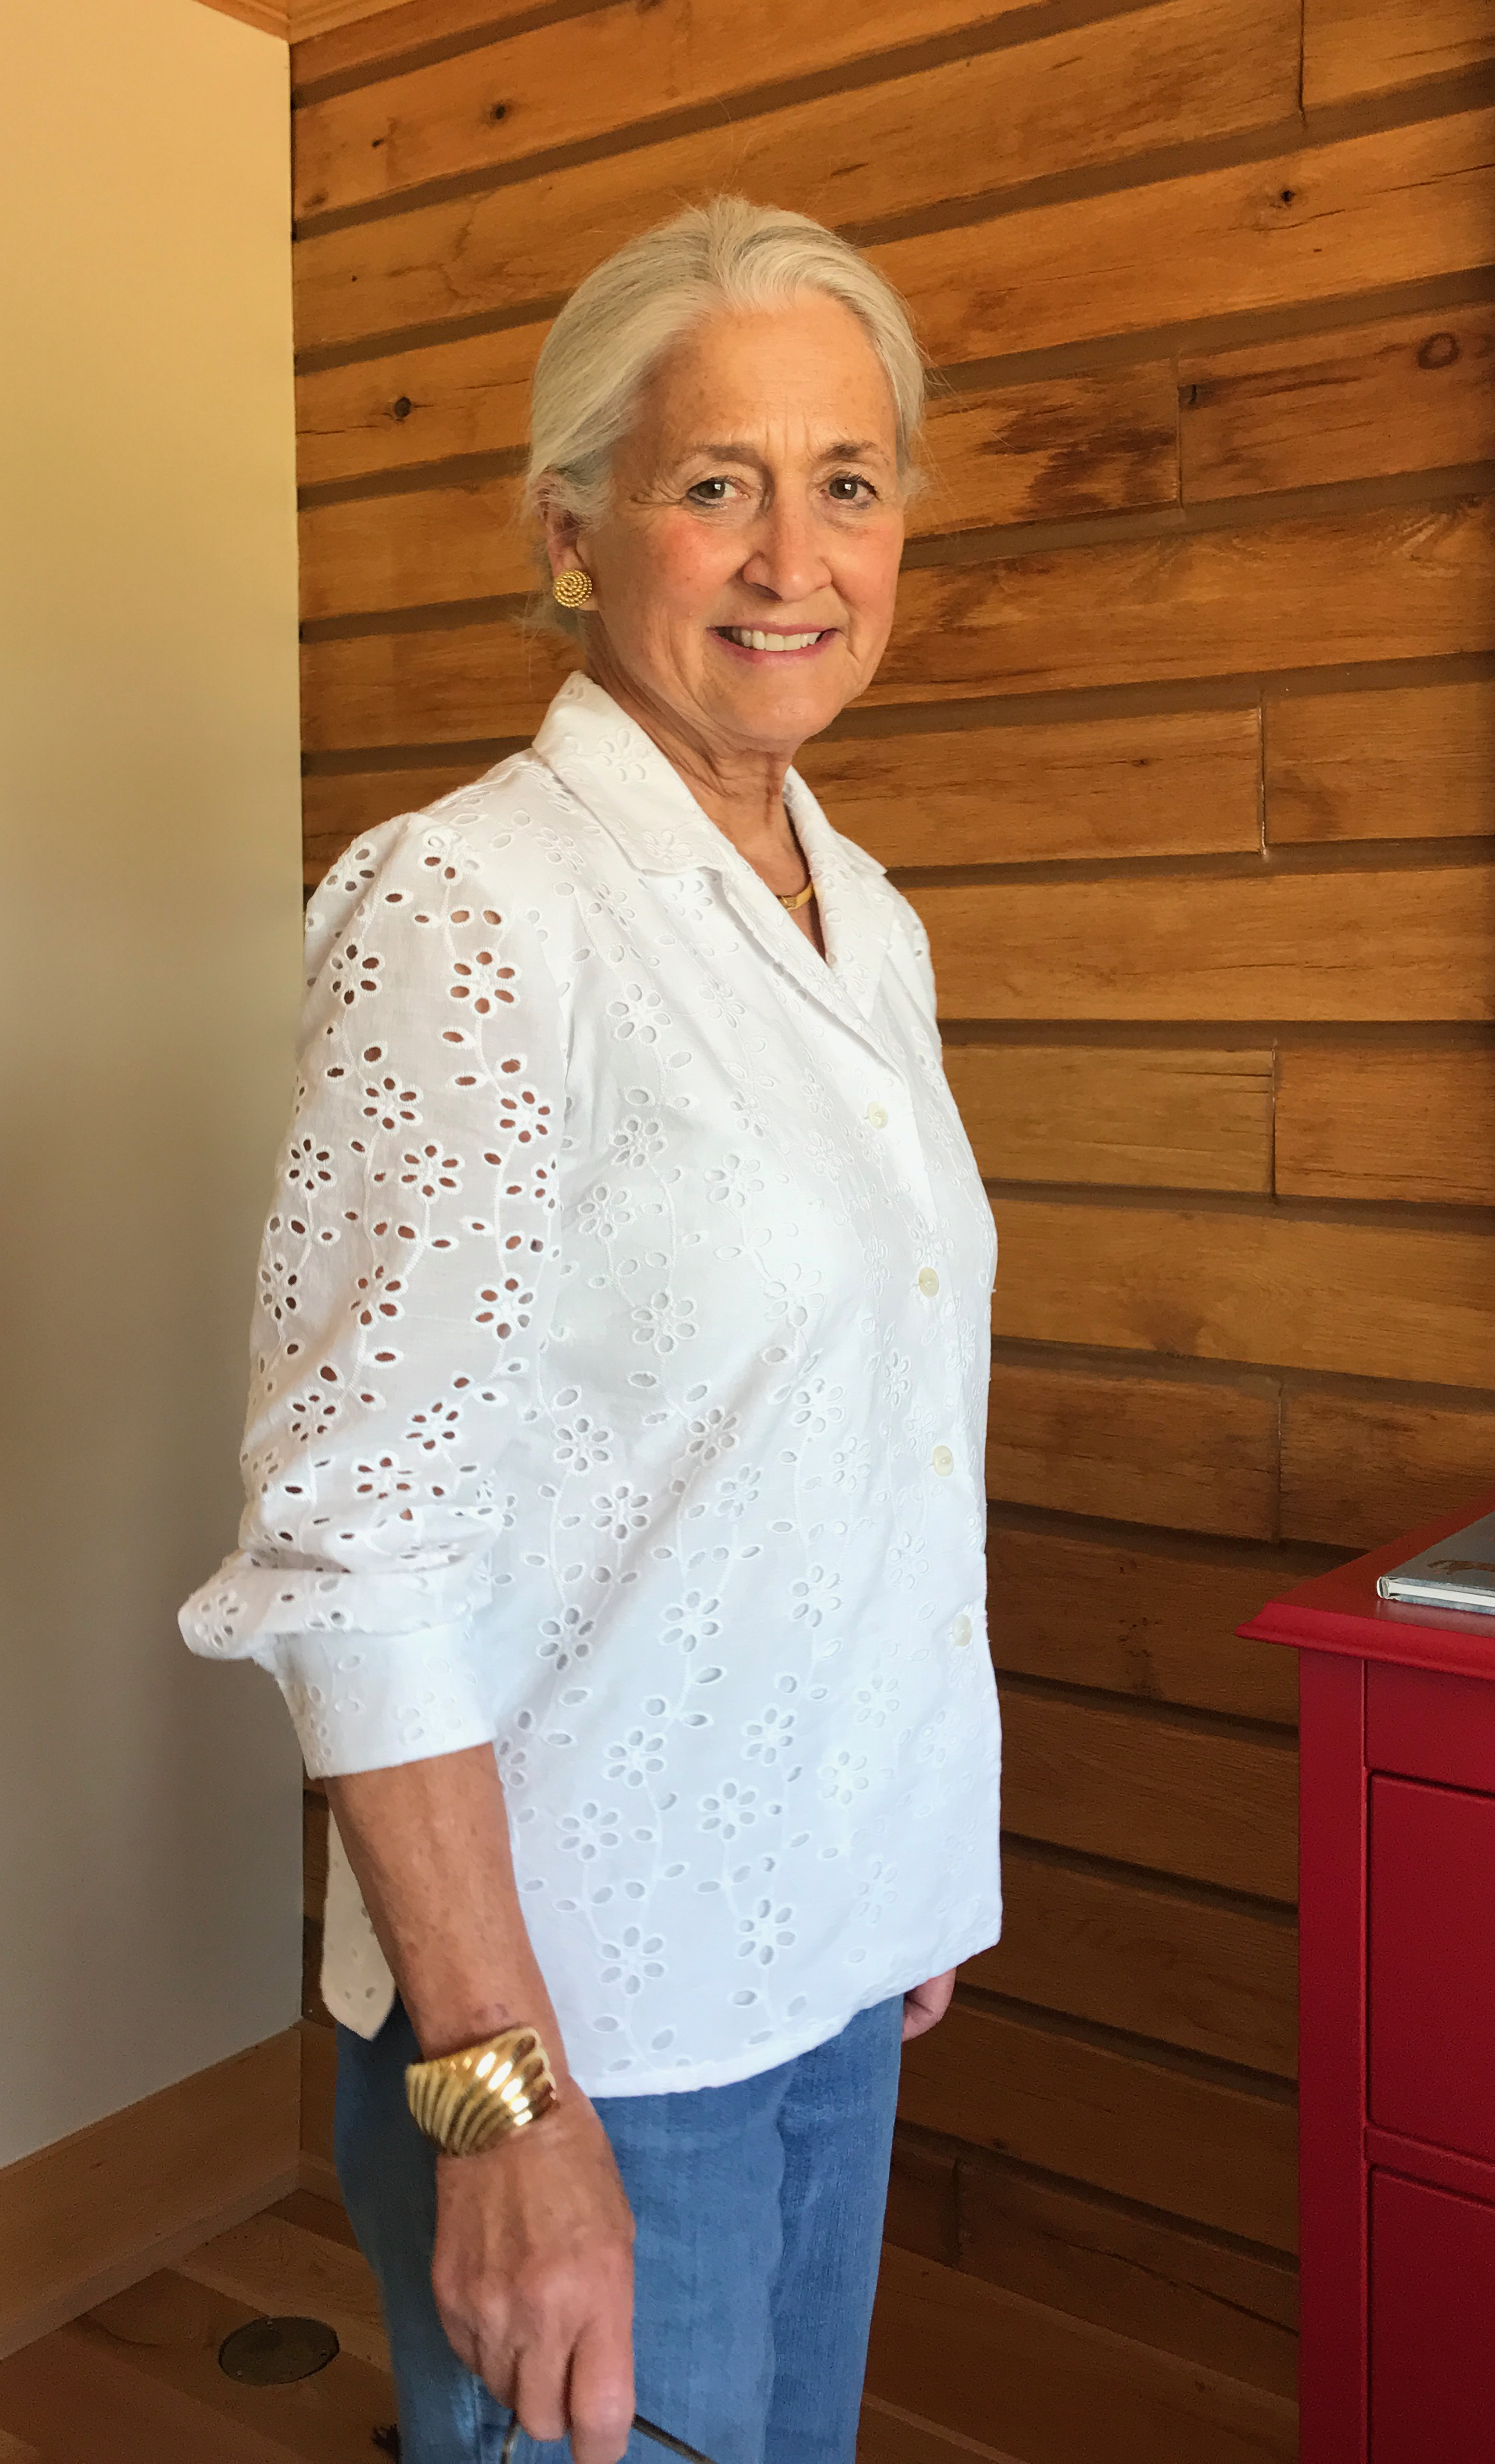
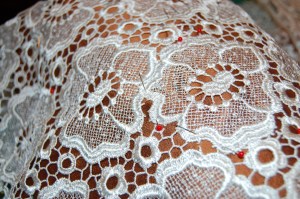
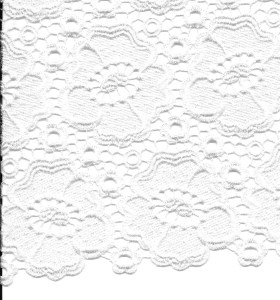
It was working on those collars which convinced me I needed to make an eyelet bouse for myself.  I went back to Farmhouse Fabrics, from which I had purchased the double-sided eyelet panel for those collars, to find a suitable eyelet for a blouse.  Farmhouse Fabrics has quite an inventory of lovely eyelets, so it was difficult to decide.  But decide I did, and purchased this all-cotton eyelet made in Spain.  

I liked the meandering motif in this design.

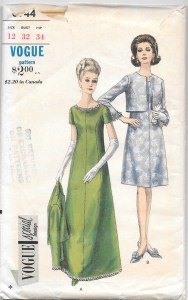
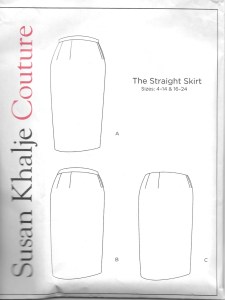
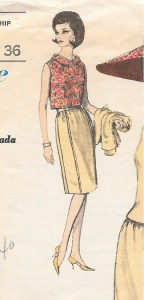
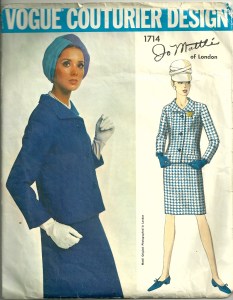
For a pattern I used this vintage Vogue pattern from 1957.

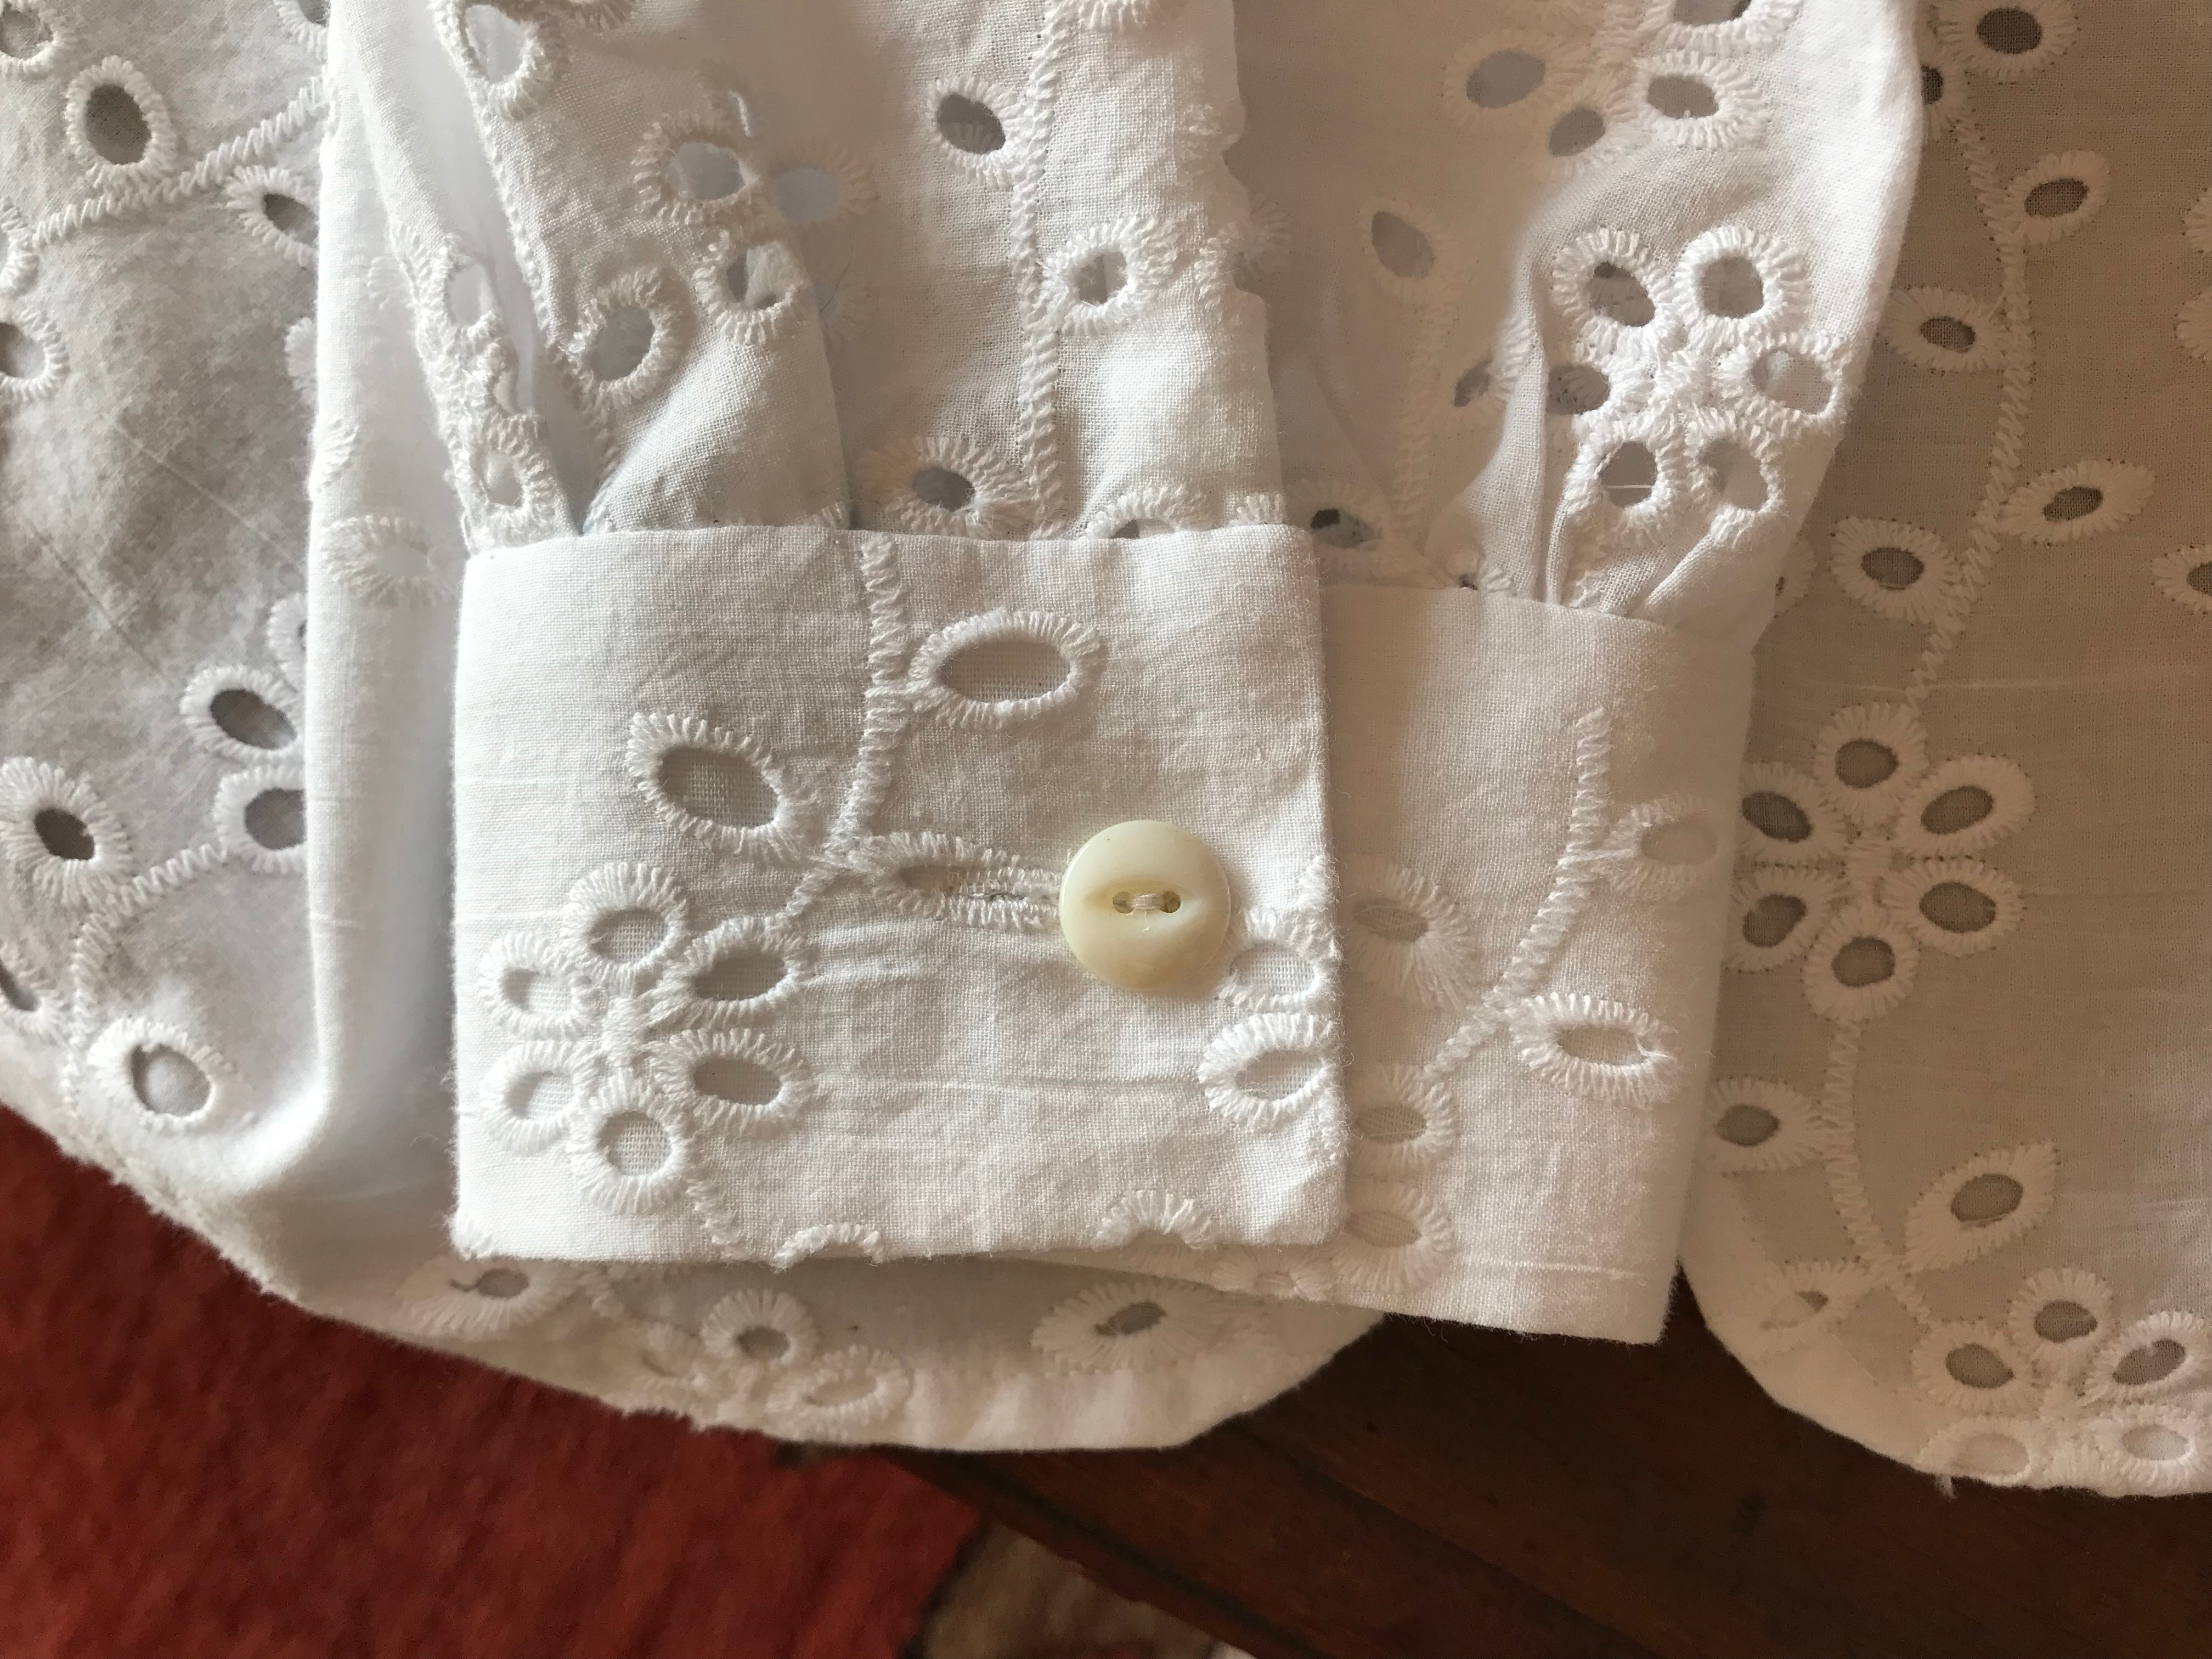
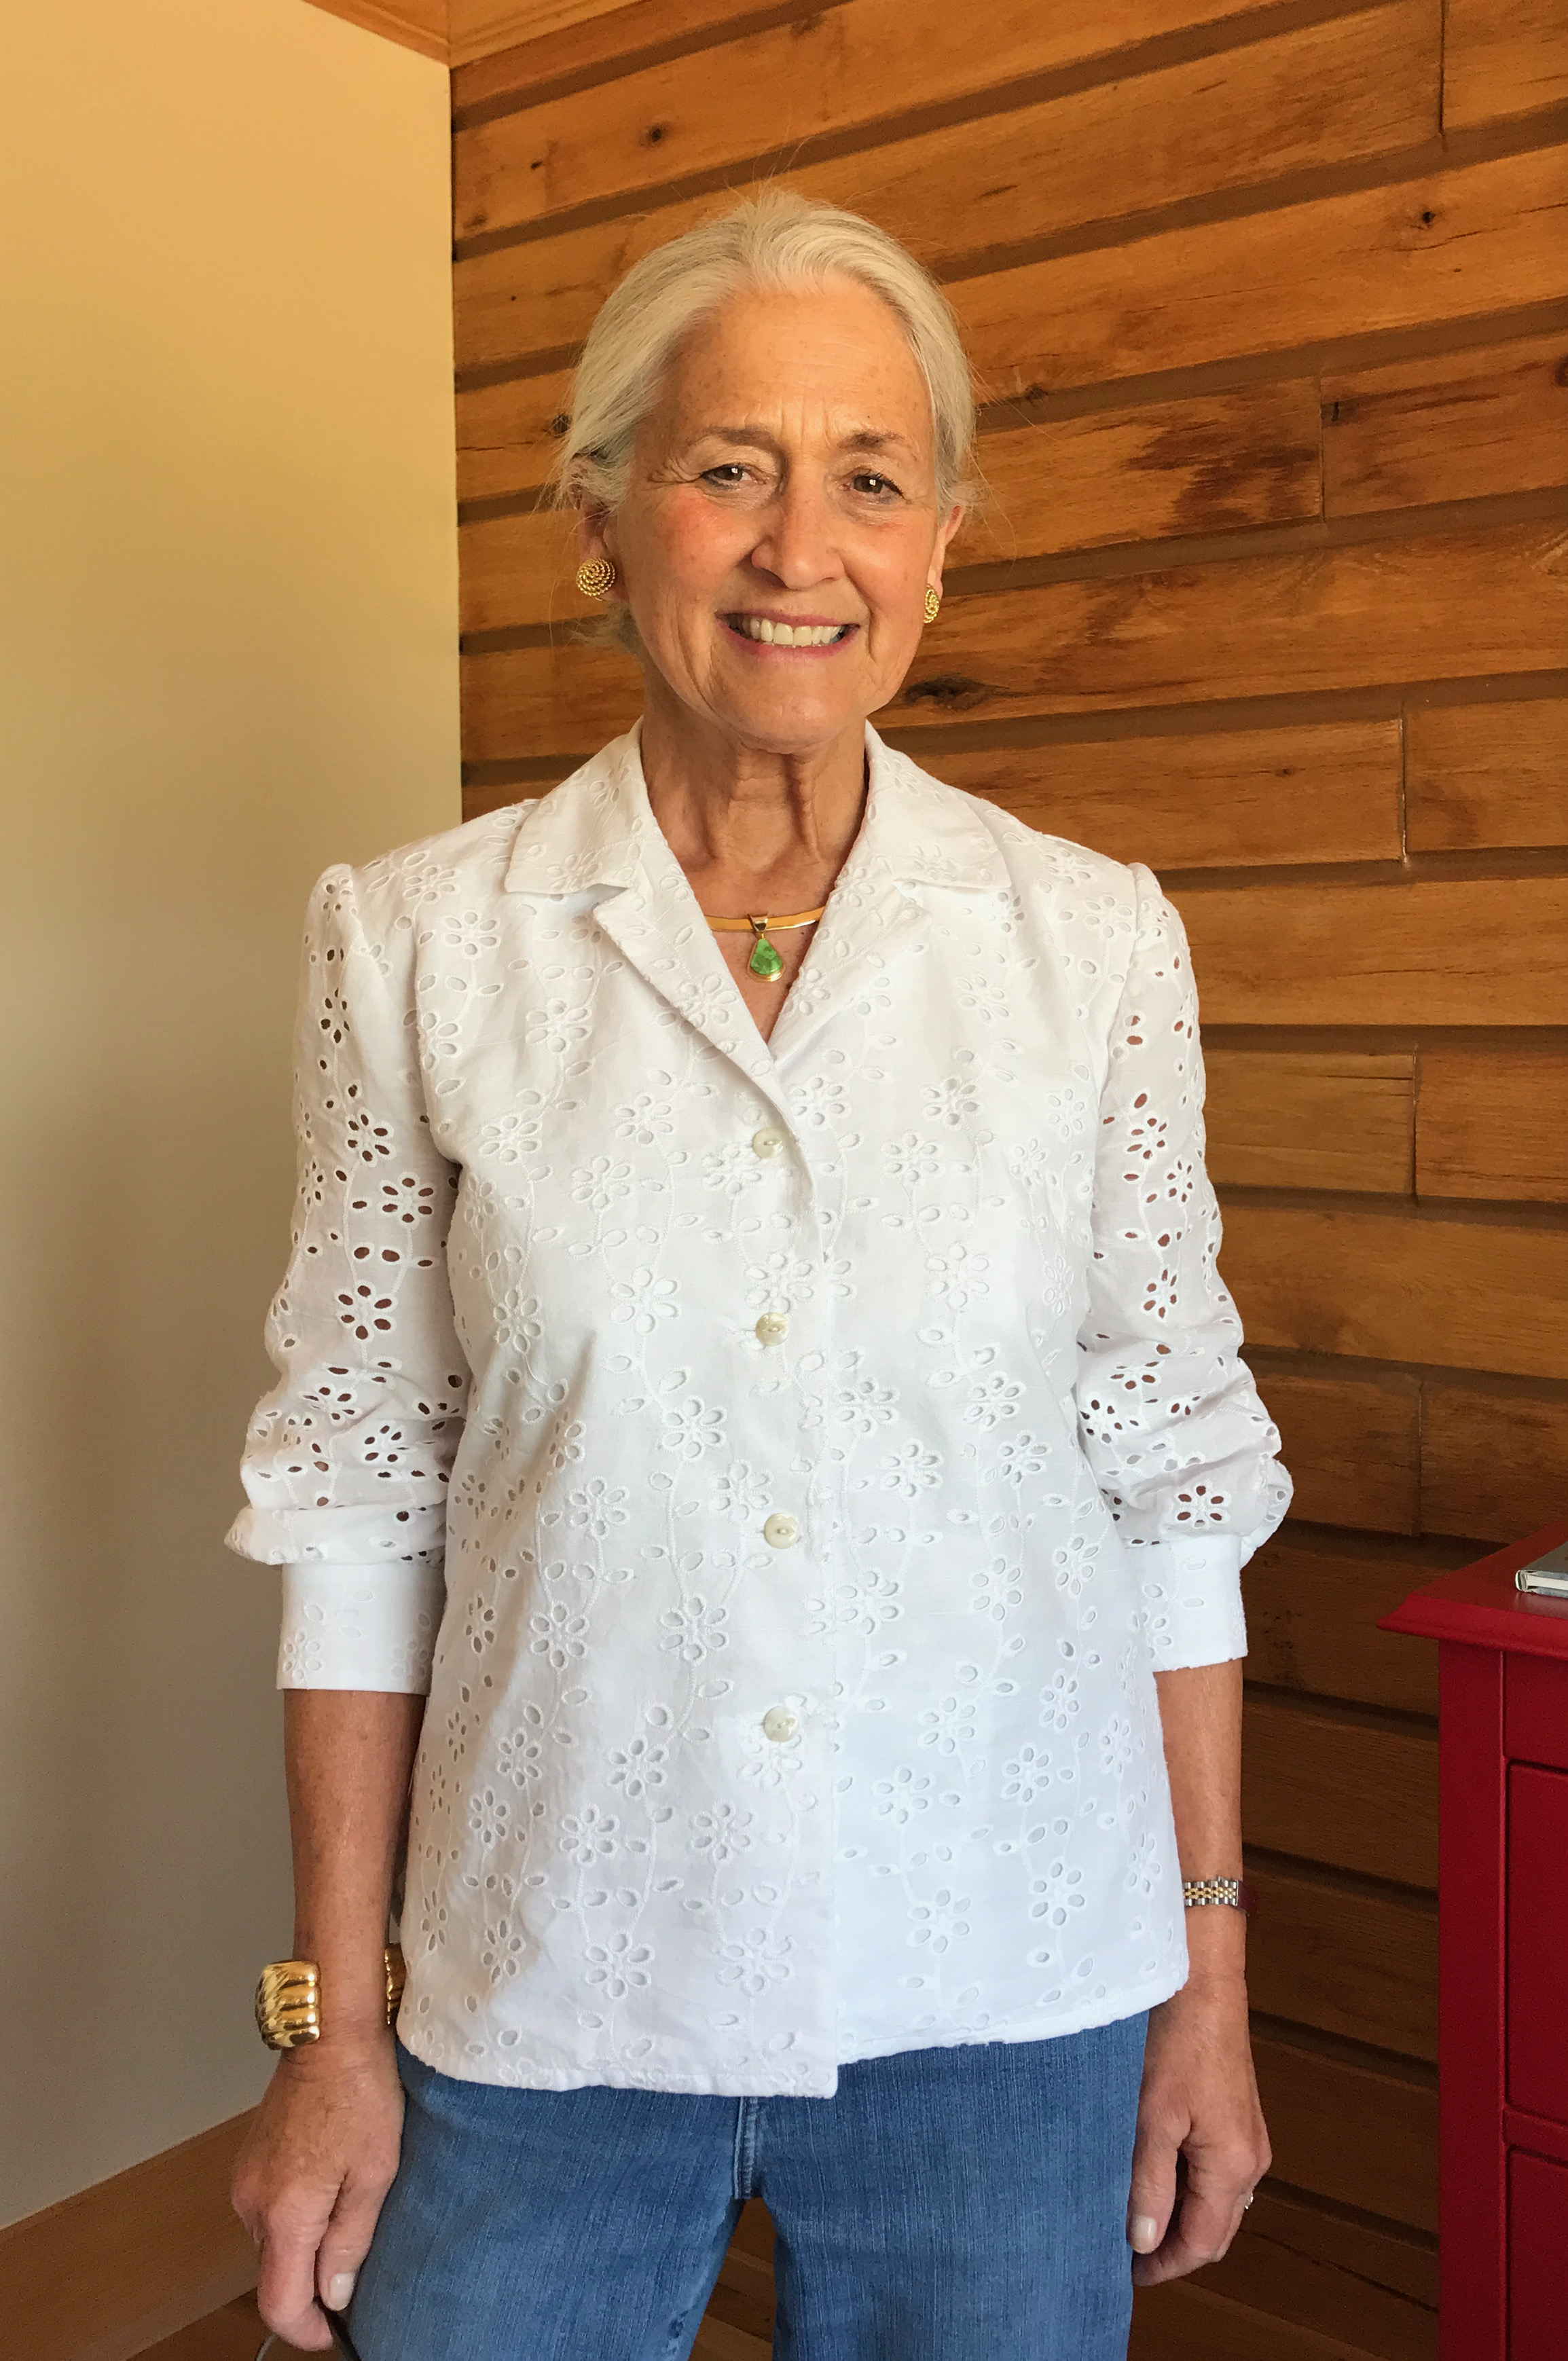
I liked the convertible collar of this pattern, as shown in View B. A convertible collar is one which can be worn open or closed. The collar is sewn directly to the neckline.  I did, however, shorten the sleeves to below elbow-length.  I also chose to make plain, buttoned cuffs without the extra turn-back detail.  

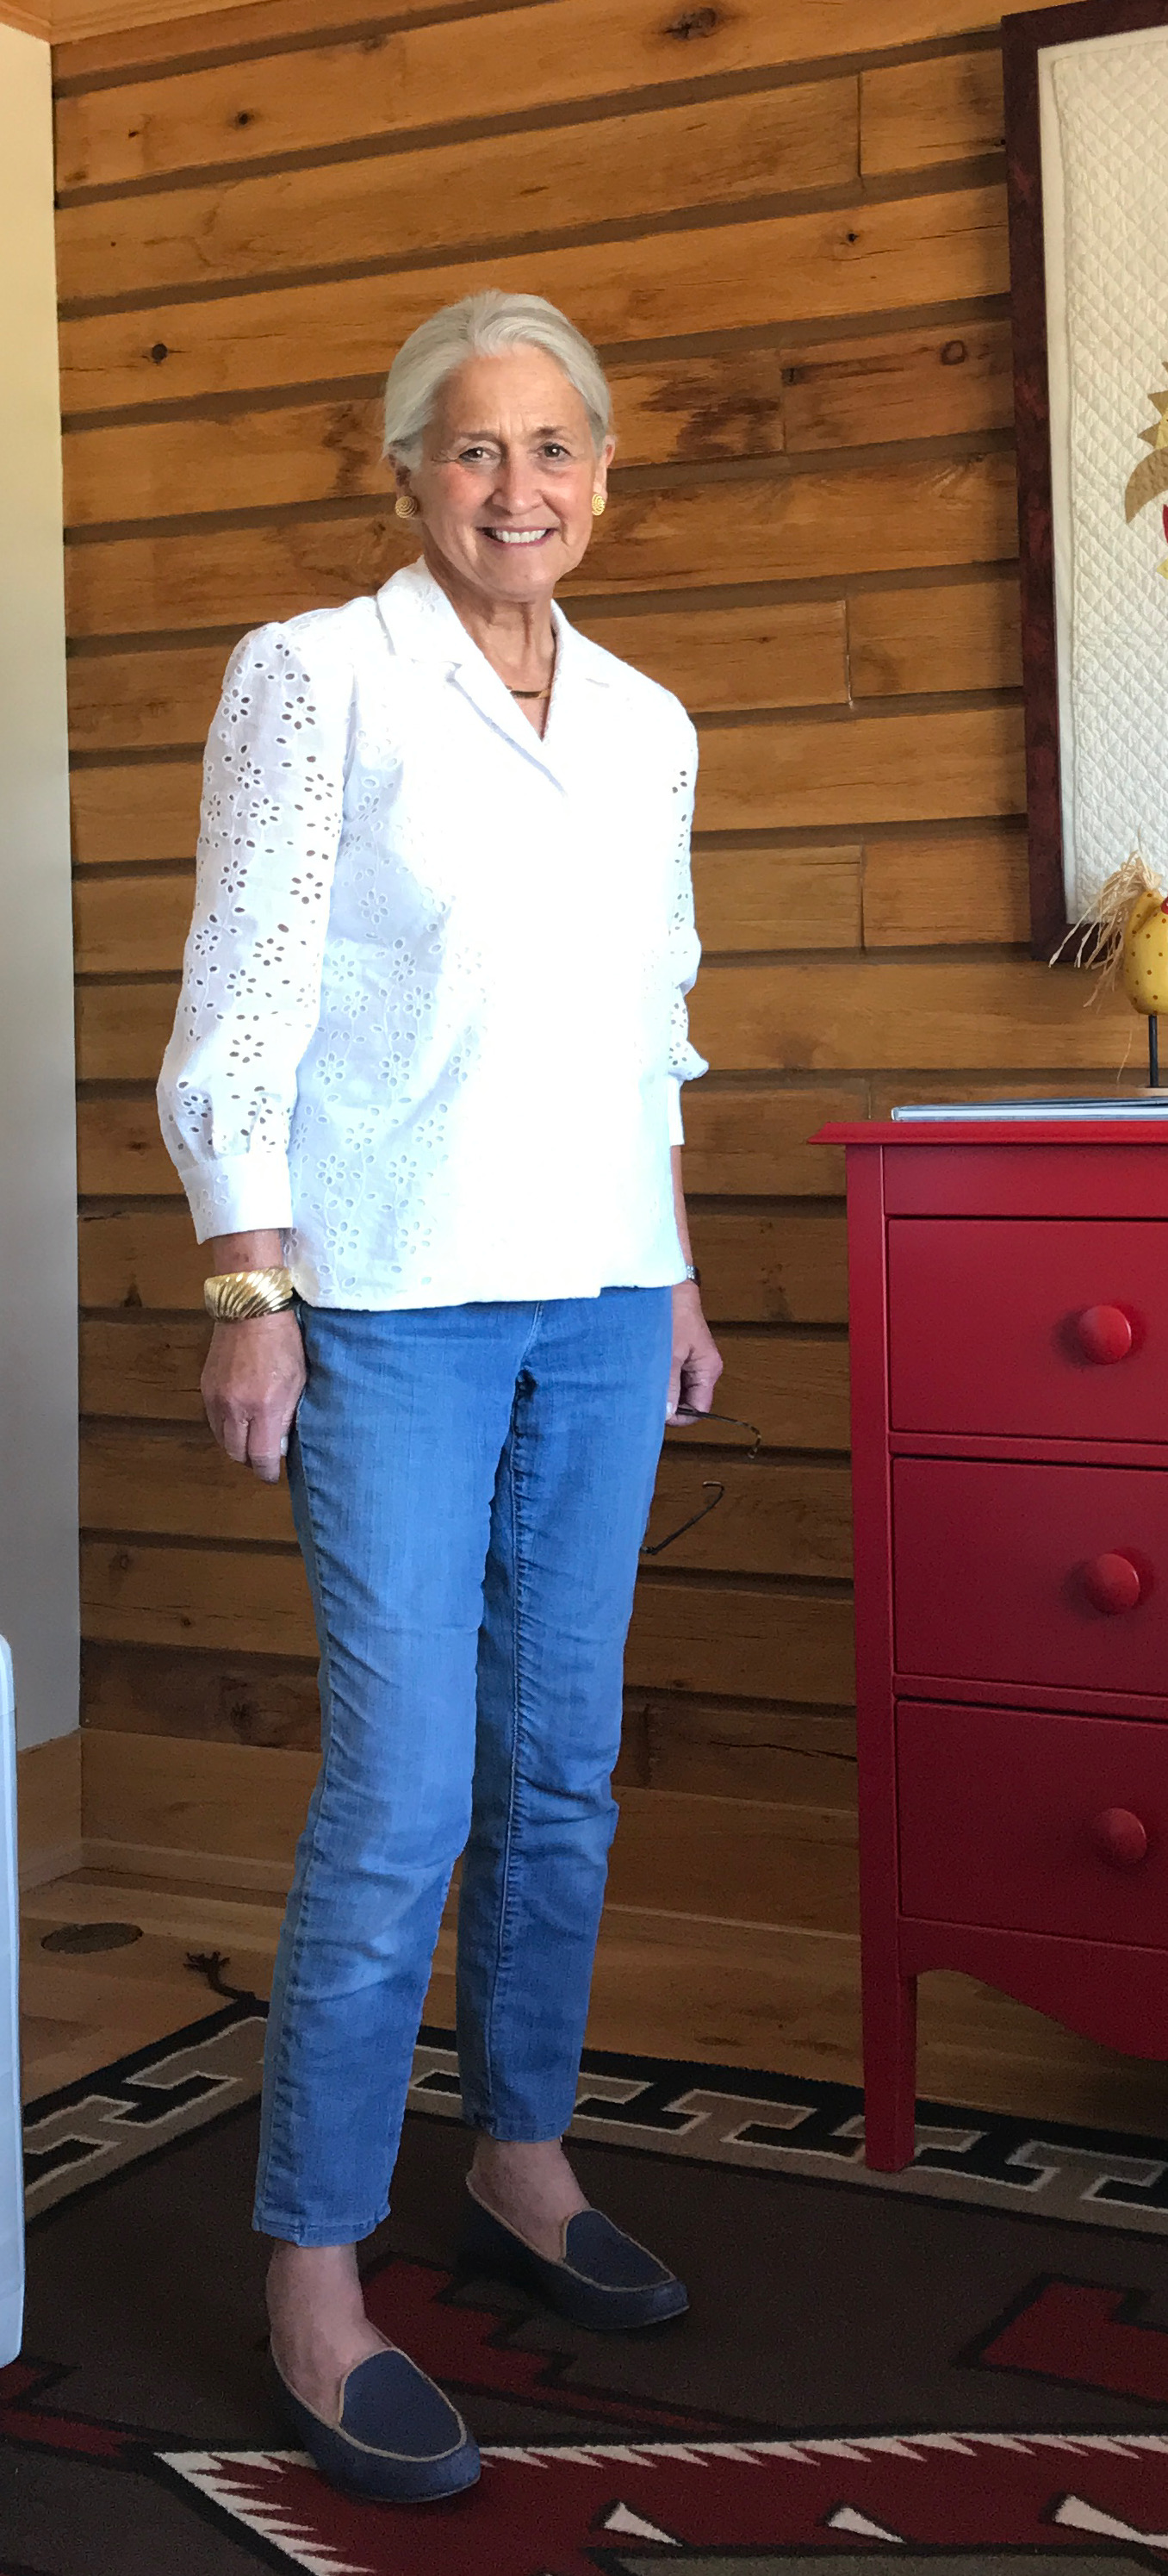
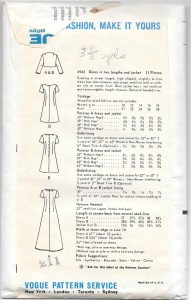
Although the blouse is described on the pattern envelope as “tuck-in,” I liked the gently curved and split hem which would also allow me to wear the blouse as an over-blouse.  The thumbnail detail from the pattern envelope shows the curved hem.  

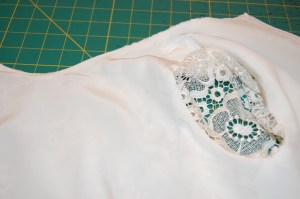
I lined the main body of the blouse with white cotton batiste, leaving the sleeves unlined.  To reduce bulk, I made the undercollar and the cuff facings from the white batiste.

Buttons are always a favorite component of a blouse for me.  I had a card of vintage Lady Washington Pearls which seemed a lovely complement to the scale of the fabric embroidery.  

One button remaining!

I first wore this blouse on a very warm evening to attend an outdoor concert.  I was amazed at how cool the blouse was. The little breeze there was, did indeed feel like air-conditioning as it wafted through all those embroidered holes!

In my case, this collar is not “convertible” as I did not put a button and buttonhole at the neckline!
I made the cuffs with a bit more width than needed so I can push the sleeves up further if I want.
After I finished the blouse I went back and added two narrow fisheye darts to the back to make the fit a bit more streamlined.
I think this blouse might be a good pairing for the Liberty cotton skirt featured in my last post.

Finding beautiful eyelet fabric is now on my sewing radar.   I would like to make more with this timeless, feminine and versatile type of lace. 

26 Comments

Filed under Blouses, Buttons - choosing the right ones, Eyelet, Lace, Mid-Century style, Sleeves, Uncategorized, vintage buttons, vintage Vogue patterns from the 1950s

A Sewing Draught

The weather outside is frightful, as the popular Christmas song goes.  It has been too hot and too wet here in eastern Pennsylvania (USA) this summer.  Our family travels, however, took us to areas that were both too hot and much too dry. It was exactly those lengthy travels which helped determine the atmospheric conditions in my sewing room during the past weeks.  There has been a definite draught in that part of the house.  The sewing machines have been huddled under their covers, the fabric has lain folded and fallow, there has not been even a bubble of moisture from the steam iron, nor the slightest snip from the scissors.  It has been a place undisturbed and quite barren.

So, finally, it is time to change all that!  Now I am faced with the question – Do I try to squeeze in the making of one more summer dress (it certainly still feels like summer) – or do I forge ahead with a project which has a mid-October deadline?

If I go with one more summer dress, it will be one made from this vintage Moygashel linen, which has been in my queue for quite some time – and somehow never made it to the top.

Realistically, it would probably be wiser to focus on that mid-October dress, which is going to be a cocktail dress made from this amazing fabric, a lightweight brocade, embroidered and with with lace appliqués.  One of the perks of attending Susan Khalje’s Couture Sewing School in Baltimore (which I did last April) is the opportunity to see and purchase fabric from Mendel Goldberg Fabrics.  Alice Wildes, the proprietress, arrives at the beginning of each week-long class with a car full of her gorgeous, carefully selected yard goods, and that is where I purchased this piece.

The embroidered flower stems are a light gray, and the flowers themselves are a pale pink.

Getting this brocade was actually a last minute decision, as I already had one cotton piece selected – and I was trying to be circumspect in buying more fabric (remind me again of why I ever think this will work?) Anyway, I’m so glad I succumbed as I love it and have determined which pattern to use for its construction:

I will be making the shorter dress, without the jacket.

I like the notched neck detail on the shorter dress. I may make below elbow length sleeves – still to be determined.

Although this dress appears to be a simple silhouette, I have plans to change it up a bit, which will add to its complexity, so it certainly cannot be rushed.

With any luck, the weather will start to change for the better no matter which project I embark on.  The only question is – which one will get the nod?

13 Comments

Filed under Cocktail dresses, Formal or fancy dresses, Lace, Linen, Moygashel linen, Uncategorized, Vintage fabric, vintage Vogue patterns from the 1960s

A Three Piece Outfit for the Holidays, Part 3: The Sash

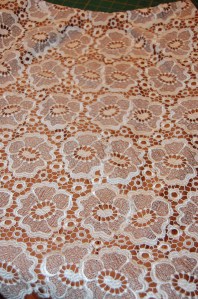
The sash started it all. After finishing this silk taffeta coat last year, I was left with about 1 and ½ yards of that luscious coral fabric.

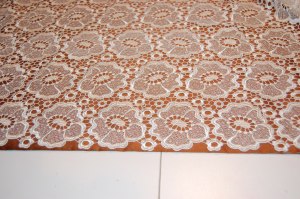
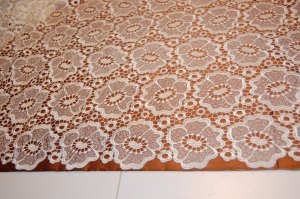
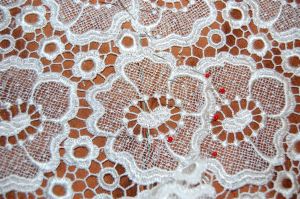
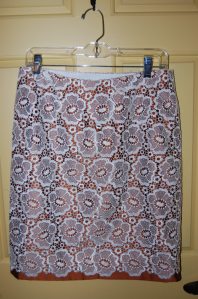
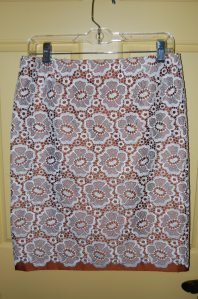
I just could not stand the thought of having that yardage sitting in my fabric closet, unused, as I found it so delightful to sew and to wear. That is when I got the idea to combine this fabric with the Guipure lace, also sharing space in that closet of wonders. However, my first thought was to make a blouse from the fabric and also use it as the fashion fabric for a lace skirt, knowing I would need at least one more yard to accomplish this plan. I contacted Britex Fabrics, from whence the fabric came, and to my dismay, they were sold out, with no more available to special order. Undeterred, I then came up with the idea of coordinating fabrics for the blouse and skirt, and using the coral silk to tie it all together. After receiving swatches of several silks from Britex, I settled on the bronzy brown and the apricot colored fabrics for the skirt and blouse, respectively.

A sash should really be straightforward, right? Well, yes; however, I thought it would be good if the sash had a slight curve to it to follow the curvature over the upper hip. That’s when I went to my closet and pulled out a silk sash that I purchased from J. Crew years ago. I had remembered correctly that it had a slight curve to it:

I often think of the tip in the book 101 Things I Learned in Fashion School, page 86: “When in doubt, look in your closet.” Looking at something that is “Ready to Wear” will often help you with construction methods or design ideas.

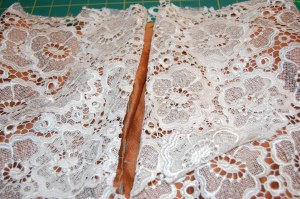
The J. Crew sash is 72 inches long. A trial tying of the bow proved to me that I needed to add more length to the sash if I wanted to tie a full bow at the waist, which was my intent. I determined that adding 12 inches would do the trick. Then I used that sash as a template to make a pattern, not quite knowing how sewing that long, slow curve was going to work (the sash has one long seam on the concave side of the curve, meaning that some give would need to be worked into that seam.) As it turned out, ironing was the trick to get it to behave correctly, as is so often the case!

84″ proved to be the perfect length to tie a complete bow.

I had to piece the sash in the center back, but I knew that ahead of time and it really does not bother me.

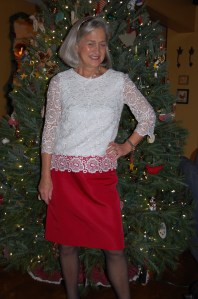
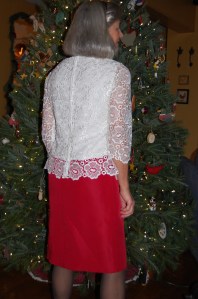
After trying on this completed outfit for the photos, I know that I need to somehow tighten up the interior waist of the skirt (you many recall from my last post, that I added what turned out to be unnecessary width to the circumference of the waist.) My blouse is not going to stay tucked in if I don’t, and the skirt feels like it is drooping on me. I am going to try adding interior waist elastic to straddle the side seams and see if that might do the trick. I am not about to take the skirt apart and remake it! And the sash should help conceal any bobbles in the waistline.

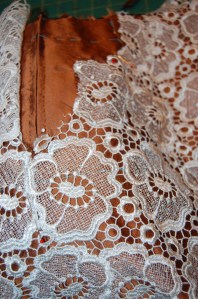
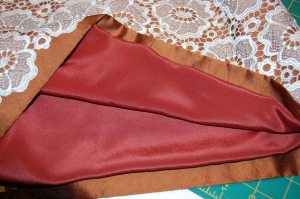
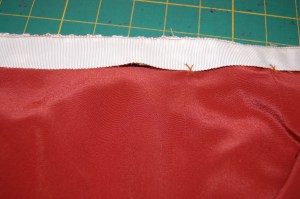
The “concealed zipper.”

It was cold and blustery when I took these photos! I could not wait to get back inside for a cup of hot tea!

Sewing for the holidays is such an anticipatory activity, and one that I love to do. There is already a festive feeling in the air here in late November, and so much more to sew…

28 Comments

Filed under Blouses, Bows as design feature, Fashion commentary, Lace, Silk taffeta, Uncategorized

A Three Piece Outfit for the Holidays: Part 2, the Skirt

If I had known how lengthy a process it is to make a couture Guipure lace skirt, I would have chosen to make it before the blouse. Here I thought I was getting the more complicated part finished first. Well, I could not have been more mistaken! However, it certainly feels good to have both finished, although I may be in “skirt recovery” for a while!

The Guipure lace I used was some that I had purchased a couple of years ago. I liked the fact that the color from my fashion fabric – that coppery brown silk – would be a good contrast to the white lace. However, I did not consider if it was really the best choice for a Guipure skirt, due to the fact that part of the allure of these skirts is camouflaging the seams and darts. The light weight nature of this Guipure – and its very regular pattern – made it somewhat difficult to use for this purpose.

One of the first things I did was determine what selvedge edge of the lace I wanted to use for the hem. Once I had settled that, I had to decide how much of the fashion fabric to leave showing on the hem edge.

This selvedge edge is marked by some of the small daisy-like flowers in a horizontal line with the larger motifs.

And here the larger motifs are more prominent.I preferred this one, but I moved it up a bit to show more of the fashion fabric, in order to “ground” the lower edge.

From then on, I followed the Craftsy Class presented by Threads Magazine, with Susan Khalje teaching. Here are some pictures taken along the way:

Pinned in place, ready to stitch part of the lace covering the back seam.

In trying to camouflage the zipper, I chose to have a fairly substantial flap of lace on the left, to be snapped in place on the right. It would have been better to have smaller overlays across the zipper, which are much easier to handle.

The back of the skirt with all the lace attached and snapped in place.

All in all, the back of the skirt looks okay, I think.

And the shaping over the darts is almost imperceptible on this view of the skirt front.

I have one tip to add: when I was ready to insert the silk lining, there were many fuzzies and threads clinging onto the cotton underlining. I really did not want them encased in my skirt forever, so I quickly removed them all with a lint roller. Then the lining went in just as intended, followed by the Petersham ribbon inner waist band.

Here is the lining with its built-in drop pleat for ease of wearing.

View of the interior Petersham ribbon waist “facing.”

All in all, I am fairly pleased with how this skirt turned out. I learned so much from taking this course and making this skirt, and it probably isn’t surprising that I have a list of things to do differently the next time.

1) choose a heavier weight – or more substantial – Guipure, with a more intricate pattern. This should make it easier to hide the snaps and manipiulate the motifs in the lace to conceal all which must be concealed!

2) use a lighter weight cotton for my underlining. I felt the one I used was just a little heavier than needed. (It was some I found in my stack of quilting cottons.)

The underlining cotton. A little lighter in weight would be preferable.

3) leave 1/2” distance from the top of the zipper to the line for the Petersham ribbon. I left about 3/8” and I think the zipper is a little squashed at the waistline.

4) when I tried on the skirt midway through to doublecheck on the fit, I thought the waist was a little snug, so I added 3/8”. But once the skirt was finished, I found I really did not need the extra fullness. So next time, I’ll keep my original measurement! Hopefully I won’t need suspenders to keep the skirt from falling down.

5) next time I will definitely use a more exciting lining. I think this one is dull.

Now I have one more small thing to make for this outfit (with full pictures to come.)  But I have small on the brain right now as I need to do some sewing for my little granddaughters, making for a fierce competiton in my sewing room. I believe multi-tasking will be on the agenda.


12 Comments

Filed under couture construction, Lace, Linings, sewing in silk, Uncategorized, underlinings

C is for Couture . . .

. . . And Courage. I guess “C” could also be for Craftsy, come to think of it. Although I thought I would be writing only one post solely devoted to my guipure lace skirt (when finished!), I really feel the need to address my progress and the Craftsy course which is leading the way for me.

When, just a few months ago, Craftsy announced a new class by Susan Khalje, The Couture Lace Skirt, presented by Threads Magazine where Susan is a Contributing Editor, I jumped at it. Susan has not only written about these skirts in Threads Magazine (November 2014, number 175), she has also developed her own skirt pattern – with one view expressly intended for a guipure lace skirt – and, of course, she teaches the construction of these skirts in her own classes, too. Now with this class on Craftsy, there is ample reason to feel confident in plunging ahead with the construction of one of these elegant skirts.

View C is the version intended for use with Guipure lace. Although this looks like a simple straight skirt, there are subtle details which make it a step above ordinary. For example, the side seams are set slightly back from the front. There is slight fullness built in at the hip; not enough to be noticeable, but enough to make it more comfortable for wearing. This pattern is available on Susan’s website.

I knew I could not go wrong with this course, but it is even better than I imagined. To look at one of these skirts, one could never imagine the amount of work in something with such a simple silhouette. About halfway through the lessons, it dawned on me that there are quite a few similarities between making one of these skirts and making a classic French jacket. Both have very specific, and unusual, construction techniques. Both defy many of the normal sewing rules. Both have a tremendous amount of handwork involved. And both garments go through a really messy stage – almost chaotic! – before emerging in their final manifestation.

Here is one of the skirts illustrated in the Threads article from November 2014.

The course has ten parts, and although it is a couture sewing course, Susan’s directions can be implemented by someone with no couture construction experience. However, patience is a must. She walks you through the making and fitting of a toile, followed by preparation of the underlining and fashion fabric (the fabric which peeks through the lace, usually silk charmeuse), then the sewing of the side seams (only) and hem. I had never worked on a skirt where the back seam is not sewn until so far into the construction process, but such is necessary to provide a flat surface on which to shape and attach the lace overlay.

Another example of one of these skirts, from the Threads article.

This is where Courage comes in. Shaping the lace to lie properly on curves and darts requires a good amount of snipping and clipping and cutting of the lace! This is not for the faint of heart, but once you get into the process, it really is logical and even captivating. Besides, as Susan says, if you make a mistake, you can always patch!

A detail from my skirt, with the lace pinned and ready to attach.

This is also the part that looks somewhat chaotic, with great flaps of lace waiting to be tamed, and a crazy network of tiny stitches emerging on the underlining, but invisible on top.

One section of the underlining cotton showing the maze of stitching required to attach the lace to the top of the skirt. Leaving the basting stitches in helps to orient the lace properly.

I am about ready to insert the hand-picked zipper, which will be hidden when finished.

Ready for inserting the zipper. This is a good example of the flaps of lace which still need to be “tamed.”

What an interesting process this has been so far. Susan has so much sewing wisdom to impart, and she does it in such an engaging way, that it is like having your own personal couture teacher right by your side. If you have ever admired these skirts and thought about making one, you will find this course to be invaluable!  More on my skirt to follow in the next post on Fifty Dresses.

These opinions are my own. I purchased my subscription to the course on Craftsy and have no affiliation with the company.  


14 Comments

Filed under couture construction, Lace, sewing classes, silk, Uncategorized, underlinings

Festive Attire

This time of year is not called The Festive Season without good reason. Replete with parties and holiday events, December is like no other month of the year. Particularly delightful are the parties which are given in someone’s home – and they deserve special attention to attire. I firmly believe it is a compliment to your host and/or hostess to dress up according to the season – which means Festive Attire.

When I am considering what to make (and wear) for a Christmas Party, I keep these things in mind:

1) It should be feminine – as in a party skirt or dress (not pants, with my apologies to those of you who prefer them).

2) If possible, all or some of it should be silk, that luxurious and elegant fabric which always makes a statement.

3) It should be fancy which leaves open many possibilies.

4) Something about it should be colorful – preferably red, the perfect hue for a bright holiday look.

So, how did I do?

Festive Attire

The lace for the overblouse is from Mendel Goldberg Fabrics. I found it online this past summer. Although at the time, I did not know what I was going to make, it was an end-cut, so the yardage was ample. I figured I’d make that decision later. The red fabric for the skirt is a silk faille. I purchased it several years ago and had it in my fabric storage closet. Now I can’t remember what I intended to use it for; I remember when it arrived, I thought it was too stiff for whatever that was. I kind of despaired that I’d never find a suitable use for it, until I got the idea for this outfit.

I used the same overblouse pattern that I worked from this past summer for an eyelet blouse – and set to work on this incredible lace.

I made lots of changes to this overblouse pattern, but it gave me the basics I needed.

I made lots of changes to this overblouse pattern, but it gave me the basics I needed.

With two scalloped “selvedge edges,” the lace is very versatile. I underlined the body of the blouse with a lightweight cotton/linen blend, and then I lined it with silk crepe de chine.

Festove attire - lace

Perhaps you can see the lovely detail in this small segment of the lace.

Here is an interior look at the silk lining sewn carefully to the armscye.

Here is an interior look at the silk lining sewn carefully to the armscye.

I used a tired and true skirt pattern for the red silk faille.

From Vogue's Designer series, ca 1970.

From Vogue’s Designer series, ca 1970.

Because of the stiffness of the fabric, I added about 1/8 of an inch to the side seams to give me a little more flexibility in movement, but now that it is finished, I really don’t think that was necessary. Even though the fabric is stiff-ish, it’s flexible – and I love the sheen it has.

With no construction photos to show you (too busy sewing to take pictures!), I have to be content showing you just the finished product.

DSC_1002

DSC_1000


DSC_1011

DSC_1013

Somehow I was able to cover all my “festive” criteria with this outfit: feminine, silk, fancy and colorful. I must remember this recipe for next year’s Festive Season.

33 Comments

Filed under Formal or fancy dresses, Lace, sewing in silk, Uncategorized