It might be stretching a point to compare our Classic French Jacket Class, taken with Susan Khalje at her workspace just outside Baltimore, Maryland (USA), to spending time in Paris, France. However, I could not help but feel that the twelve of us in the class were a small part of a continuum of dressmakers dedicated to haute couture, even if we were all sewing for ourselves! Certainly the outstanding instruction we received and the techniques we learned are consistent with the standards associated with such fine custom sewing – and with timeless, classic fashion.
A classic French jacket (or Chanel-inspired jacket) has certain characteristics and sewing techniques which are specific to it. Among these are:
1) These jackets are usually cardigan style, with the front edges abutting rather than over-lapping.
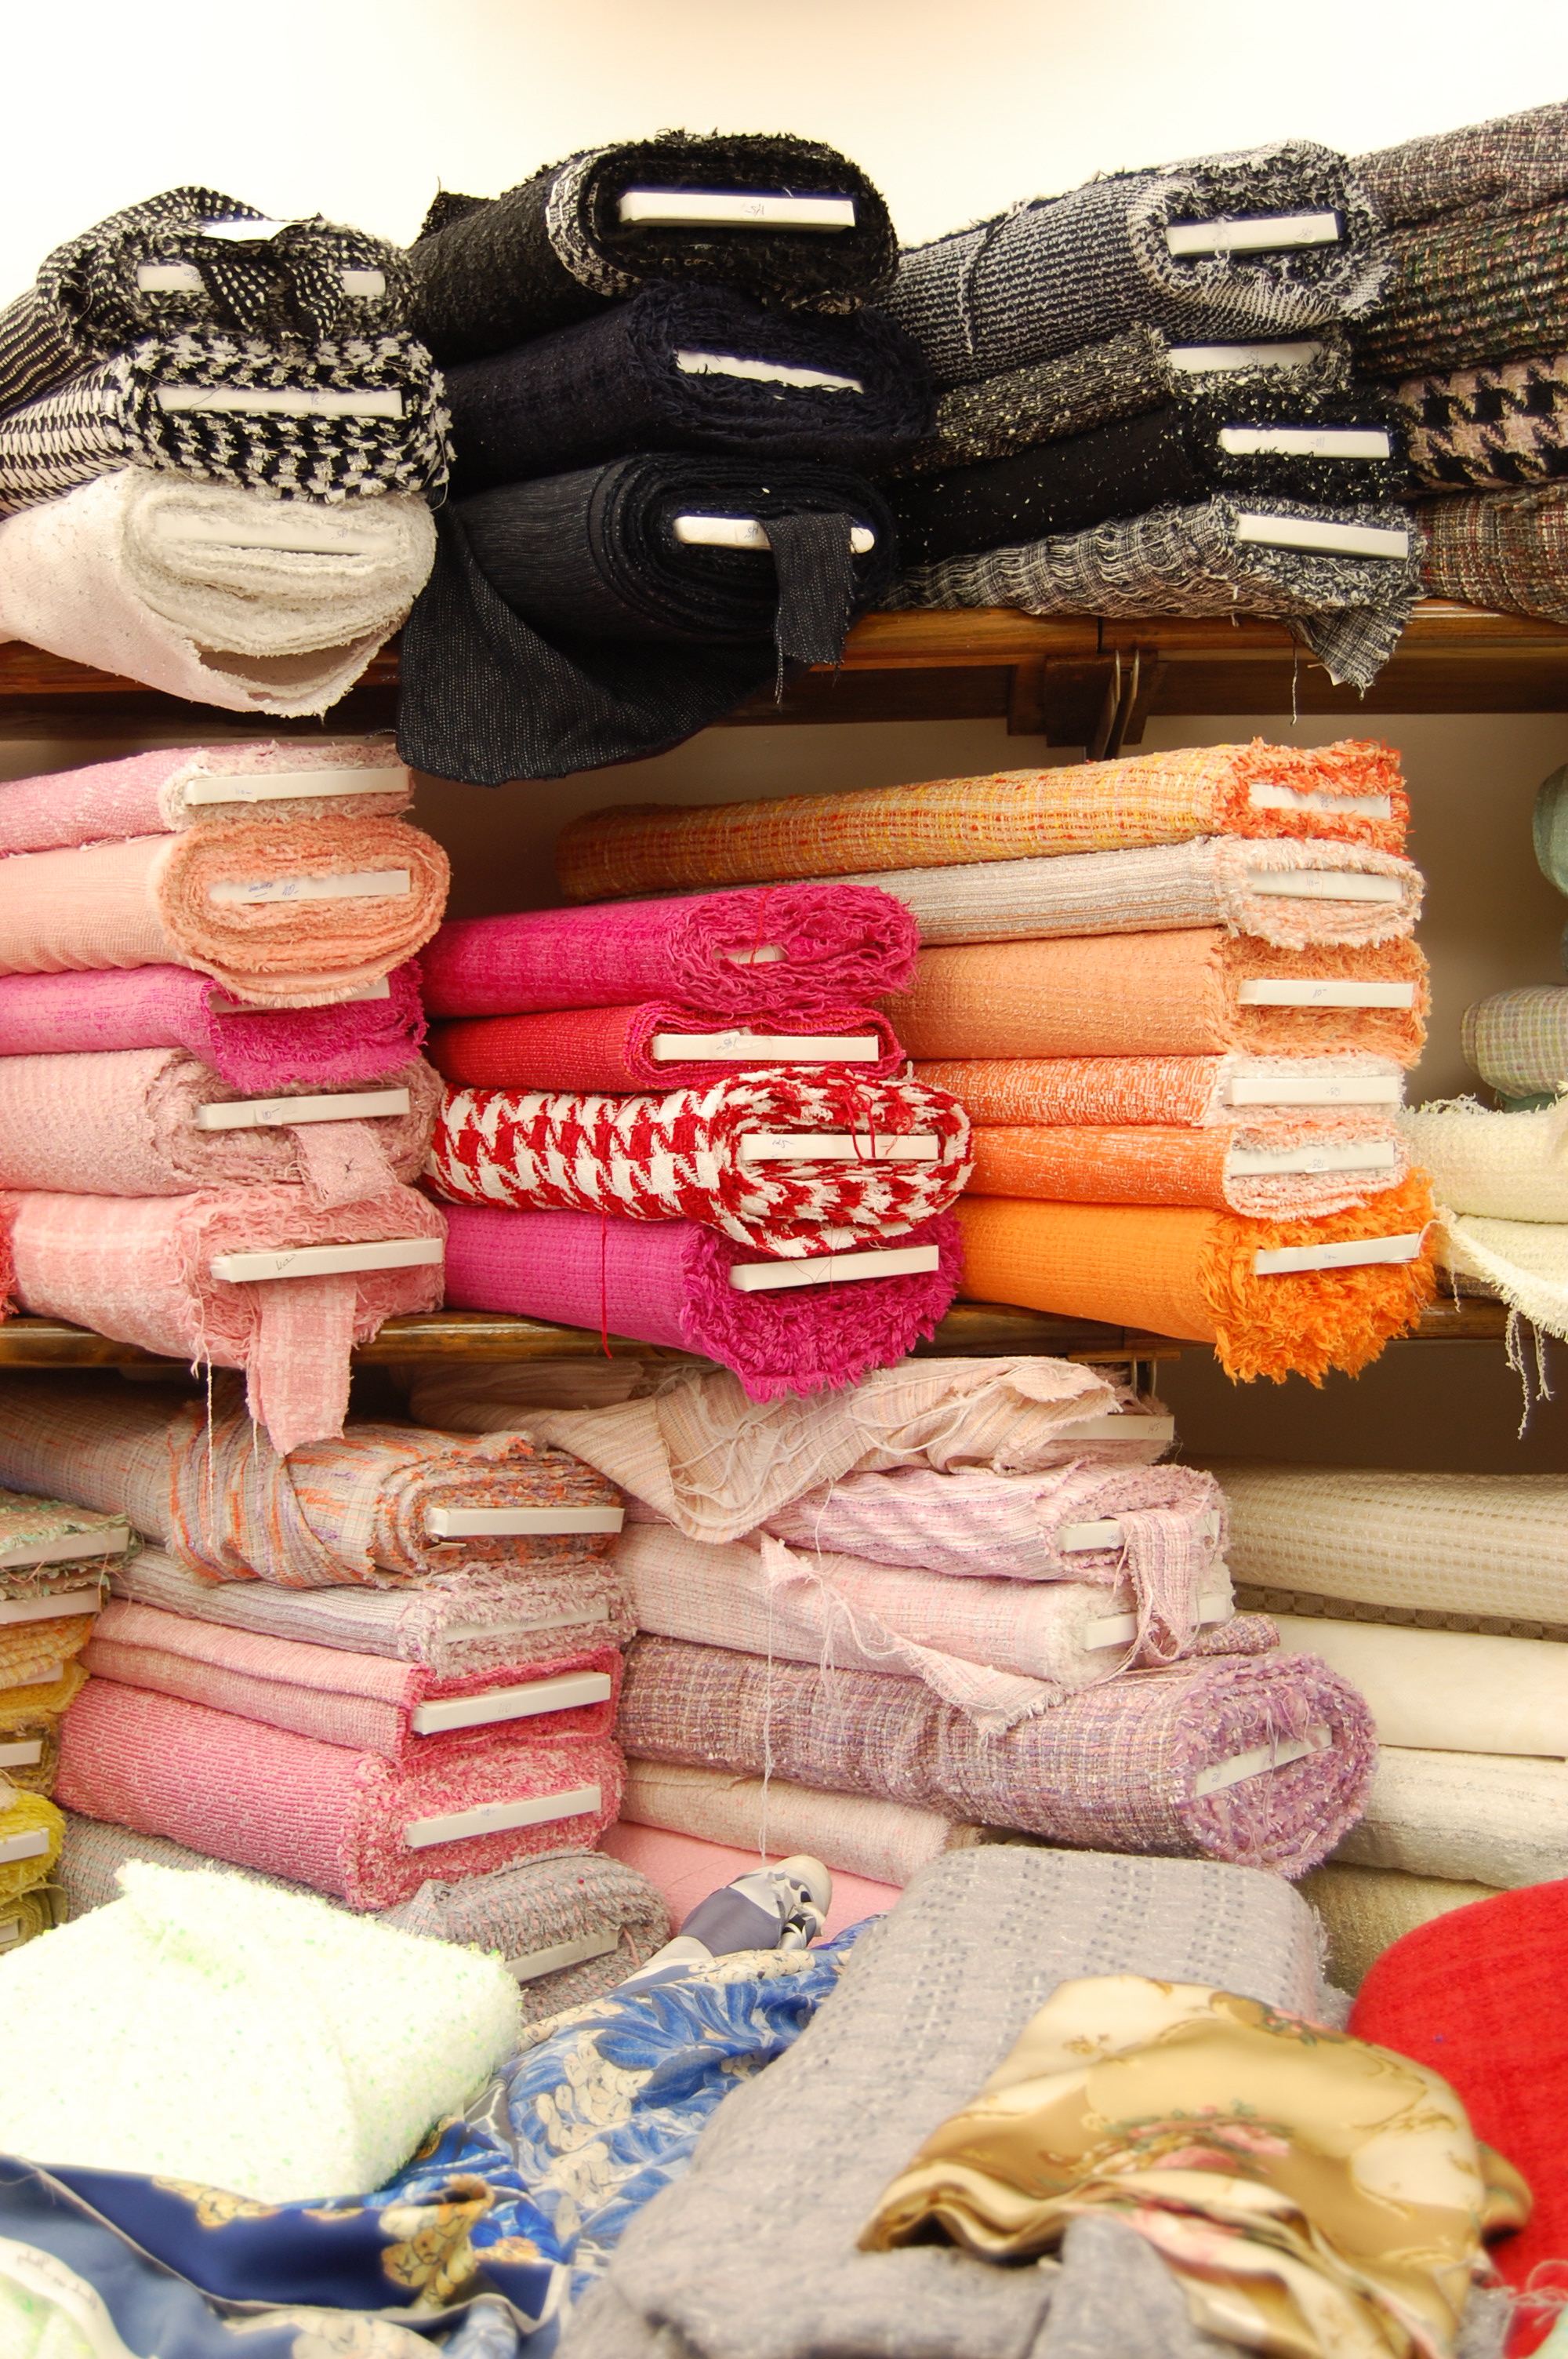
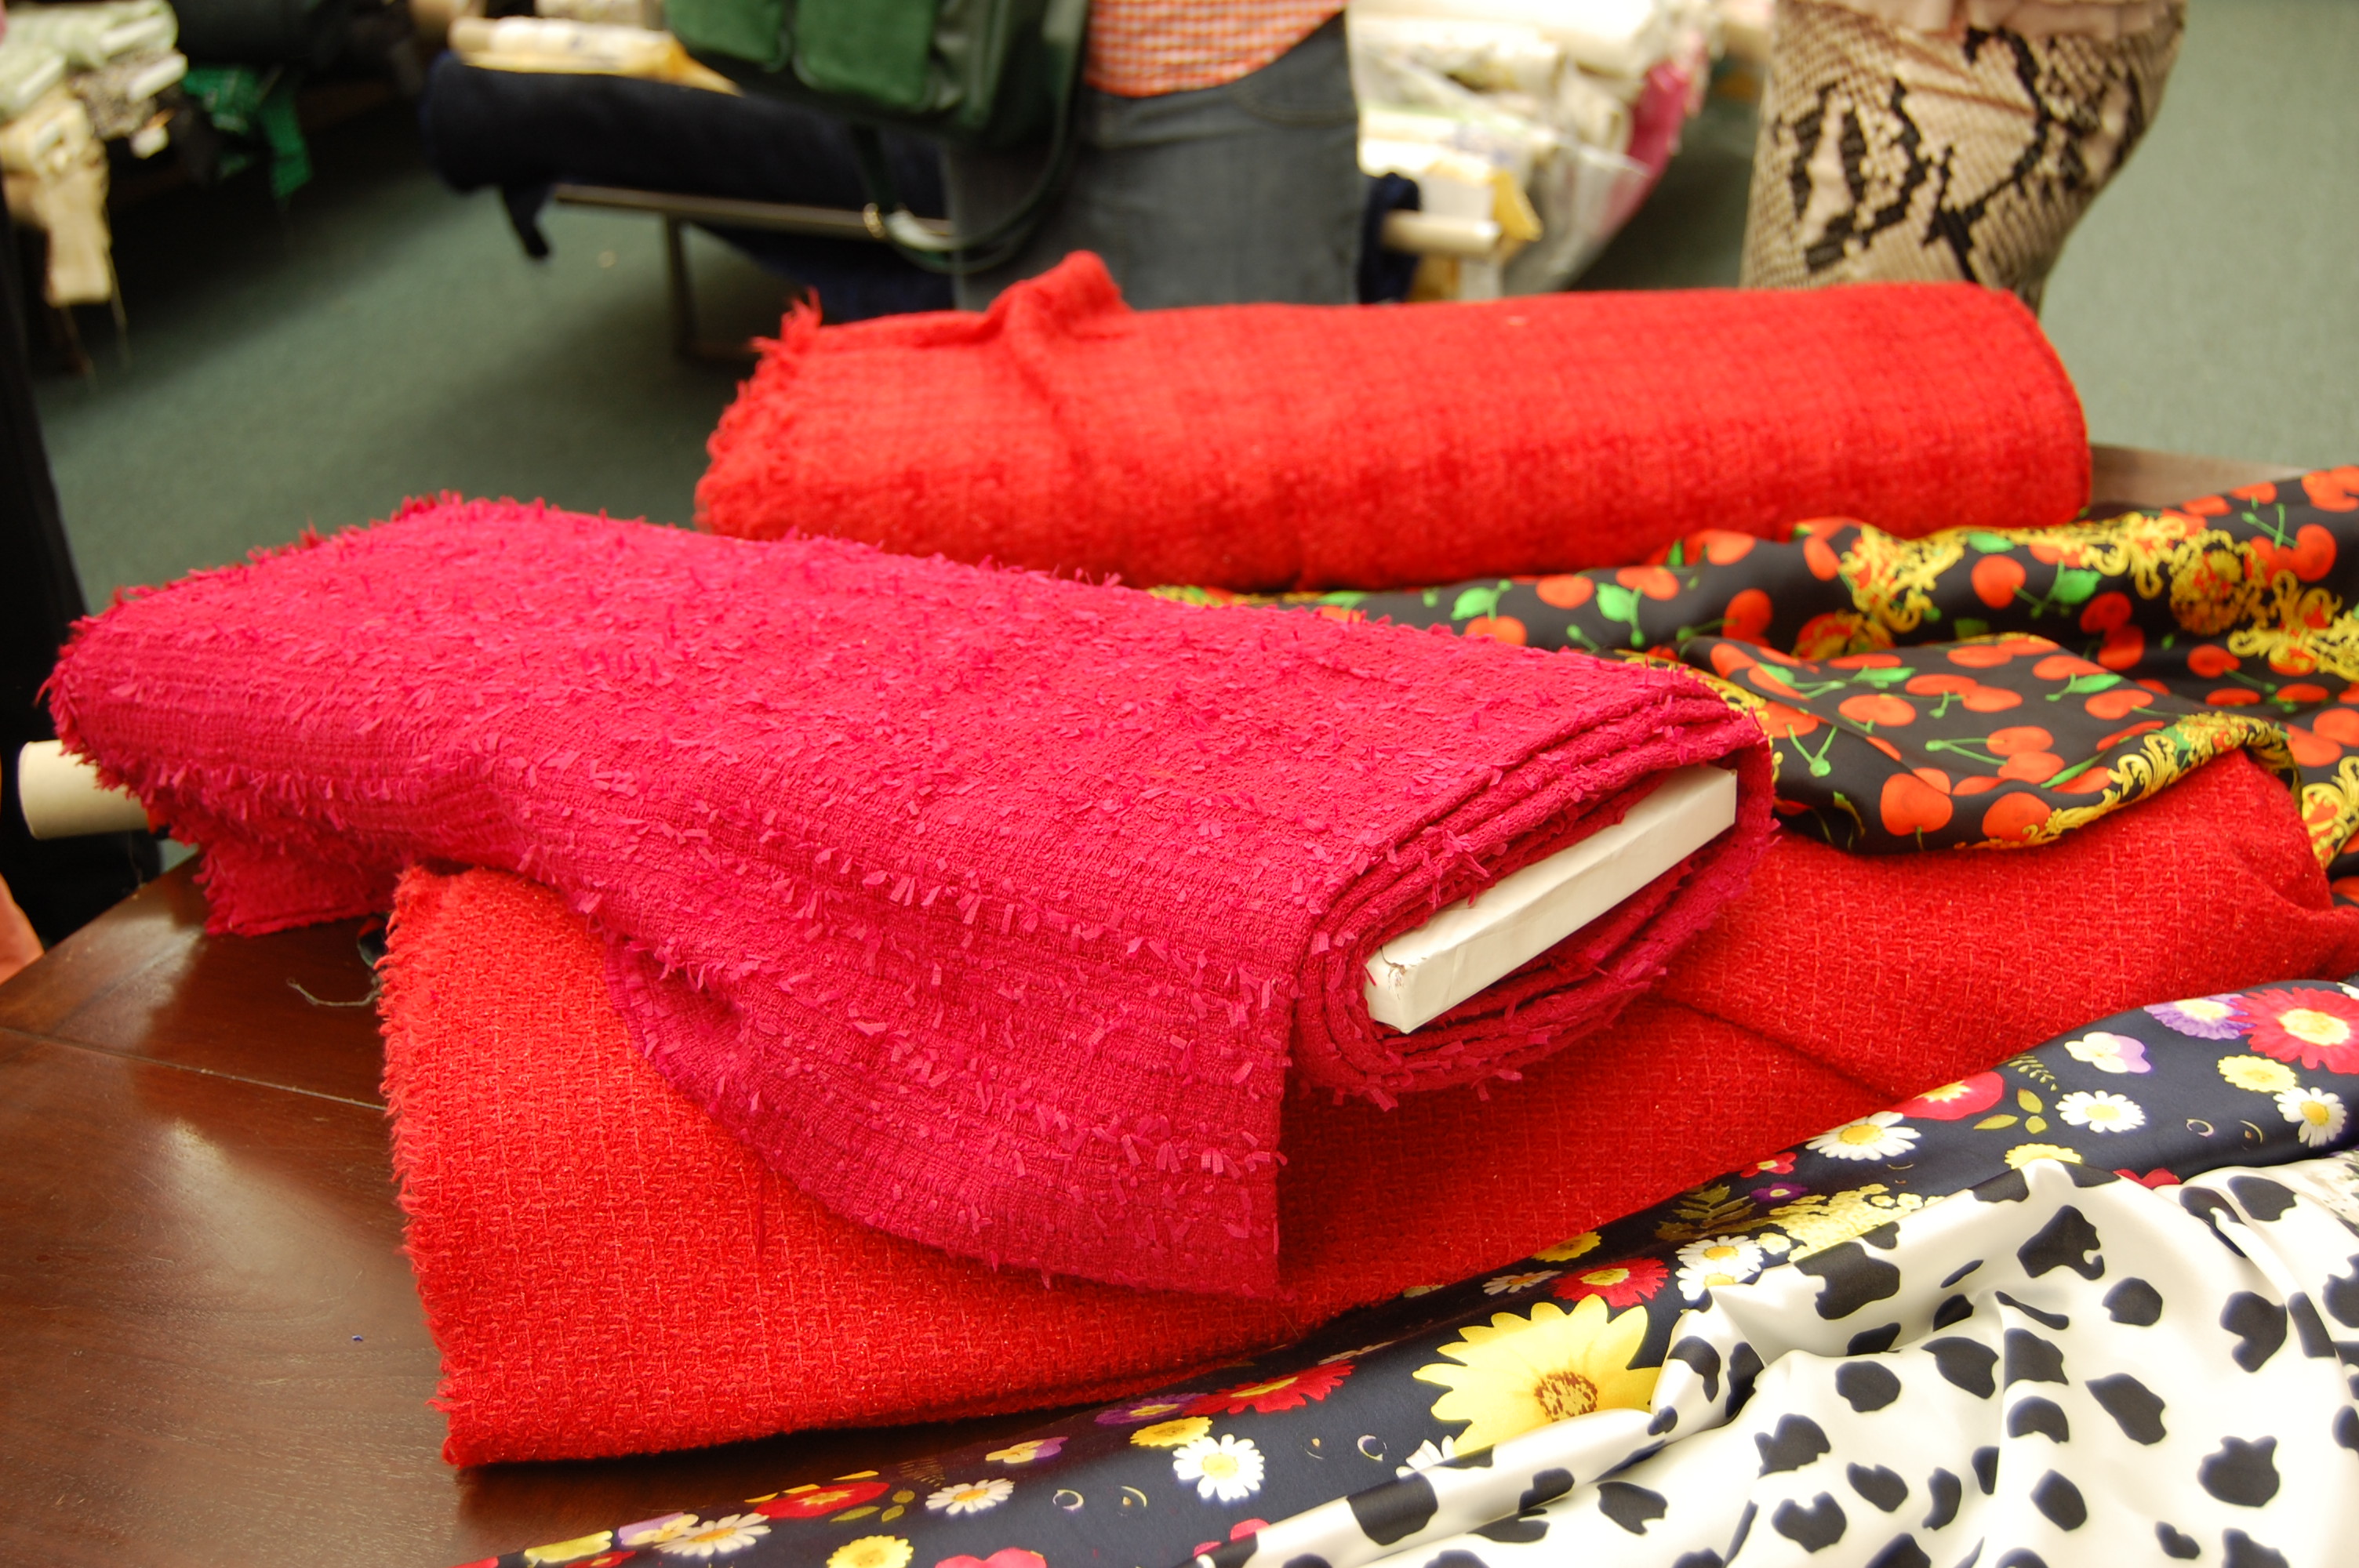
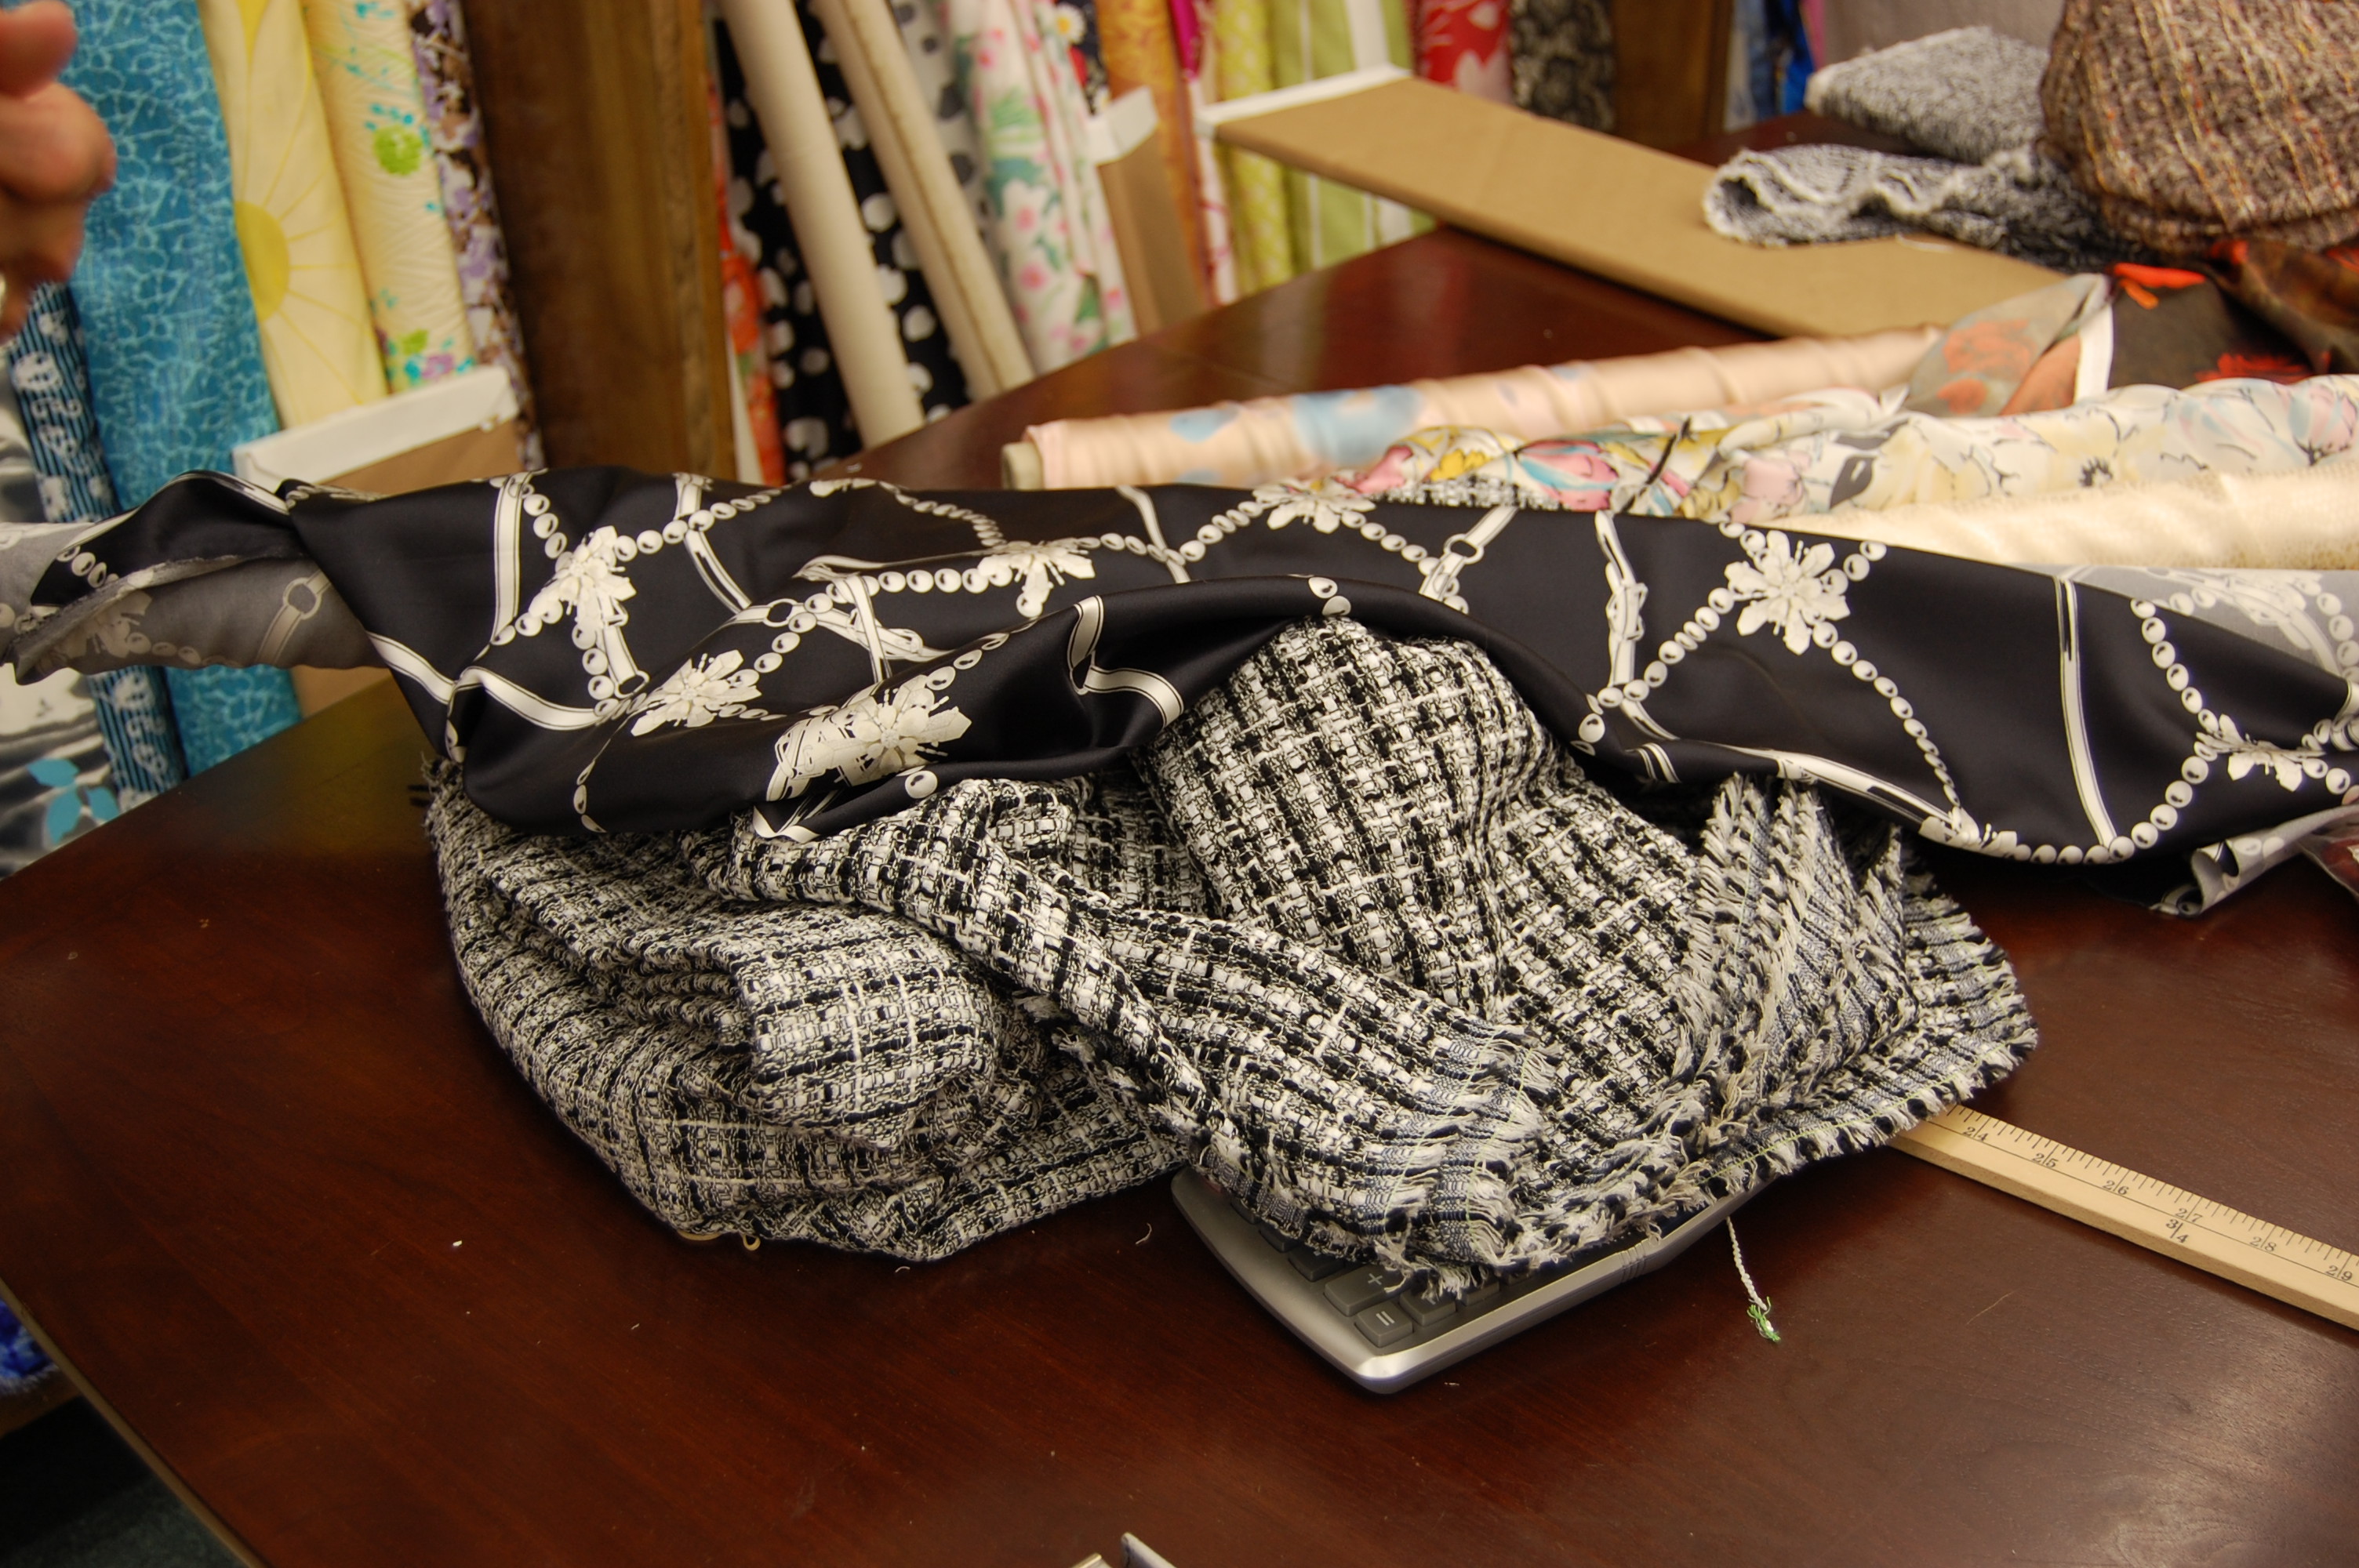
2) The fabrics of choice for these jackets are boucles or sometimes loosely woven tweeds.
3) The lining is machine quilted to the fashion fabric, but does not show because of the nature of the fabrics which are traditionally used.
4) The interior structure and integrity of the garment depends on this quilting and on extra-generous seam allowances (common in haute couture). The only interior interfacing is a small section at the shoulder, front and back, extending down just to the lower armscye.
5) Shaping of the garment is accomplished by vertical princess seams which form the fullness for the bust line. Darts are rarely used, but sometimes necessary (as several of my classmates discovered).

Here is Vogue 7975, which is the “go to” pattern for one of these jackets. (However, as Susan says, the pattern is just a starting point.) The vertical princess seams can be seen on these drawings.
6) Hand sewing is used extensively in the construction and finish work on these jackets.
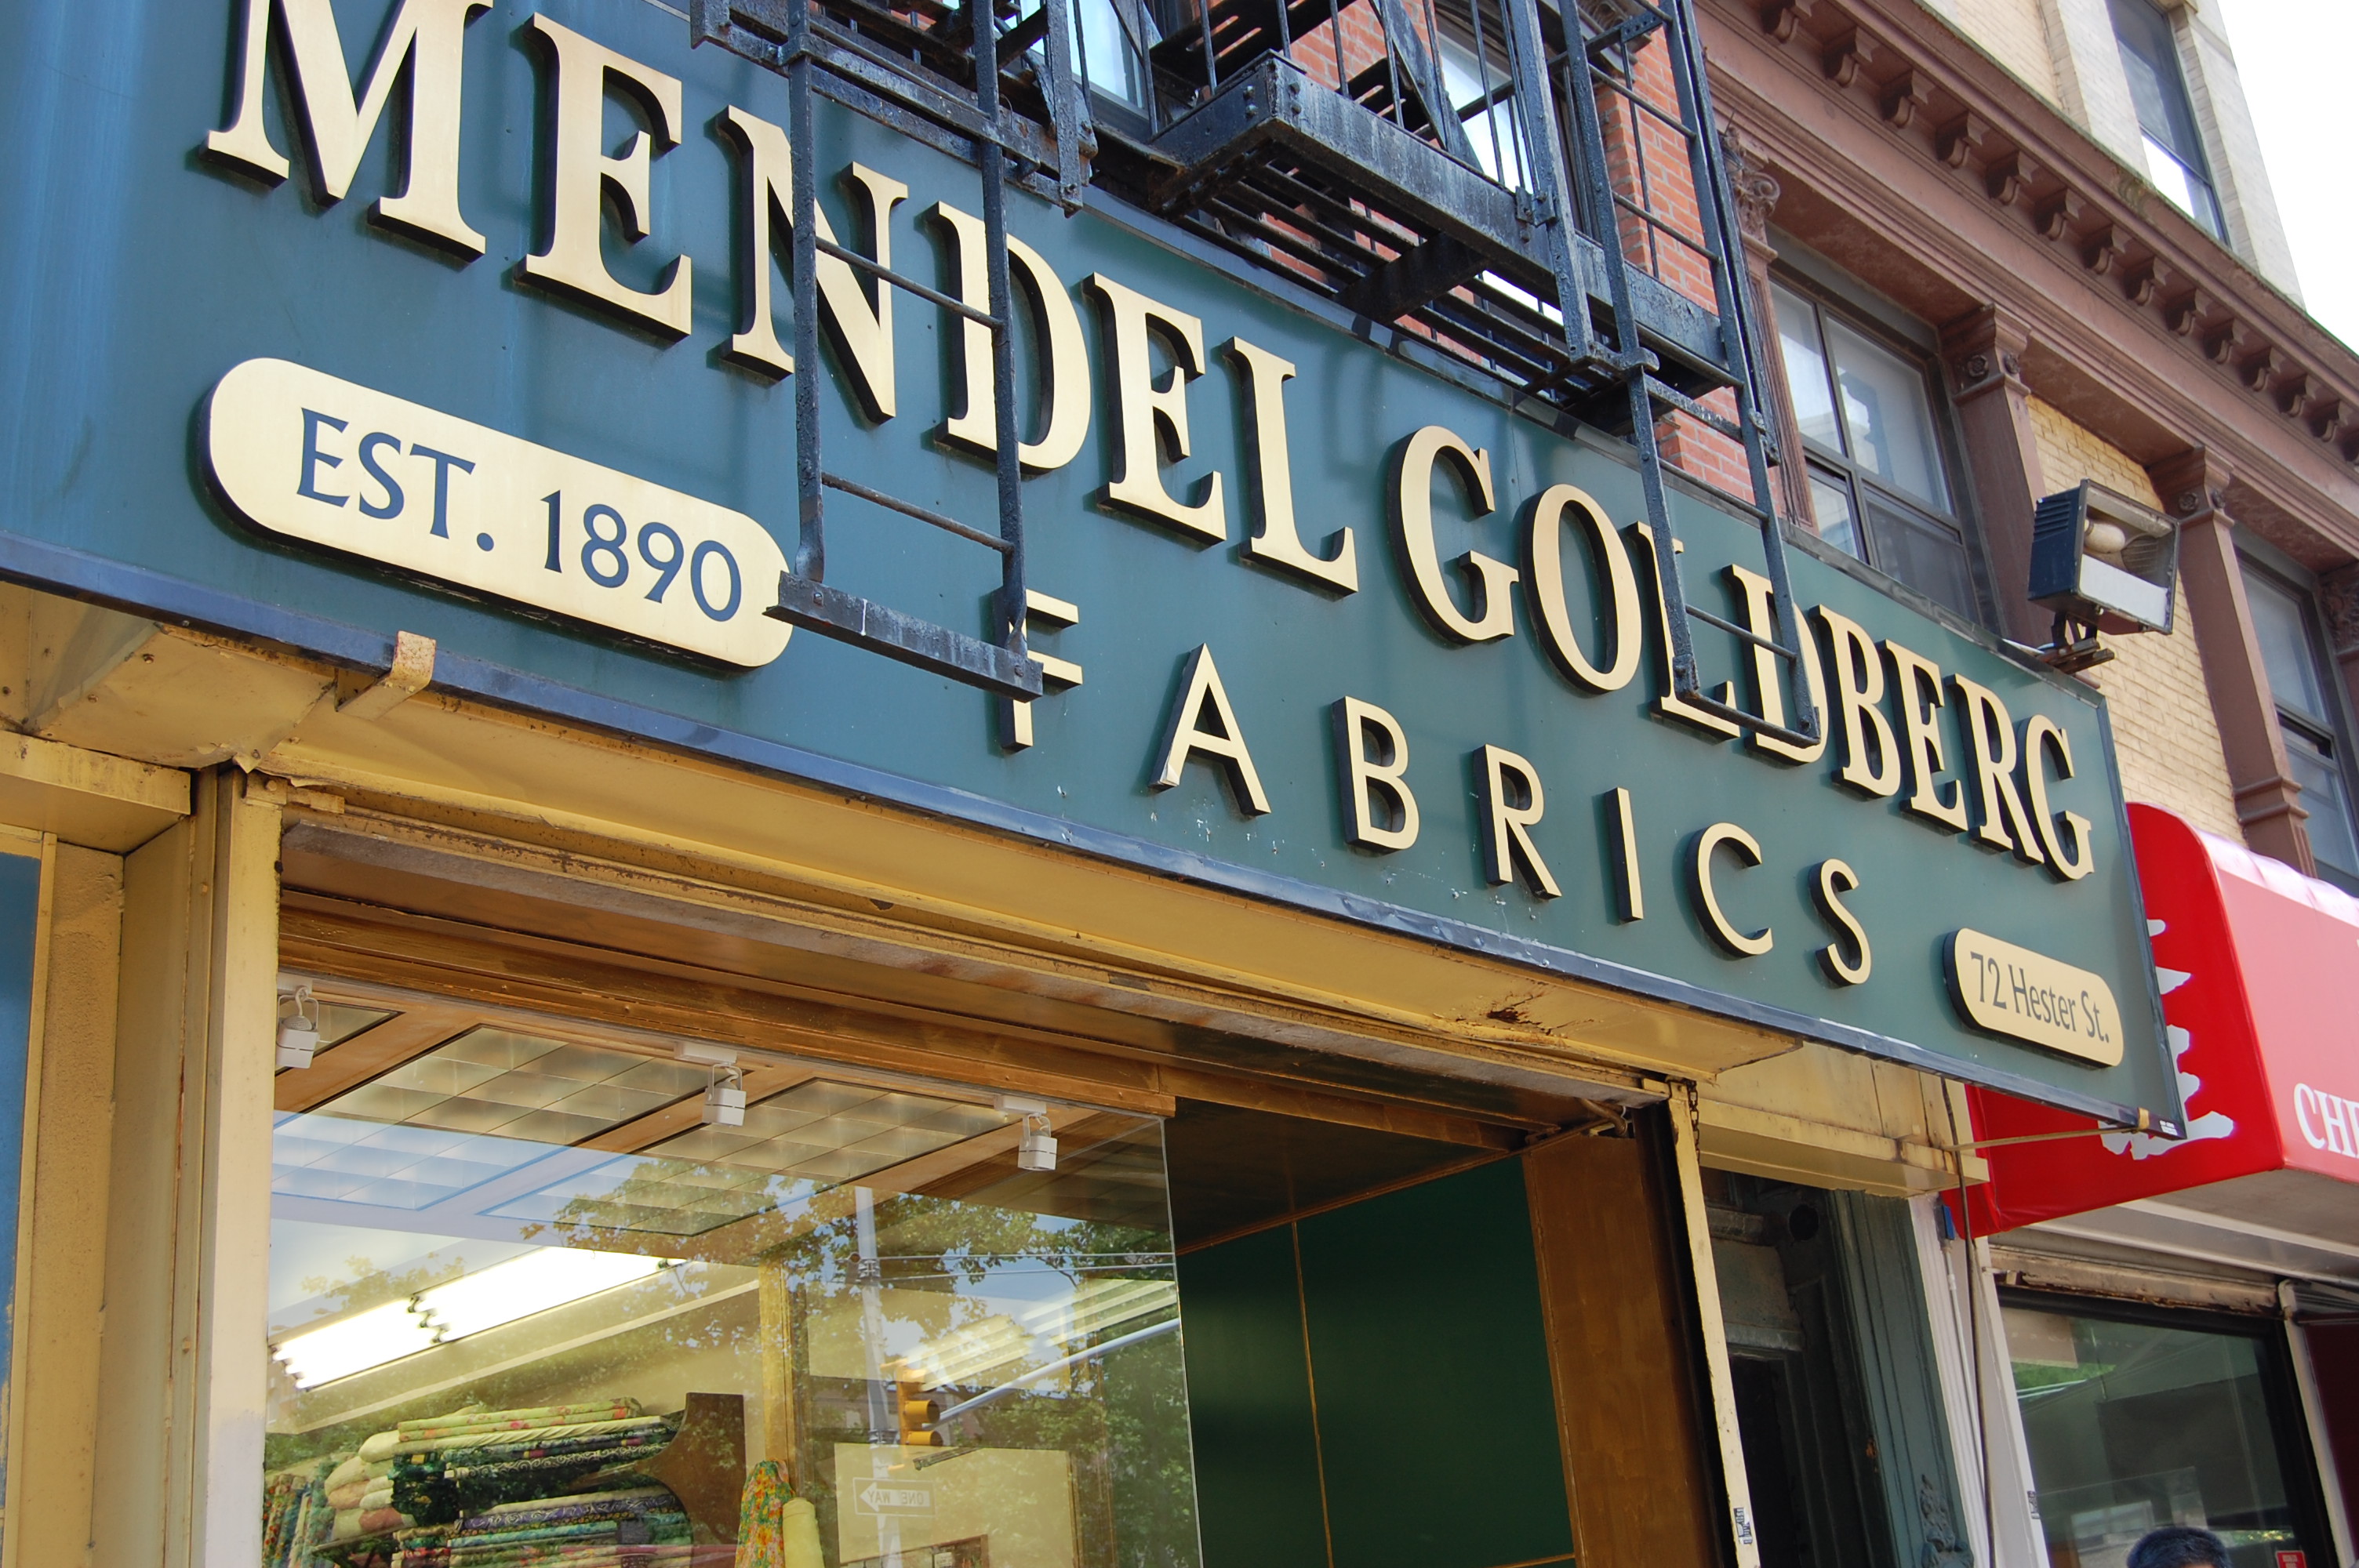
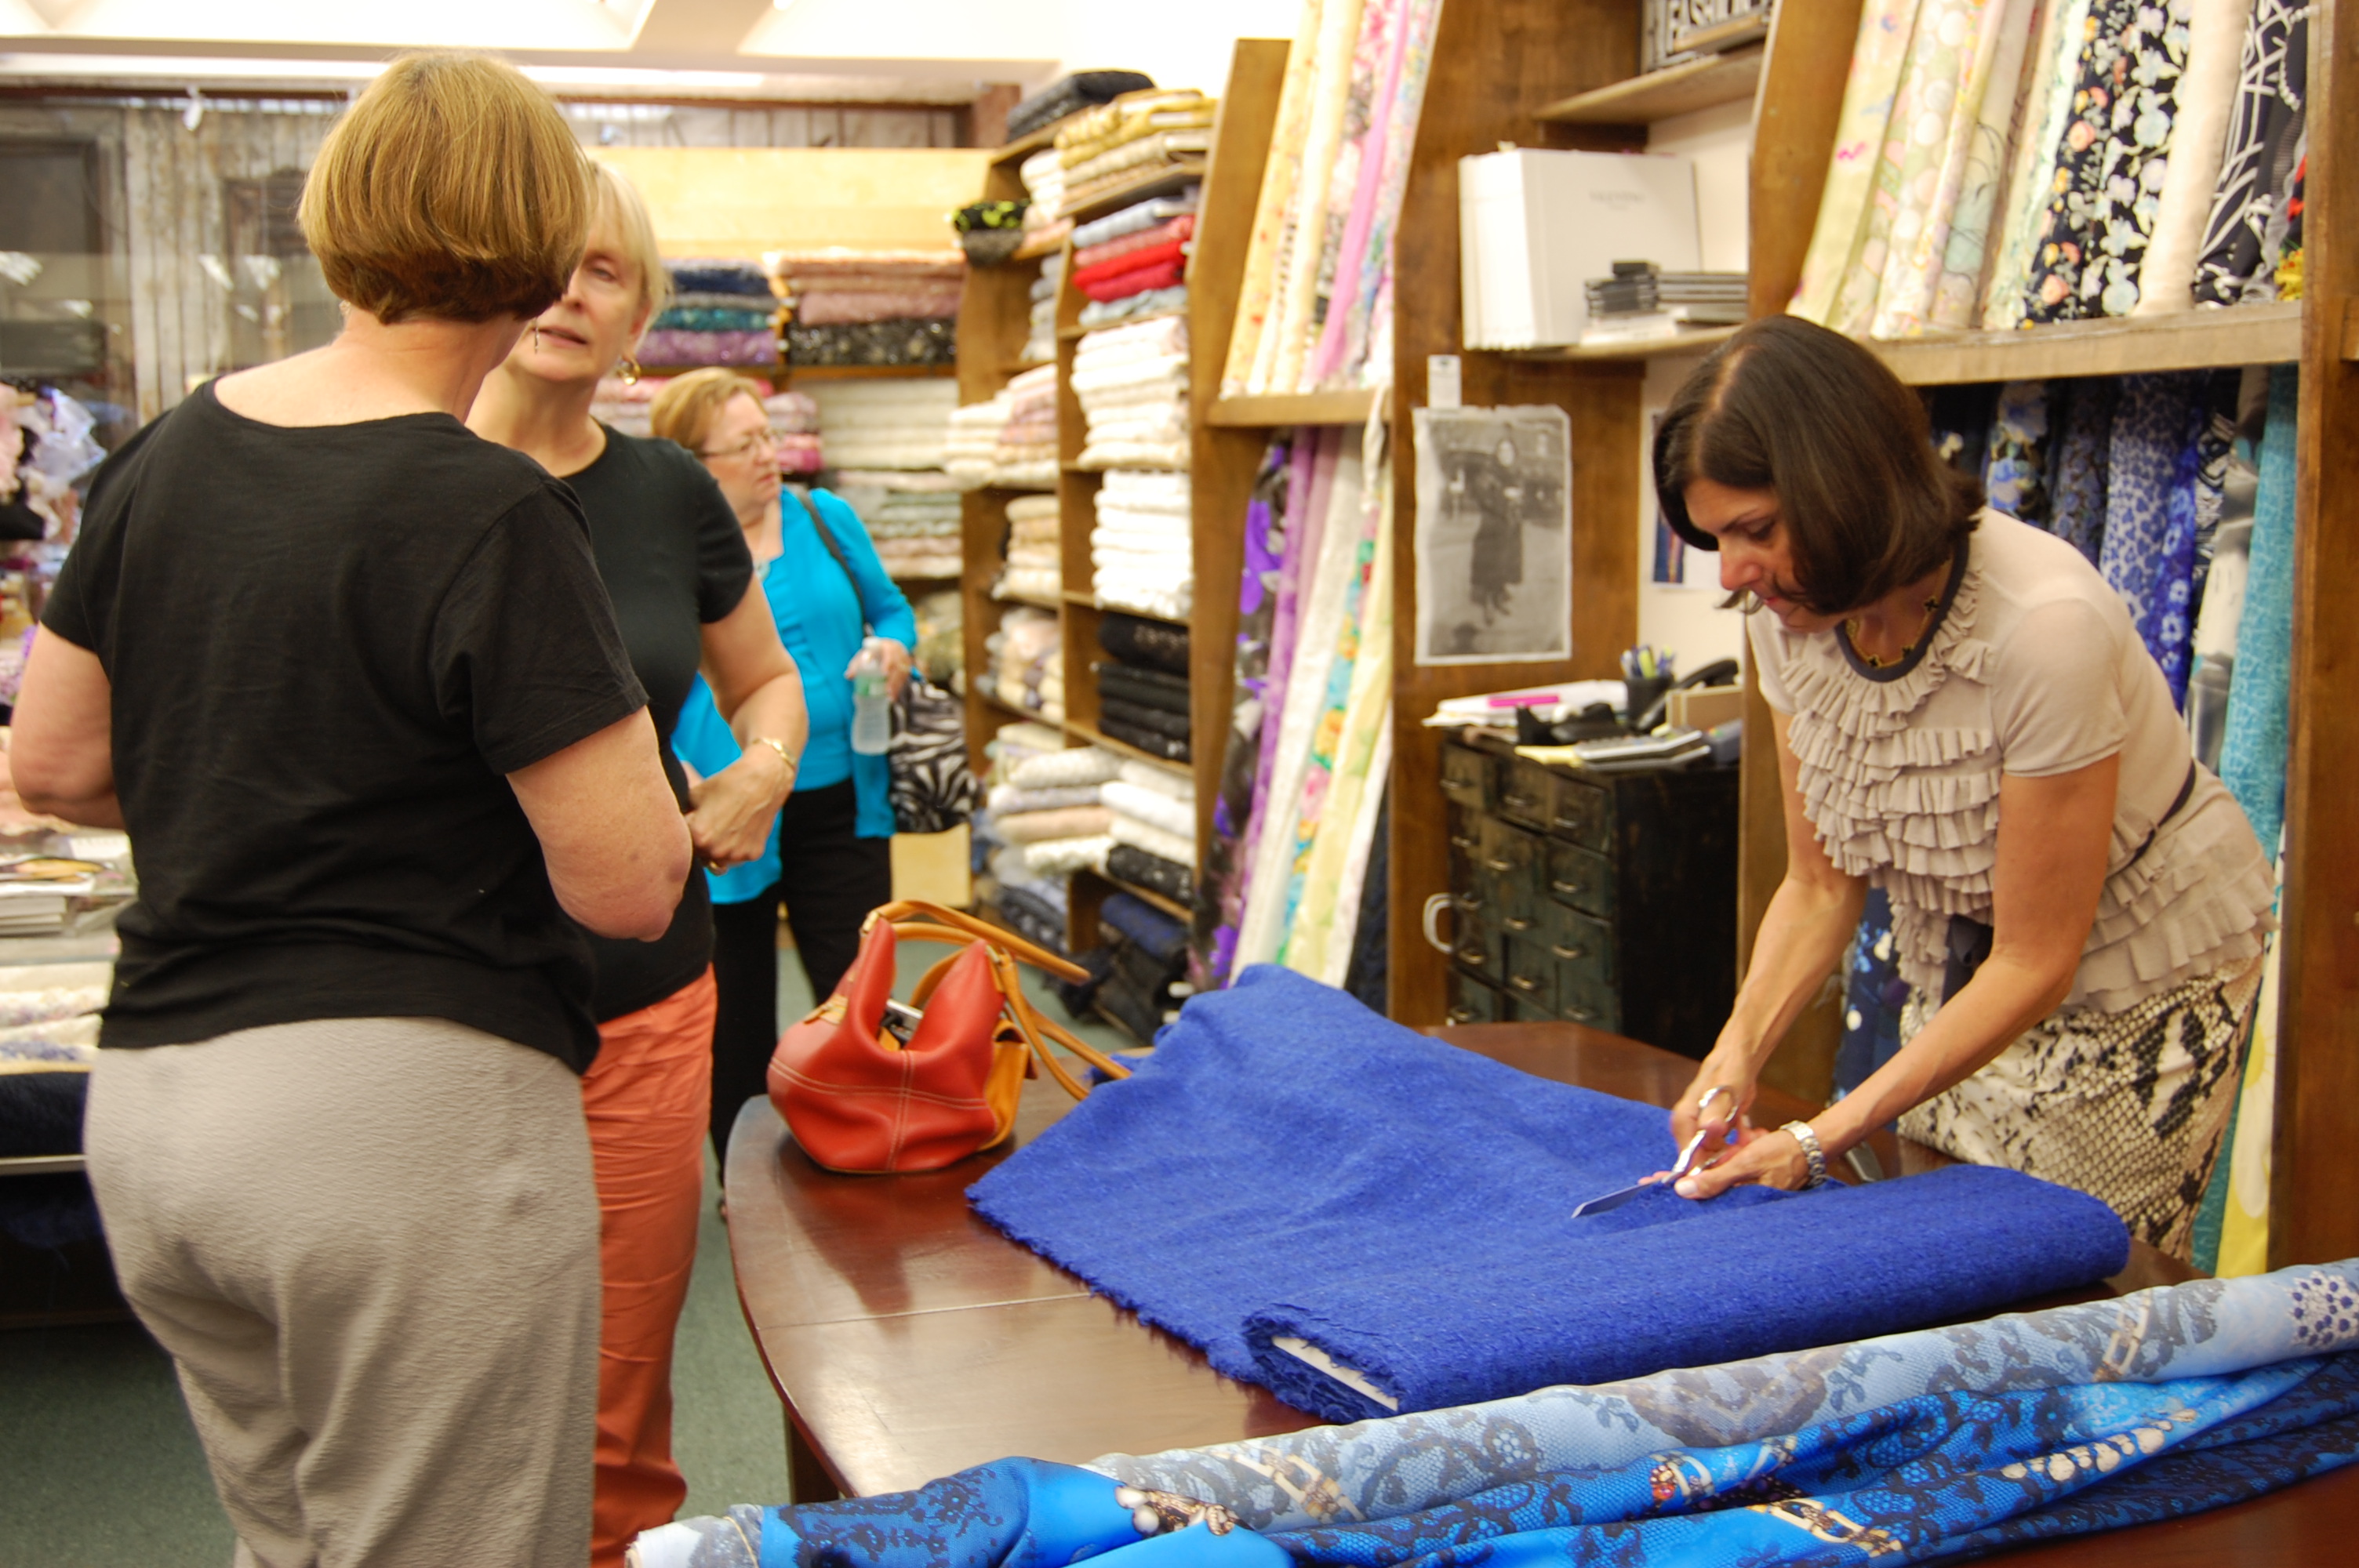
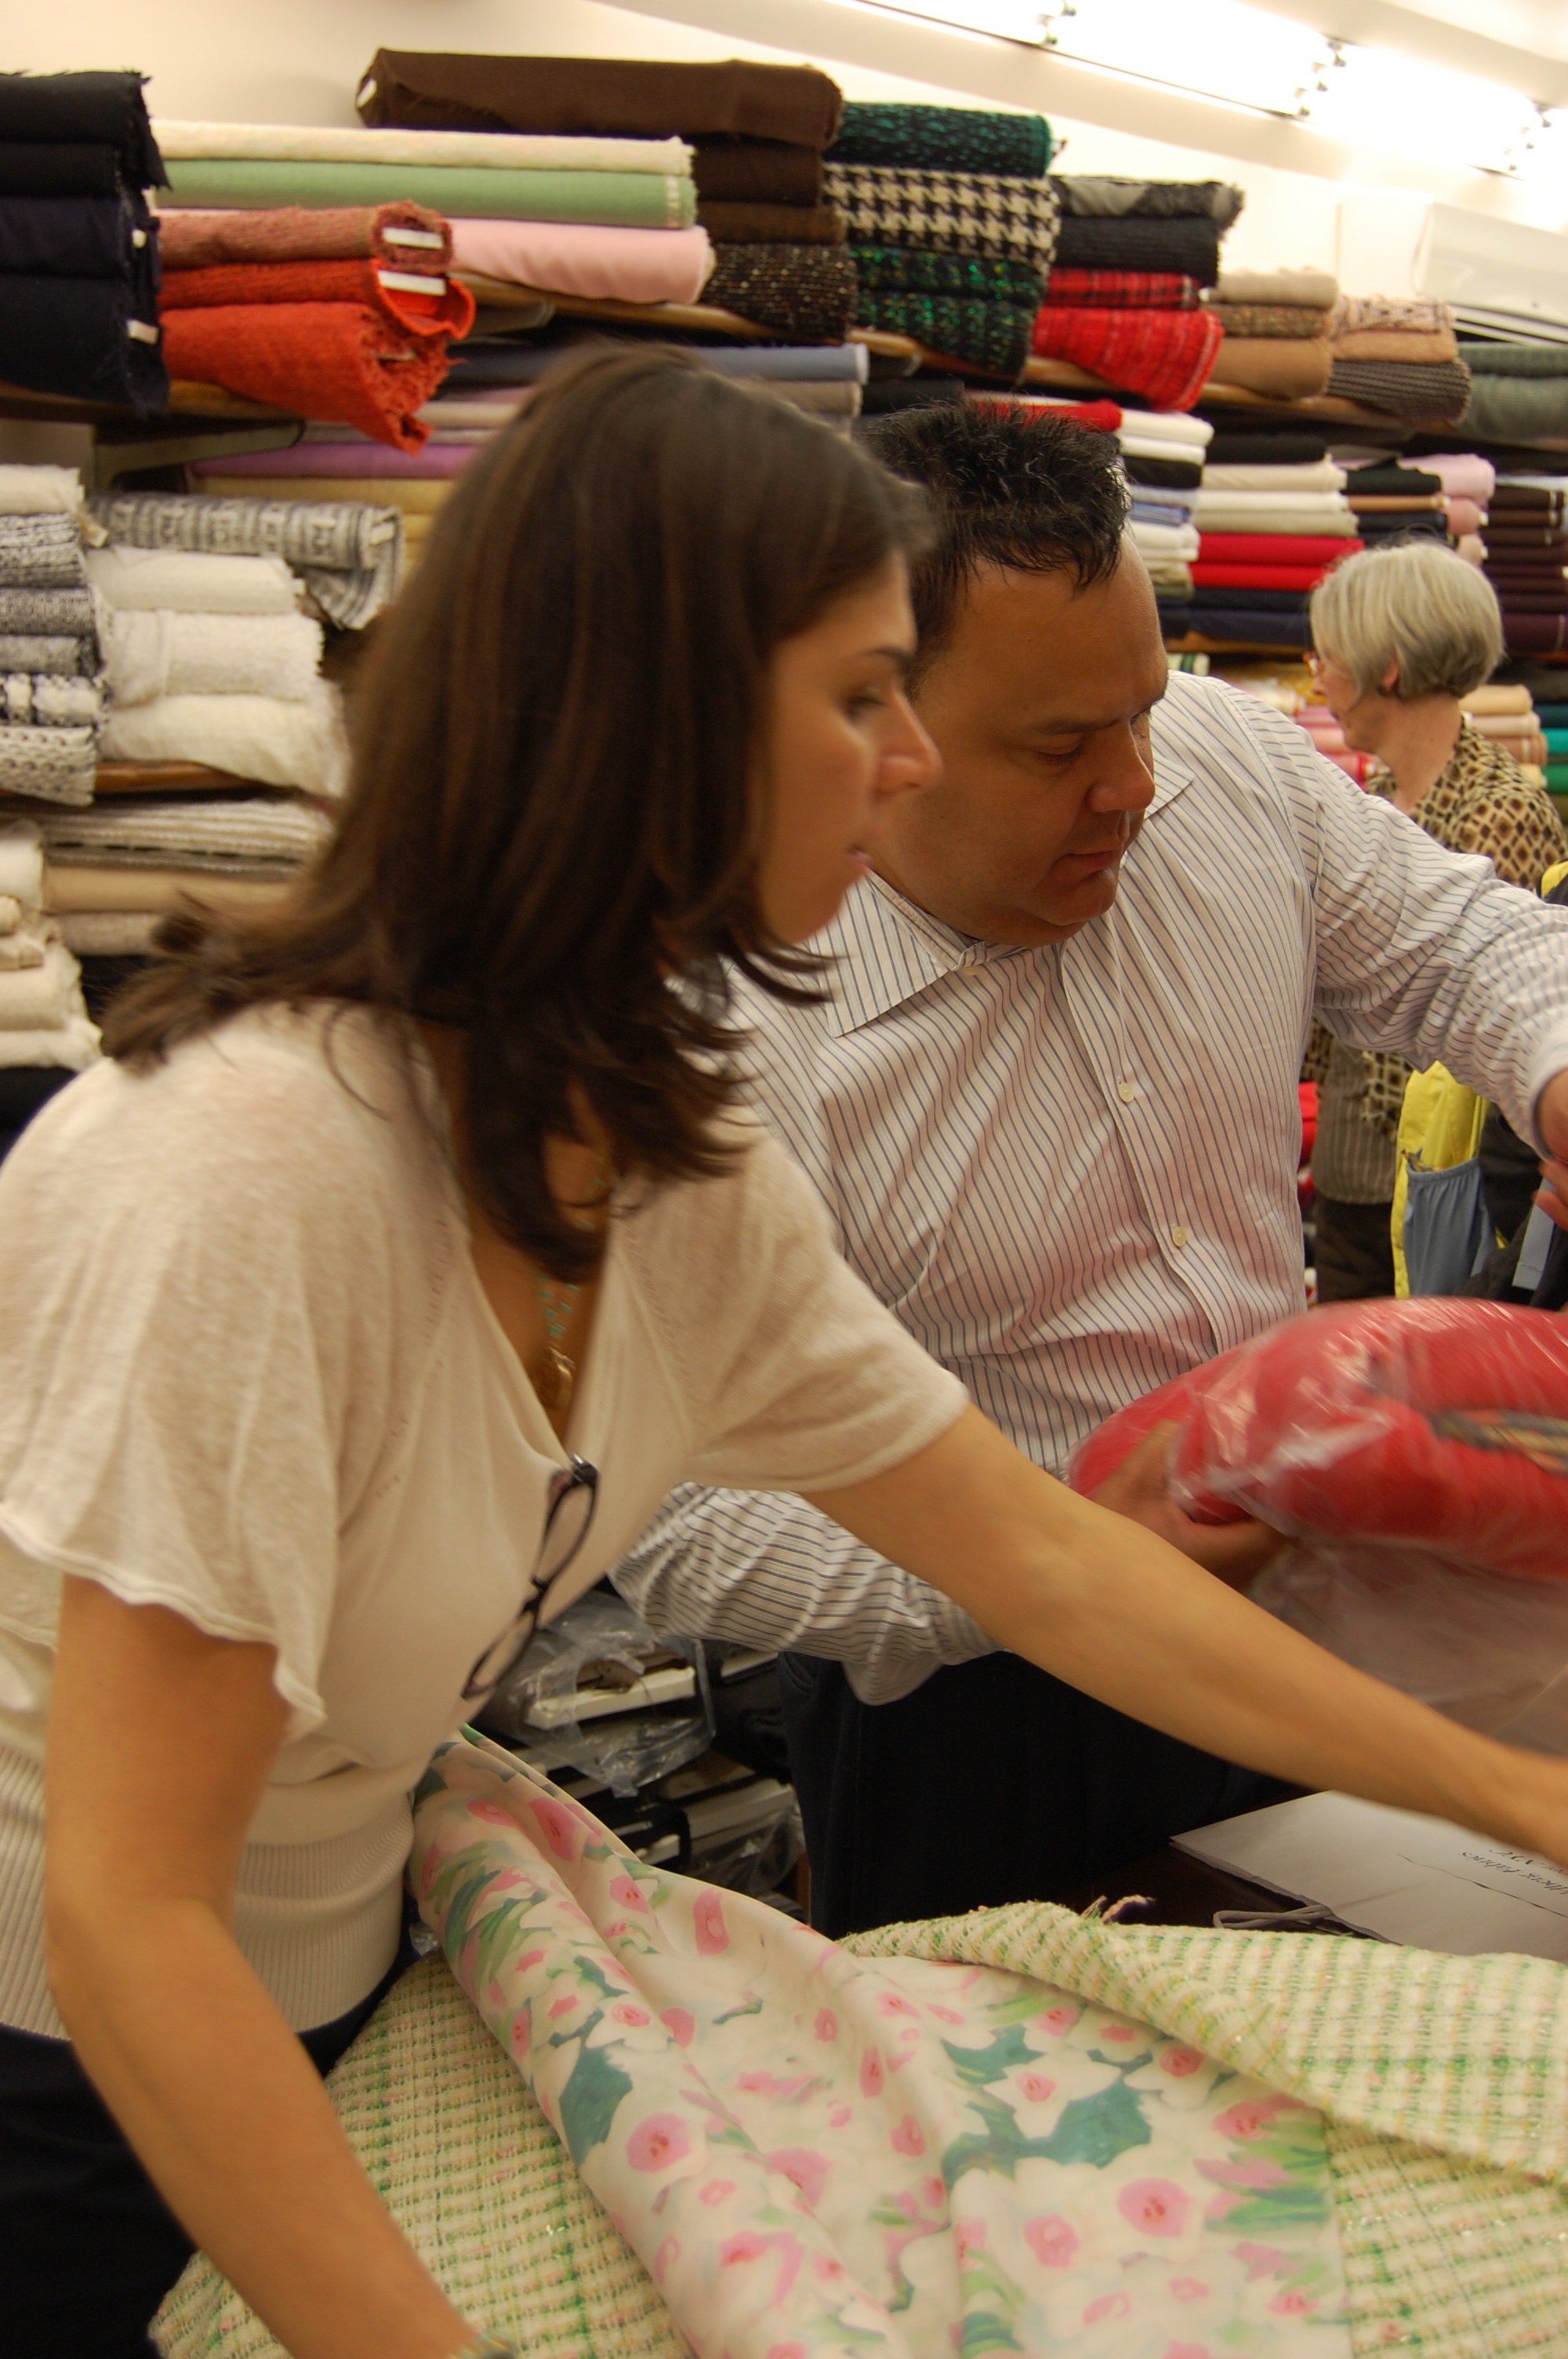
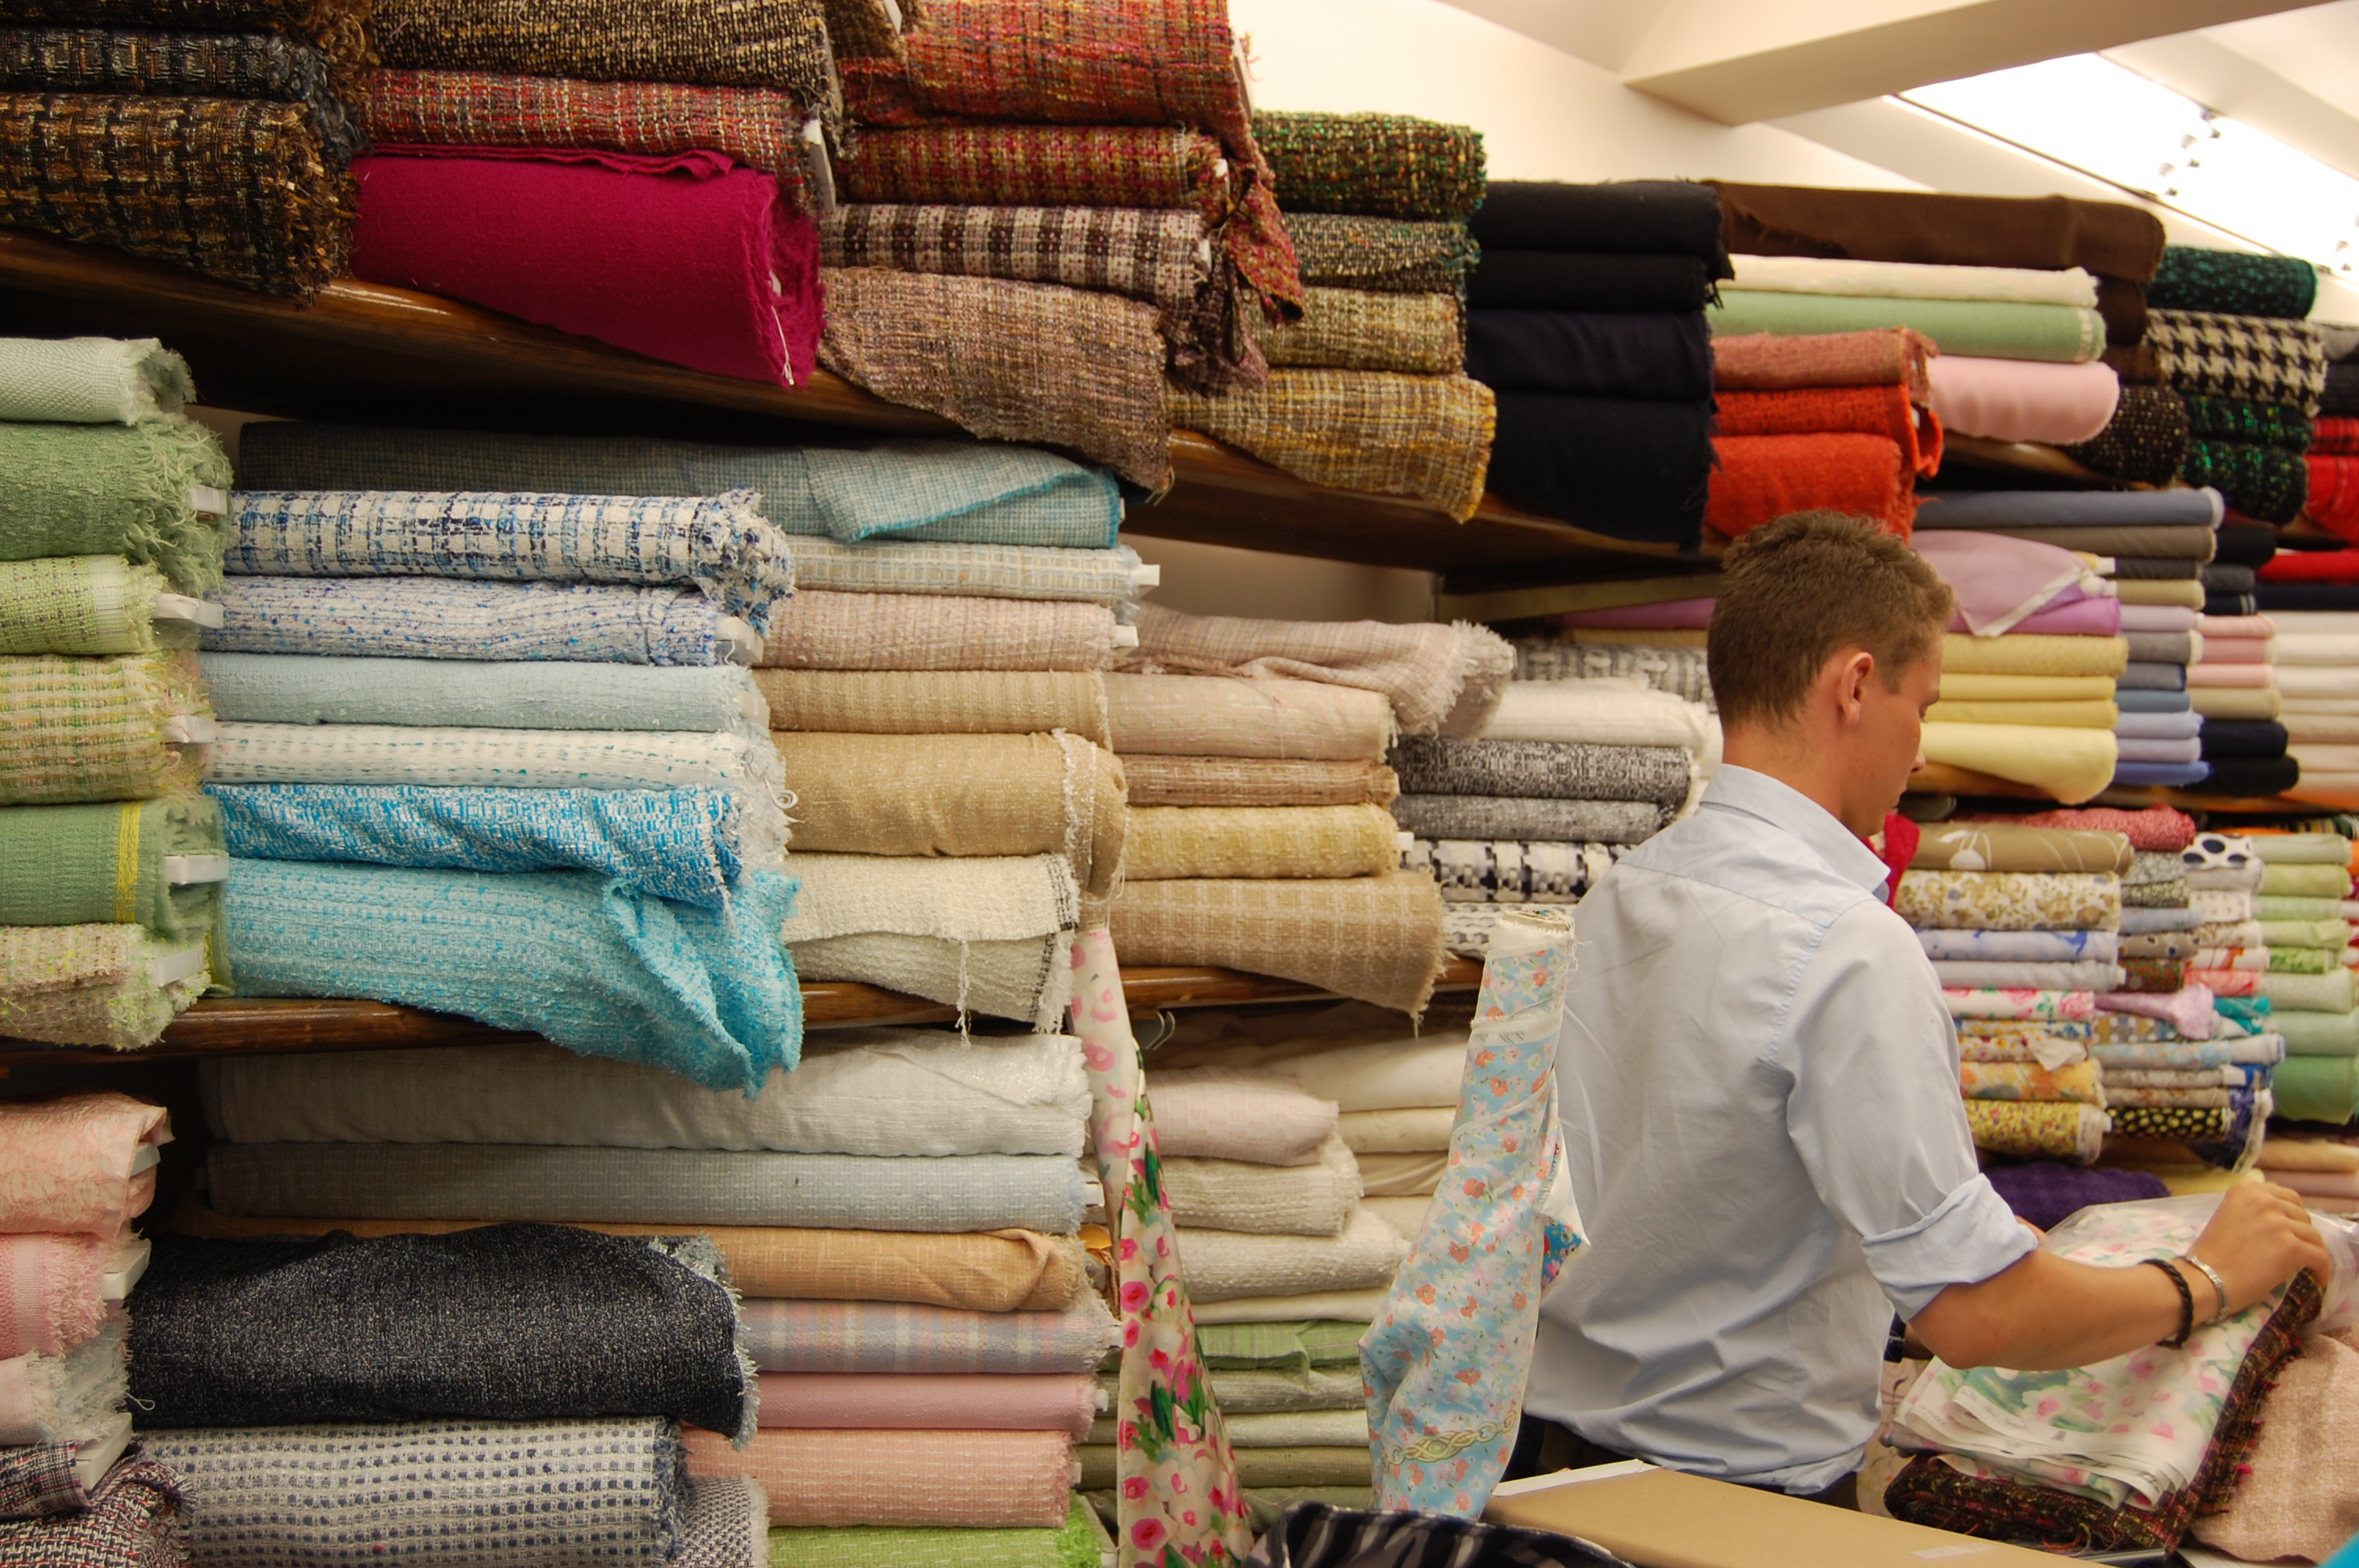
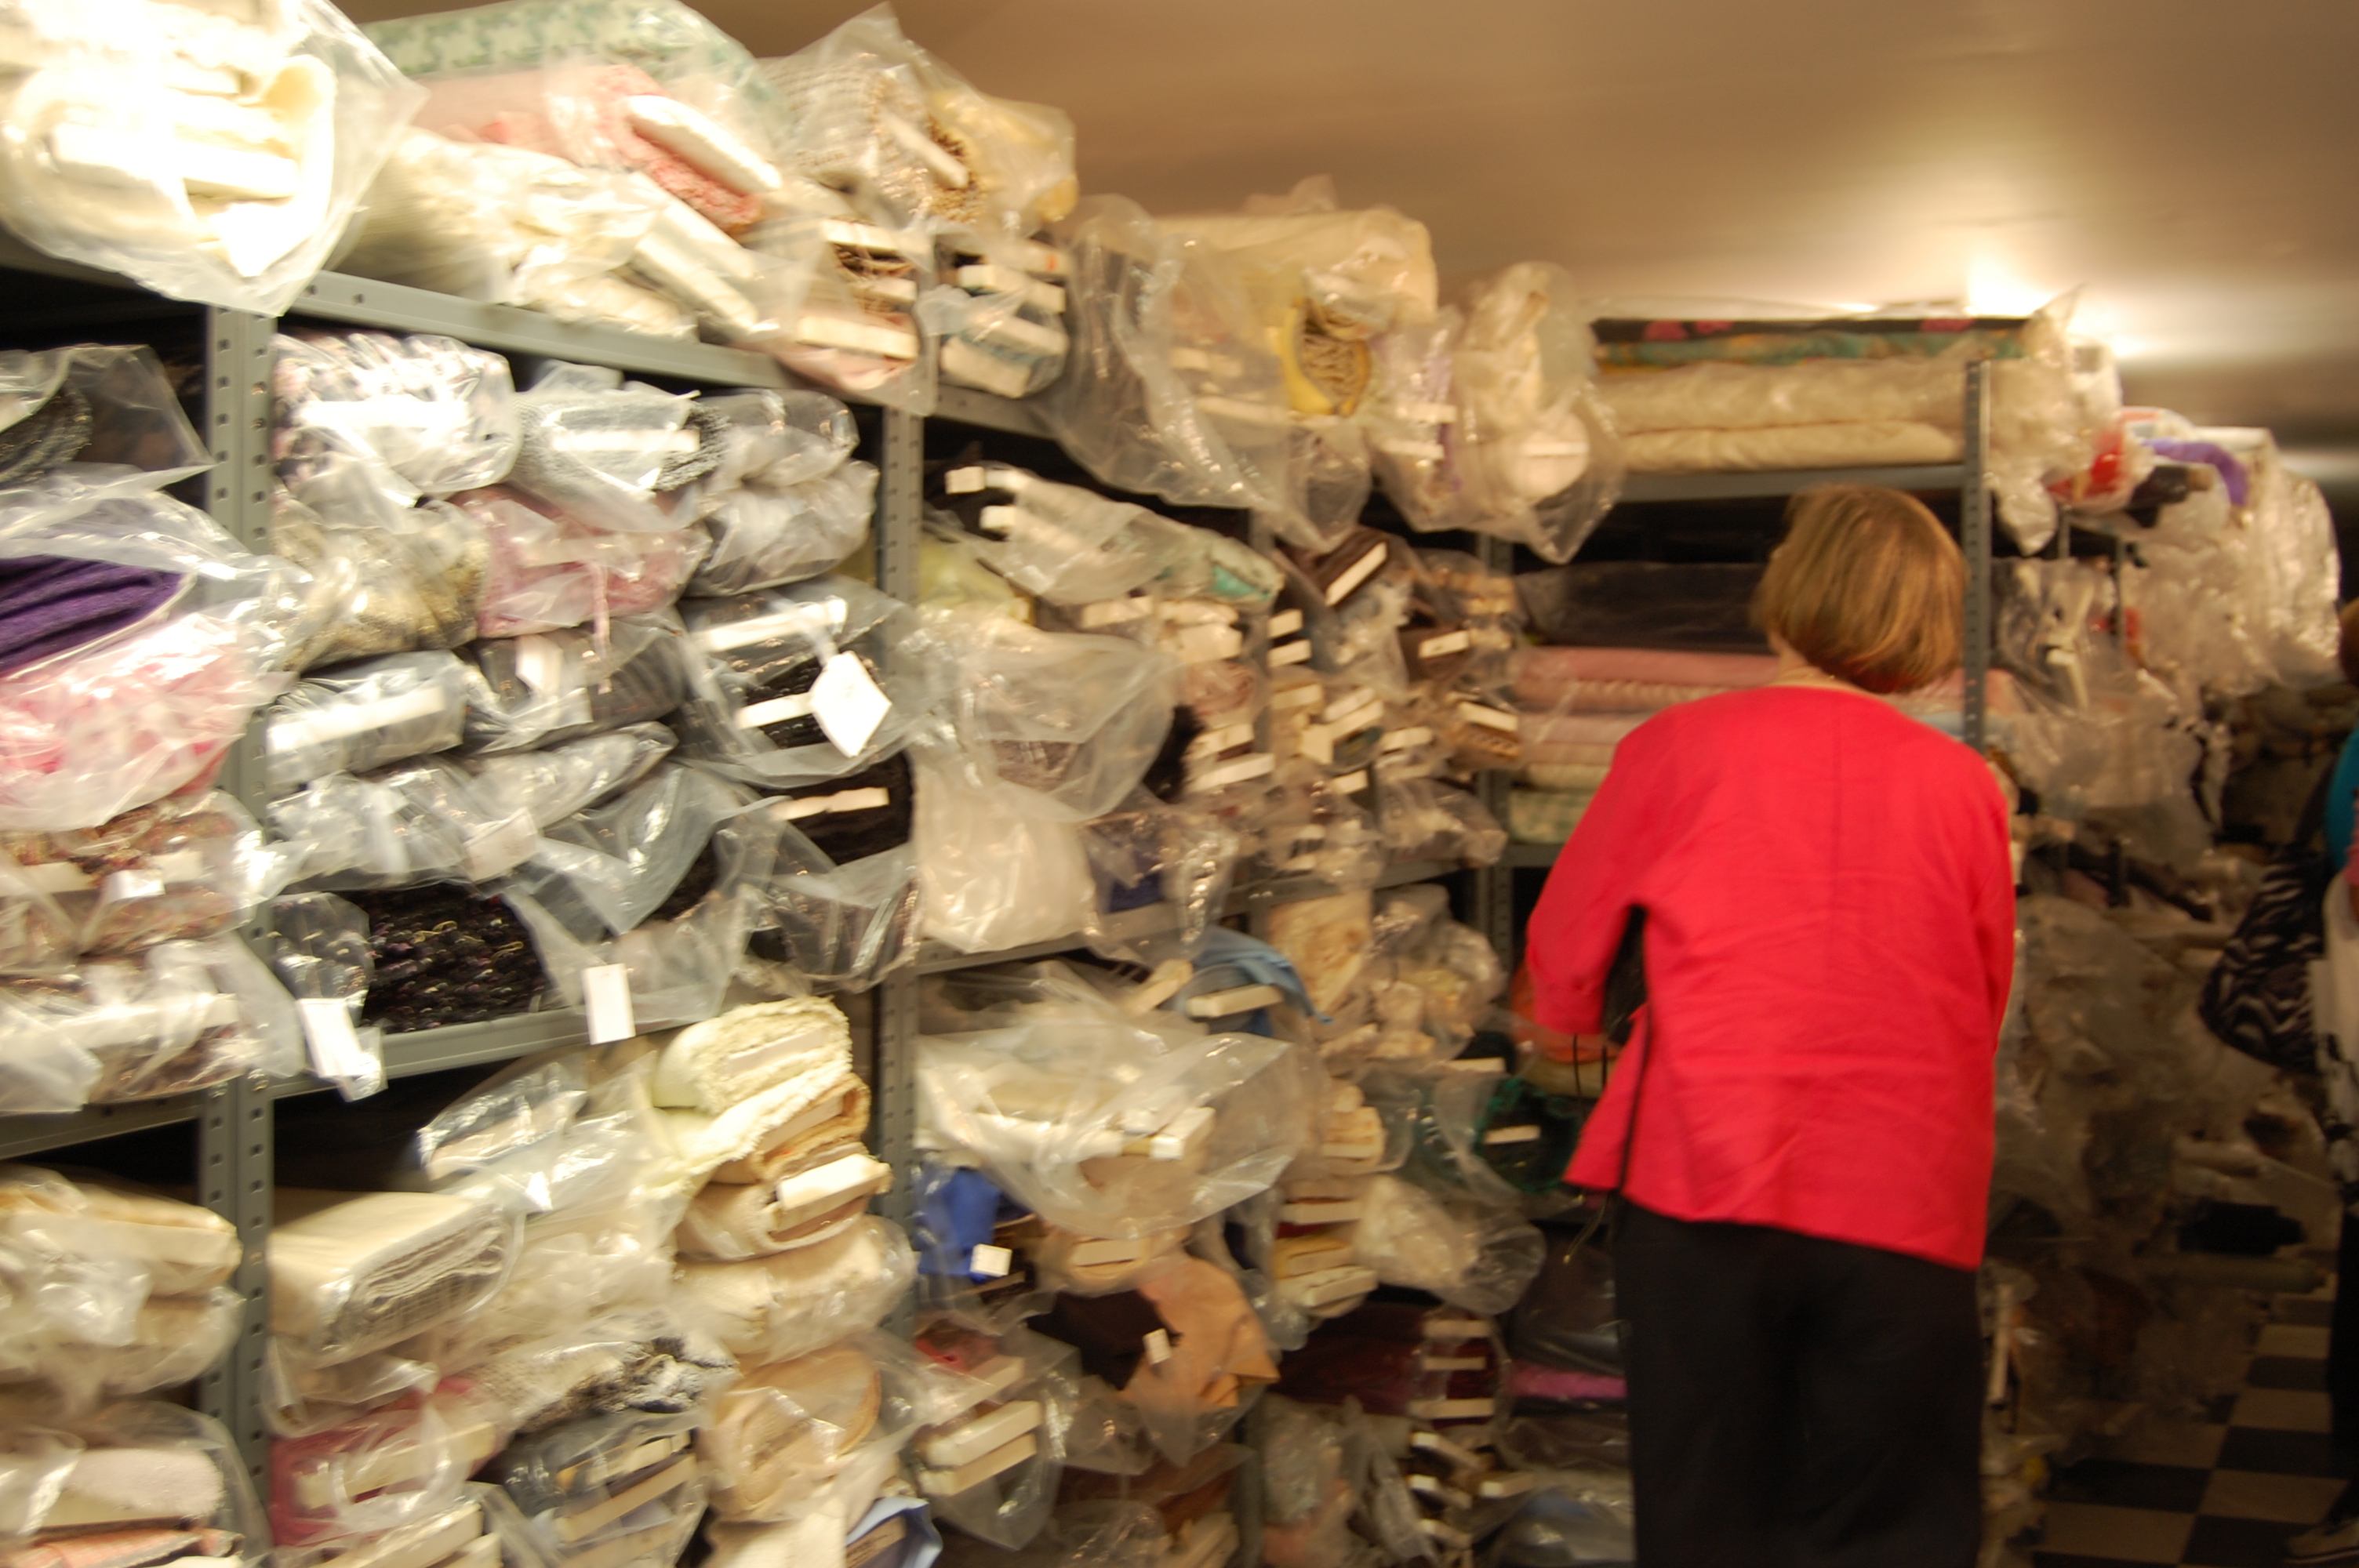
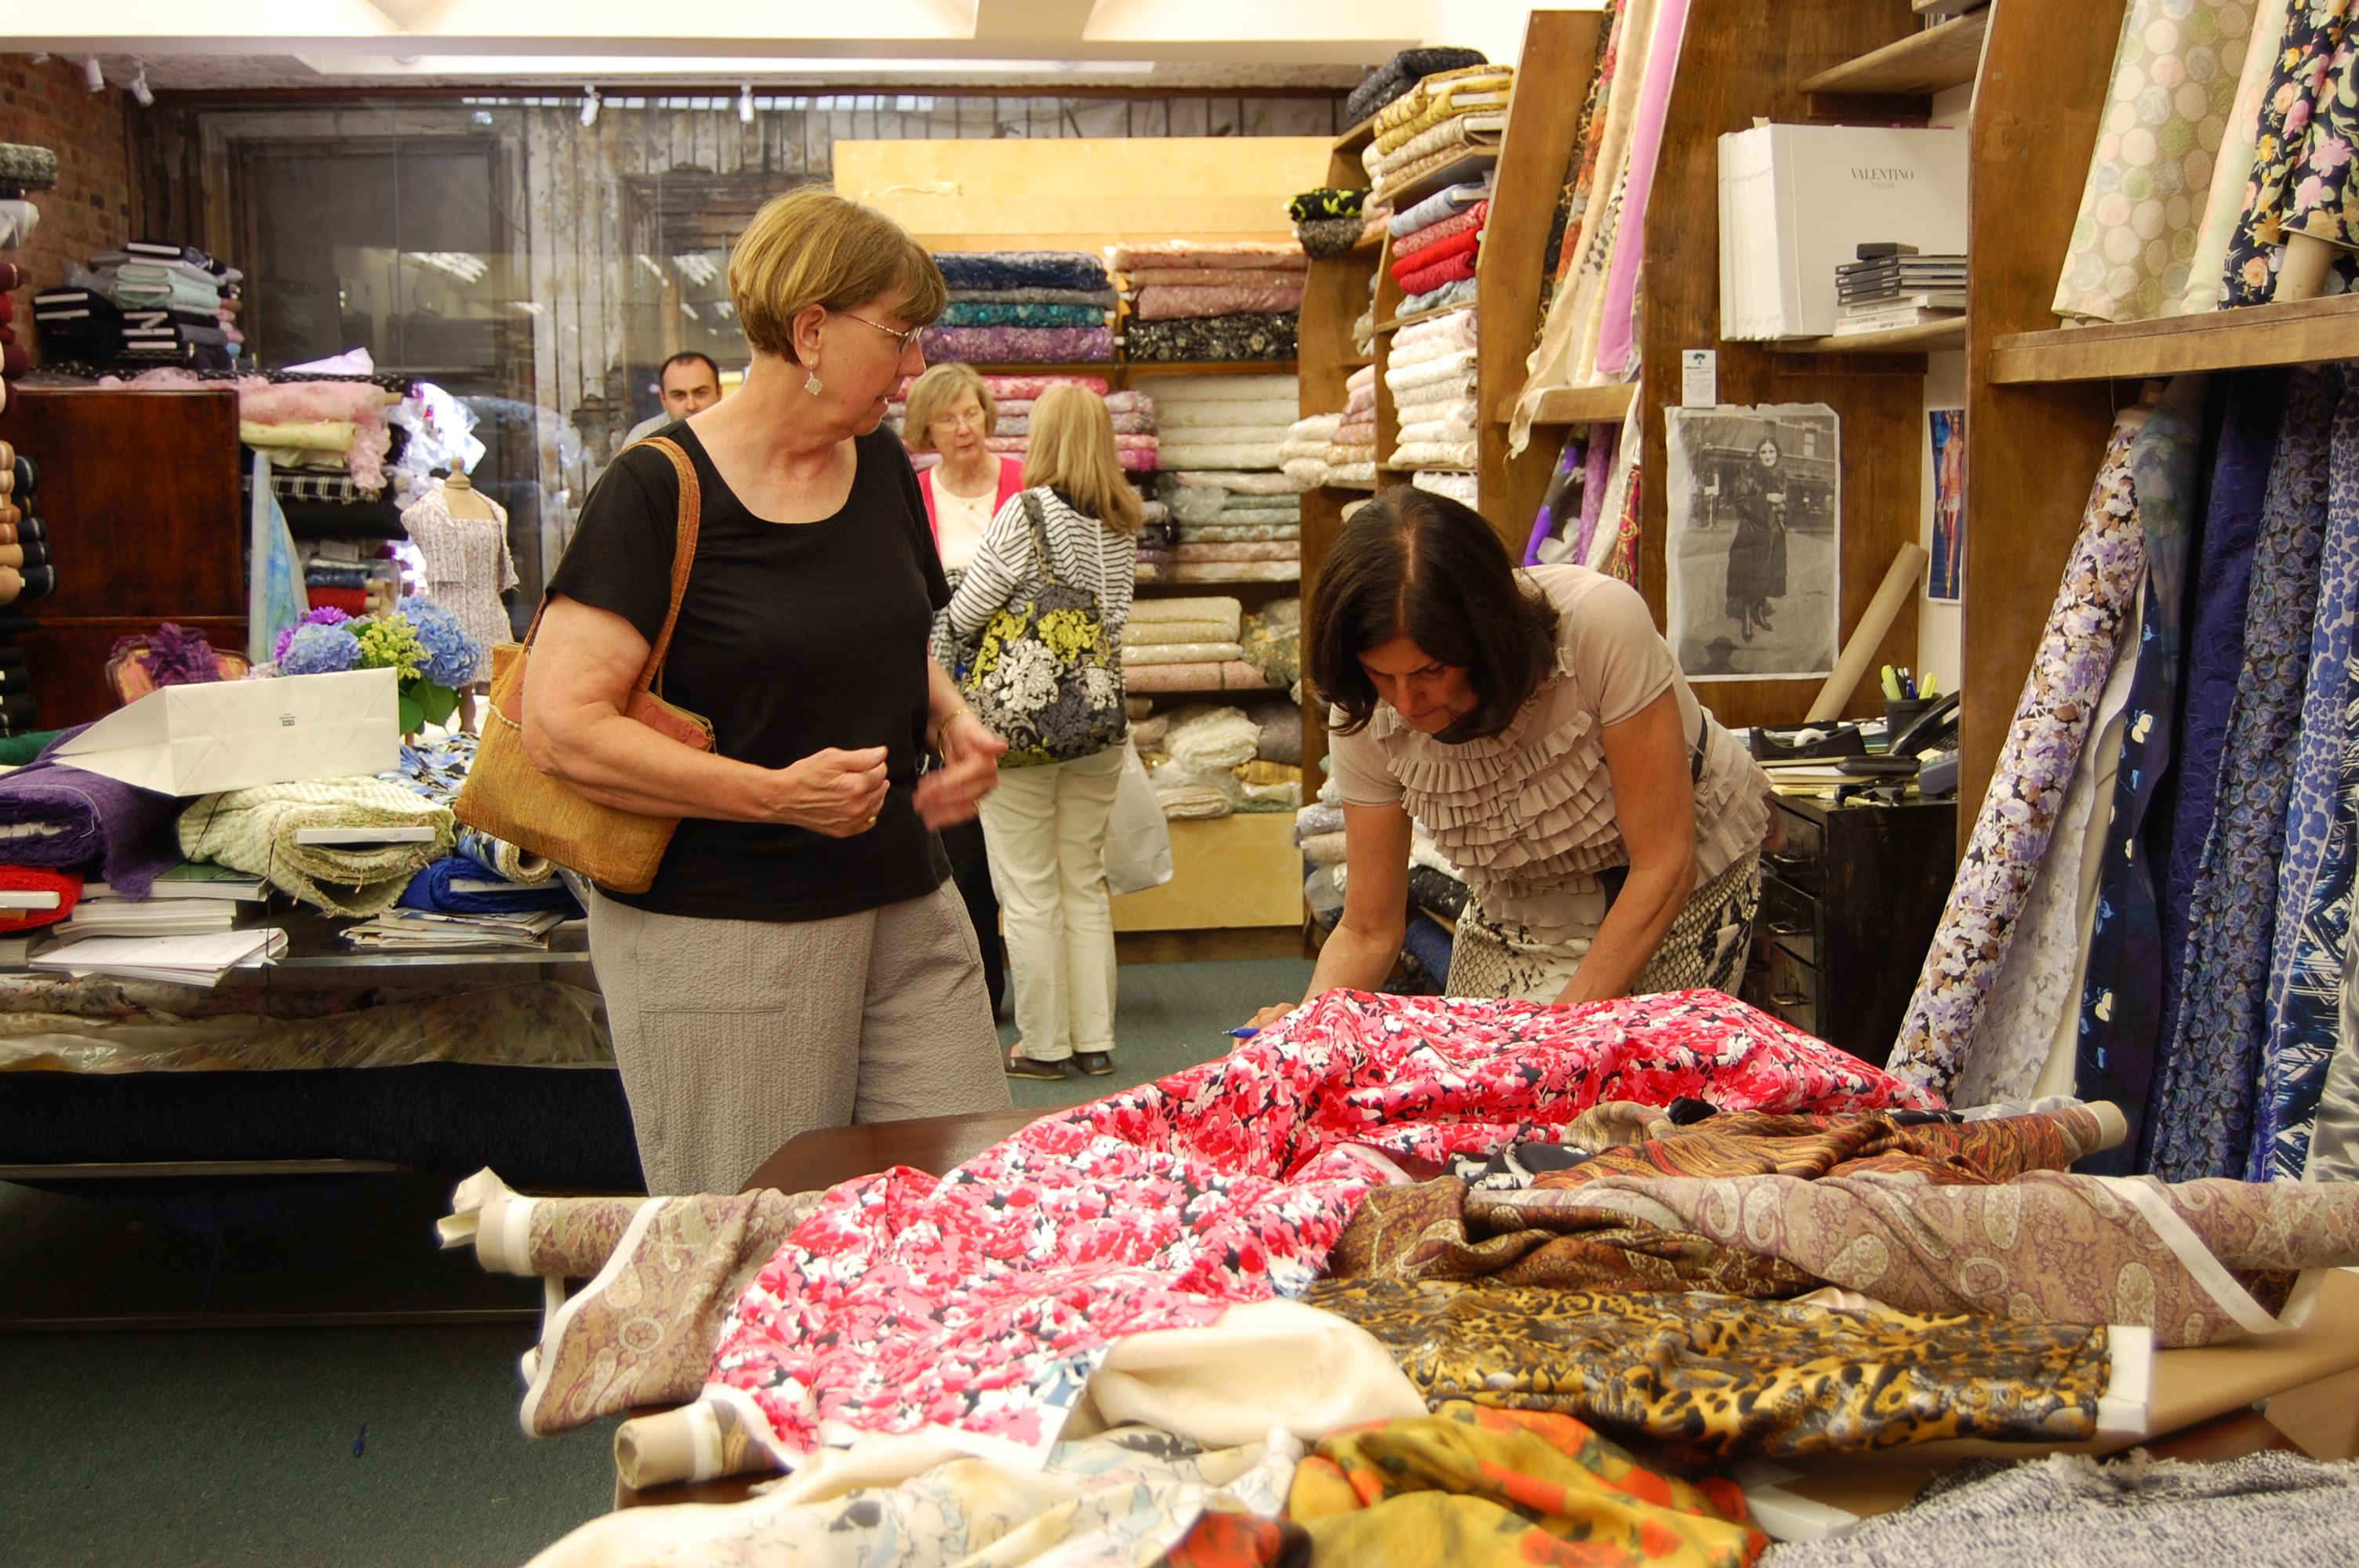
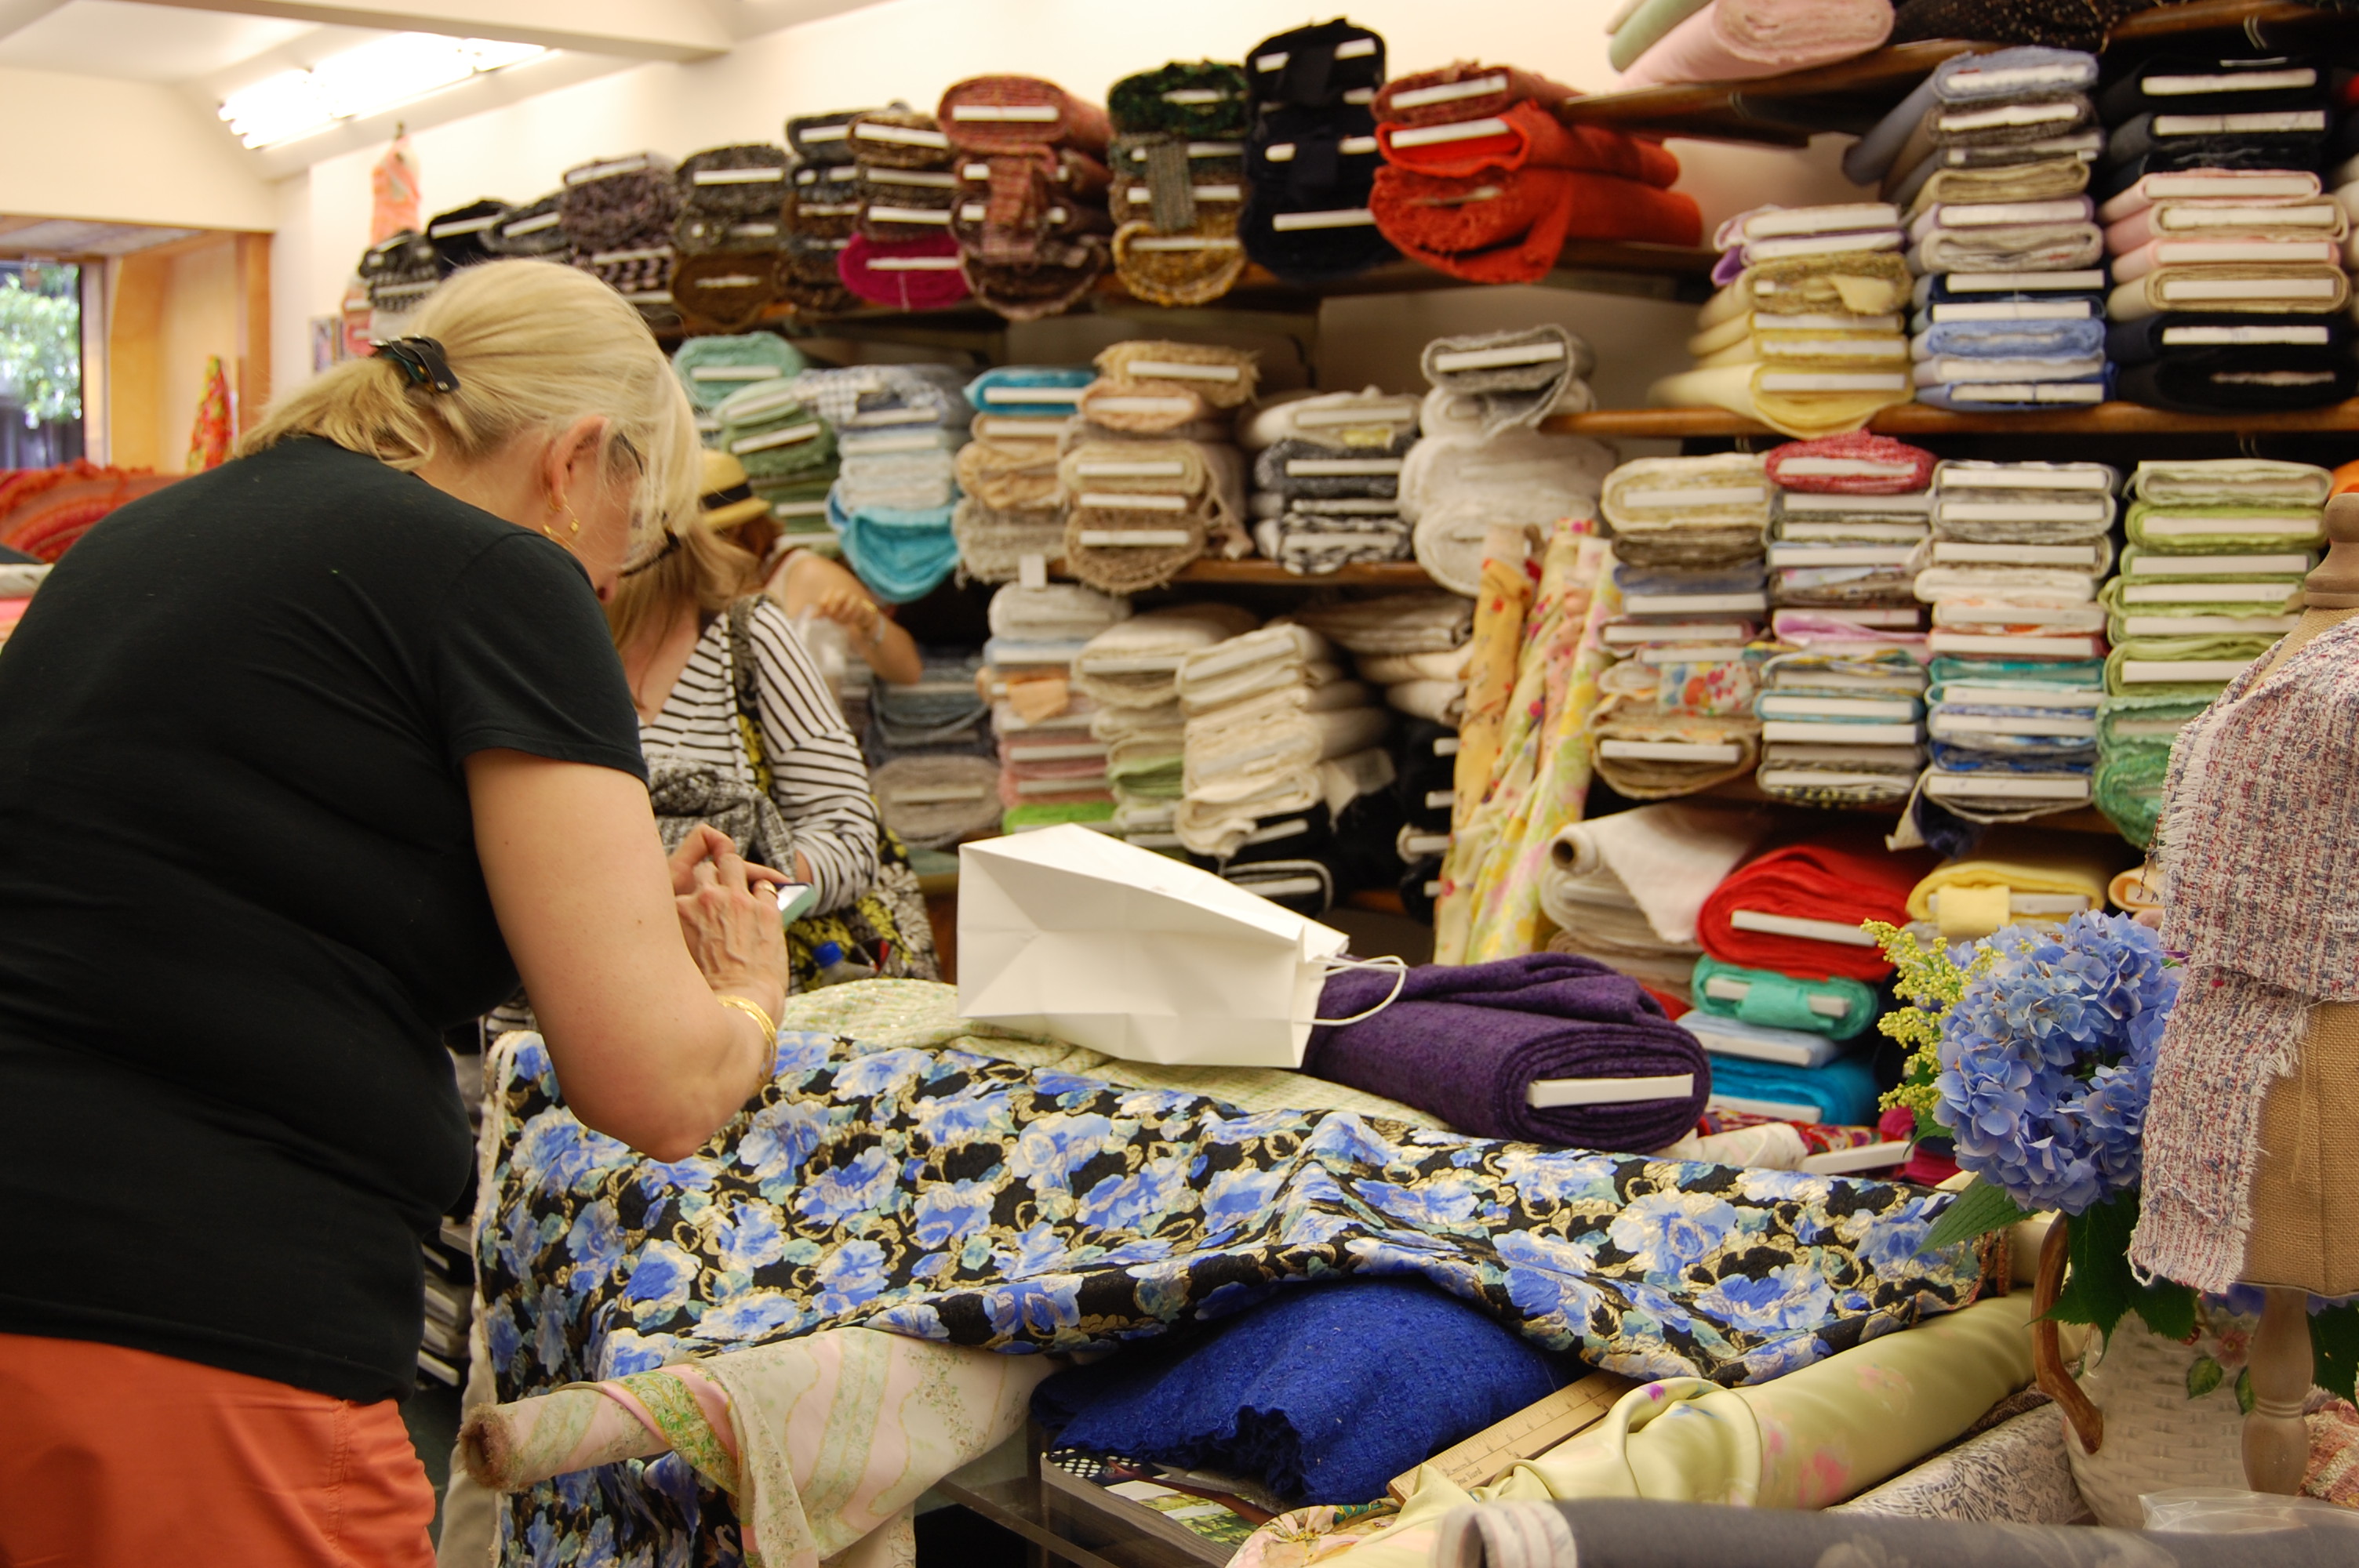
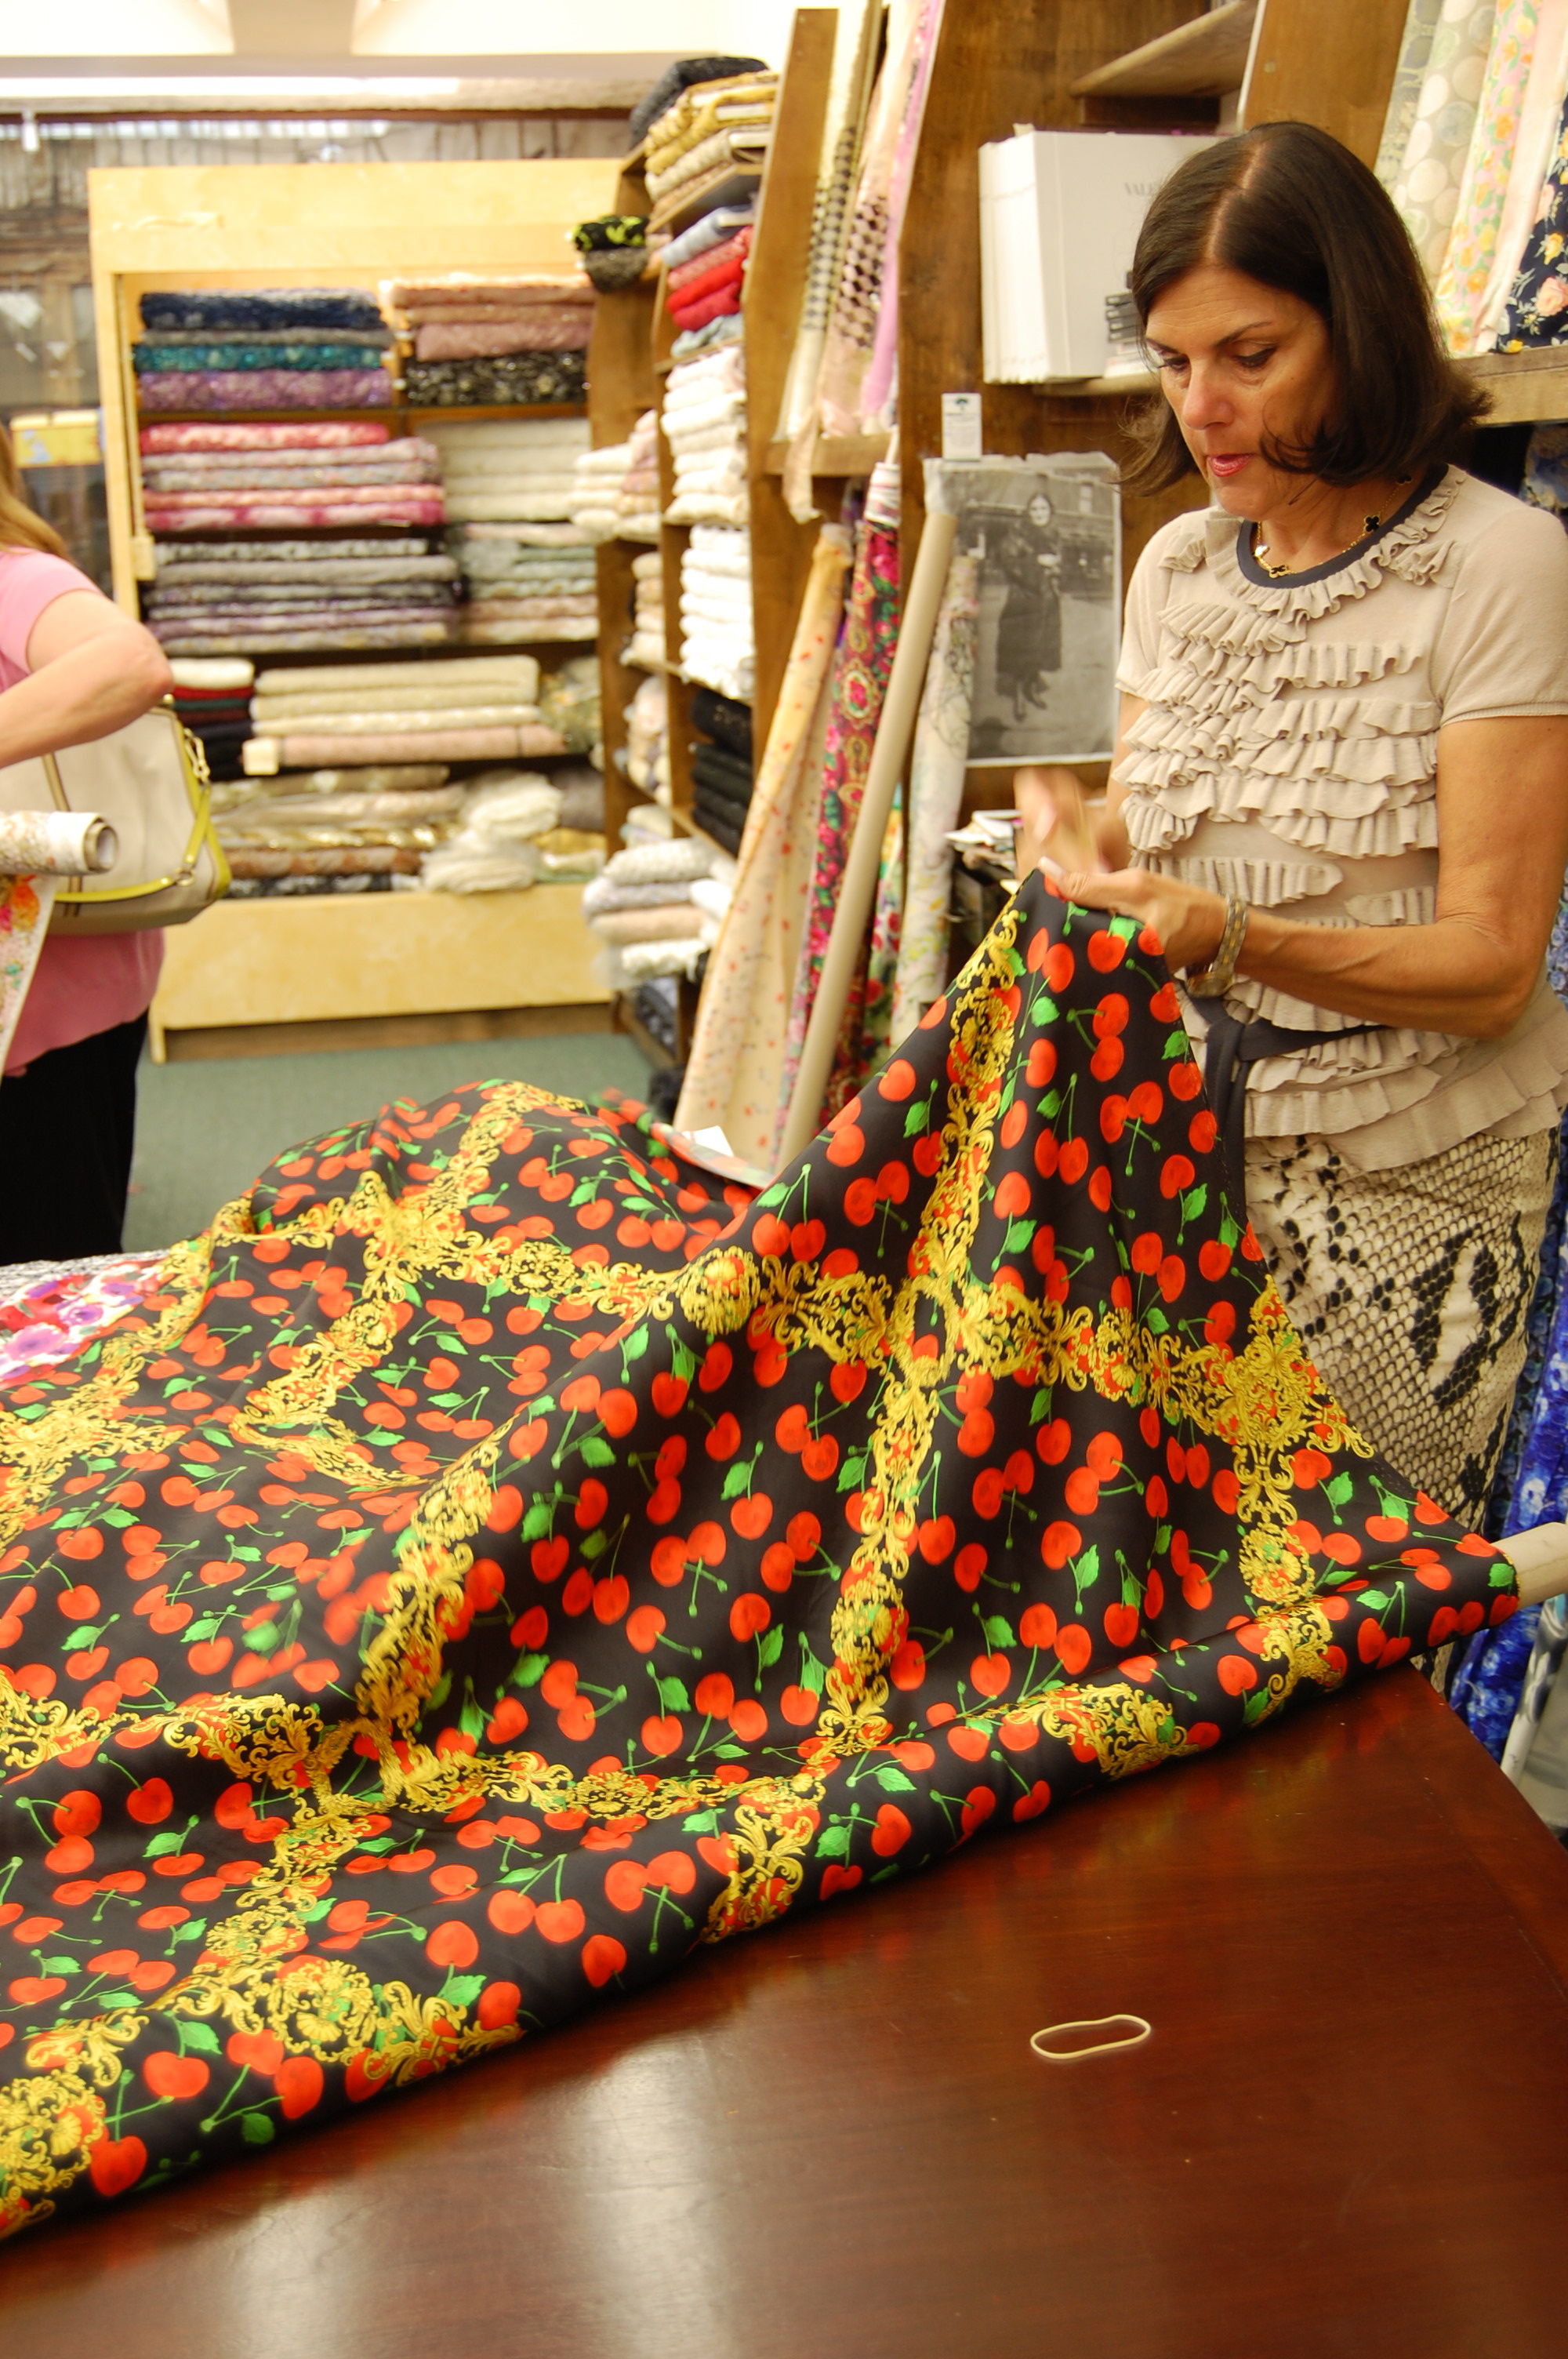
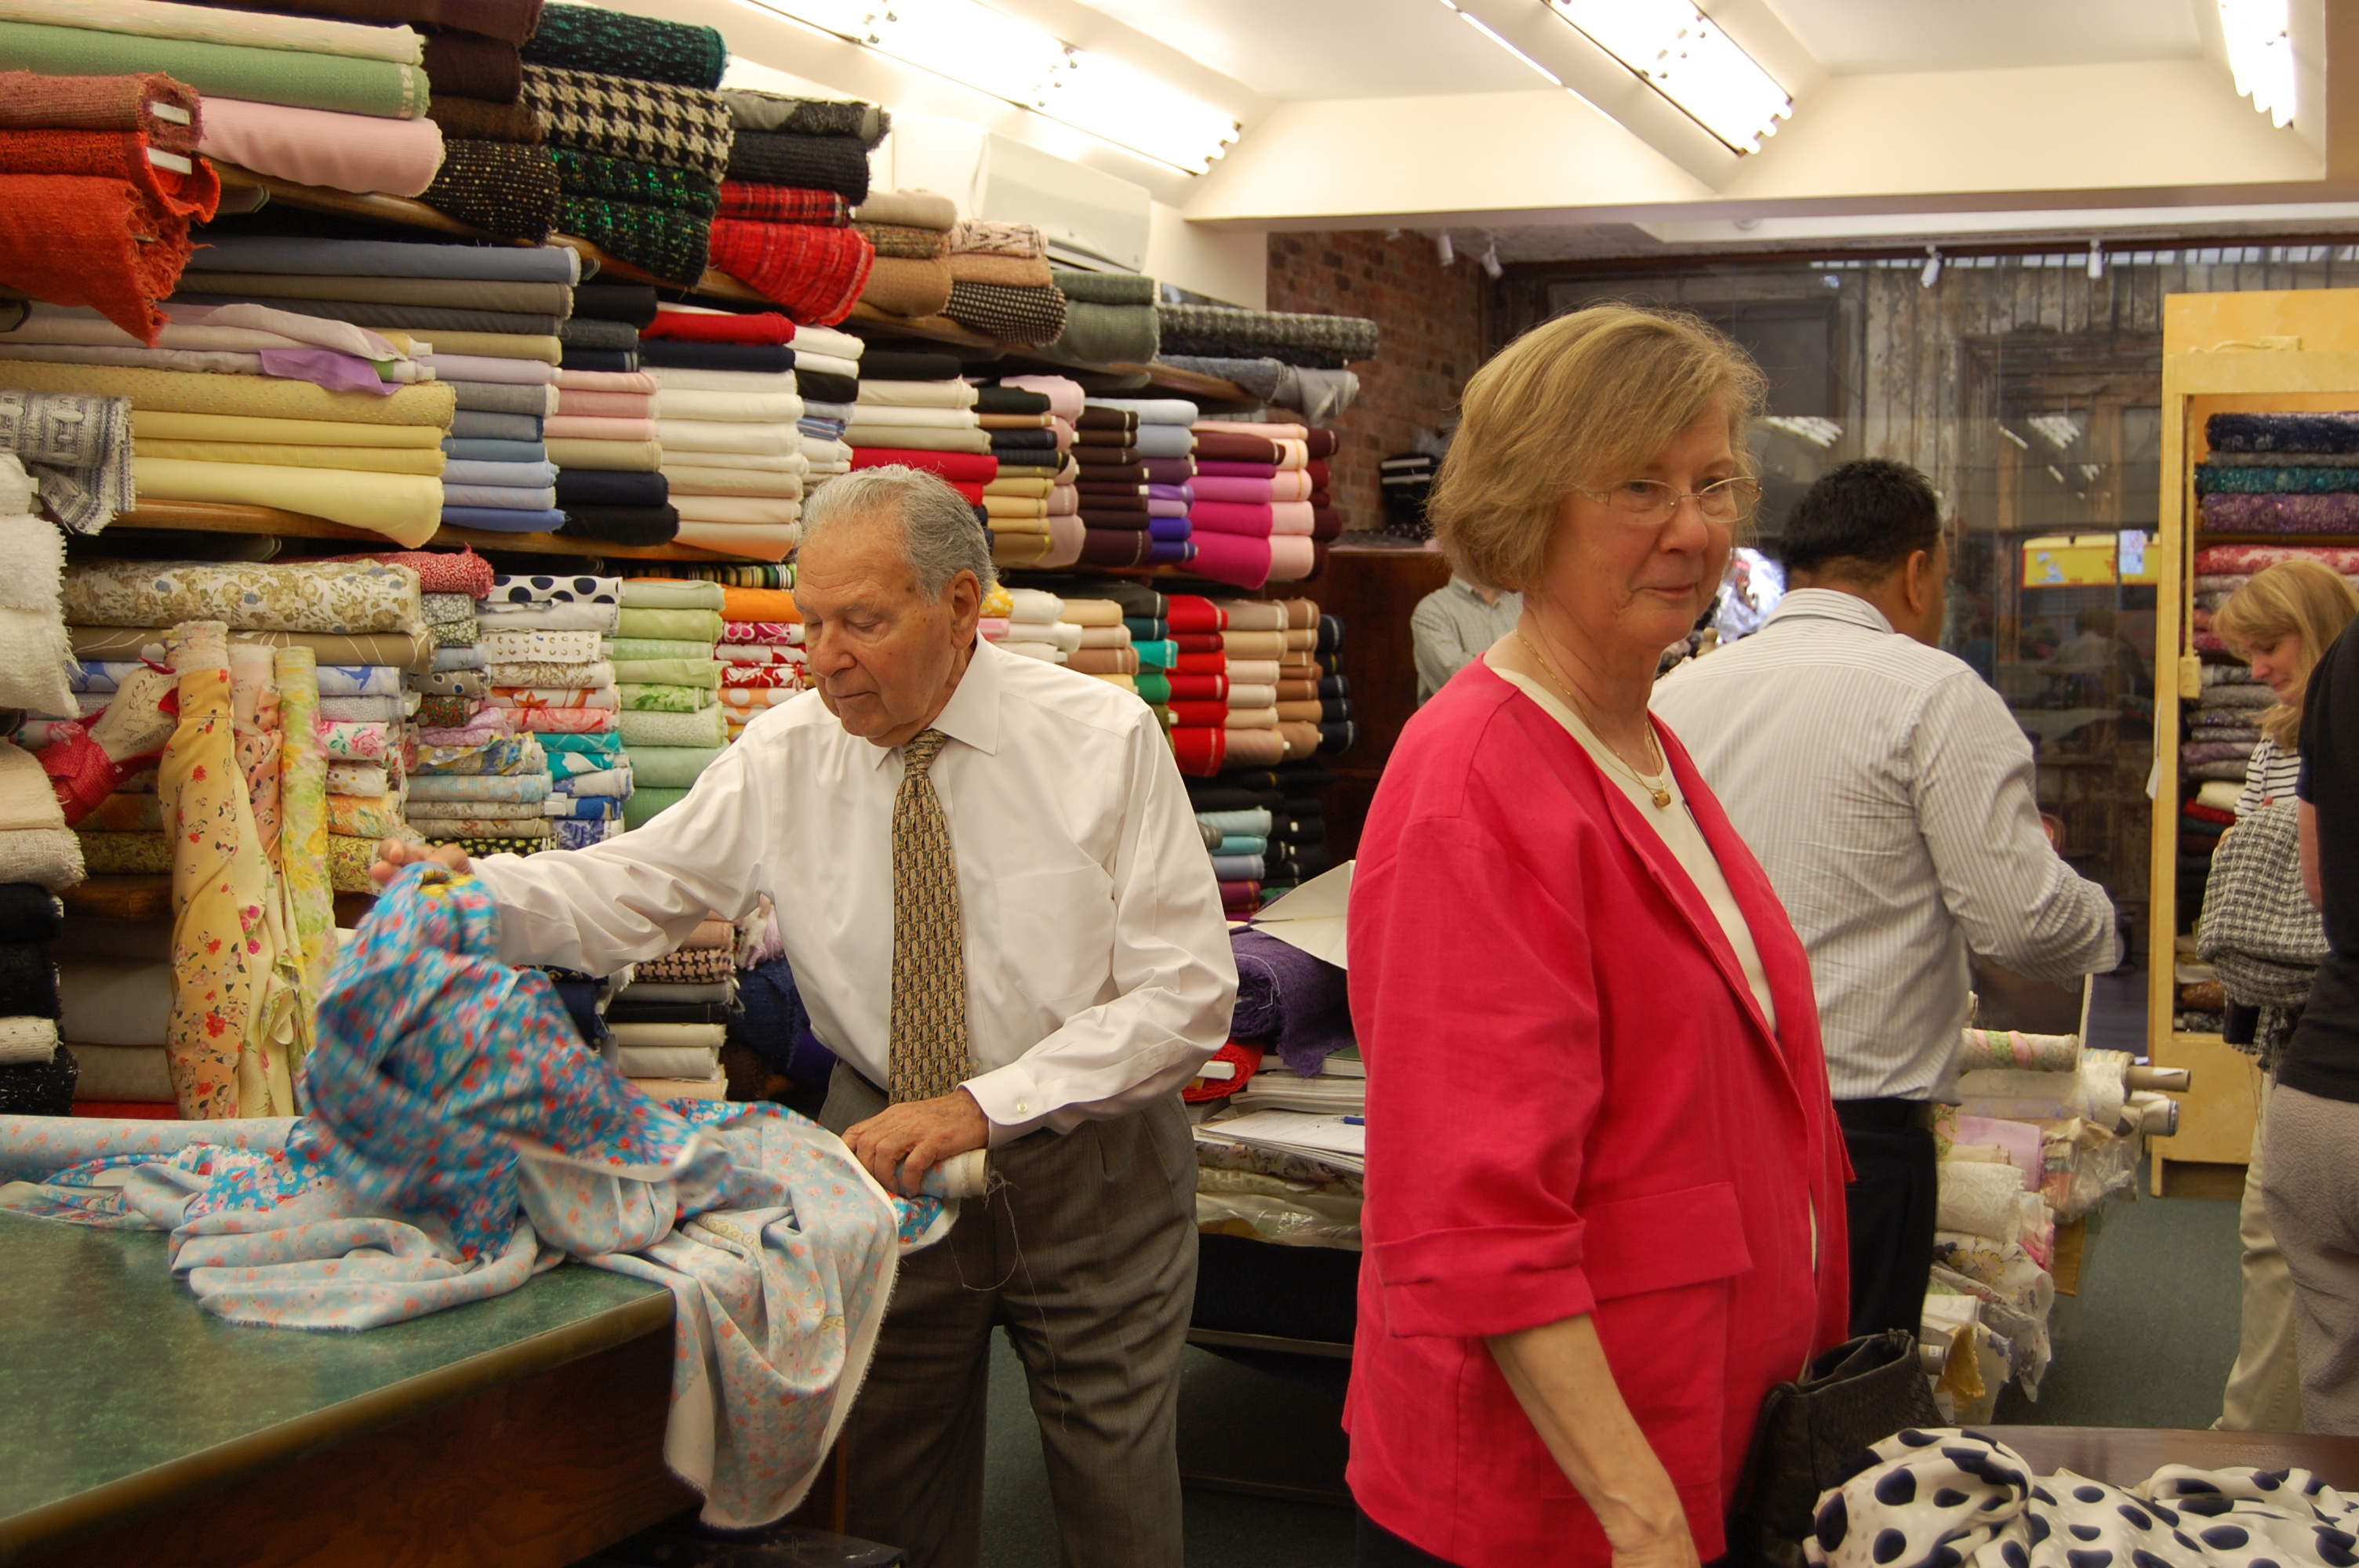
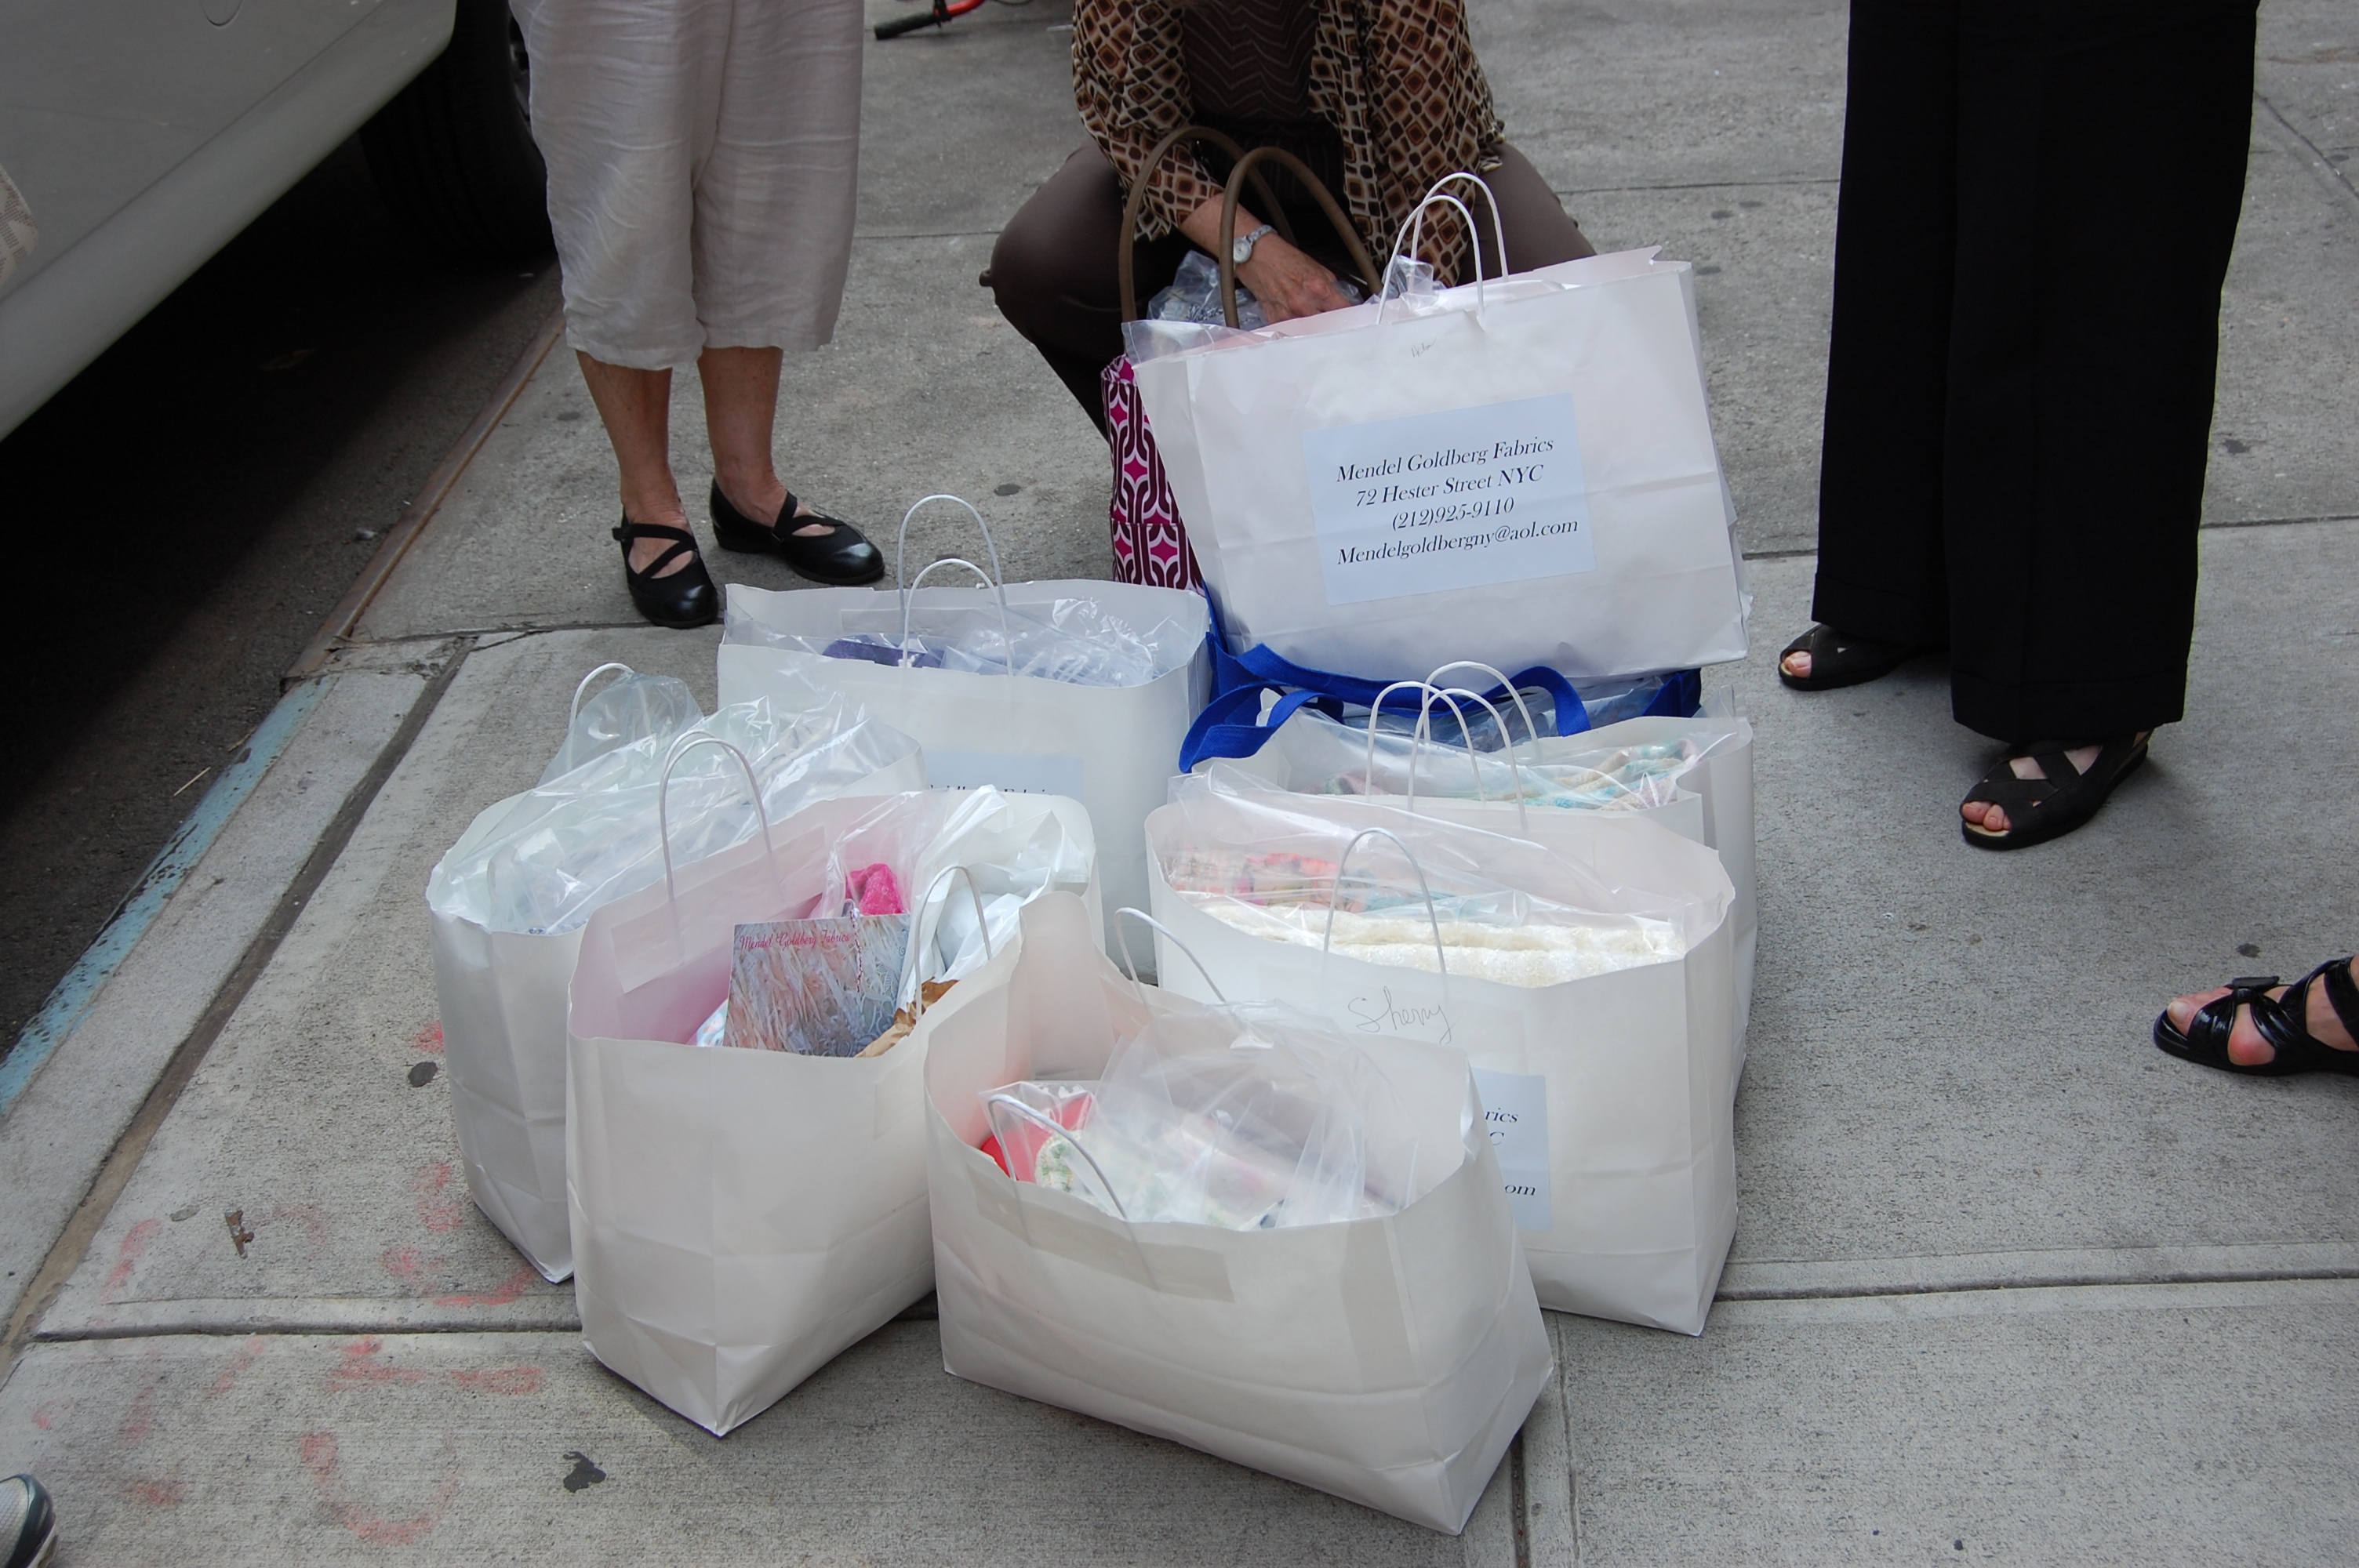
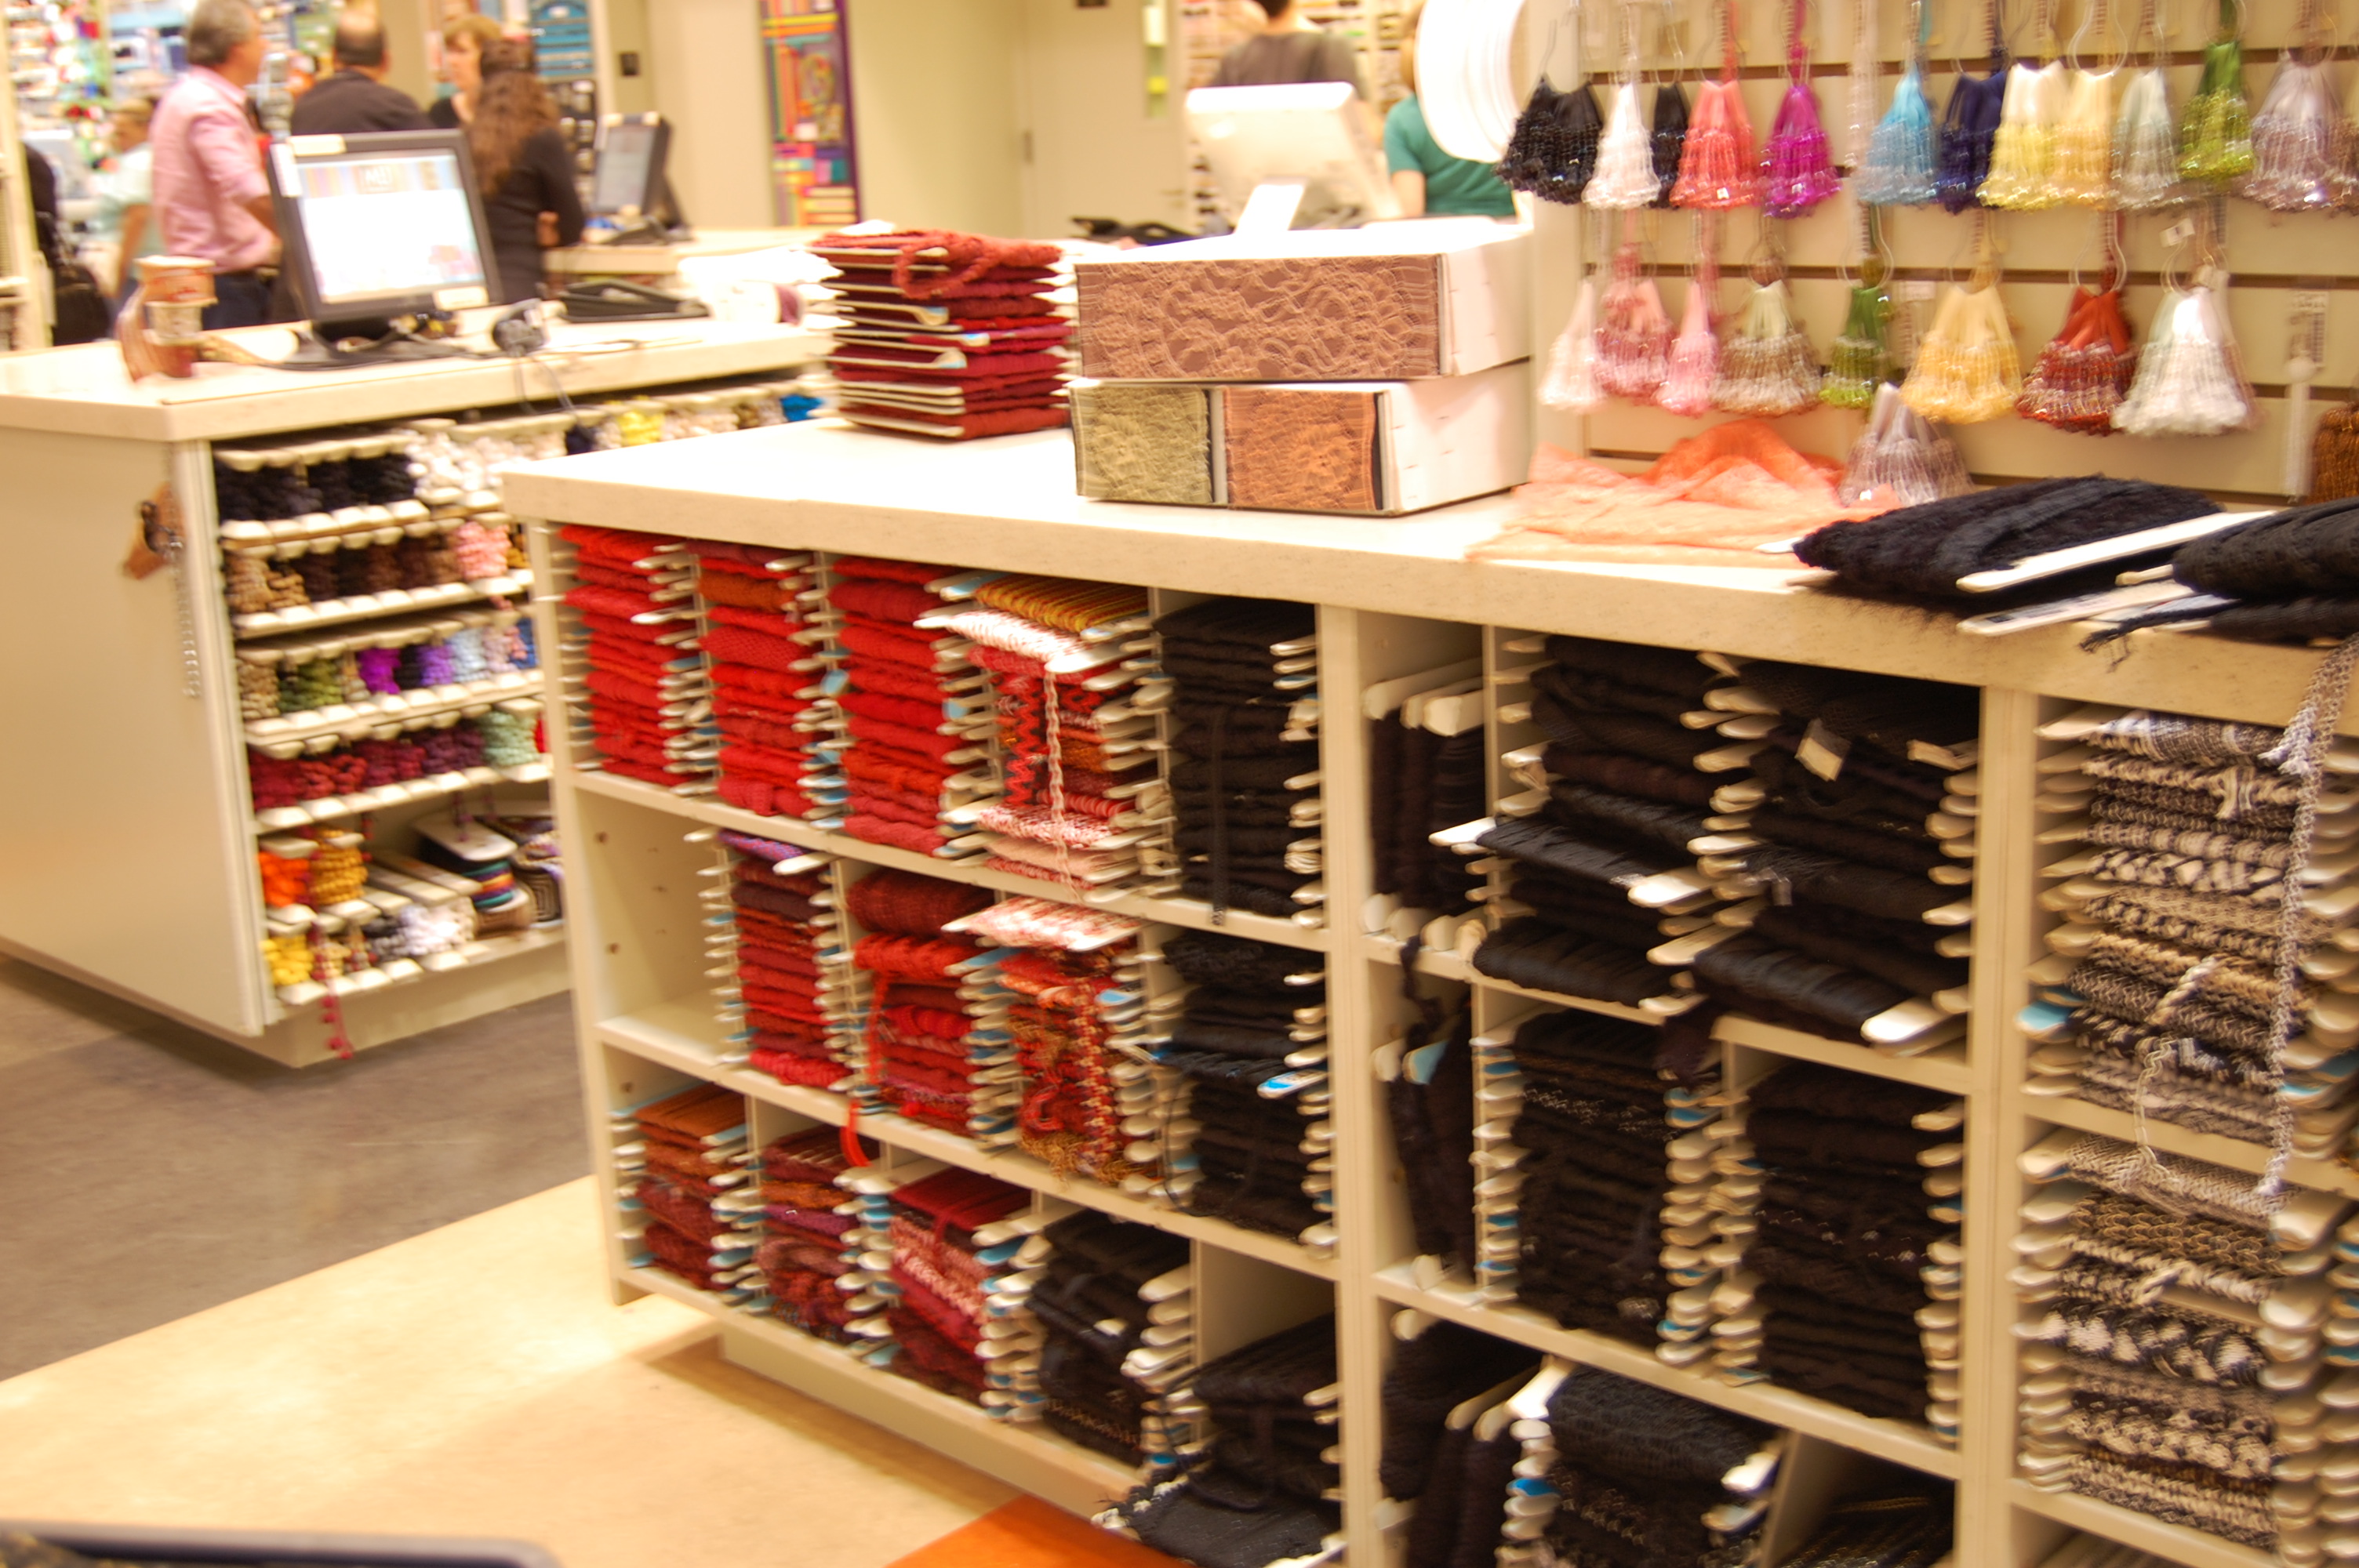
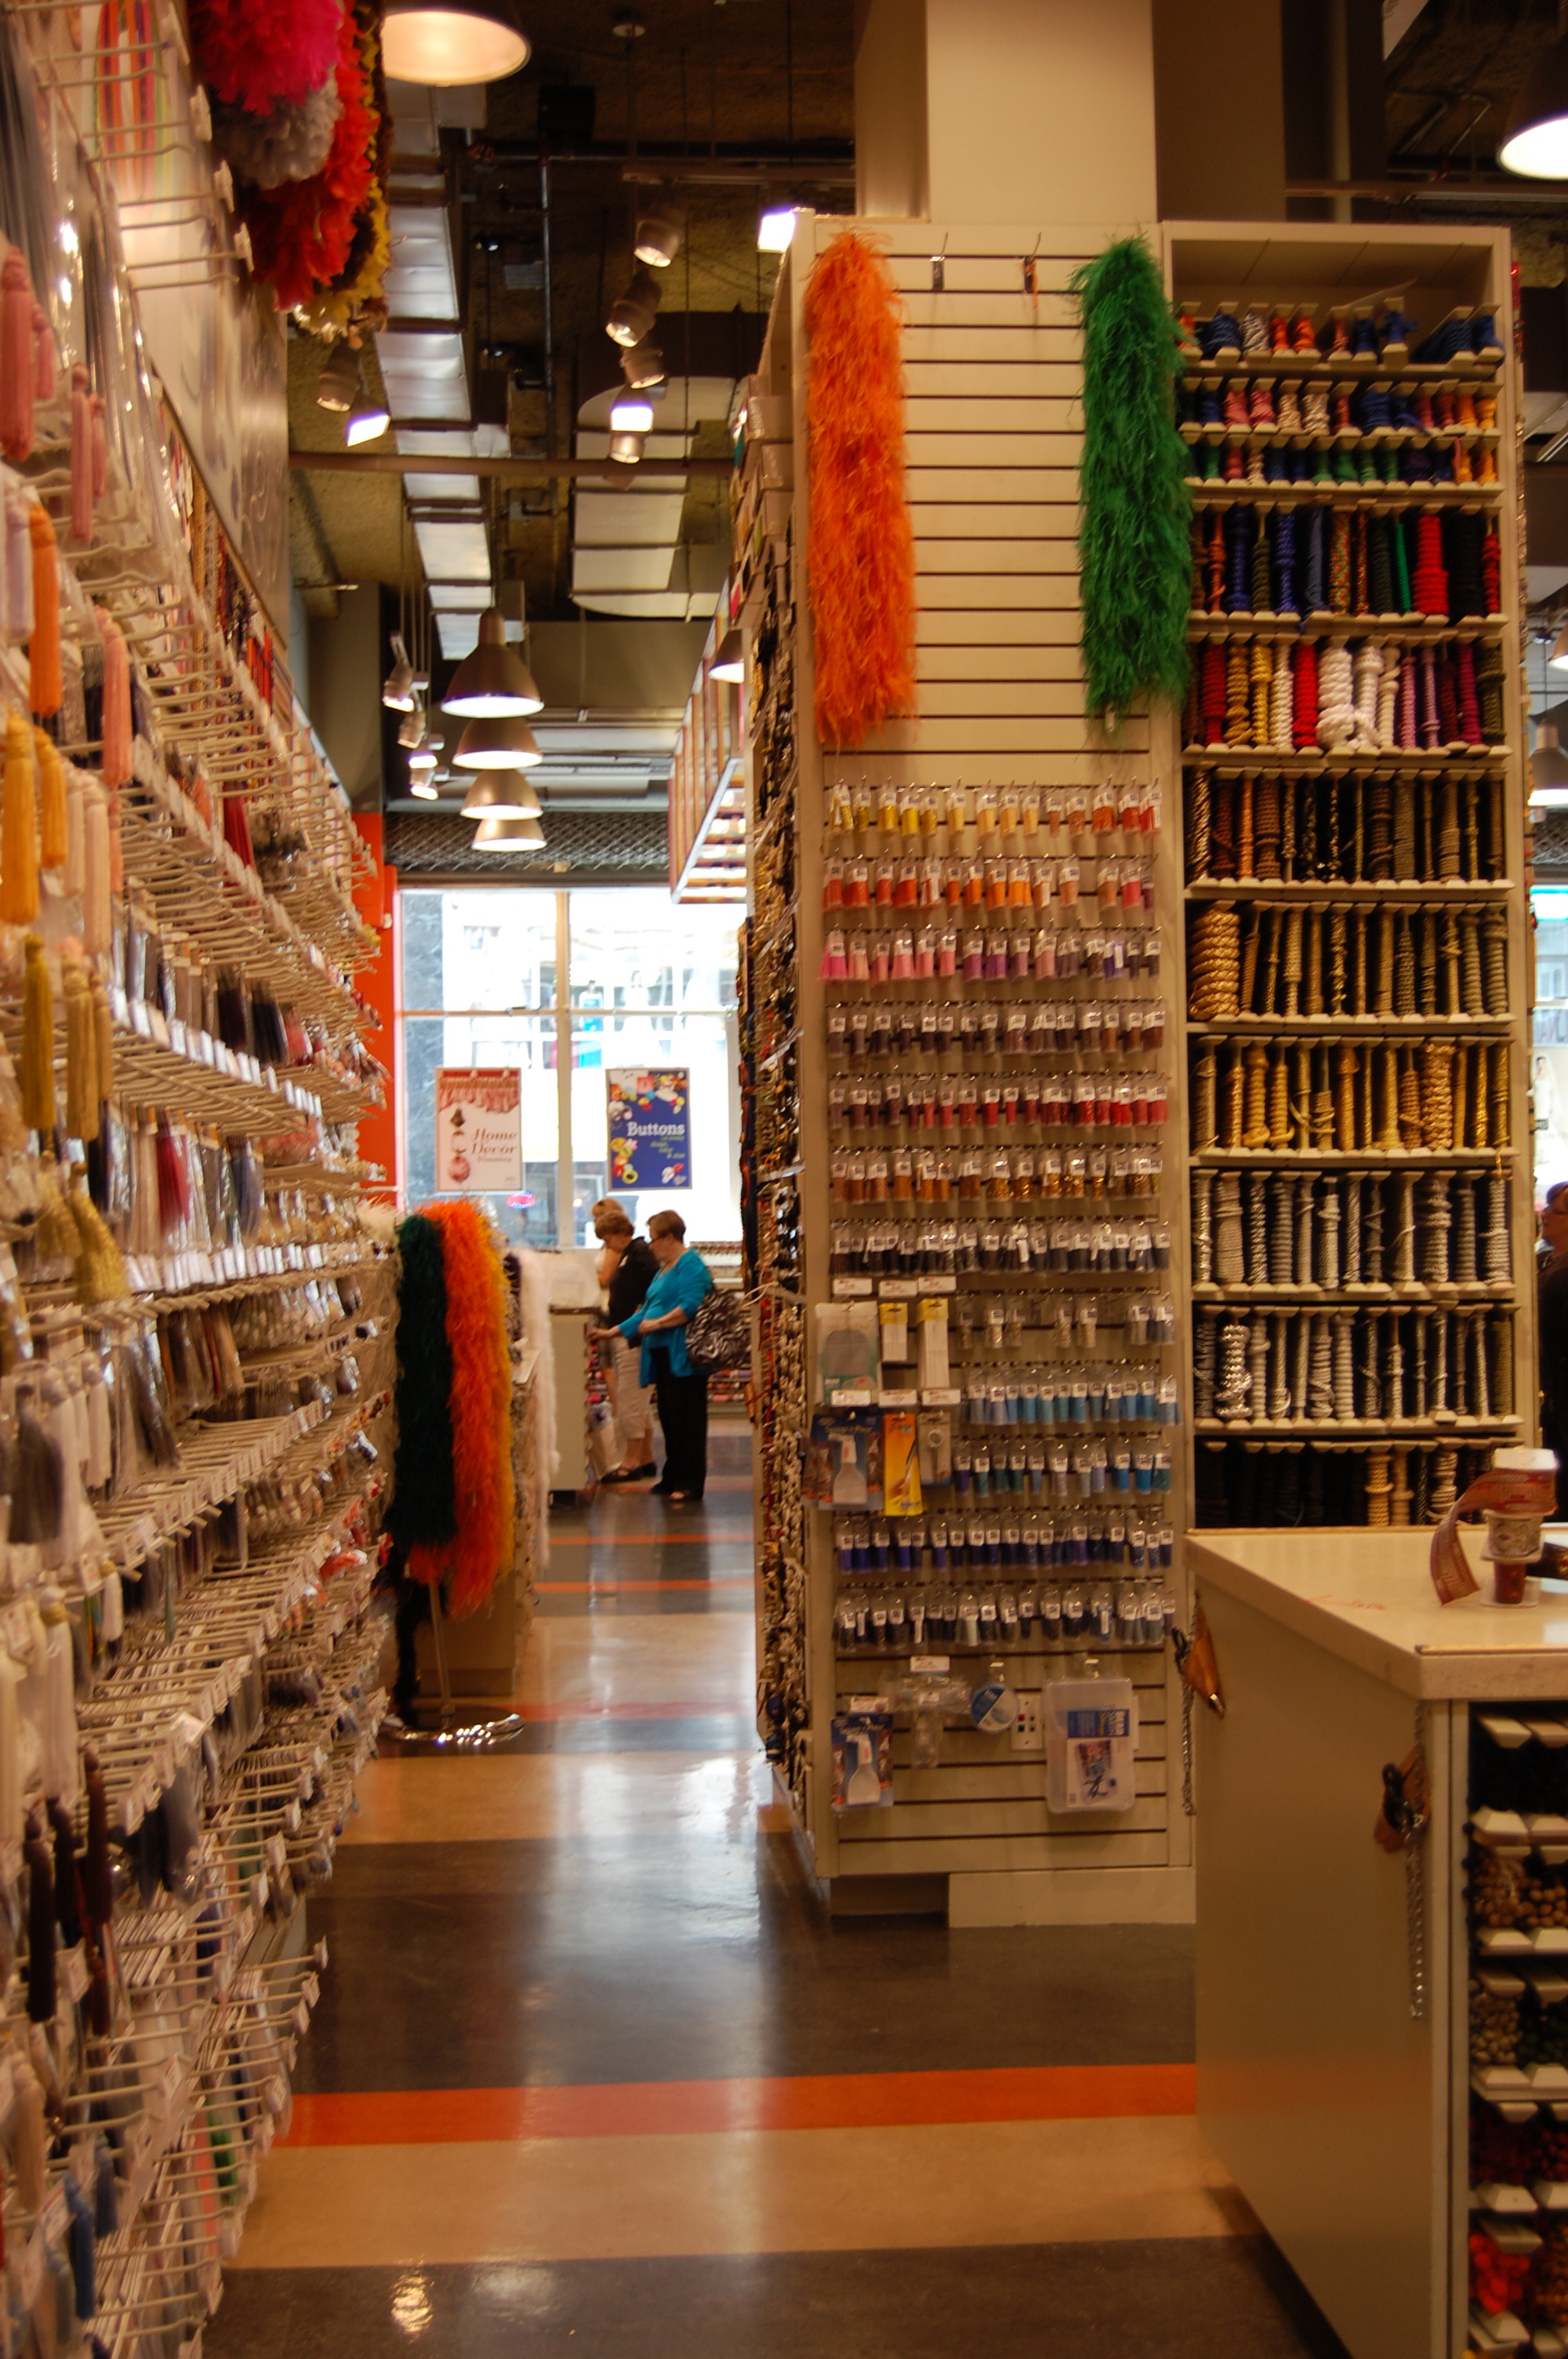
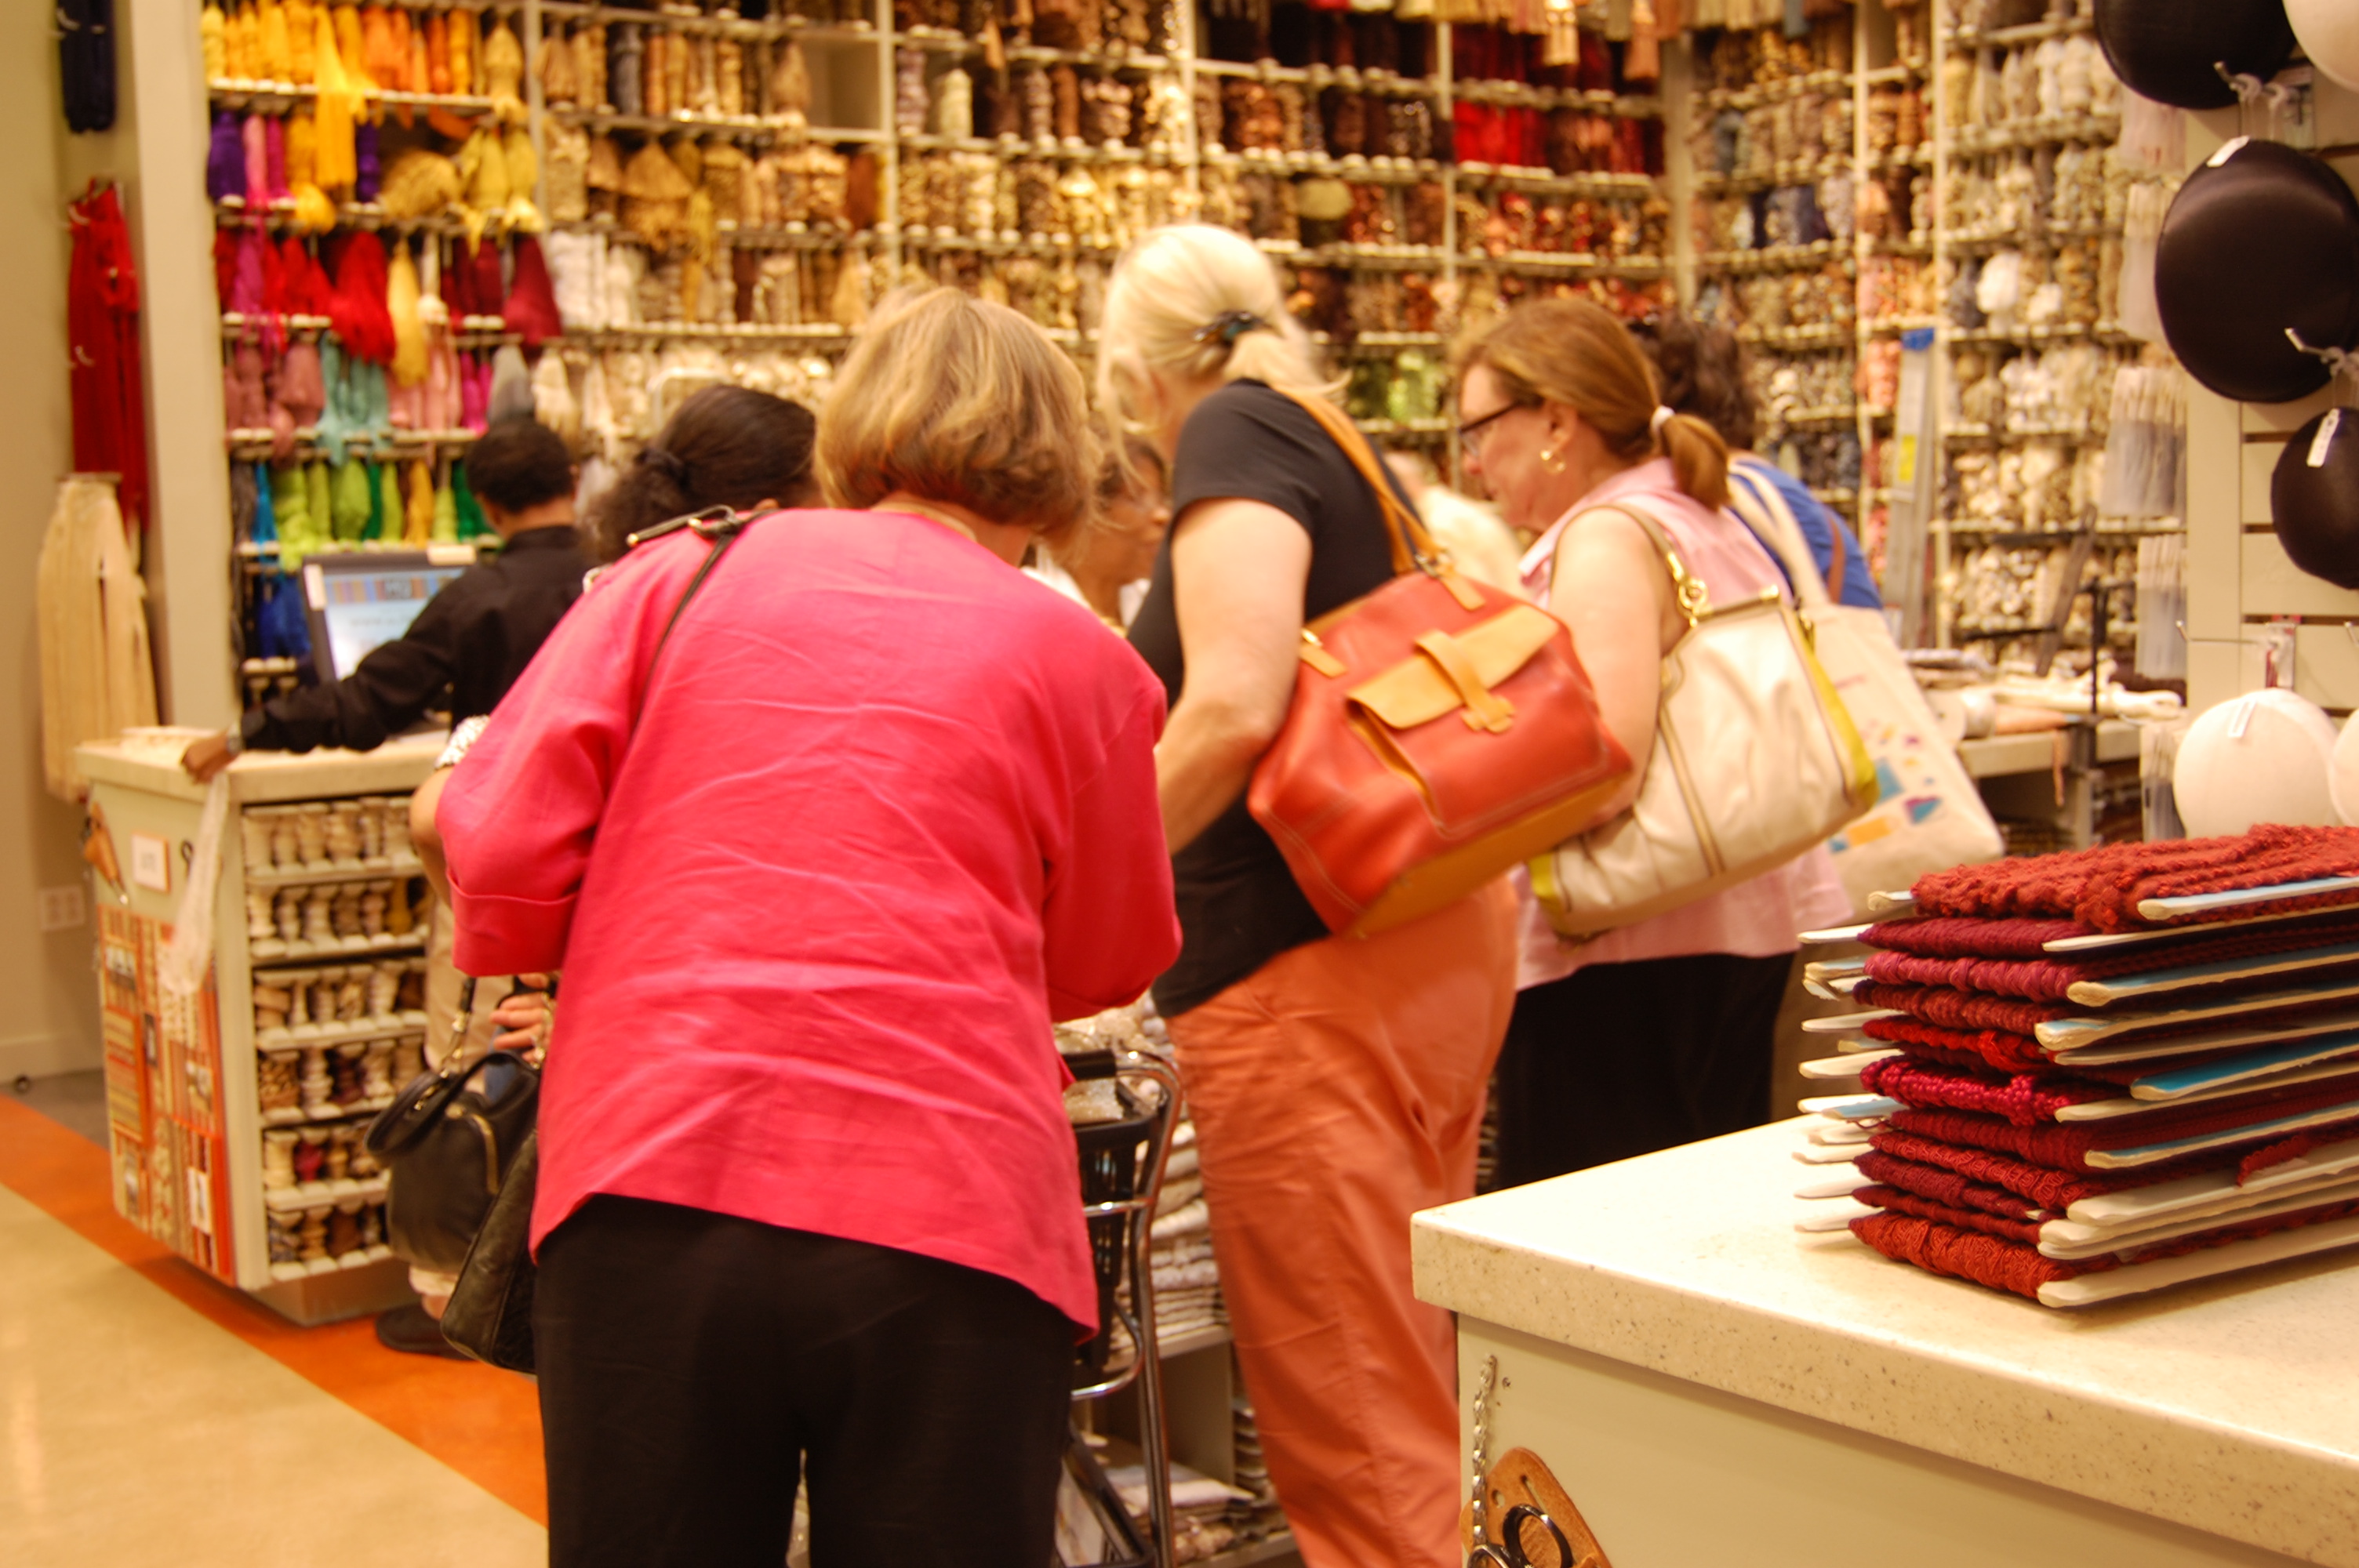
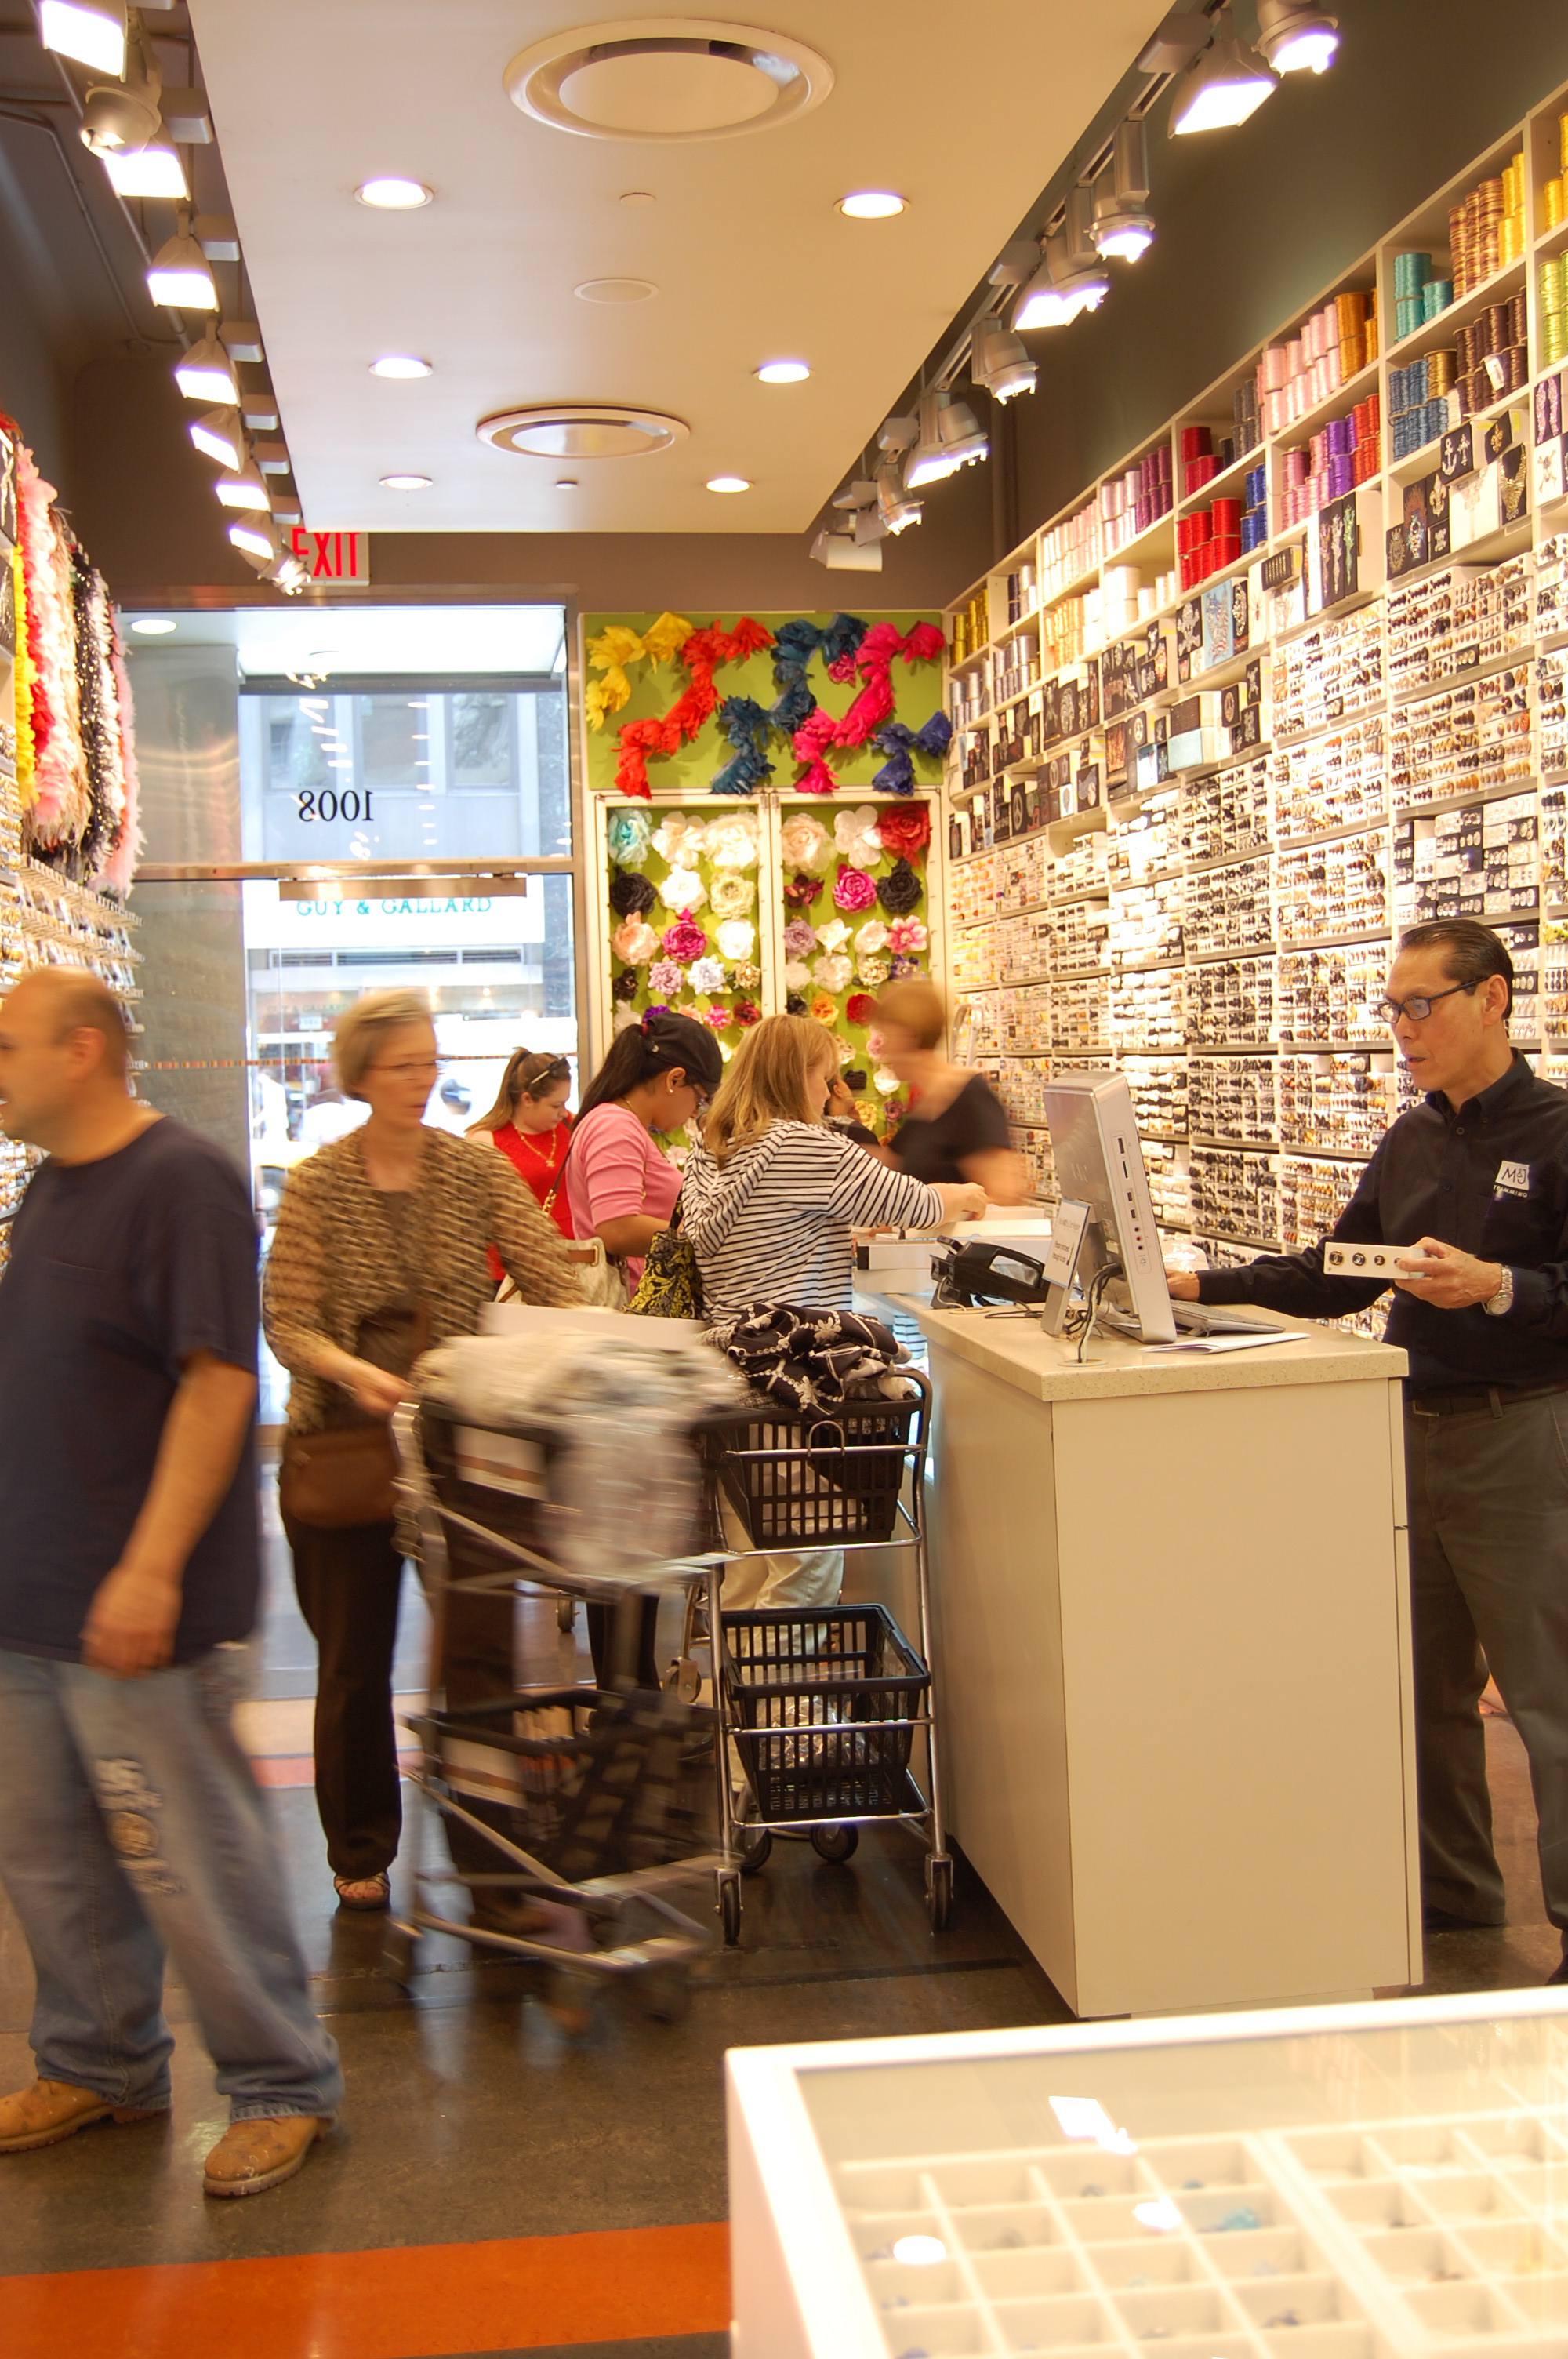
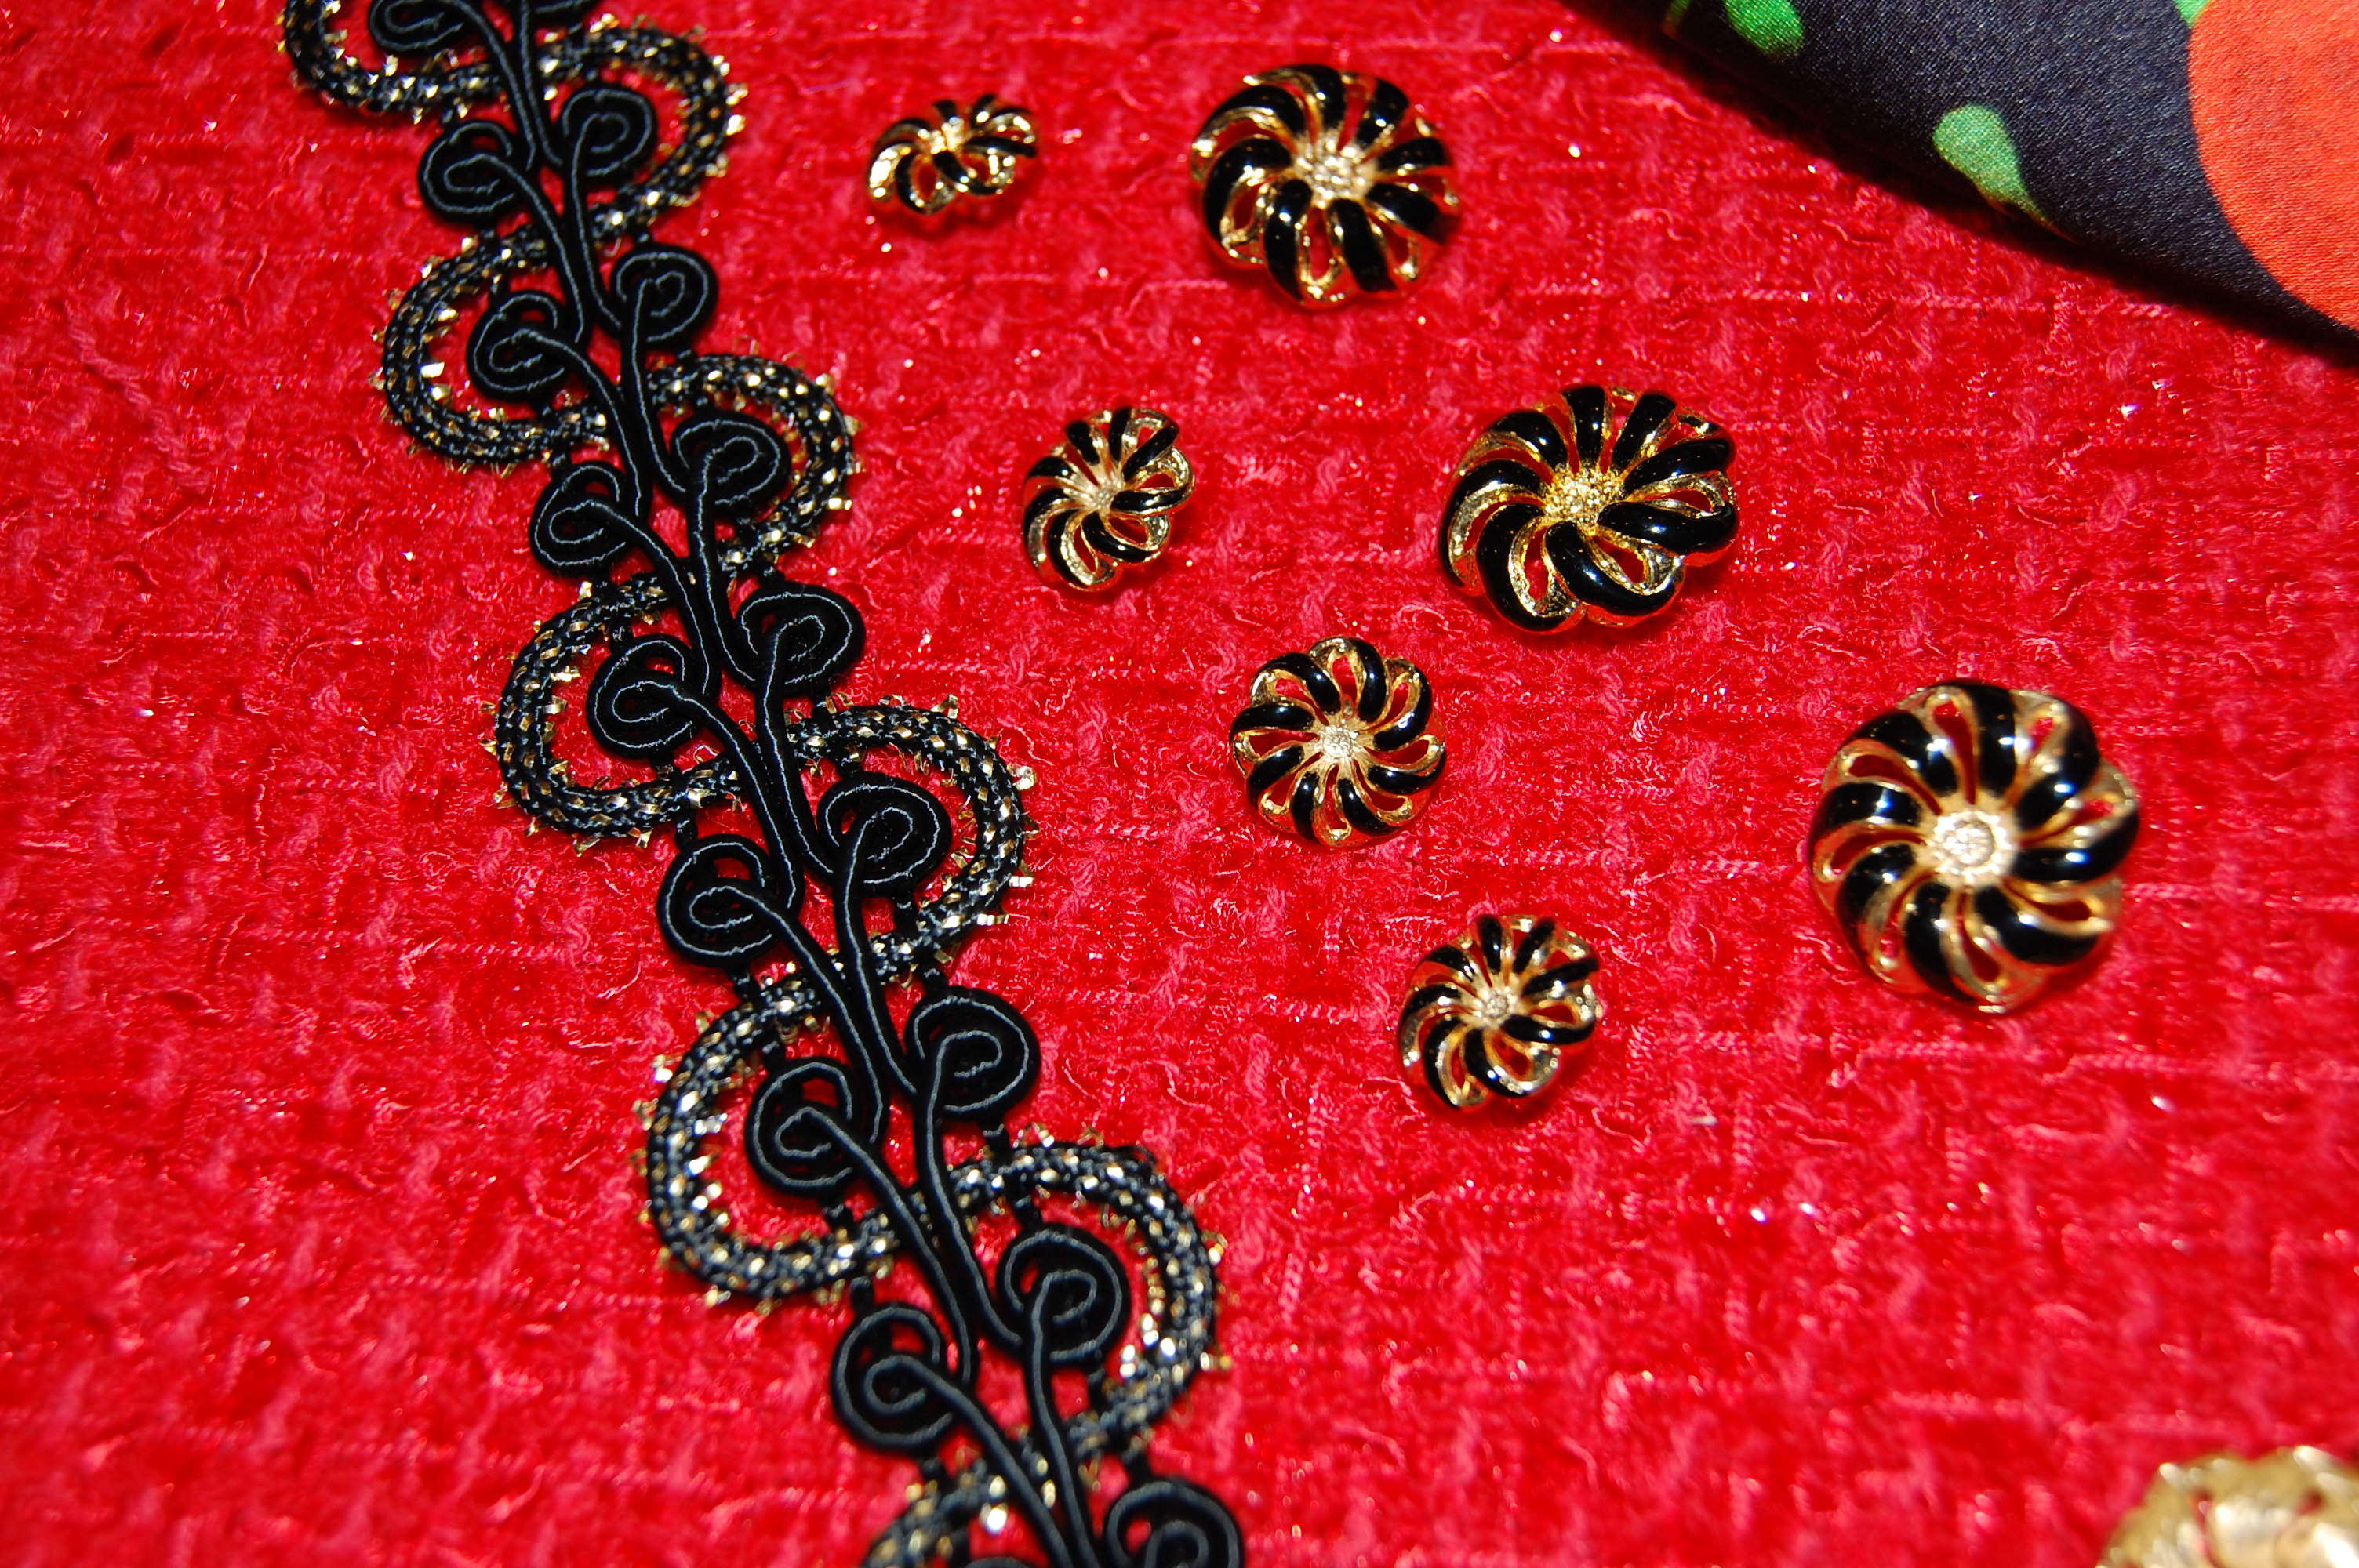
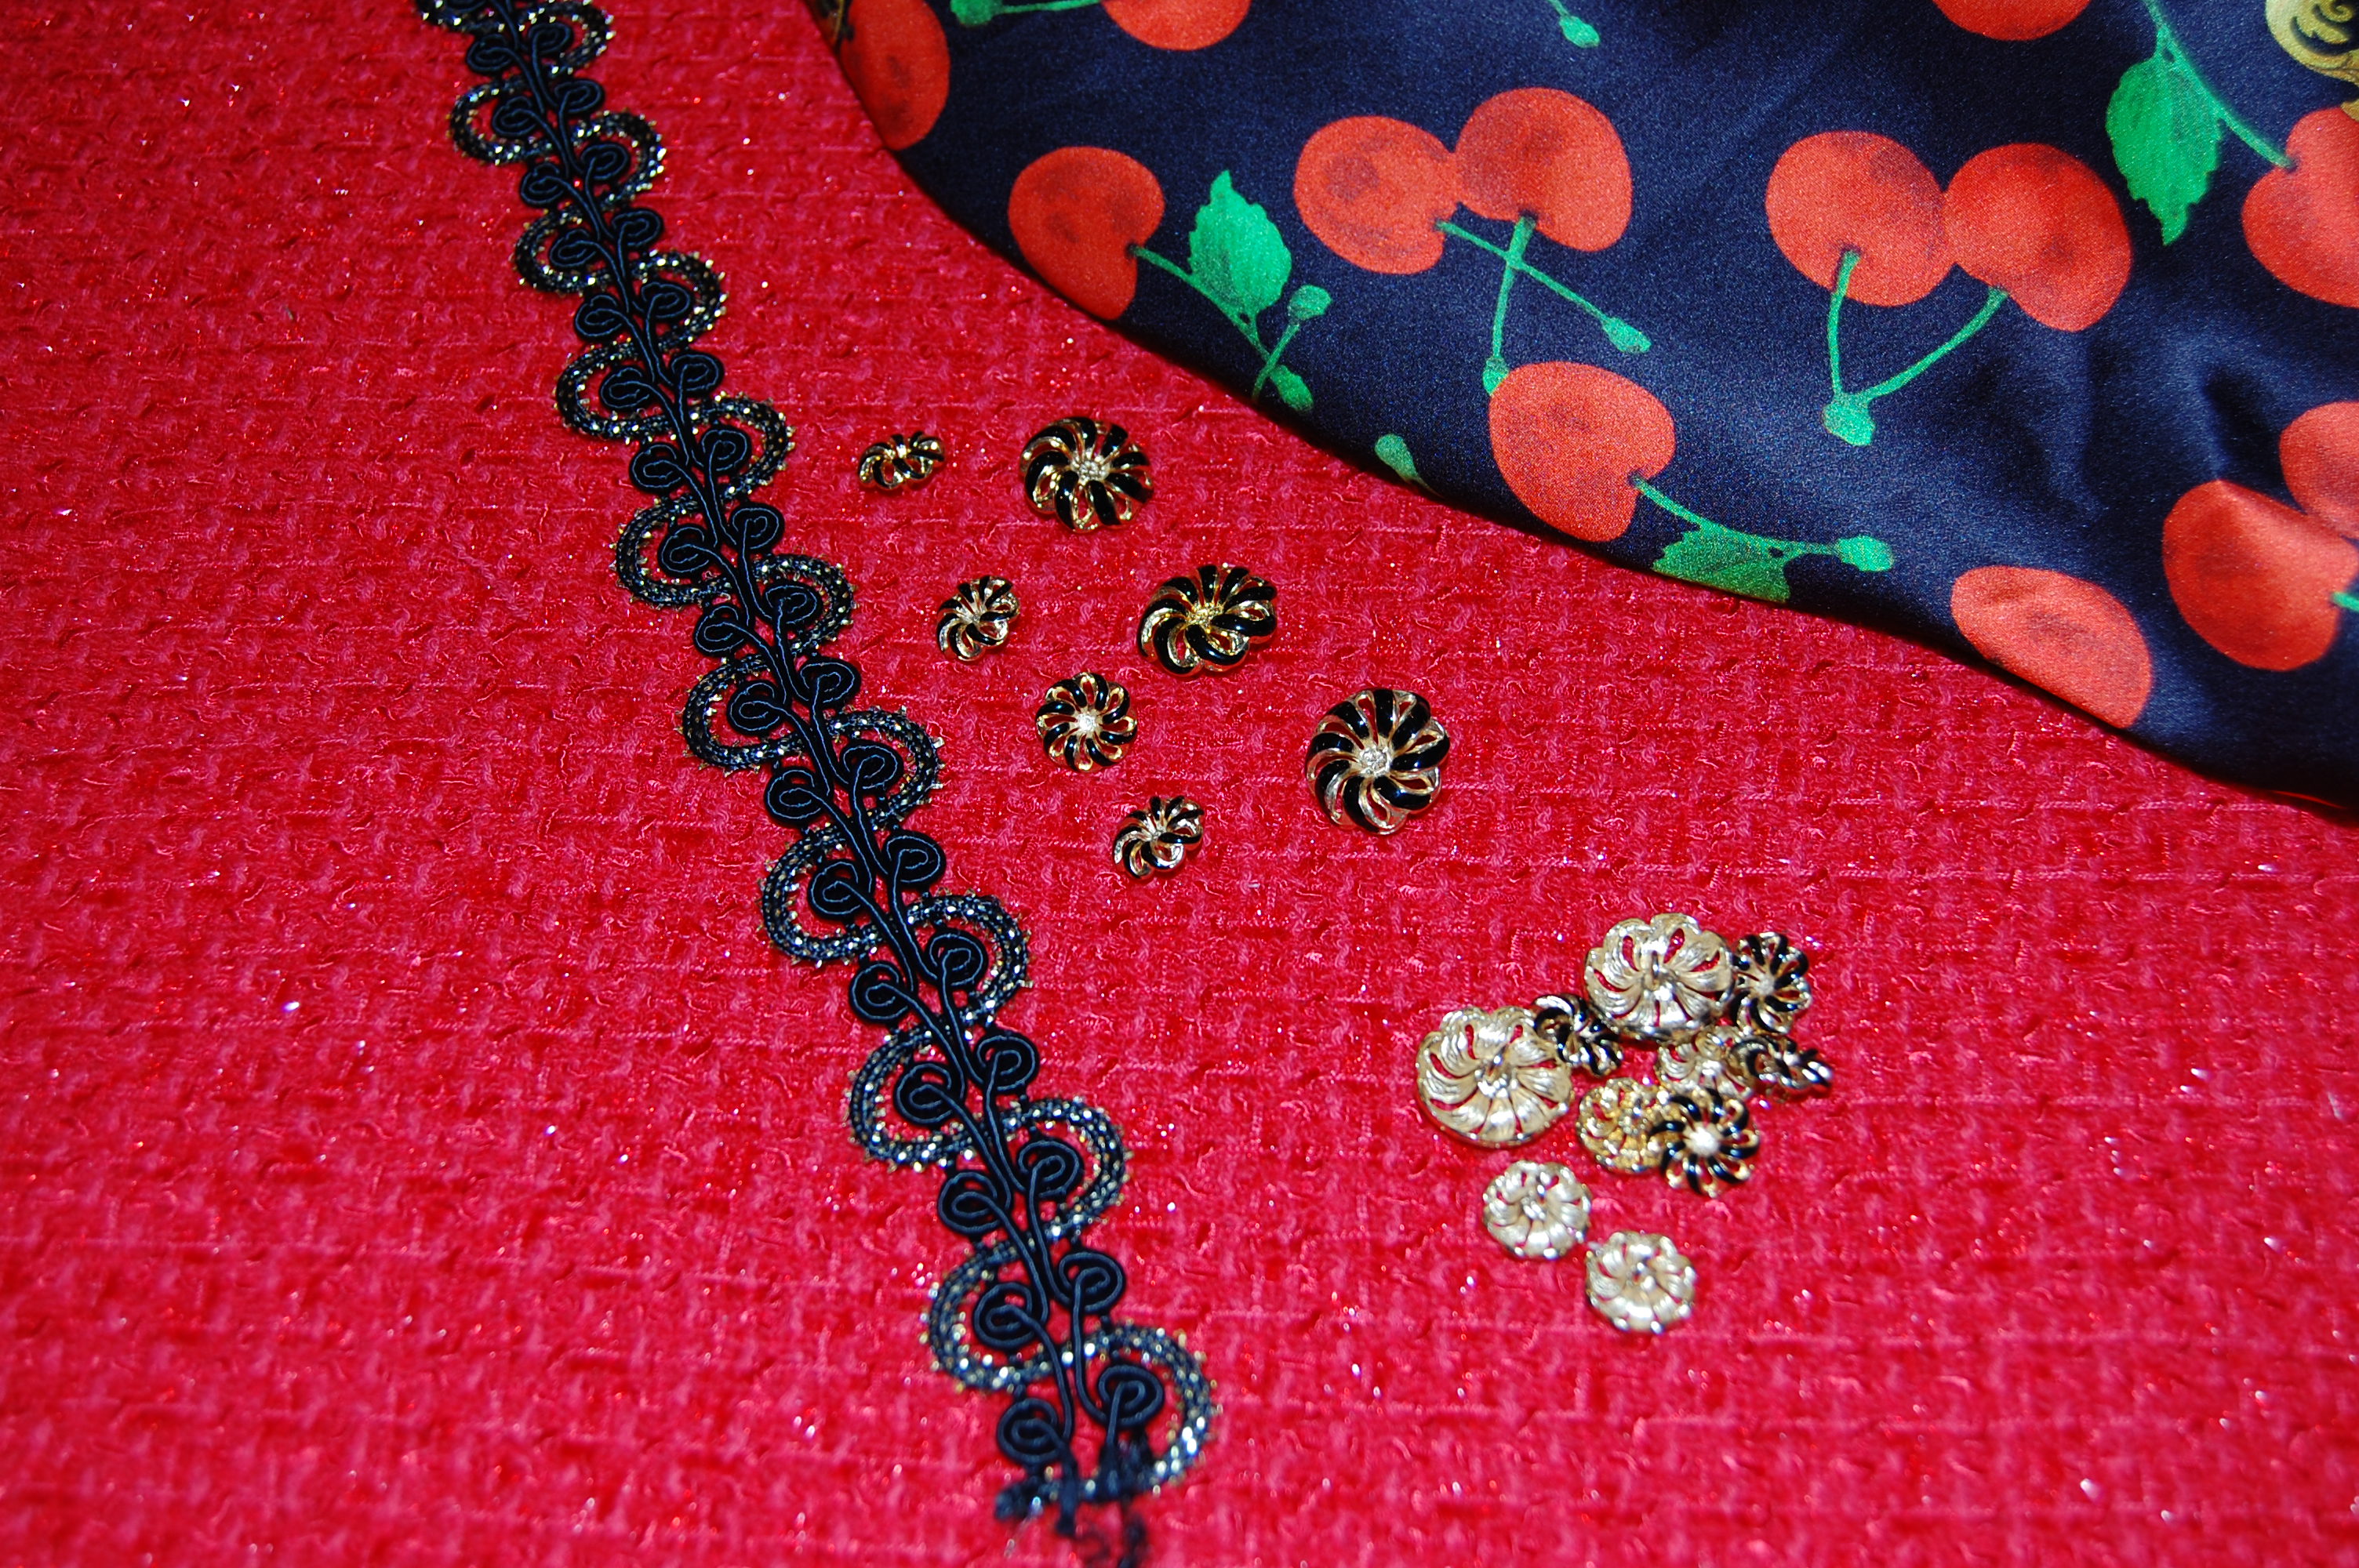
Our instruction began the day after our whirlwind trip to NYC to buy our boucle, charmeuse lining, trim and buttons. Looking back on the week, it seems to me that the process can be divided into specific sections: (1) preparing and fitting the muslin, and cutting out the fashion fabric and lining, (2) quilting and assembling the body of the jacket, (3) fitting, cutting out, and sewing the sleeves, and (4) all that finish work. Although none of the techniques is difficult, it is all very time-consuming, and it can not be rushed.
To start the process, we all came to class with pre-prepared thread-traced muslins. (I believe we were all using the standard Vogue 7975 pattern, details of which are shown above.) The fitting process began with the body of the jacket, minus the sleeves. (I quickly lost count of how many jokes were made during the week about our “vests”. But on about Friday, the thought of making vests instead of jackets was beginning to appeal!) Susan meticulously and expertly fitted each of our muslins, which was fascinating to watch. When it came to deciding preferred hem lengths, we usually had a group consensus – collective thought for something like this is incredibly helpful!
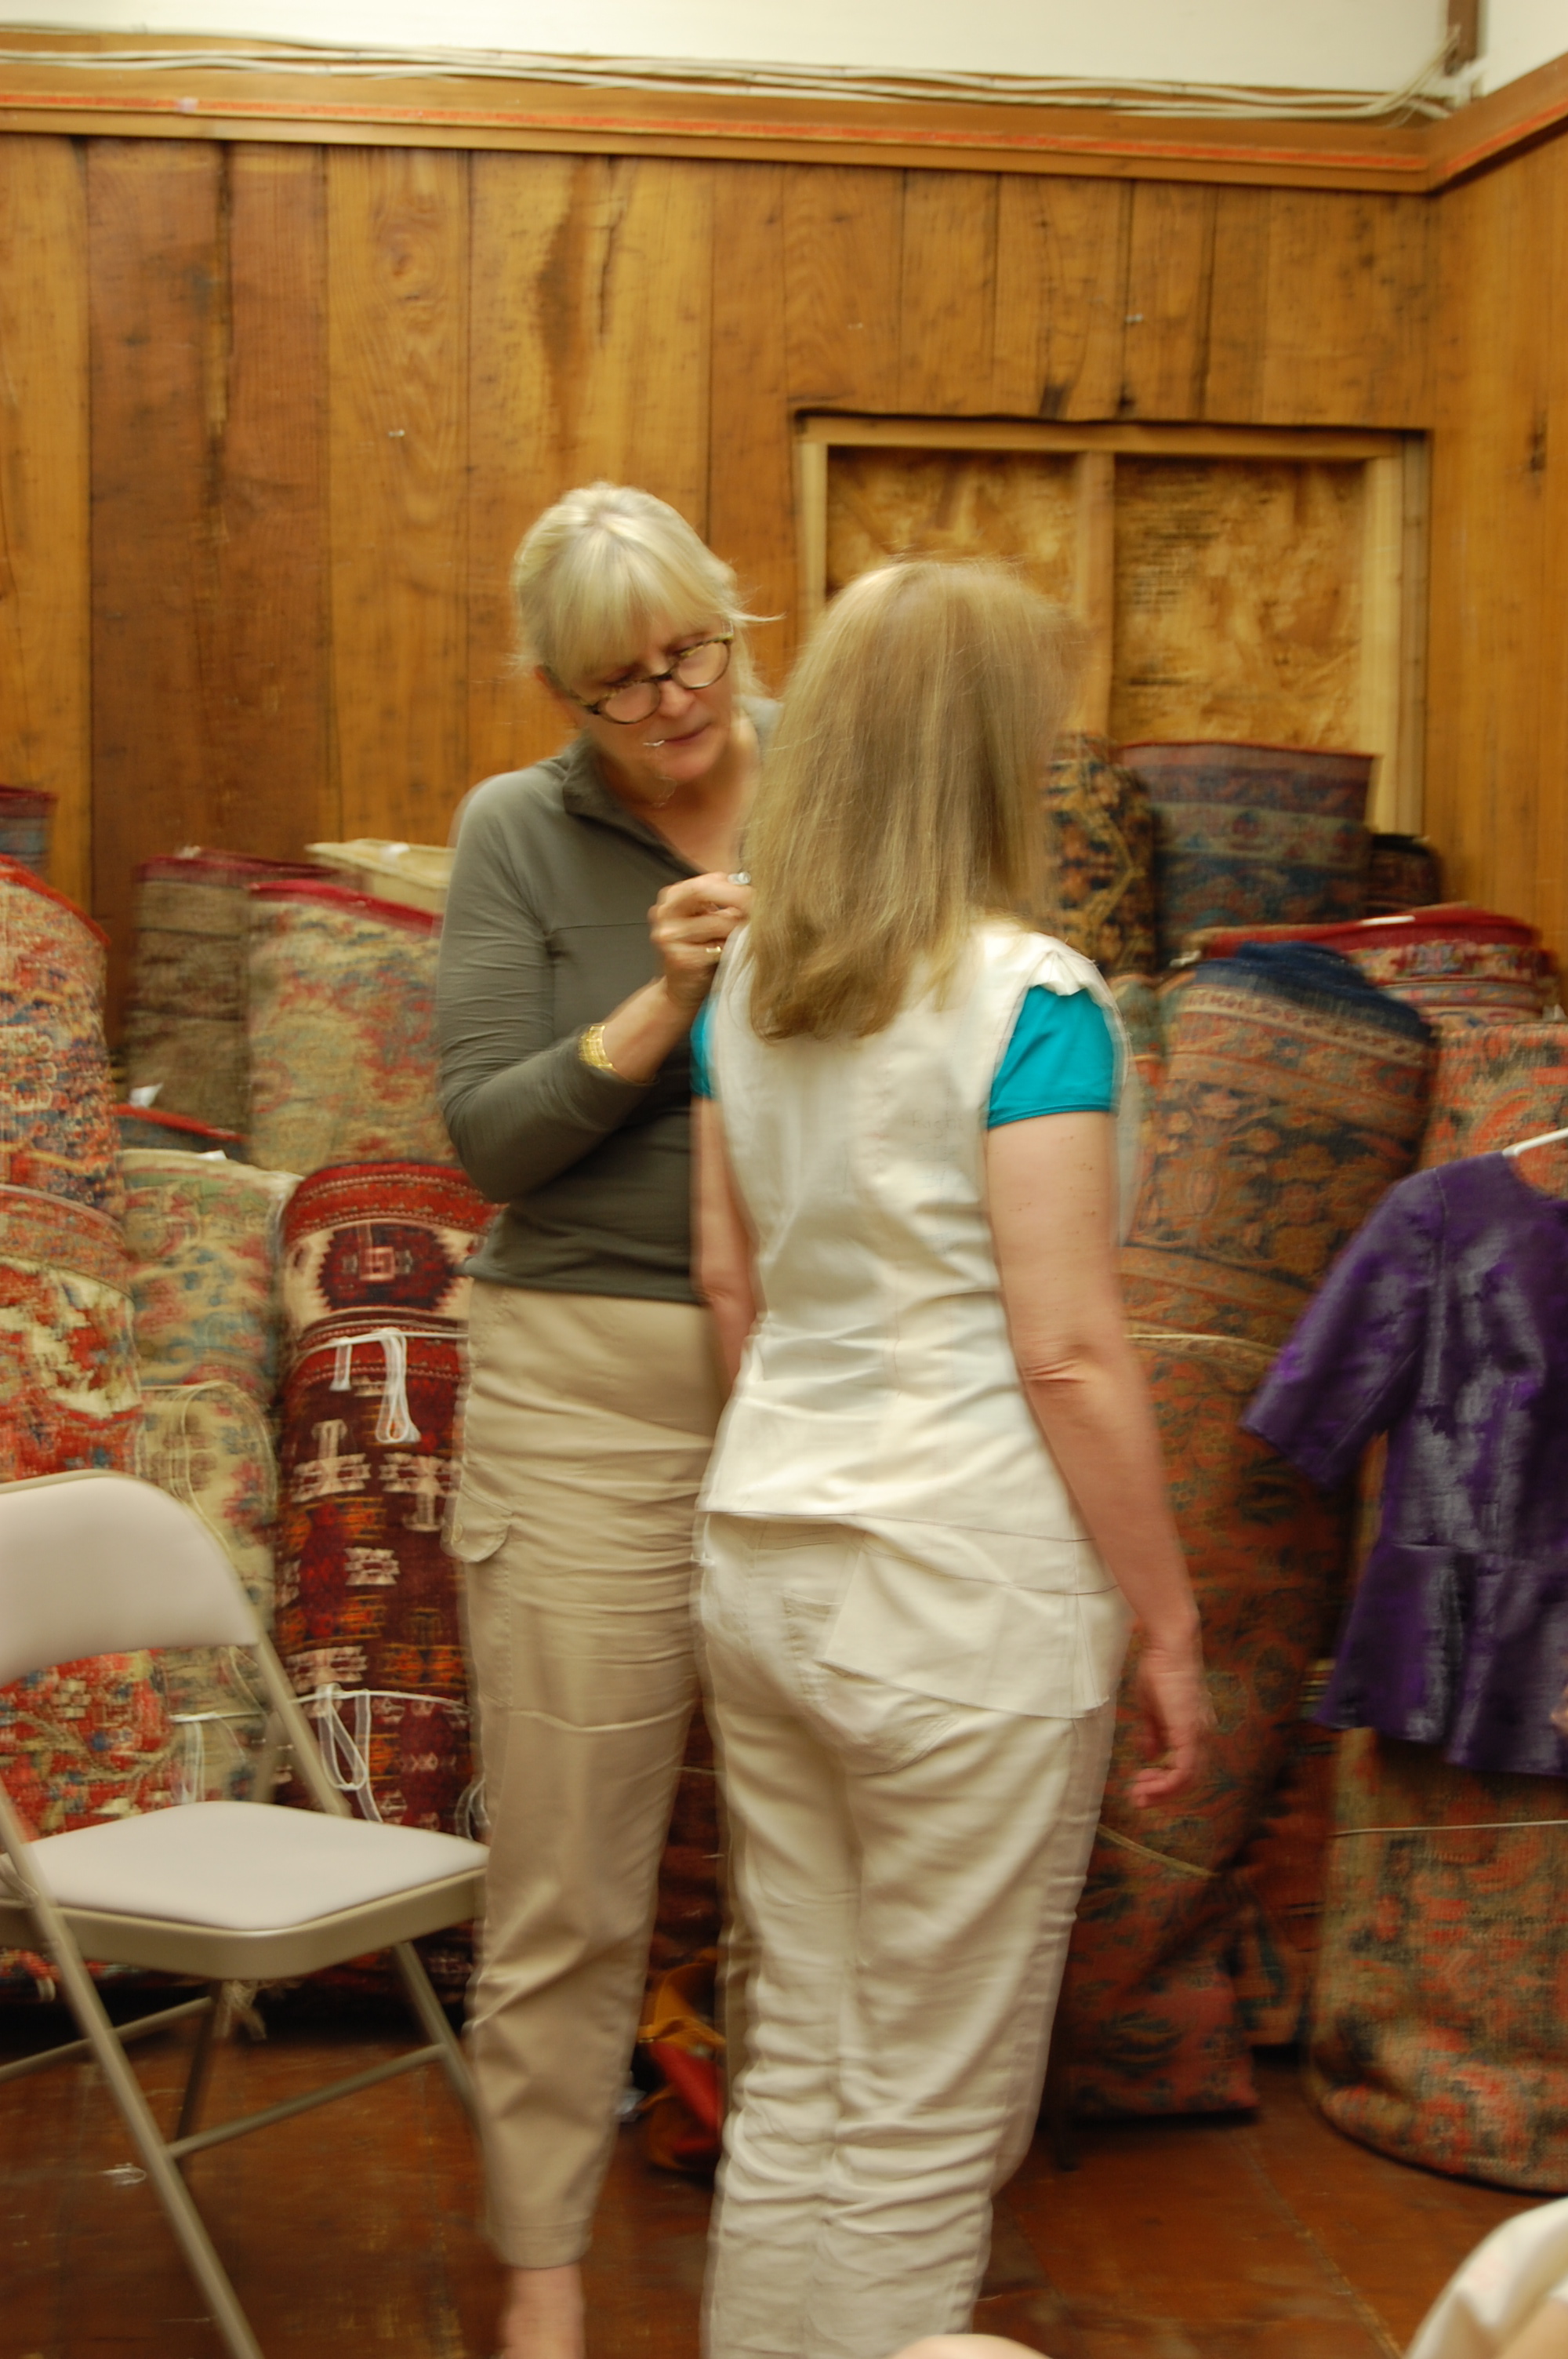
Susan making adjustments in classmate Diane’s muslin.
After marking and adding all the fitting changes onto our muslins, part of the uniqueness of the construction of these jackets became apparent. Why? Susan instructed us to cut out our muslins on the sewing line – and these pieces became our new pattern. The extra-generous seam allowances would be added as the pieces were cut out.
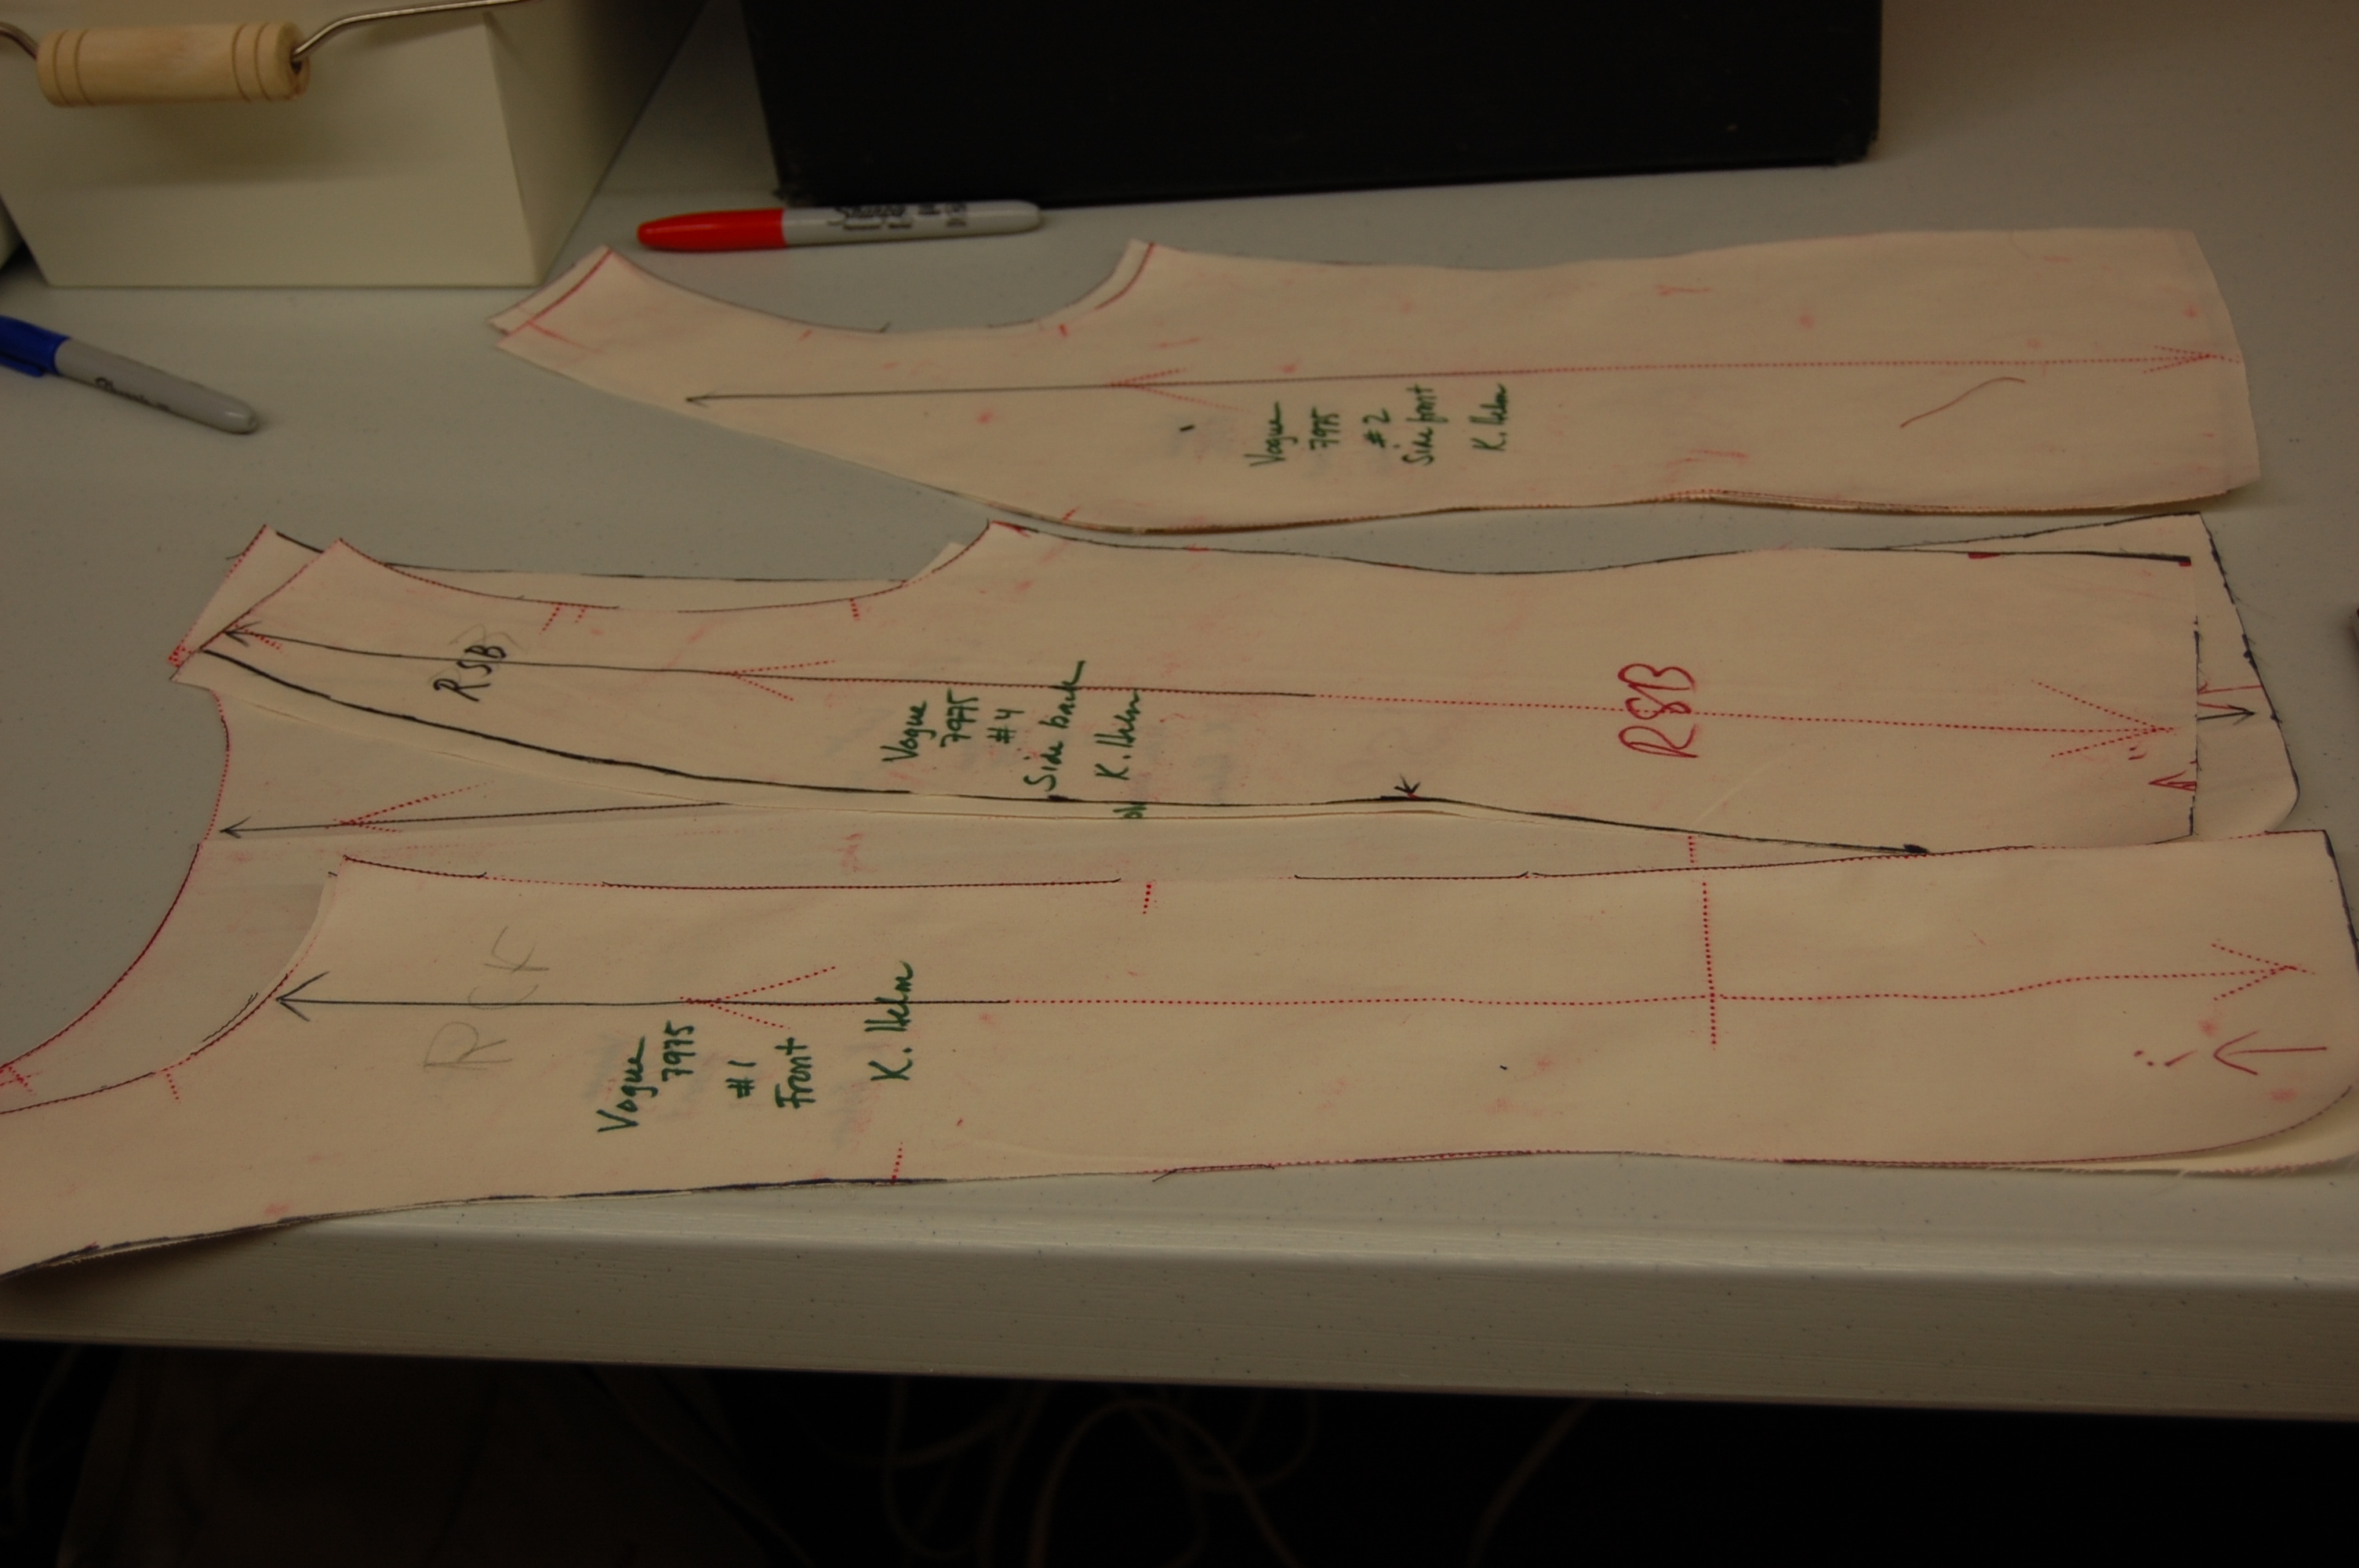
Here are some of my trimmed muslin pieces.
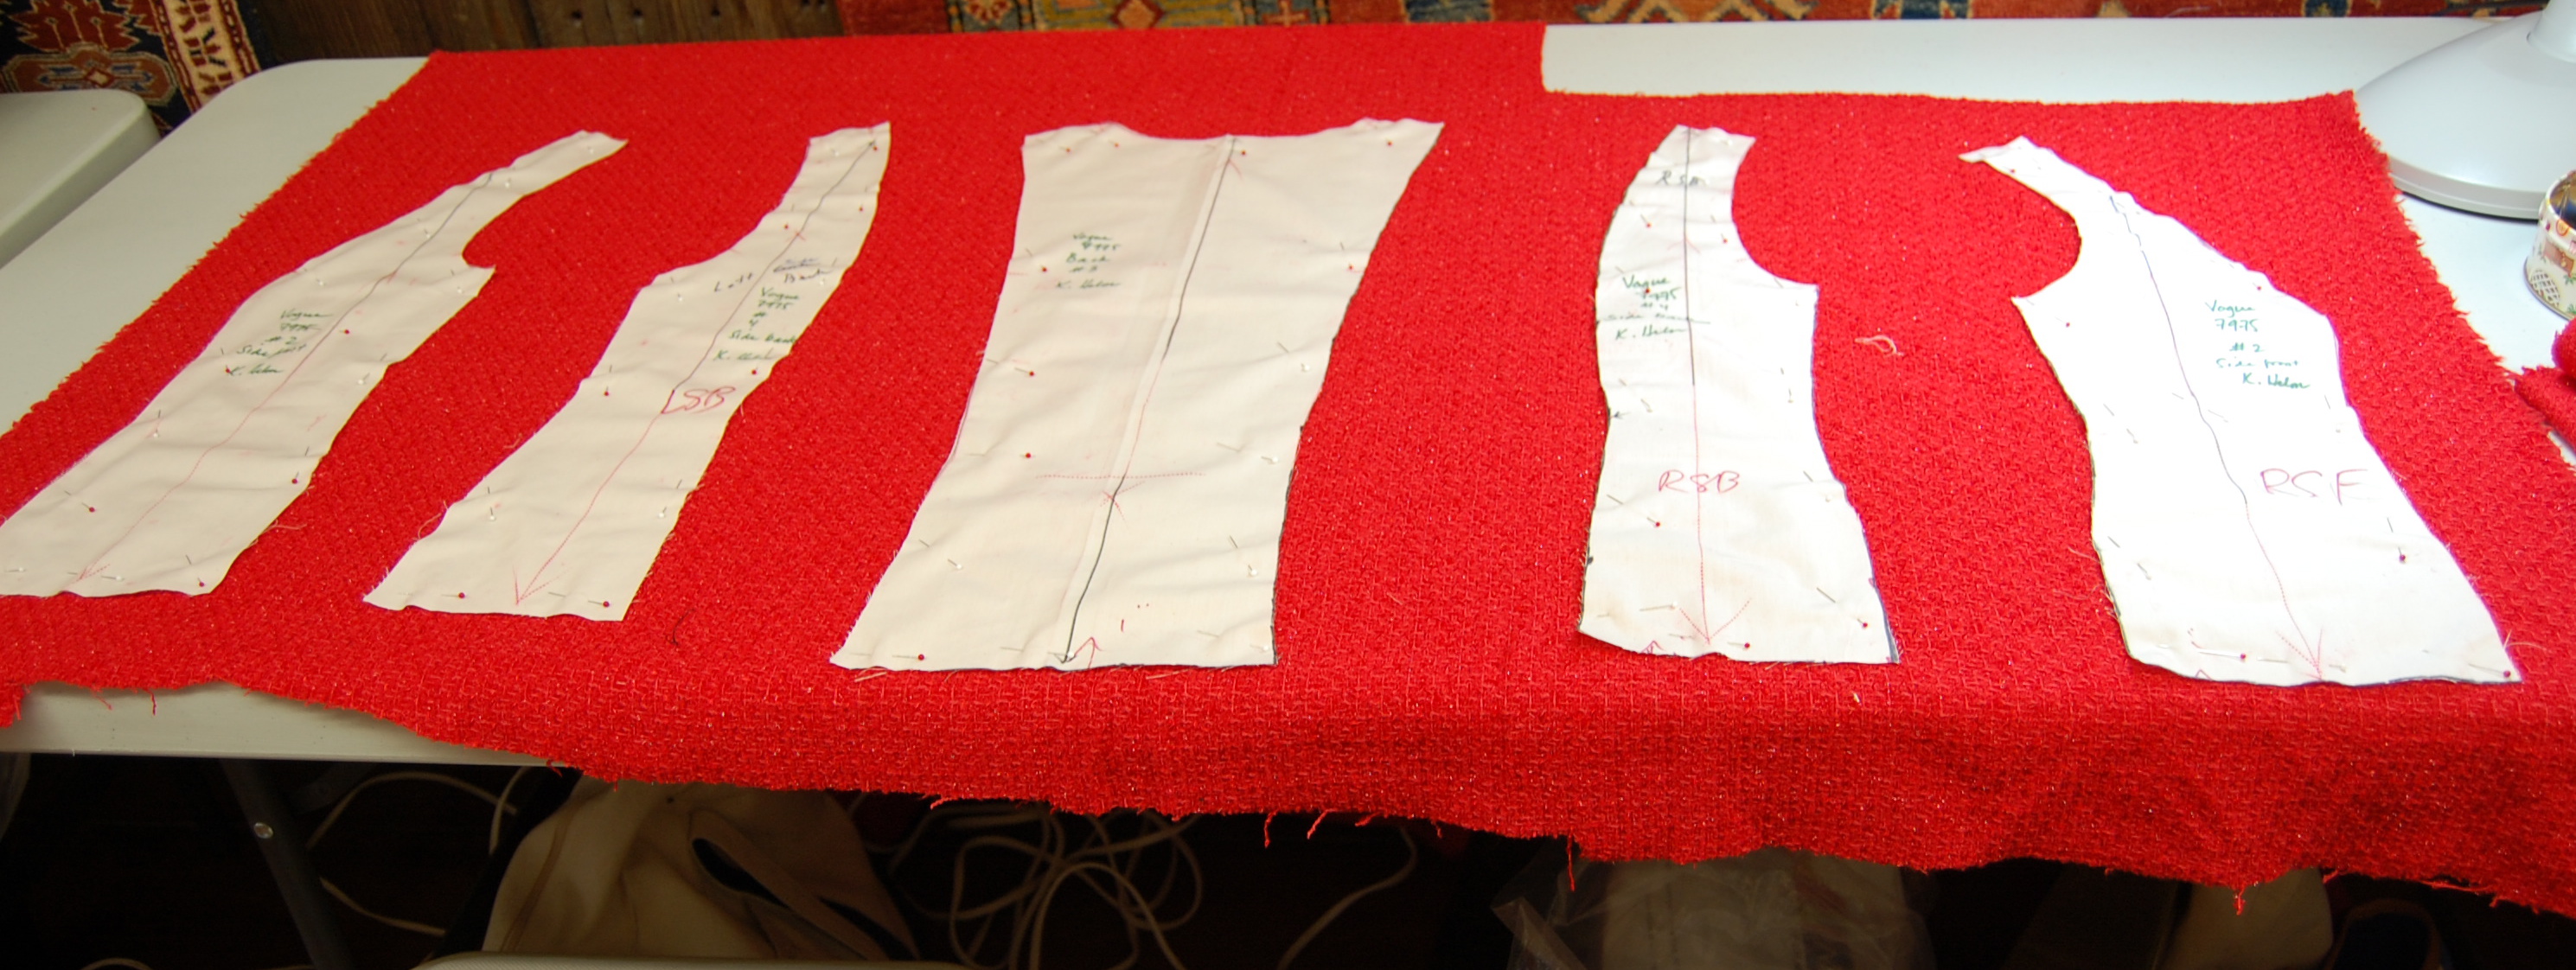
Some of my muslin pattern pieces laid out on my boucle. Notice the wide spaces between the pieces. This allowed for very generous seam allowances.
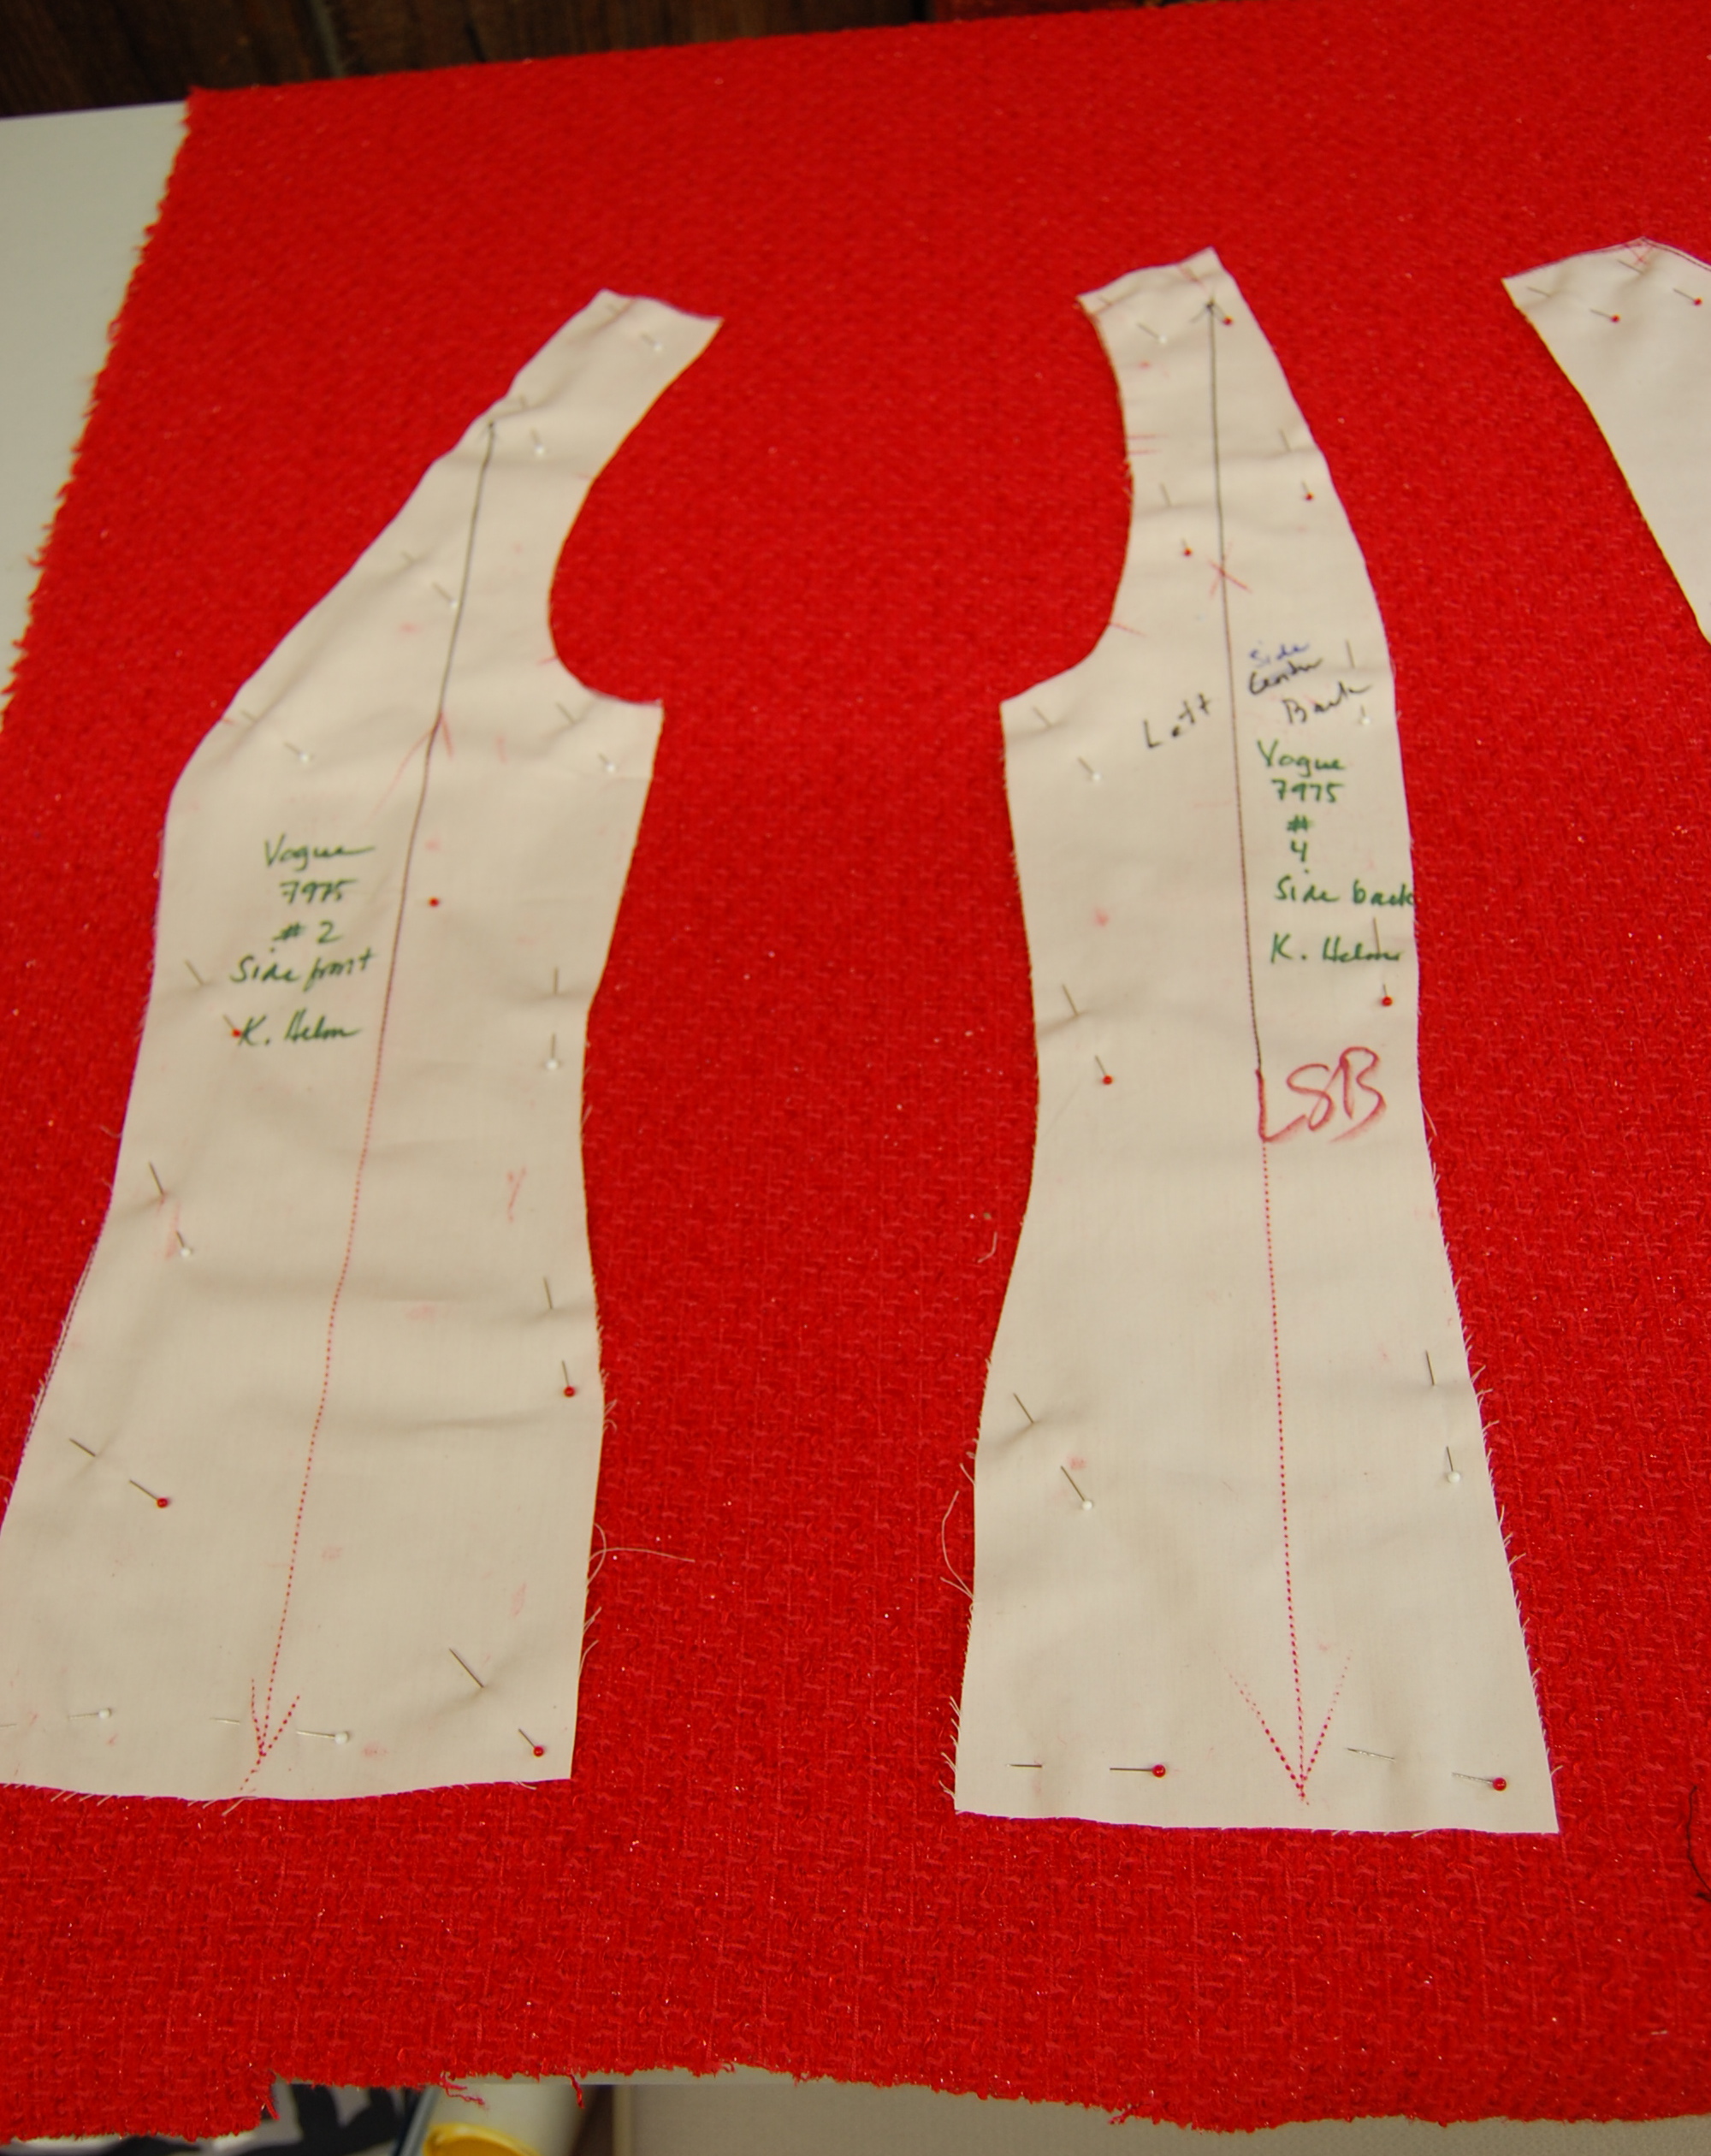
A close-up of the same.
Then we used our cut fashion fabric pieces as the guidelines by which to cut out the charmeuse lining fabric. With these two fabrics held carefully together with pins, we were ready to machine quilt each separate piece, another technique (with lots of do’s and don’ts to it) which was new to most of us.
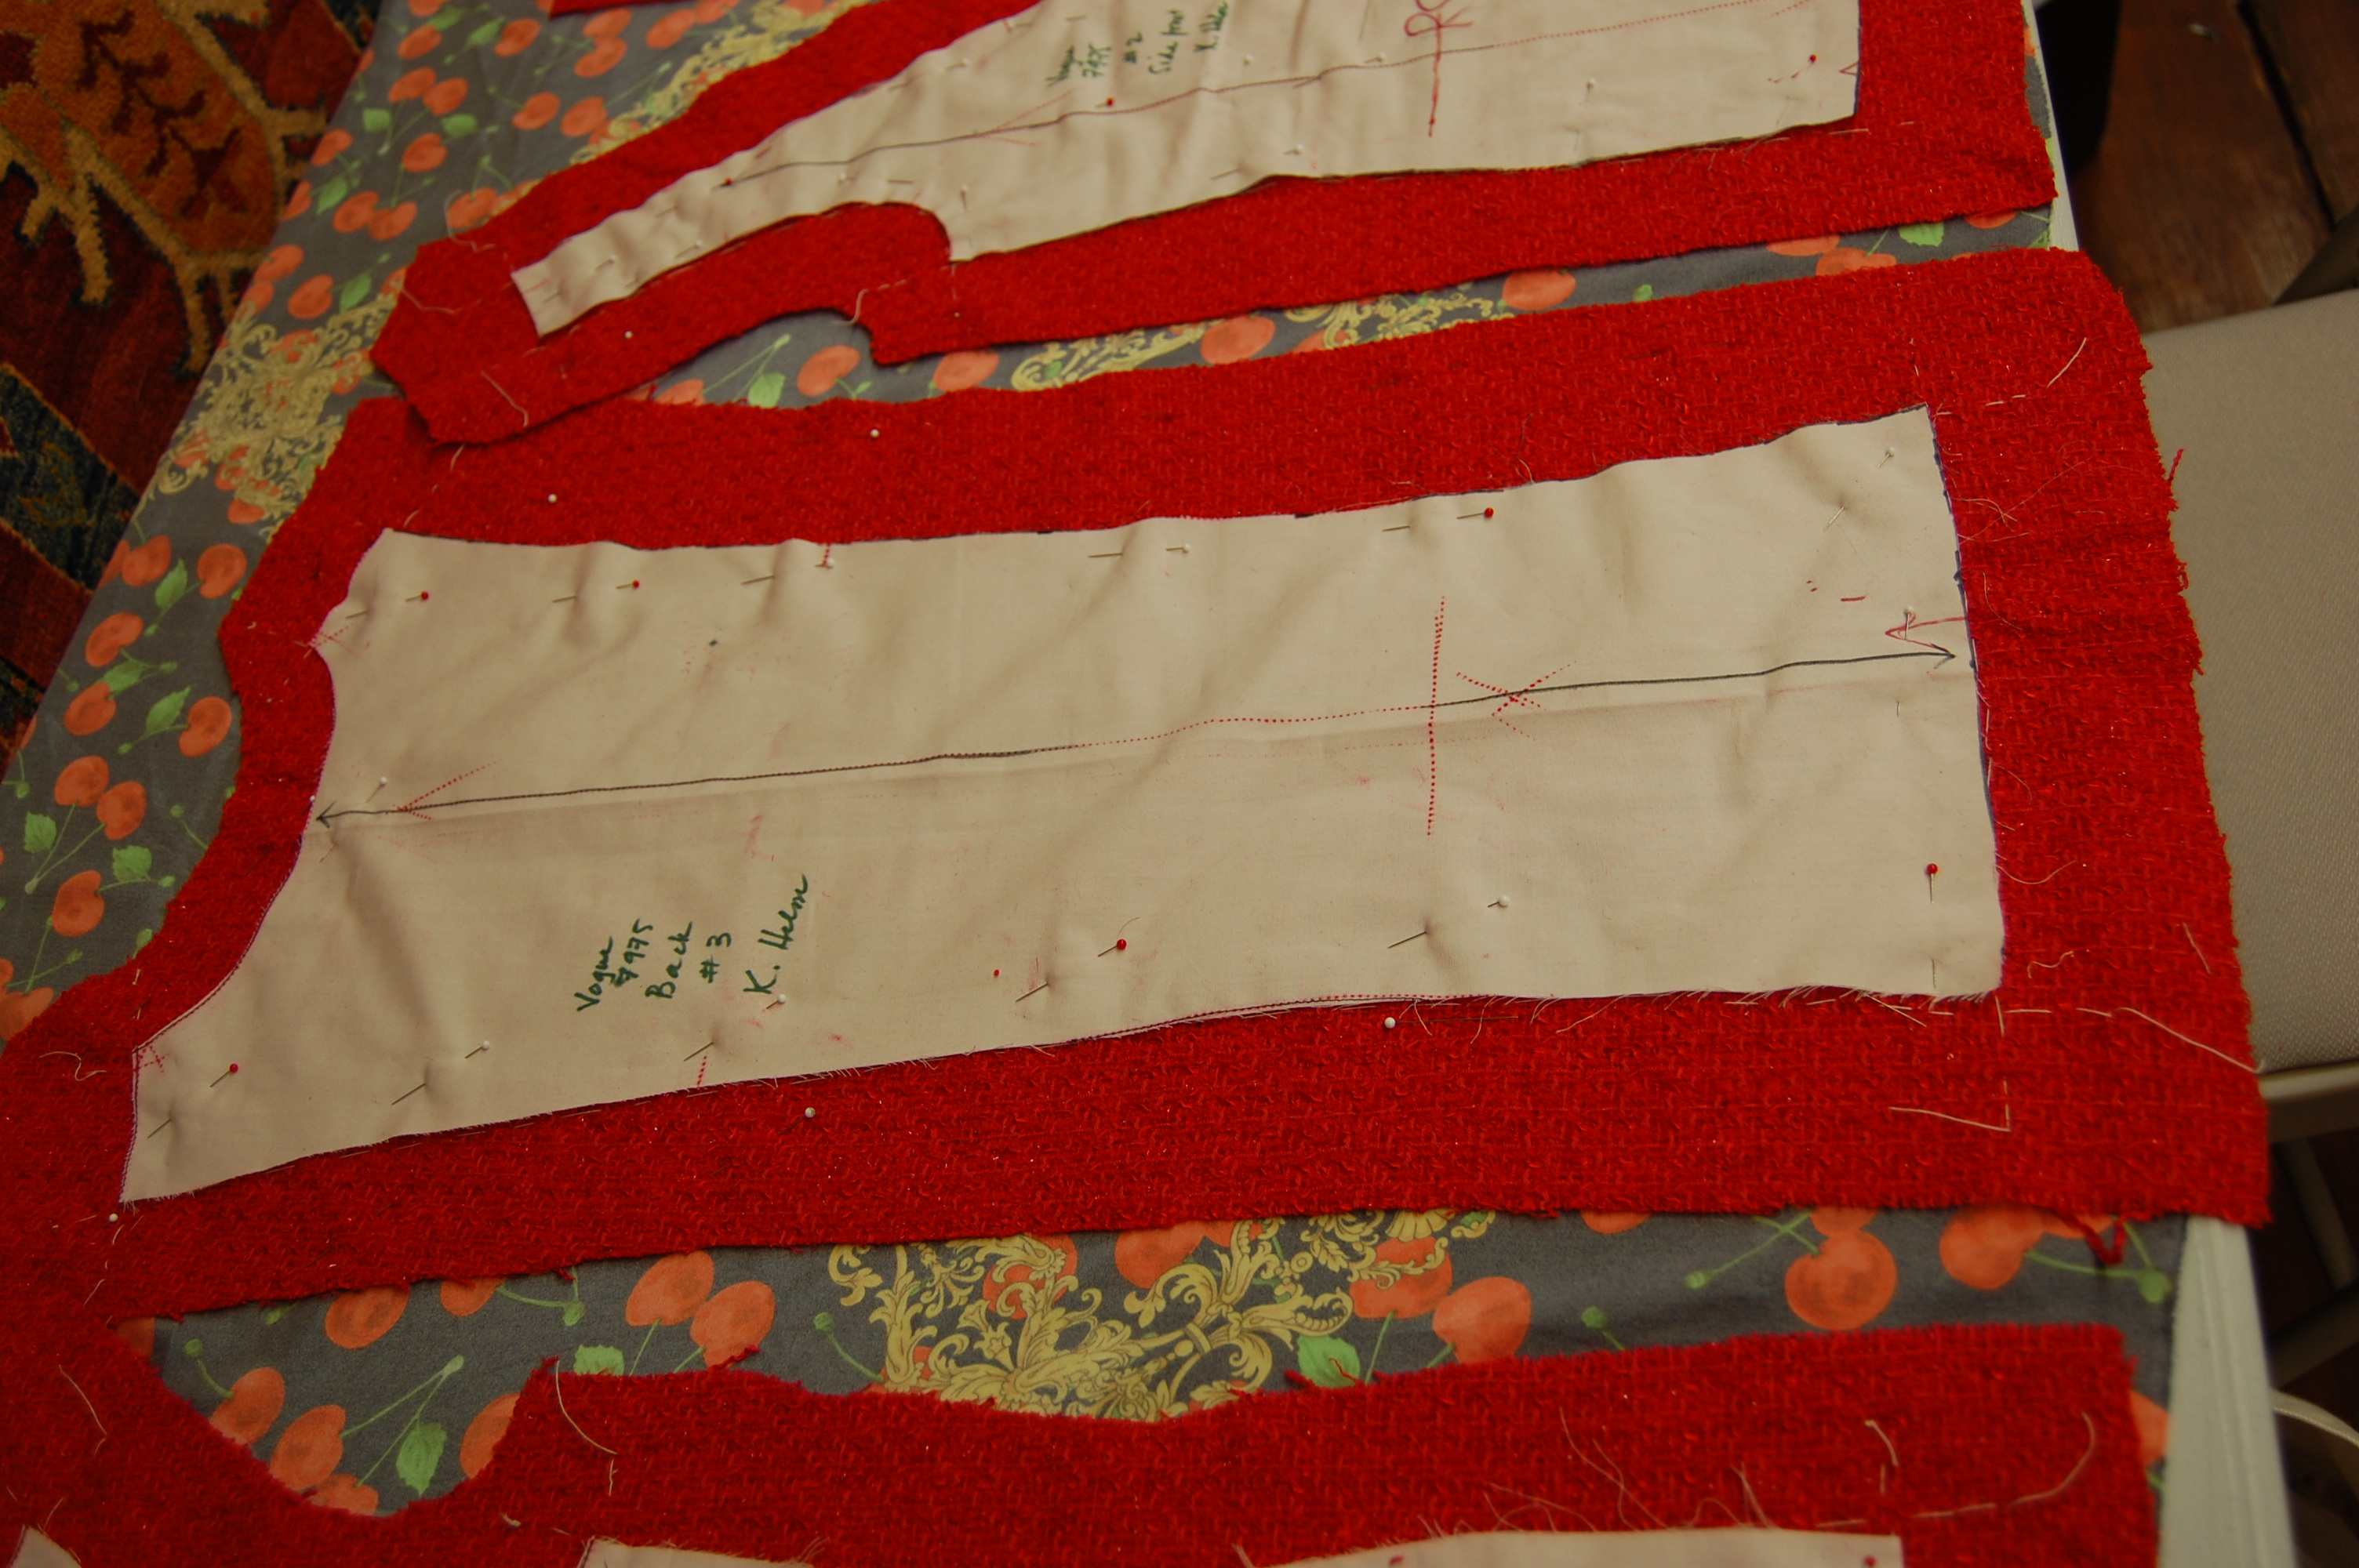
Getting ready to cut my lining.
Sewing the pieces of the body of the jacket together had its own set of rules, especially as the loose edges of the quilted linings had to be avoided in that stitching frenzy! Those loose edges were finally tidied up and joined together by hand, using a fell stitch, which helps to make a lovely and soft interior.
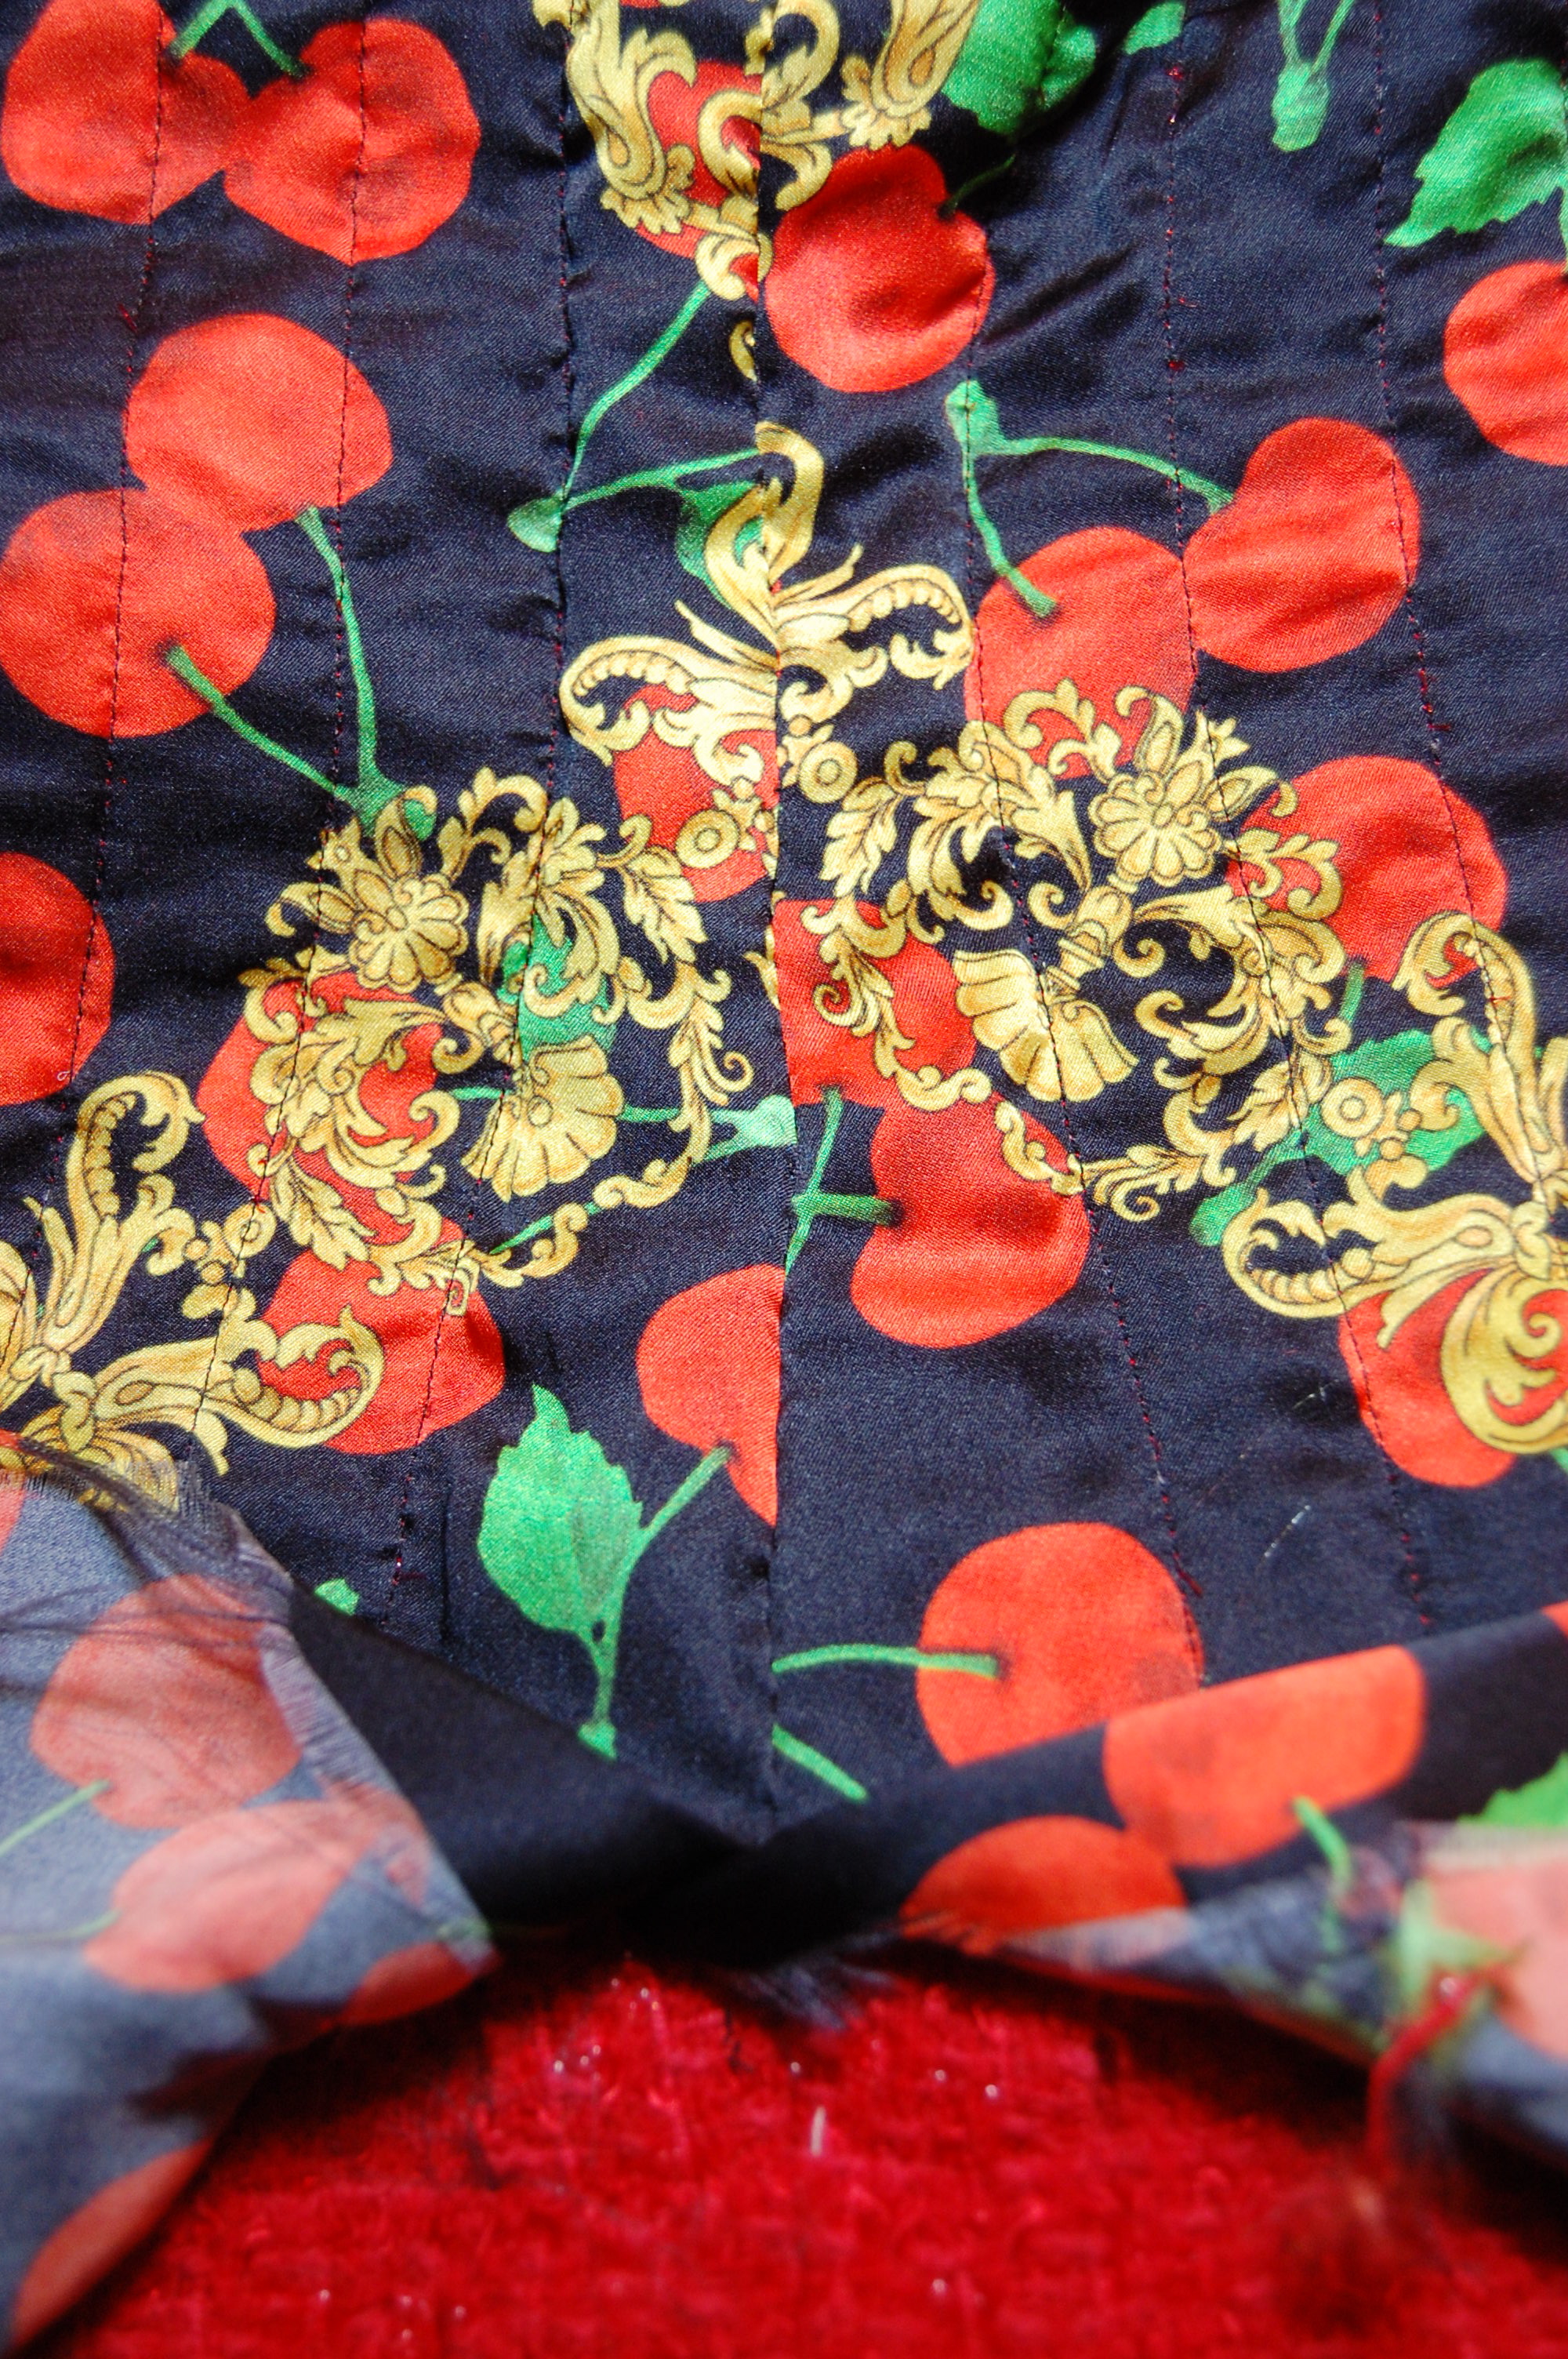
Here is a side seam in my jacket, partially closed using the fell stitch. Machine quilting can be seen on either side of this seam.
By this time, it was late Thursday afternoon, and I was wondering how I would ever get sleeves put in my jacket by Sunday… This was s-l-o-w sewing, but fascinating and fun and clever and precise. I was loving every minute of it (well, almost every minute.)
And those sleeves? Part 2 will cover those little lovelies. To be continued . . .