
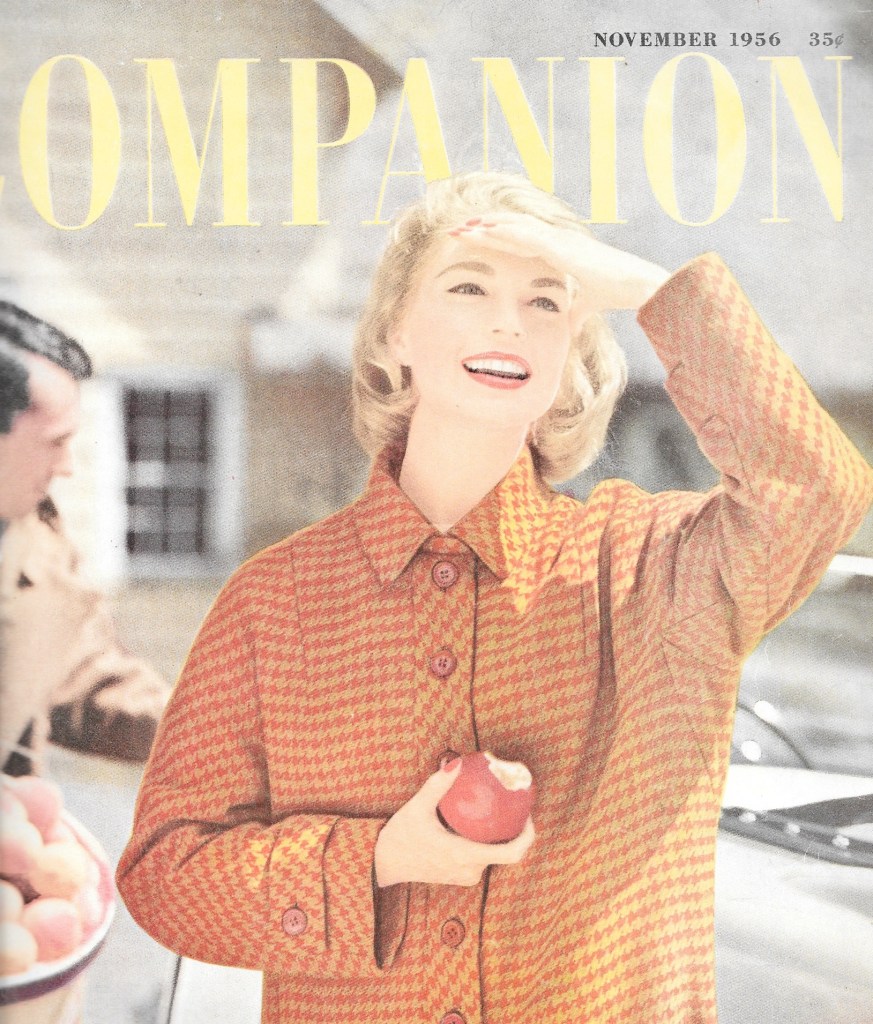
Among the highlights on The Paris Tour with Susan Khalje were several visits to fashion exhibitions, shopping excursions to three fabric stores, and one to a fabulous scarf store.
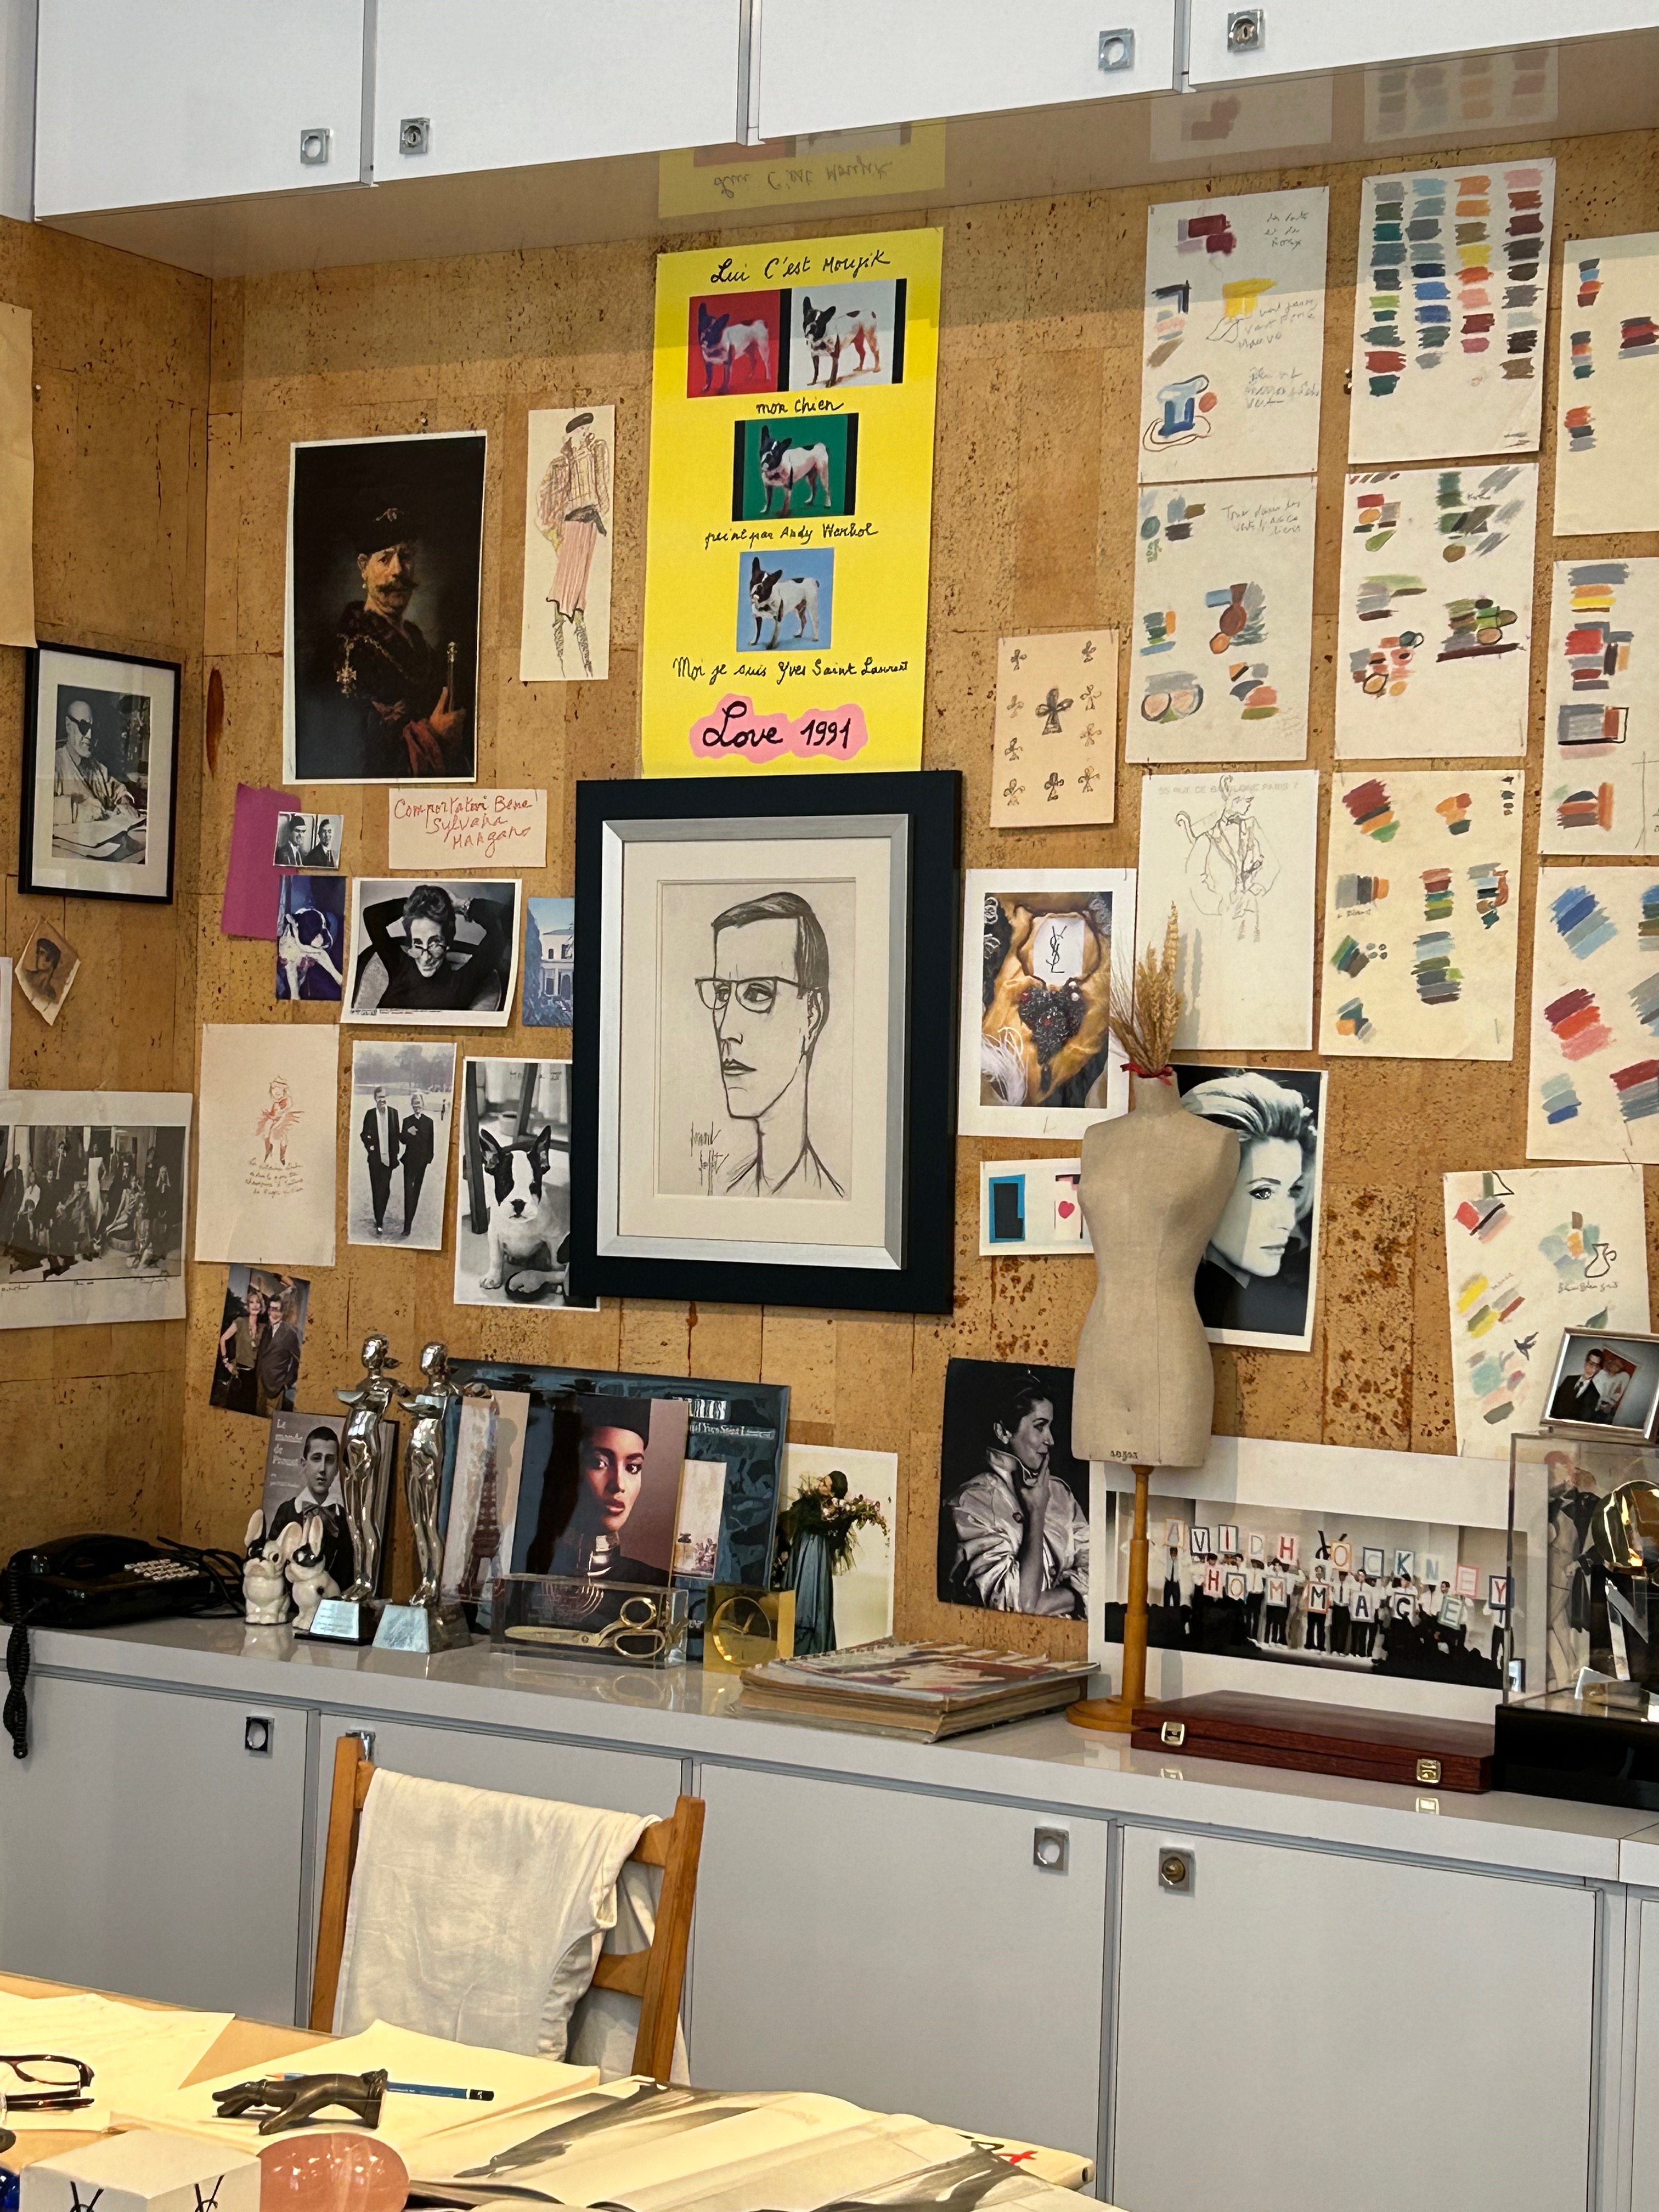
The first exhibit we visited was at the Yves Saint Laurent Foundation.

In addition to the selections on display in the current “Sheer: the diaphanous creations of Yves Saint Laurent,” we had the opportunity to see his studio where he worked.


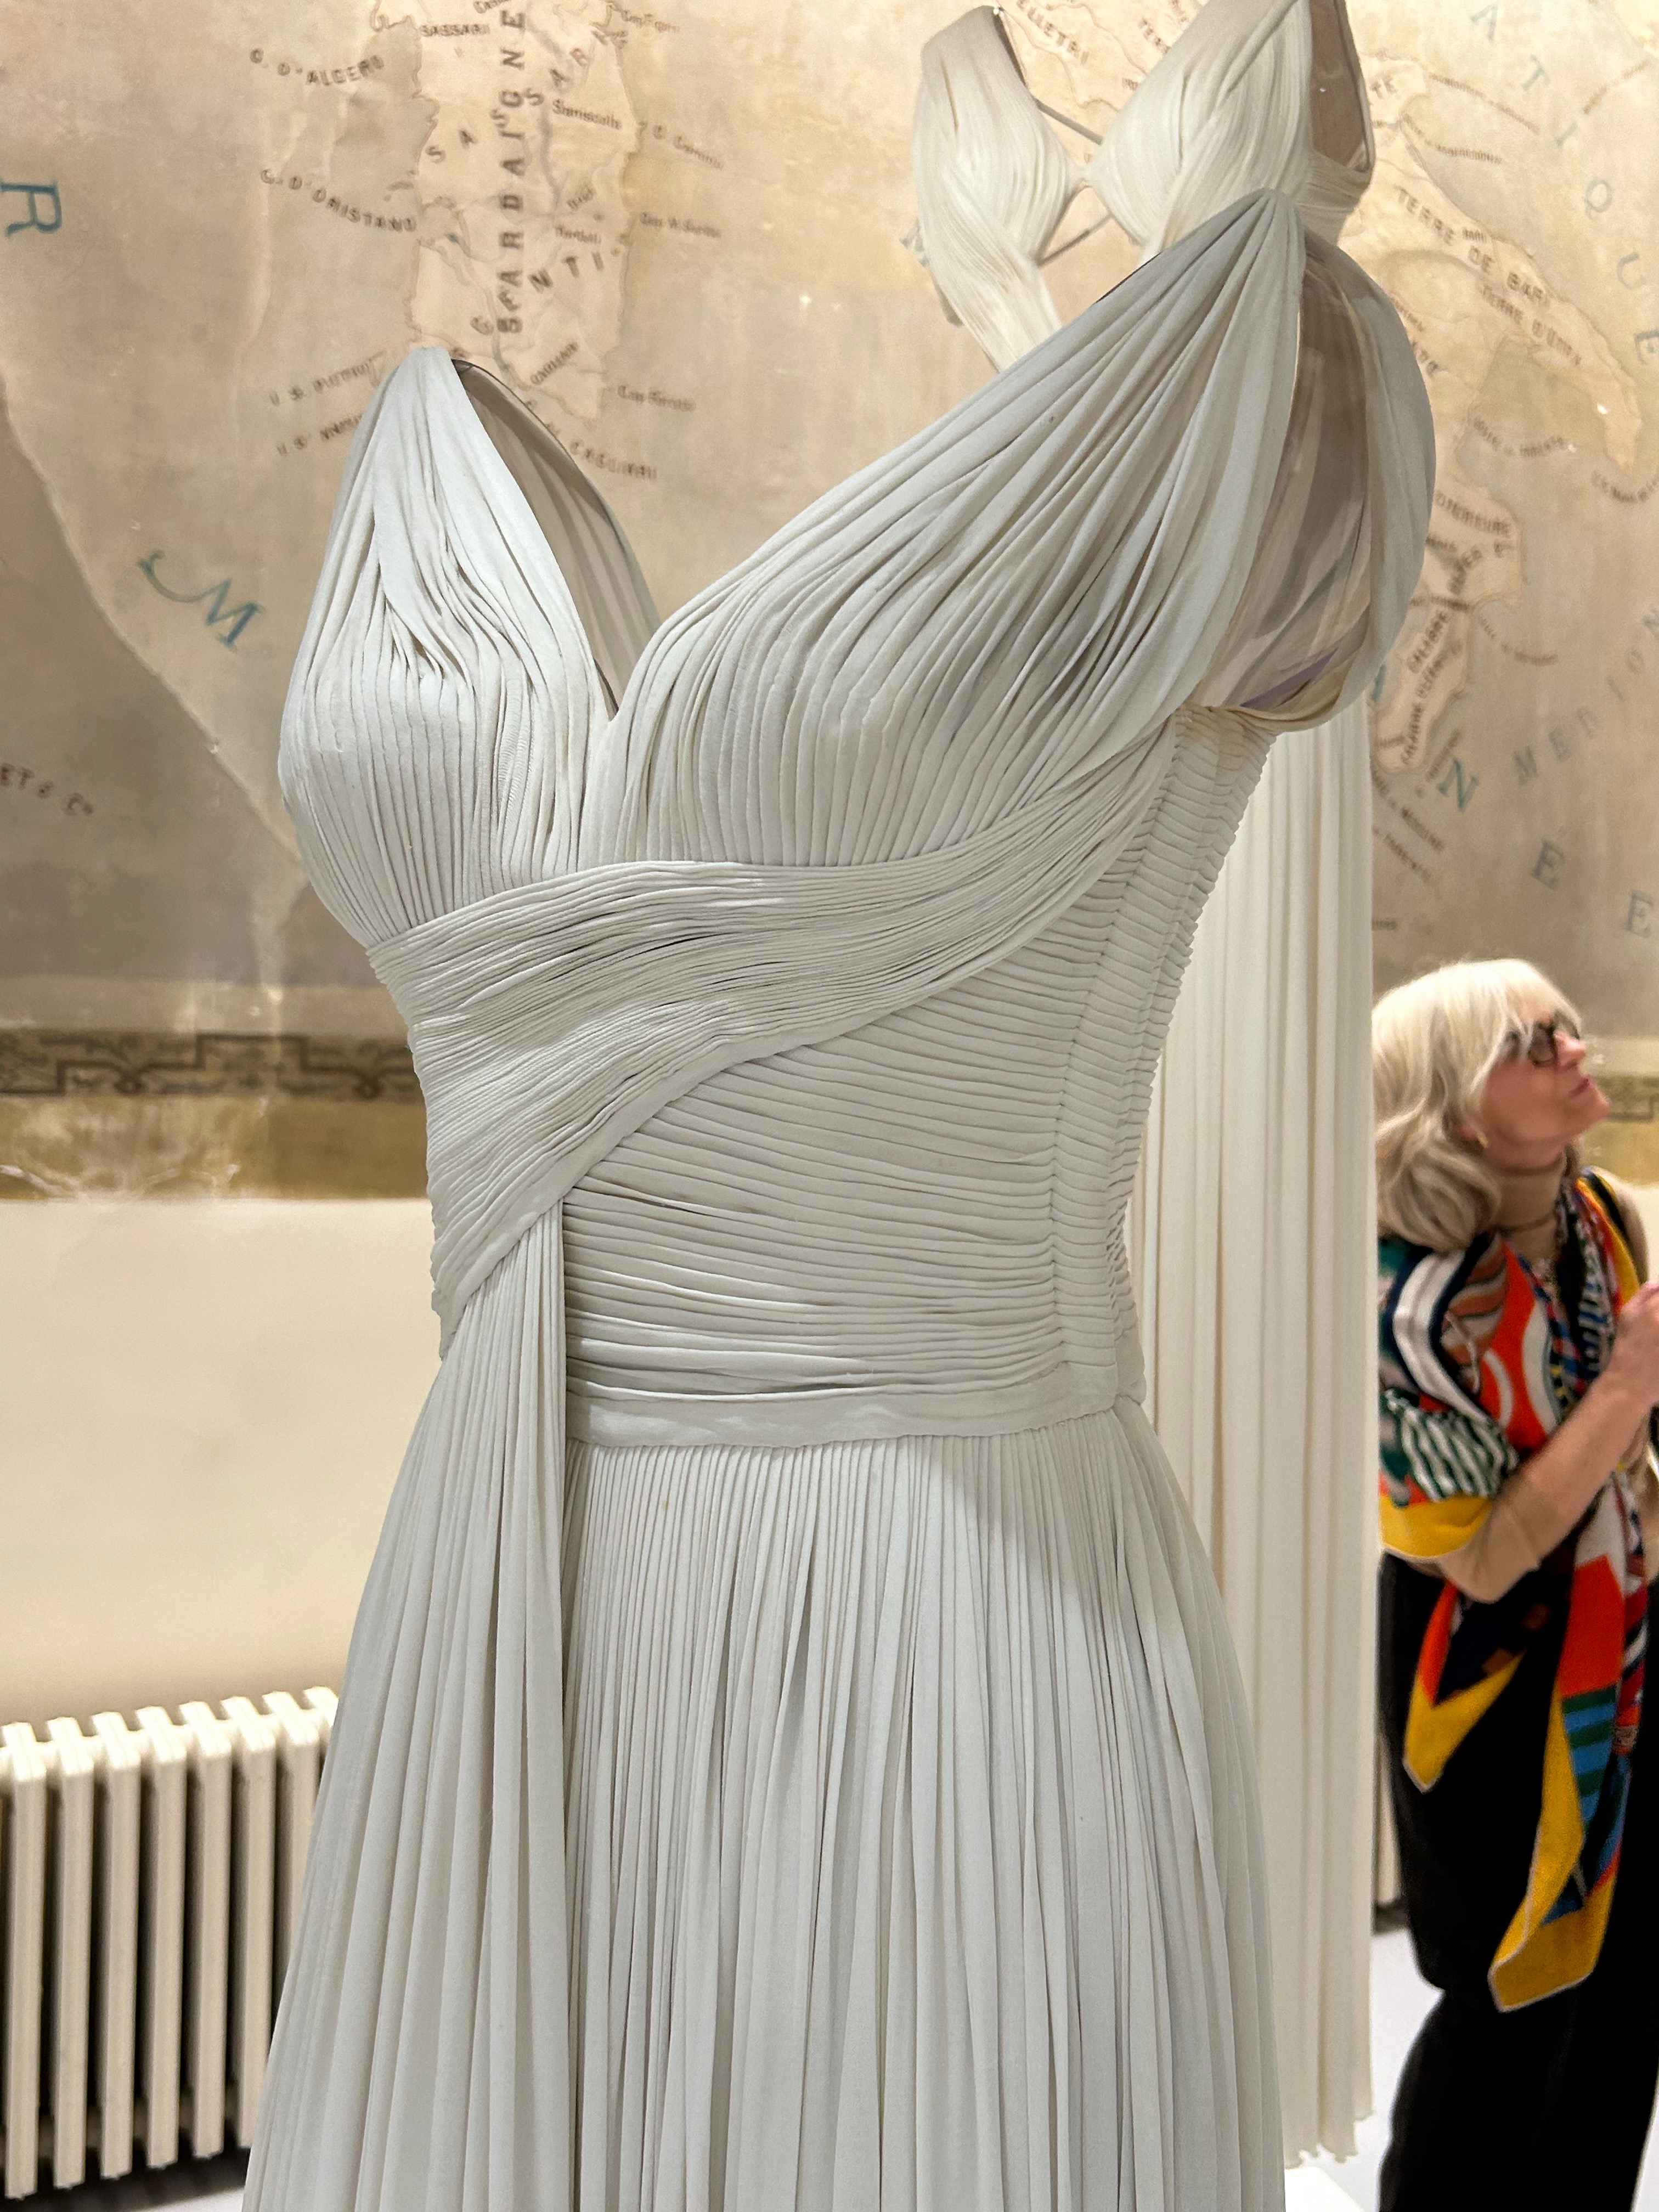
Later that same day, we went to the Musee des Arts Decoratifs where the current exhibit of the works of Iris Van Herpen were on display. Some of the members of our group were quite taken with her designs. I was not one of them. I much preferred our visit to the Alaia Foundation to see the newly-opened exhibit featuring works by Azzedine Alaia and Madame Gres. I have long been a fan of the design aesthetic of Madame Gres. Her works served as a point of great inspiration for Alaia. To see so many of her designs on display, many alongside the more contemporary works of Alaia, was captivating.

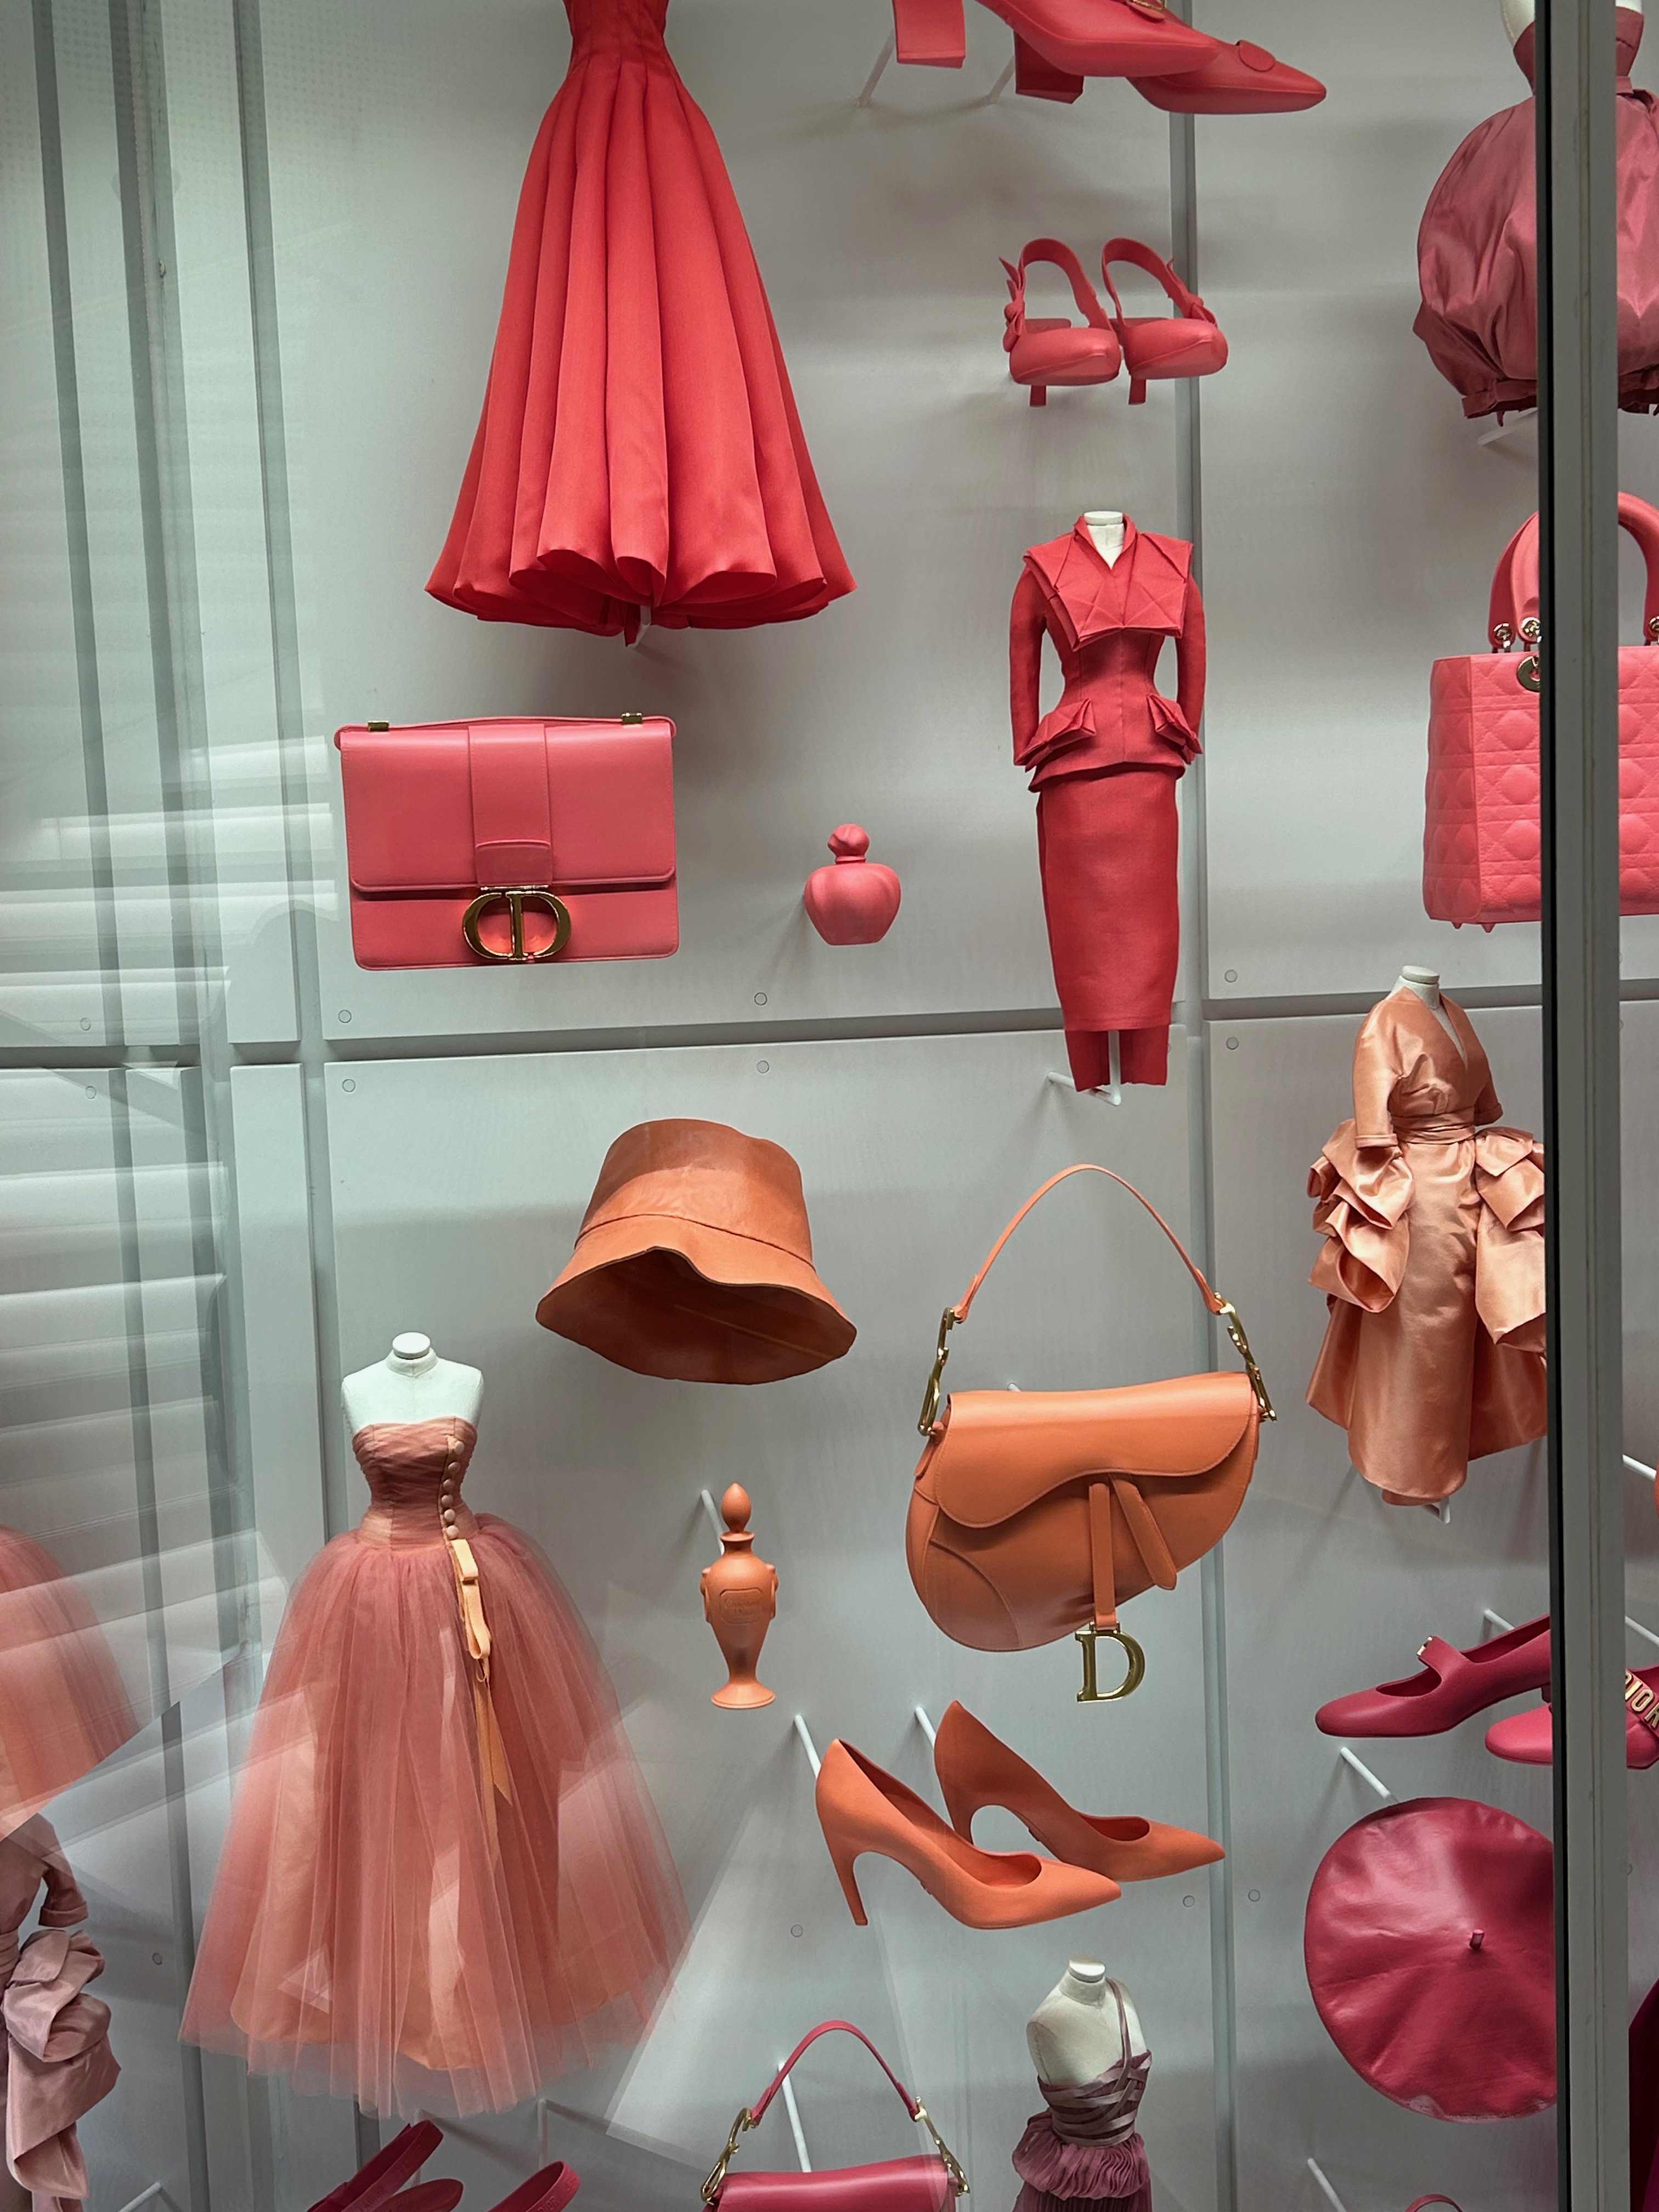
The crème de la crème was our visit to La Galerie Dior, newly reopened and quite spectacular. Having seen the Dior Exhibit when it was at the Denver Museum of Art five years ago, I wondered how similar the two presentations might be. There were obviously some repeats of the iconic dresses and ensembles of Christian Dior before his untimely death in 1957, but somehow everything seemed fresh and newly considered. The building is beautiful, masterfully lit, with a logical, but innovative floorplan. Entrance to the Galerie is by timed tickets, and at no time did the galleries seem crowded or uncomfortable.
I could have spent hours studying the walls and walls of accessories and miniature clothing which lined the stairwell.
.


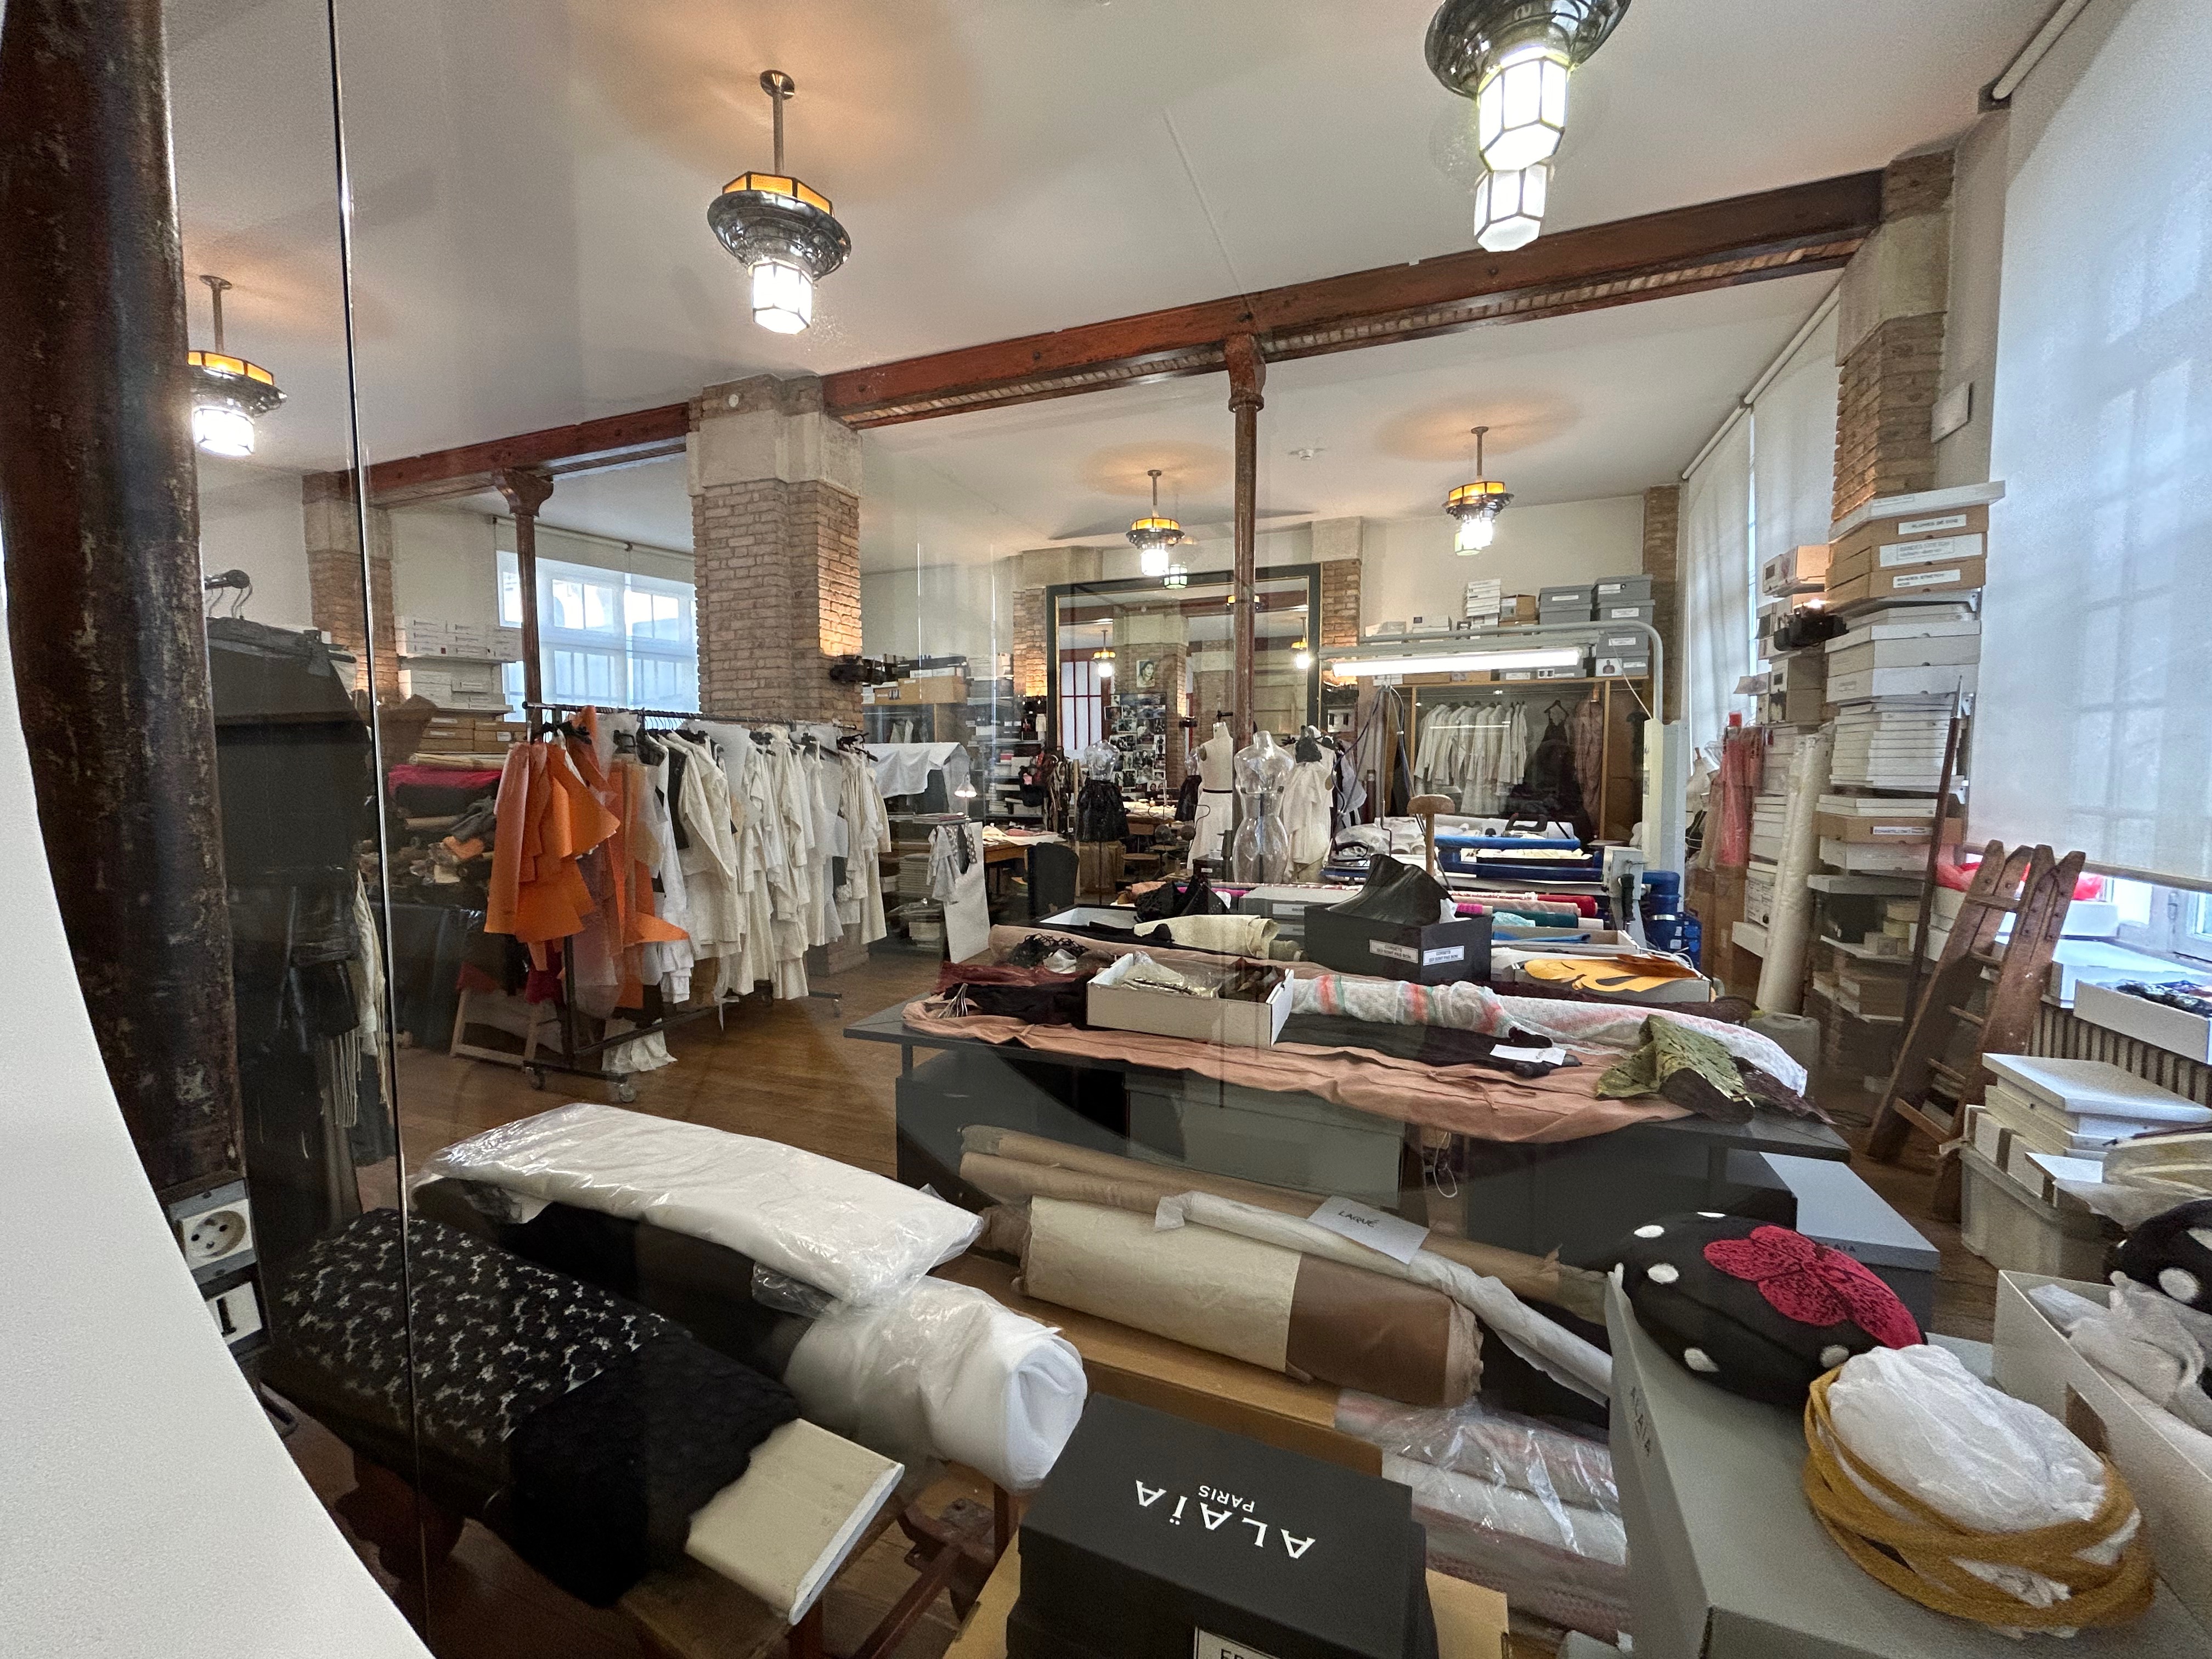
After all this inspiration, it was fun to go to three fabric stores. The first one on the agenda was Tissus Edre.
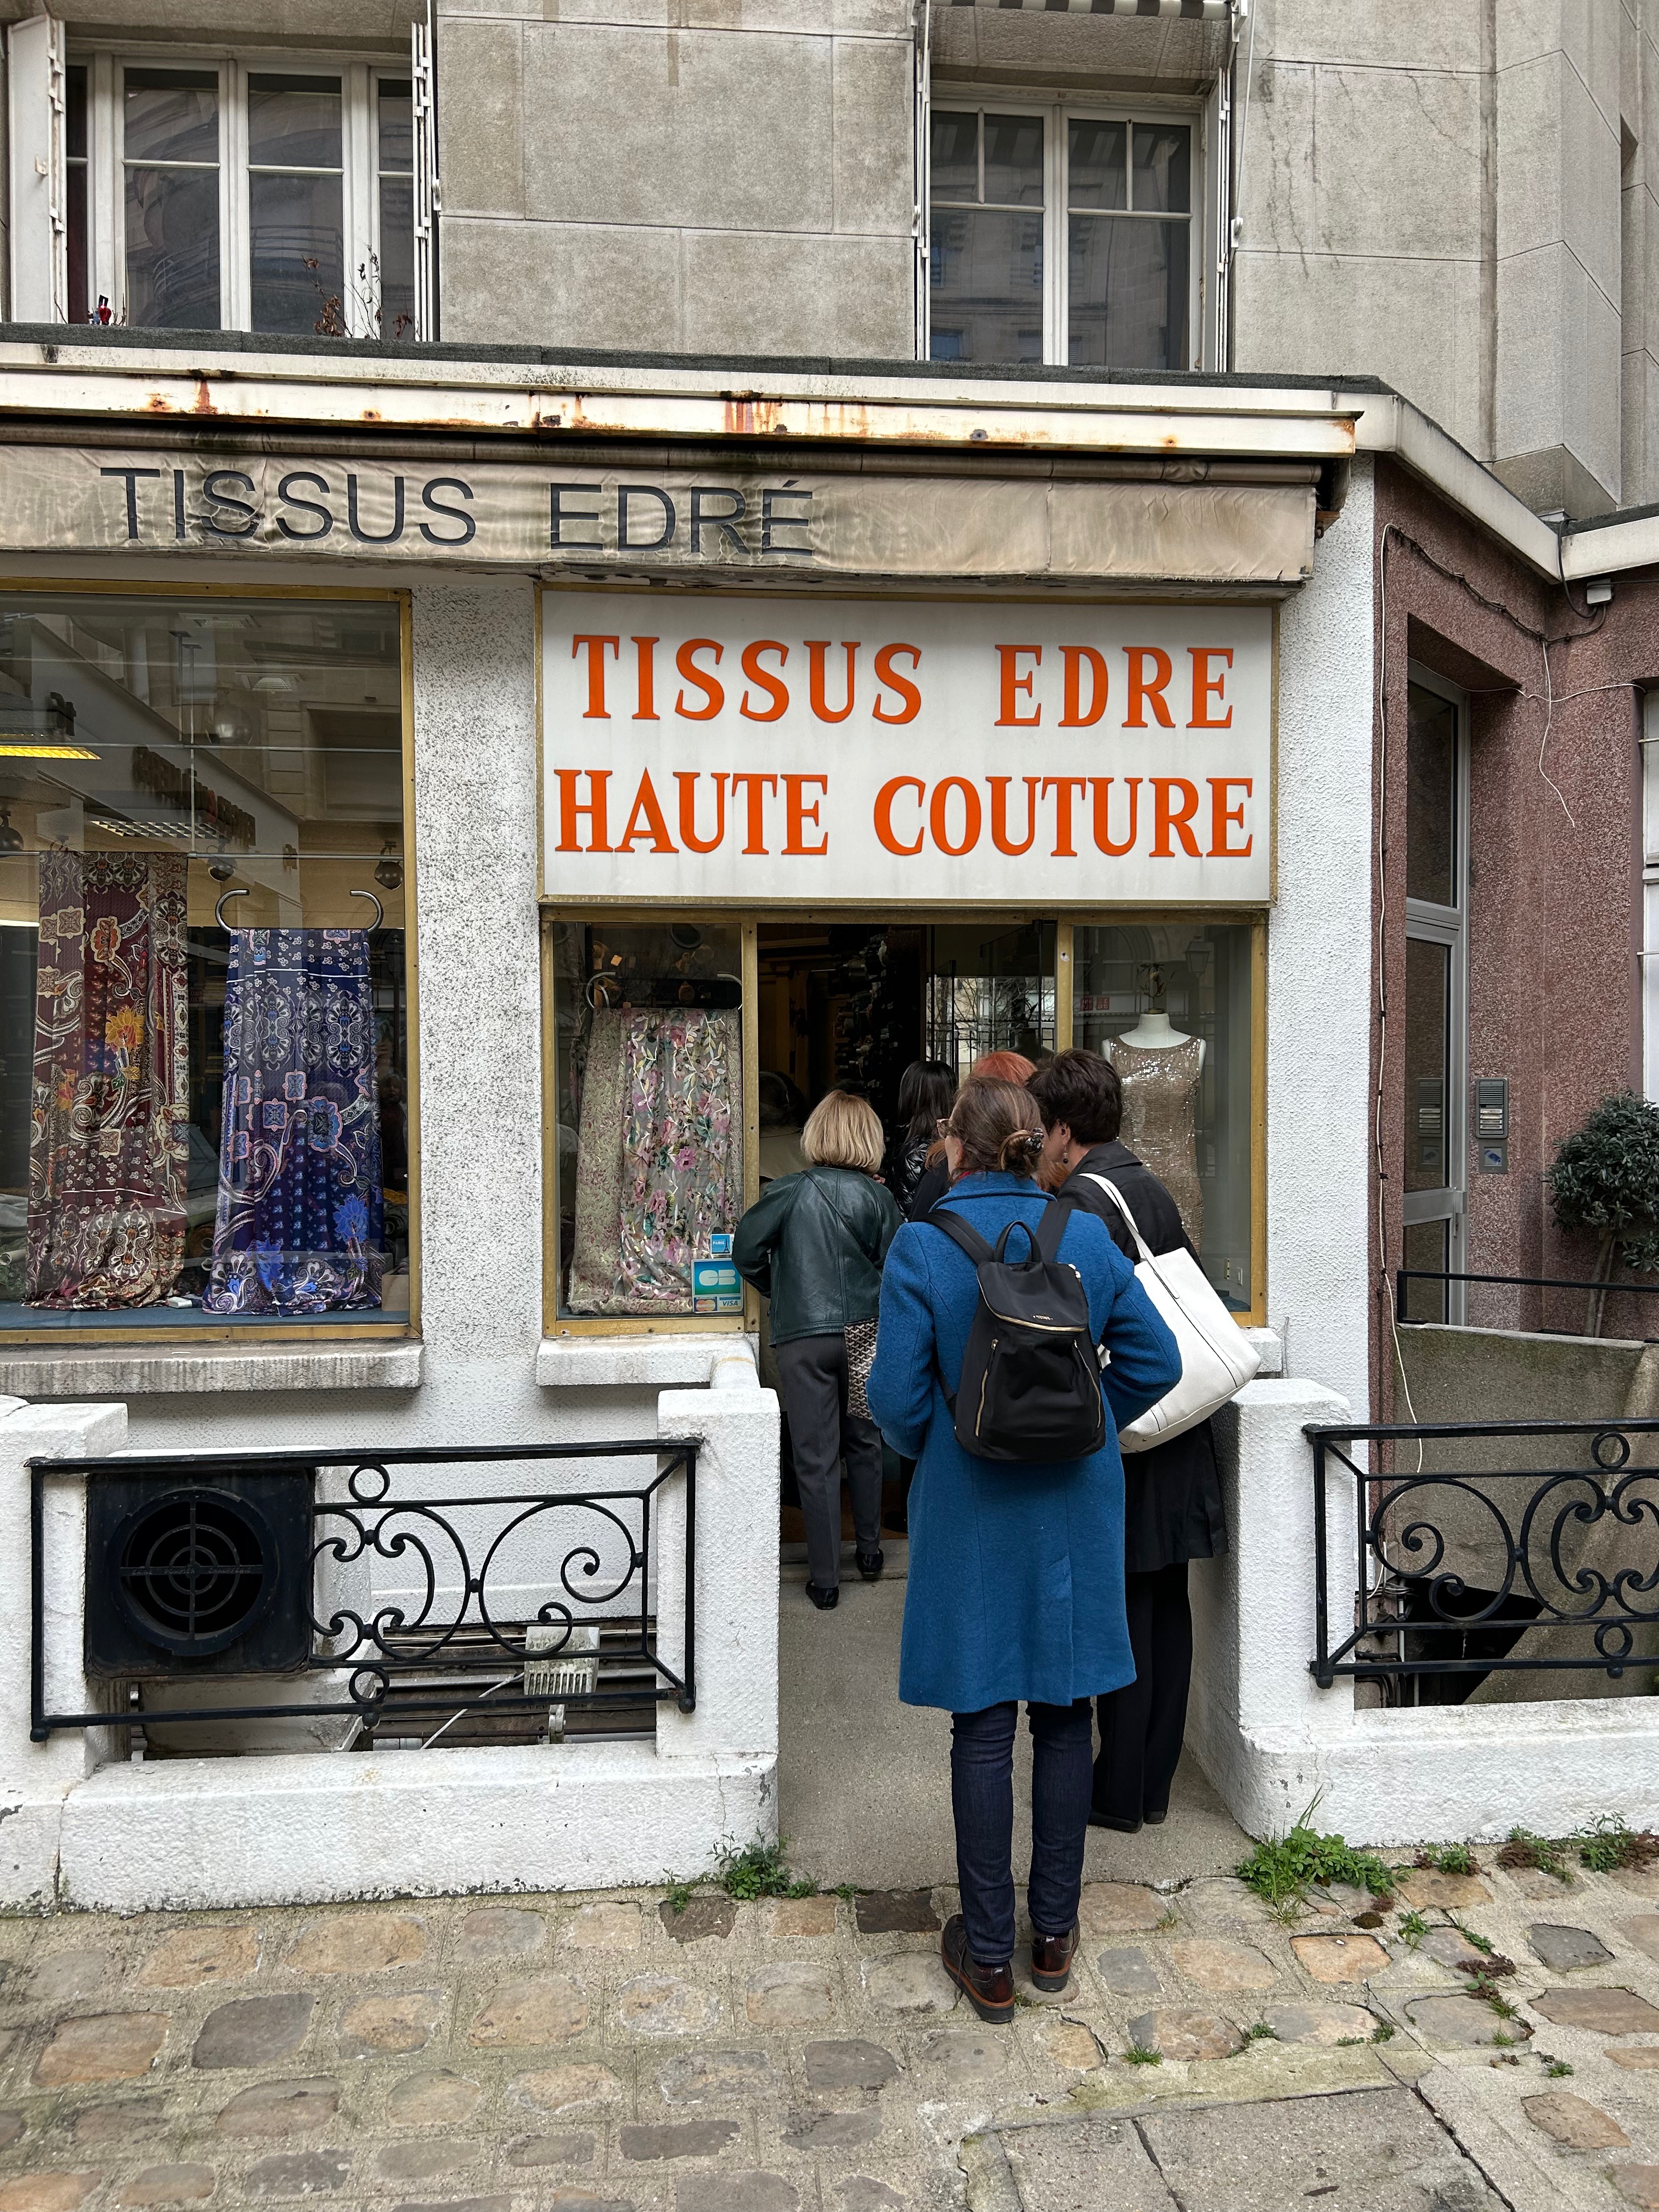
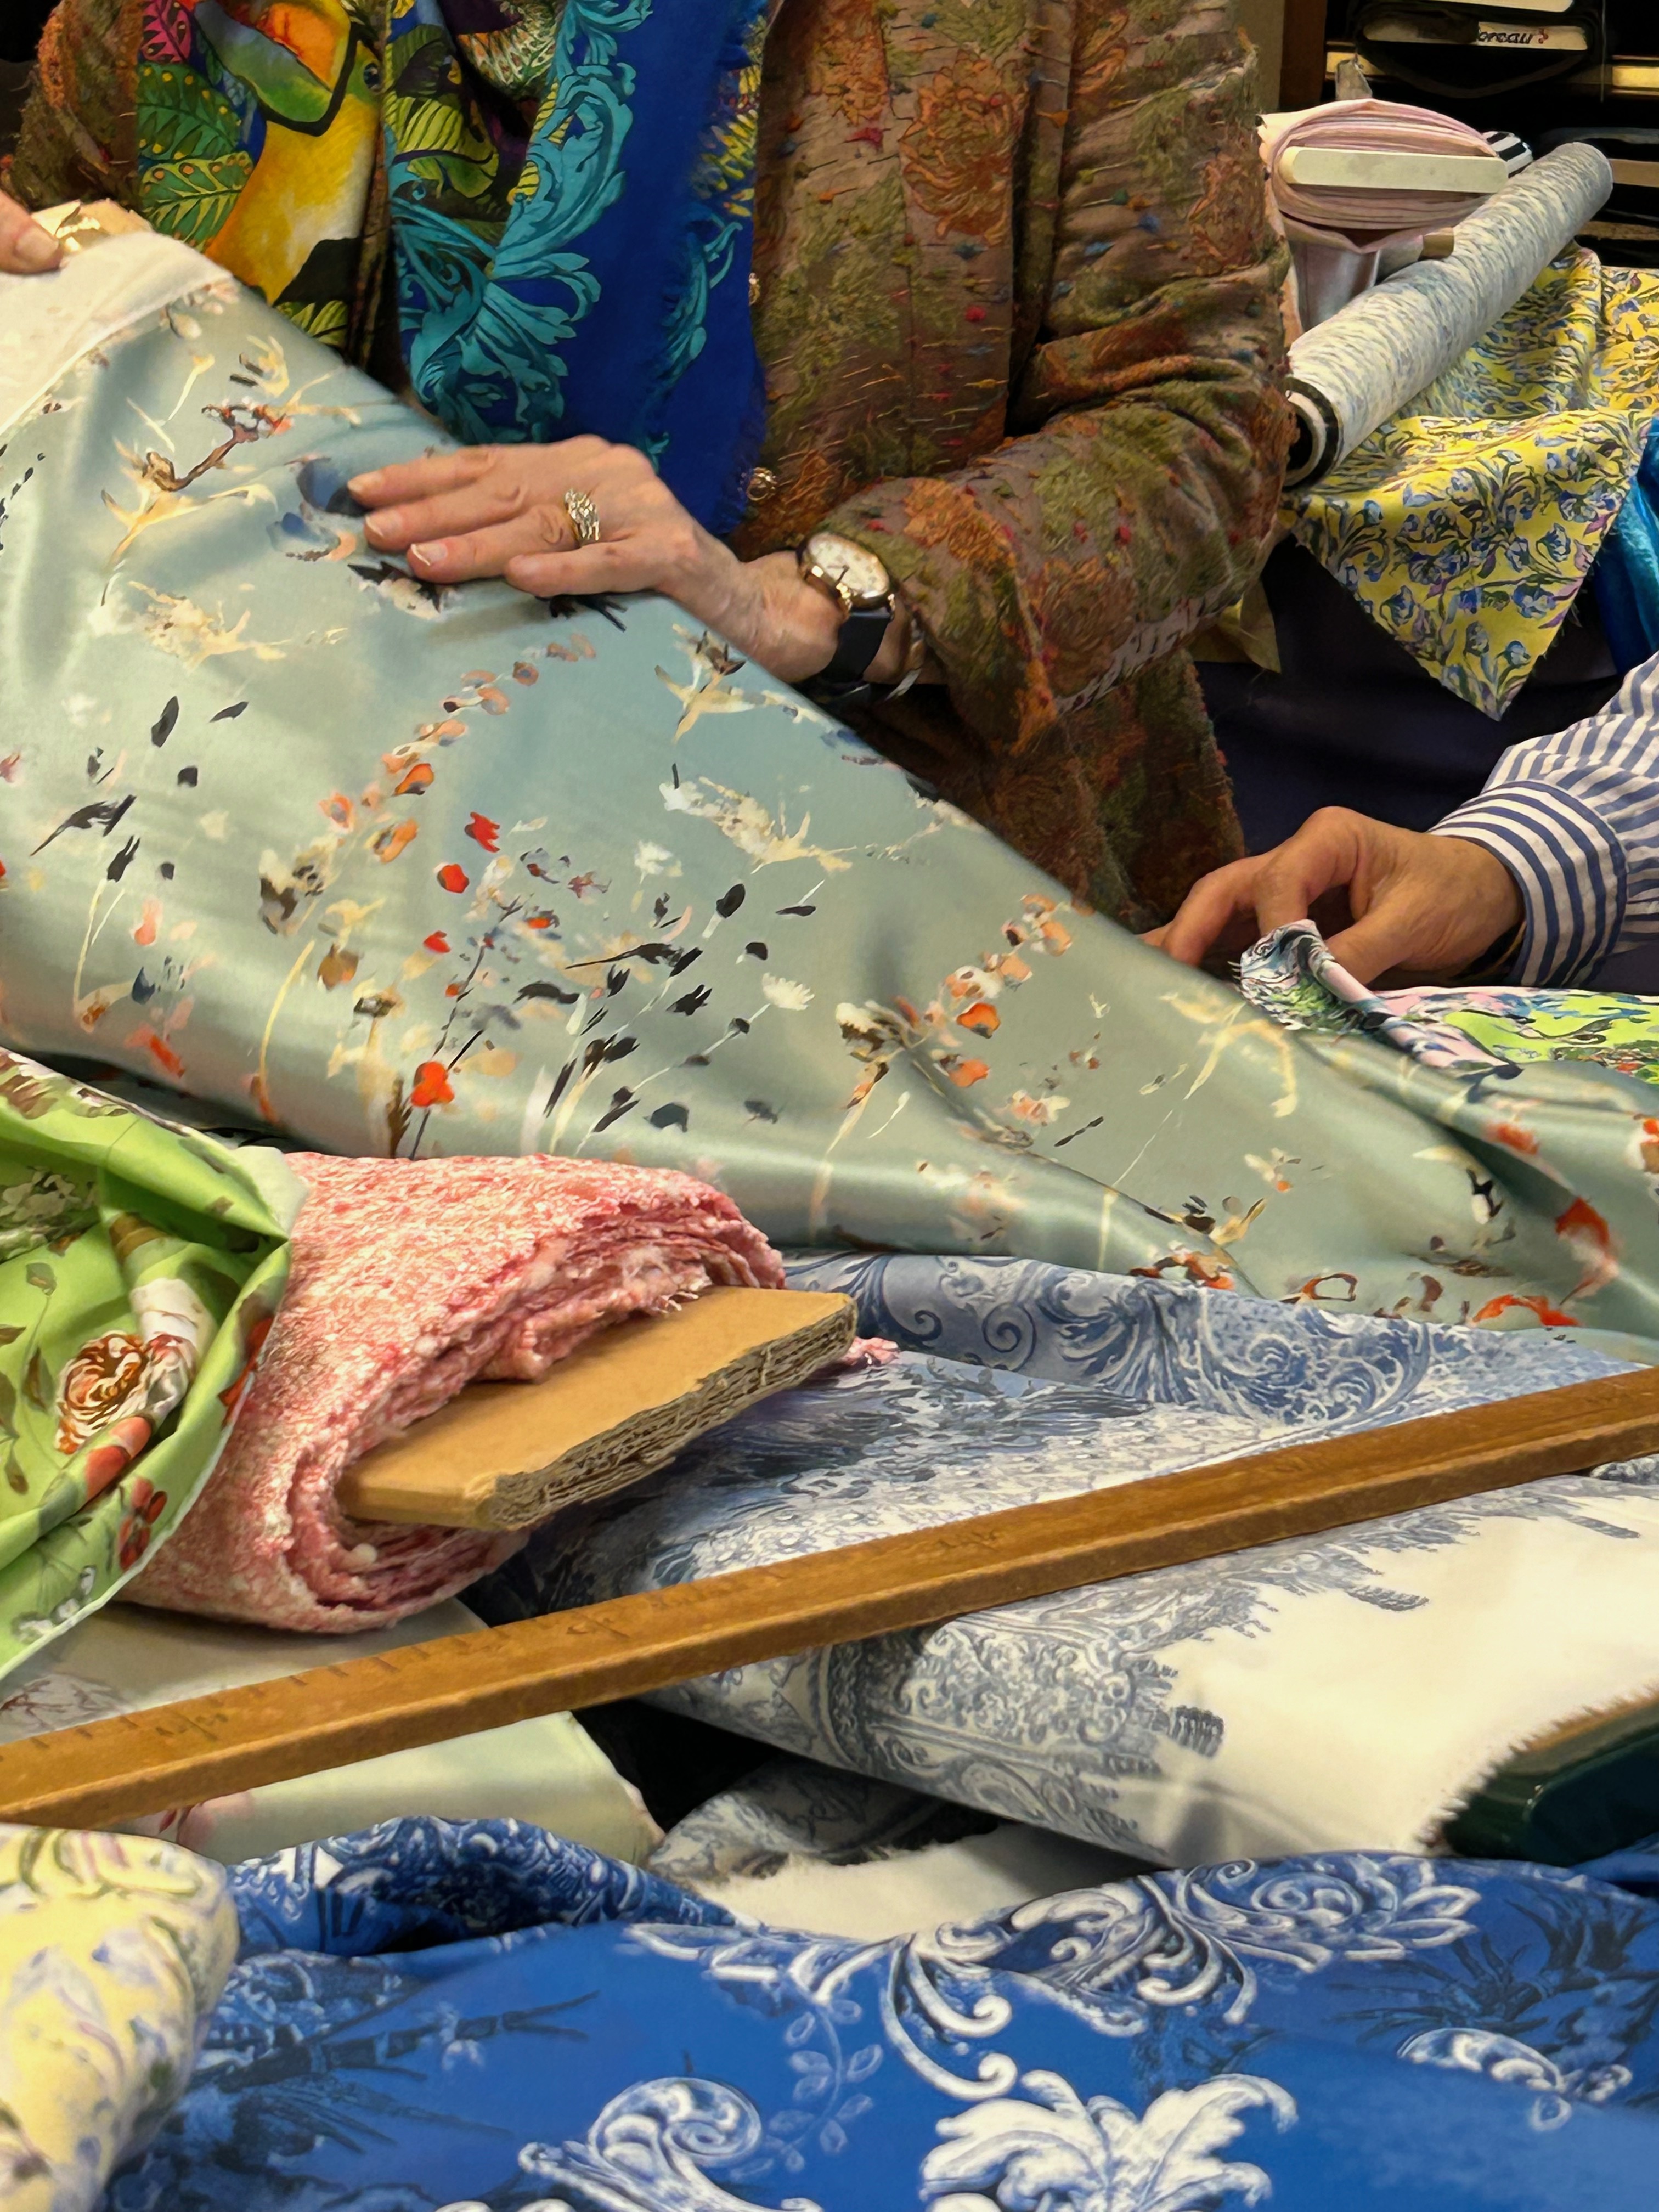
This store sells end cuts from the couture houses, and there is a lot to see. There is not much order to the “presentation” which meant we had to dig our way through the piles of offerings. I admit to having some problems with this type of fabric store.

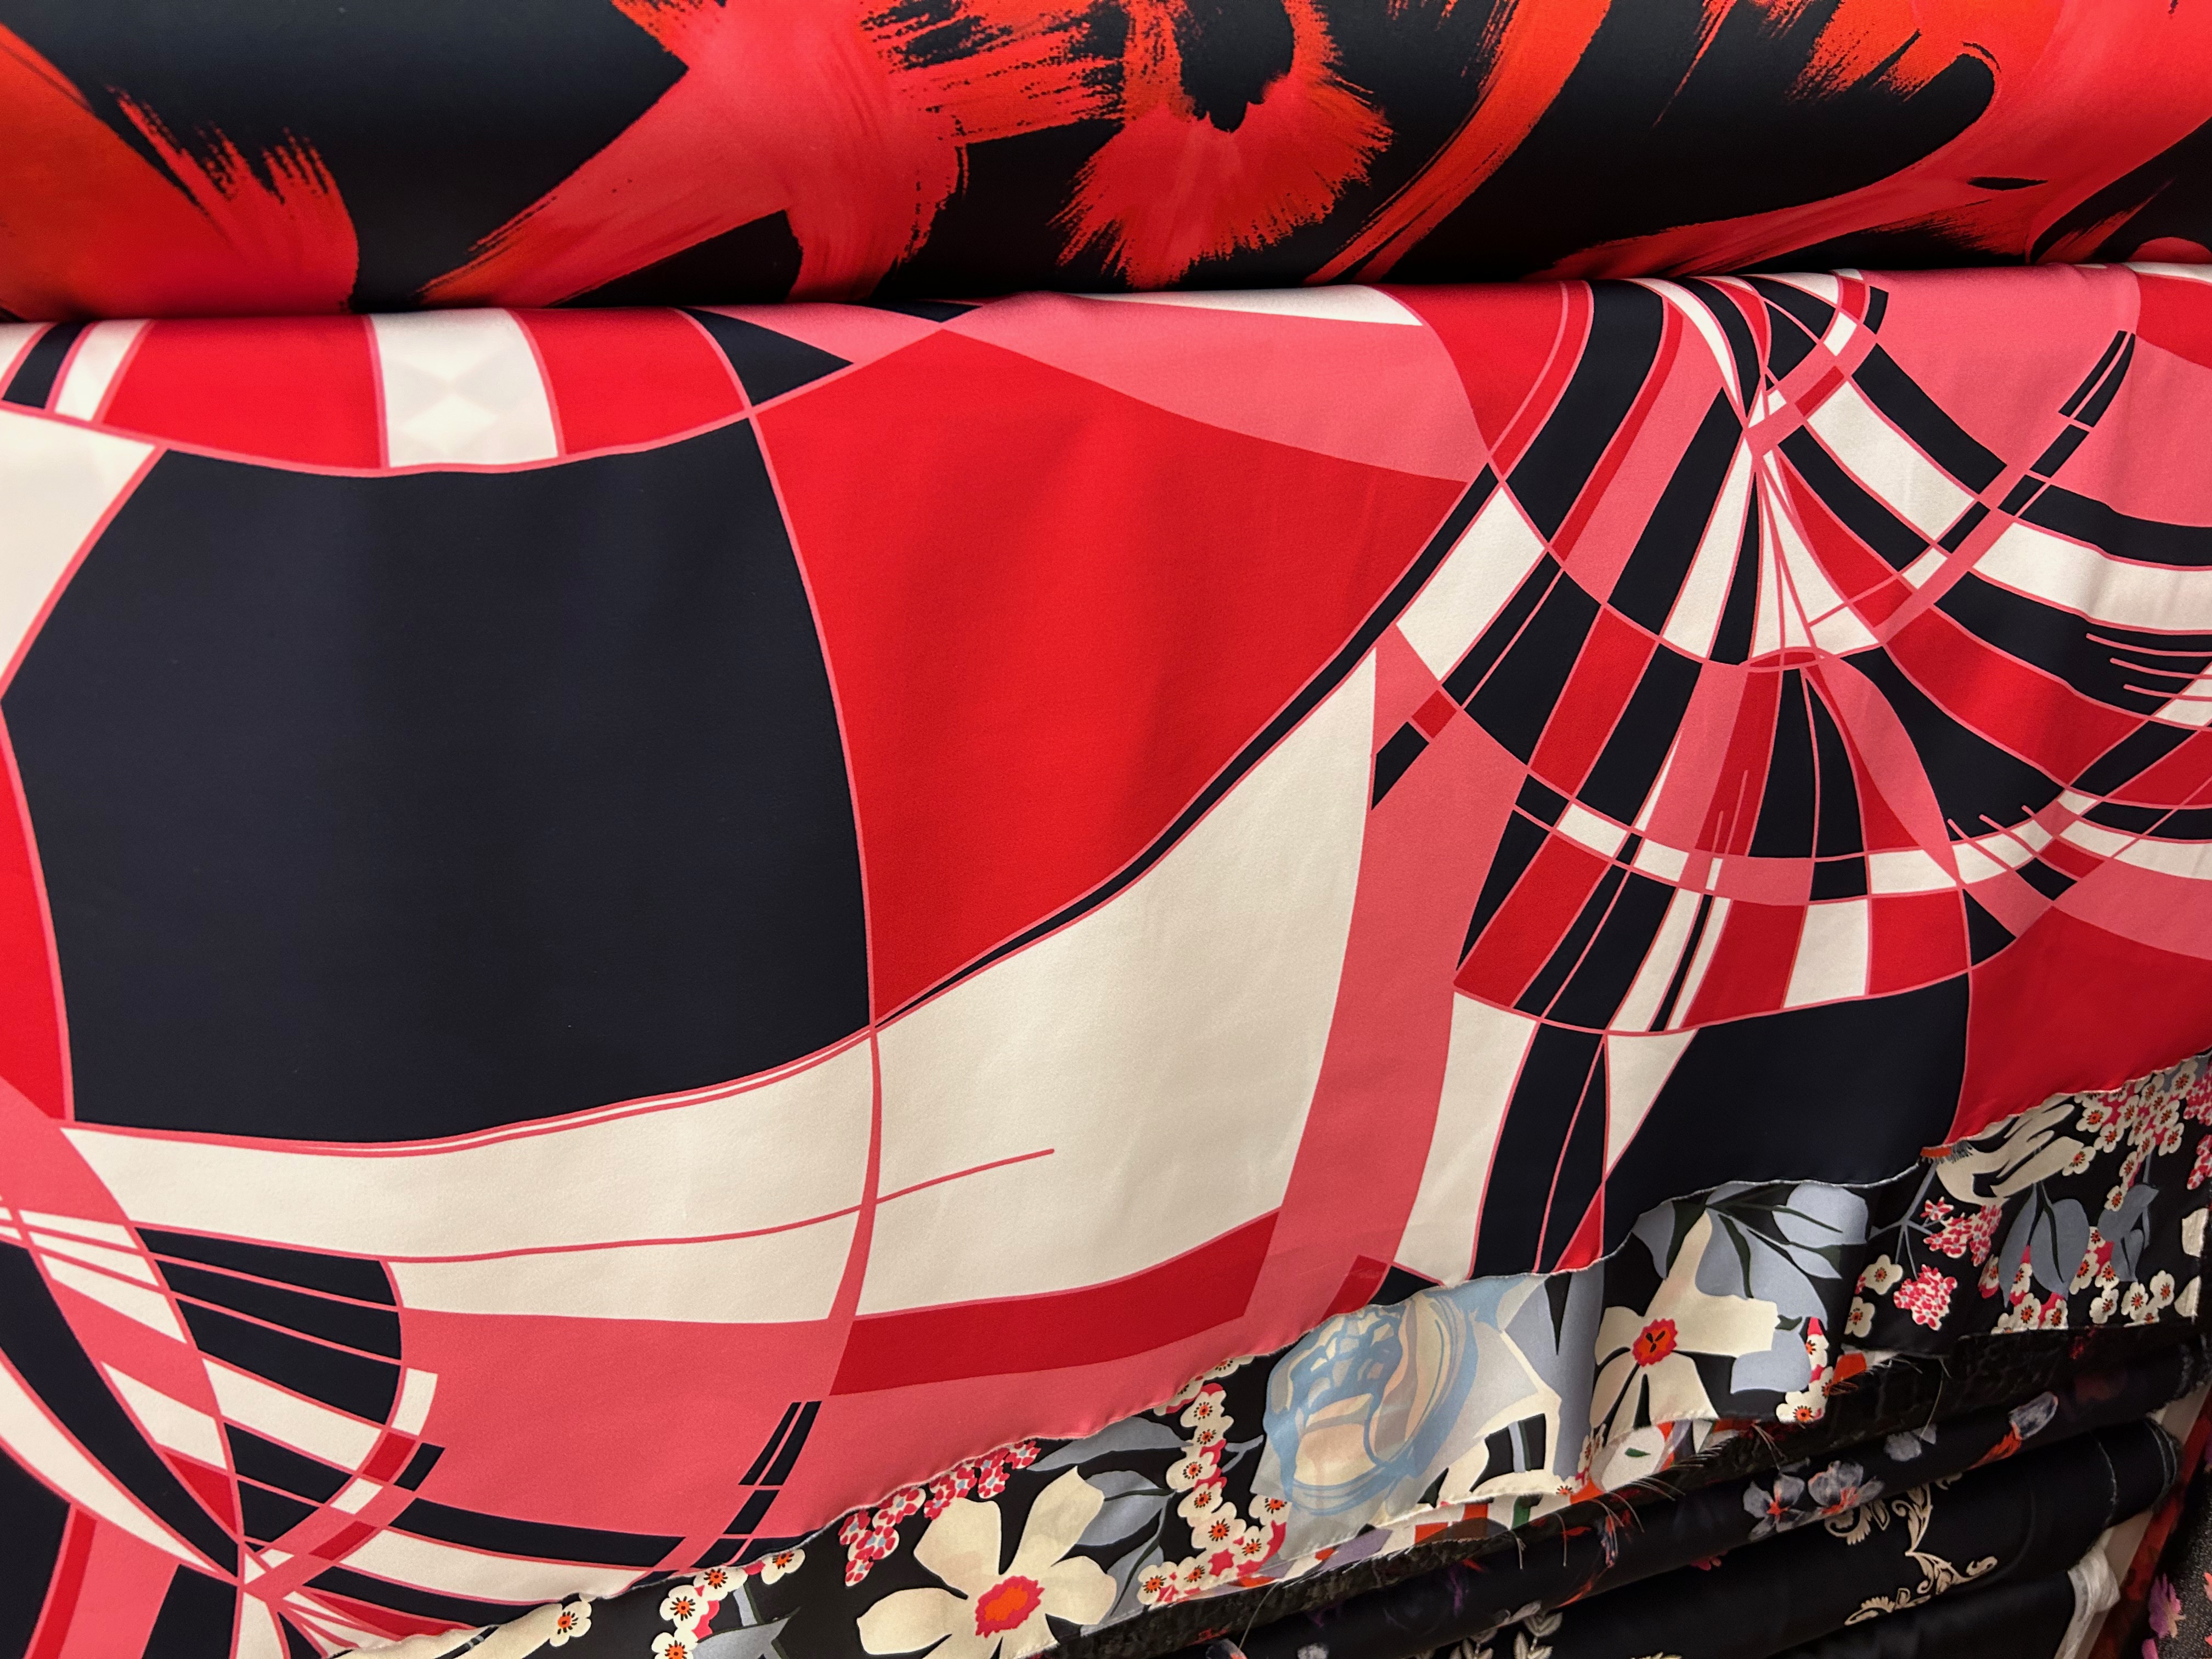
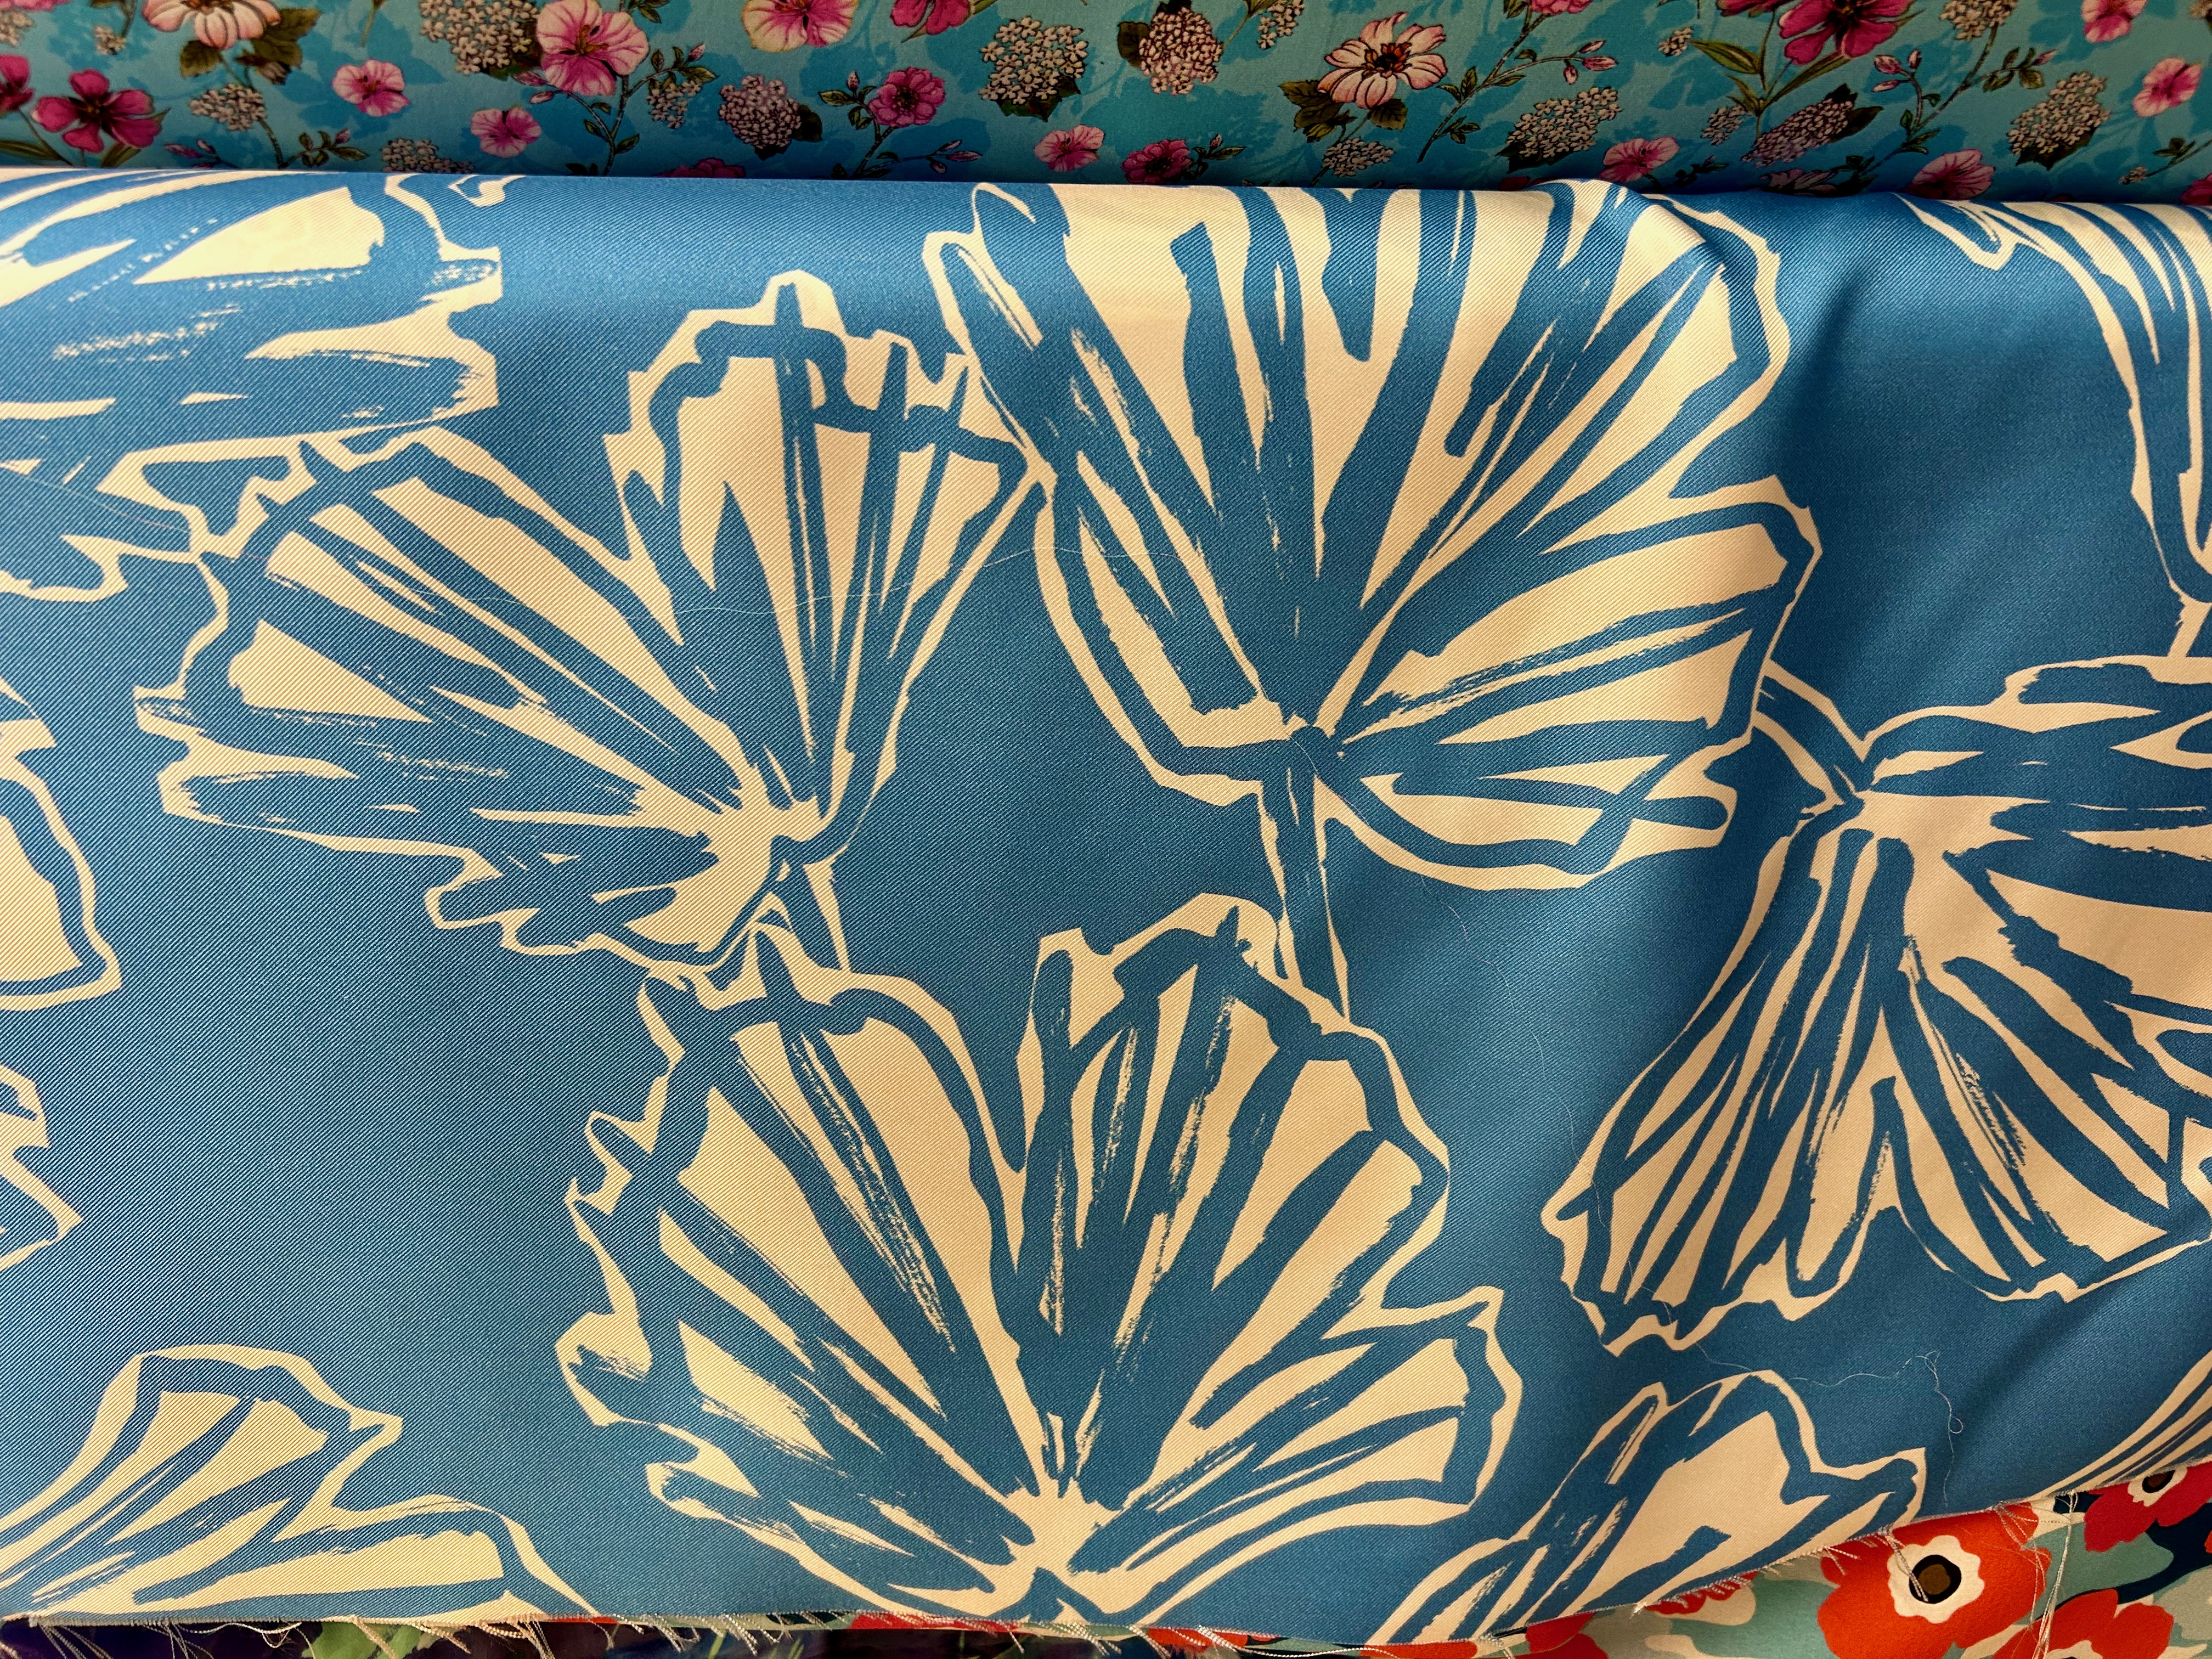
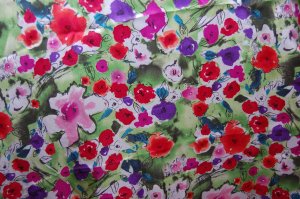
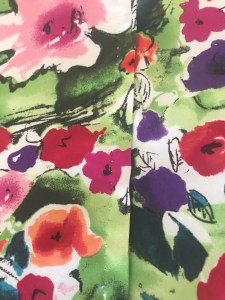
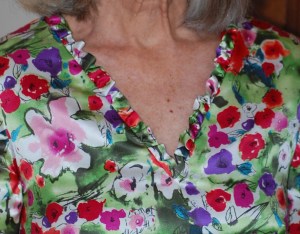
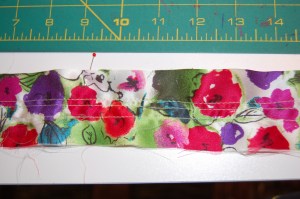
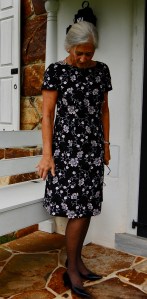
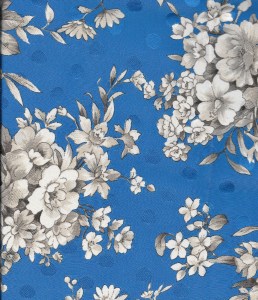
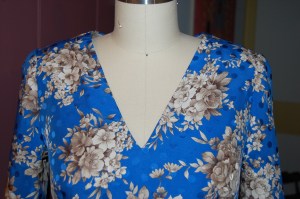
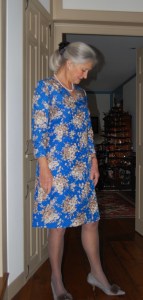
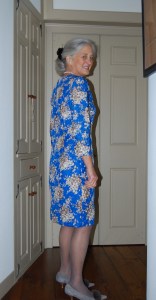
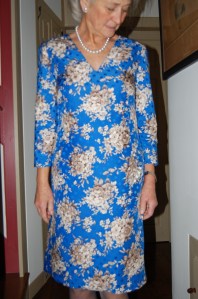
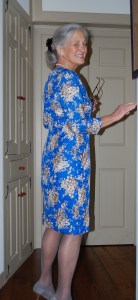
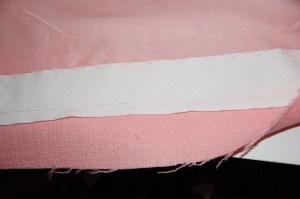
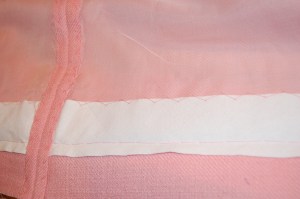
It was only after a fellow member of our group found this silk charmeuse shown below, that I noticed it.
The second fabric store we visited was the world renowned Janssens + Janssens.

This store was the antithesis of the prior one in its ordered rows of bolts of fabrics both upstairs and downstairs. I spent much of my time with the silk charmeuses and twills although this store is probably known best for its exquisite laces.


Finally, we went to a fabric store in the garment district by the name of General Diff. It, too, features end cuts from the couture houses among other selections. Again, it was a jumble, with fabric piled high on large tables. They had some lovely lightweight wool, but I declined to be tempted, as my suitcases were reaching capacity at this point.
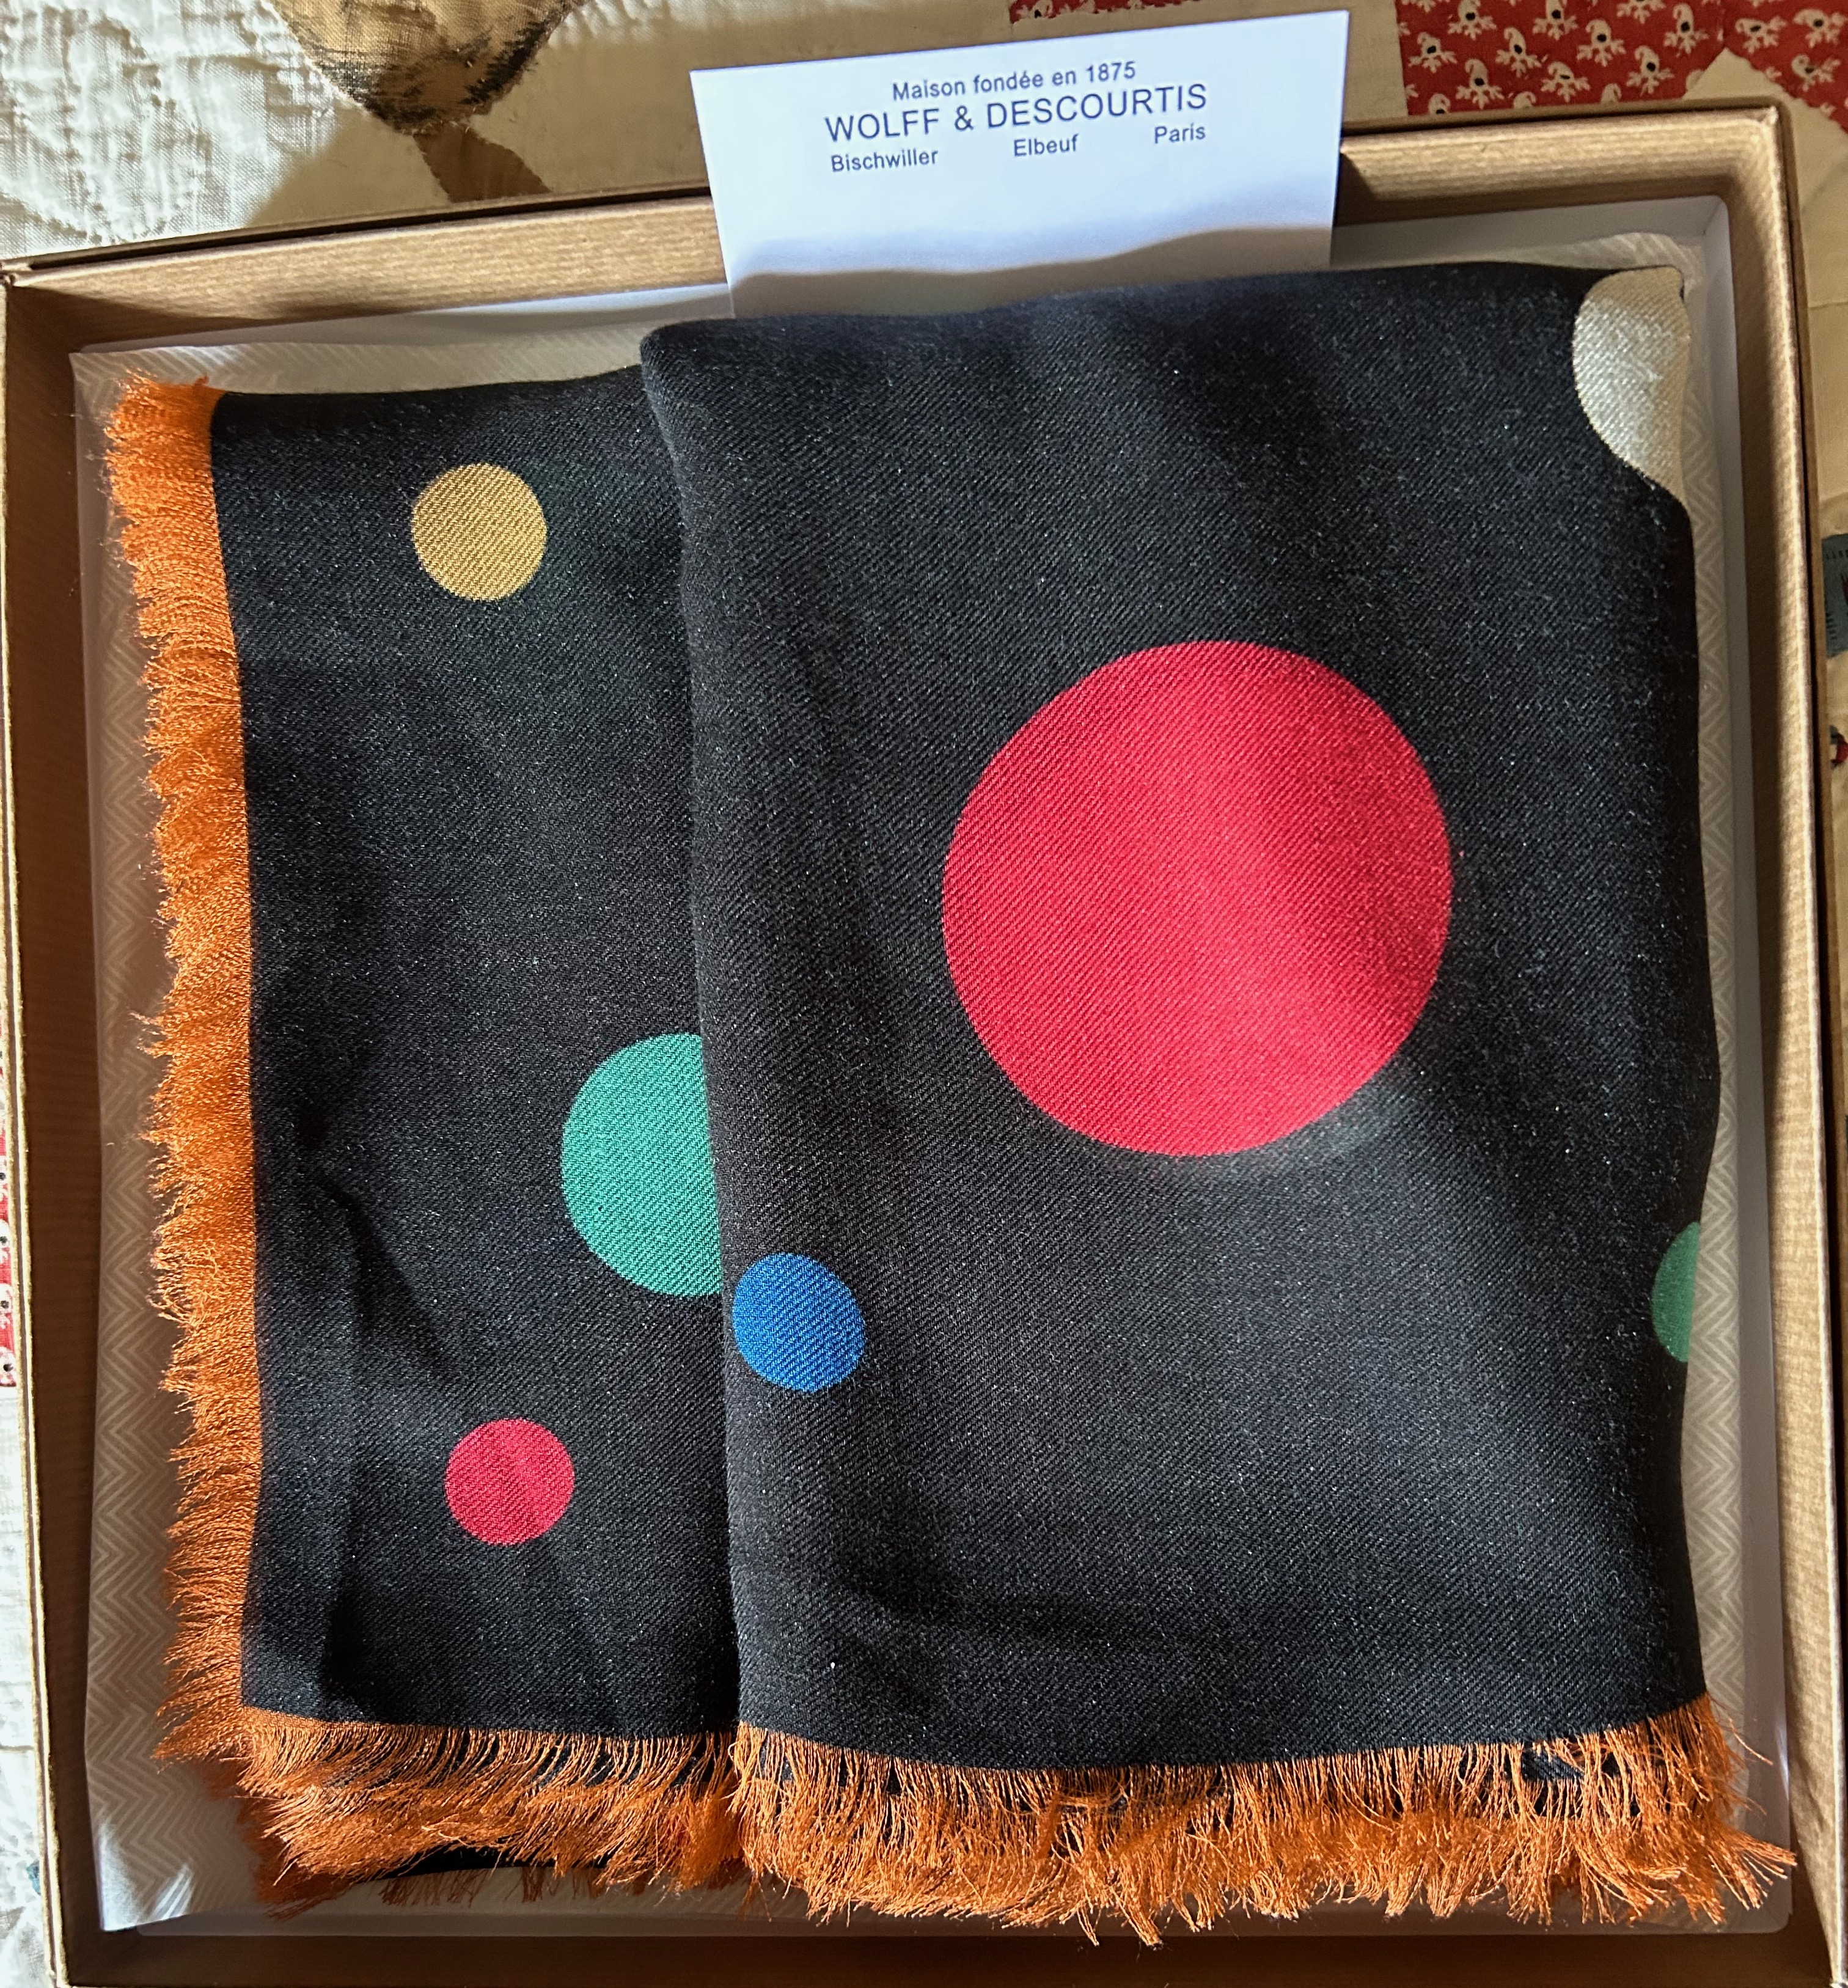
Finally, here are some photos from Wolffe et Descourtis, the wonderful scarf store which captivated us all. This business has remained in the same family for many decades , and indeed the proprietress is Victoria Wolffe, of the original founding family.
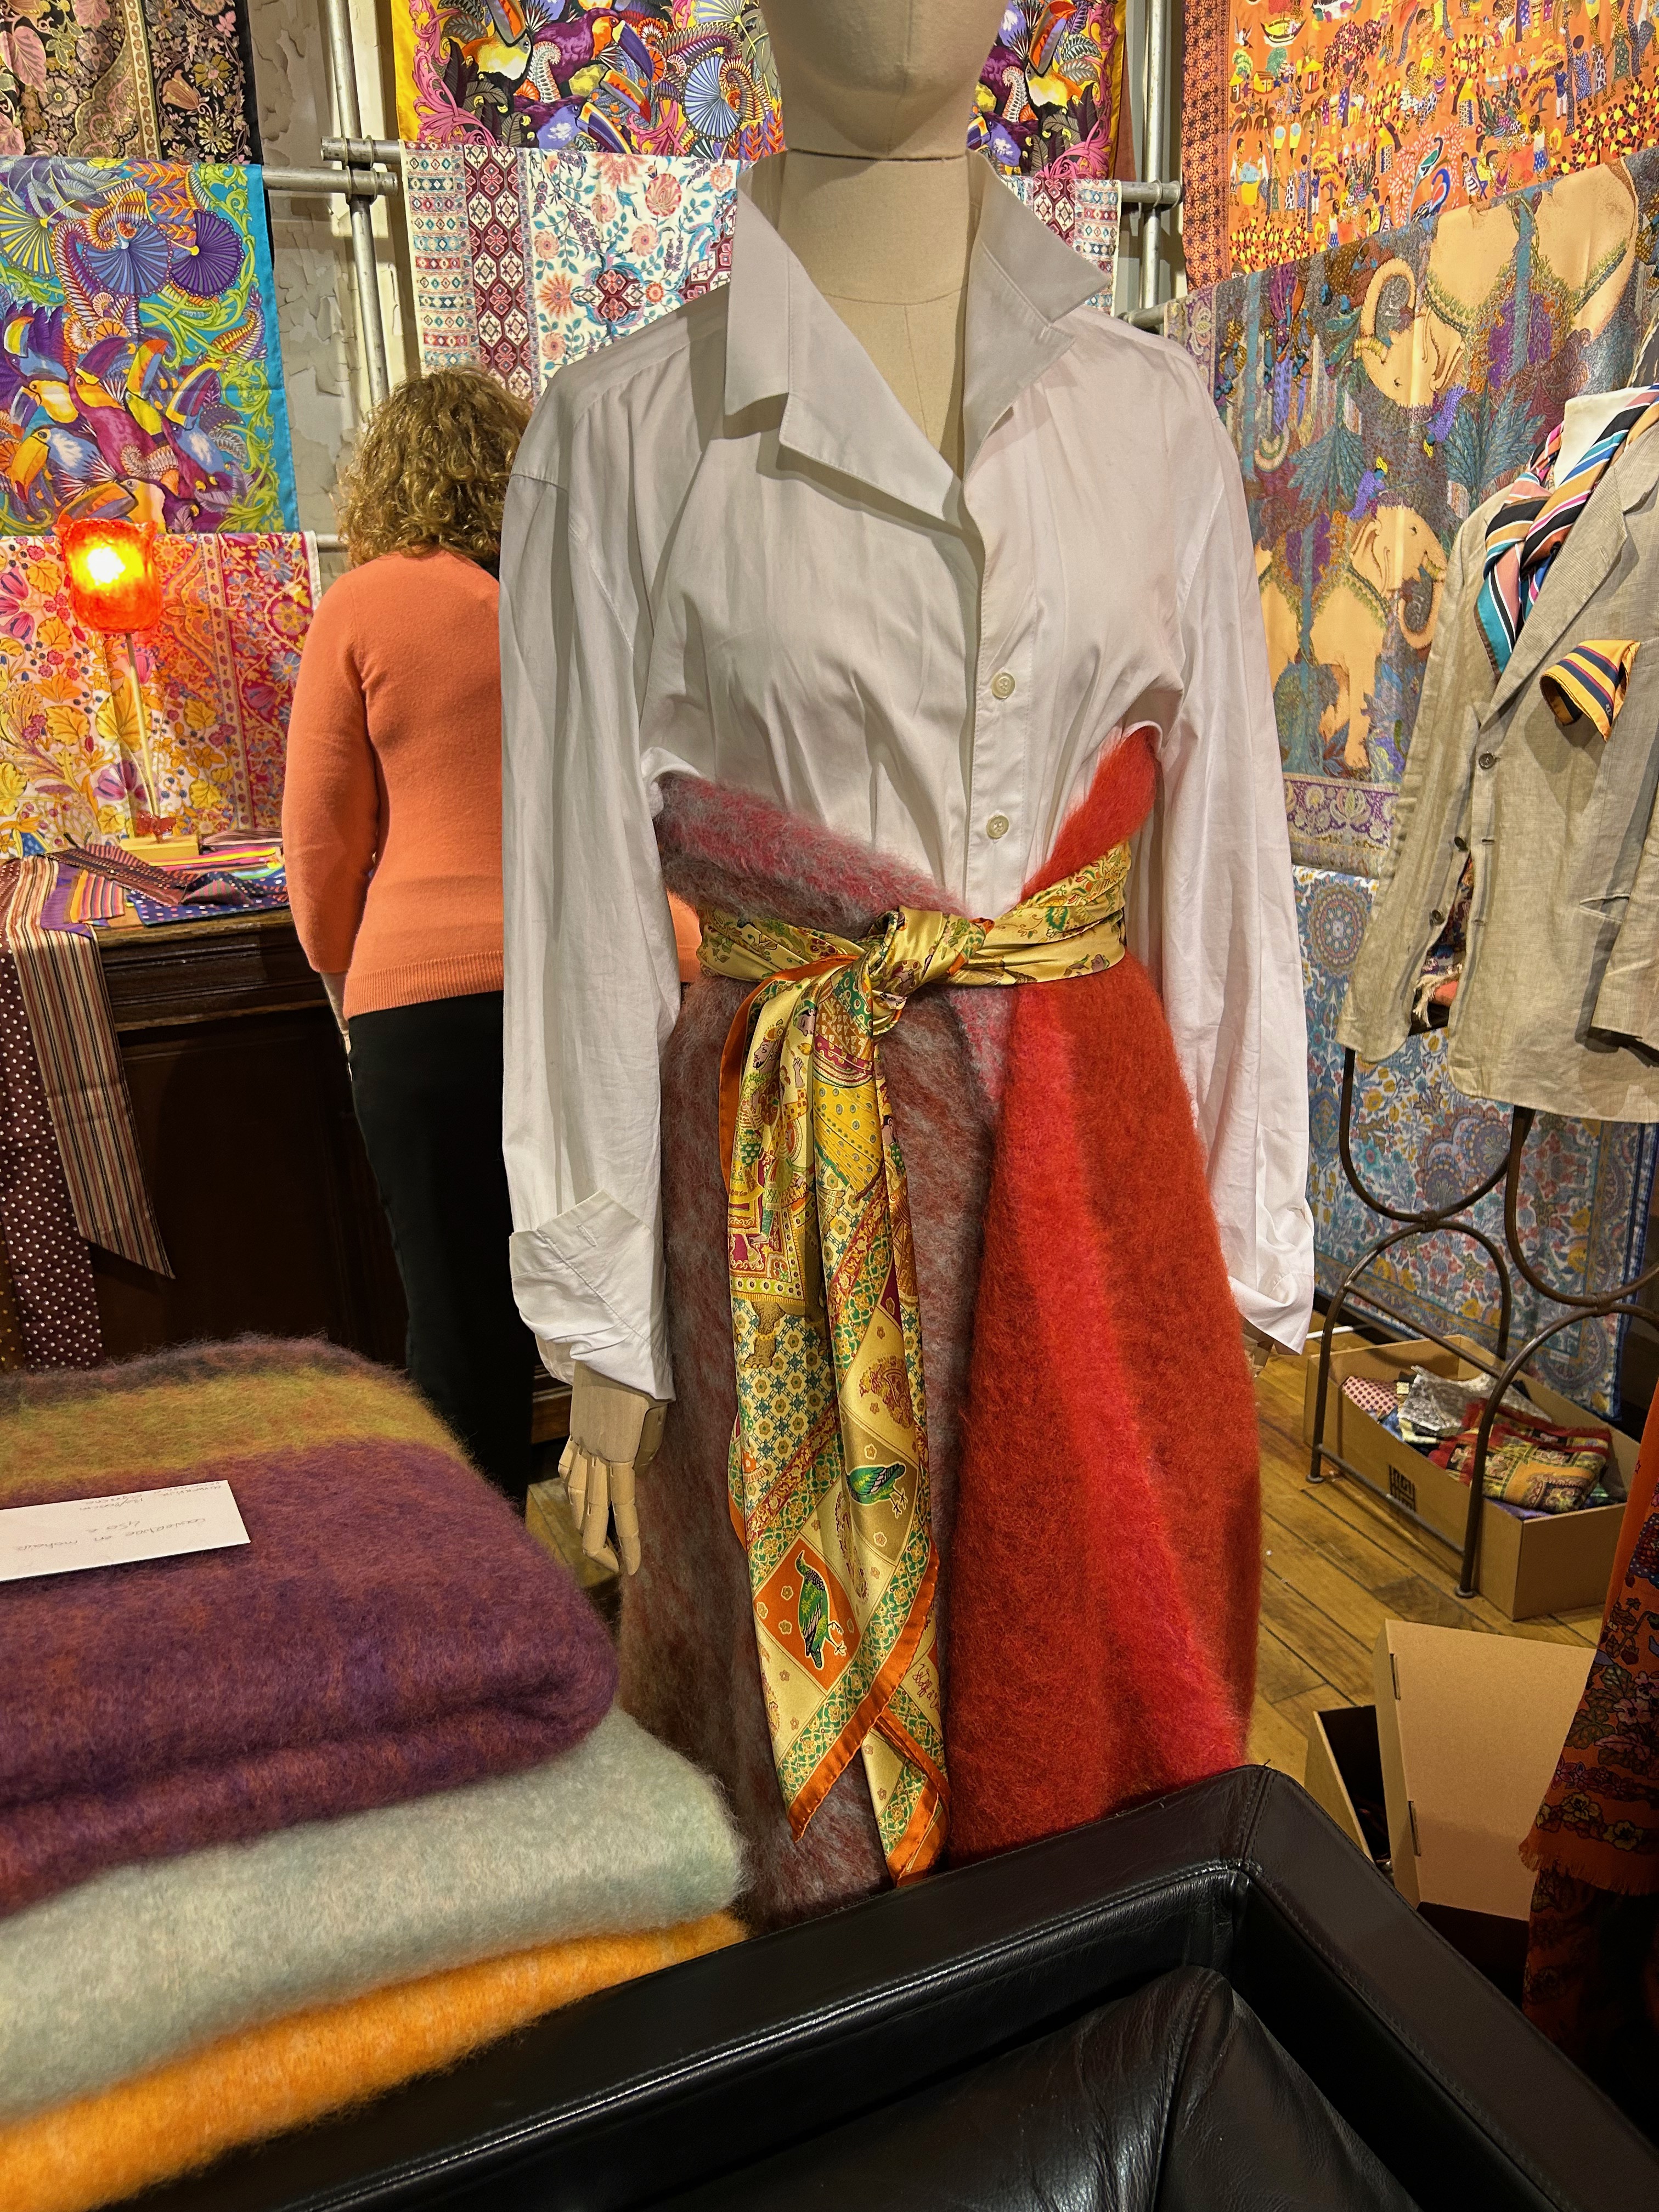
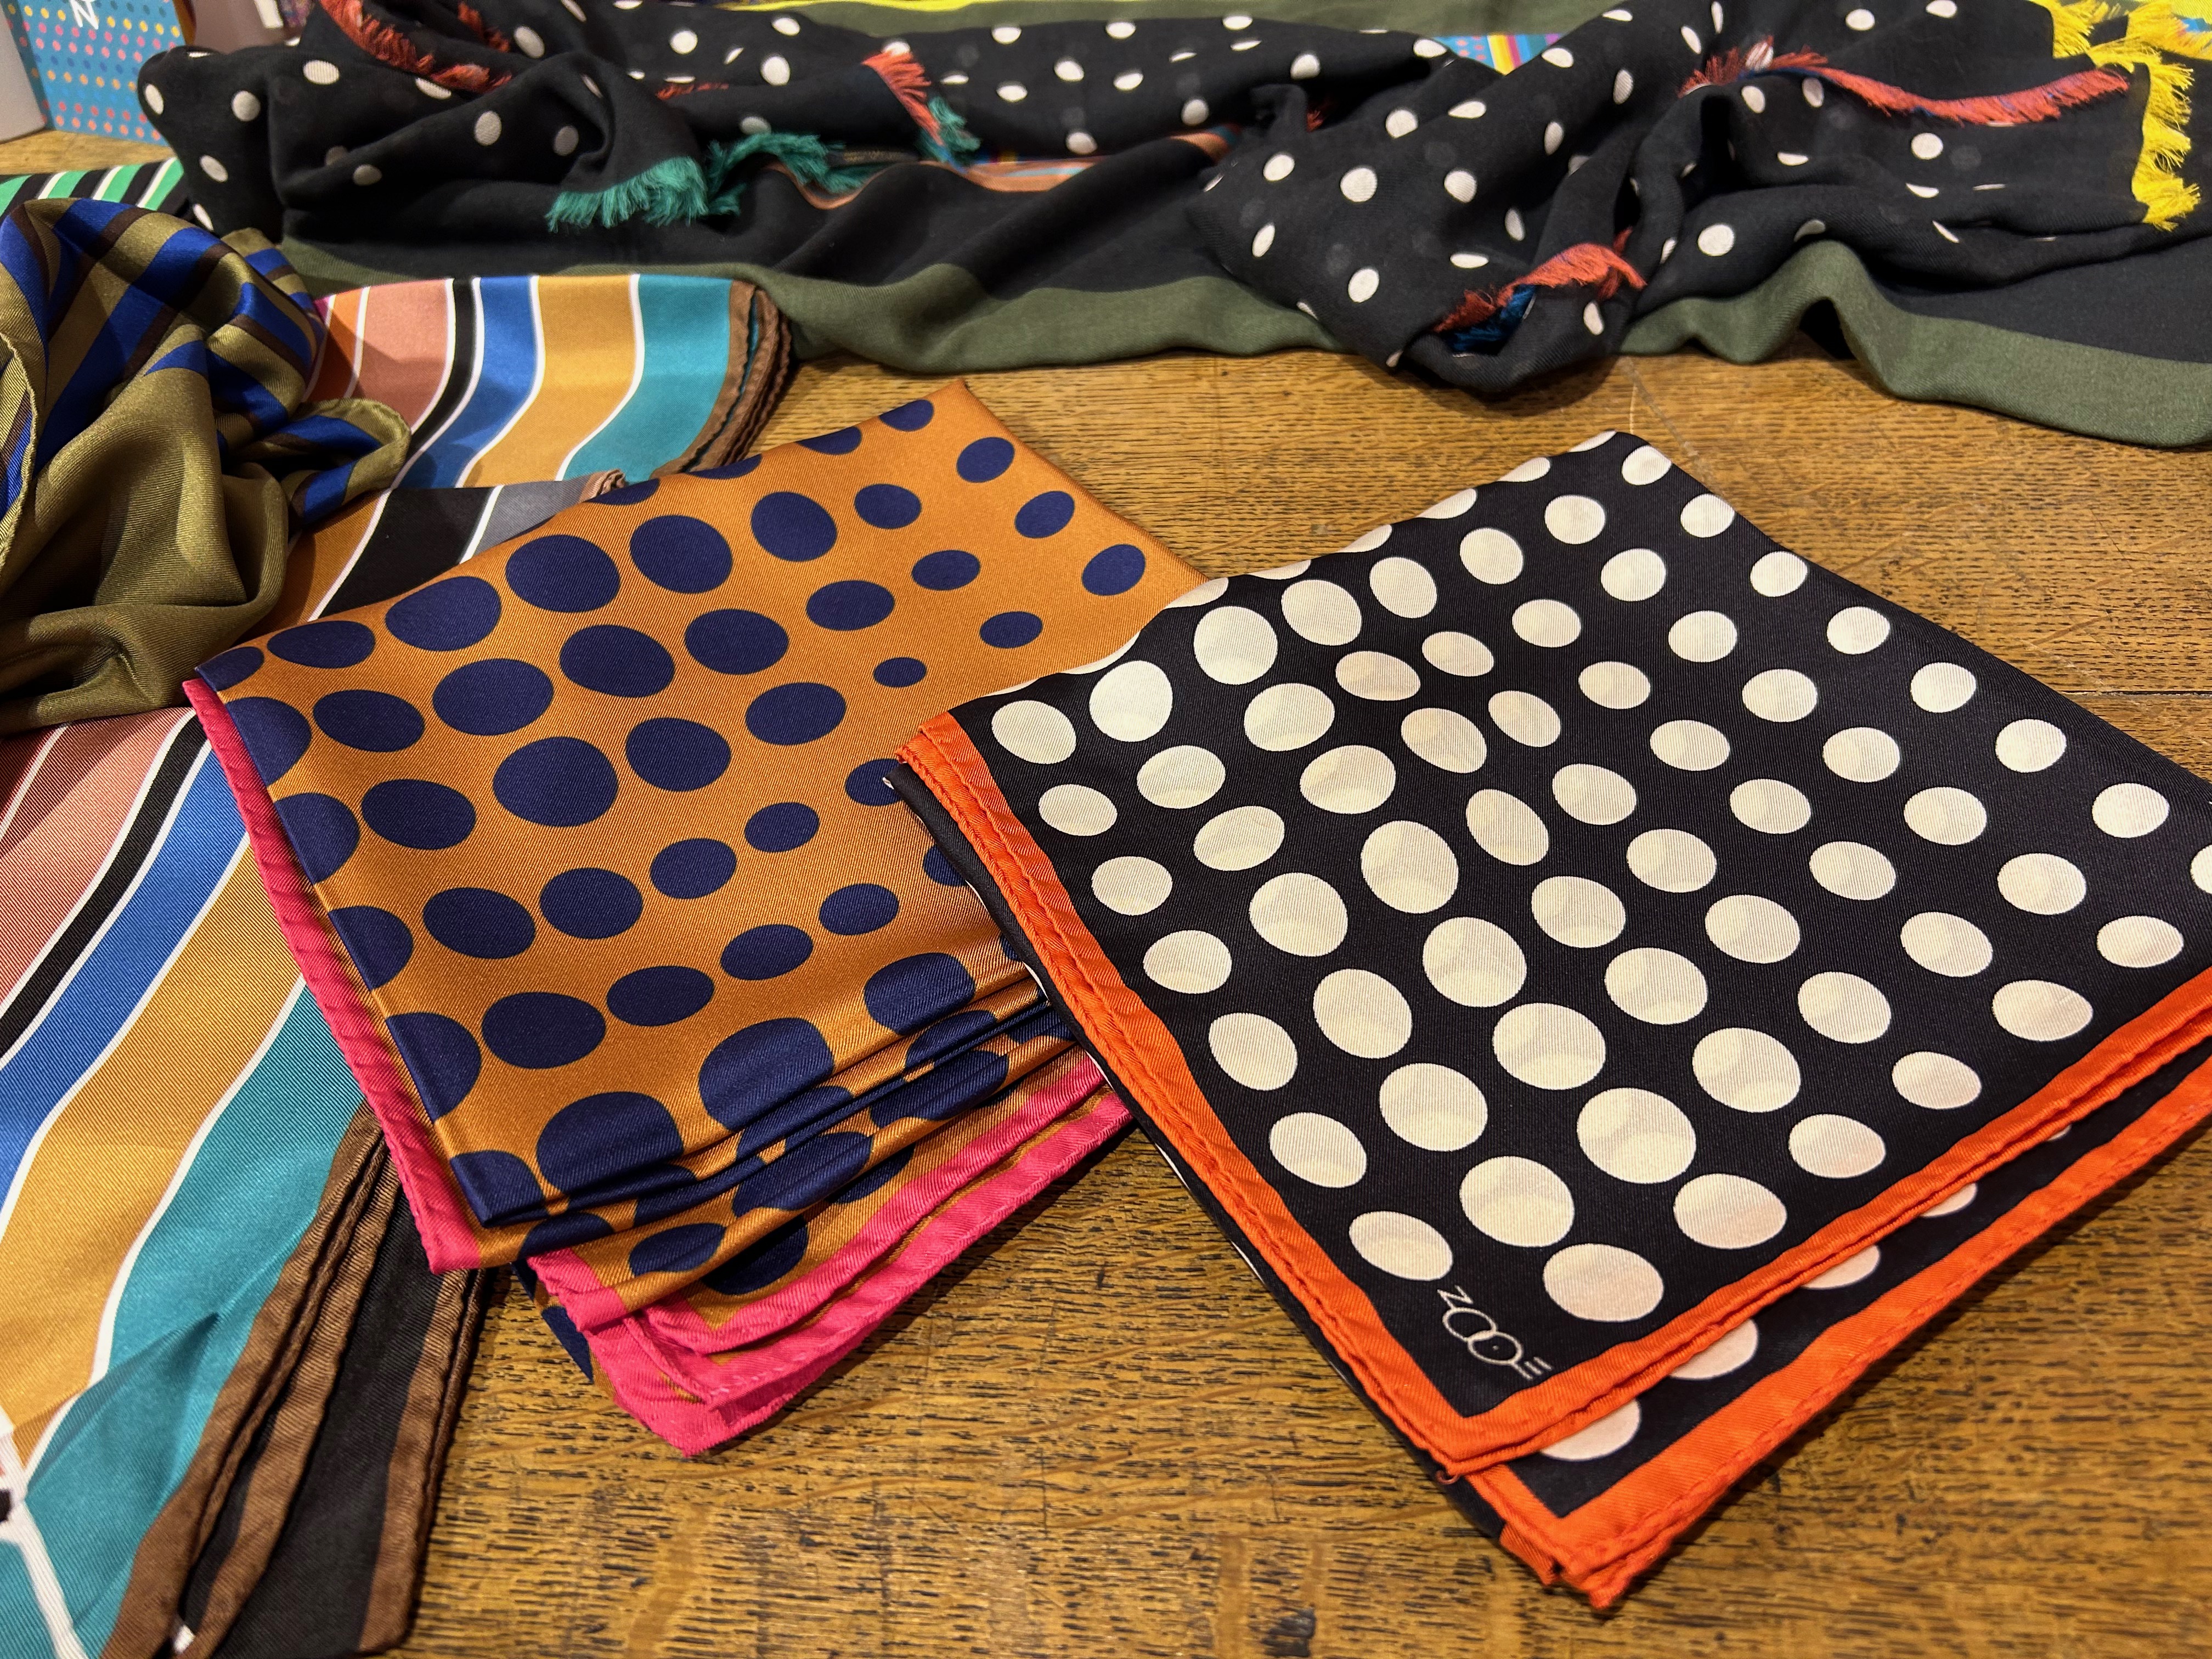

What fun to come home with my beautiful scarf!
This ends my monologue on the Paris Tour, despite there having been additional places we visited, people we met and things we did. Summer sewing has already cranked up, with my attention back here in the States. Happy Sewing June to all of you!


Odds and Ends and One Thing You Mustn’t Miss
Sewing has been, well, challenging this summer. In reality, I think I have been able to accomplish just about all I could have hoped for – so far, at least – but it certainly doesn’t seem like very much.
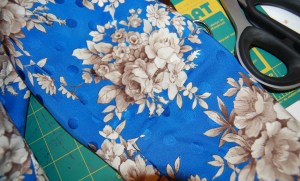
When I packed fabric to bring along to our new vacation home in Wyoming, I tried to think ahead and determine exactly what I would need. For instance, I brought two decorator fabrics which I had picked out for two of our “new” bedrooms, with plans for making decorative pillows and at least one bed skirt. I also brought two fabrics with which to make dresses for our two little granddaughters who were arriving, along with the rest of our immediate family, in late July. I also brought some vintage Moygashel linen, many pieces of shirting and dress cottons, skirt fabric, and a piece of Viyella cotton/wool blend. What was I thinking?!! Certainly no one could accuse me of being under-ambitious!
I totally misjudged how much of my time would be taken up with organizing and setting up a new household. So – what have I been able to sew? A number of decorative pillows, for one thing. I find them – and all that self-bias tape I had to construct – utterly boring to make, but satisfying once they are completed. The bed skirts have been moved to the “still to do” list.
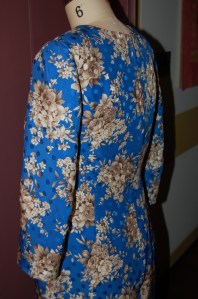
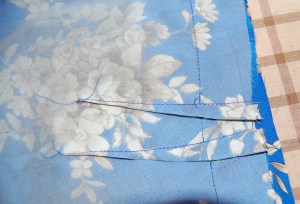
I was able to make dresses for my granddaughters. My original intent was to make each dress out of a different fabric, but when I stretched out my ladybug embroidered, striped fabric from Emma One Sock, I realized I had more than I needed for one dress. With one minor compromise, I knew I could get two dresses from my existing yardage. So I changed plans and made matching dresses.
I made white piping for the pockets and collars out of kitchen string and white batiste. The ladybug embroidered fabric is really so cute!
The compromise I had to make involved the sashes, as I did not have enough fabric to cut sashes for two dresses. Fortunately I had enough of the coordinating red fabric to make the sashes. Now I’m glad it worked out that way, as I think it makes the dresses cuter.
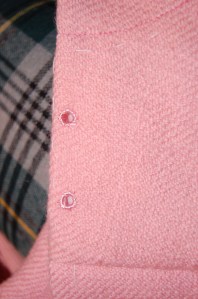
I had pre-purchased red decorative buttons, thinking I would need them for just one dress. Normally I would put three in a row centered beneath the collar, but with four buttons, and two dresses … Well, you do the math! Two on each dress it is!
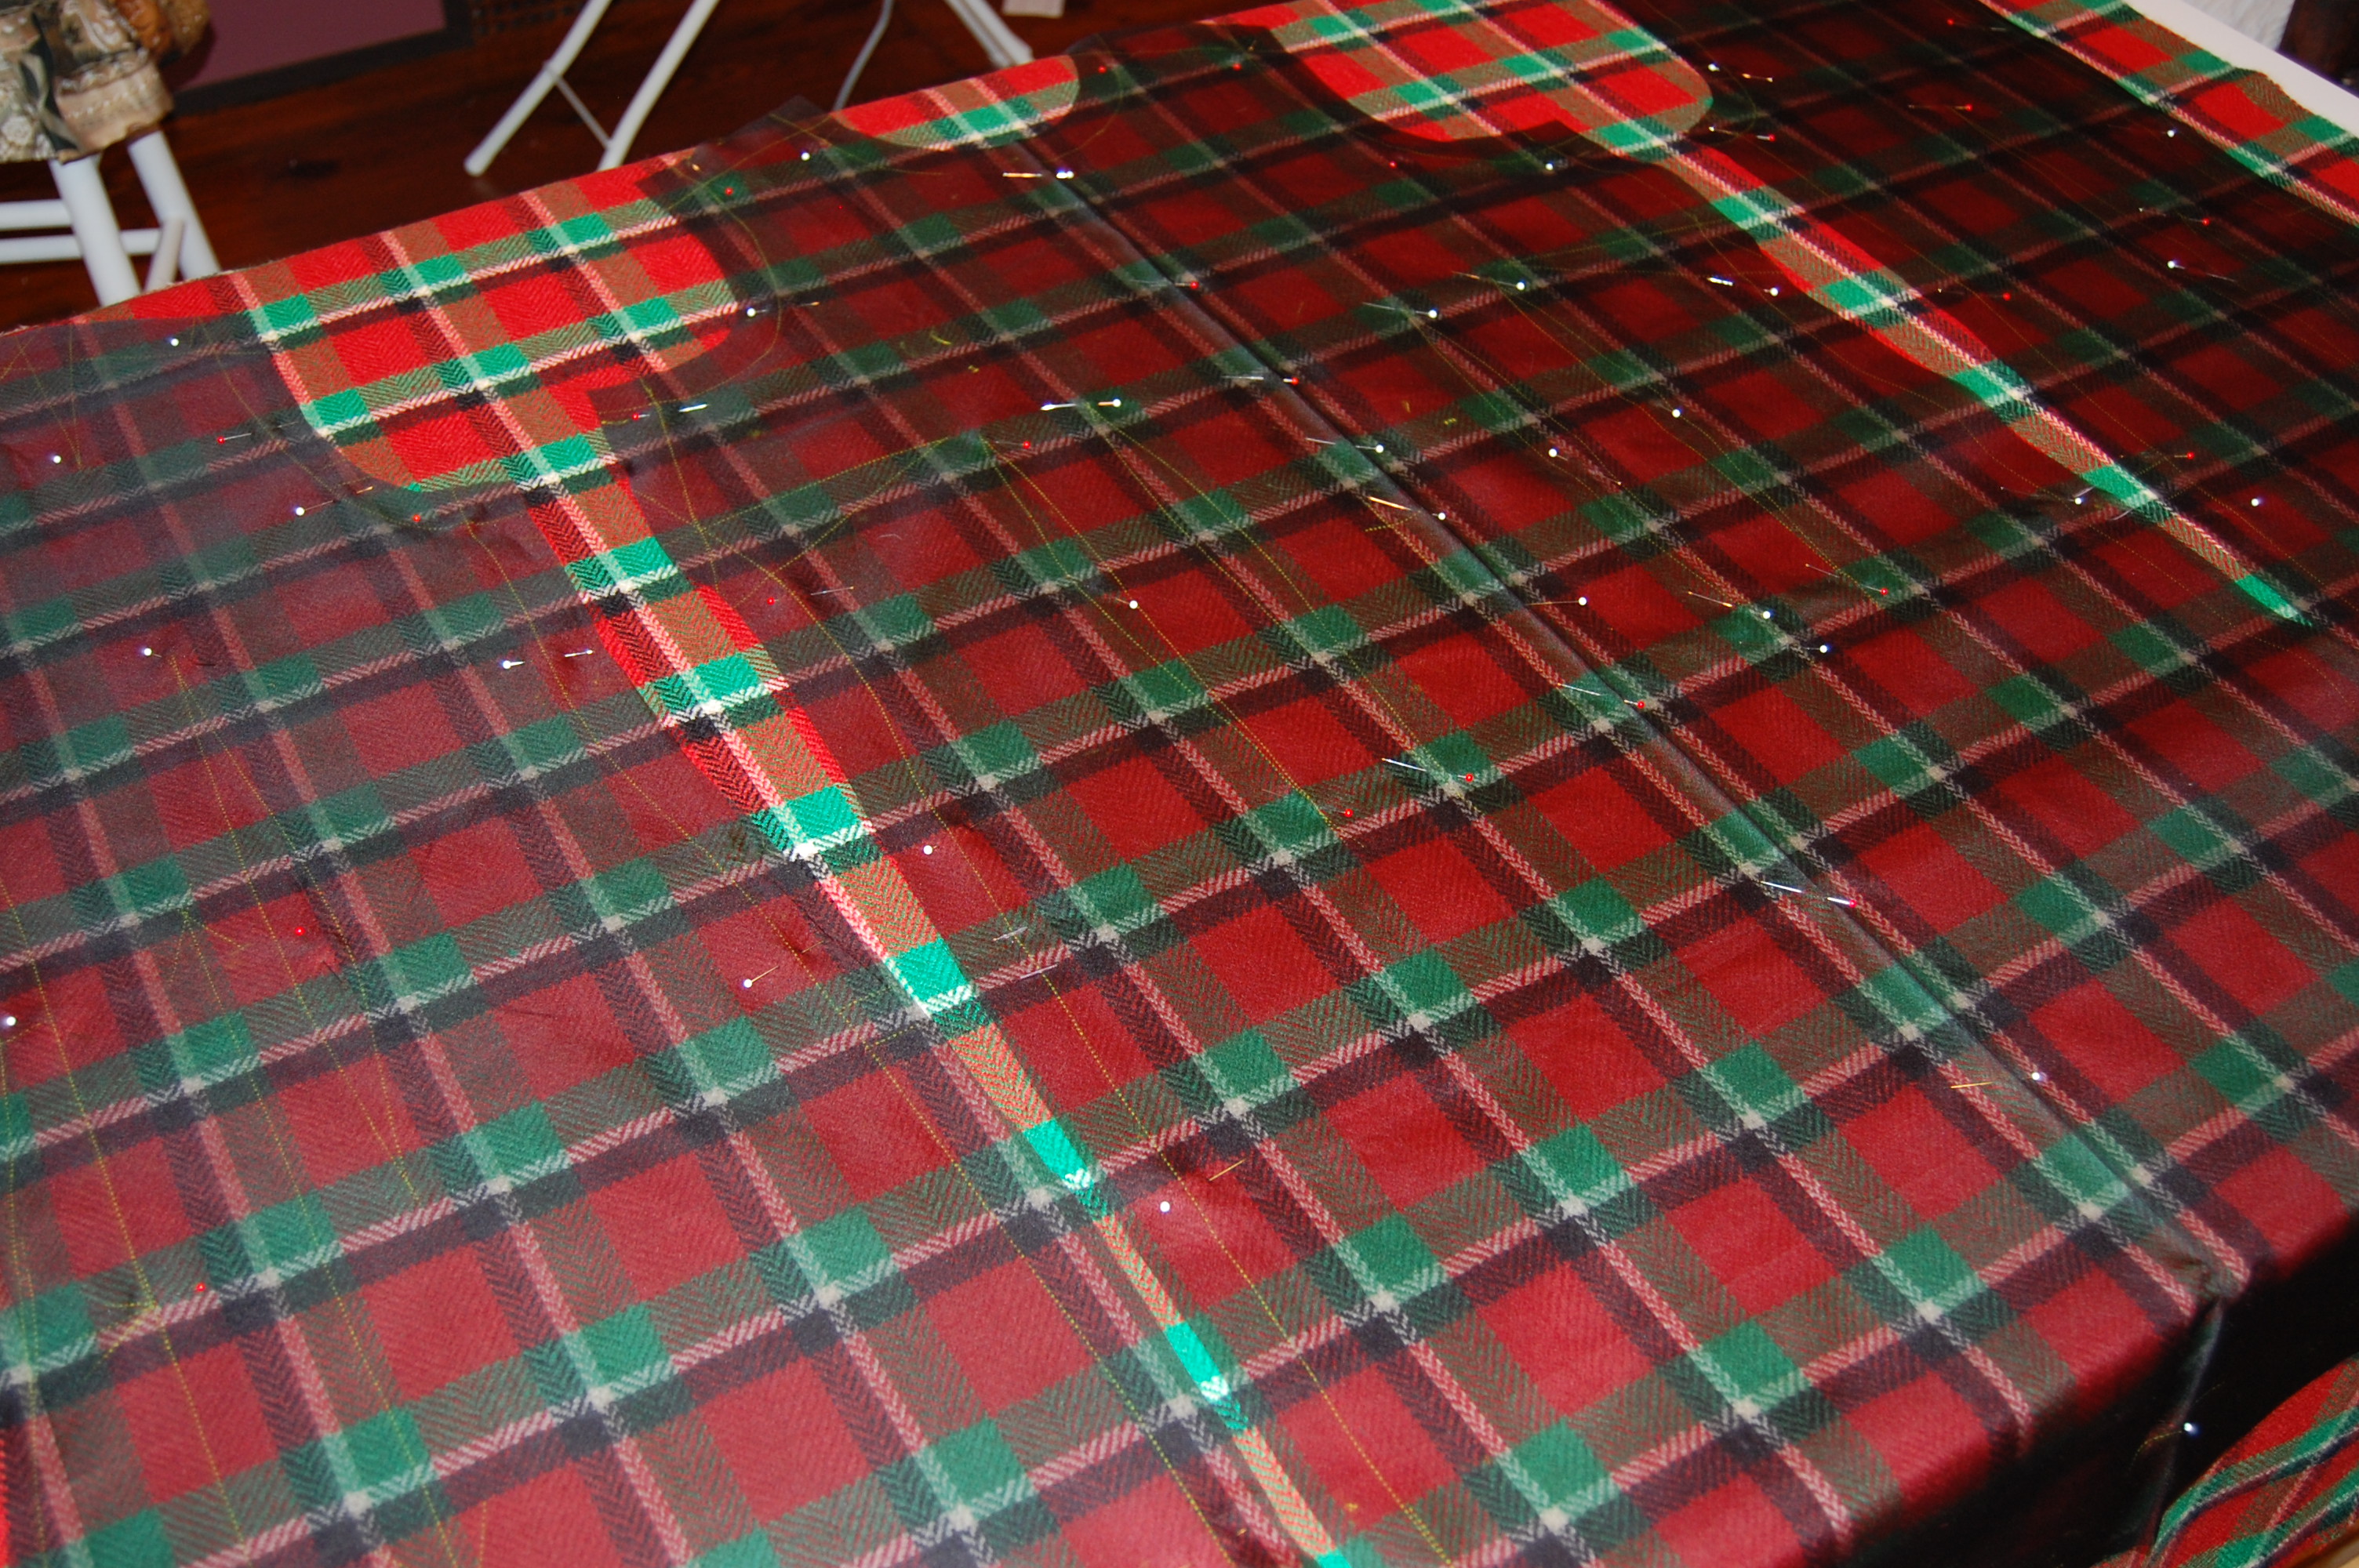
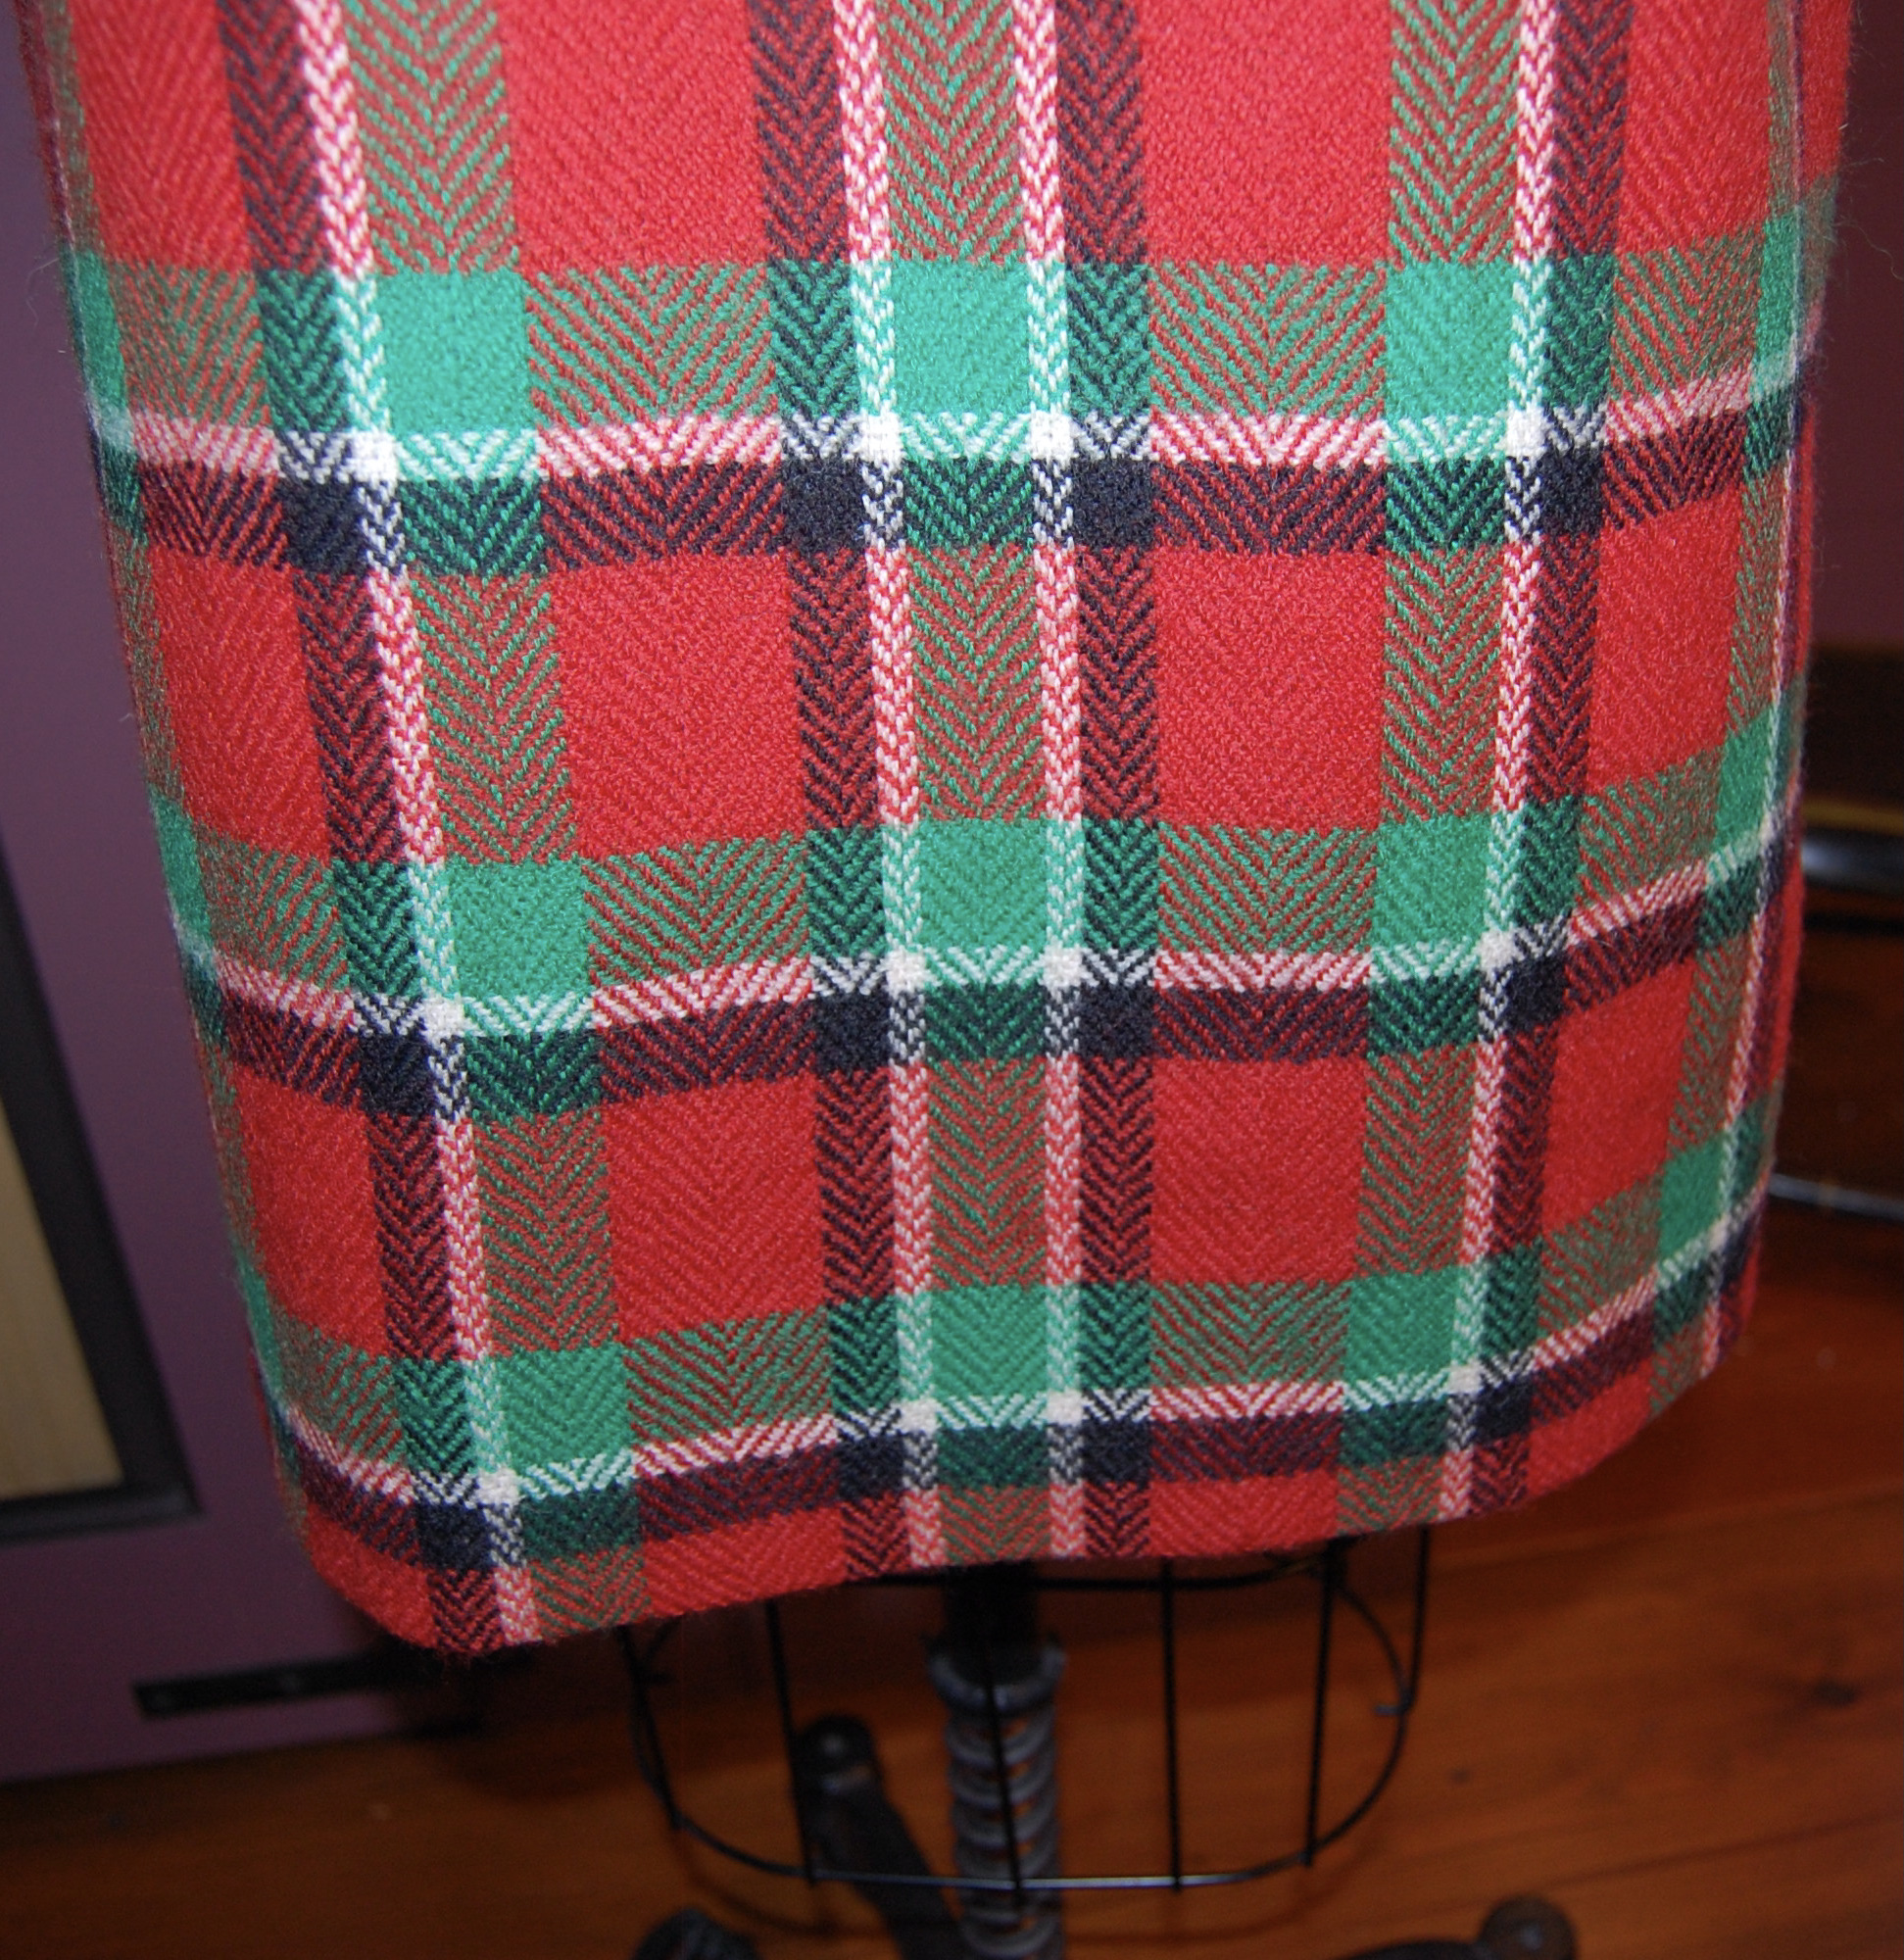
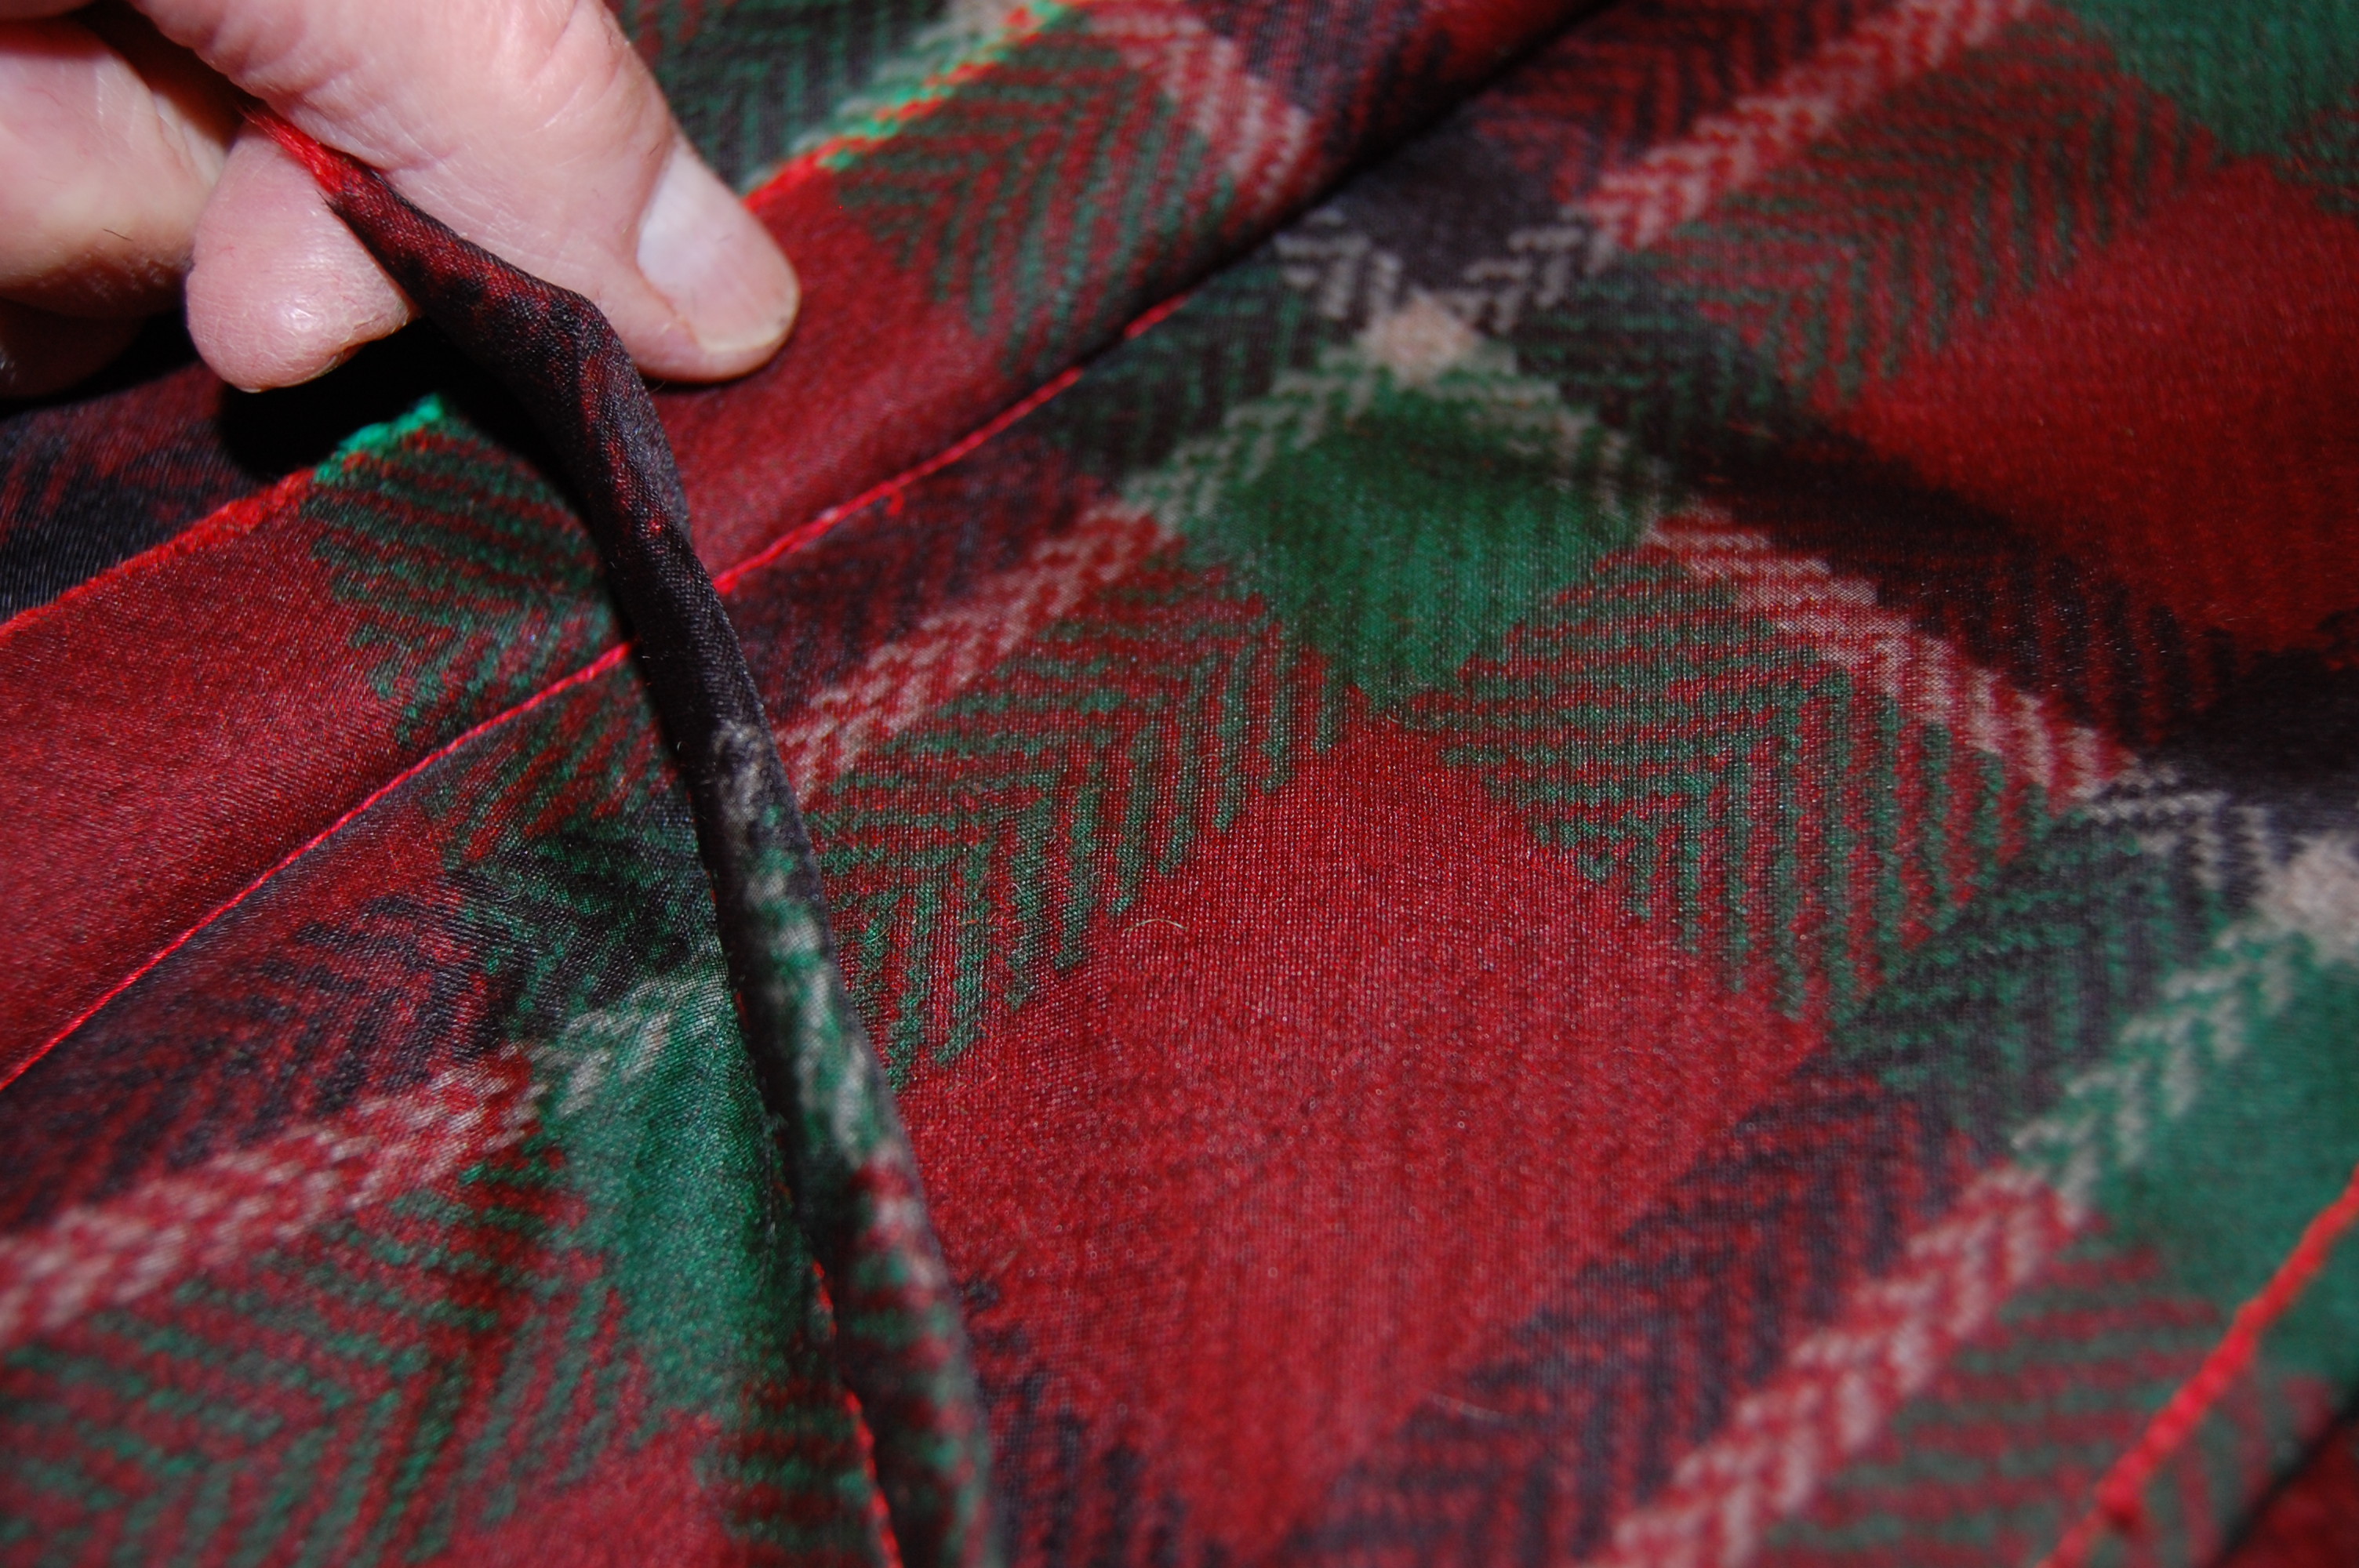
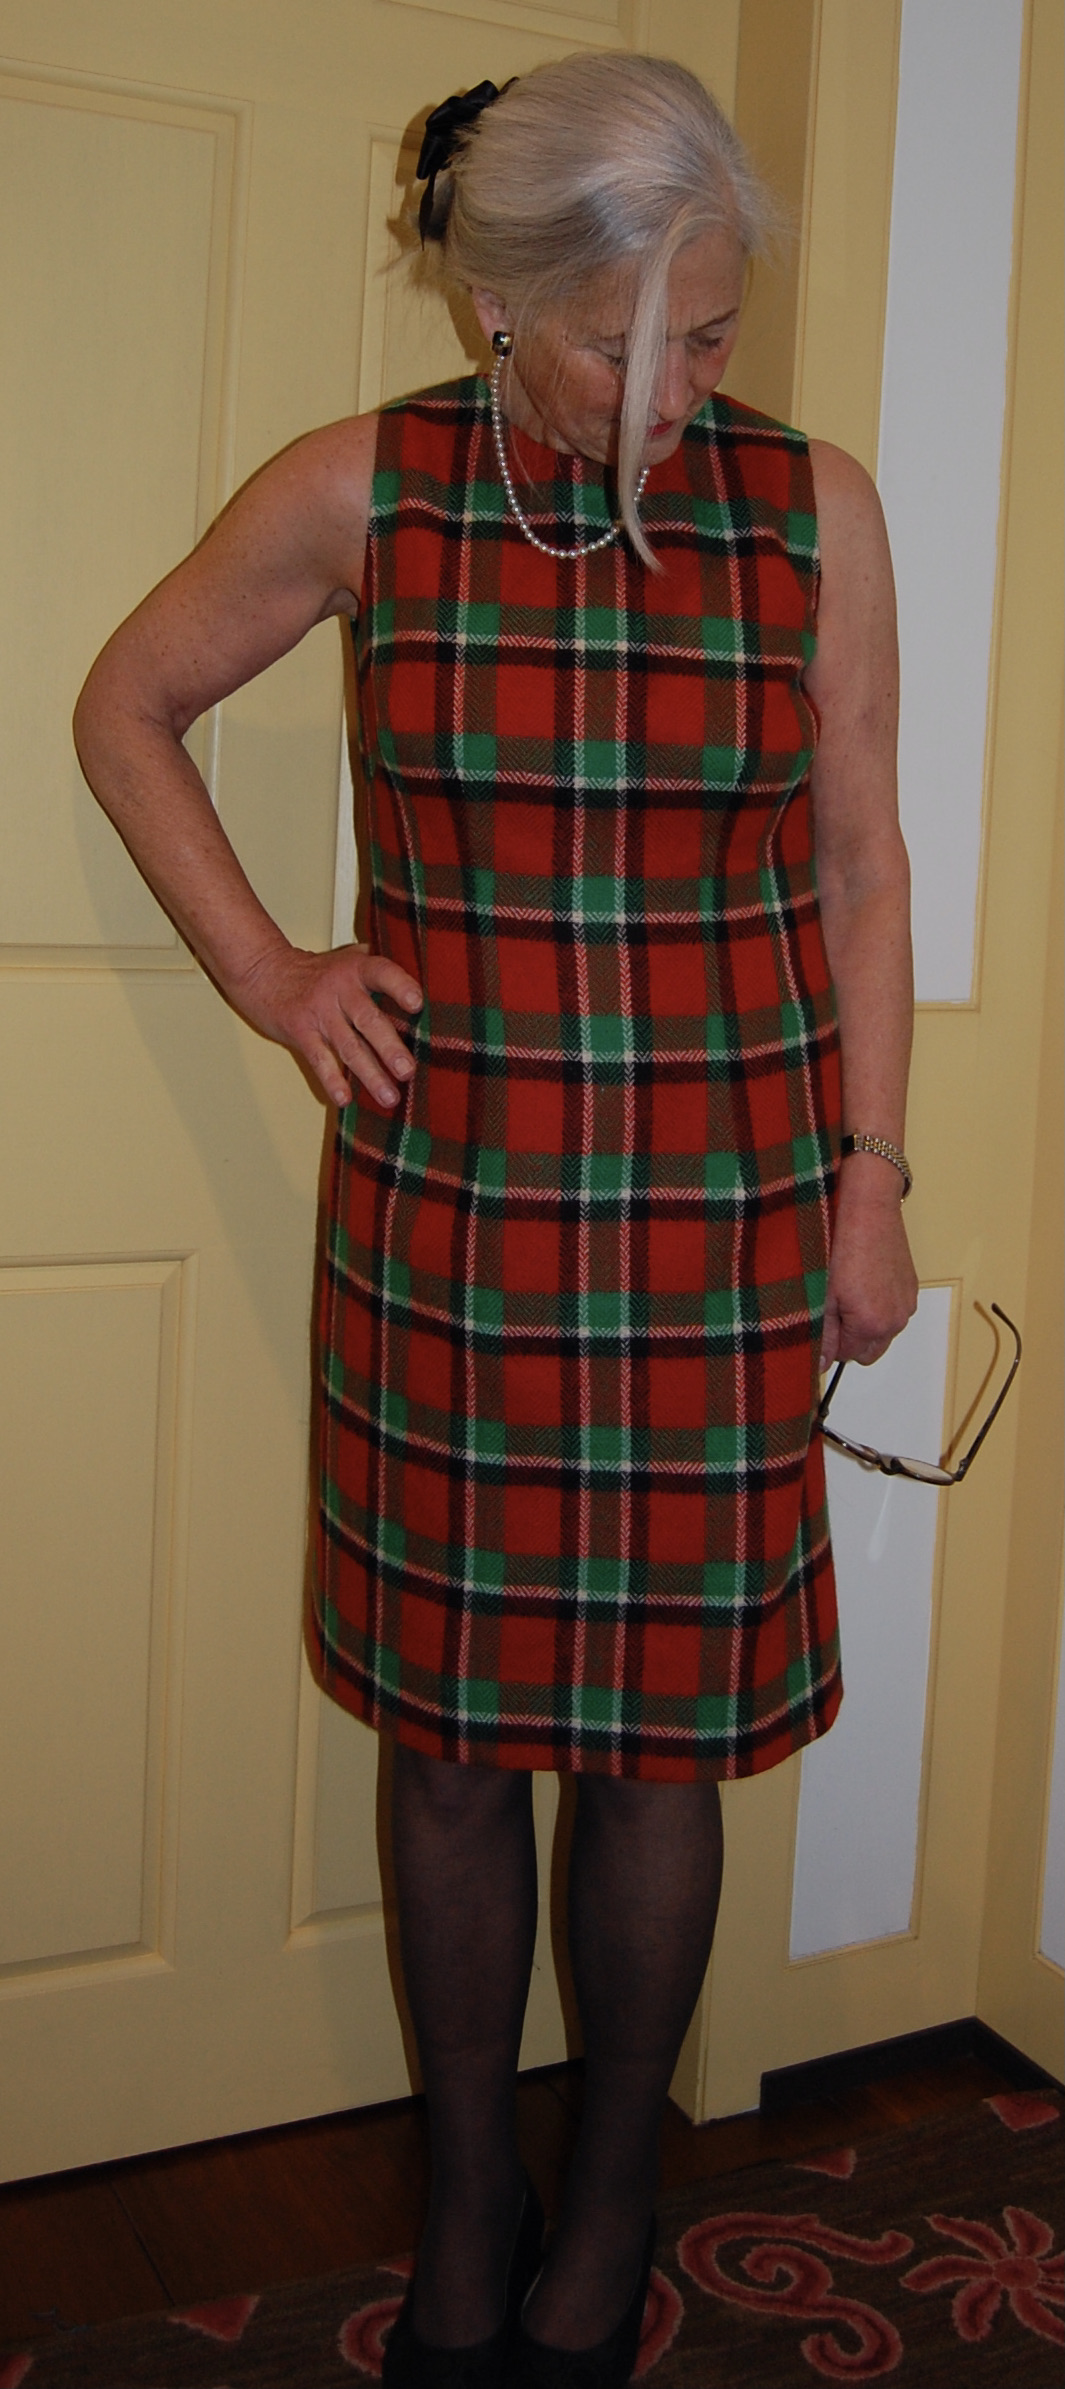
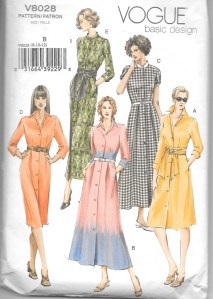
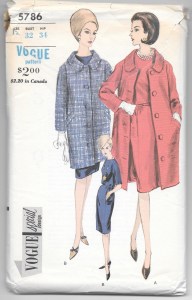
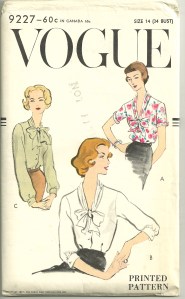
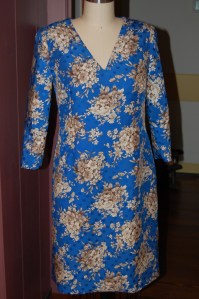
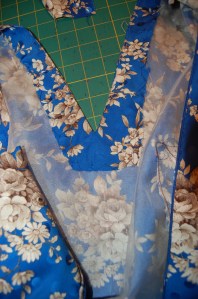
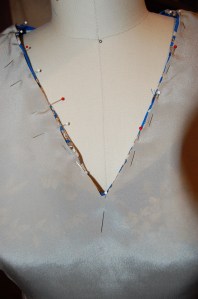
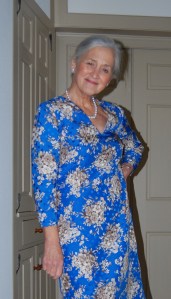
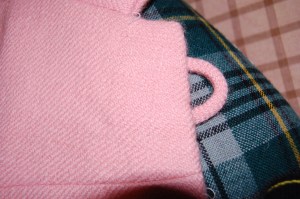
Having spent many summer days and nights in Wyoming before this year, I knew from experience how chilly the mornings – and nights – can be throughout the summer. (The days are warm and glorious, however.) Warm cozy slippers and a winter-weight bathrobe are necessities. And that is why I brought along the afore-mentioned Viyella fabric. Although I packed a winter-weight robe which I made a few years ago, I wanted to make a new robe which I can leave here, therefore eliminating one bulky item from future suitcases.
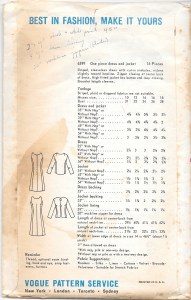
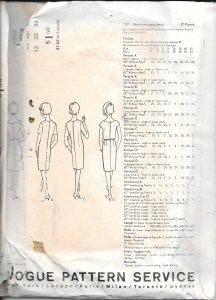
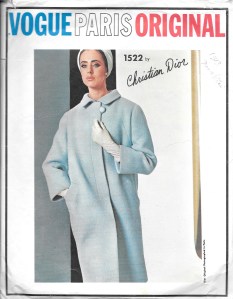
How lovely to have the opportunity to use this vintage Vogue pattern once again.
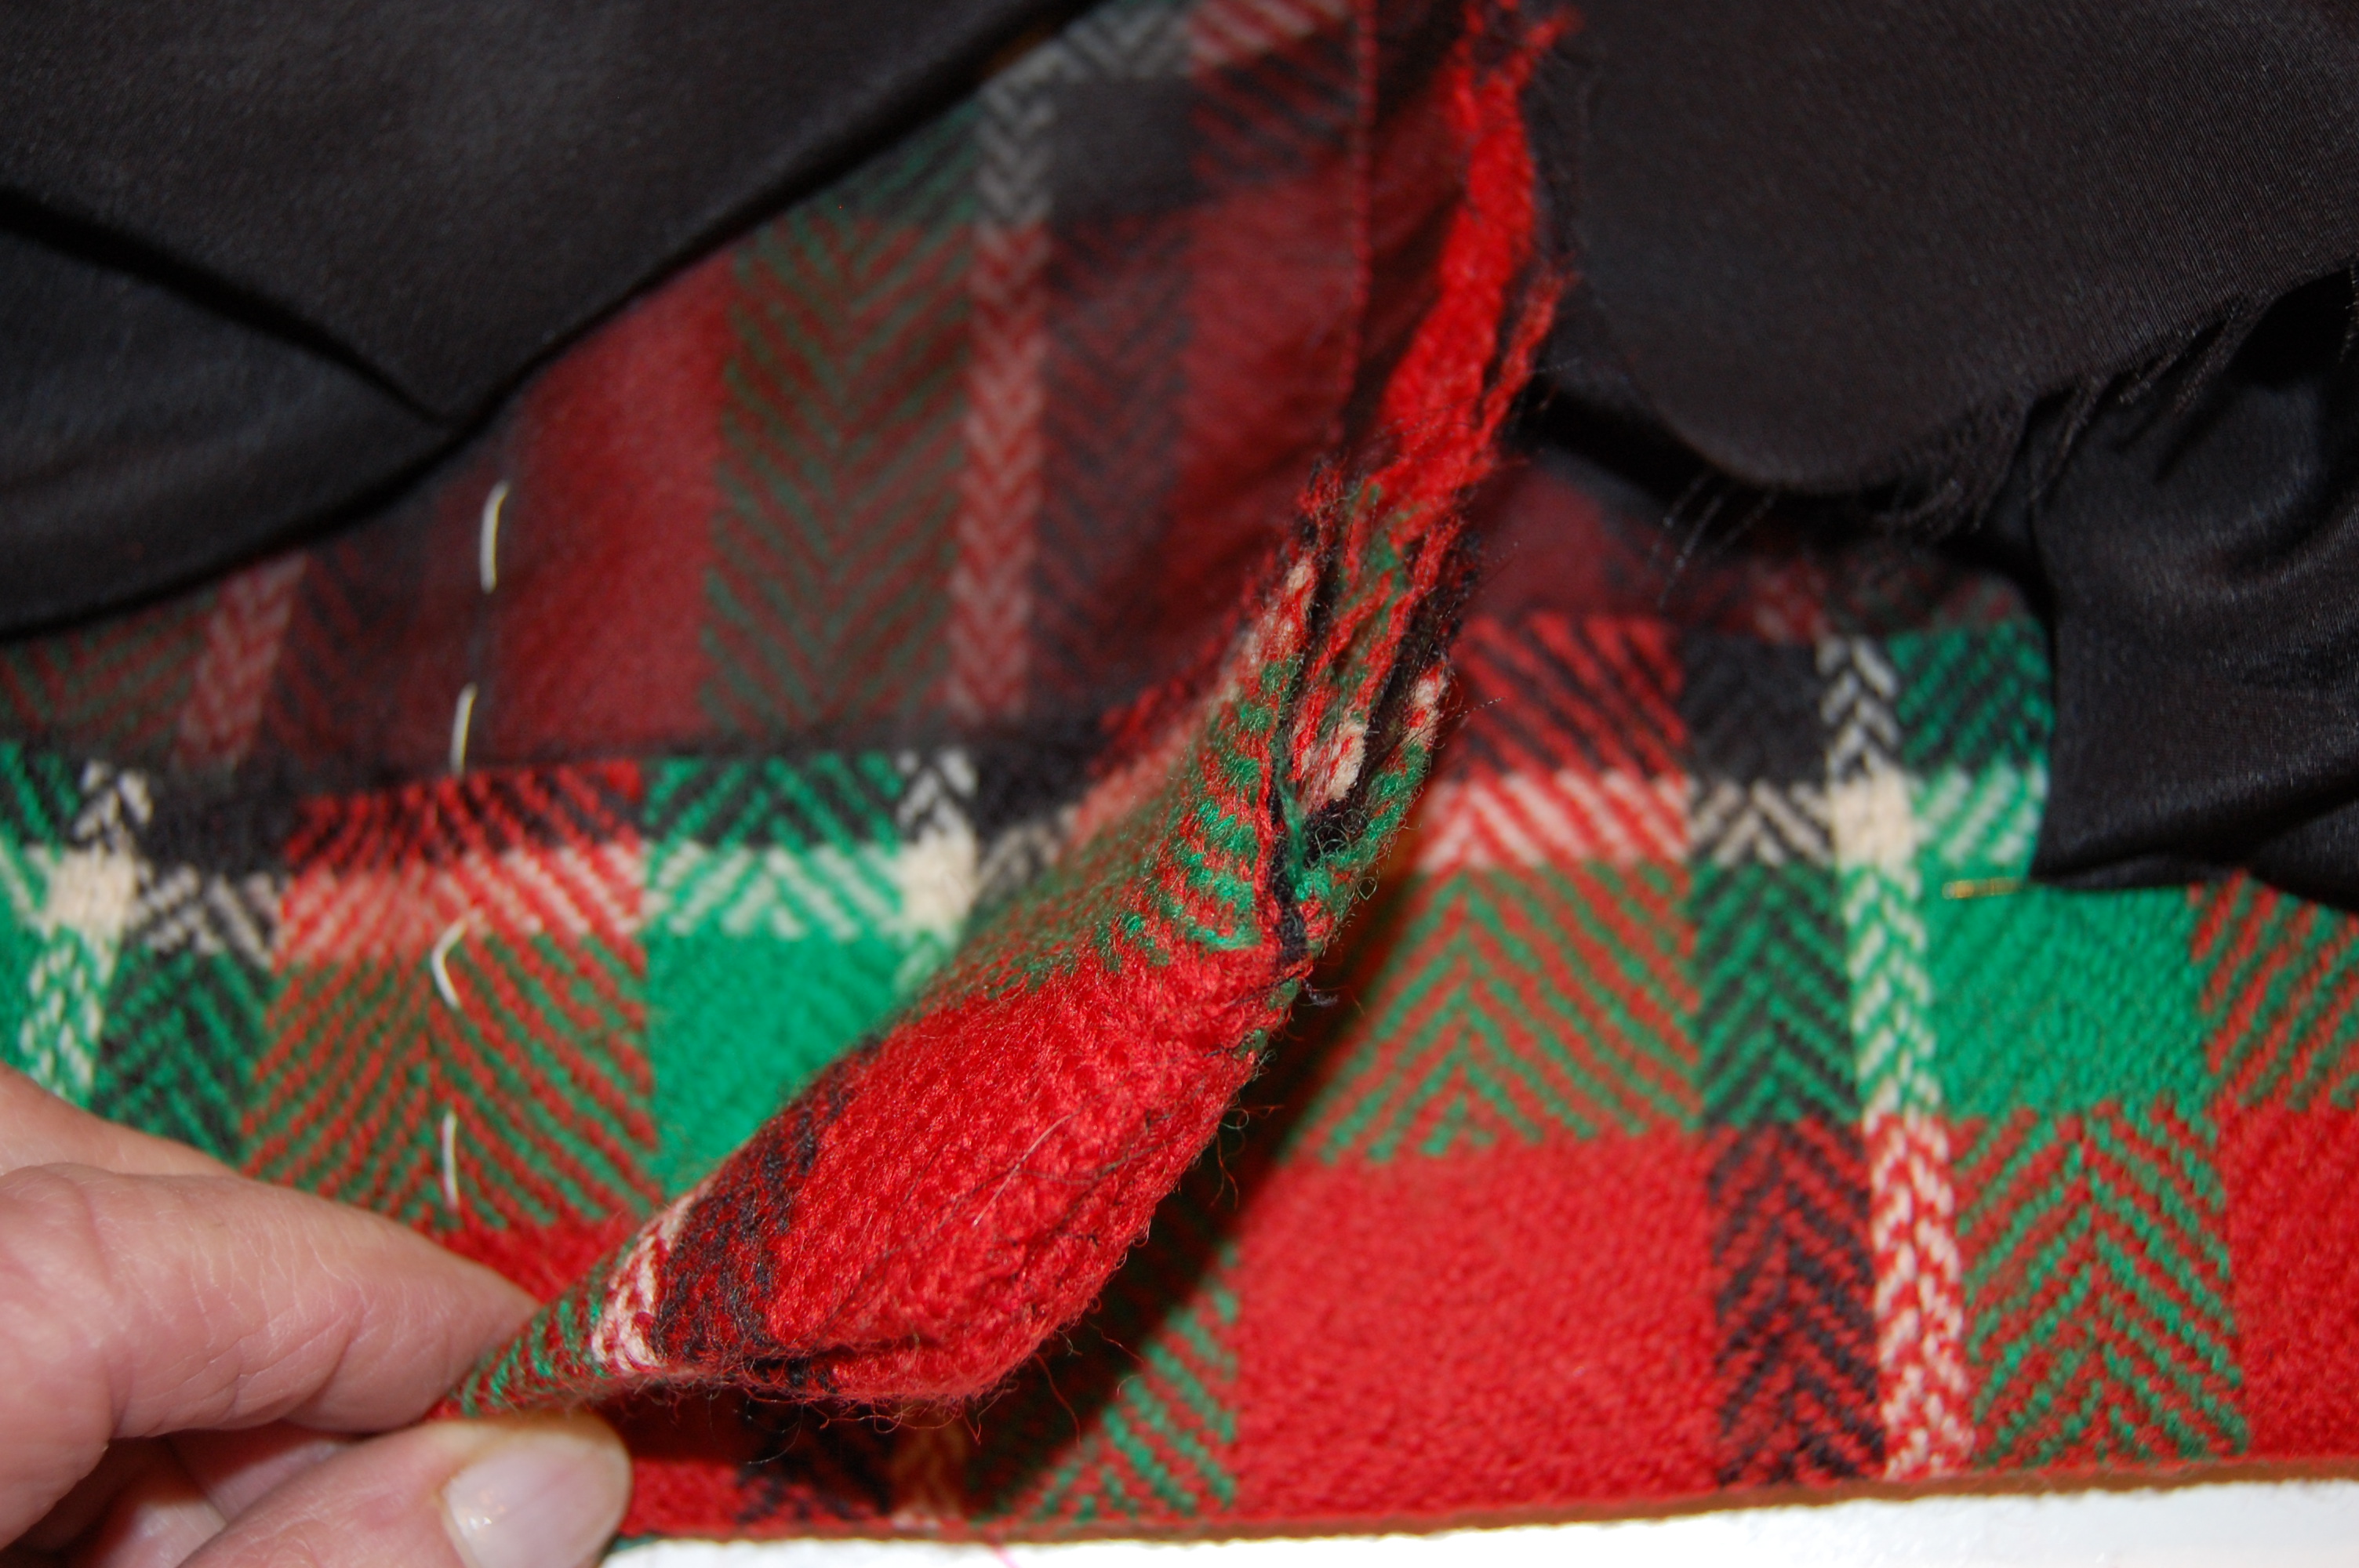
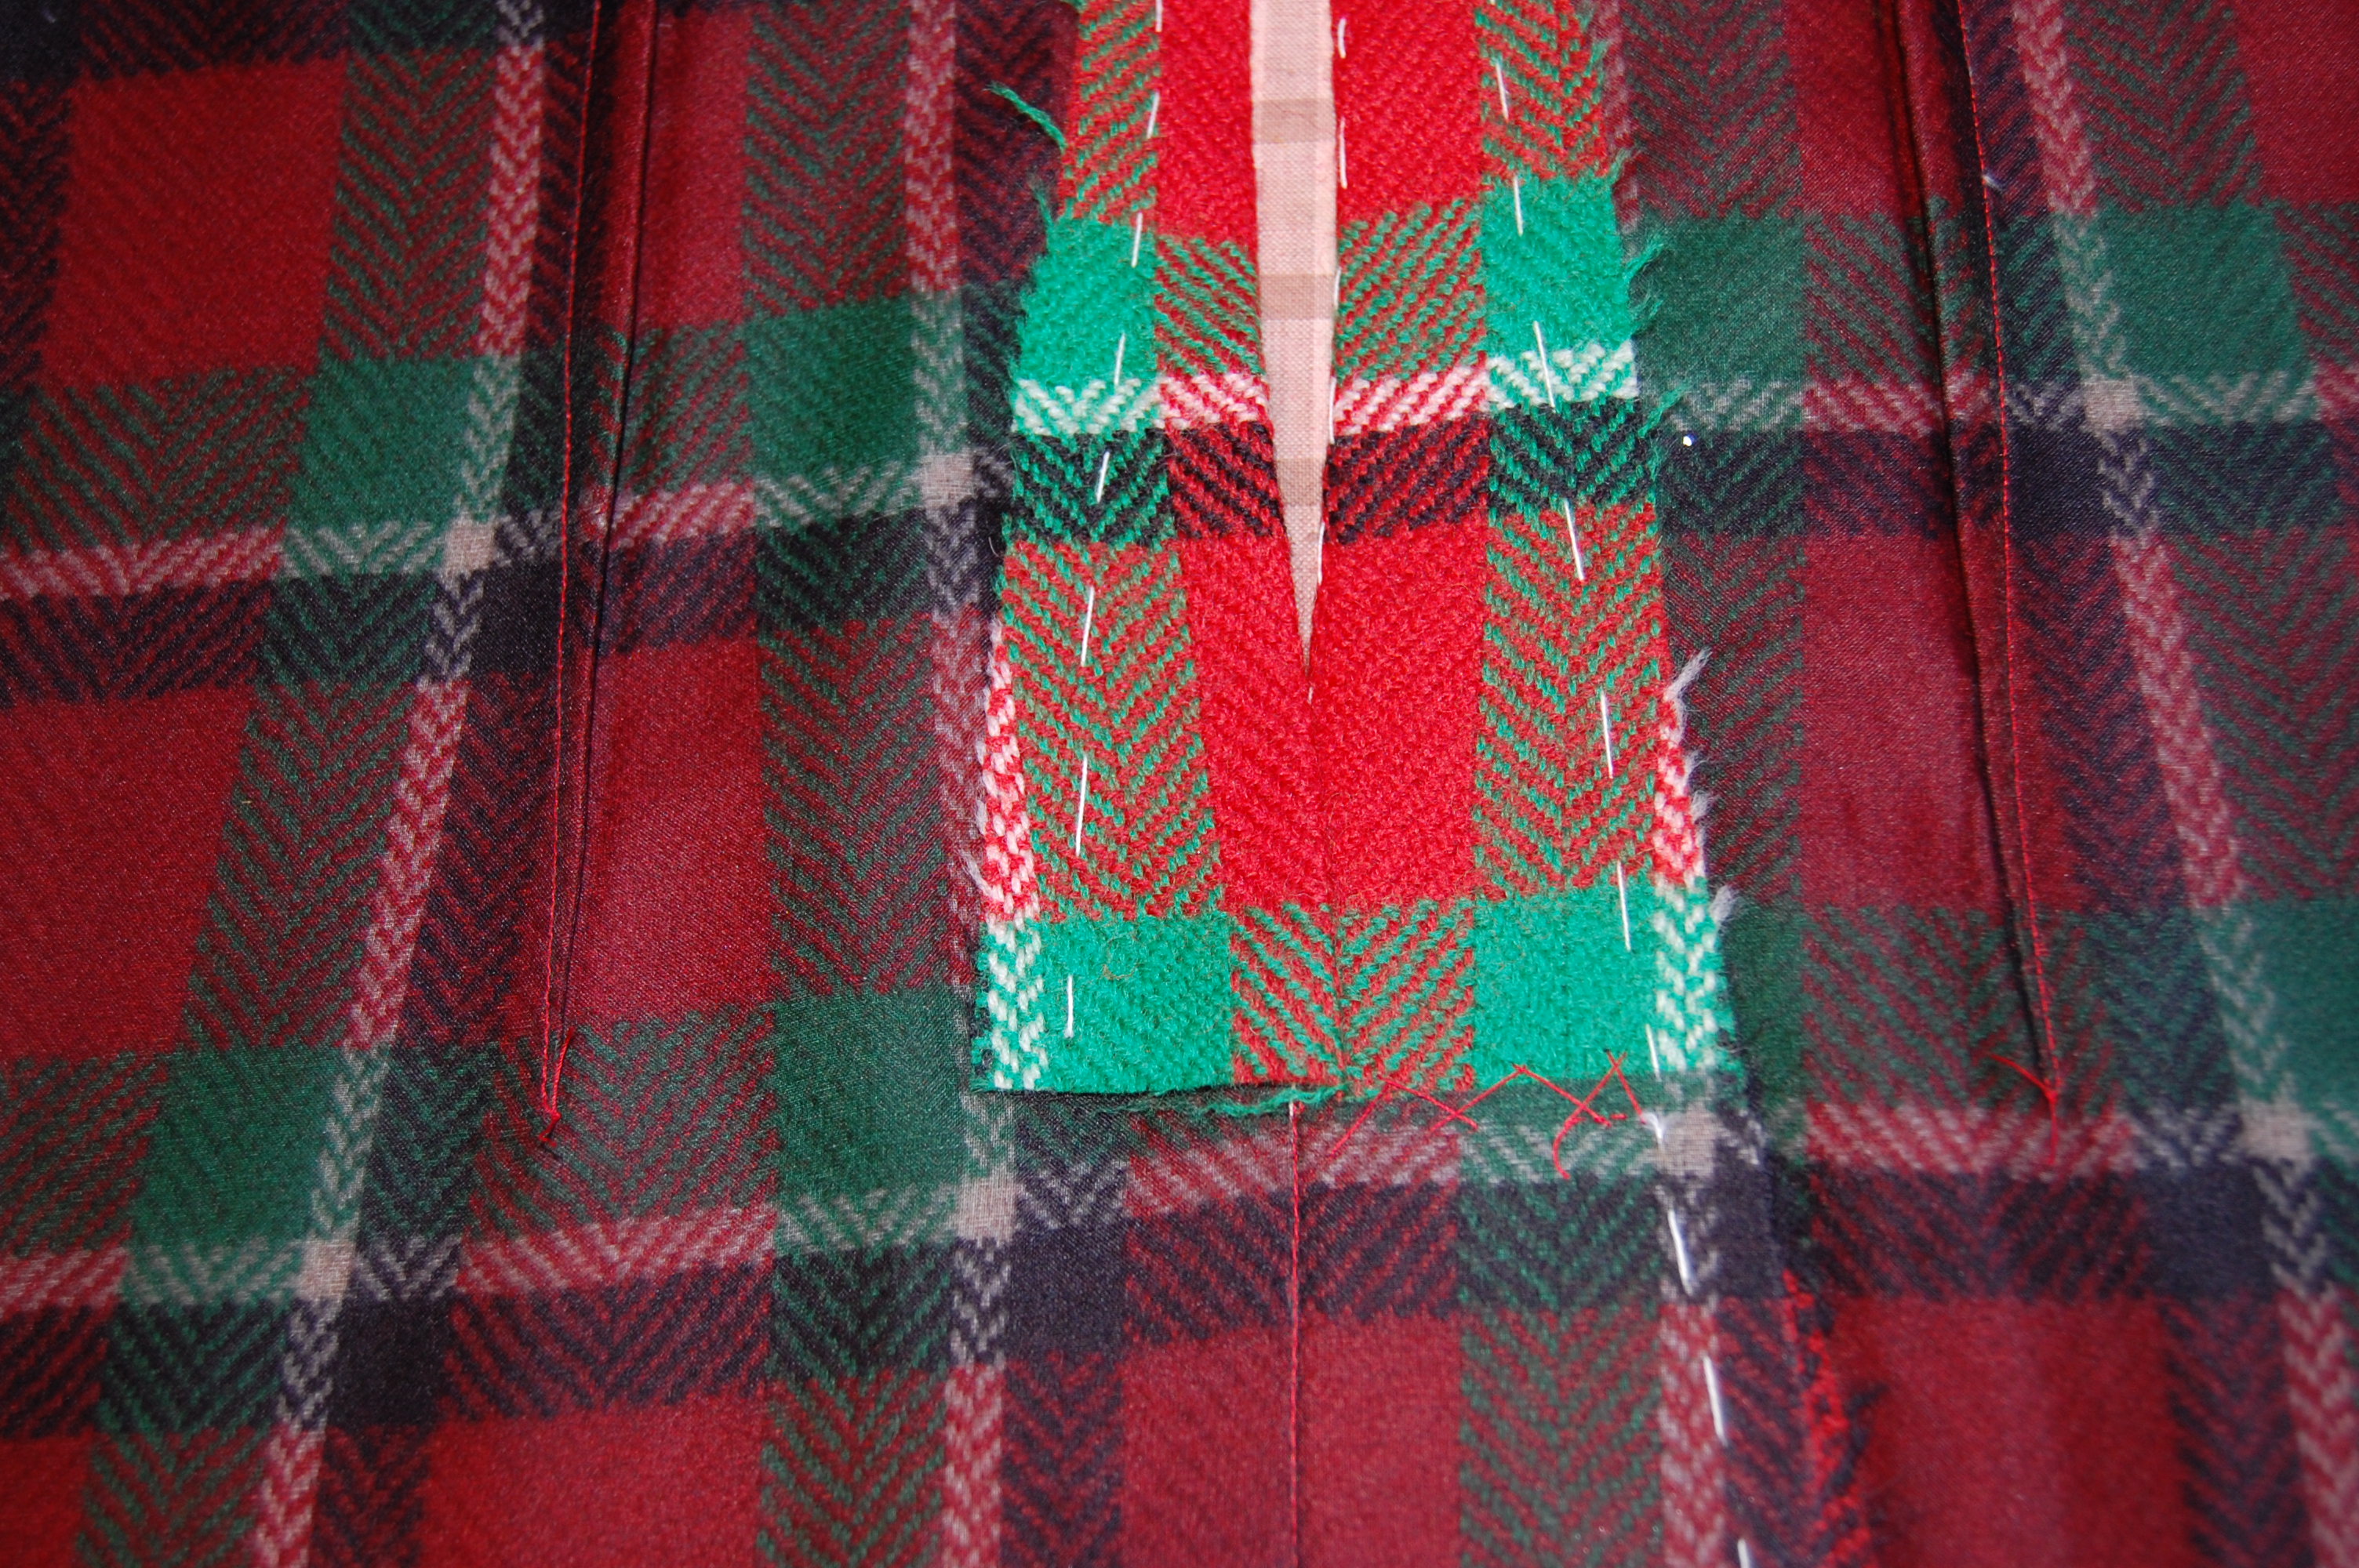
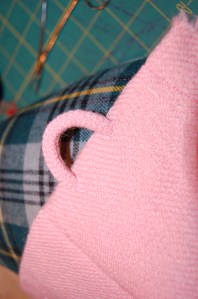
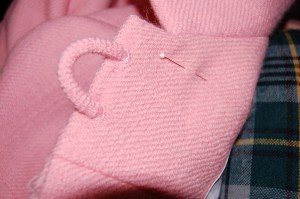
This robe takes a lot of fabric, and it was a tight squeeze fitting all the pattern pieces on it and matching the plaid as well. I had to make the sash out of two pieces of fabric, seaming it in the back. Additionally, I had enough fabric for only one pocket (I prefer two.) But, I am happy with the outcome, and very pleased to have used one more piece of fabric from my sizeable collection!
Viyella is the perfect fabric for a lightweight, but warm bathrobe. It is machine washable, and gets softer with age.
While the bathrobe, and the little dresses, were enjoyable to make, neither were challenging in the “couture” sense. So I did my “couture” dreaming vicariously through the Susan Khalje Couture Sewing Club, where inspiration abounds in many forms. Earlier in the month, Susan was interviewed for the “Love to Sew” podcast. Treat yourself and spend a lovely hour-plus listening to it, if you haven’t already done so. The interview, Episode 106, dated August 12th, can be found here:
www.lovetosewpodcast.com.
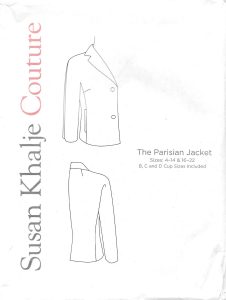
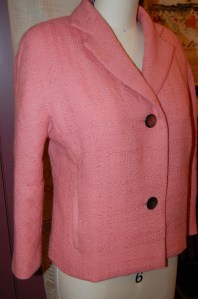
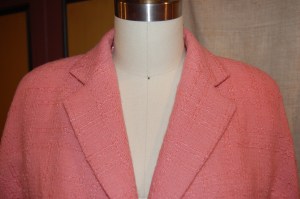
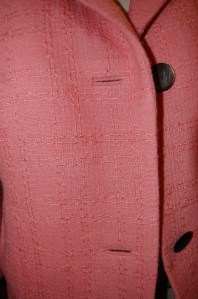
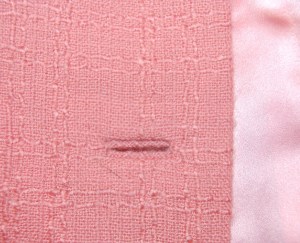
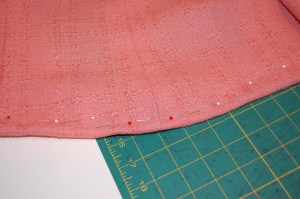
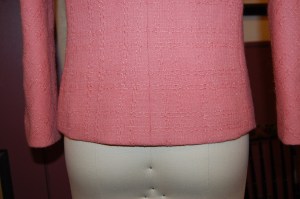
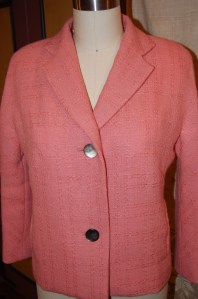
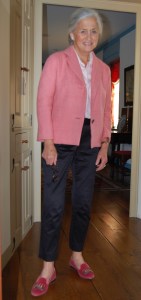
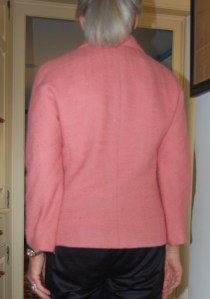
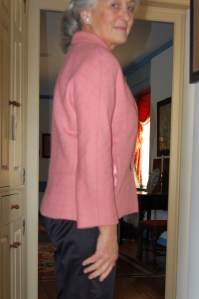
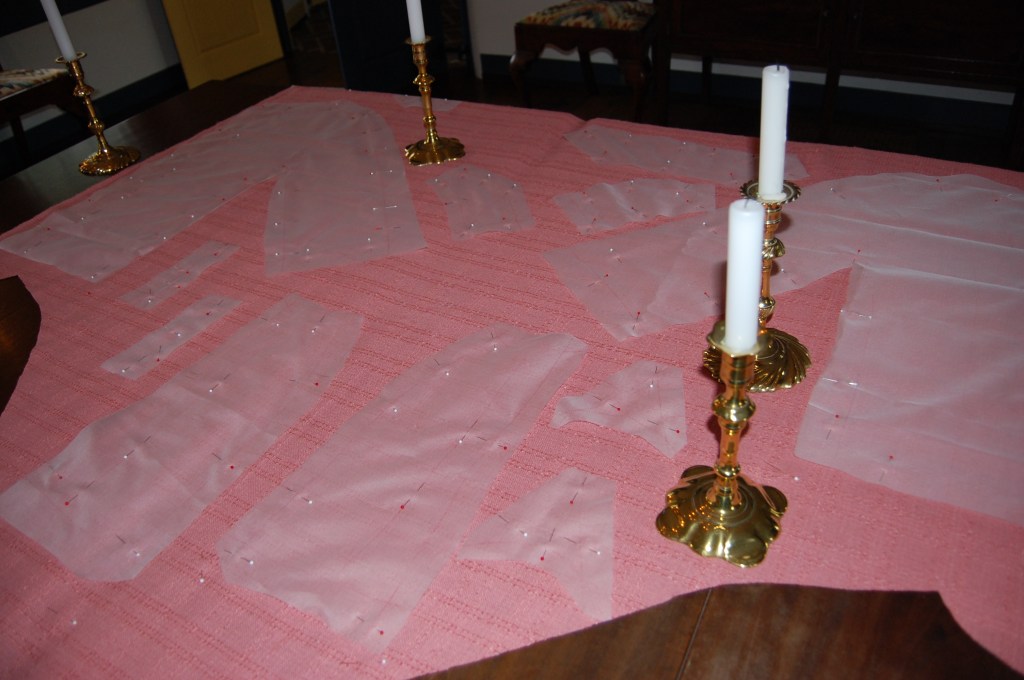
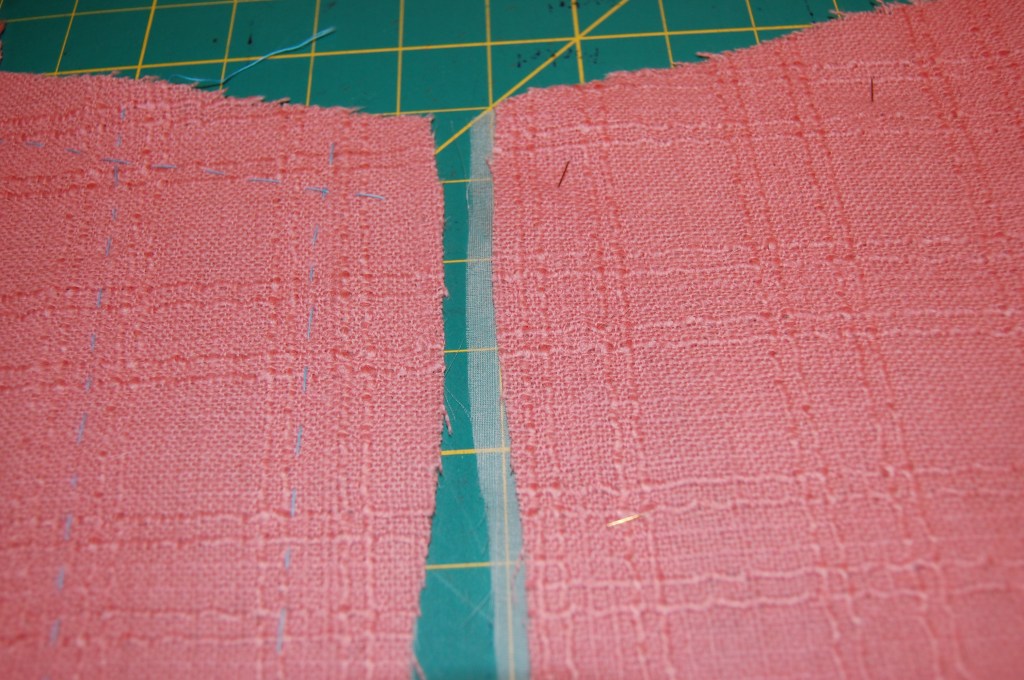
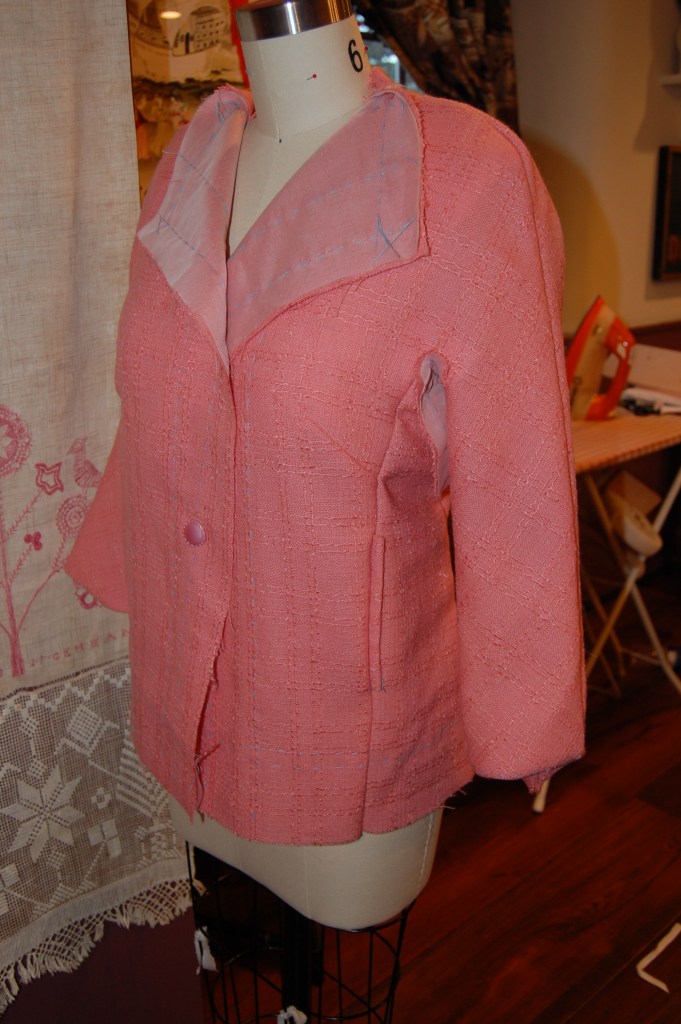
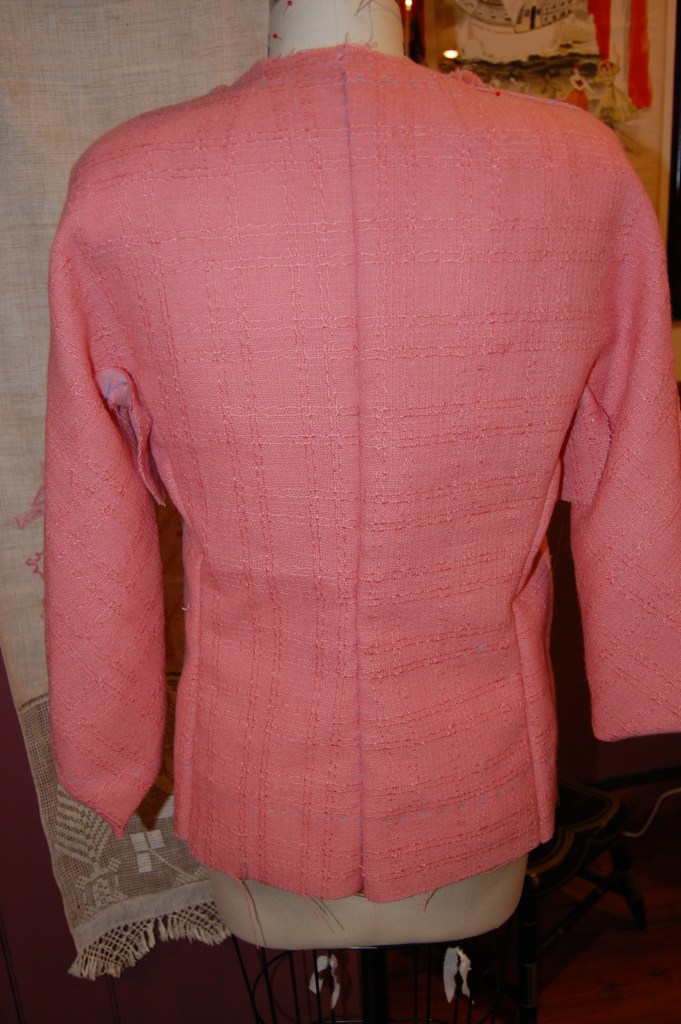
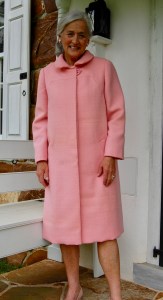
Among Susan’s new pattern offerings is this jacket:
When I arrive back home in Pennsylvania, I will be searching through my fabric closet for the perfect pairing for this pattern. I am just itching to challenge myself with such a project. No more pillows, at least for now!
15 Comments
Filed under Bathrobes, Buttons - choosing the right ones, Fashion commentary, Sewing for children, Uncategorized, Vintage fabric, vintage Vogue patterns from the 1950s
Tagged as 1950's Vogue patterns, Bathrobes, fashion sewing, sewing for children, Susan Khalje Couture, vintage Vogue patterns