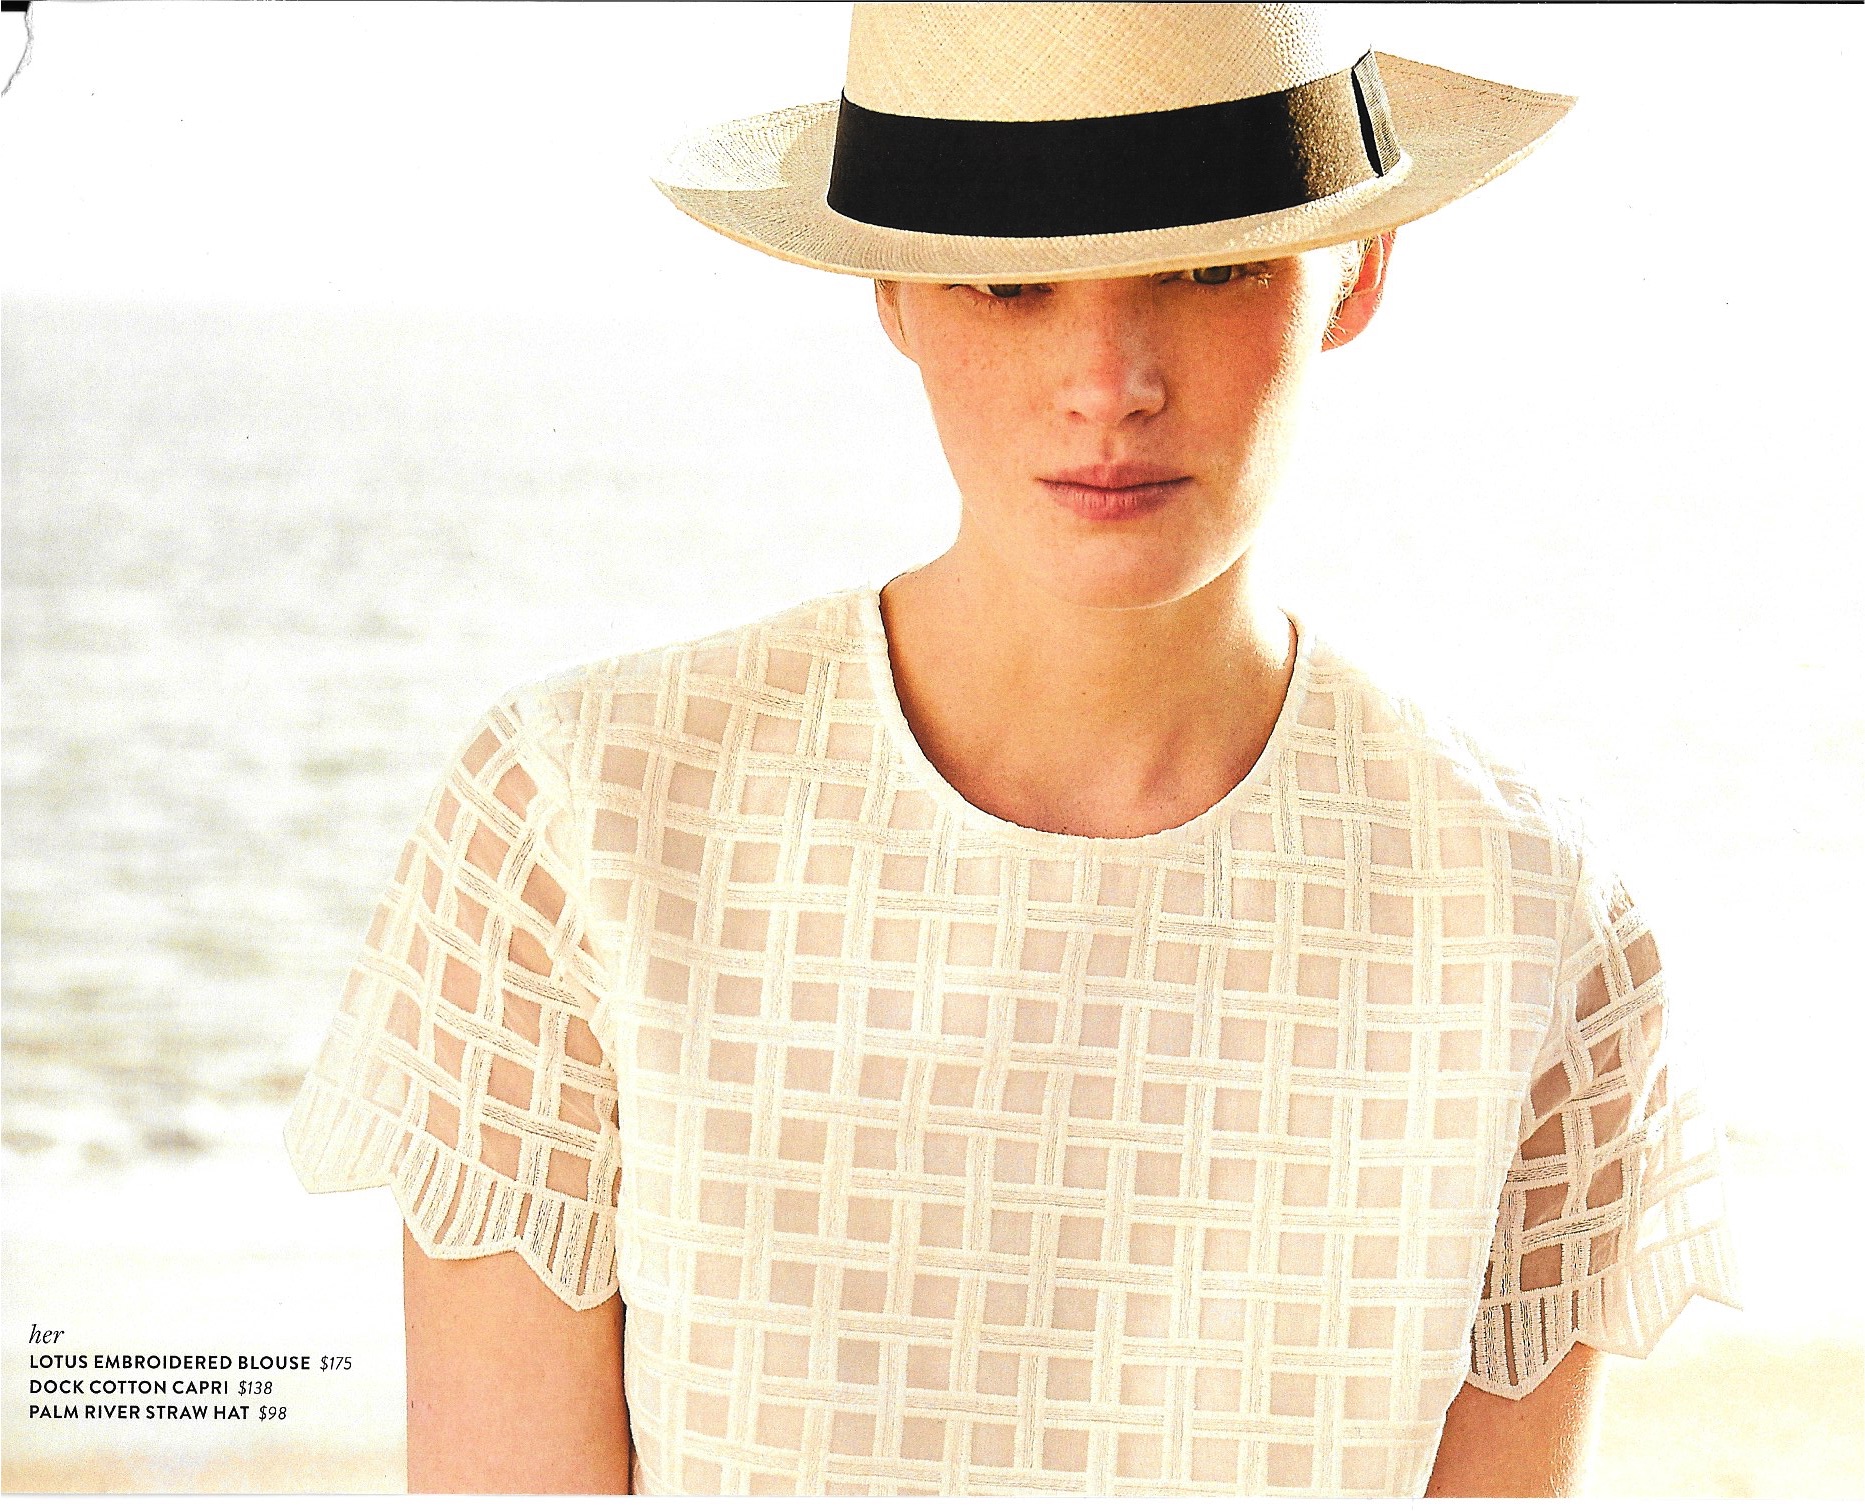
This time of year is not called The Festive Season without good reason. Replete with parties and holiday events, December is like no other month of the year. Particularly delightful are the parties which are given in someone’s home – and they deserve special attention to attire. I firmly believe it is a compliment to your host and/or hostess to dress up according to the season – which means Festive Attire.
When I am considering what to make (and wear) for a Christmas Party, I keep these things in mind:
1) It should be feminine – as in a party skirt or dress (not pants, with my apologies to those of you who prefer them).
2) If possible, all or some of it should be silk, that luxurious and elegant fabric which always makes a statement.
3) It should be fancy which leaves open many possibilies.
4) Something about it should be colorful – preferably red, the perfect hue for a bright holiday look.
So, how did I do?

The lace for the overblouse is from Mendel Goldberg Fabrics. I found it online this past summer. Although at the time, I did not know what I was going to make, it was an end-cut, so the yardage was ample. I figured I’d make that decision later. The red fabric for the skirt is a silk faille. I purchased it several years ago and had it in my fabric storage closet. Now I can’t remember what I intended to use it for; I remember when it arrived, I thought it was too stiff for whatever that was. I kind of despaired that I’d never find a suitable use for it, until I got the idea for this outfit.
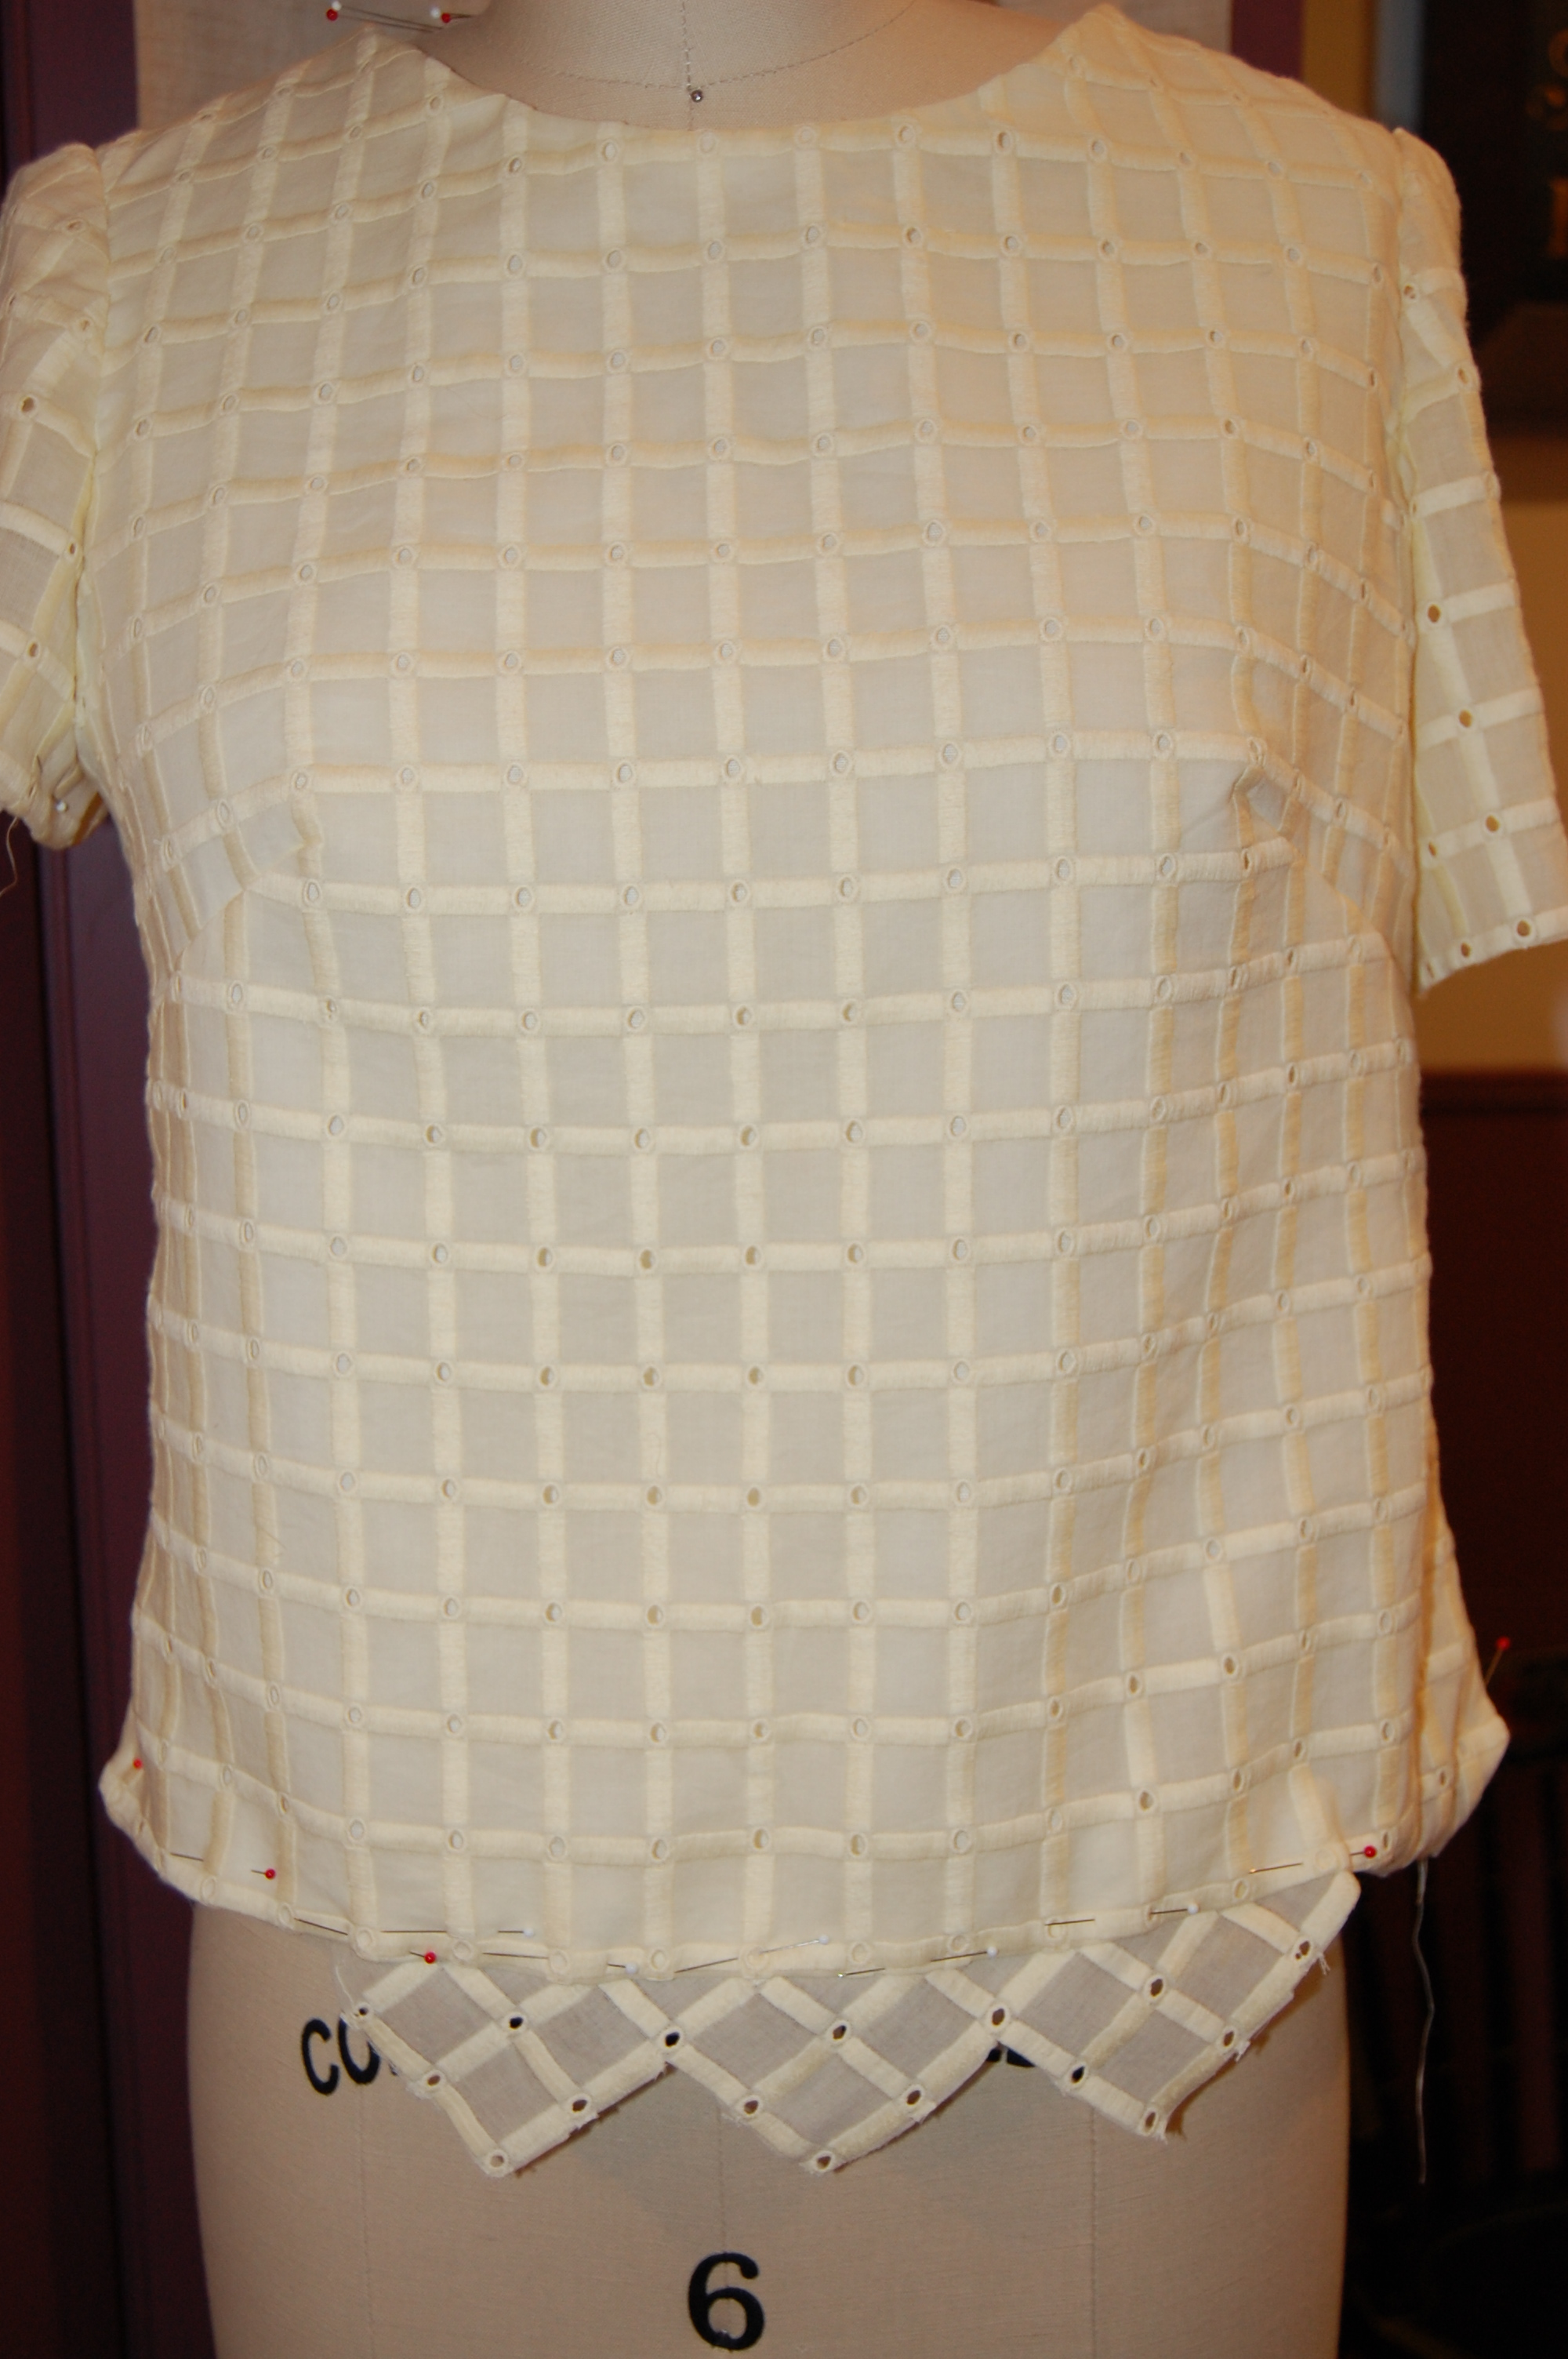
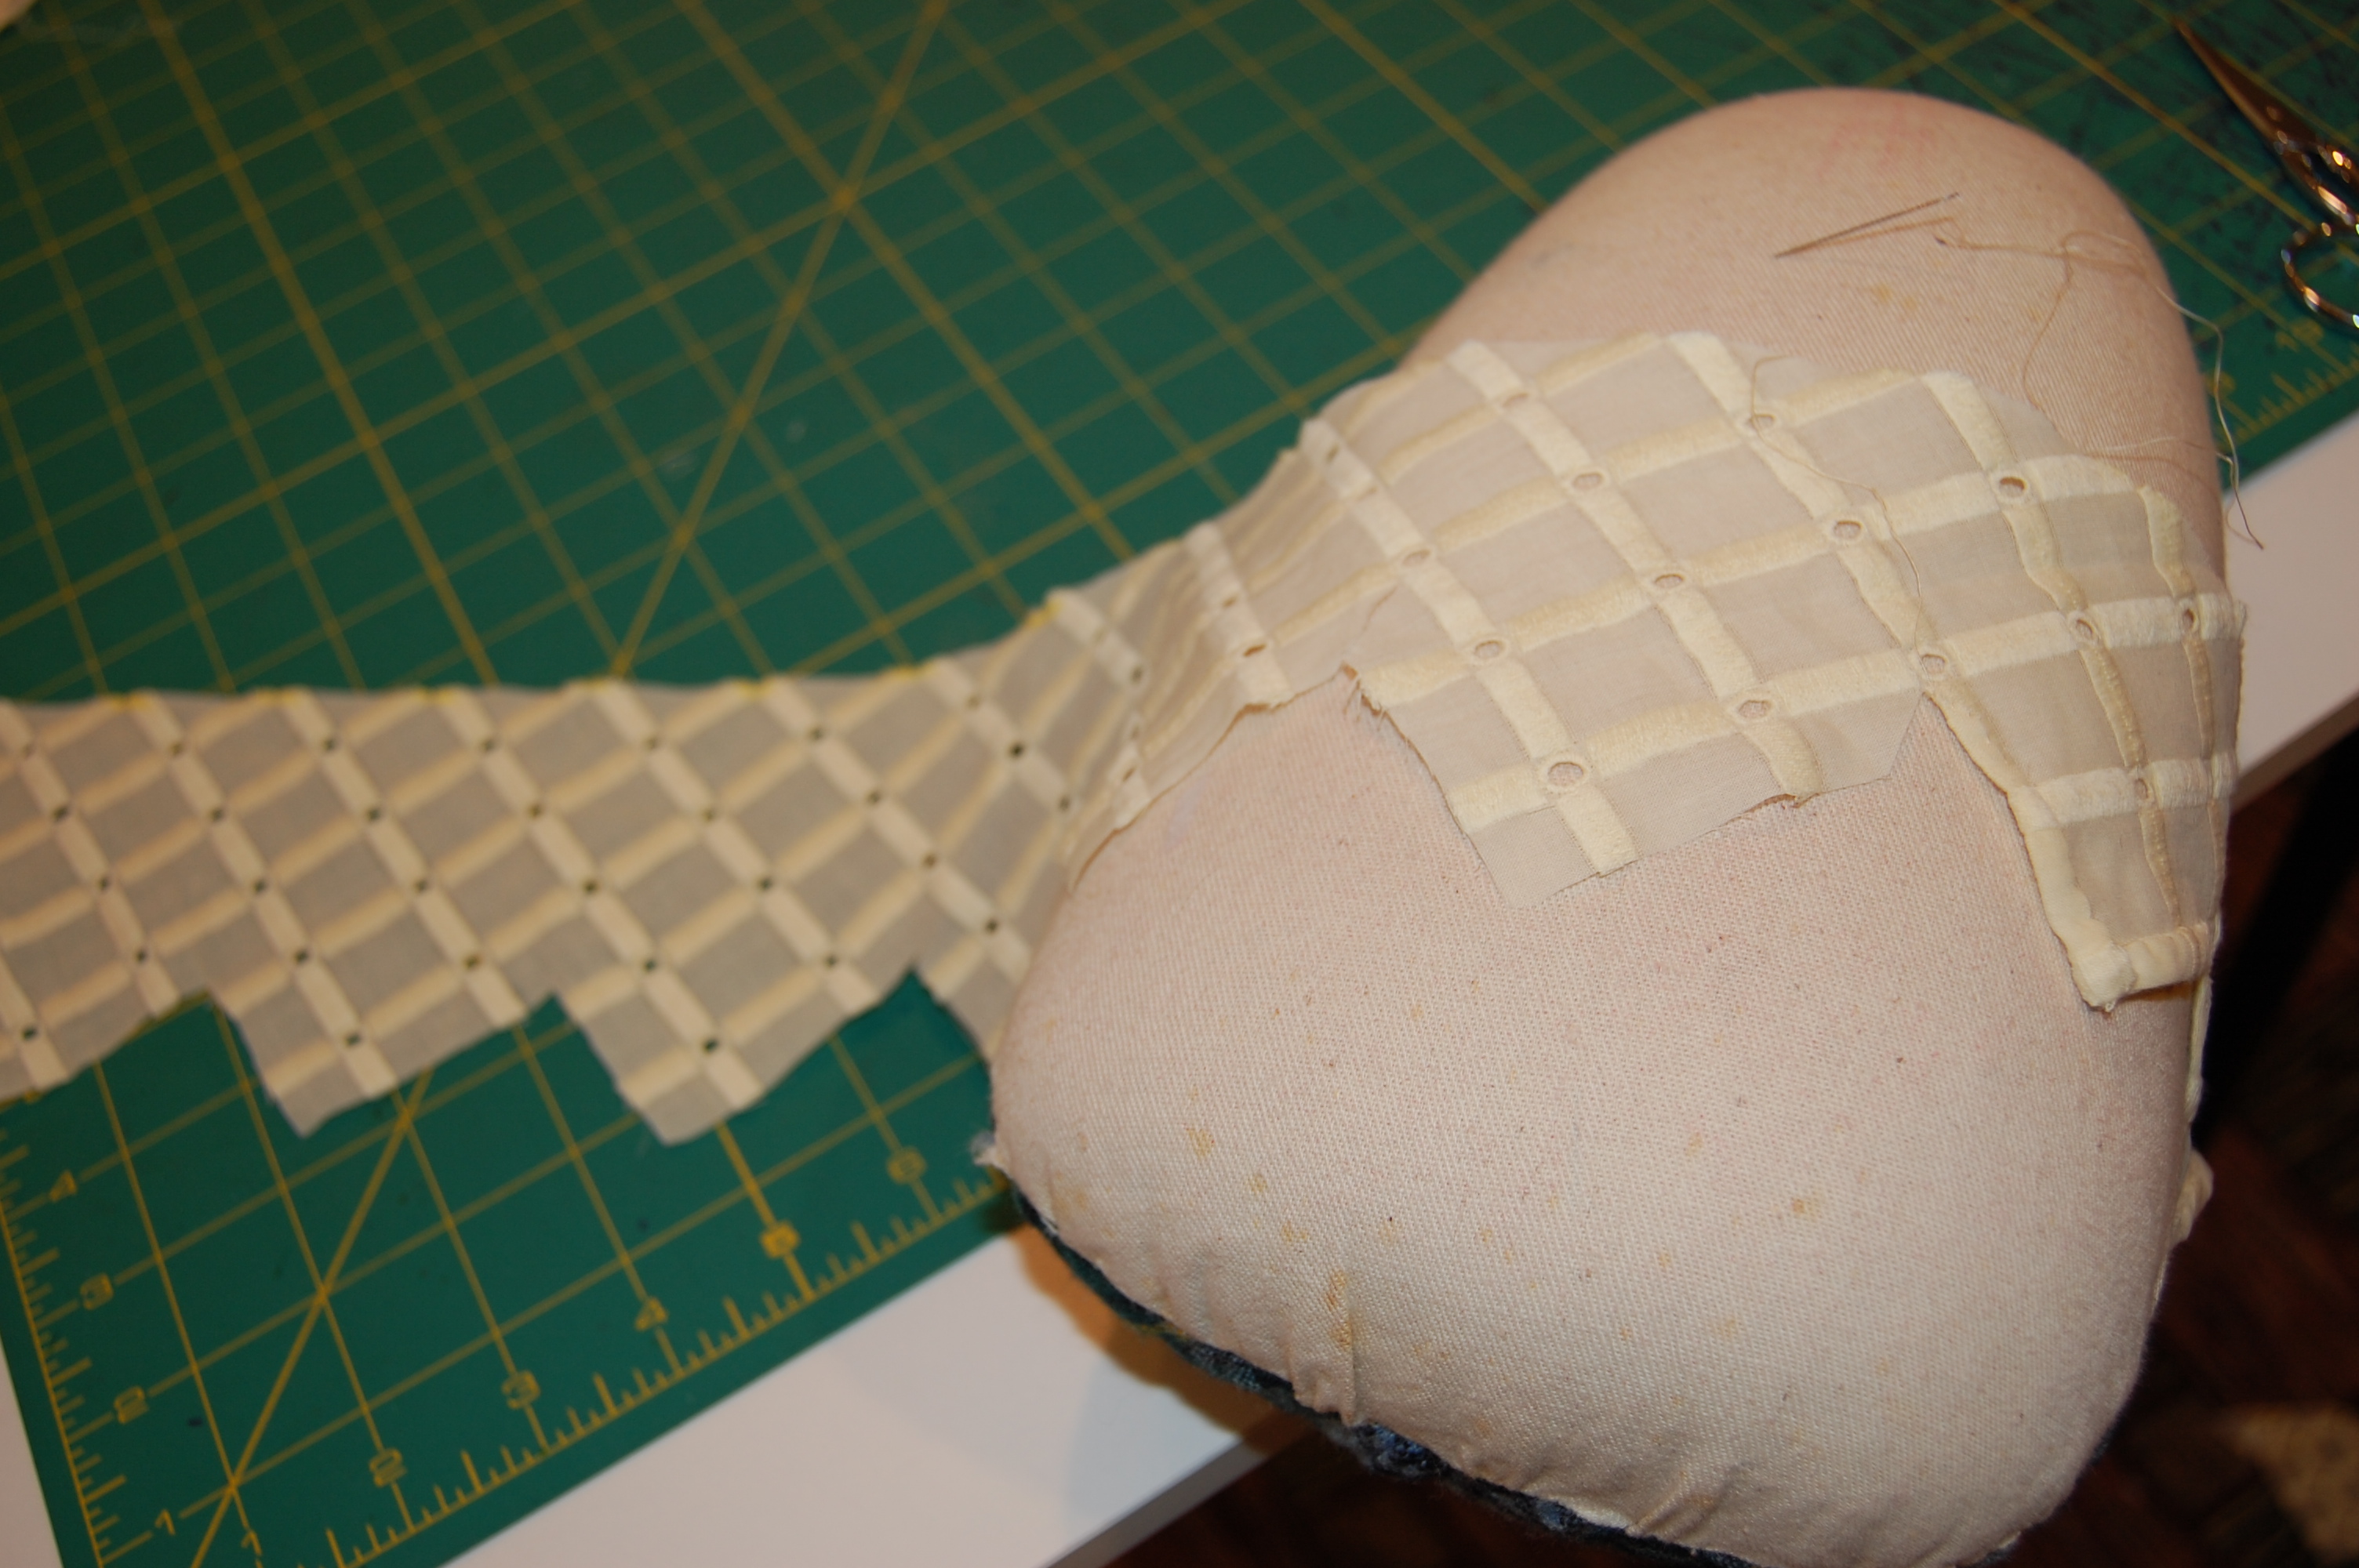
I used the same overblouse pattern that I worked from this past summer for an eyelet blouse – and set to work on this incredible lace.

I made lots of changes to this overblouse pattern, but it gave me the basics I needed.
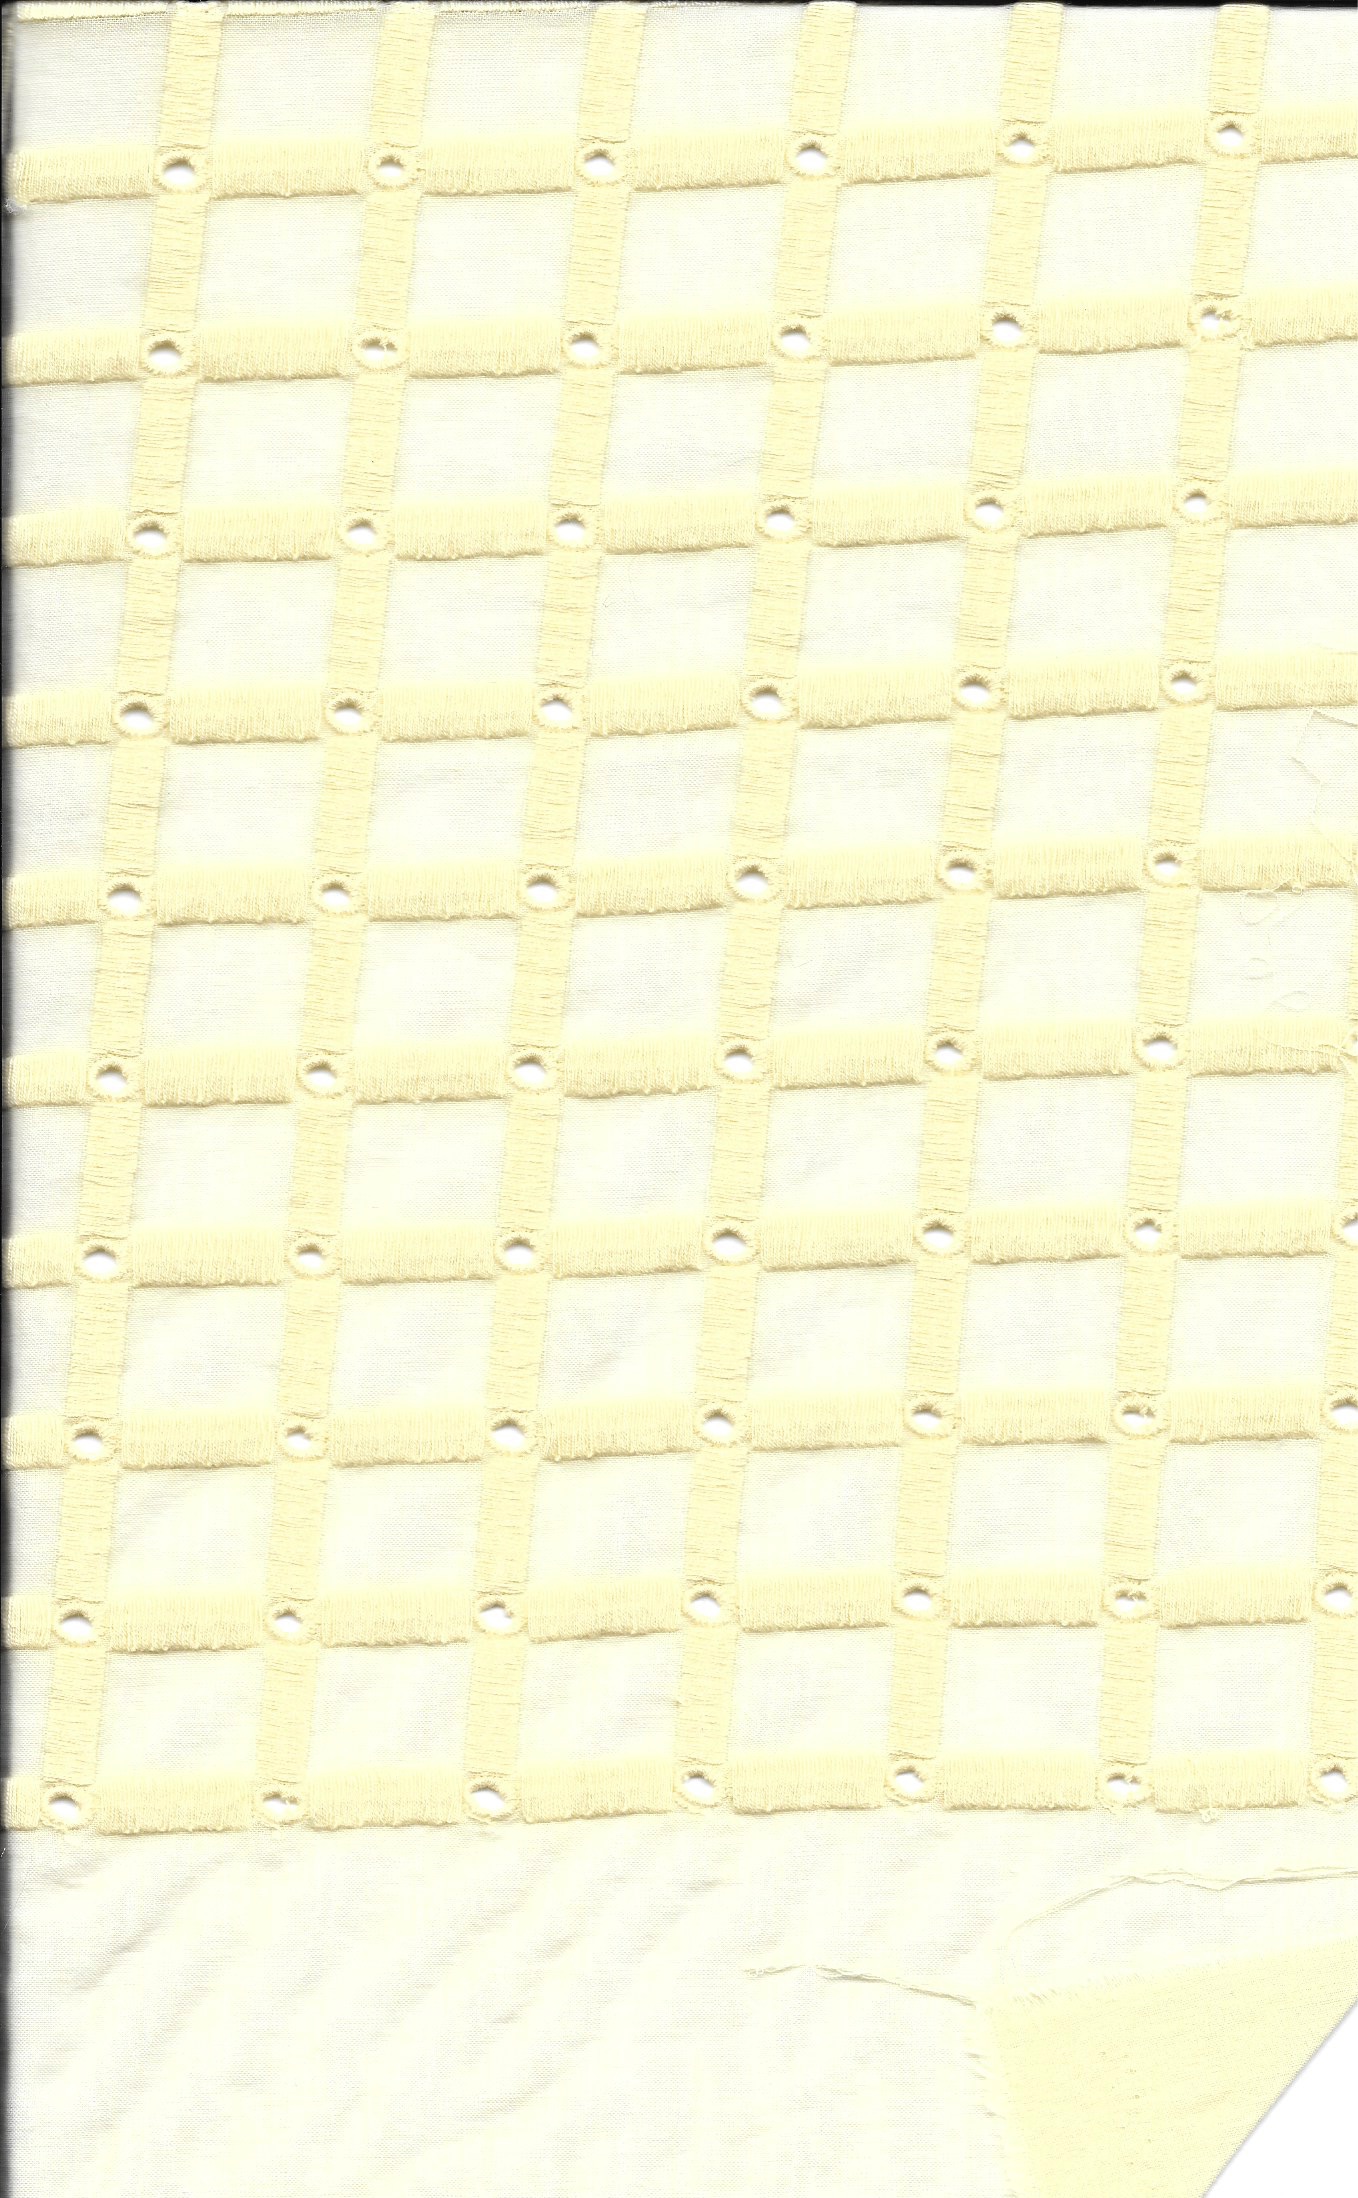
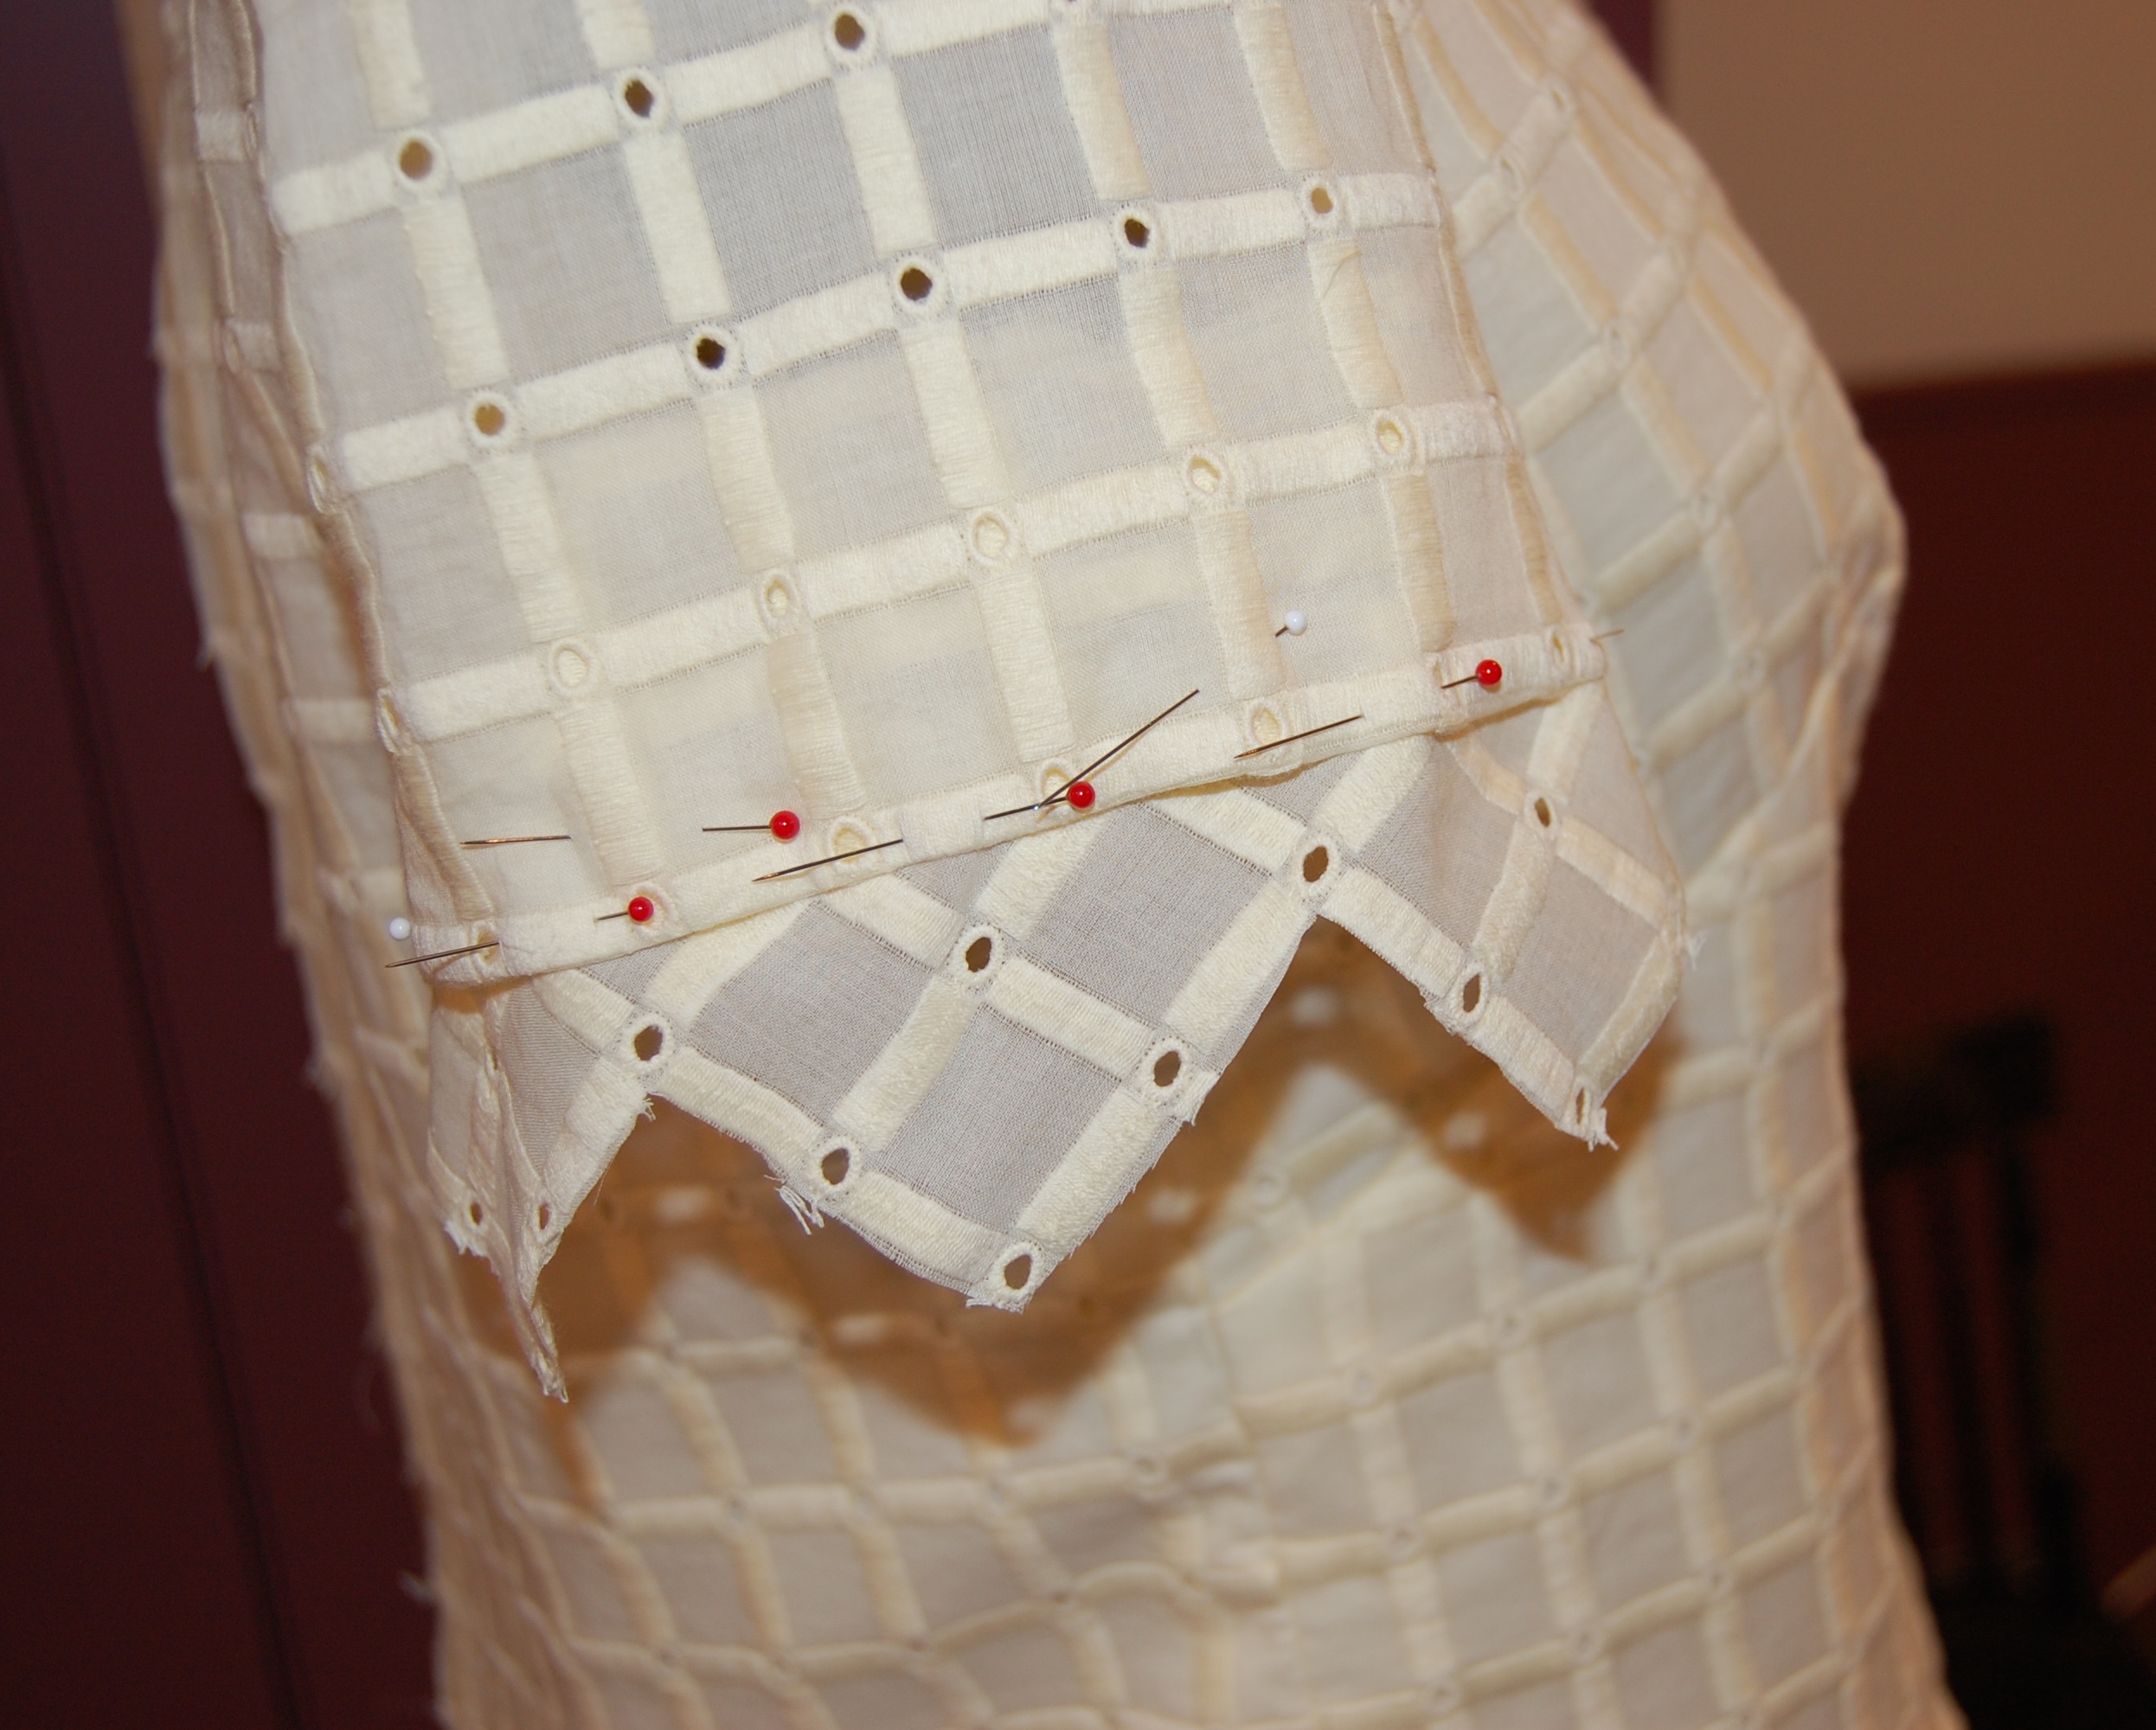
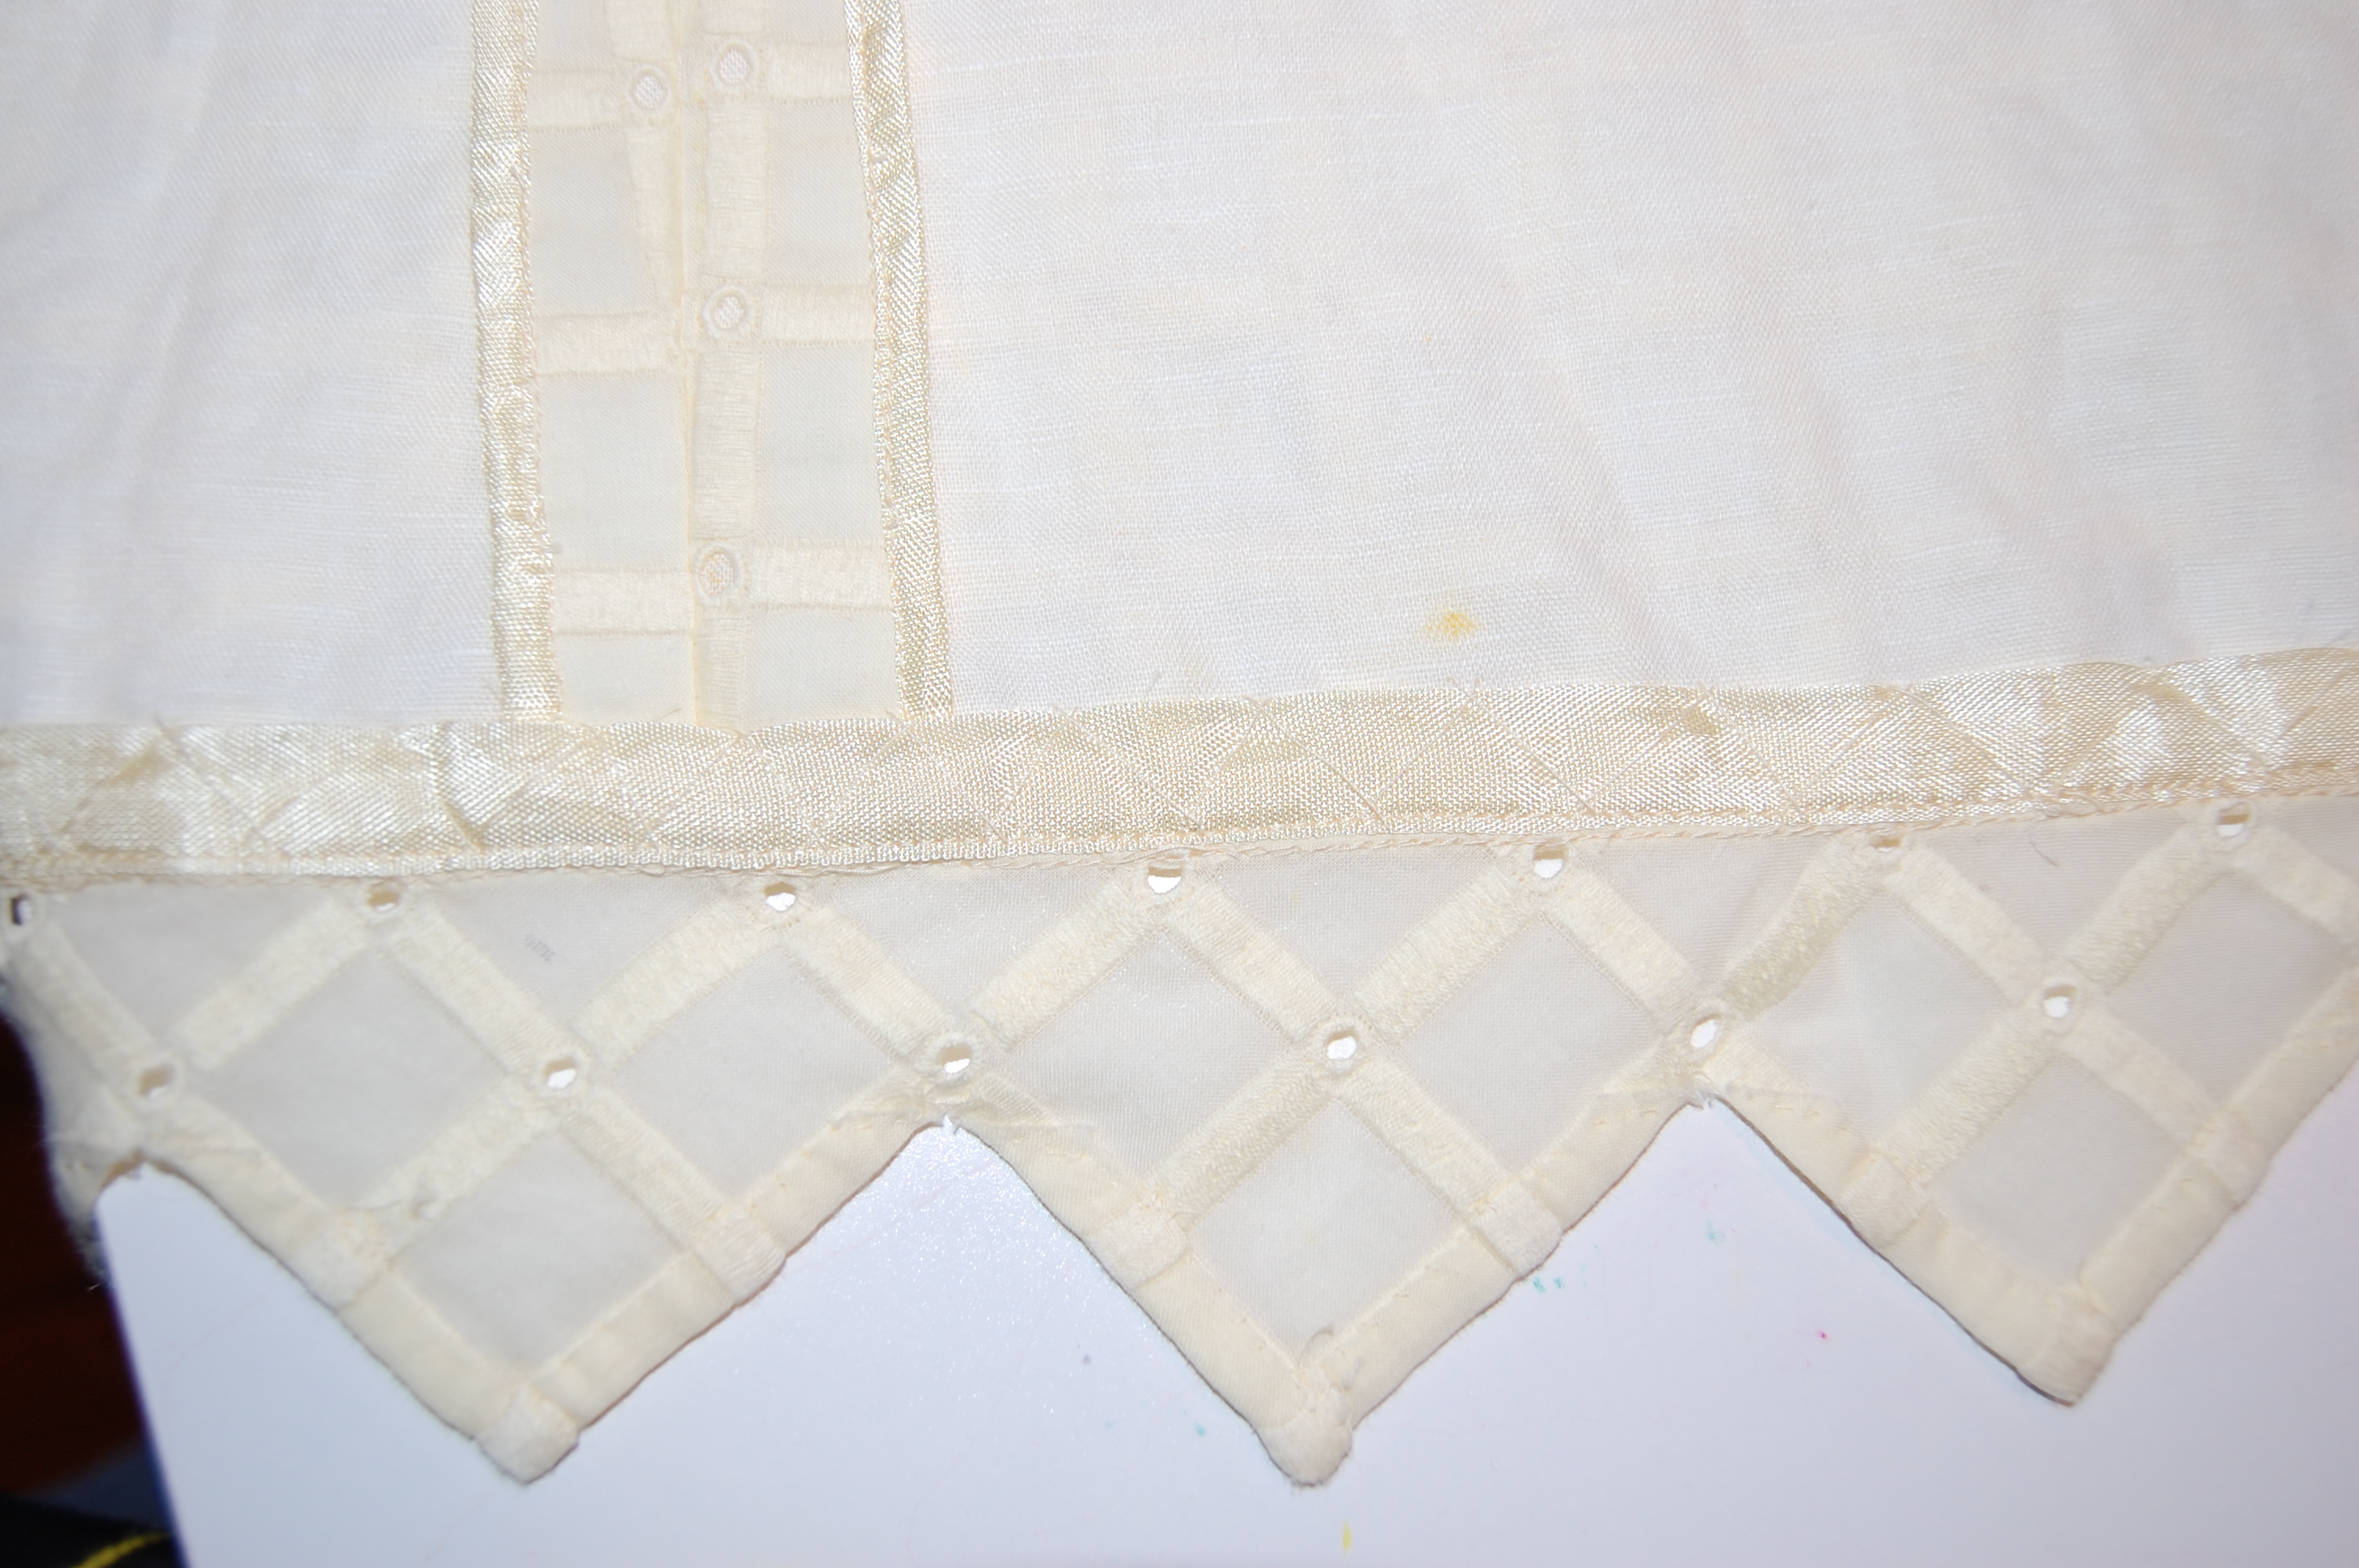
With two scalloped “selvedge edges,” the lace is very versatile. I underlined the body of the blouse with a lightweight cotton/linen blend, and then I lined it with silk crepe de chine.
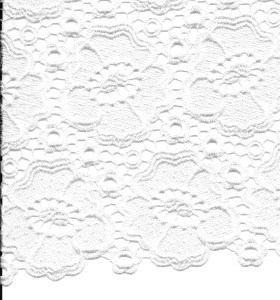
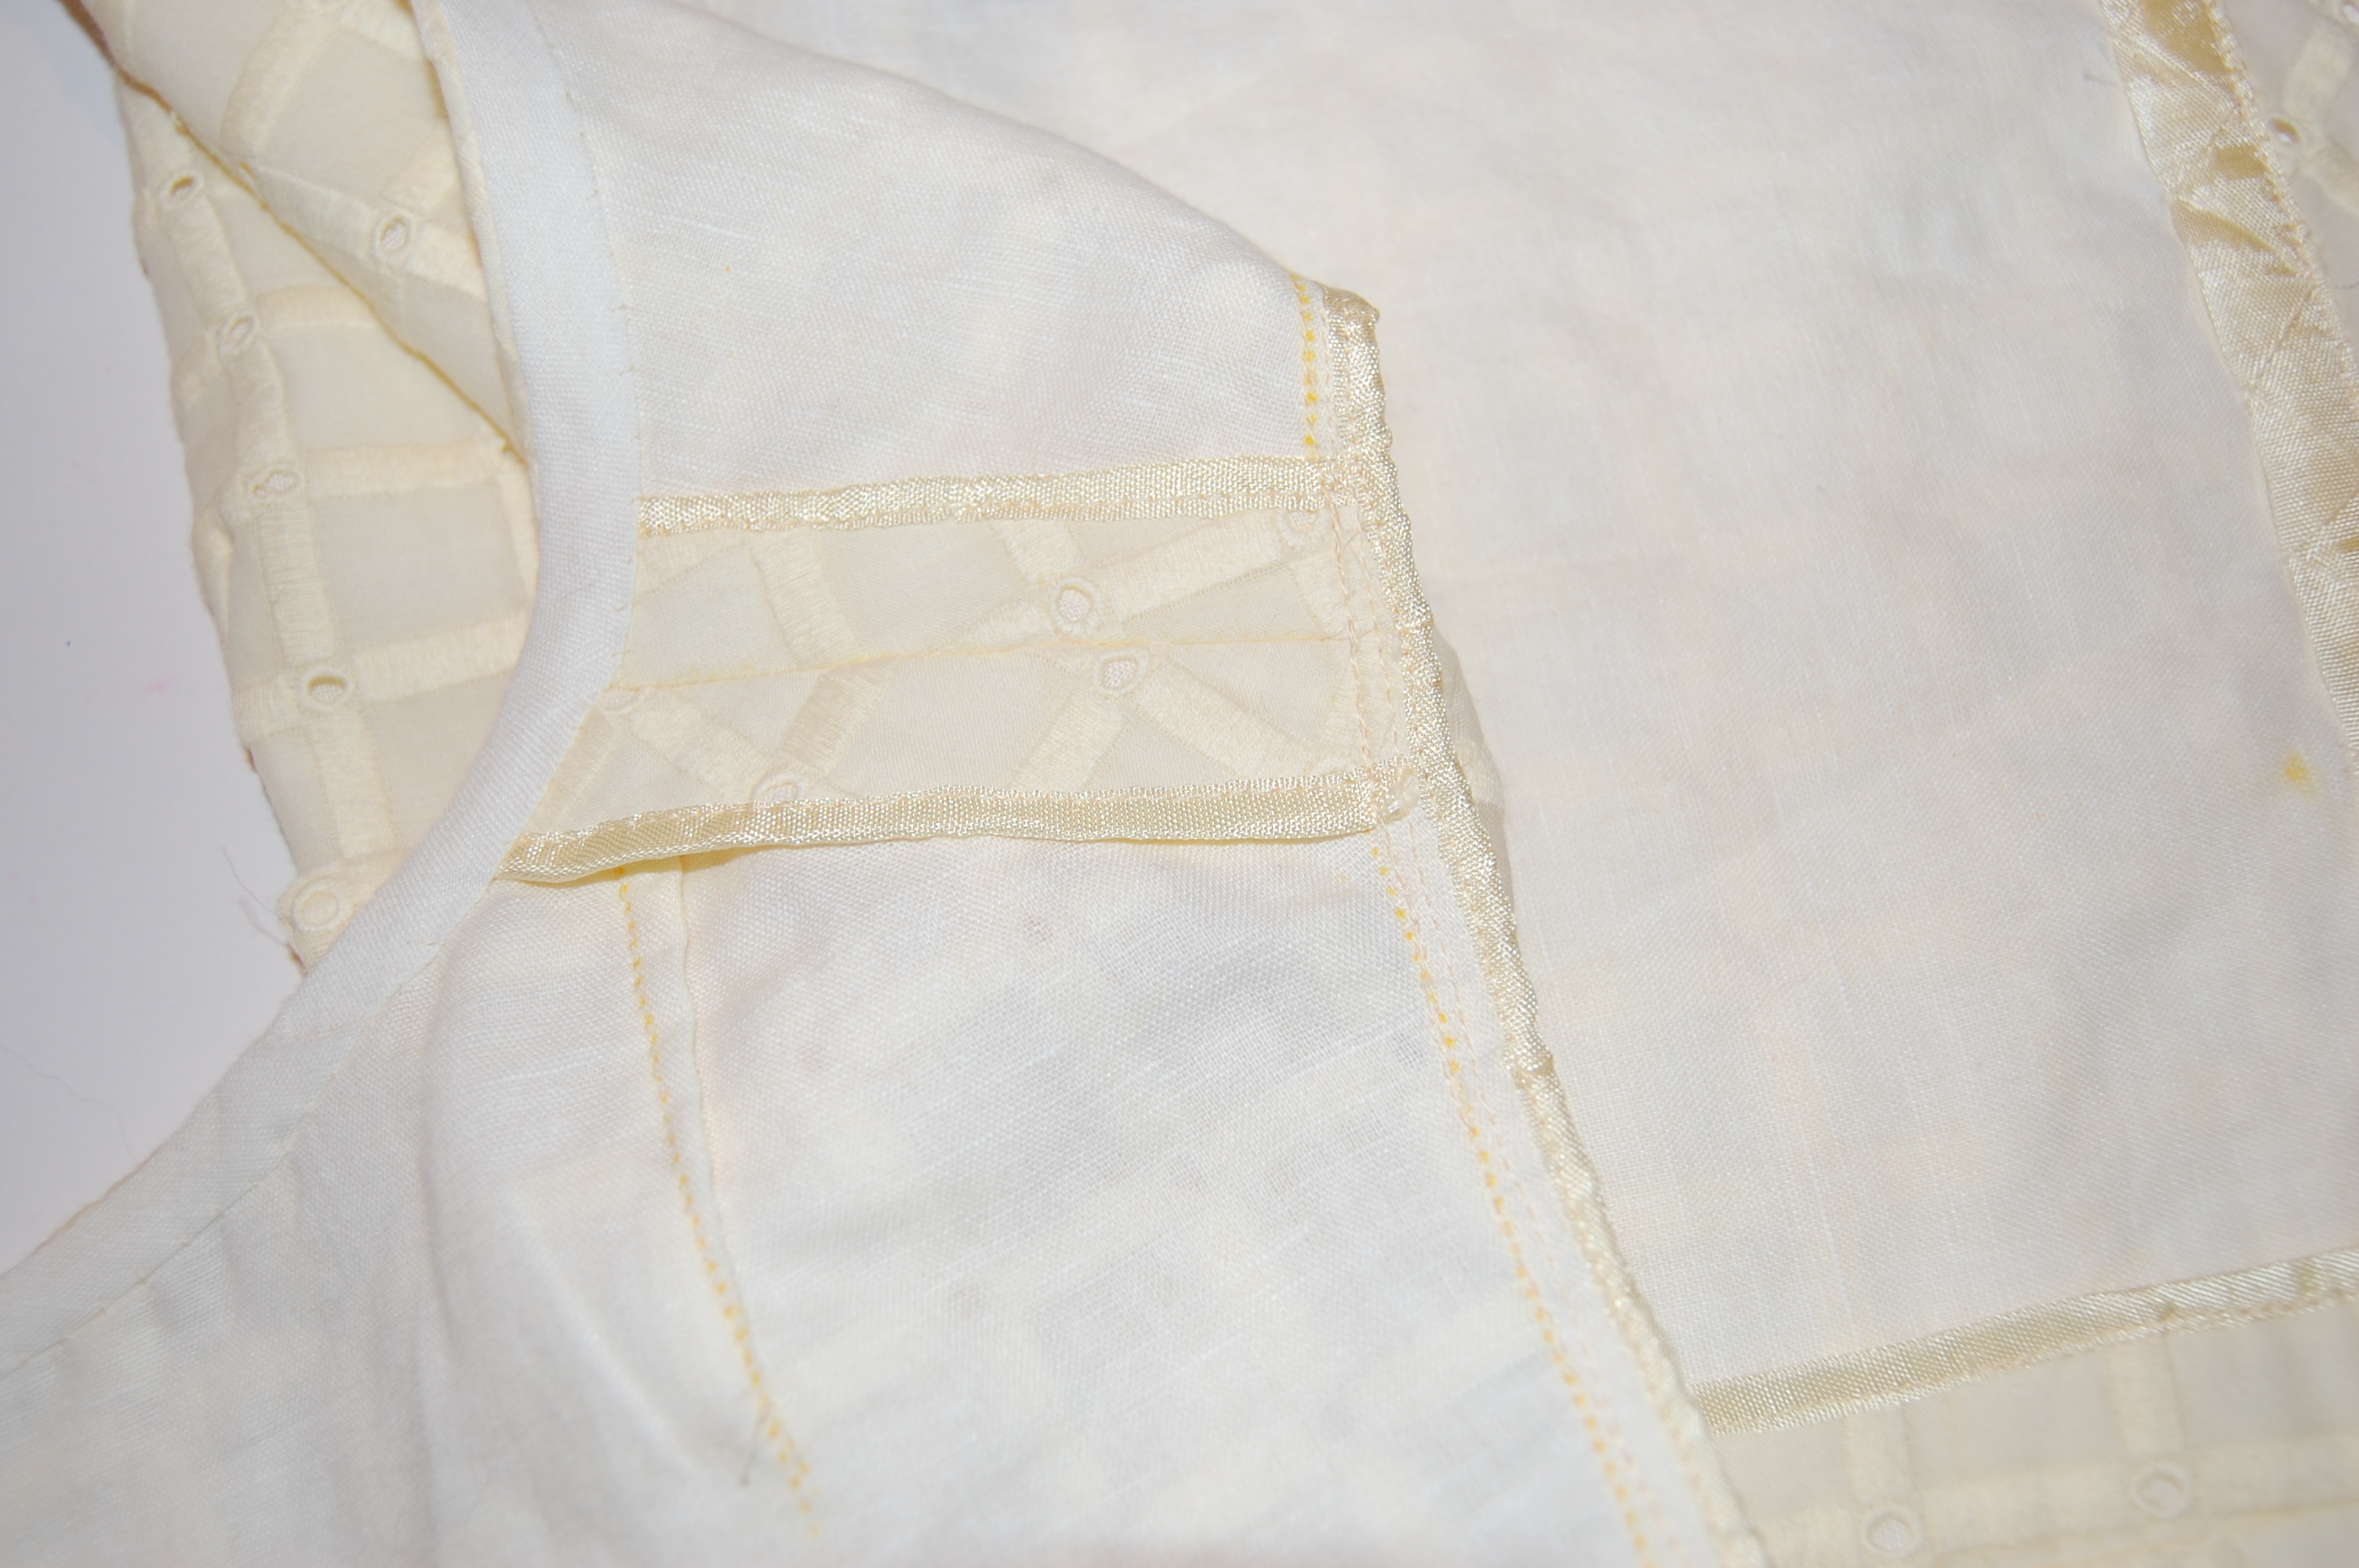
Perhaps you can see the lovely detail in this small segment of the lace.
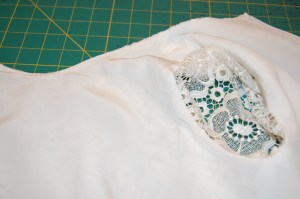
Here is an interior look at the silk lining sewn carefully to the armscye.
I used a tired and true skirt pattern for the red silk faille.

From Vogue’s Designer series, ca 1970.
Because of the stiffness of the fabric, I added about 1/8 of an inch to the side seams to give me a little more flexibility in movement, but now that it is finished, I really don’t think that was necessary. Even though the fabric is stiff-ish, it’s flexible – and I love the sheen it has.
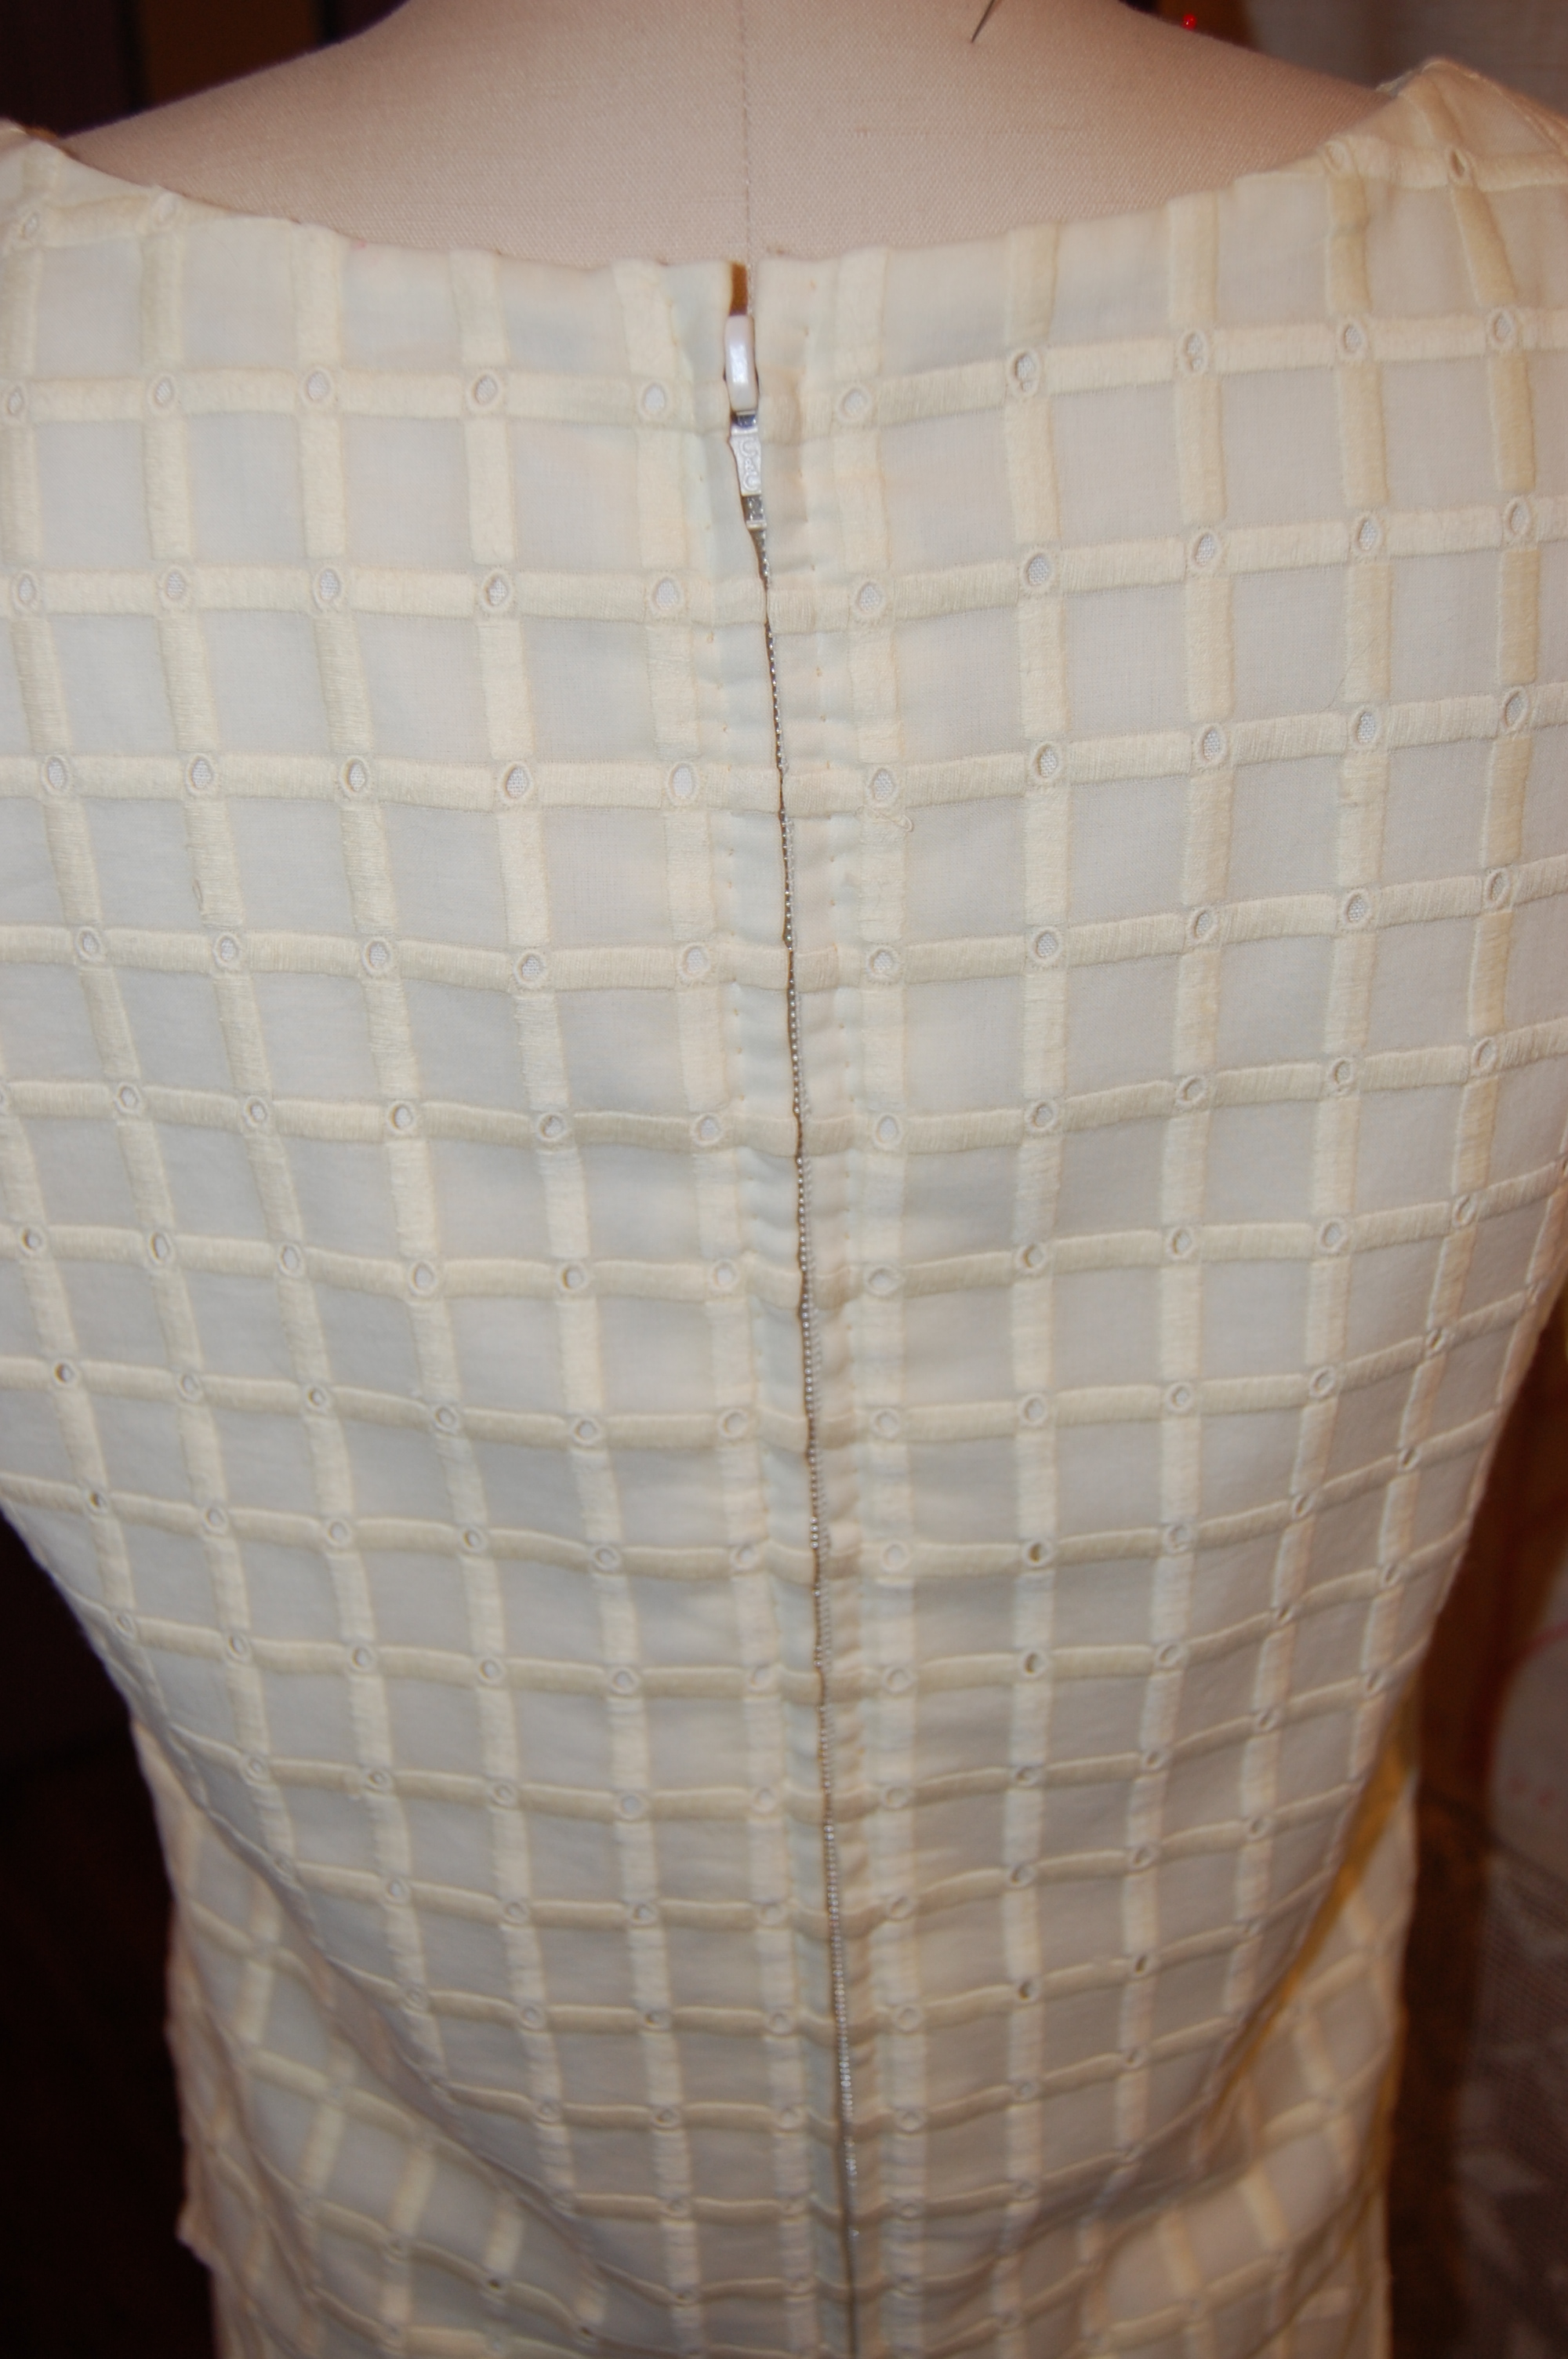
With no construction photos to show you (too busy sewing to take pictures!), I have to be content showing you just the finished product.

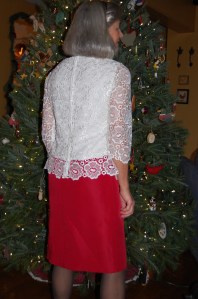


Somehow I was able to cover all my “festive” criteria with this outfit: feminine, silk, fancy and colorful. I must remember this recipe for next year’s Festive Season.