
String is a wonderful thing. I am particularly fond of kitchen string. Usually twisted cotton or a twisted cotton blend, it is useful for many things (such as tying together the newspapers for recycling, playing with the cats, securing open bags of flour and sugar, etc., etc.) It also occasionally makes its way upstairs to my sewing room.
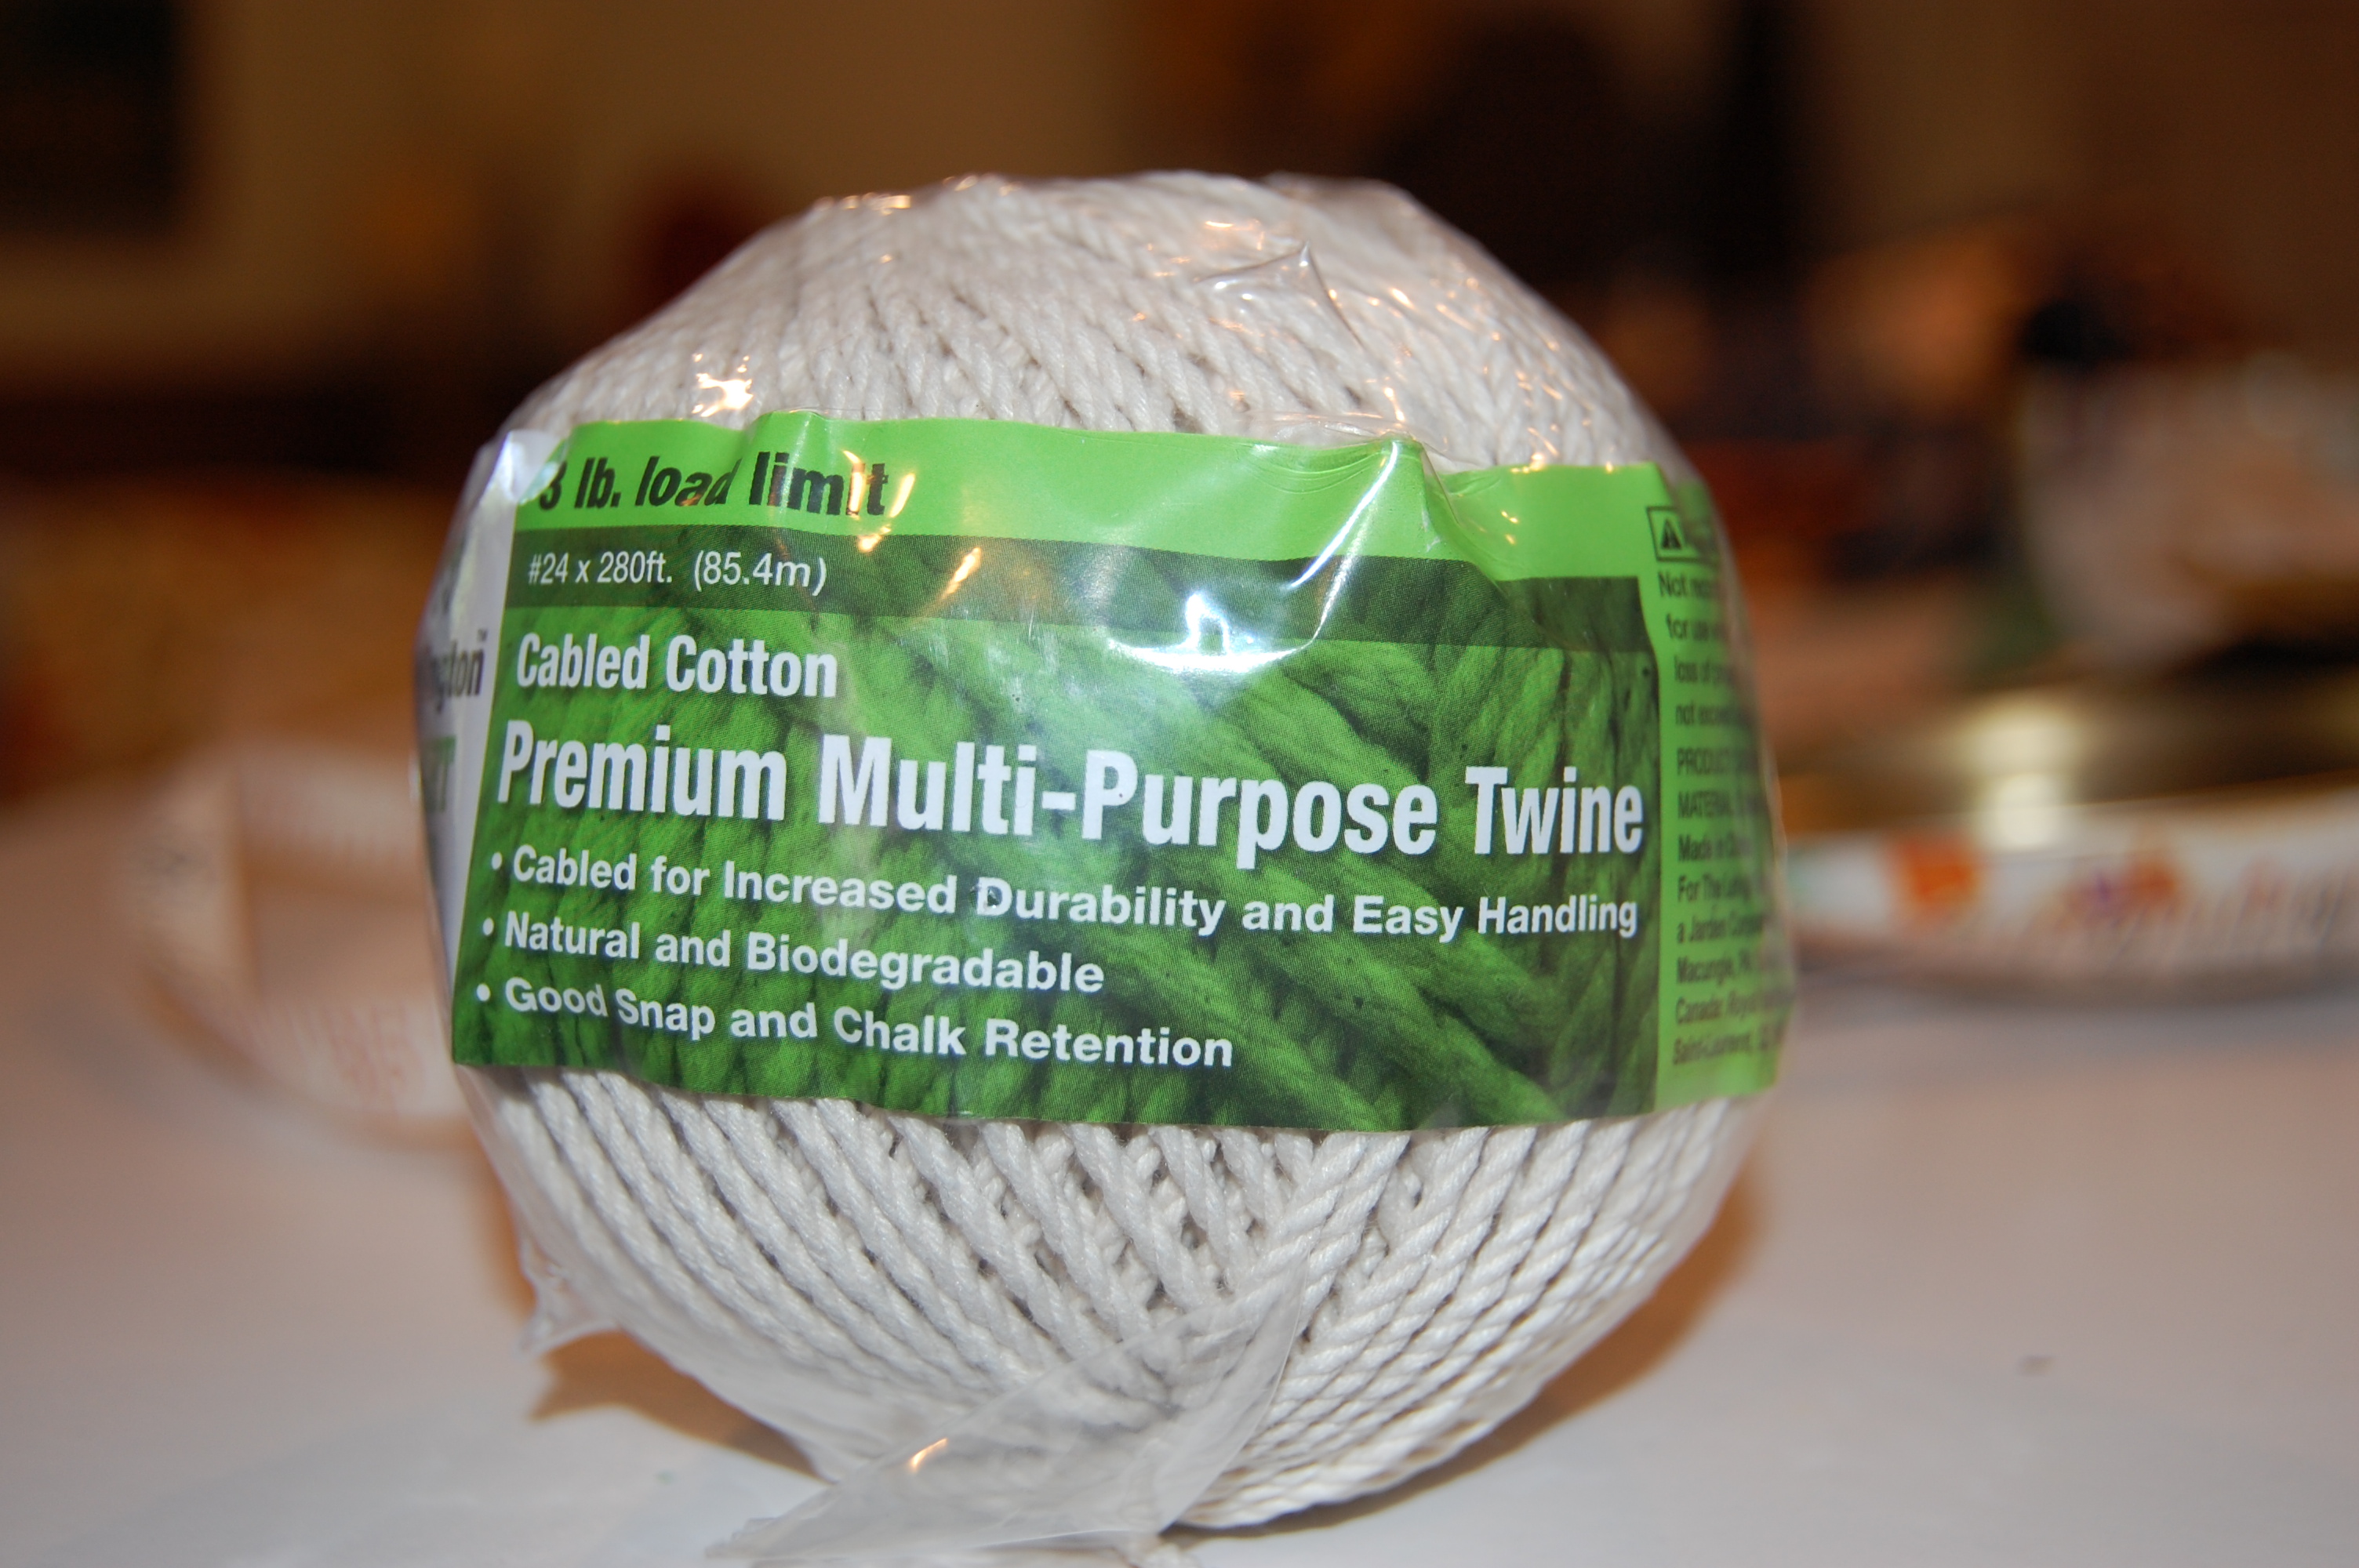
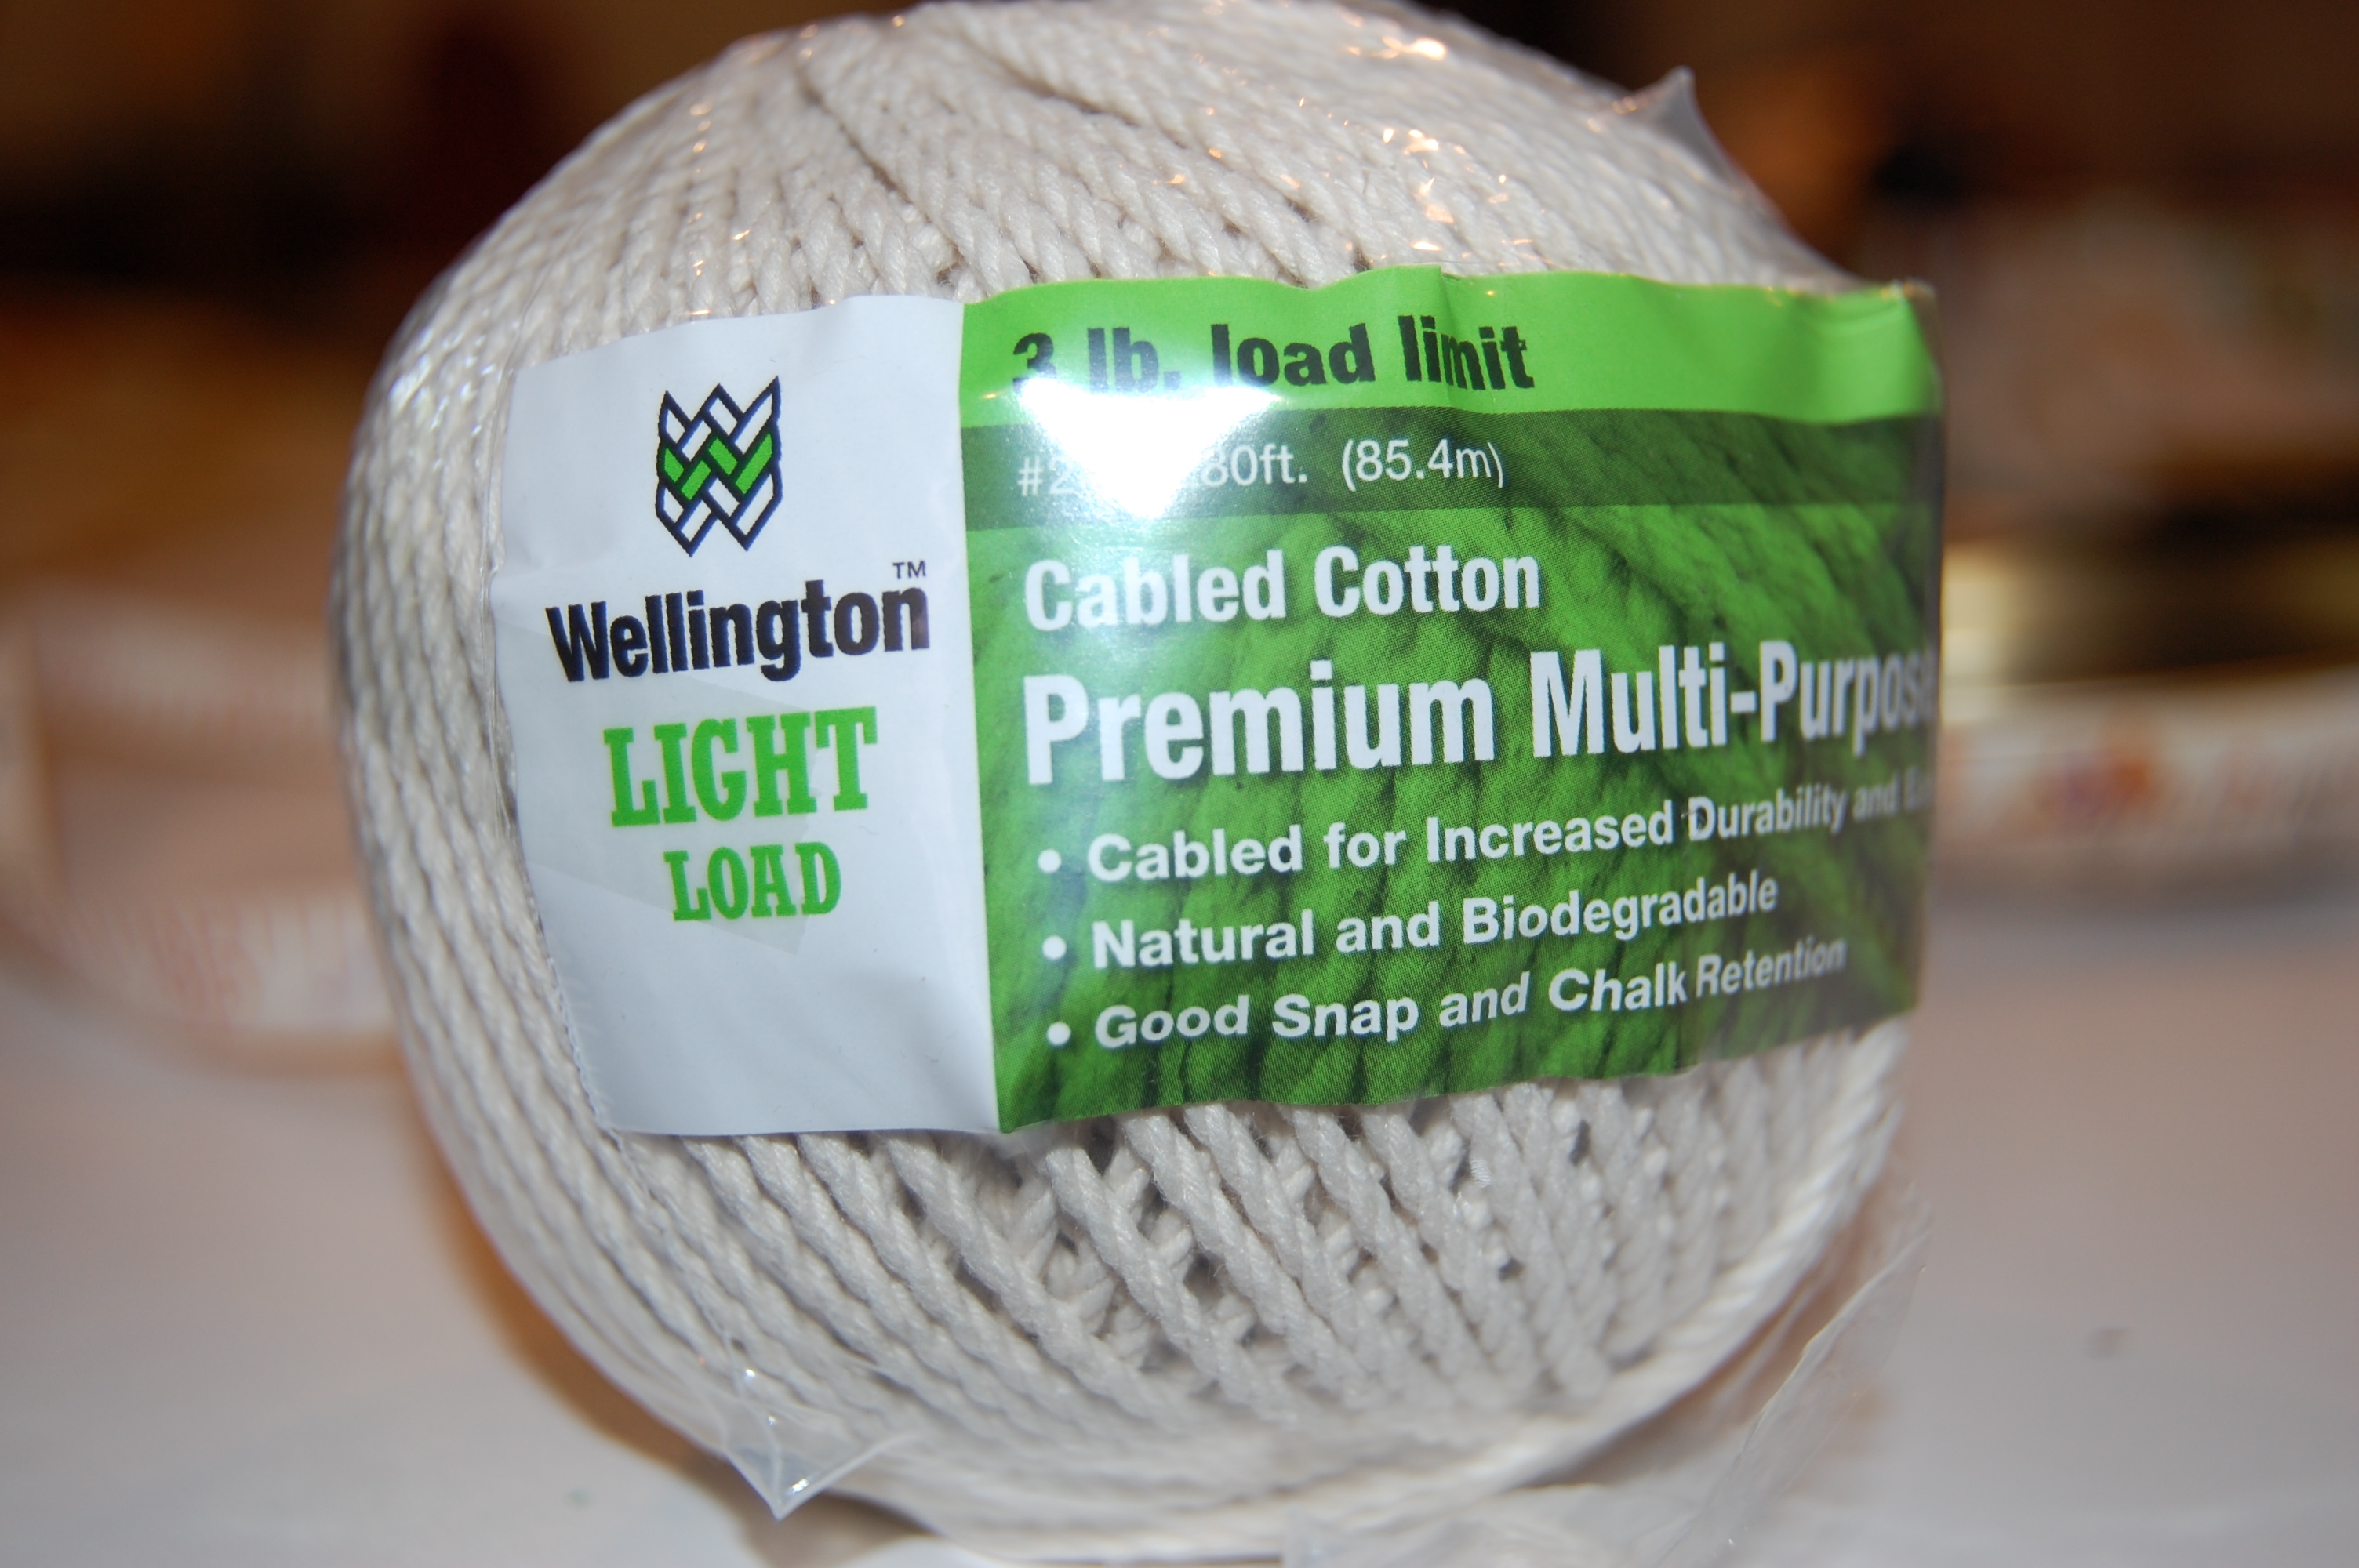
“Light load” kitchen string happens to be the perfect weight and diameter for making piping to be used in apparel. And – my current project for Fall features piping as one of the main design details.
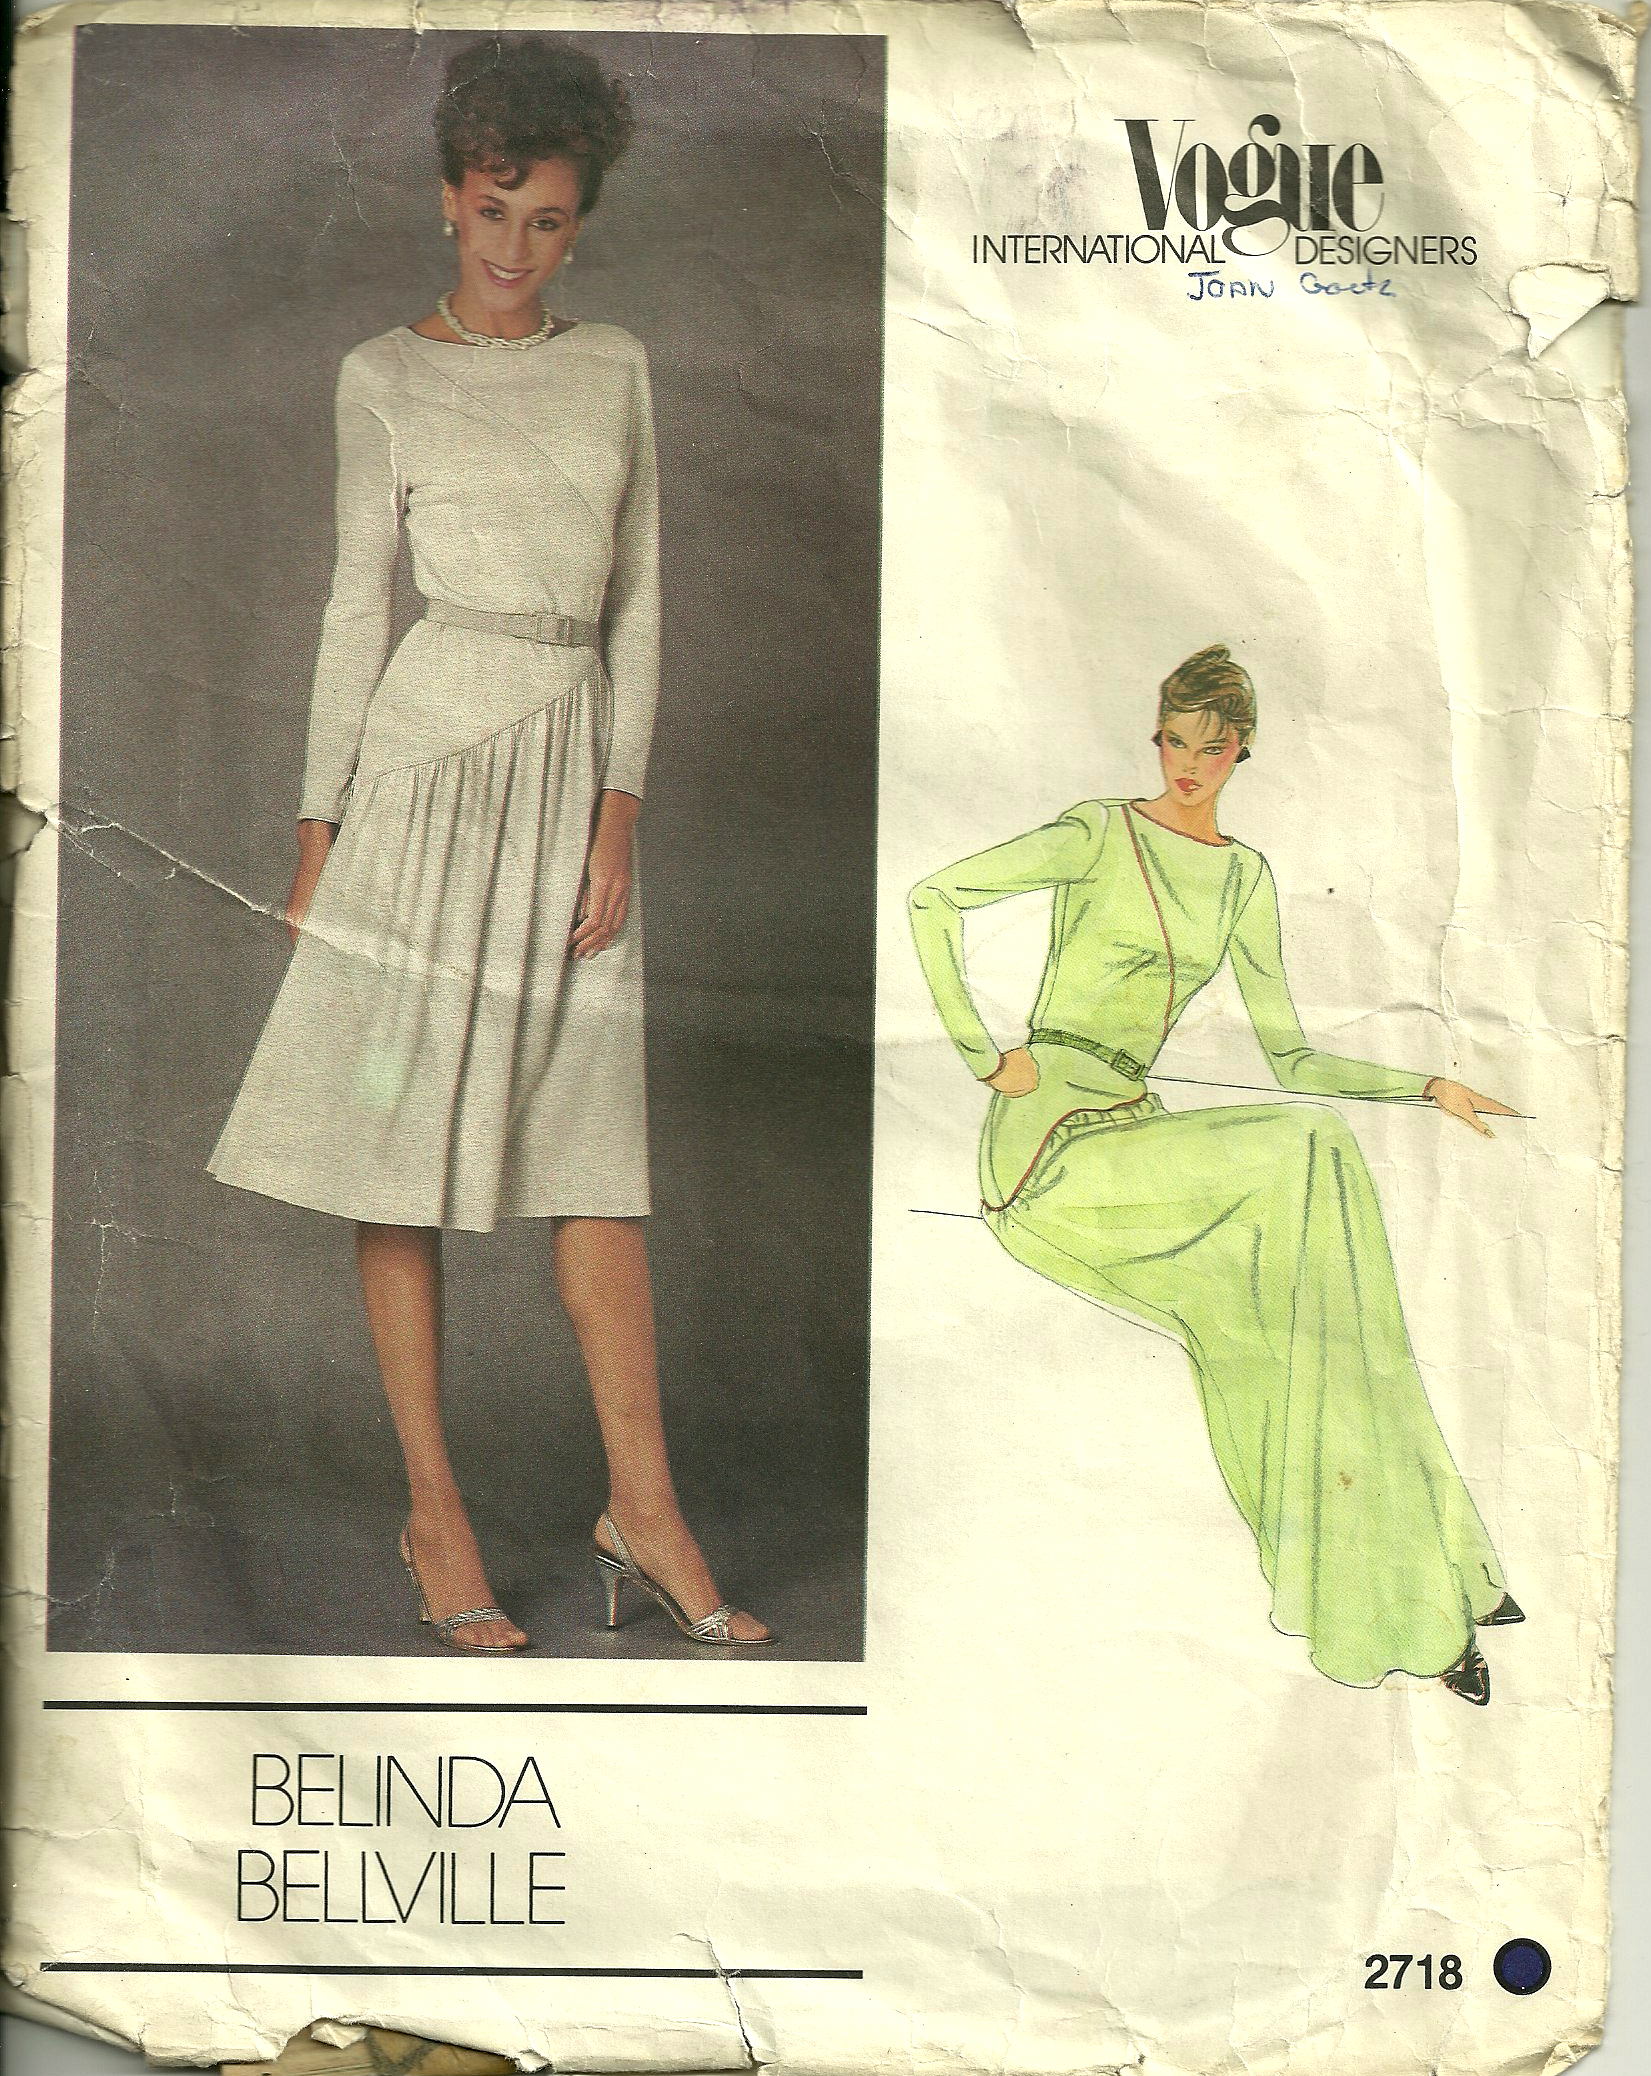
The piping is more clearly visible on the green view of this dress.
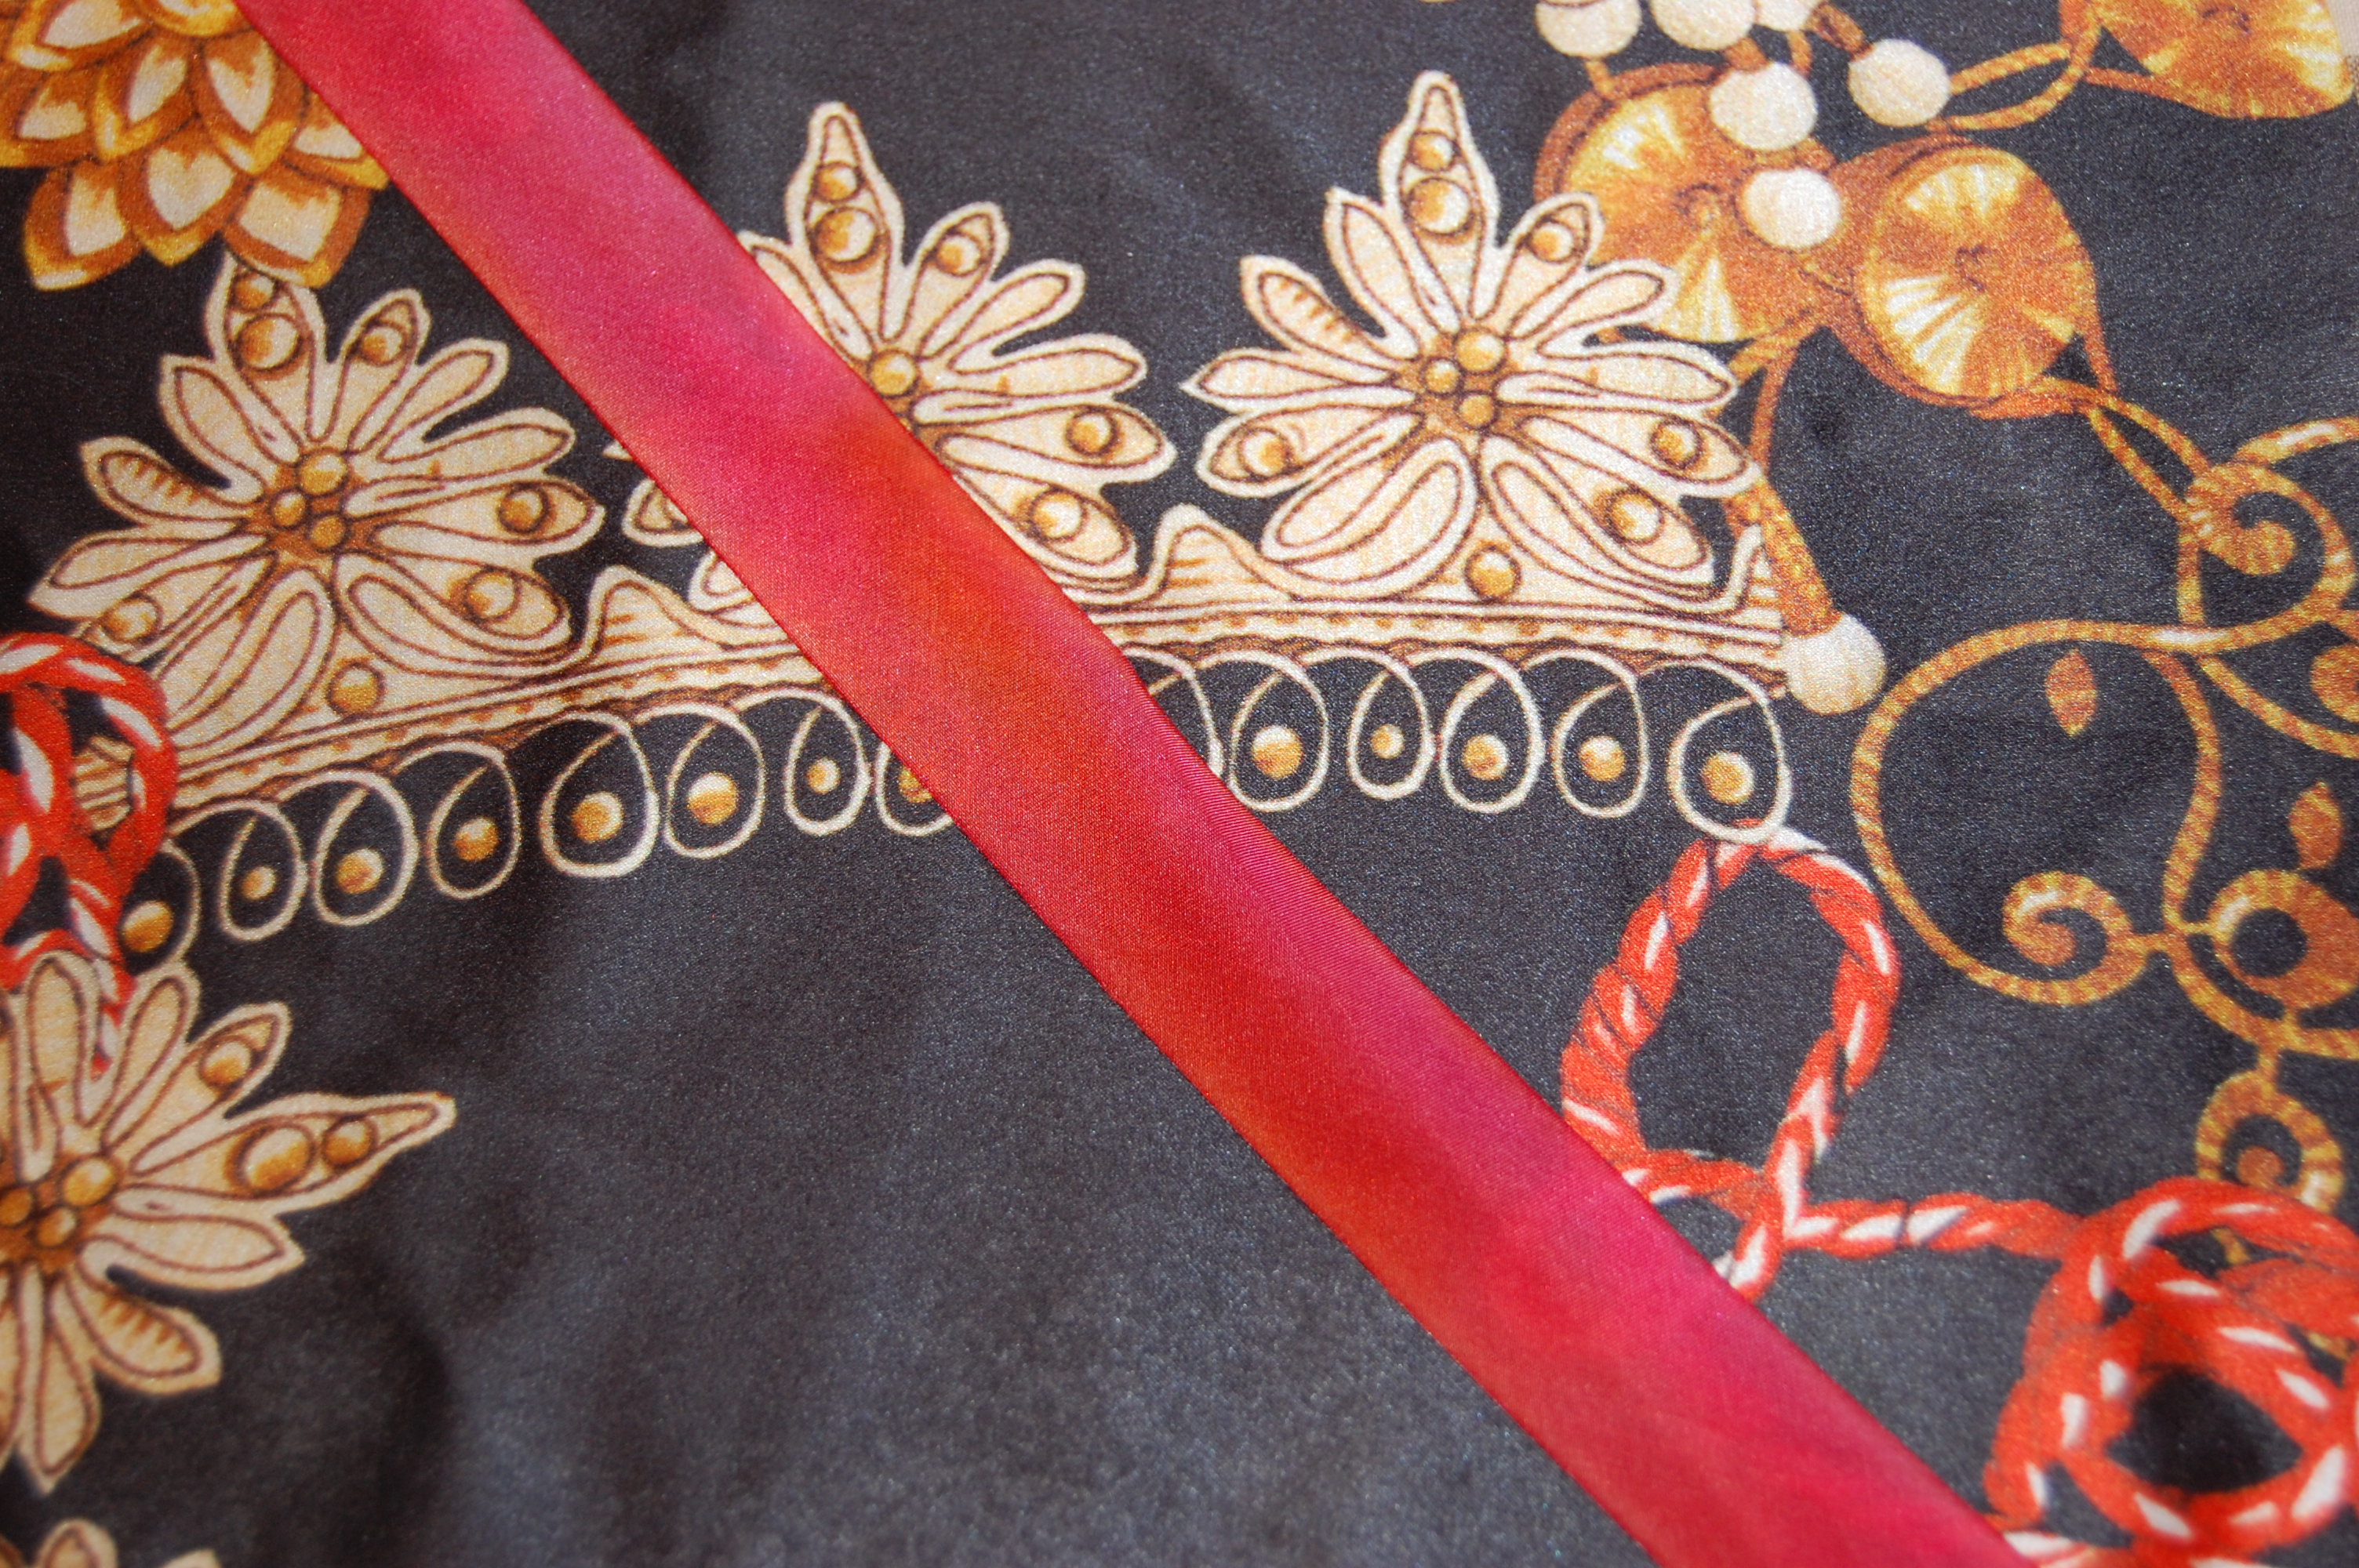
As luck would have it, I had purchased some hand-dyed silk bias ribbon from Britex Fabrics a couple of years ago. One of the colors I had ordered turned out to be a perfect complement to this silk from Mendel Goldberg, which is slowly making its transformation into a dress.
After hours and hours of working on the muslin (toile), cutting out the underlining (on the bias to accommodate the stretch of the silk fabric), checking and re-checking (multiple times) to make sure my pattern pieces were laid out properly, and then meticulously basting the gossamer silk gauze underlining and the slippery fashion fabric together, I was ready to do something fun. “What could be easier?” I thought. “The ribbon is already cut on the bias so I’ll just sew up three yards of piping and I’ll be in business.” Except that I kept getting ridges and lumps in my piping as I encased that kitchen string in the silk ribbon. I thought maybe if I stretched it a bit, it might look better, but it really didn’t. I must admit I was discouraged – actually very discouraged. I could not figure out what I was doing wrong, but I knew I needed to take a break from this mess and come back the next day.
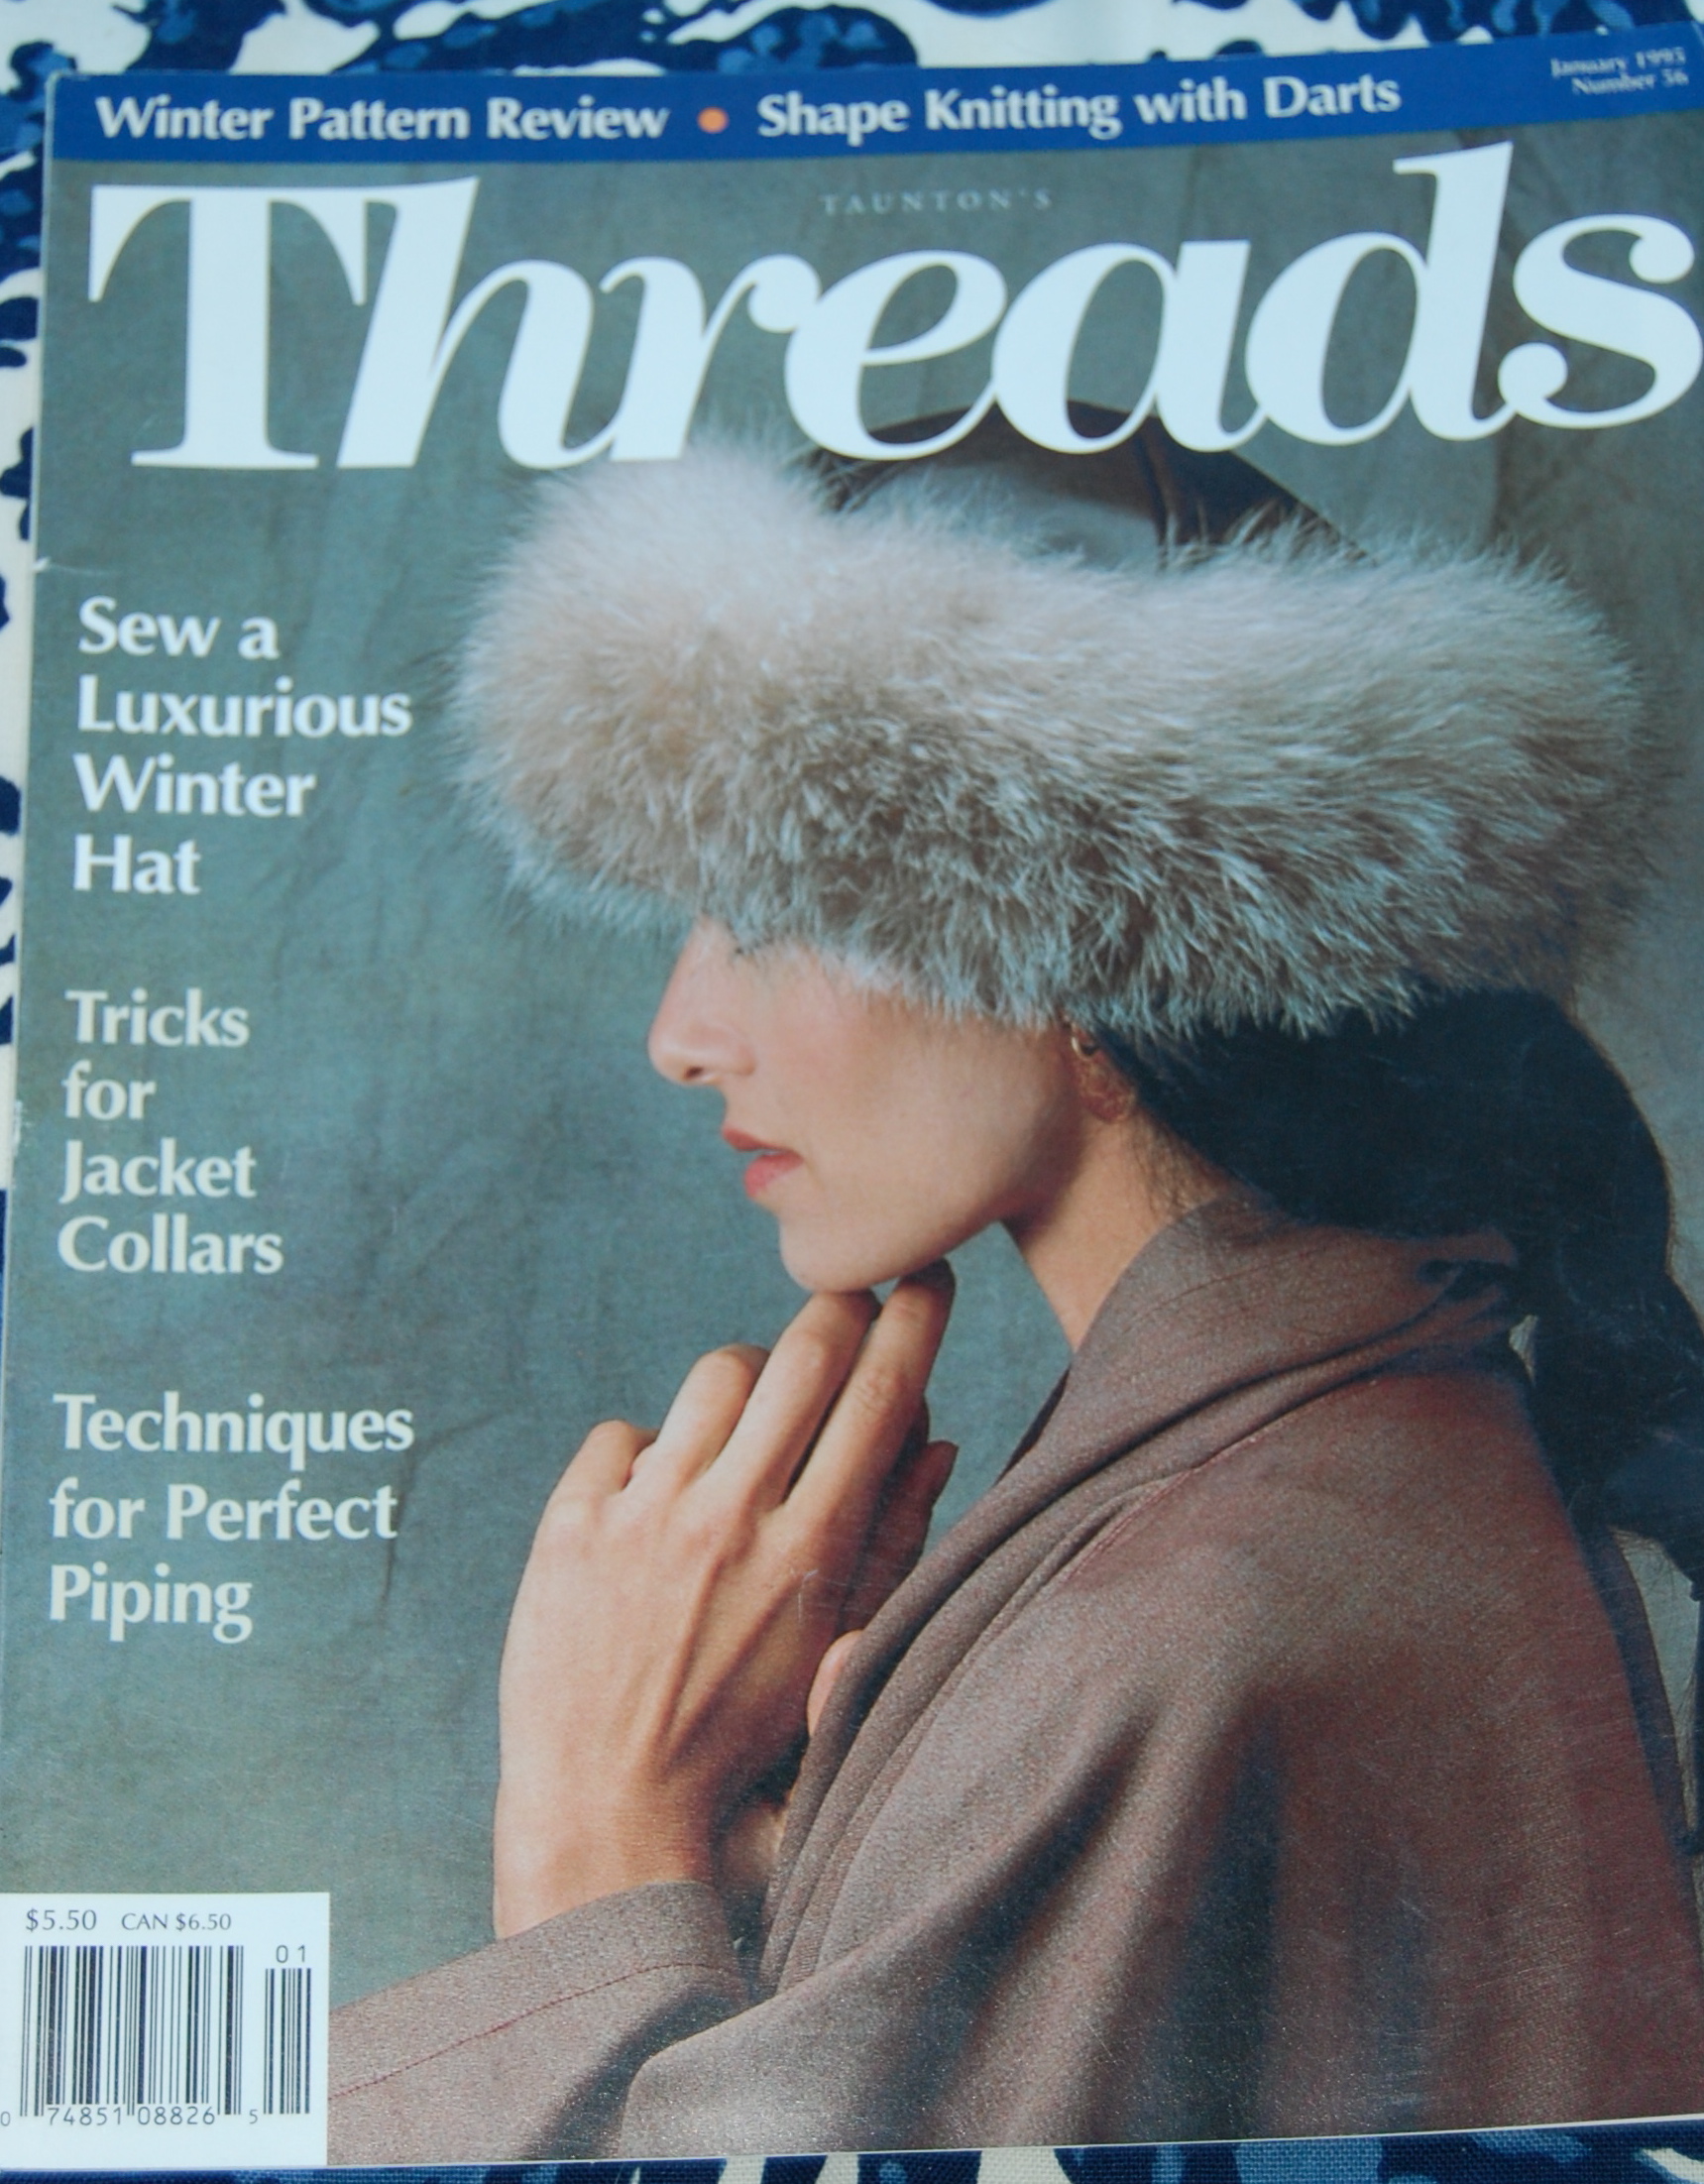
Before I left my sewing room, I went to my stack of Threads Magazines to look for a particular issue recently recommended to me for another reason, and in my search found, by chance, the December 1994/January 1995 issue. There on the cover “Techniques for Perfect Piping” was a featured article.
I have many odd issues of Threads Magazine, but earlier in the year I bought the Threads Magazine Archive 1985-2013, available for purchase on their website. I can’t recommend it highly enough – decades of sewing advice and expertise is readily available at the click of your computer mouse!
Needless to say, that became my evening reading. One line in this article by Linda Wakefield led me to the solution to my problem: “I also recommend reducing presser foot pressure, if possible, so that the fabric doesn’t twist or ripple as you stitch.” Even though I am unable to change the presser foot tension on my machine, that advice made me think that I needed to stabilize and reinforce the silk bias ribbon somehow to make it feed more evenly through the needle. The next day, back in my sewing room, I got some tissue paper – the kind one uses for wrapping presents – and cut it into strips. I placed a single layer of tissue under the silk ribbon as I stitched – and voila! Perfect piping emerged from my machine.
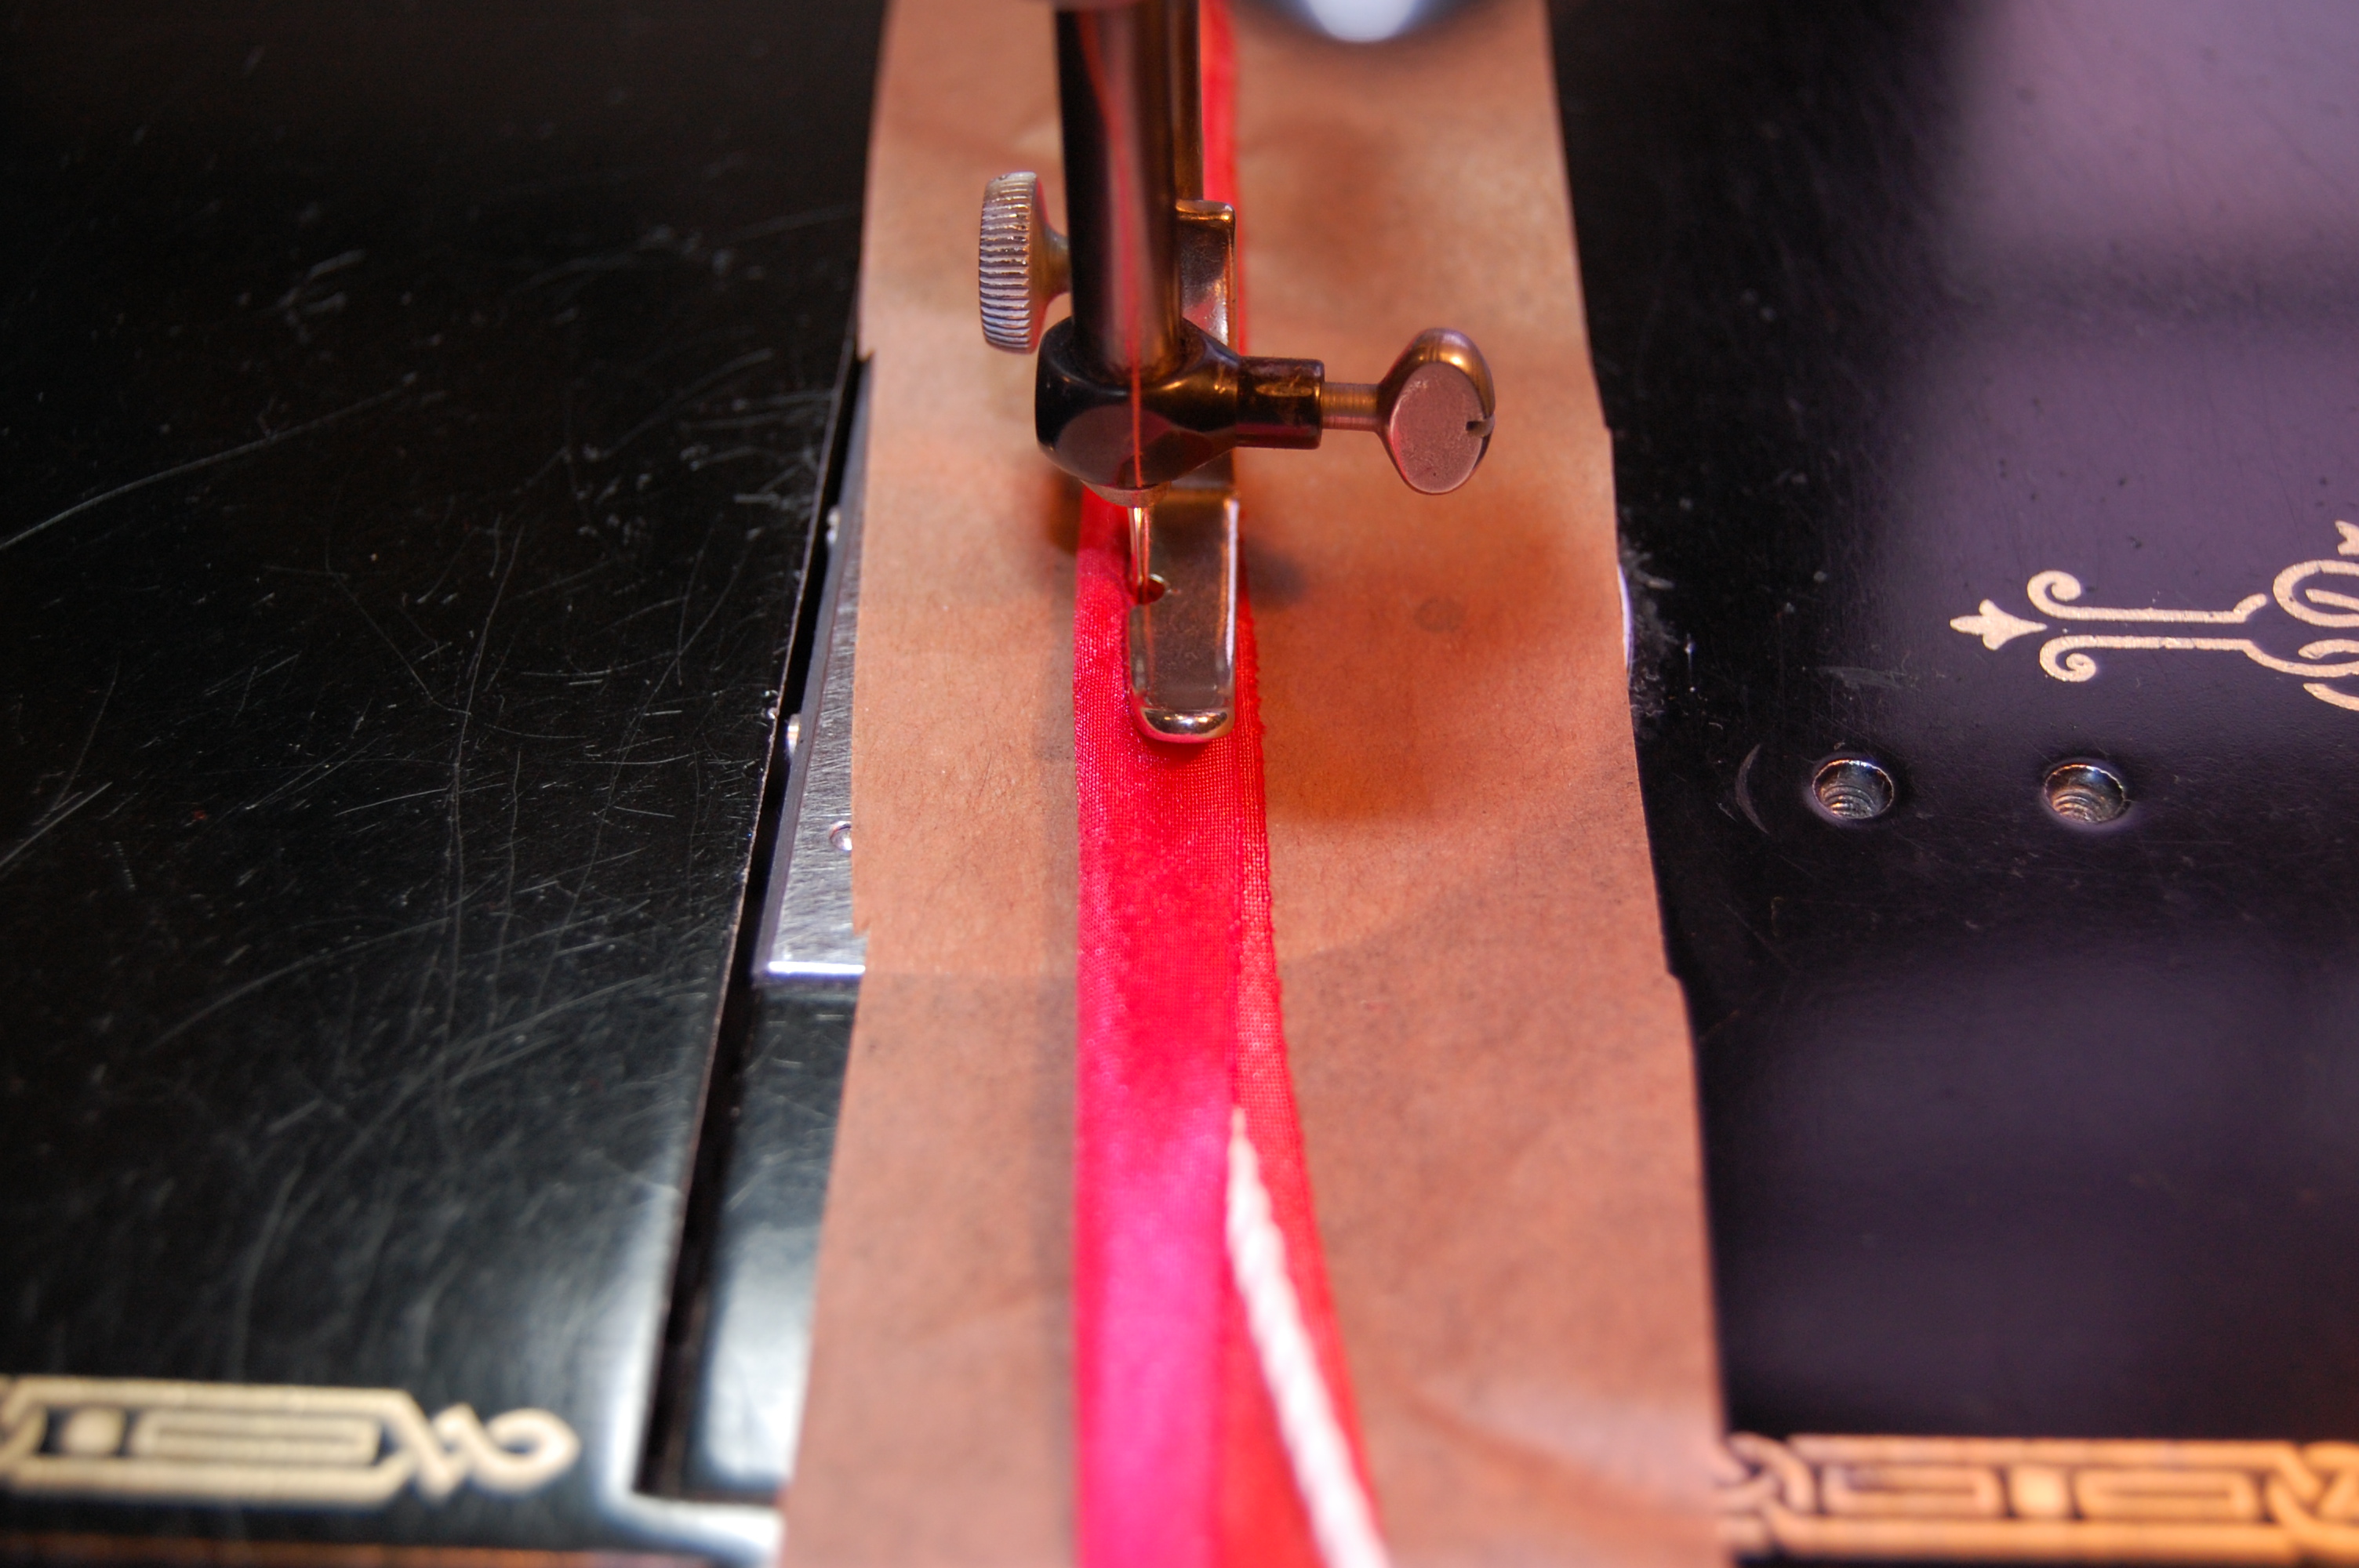
The tissue is brown (which is just some I happened to have with my gift wrapping supplies.)
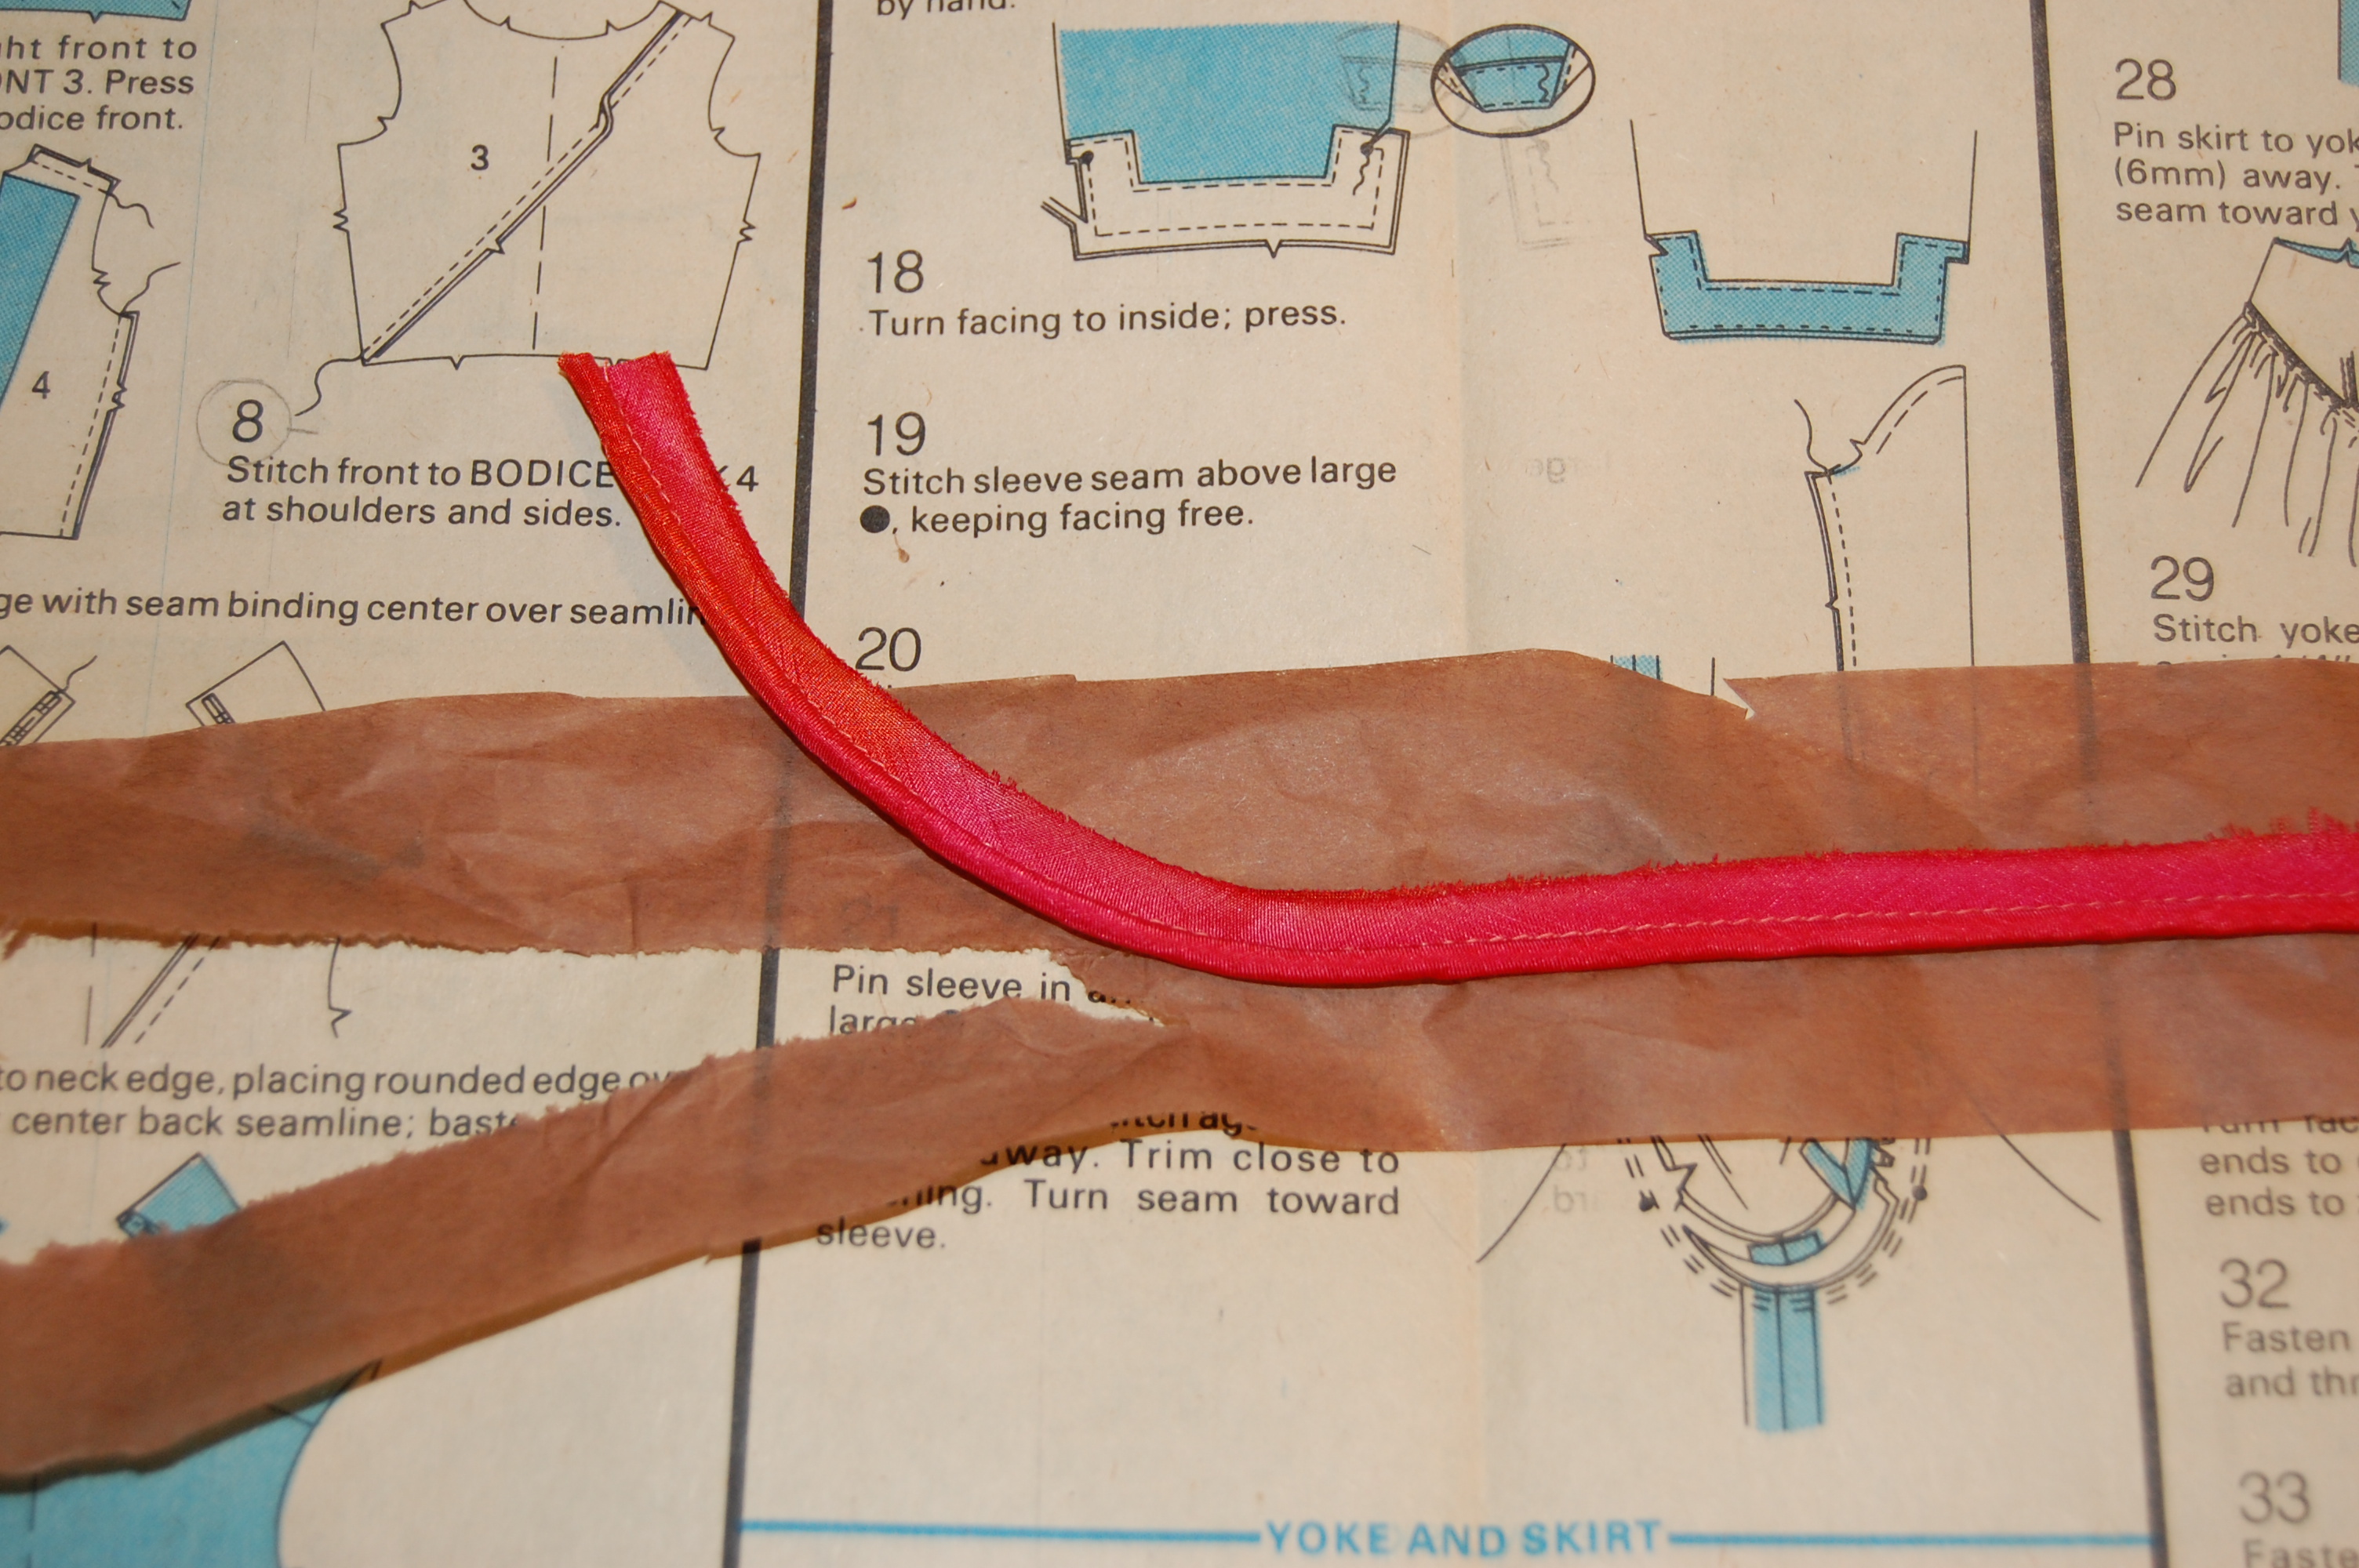
The tissue paper tears off easily and cleanly from the silk piping.
Further advice in the article gave tips on applying the piping. I decided to try my hand with this added guidance, choosing to start with the sleeves. The pattern calls for piping around the lower edge – a nice short distance and easy to fix if I wasn’t happy with the finished look. What do you think?
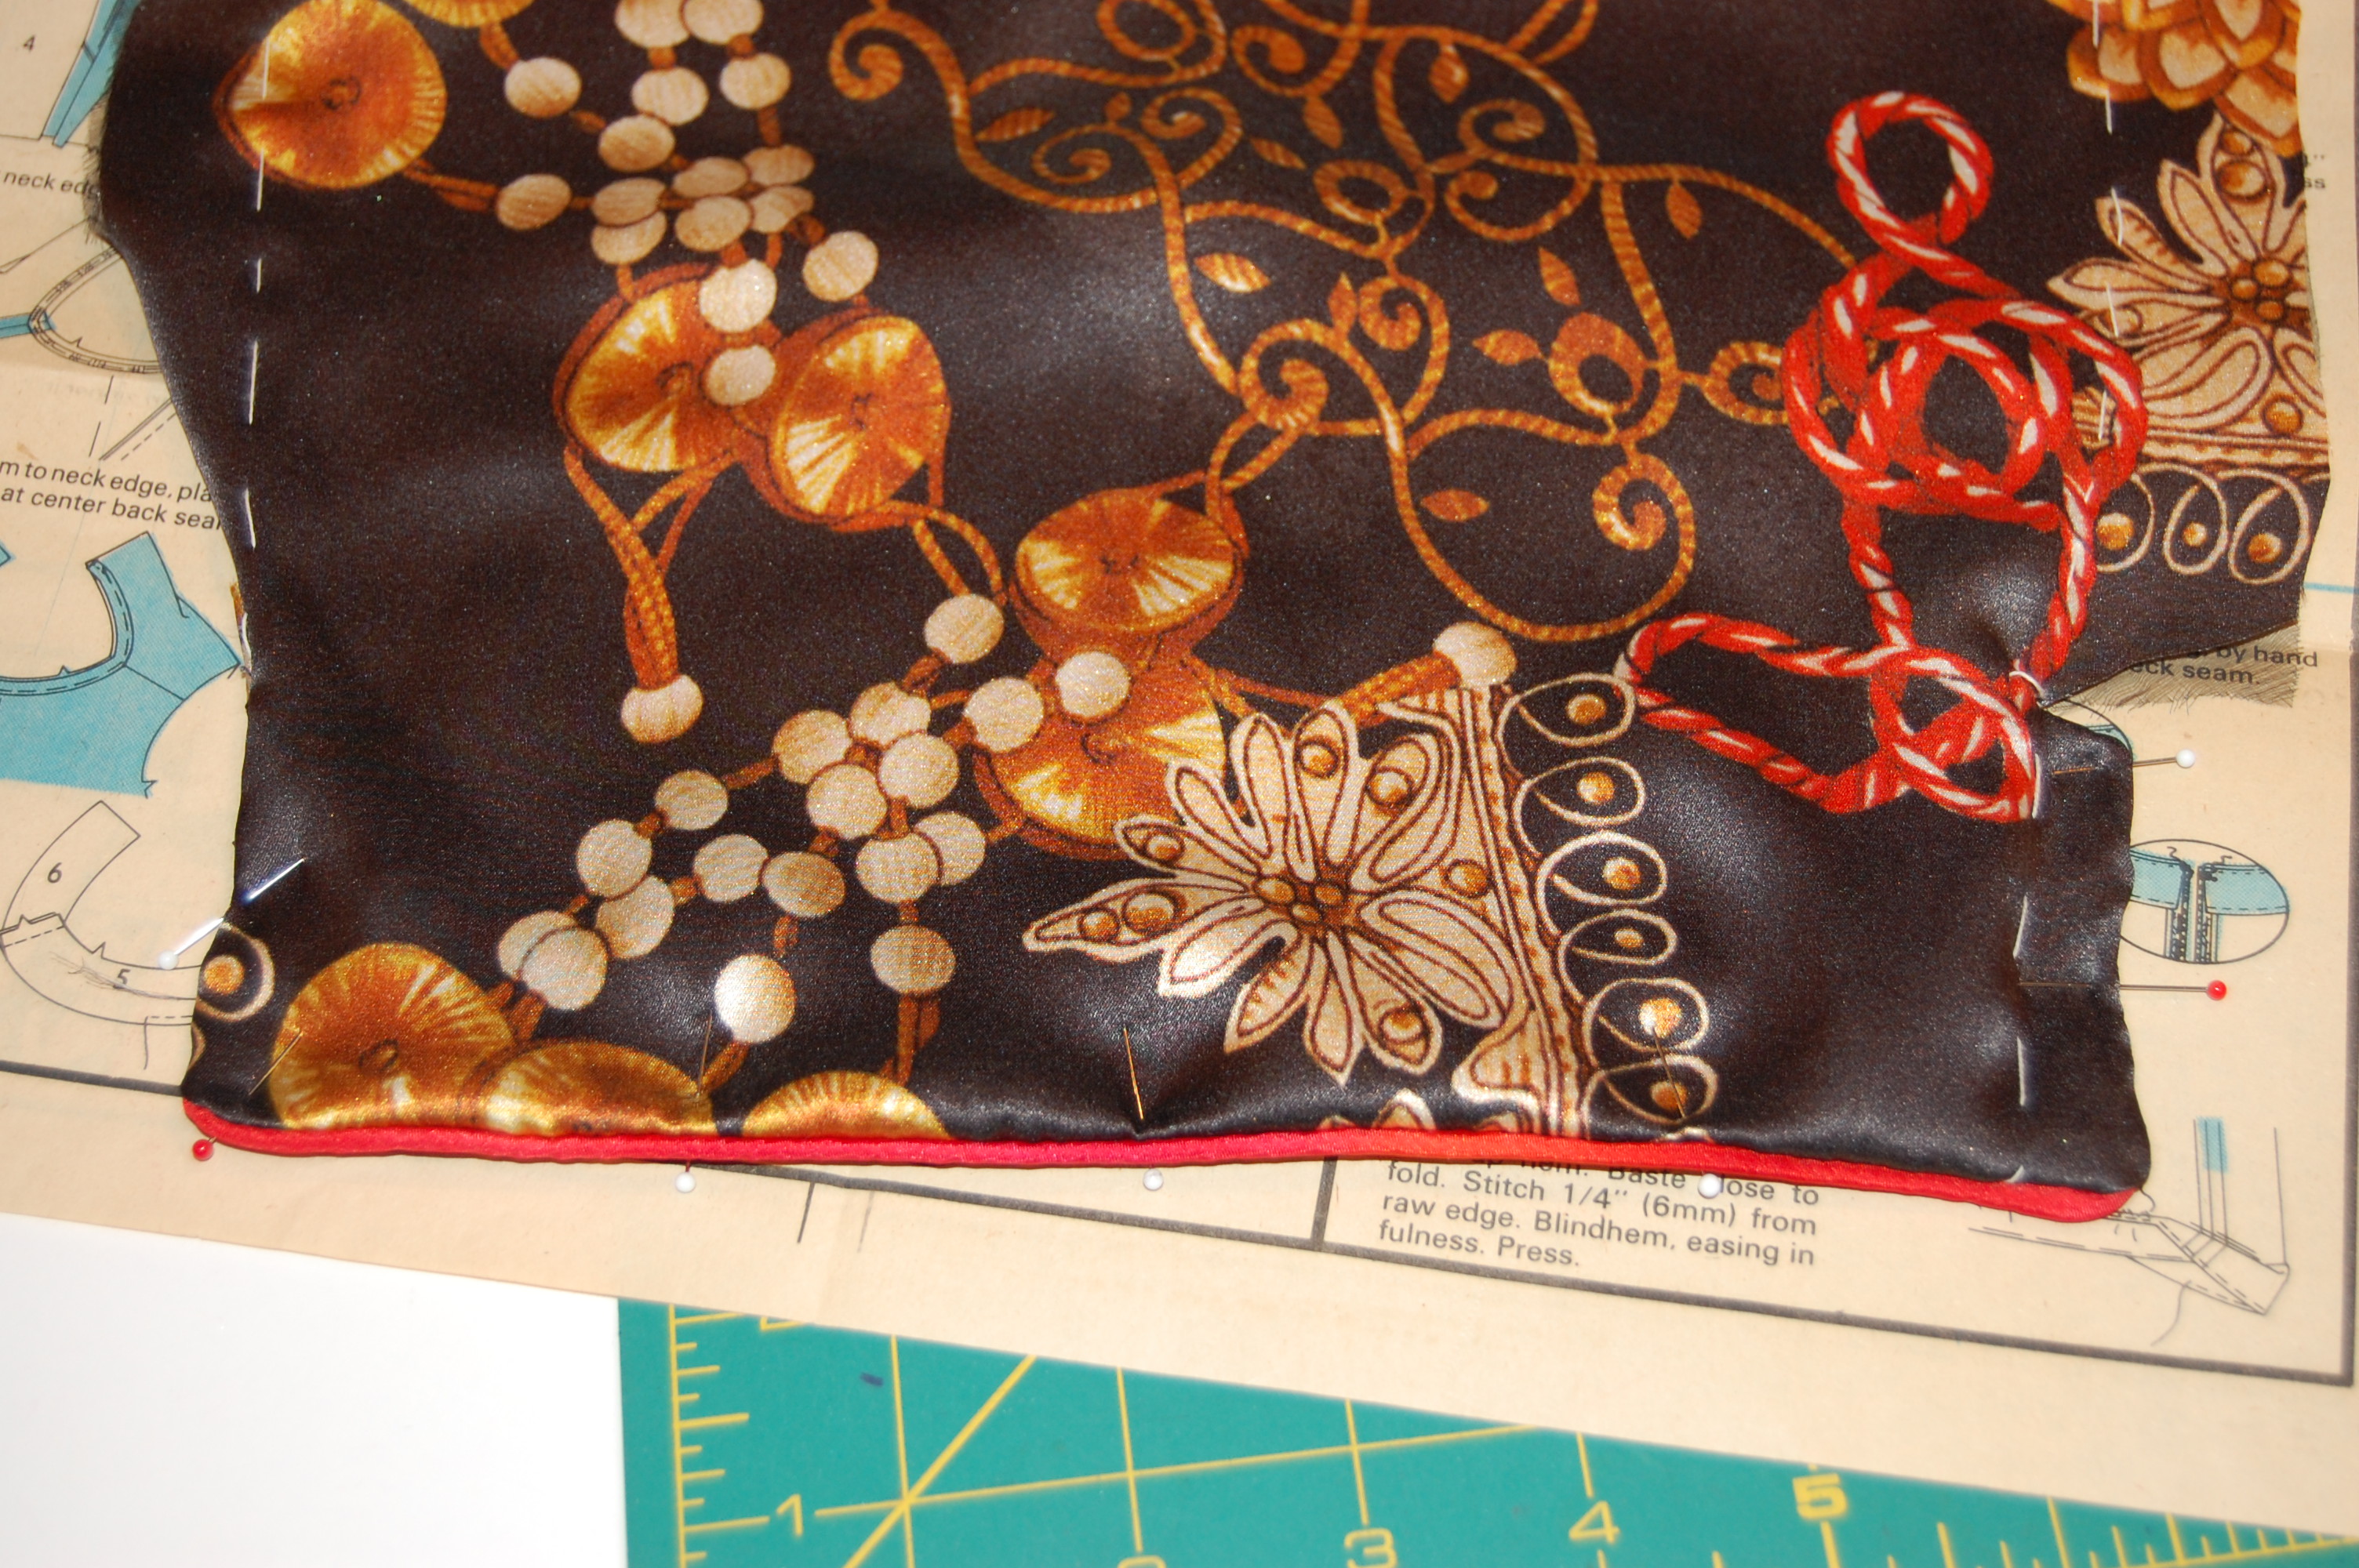
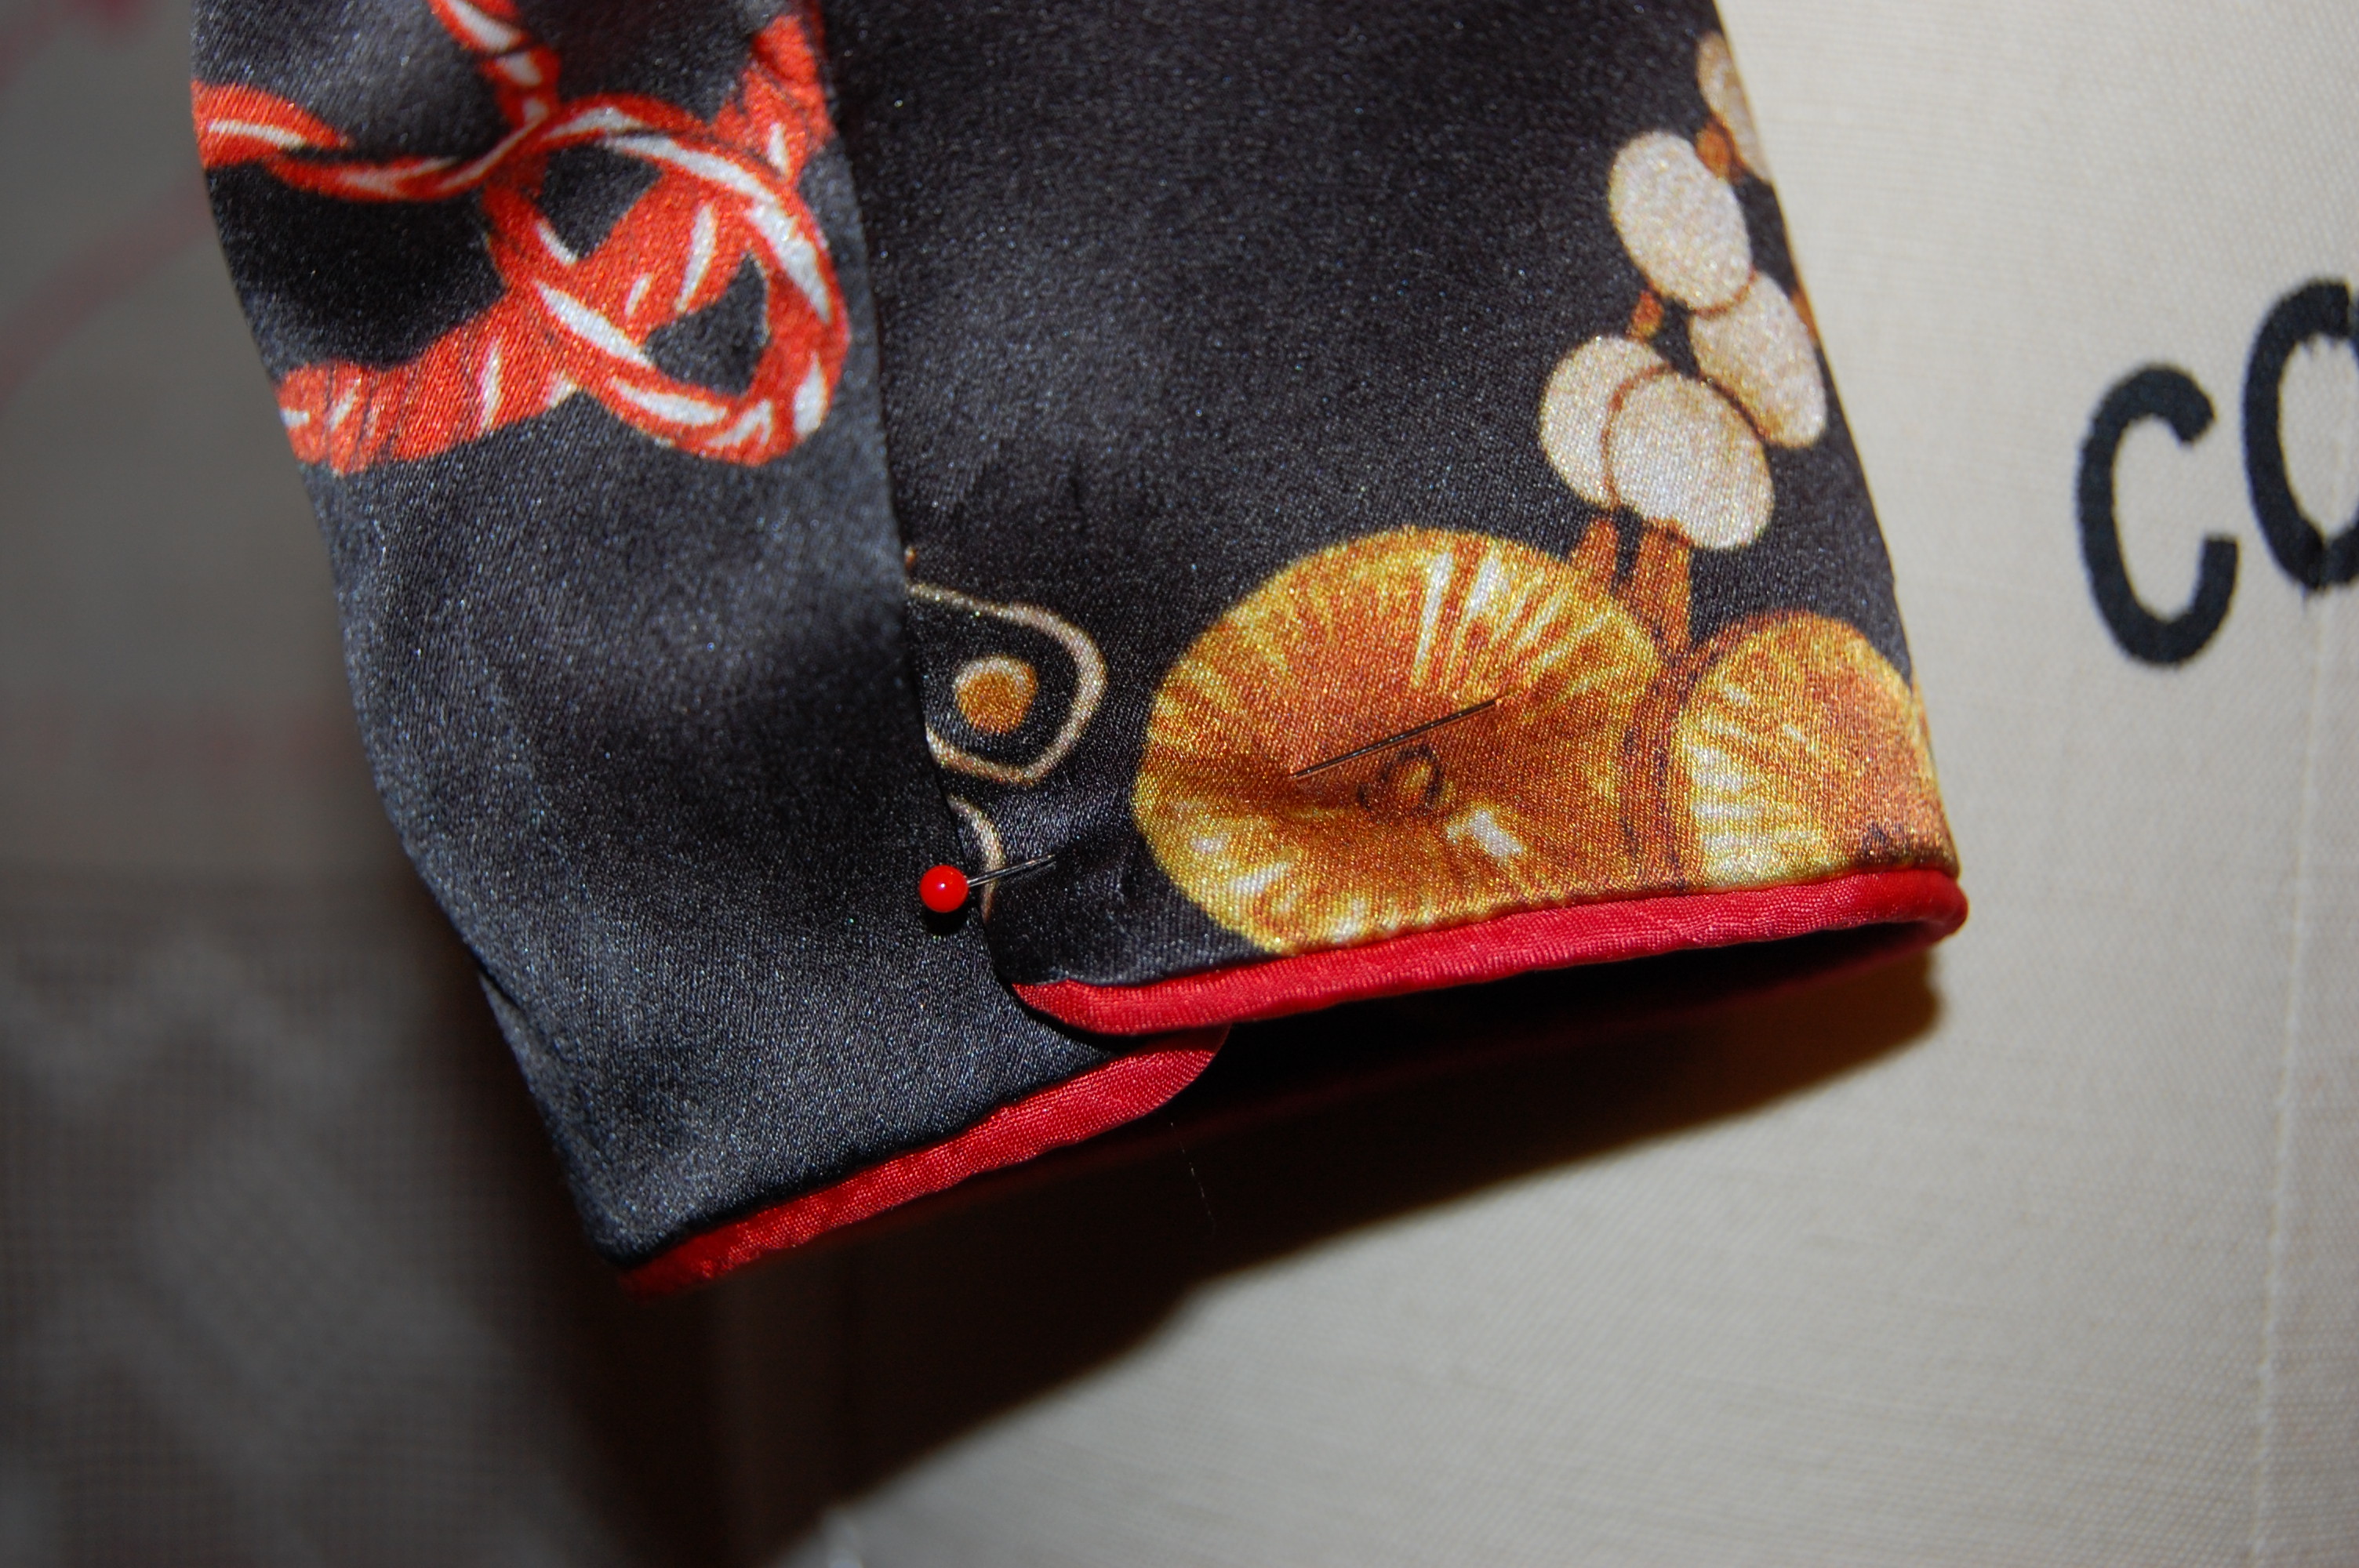
The sleeve has a side opening – to be secured by snaps. Here it is just pinned.
There will still, I am sure, be some tedious moments as I continue work on this dress, but my load was definitely made lighter by something as simple as —- tissue paper!

Lovely sleeve finish! Your piping will be the perfect detail with that fabric!
I like using the cotton string for piping as well. I also use cotton “clothesline” when I need a thicker piping for pillows or headpieces. (I think I’m one of the few costumers I know who likes making bias and piping.)
I don’t think I will ever buy a sewing machine unless it has a presser foot pressure reduction dial – I have one on both my vintage Wizard and my new Baby Lock and can’t live without it! Glad the tissue paper method worked for you! I’ve used that method when I don’t have a Teflon foot for whatever machine I’m using at work. But that’s usually for things like pleather or foam that want to stick to the presser foot. I wonder if a Teflon foot would also help you in a situation like you mentioned above.
I bought a teflon foot about a year ago along with a walking foot, and not long after the purchase I thought I was so stupid for buying the teflon foot because I thought that the walking foot made it obsolete – wrong! This post along with your suggestions, Brooke, have changed my mind and made me glad that I bought it.
You can never have too many presser feet, Dustin! 😉
I guess I should enter the 21st century, but I love my little 1951 Singer Featherweight! I’m not sure they make teflon feet for those machines?? Fortunately the tissue paper worked well!
I have my grandmother’s Featherweight, nice little machine! (You really can’t beat an old machine!) You should be able to put a Teflon foot on it – I switch my machine feet between all my machines because they are all short shank. If you can only find the snap-on kind of foot, you can always buy the part that snaps to the foot (called an “elbow” I think).
Found you a link for one on Amazon. =)
Karen, I love that you’re using that Belinda Bellville pattern – I’m looking forward to seeing the finished dress.
Is there any chance of shrinkage with the cotton twine? I suppose that with fabrics that will only be dry cleaned that shrinkage wouldn’t be an issue.
By the way, the colors to me are perfect for Fall.
Dustin – if I know I’m going to be washing the cotton cording once something is completely made, I do pre-wash and dry my cotton cord before making piping. (I put it in a lingerie bag so it doesn’t get as tangled or wrapped around the washer column.) But I’m sure Karen will be dry-cleaning her silk dress, so pre-shrinking isn’t necessary.
I am always drawn to Belinda Bellville patterns and have wanted to make this one for quite a while.
Brooke answered the question about the cotton twine and shrinkage – yes, i’ll be dry-cleaning this dress!
Very clever using the tissue paper! Can’t wait to see the finished outfit! You have picked some beautiful colours.
Thanks, Linda! I really love this fabric and hope it turns out well.
This is beautiful. Thanks for the great tips too
Thanks – and you are welcome!!
It will be wonderful garment! This piping is wonderful finishing touch. I fully agree with you on Threads Archive magazine. I have bought it as well and I love it. In one click so many useful advices, tips.
I thought long and hard before I purchased the Threads Archive, but it is a wonderful resource, as you know!
Great tip. Your dress will be lovely and loaded with couture details. The older issues of Threads have fabulous ideas. I also find myself referring to back issues. I noticed you sewed the piping with a Singer featherweight. I have one also and love it for intricate detail sewing. Can’t wait to view this finished.
Yes, my Featherweight is usually my machine of choice. All I usually need is a straight stitch, and I’ve never seen a nicer straight stitch nor more control than with this little gem of a machine!
Are you saying that you fashion those fabulous frocks with a featherweight? (Ooo, that’s enough alliteration for the week.) I know the little mighty might’s many virtues, but this is impressive.
I’m so glad you put up this tutorial, Karen, as my next project has miles of piping out of a jersey knit. I’m going to try out your method to see if it helps. Looks like a lovely dress, and you’ve definitely glossed over hours of difficult work with the muslin, cutting and underlining!
Jersey knit has its own challenges – but I’ll bet your Karl will see you through! I am delighted to have so much of the tedious work on this dress behind me. Now I just need to be able to schedule my sewing room into my agenda…
Enjoy reading your tips and progress. Thanks for sharing your valuable information!
You are very welcome, Jackie! Thanks so much for reading my blog!
One of the best sewing machine attachments I ever bought is my piping/cording foot. I got it when I was making slip-covers, so it has a 1/4″ channel, but they also come in smaller sizes. The needle slot is perfectly placed so you don’t make the bias too tight, and you never catch the cording with your needle. I’ve used it on many upholstery projects, as well as on costumes that needed bold trim. P.S. Like Brooke, I worried at first about string shrinkage. I’ve worked in costume shops where we pre-shrank cotton cording and twill tape by putting them in a pyrex bowl or cup filled with water, and microwaving until the water boiled. (This also justified spending shop budget on a microwave oven, which came in handy for making tea at break-time. . . .)
Piping looks good, Karen! I always use a 3-groove pintuck foot but your method seemed to work well for you! Can’t wait to see finished dress!
String! What a wonderful idea. I’ve always really struggled to find an appropriate ‘filling’ for my piping. I presume you prewash to shrink it? I have sewn with silk on tissue paper before – and it works a charm 🙂