
The pattern for a very pink coat has many pieces.

When I am getting ready to start a new project with a pattern new to me, I like to read through all the instructions just to get a feel for what is ahead. That lets me know if I can mix things up a bit, deviate from the step-by-step instructions, prepare a component ahead of time (such as sleeves. If I feel confident about the fit, I will often make the sleeves first and set them aside until I am ready for them). During this initial study of the instruction sheet, all was straightforward except for one thing. For the life of me, I could not figure out how the concealed – or fly – opening on the front was constructed. I have done this type of opening before (here and here), but this construction was different.
Because I wanted to use my gray lining fabric for one layer of the buttonhole side of the opening (to reduce bulk) I needed to know if I could do that and be confident that the lining would not show. So I REALLY needed to understand how this detail went together. I decided I would have to do a trial run. What better use of a well-marked muslin (toile) than to use it for this task? Armed with pins, I proceeded to do a mock-up.
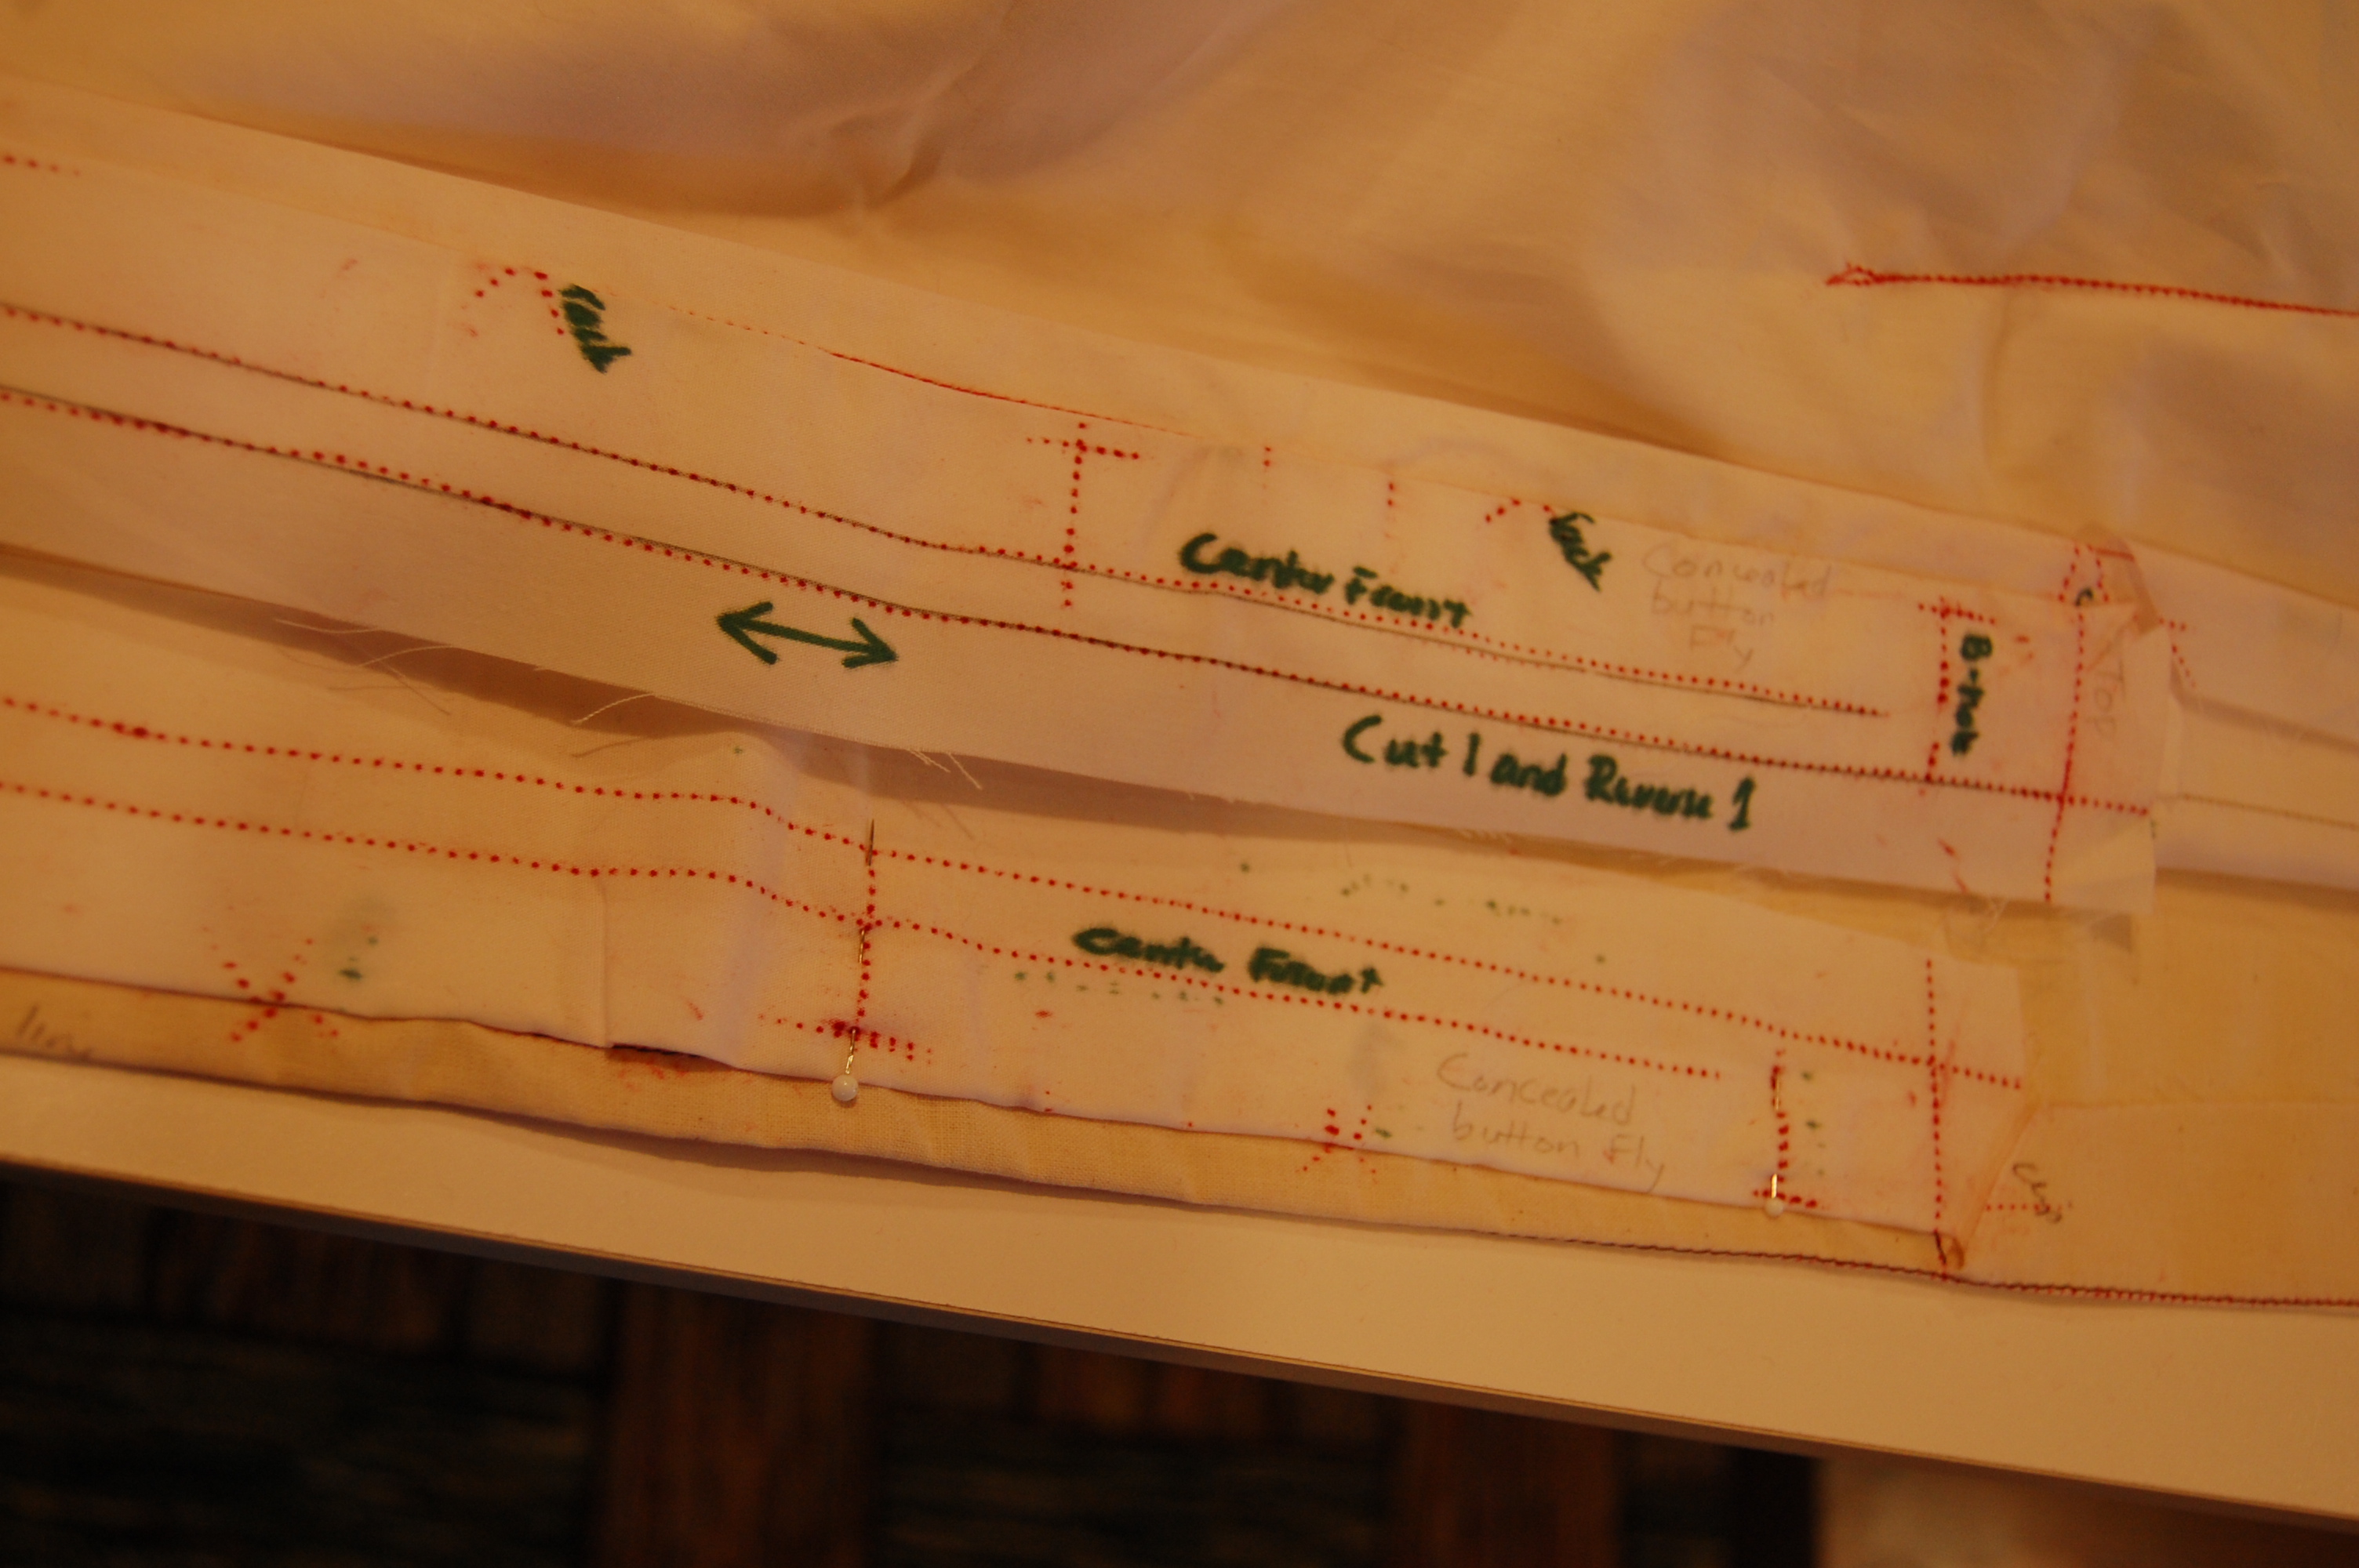


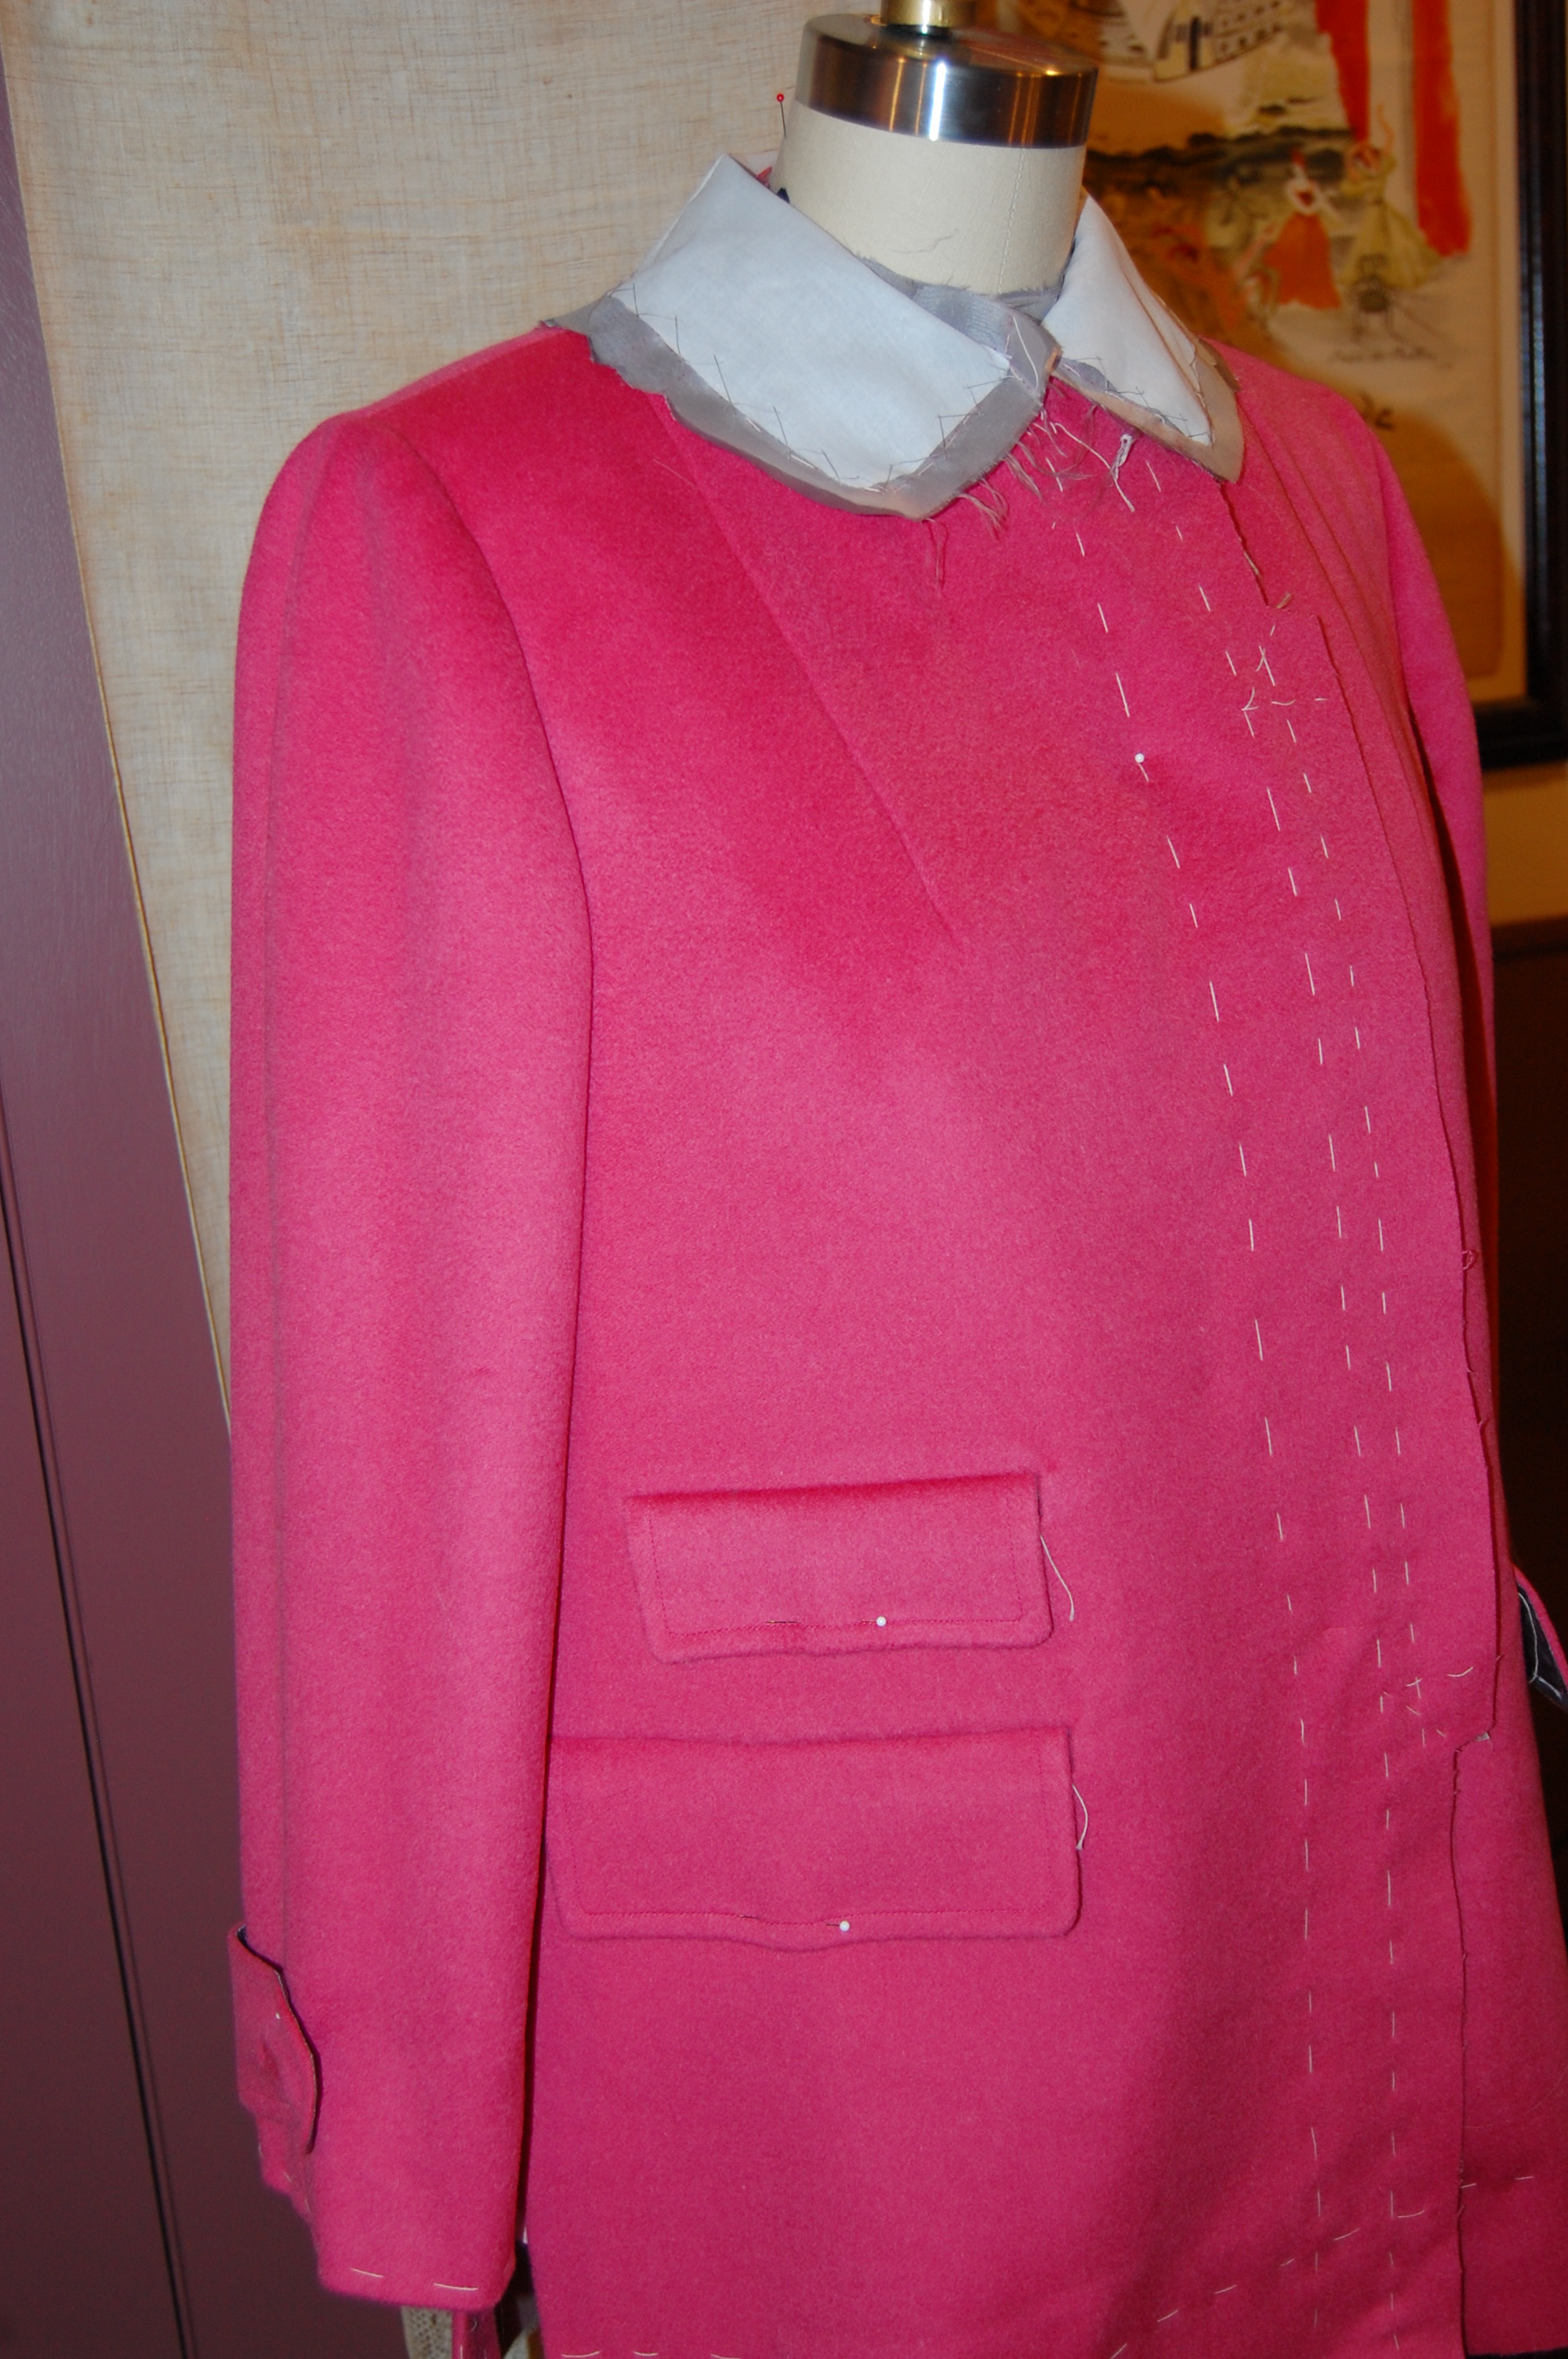
Instead of taking my mock-up apart, I decided to keep it for referral when I got to that point of the coat. And I am so glad I did. It helped me through many a confusing moment, giving me confidence that I was doing this correctly. Wouldn’t it be nice if all of life gave one a trial run first before facing the real thing – and then stood by to offer reassurance? Well, you will have to wait to see the finished opening in my next post, but it is all but complete. And I must confess, I think it is going to be very lovely.
Now here is something to ponder. A few days ago I walked into my sewing room and was startled to observe something that did not seem right on my up-to-that-point constructed coat. I had it hanging on my dress form and almost had a panic attack when I looked at the to-be-buttoned tabs on the sleeves. It certainly looked as though I had sewn them on backwards! The buttonholes, and therefore the soon-to-be-attached buttons, were oriented toward the front of the sleeve, rather than the back.

Before completely losing it, I went to my pattern, and there, plain as day in the illustration, the tabs wrapped around to the front of the sleeve.
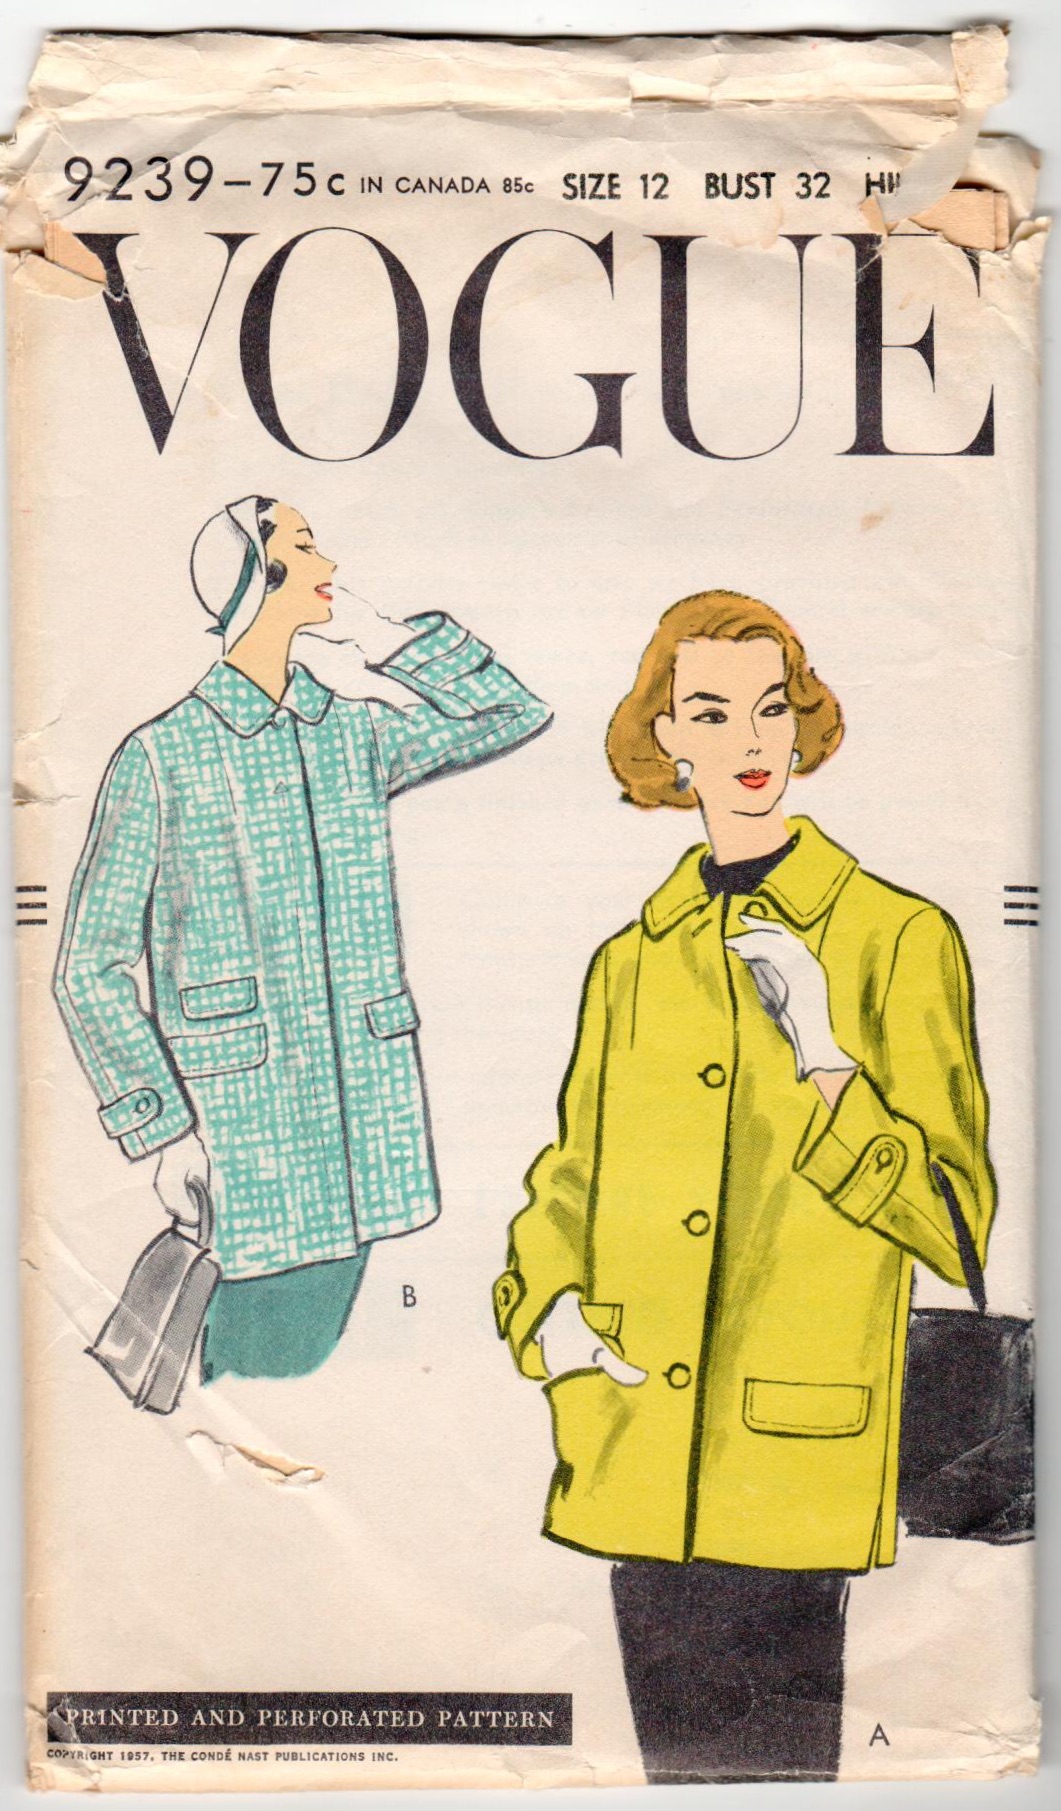
I still could not quite believe it, so I went to the illustrations in the 1957 Vogue Pattern Book Magazine, shown in my last post. Yep – the tabs were oriented the same way as mine. Just to make sure, I checked the silk organza under-lining on the two-part sleeves to double check my markings which would tell me that the backs of the sleeves were truly in the back (although my common sense had already answered this question for me. Of course, the sleeves would not have gone in as smoothly as they did if I had put them in incorrectly).
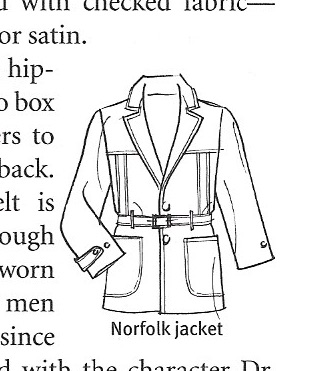
After being reassured repeatedly that I had not made a BIG mistake, I started to question why the tabs were oriented that way. I looked for other examples of buttoned sleeve tabs. I found one or two in which the tab wraps around to the front, but most tabs were sewn into the inside seam, wrapped around the front and buttoned just past the center point of the sleeve (or seam, if there was a center seam as with my pattern), toward the back. I wondered if this might one of those things which is distinctly feminine, such as the fact that buttonholes on womens’ apparel are on the right, whereas mens’ are on the left. But no, I could not verify that.

Now I am left with a decision to make. Somehow, I think I would like the tabs on my coat to button toward the back. I had faced the tabs with my gray lining fabric, again to reduce bulk. I think that gray lining would better stay undercover should the tabs button in the back. I also think a backward orientation will reduce the incidence of “catching” the tab on things. Both of those considerations obviously figure into my thinking. Do I take out the bottom part of the finished sleeves, with their pretty catch-stitched seams, remove the tabs and reorient them?

Or do I leave well-enough alone and stay true to my vintage pattern? I must decide before the lining goes in the coat. Which brings me to the realization I have just 4 pattern pieces remaining, all for the lining. Part 3 of this saga is just around the corner.

Beautiful job.
Thank you!
“Wouldn’t it be nice if all of life gave one a trial run first before facing the real thing – and then stood by to offer reassurance? ”
Oh, so true, so very true.
Your coat is pretty already. I have no opinion on direction of tabs as a style feature (visual decision), only that your reasoning about the practicality is what would probably win my decision.
Thanks so much, Mery. This has been a good exercise in “observation.” And I am still “observing” my coat to ascertain how i want to proceed, which is becoming clearer all the time!
I think the orientation of the tabs is a personal choice. Coat is looking fabulous and your bound buttonholes are perfection.
Thanks, Mary. Yes, with the tabs, it certainly appears there is no right or wrong way to place them. How I would love to get inside the mind of the original pattern designer for this coat!
I like the tabs to the front. It keeps under side of arm smooth if tightened. And it will be easier to adjust while wearing.
Great observation, Karey. Thanks so much for offering this good advice.
I would keep them aimed at the front and stick with the design as is. I doubt you will ever adjust them, but if you do, Karey’s reasoning is correct.
Thank you for your good thoughts on this. Certainly the tabs are more decorative than actually useful, but they should also look practical, I think.
I think that look lovely facing front. I am nowhere near the seamstress you are, but am inspired by your posts, so that’s my two cents worth!
Thanks, Mary. Your two cents are worth much more than that! I am very appreciative of your kind input.
I have actually used those tabs for what they were meant for…to narrow the opening to stay warm.
Functionally, I think having those tabs oriented as you do, toward the front, would make it slightly easier to move from button to button, cinching closed or releasing the cuff.
I am working on a coat right now that doesn’t call for the tabs but I was going to add them and I am now thinking that I will orient them forward instead of backward.
So interesting … thank you for your thoughts on this. Whoever knew buttoned tabs could raise such questions!
Your quandary prompted me to go look at my coat which is very similar from J Jill. The tabs wrap towards the back. After looking at it, and comparing it to yours, I came to the conclusion that I’d leave the tabs as designed. Having them as shown in the pattern gives the coat a different look which I find appealing. Your dedication to a thorough and comprehensive understanding of your project is a lesson from which we can all learn.
Thanks so much, Peggy. There must be a good reason the original pattern designer did this the way he/she did. I agree it does give a slightly different look to the coat – and the more I look at it, the more I, too, find it appealing.
I have had jackets and coats with the tab to the front, and feel this looks normal. In my opinion, the front facing tab gives your jacket ( which is already gorgeous) a more stylish look!
Thank you, Rebecca! This is so helpful to me – I so appreciate your comment!
I will wait and see which direction you choose for your tabs. I am loving that bright pink, and it will look fabulous, especially with your beautiful silvery hair! Having that muslin to refer to was so nice, especially on such a tricky part.
This jacket is soooo nice. The button hole is superb. Looking forward to the next progress post. Thanks for writing and sharing. Whatever you decide will be perfect. Personally I go for path of least resistance. LoL 😆
Best,
Linda.