It can be a little overwhelming to look at my (growing) collection of beautiful summer linens, and then try to make a decision on which piece to select for my next project.
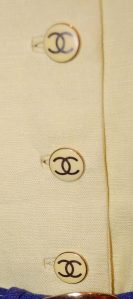
Fortunately, a random purchase of buttons helped me make up my mind this time around. I found these buttons at Britex Fabrics in San Francisco last year, and purchased them on a whim, not knowing when or how I would use them. I also don’t know what possessed me to purchase 6 of them, but that’s what I did.
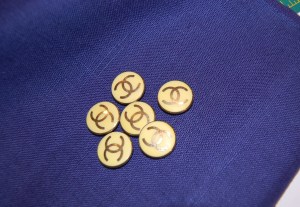
Yes, those are interlocking “a la Chanel” Cs.
When I got them home, I realized they were a perfect match with a length of vintage, pale yellow, Moygashel linen in my possession. I tucked the fabric and the buttons away together, confident that the perfect pattern would also be found amongst my many vintage Vogue patterns.
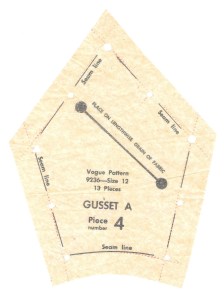
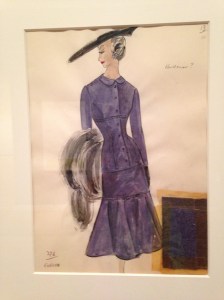
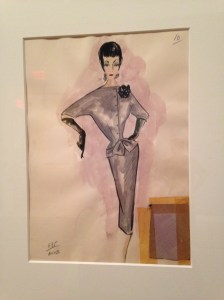
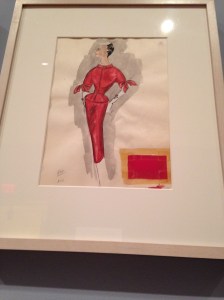
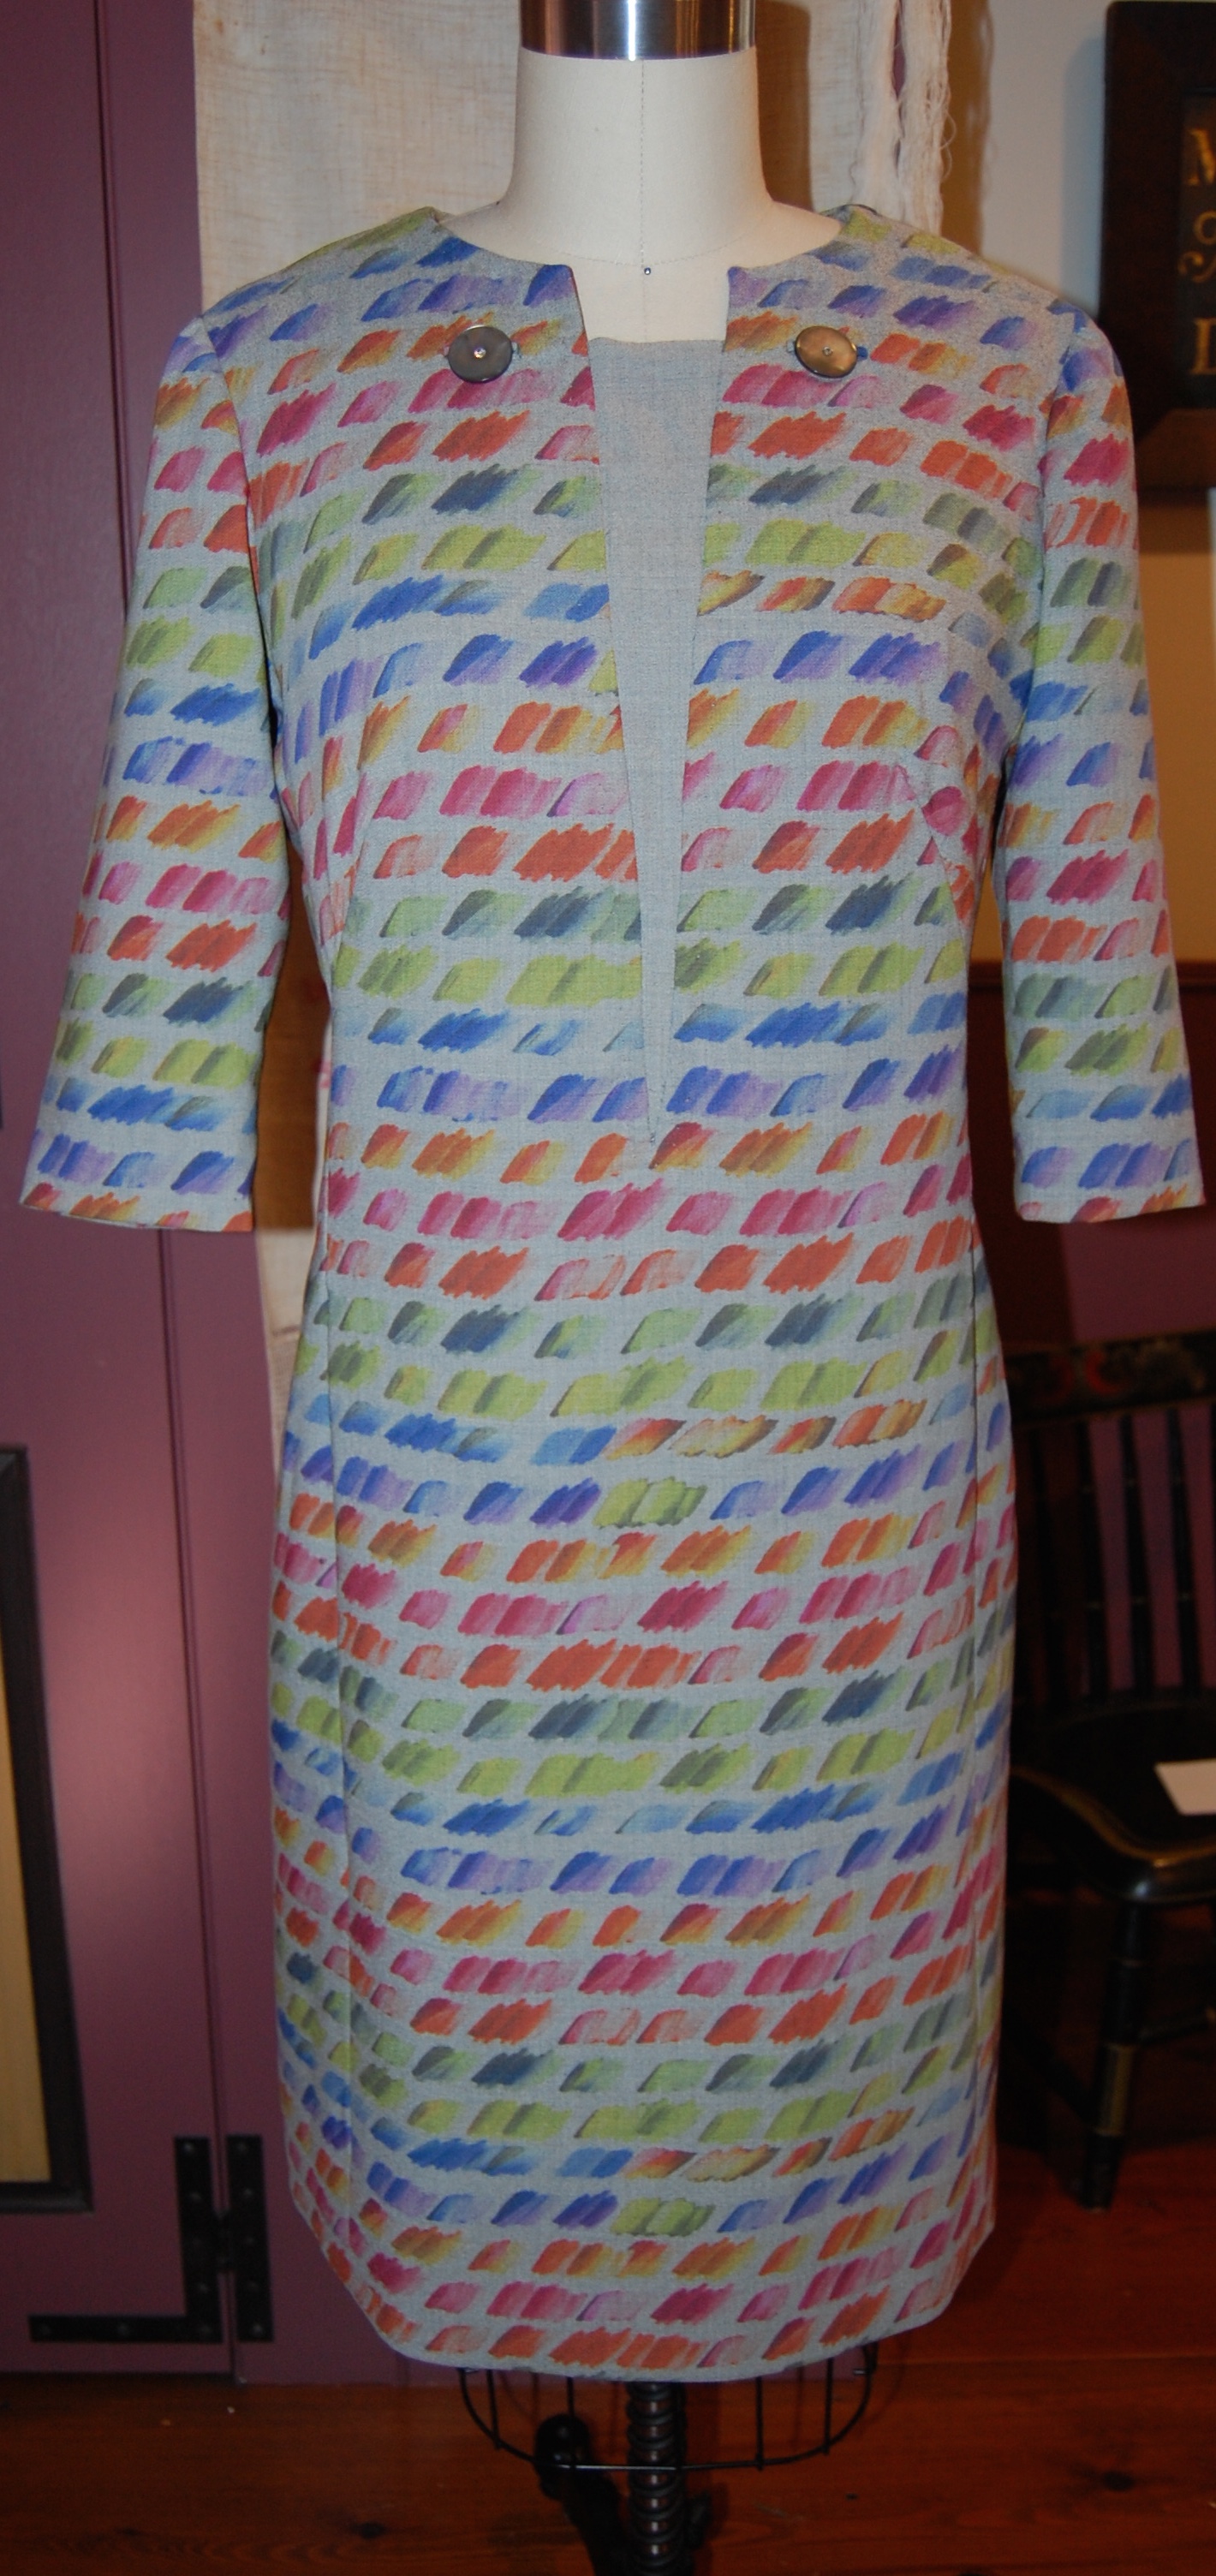
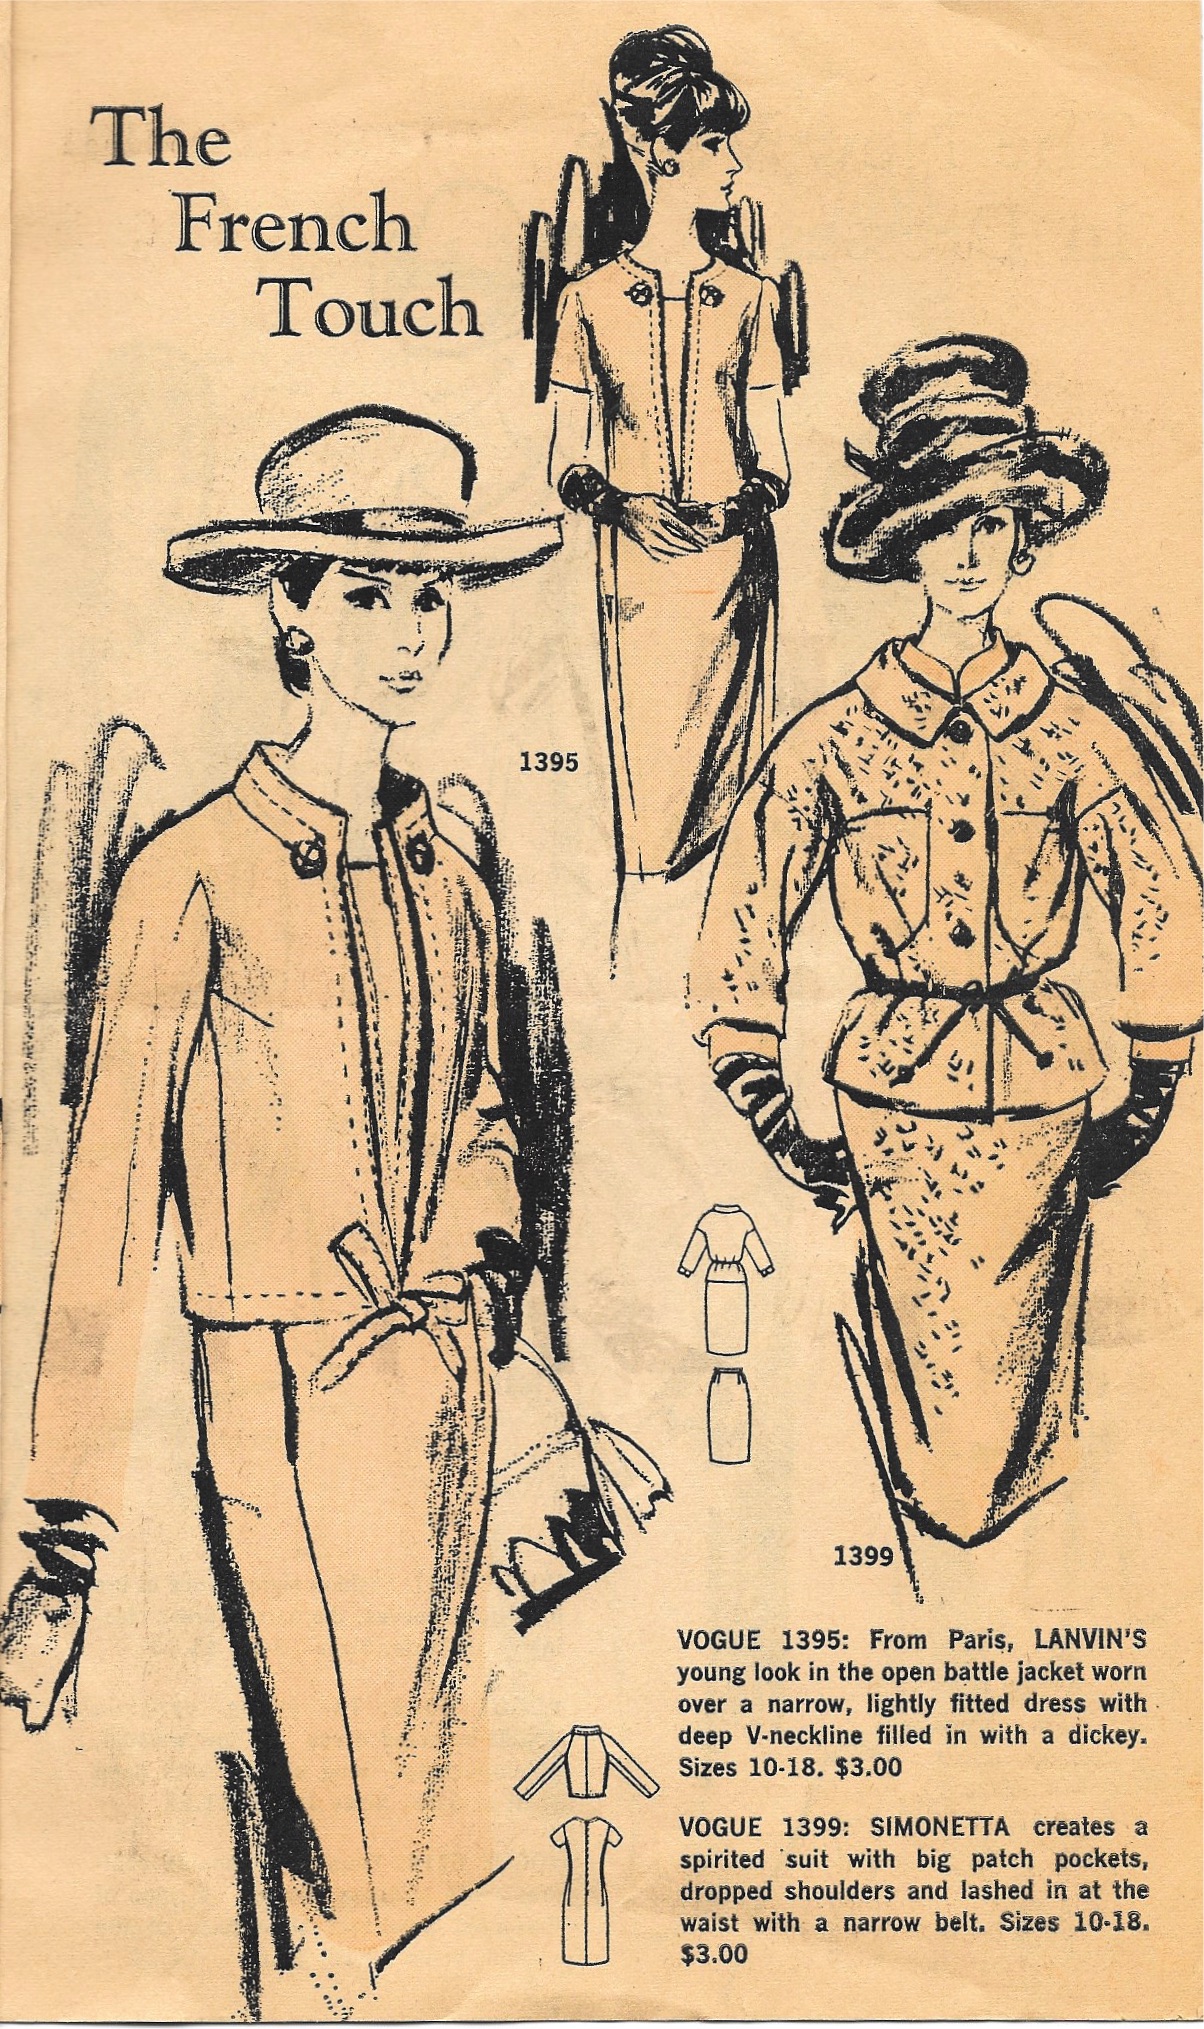
It was a bit of a trick finding a pattern that needed 6 (or fewer) ¾” buttons. This one kept surfacing as the most ideal candidate:
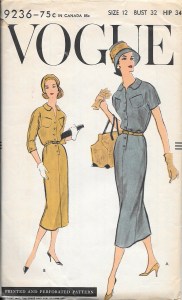
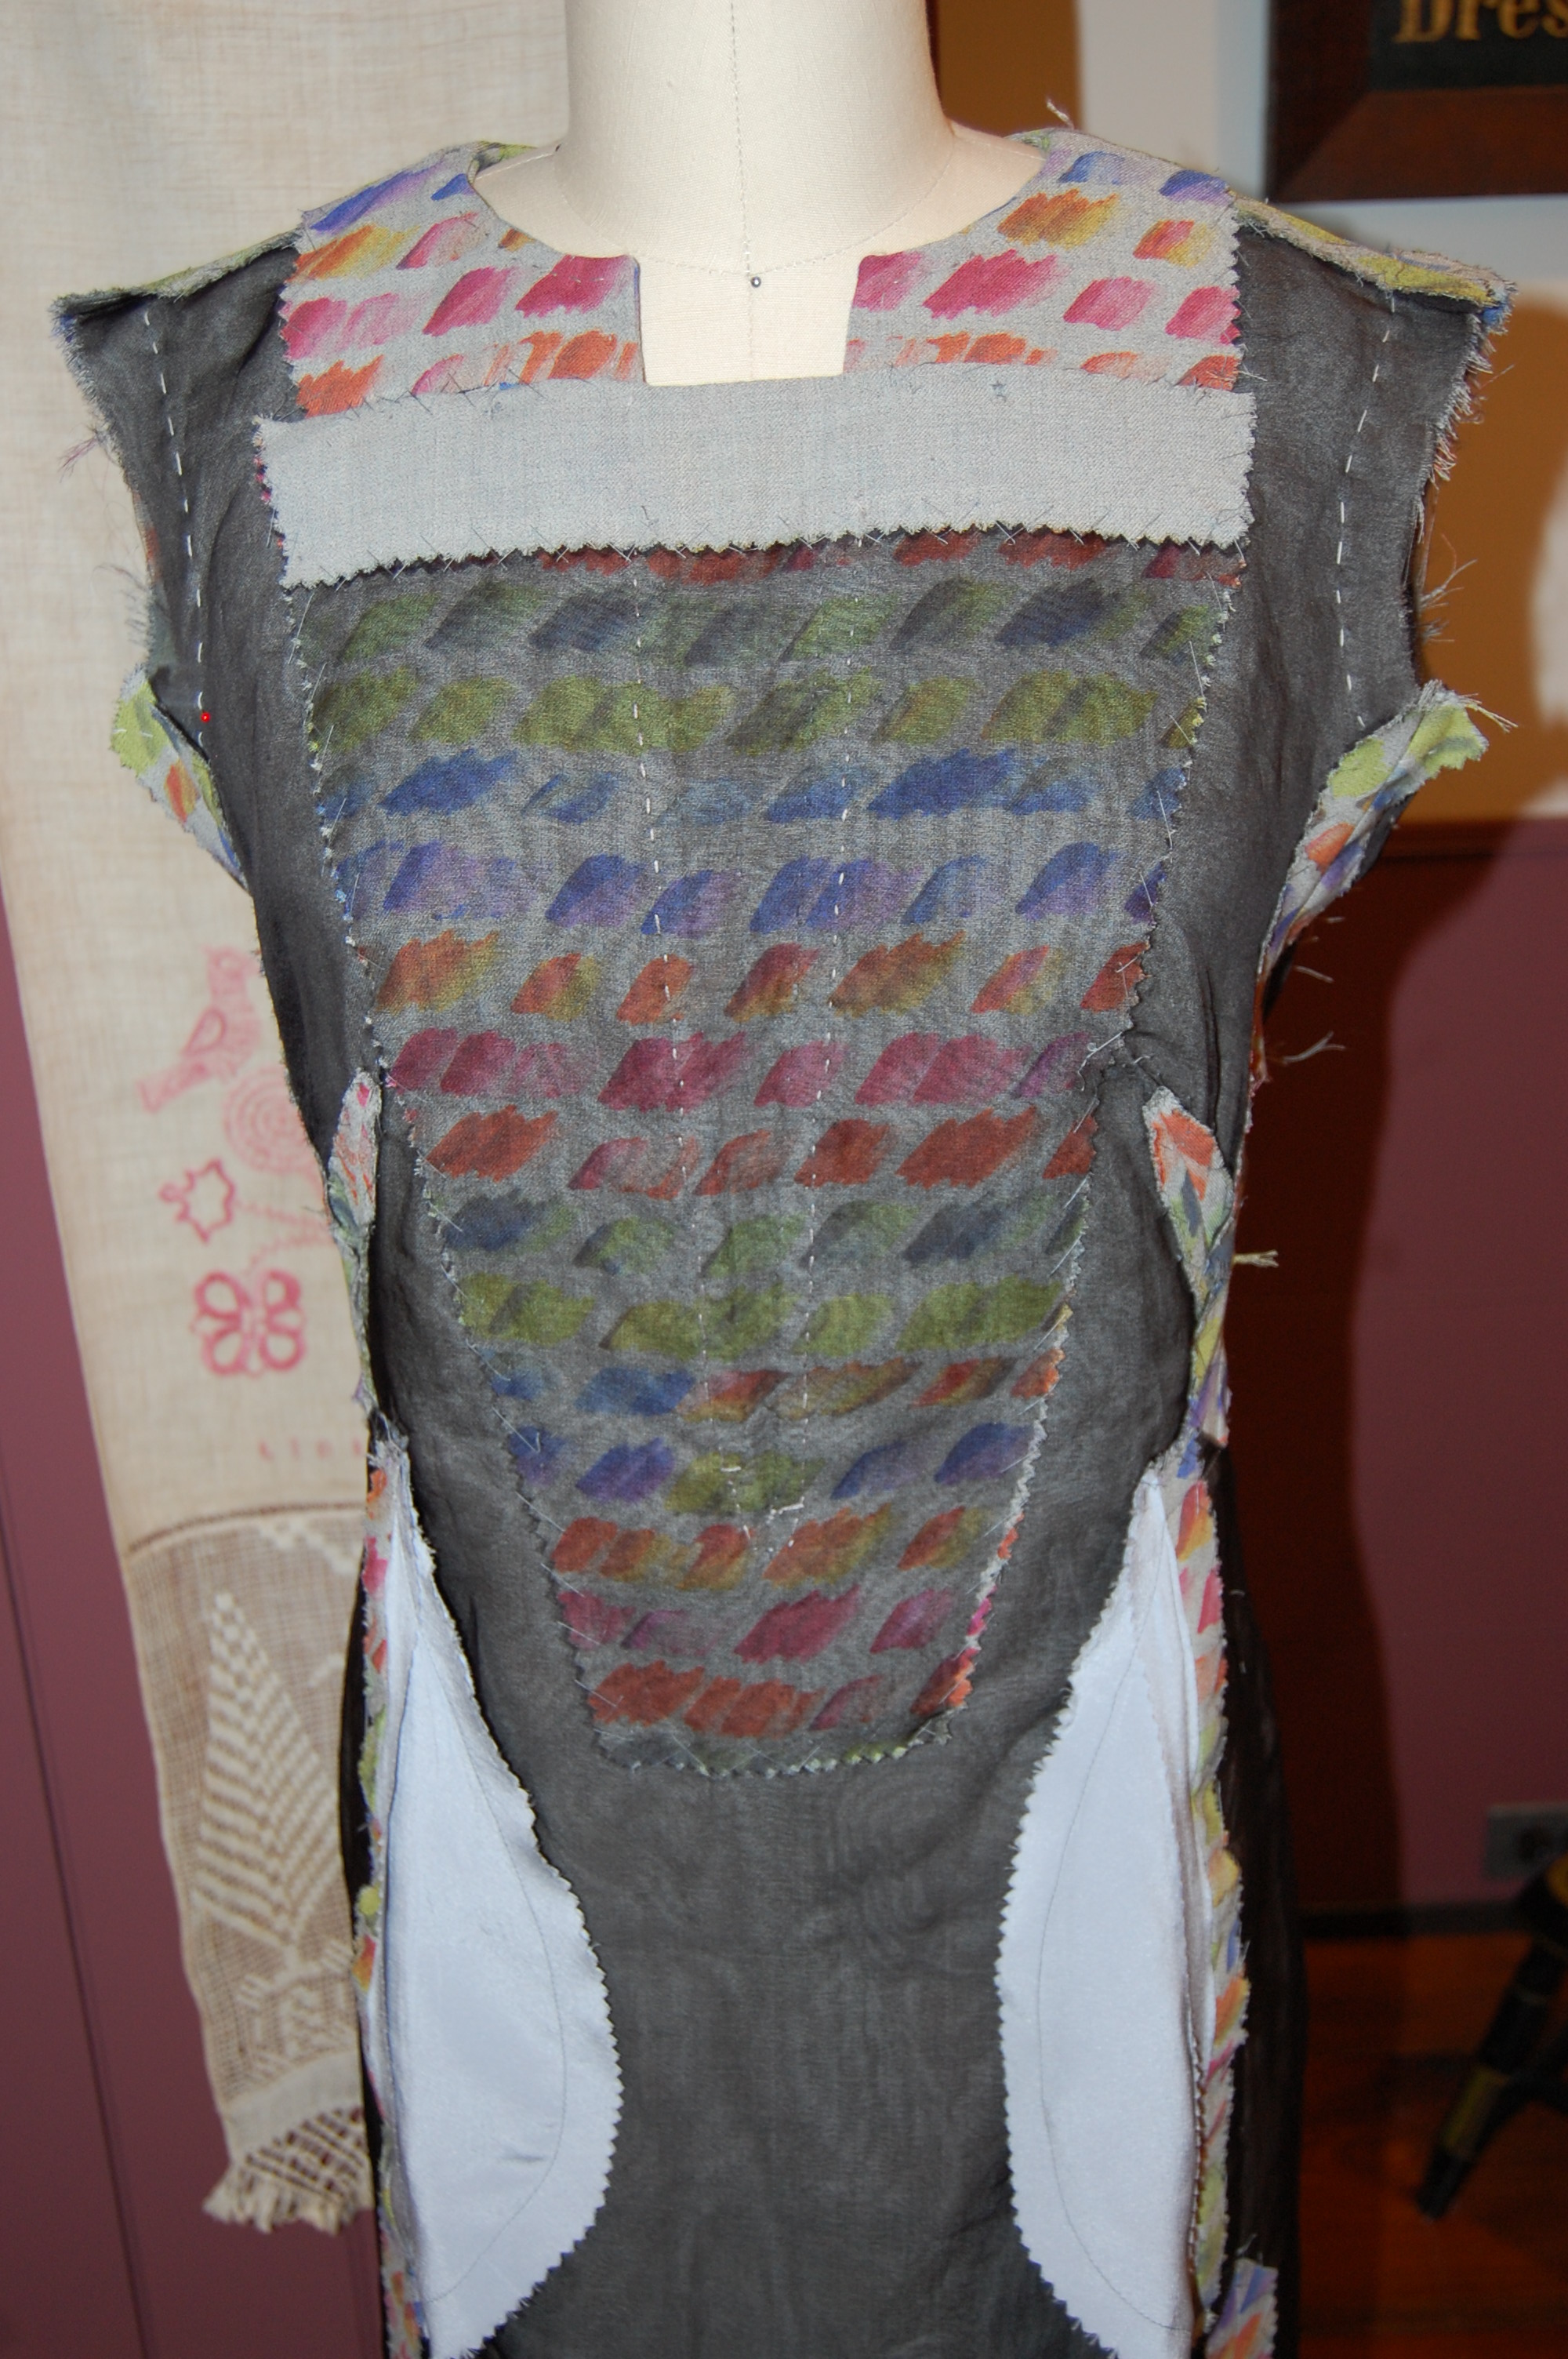
Ideal, except for the yardage needed, that is. Many of you know by now that being a “little shy” of the prescribed fabric usually does not keep me from my desired goal! After making a fitting muslin and making the necessary adjustments, I cut out my underlining (light weight linen/cotton blend) and used that as my pattern. It was immediately evident that I did not have enough of that 35” width linen.
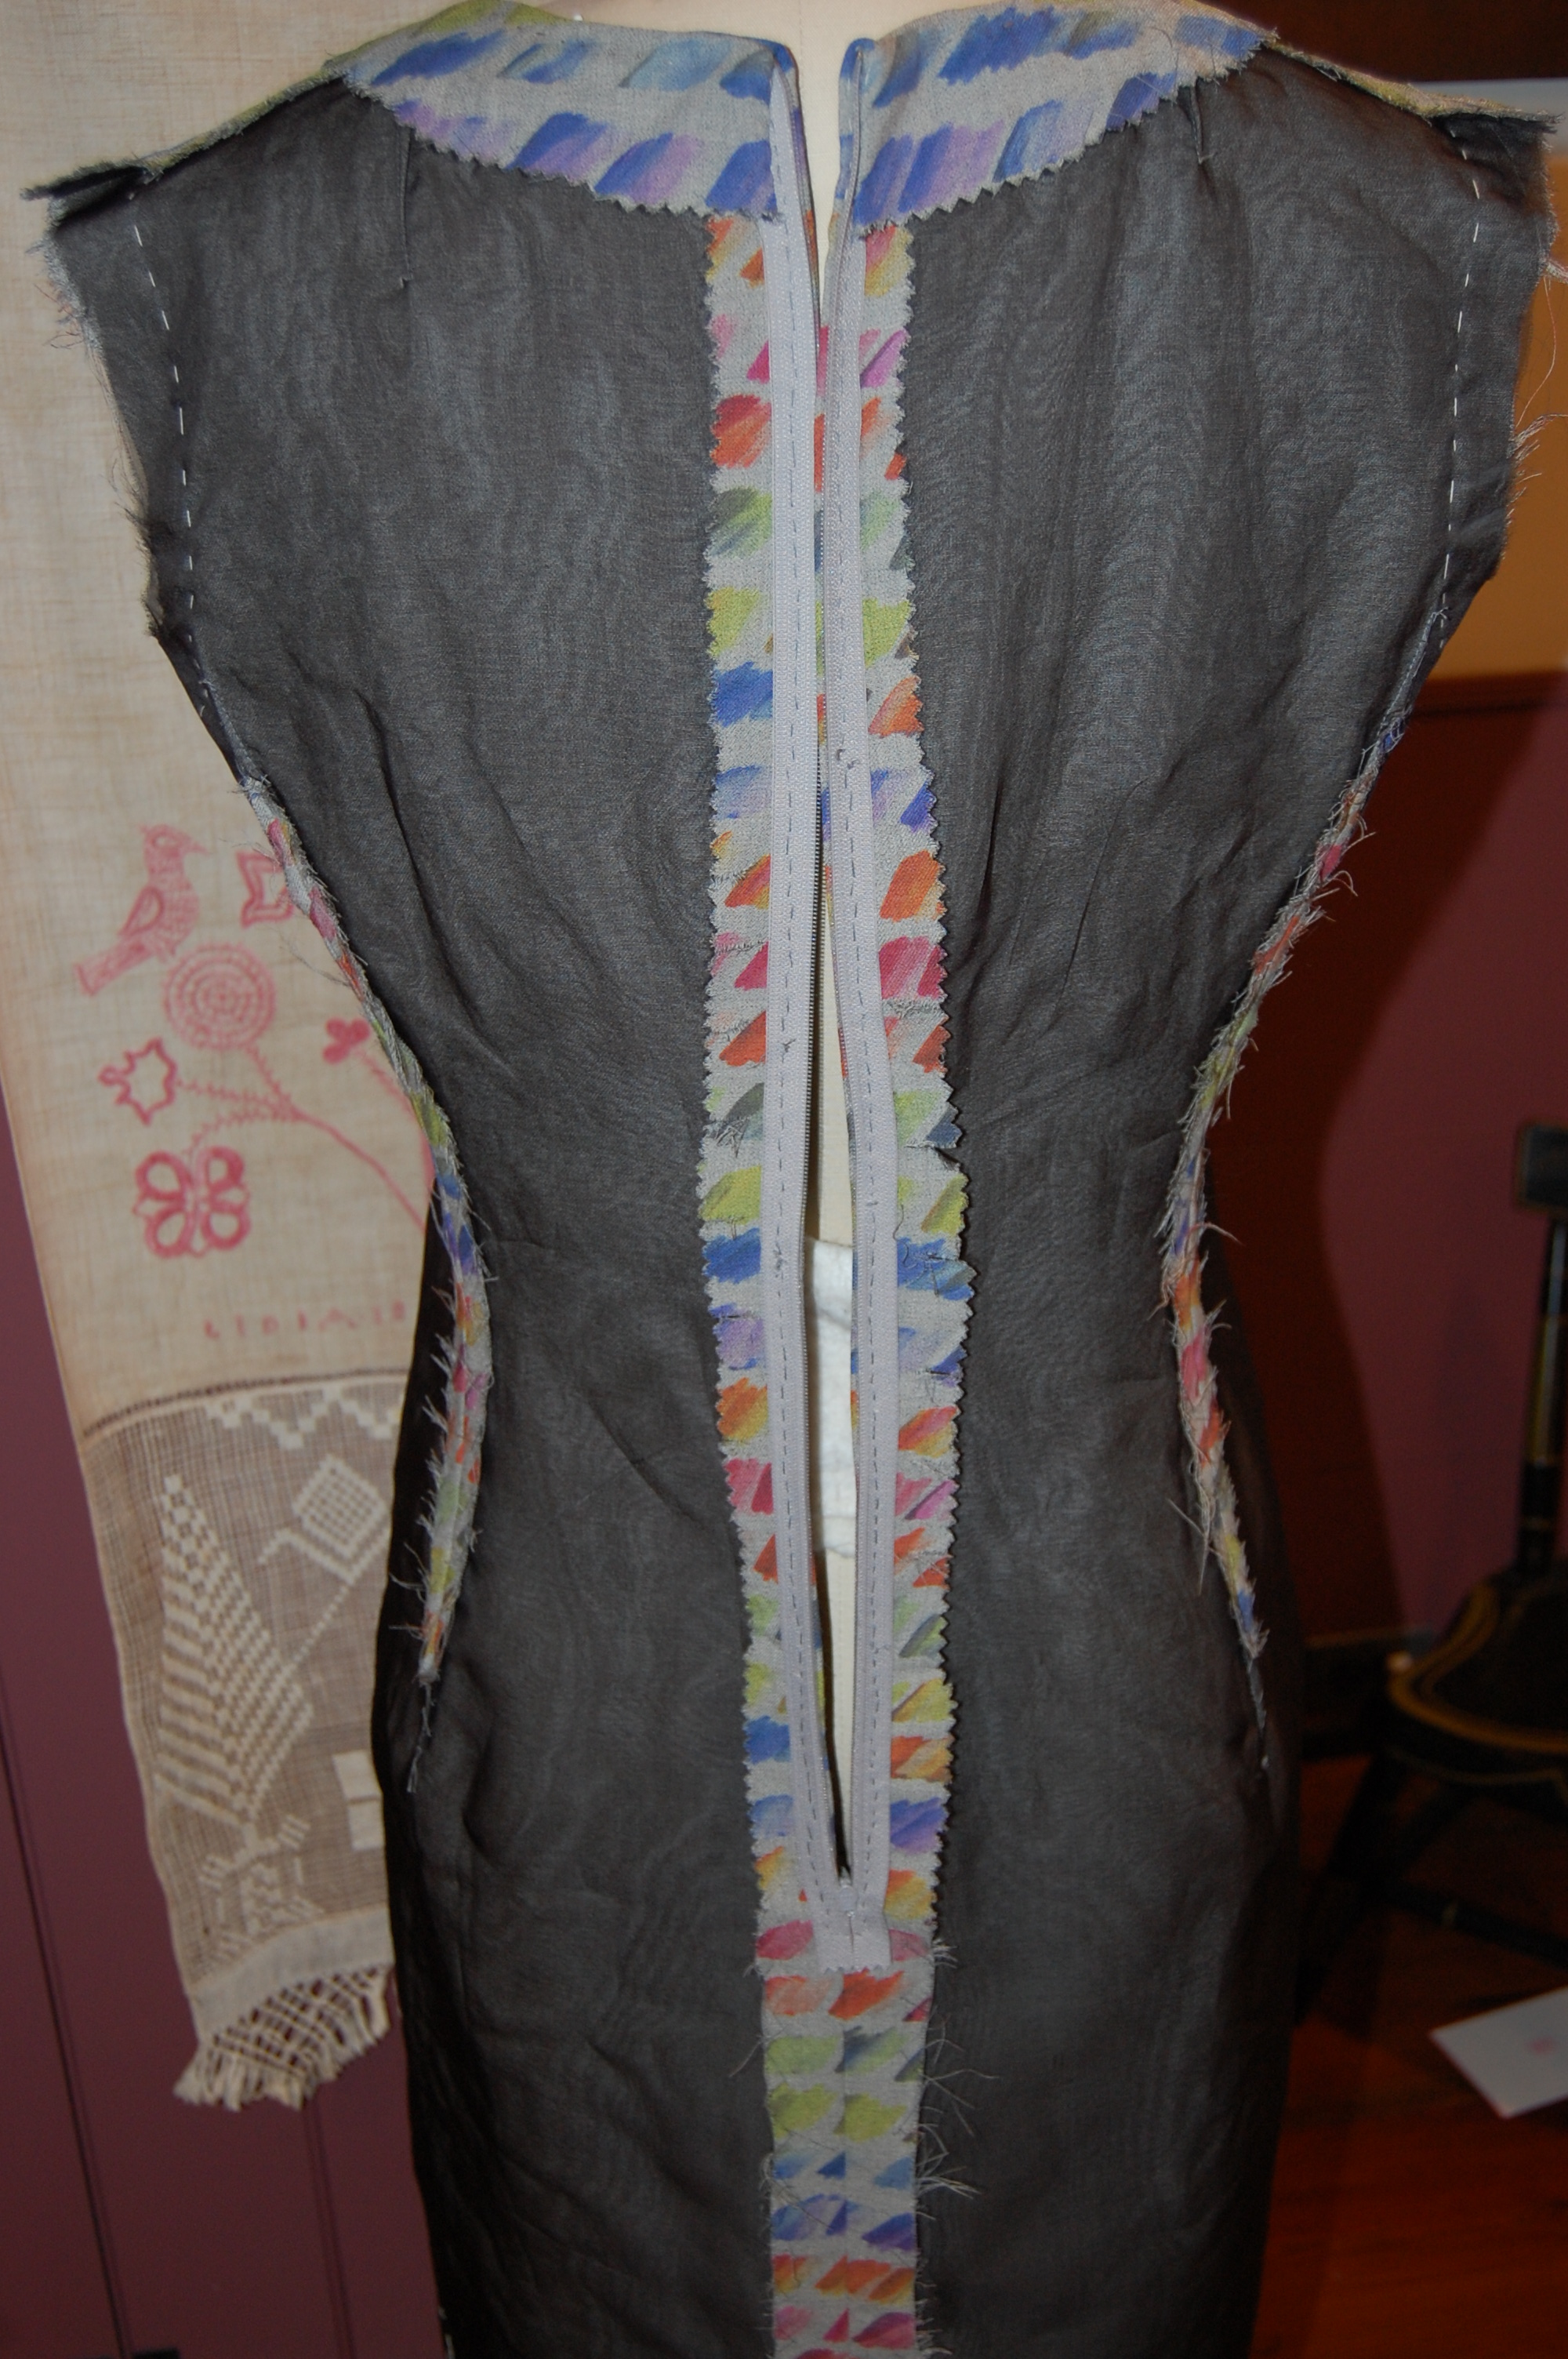
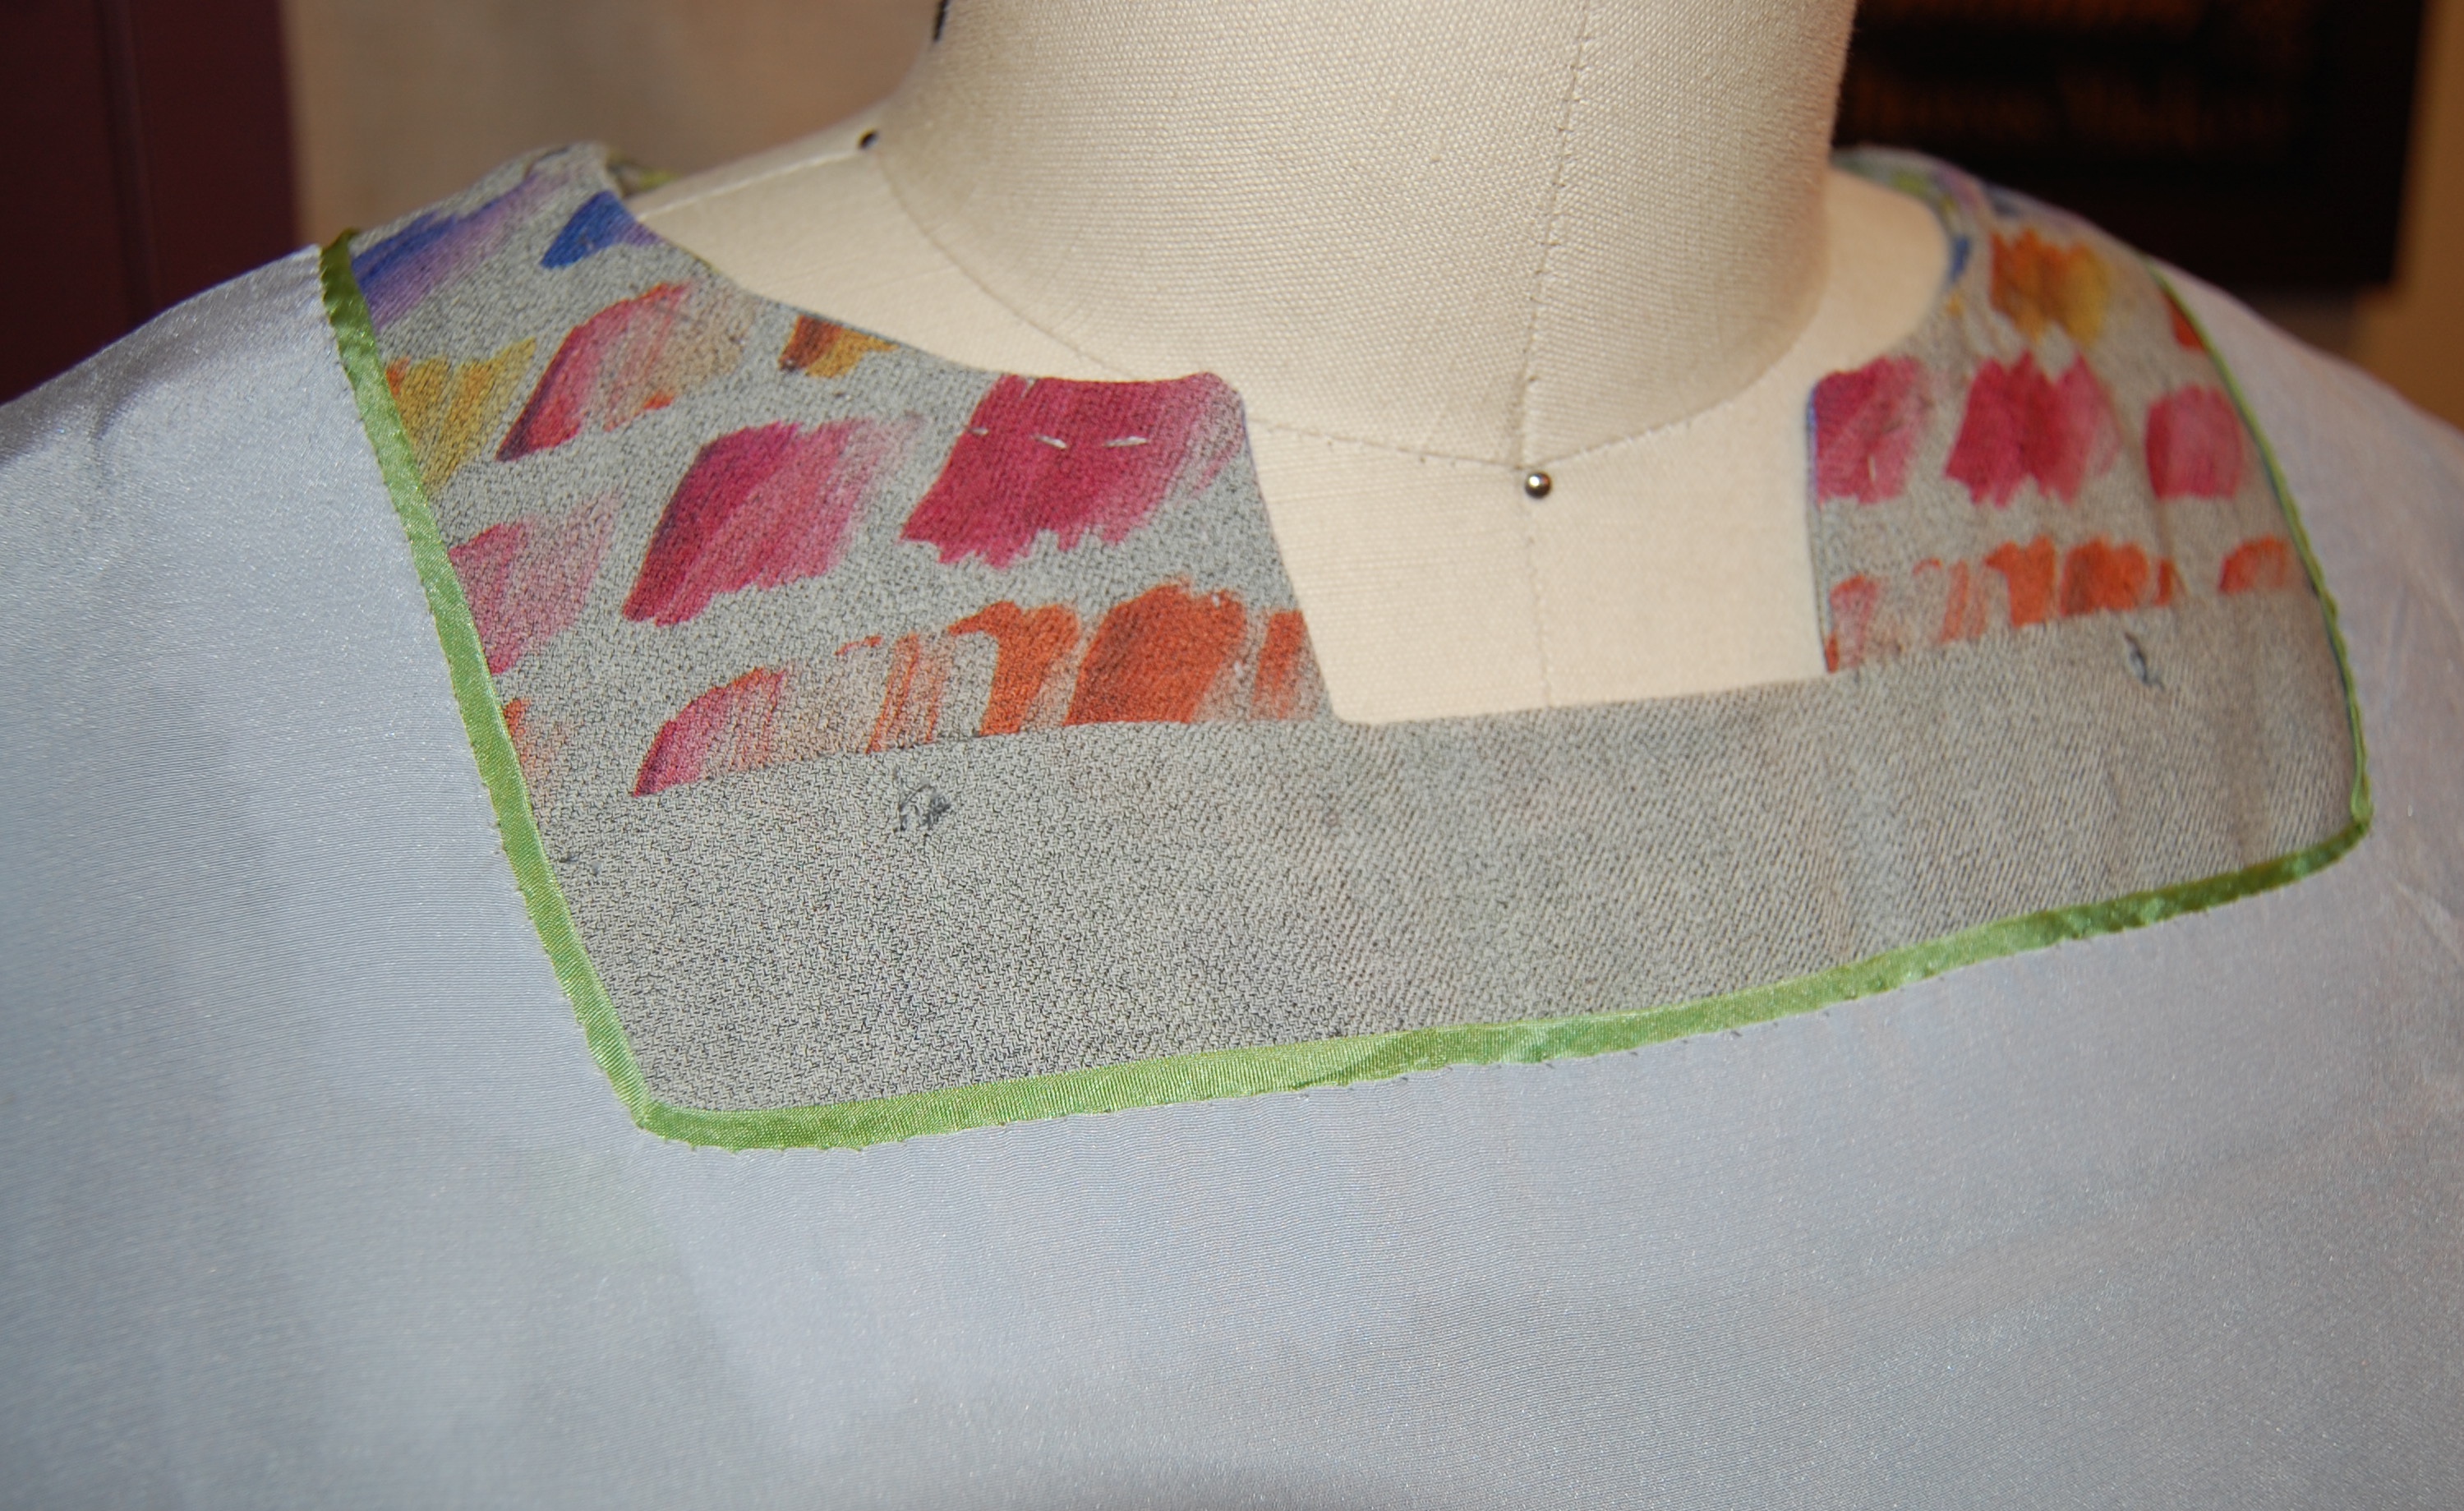
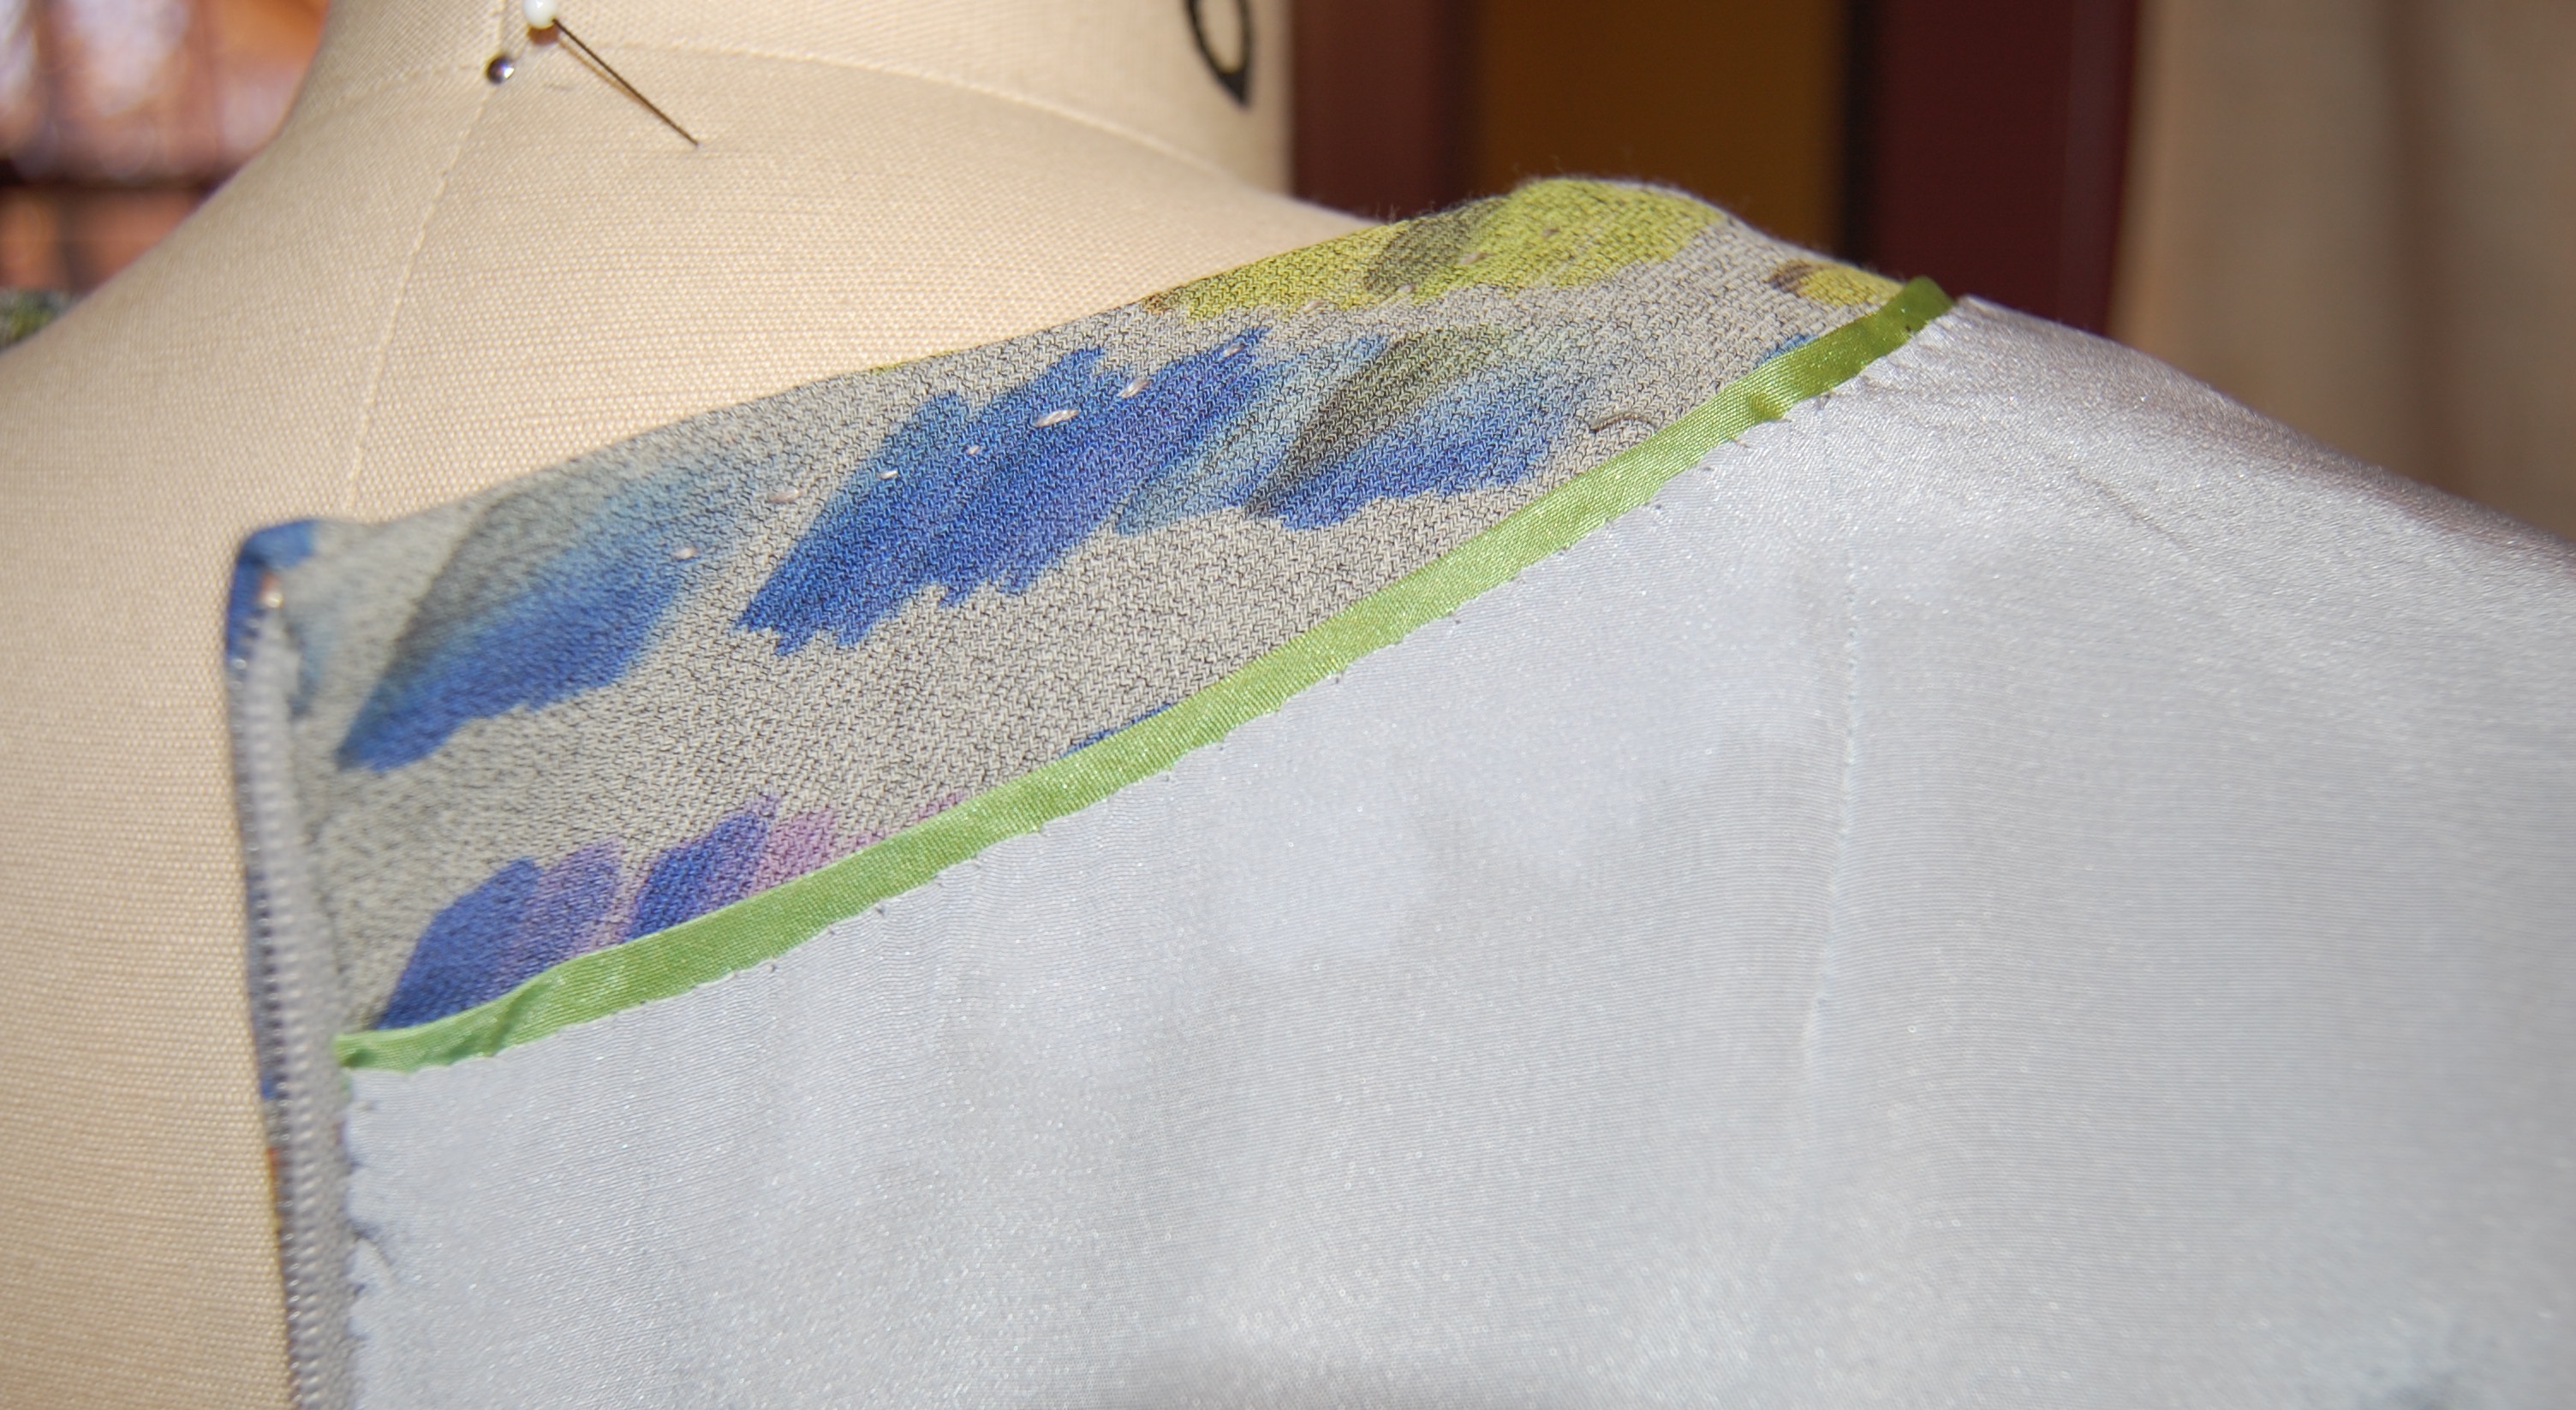
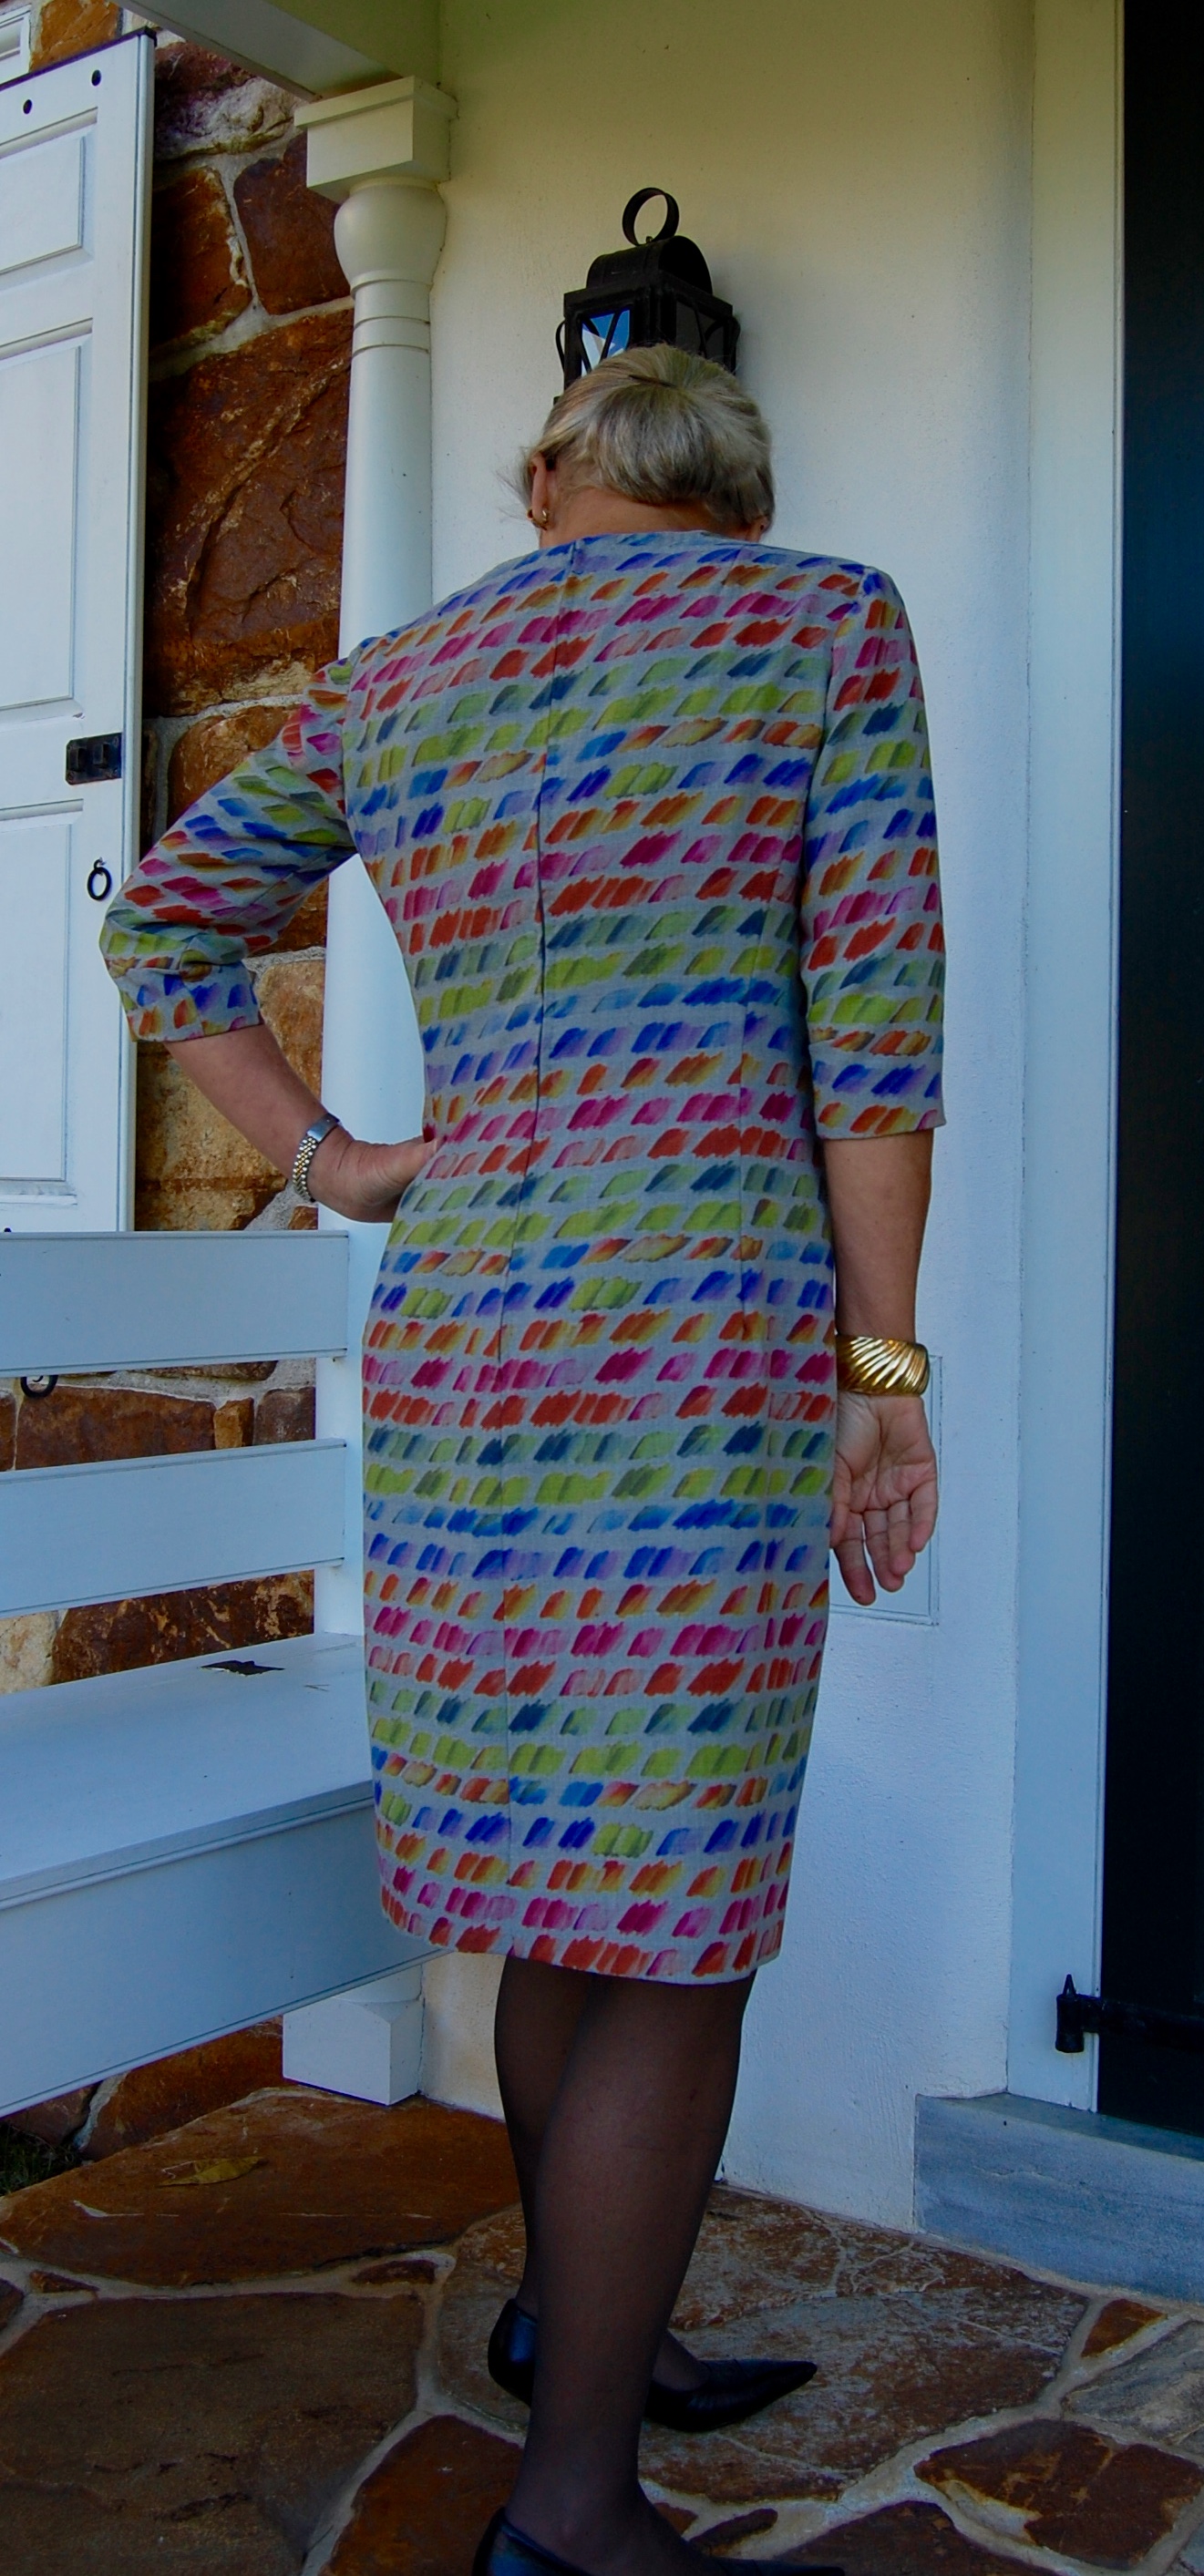
Or did I? I figured if I eliminated the center back box pleat and replaced it with just a slit in the back center seam, I’d save a bit of yardage requirements. I could make the sleeve hem facings out of the underlining, saving a bit more. And if I cut the collar on the horizontal straight of grain rather then the vertical, I could just fit the pattern pieces onto my yardage. It was a good thing I had already decided to eliminate the chest pockets (a little too 1950s.) And a self-belt? Out of the question!
A belt turned out to be a perplexing question. I had been fortunate enough for a few years to have my belts and covered buttons custom made by Pat Mahoney, but since her retirement last year, I have found no replacement for her services. I was dreading the prospect of making my own belt. The only good thing was I knew I had a piece of vintage Moygashel linen in a medium navy blue (see the button photo above) which would be a good contrasting color for the yellow dress. I decided I would think about actually making the belt after I had the dress itself finished.
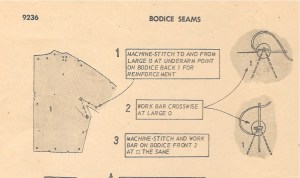
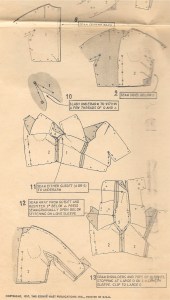
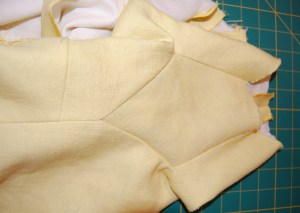
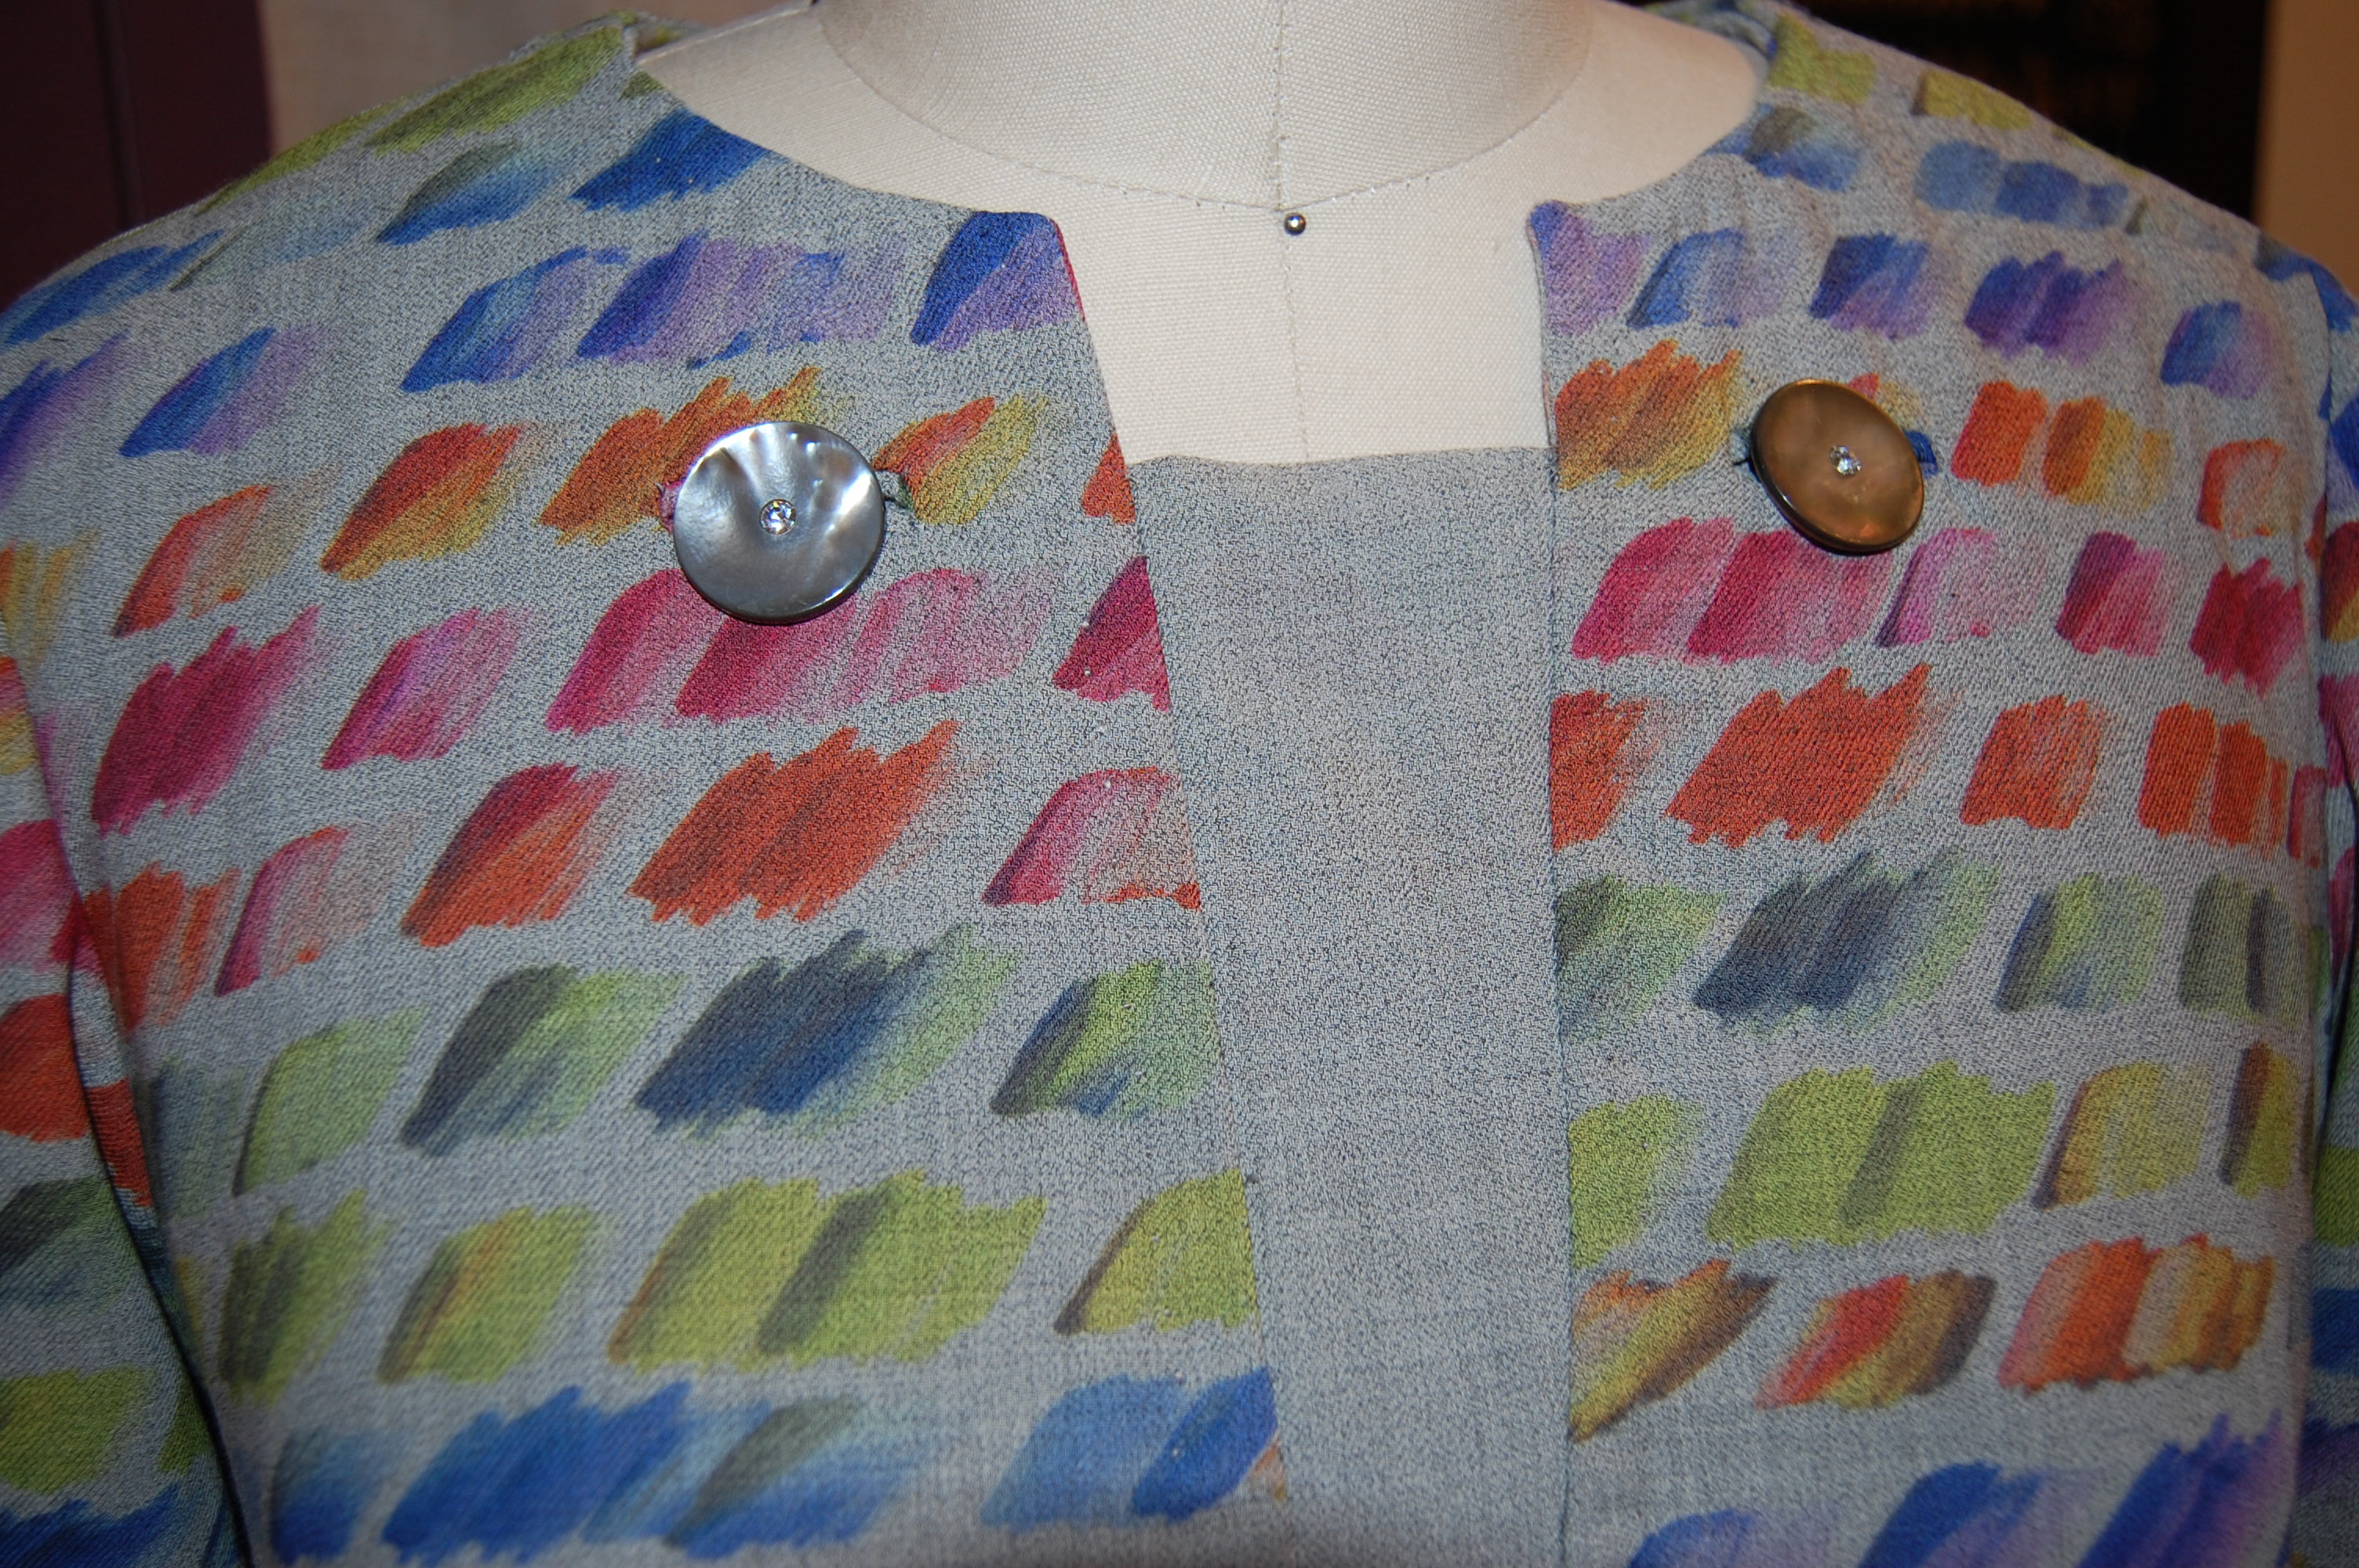
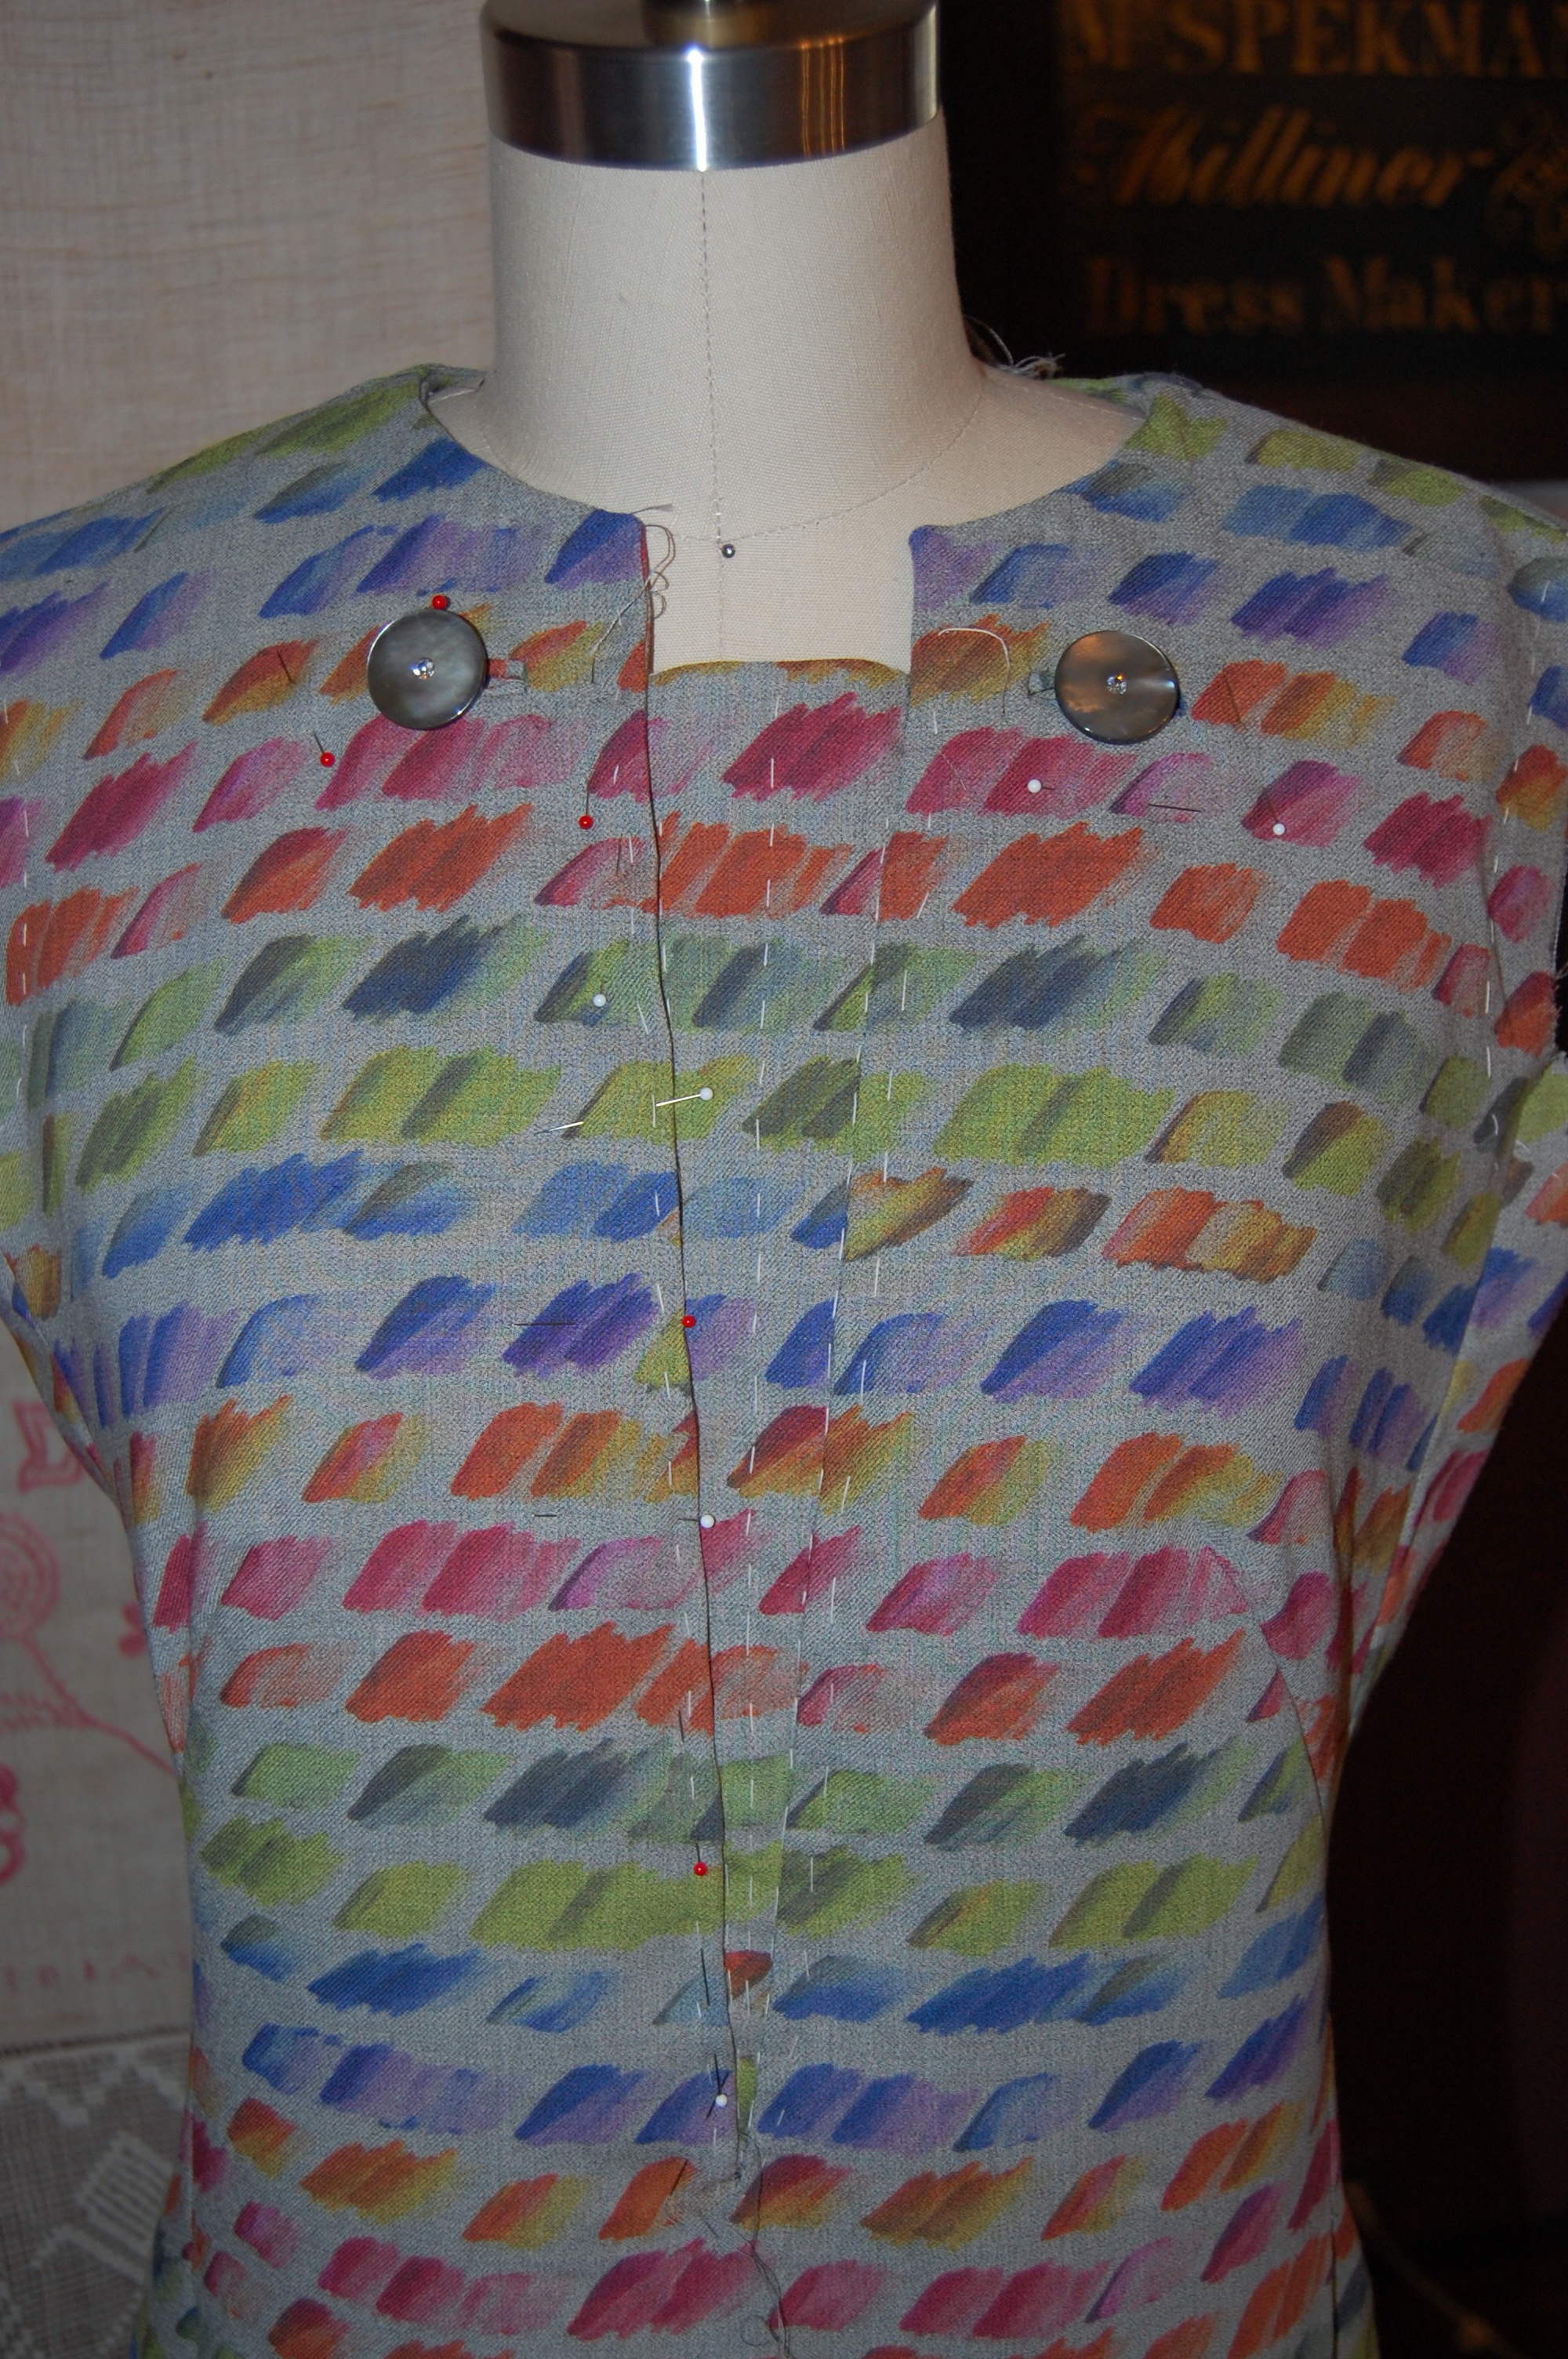
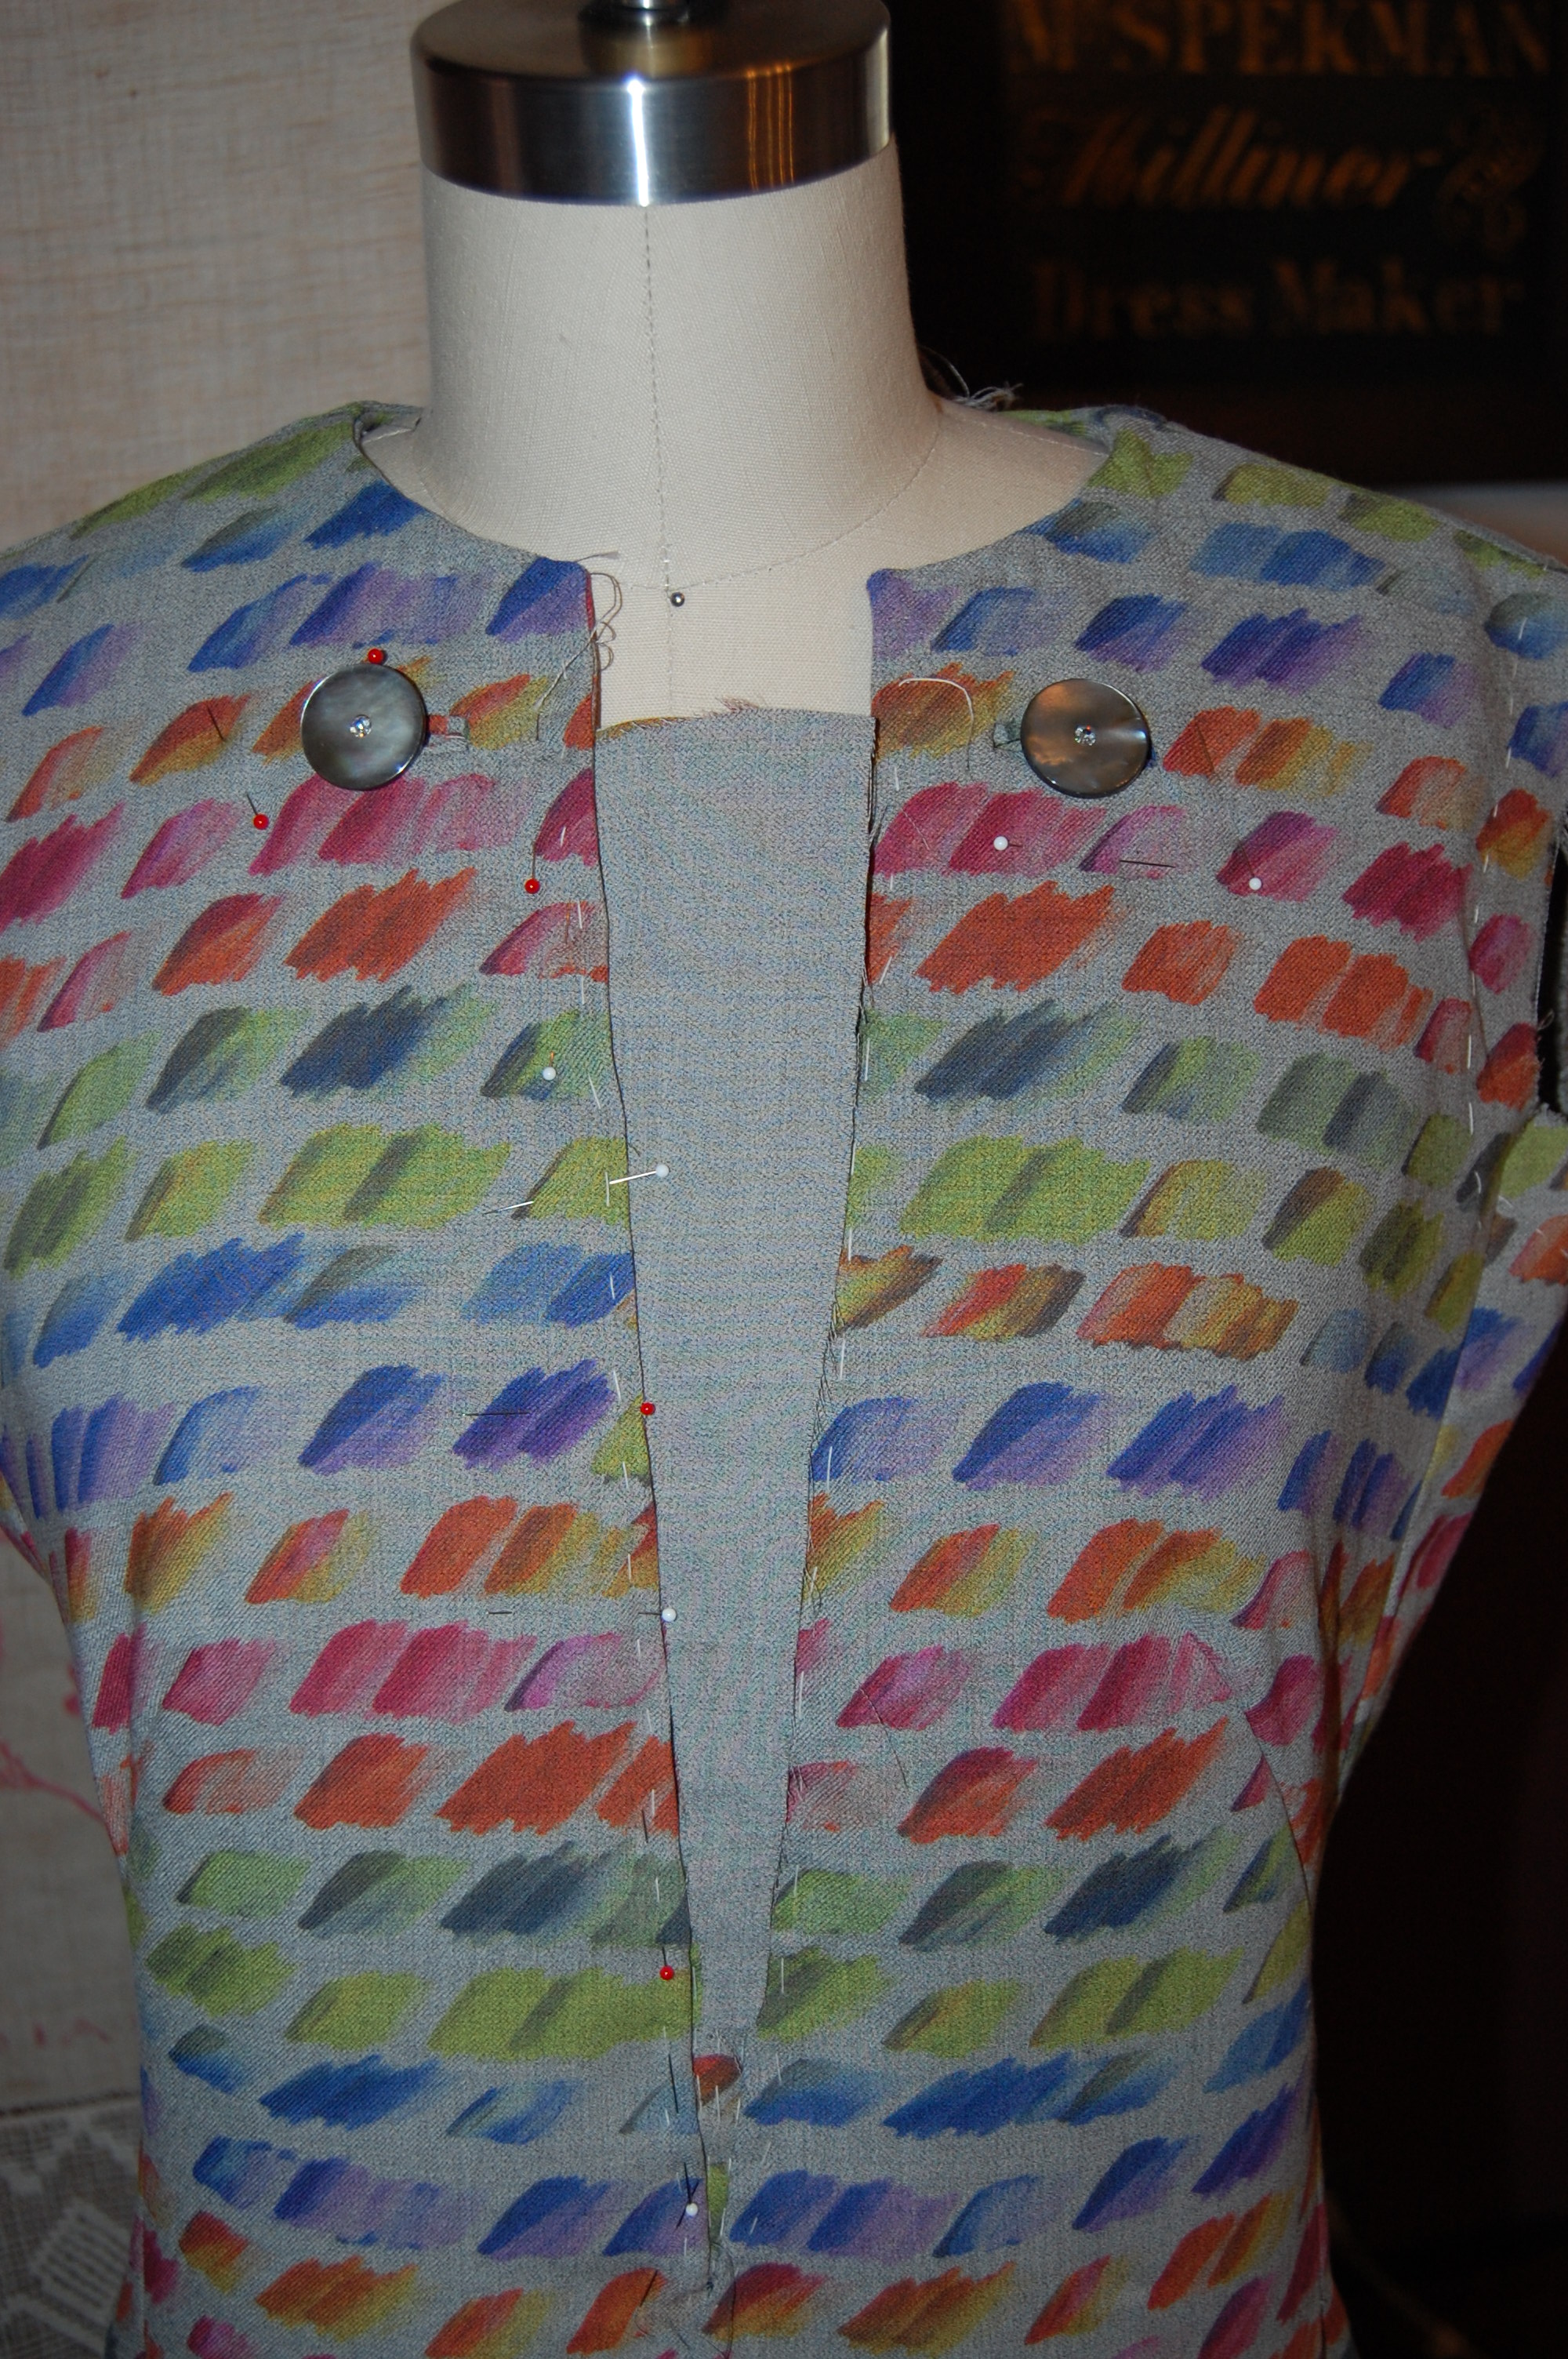
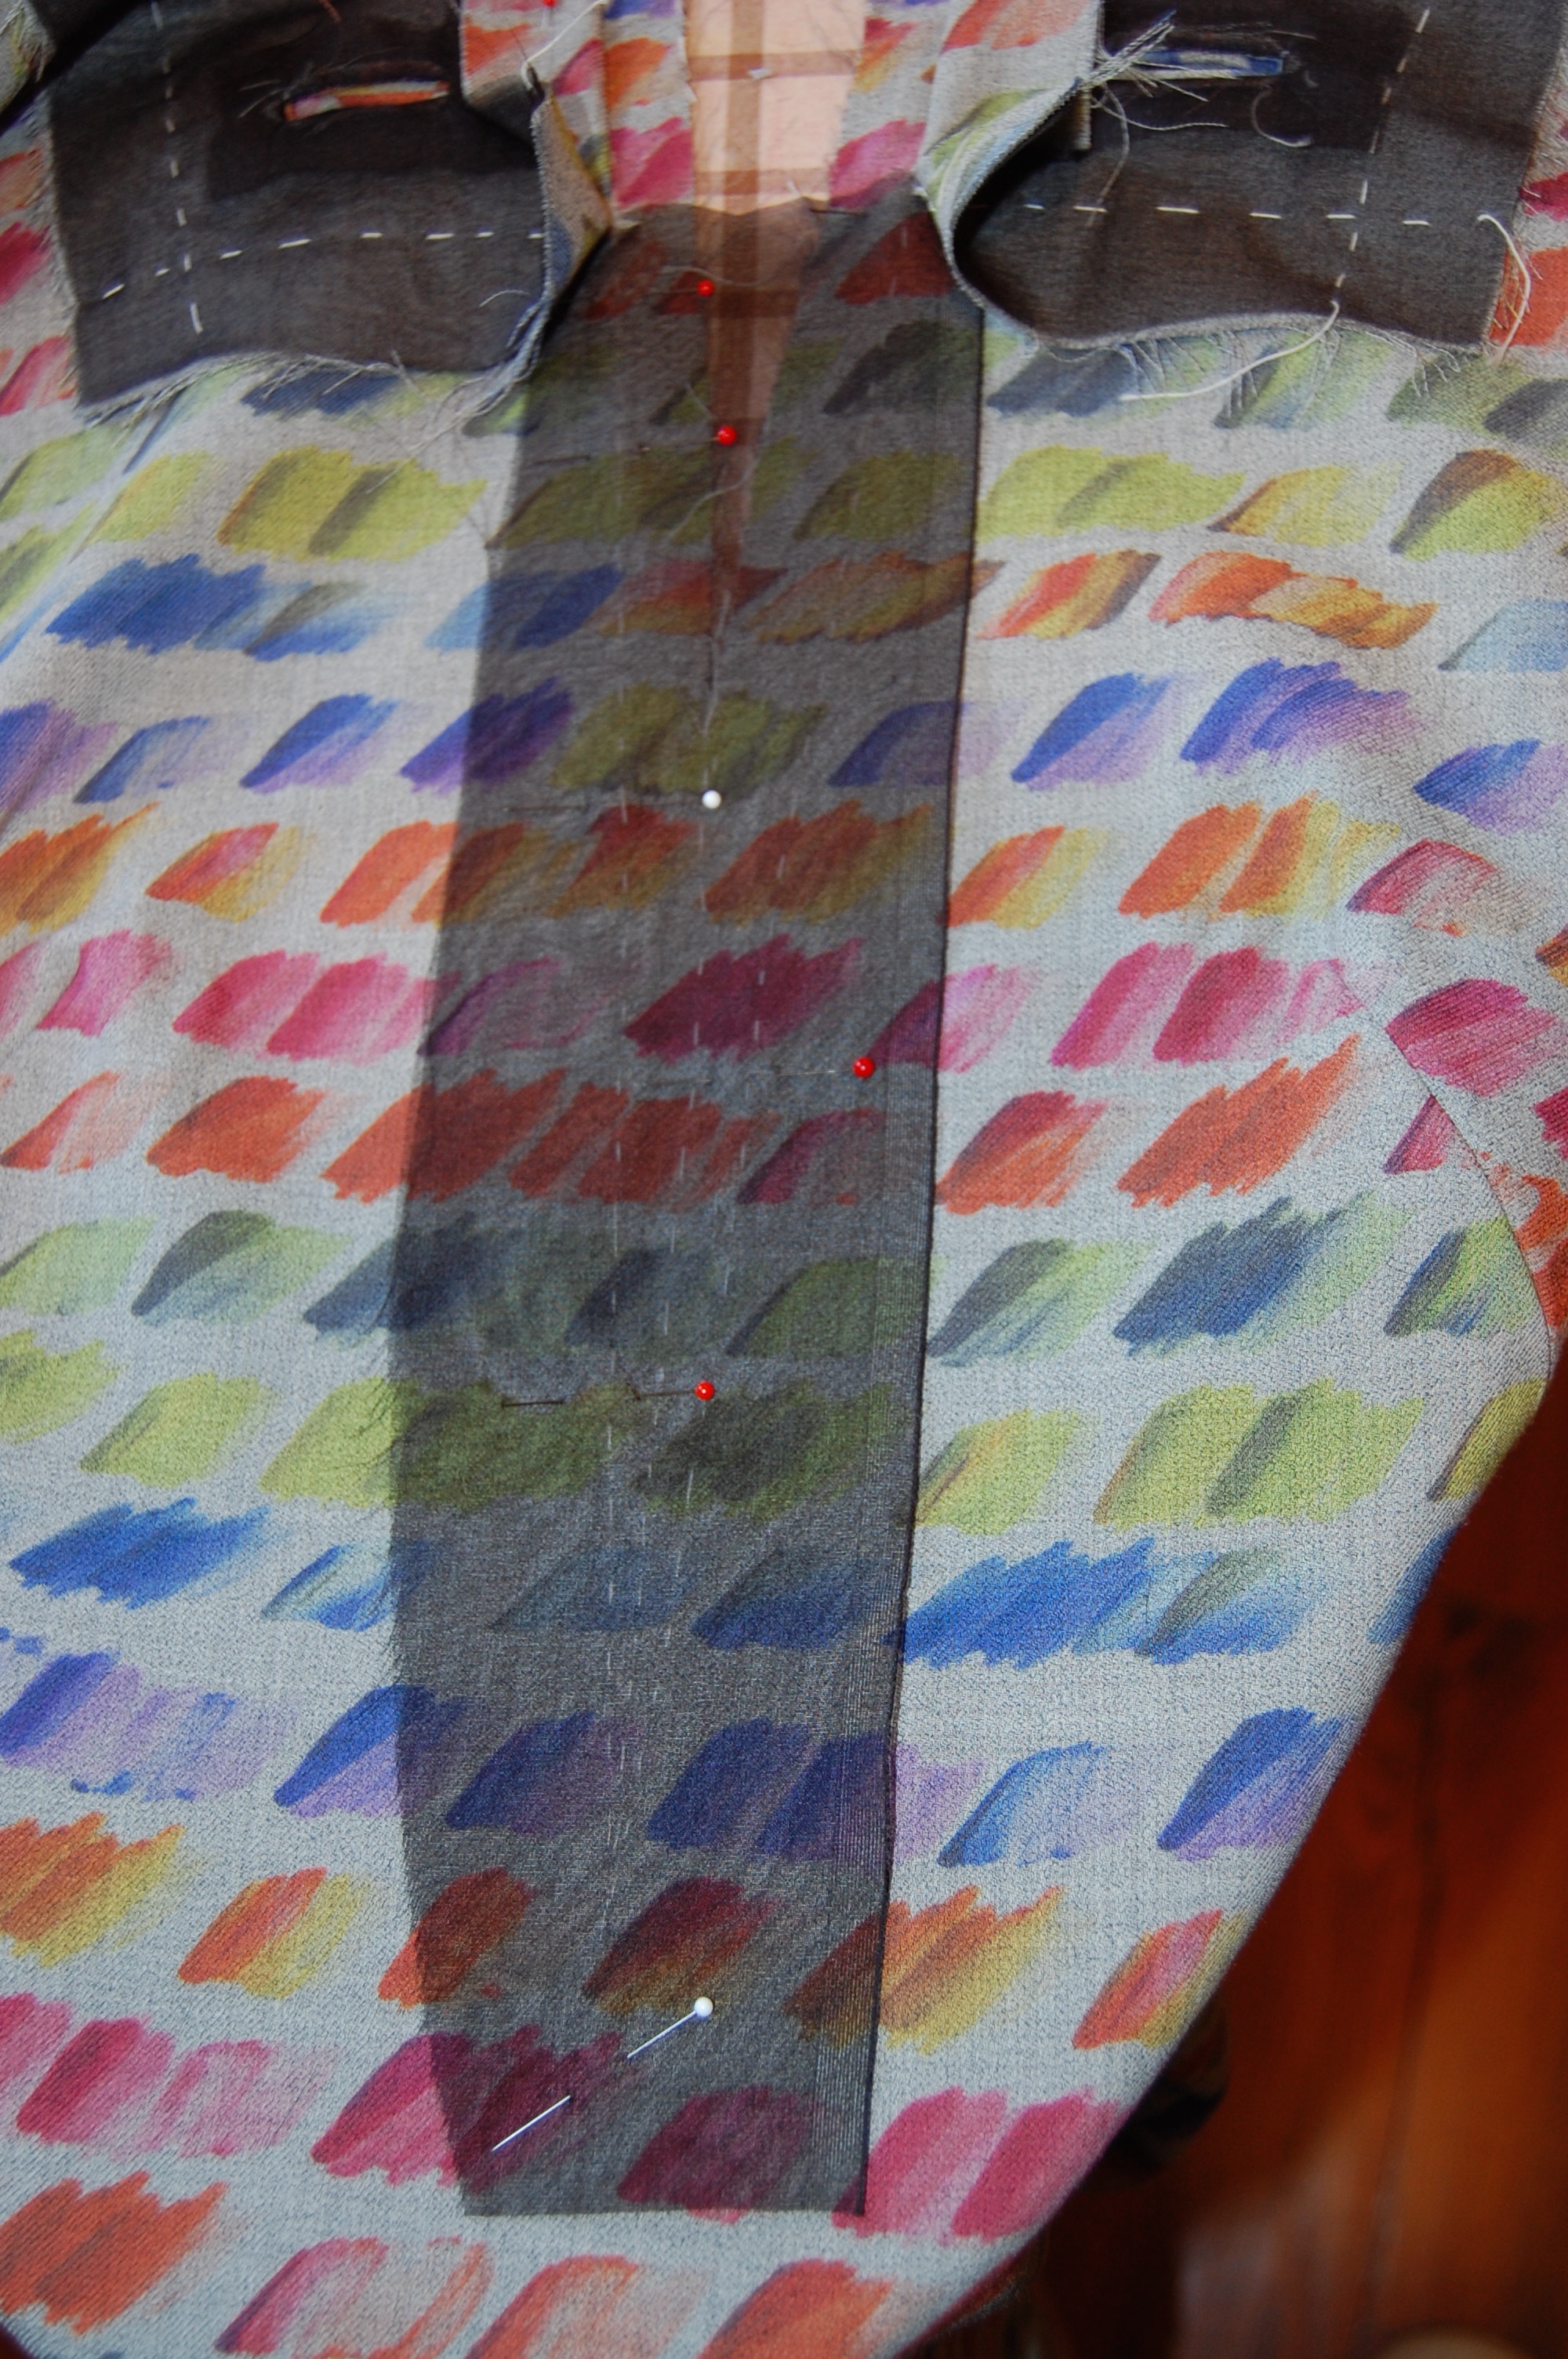
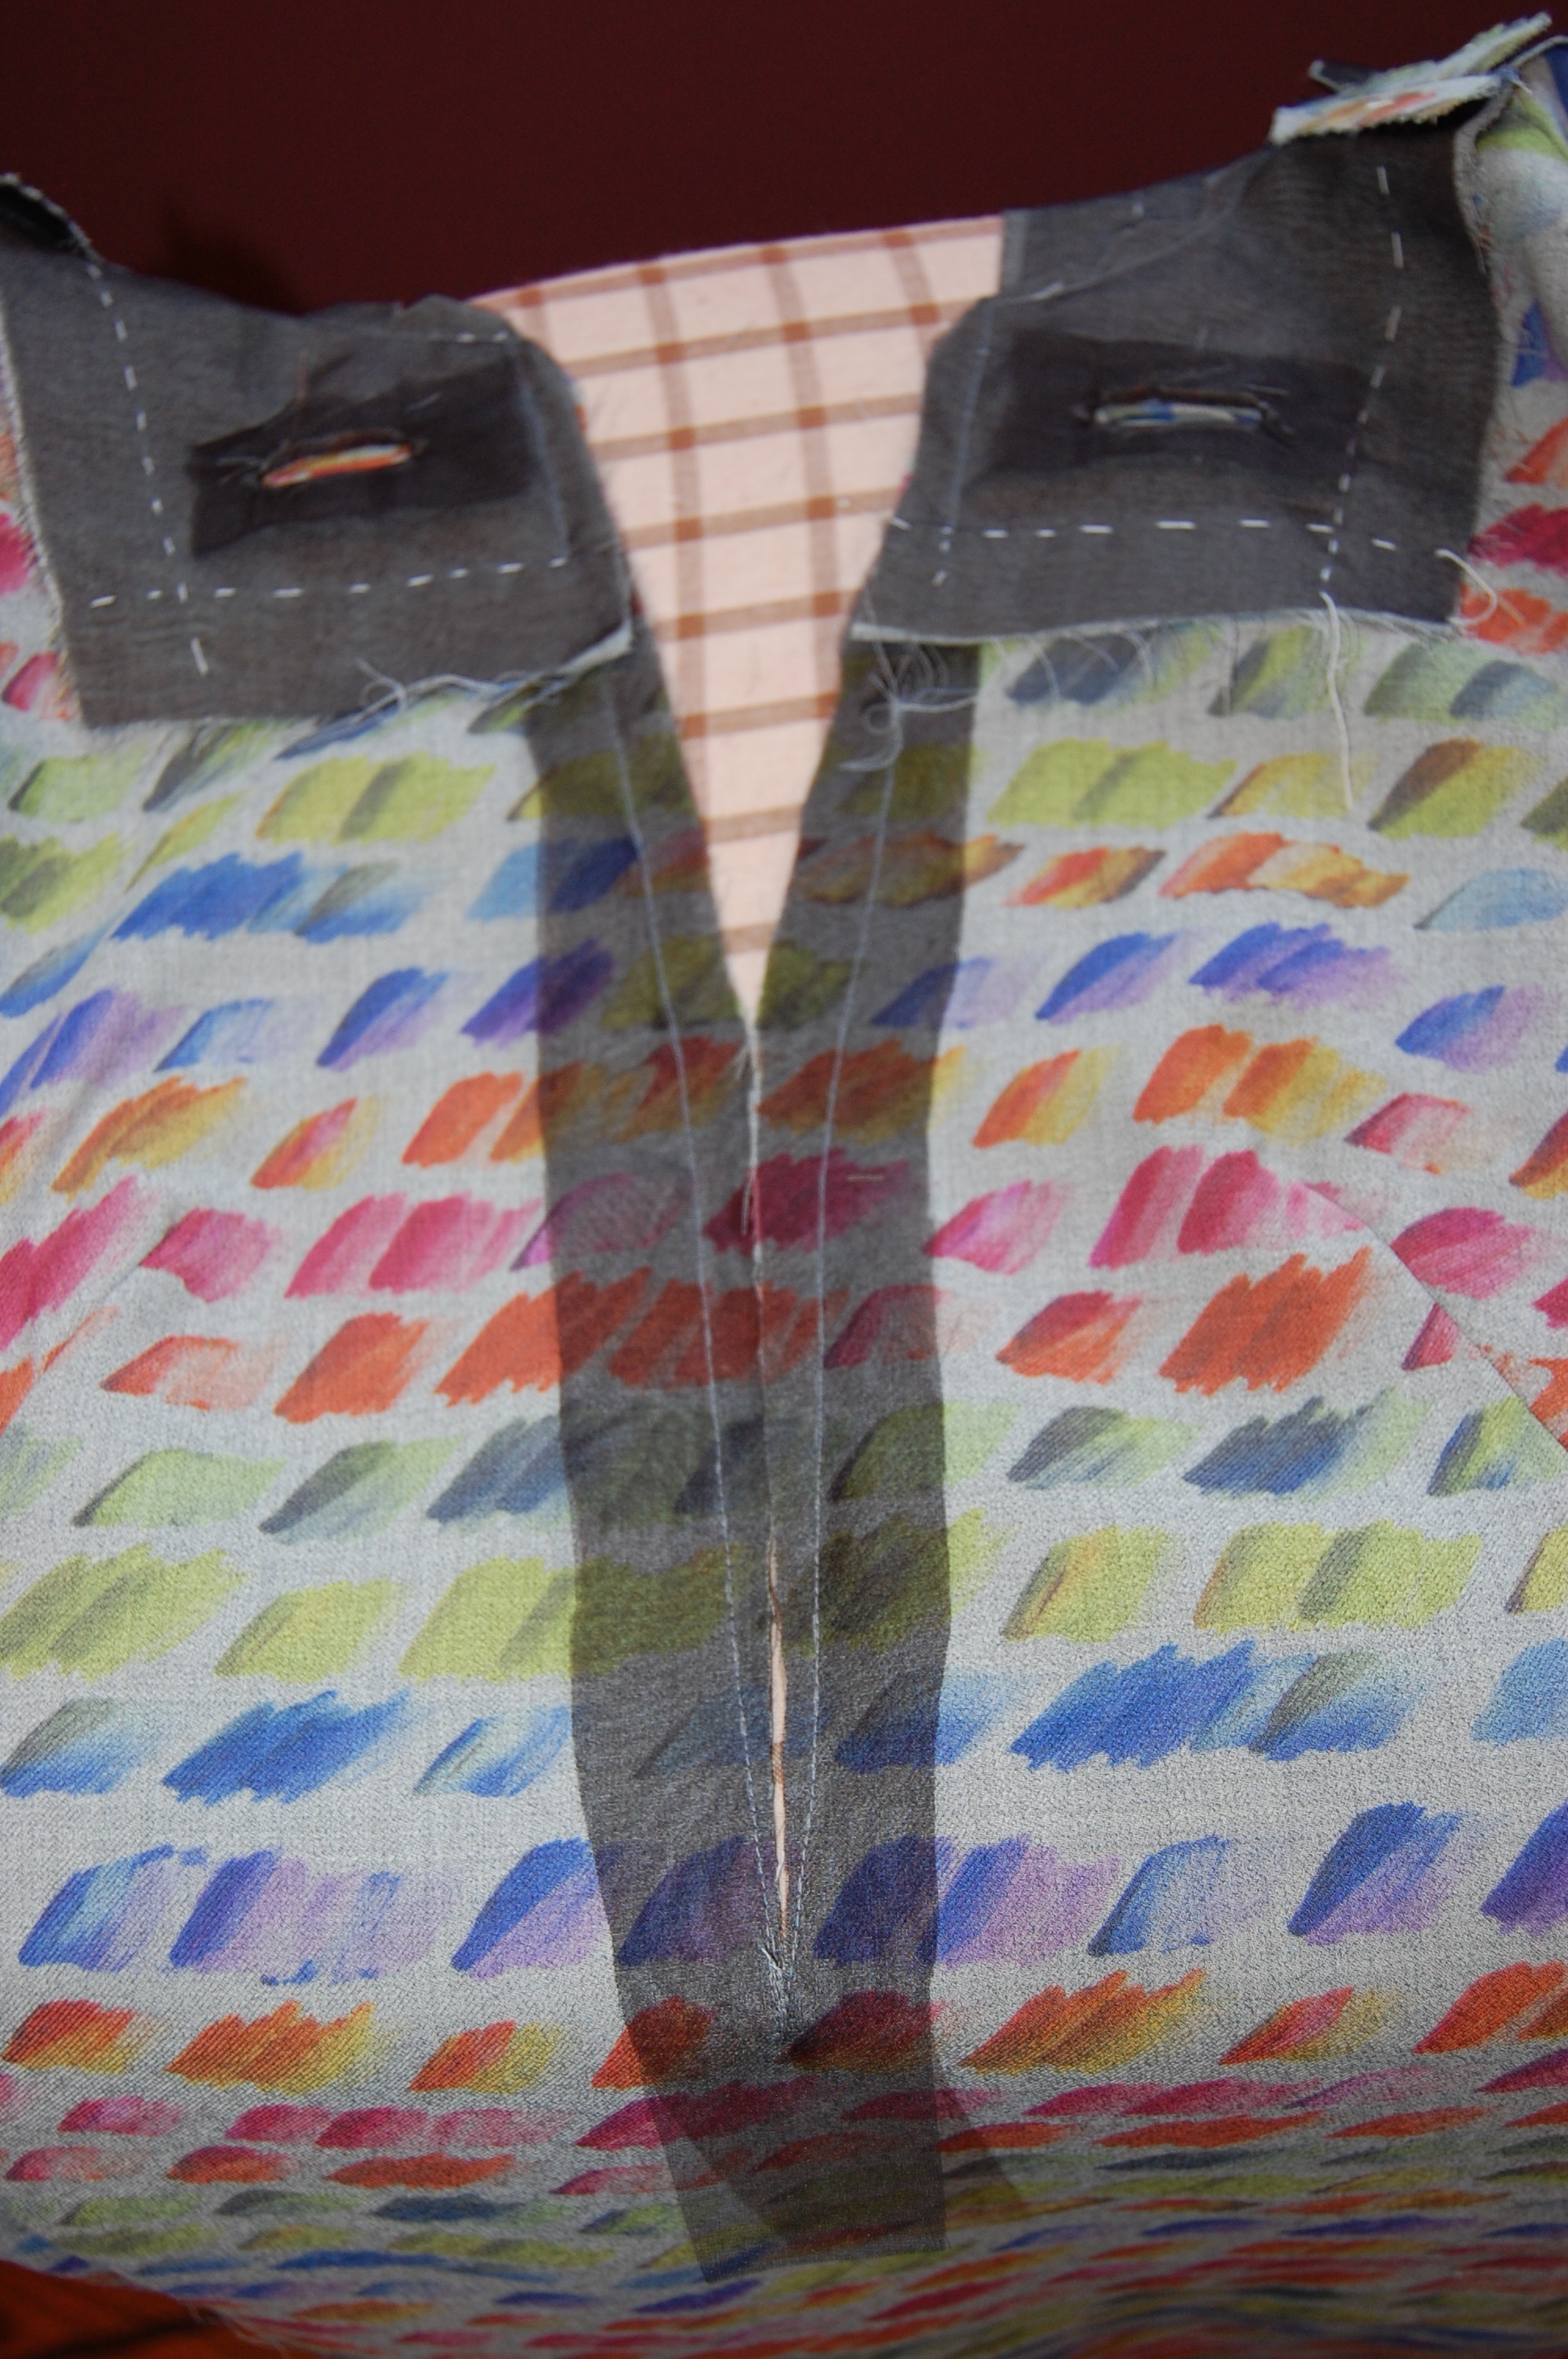
For a simple shirtwaist dress, there were a number of time-consuming details, like the gussets I covered in my last post. There were also six bound buttonholes to work.
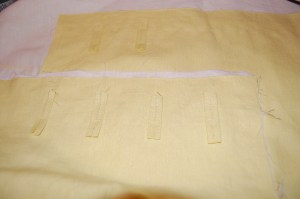
It always amazes me how long these buttonholes take to make!
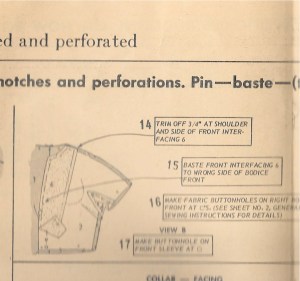
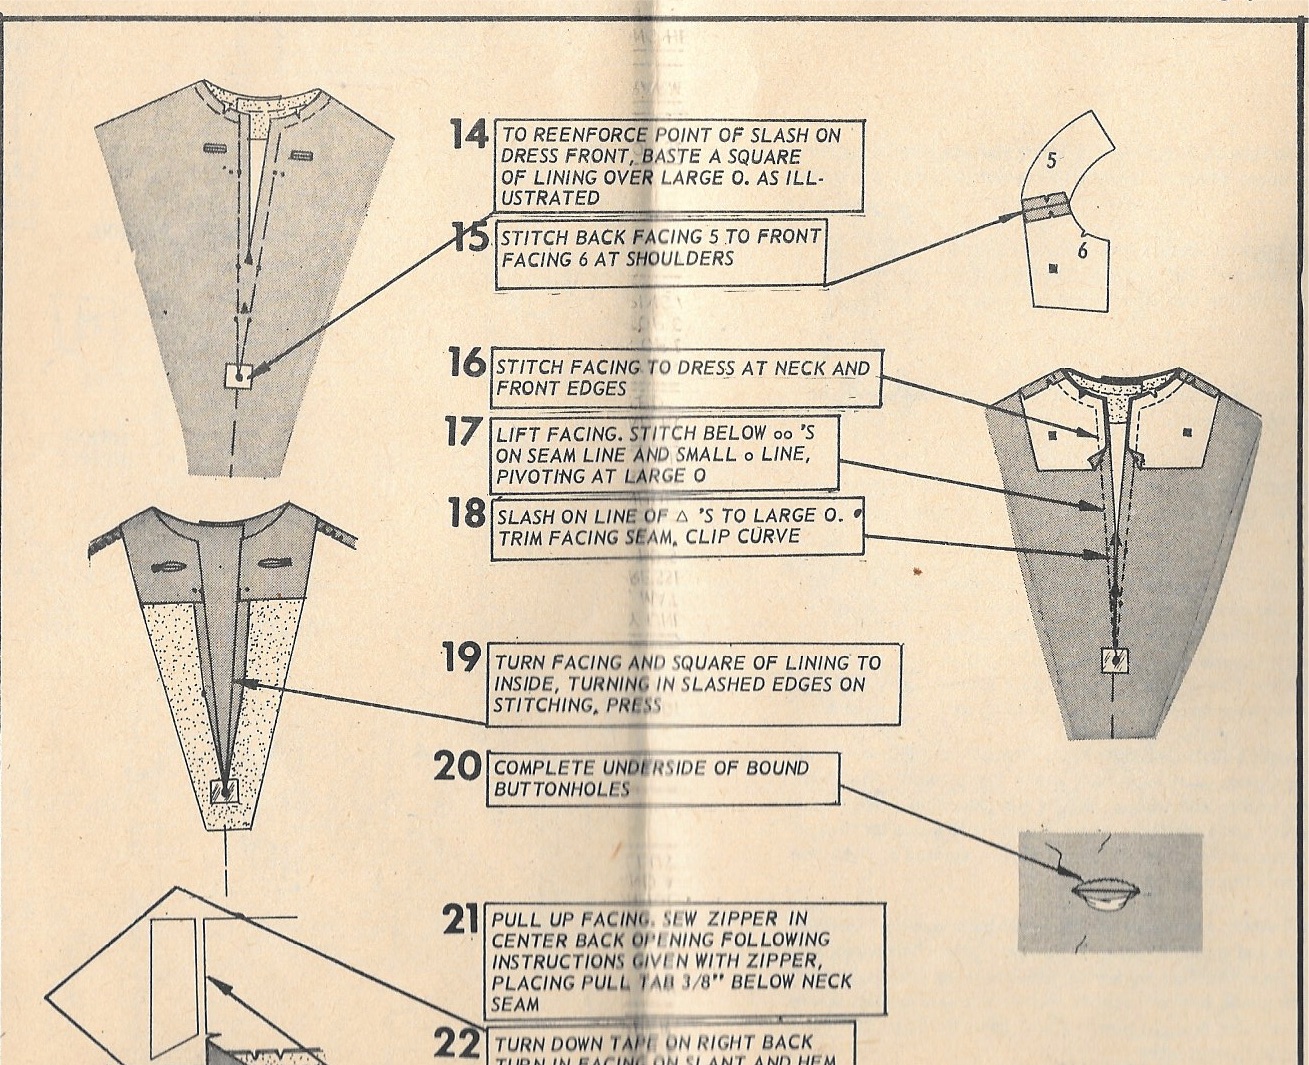
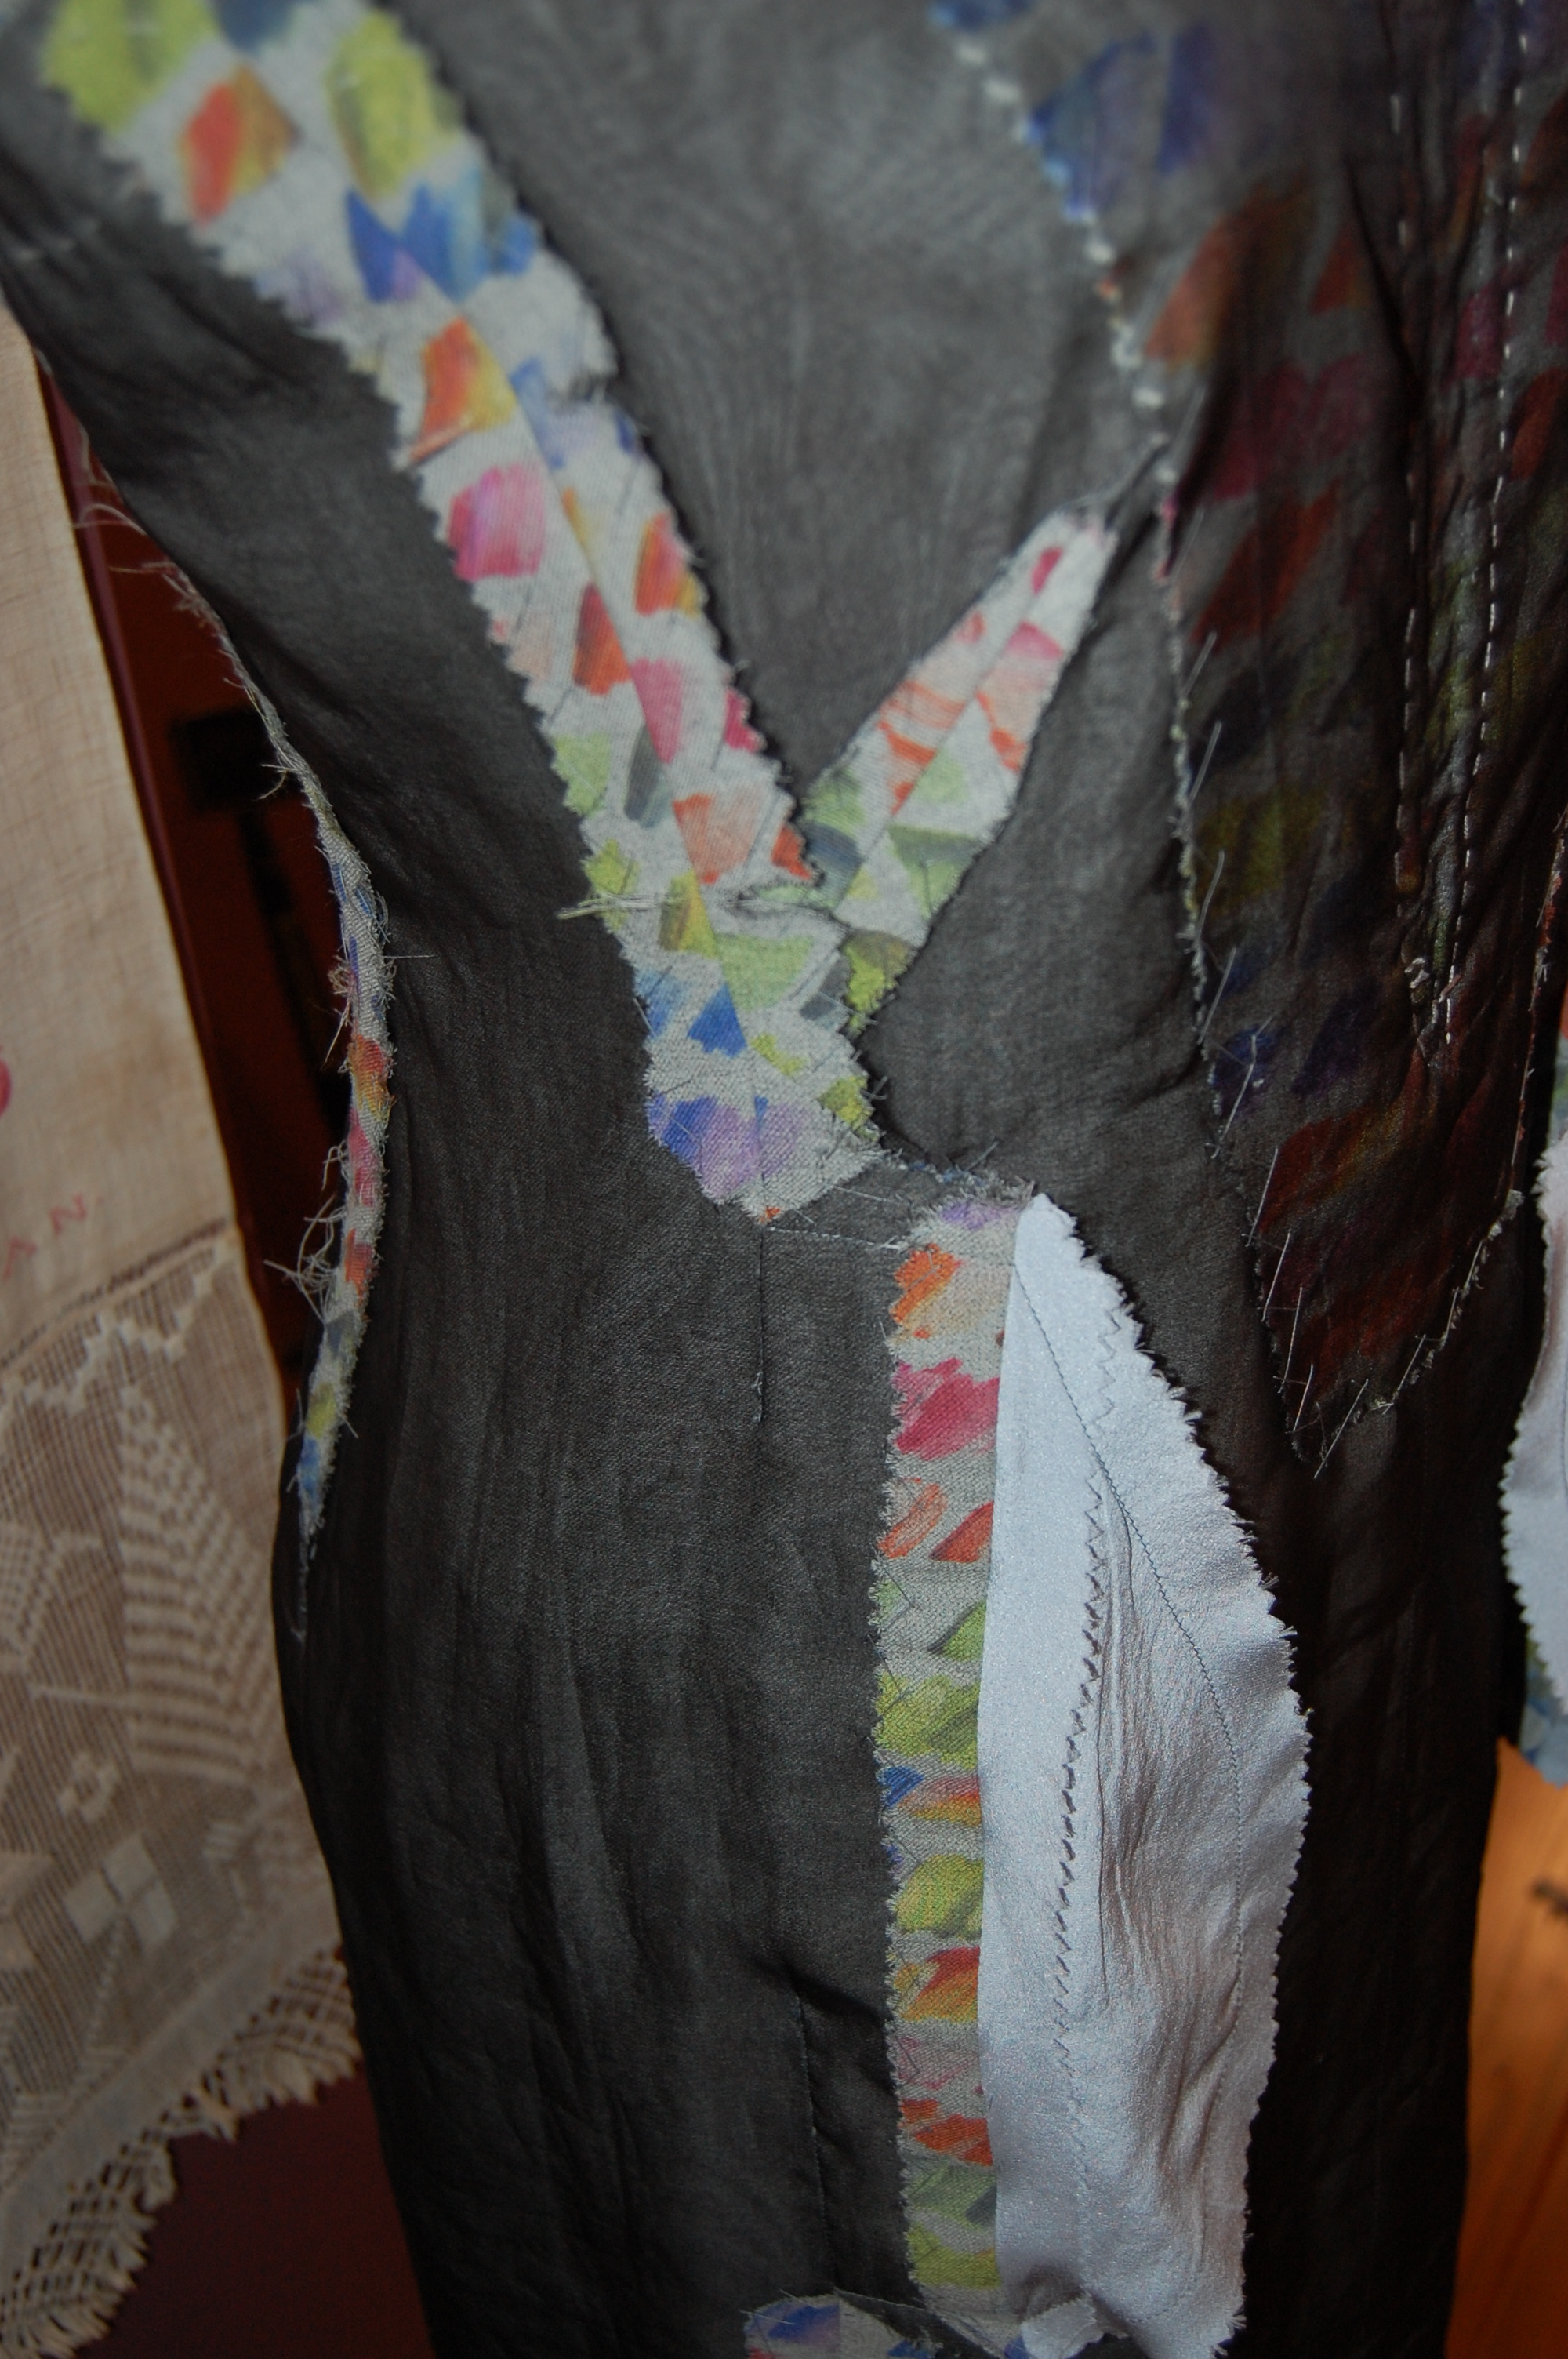
There were separate front bodice facings, and a front skirt placket with separate facings. There were sleeve hem facings (as mentioned above), and lots of trimming, clipping, and grading of seams! And then the dress was done. Except for the belt, of course.
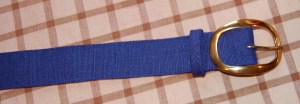
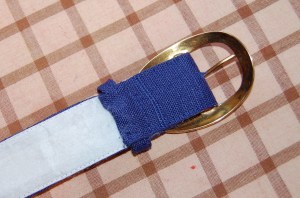
After giving myself a pep talk, I took out one of Pat’s belts and studied it, vowing to duplicate as closely as possible her techniques and precision. Fortunately I had a belt buckle from long ago, which I had saved. It was for a 1.25” width belt, which is exactly what I wanted. I plunged ahead and this what I made, working the eyelets by hand (which fortunately don’t show much on the dark linen!):
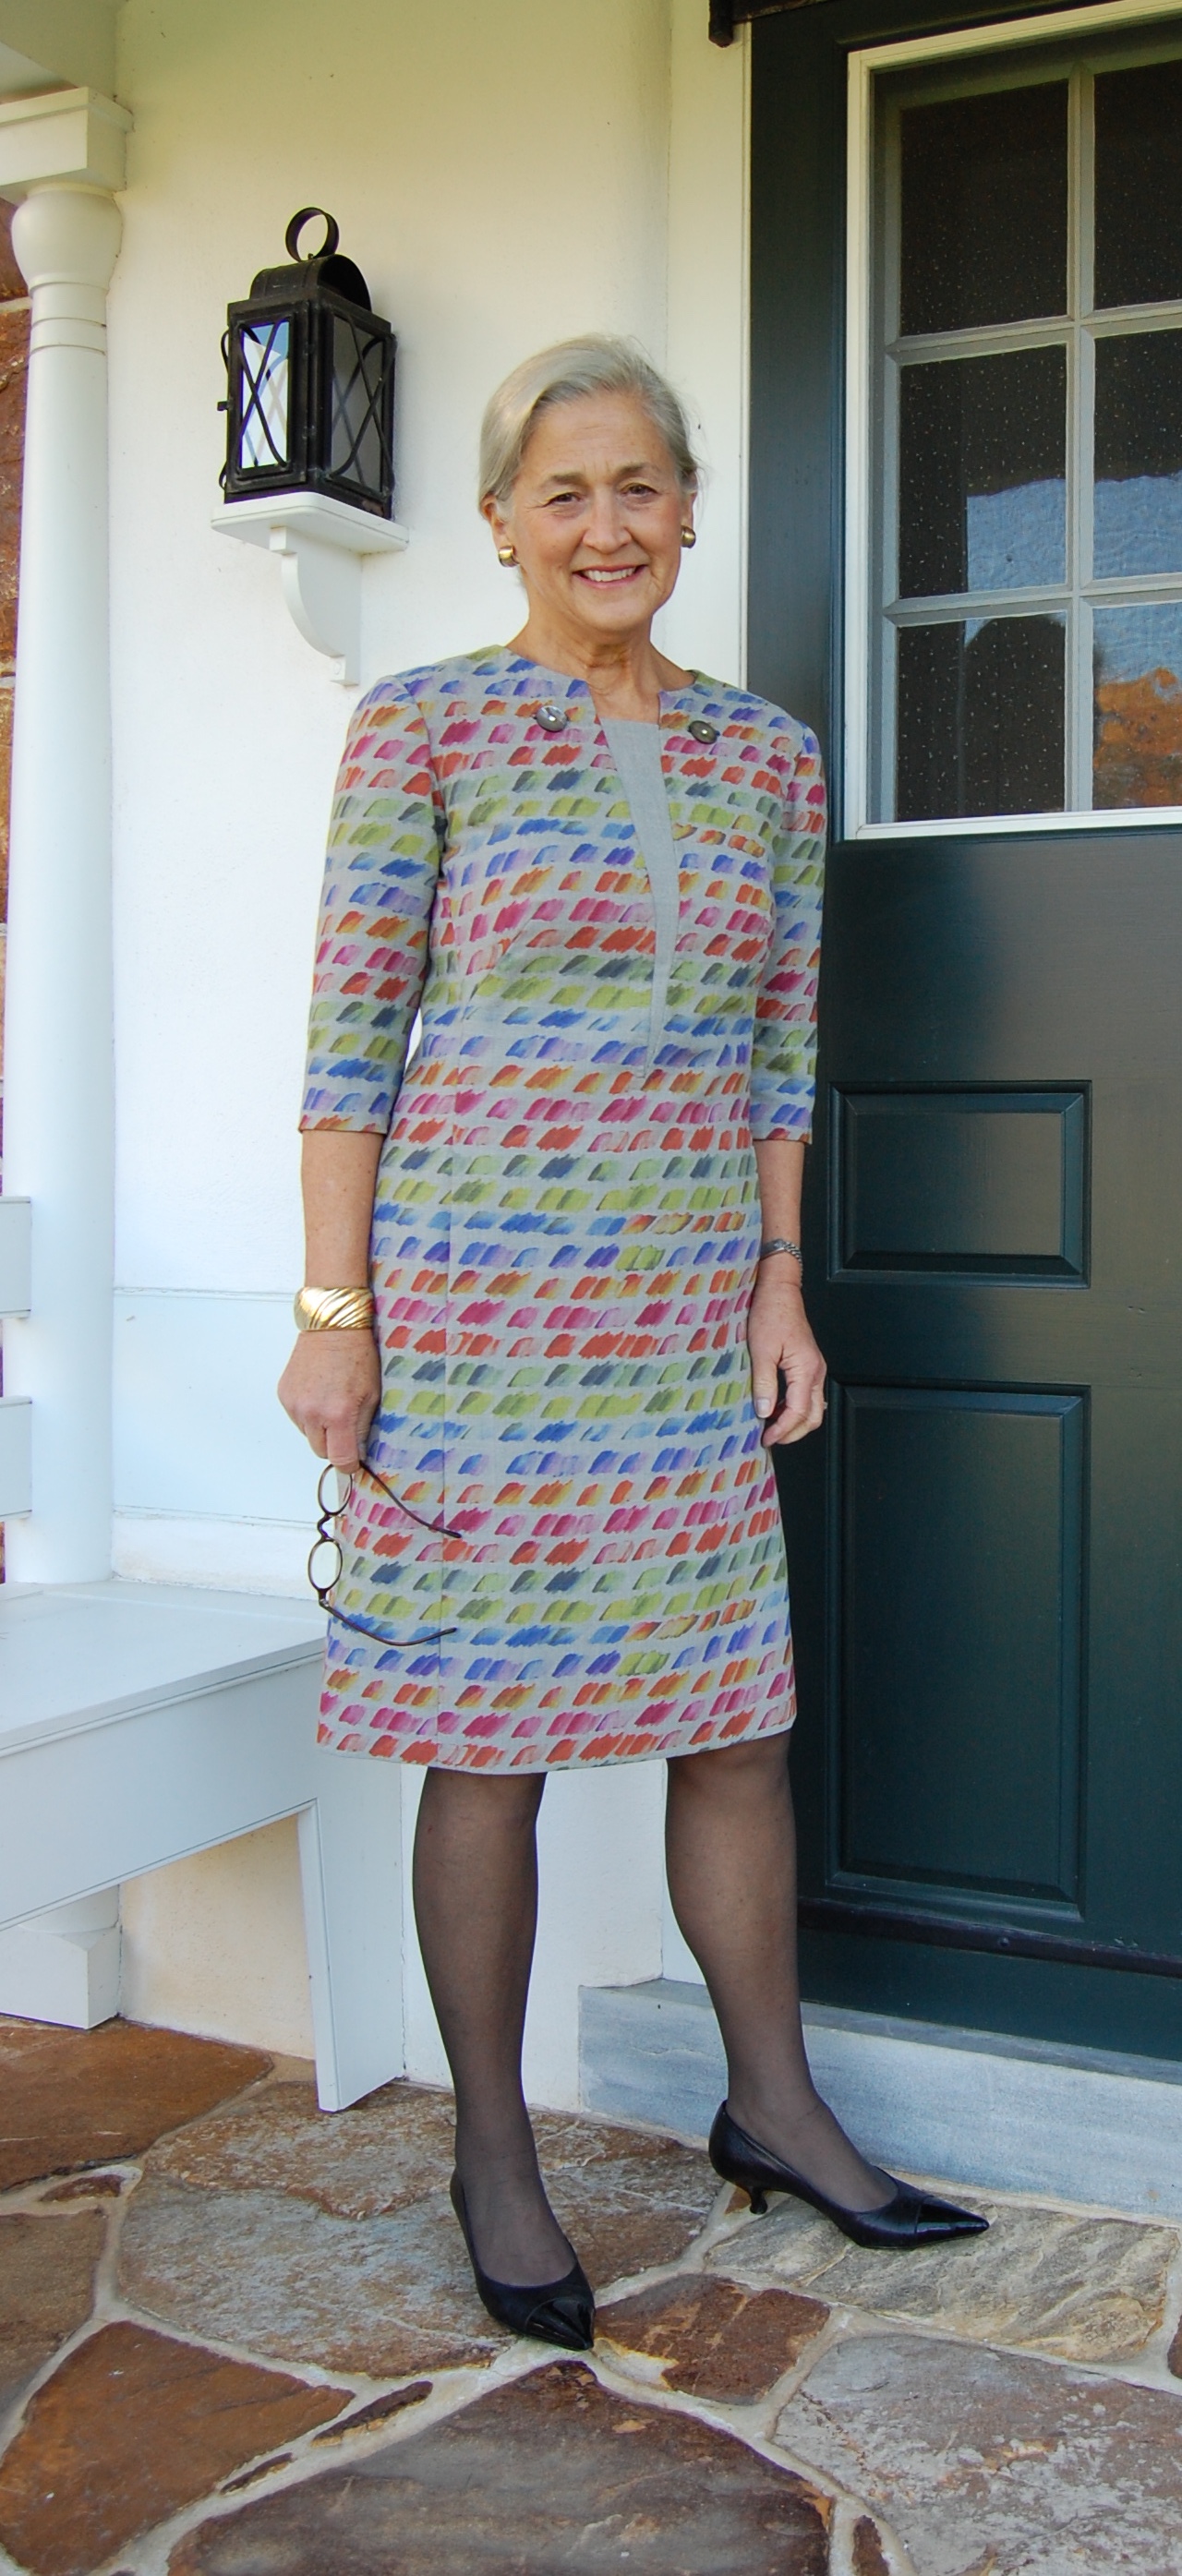
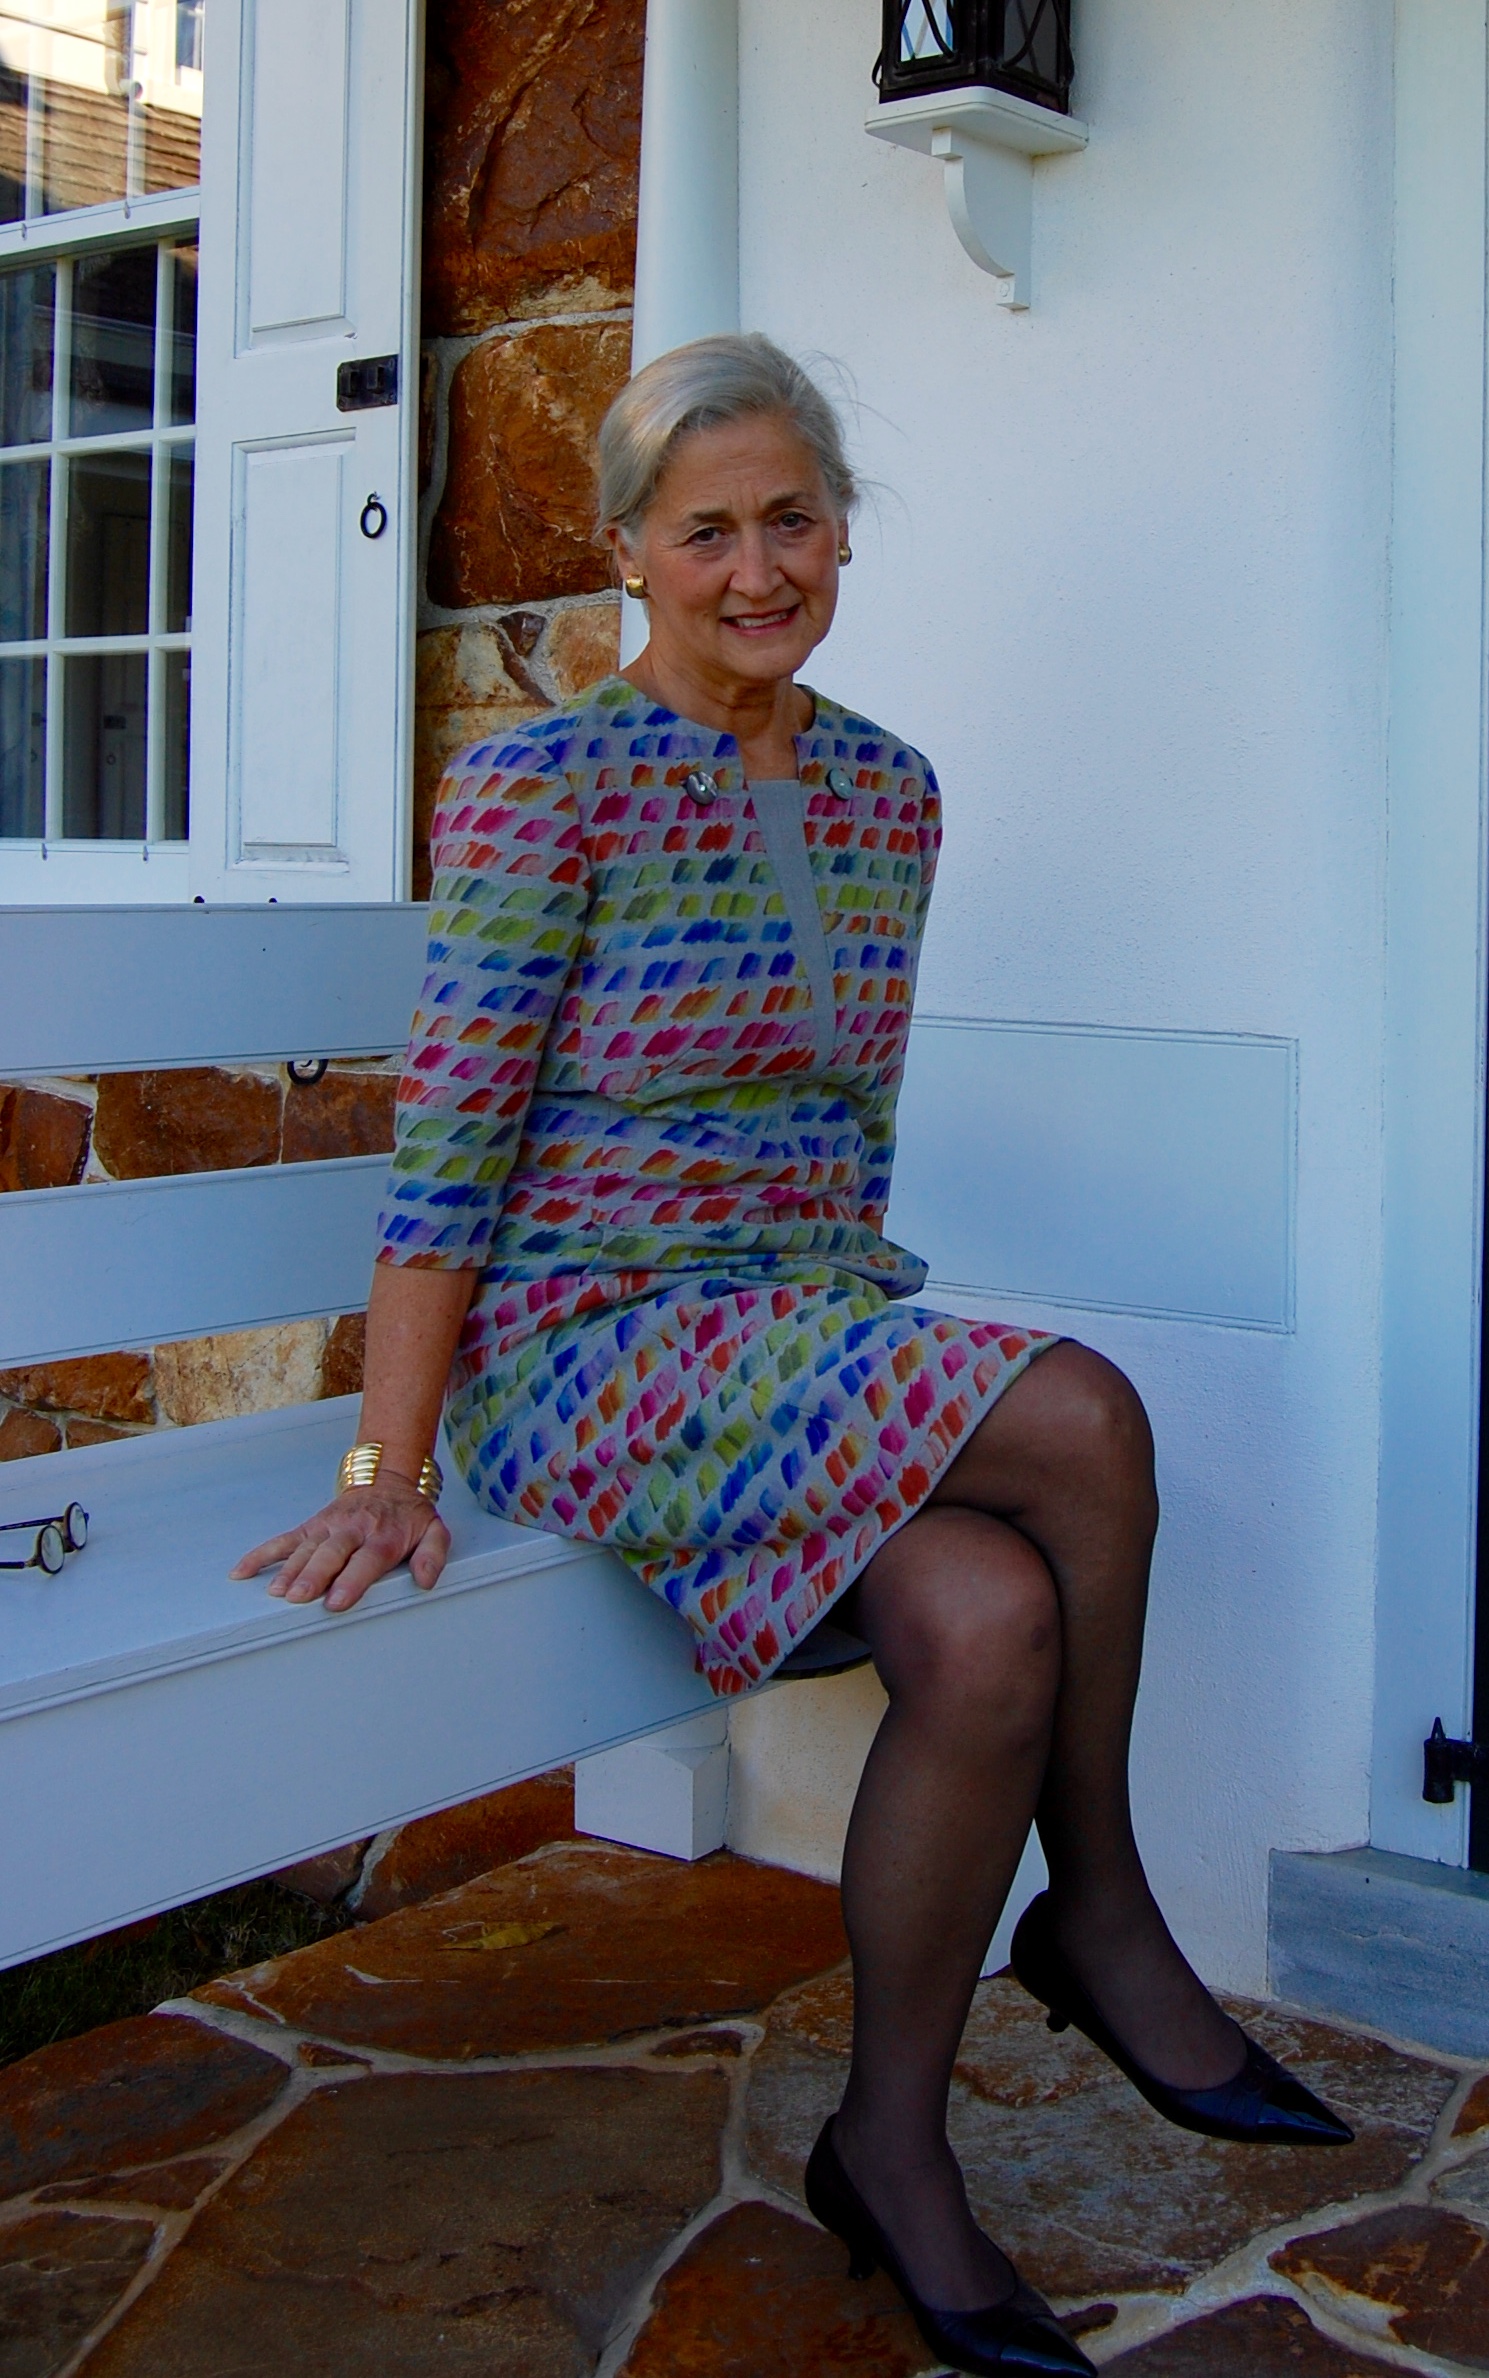
Although not my favorite dress of all time, I think I’ll get good use out of it, and I do love its pairing with “summer” blue.


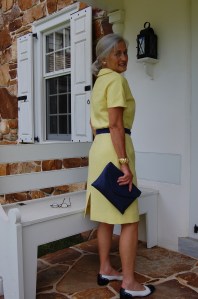
The clutch is a perfect match with the belt – how lucky is that?

Cool linen for a hot summer!
Best of all, the buttons add just the right, somewhat mysterious, touch.