Tag Archives: Day dresses

Red Letter Day-Dress

Red Letter Day:  “A day that is pleasantly noteworthy or memorable.”  (Cambridge Languages)

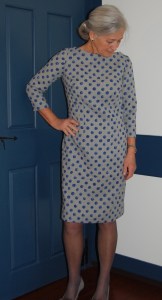
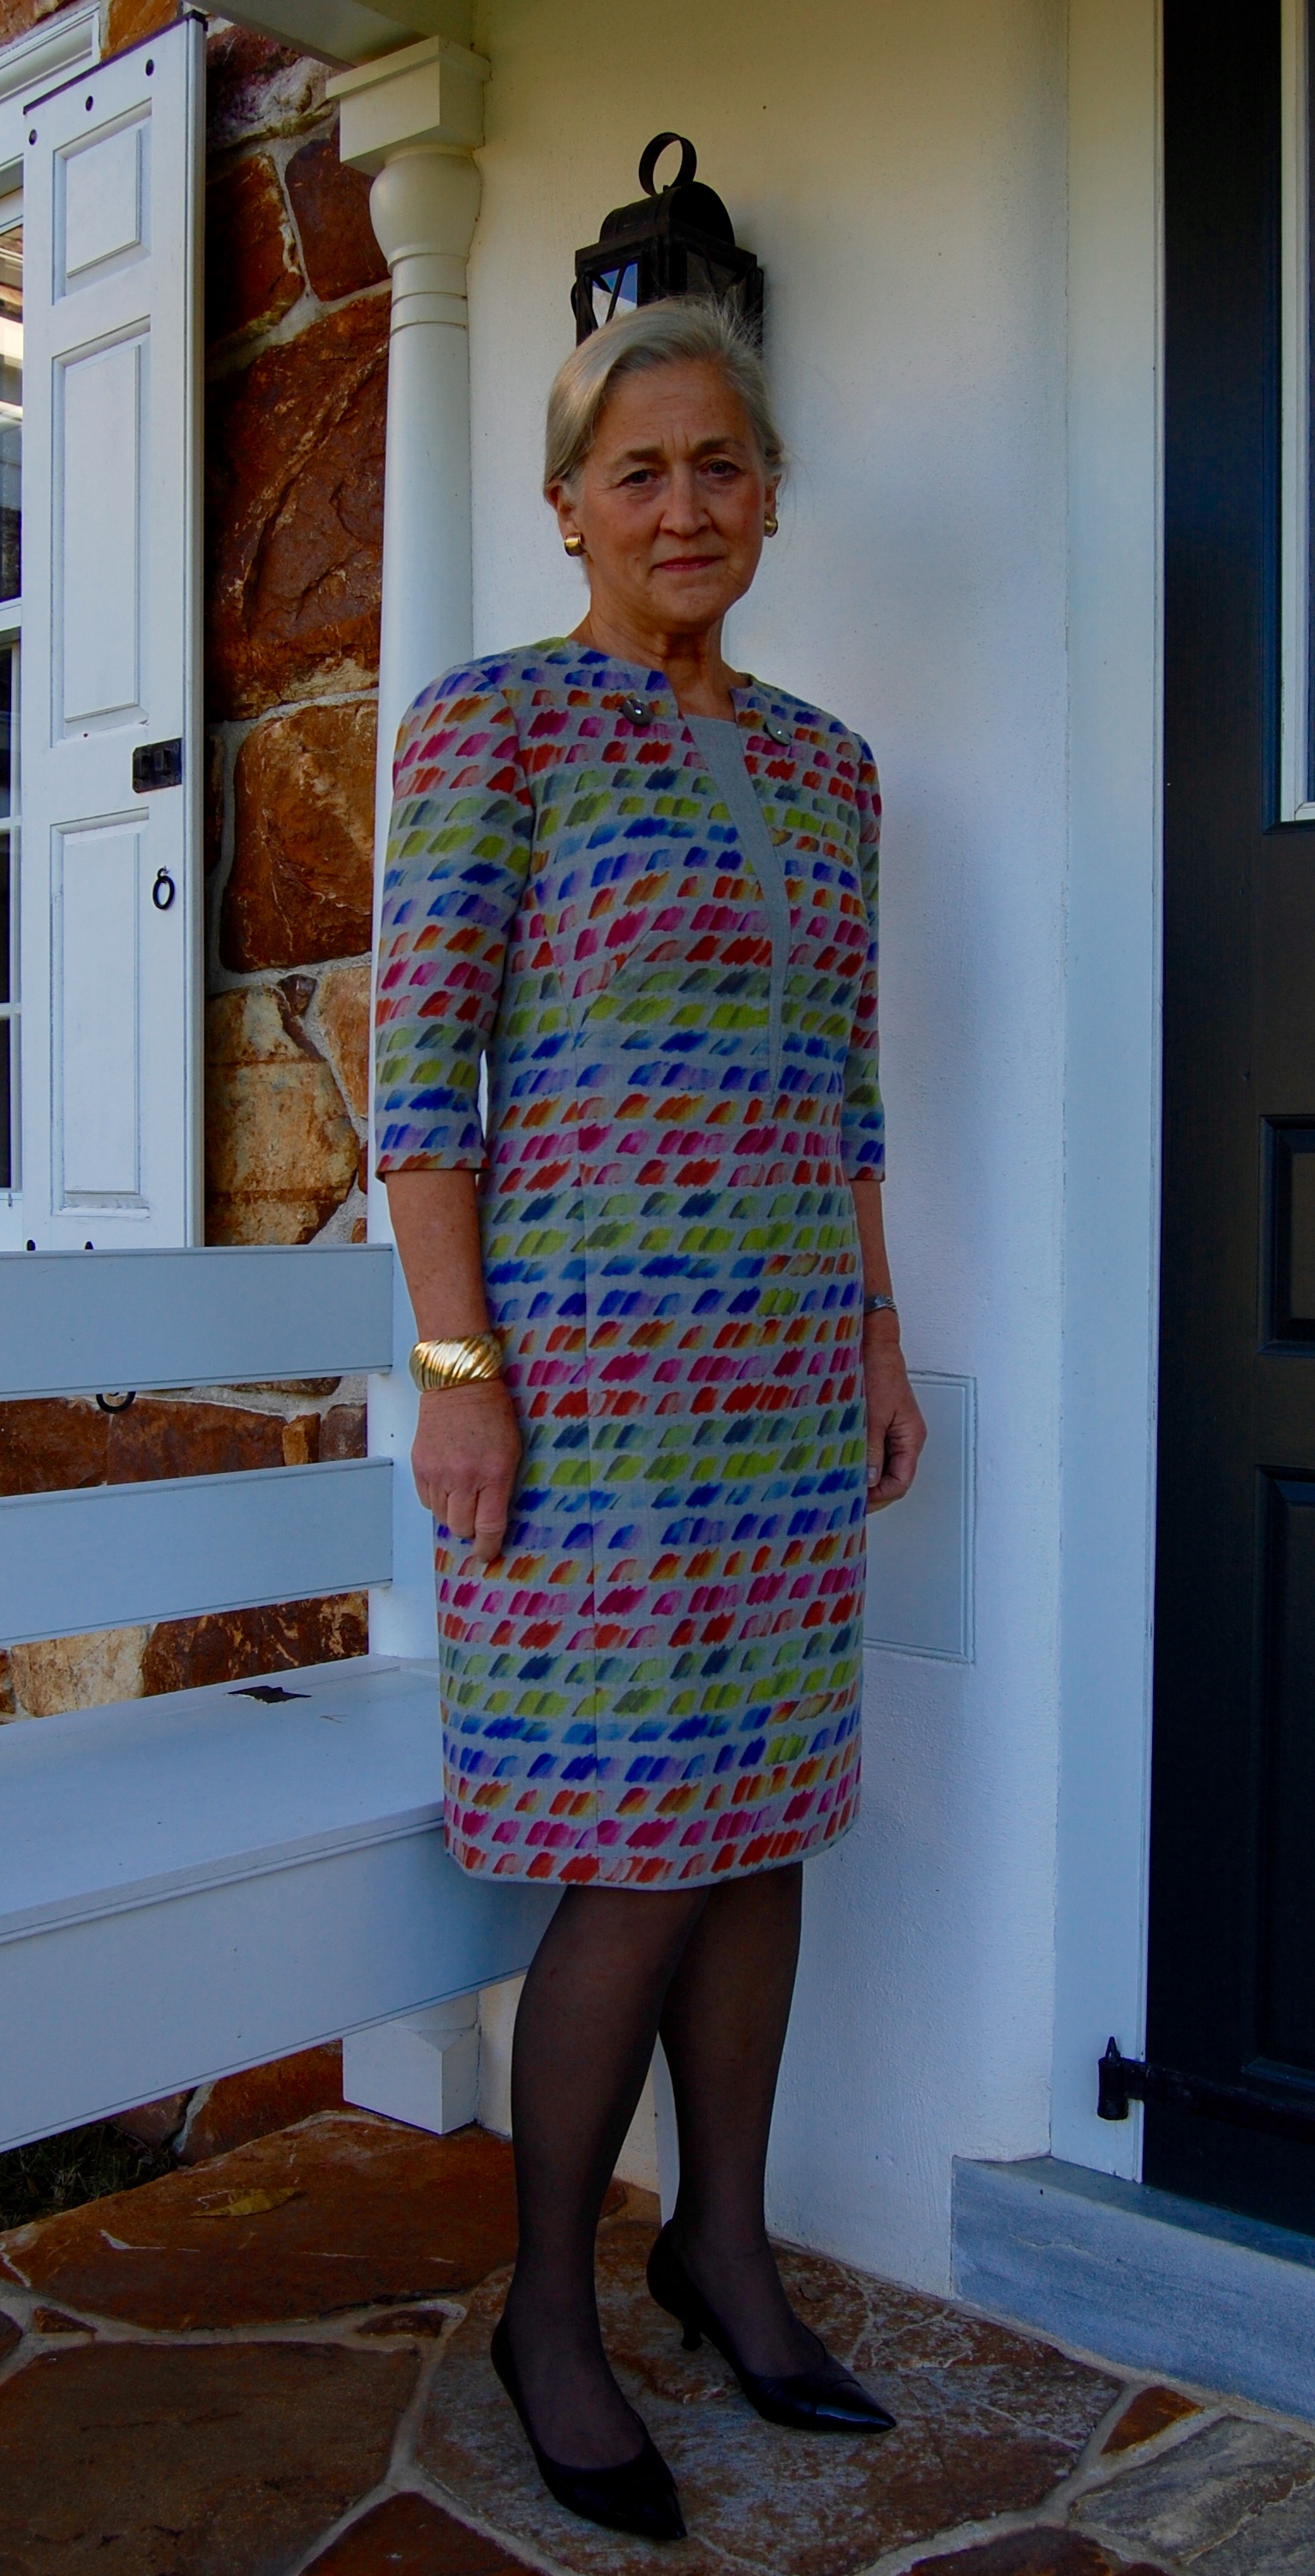
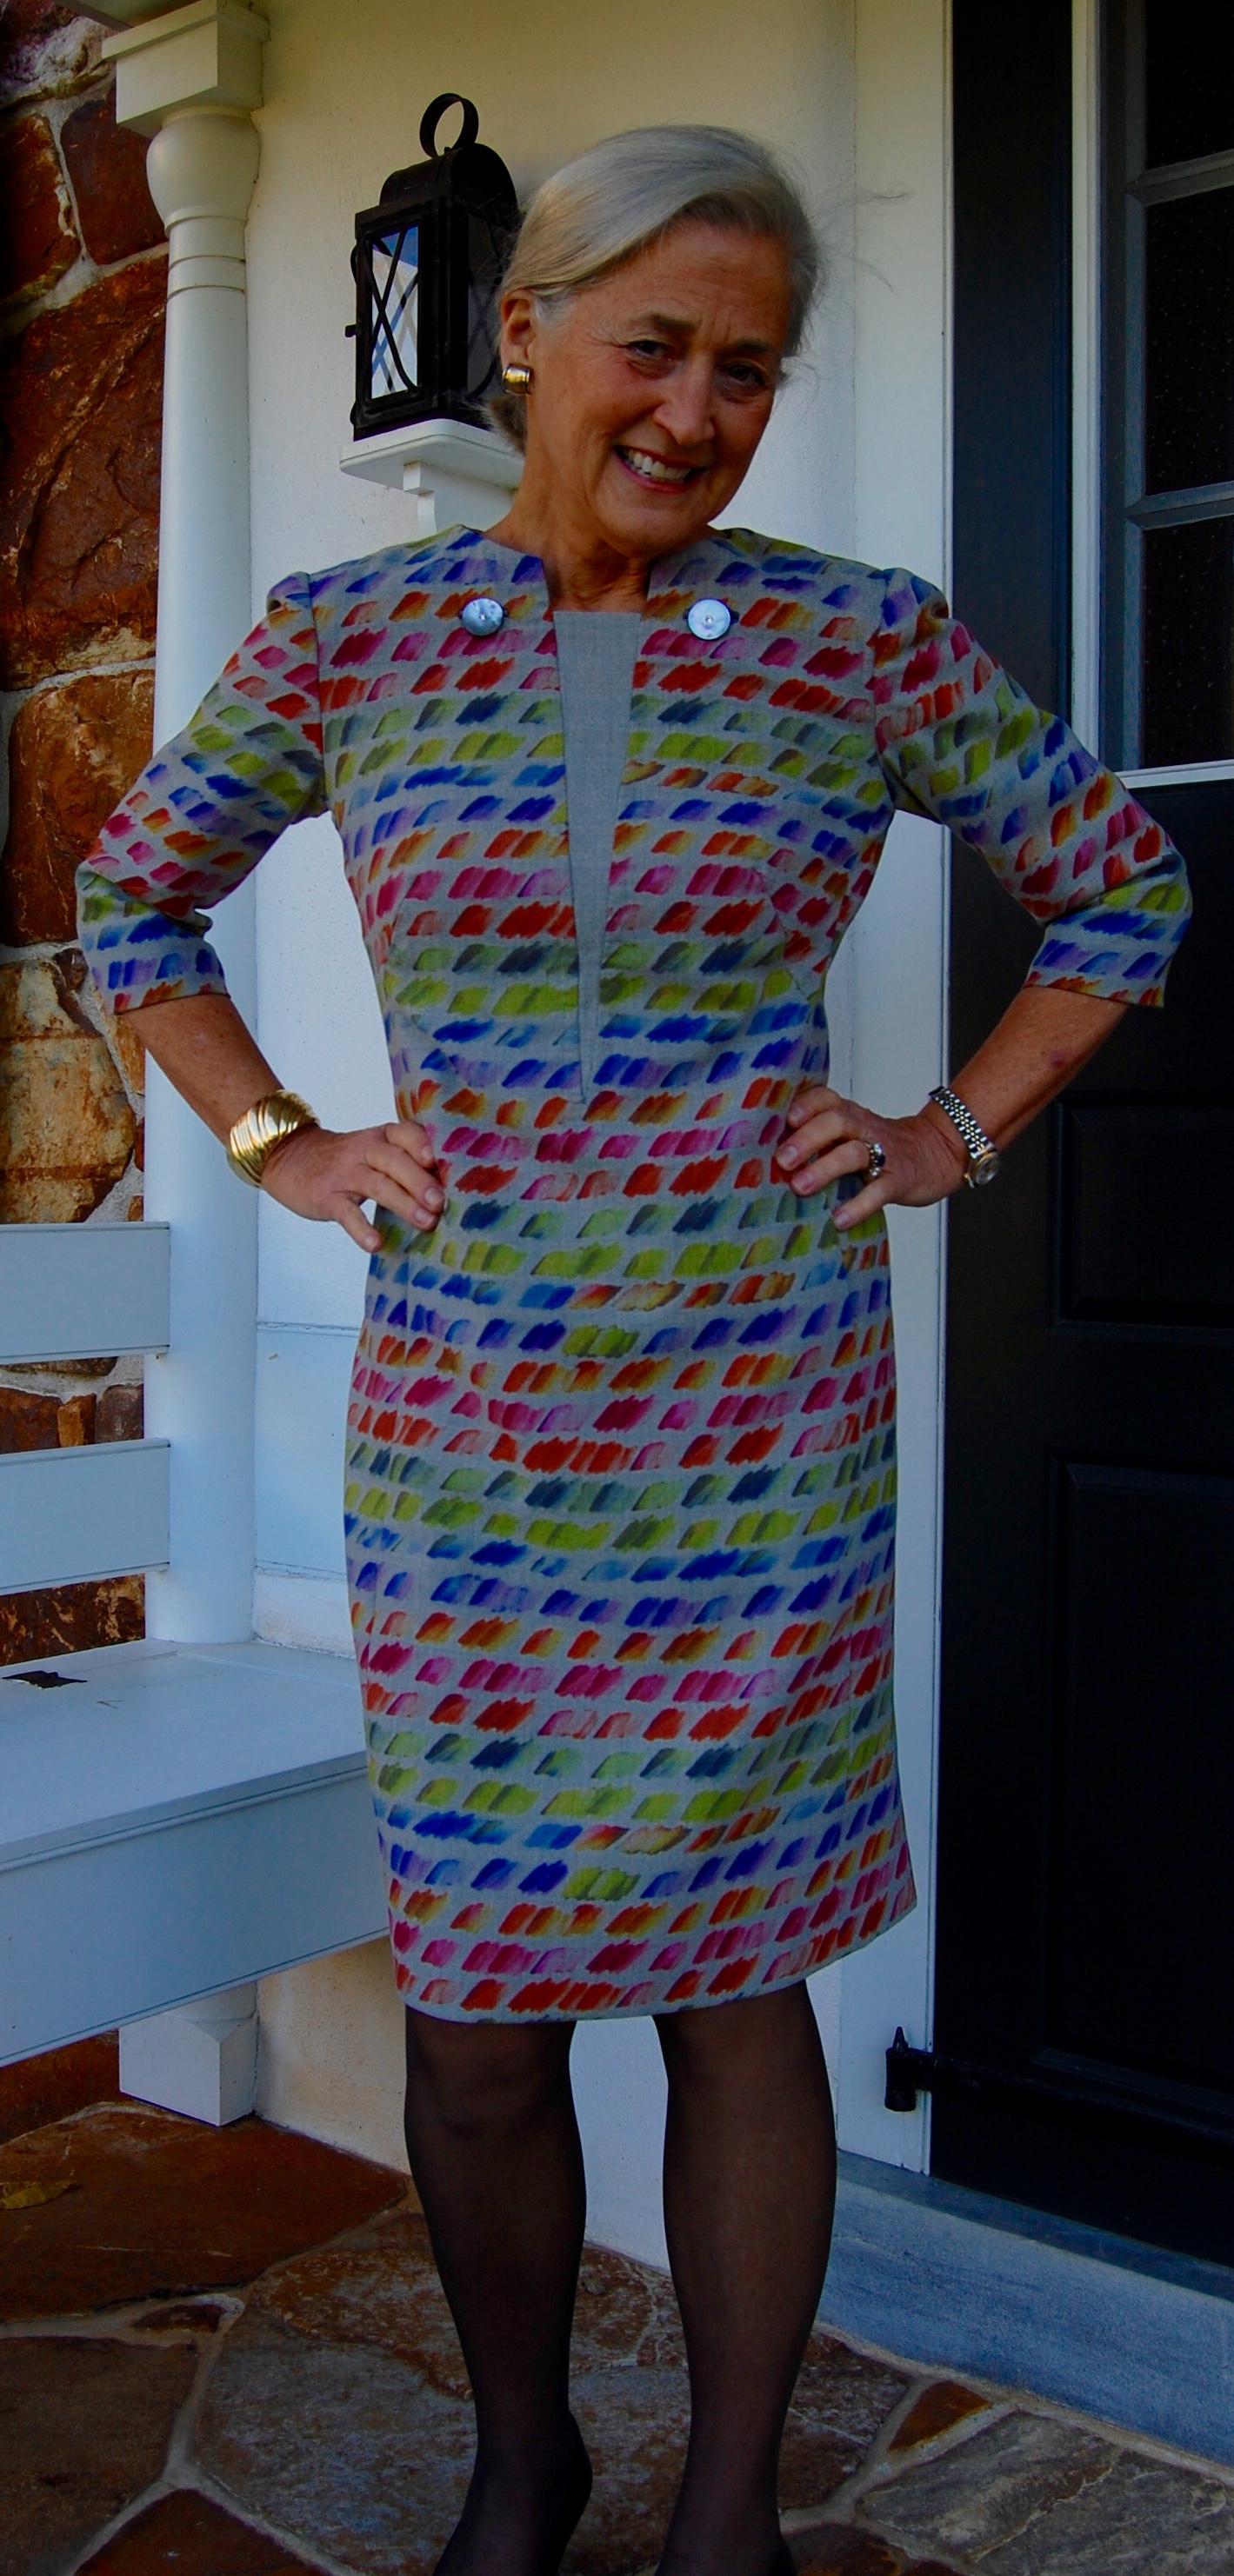
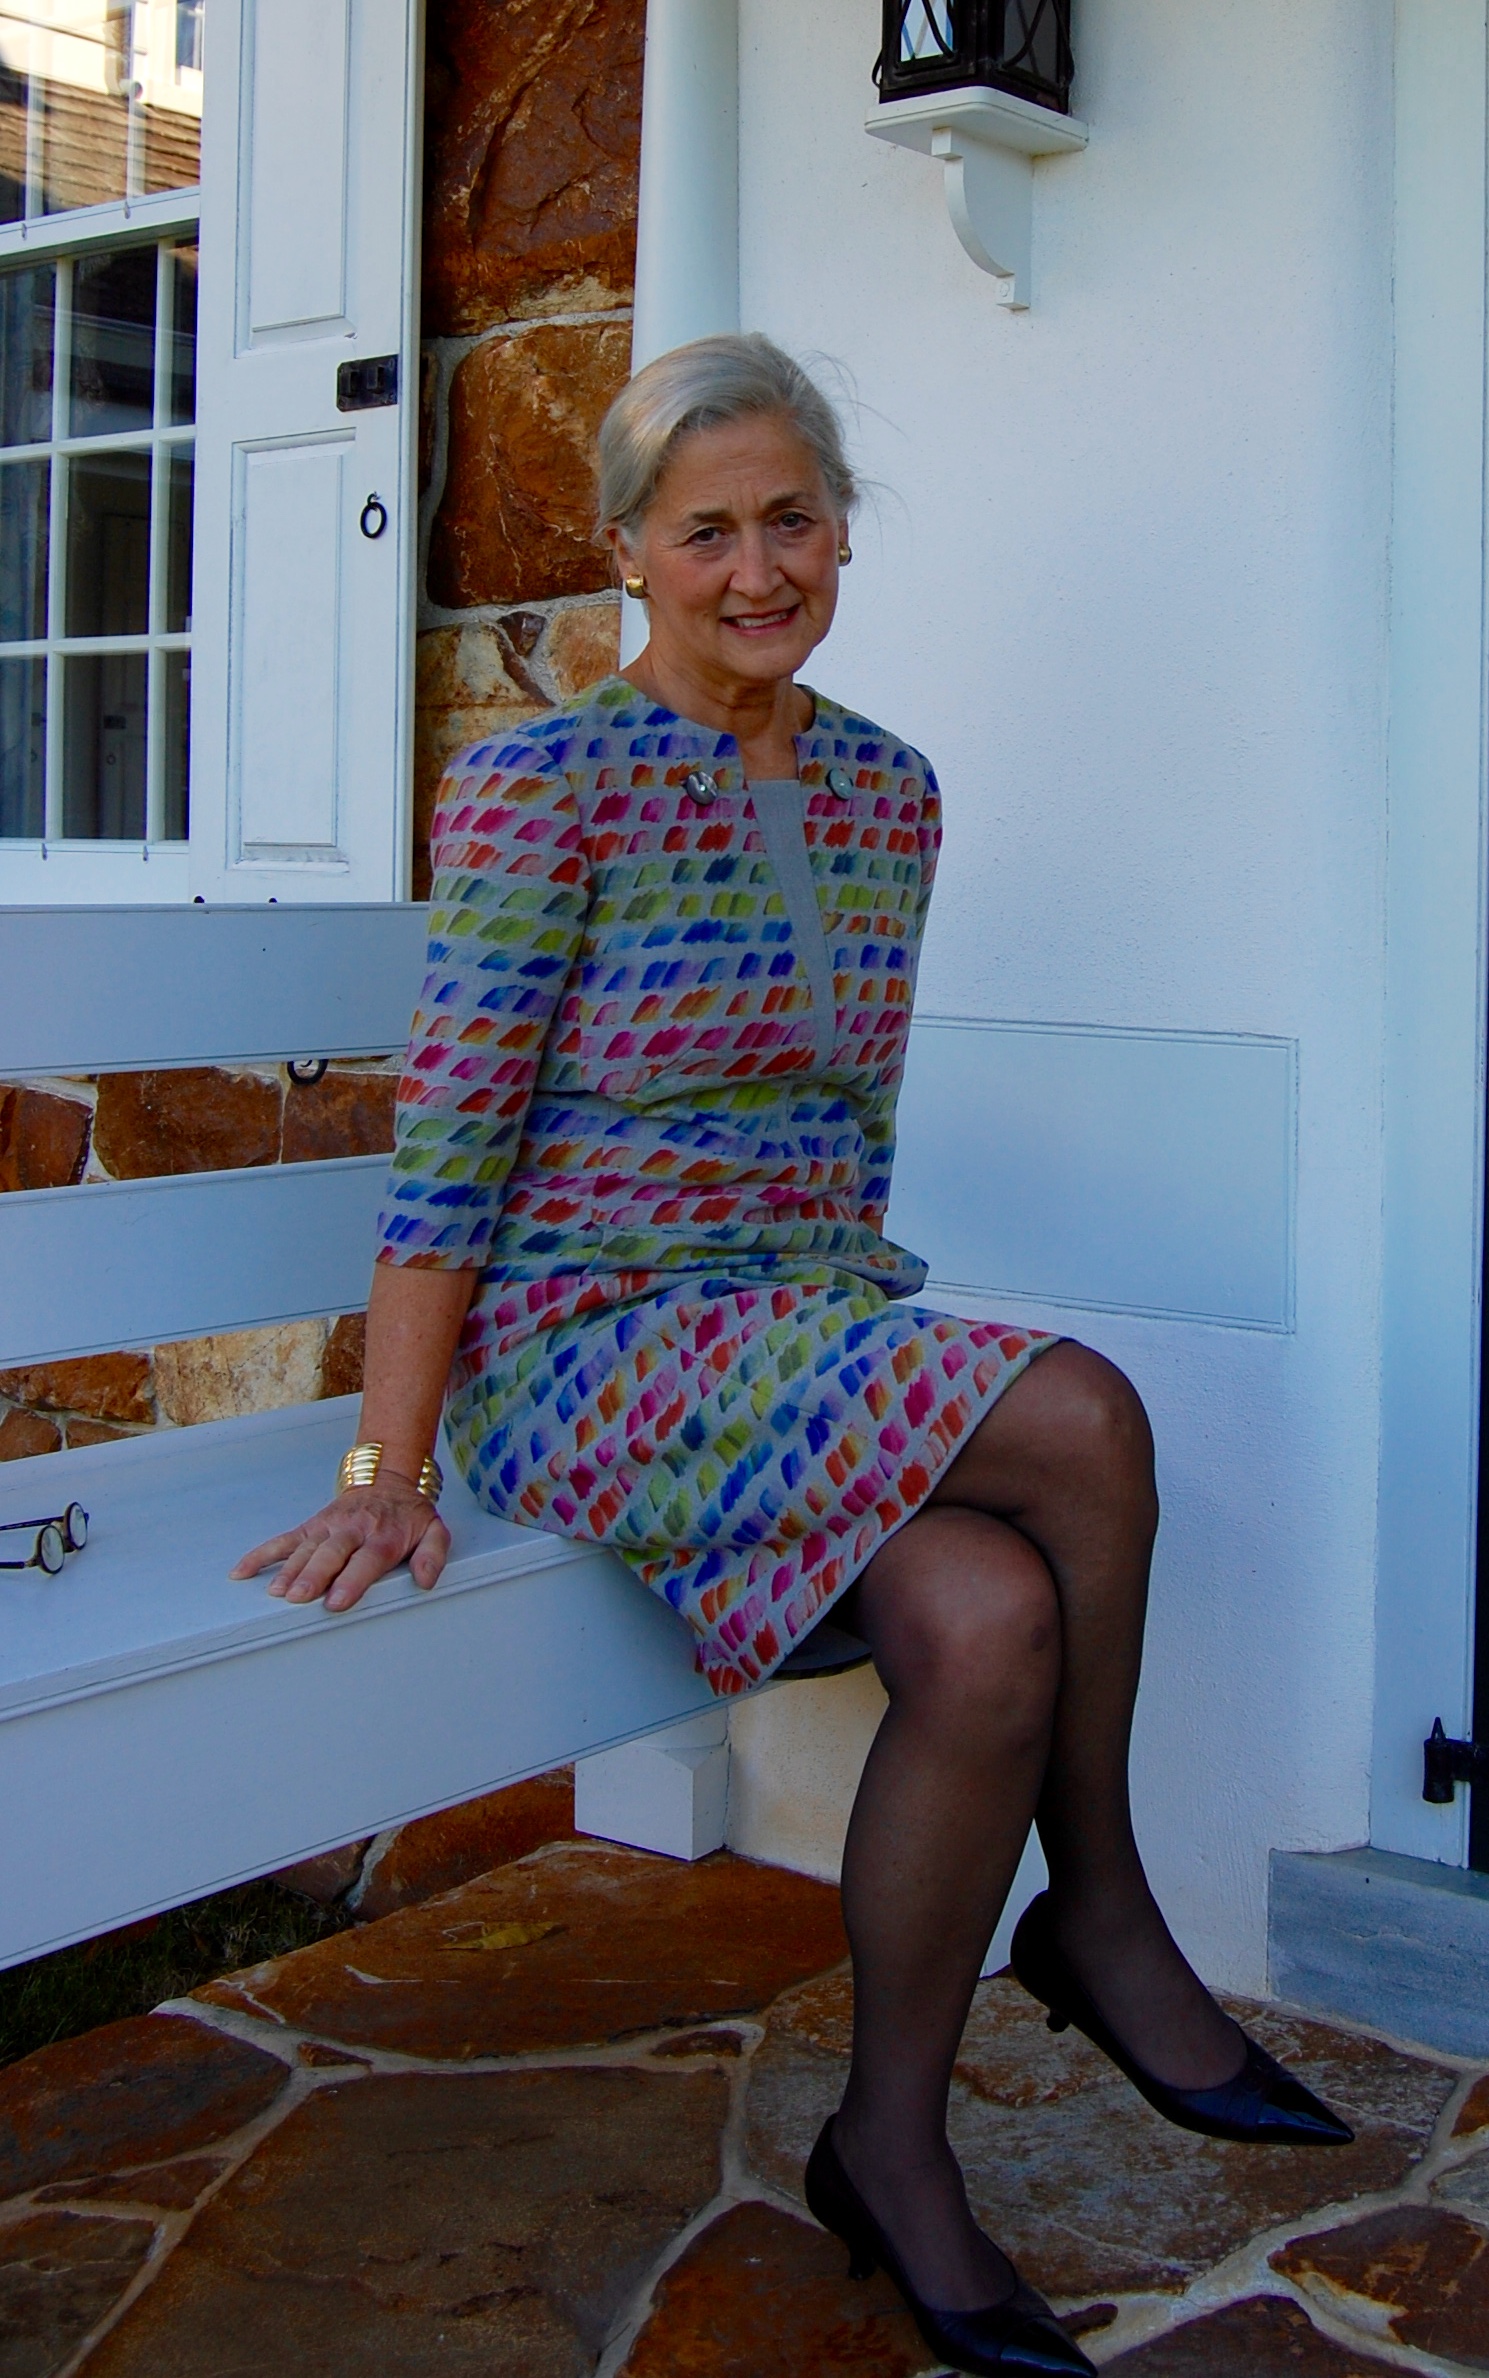
Day Dress: “The perfect all-in-one outfit, a day dress is a versatile and fashionable way to look chic and stay comfortable at the same time.”  

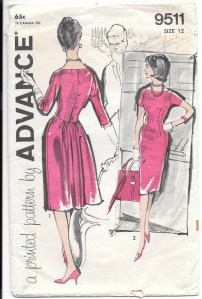
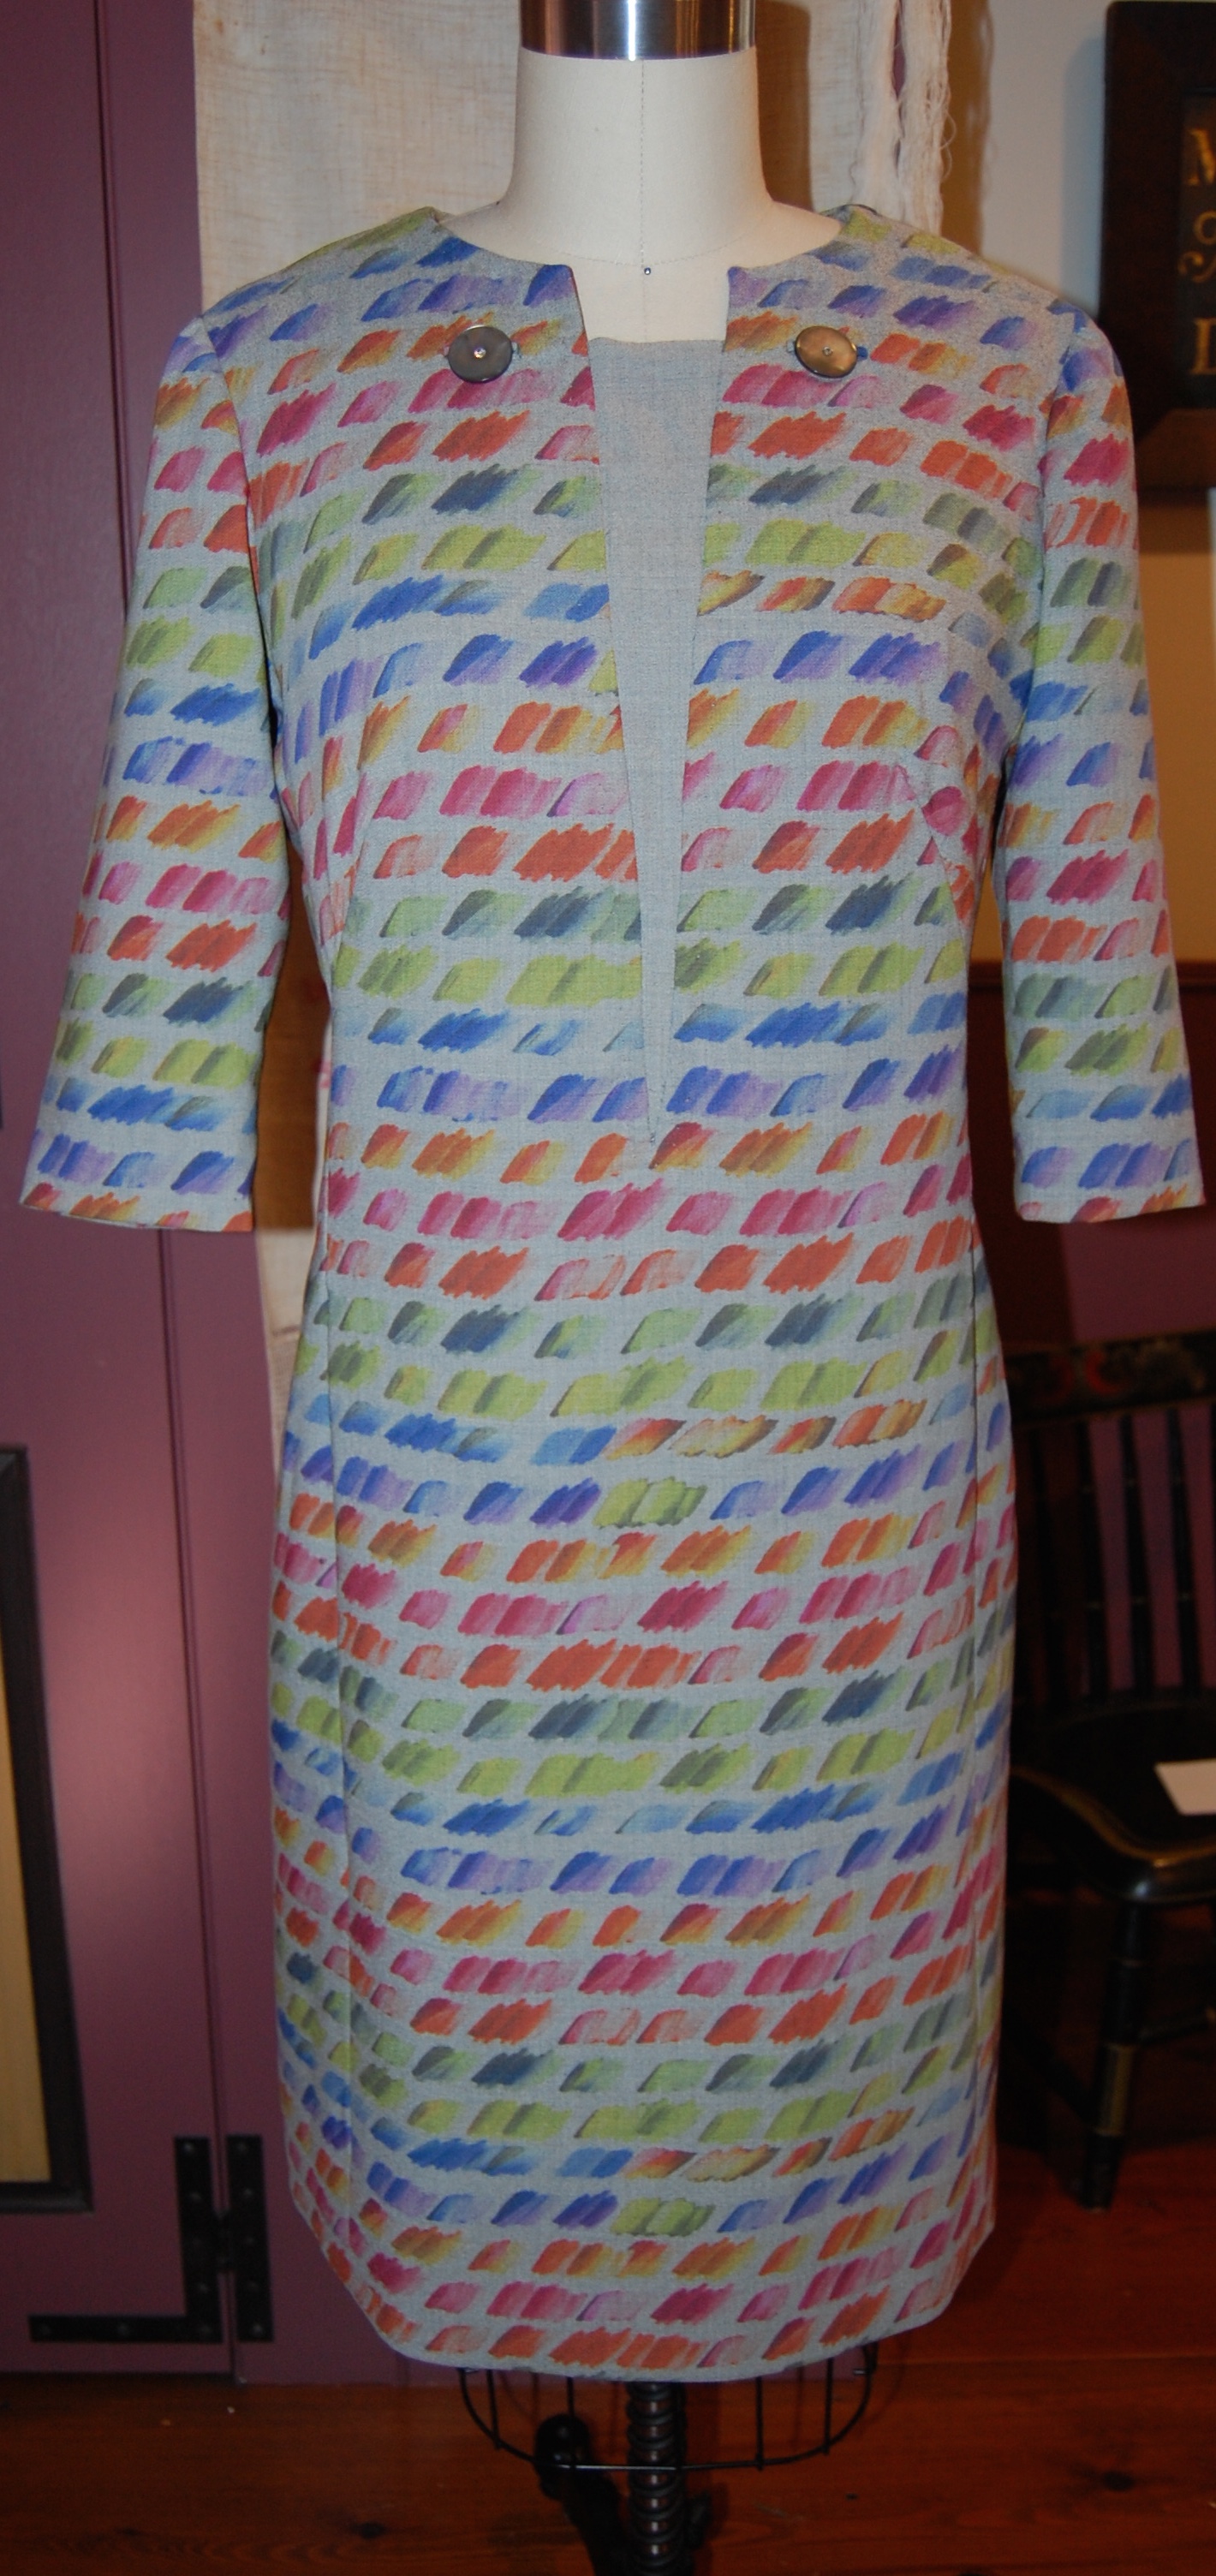
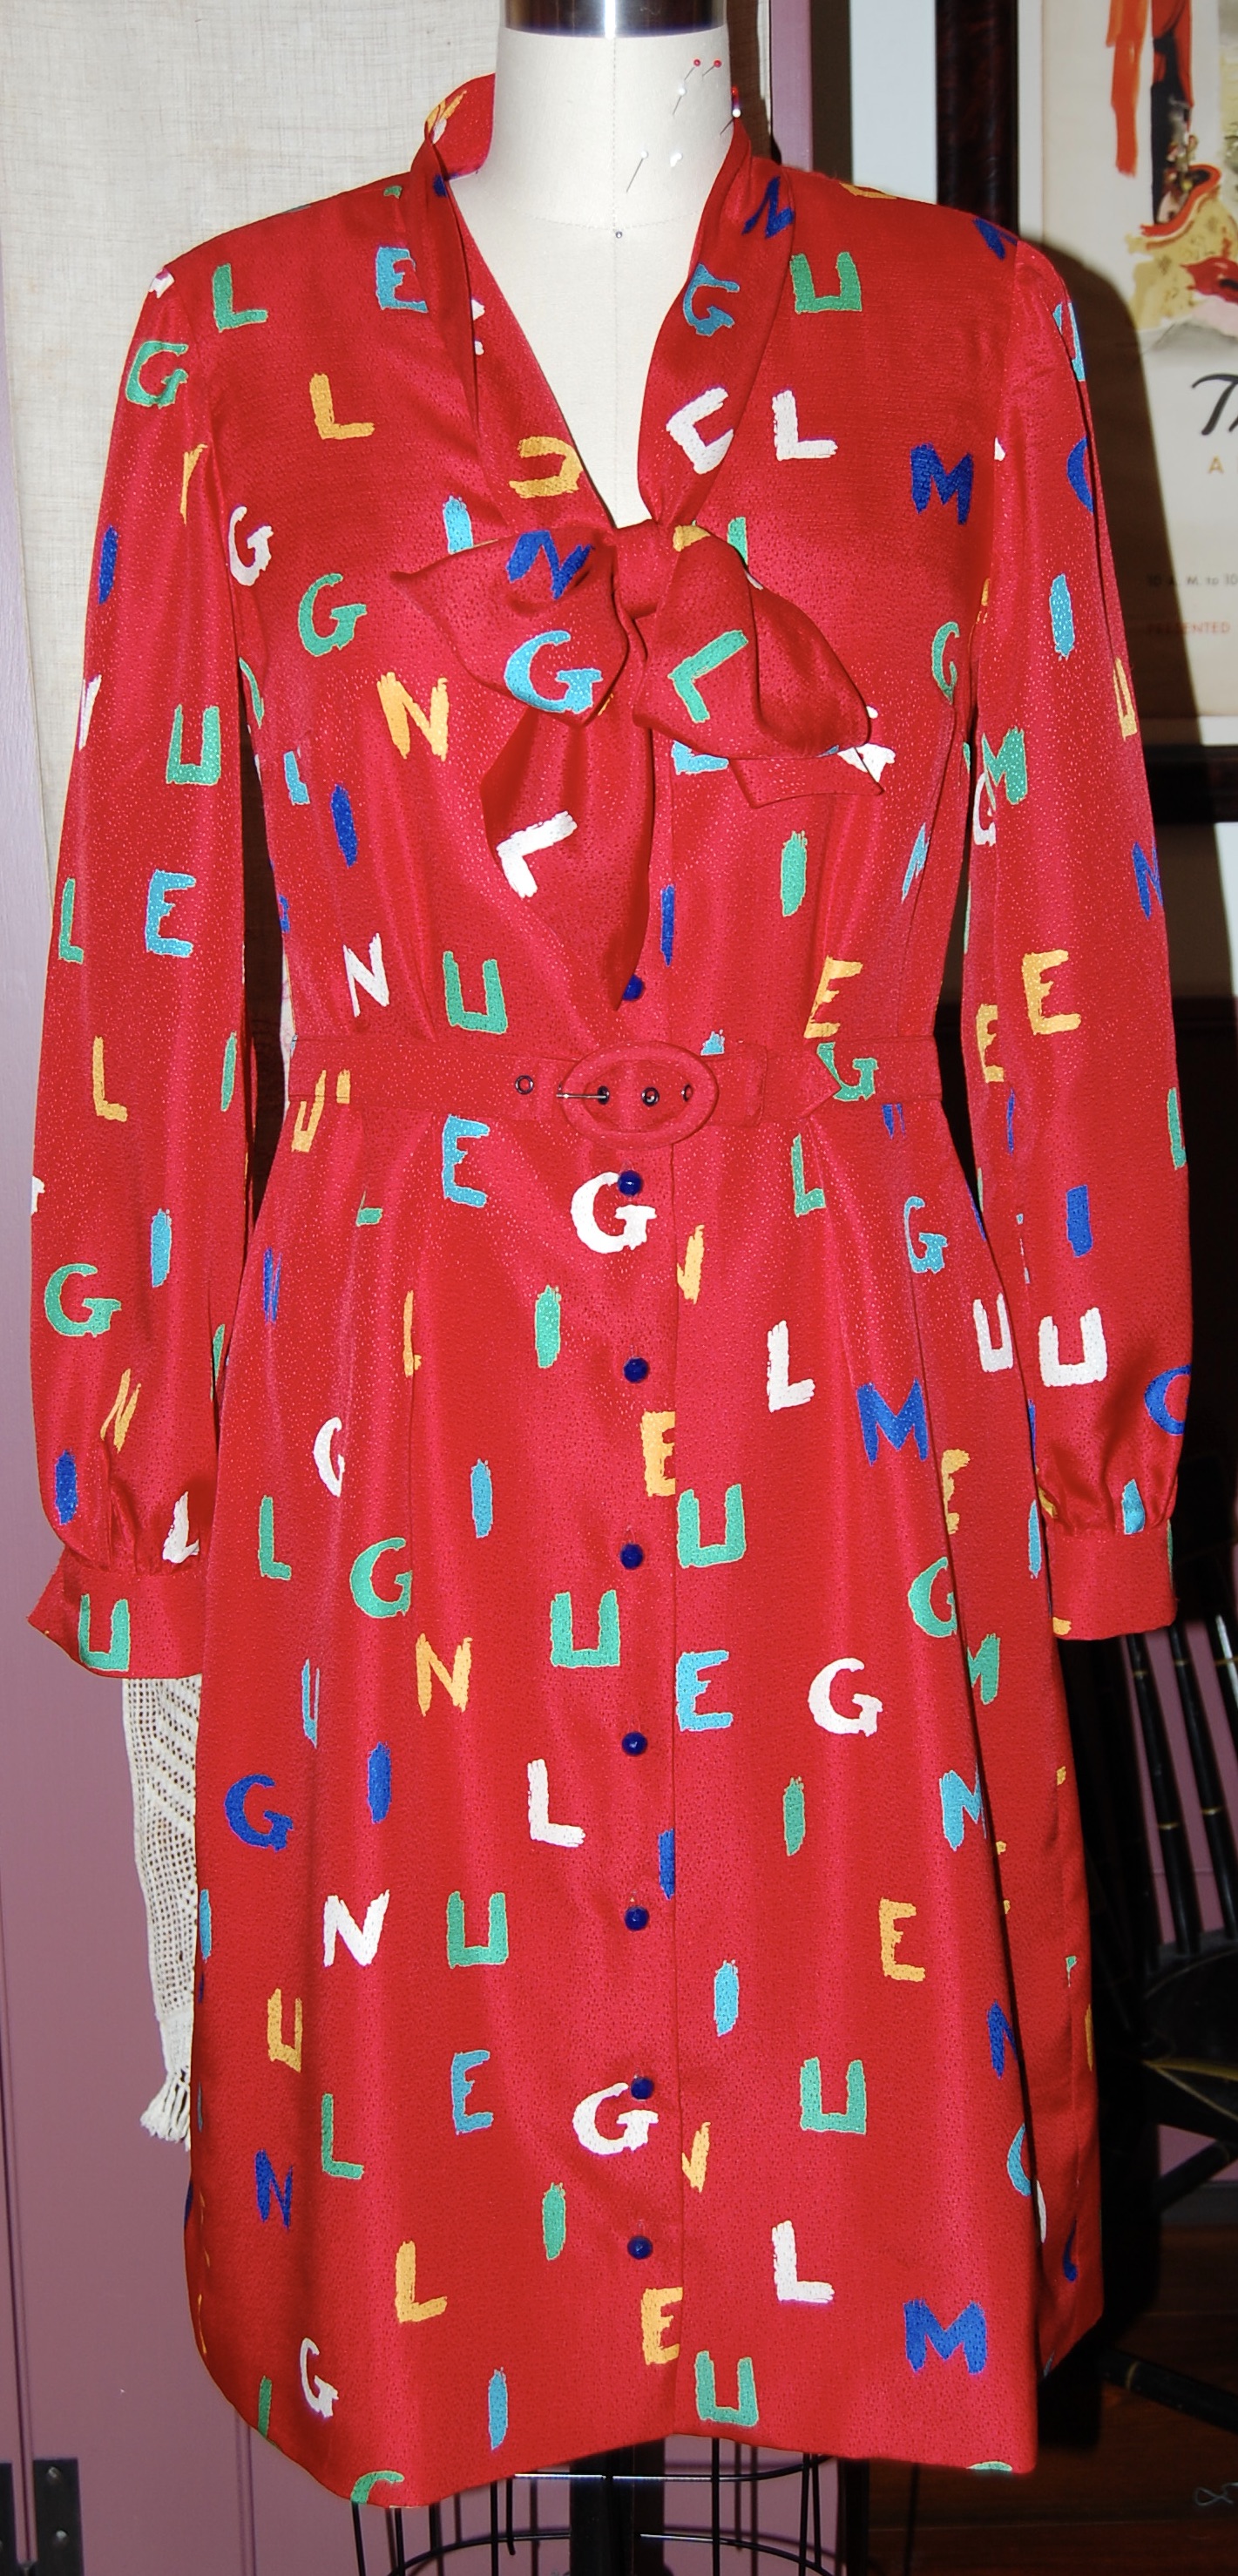
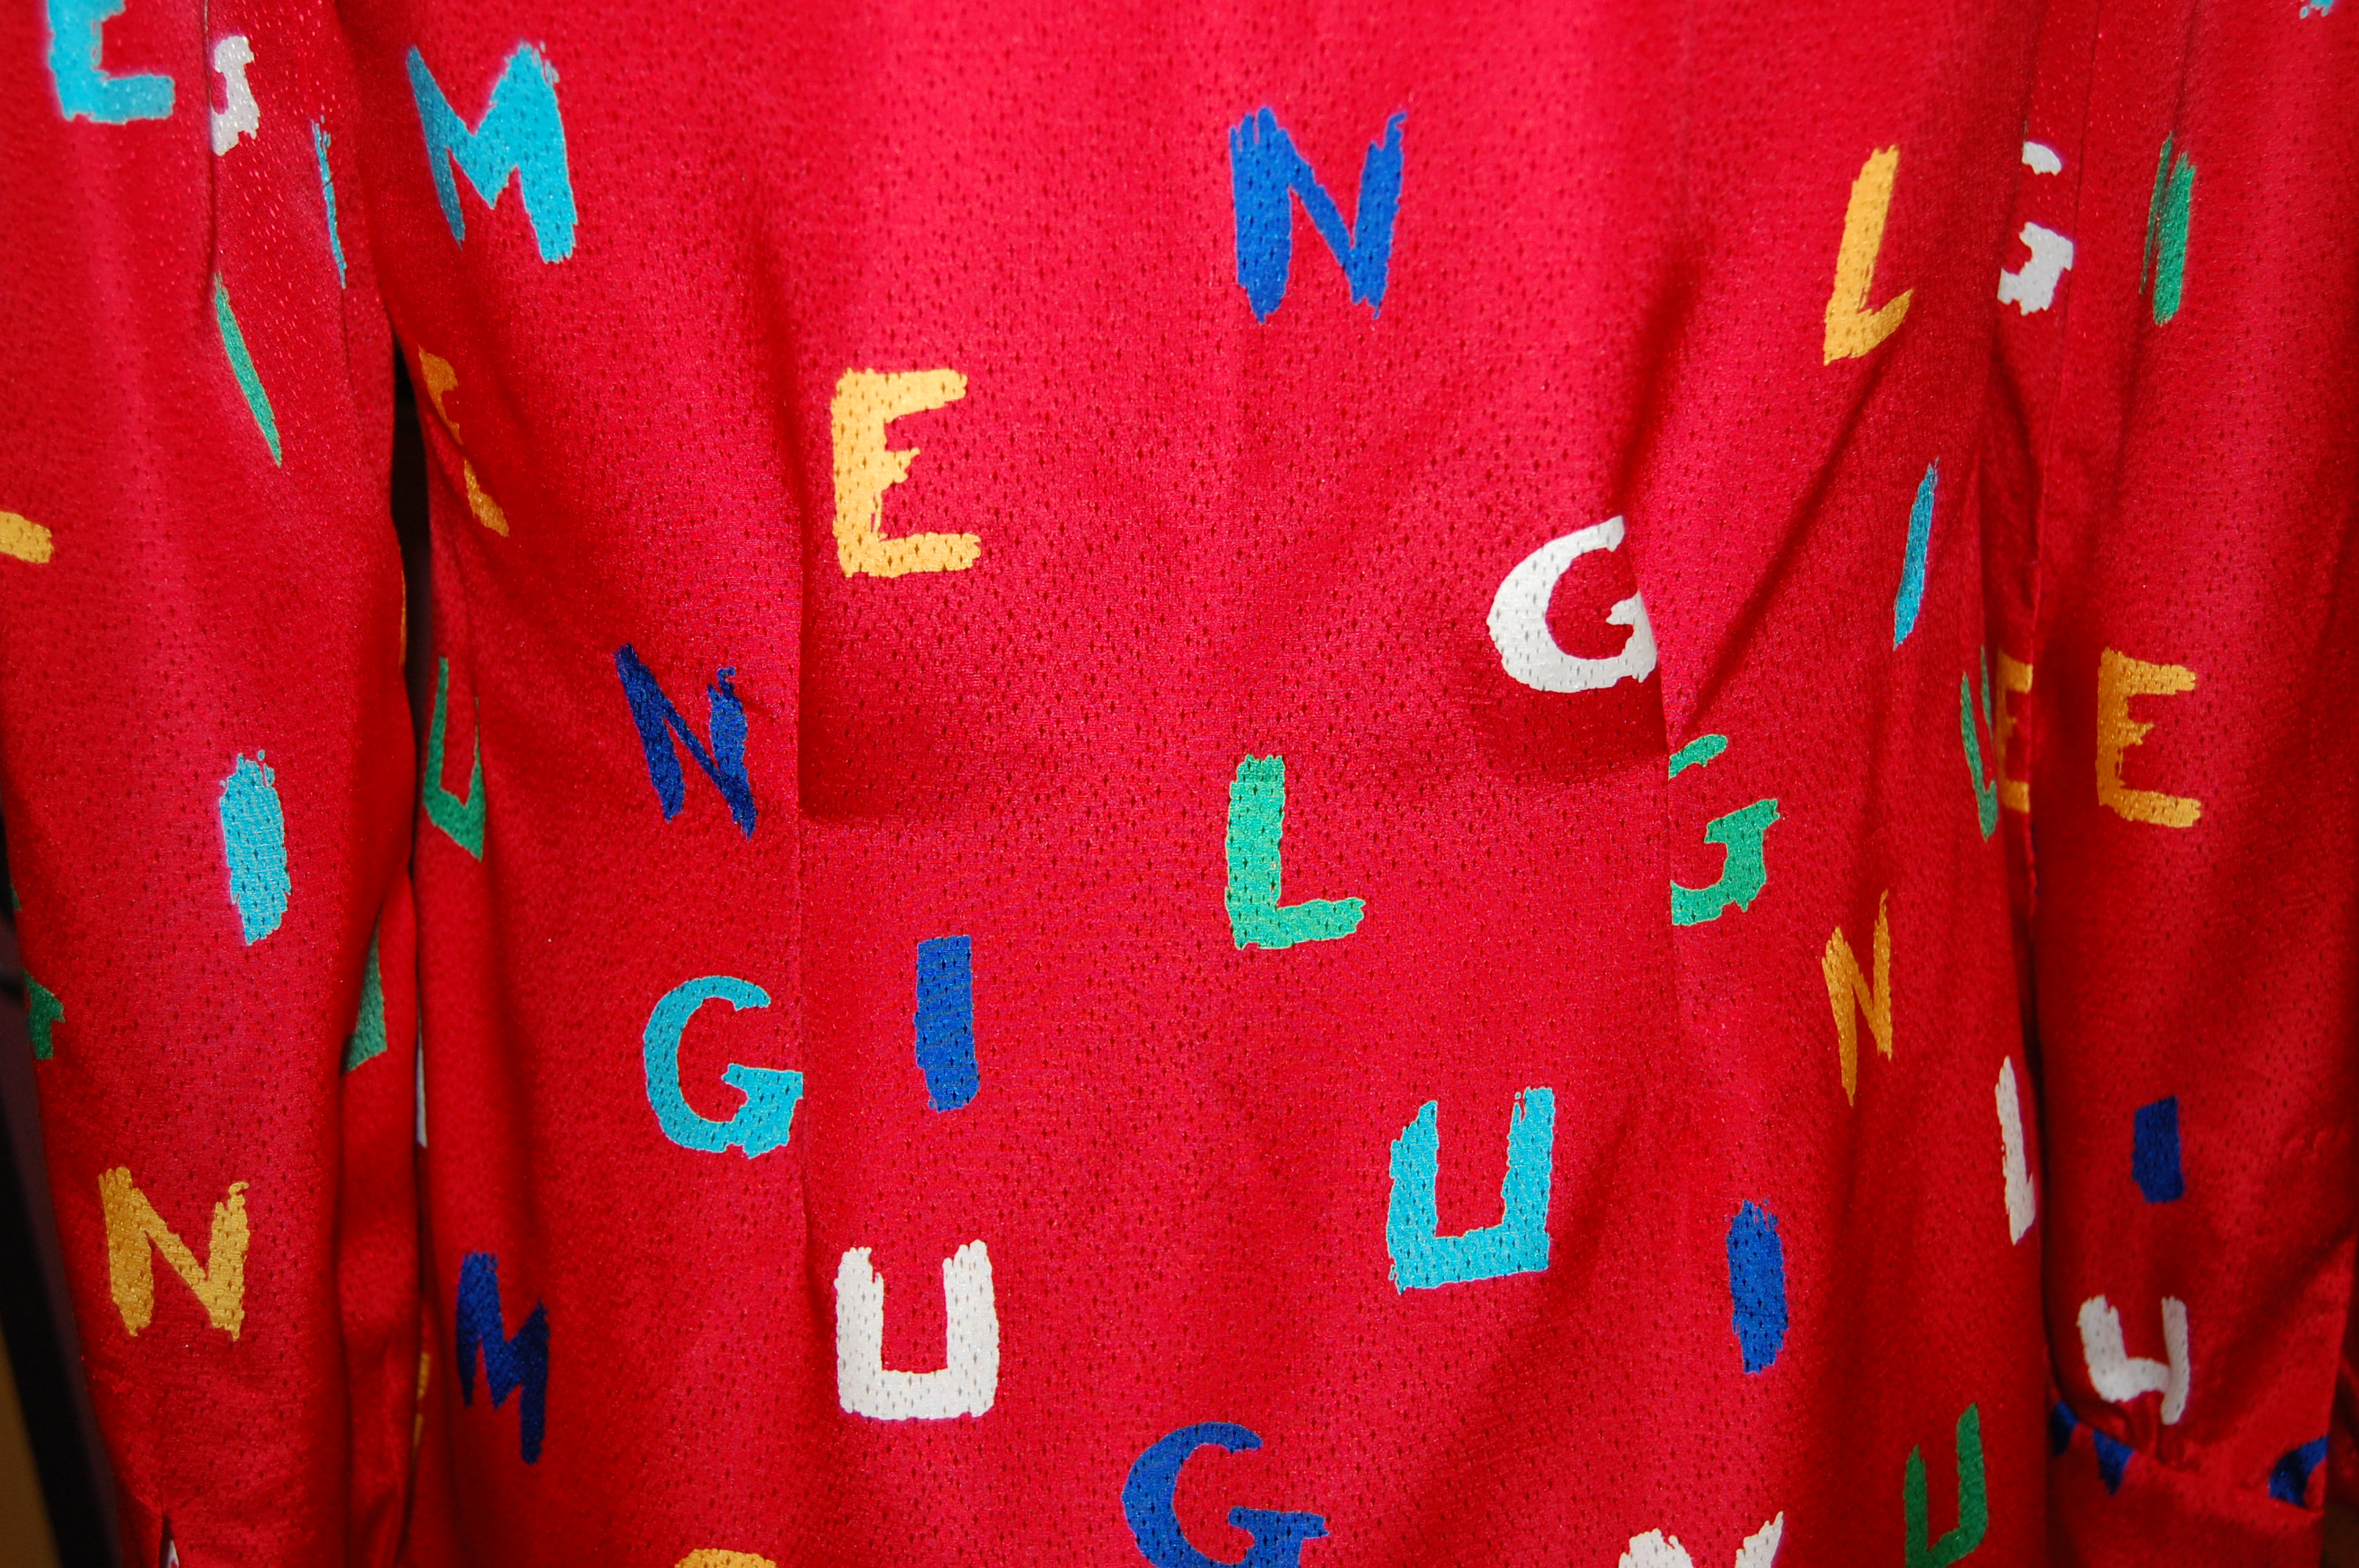
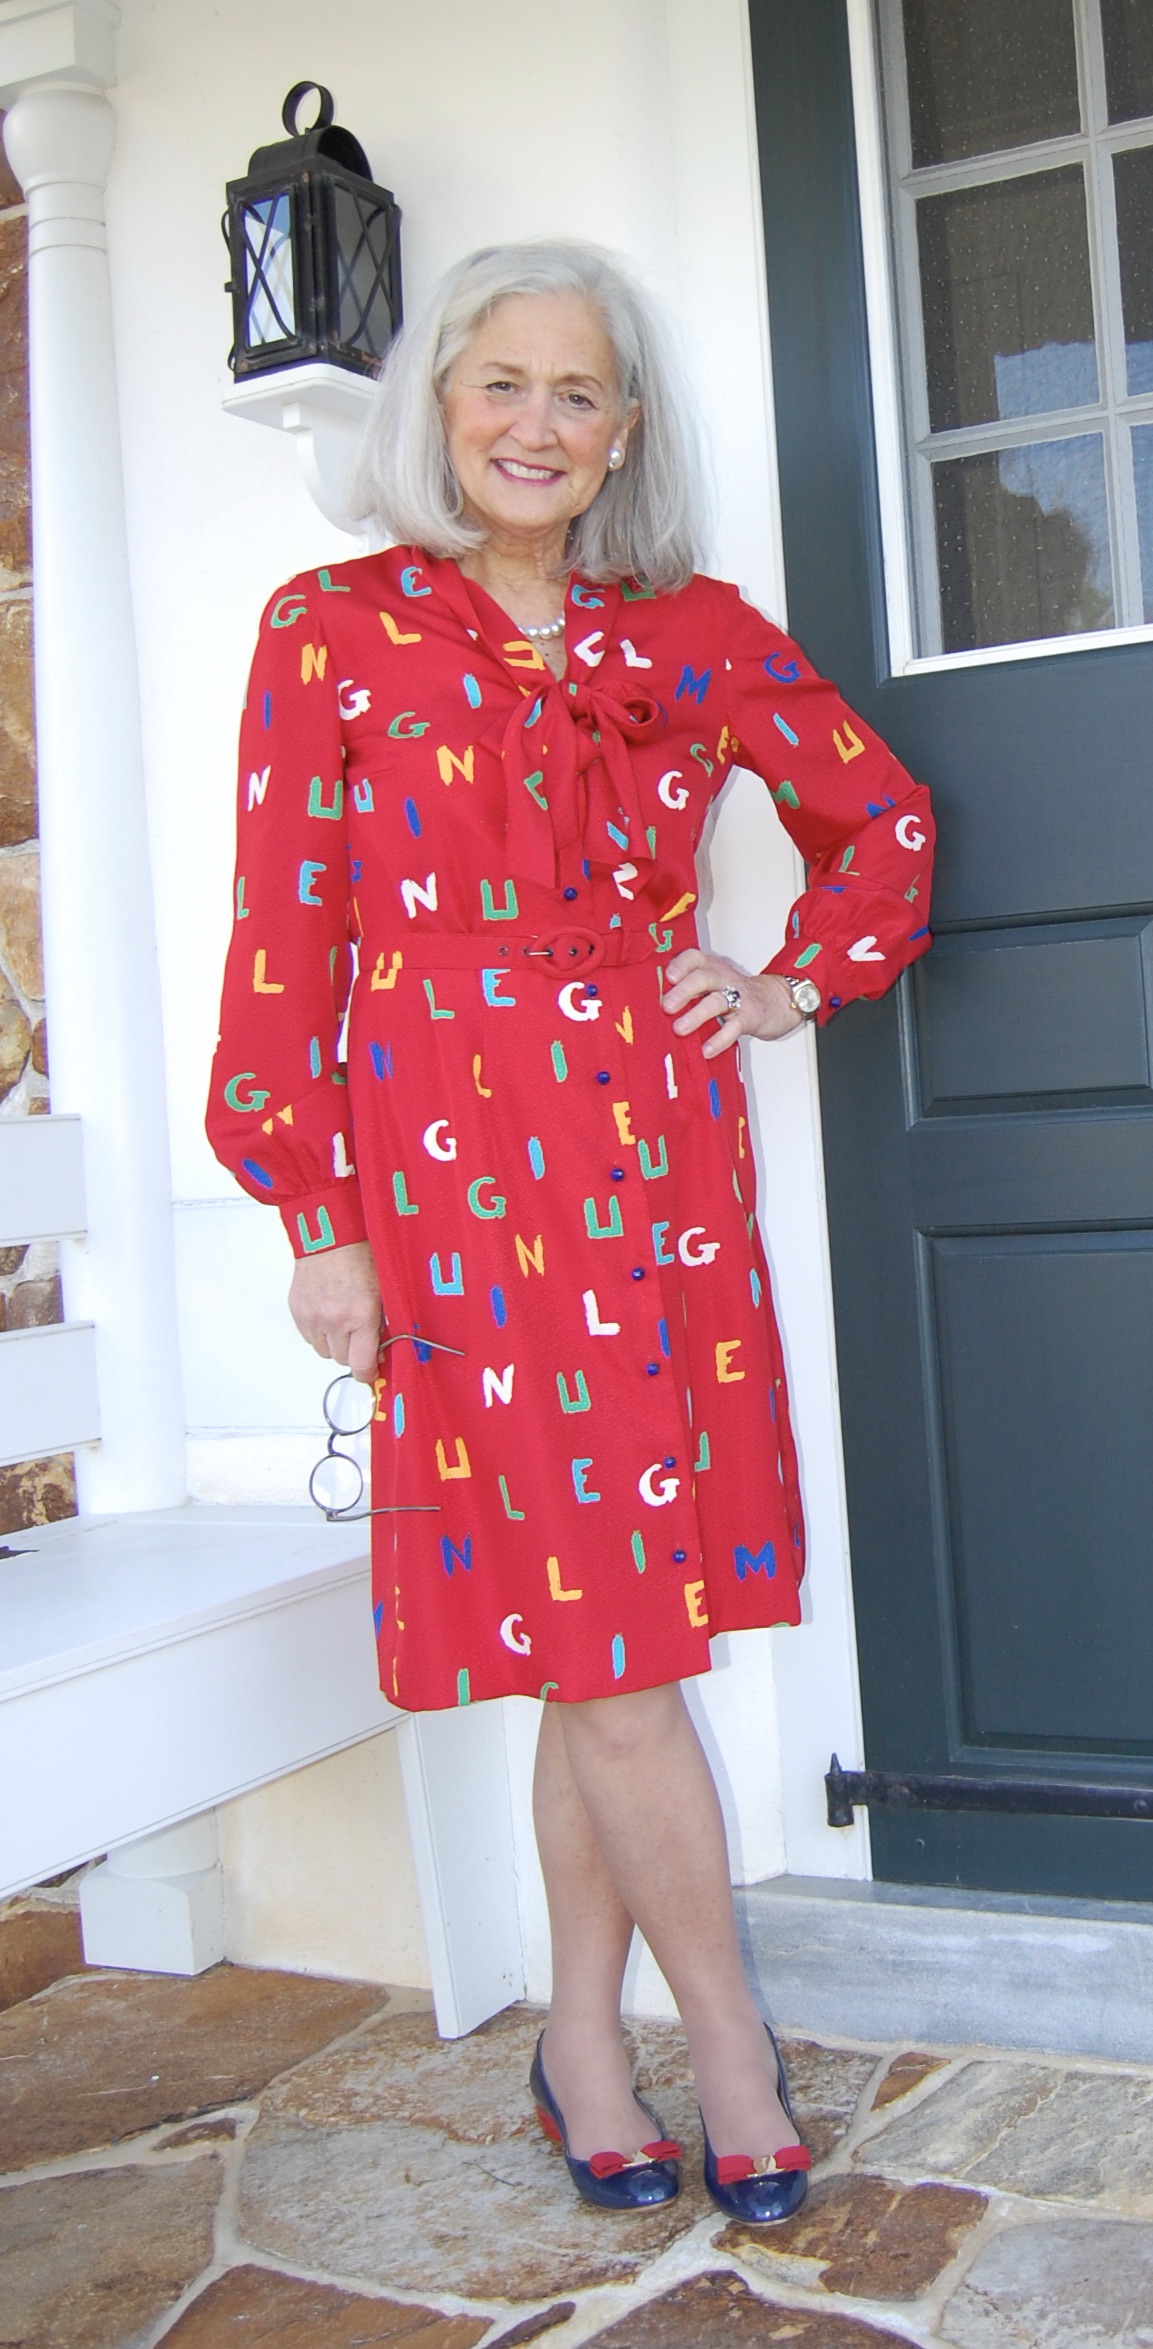
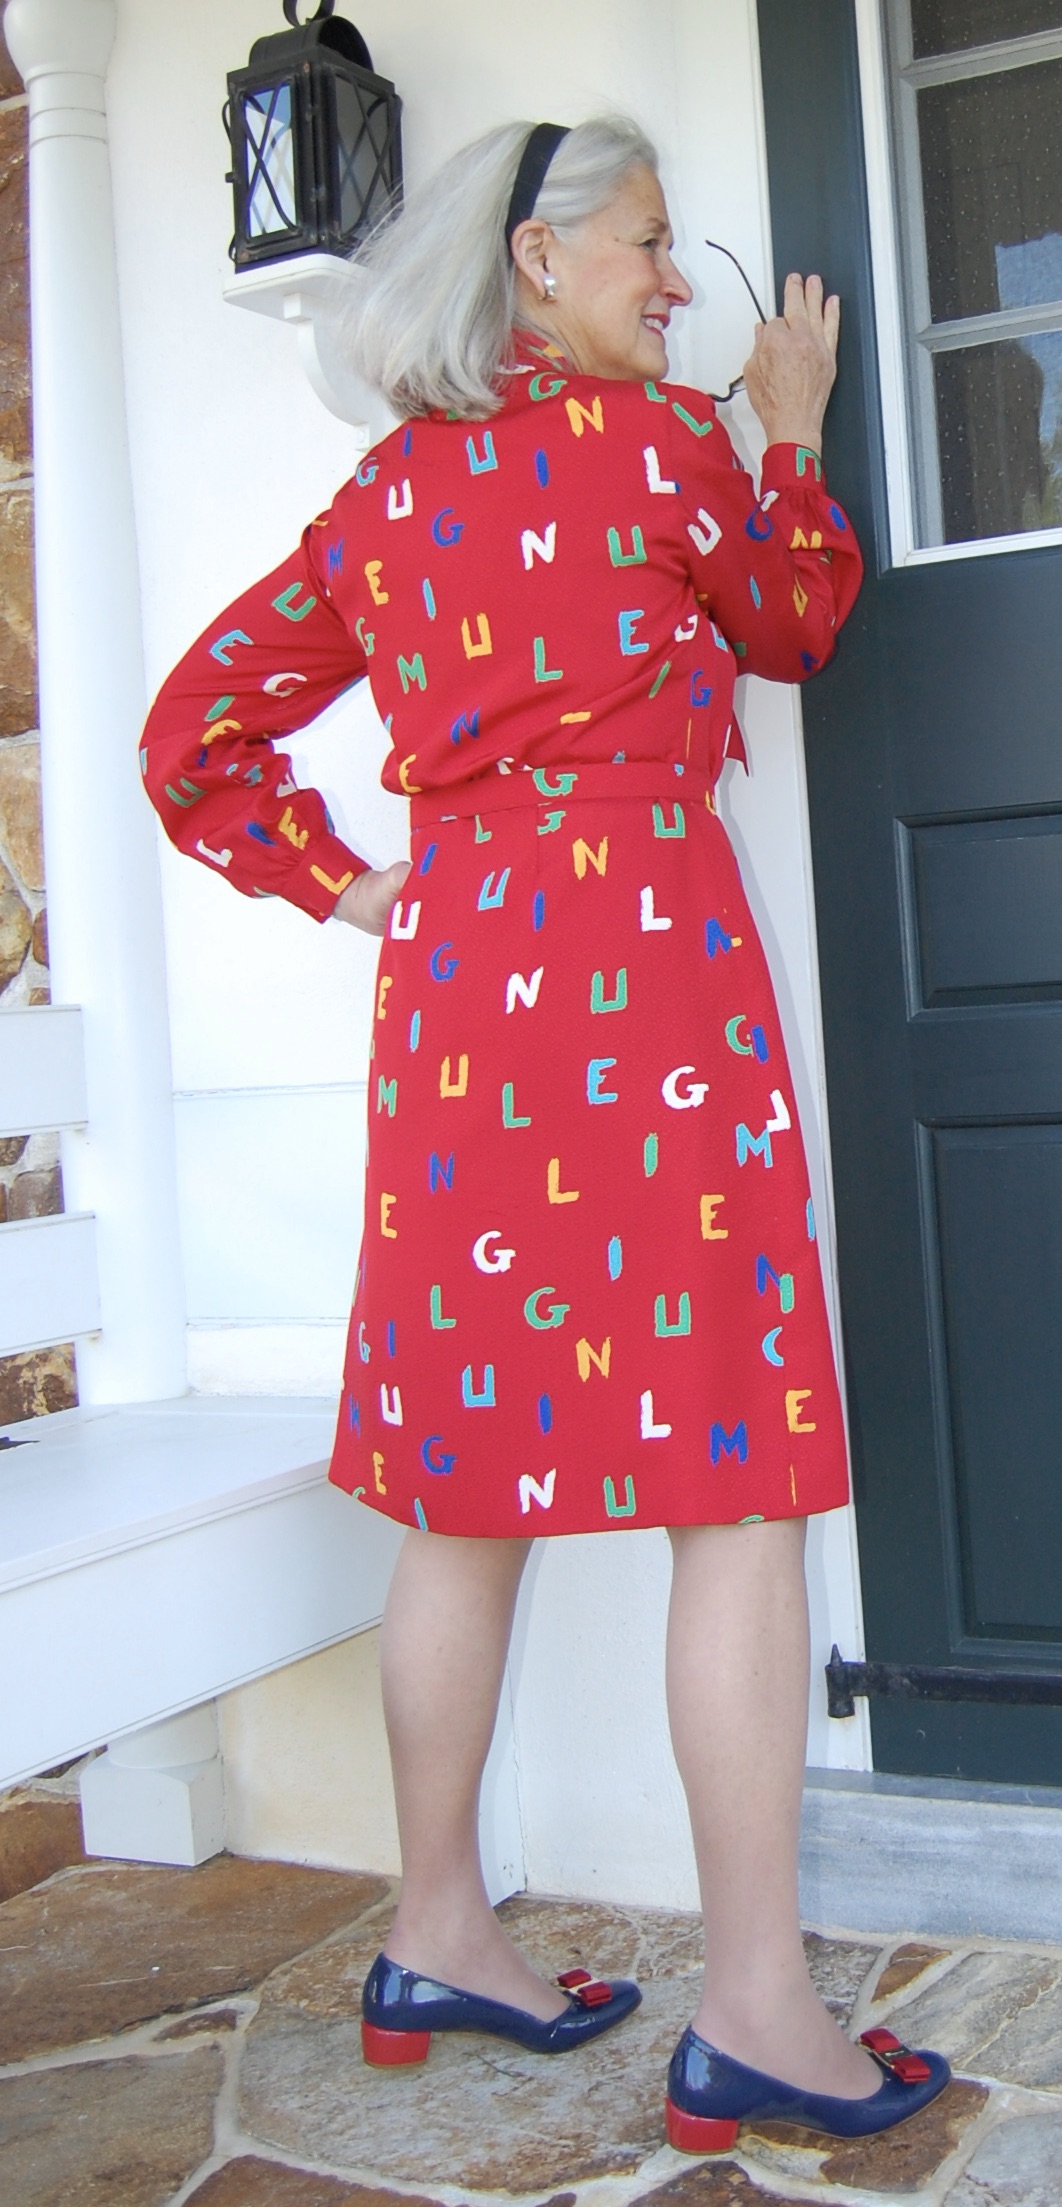
Any day I finish a lengthy project (successfully) is definitely a “red letter day.”  This dress just happens to be red, adorned with letters, and “back in the day,” as they say, it would have been considered a “day-dress,” although the apt description above is actually from a current website. (DavidJones.com)  

I found this silk at Britex Fabrics in San francisco.
I used this blouse pattern from 1957 as the basis for the dress, opting for long sleeves and the lower bow. I did not have enough buttons to make French cuffs, so I did plain cuffs.

I go into a little bit of how this dress evolved in my last post.  But of course there were many more decisions to be made along the way.  I had to decide: 

  • Do I underline this crepe de chine? 
  • If I underline it, what do I use for my underlining fabric?
  • Do I also line this dress?
  • If I line it, do I also line the sleeves?
  • The blouse pattern has floating, released darts at the waist.  Do I use that technique for this pattern transformed into a dress?
  • What color and type of buttons will most enhance the fabric?
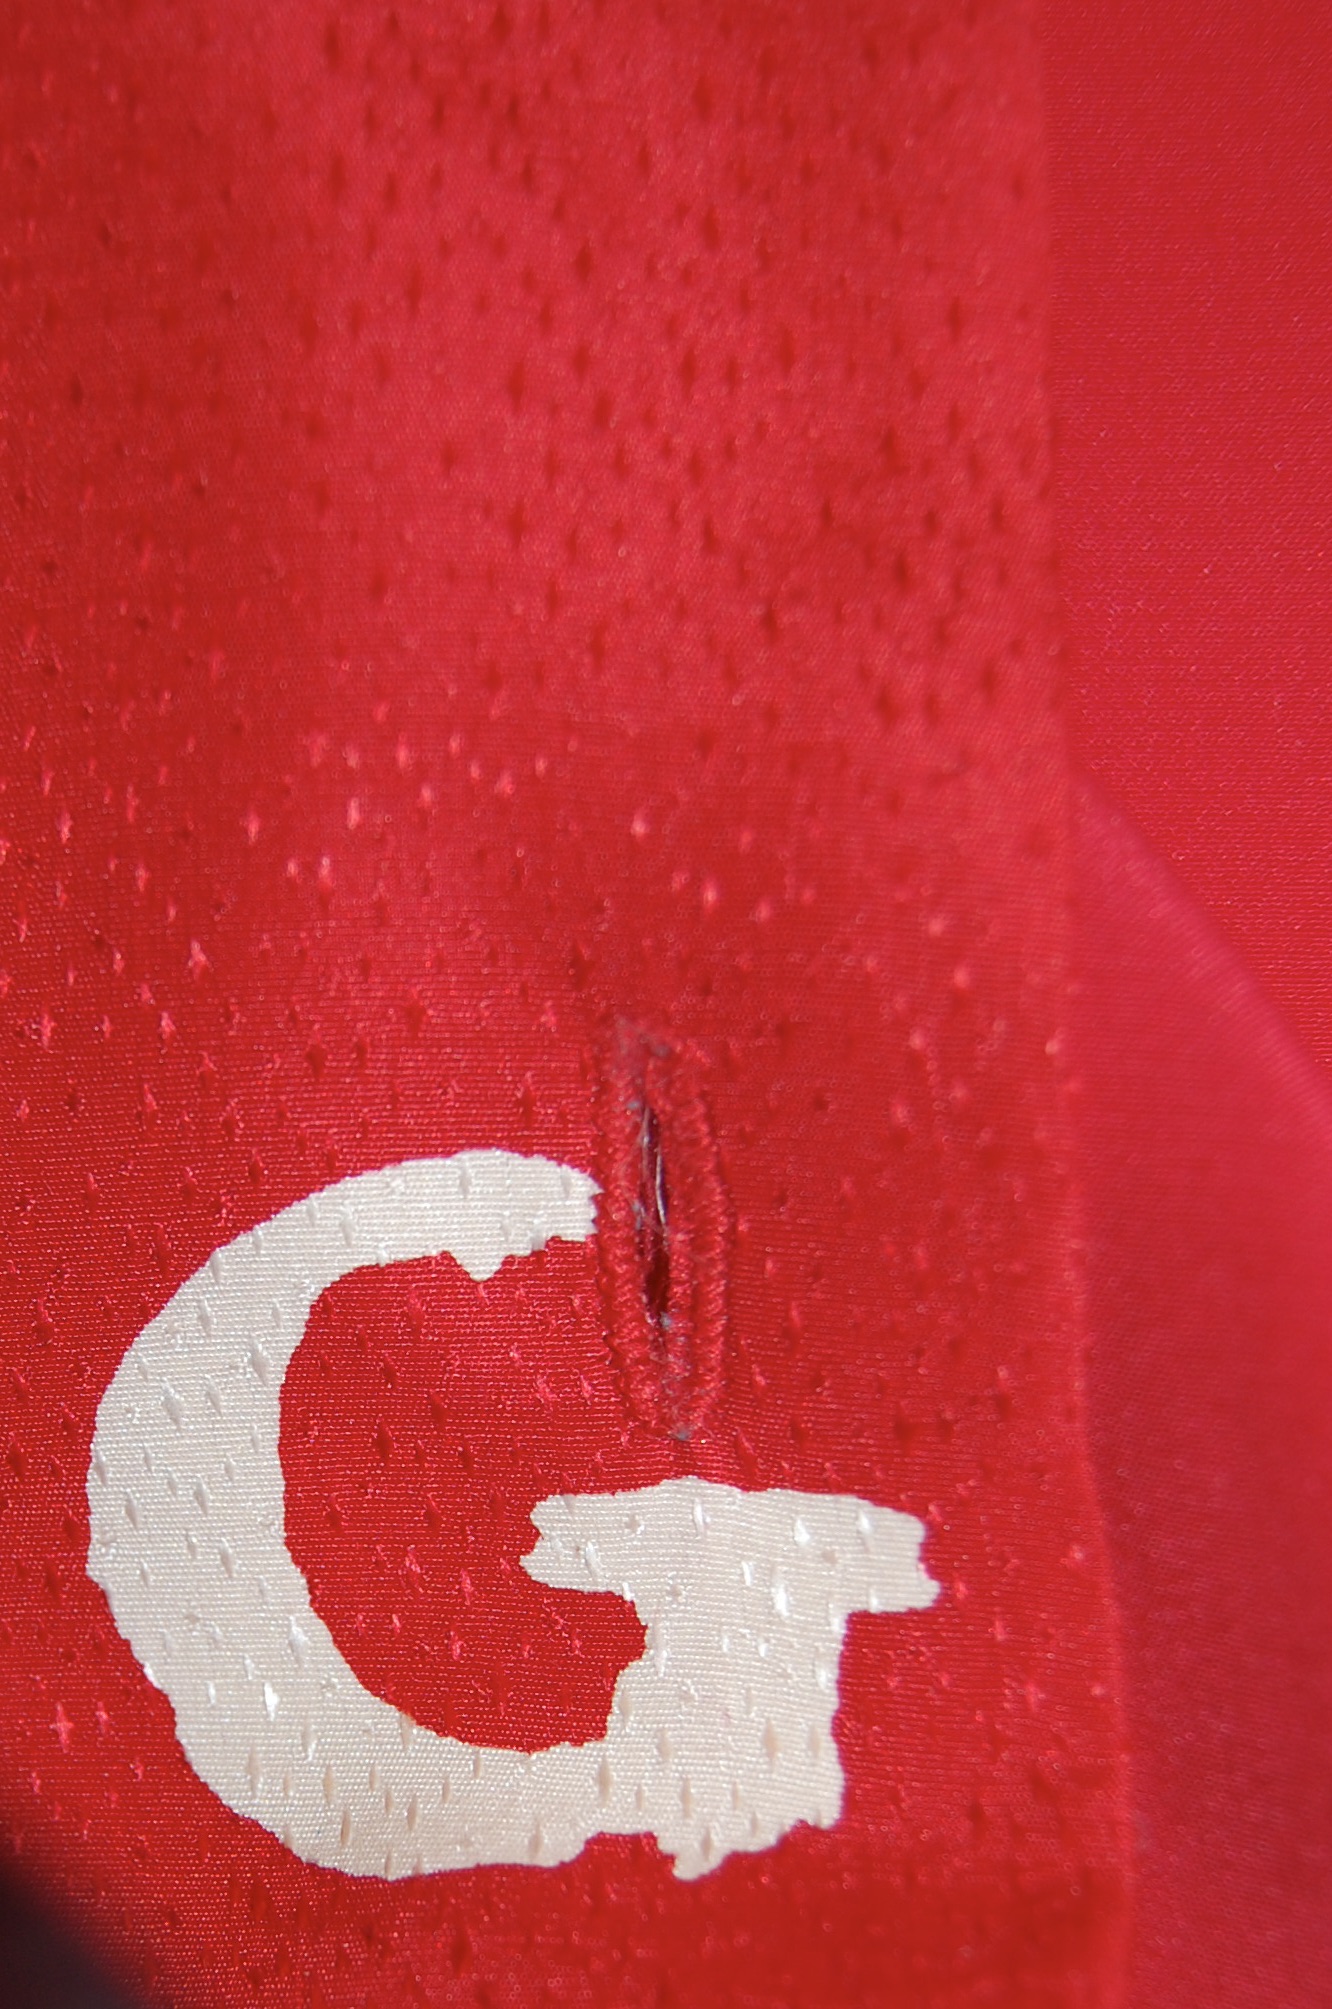
  • Do I make bound buttonholes or machine-stitched ones?

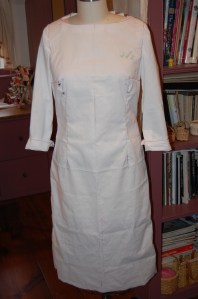
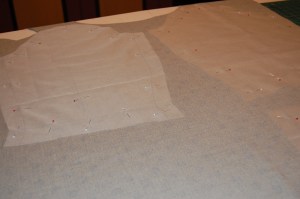
So, let’s start at the beginning.  Because this was a very soft, fluid, lightweight crepe de chine, I thought it best to underline it.  My normal go-to for underlining – silk organza – would have reduced the fluidity of the silk, so I ruled that out.  Cotton batiste just did not seem the way to go.  When I found a silk batiste on the website for Farmhouse Fabrics, I knew I had my solution.

I believe you can, in this photo, see how lightweight and lovely this silk batiste is.

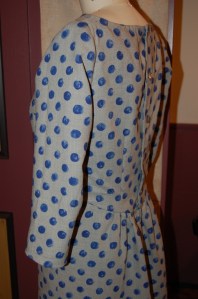
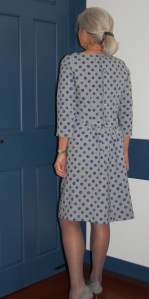
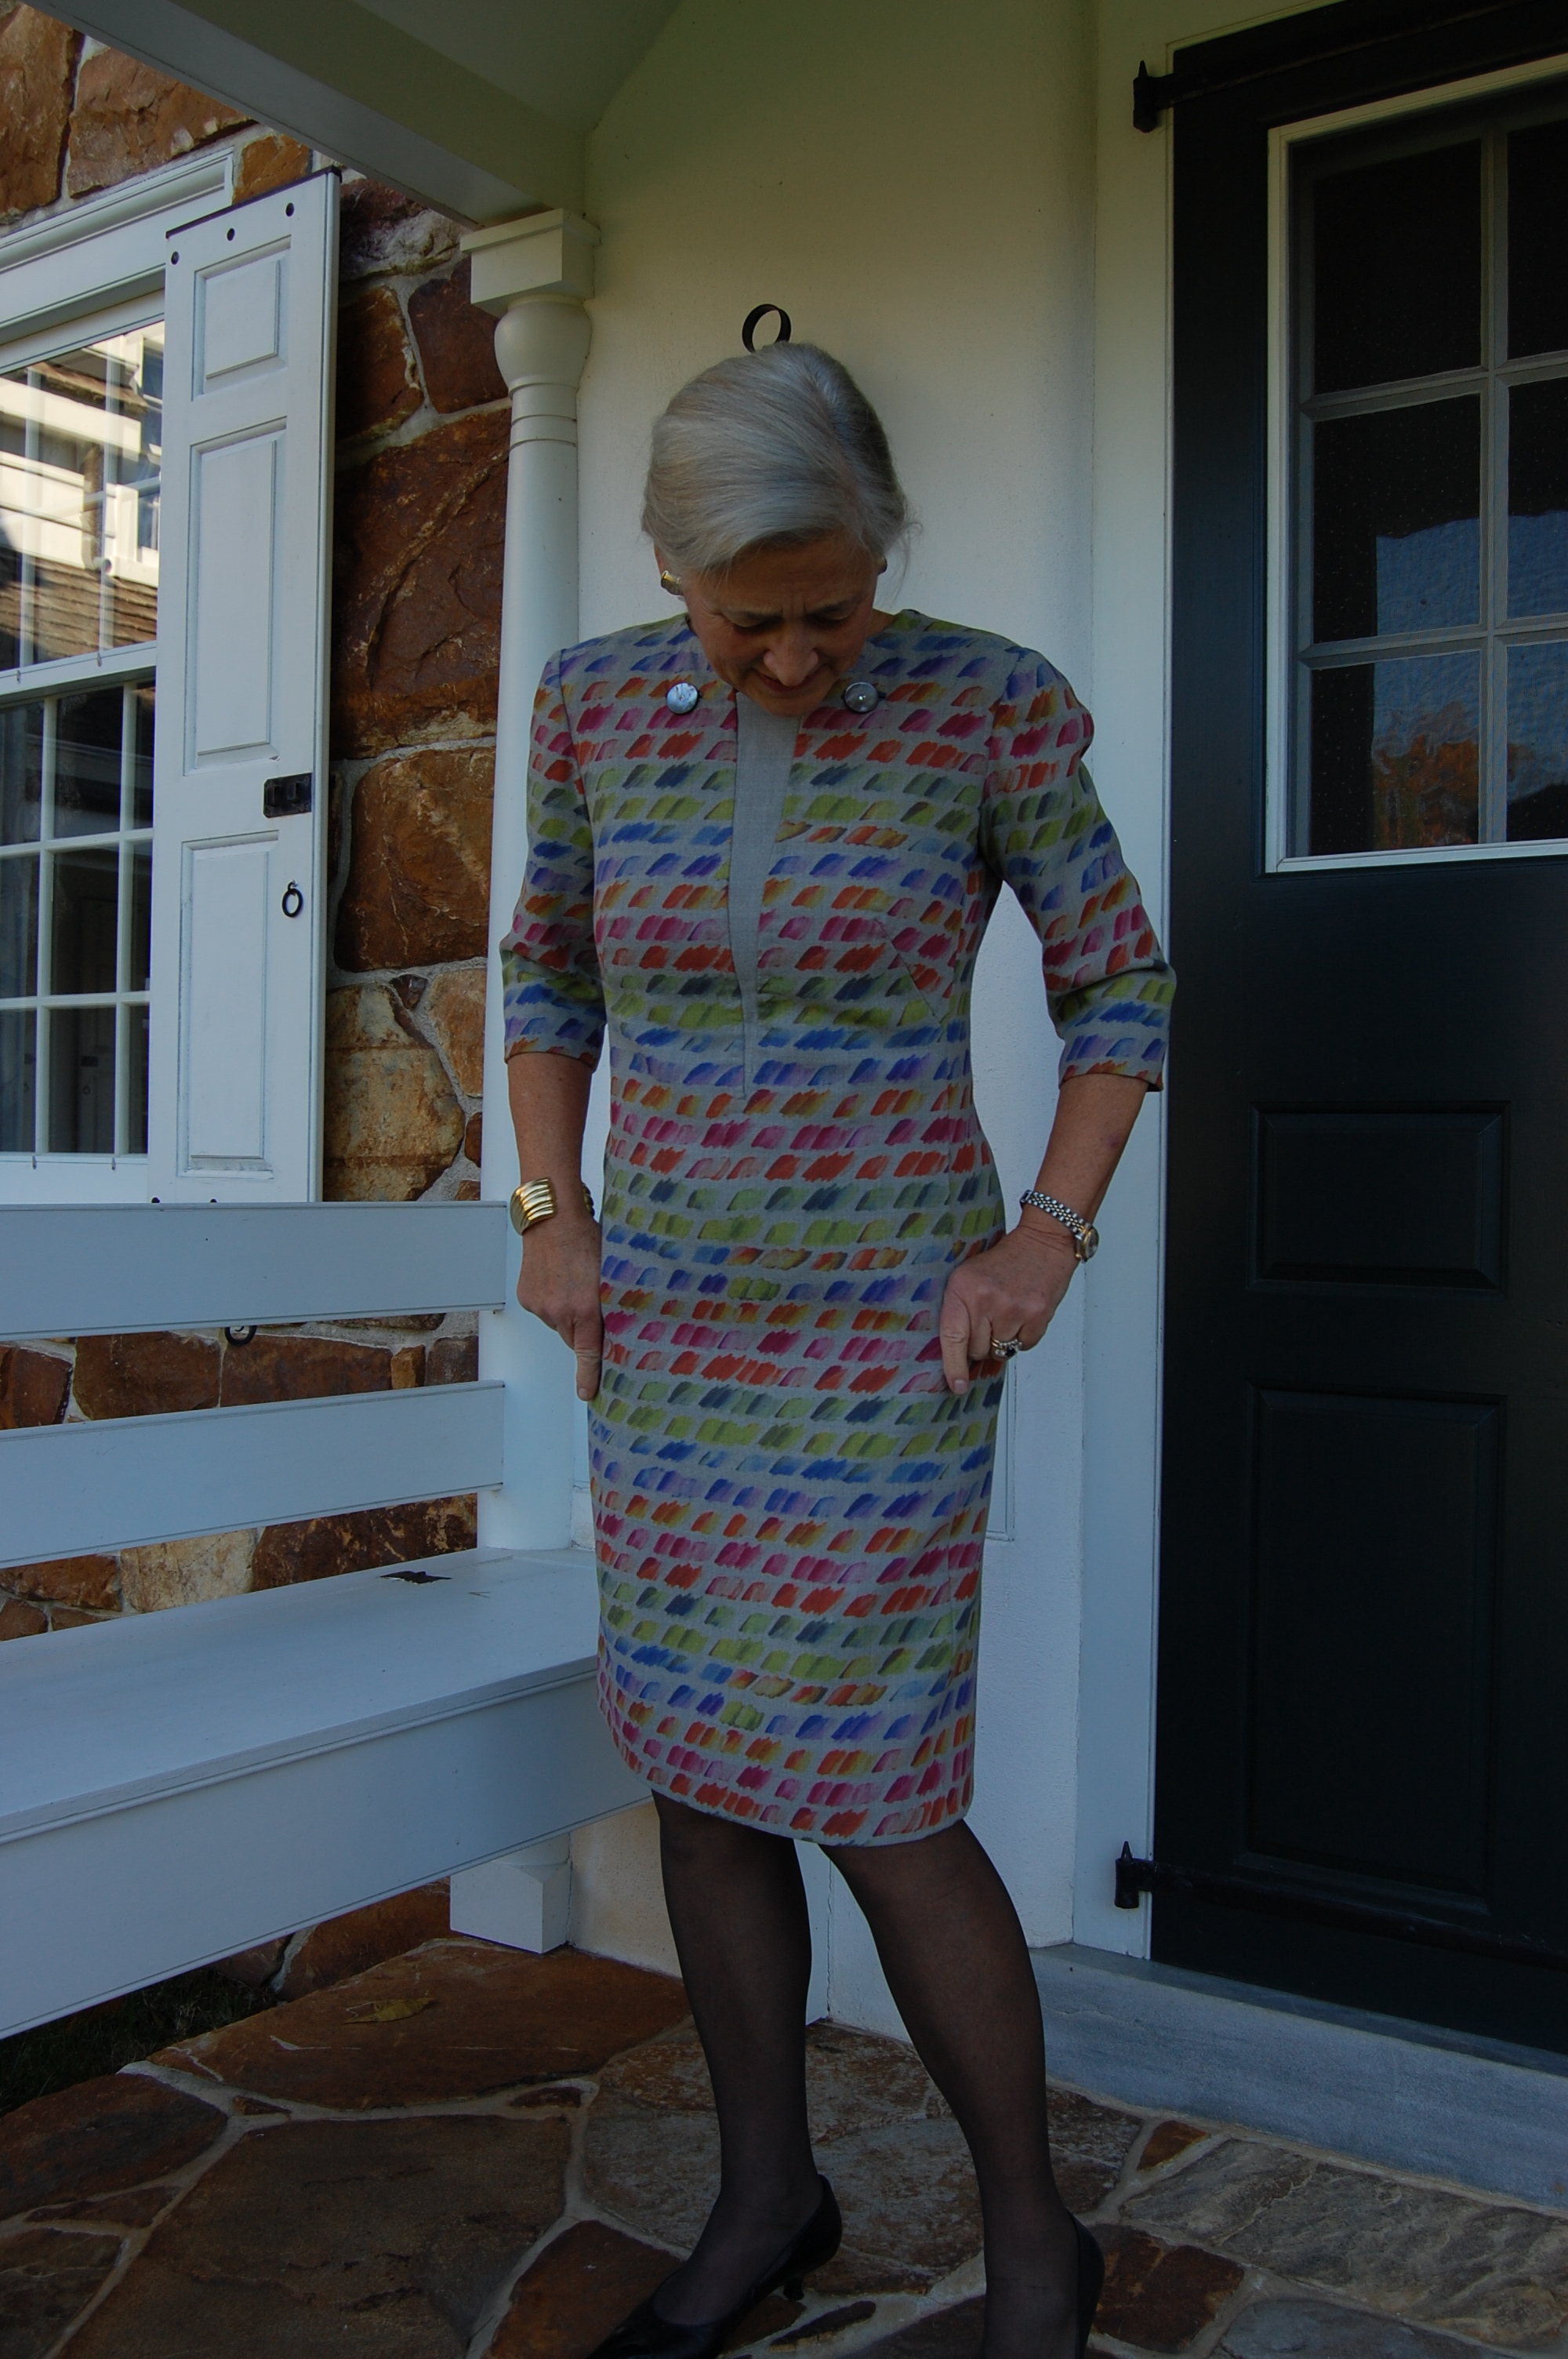
However, even with the ethereal nature of the silk batiste, I decided not to underline (or line) the sleeves.  I wanted them to retain their uninhibited flow.

I clipped the armscye seam carefully and pressed it to the interior of the dress. Then I fell-stitched the lining to the interior edge.

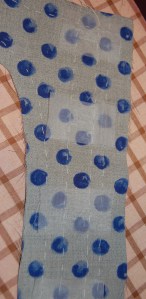
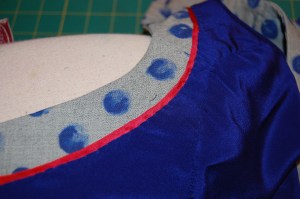
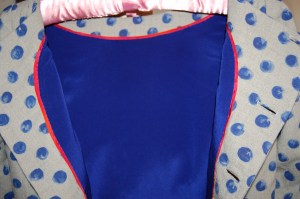
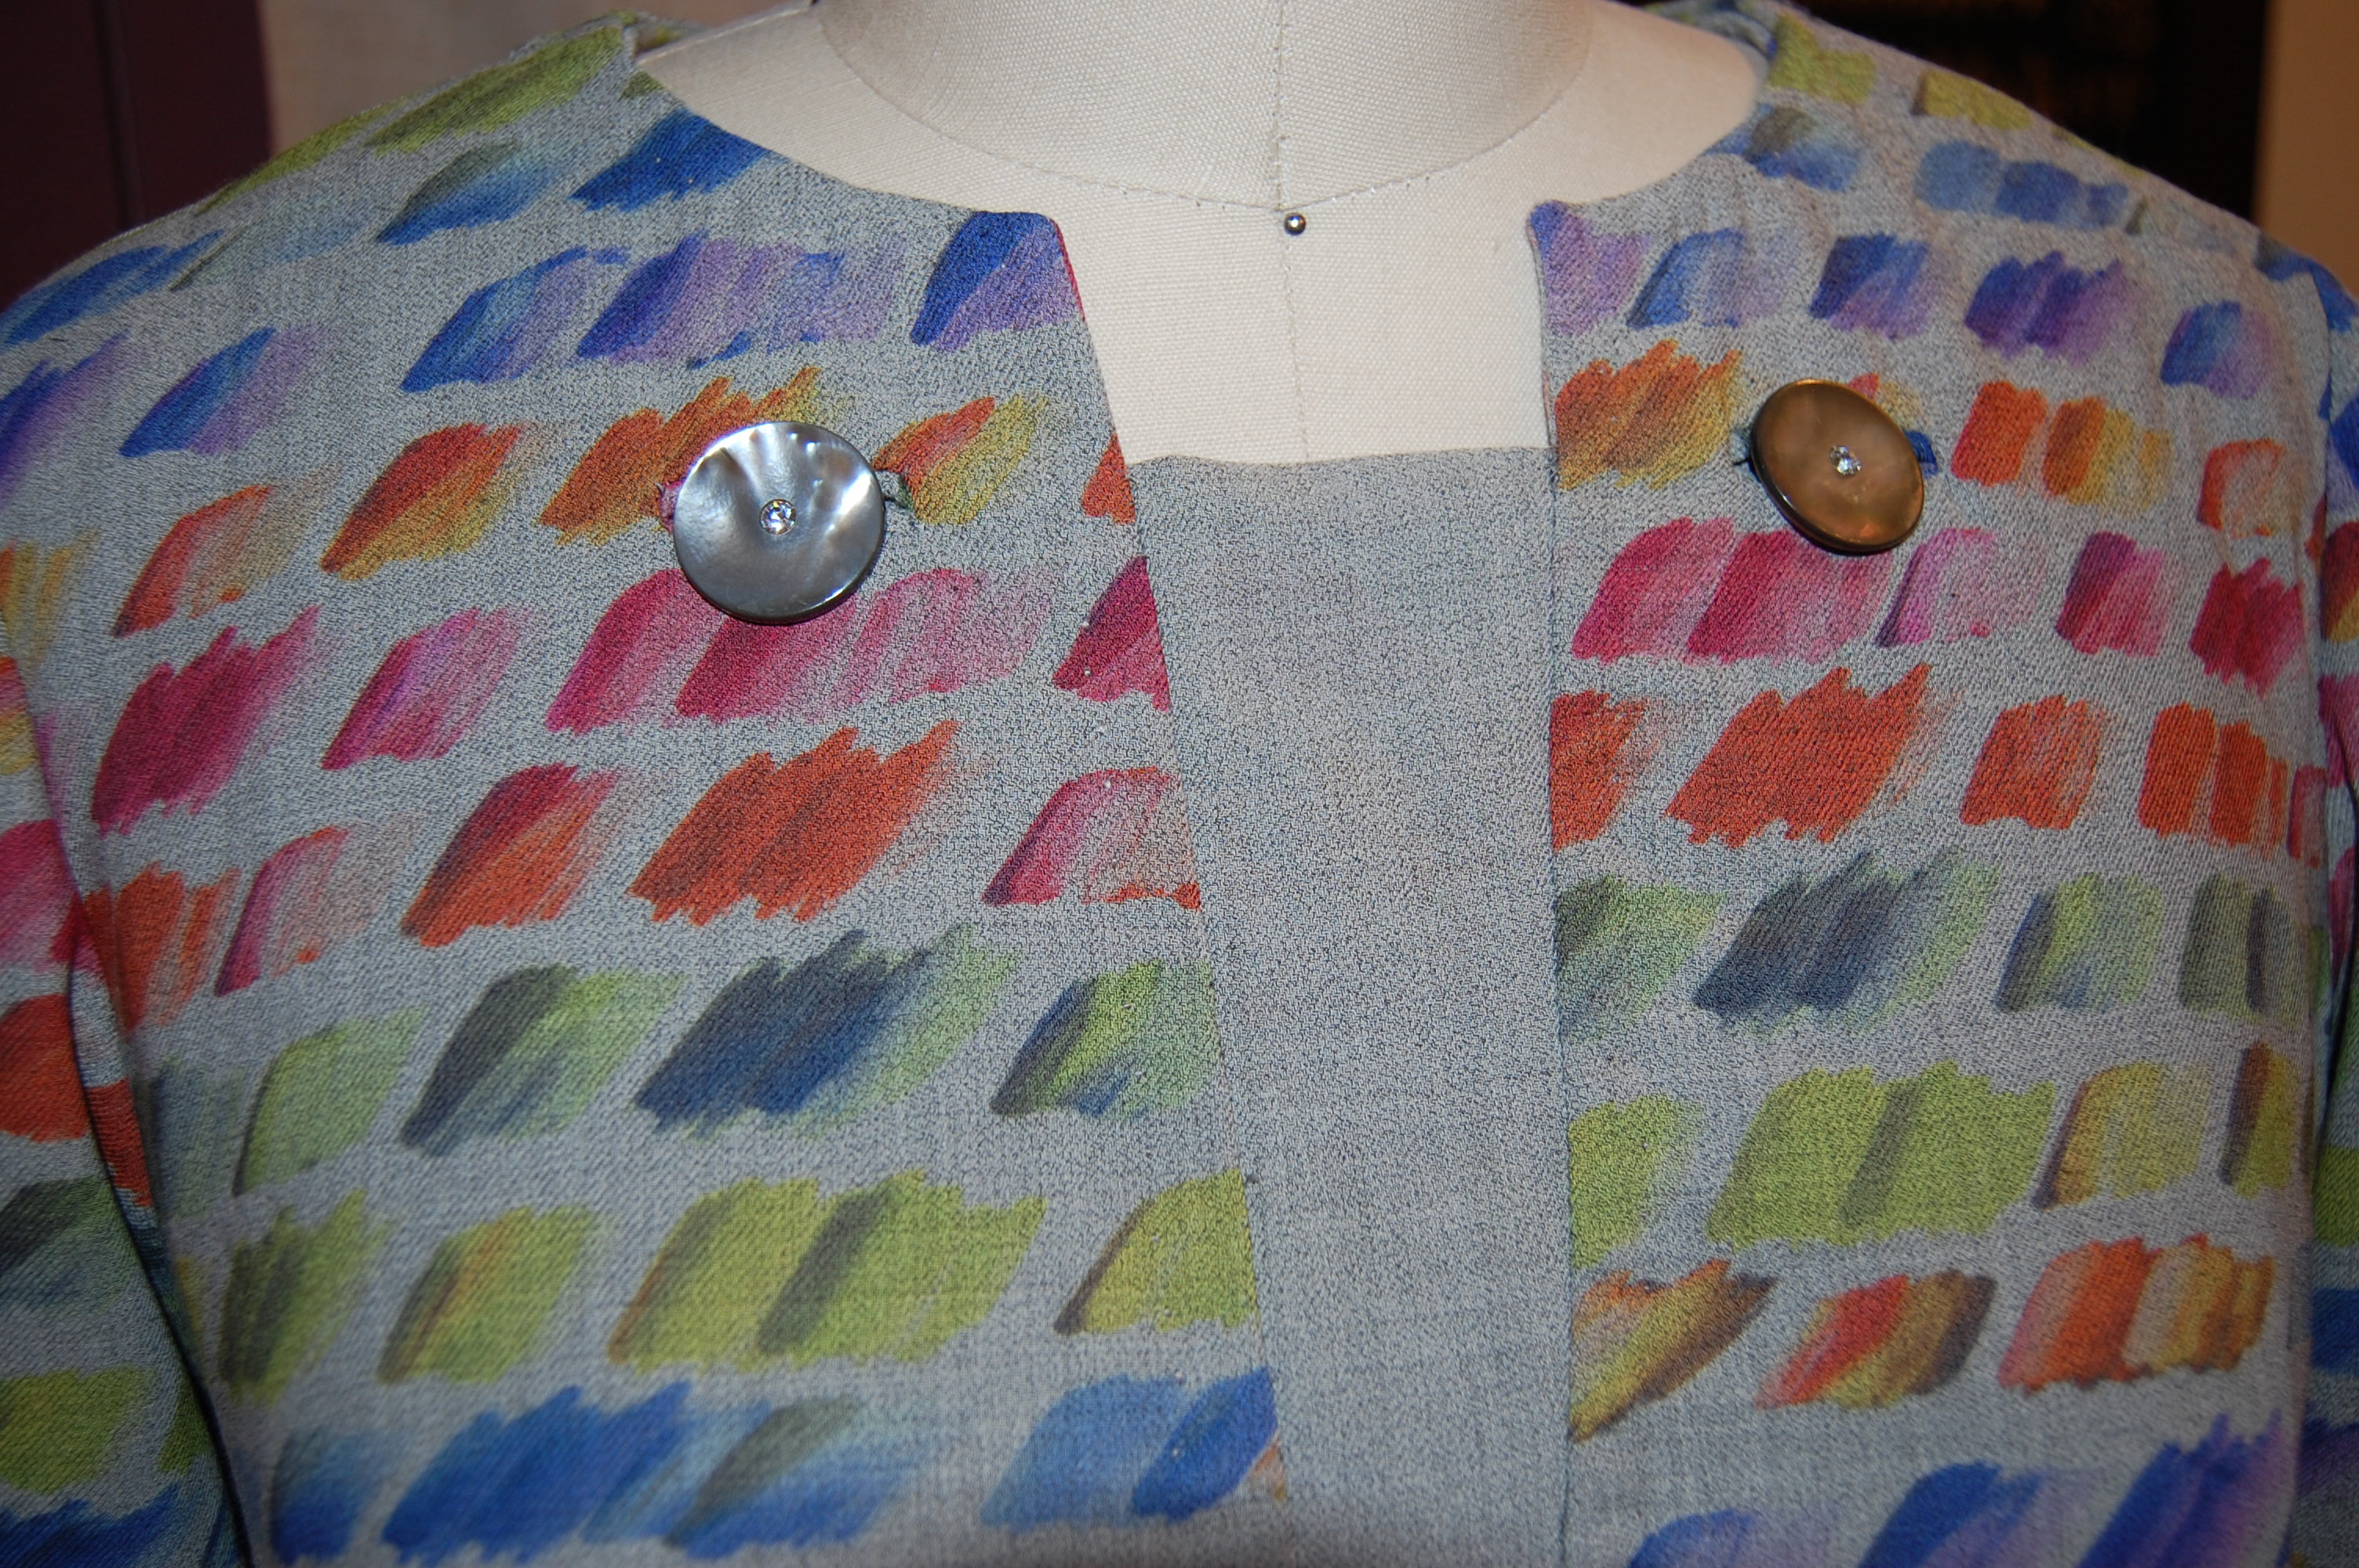
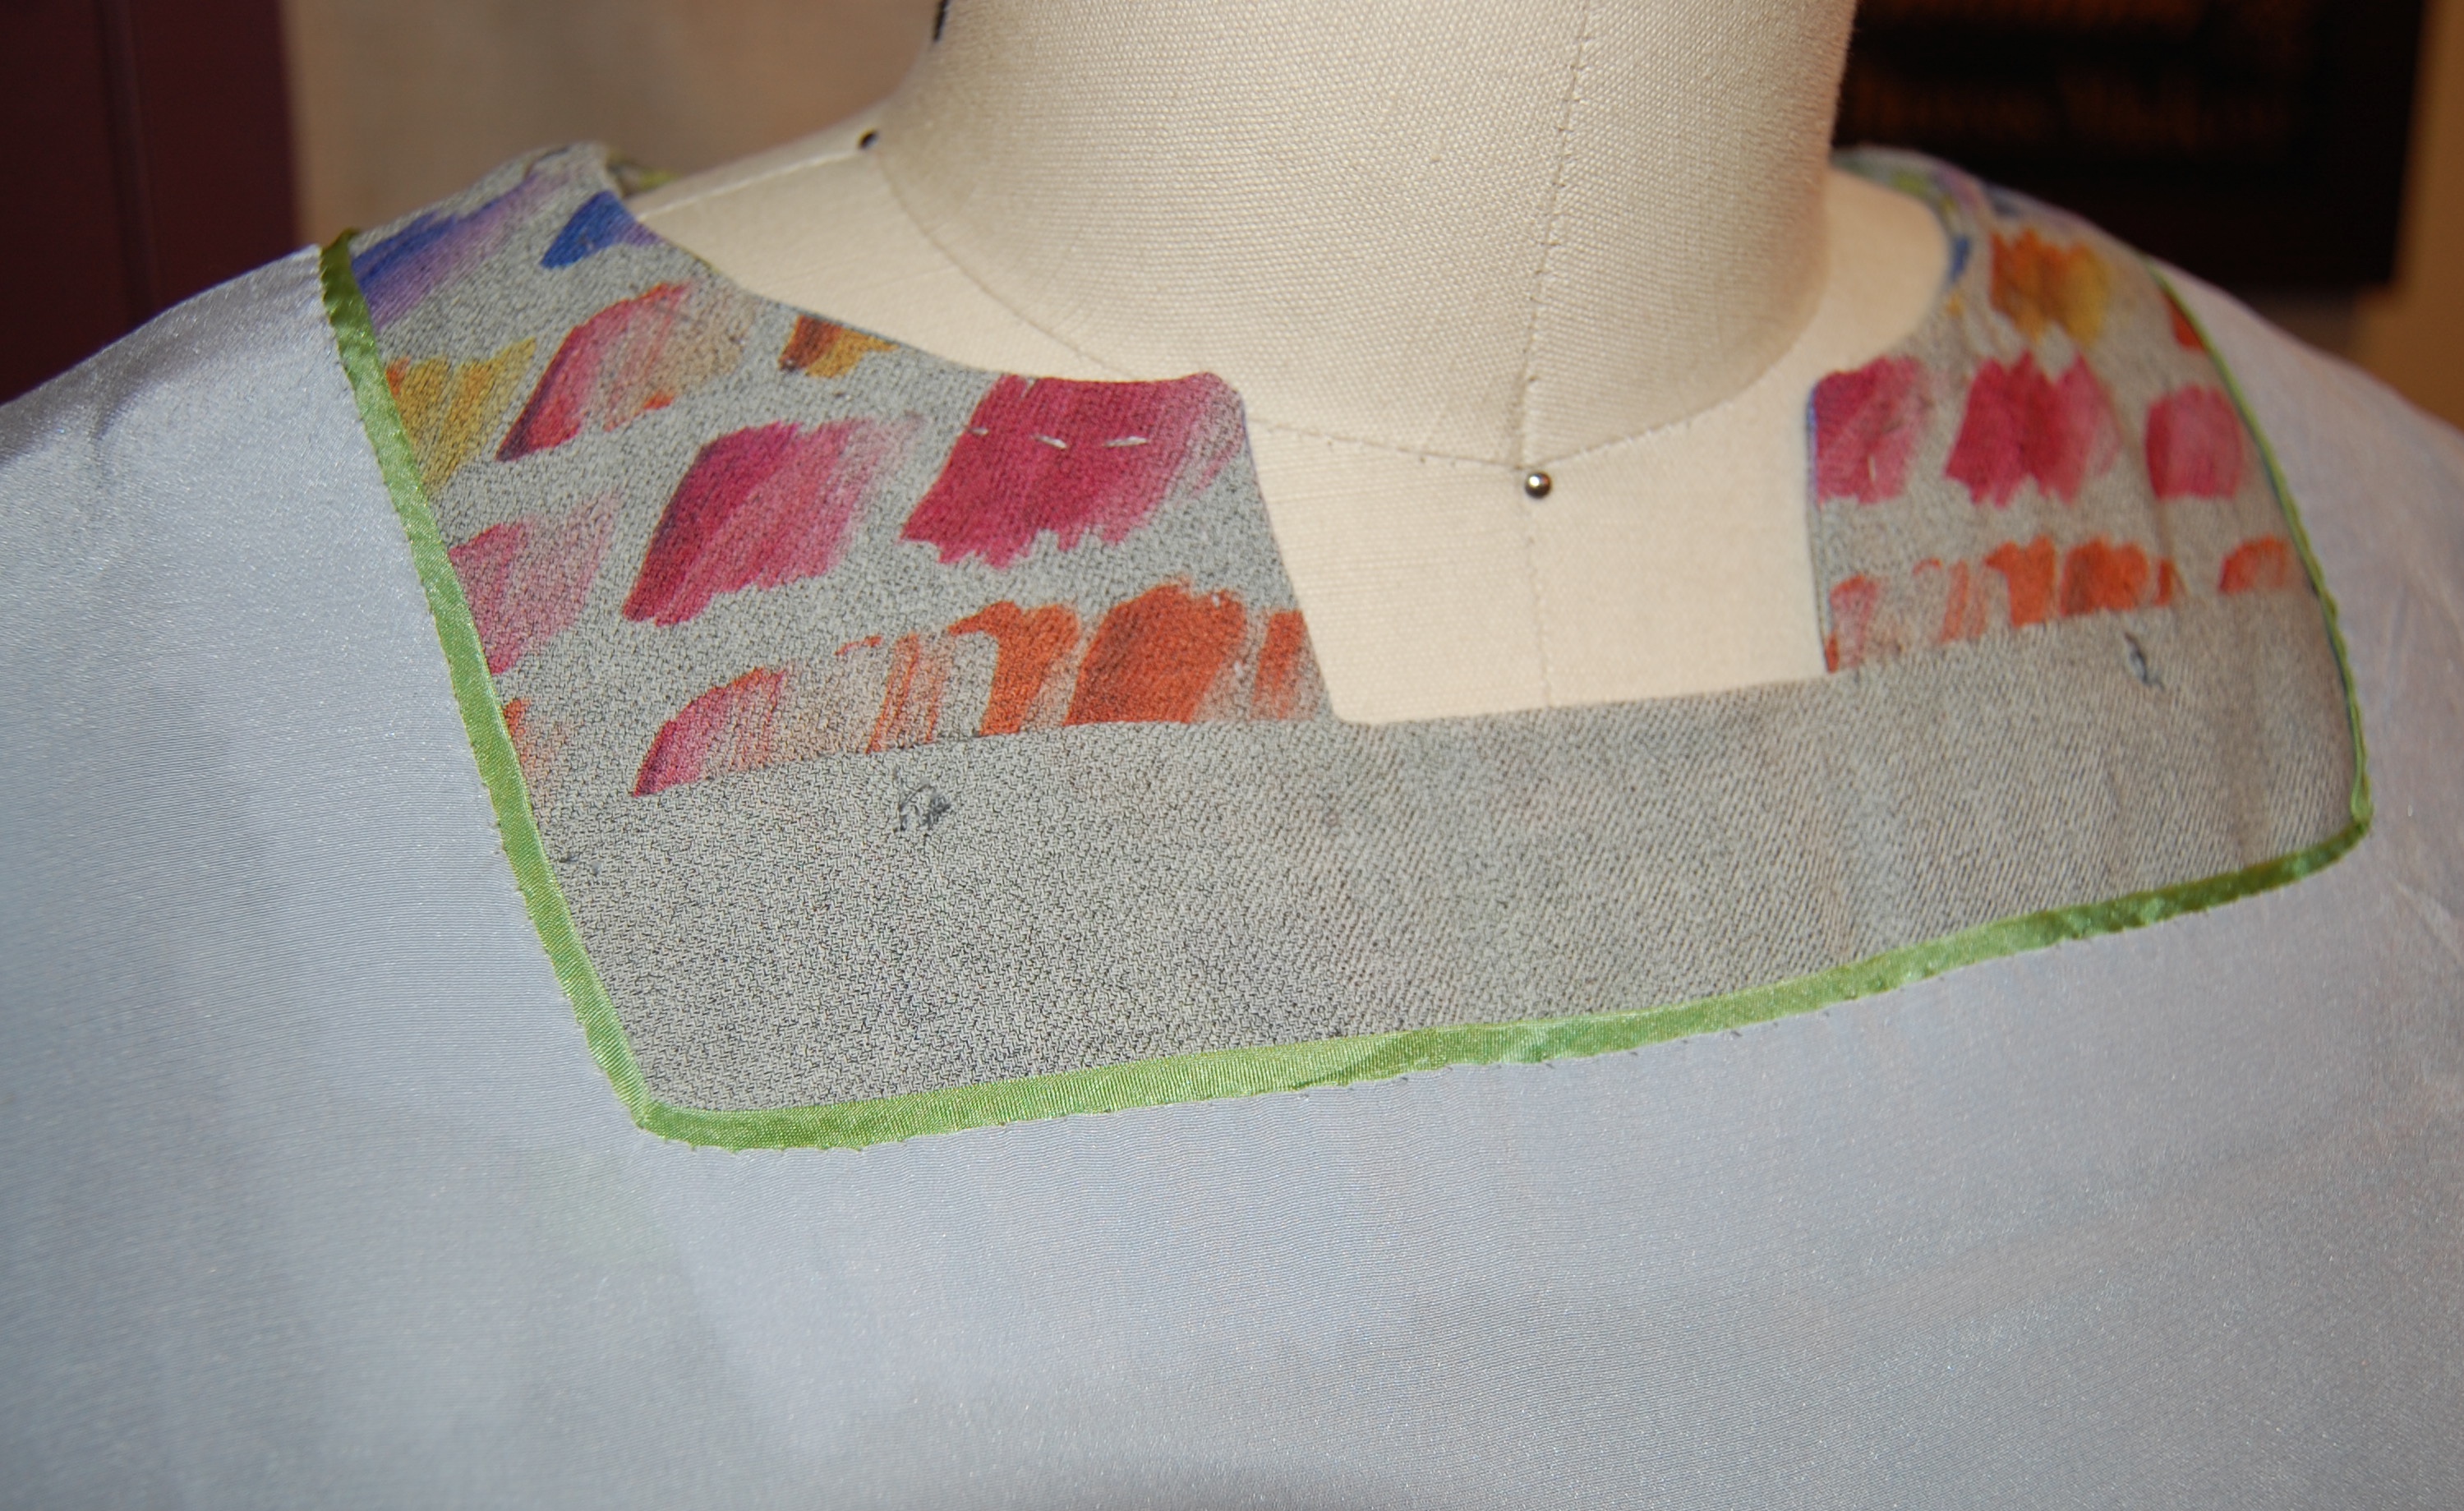
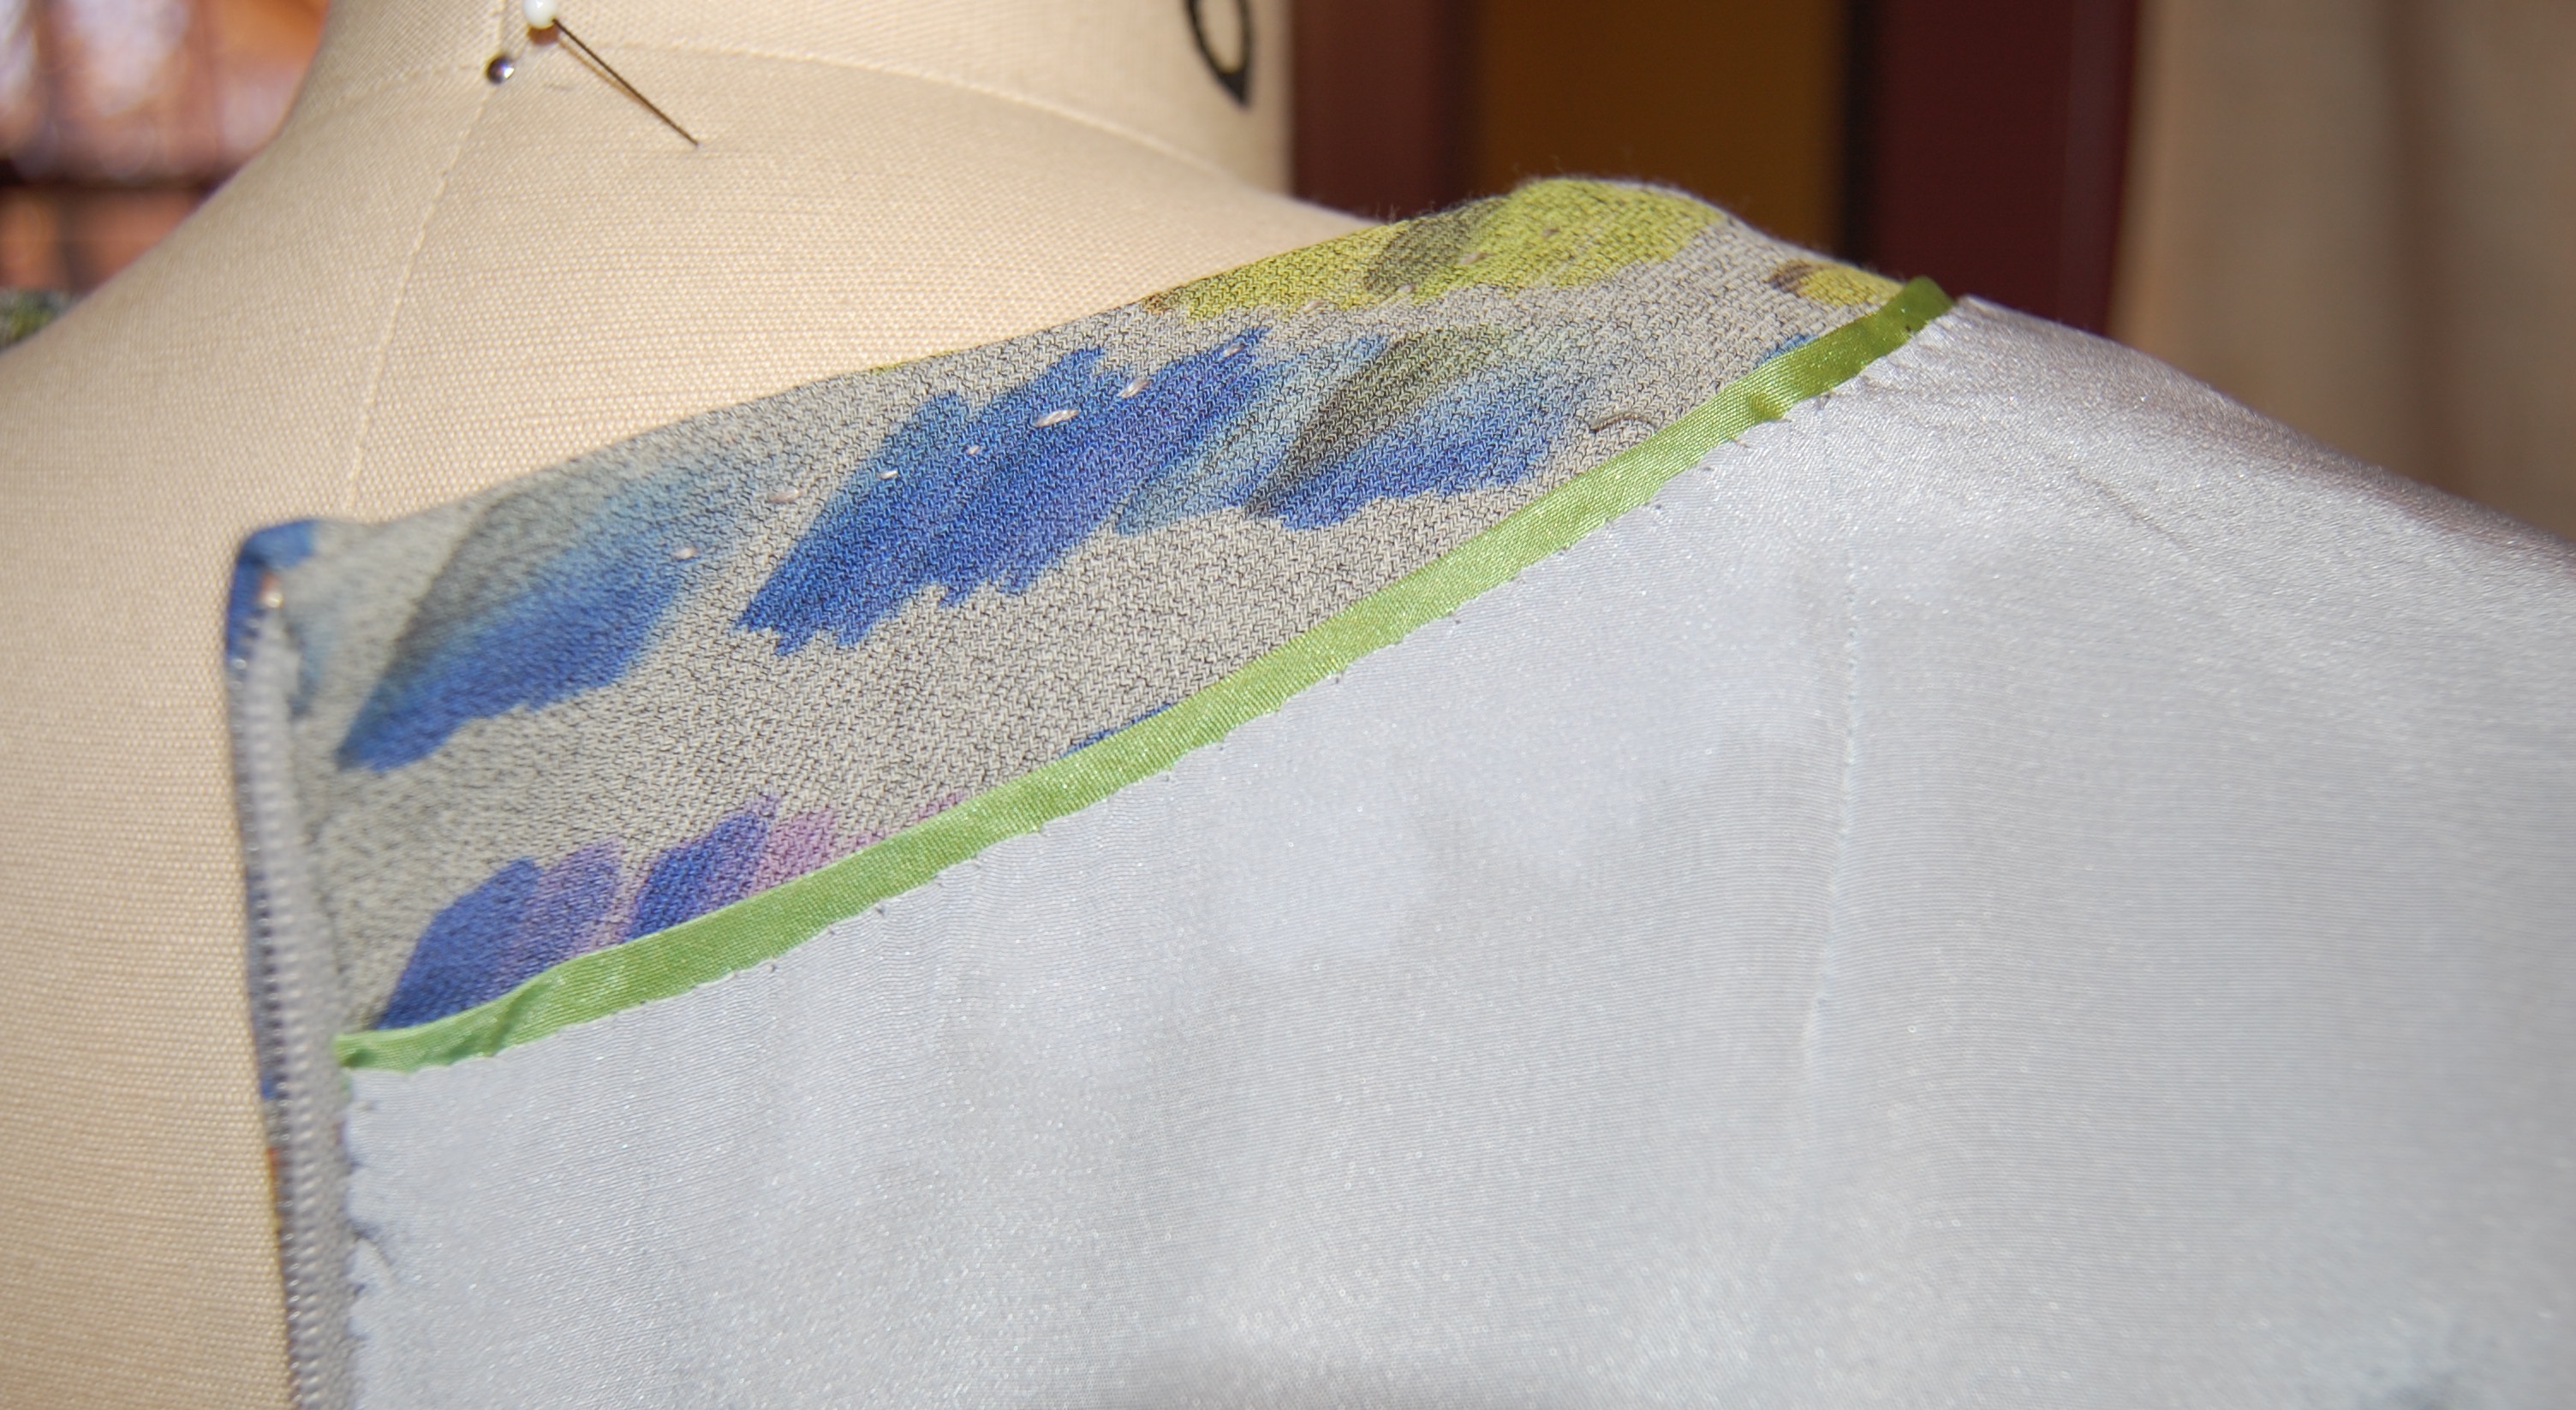
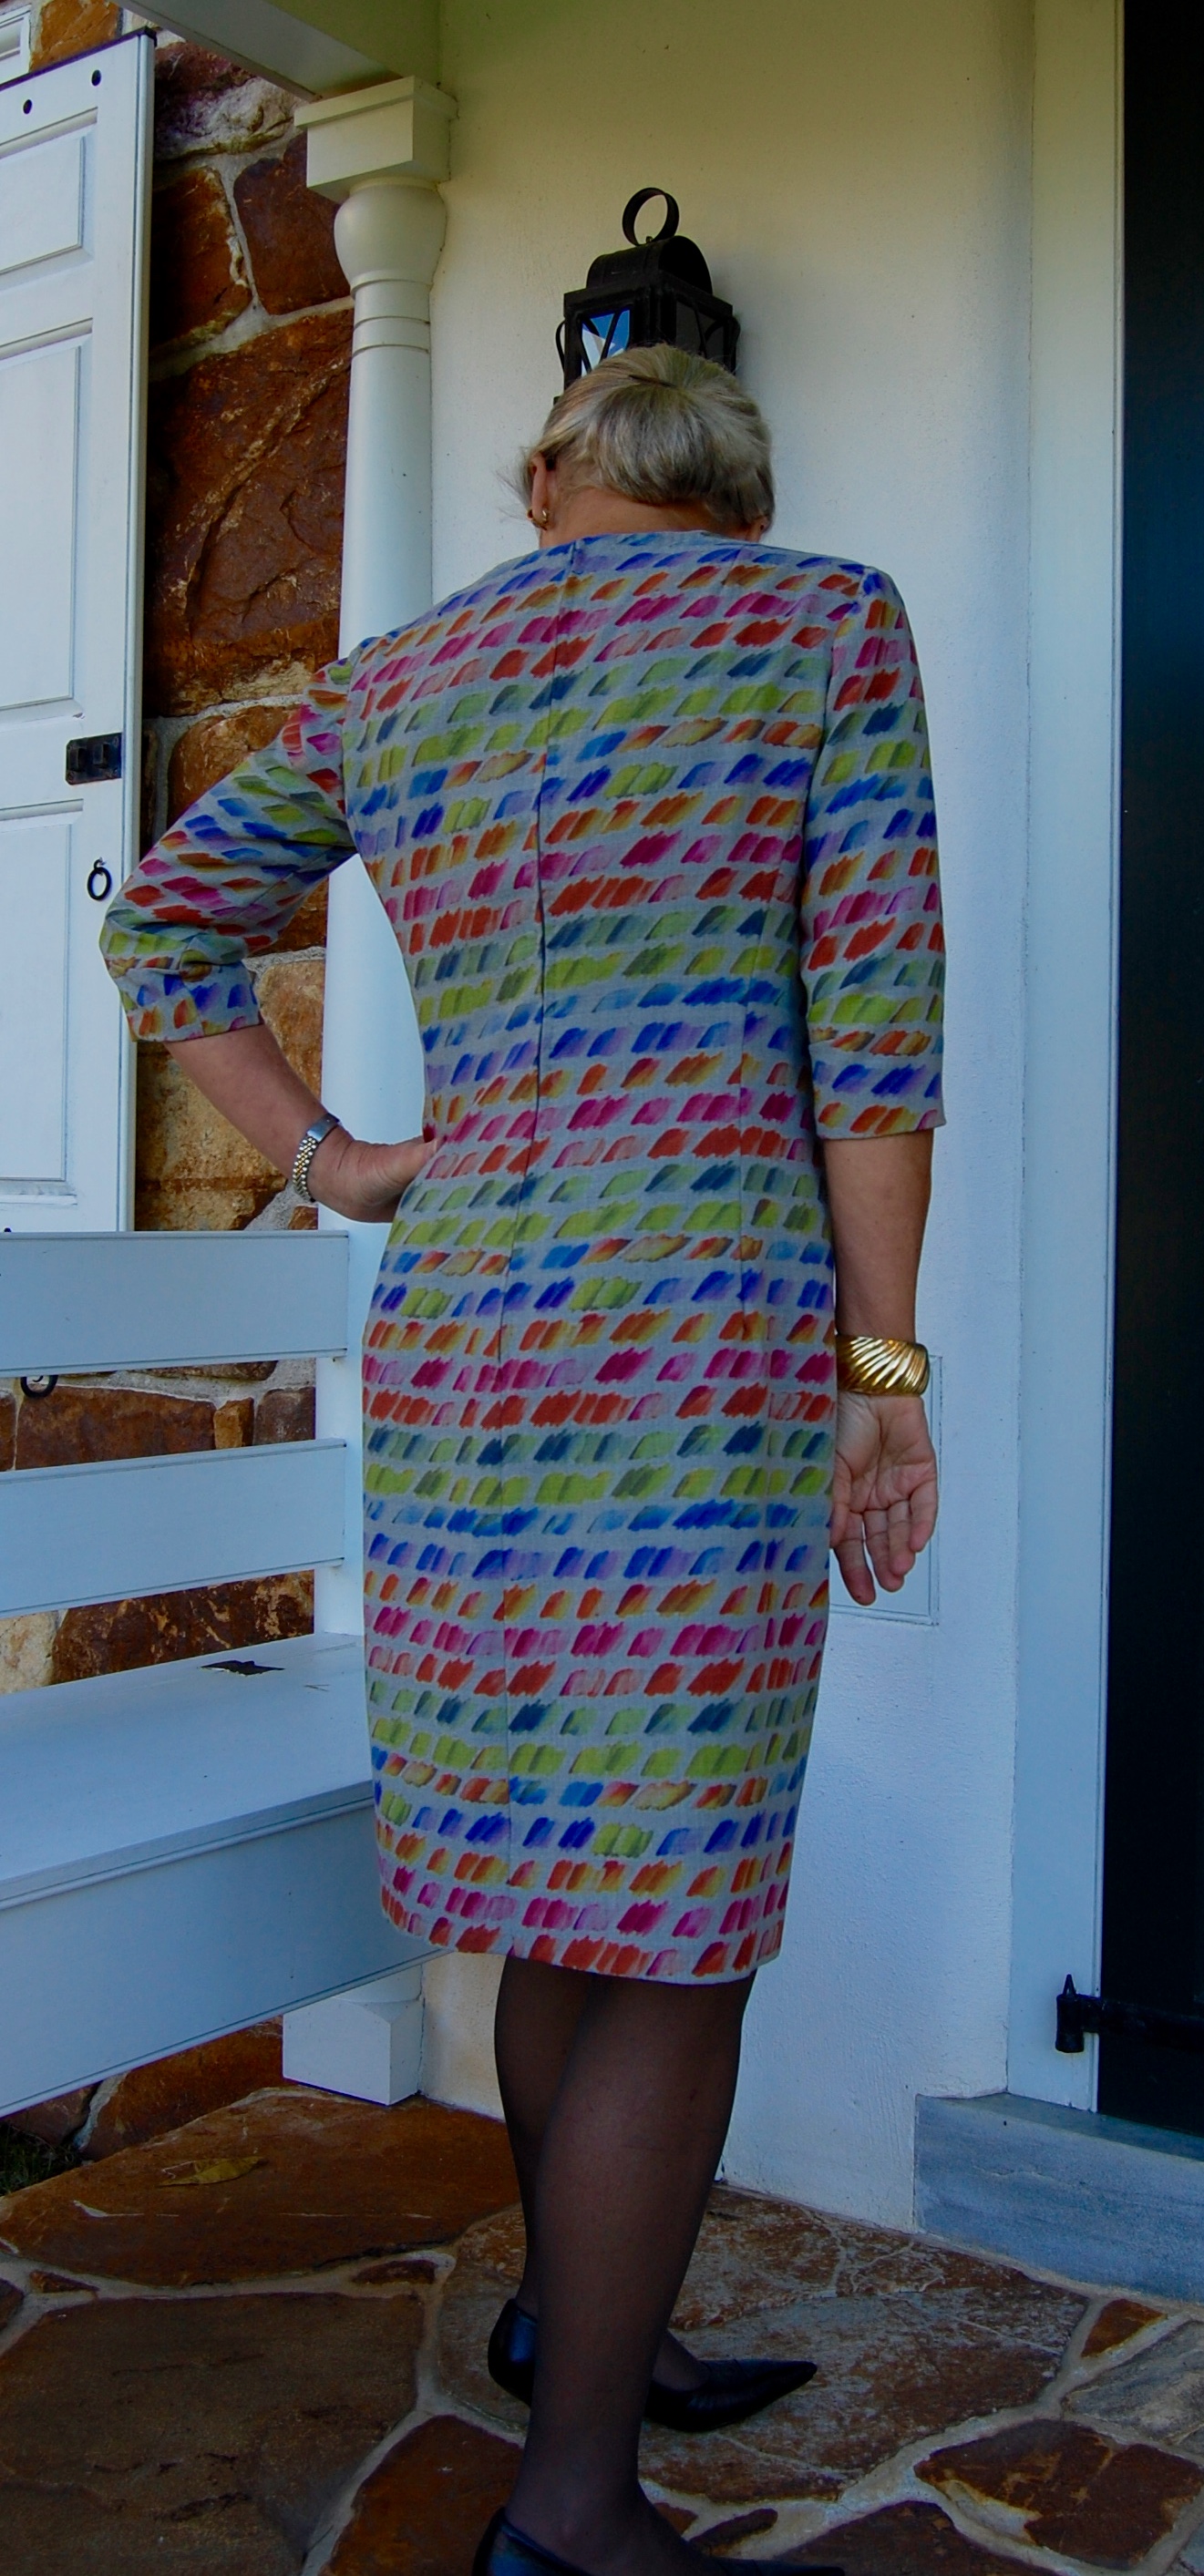
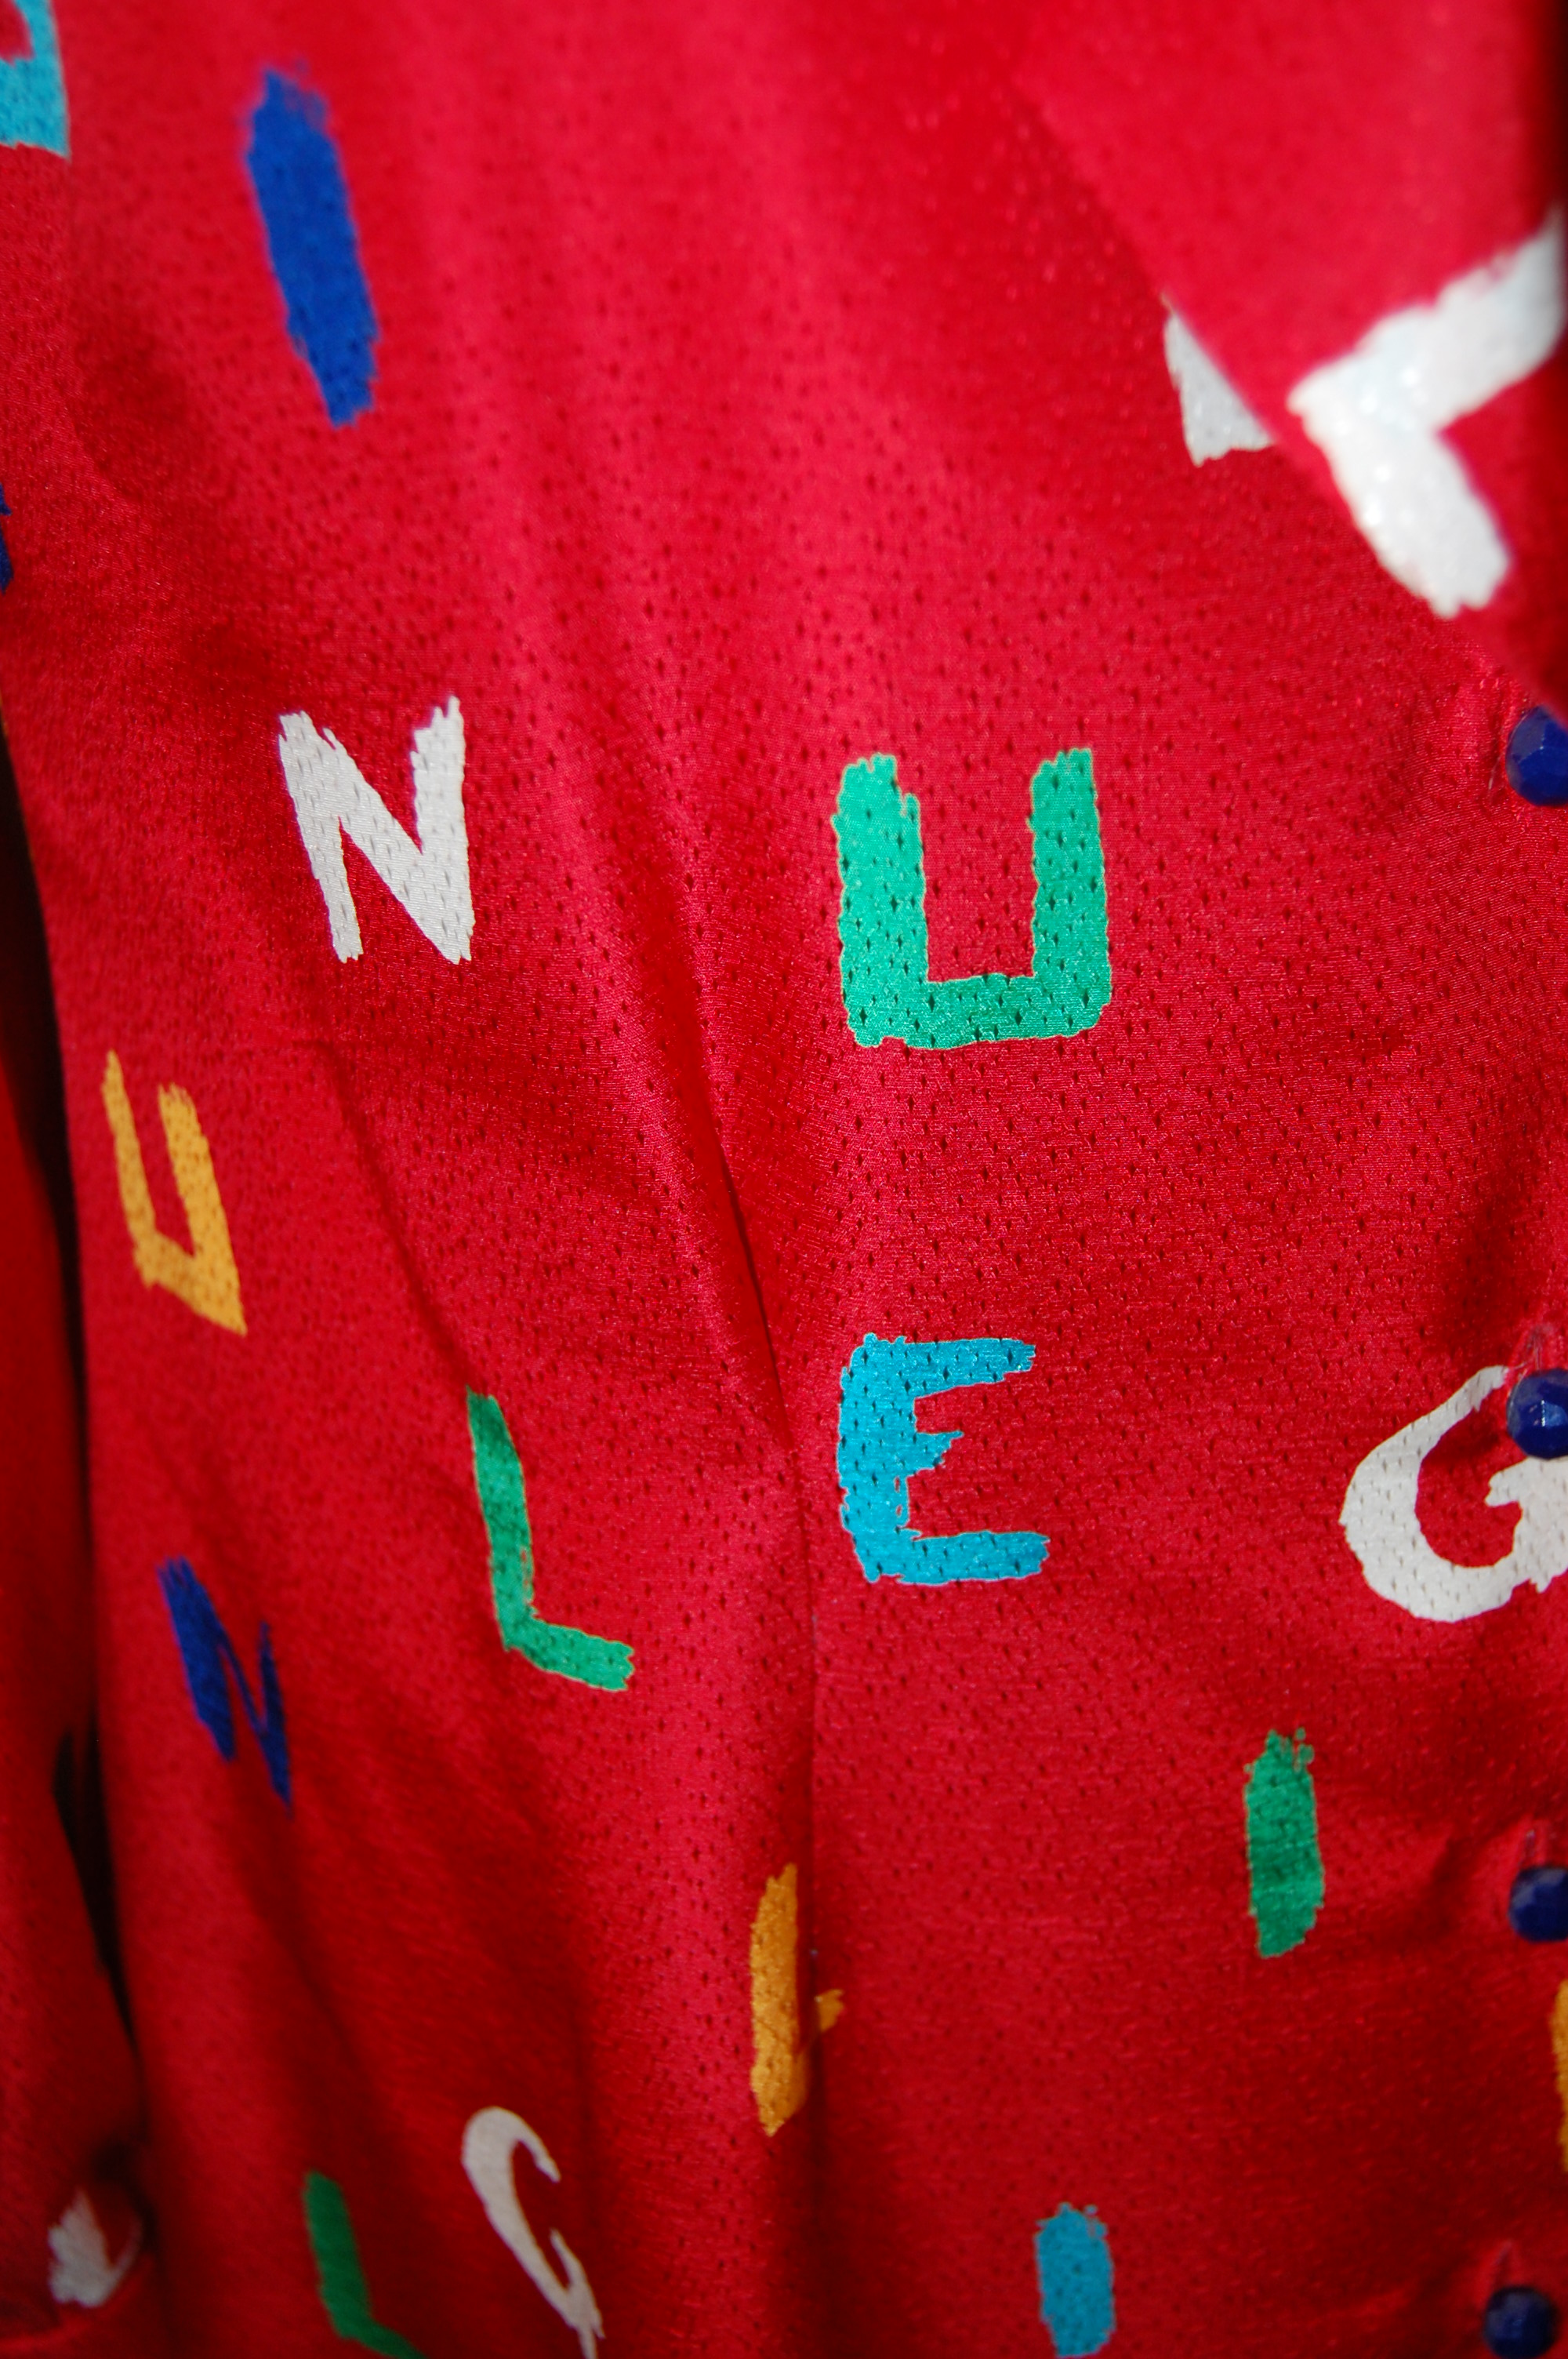
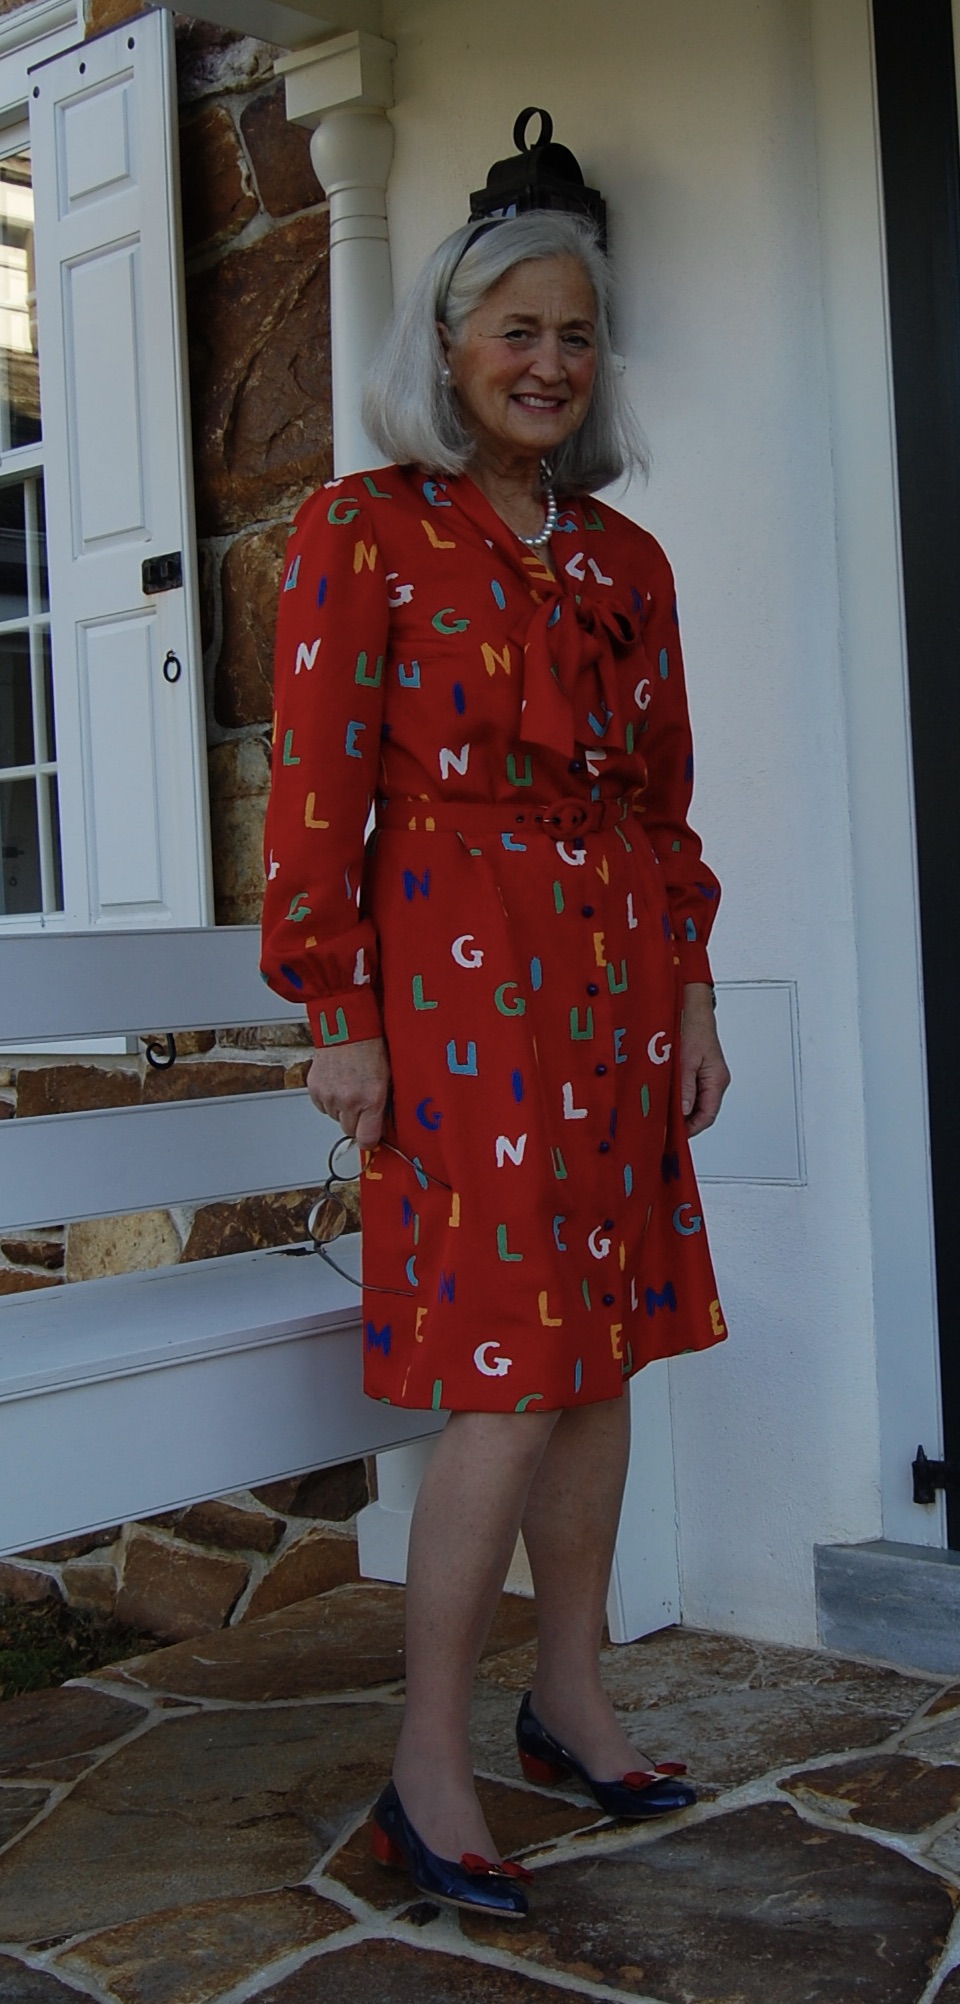
Once I had the underlining basted to the fashion fabric, I weighed whether or not to line the body of the dress.  I went with my gut feeling about this and decided to line it with a soft and lightweight red silk crepe de chine – almost a perfect match in color, as is evident in the above picture – which I purchased from Emma One Sock Fabrics.  

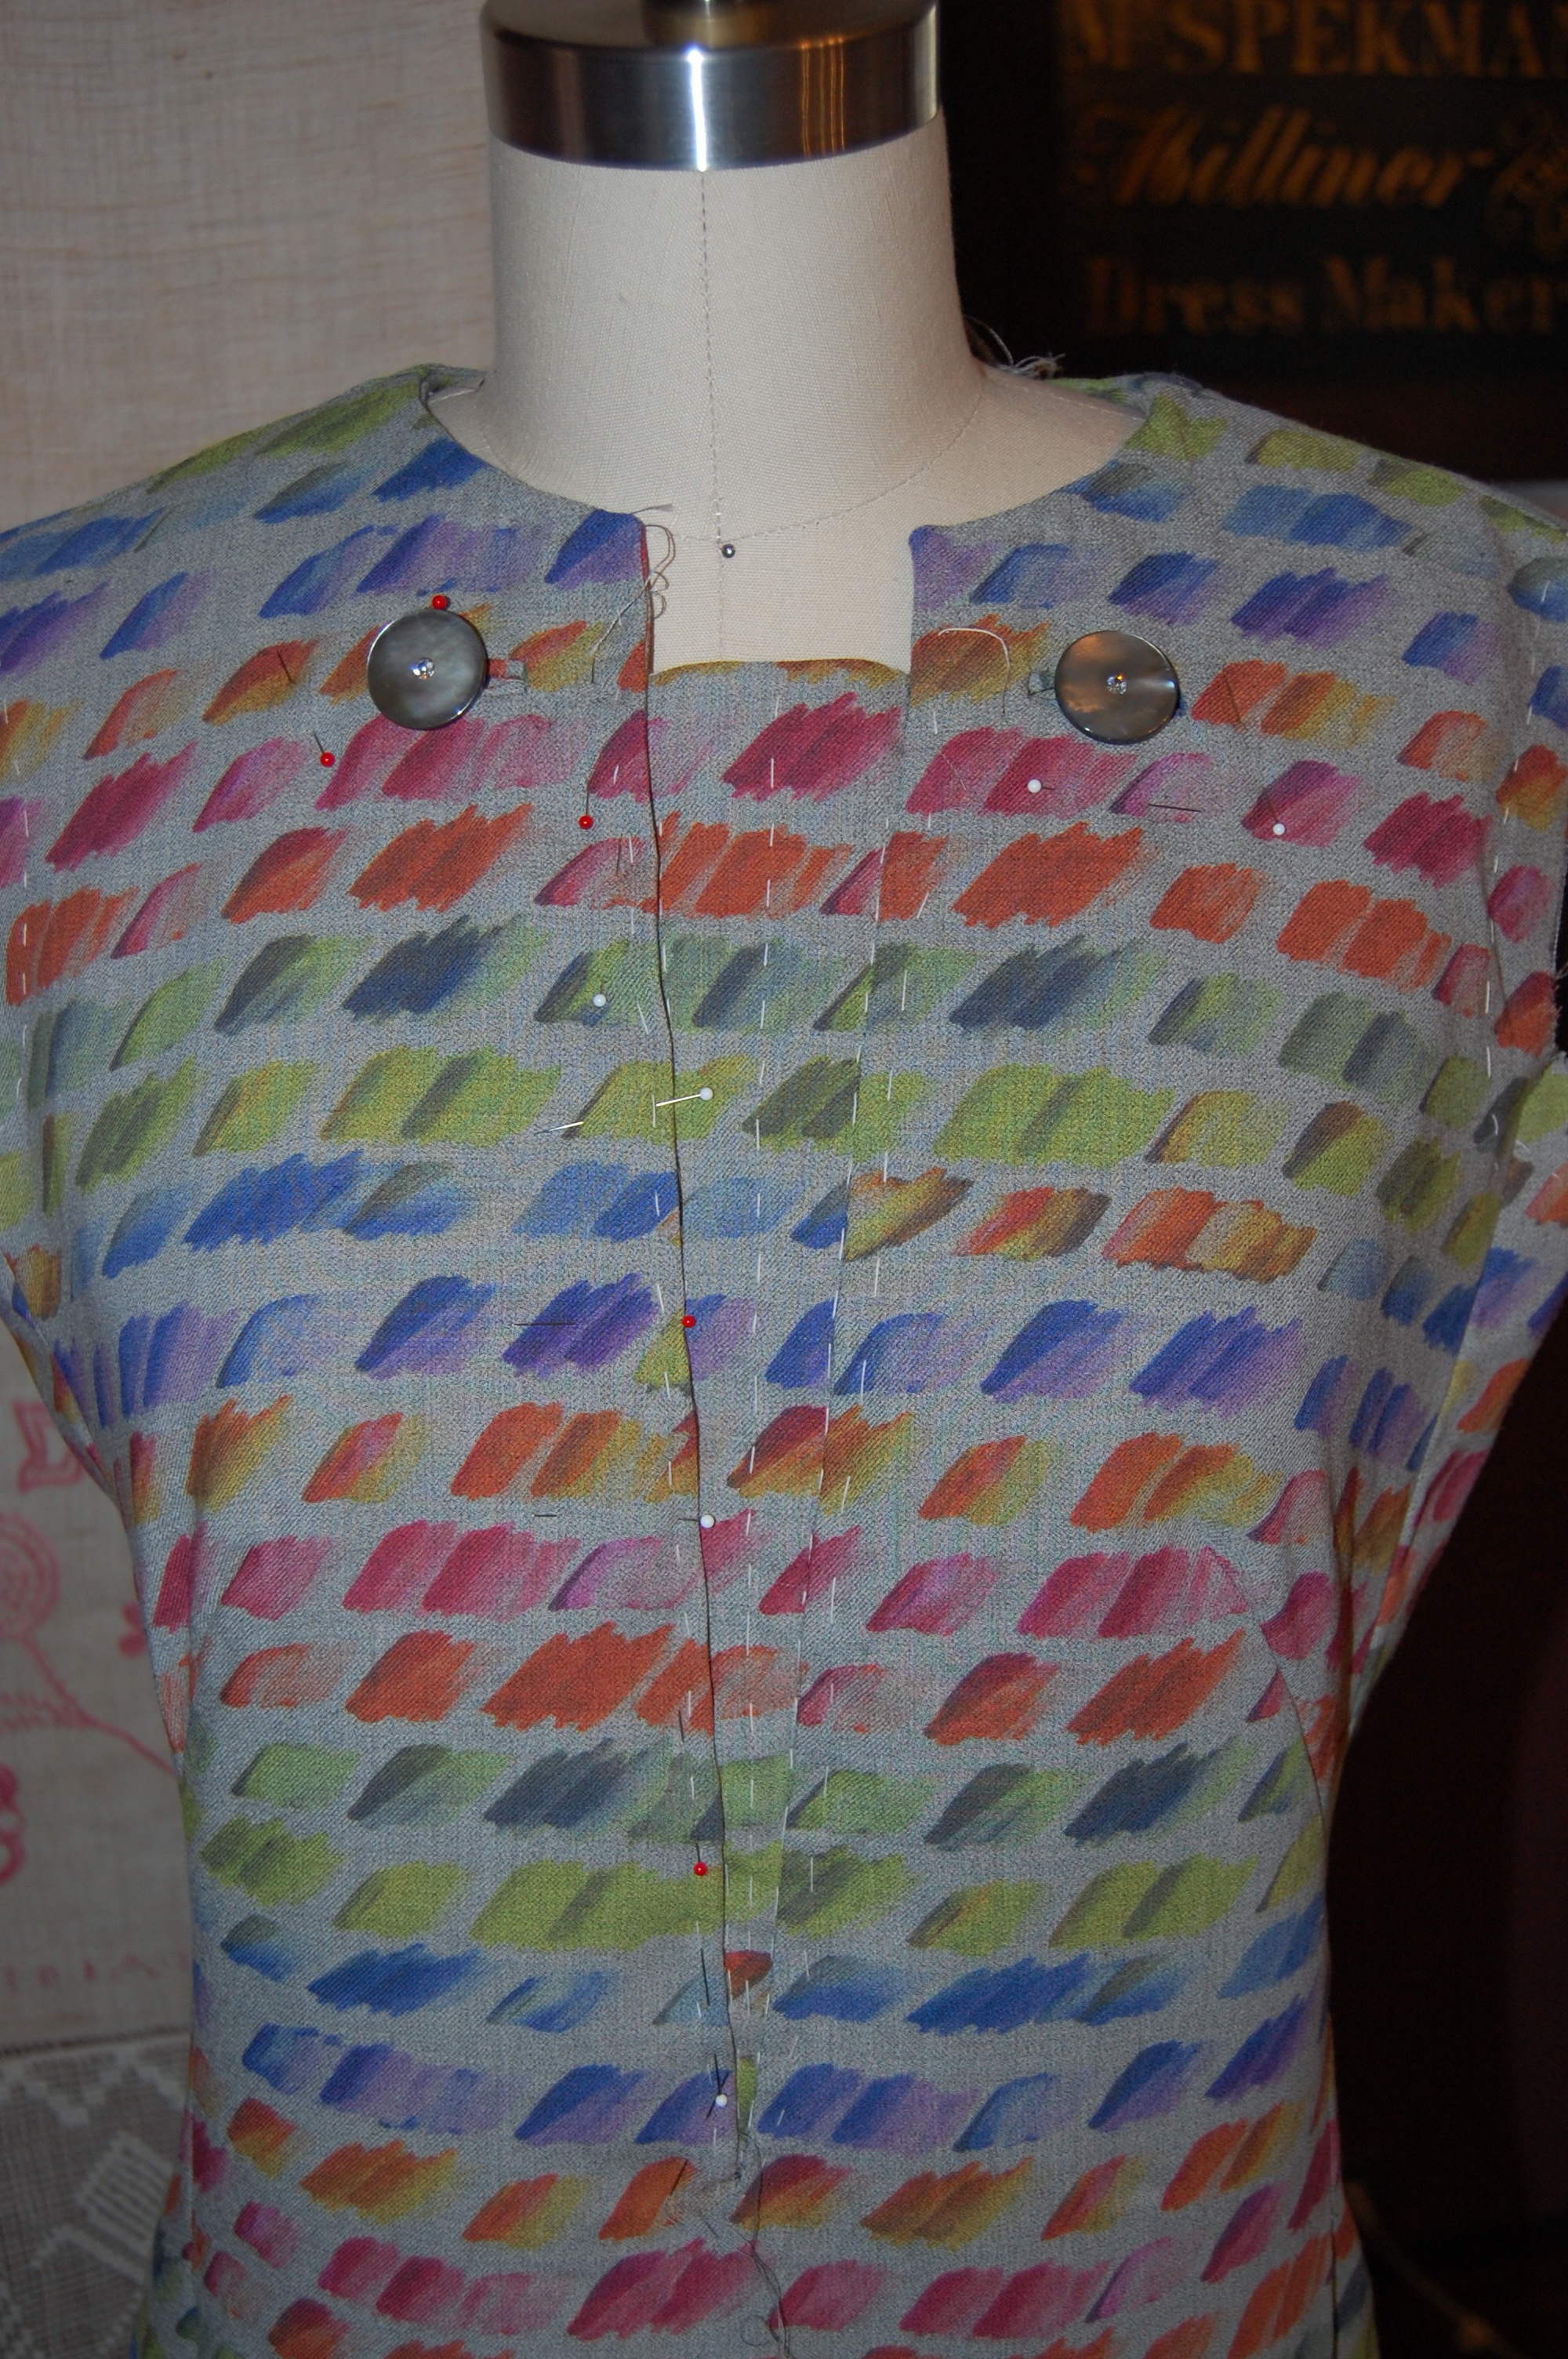
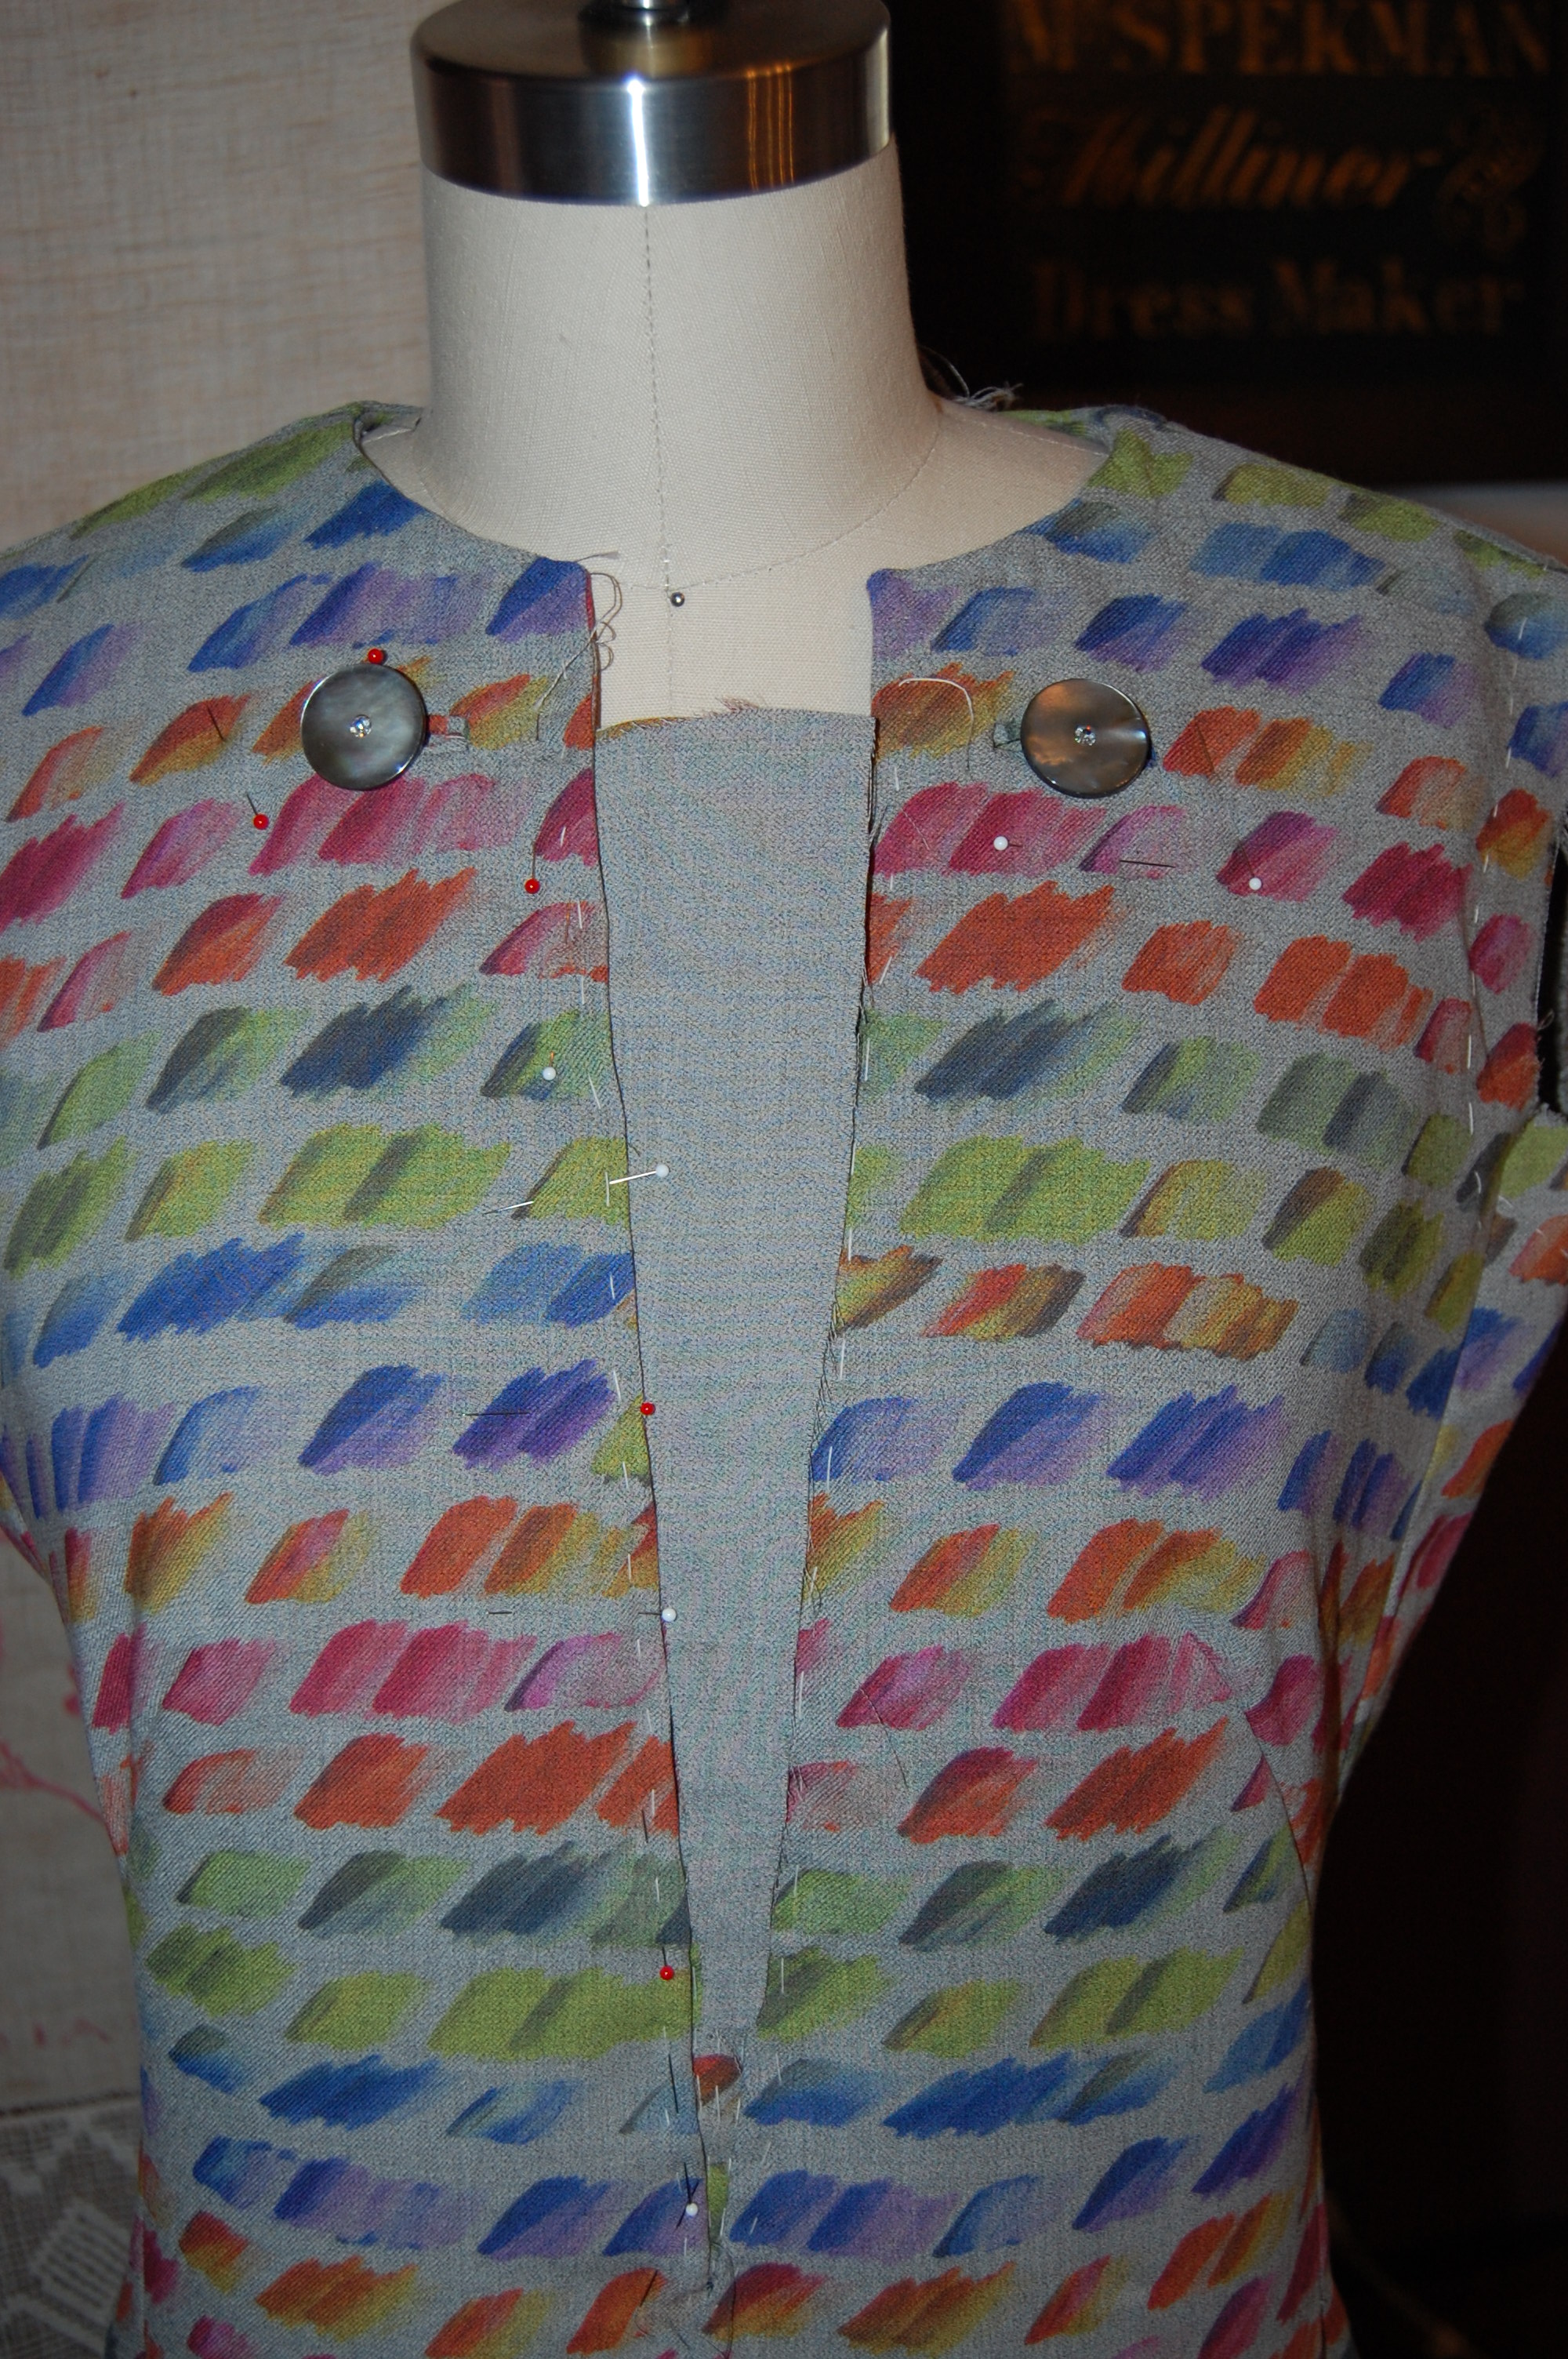
In doing so, I eliminated the front and neck facings which were replaced with the solid red lining. 

I eliminated the facings and used the red crepe de chine lining fabric to finish the interior of the body of the dress. Here is the right front edge.

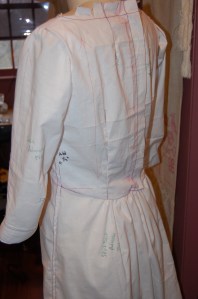
I had worked out the floating dart question in my muslin/toile and decided to use them for the dress.  This left above the waist “blousy” and made it more fitted below the waist.  

This shows the released darts on the back of the dress.
Here is a side released dart on the front of the dress.
The released dart on one side of the dress front.

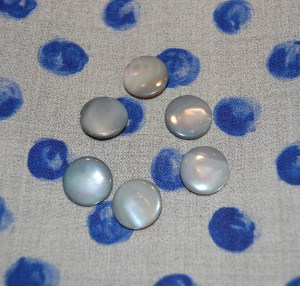
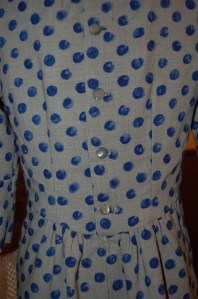
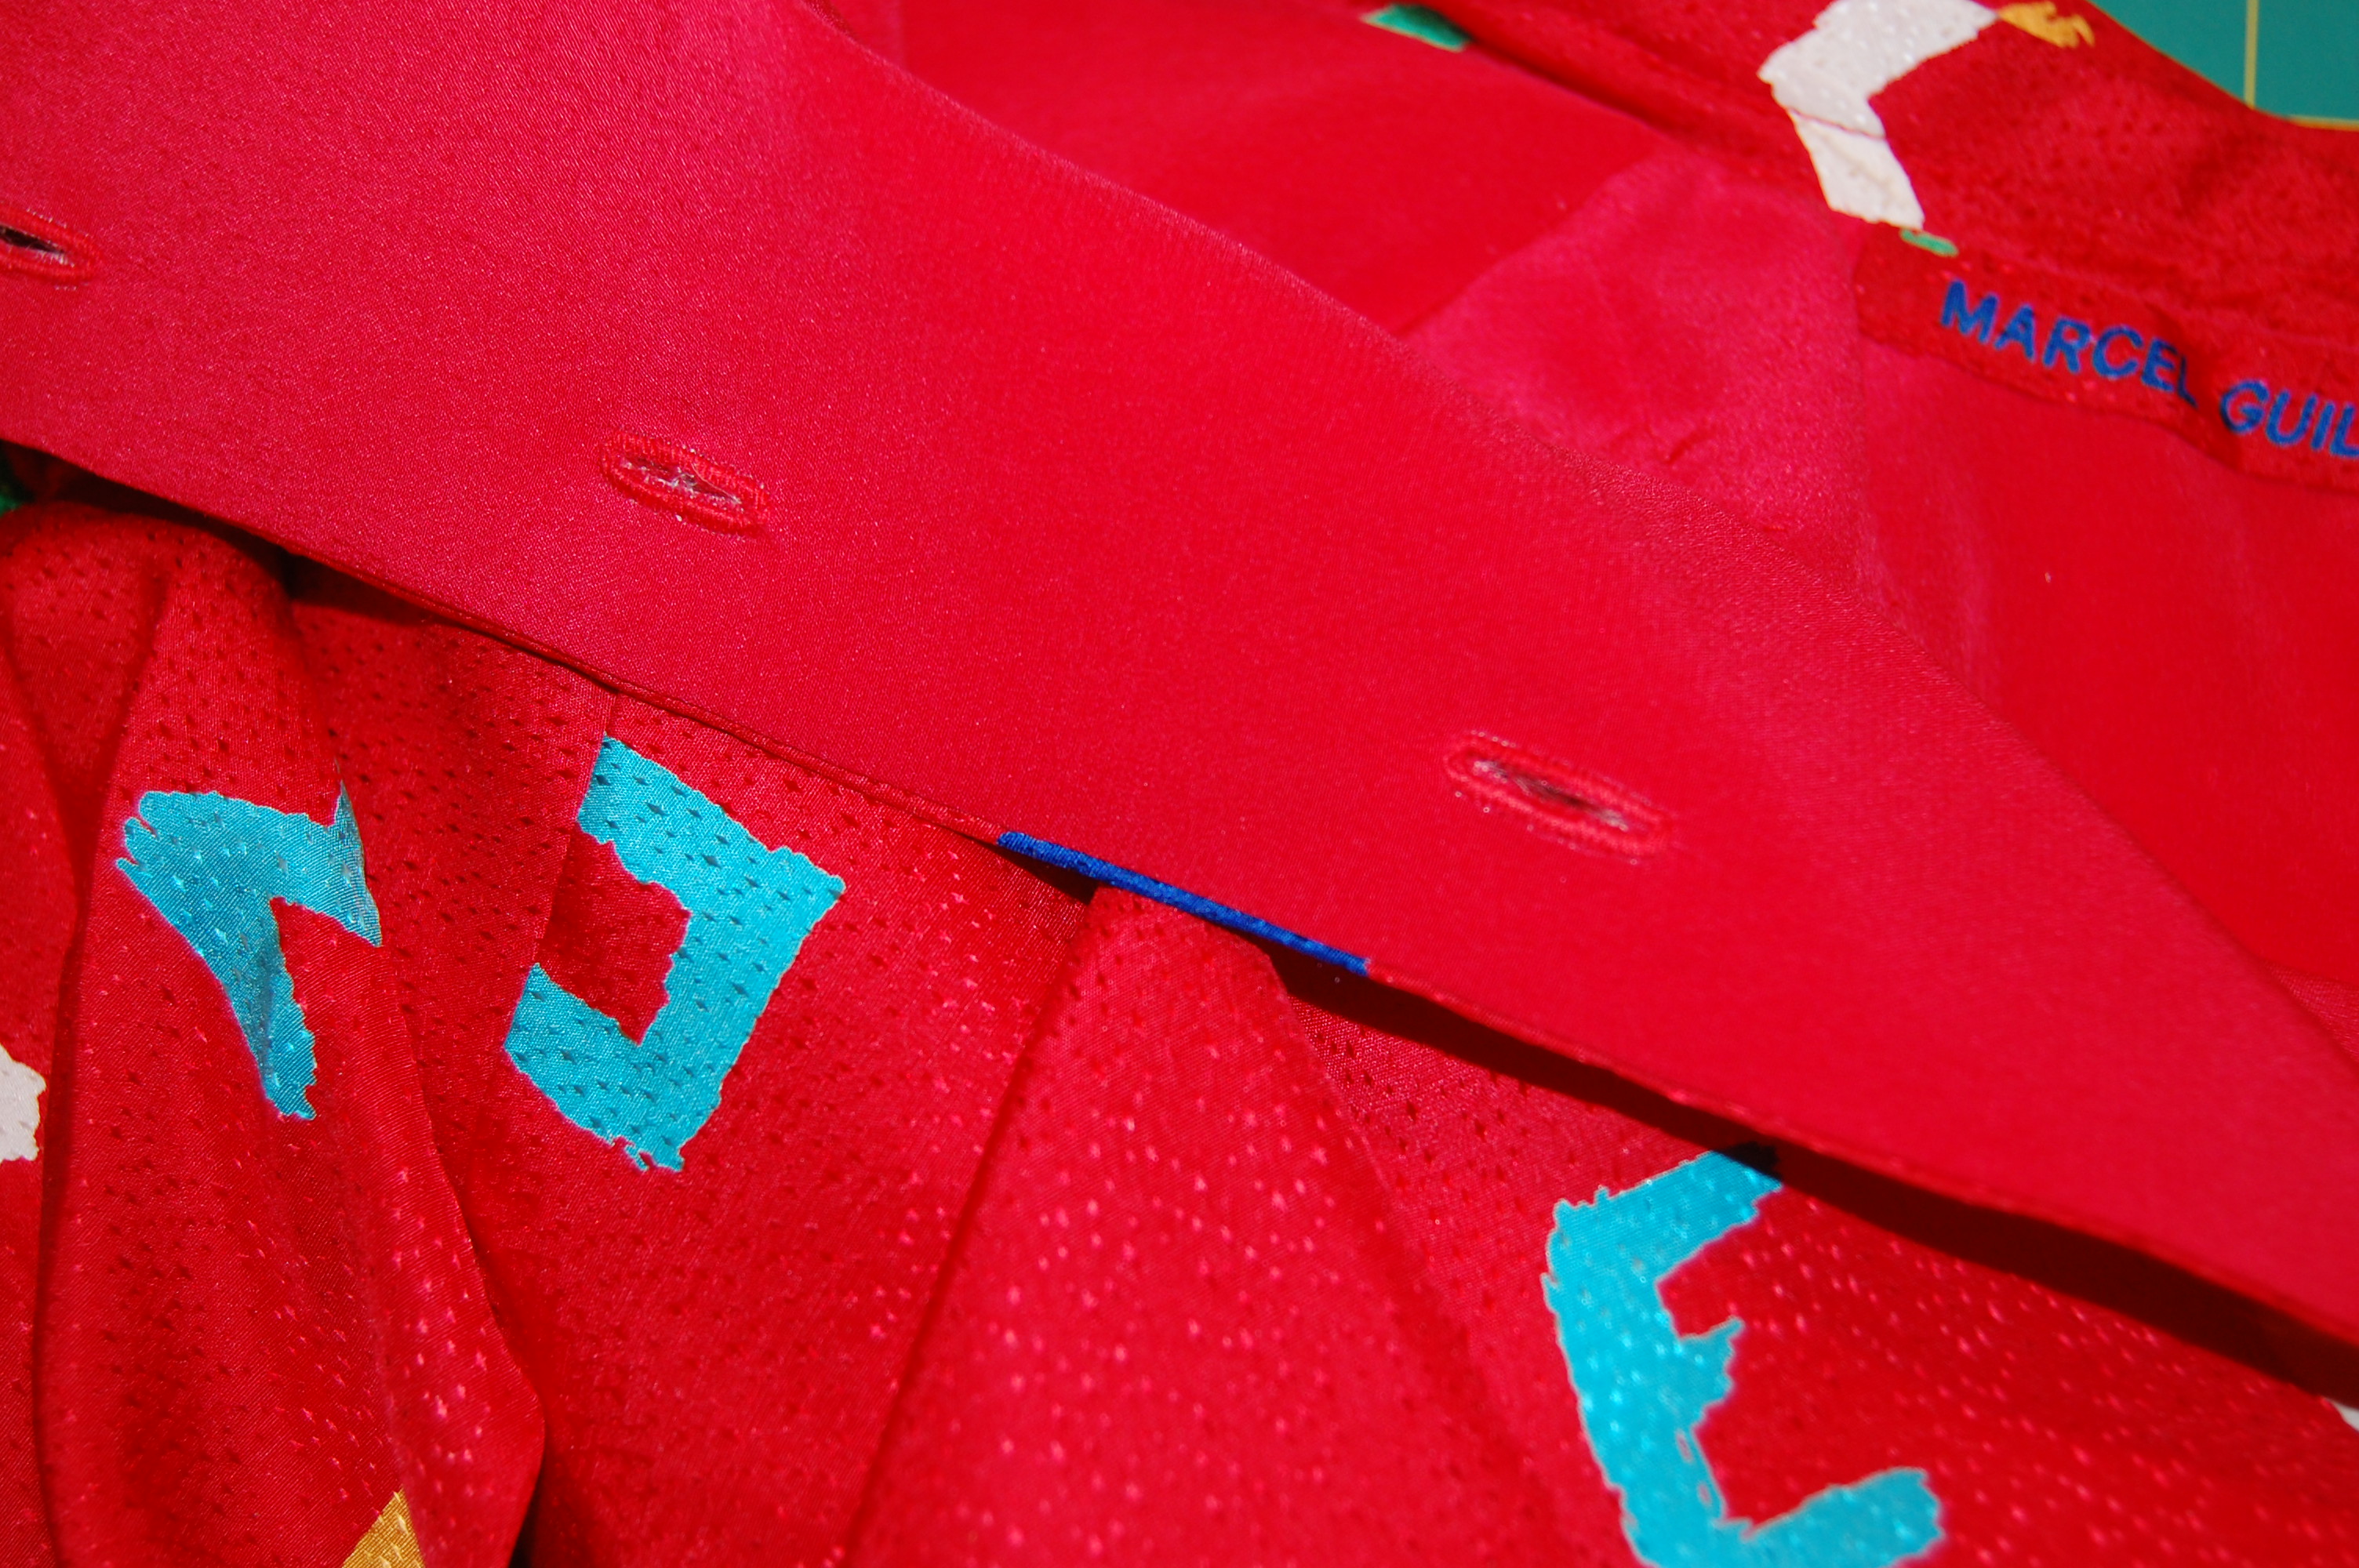
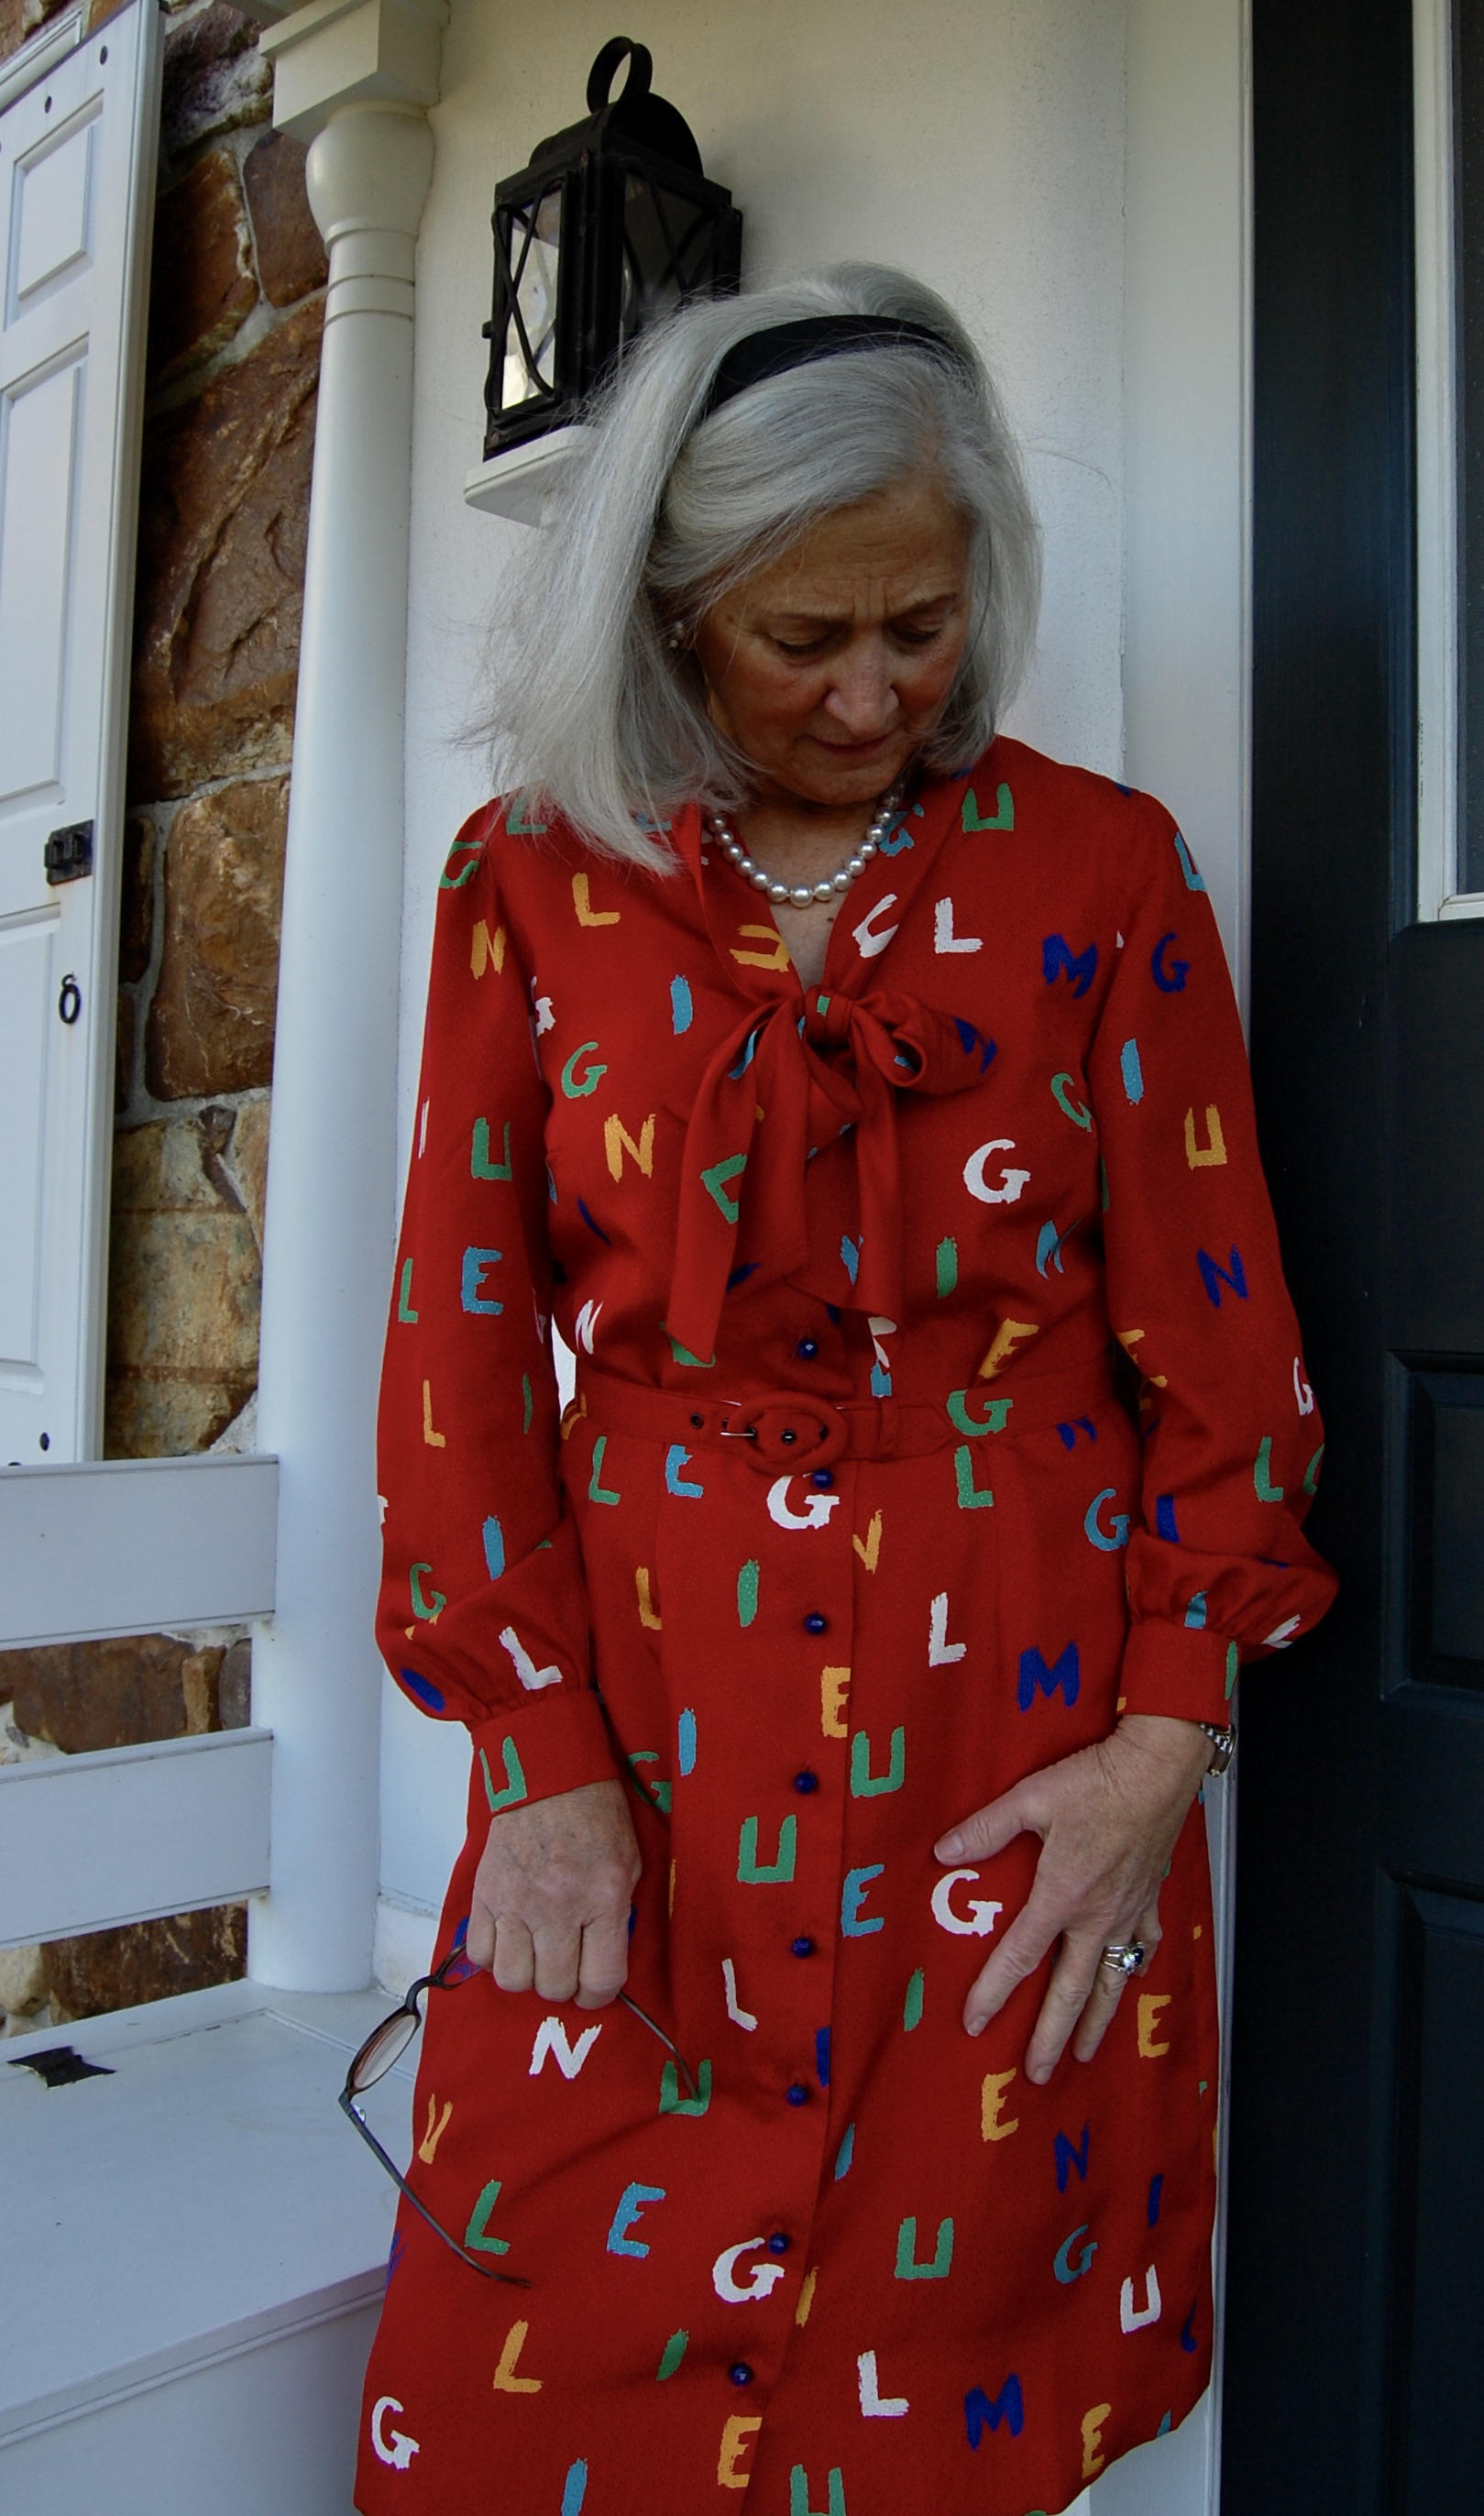
Buttons are always one of my favorite parts of a project.  I simply love looking for buttons – and I really love finding the perfect ones.  In this case, I knew I needed a large quantity – at least 10, depending on the size I found.  I did not think red buttons would do anything to enhance the dress, and I thought white pearl buttons would be too much of a contrast.  But then I found these buttons on eBay:

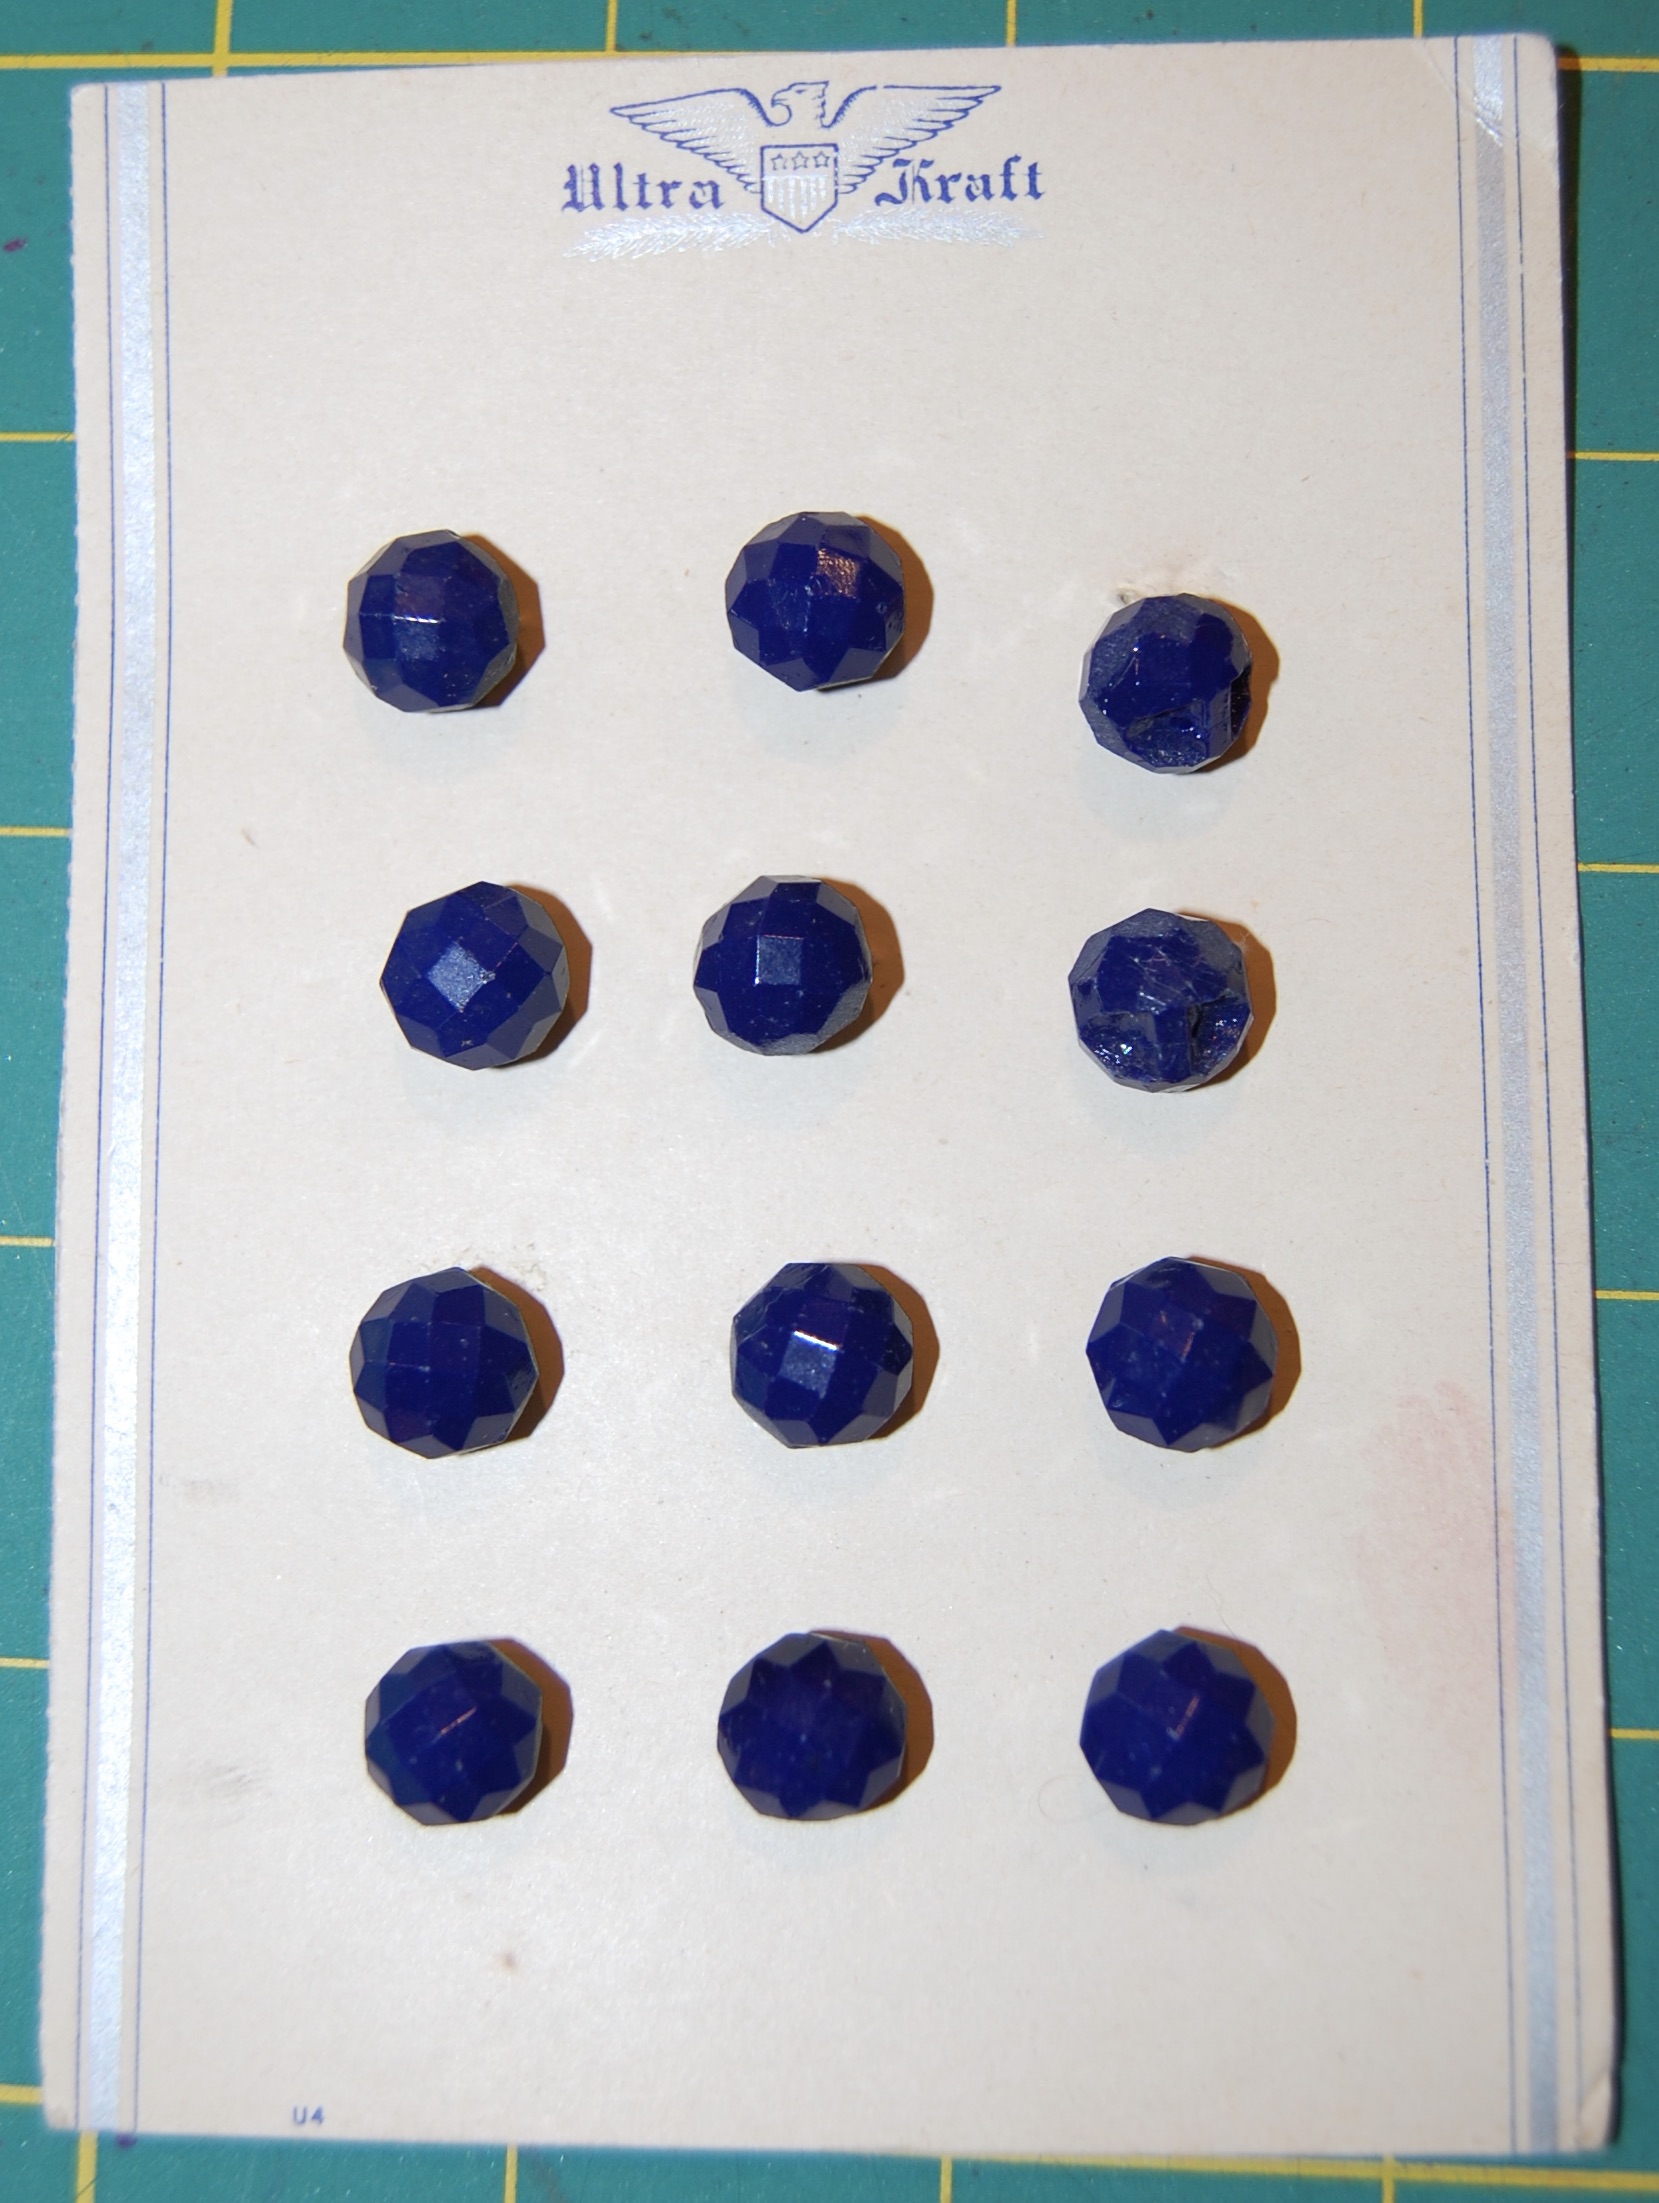
They are probably from the 1940s, cut glass, made in Czechoslovakia.  The card held 12 buttons, a good quantity for my purpose.  I think of these buttons as “small, but mighty.”  They provide the right contrast, and the faceted surface picks up the shimmer from the slight jacquard weave in the fabric.  I think they are perfect!

I used ten buttons for the front of the dress. These buttons are small so I was able to space them closely together to get the effect I wanted. I always know I have found the right buttons when they look like they “belong” – they do not steal the show nor are they too weak.
The right top neck edge, with a snap to keep things tidy under the tied bow.
The lone button on the sleeve, showing a bit of shimmer to match the shimmer in the fashion fabric.
The importance of the buttons shows off well in this photo, I think.

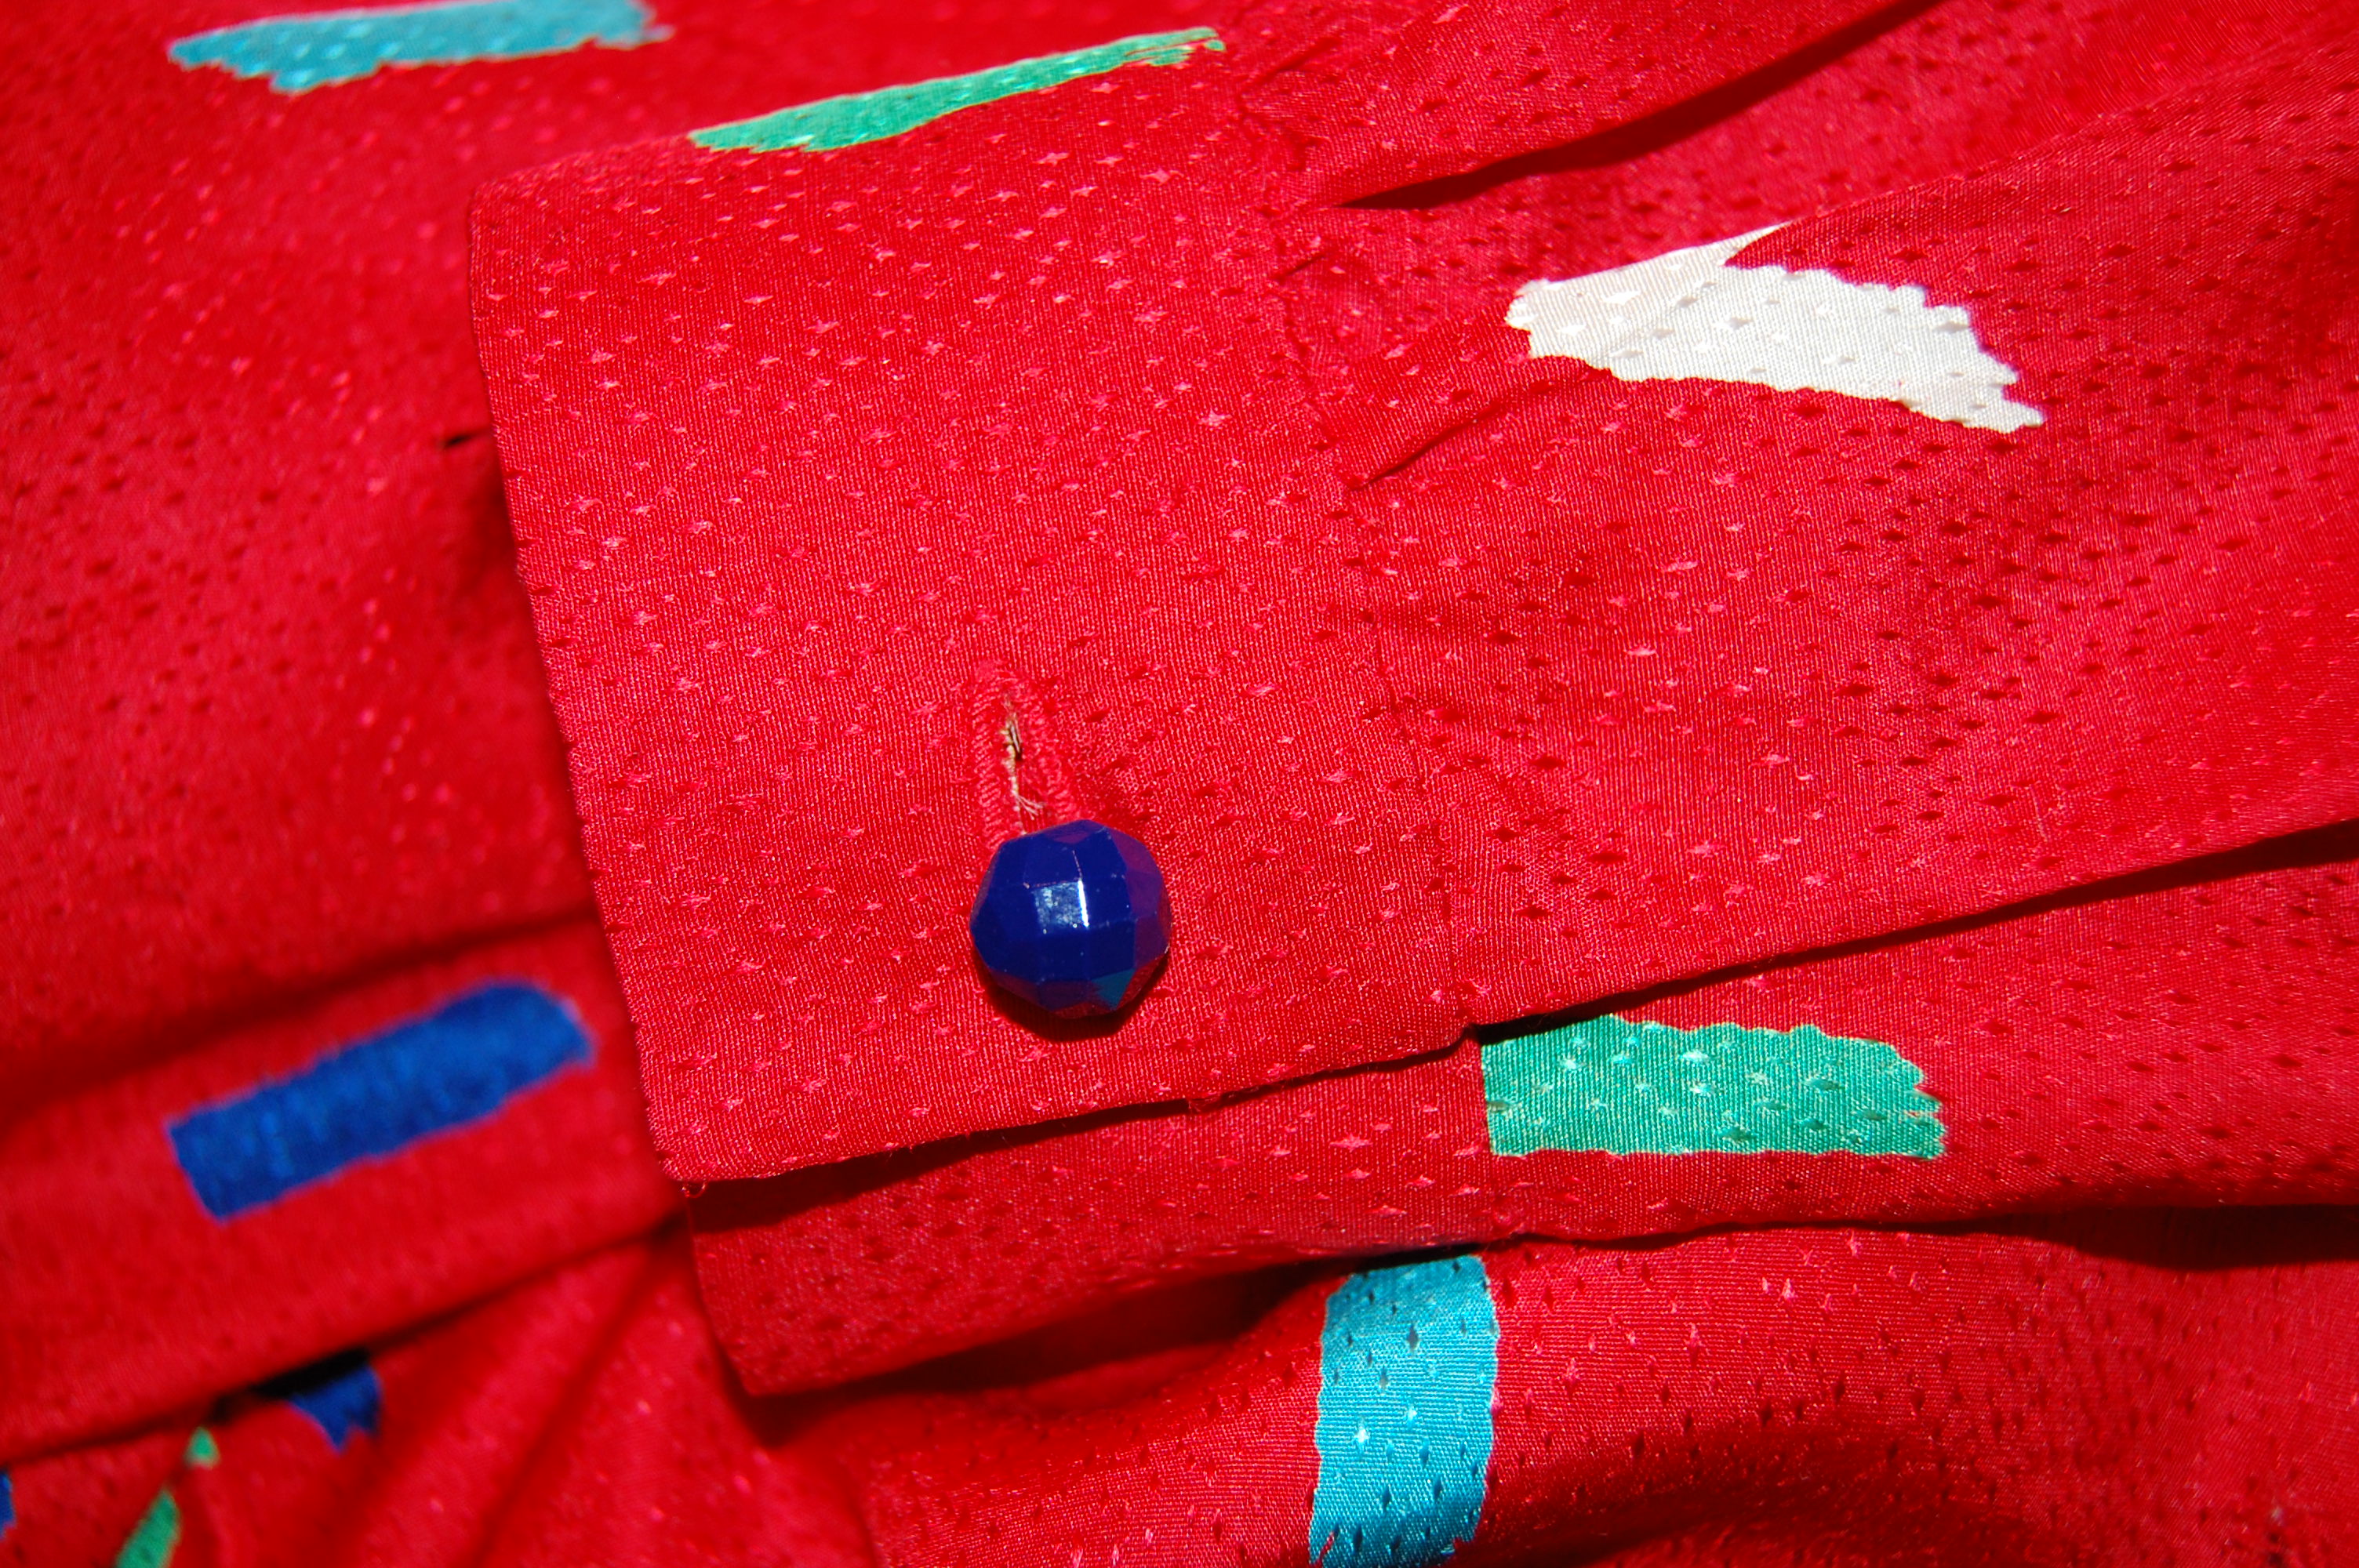
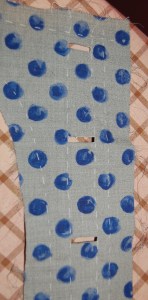
And finally, bound or machine-made buttonholes?  I did a sample of each.  I have recently started using my automatic buttonholer for my 1951 Singer Featherweight, and I must say, it is an engineering marvel.  It makes such amazing, precise buttonholes.  And although I do love bound buttonholes, I decided in this instance I would be happier with machine-made ones.  

I haven’t even mentioned the belt! I wanted a self belt, so I knew I would have to make it myself. I found a belt-making kit from the 1960s on eBay and used it for the buckle and the belt canvas.

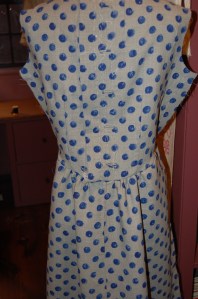
So that about sums it up.  I had just barely enough fabric to eke out this dress (which seems to be a theme with me!), so I think it was meant to be.  Here’s to Red Letter Days – and the dresses which make them happy.  

36 Comments

Filed under Blouse patterns from the 1950's, Bows as design feature, Buttons - choosing the right ones, Day dresses, Linings, silk, Uncategorized, underlinings, vintage buttons, vintage Vogue patterns from the 1950s

Coming and Going: a Split Personality Dress

Dresses – and garments in general – with back interest have always intrigued me. The addition of a simple back belt can add so much to a coat design, for example, and a yoke in the back of a dress can be the perfect place to add complimentary buttons which might not have a place on the front of the dress. Perhaps it was this reason why I was drawn to this Advance pattern, which I found in an Etsy store.

Thanks to one of my readers, I know that this pattern dates to 1964.

Thanks to one of my readers, I know that this pattern dates to 1960.

I hesitated for quite a while before buying it, as I just wasn’t so sure the gathered back skirt on this dress would look as good on me as it looked on the pattern envelope. I also did not want a “dated” or “too cutesy” look. But finally I gave in and made the purchase. The buttoned back and the dropped back waist were two details which really appealed to me, as well as the sleek sheath look of the front of the dress. I also knew that the right fabric could work wonders, and I bought the pattern with this gray and blue polka dotted wool/silk blend in mind.

I purchased this fabric from Mendel Goldberg in New York City.

I purchased this fabric from Mendel Goldberg in New York City.

Then, there is always that steadfast fall-back, as well – making a muslin (toile) and if it really doesn’t work, then just scrapping it! What could I lose besides a few yards of cheap muslin and a few hours of time?

I had never used an Advance vintage pattern before, so I was interested to see how one would make up. I was impressed! The pattern pieces went together very precisely, and, in particular, the flounce, or gathering, at the back of the skirt was not overdone. The only initial change I made to the pattern before cutting out my muslin was to lower the bust dart, which I always have to do. Once I made the muslin, it was a little snug across the front, so I added ¼” to either side seam. As it turned out, I needed the extra width just across the midriff area, and ended up taking out quite a bit of extra width from the waist down.

Some pictures of my muslin.

Some pictures of my muslin.

Coming and Going

While I was working on the muslin, I was in a quandary over the buttons. I had to have them before I could start work on the fashion fabric because of those pesky, but beautiful, bound buttonholes, which are one of the first things to go in. Nothing I had on hand was right and after a very brief dalliance with the thought of blue buttons (what was I thinking, even briefly??), I knew gray mother-of-pearl buttons were what was needed. As luck would have it I found a set of six 5/8” buttons in an Etsy shop, which were described as blue-gray mother-of-pearl. As soon as they arrived in my mailbox, I knew they were perfect.

Coming and going

By this time I had transposed the muslin onto white silk organza, made my working pattern, basted the fashion fabric and the organza together, and ordered marine blue crepe de chine from EmmaOneSock for the lining.

For those of you who asked, here is a picture of the silk organza being used as the pattern piece. when cut out, the two are basted together by hand along the seam lines, dart markings, and hem lines.

For those of you who asked, here is a picture of the silk organza being used as the pattern. When cut out, the two are basted together by hand along the seam lines, dart markings, and hem lines and then handled as one piece.

I also used silk organza patches for the facings for the bound buttonholes.

I also used silk organza patches for the facings for the bound buttonholes.

Here the facings are turned towards the inside. Proper measuring is essential for this technique to be successful.

Here the facings are turned towards the inside. Proper measuring is essential for this technique to be successful.

The back of the dress during construction.

The back of the dress during construction.

Although the pattern called for lining only the skirt back, I wanted to fully line the entire dress. The pattern for the back skirt lining is shown here in the thumbnail diagram:

coming-and-going-thumbnail-sketch

It was cut narrower than the skirt back, with darts for shaping rather than gathering. I had to make a decision about how to complete the lining – should I attach it to the waist seam at the back and somehow join the front to the back at the side seams, or should I make the lining as a completely free-falling piece? I opted for the latter, with the sleeves, of course, being inserted separately. It worked beautifully. Then, for some extra detail, I added a contrasting flat piping to the edge where the lining meets the facing.

I had this coral colored silk bias tape which I chose to use for this extra detail.

I had this coral colored silk bias tape which I chose to use for this extra detail.

Coming and going

Often facings are eliminated in couture sewing, but in this case, with the buttoned placket in the back, I decided to keep the facings so the buttonholes and buttons would have a firmer foundation.

This dress turned out to be all that I wanted – a classic slim sheath from the front, with surprise back detail which (I think?) is flattering, adding extreme comfort to its wearing, and which sets it apart from the average design.

Coming and going

Coming and Going

Coming and going


Coming and going

Coming and going

Coming and going

Coming and Going

Coming and going

coming and going

Coming and going, it feels like a good way to start off the new sewing year .

41 Comments

Filed under Advance vintage patterns, bound buttonholes, Buttons - choosing the right ones, couture construction, Day dresses, Linings, Mid-Century style, Polka dots, Uncategorized, vintage buttons

Sweet November

The trickery, which defined my October sewing, finally floated away with the leaves and the goblins, leaving sweet November with her welcome reward, a new dress for Autumn and Winter.

Sweet November

So what made vintage Vogue 1395 such a tricky dress to make? I documented my efforts to get a workable muslin (toile) in a post from early October. Once I had my adjusted muslin pattern, I transferred it onto black silk organza to use as my cutting guide. It was then I realized that, because the design on the fabric, a silk and wool blend, was printed on it, not woven into it, I needed to work from the right side of the fabric in order to match the horizontal “lines.” This meant that I had to flip every piece that I cut out and then exchange the organza with its opposing side. (I hope this makes sense.) It added a bit of uncertainty to the process and I was fanatical with flipping and checking to make sure I kept the design in line. Something told me I should delay cutting out the sleeves until I had the body of the dress together – my sewing godmother at work, I guess – and I am glad I did, as I’ll detail in a bit.

I had made the decision at the beginning of the project to cover the dress’s two buttons in the plain gray “wrong” side of the fabric. But once I “semi-made” a covered button, and tried it out, it was DULL. It added nothing to the dress. I went to my button box and all I could find was a small gray pearl that was close in color. But I loved the iridescence of it and determined that gray pearl buttons were what I needed. I seem to have such good luck with buttons from Britex – even though I am ordering online – and found 1” gray pearl buttons with a rhinestone in their centers. Although I am not a rhinestone-y type of person, something about them spoke to me. I remembered what Susan Khalje said in one of the classes I have taken with her – that couture often has a bit of “whimsy” to it. Well, I ordered those buttons as as fast as I could! I think they are just what was needed!

Sweet November

I had also made the decision to make the “dickey” part of the dress out of the side of the fabric with the printed design – so that the horizontal line would be uninterrupted across the bodice. Here is what it looked like once I had it done:

Sweet November

There was not enough definition between the dress and dickey to make it interesting.

I cut some scraps to see what it would look like with a play gray insert – and it was so much better!

Sweet November

So – I took the dickey all apart and flipped it over so it would be out of the plain gray “wrong side.” By now I was enjoying the versatility of this fabric (which I bought online from Mendel Goldberg Fabrics) and appreciating the serendipity of having this fabric for this pattern, giving me options.

However, the fabric posed another challenge when I got to the point of finishing the front opening in the bodice. This fabric frays enough that I was not comfortable following the directions given in the pattern instructions:

The instructions directed me to just turn back the seam allowance, but because of the ravel-ly nature of the fabric, I was certain it would pull out with wear.

The instructions directed me to just turn back the seam allowance, but because of the ravel-ly nature of the fabric, I was certain it would pull out with wear.

Instead, I opted to make a “facing” for the opening out of black organza. It is situations like this that make me feel so fortunate to have enough “sewing sense” to be able to recognize potential difficulties and then have the ability to work out creative solutions to them.

Sweet November

Silk organza pinned in place.

And here it is sewn in place.

And here it is sewn in place.

I took some pictures at this point to show the inside of the body of the dress:

Yes, those are pockets hanging on the front.

Yes, those are pockets hanging on the front.

This shows those darts with their slanted orientation.

This shows those bust darts with their slanted orientation.

The zipper is inserted by hand, as usual! Once I had it basted in place, I tried the dress on for fit and determined I had to take it in a bit at the waistline.

Then I tackled the sleeves. I had quite a time determining how to place the sleeve patterns on the remaining fabric. Some of those horizontal lines of “paintbrush strokes” change color across the fabric! And my adapted sleeve pattern has two elbow darts, which changed the horizontal line. I had to make a decision about where I wanted the best match to be, as I determined I could not match it across and up and down as I would normally want to do. I opted for a match across the shoulders – and I now believe that was the best decision.

DSC_0924

I also added a soft “cigarette” sleeve heading to each shoulder seam.

Next to the lining – and bless those vintage Vogue patterns – the lining for this dress included separate and distinct pattern pieces. I made the sizing and dart changes to the lining (in keeping with the dress) and it went together effortlessly. When I got to the point of inserting the lining by hand, I just could not resist adding silk piping to the inside neck edge. I know I am the only one who will ever see it, but it makes me happy!

Sweet November

I used a bias strip of lightweight silk for the piping.

I used a bias strip of lightweight silk for the piping.

How wonderful to have this dress completed!

Sweet November

The buttons really show in this picture.

The buttons really show in this picture.

Sweet November

Sweet November

Sweet November

There was one more aspect of serendipity to this project. Those of you who follow my blog know that part of my fascination with vintage Vogue patterns is making connections between the past and the present. I love to “place” a pattern in its correct year – and then wonder in amazement at how classic fashions are so enduring. It was my great good fortune to have this Vogue Pattern Fashion News from November 1964 in my collection of vintage fashion magazines:

Sweet November - flyer cover

Inside on page 3 is, yes, my dress!

Sweet November - flyer illustration

Just imagine – 51 years ago this month, this dress made its debut. Happy Sweet November Everyone!

38 Comments

Filed under Buttons - choosing the right ones, couture construction, Day dresses, hand-sewn zippers, Love of sewing, Mid-Century style, Uncategorized, underlinings, vintage Vogue Designer patterns, vintage Vogue patterns from the 1960s, woolens