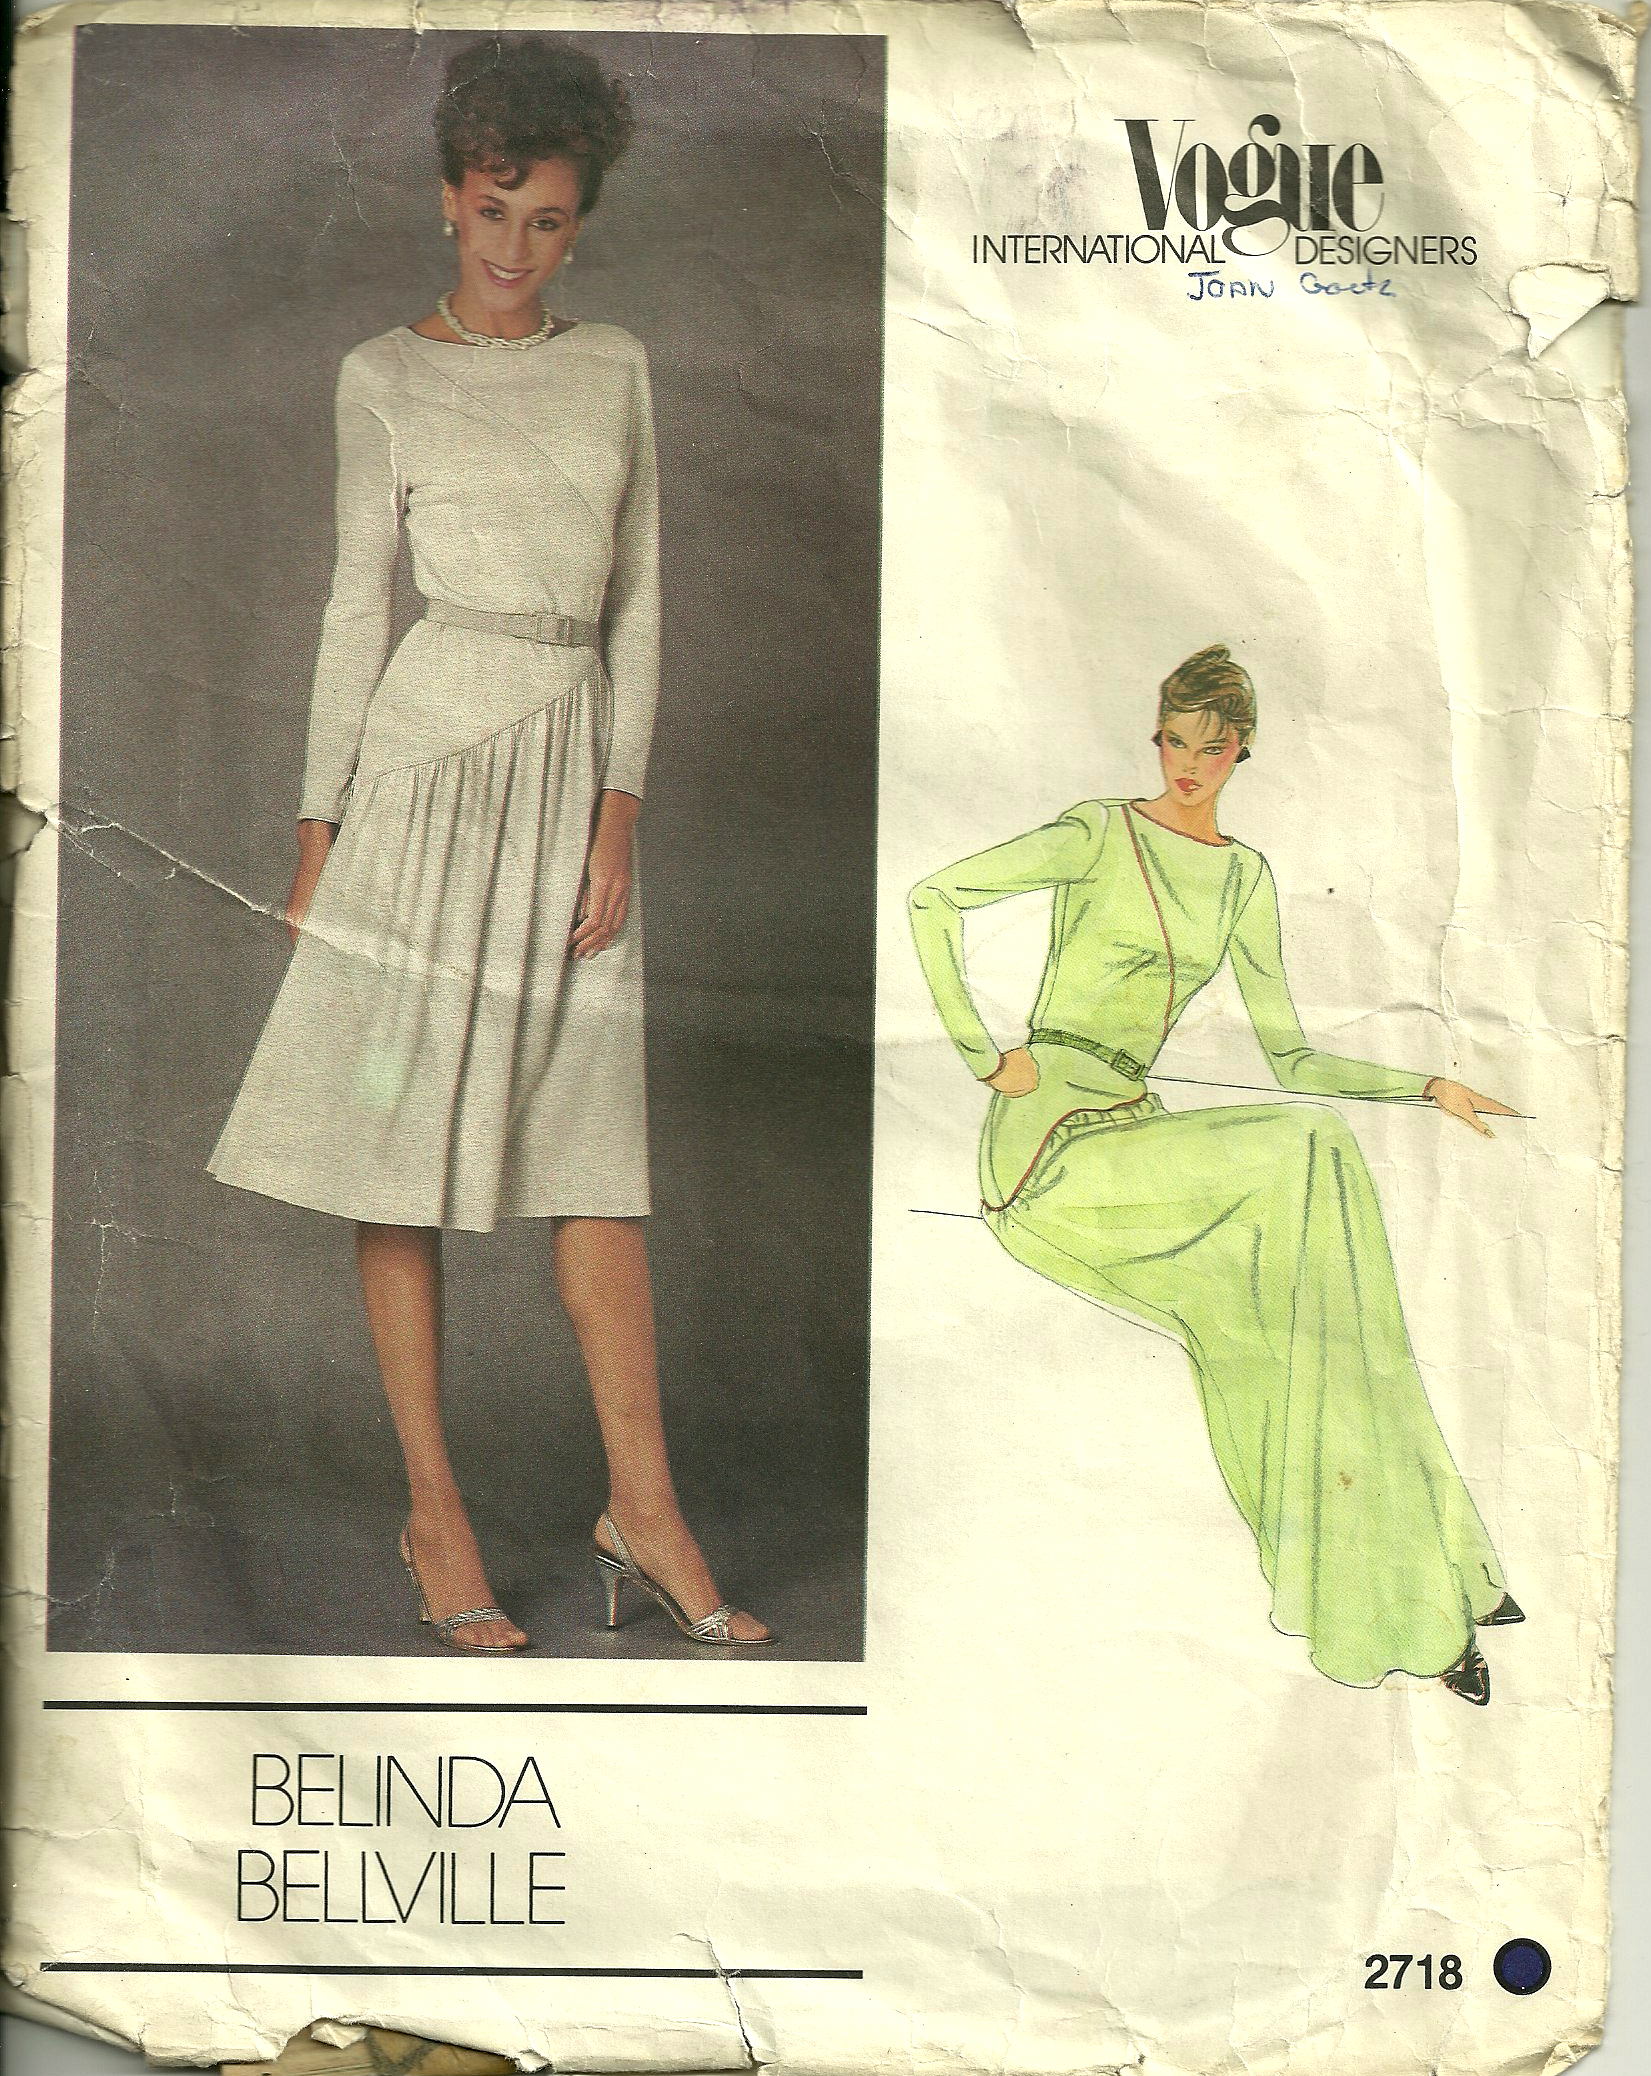
The ghost of Joan Goetz has been hanging over my shoulder for the last several weeks. She wrote her name on the envelope of vintage Vogue pattern #2718 which has caused me so angst. I can’t help but wonder who this woman was!
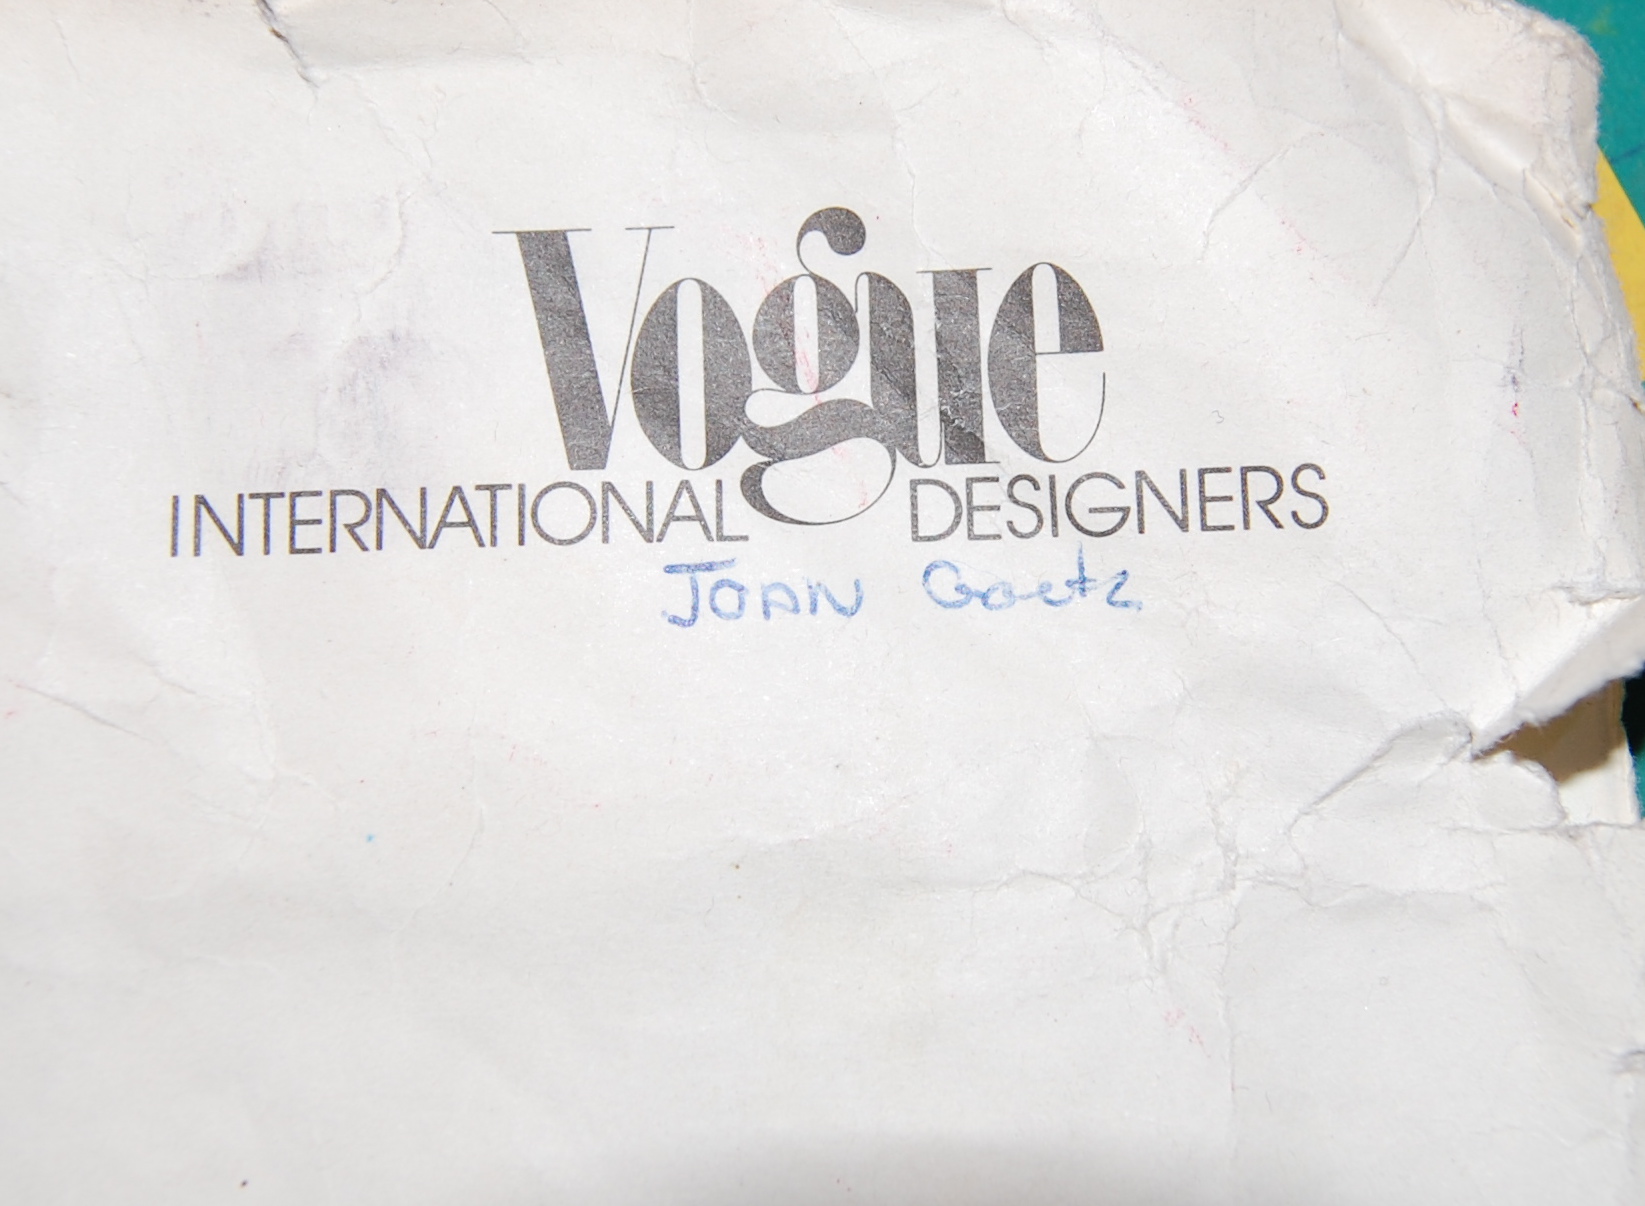
Goetz sounds awfully like Ghost, don’t you think?
I can tell from the changes she made to the pattern that she was much taller than I, with much longer arms! She added 1” to the arm length, while I subtracted 1½”. She also added three inches to the hem length, and I ended up cutting off 3” from the length. However, nowhere on the pattern does she indicate any problems with construction. I, myself, refrained from scribbling “ARG-G-G-H“ on the pattern, although I was certainly thinking it. When last I wrote about this doomed project, I wasn’t sure if I could save it. Thanks to many good suggestions and words of encouragement from my readers, the future for this dress is looking less ghostly and ghastly. Some of you suggested a break from it, working perfectly into my schedule, which included another trip out of state. Others suggested I sew on something else for a while, which I did and will write about soon. The one thing I did not do was set it aside completely. I was afraid if I left it to finish (if even possible) another time, I never would get back to it.
Actually, I have to admit, that the problems I encountered with this pattern were really not the fault of the pattern. It was entirely of my own making. The pattern required a stretch knit fabric. I used a stretch silk woven charmeuse. That would have been fine, except I insisted on underlining it. I cut the underlining on the bias, which I thought would work, but it was a disaster. It caused the bodice to bind crosswise, pull up lengthwise, and it restricted the stretch of the silk, which was necessary for this particular pattern.
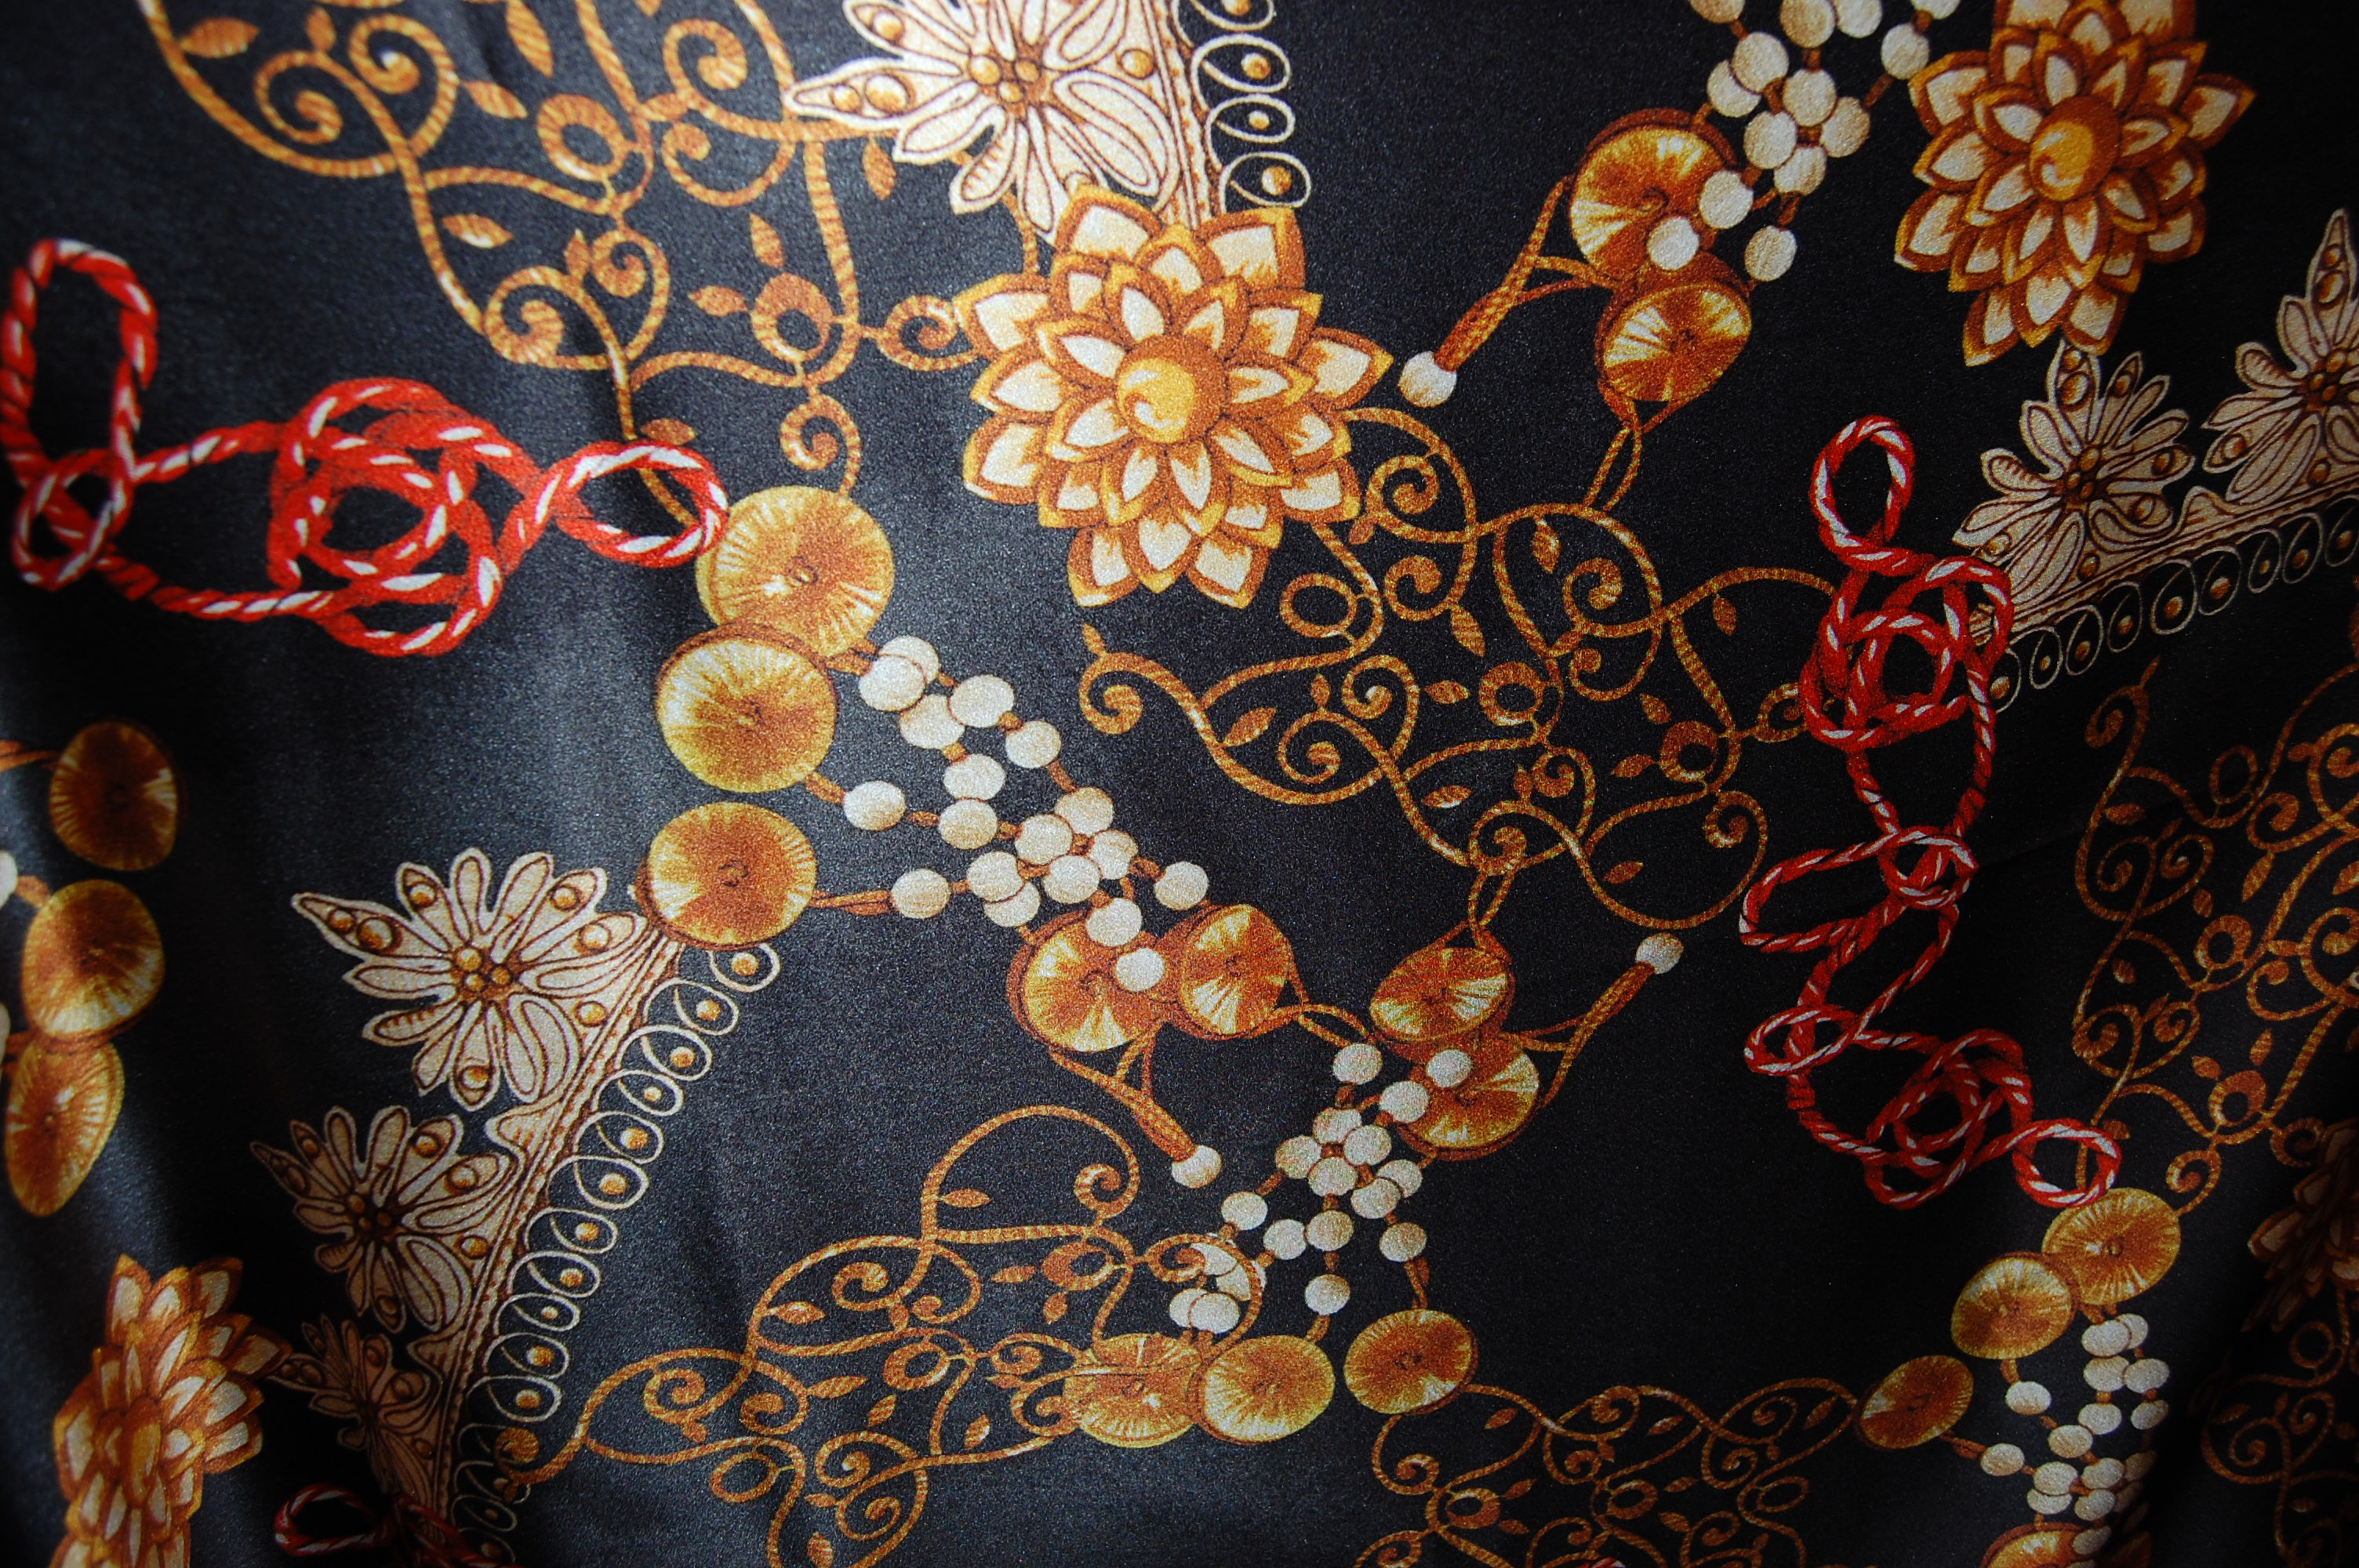
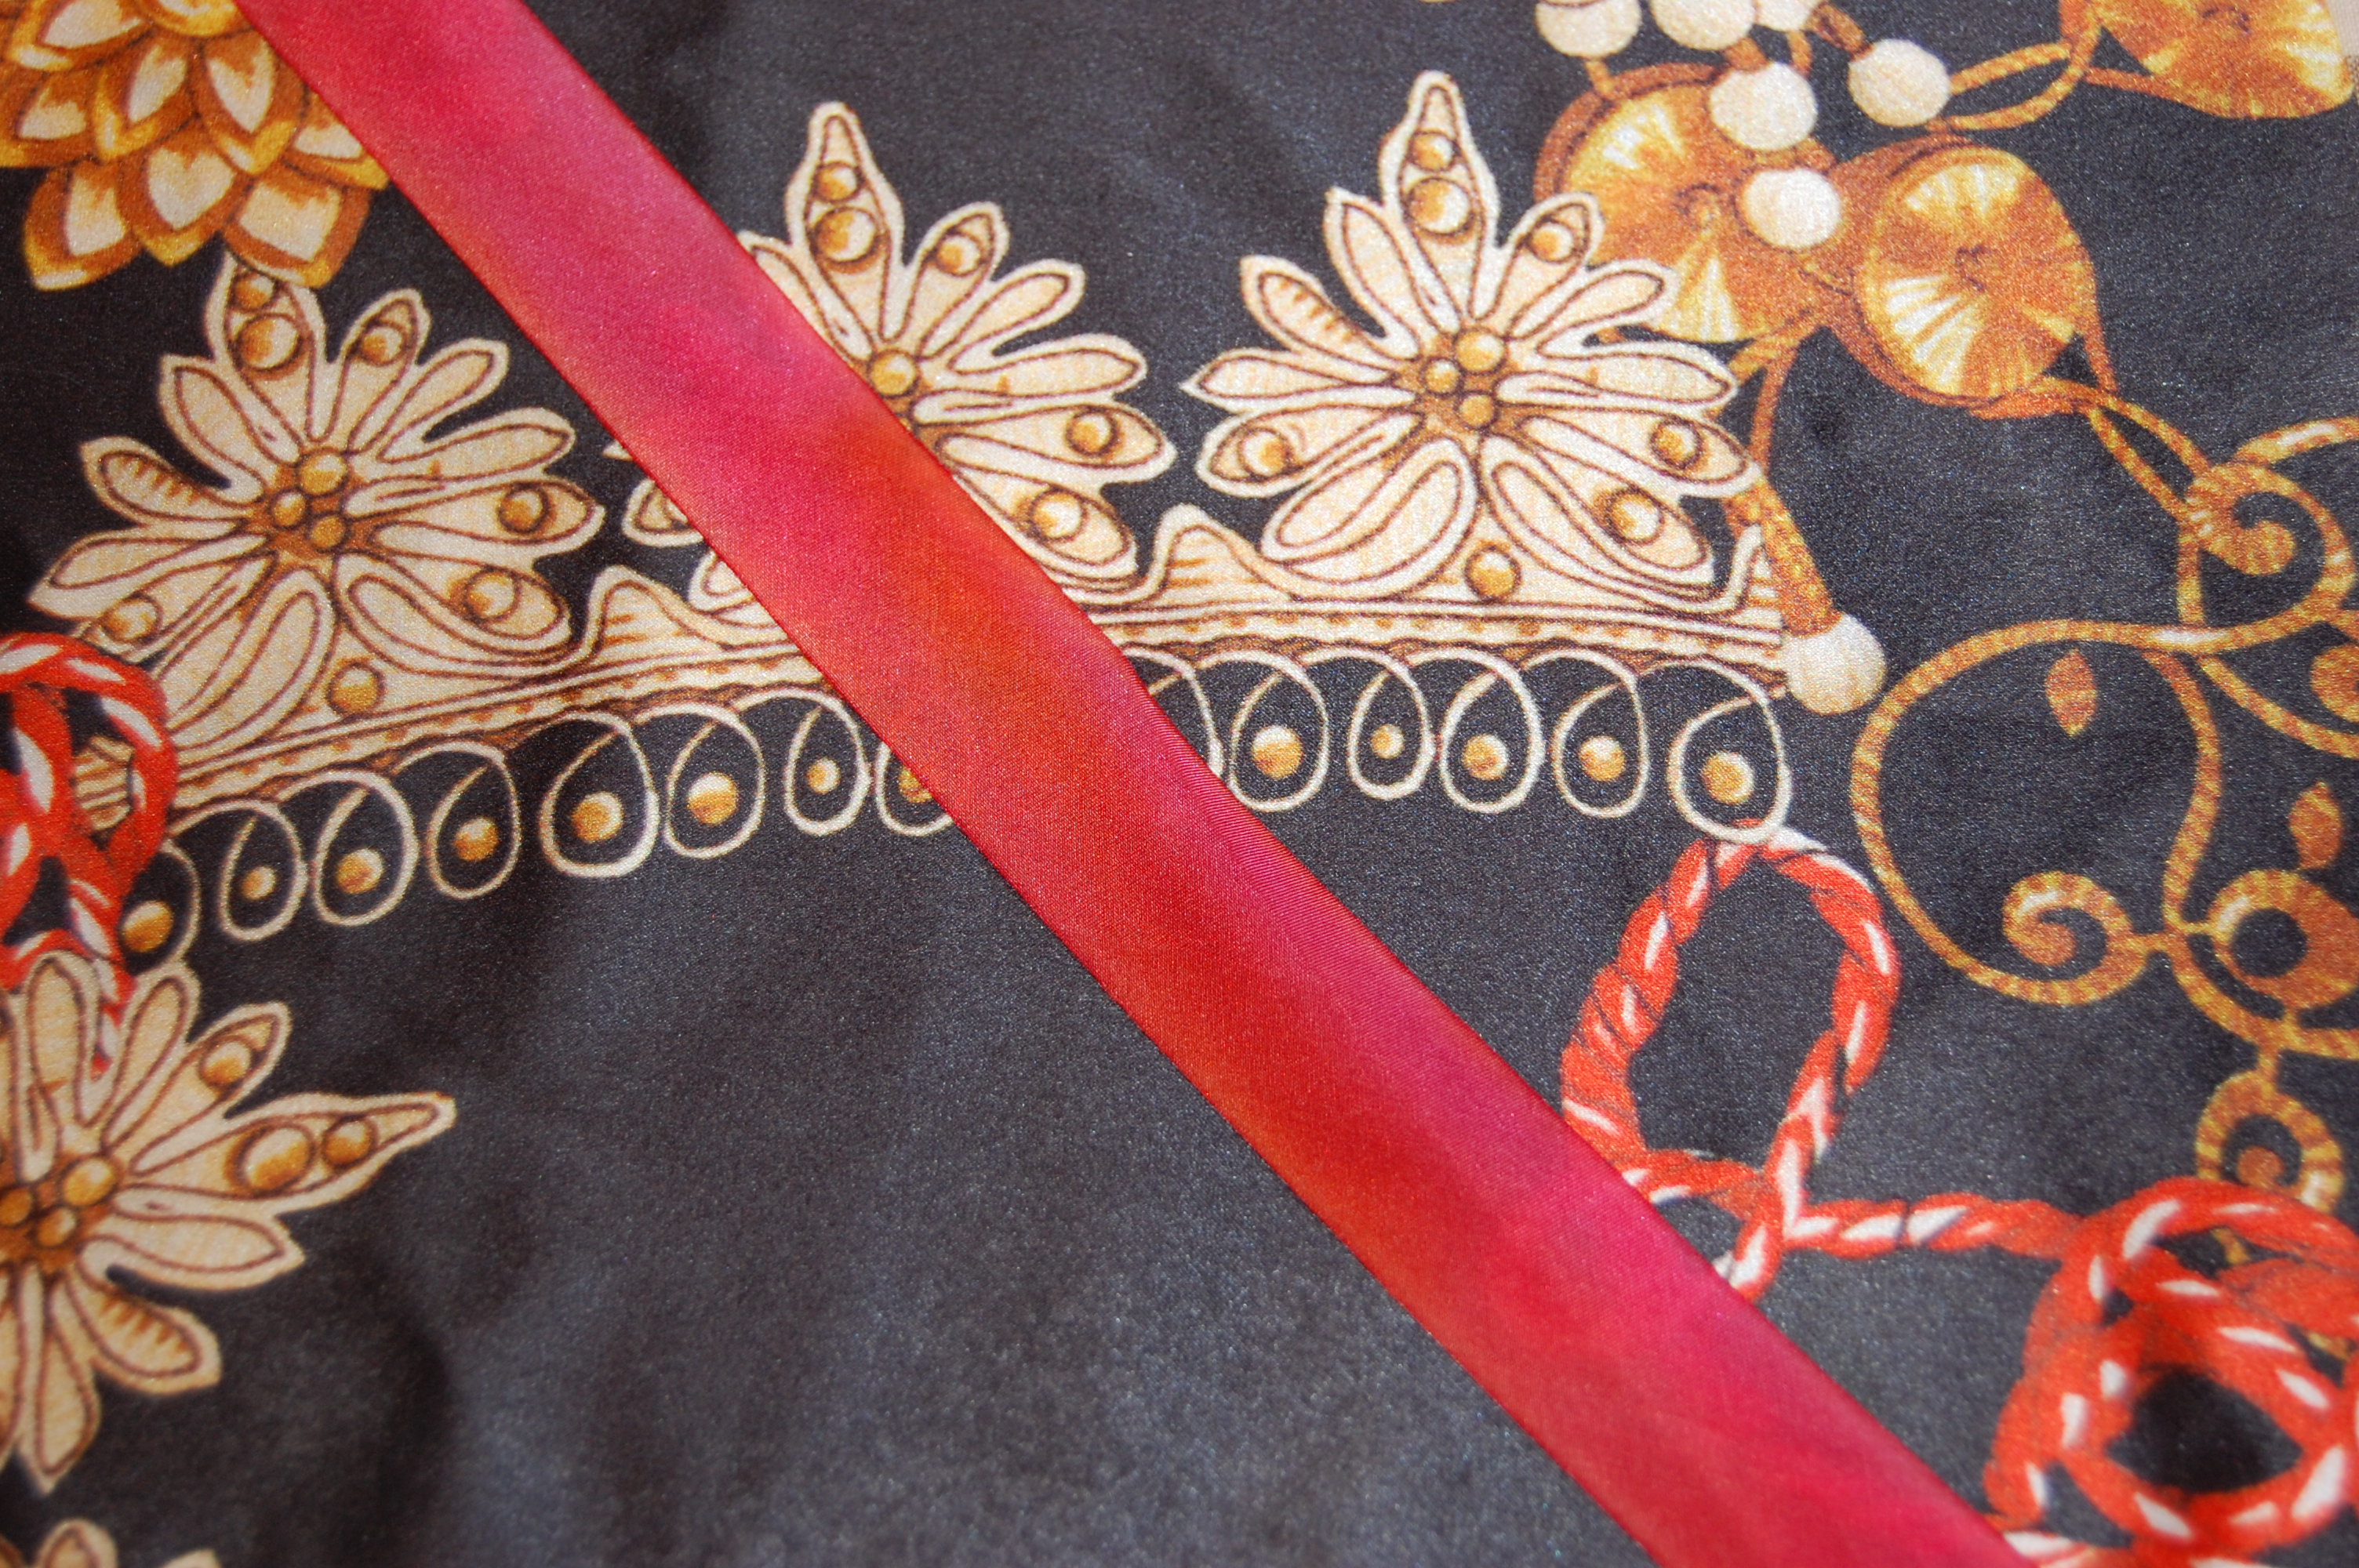
This fabric from Mendel Goldberg Fabrics in NYC is a stretch silk charmeuse, with a wonderful drape to it.
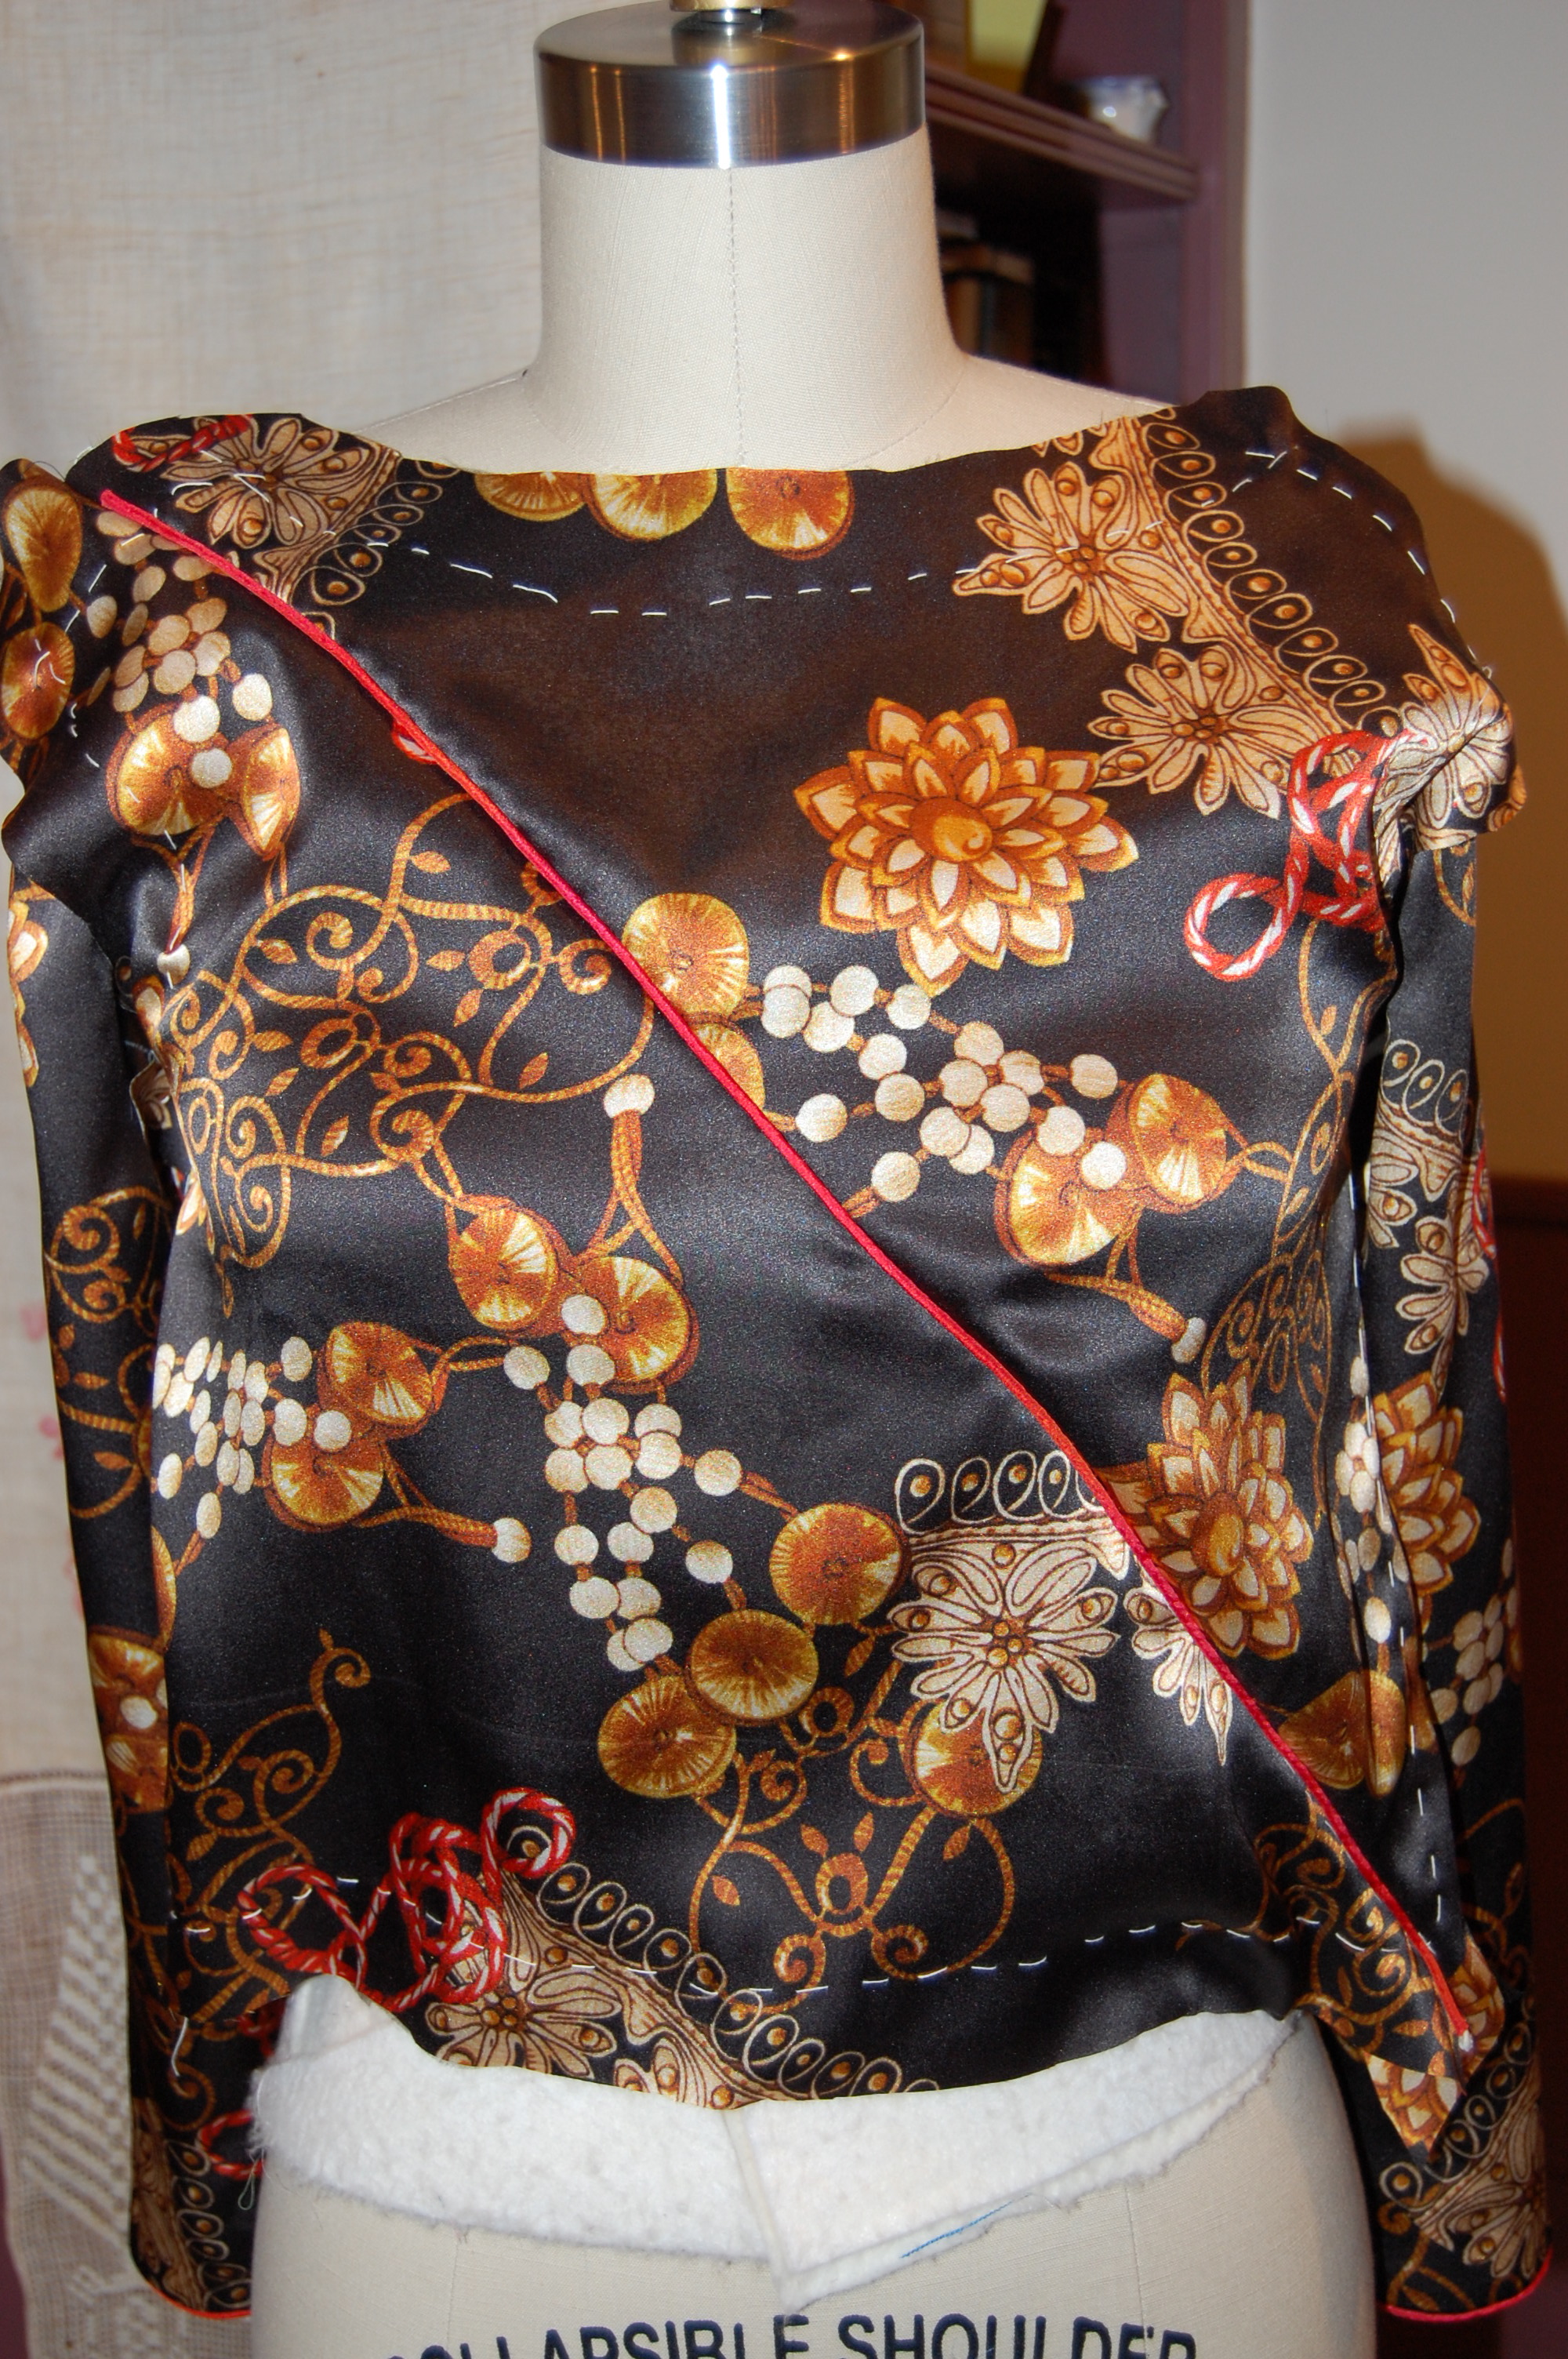
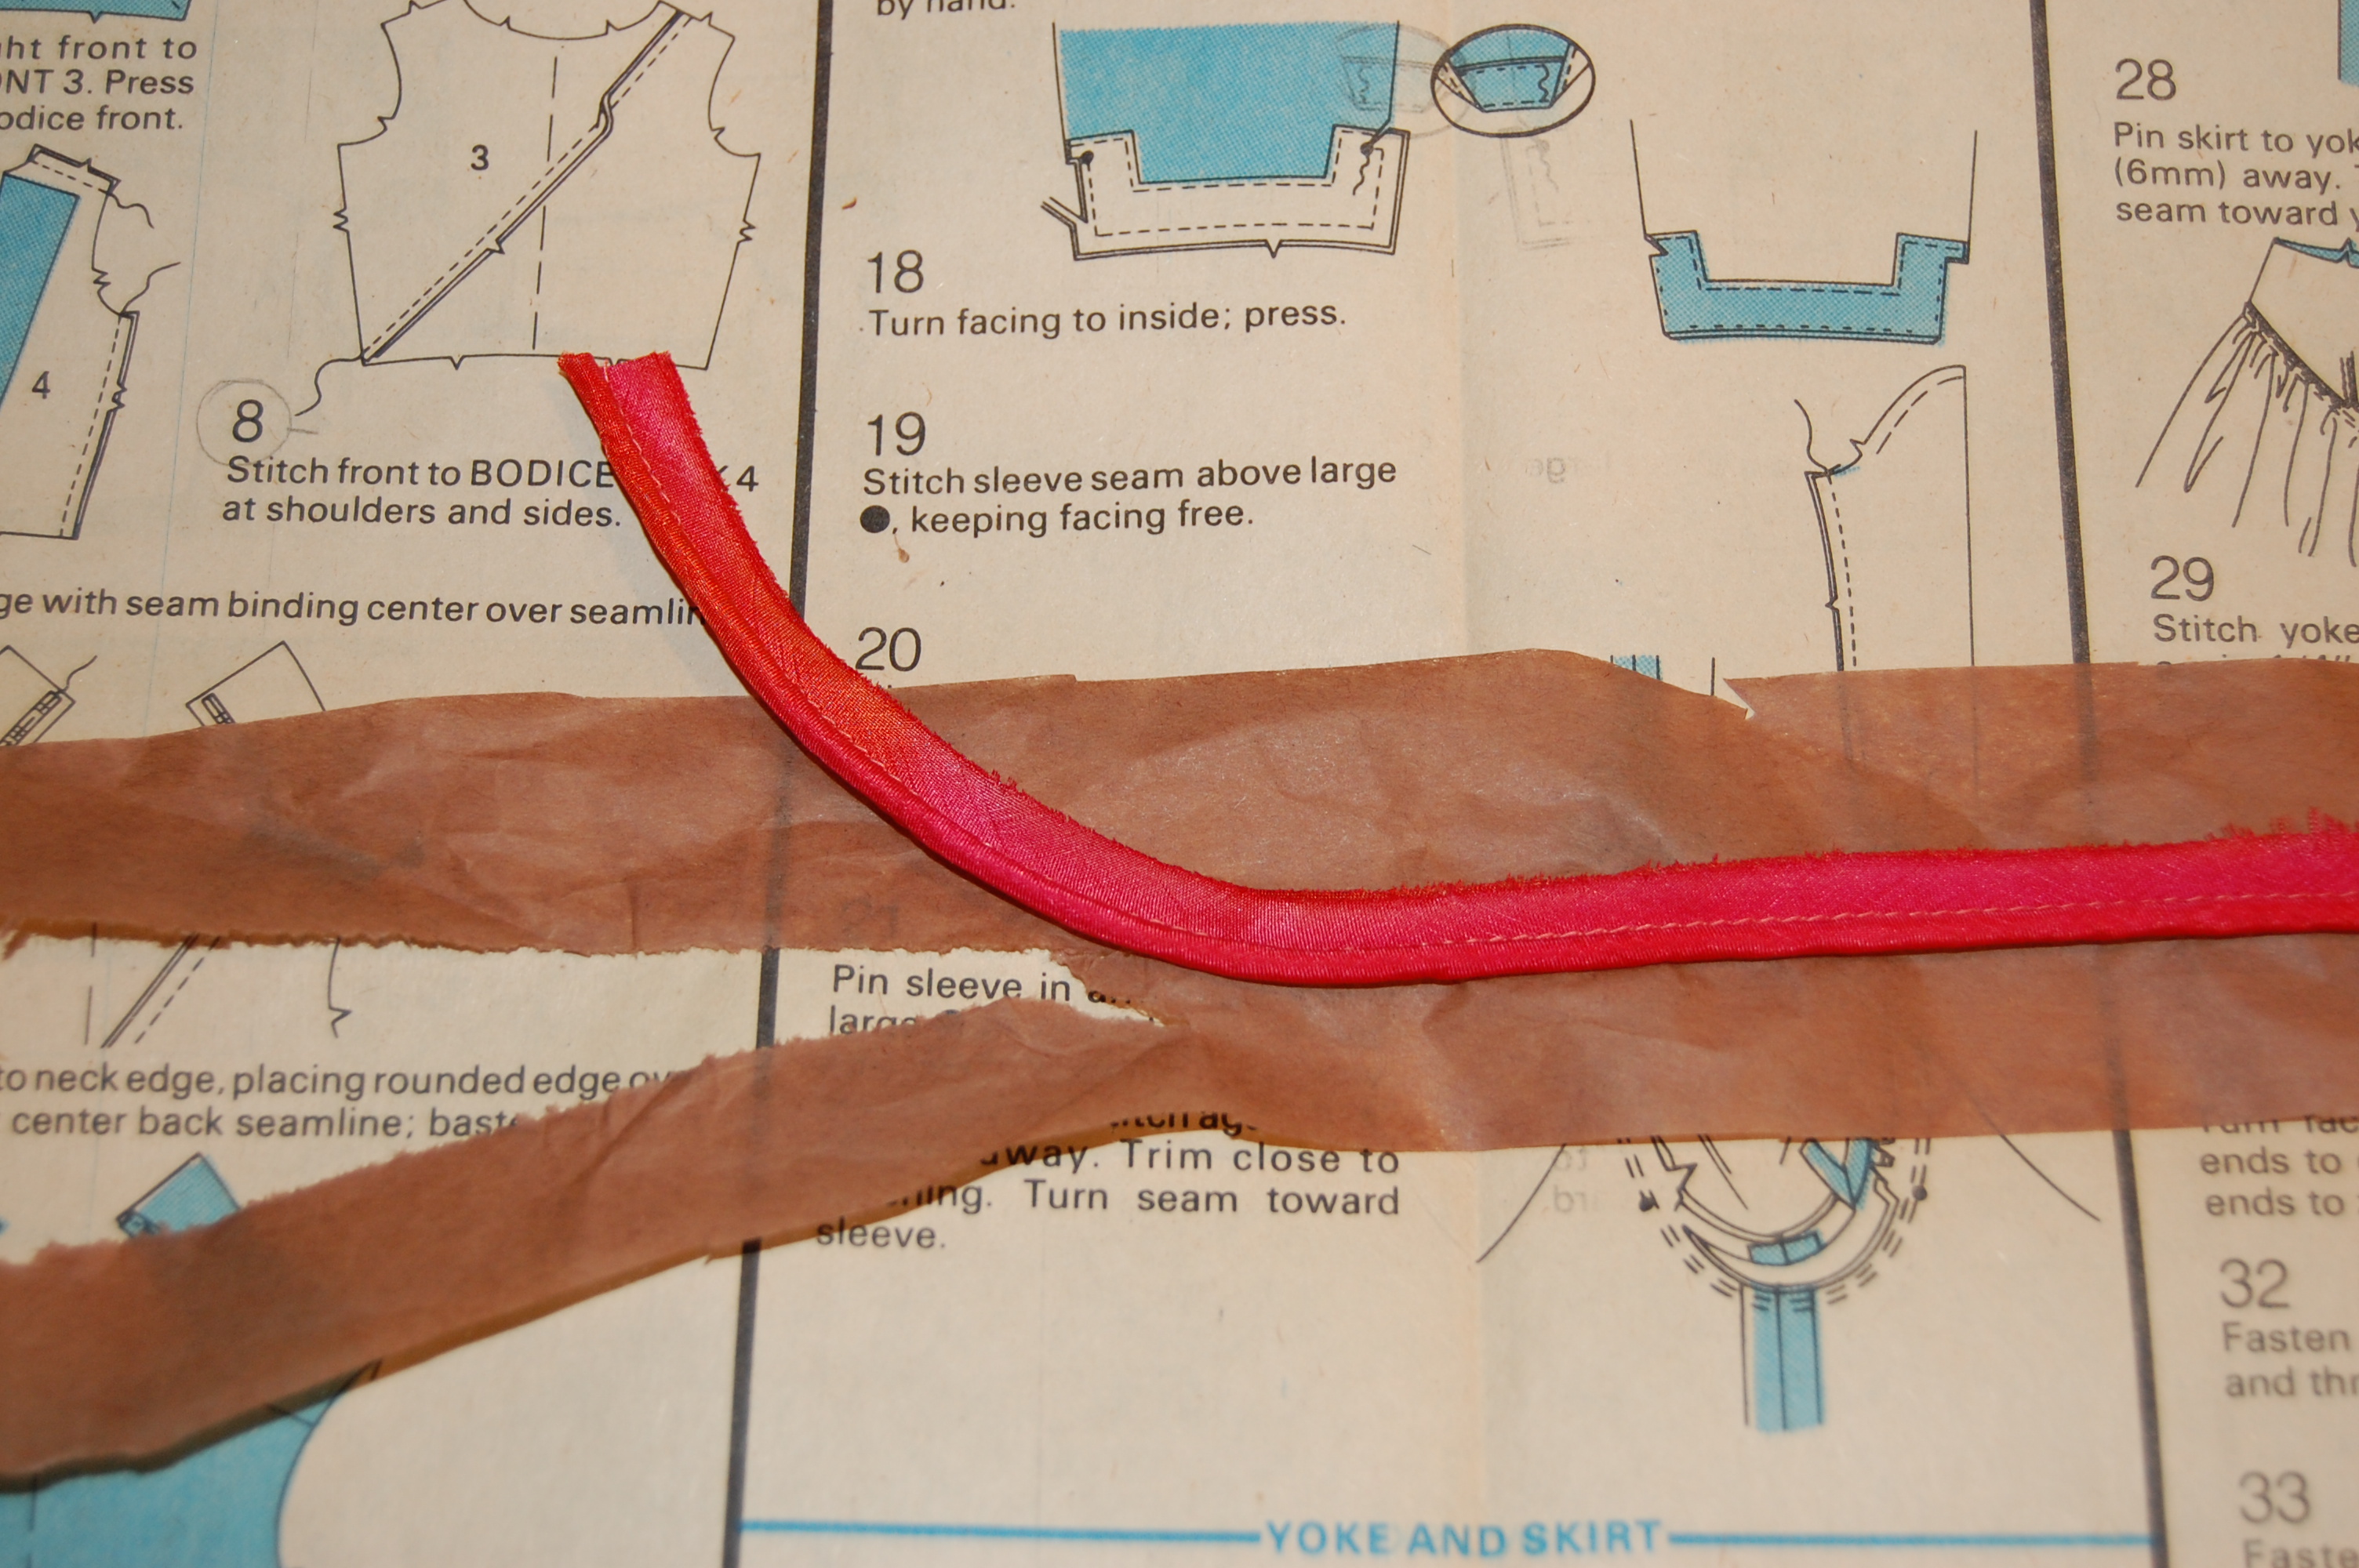
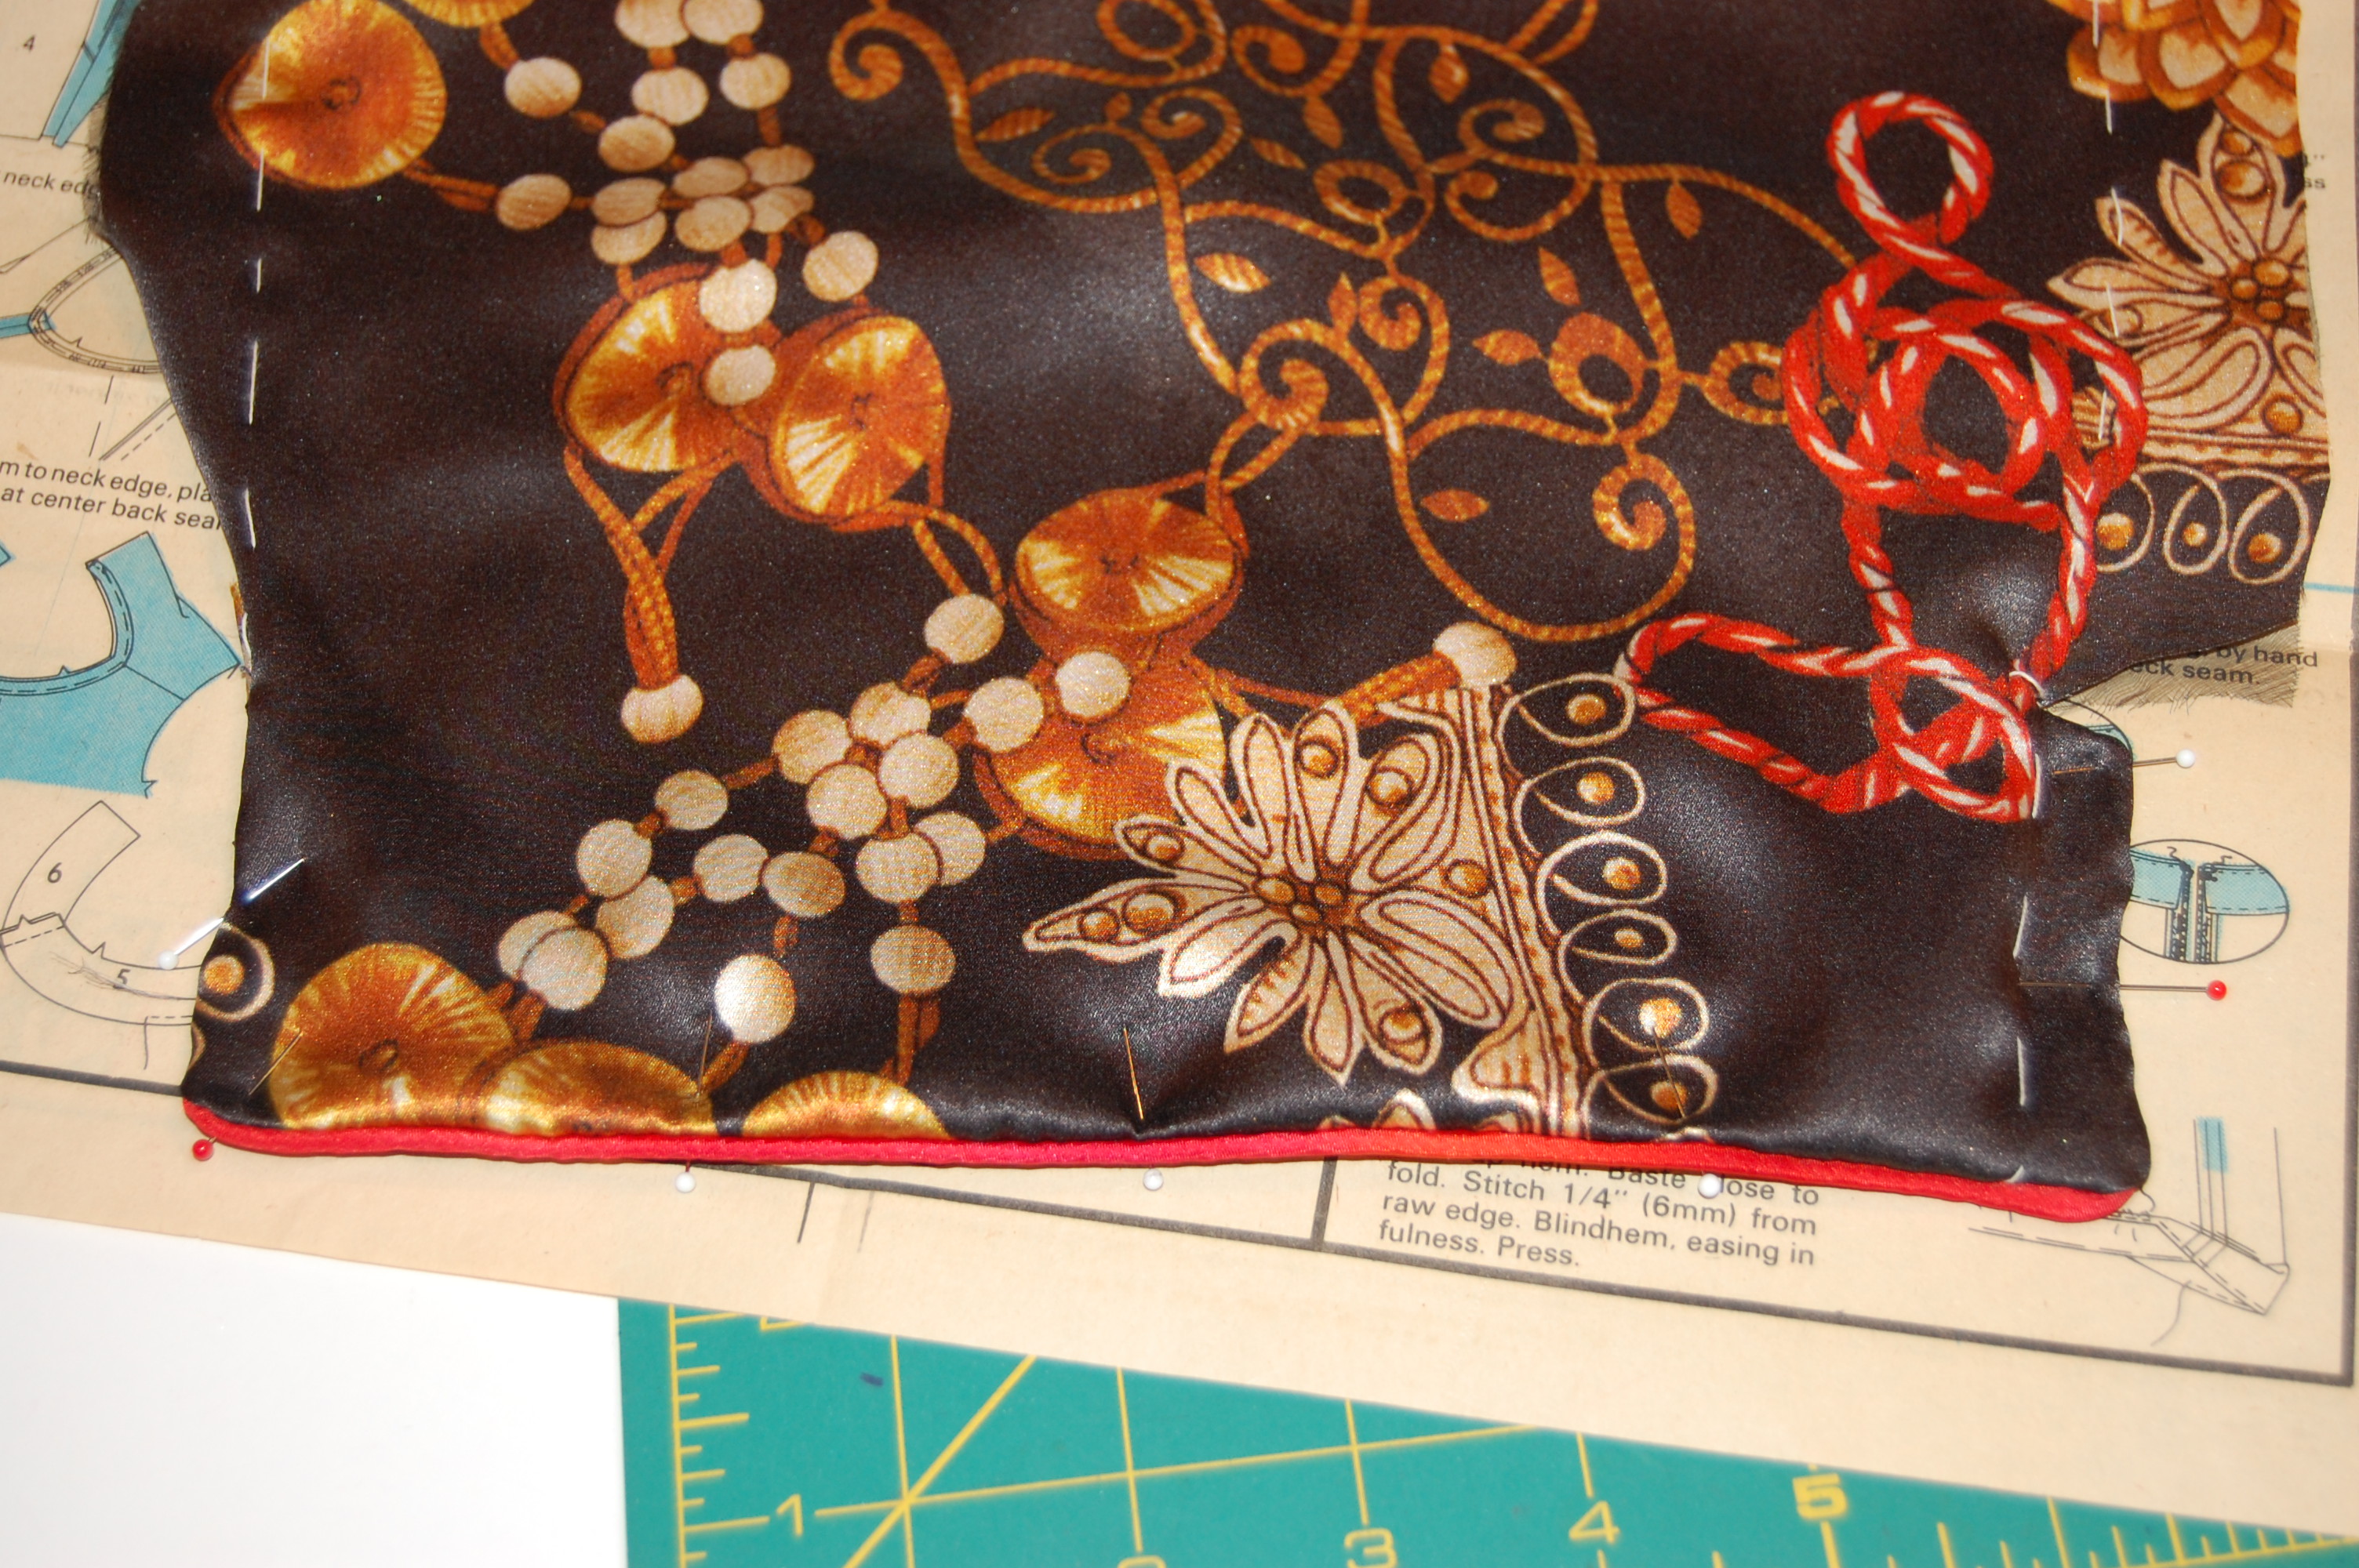
With nothing to lose, I started to remove, meticulously, the silk gauze underlining from all the bodice pieces, starting with the back. I was encouraged enough at the improvement that task made, to continue to do the same with front. Then I tackled the sleeves. What a difference it made! The bodice actually started to fit, although it was still tight across the bust. I then reset the sleeves, releasing about 1/4 “ in the front seam on each side. That was all I could steal from my already-trimmed seam allowances.
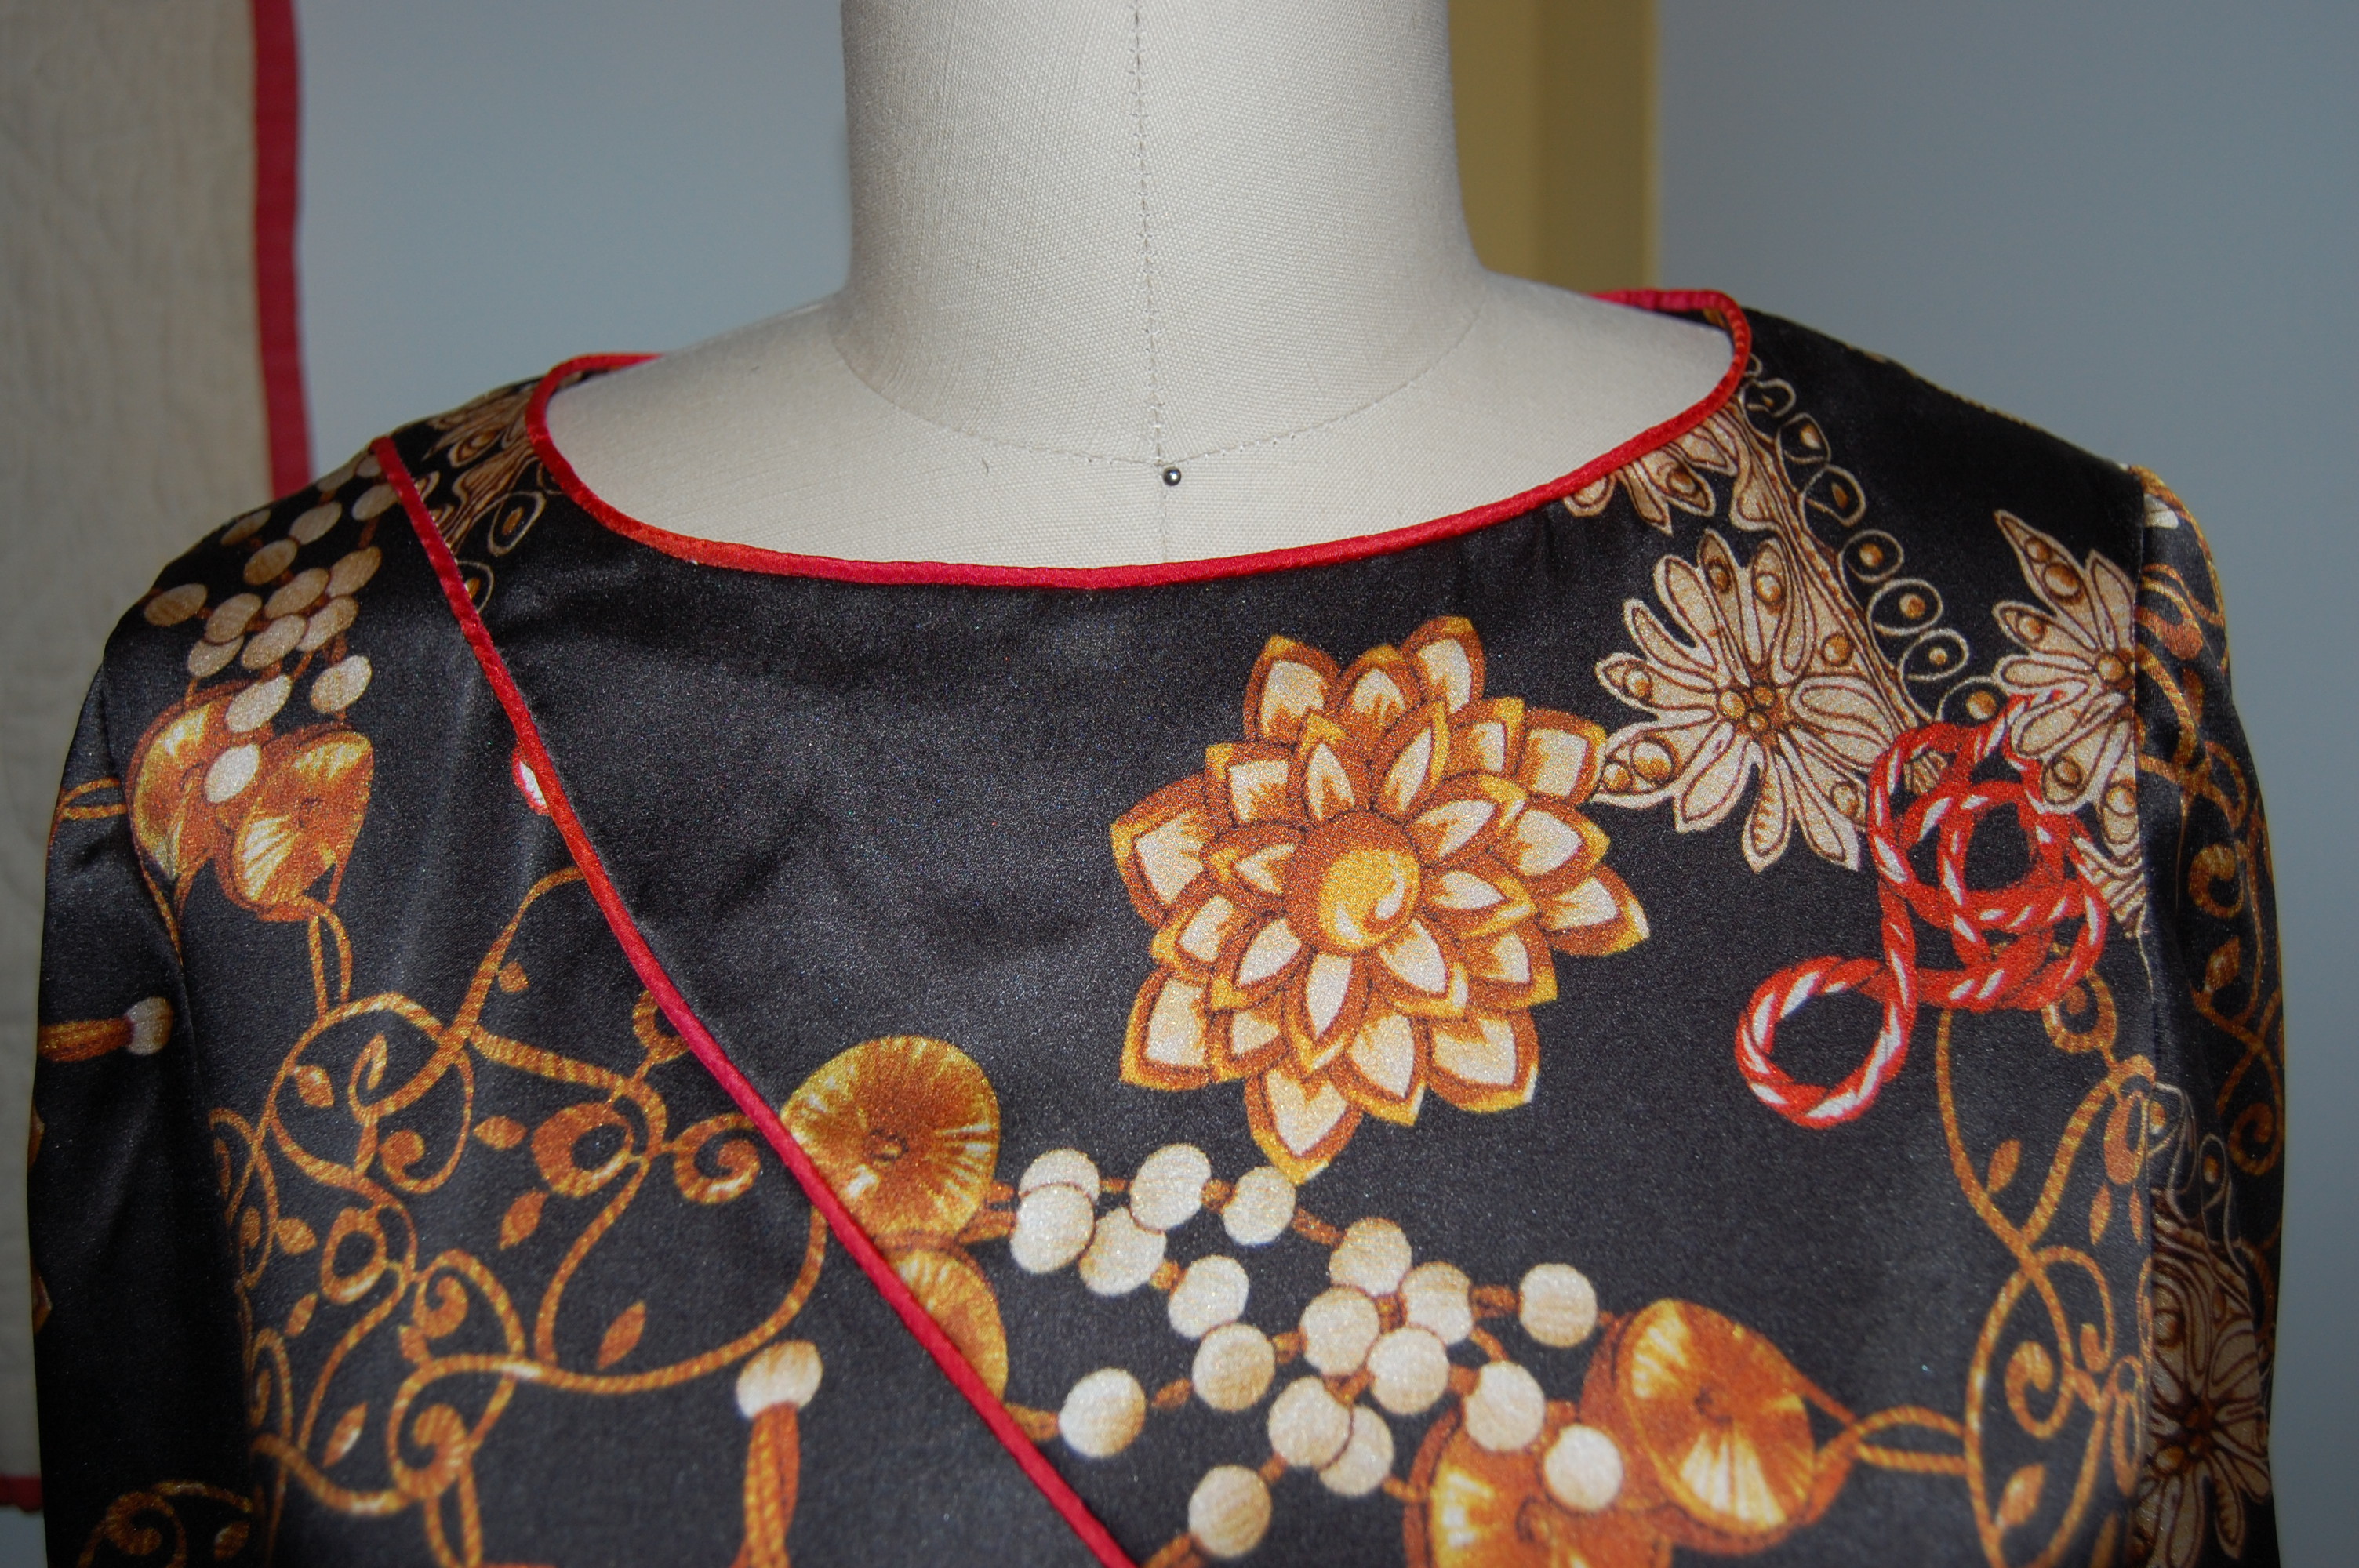
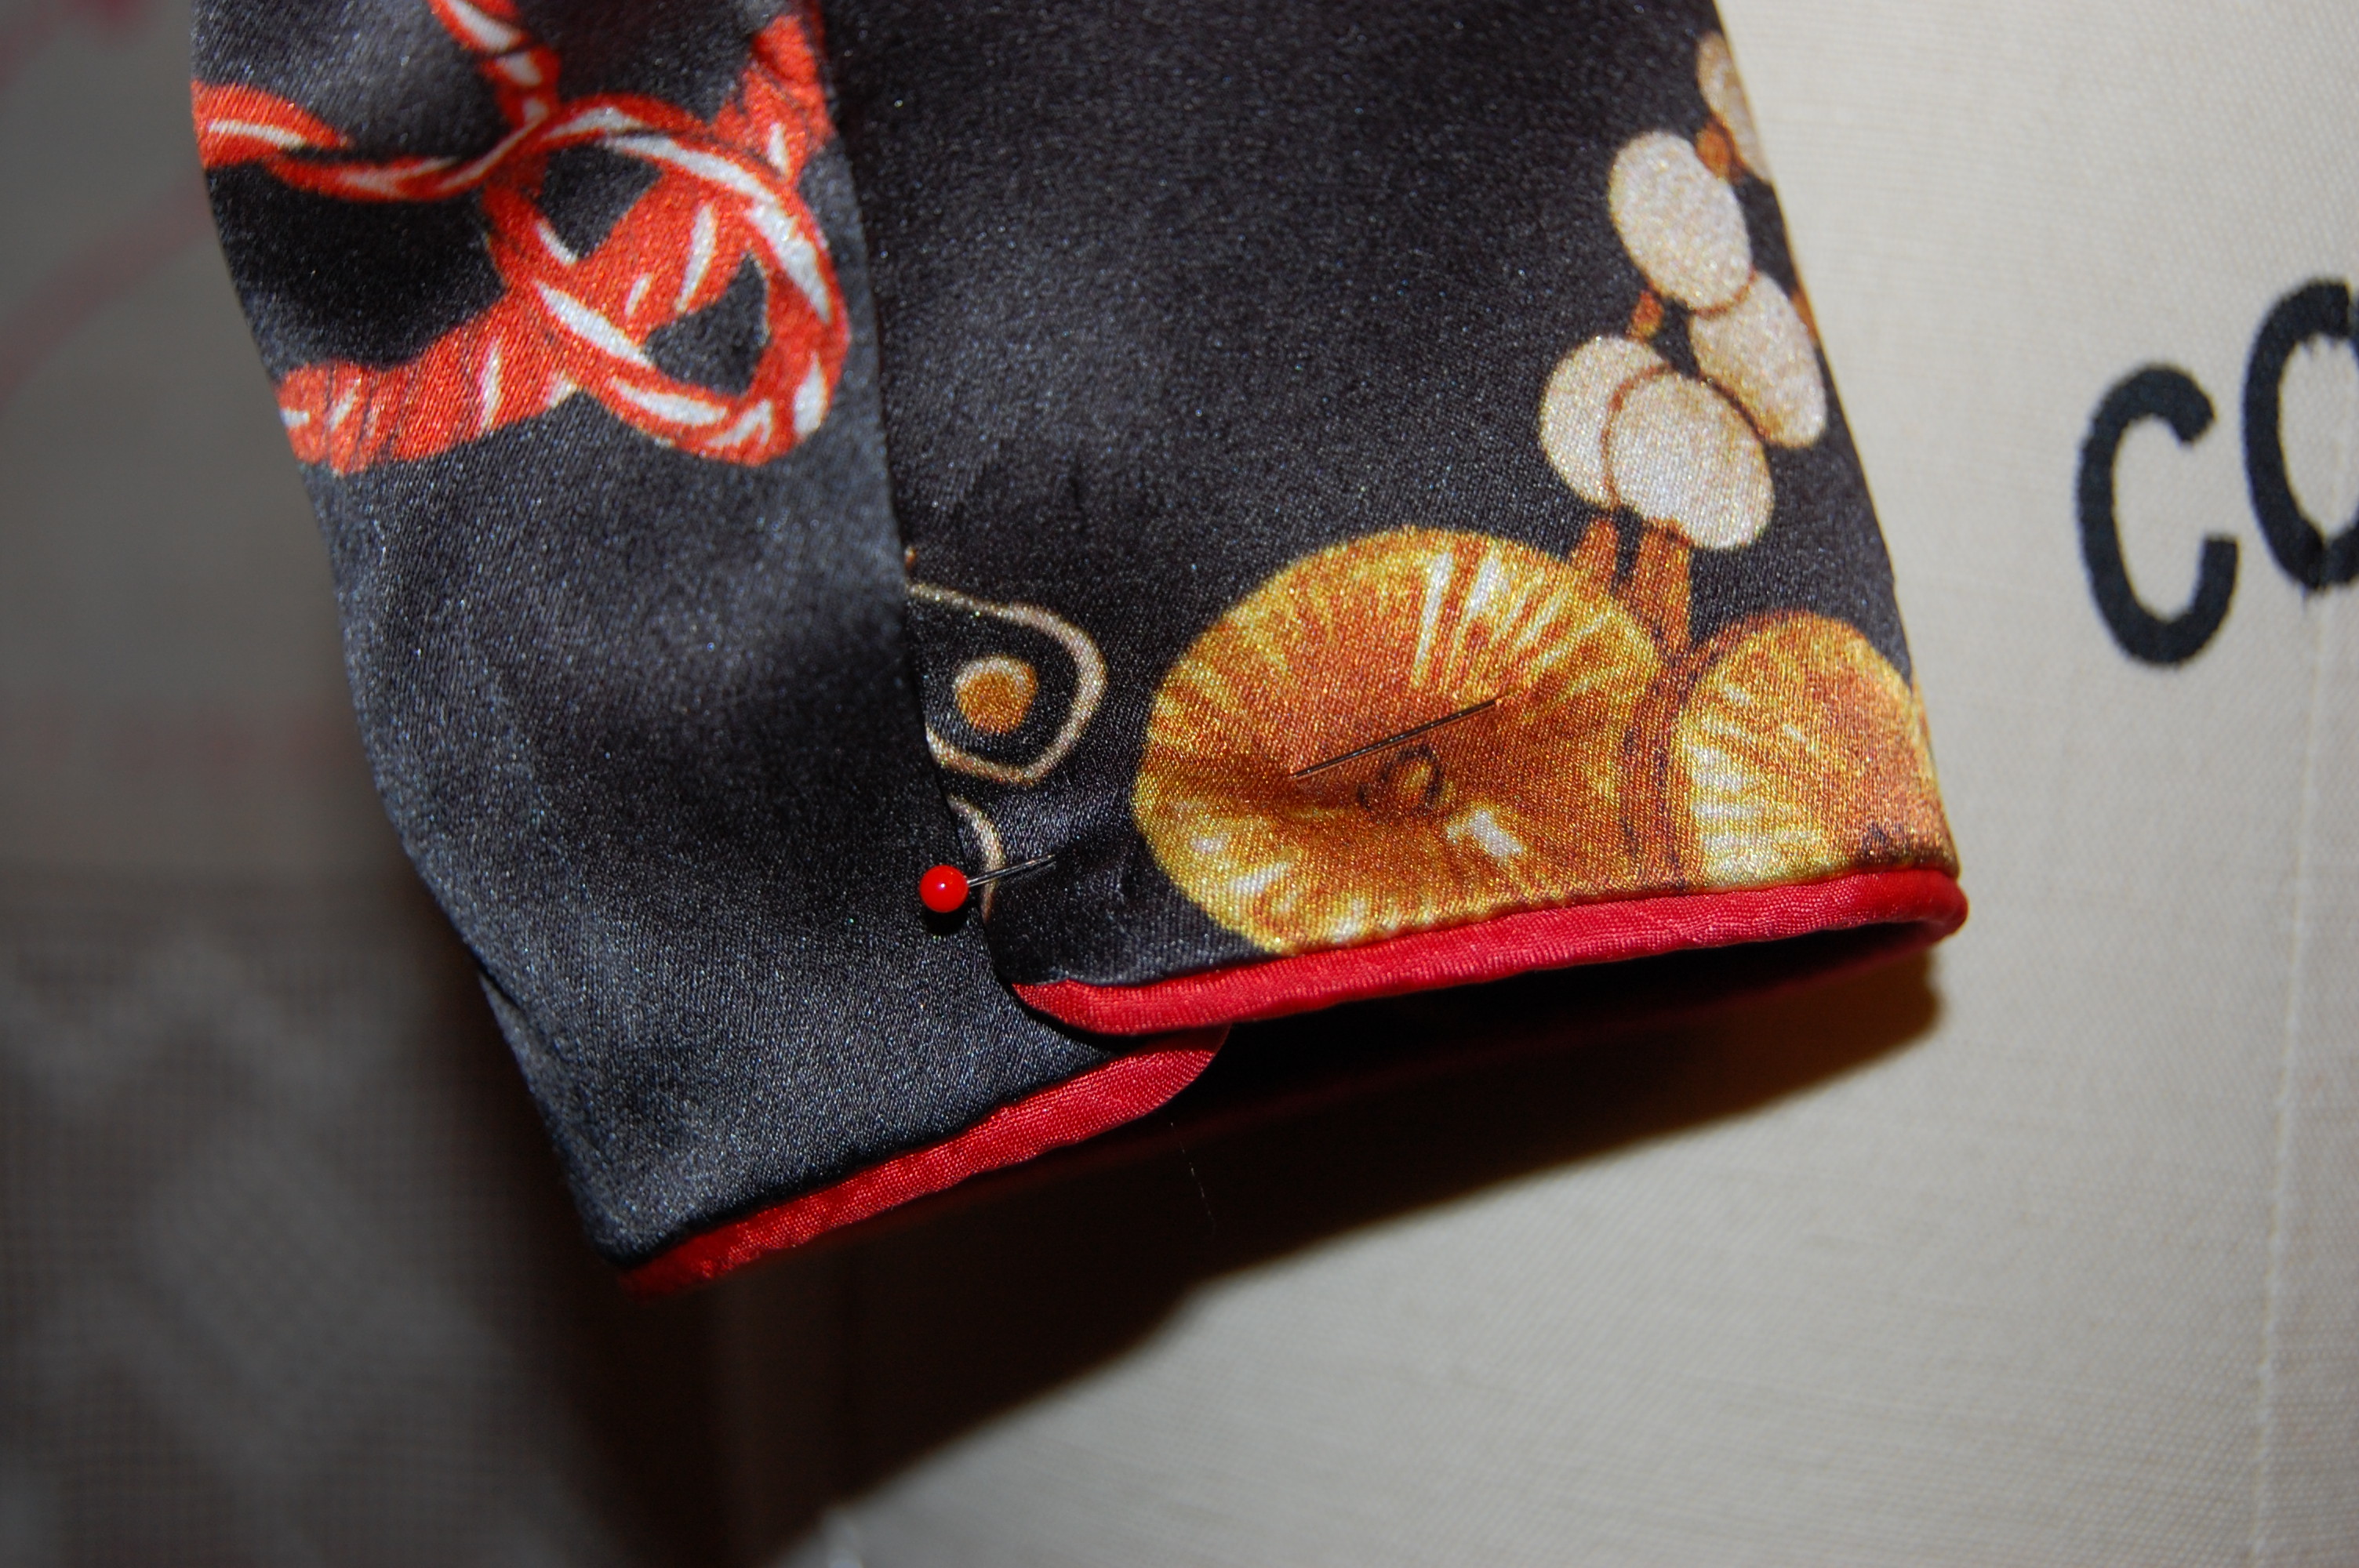
The reset sleeves and the finished neckline, cut a little wider than the pattern.
I sewed the skirt yoke without underlining, but I did use an underlining, cut on the straight of grain, for the gathered skirt. Once all assembled, I basted in the zipper to check the fit. Still a little tight over the bust, but otherwise, not bad!!
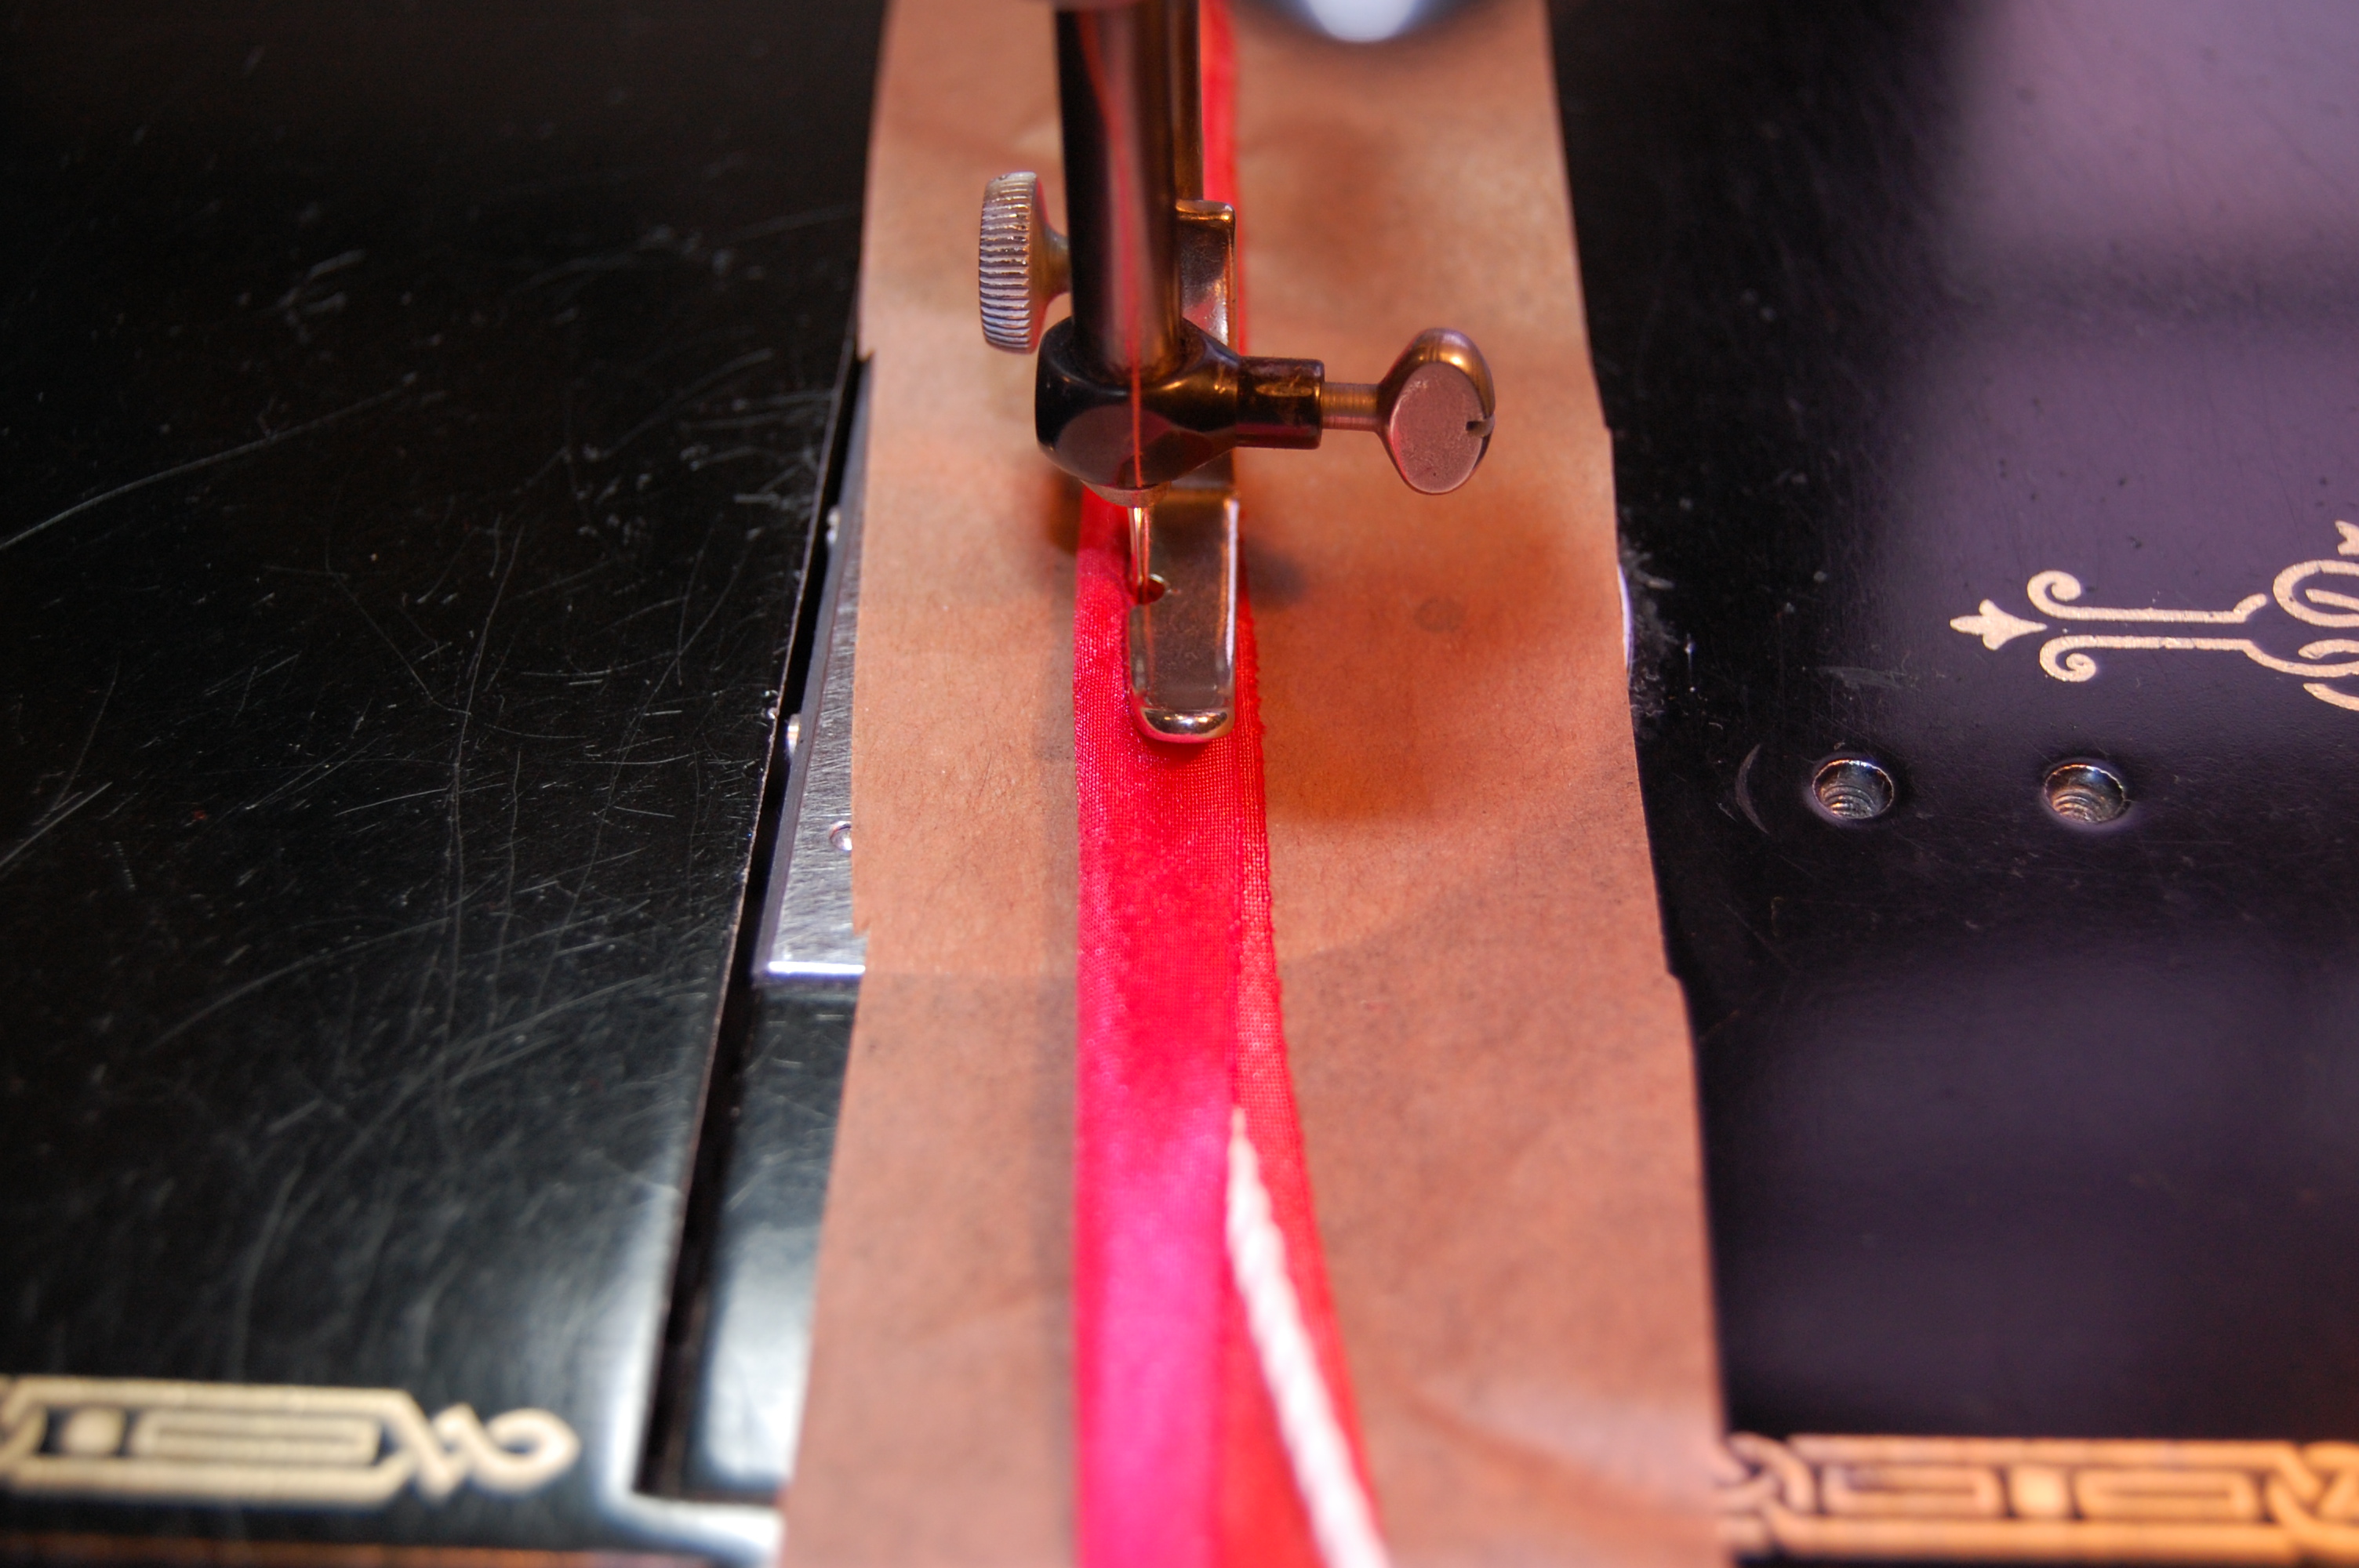
Both views of the pattern show the dress with a purchased belt. I tried three different black belts, of varying widths, and did not like the effect of any of them. All made the dress look like it was cut in half. I took a few scraps of my fabric and tied them around the waist on my dress form. From this I could tell a self-belt would look so much better, but all I had left were scraps. Hopefully no one will notice that this sash is pieced together in four places!

The pieced sash. I’m glad the fabric design is so busy, otherwise the multiple seams in this sash would definitely show.
The finale details of this dress (snaps at the sleeve vents and a good press, for starters) are finally complete. I think I can finally say that I have saved this dress from a ghostly demise.
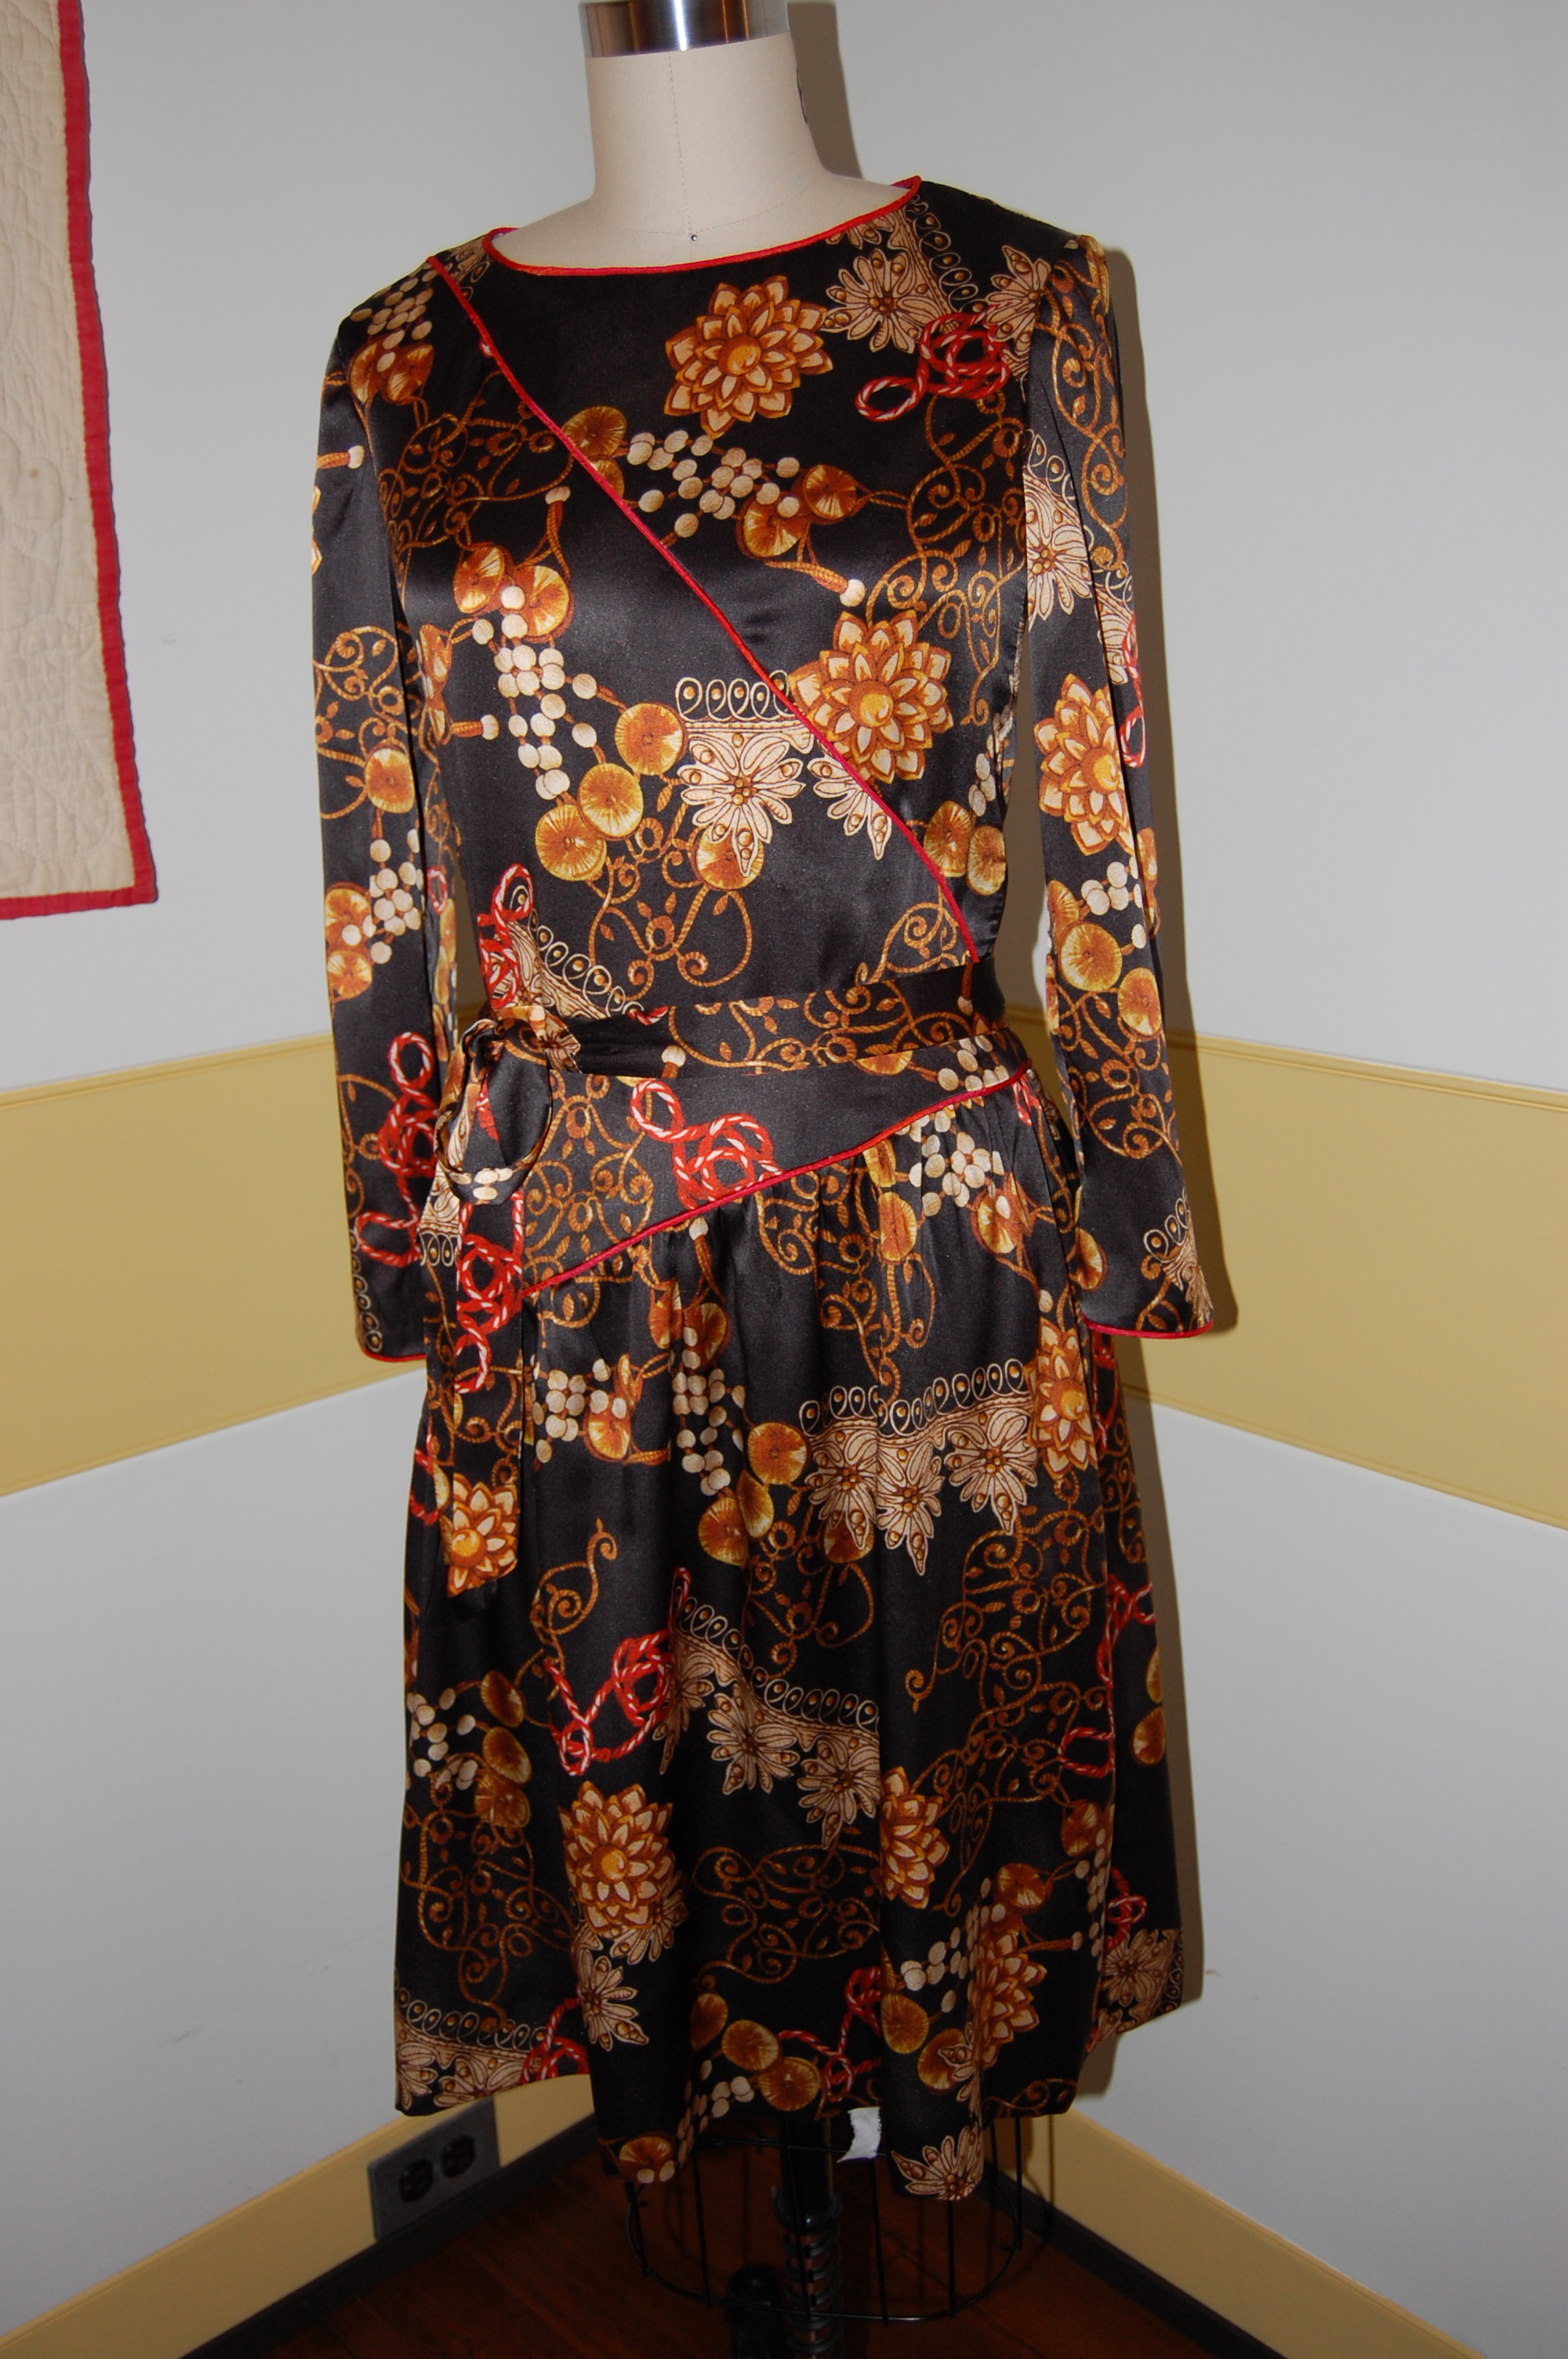
The dress on the form does not show the slight tightness across the bust.
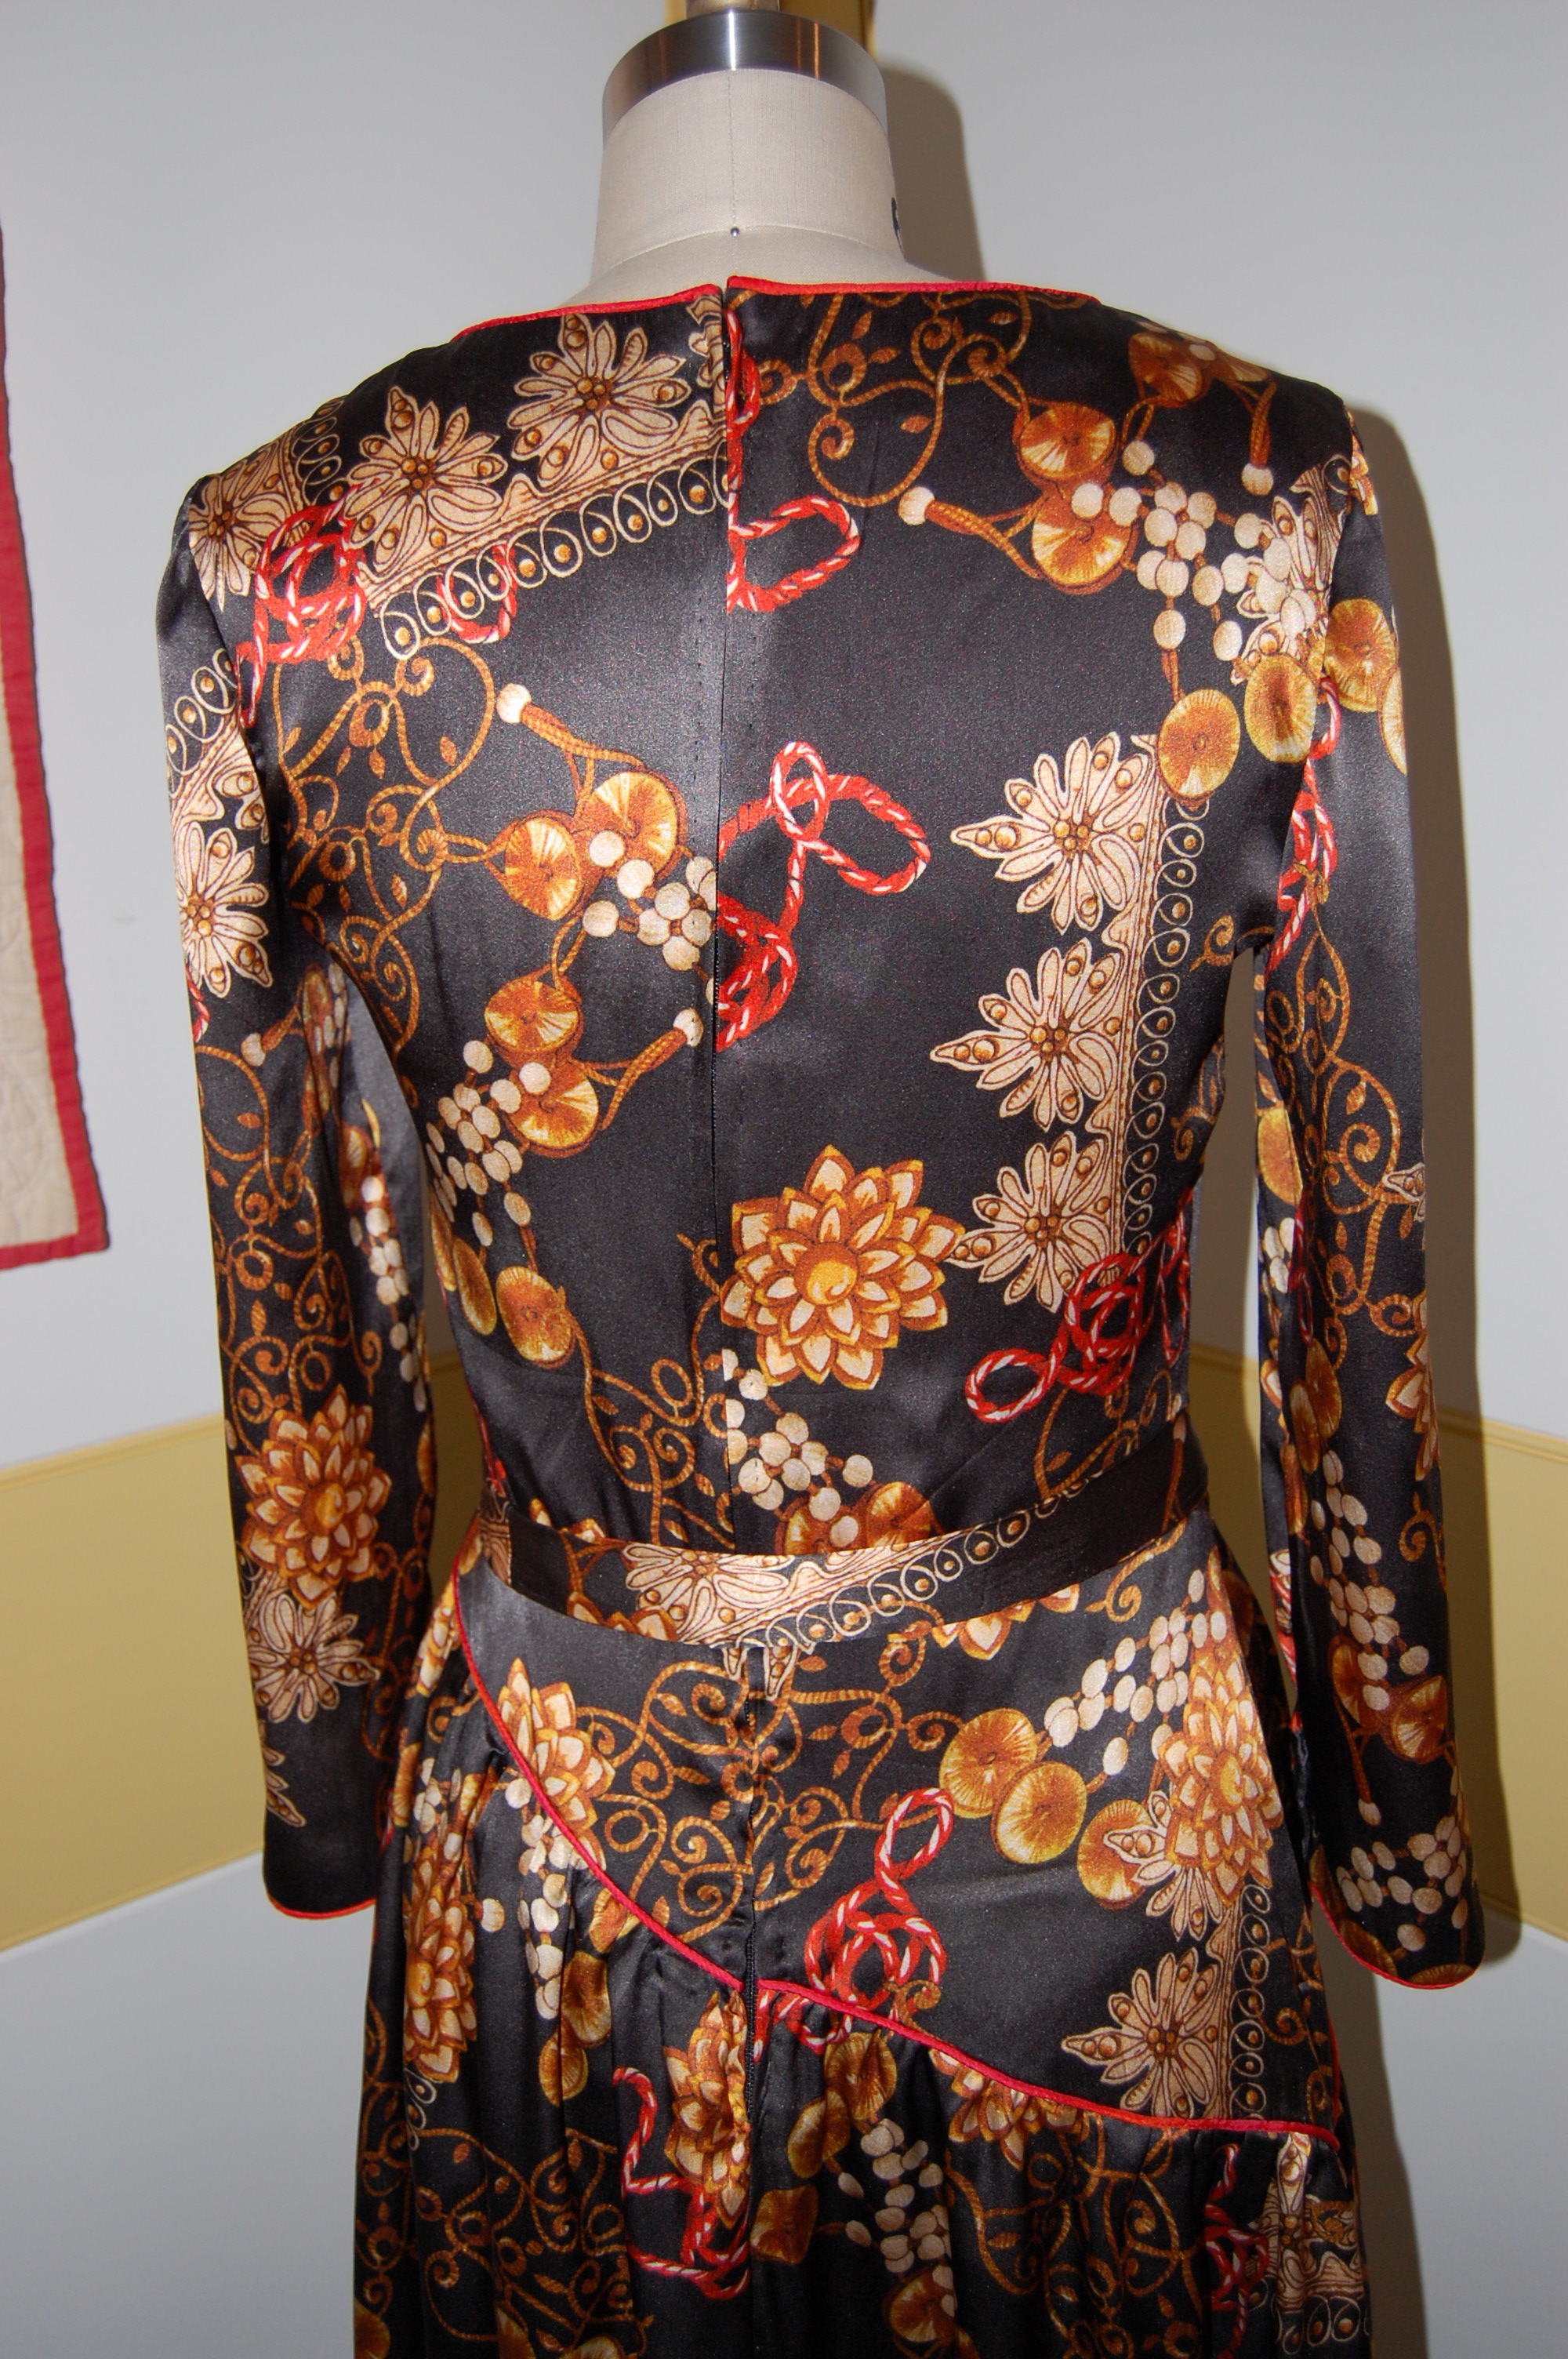
A back view. Notice the asymmetrical skirt yoke, which I think is a nice detail.

I do love this fabric!
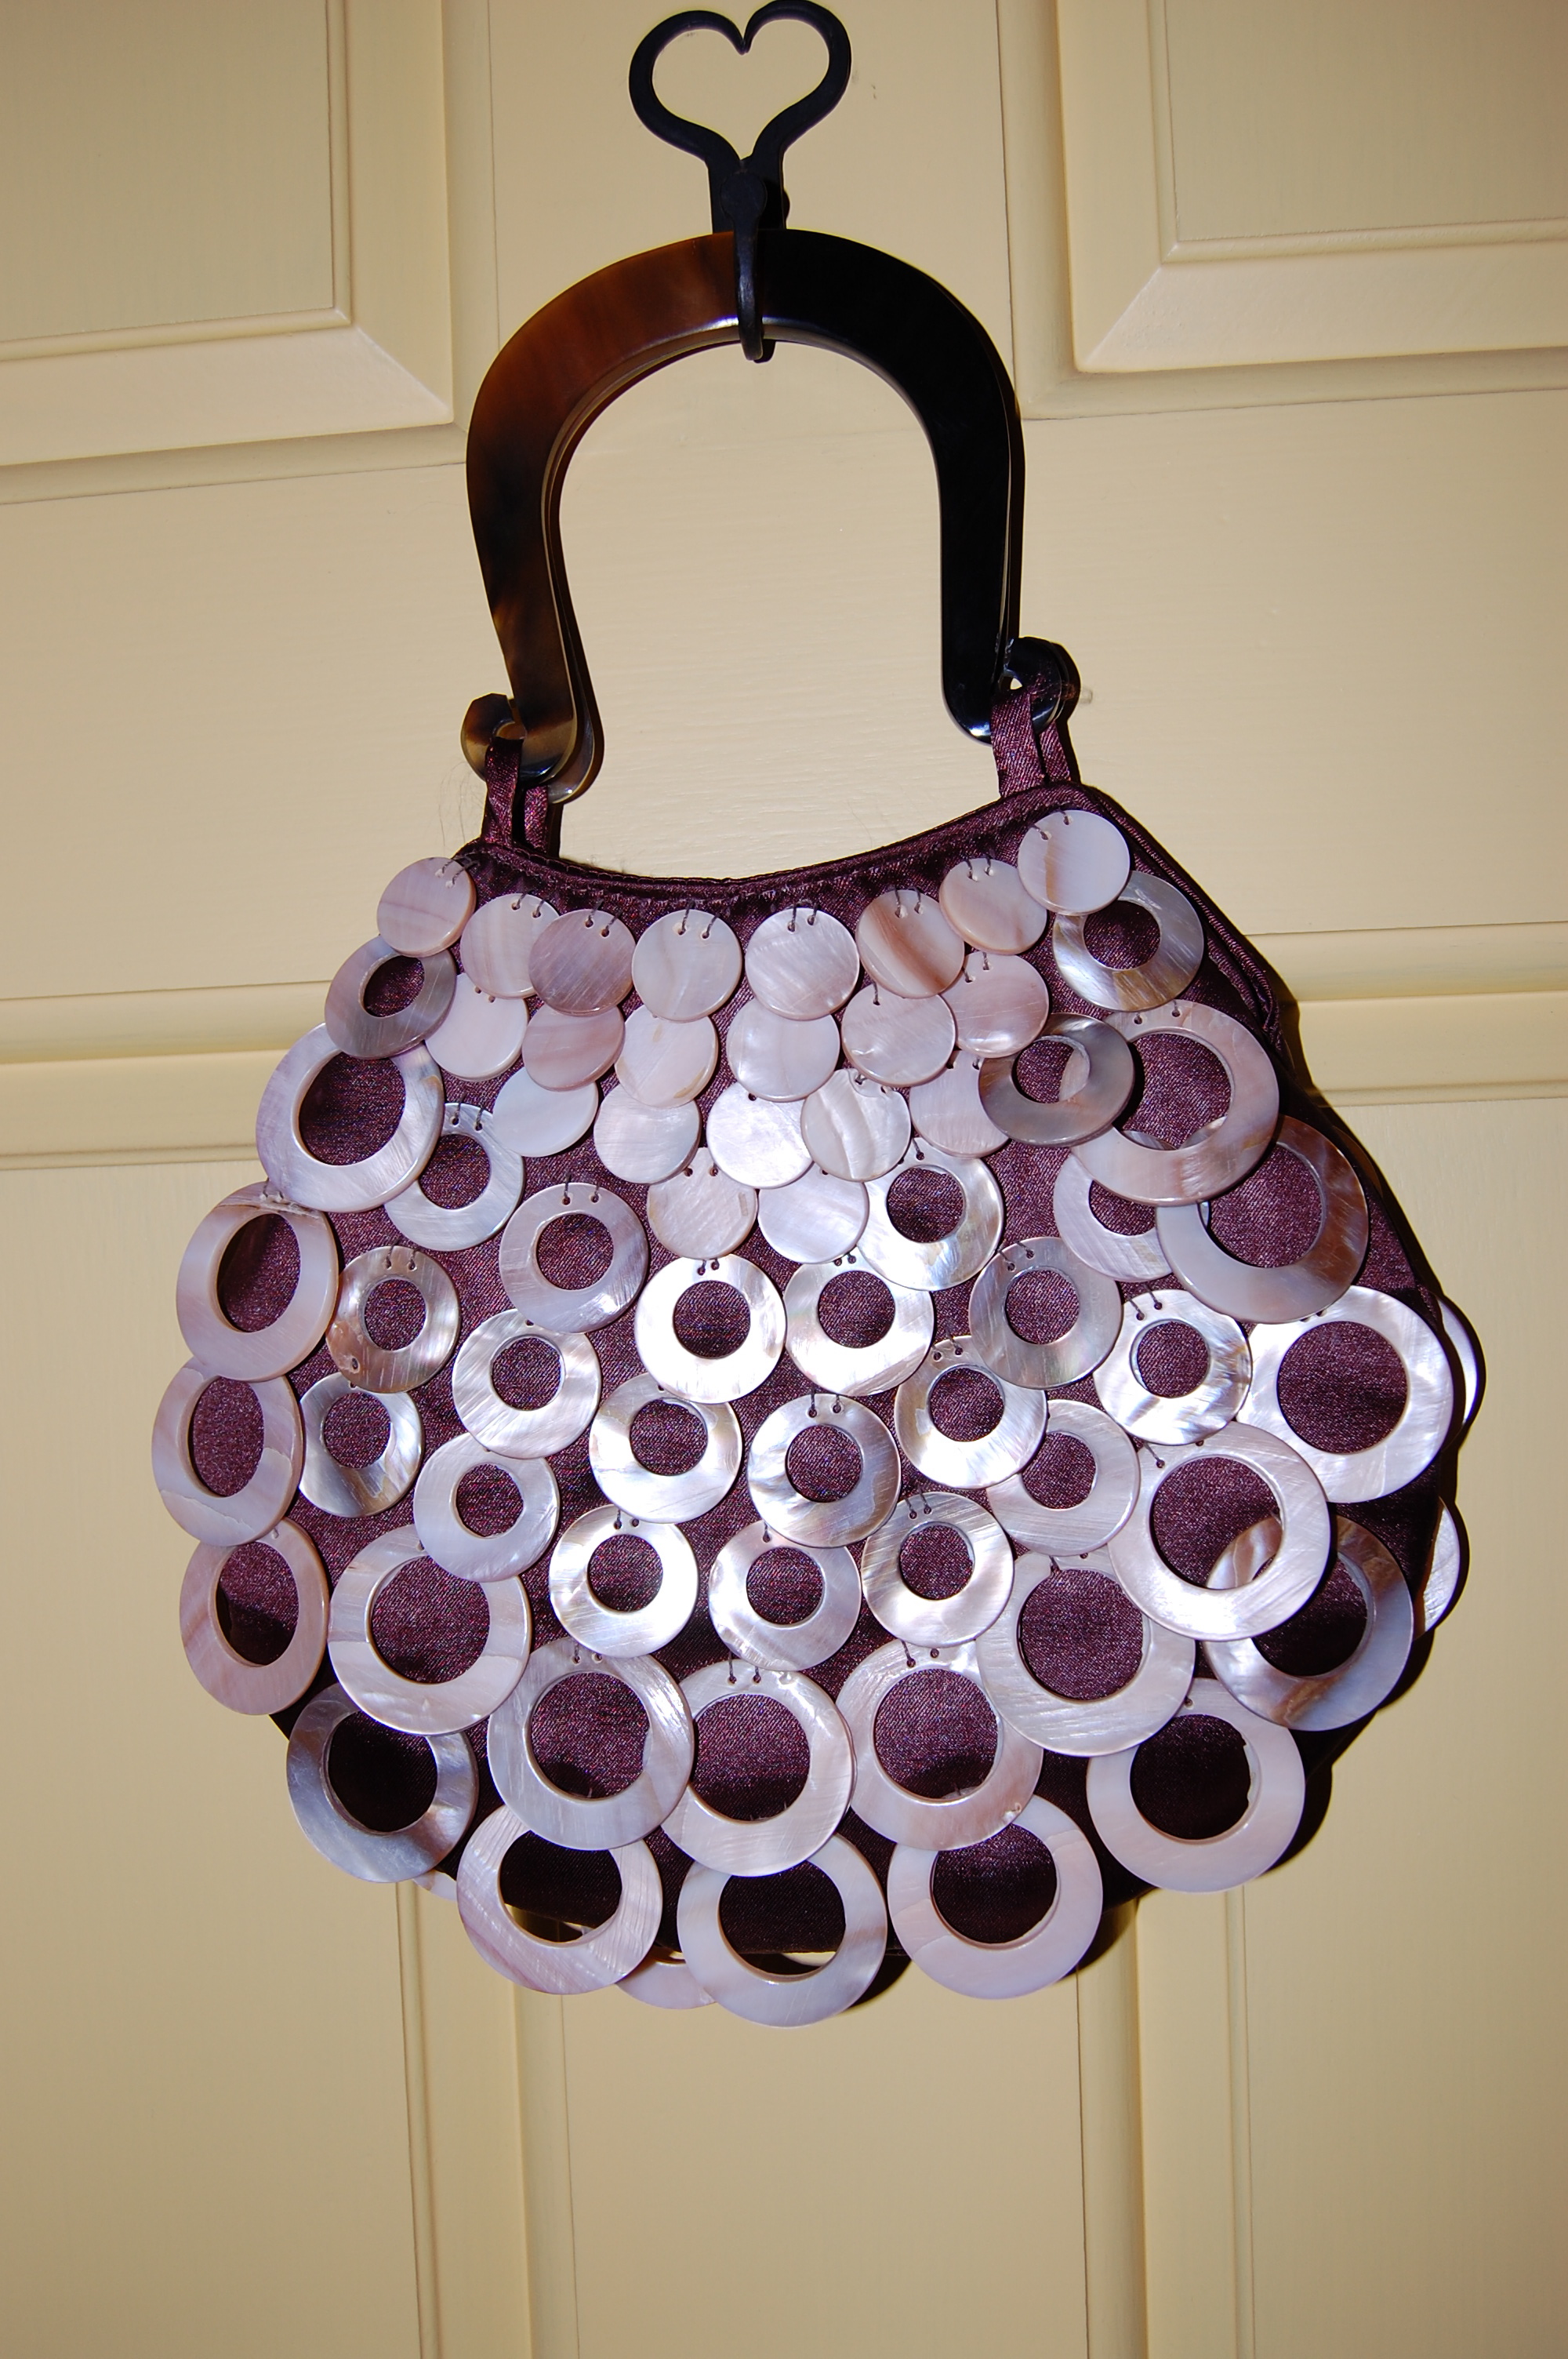
And here is something fun – a dressy handbag to wear with this dress ( a recent find from one of my travels).
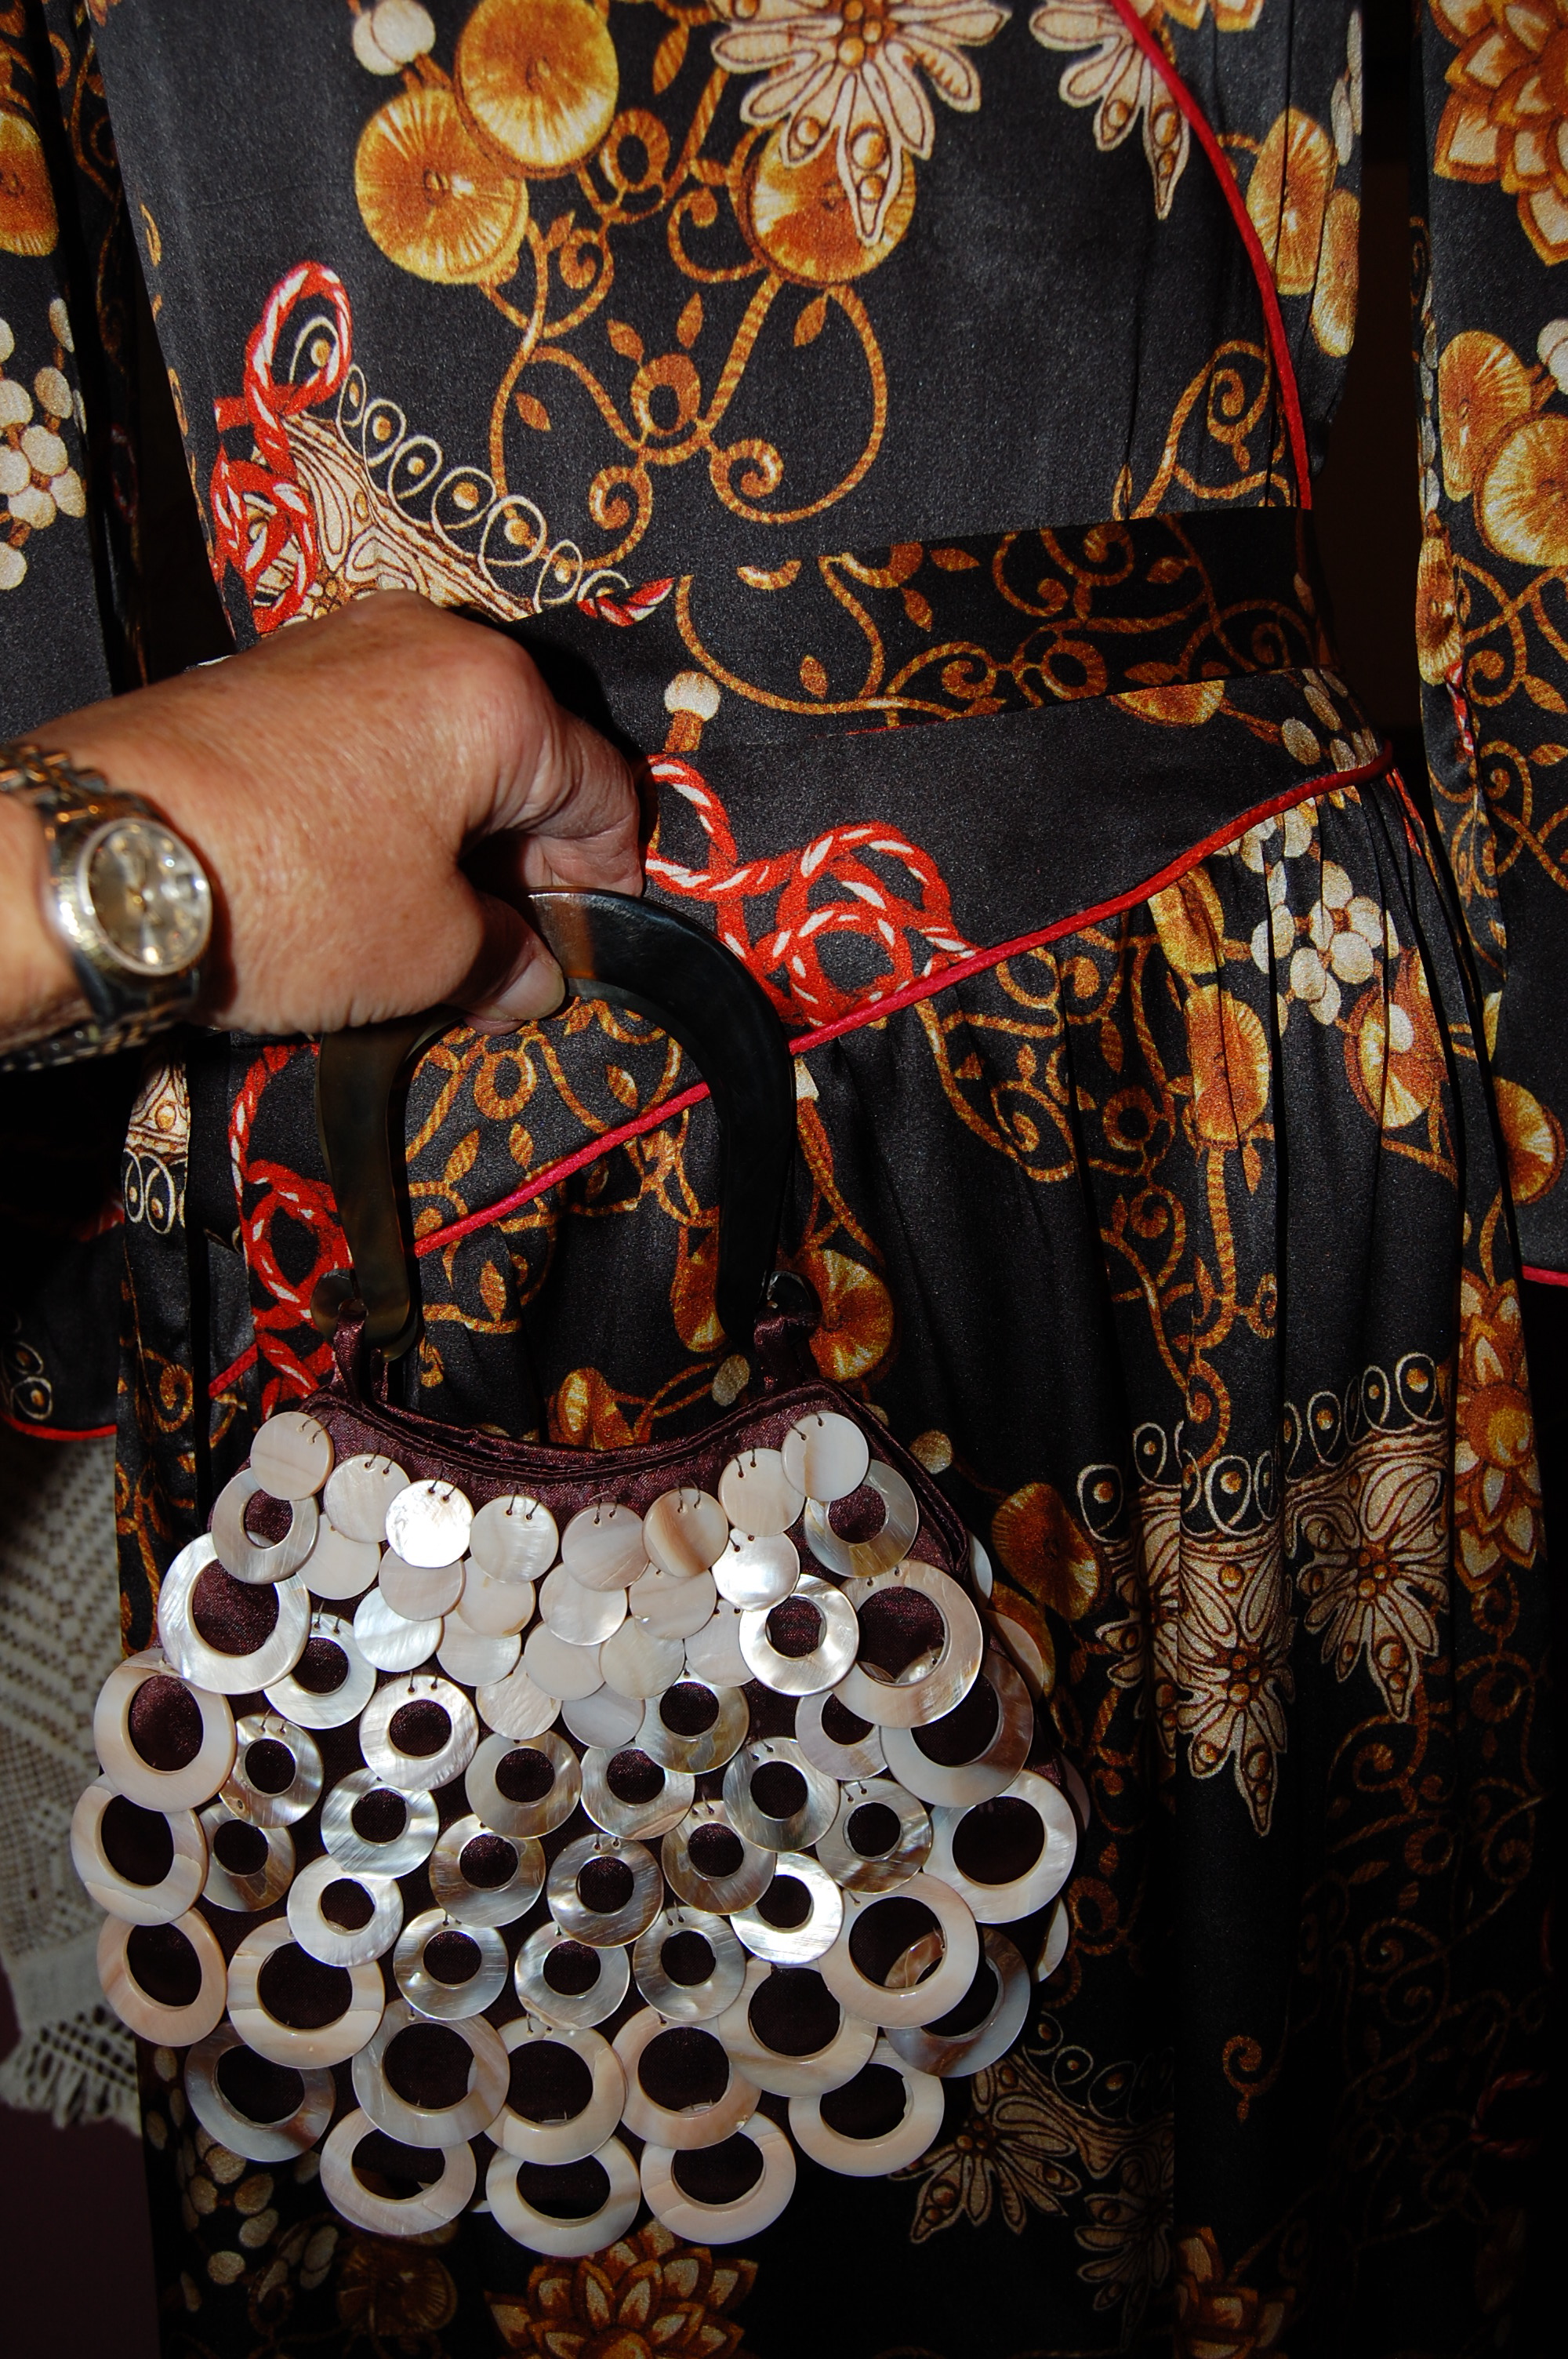
A nice complement to the dress…

Finally, some photos of me wearing the “ghost” dress!

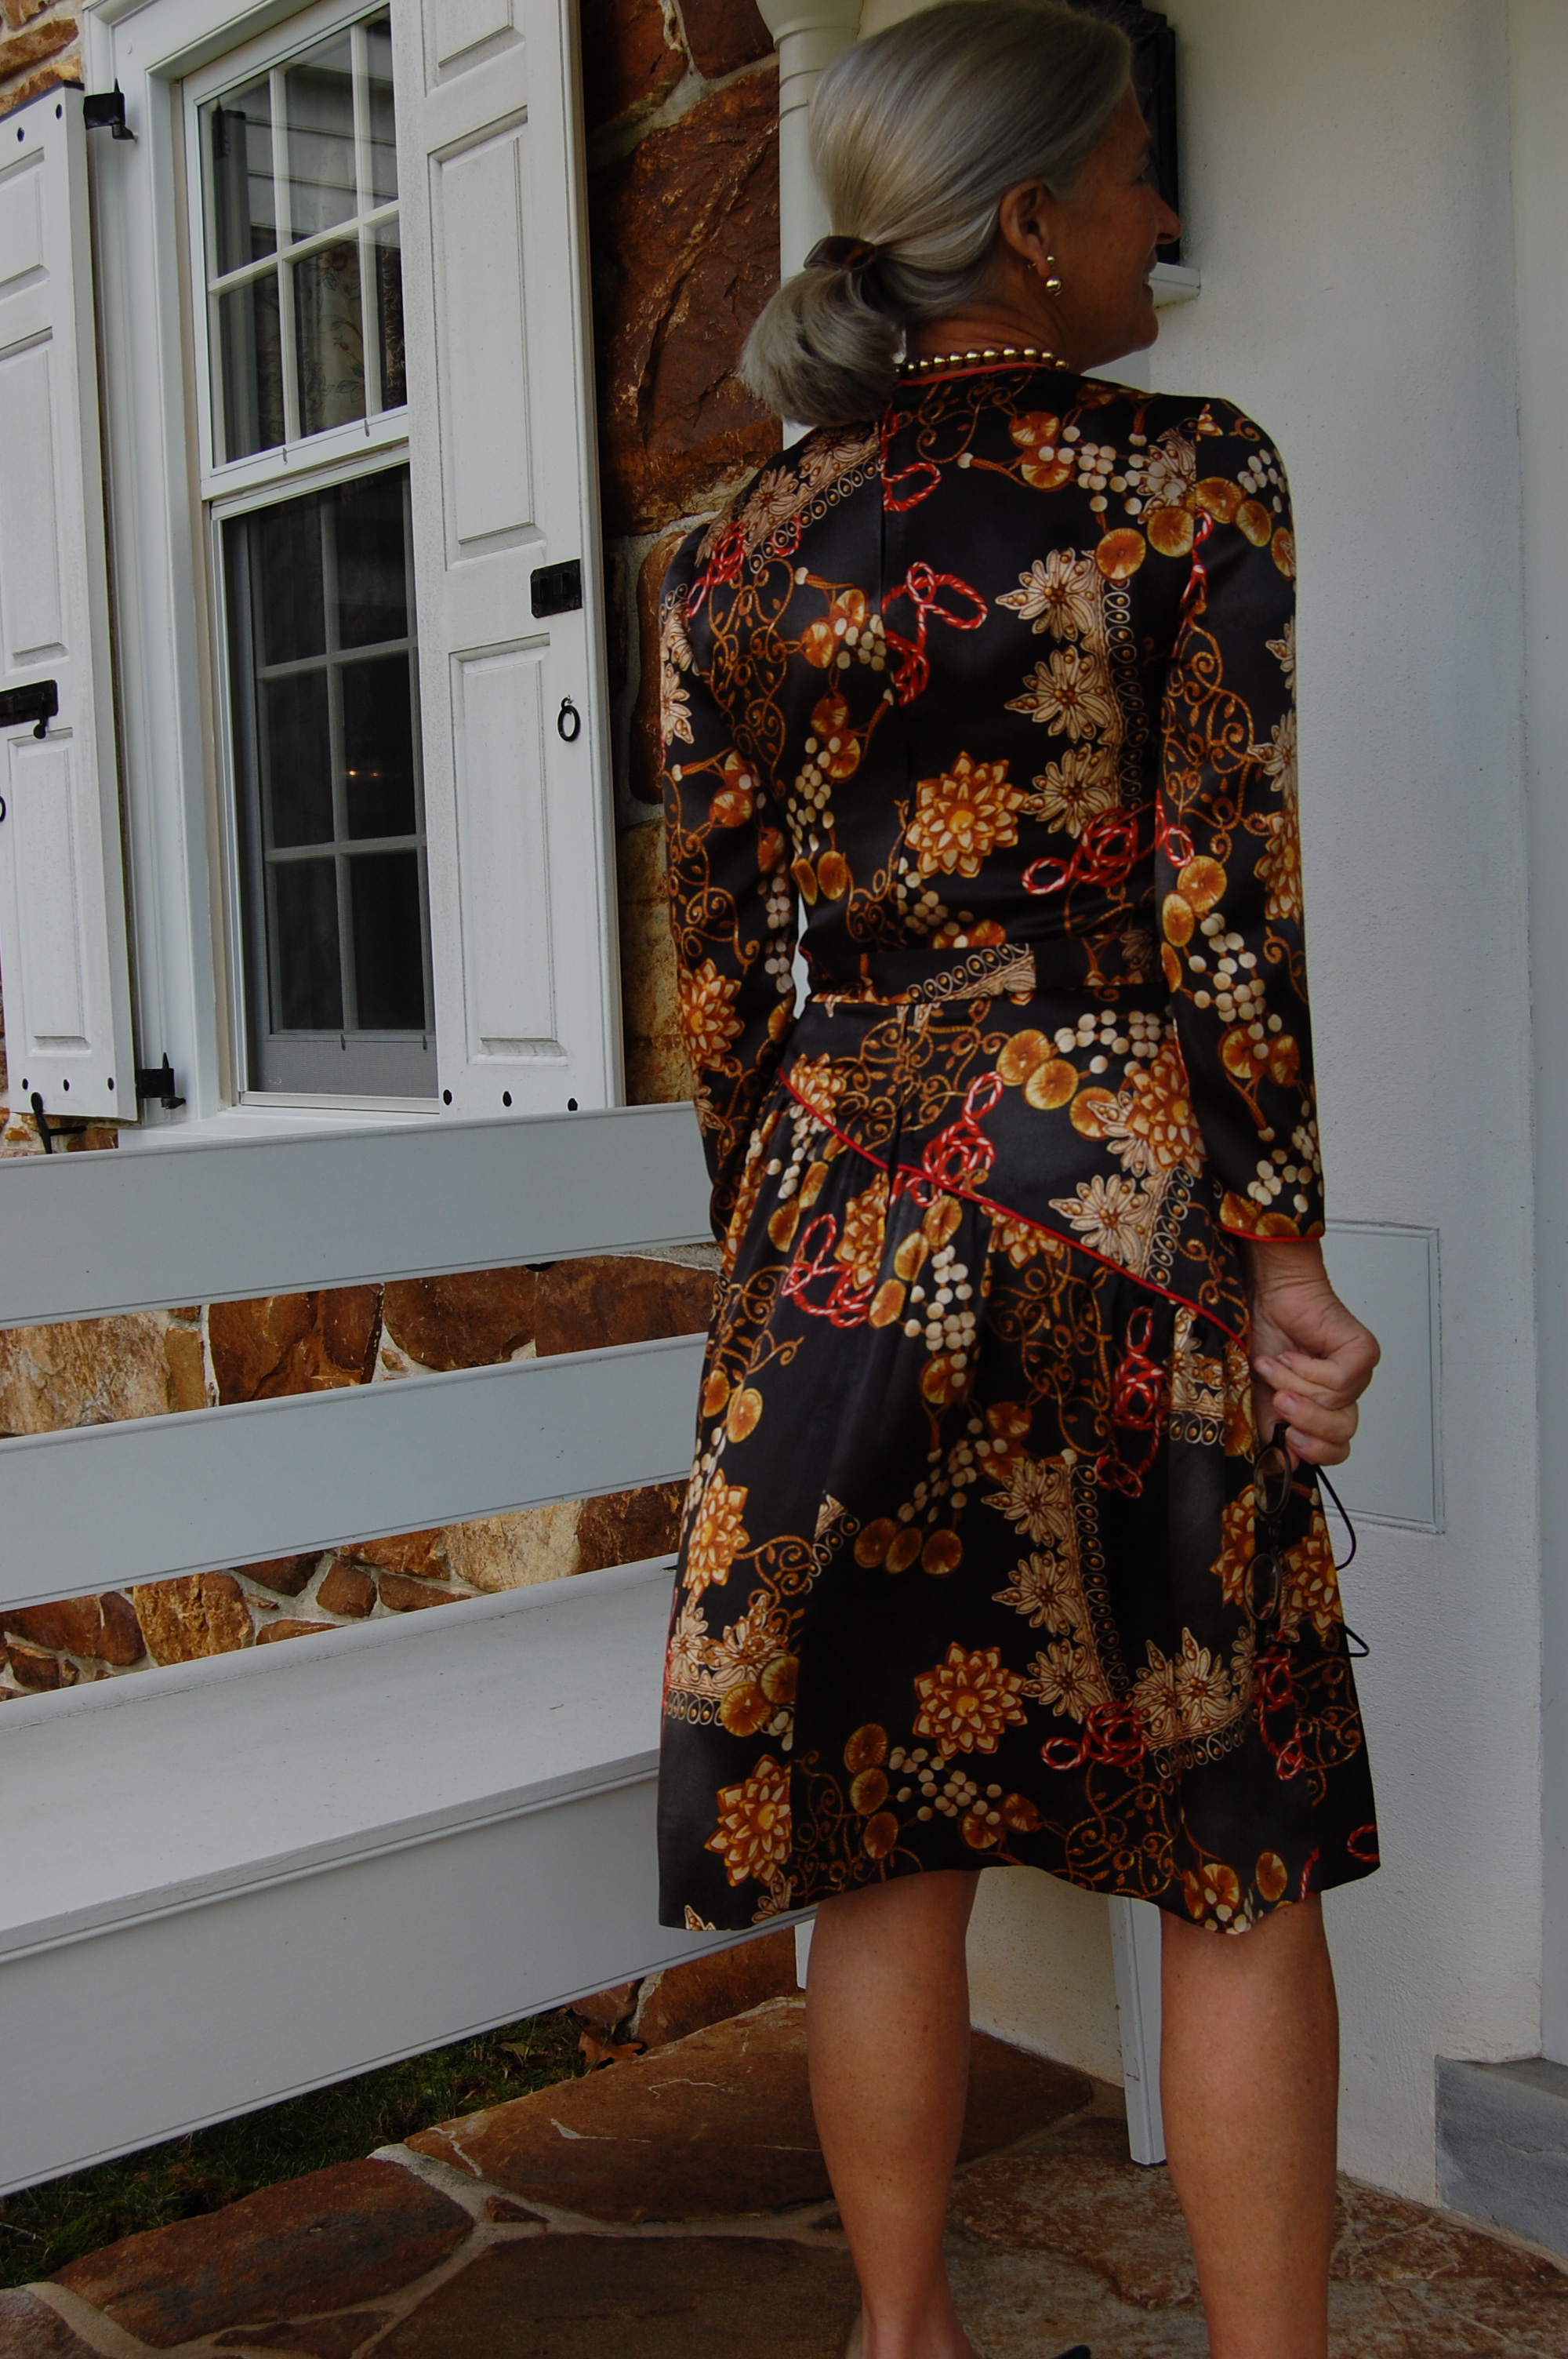


Finishing this dress successfully definitely warrants a smile!
Will I ever make this pattern again? No. Have I learned from this project? Yes. Will I enjoy wearing this dress? I think so. And right now, that’s good enough.