
How can something which is taking so much time to make still be so much fun? It must be because of all the delightful details to consider, to execute, to alter, and to research. One of the most important details for the jacket of a project like this is the choice of buttons.
One of the advantages of having my blue windowpane-checked cashmere for a couple of years before sewing with it has been the opportunity to find just the right buttons. When I came across these buttons in an Etsy shop, I knew they would be perfect.
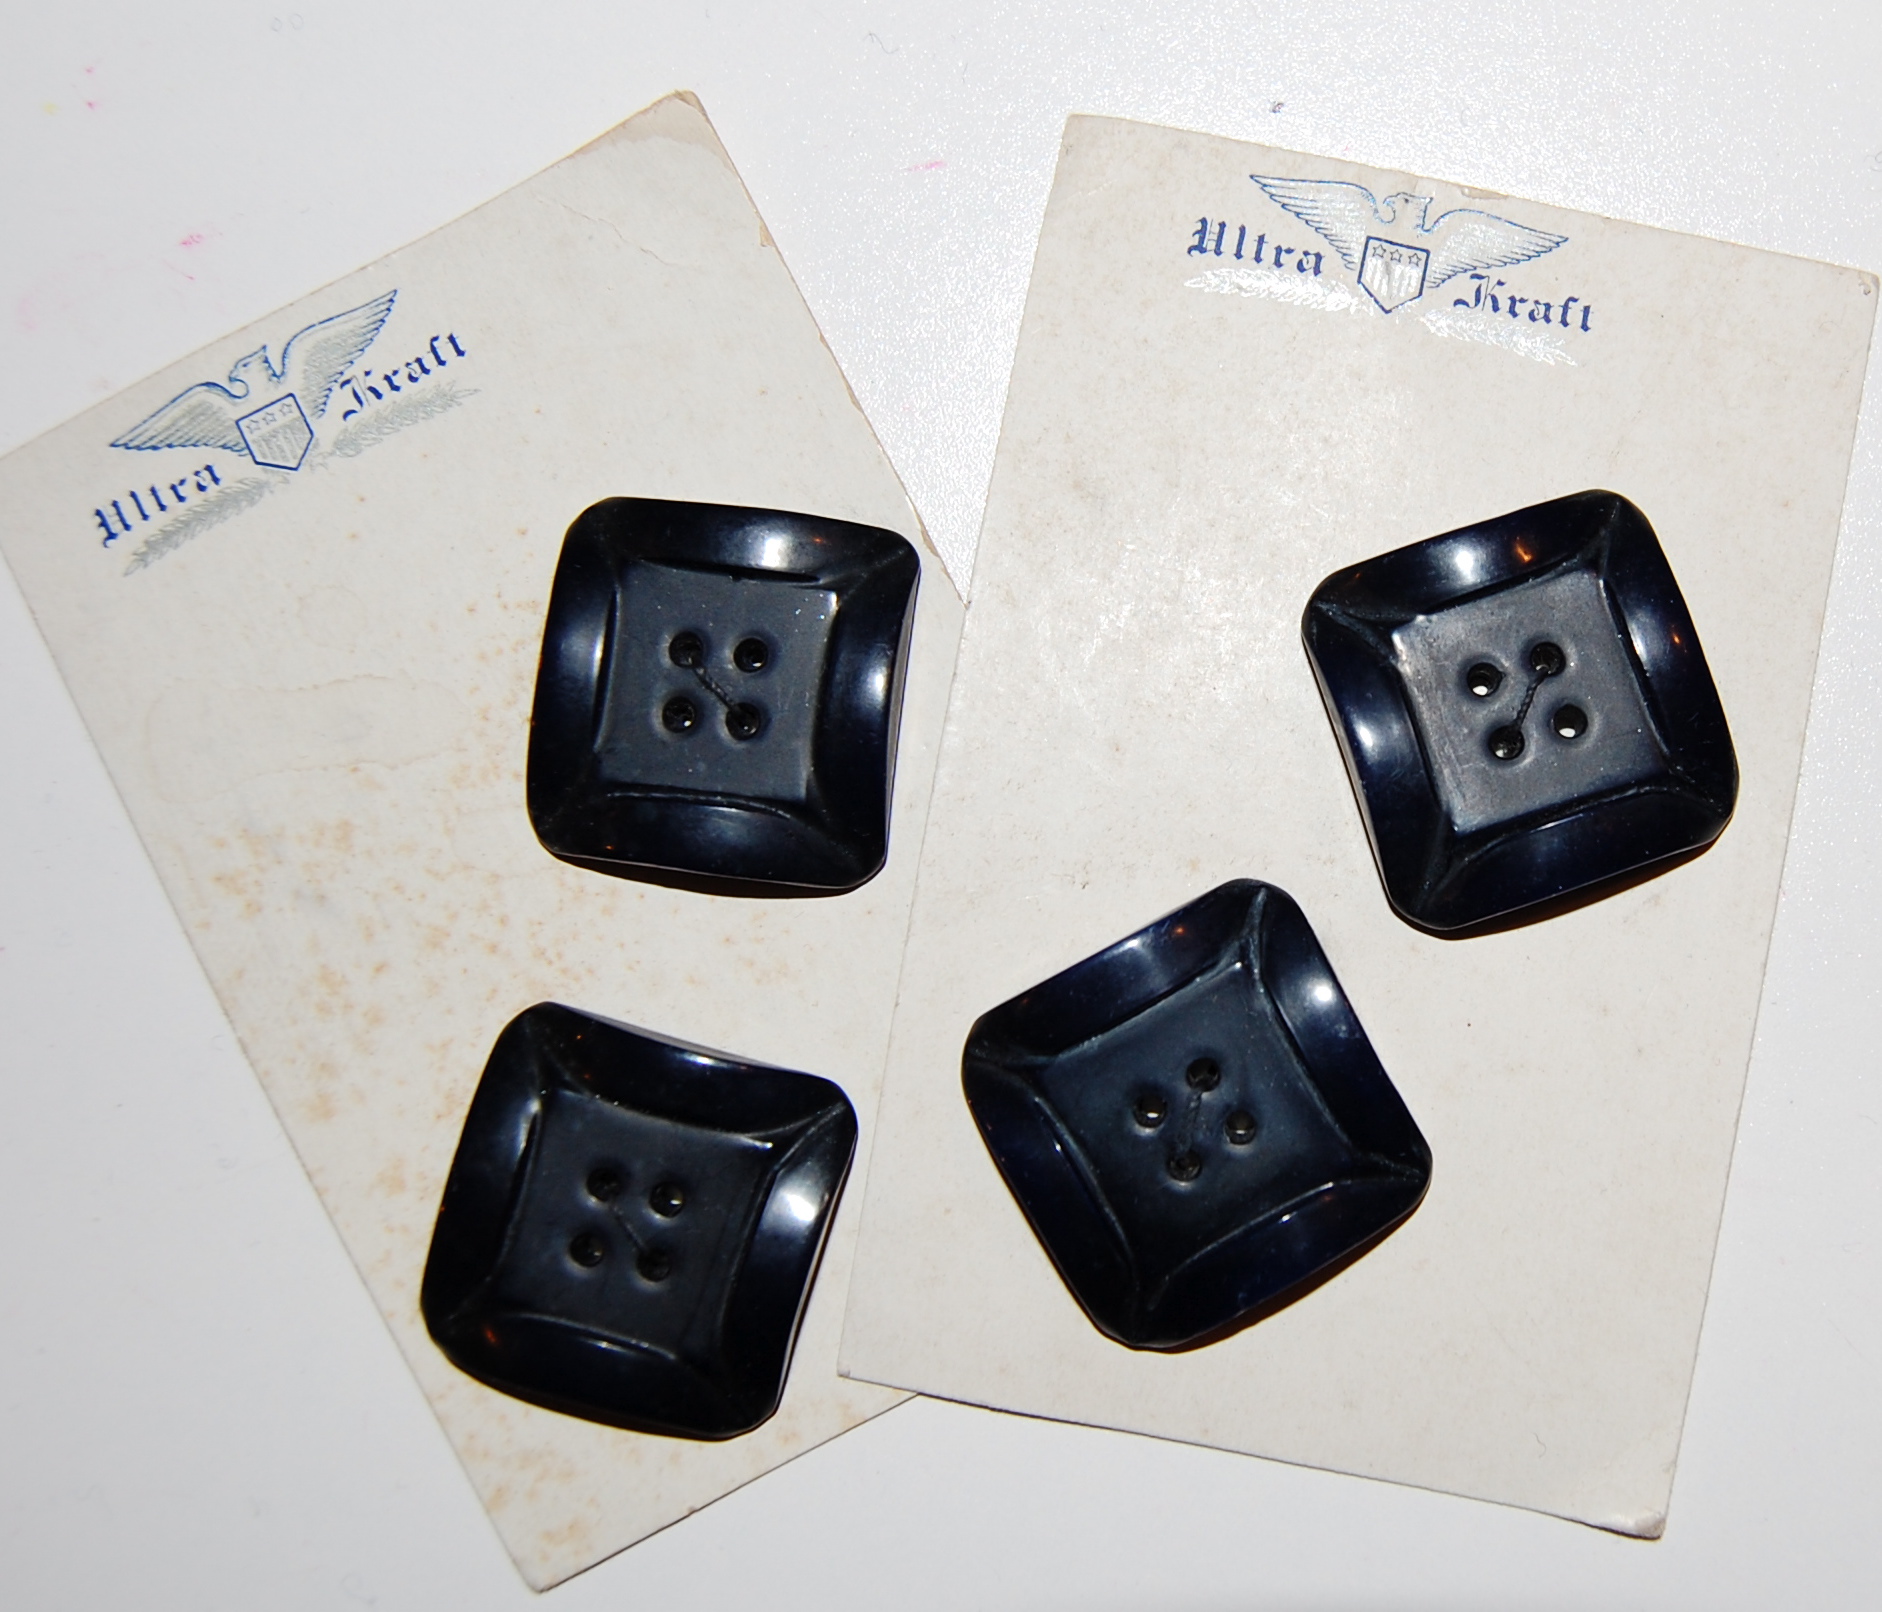
These buttons are 7/8″ square.
The size is right, as is the shape – which picks up the “square” in the fabric. How I was so lucky to find them in navy blue, I’m not sure. Additionally, and this is very subtle, but the depth of the buttons allows a curvature to each edge, which mimics the curved front edge of the jacket and also the curved cuffs. Of course, when making bound buttonholes, one must have the buttons in hand before beginning the project, since the buttonholes are one of the first details to execute.
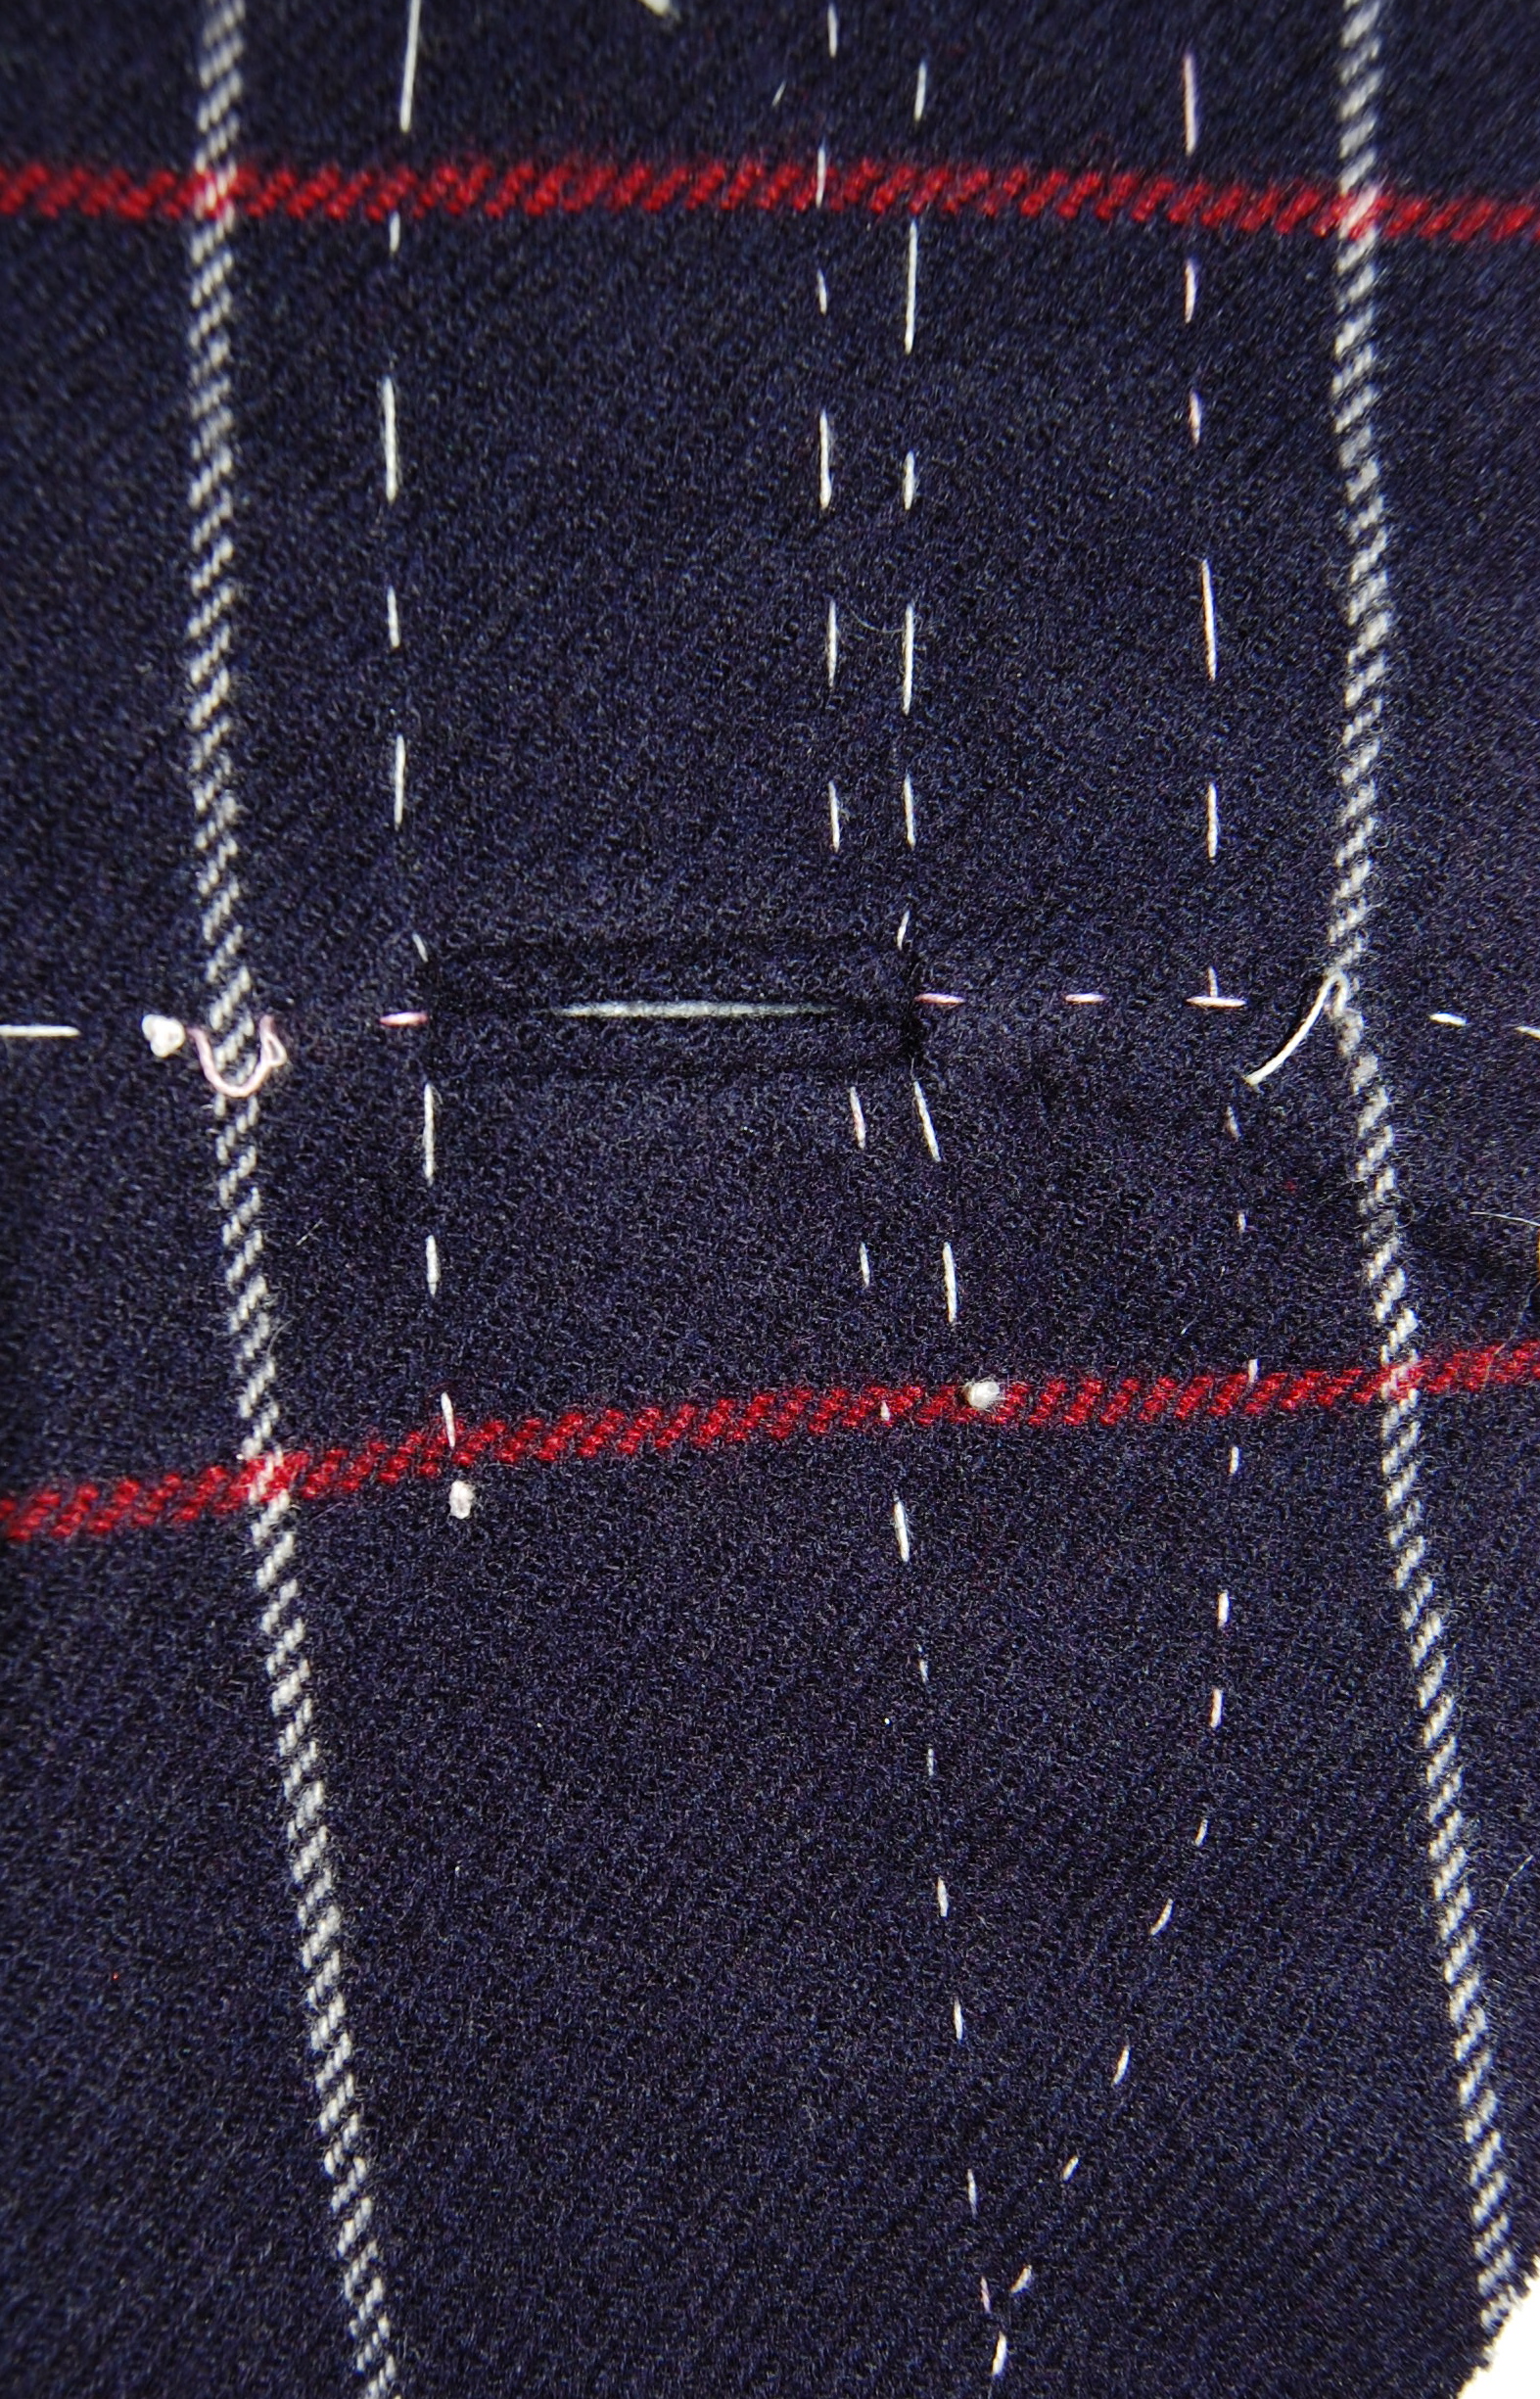
One can never have too many markings basted in place for bound buttonholes!
Because I need only three buttons for the jacket, the fourth button has been rattling around in my brain. I think I might possibly be able to use it as a coordinating detail on the sheath dress I have planned for this ensemble. Back to my vintage pattern collection I have gone to look for some suitable inspiration. What I have found is this pattern:
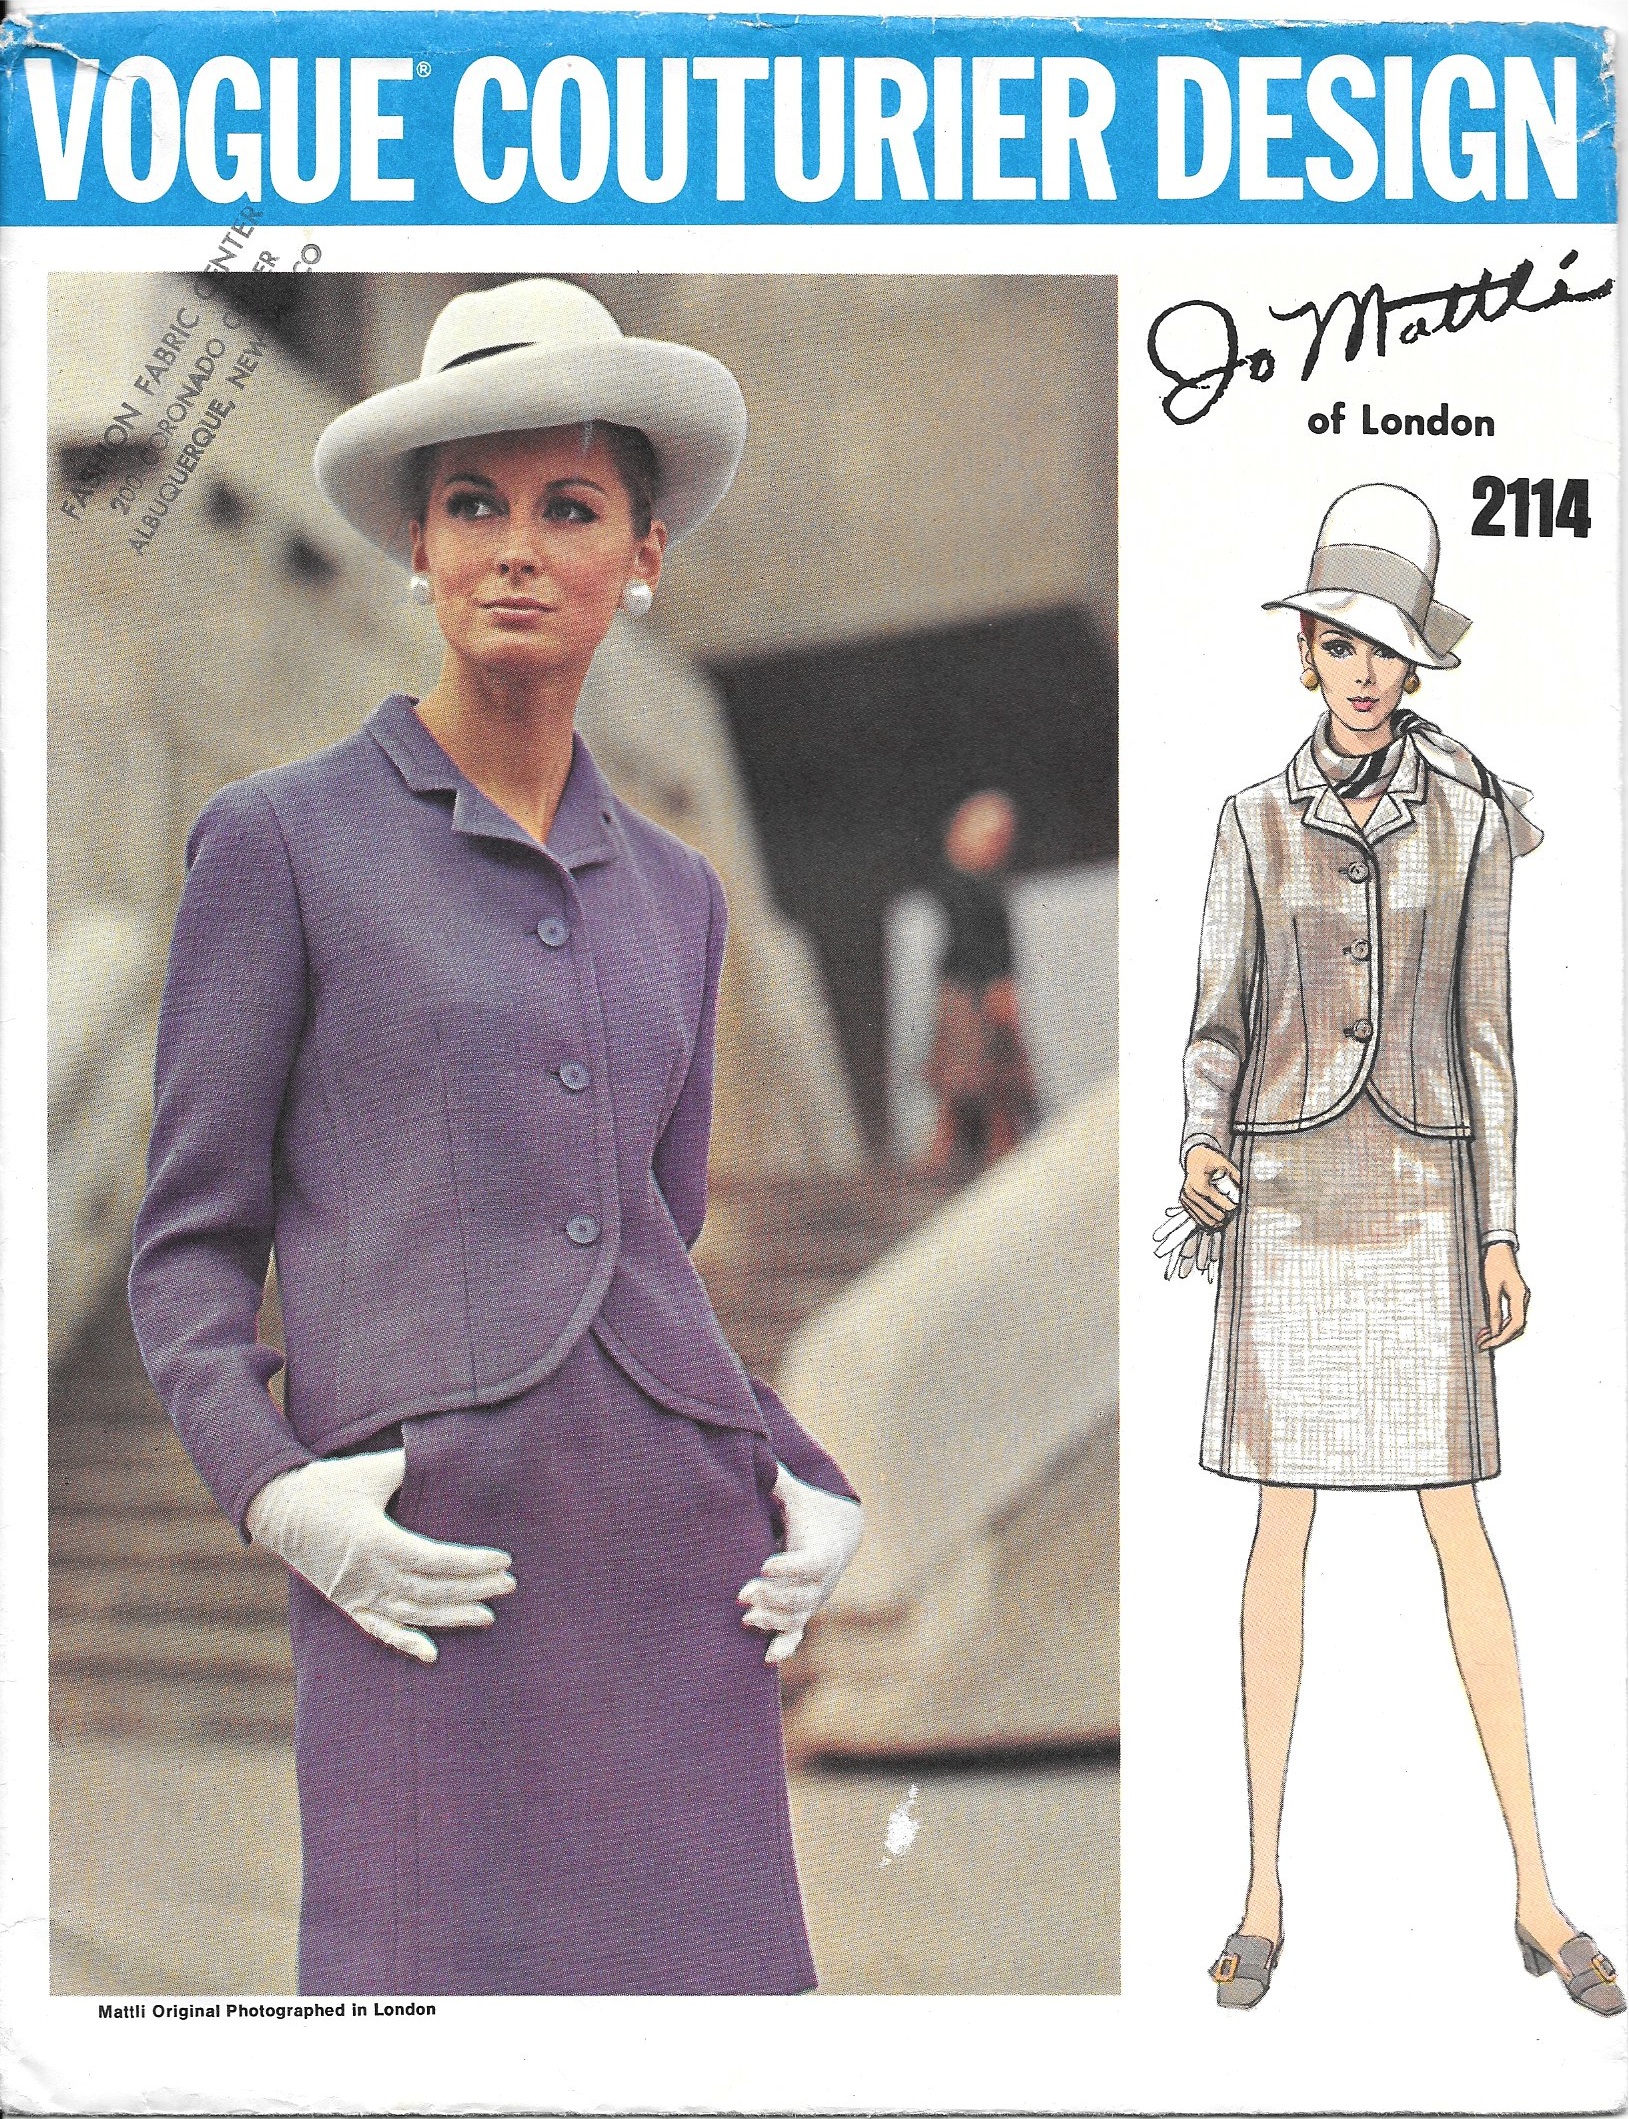
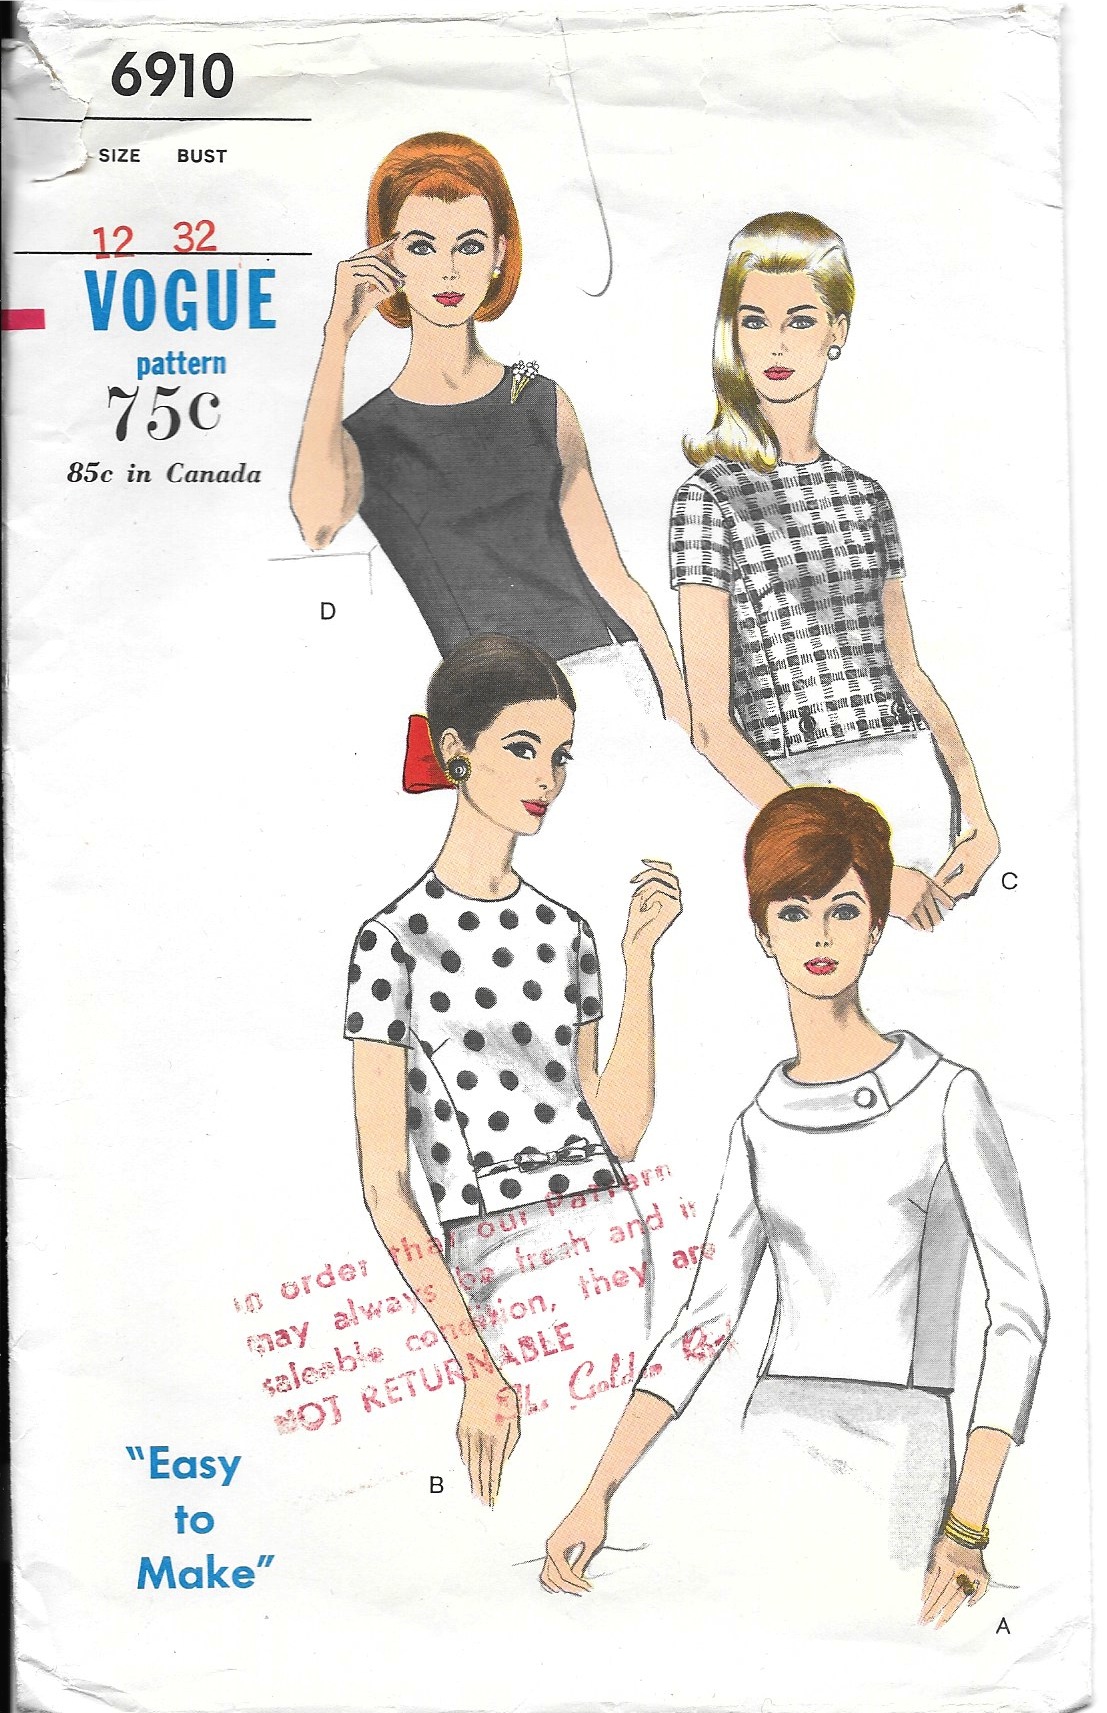 Although I have yet to work out the logistics, I am thinking that I can turn the collared blouse with the one-button detail (lower right) into a sleeveless sheath dress. The button may not really show (I think) unless I take the jacket off, but I kind of like the subtlety of it all. Once I make a muslin (toile), I will have a better idea of how it will look, so stay tuned! One thing I do know, is that such a collar on the dress will need to lay very flat, with no bulkiness. One way to achieve that will be to back it with the silk charmeuse I will be using for the jacket and dress lining instead of backing it with another layer of wool.
So what am I using for the lining? When I bought the lining for my color-blocked coat last winter, I purchased extra yardage of the silk charmeuse (from Britex). Now I can’t remember what my reasoning was, but once I got it home from San Francisco and I saw how complimentary it was with the navy blue cashmere, I knew I should save it for this project. Fortunately, I have enough of it to line both the jacket and the dress. Not that anyone is ever going to see the lining in the dress, but I’ll know it’s beautiful – and oh, so wonderful to wear!
 There are always lots of details in the construction of a rolled collar. At the risk of boring some of you, I’ll quickly go over a few tricks I learned from Susan Khalje last year when I made my color-blocked coat. First, here is a picture (by request from some of you) of the lightly pad-stitched and interfaced jacket front.
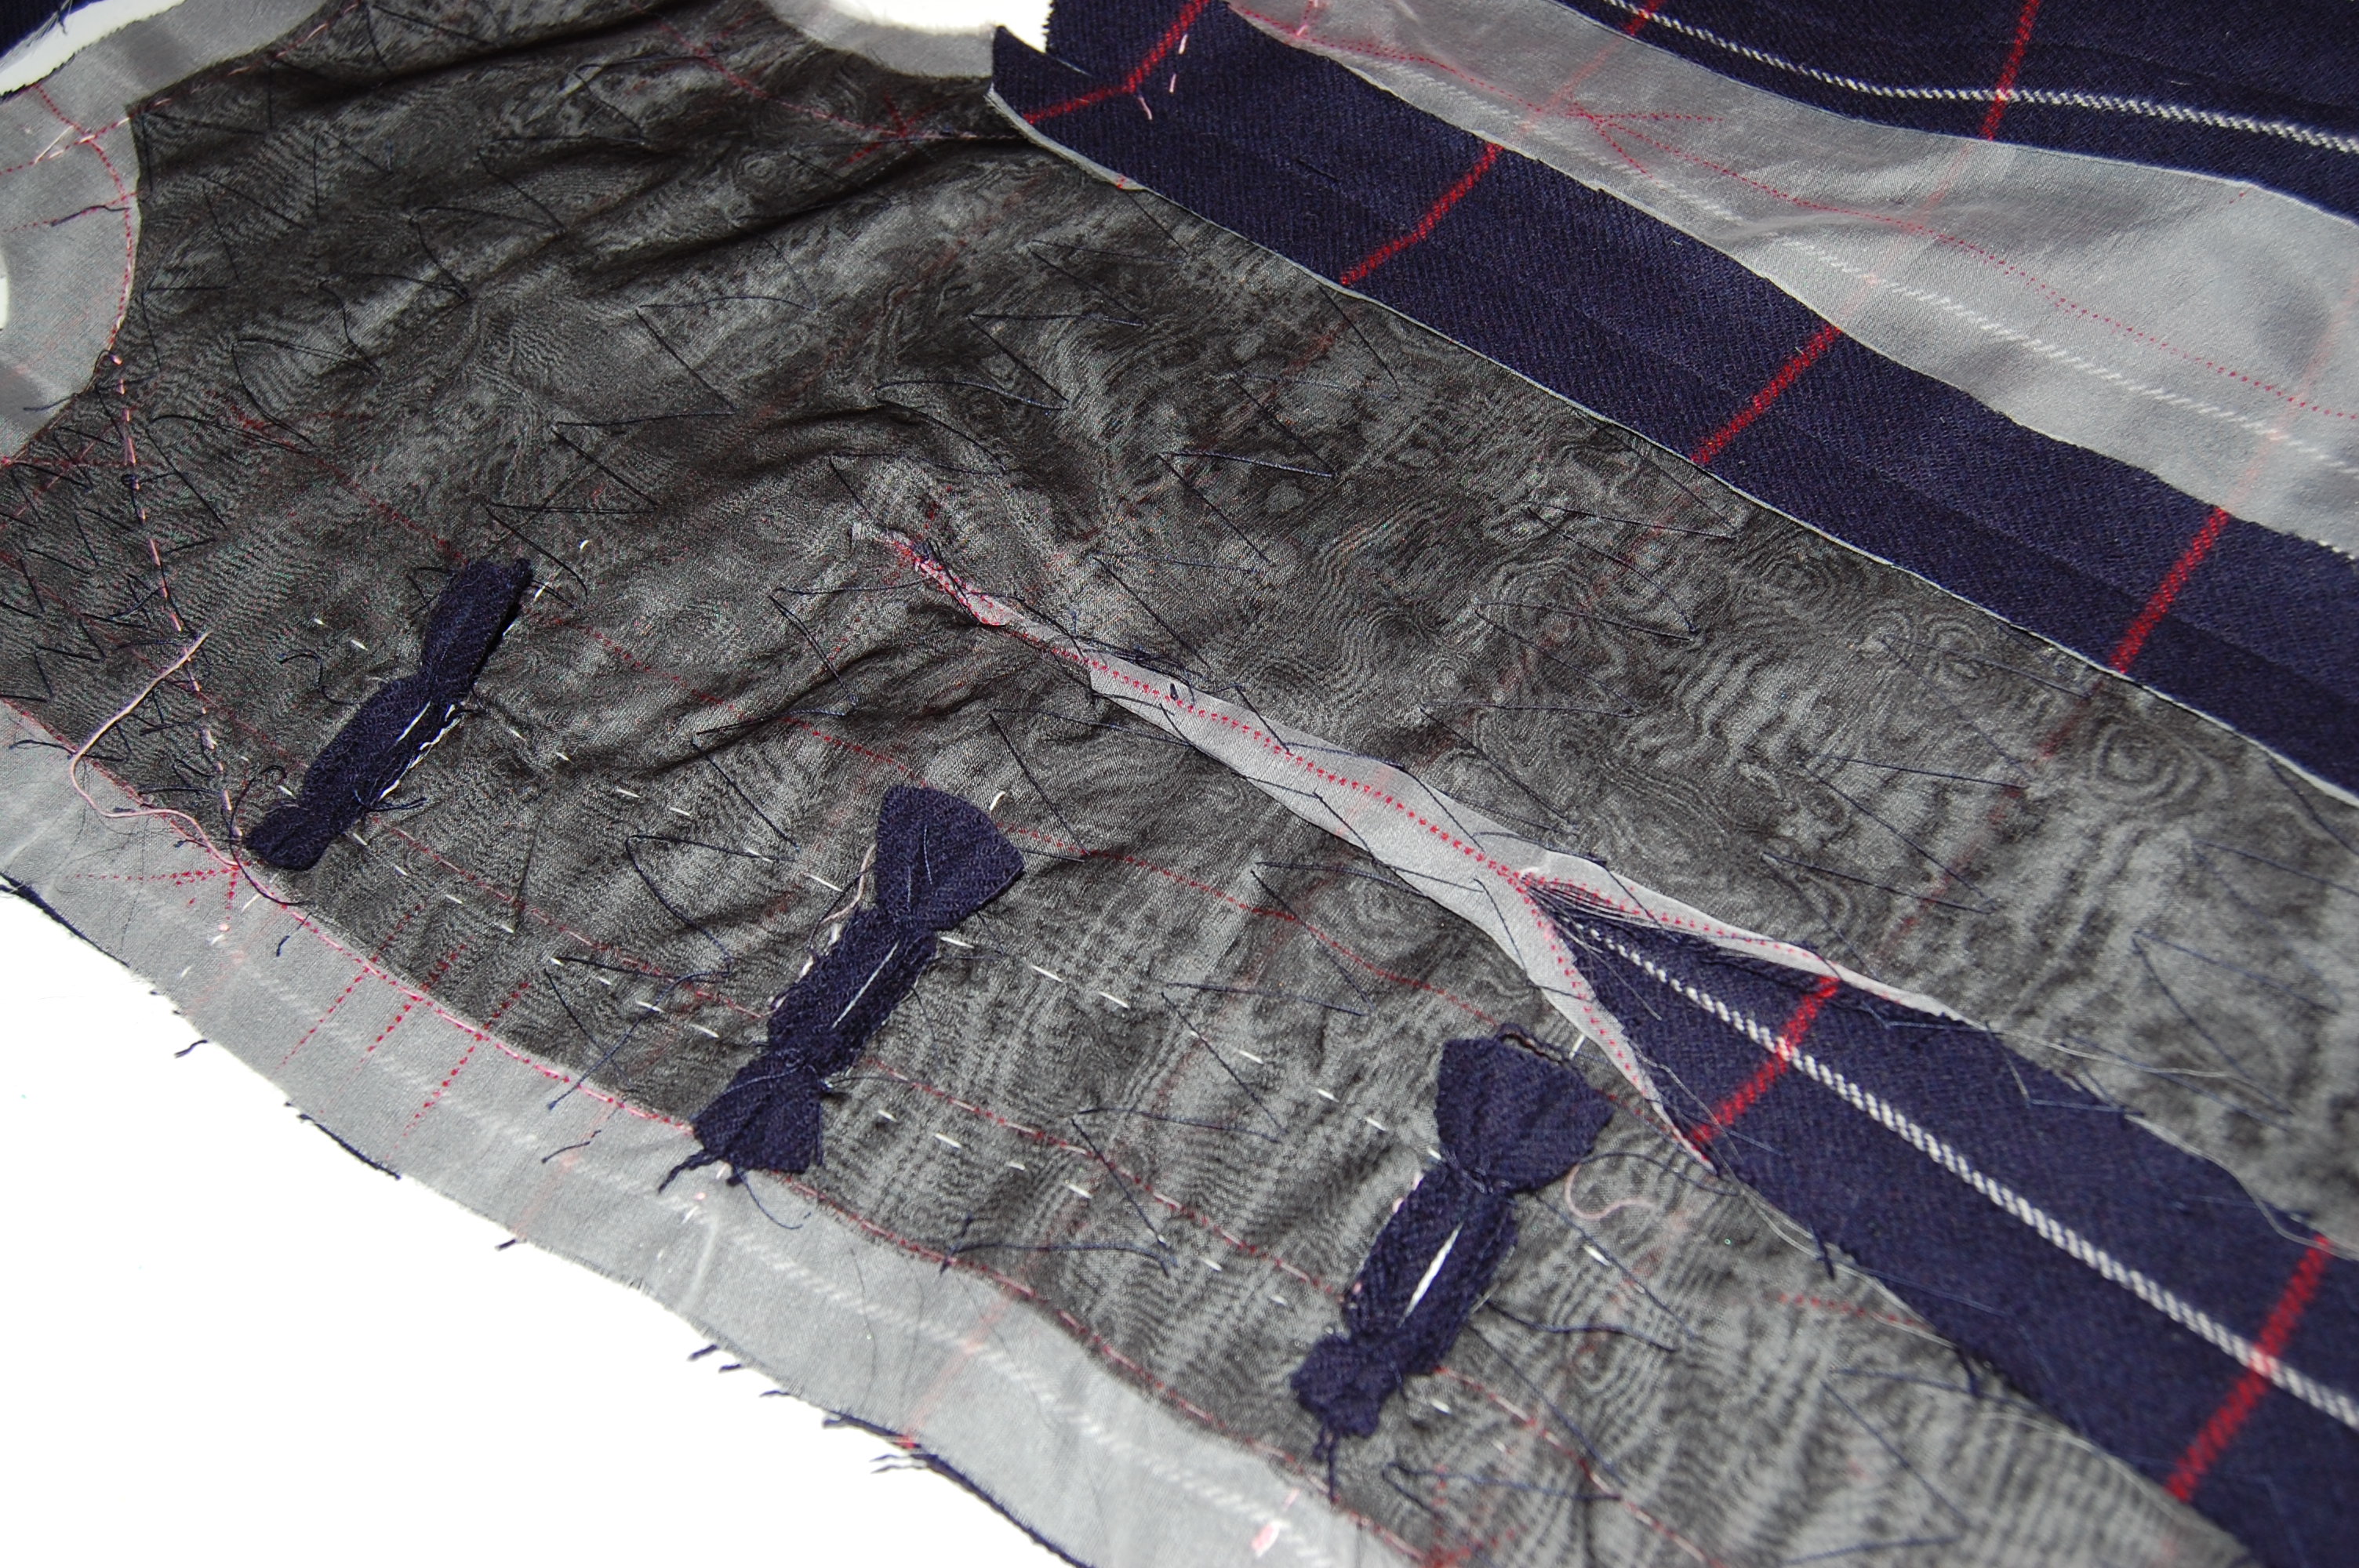
Here, too, is an inside look at the underside of the three bound buttonholes.
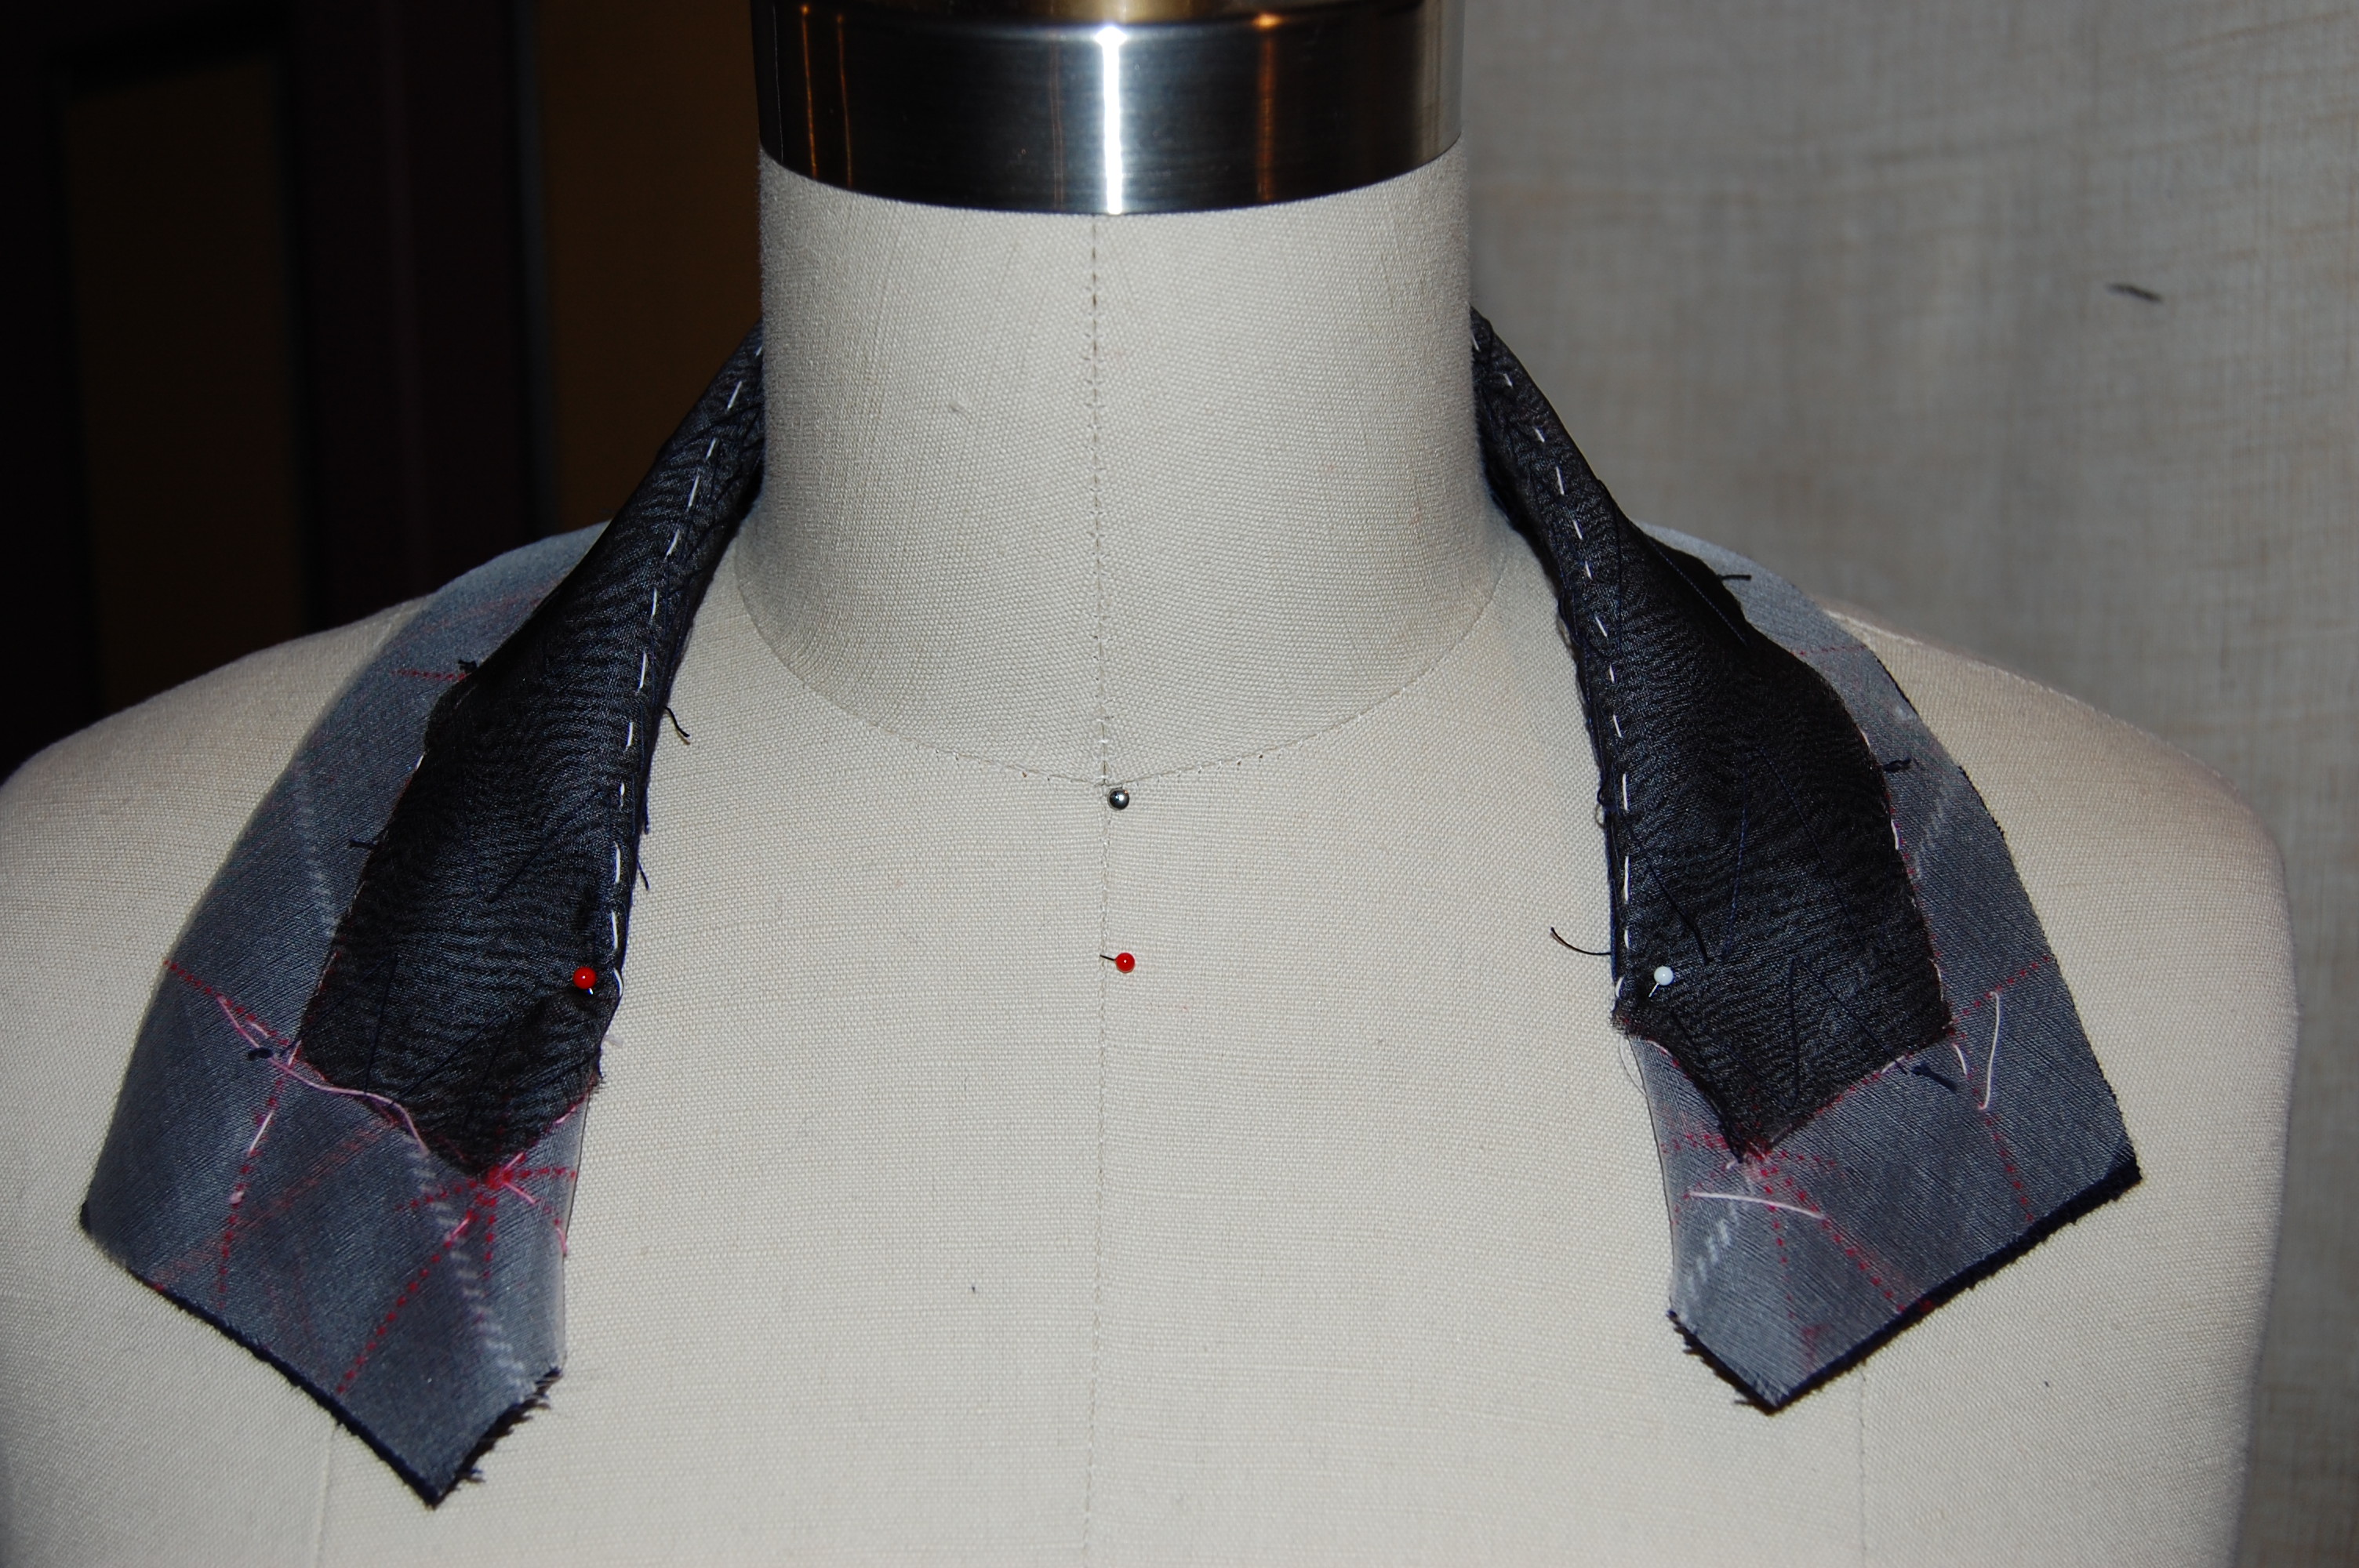
The undercollar is also interfaced with black silk organza. It is basted onto the body of the jacket in order to establish the roll line. Once I marked the roll line with pins, I removed it and basted along the roll line in preparation for heavy pad-stitching of that section.
Establishing the roll line of the undercollar.
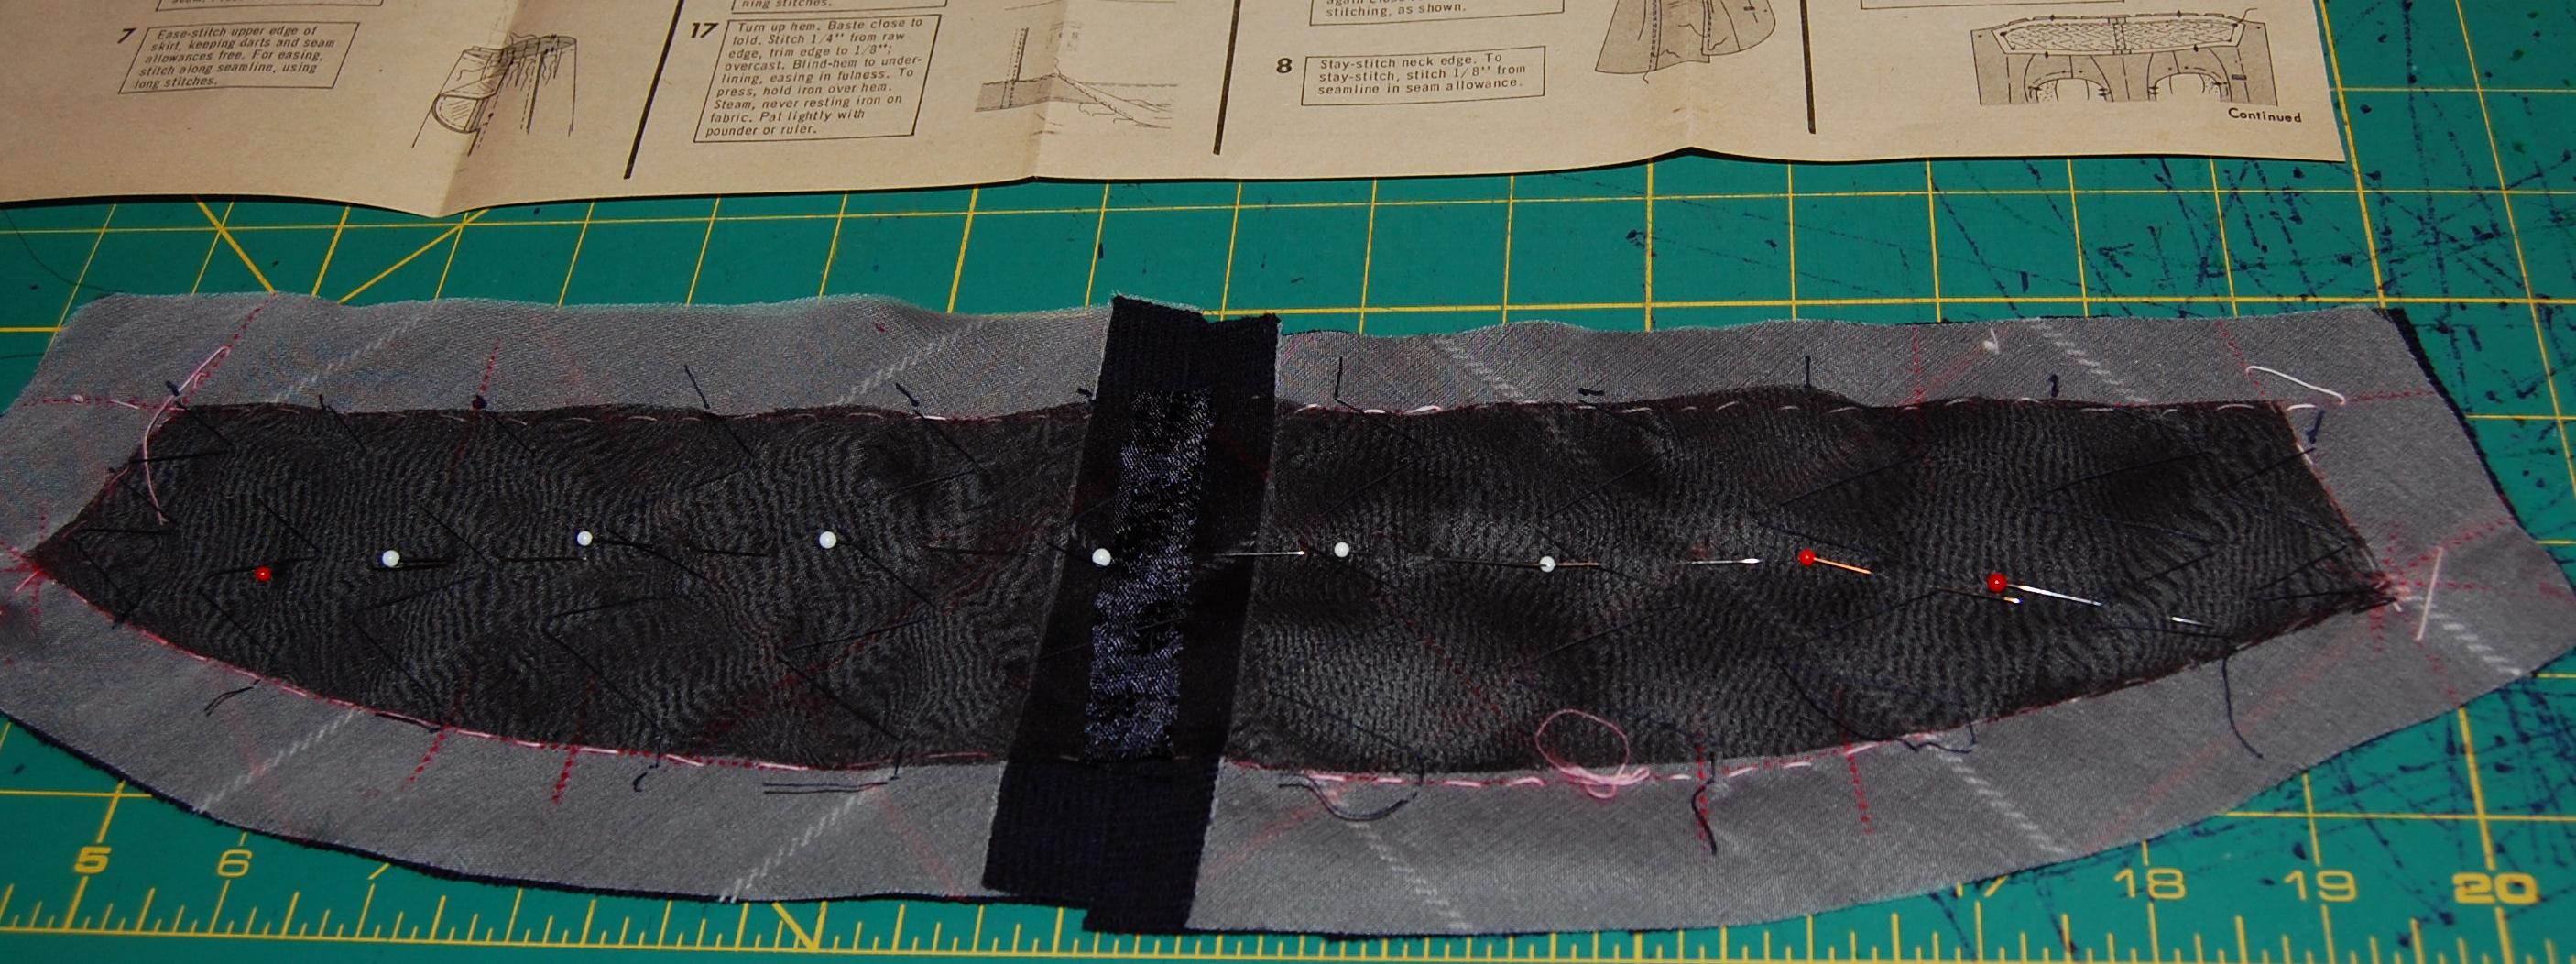
The roll line is marked with pins; then I basted along that pin line.
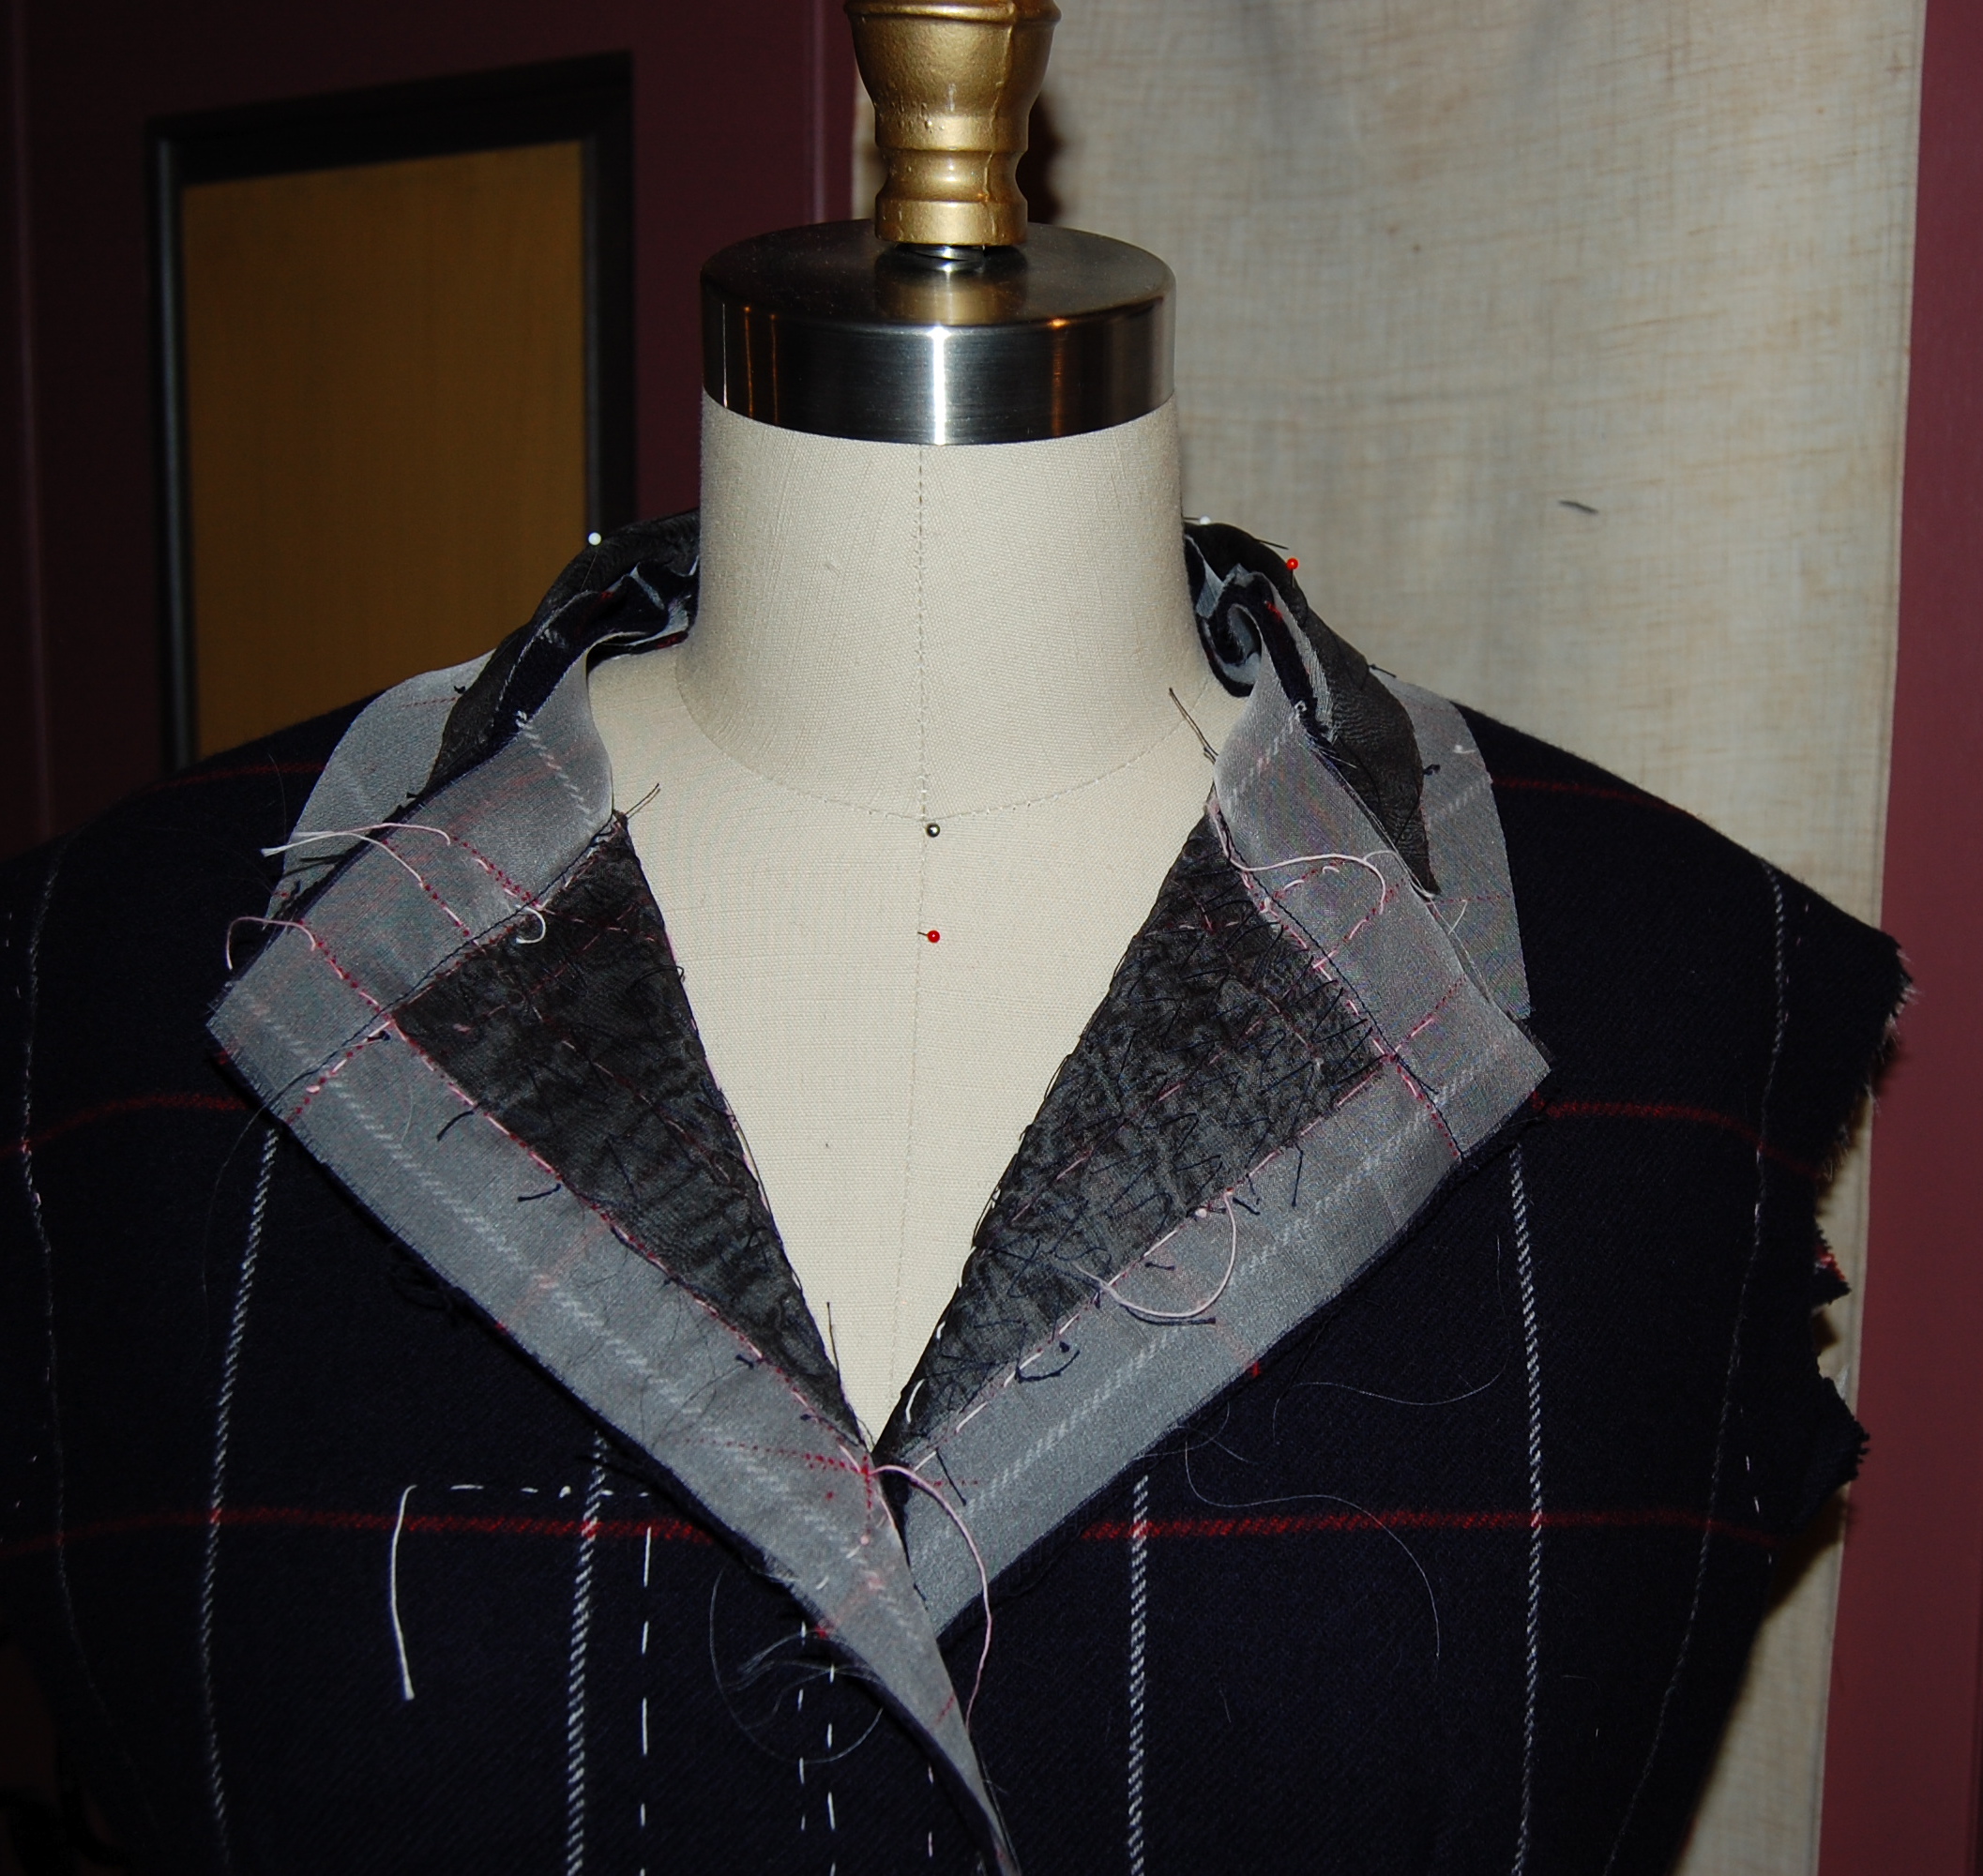
Once I finished the pad-stitching (impossible to see here on the black organza), I then placed it on the dress form, pinned it in place and steamed it. This process reinforces the “memory” of the roll.
A dress form is indispensable for steaming the undercollar. You can see the basted roll line in this photo.
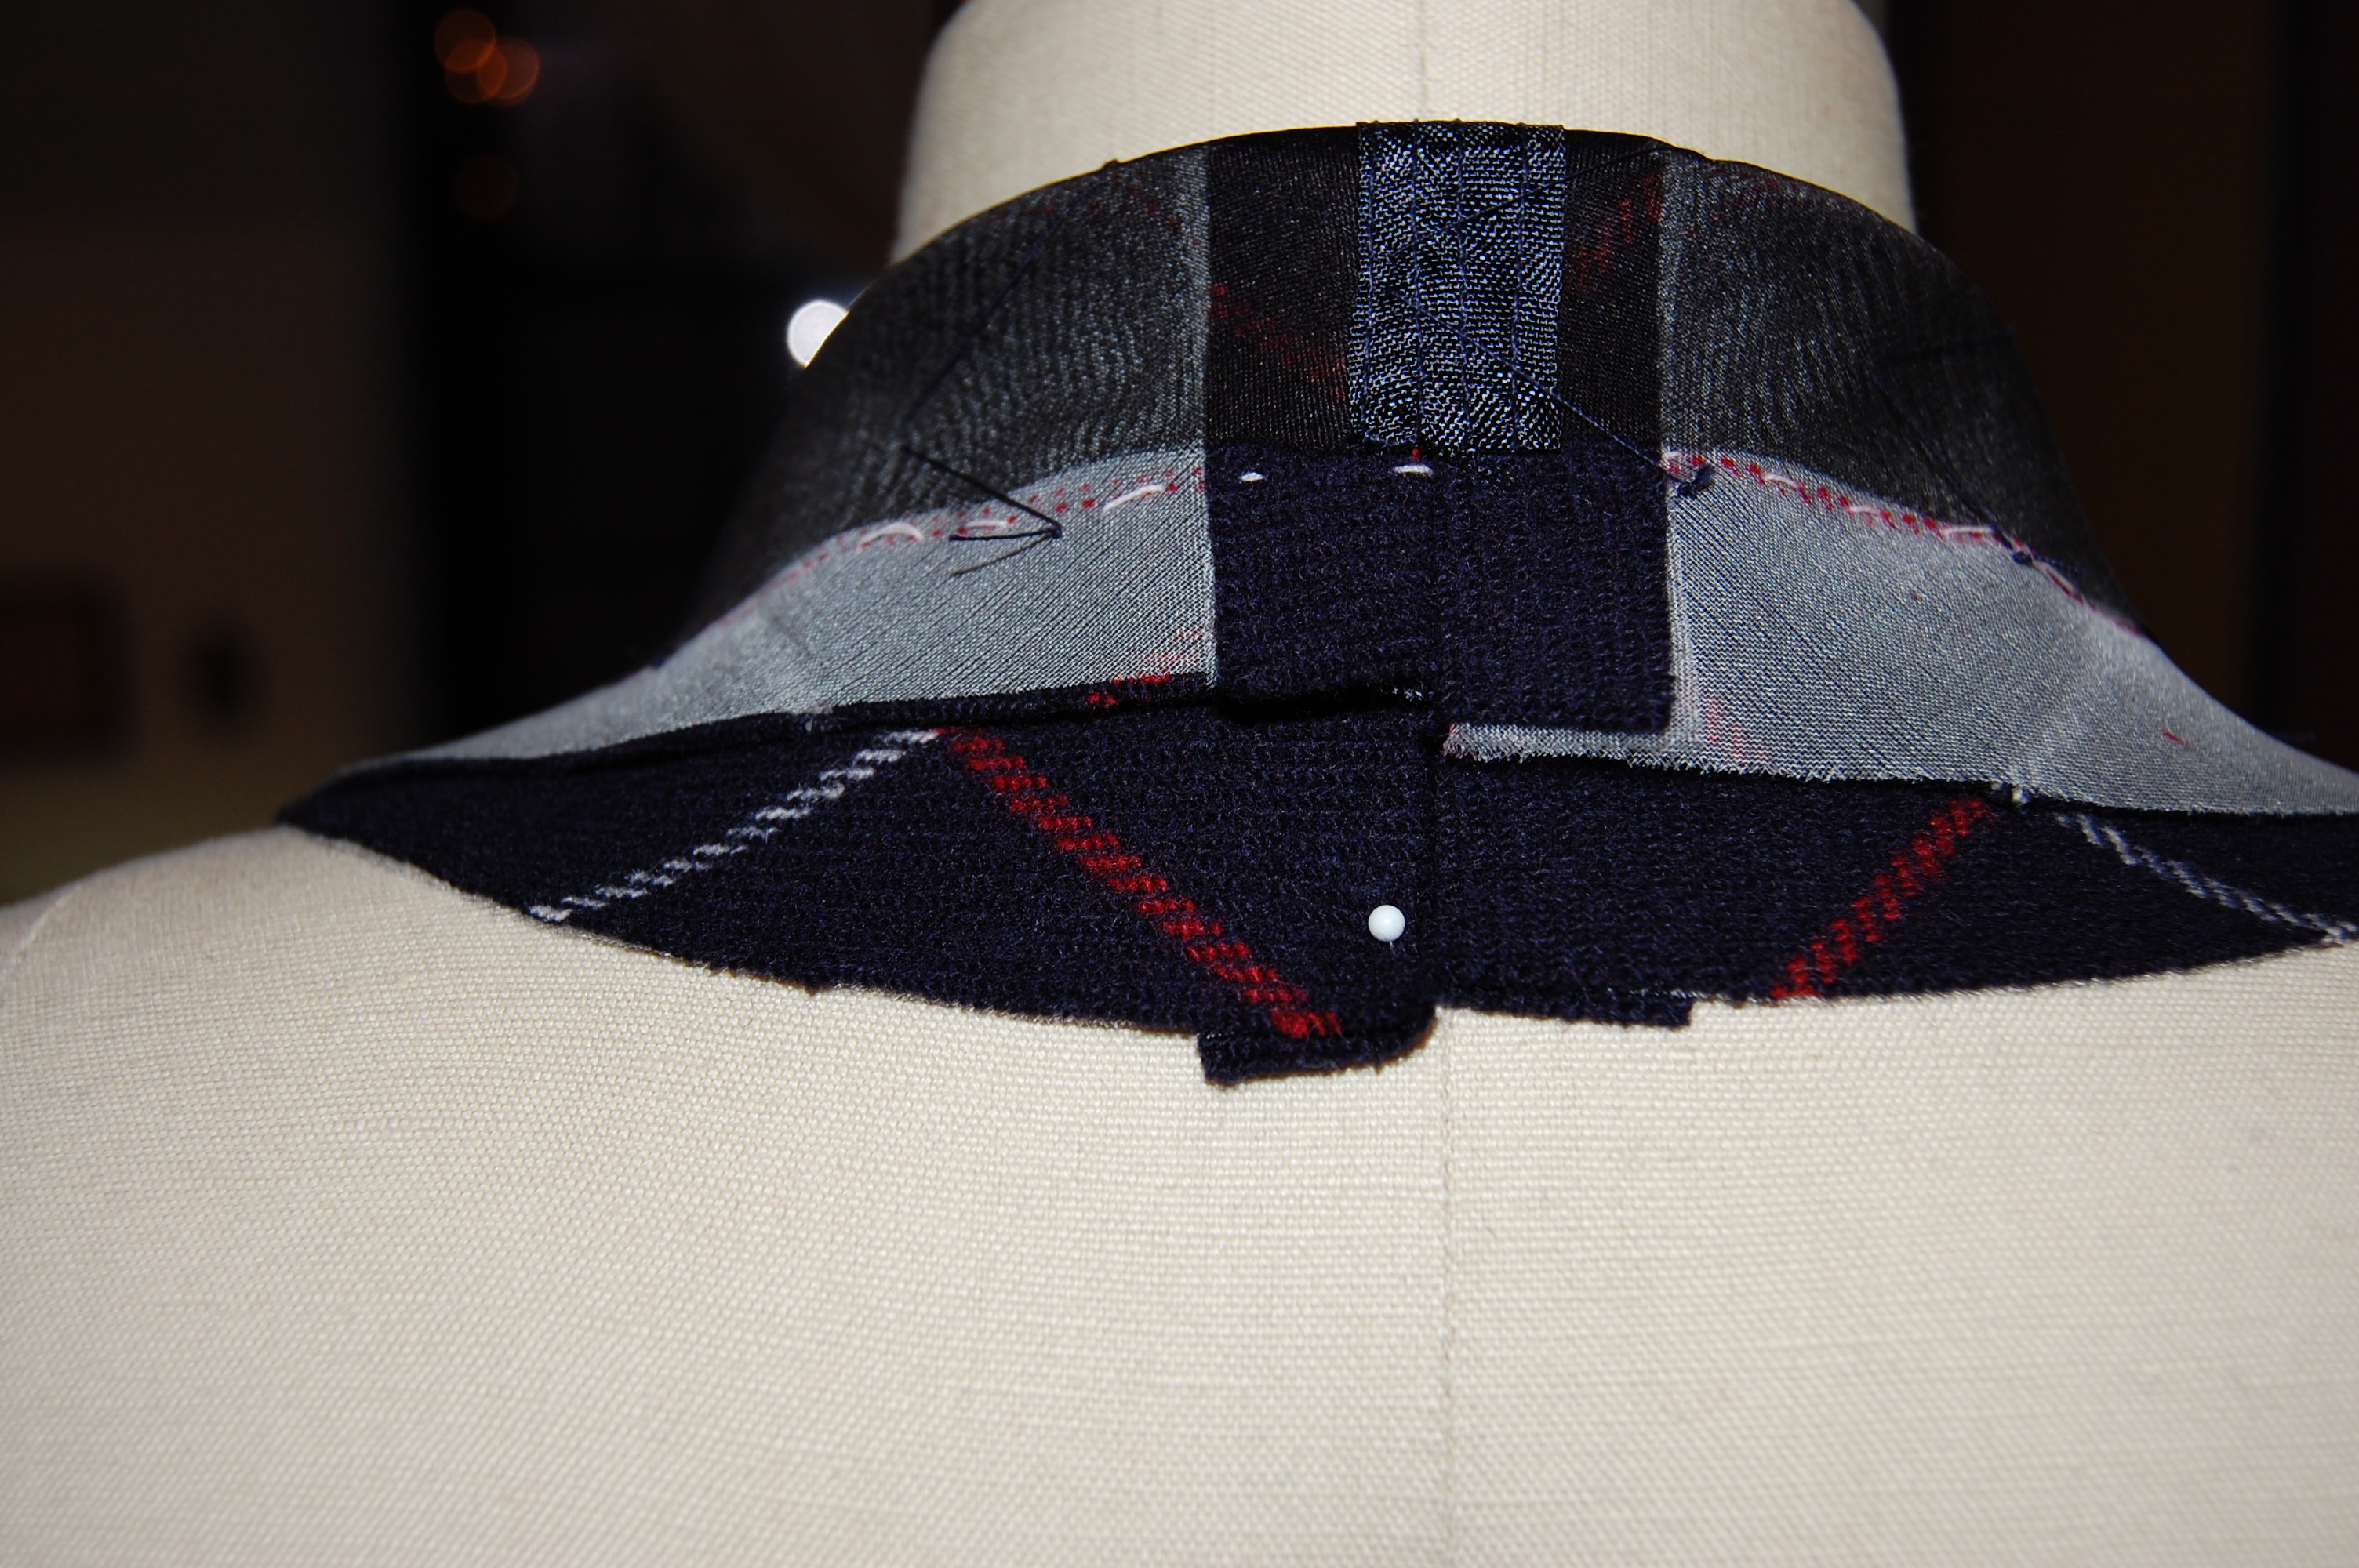
The back of the undercollar after steaming.
As I make progress on this jacket, I am reconsidering the amount of top-stitching I want to do on it. The pattern calls for double rows of top-stitching along seam lines, front edges and sleeve edges. I plan on modifying this somewhat.
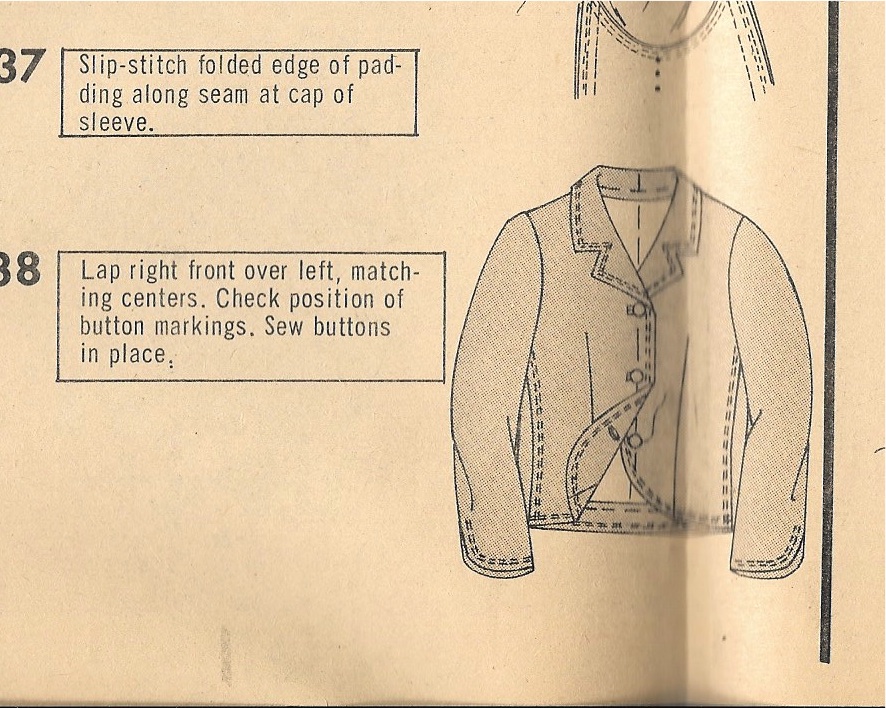
This diagram clearly shows the extent of proposed top-stitching. I will definitely not be doing this much!
Top-stitching always makes me nervous. It may be my least favorite part of sewing. I’d rather sew on buttons than top-stitch! Let’s see how well I do with it – in my next post – before I can get back to more fun-stitching.

I love your ideas for the sheath dress to go with your coat!
I’m the complete opposite – I always want to topstitch everything I make myself! I think part of my reason for liking topstitching is it seems more casual and my everyday style is not overly dressy.
I agree that topstitching makes a more casual statement – and that’s one of the reasons I want to downplay it with this outfit, which I think is a bit dressier.
Beautiful buttons! what a find!
I was thrilled to find them, that’s for sure!
Isn’t it wonderful to see how one extra button inspires your next pattern choice? I love it when that happens. Your buttons are beautiful!
I just don’t want that extra button to go to waste! And I agree – sometimes the smallest thing, like a button, can lead to inspiration!
It’s going to be beautiful. Getting lost in a sea of details can be completely relaxing sometimes 😉 Look forward to more!
I am really having fun with this one, Sarah! Am hoping it will turn out to be beautiful…
Great inspiration and beautiful execution as always. Did you sew in silk organza on the back of the jacket as well?
I underlined the entire jacket with the white silk organza, but the back of the jacket will only have extra interfacing in the hem, not in the body section.
I can’t believe top stitching makes you nervous, after all the wonderful techniques you have shown here! I’m sure you will master your top stitching too! Beautiful job!
Thanks for the vote of confidence with the top-stitching!
Thank you so much for sharing all those inside pictures. The collared blouse looks lovely. Will the collar not interfere with the collar of the jacket? Or is that why you said this should lay really flat?
That’s exactly why I know the collar needs to lay very flat. Once I make a muslin, I think I’ll have a better idea of how it will work – and look!
Looks lovely and can’t wait to see it finished. Thanks for sharing all the inner details. Your bound buttonholes look amazing.
Thanks, Mary! I am a big fan of bound buttonholes, although I confess I still get a bit nervous when I cut through the fabric!