I may – or may not – find Chanel No. 5 Paris Parfum in my Christmas stocking, but Chanel-inspired, Classic French Jacket No. 2 can currently, definitely, be found in my sewing room. Well, actually, it’s not a jacket yet. It is just lengths of fabric and loose trims and buttons, but that is how these things begin, as every home dressmaker knows.
I actually started planning this jacket long before I took the Classic French Jacket Class with Susan Khalje this past summer. In September of 2012 when I was at Britex Fabrics in San Francisco, I found this boucle and purchased it – even then – as my intended Jacket No. 2.
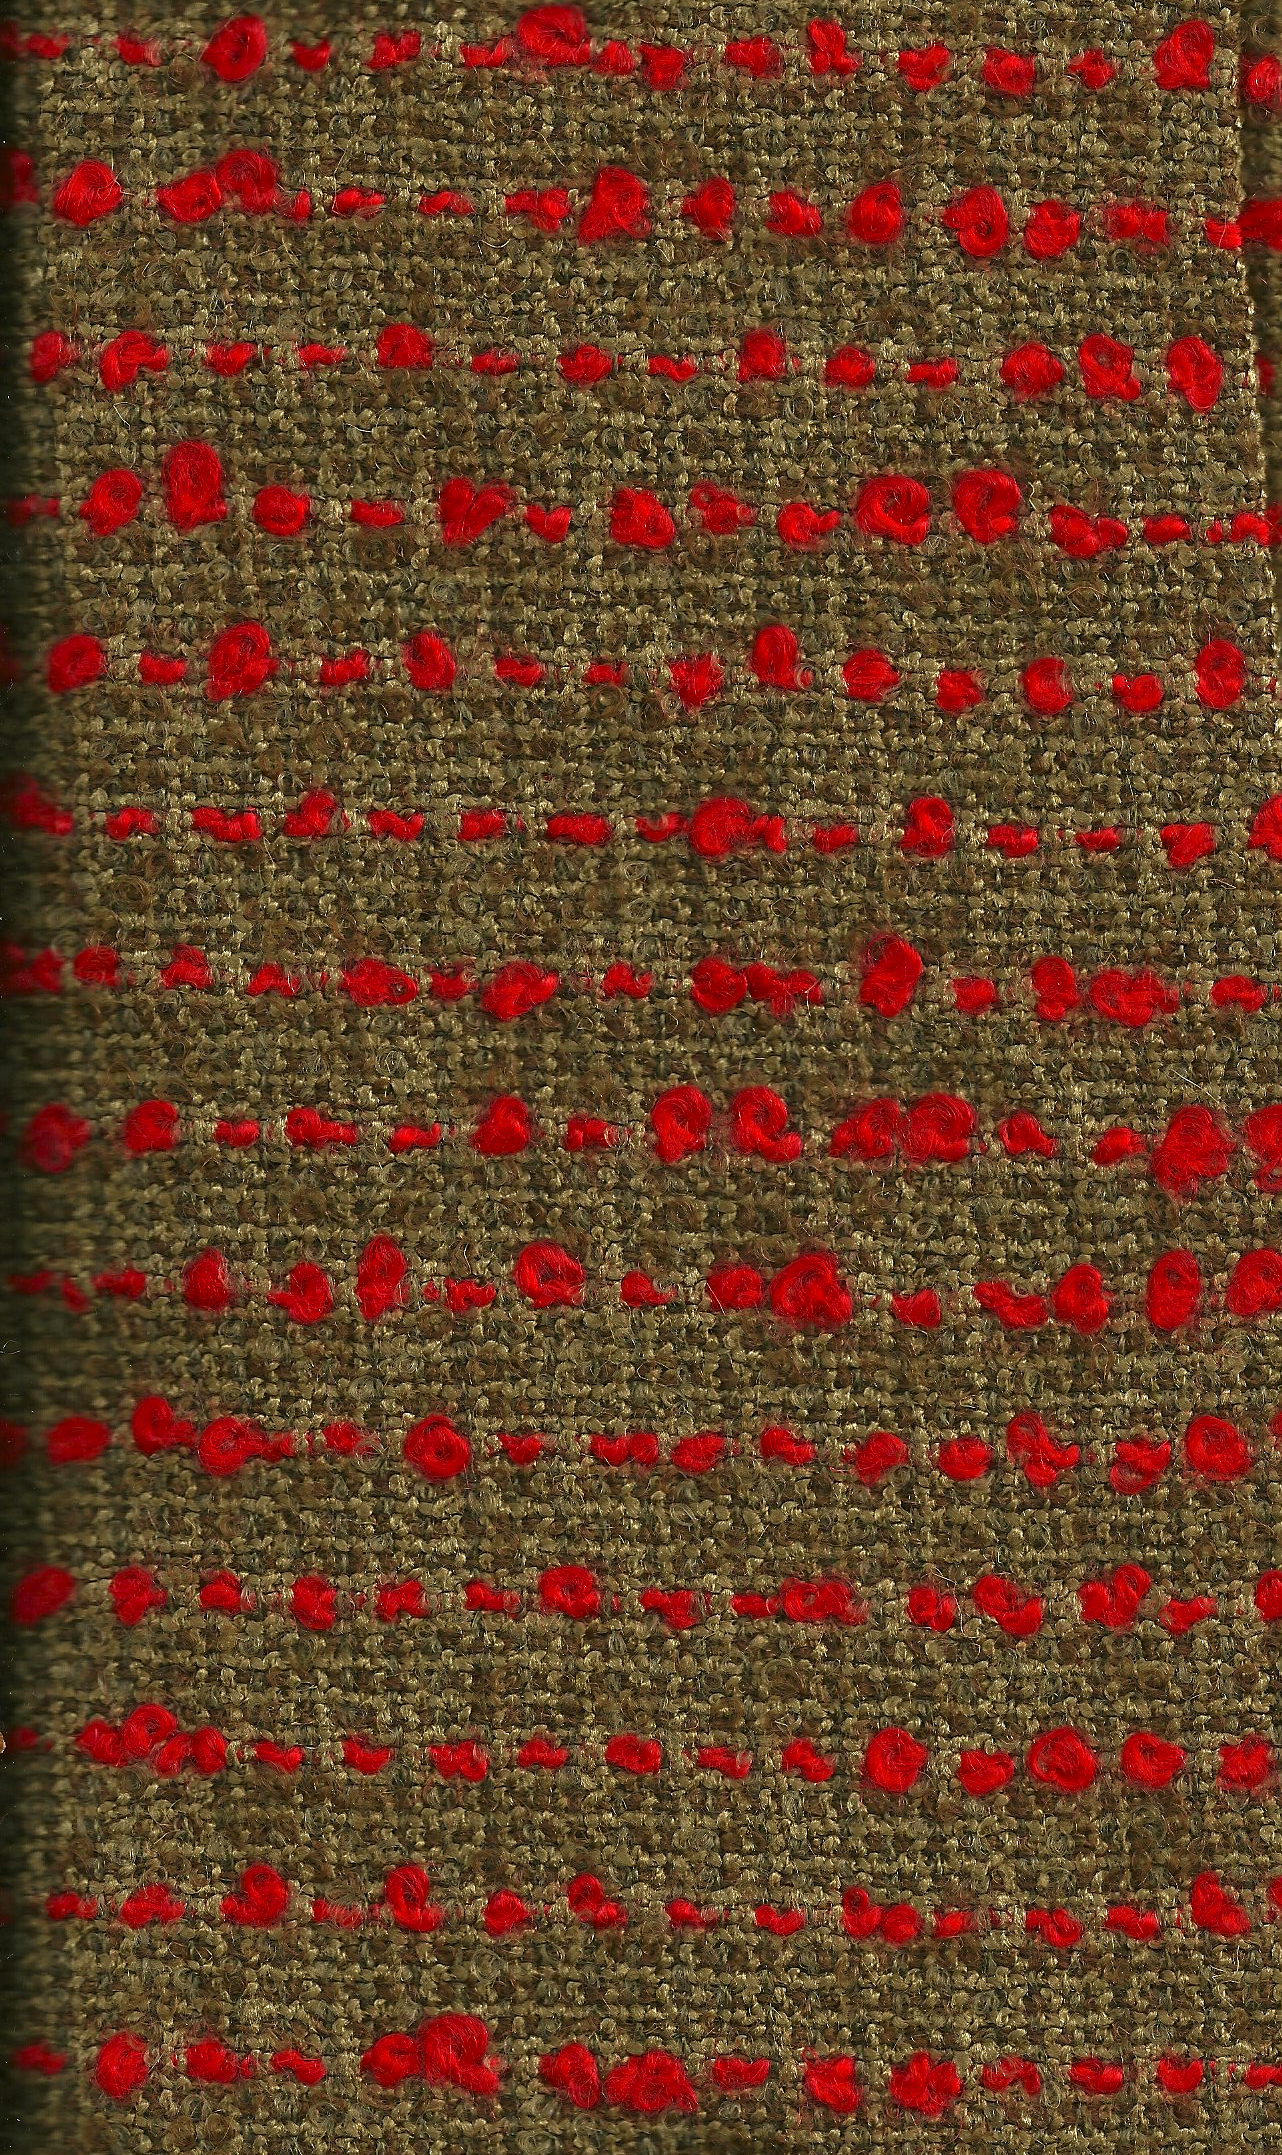
This fabric is very soft, perhaps due to a certain percentage of mohair wool in its composition.
My first jacket is definitely very dressy, so I wanted this one to be less so, which meant I had to find just the right lining, trim, and buttons. It took another, recent, trip to San Francisco to produce those ingredients – and I couldn’t be more pleased with what I found again at Britex.
A bolt of this light-weight silk twill was tucked under one of the front tables, and it was love at first sight. I was hoping to find something with navy blue in it, and the geometric pattern in this fabric makes it bold and less dressy than a floral silk charmeuse would be.
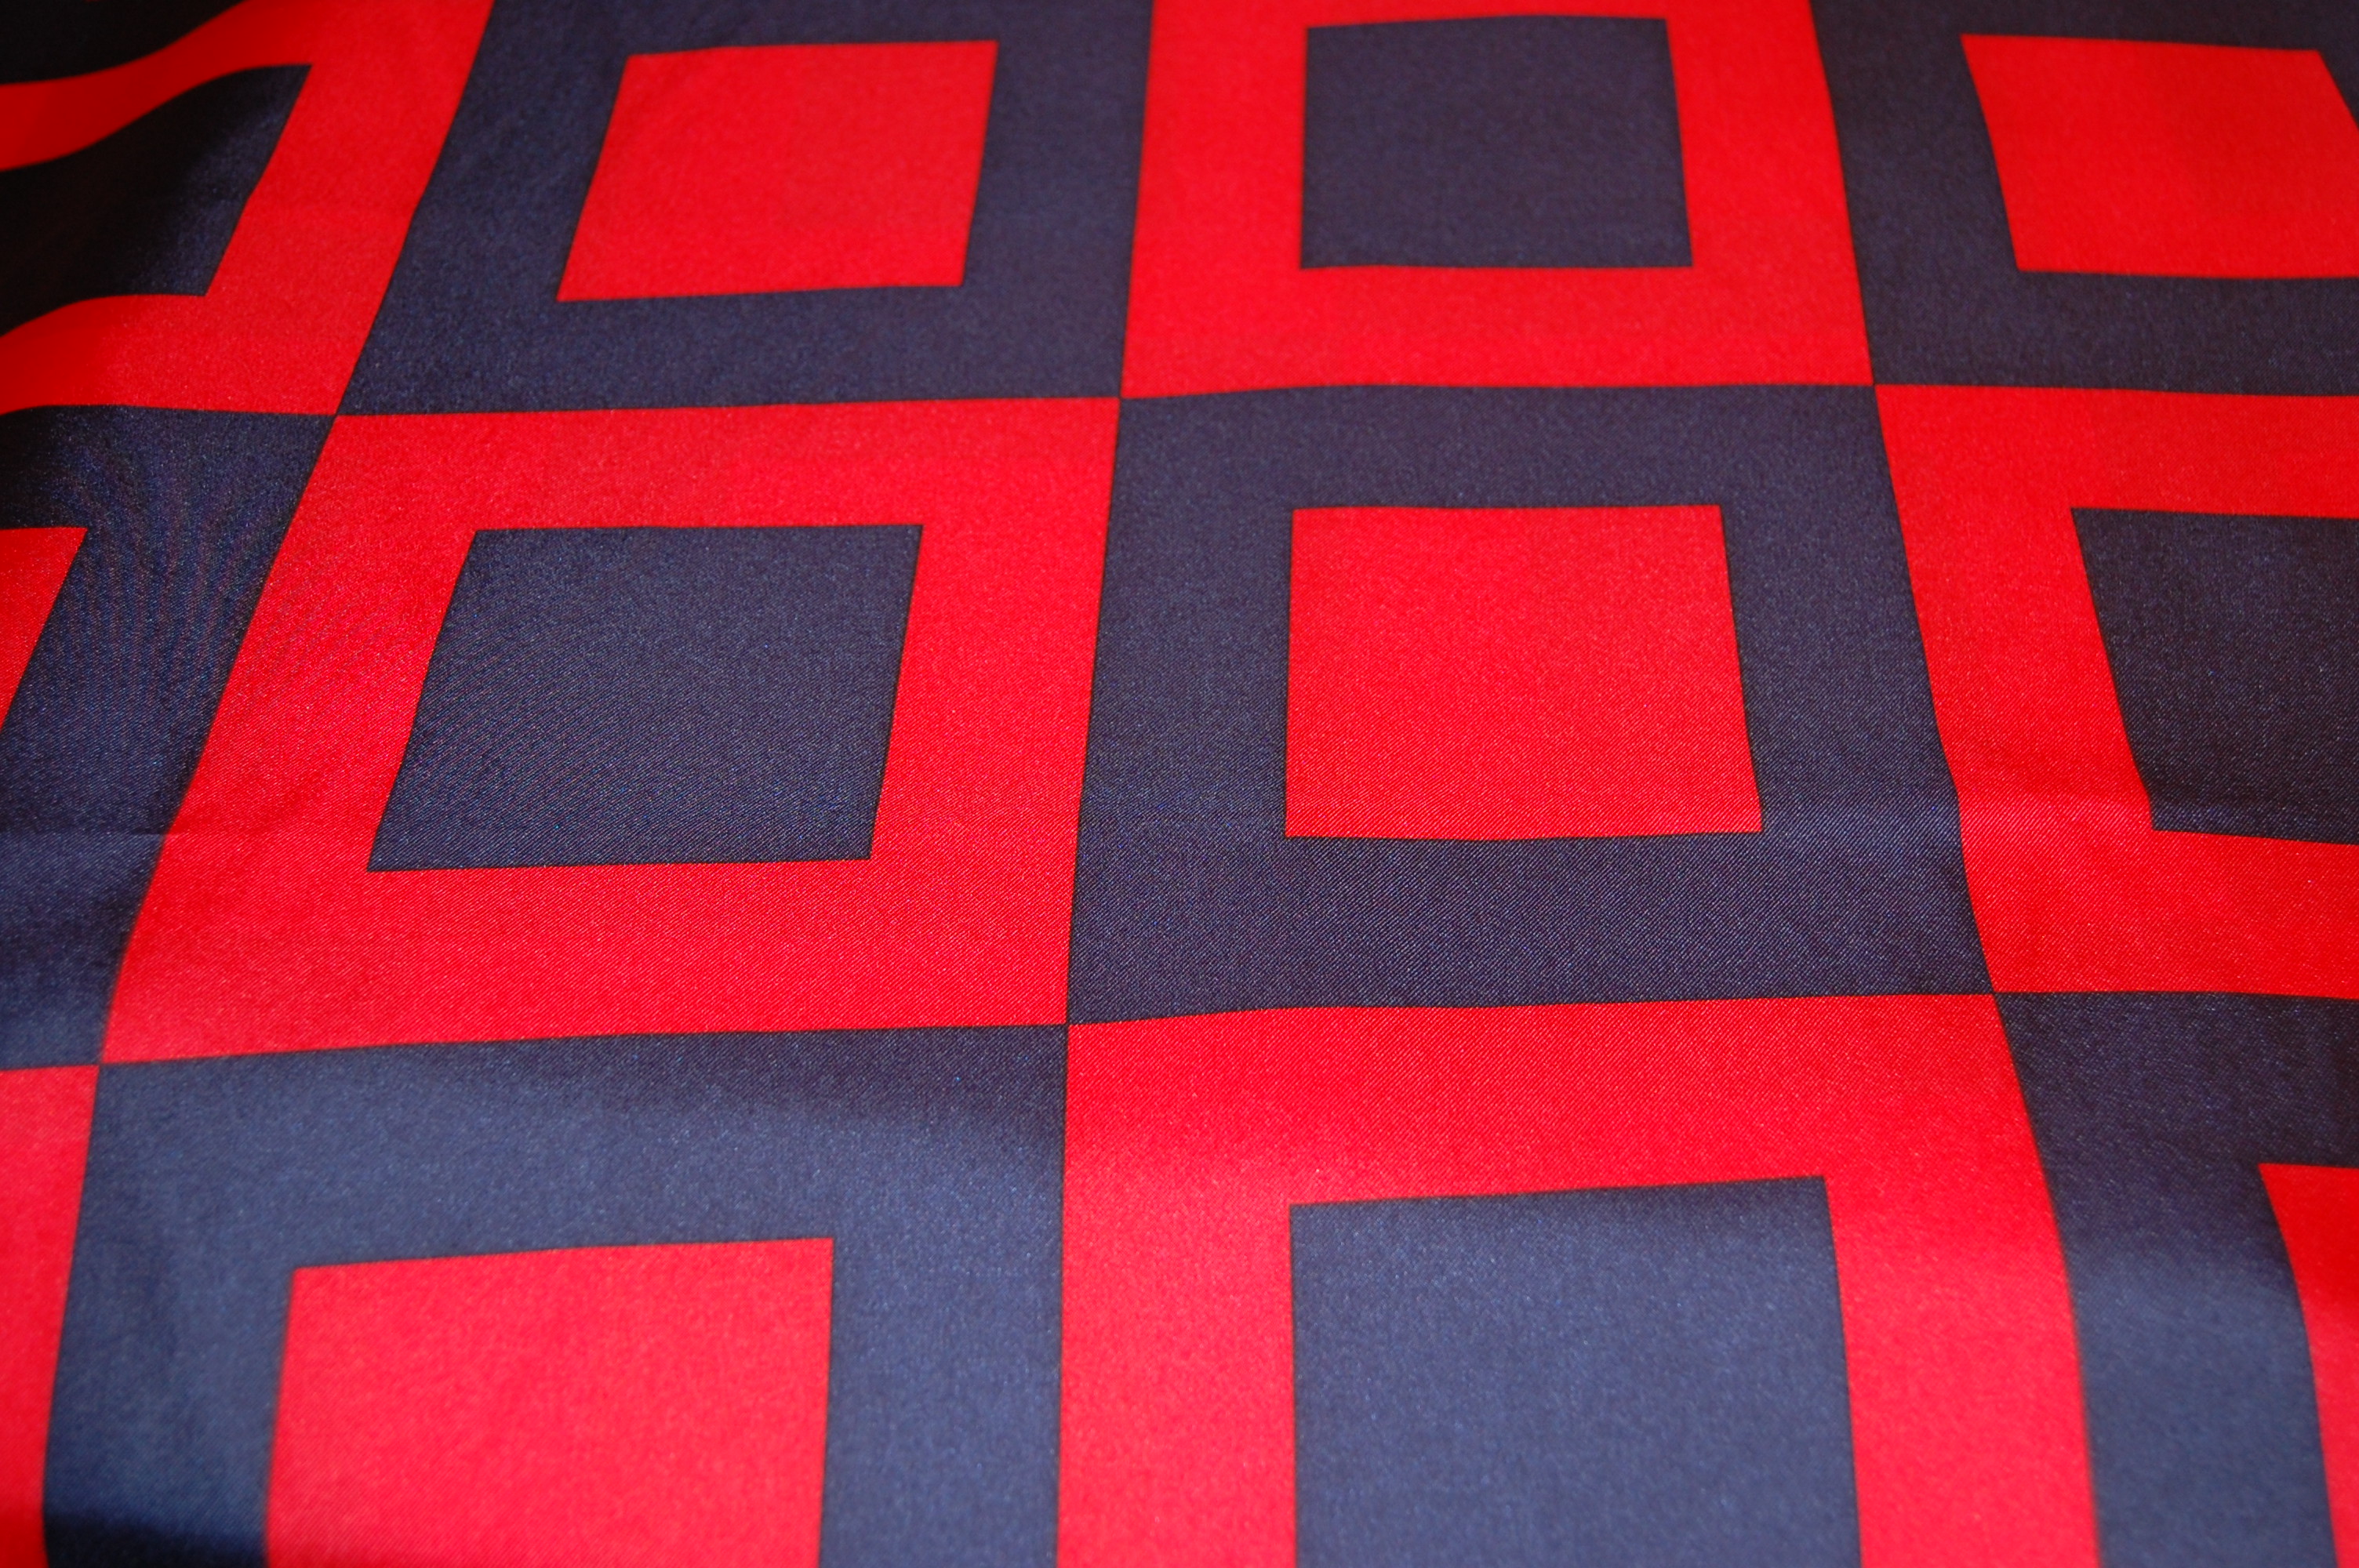

The ruler will help you get a feel for the size of the squares. Click on the photo for a close-up view.
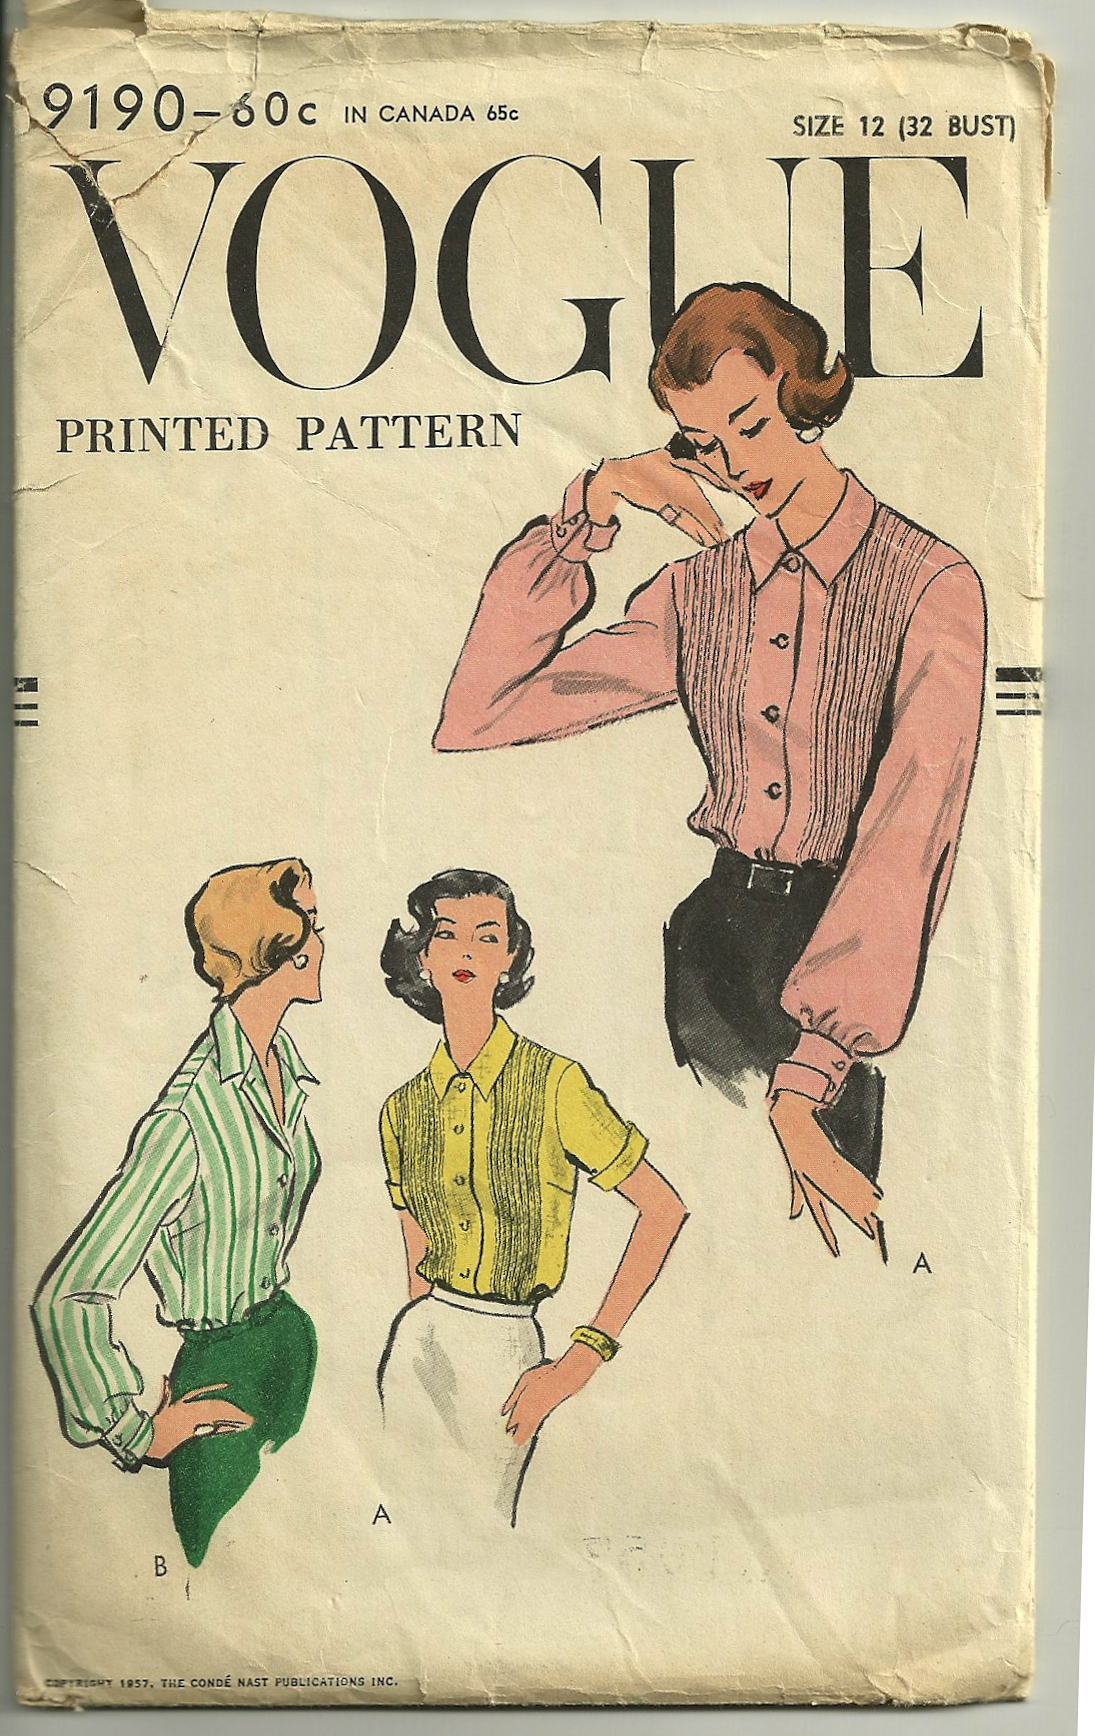
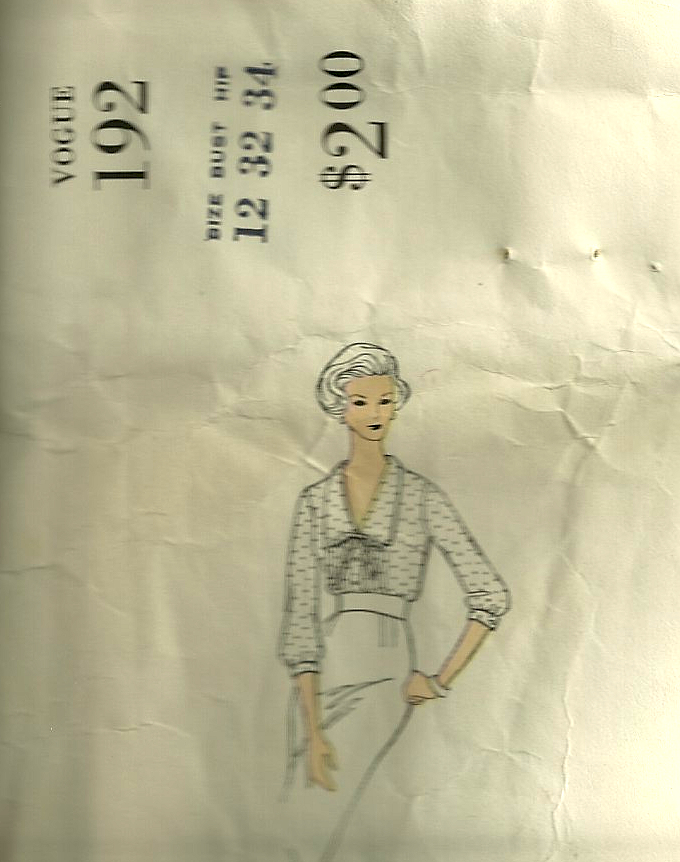
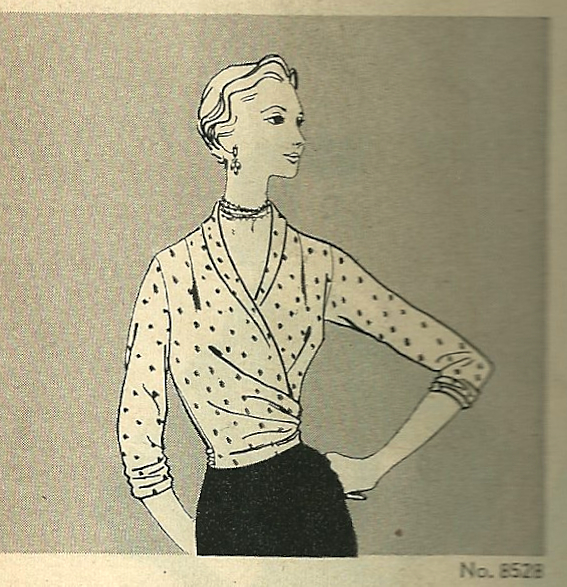
Immediately, however, I knew that I had to purchase enough for a blouse as well, which I did. I suspect I’ll be using this pattern from 1957 for a blouse with a bow, which should evoke the correct Coco Chanel look. (A muslin should tell me if I need to tame the bow. I don’t want it to be overwhelming…)
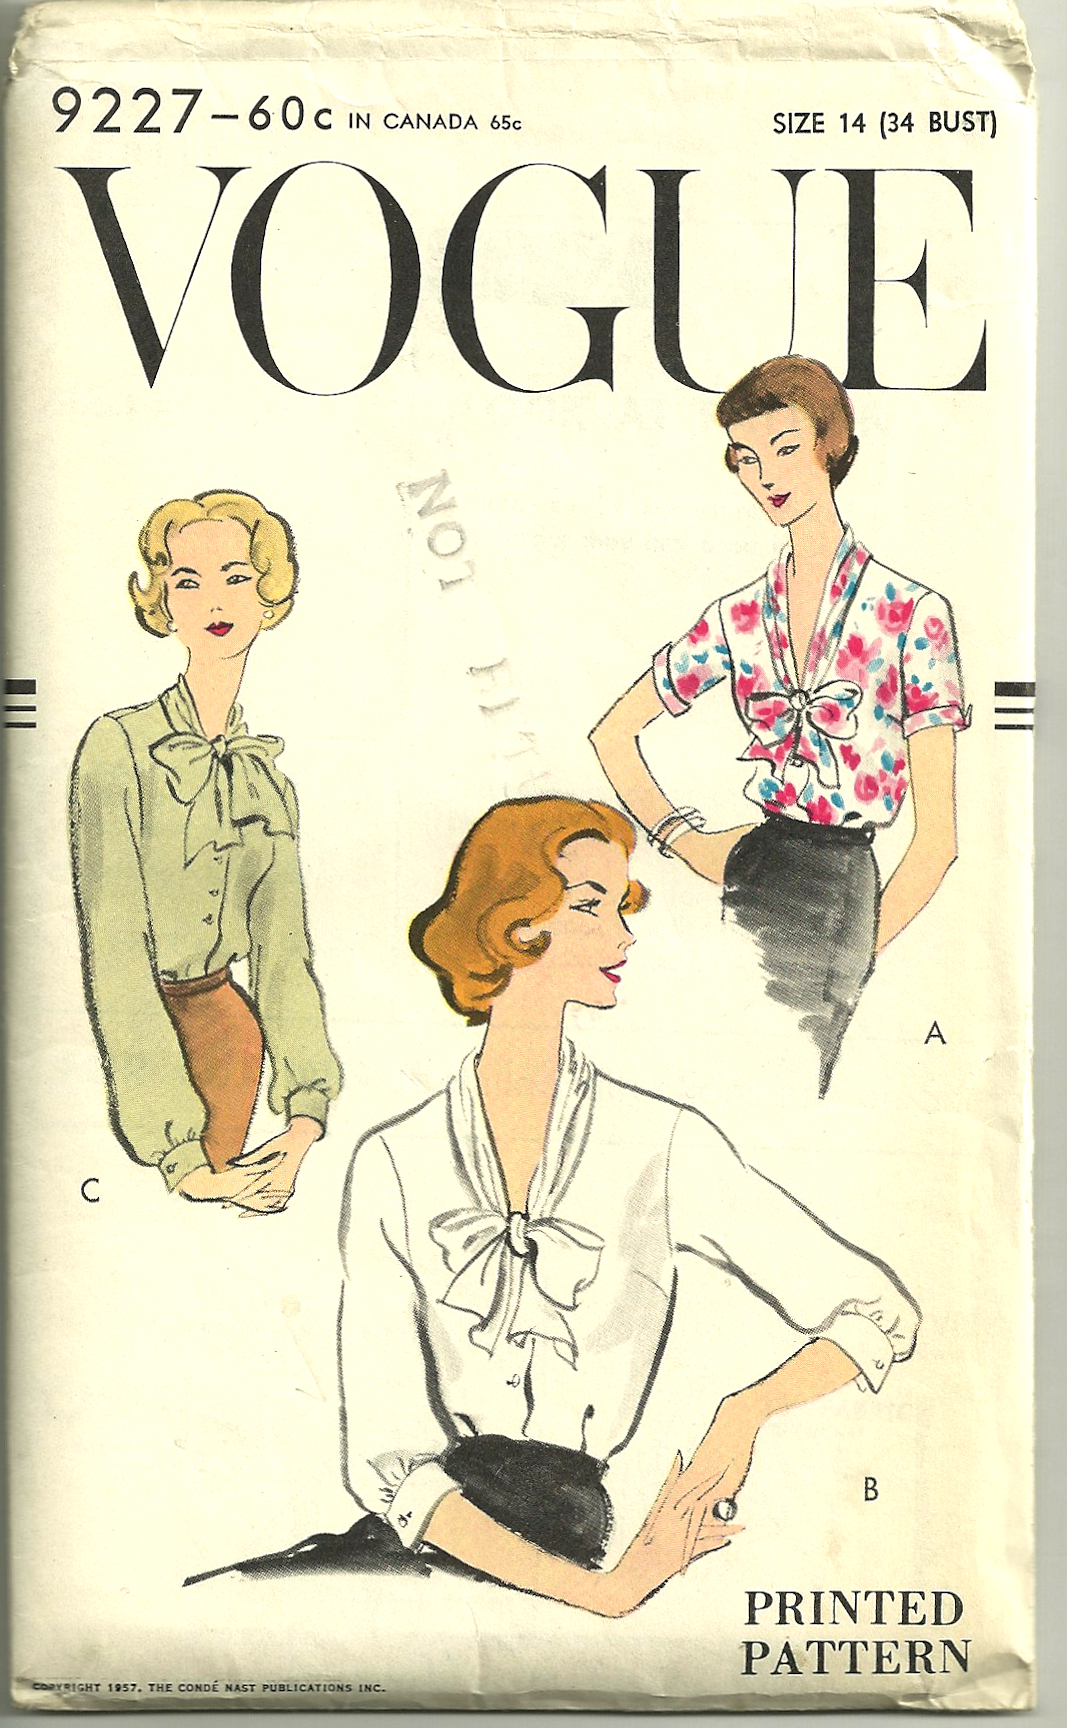
View B with long sleeves has my vote.
With fabrics in tow, I then headed up to the Buttons and Trims Department on the 3rd floor. An initial look at the red trims flummoxed me, as none of them seemed right. Then one of the wonderful assistants in the Department came to my rescue and found these two trims.
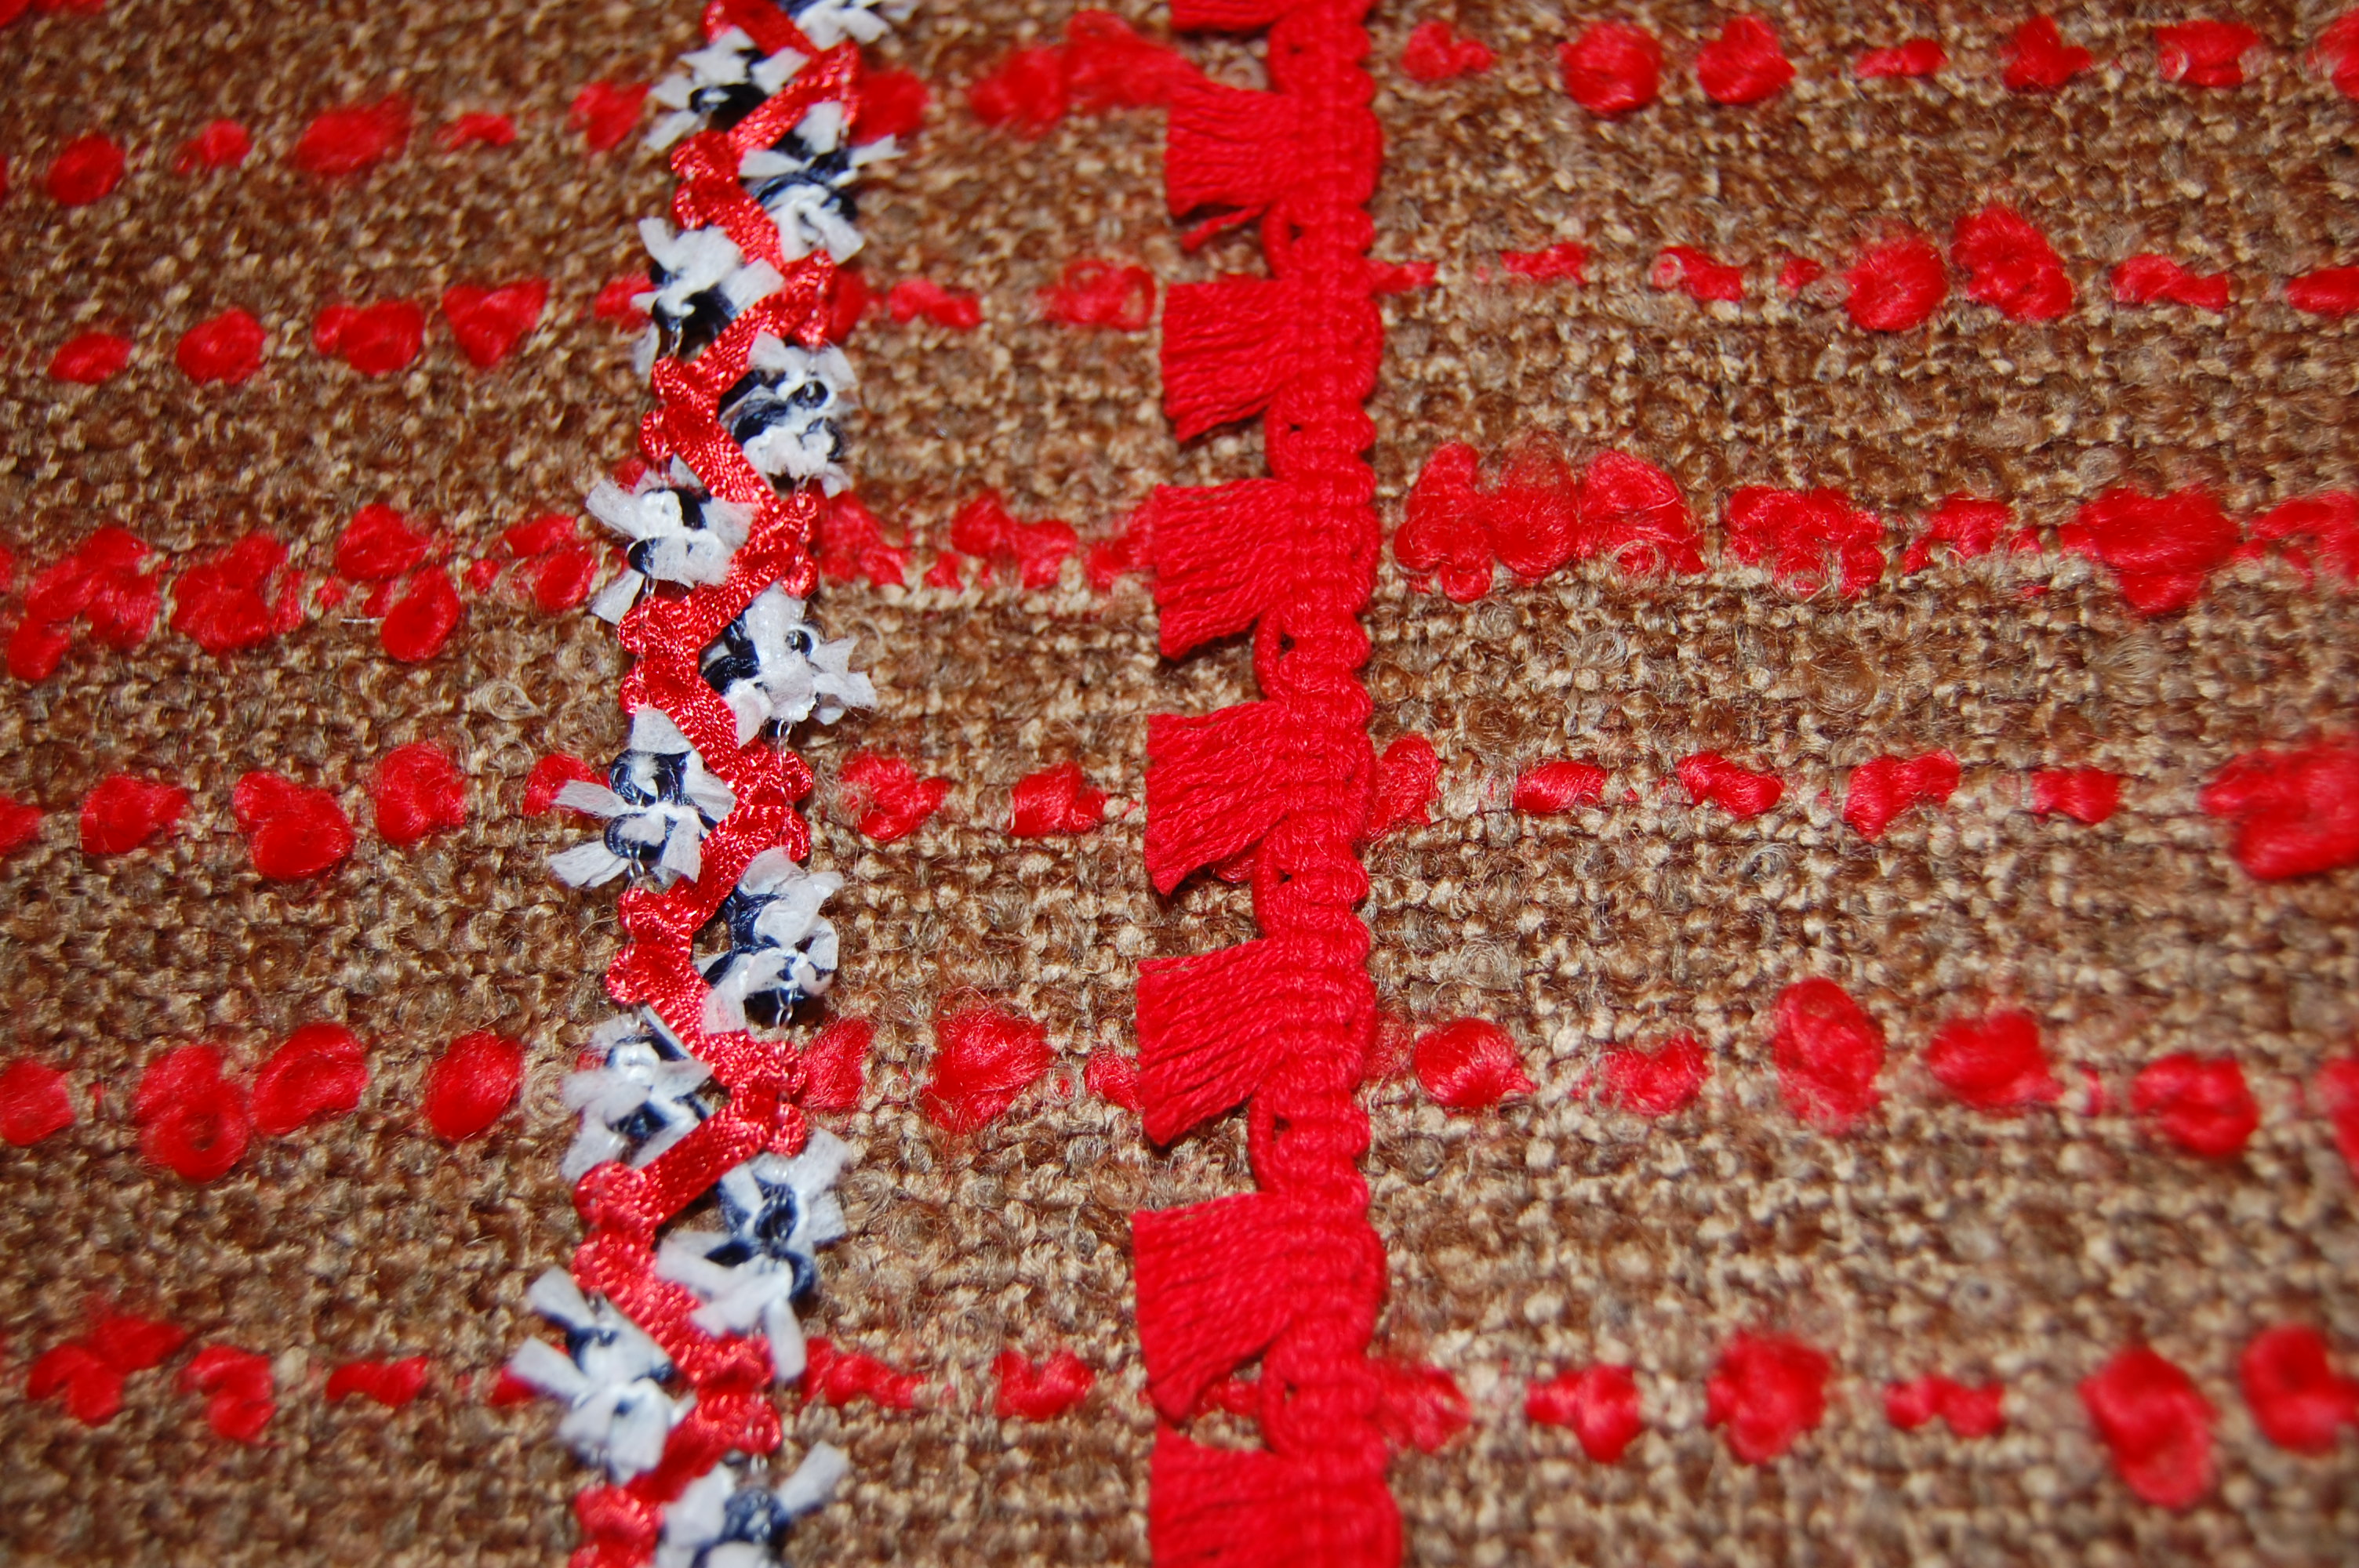

Shown with the lining/blouse fabric . . .
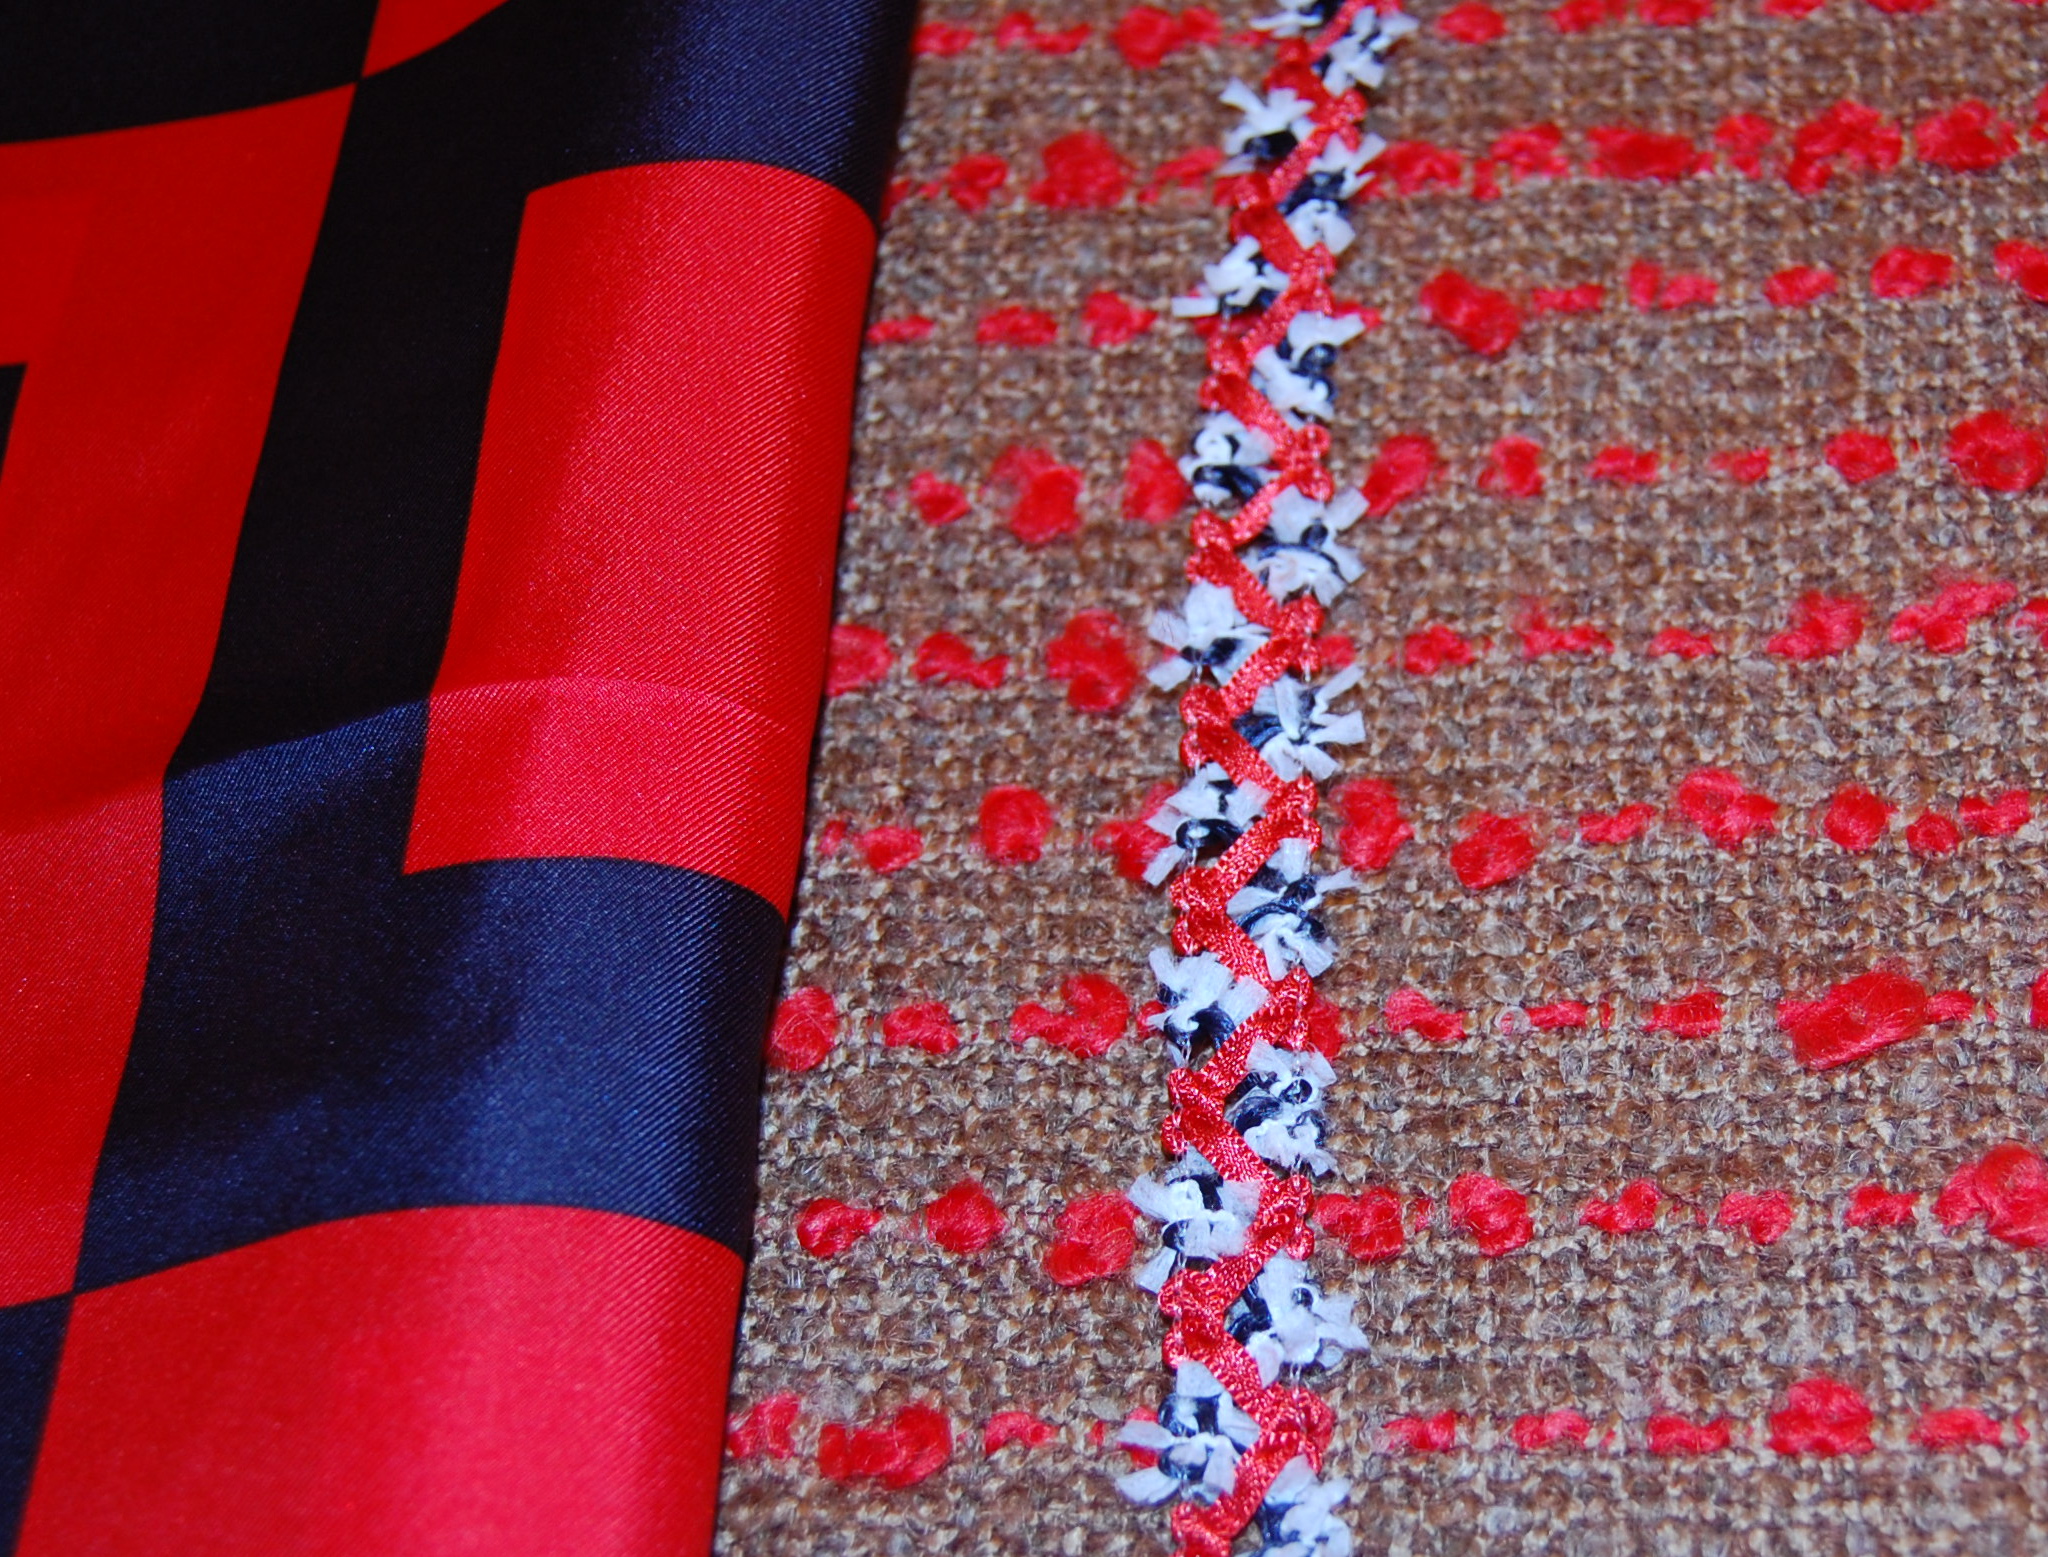
. . . and again.
Back and forth I went between them, unable to make a decision. It was then that I went to my fail-safe method of choosing between two equally wonderful trims: I bought both of them! ( It certainly helped that neither was terribly expensive – and both very versatile.)
Now that I have them home, I am leaning toward one of them – can you guess which one? Does it help to see the buttons, too? Once again, the experienced button assistant quickly found these – and there was no question in my mind that they were just what I wanted for this jacket.
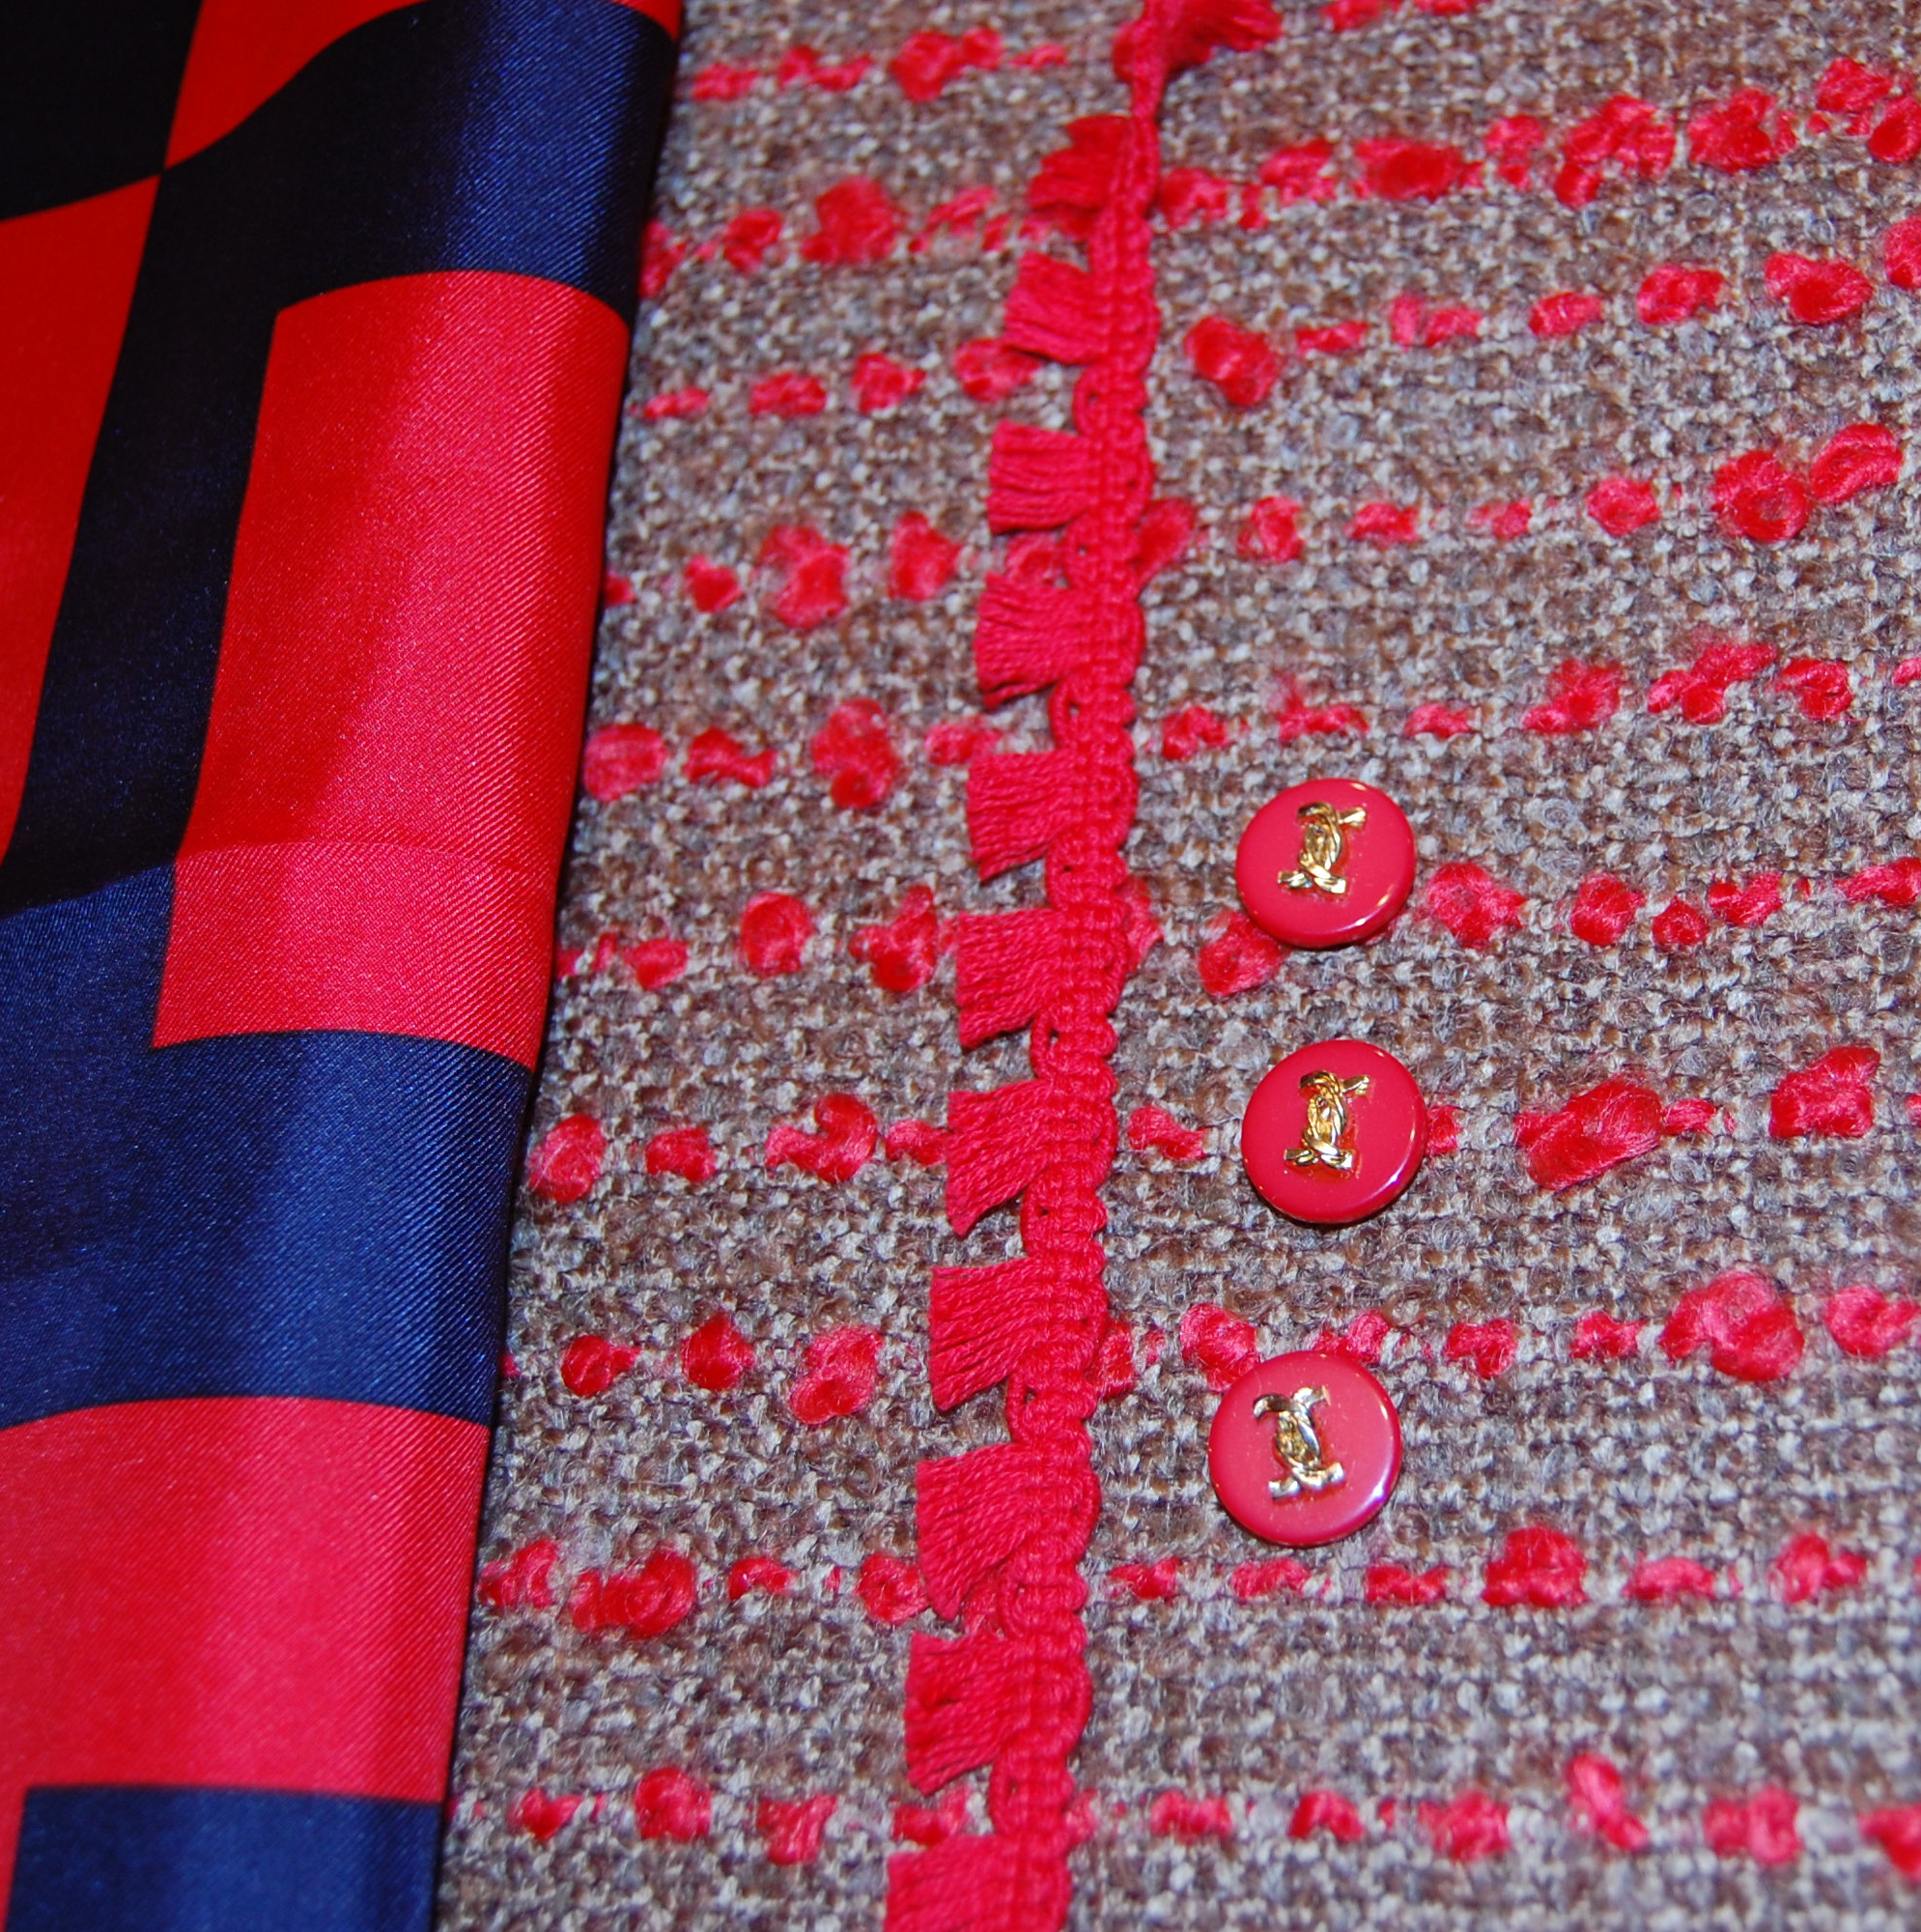
These are shank buttons, with gold decoration slightly reminiscent of intertwined Chanel “C”s.
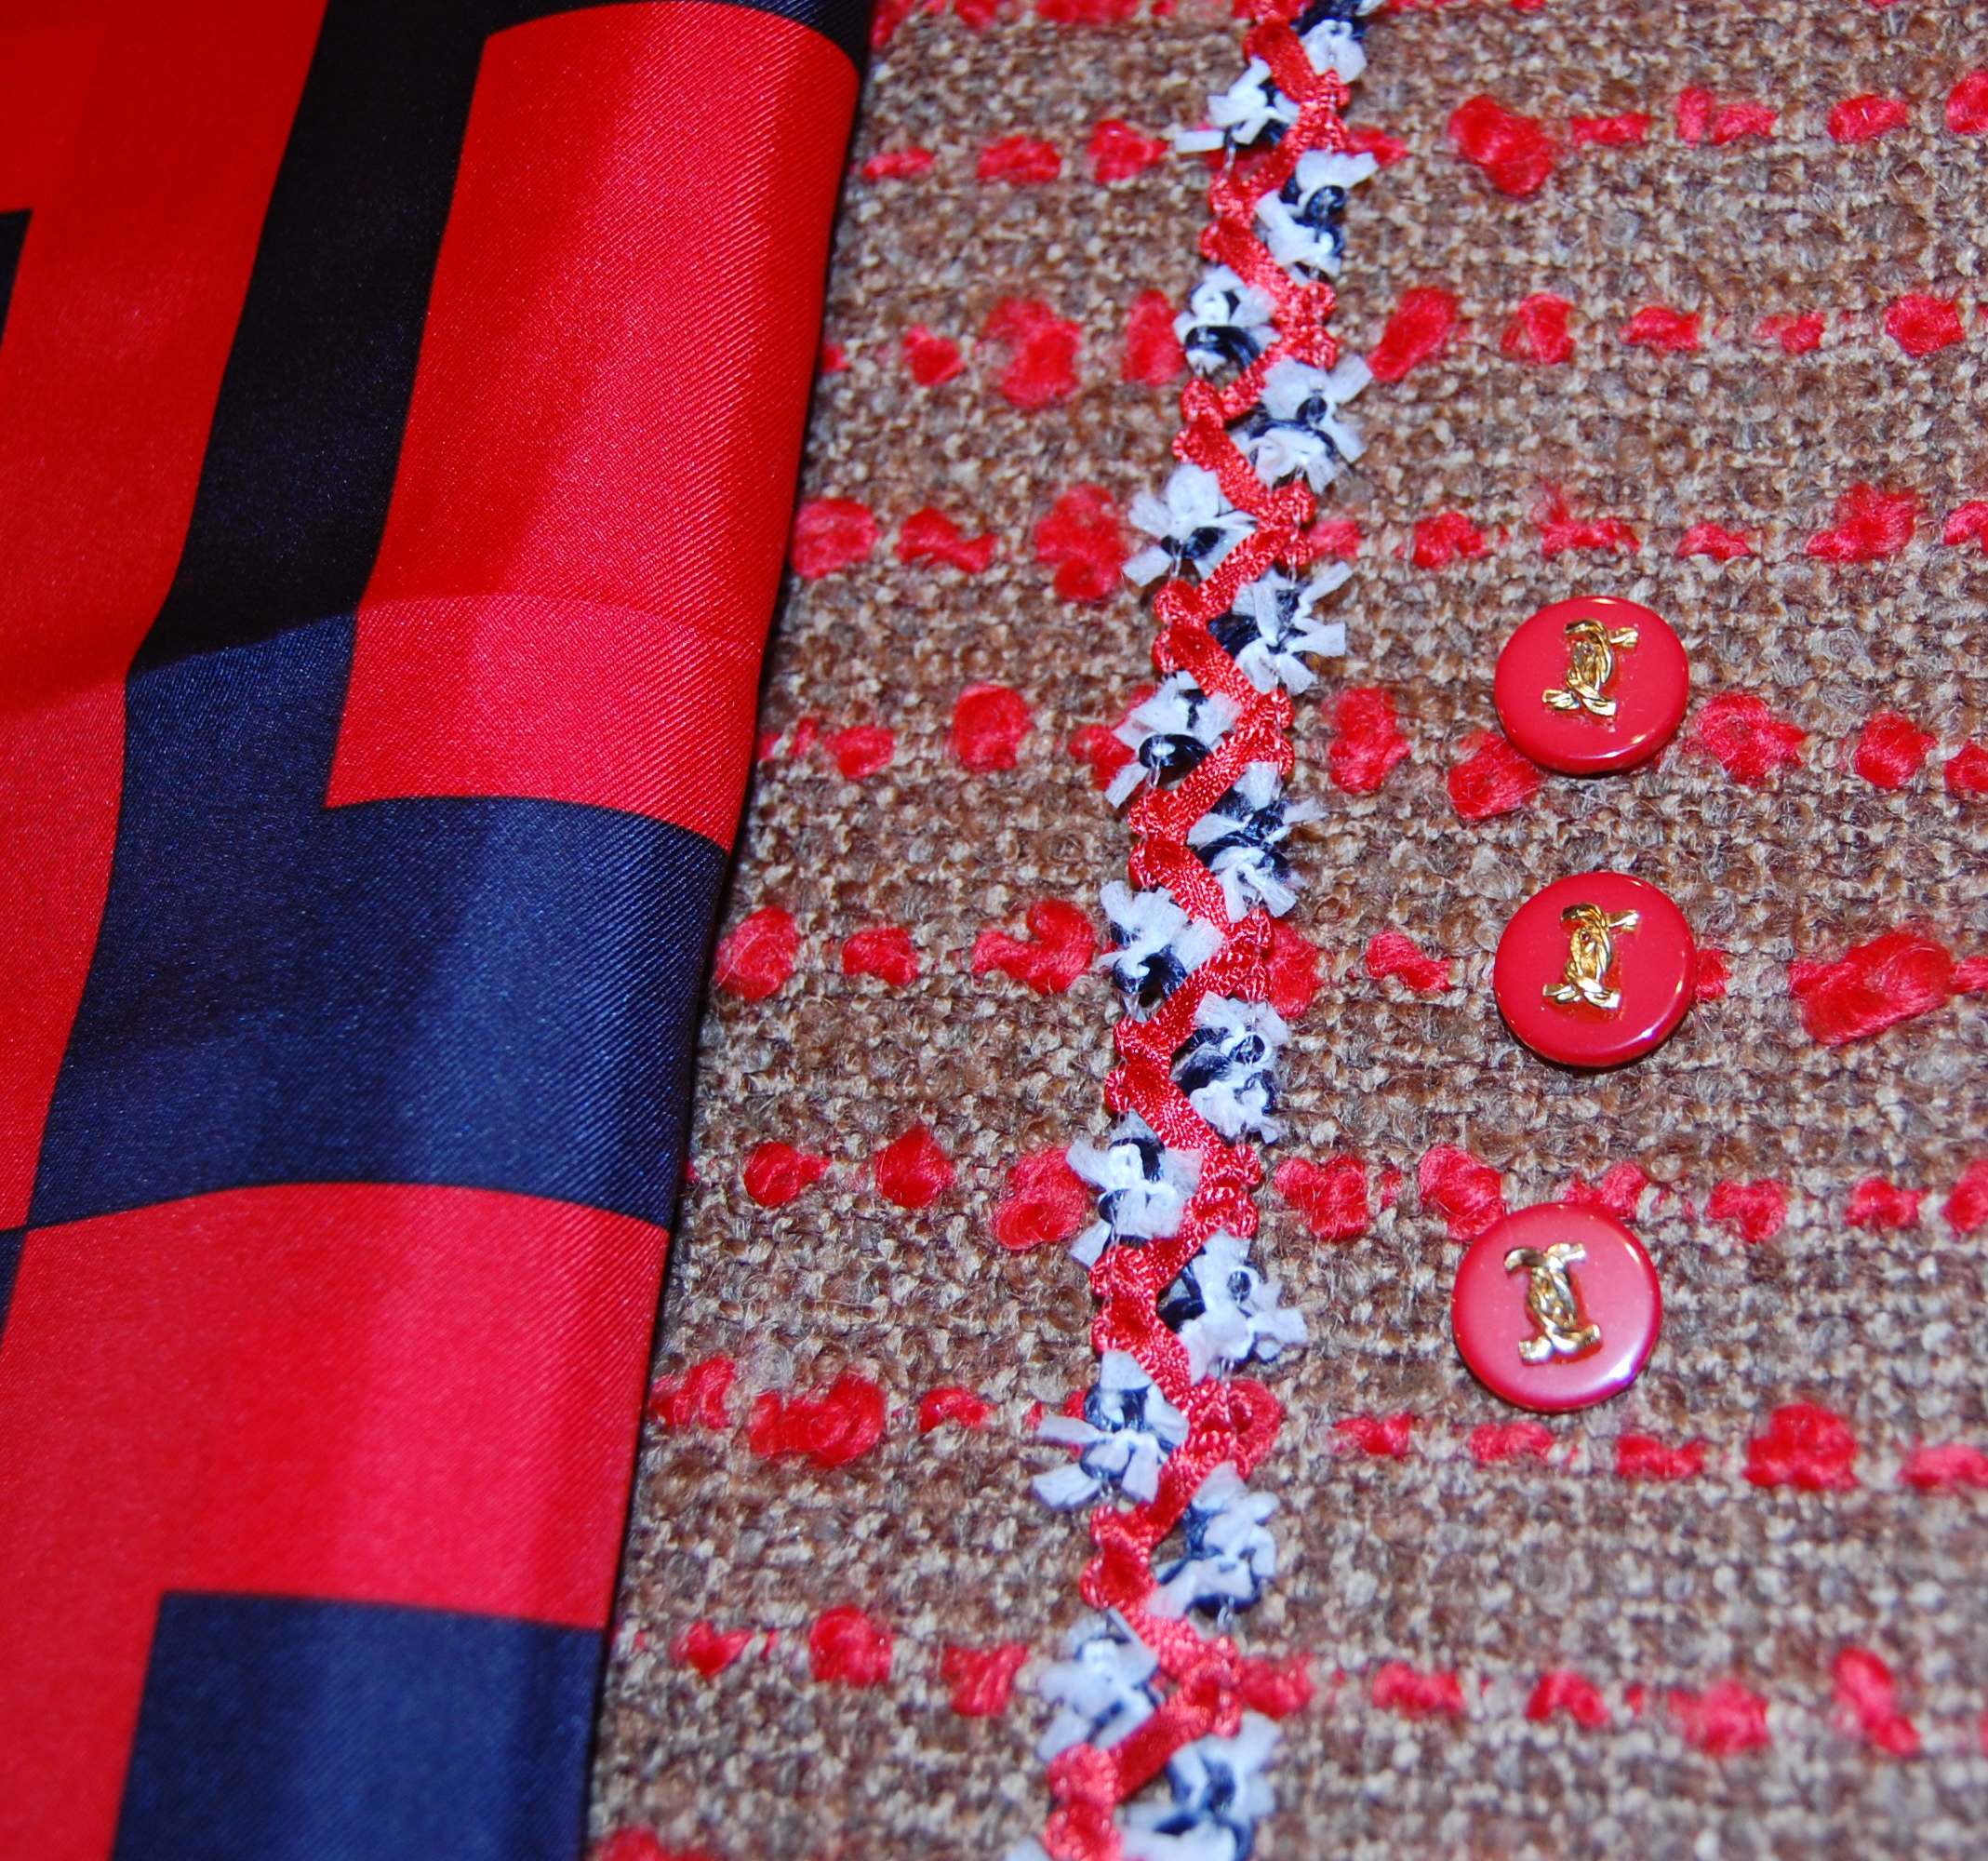
And here with the other trim.
Well, as in so much in life, timing is everything – or it sometimes seems that way. My timing could be better to be starting such a lengthy project. It is, after all, one month until Christmas. I have those proverbial stockings to fill and much to do, but I’ll just bet I can squeeze in some sewing time before my sewing room transforms into Santa’s workshop.