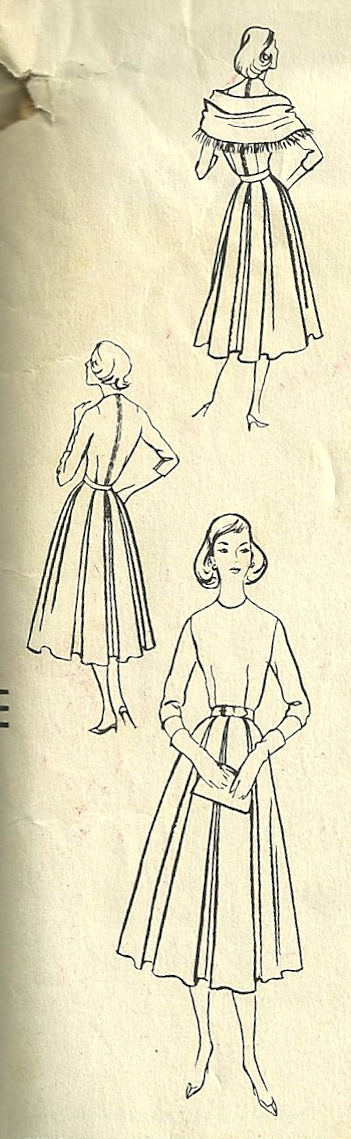
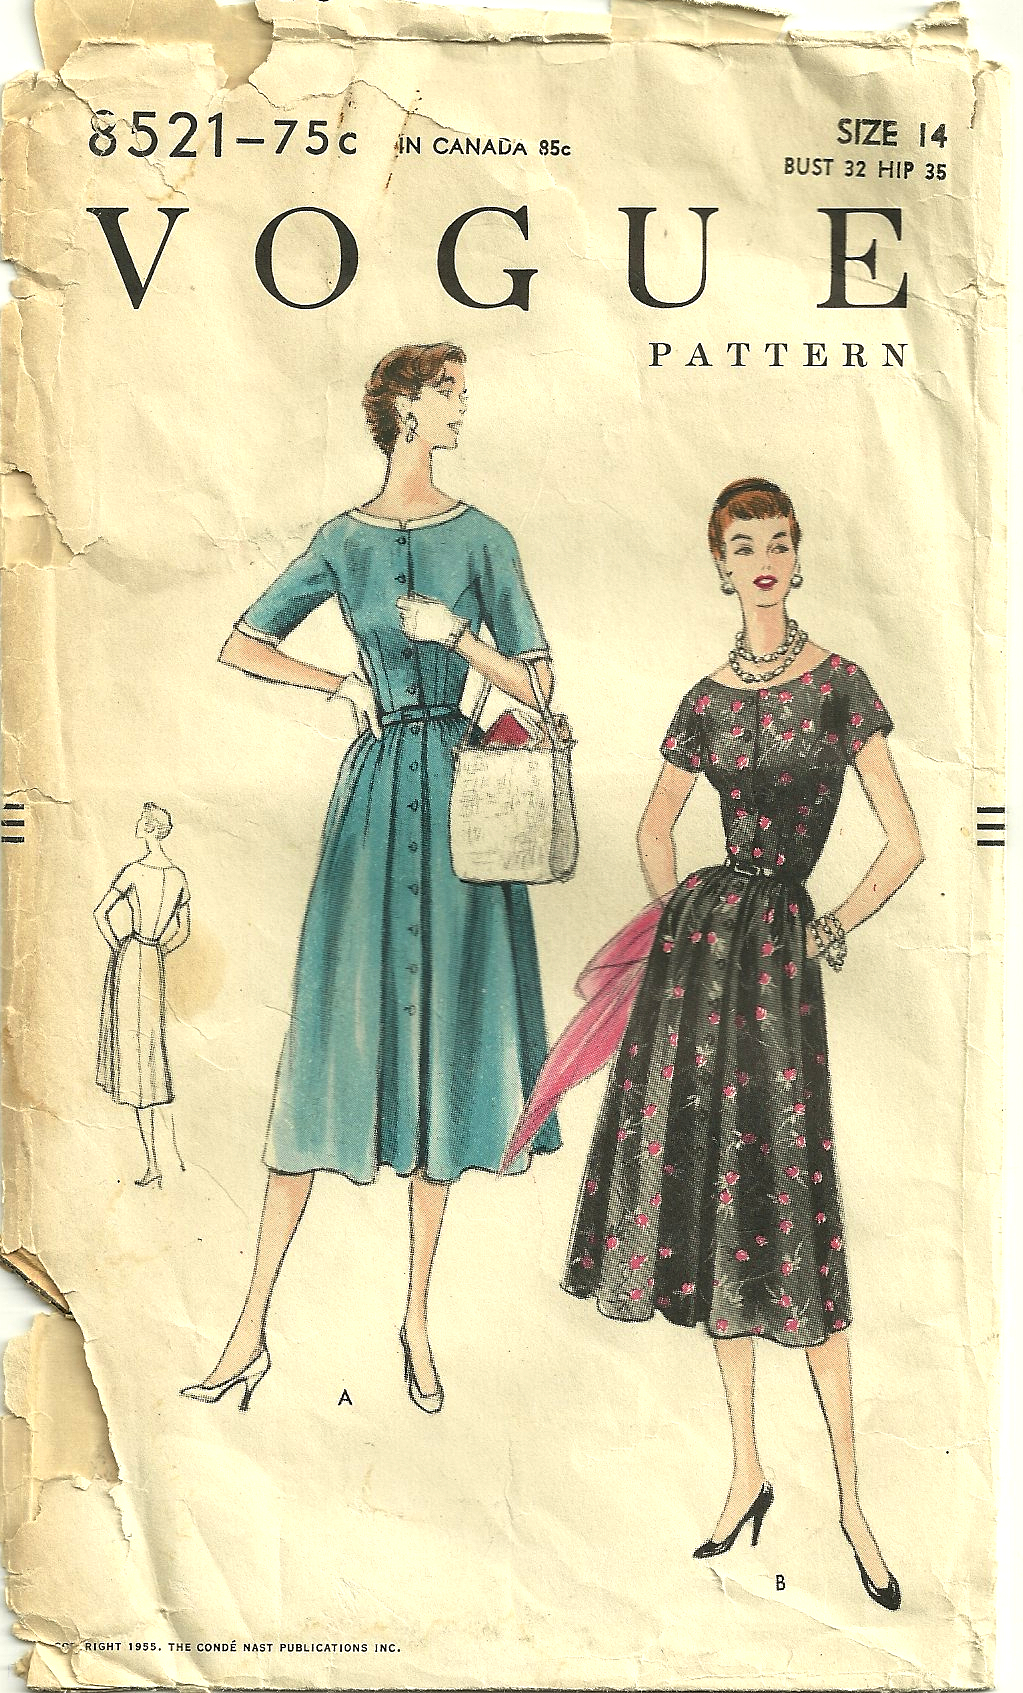
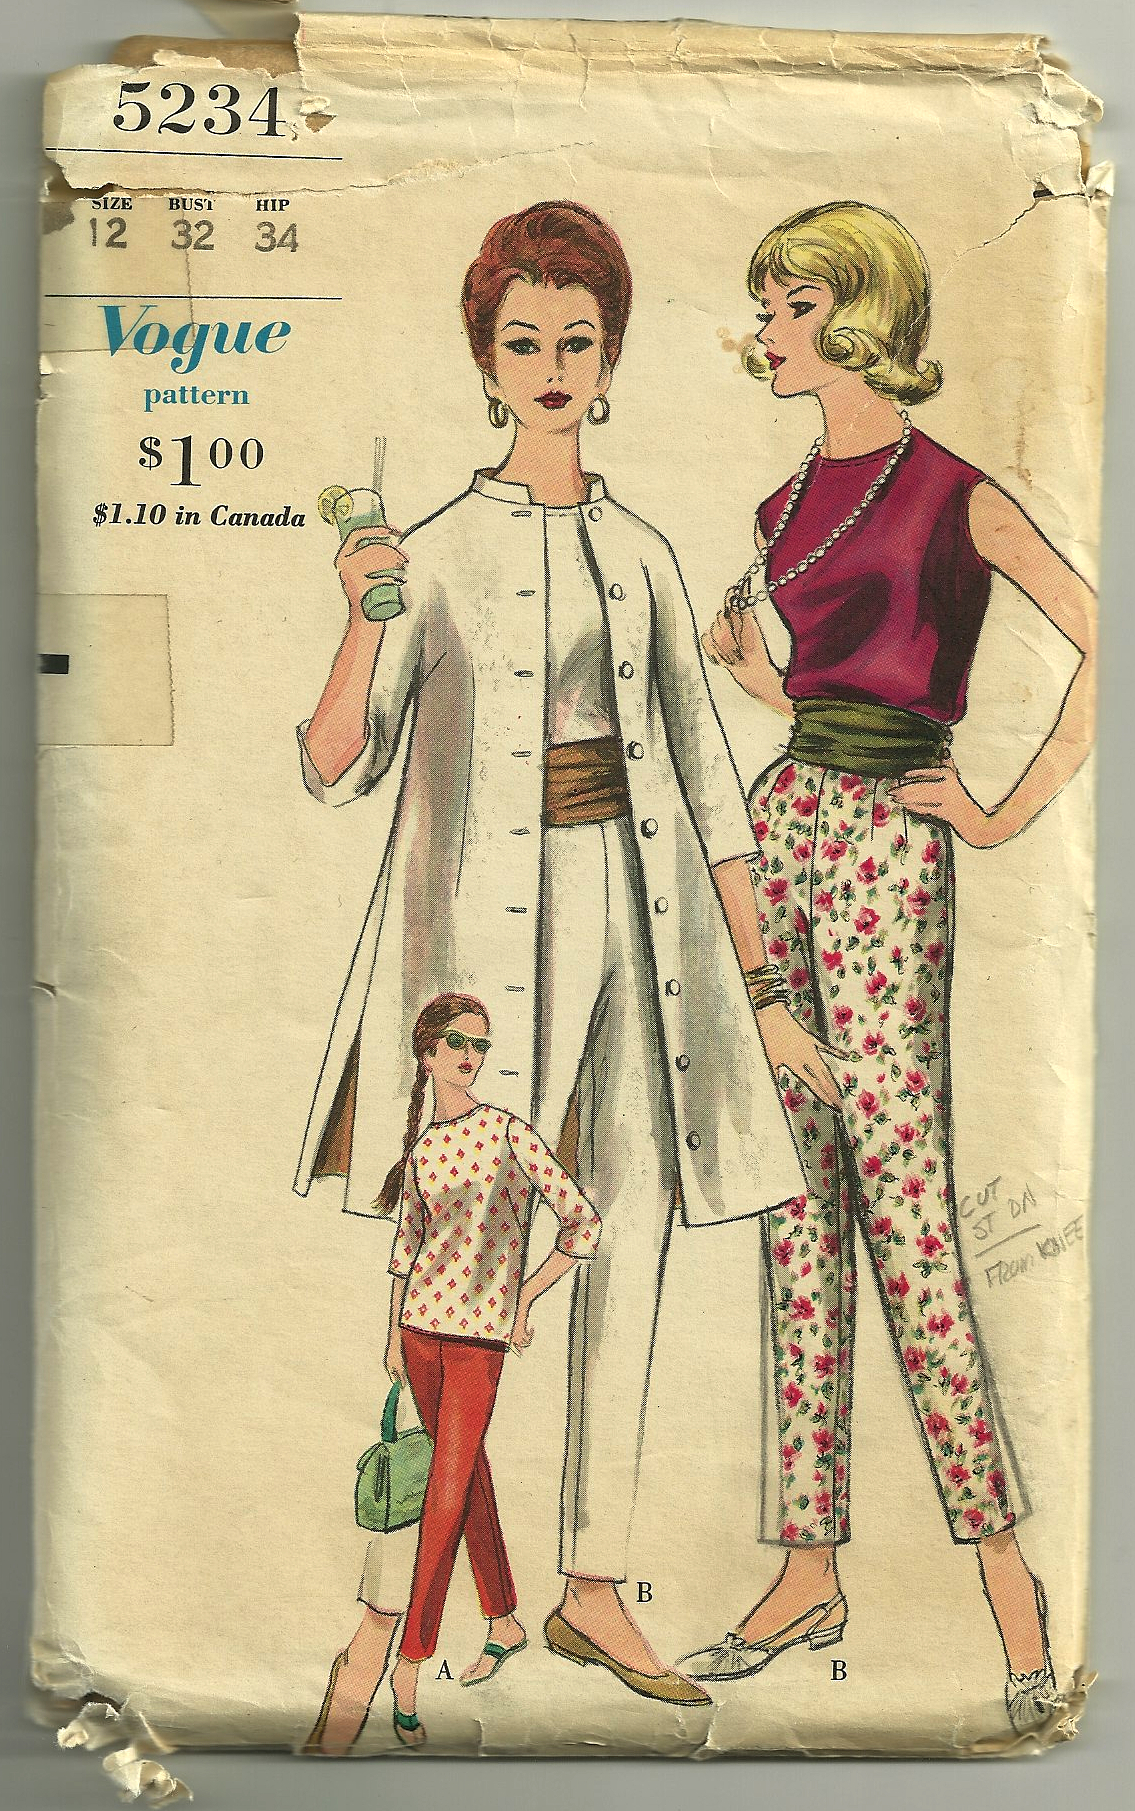
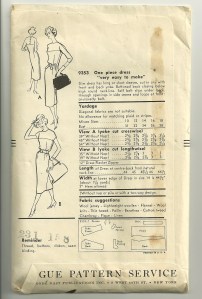
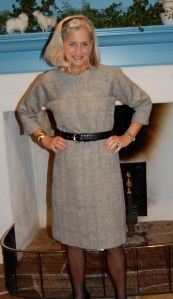
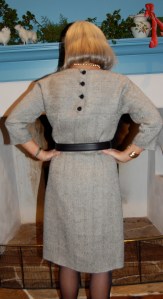
As I eagerly anticipate the Classic French Jacket class I will be taking with Susan Khalje in June, there are several things I am doing to get ready for it. First, of course, is doing my homework. That includes selecting the pattern I want to use and making the muslin. I am sticking with the old stand-by Vogue pattern #7975 (which Susan recommends), as I really do want the classic princess-seamed cardigan look that has evolved from its original “boxy” styling.

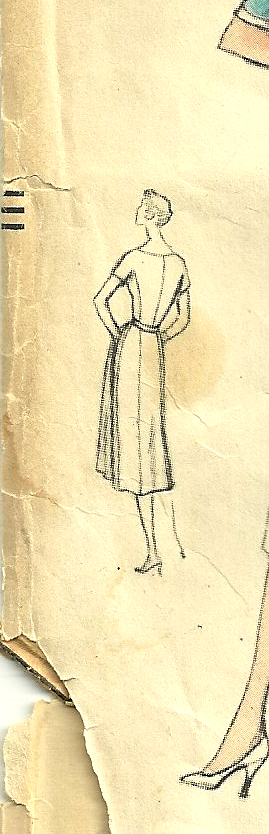
The view in the lower righthand corner is the version I anticipate starting with.
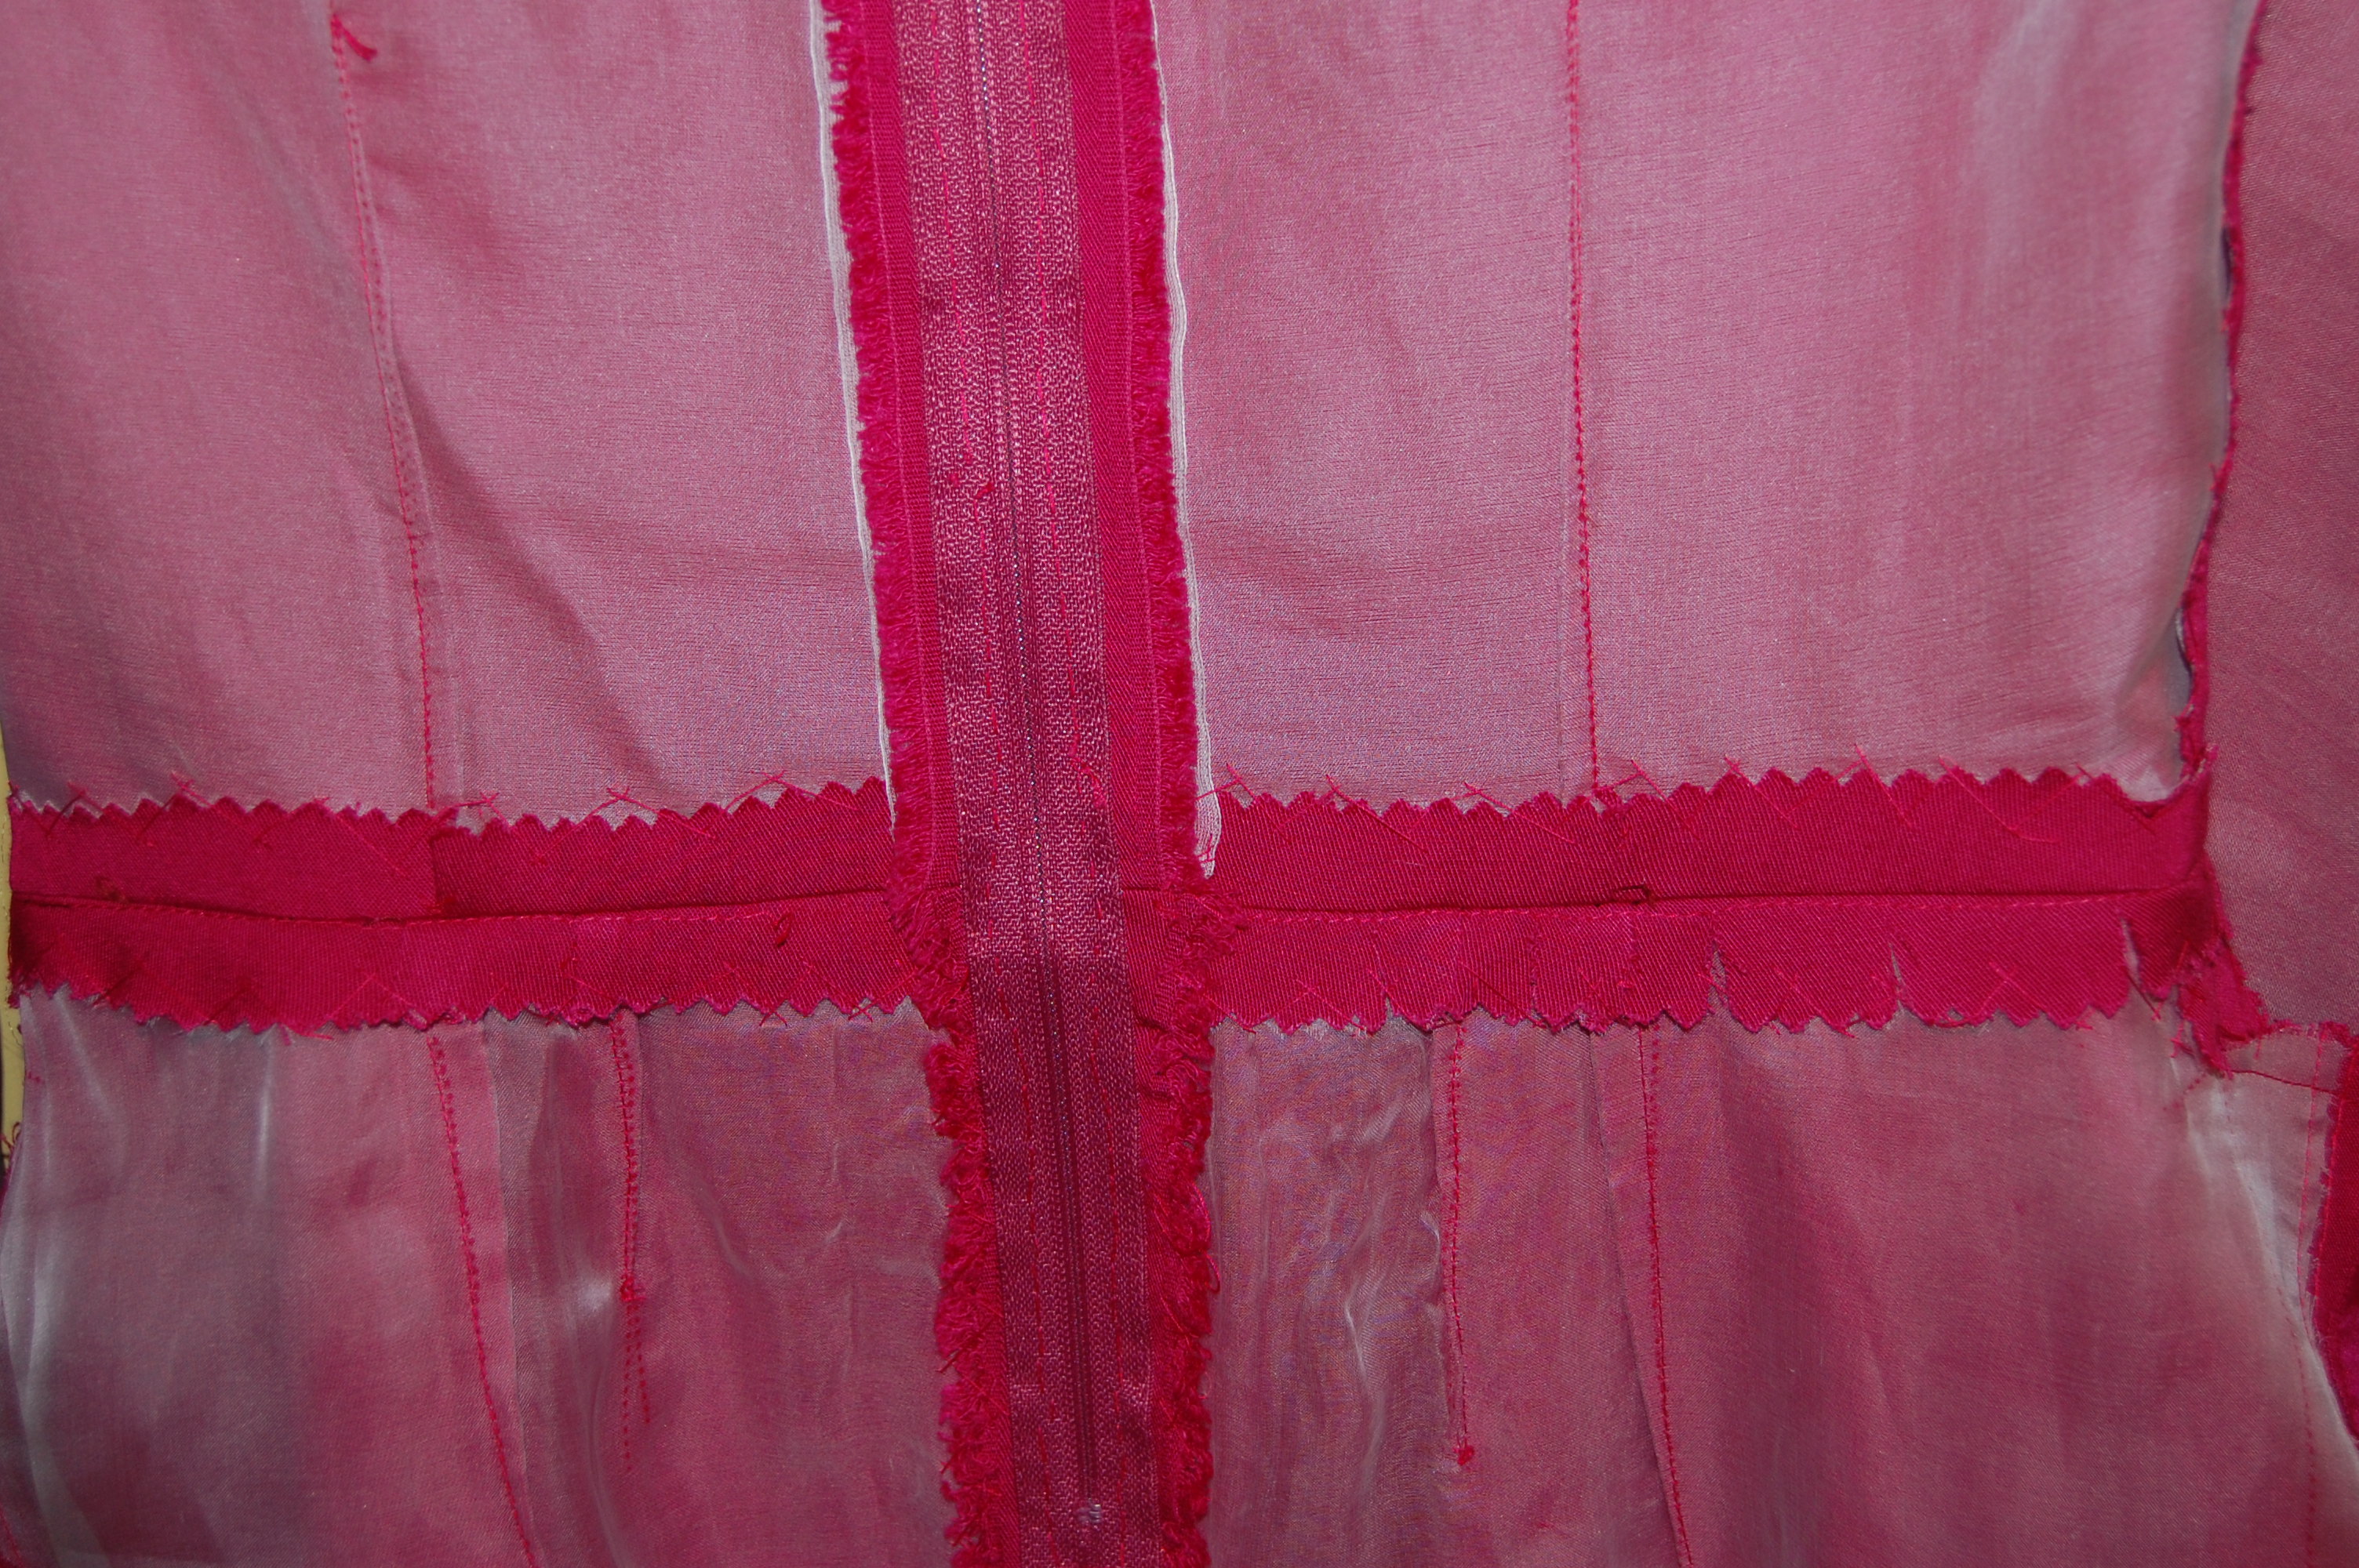
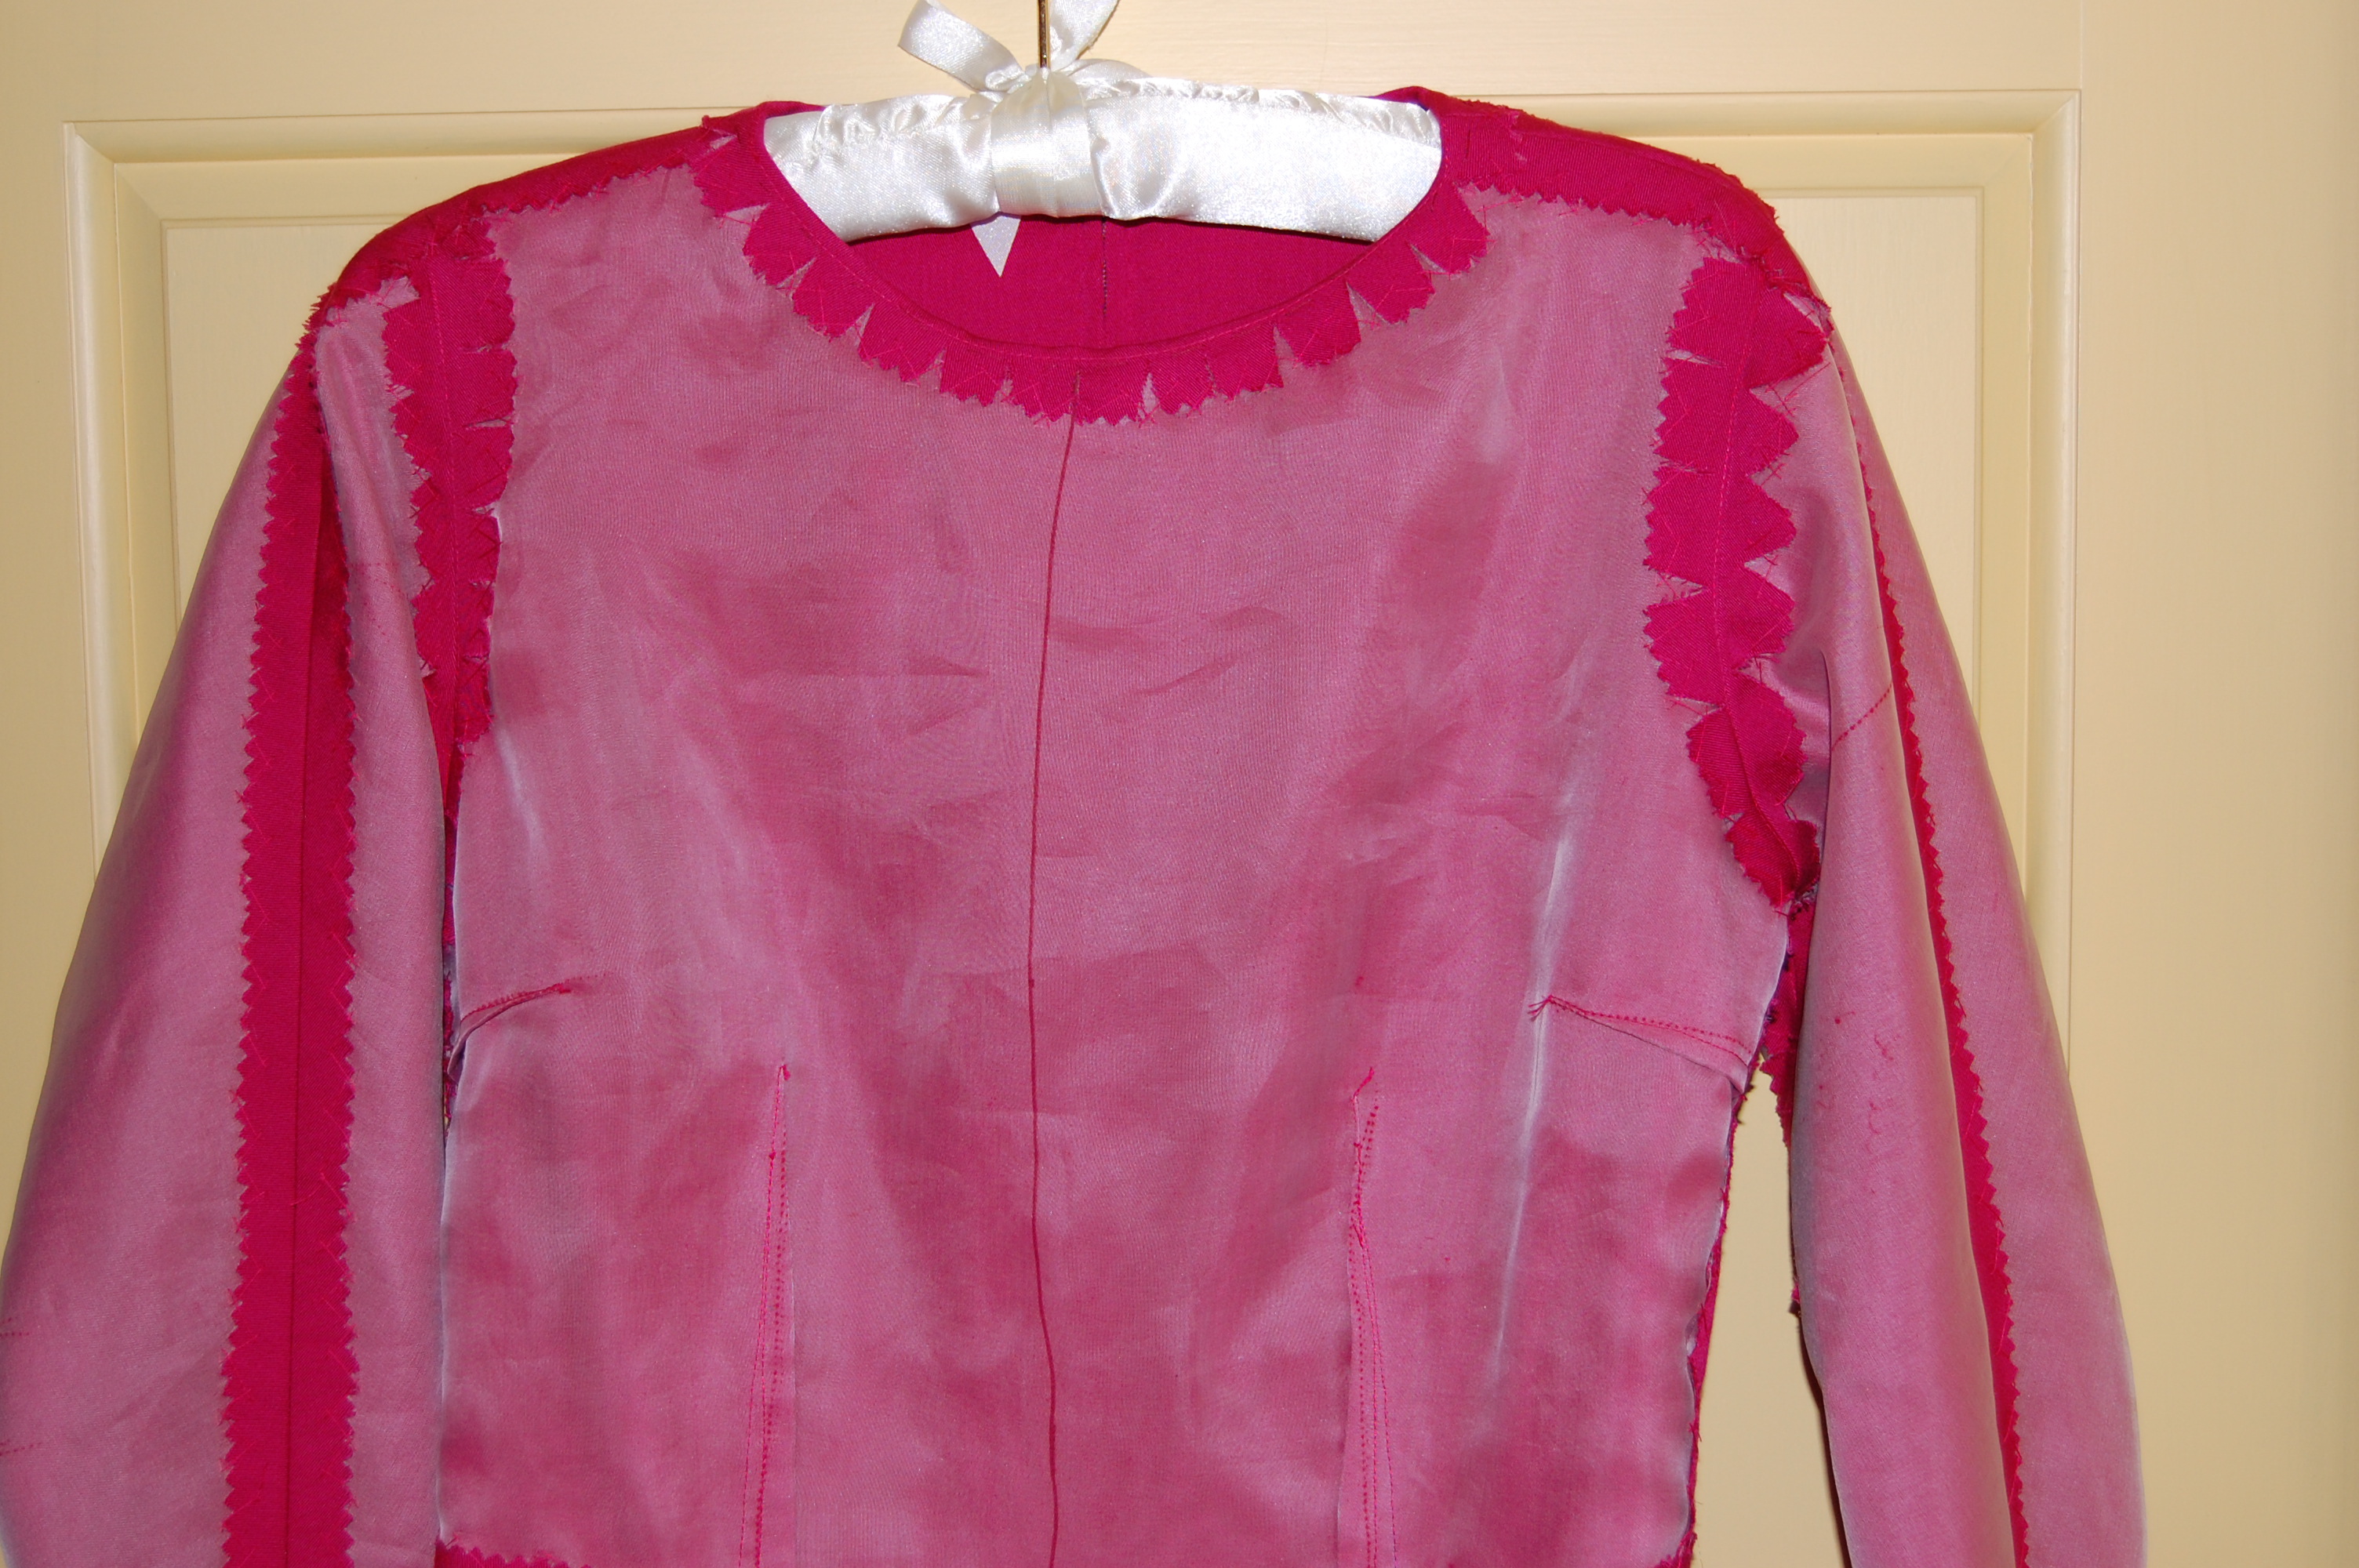
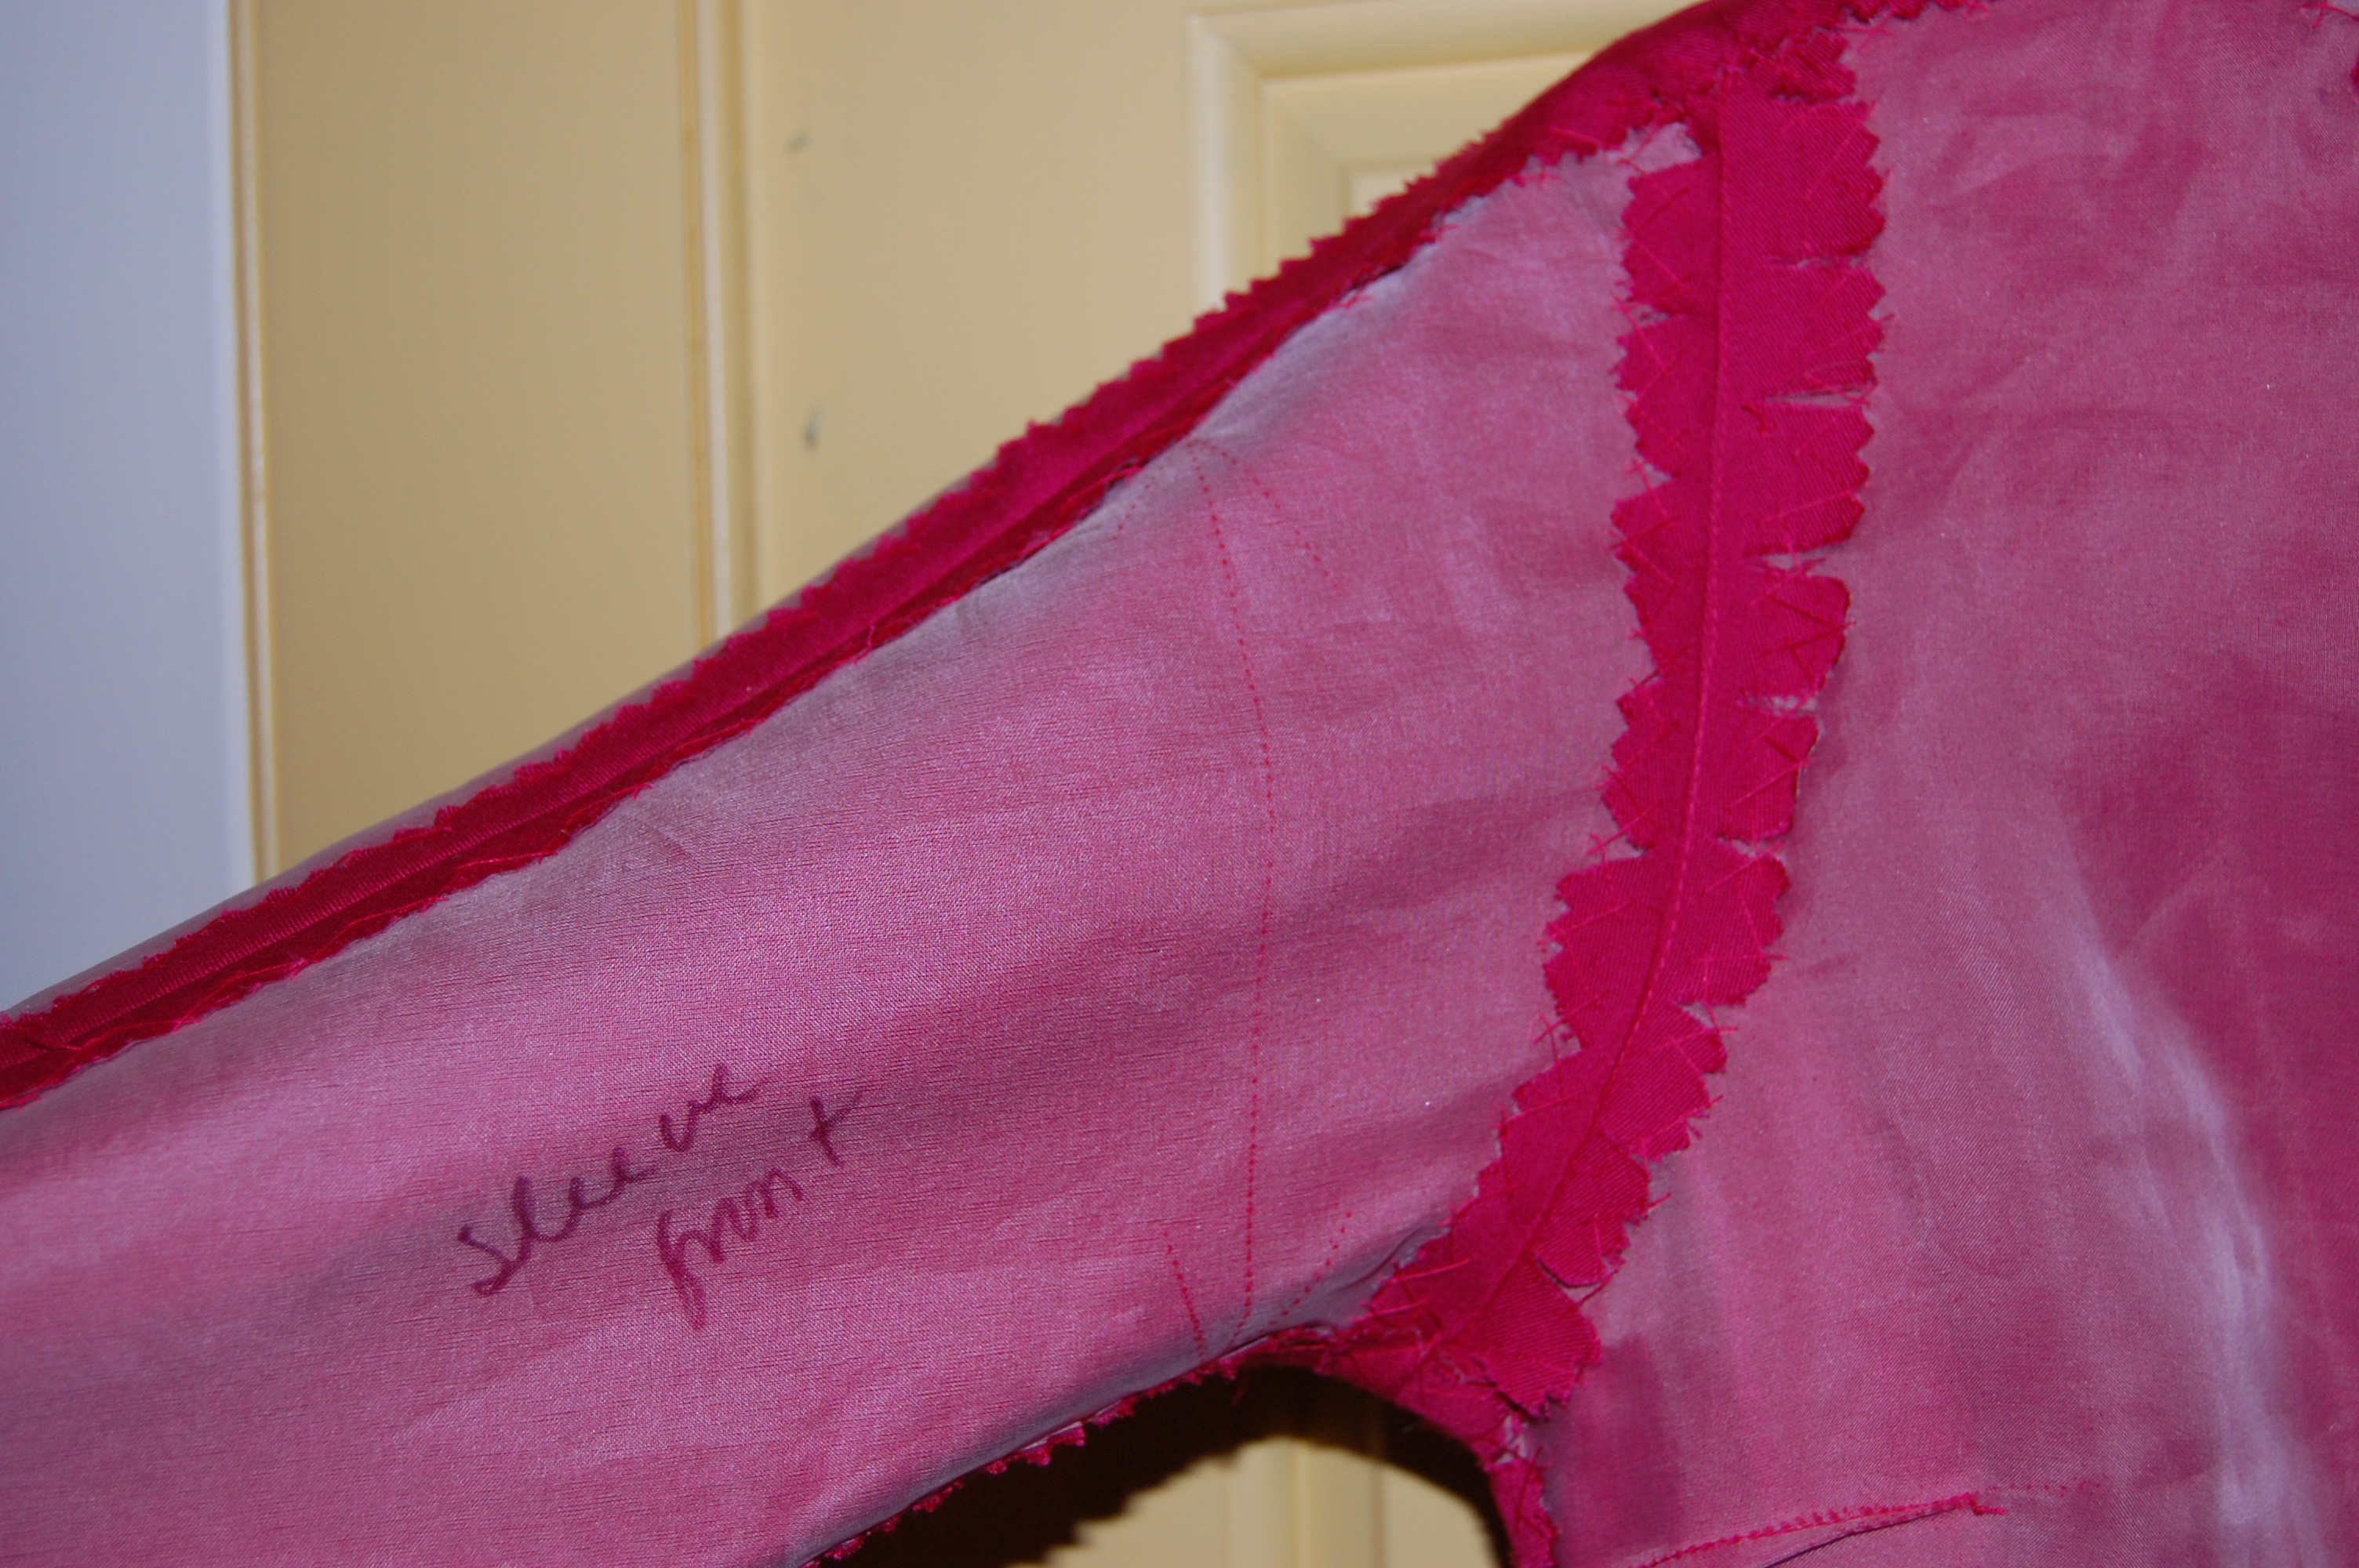
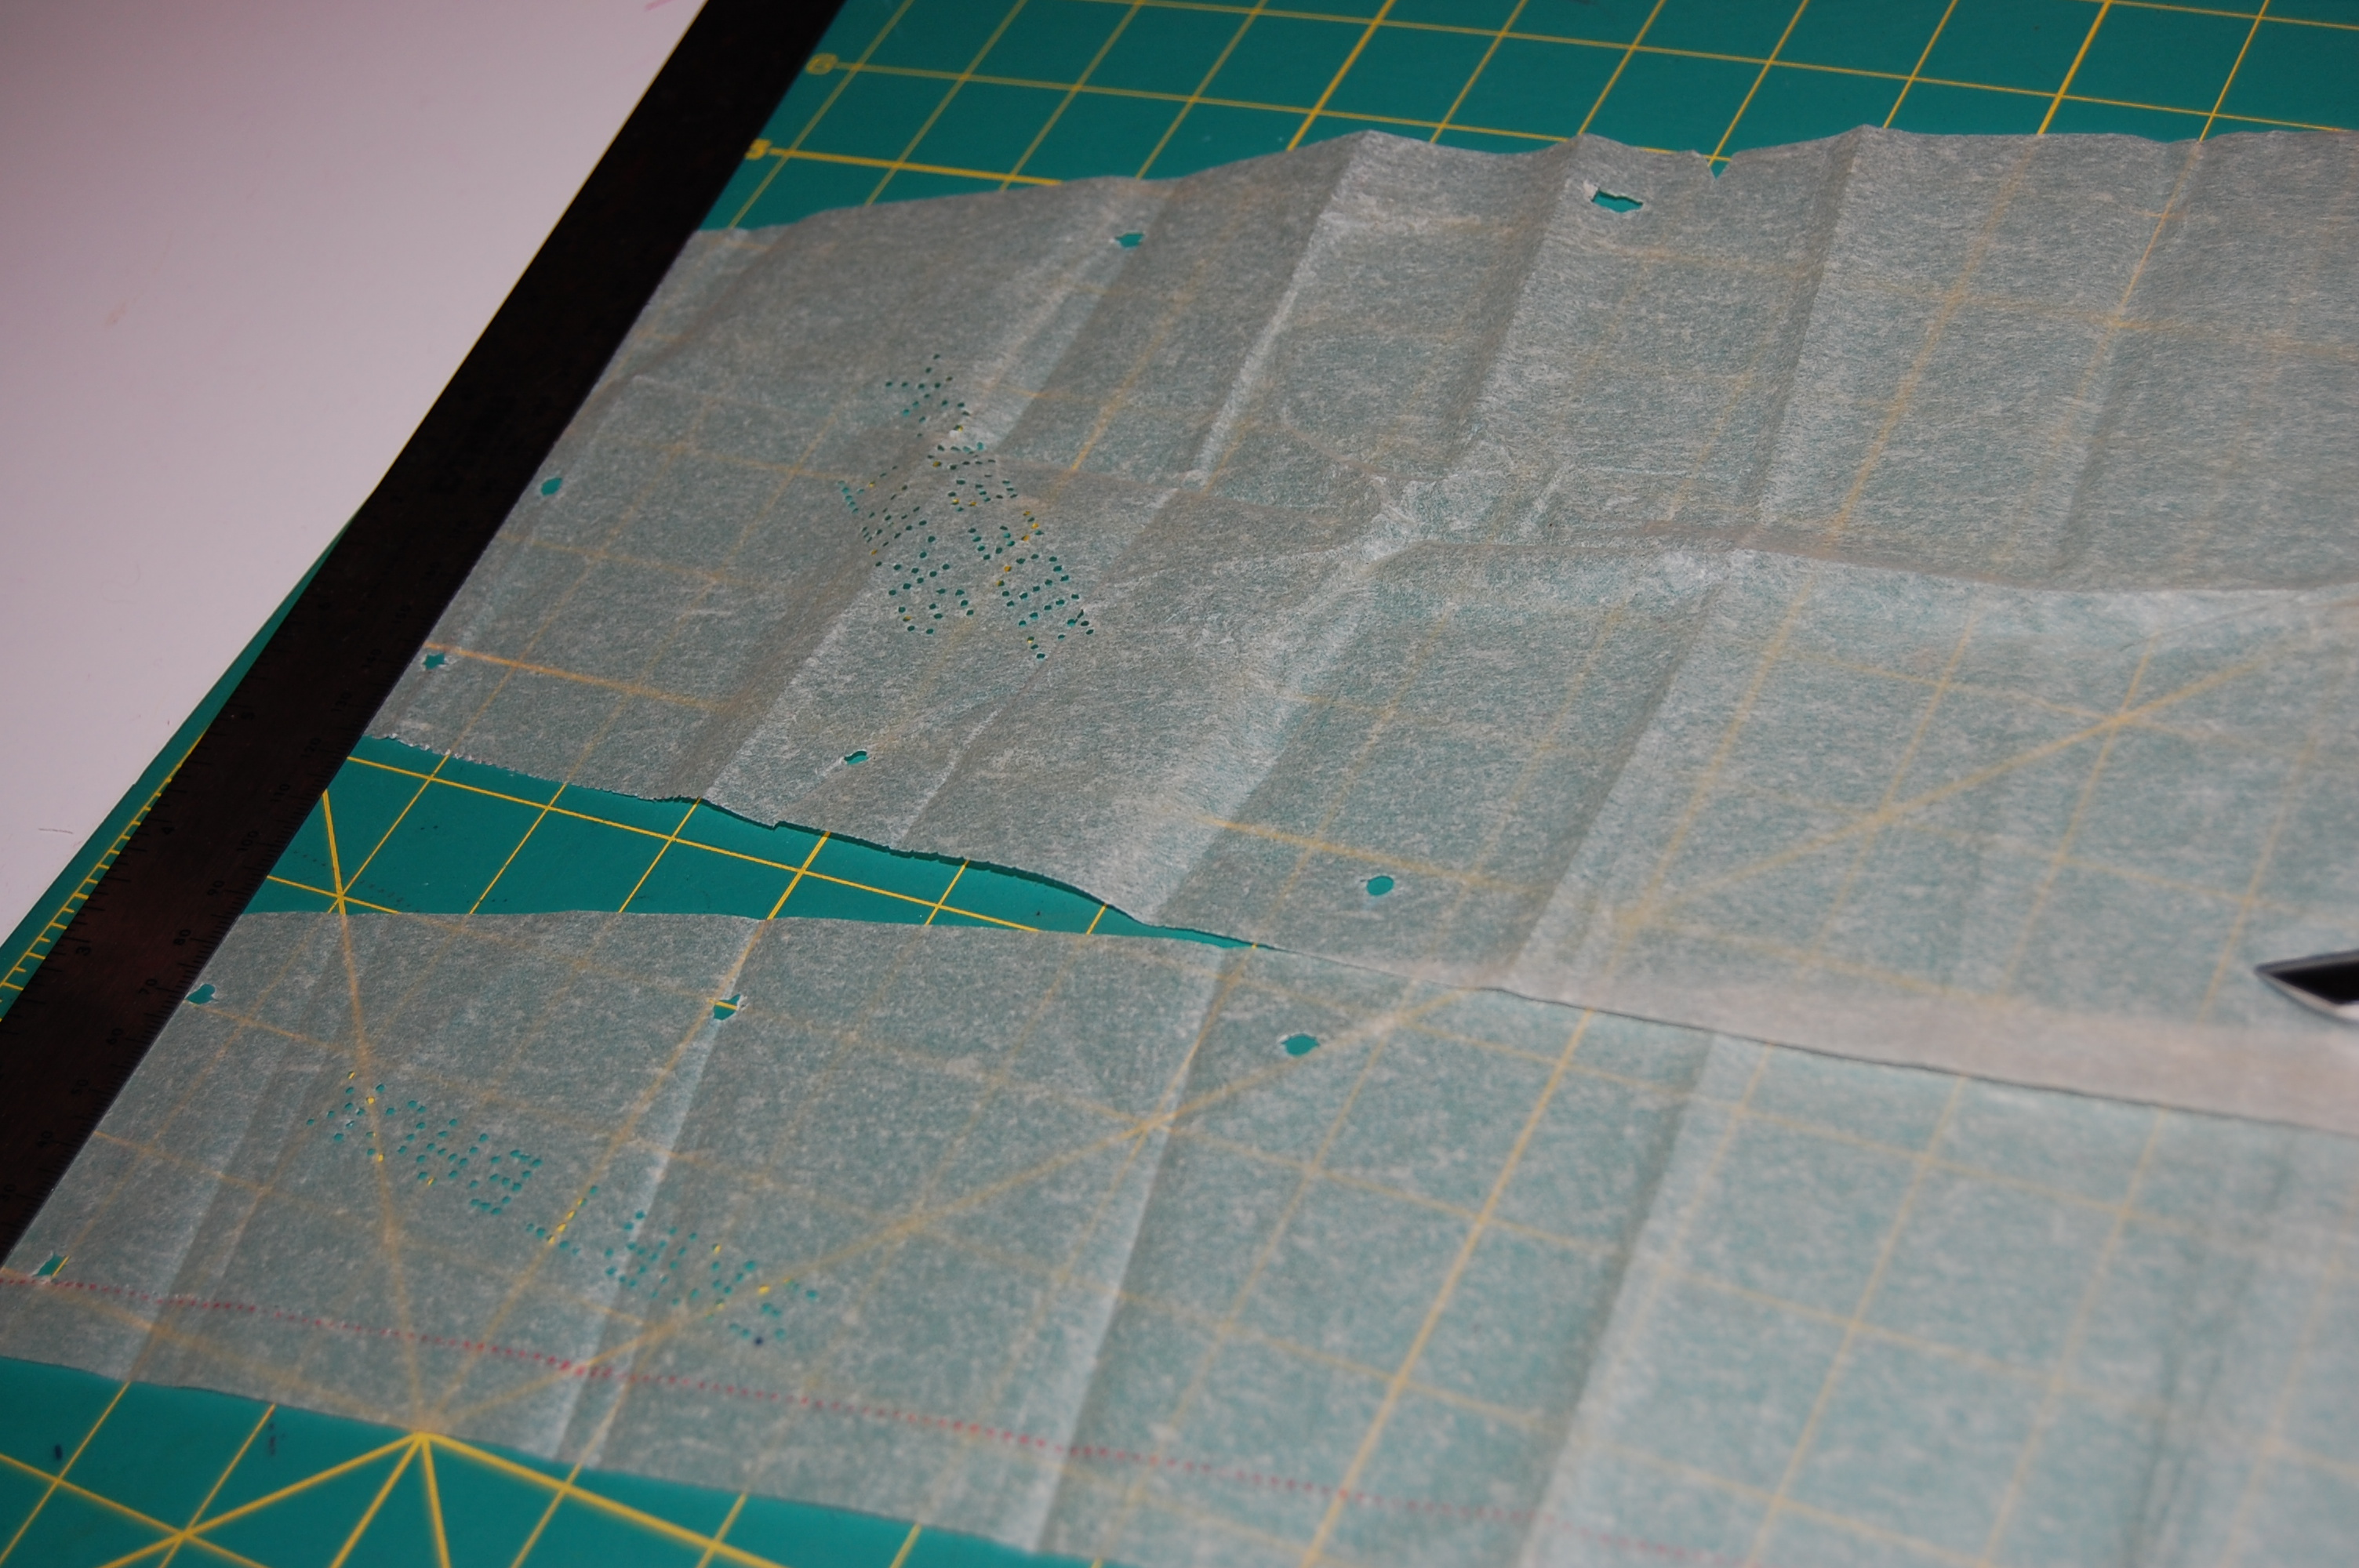
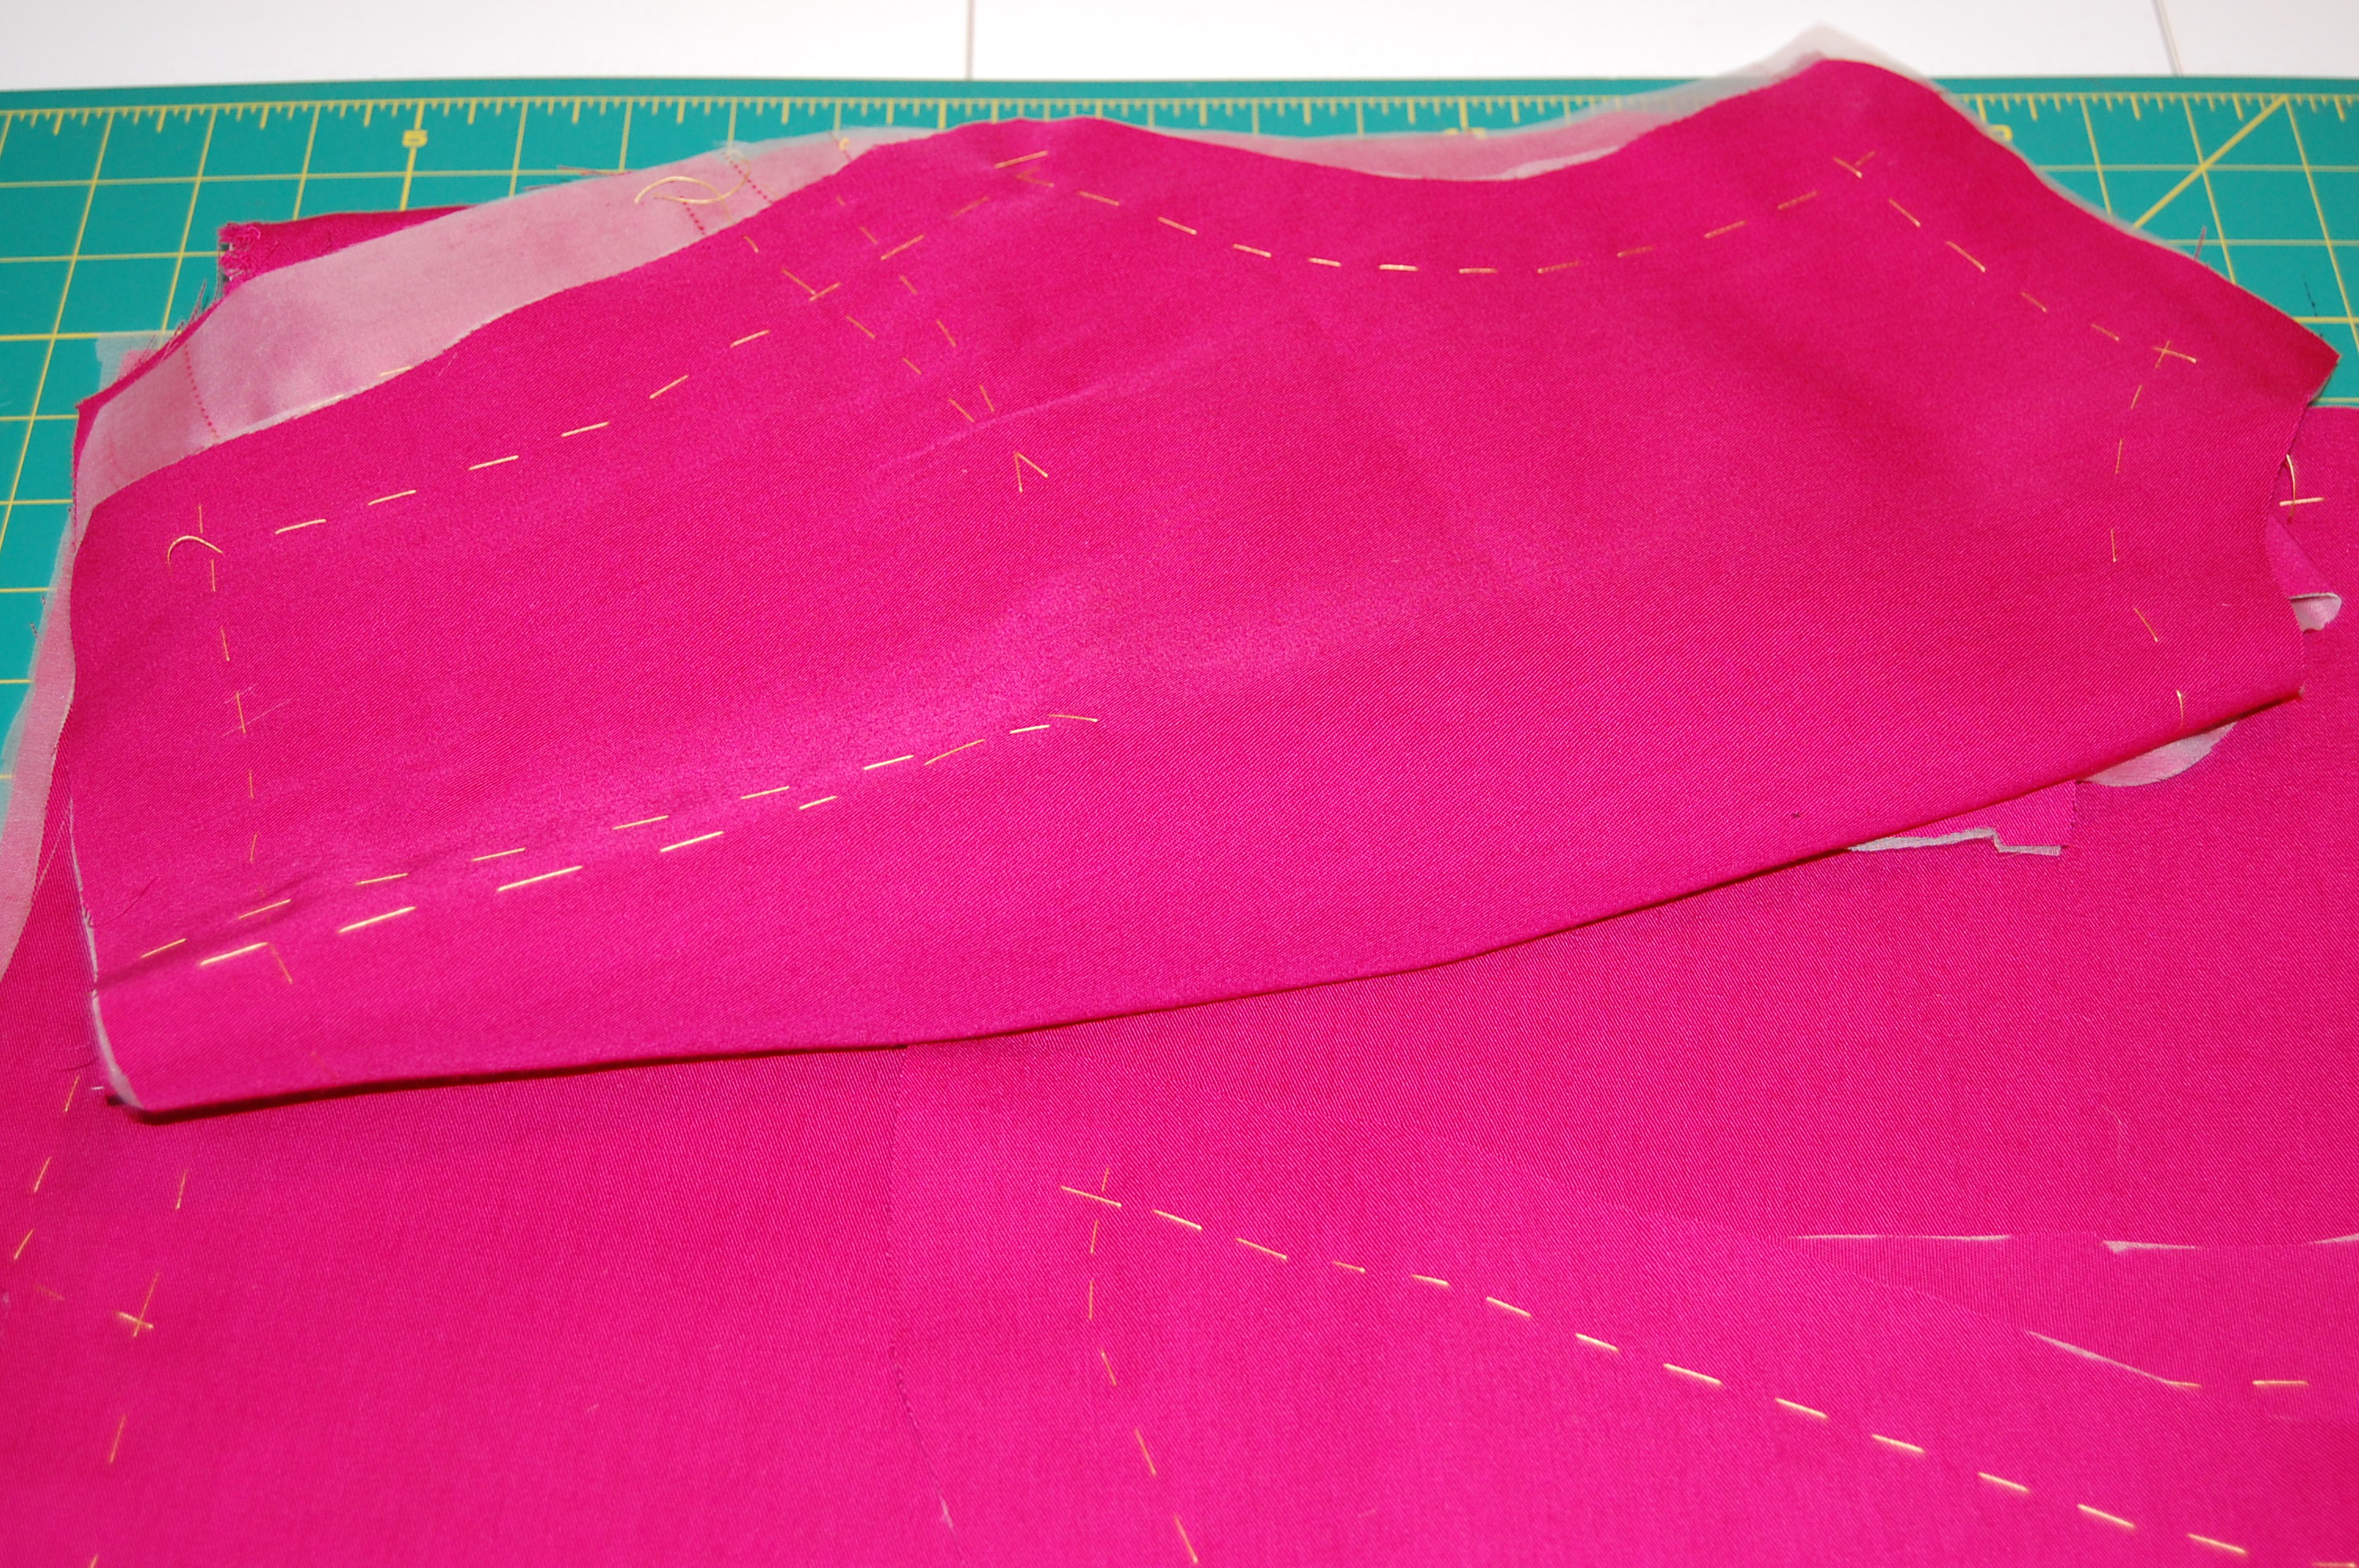
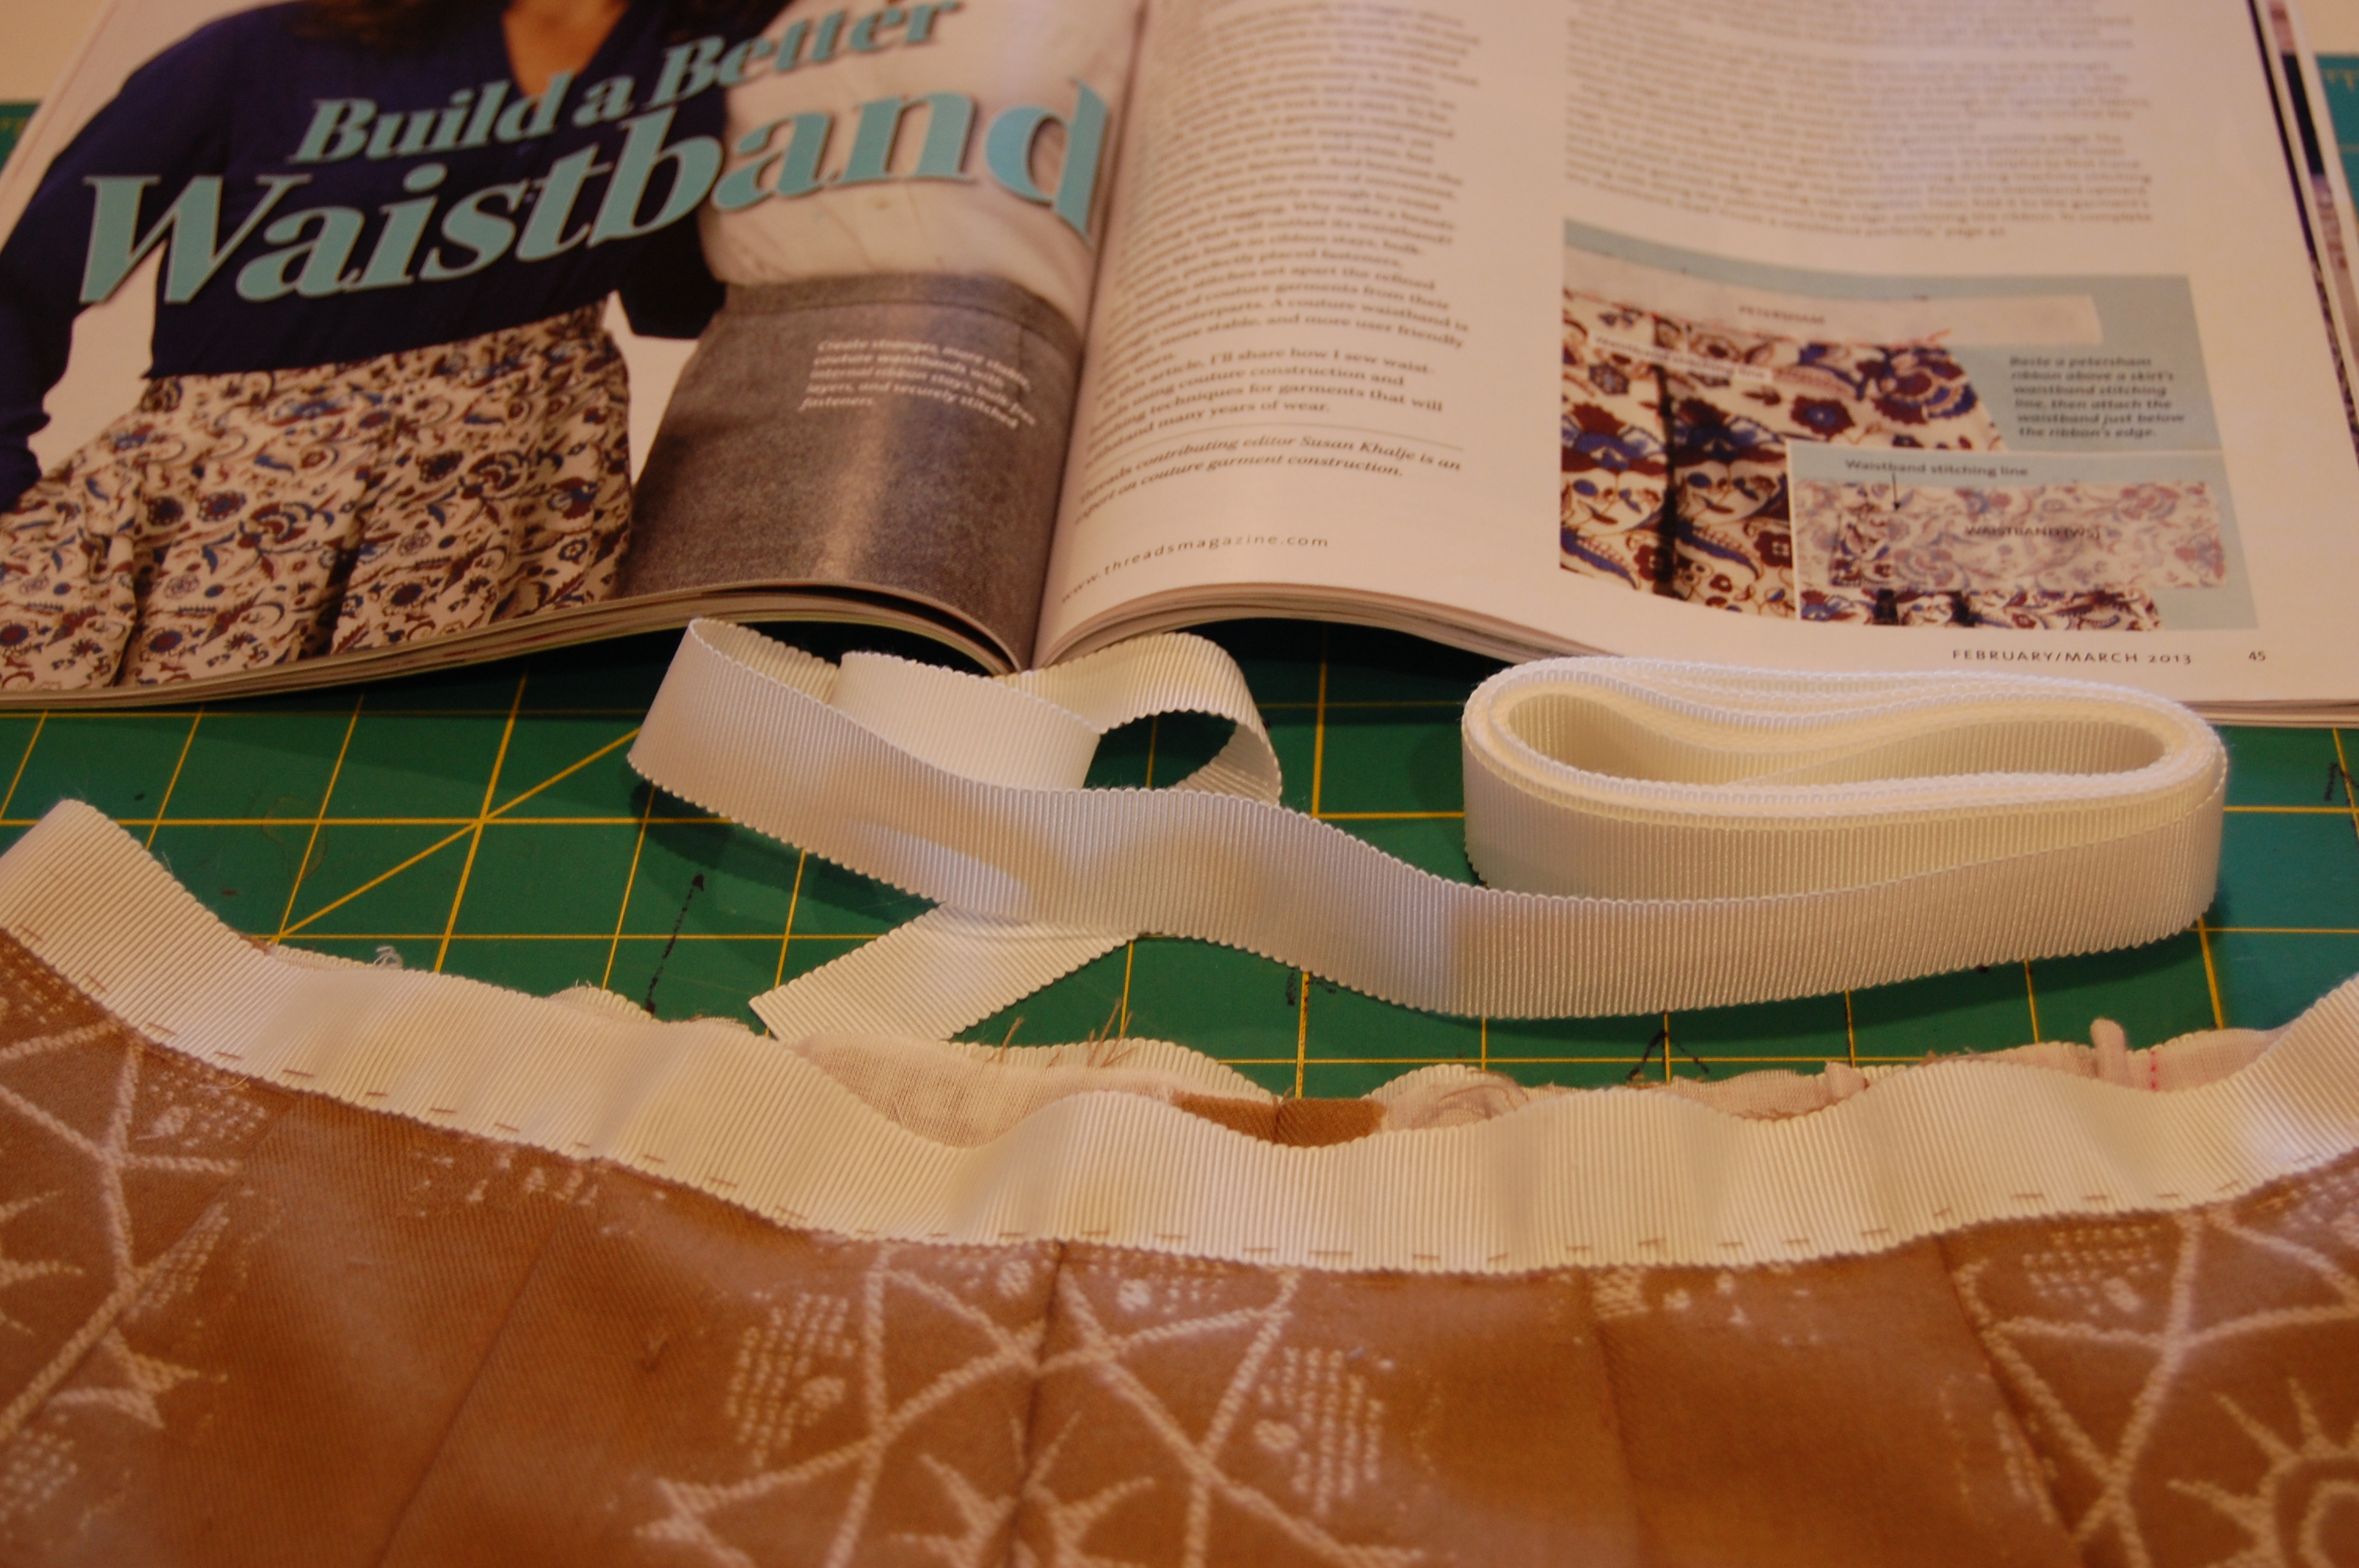
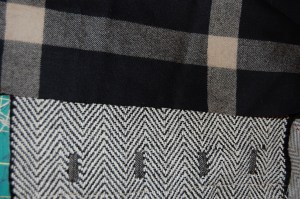
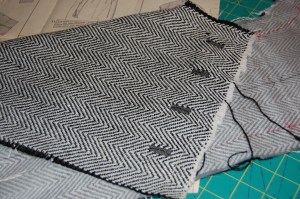
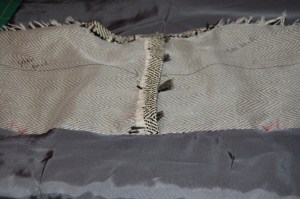
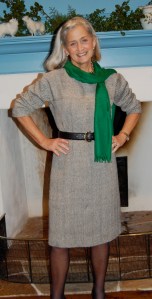
I’ve prepared my thread-traced muslin pieces, as seen here –
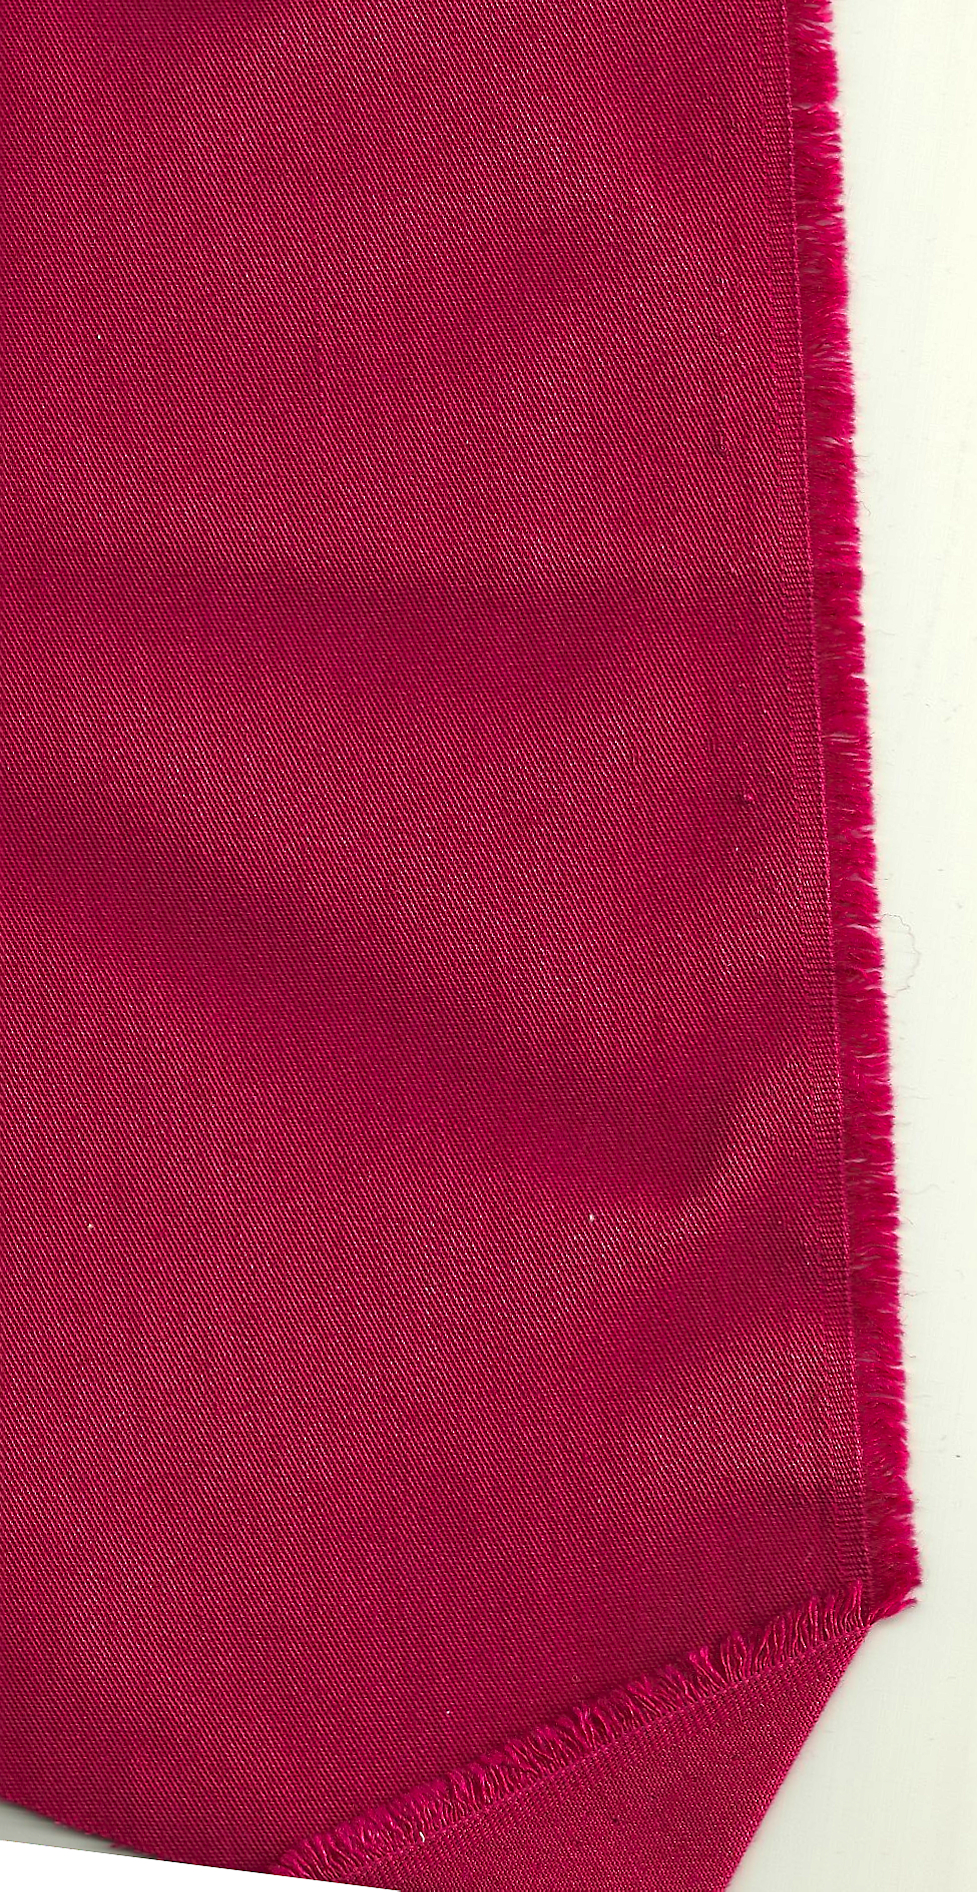
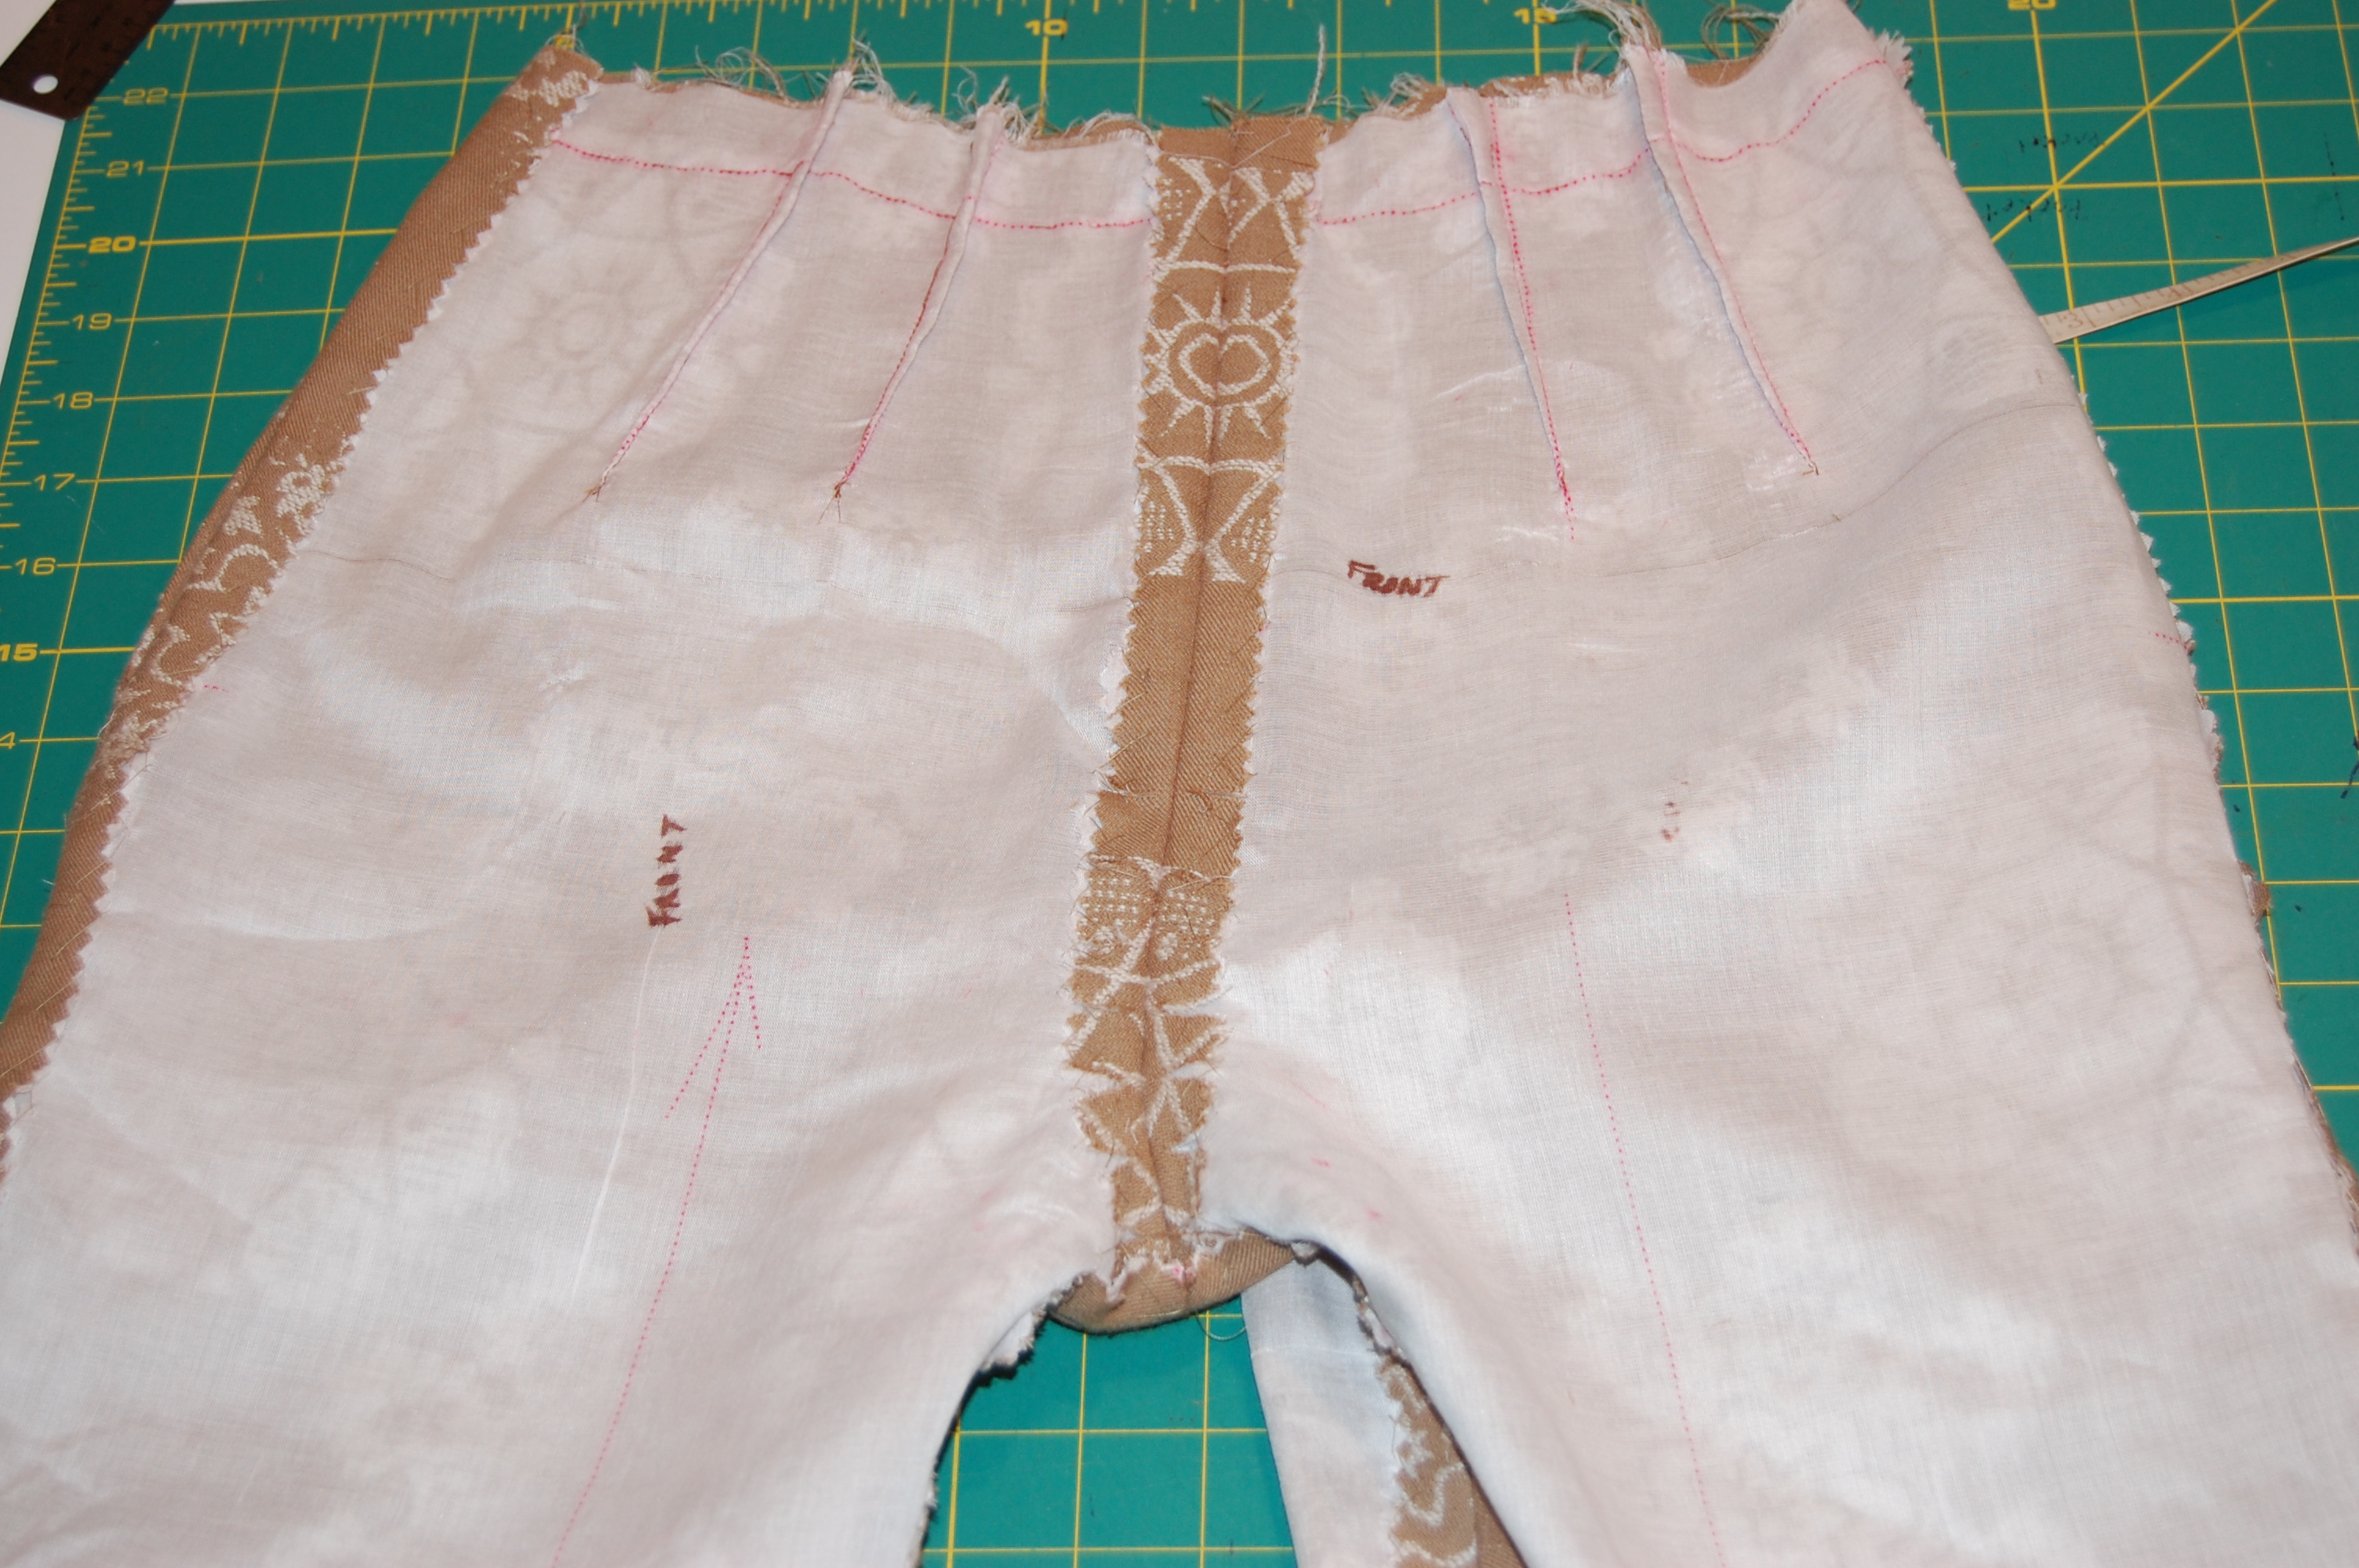
And now those pieces are sewn together as well. We (the members of the class) will be shopping for fabric and trim(s) on the first day of class, so what I end up with is still to de determined. Am I looking for a particular color? Yes, sort of, but who knows what wool will entice me – other than probably the most expensive one!
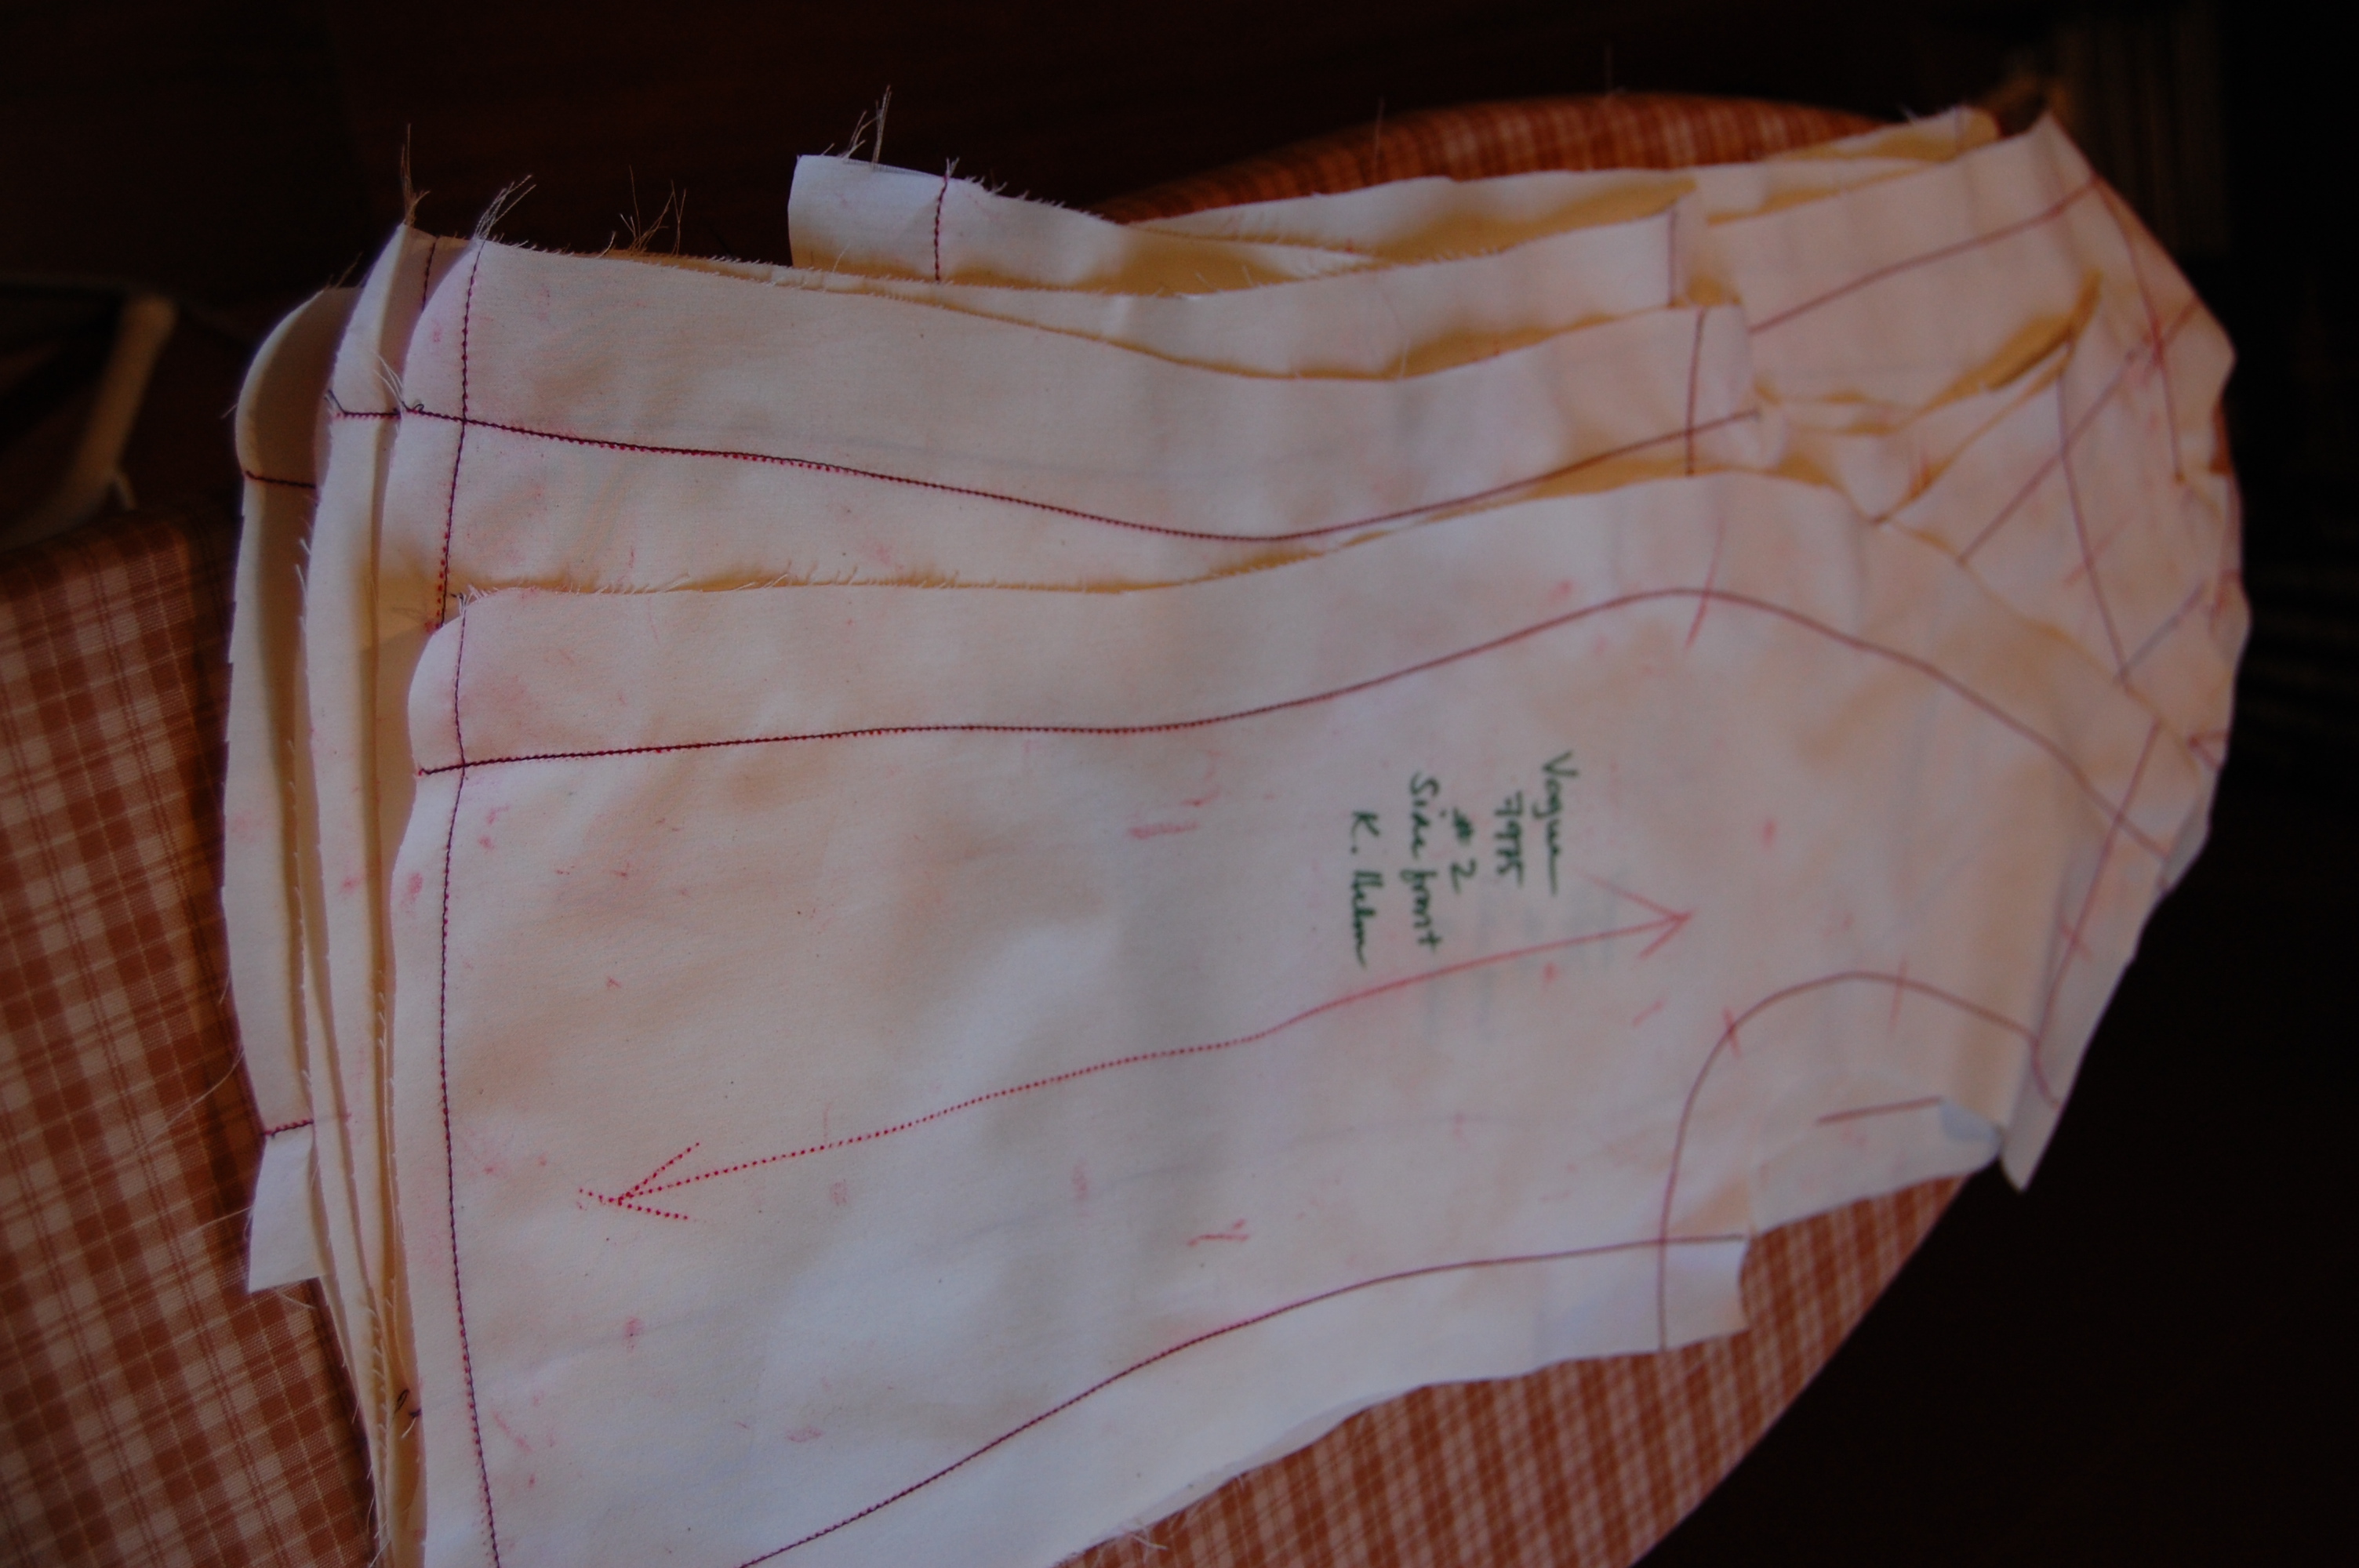
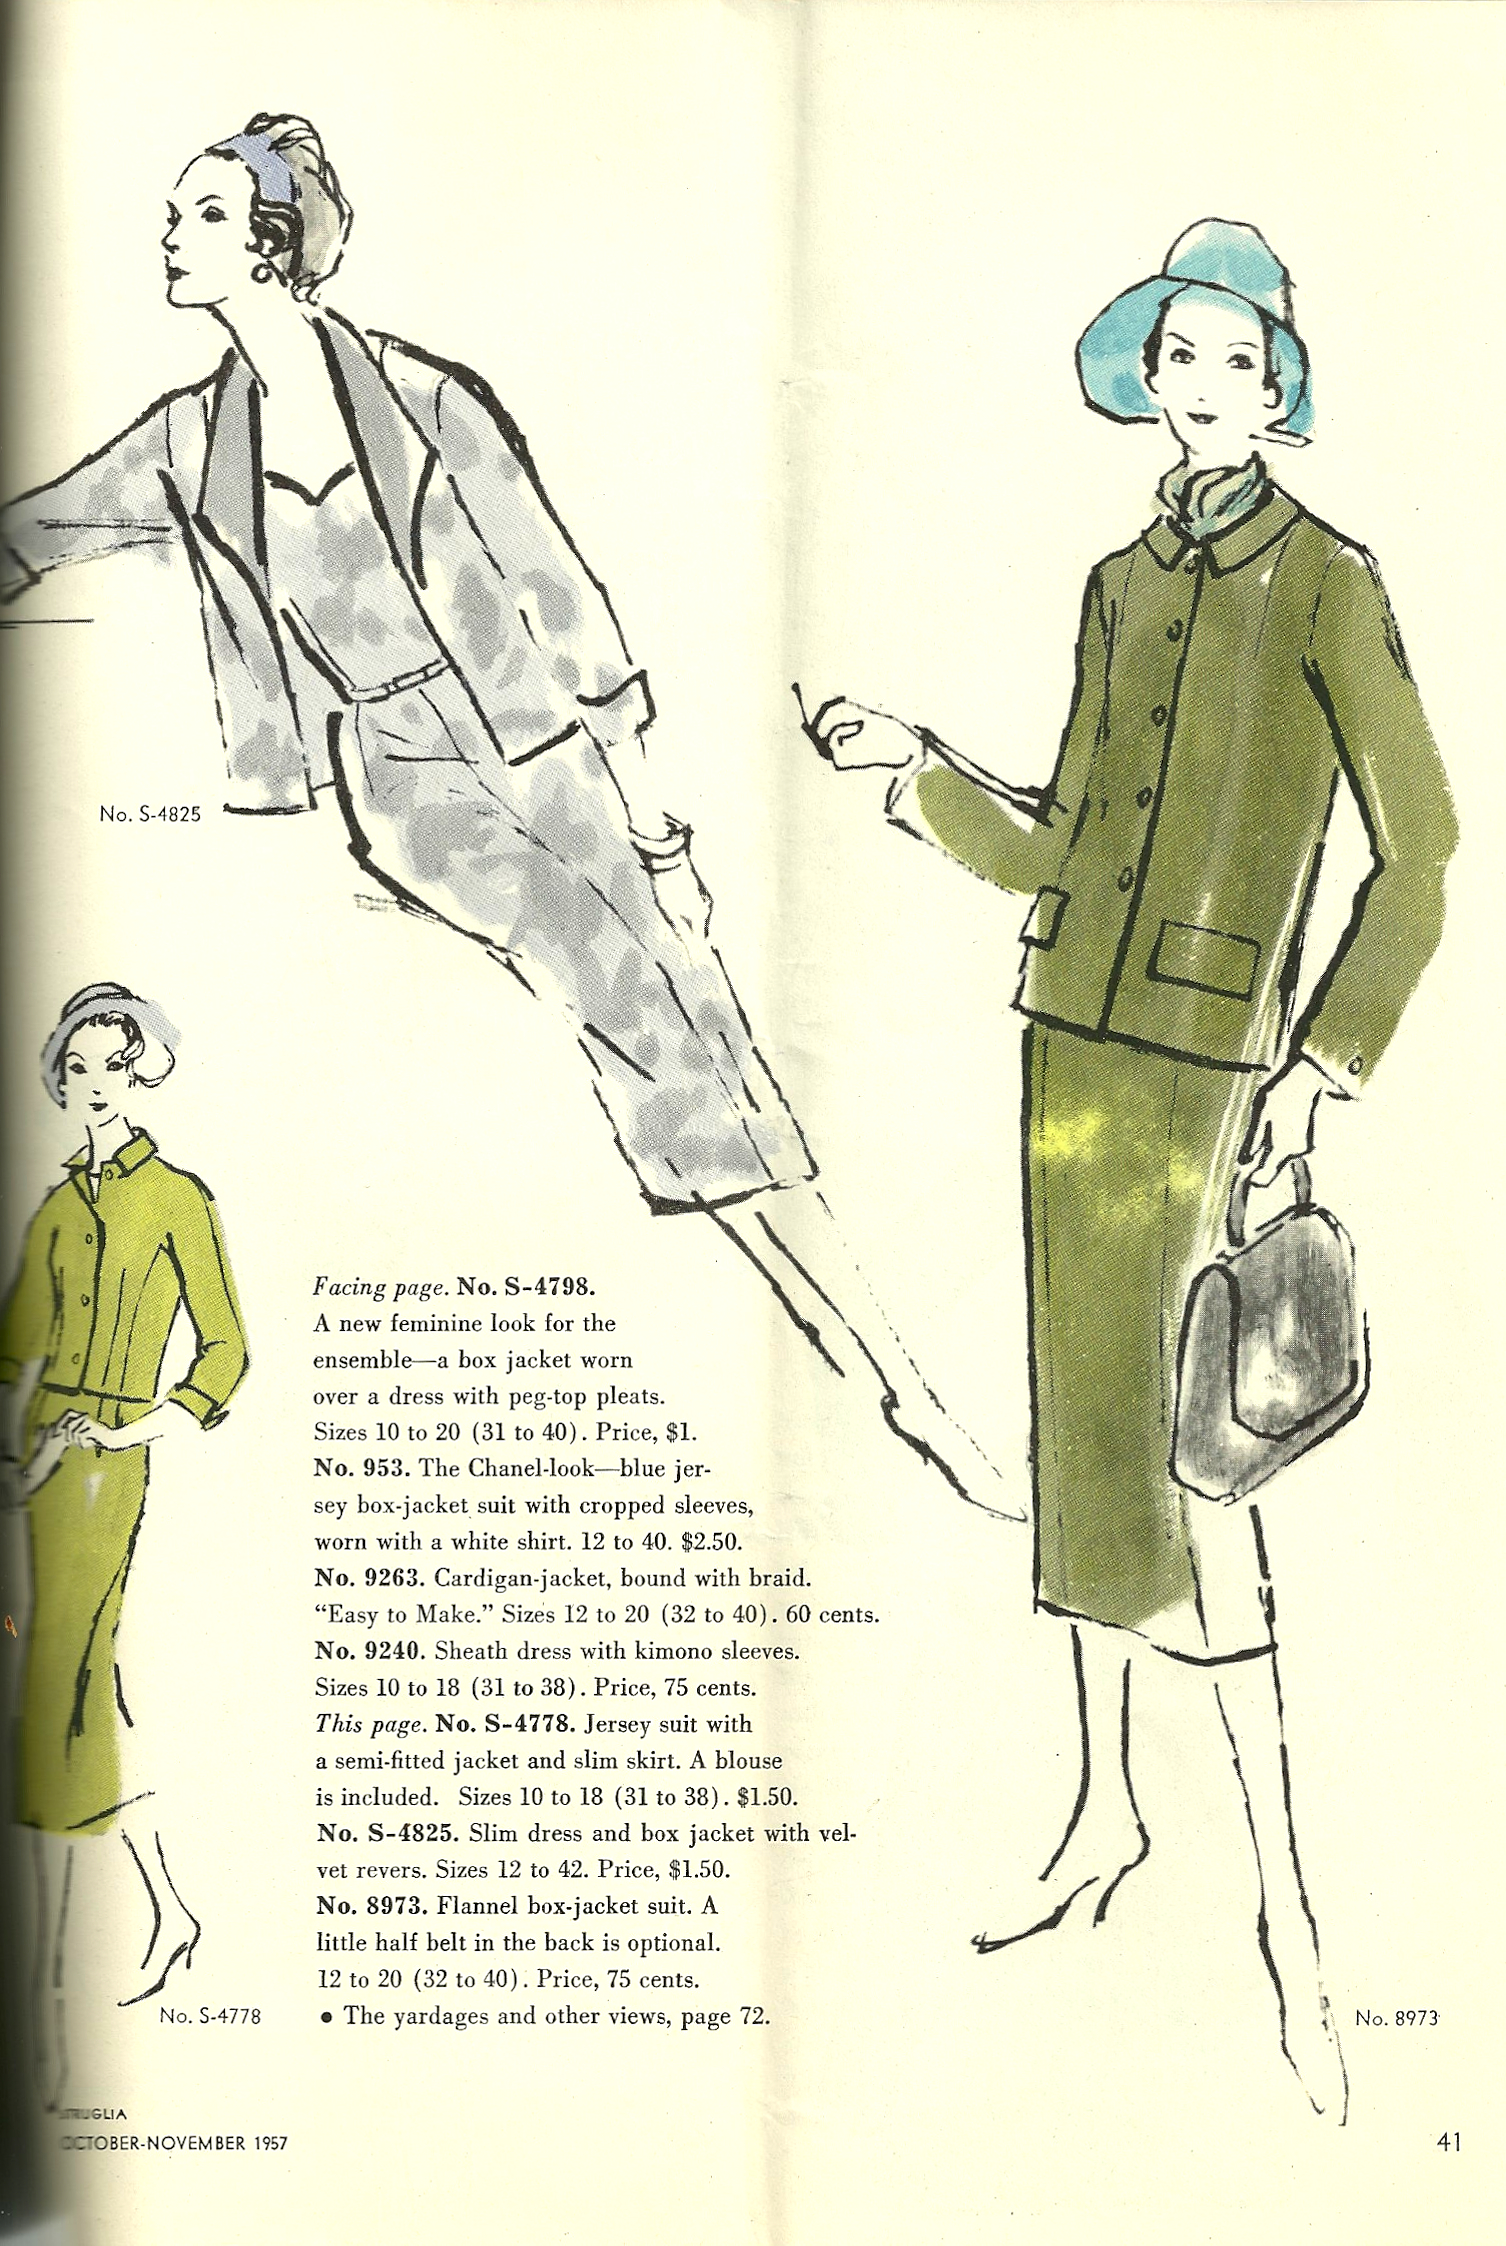
Having classic “Chanel” on my mind has made me think about how enduring this style jacket has been over so many decades. From looking through some of my Vogue Pattern Book Magazines from the 1950s and 1960s, it is obvious that this is one fashion that is always in Vogue (pardon the pun). The October/November 1957 issue stated “The Chanel look of the easy jacket is in the news in both suits and ensembles. Box jackets often have cropped sleeves to show cuff-linked shirt sleeves.” Here is how that statement is llustrated:
The sketch in jade shows a “best-selling” pattern, newly available printed and perforated.
Here is the opposing page to the previous illustration – more on the “Chanel look.”
Shades of Chanel are obvious in this style from the August/September 1960 issue, with the statement: “[T]he most versatile suit ever – the checked, straight jacket is buttonless and bias-trimmed…”
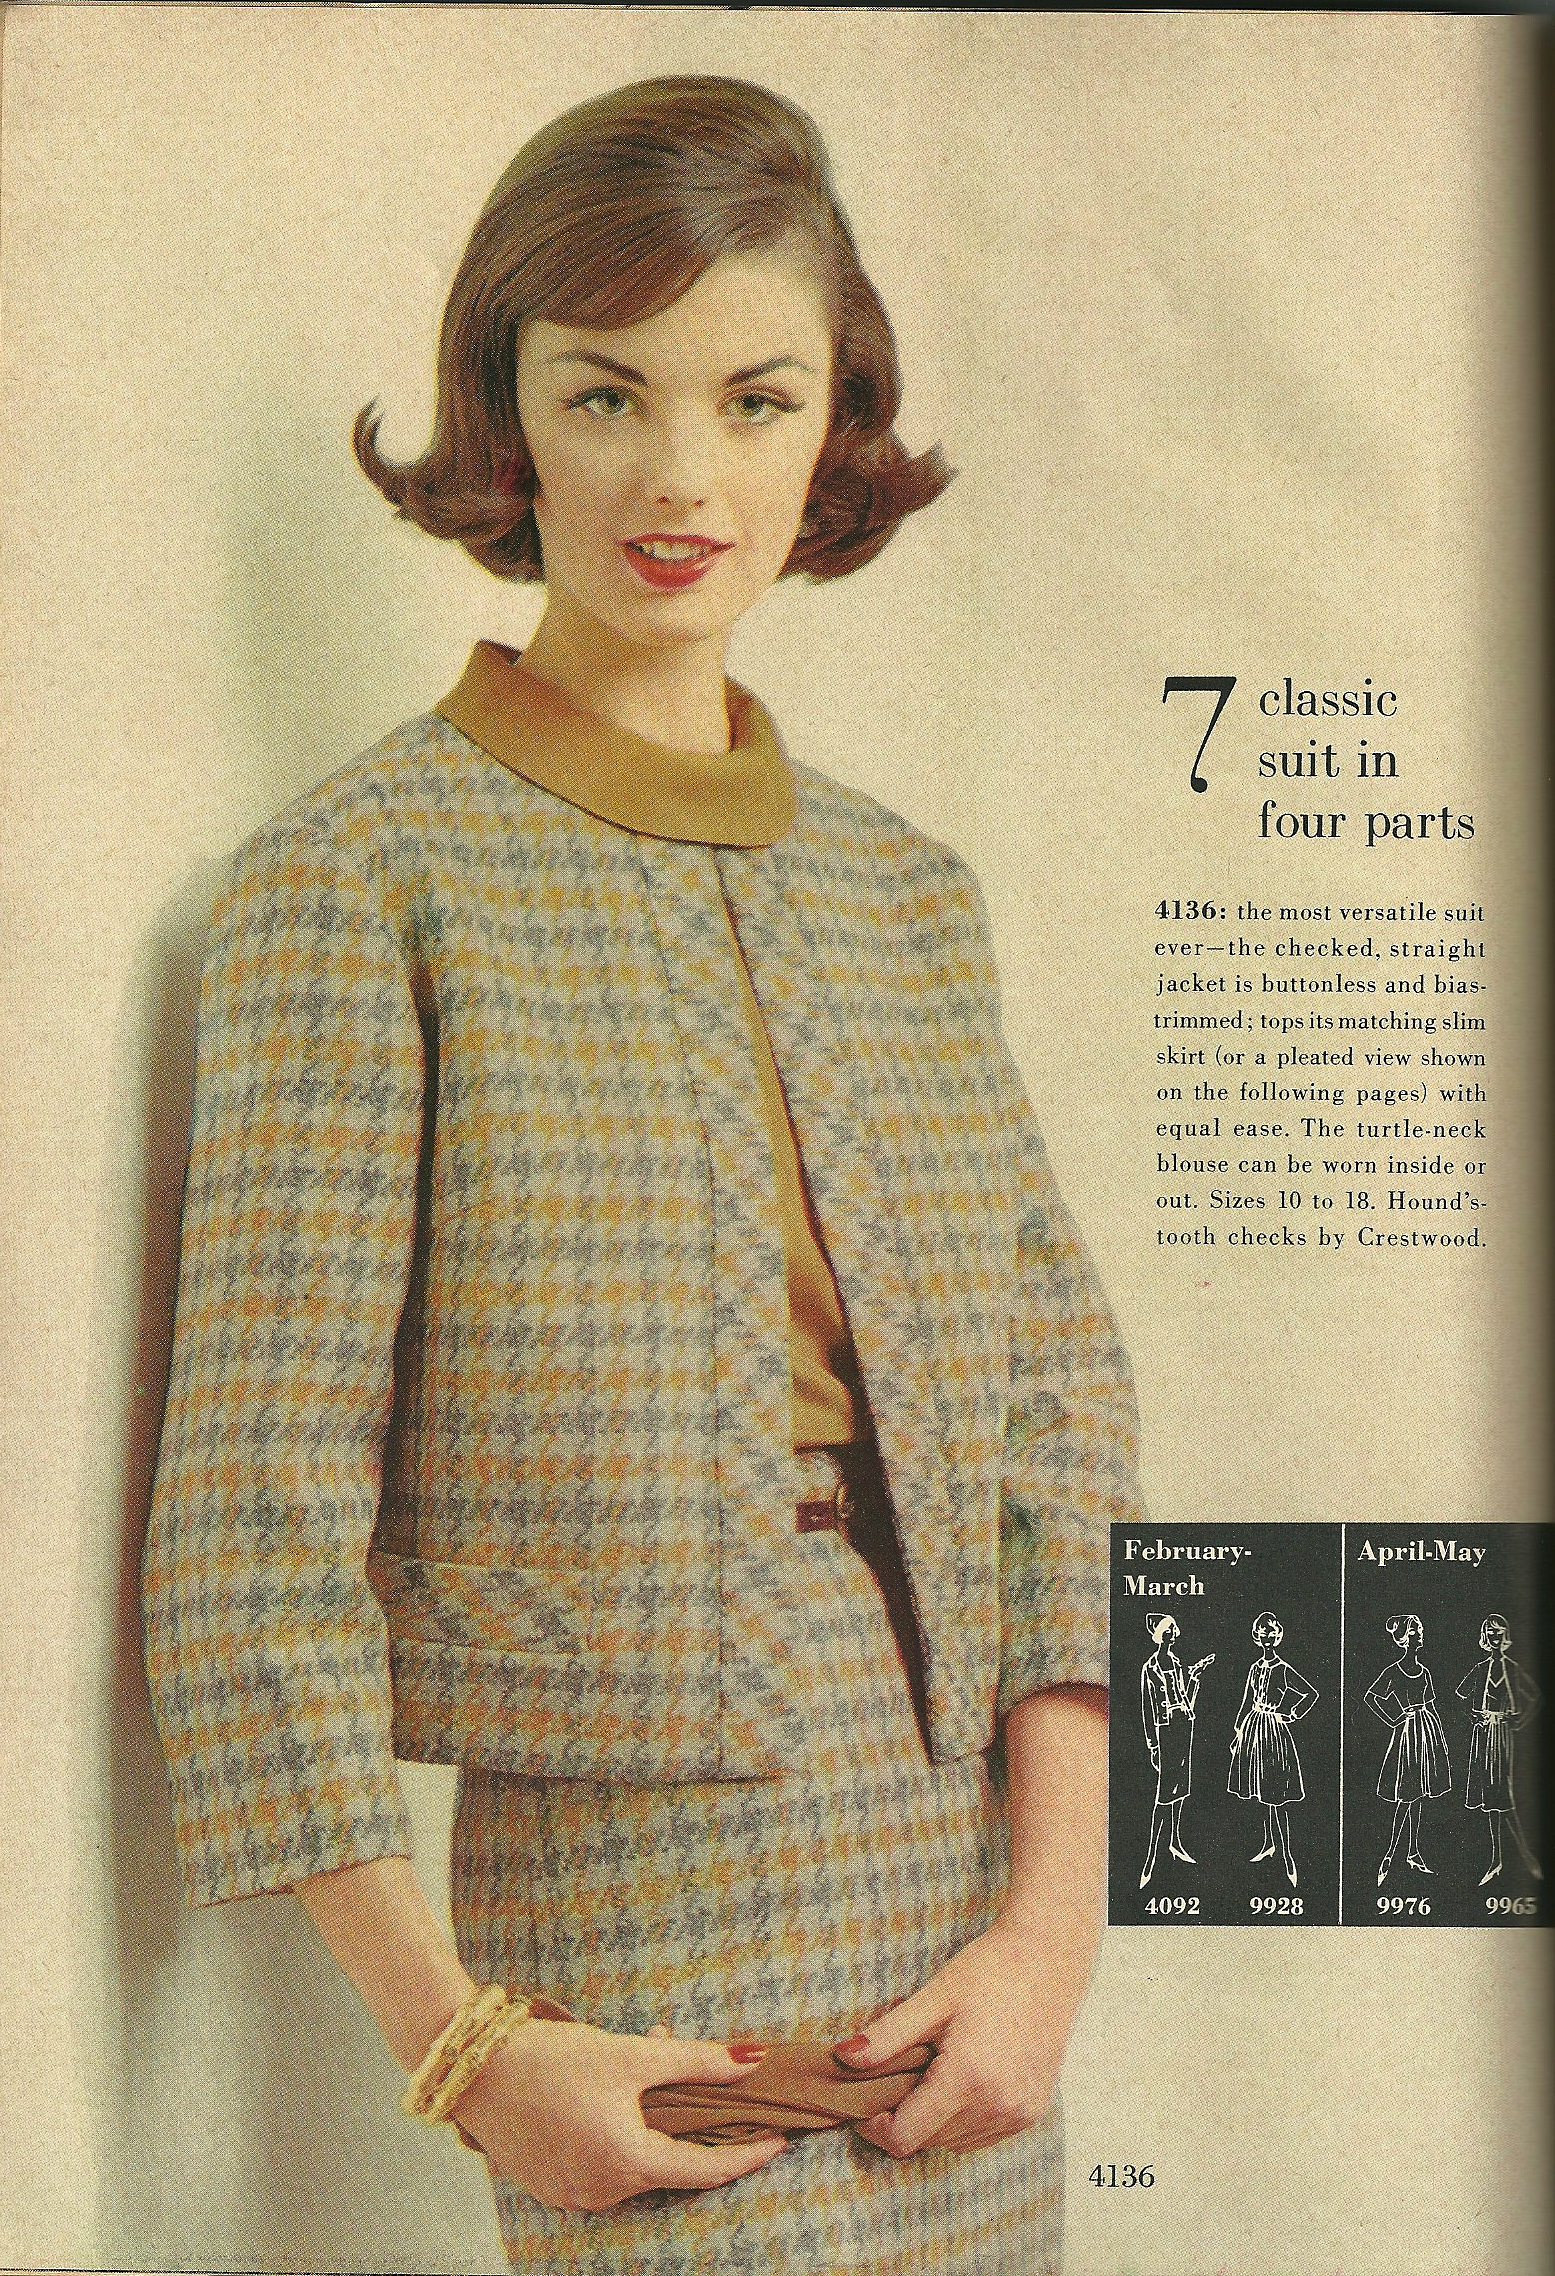
This suit definitely shows shades of Chanel! I like the suit much better than the hairstyle.
Two years later, the August/September issue included a classic Chanel-look suit in its wardrobe for Vogue’s fictional character, Mrs. Exeter. Called “the suit of the year”, it is described as “. . . very Chanel, with its easy cardigan airs; its dark bands of braid on pale rough tweed; the silk blouse with its own flip and tier bow. The slim skirt has a low bit of flare.”
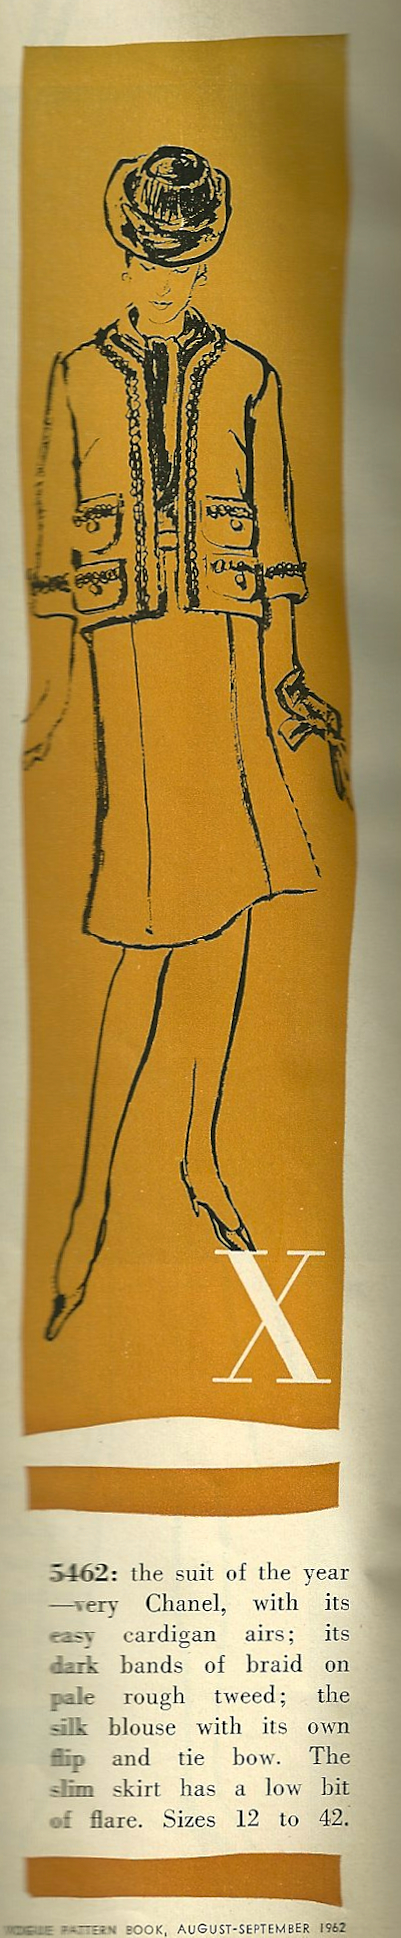
This is the most classic Chanel image I found from the 1960s in my copies if VPB.
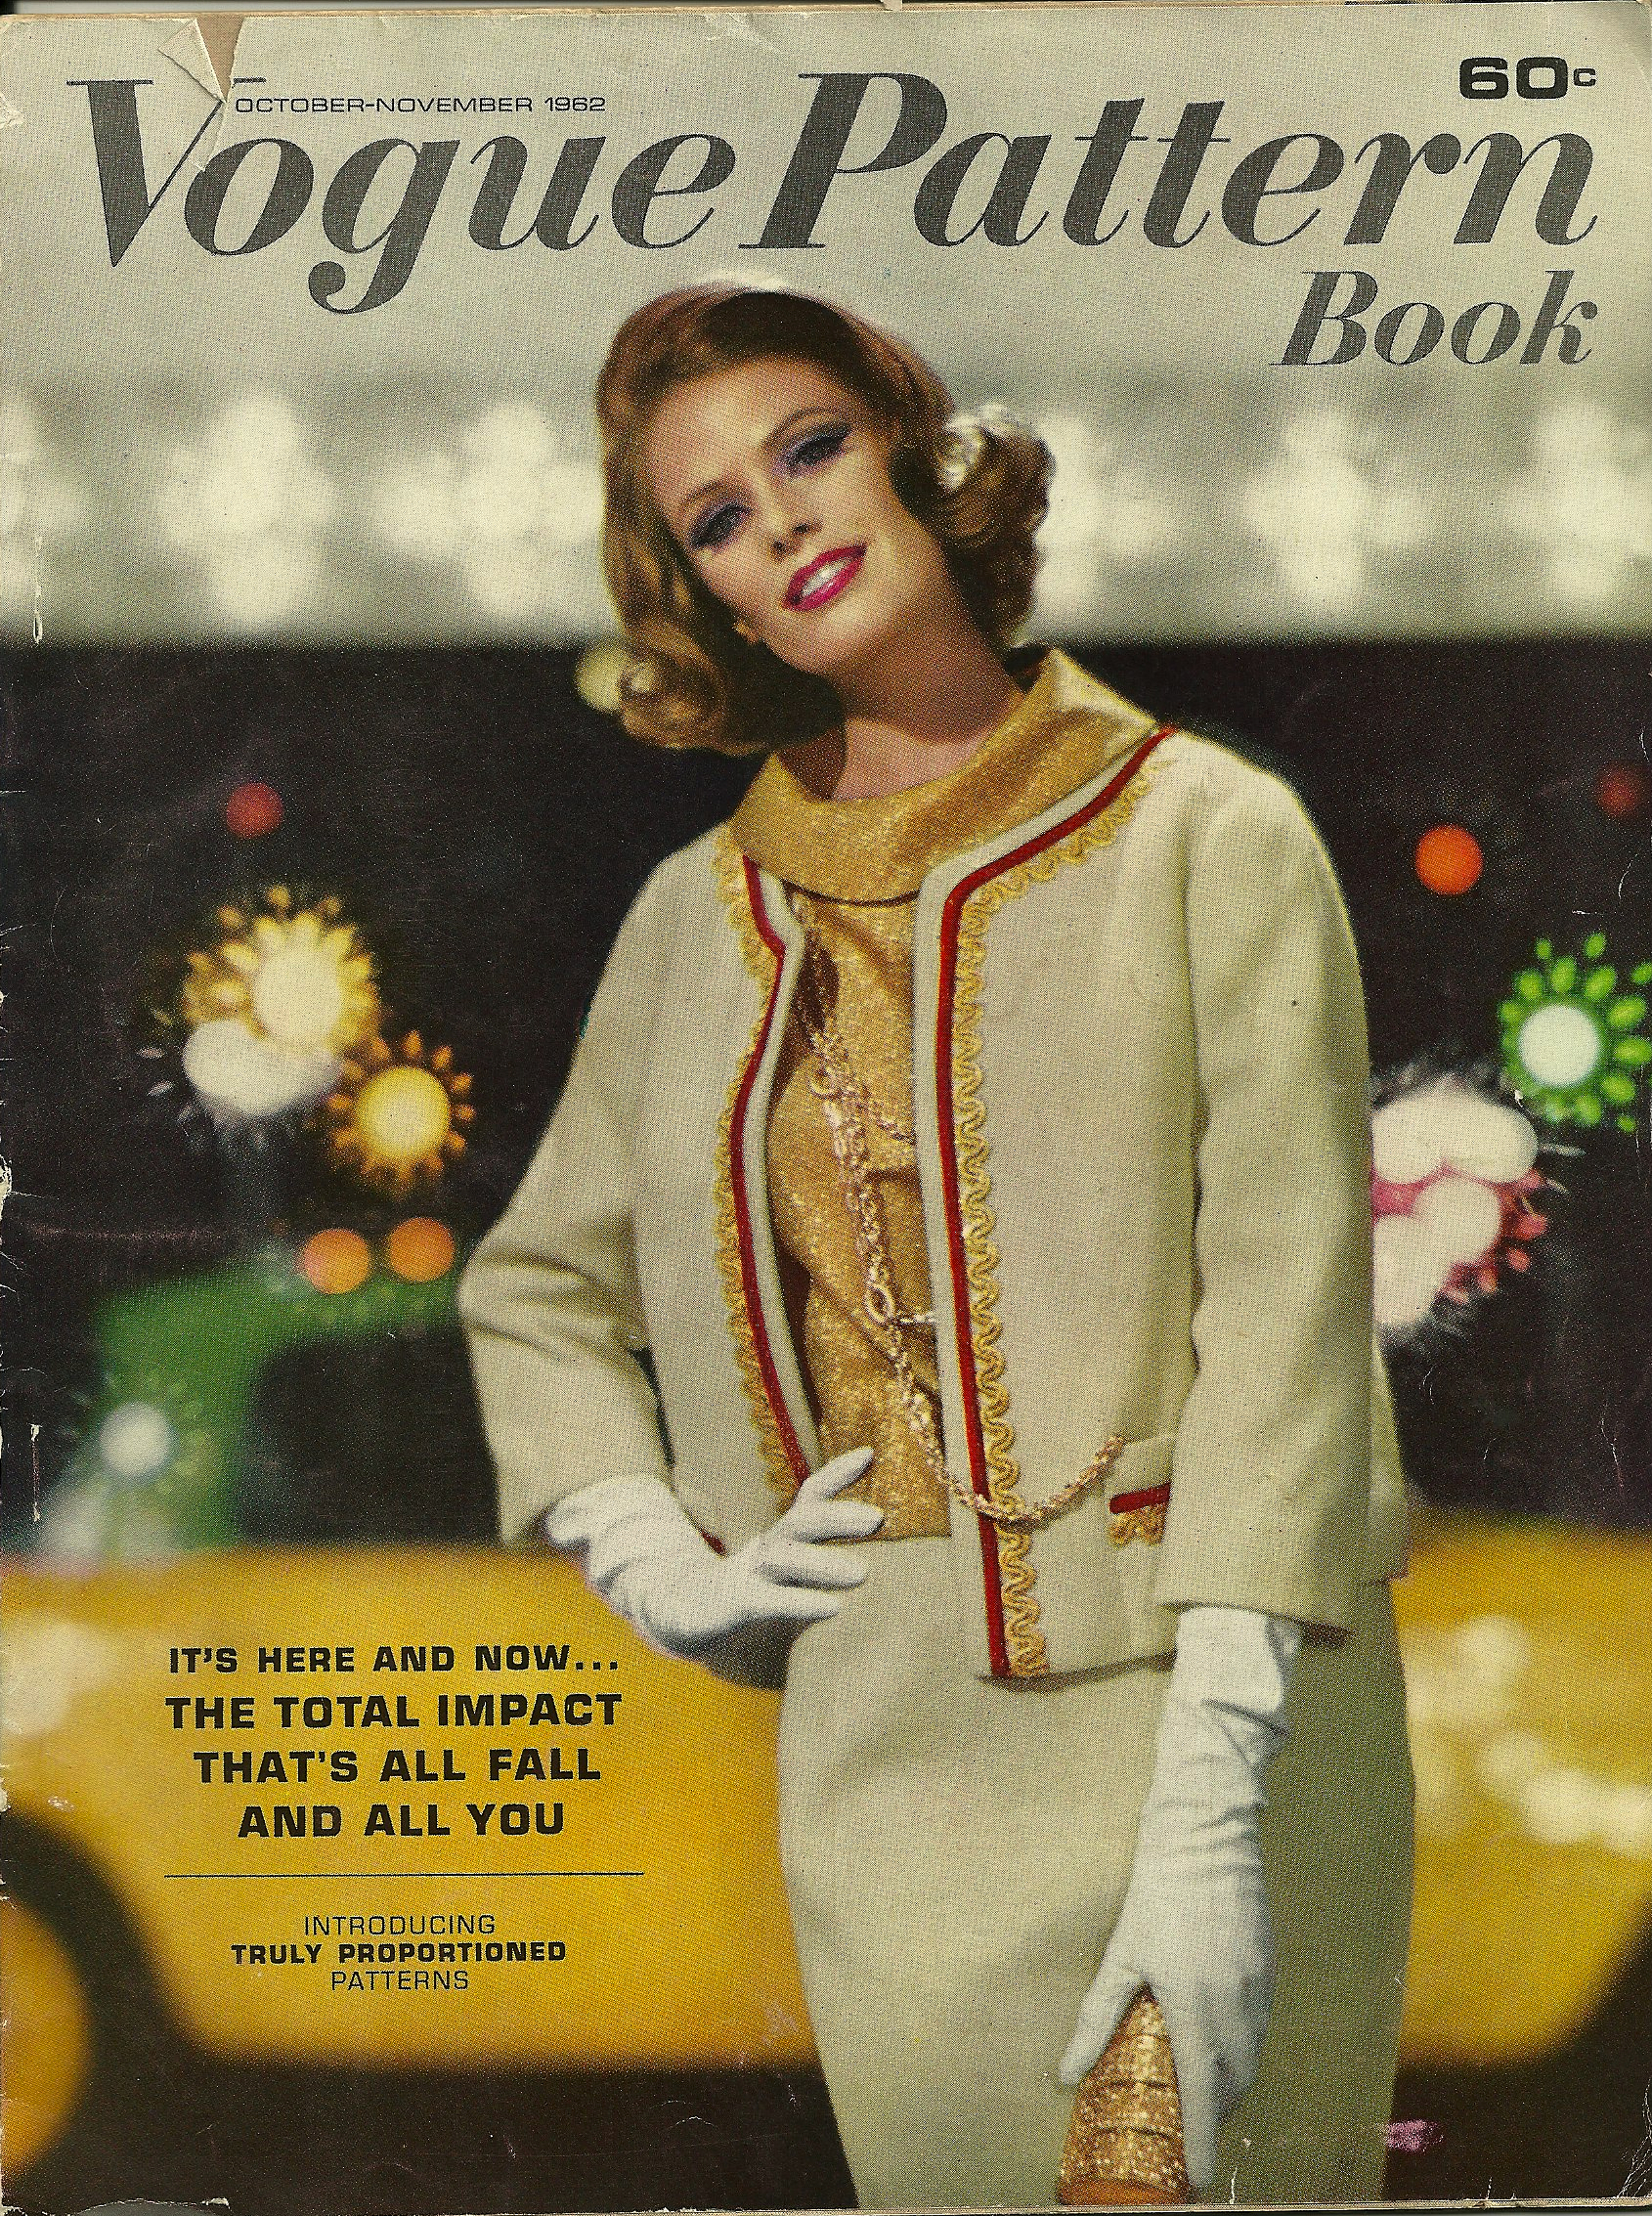
The very next issue in 1962 featured a classic Chanel look on its cover. The accompanying caption states: “Take a clean-lined suit design (shades of Chanel) and make it shimmer: a springy white suit wool scored with gold metallic and red braid . . .”
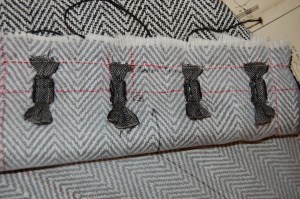
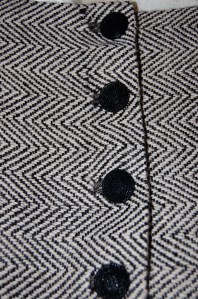
That same issue of Vogue Pattern Book Magazine gave away this “secret” in a feature entitled VPB’s Boutigue Corner: Couturier Flourishes: “The secret of the suit jacket and the overblouse that hang beautifully is apt to be a “Chanel” chain. A finishing touch by couturiers, the chain is tacked near the hemline as a weight.”
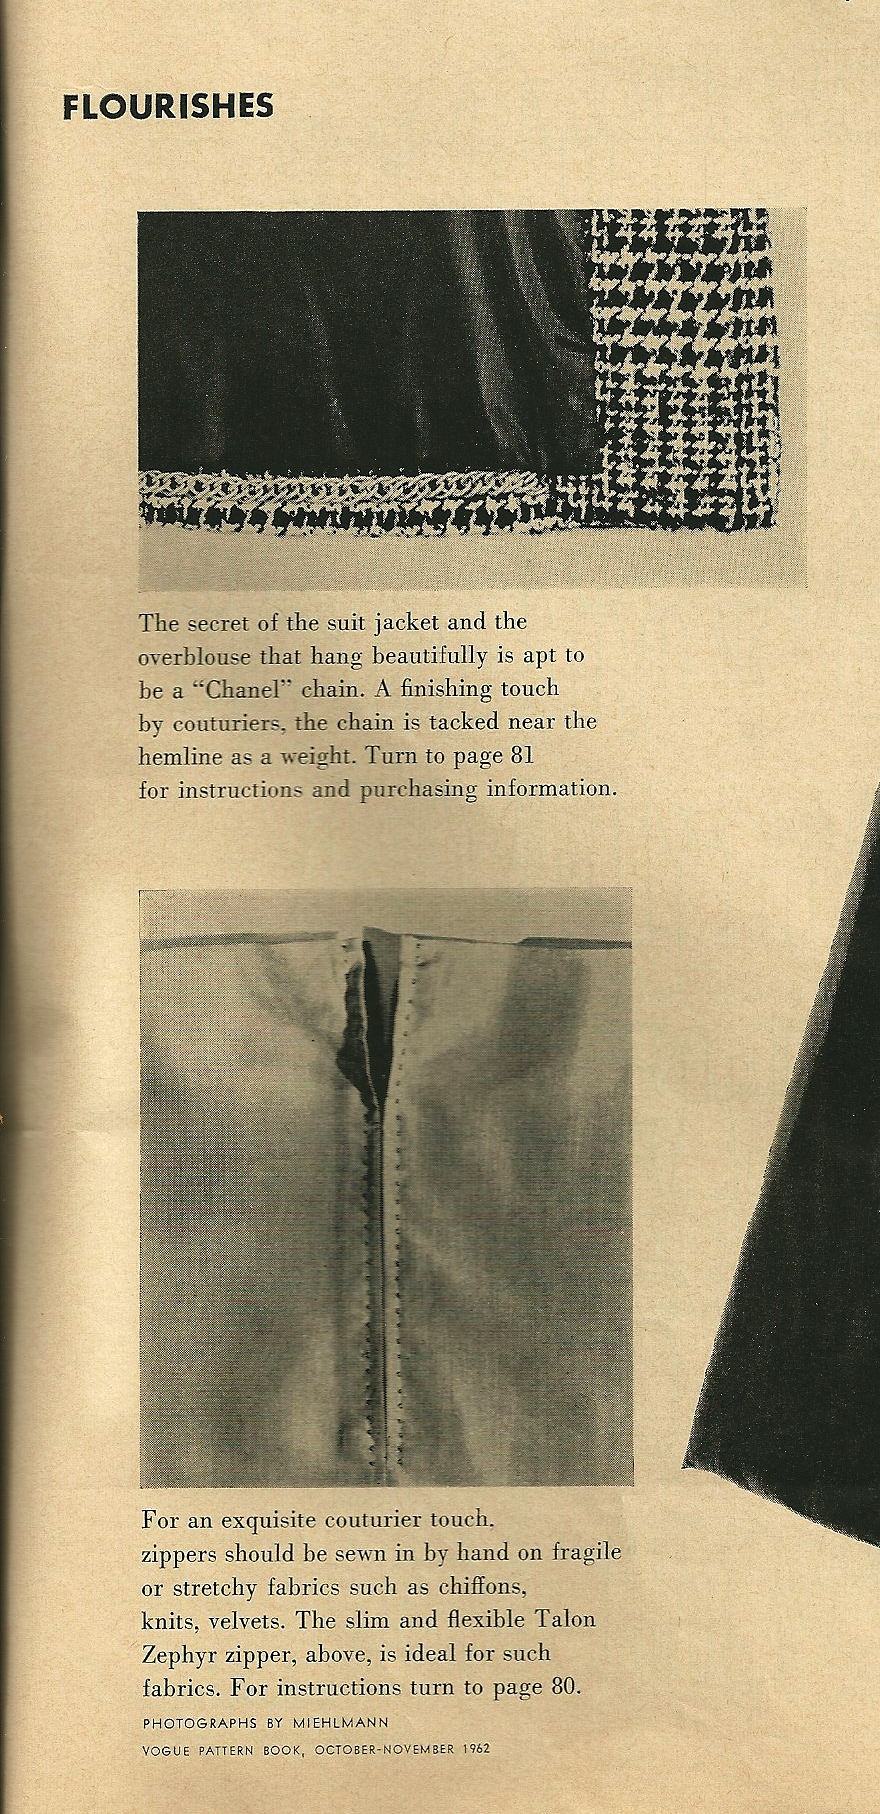
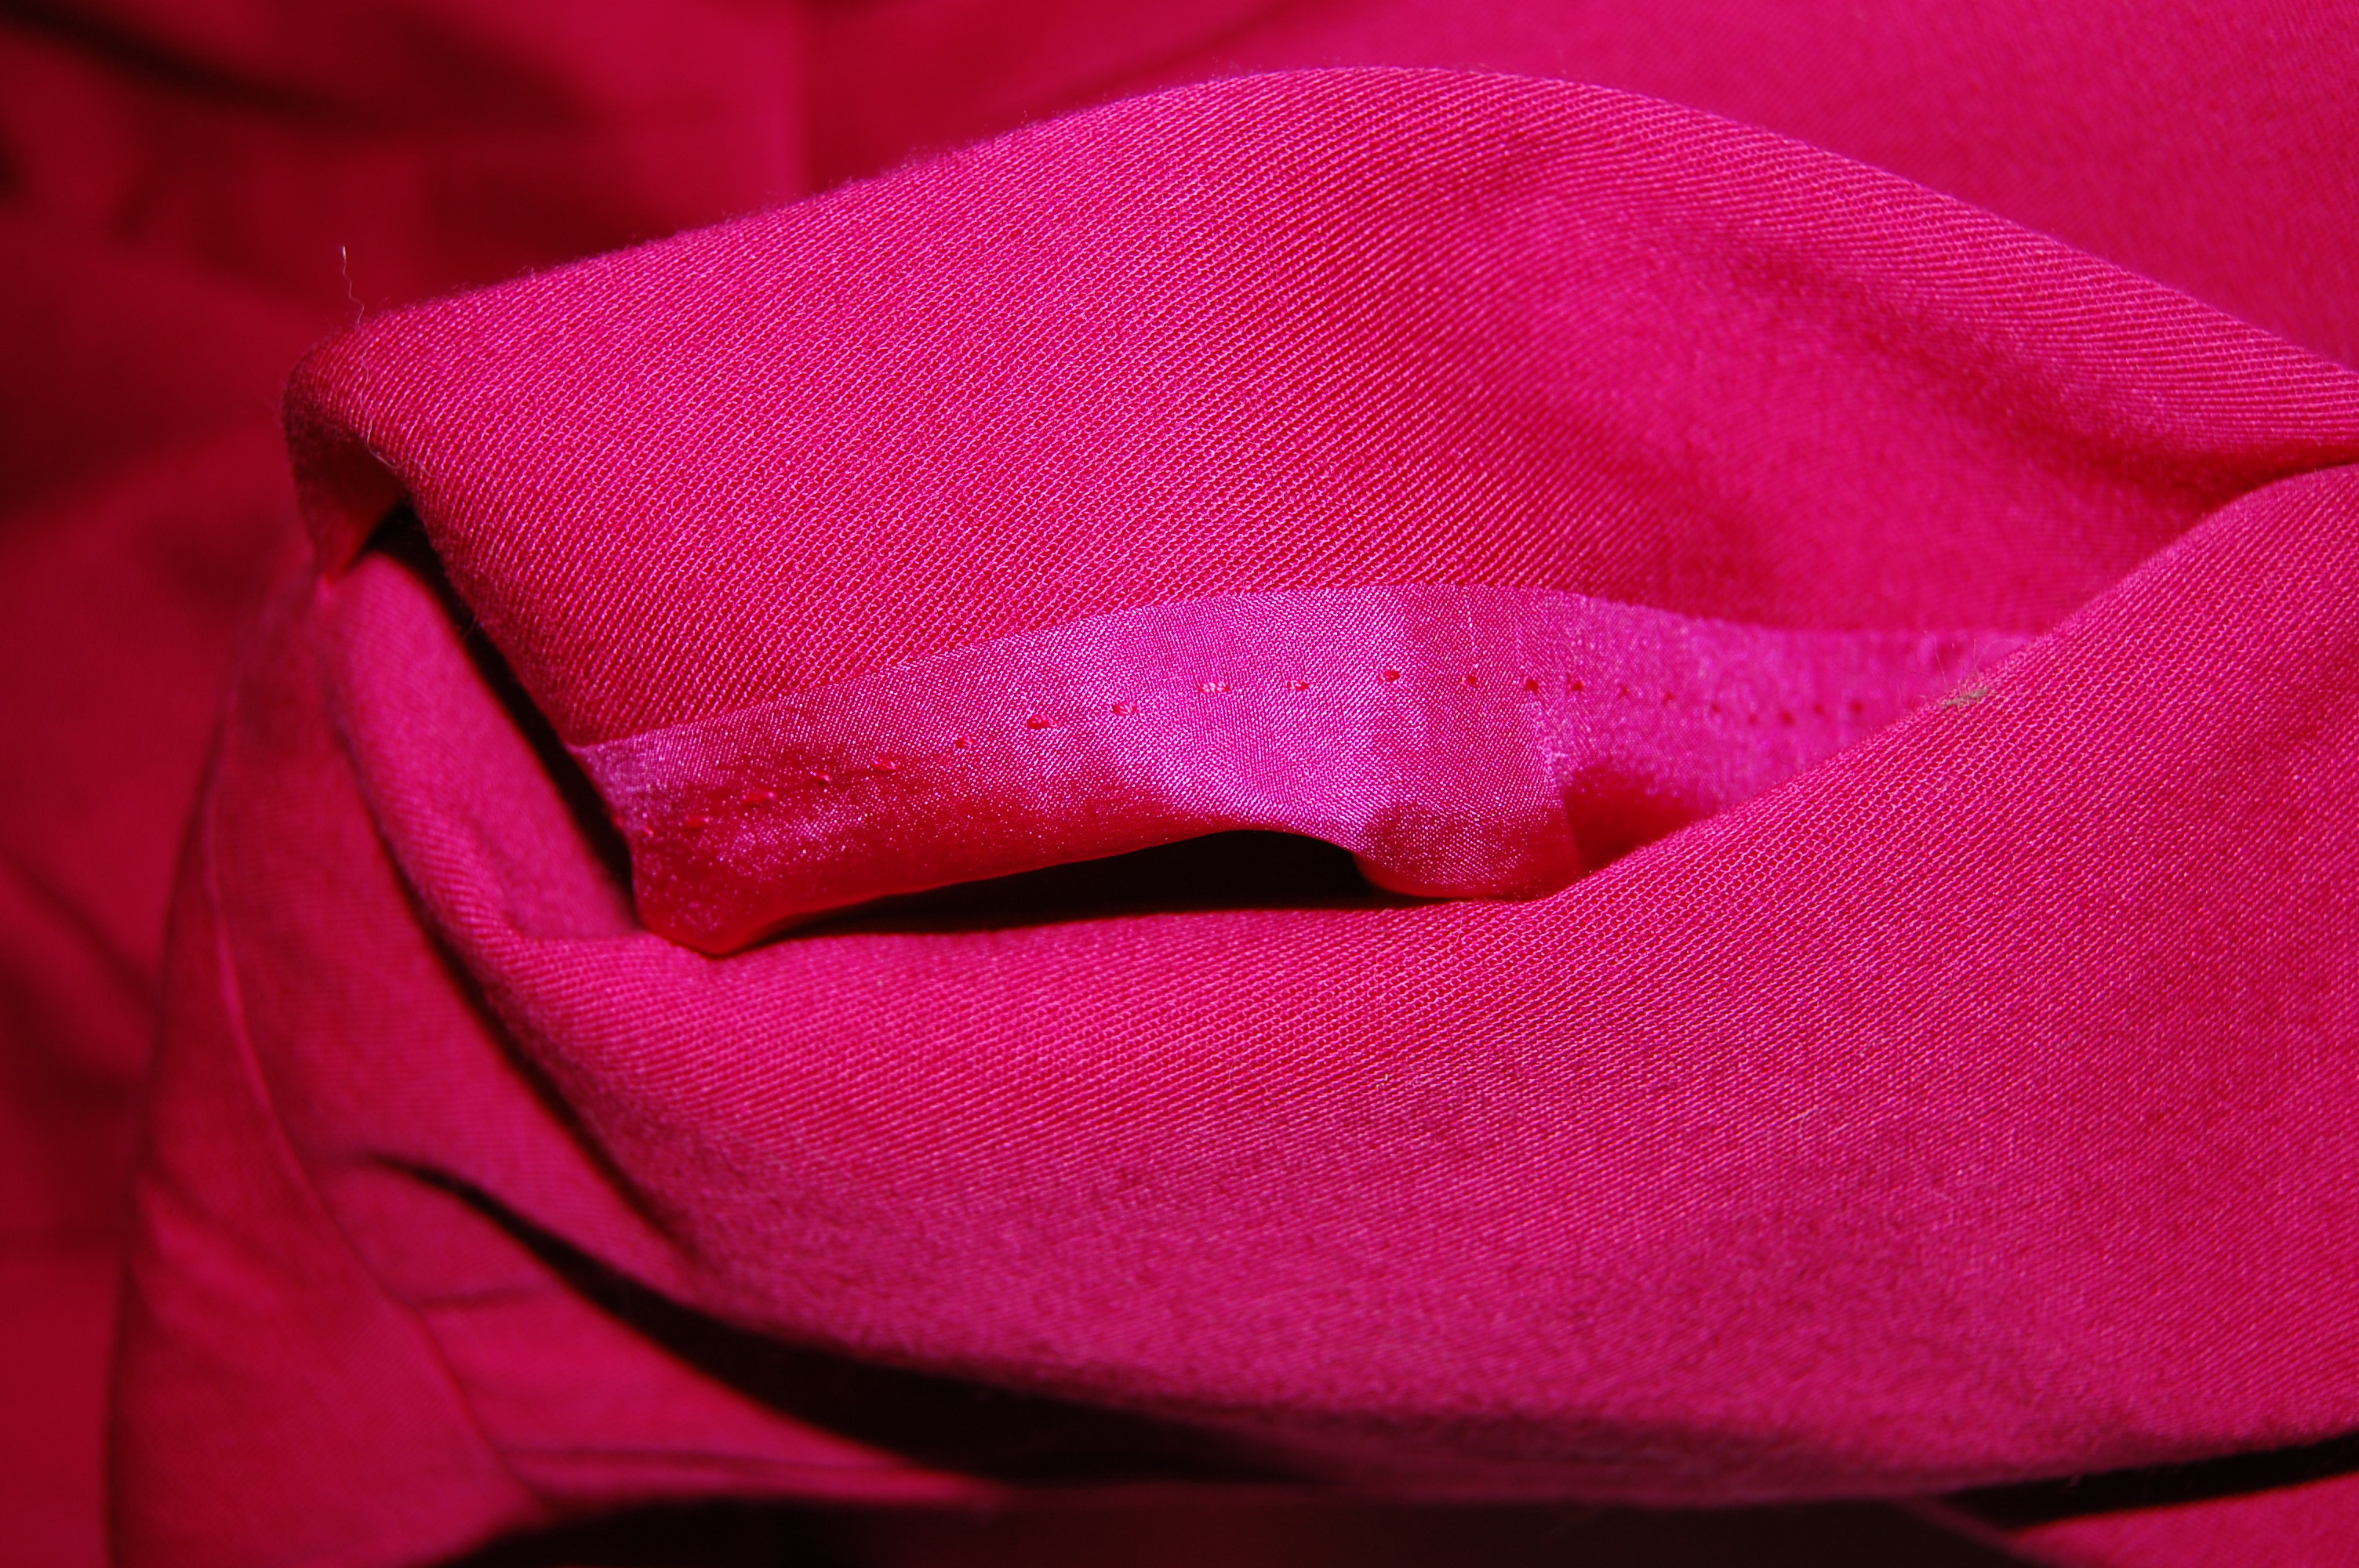
The topic figure shows the “Chanel” chain fastened to a hemline.
Ordering information for such chains was included in the same issue. However, I know for a fact that these types of chains could be purchased in fabric stores, as I still have one (in its original –albeit tattered – packaging) that I purchased in the late ‘60s!
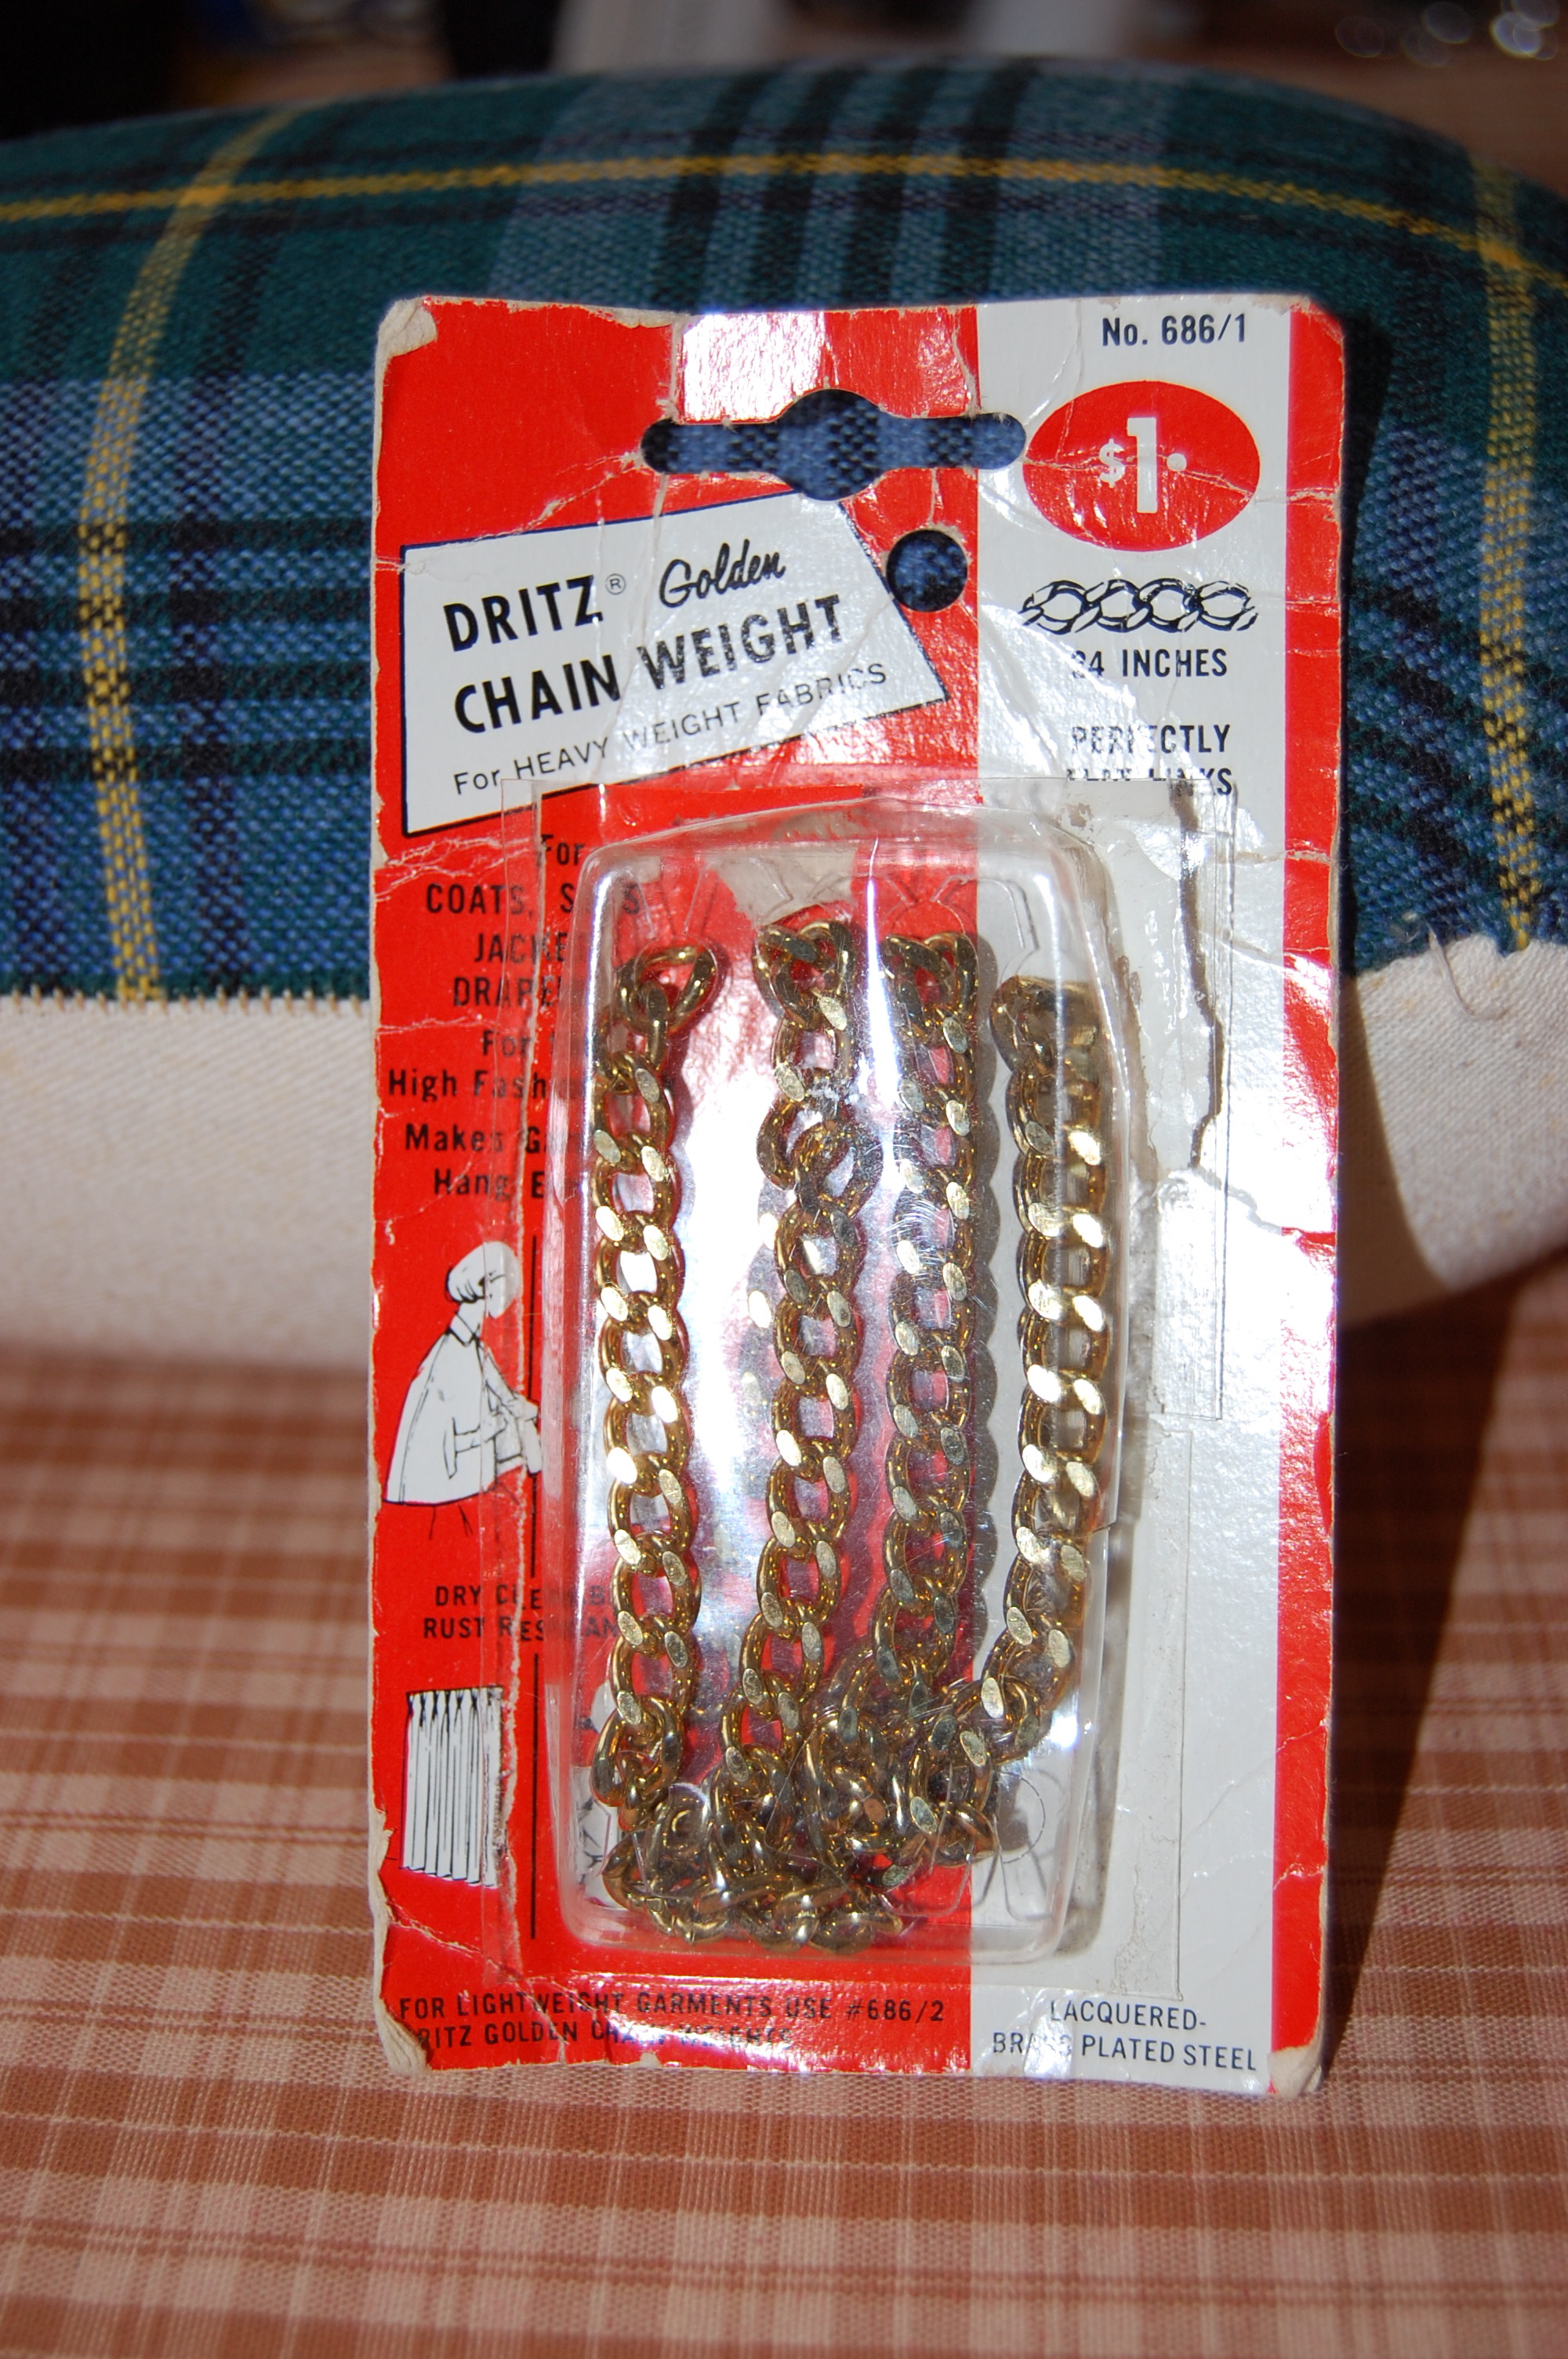
This “vintage” chain still looks new!
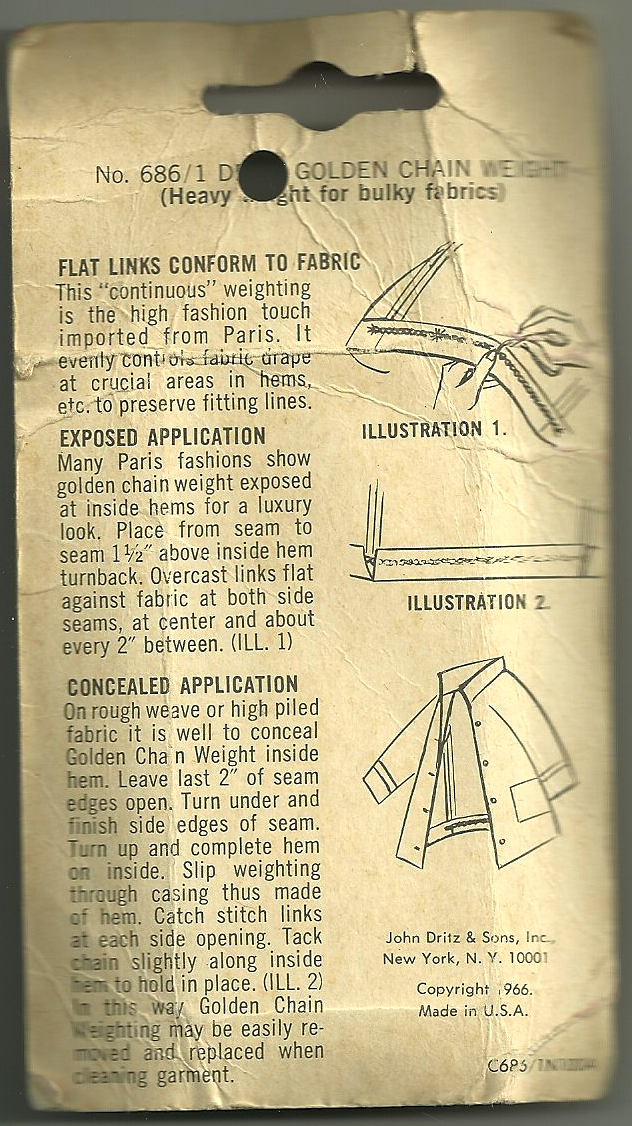
The back of the package shows the copyright date, 1966, and includes instructions on attaching the chain.
Finally, an article in the February/March 1963 issue of the magazine gave some of that age-old advice on “pattern selection that can visually help to minimize your figure problem.” The advice given “if you tend to be bosomy” seems like it could be good advice for just about every figure problem (or problem figure, depending on your point of view) as it states “In suits, the boxy Chanel-type jackets are your best bet…”
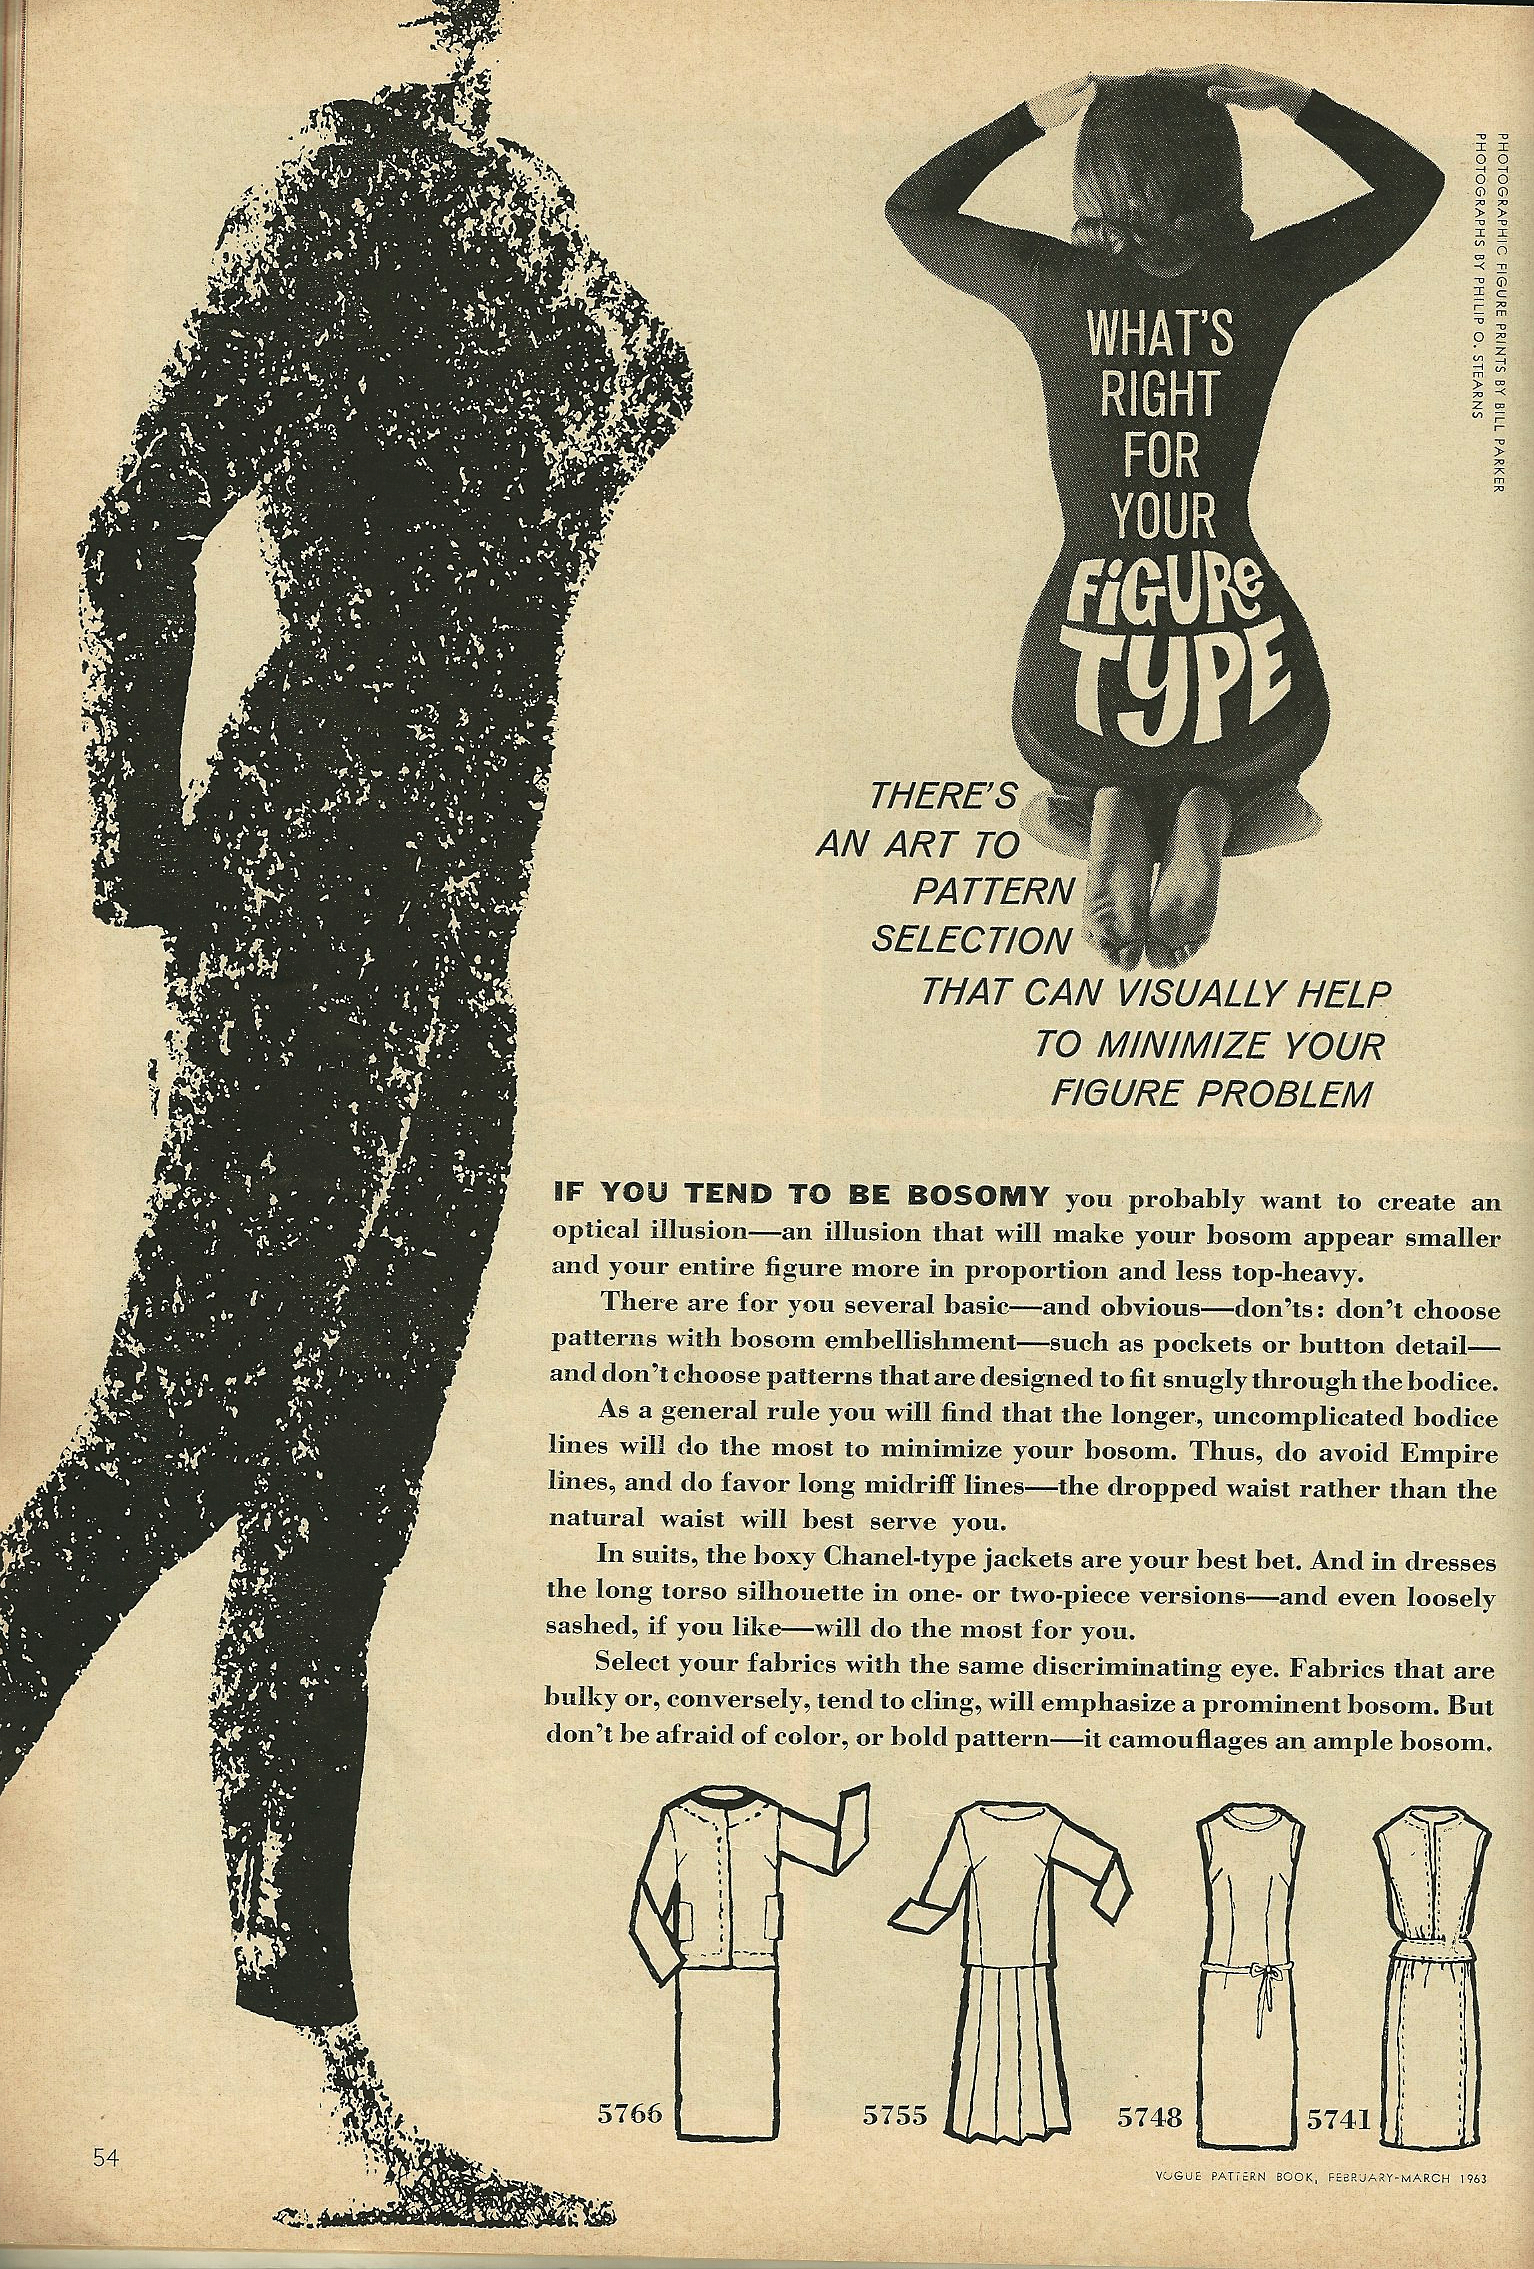
If you can get past this awful illustration, you can read the accompanying text about Chanel-type jackets!
Gosh, I think Chanel-type jackets are just about perfect for everyone. How else would this classic style have endured so beautifully for so long?