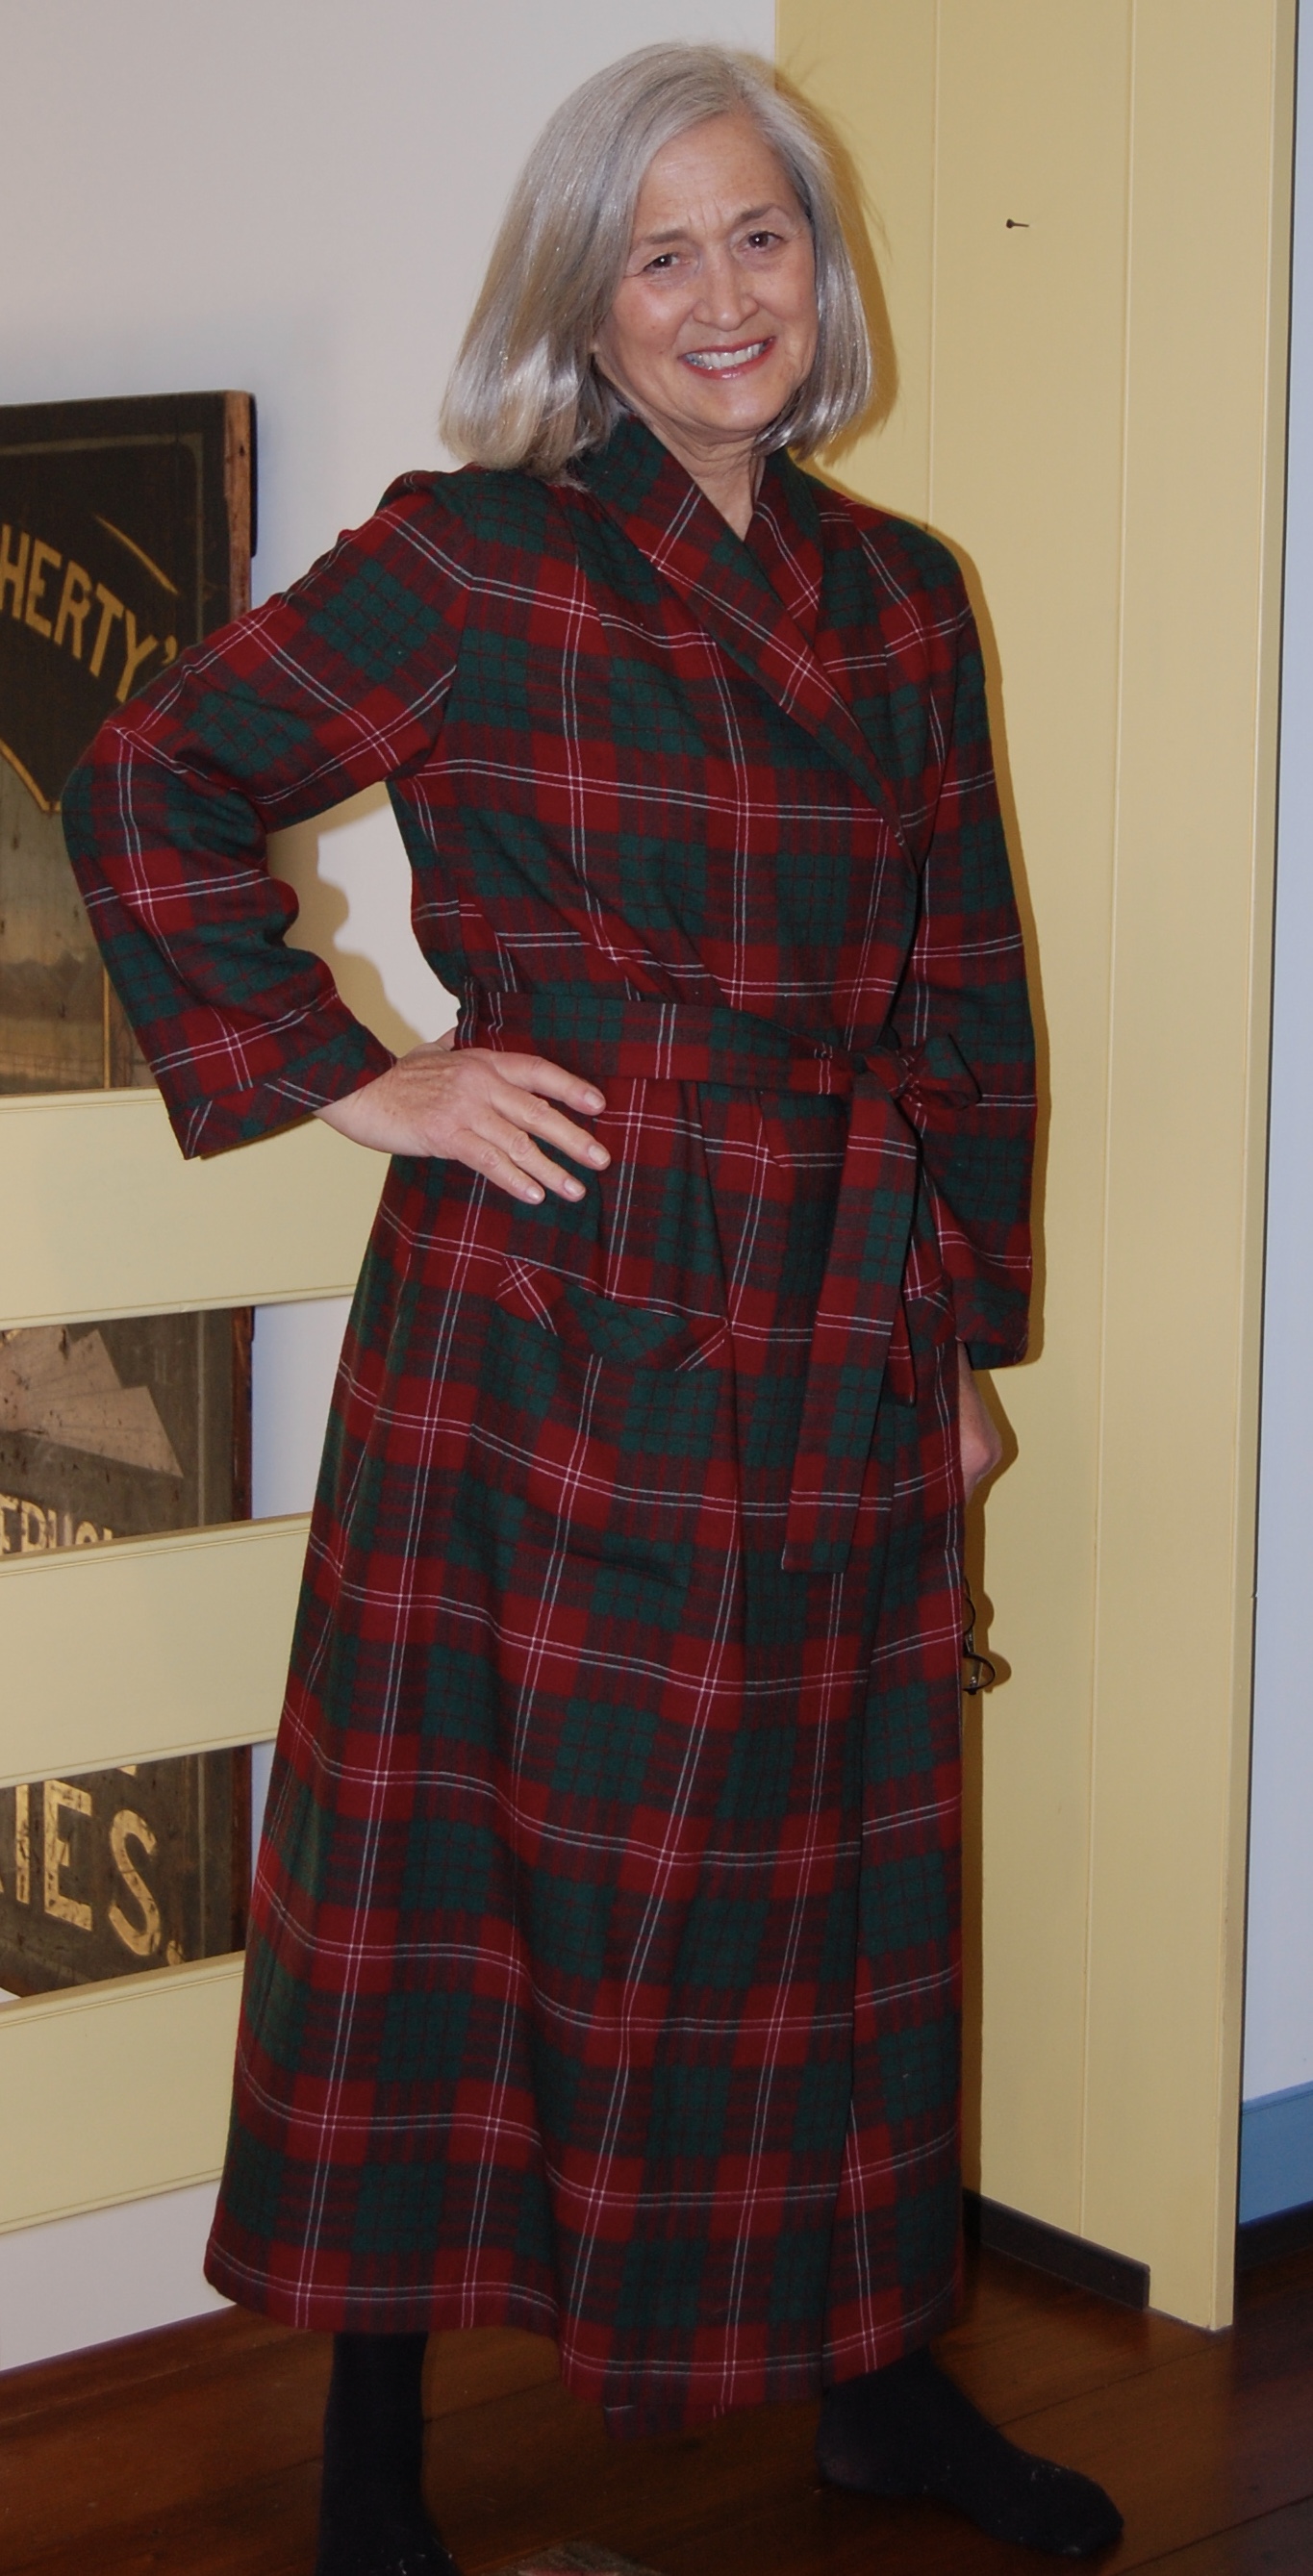
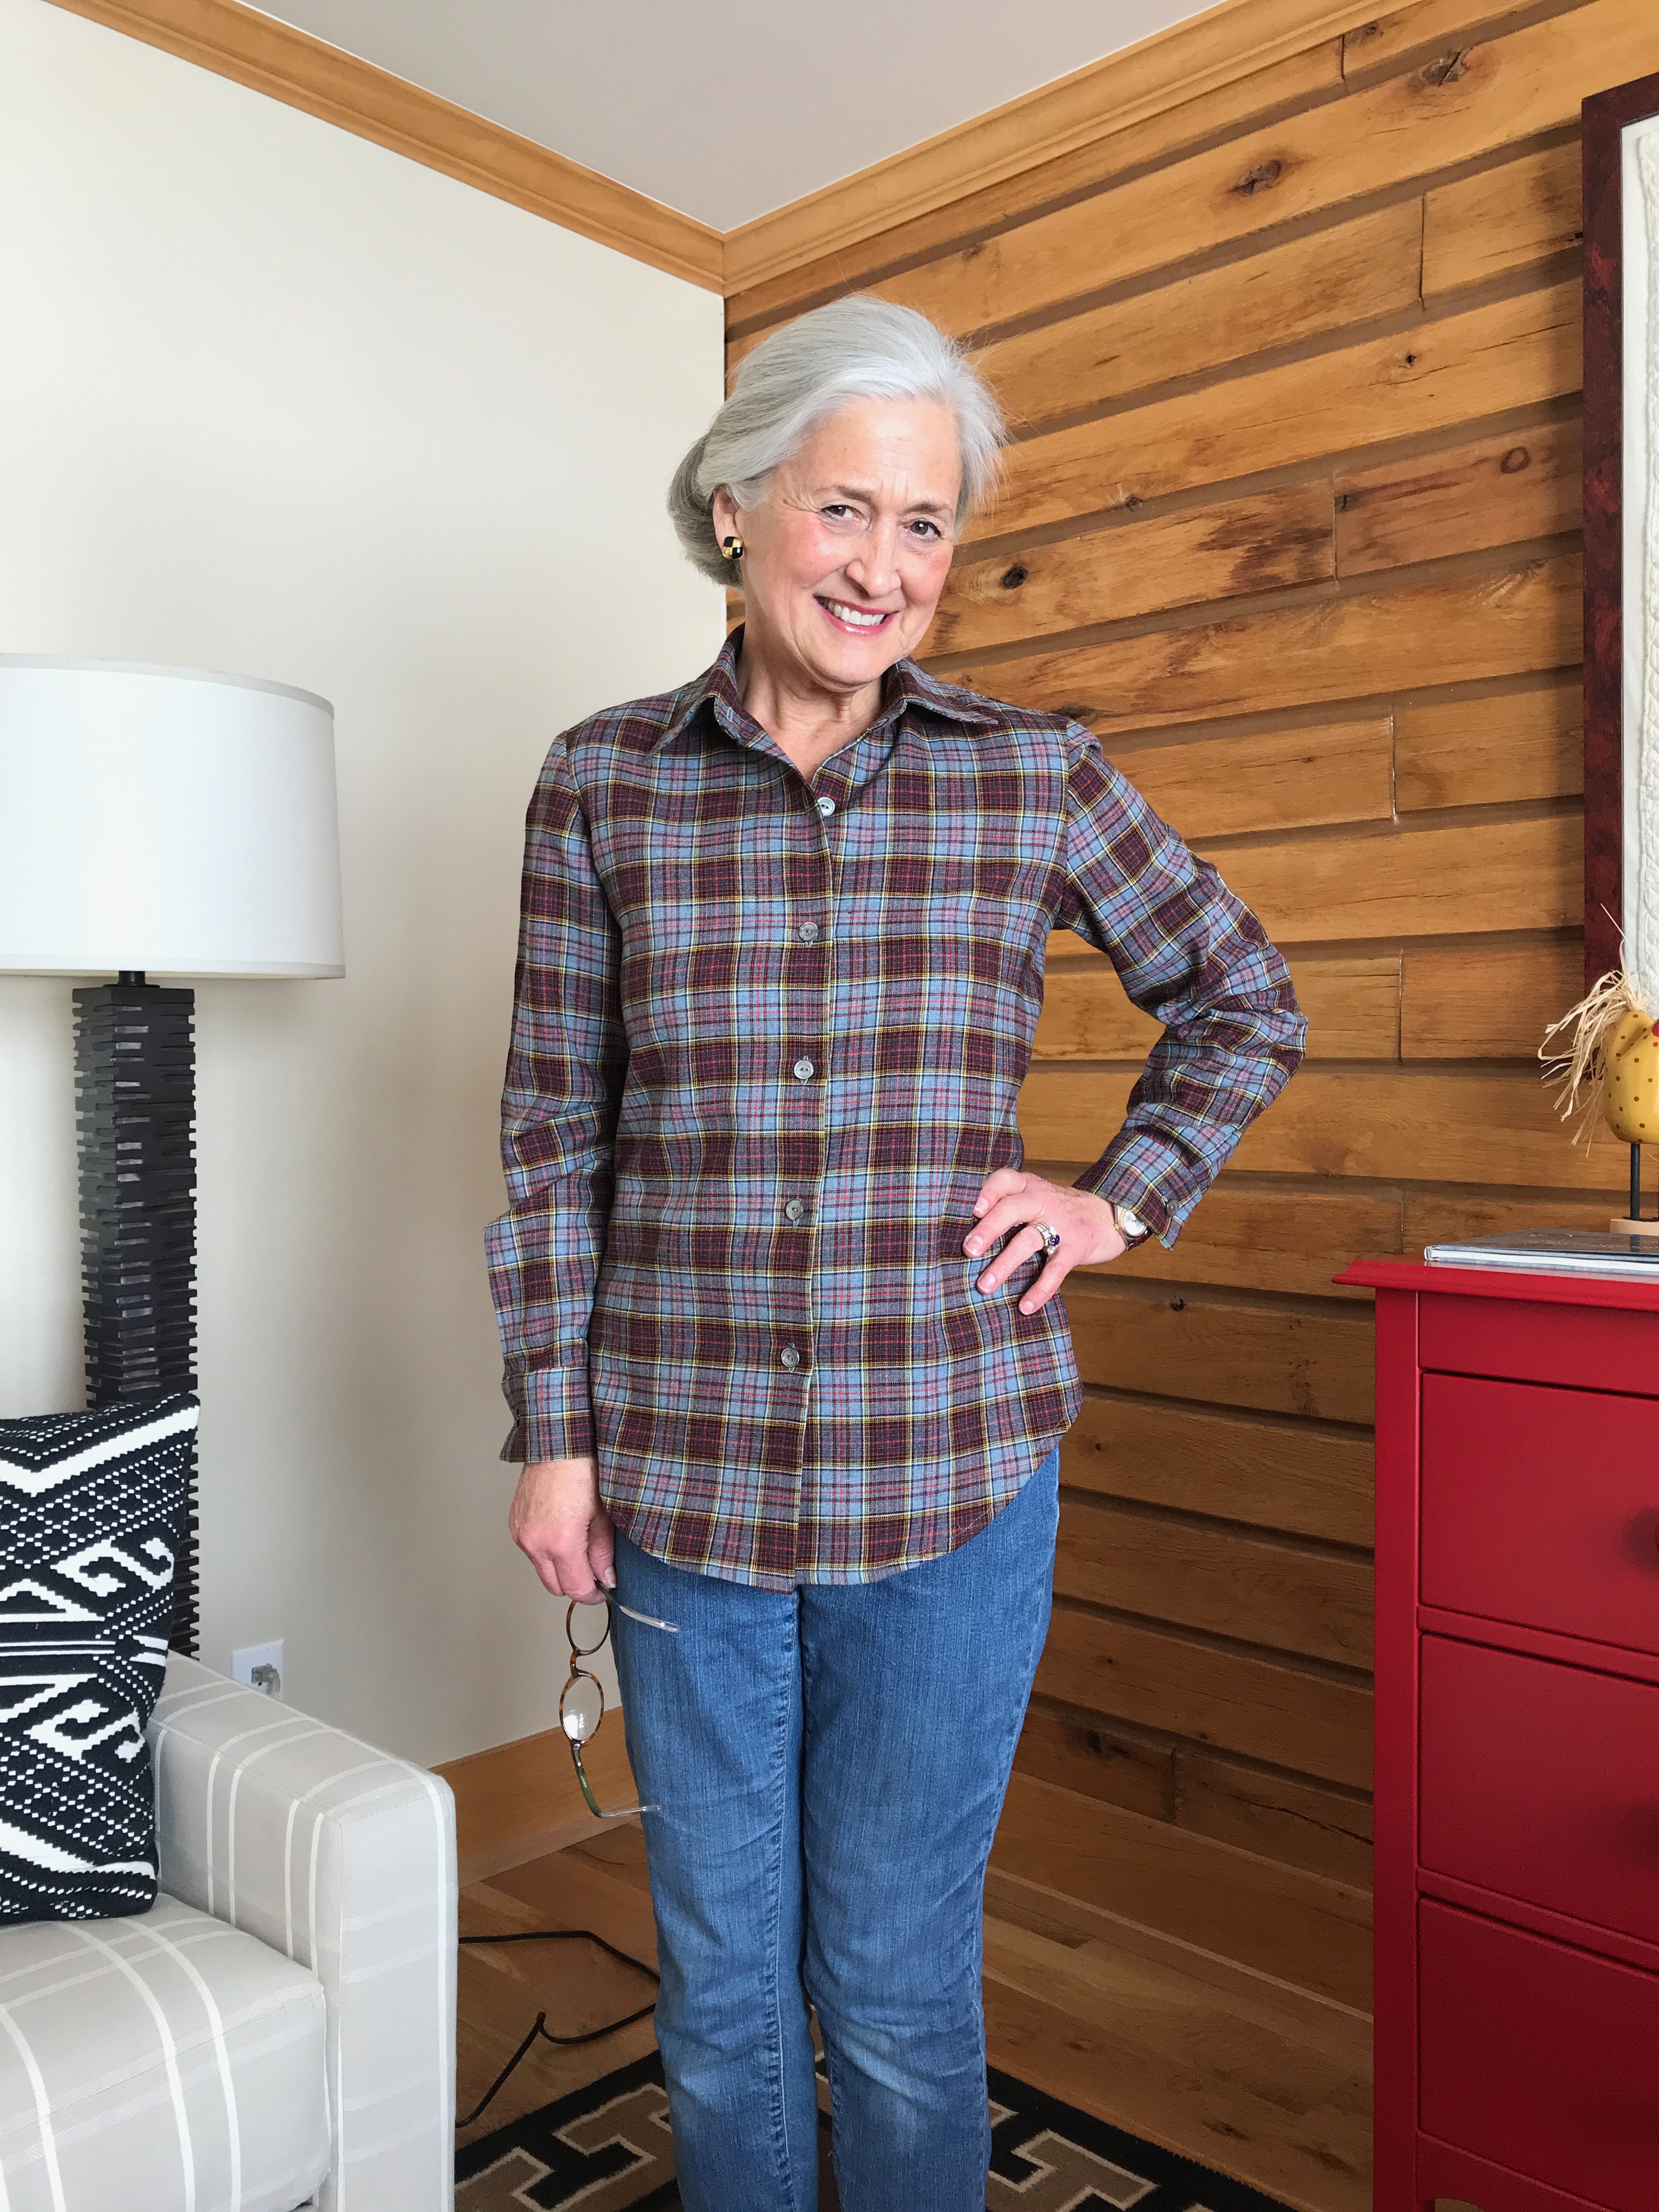
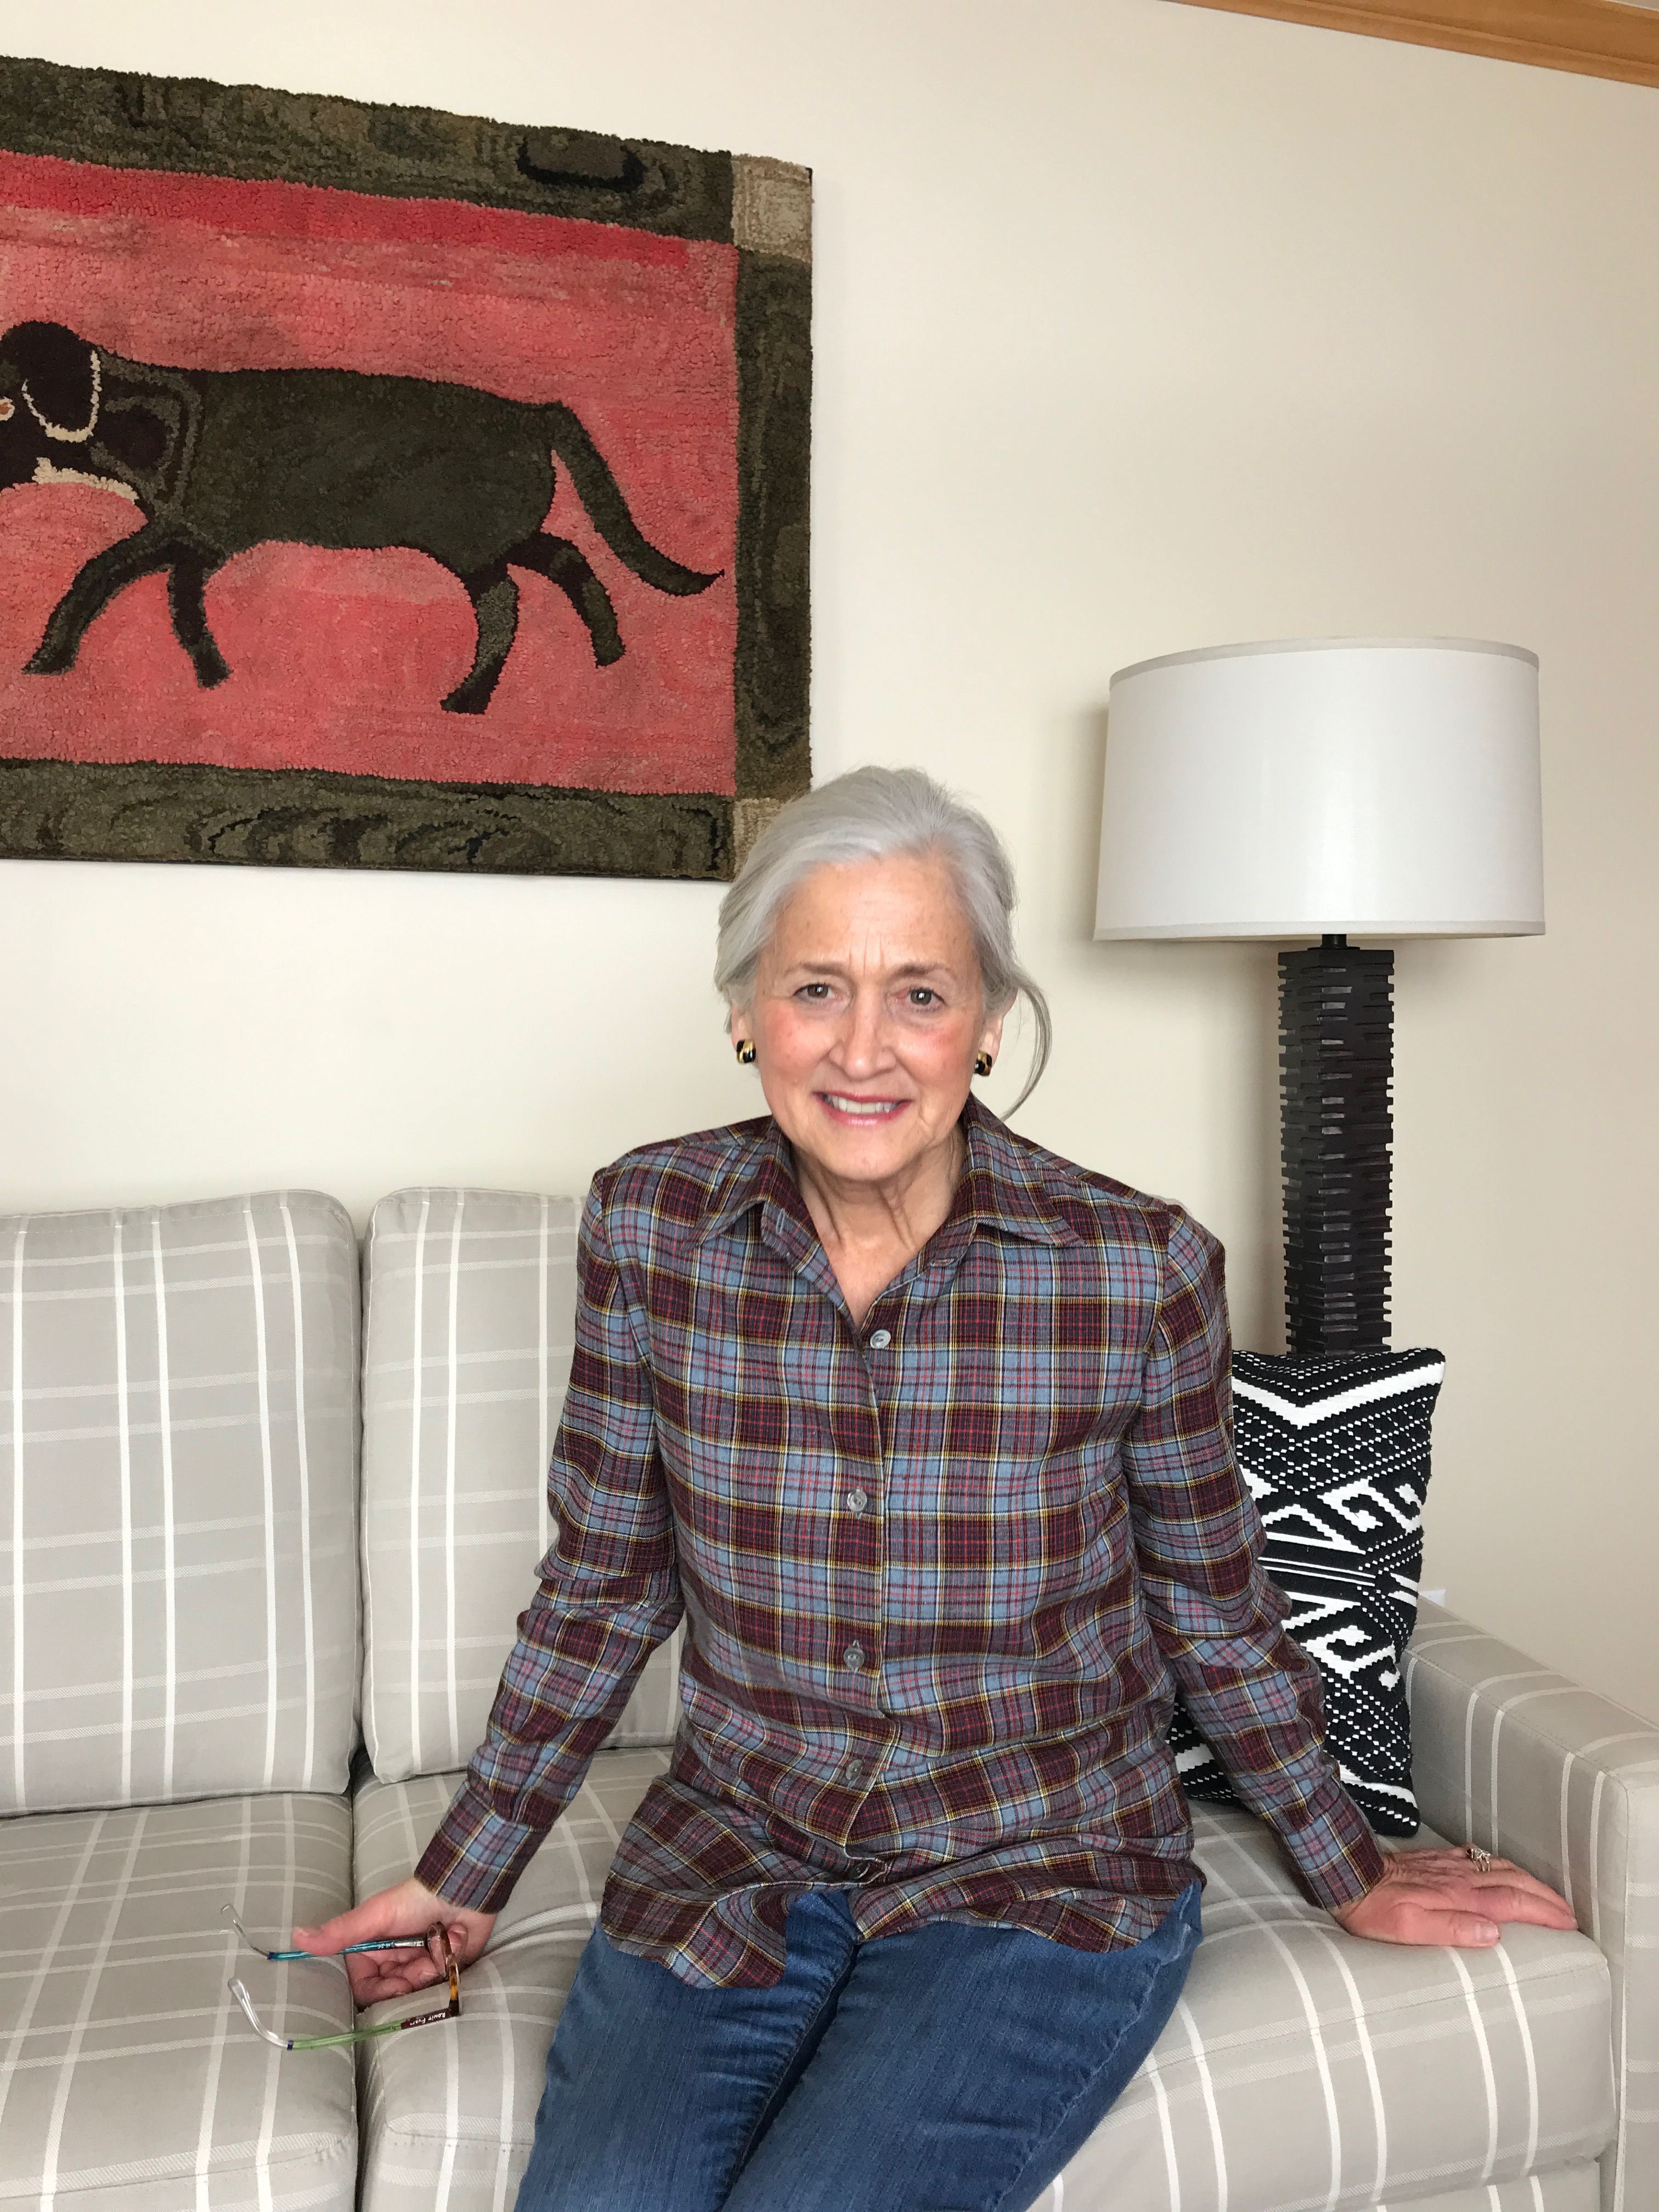
Or – Who Is That Woman in our Kitchen? After well over twenty years of wearing the same ratty old bathrobe (well, it wasn’t old or ratty when I first started wearing it, but the years took their toll on it), I now have a new one. I will admit to being almost unrecognizable in the mornings and evenings now, as I float through the house in my new attire – leading my husband to wonder if a new woman is now making the morning coffee.
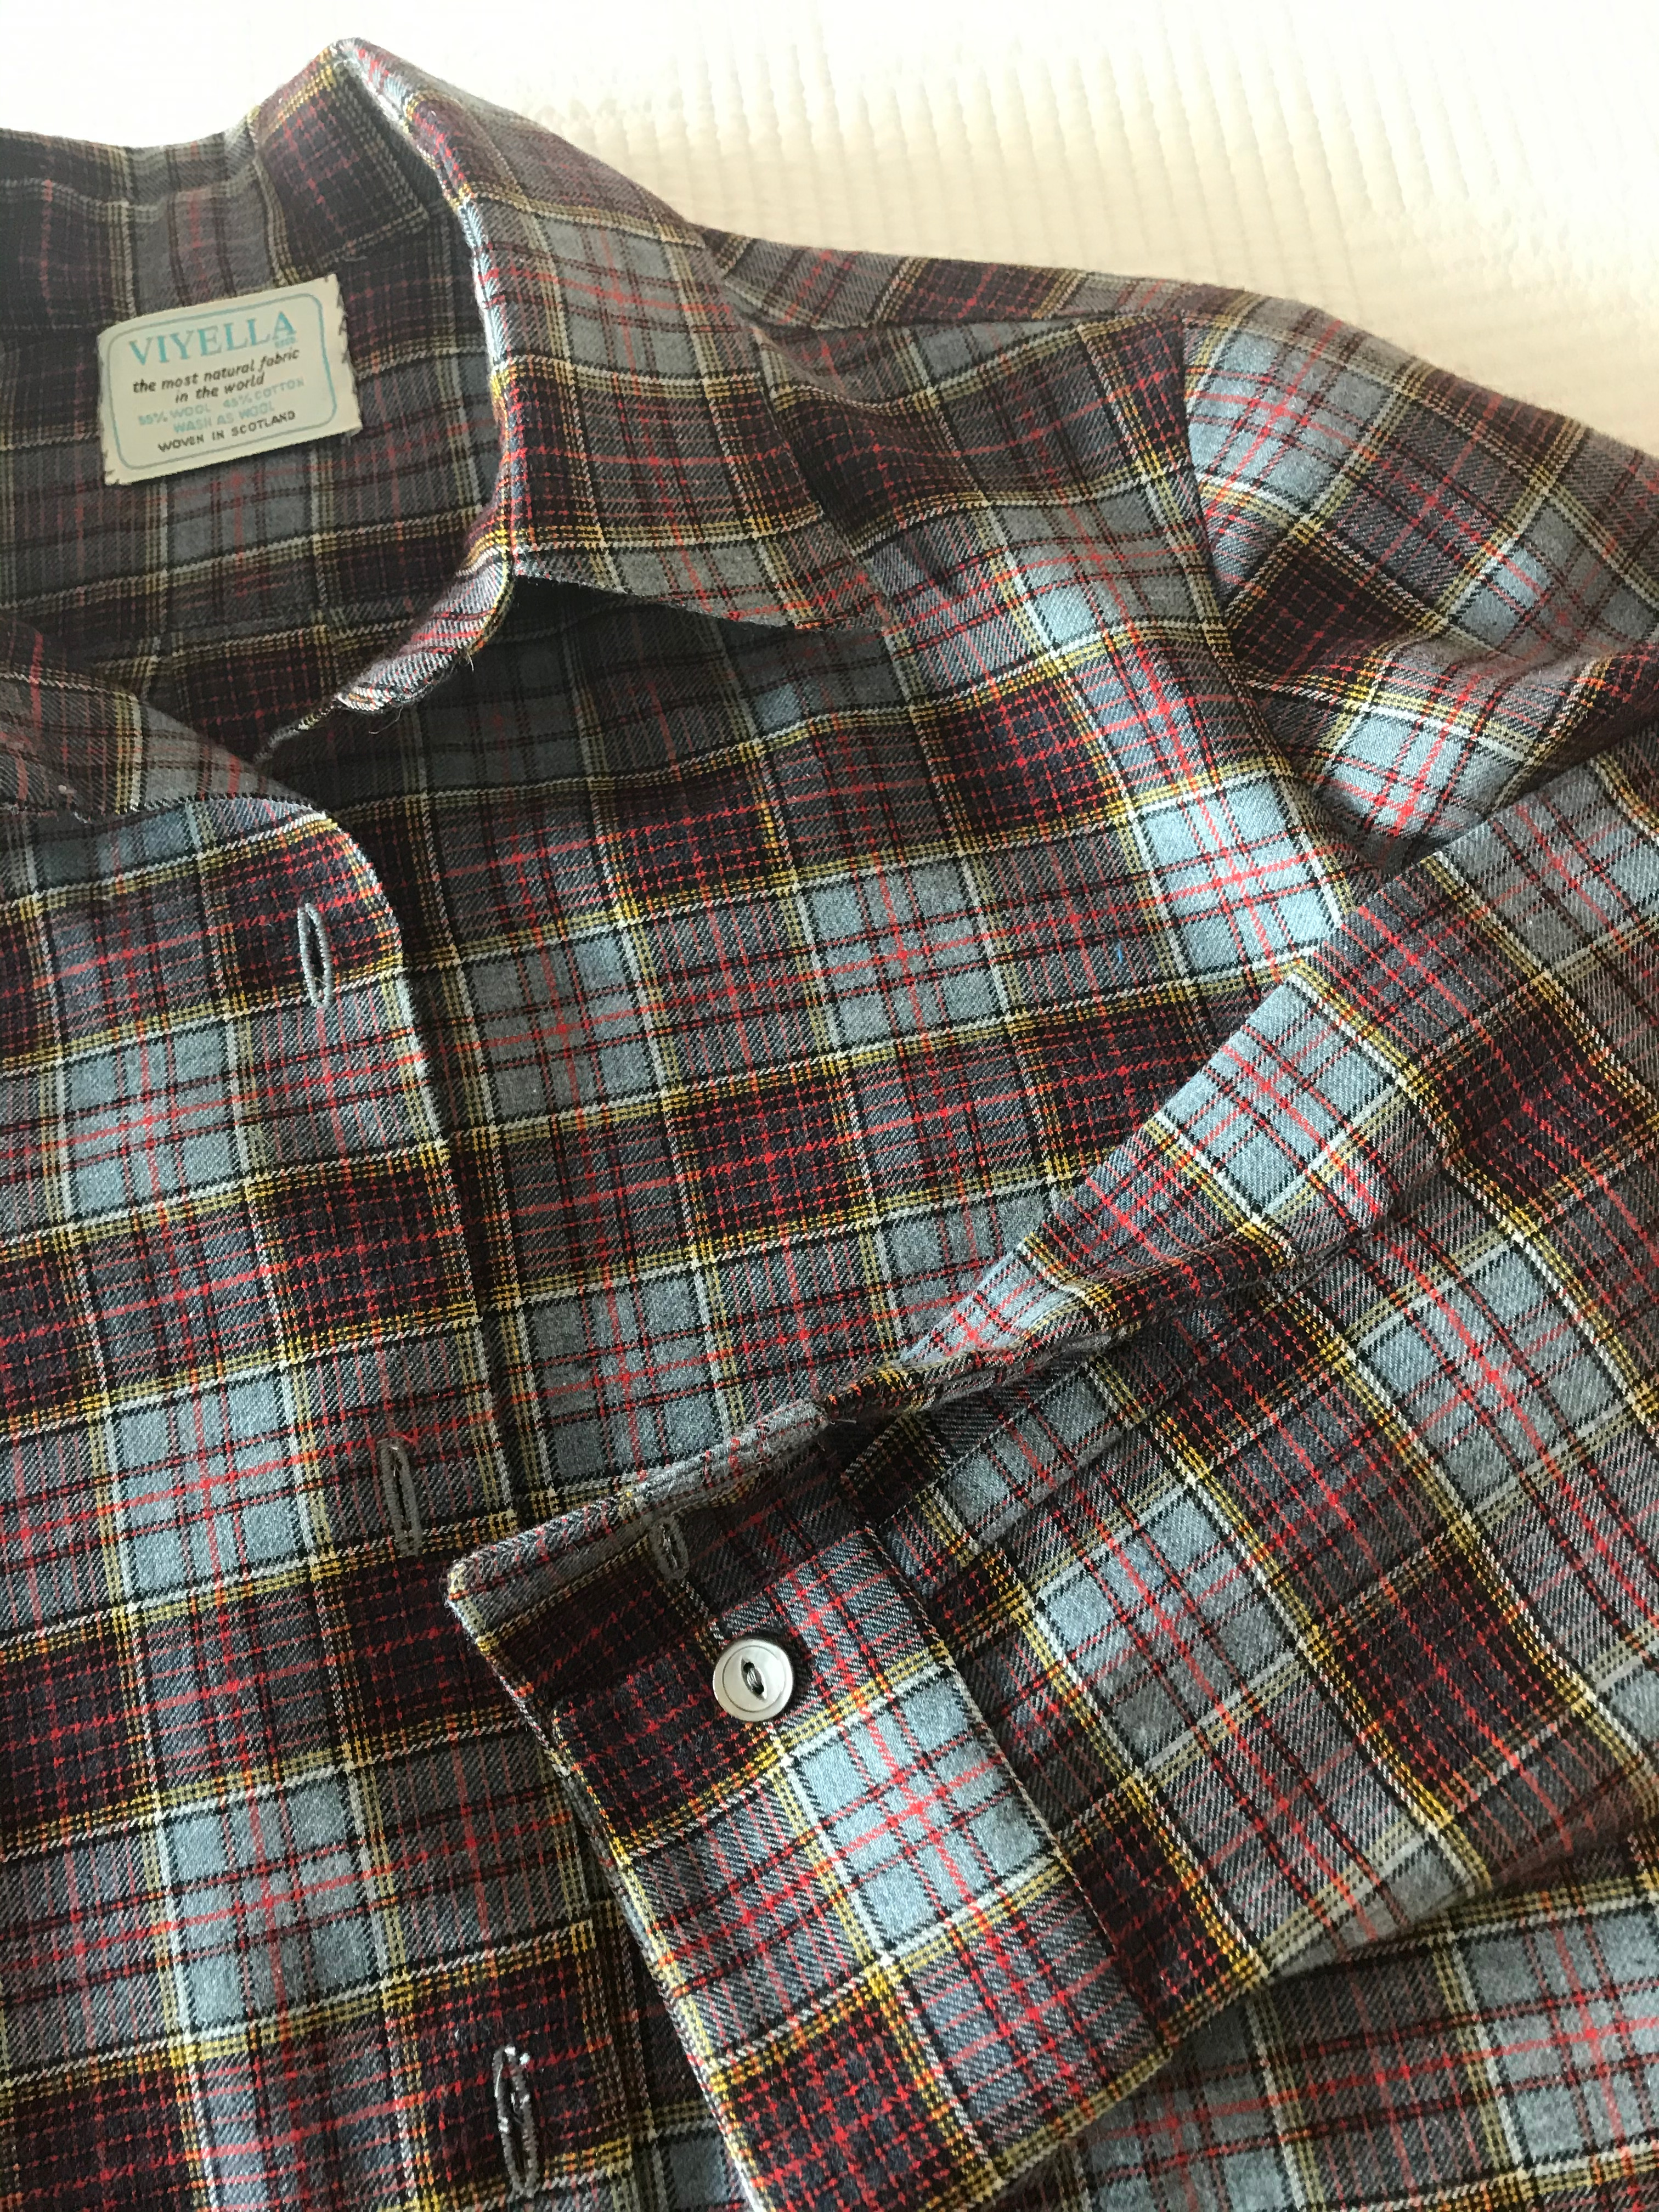
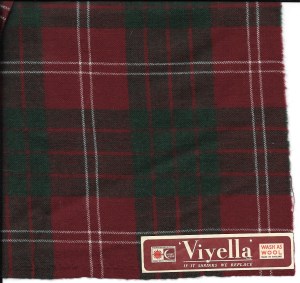
I found vintage Viyella wool/cotton fabric on eBay last year. Although only 35” wide, the length available was 5 ½ yards which I determined should be enough for a ankle-length bathrobe. Viyella is a lovely blend of 40% wool and 60% cotton, and it is machine washable. It is lightweight, but warm, very soft, and such a pleasure with which to sew.
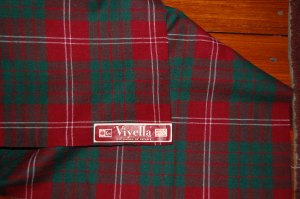
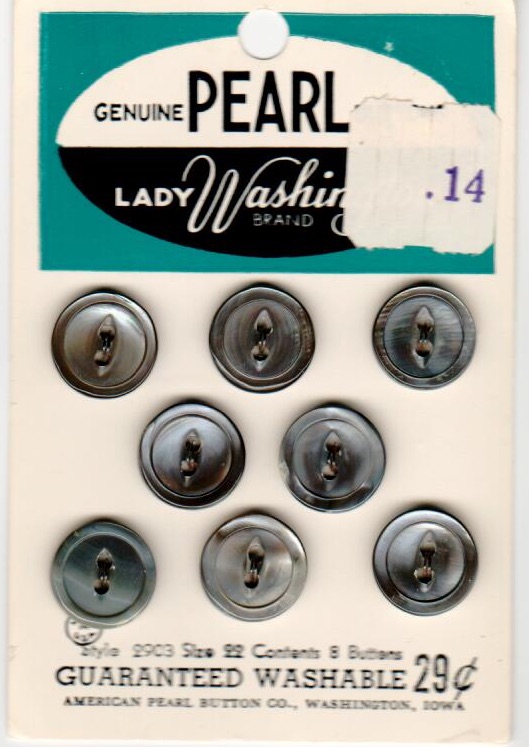
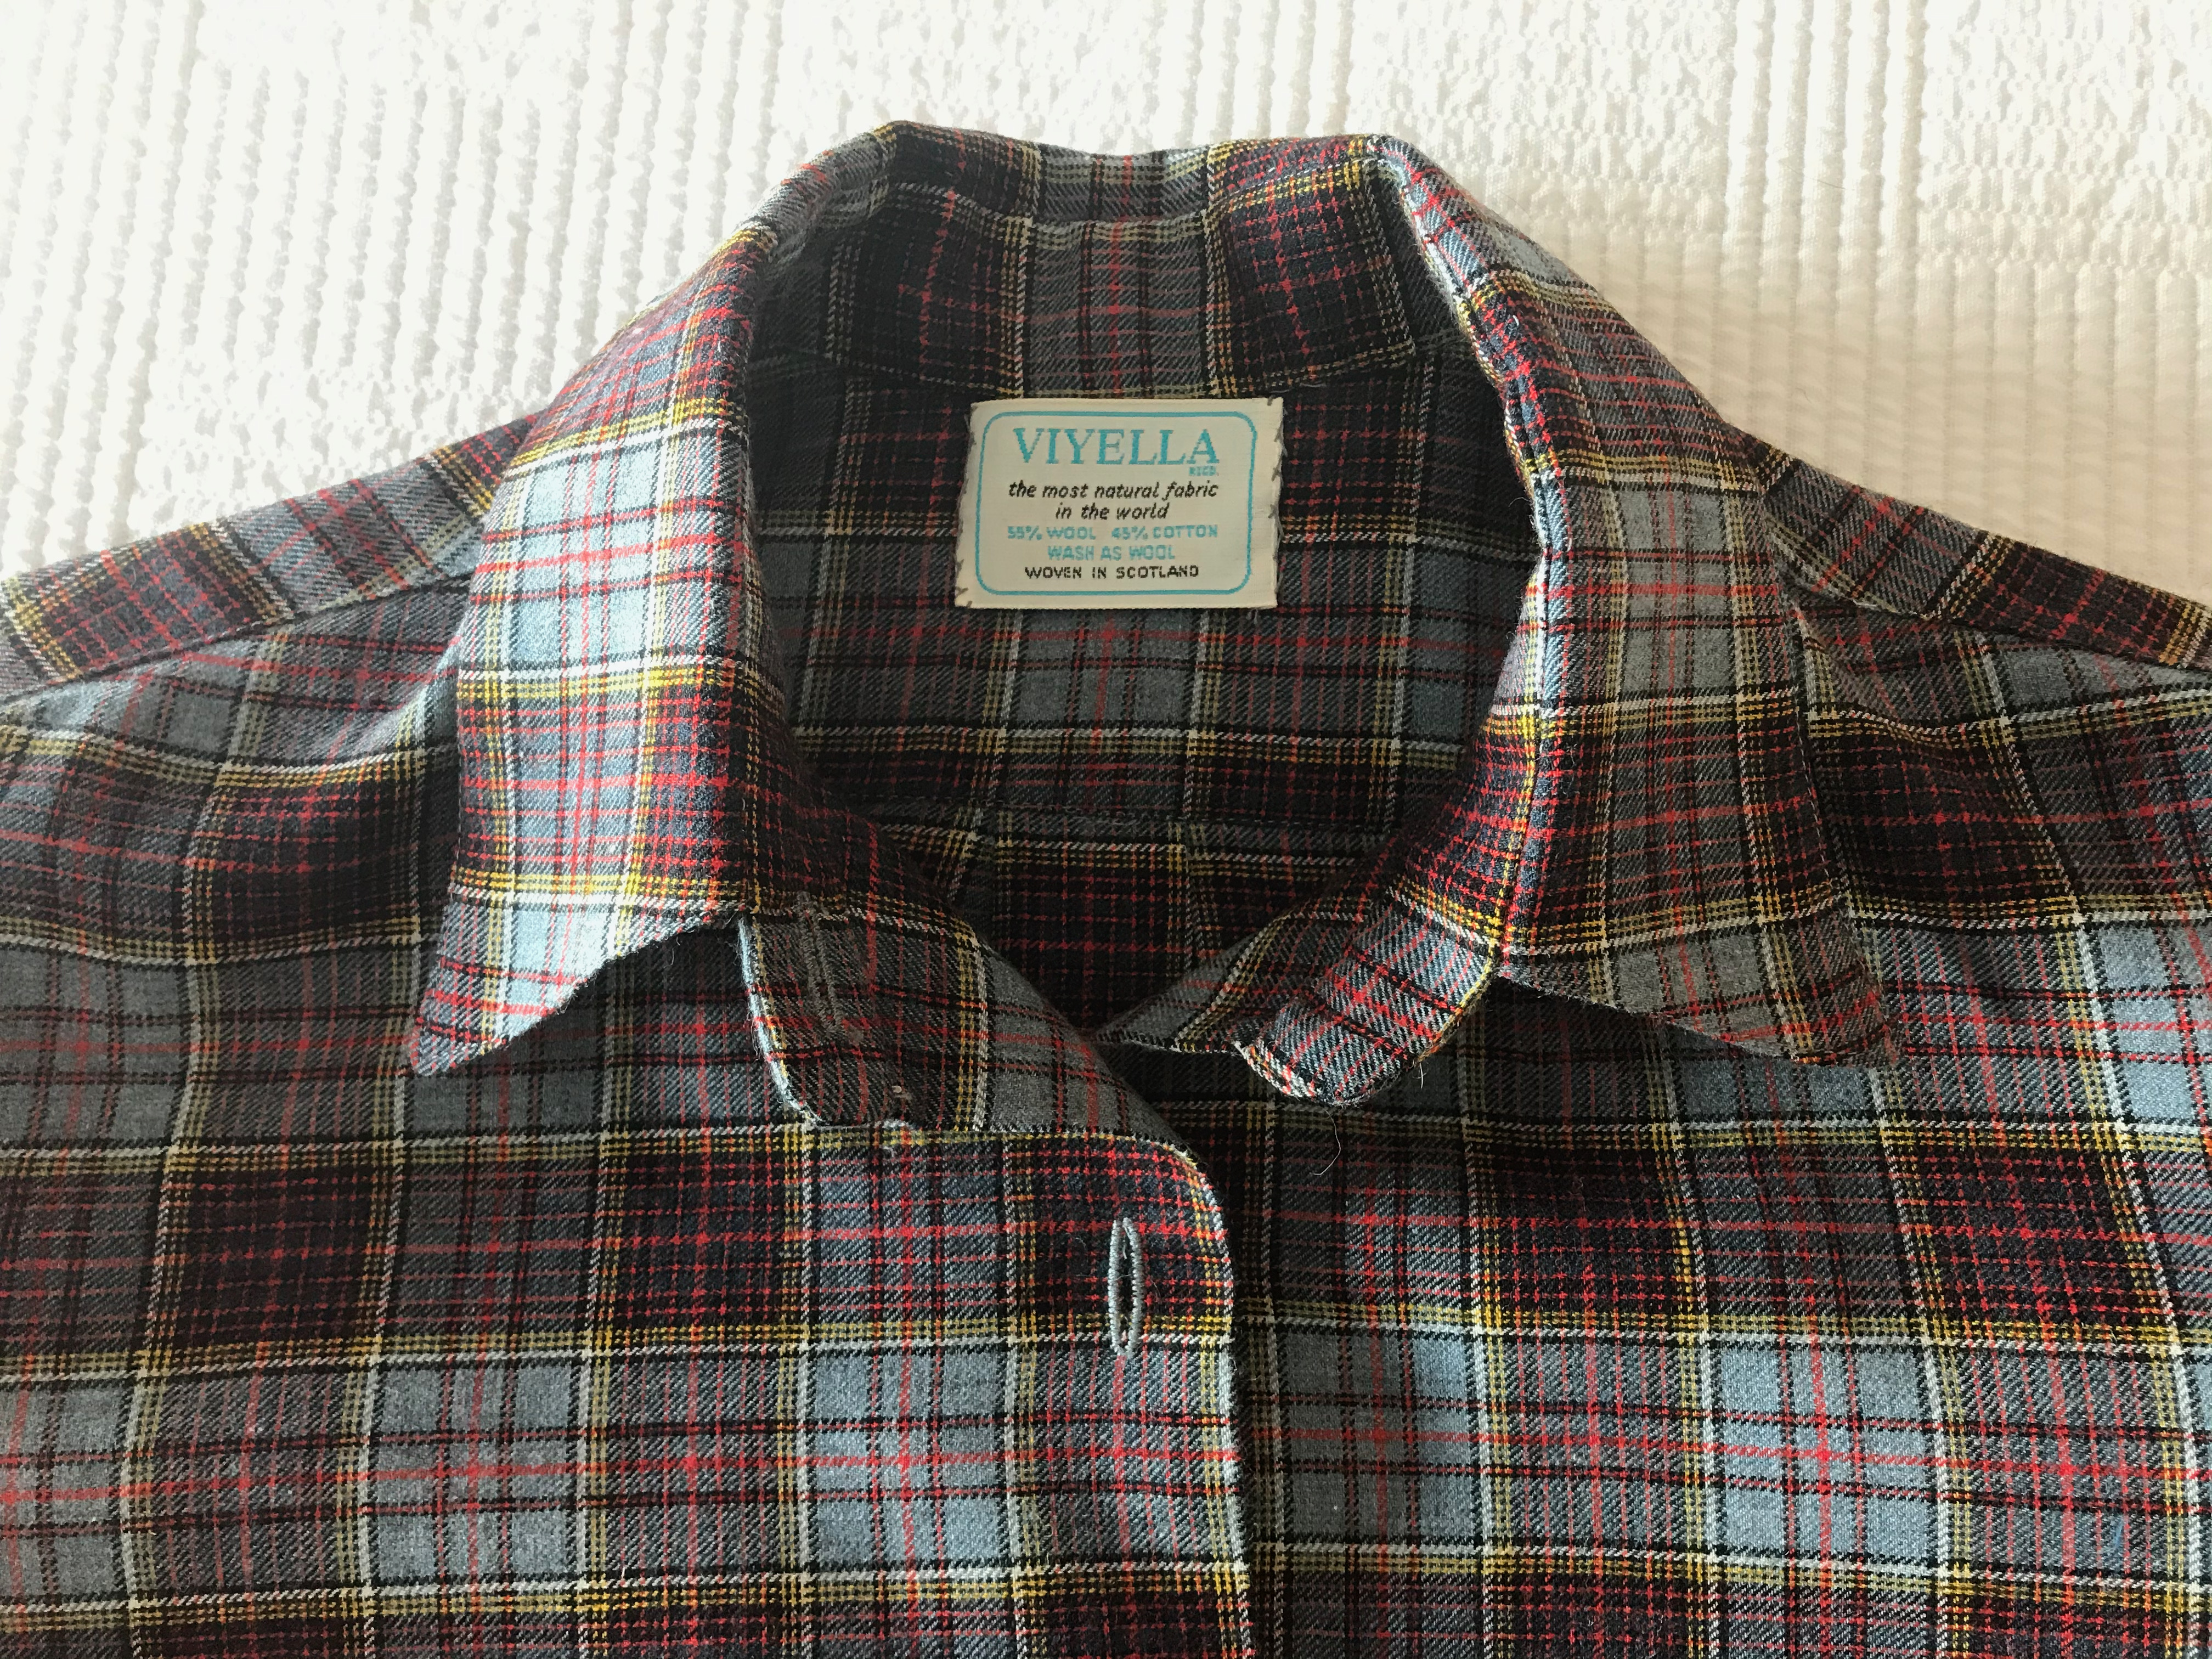
The paper labels were still attached to this length of Viyella.
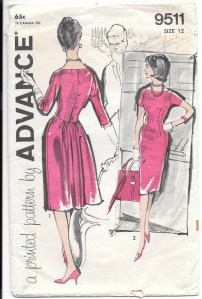
From four bathrobe patterns in my collection, I chose this one for its classic styling, including a wrap front and shawl collar:

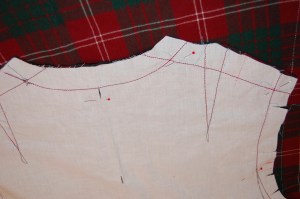
I made a muslin (toile) to check on the fit, and then I used the muslin as my pattern, marking the seam lines onto the Viyella using waxed tracing paper.

Because of the narrow width of the fabric, and the need to be precise with matching the plaid in the fabric, I laid out my muslin pattern singly. I had to do this on the floor because of the great length with which I was working. Matching the plaid, although thankfully a very even plaid, took a lot of time – and time on my knees! Ouch!
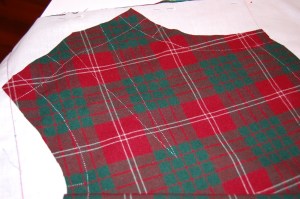
One of the pattern pieces close up.
And here is one piece with markings transferred onto it. I am used to sewing on a marked seam line, and prefer this method rather than using set seam allowances.
I am always impressed by some of the subtleties in these vintage patterns. This one includes bust darts that descend from the shoulder seams. Also, two small back darts make the fit across the shoulders so much more precise. Both are clearly shown in the diagrams on the reverse side of the pattern envelope.
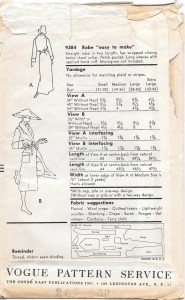
Click on the picture to see the details.
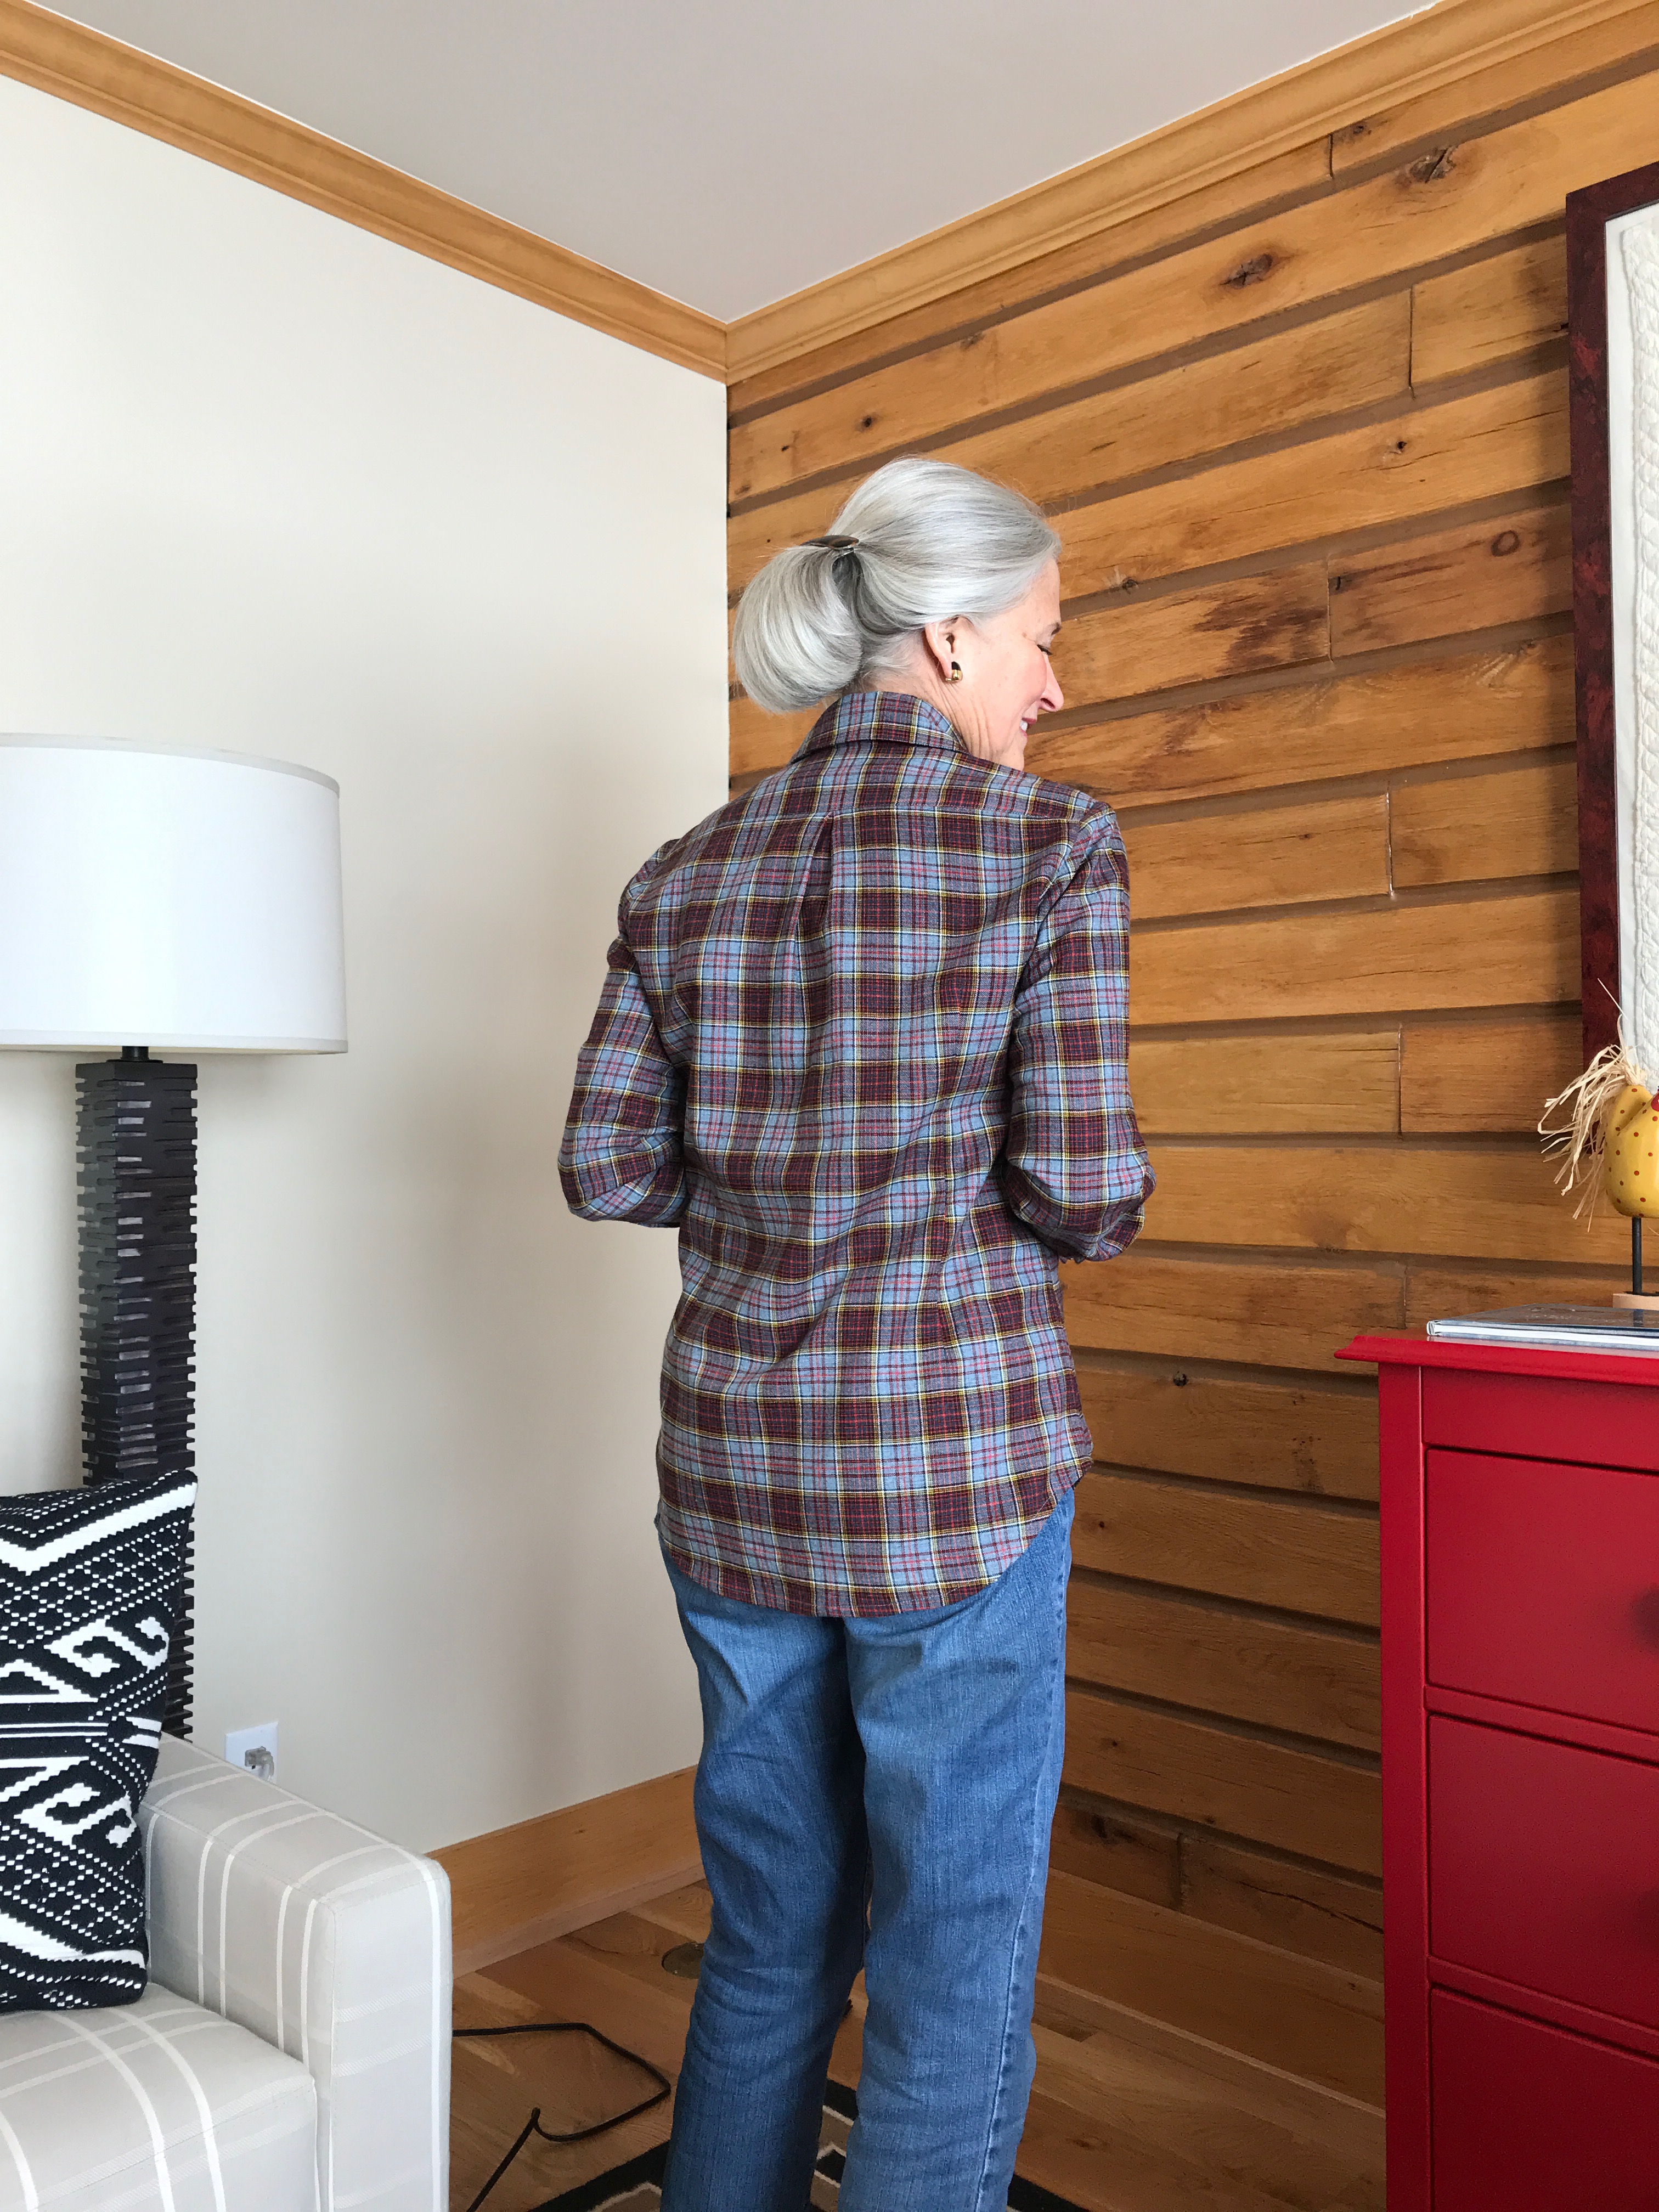
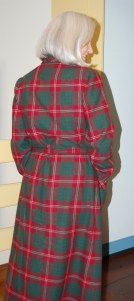
Also detailed on the pattern layout diagram is the slight flare to the front edges of the robe. I didn’t really pick this up in the muslin I made, but once I was working on the robe, especially in this plaid, which makes a flared seam more apparent, I was very aware of it. It is such a nice detail, making the wrapped front closure more graceful in appearance and offering just a bit more coverage than a straight edge would do.
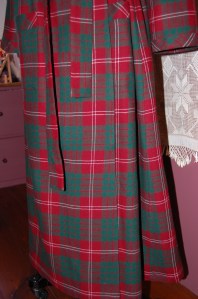
You can follow the flare of the front edge by looking at the descension of the plaid.
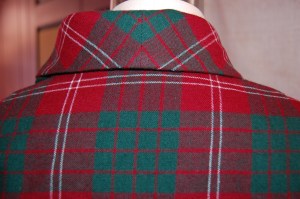
A detail of the back neck edge.
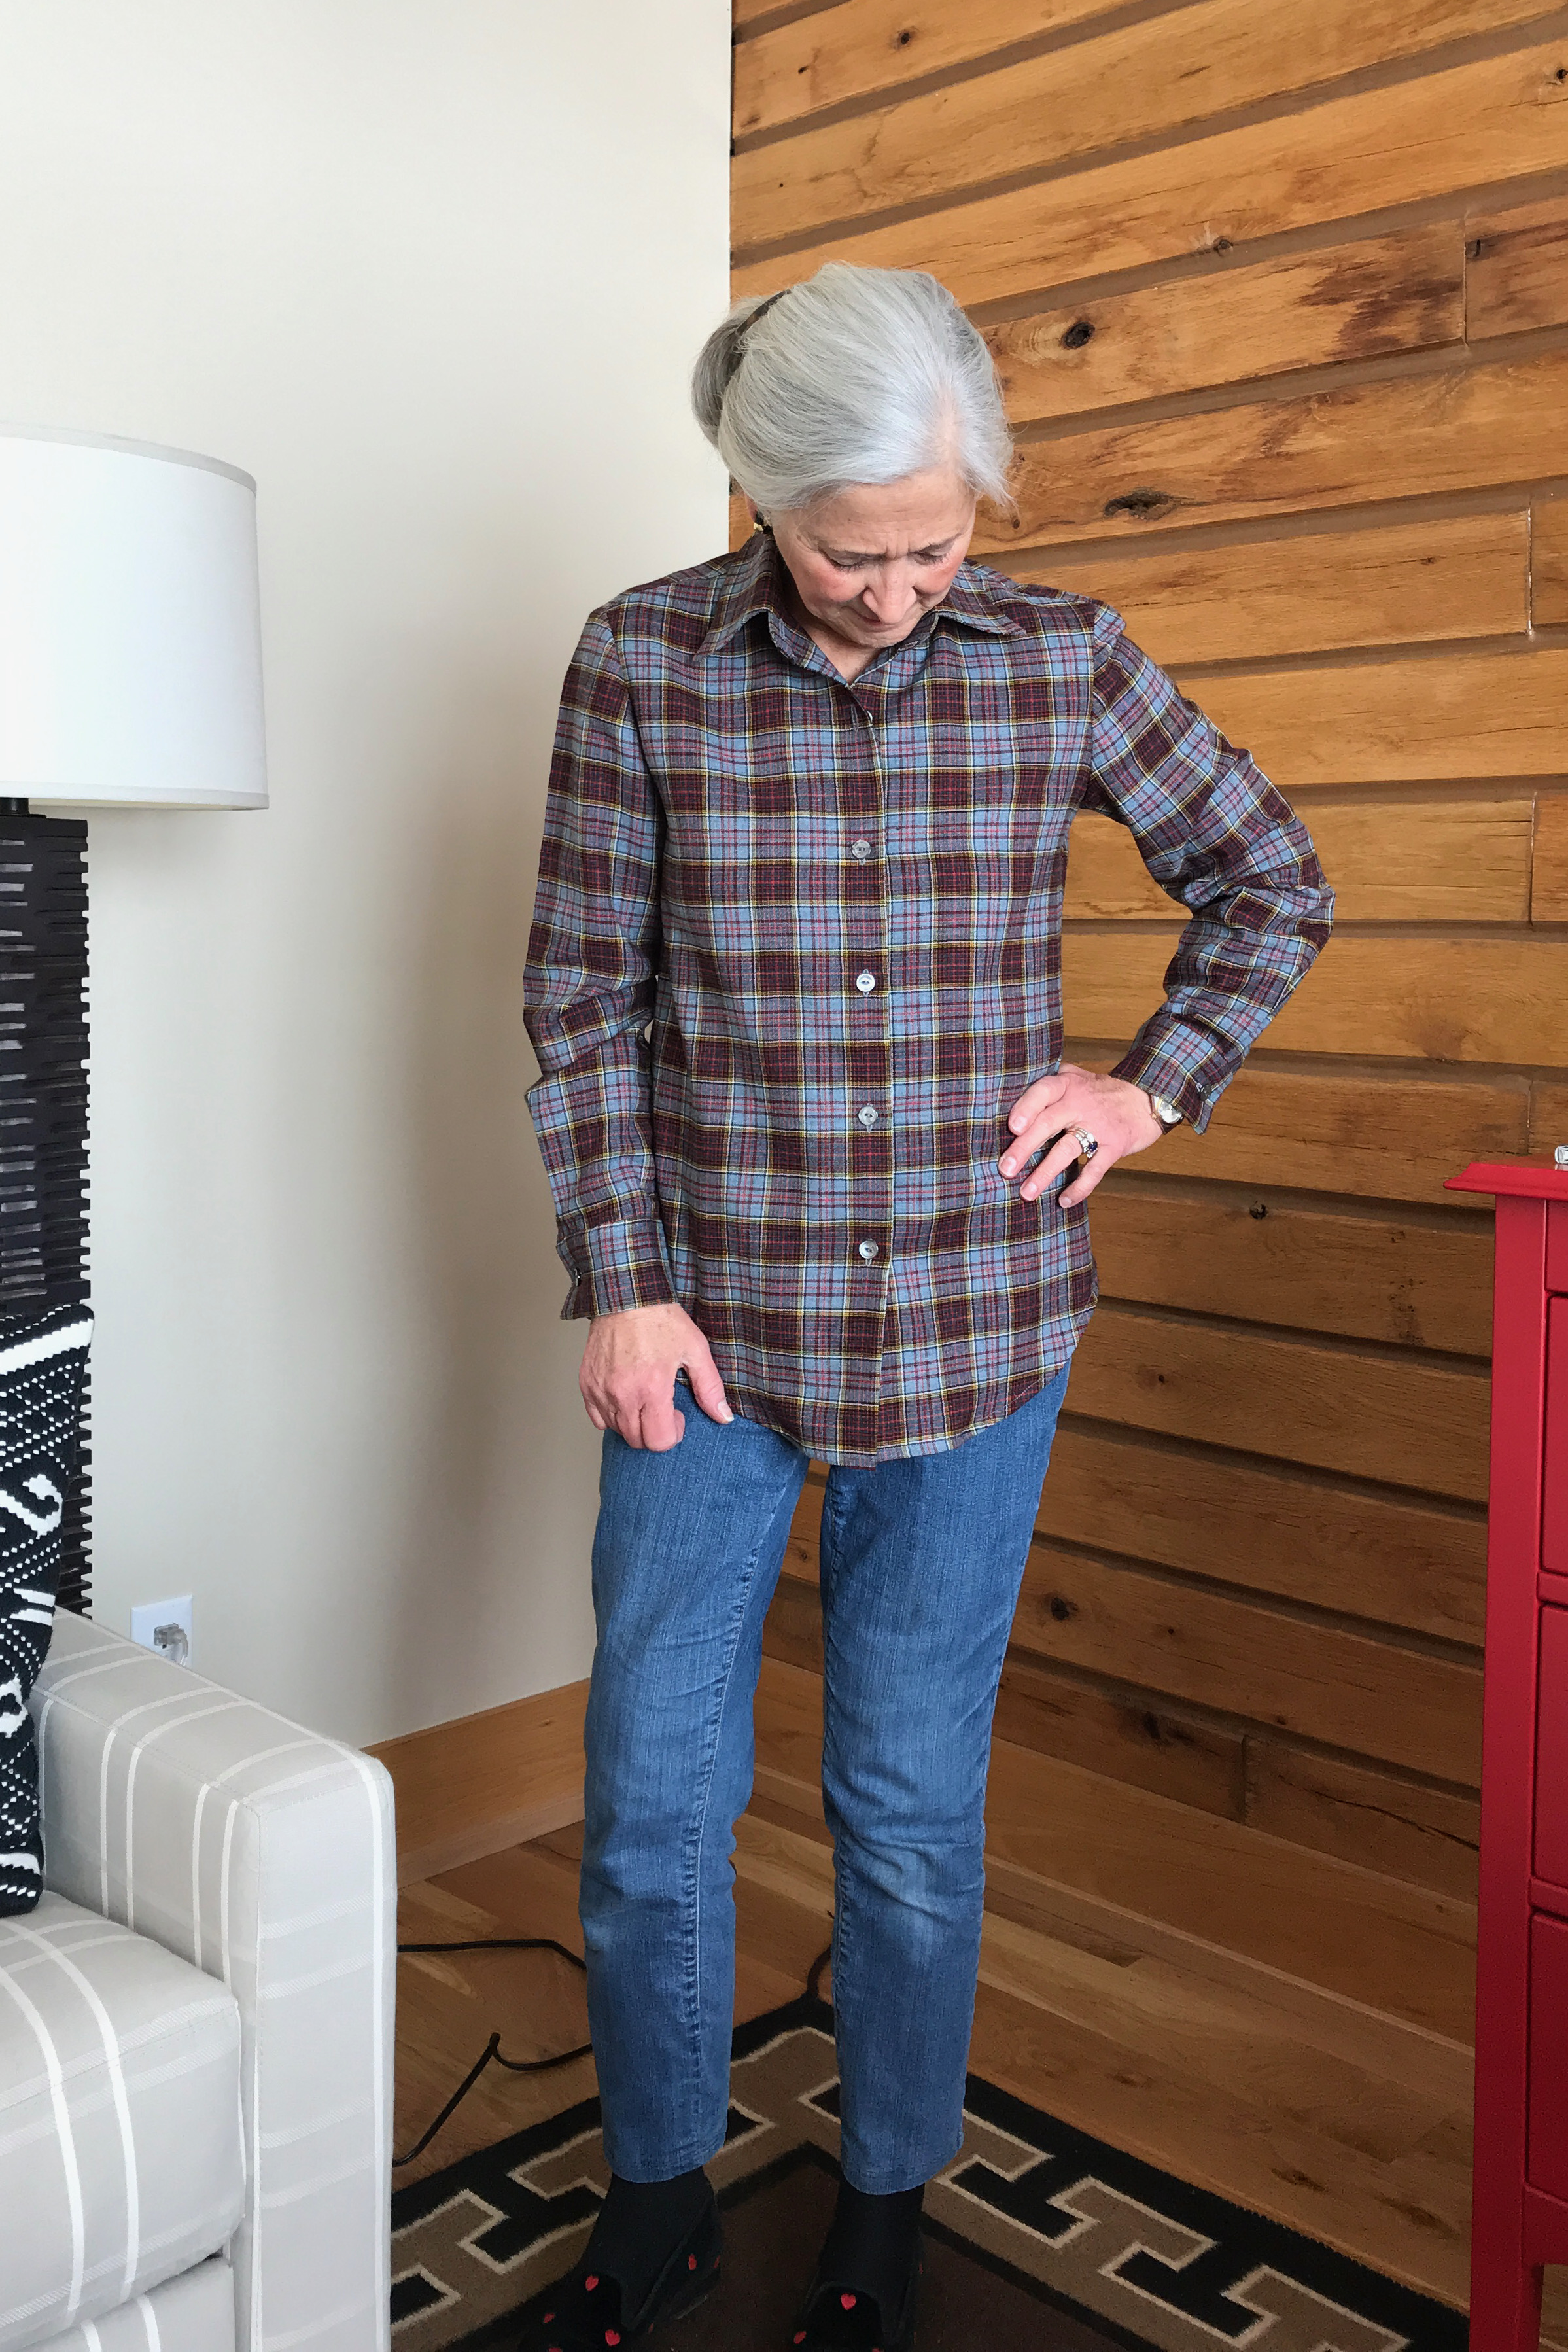
I did make a few changes to the pattern. First of all, I used a fusible interfacing instead of a “sew-in” one (typically indicated on vintage patterns form the 1950s, as this one is.) I don’t use fusible interfacings very often, but I decided this would be a good application for such. I used “Heat n Bond” woven interfacing, ordered from fabric.com, and so far, I am very pleaded with its performance. Secondly, I added another pocket, as I like two pockets on my bathrobes. I also had to lower the placement of the pocket from the lines indicated on the pattern, which were inexplicably high!
Two pockets!
A third change was the elimination of the wide self-binding on the pockets and the cuffs of the sleeves. Instead I used a 1¼ inch self-binding which I cut on the bias. With all that plaid, I thought a little bit of variety would add a nice touch.

A minor fourth change was the addition of fabric belt loops, as opposed to the thread loops called for in the pattern instructions.
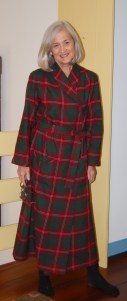
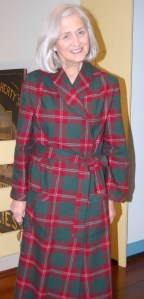
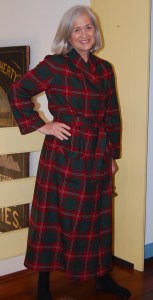
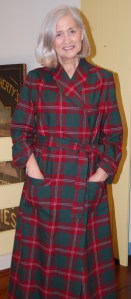
I love the classic styling of this robe. The fact that I was able to use such a glorious fabric for it (contemporary with the age of the pattern, by the way!) makes it even more lovely to wear. Not only am I – yes – very excited (!) about wearing this new bathrobe, I also find it to be an unexpected, but wonderful change of persona for my early morning and late evening hours.