
Coco Chanel reopened her House of Chanel in 1954, and by the early ‘60s, her suit with its narrow skirt and boxy cardigan jacket, famously made from beautiful boucles, was a dominant fashion look. I could not help but think of another product of the early ‘60s as I was working on my Chanel-inspired Jacket No. 2: the song, written by Sammy Cahn and set to music by Jimmy Van Heusen, entitled “The Second Time Around”. I wondered if making my No. 2 would be “lovelier the second time around”? And you know what? It was! I give so much credit to Susan Khalje, from whom I took the Classic French Jacket Class, whose tips and teachings gave me much confidence as I tackled No. 2 on my own.
There were a couple of additions and subtractions I decided to try with my second jacket. The easy one was deciding to have just two pockets rather than four. The more involved one was deciding to add buttonholes to the front edge, the sleeve plackets, and the pockets. However, I remembered Susan’s statements about making buttonholes in one of these jackets – and the reason she advocates in her class the use of “hook and eye” fasteners at the abutted front edges. It is very difficult to make acceptable hand-done buttonholes in this loosely woven fabric, unless one is extremely skilled in this procedure. Since the only hand-done buttonholes I am used to doing are bound buttonholes – not acceptable in this application, due to the type of fabric – I knew I had to figure out another way to get buttonholes in my No. 2.
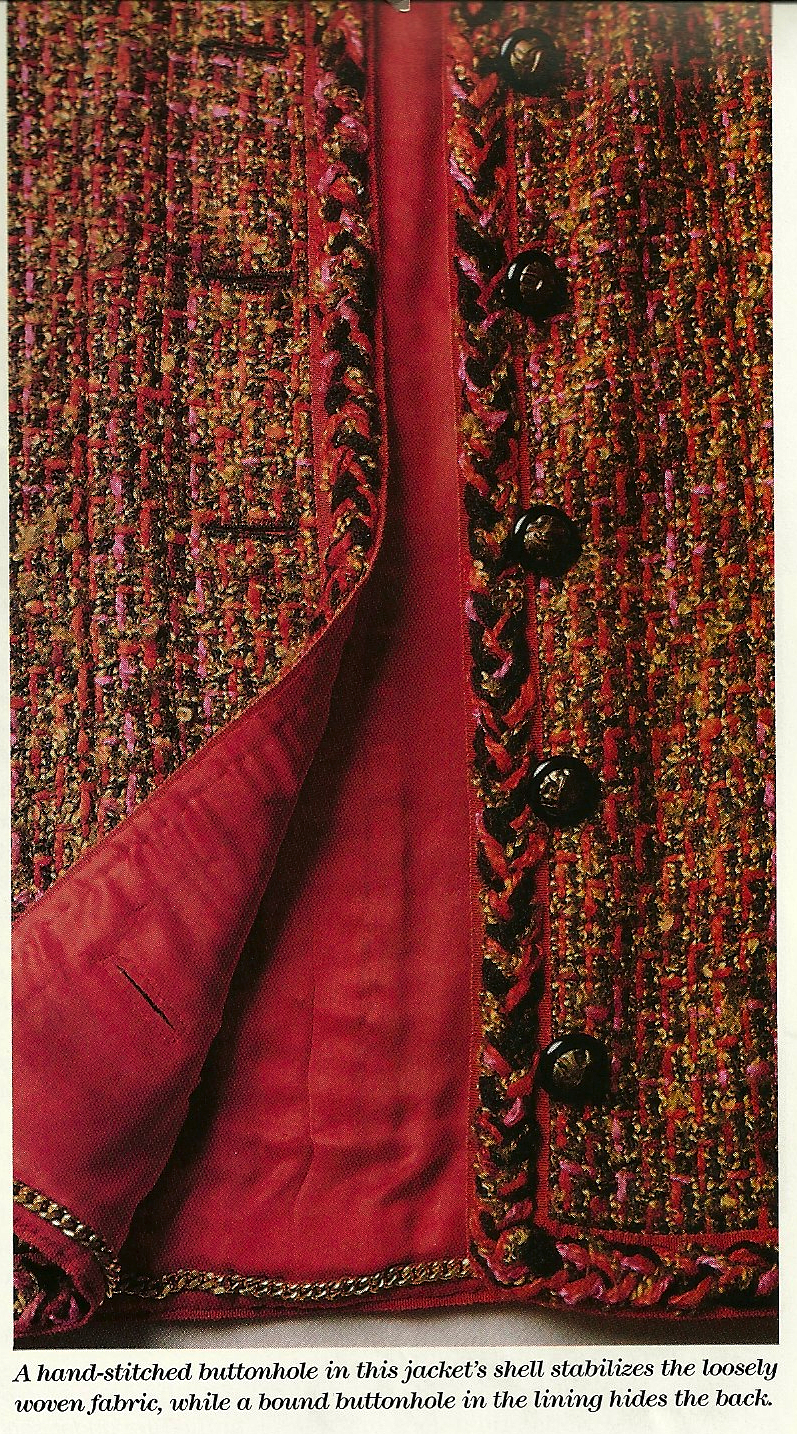
Fortunately, I have an issue of Threads Magazine from June/July 1989 in which Chanel jackets are featured. This picture gave me the idea for seam-slot buttonholes.
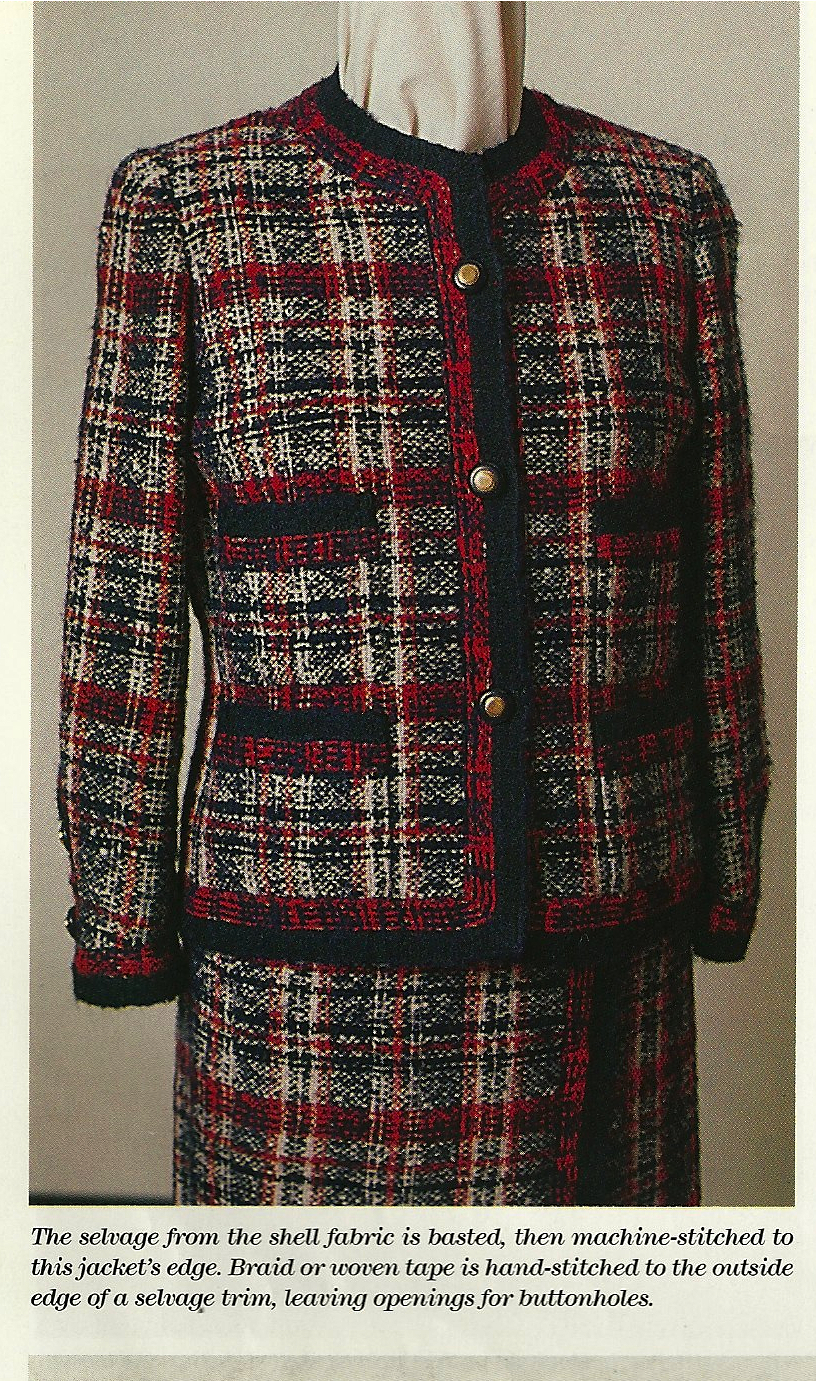
You can tell the buttonholes in this jacket are vertical, nestled between two trims. Pictured in Threads Magazine, June/July 1989, page 28.
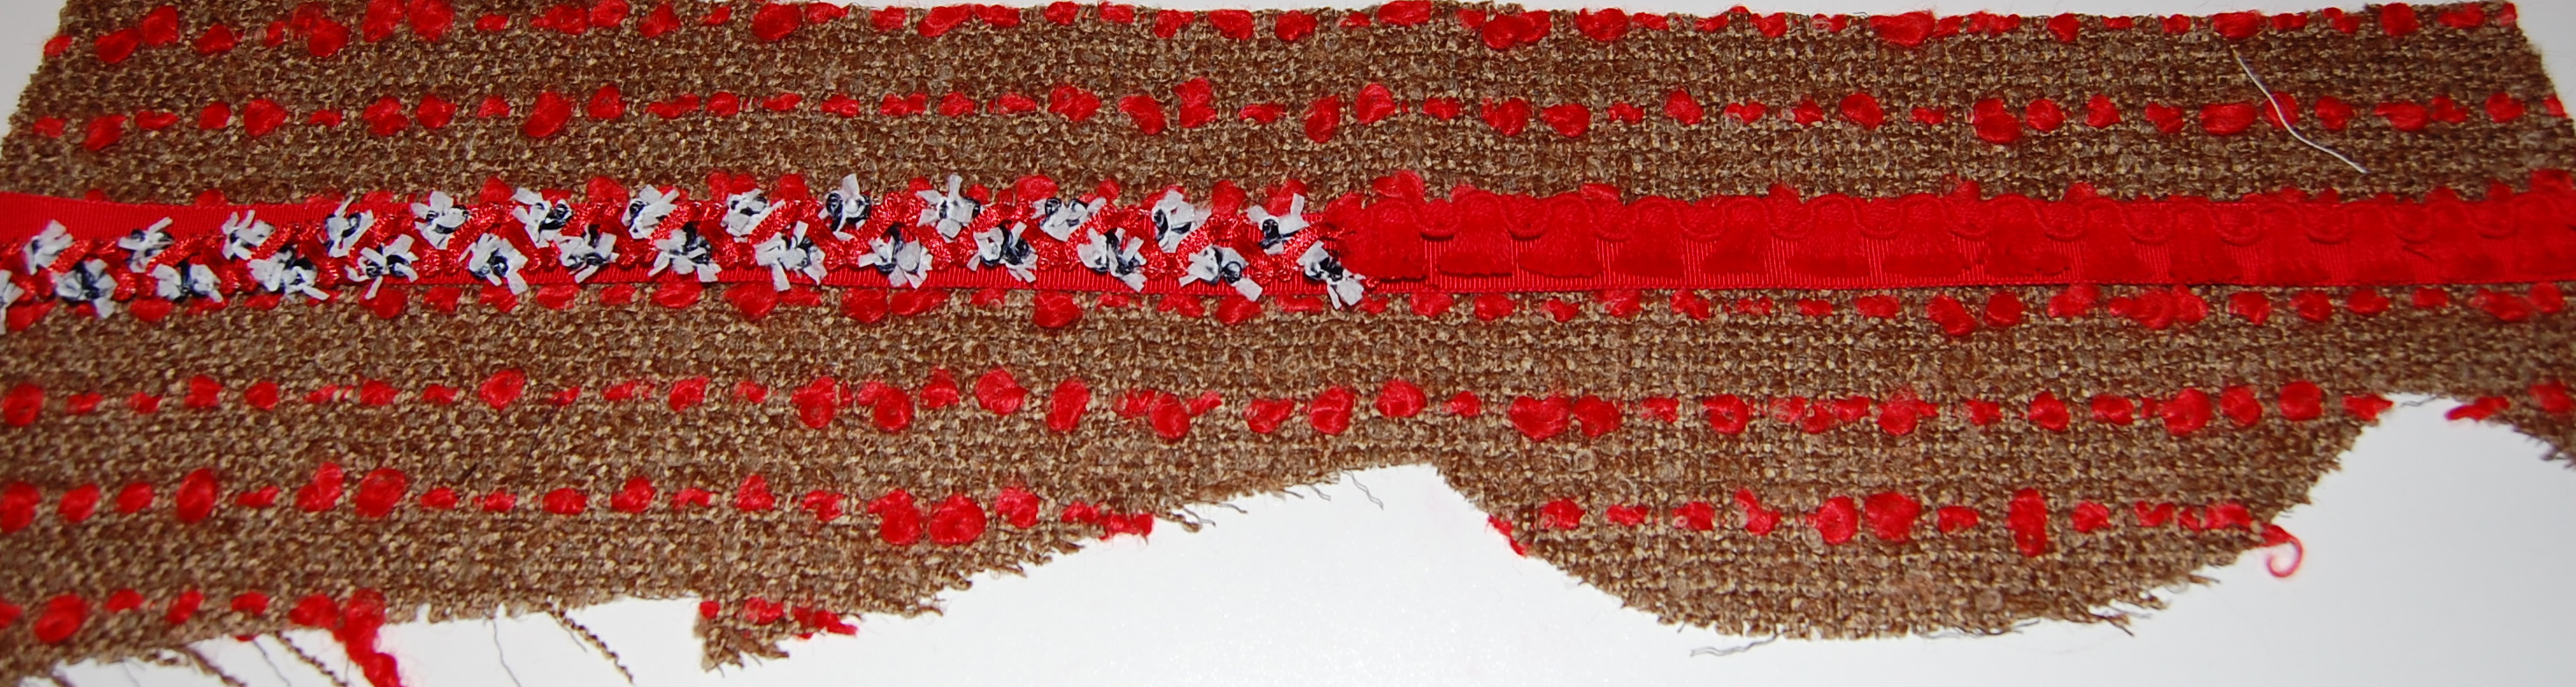
I would just have to add on a separate piece for the right front, make each pocket in two pieces, and make the plackets on the sleeves separate pieces, sewn on with openings in the seams to make the buttonholes. Here is an example of what I did.
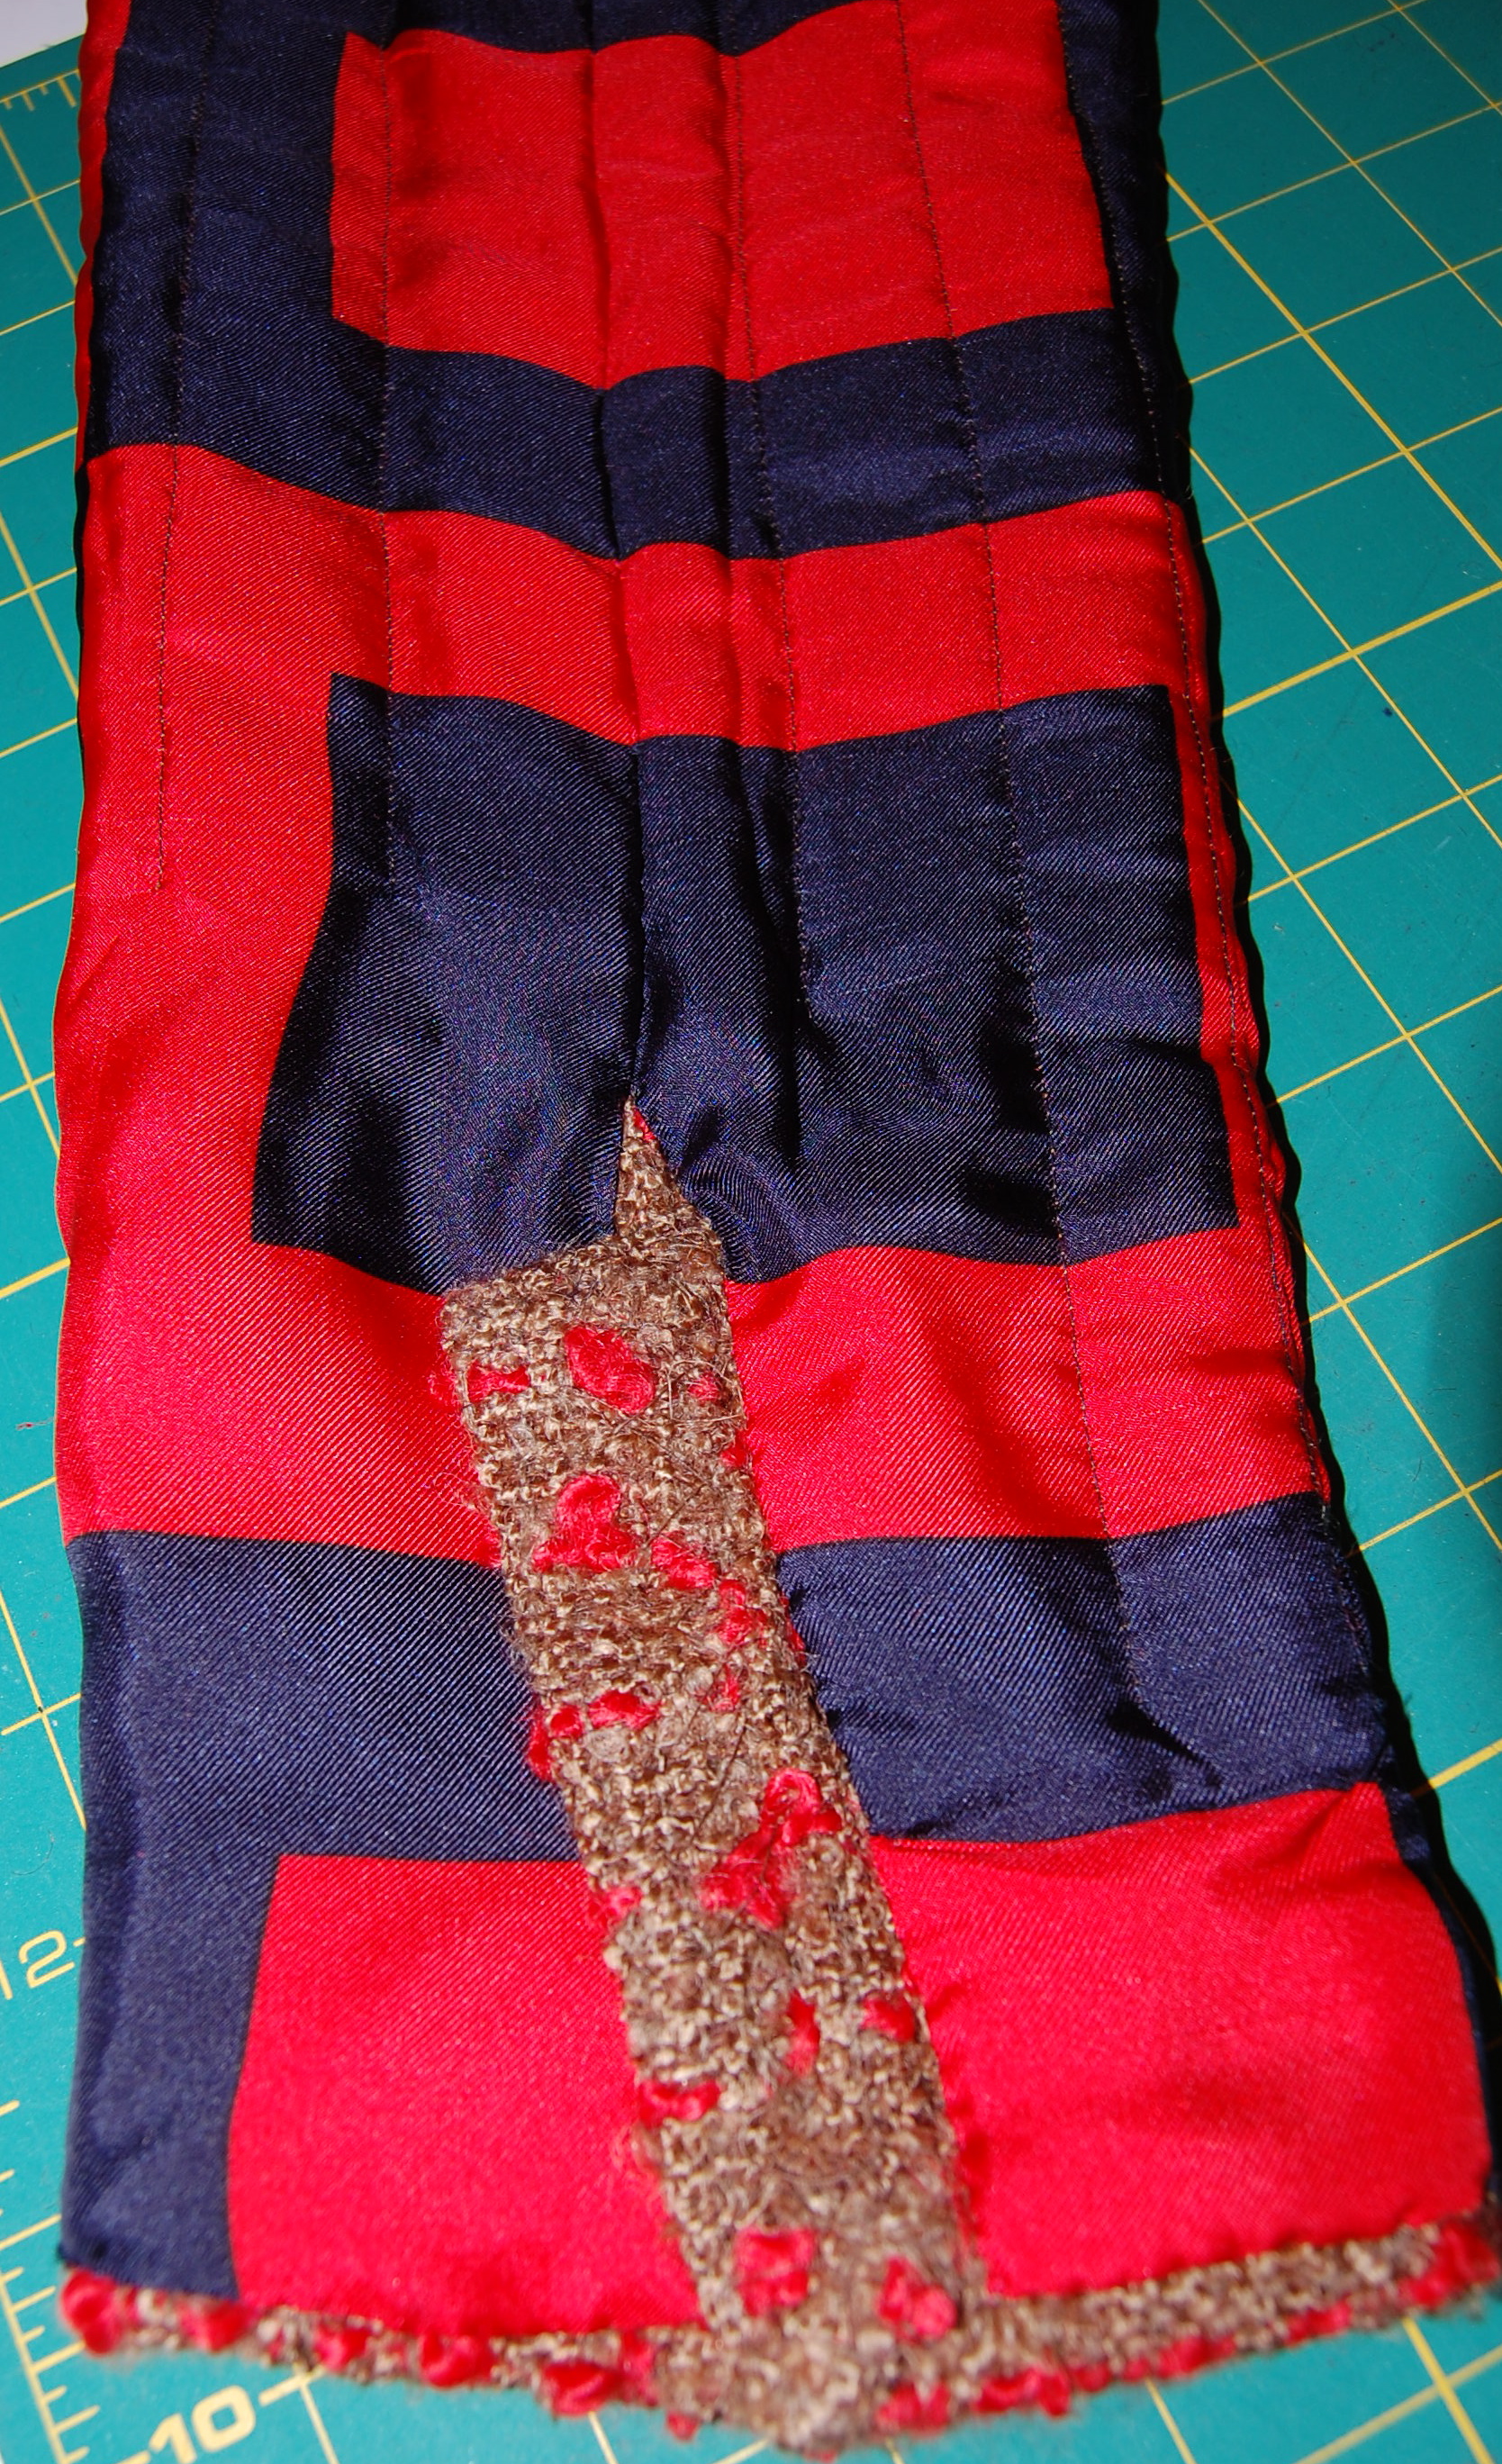
The extension is sewn on separately, leaving three openings, evenly spaced for buttonholes in the seam.
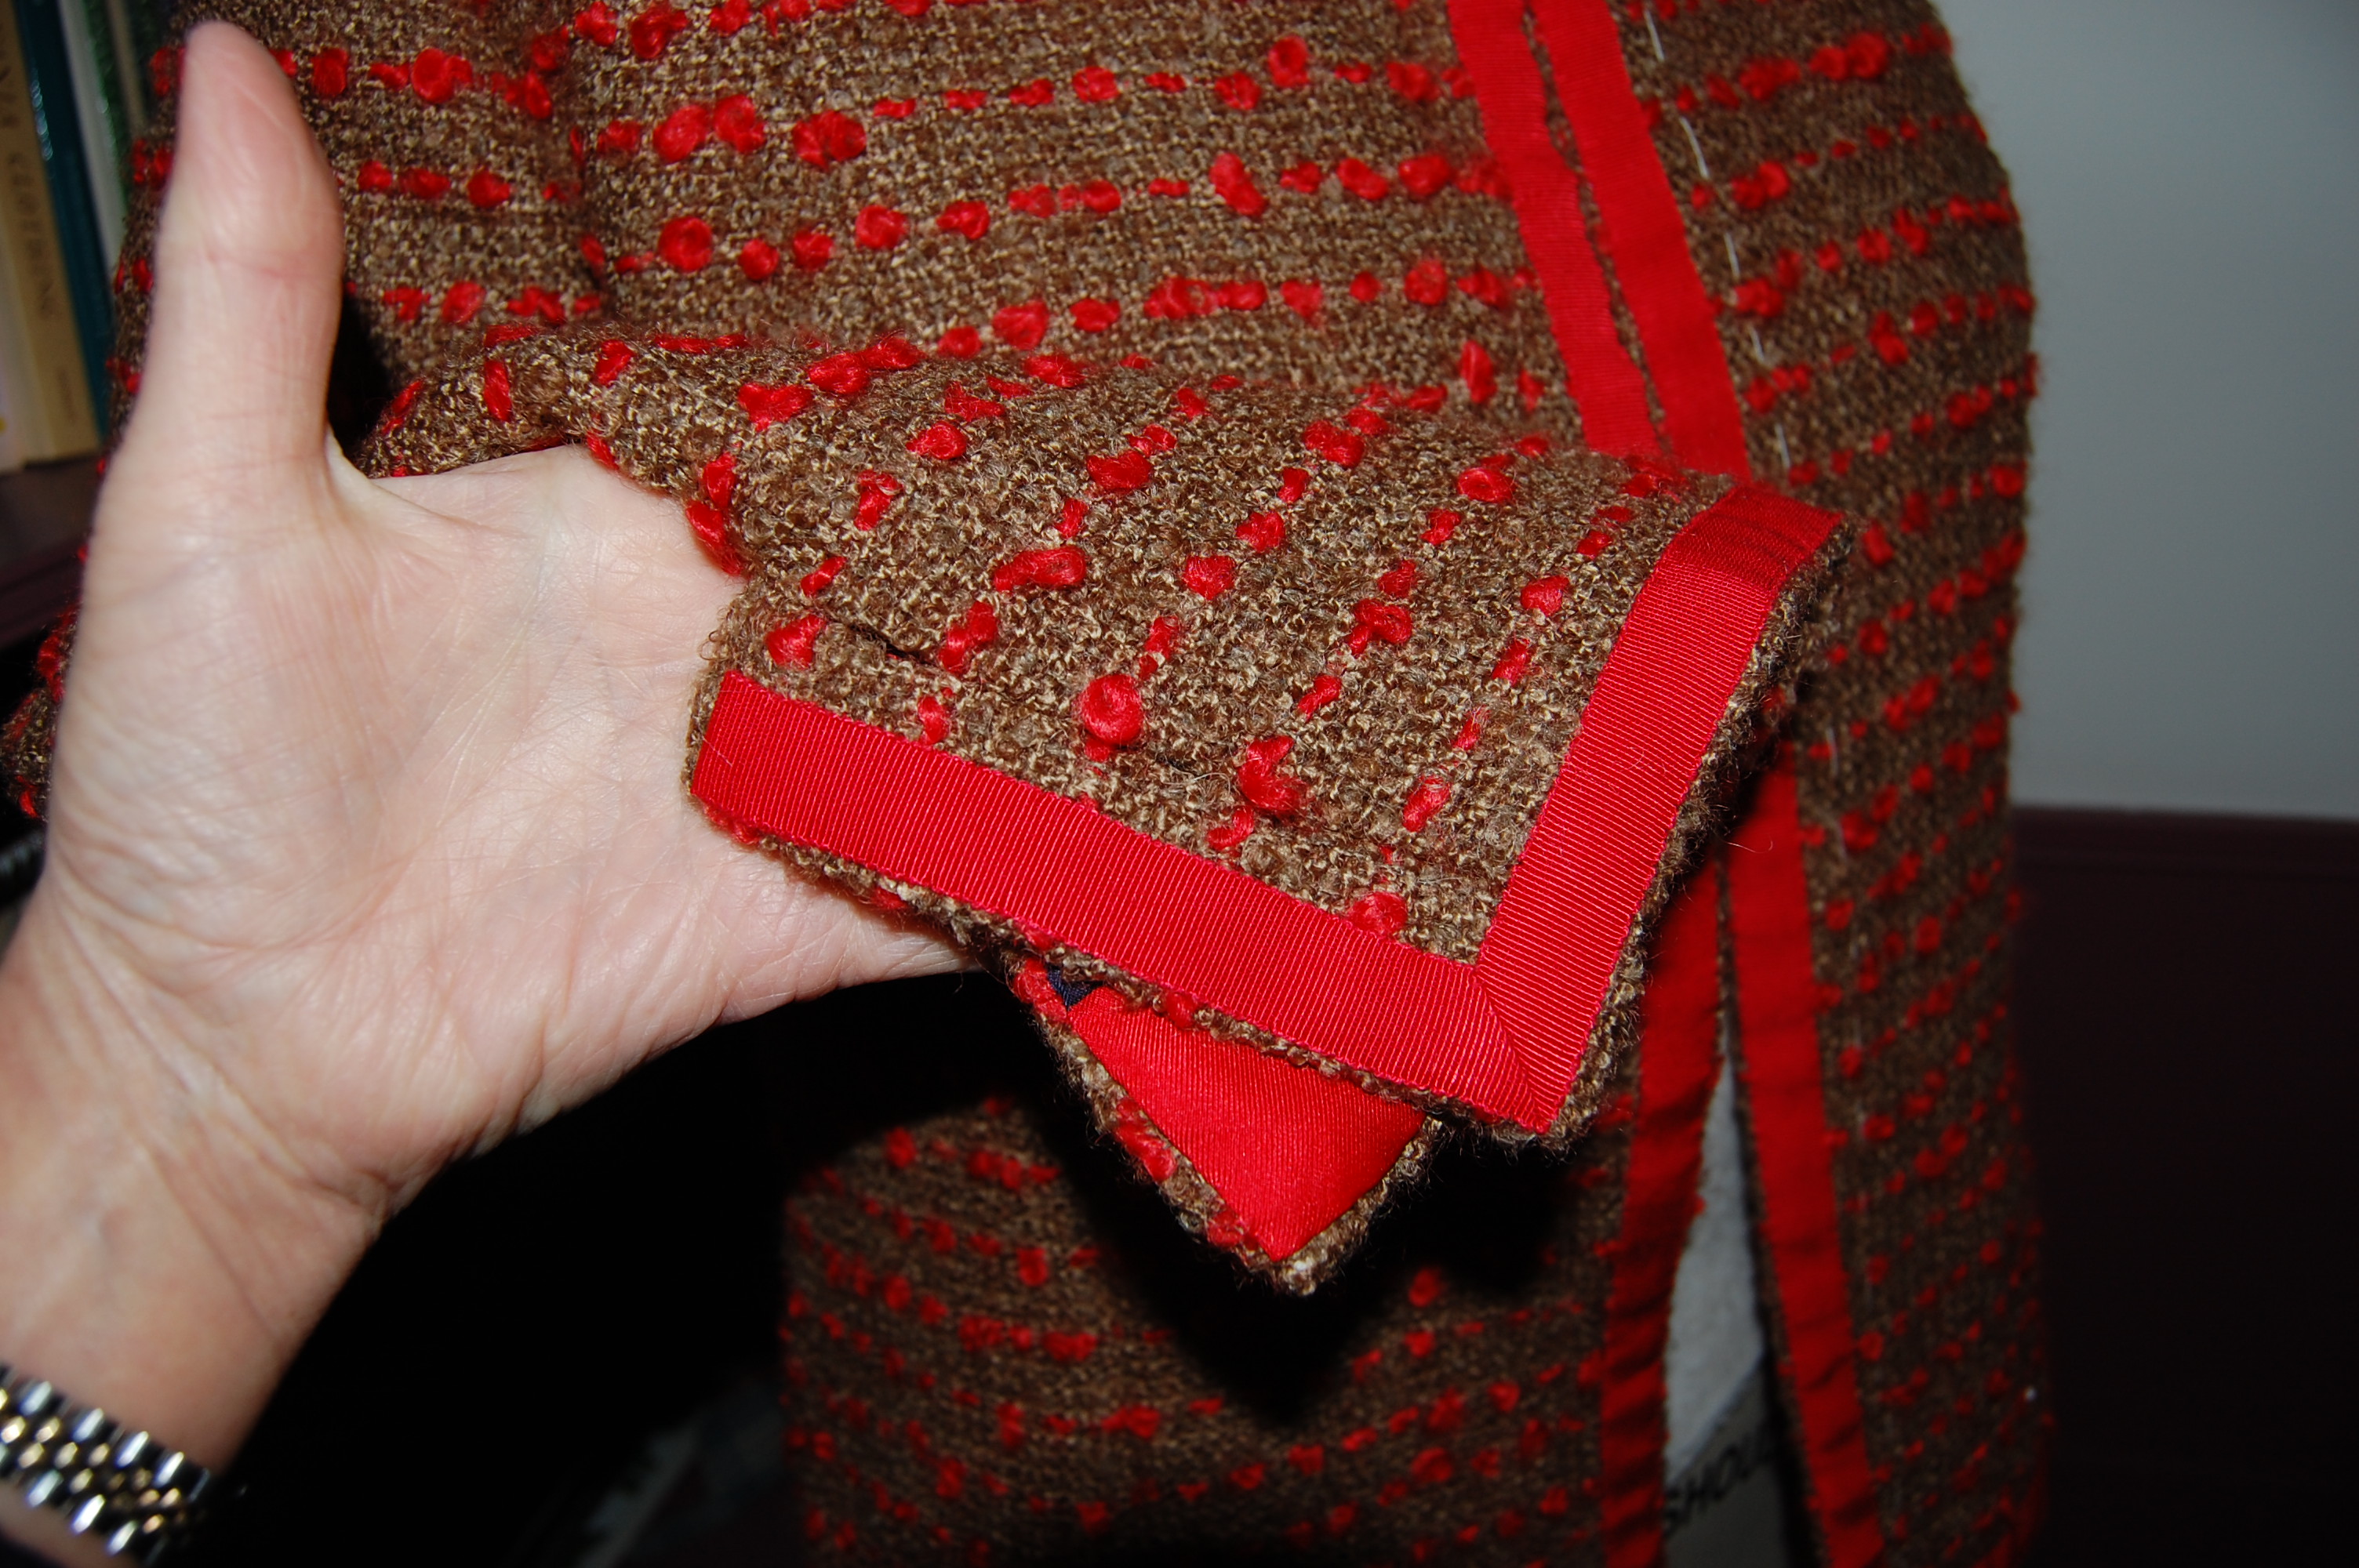
Of course doing these extra pieces meant I had to apply separate linings to each extension.
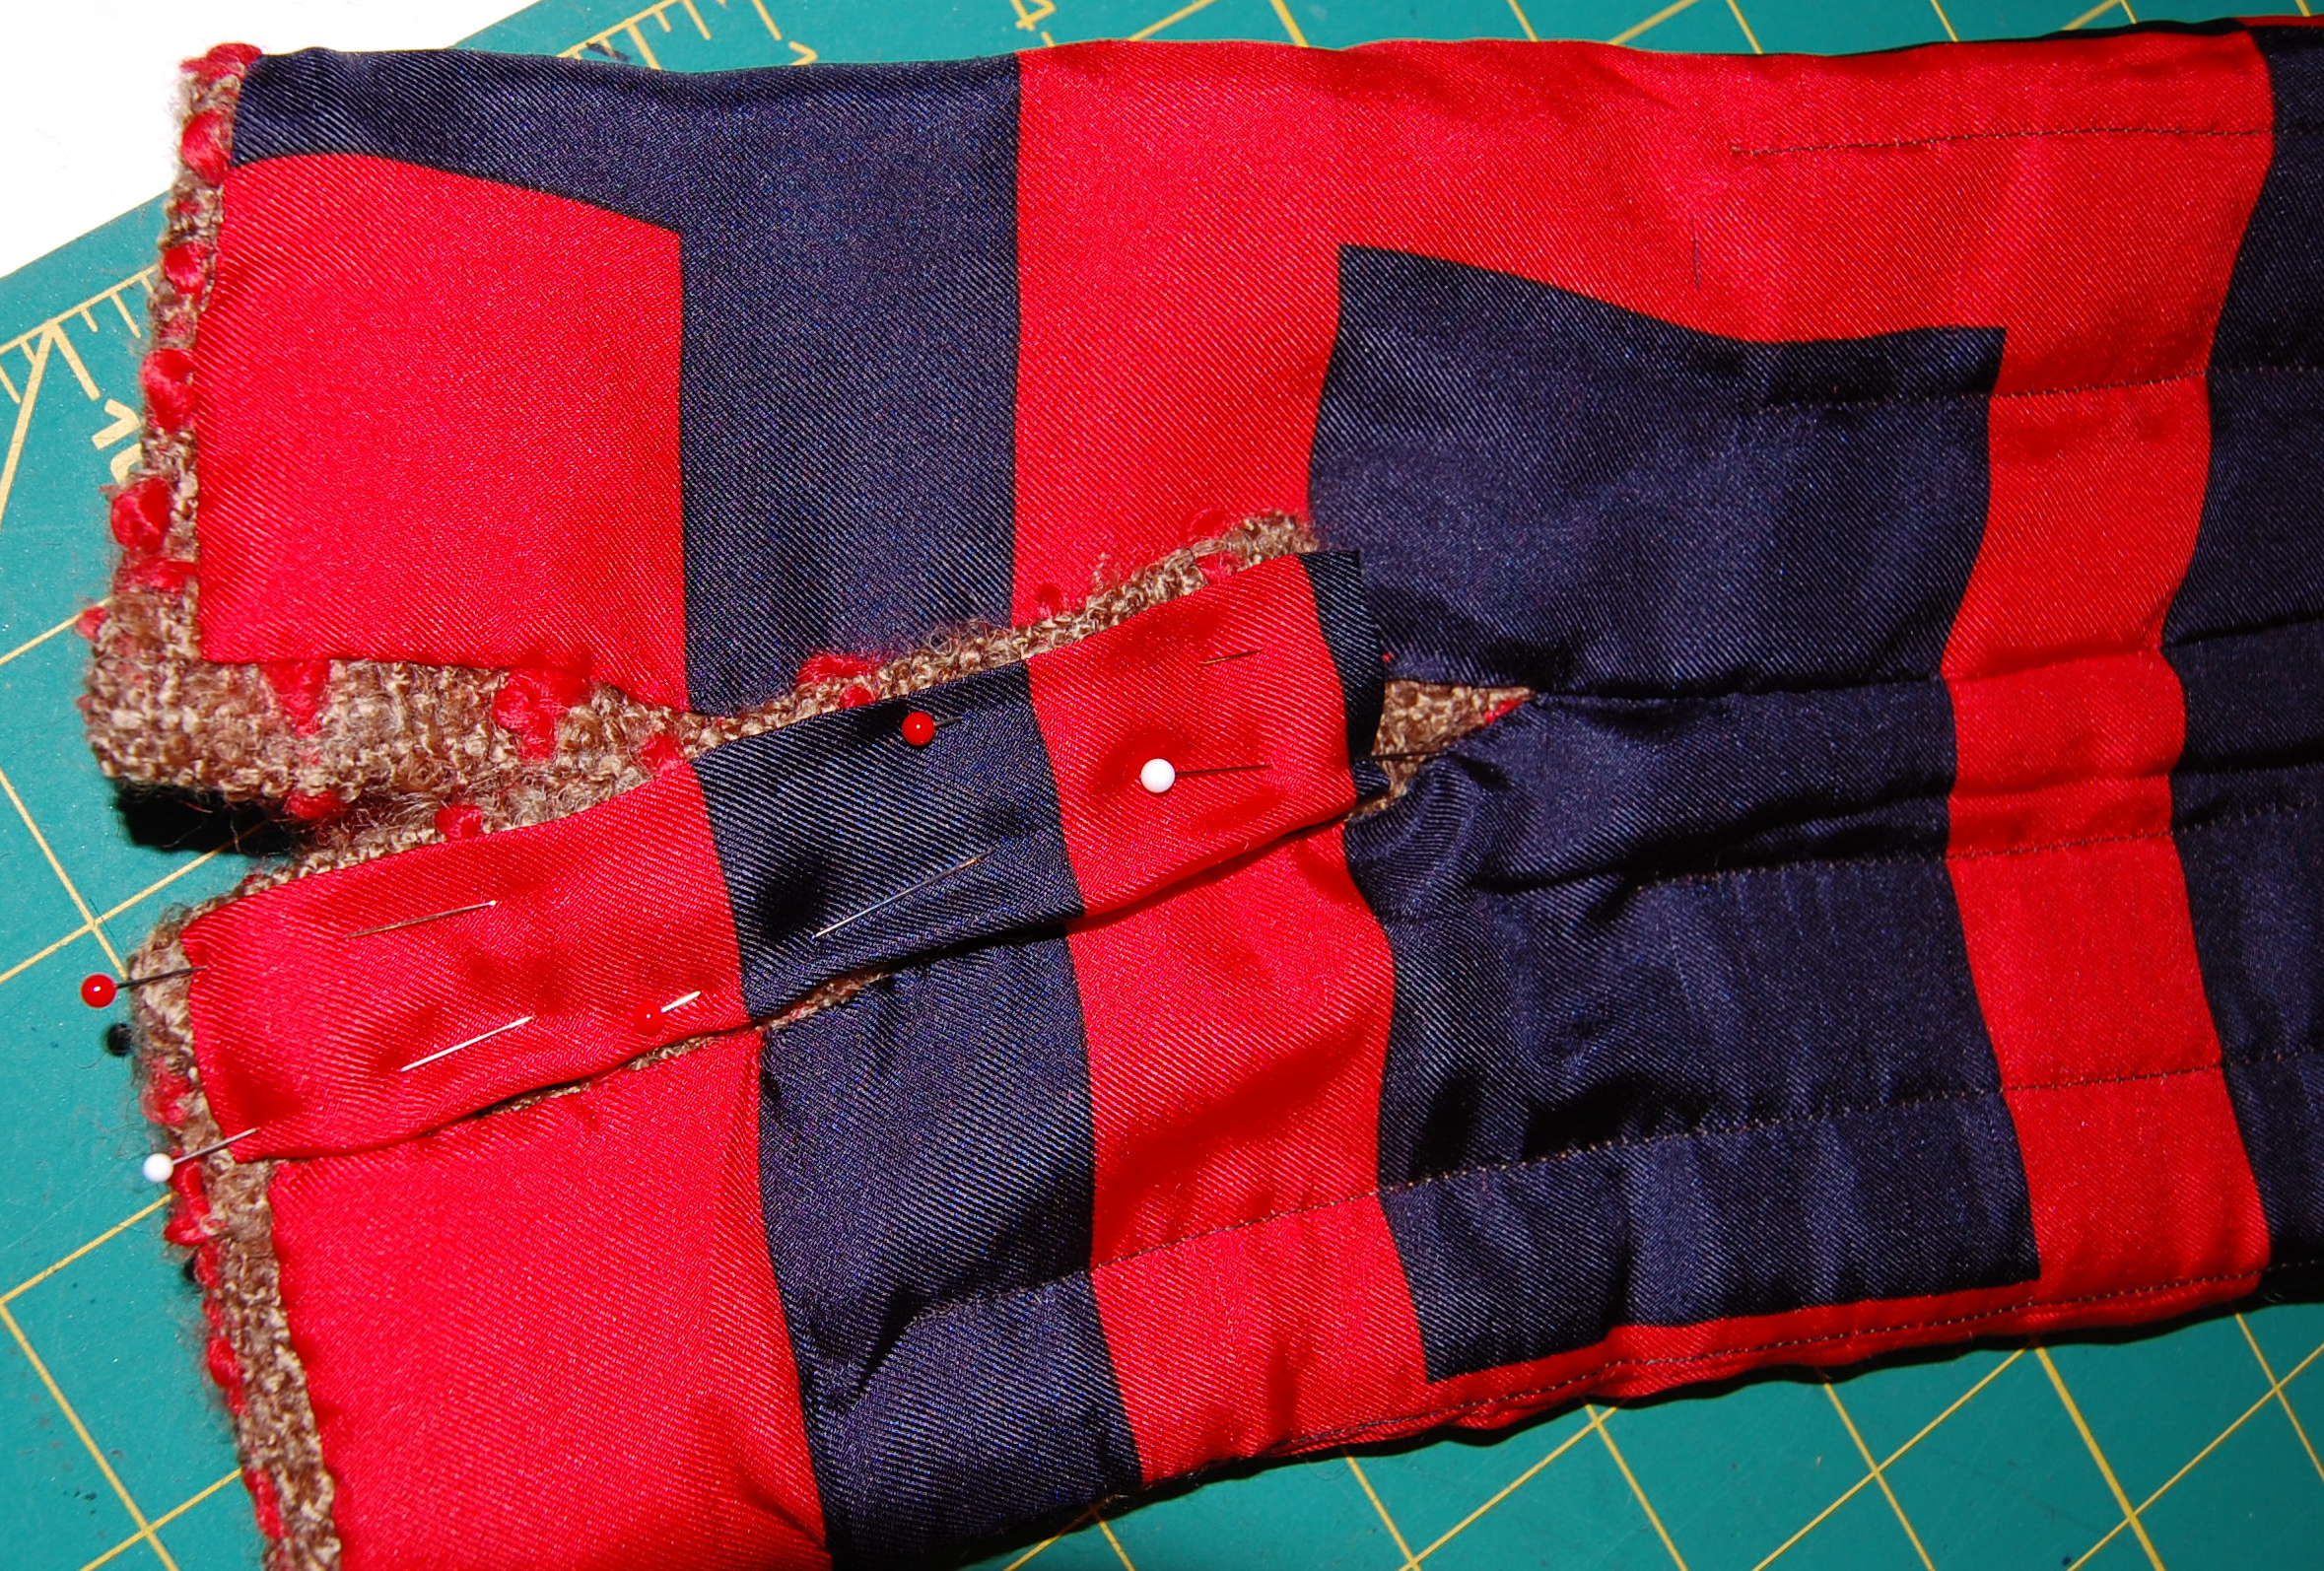
Here is the separate lining piece being applied to the placket.
The entire time I was quilting the jacket, working on the seams, and figuring out these buttonholes, I was pondering the trim. Some of you may recall (if you read my blog regularly) that I could not decide between two different trims.
Here are the two trims I had chosen. I really liked the fact that the spacing on the multi-color trim matched exactly the spacing of the red rows on my fabric.
Because of the lining fabric I had chosen (and from which I am making a blouse), I was leaning towards the red, white and blue trim, but I thought it looked a little “weak”. What to do? I started looking at as many pictures of Chanel jackets as I could find, but the one that made the light bulb go off was one from that same issue of Threads Magazine:
Click on the picture to see the underlying grosgrain ribbon.
If I could find a Petersham grosgrain ribbon in the right color, I thought it would be the perfect backing for either trim. Once again, Britex Fabrics (from which I had already purchased the boucle, the lining fabric, the buttons, and the two trims) came to the rescue: I ordered 5/8 inch Tomato Red ribbon – and then paired it with each trim.
The grosgrain ribbon made both trims look better, but especially the multi-color one. Click on the photo for a close-up view.
I thought it added just the right amount of depth to the multi-color trim, and my decision was confidently made.
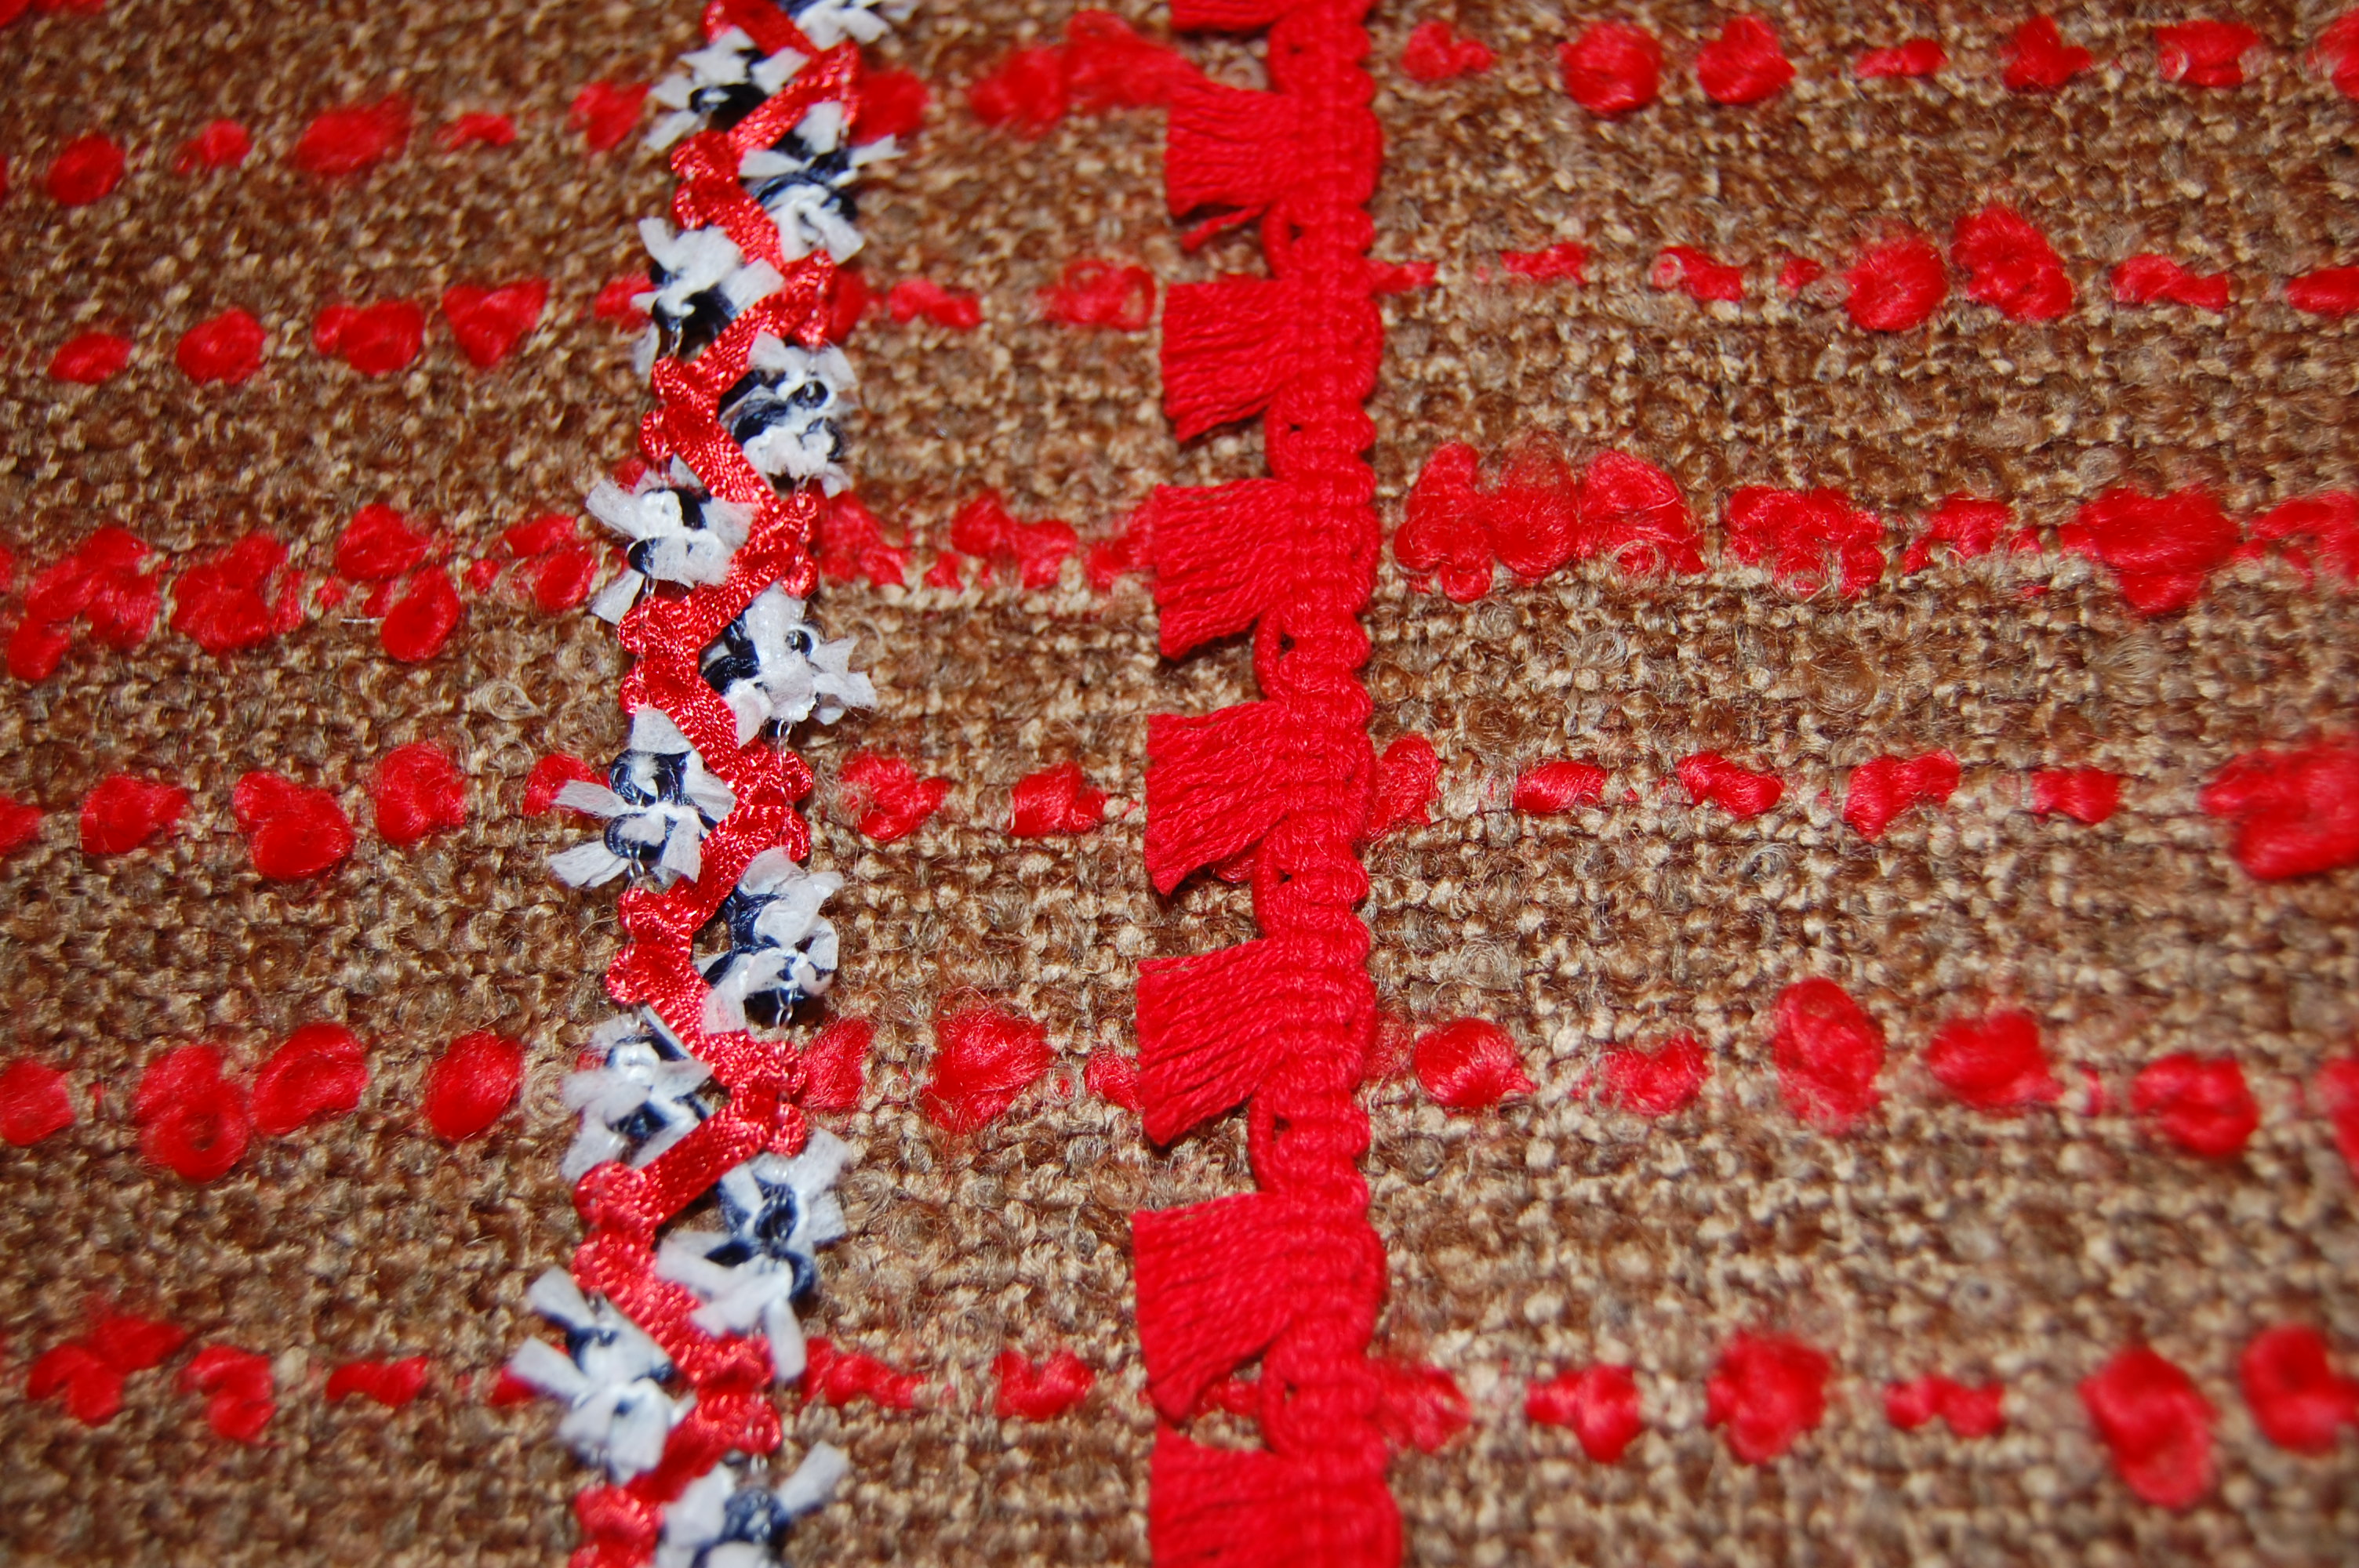
I sewed the Petersham ribbon on before I did the finish work on the inside lining seams. Then the ribbon provided a wonderful surface on which to attach the trim.
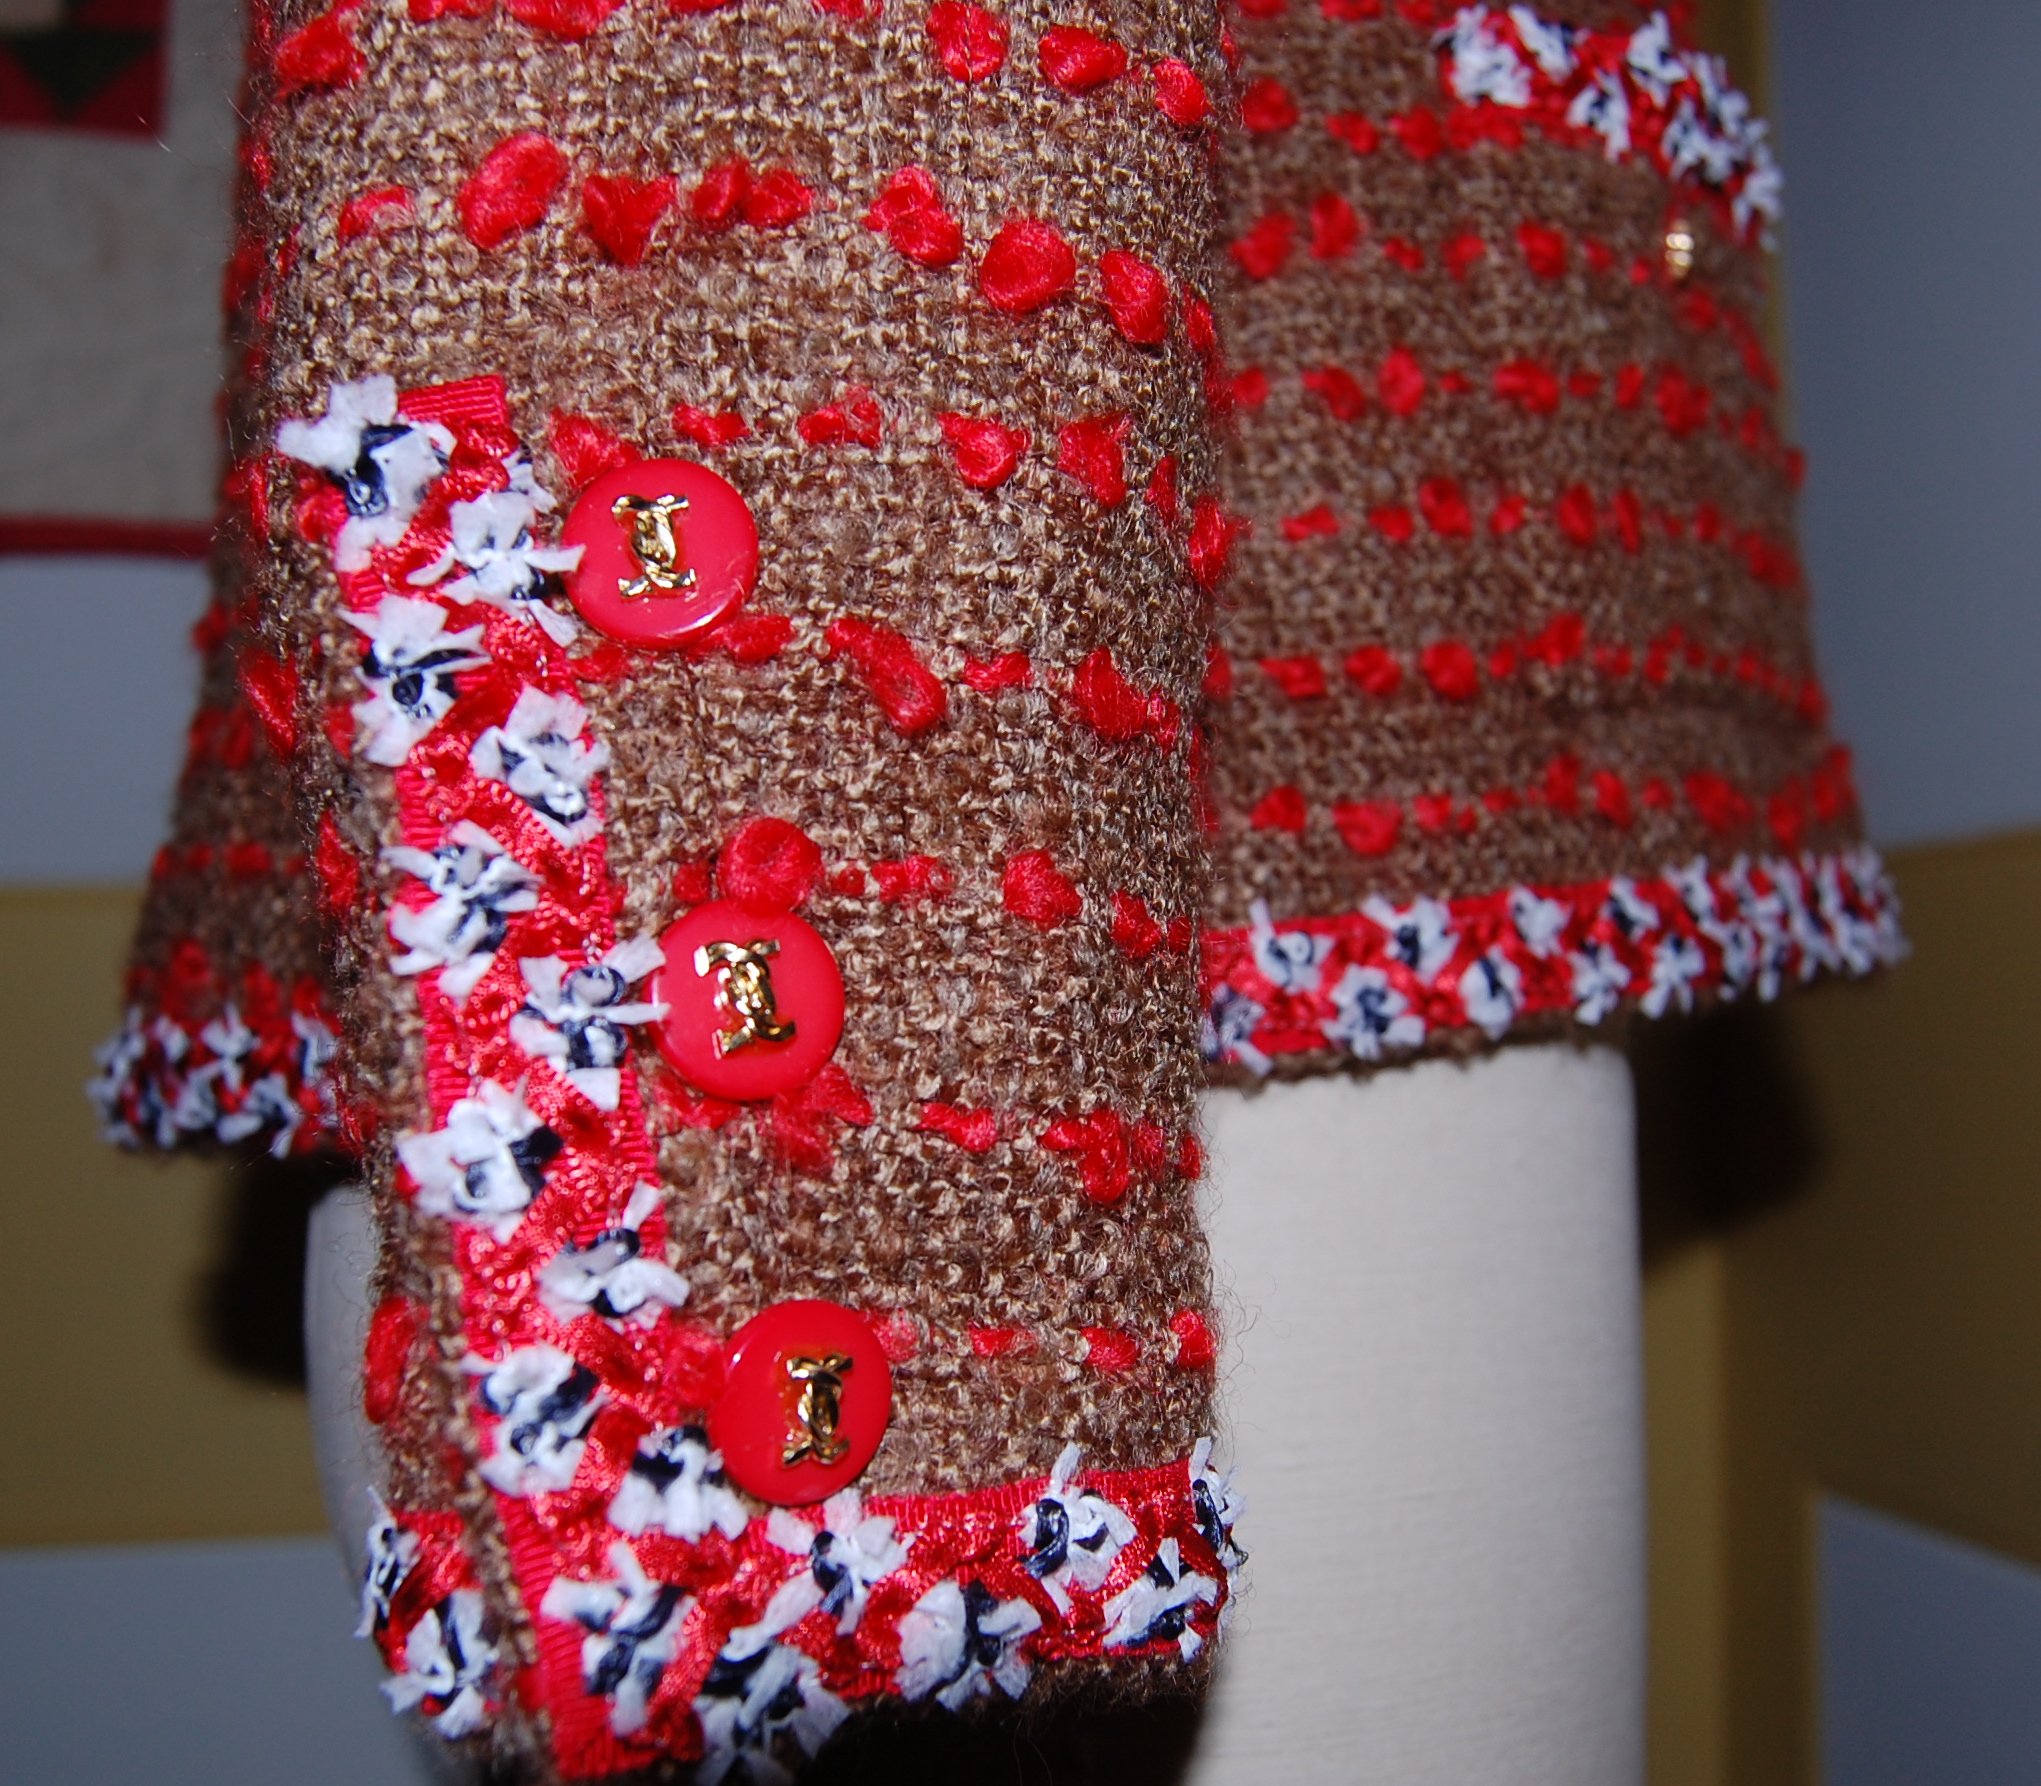
The Petersham ribbon attached. If you look closely, you can see the seam-slot buttonholes.
I took this picture to show the contrast between an all red trim and the multi-color one. I think the multi-color trim adds more interest to the jacket.
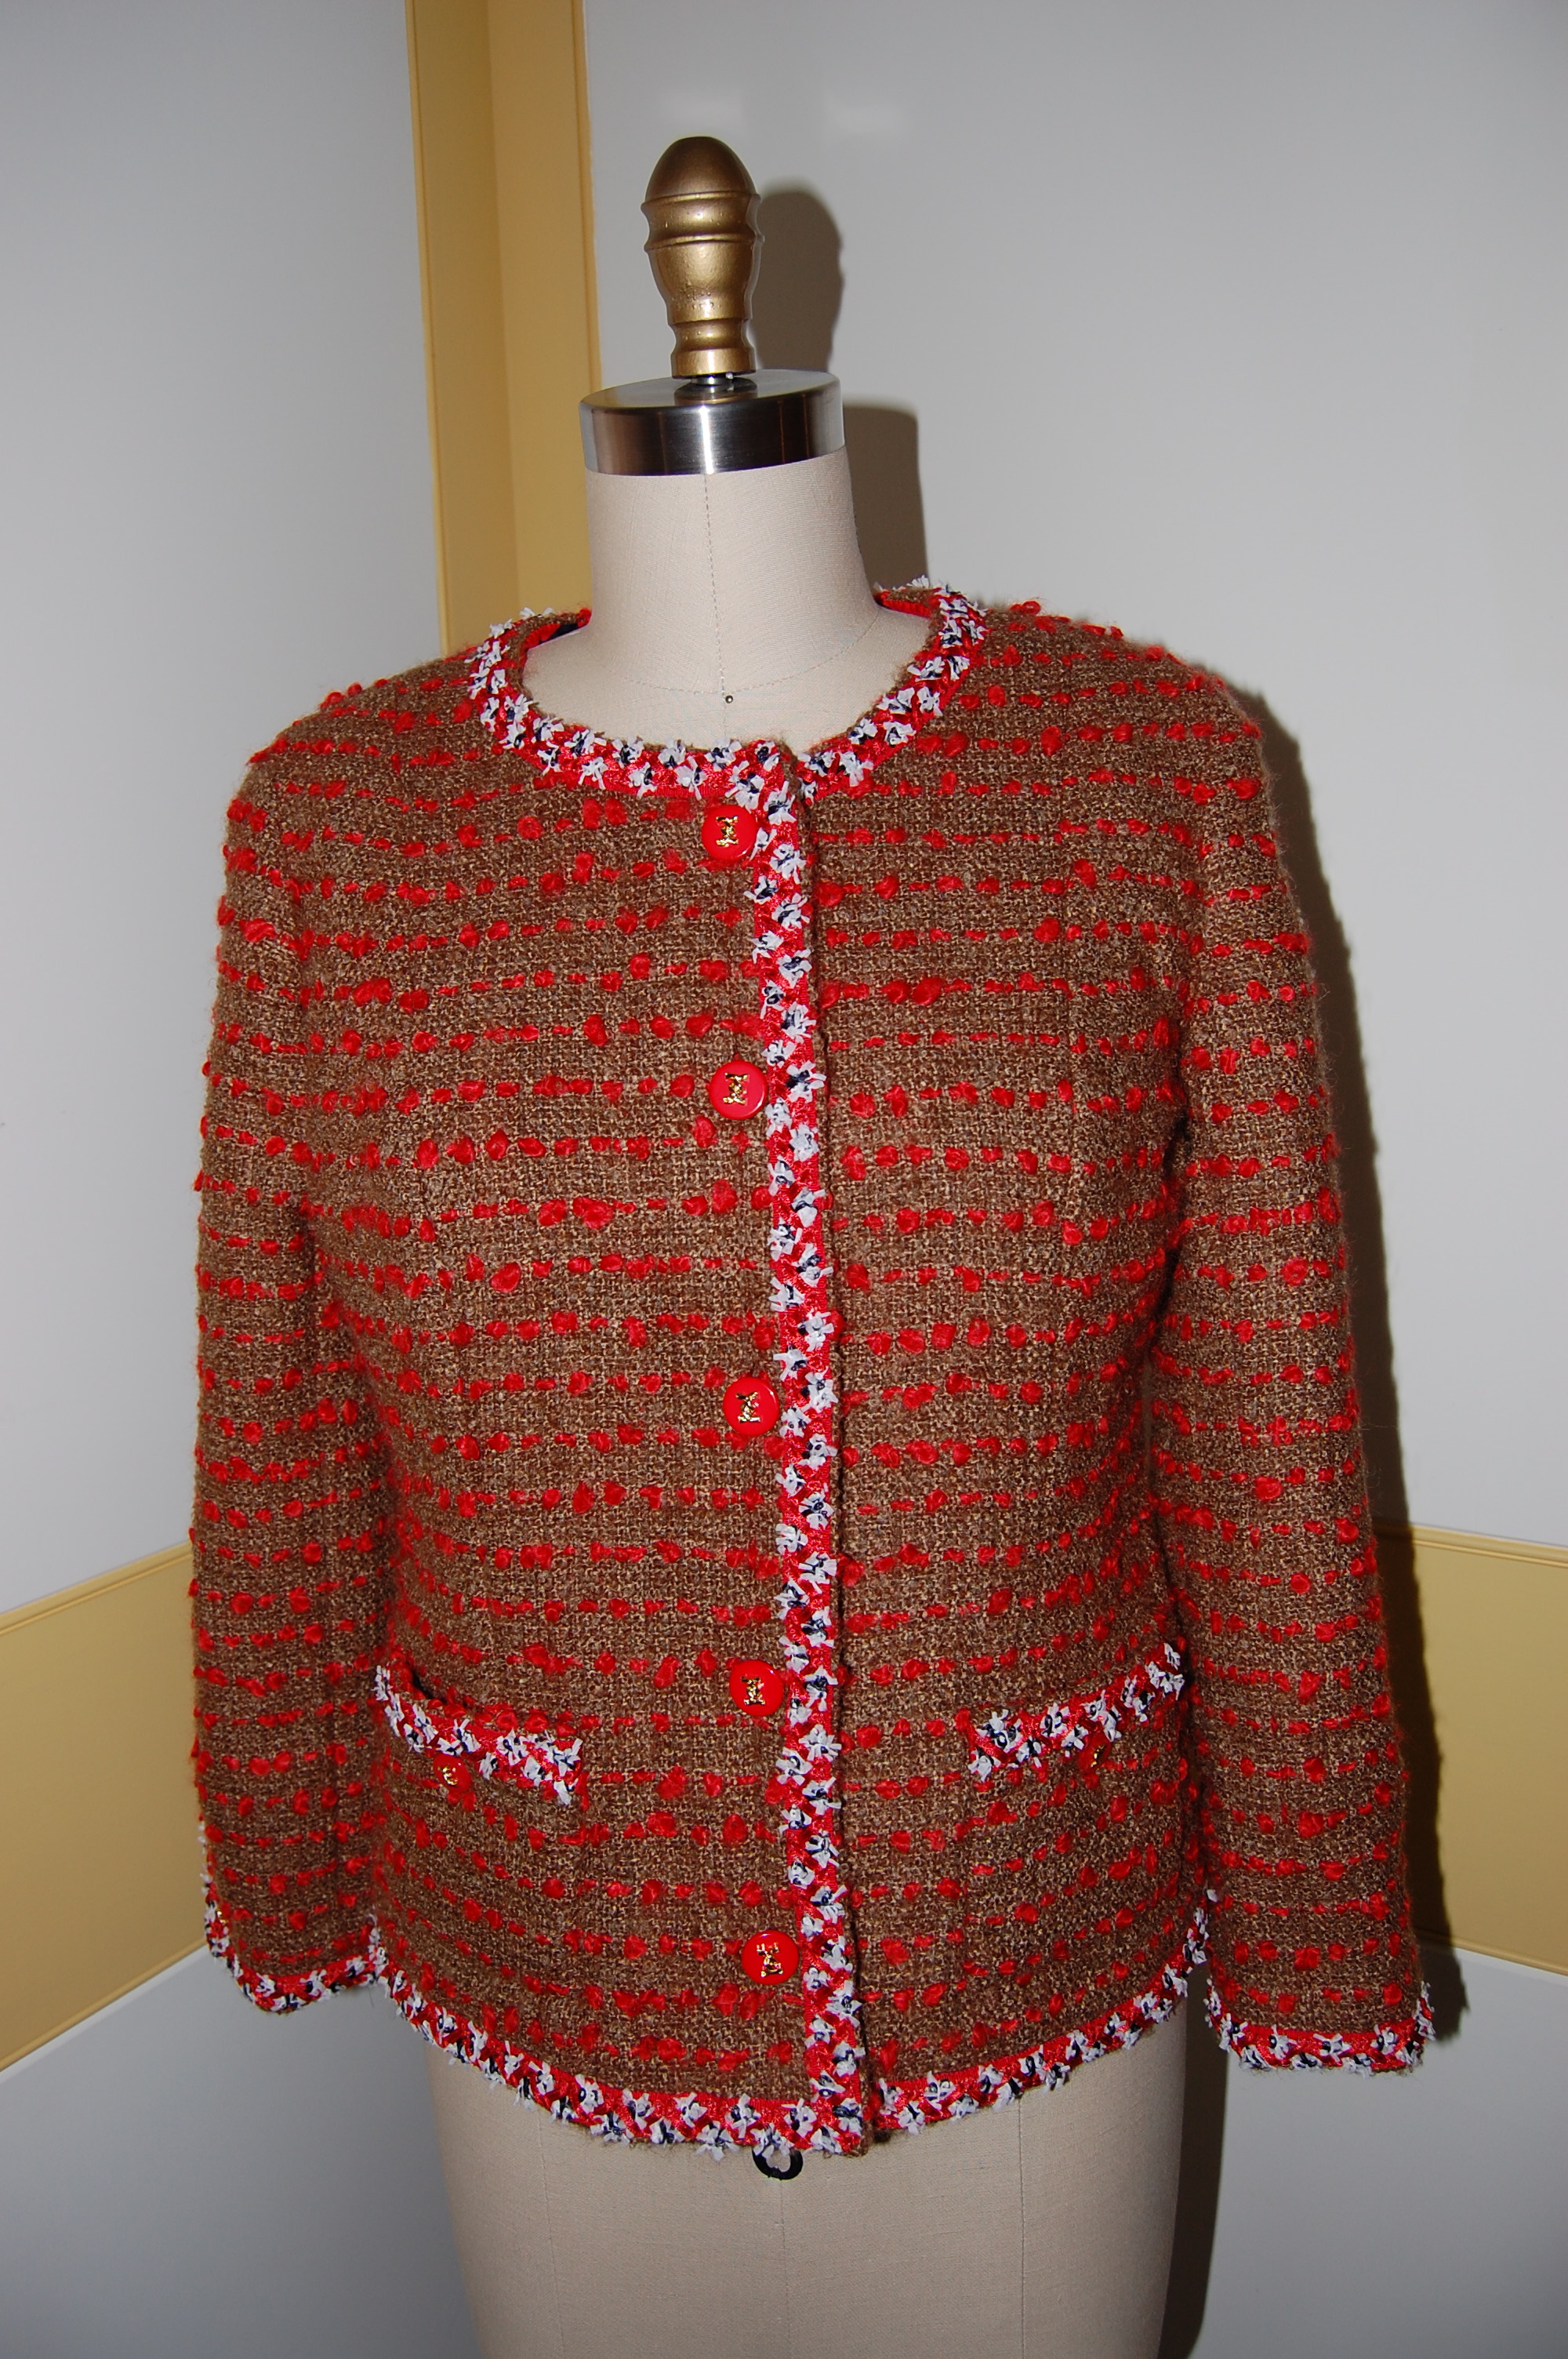
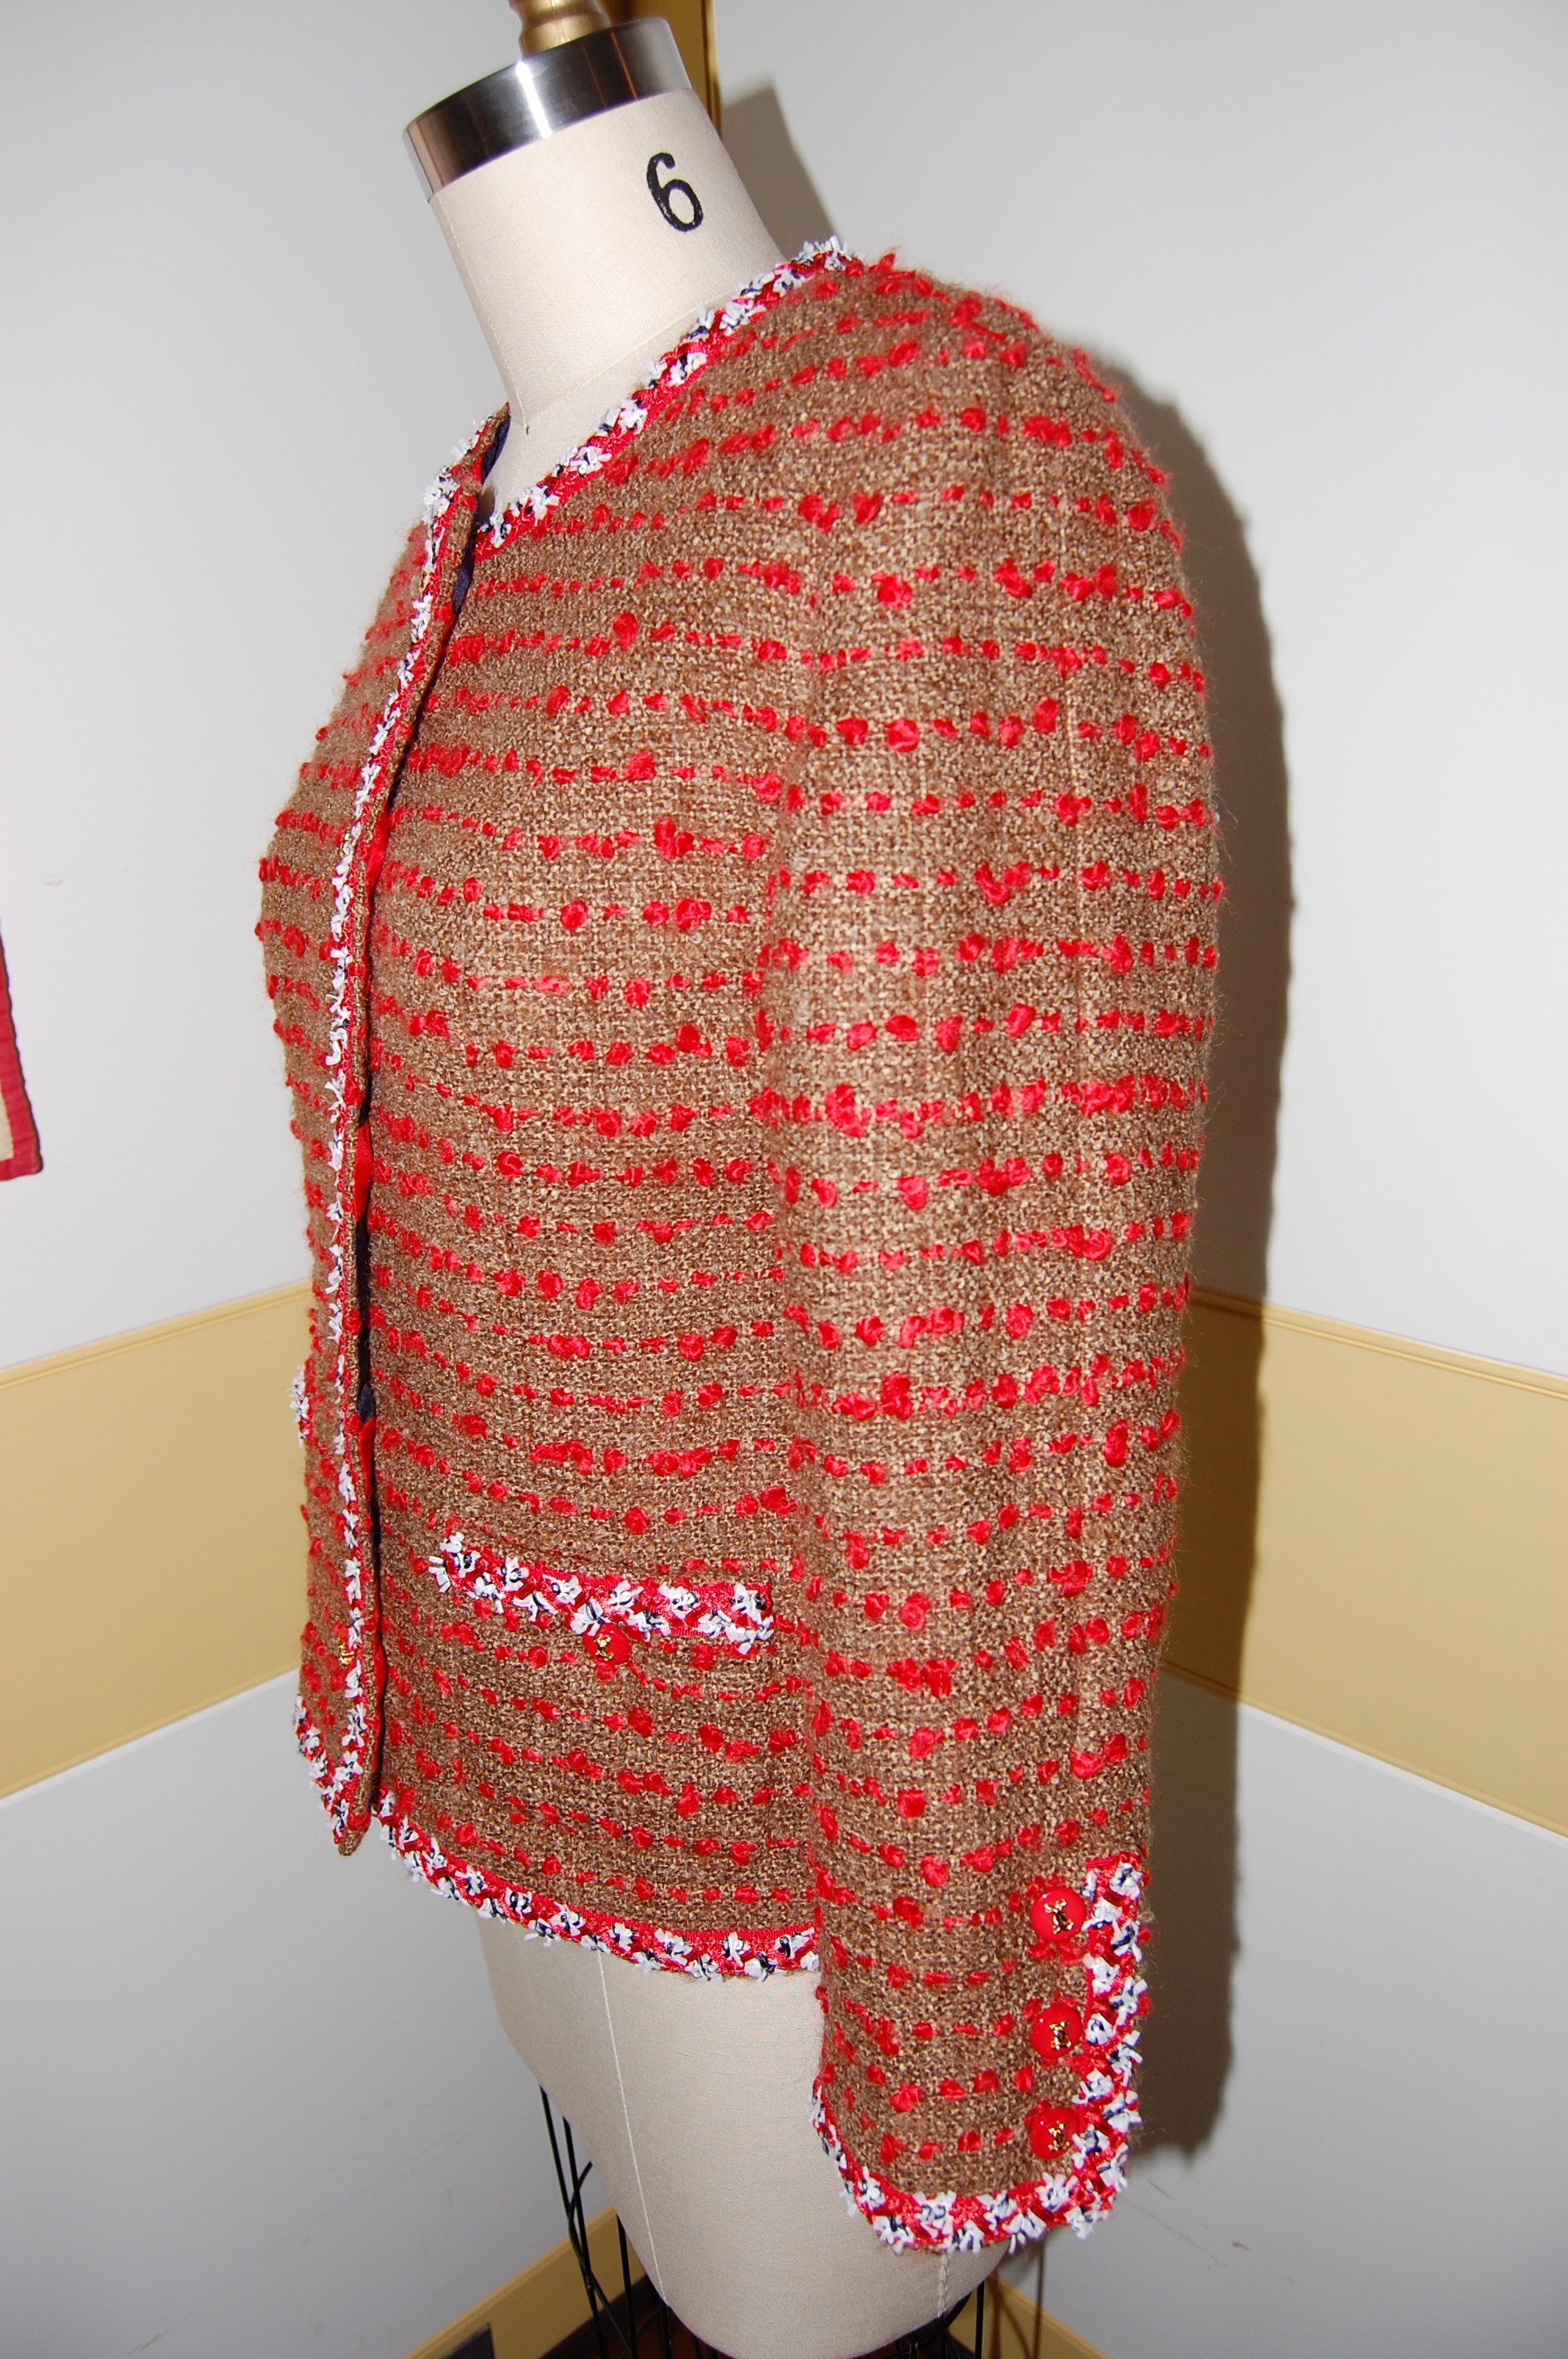
So – here’s the jacket (shown on my dress form for now. Once I get the matching blouse finished, I’ll “model” it for you.)
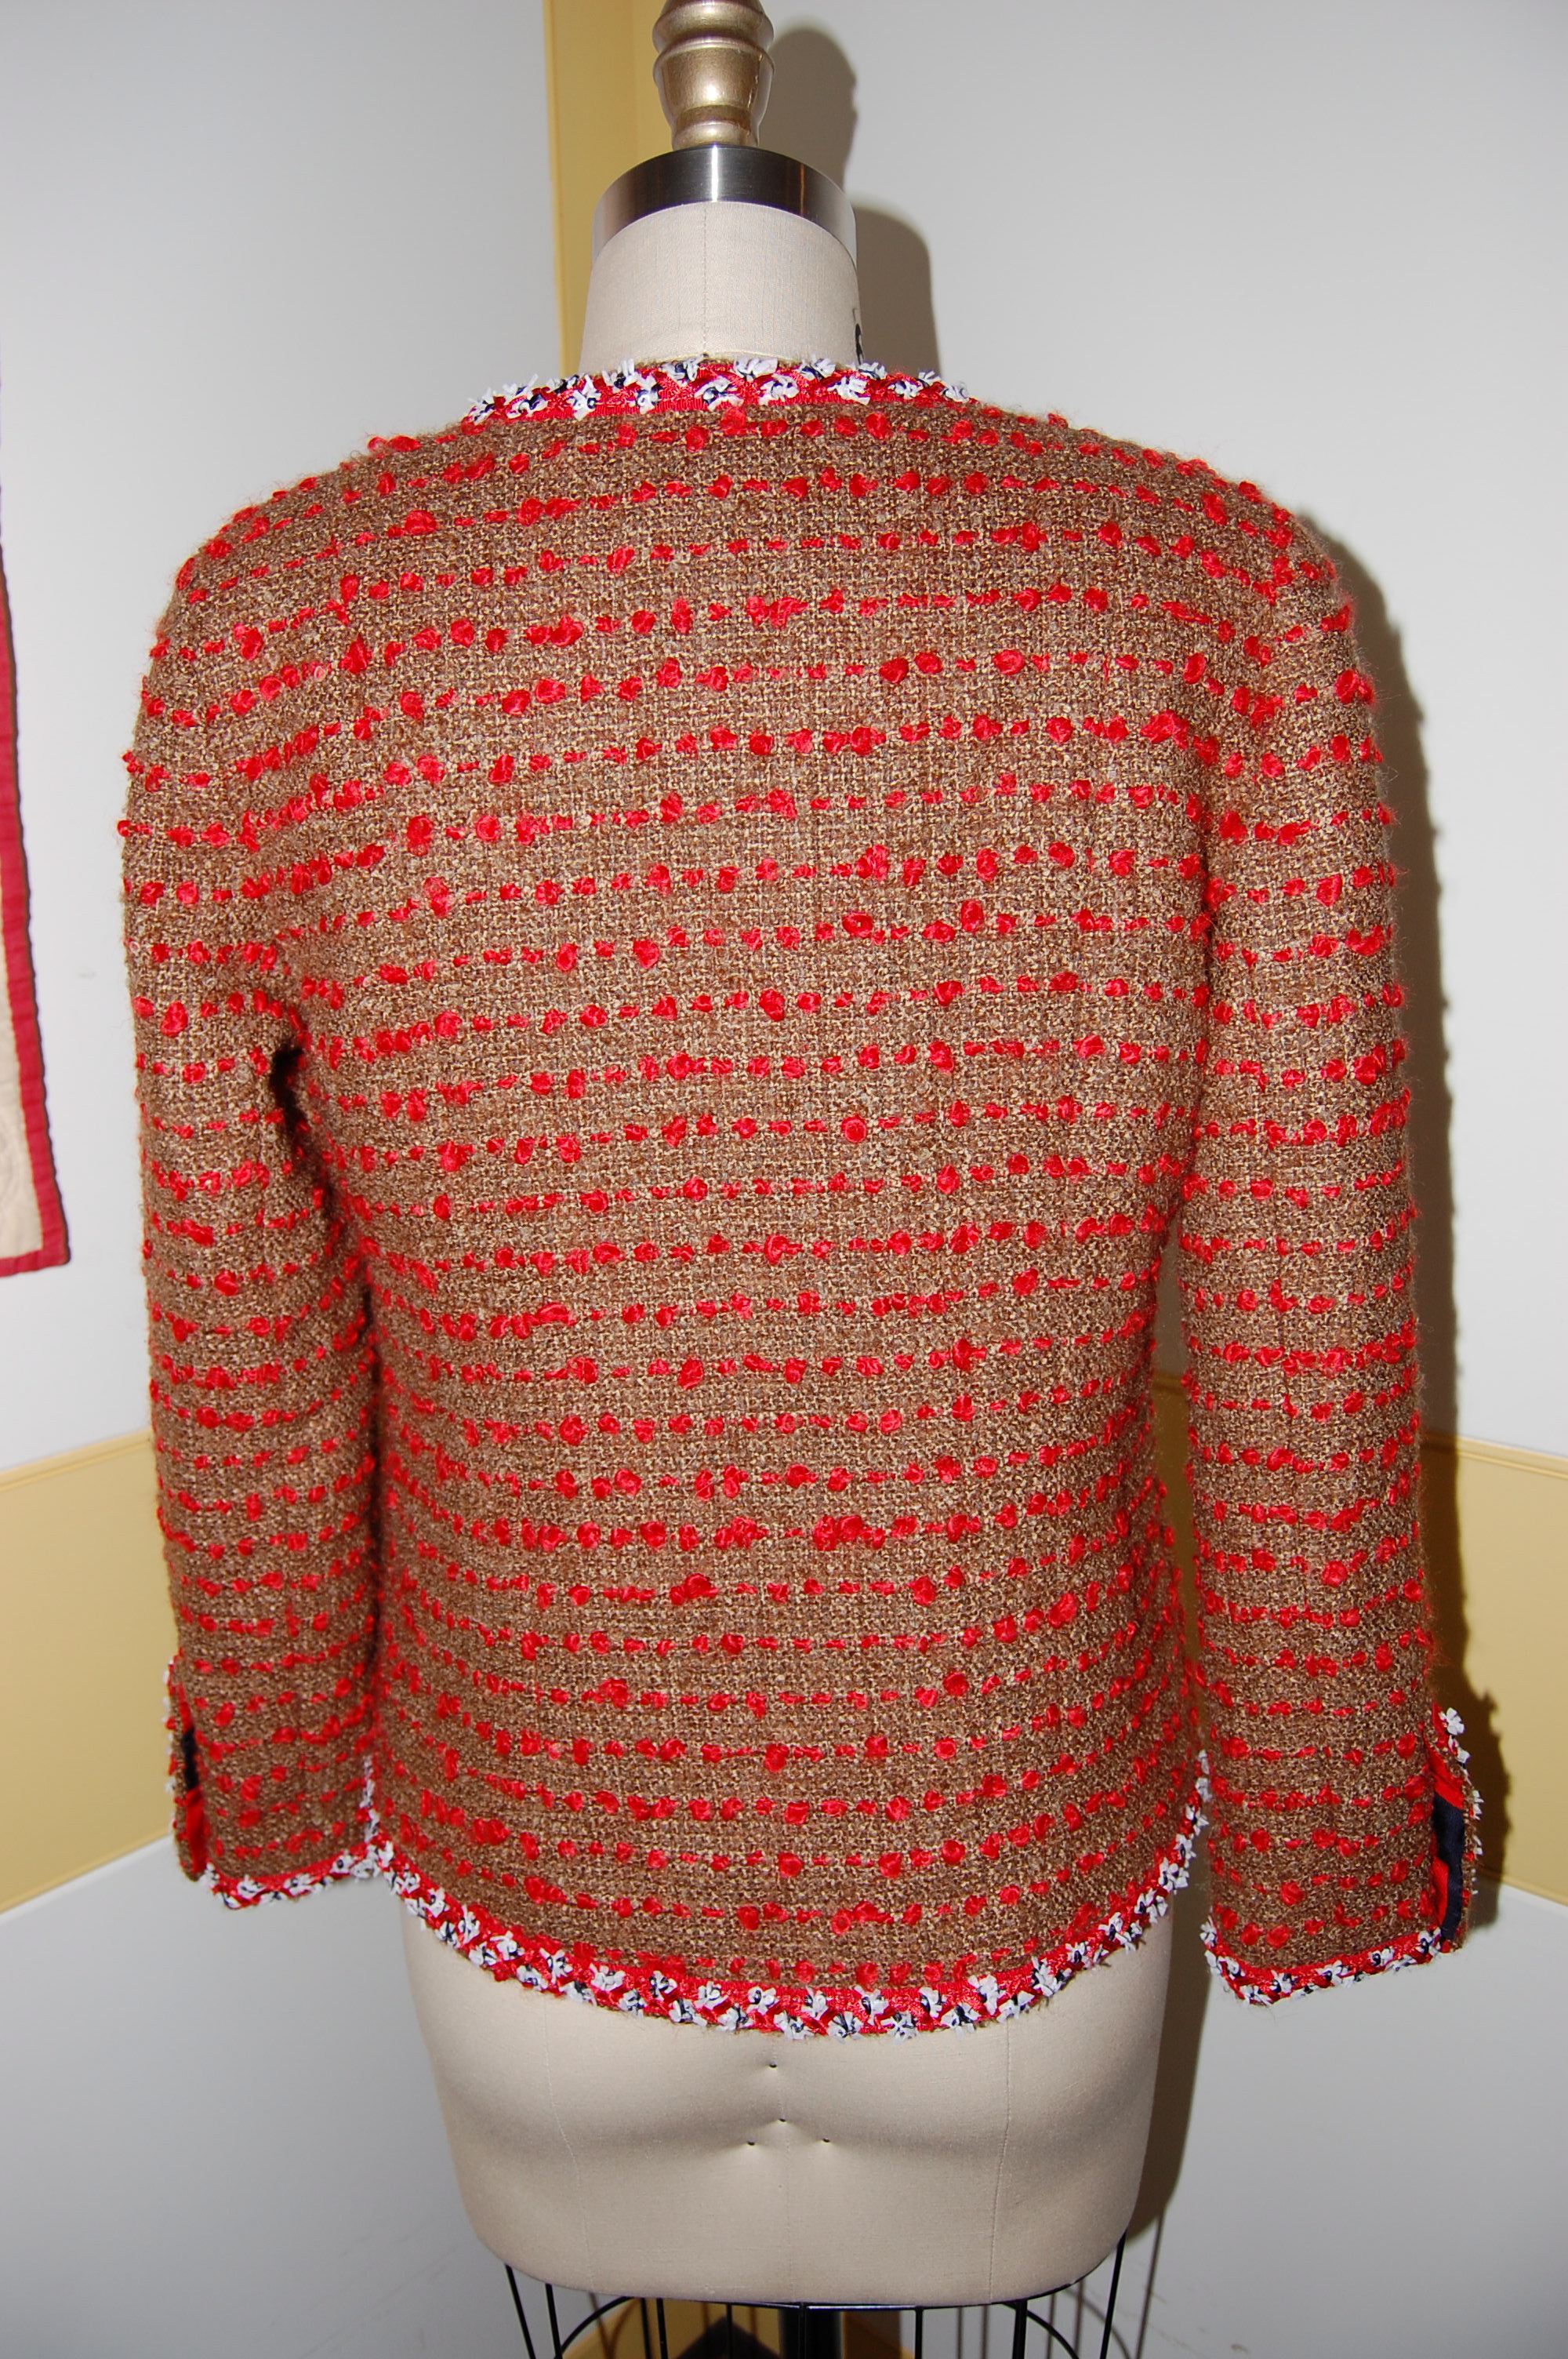
Back view, obviously!
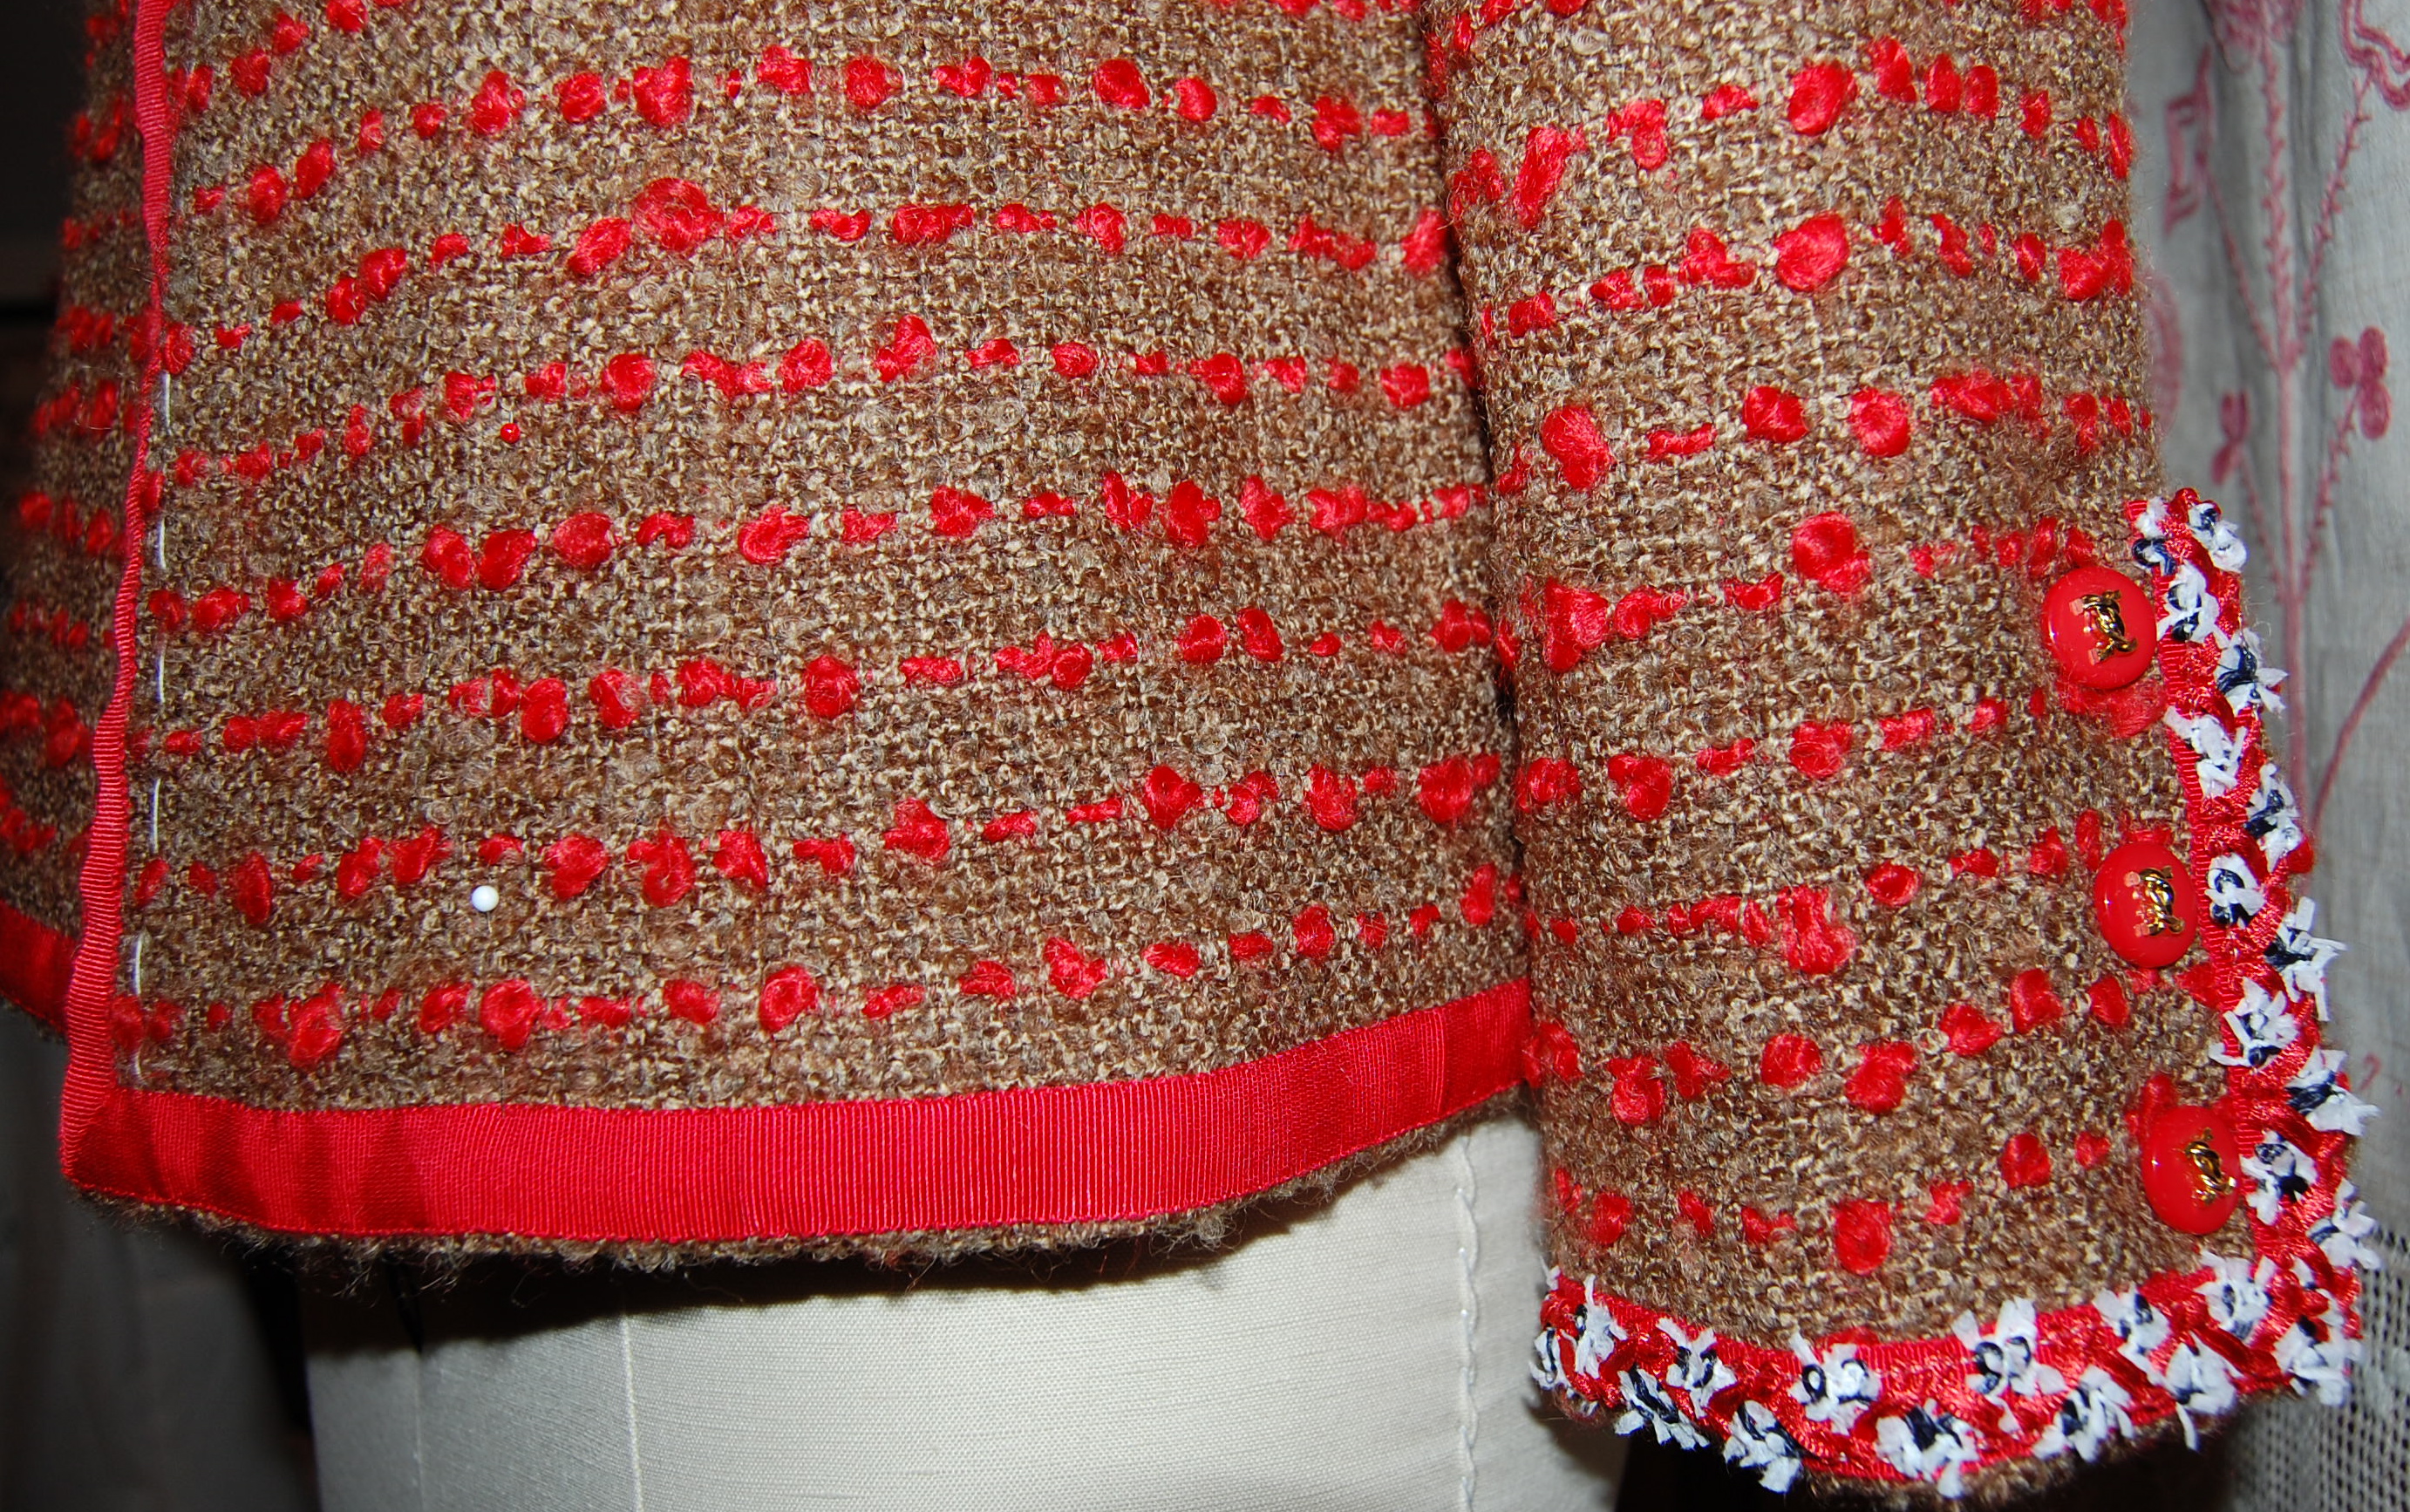
Details, details! Can you tell that I added a little length to the back of the jacket? It makes for a more graceful appearance when worn.
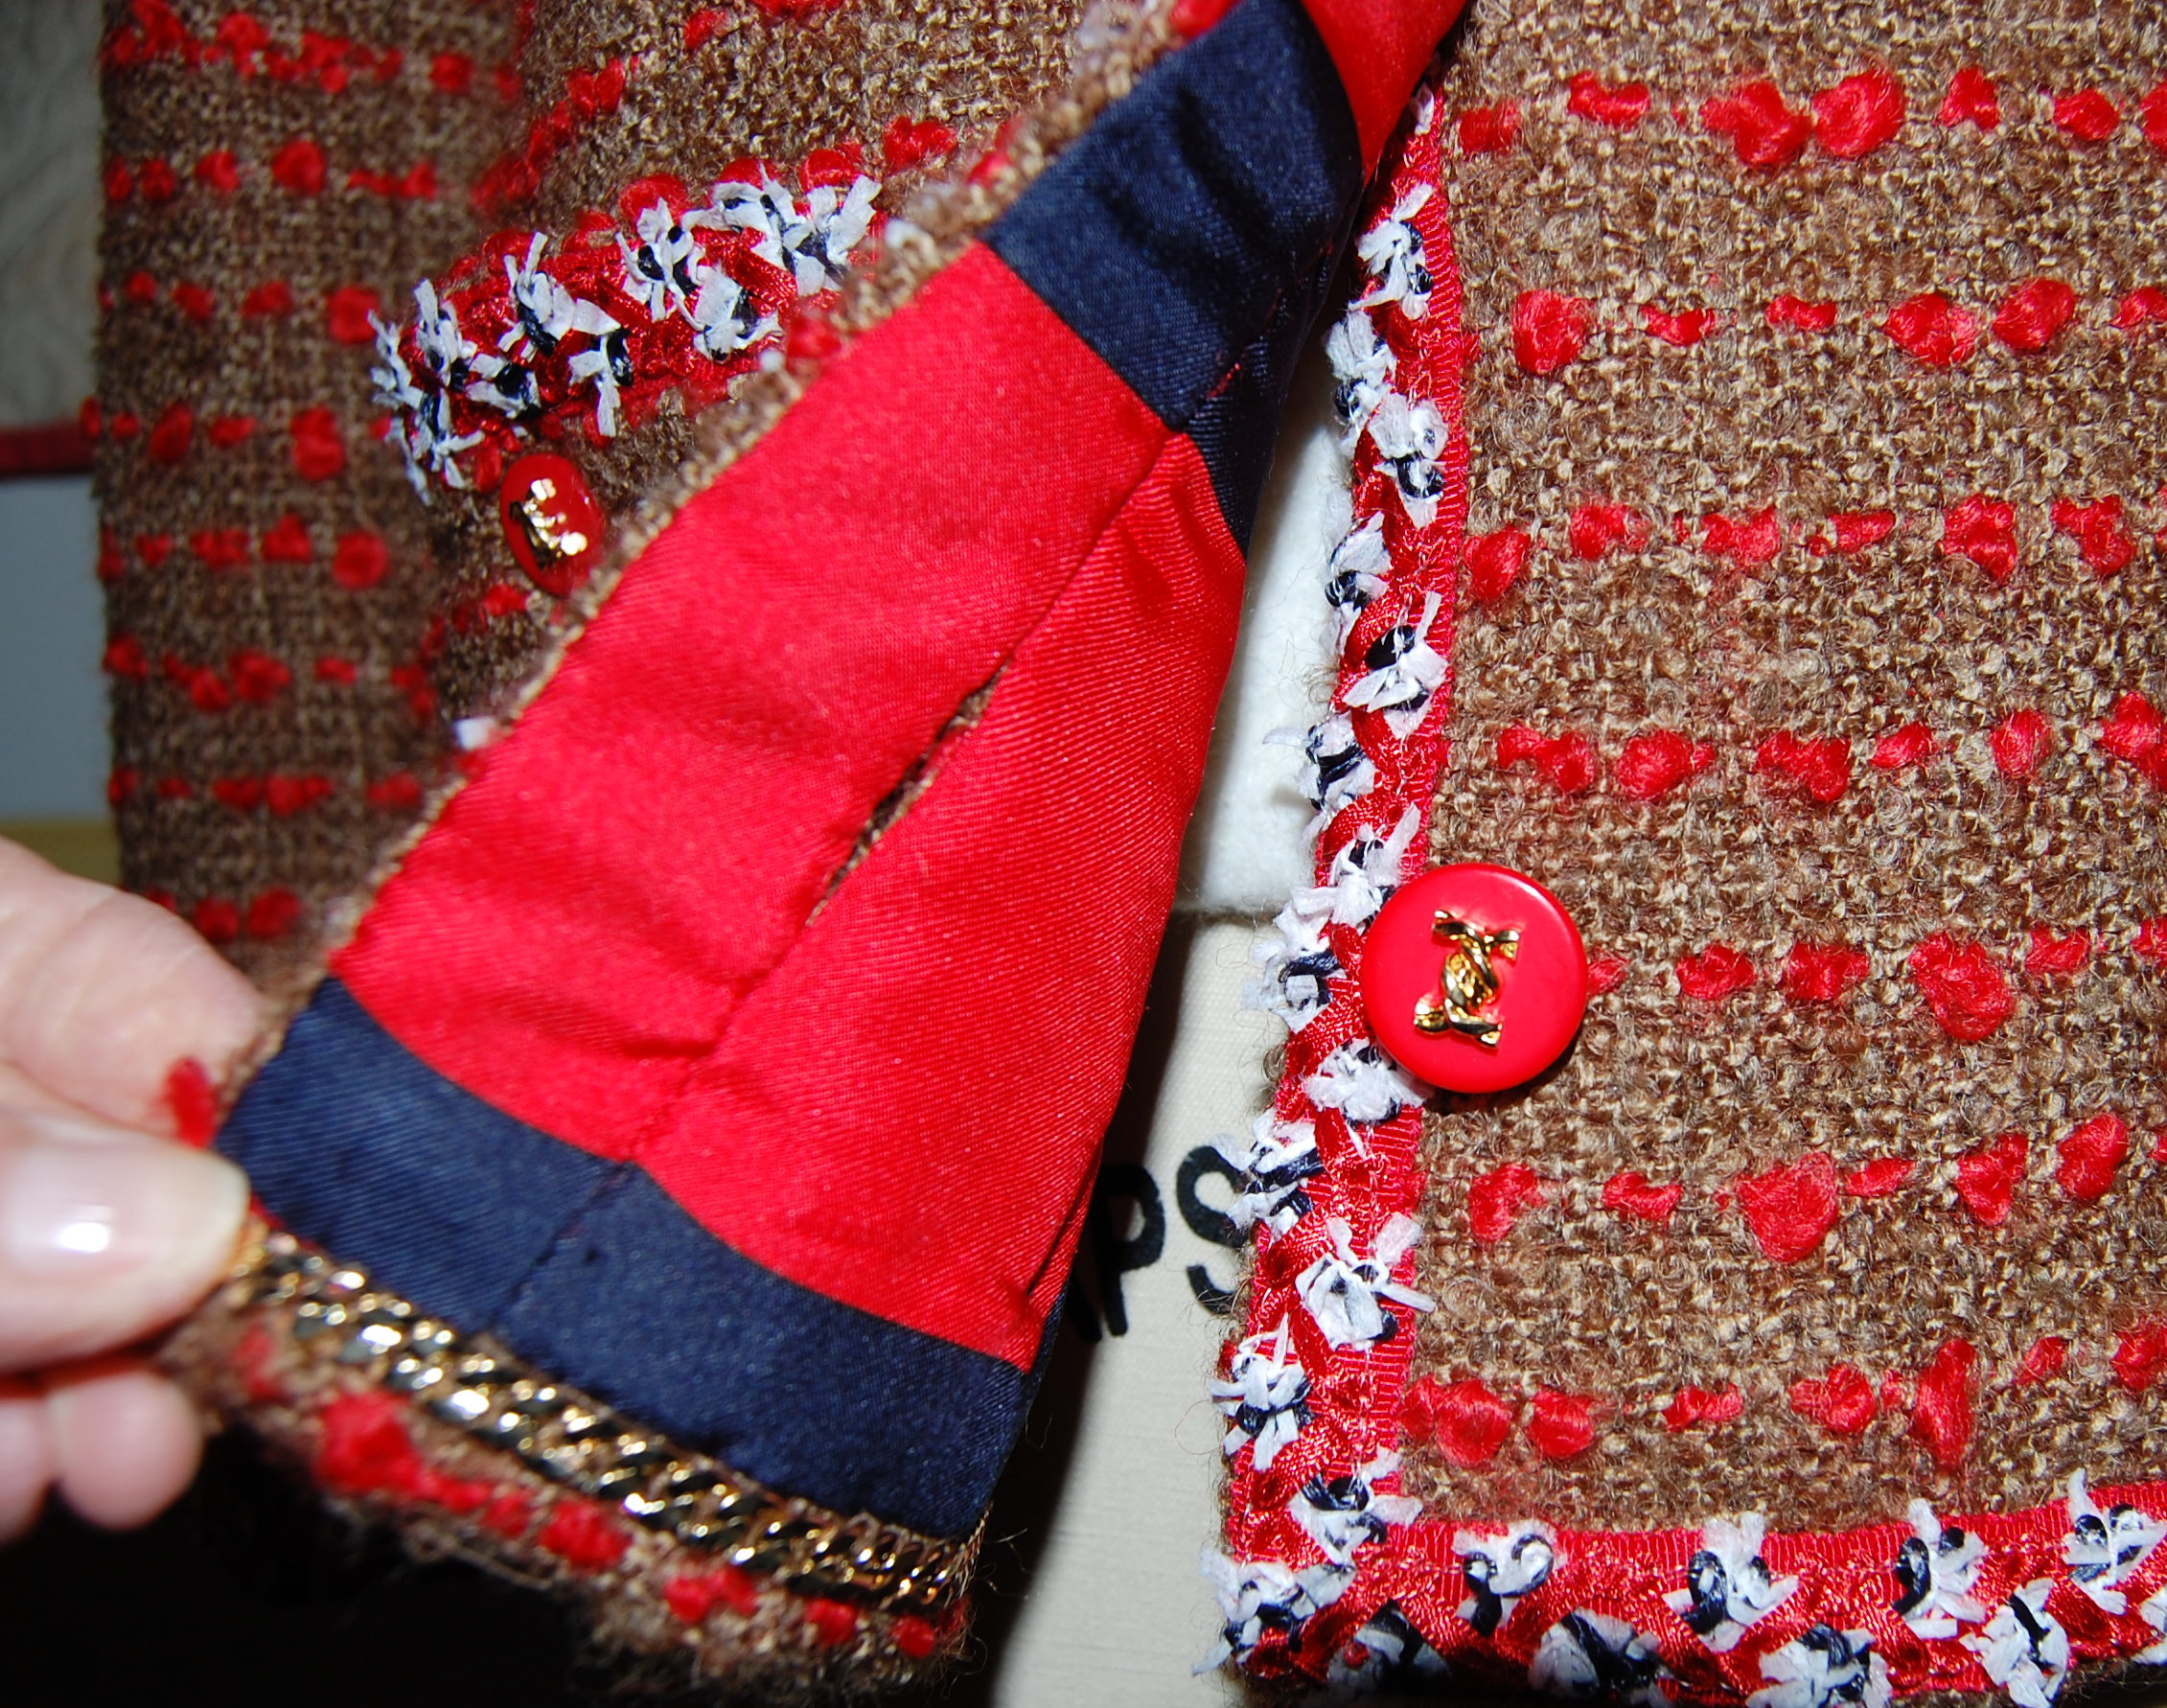
Here is the bottom buttonhole on the front of the jacket – and notice the chain!
There is no way to make this jacket quickly. The extra steps I added (buttonholes and 2 layers of trim) added to the length of the process as well. But – it was incredibly satisfying to see it turn out as well as it did. I am grateful that I made this No. 2 shortly (well, within 6 months) after my first jacket, as it reinforced my knowledge of the process. For my next one I’d like to add a “mandarin” type collar, as shown in these examples:
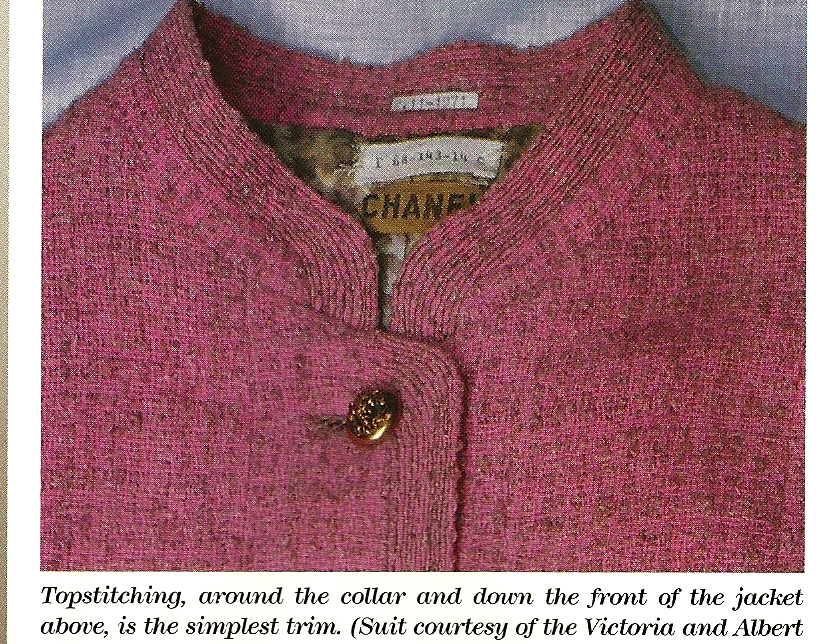
This example is from Threads Magazine June/July 1989, page 28
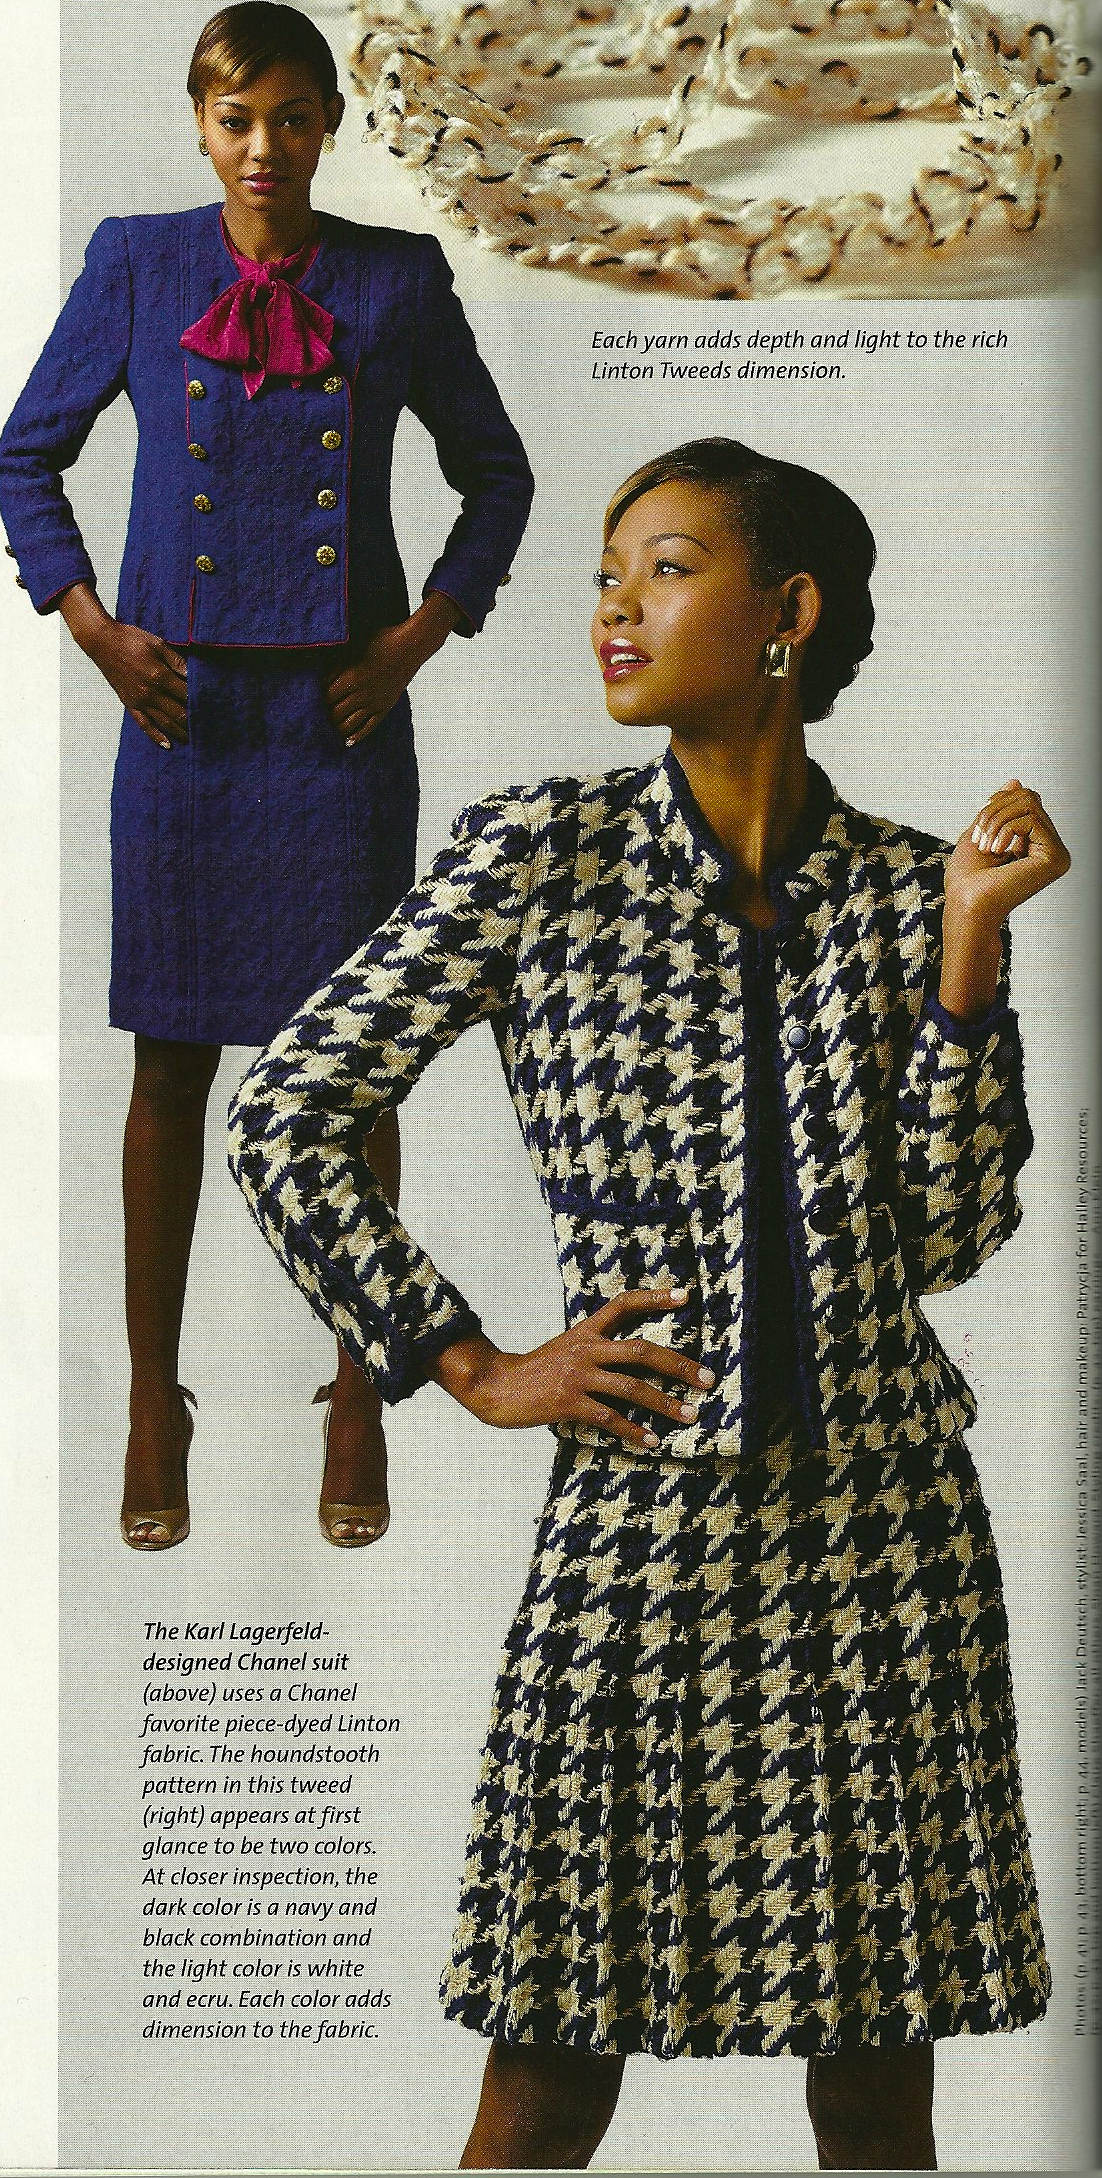
I love this suit in houndstooth wool. This is pictured in Threads Magazine, January 2014, page 44.
So when will No. 3 commence? I don’t see it on the horizon yet, but perhaps when it does, the third time around will be … “the charm”.

Just beautiful, Karen. And beautifully executed, as always. Love your solution to the buttonhold dilemma. They look fantastic. Dare I try this on my next one???
Thank you, Cissie. This type of buttonhole is a simple fix to an otherwise questionable (at least in my case!) outcome. I’m glad you think they look good!
classic and beautiful. just needs a long strand of pearls!
PS: Make that short strand. 😉
Short strand I can do!! Thanks so much for your comments!
Oh Karen this one is a stunner! Congratulations on making this one all by yourself. I’d say you’ve graduated 🙂 Really lovely.
Thanks, Sarah. I had a lot of confidence making this one, thanks to Susan’s class this past summer.
Simply beautiful. I cannot get enough of reading about all different methods and materials. The buttonhole technique is brilliant. Lorna Knight also uses the method for trim of layering braid over petersham in her Iconic Tweed Jacket course and I agree that it brings added dimension. Congratulations!
Thank you, Julie! I am sold on the Petersham underlay of ribbon – it can add all kinds of possibilities. Thanks so much for your lovely comment!
So beautiful! And I admire your patience. One jacket was enough for me!
It does take patience, doesn’t it? The next one won’t be any time soon, that’s for sure!
Beautiful Karen!!!! Such attention to detail!!! Love the trim and buttonholes.
Would you ever consider another french jacket class from SK???
I am considering making my 3rd jacket……….yikes…..can’t help it. Most addictive.
Do model it!
Hi Joanne! These jackets are addictive – kind of like pregnancy, though. It seems like a good idea until the ninth month when all you want is for it to be over! I will definitely model it once I have the blouse finished. And – I would take a class from Susan several times a year if I could!
This is just as fabulous as your first! Fantastic, and congrats on finishing your second jacket. I’m working on my second jacet at a snails pace, but this post is inspiring me!
Hi Holly -Snail’s pace sounds about right to me. I was beginning to think I’d never get this one done! Now I must see your No. 2 when you have it finished. Great to hear from you!
Hi Mom, I think since becoming a mom myself I’ve become focused on trying to instill characteristics of courage and (healthy) risk-taking in Aida. And I love seeing the small, daily examples of courage and risk-taking in those around me. I’m probably going a little nutty, but I think it takes a lot of courage to go out on a limb and try something new that involves cutting fabric(!) and that you aren’t sure will work. I love your Chanel-inspired jacket number 2! Your risks paid off…it’s beautiful. I can’t wait to see it on you.
Thank you, sweet Susanna. Lots of measuring, thinking, remeasuring, and talking to myself went into those buttonholes, especially on the sleeves. But I followed my “gut” (as we talk about so much) and figured it would work. I am so glad it did! Also – I’ve learned a lot about courage from you. . .
Karen this is, of course, lovely and I can’t wait to see the jacket and blouse modelled. The double trim is a great idea and something I think I could ‘borrow’ for other, less complicated projects too, if that’s OK?!
I wonder if you’ll consider the topstitched mandarin collar … another lovely idea from Channel.
I do like that topstitched Chanel collar. But I love trim so much that I’ll probably stick with trim, whenever, that is, I get around to no. 3!
Your attention to detail is impeccable. So inspirational 🙂
Thank you! So often it is the details which make all the difference!
Wonderful work! Great attention to detail and use of your skills!
Just read this and love the buttonhole solution. Recently purchased a lovely boucle and am enjoying, I think almost as much, the process of developing my vision of my completed jacket as I will be cutting into and constructing it 🙂