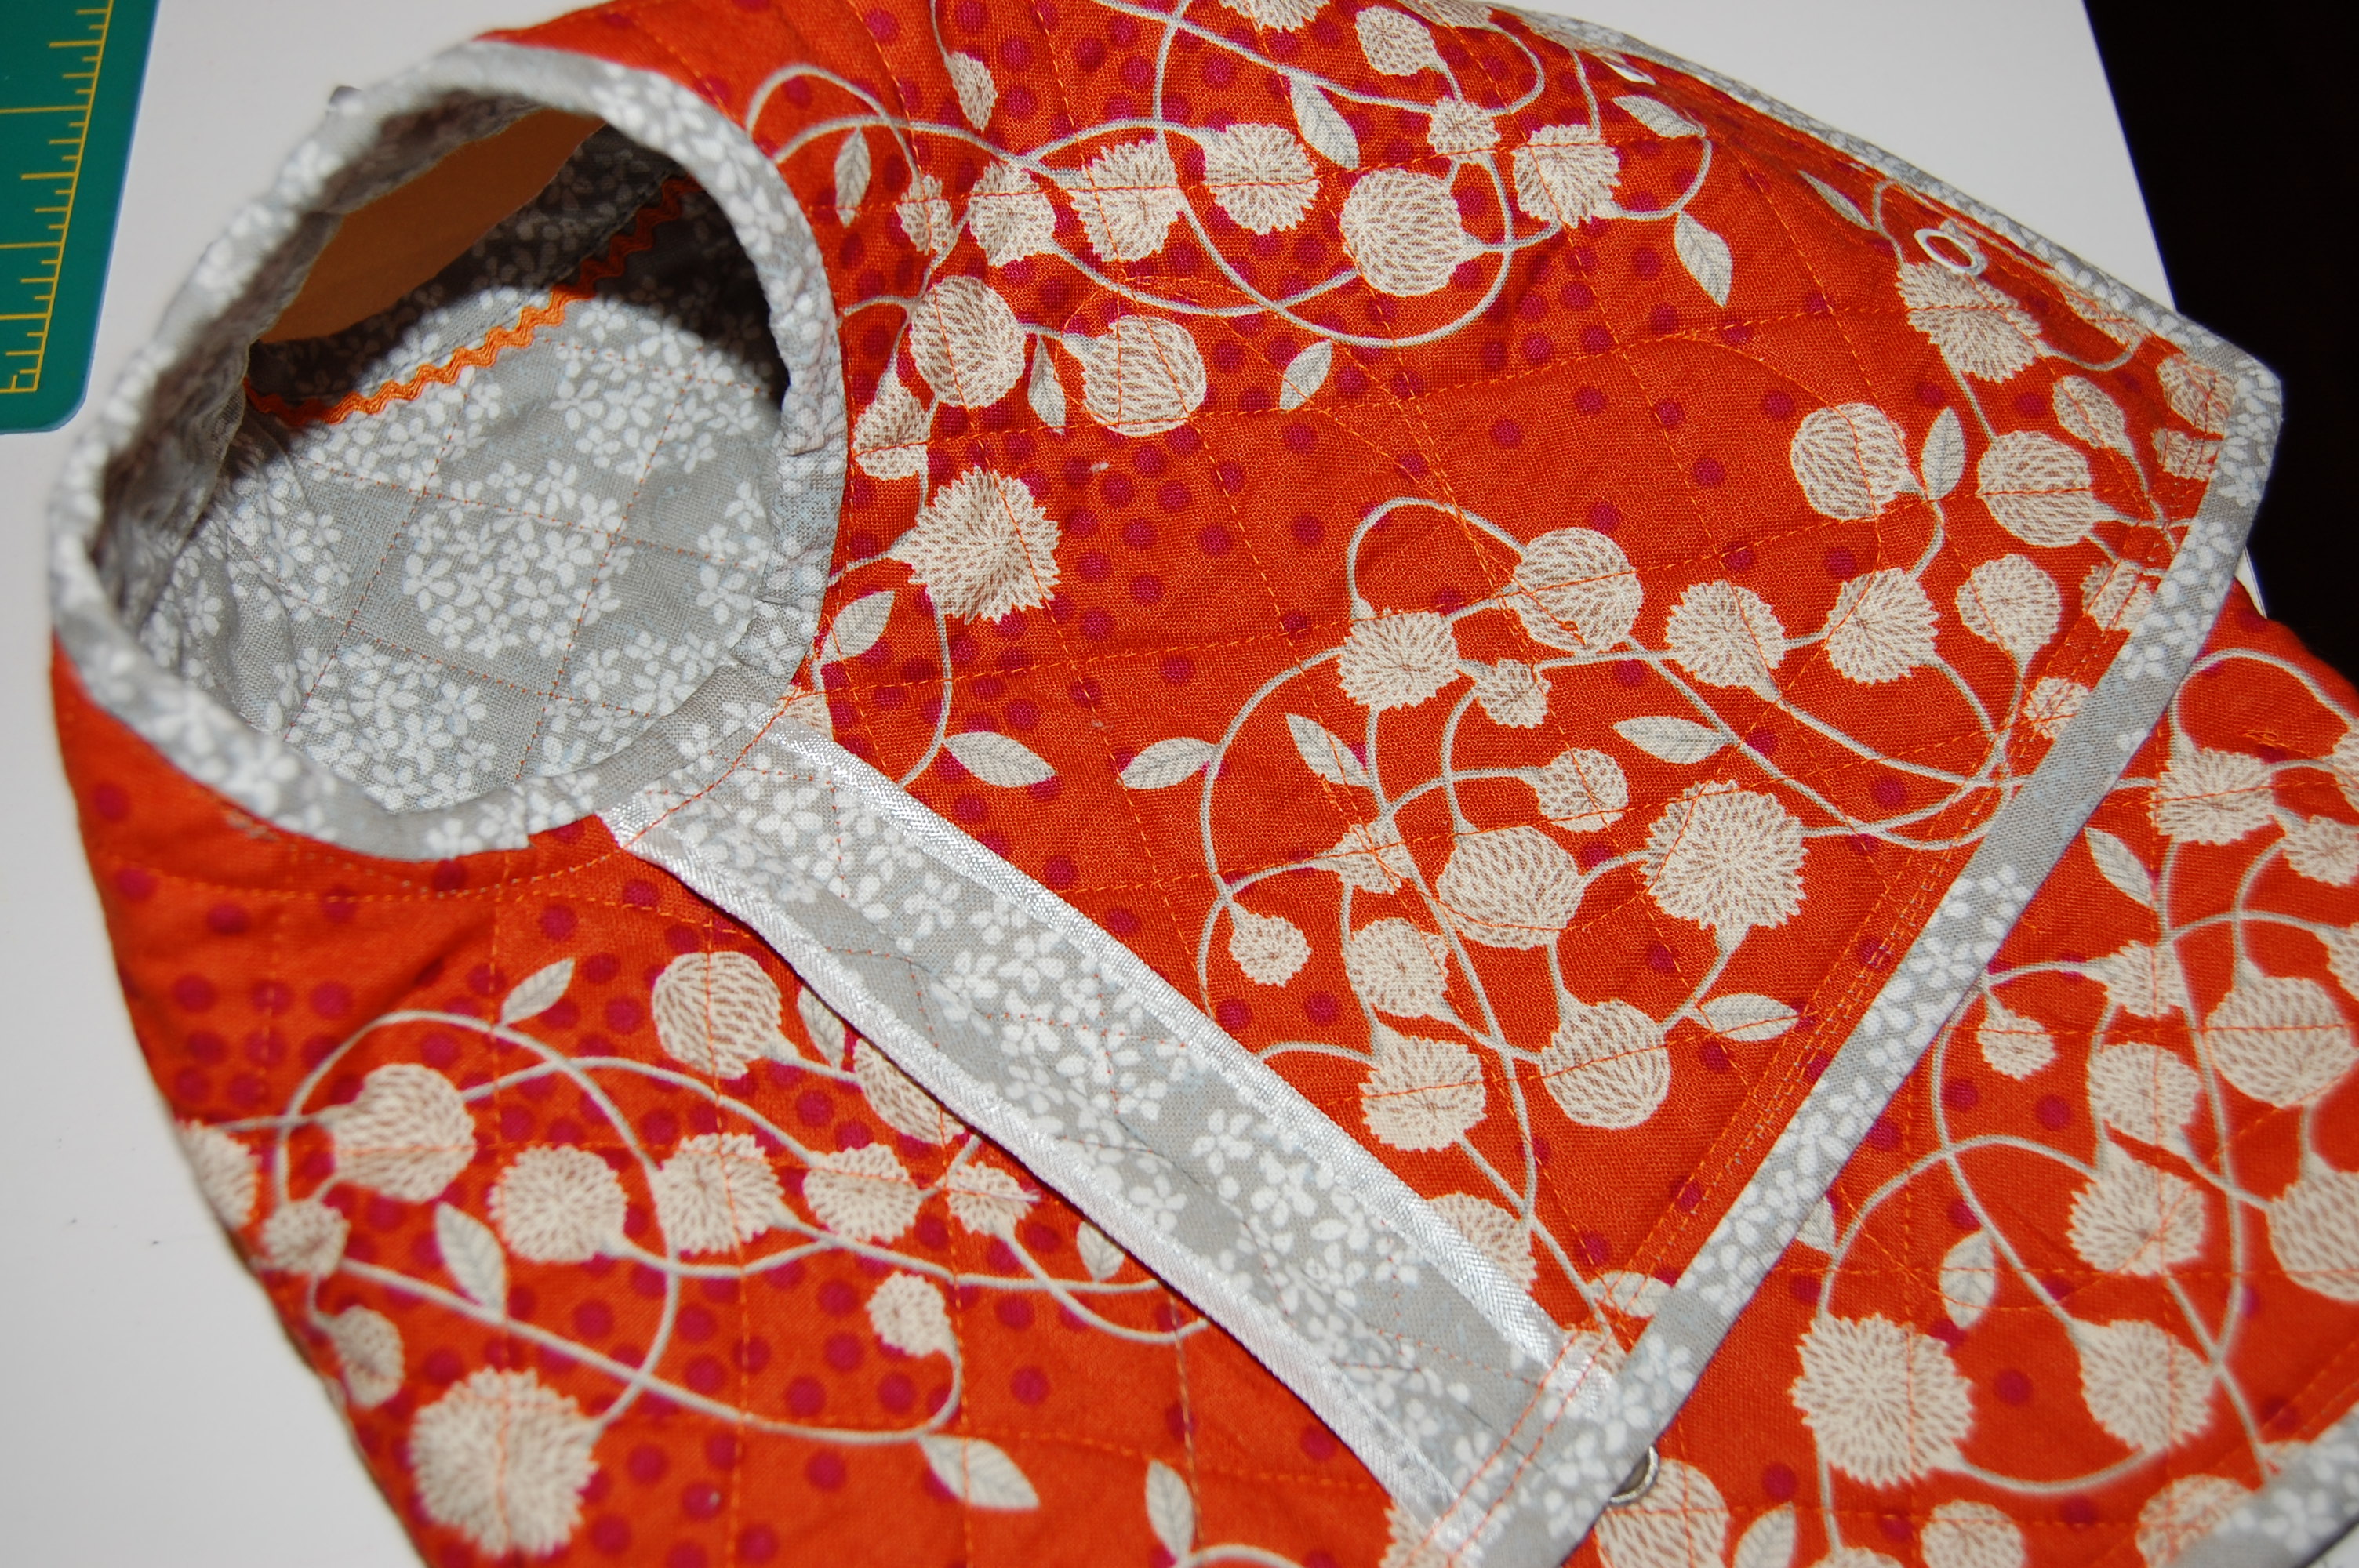
December would not be December without a sewing project intended for gift-giving. Last year found me working furiously on a quilt for granddaughter Aida. This December I finished a dress for her the Saturday before Christmas, just a day before she and her parents arrived for the holiday. Just a few days before, I had finished a corduroy jumper for her.
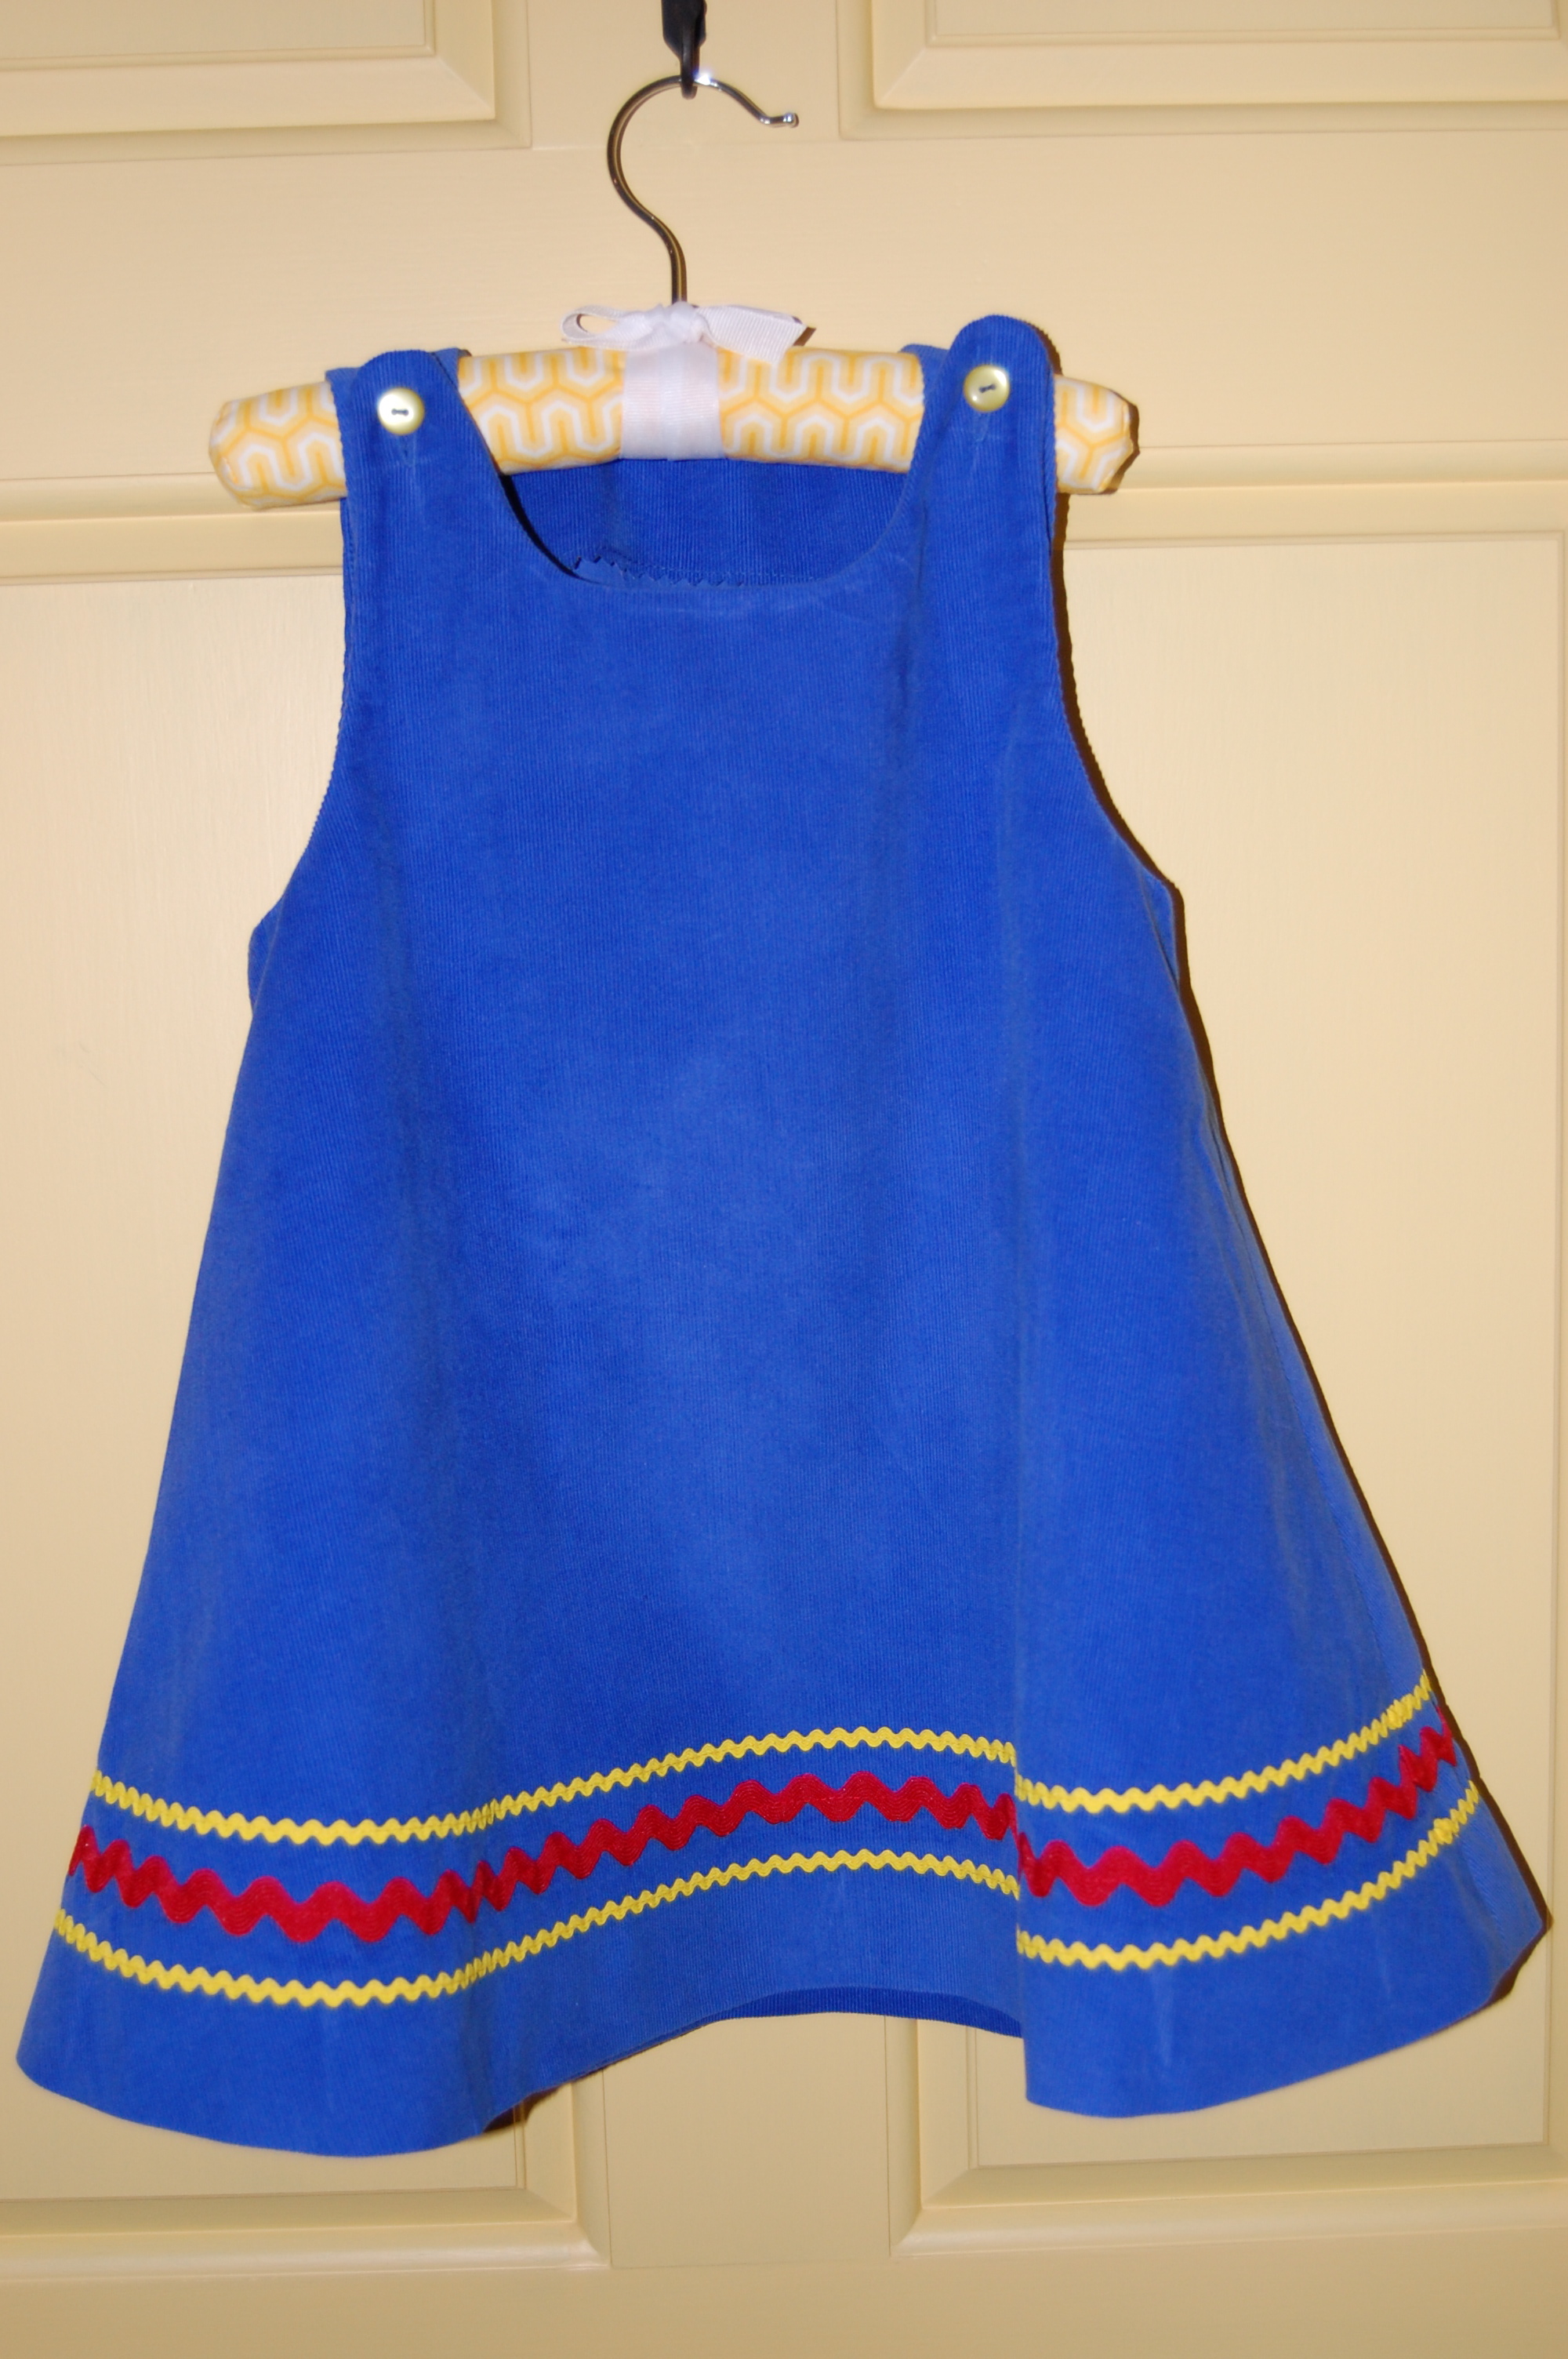
This jumper turned out to be a little too big for our petite little girl, so she will have to wait a bit to wear it.
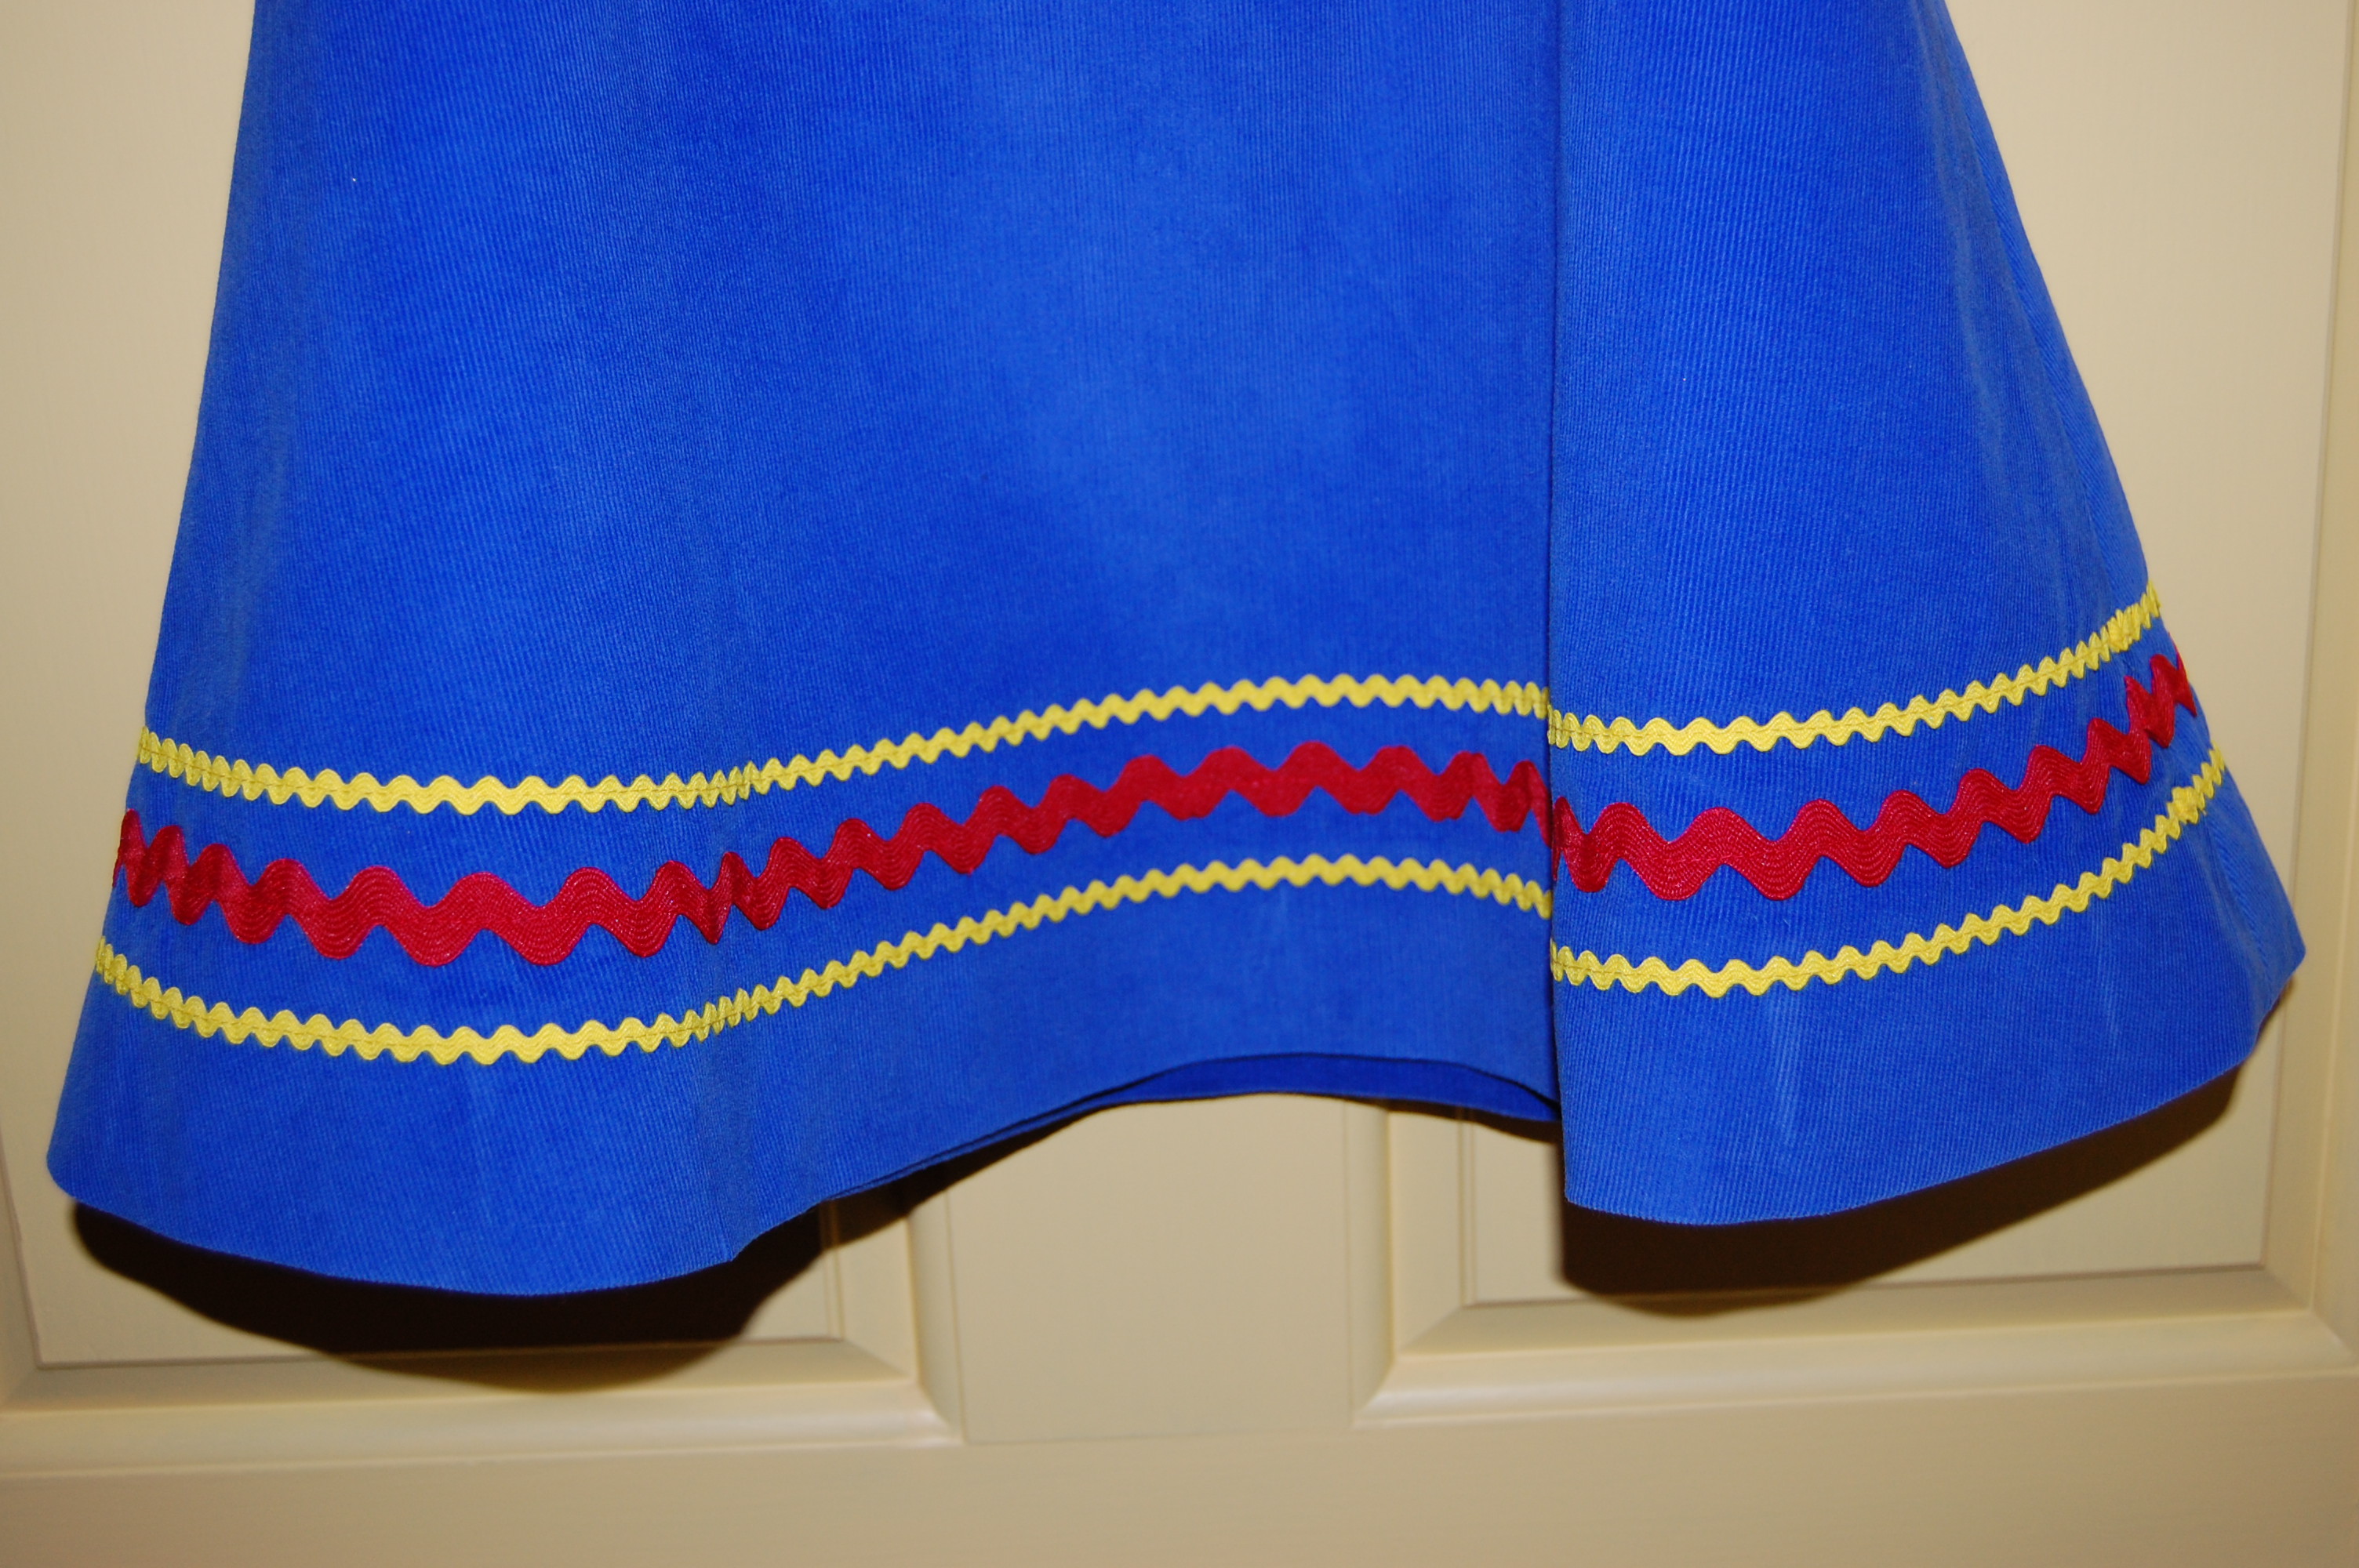
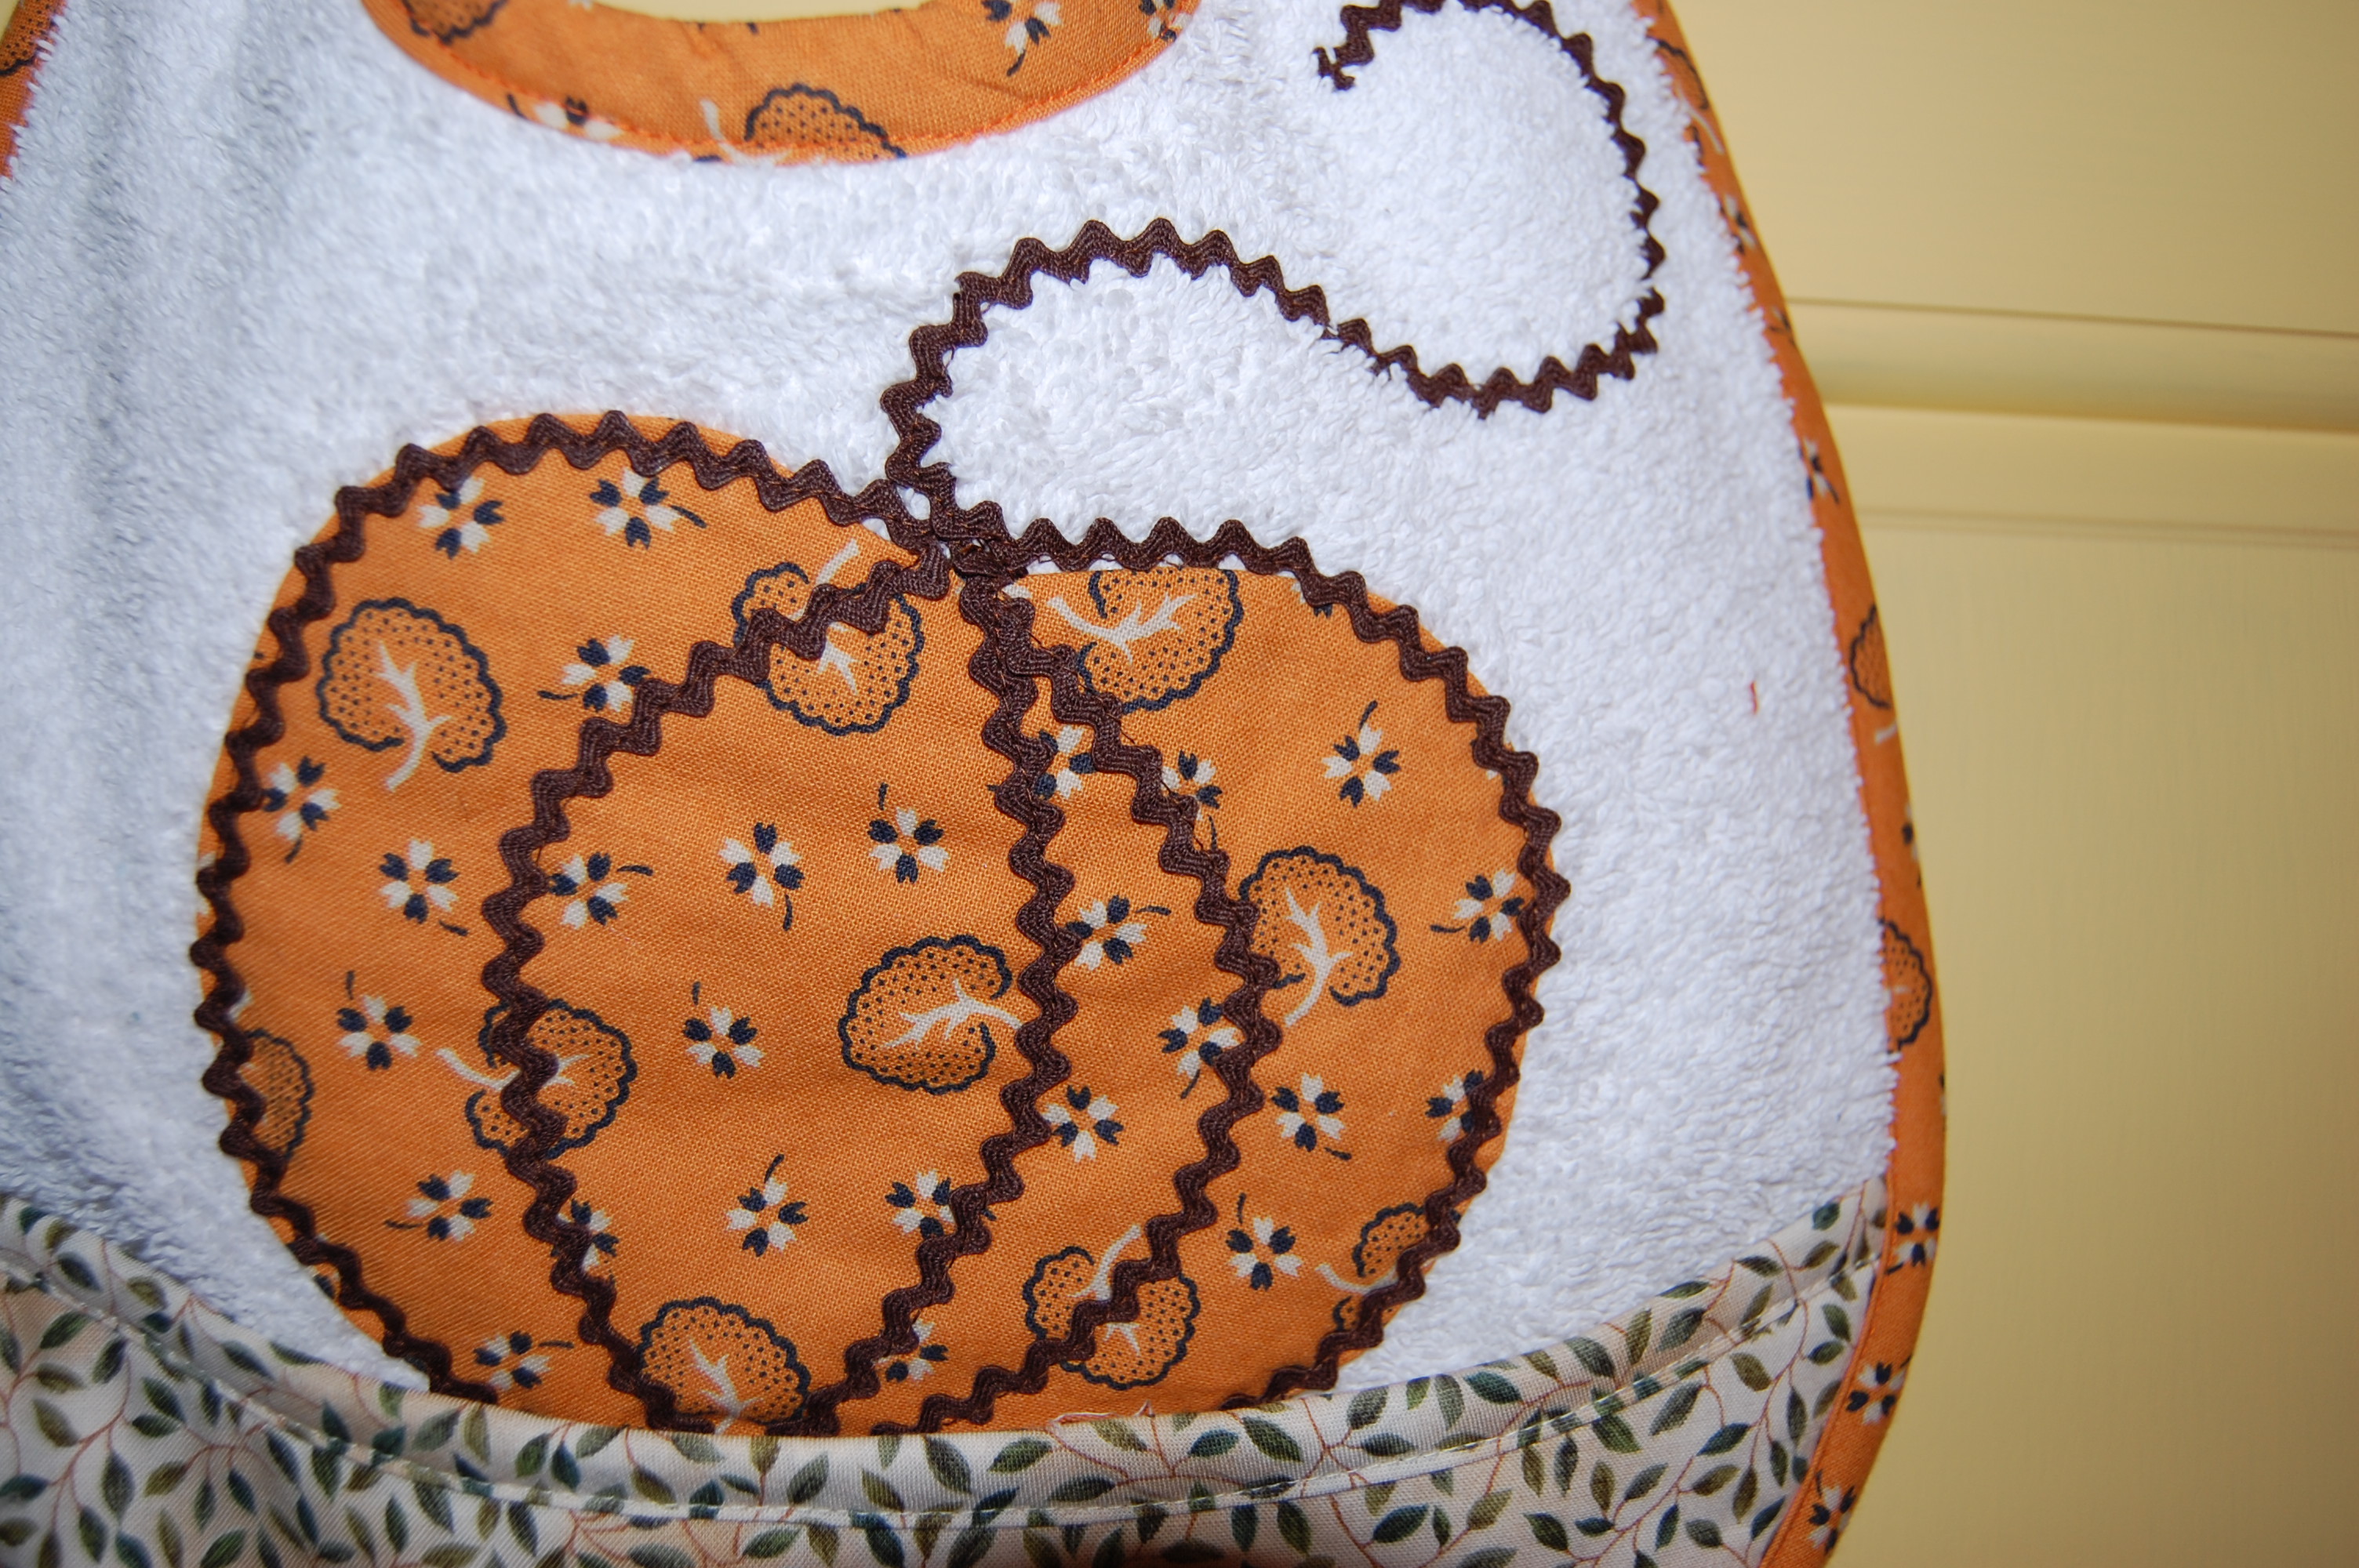
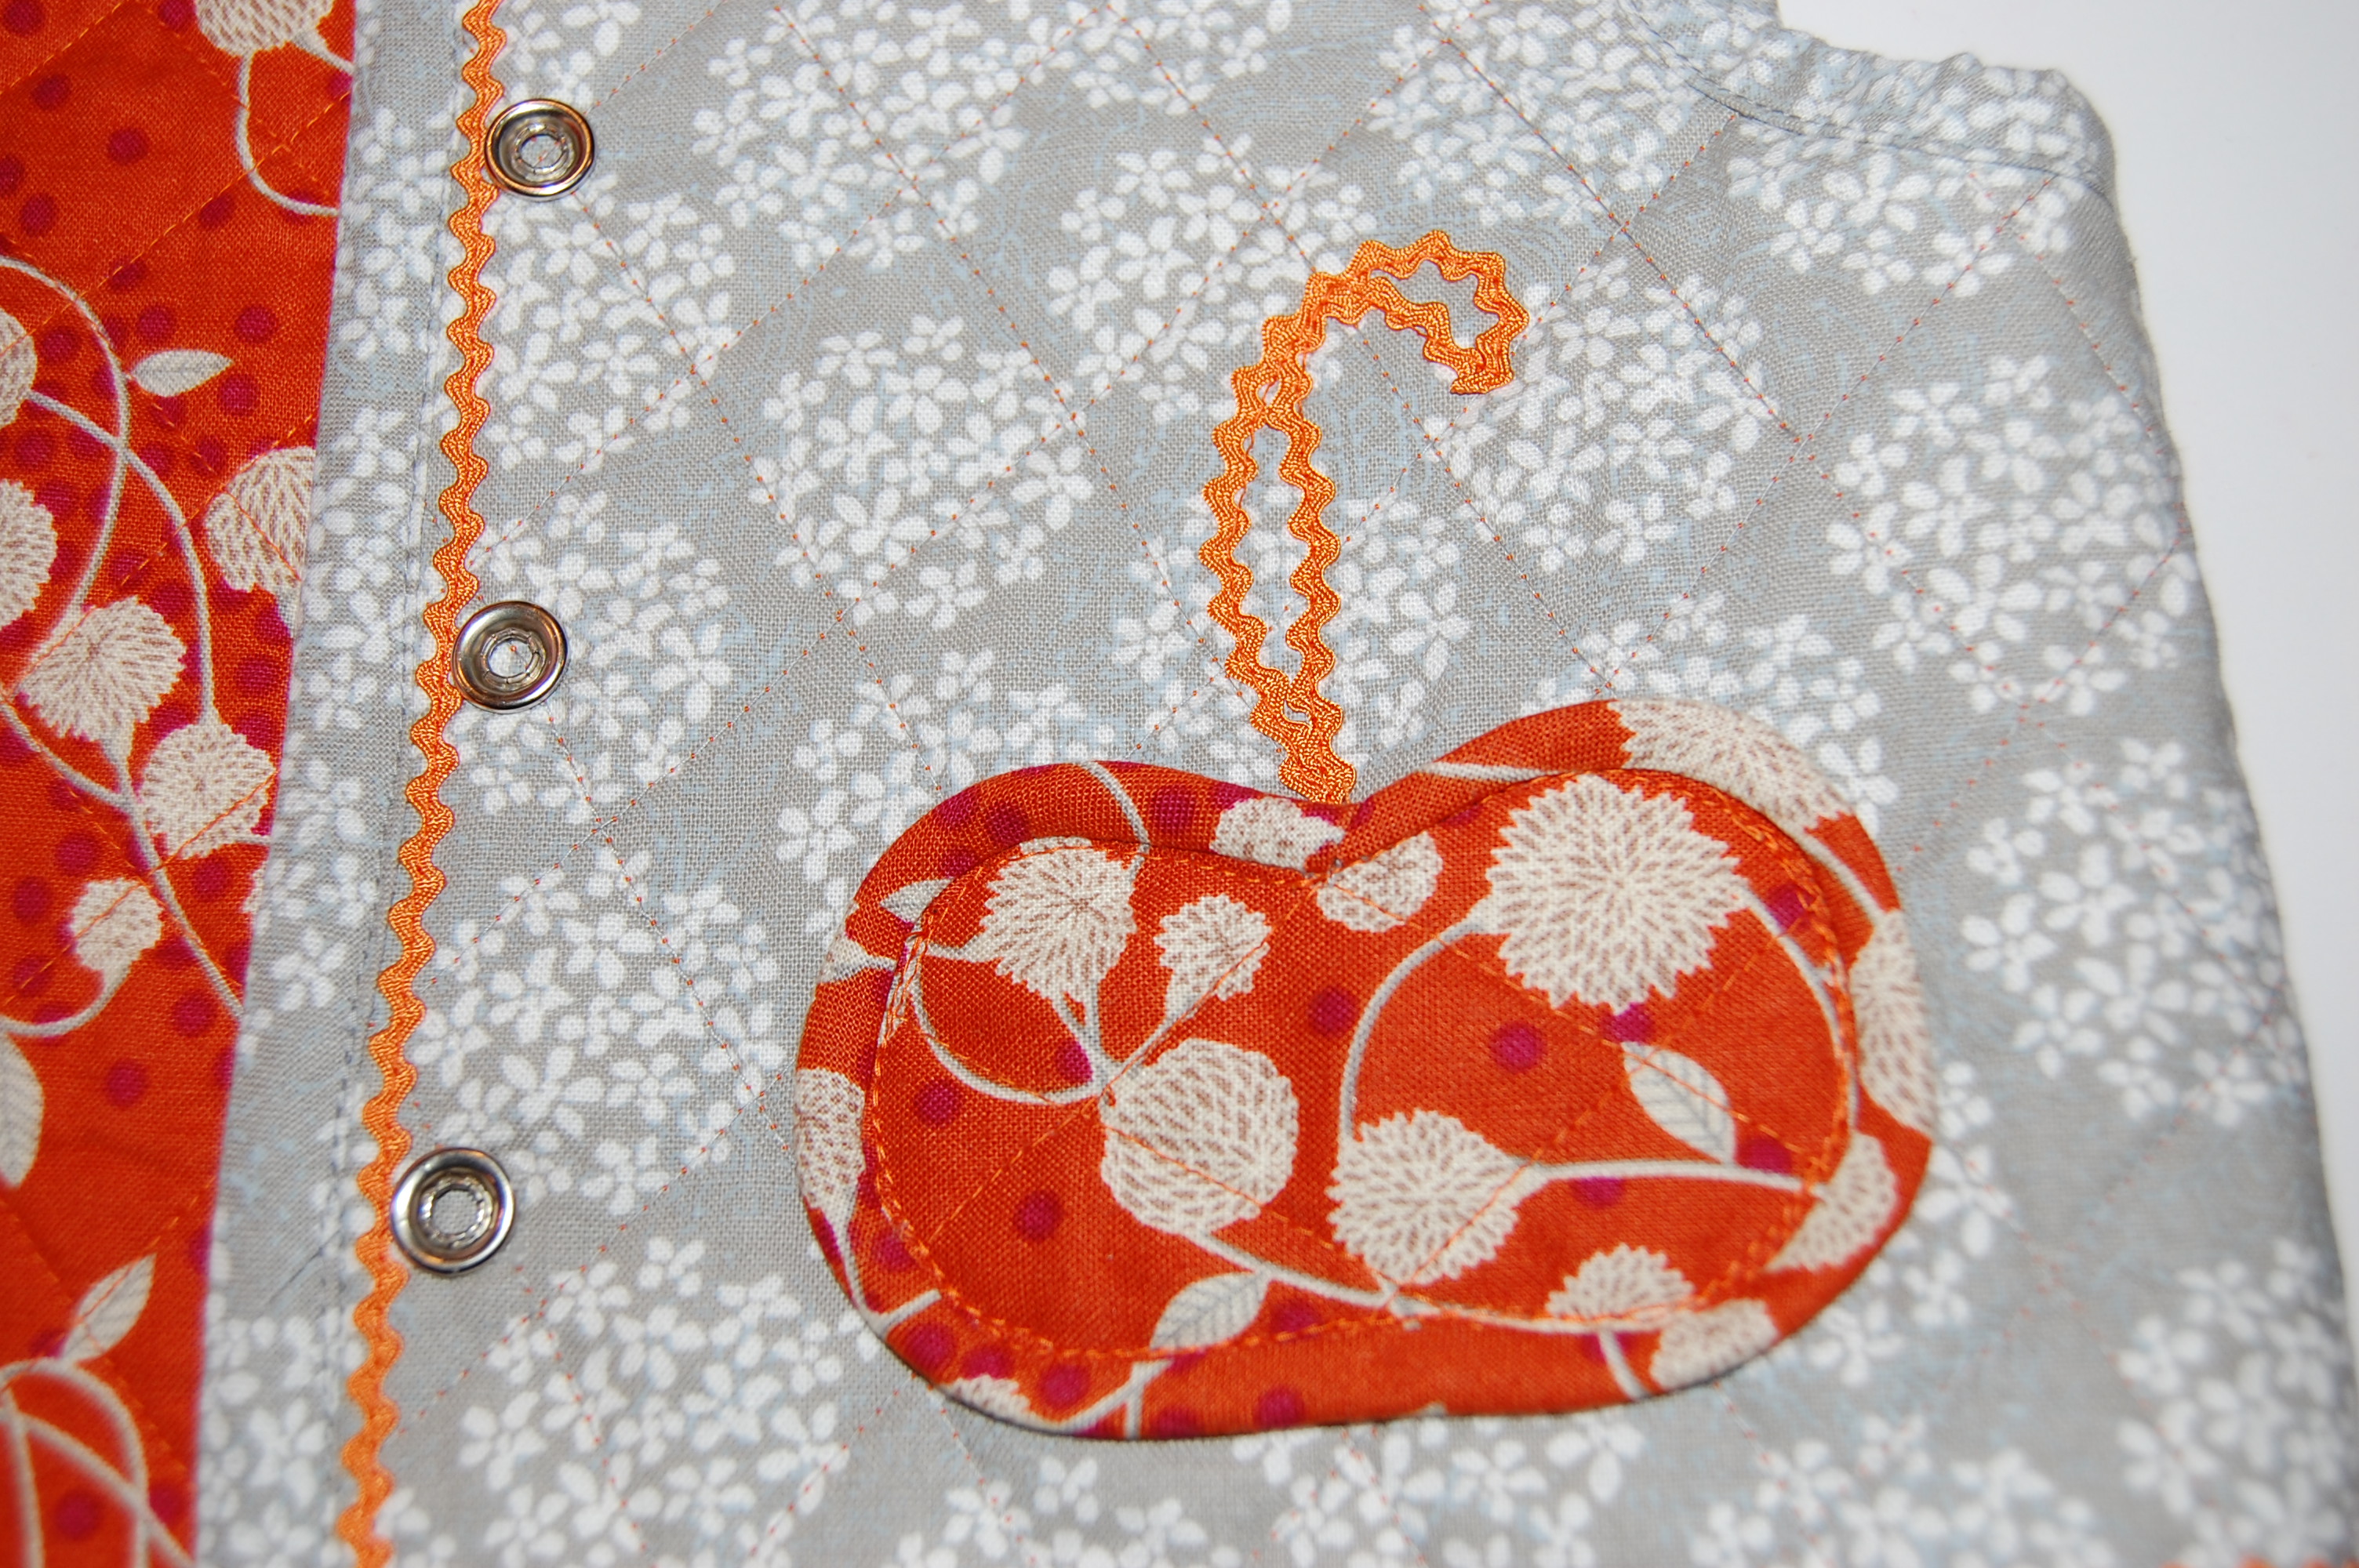
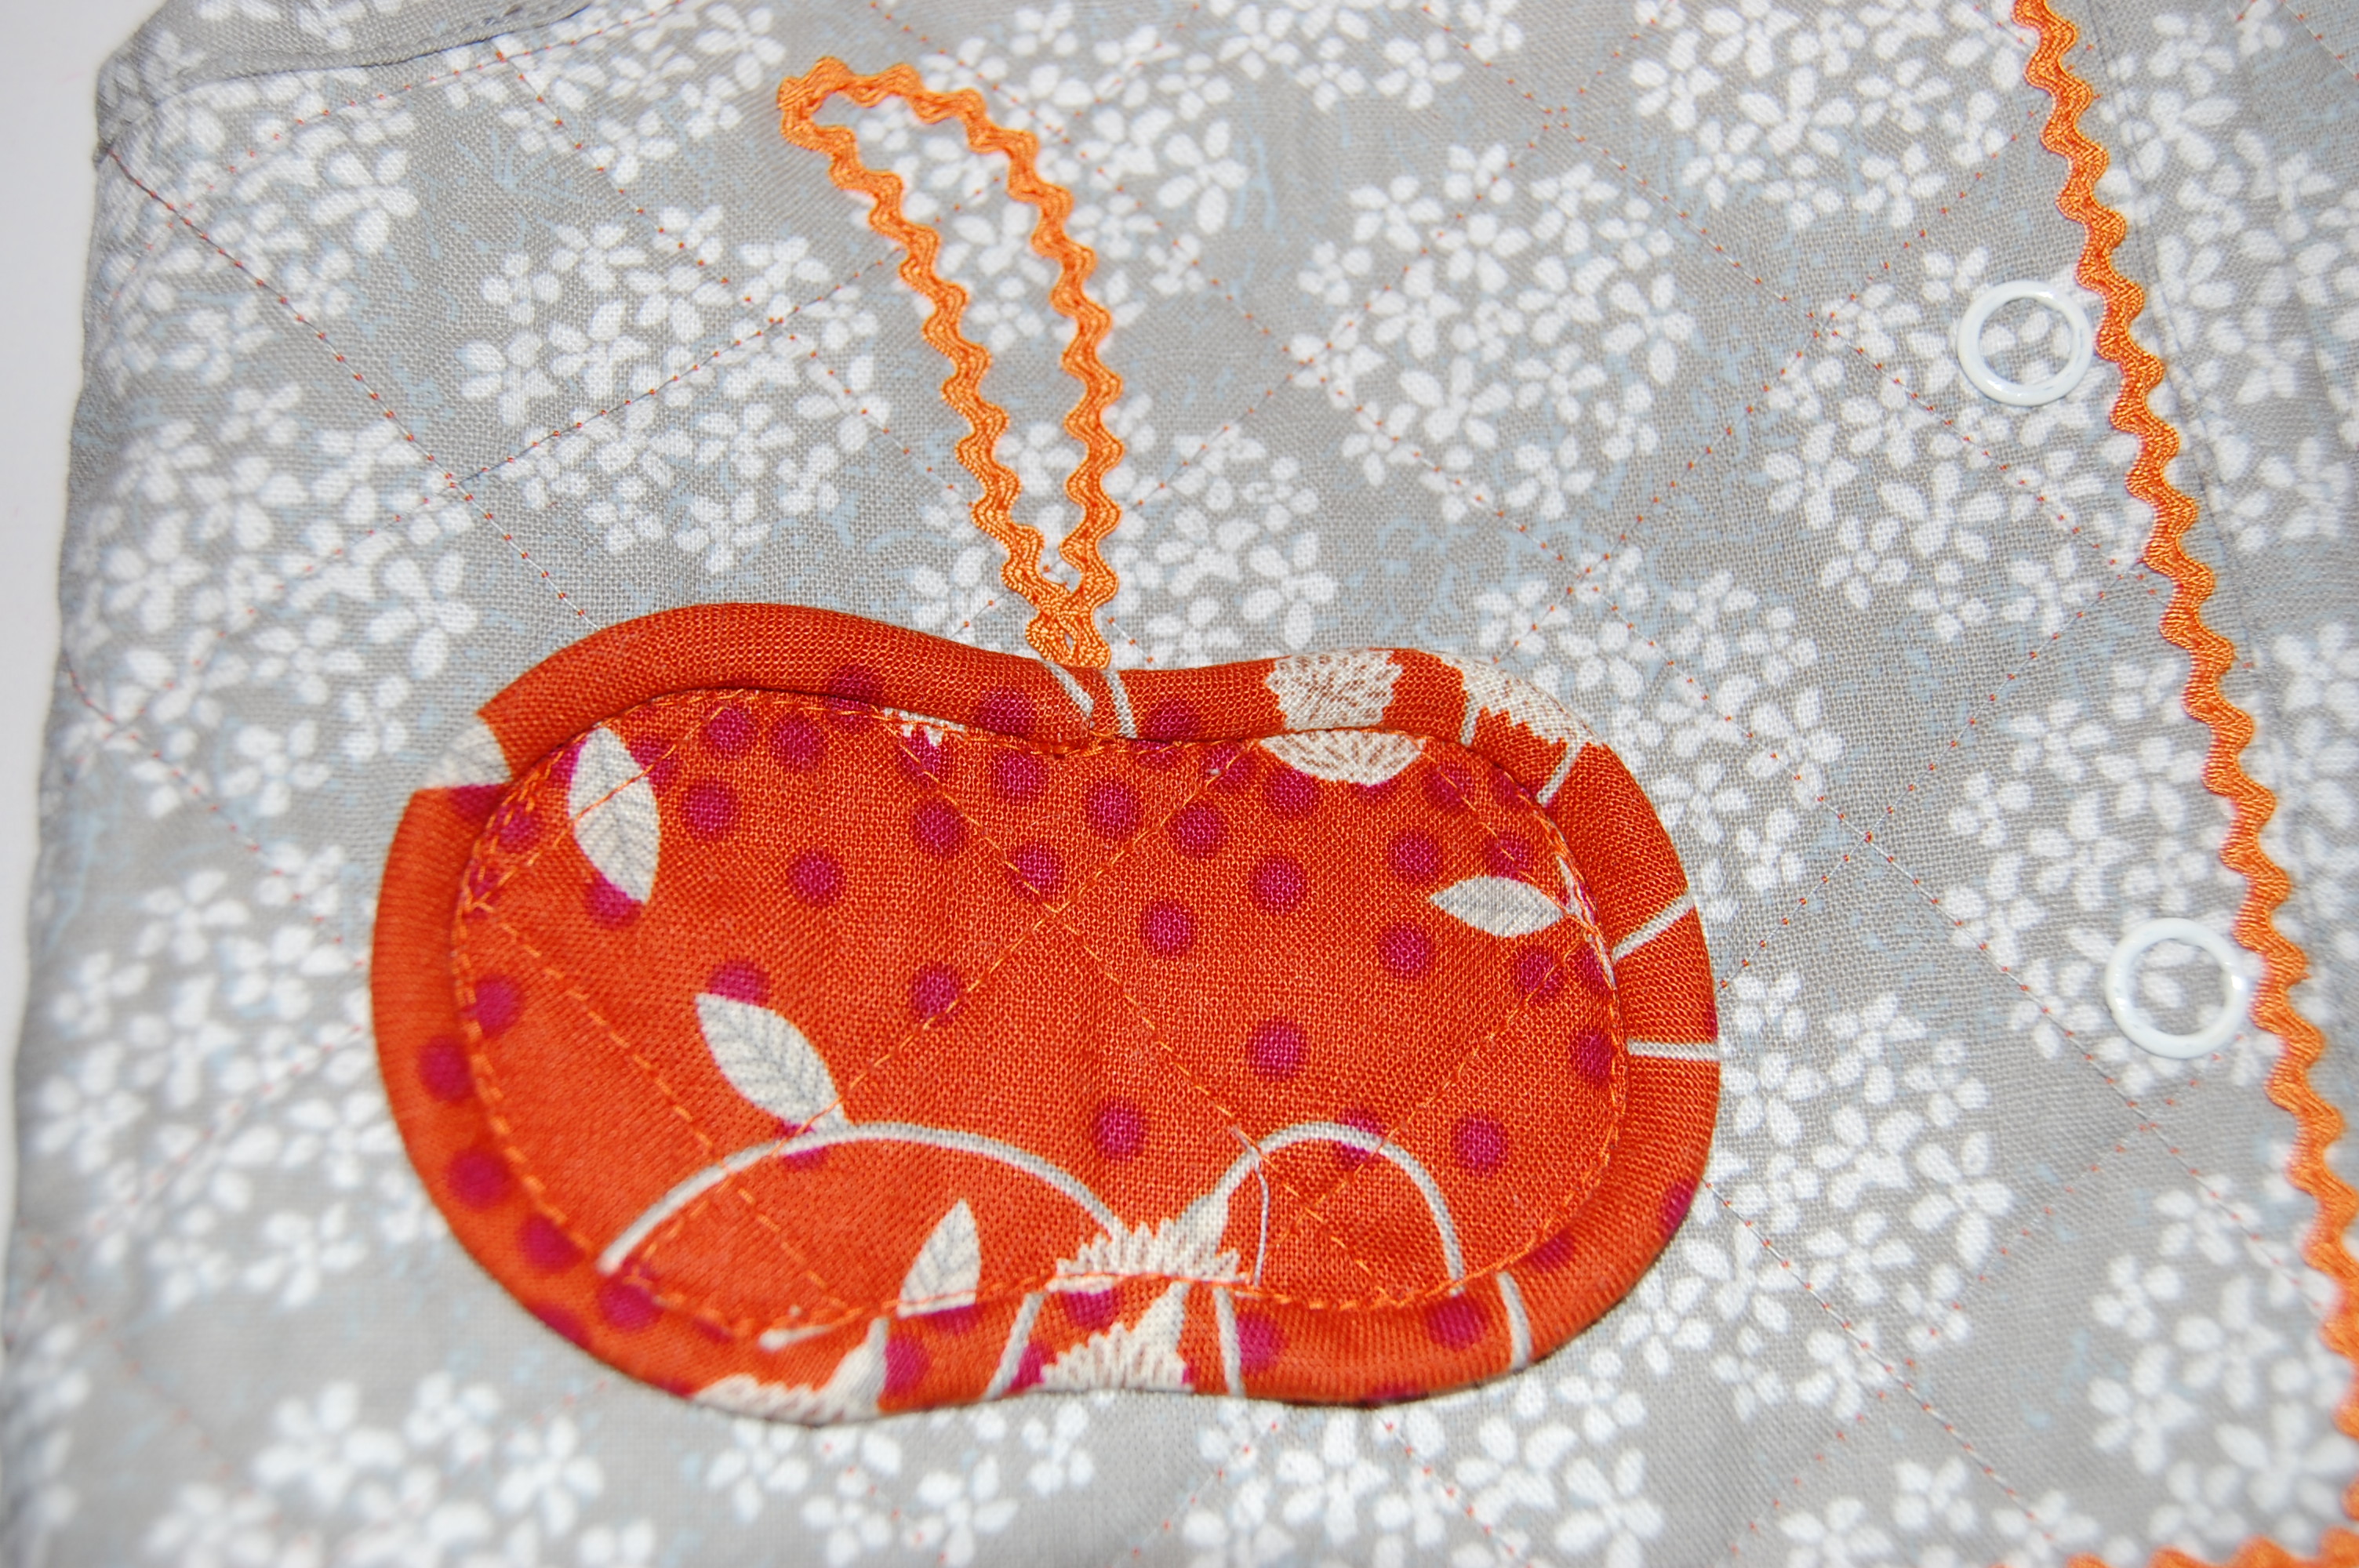
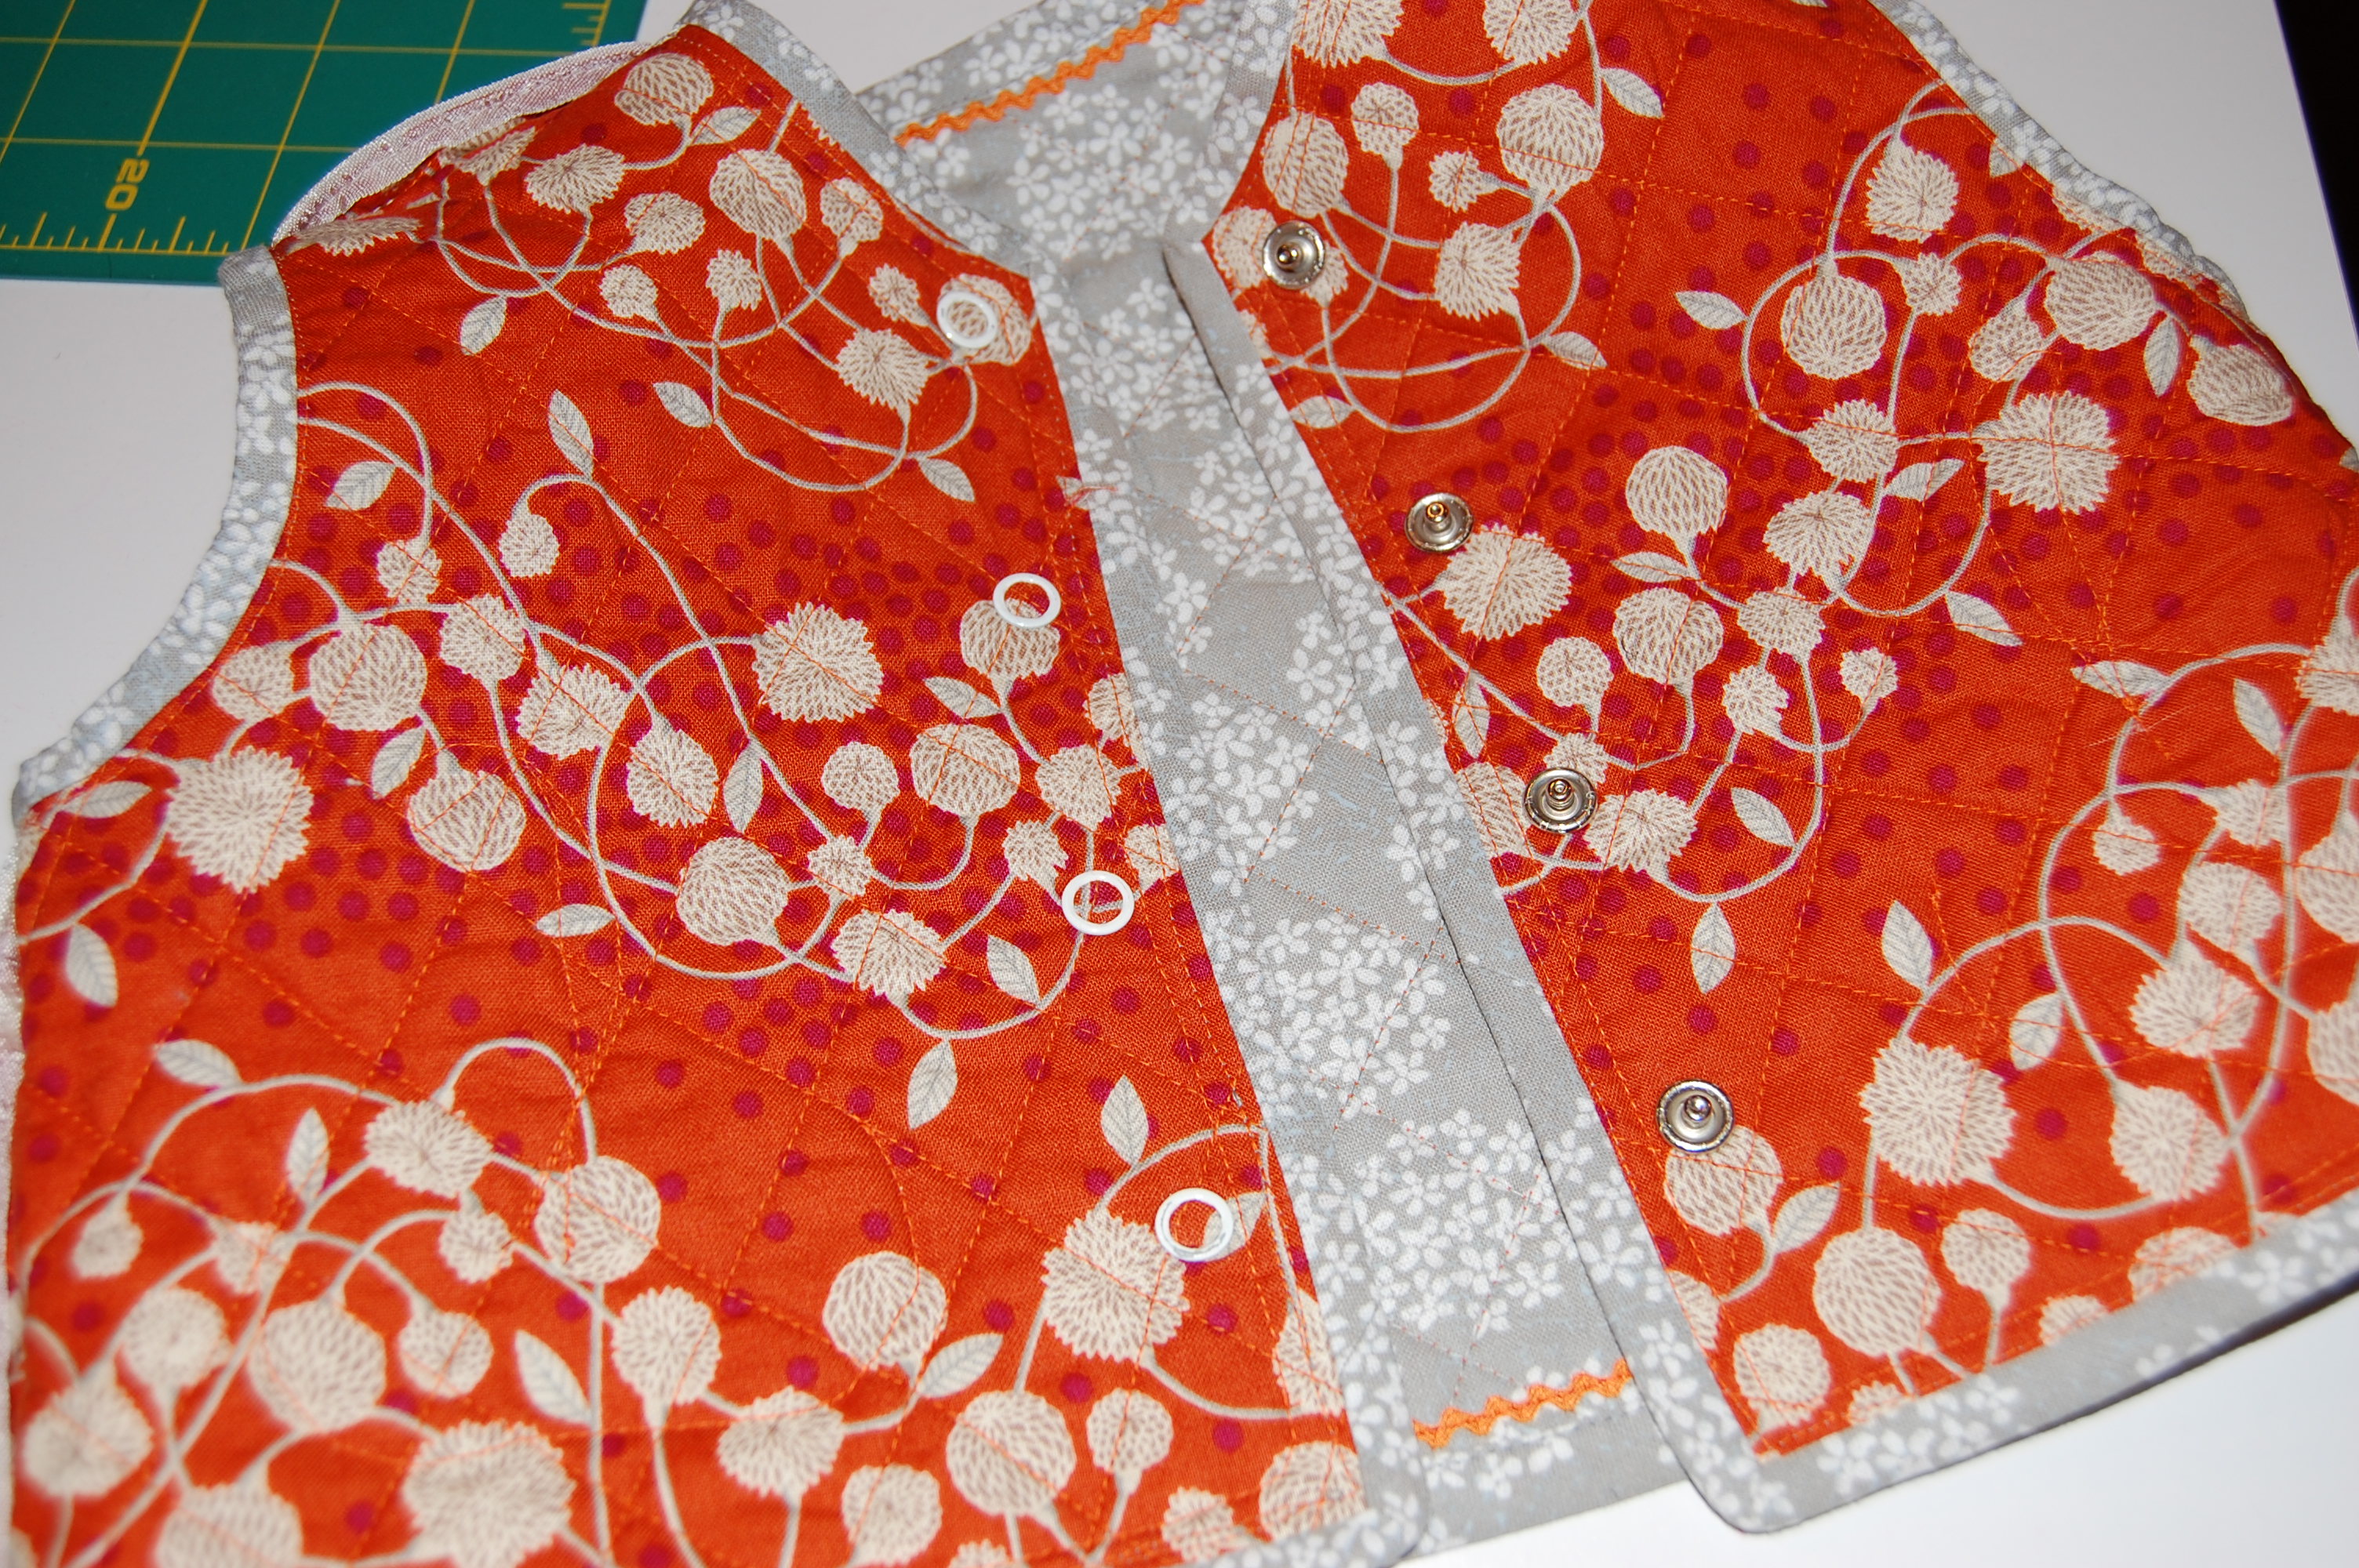
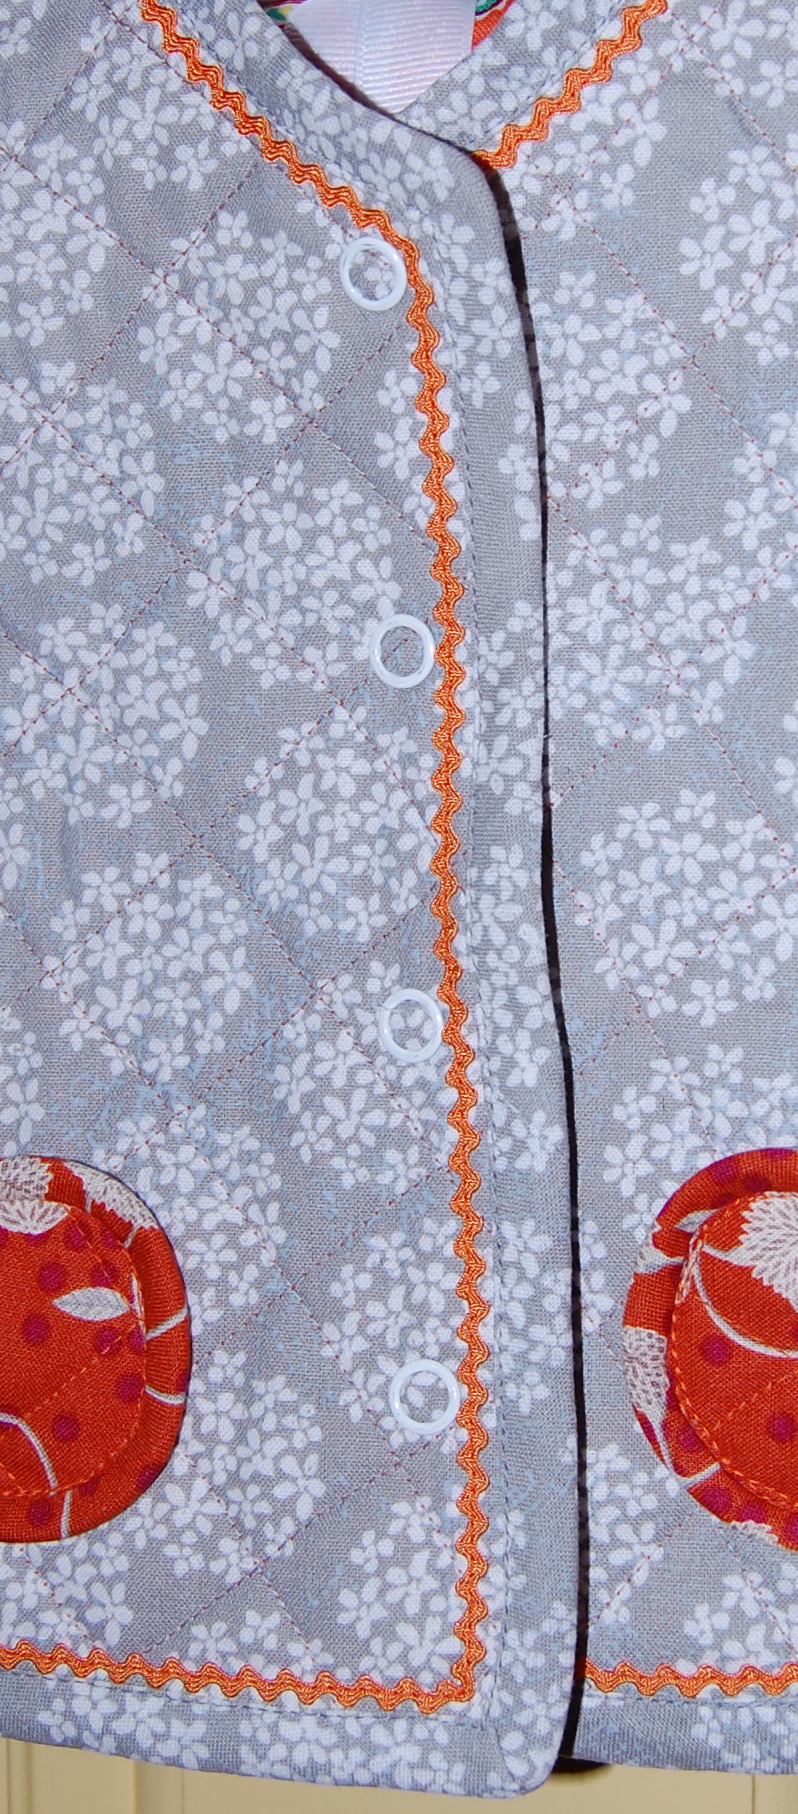
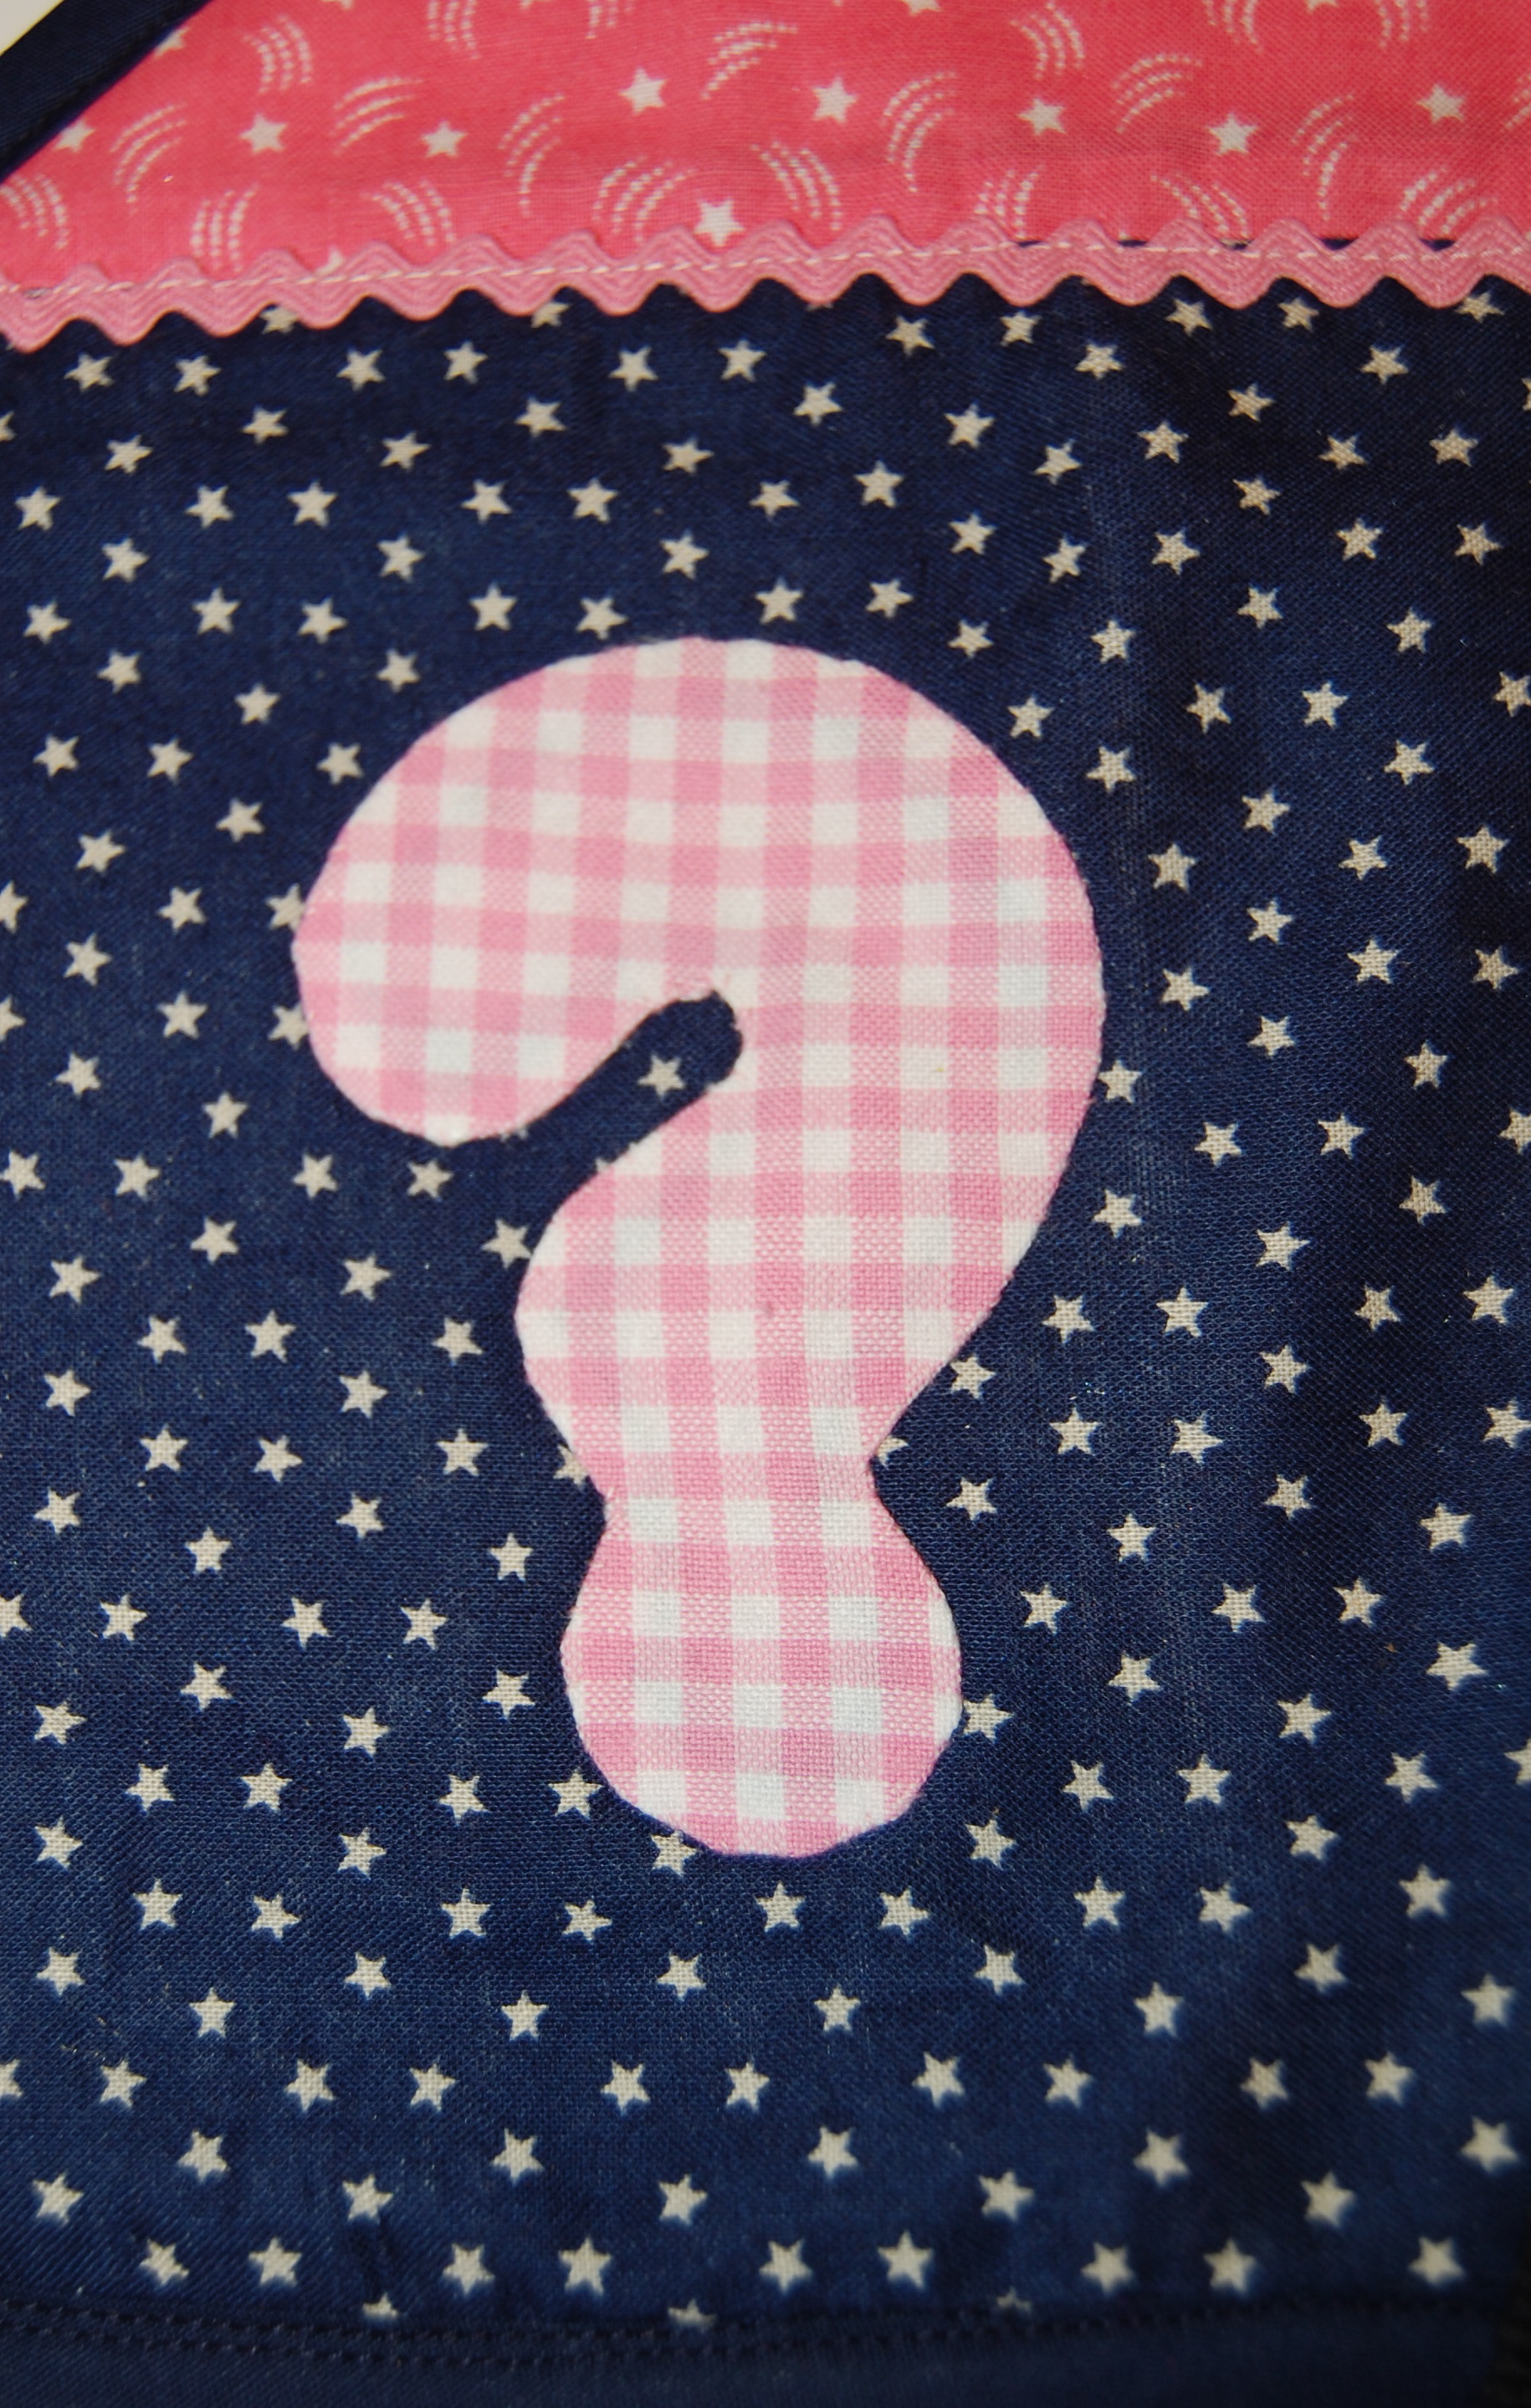
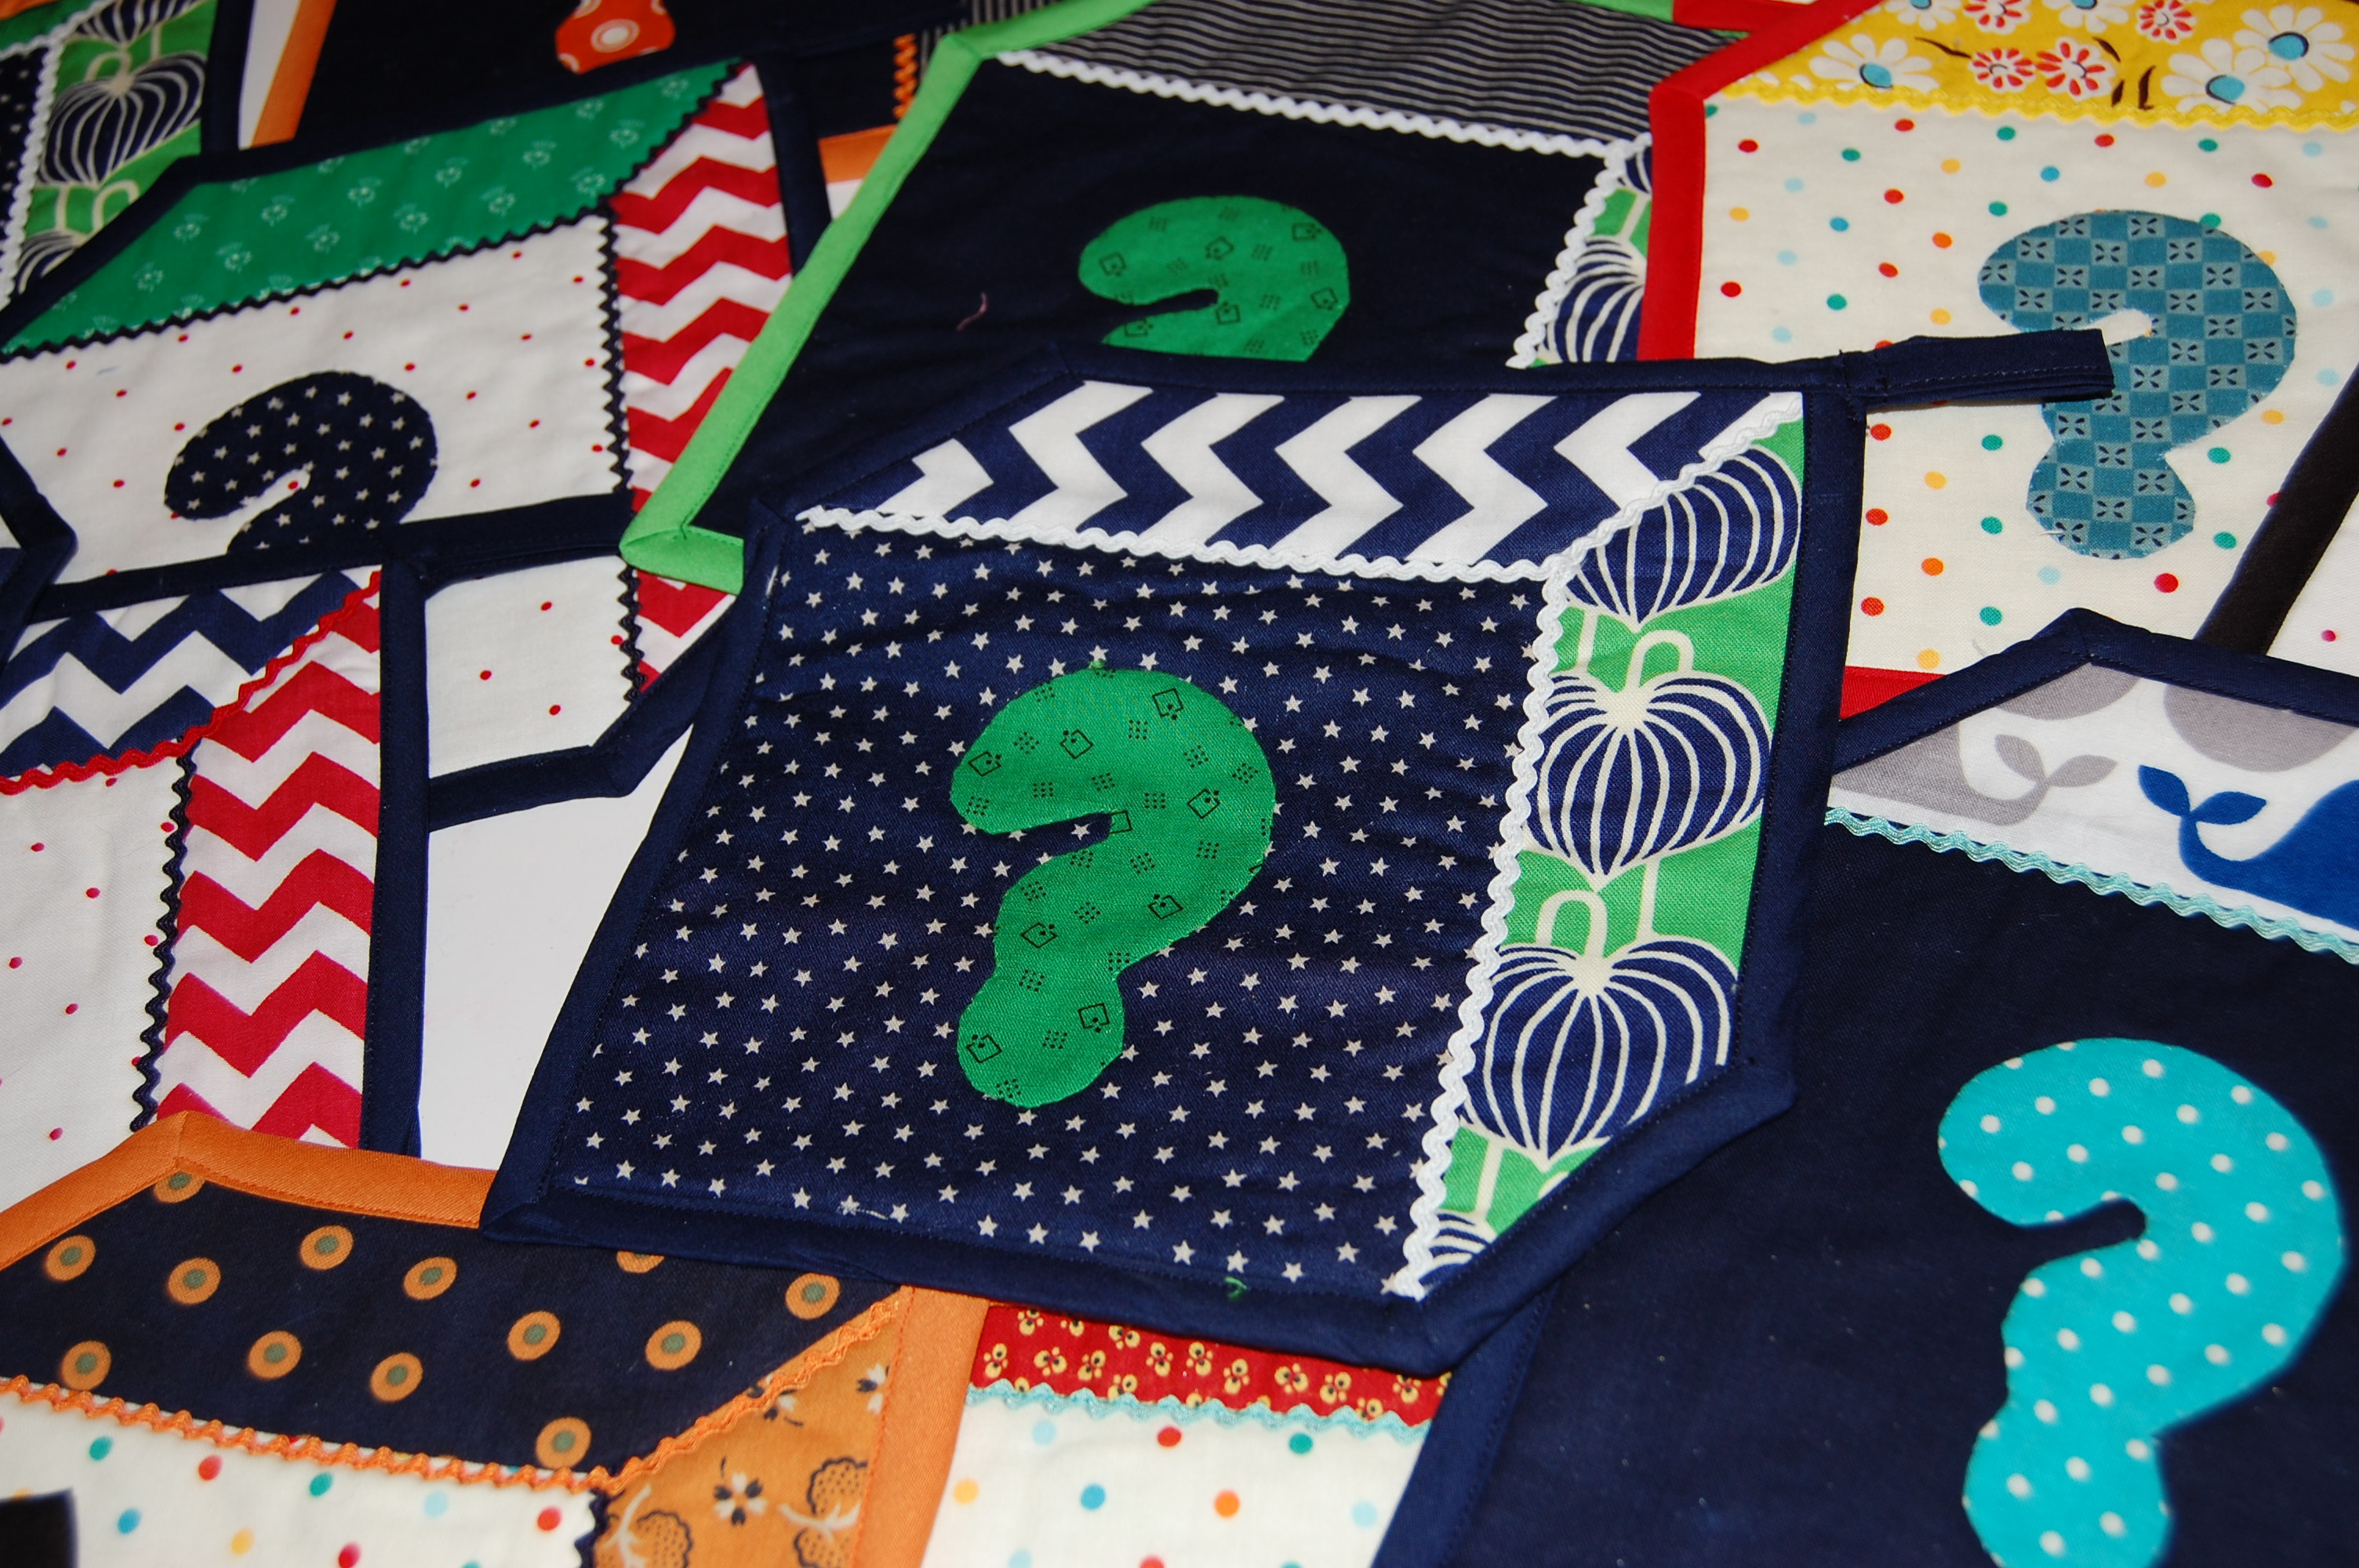
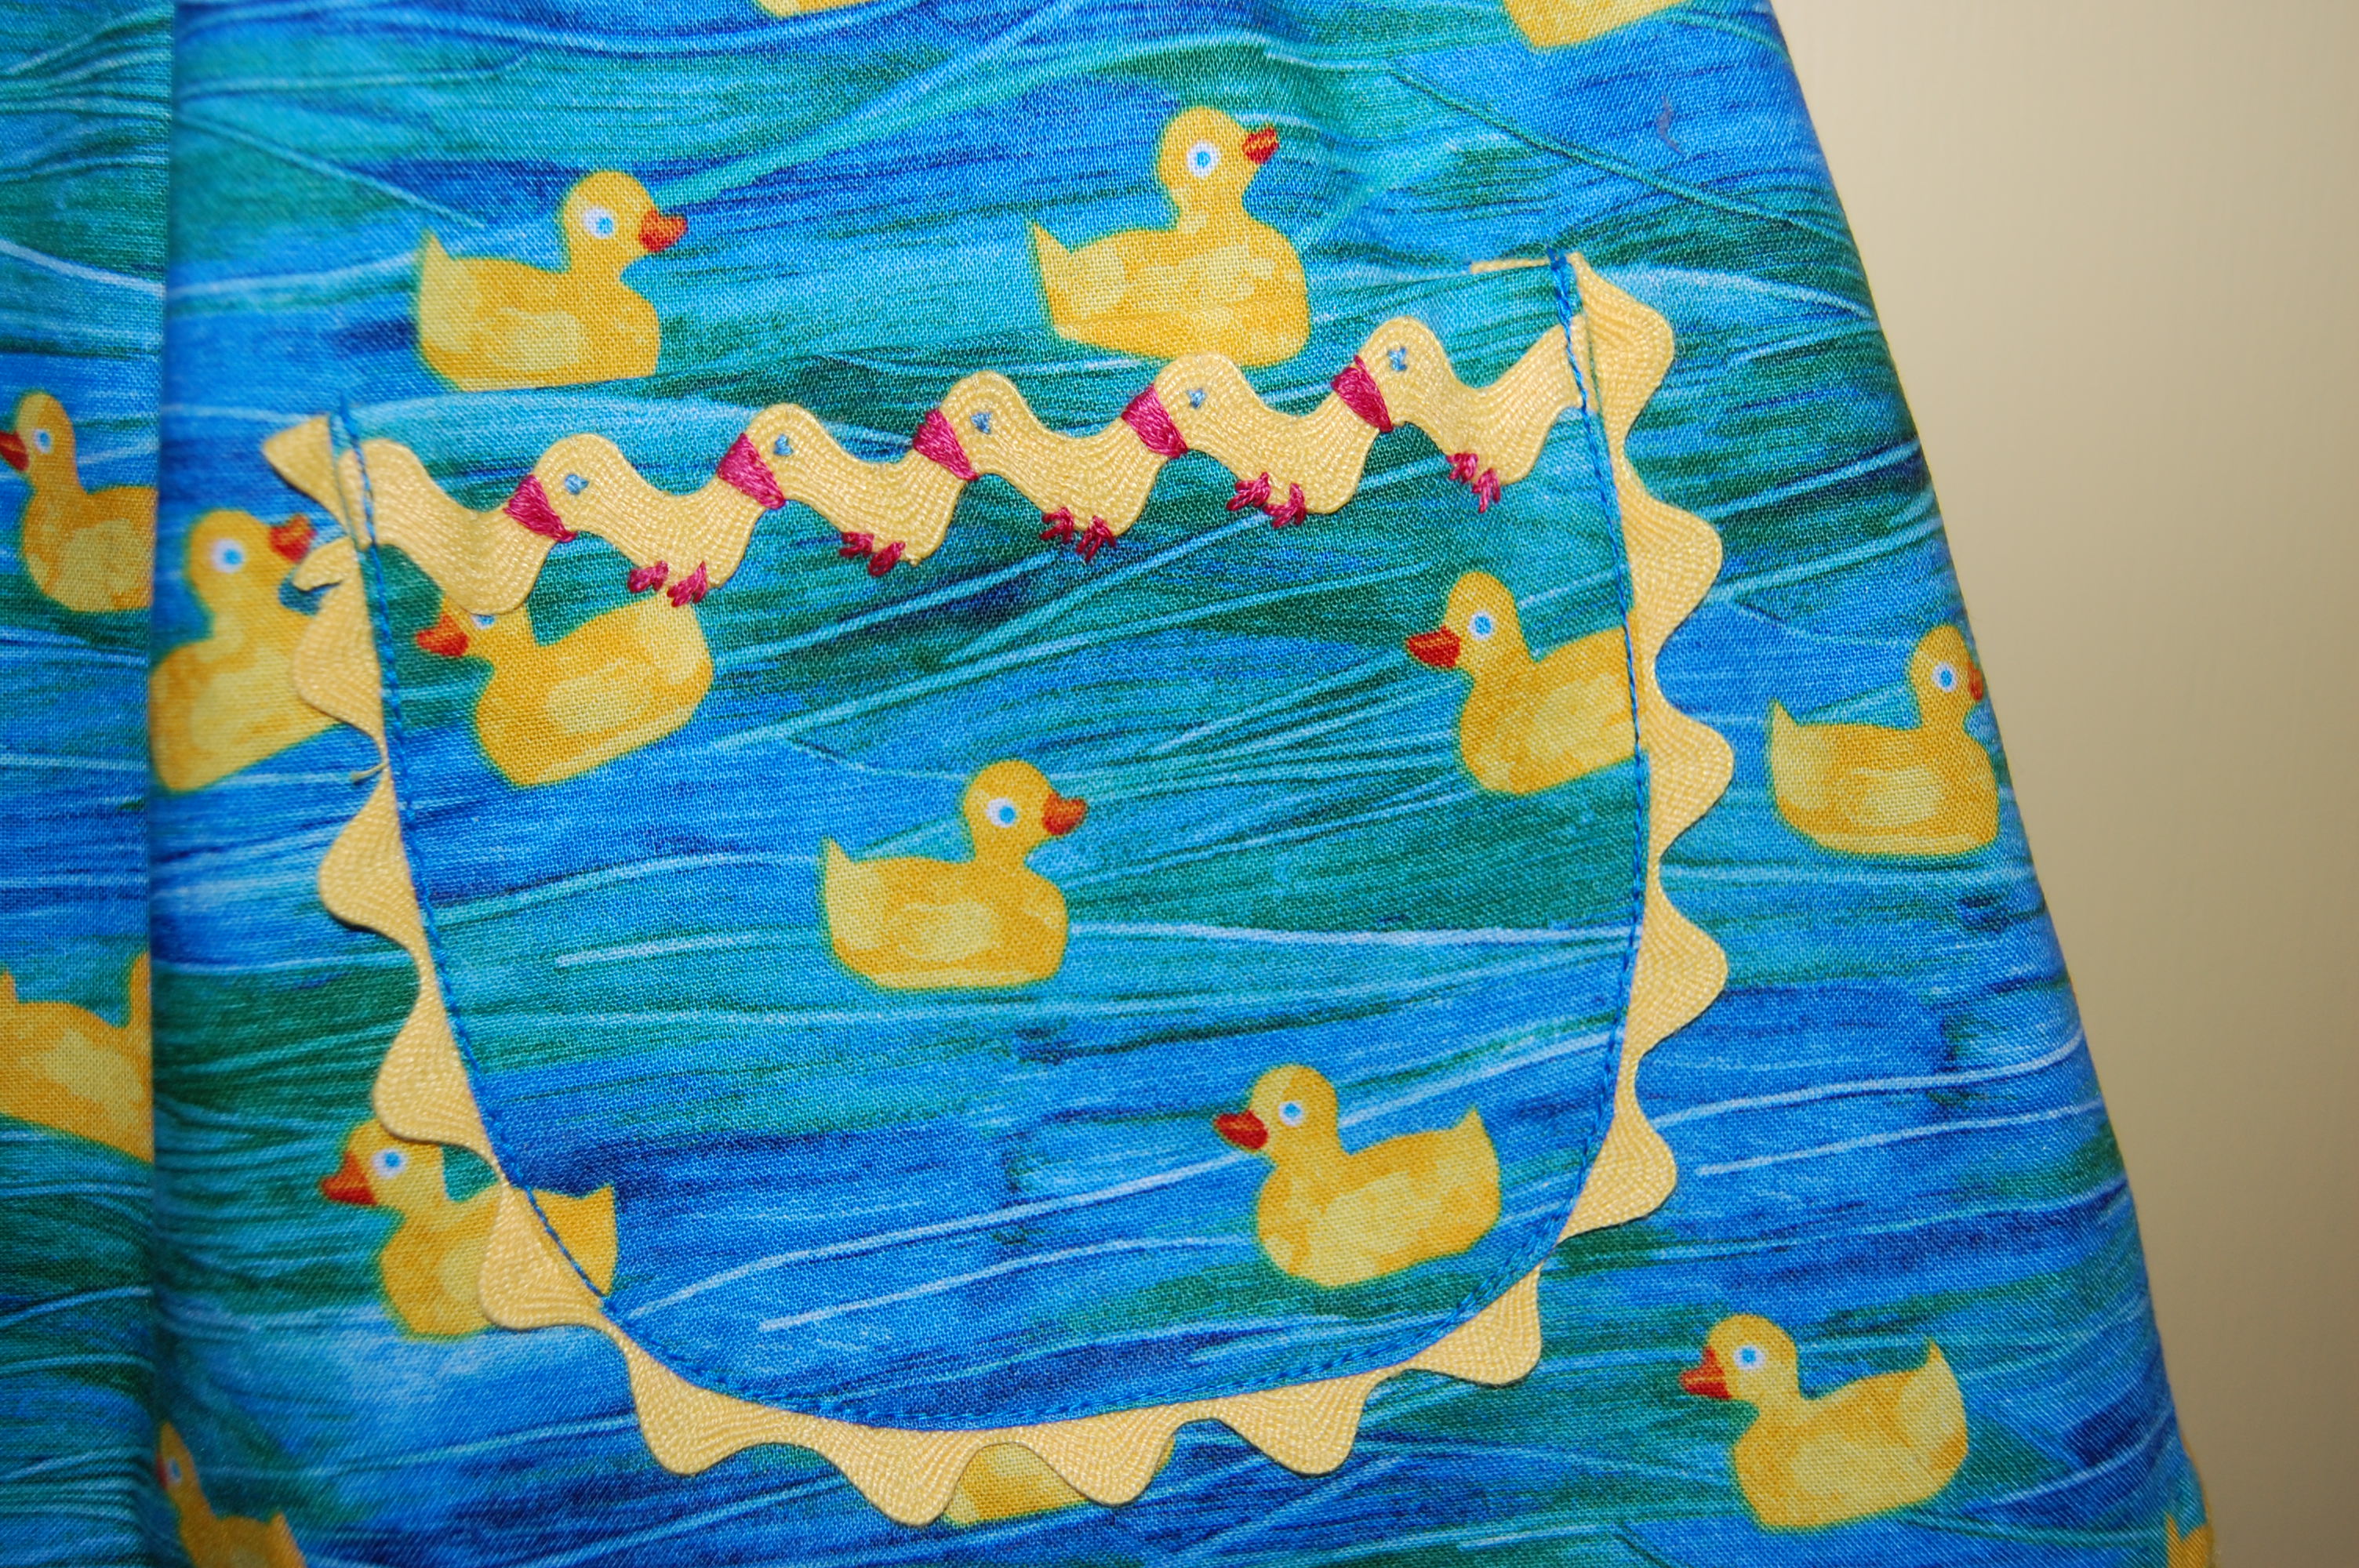
Rick rack and primary colors – a favorite combination!
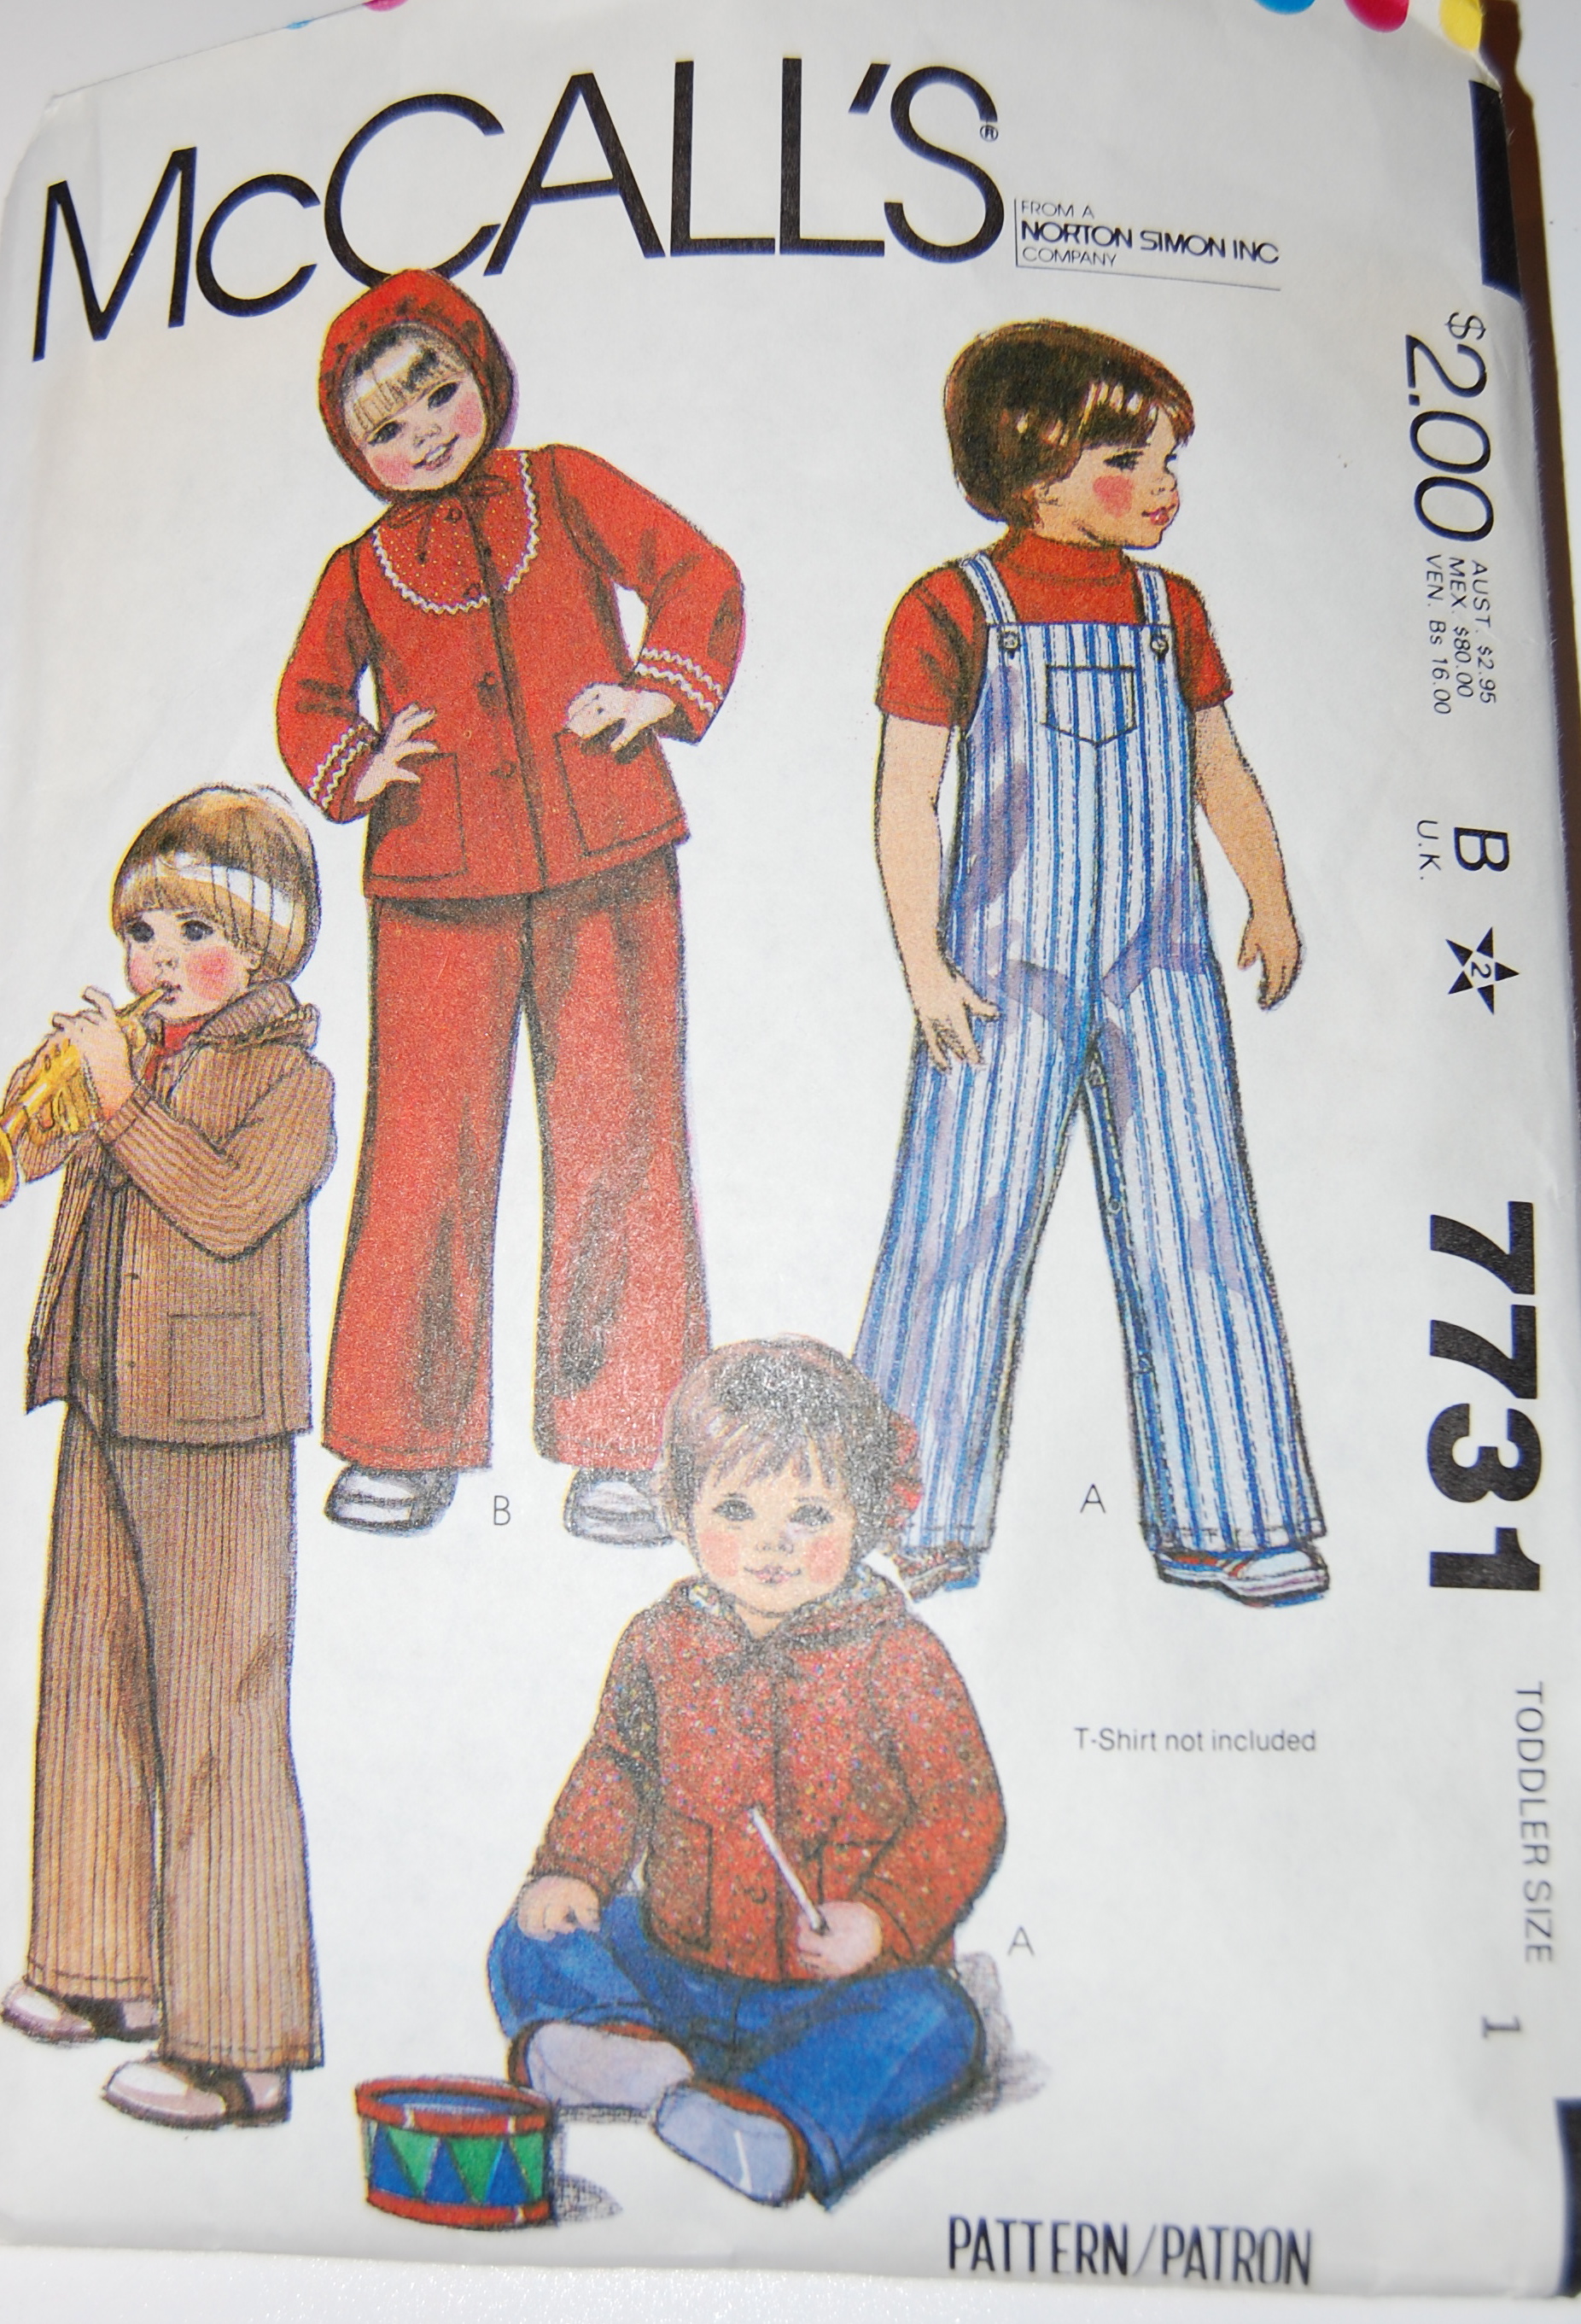
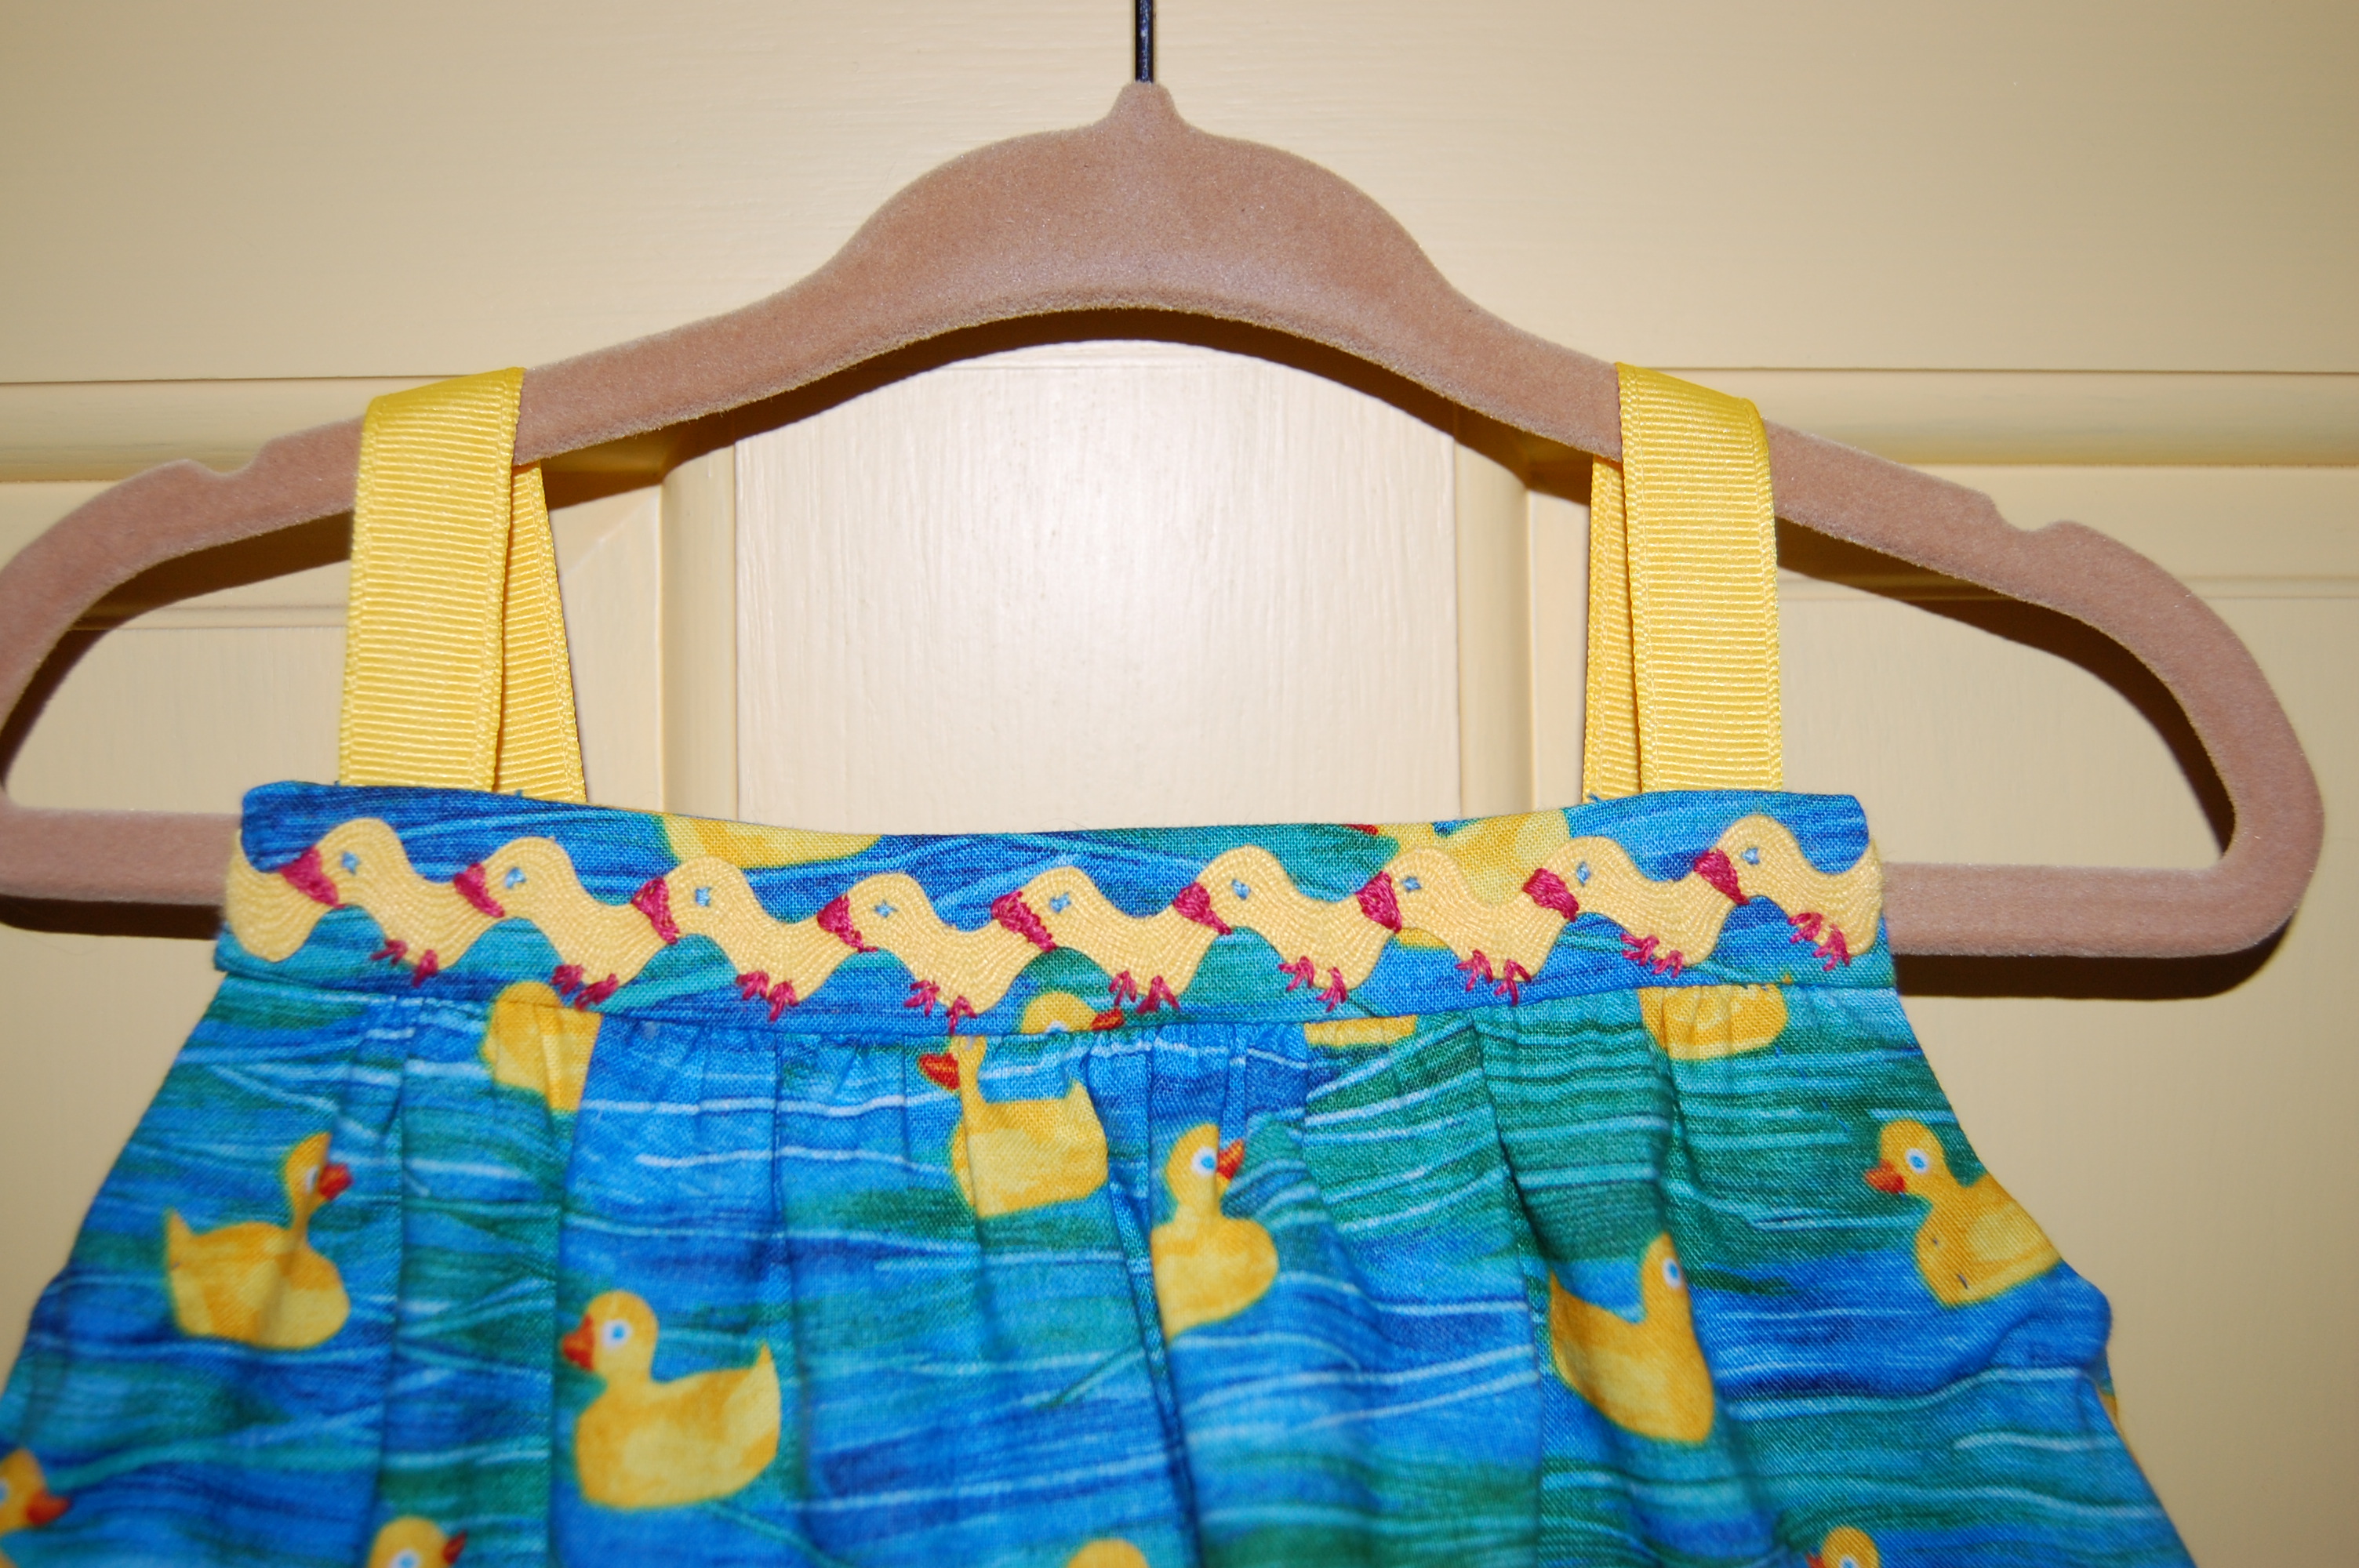
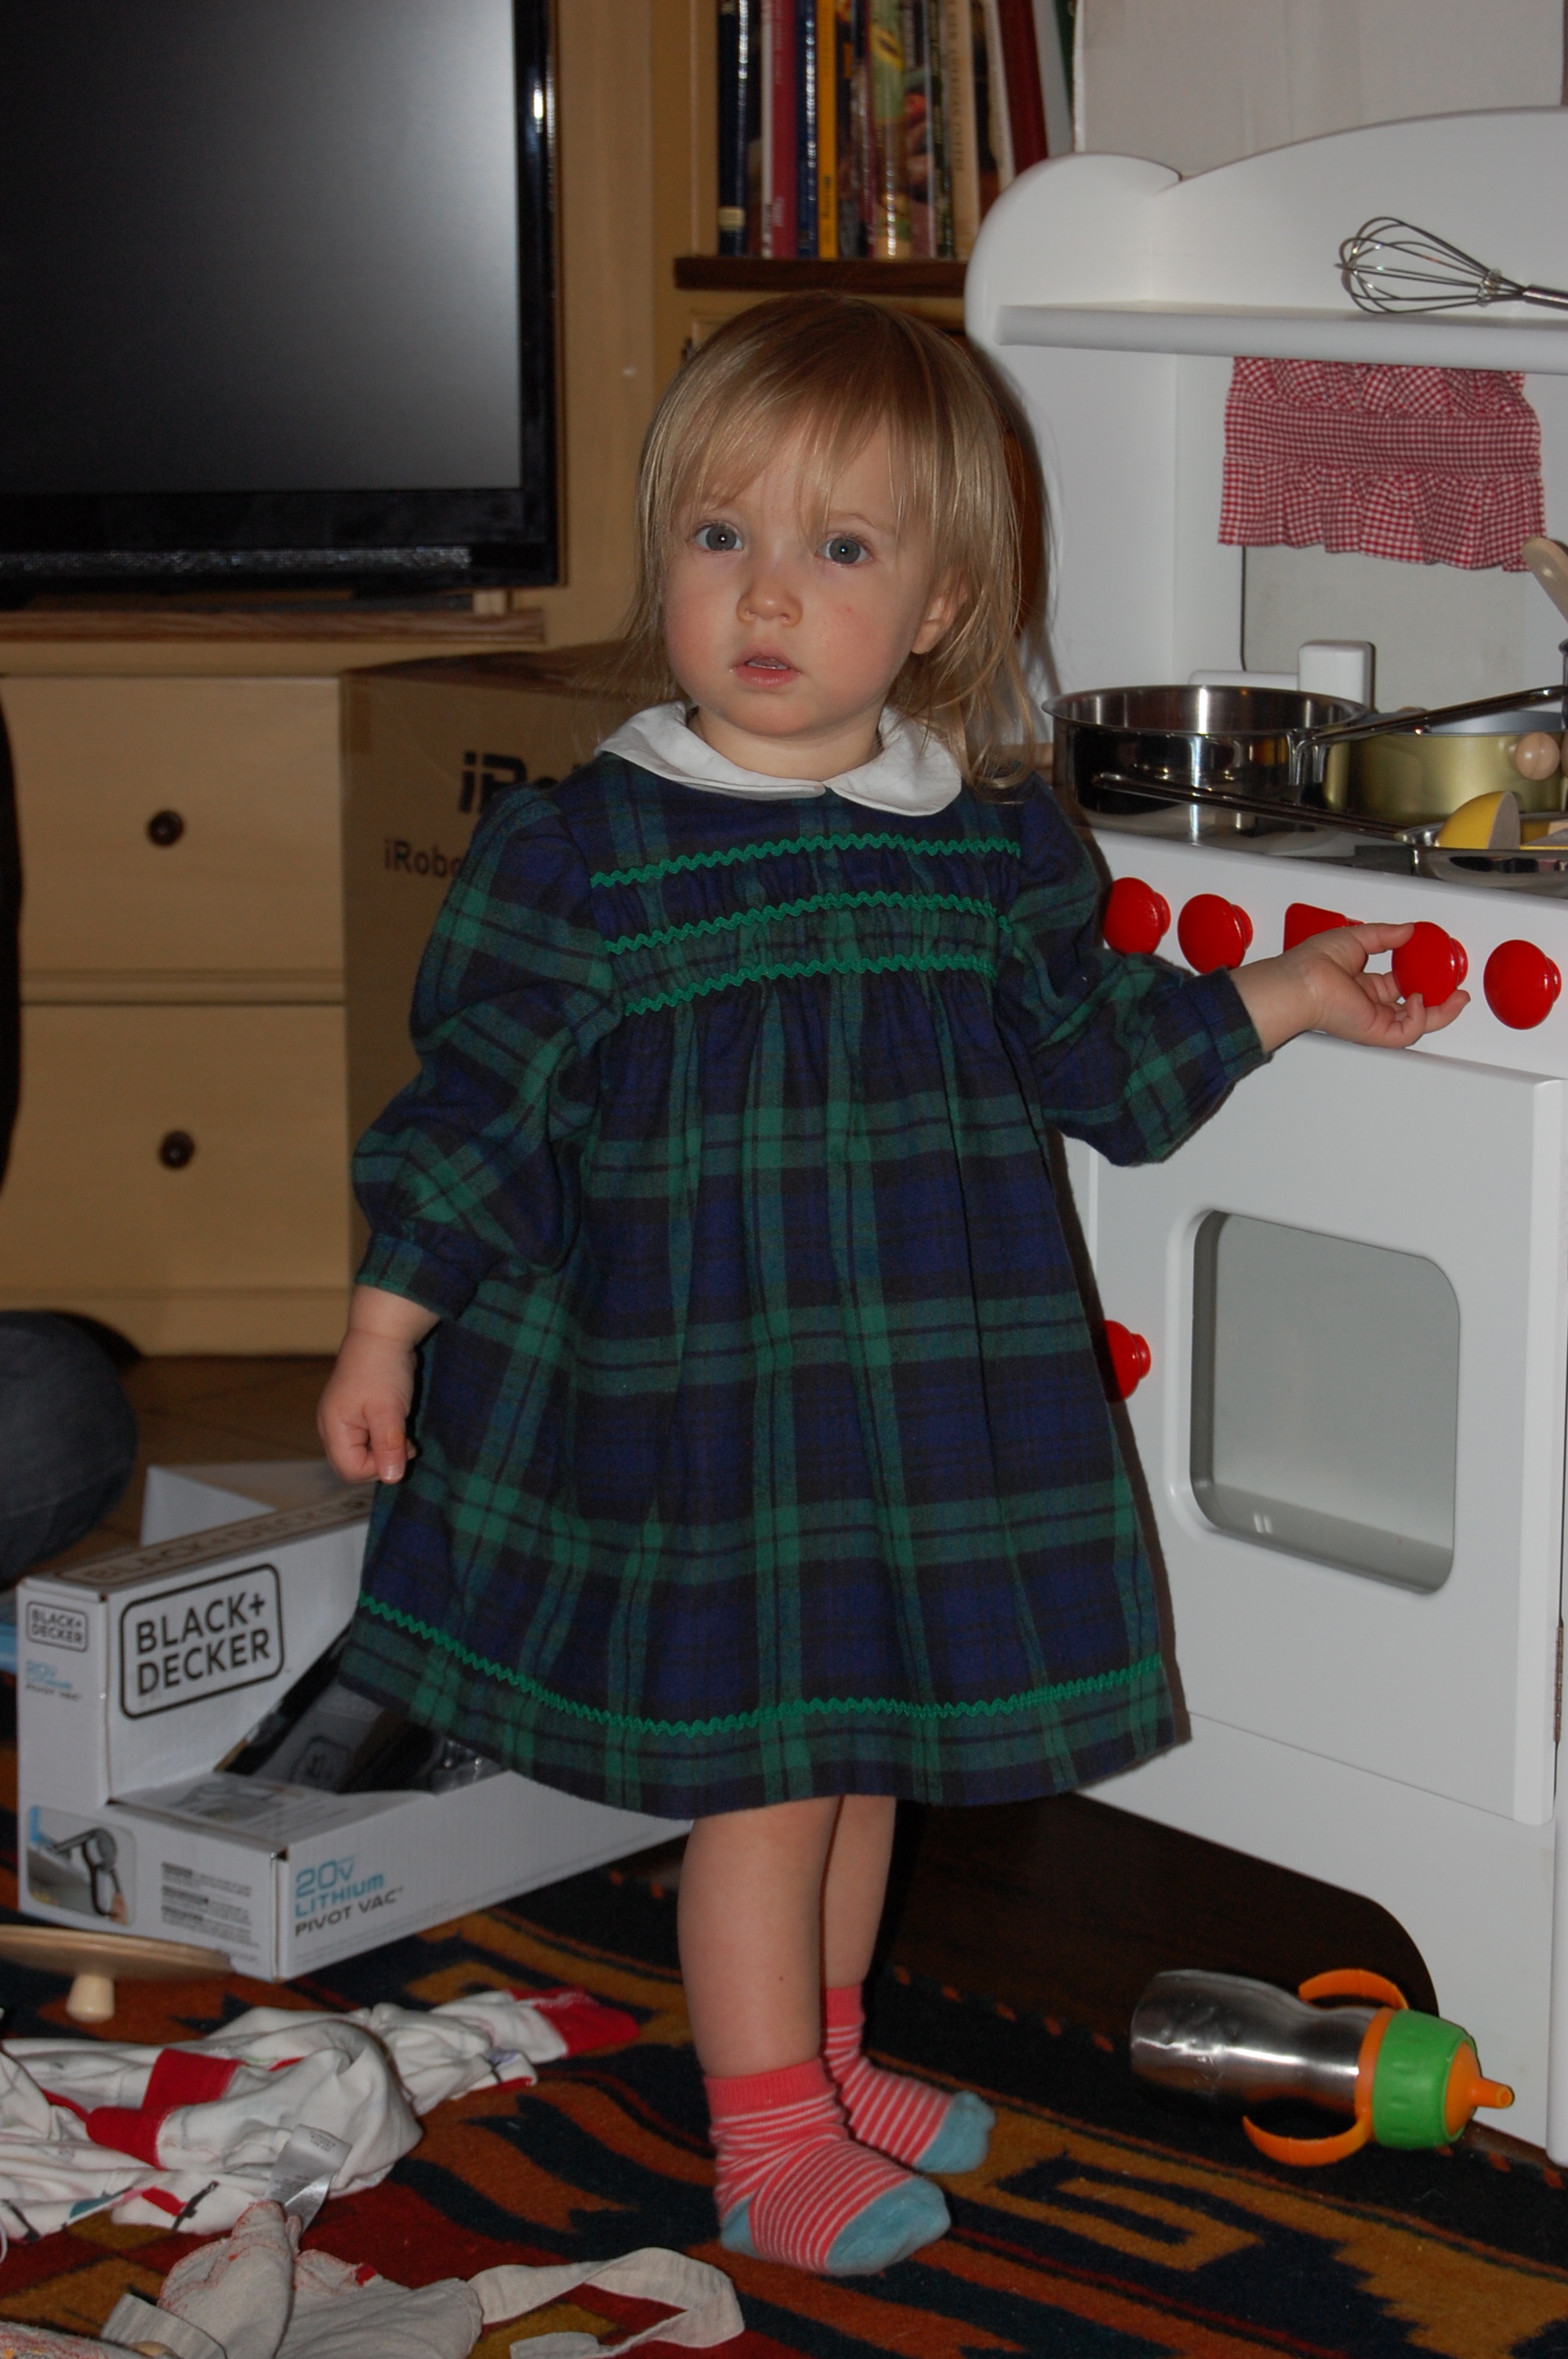
I knew this was the year I had to make this flannel “Black-watch” plaid dress.

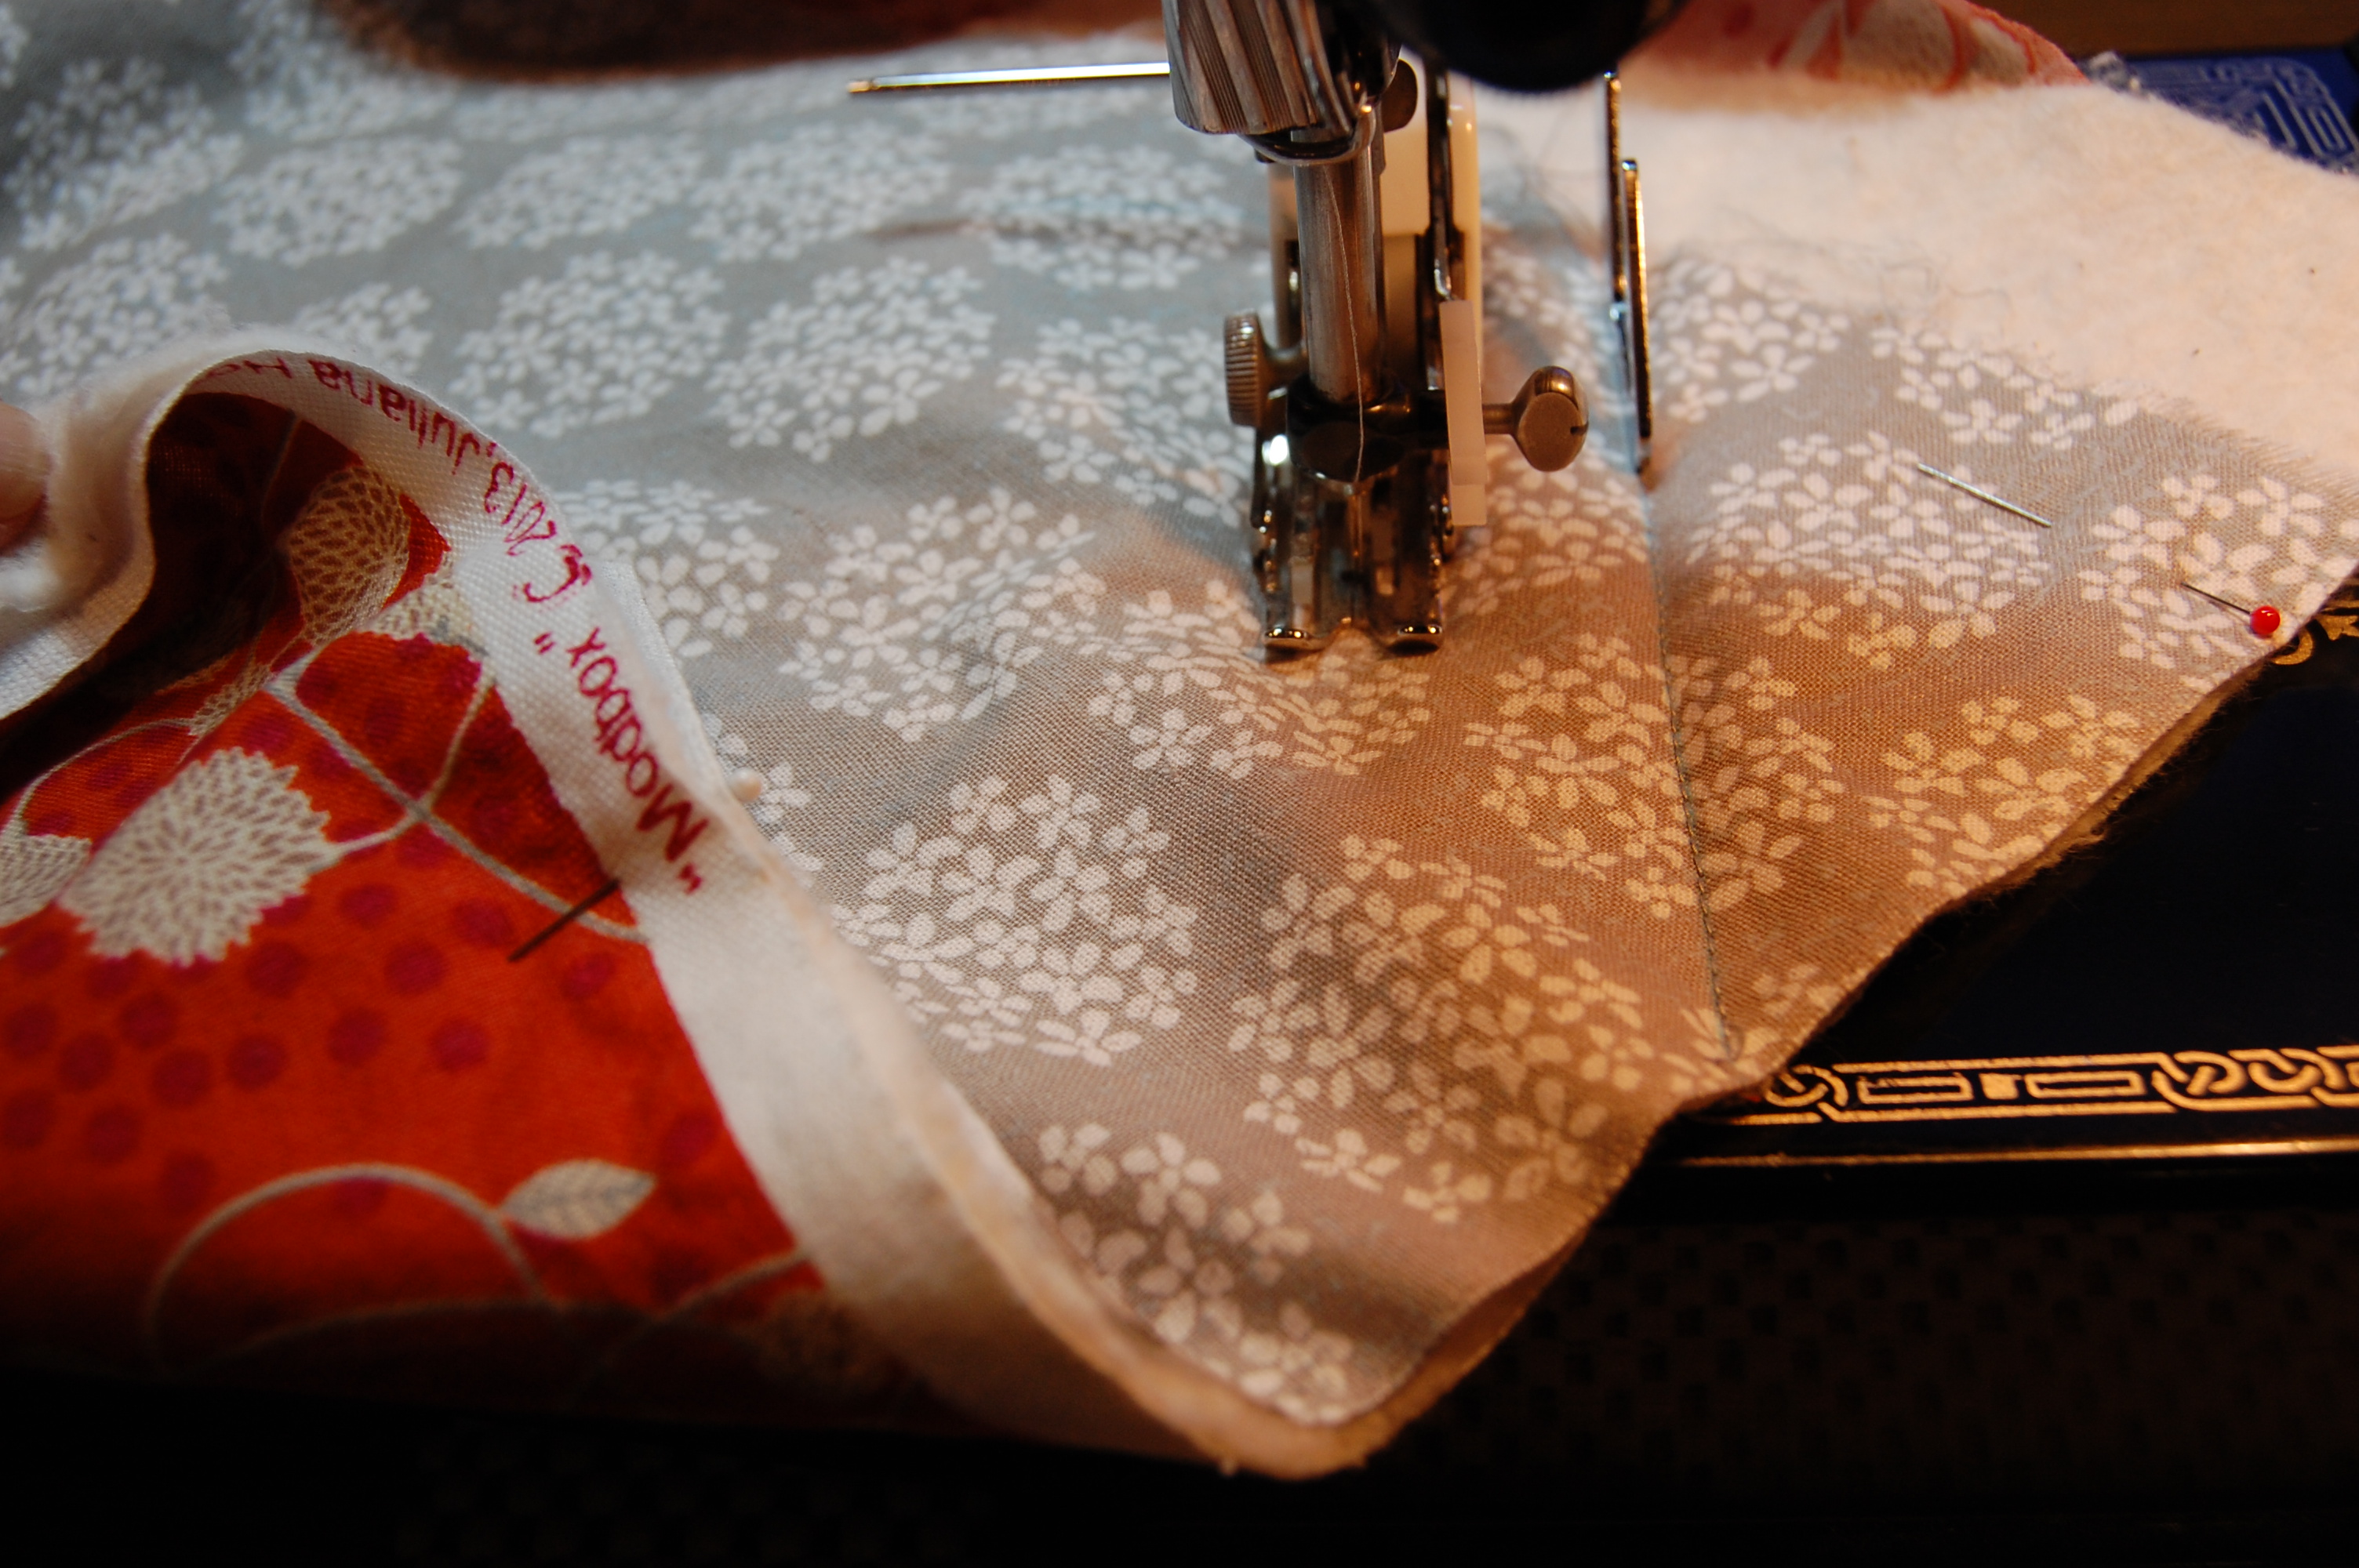
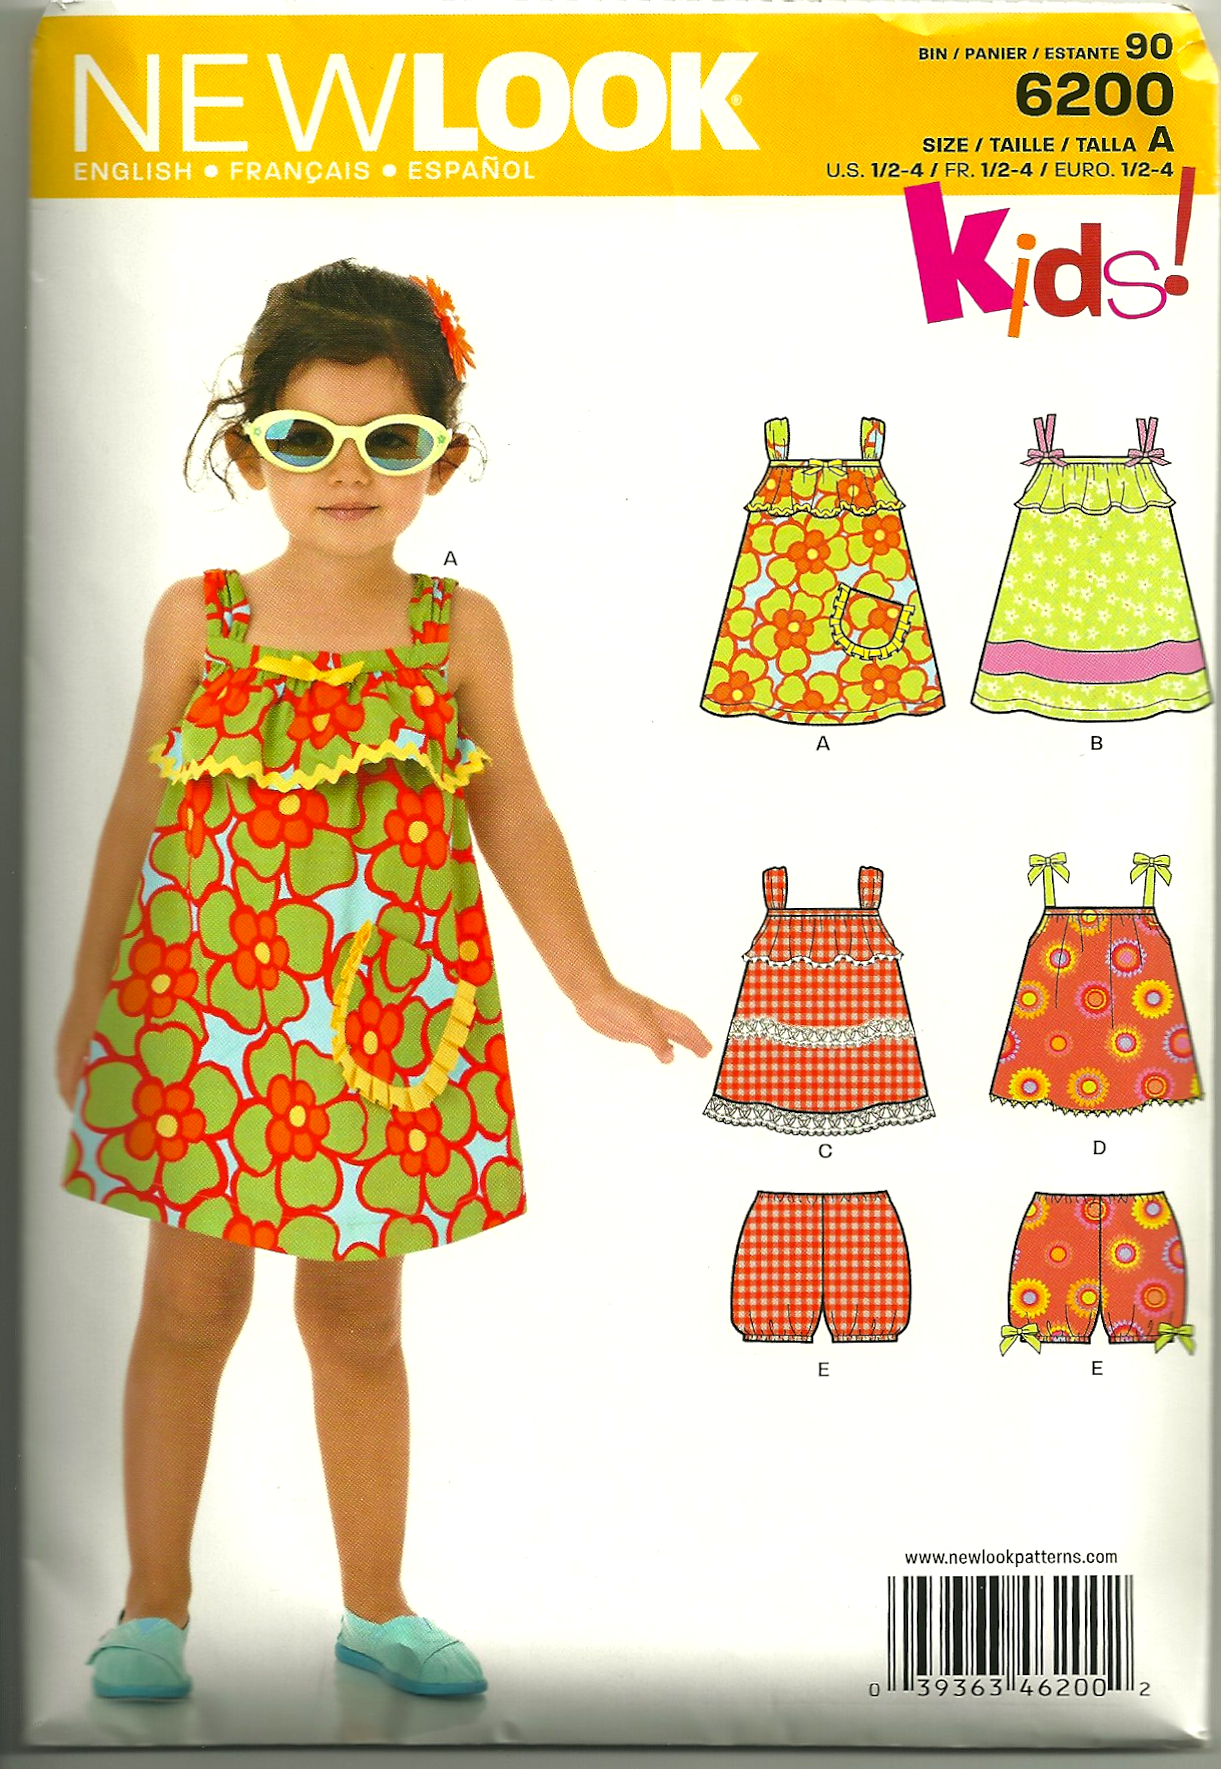
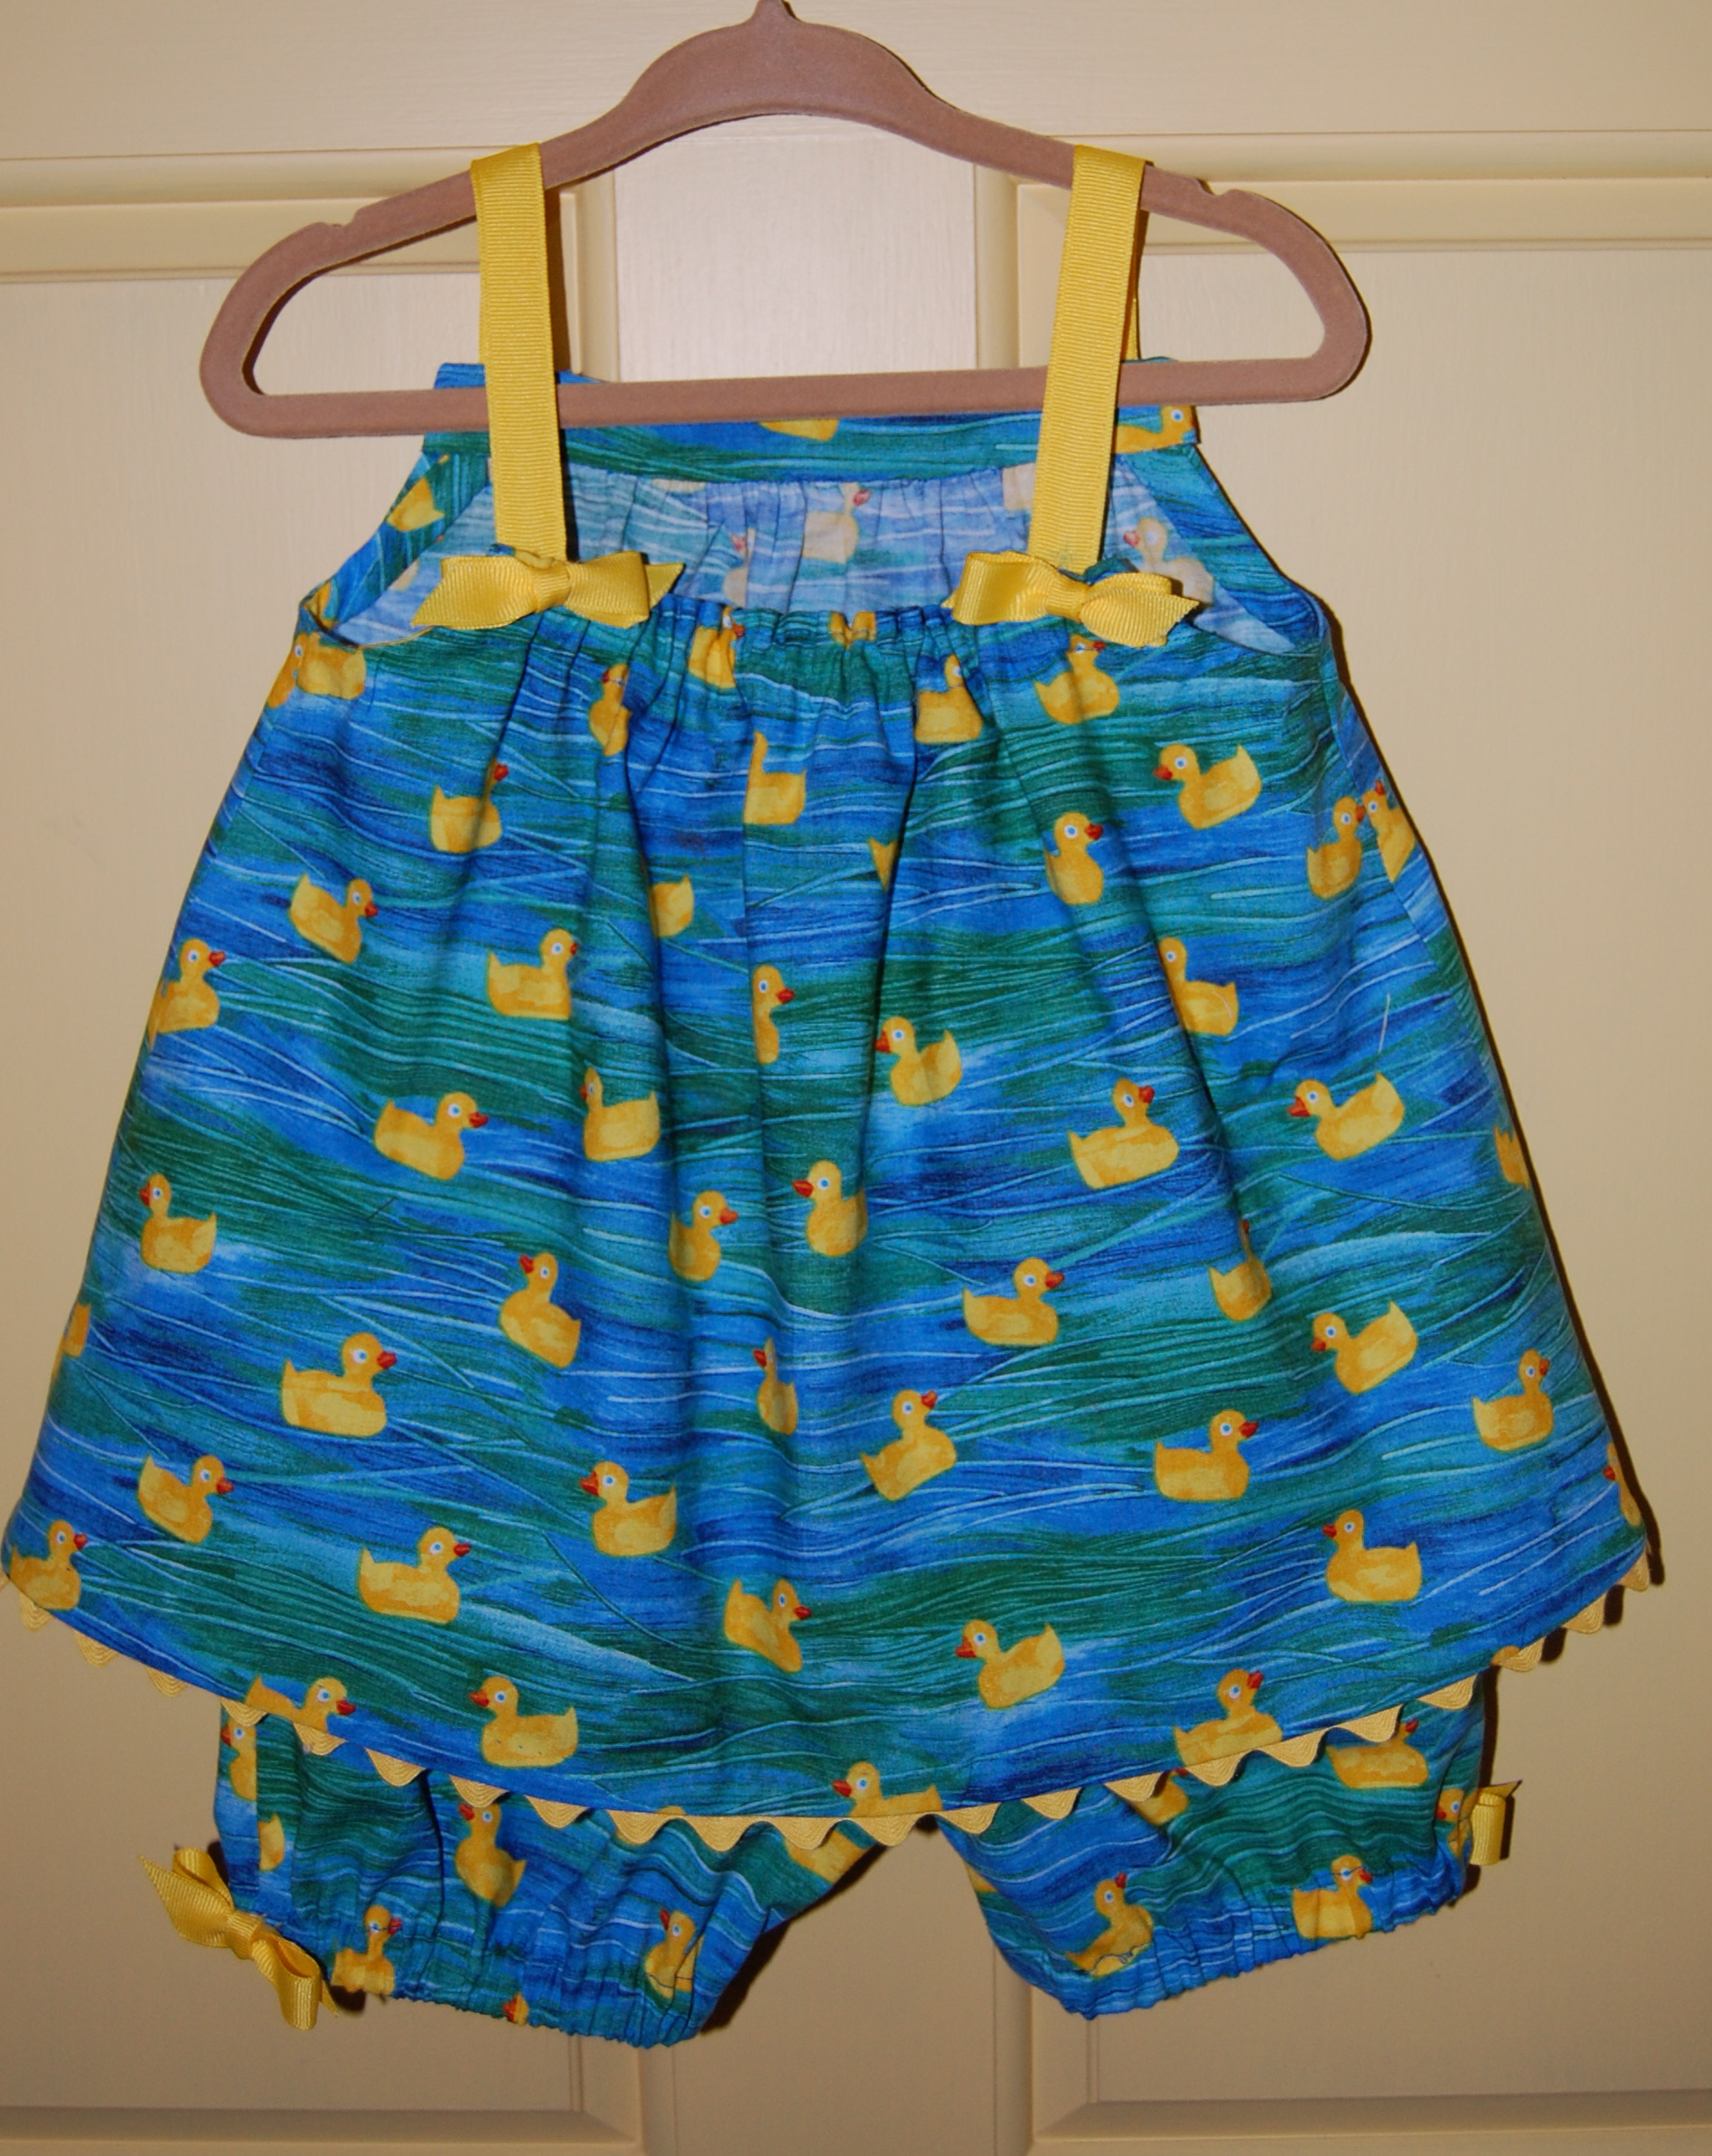
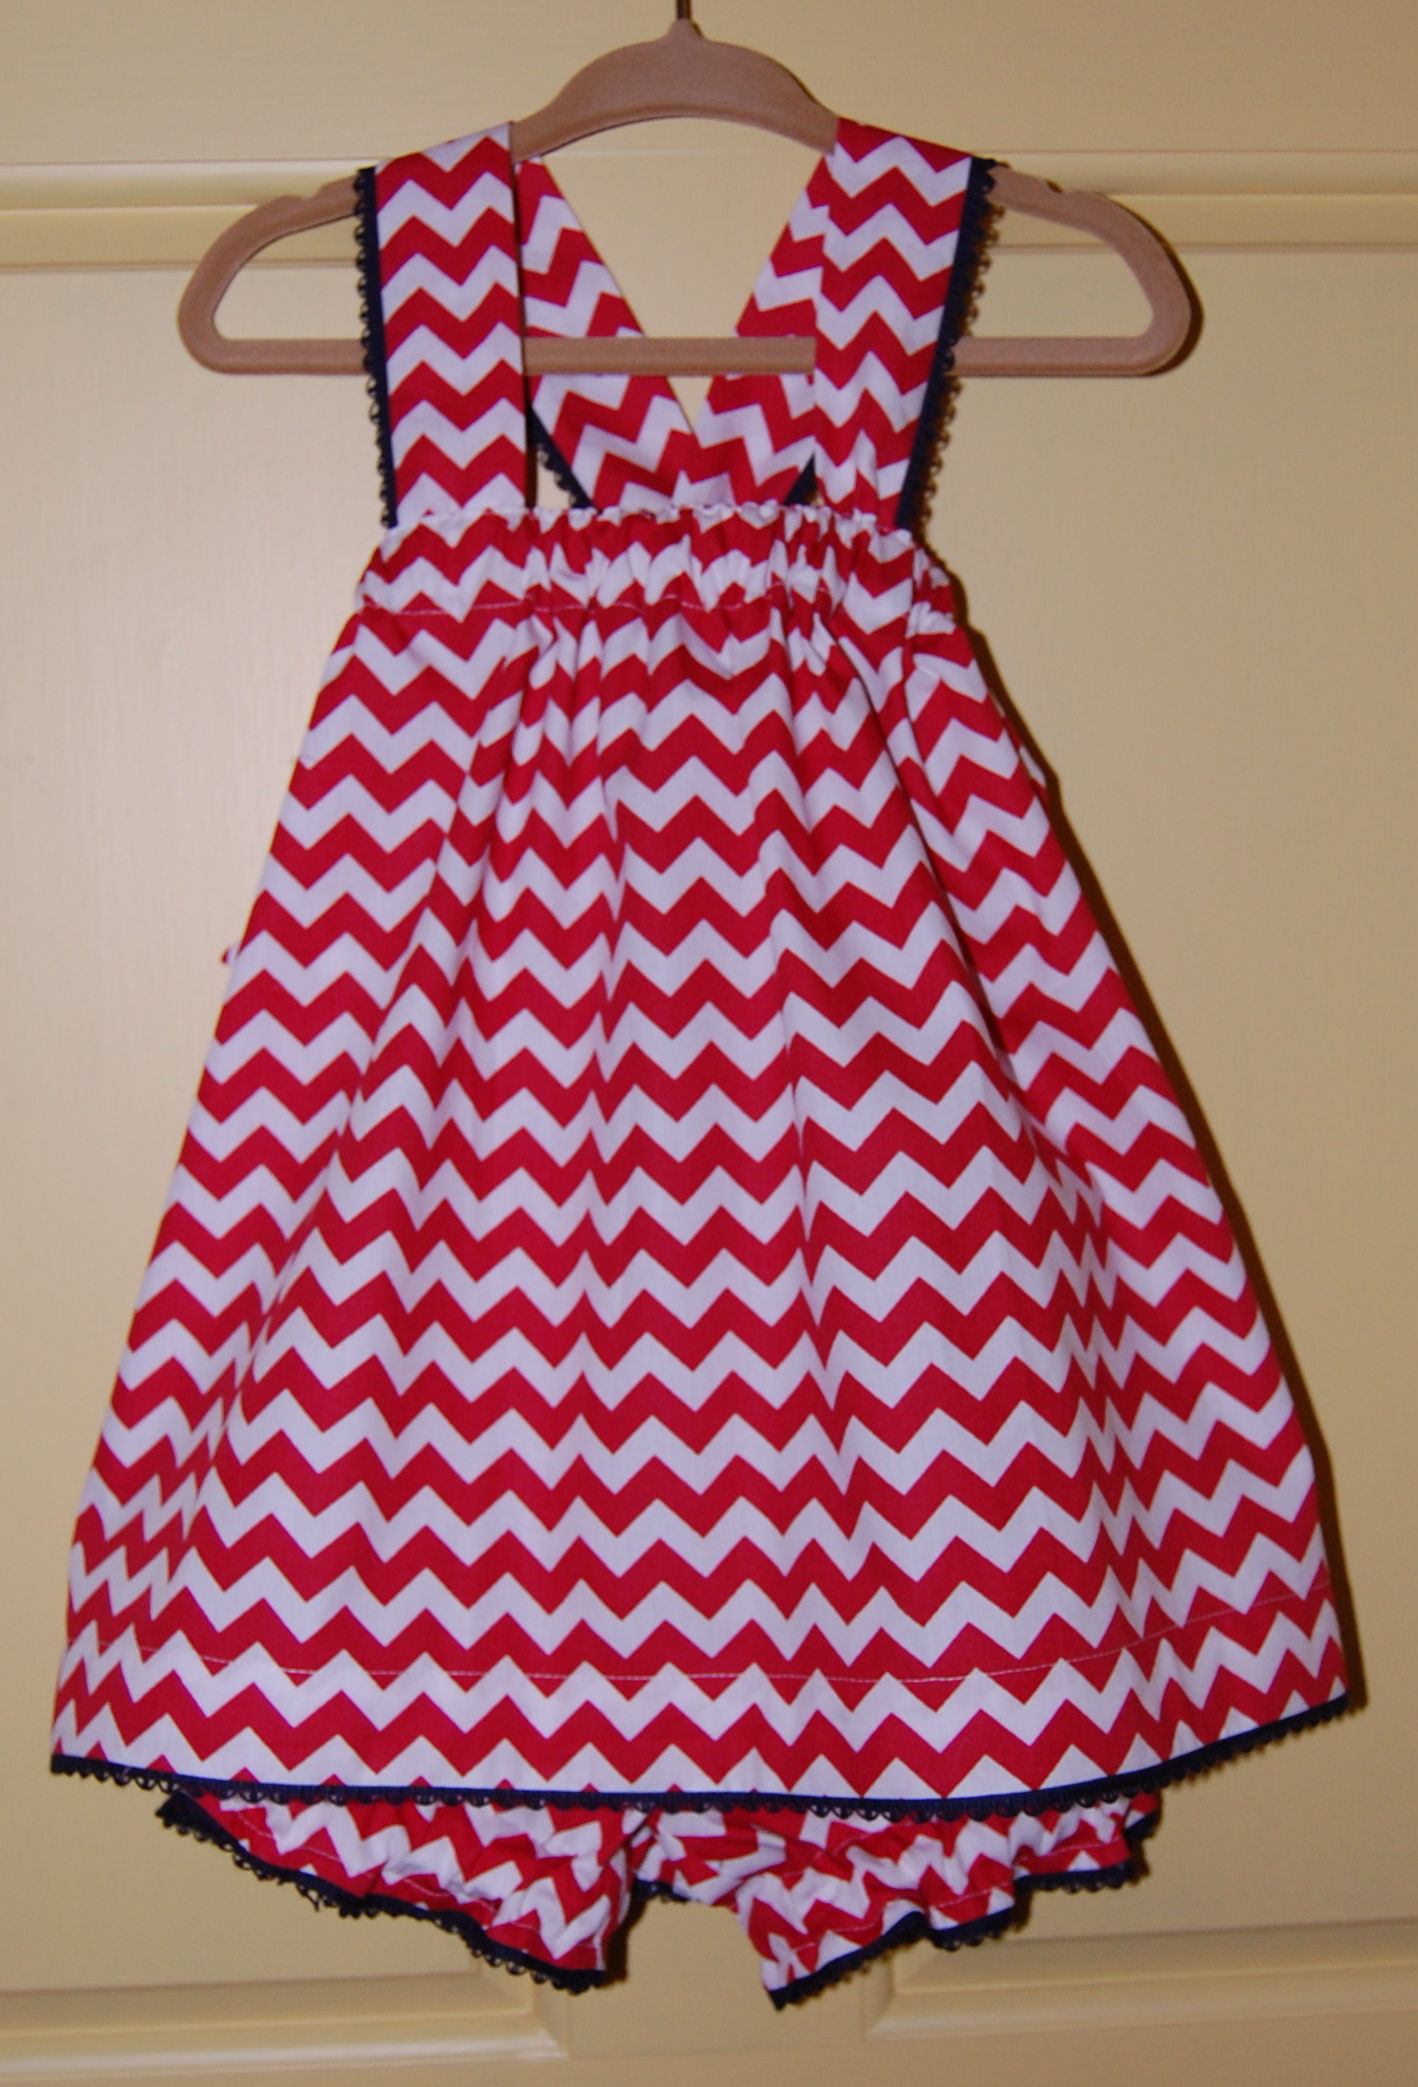
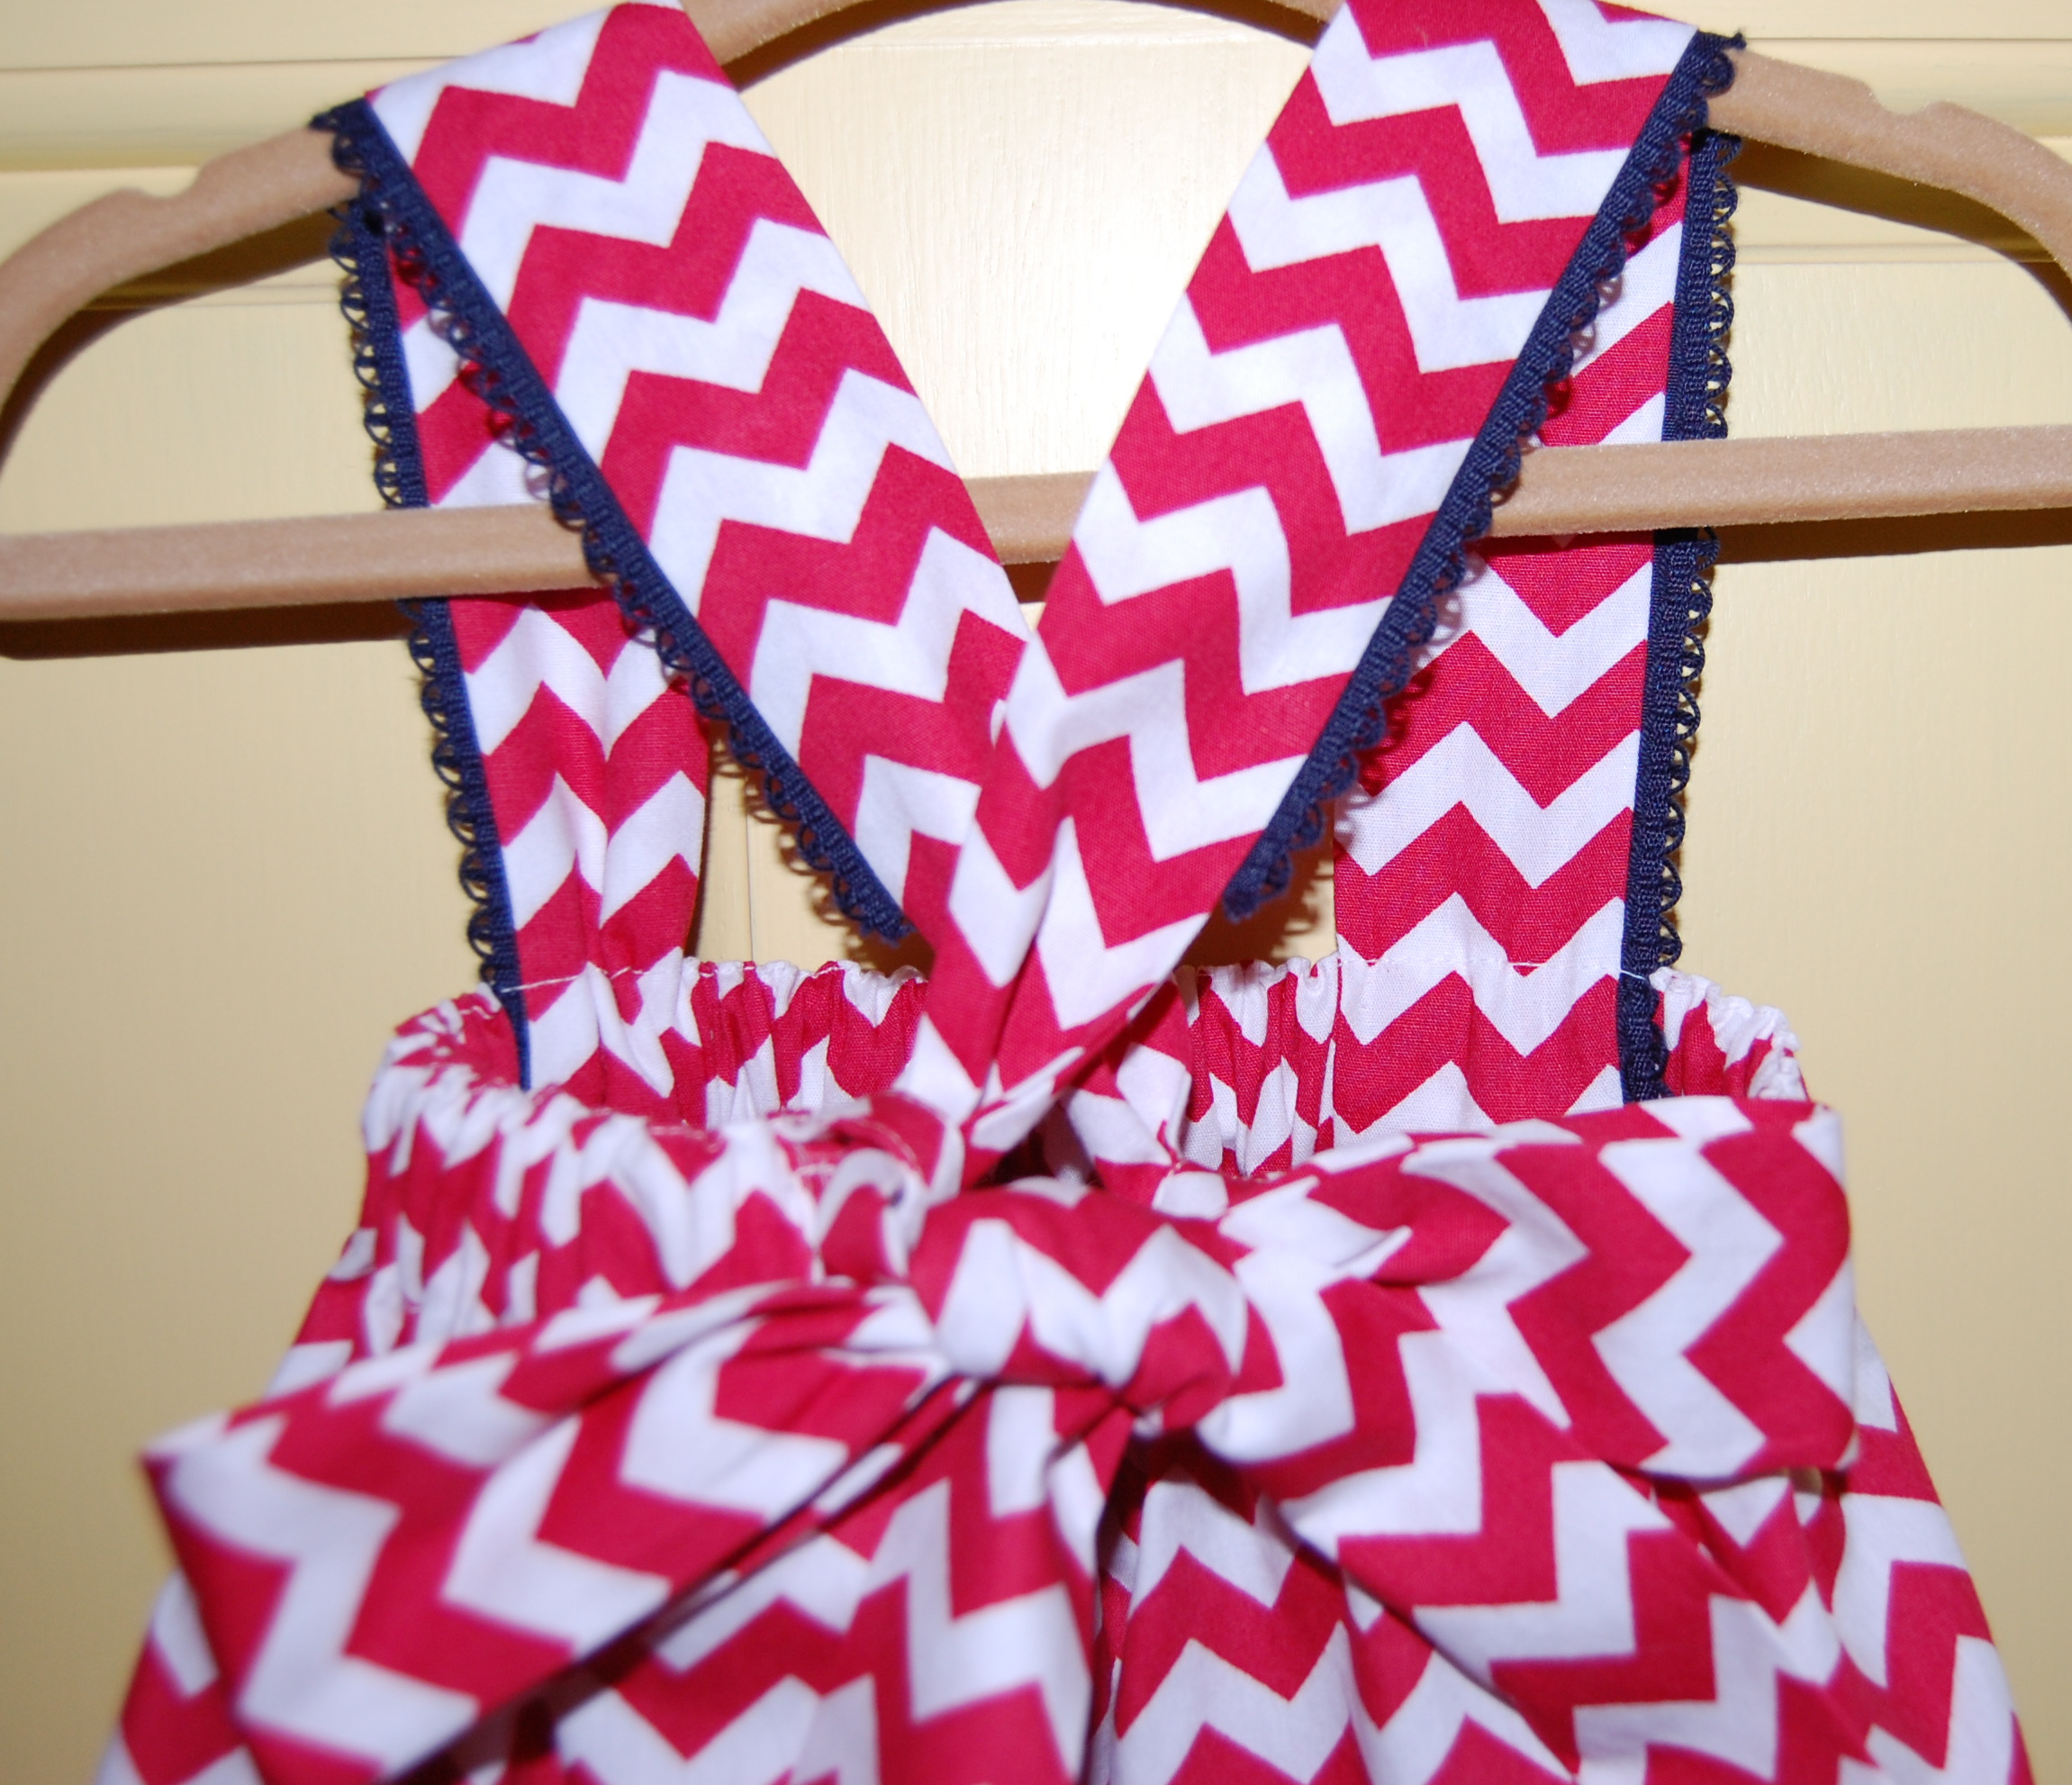
I had limited fabric, enough to fit a 21-month-old, but only enough. The fabric was left over from a dress I had made for her mother (my daughter) twenty-some years ago. The pattern I used actually was designed to be smocked below the front yoke, but I had neither the time nor enough fabric to manage that little trick. So I took out some of the width of the skirted section of the dress, machine-gathered along the smocking lines and placed rick-rack on top of the gathering lines. Another line of rick-rack along the lower edge of the dress tied the whole thing together.
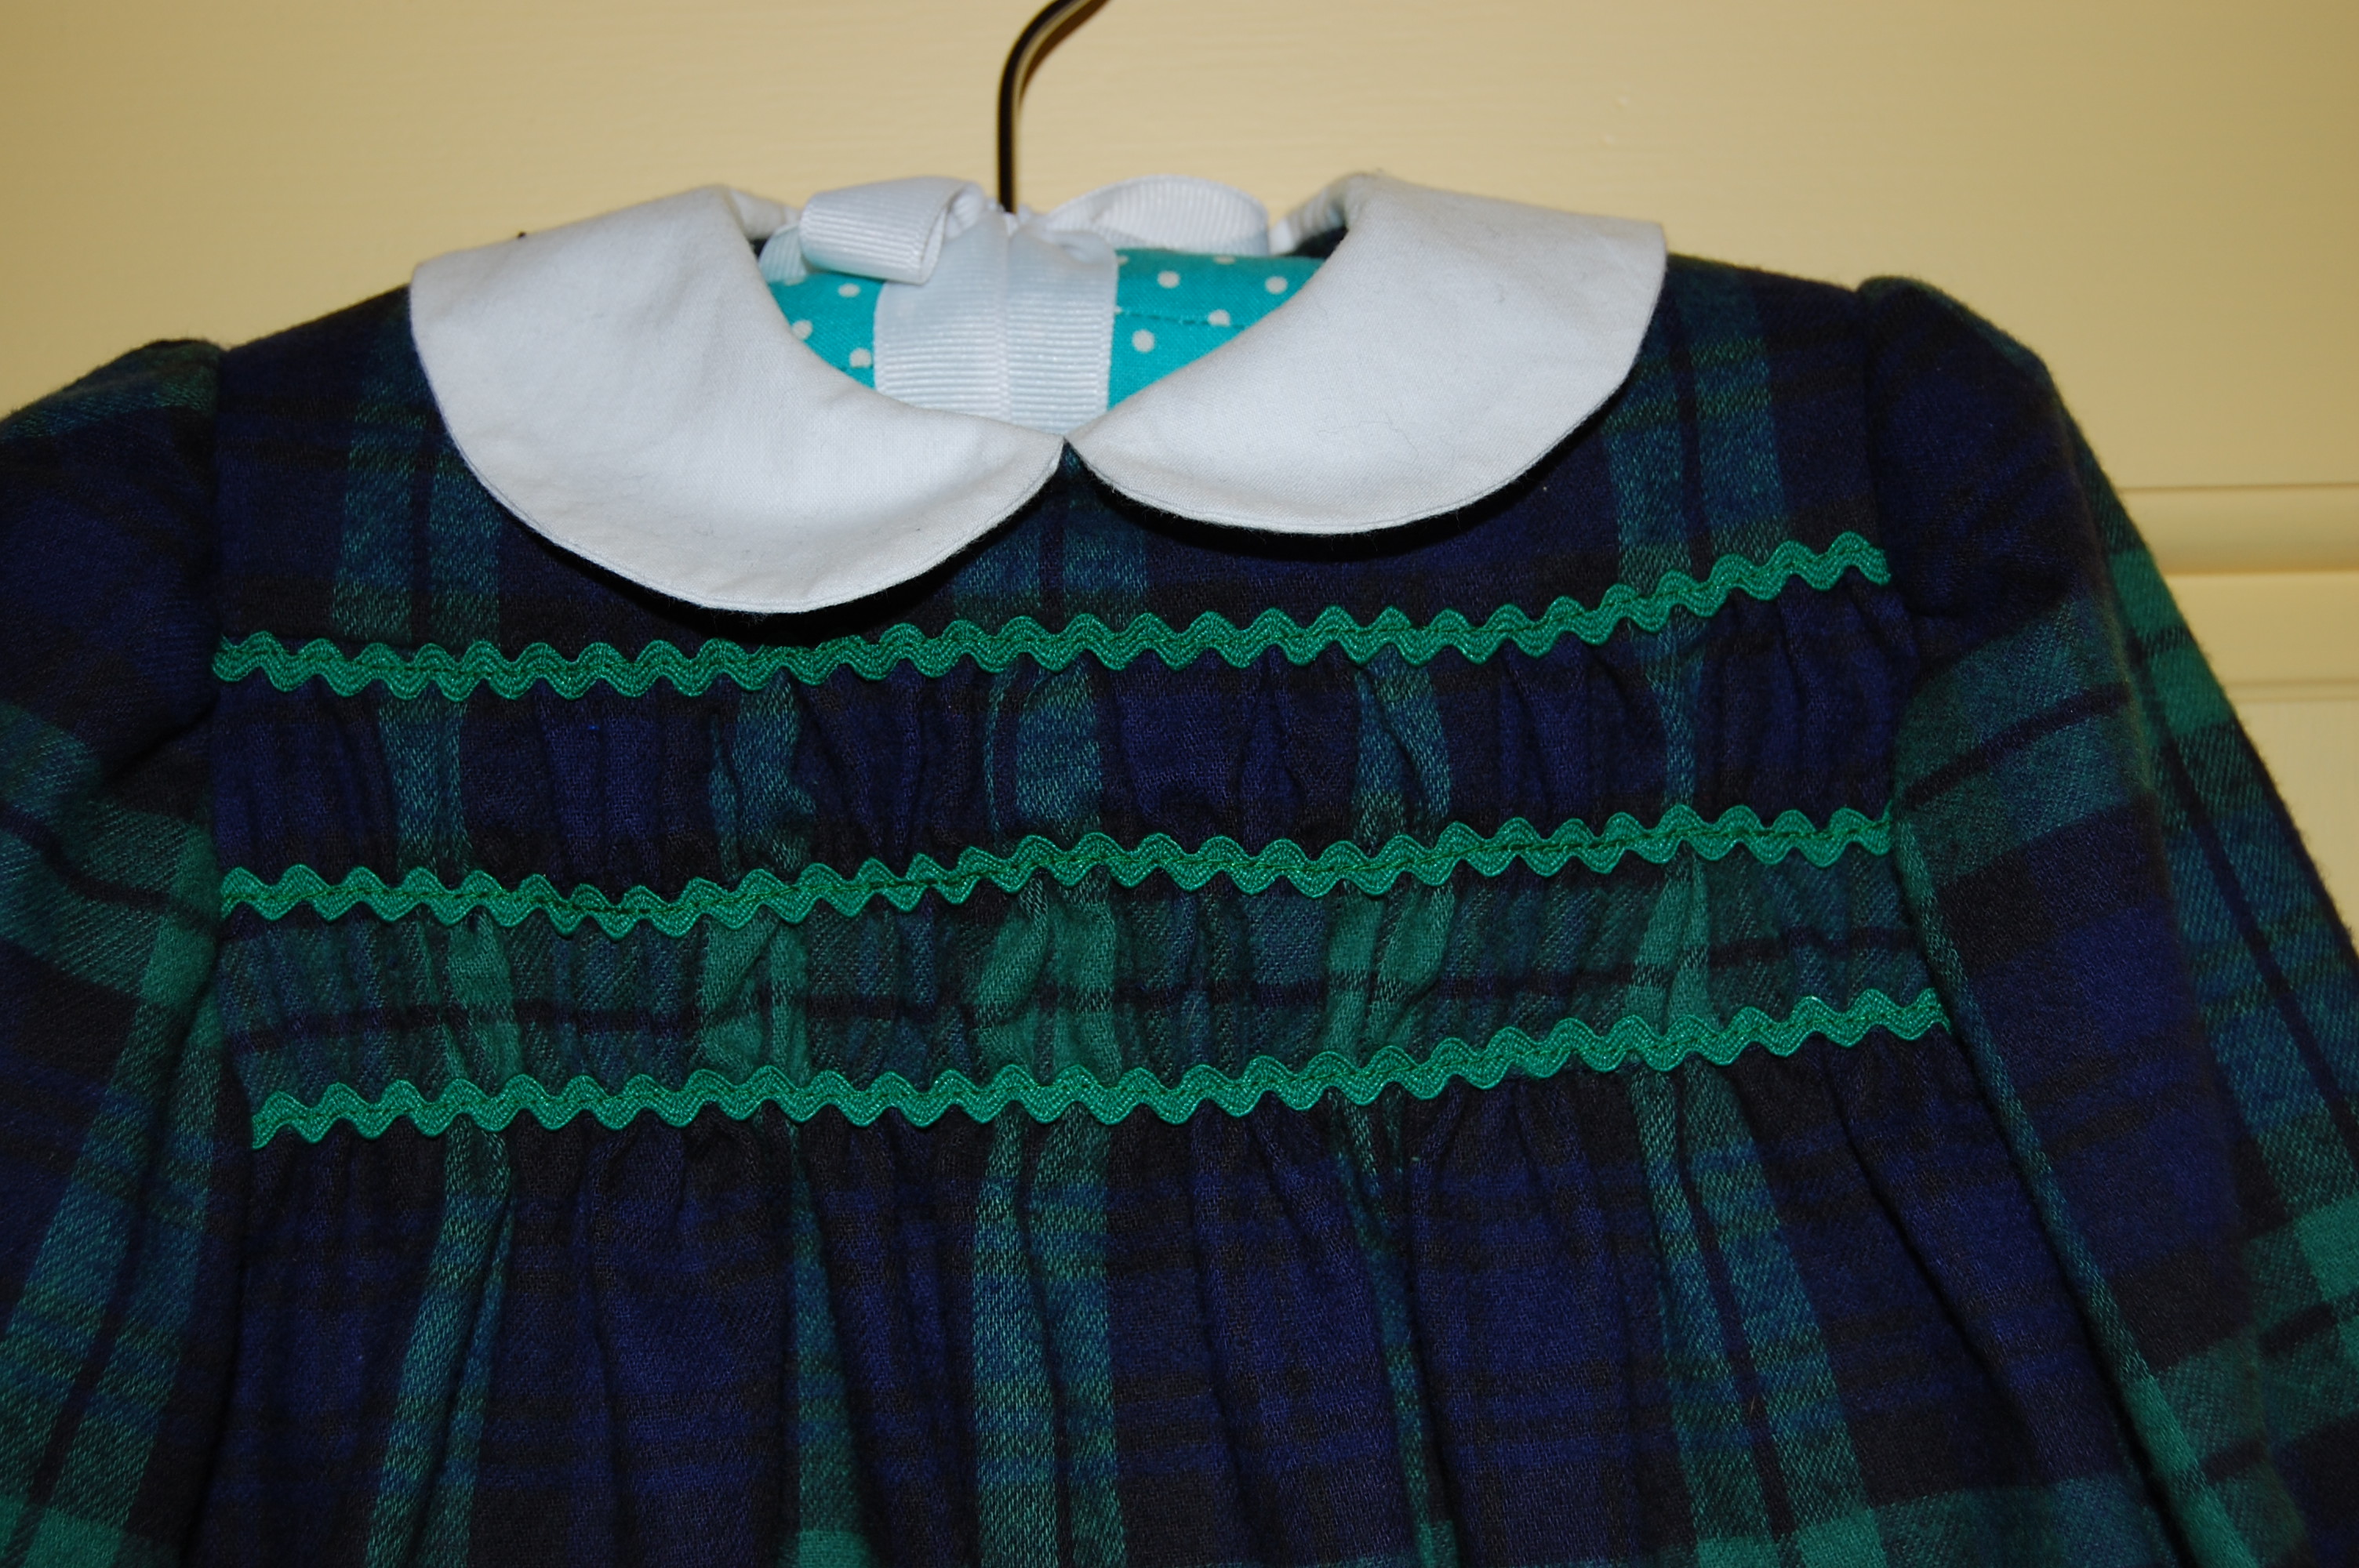
With plaids to match, I was really tight on fabric. I faced the hem to stretch it out a bit, but the dress ended up fitting Aida perfectly!
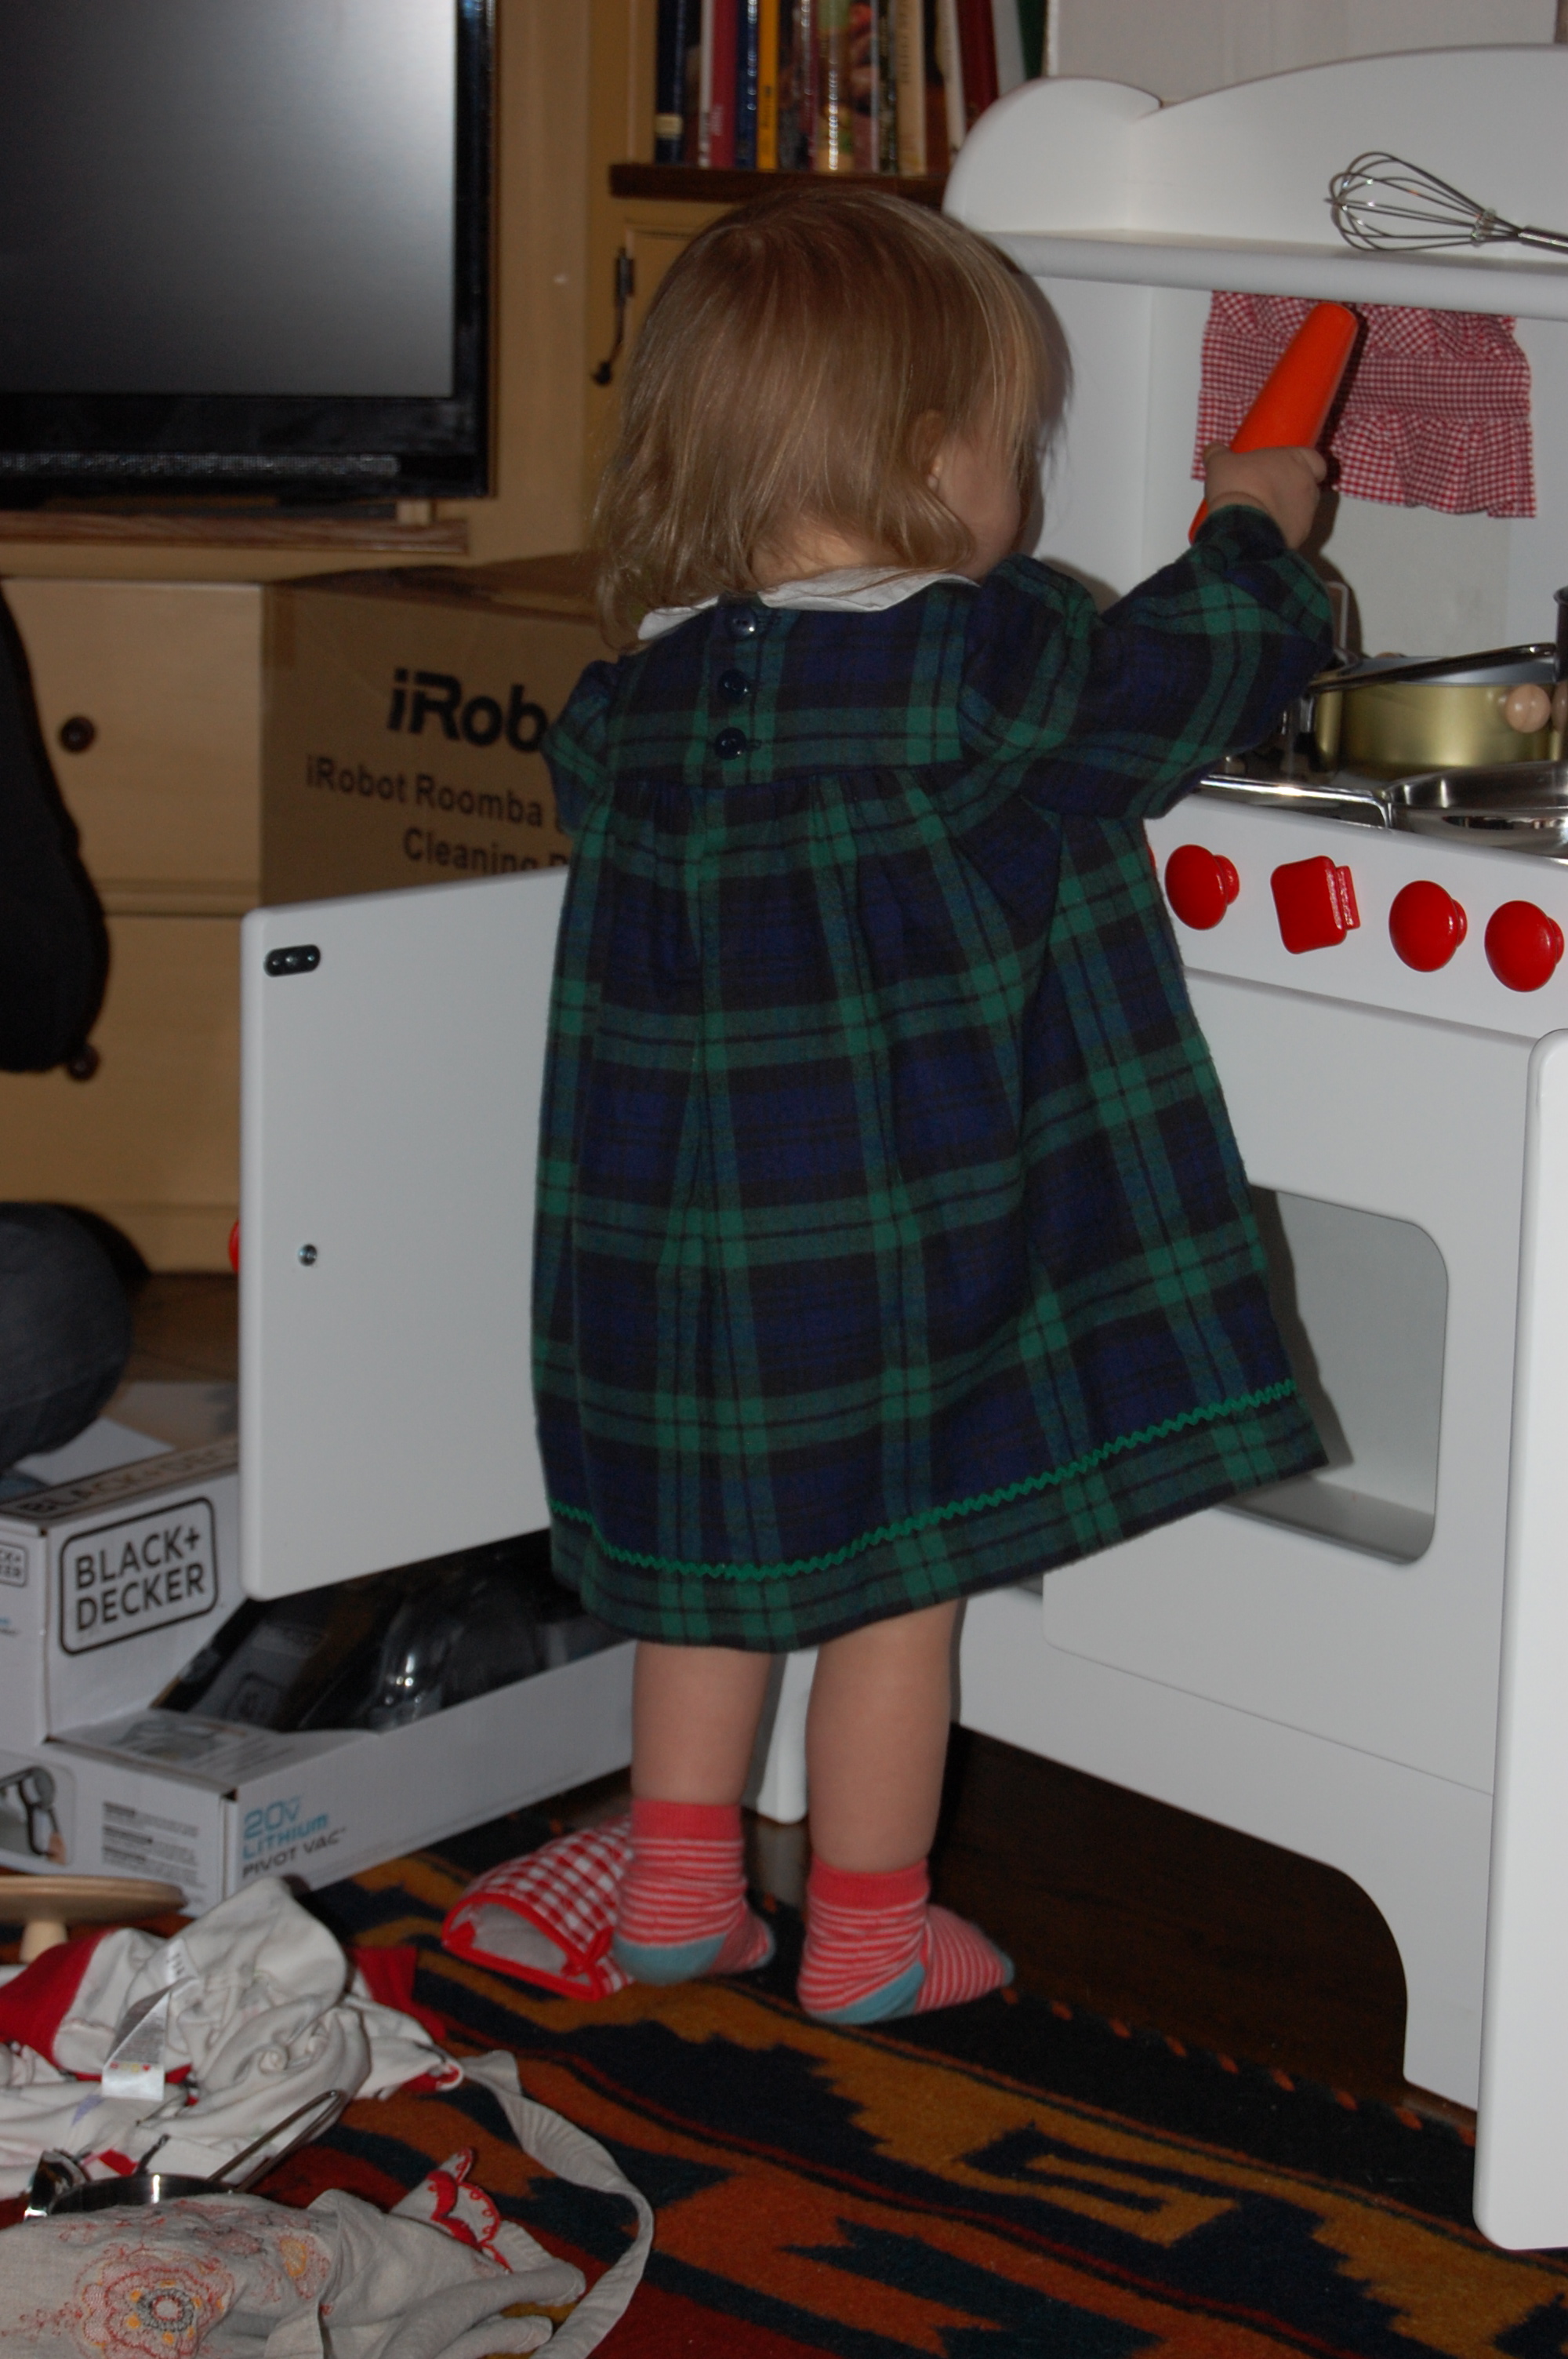
It’s difficult to pose for a picture when there is cooking to be done with my new kitchen!
What does everyone want for Christmas dinner?
Next year, I think I had better start earlier, as next year I will be making another baby quilt (now that I have set a precedent!), this time for Aida’s brother or sister, due in April. And, of course, Aida will have something handmade by me as well. This is what we, as sewers, do. We give a bit of ourselves even when it means late nights, and fitting sewing time in between a million other things.
Did someone say sewing?
And then, in what seemed to be a time-defying split second, it was the end of the year – and the final chapter in one life. My 90-year-old mother died on December 31, a much-needed peaceful end to a life increasingly compromised by illness. My mother sewed for me when I was young. And I am sure she, too, spent hours making Christmas gifts and dresses for my sister and me.
My mother taught me to sew, and that has made all the difference.
The beginning of a new year now brings with it the anticipation of newborn life and the continued wonder and joy of our little granddaughter. The never-ending circle of life has never been in clearer focus for me: it is scattered with fabric and buttons and pins and thread, just the way it should be.