
Silence may indeed be “golden” except when one is trying to maintain some regularity in writing a blog. My silence this past Fall and into the end of the year was not intentional. I actually got as far as starting a new post in November on a “Blouse for Fall” only to have its completion thwarted by more pressing priorities. Such is life, as all of us know. So now, in this sparkling new year we have entered, I have the opportunity to play some long overdue catch-up.
It is at this time of year when I like to reflect on my sewing from the year just past. And glaringly, the truth is I was not very productive. Here is what I made:
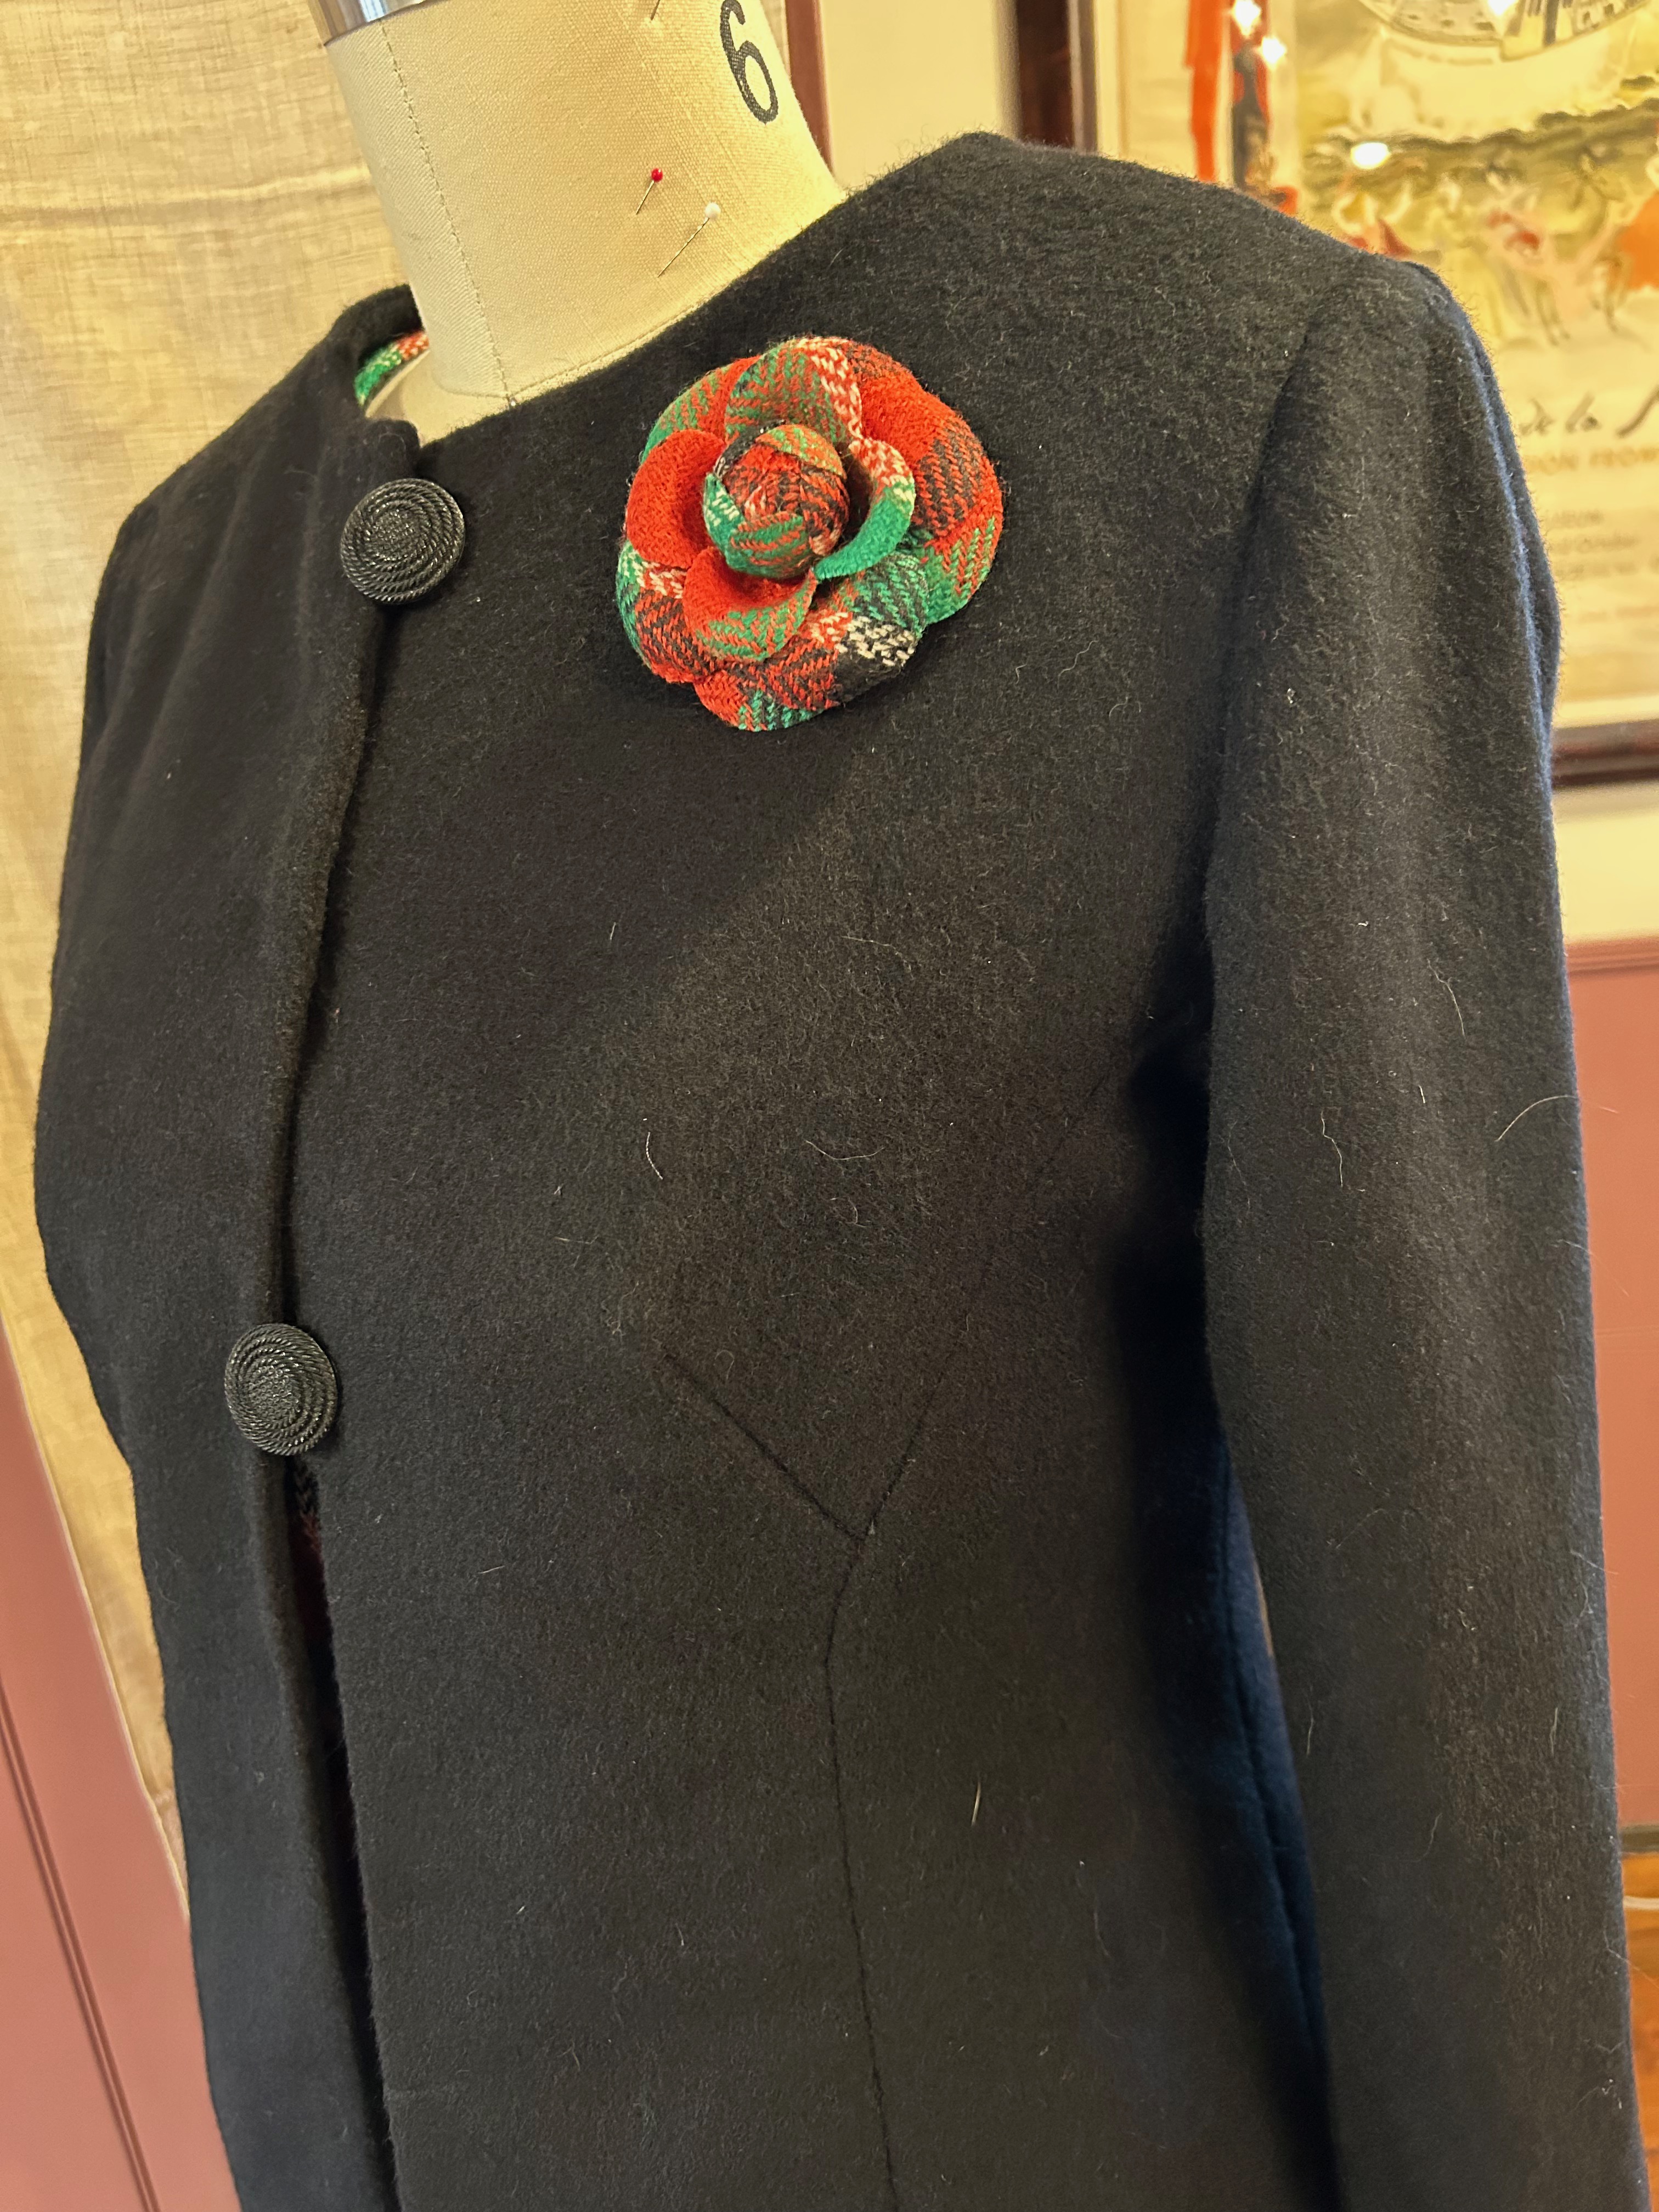
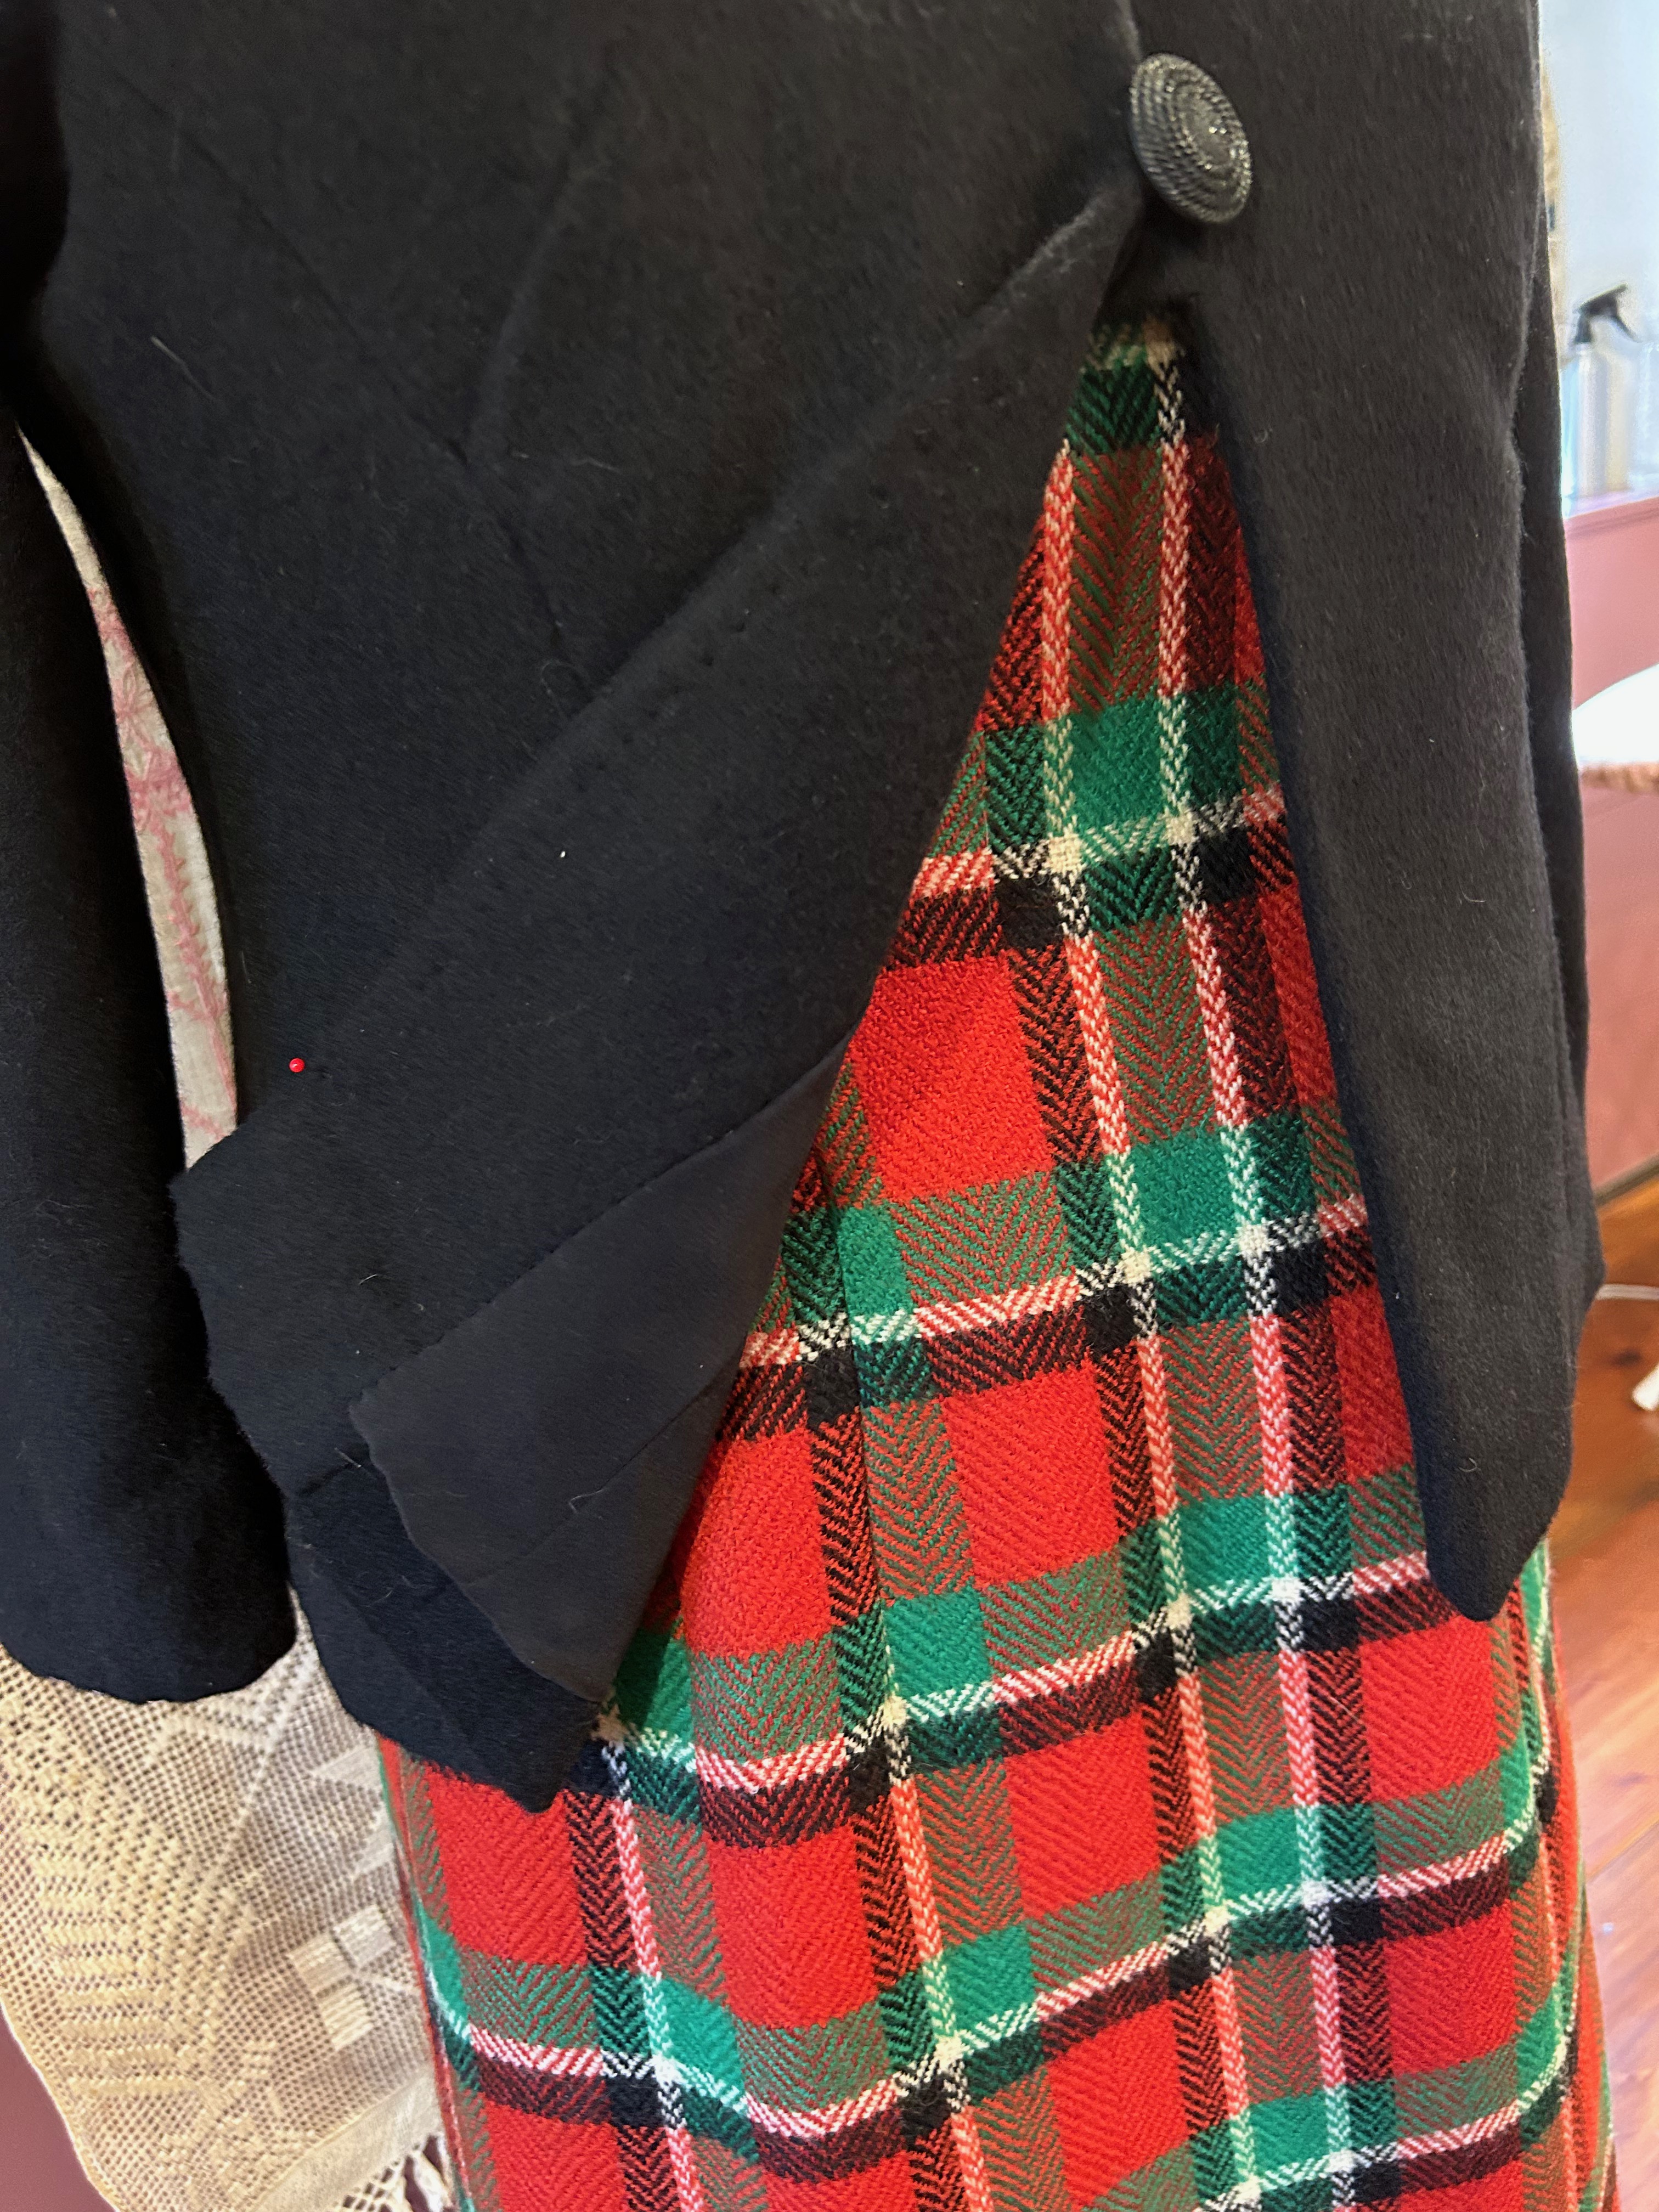
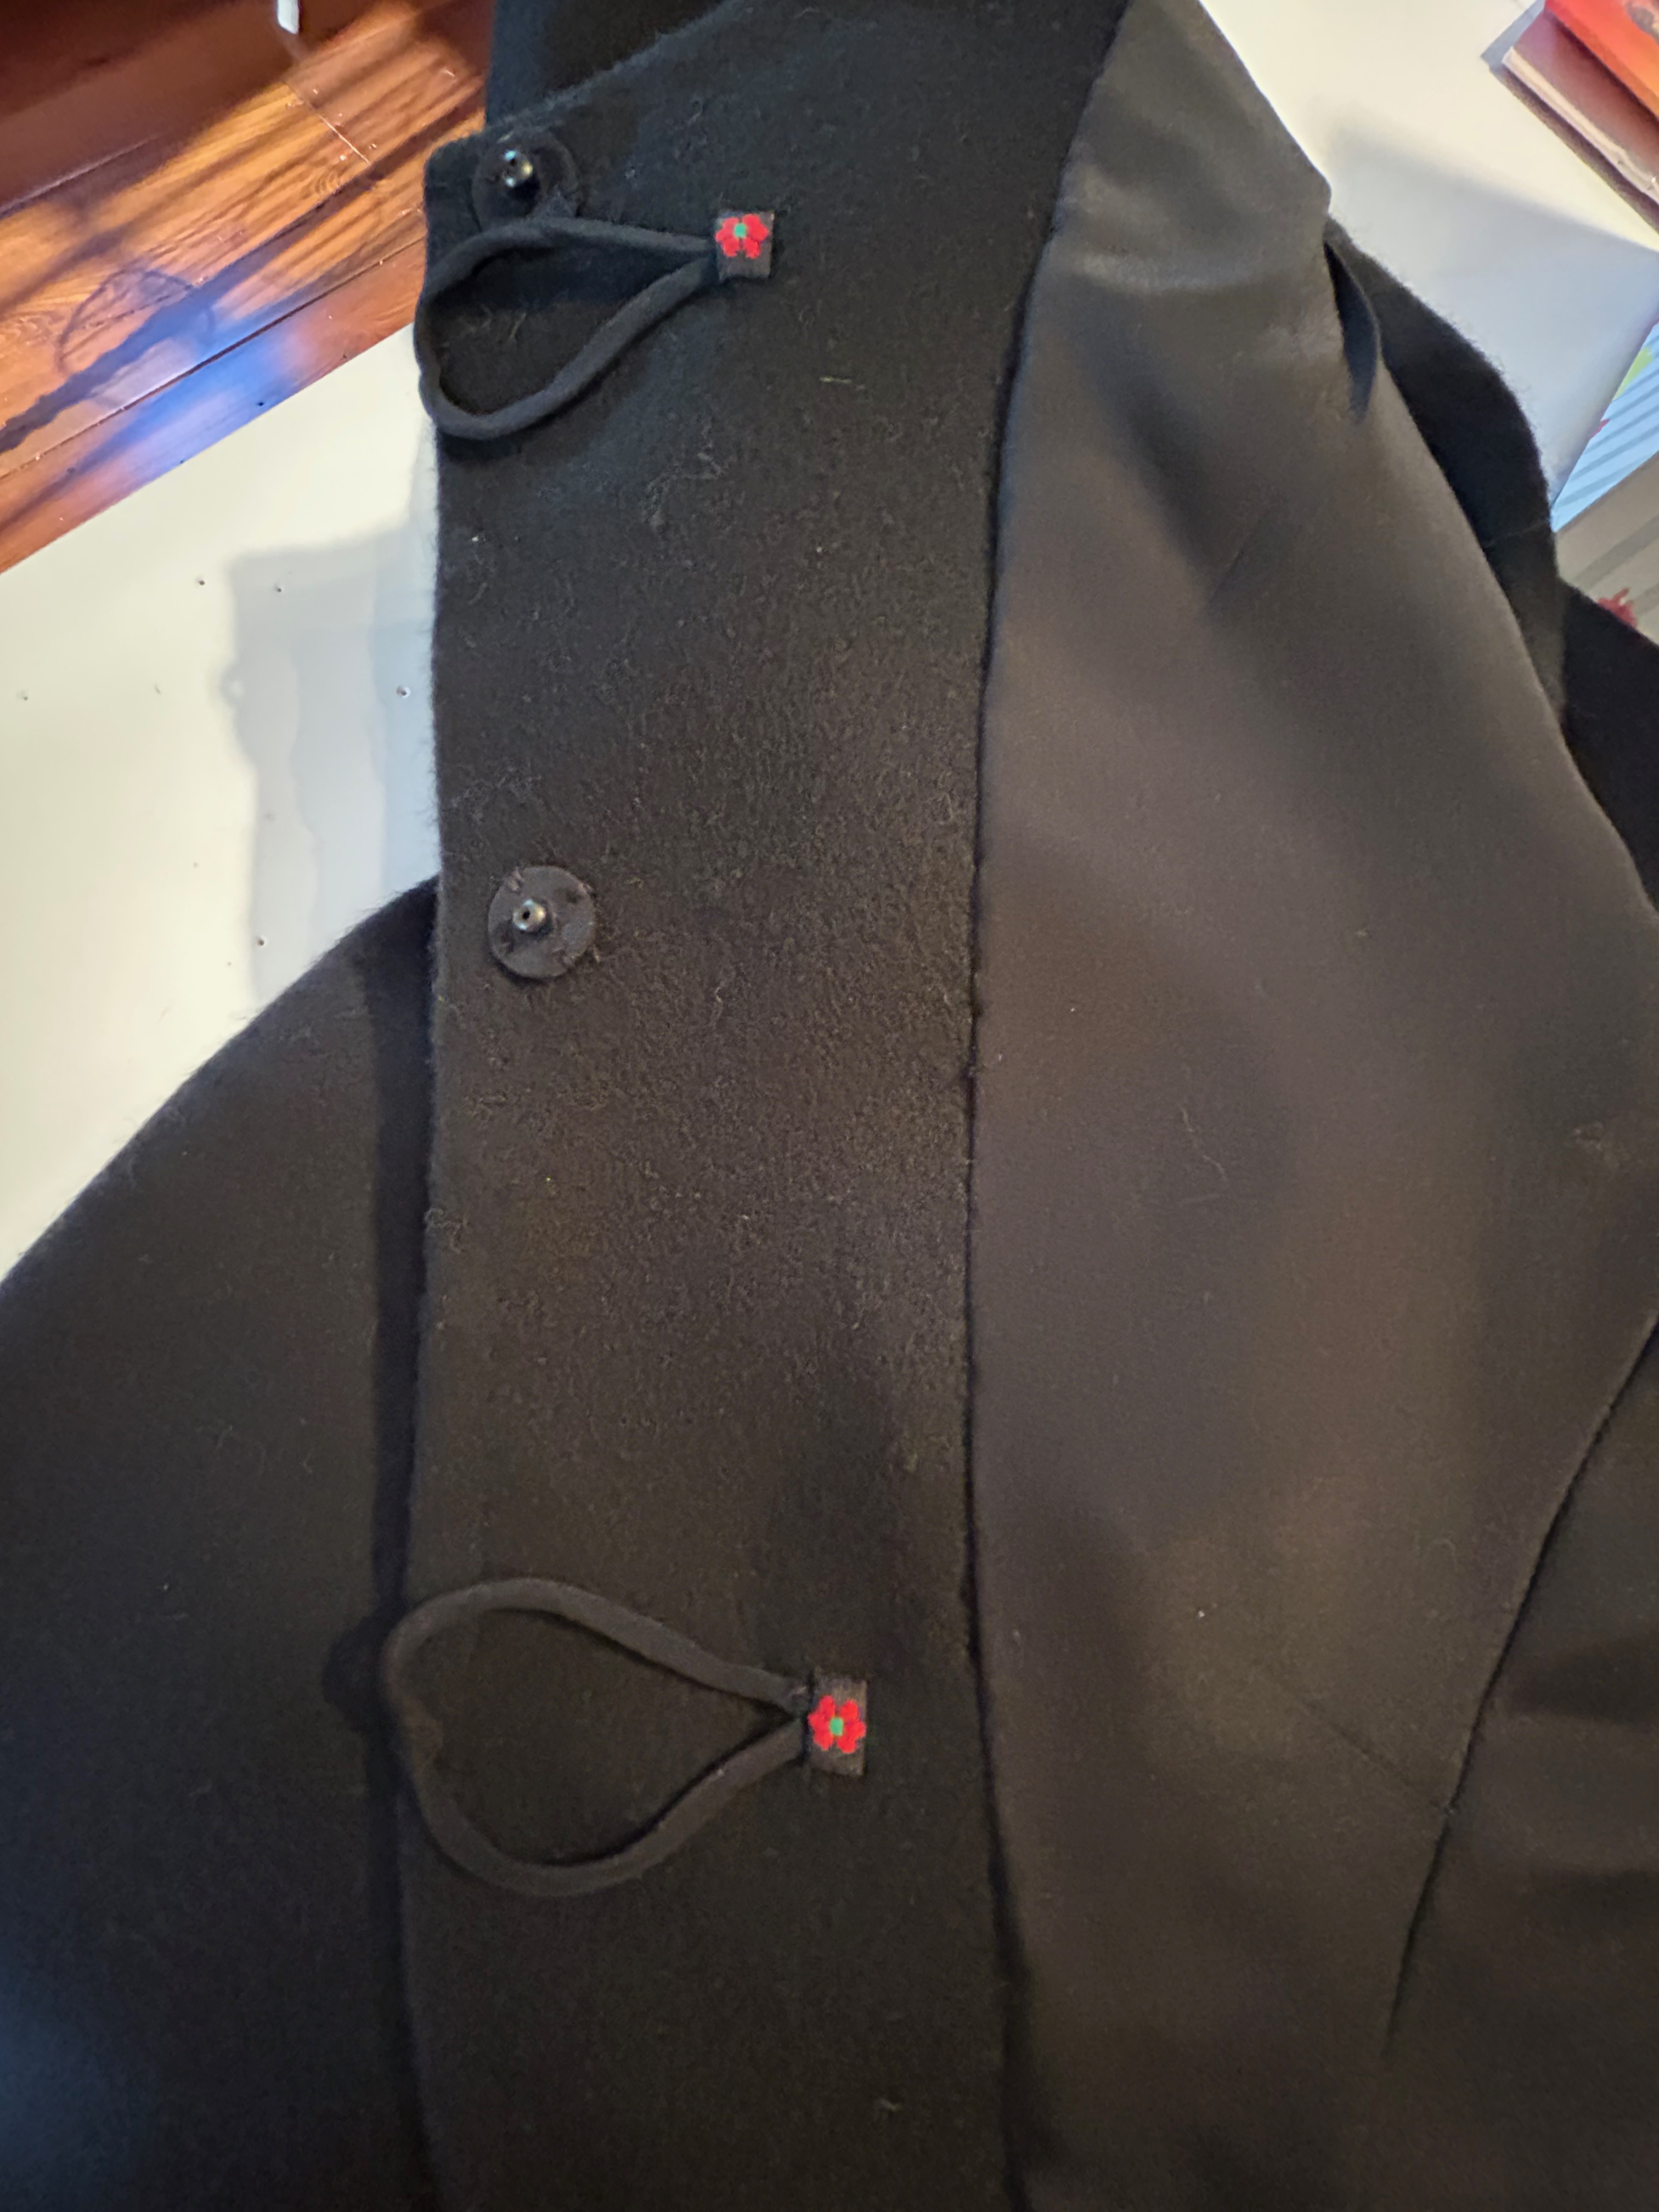
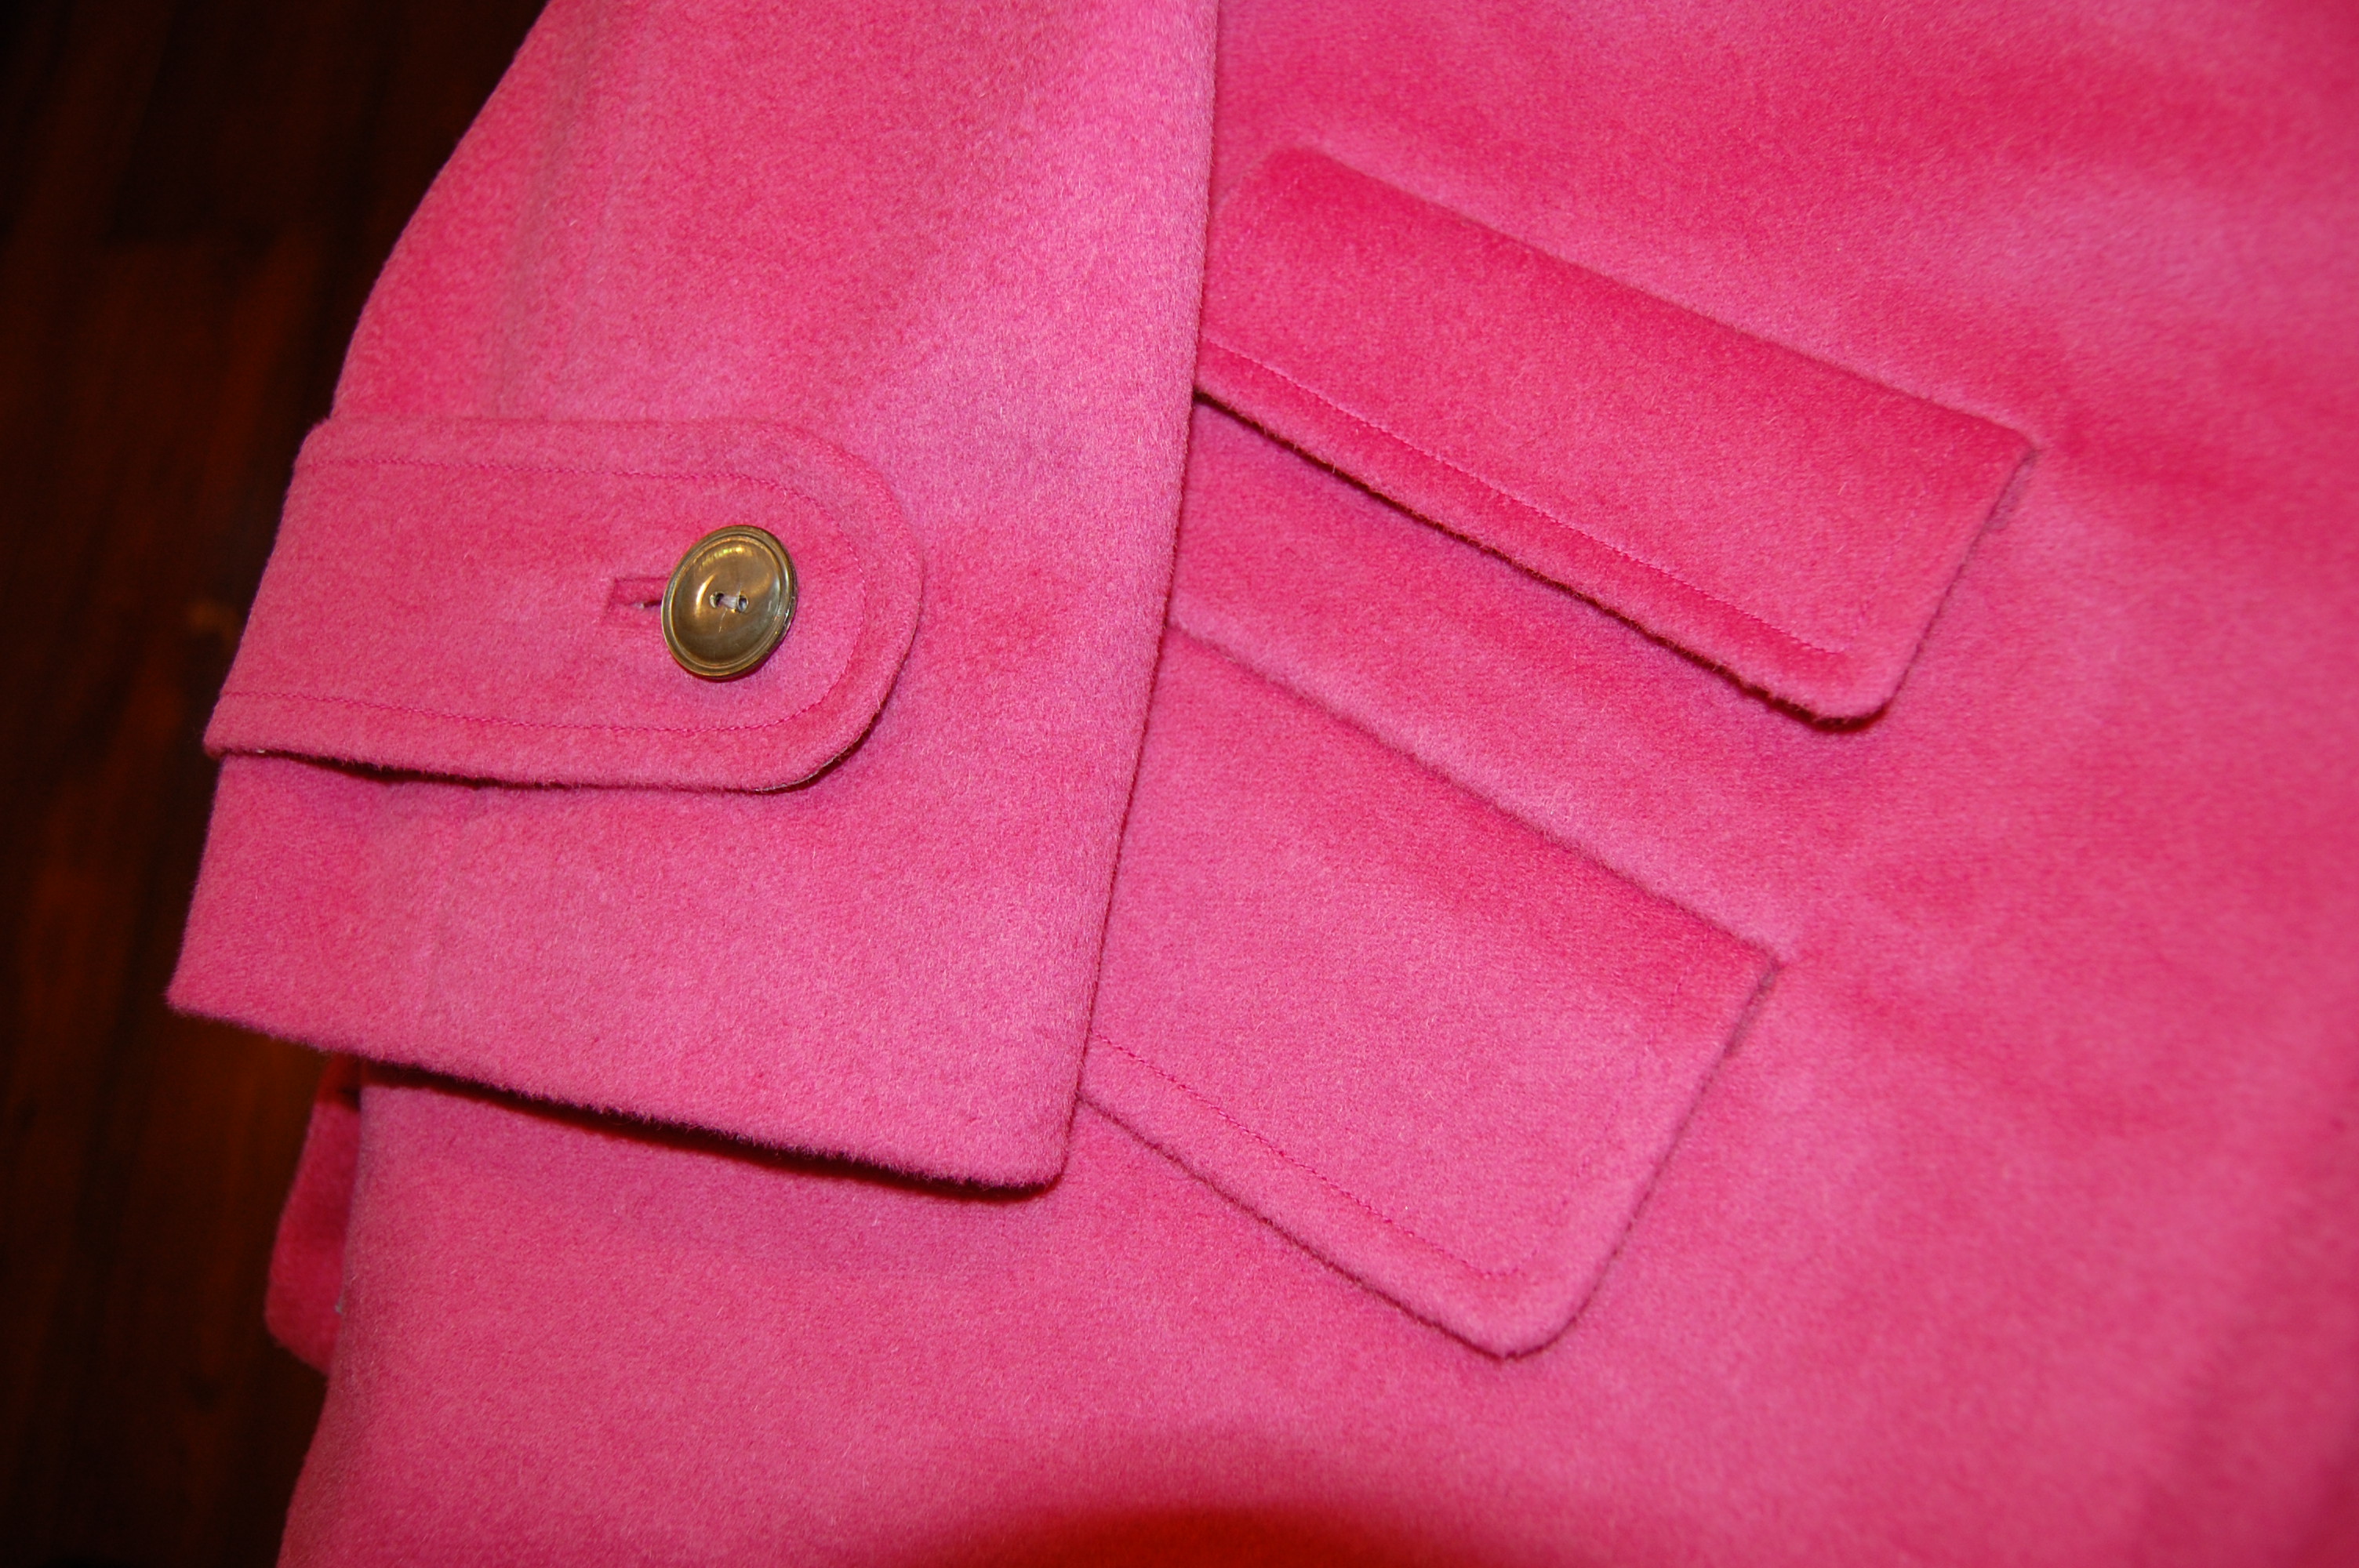
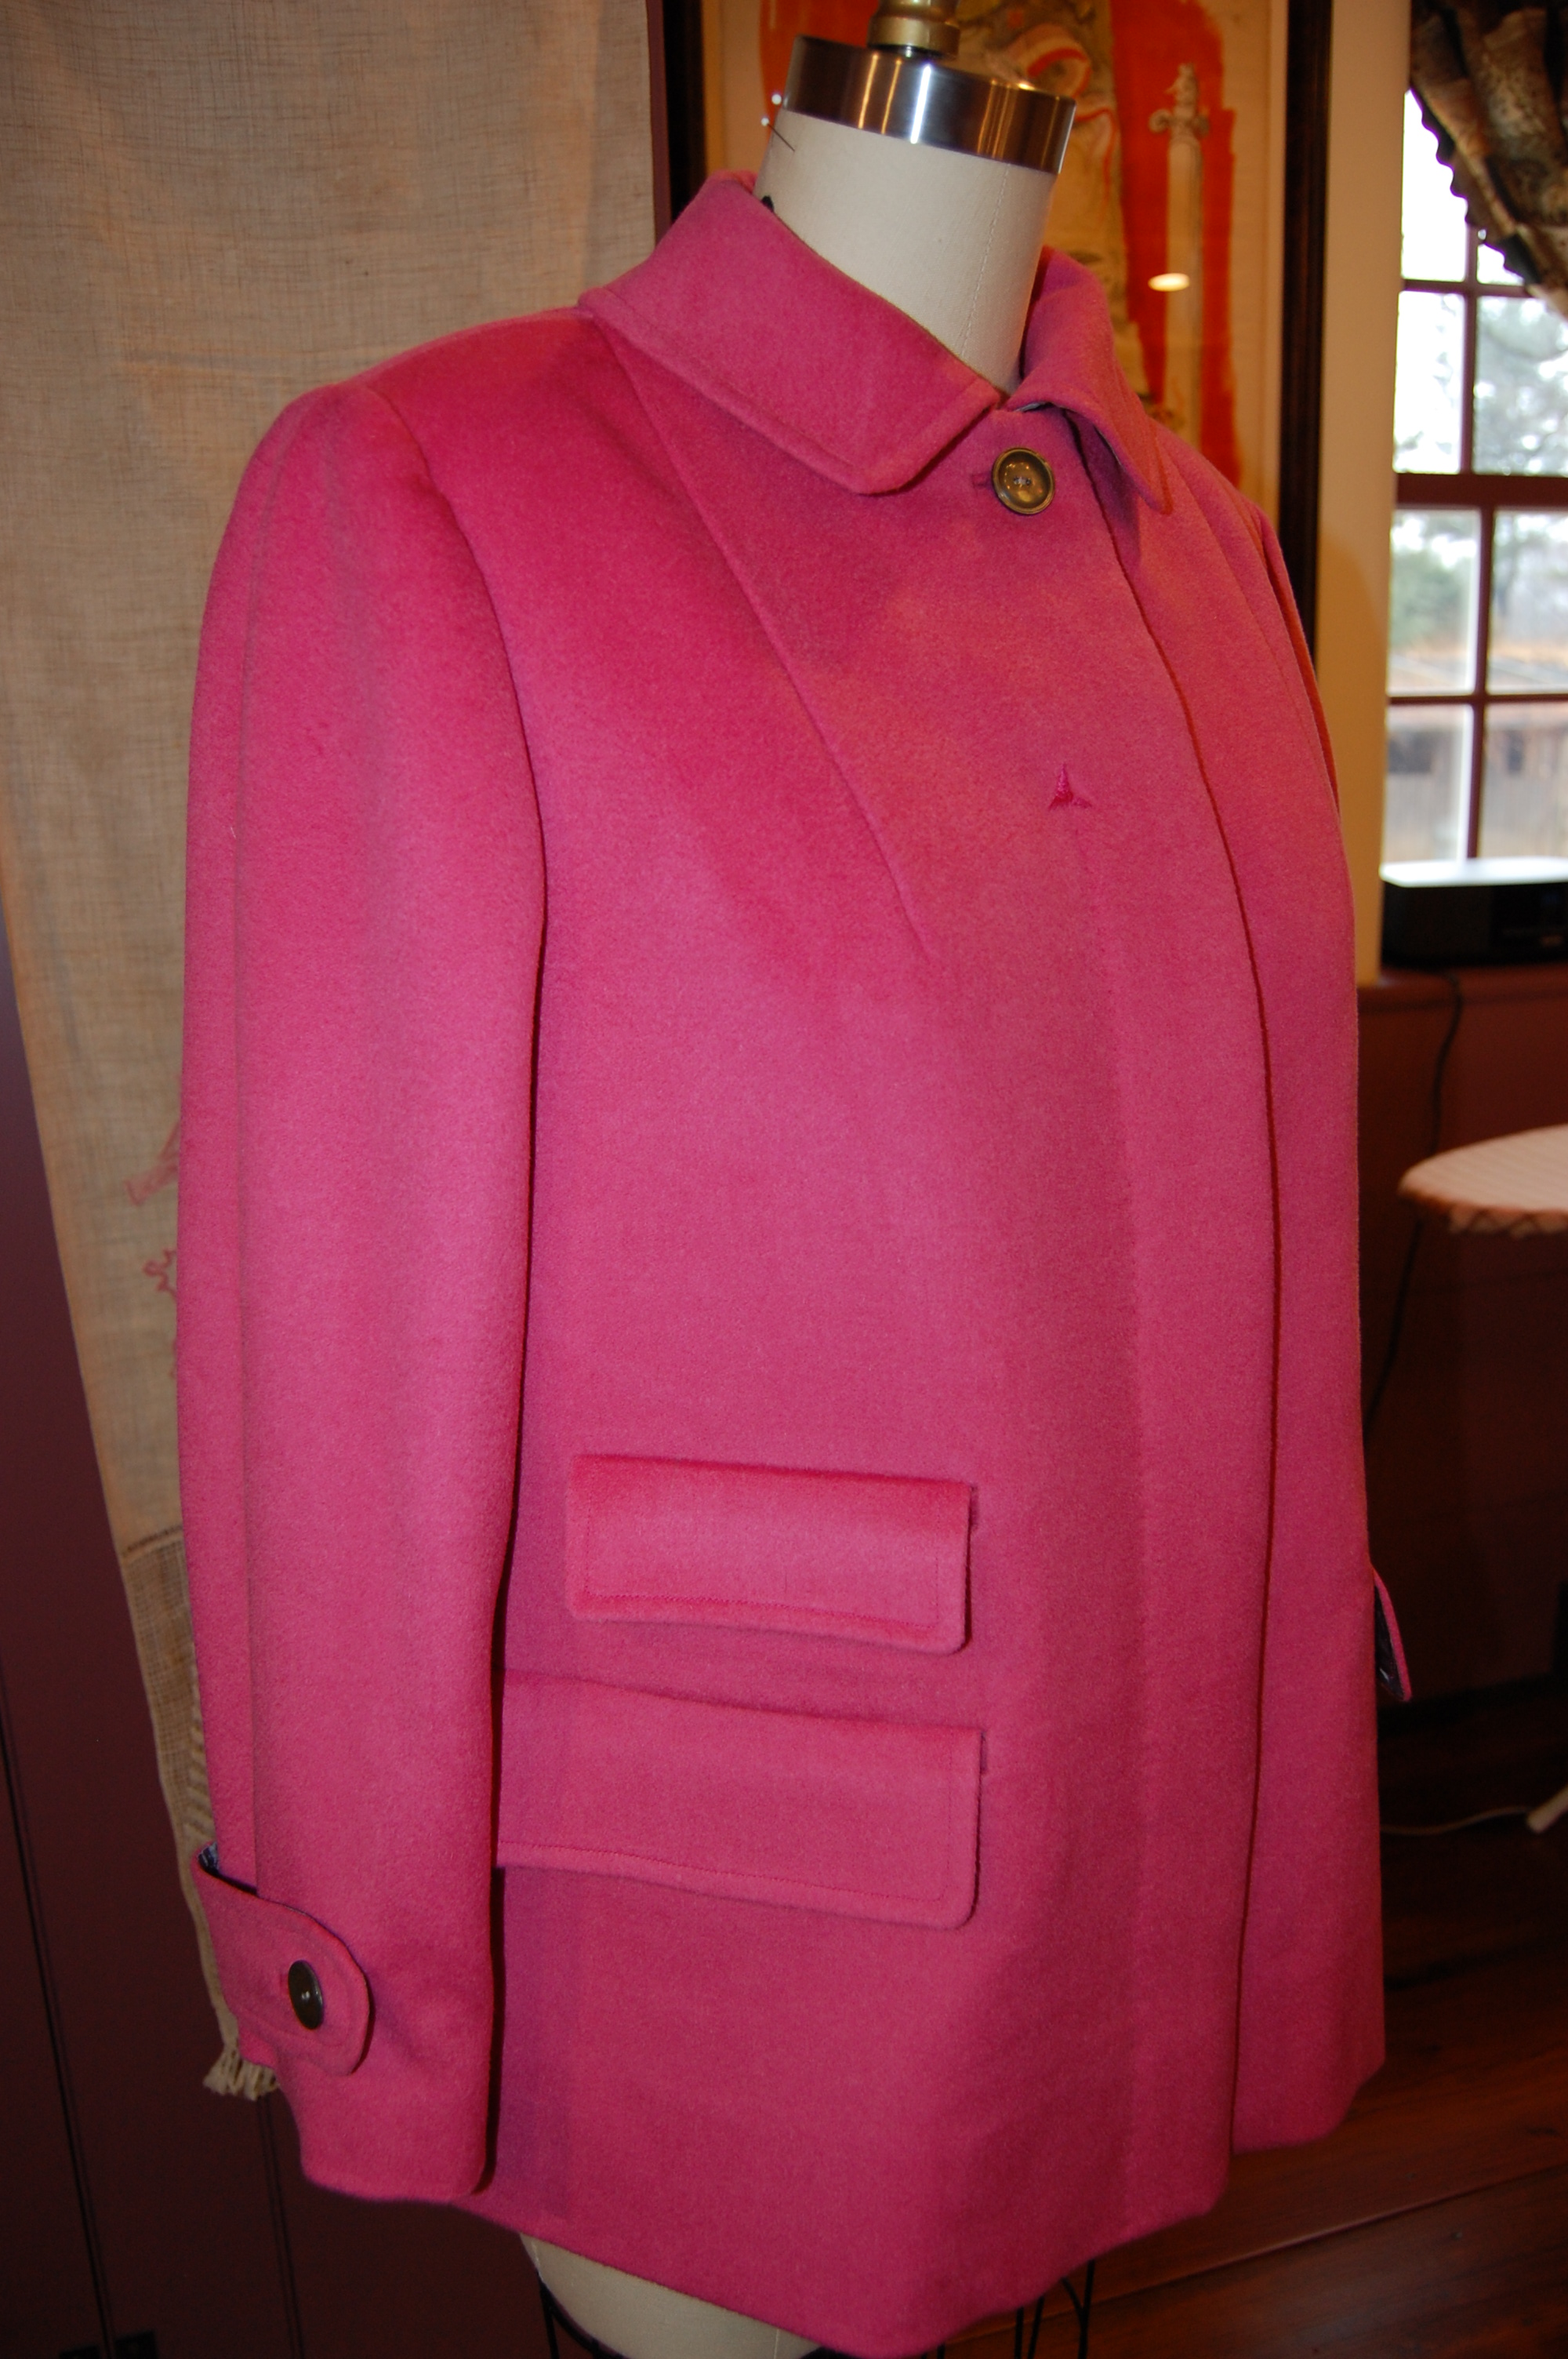
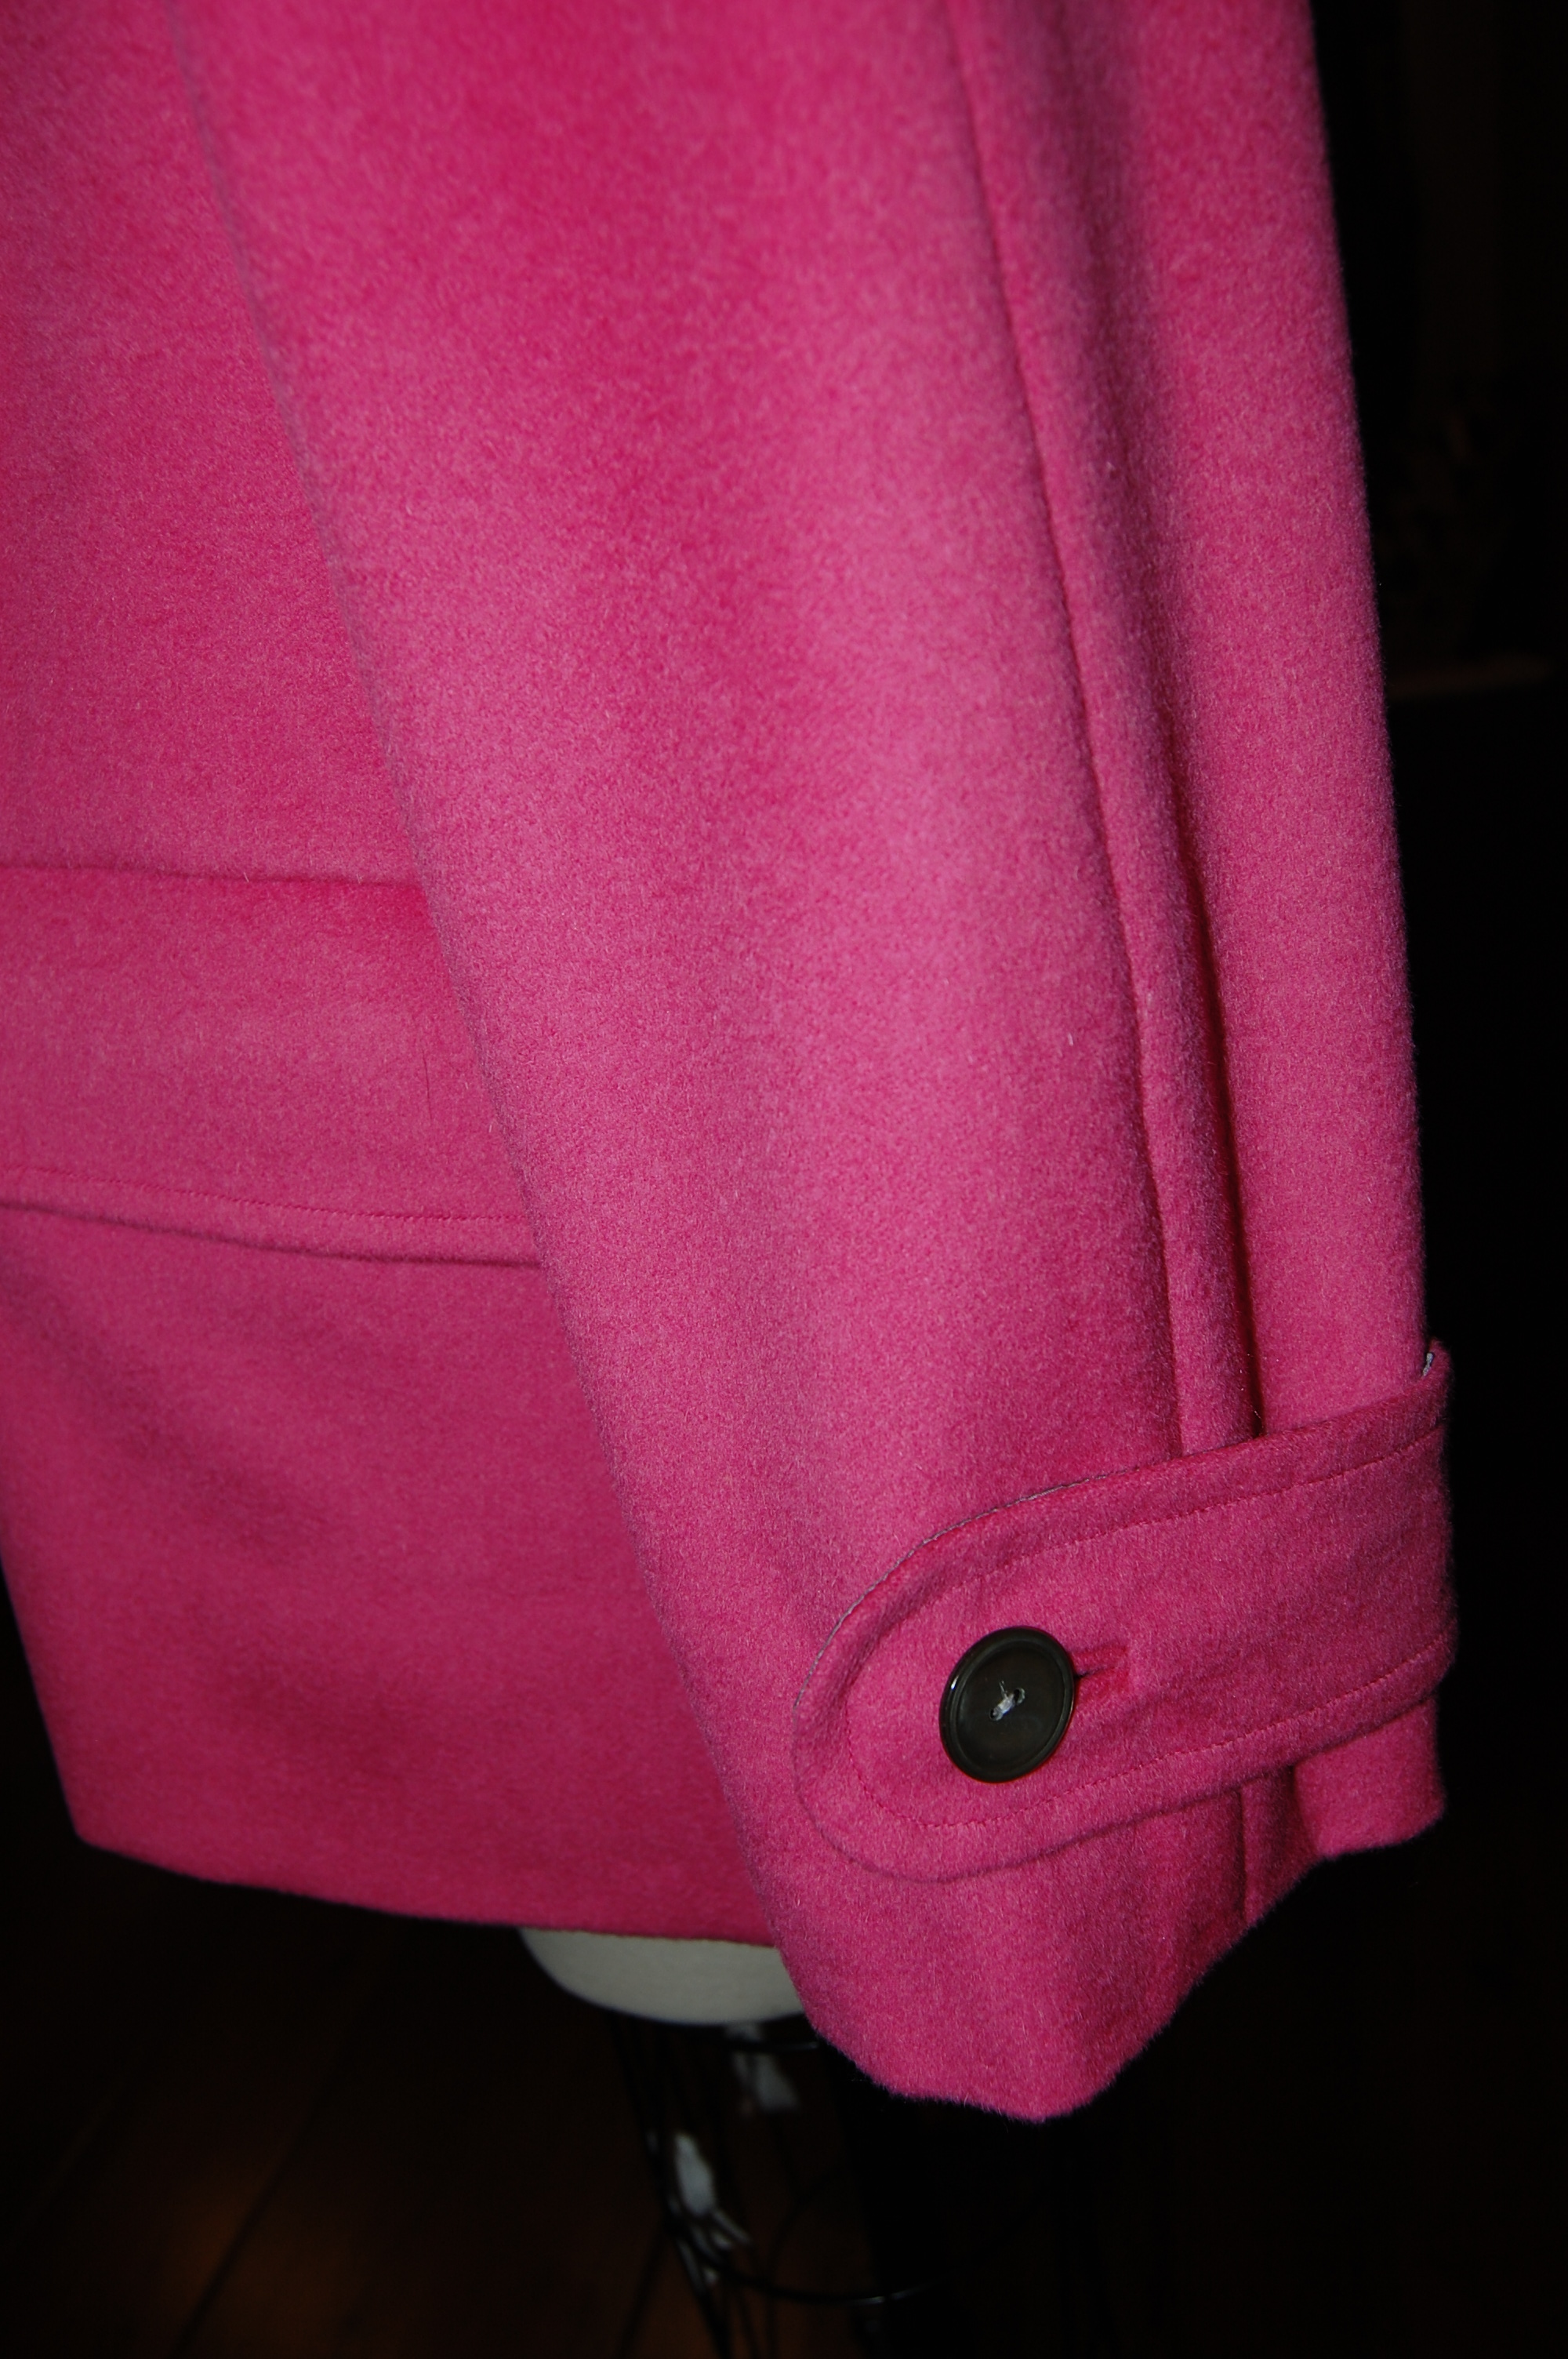
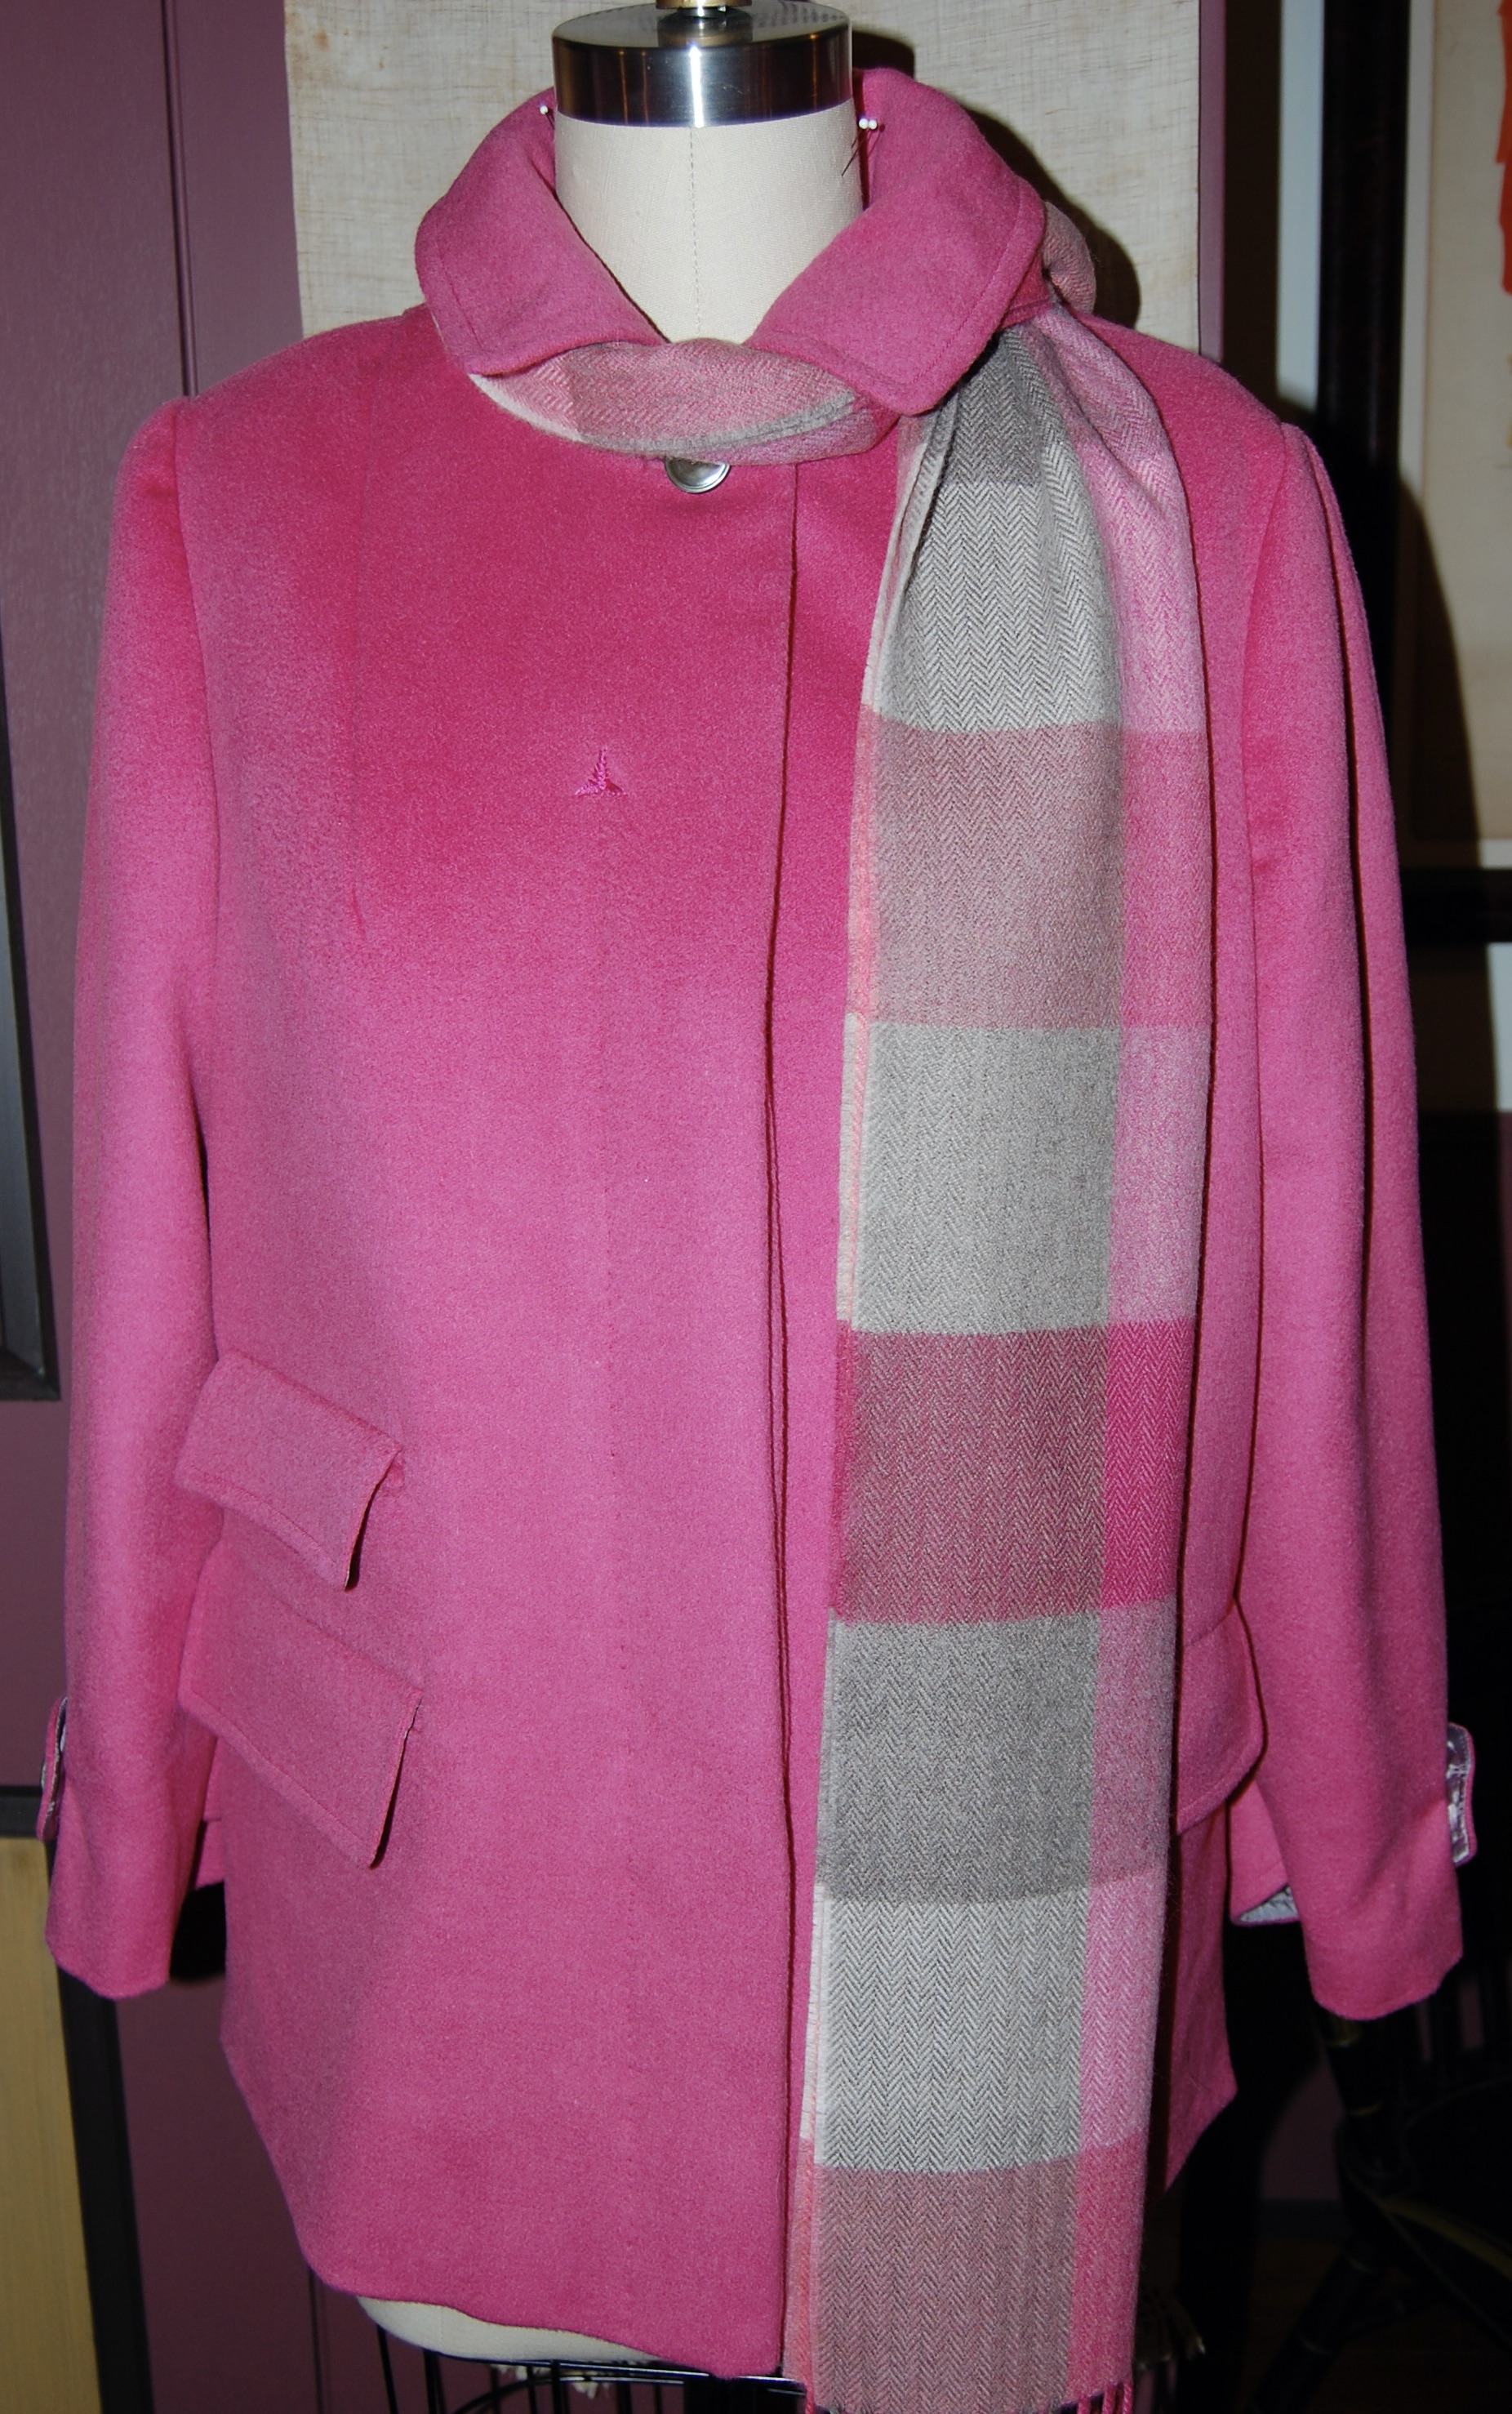
- Short black wool jacket, ostensibly to wear with a wool sheath dress made two years ago.
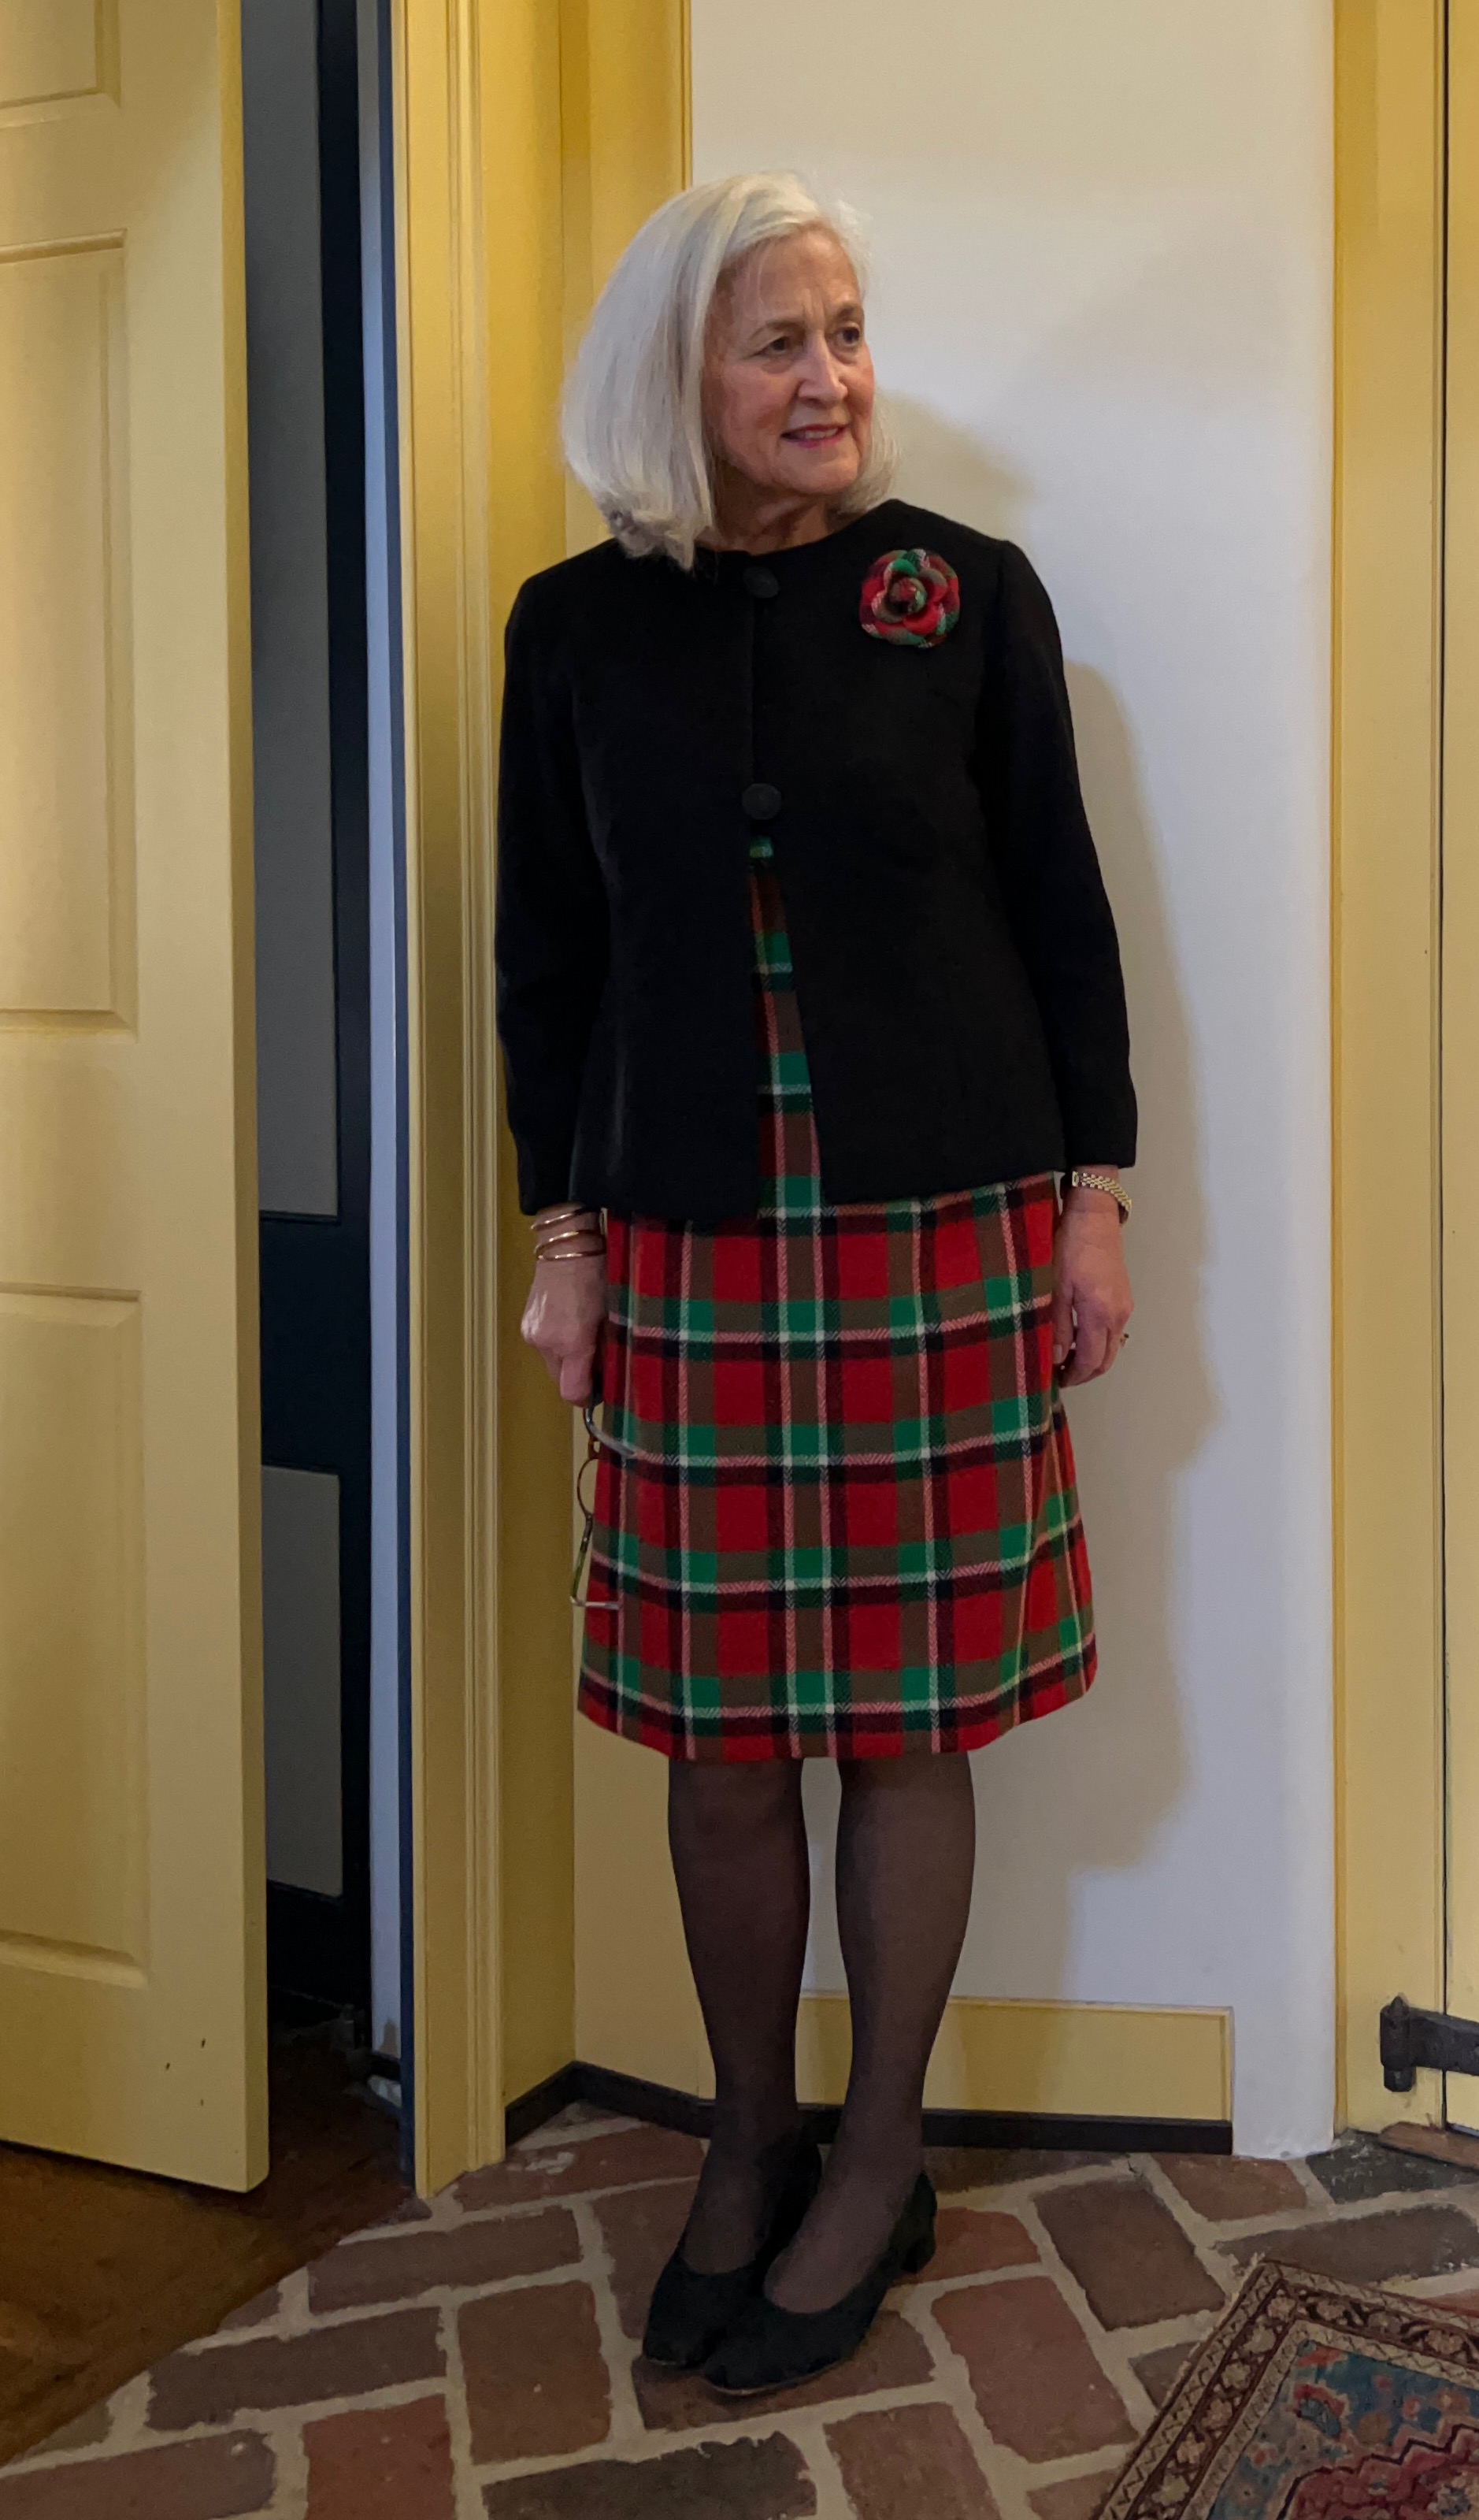
I suspect this jacket will prove to be more versatile than I have expected. Its jewel neckline will lend itself to scarves, and its solid black color will be a good canvas for brooches or other fabric flowers.
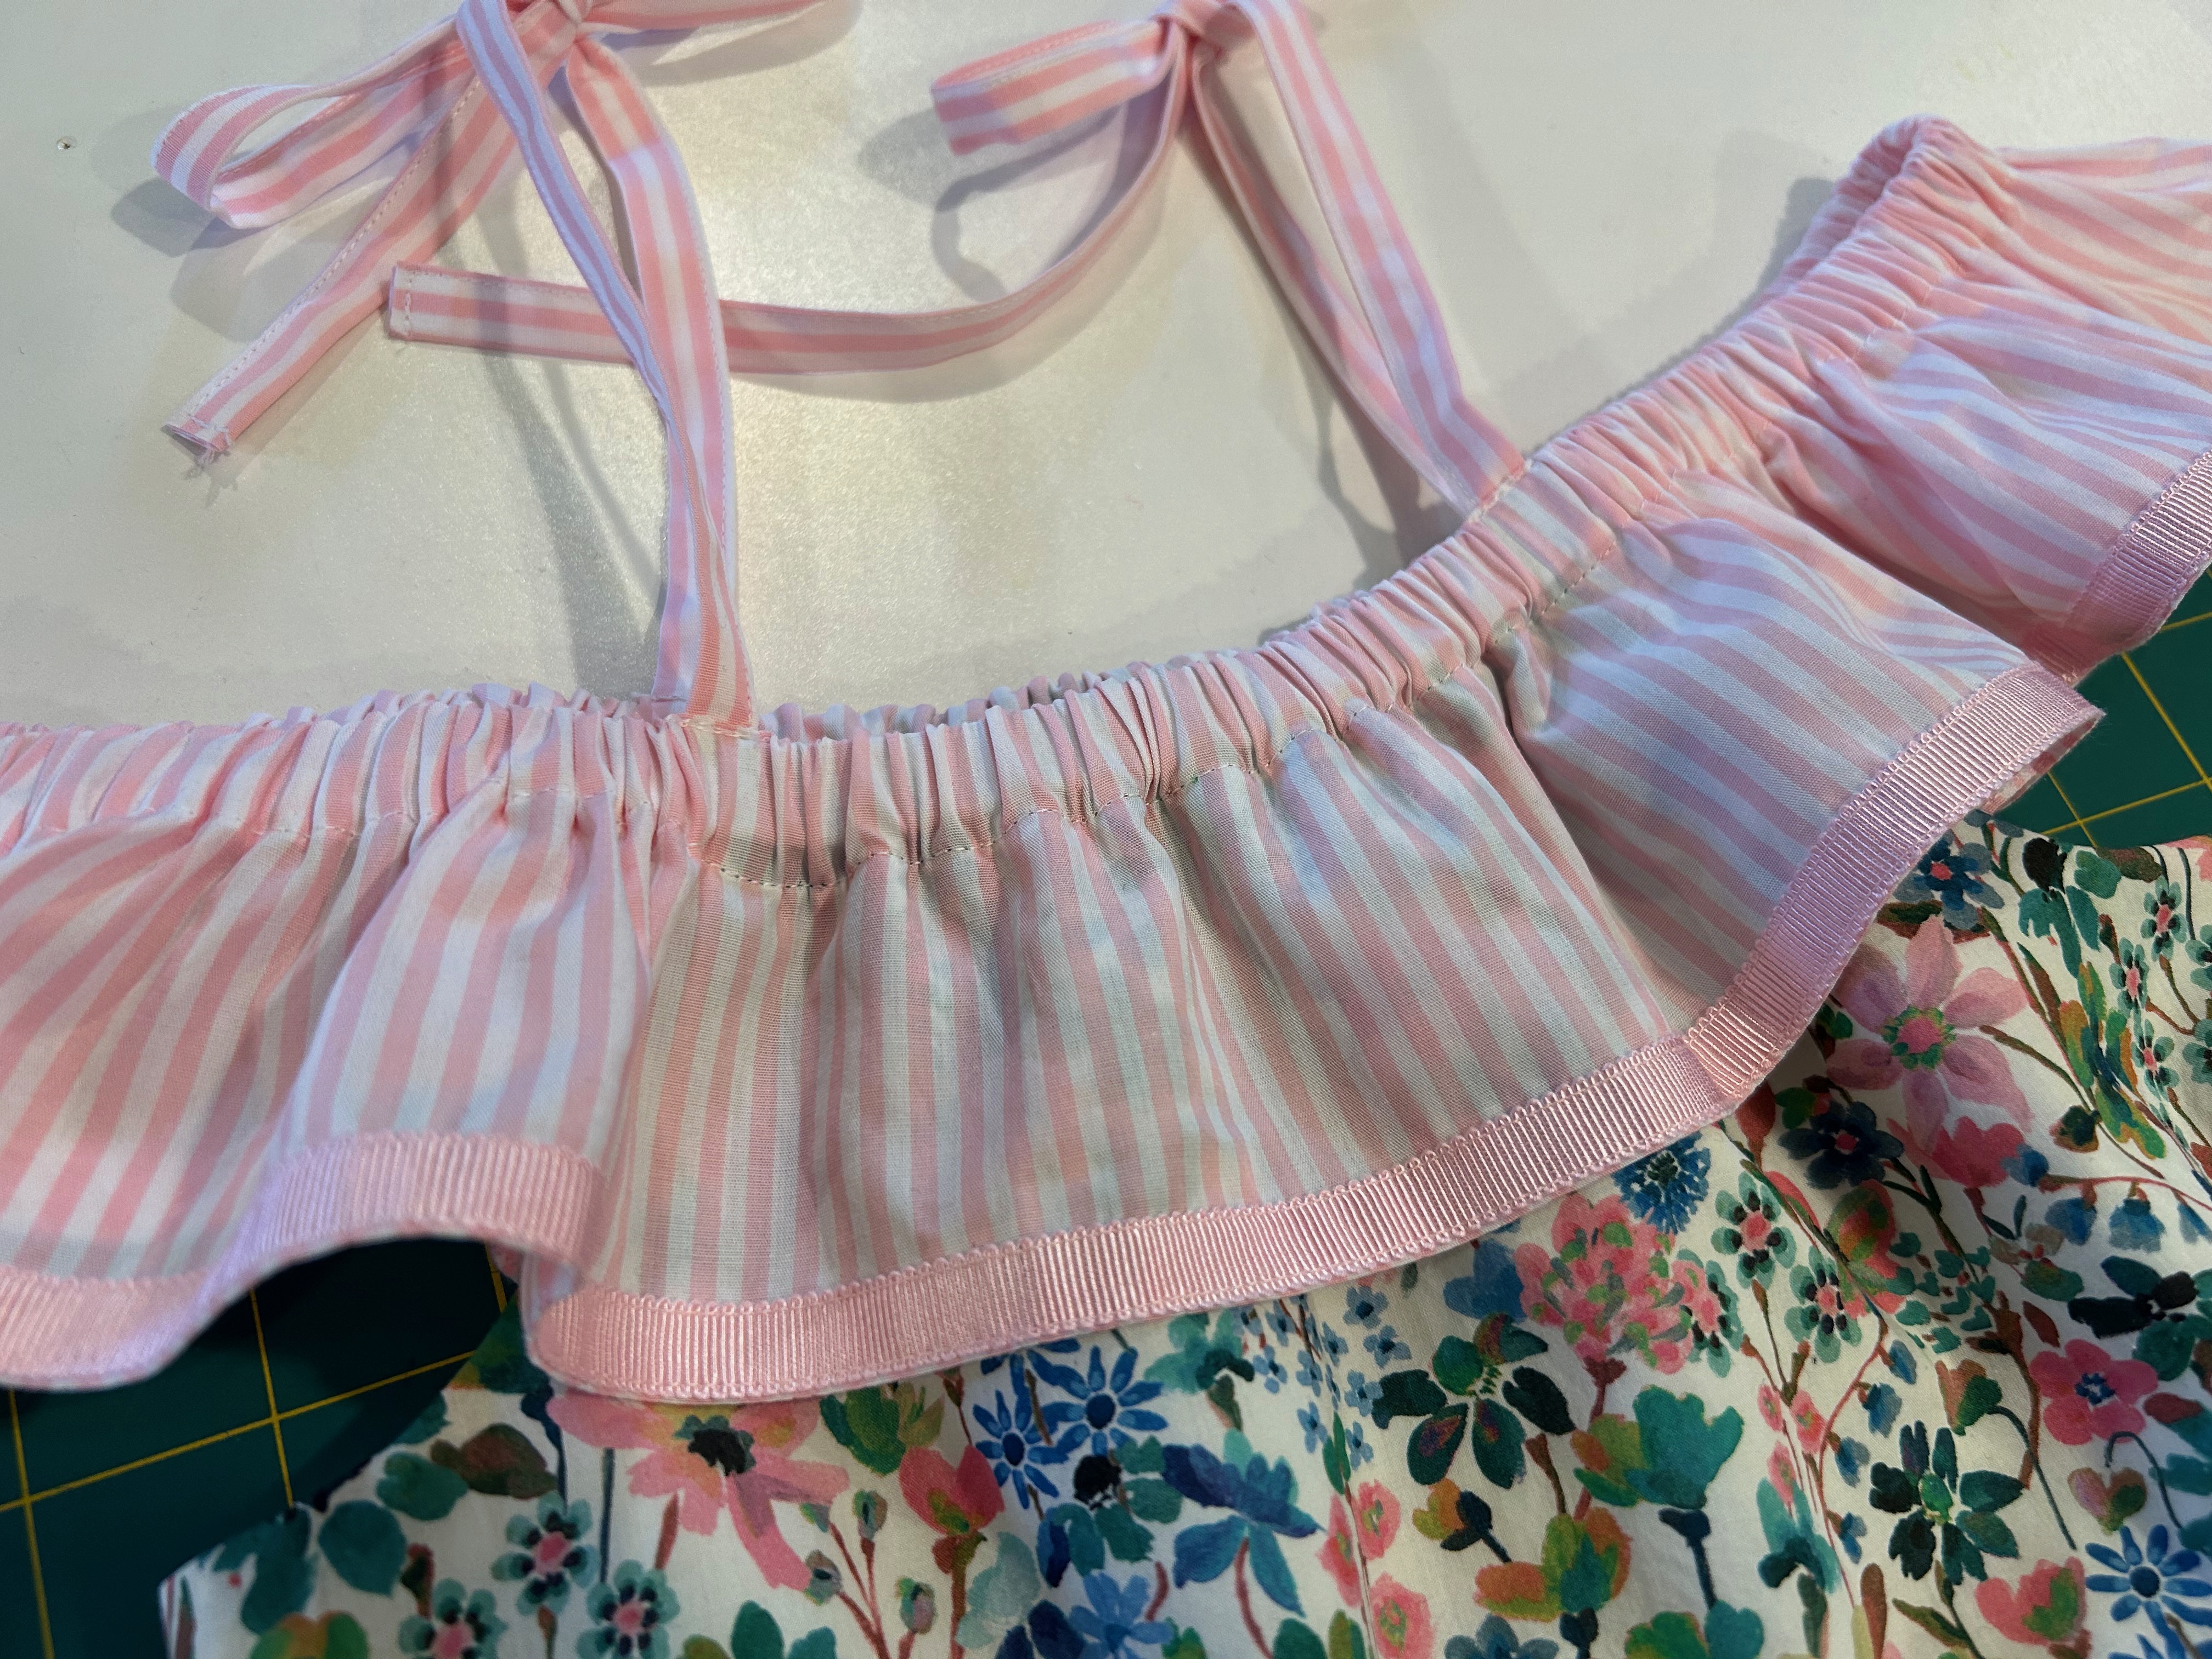
2. A birthday/sundress for each of my two granddaughters.
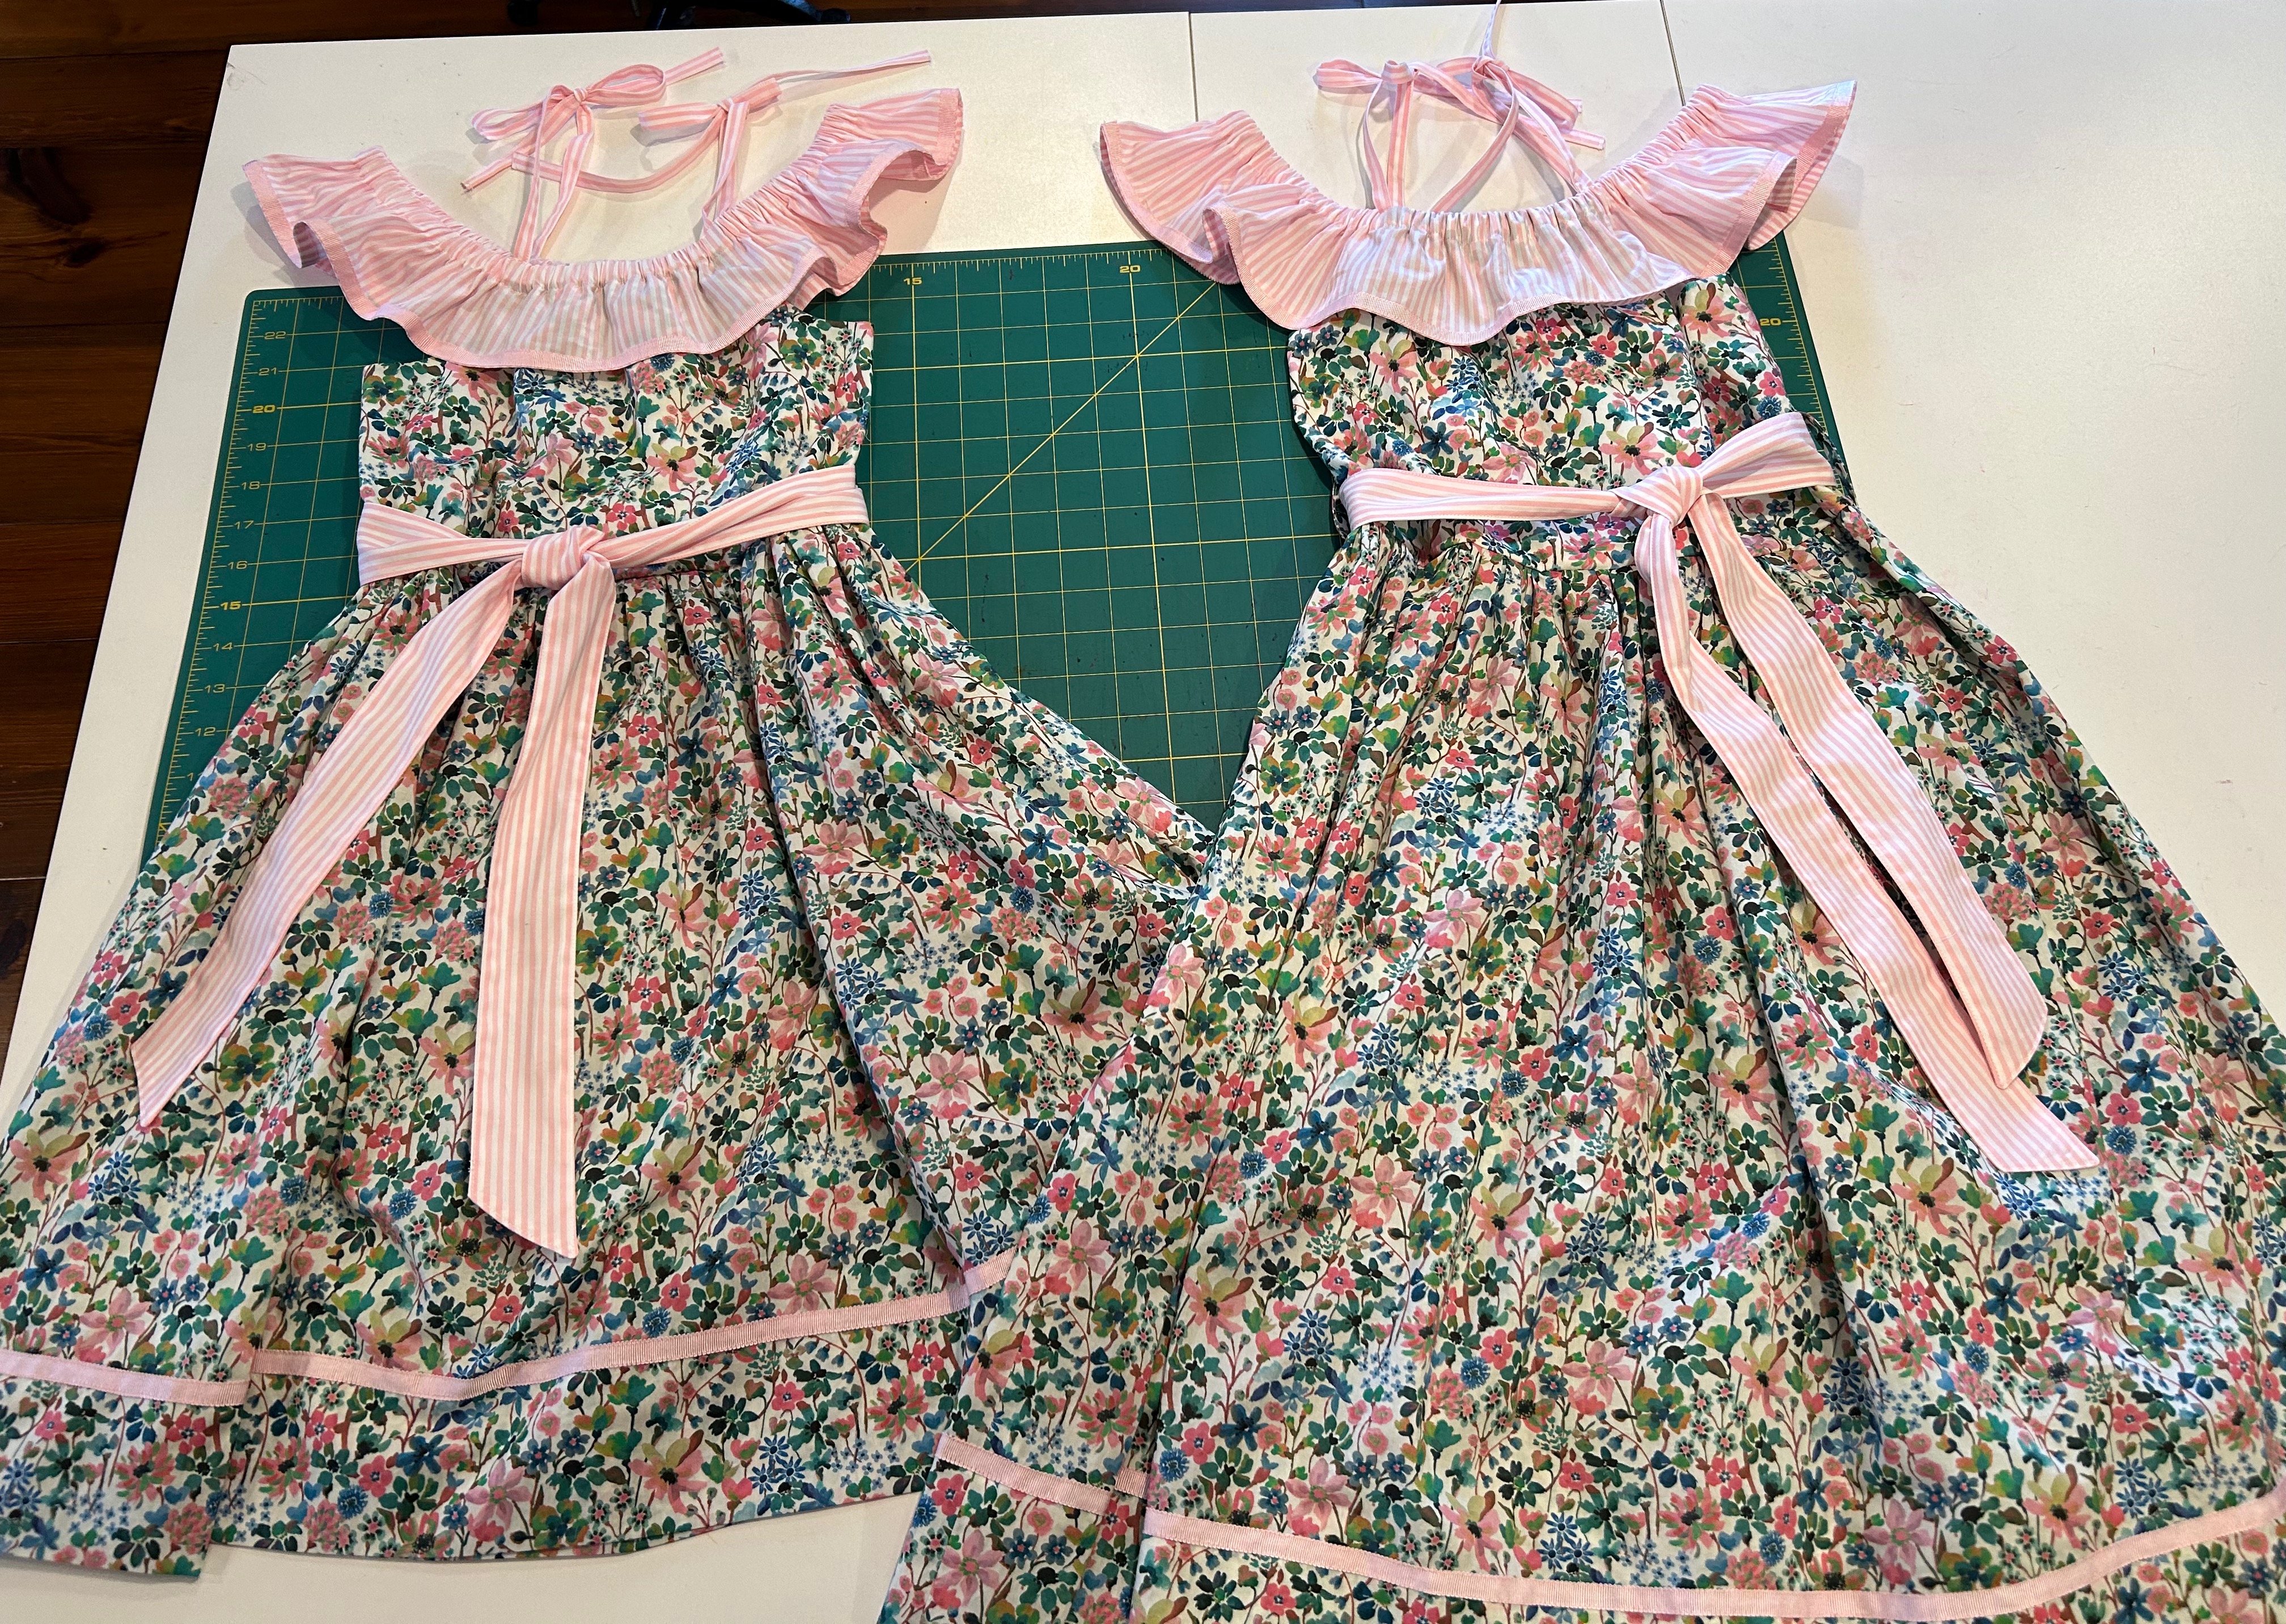
I generally do not post on my blog about sewing for my granddaughters, due to the limited audience for the subject. The girls requested dresses which they could wear “off the shoulder.” So of course, I obliged!
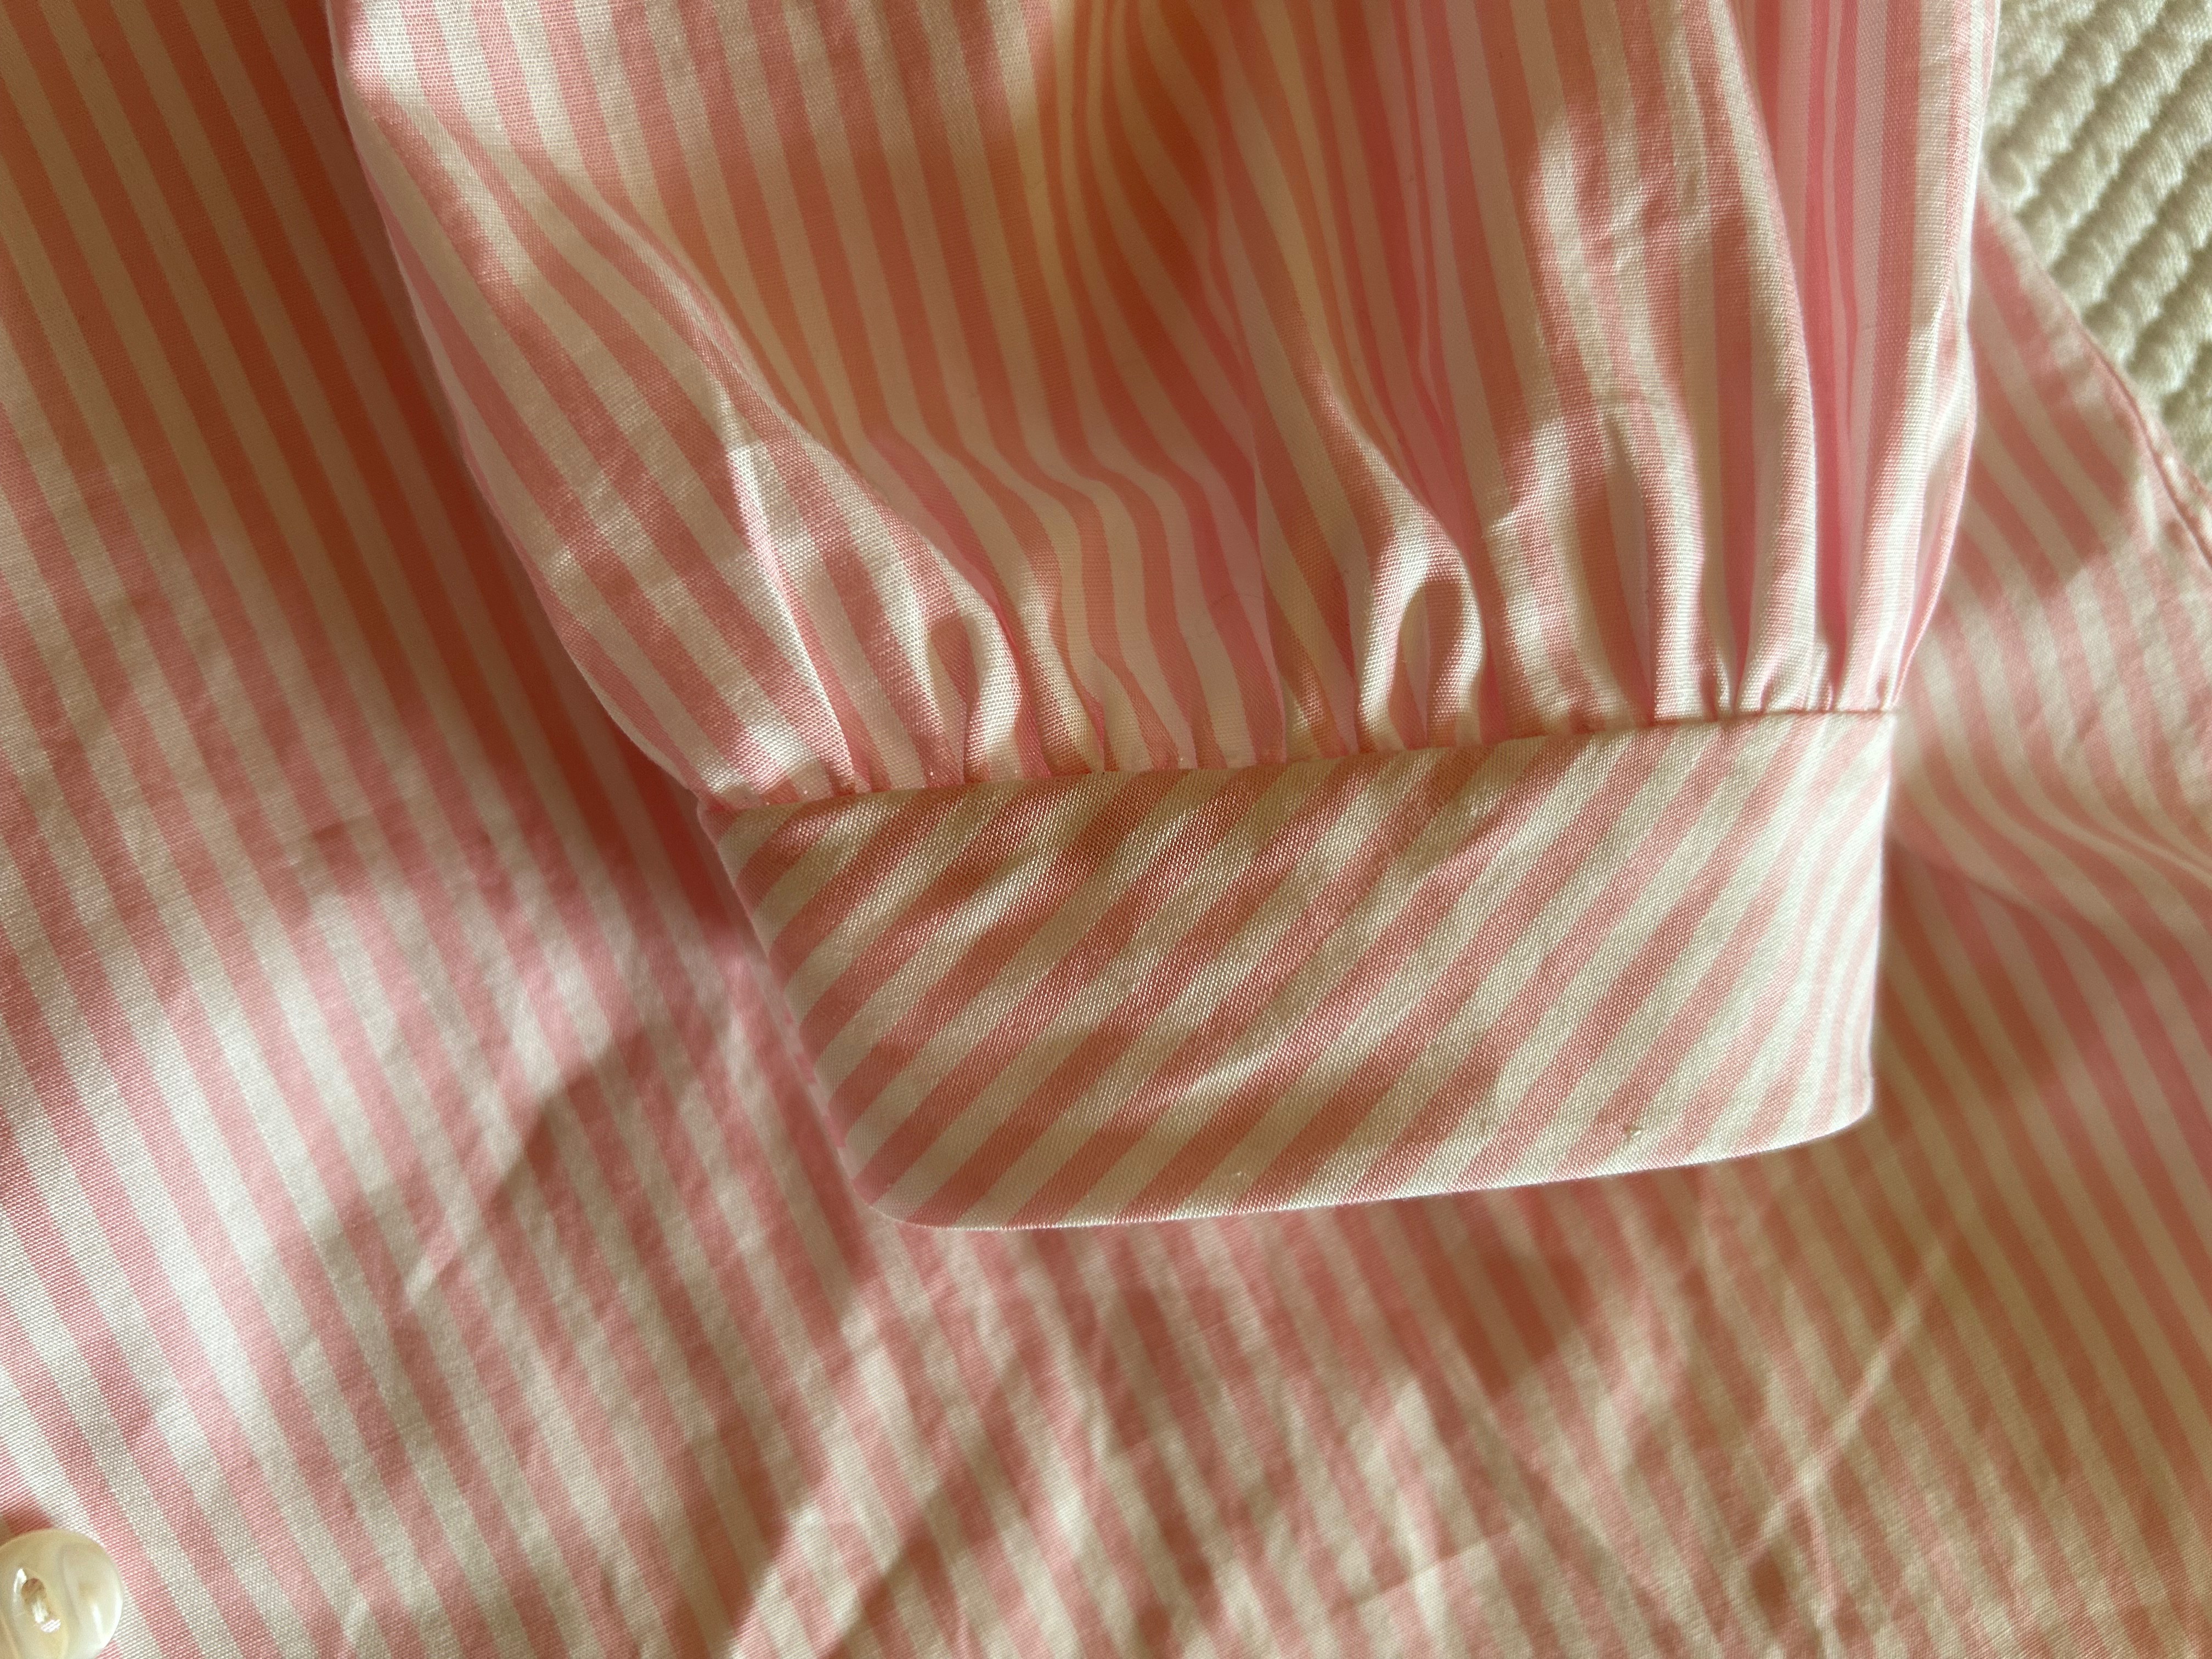
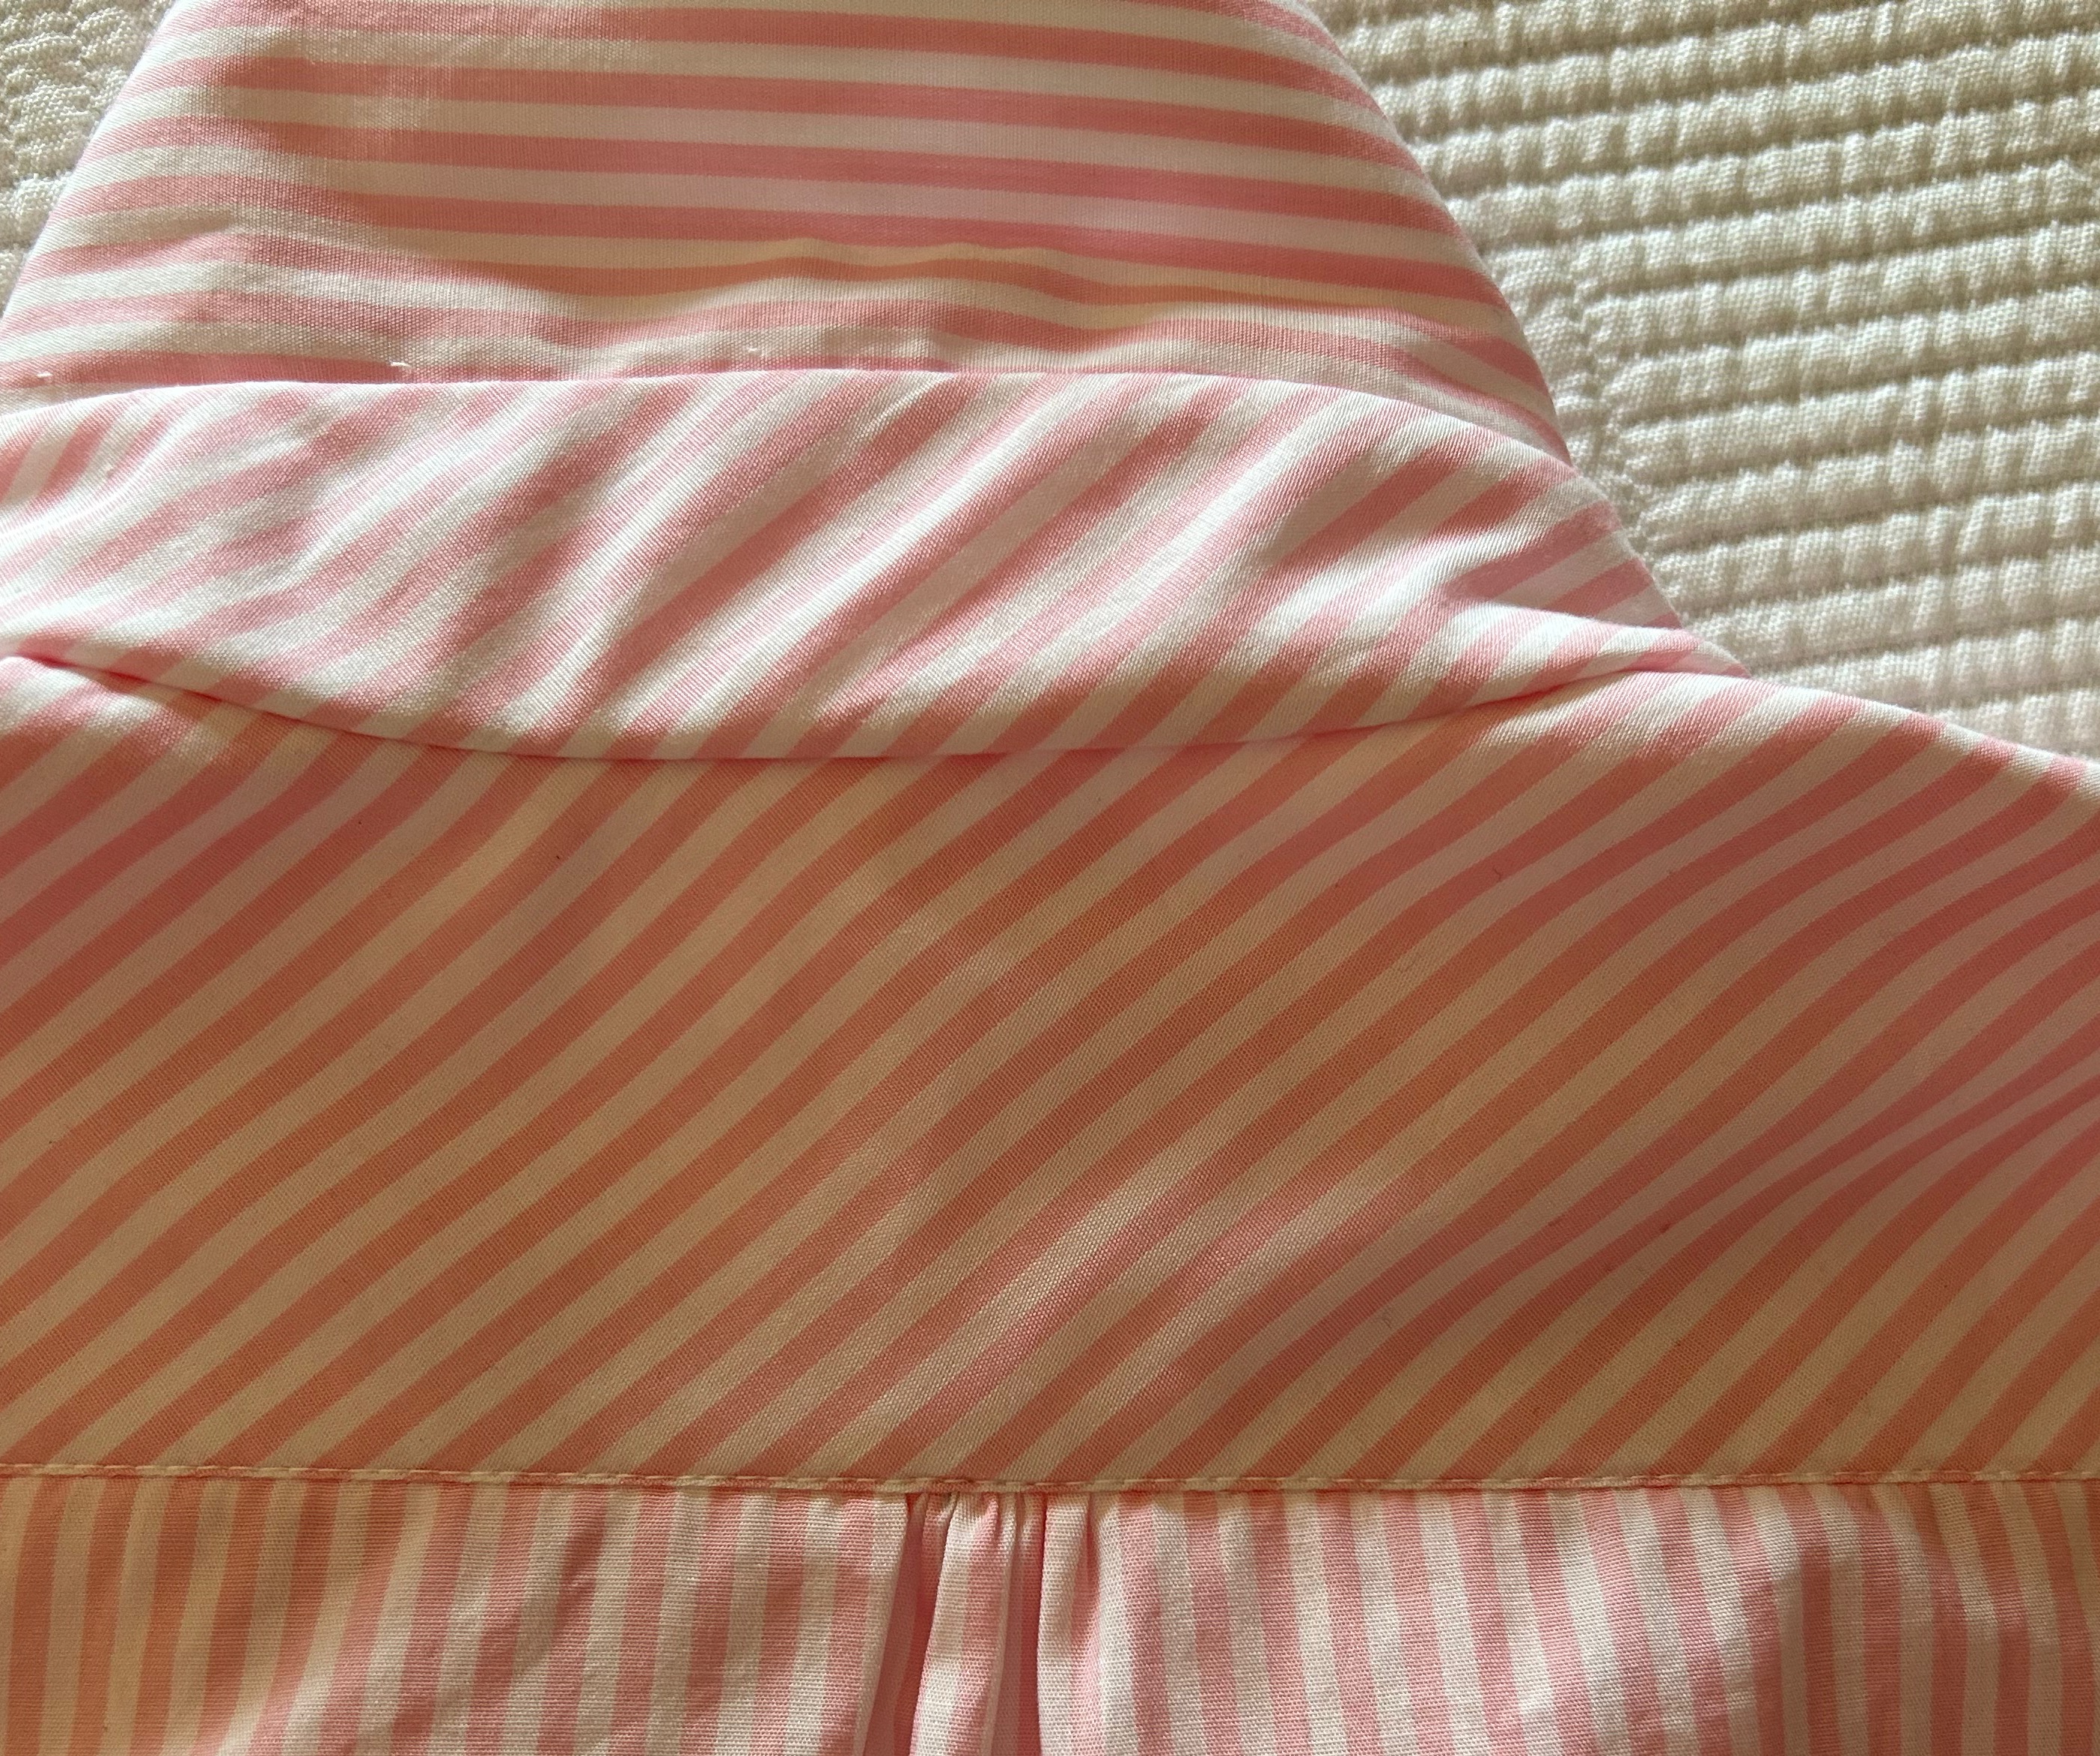
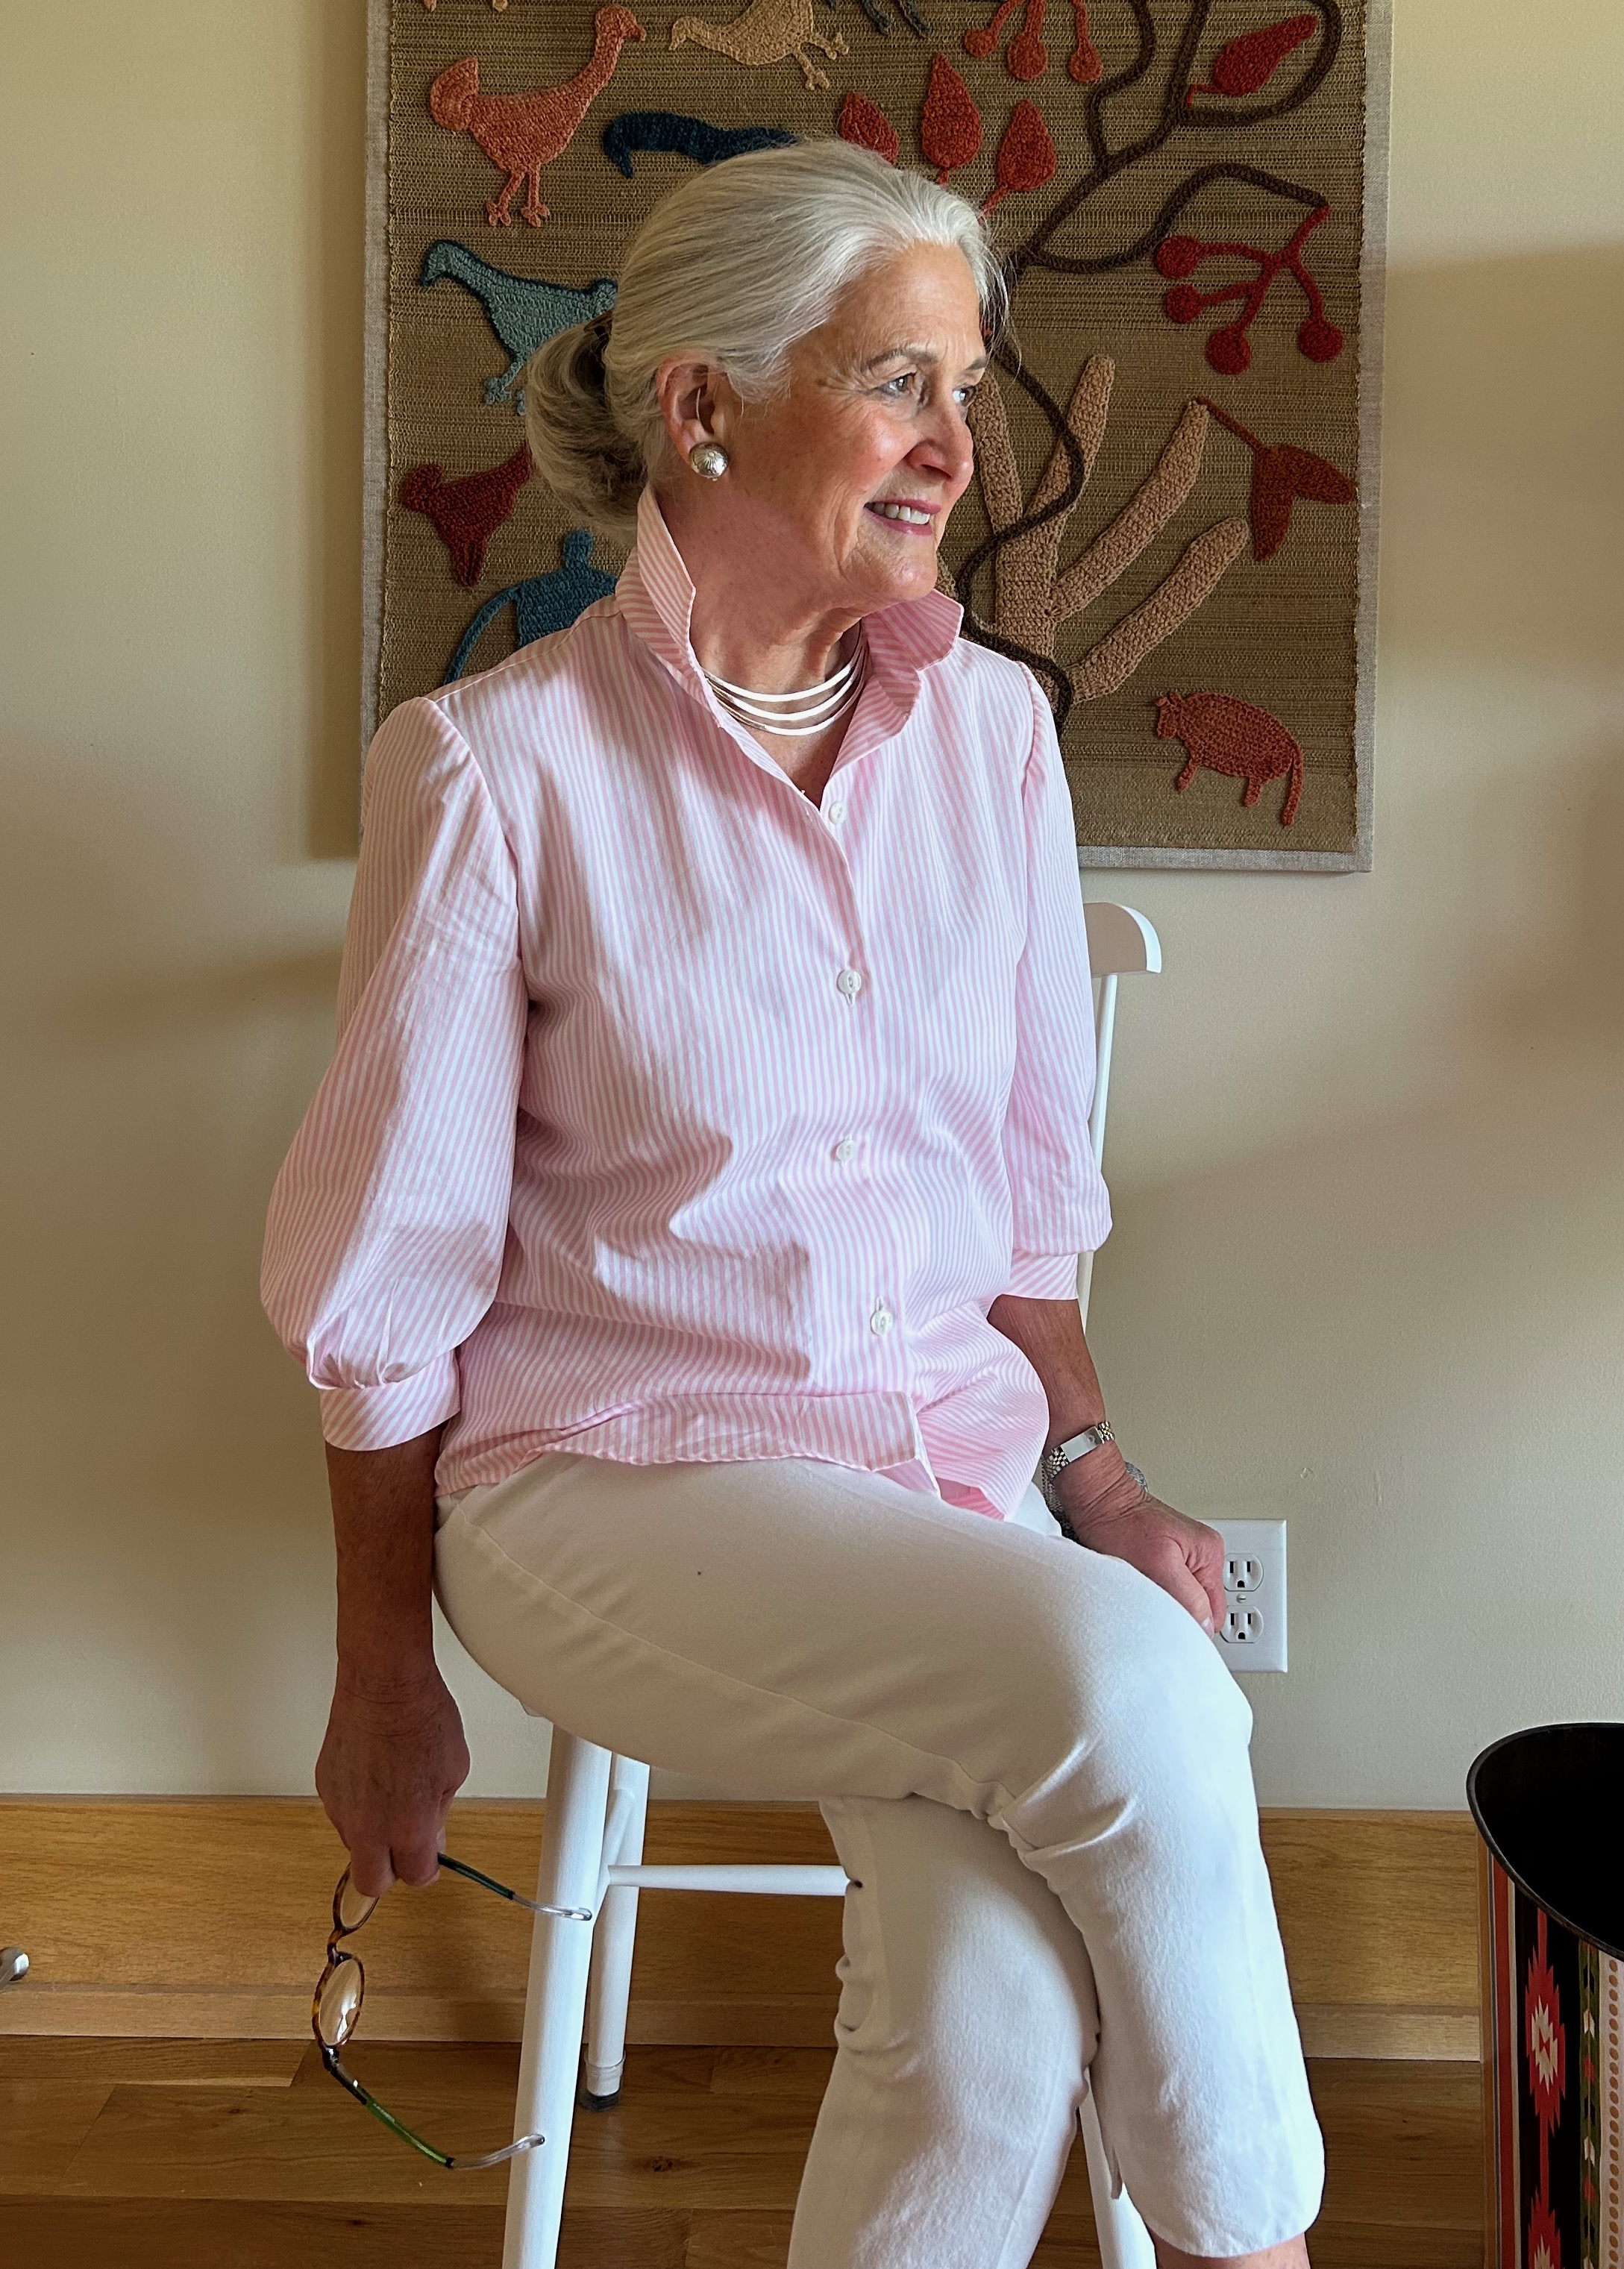
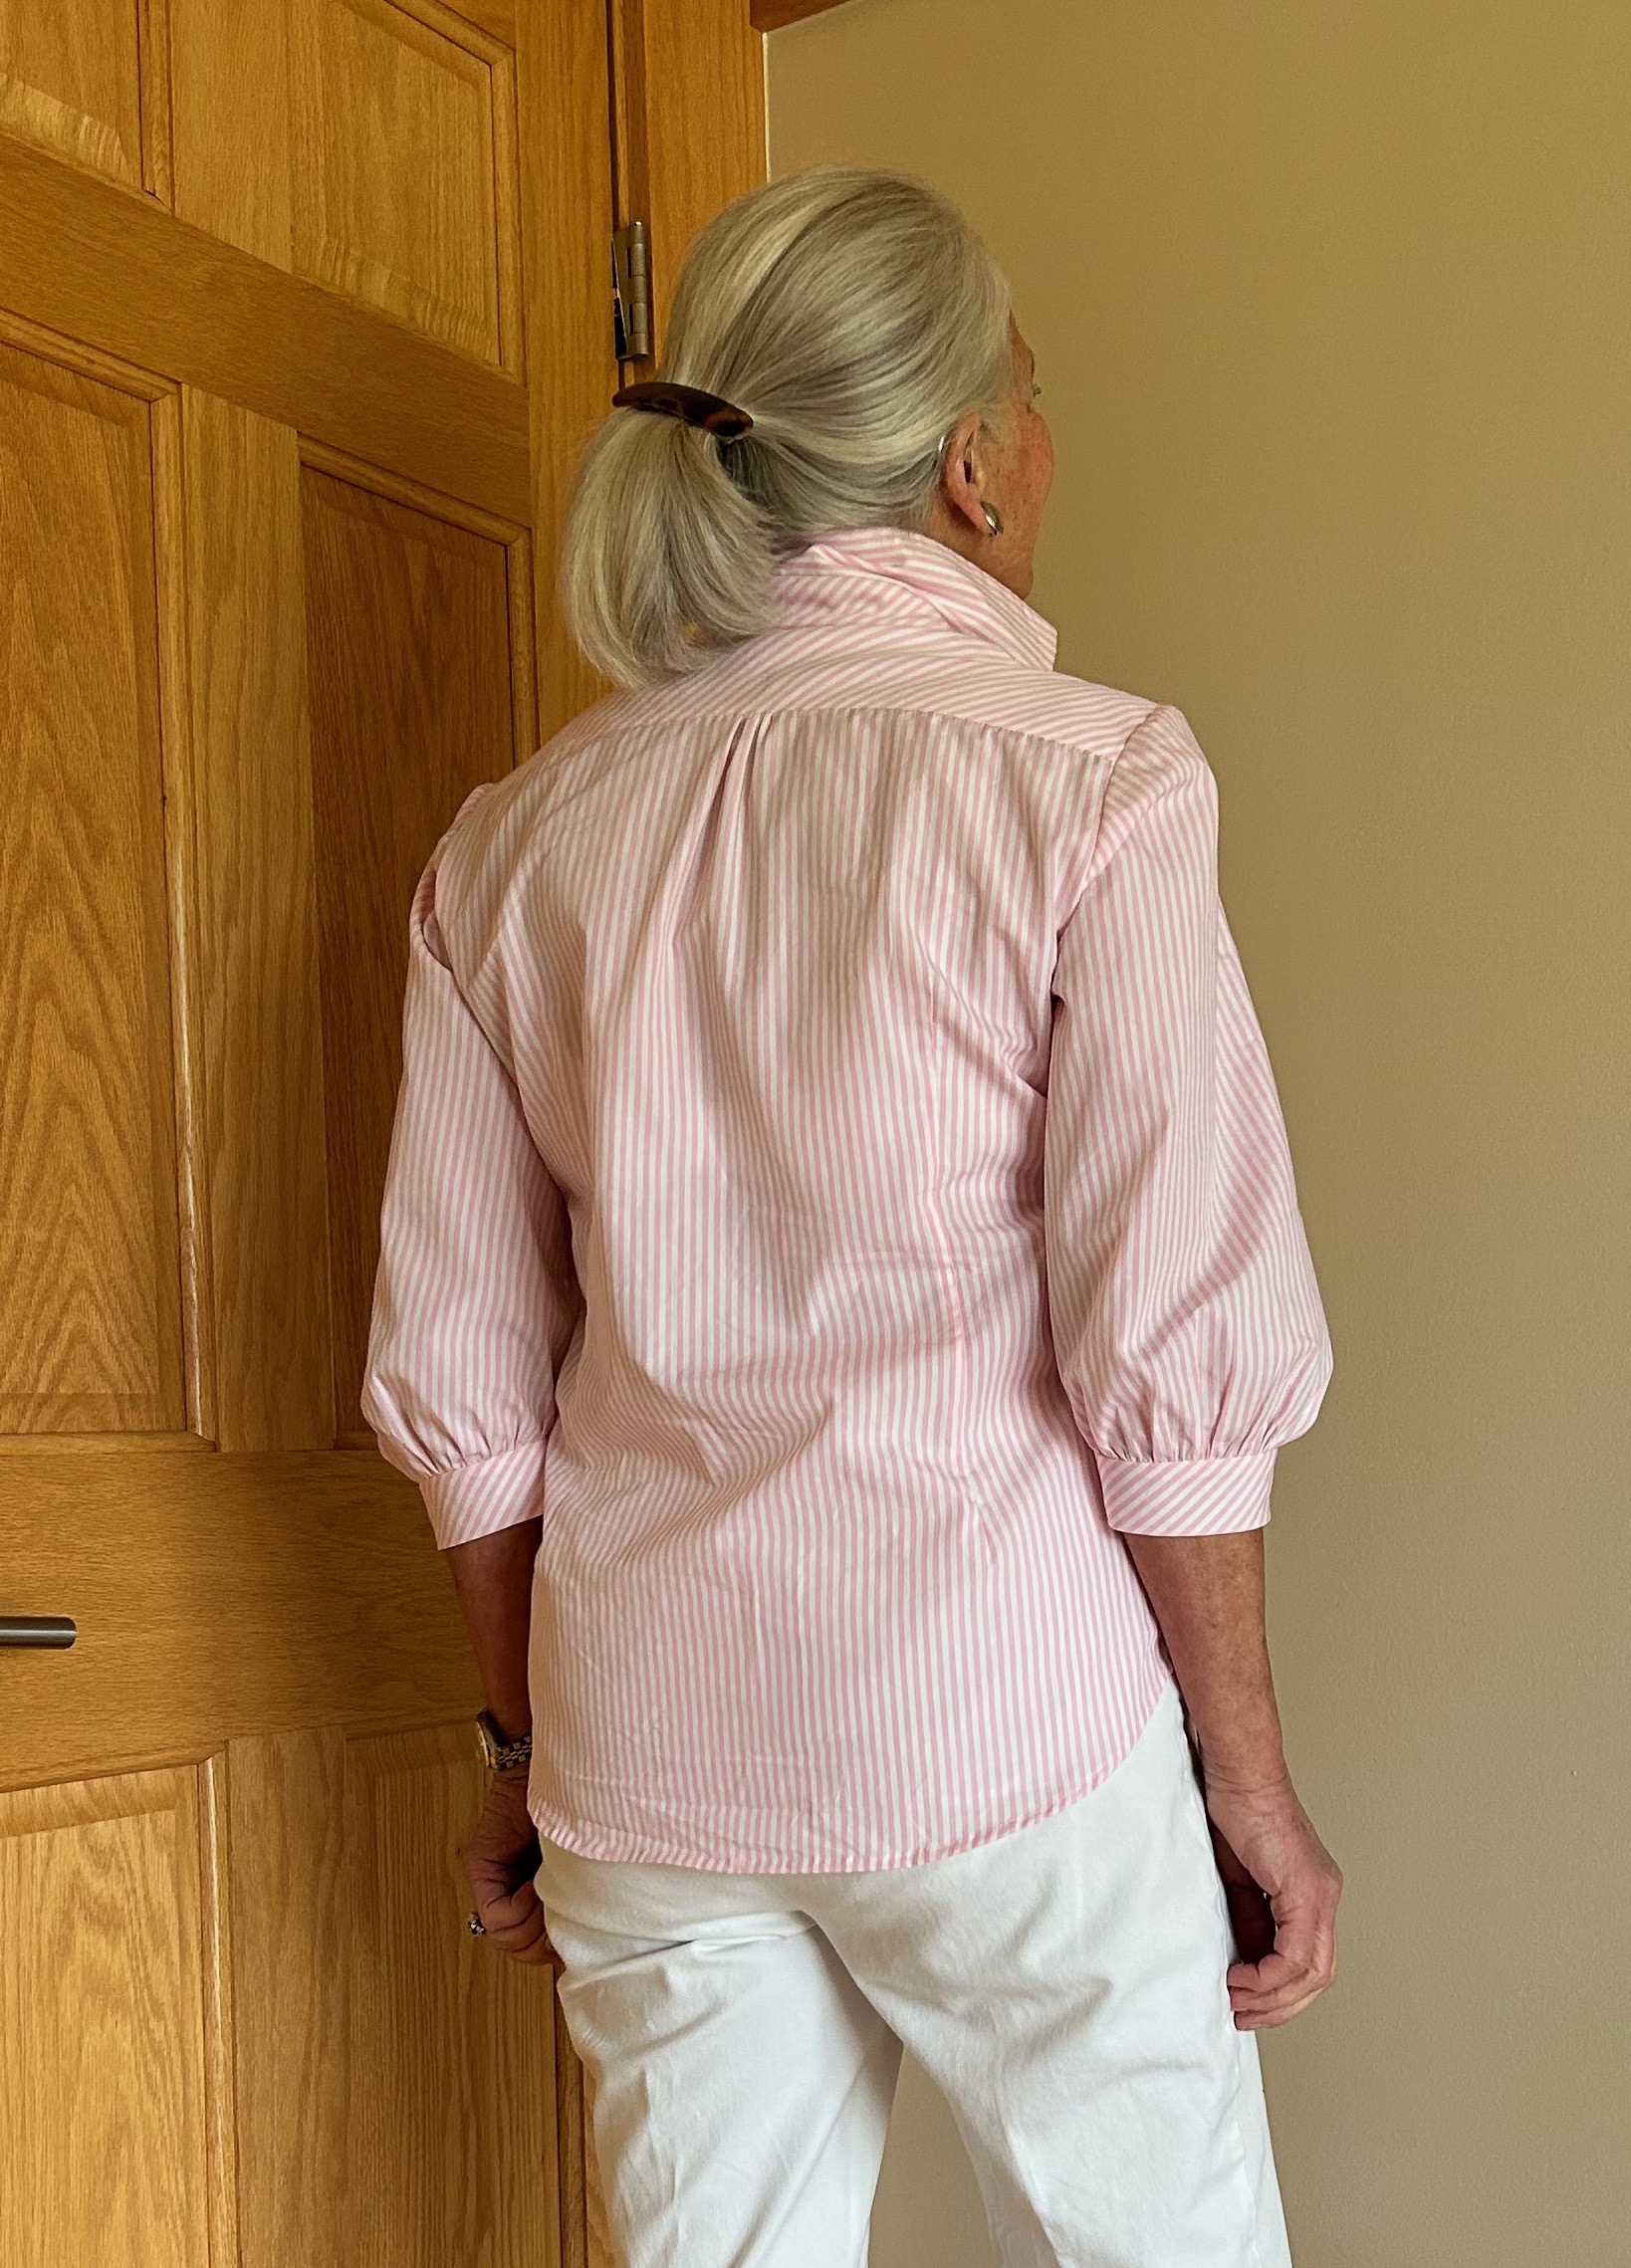
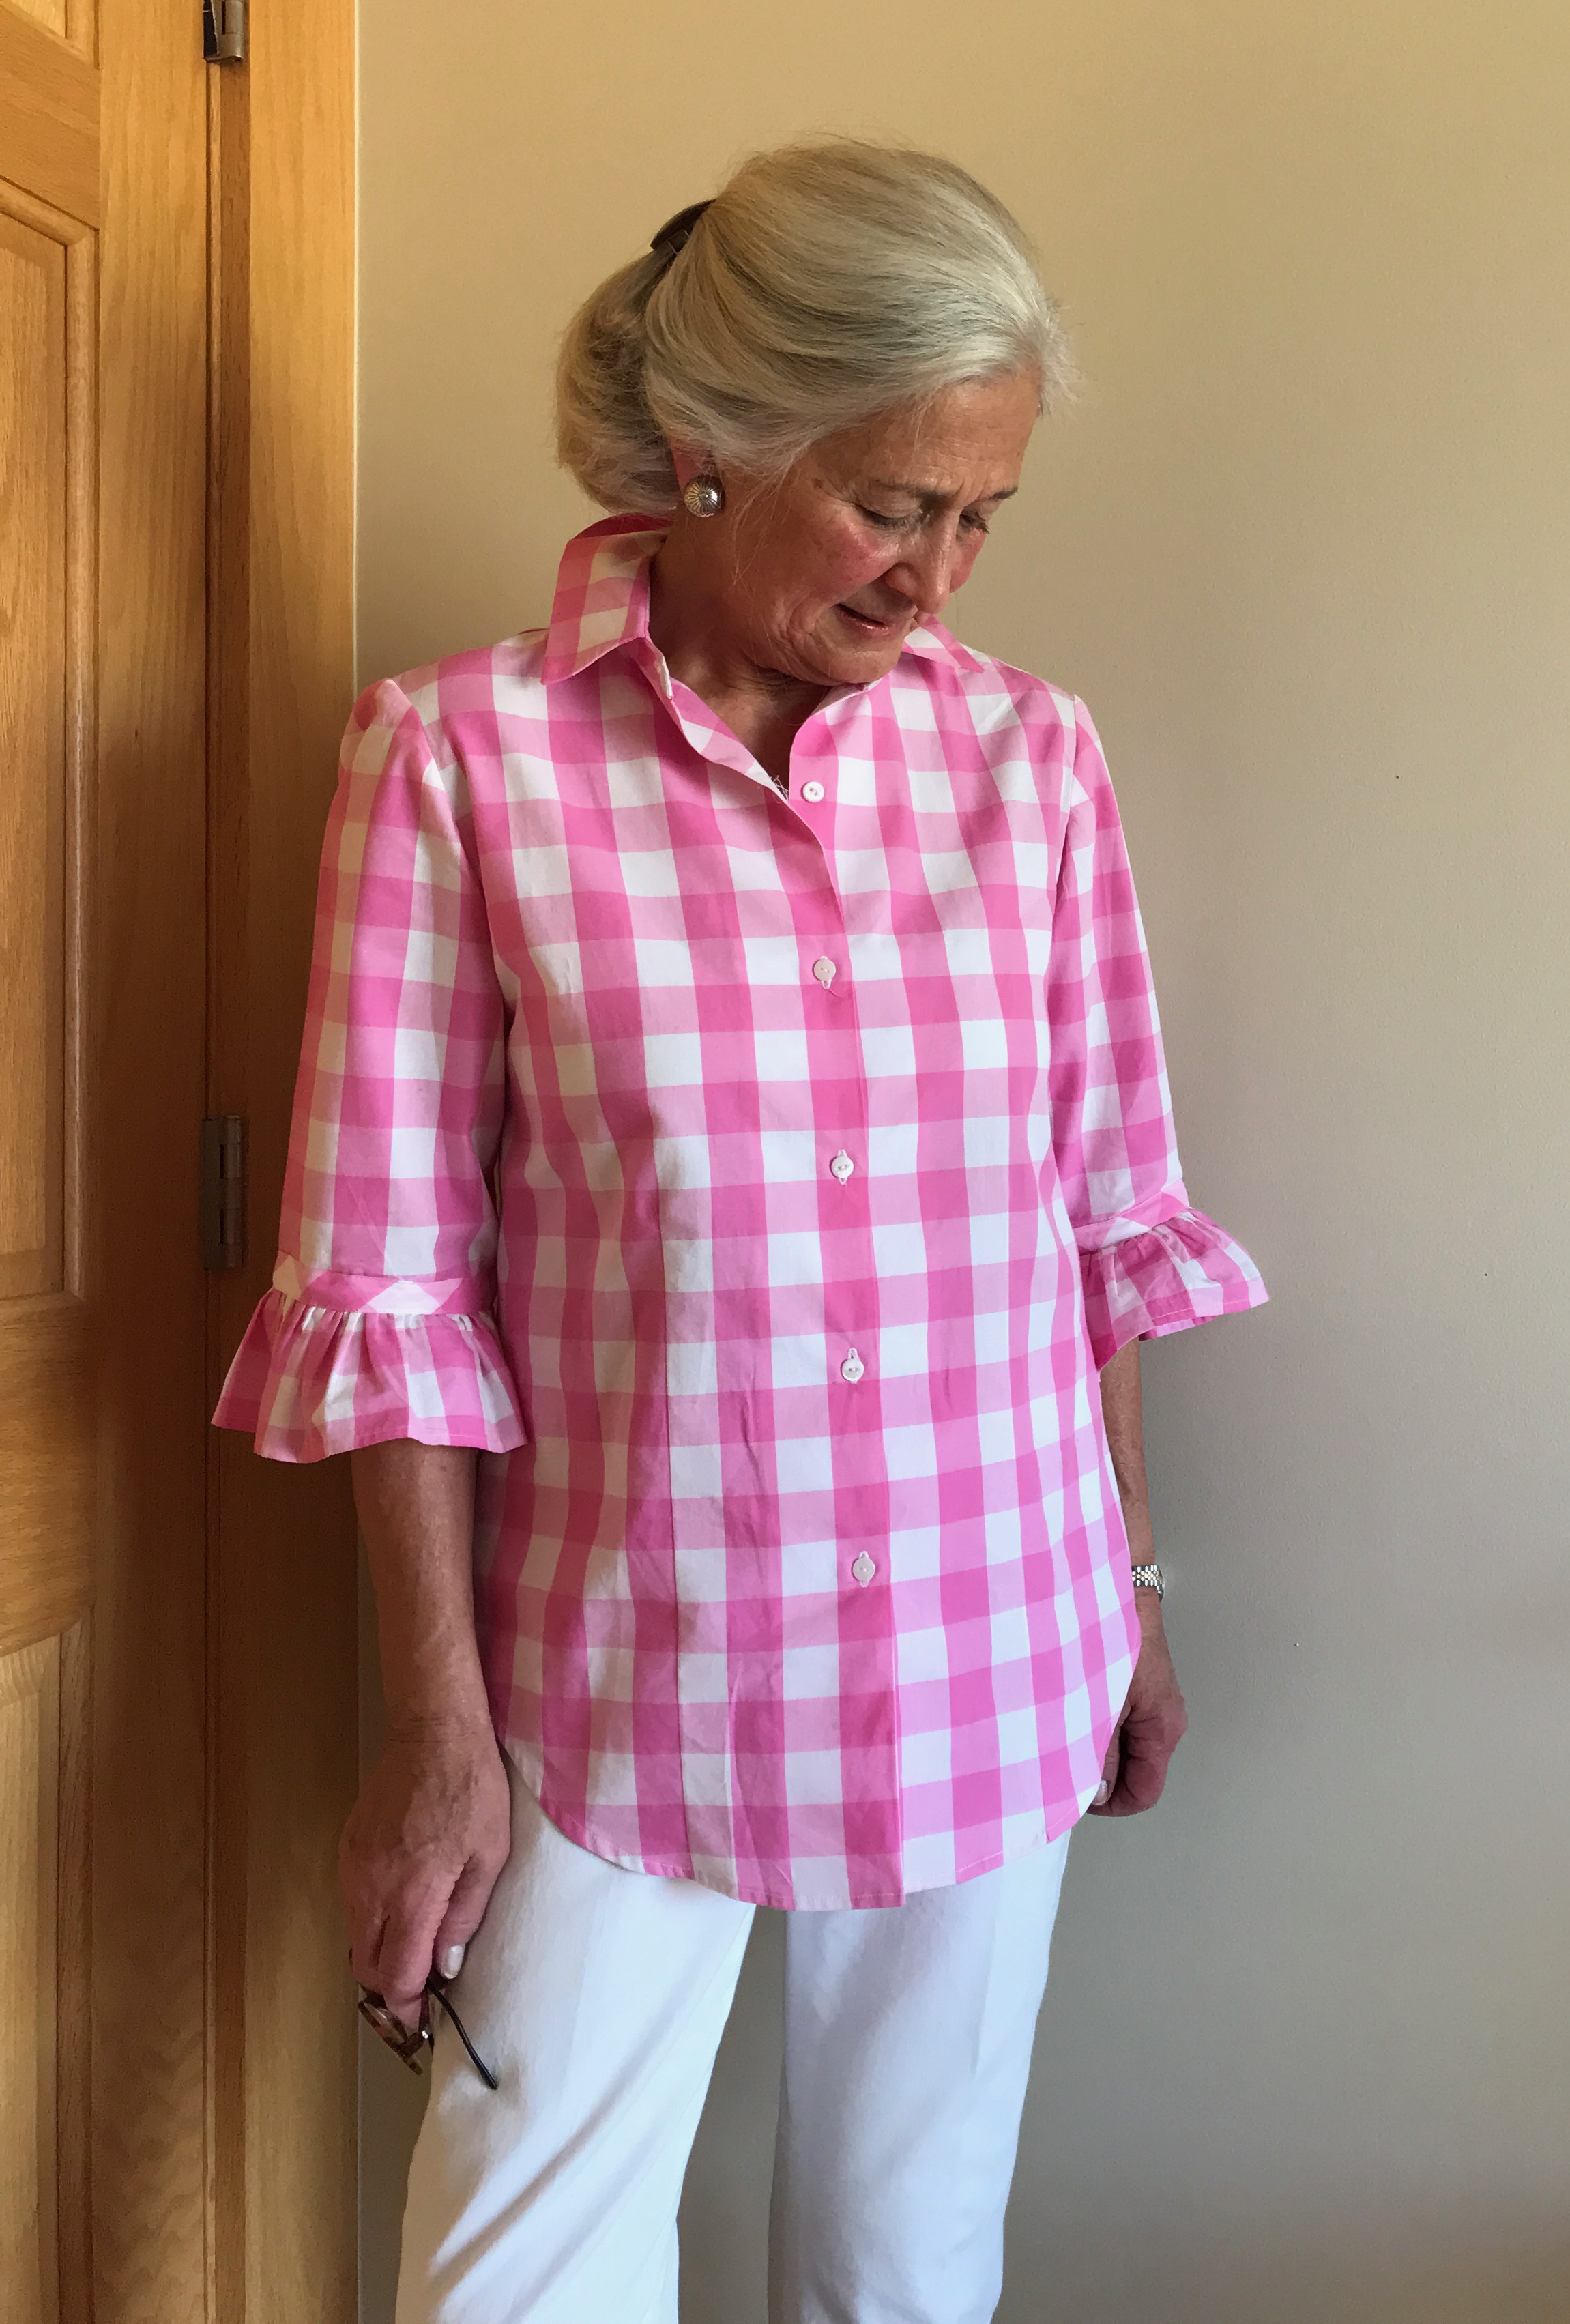
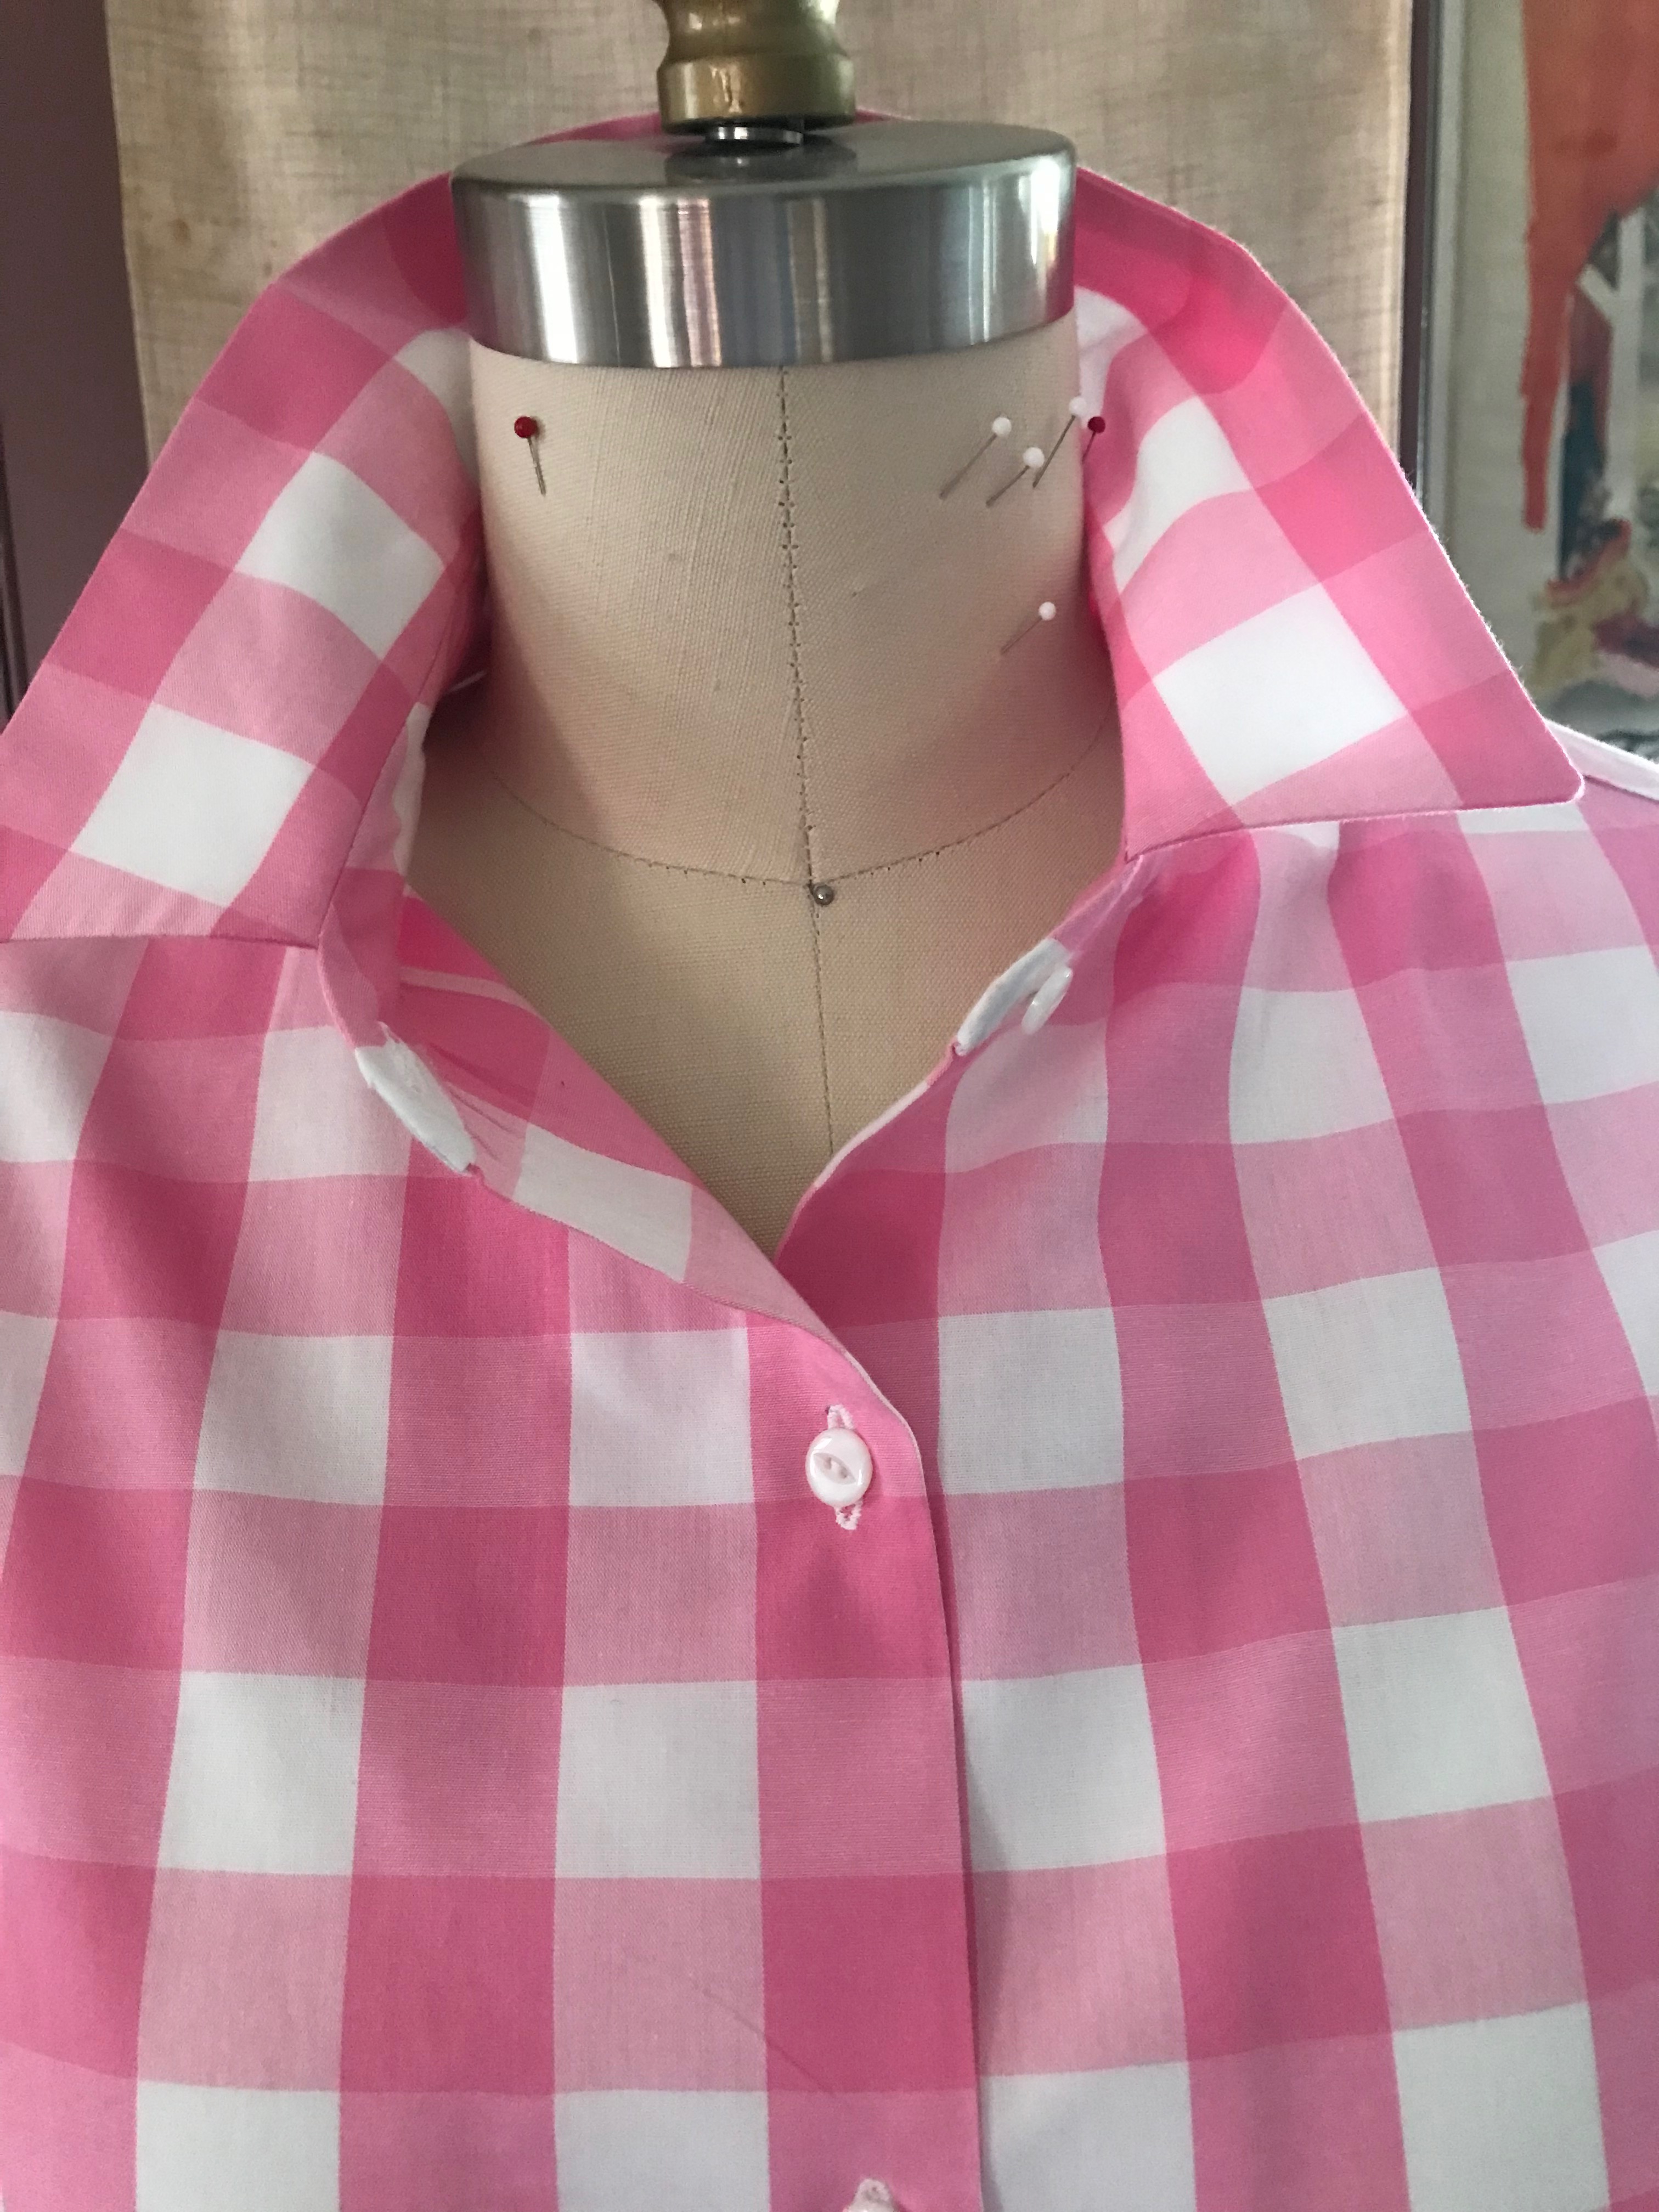
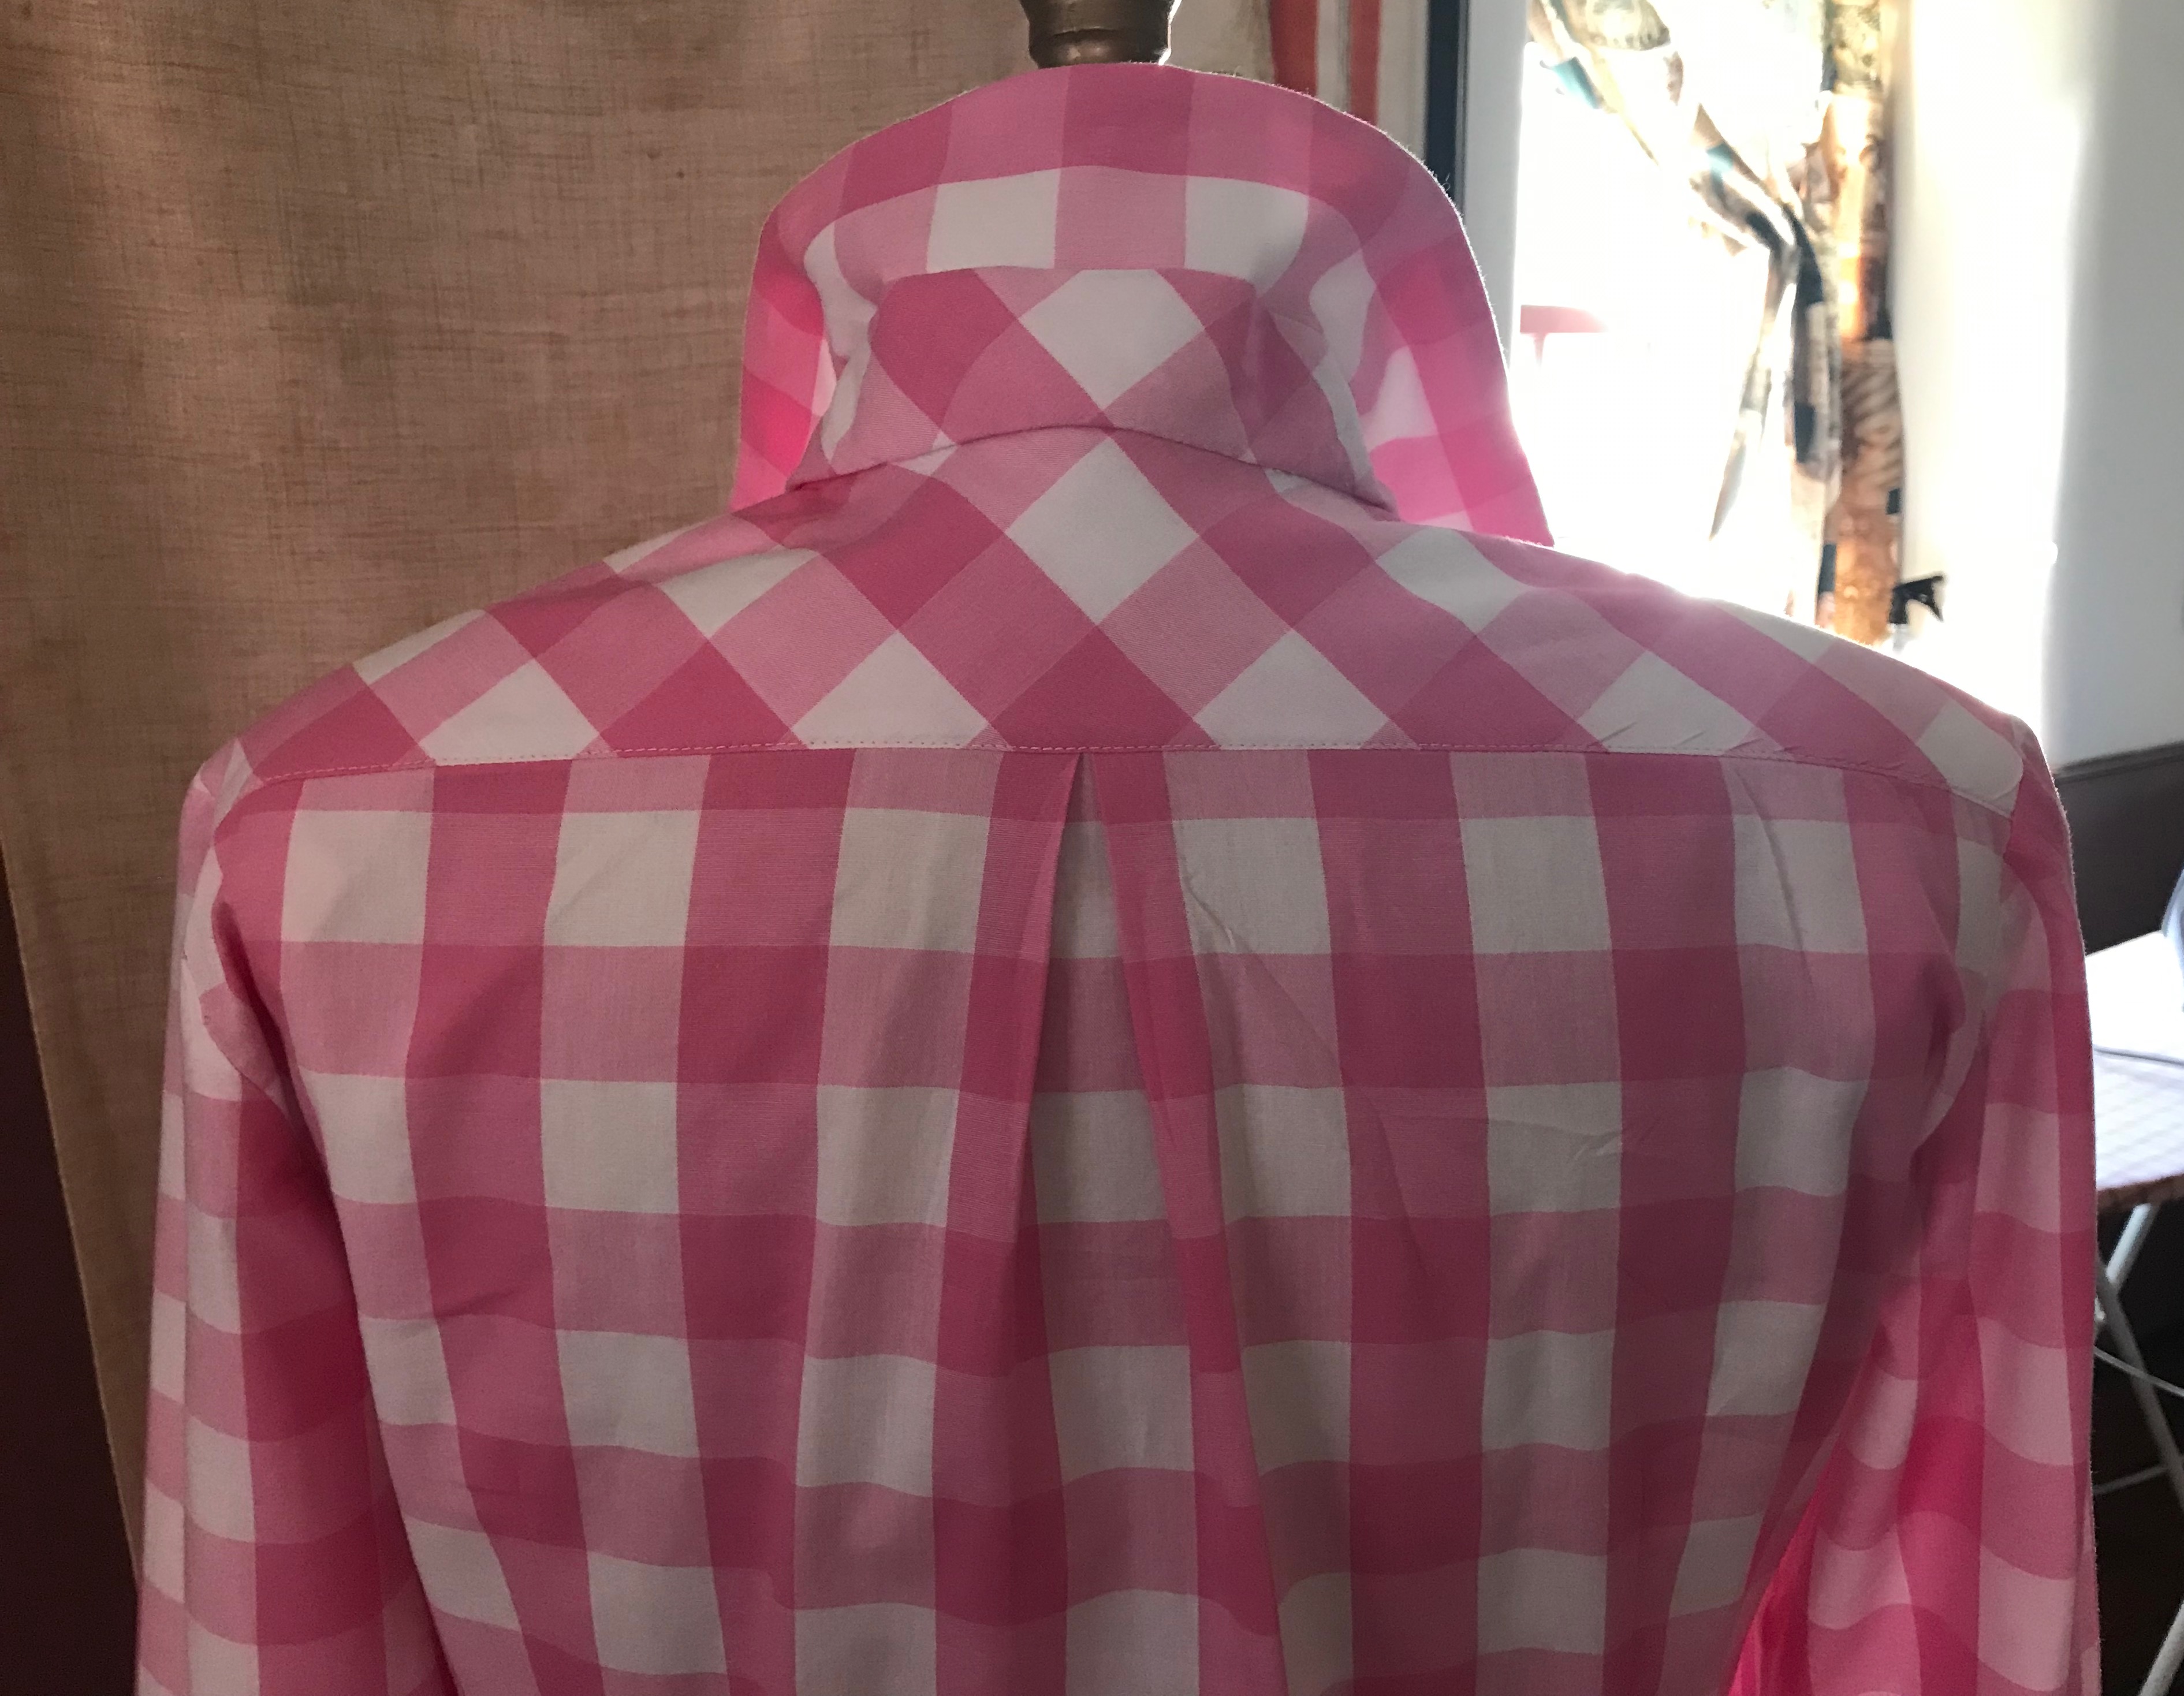
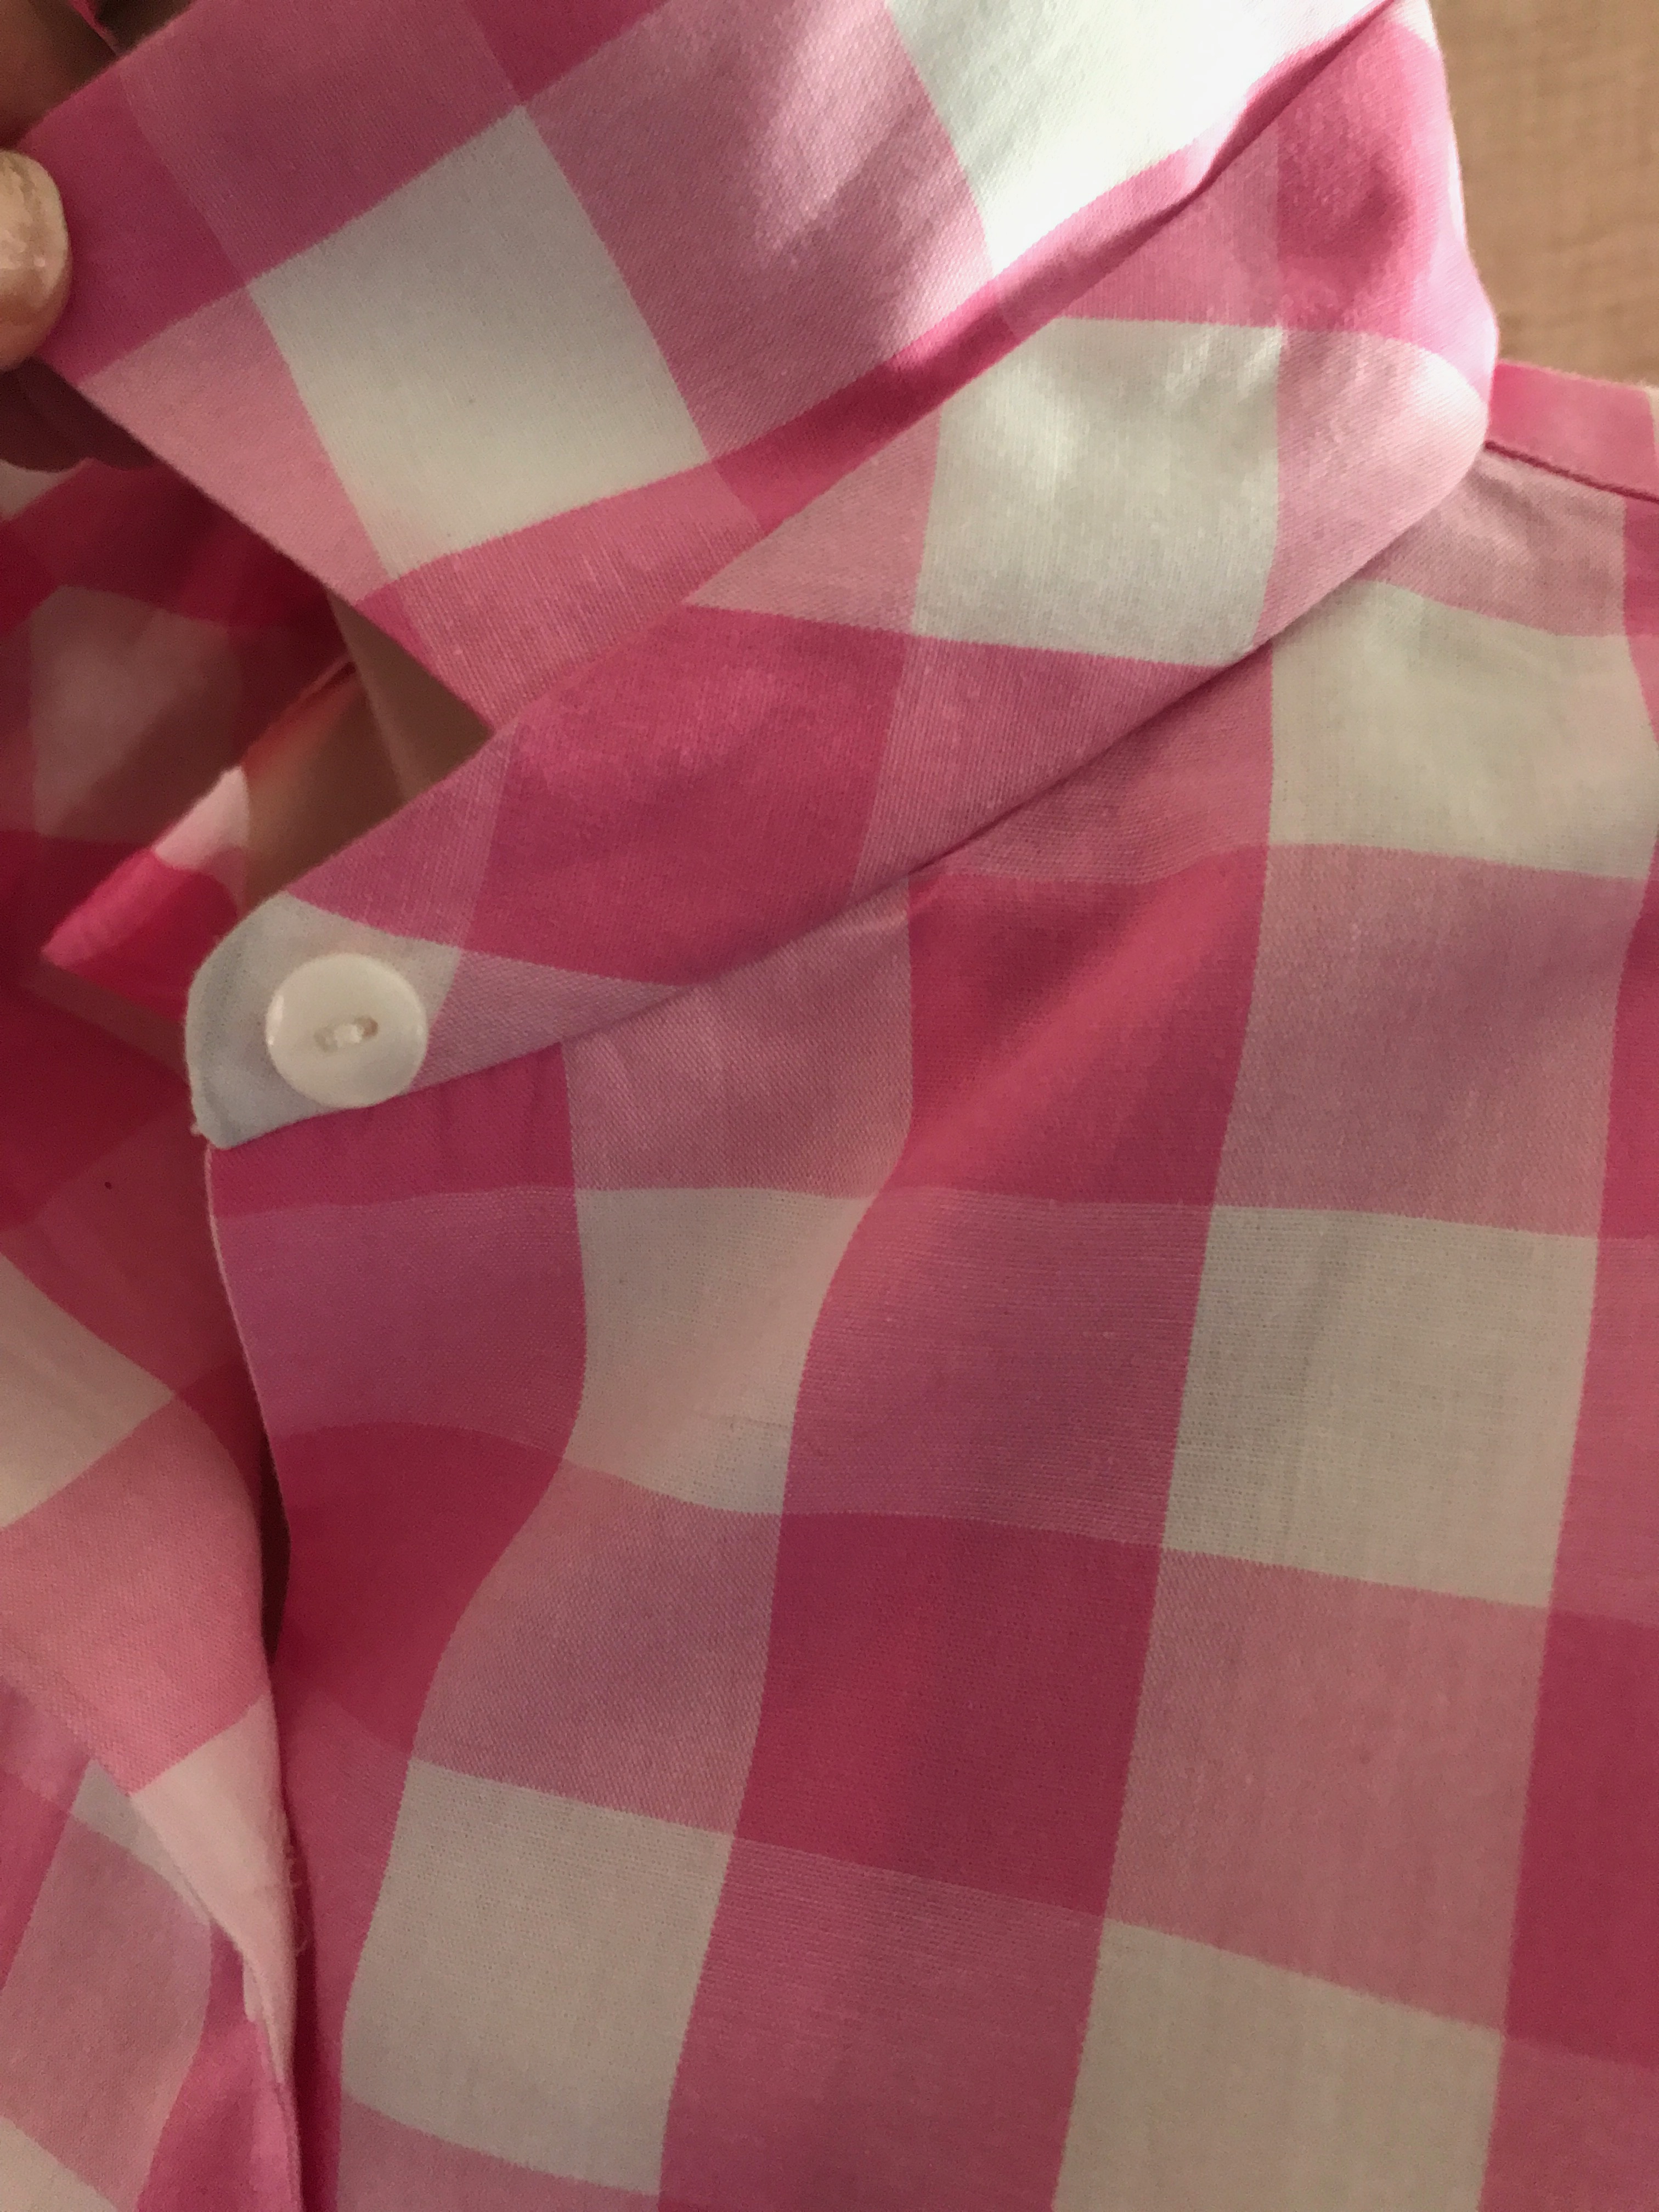
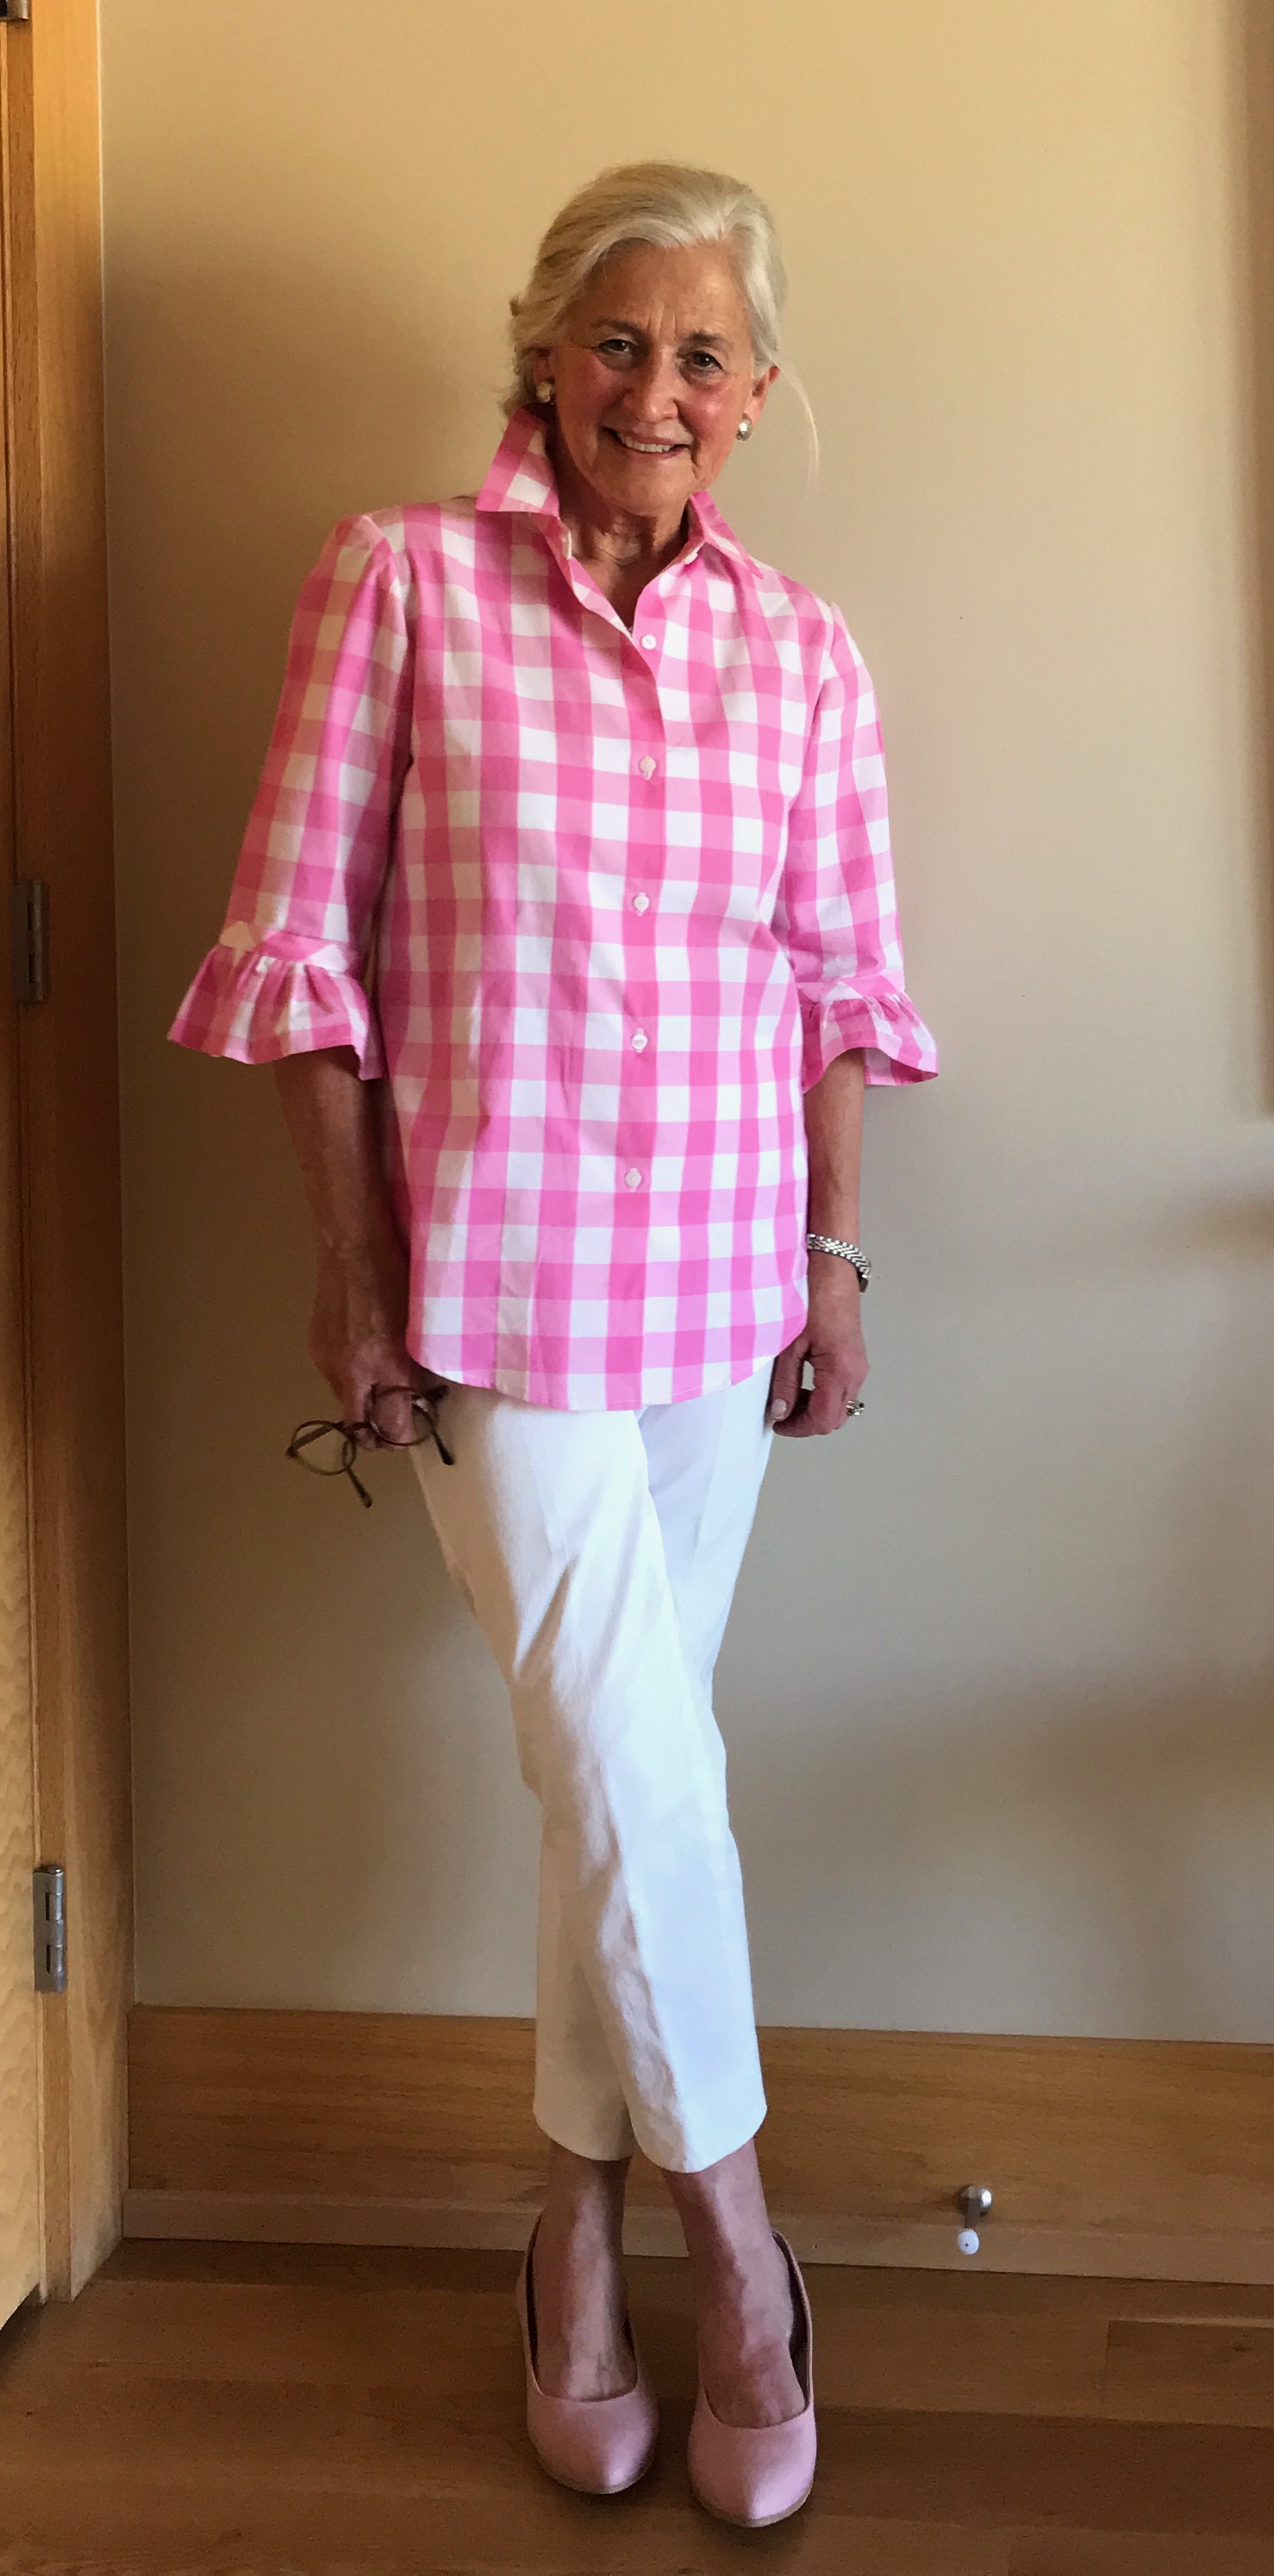
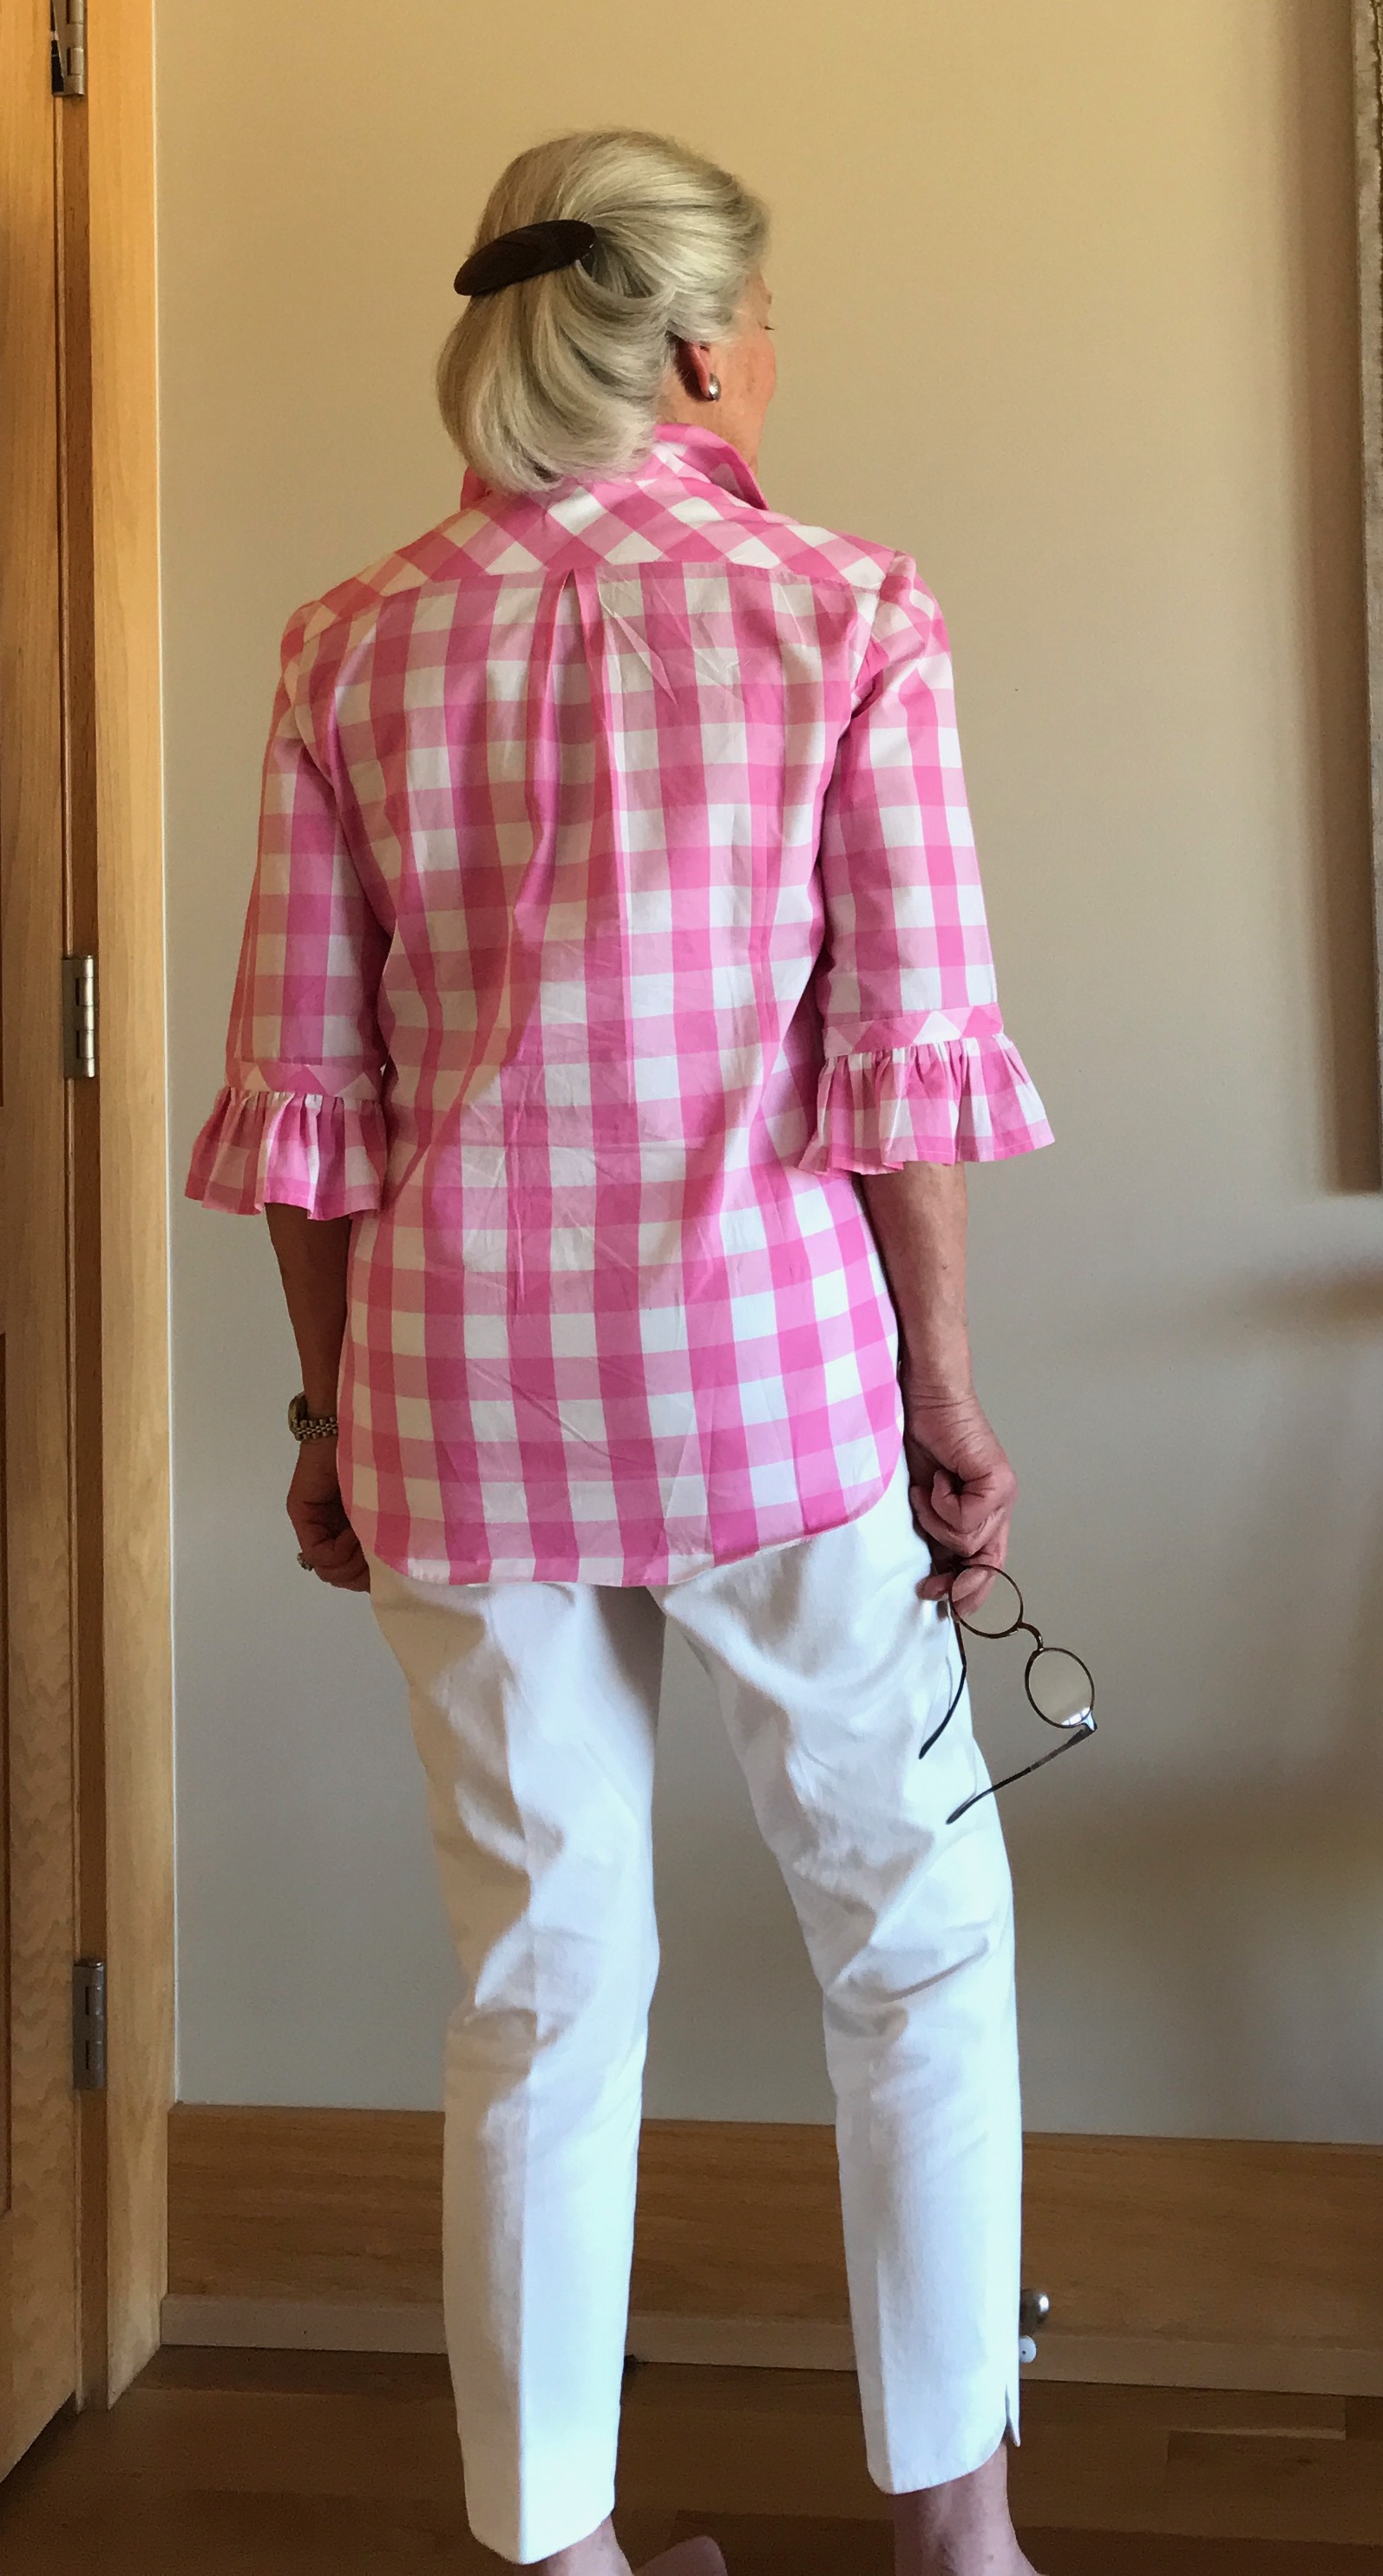
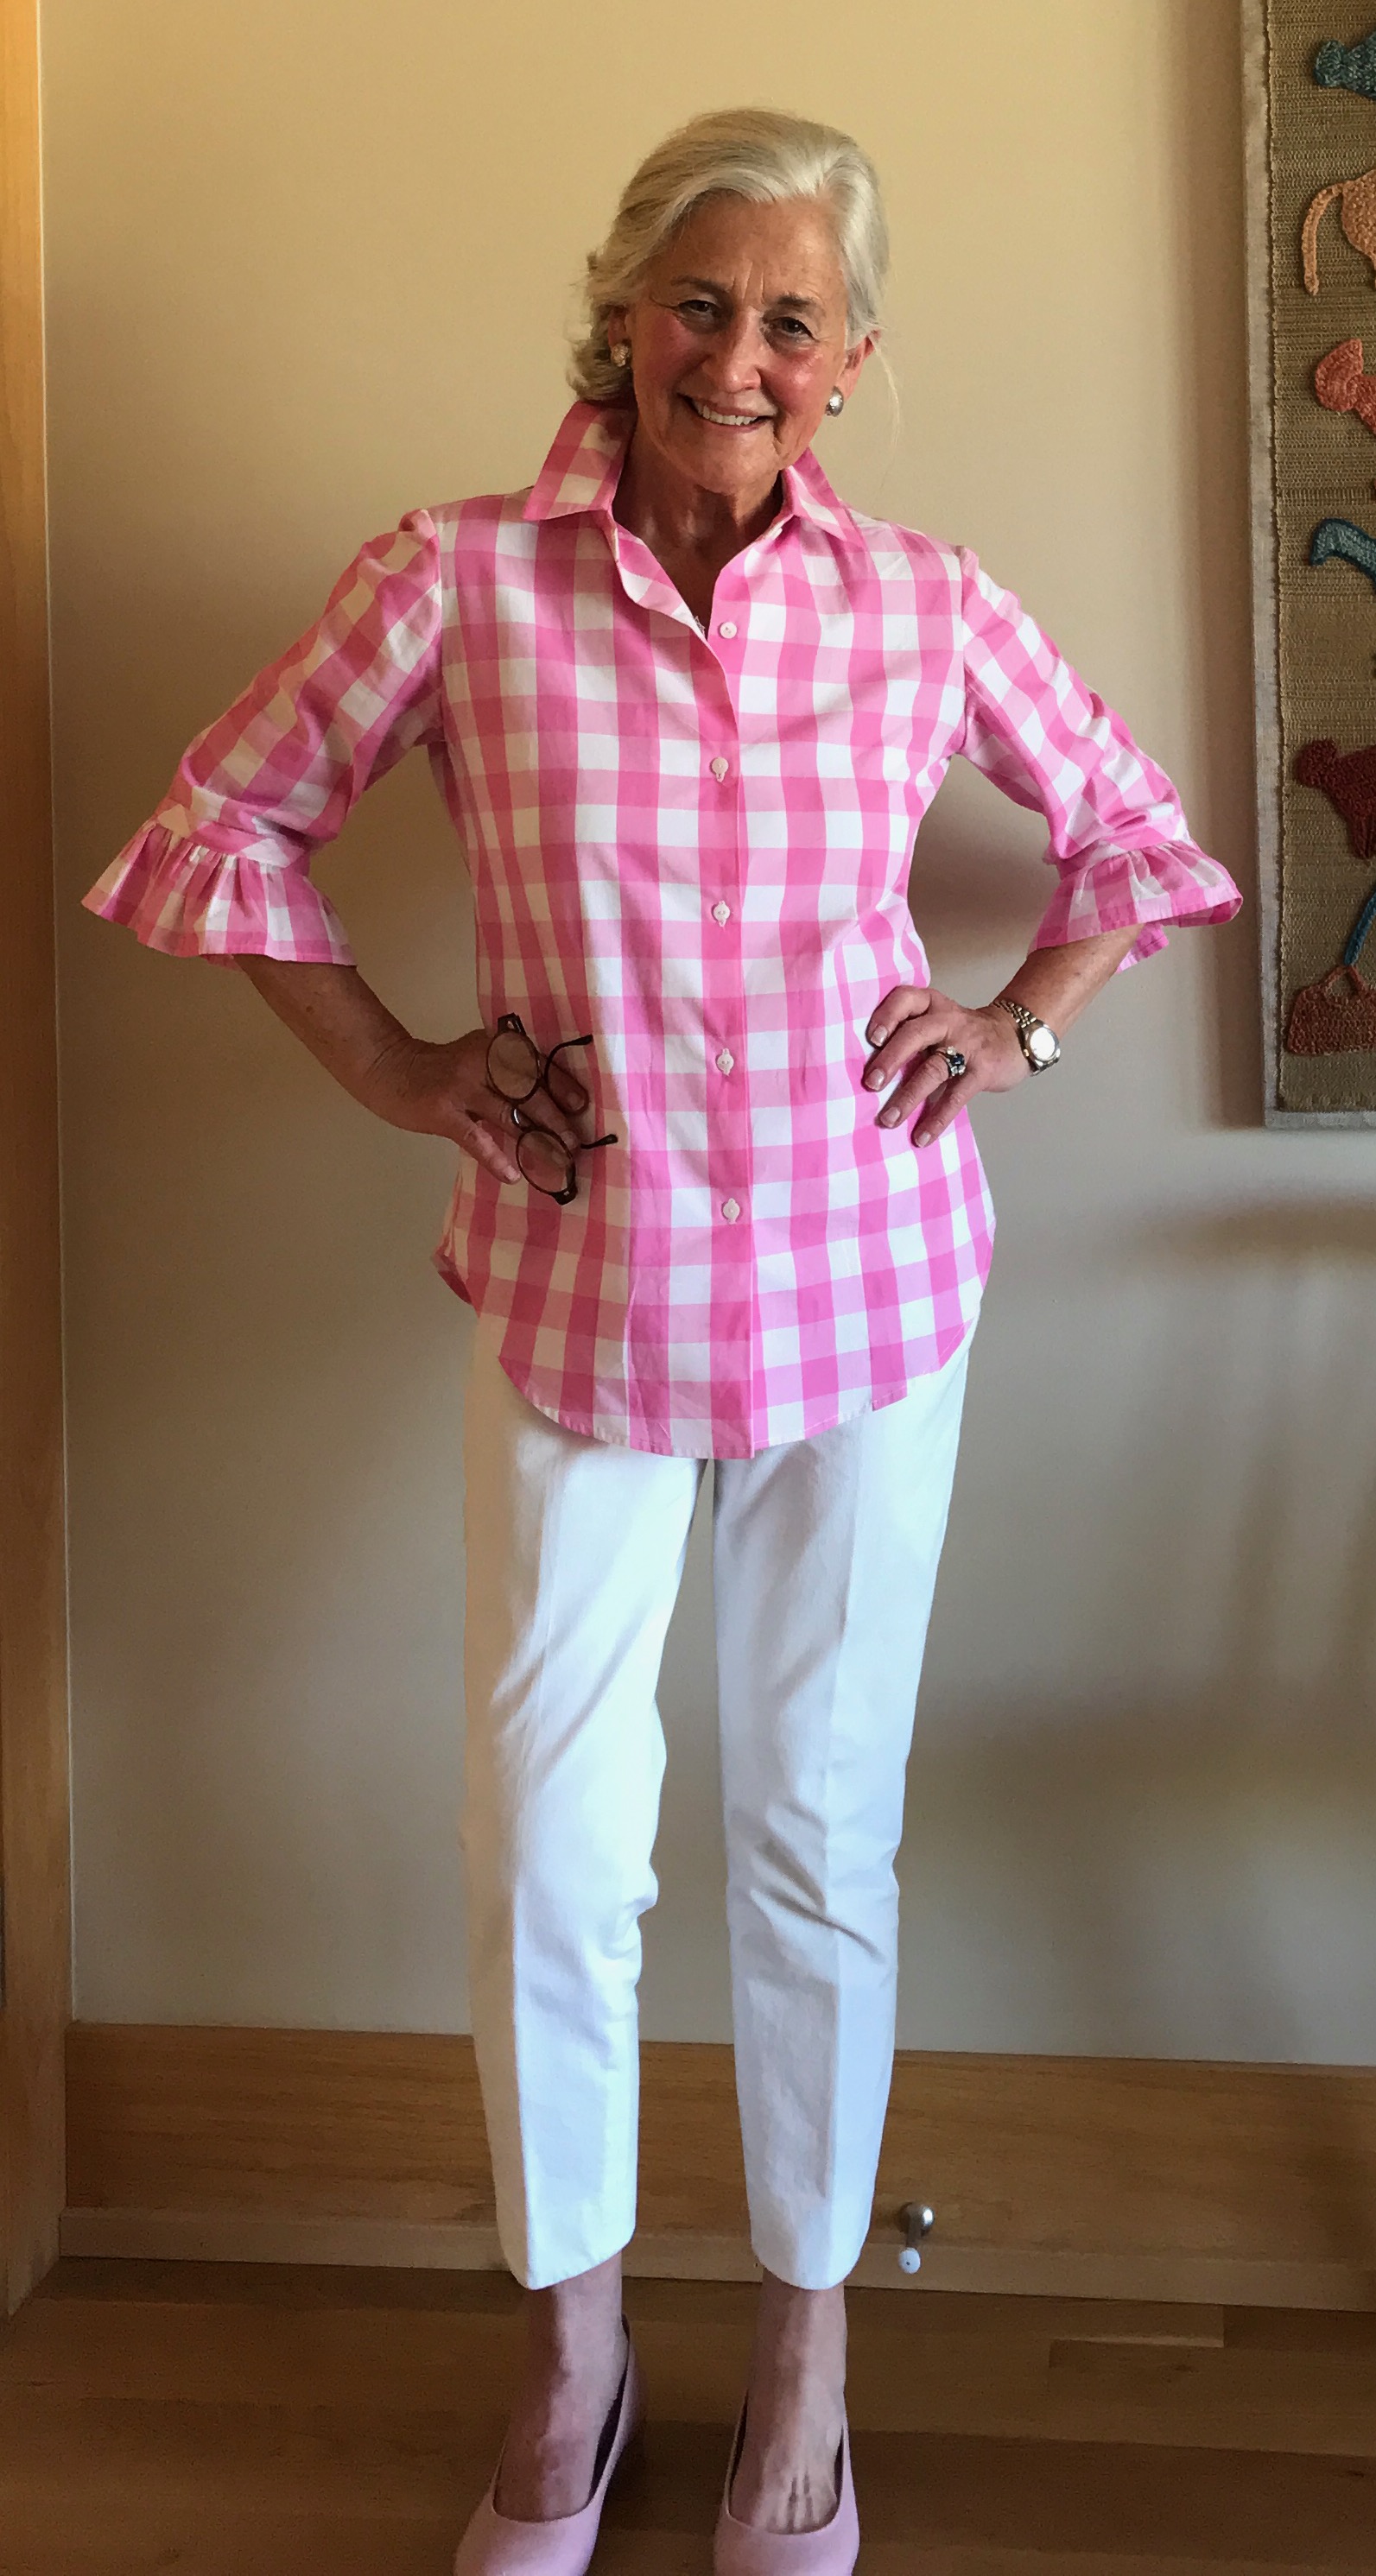
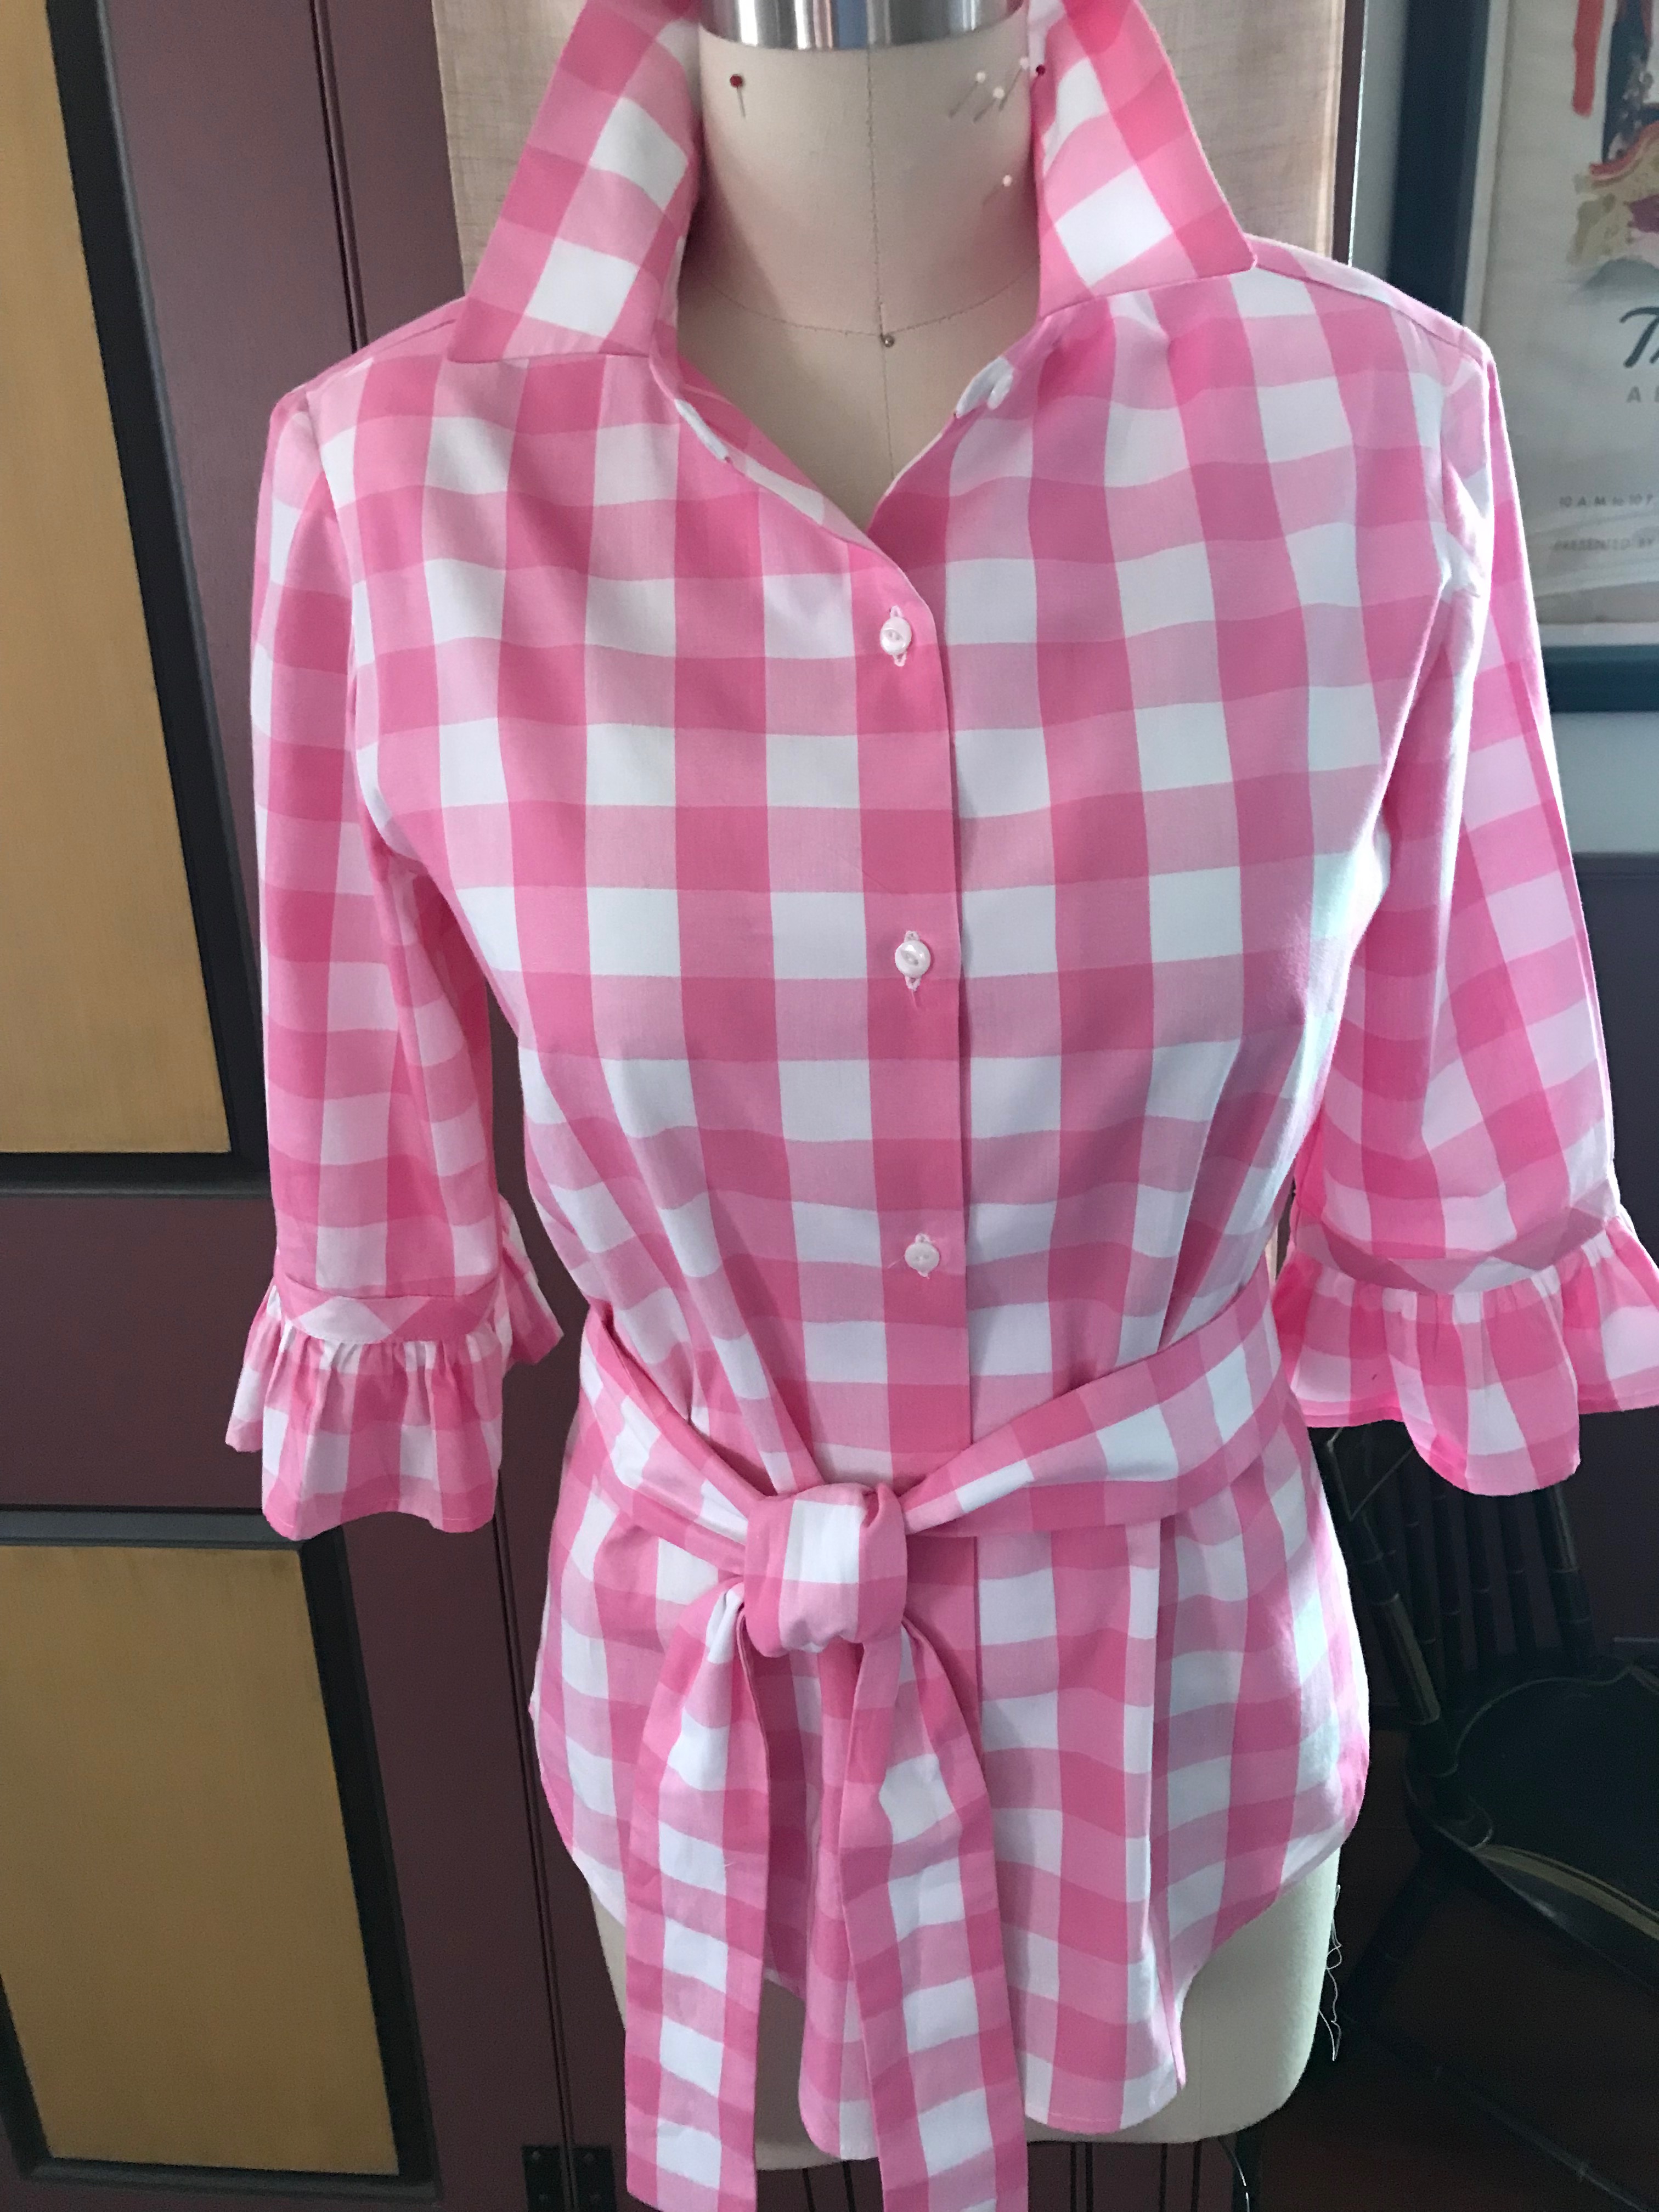
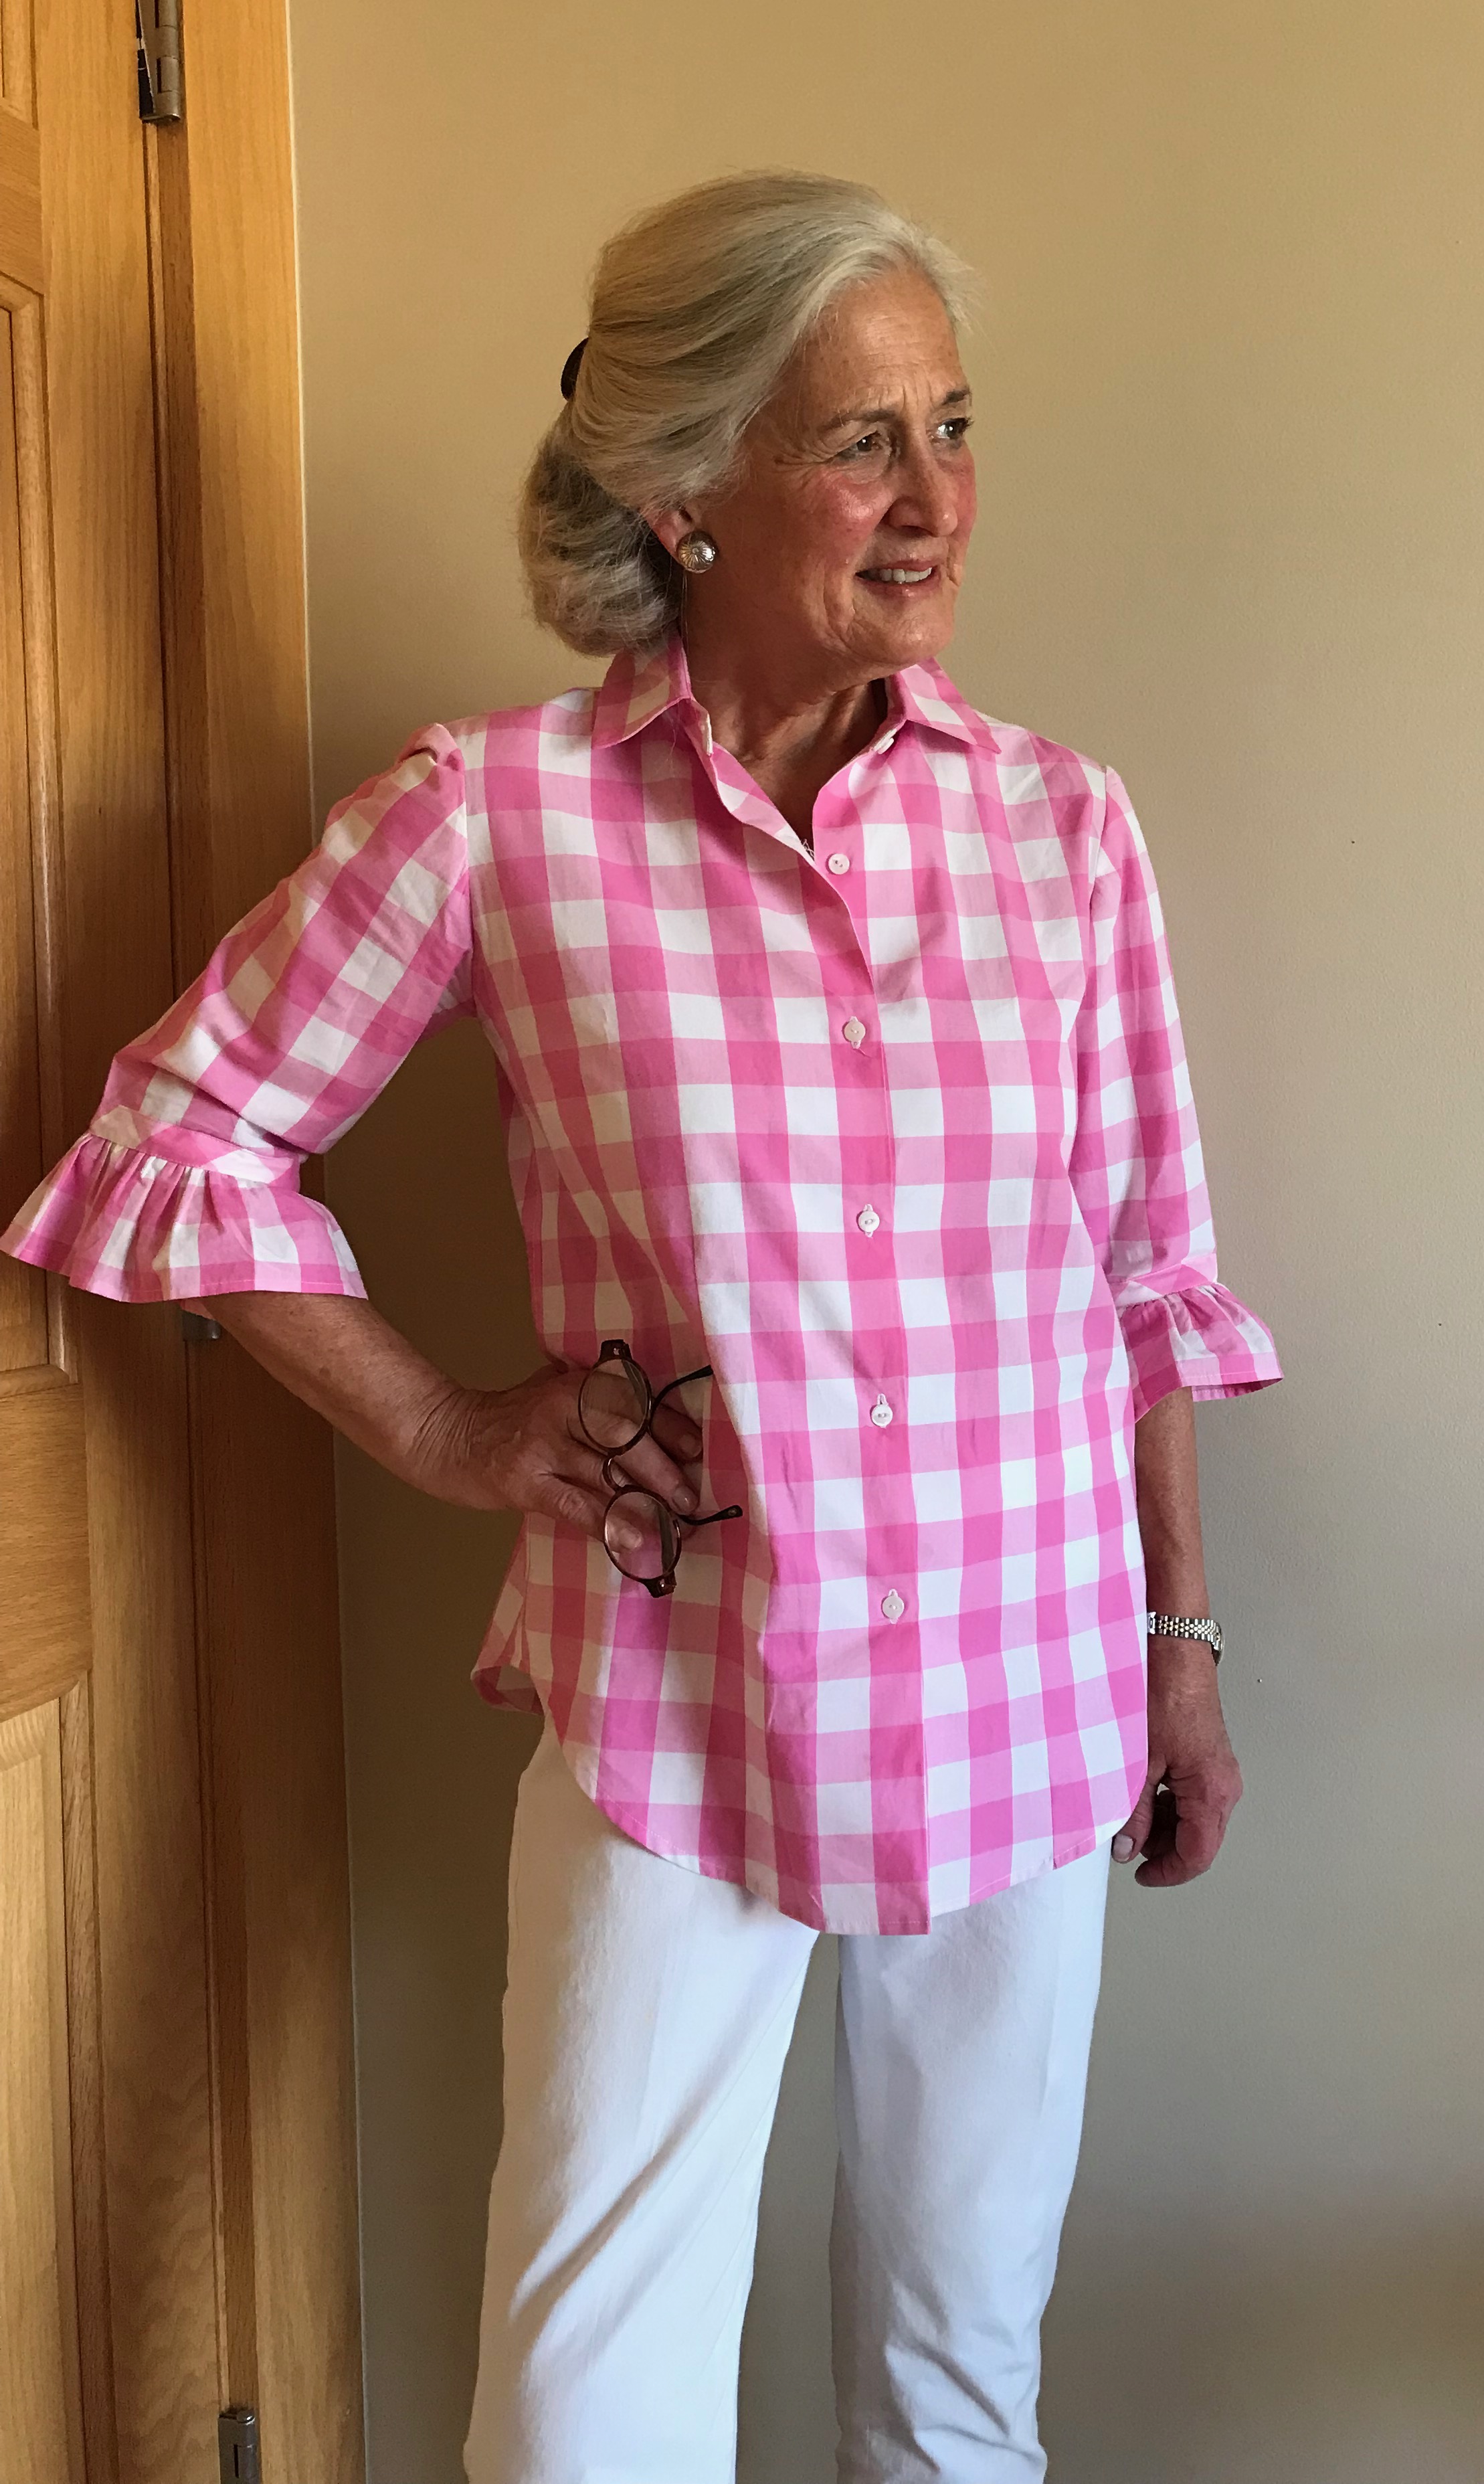
3. A pink striped casual blouse.

Pale pink is always a good idea.
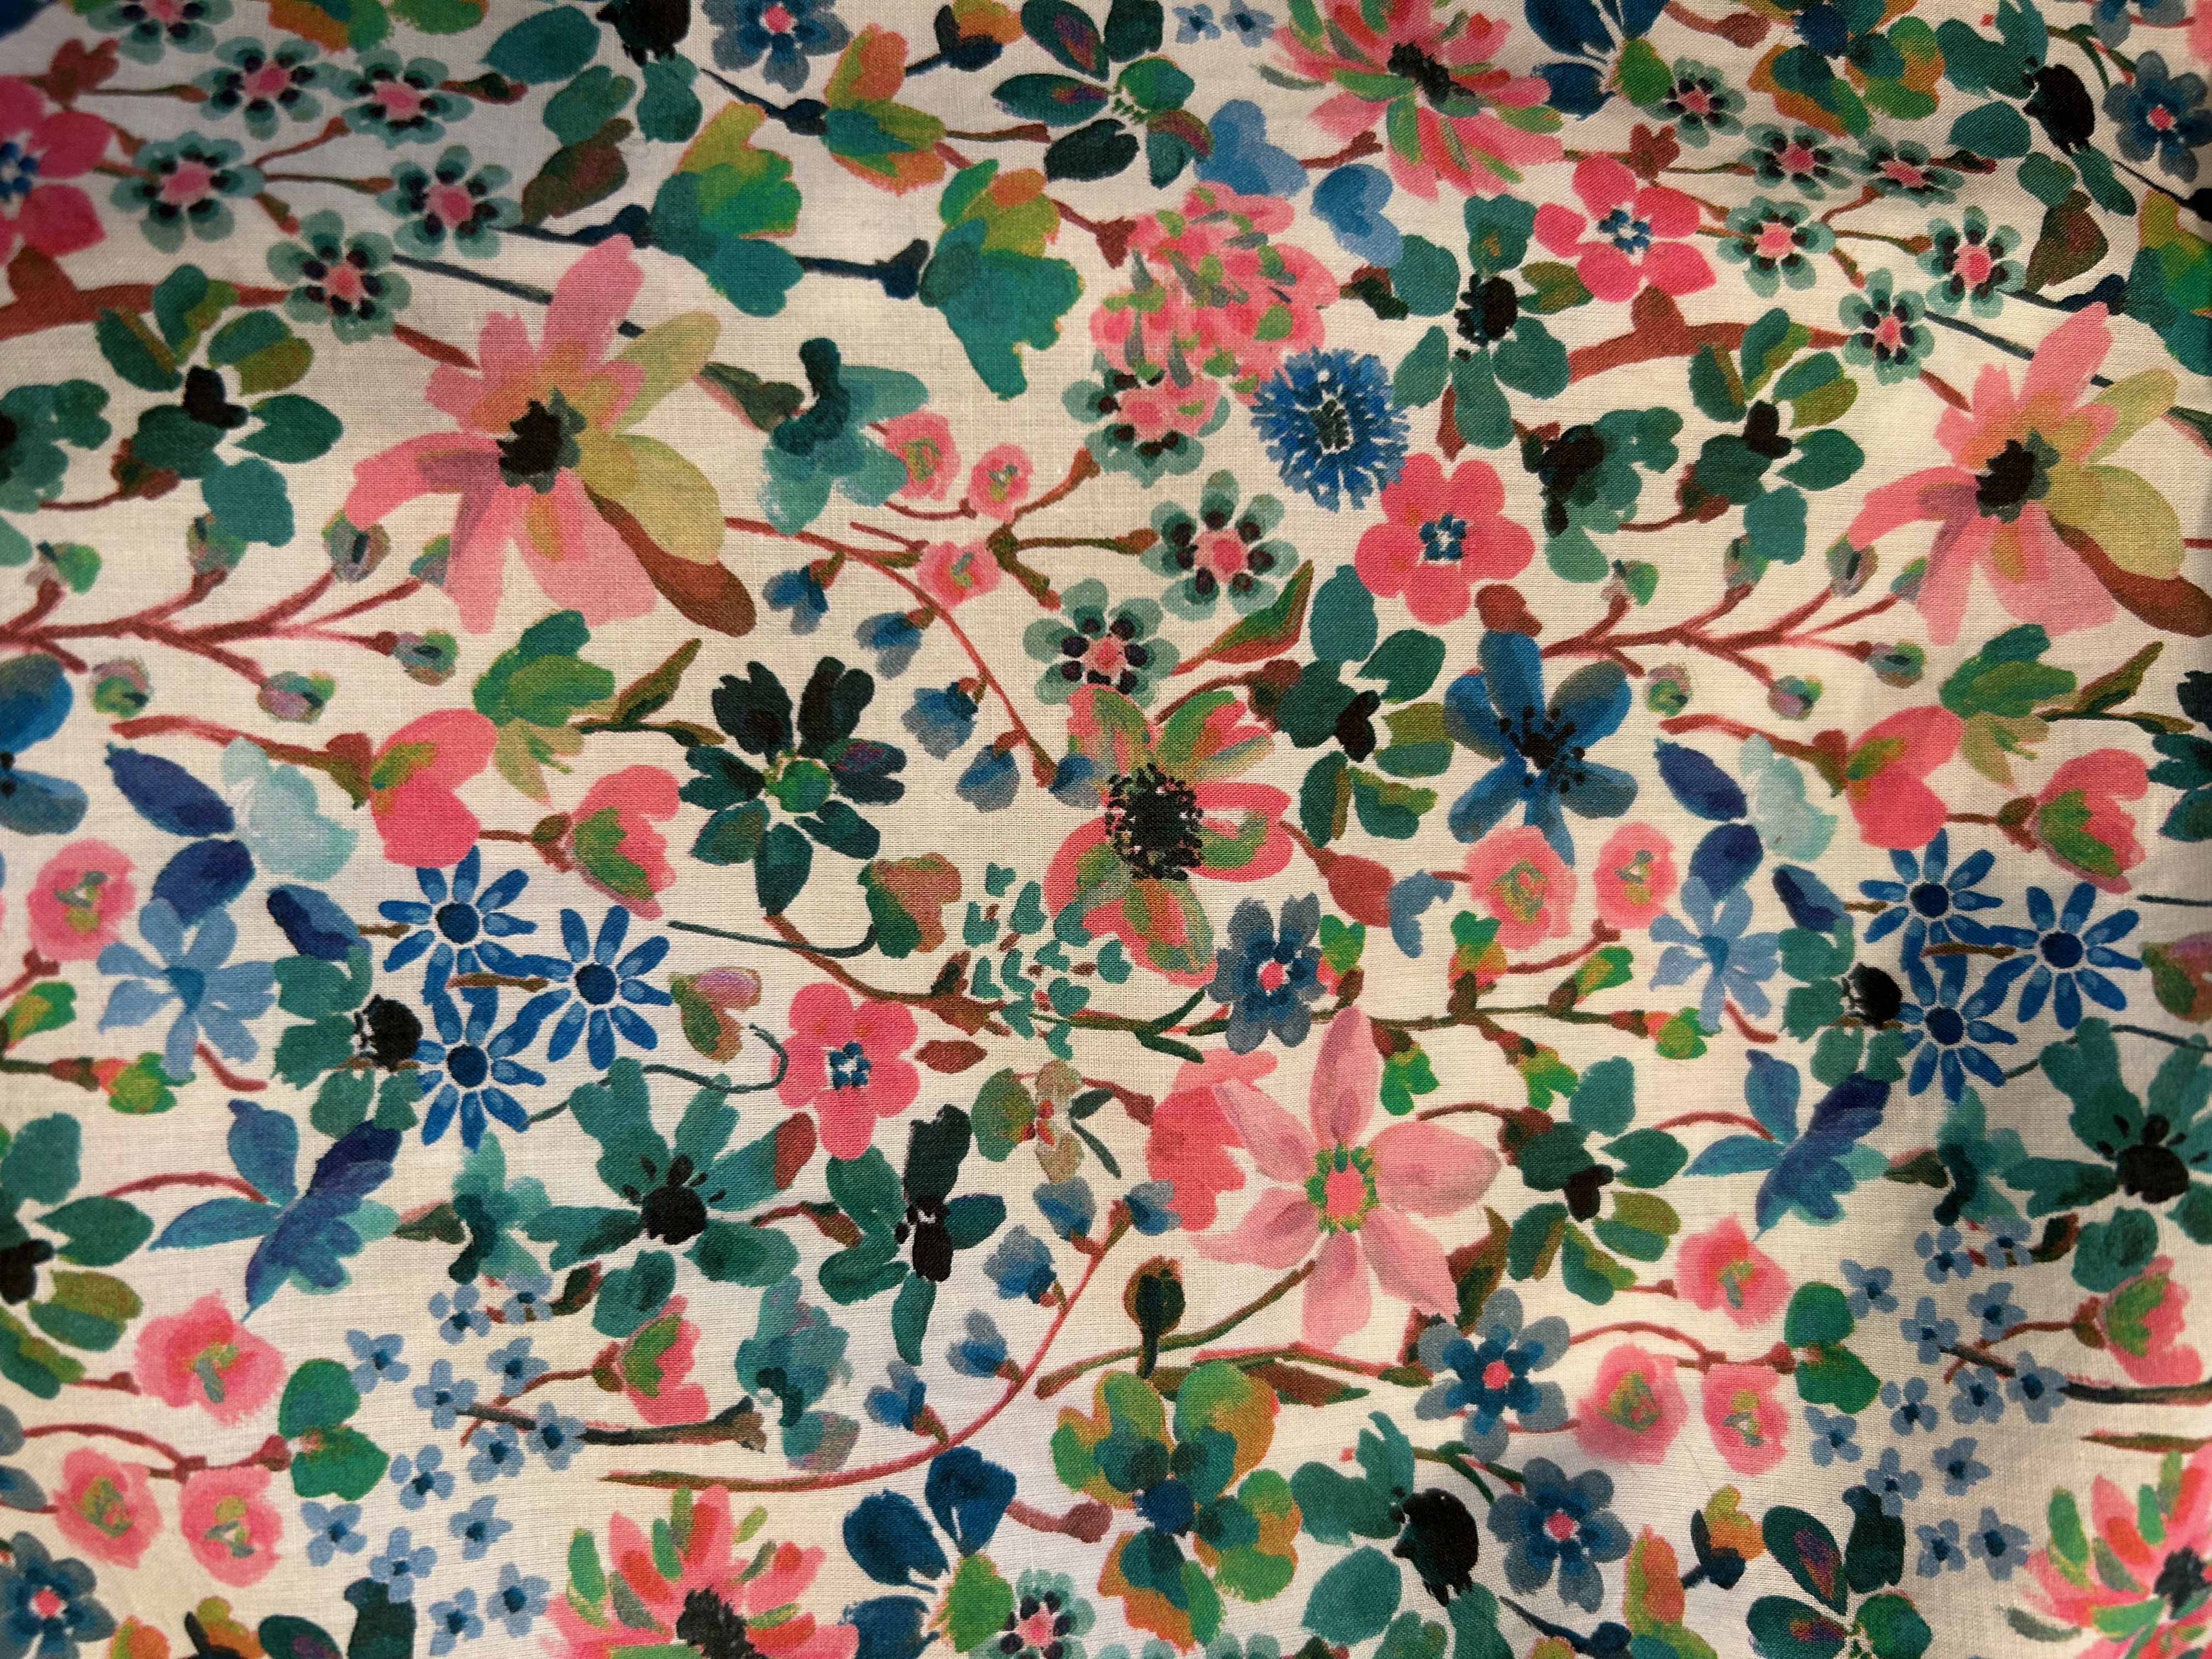
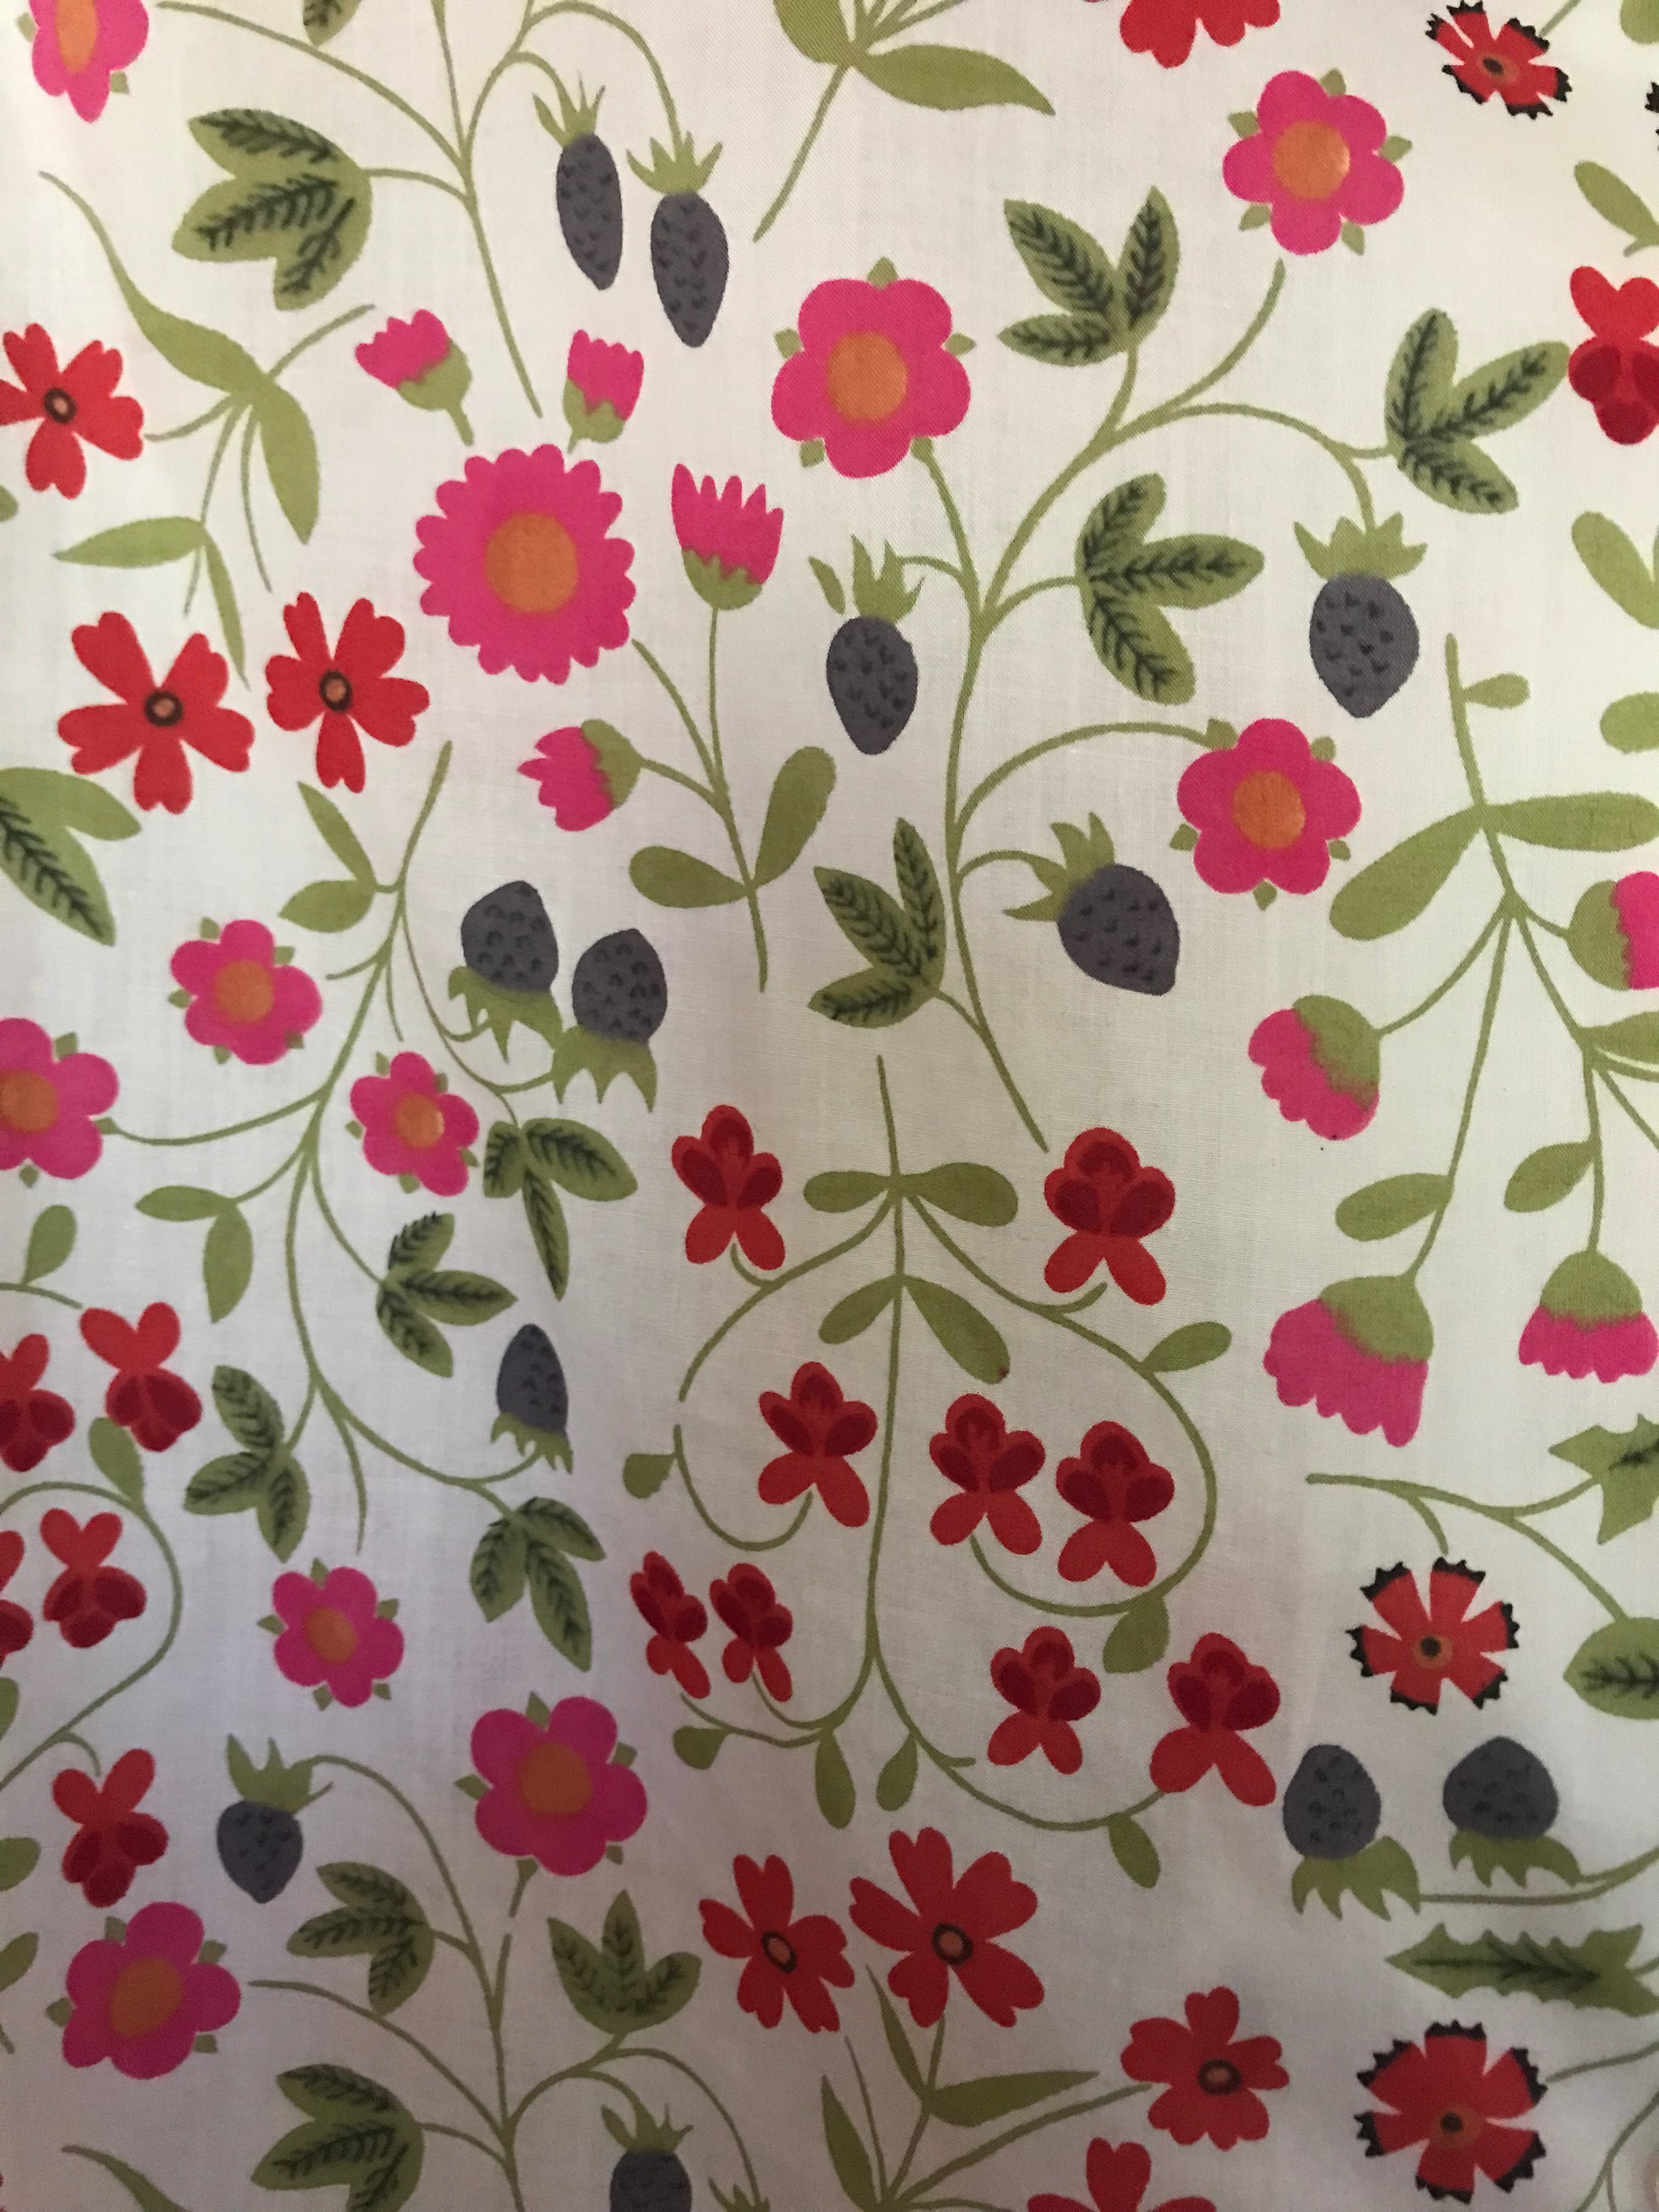
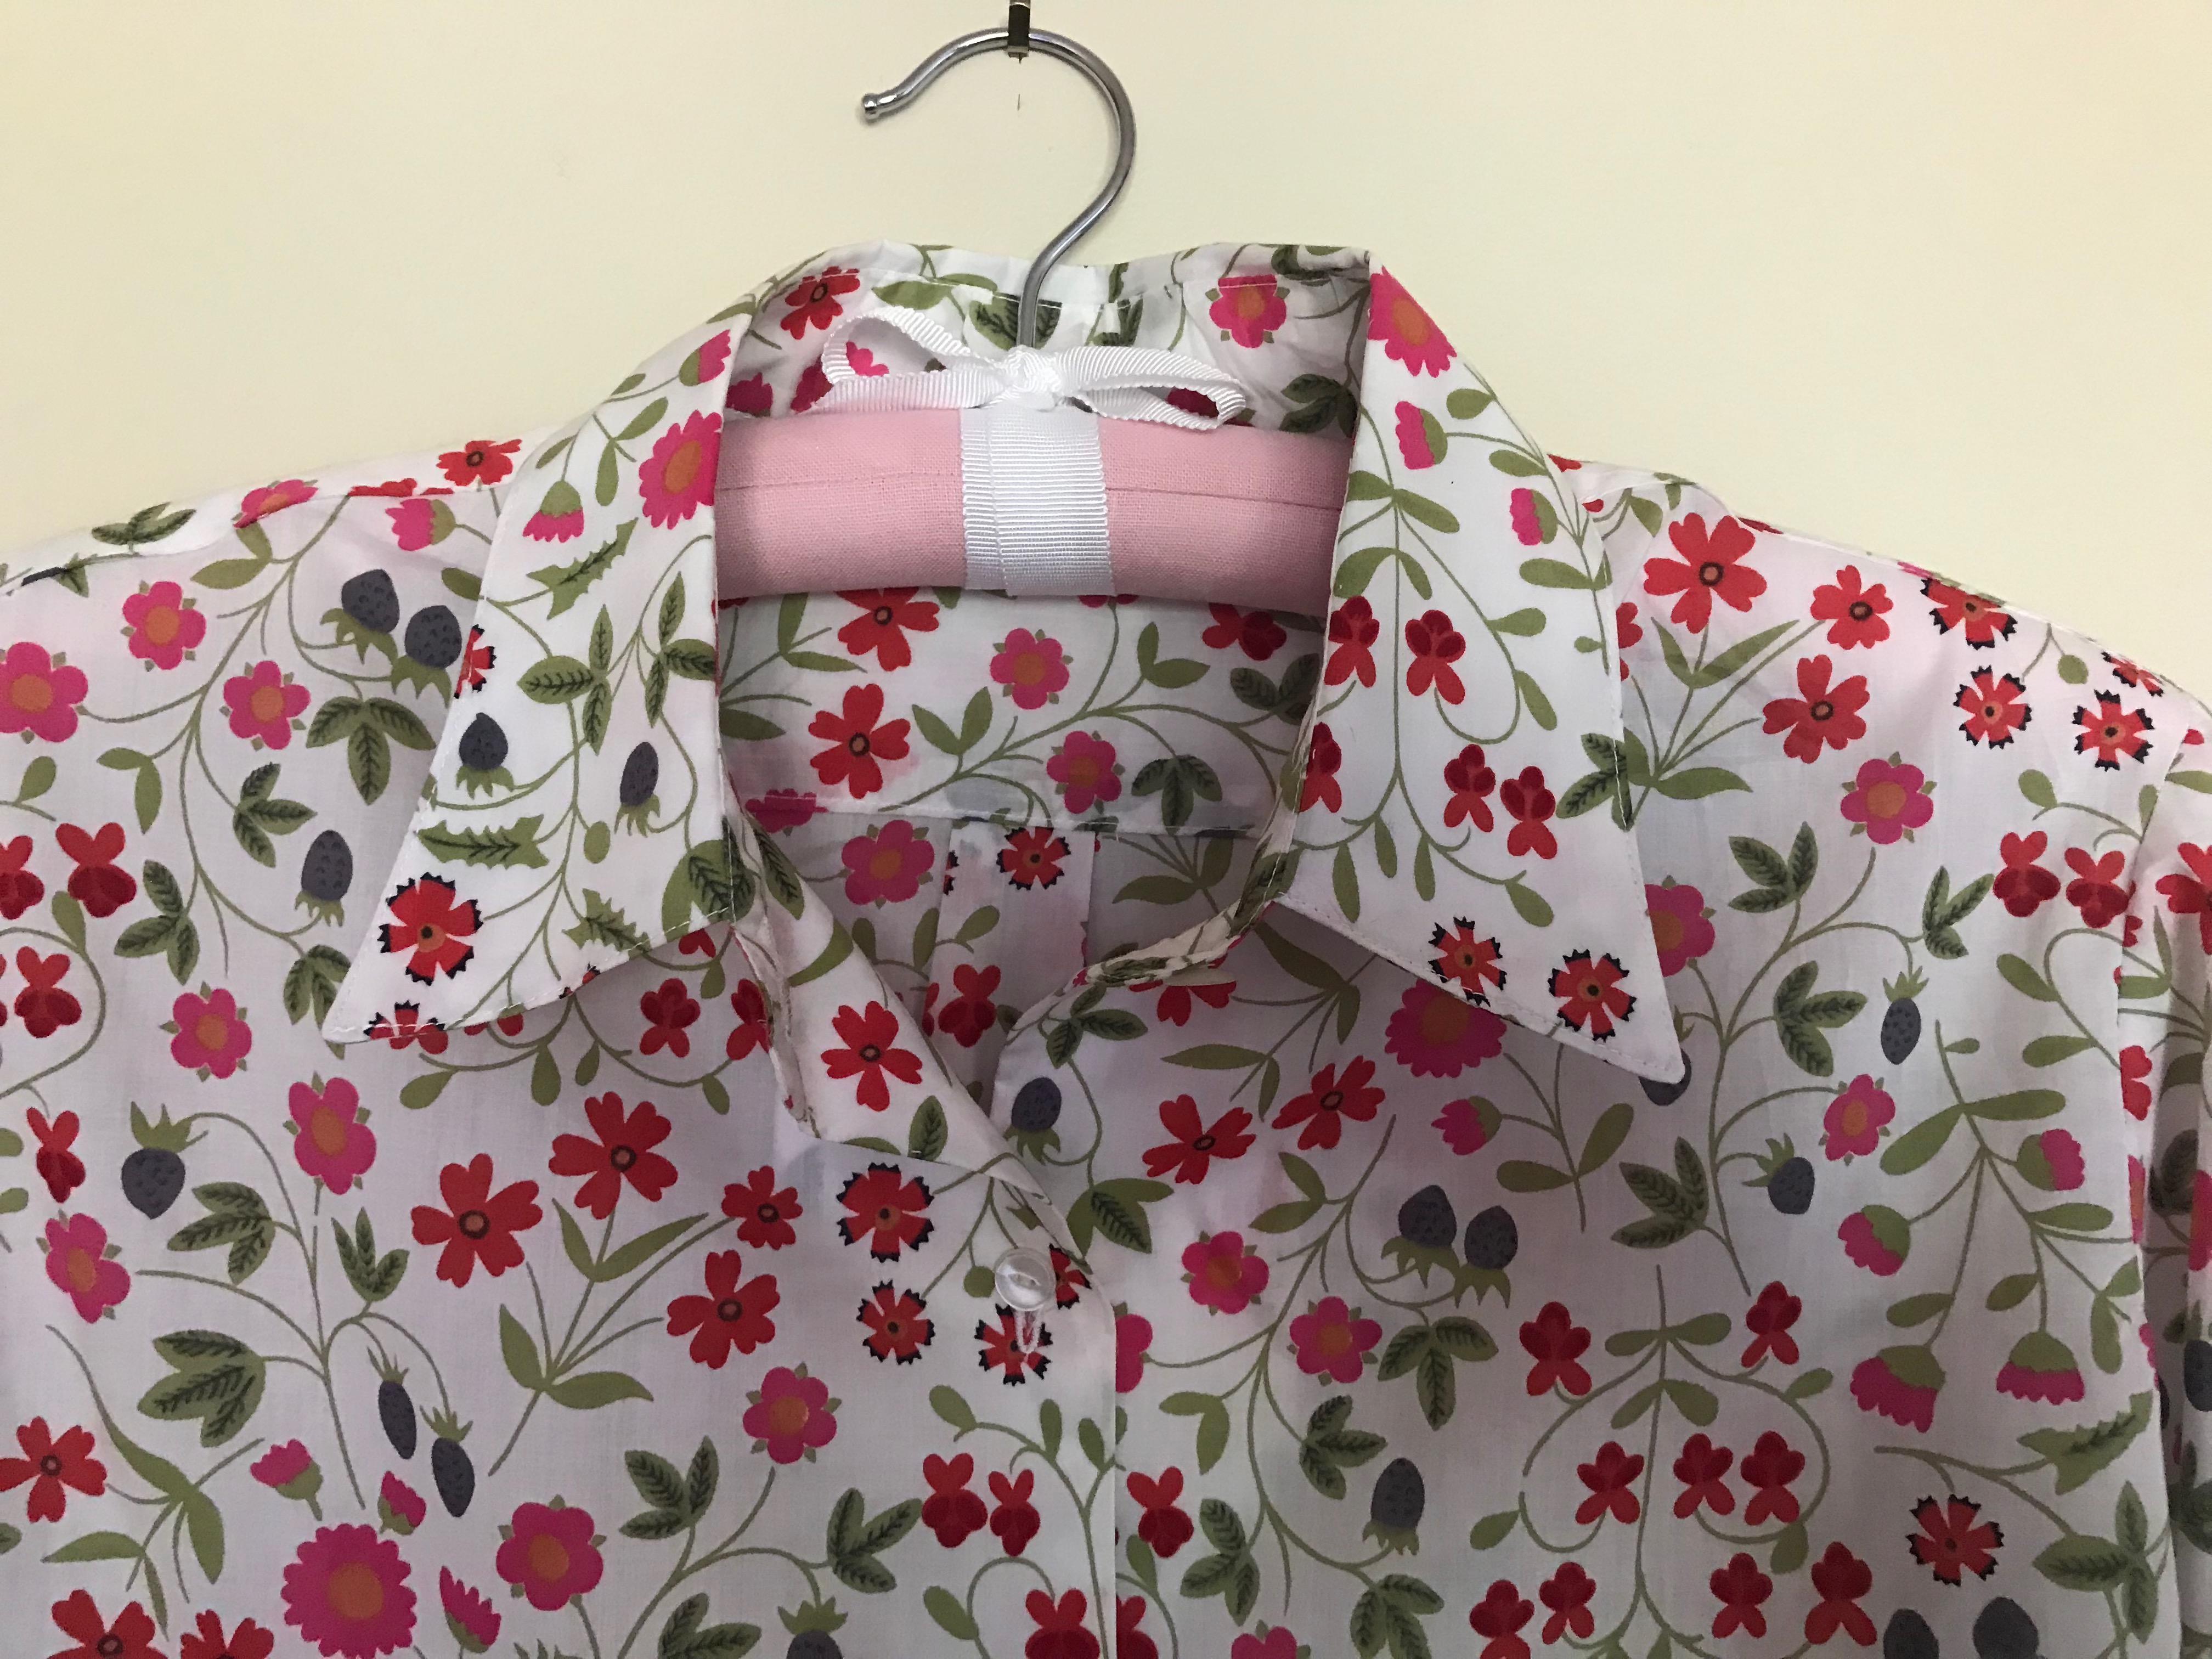
4. A floral summer dress.

I was happy to use this fabric which had been long in my sewing queue.
5. Fun floral skirts for each of my granddaughters.
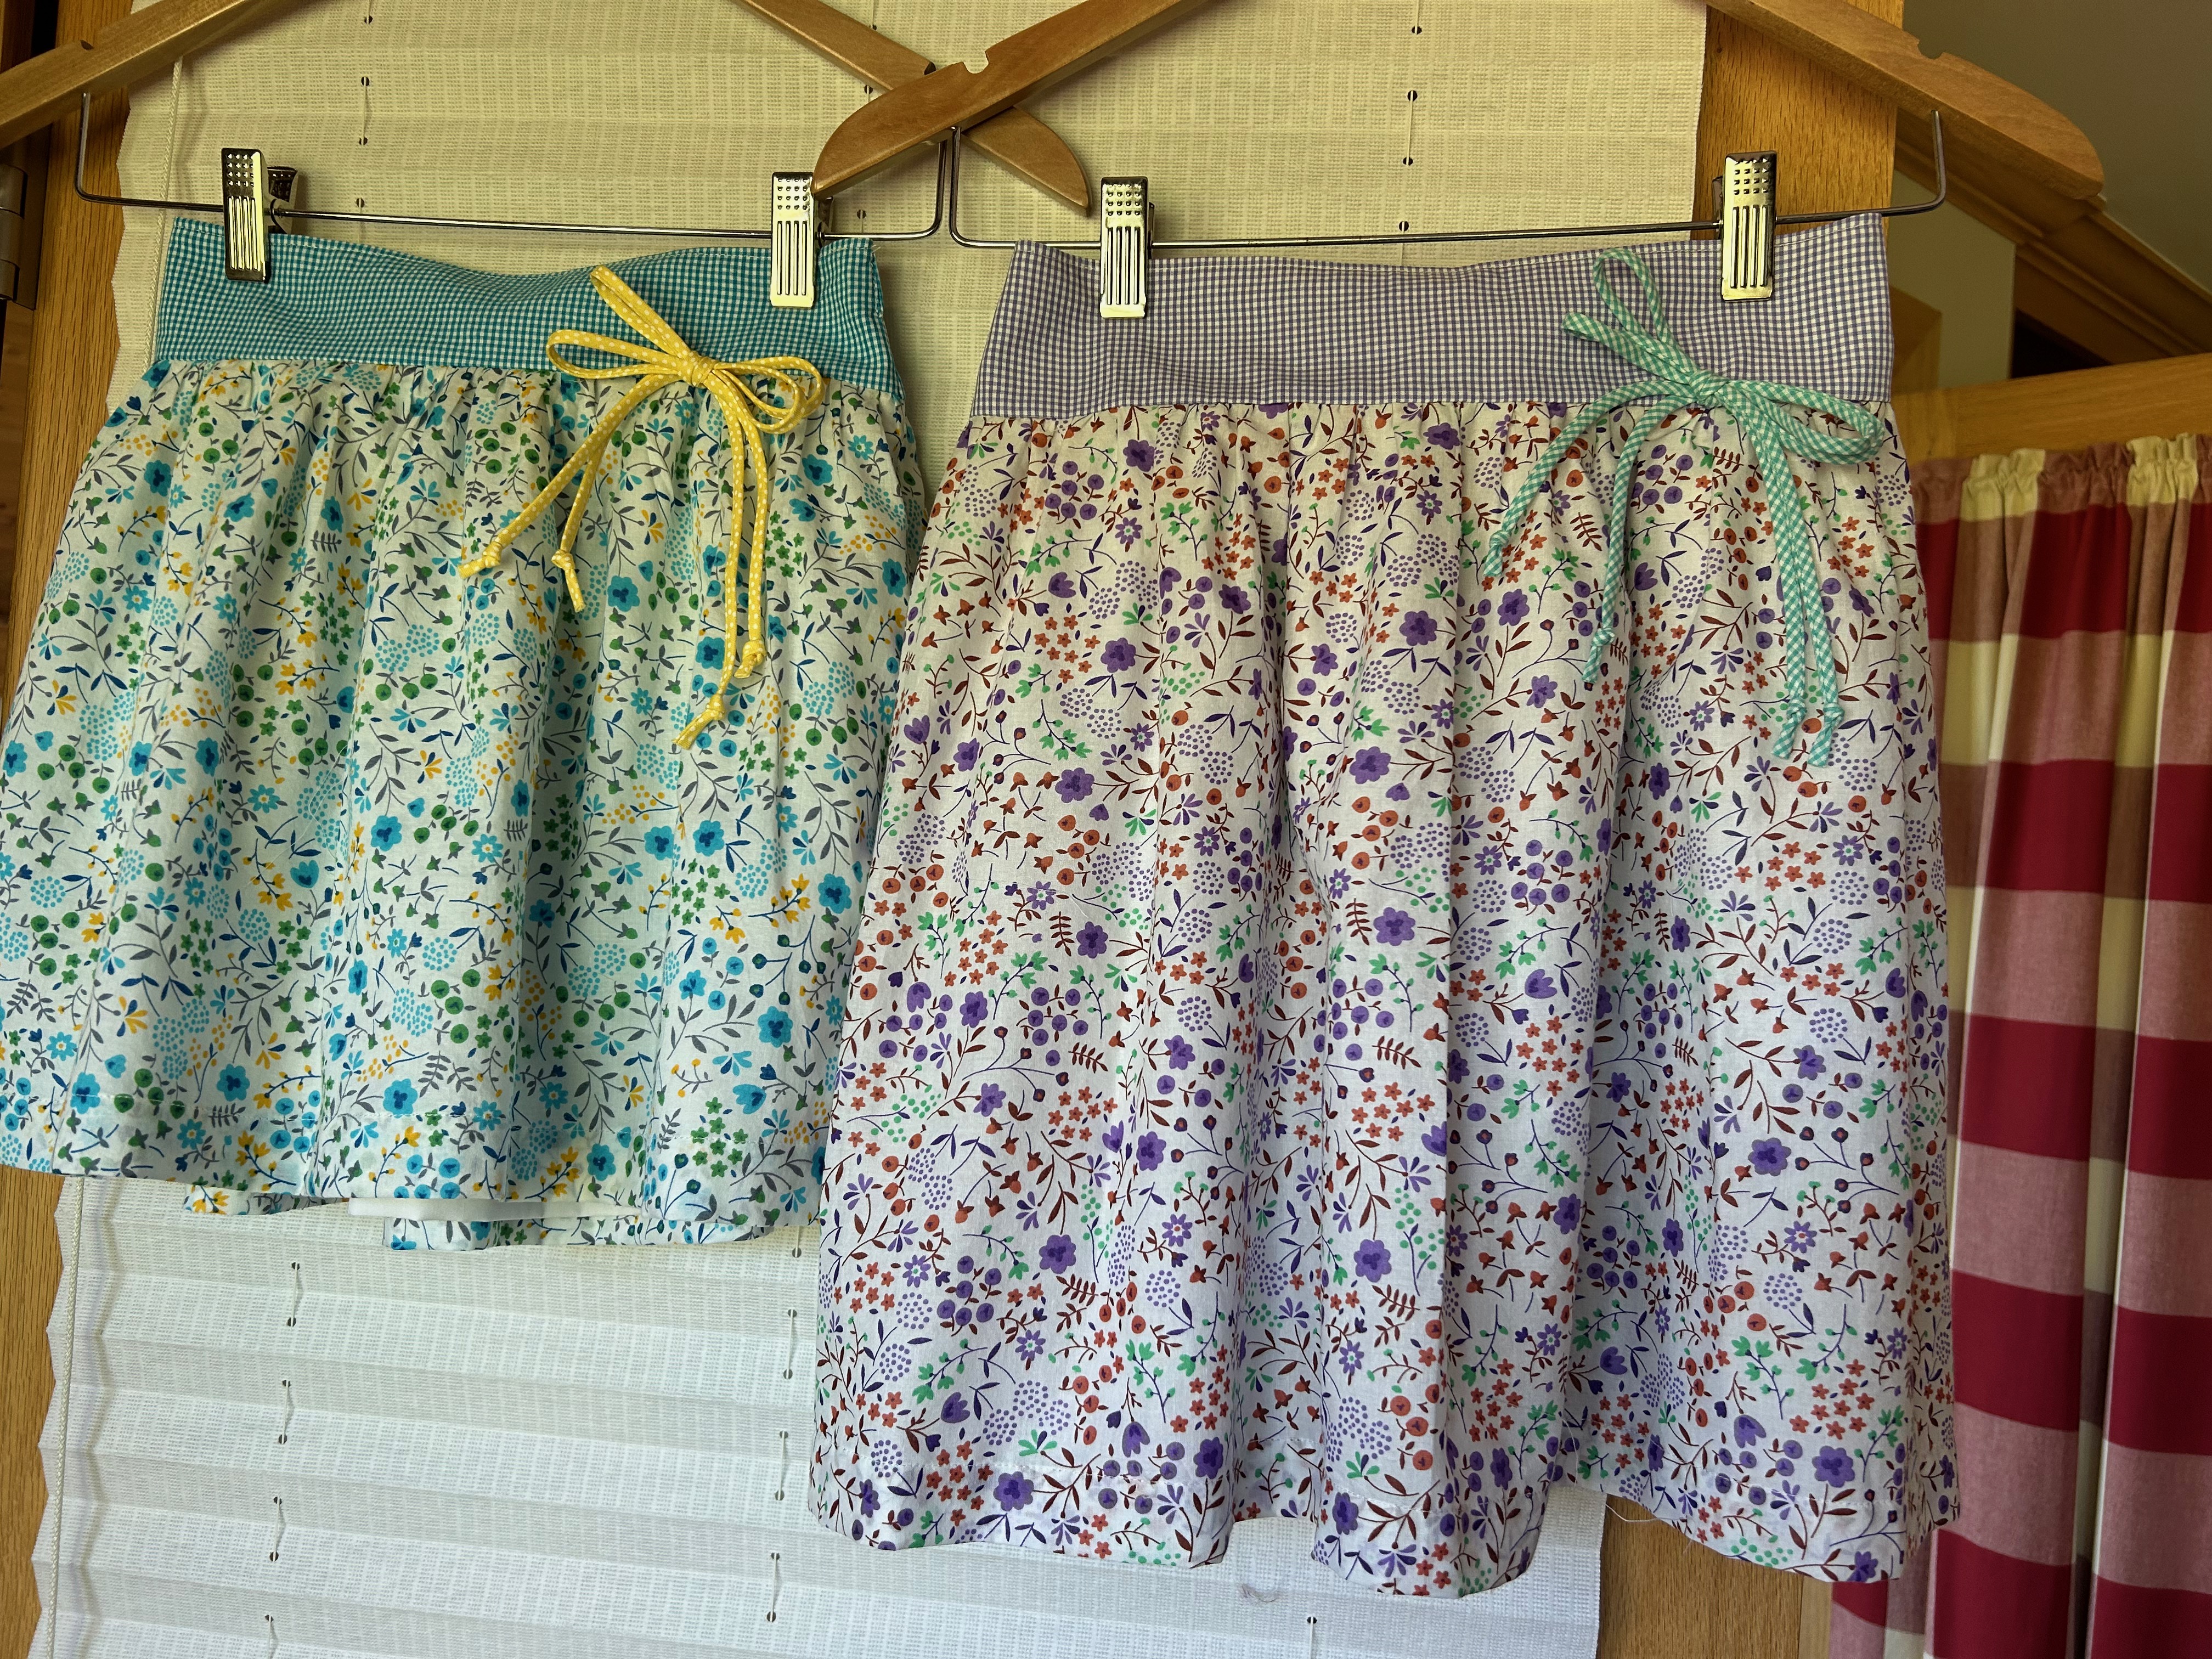
I used “kits” from Farmhouse Fabrics for each of these skirts. They garnered blue ribbons and a “Best of Division” at our local county fair this past summer. Full disclosure: there wasn’t much competition!
6. My 50th Anniversary linen dress made with vintage fabric.

I’m not sure I have ever made a dress which has given me more personal satisfaction than this one. Making this dress was truly a dream come true.
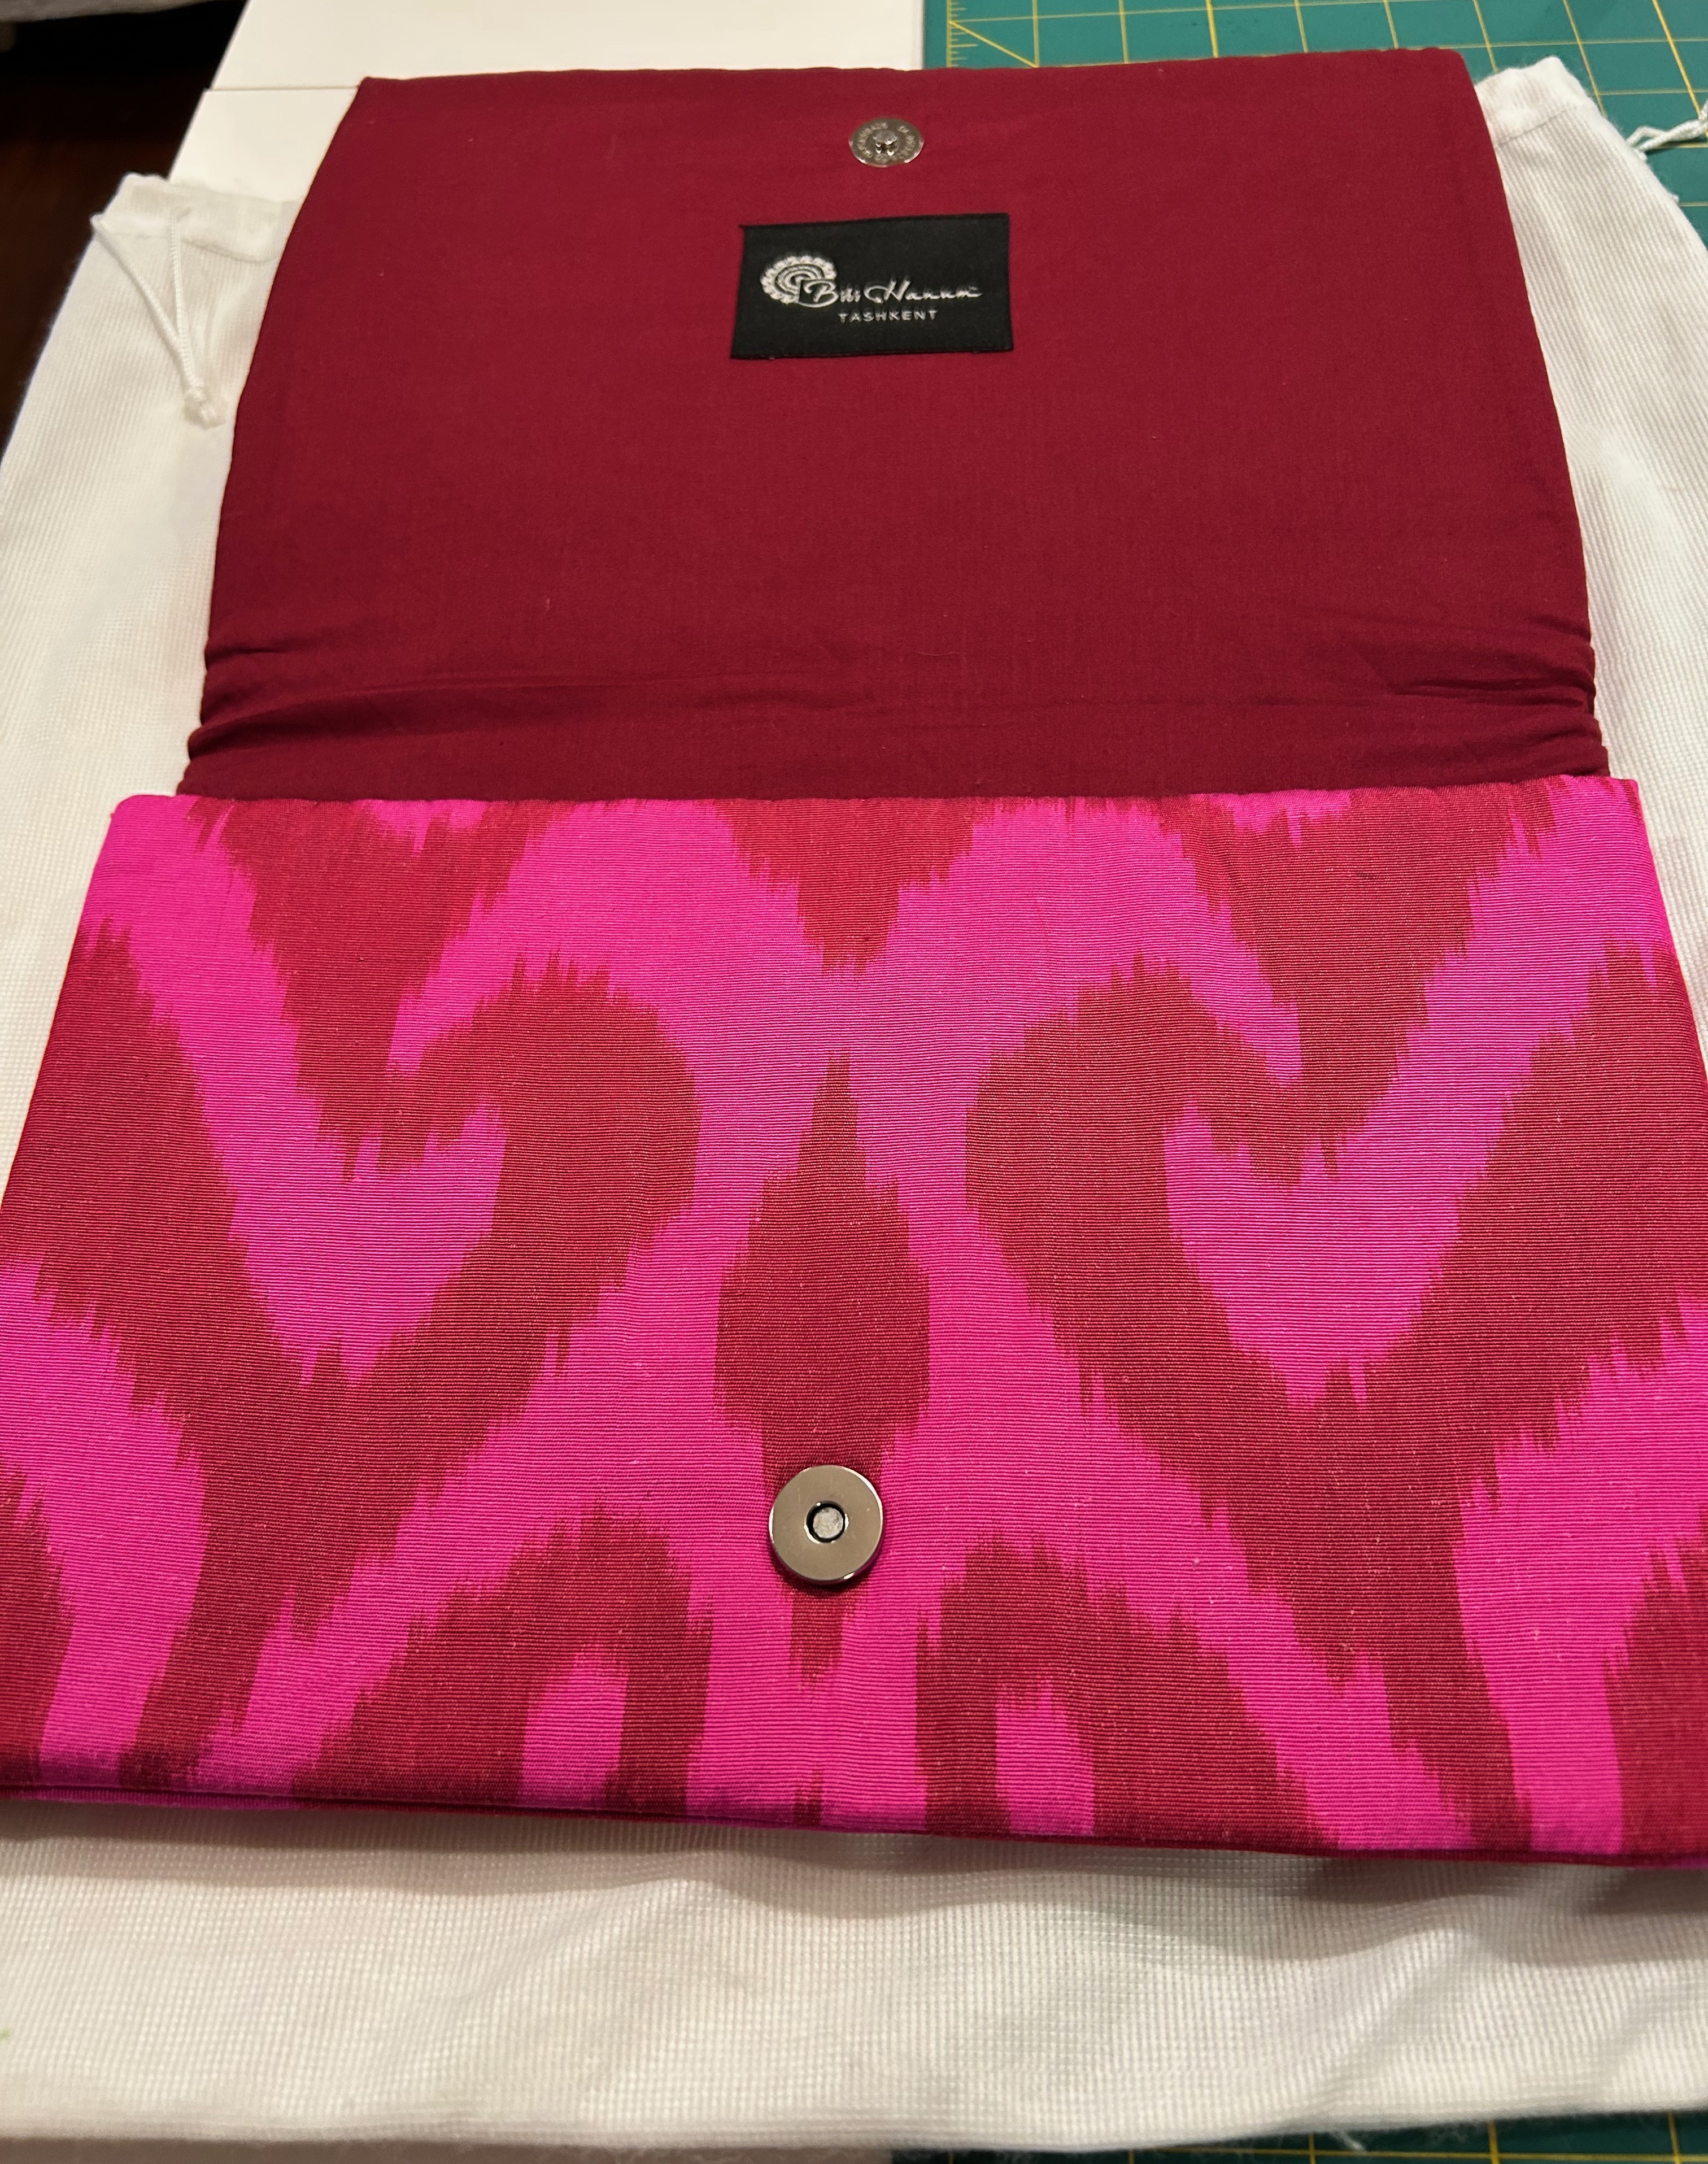
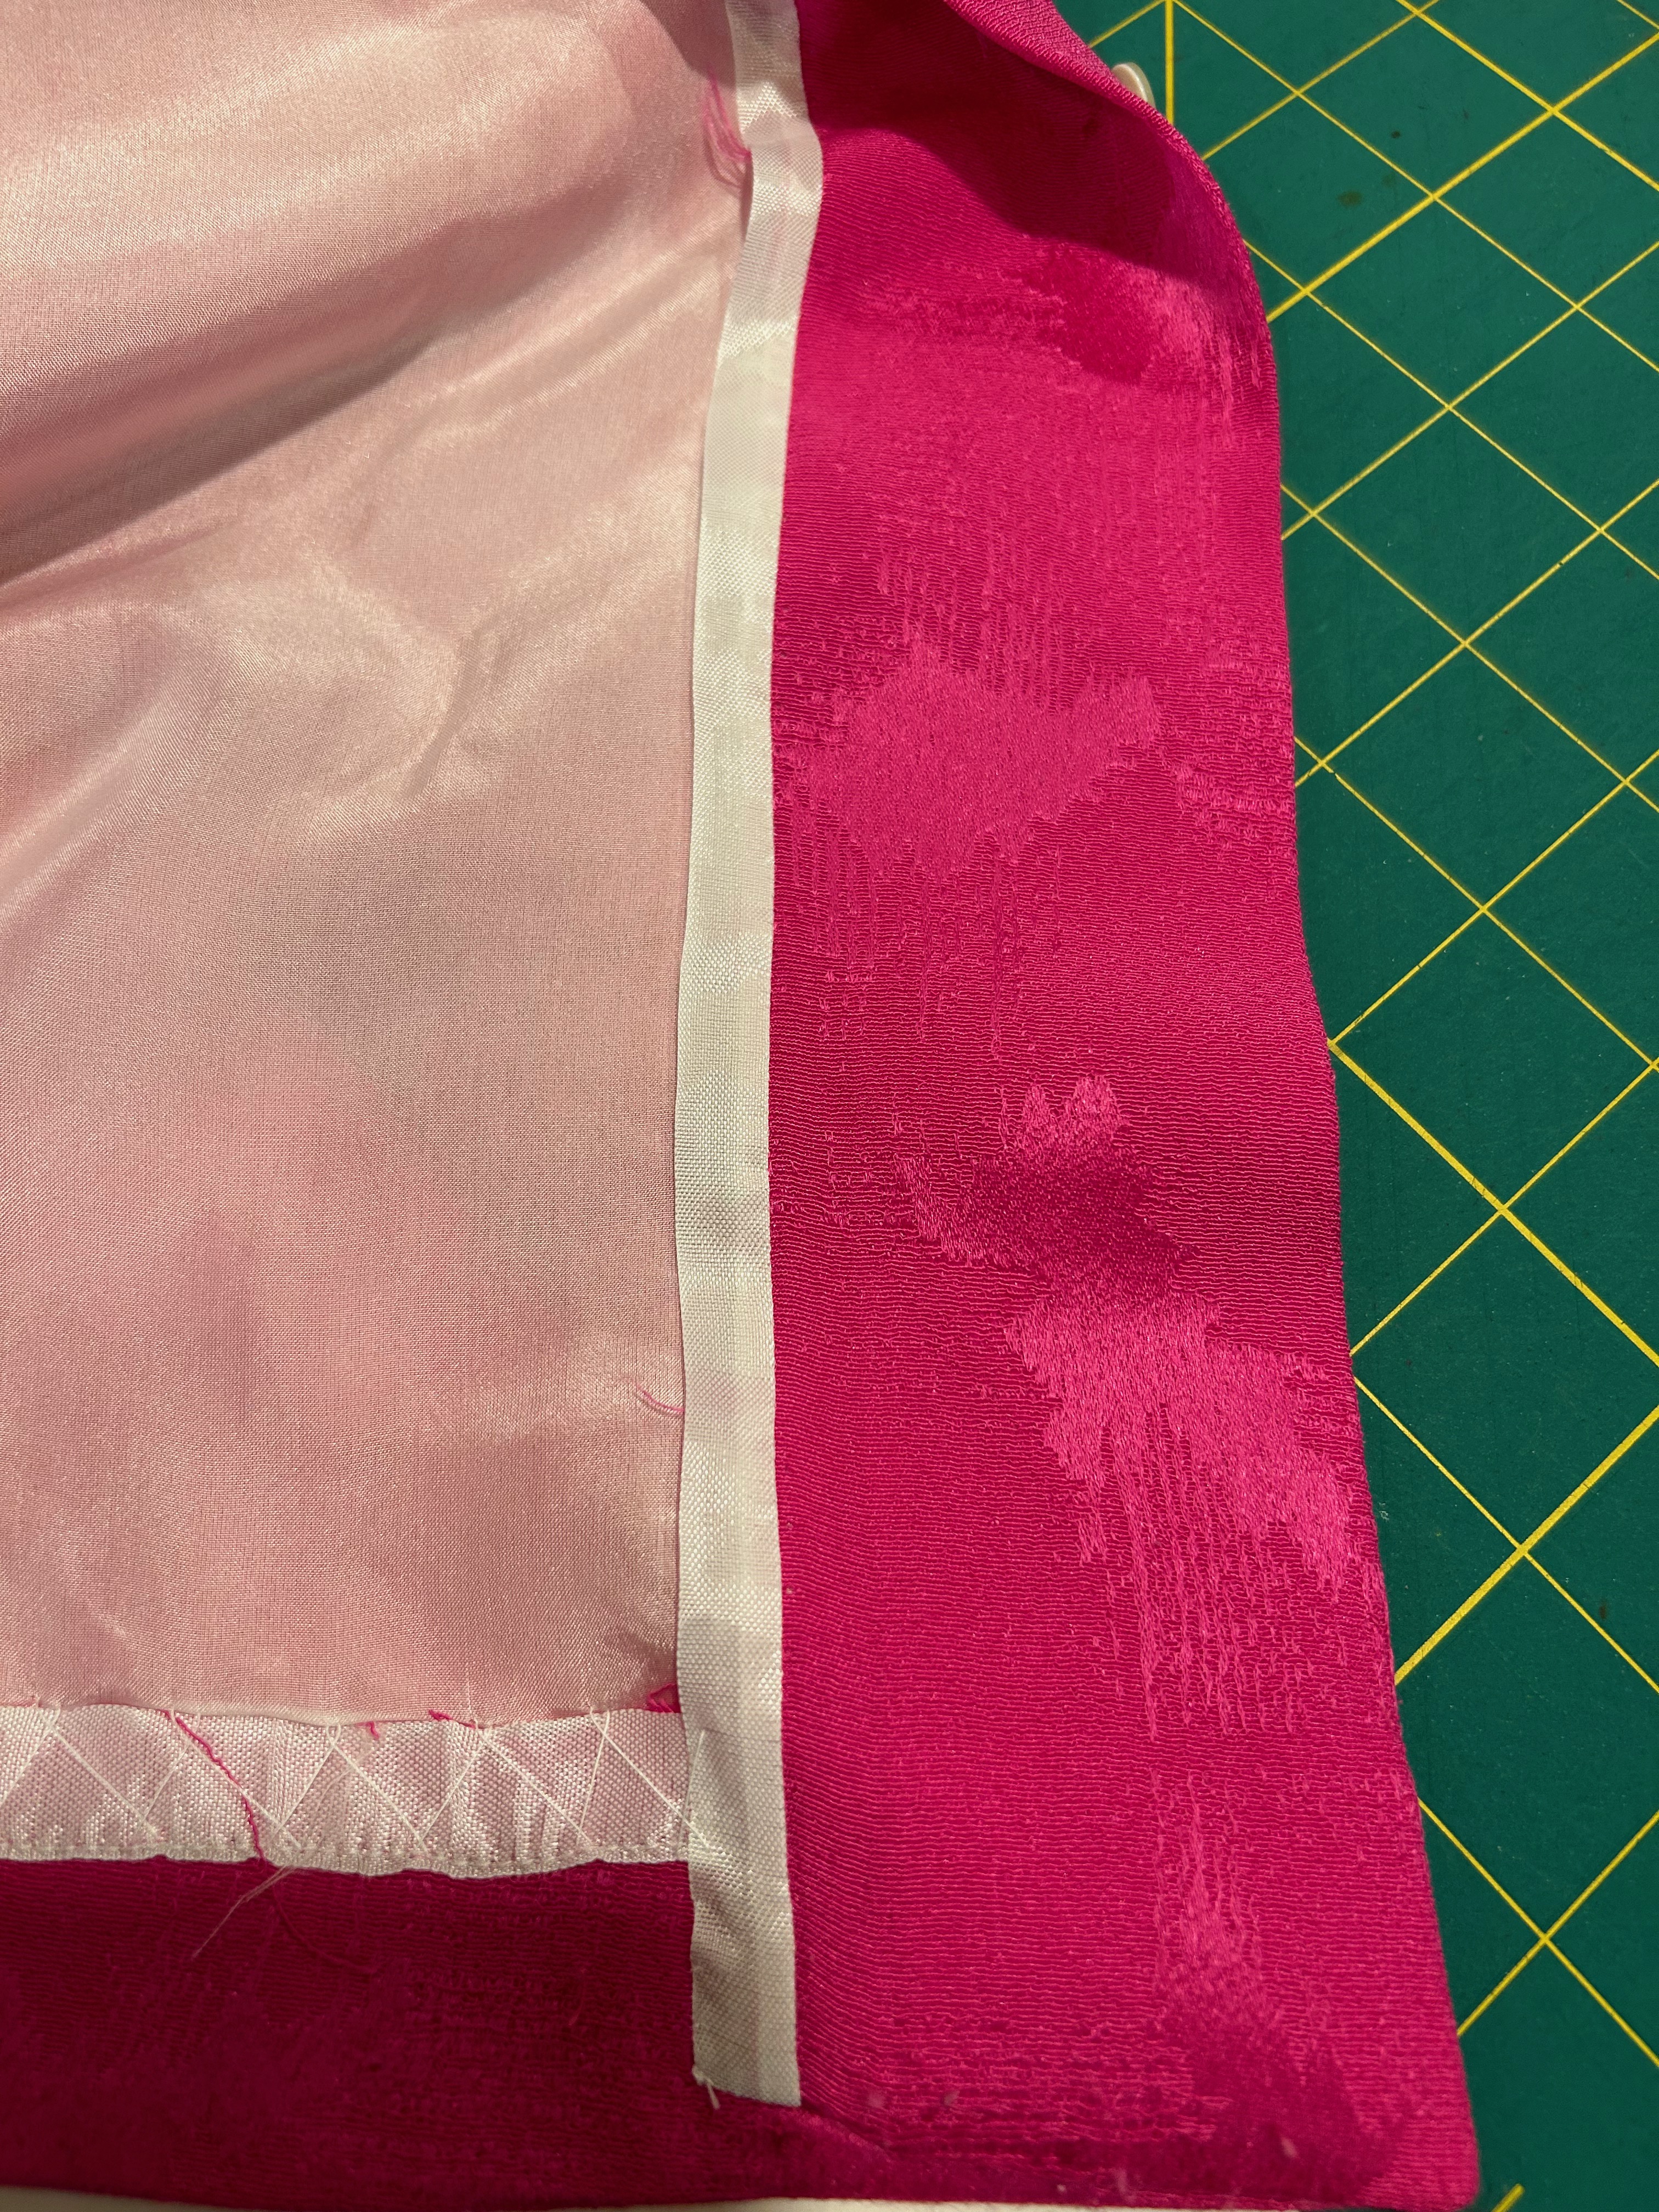
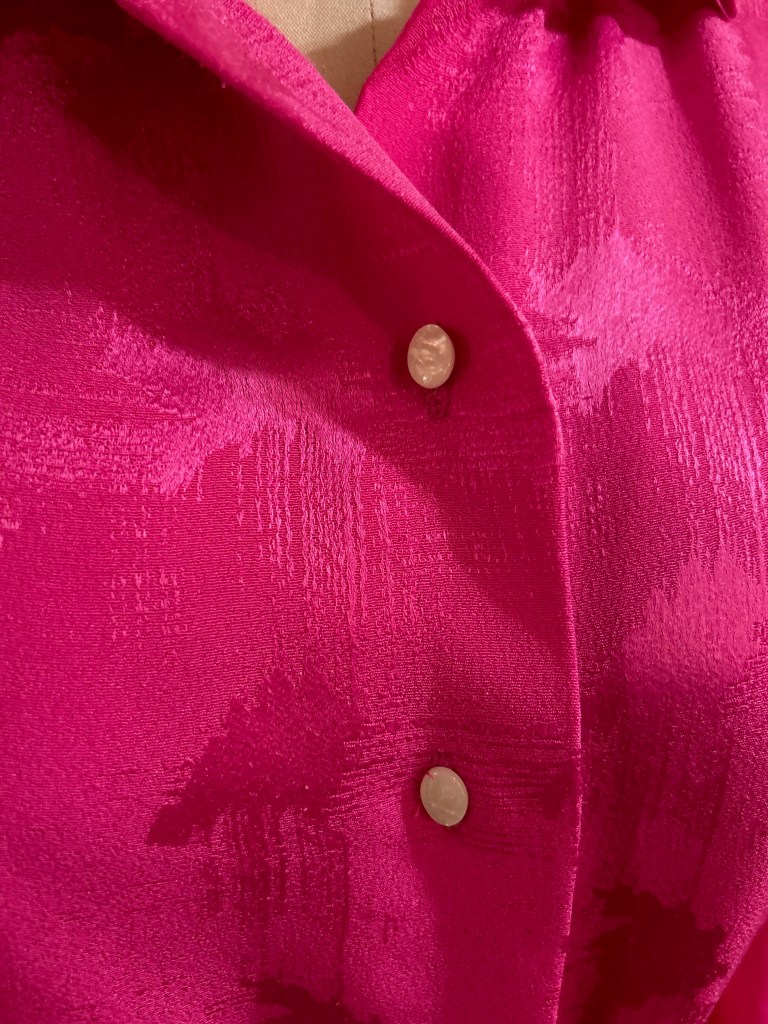
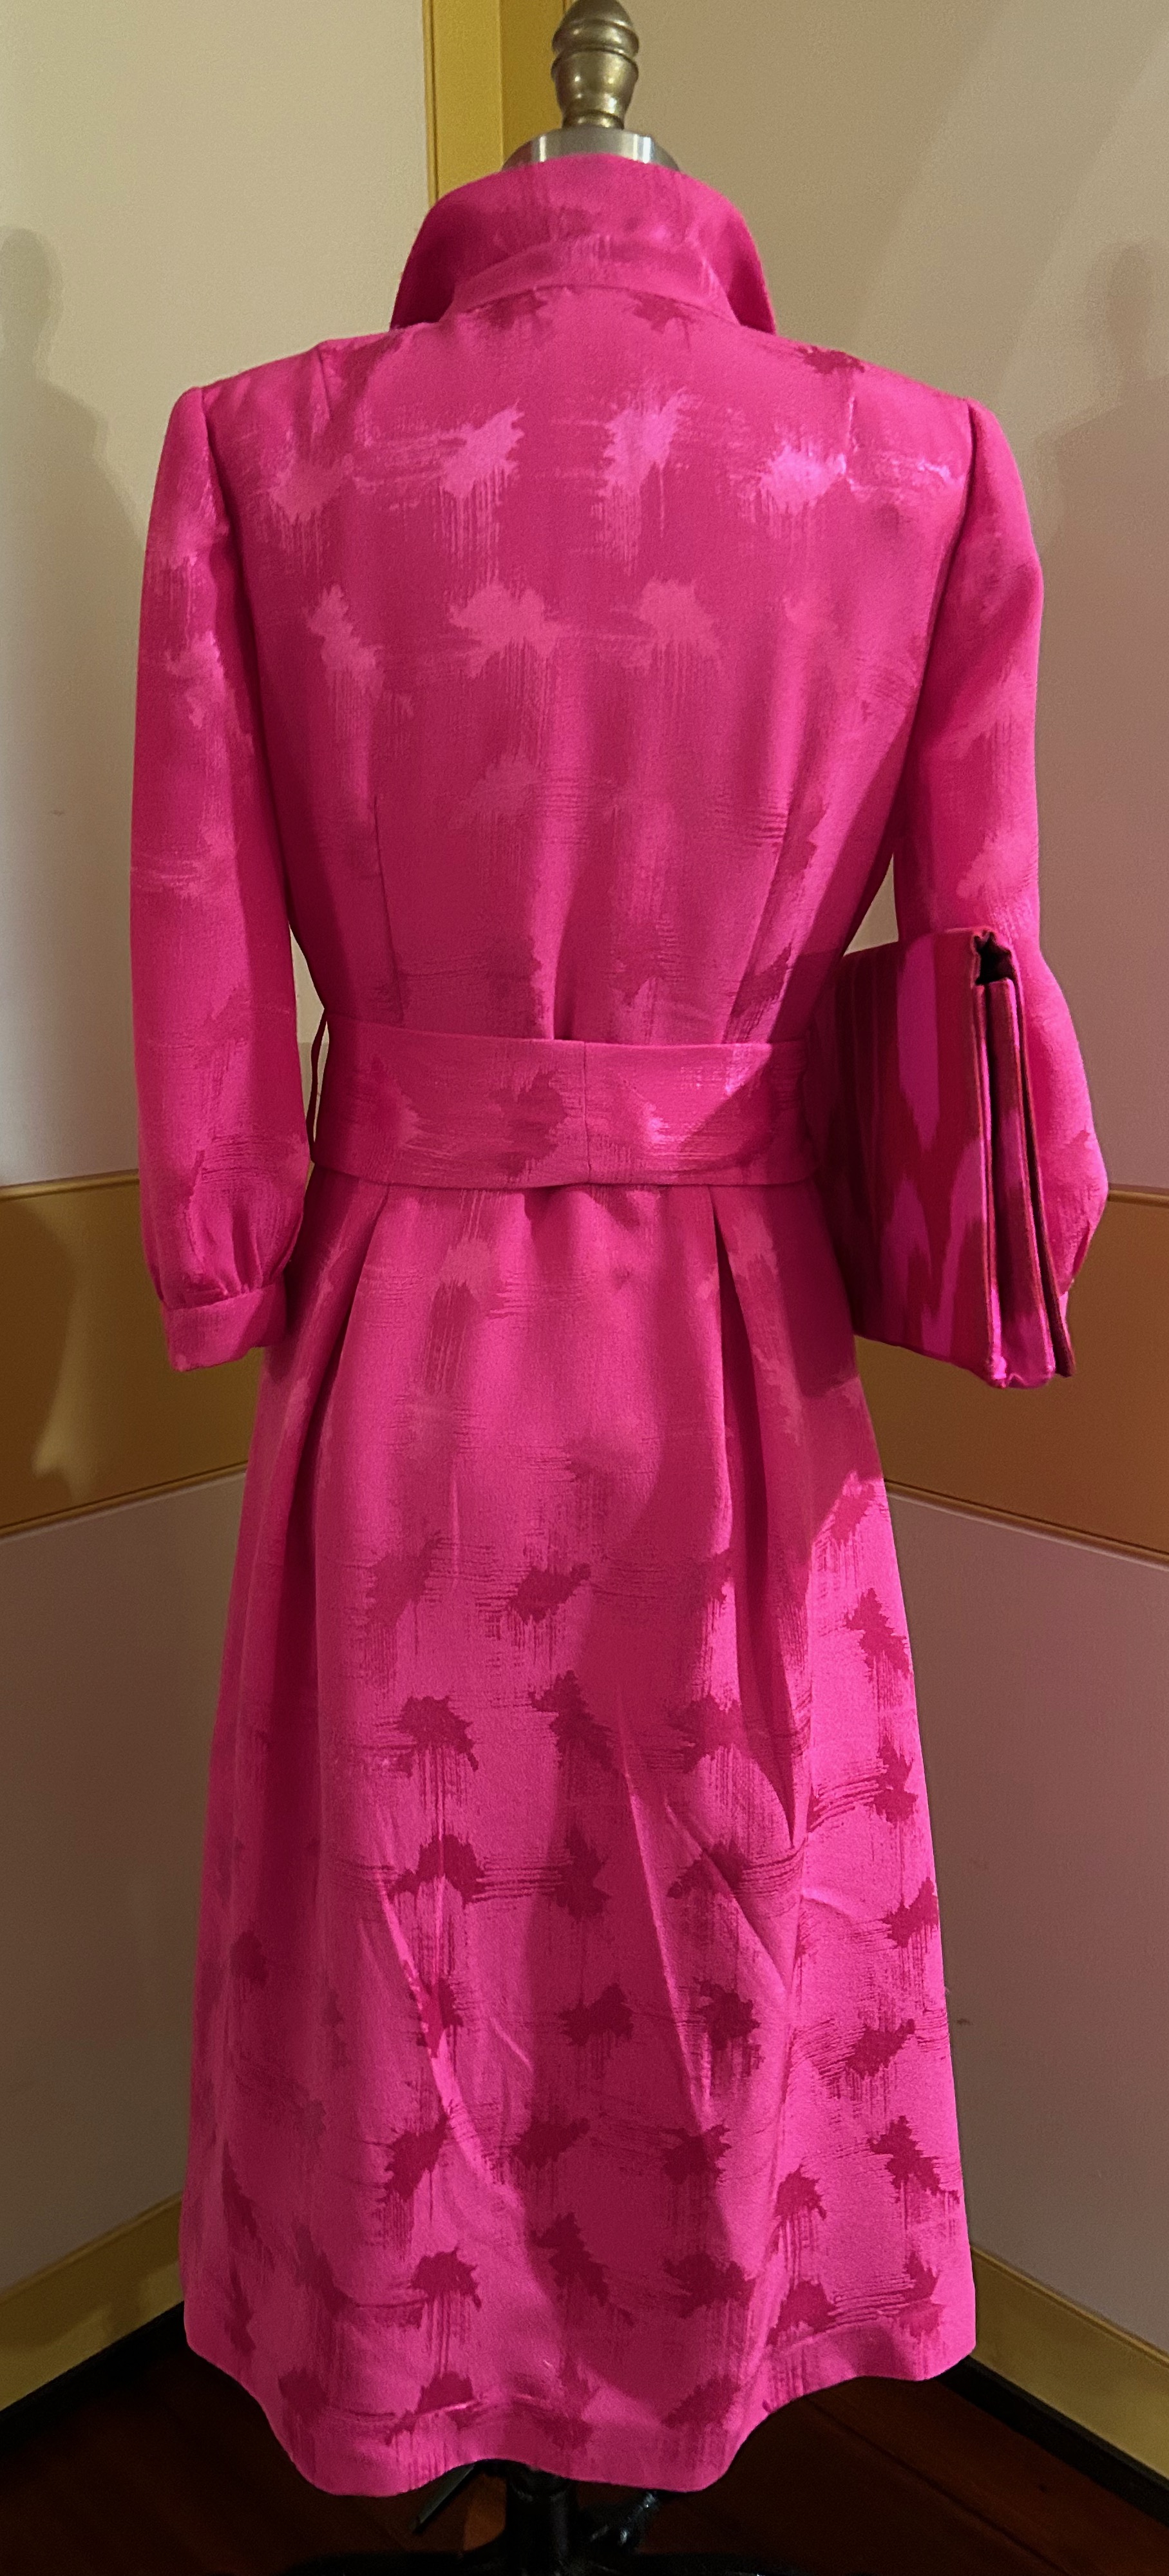
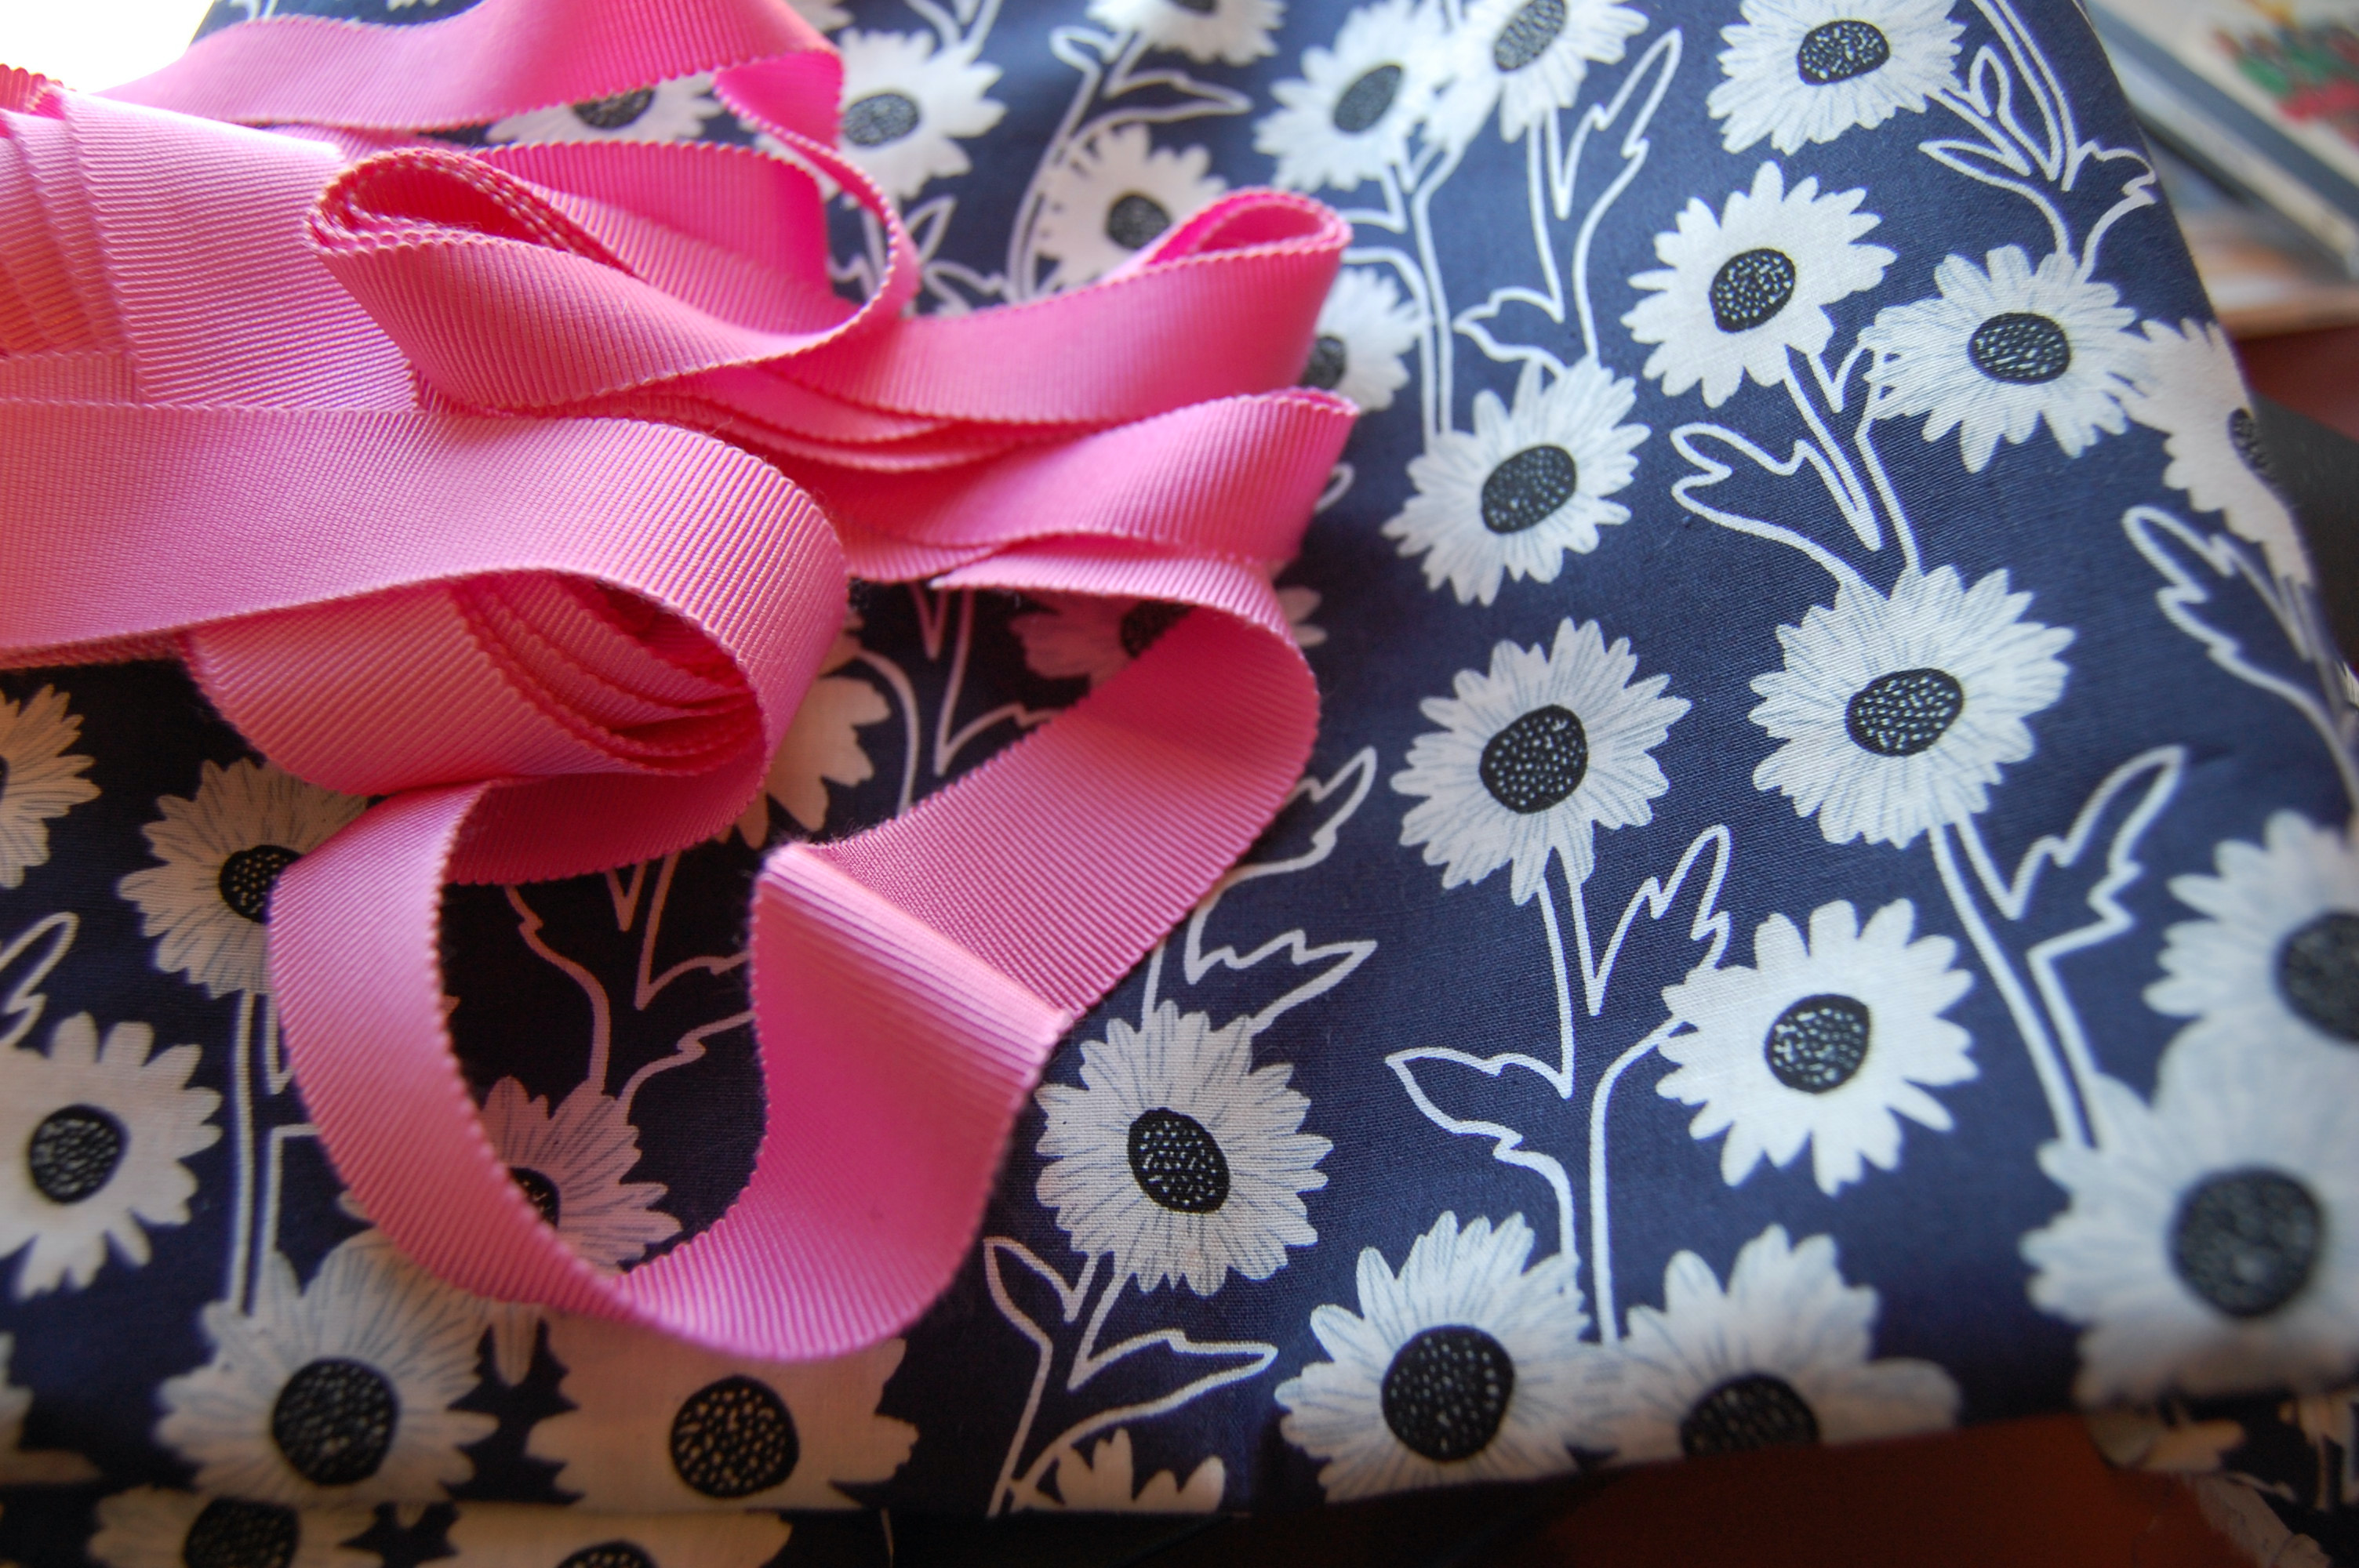
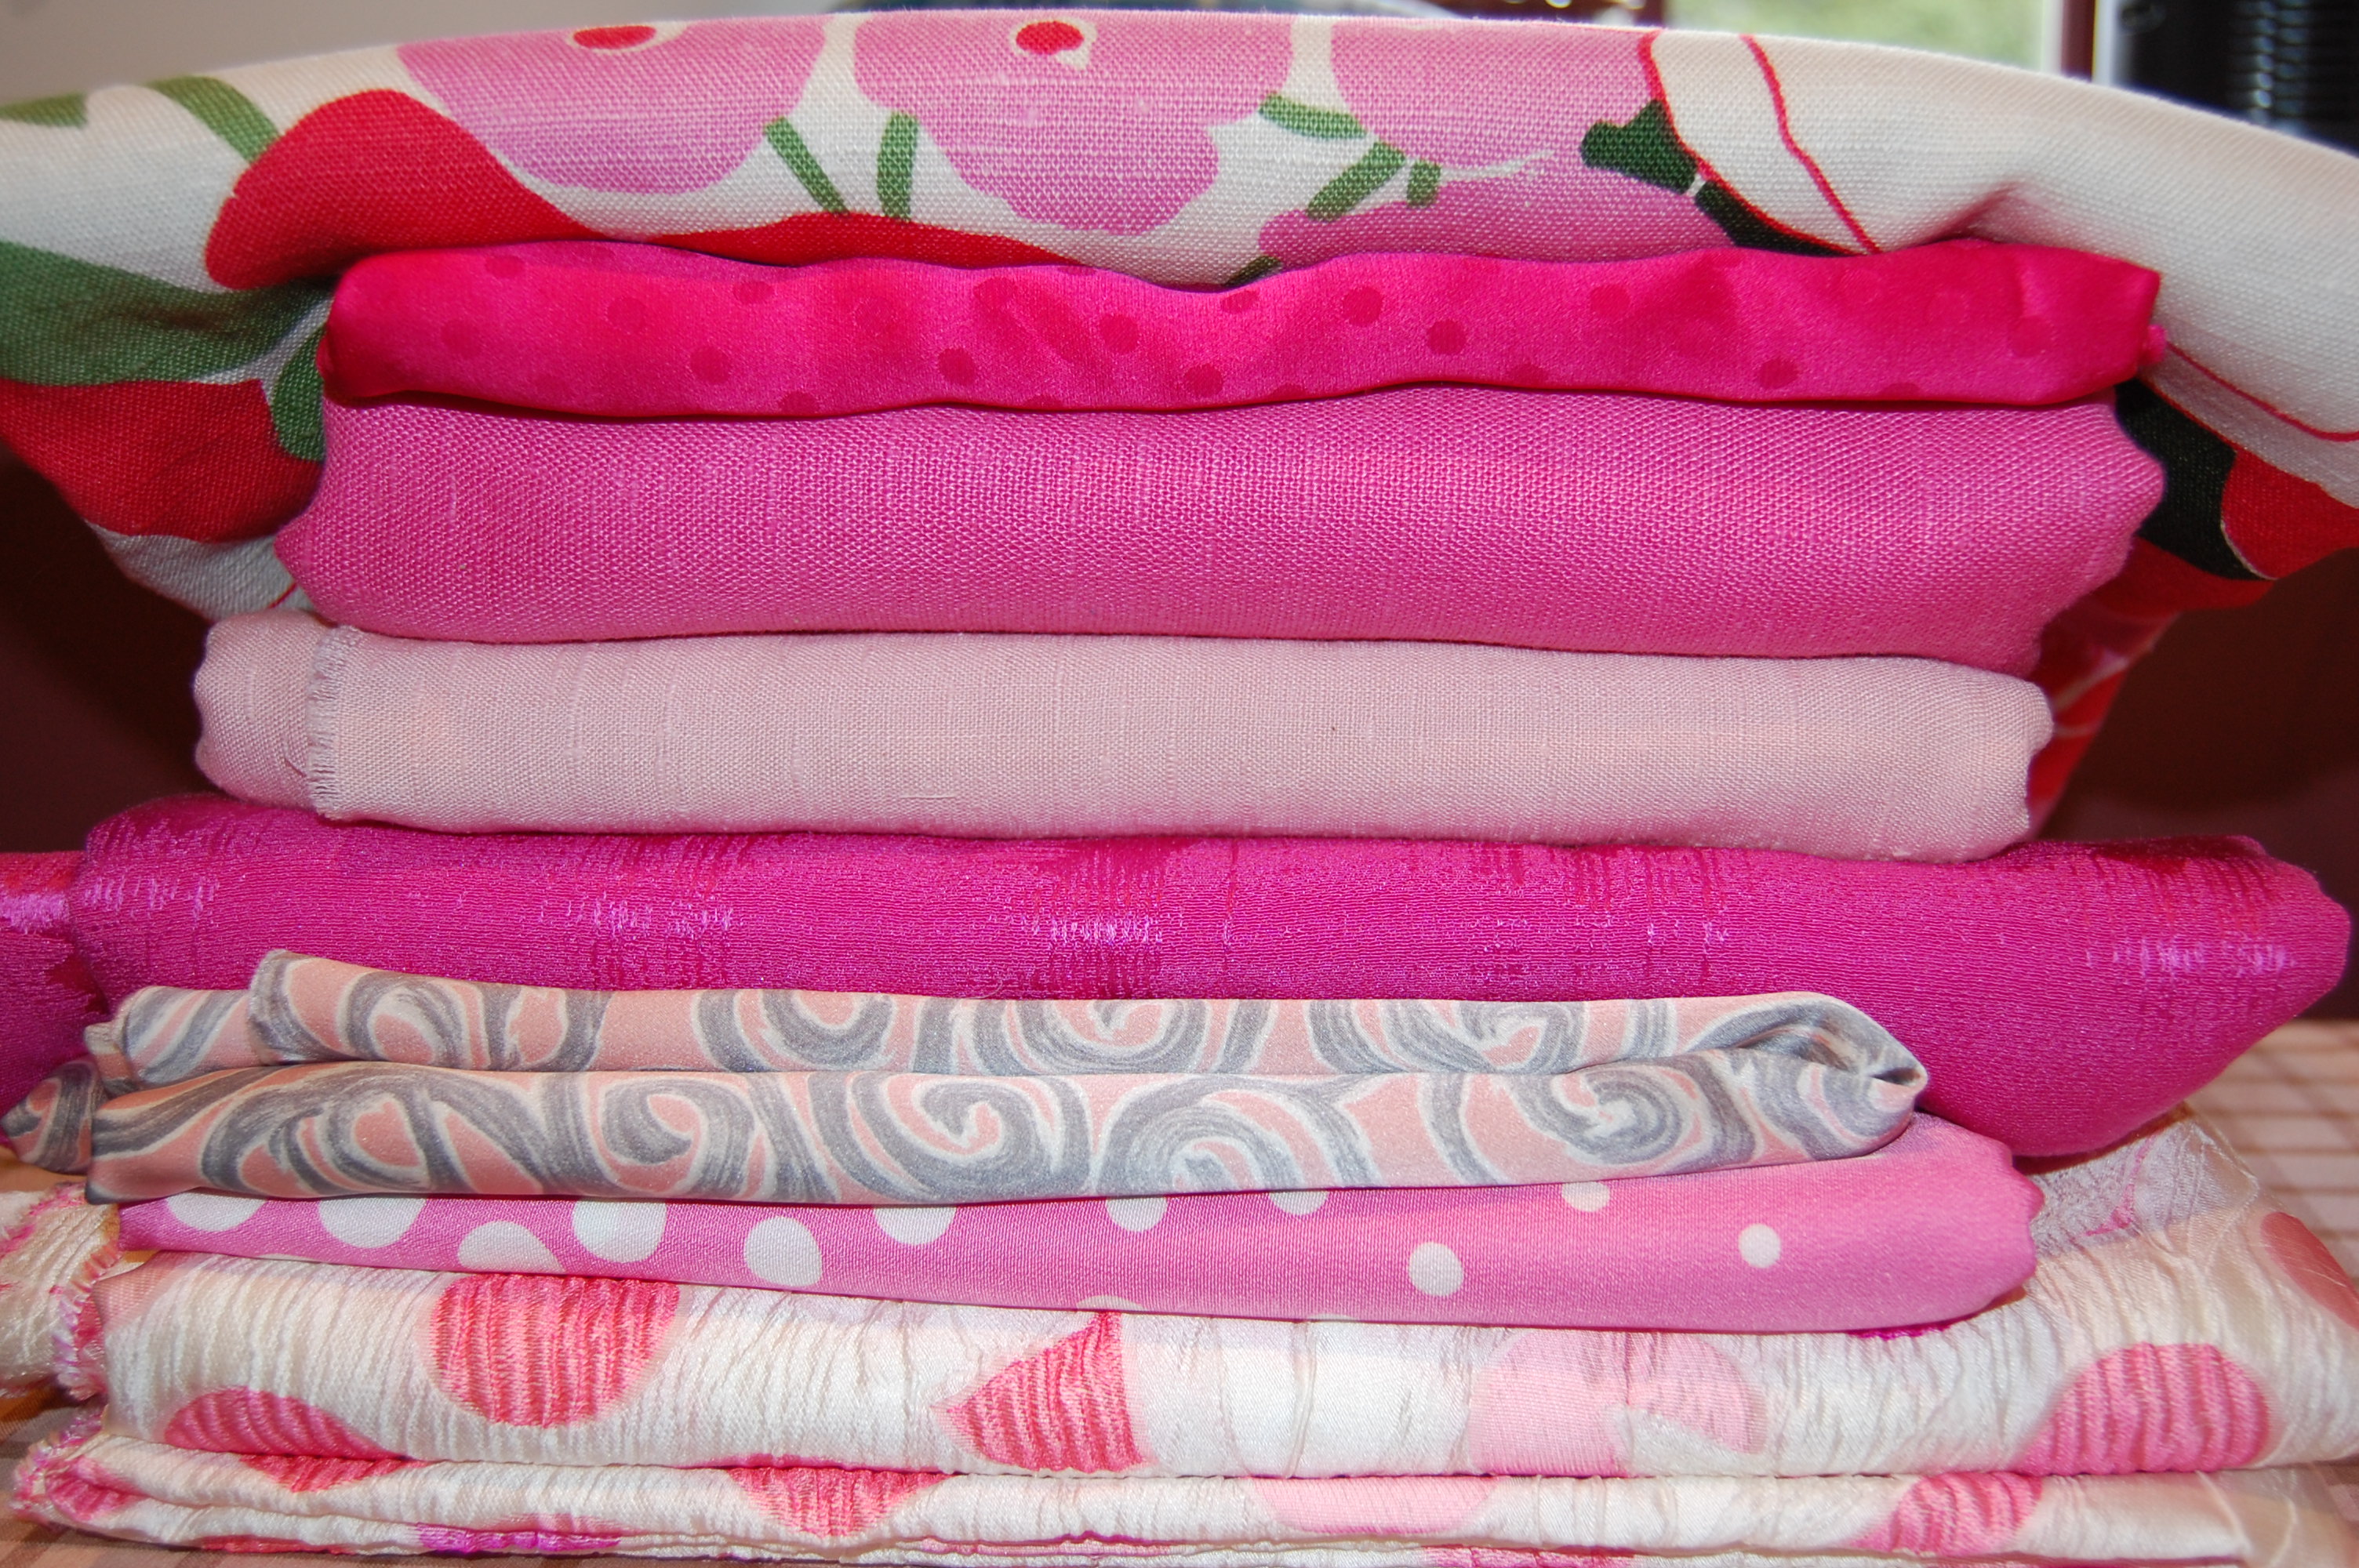
7. A fuchsia-pink silk shirtdress.

I persevered through the tricky construction of this dress made with a slinky silk jacquard charmeuse. I had the opportunity to wear it twice this past Fall. Perhaps the trending, pink “Barbie theme” contributed, but this dress proved to be a magnet for compliments at each wearing. How rewarding after all the trouble it gave me!
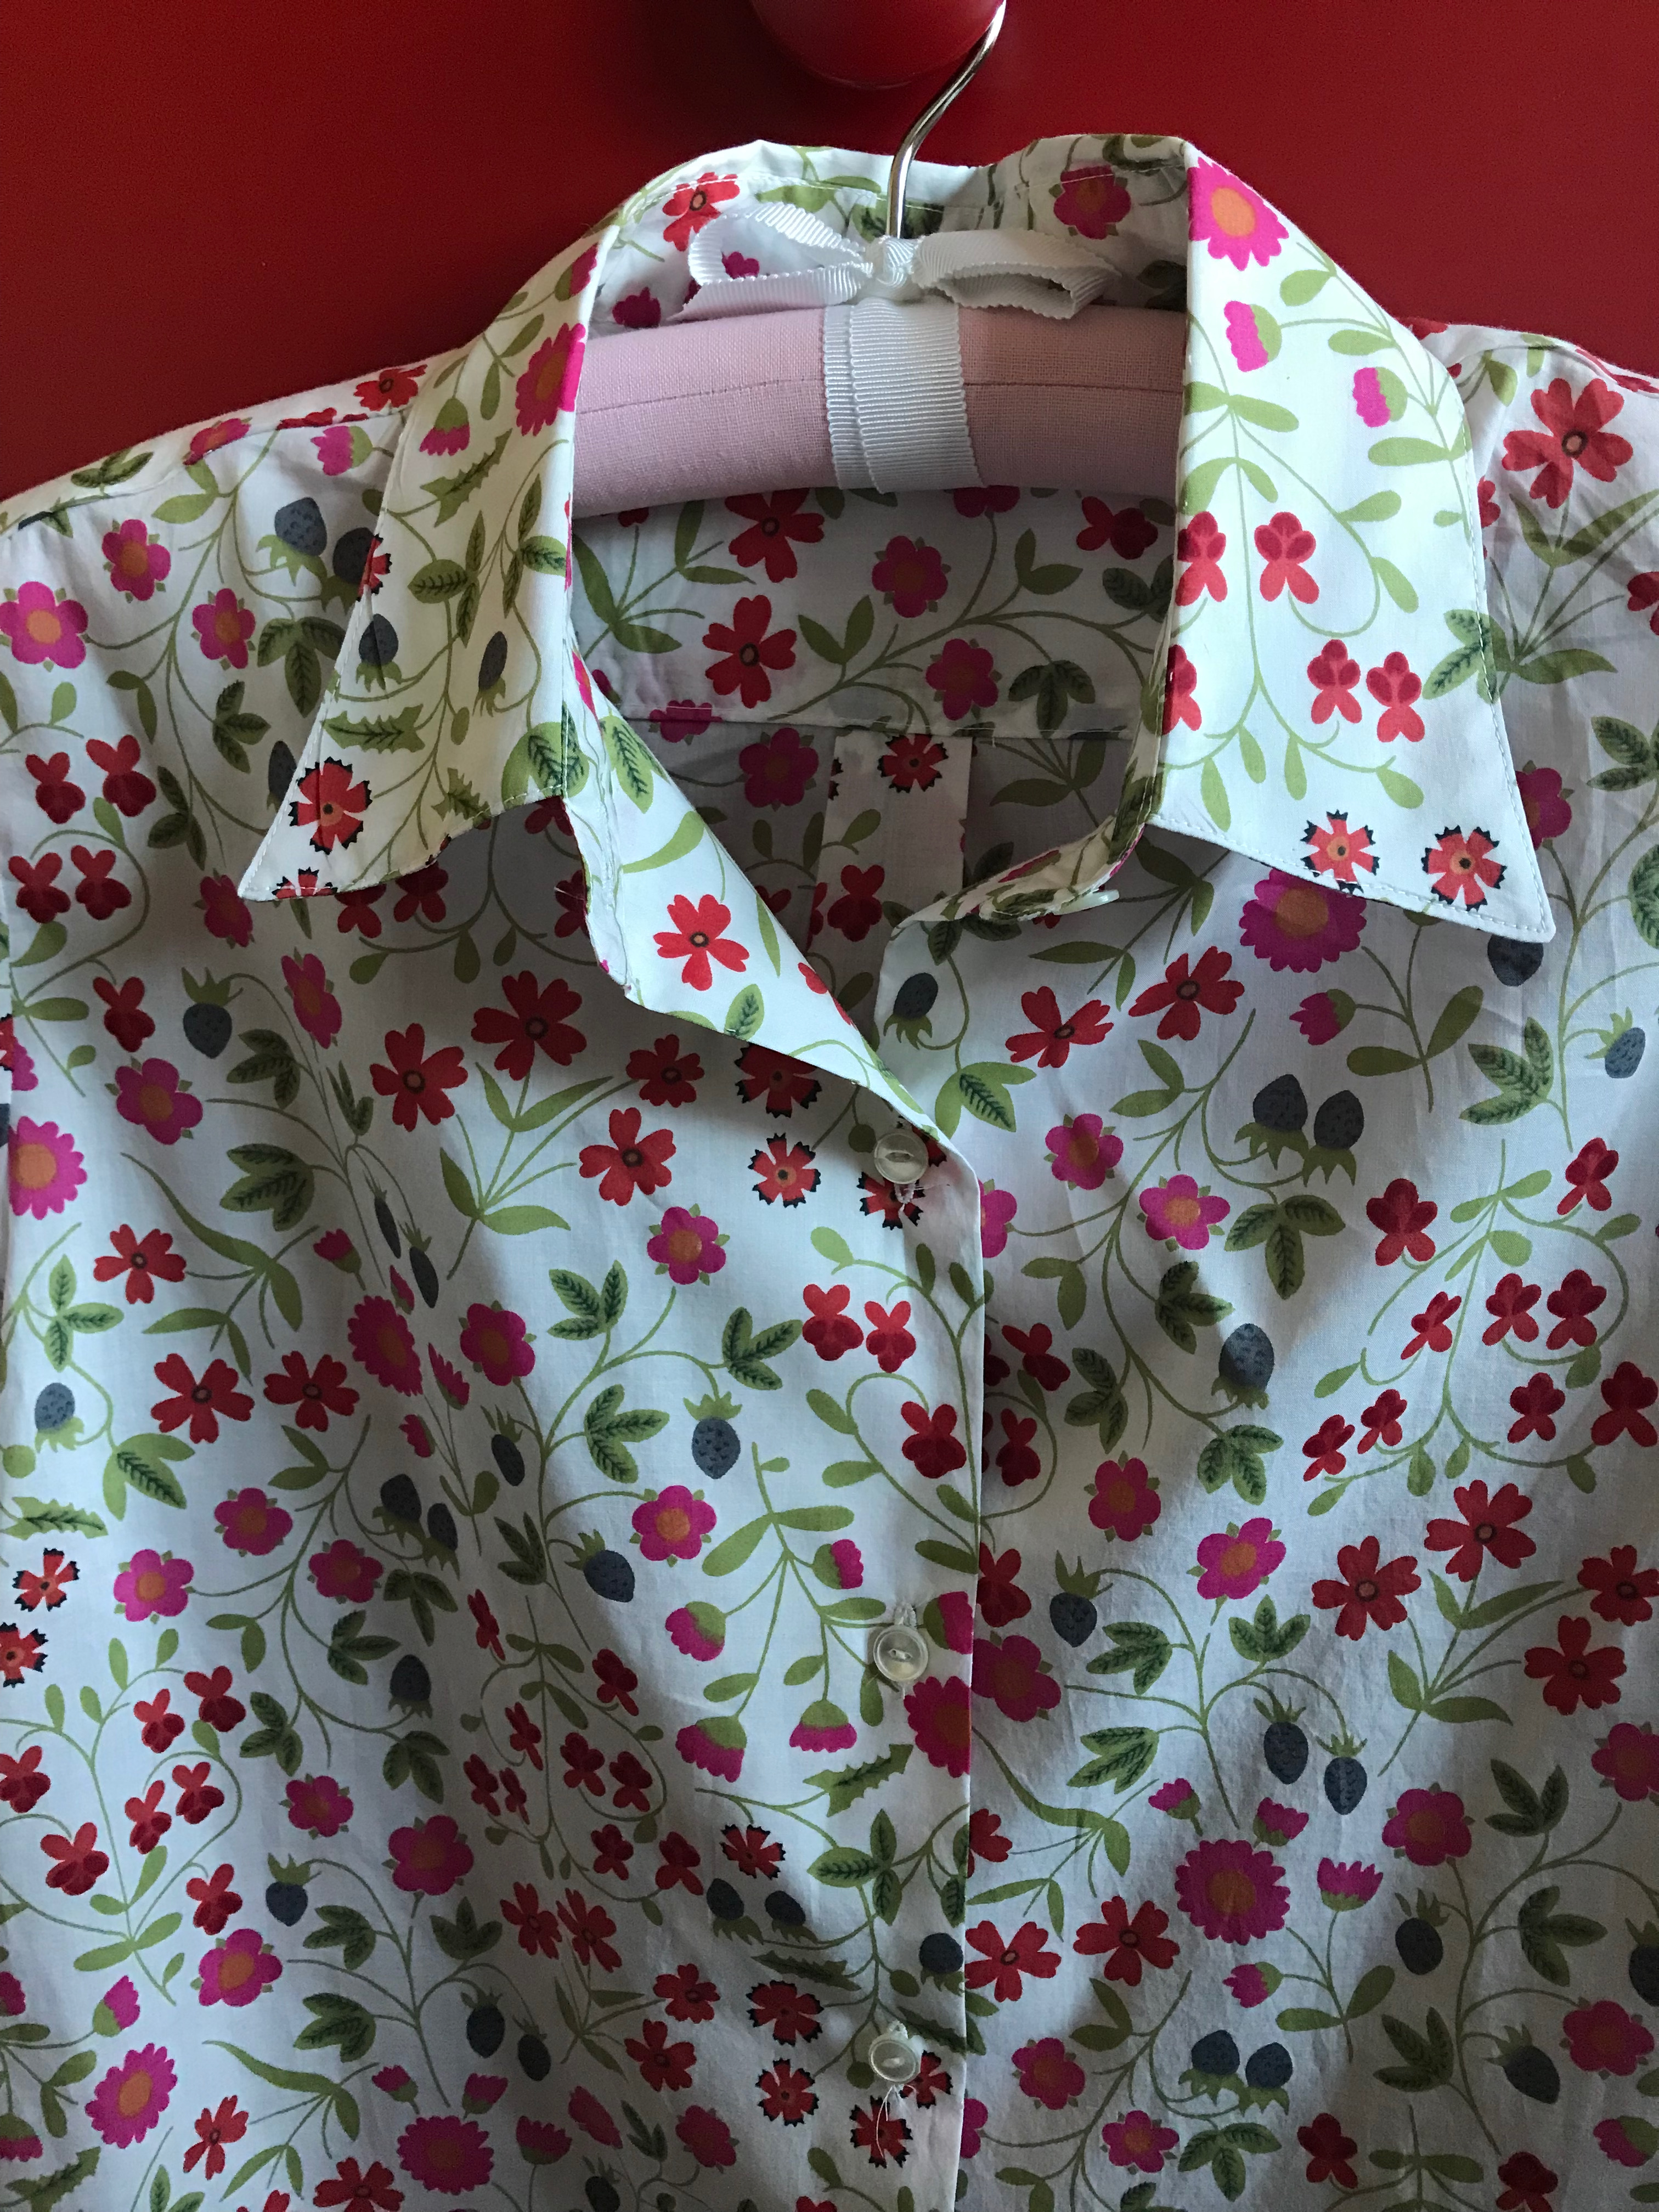
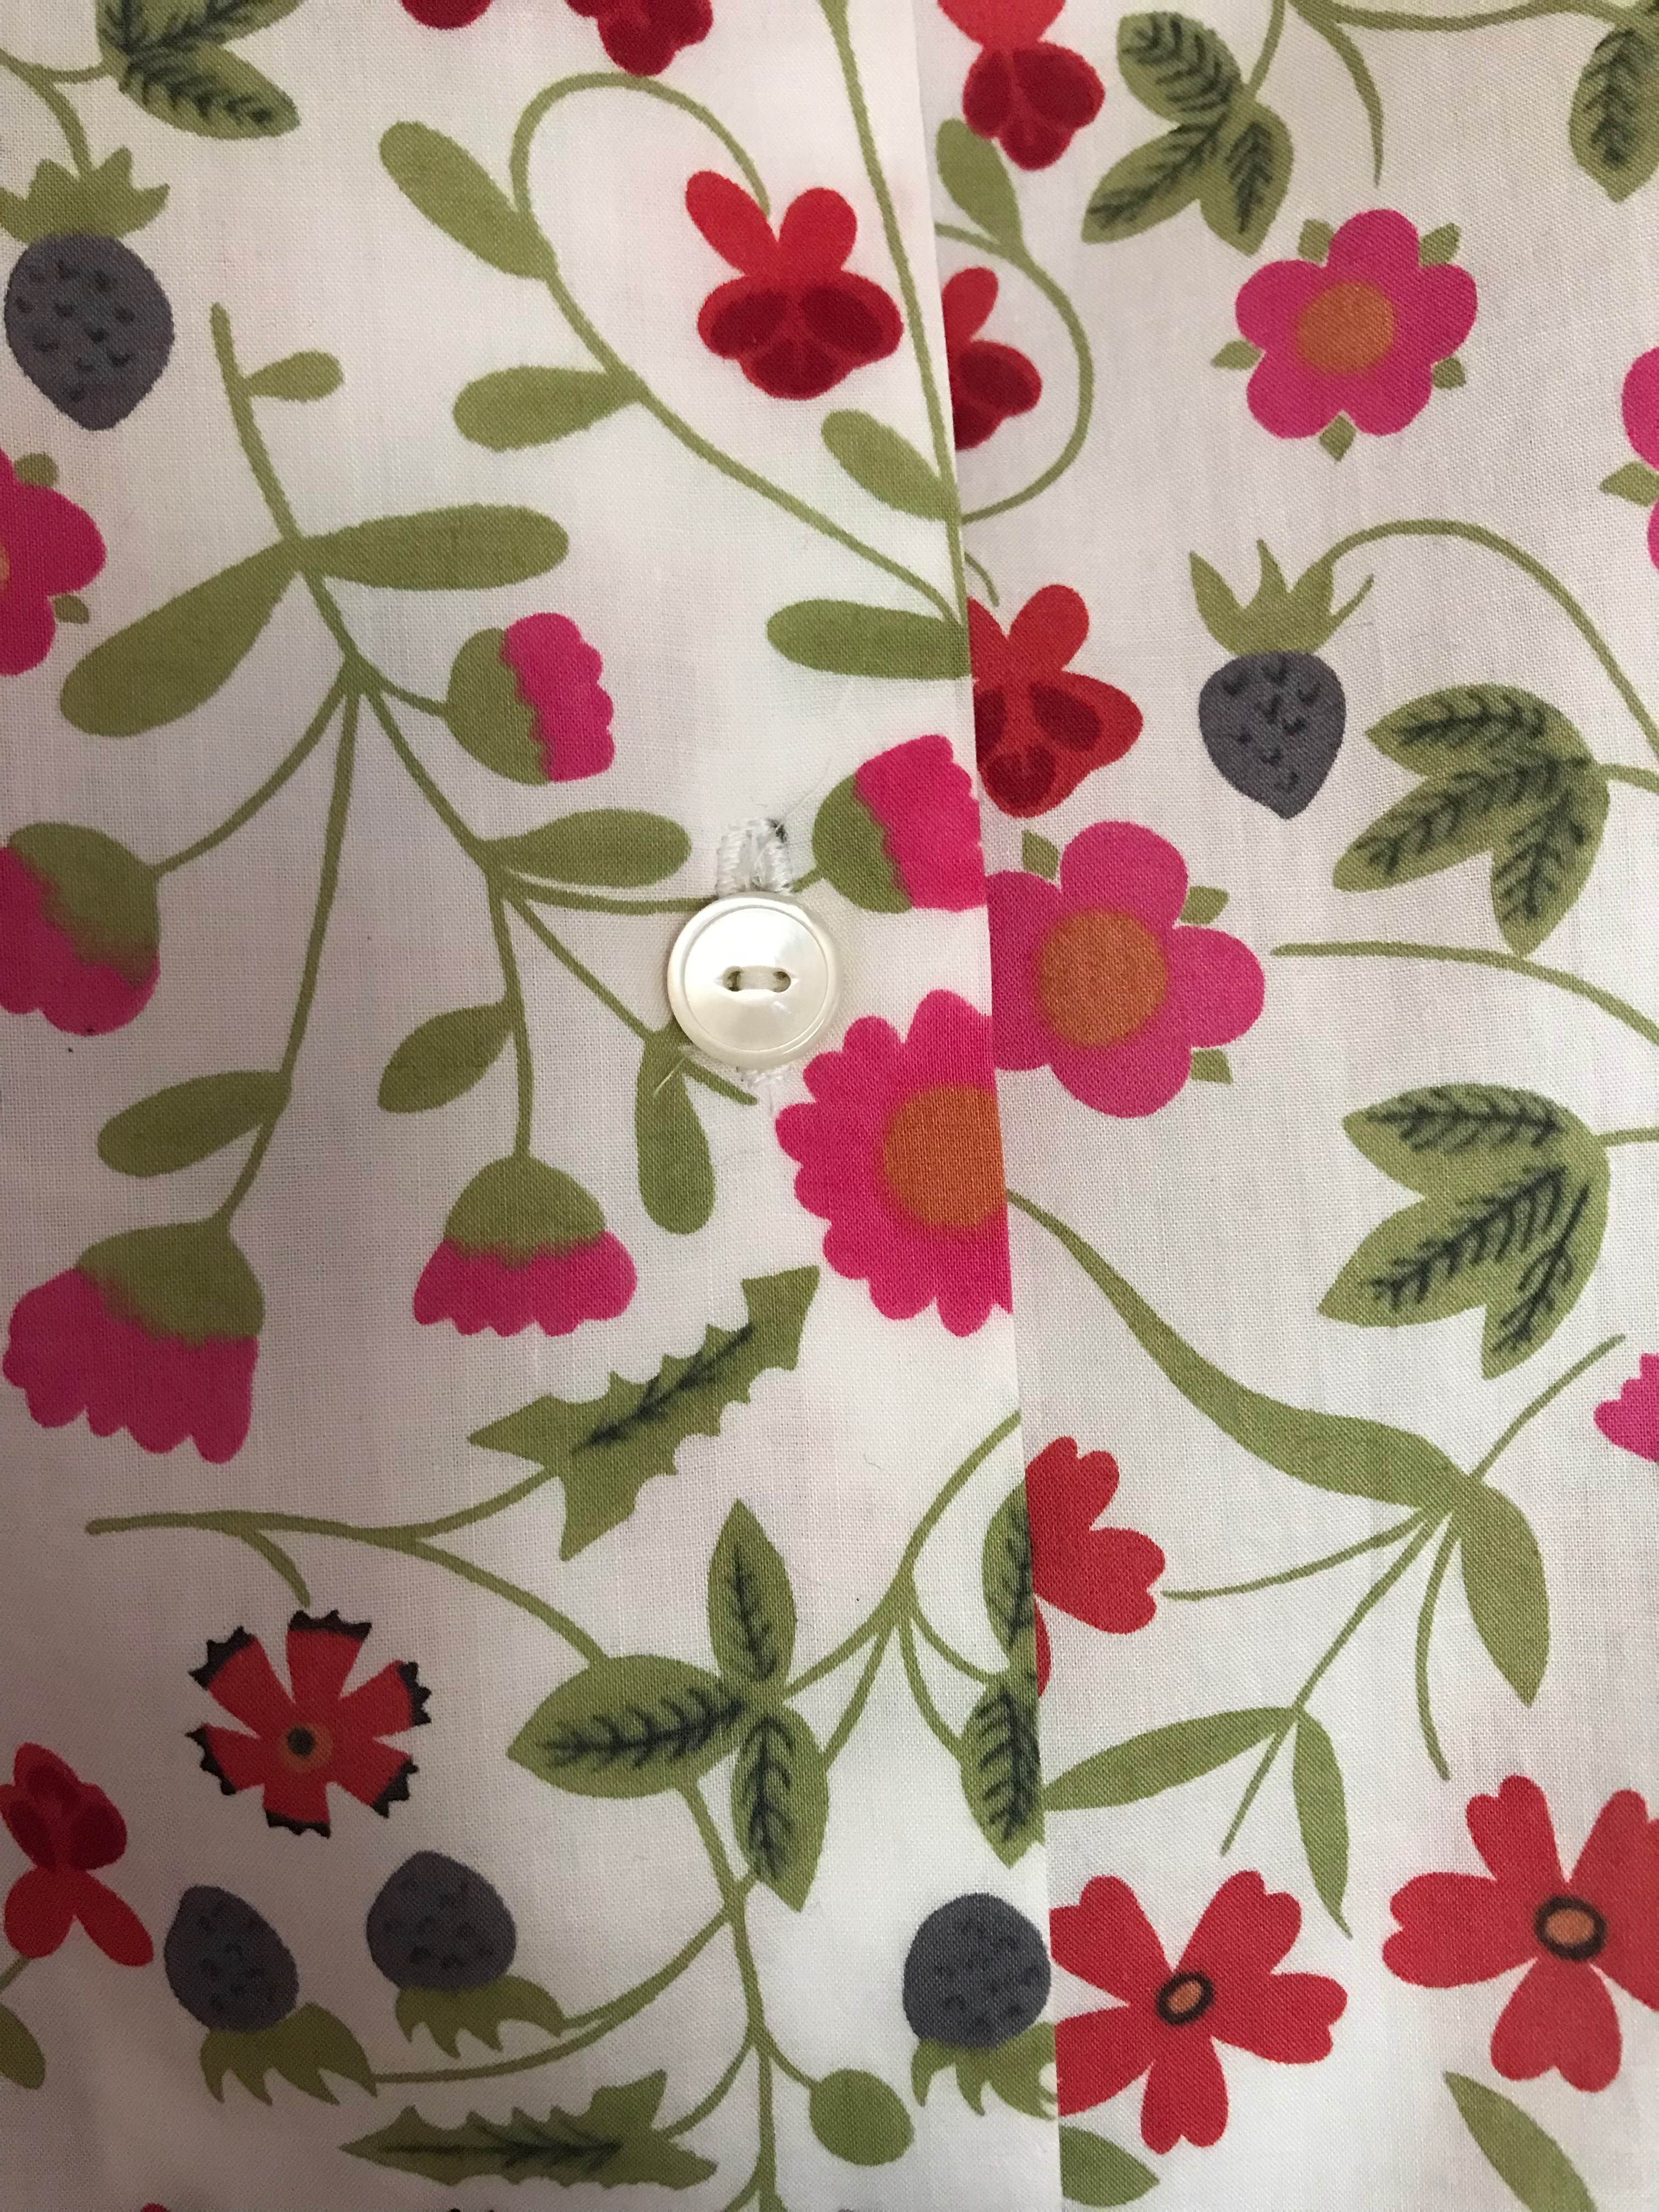
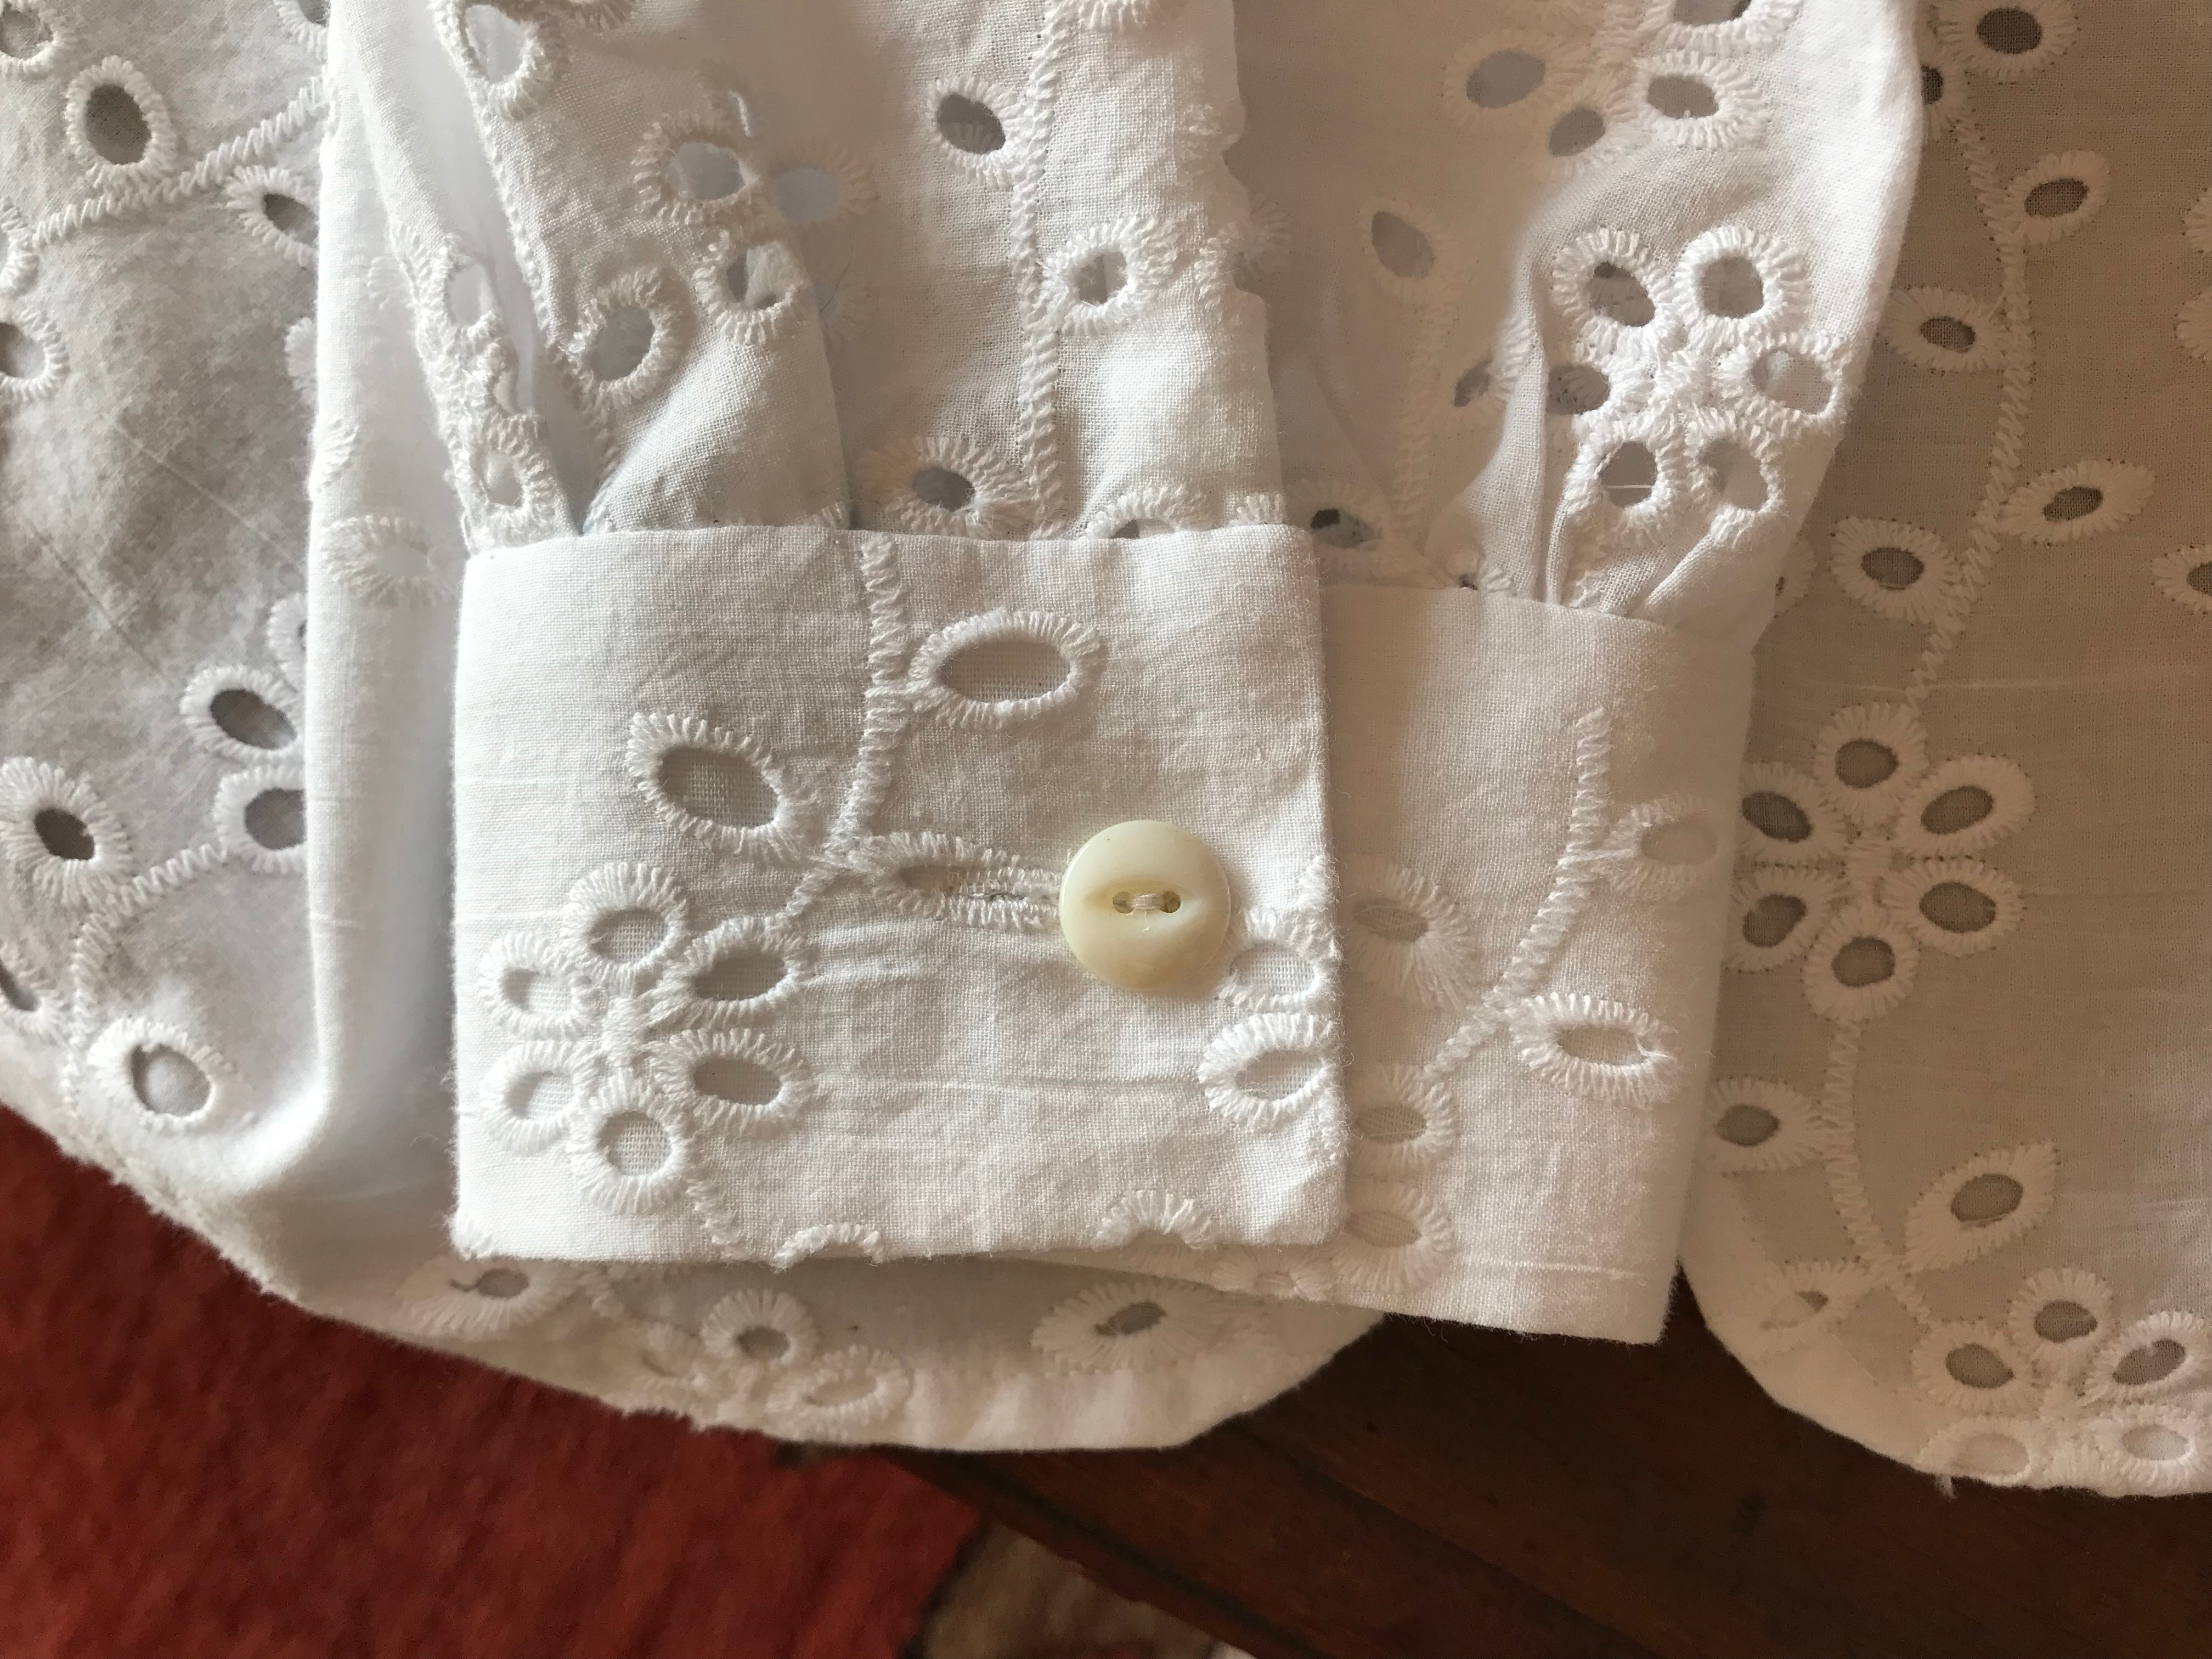
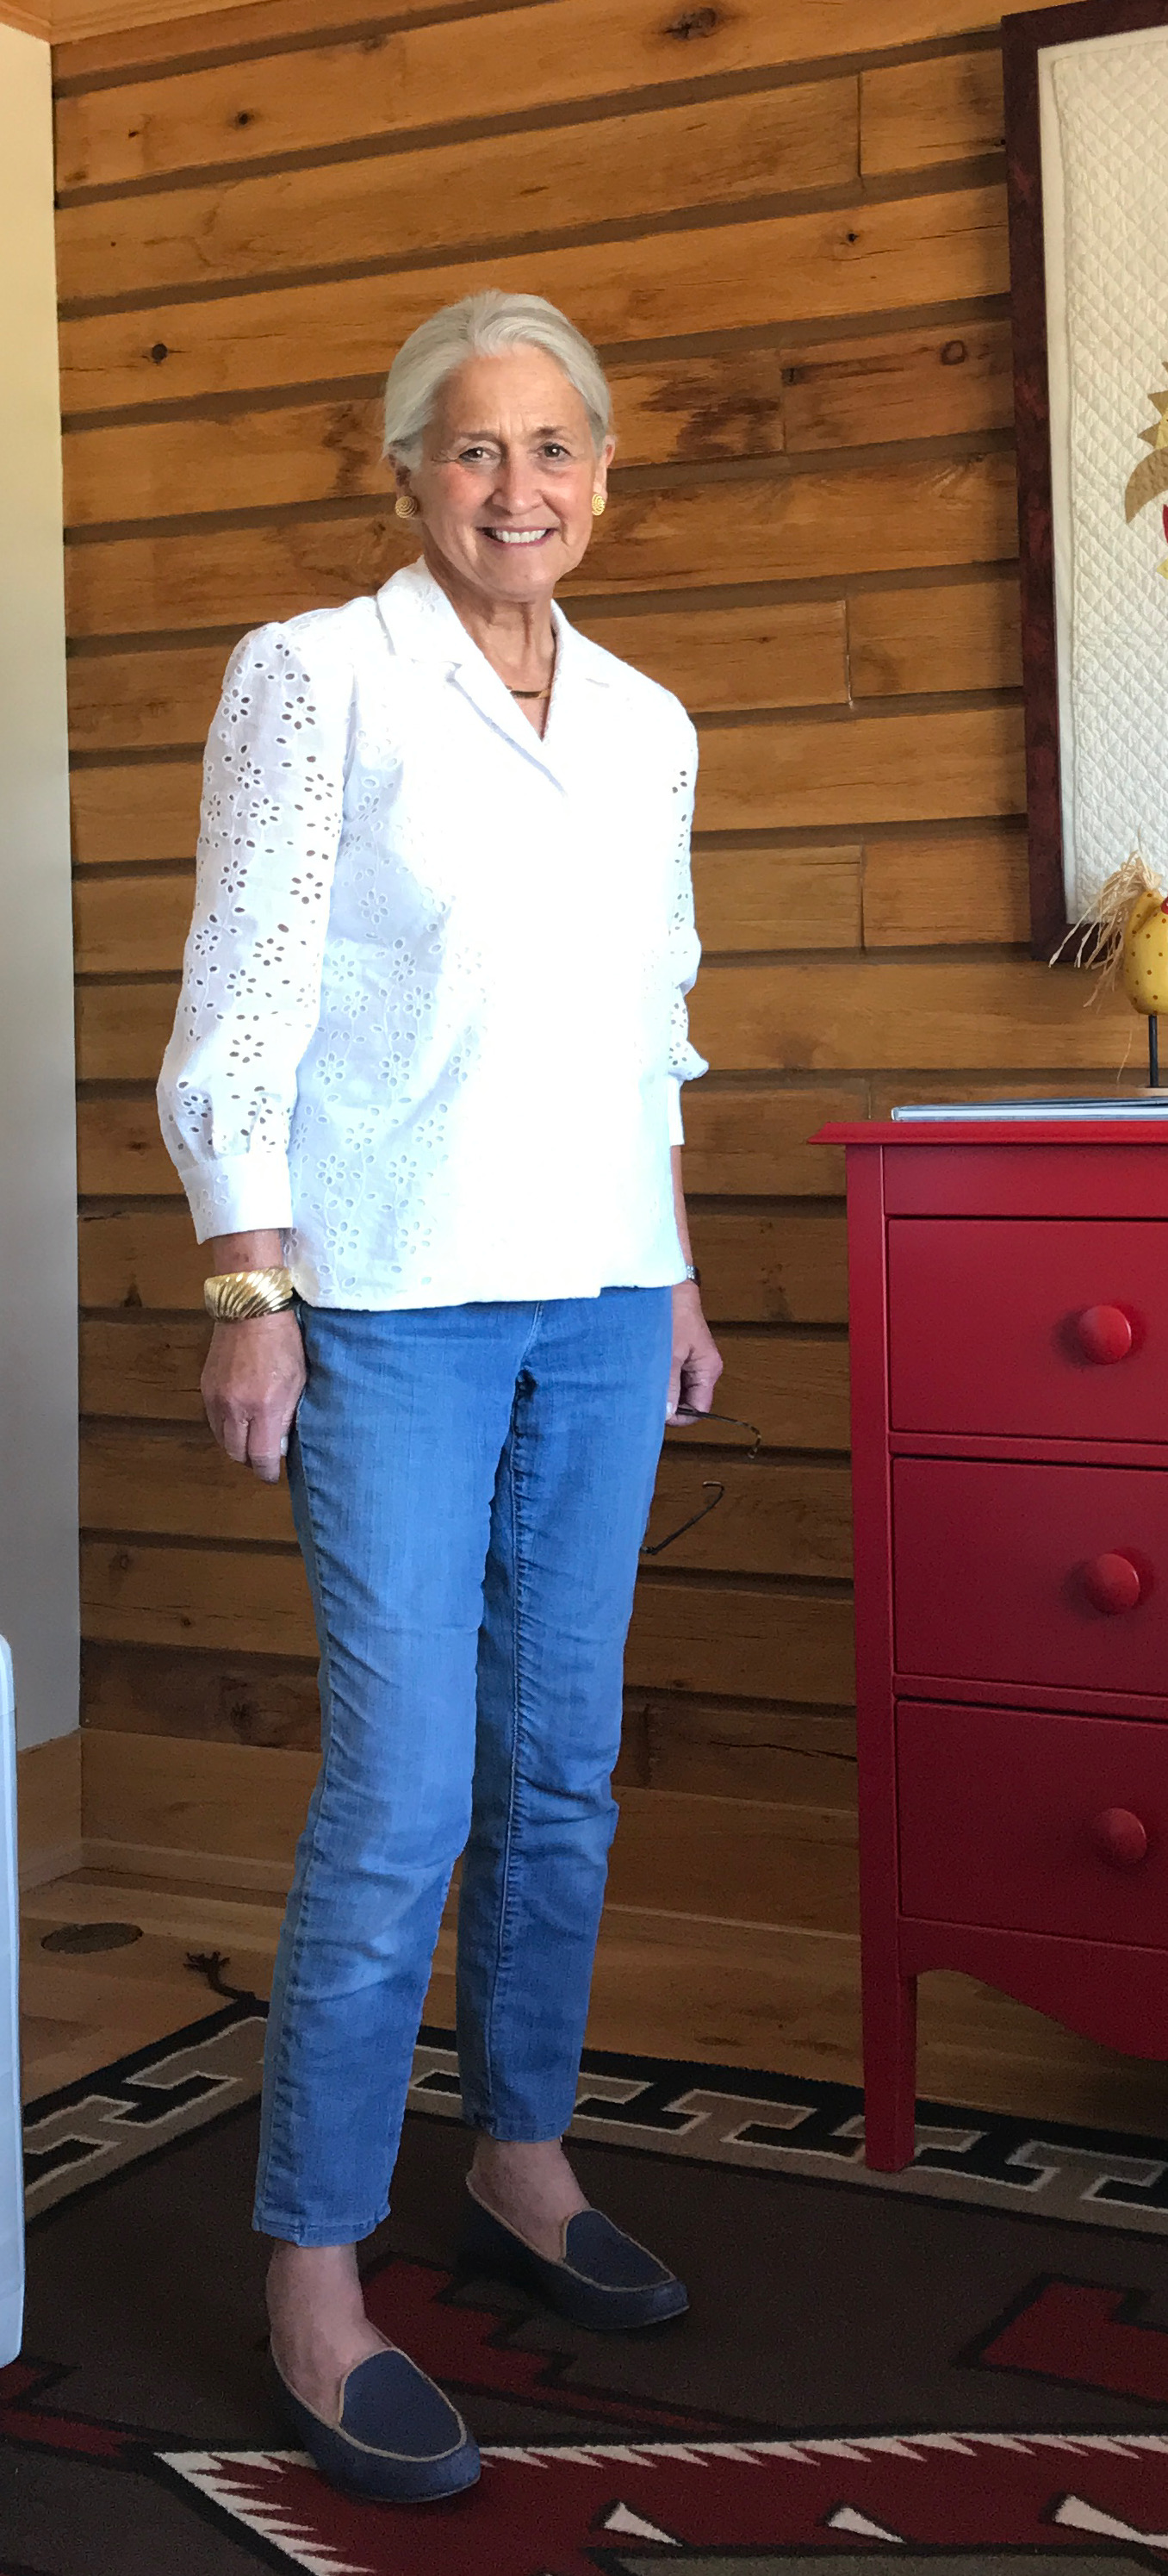
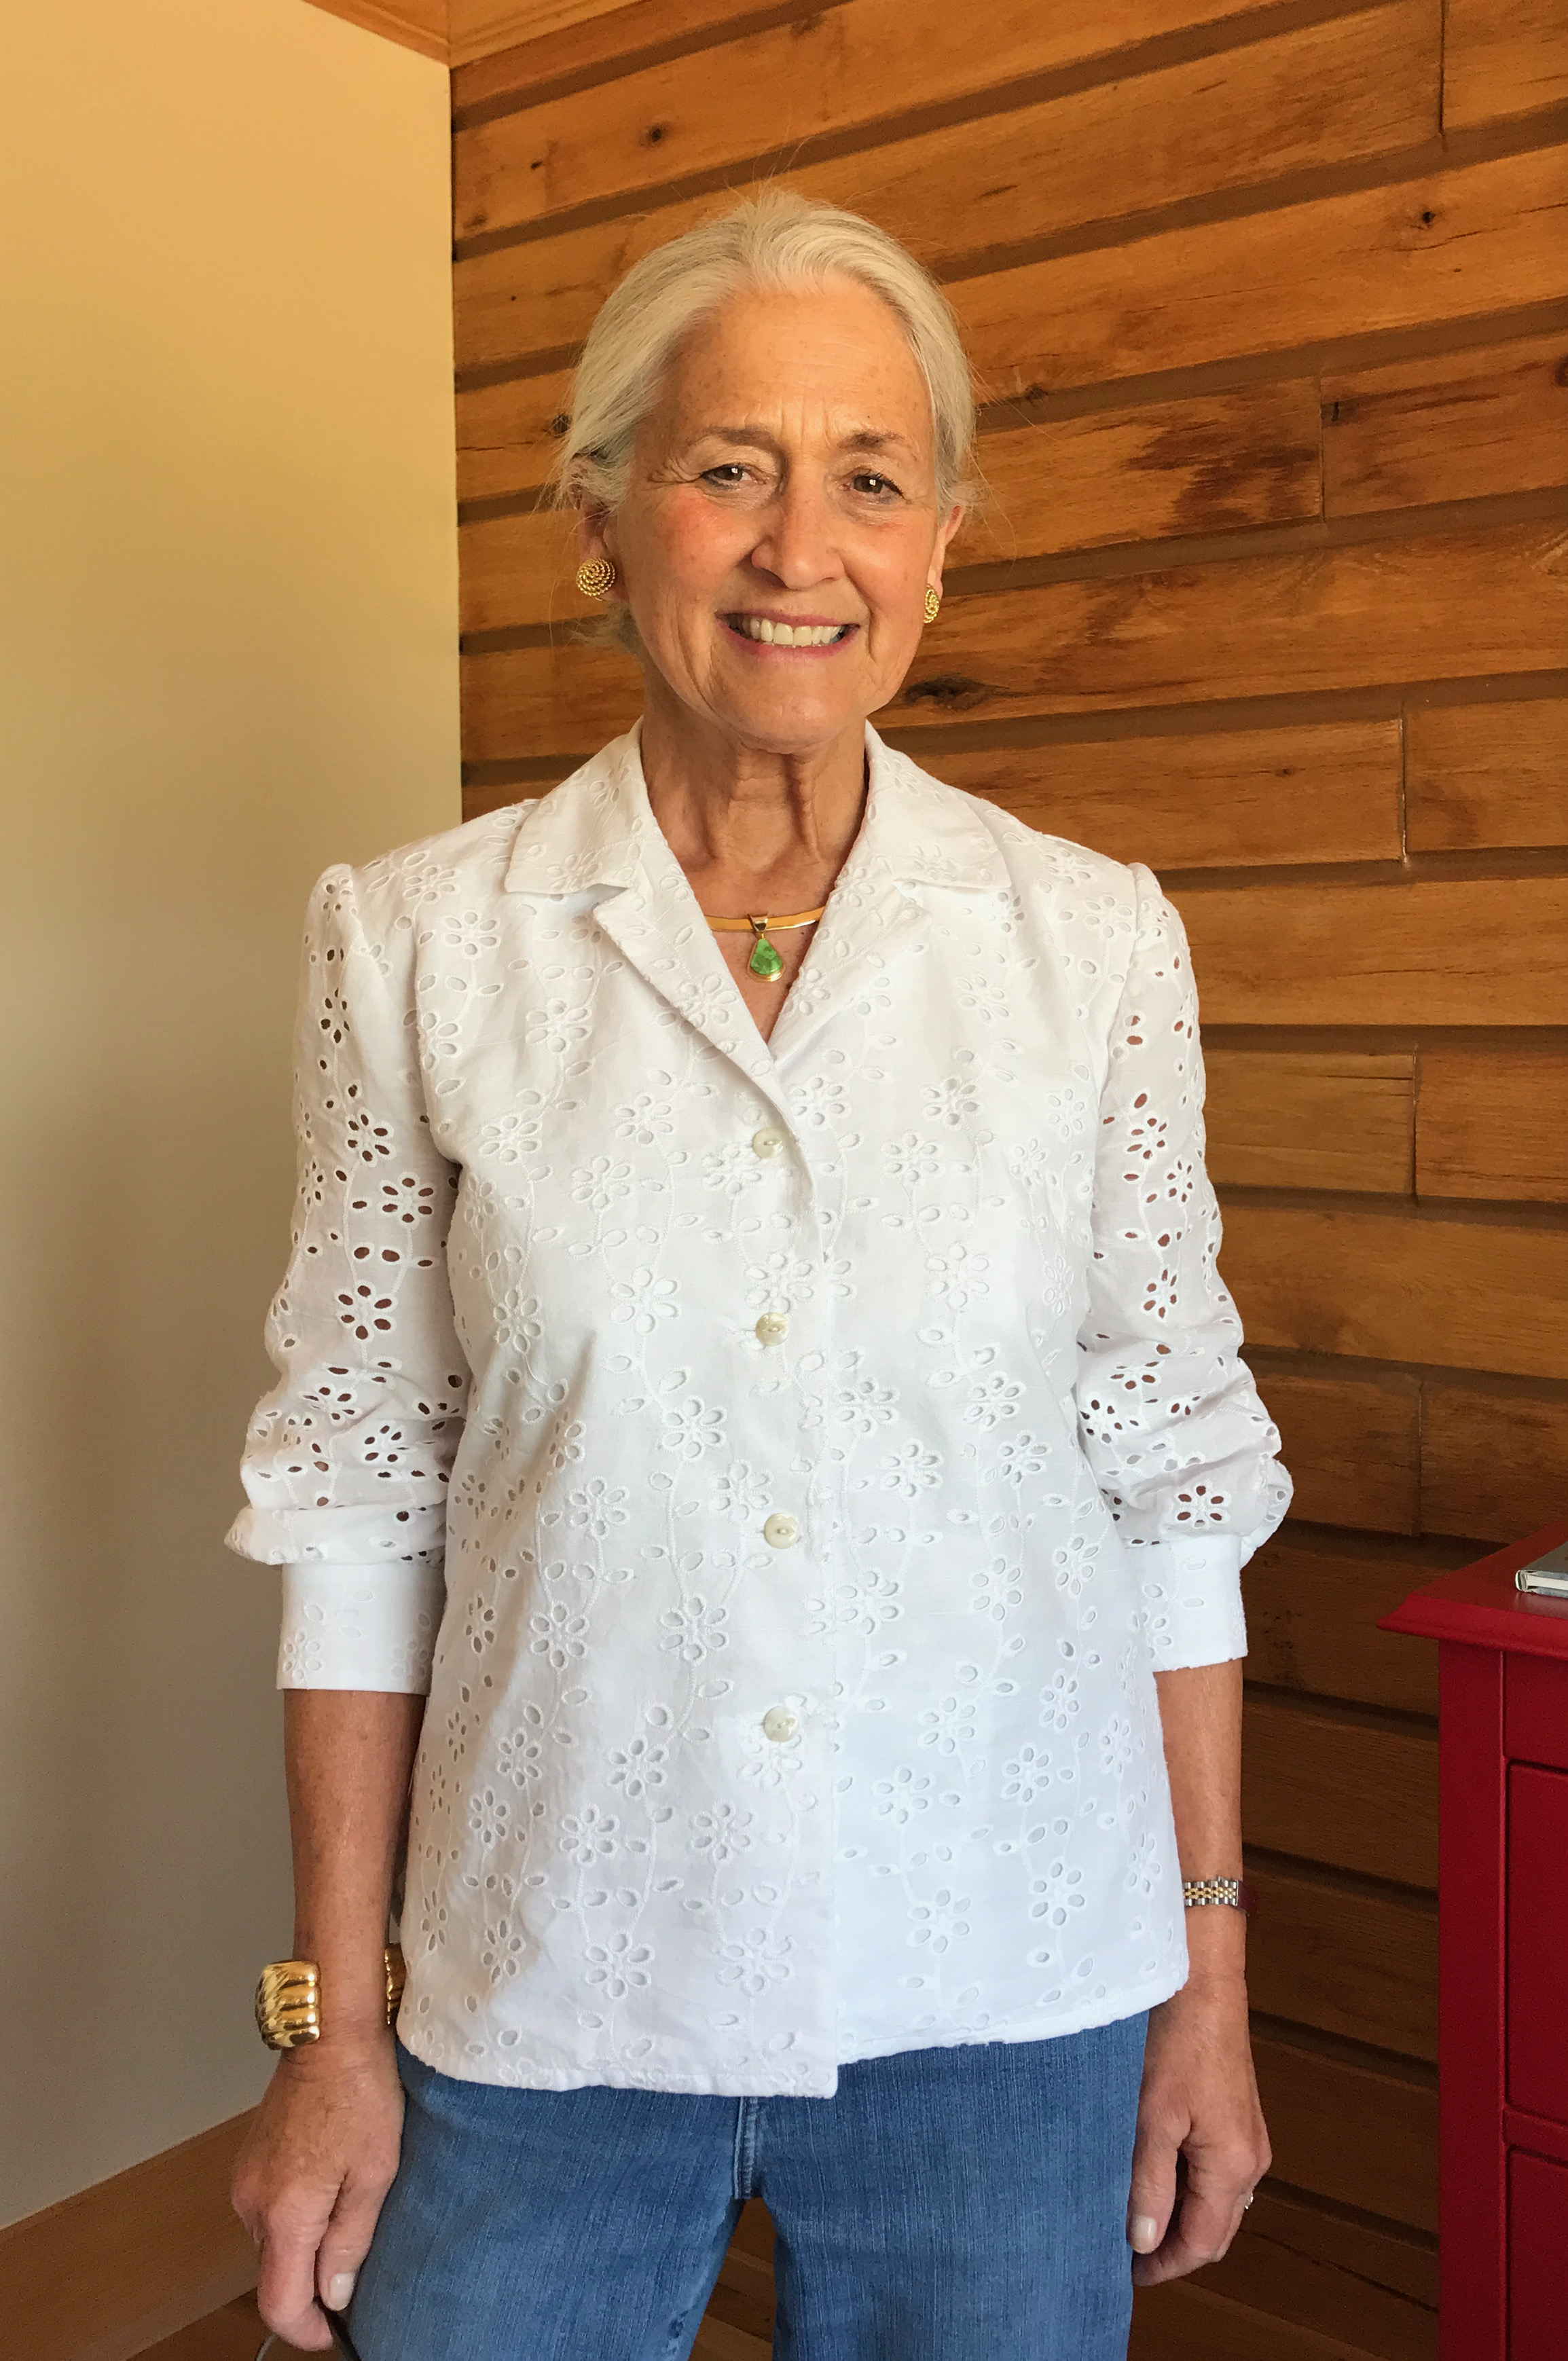
8. A blouse for Fall, using some amazing vintage buttons.
I will finally admit I will never get tired of making or wearing cotton blouses.
9. And some miscellaneous (and minor) gift and holiday sewing.
That’s it!
And I’m perfectly fine with it. I did what I could, and three of my projects had high priority (my girls’ birthday dresses, my anniversary dress, and my pink shirtdress). Completing them was very satisfying.
So what about my last make of the year – that blouse for Fall?
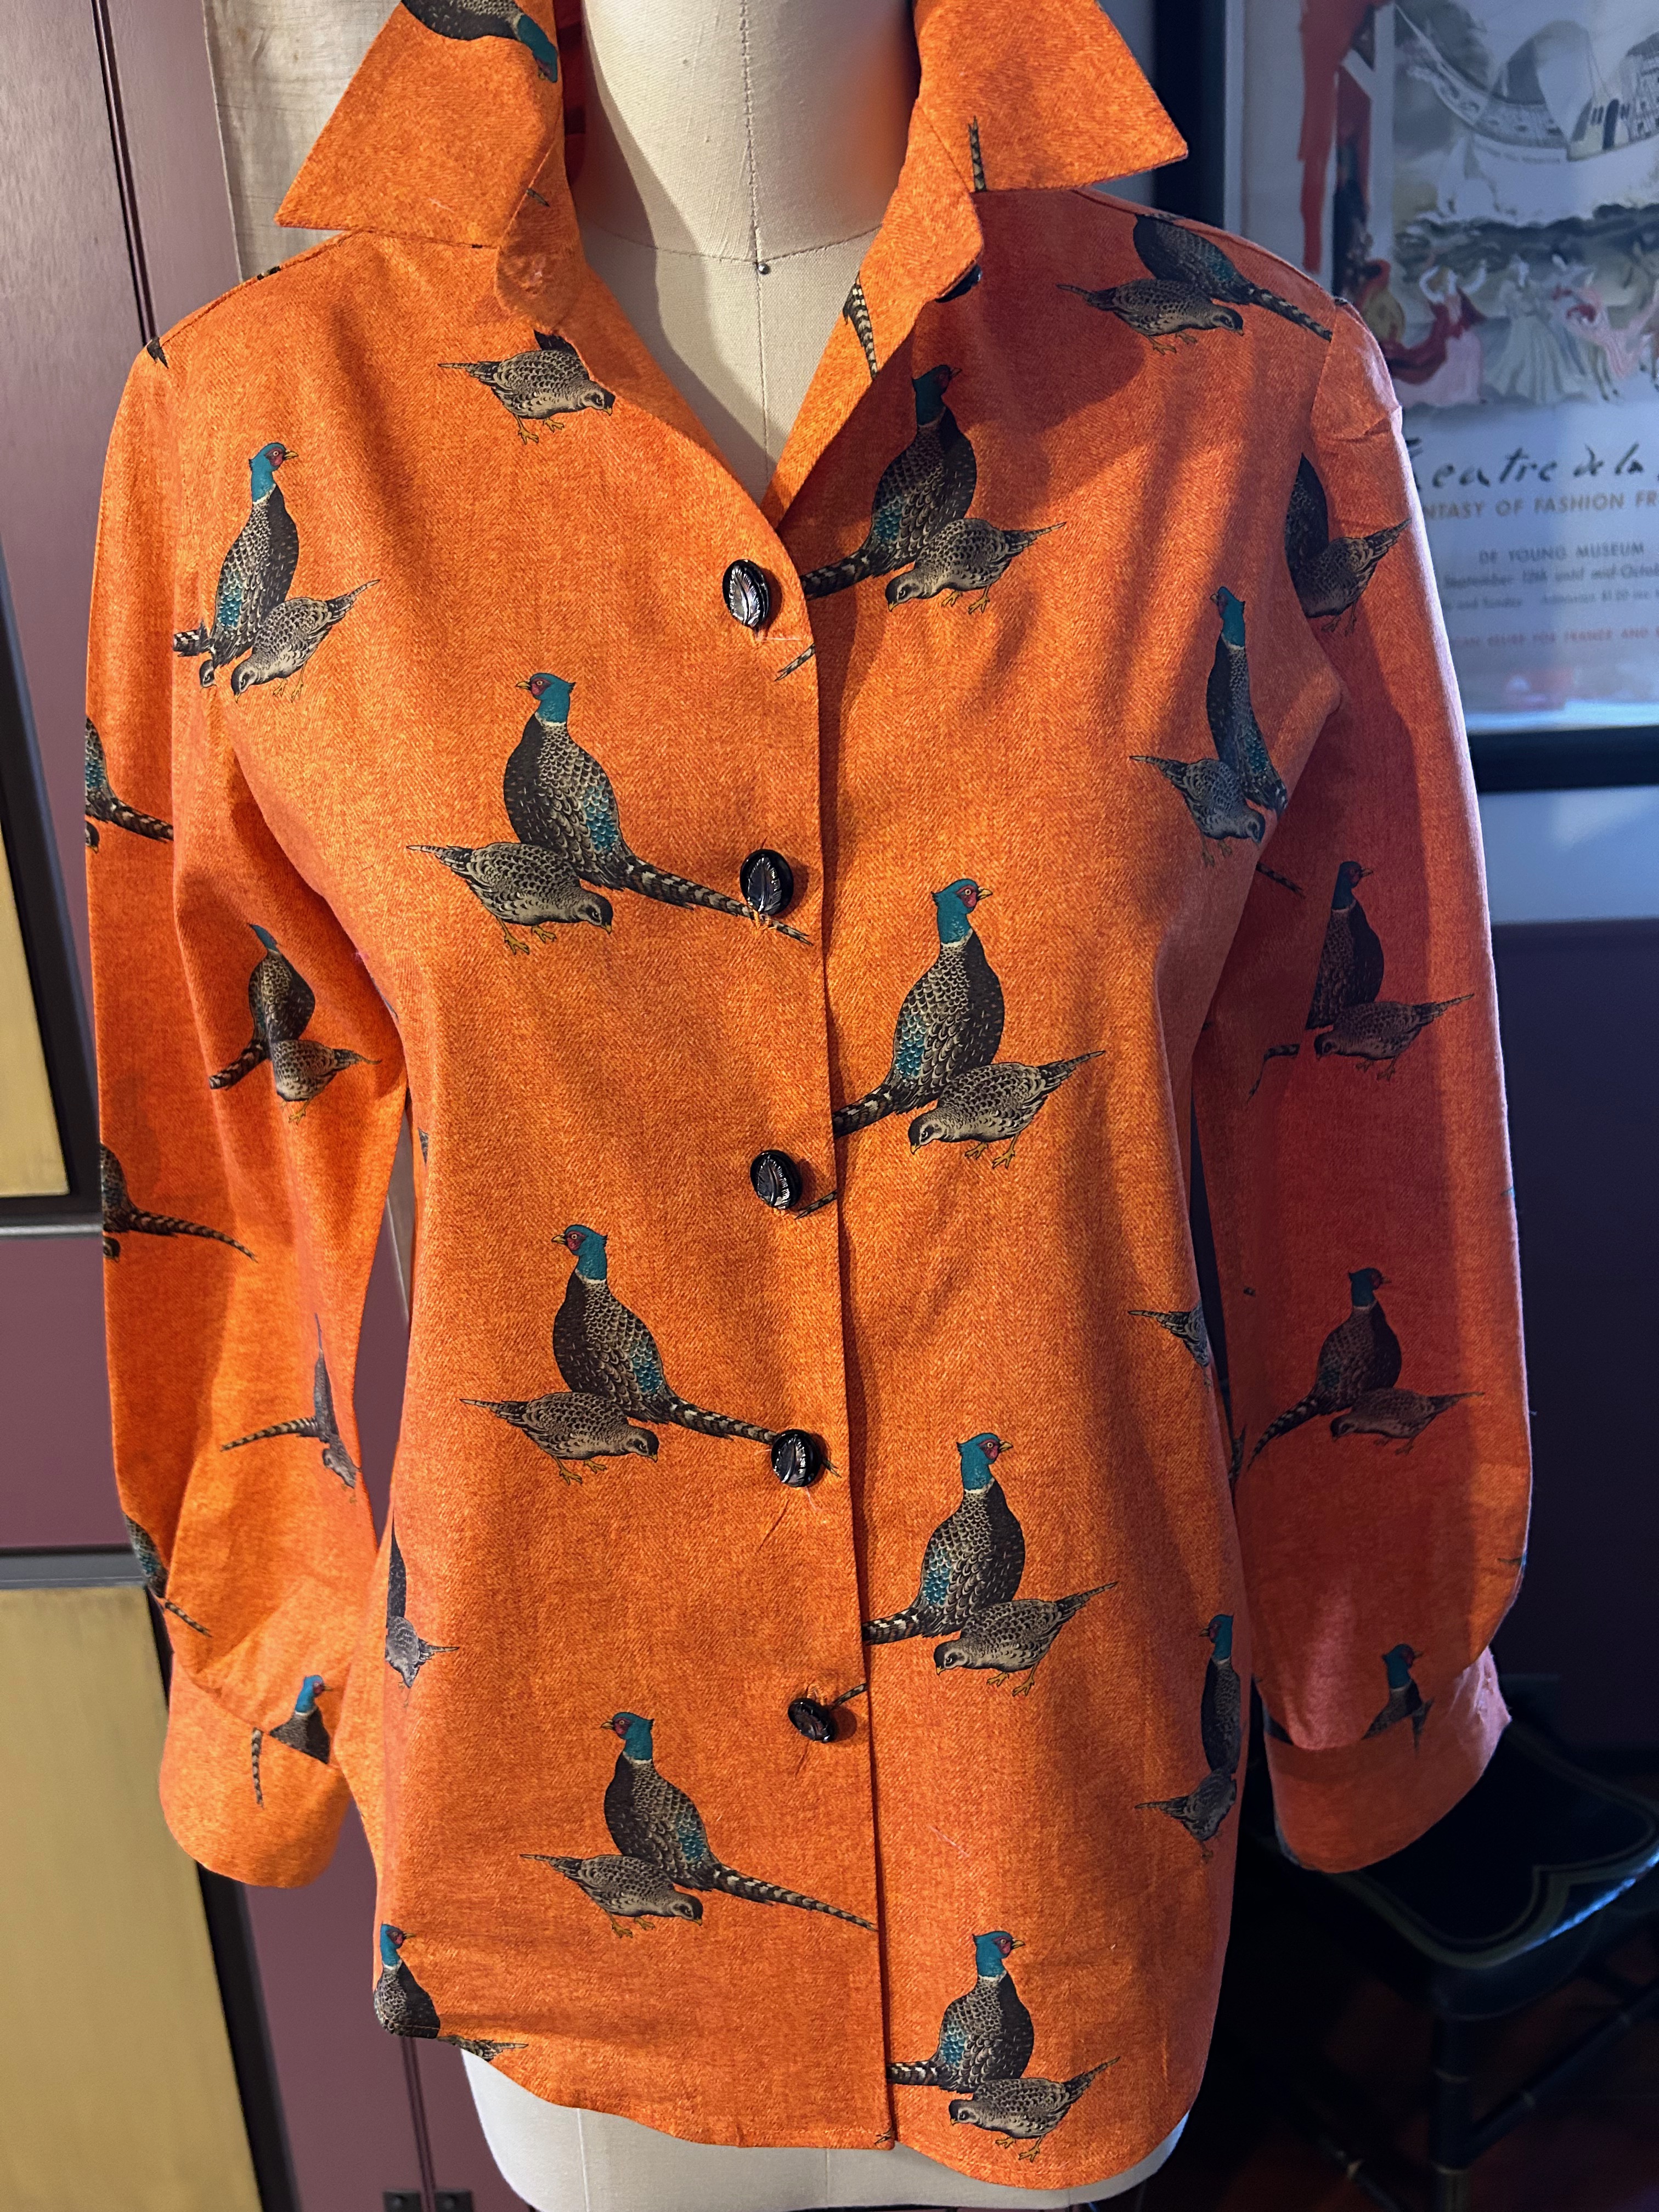
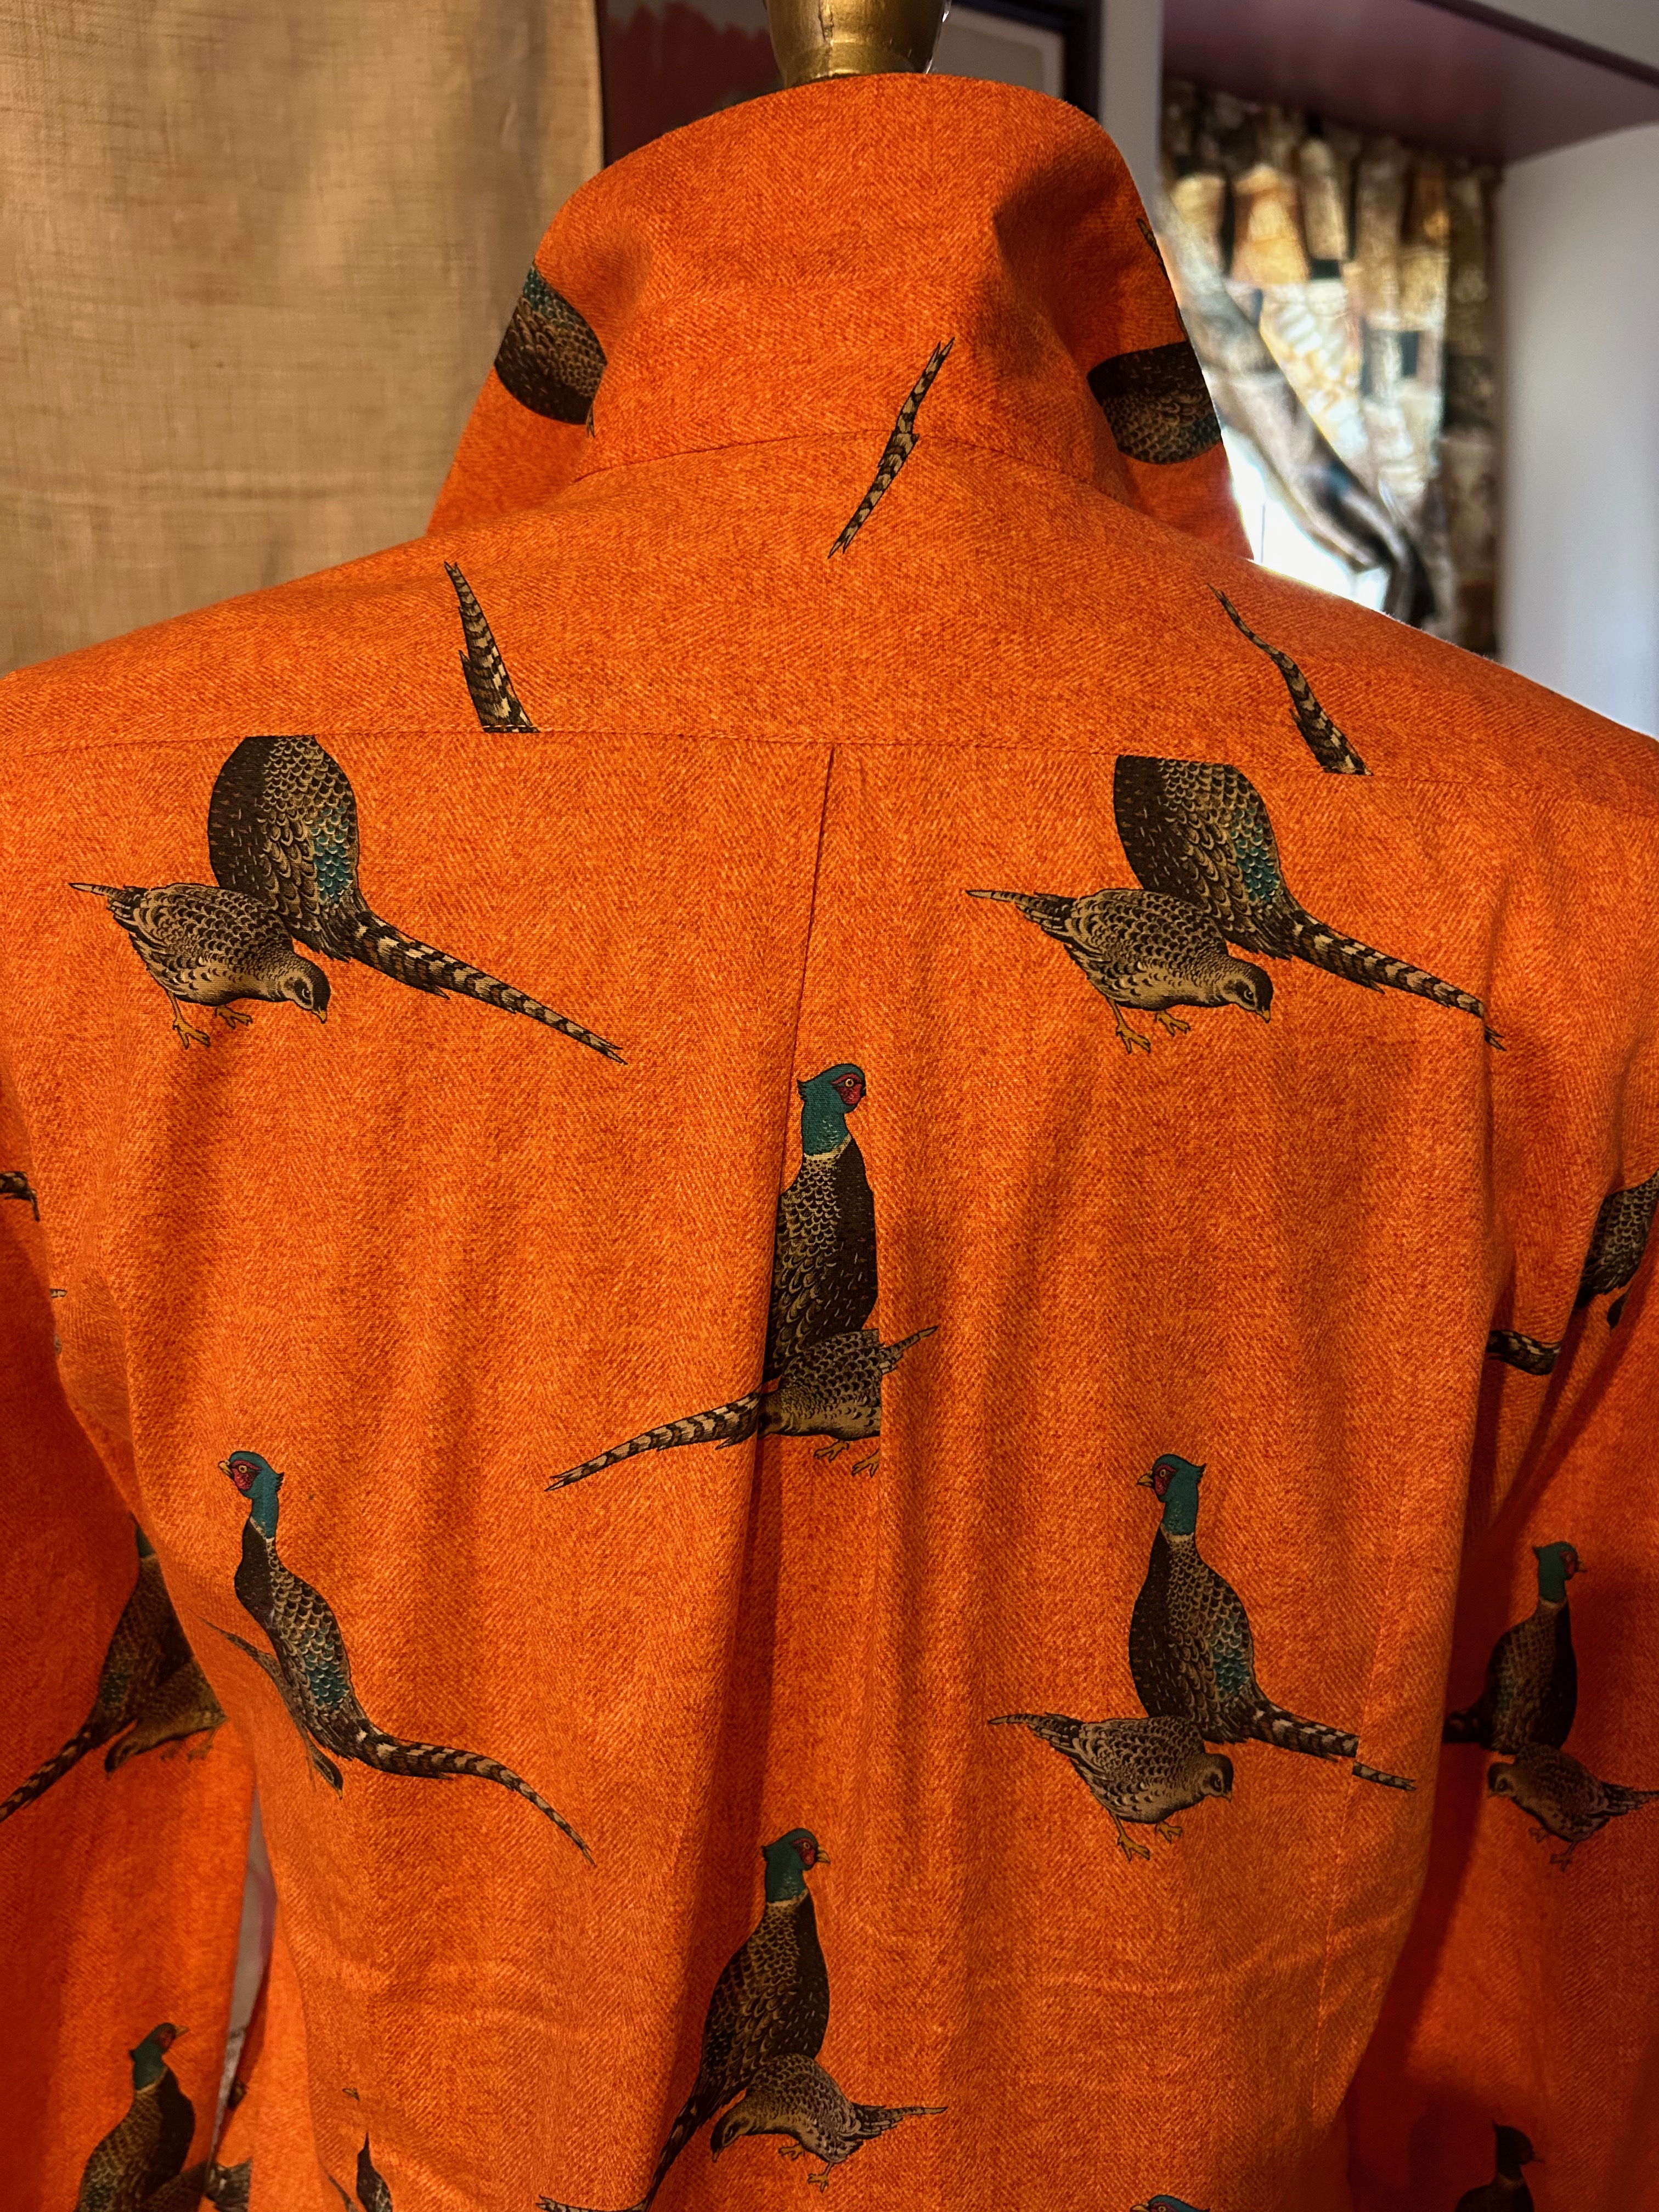
It’s very orange. And with the pheasant motif, it is very autumnal. However, with Fall undoubtably being my favorite season, it seemed fitting to have a piece in my blouse wardrobe devoted to that time of year.
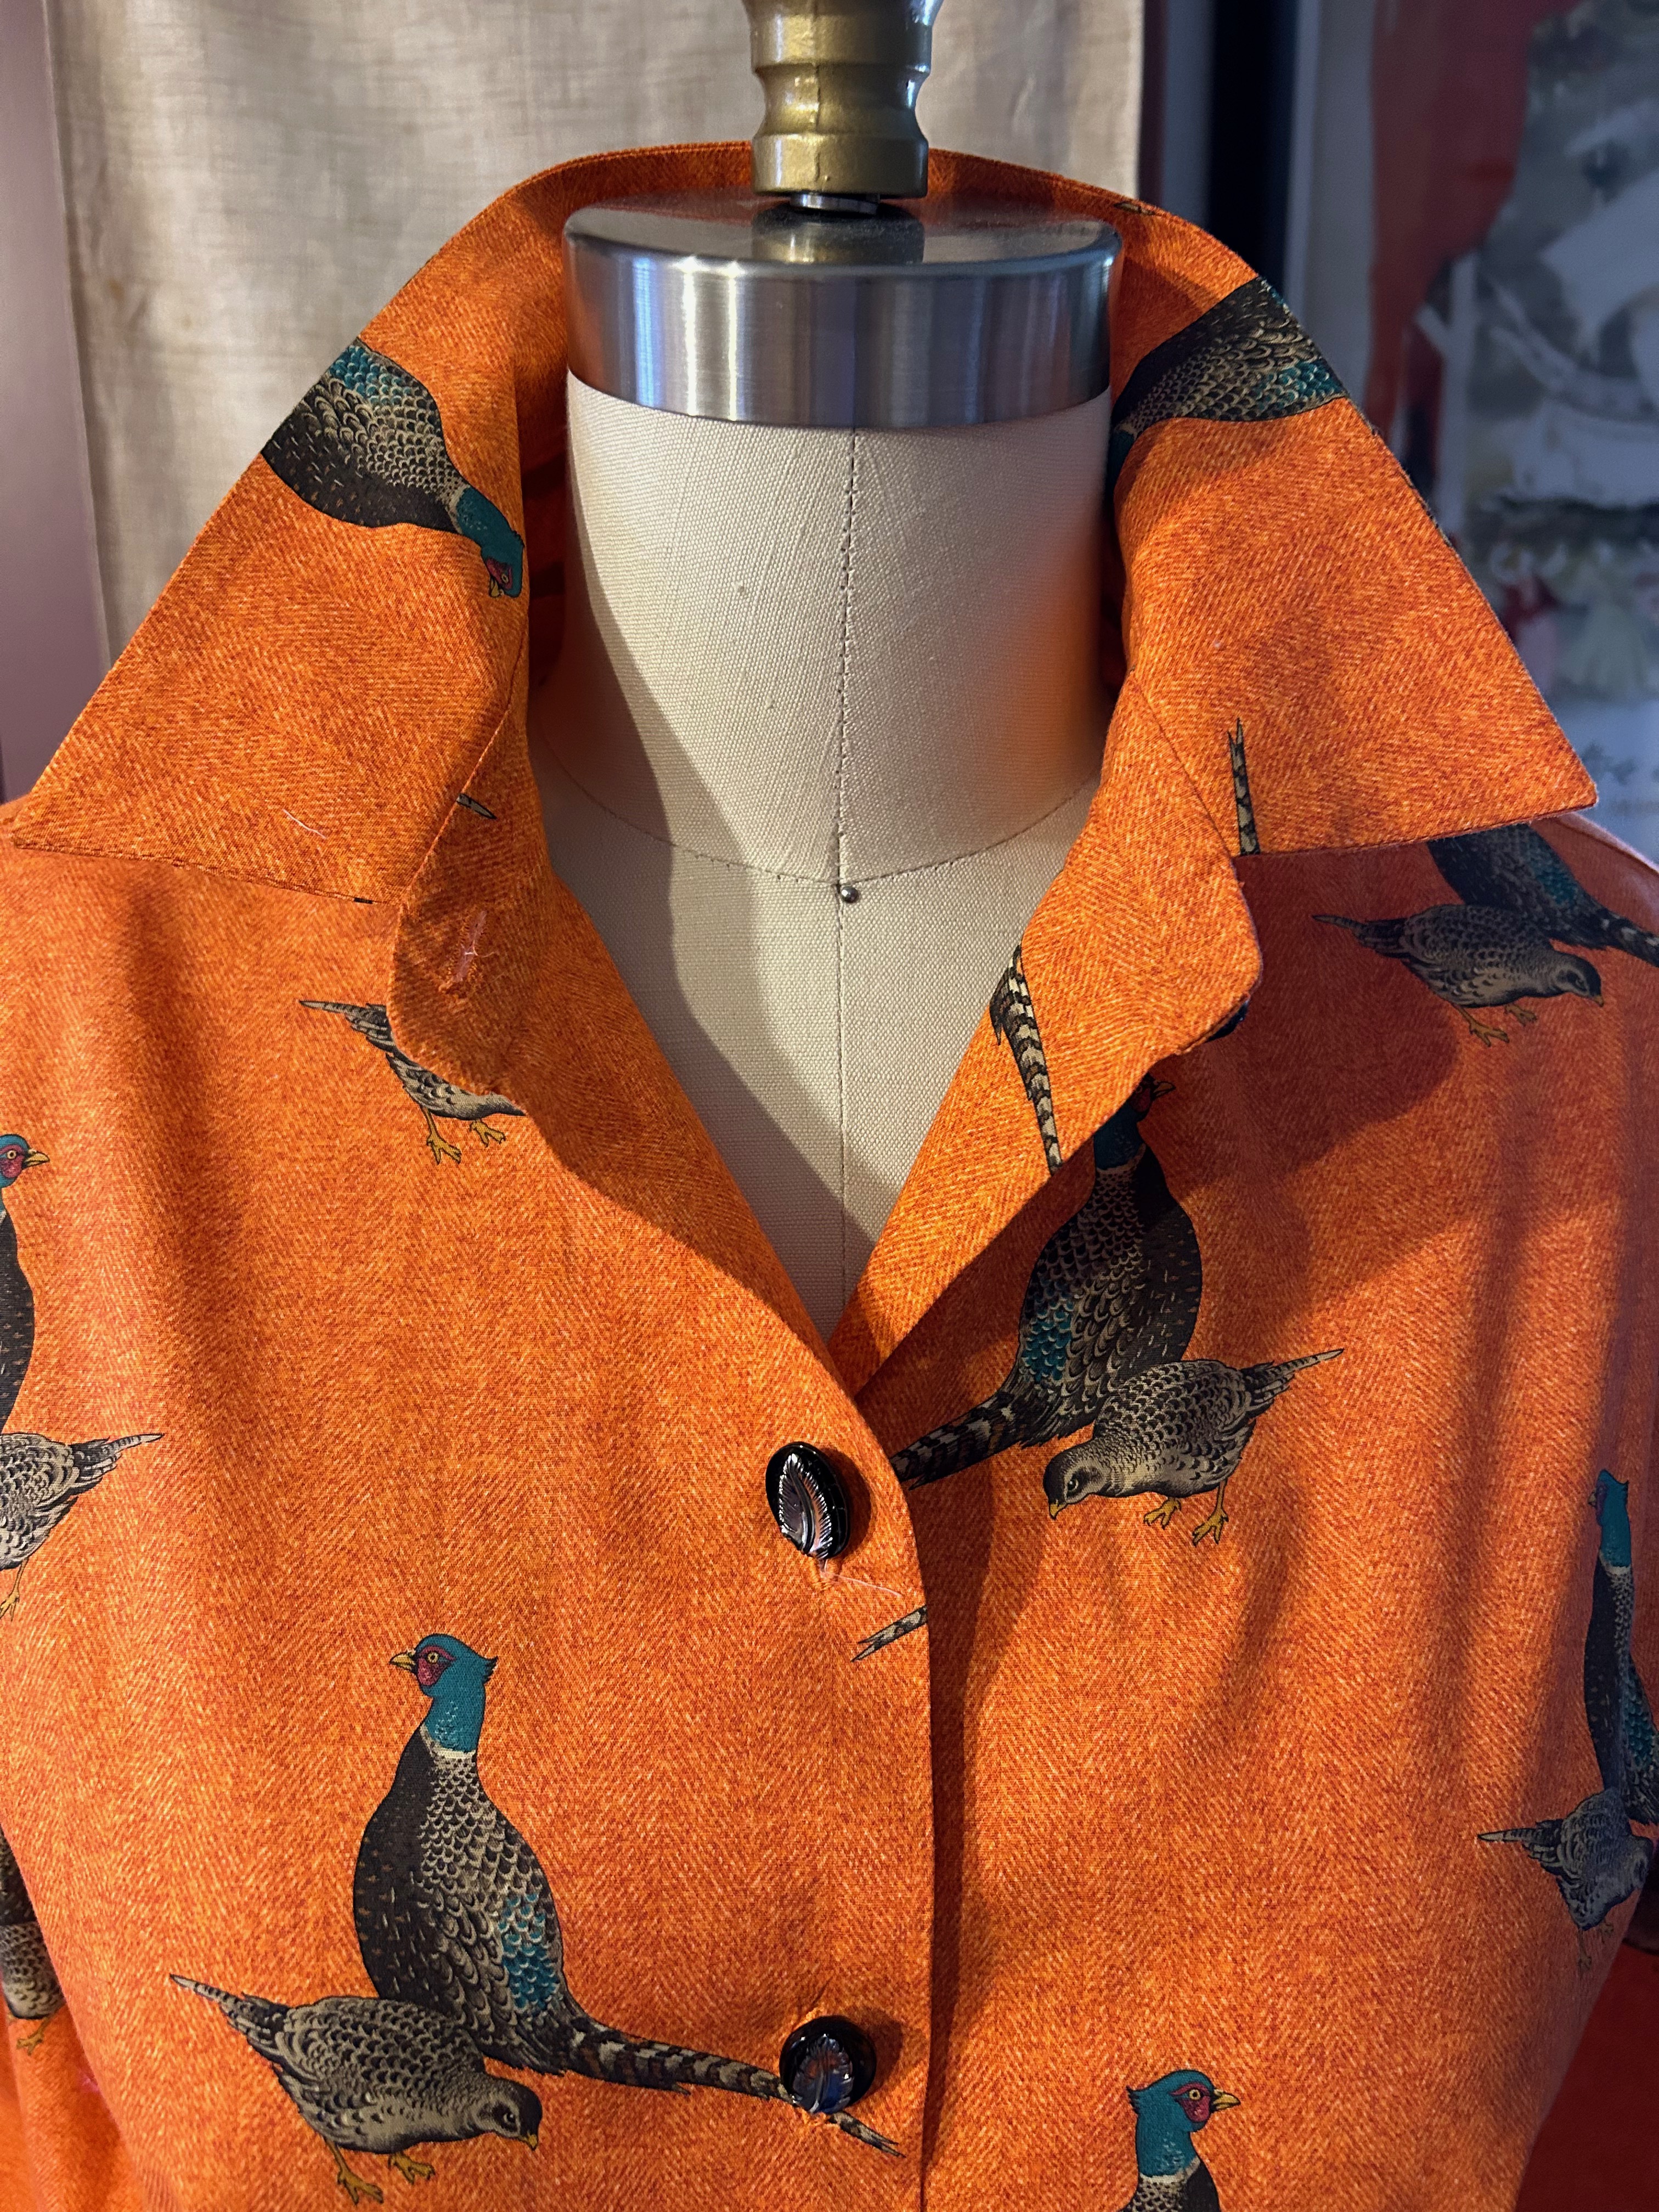
I found the fabric on the website of Emma One Sock Fabrics a couple of years ago. It is a beautiful cotton with a very slight stretch to it. The quality is superb, being silky soft and very easy to sew. The Herringbone printed background makes it look like a much heavier fabric than it really is.
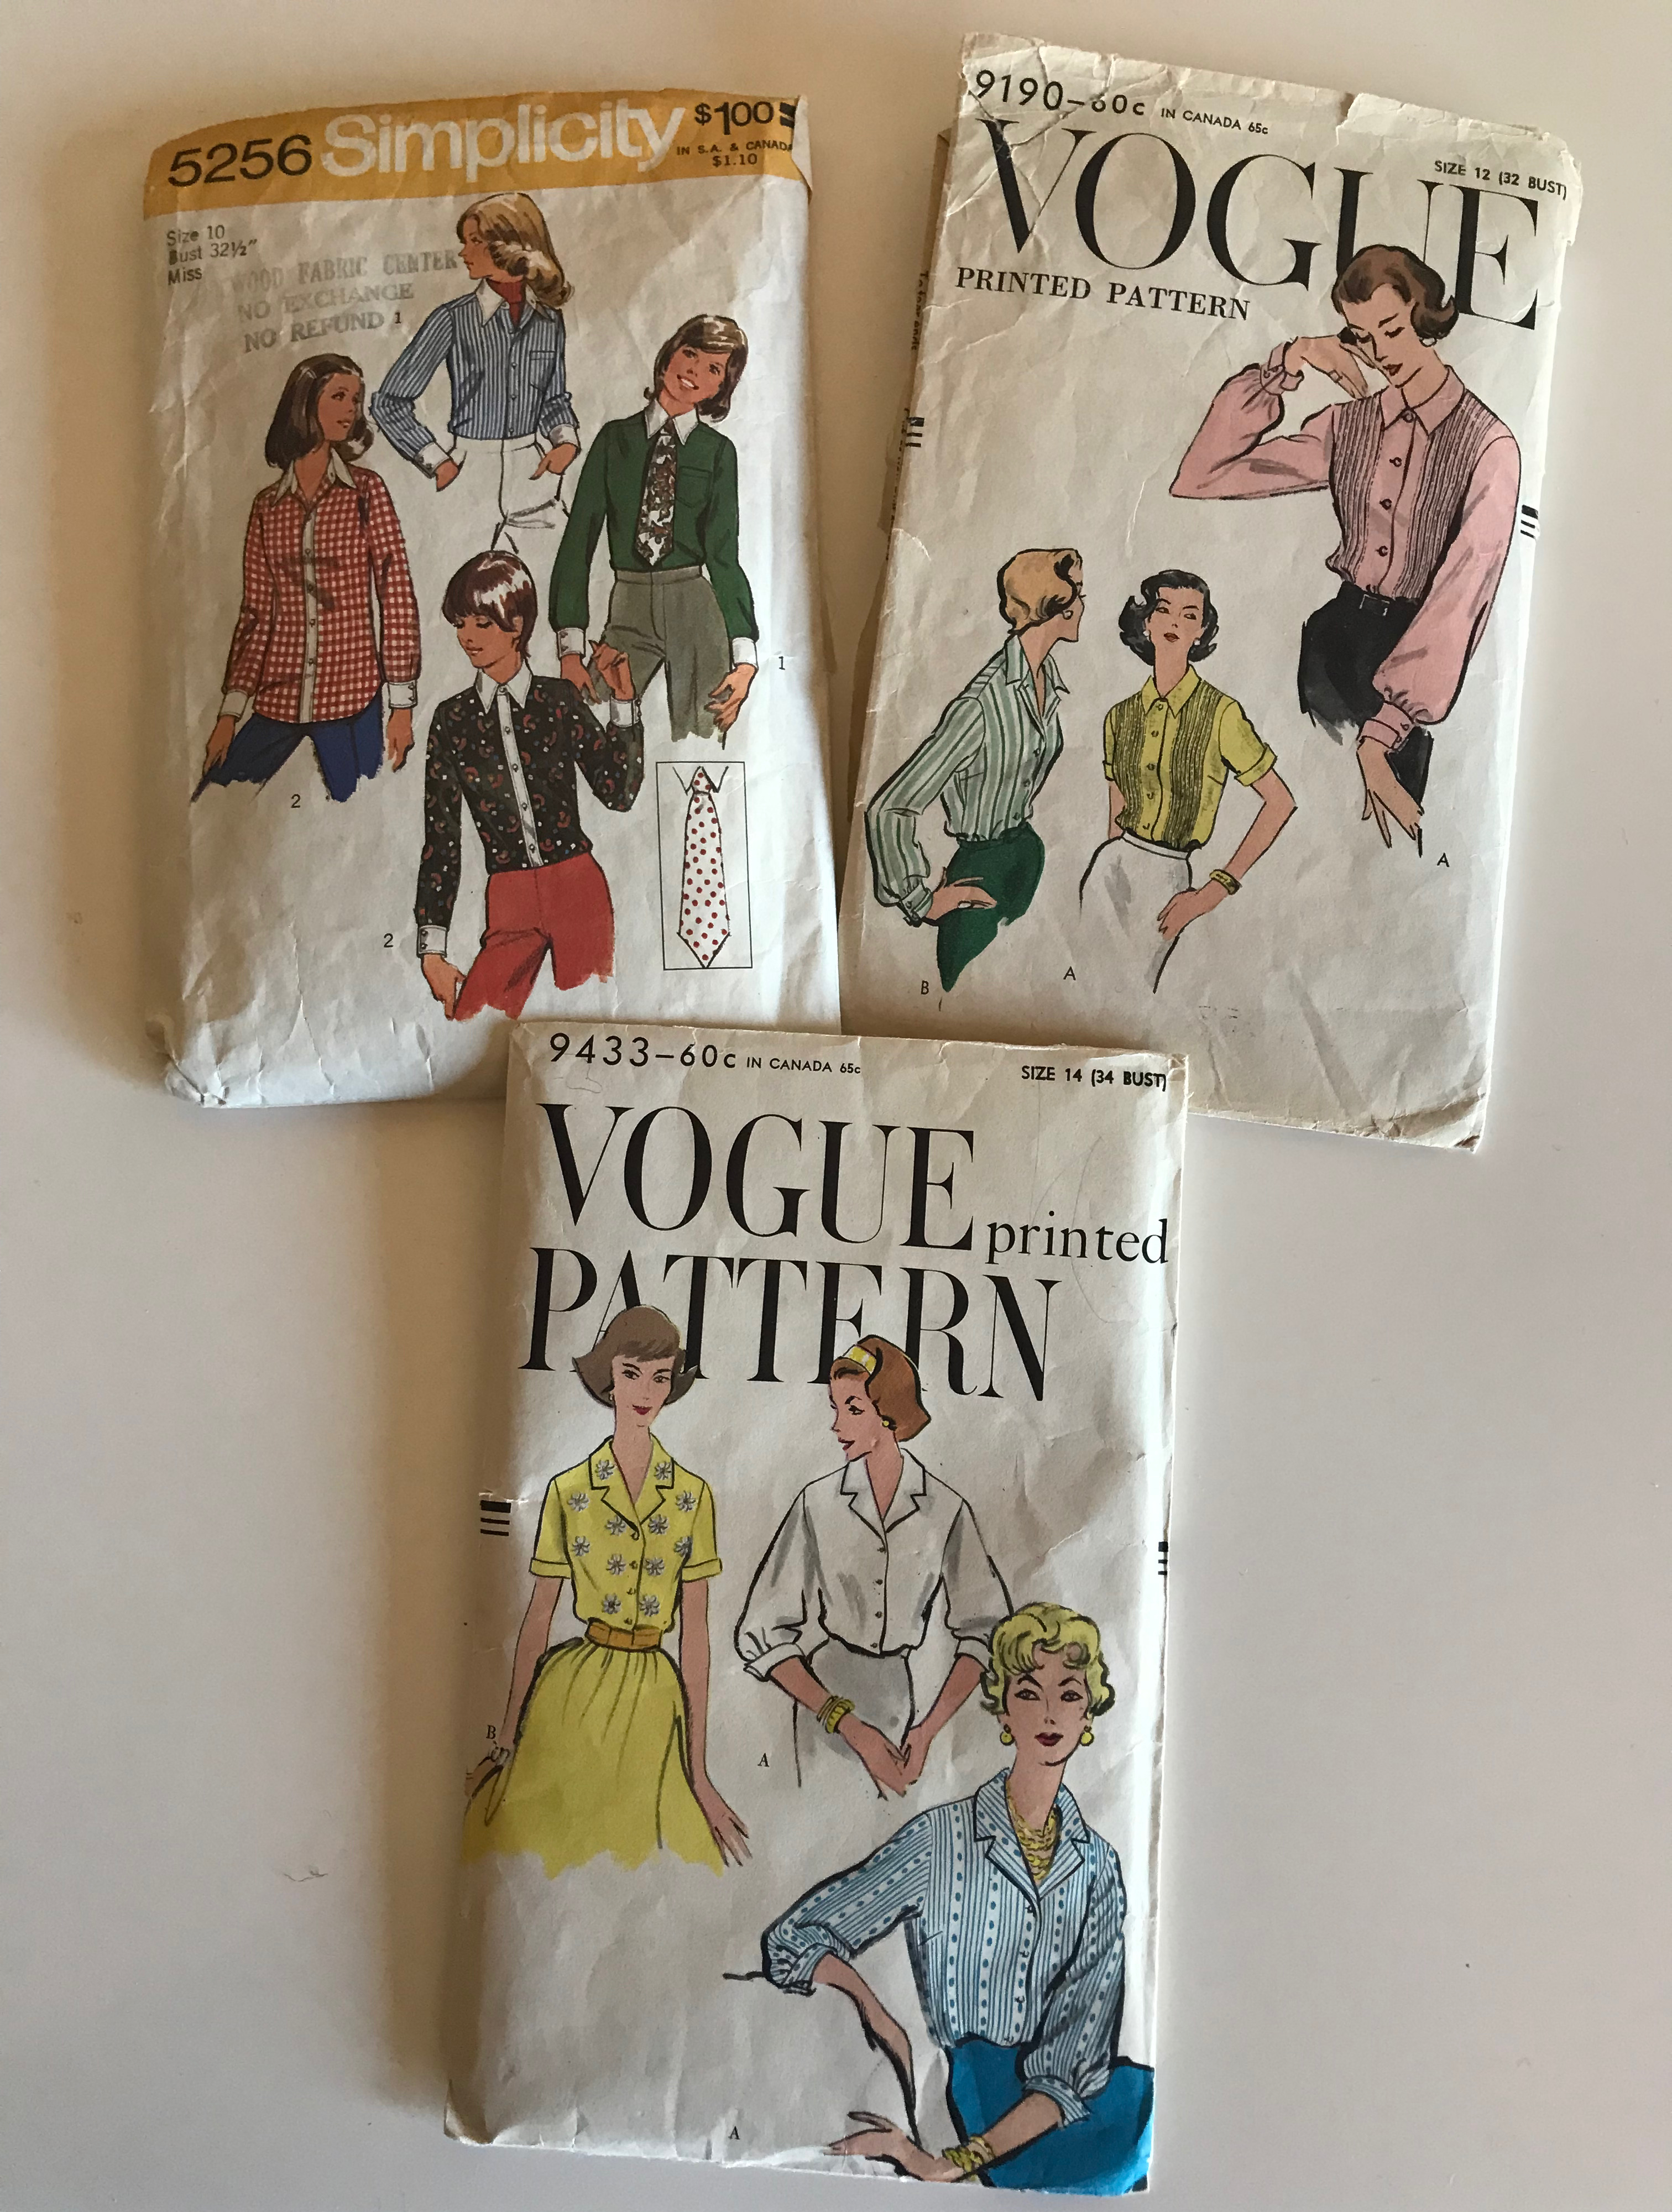
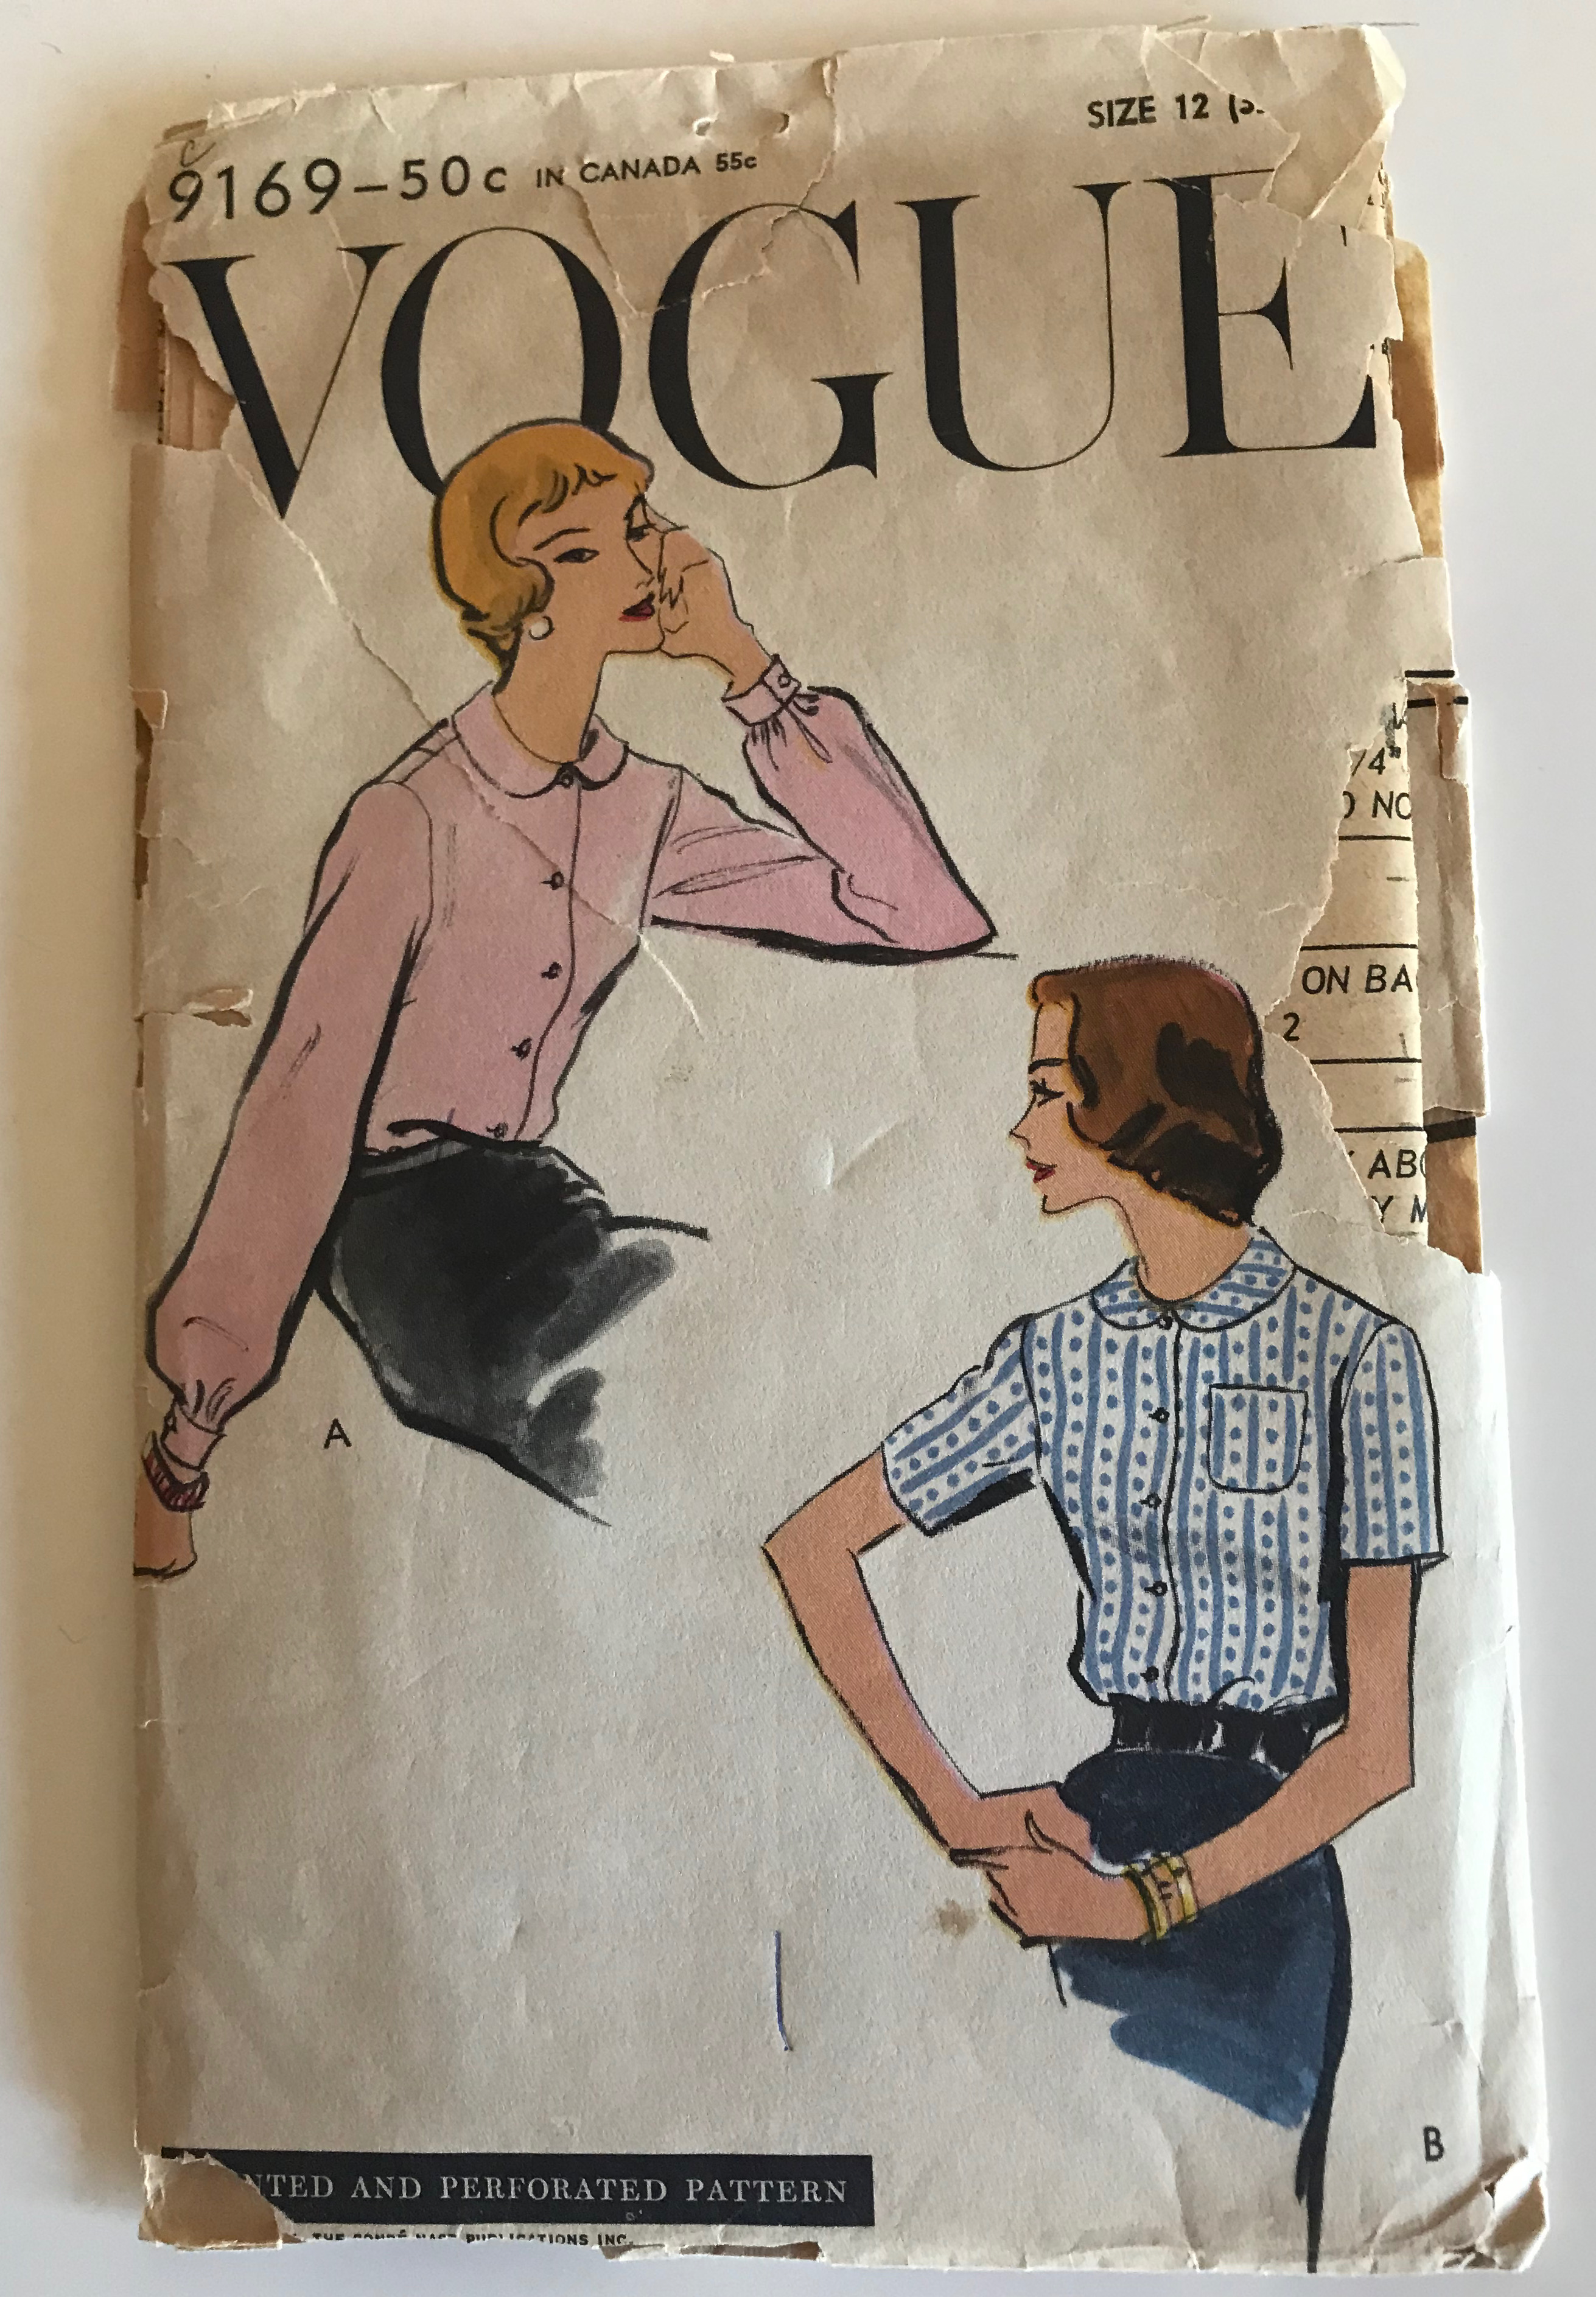
I debated on the style bouse to make, thinking a bow blouse would be lovely. However, in order to make this as versatile and wearable as possible, I defaulted to my regular shirt/blouse pattern, which I have altered and tweaked many times.

I also thought this pattern would be the one most likely to show off the buttons I intended to use with the fabric.

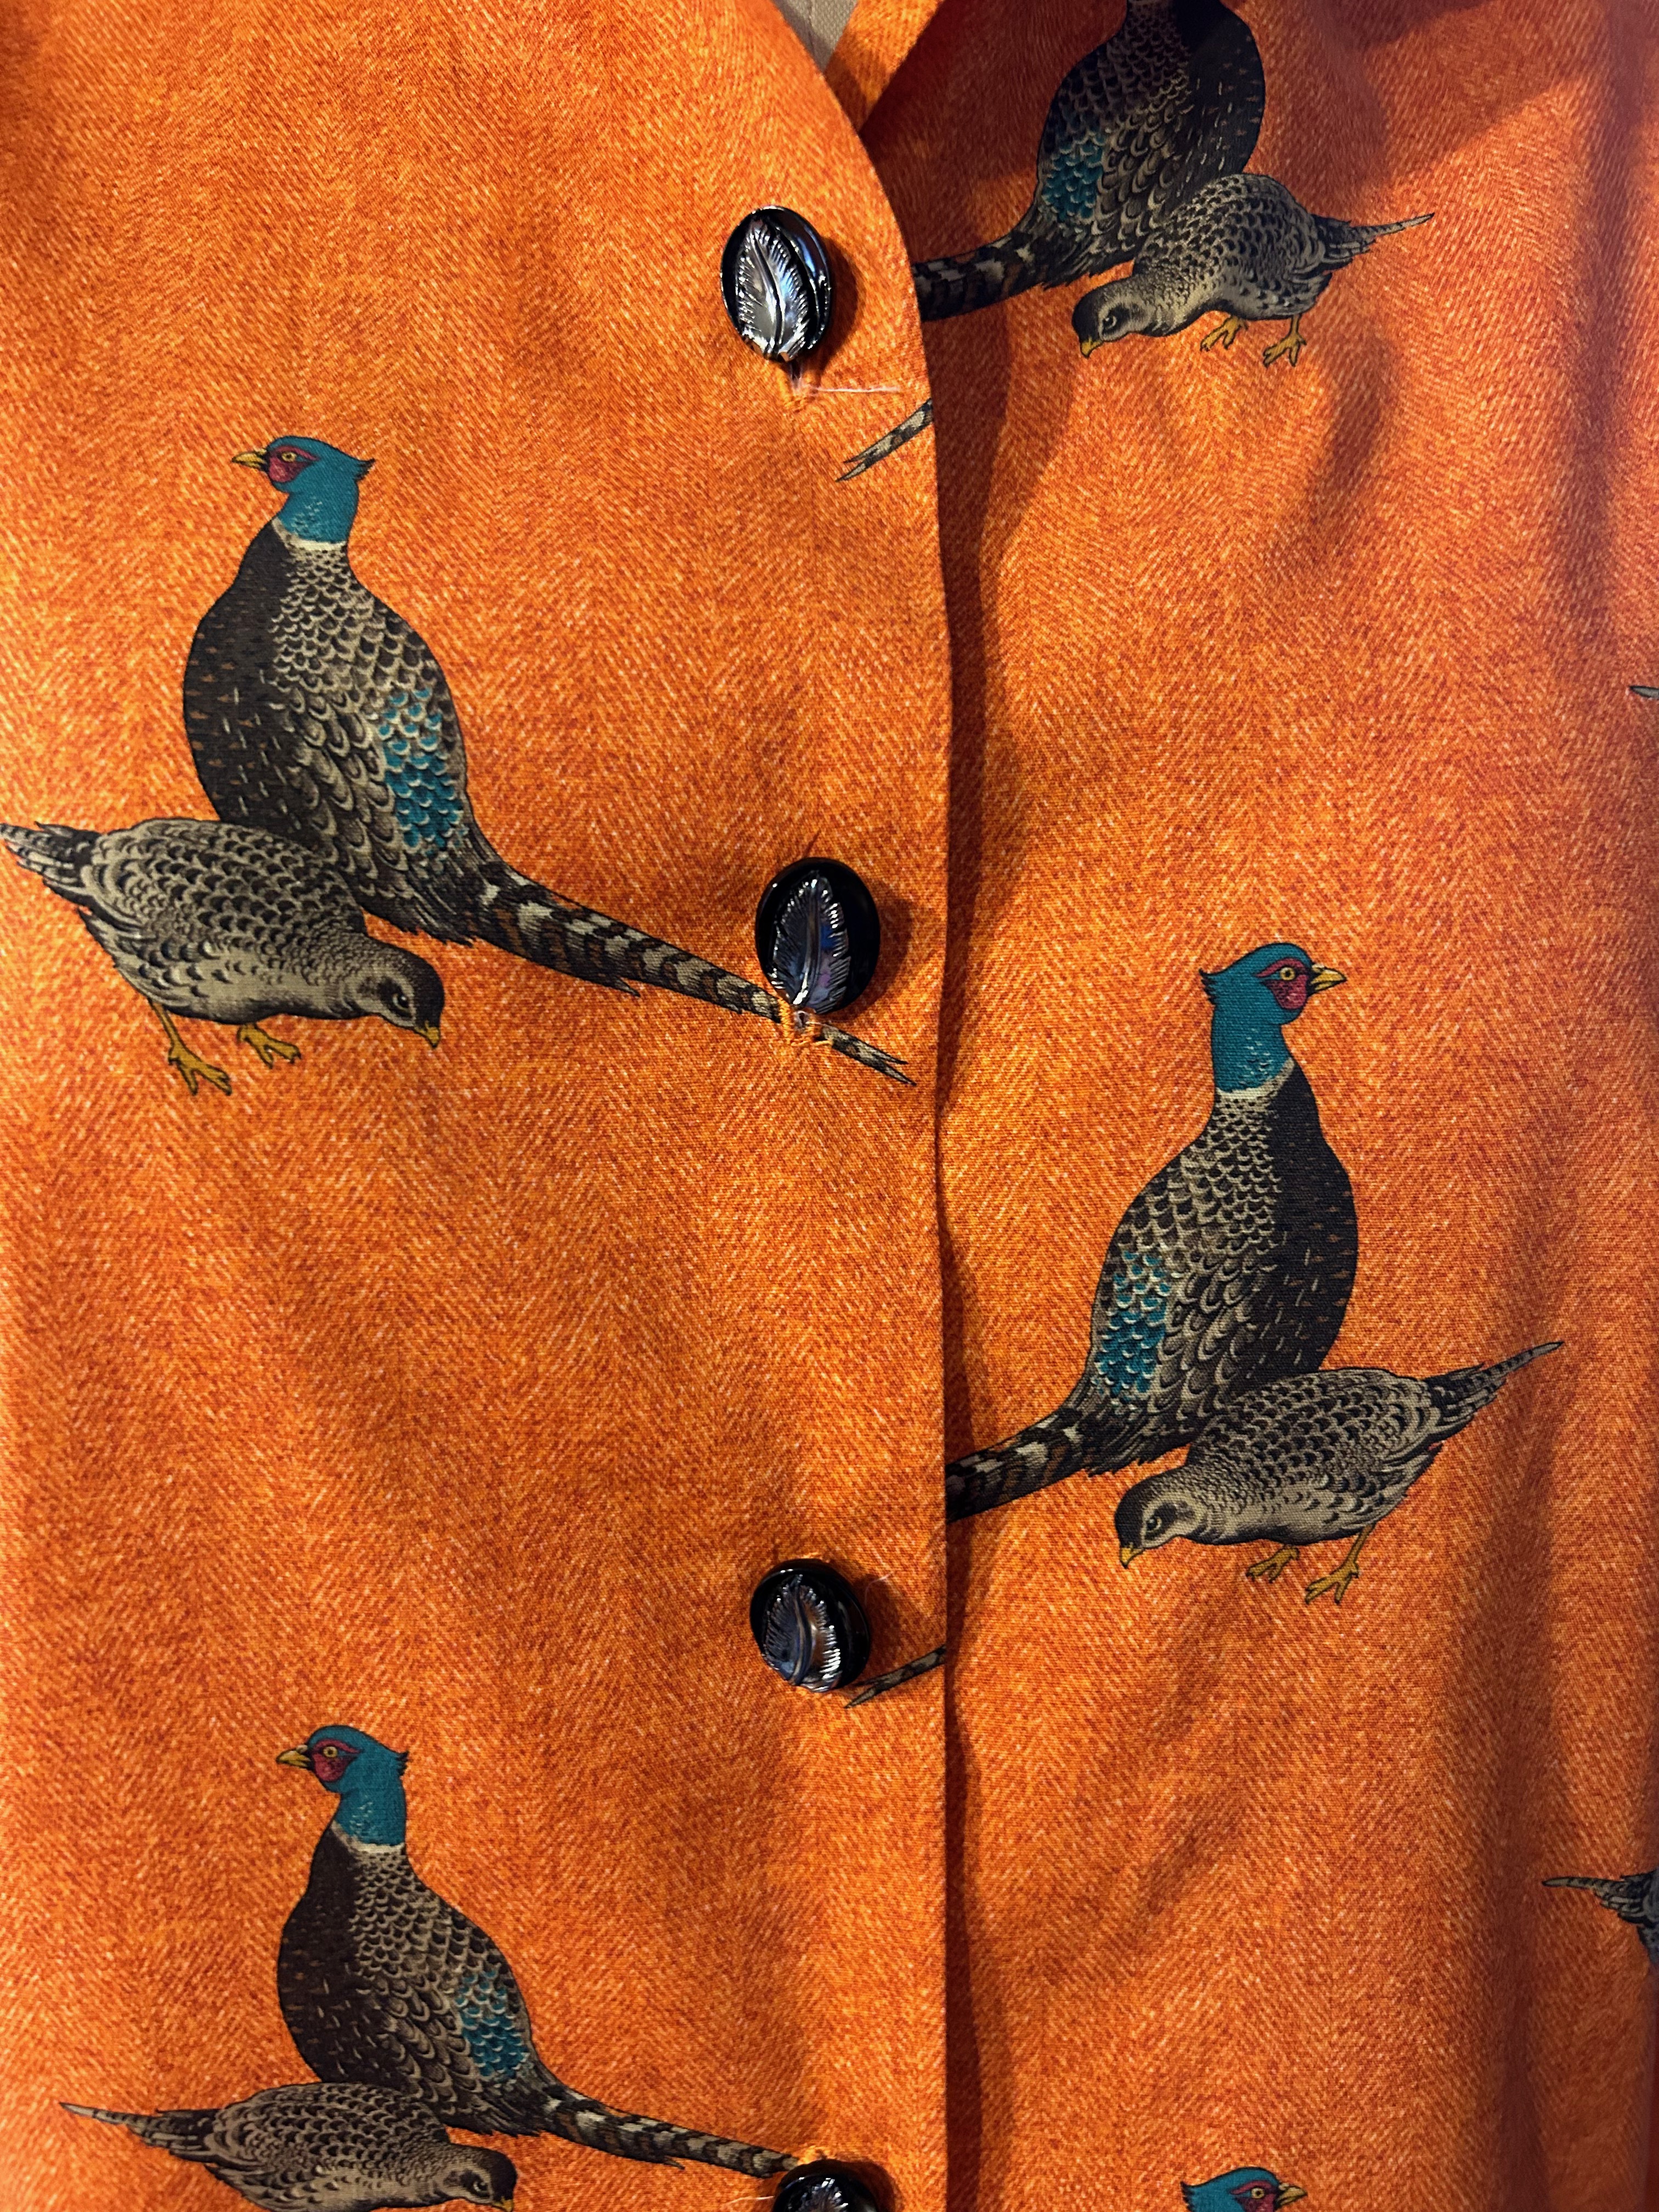
I can’t remember what came first – the fabric or the buttons. Somehow I was lucky enough to find these vintage Ultra Kraft buttons with their feather motifs. Just bordering on a bit too big for a blouse, these buttons seemed to balance the large pheasant groupings, making both fabric and buttons a good match. I didn’t realize until I had finished the blouse how much the silver in the buttons picks up the lighter colors in the feathers of the pheasants. There is a little “sparkle” in there!
I was able to wear this blouse a couple of times in season. Now it seems a long time away until its next wearing…
Which begs the question: what will transpire in the ensuing months – between now and then? I will wait and see how and when inspiration hits. What about you?


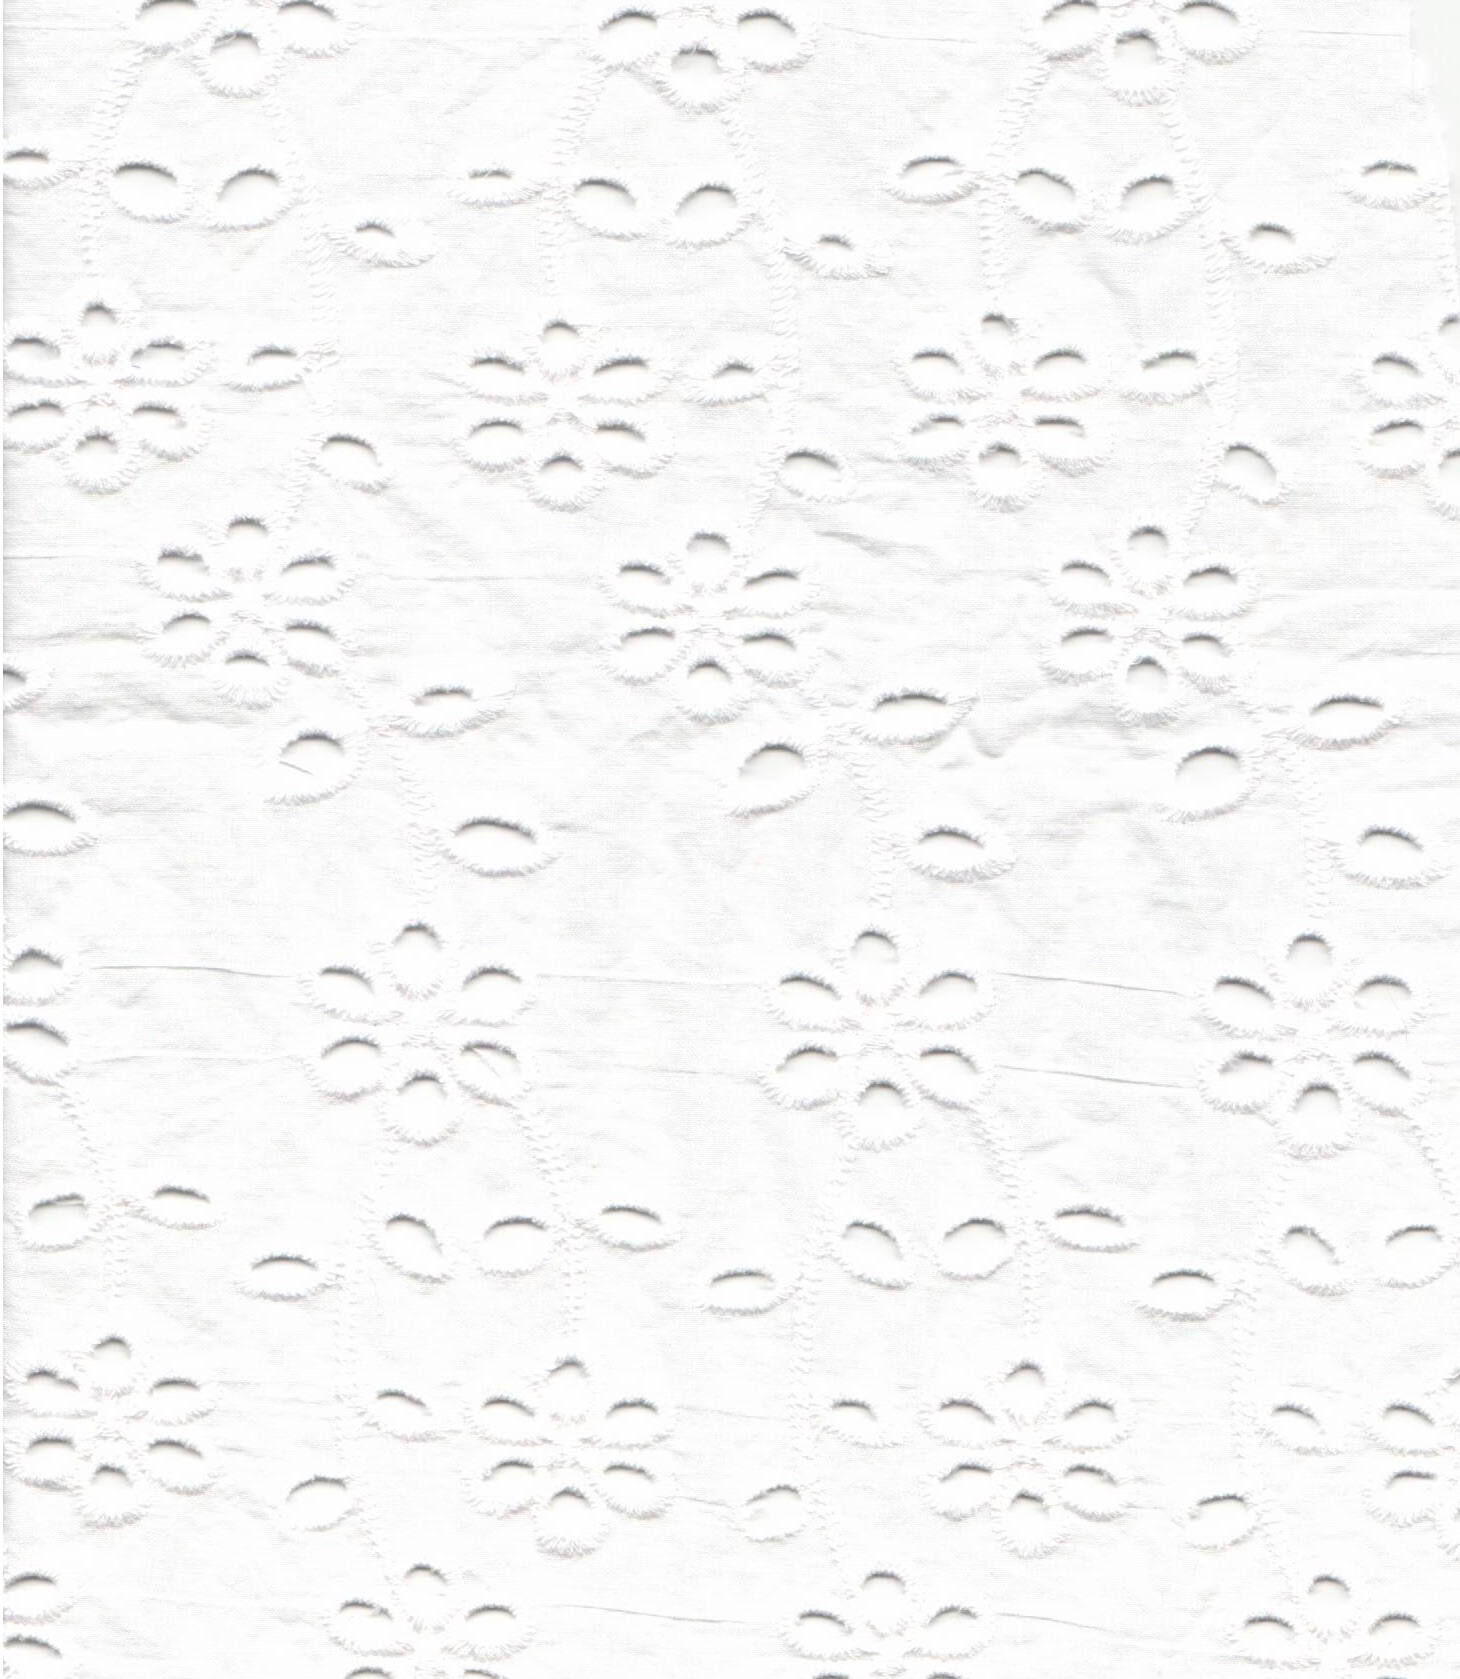


Going Around in Circles
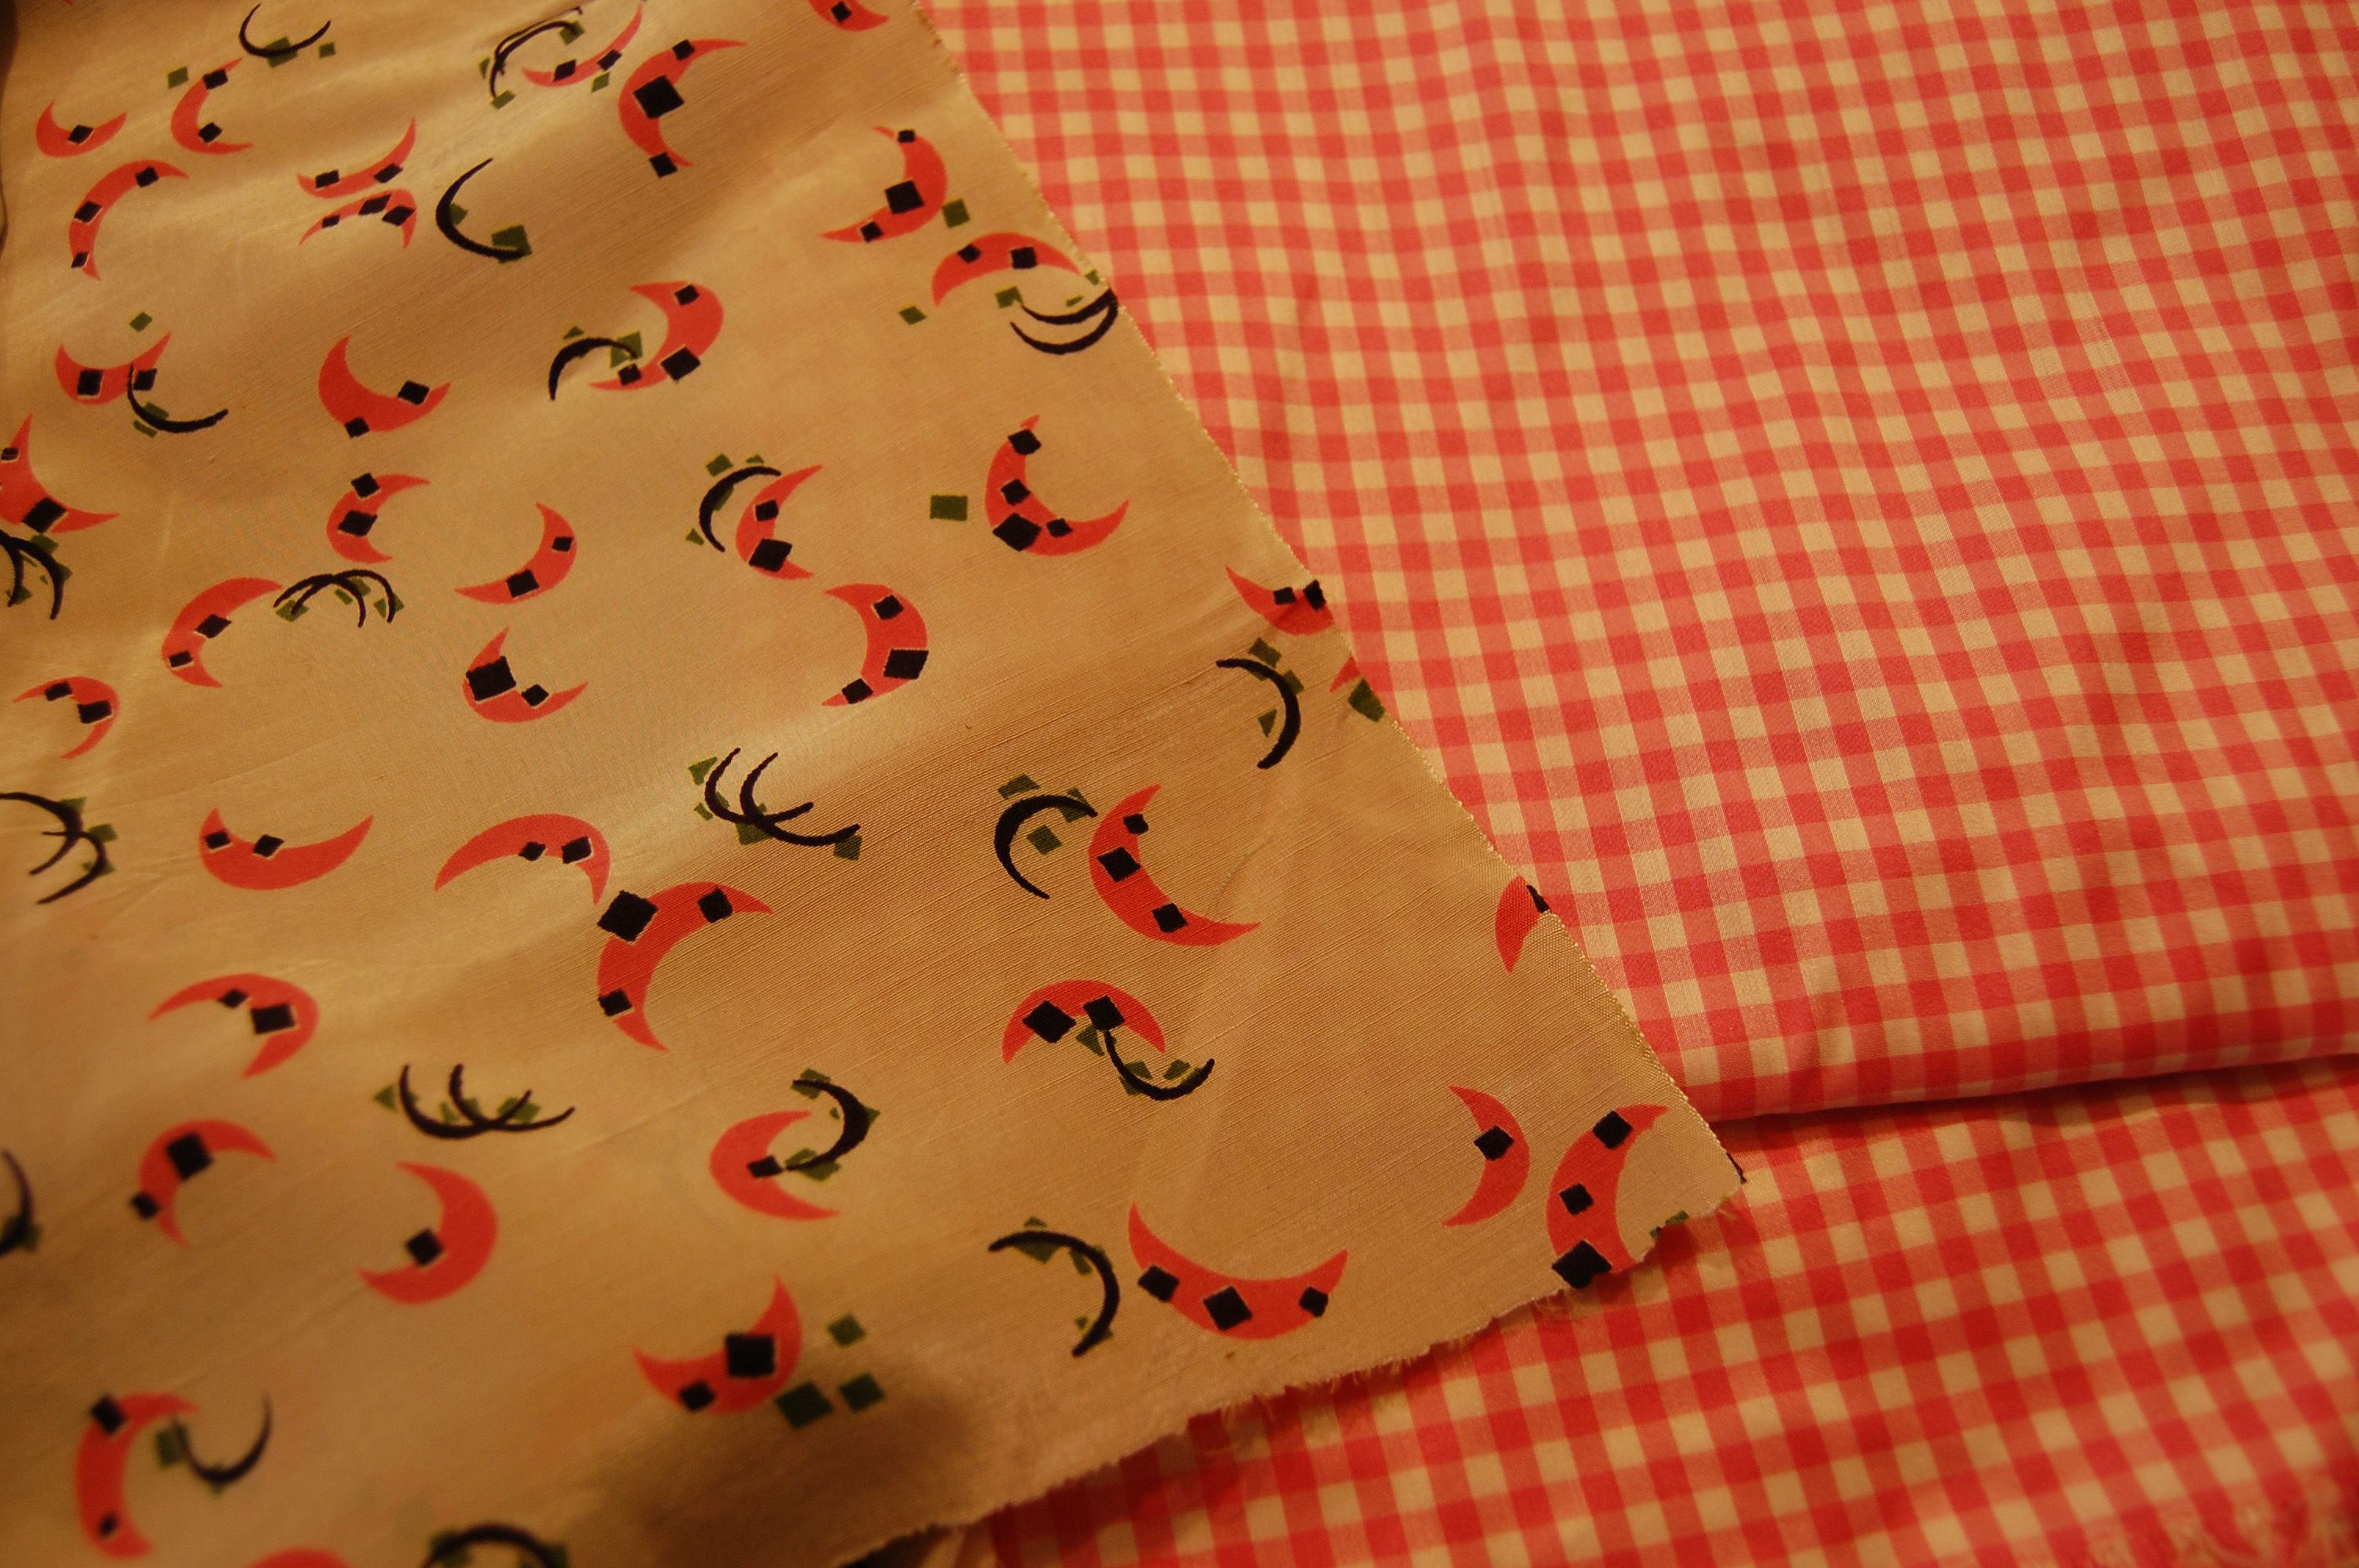
When I purchased this sateen, jacquard-woven fabric from Mendel Goldberg a couple of years ago, I wasn’t sure what it would eventually become. It had a wide repeat to the design (which is something to consider when you know you are facing considerable matching of the design), but it was a lovely 60” wide. I bought just 2 yards (it was expensive) and hoped I would have enough fabric to finagle something.
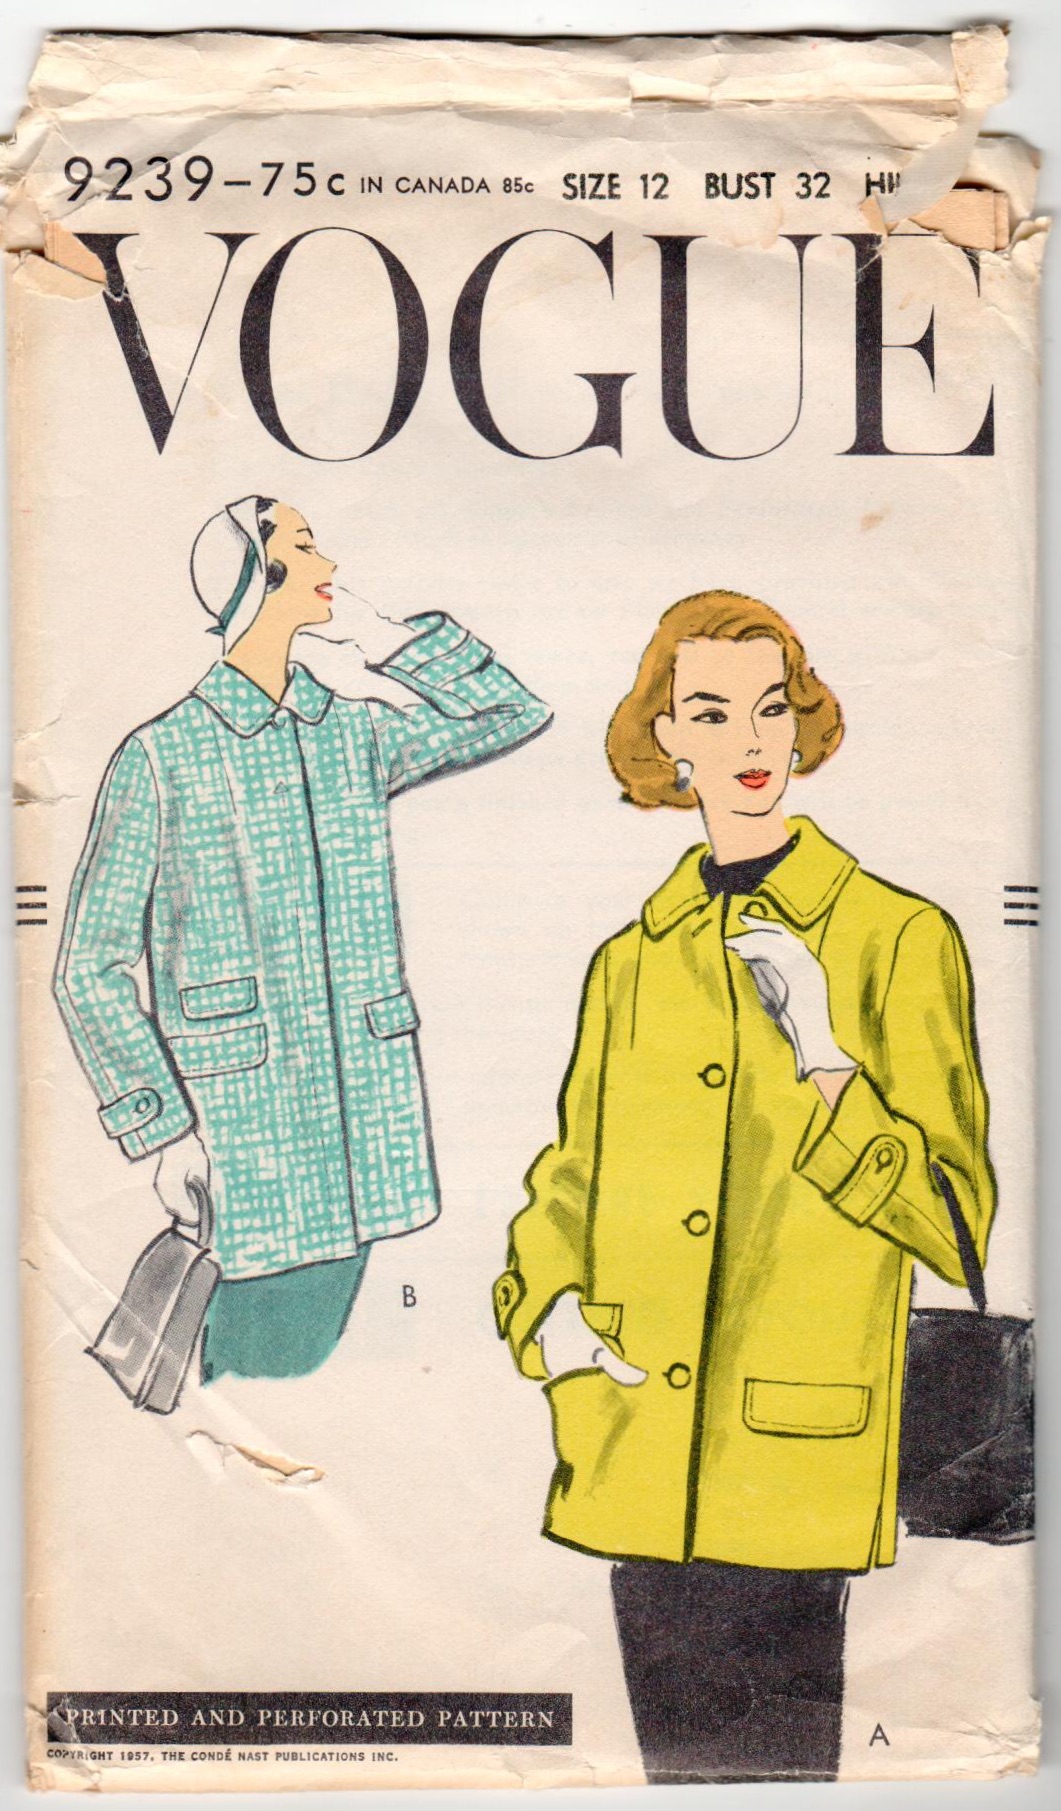
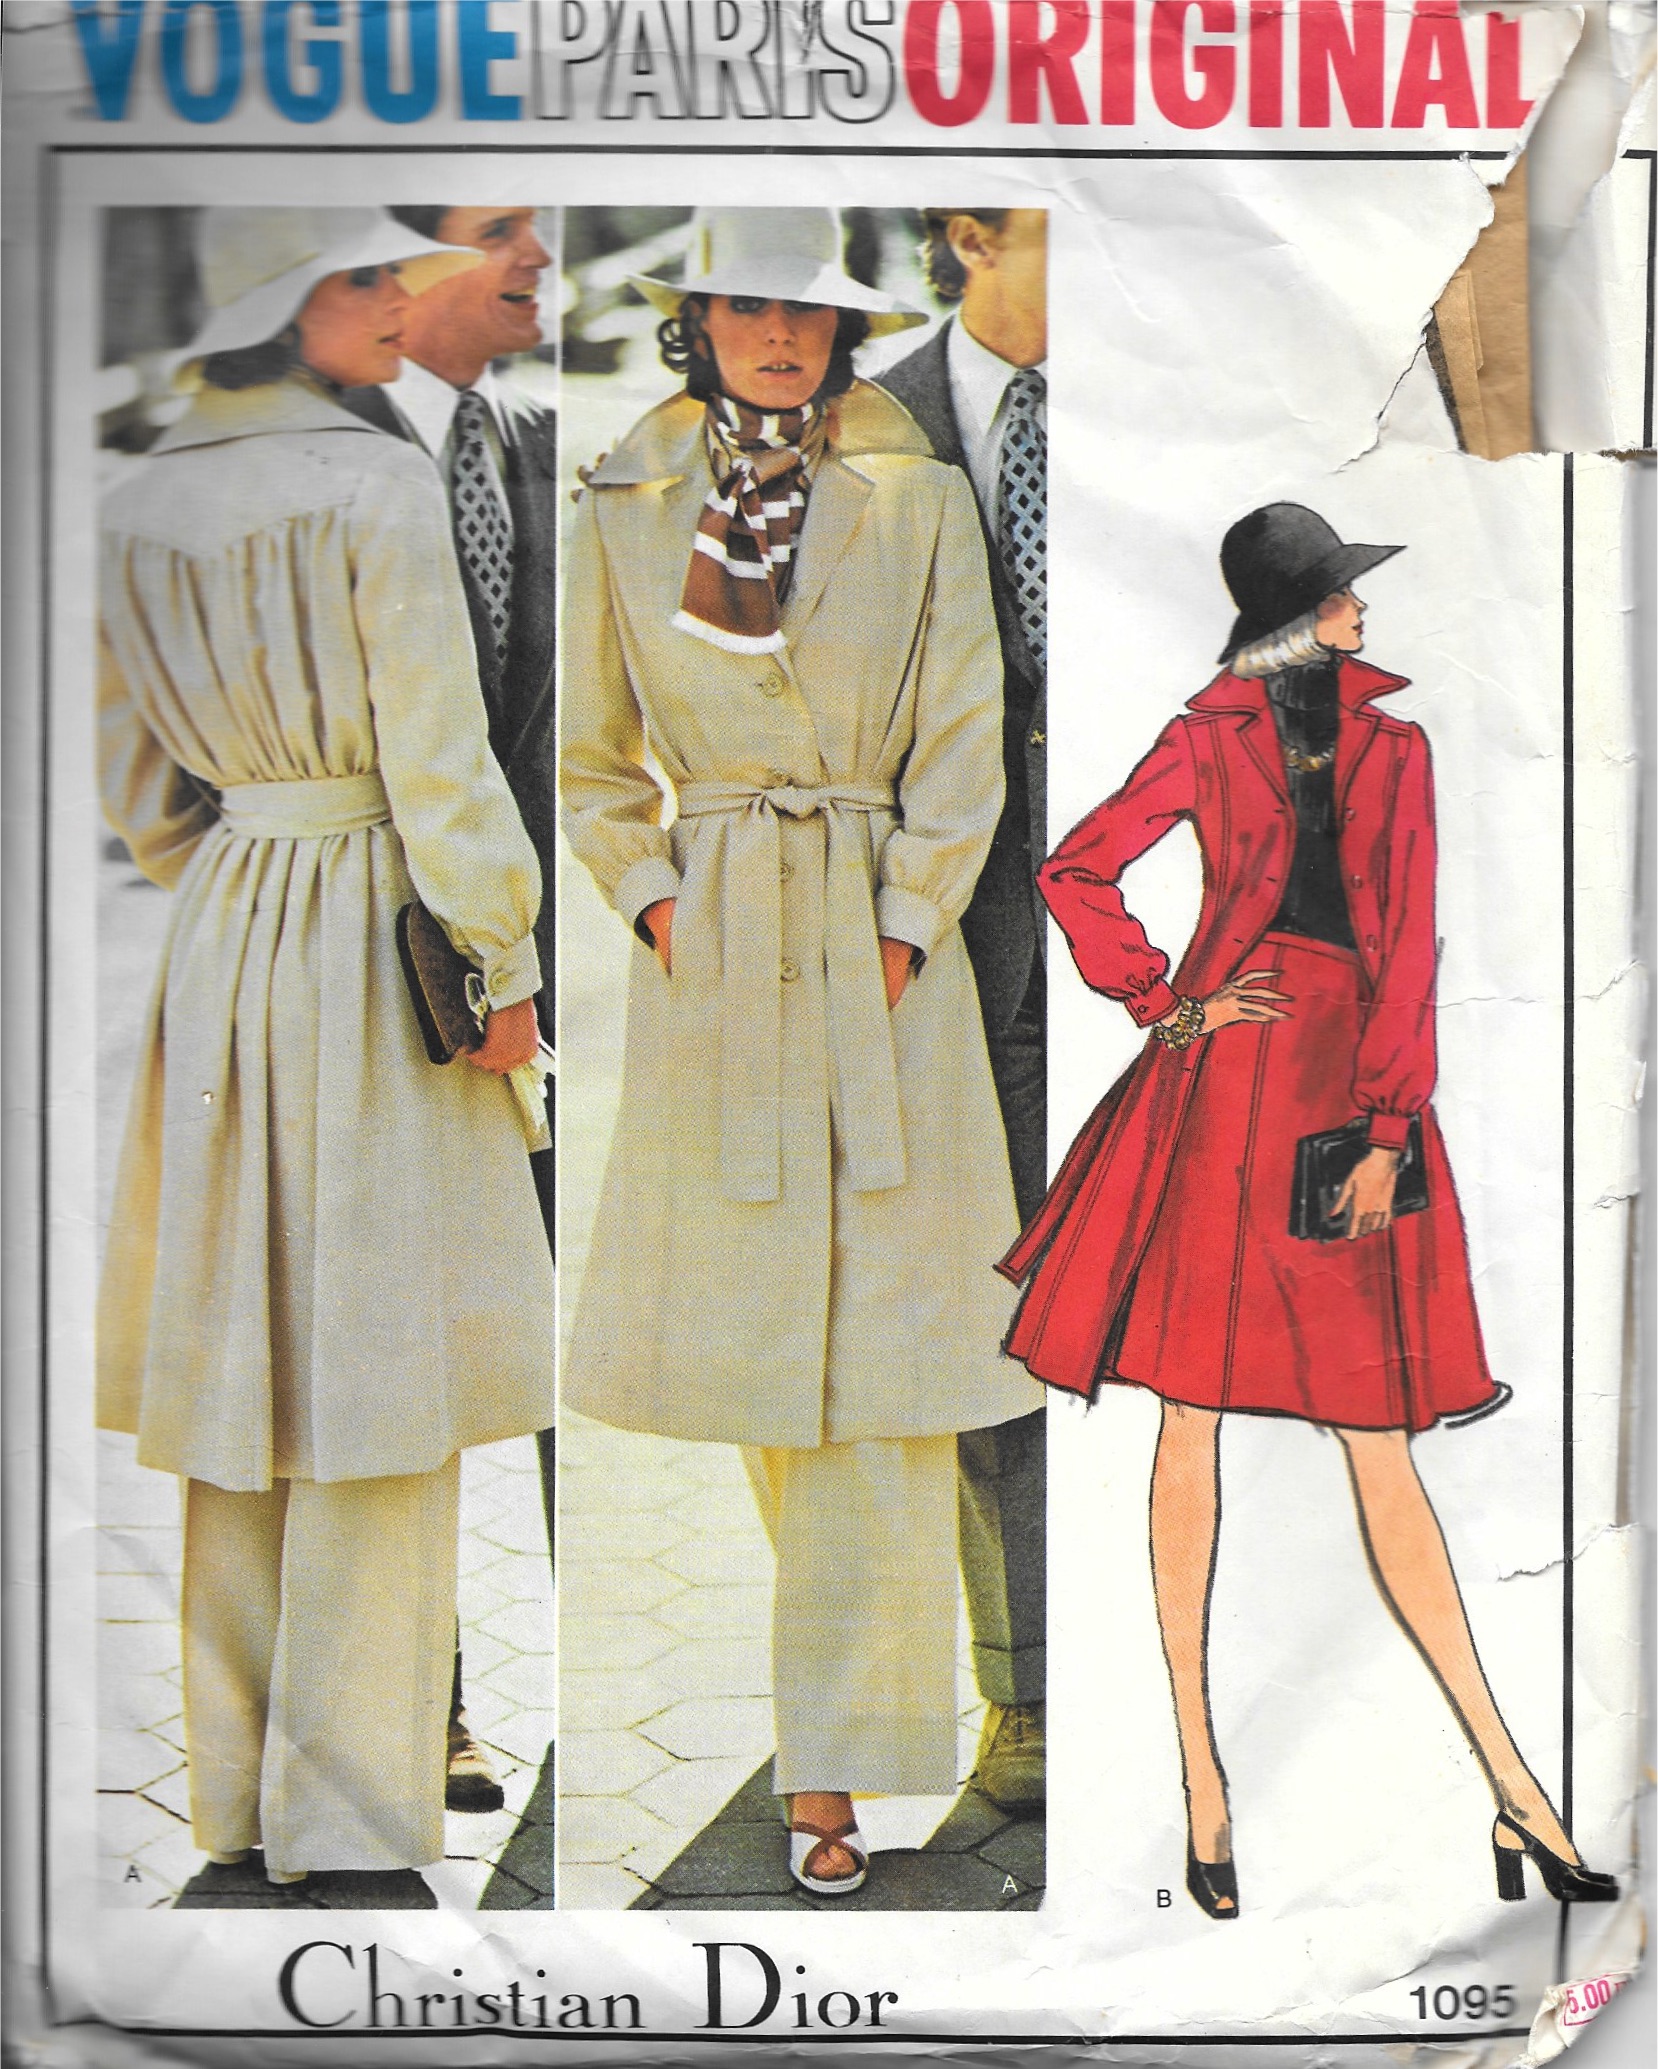
First I thought I would make a midi-skirt to wear with a pretty silk blouse or something. I even got so far as to make a muslin for a longish skirt, but it just wasn’t going to work. I didn’t have enough fabric to match the design and create the skirt I wanted. The next task would be to find a dress pattern which would work. I kind of viewed this fabric as a good Fall and Spring transition weight, so I wanted sleeves. And I wanted a pattern which would show off the circle design to its best effect. One of the patterns in my collection which I have seemed to dwell on frequently is this one:
I like the styling of both the dress and the coat. I thought I’d take a stab at eyeballing the pattern on my fabric, to see if it might work. Well, it was going to be a squeaker, but I thought I could manage to get the dress out of the yardage I had – and match all those circles and dots as much as possible.
One thing I had to consider was the placement of the large dots and the smaller dots on my body. Working with dots can be a little tricky – you certainly don’t want prominent dots on top of each bust apex, for example, and a row of large dots around the waist might not be all that flattering. I thought the row of the largest dots would be best as an anchor at the hemline. That would place the wide band of smaller dots just over the waistline and somewhat below. This configuration would place one medium size dot over one bust, but I was okay with that since the dot on the other side was off to the side, and therefore not symmetrical. I also liked the repeat row of largest dots across the upper chest where they were not too obvious. And – the sleeves followed the line of varying size dots in a pleasing manner, I thought. It turned out, I had just enough fabric to get things lined up properly – except for the front facing. No way could I match that to the front of the dress.
Now, obviously the facing does not show on the right side of the dress. Still, I like to match across seams if possible. Which it wasn’t. I had to give myself permission to have a mismatched facing, and then I moved on. (I forgot to take a picture of the facing, unfortunately.)
A word or two about the fabric before I go on. According to Fairchild’s Dictionary of Fashion, (Third edition, by Charlotte Mankey Calasibetta and Phyllis Tortora, Fairchild Publications, Inc., New York, New York, c2003, page 395) sateen is a “smooth glossy cotton fabric made in the sateen weave with floating crosswise yarns on the right side, giving a lustrous finish.” This fabric is a combination of cotton sateen, with circles created by a damask weave on a jacquard loom. It makes for a striking fabric. And I think the fact it is done in navy blue makes the contrast more definitive. Christian Dior was a fan of navy blue, calling it “the only one [color] which can ever compete with black, it has all the same qualities.” (The Little Dictionary of Fashion, Abrams, N.Y., 2007, page 14). It is a wonderfully versatile color.
I made a few changes to the pattern. I cut the neckline a little wider, I shortened the sleeves by a couple of inches, and the big change was I lined the dress in a lovely silk batiste I purchased at Farmhouse Fabrics. (The pattern did not have instructions or pattern pieces for a lining.) The pleat in the front of the dress was a bit tricky to line, but I figured it out after quite a bit of thought. By the way, I underlined the dress with silk organza.
One more thing about the pattern and the dress. With the pleat in the front of the dress which extends to the hem, it gives the appearance of a coat dress. However, it is not. Again Fairchild’s gives us a precise definition of a coat dress: “Dress fastened down front from neck to hem, like a coat, in single- or double-breasted style, either belted or unbelted. A classic since the 1930s.” ibid., page 84. Someday I’ll make a coatdress, but this was not it.
As I mentioned in an earlier post, I made this dress to wear on my Paris trip, but alas, I never had the opportunity to do so. I feel certain it will eventually get its debut, but not in Paris!
26 Comments
Filed under Buttons - choosing the right ones, Christian Dior, Fashion commentary, Loops for buttons, Mid-Century style, Polka dots, Sateen, Uncategorized, underlinings, vintage Vogue patterns from the 1960s, Vogue patterns
Tagged as Choosing buttons, Farmhouse Fabrics, fashion sewing, Mendel Goldberg Fabrics, polka dots, sewing, vintage fashion, vintage Vogue patterns