The calendar tells me it is January of 2016. However, I cannot quite let go of Christmas 2015 yet – at least not until I share the story of the small quilt I made for the newest member of our family.
Dear little Carolina was born in April, and it was then that I began to plan the quilt I knew I would make for her first Christmas. I had done the same for her big sister, Aida, two years ago.
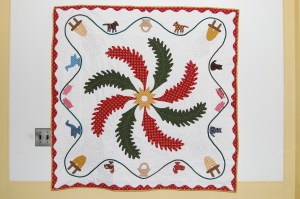
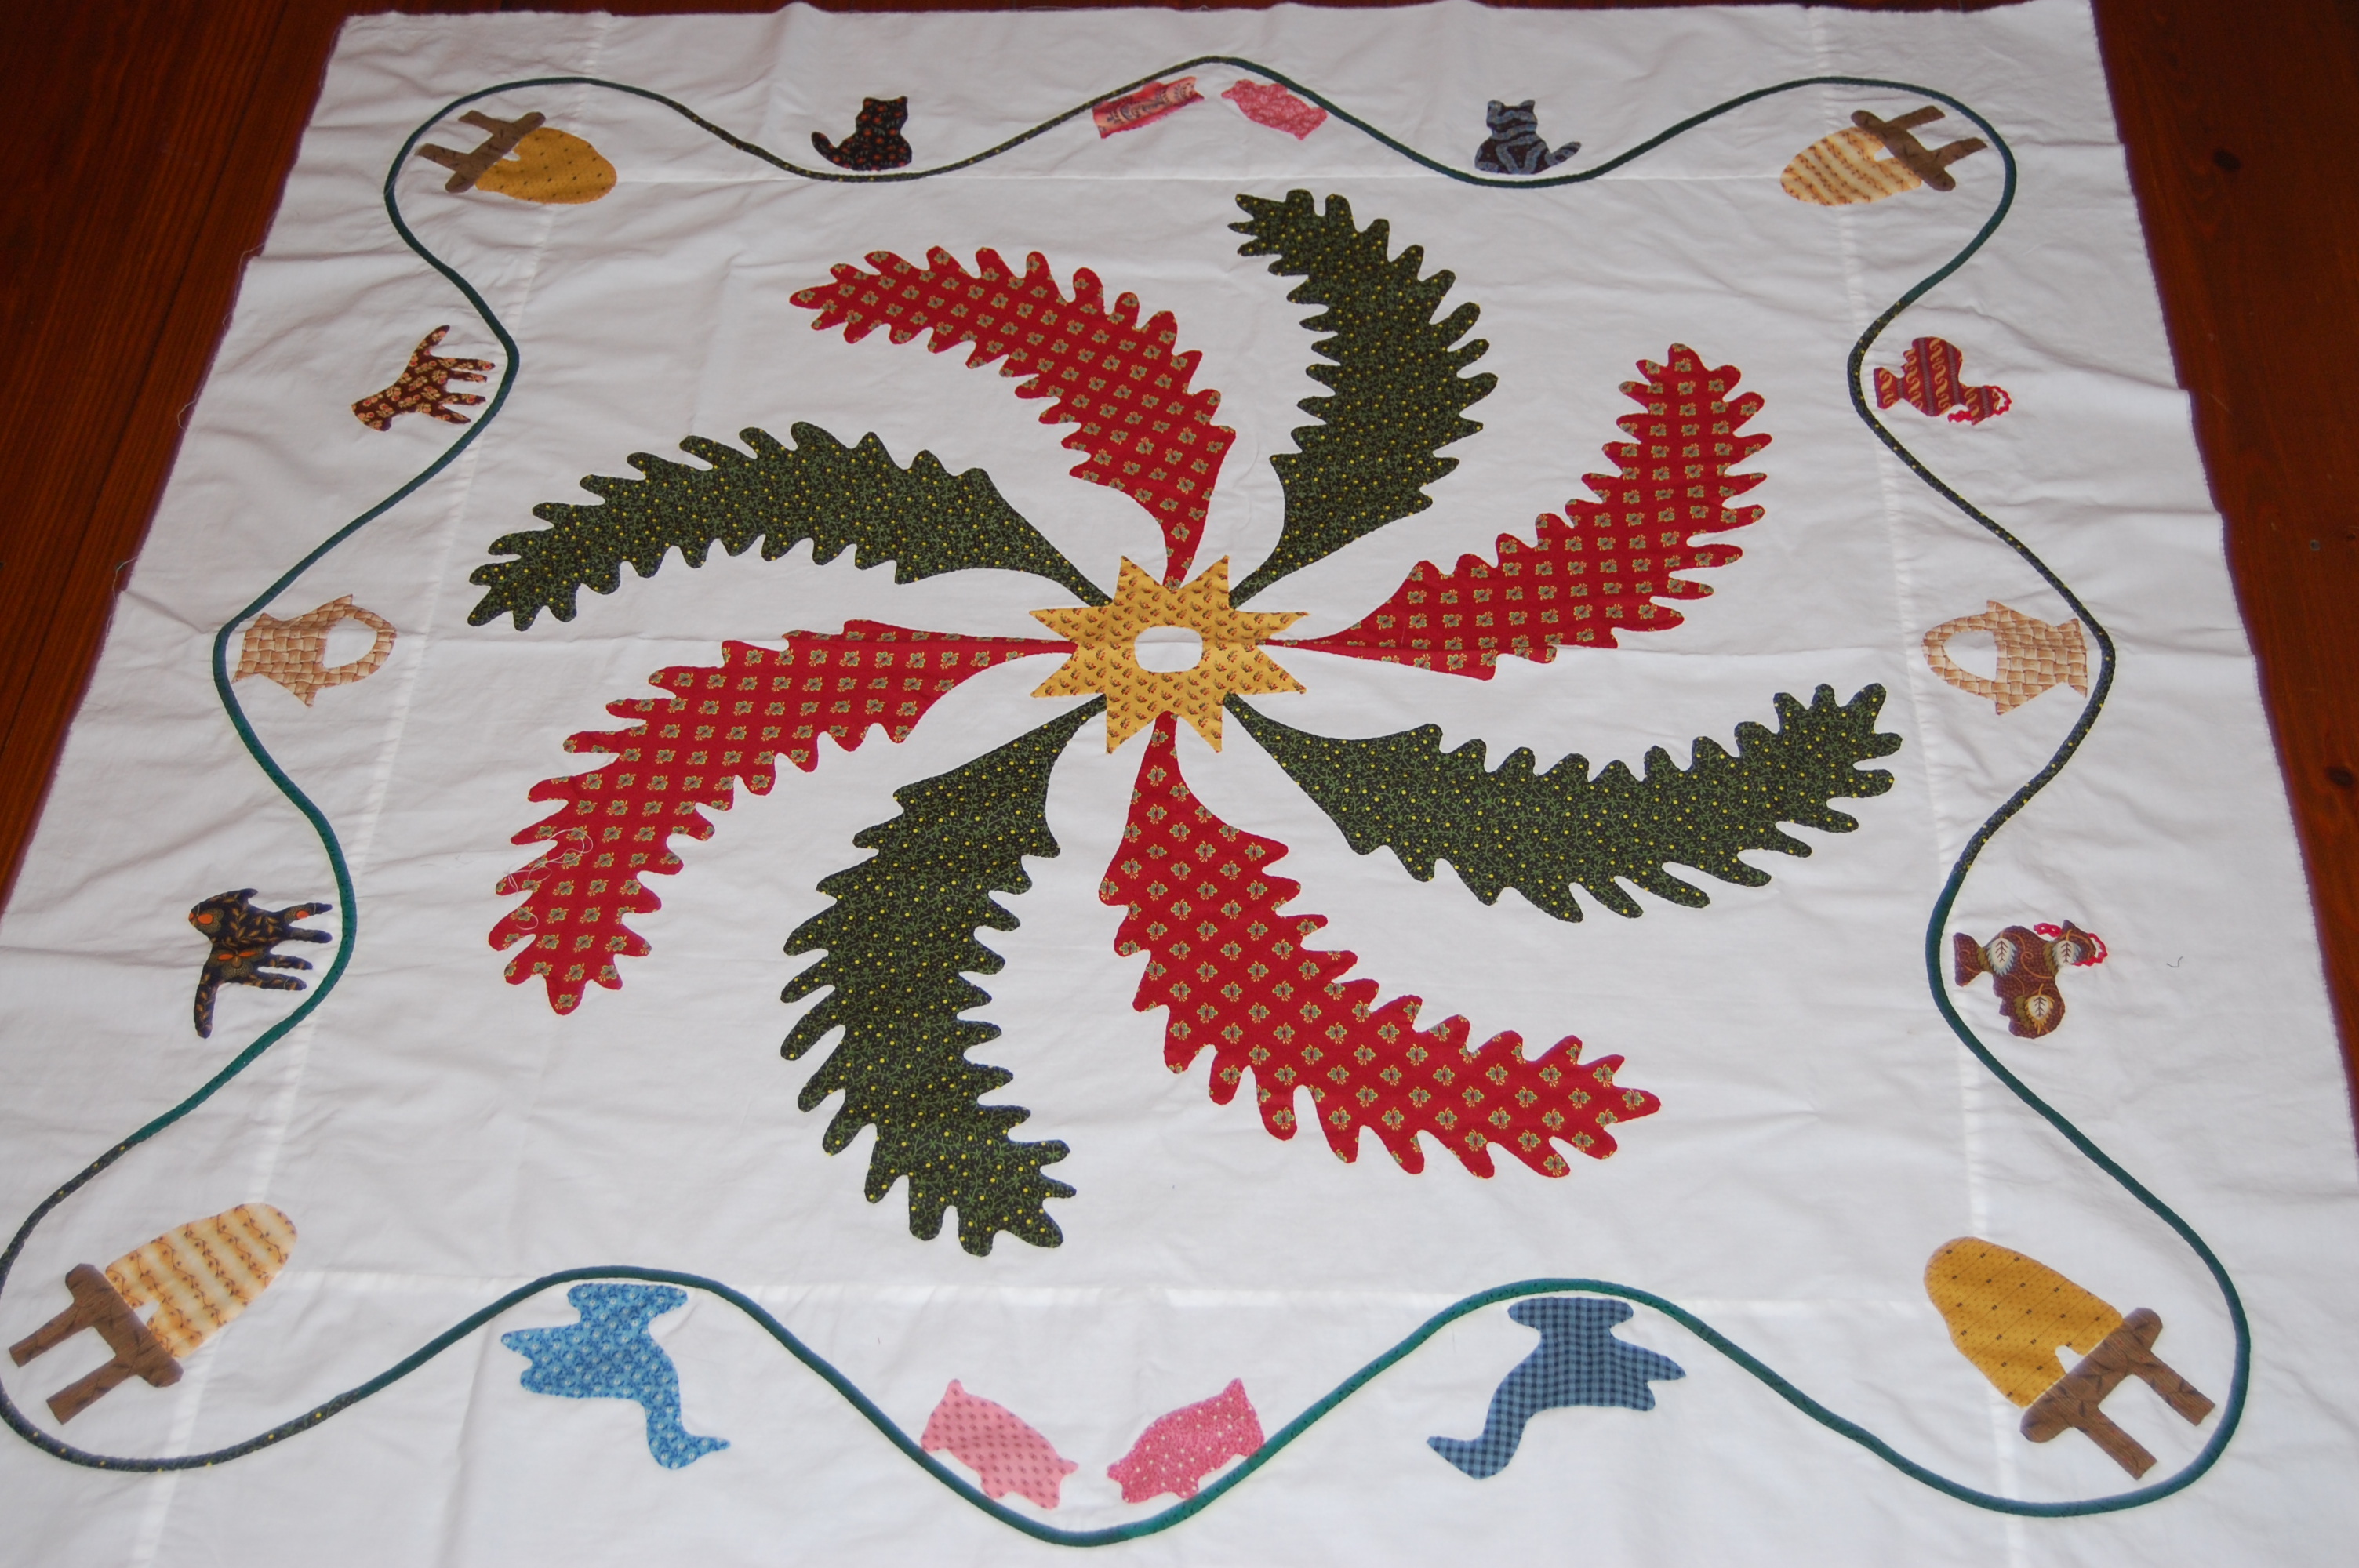
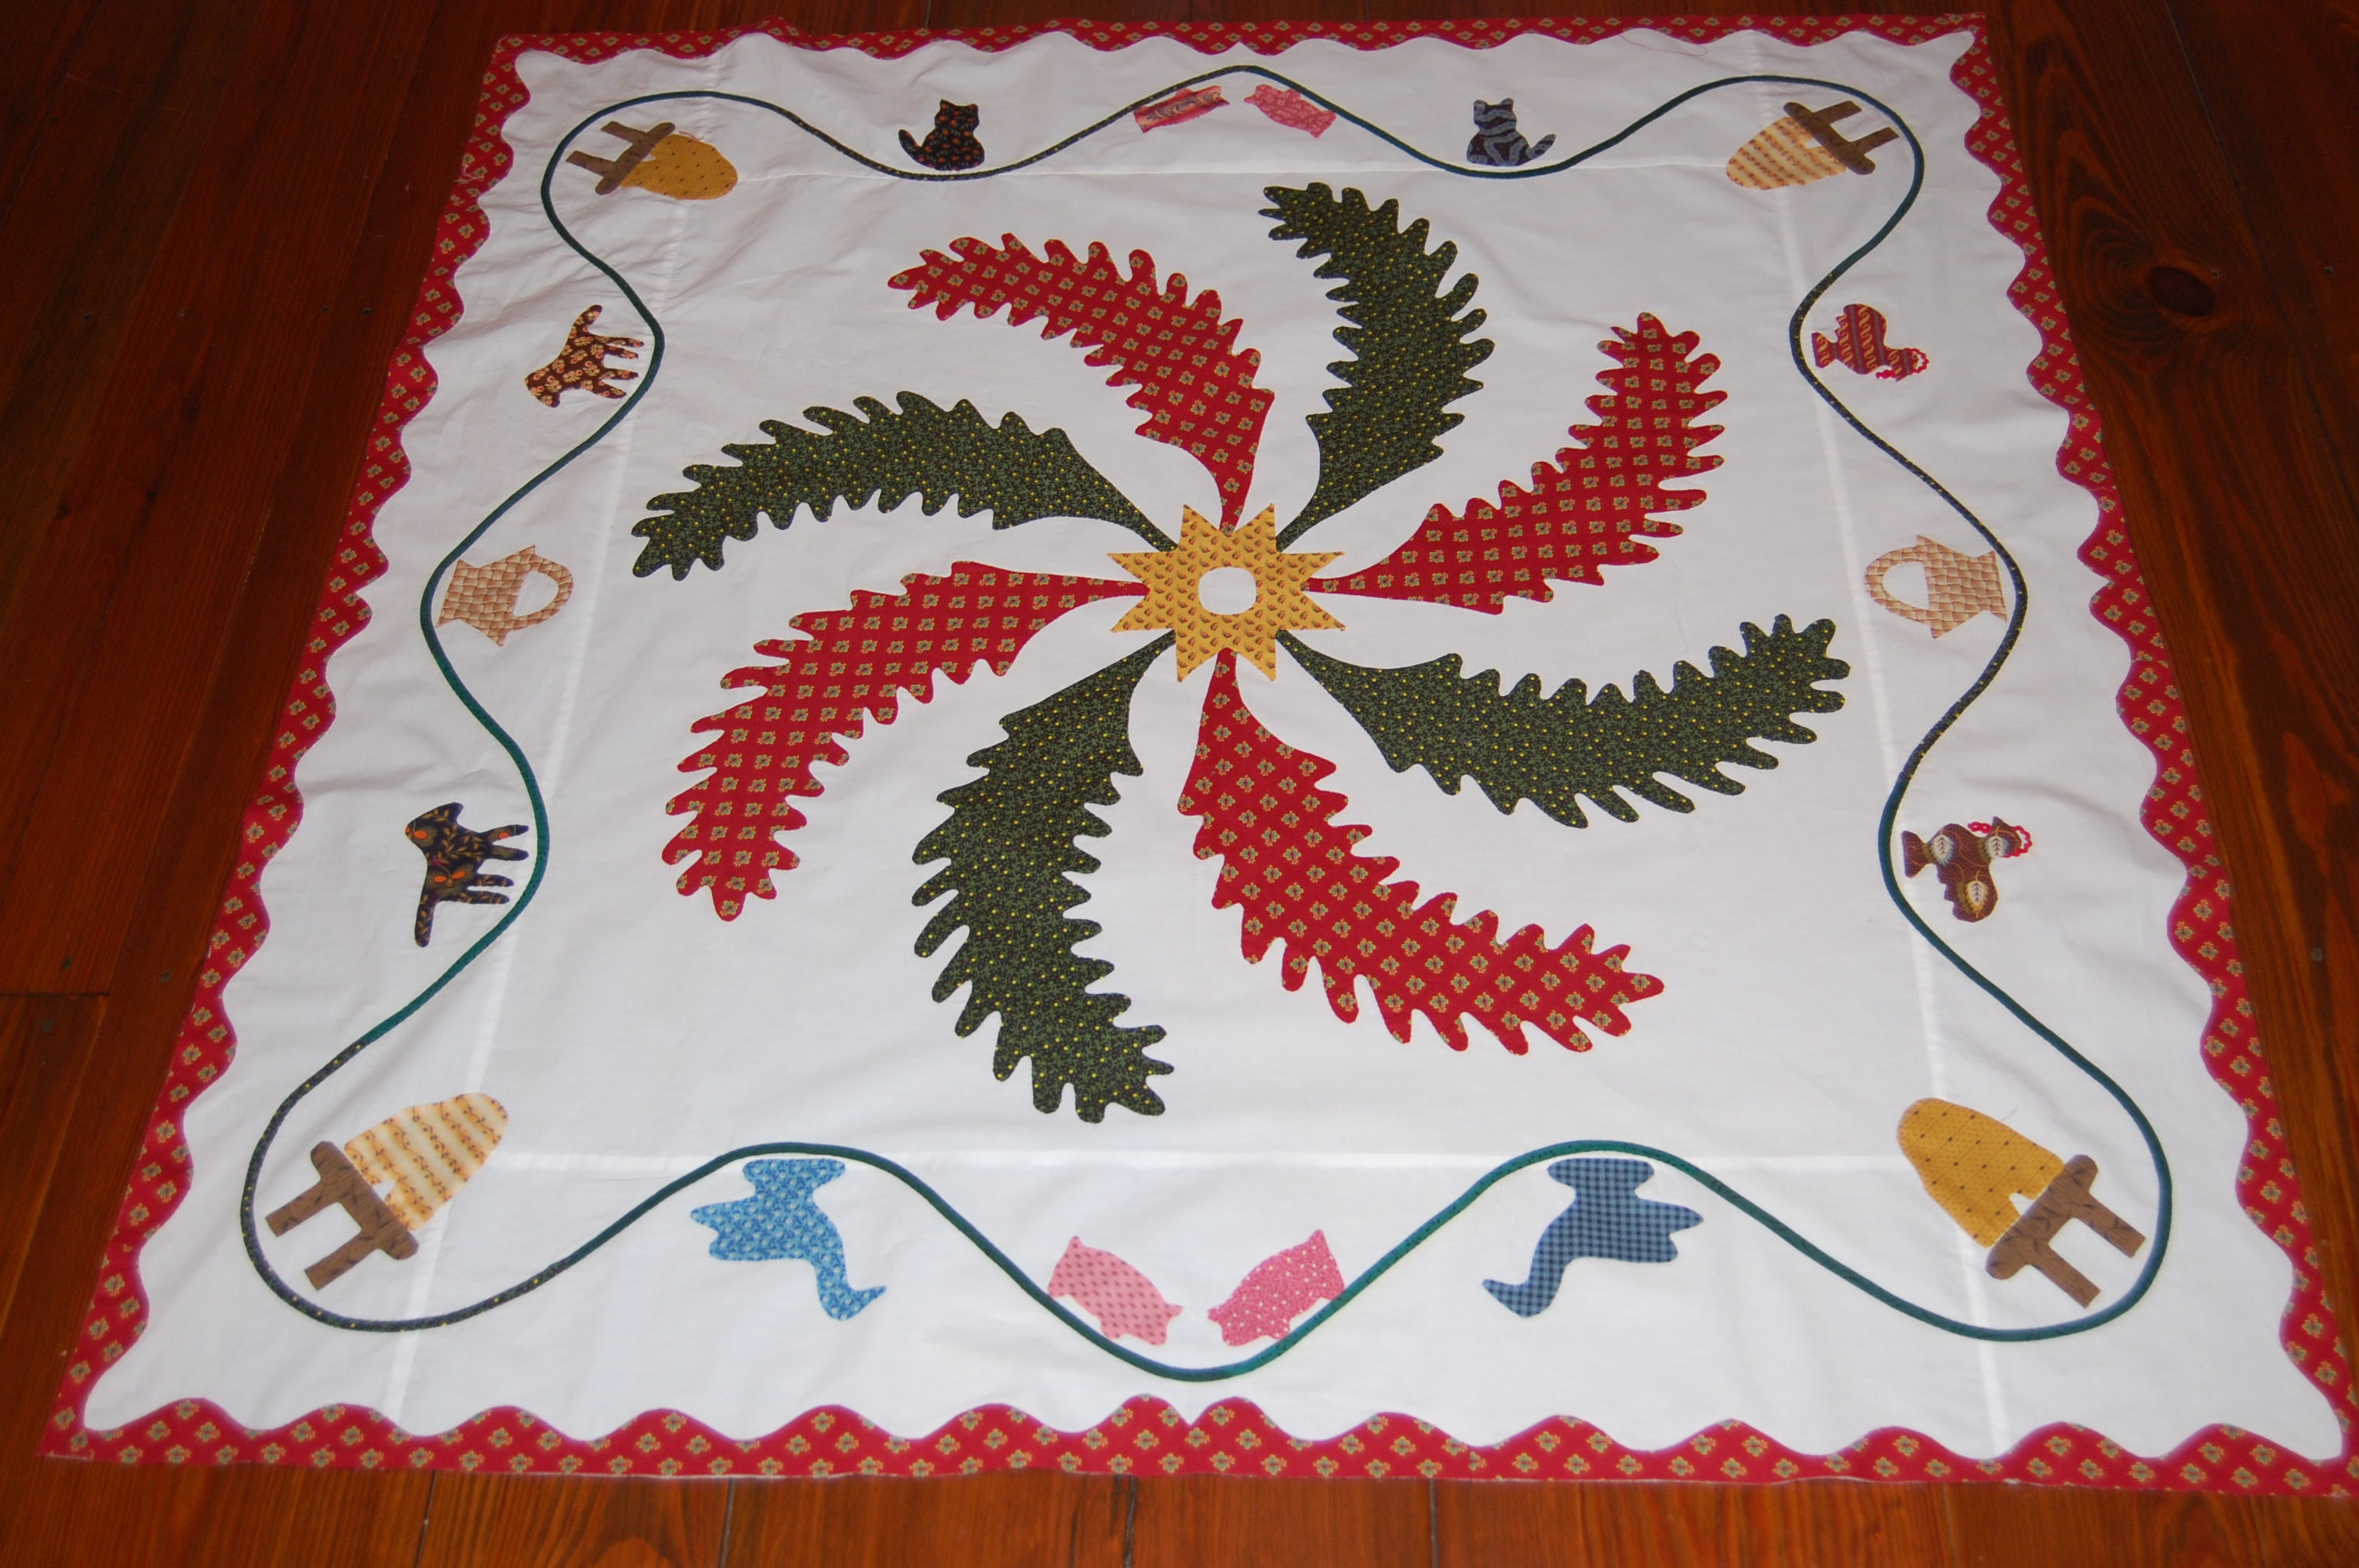
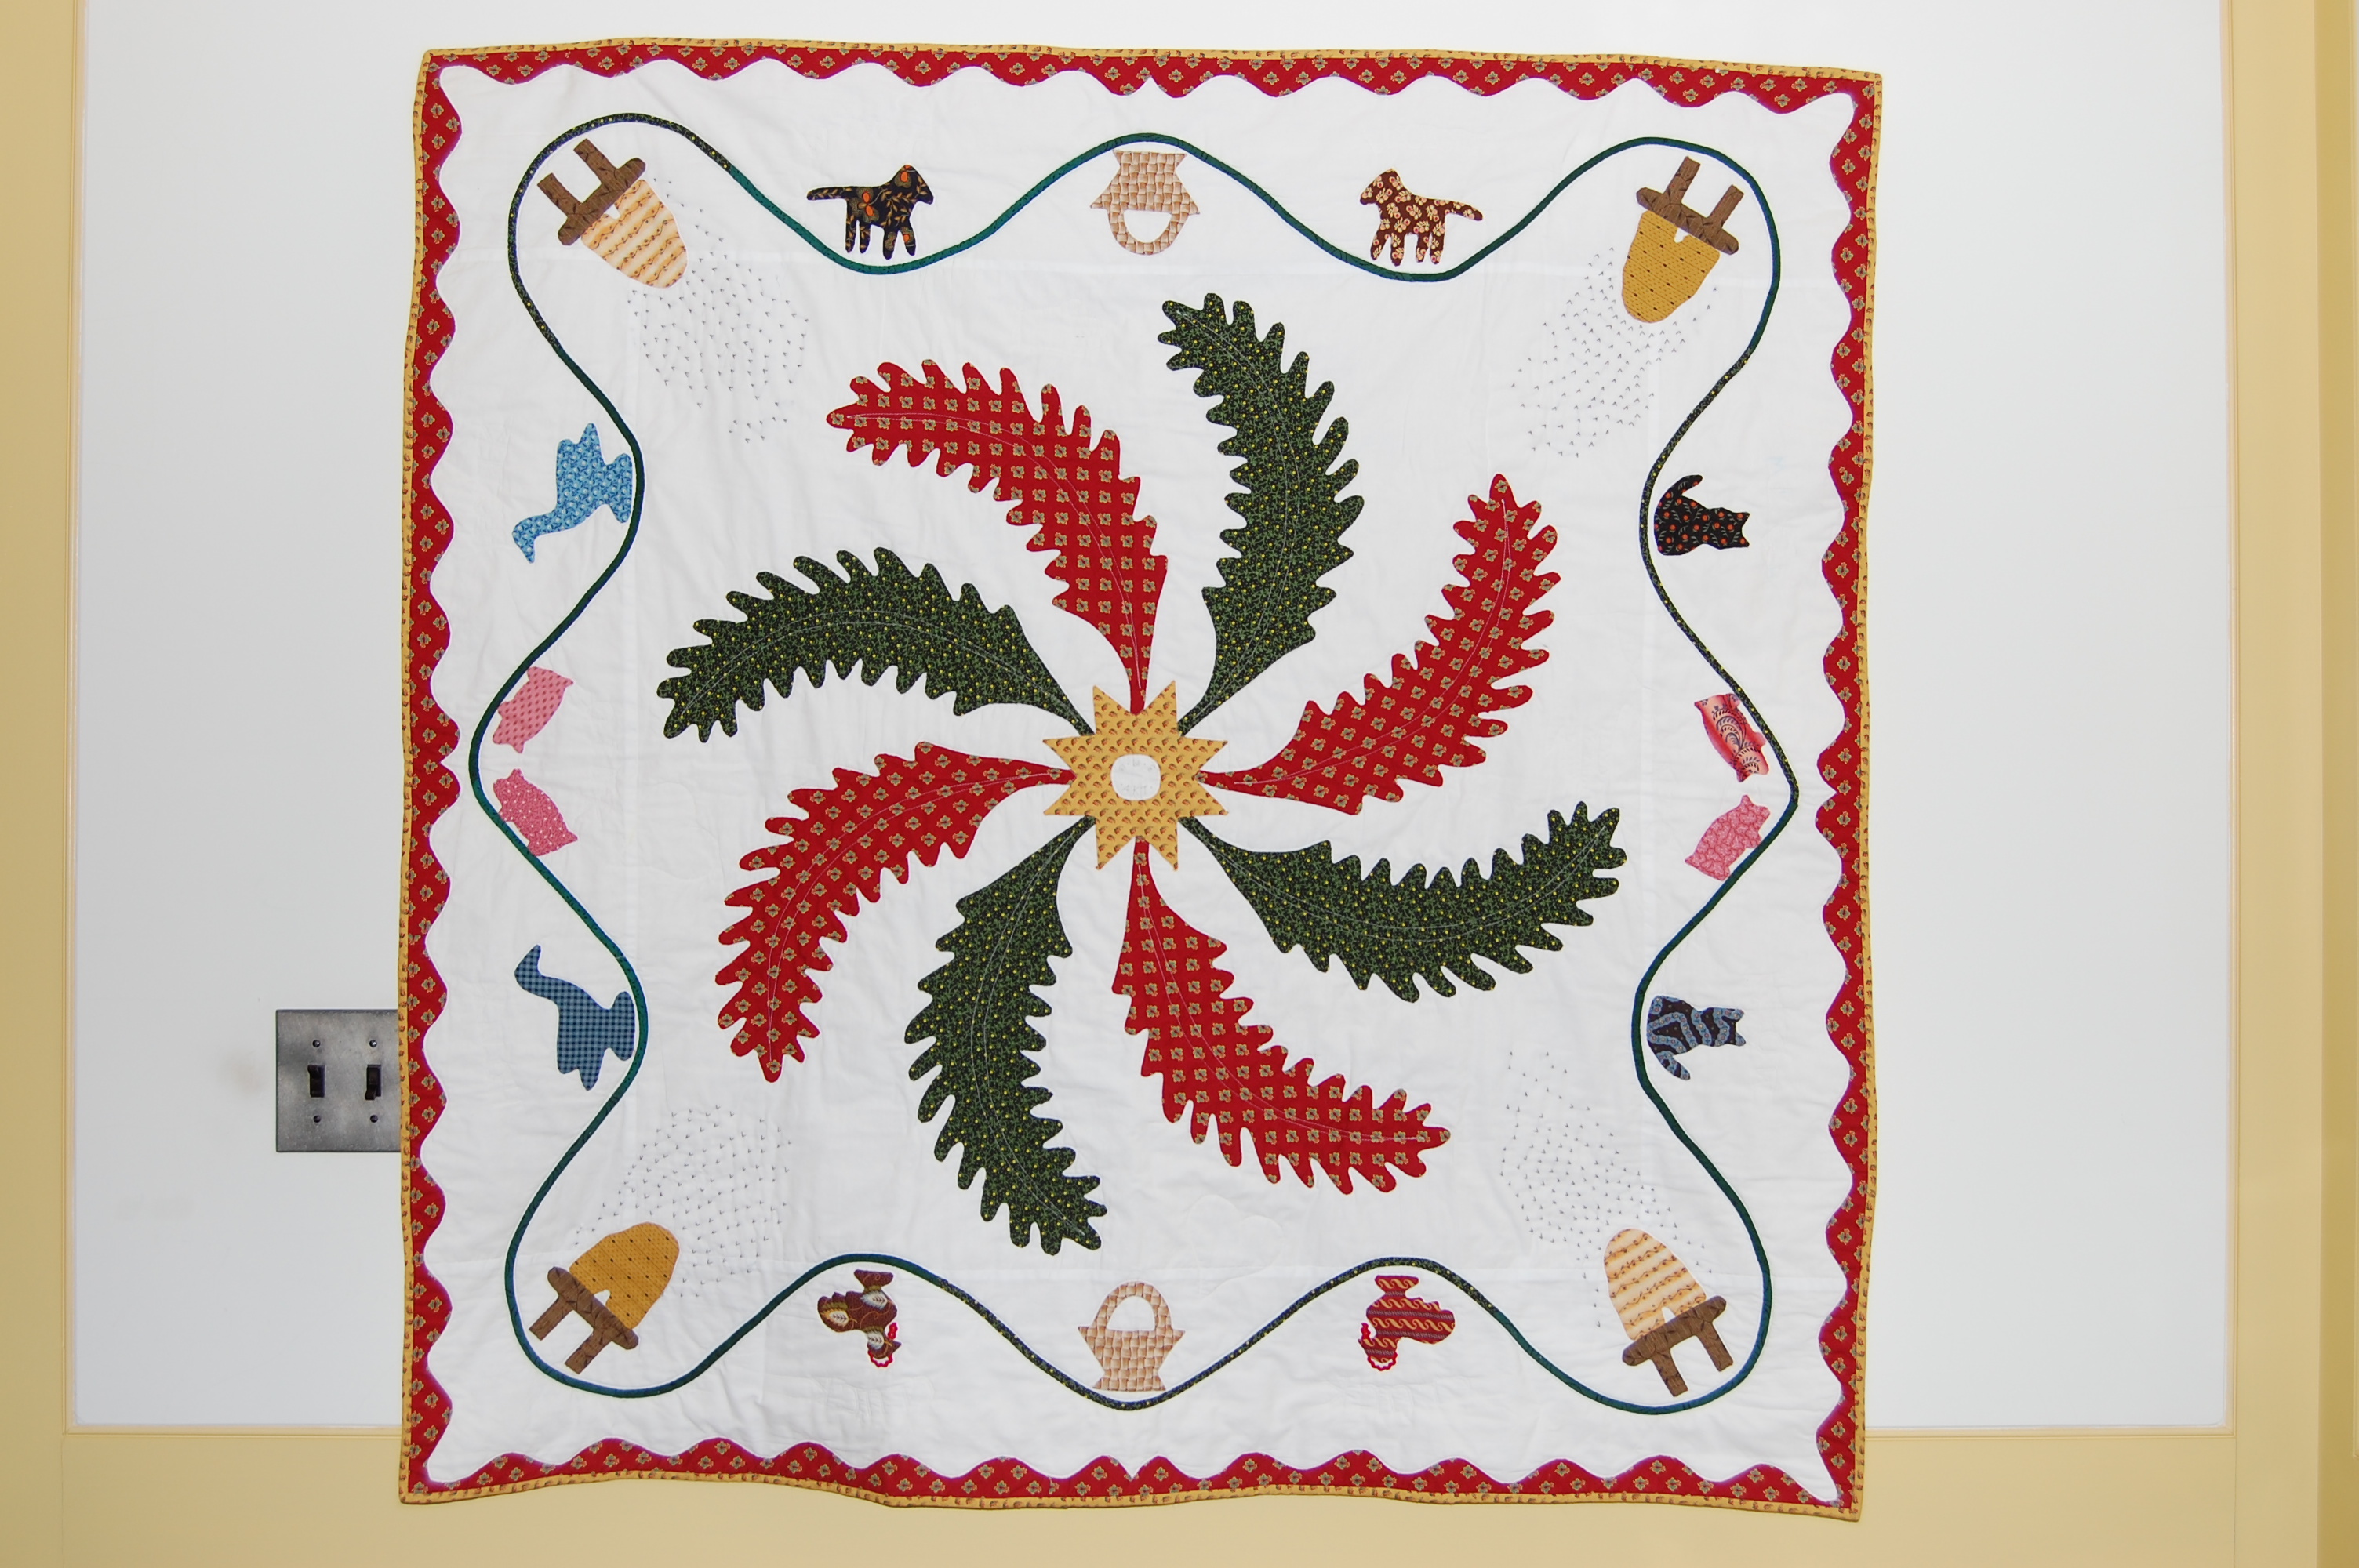
This is the quilt I made for Aida two Christmases ago.
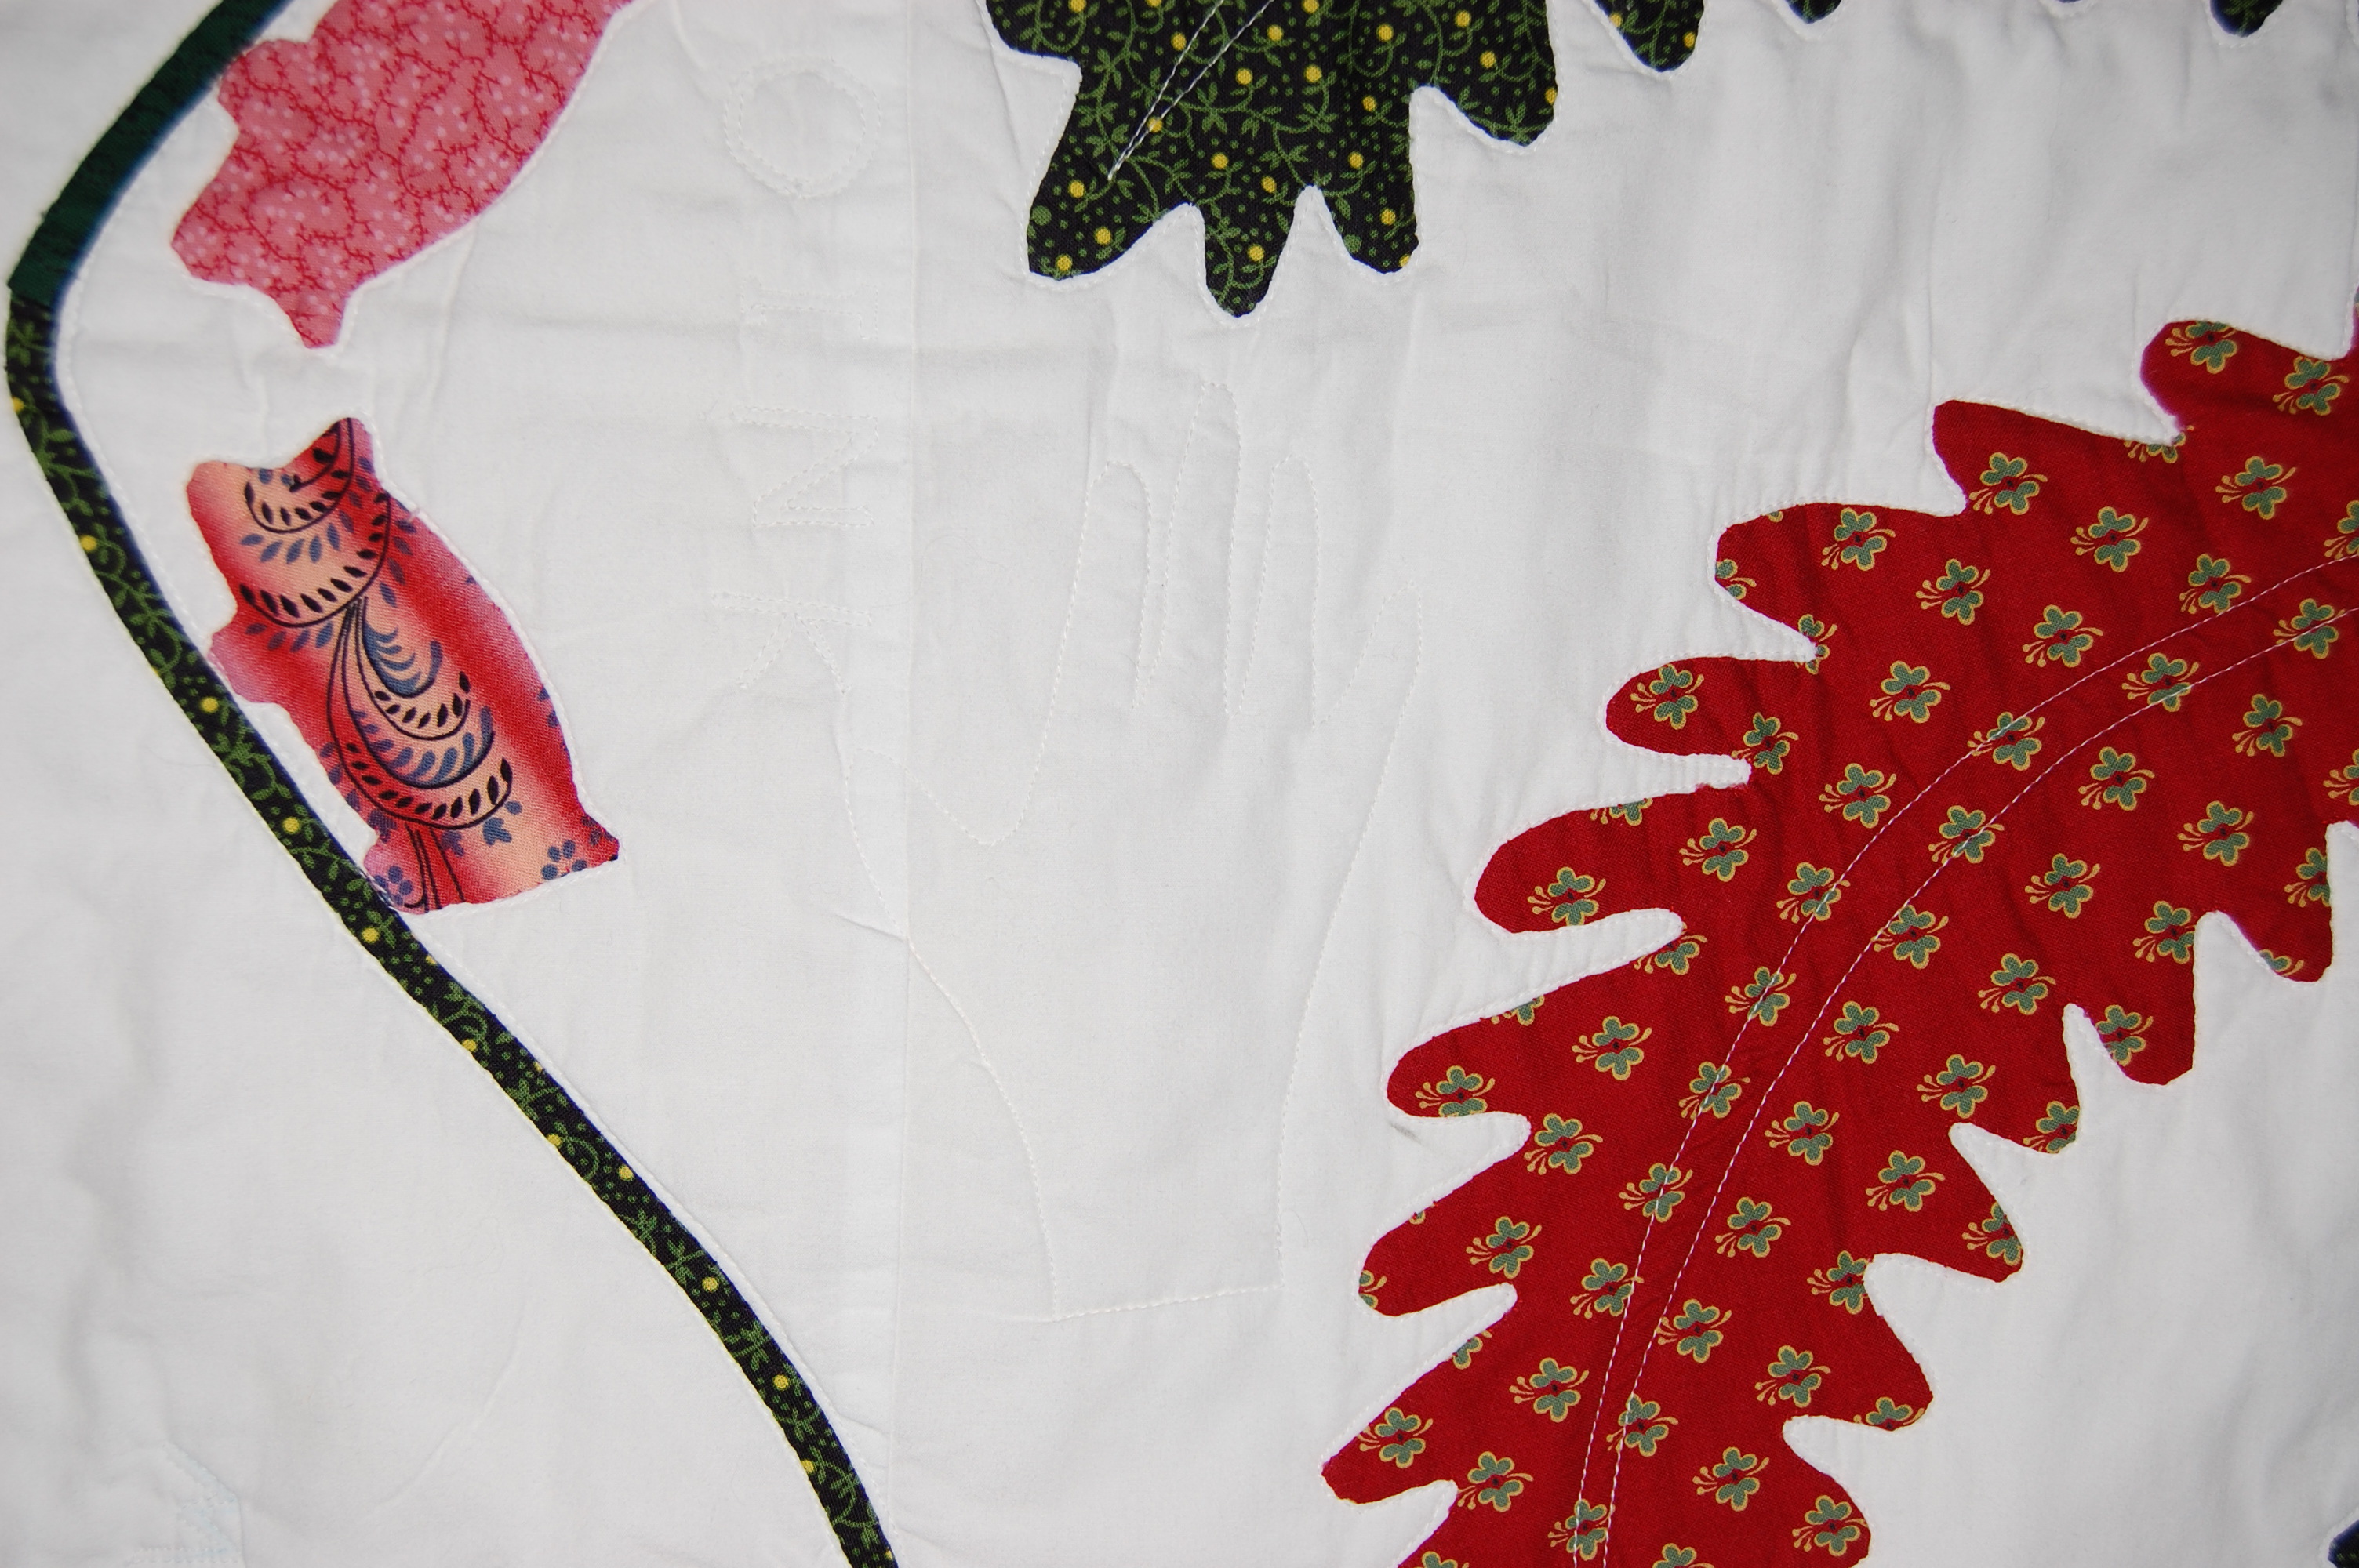
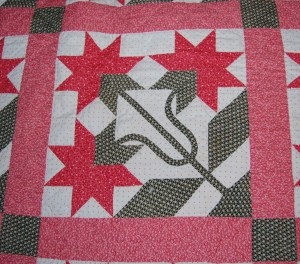
Once we knew what her name was (Carolina is pronounced like the American states, North and South Carolina, with a long “I”), it seemed an easy decision to anchor each corner of the quilt with a “Carolina lily.” Here is a classic Carolina lily quilt square:
However, there are a ga-zillion variations of this design, and because I don’t enjoy “piecing,” I designed a block with an appliquéd lily, set in a blue pot. I thought I would tie these blocks together with rows of undulating vines, as seen in the first image above. And then I got stuck. I wanted to draw on some of the design features in Aida’s quilt, but make it look entirely different. Initially I thought I’d like the great middle field of this quilt to be of a “random” nature similar to this quilt pictured in one of my books:
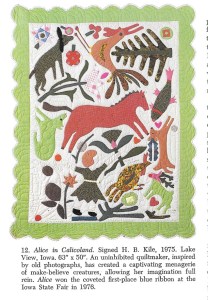
This quilt is pictured in Crib Quilts and Other Small Wonders, by Thos. K. Woodard and Blanche Greenstein, E. P. Dutton, New York, New York, 1981, p. 16.
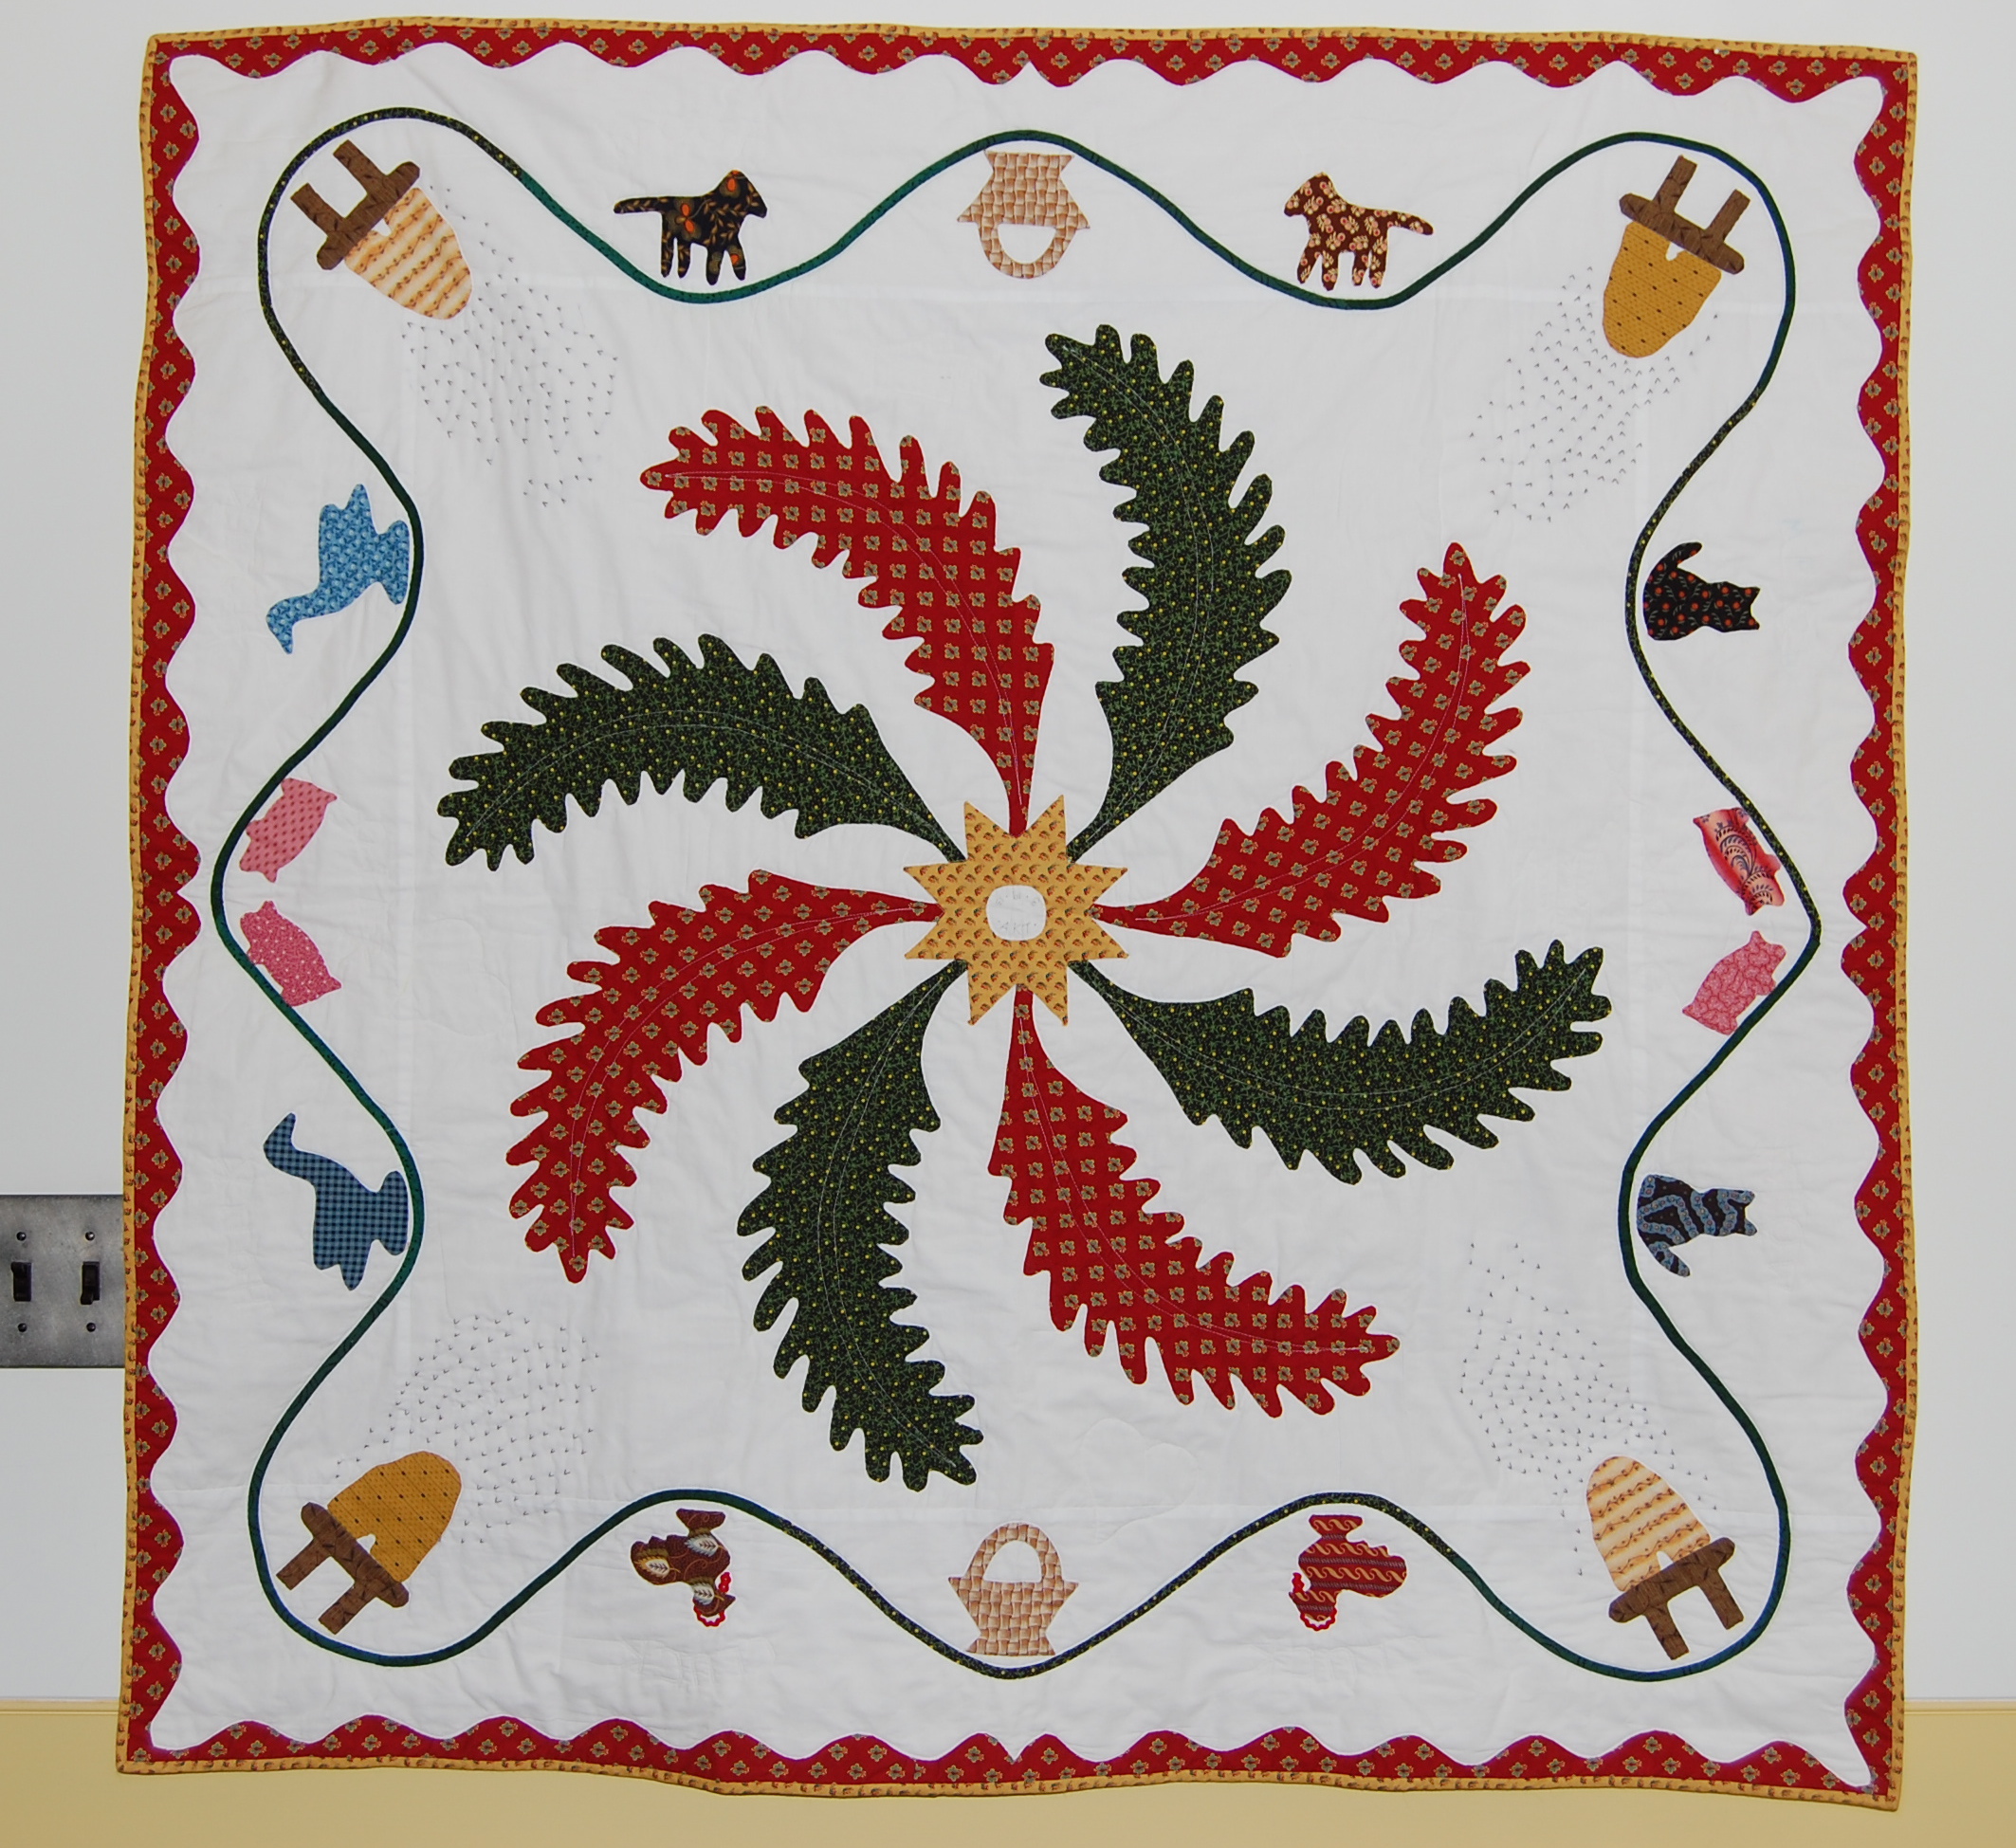
I spent hours fiddling with paper appliqués and trying to get inspired. Nothing was working and time was flying by!! Even small quilts (Carolina’s quilt is 46” square) take a long time to make. I finally realized that this quilt needed to be orderly, but whimsical, for me to come up with a successful design. I like a quilt that can be rotated and viewed logically from all four edges – so I decided each side of the quilt had to be anchored by something. I thought about some of the memories Carolina might have of her first home – and then it all became obvious. Tall – very tall and very green – pine trees define the property where Carolina and her Mommy, Daddy, big sister, and dog live. The pines are sheltering, sturdy but sometimes swaying, and home to untold numbers of birds and animals. They would be the perfect definition for this quilt, too.
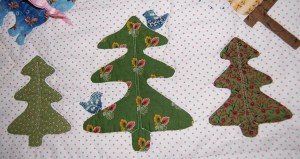
Two blue birds are on each of the tall middle trees.
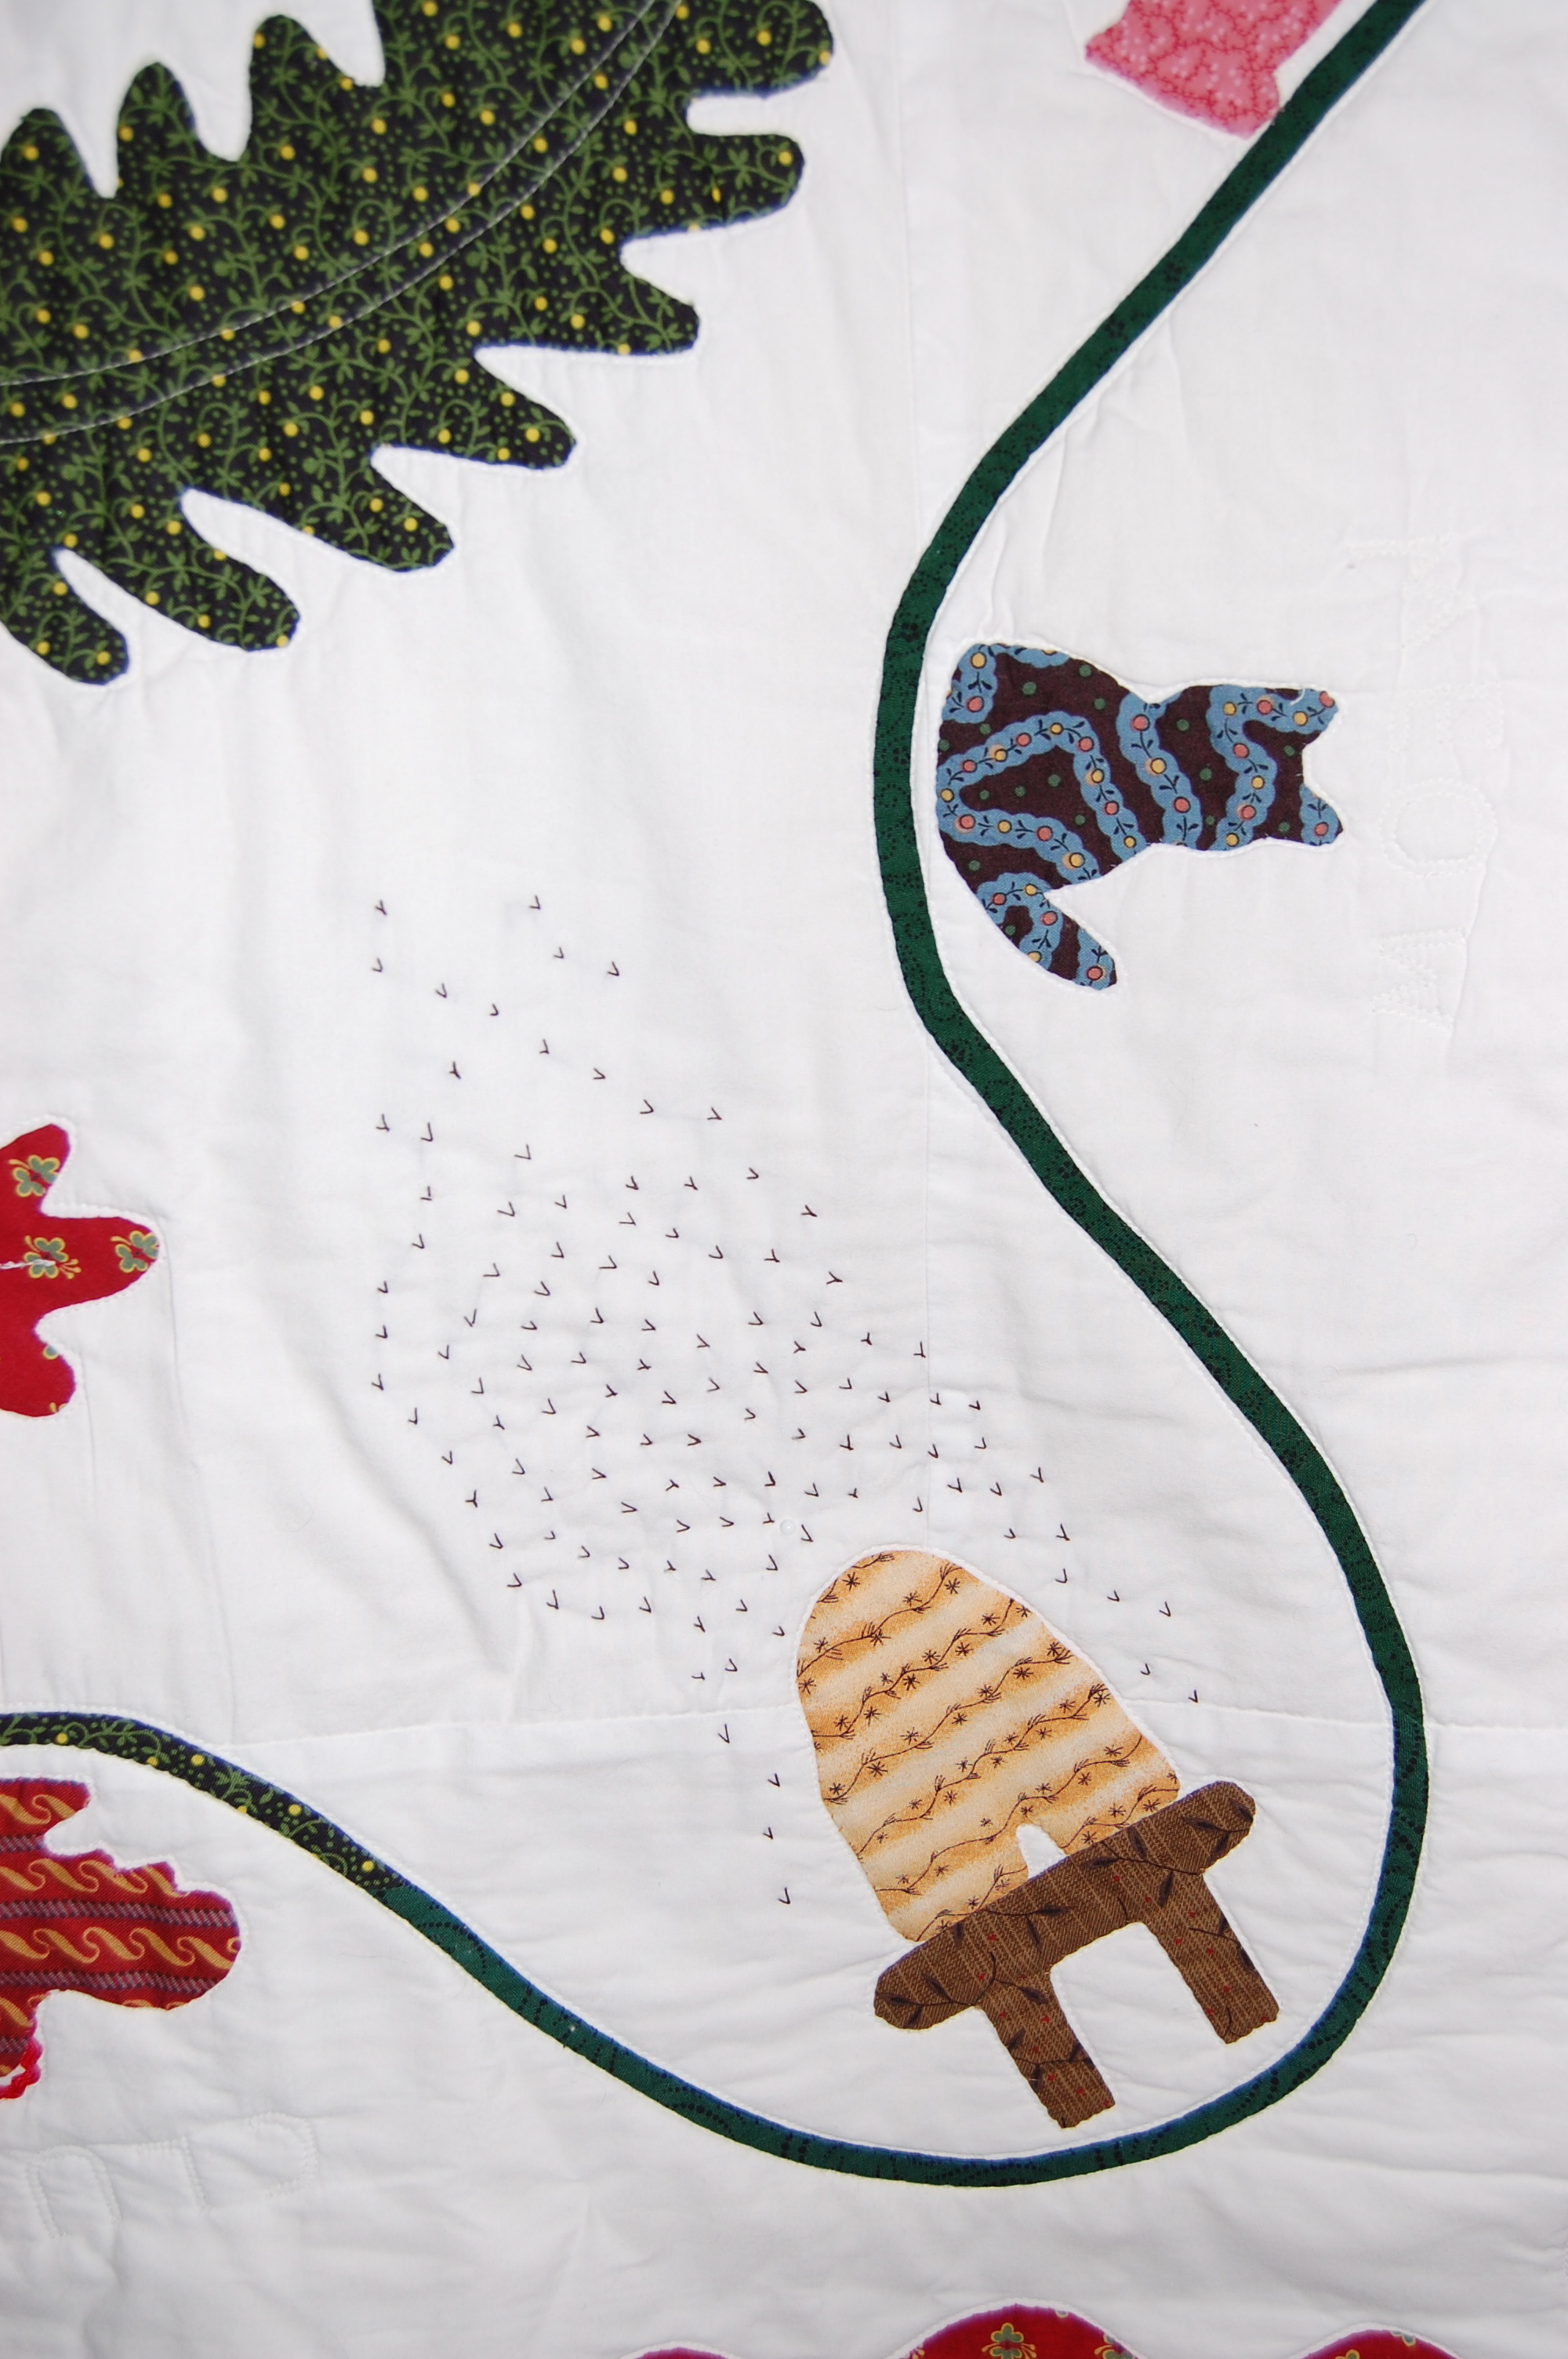
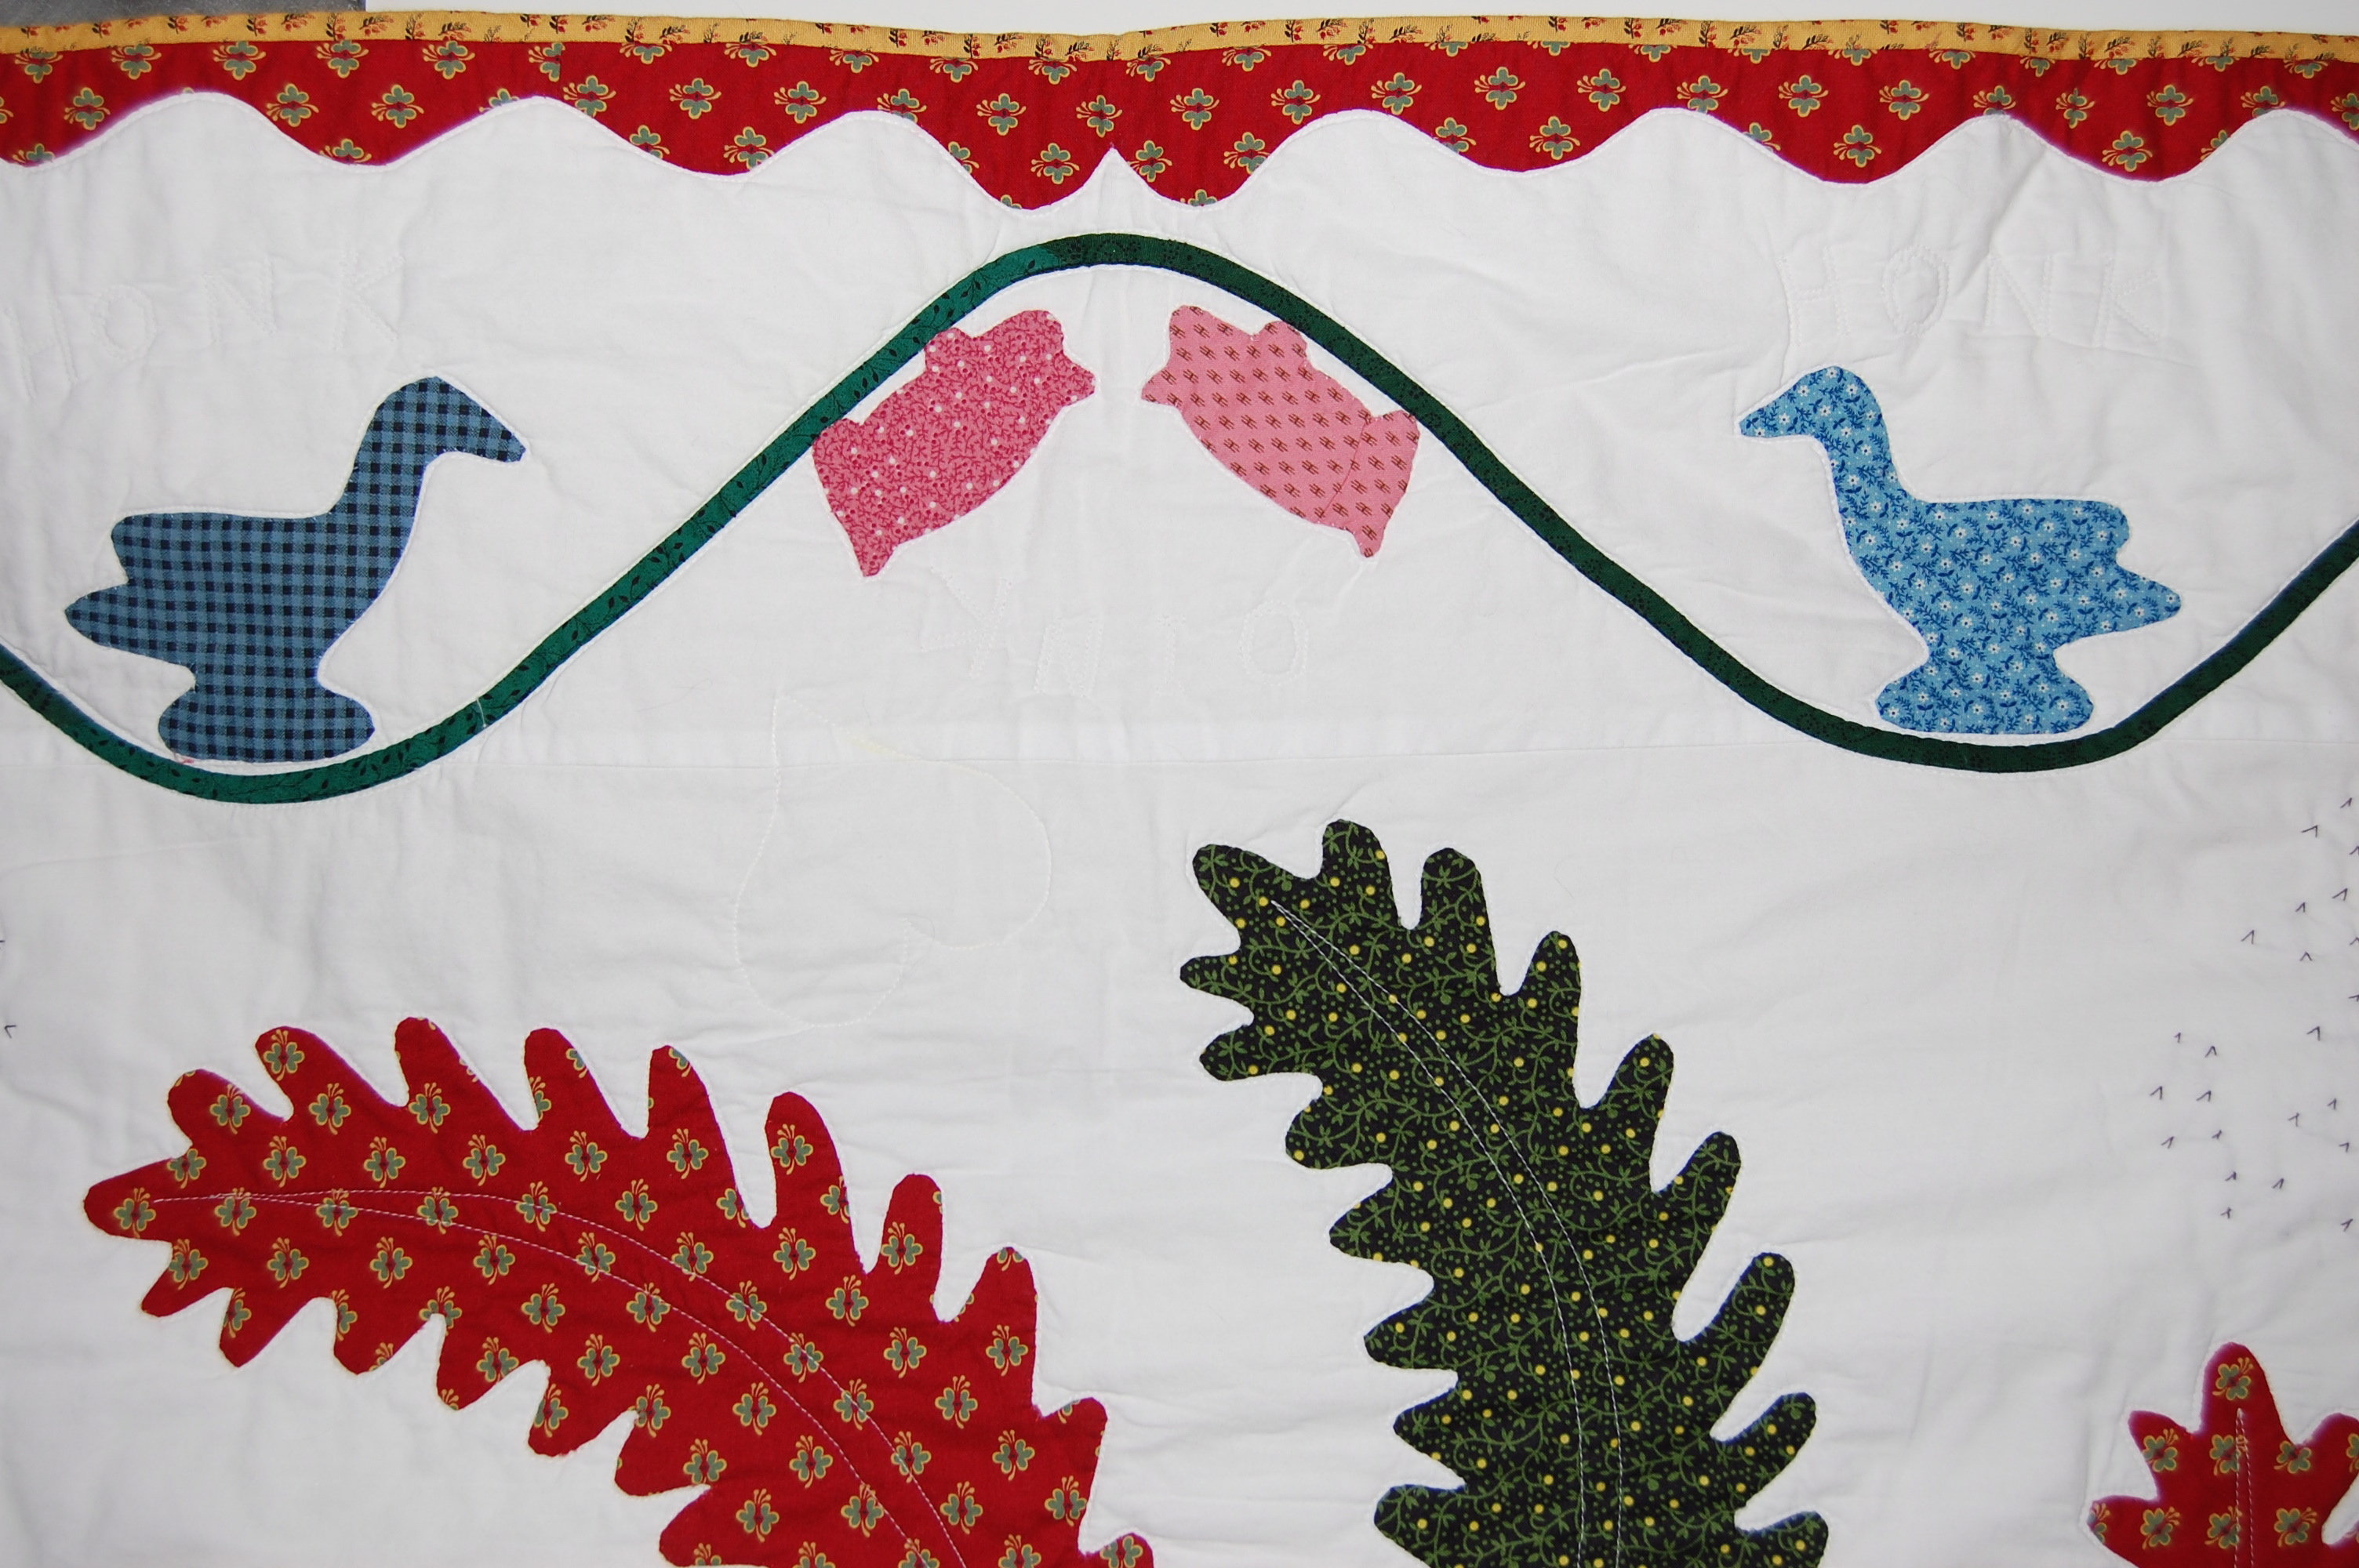
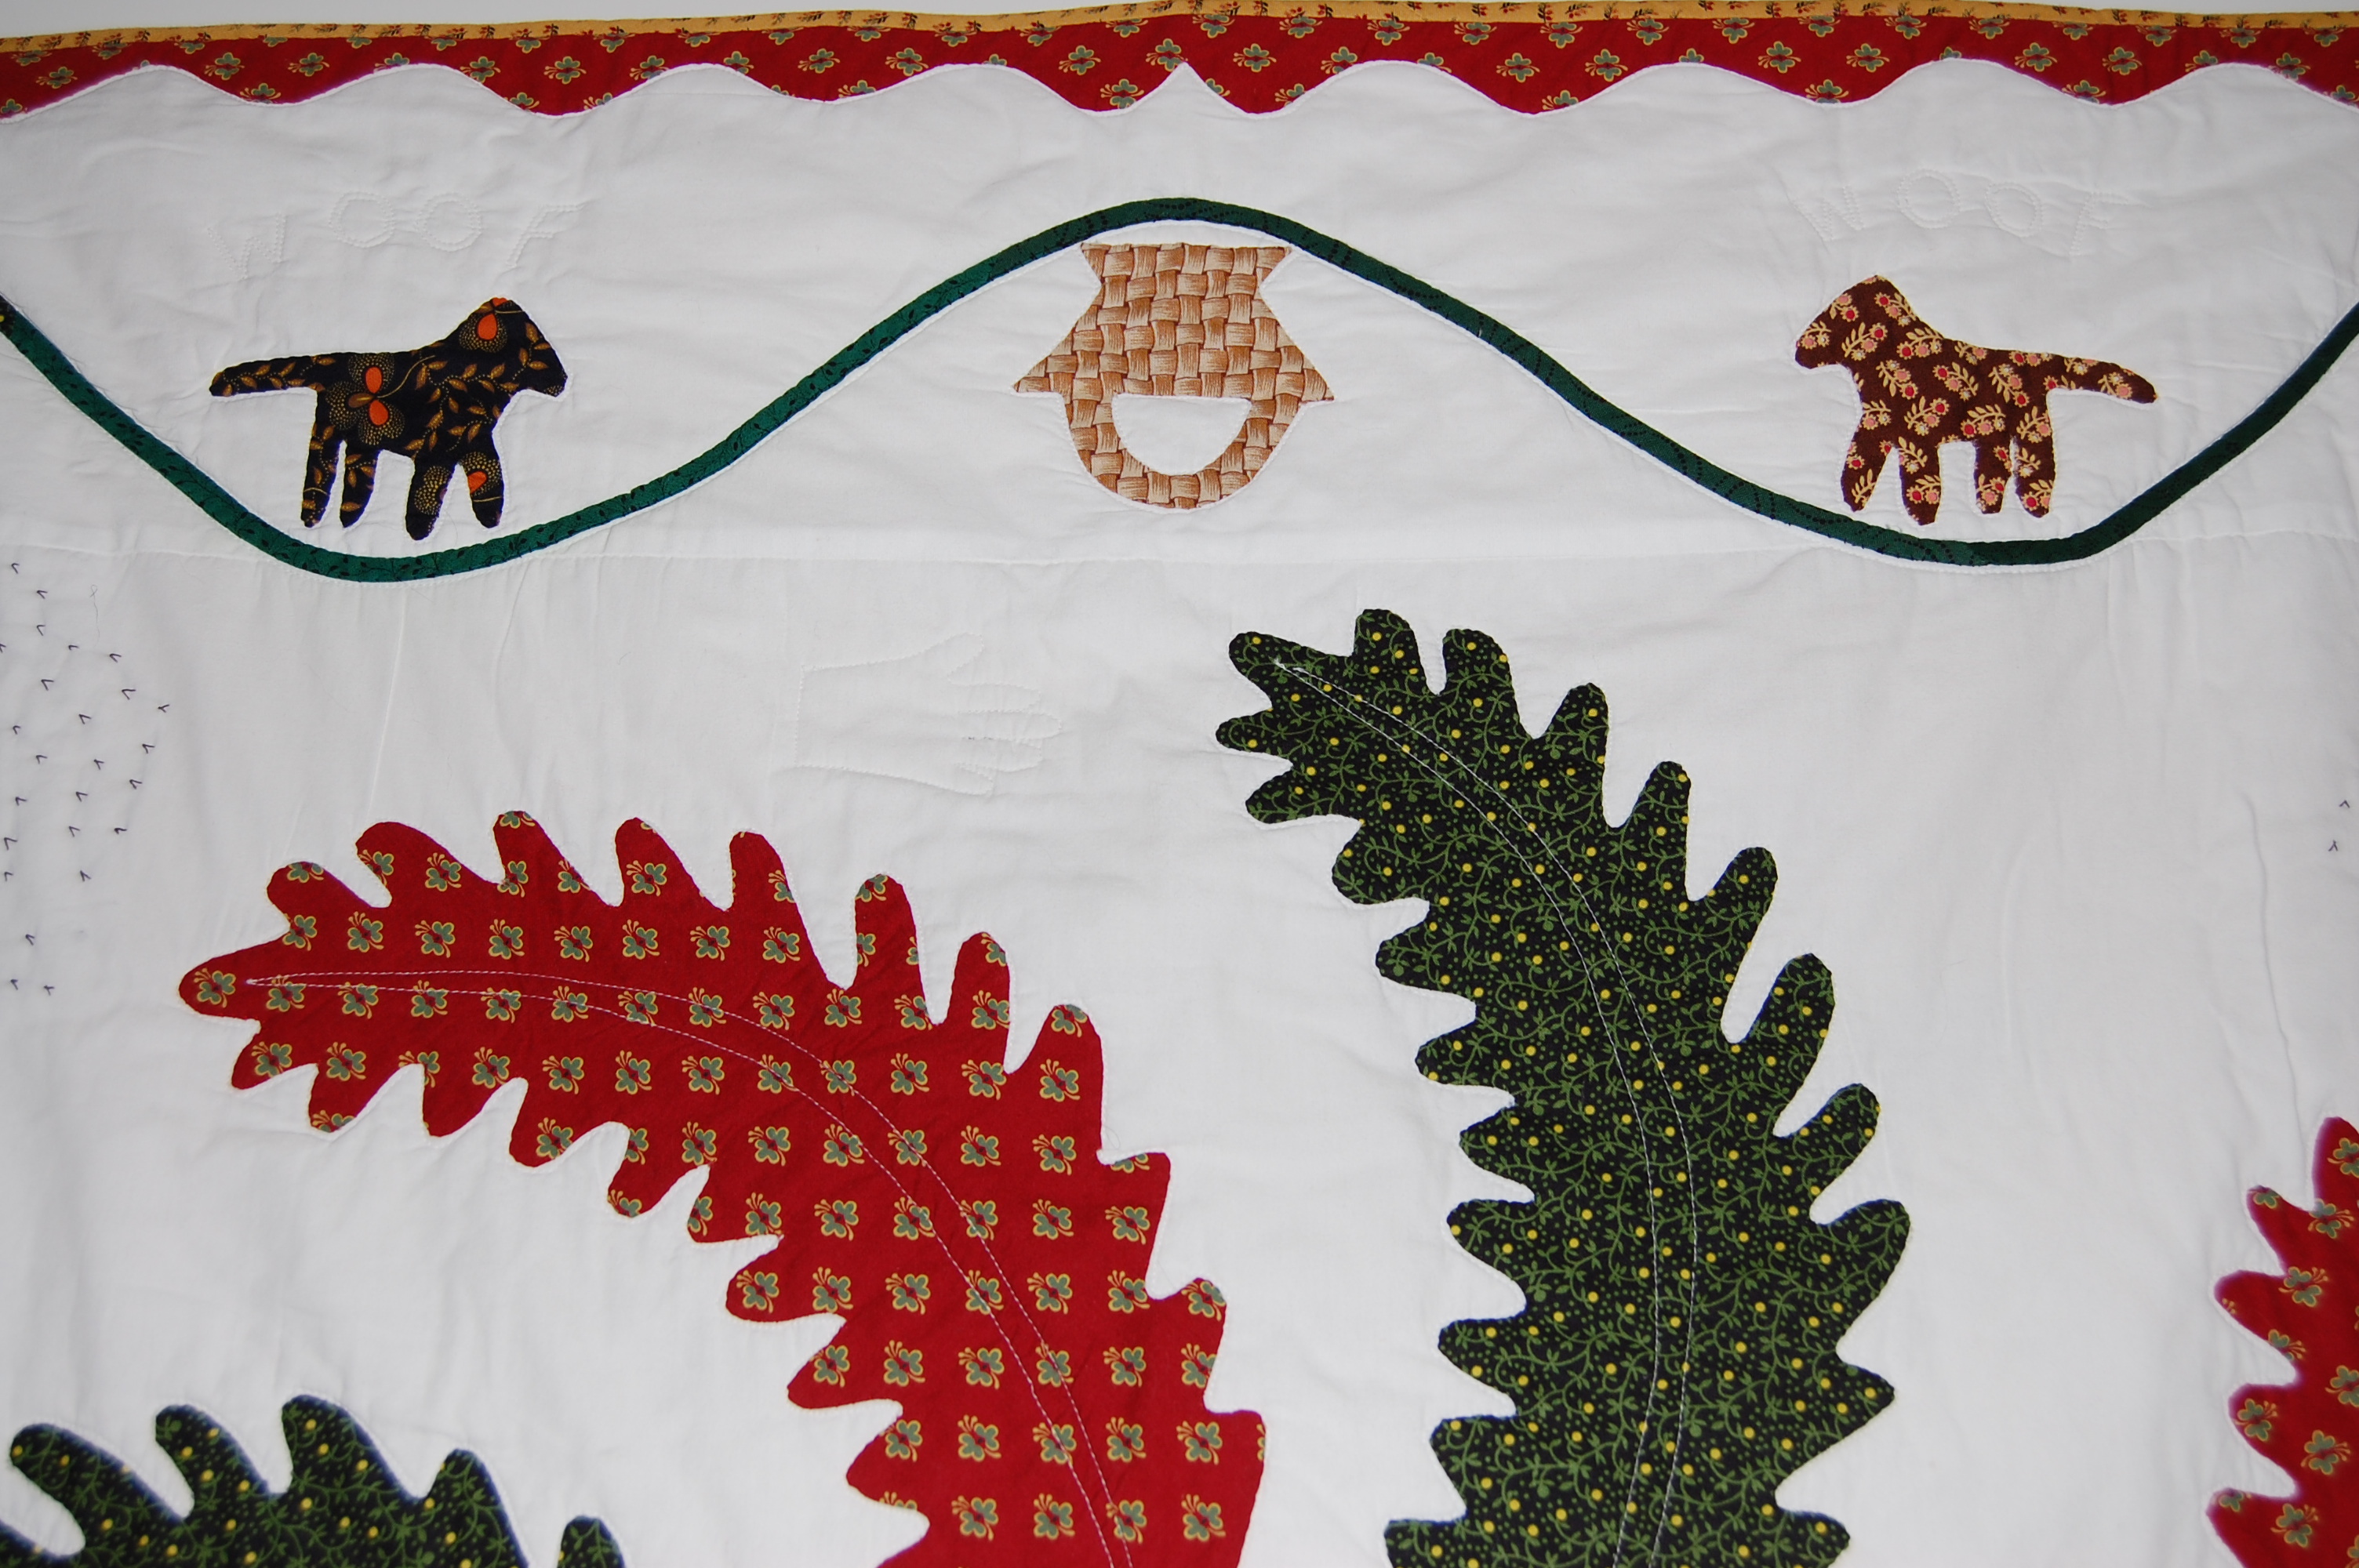
The animals – dog, cat, chicken, and bees (flying around their hive) – practically designed themselves:
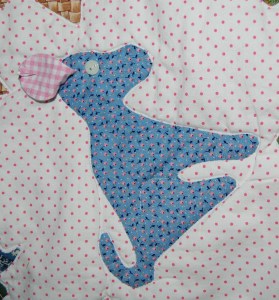
The dog’s ear is floppy! I lined it with pink gingham. Here I have it pinned back so you can see it.
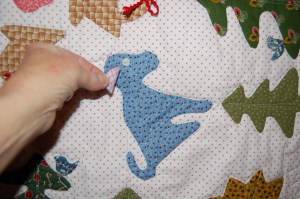
I am a big fan of the dog’s ear – so another look at it.
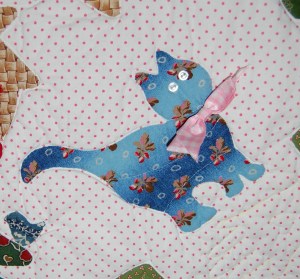
One of our cats wears a pink collar – thus the pink gingham ribbon for this cat. I added her smile after I had taken this photo.

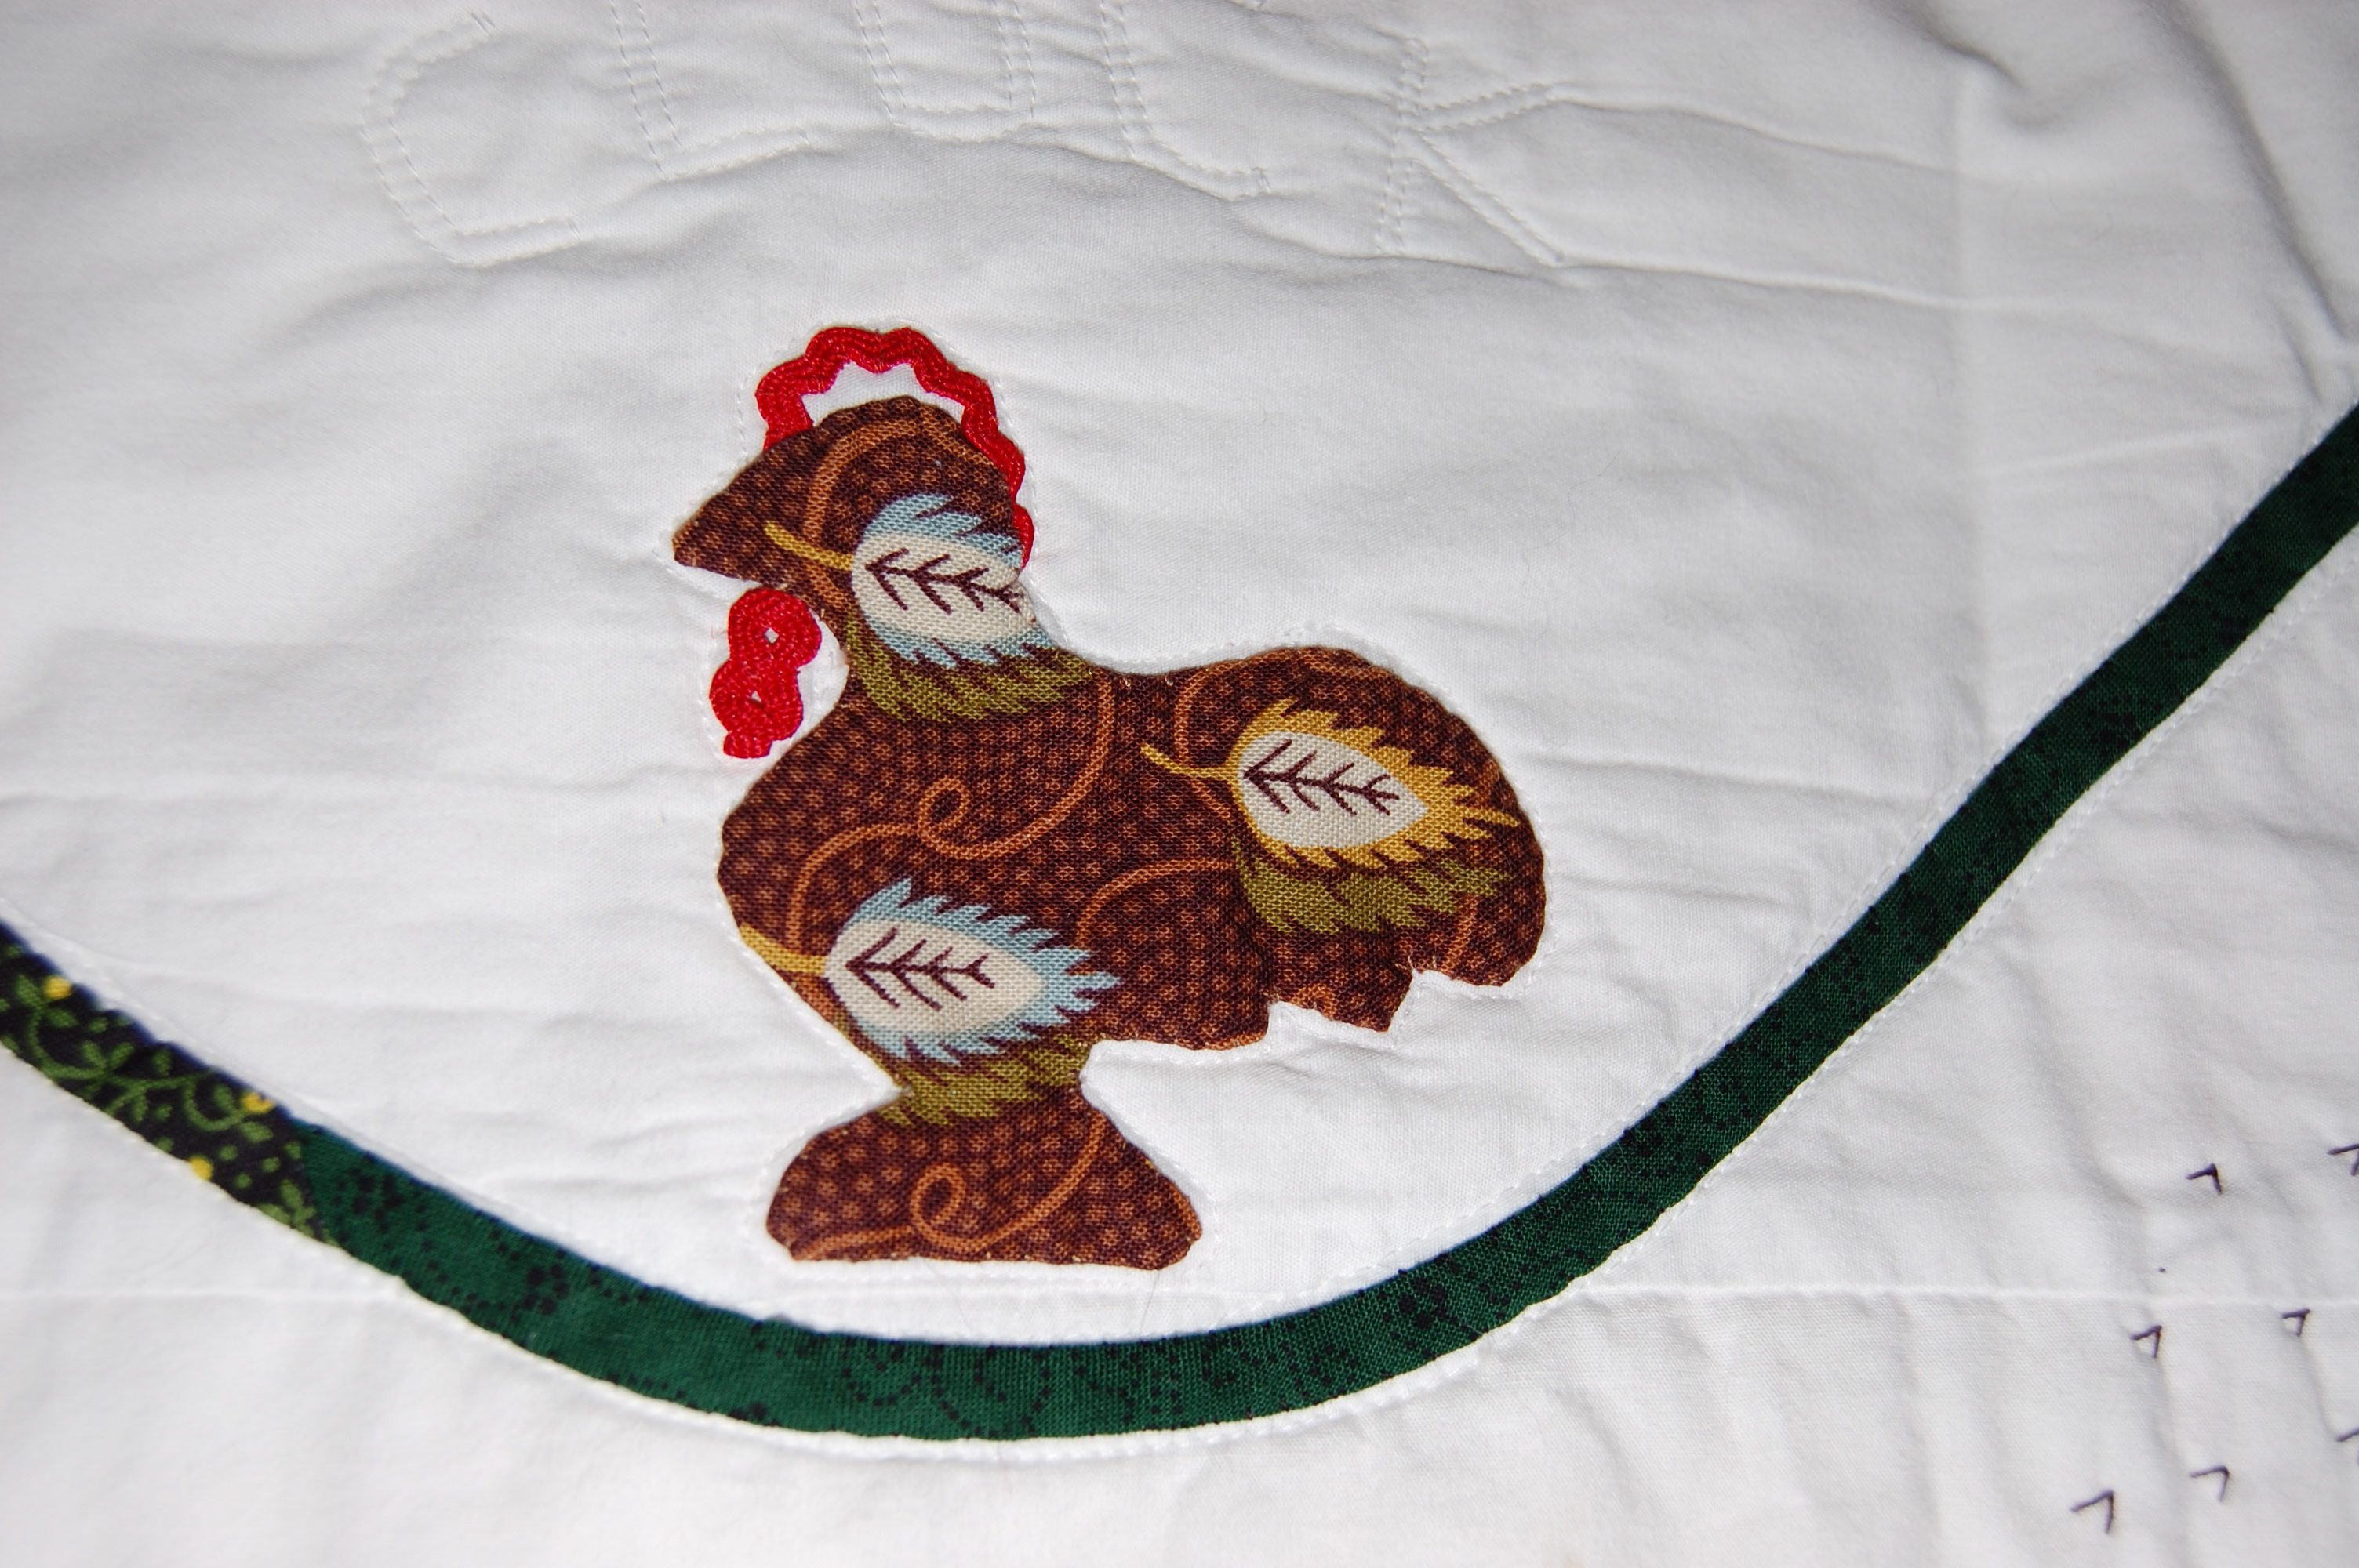
I embellished the chicken with wide rick rack. One of the fun aspects of designing a quilt is the ability to select the perfect fabric to tell your story – this hen has feathers!
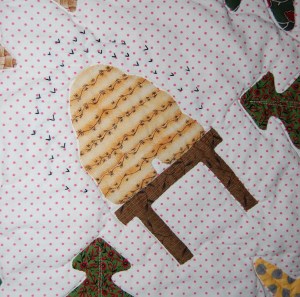
Bees a-buzzing around their hive!
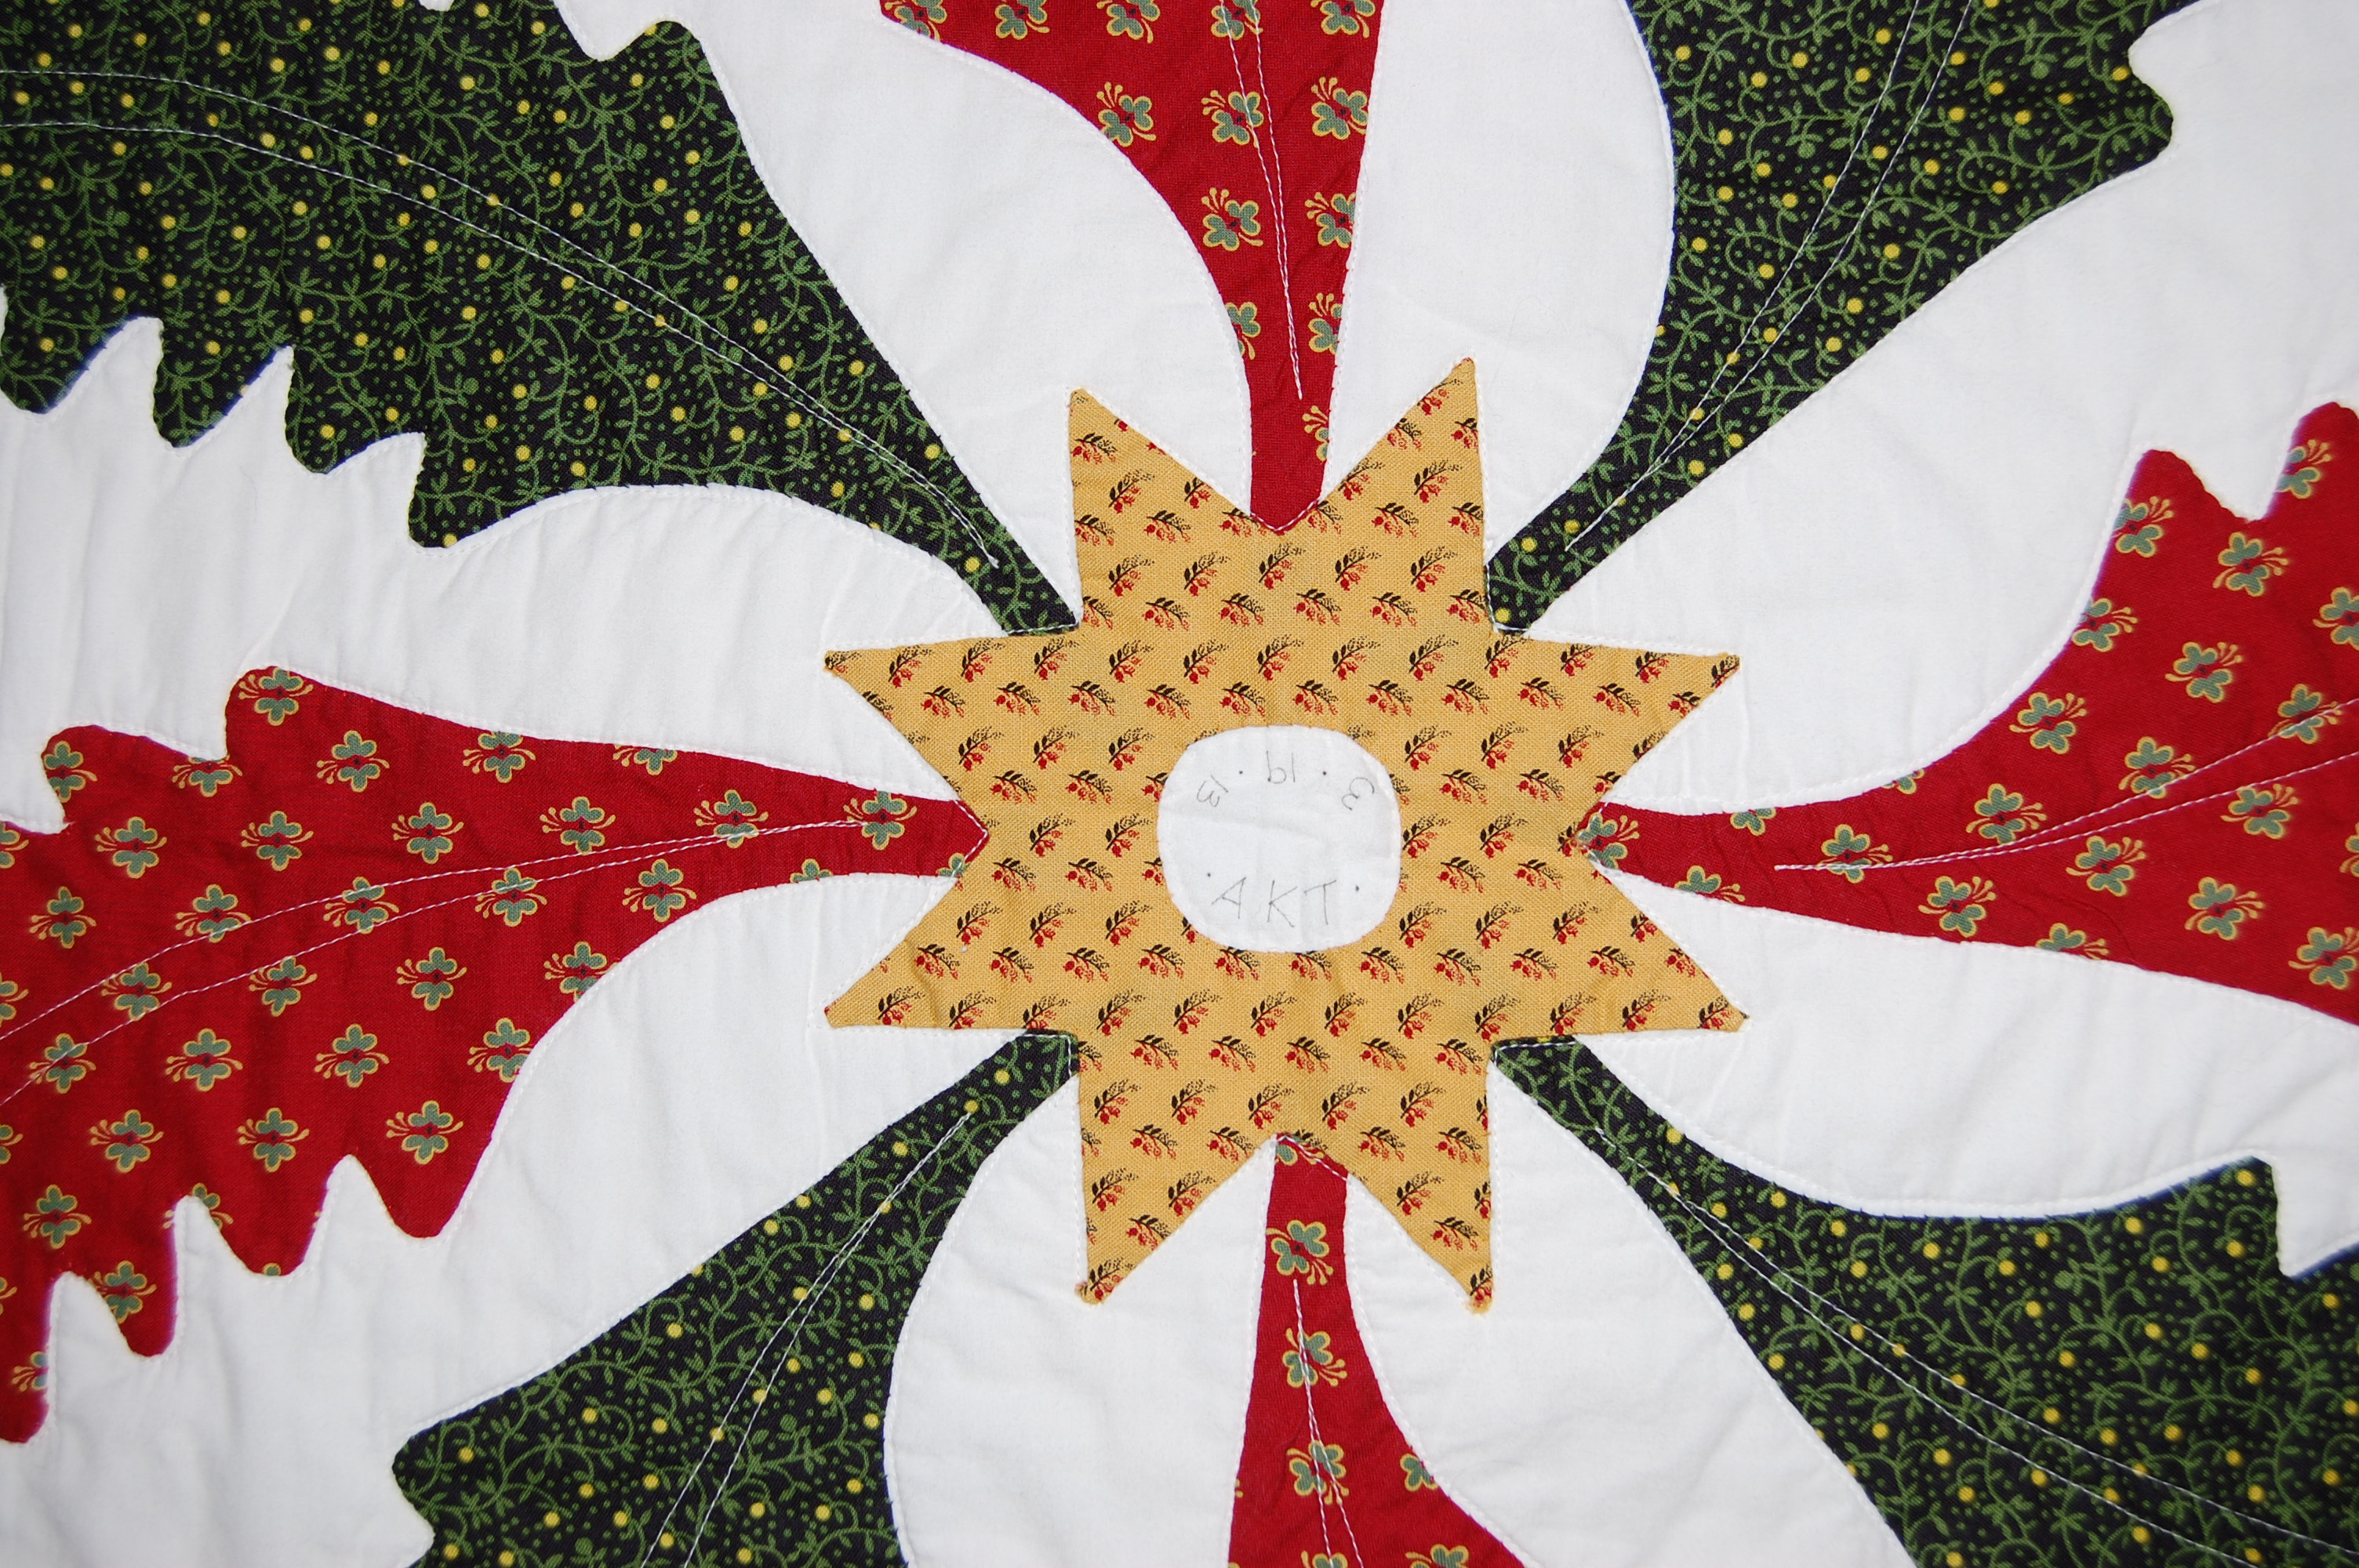
Each interior corner of the middle field is anchored by the Sun, the Moon, and the Stars:
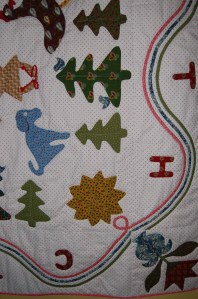
The sun in this corner.
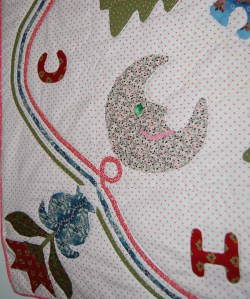
A smiling moon, with rick rack mouth and a green button eye.
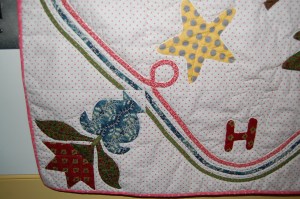
Polka dotted stars in the other corners.
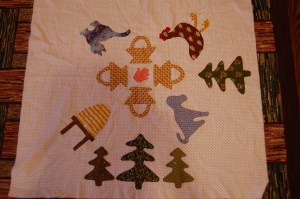
You are seeing sections of the finished quilt, but here are some “in progress” photos, showing the freezer paper appliqués that were easy to spread out so that I could consider the placement of each one.
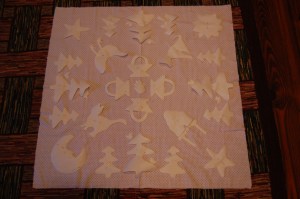
This was how I knew I had the right composition of the quilt. Then it was on to hours and hours and hours of hand appliqué!
It was rewarding to see this progress!
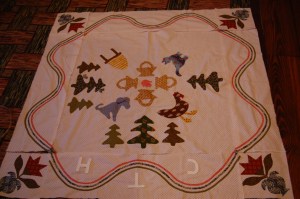
I would occasionally place the border pieces on the edges to see if I liked how it looked. With quilts, I am known to make decisions as I go along.
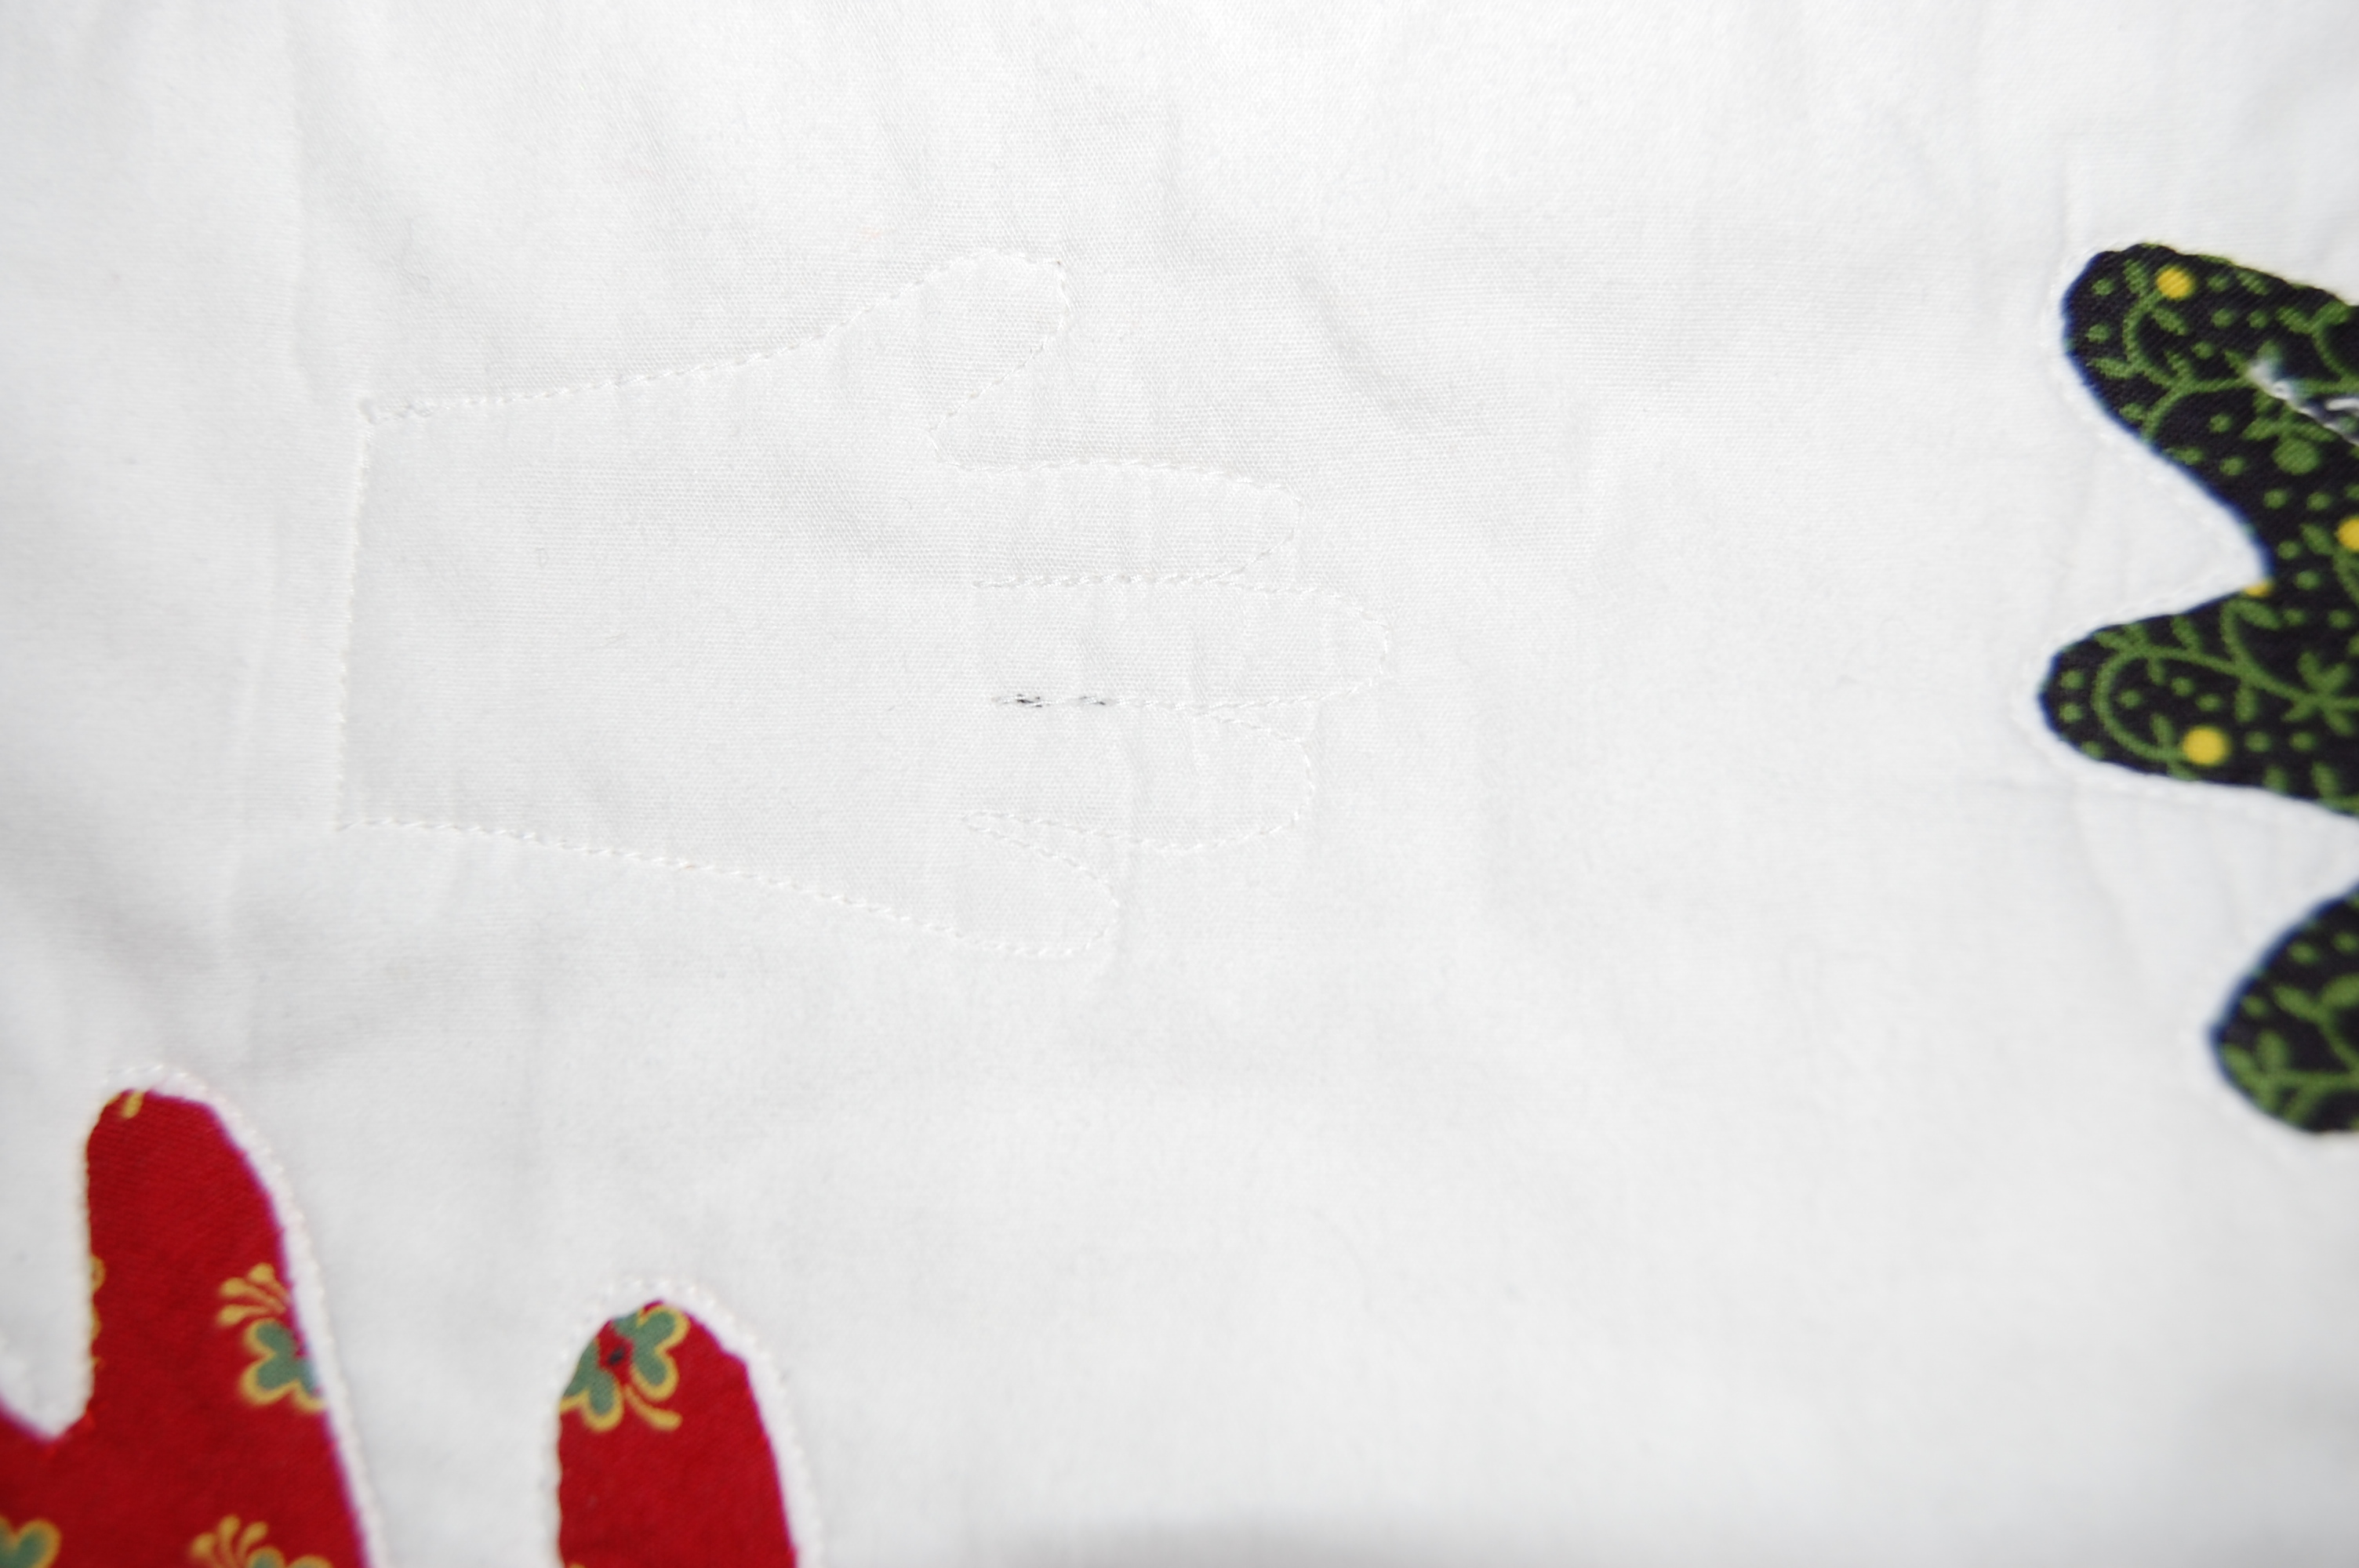
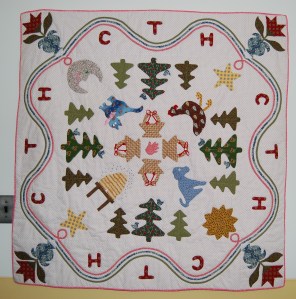
Once I had the center finished, the borders needed something else. I decided Carolina’s initials – CHT – would be the perfect addition, appliquéd with the surname initial in the prominent outer and middle position on each edge. See the above photo for my thinking process on this.
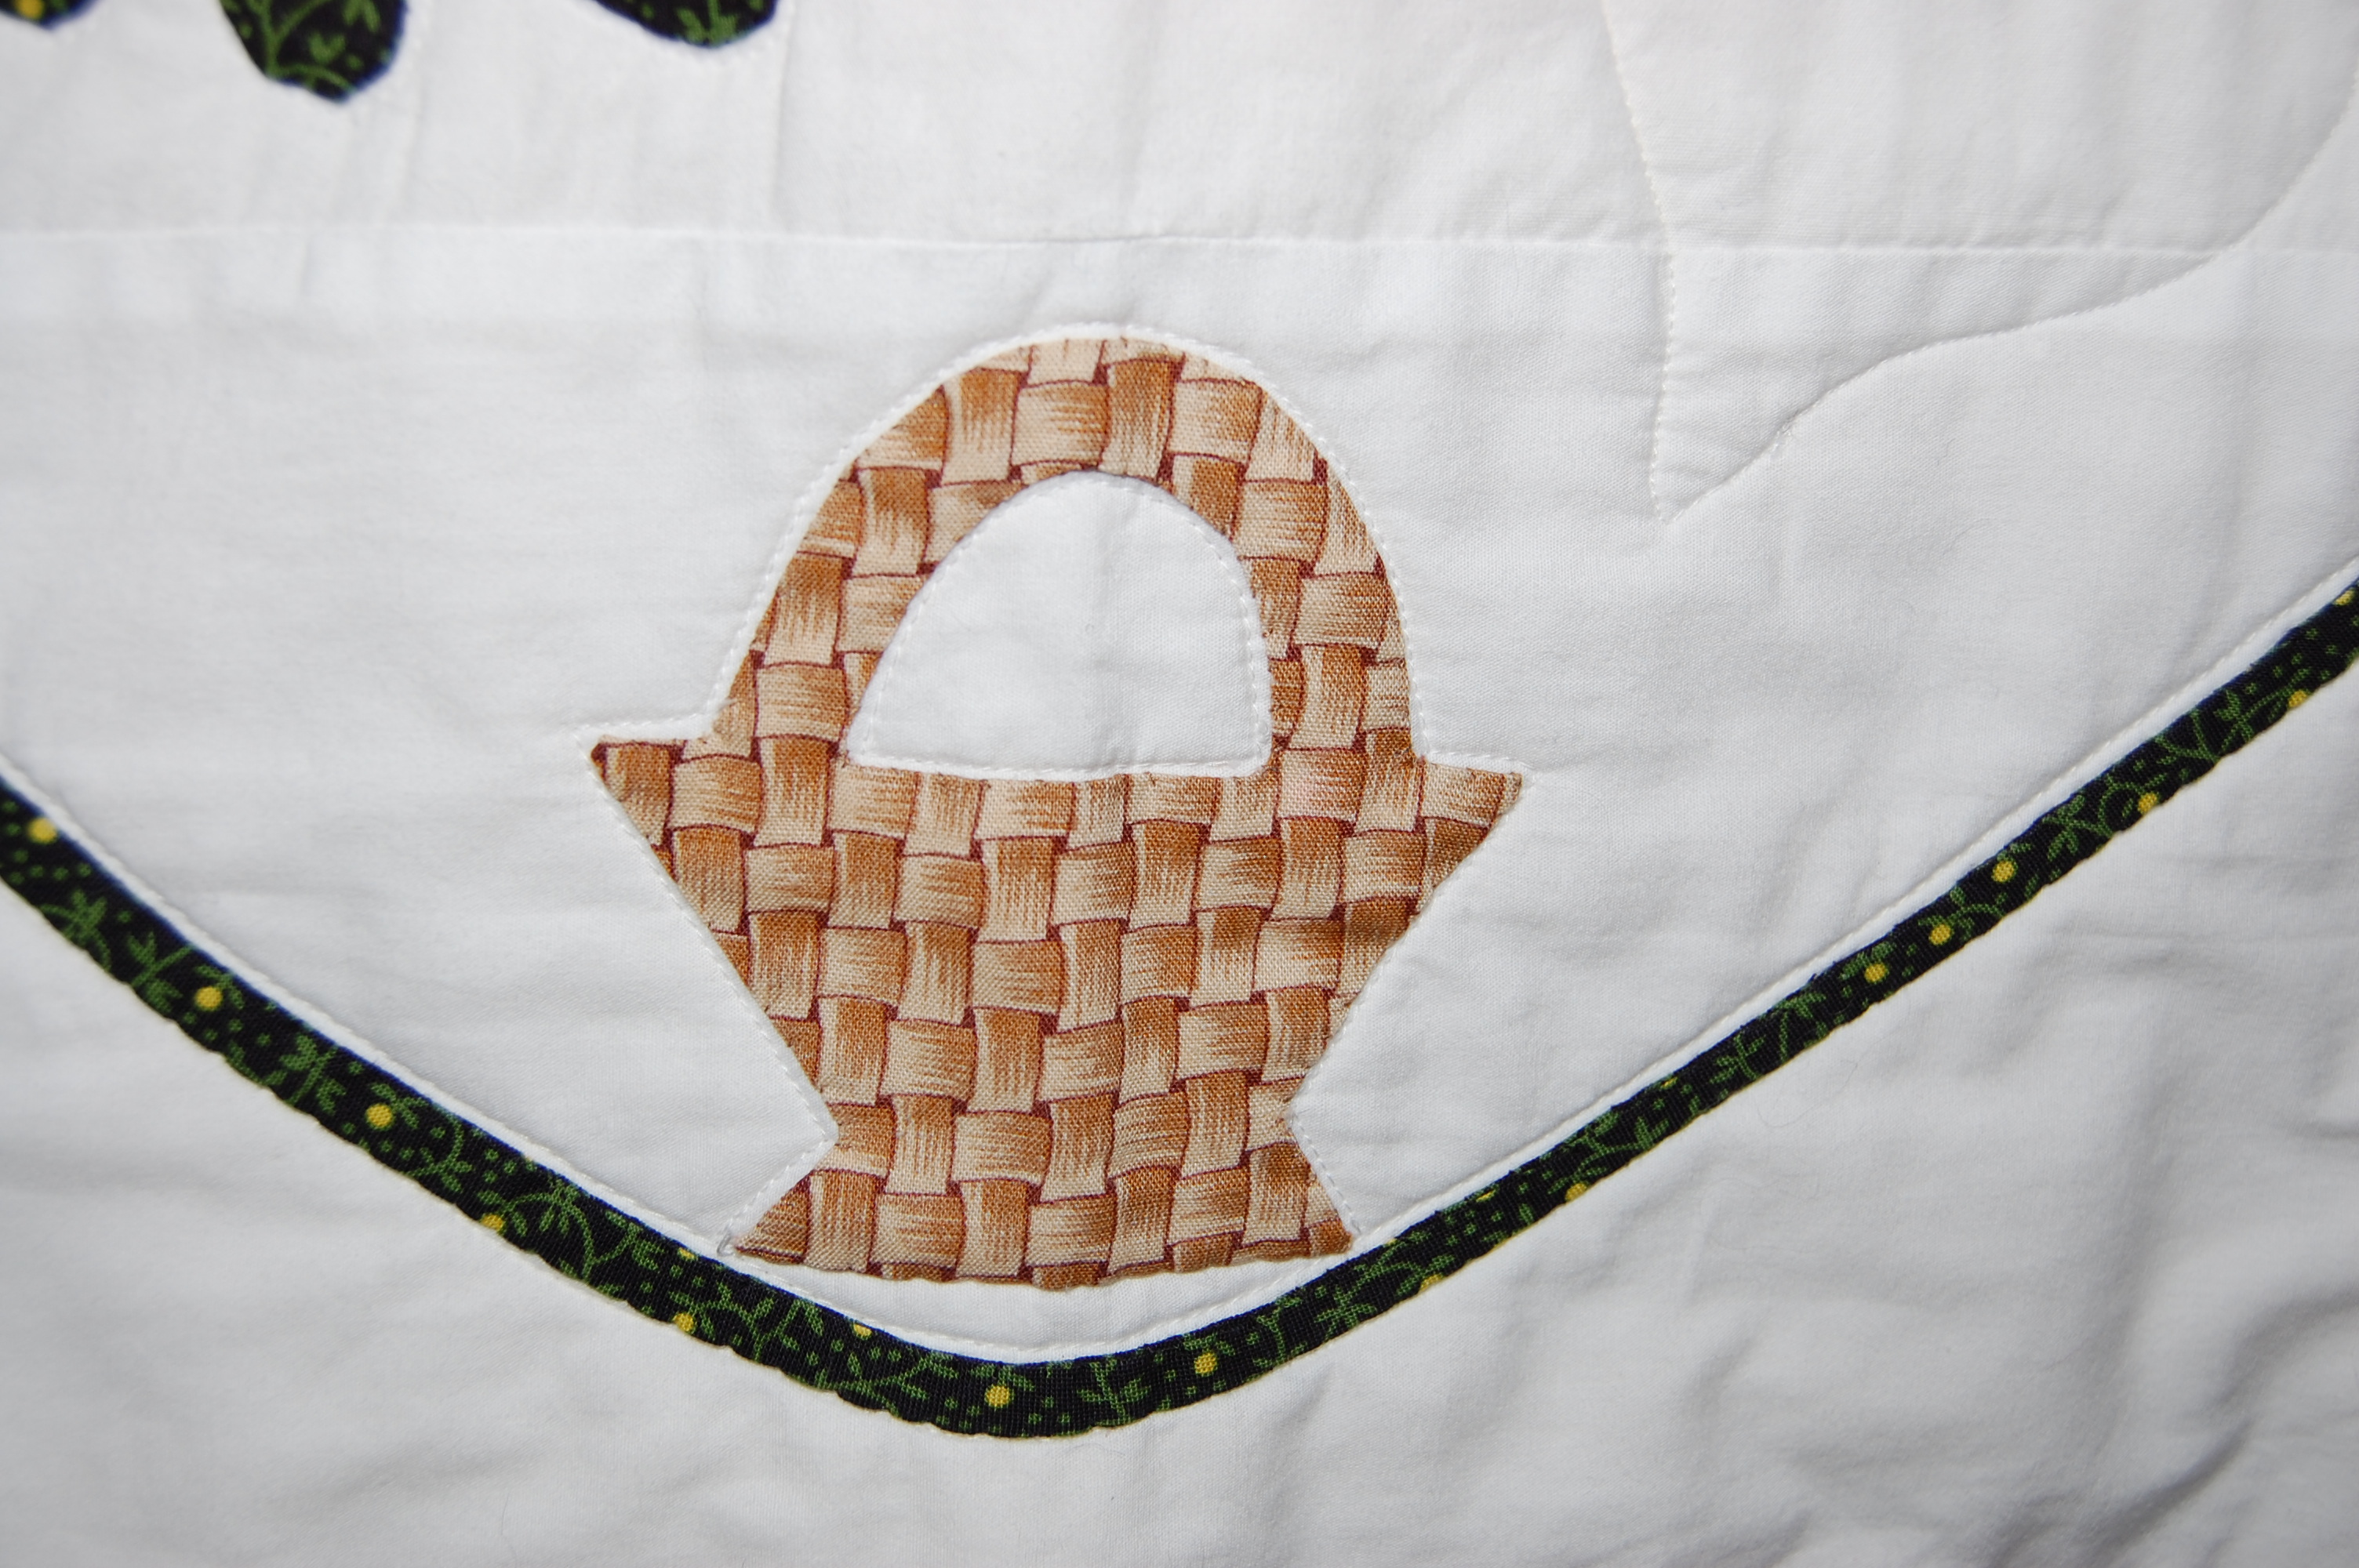
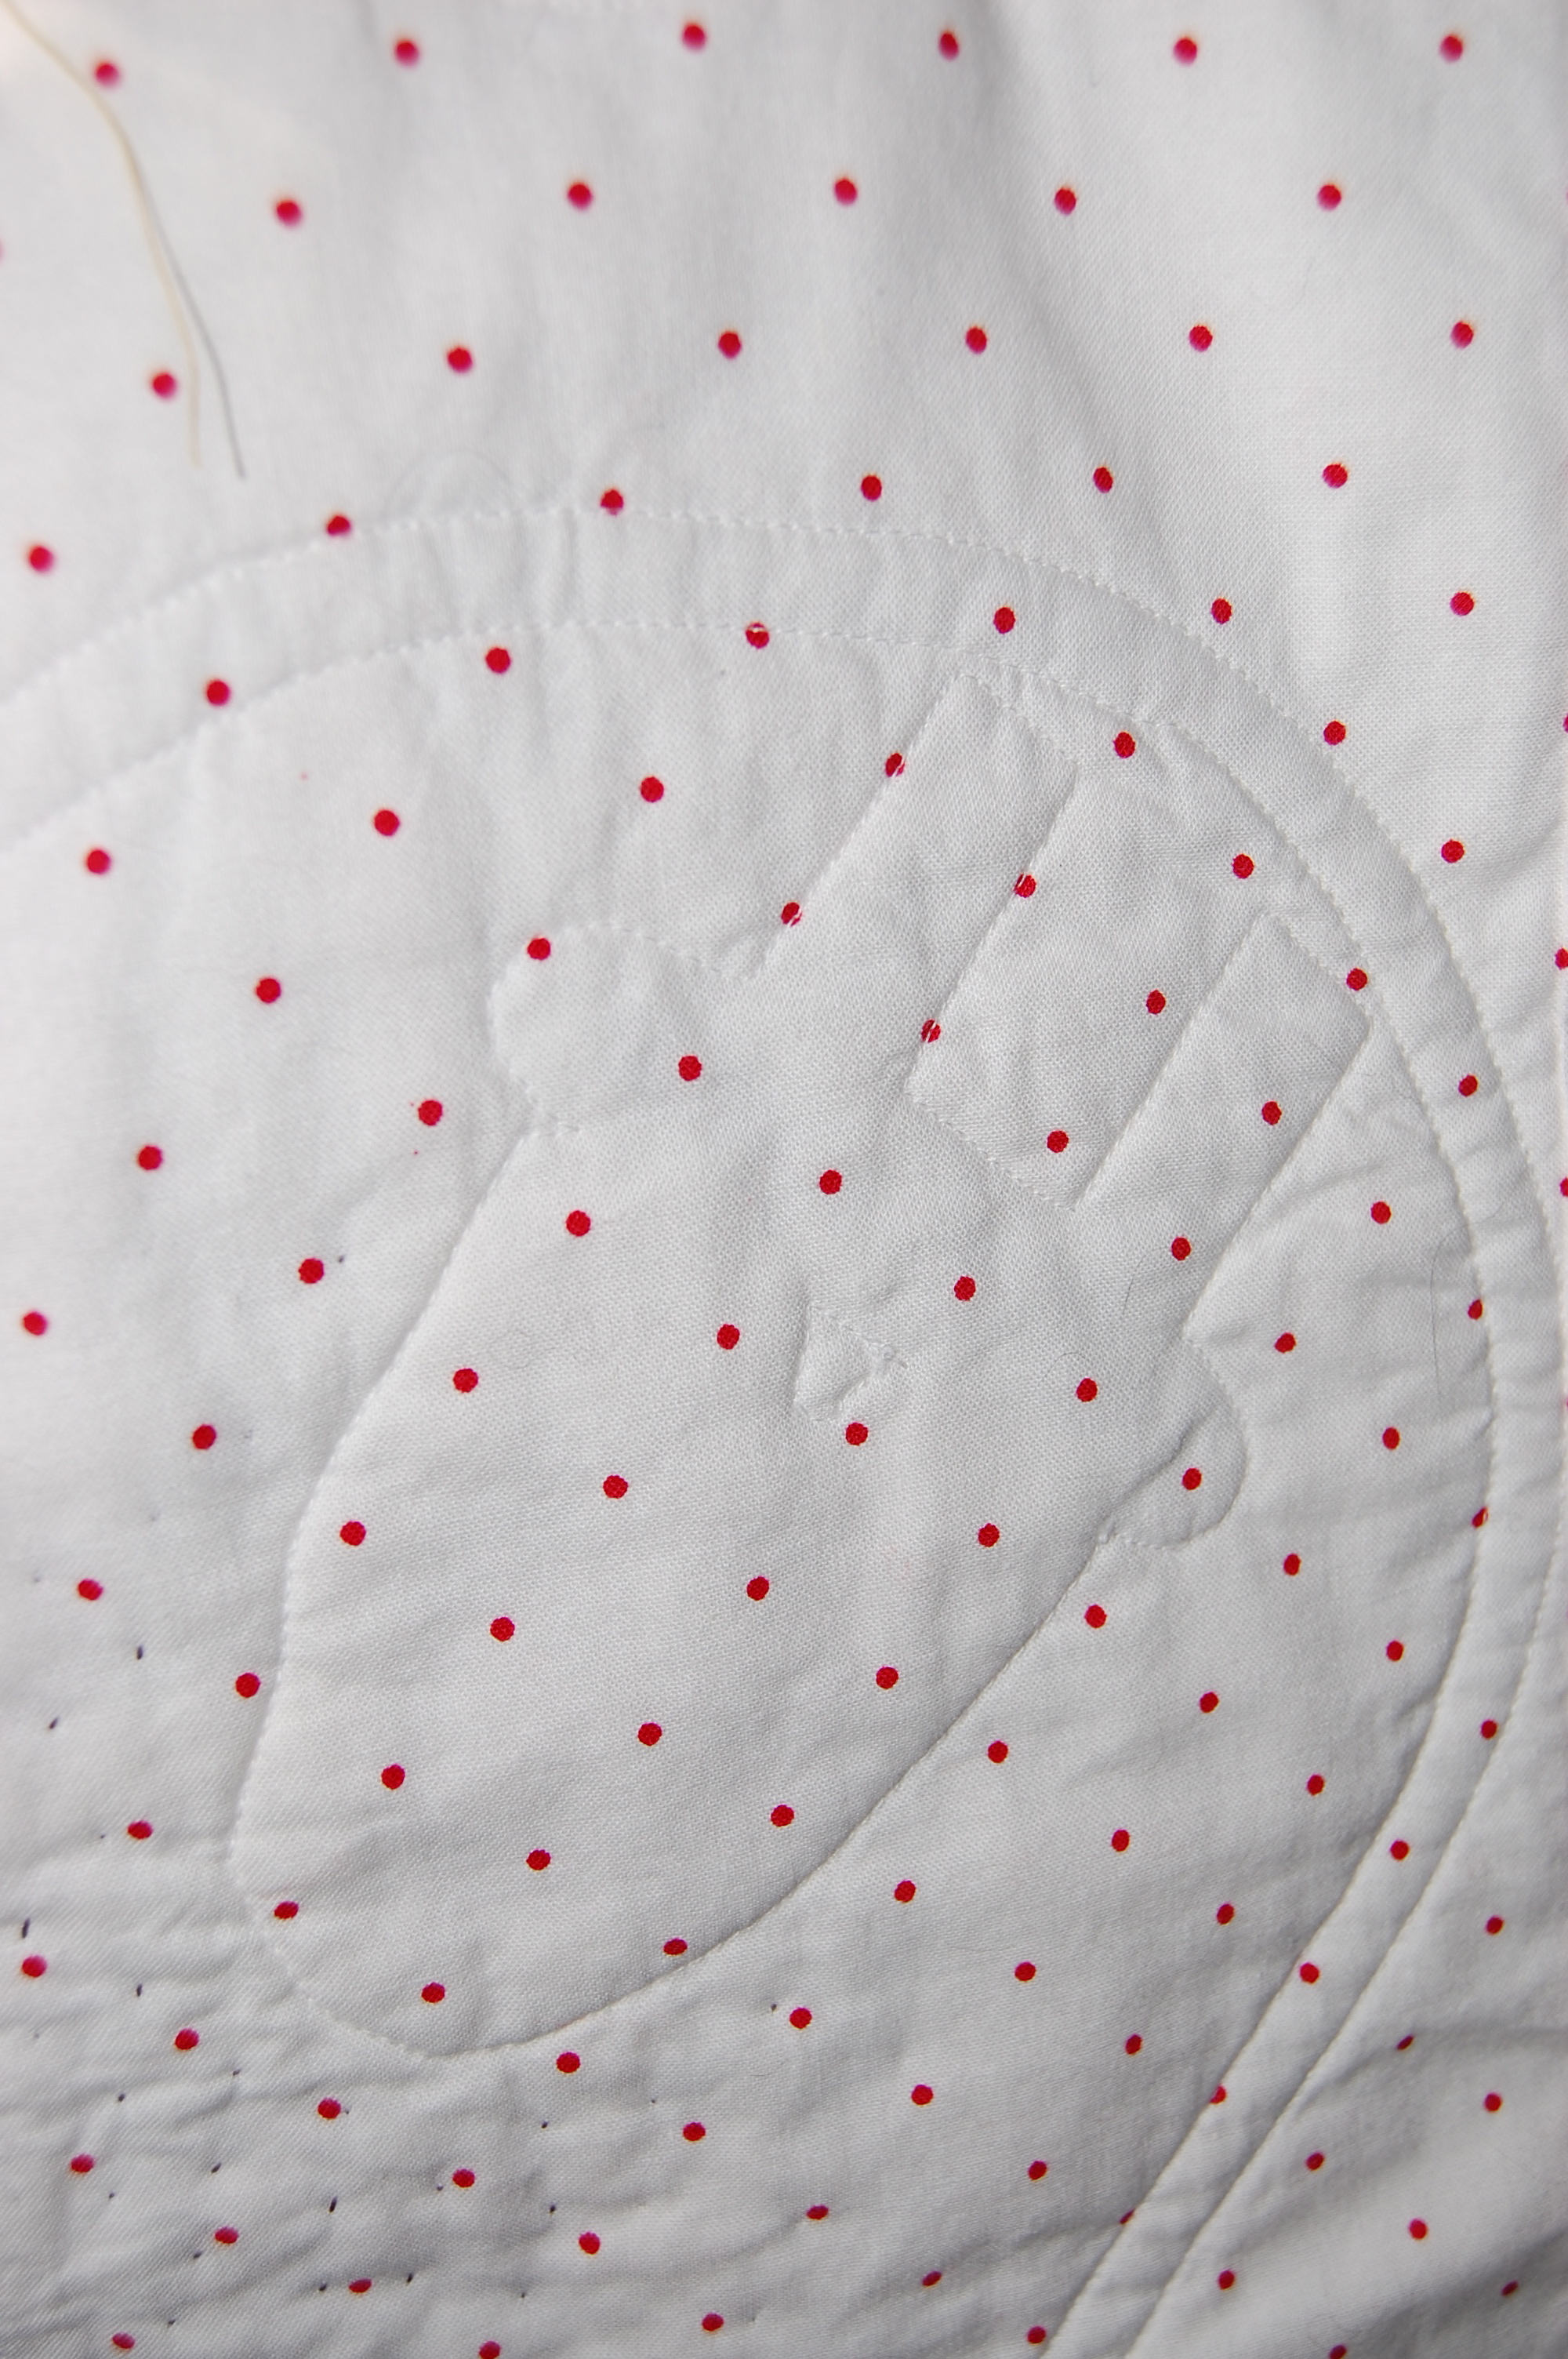
A baby hand is appliquéd in the center, surrounded by baskets, ready to be filled to their brims by her imagination, just as with Aida’s quilt.
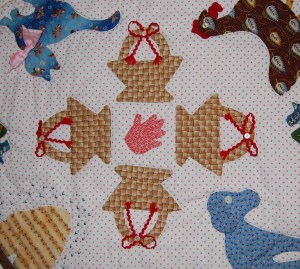
I added the red rick rack bows, secured by vintage buttons, because I thought the center of the quilt needed more “heft” – and I was pleased with the effect this small addition made. (I took this photo before I had trimmed the ends of the rick rack even.)
I neglected to take a photo of the back of the quilt. I chose pink gingham cotton – in Carolina pink! – to make cuddling under it even more fun – and it serves as a tie-in with the bow on the cat, and the dog’s floppy ear.
I finally finished this quilt just one day before our whole family arrived for the holiday. I was obviously so glad to have it done, but then I found myself filled with weepy emotion and grateful wonder at the great blessing of grandchildren and the love that such a quilt can represent.
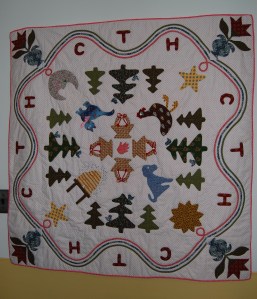
Made with love!
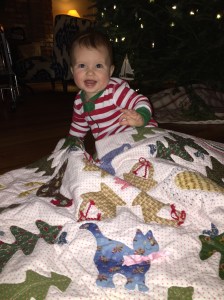
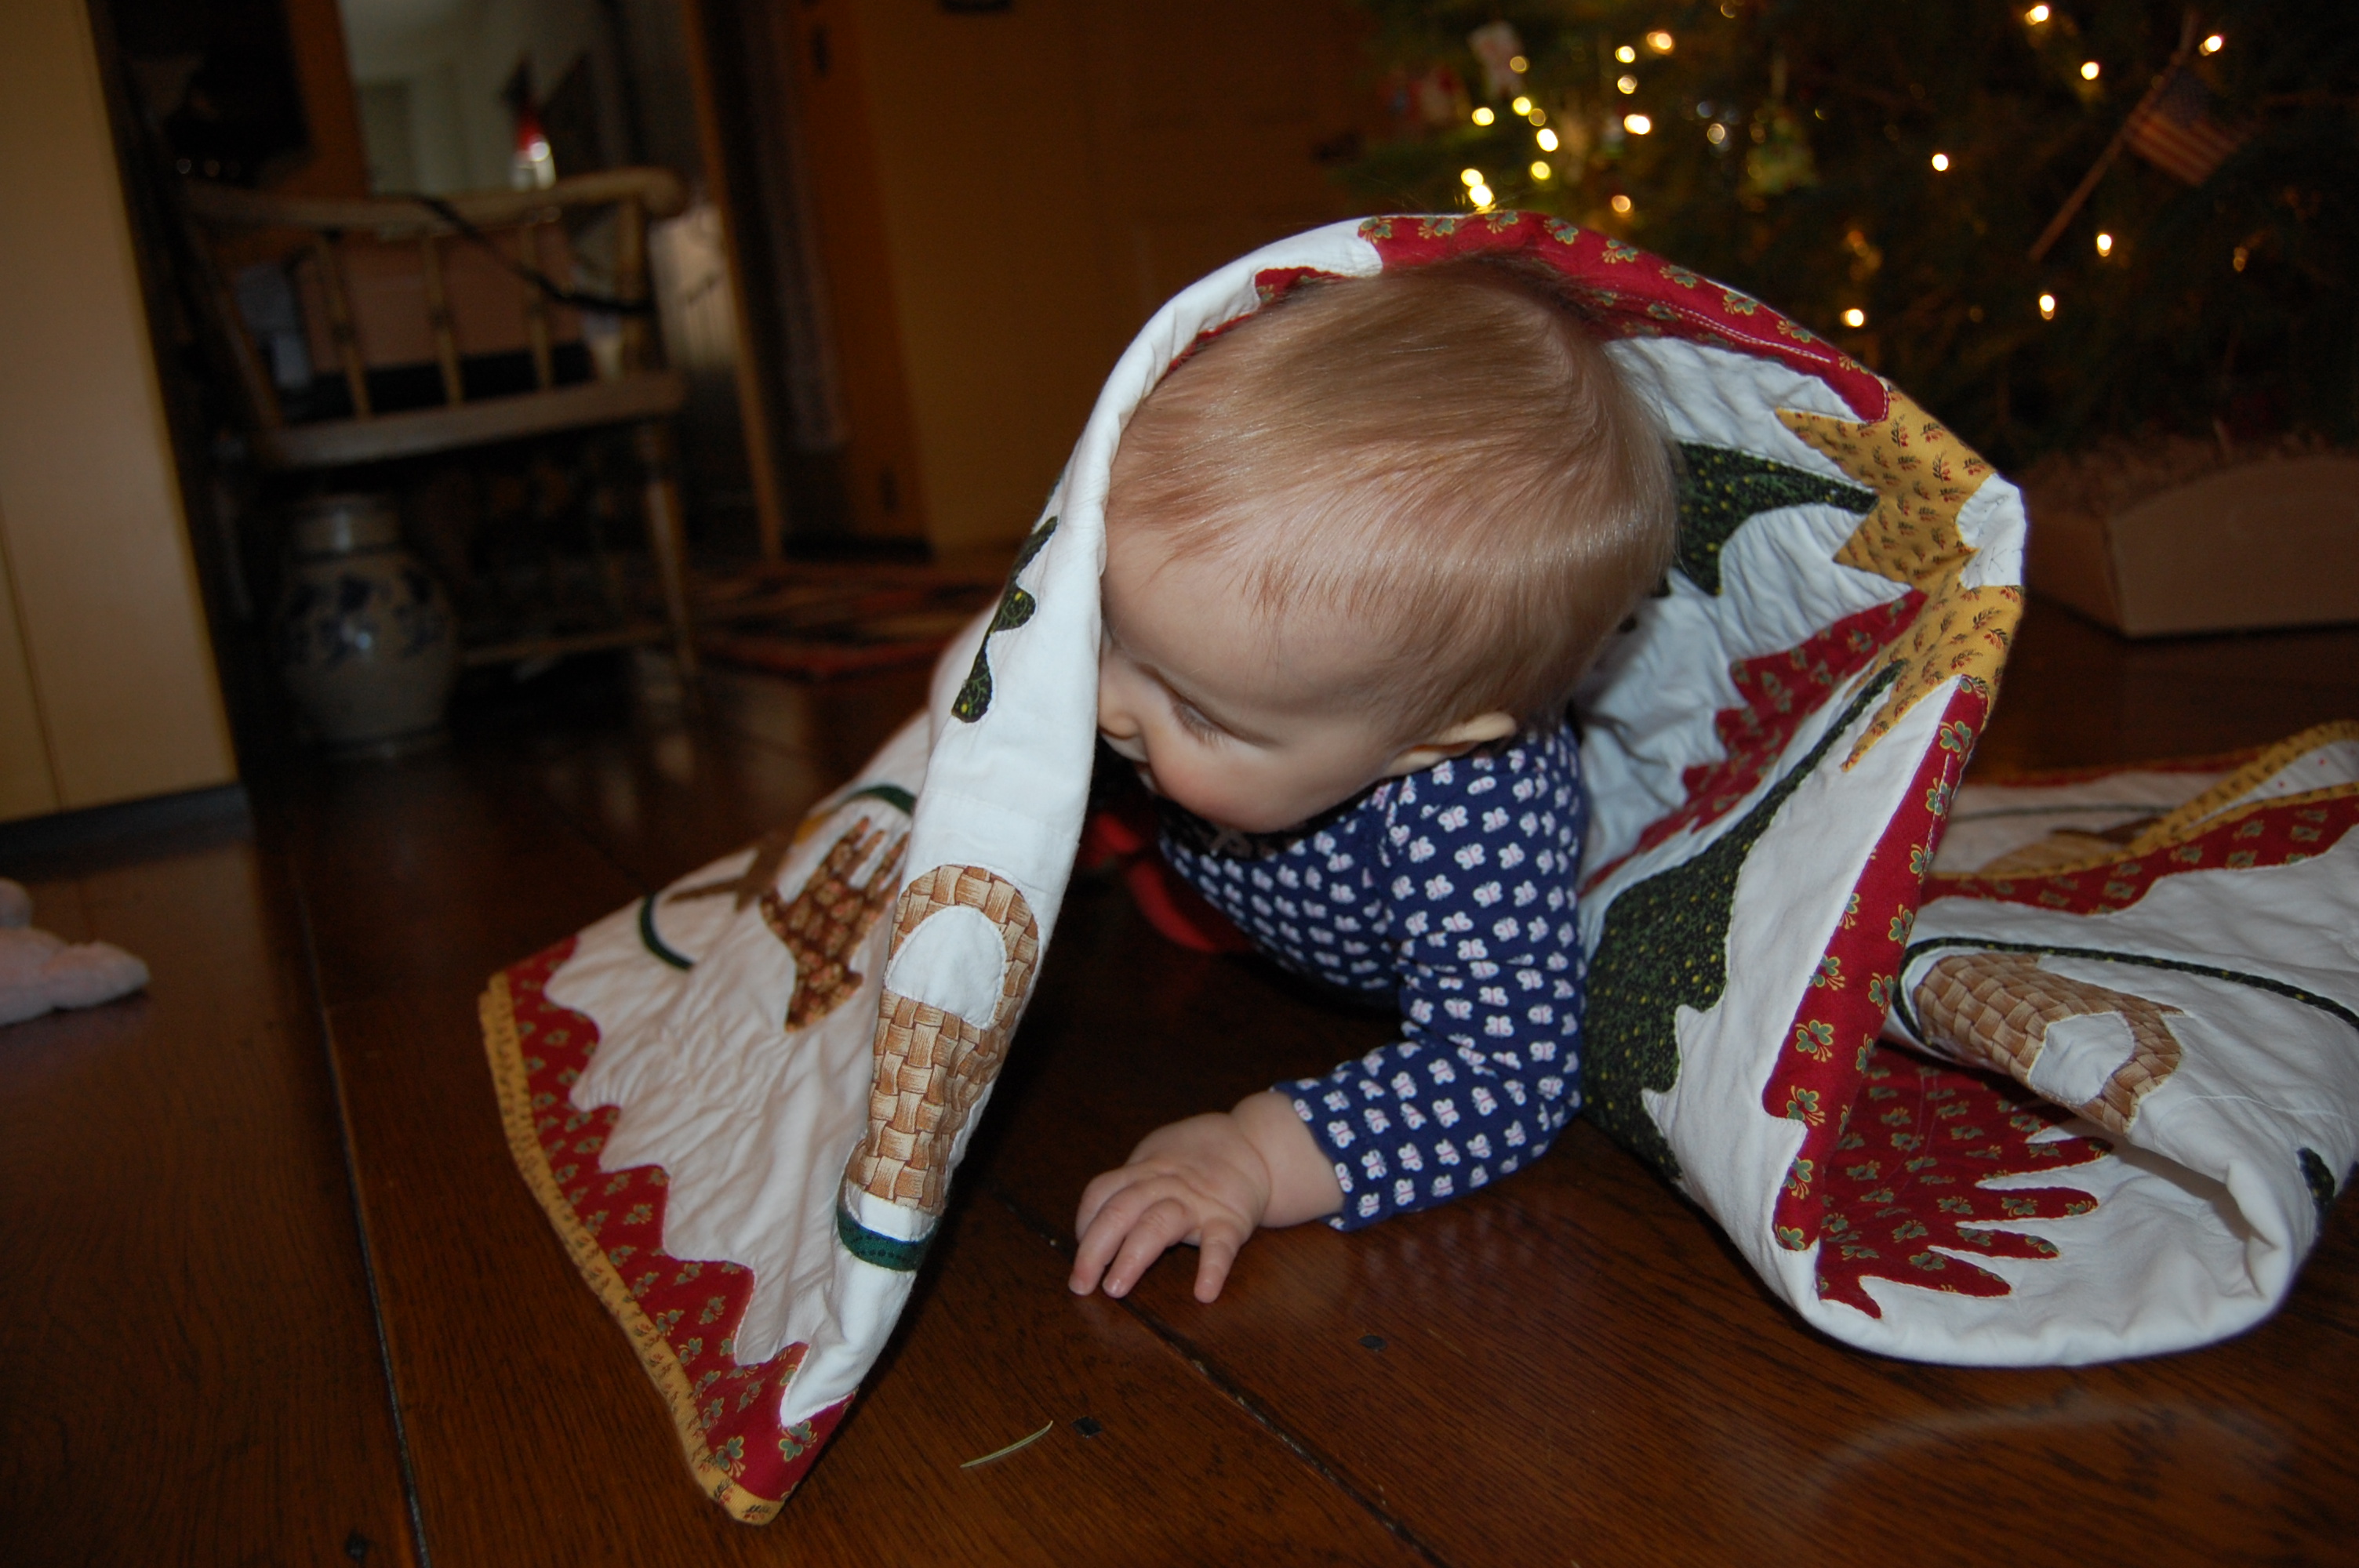
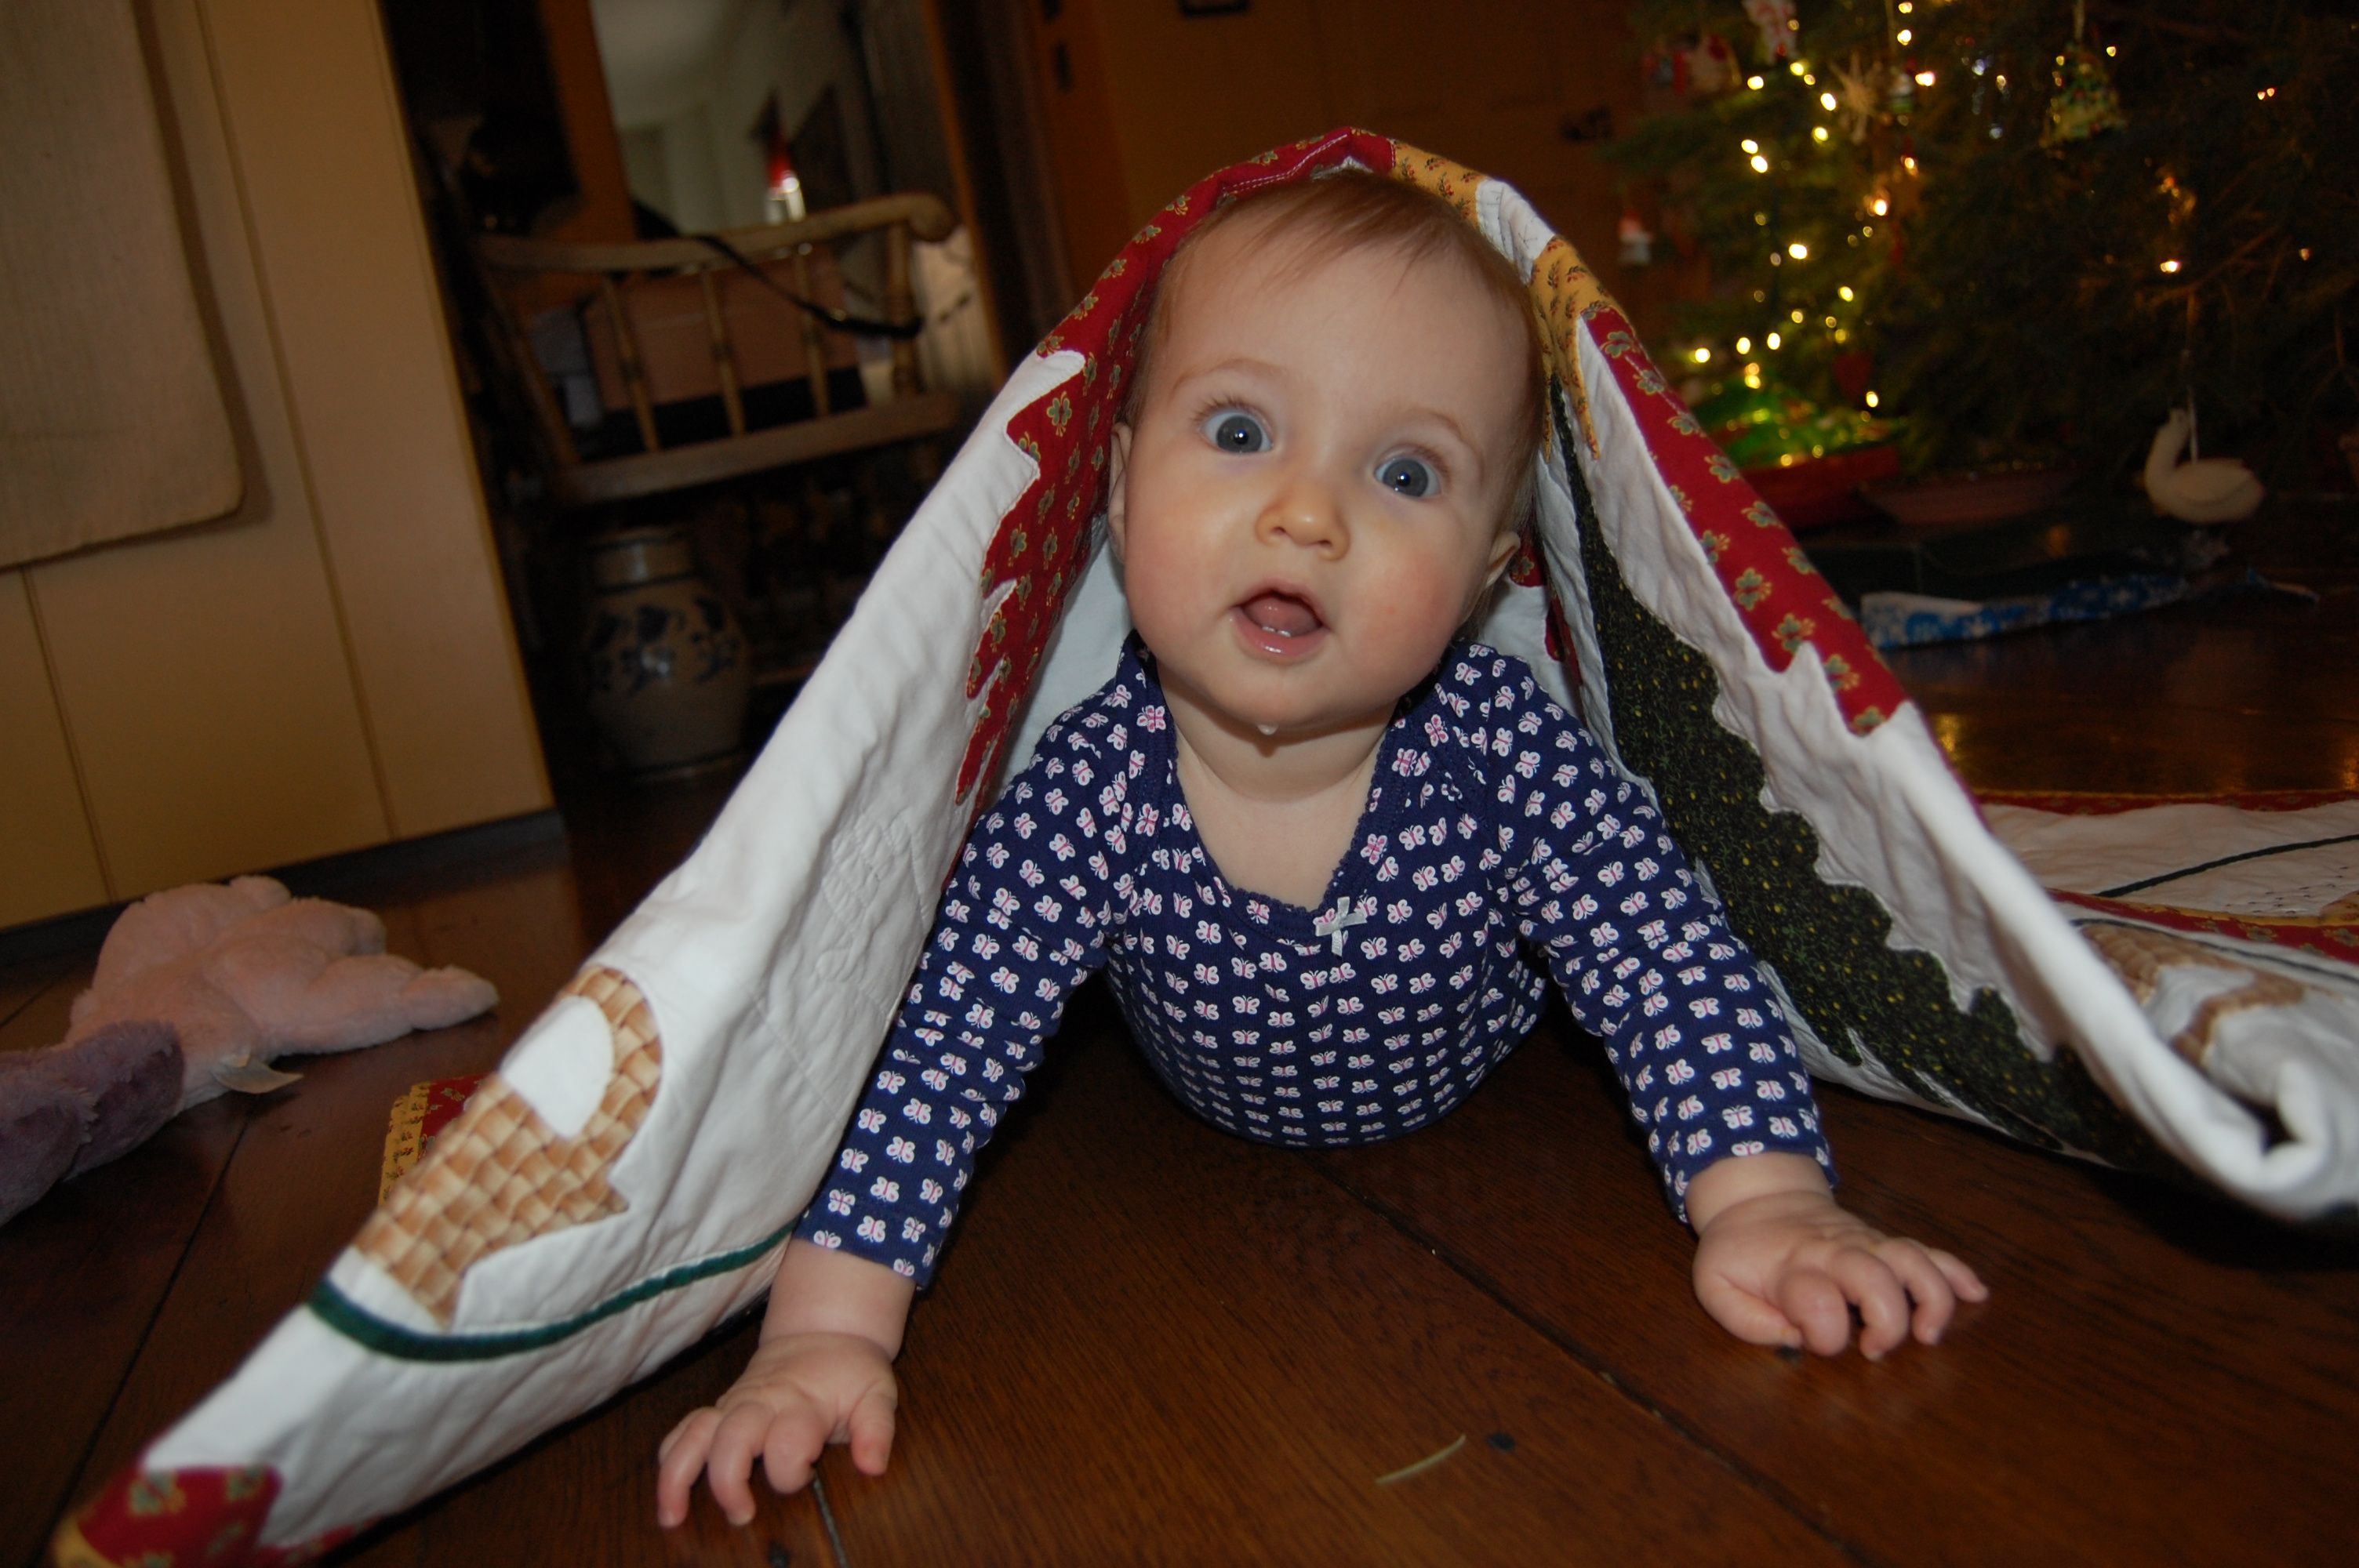
Carolina with her new quilt!
Oh, yes – lest you think Granddaughter #1 was to go without something handmade by her Coco (the name our granddaughters call me!), please think again. I had purchased this pattern a couple of years ago, and decided this was the time to use it.
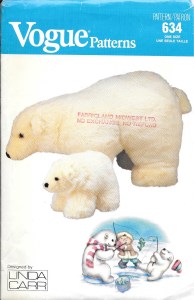
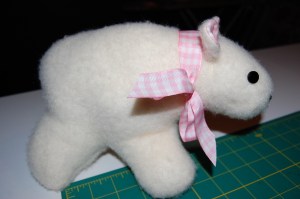
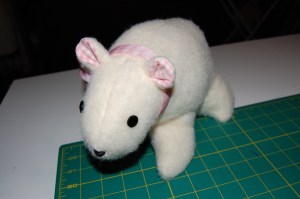
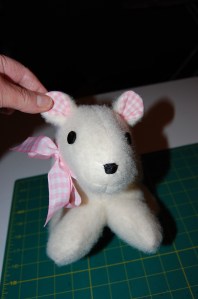
I made the baby polar bear, opting for pink ears and a pink gingham ribbon around its neck.
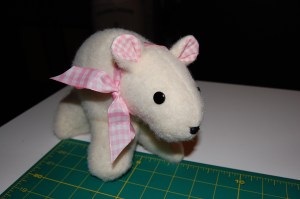
With button eyes and an embroidered nose.
Hello, Aida!
Now, at last – I am ready for the New Year, with all its promise and mystery! Happy 2016 to all of you around the world!