
For a number of years this light, filmy, patterned and printed cotton, made in Italy, had been lurking in my “cottons basket.” I had purchased two yards of it from Mendel Goldberg Fabrics, for a “future” dress presumably.
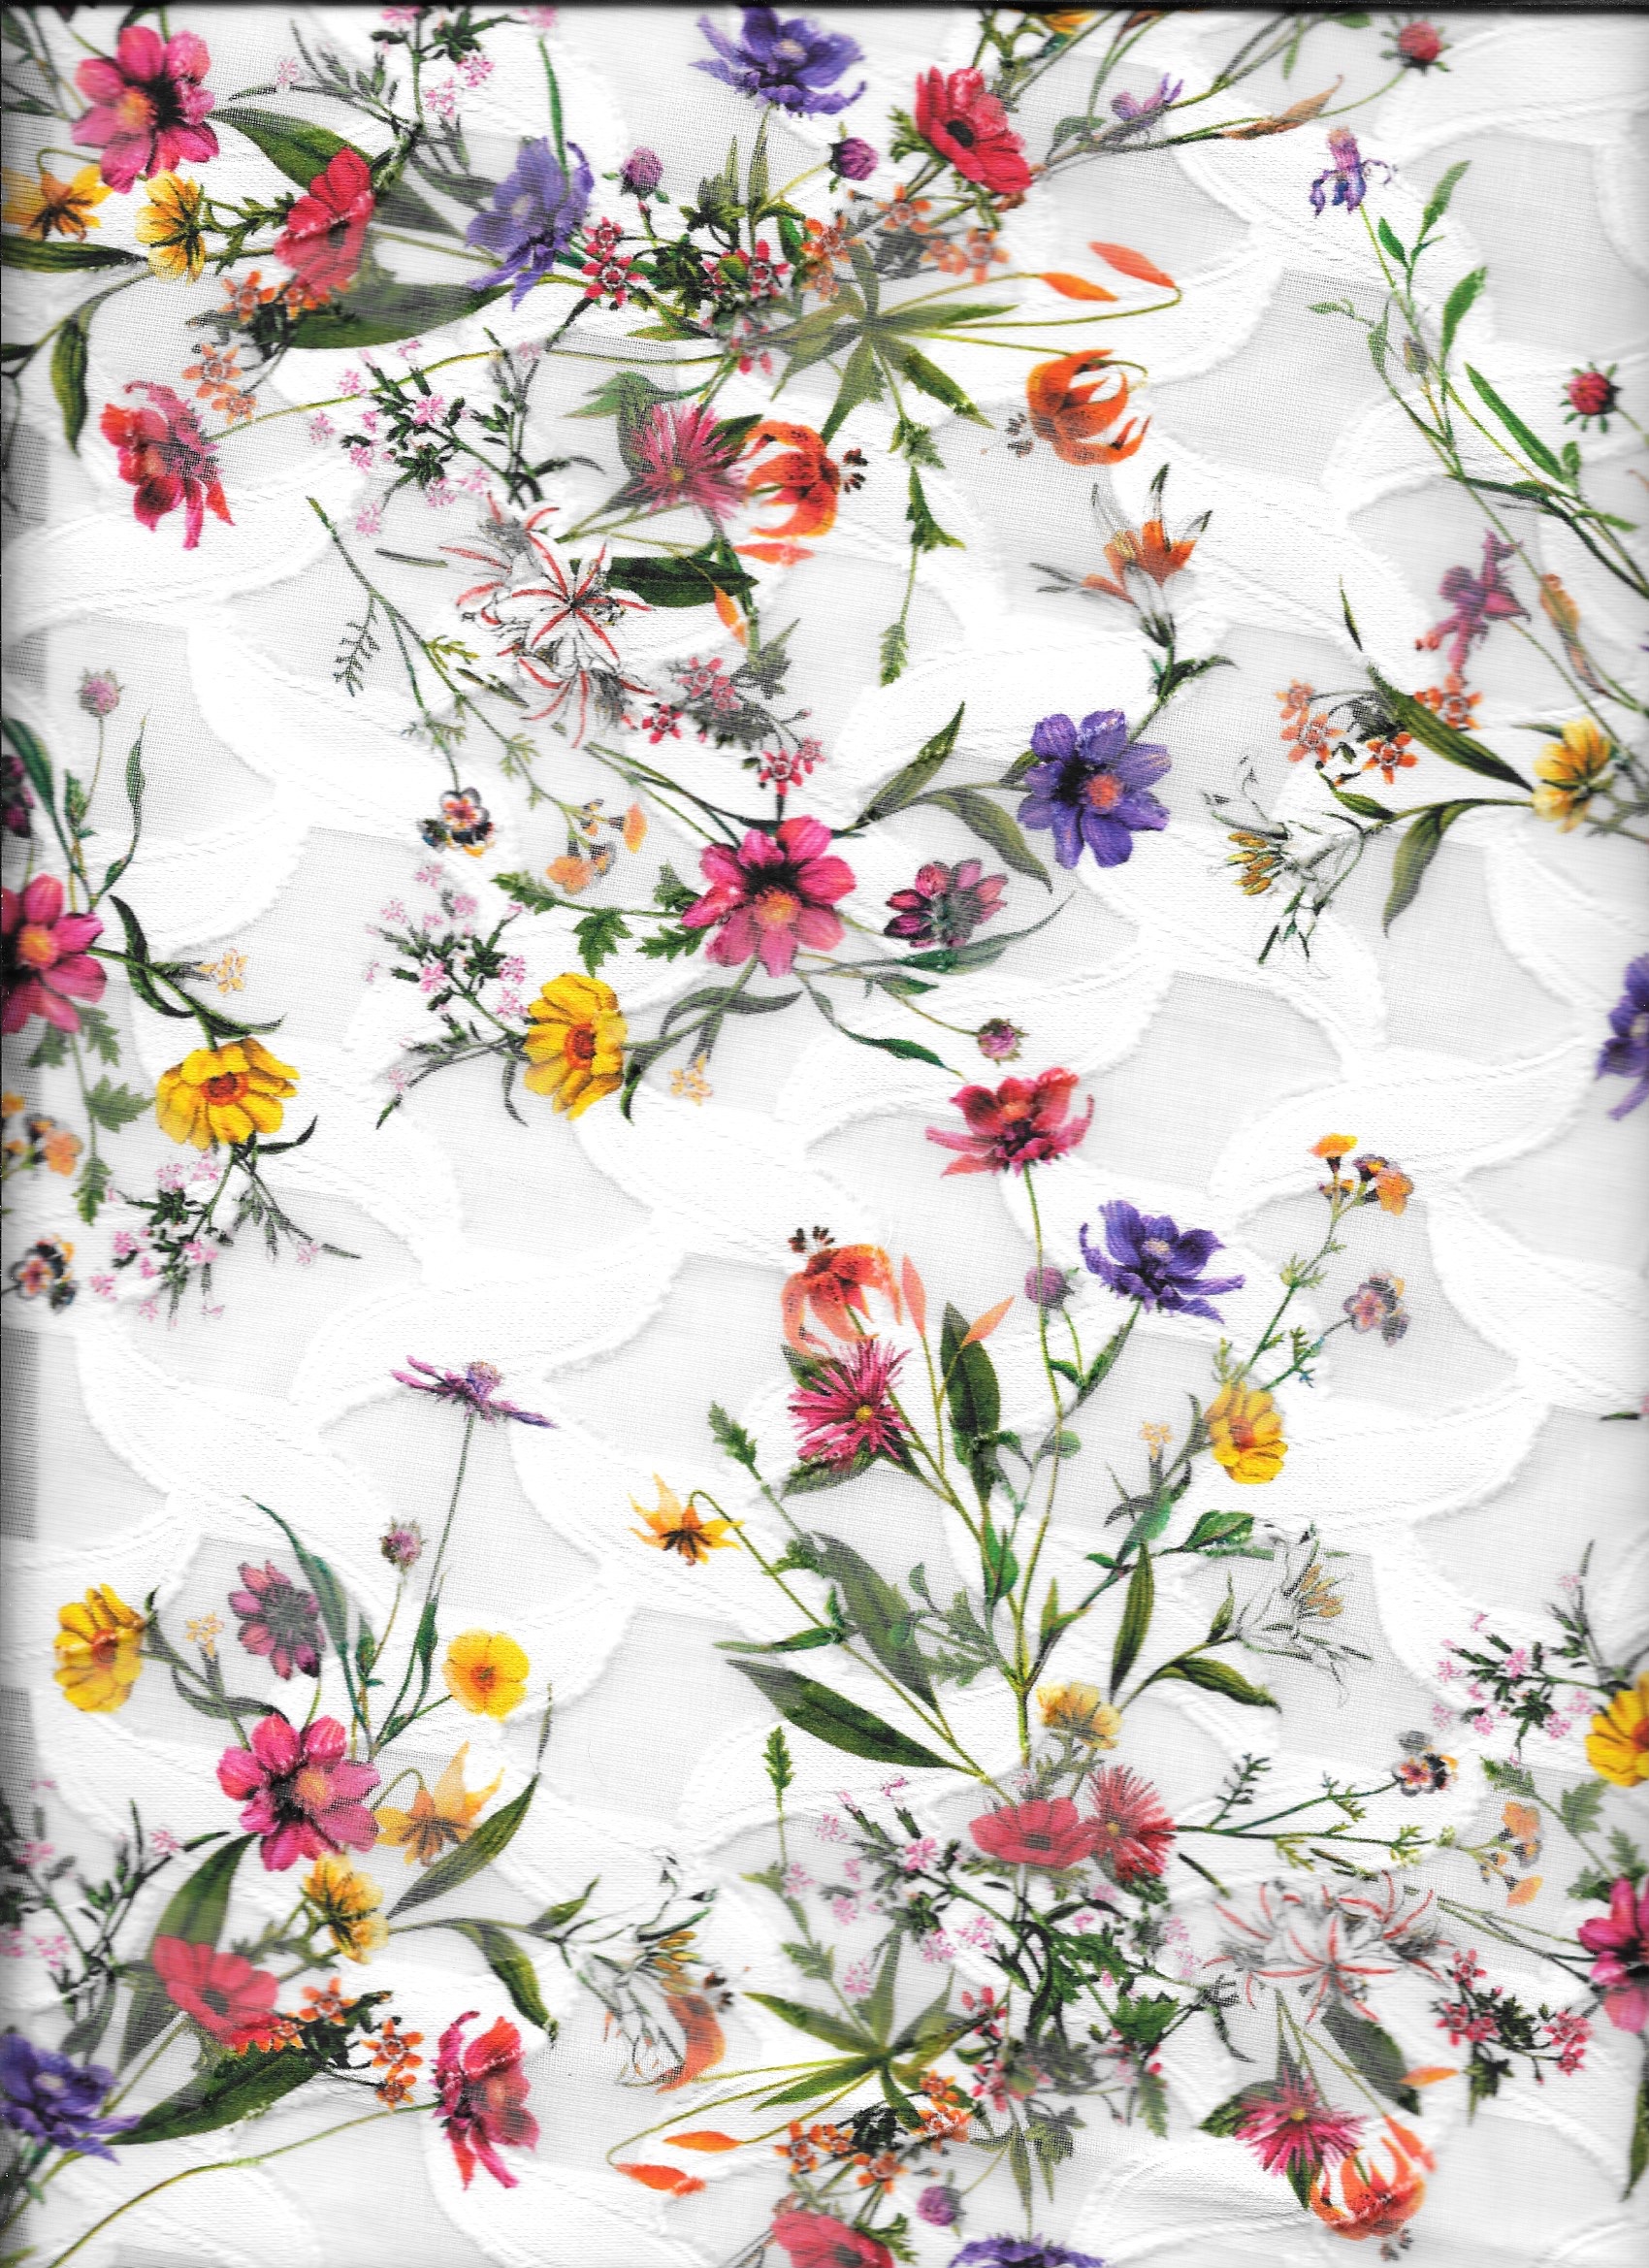
At 60” wide, I knew two yards would be sufficient for just about any summer style I chose to make. It seemed like every Spring I would take it out and consider the possibilities for it, not reaching a decision. But this Spring, the “future” had finally arrived, at least for this fabric.

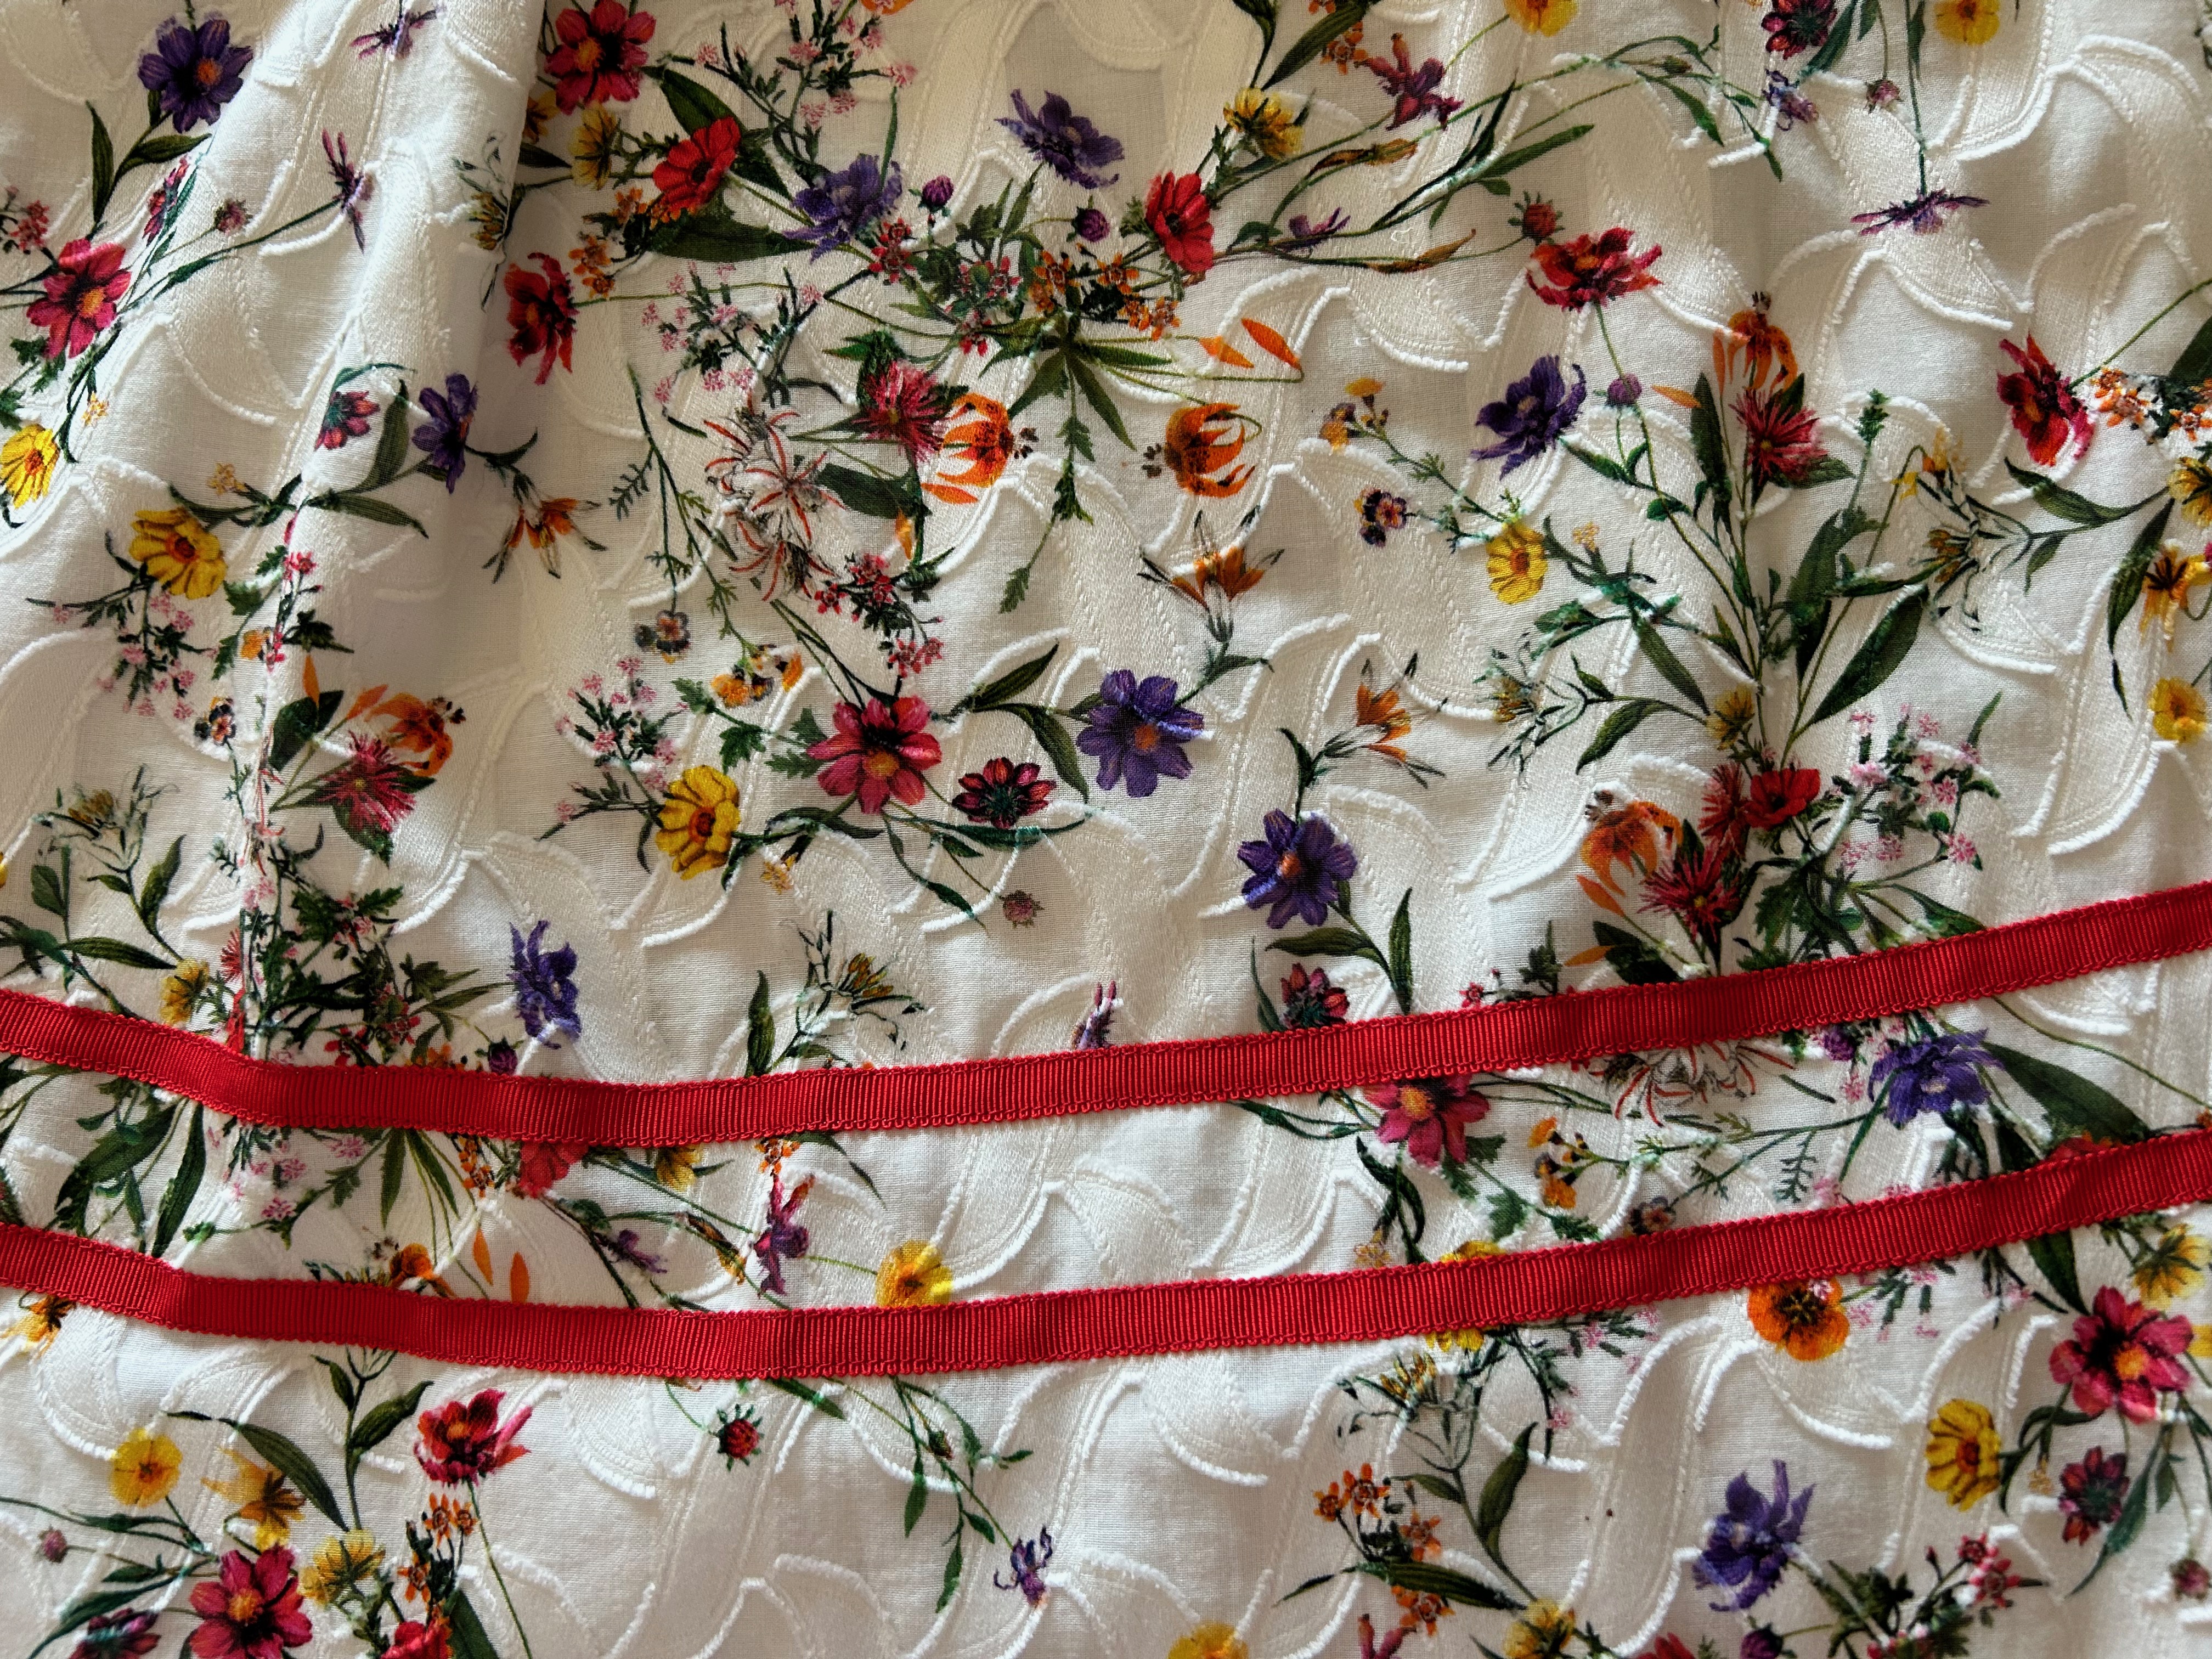
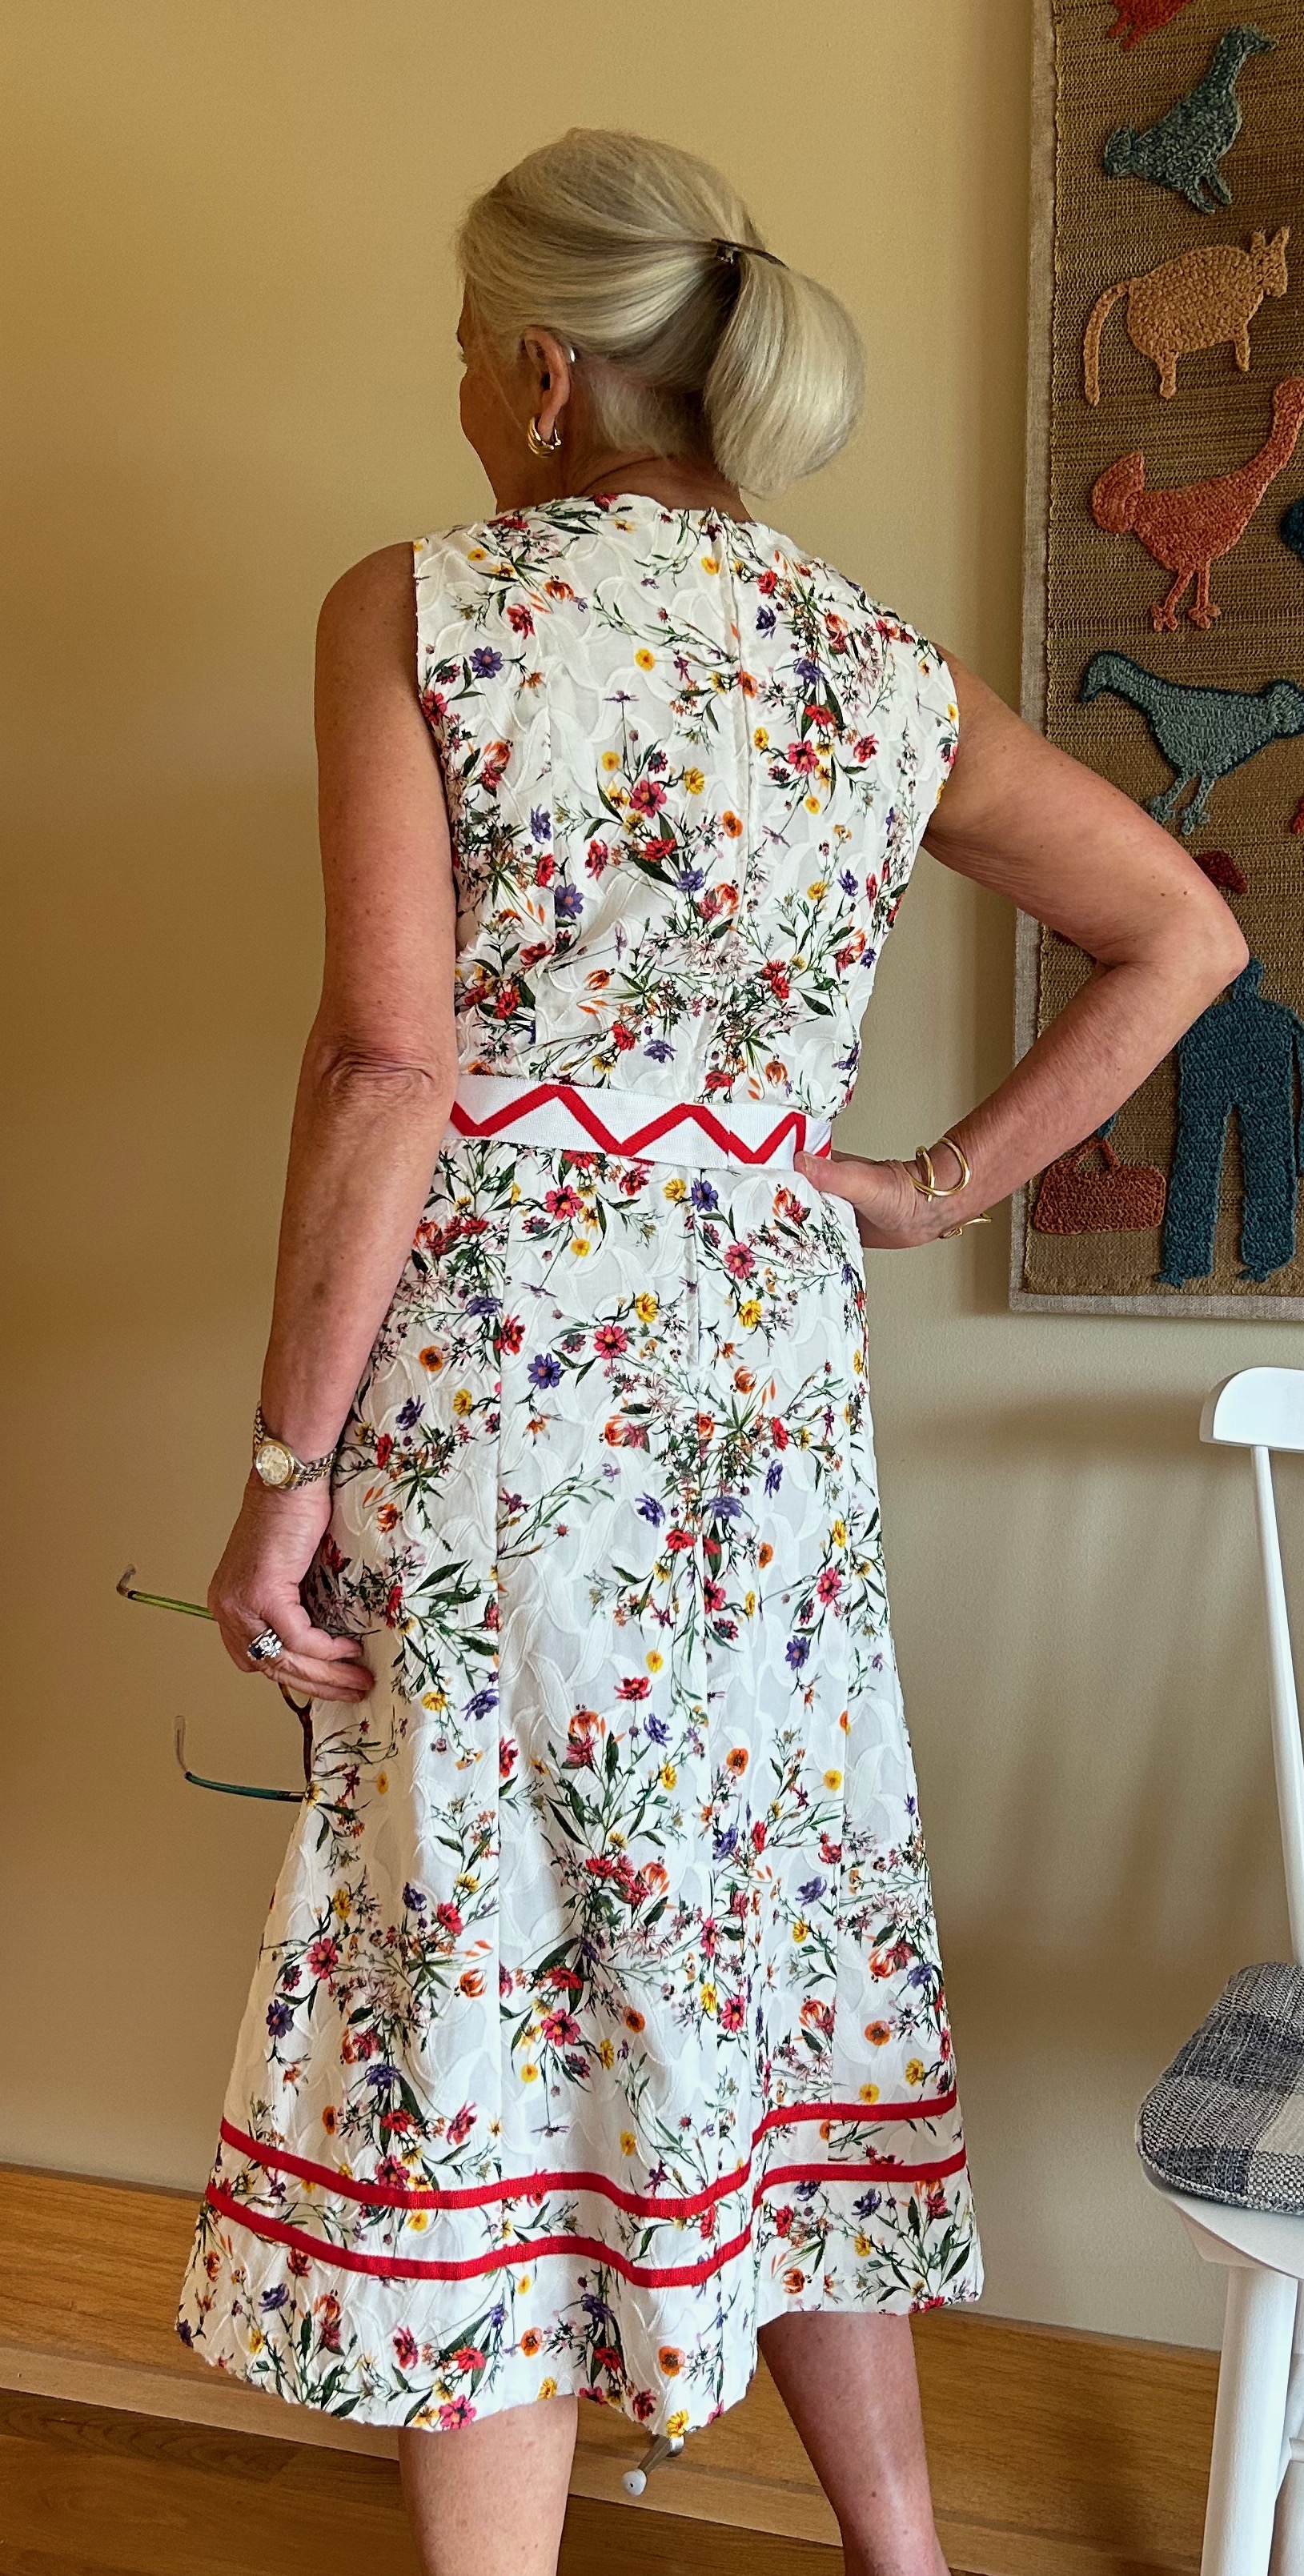
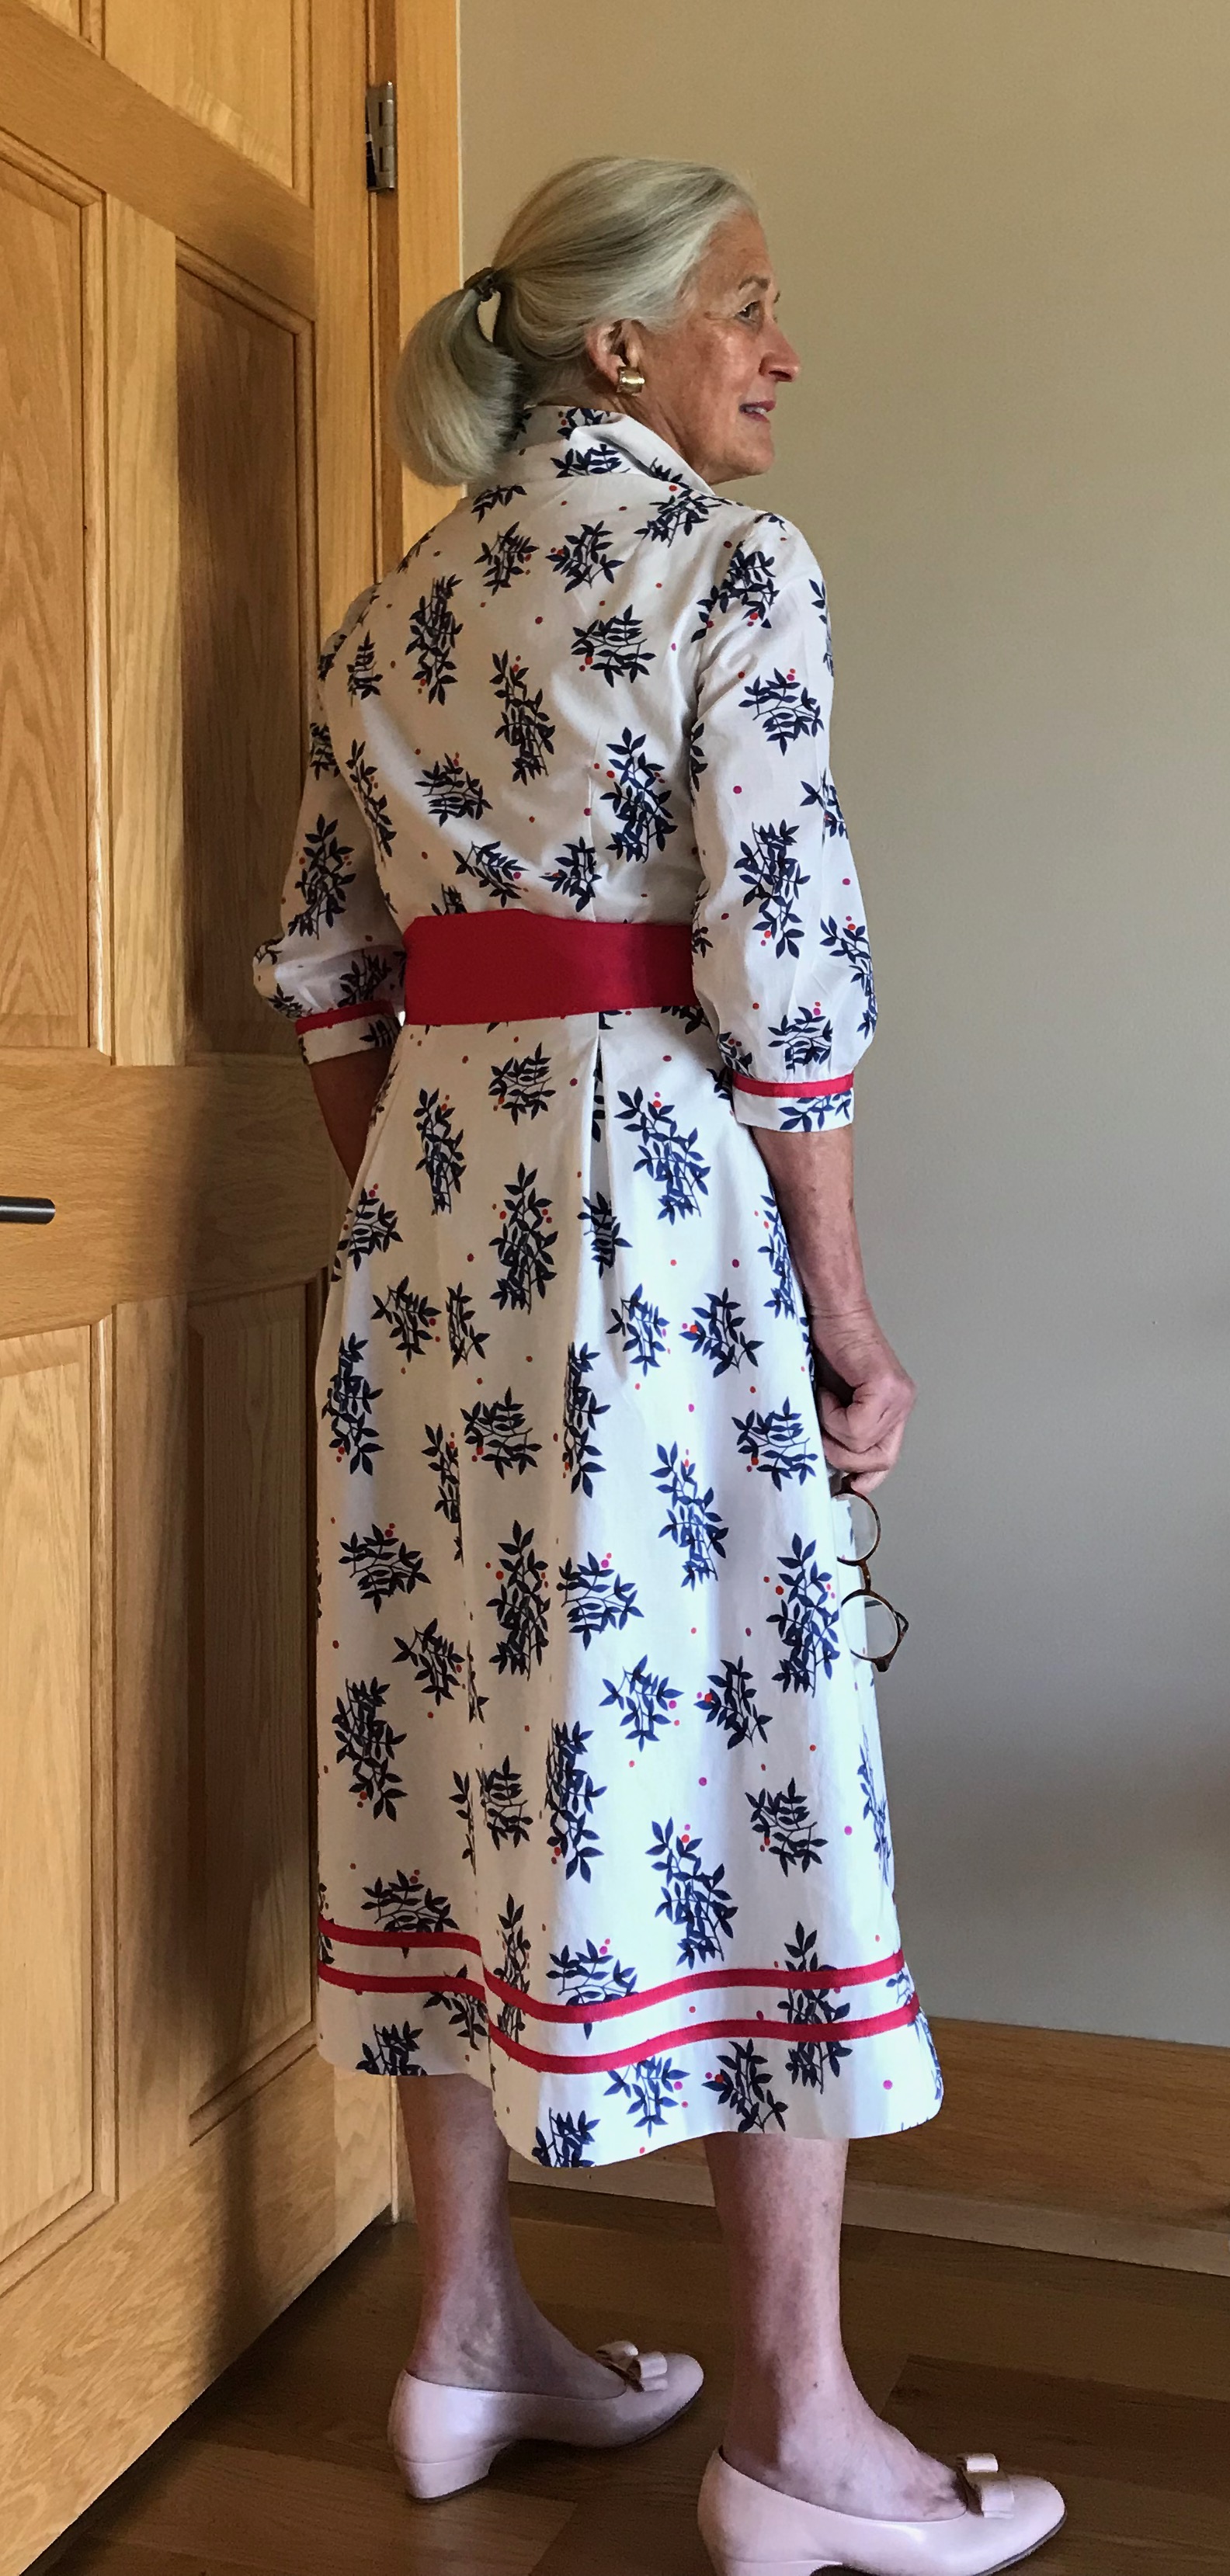
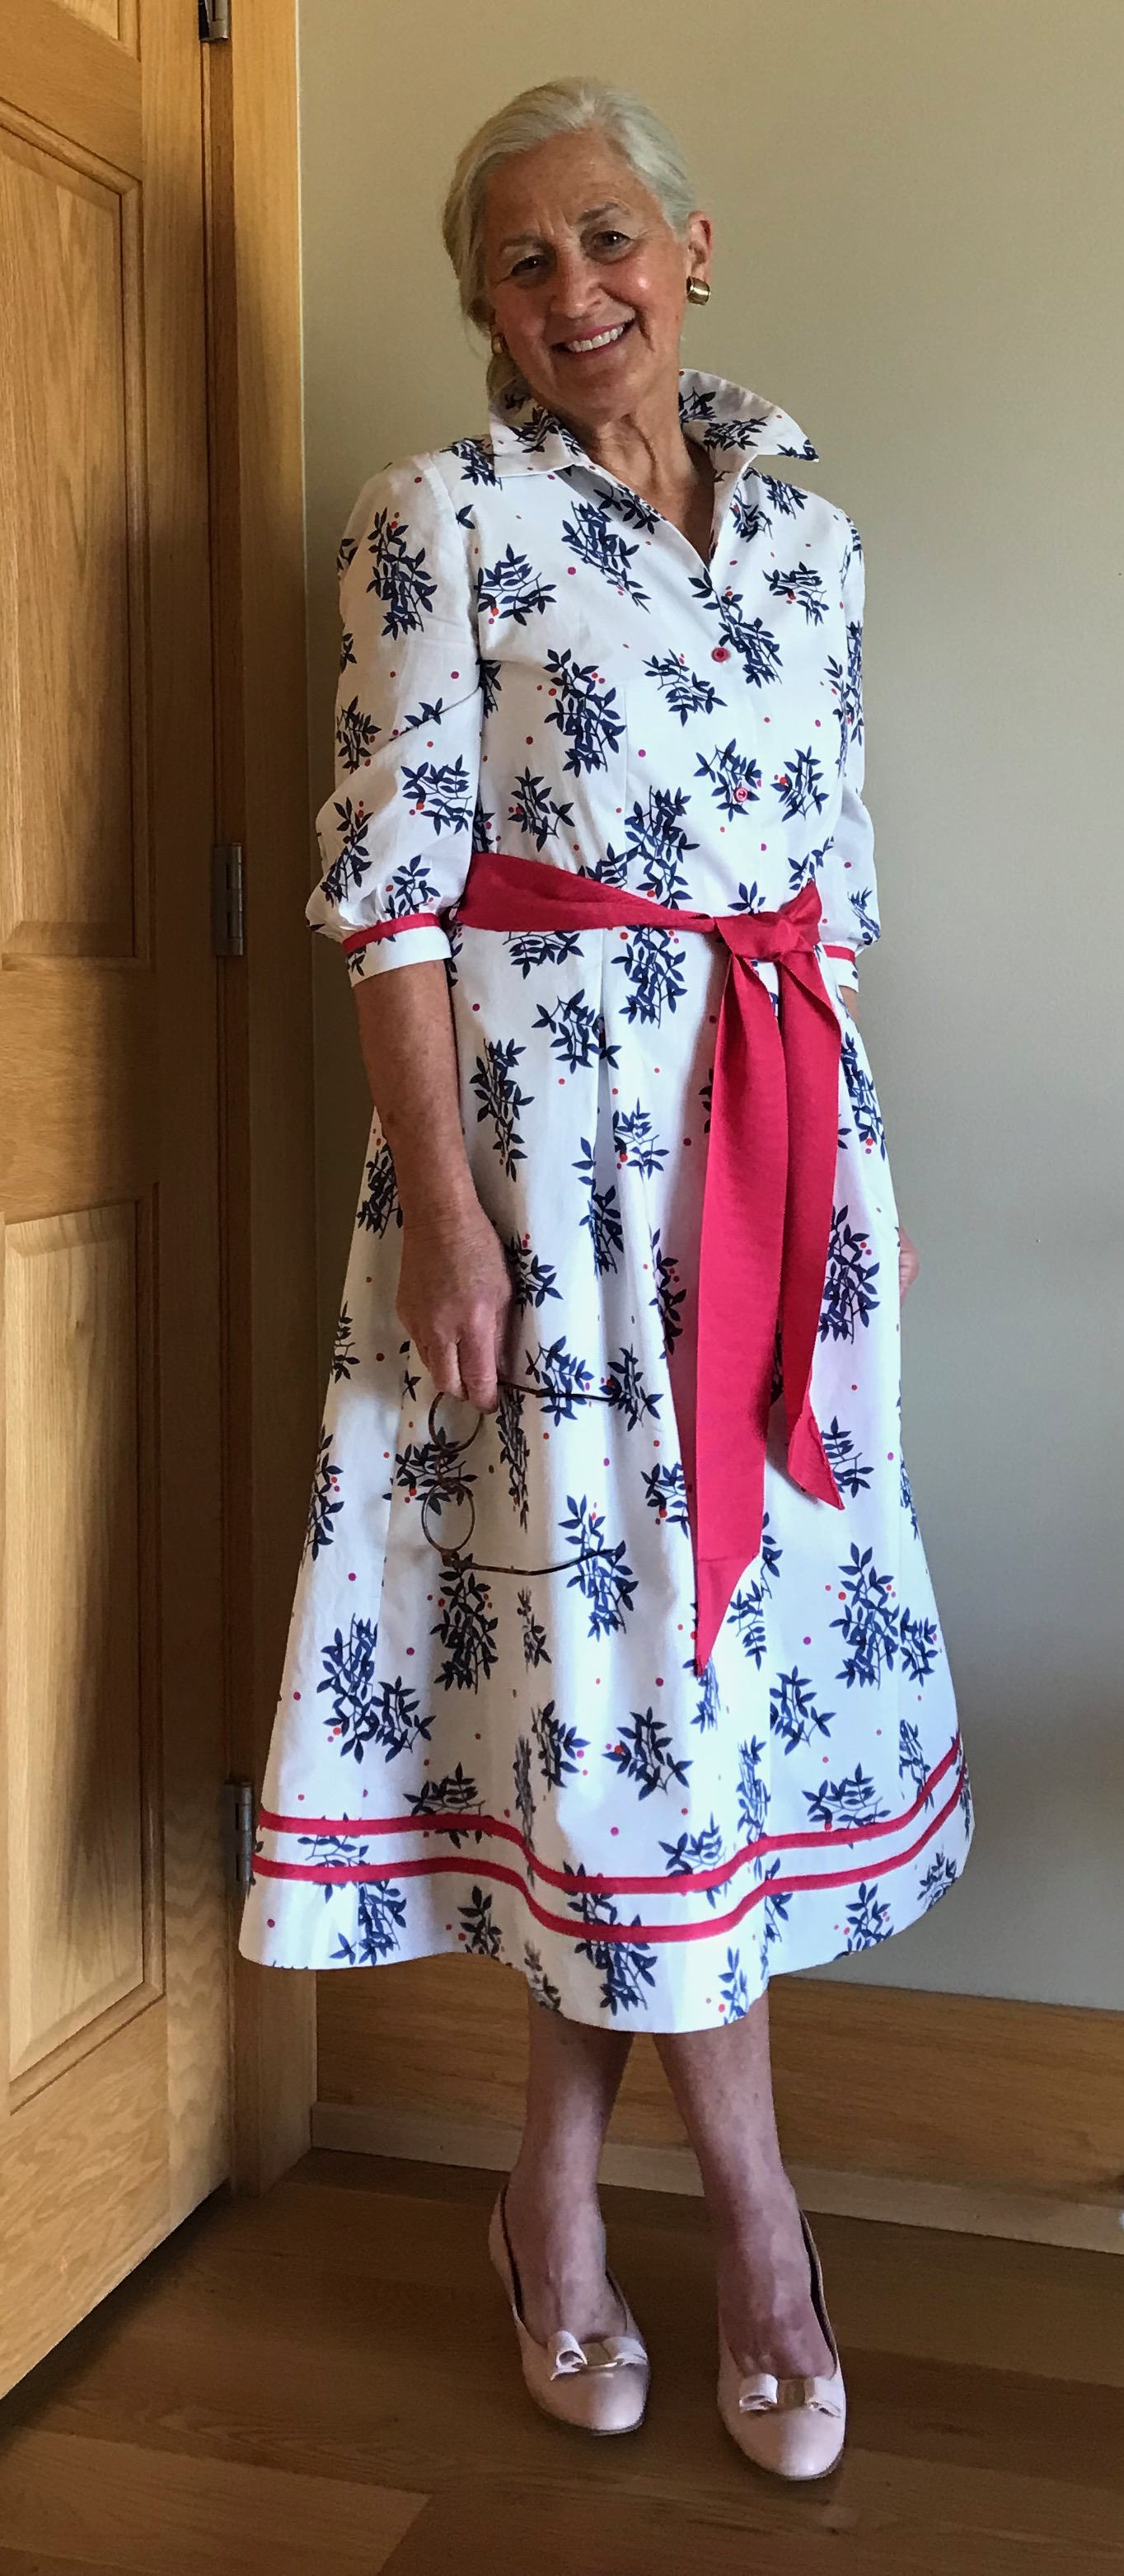
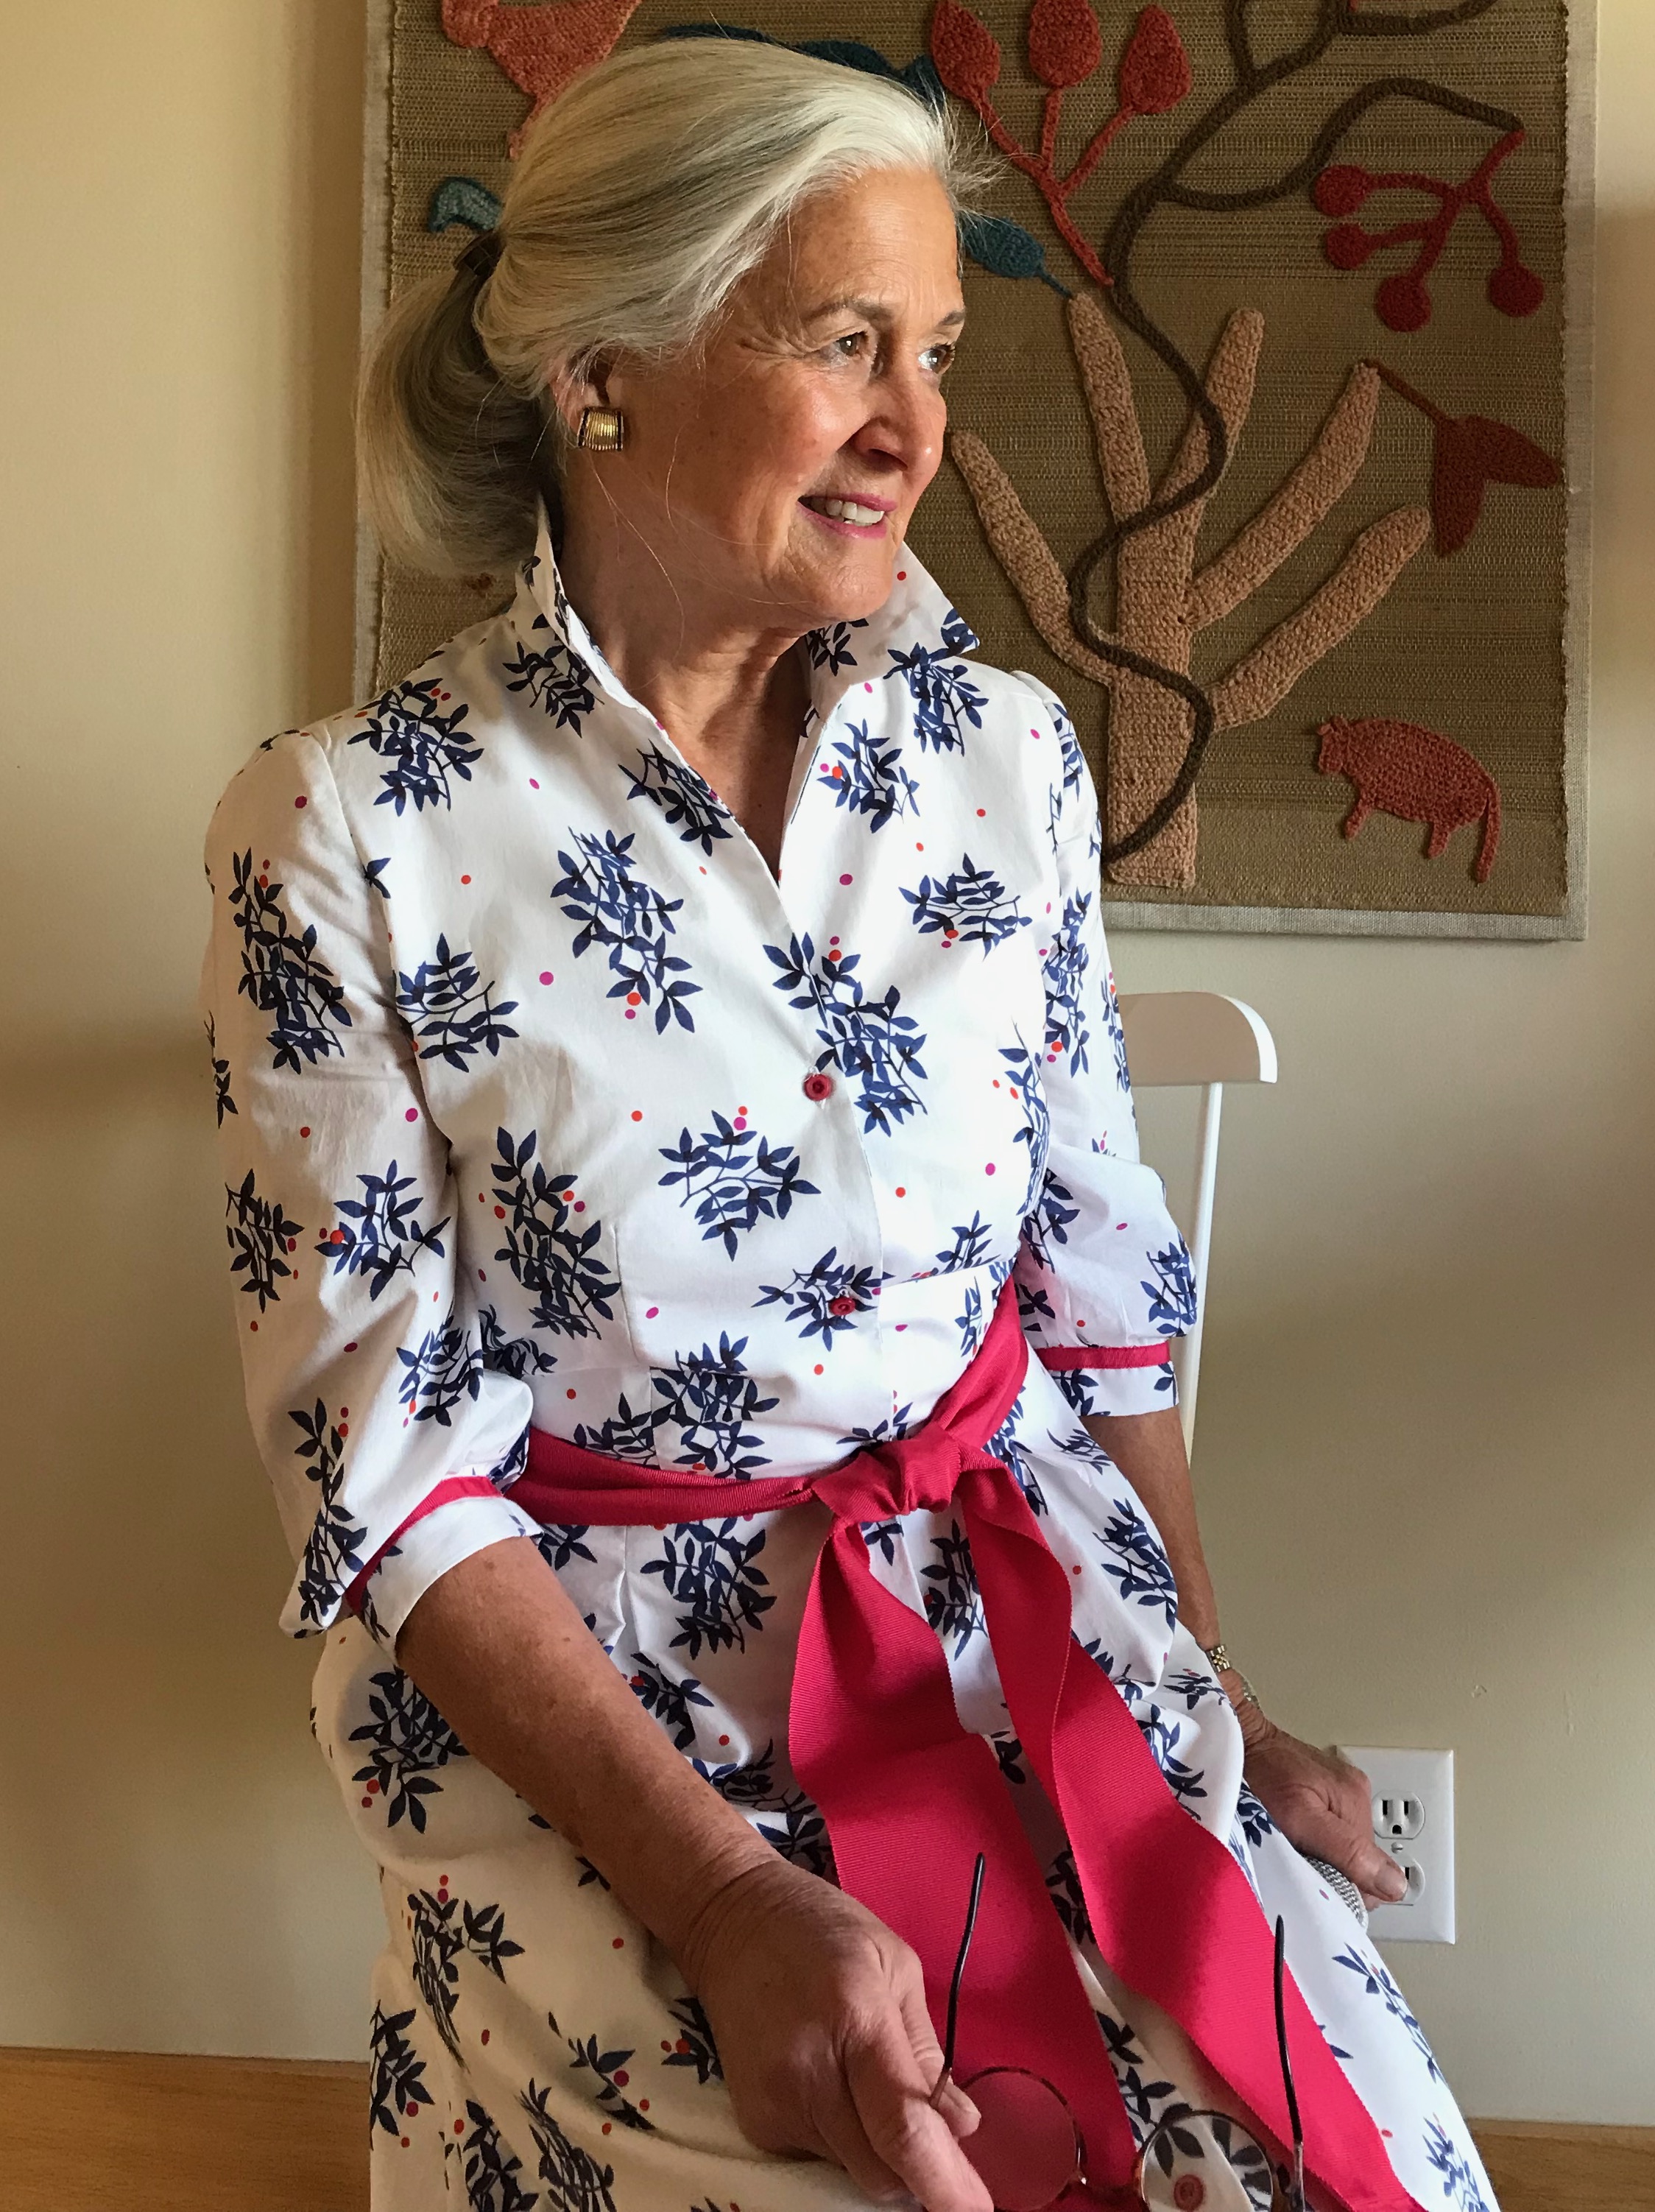
I’m not sure how I came up with the idea to trim it with a coordinating tape/ribbon, but I liked the definition it gave to the colors in the printed floral sprays. First, I thought purple would be a great color to pair with it, then I went to yellow, then to pink. None of those seemed to make the fabric pop the way I anticipated they would. So, even though red is not a dominant color in the print, I decided to try it. And that was it – it worked!
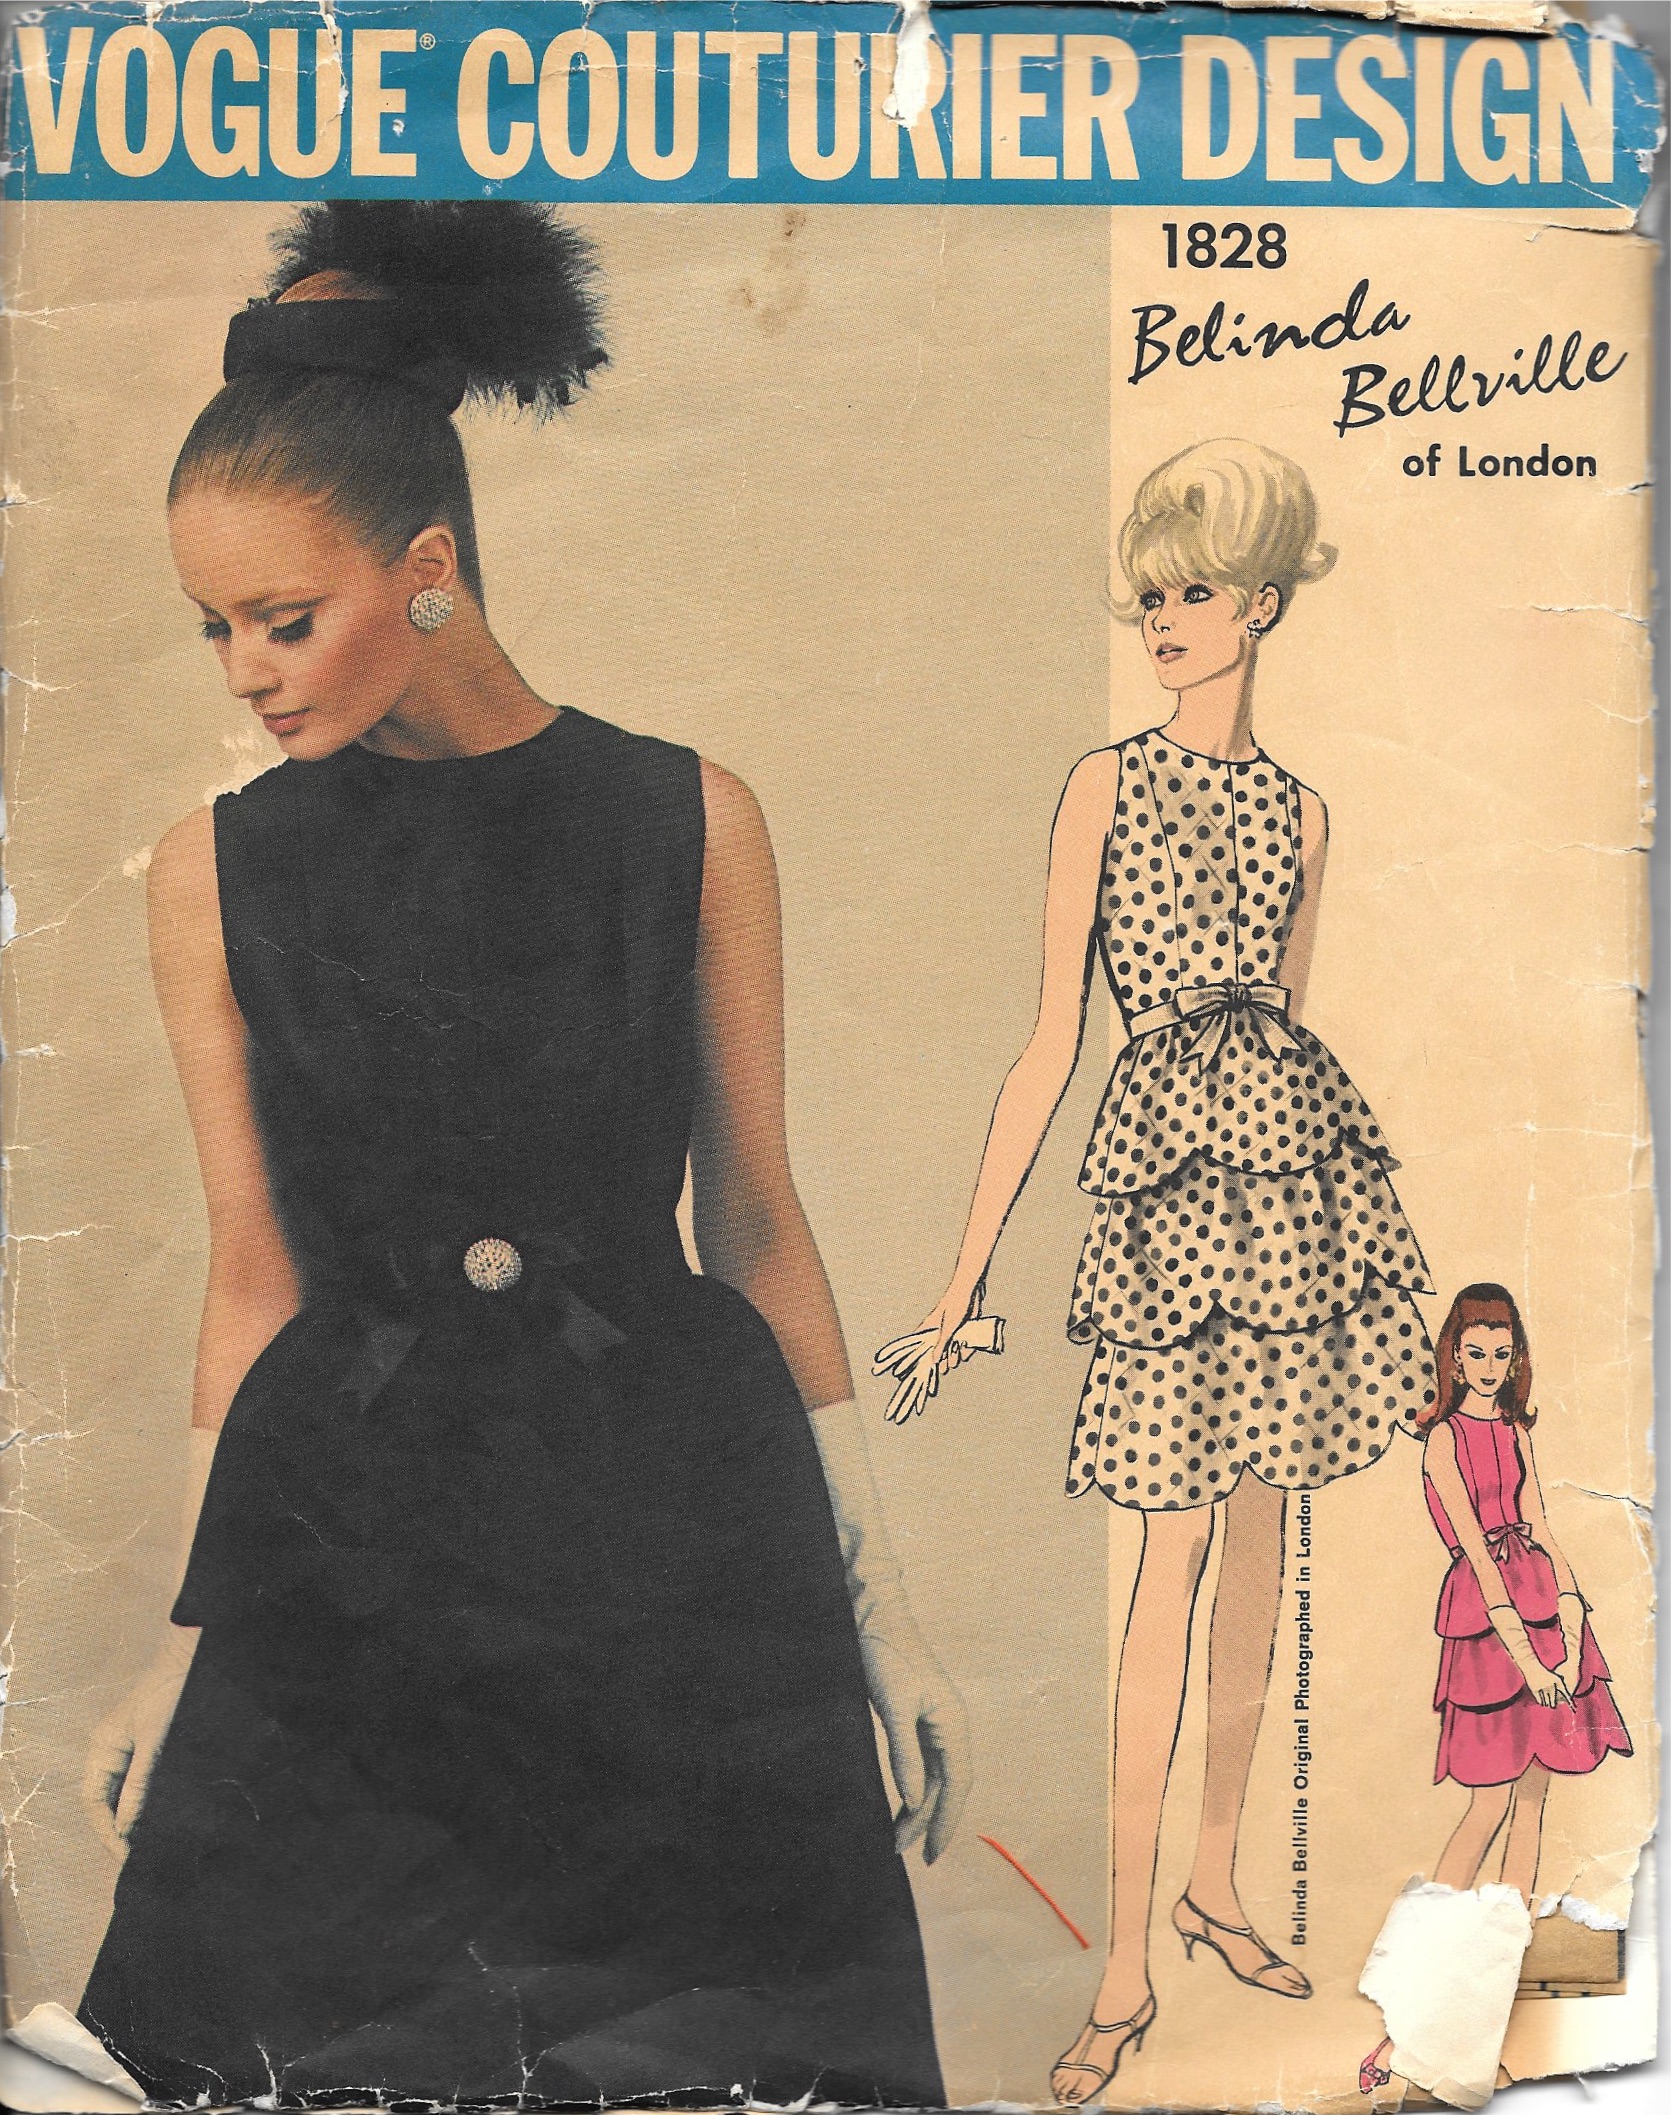
I had already decided on a Vogue pattern I had previously used twice, albeit with a number of obvious changes.
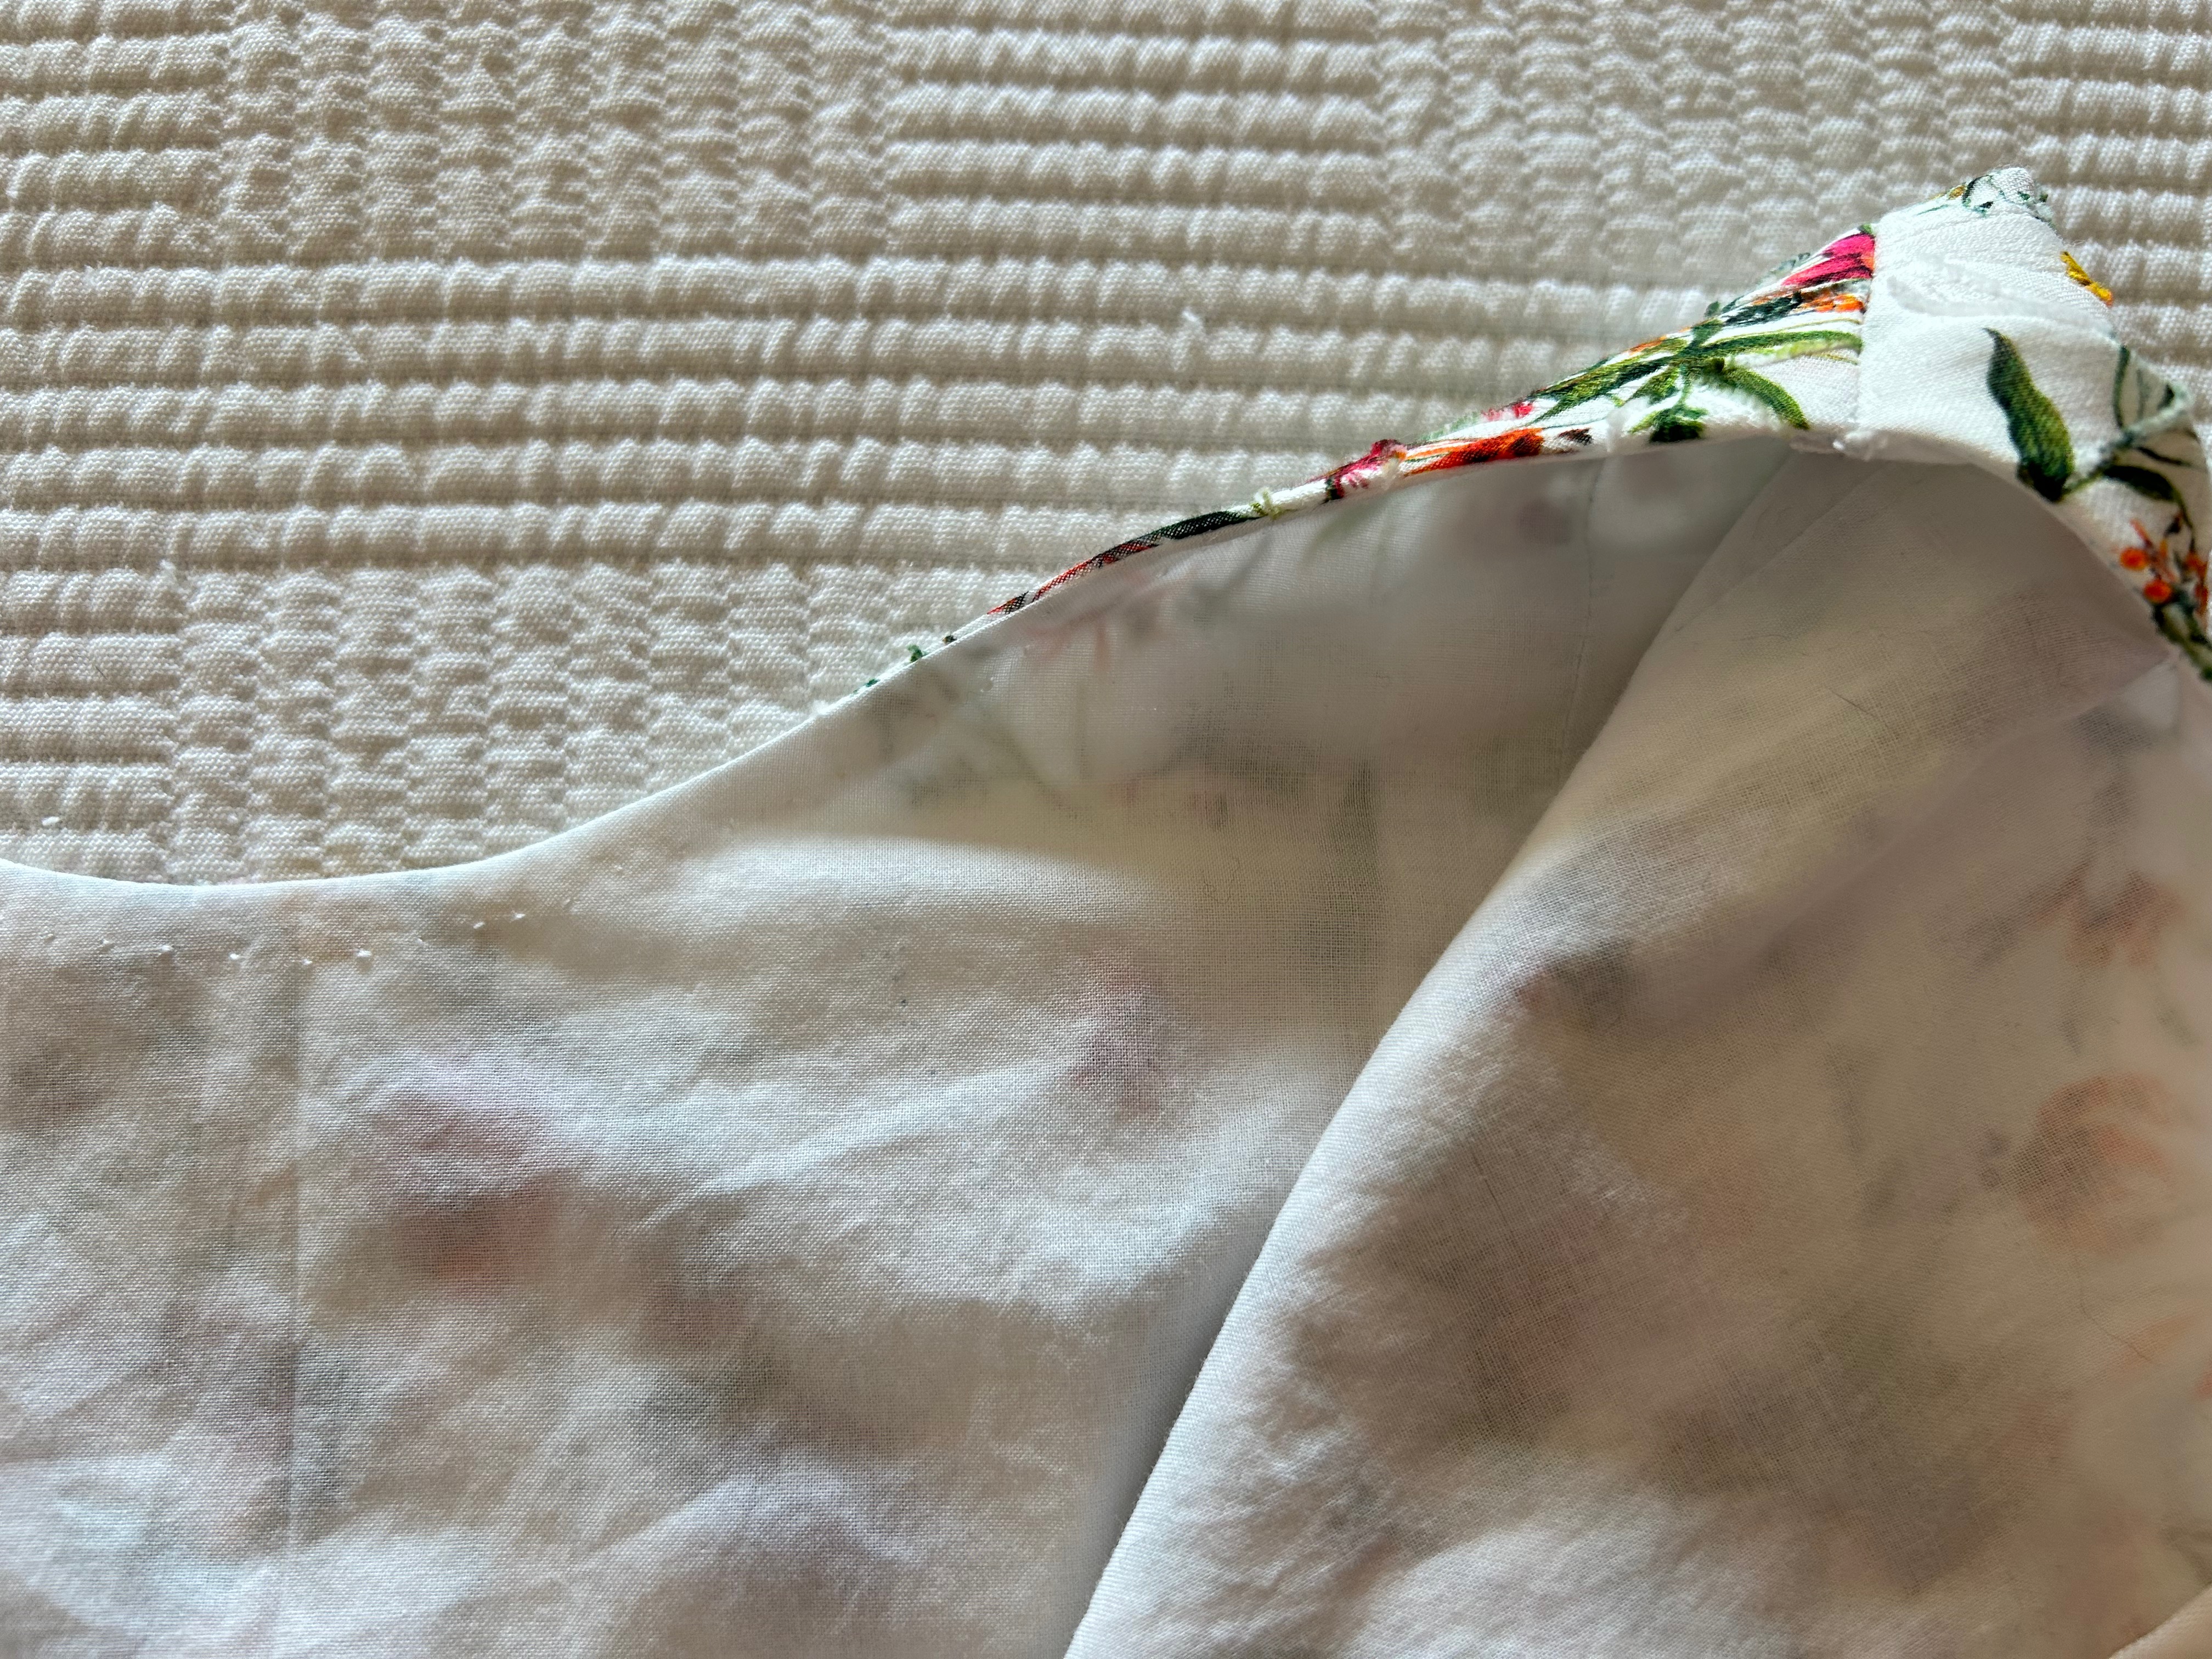
The first construction decision facing me was whether to underline it with cotton batiste and then also line it with – I wasn’t sure what; or just line it and hope that would be sufficient. I wanted to preserve the light, airy feel of the fabric, but I also needed to address the sheerness of part of the fabric.
After much thought and experimentation, I went with using only a simple cotton batiste lining. That turned out to be the right decision. I under-stitched around the inside of the neckline and armscyes even though I did not have an underlining upon which to secure those stitches. However, the under-stitching – which caught only the seam allowance – still had enough of a stabilizing effect to secure those edges.
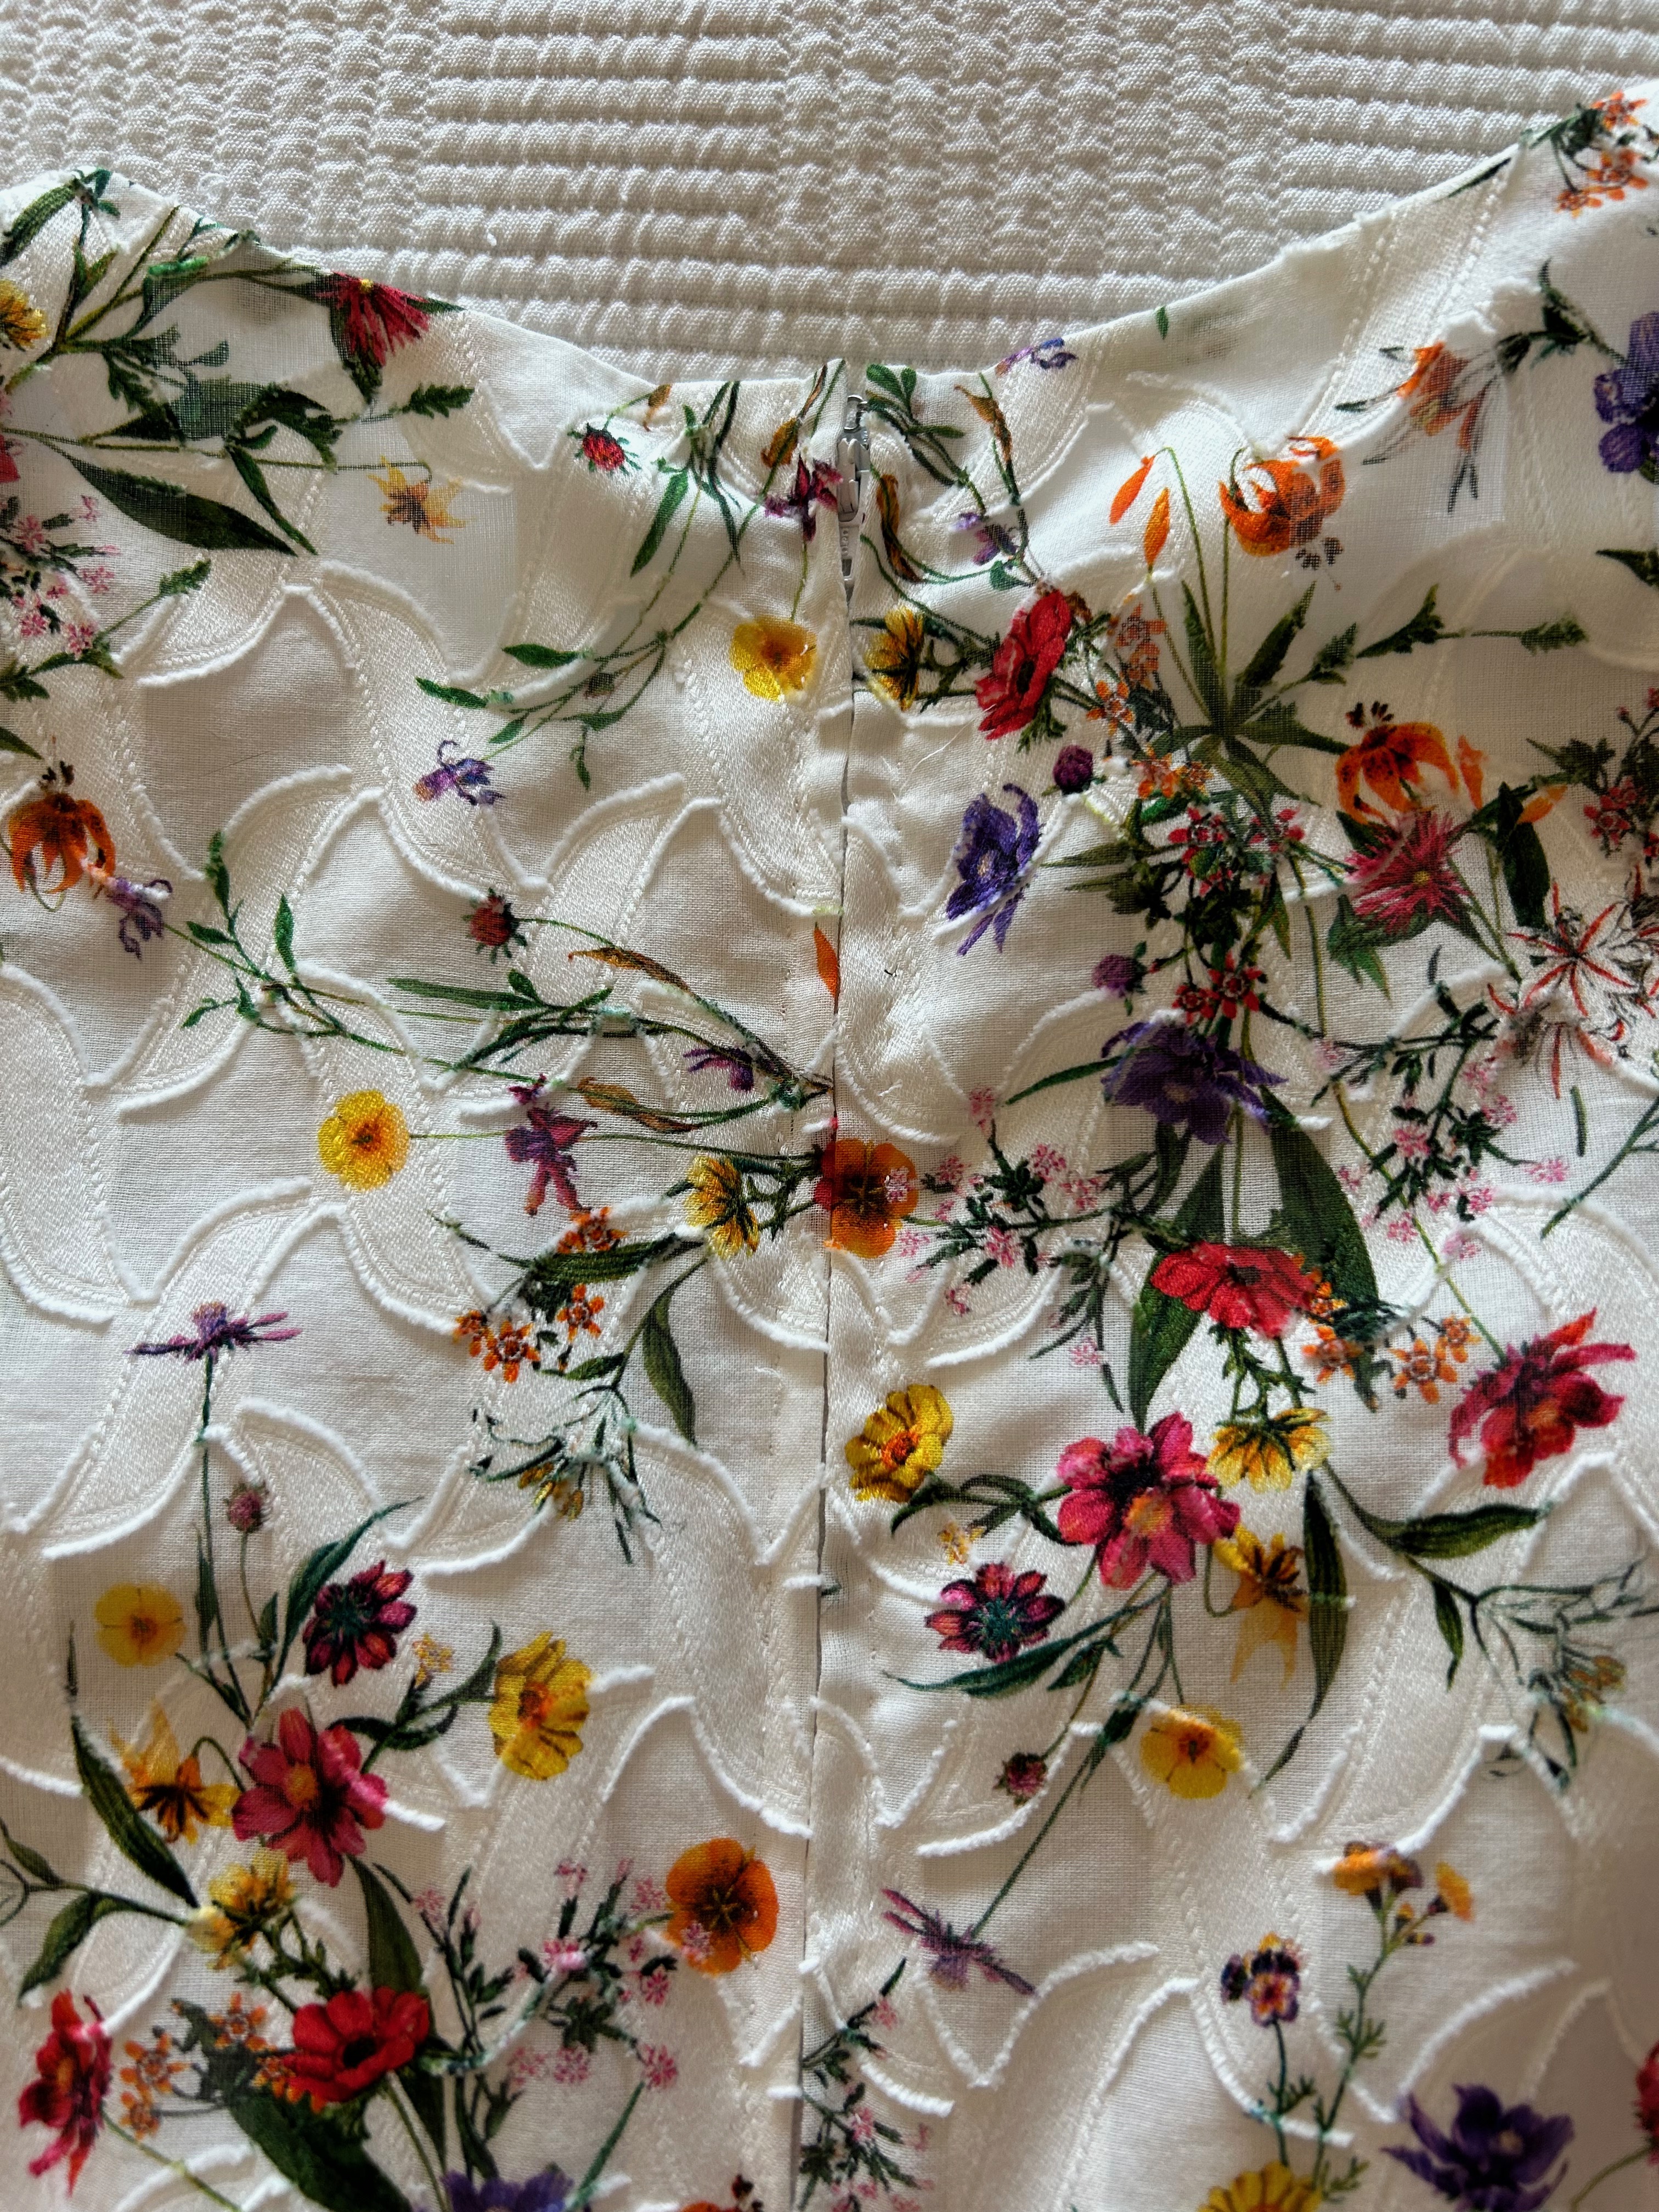
A hand-picked zipper is always a lovely detail to add to a dress like this:
I’m getting ahead of myself here, but to make this dress, I was eking out small snippets of sewing time during a complicated Spring. And when the time came to do our annual Summer migration from Pennsylvania to Wyoming, 2200 driving miles west, the dress was unfinished.
So, I packed it up along with a lot of other sewing-related things, and I eventually picked up where I left off. I remembered to bring the zipper for the dress, – and the red Petersham ribbon for its embellishment – but I forgot to bring the extra dress fabric. Why was this a big deal, you might be asking? Well – I needed to make a belt for the dress, and my intention was to make a self-belt, edged with the red ribbon.
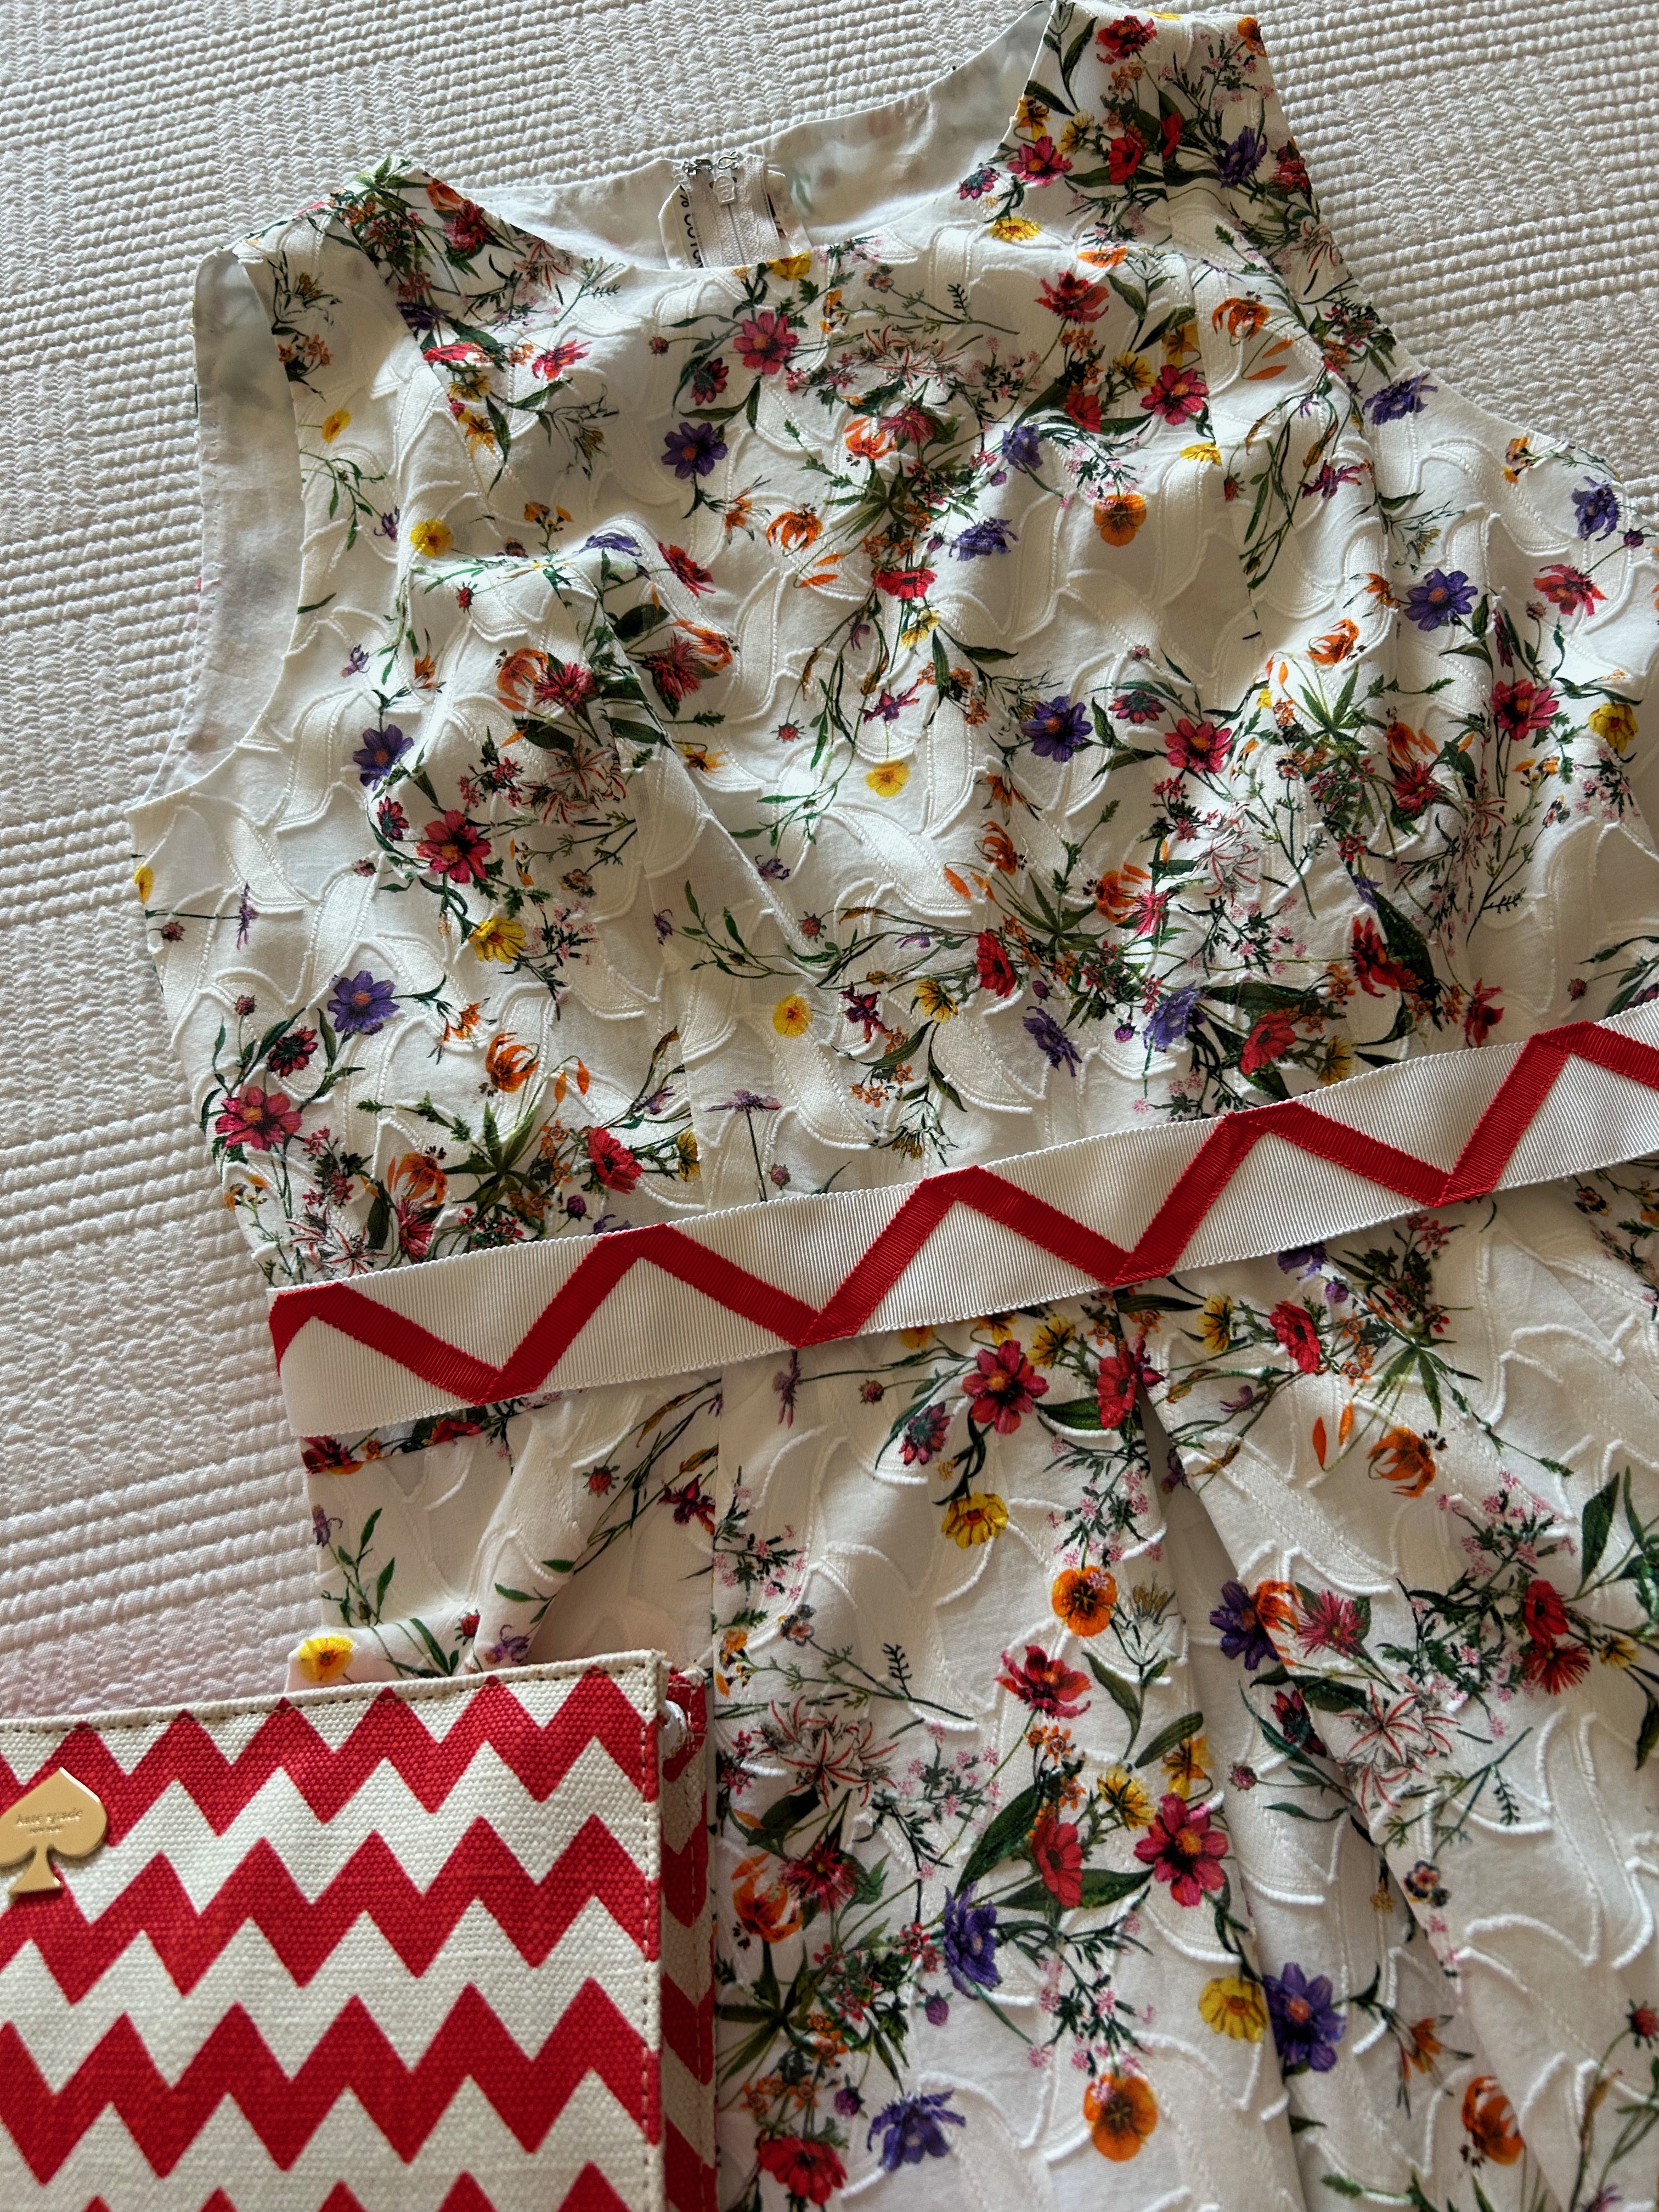
Once again in my sewing life, I found myself going to Plan B – necessary, if I had any thought of wearing this dress this summer. (Plan B stands for “It BETTER work.”) I hemmed and hawed and decided there were two options. One was a white belt and the other was a red belt. I came to the conclusion a red belt would be too overpowering for the delicate nature of the fabric. So that left me with a white belt, which wasn’t too exciting. Then I had a eureka moment when I realized I could pick up the somewhat zigzag overlay motif in the fabric and embellish the belt with my extra red Petersham ribbon, applied in a zigzag pattern.
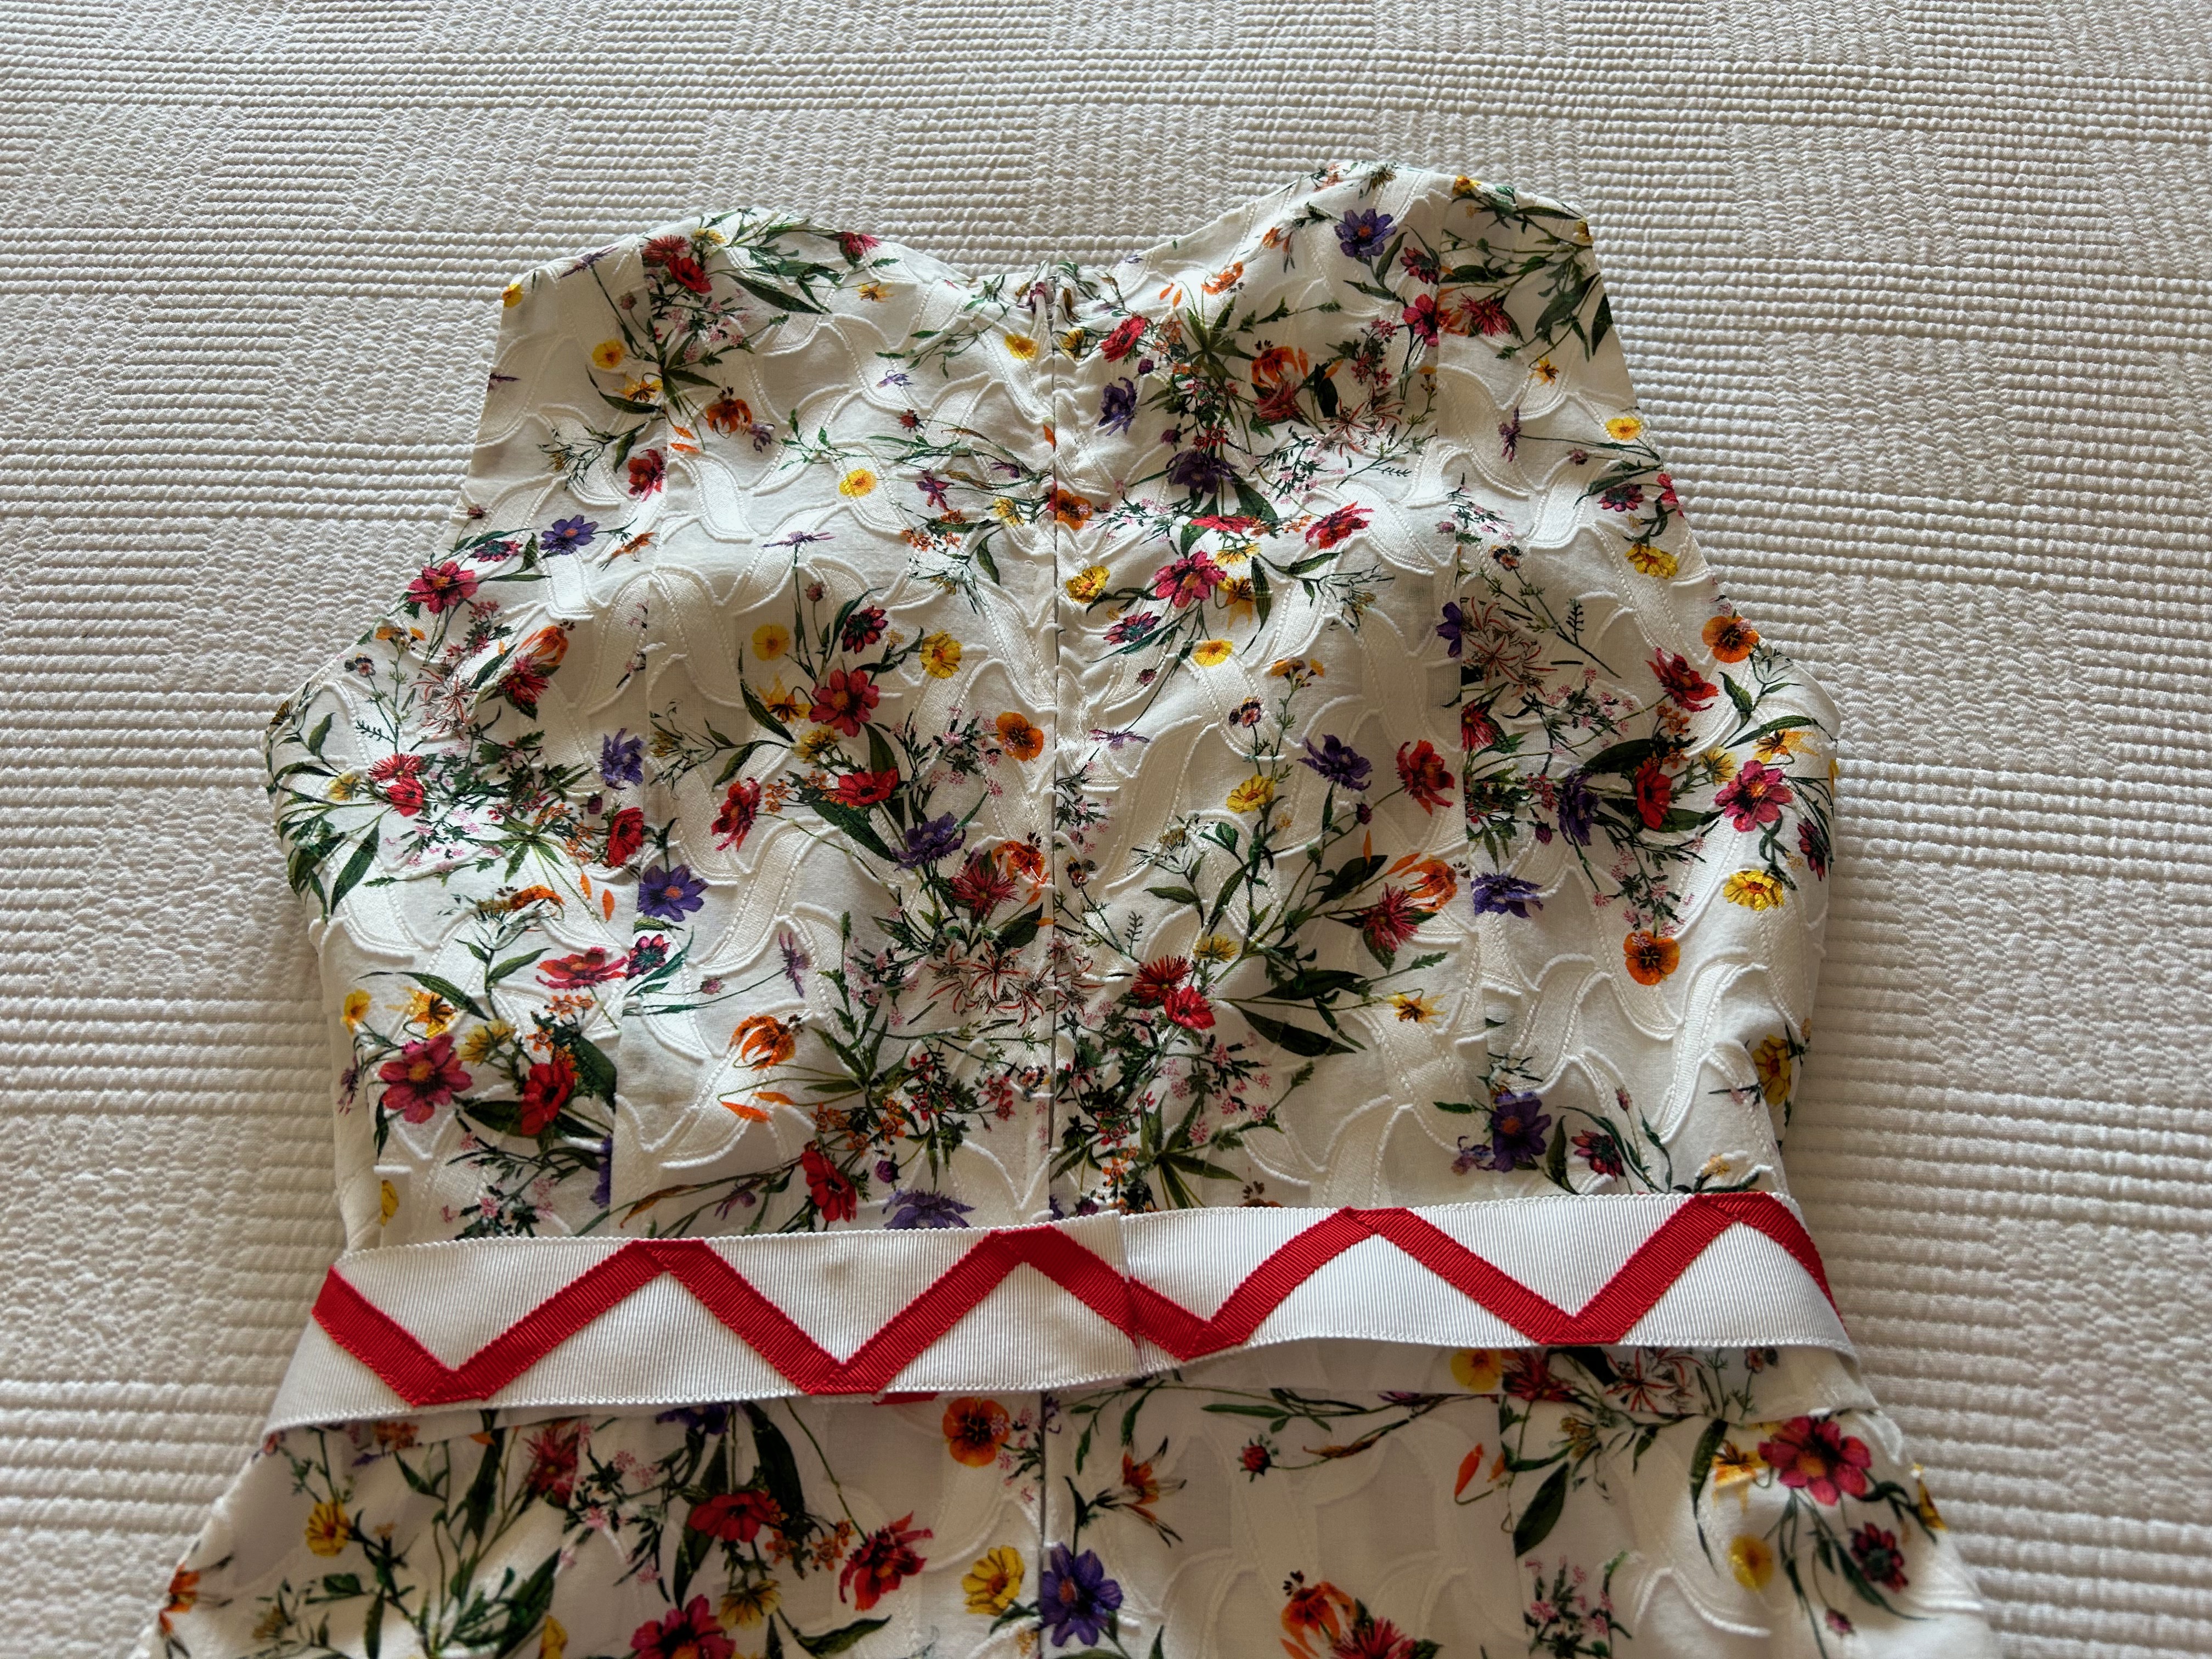


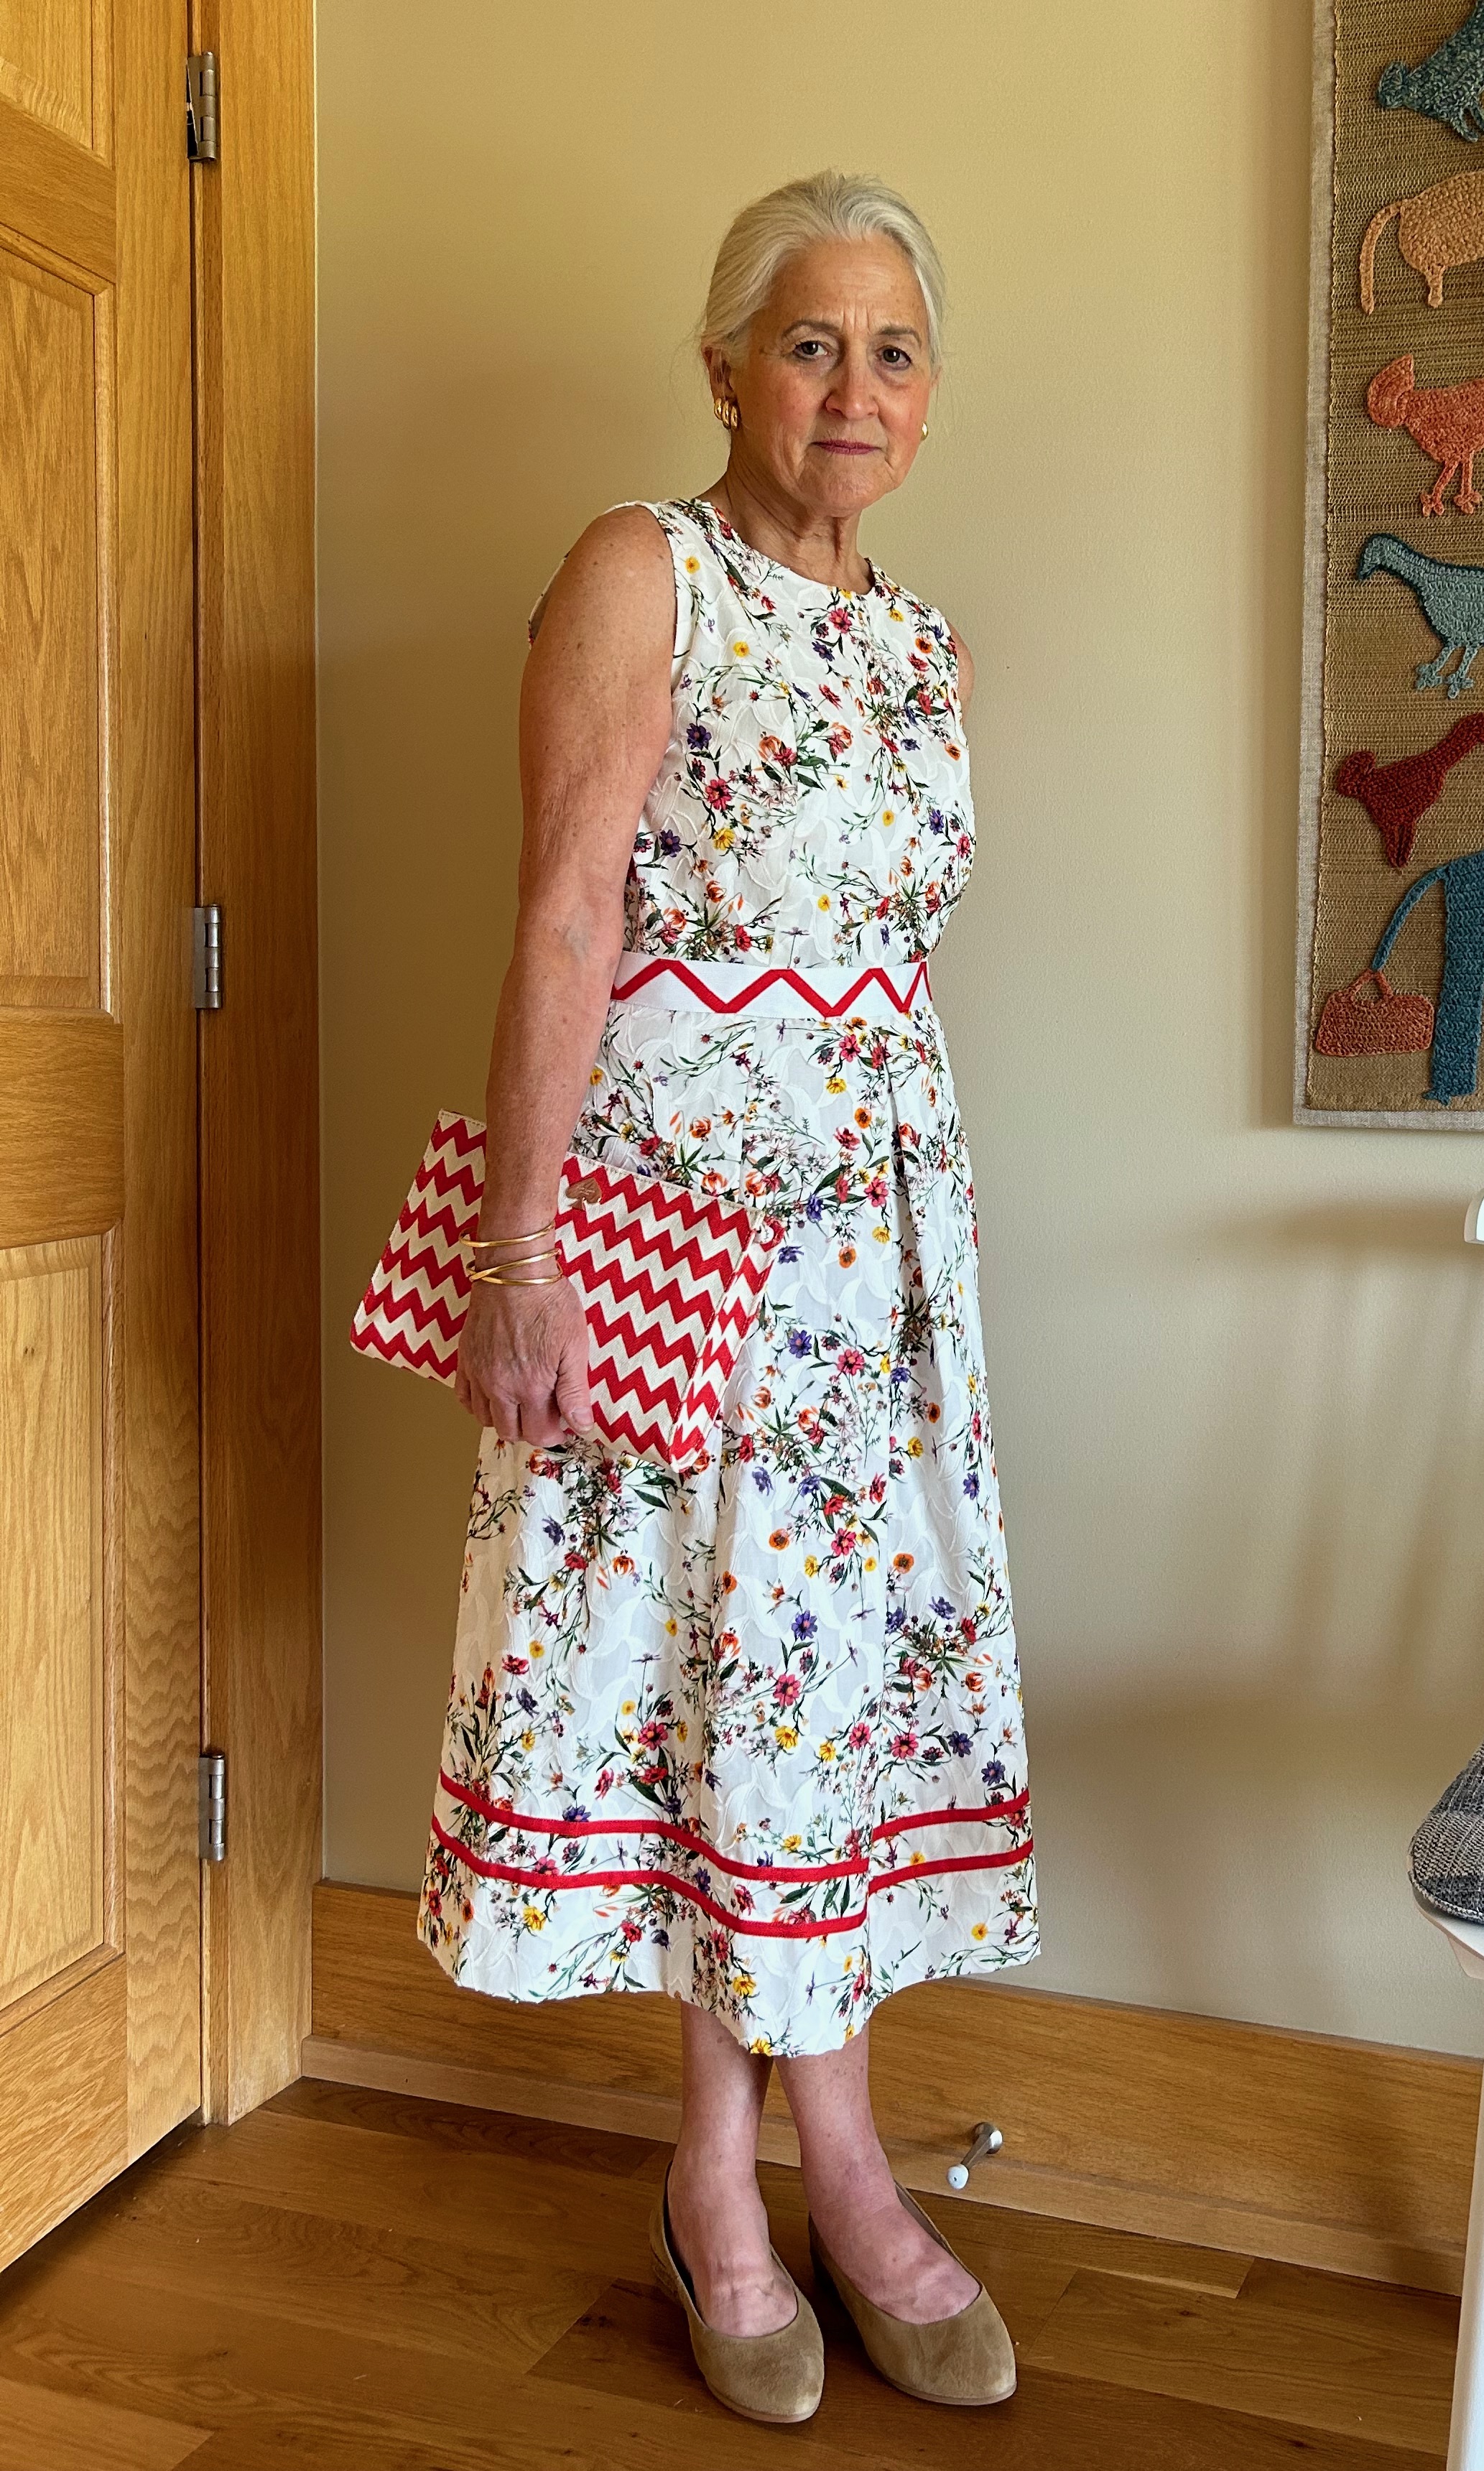
So – I rather like the Plan B belt although I may decide at some point to make a self-belt as I had originally intended. We shall see. One thing I know I will do is make belt loops for this dress from its remaining fabric sleeping back in Pennsylvania.

In the meantime, this is a good dress for a hot American summer.
Ciao!


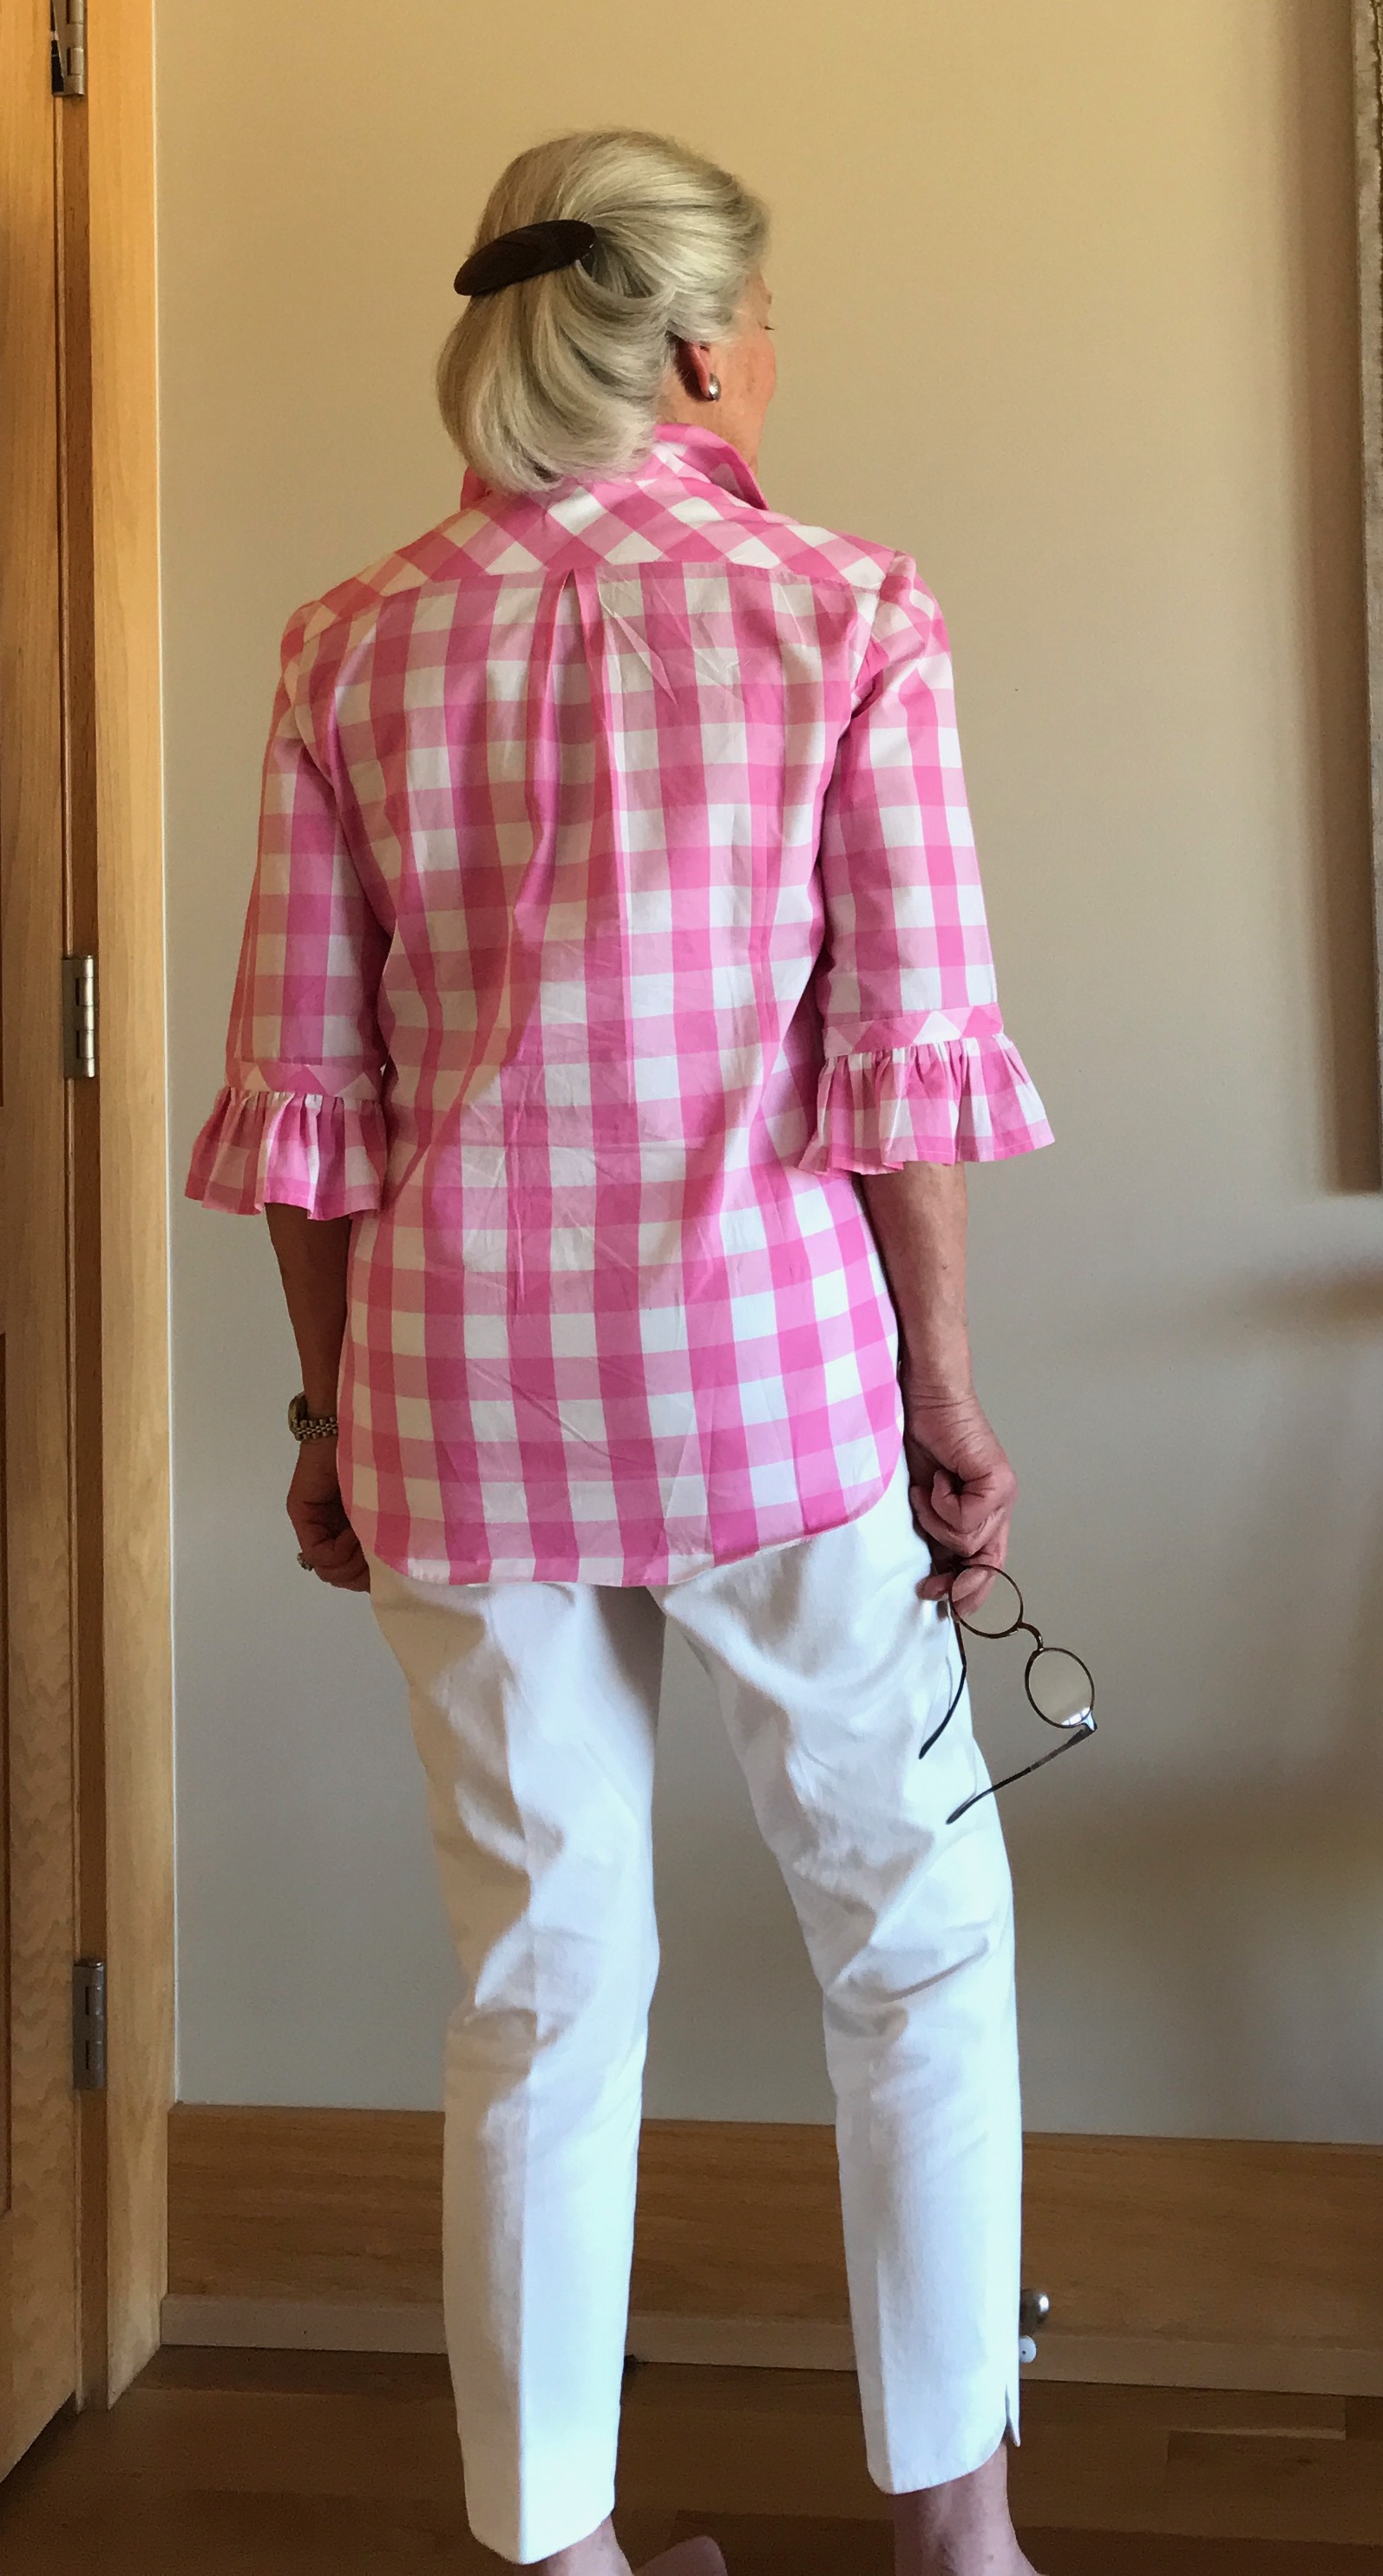


A Blue, White and Pink Tunic Top
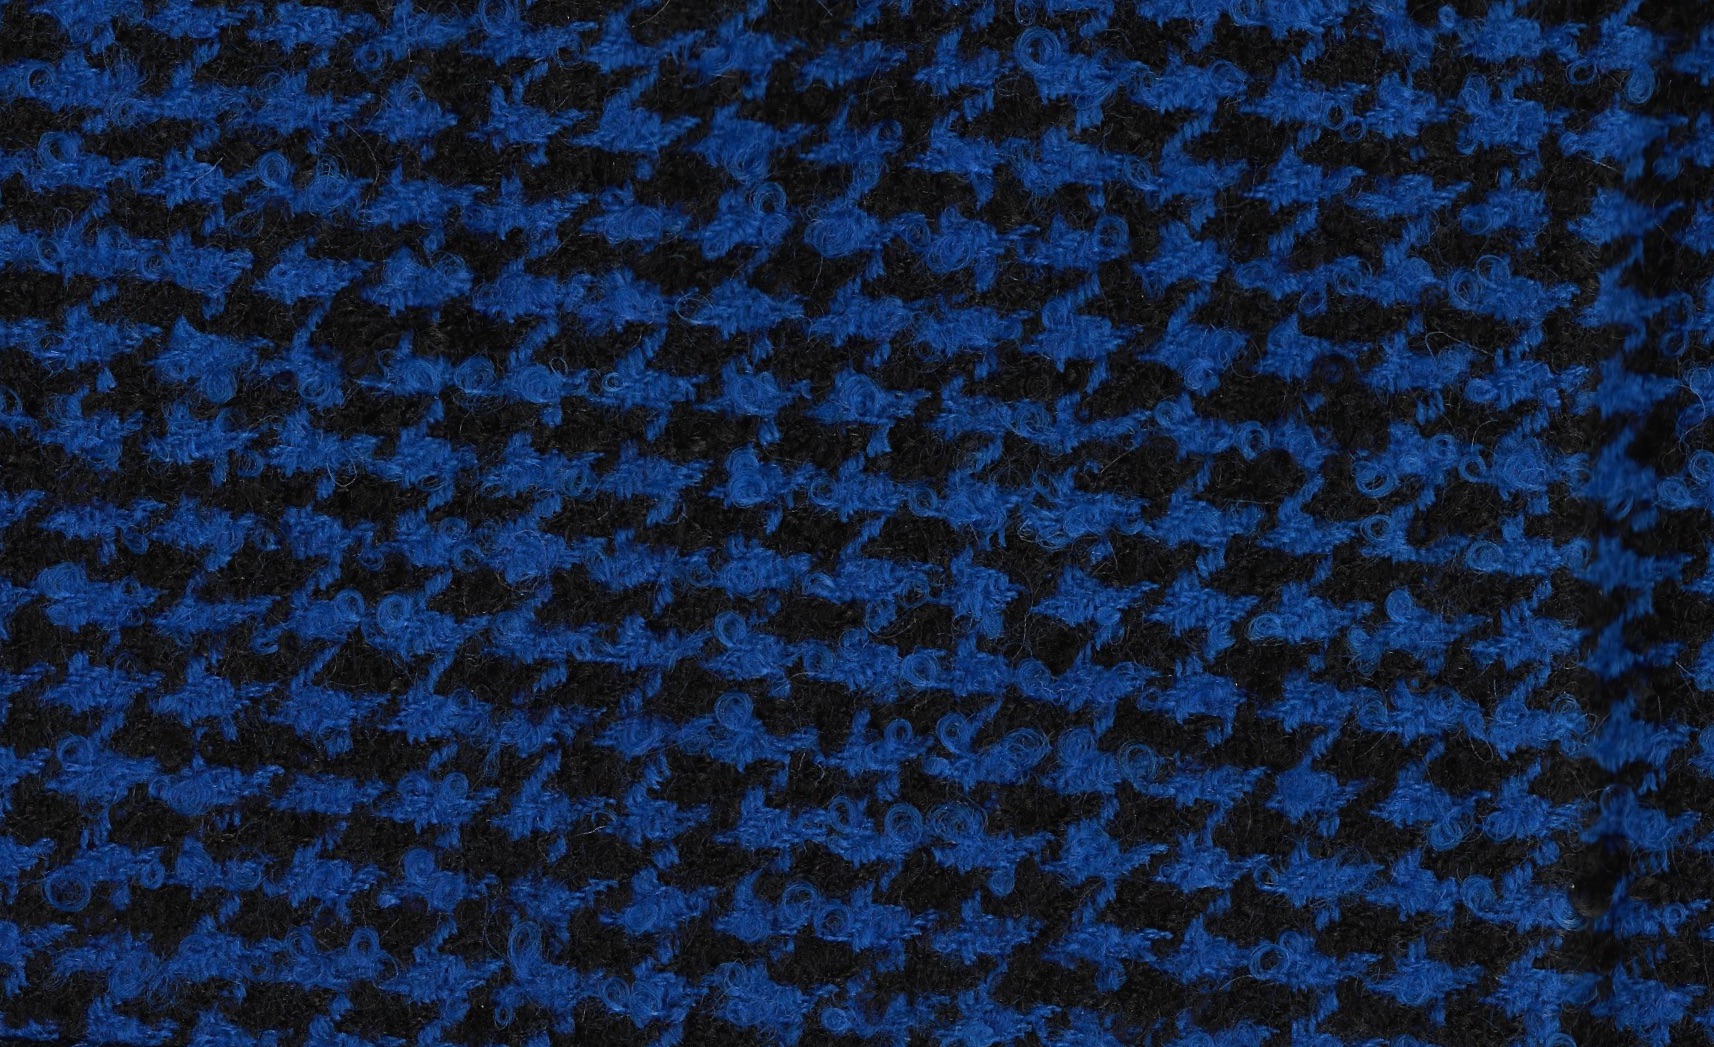
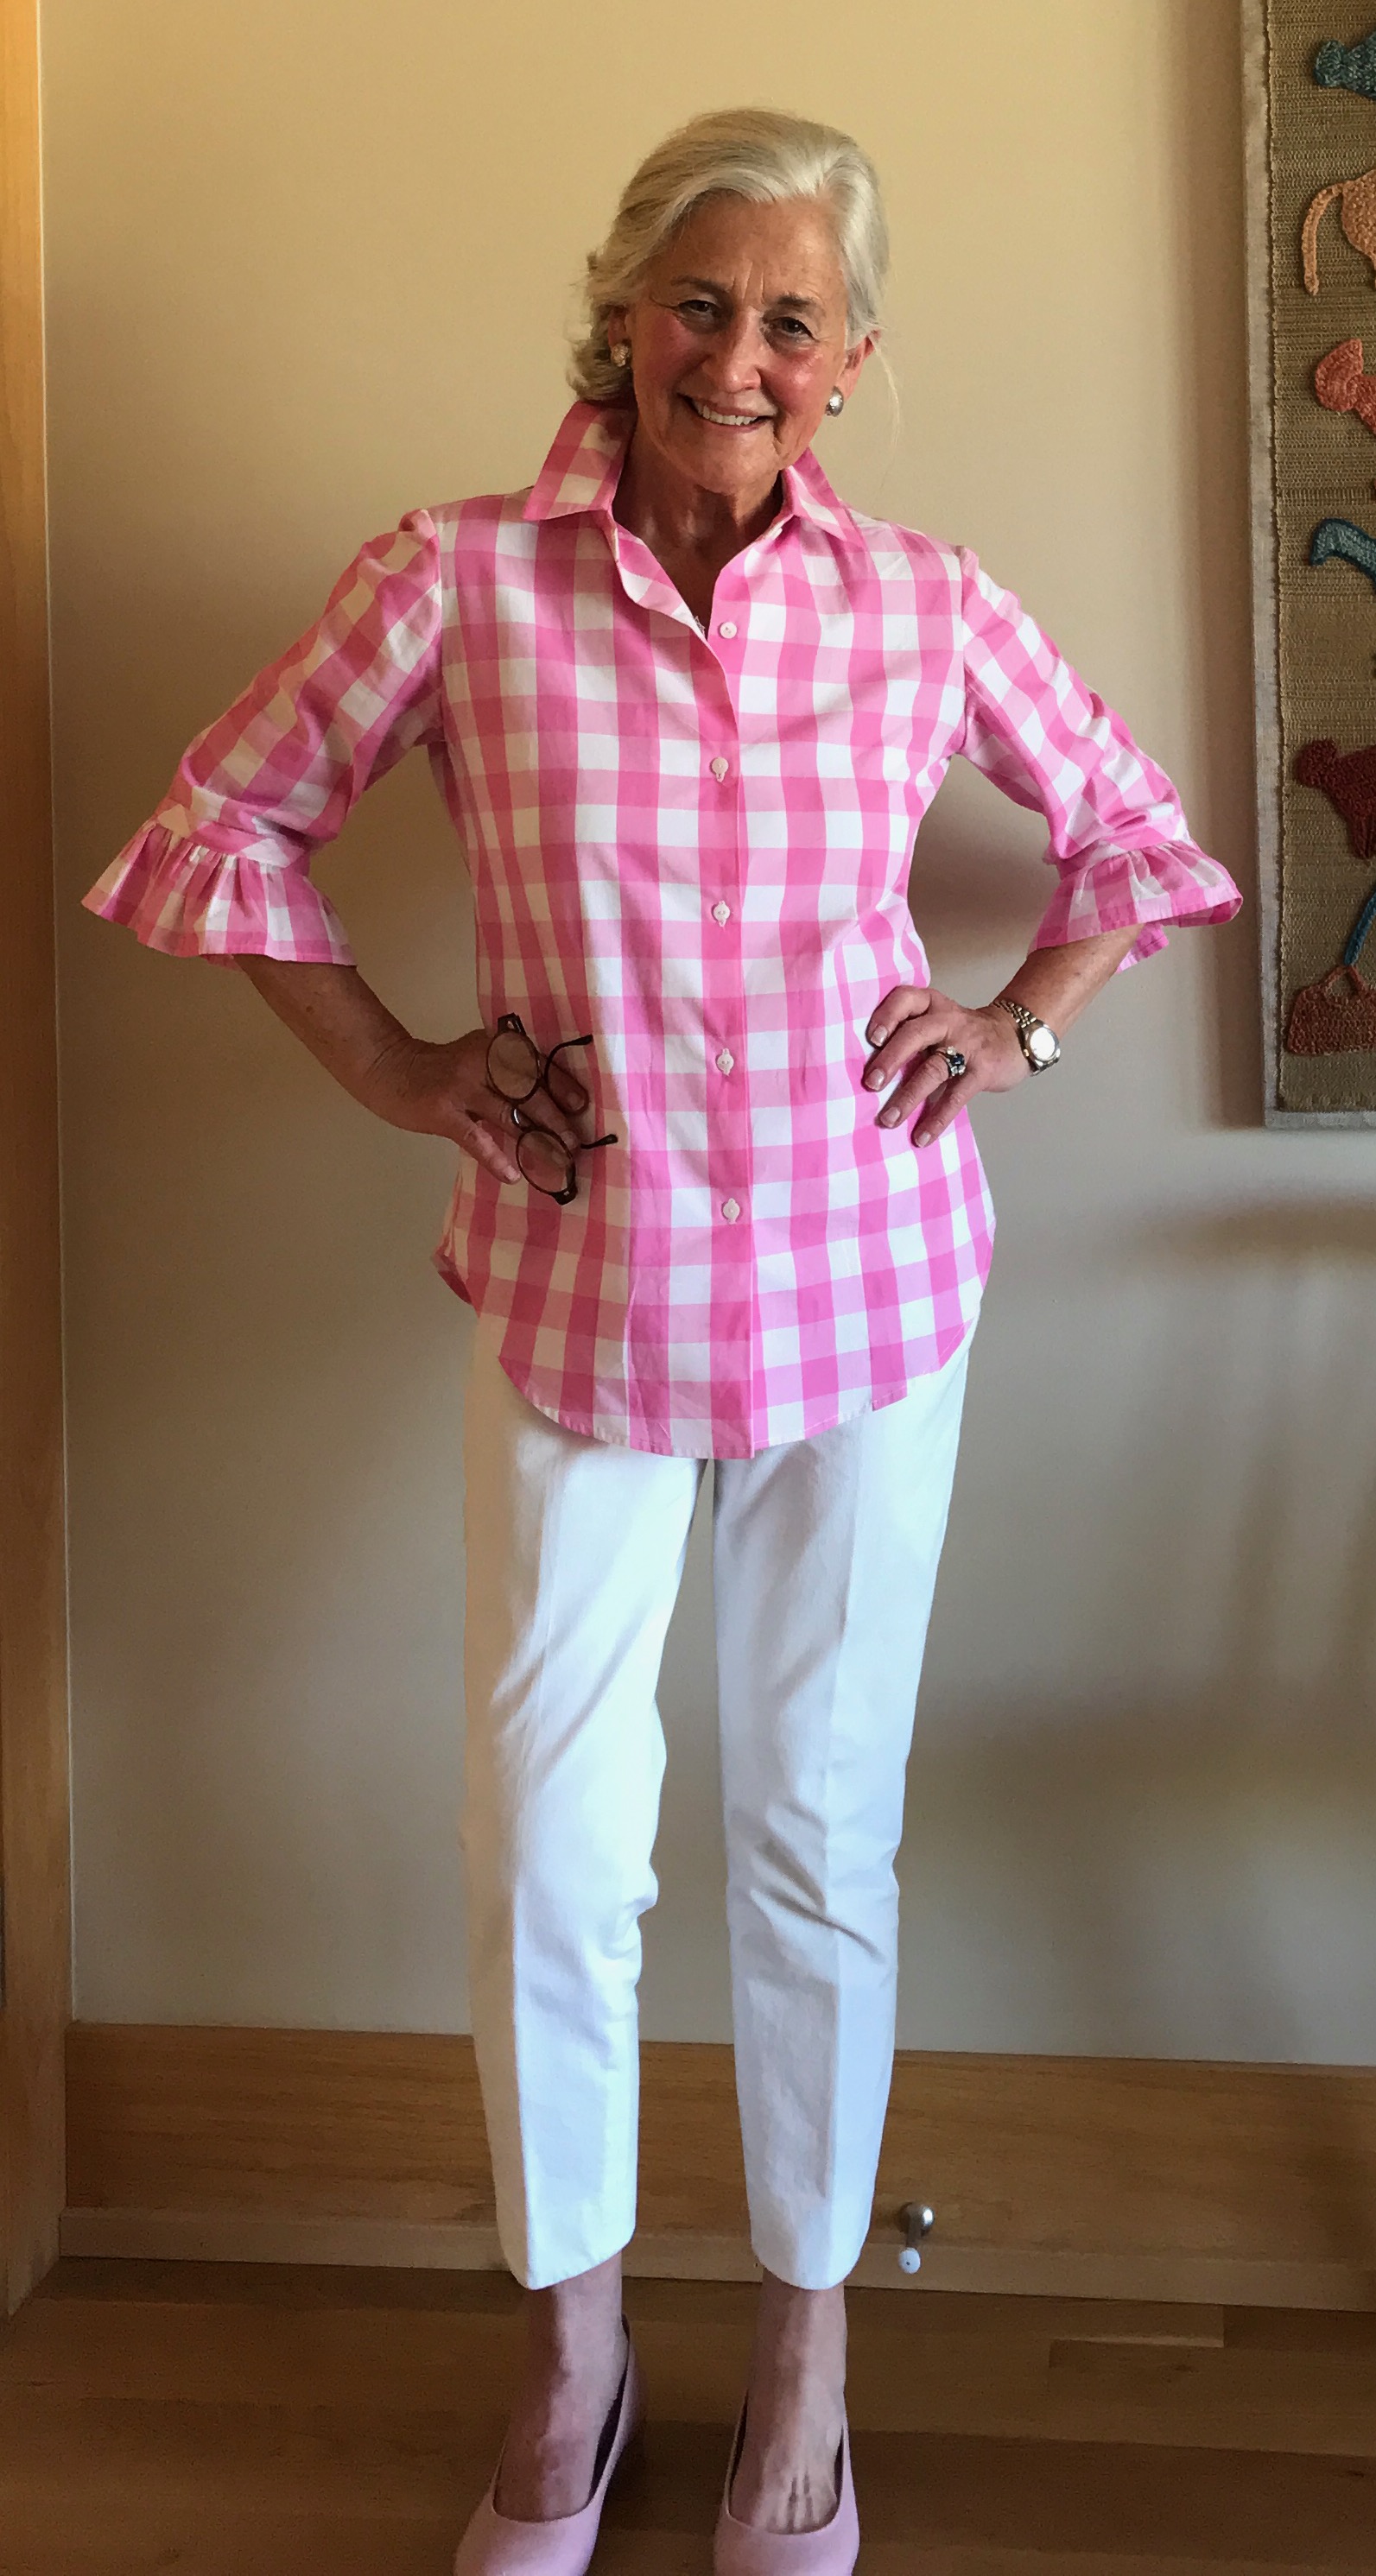
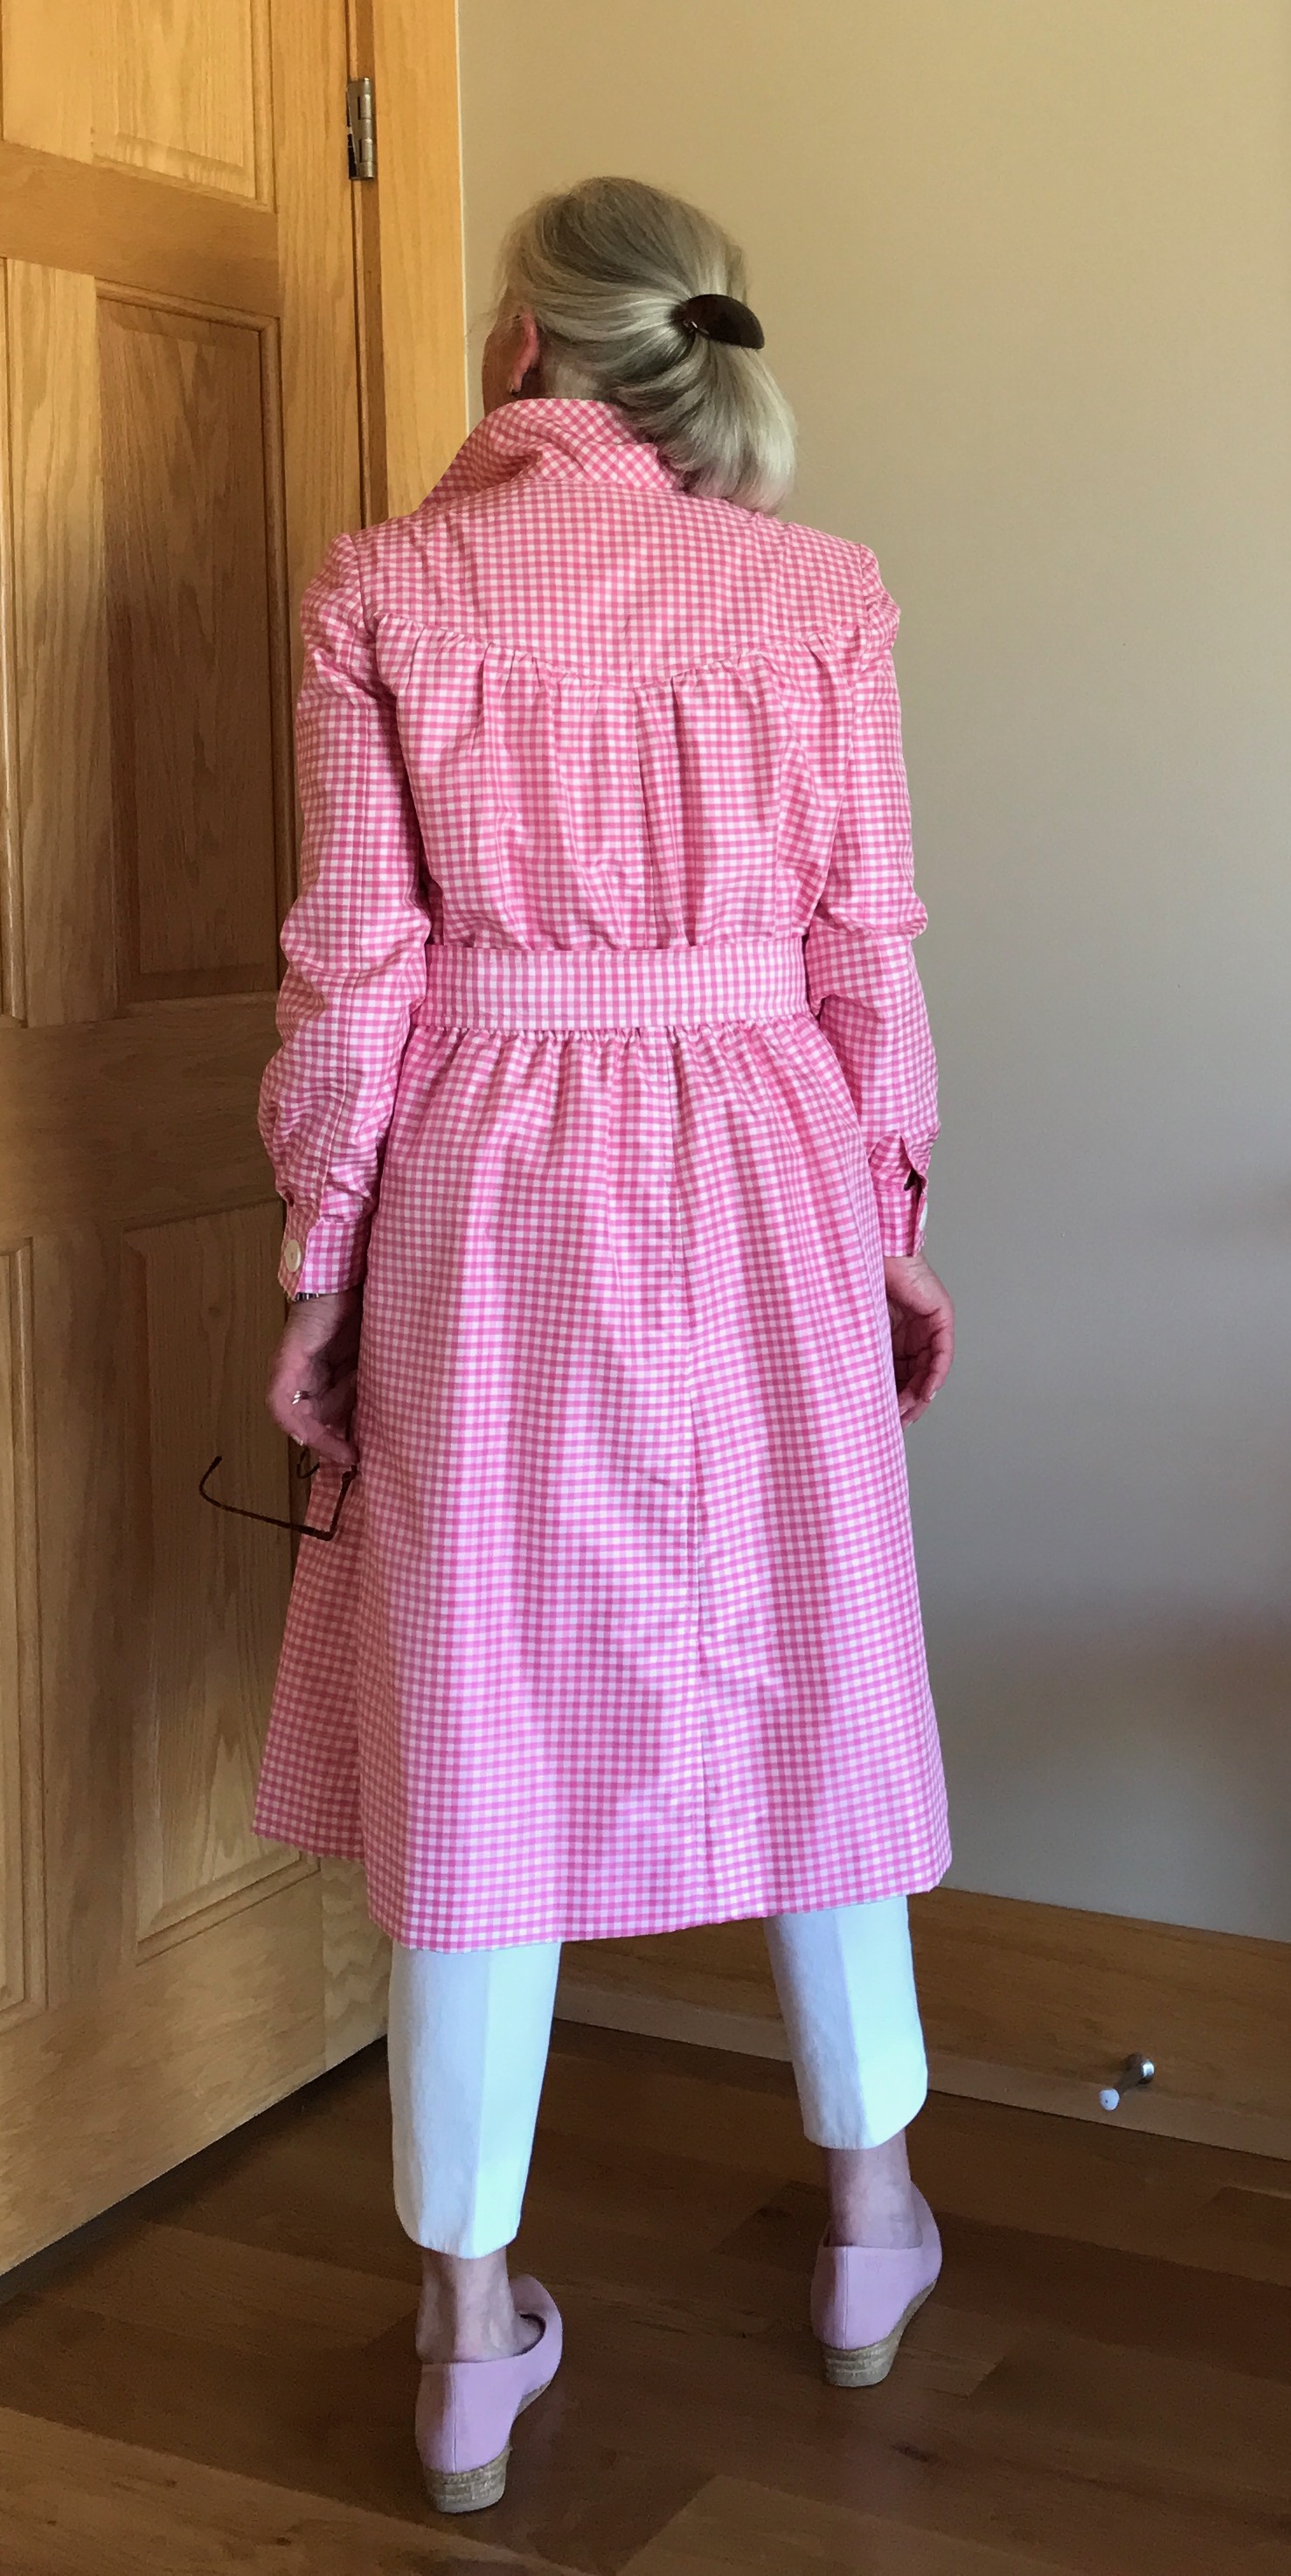
Perhaps many of you are familiar with this famous quote from Edith Head (American costume designer, 1897-1981): “A dress should be tight enough to show you’re a woman and loose enough to prove you’re a lady.” When it comes to tunic tops, my very inelegant redo of that quote is: “A tunic should be fitted enough to not be baggy and loose enough to be able to get into it.” I find that combination to be a difficult task. Let’s see how I did with this one:
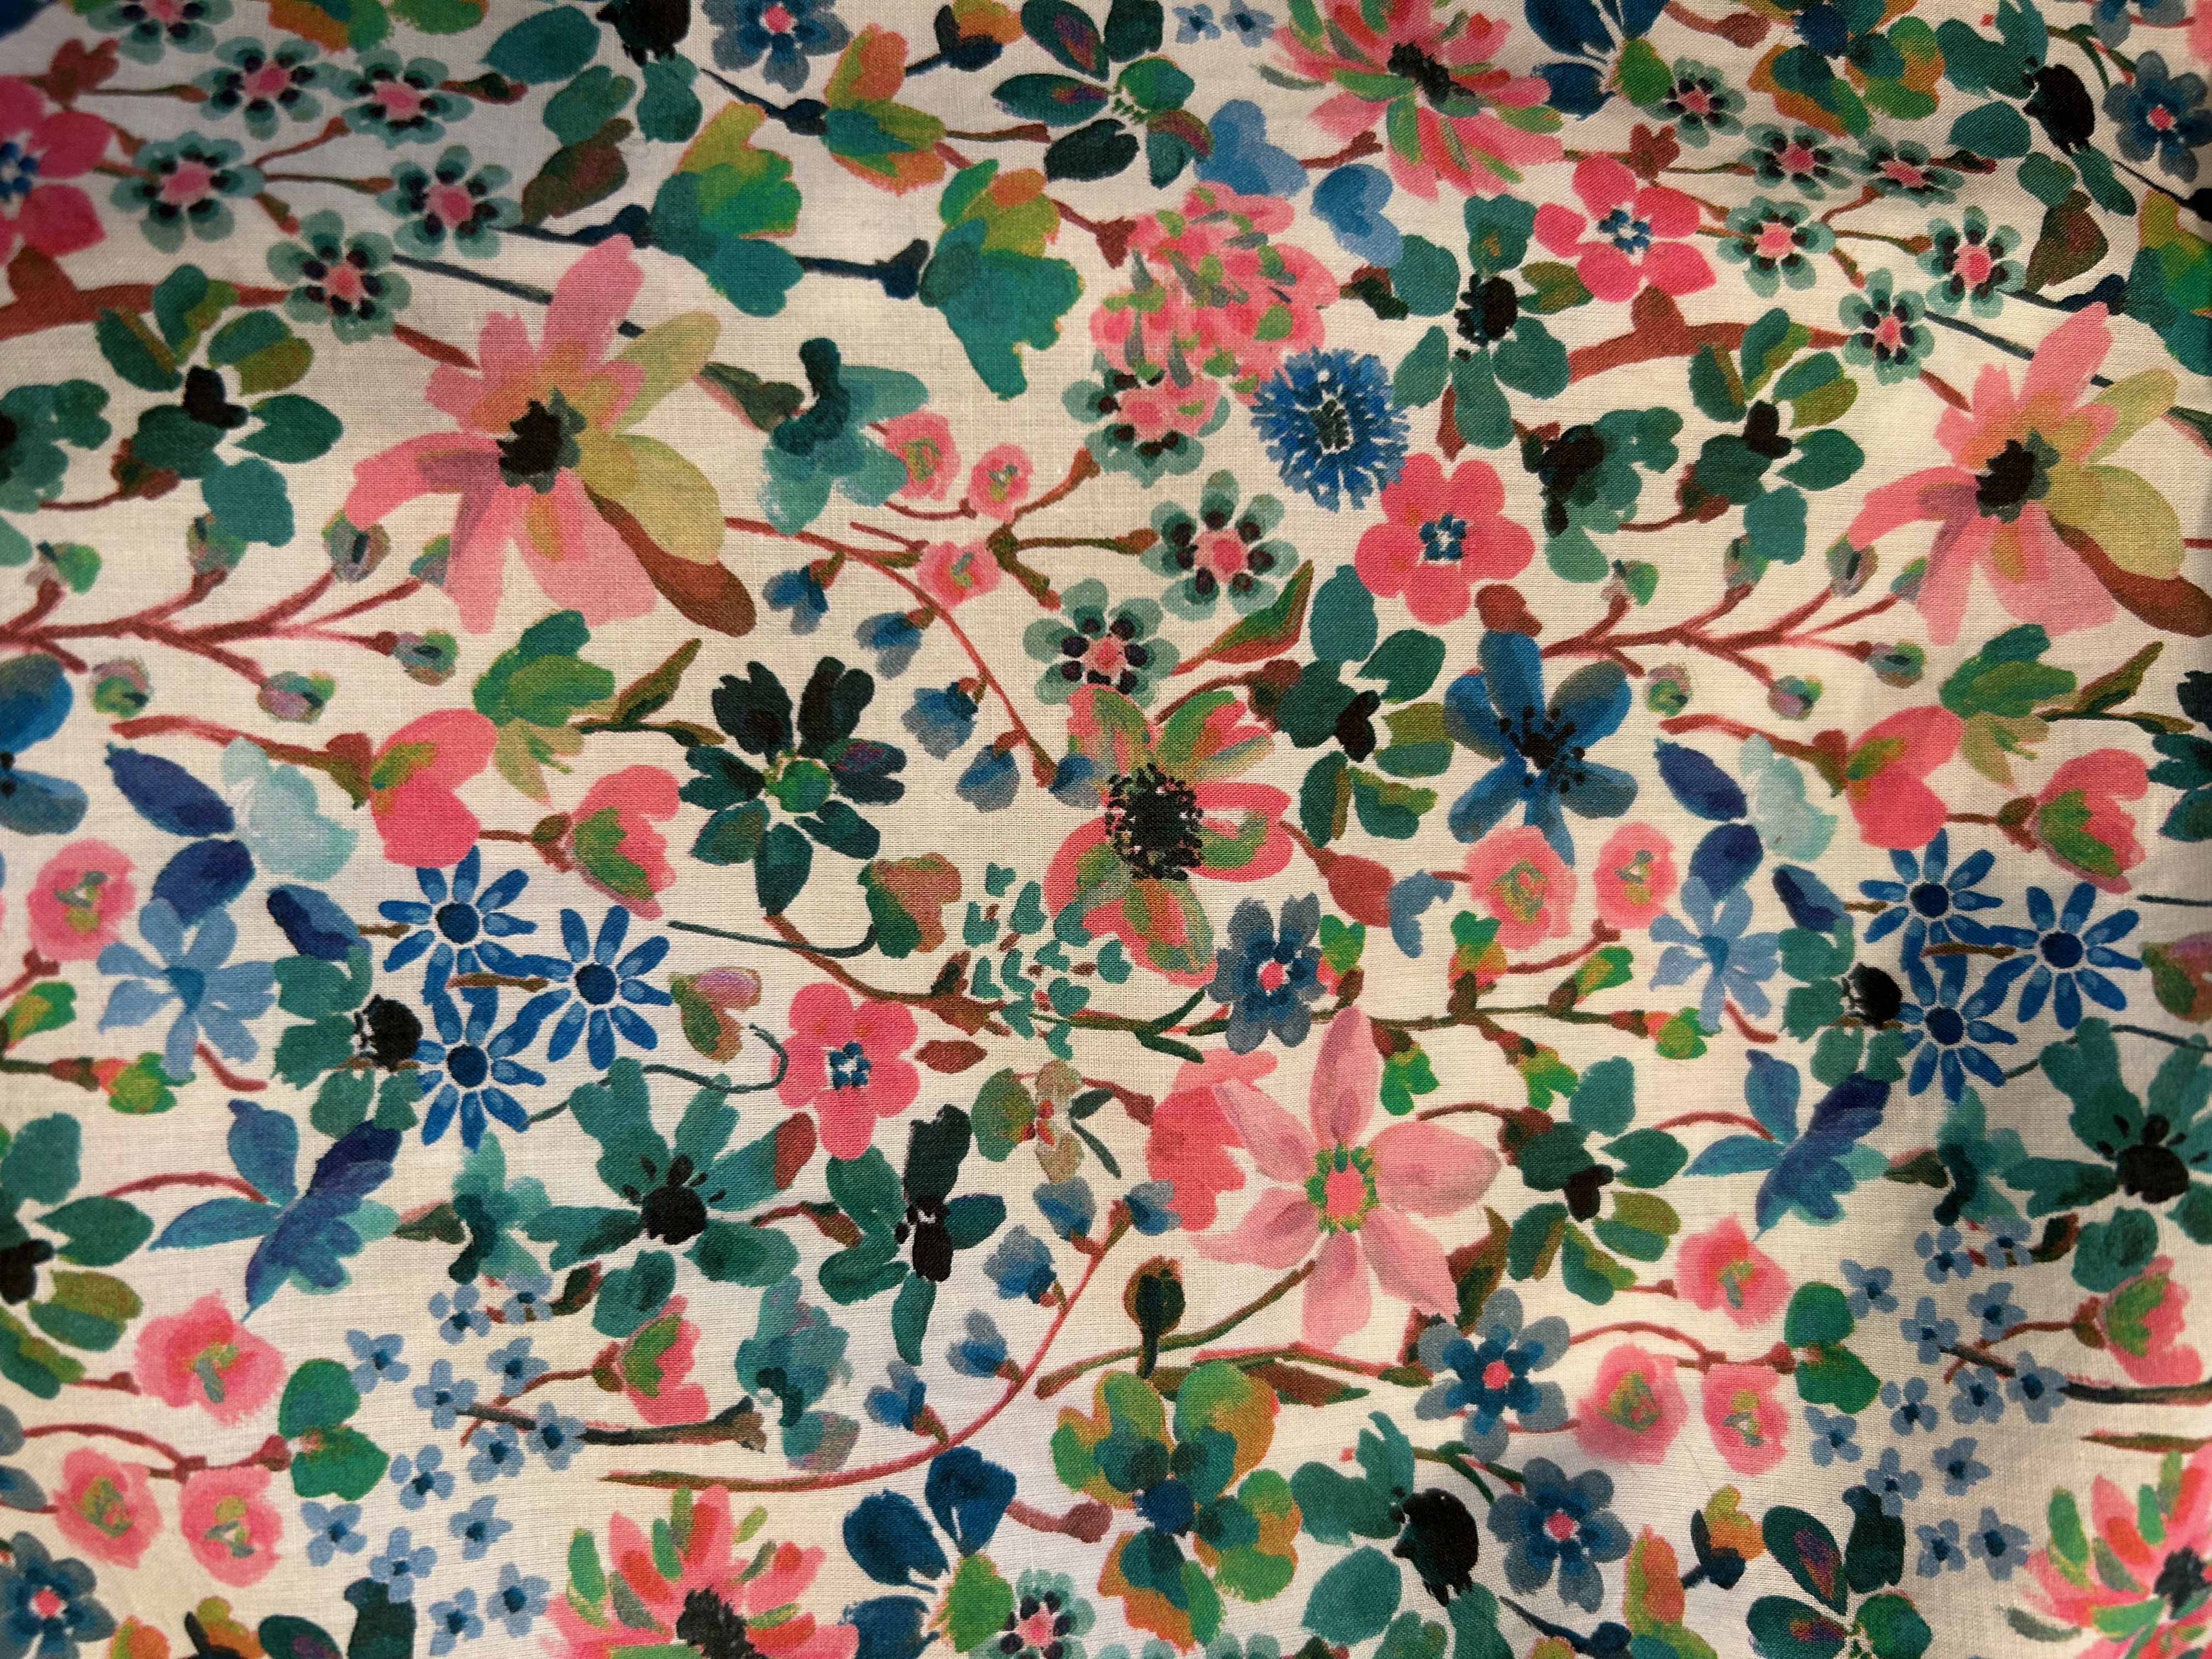
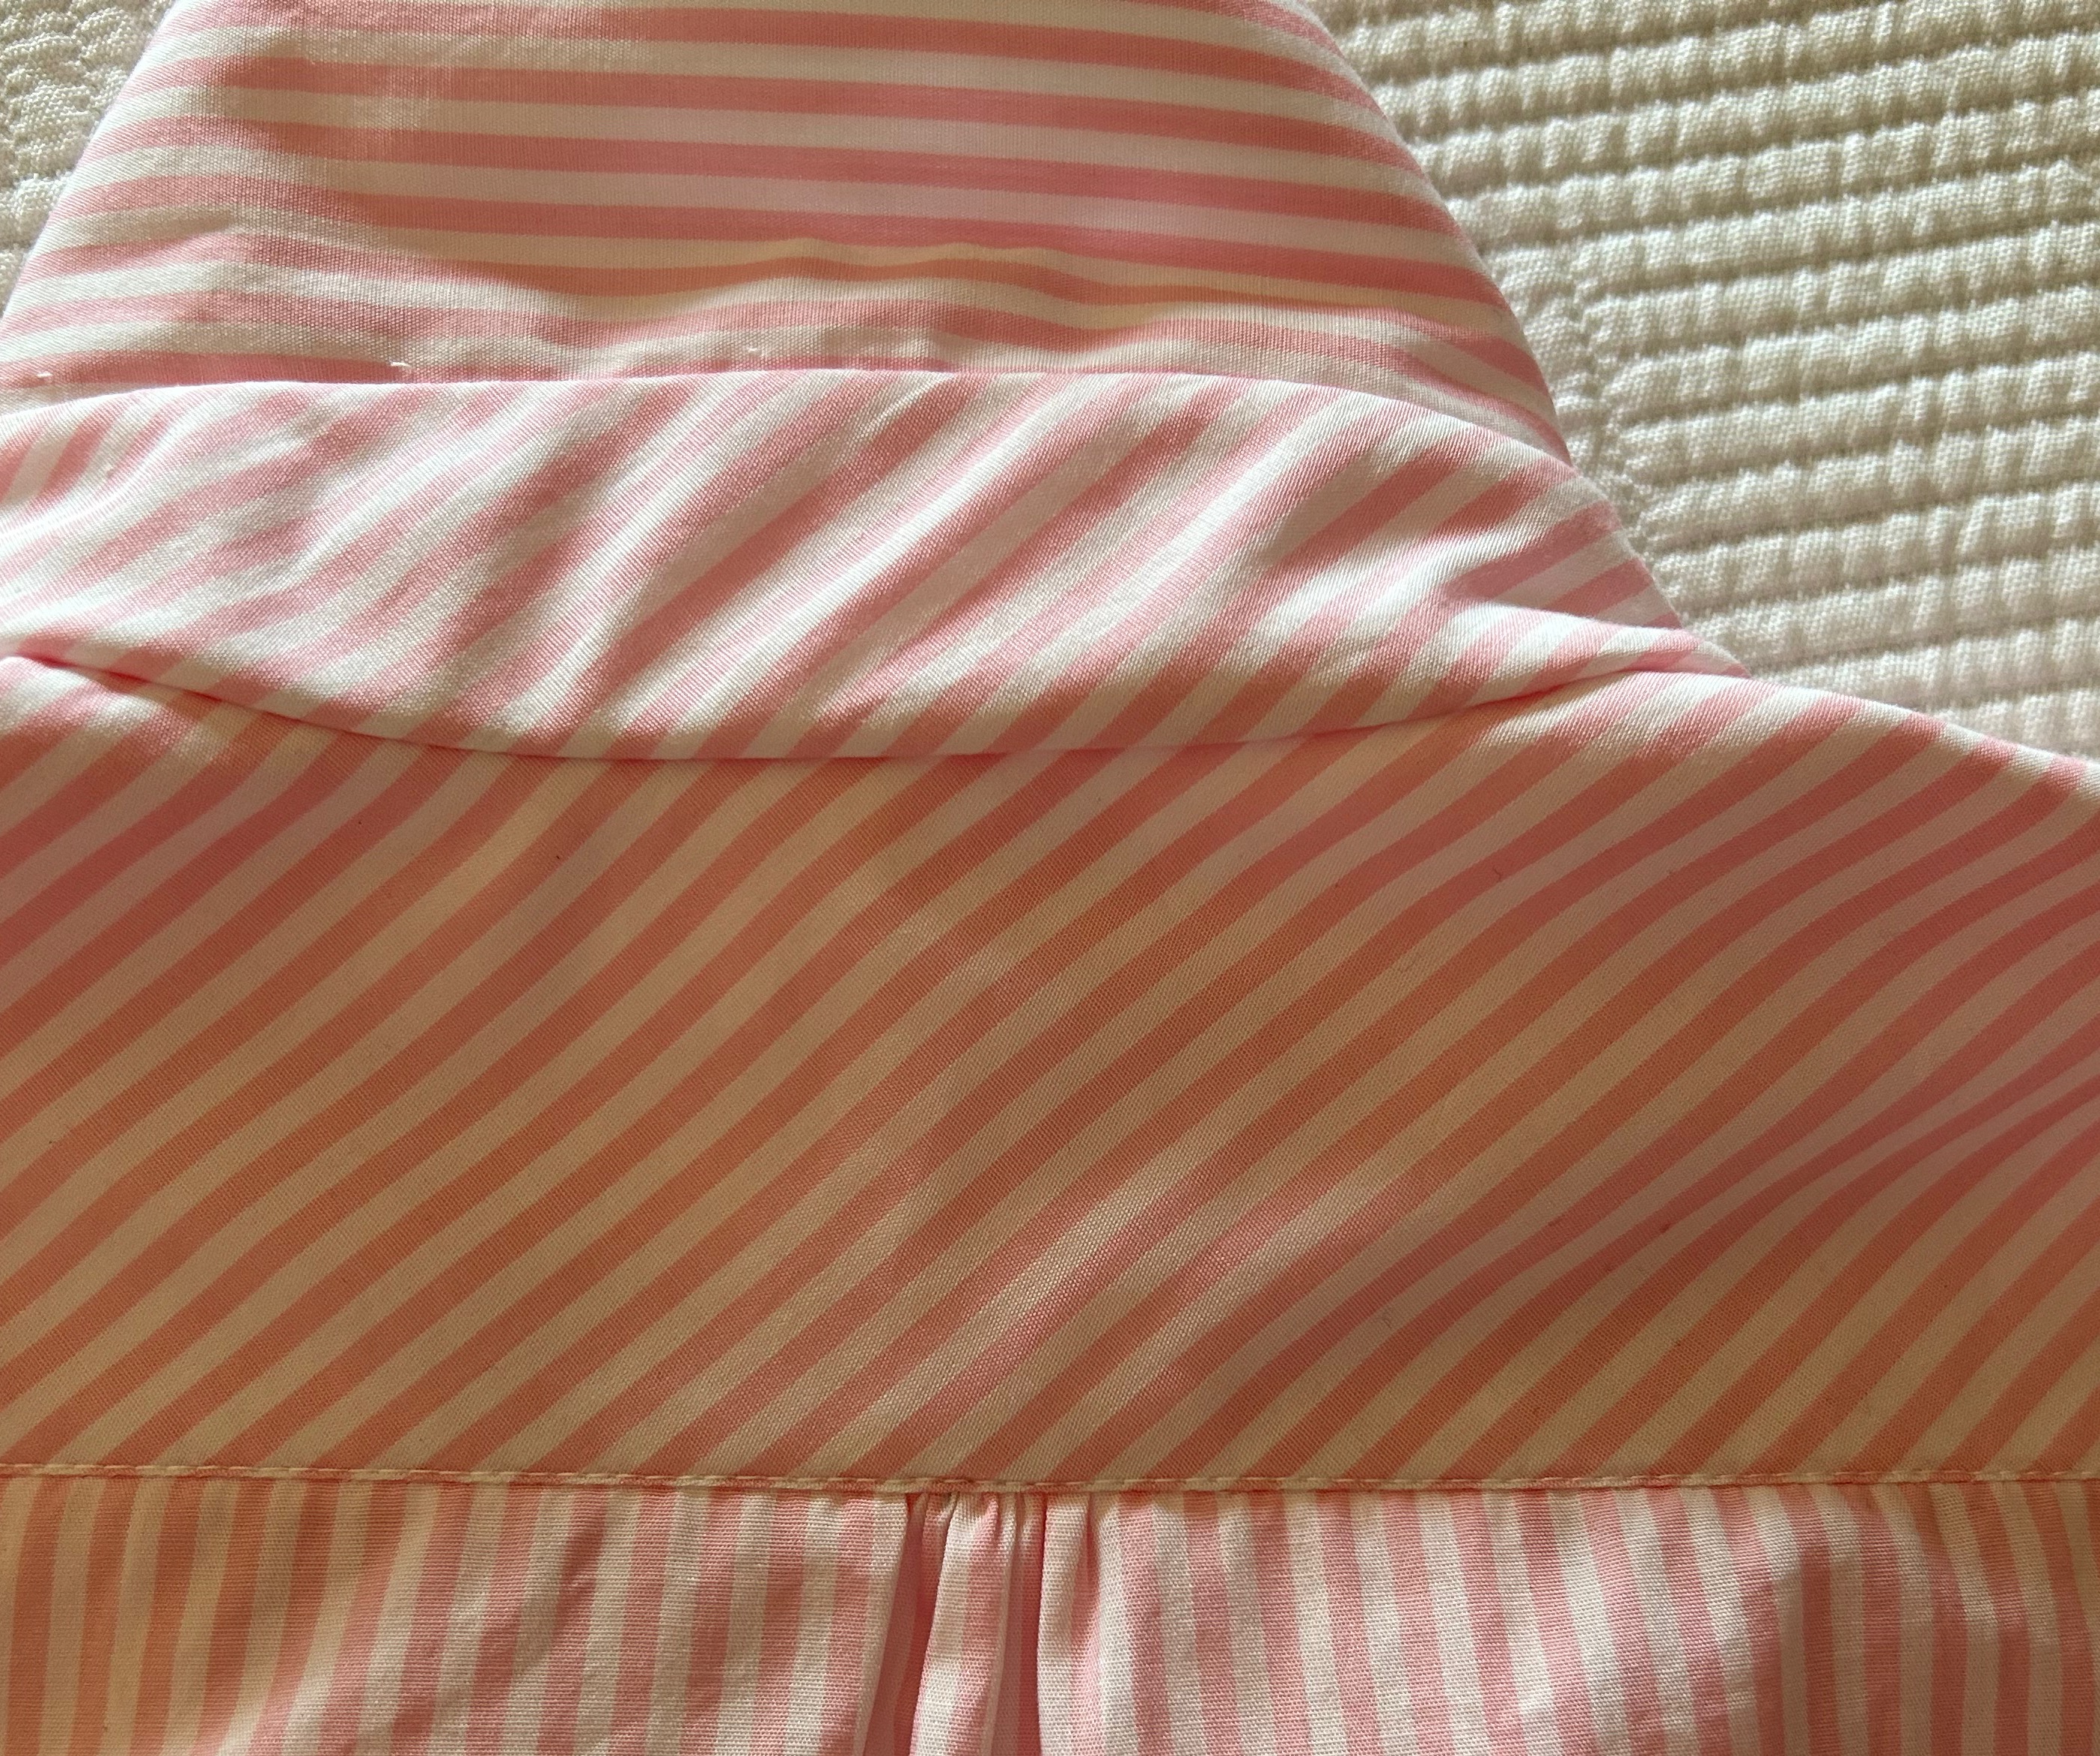
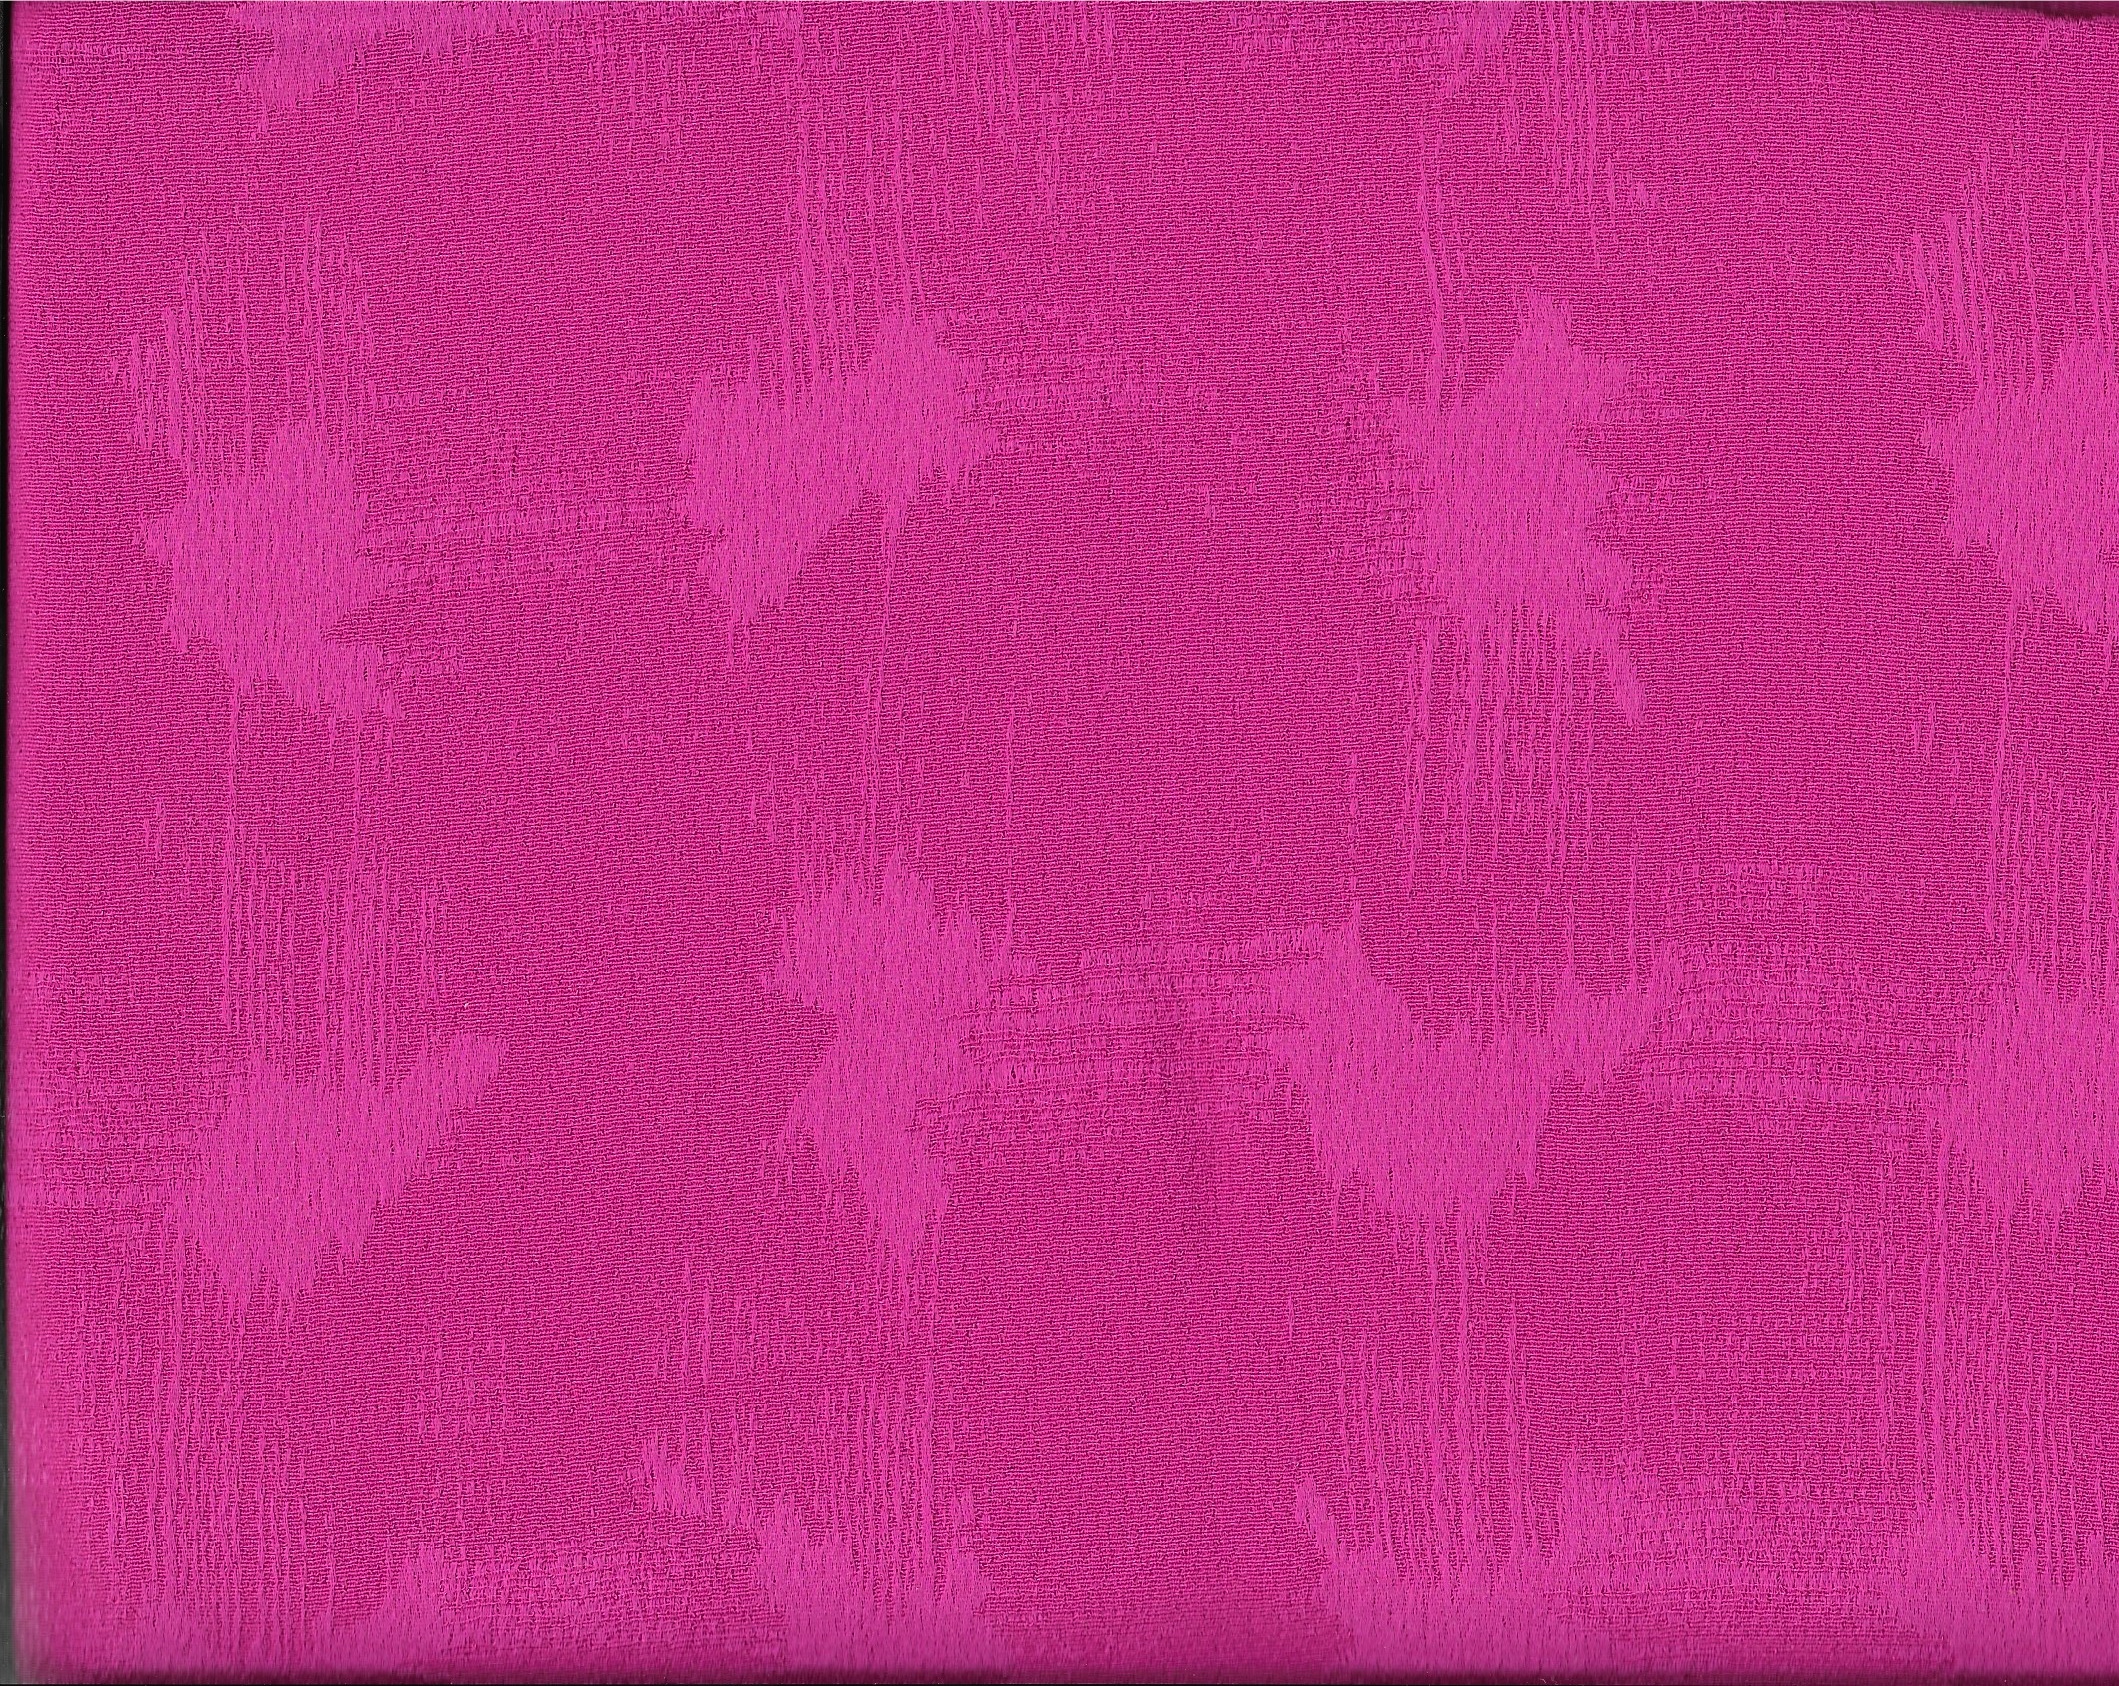
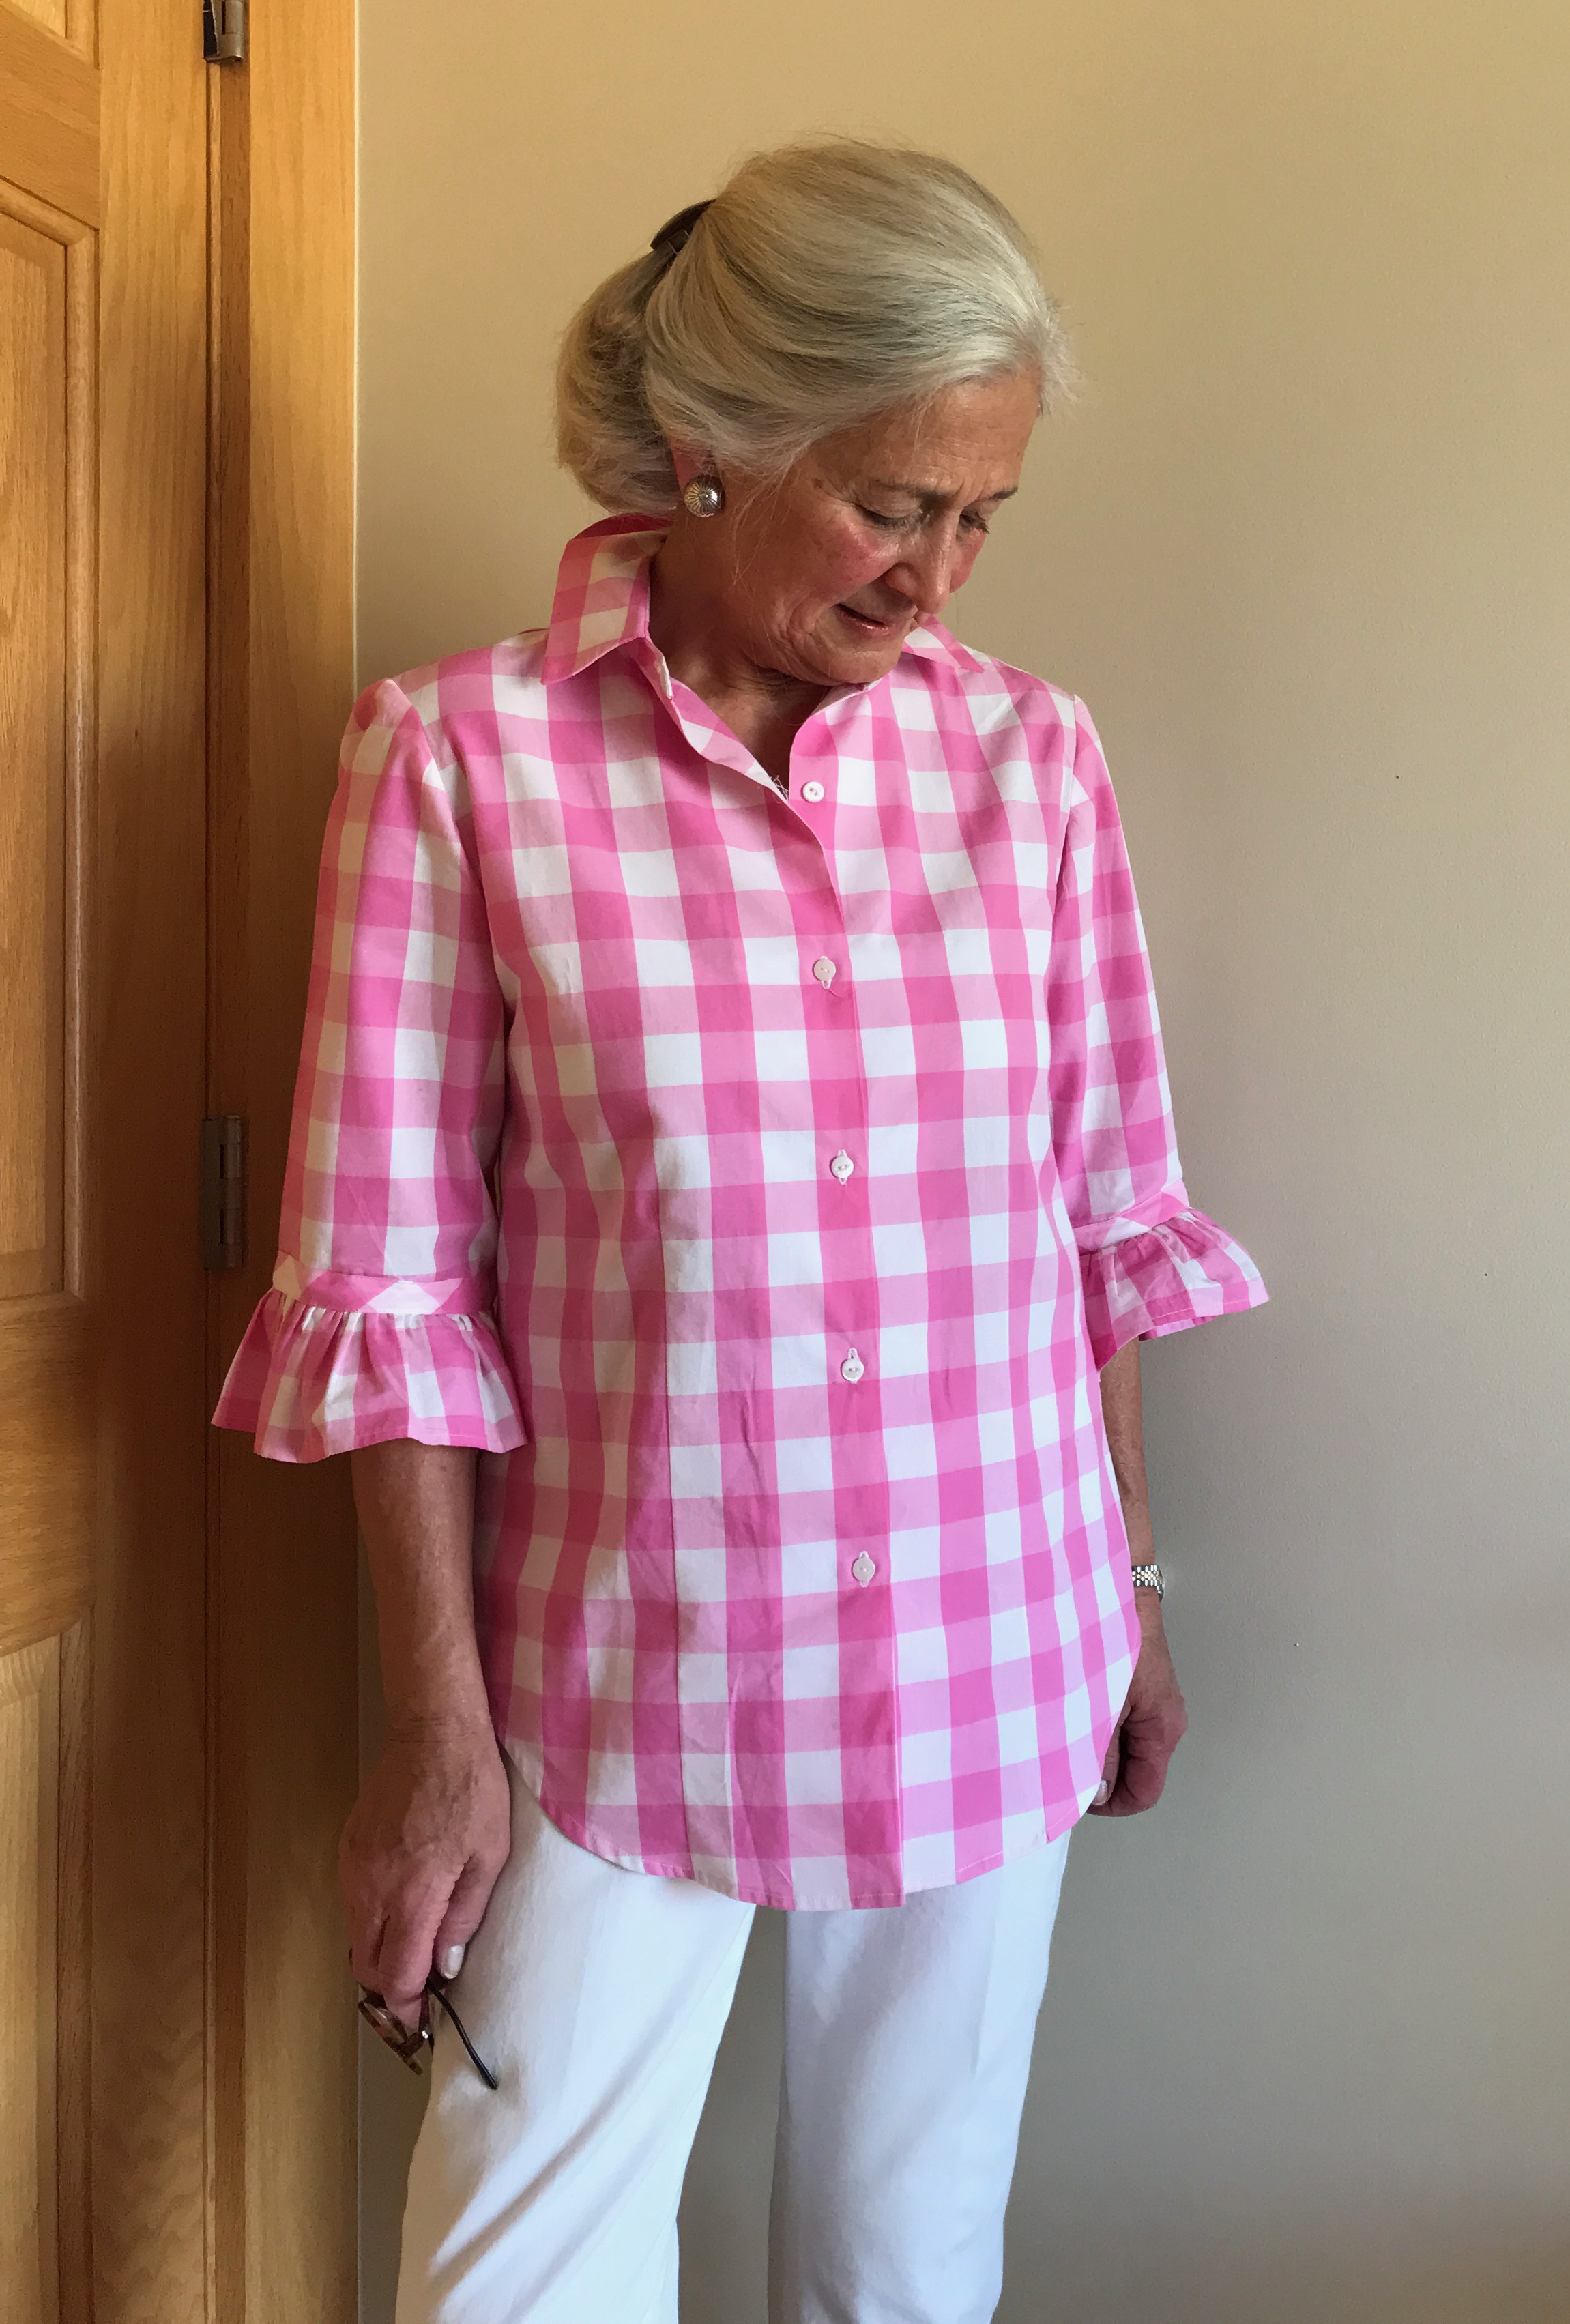
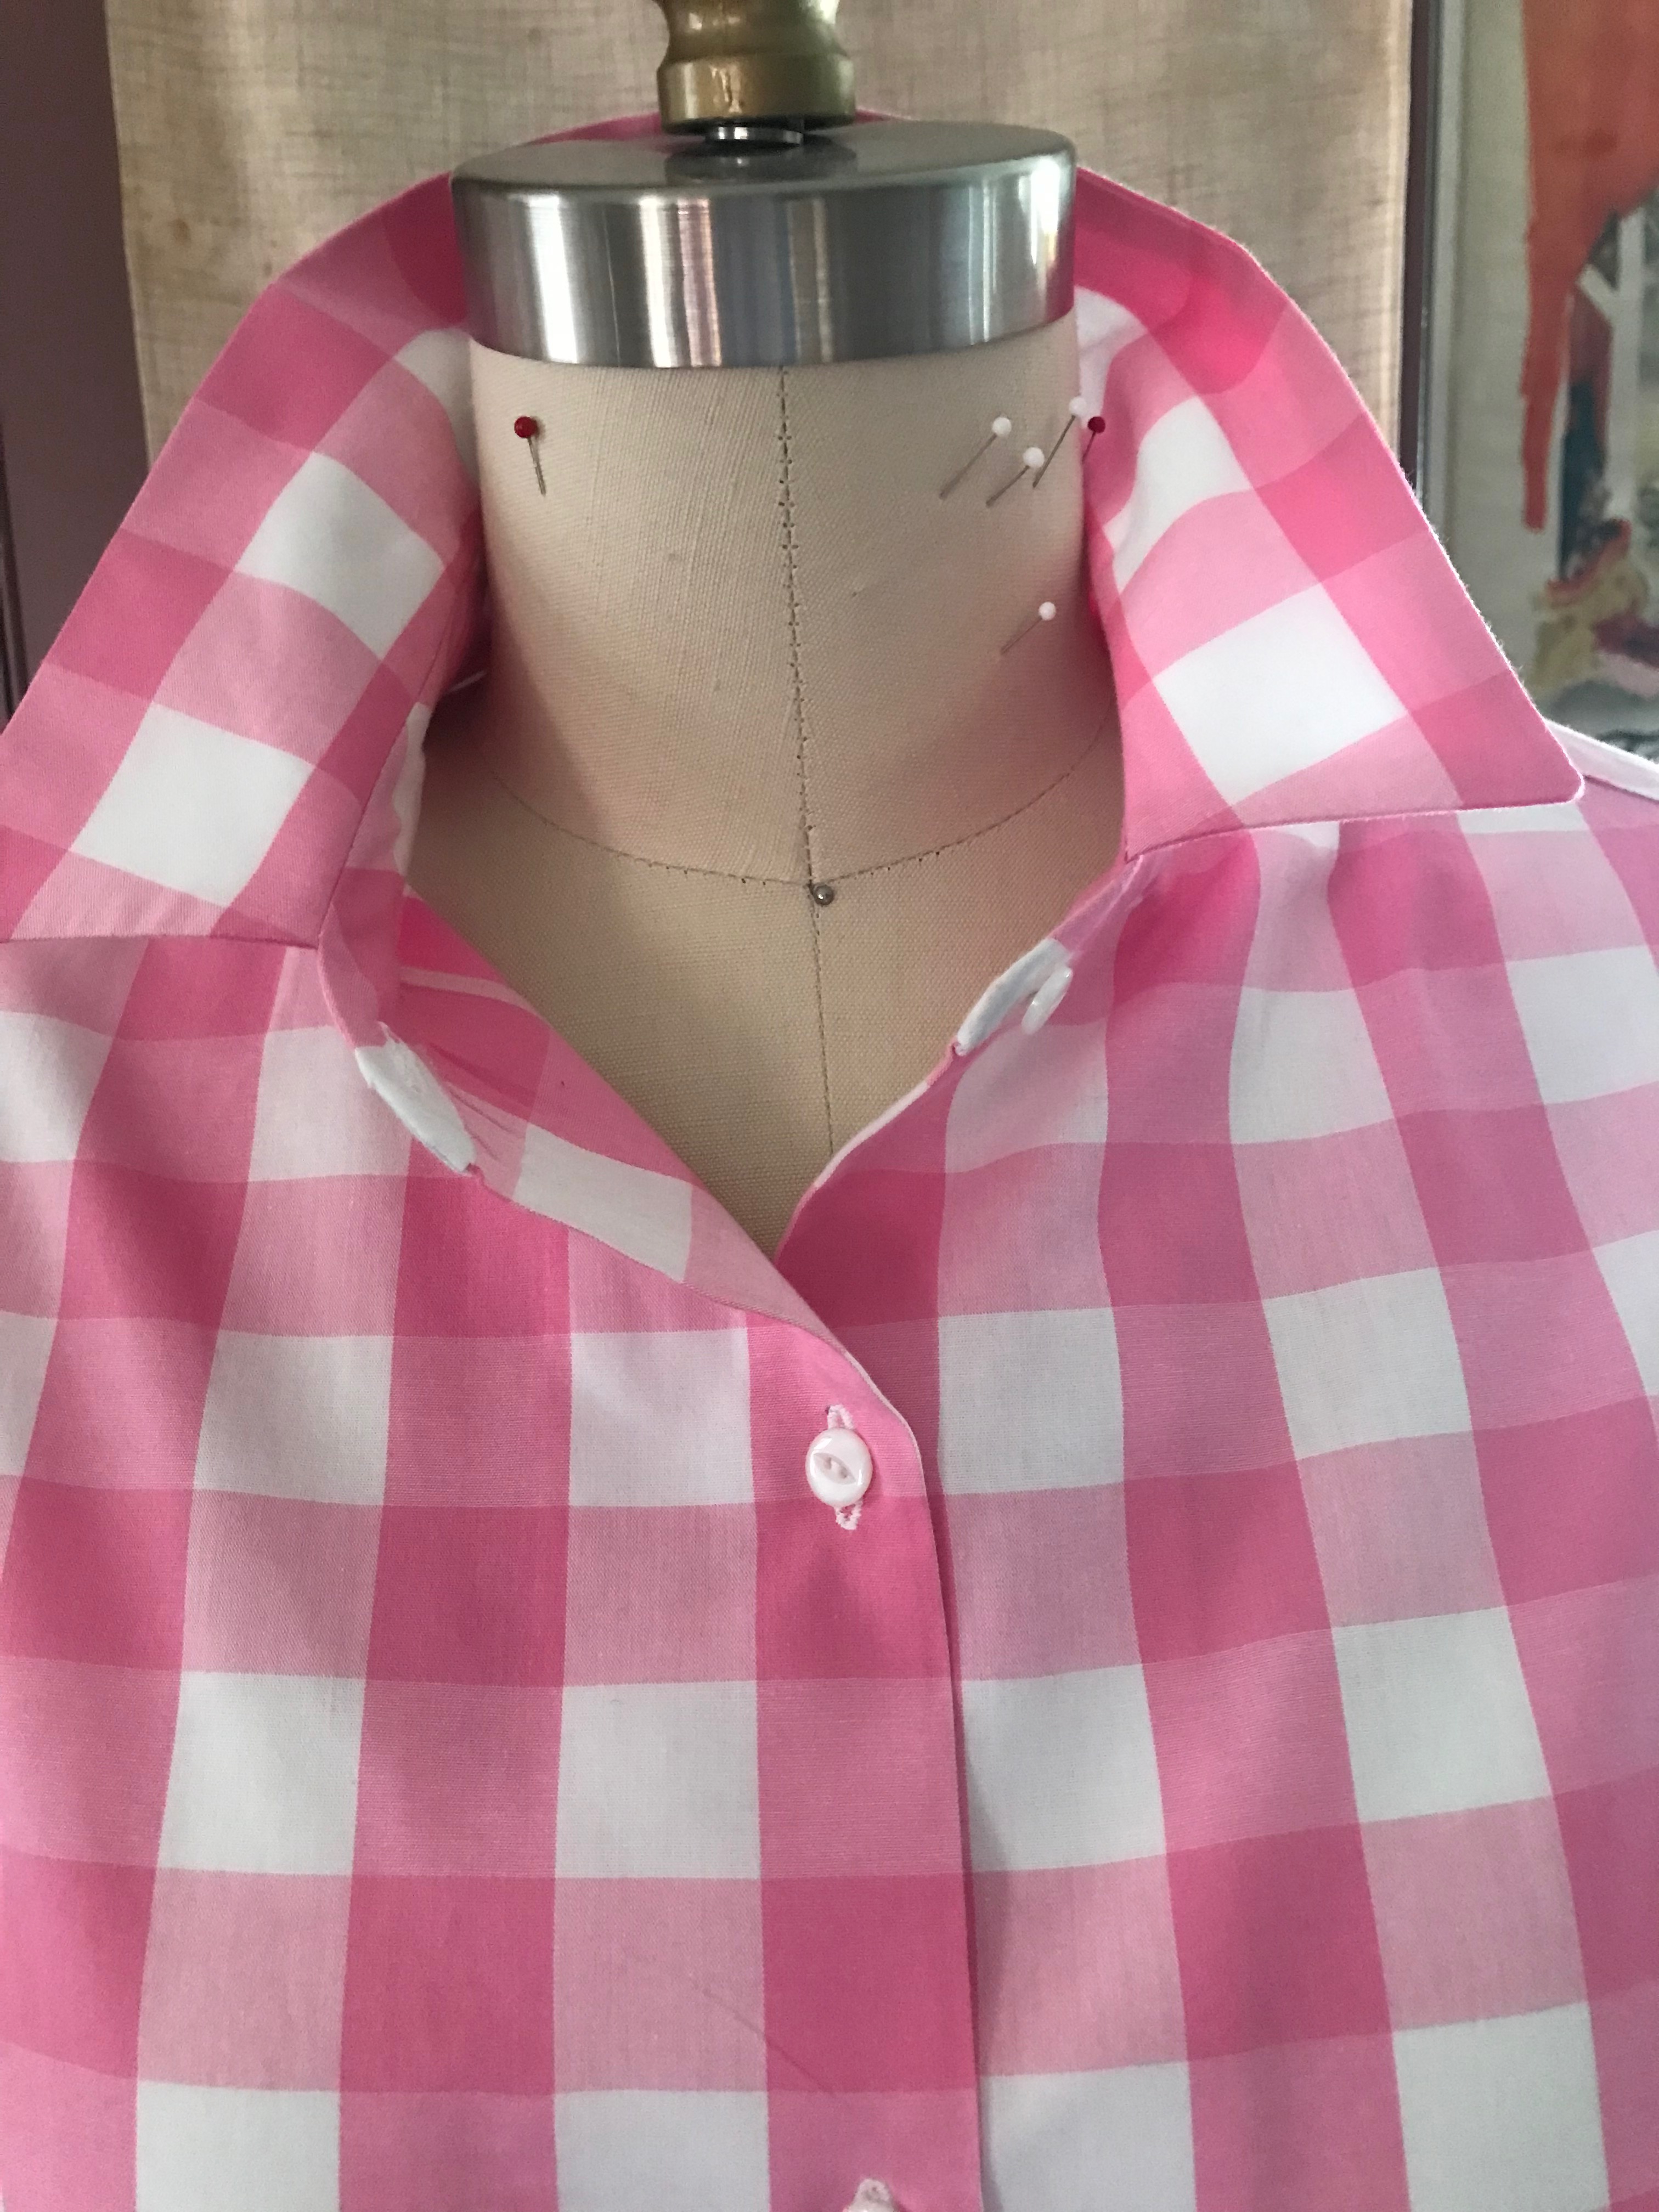
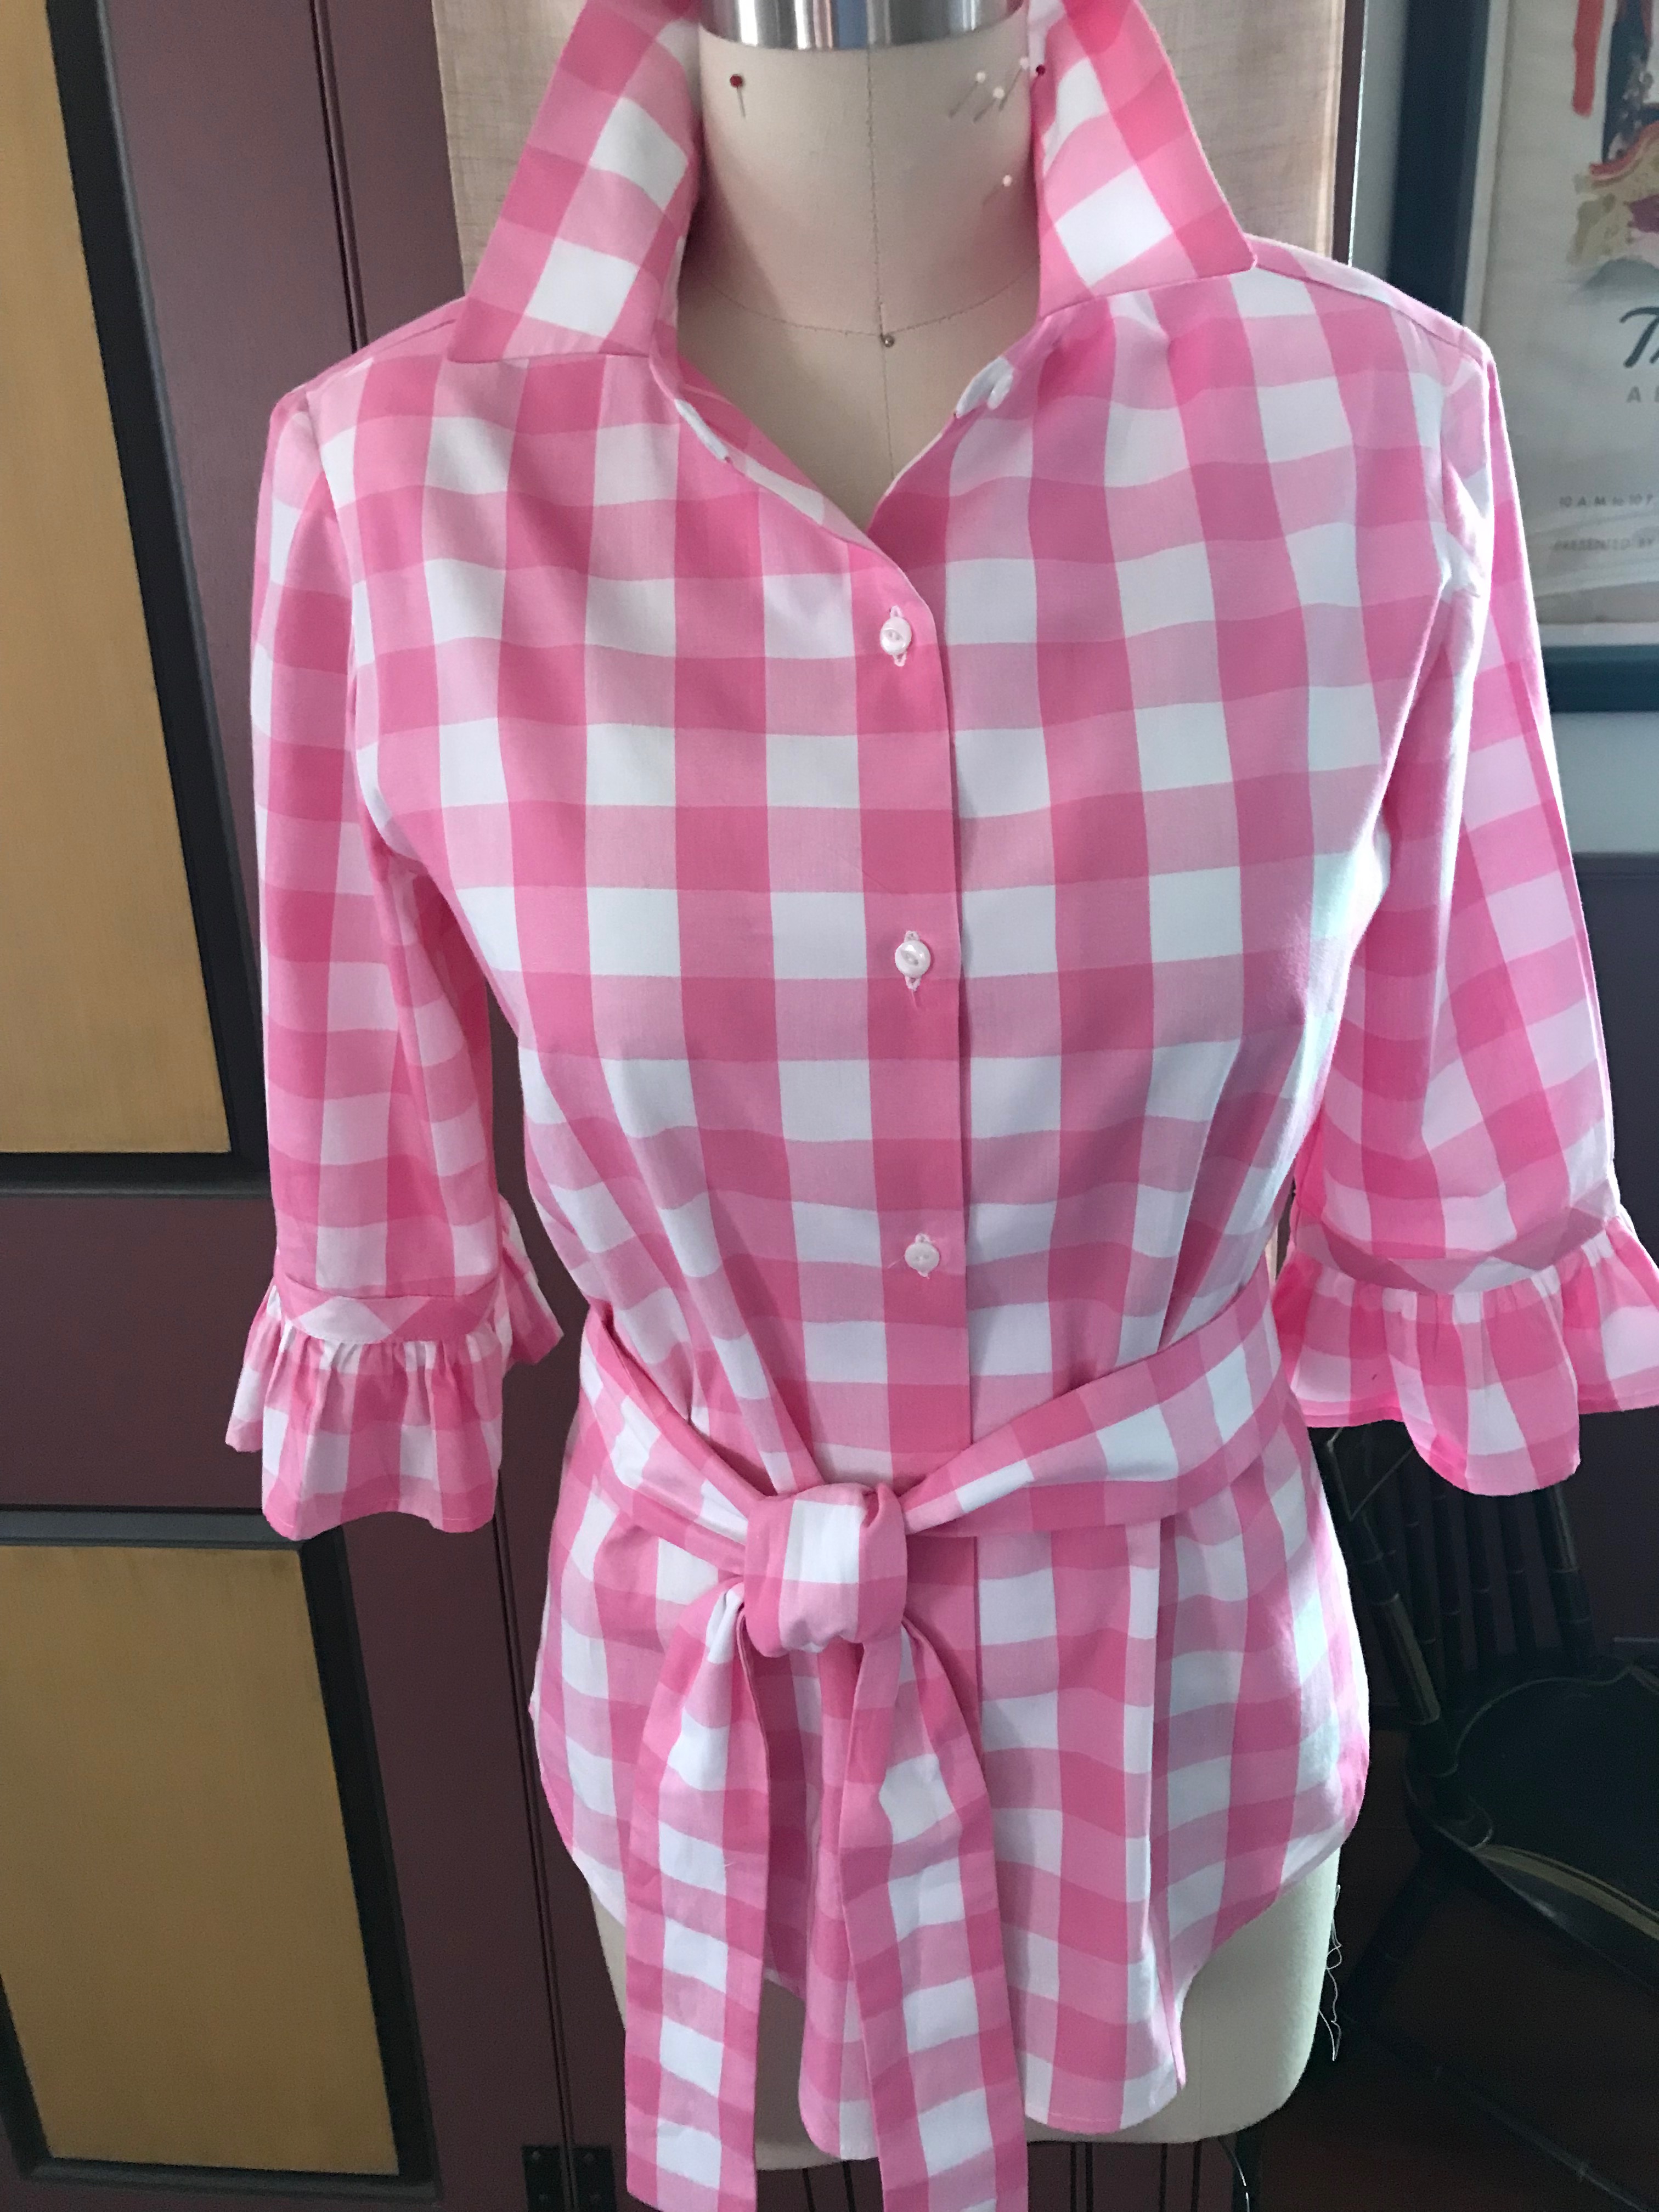
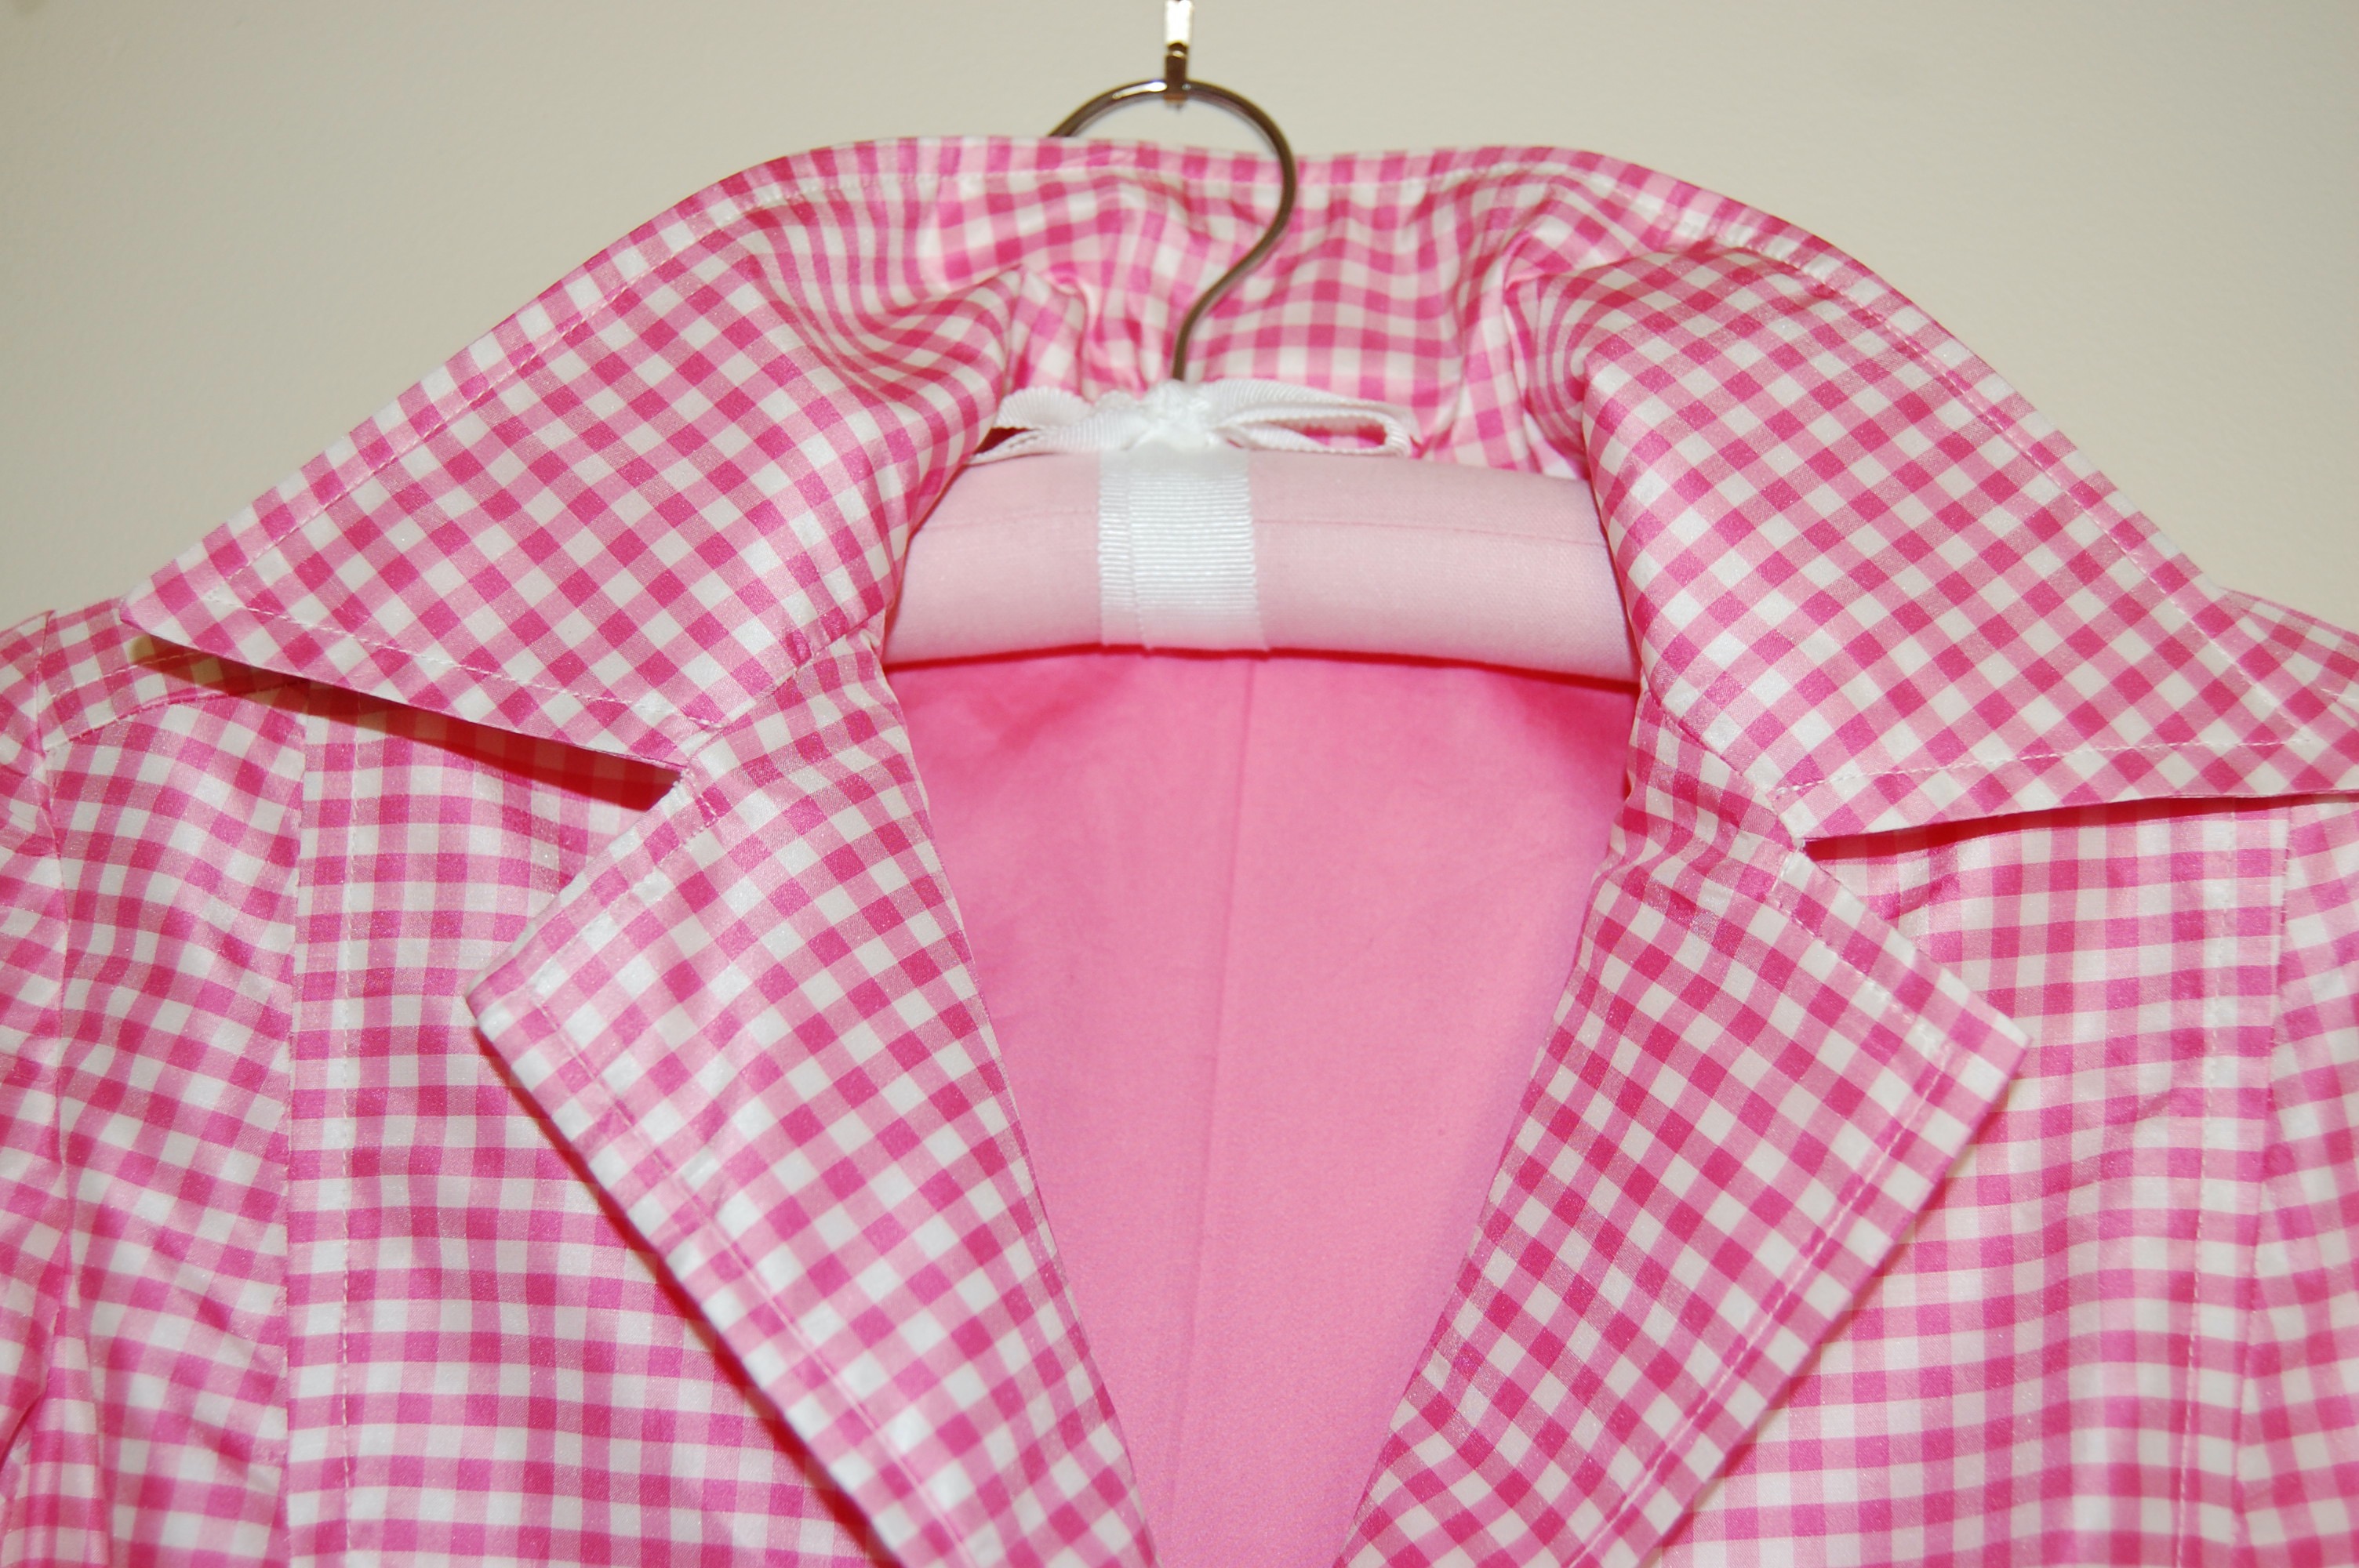
When I saw this pretty fabric on Emma One Socks’s website, I just knew I needed to purchase a length of it. All cotton, it is finely woven and silky soft. Originally, I thought I would make a dress, but when it arrived, I saw it as a tunic top, trimmed in pink, of course. I have a couple of tunic patterns, but I went back to this one because the front opening is longer than most, making it easier to get on and get off.
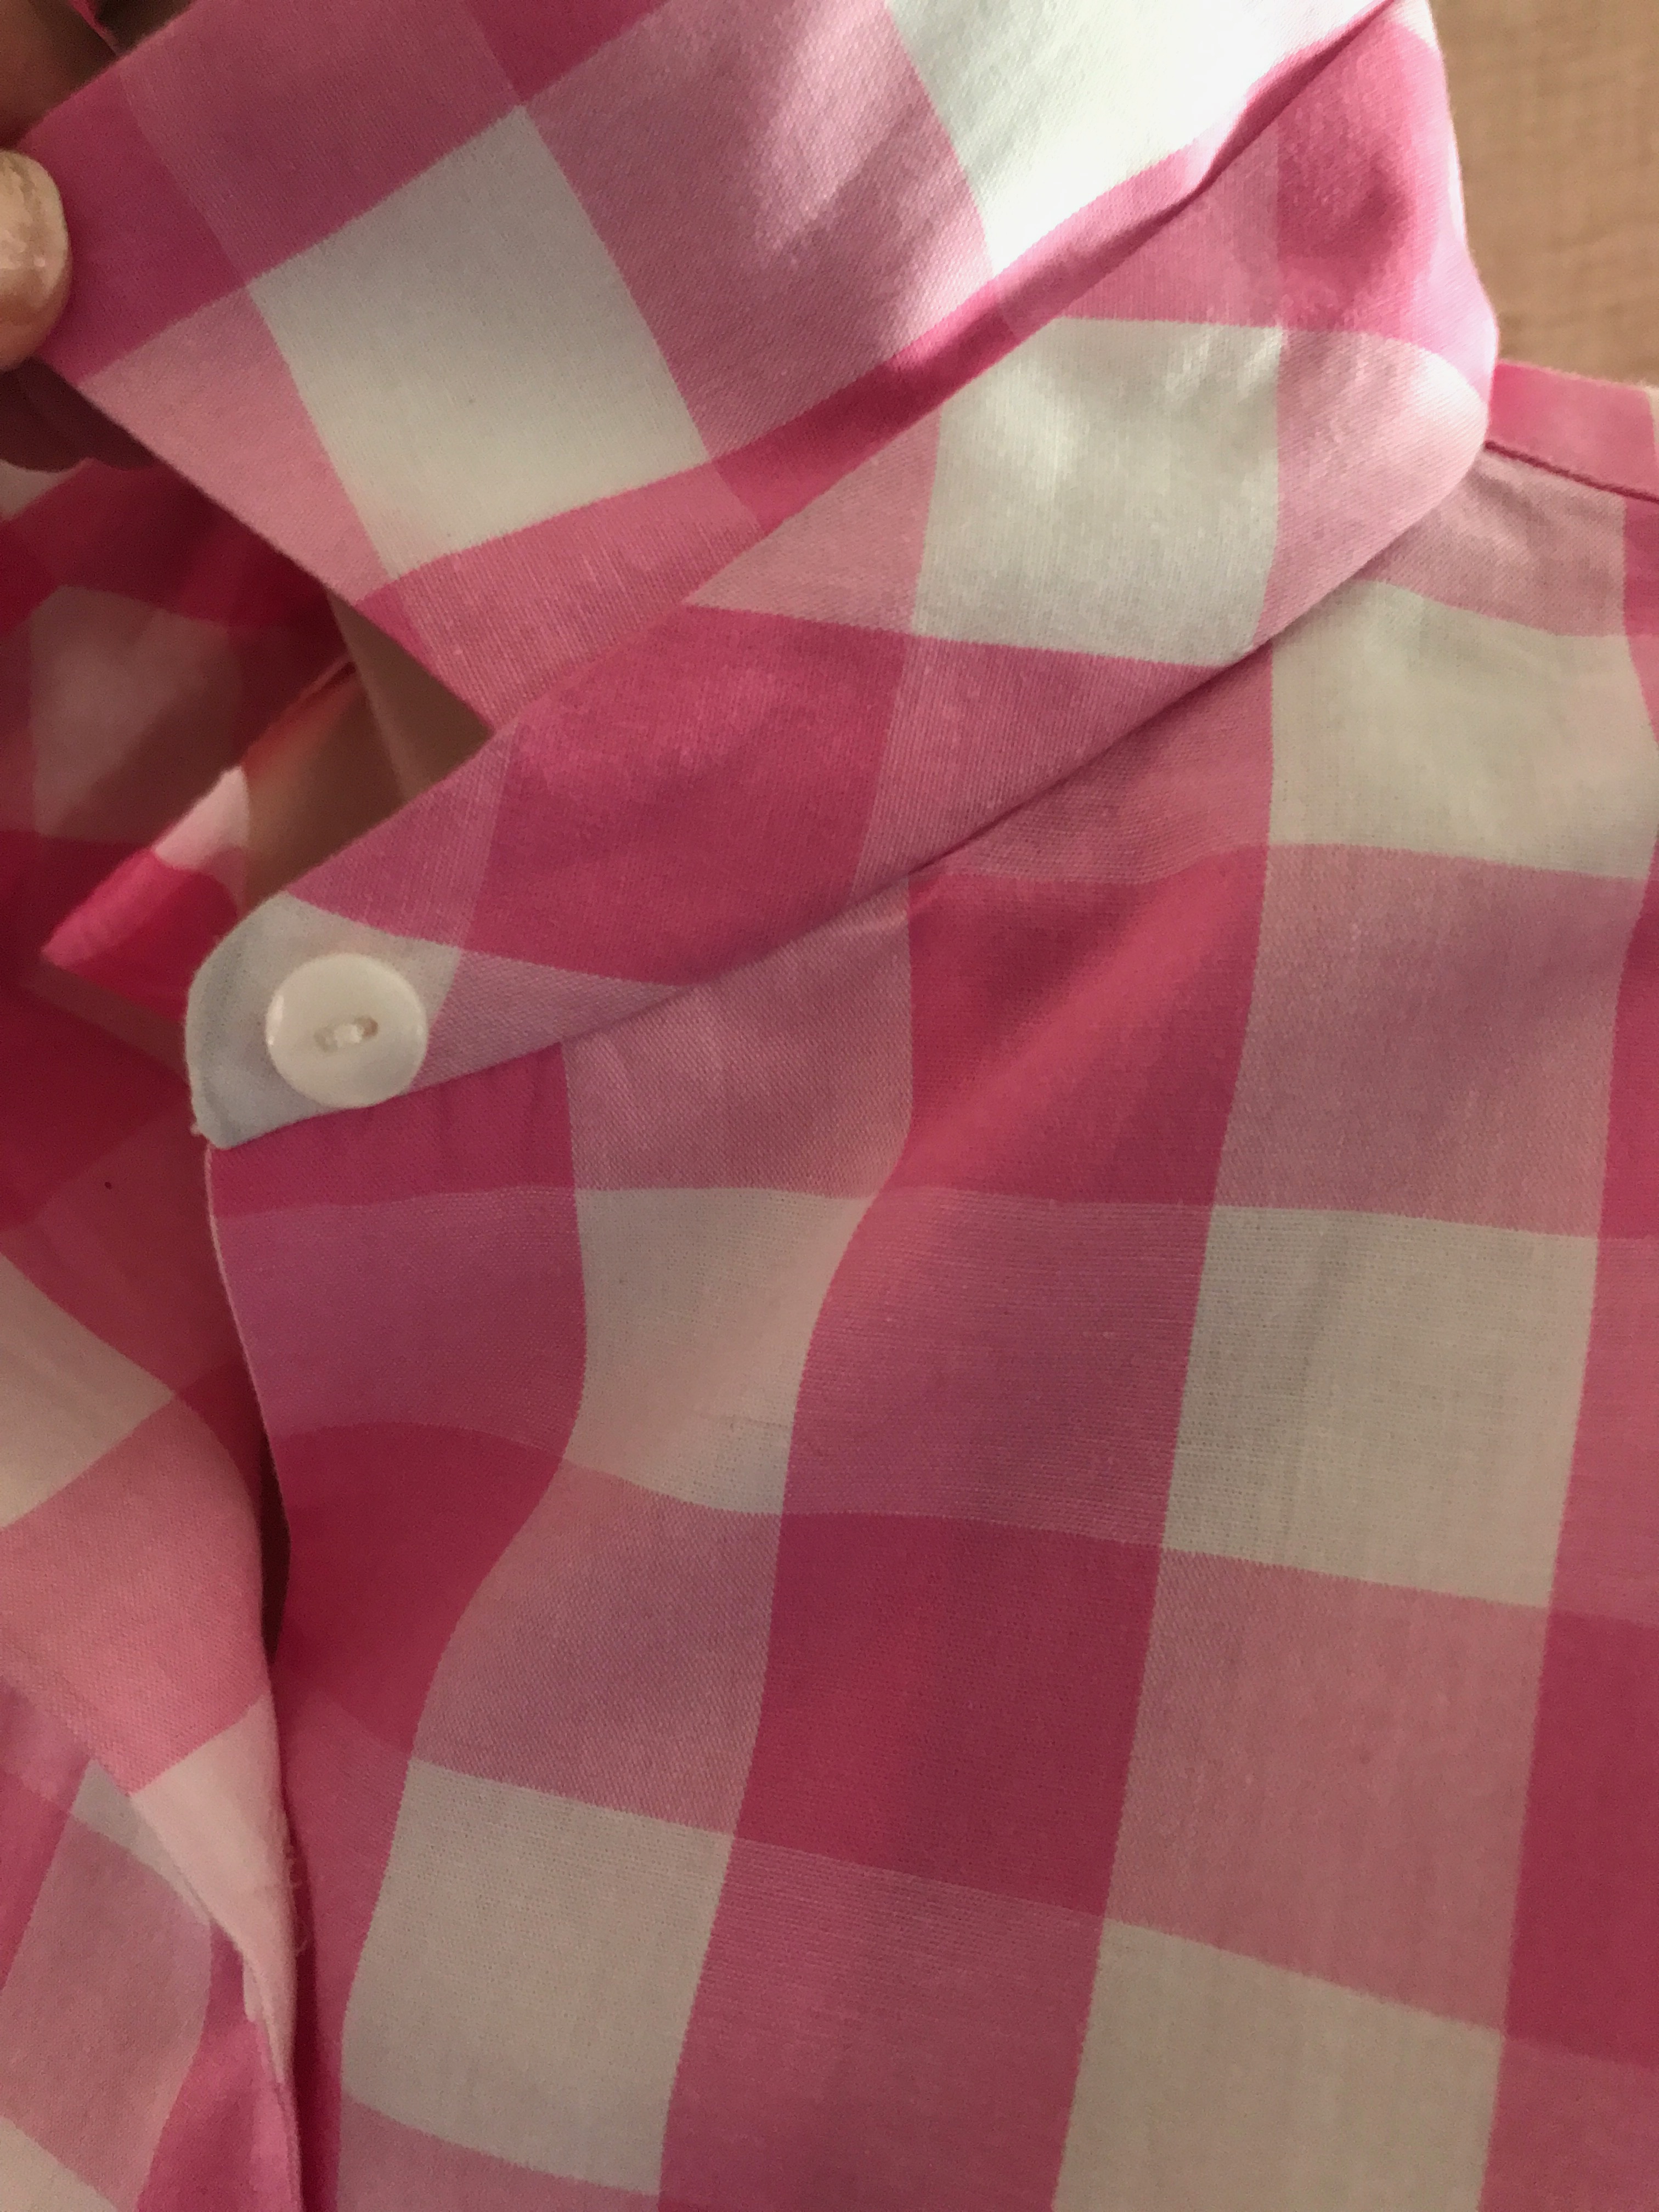
The interesting thing about this pattern is that there is no fastener/button indicated for that long opening. I’m not sure how one would keep a degree of modesty – or even keep the tunic properly on one’s body – without a button or at least a hook and eye. More about that later.
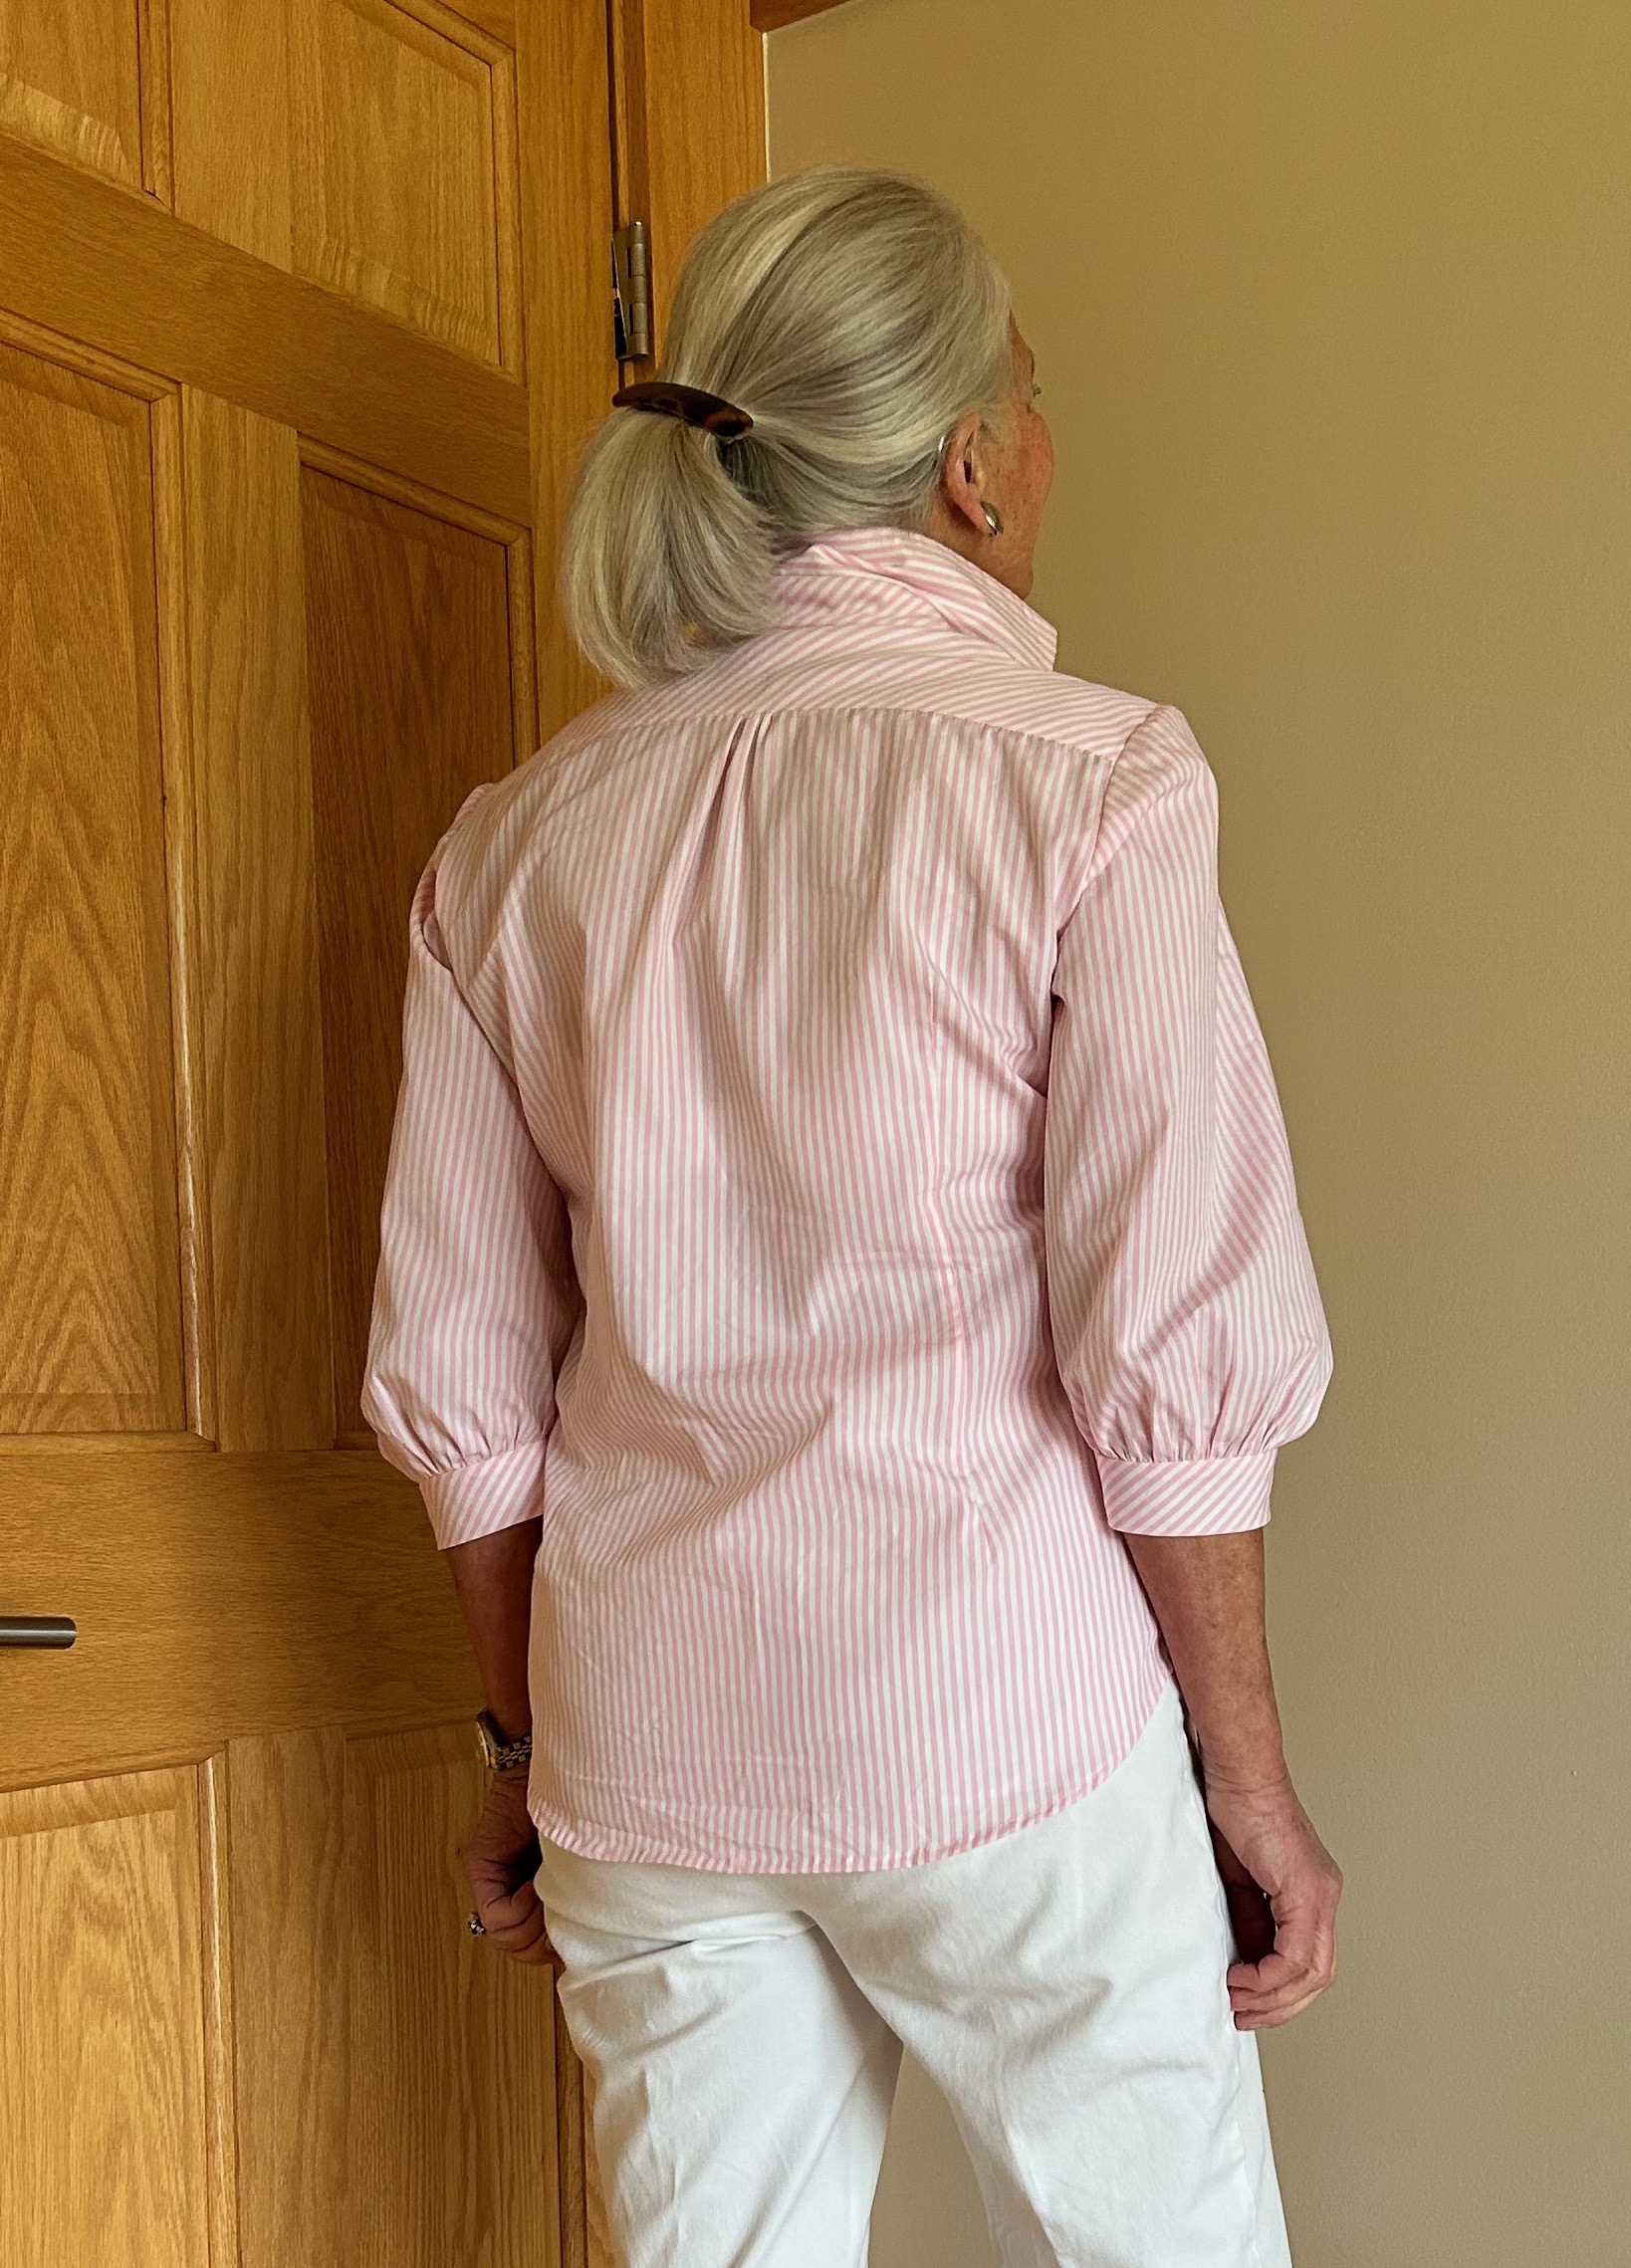
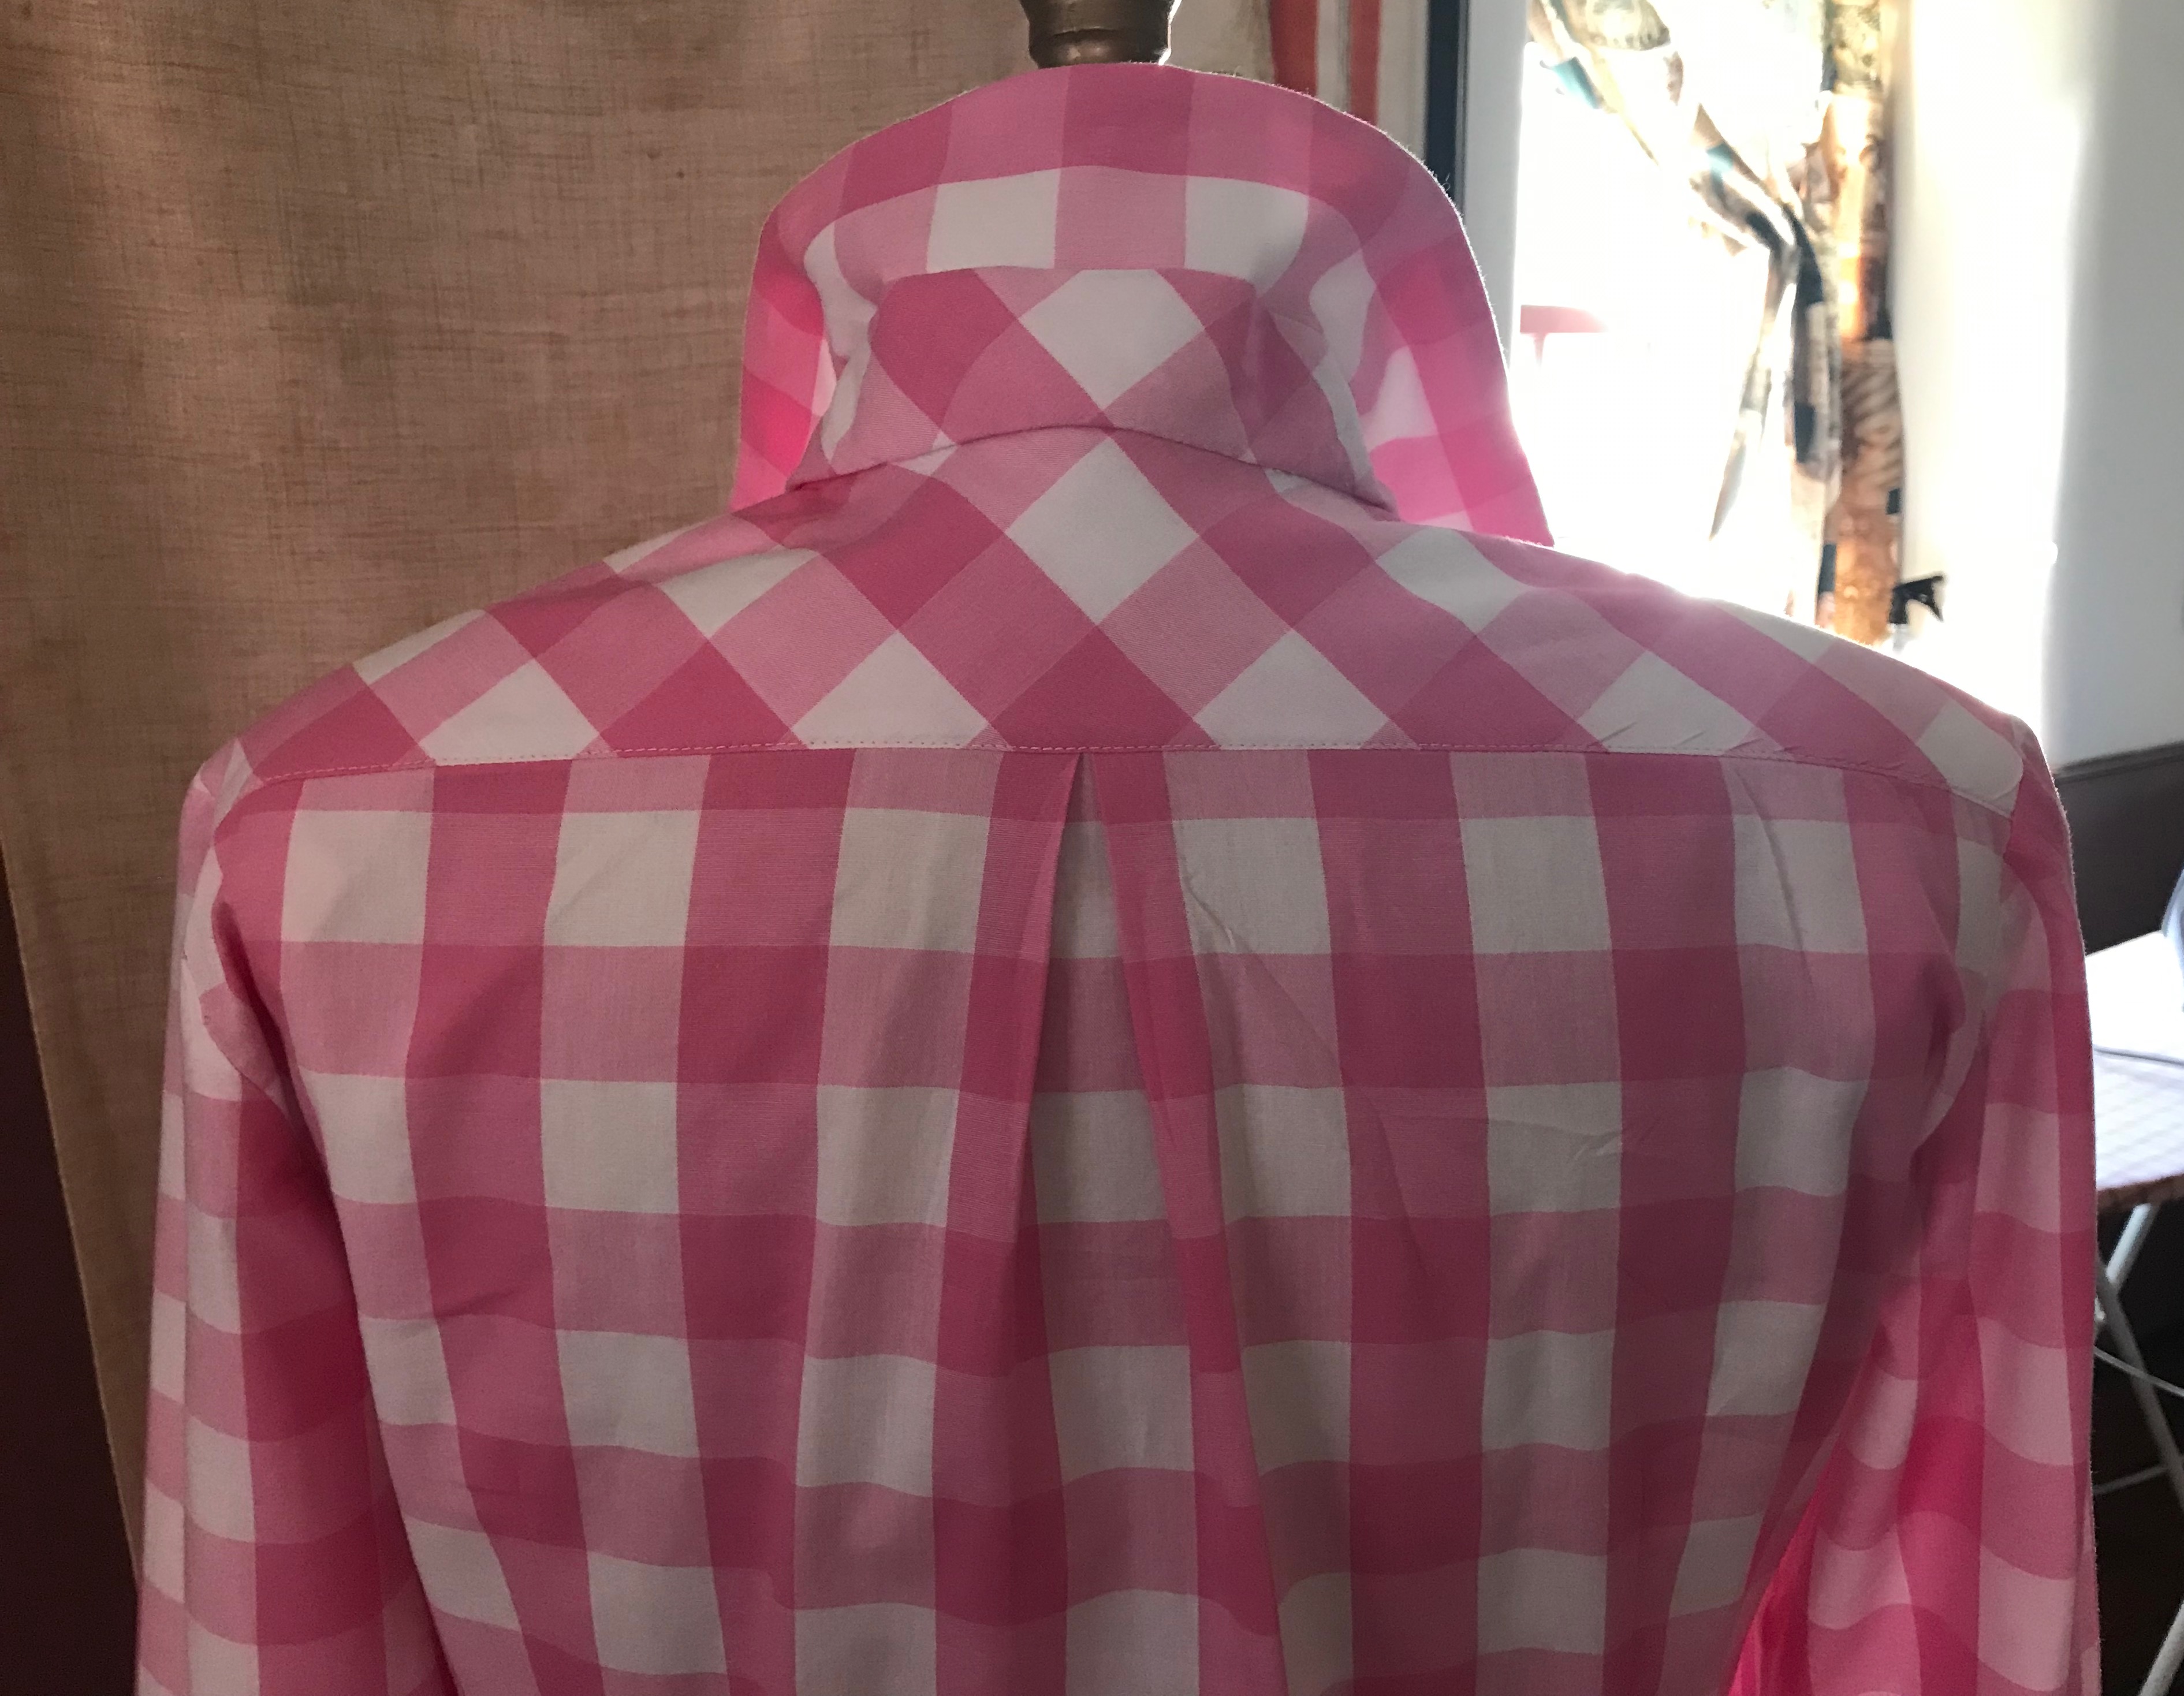
There are a couple of features of this pattern I like, besides that long opening in the front. It has shoulder darts in the back, which I always find add just a little necessary fitting finesse.
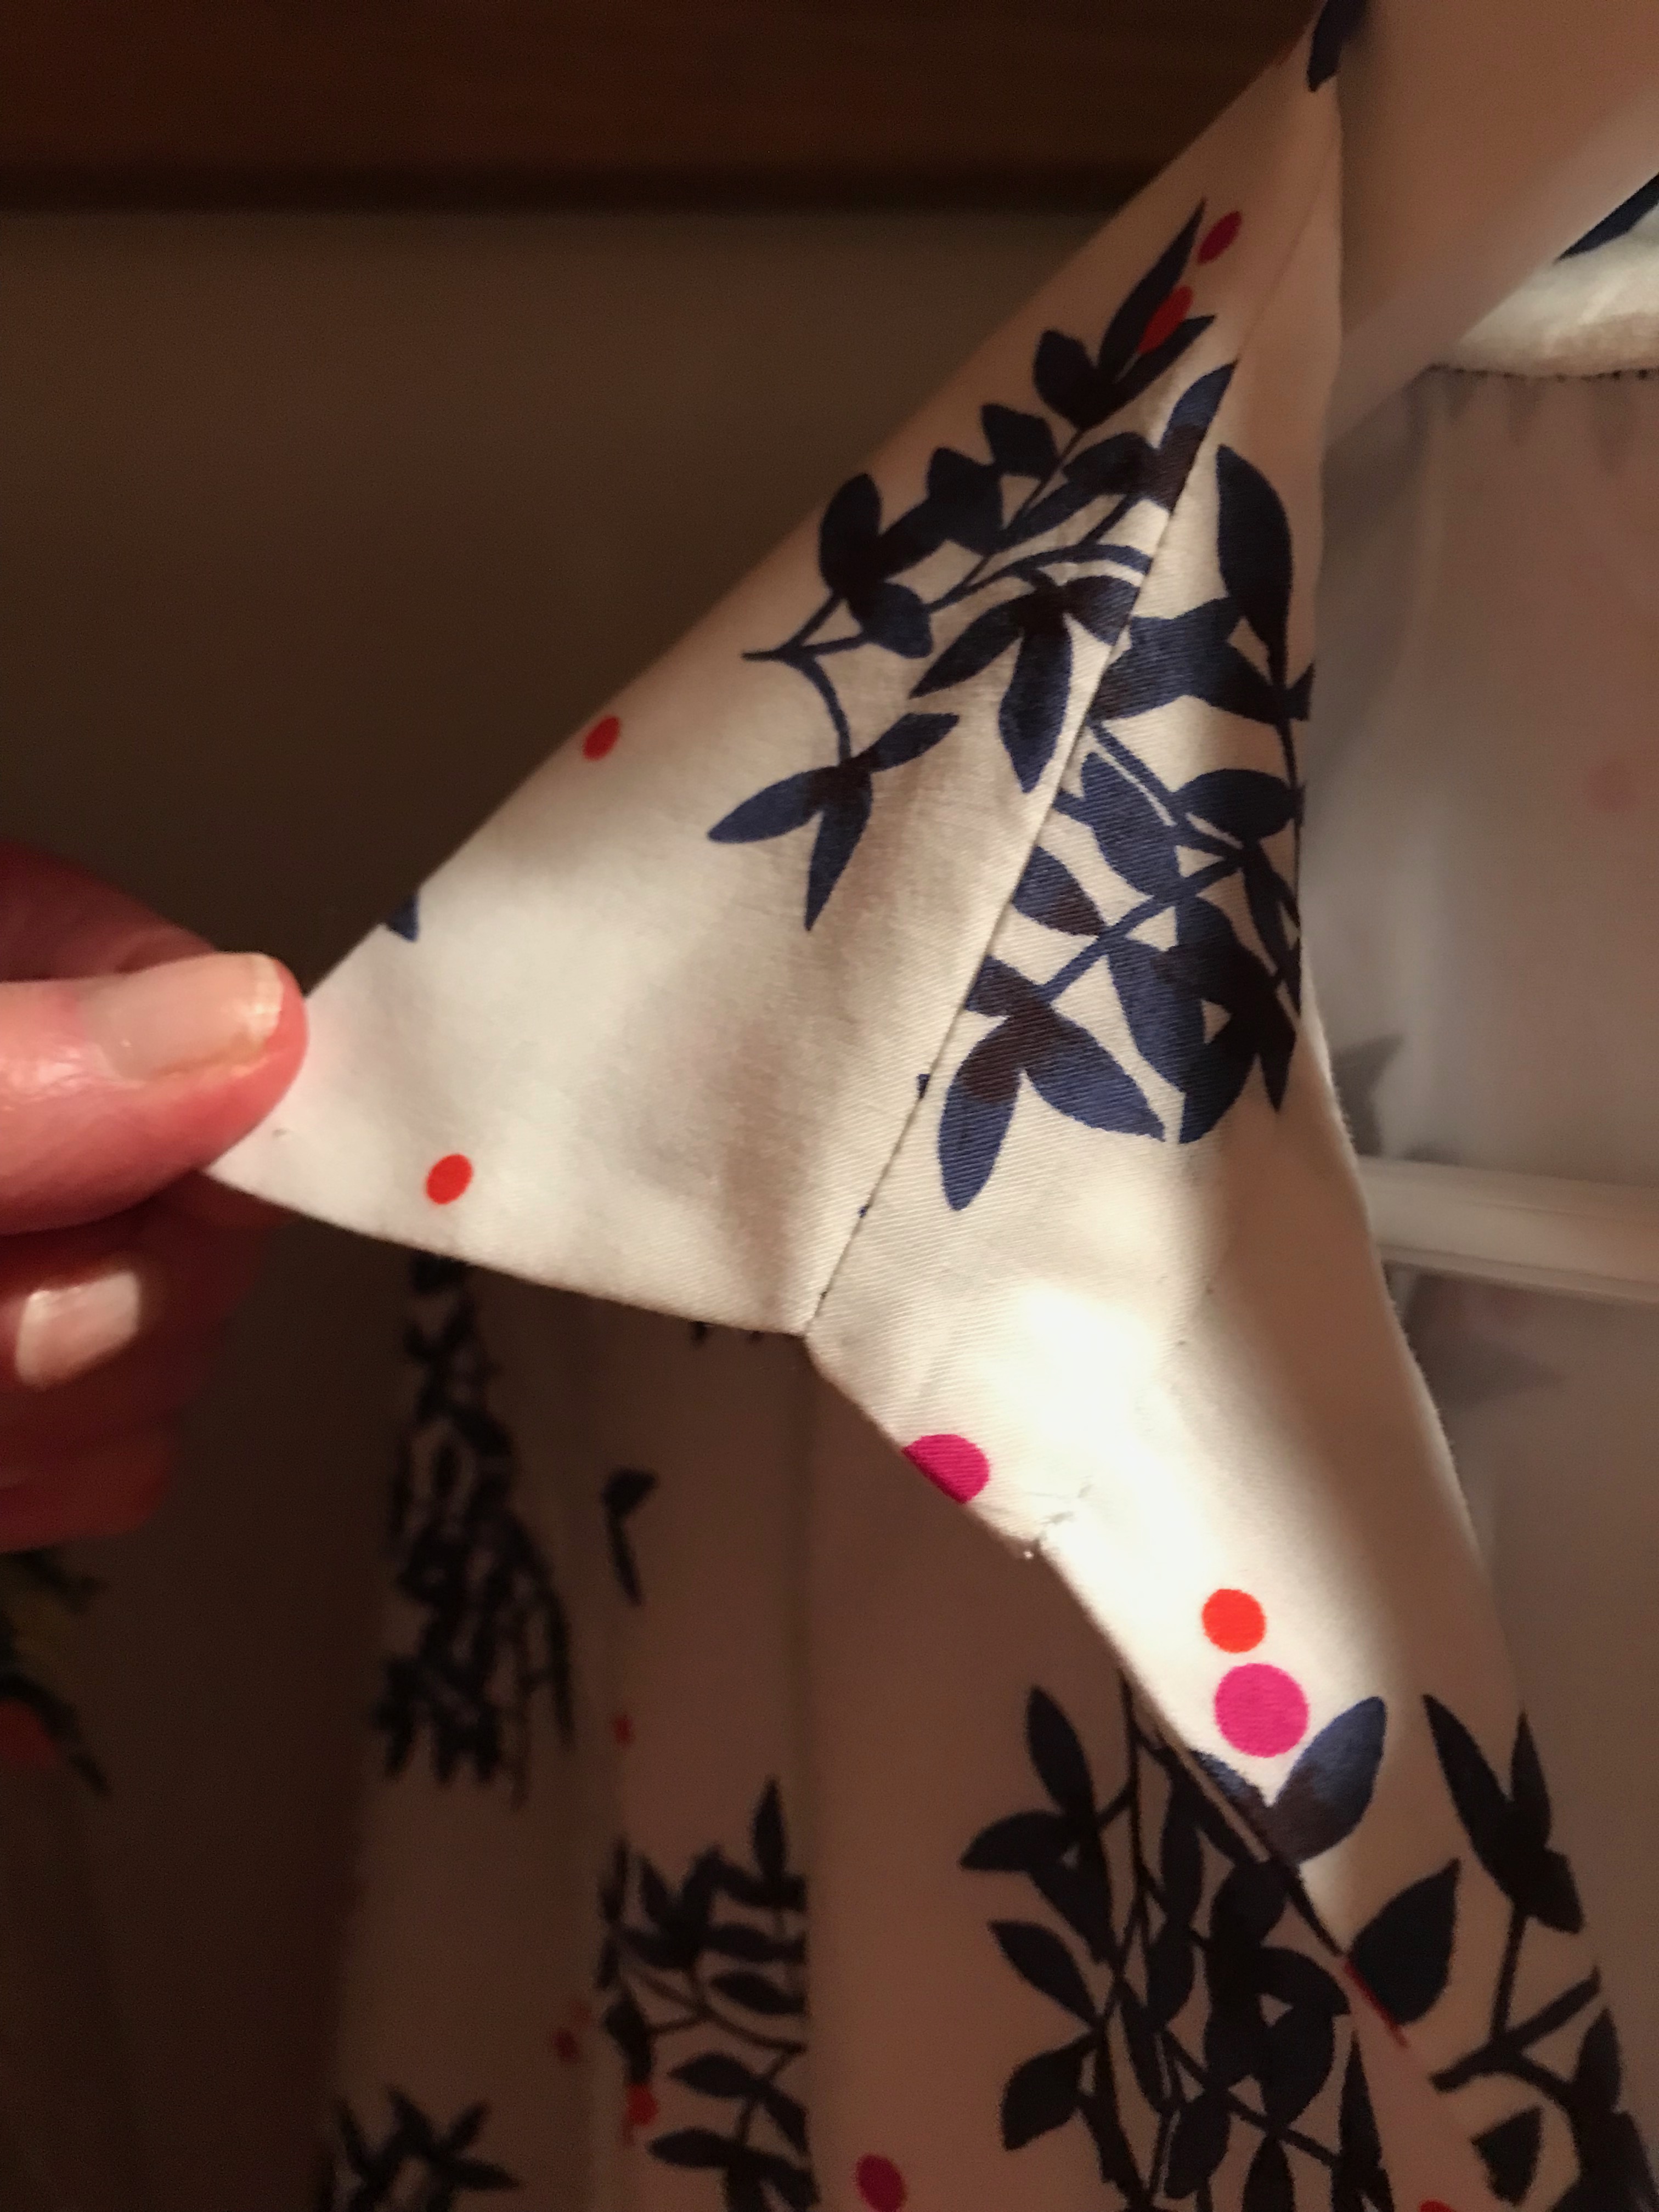
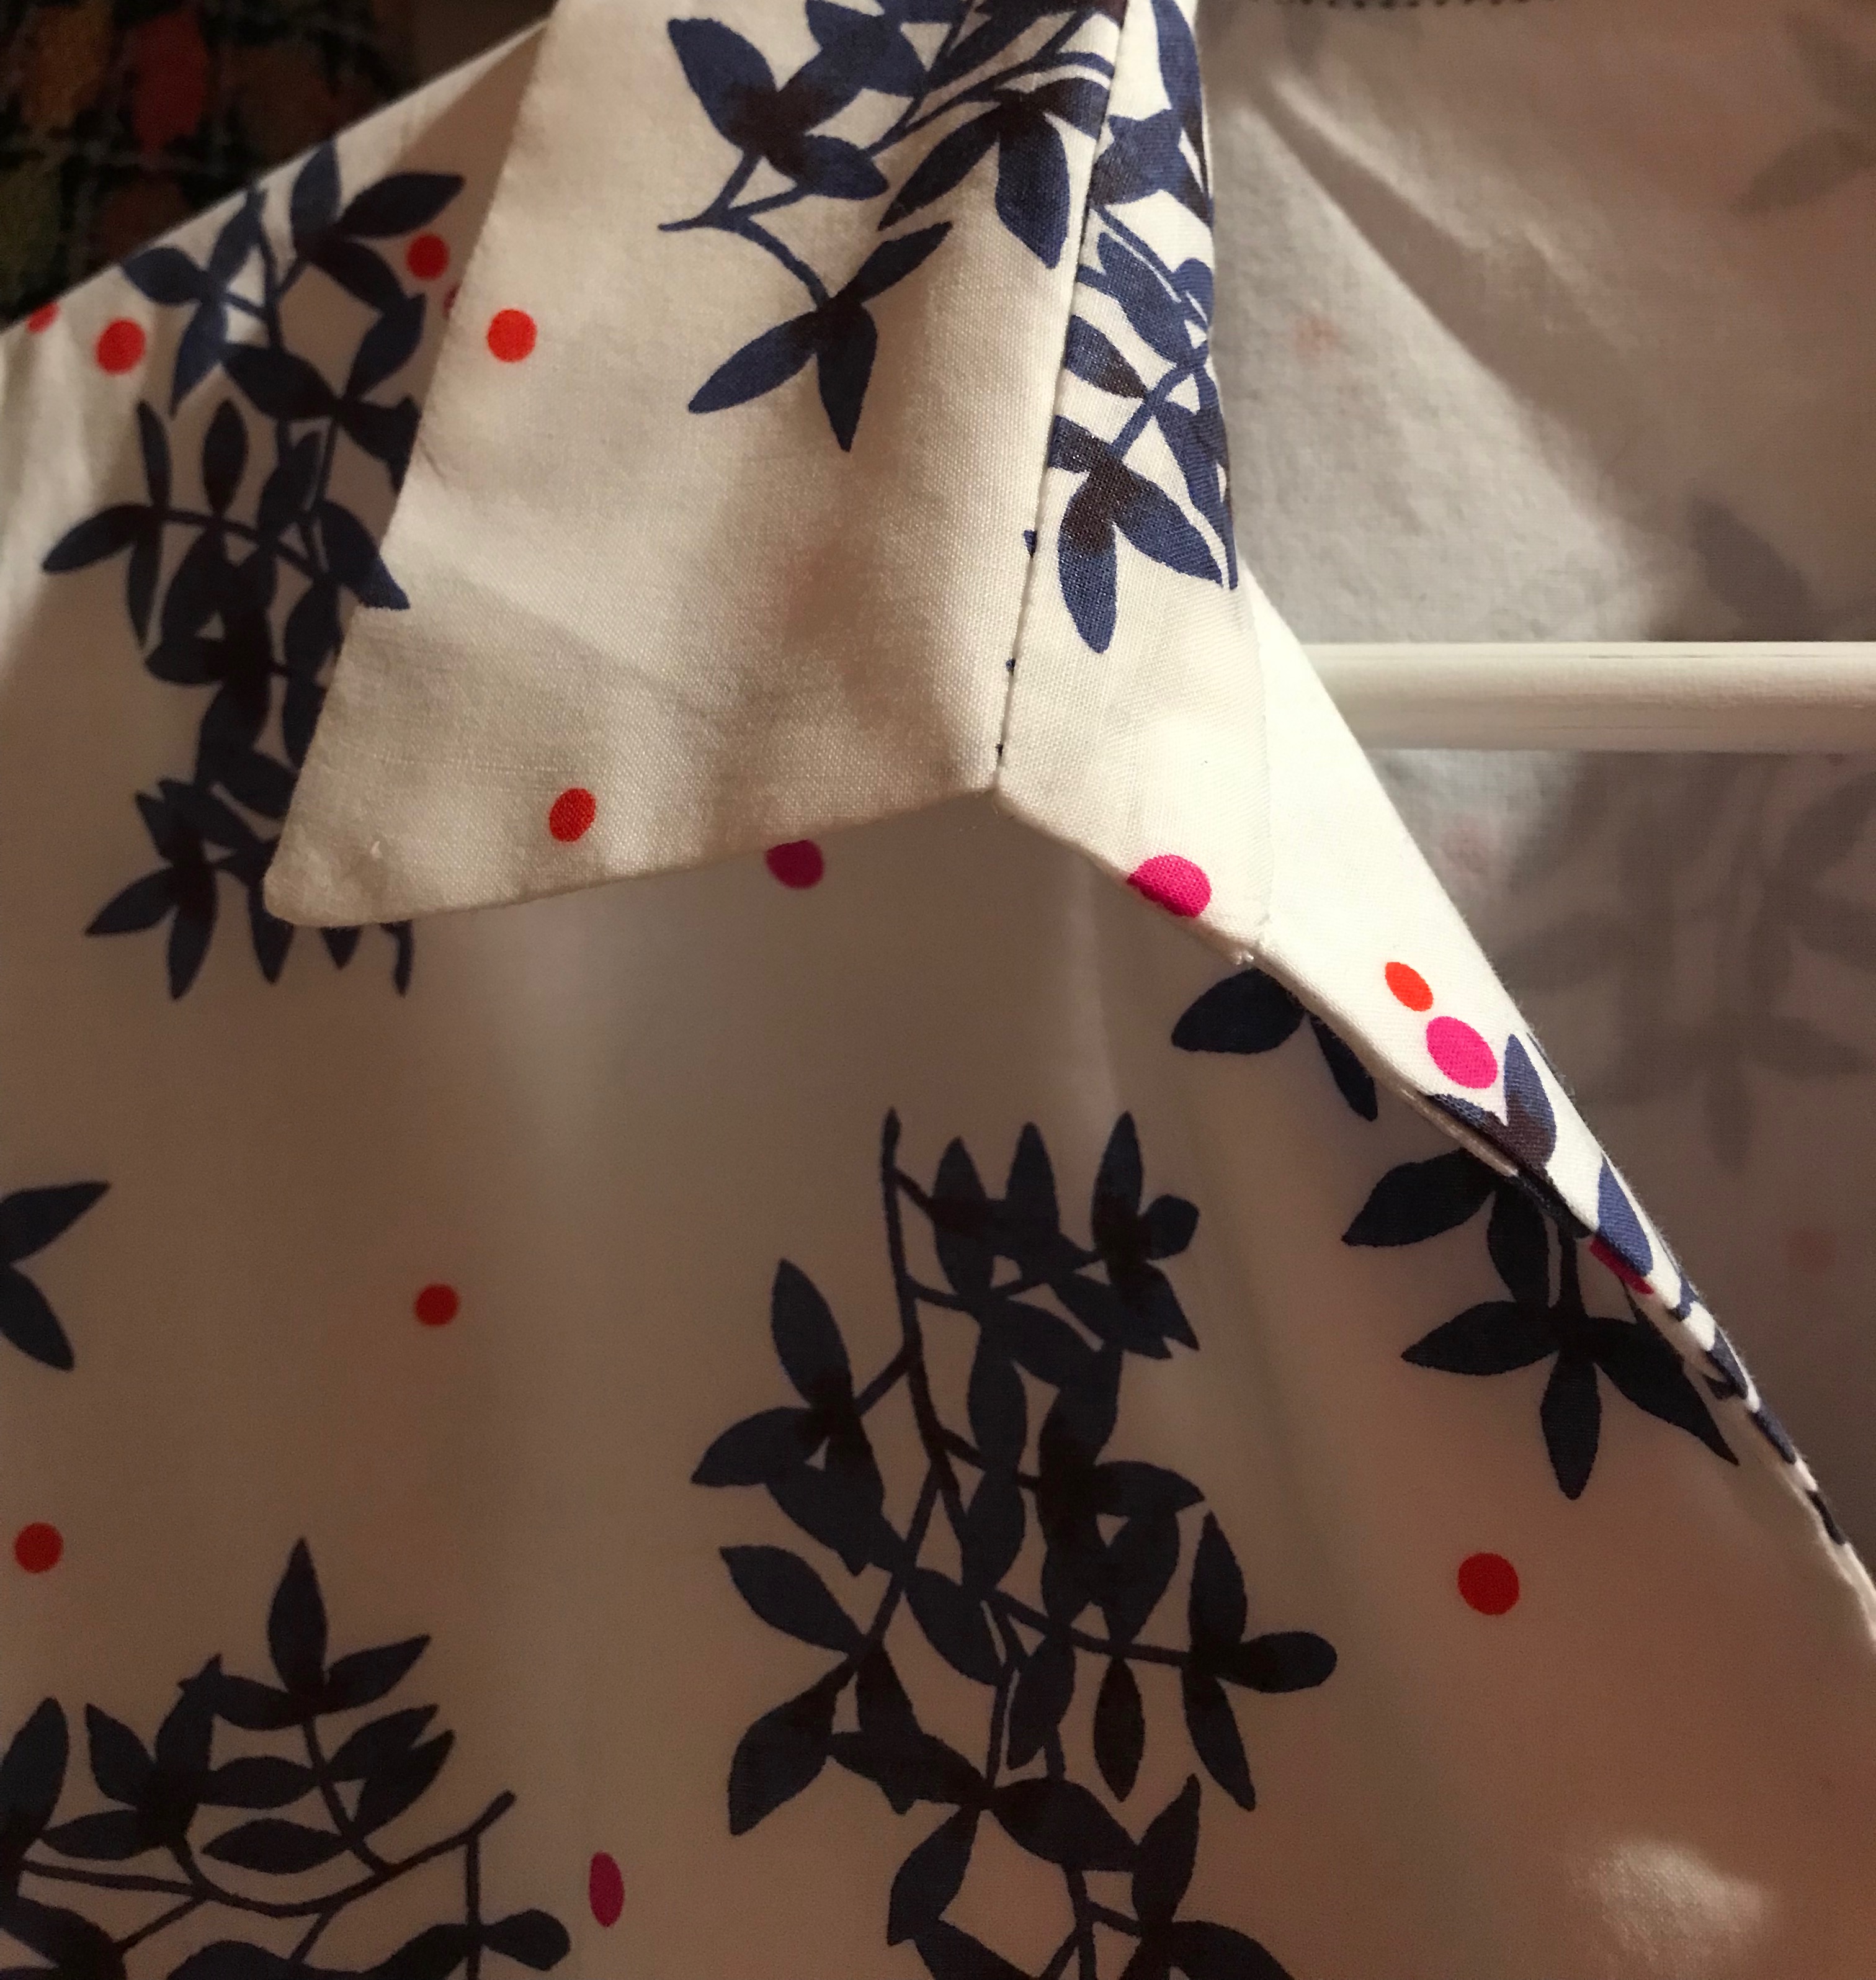
I also like the way the front facing is constructed, and the width of the stand-up collar. However, the pattern lacks slimming darts in the back. My limited experience with sewing tunics has taught me that without long defining fisheye darts in the back, my tunic is going to be baggy and look like a sack. So, I added them.
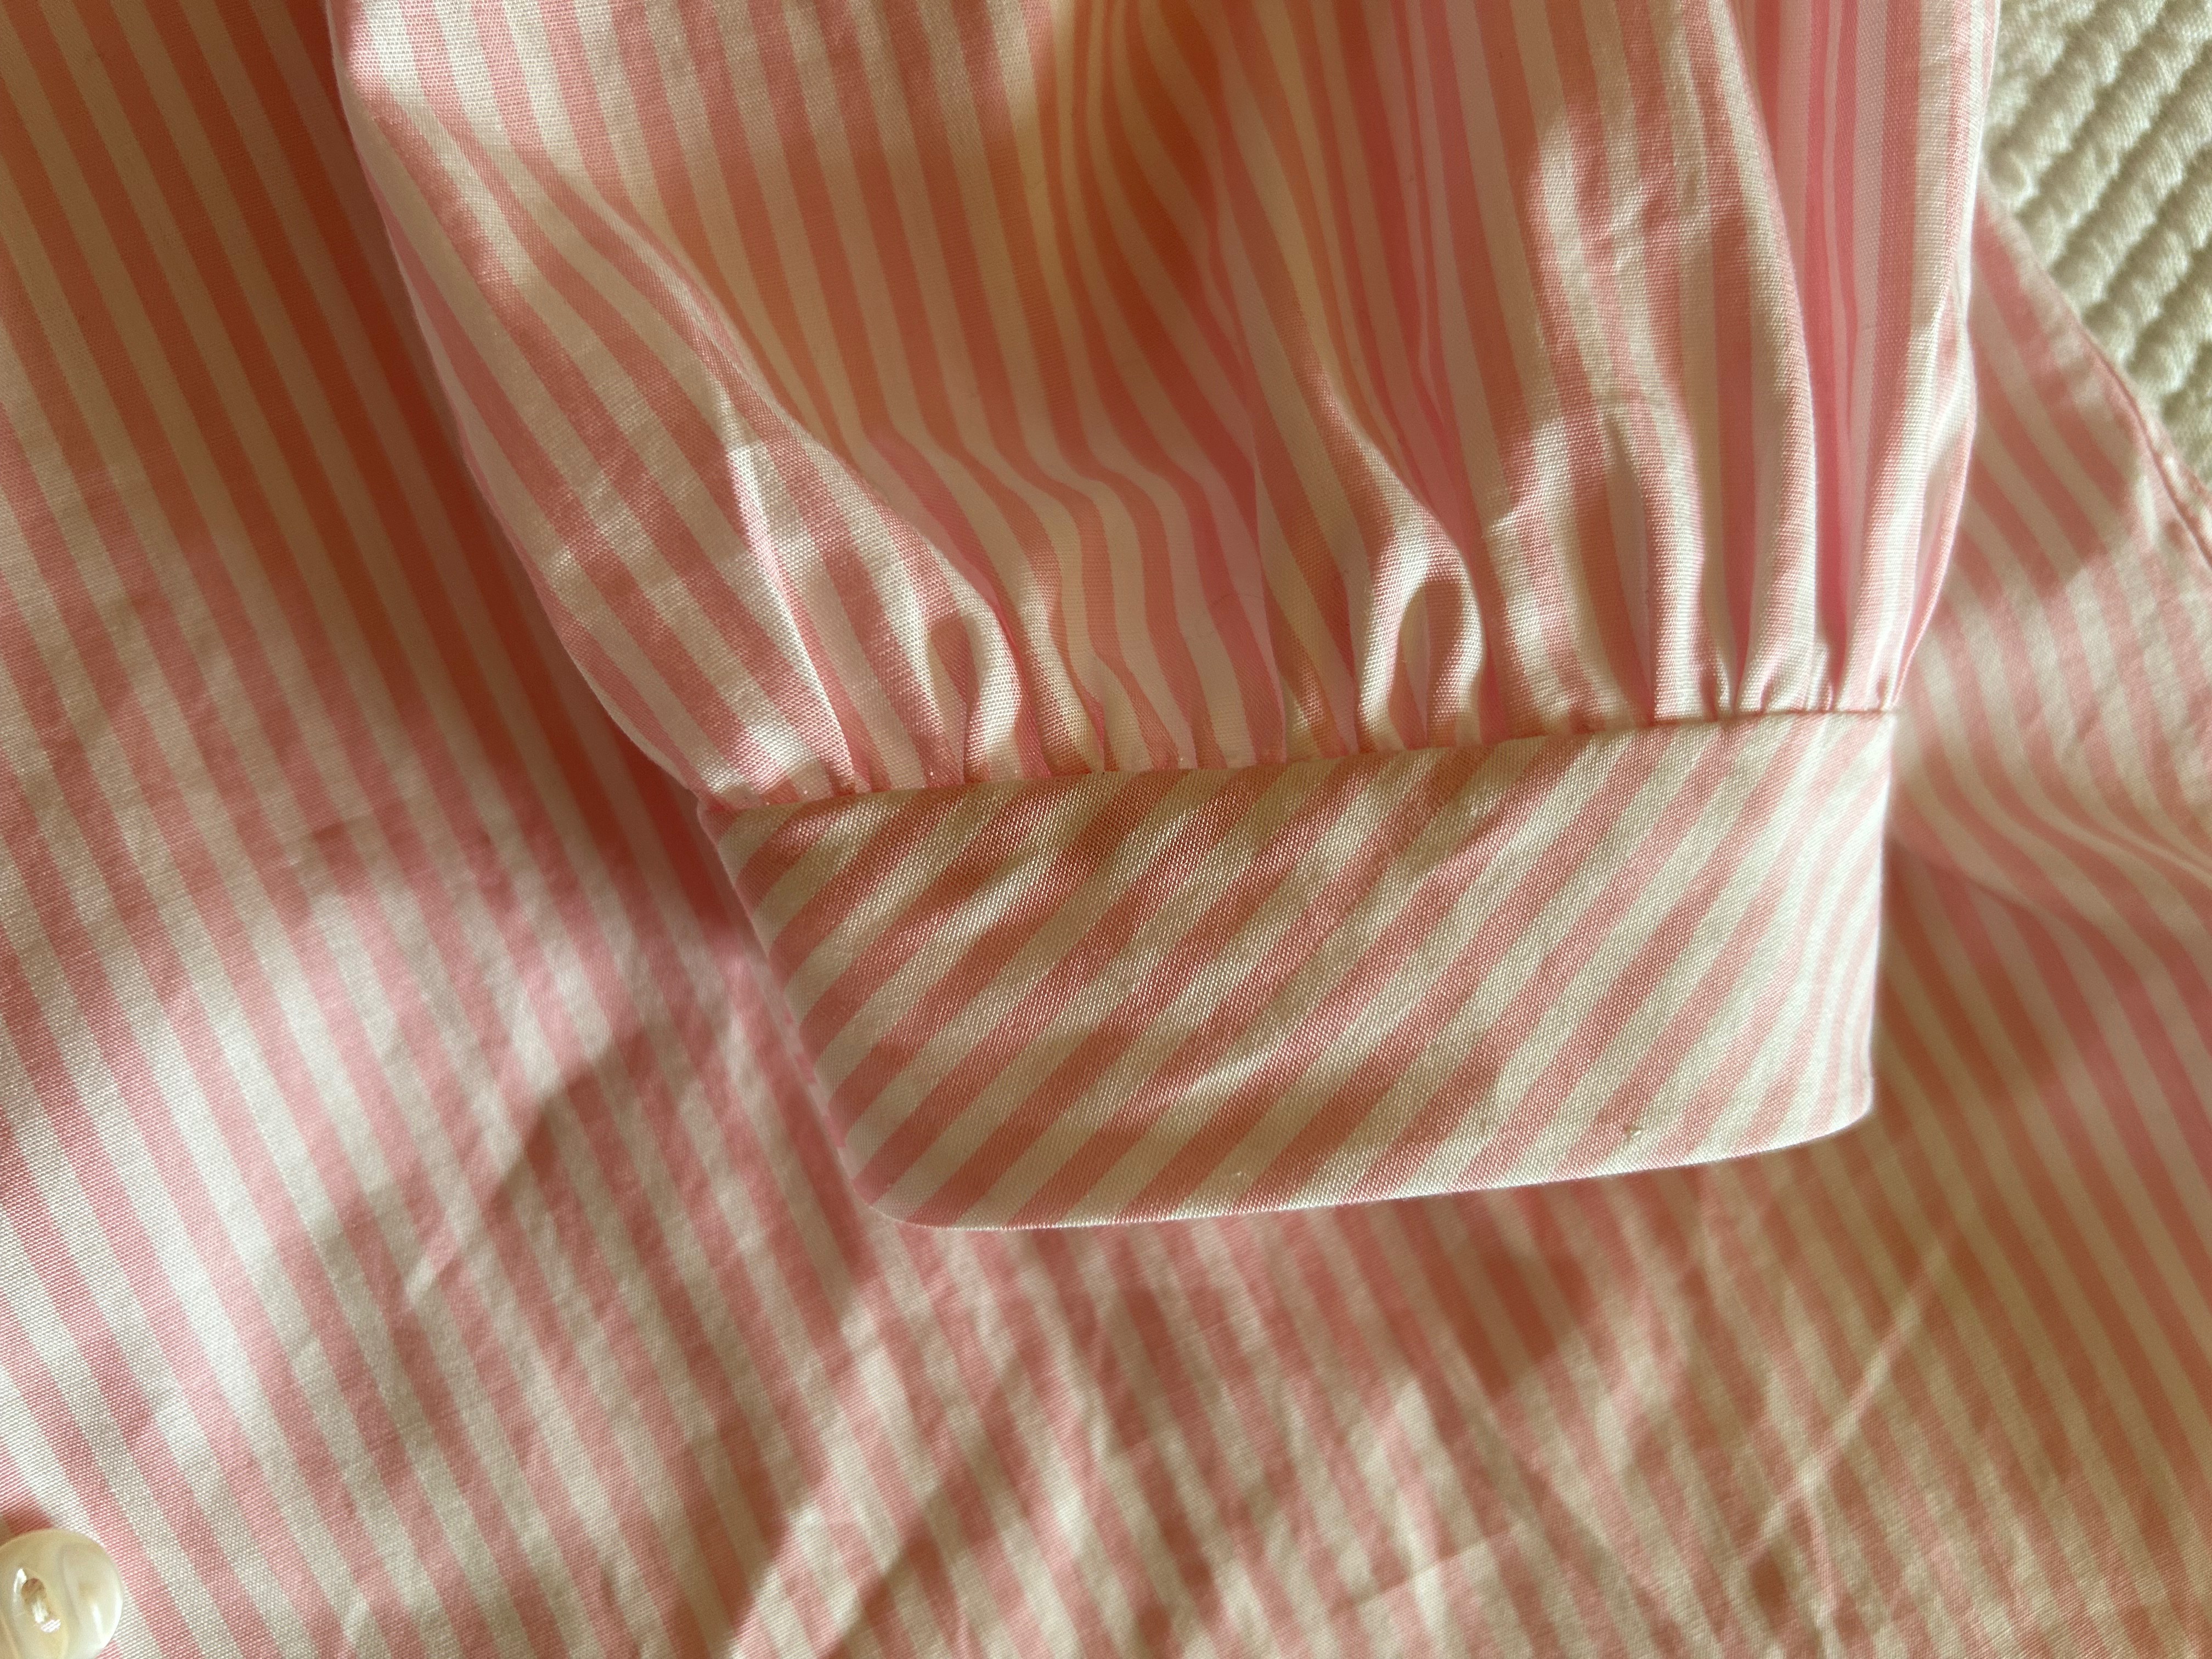
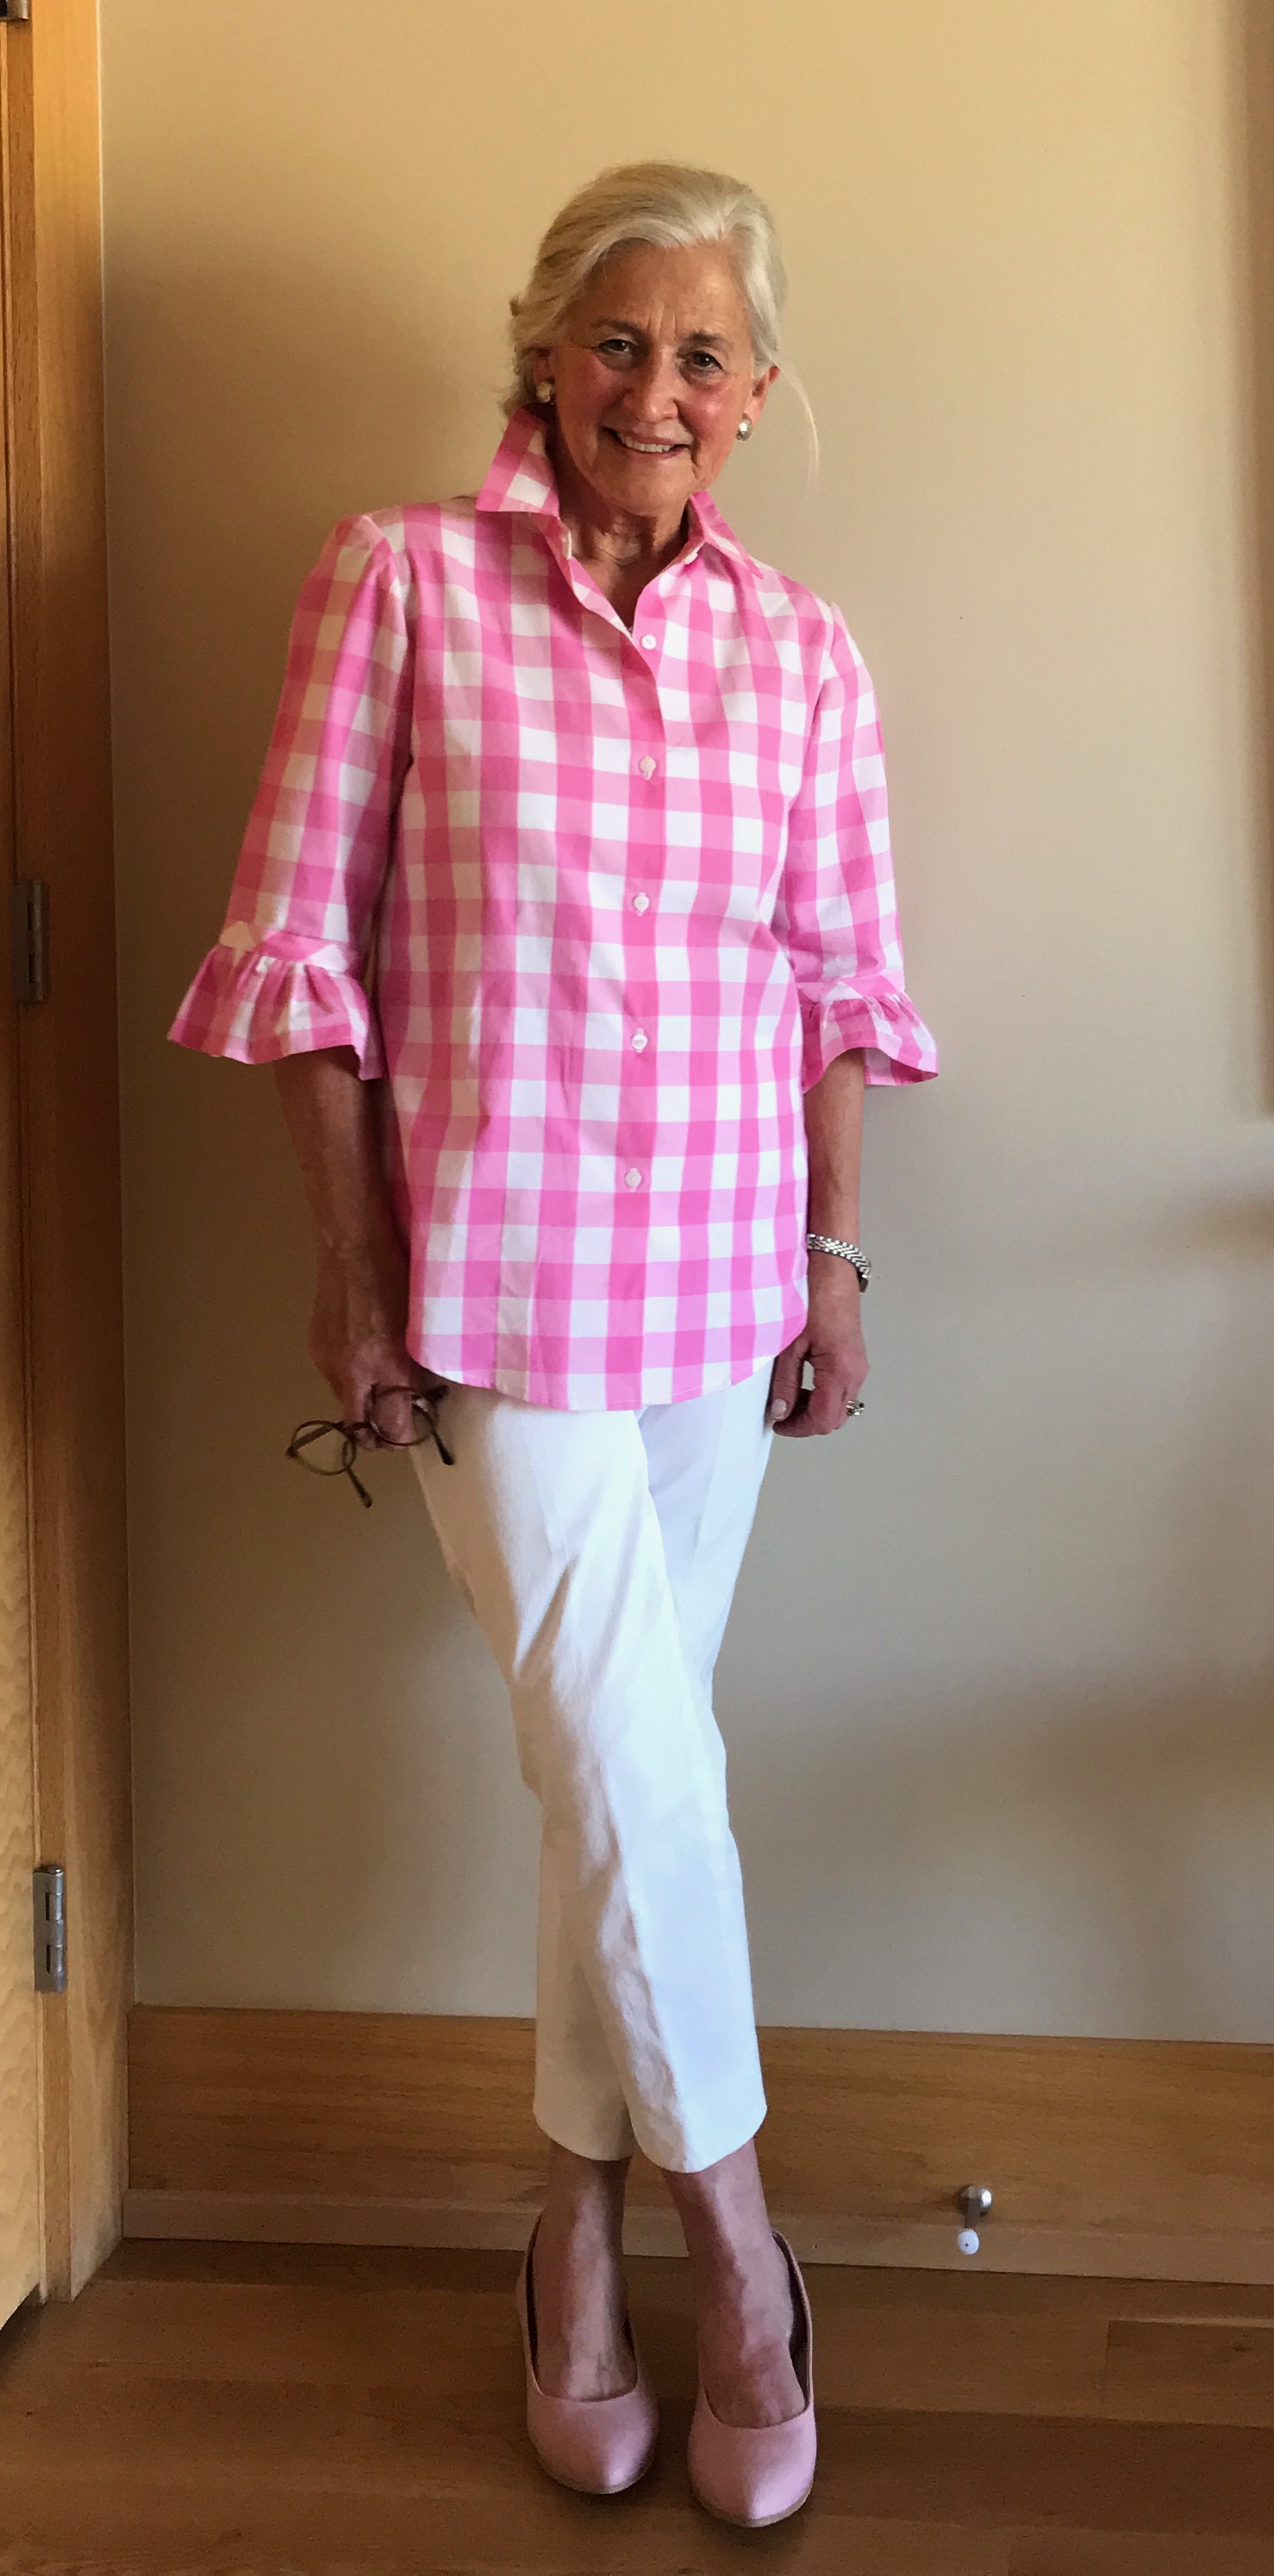
I also shortened the sleeves, as I prefer a length just below the elbow, and I took out some of the width of the “trumpet.” Even with a narrower sleeve, I knew turning up a hem on it would result in a less than smooth finish. To get around this, I took the pattern piece for the bottom panel for the long sleeve (shown on the pattern), flipped it, narrowed it, and shortened it to give me a facing which would be a perfect fit into the lower curve of the sleeve.
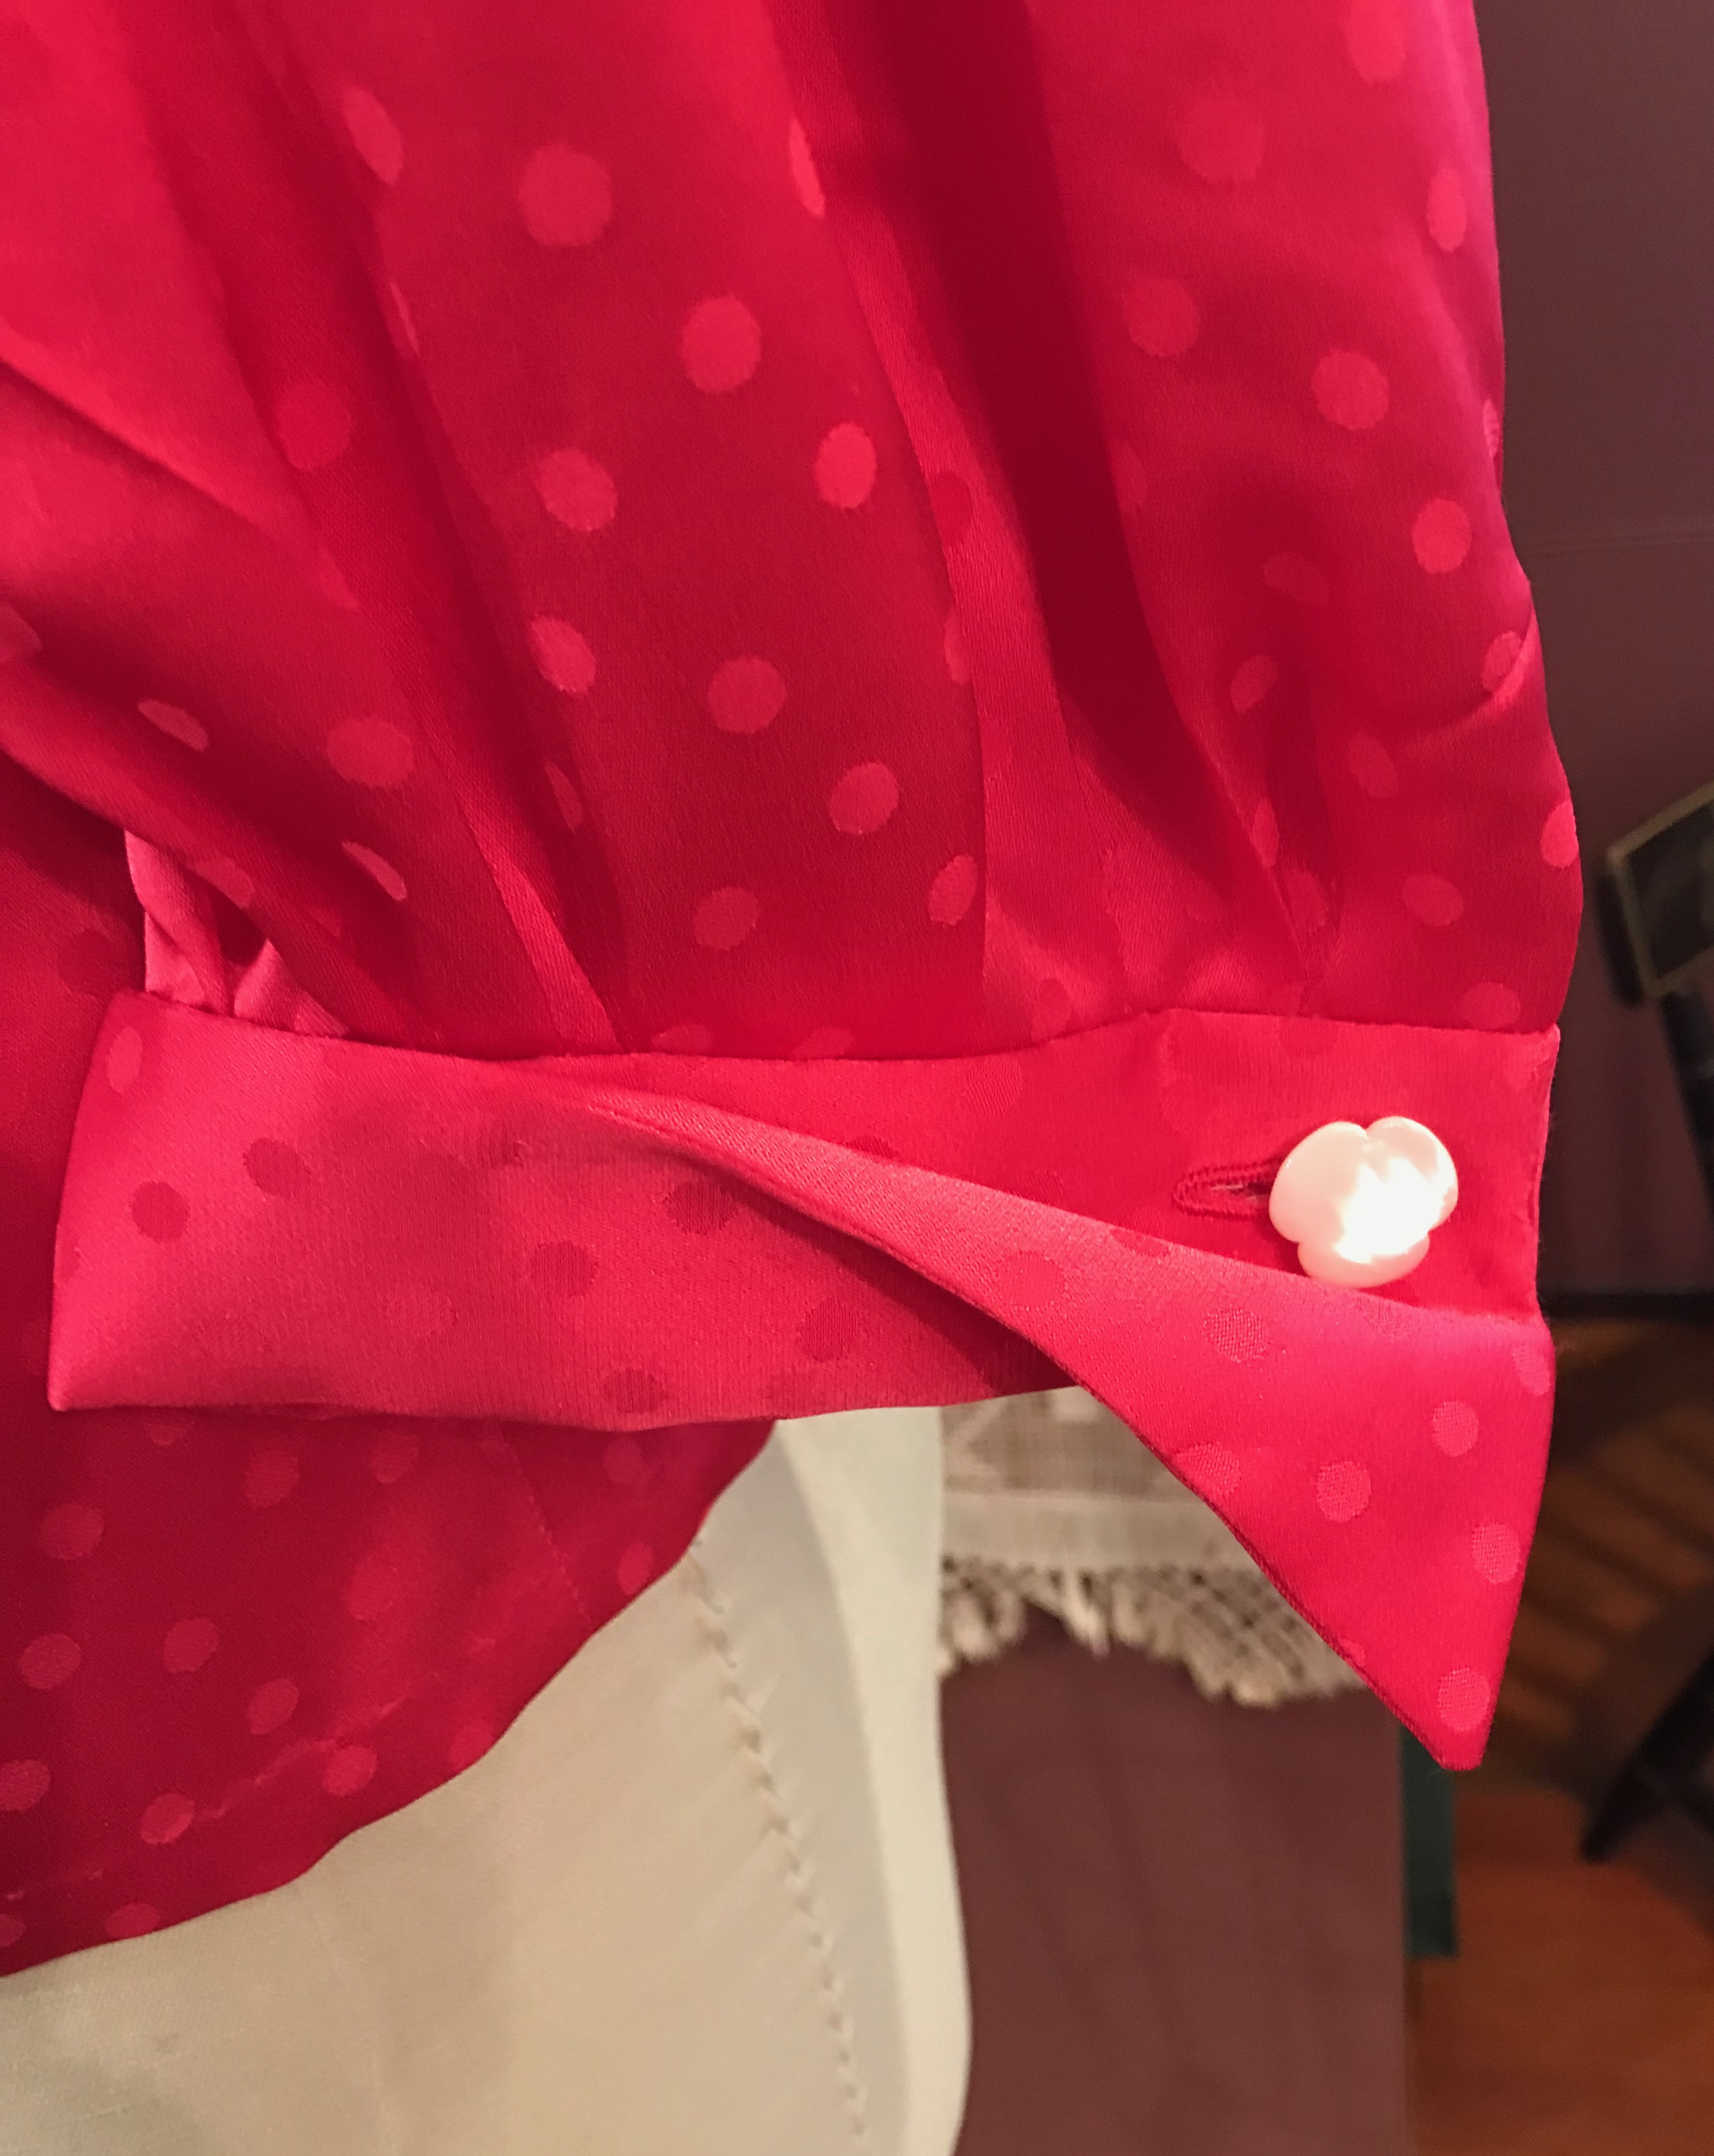
Back to that front opening: when sewing the facing on, I added a loop to the right side so that I could strategically place a button to keep the gap closed. On this fabric, it seems hardly noticeable, but oh my, is it necessary!
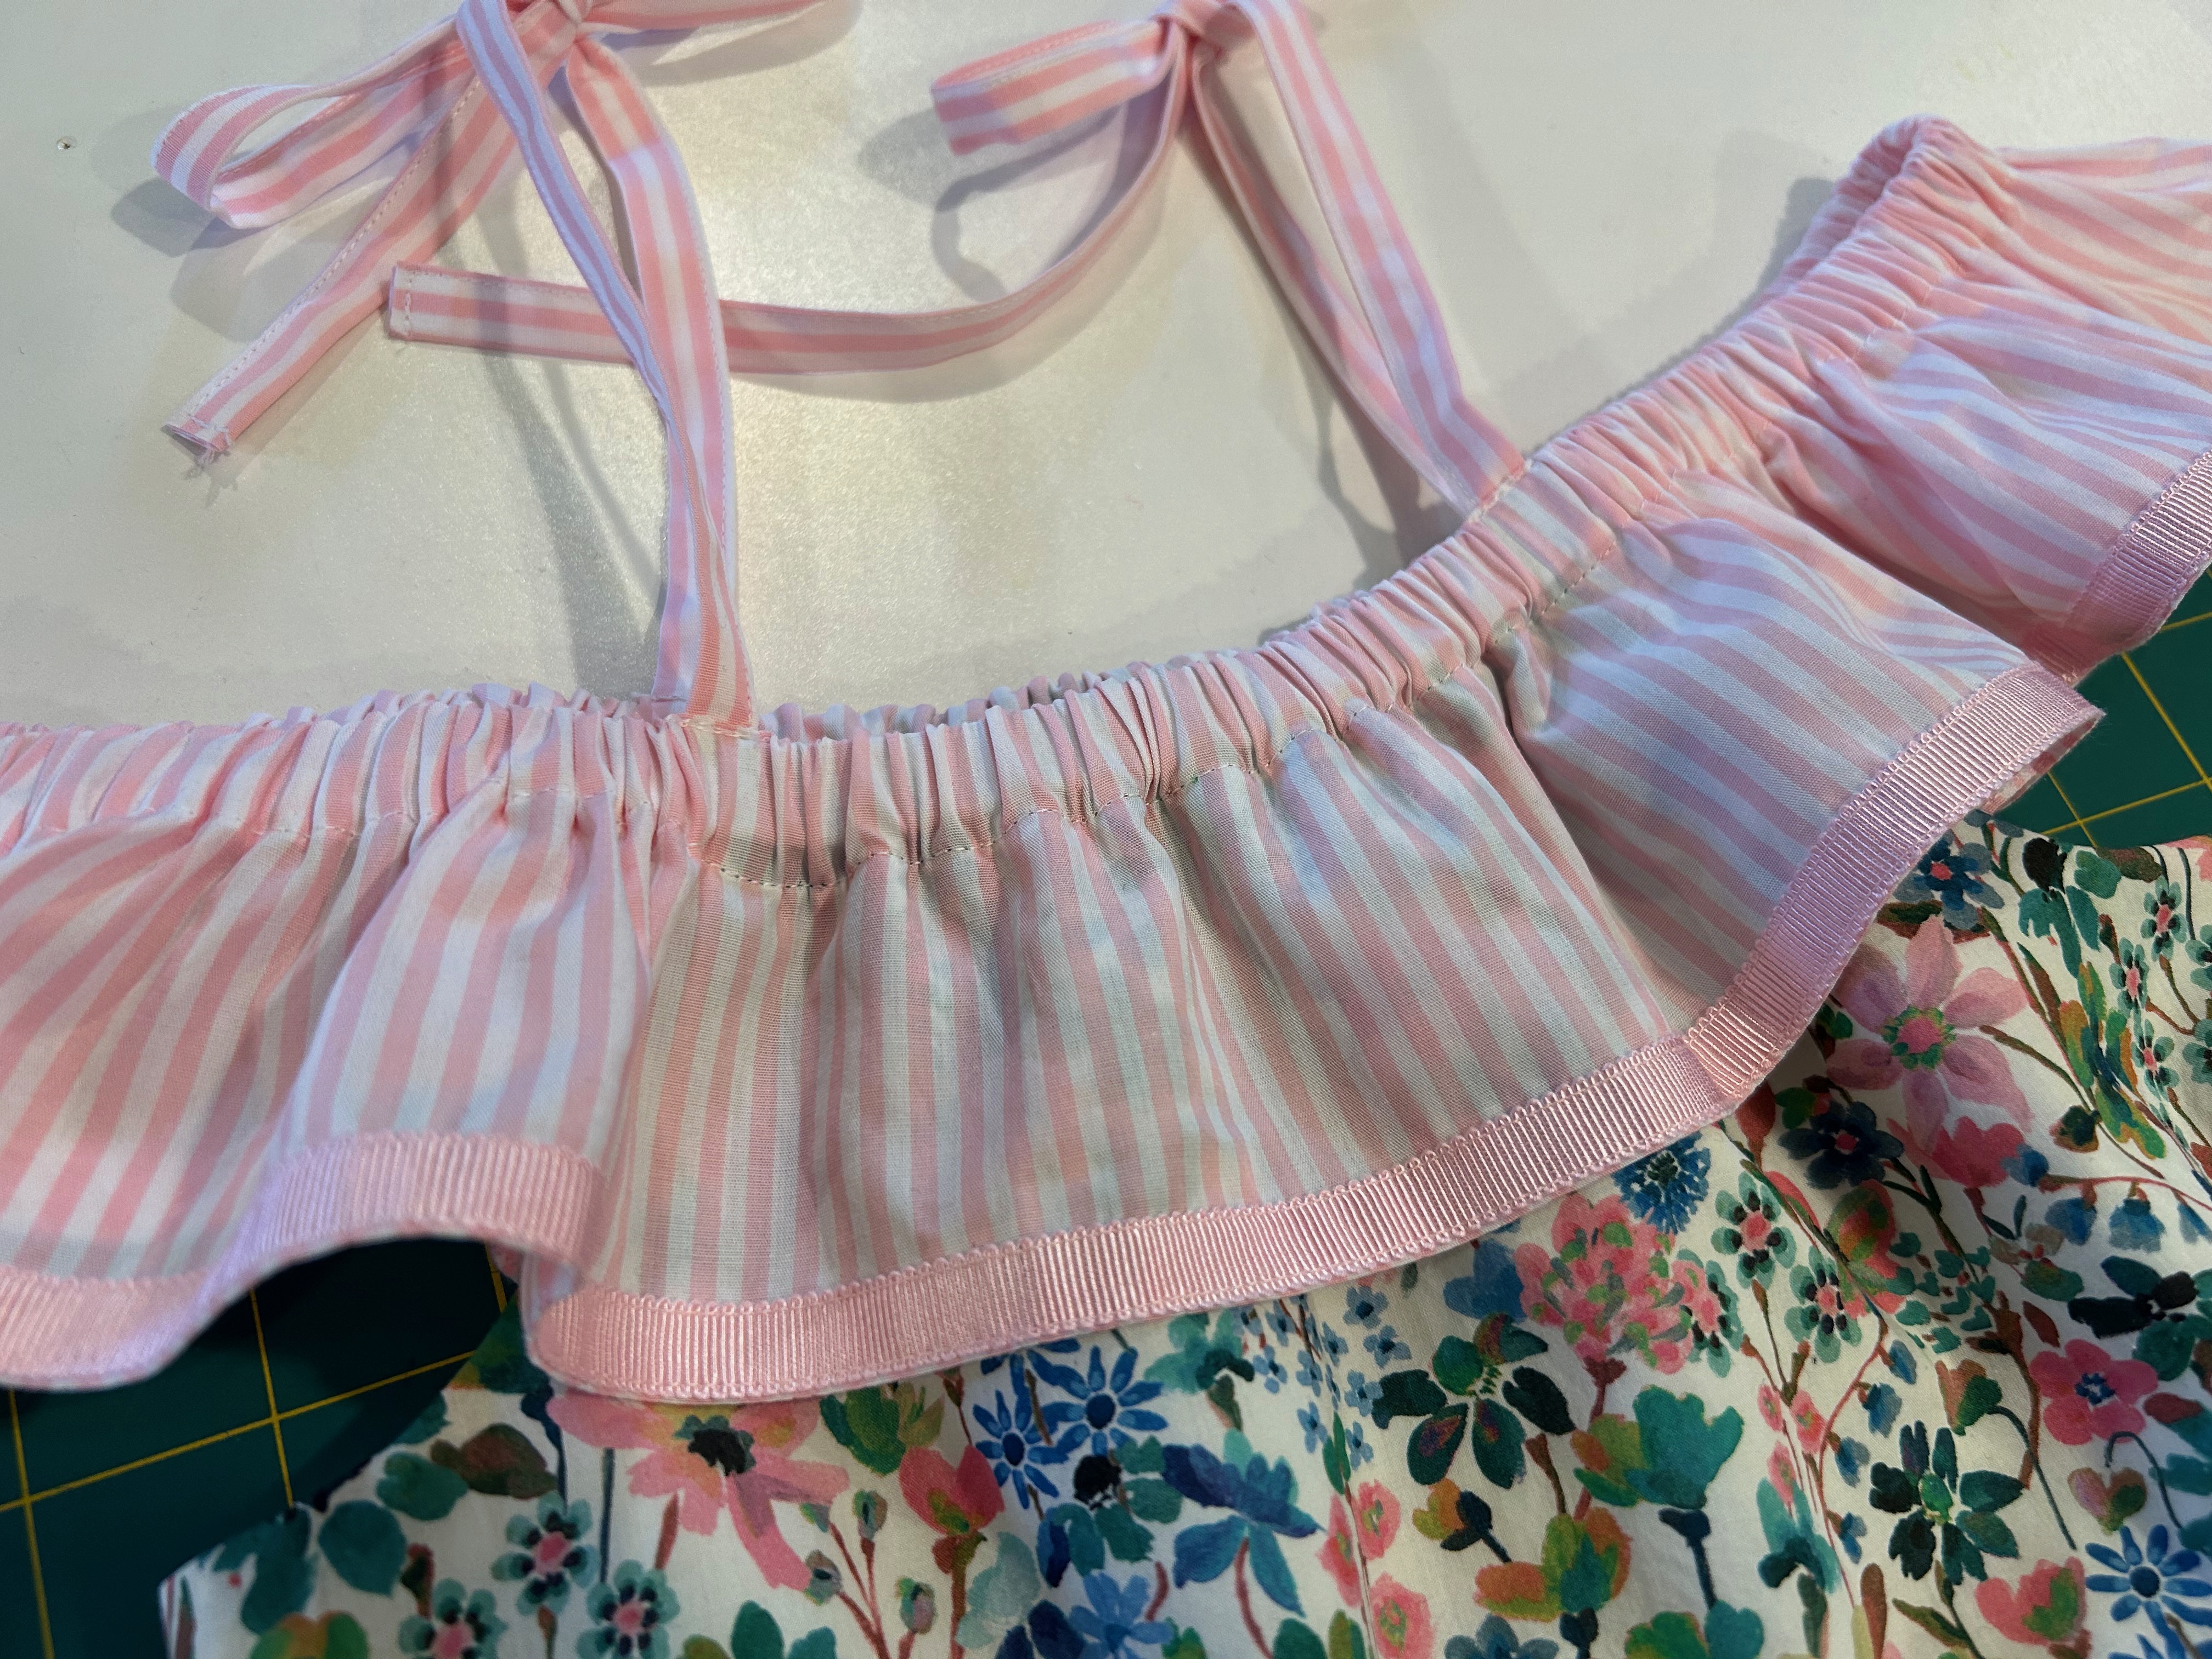
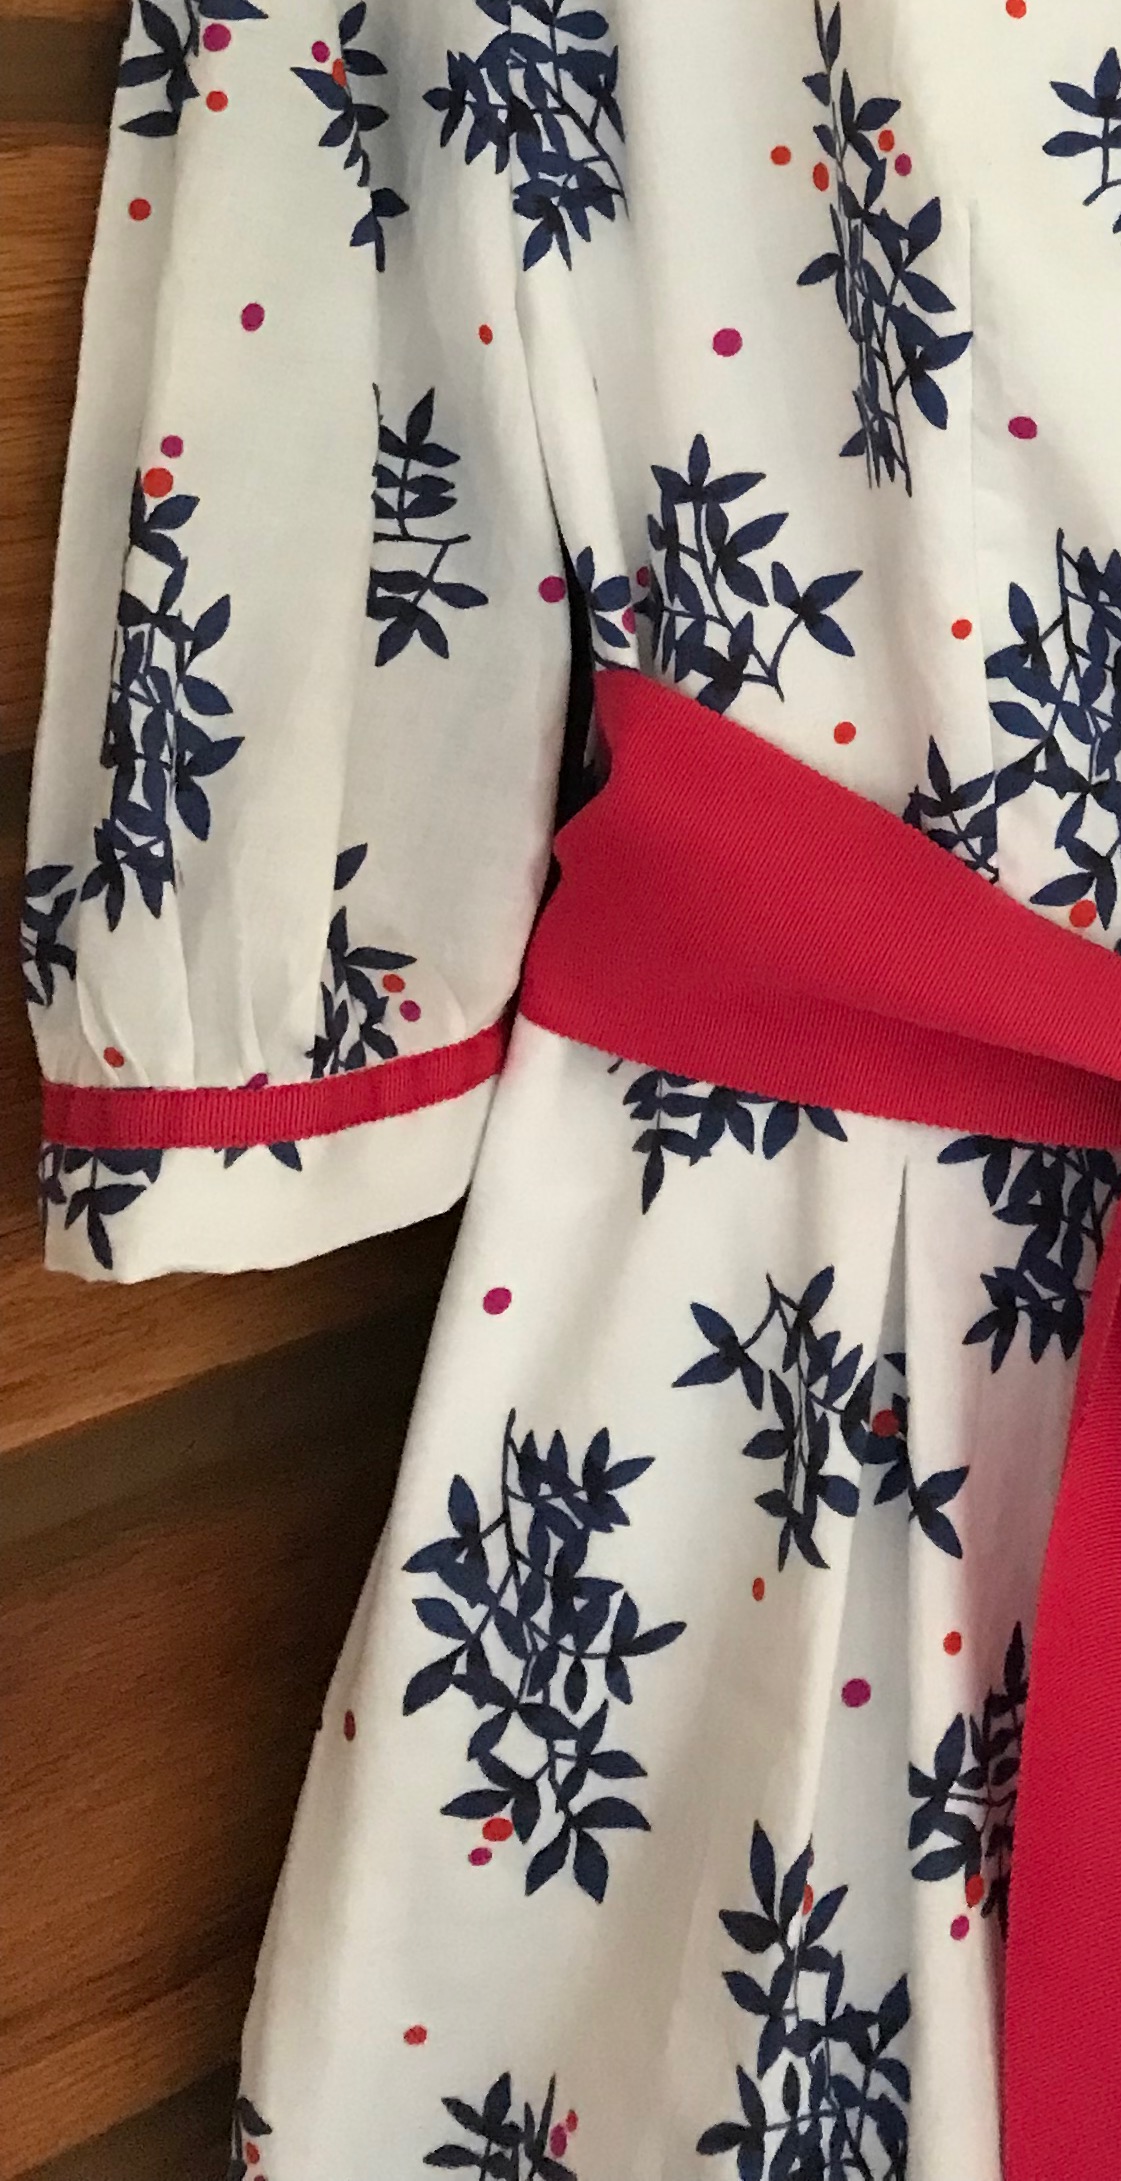
One of the beauties of tunics is there are no rules on how trim is applied or placed or even if it is used. I had purchased two widths of Petersham ribbon for use on this garment, fully intending on using two rows to echo the front opening. However, I determined that would be too much. Instead, I used the narrower ribbon on the collar and as the second row around the hem and the side slits. The sleeves seemed to look better with the wider width of ribbon. The ribbon adds a degree of stability to the hem, especially, which helps the tunic to hang properly.
By the way, sewing all that Petersham ribbon on is helped immensely by the use of Dritz WashAway adhesive tape.
Obviously I have not washed this tunic yet, but in its first laundering the tape securing the ribbon will, indeed, wash away. I expect a softer appearance of the ribbon at that point, which seems to have a few waves in it at present.
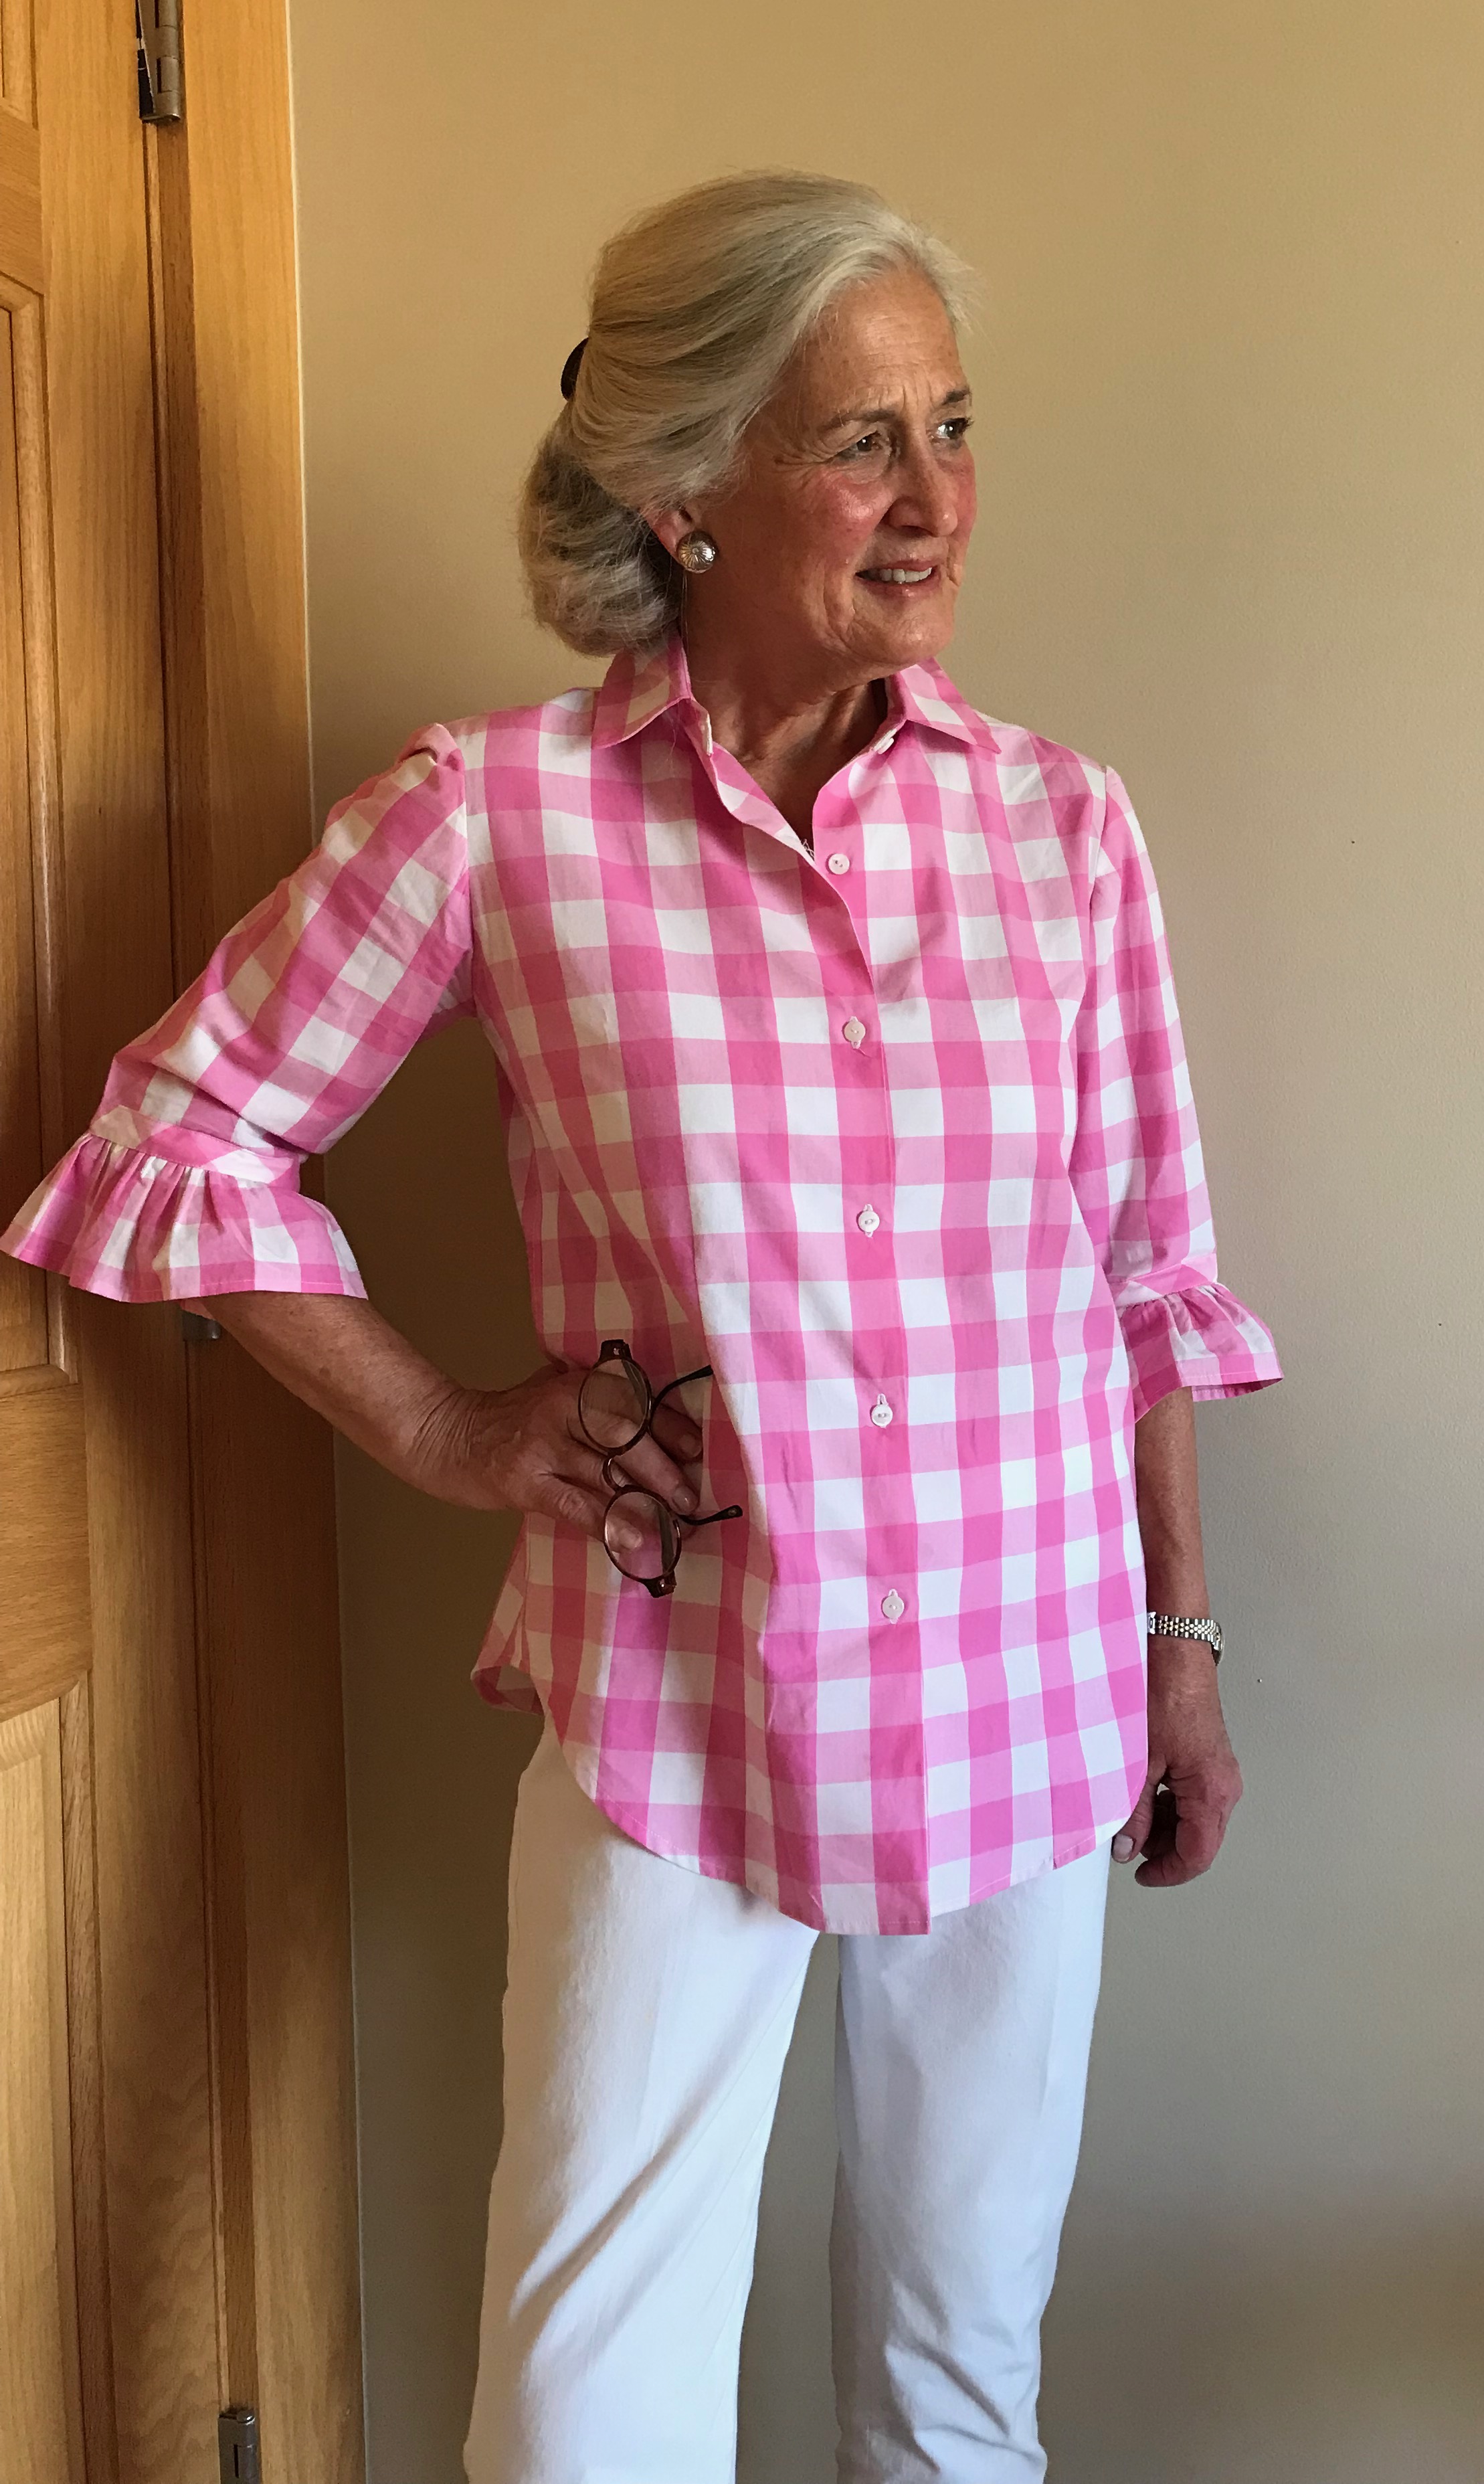
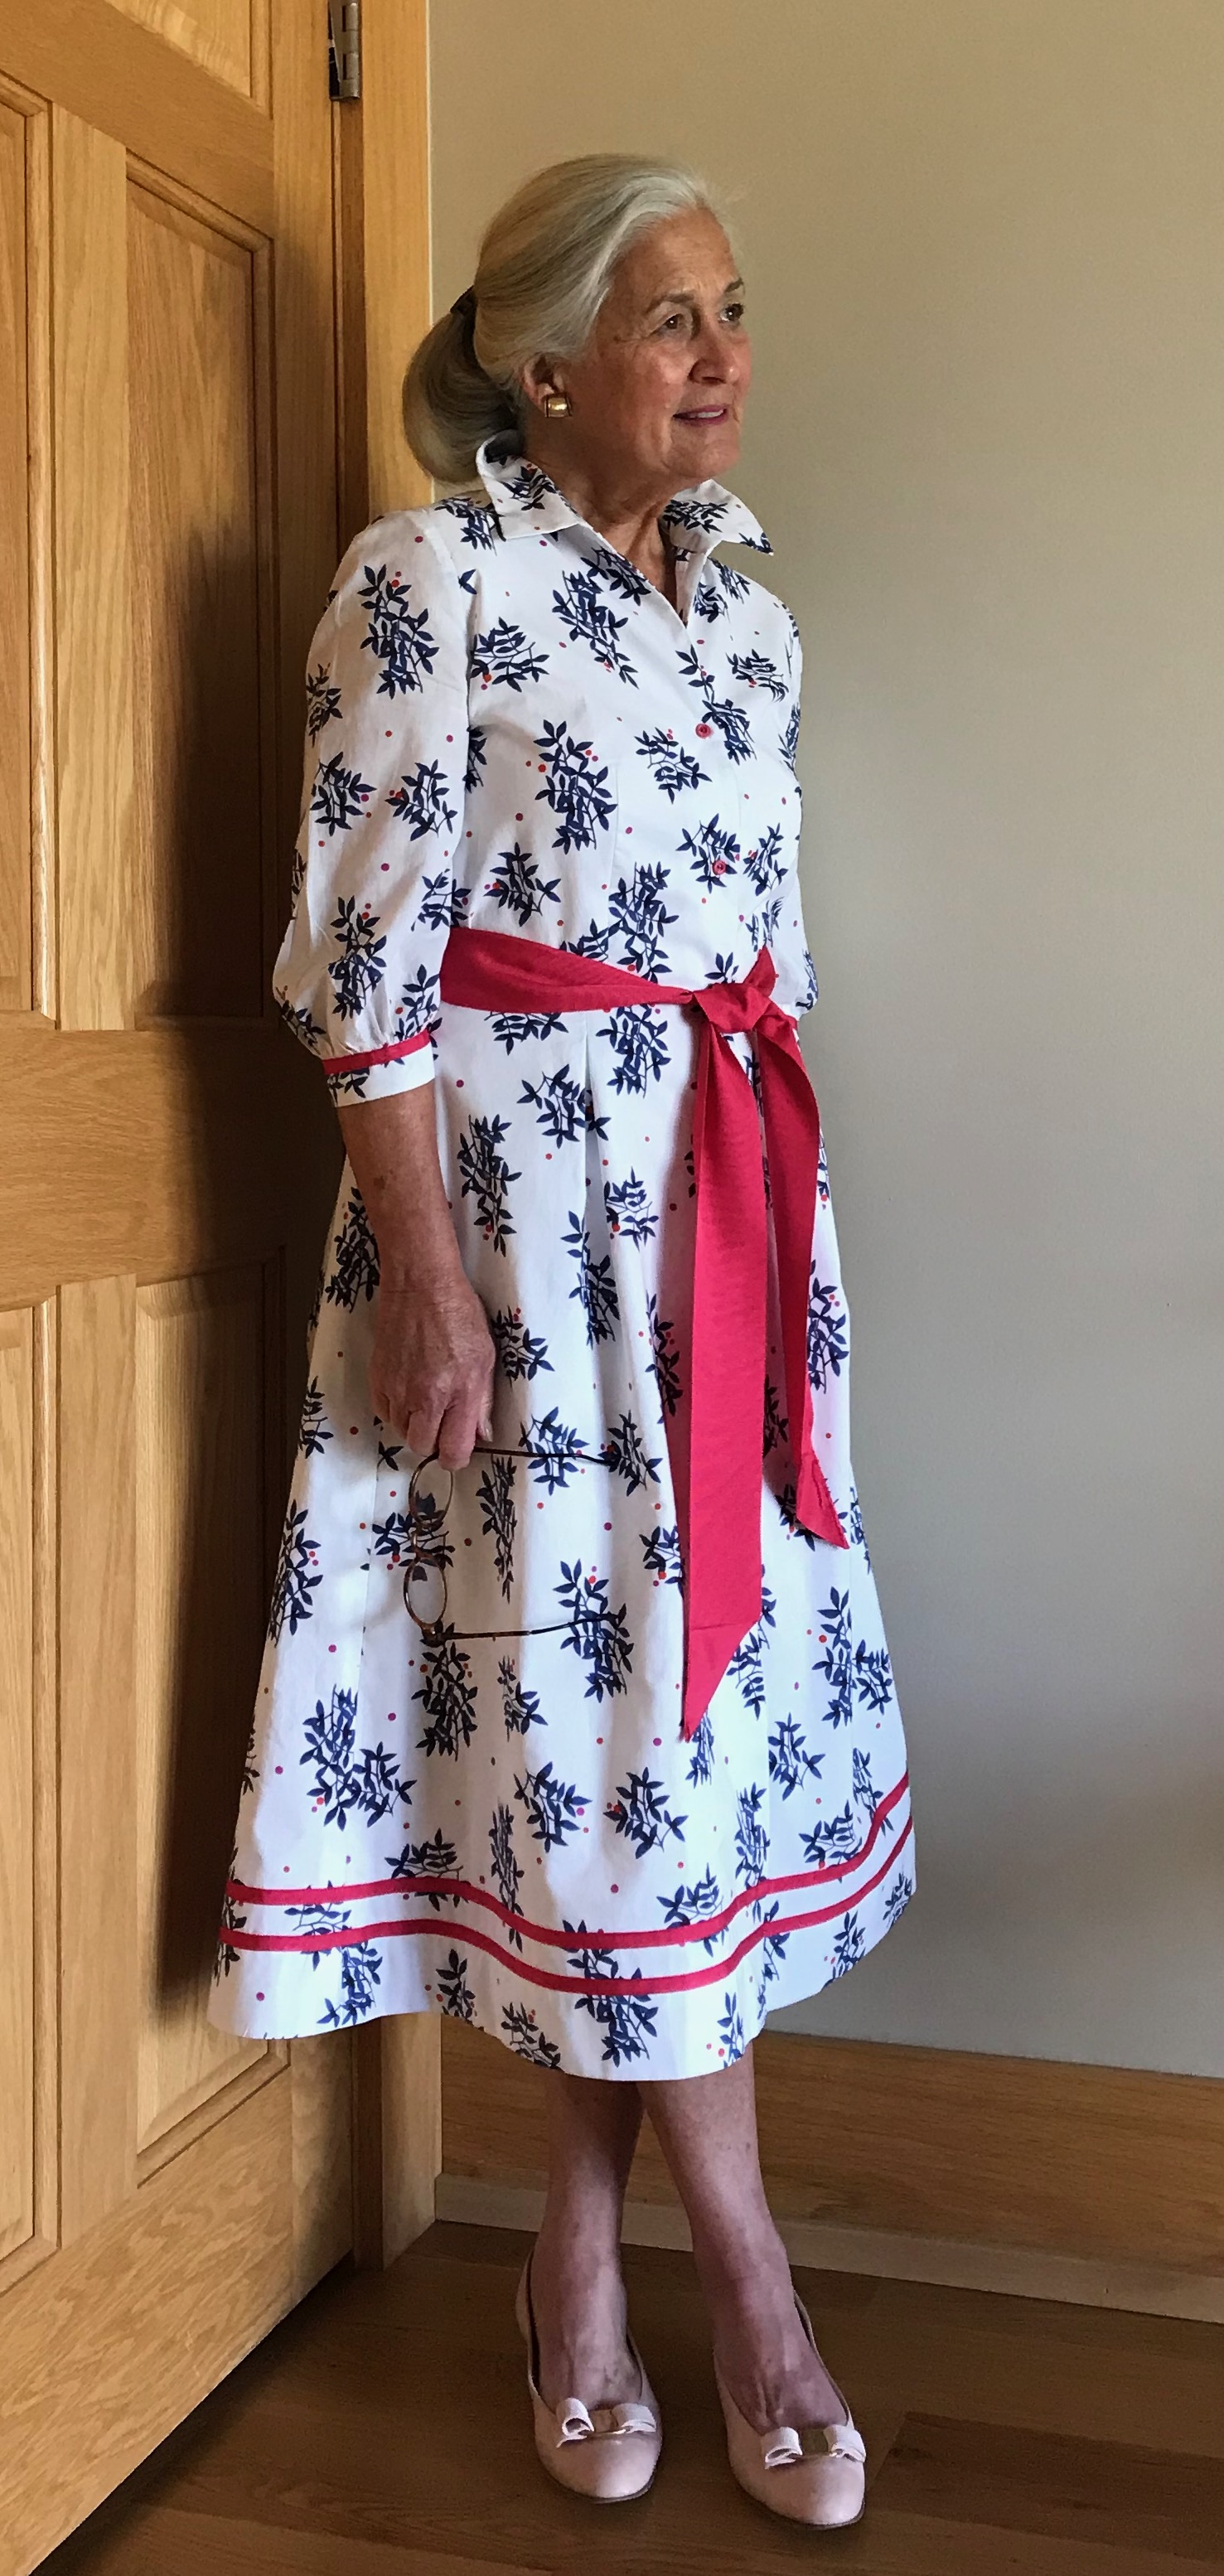
Pictures often are the best way to check fit on a garment (even after multiple try-ons to fine-tune it), and I was pleased with the final, slightly fitted, non-baggy appearance of this tunic. In other words, it does not look like a sack! It is easy to slip on, less so getting it off, but still very manageable. (Sometimes a side zipper can be – or needs to be – added to help with this task of dressing and undressing. The abbreviated length of this example precluded that option.)
I’m not sure what Edith Head would have thought about tunics, if anything (!), but I am thinking positively about this one.
27 Comments
Filed under Blouses, Fashion commentary, Loops for buttons, Tunics, Uncategorized, Vogue patterns
Tagged as Emma One Sock Fabrics, fashion sewing, sewing, tunic tops