
Silence may indeed be “golden” except when one is trying to maintain some regularity in writing a blog. My silence this past Fall and into the end of the year was not intentional. I actually got as far as starting a new post in November on a “Blouse for Fall” only to have its completion thwarted by more pressing priorities. Such is life, as all of us know. So now, in this sparkling new year we have entered, I have the opportunity to play some long overdue catch-up.
It is at this time of year when I like to reflect on my sewing from the year just past. And glaringly, the truth is I was not very productive. Here is what I made:
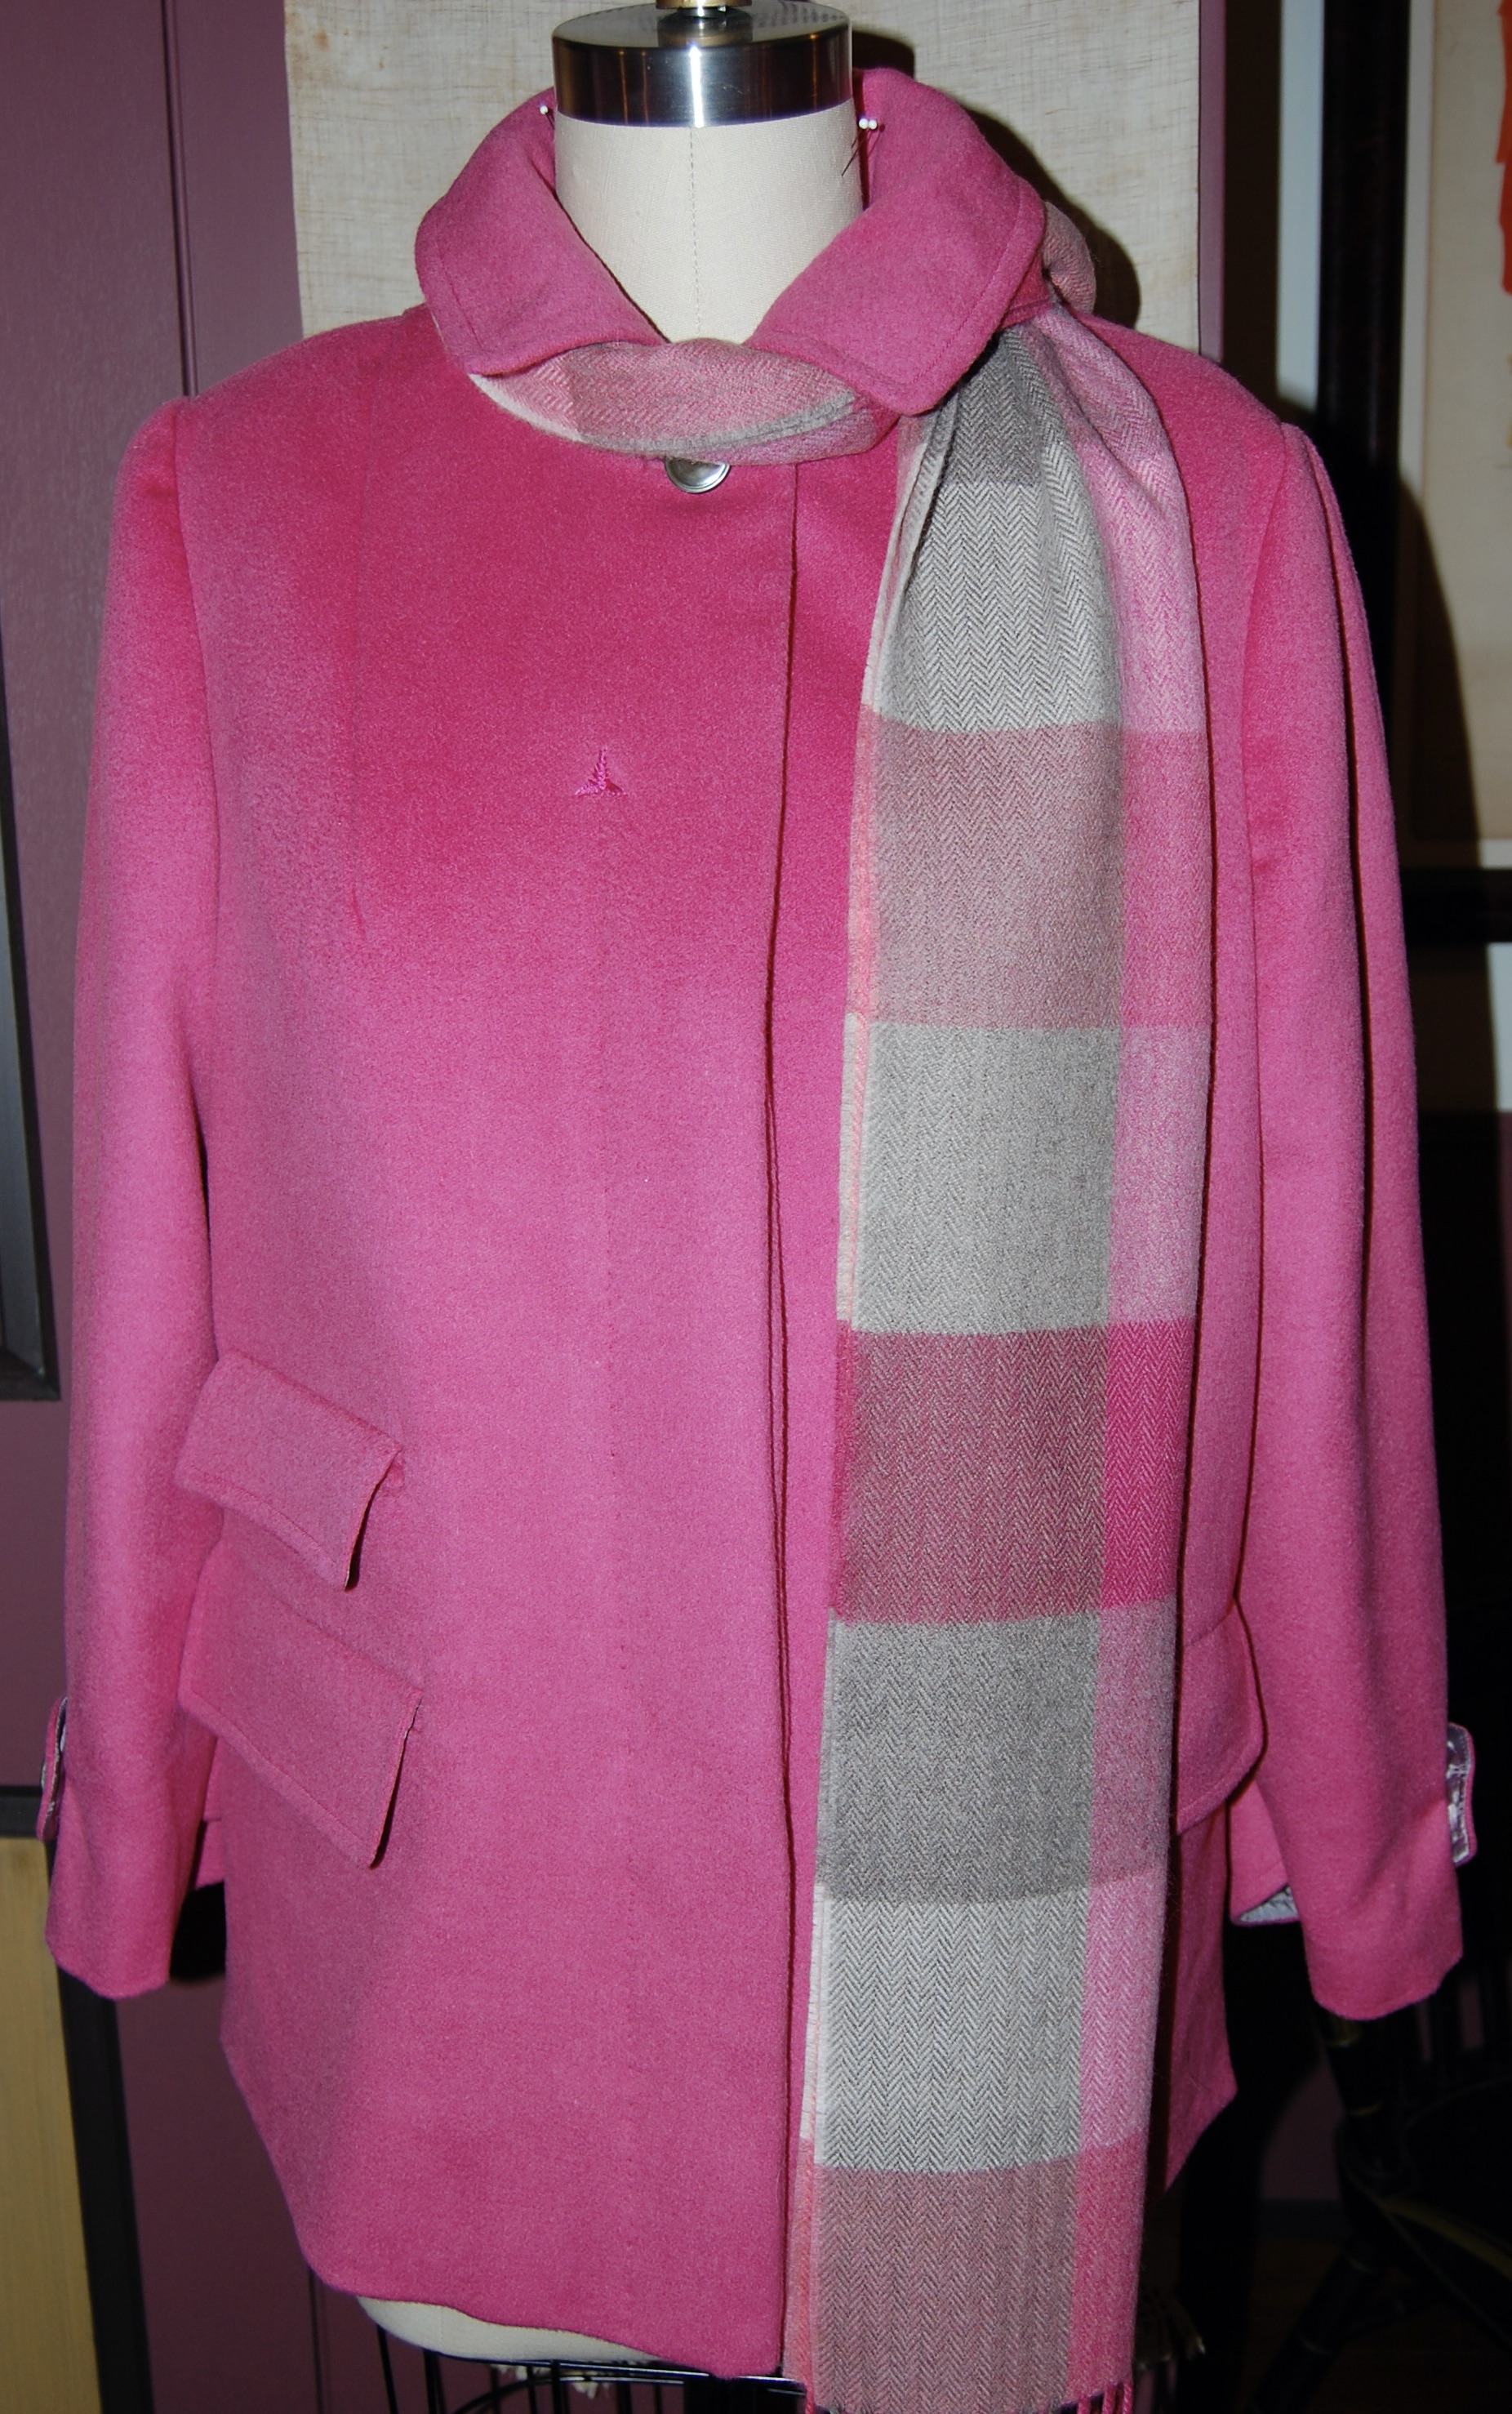
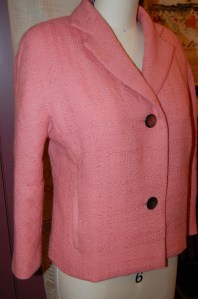
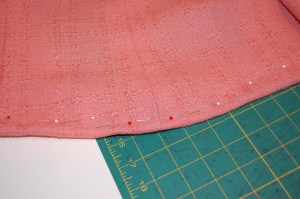
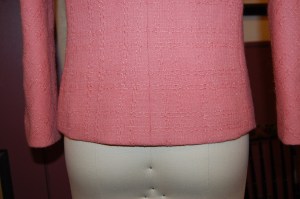
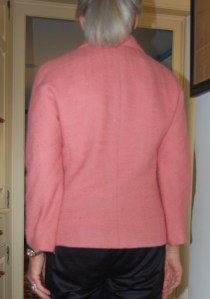
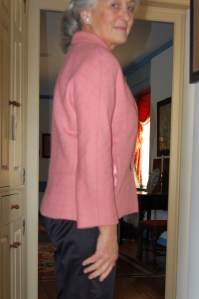
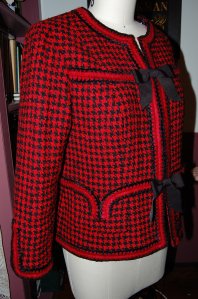
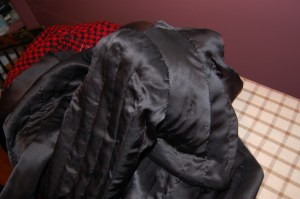
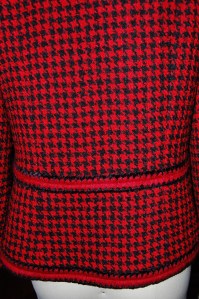
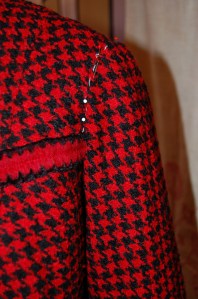
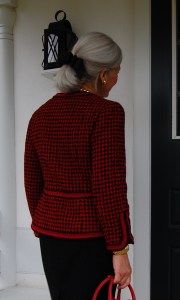
- Short black wool jacket, ostensibly to wear with a wool sheath dress made two years ago.
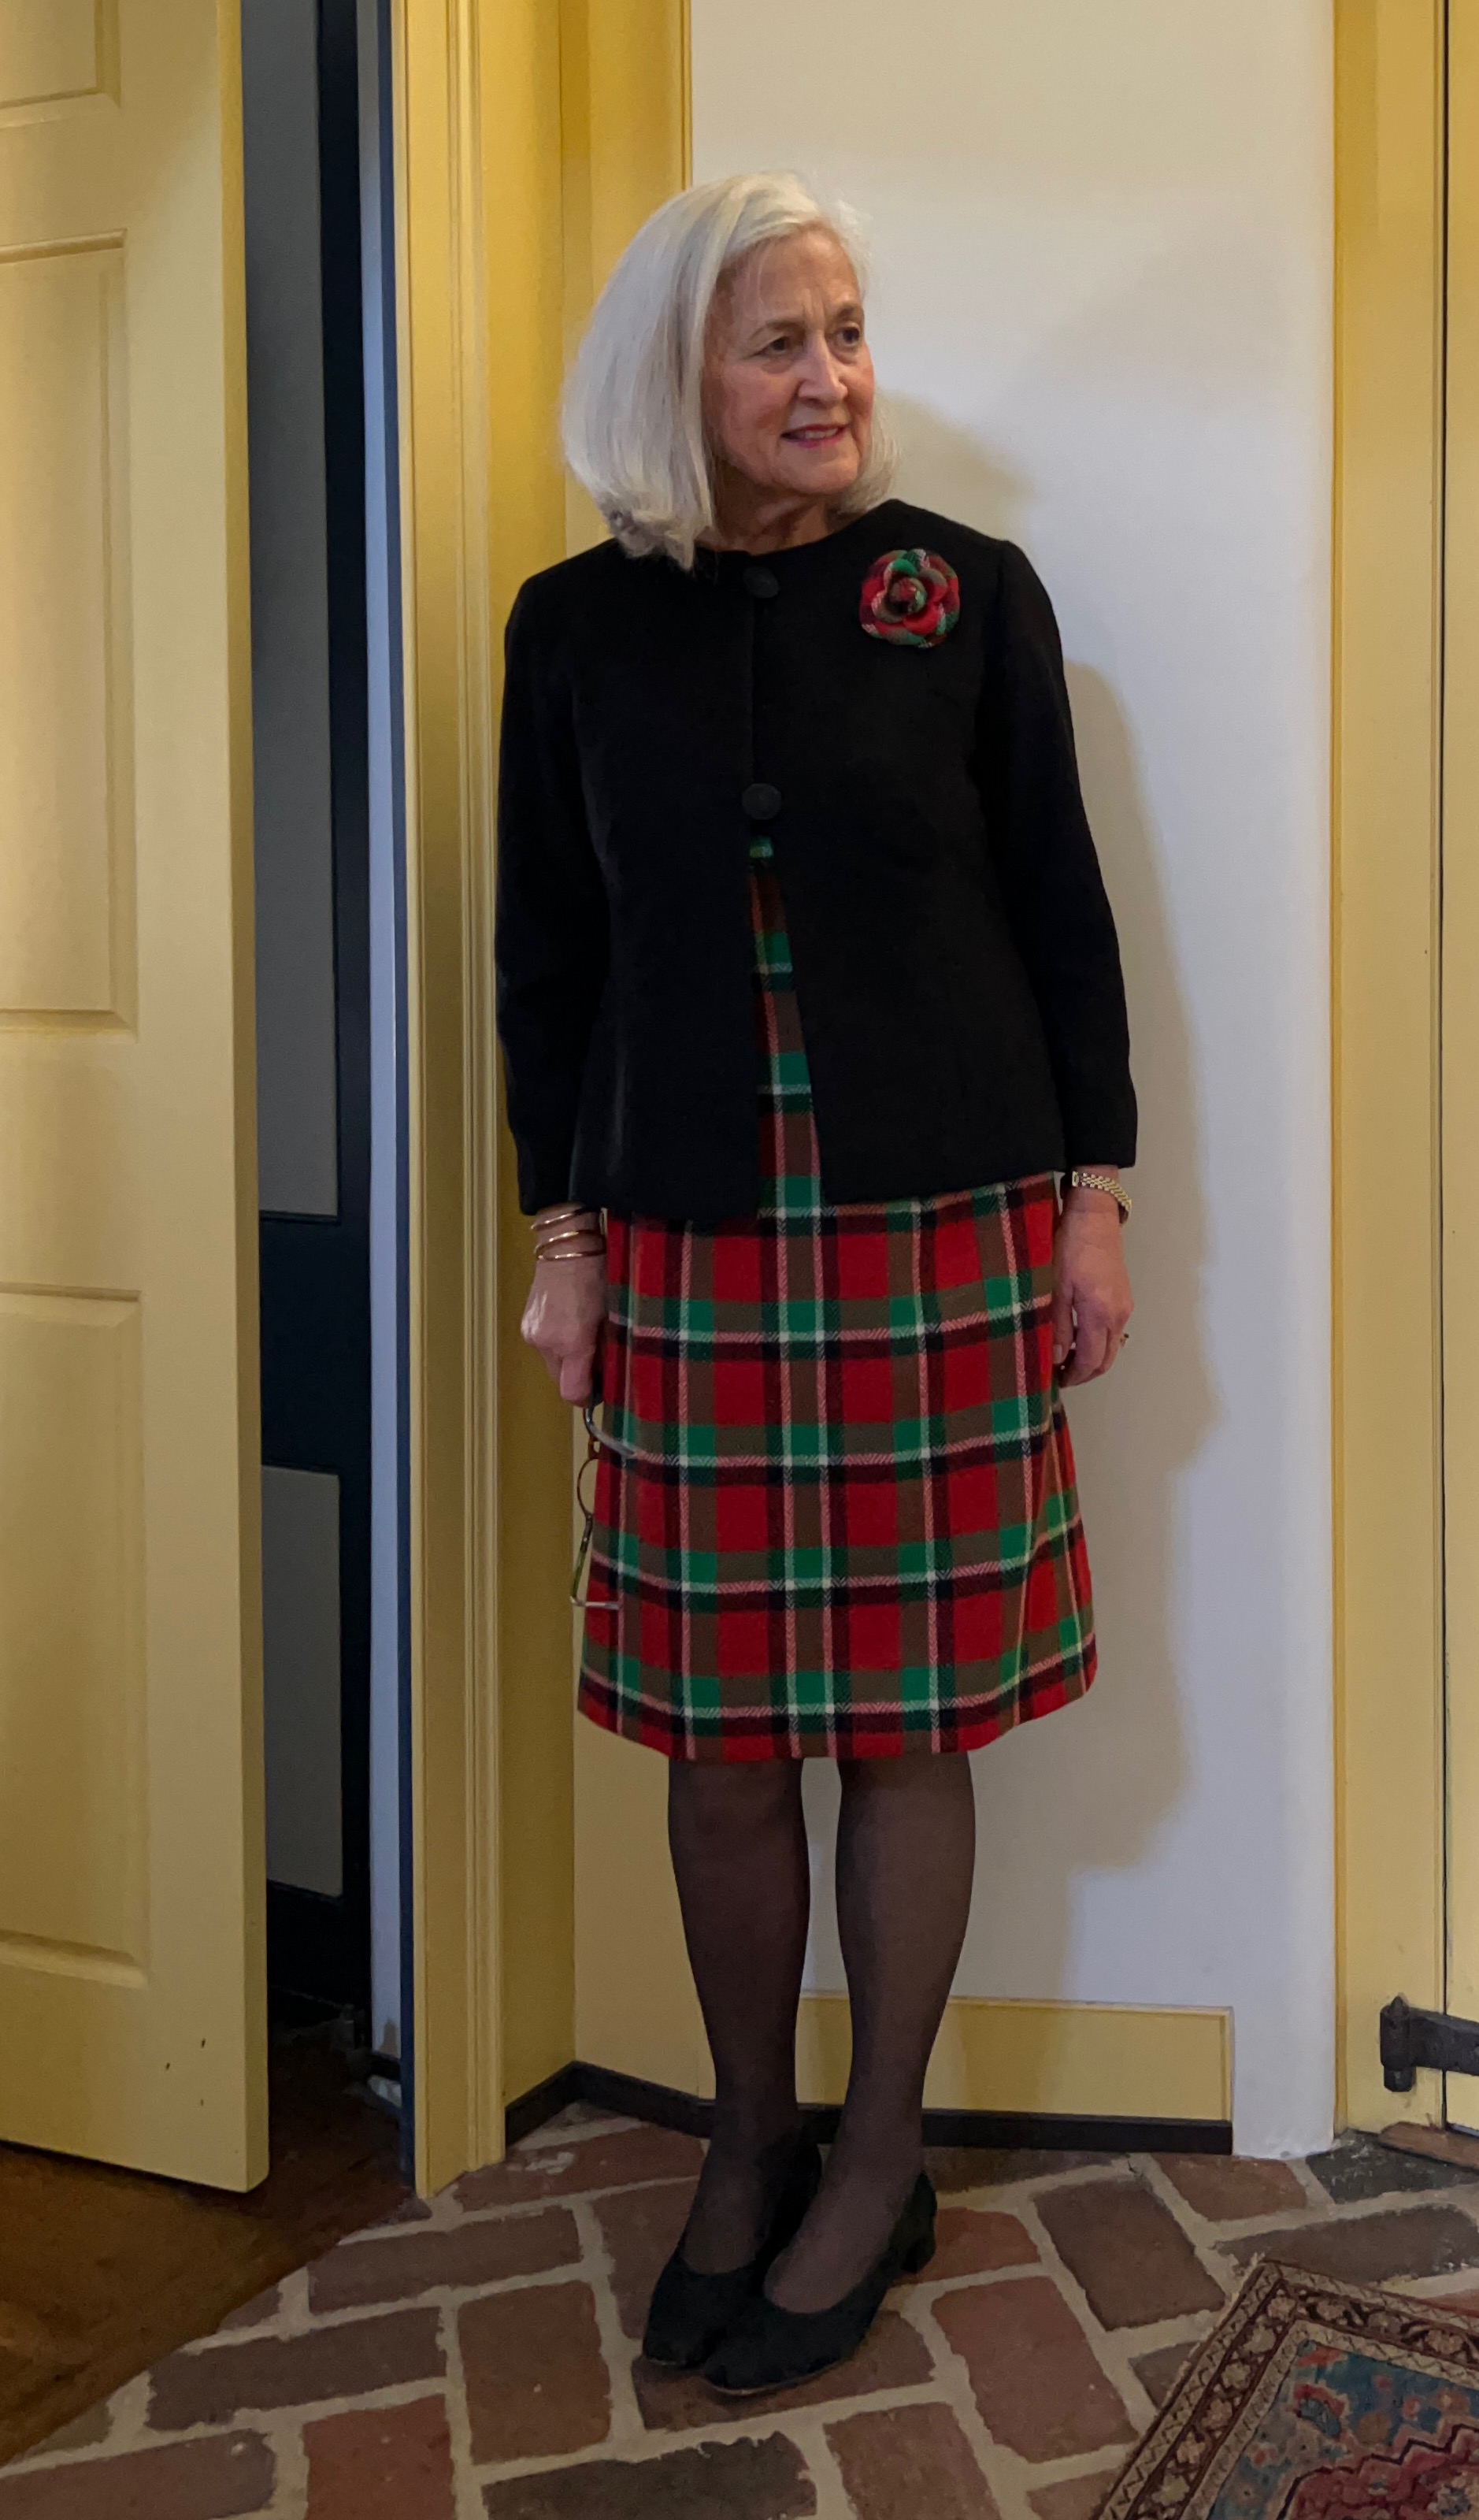
I suspect this jacket will prove to be more versatile than I have expected. Its jewel neckline will lend itself to scarves, and its solid black color will be a good canvas for brooches or other fabric flowers.
2. A birthday/sundress for each of my two granddaughters.
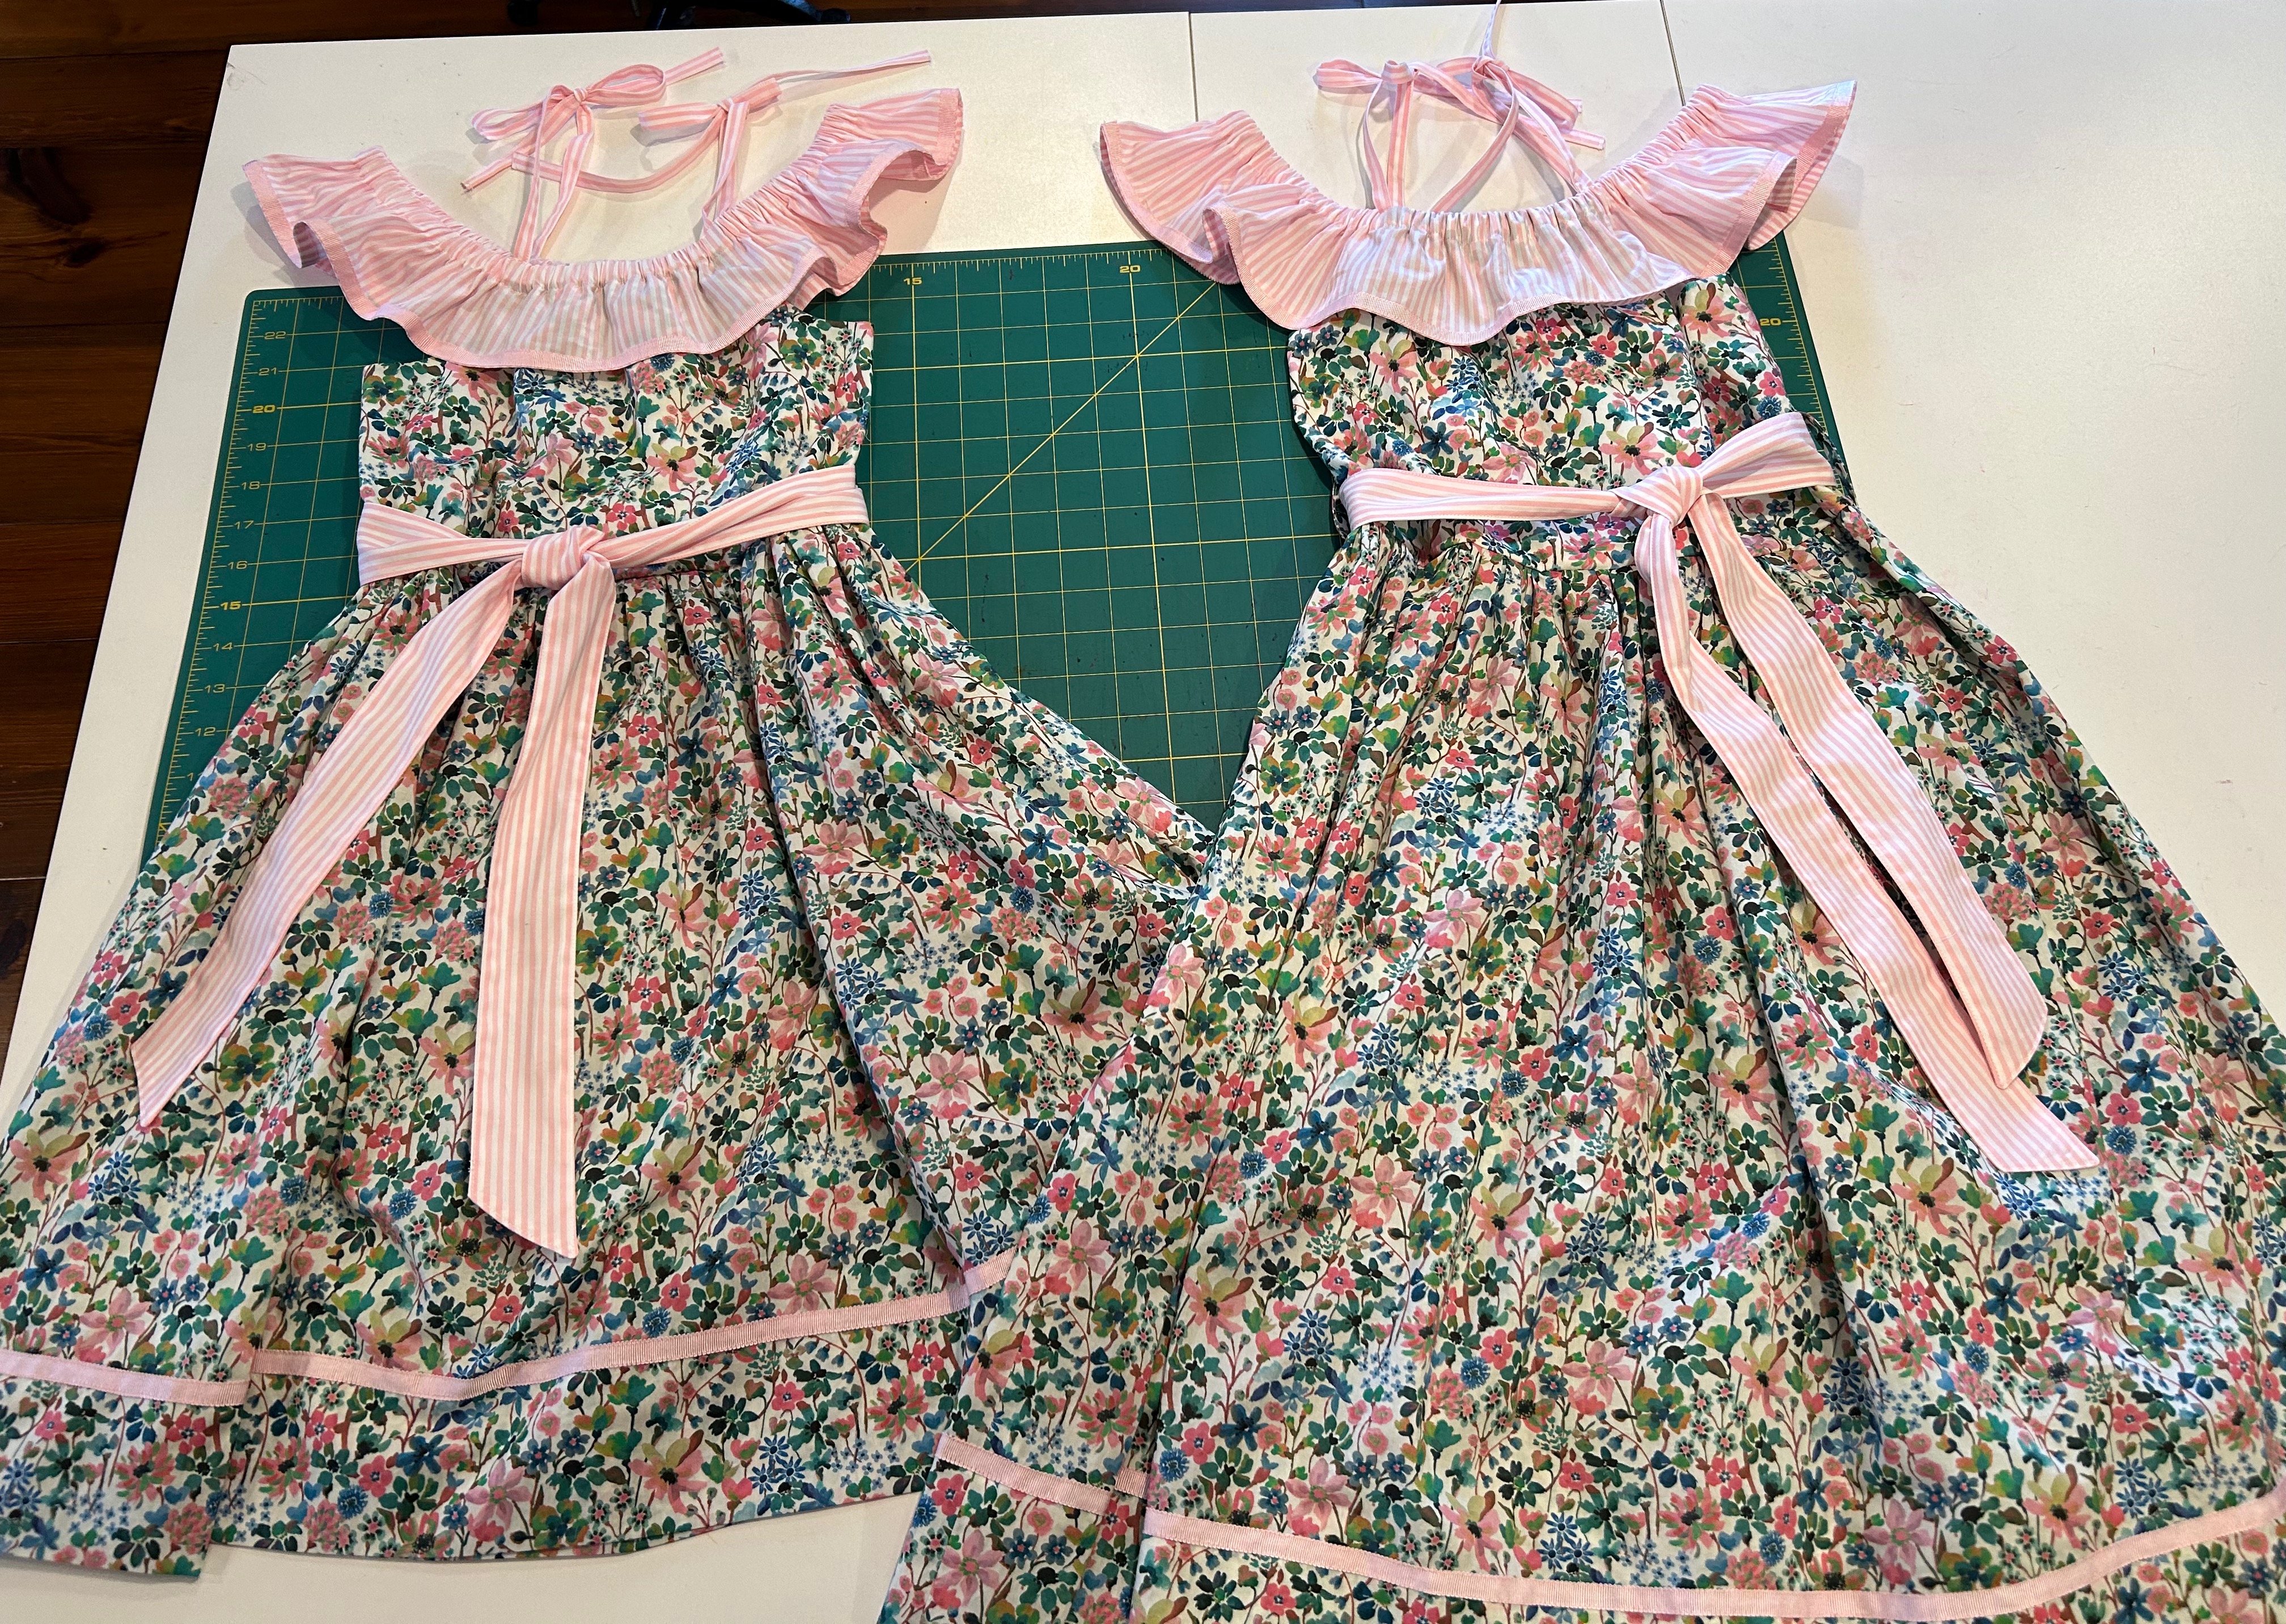
I generally do not post on my blog about sewing for my granddaughters, due to the limited audience for the subject. The girls requested dresses which they could wear “off the shoulder.” So of course, I obliged!
3. A pink striped casual blouse.

Pale pink is always a good idea.
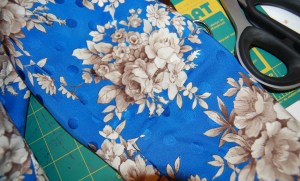
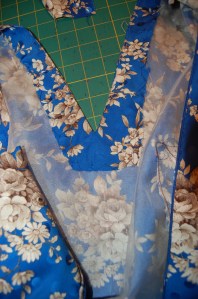
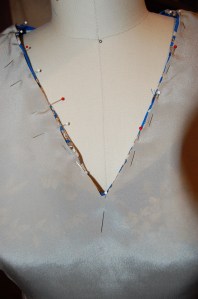
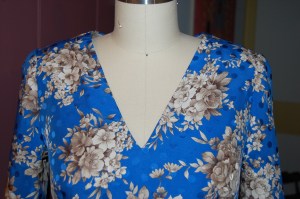
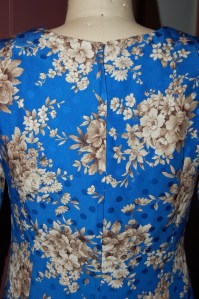
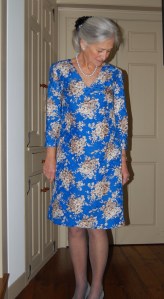
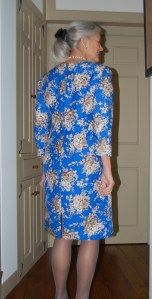
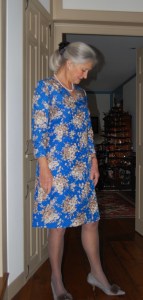
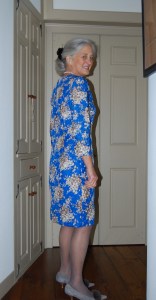
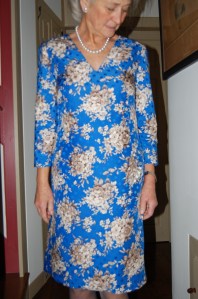
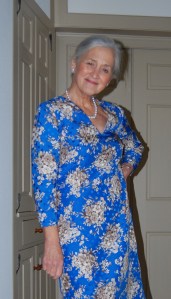
4. A floral summer dress.

I was happy to use this fabric which had been long in my sewing queue.
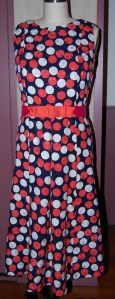
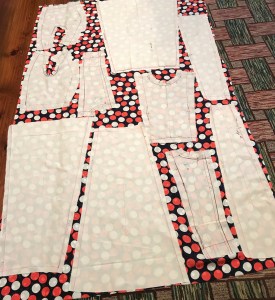
5. Fun floral skirts for each of my granddaughters.
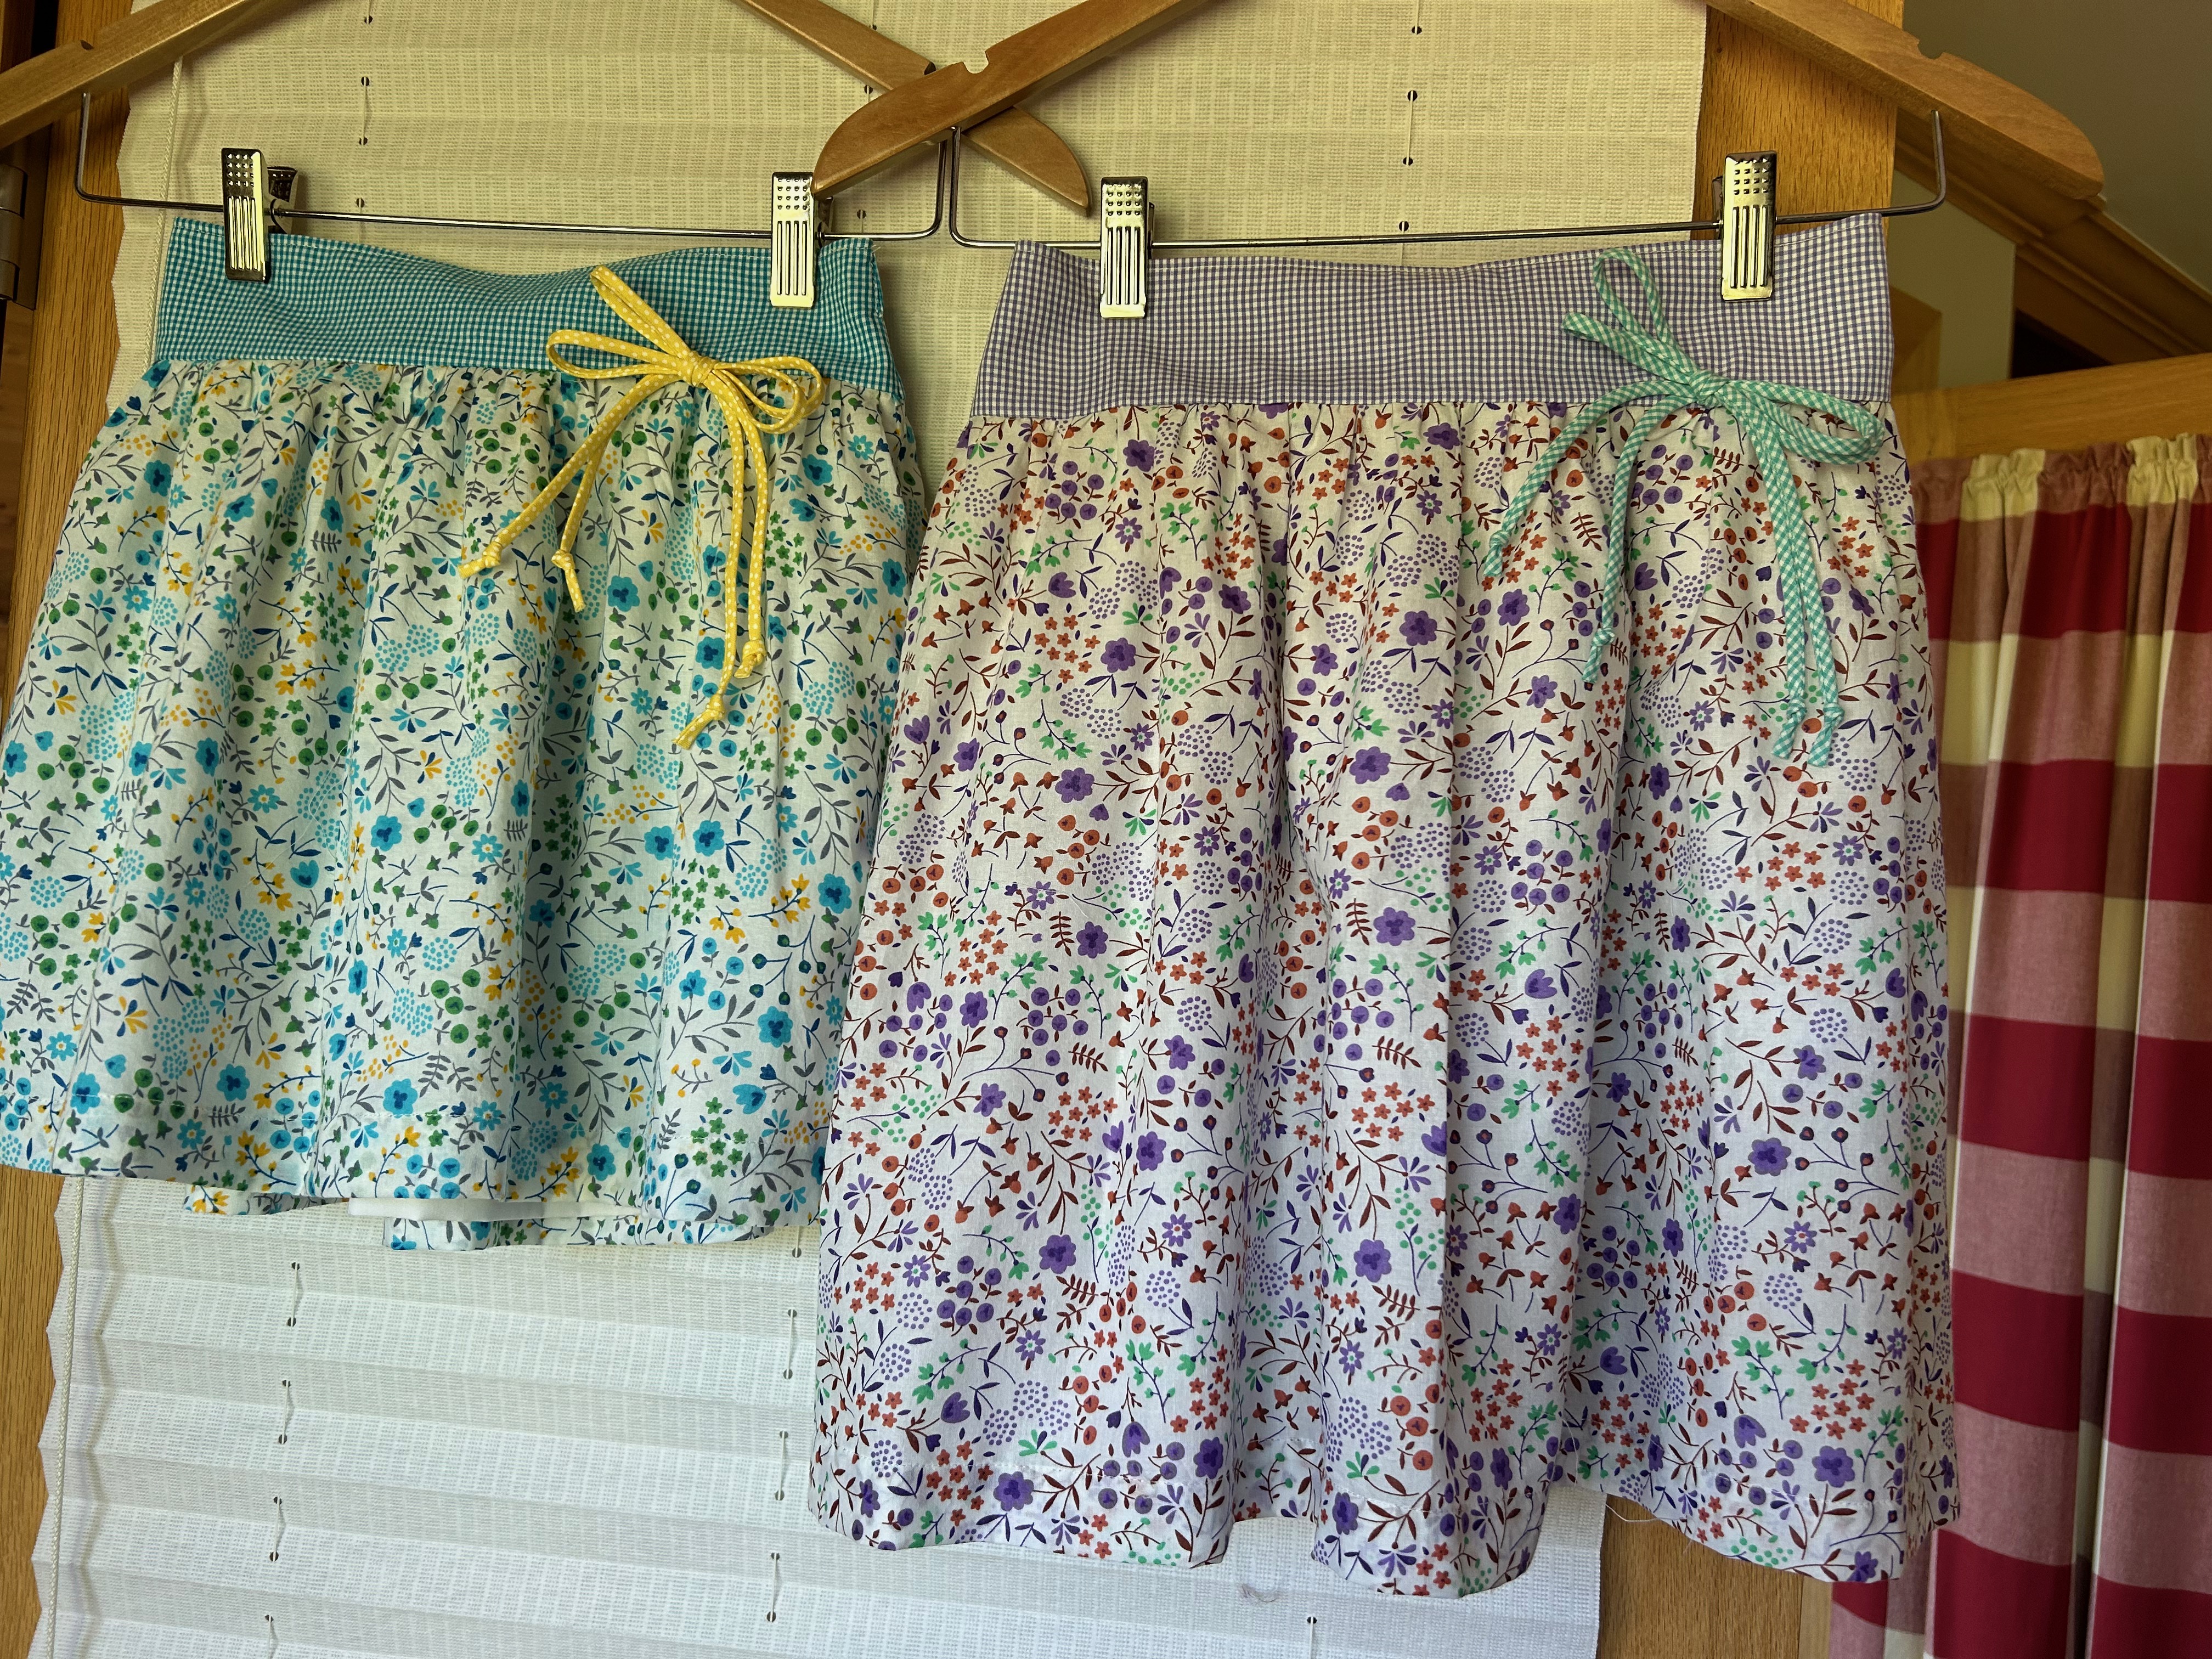
I used “kits” from Farmhouse Fabrics for each of these skirts. They garnered blue ribbons and a “Best of Division” at our local county fair this past summer. Full disclosure: there wasn’t much competition!
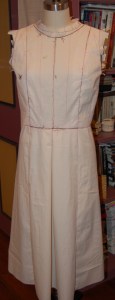
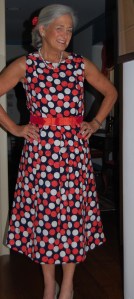
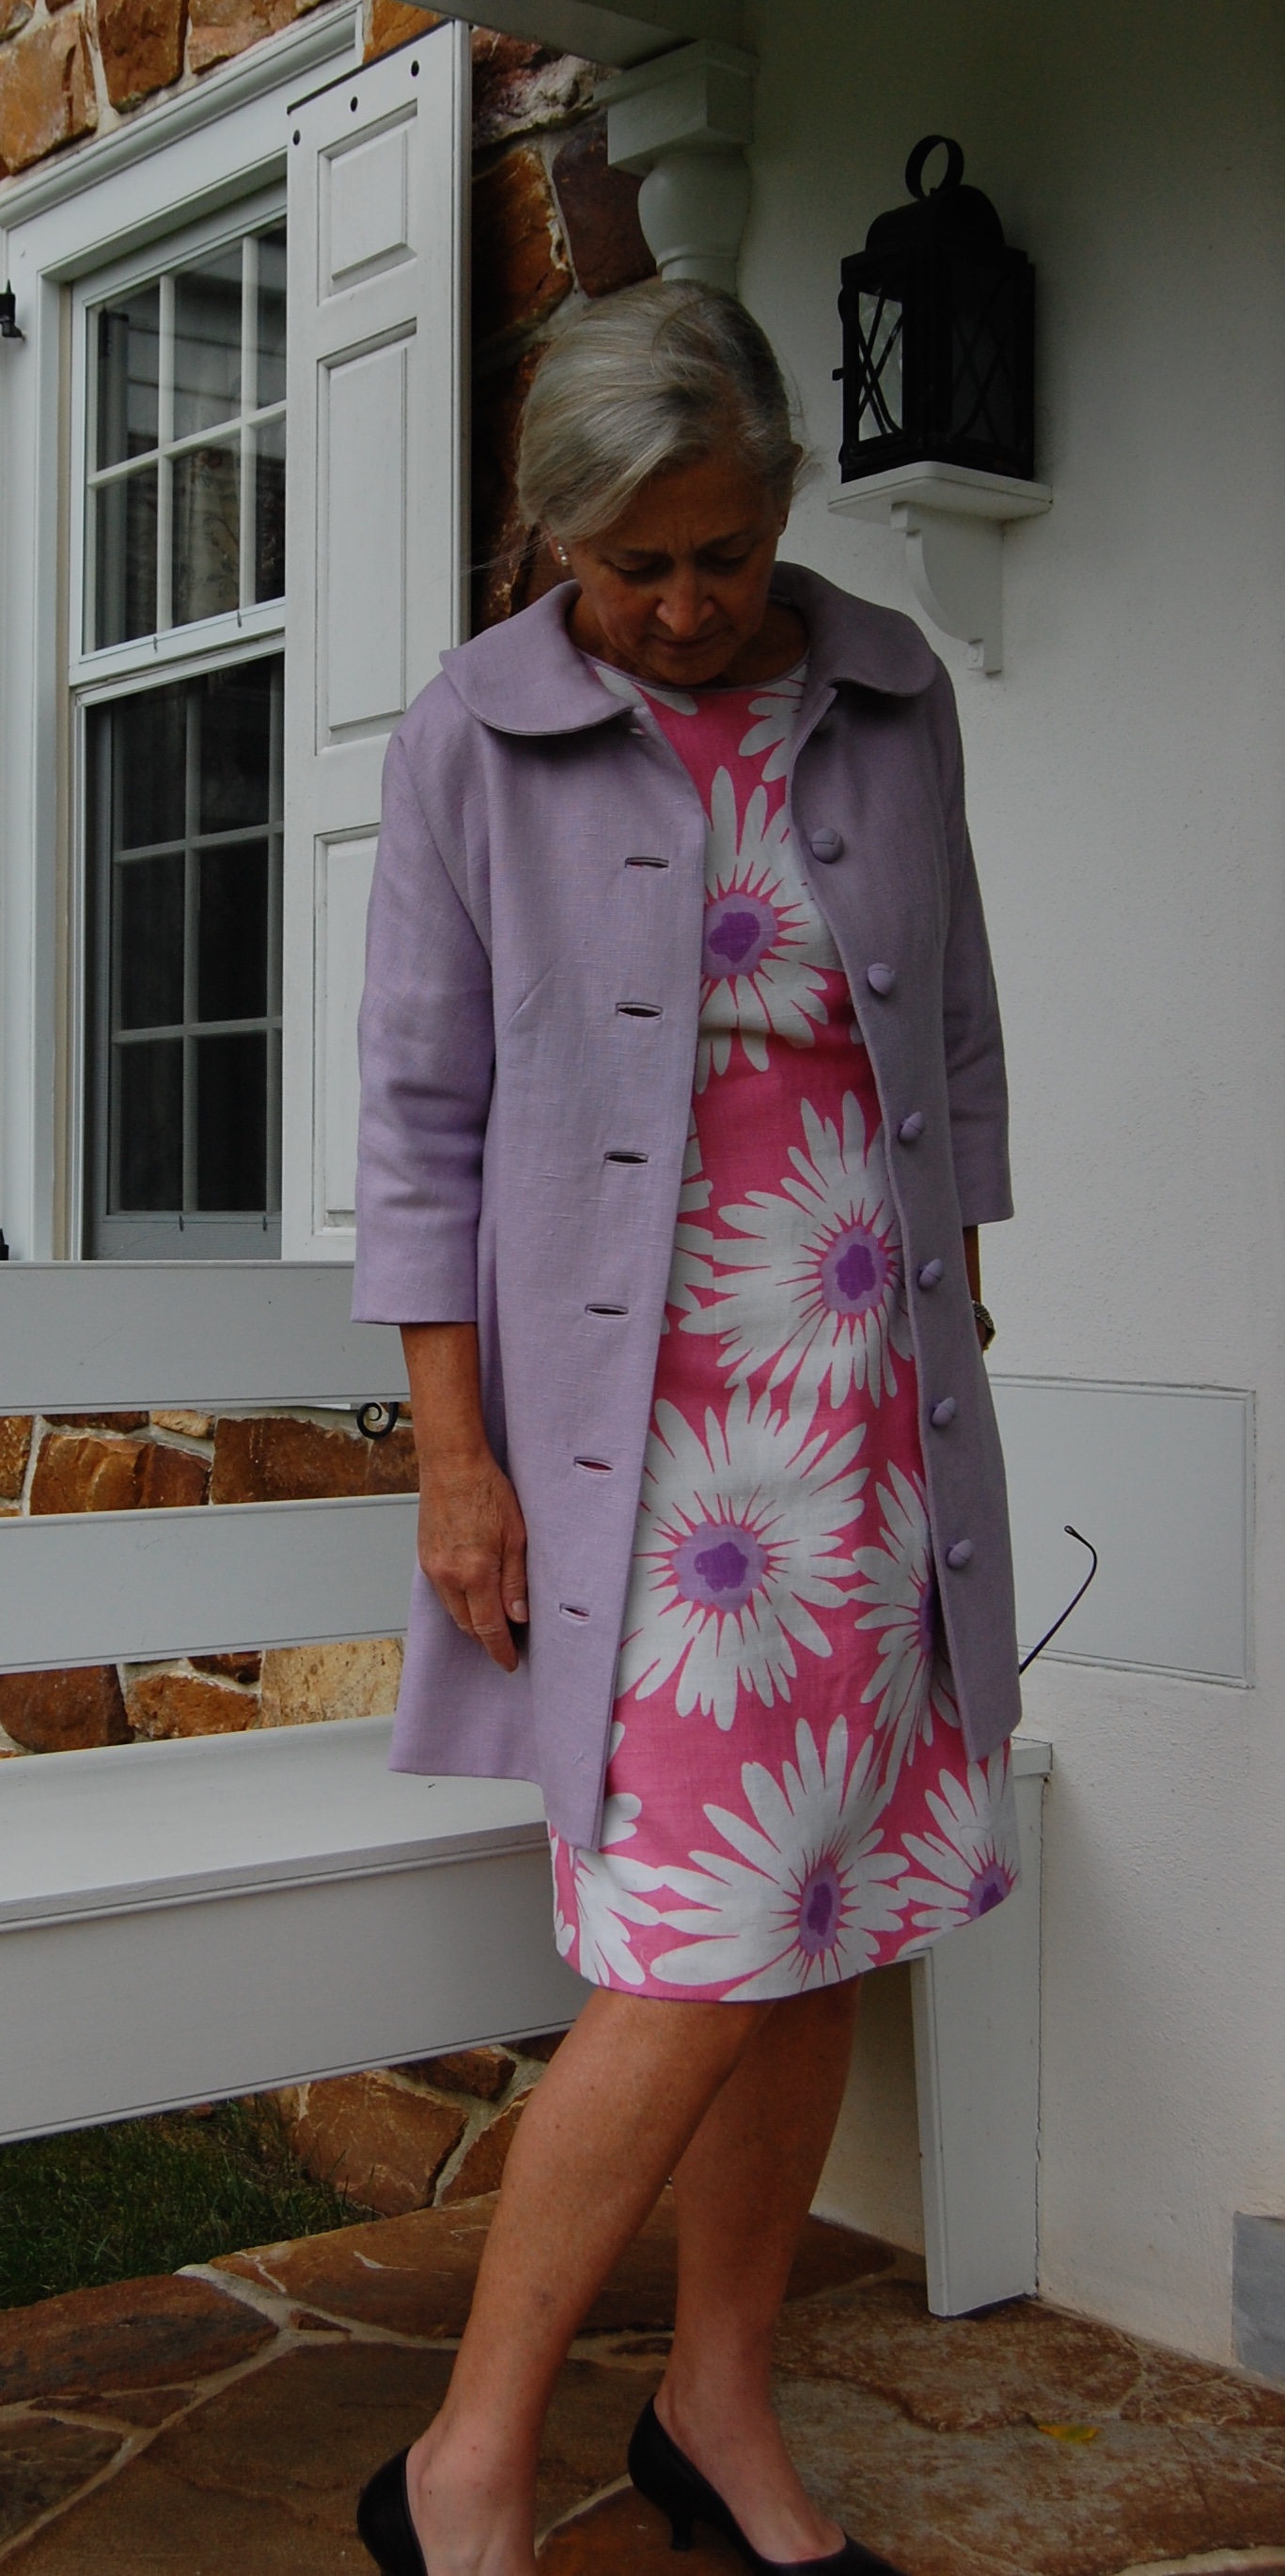
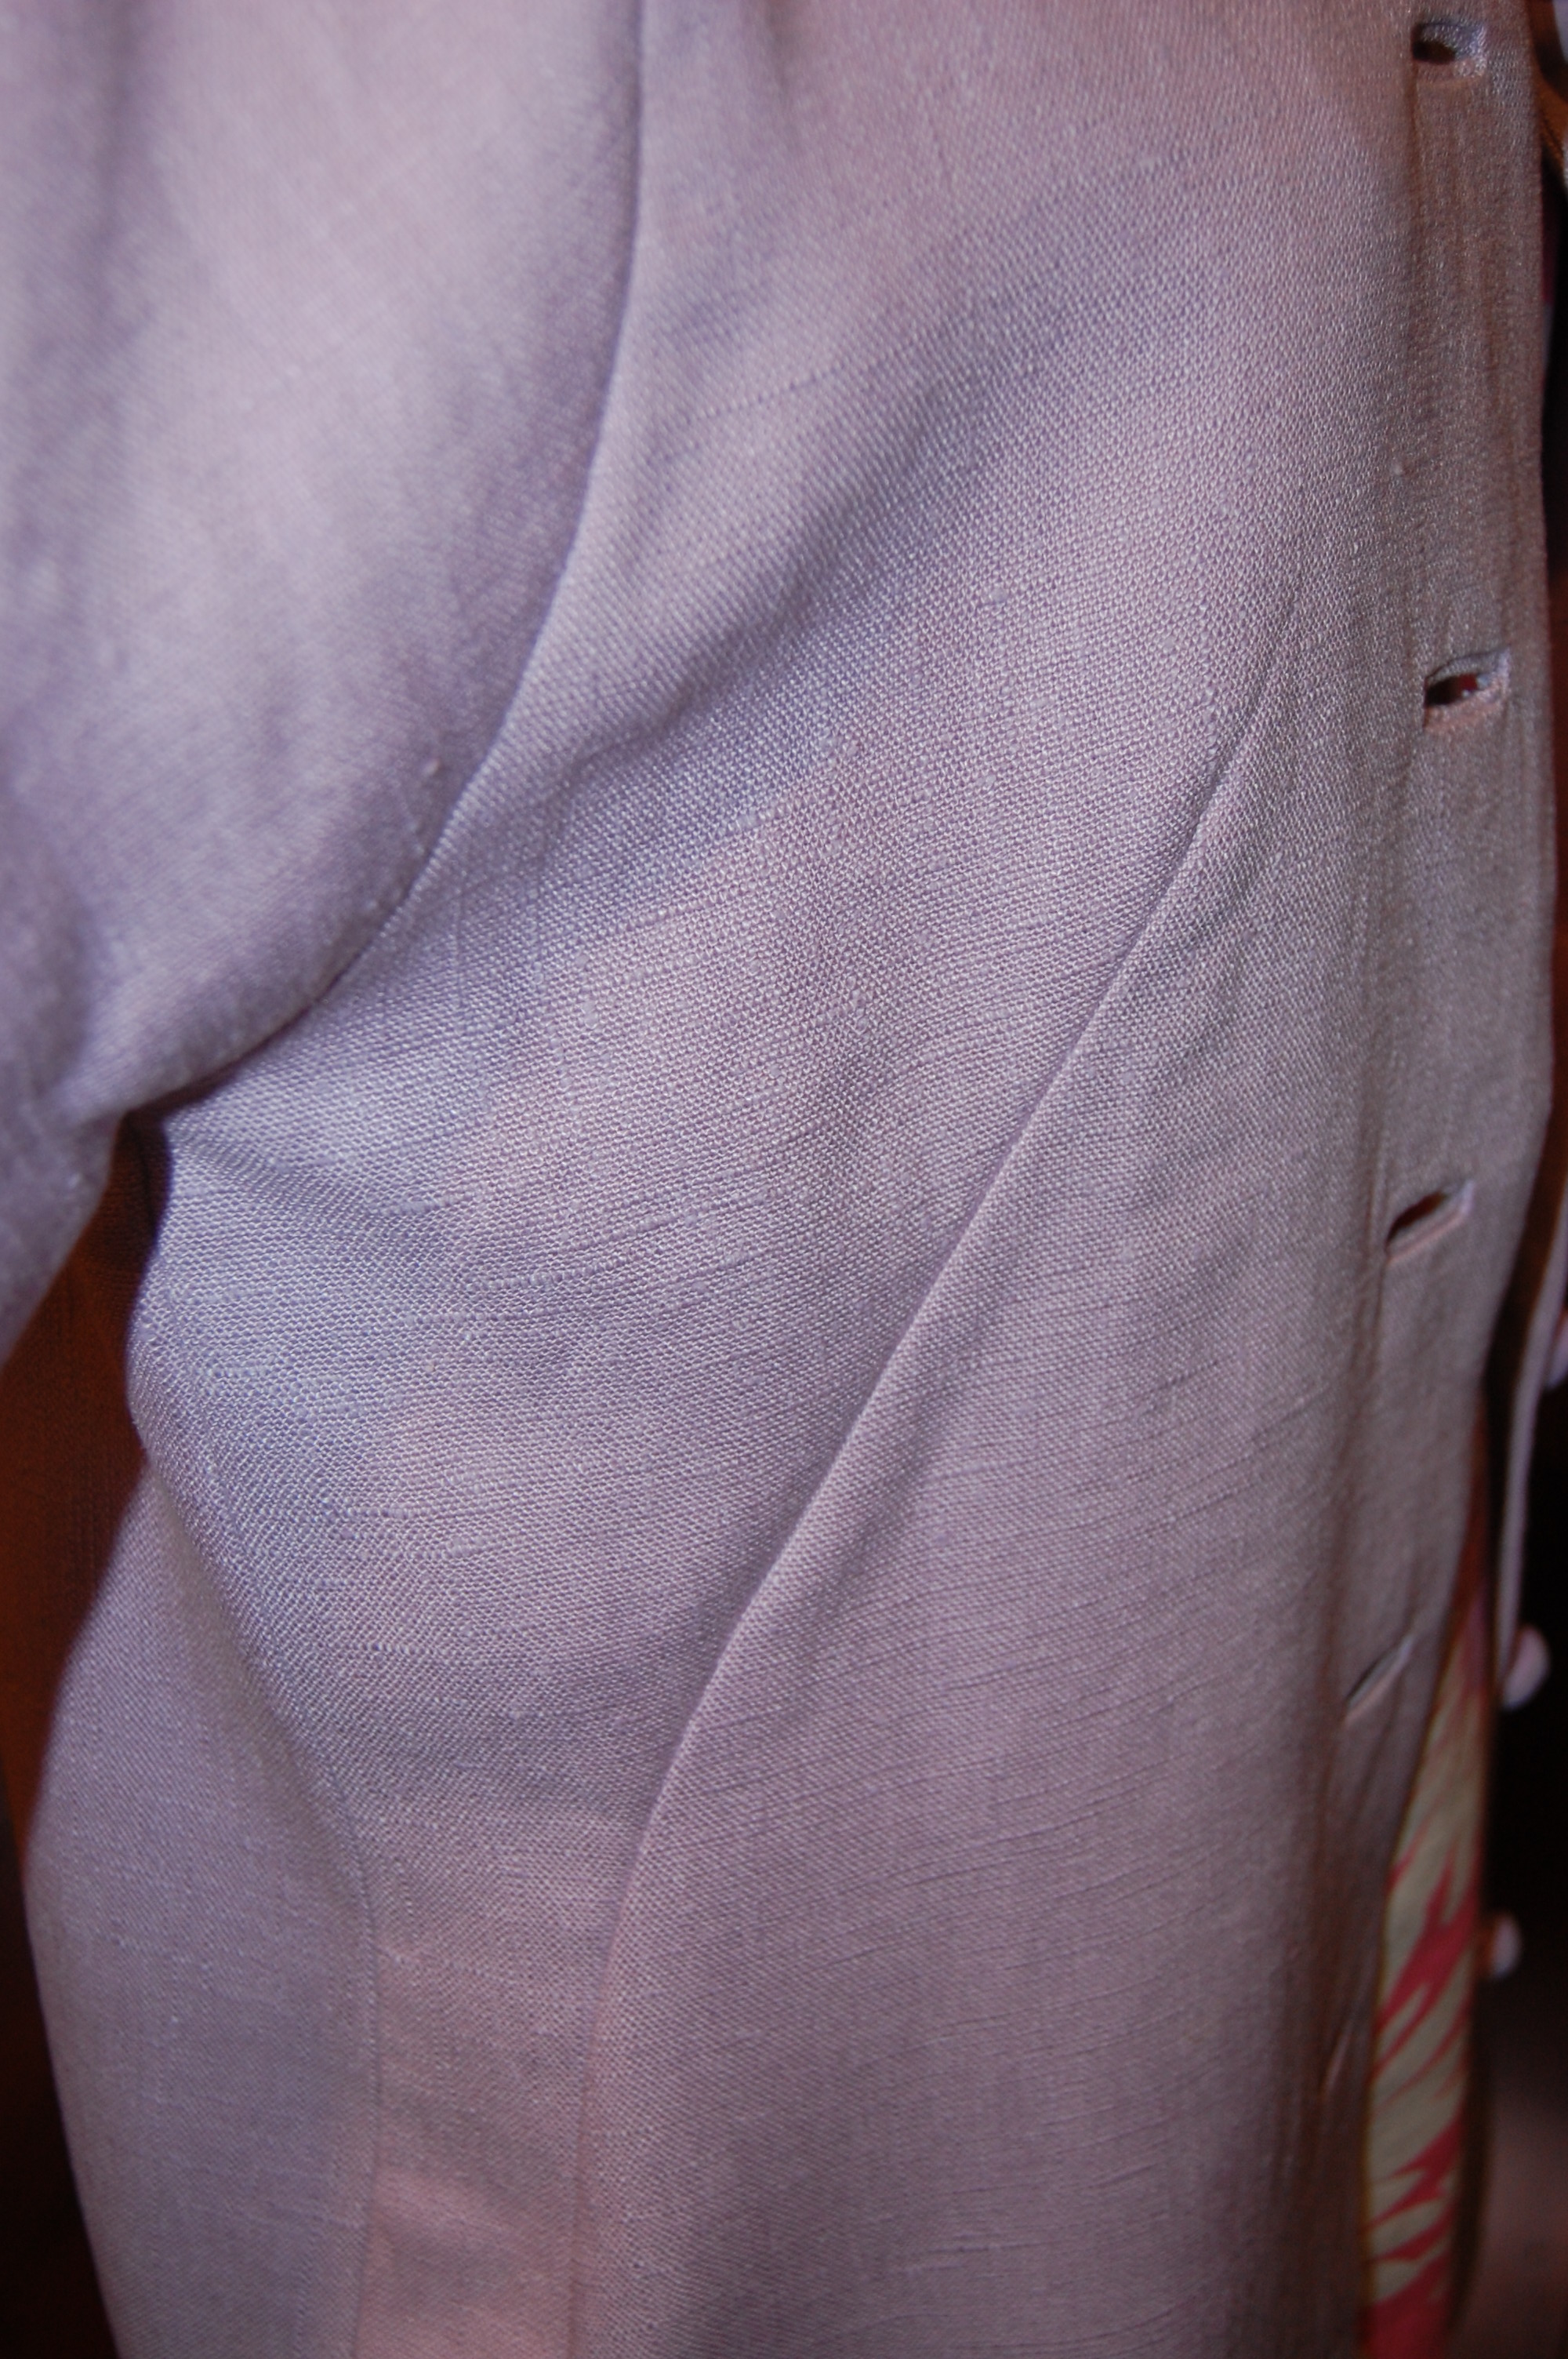
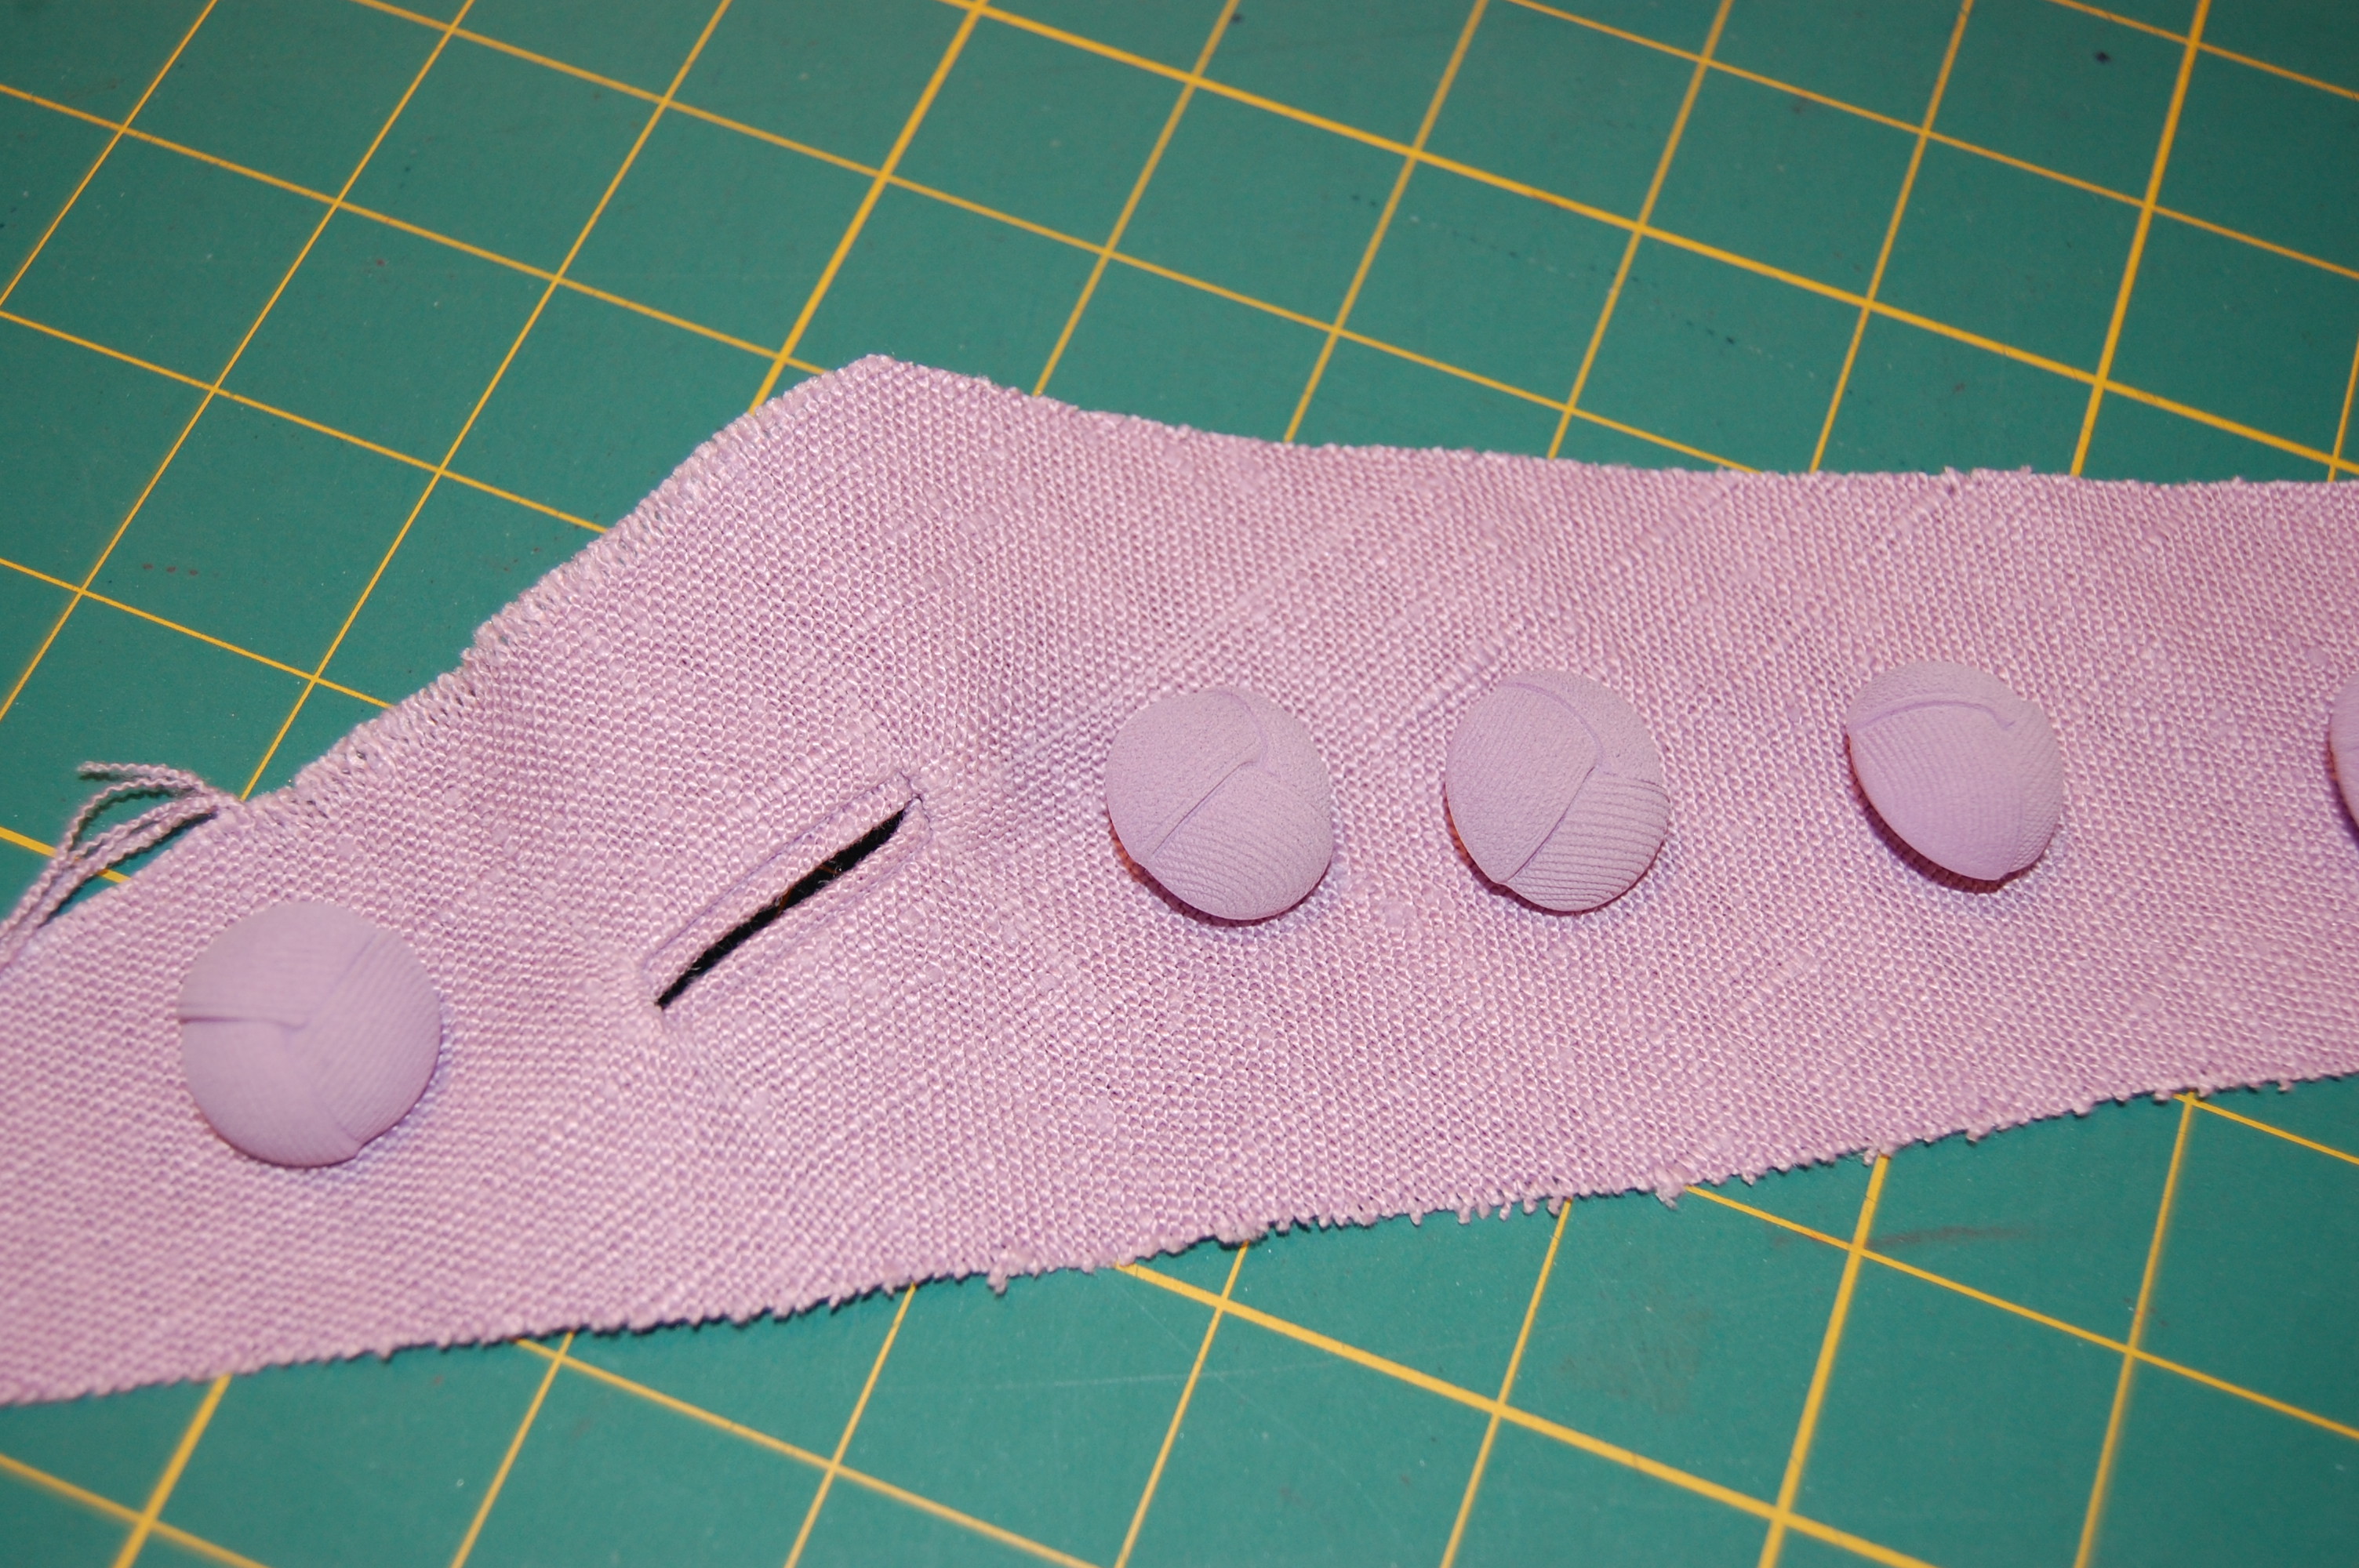
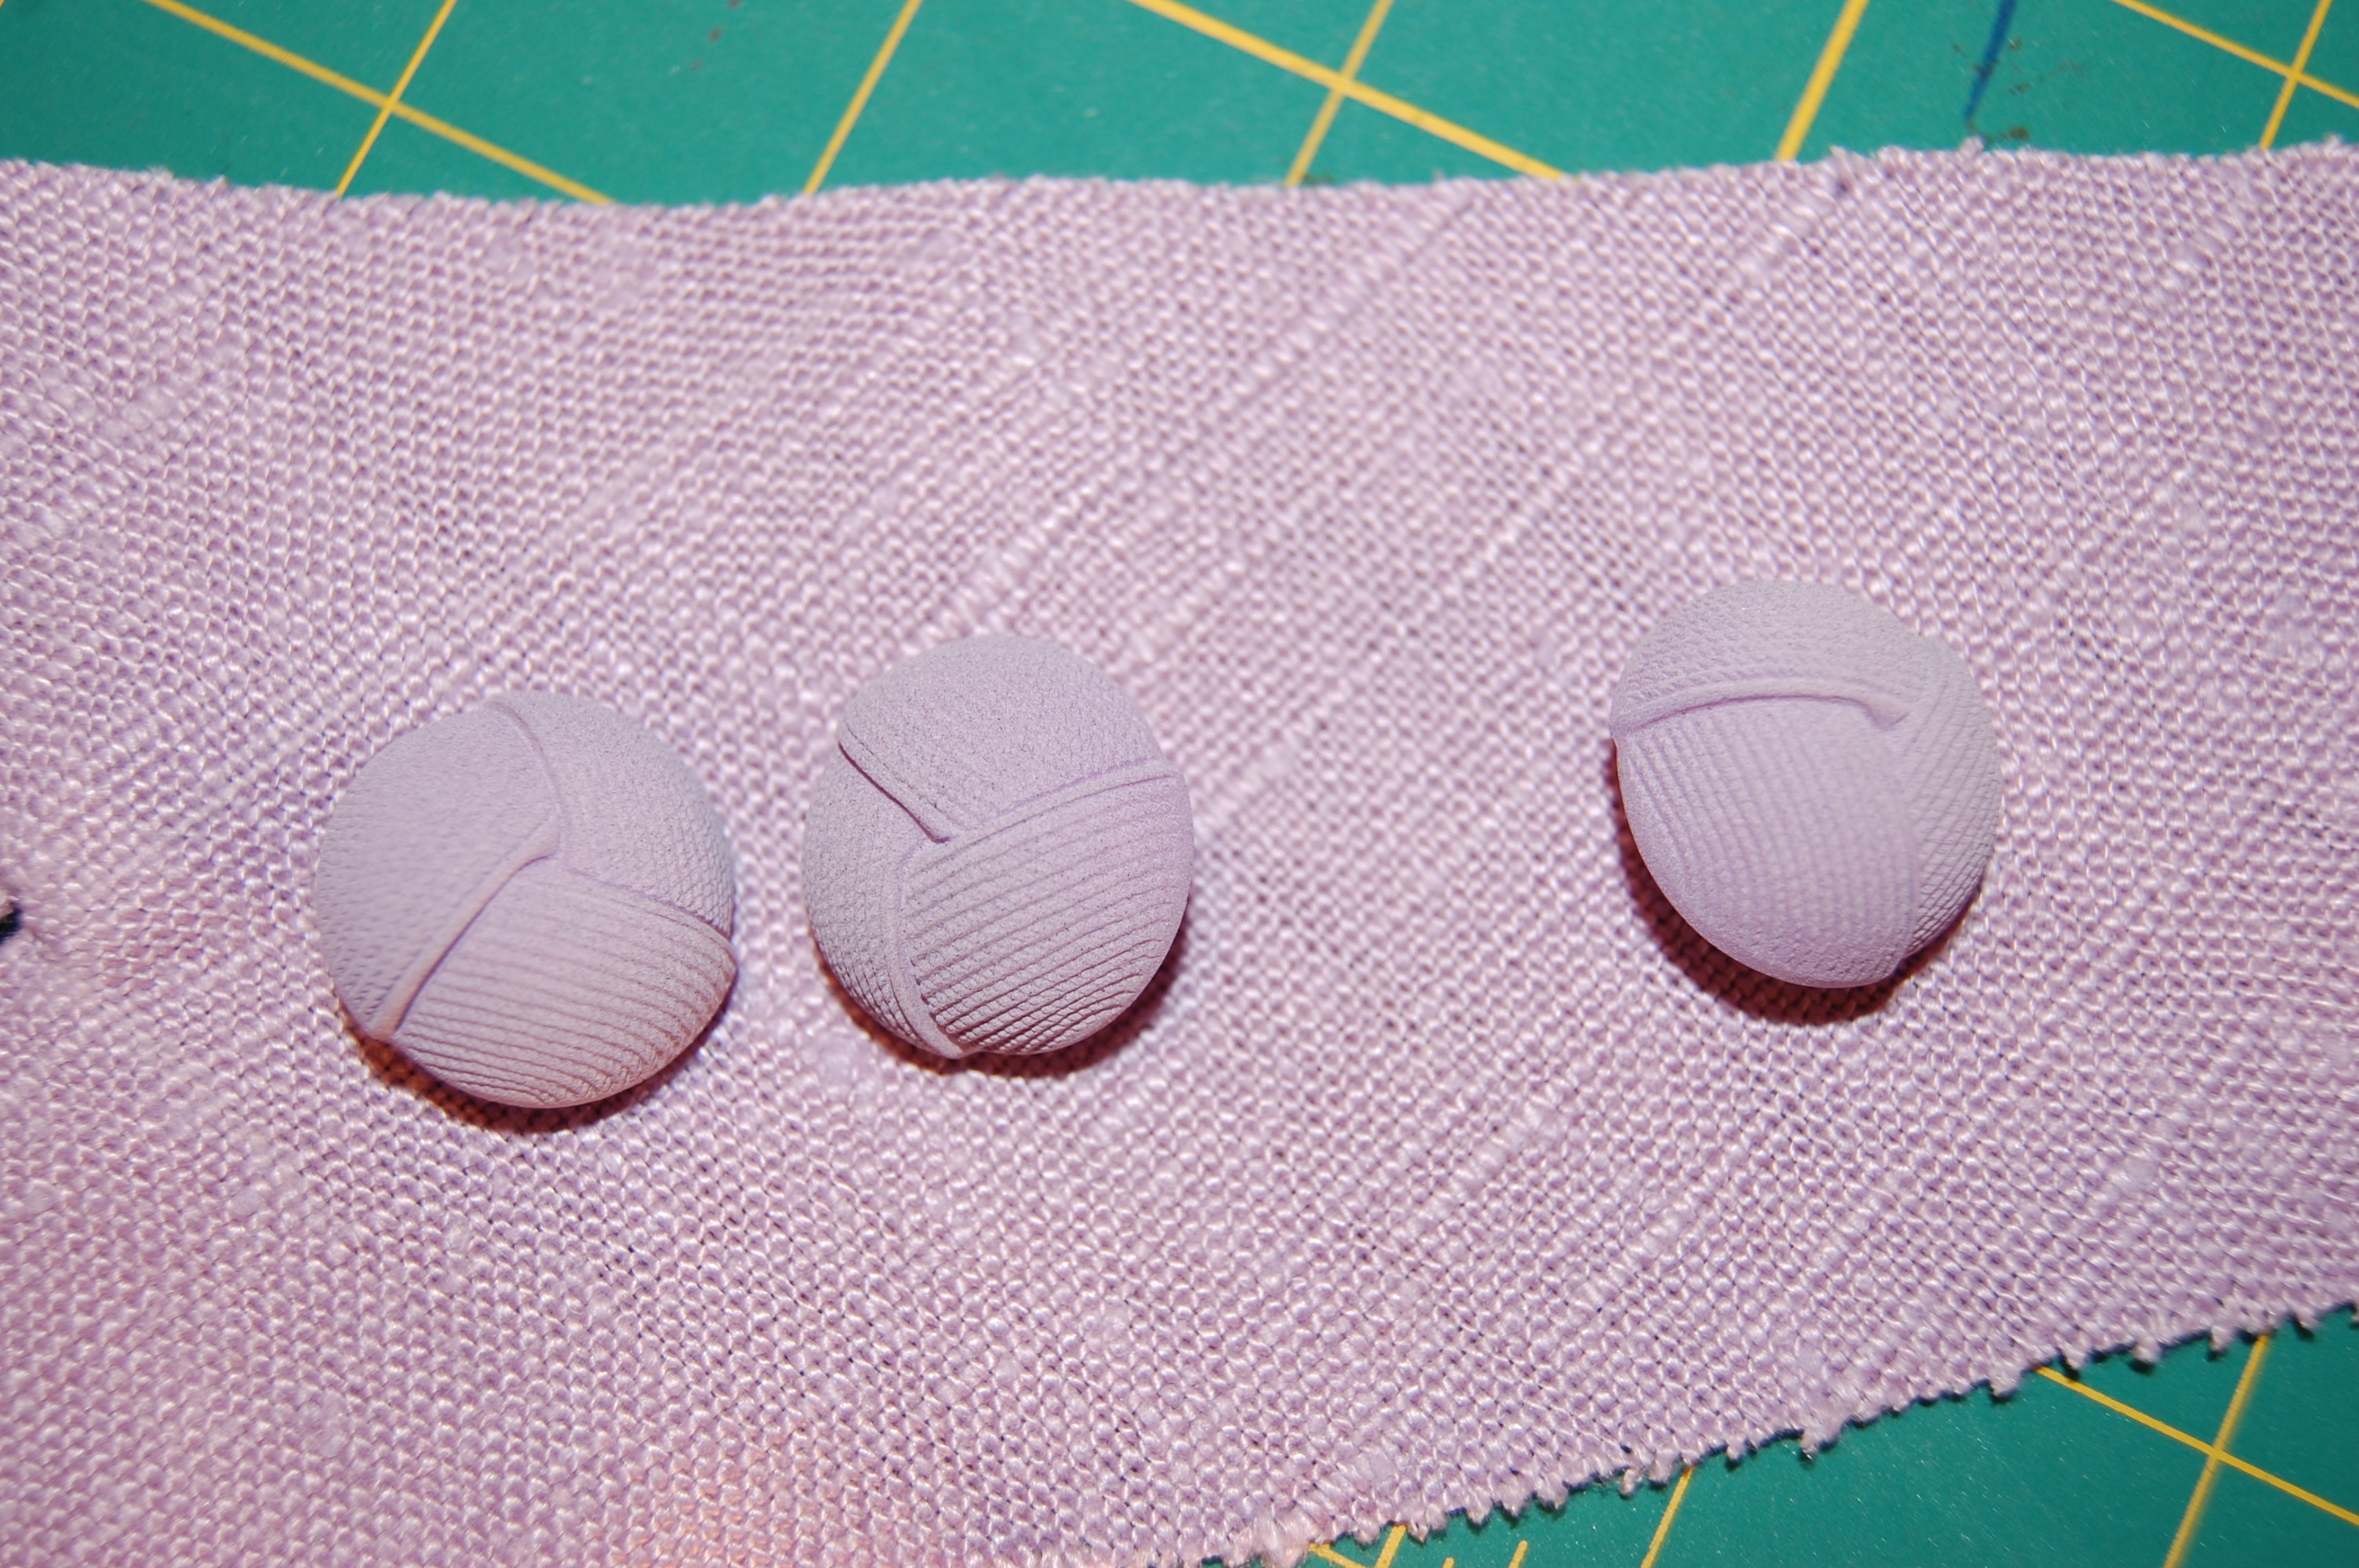
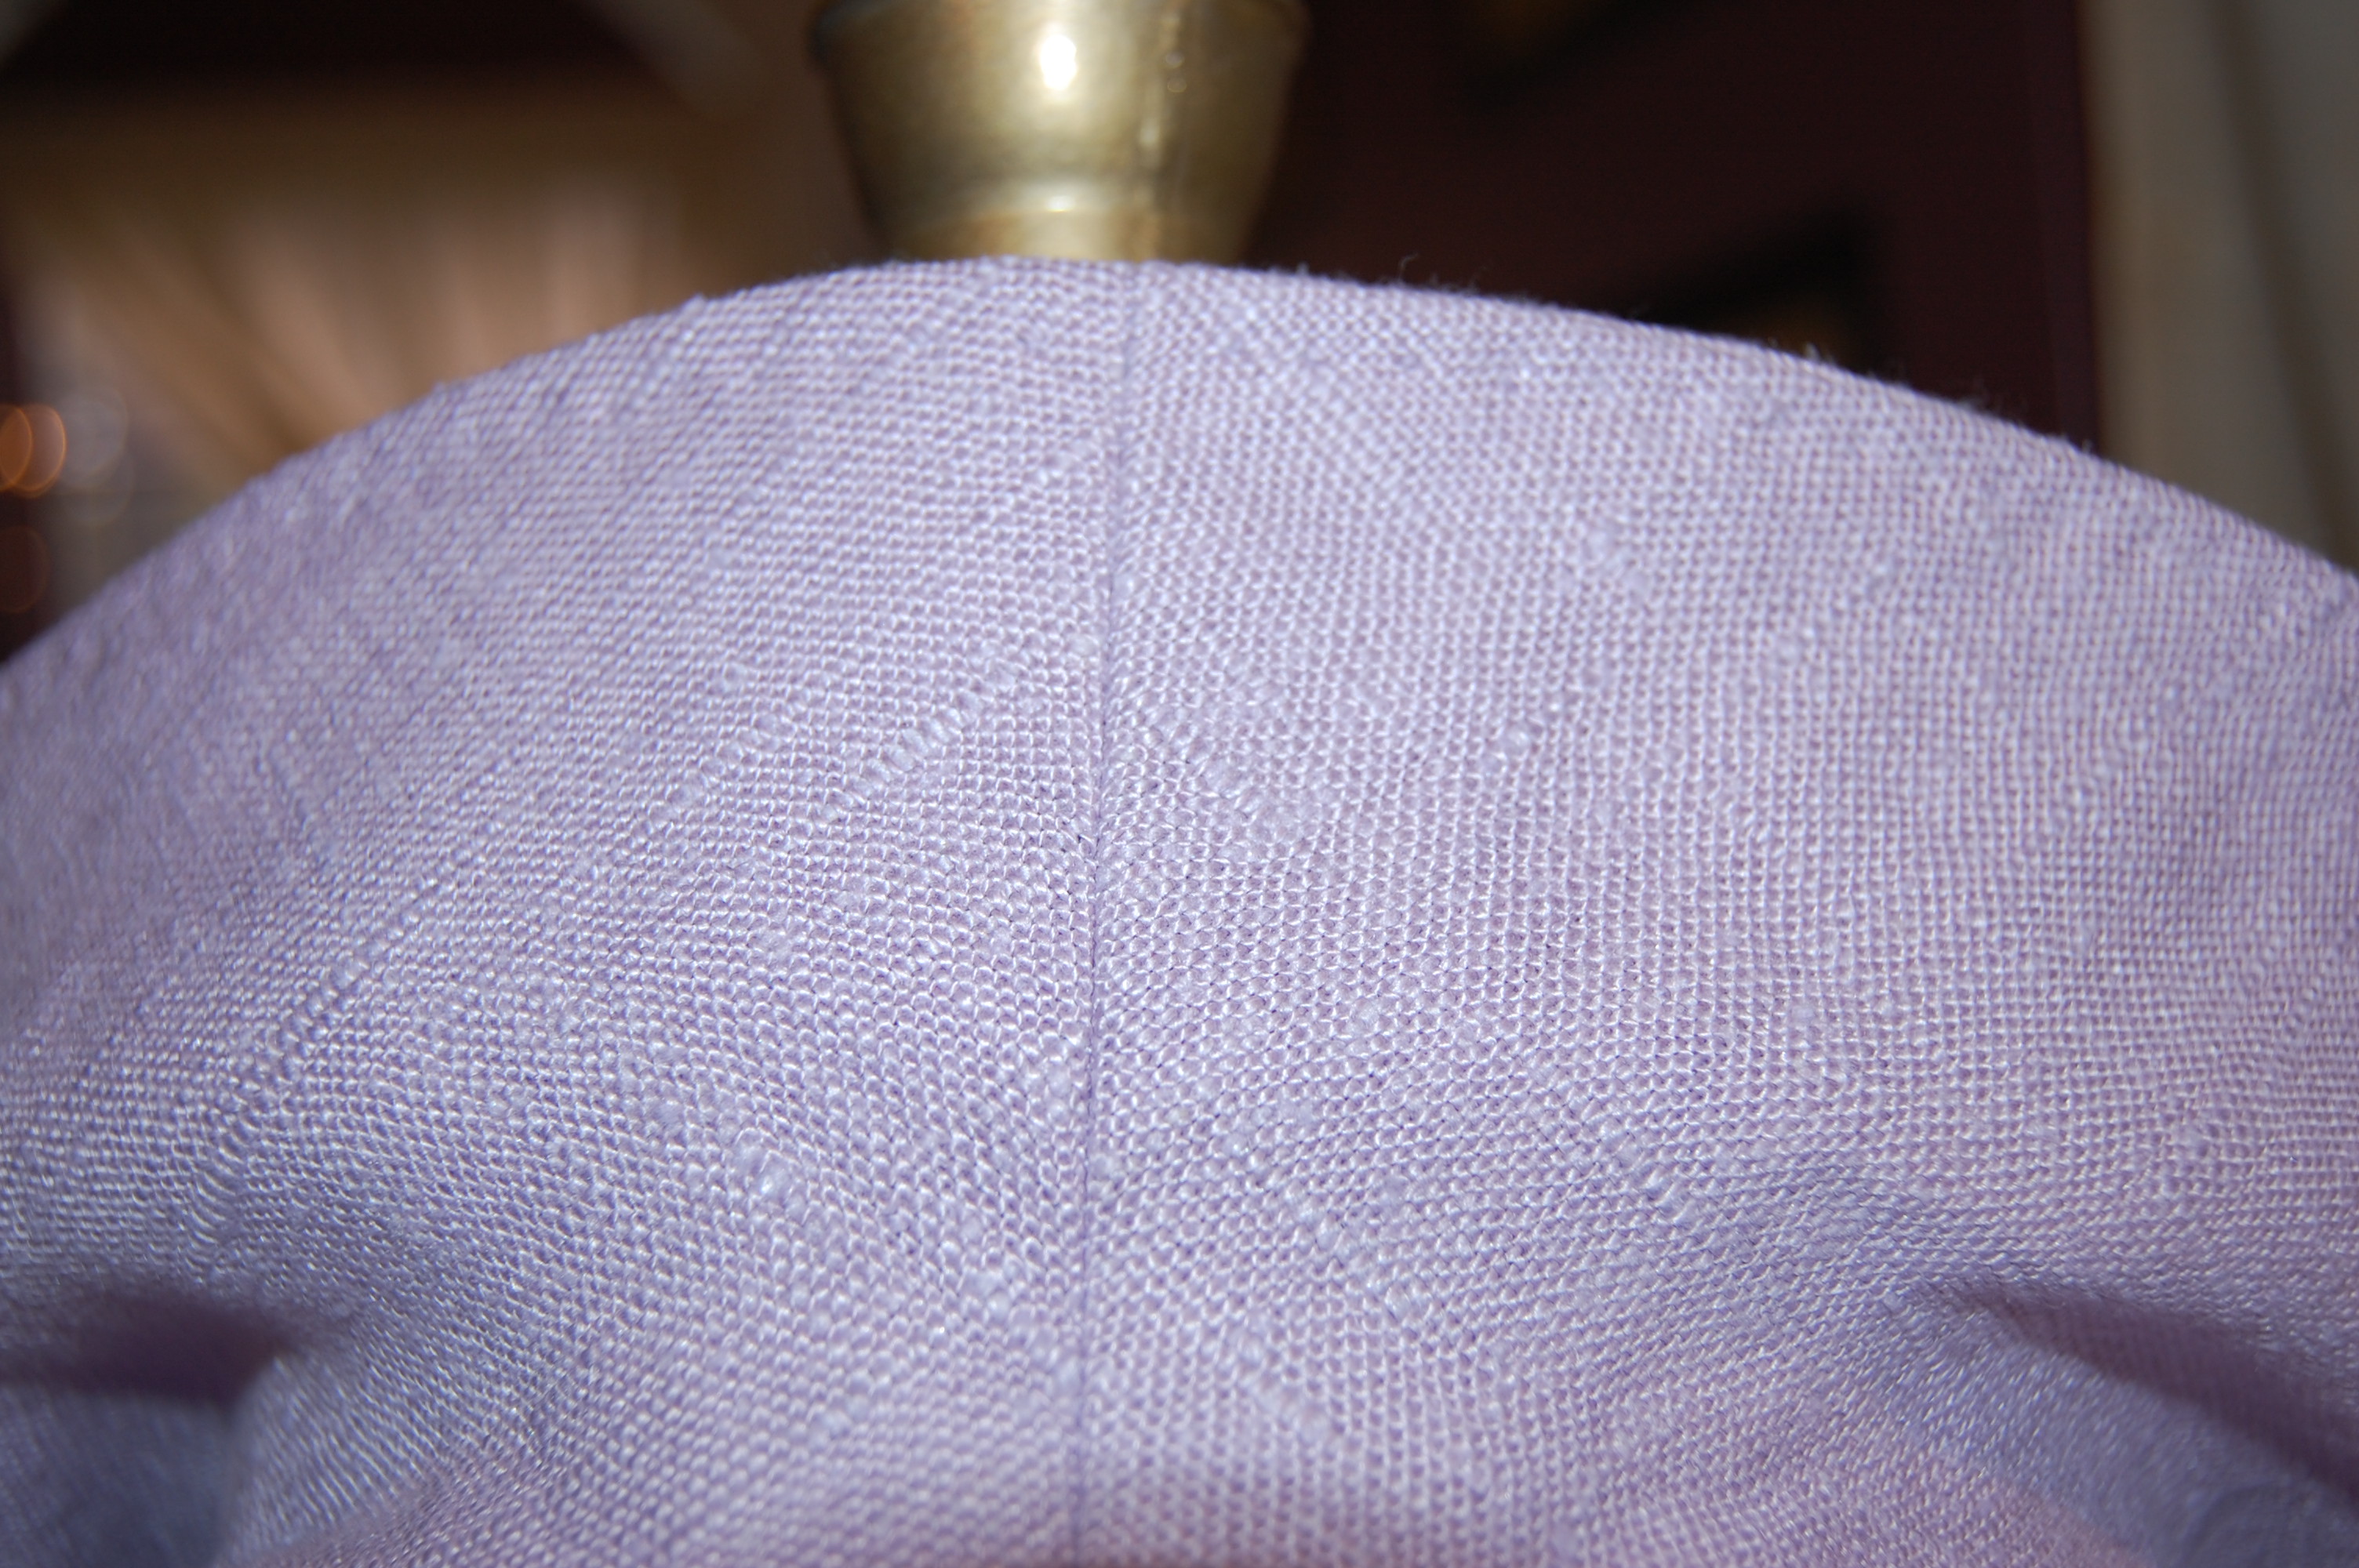
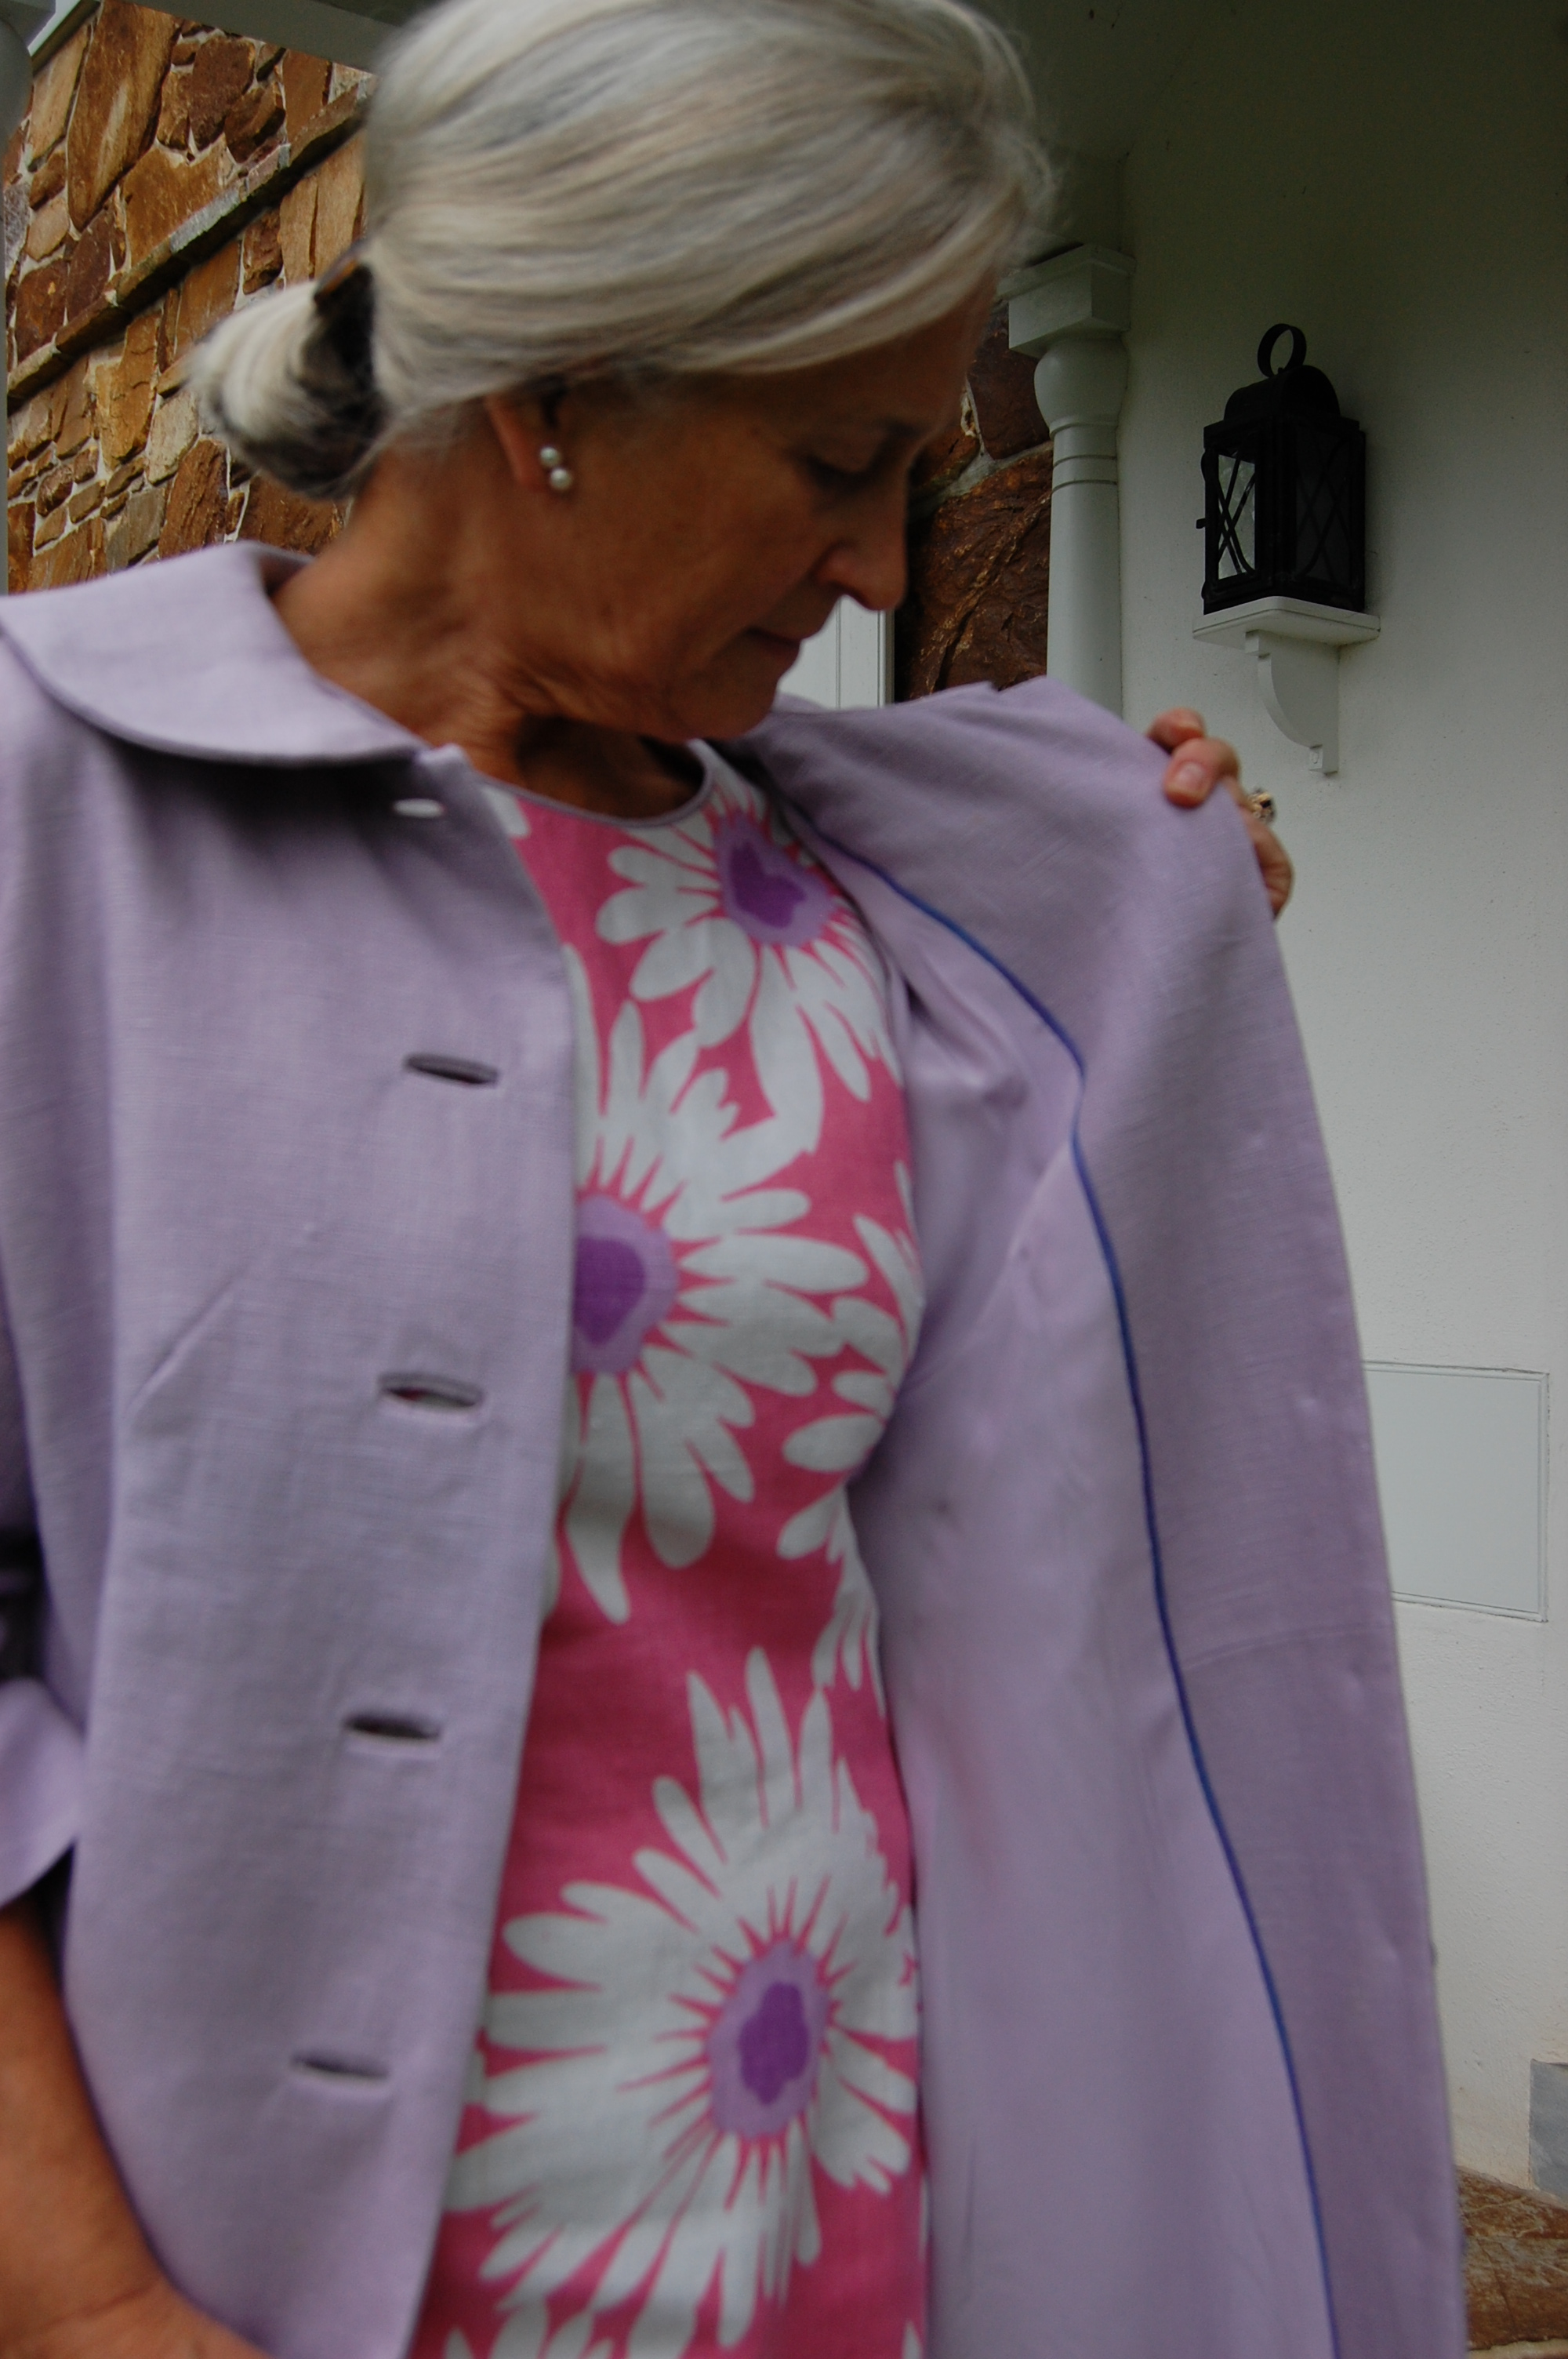
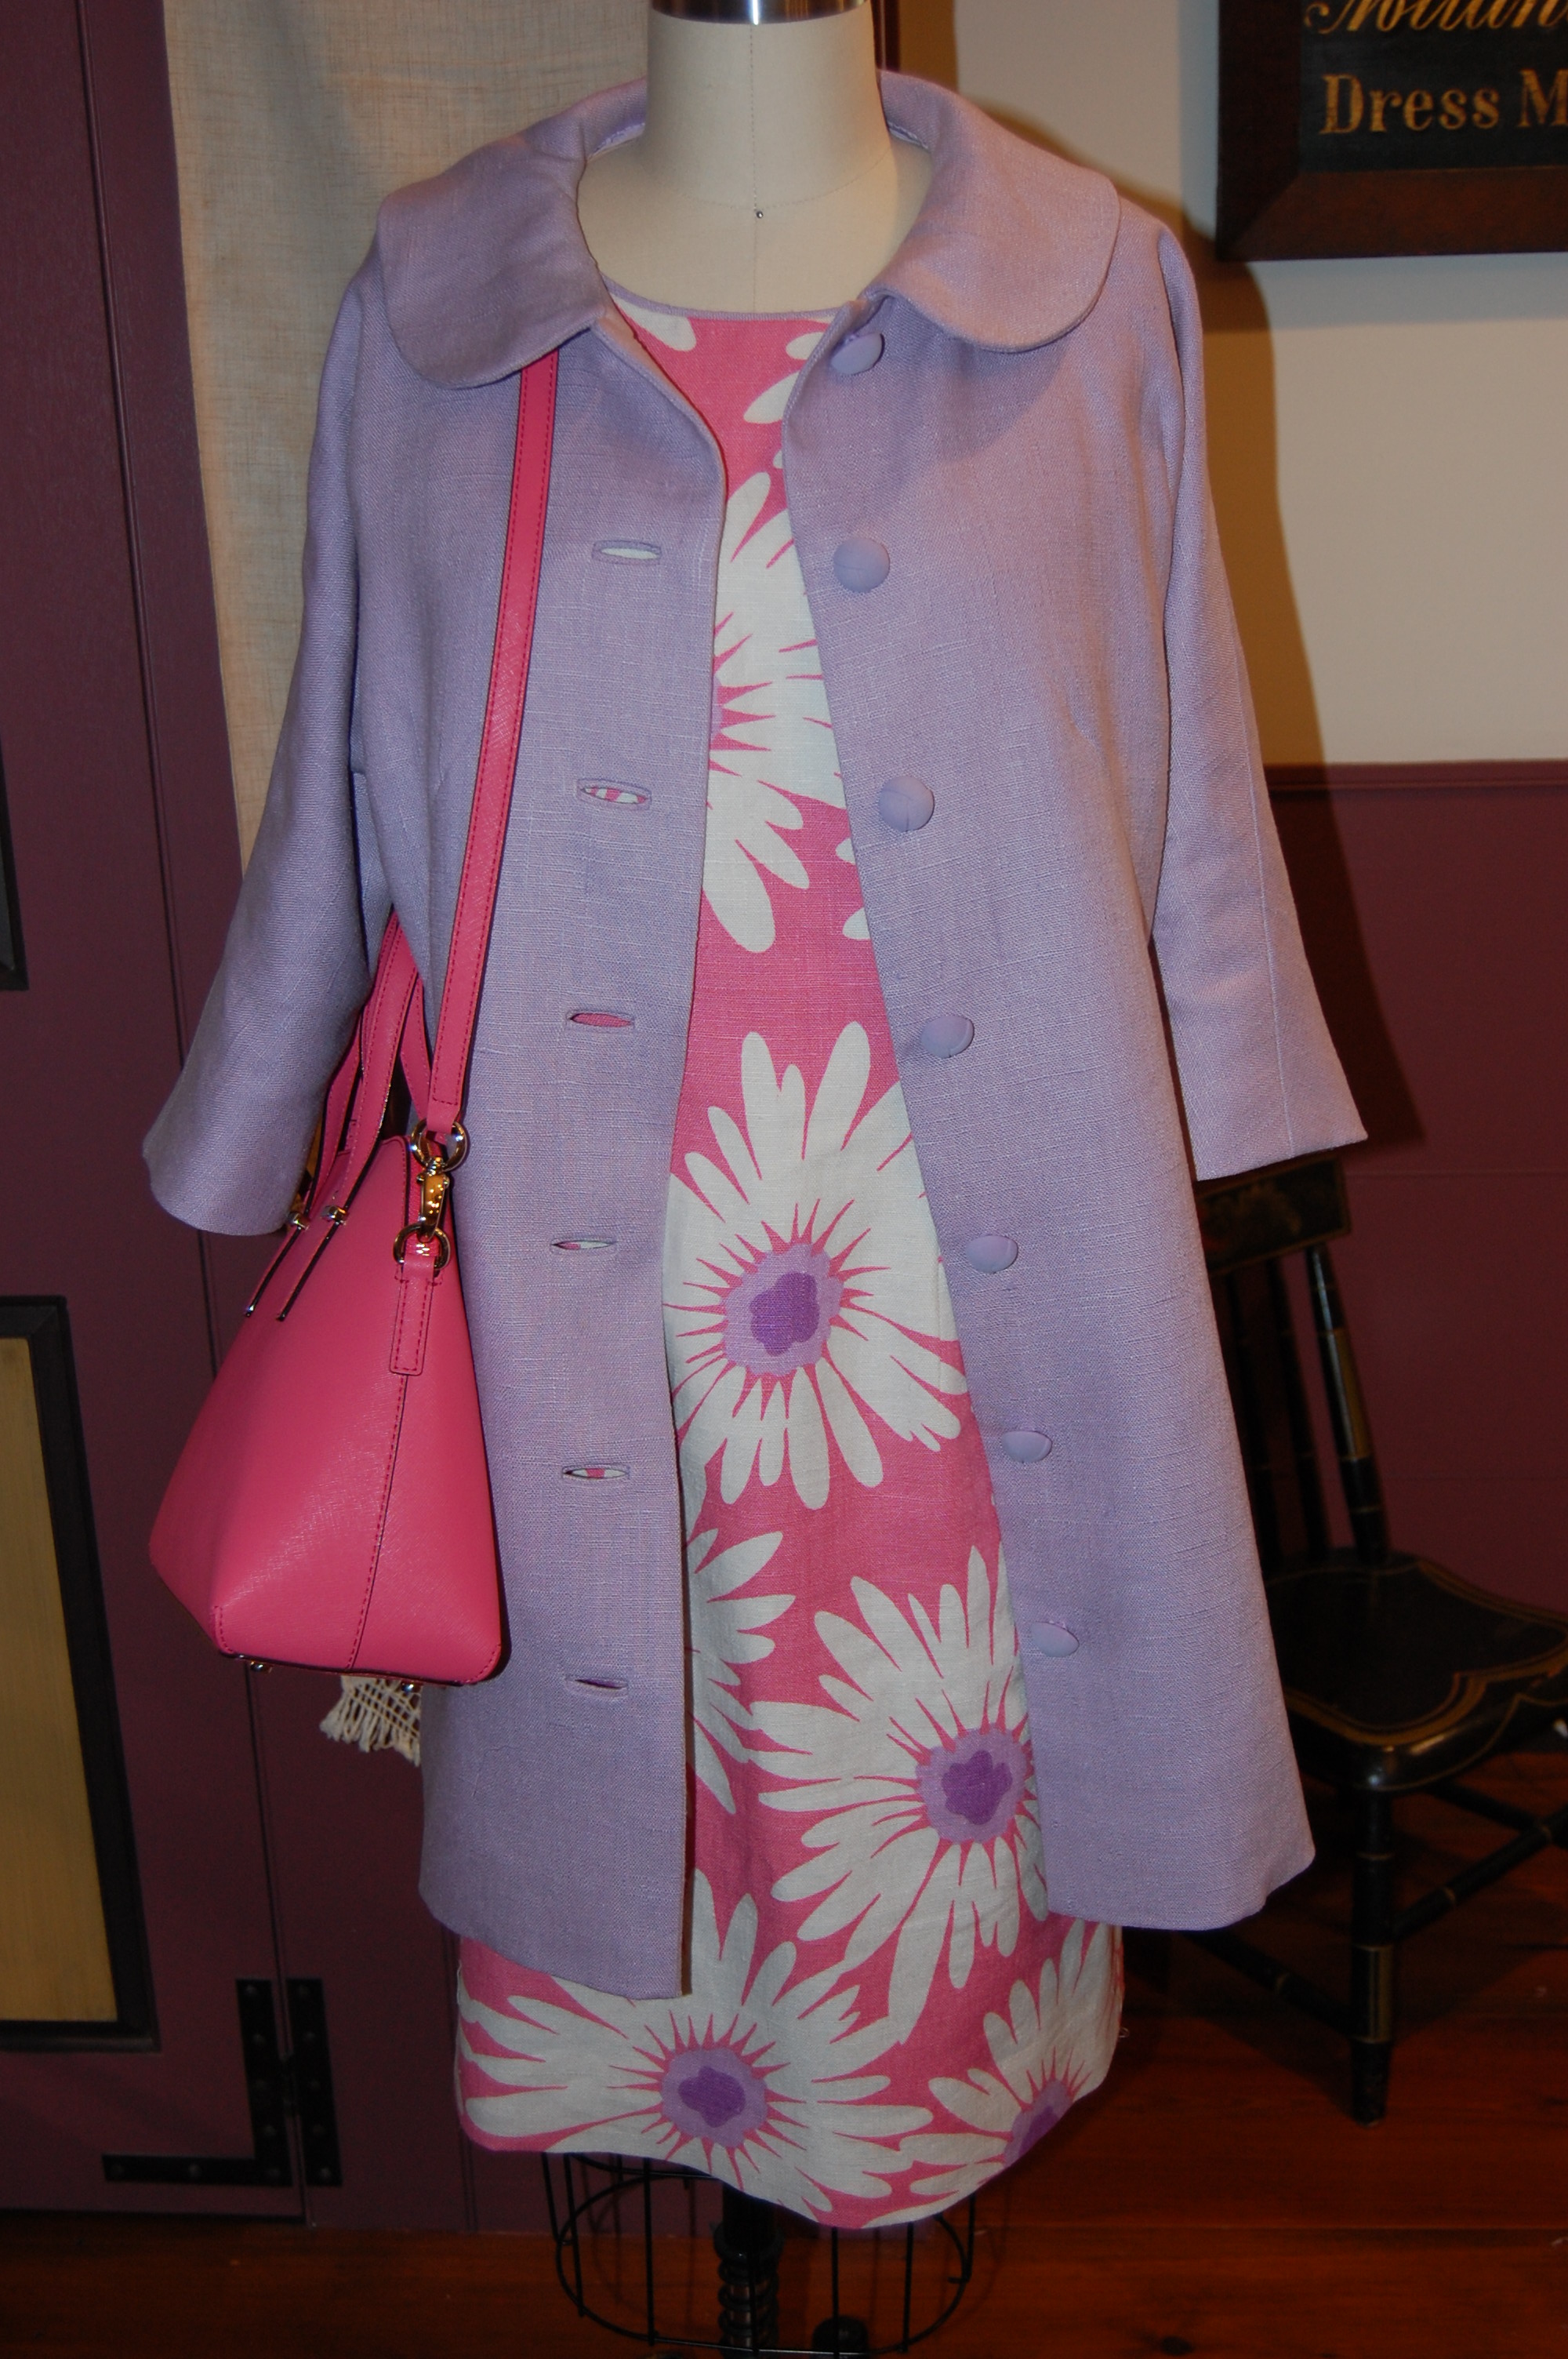
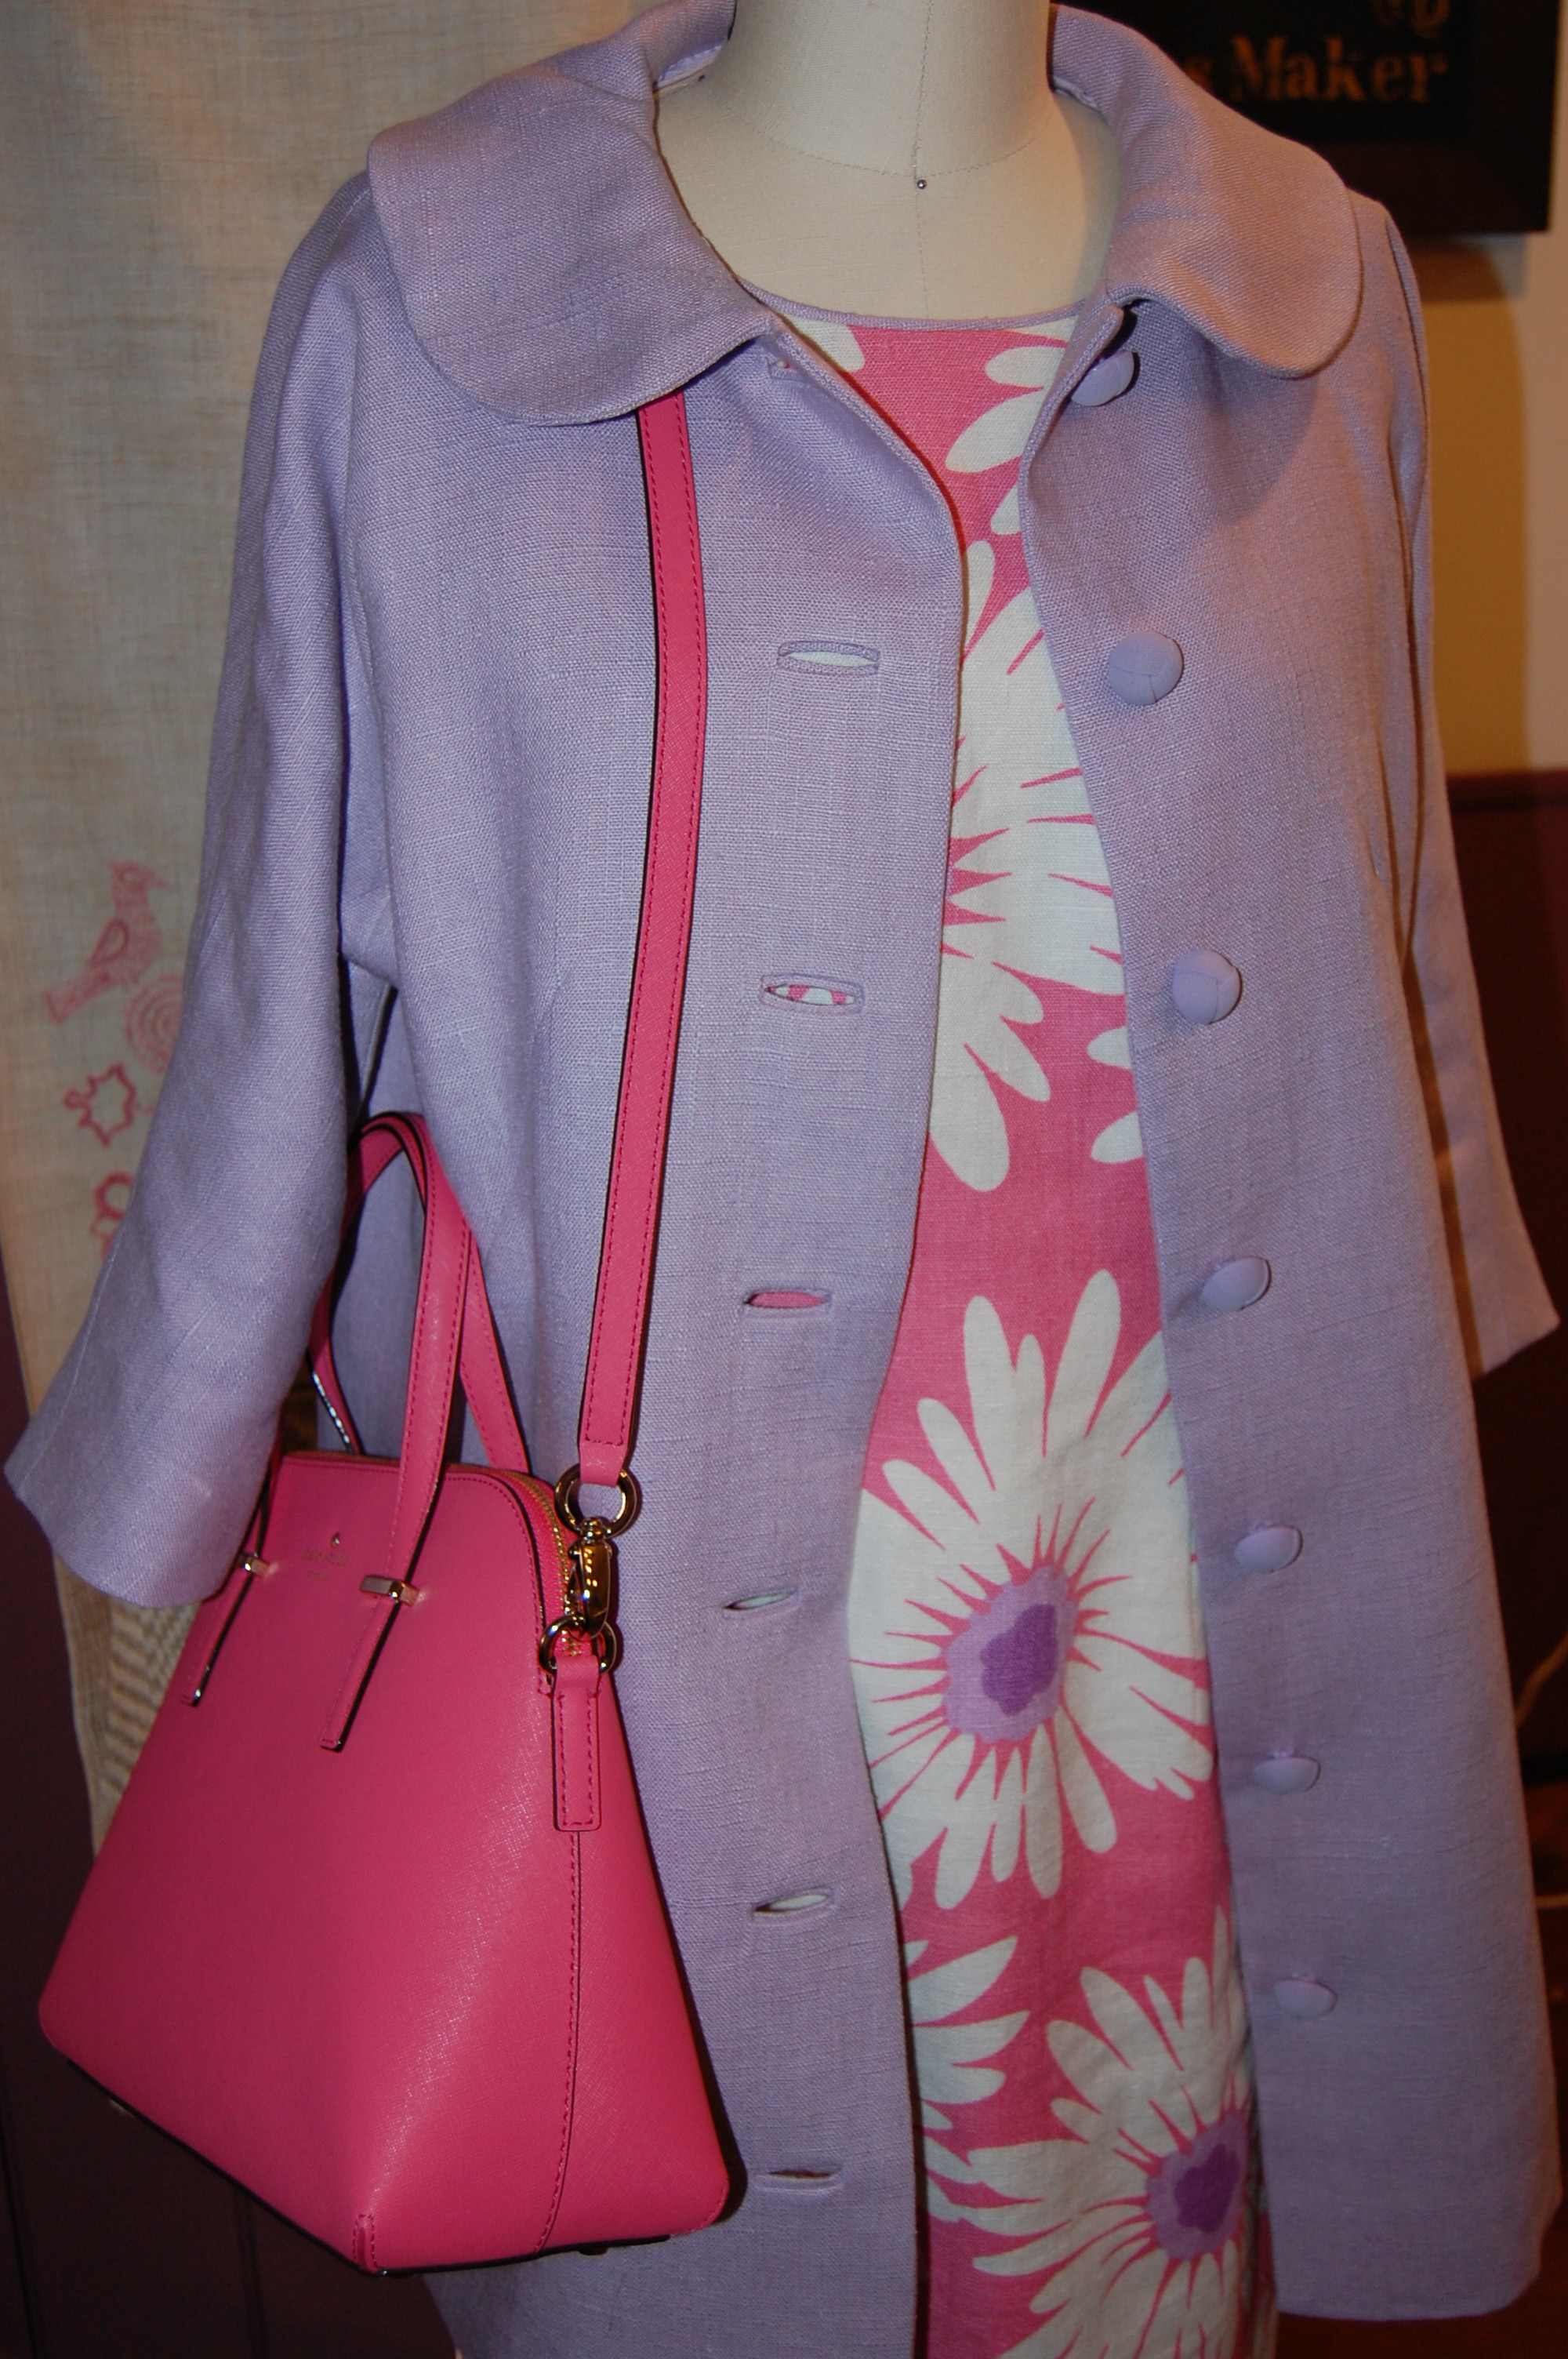
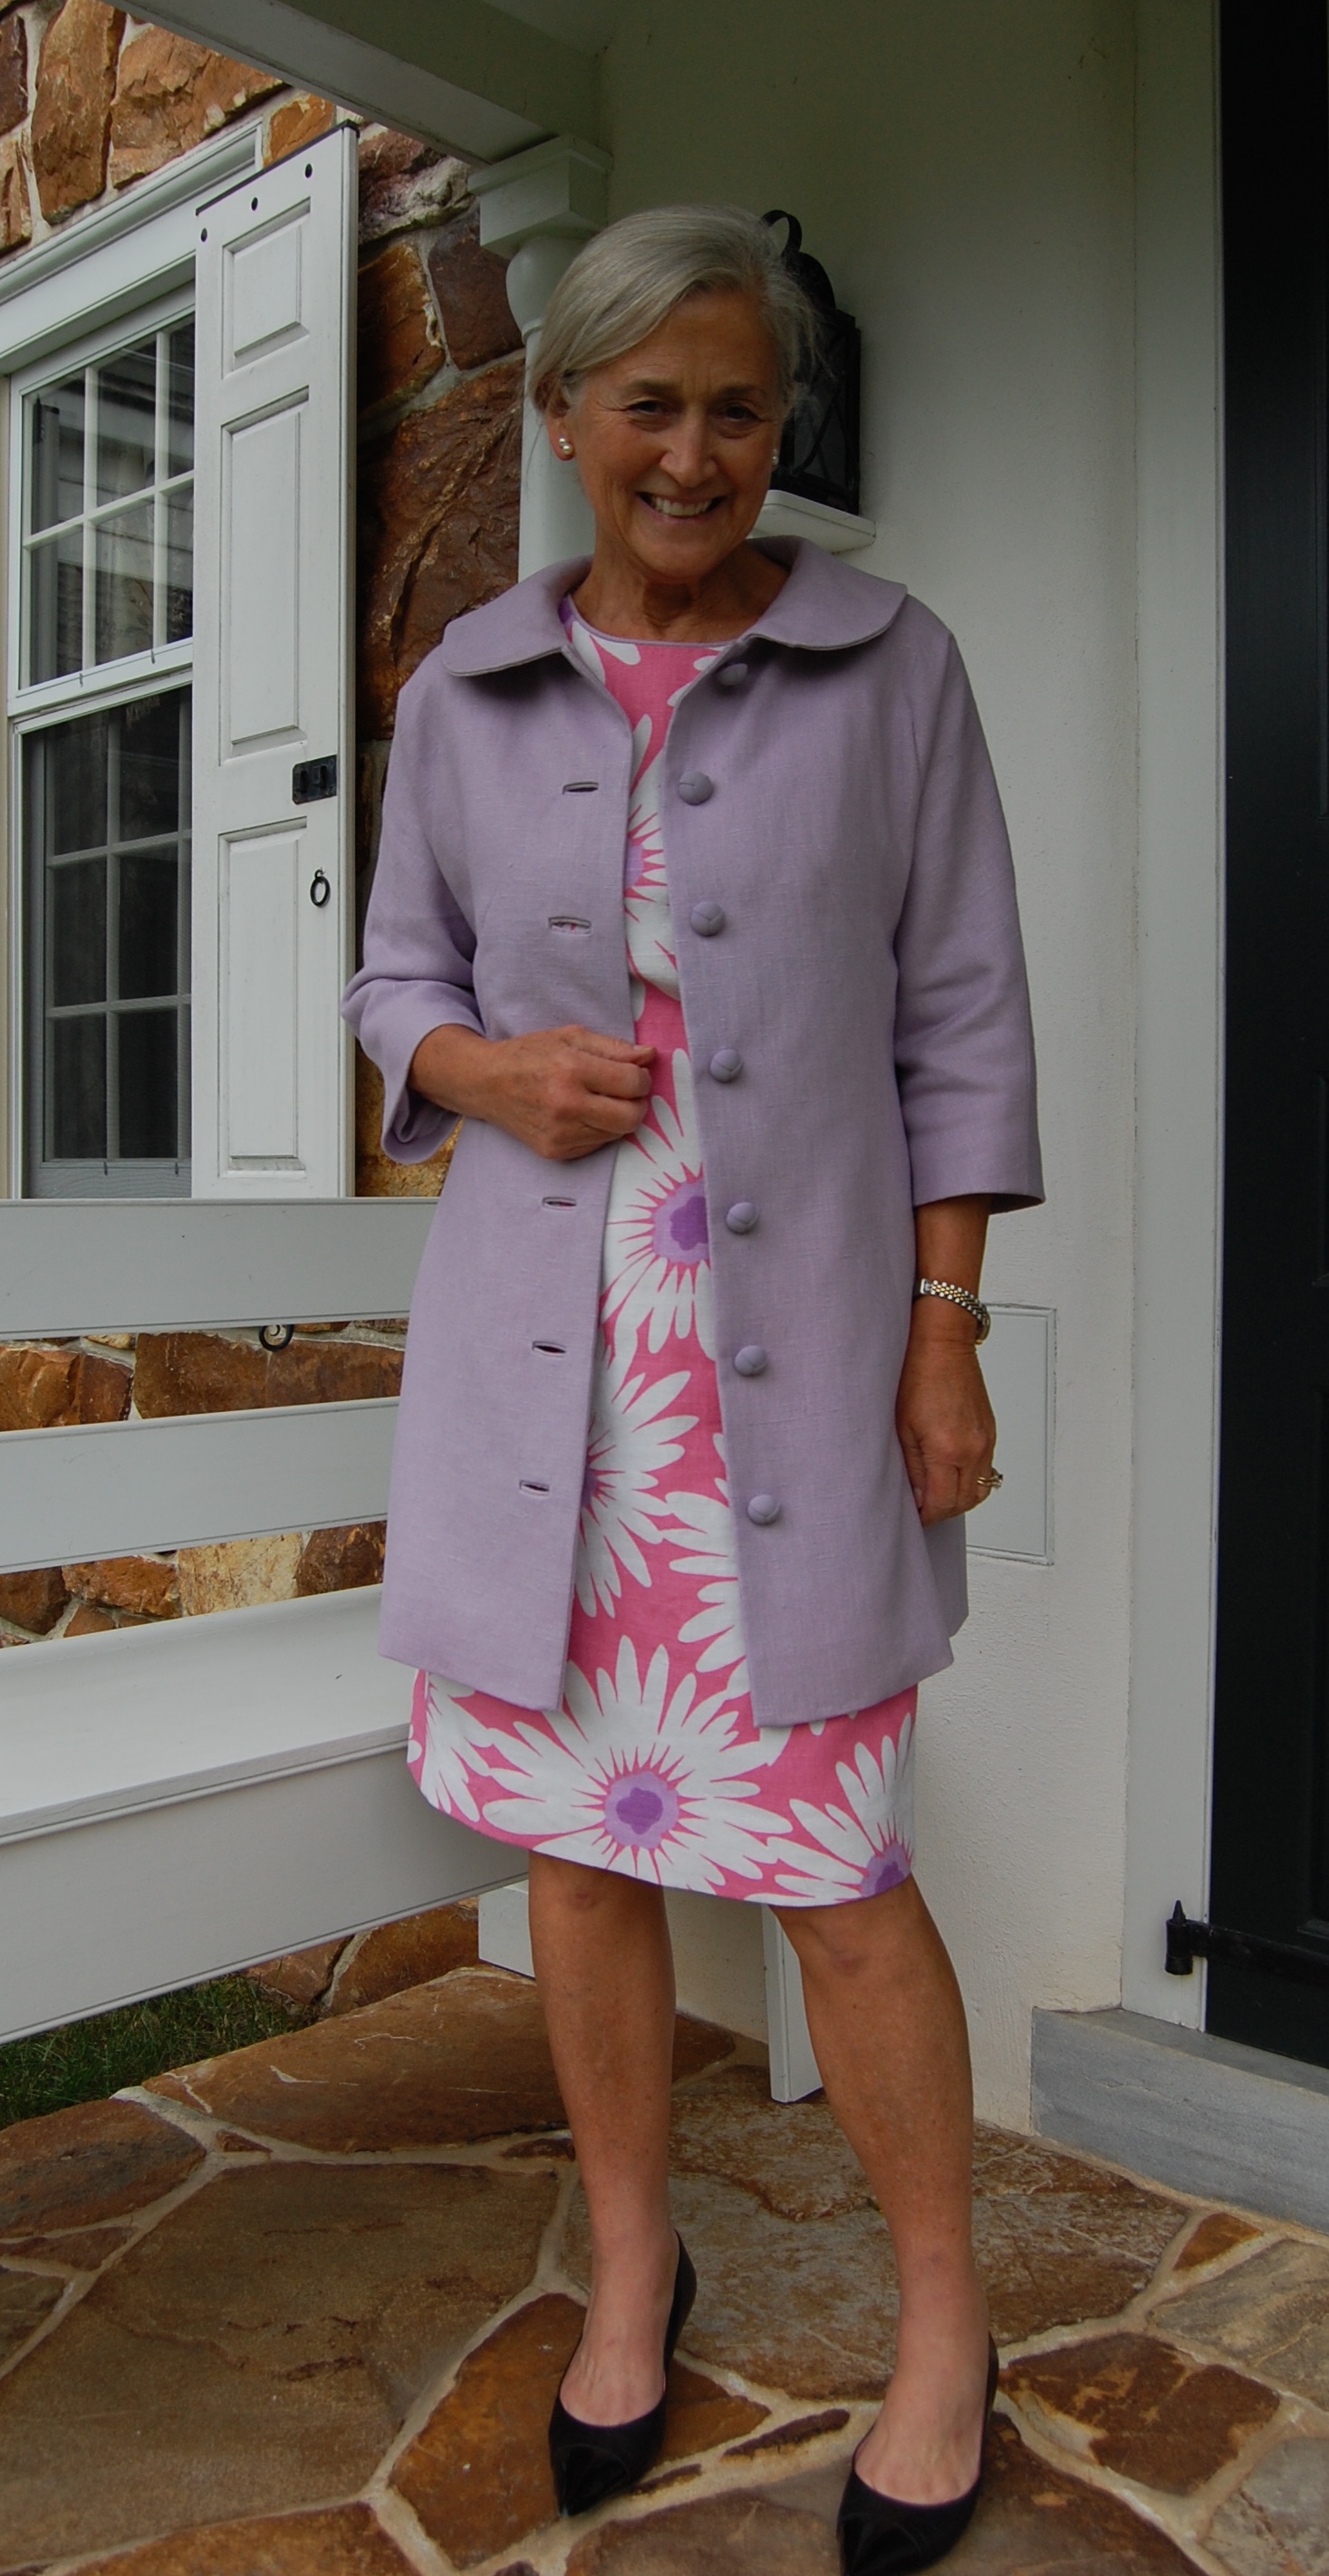
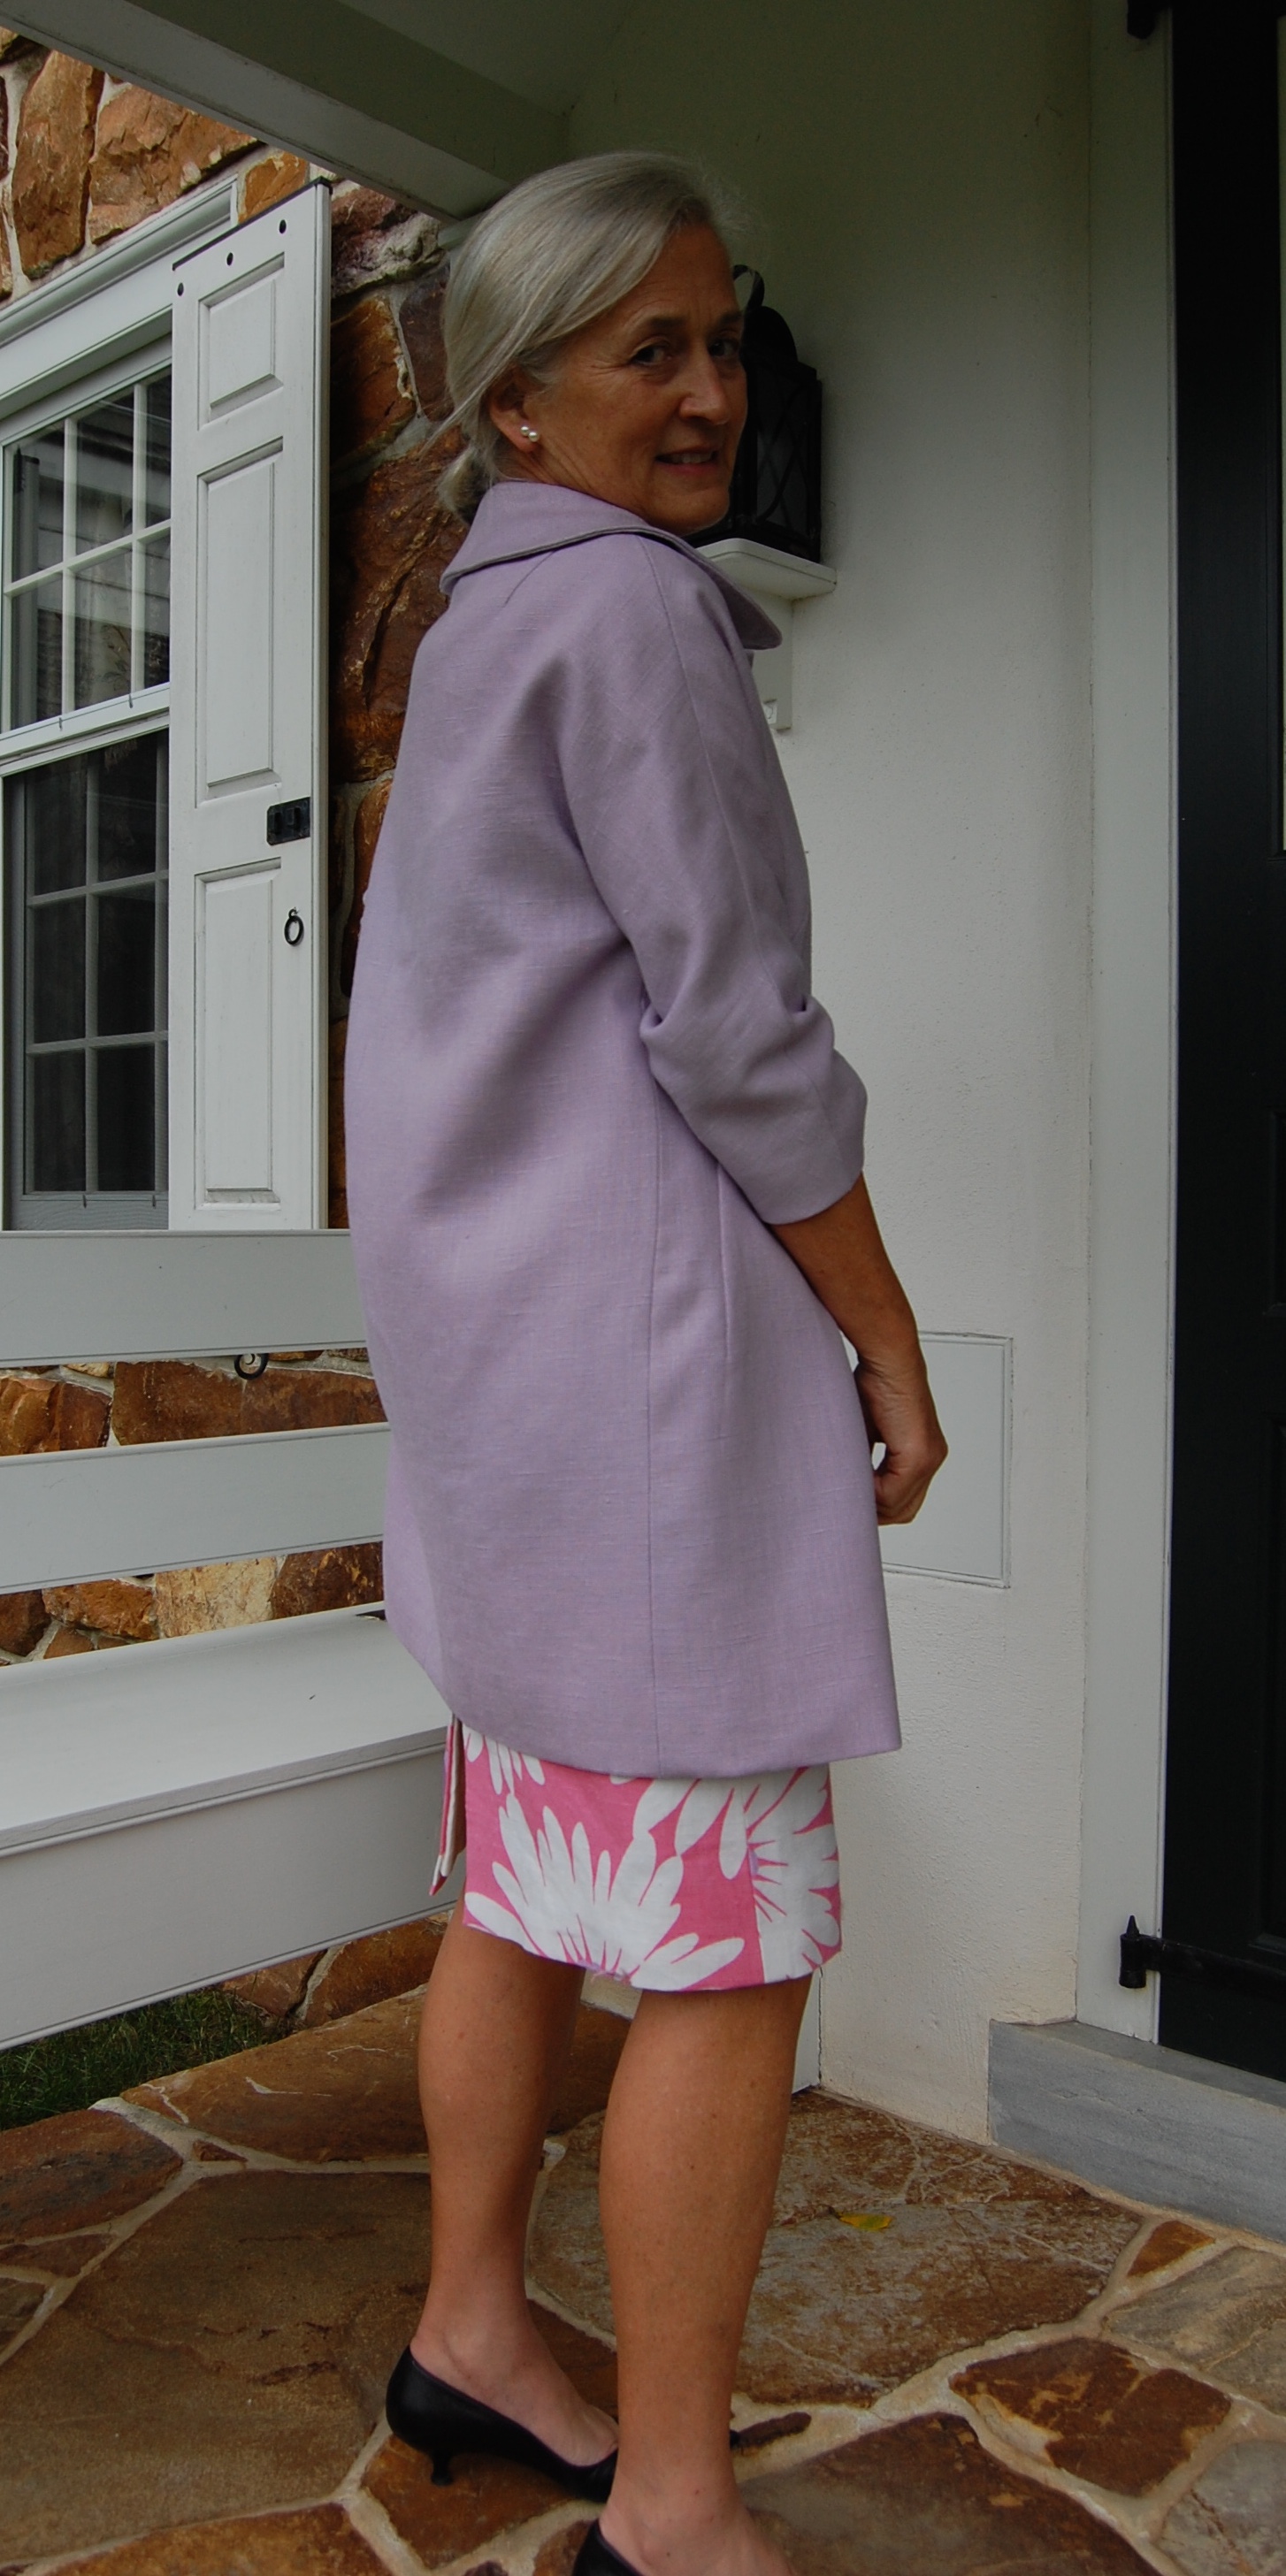
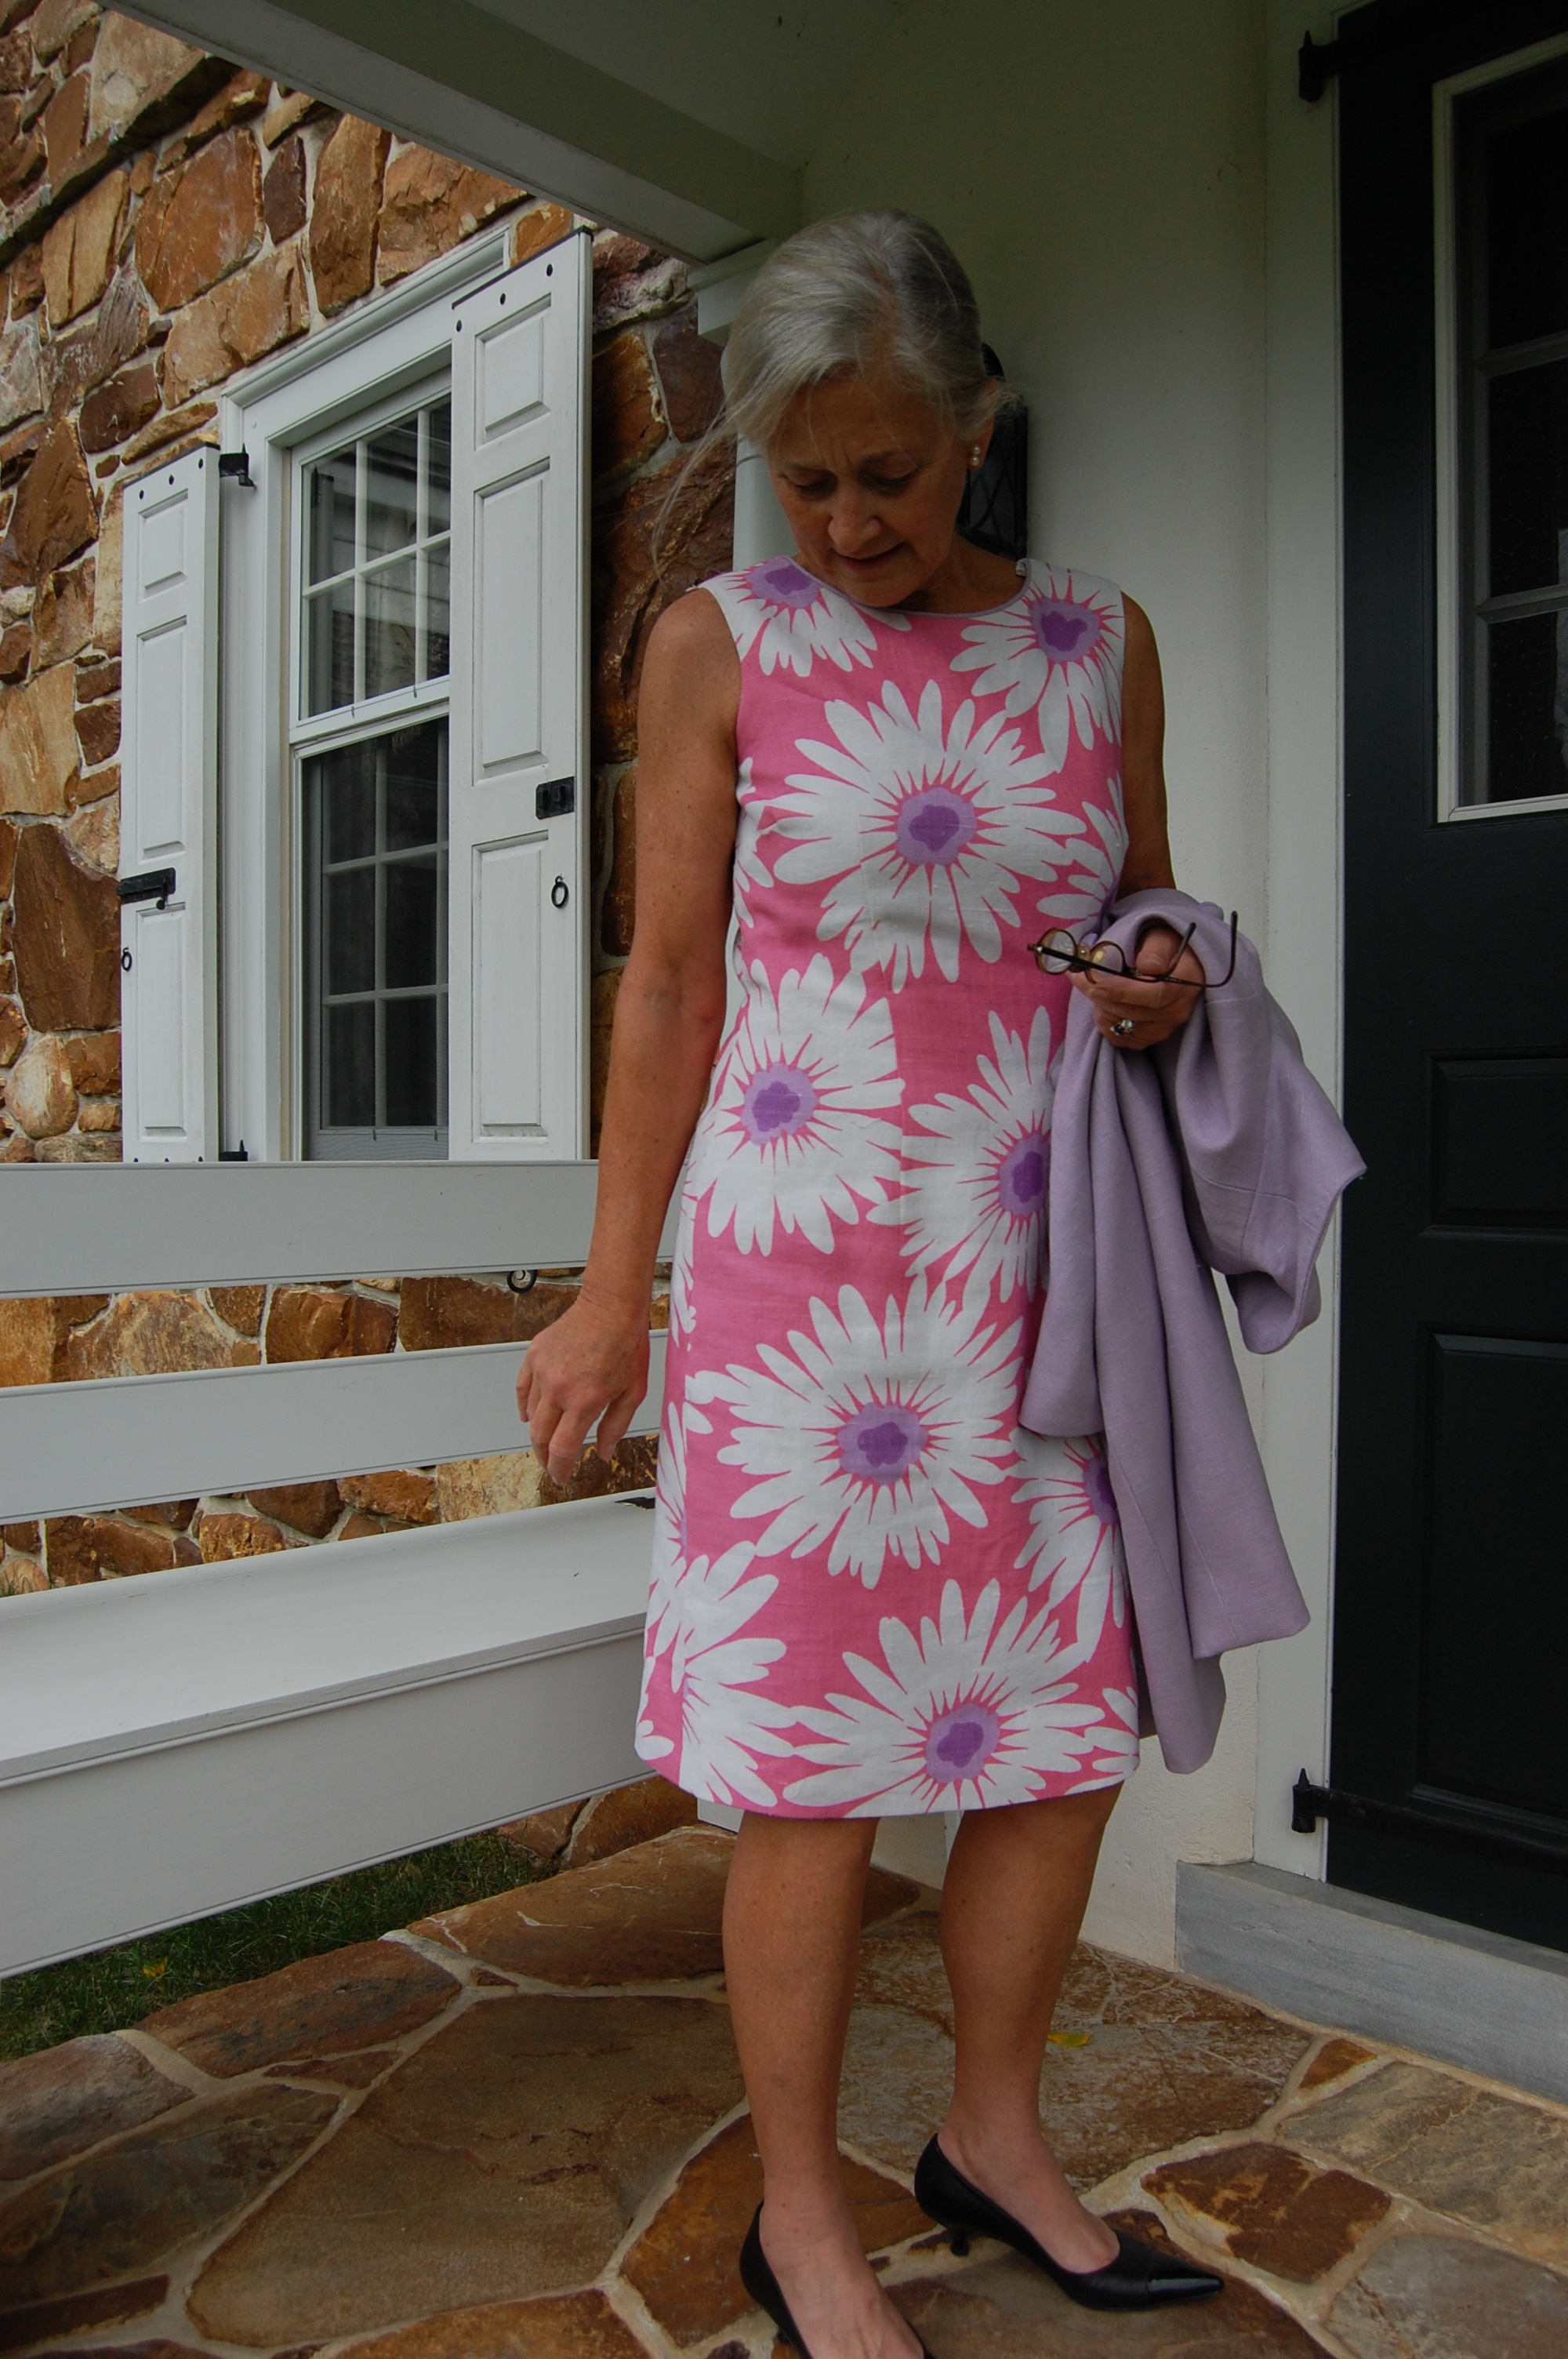
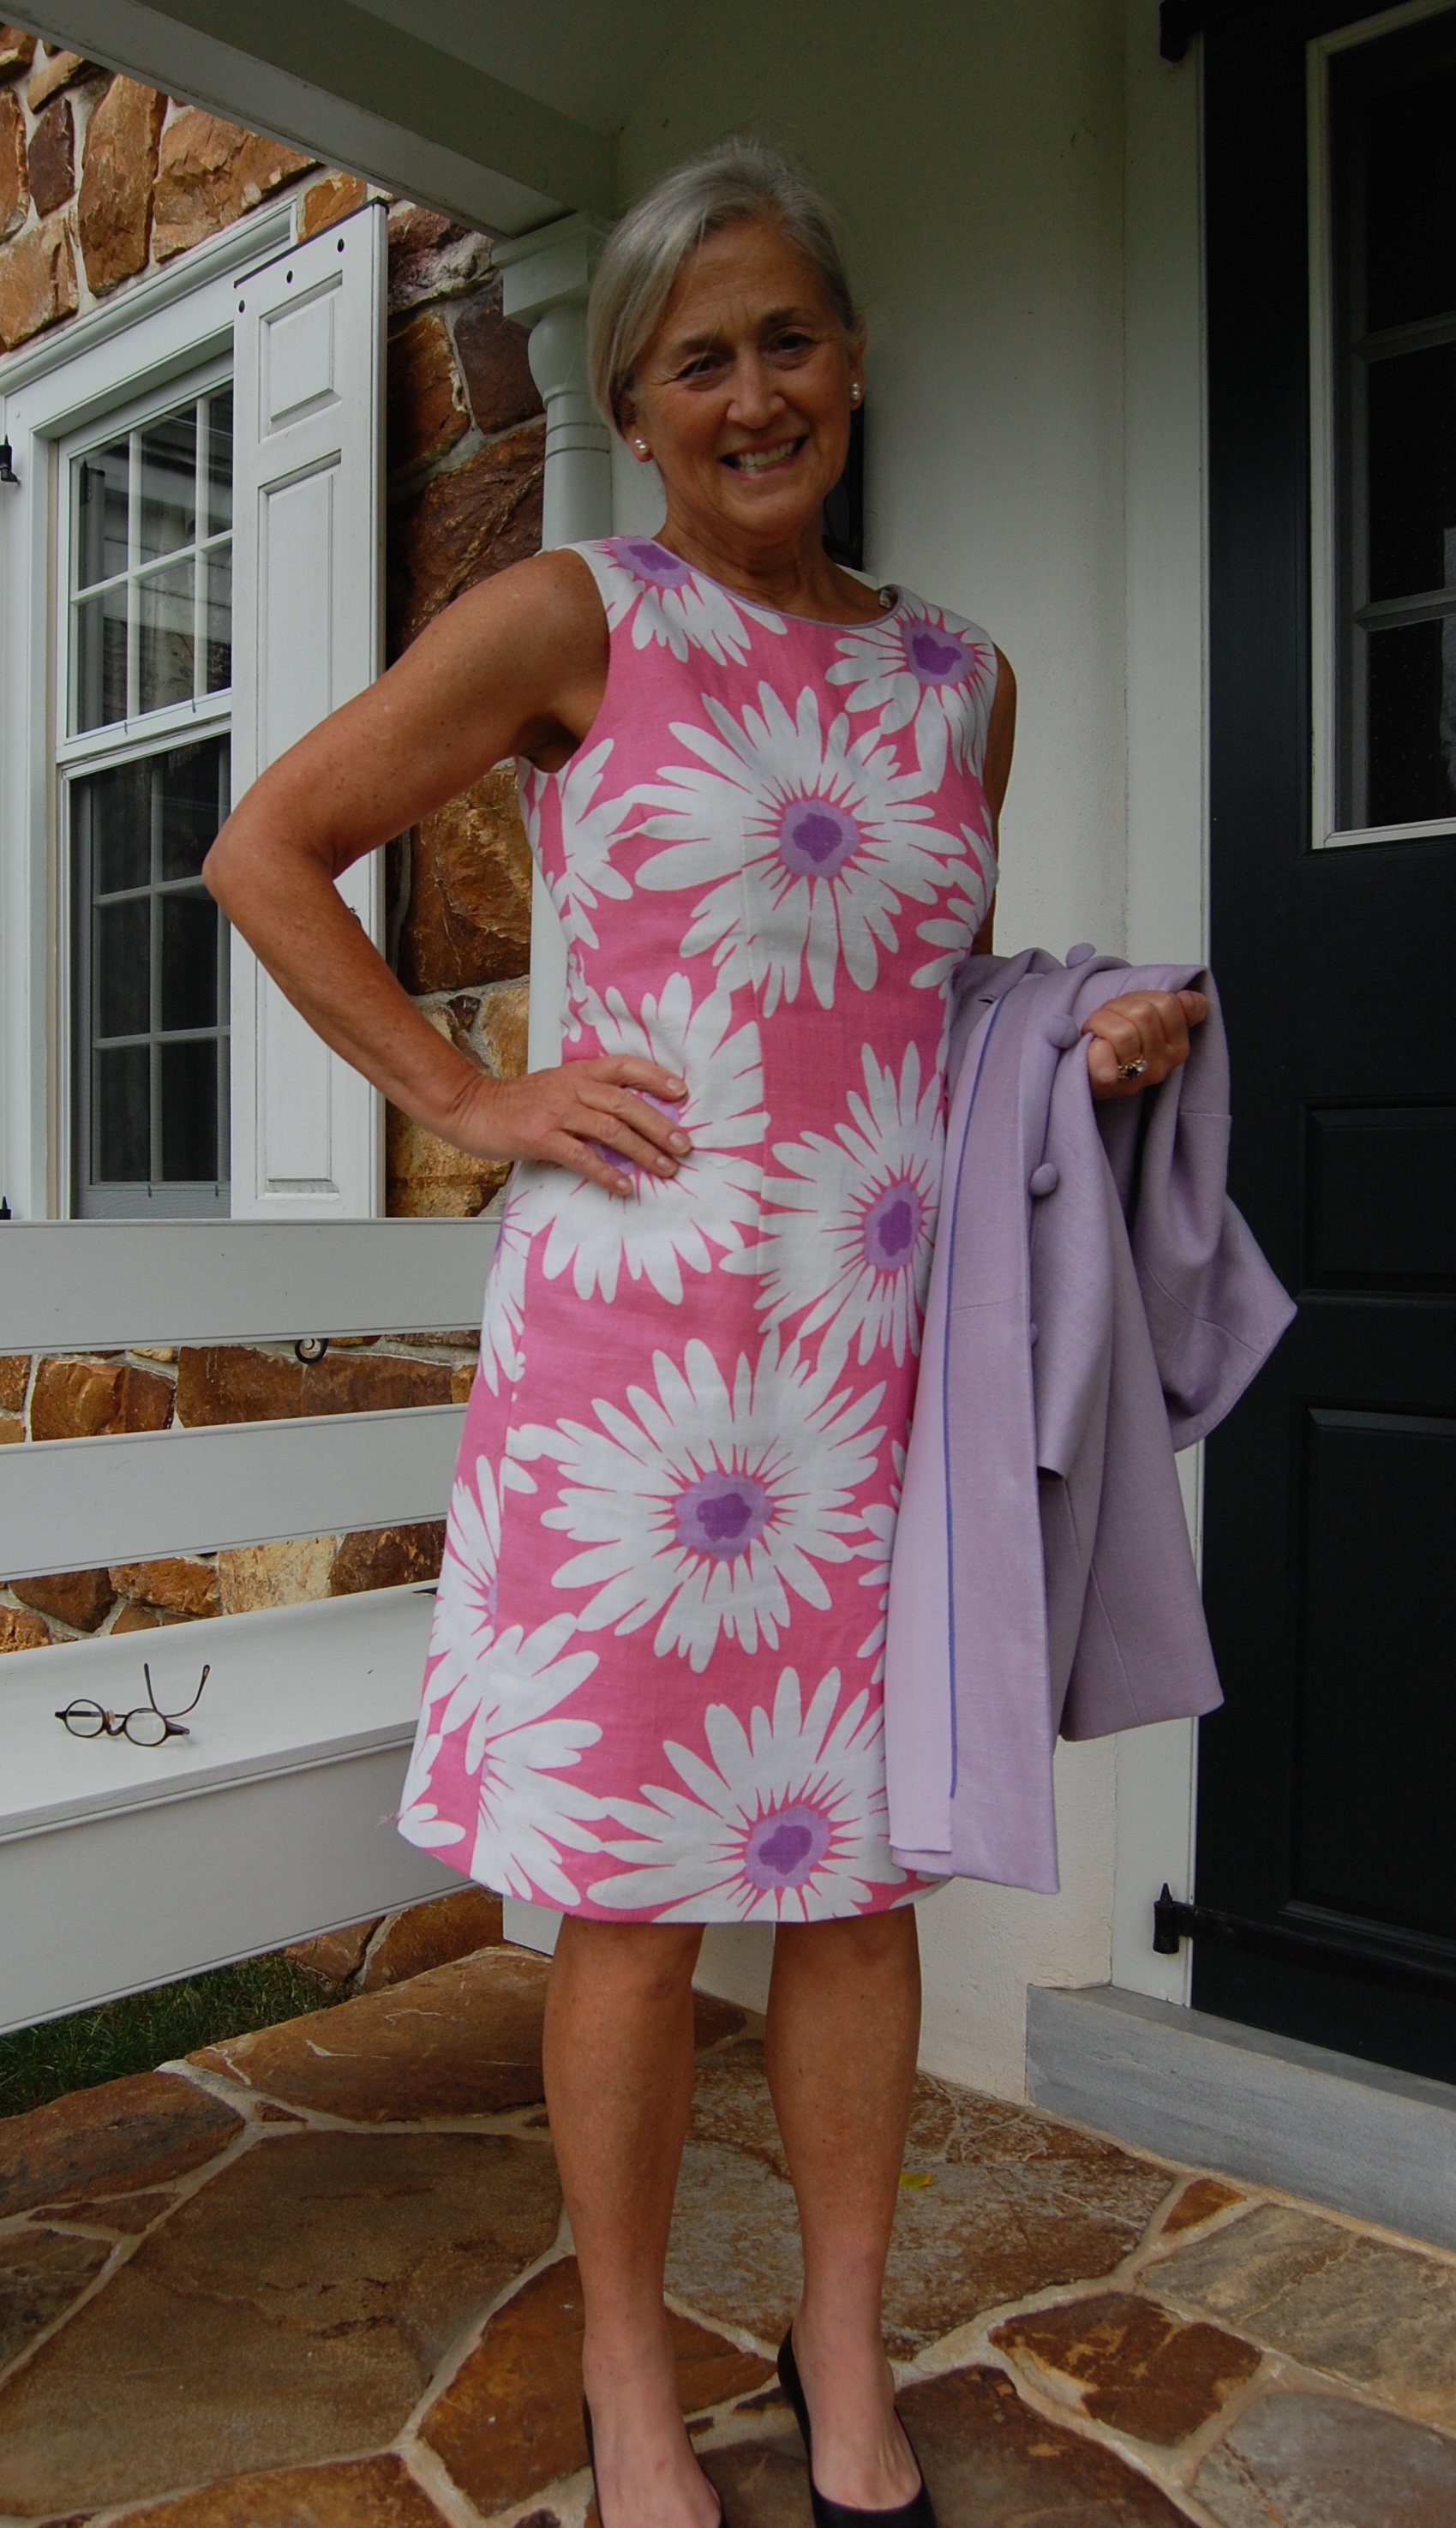
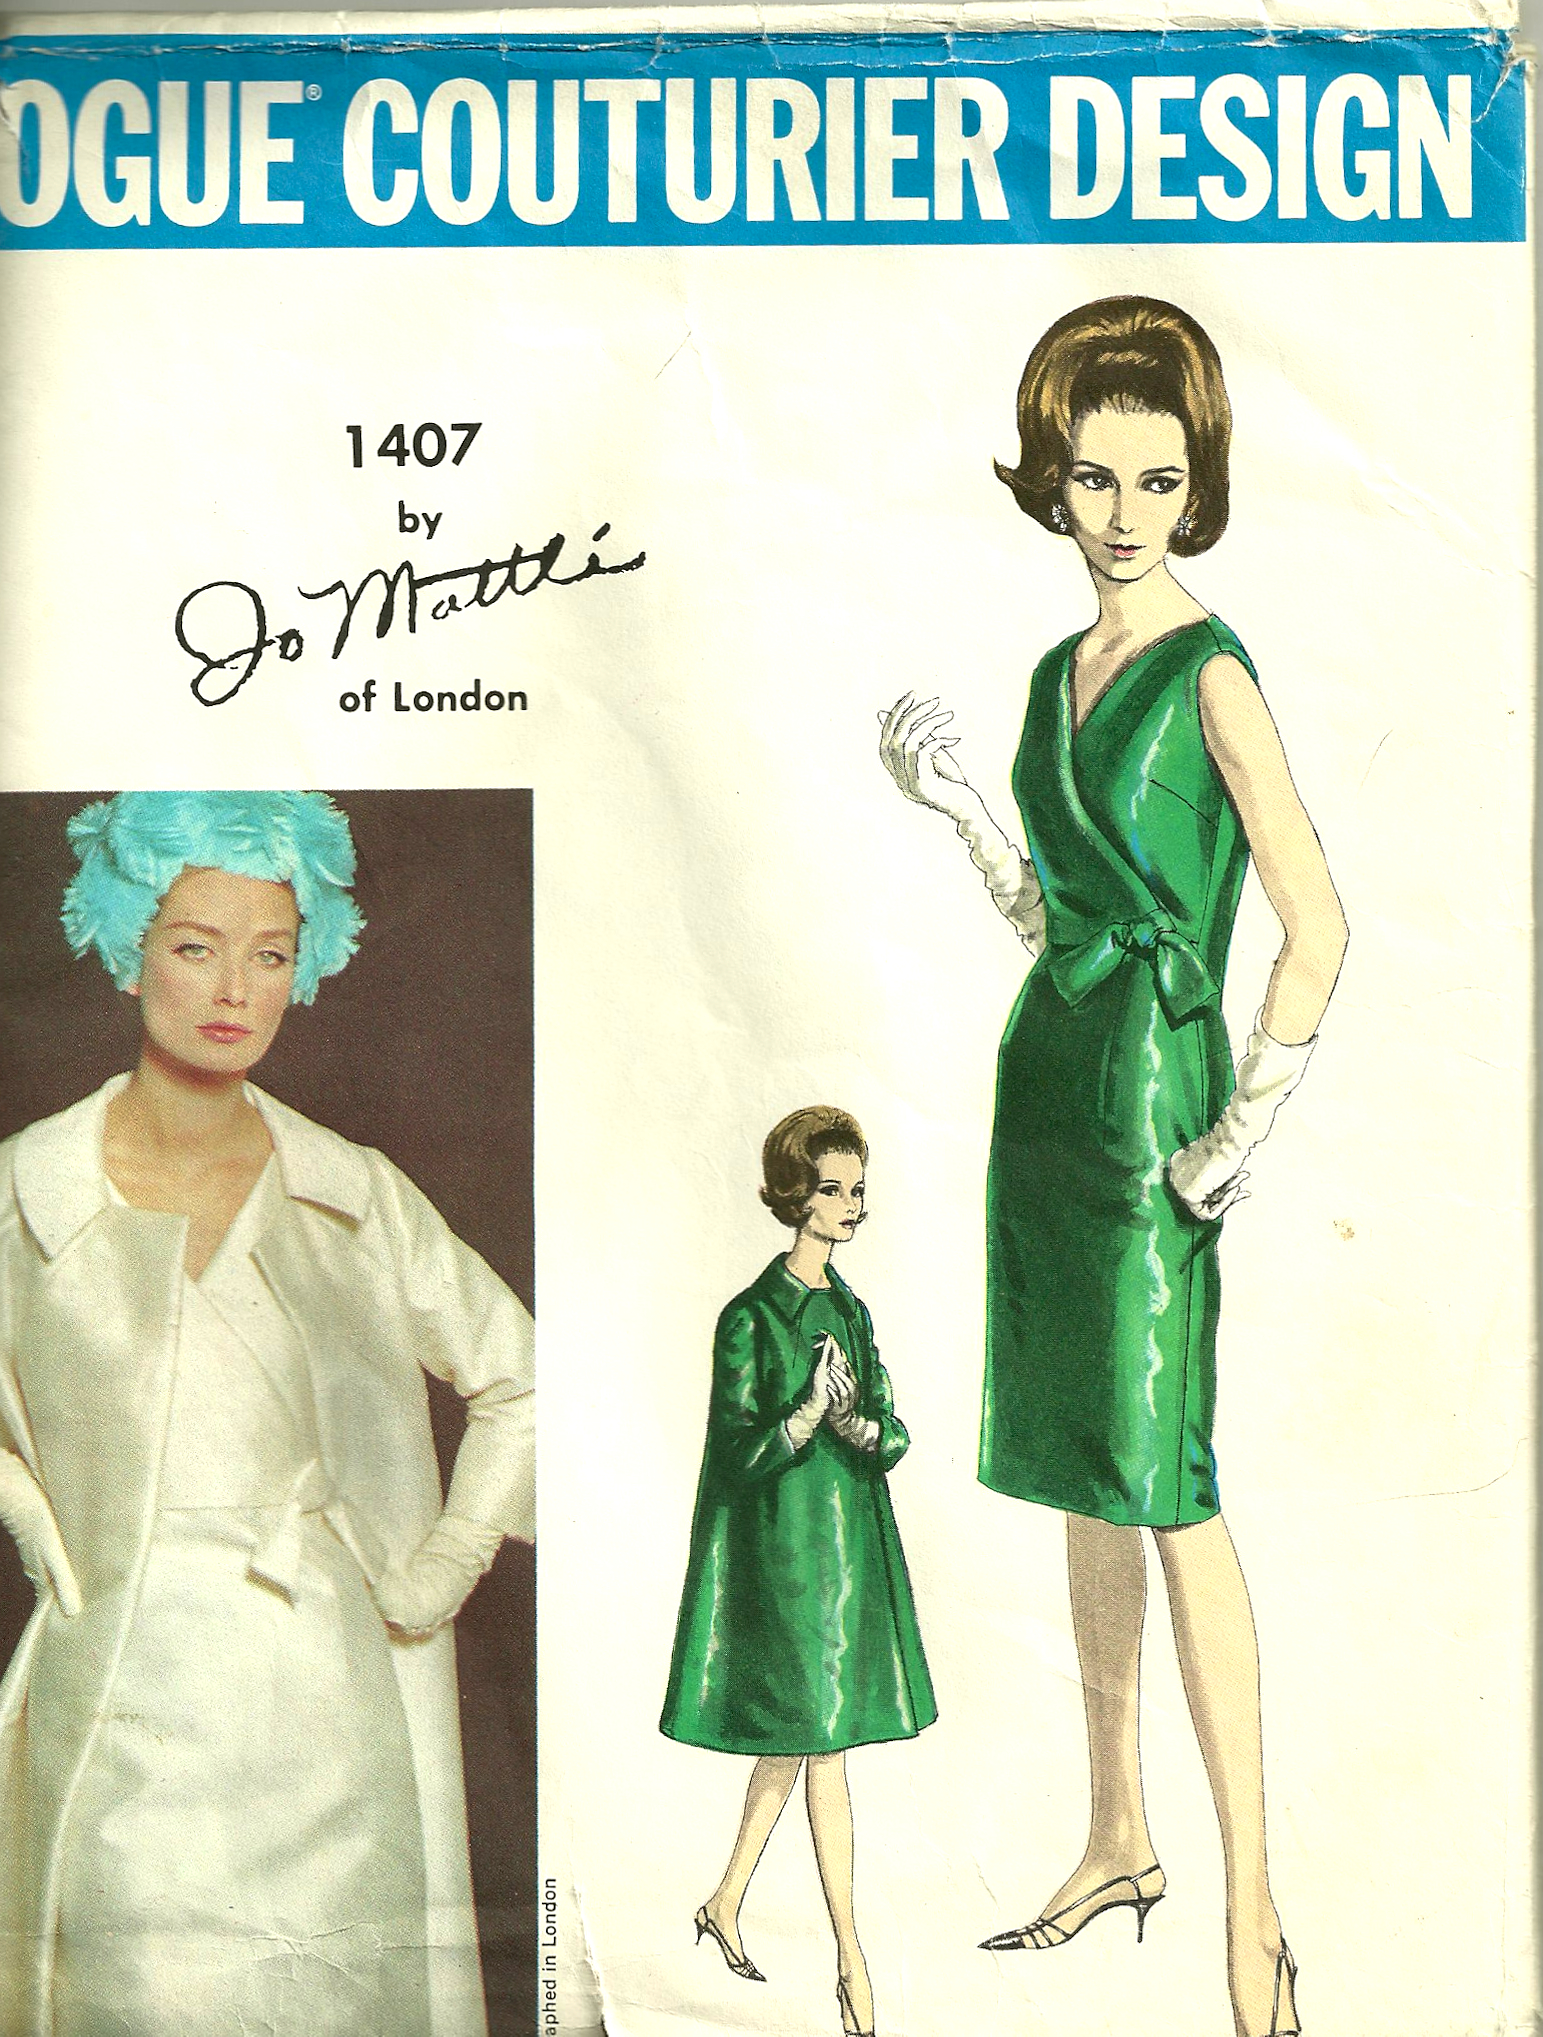
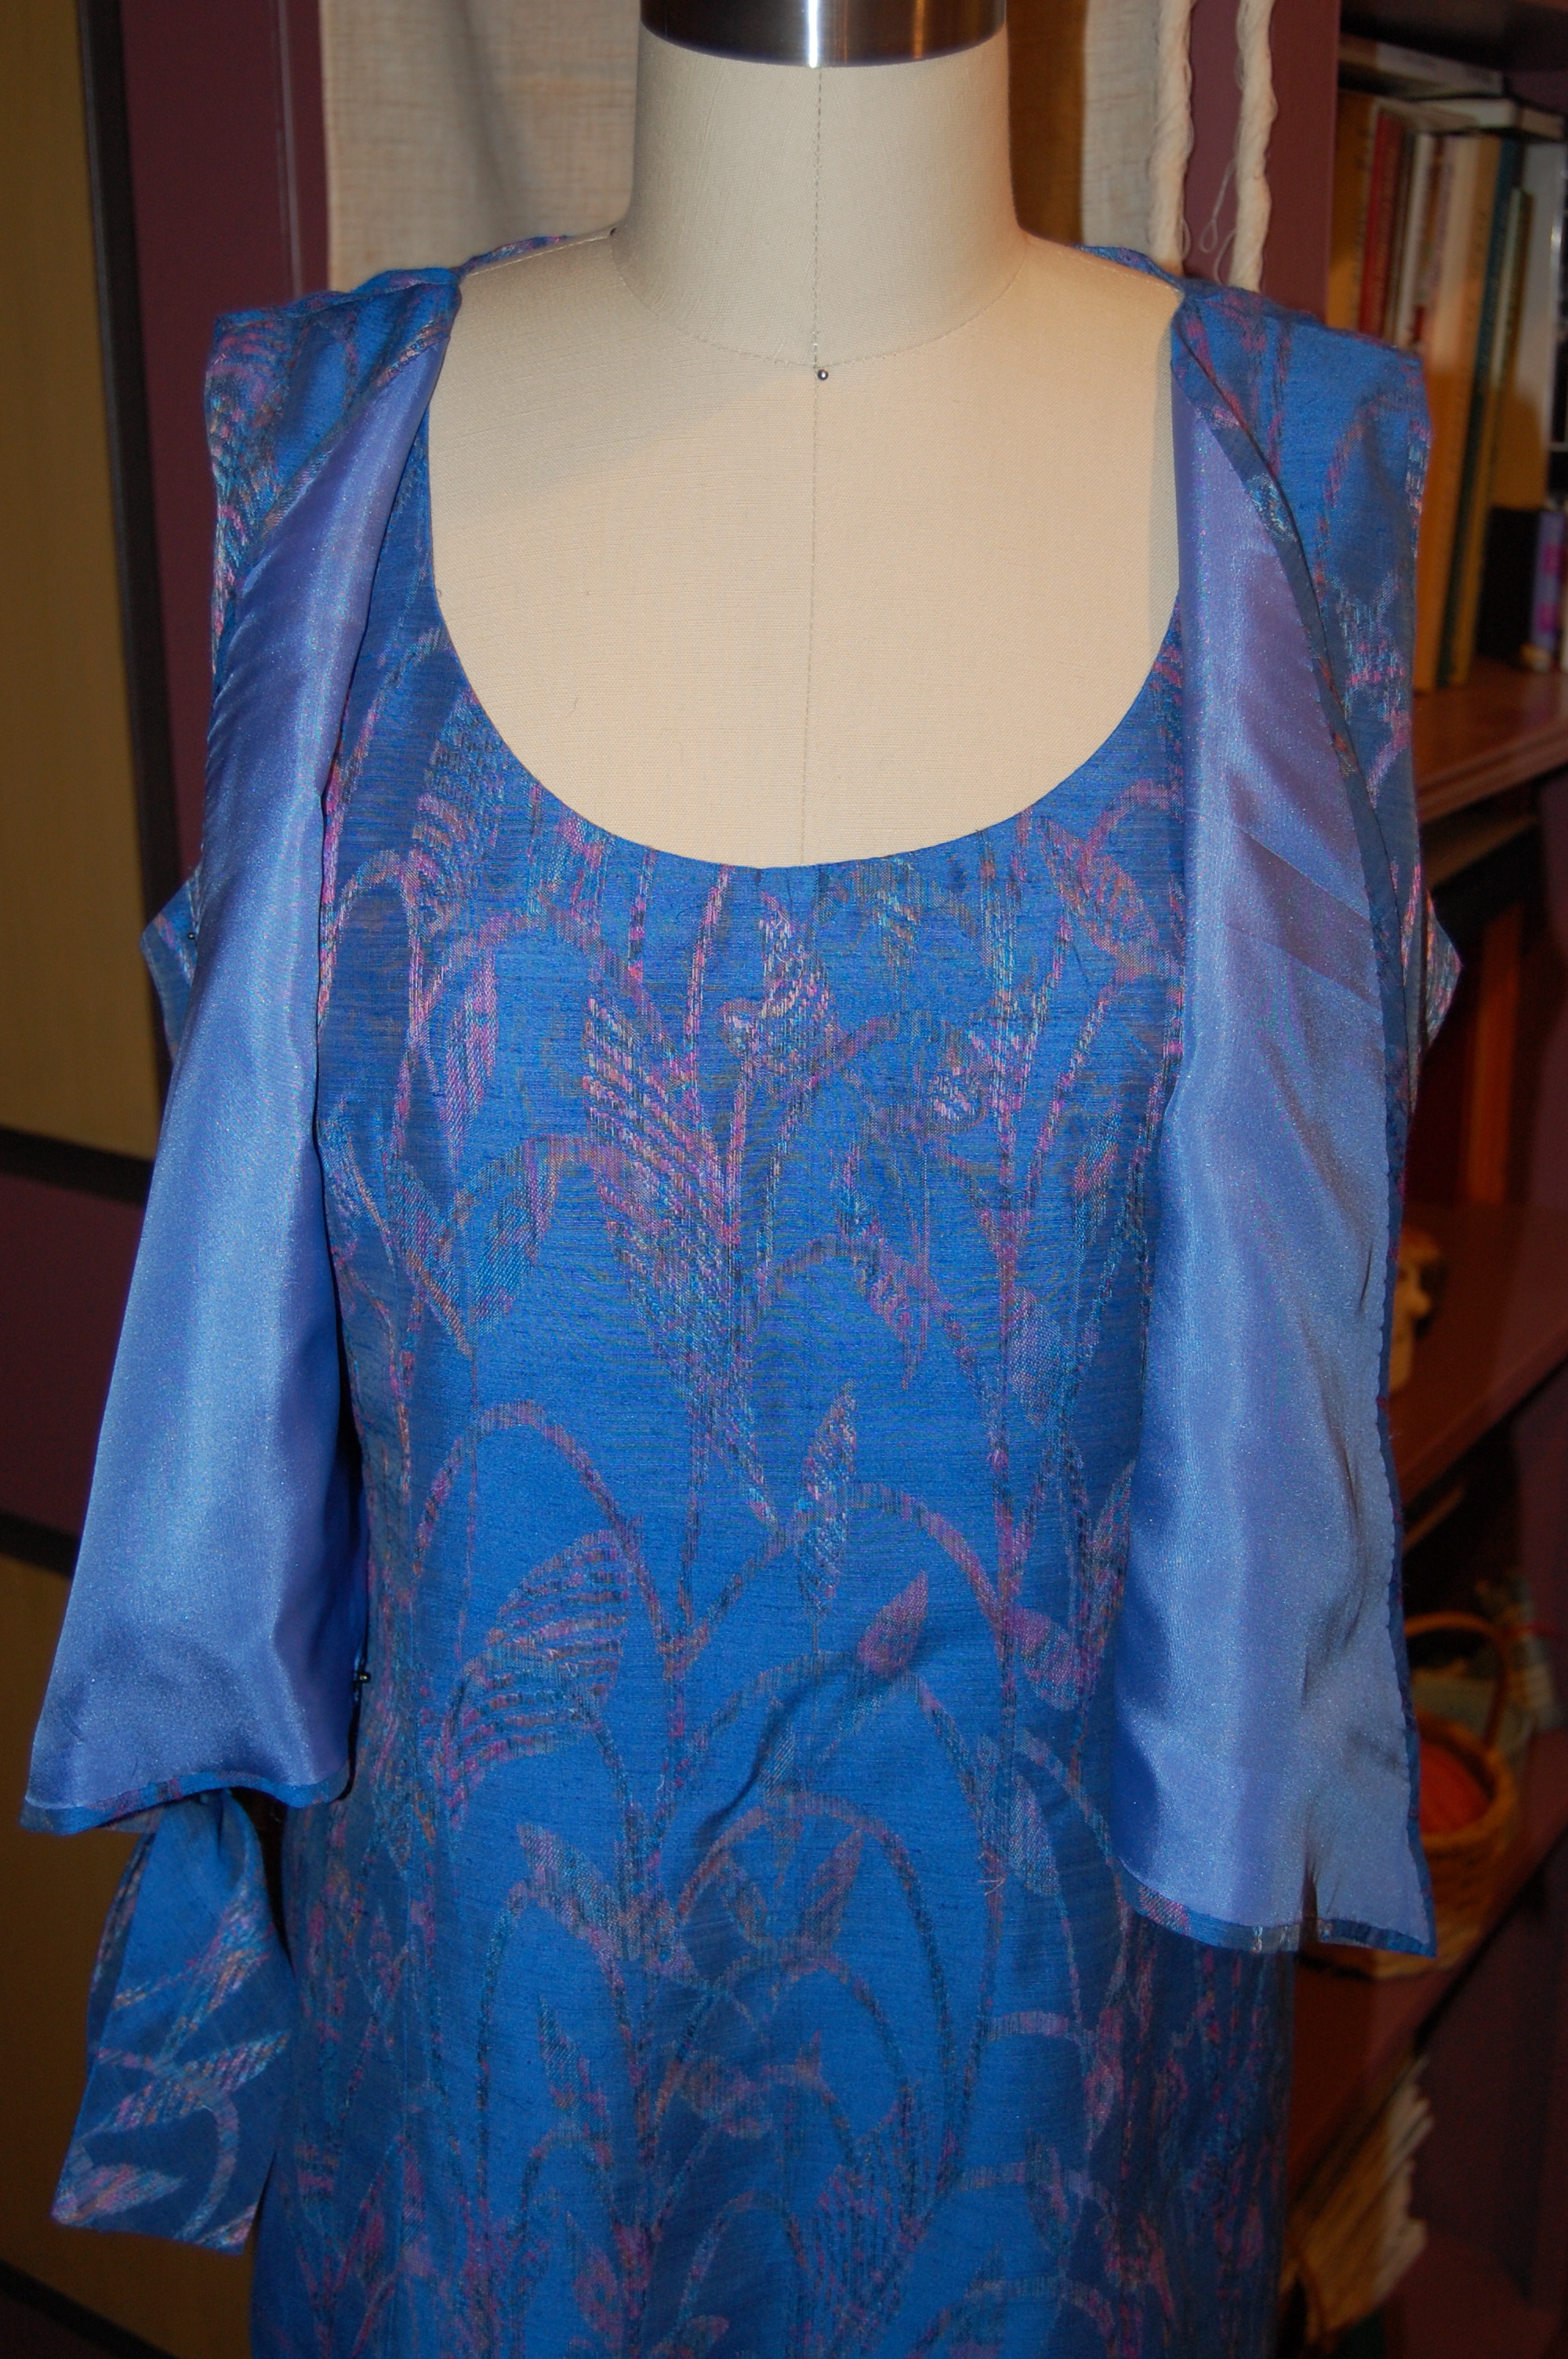
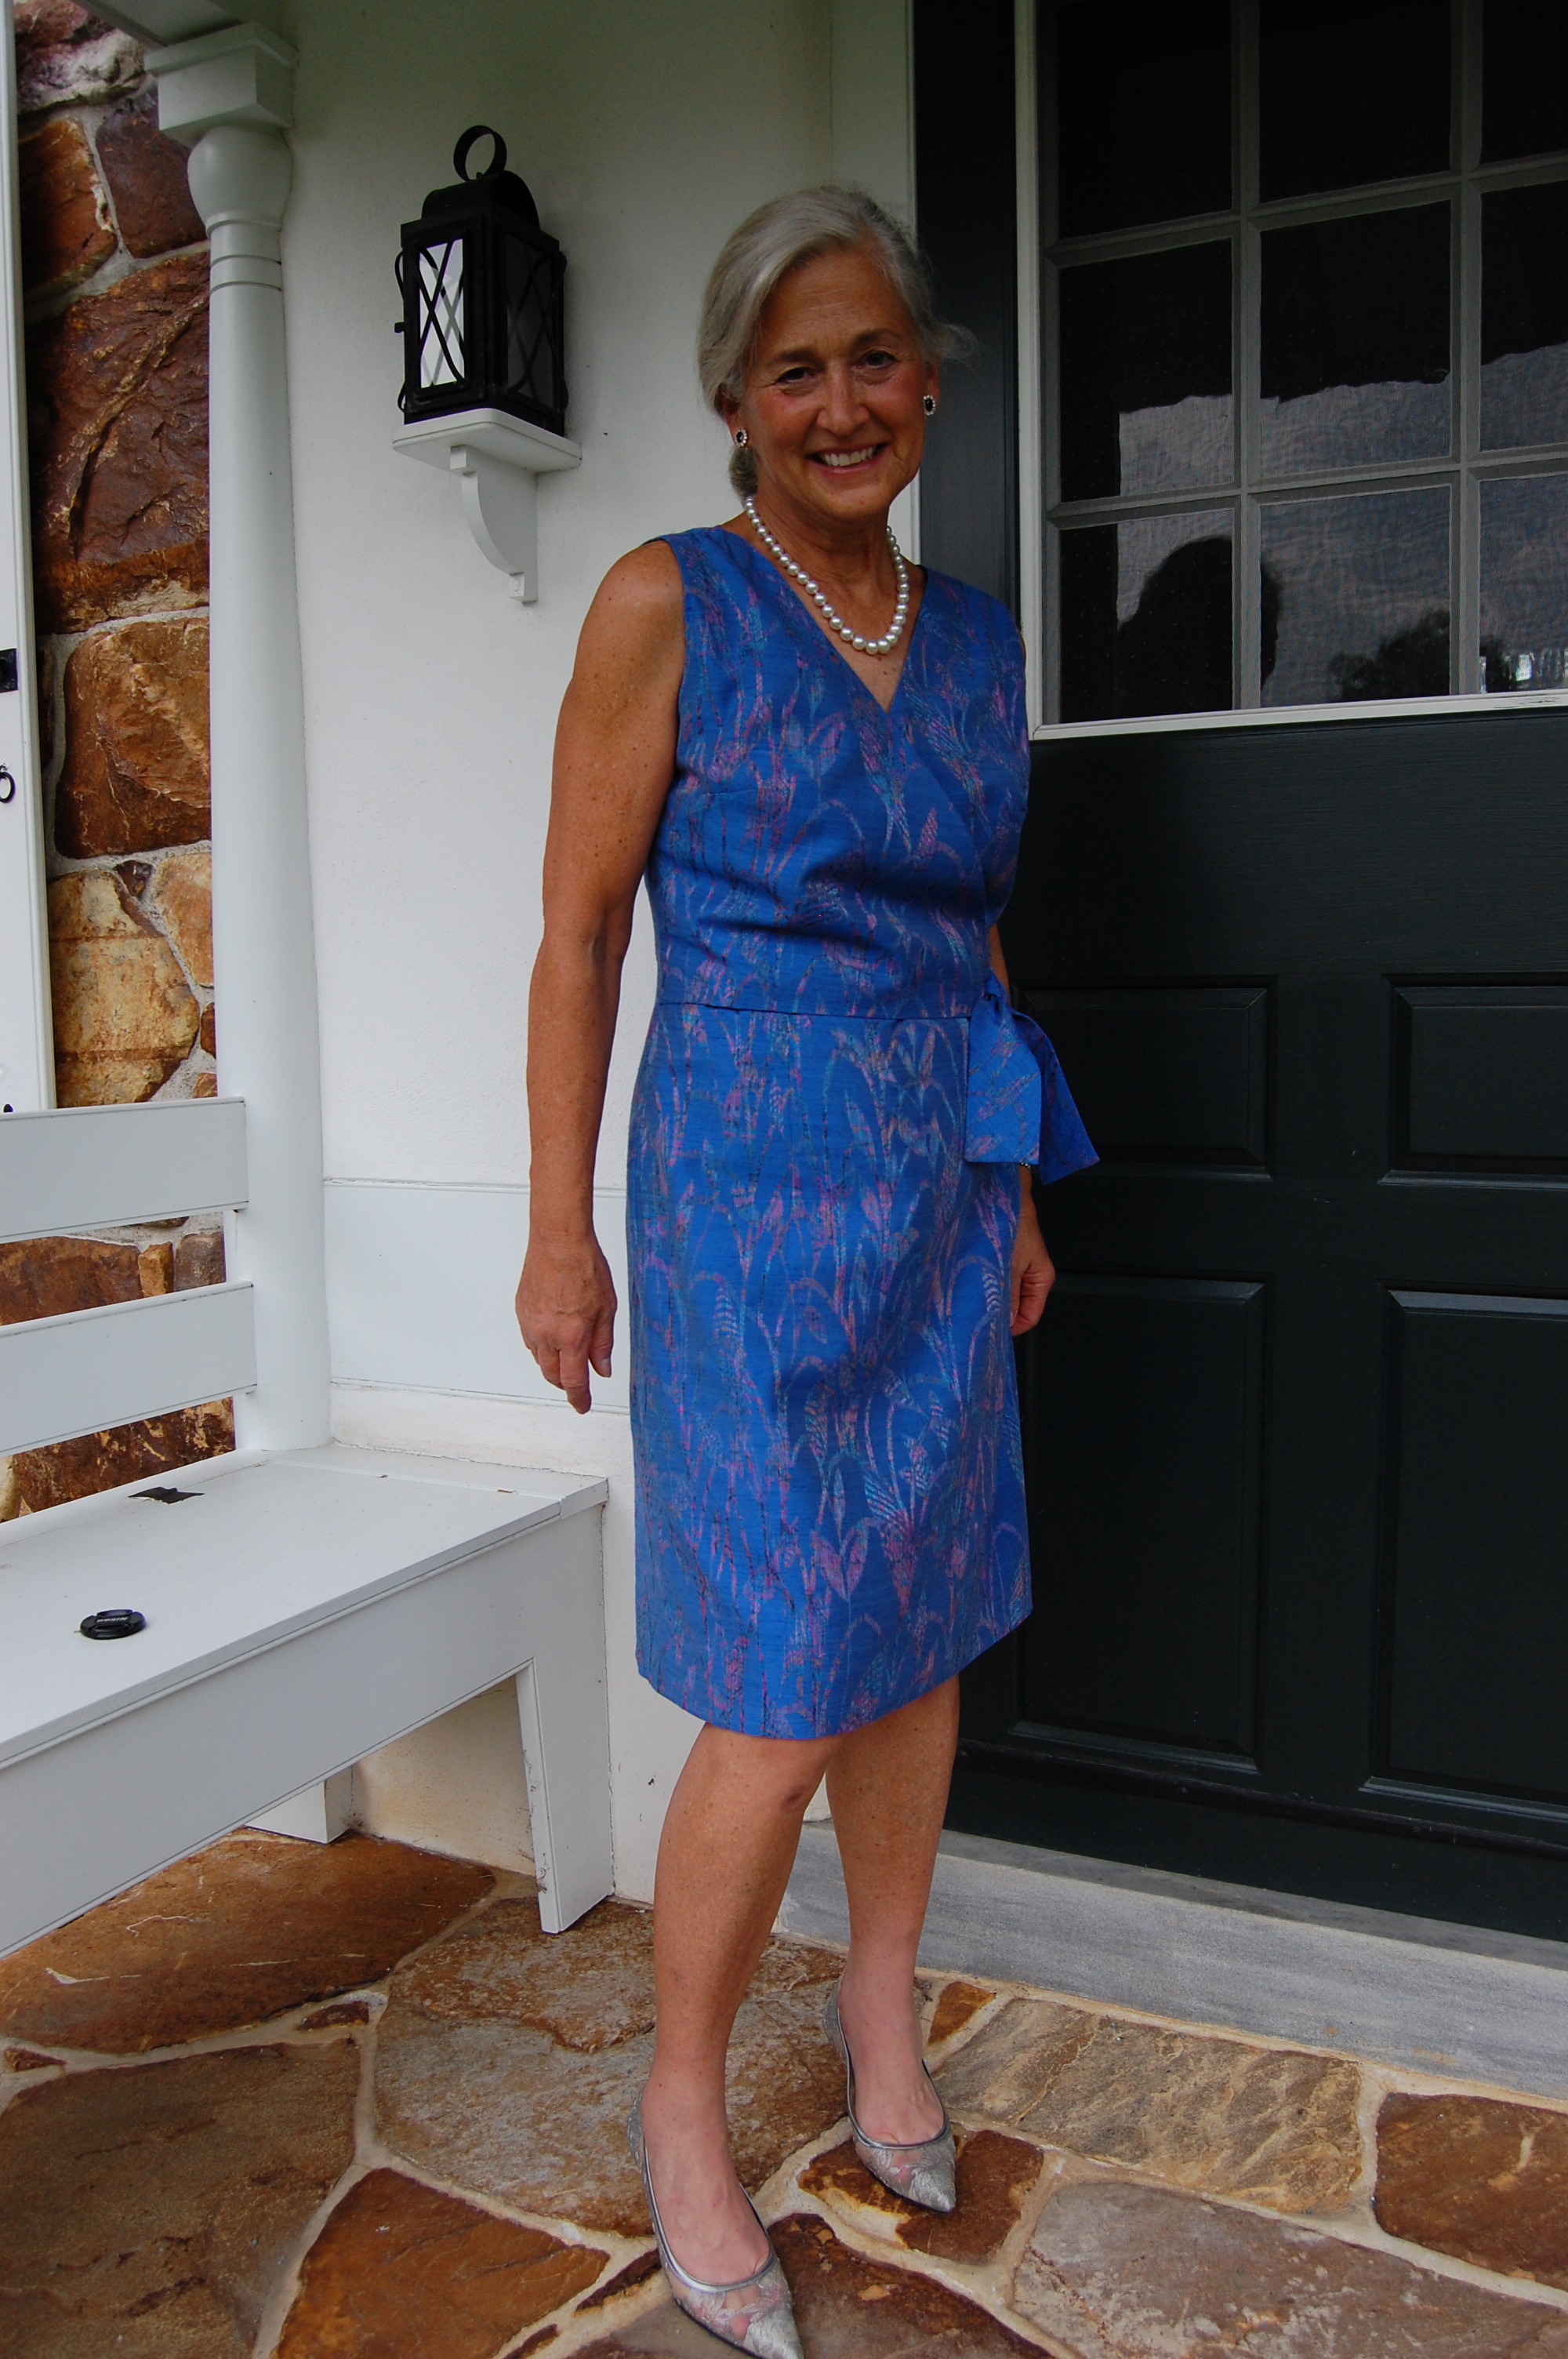
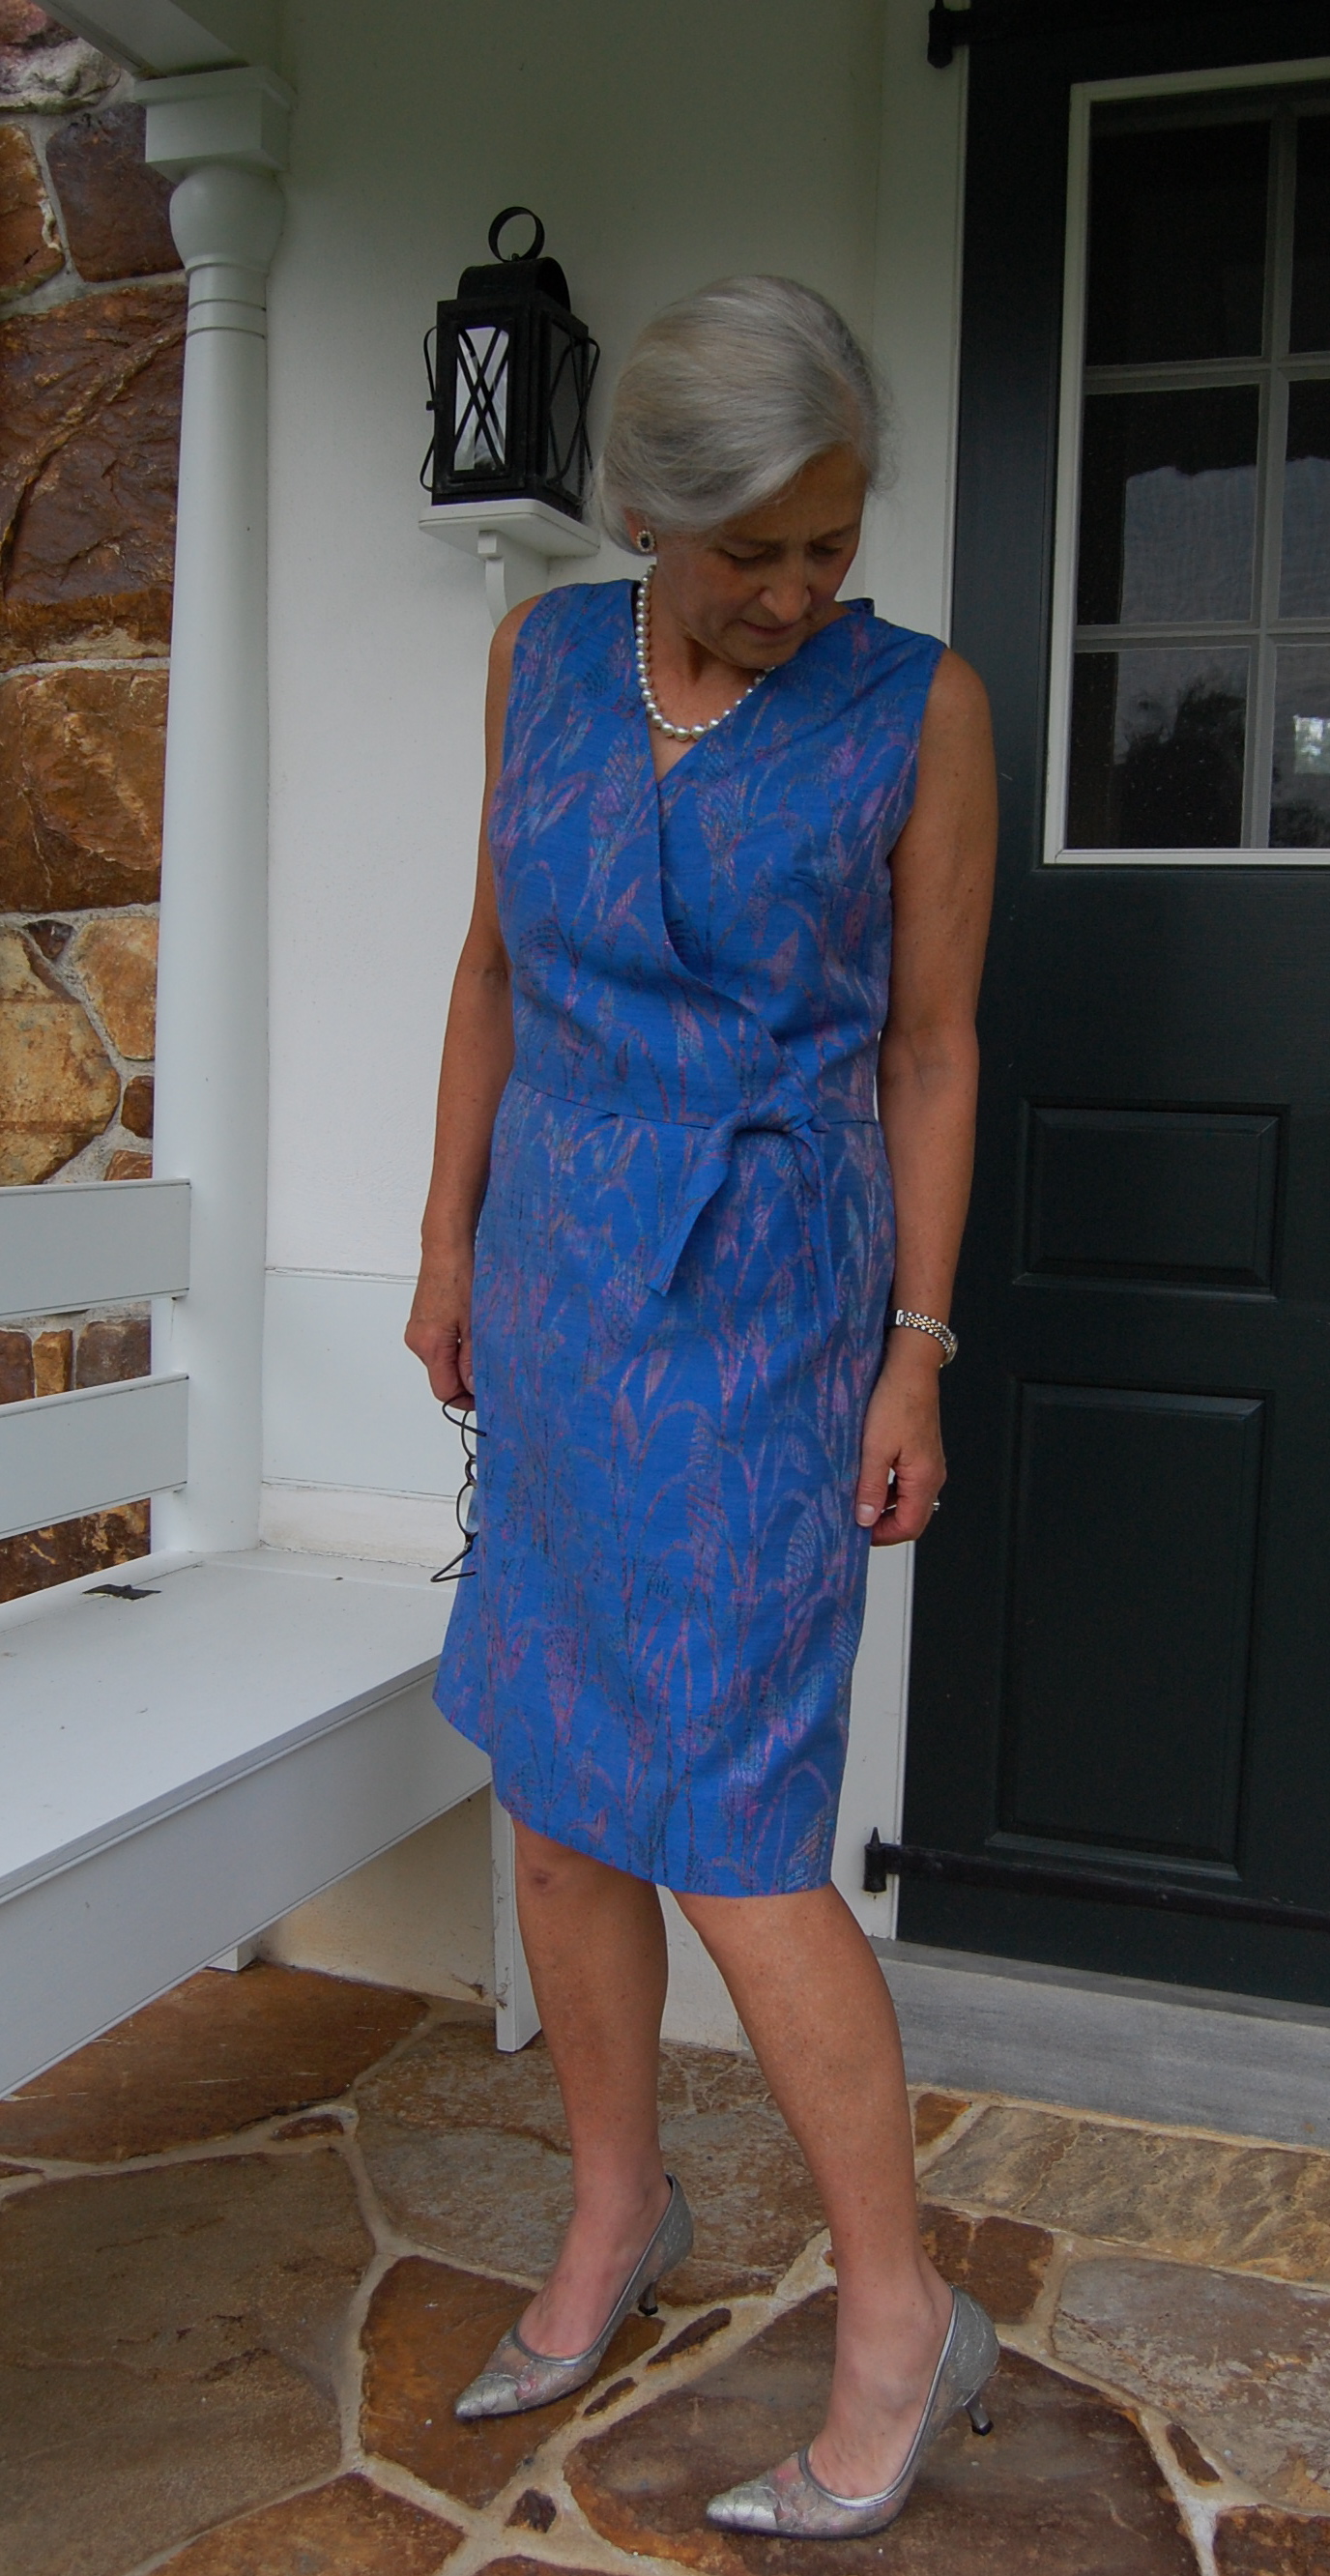
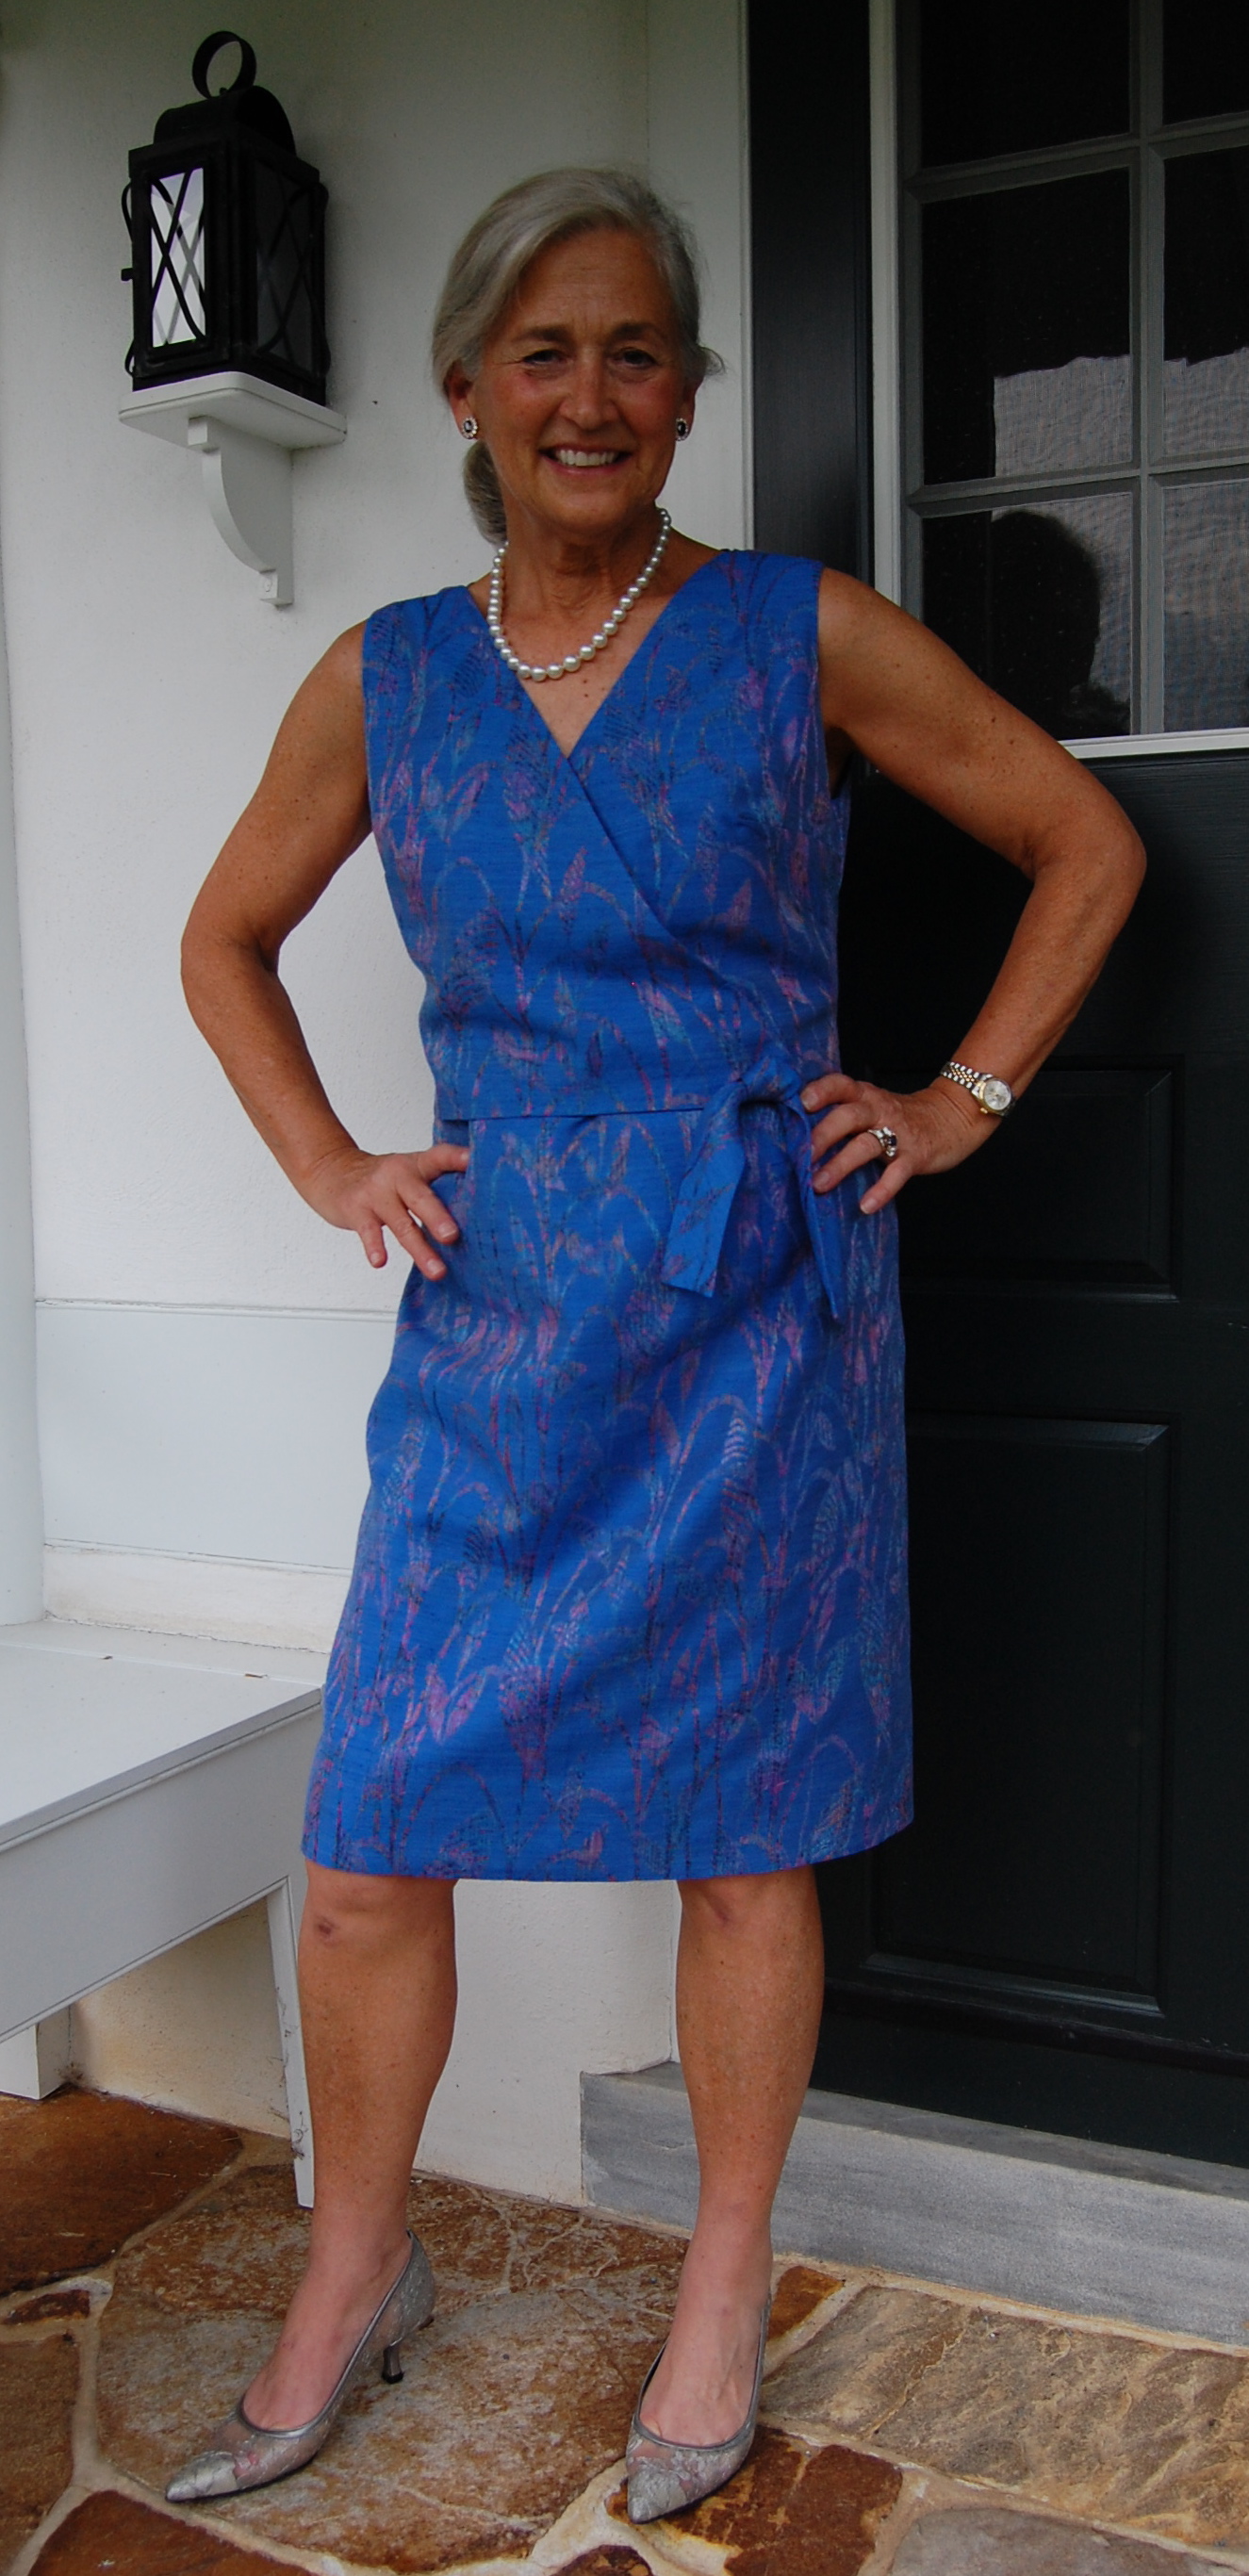
6. My 50th Anniversary linen dress made with vintage fabric.

I’m not sure I have ever made a dress which has given me more personal satisfaction than this one. Making this dress was truly a dream come true.
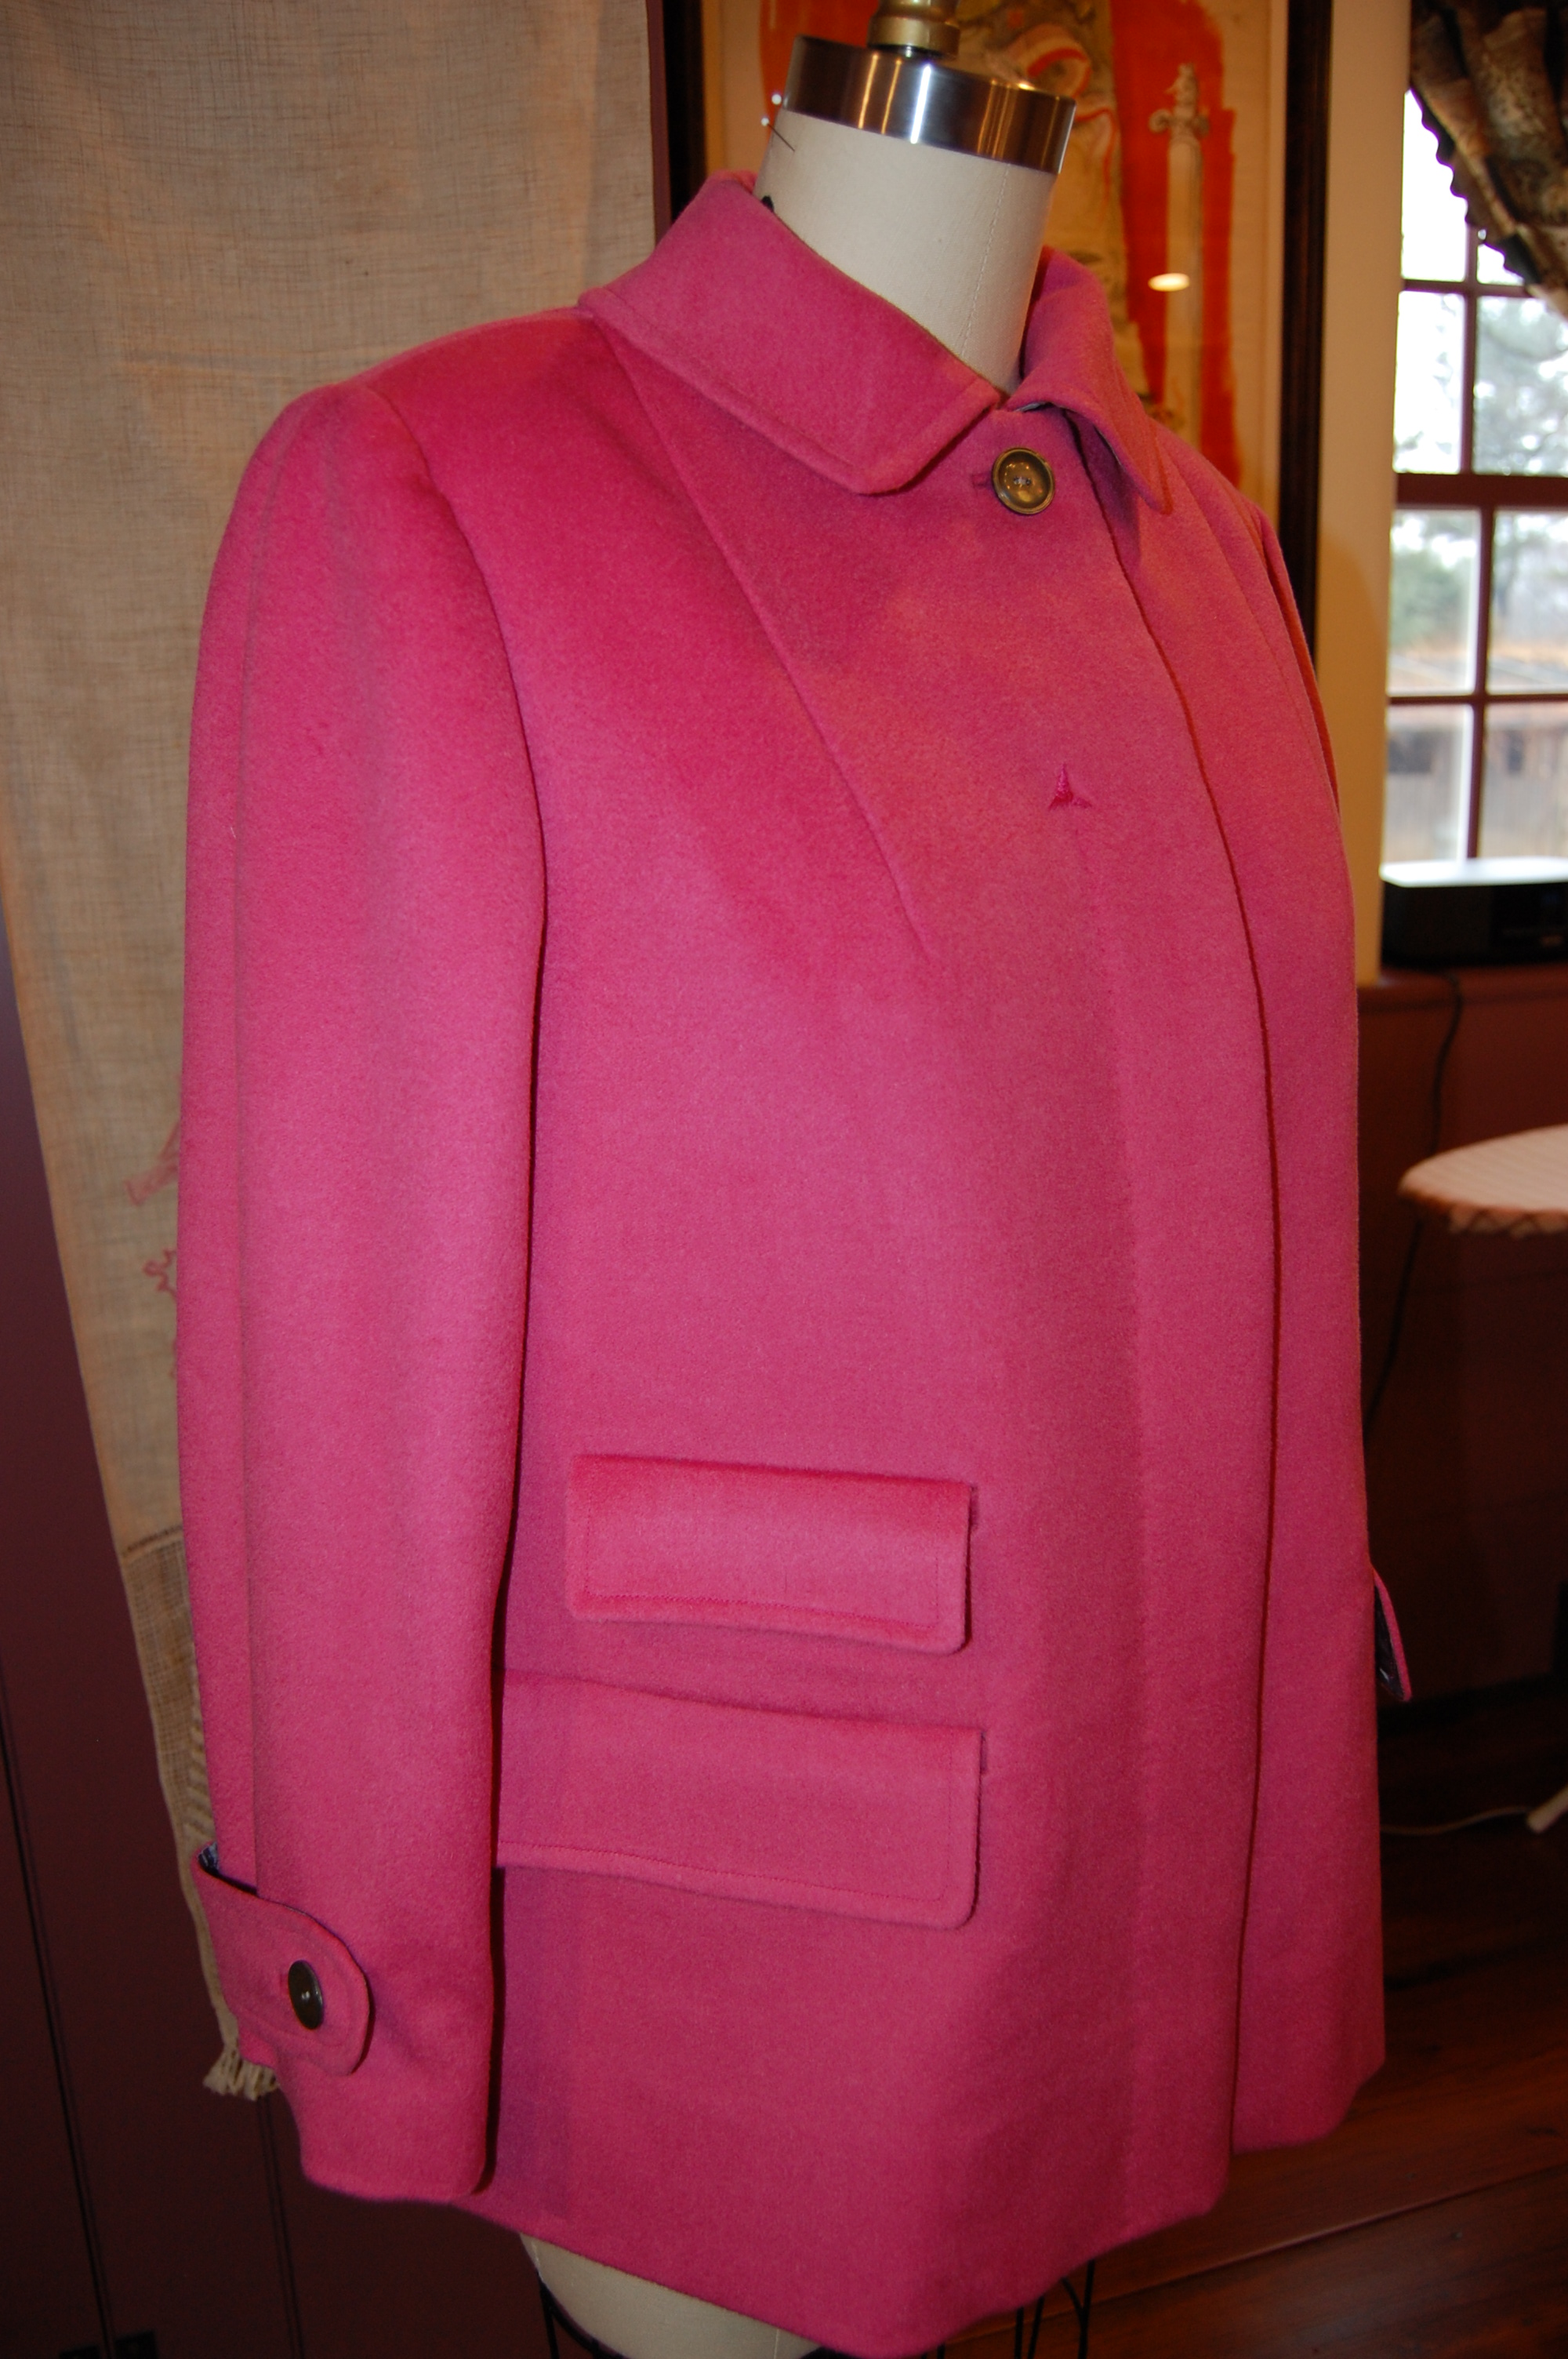
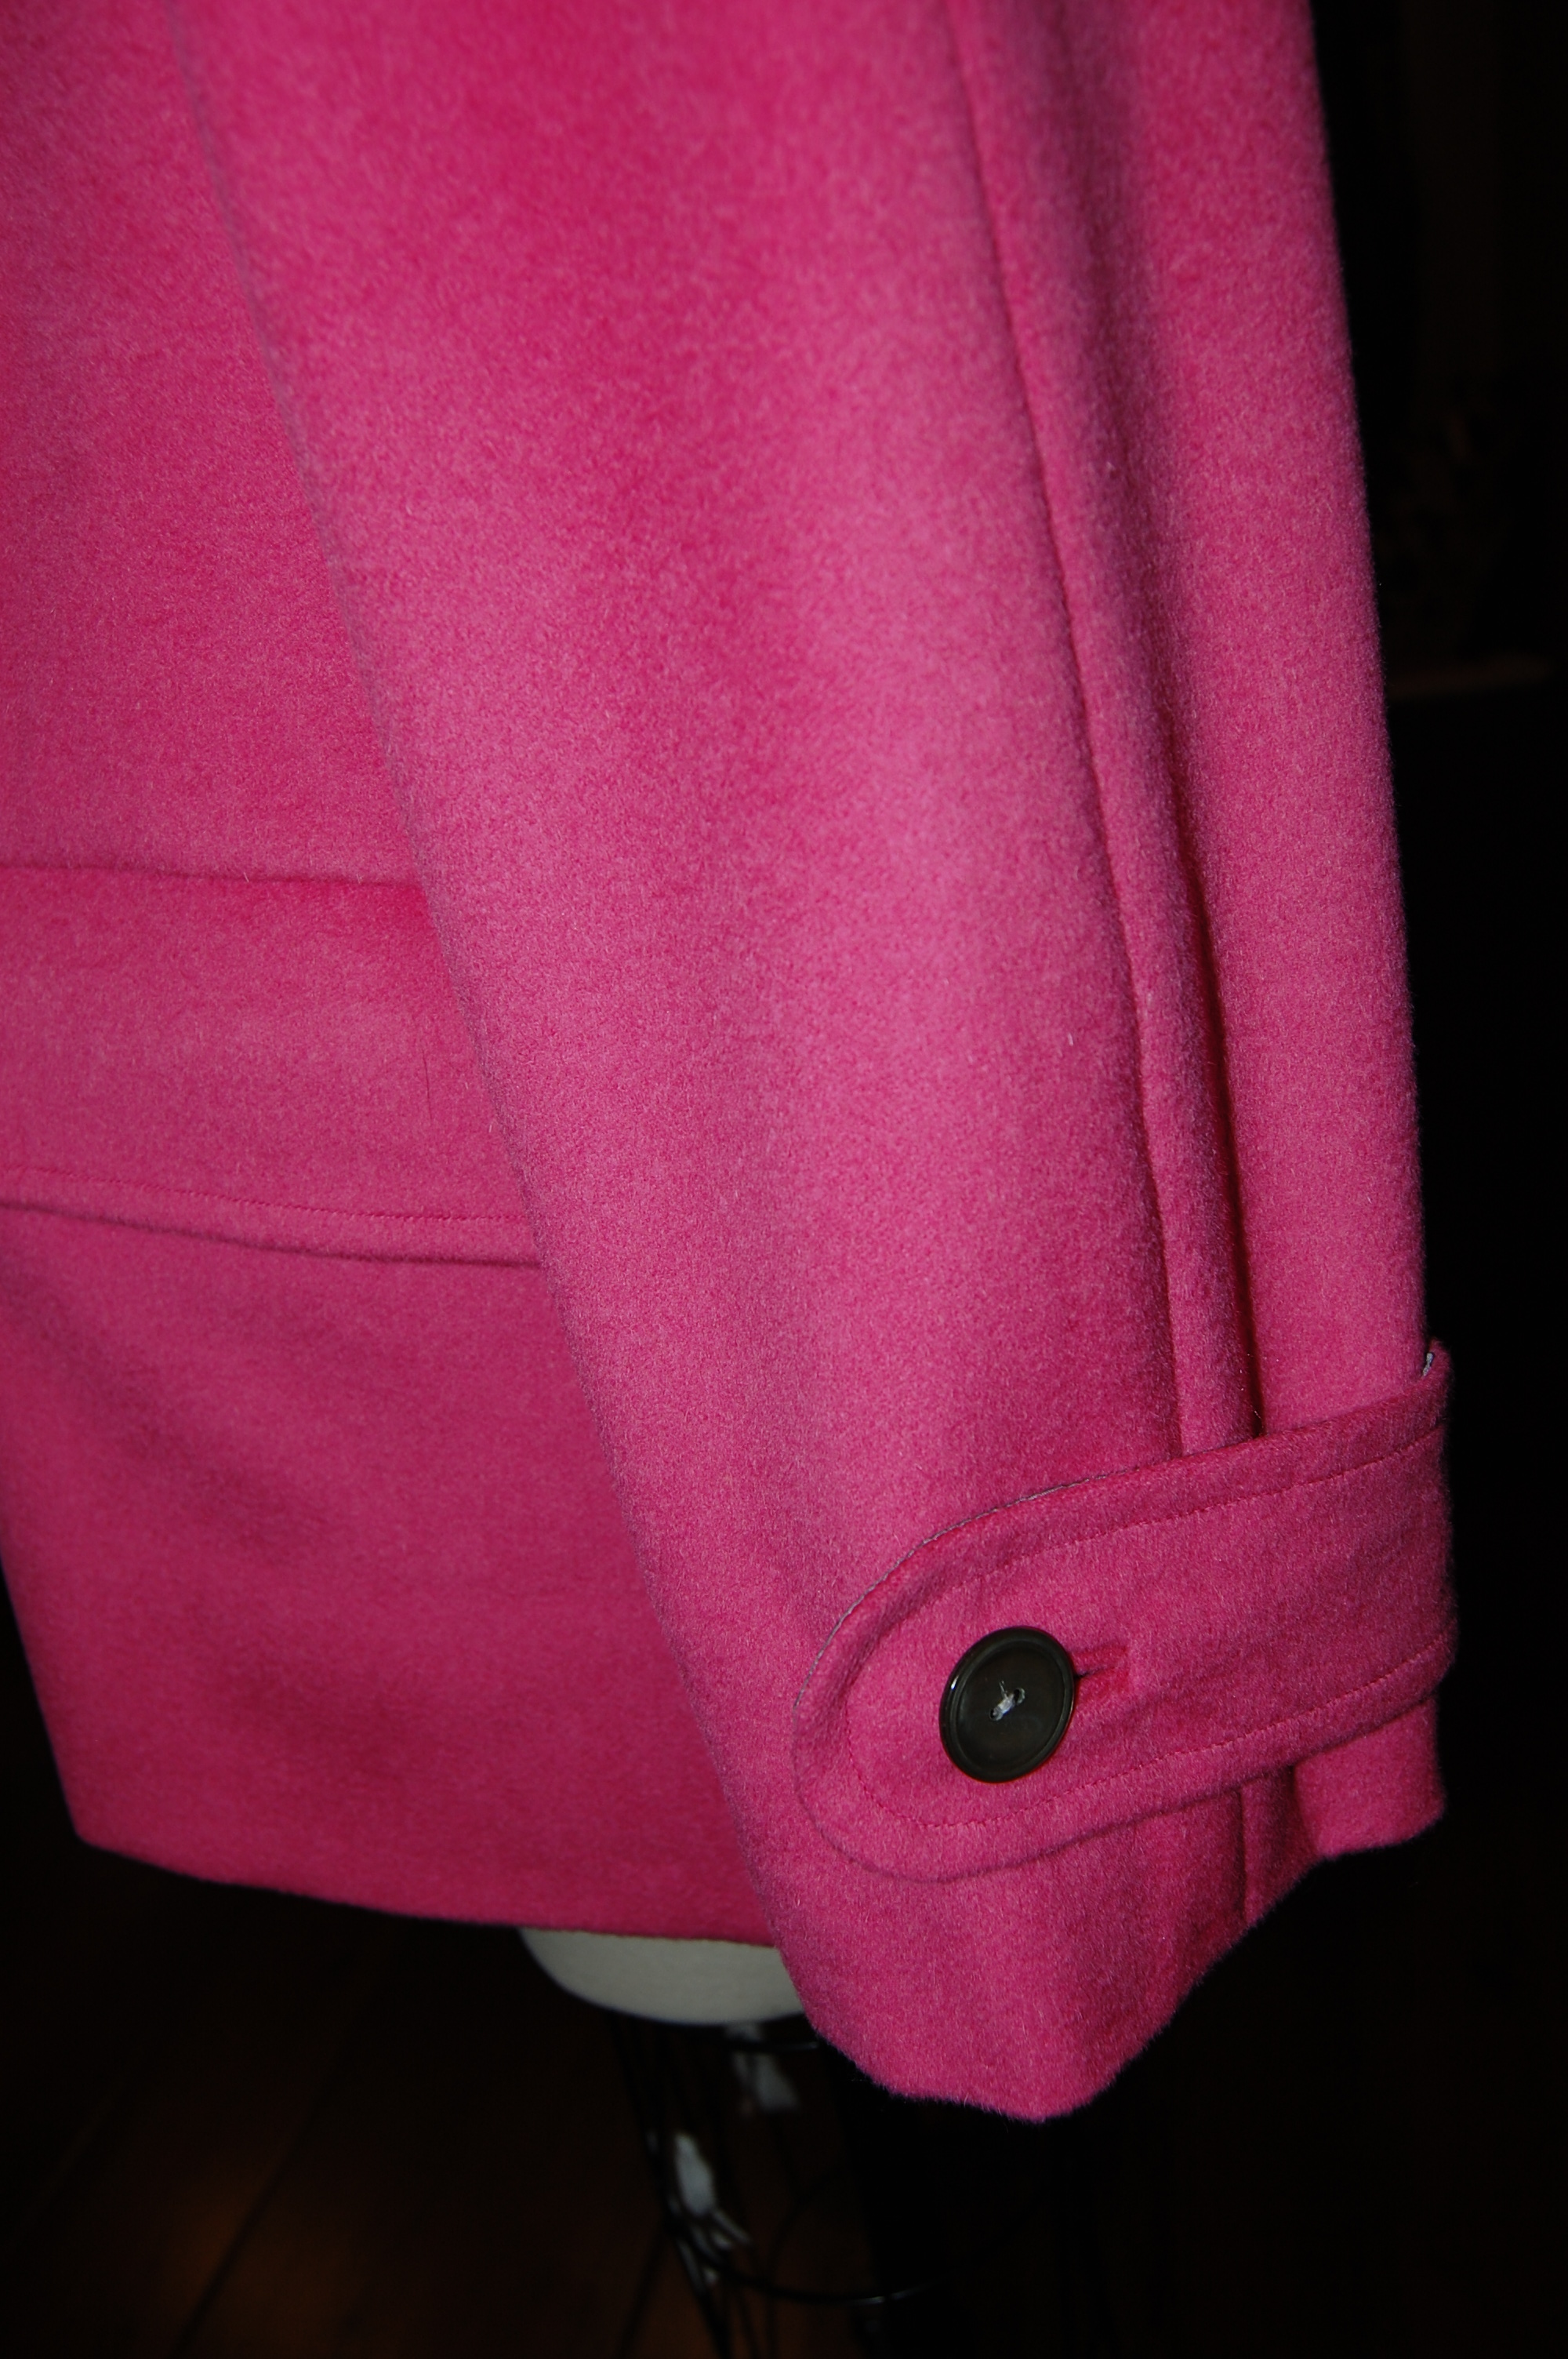
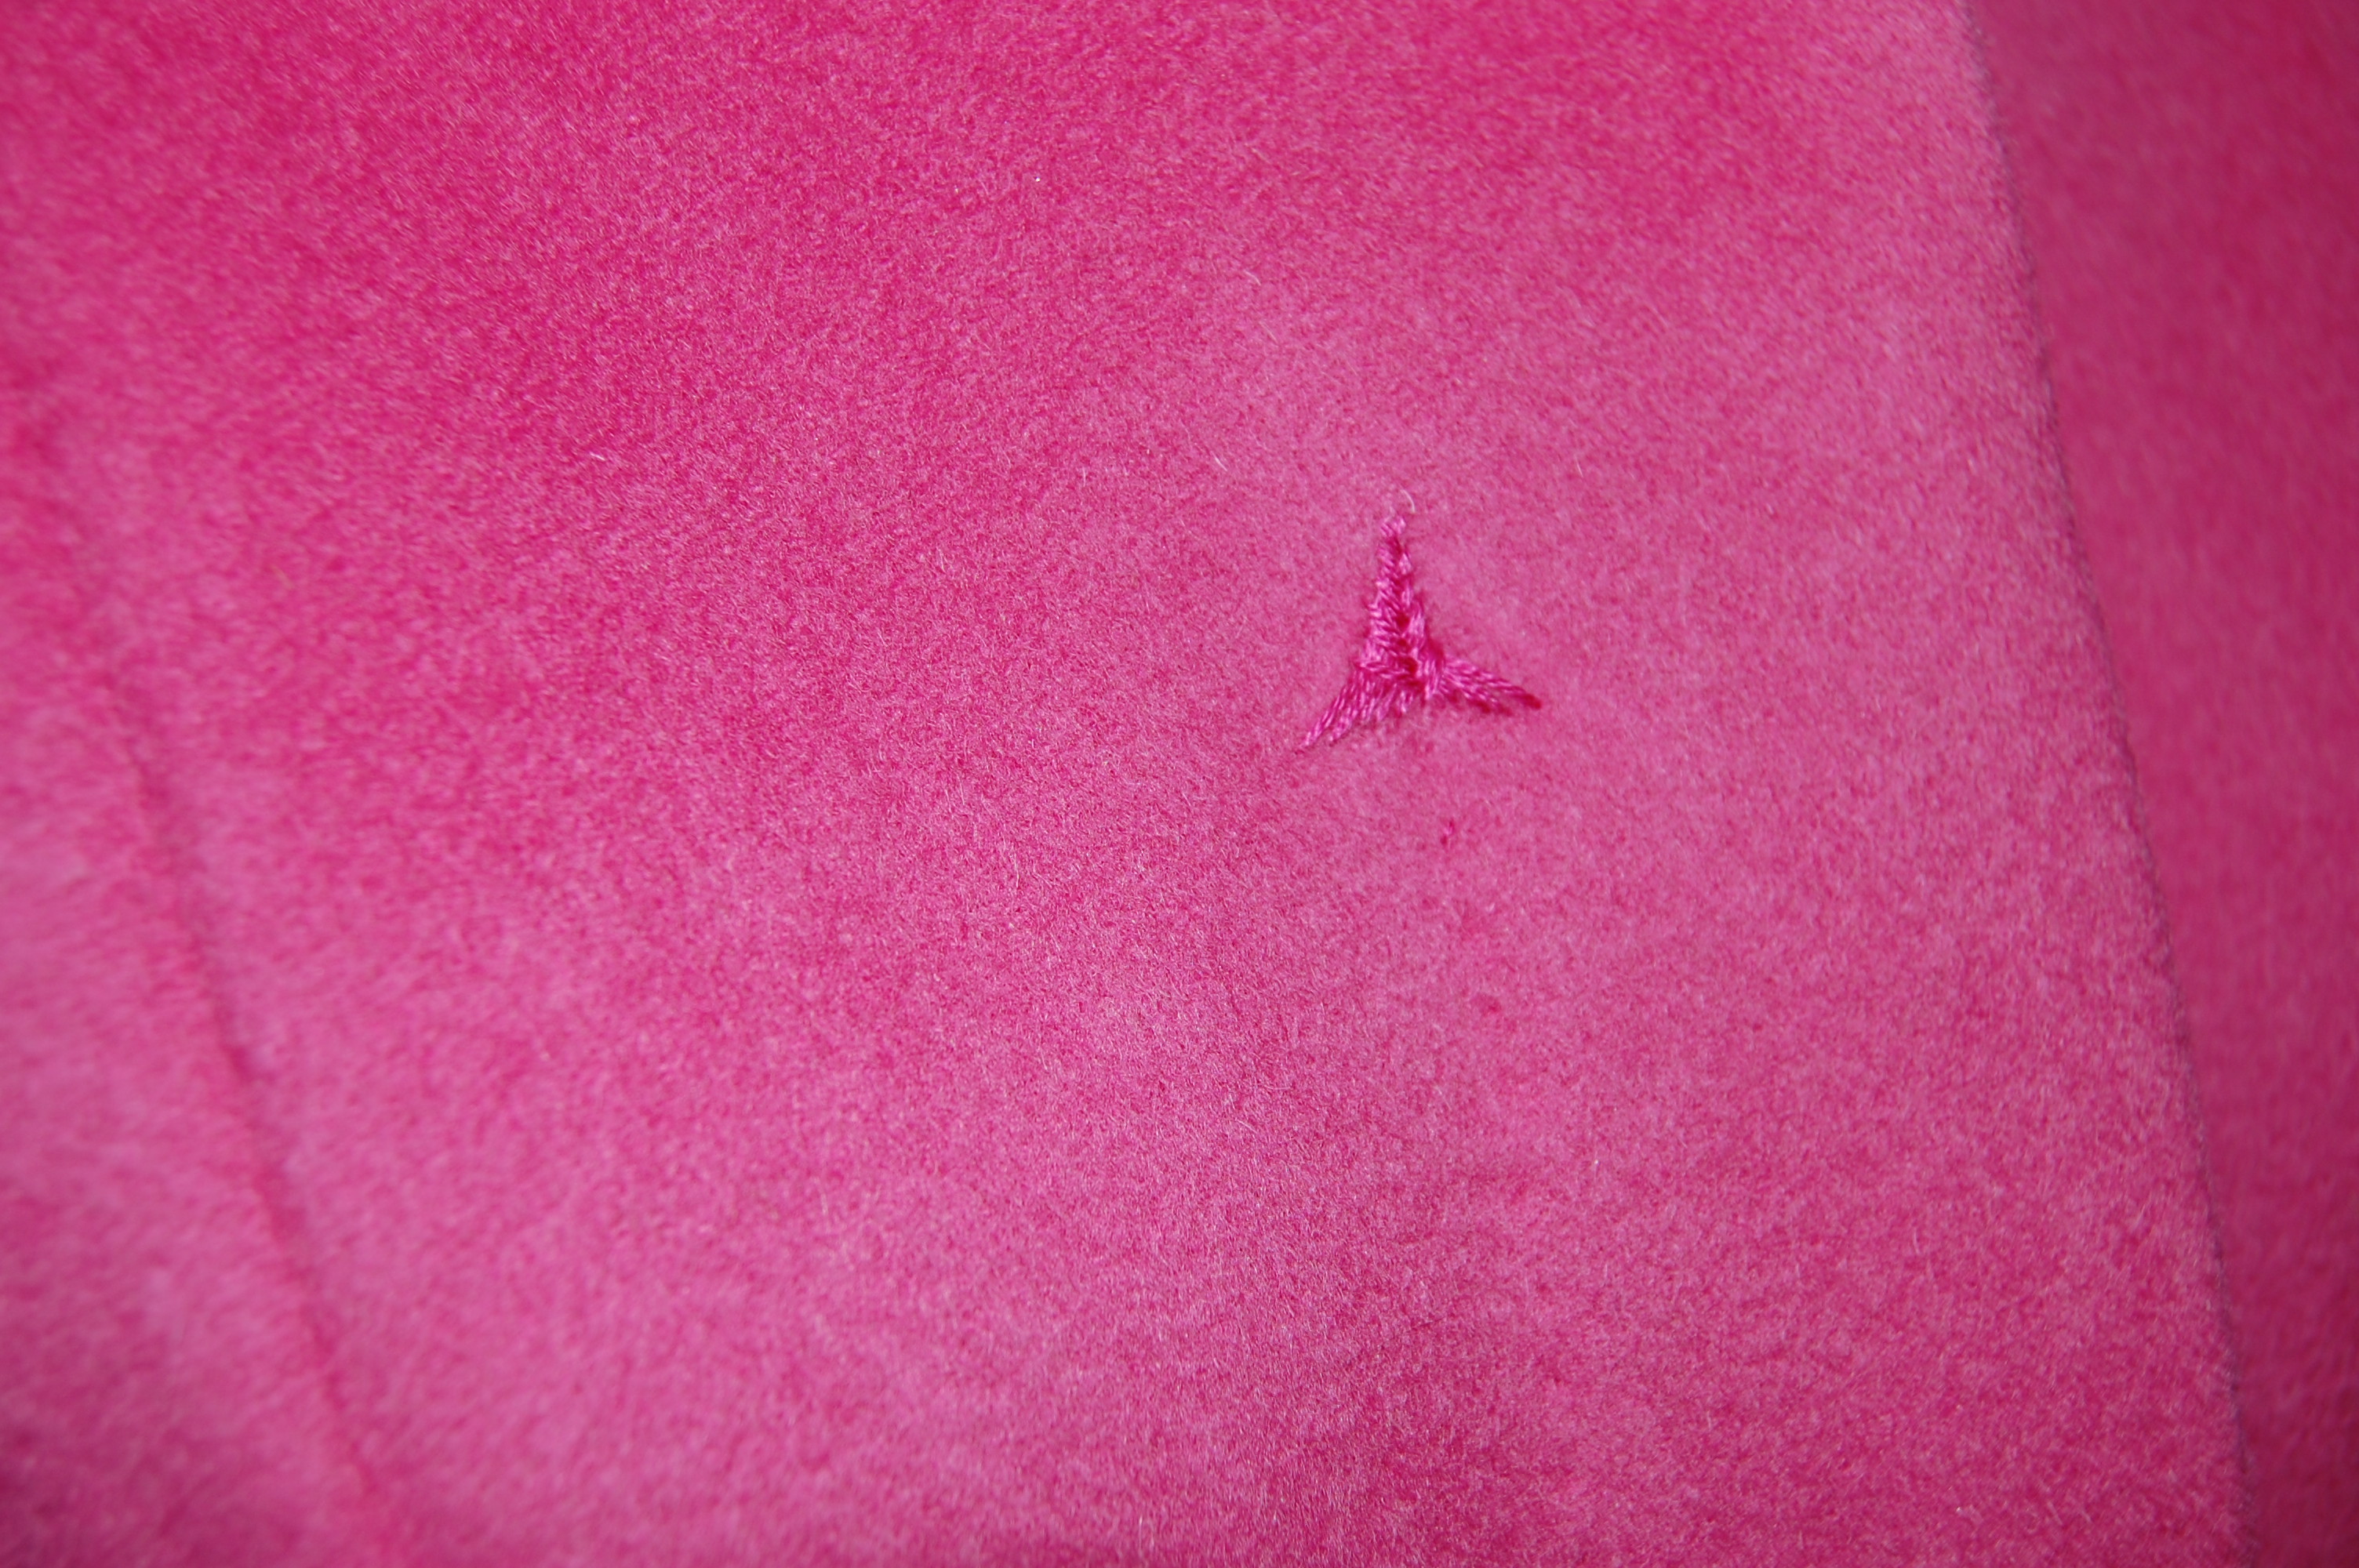
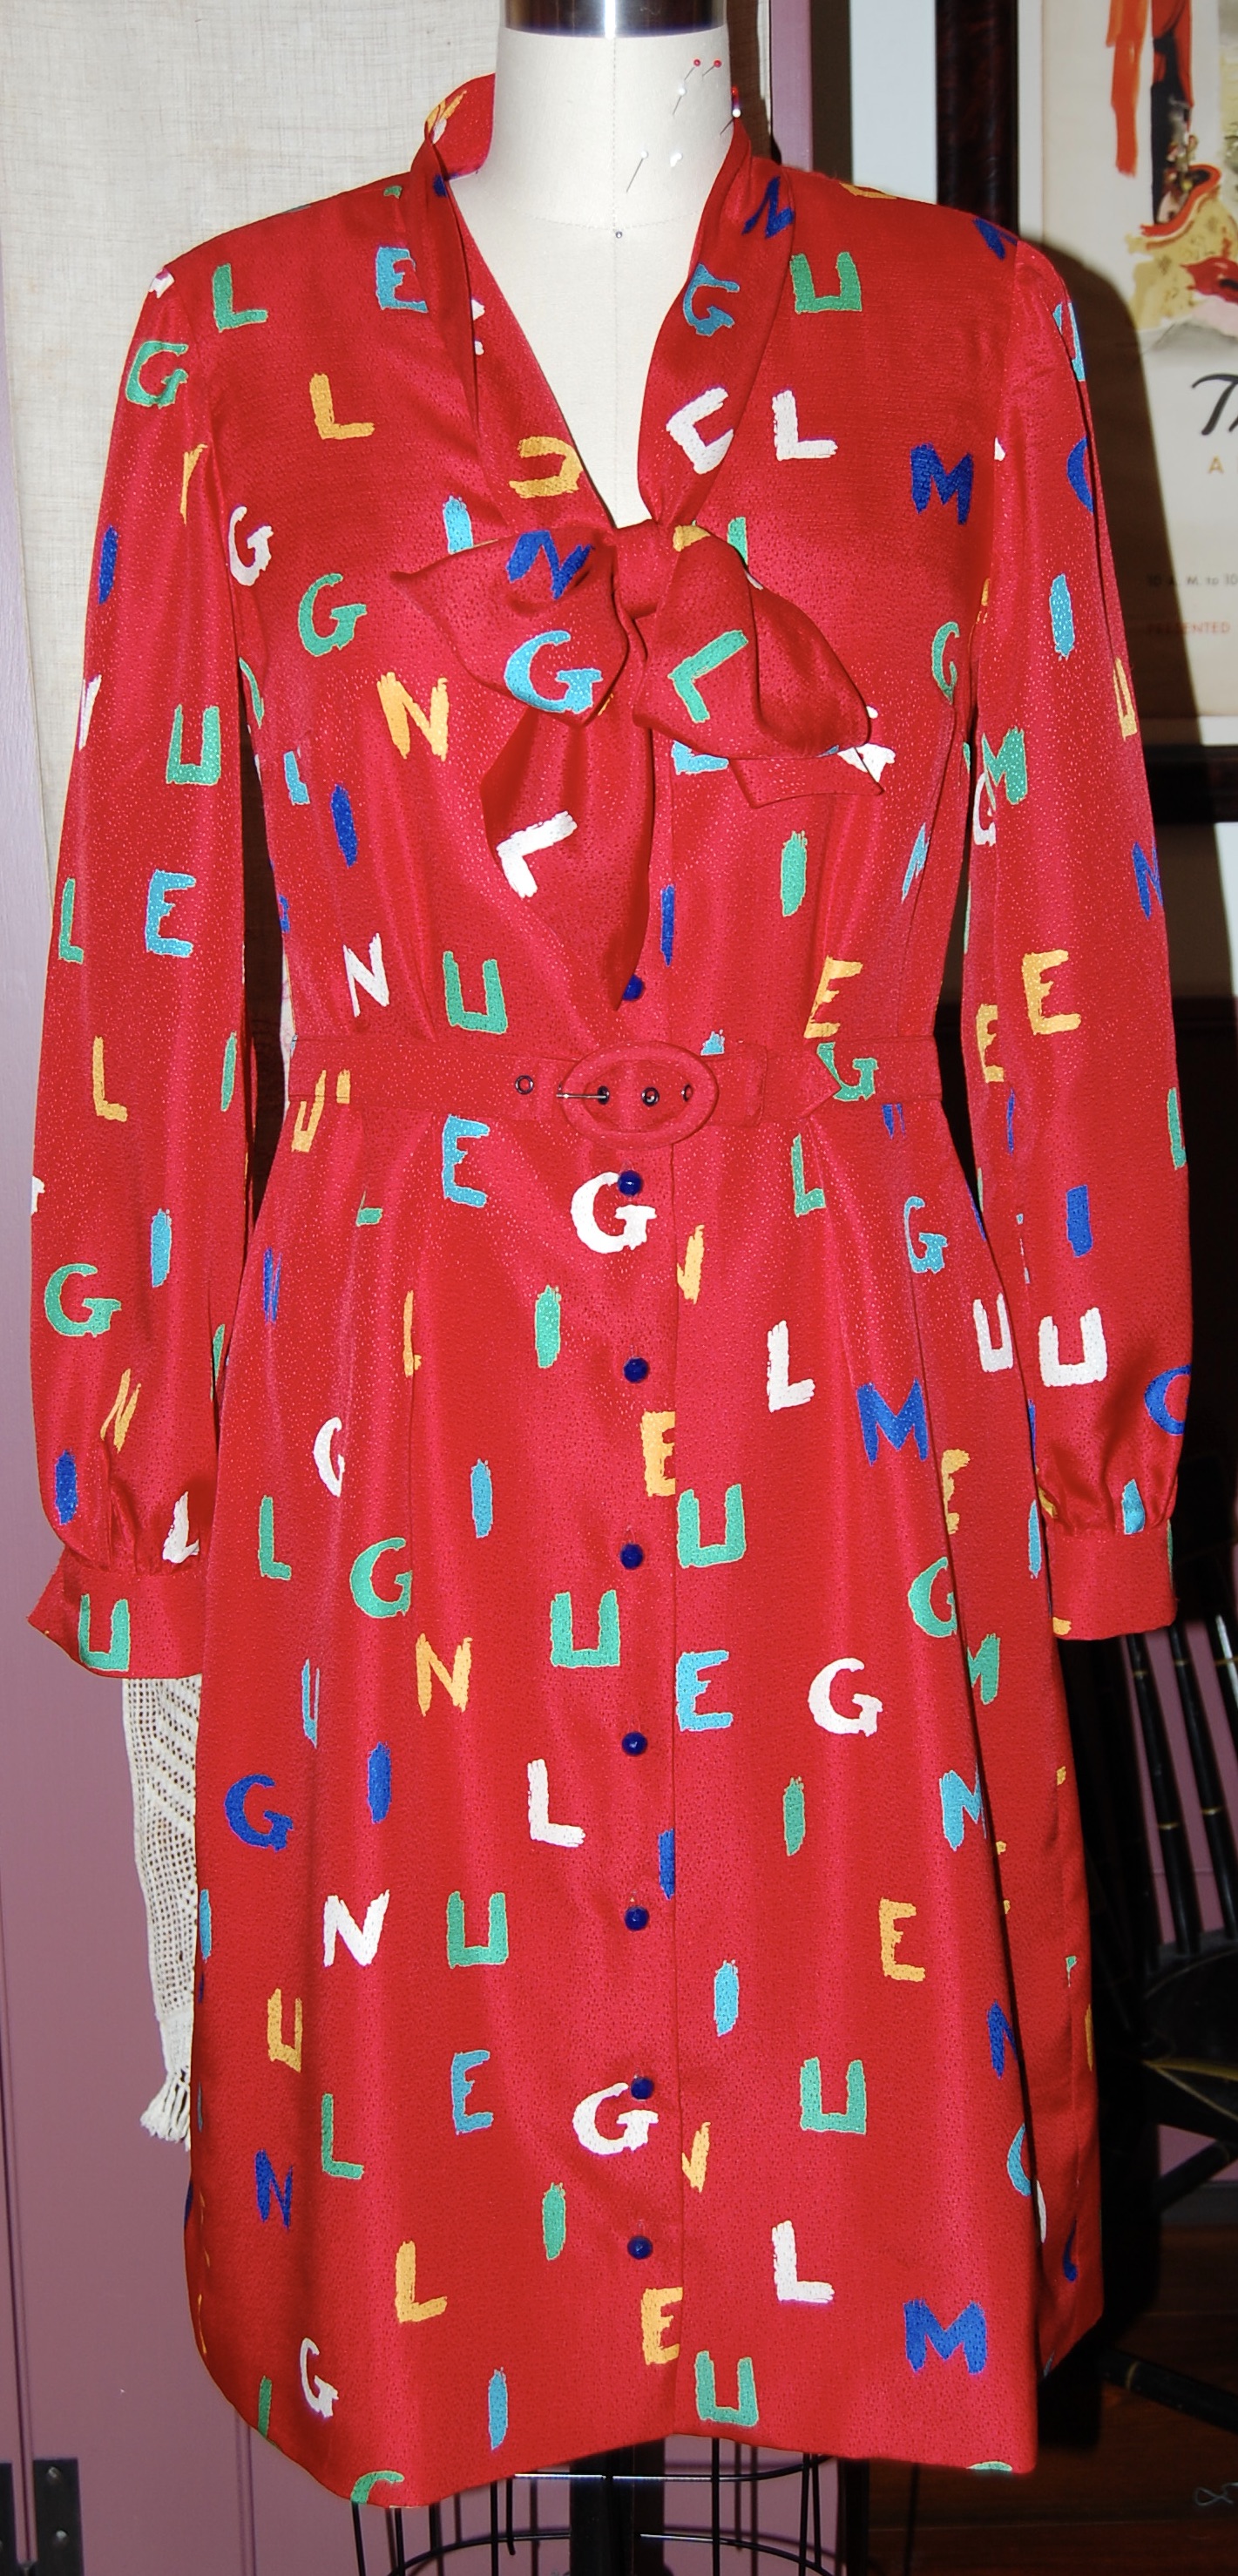
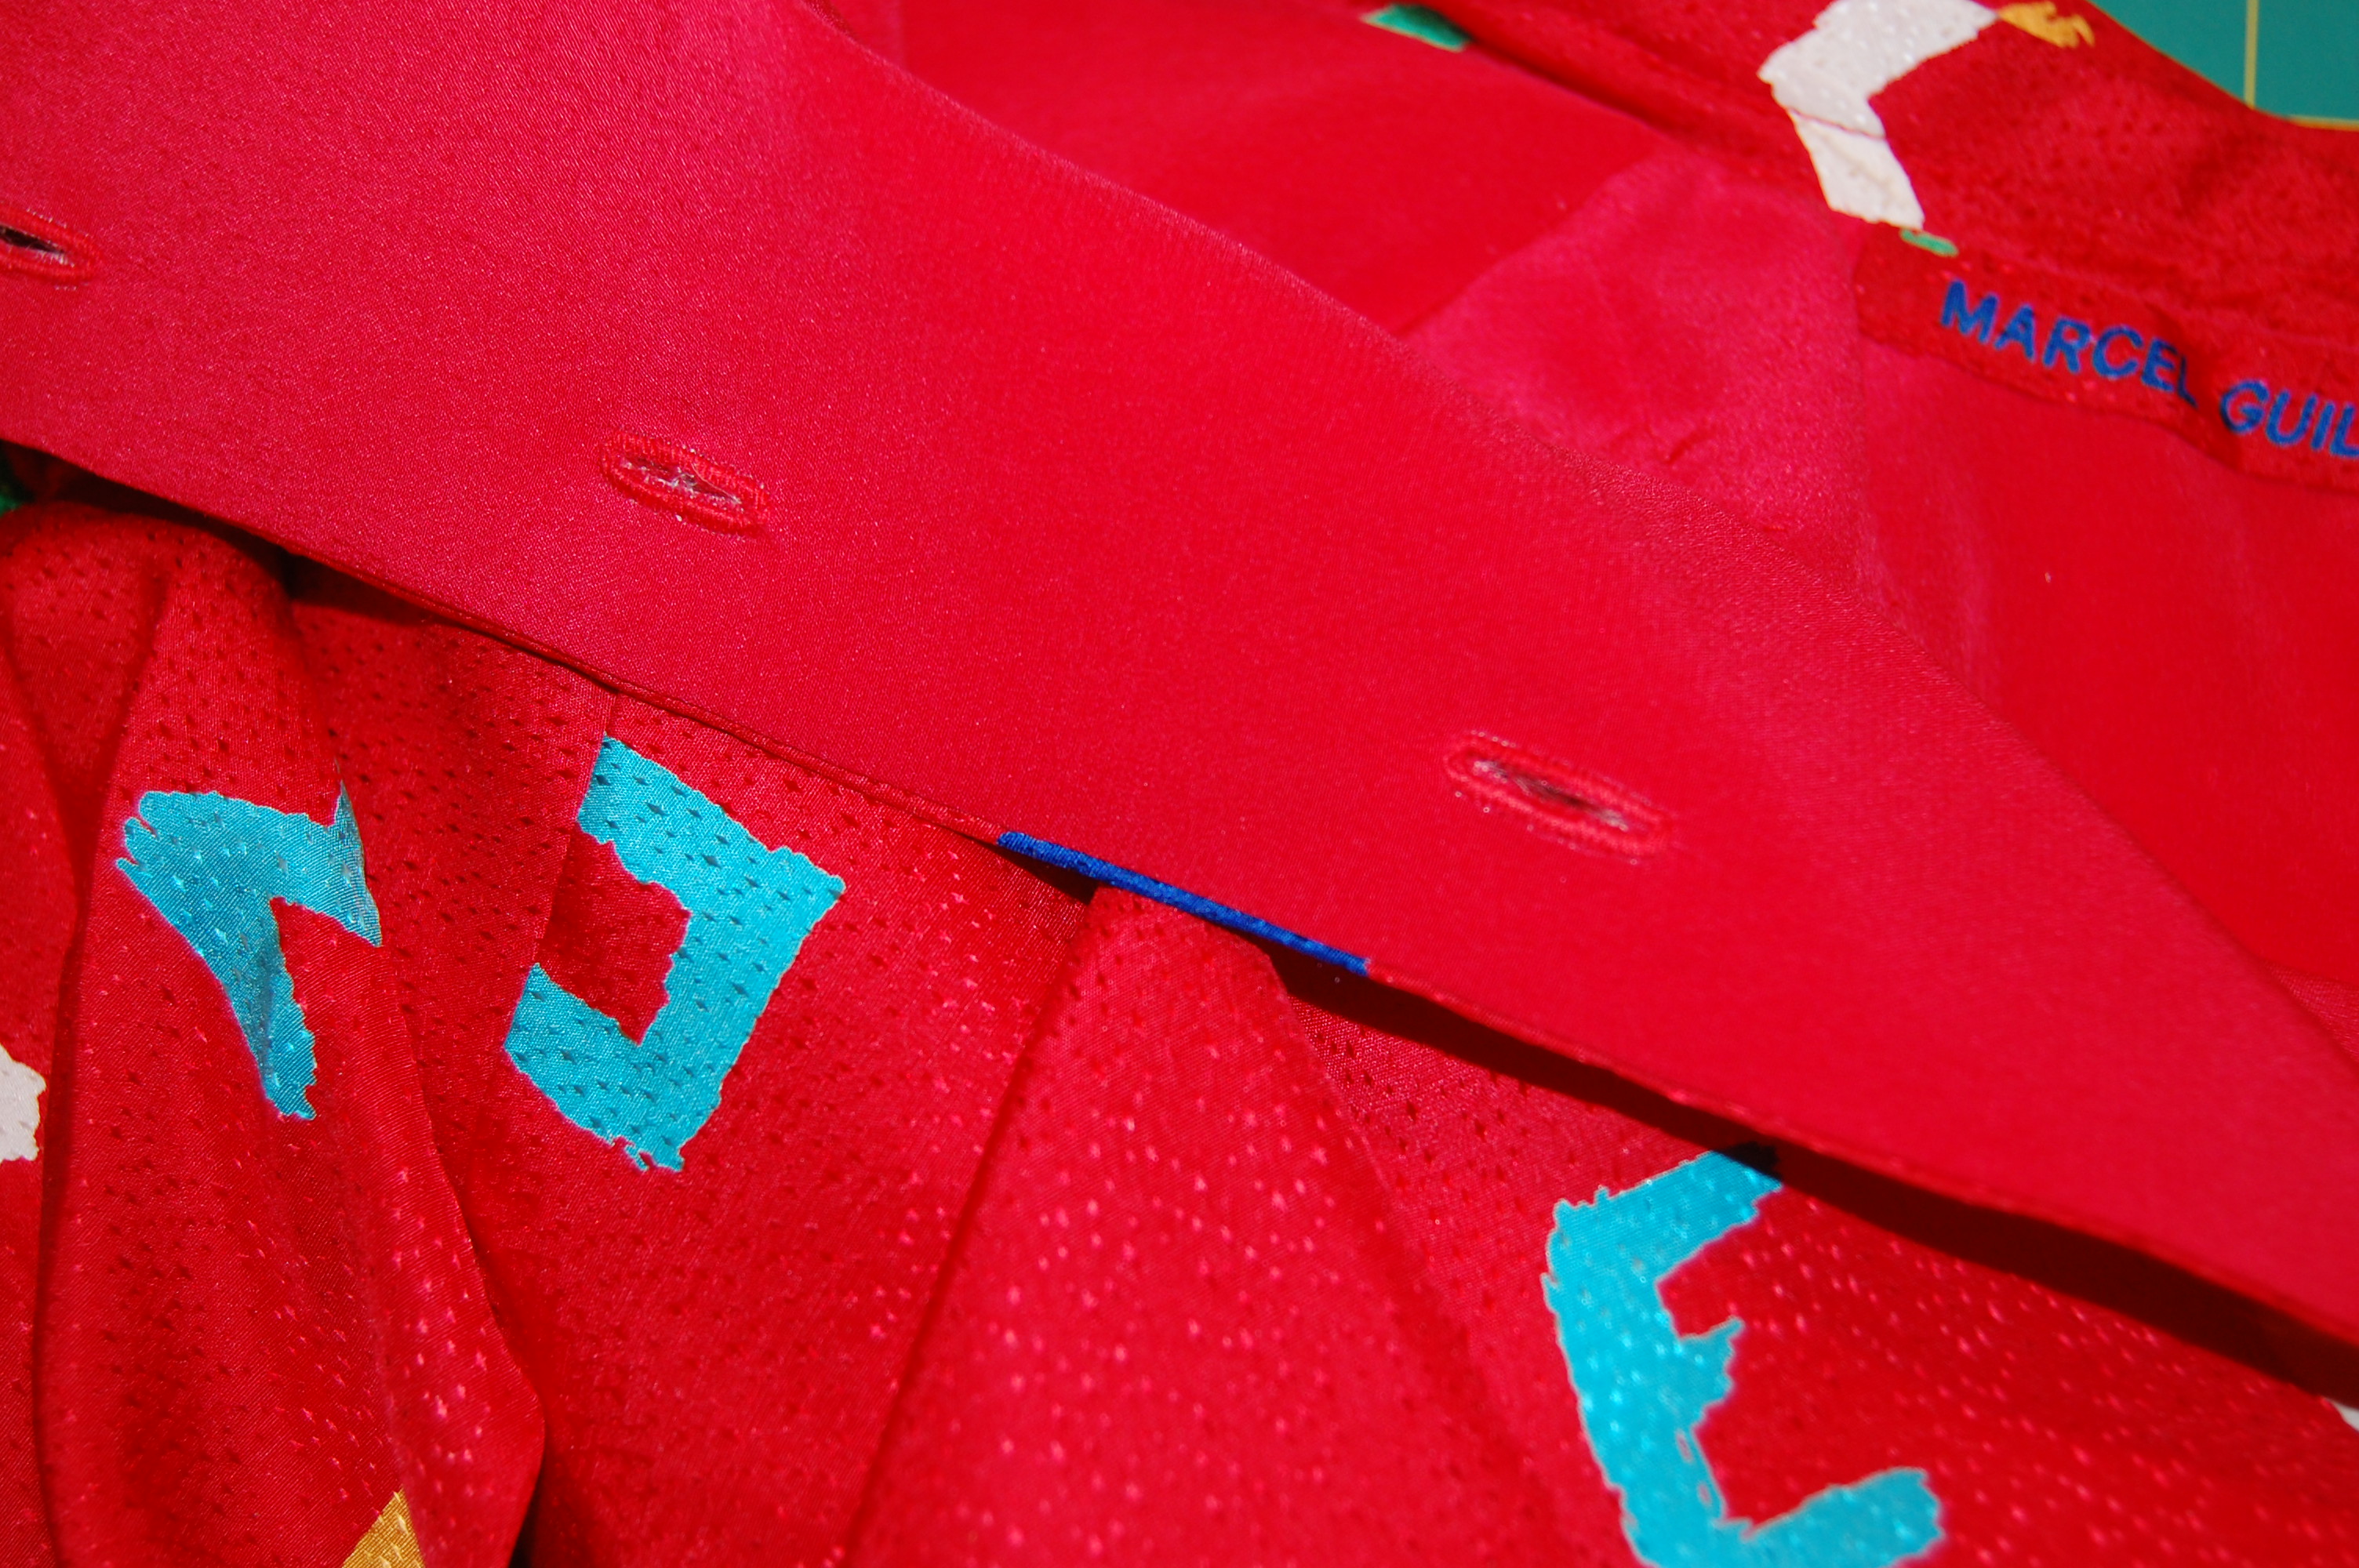
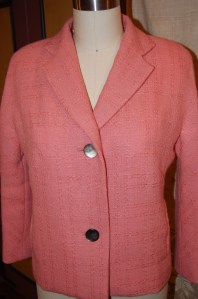
7. A fuchsia-pink silk shirtdress.

I persevered through the tricky construction of this dress made with a slinky silk jacquard charmeuse. I had the opportunity to wear it twice this past Fall. Perhaps the trending, pink “Barbie theme” contributed, but this dress proved to be a magnet for compliments at each wearing. How rewarding after all the trouble it gave me!
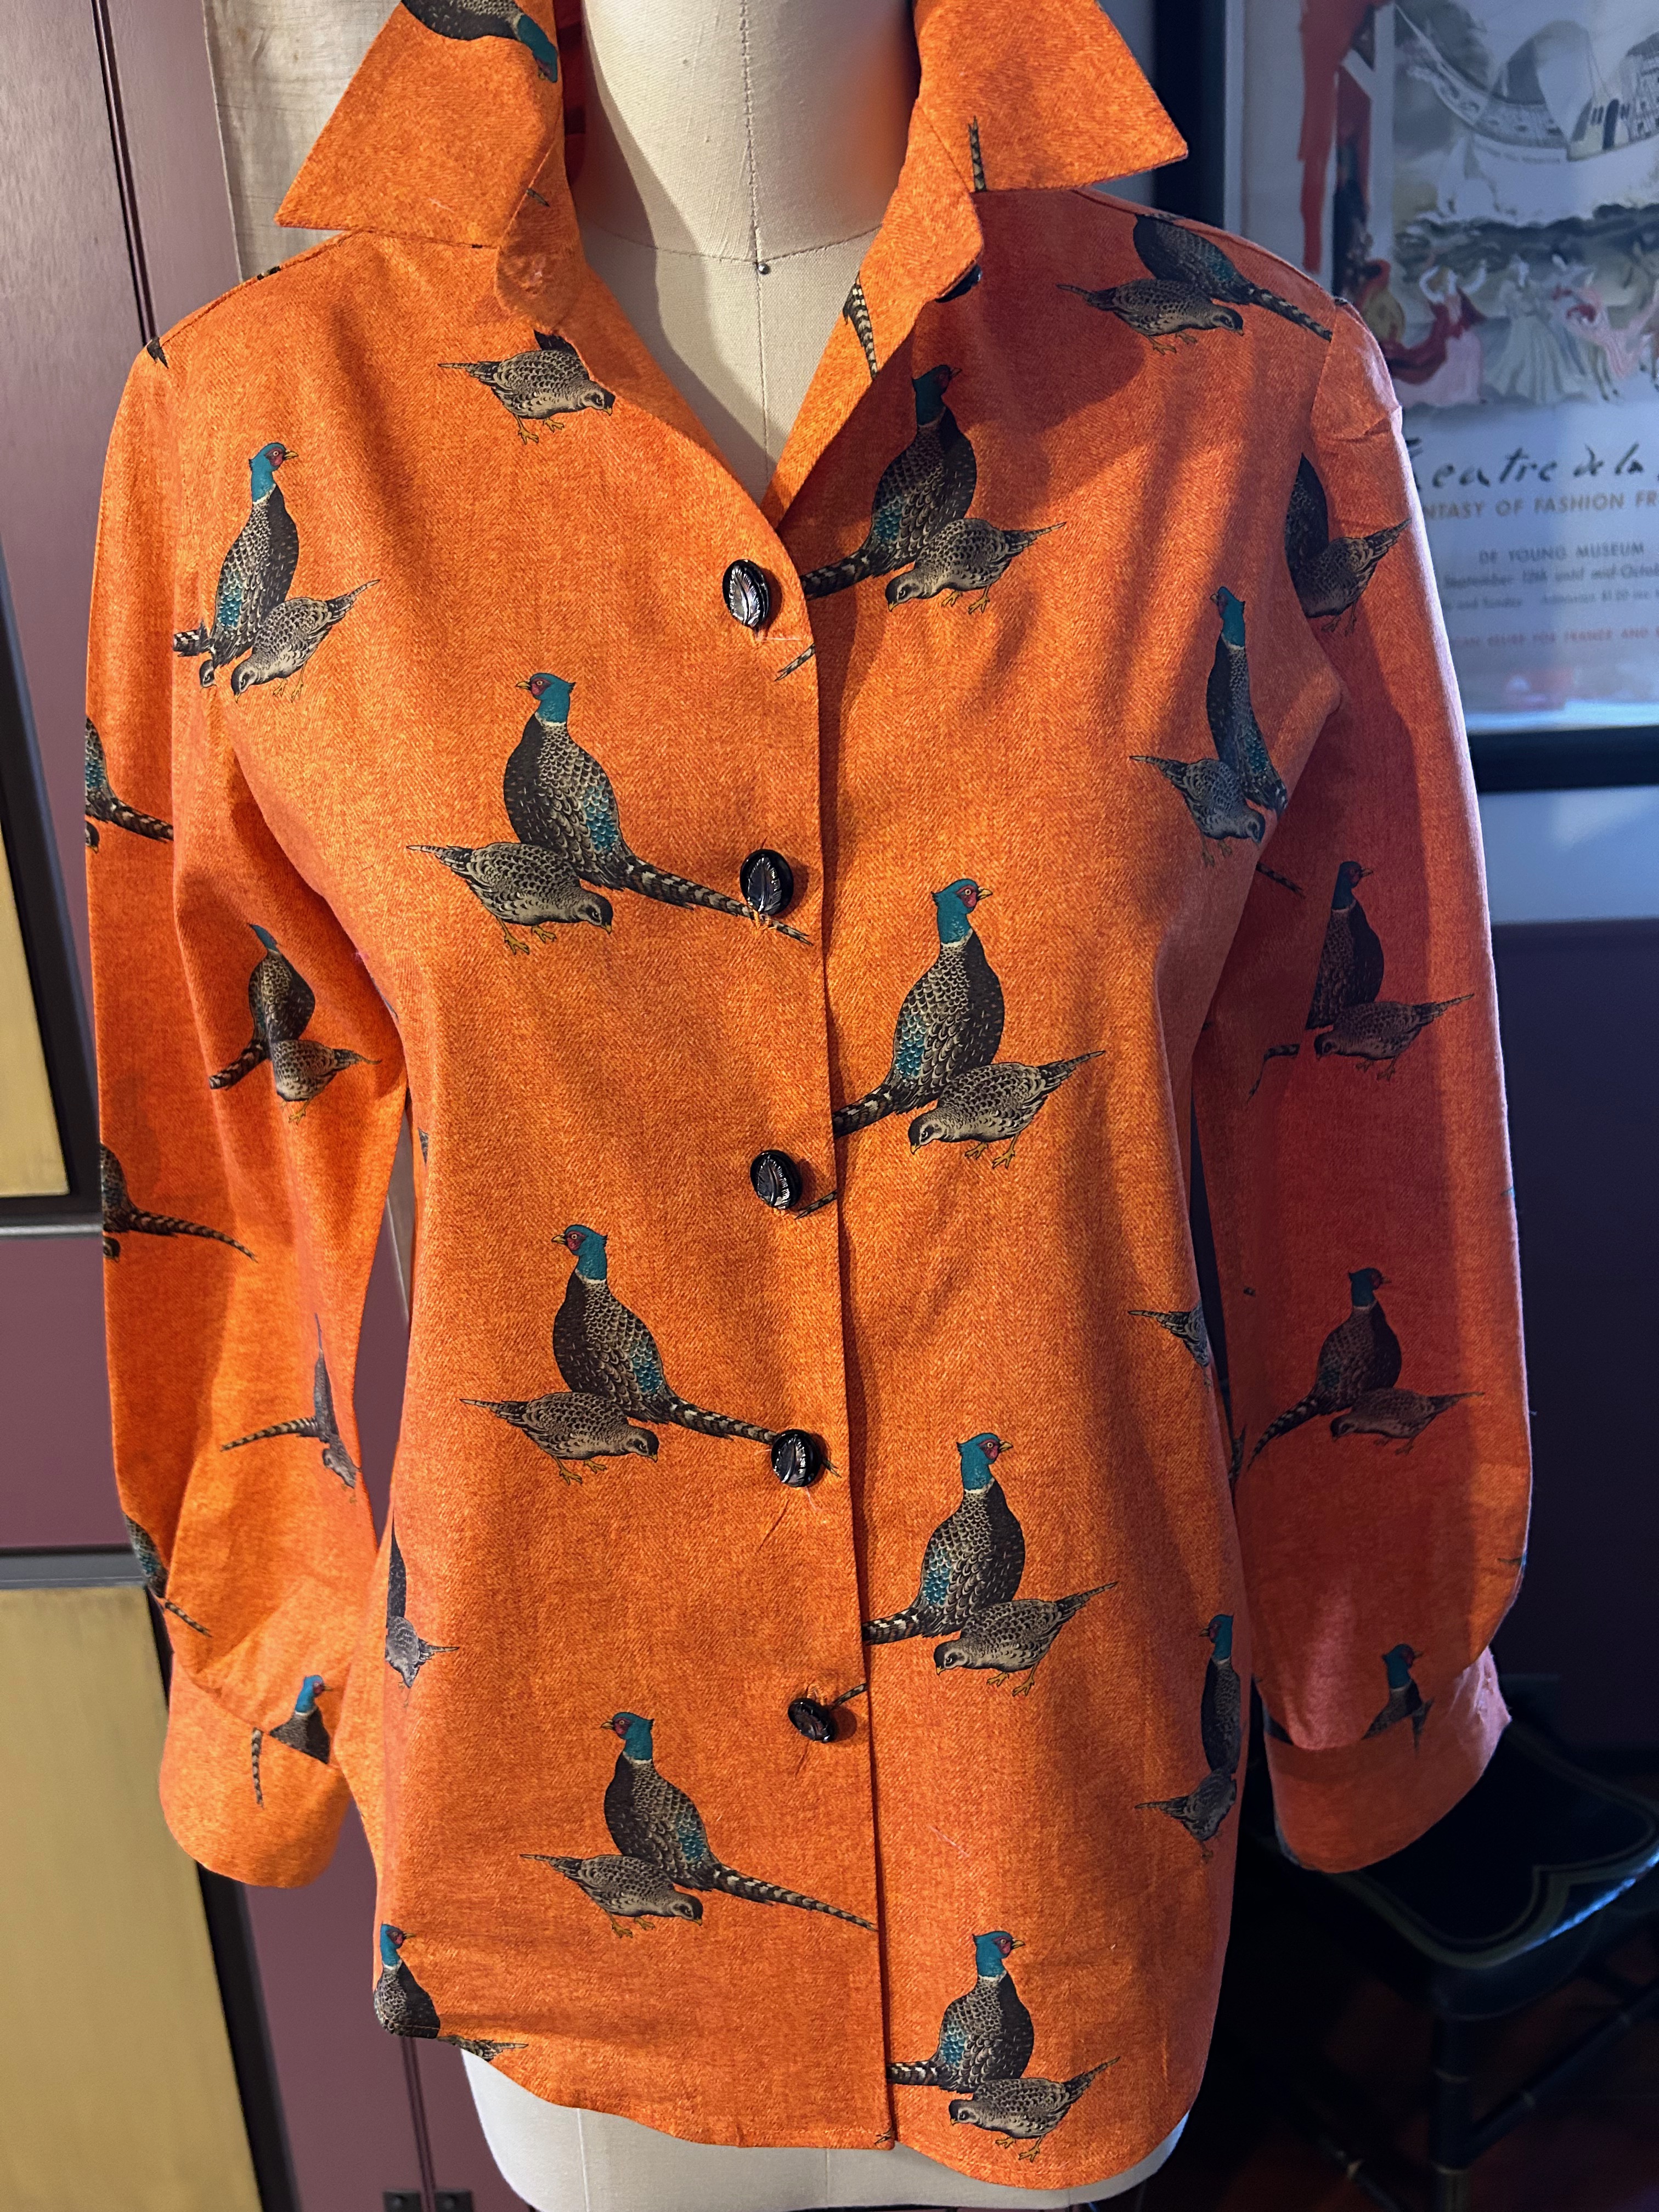
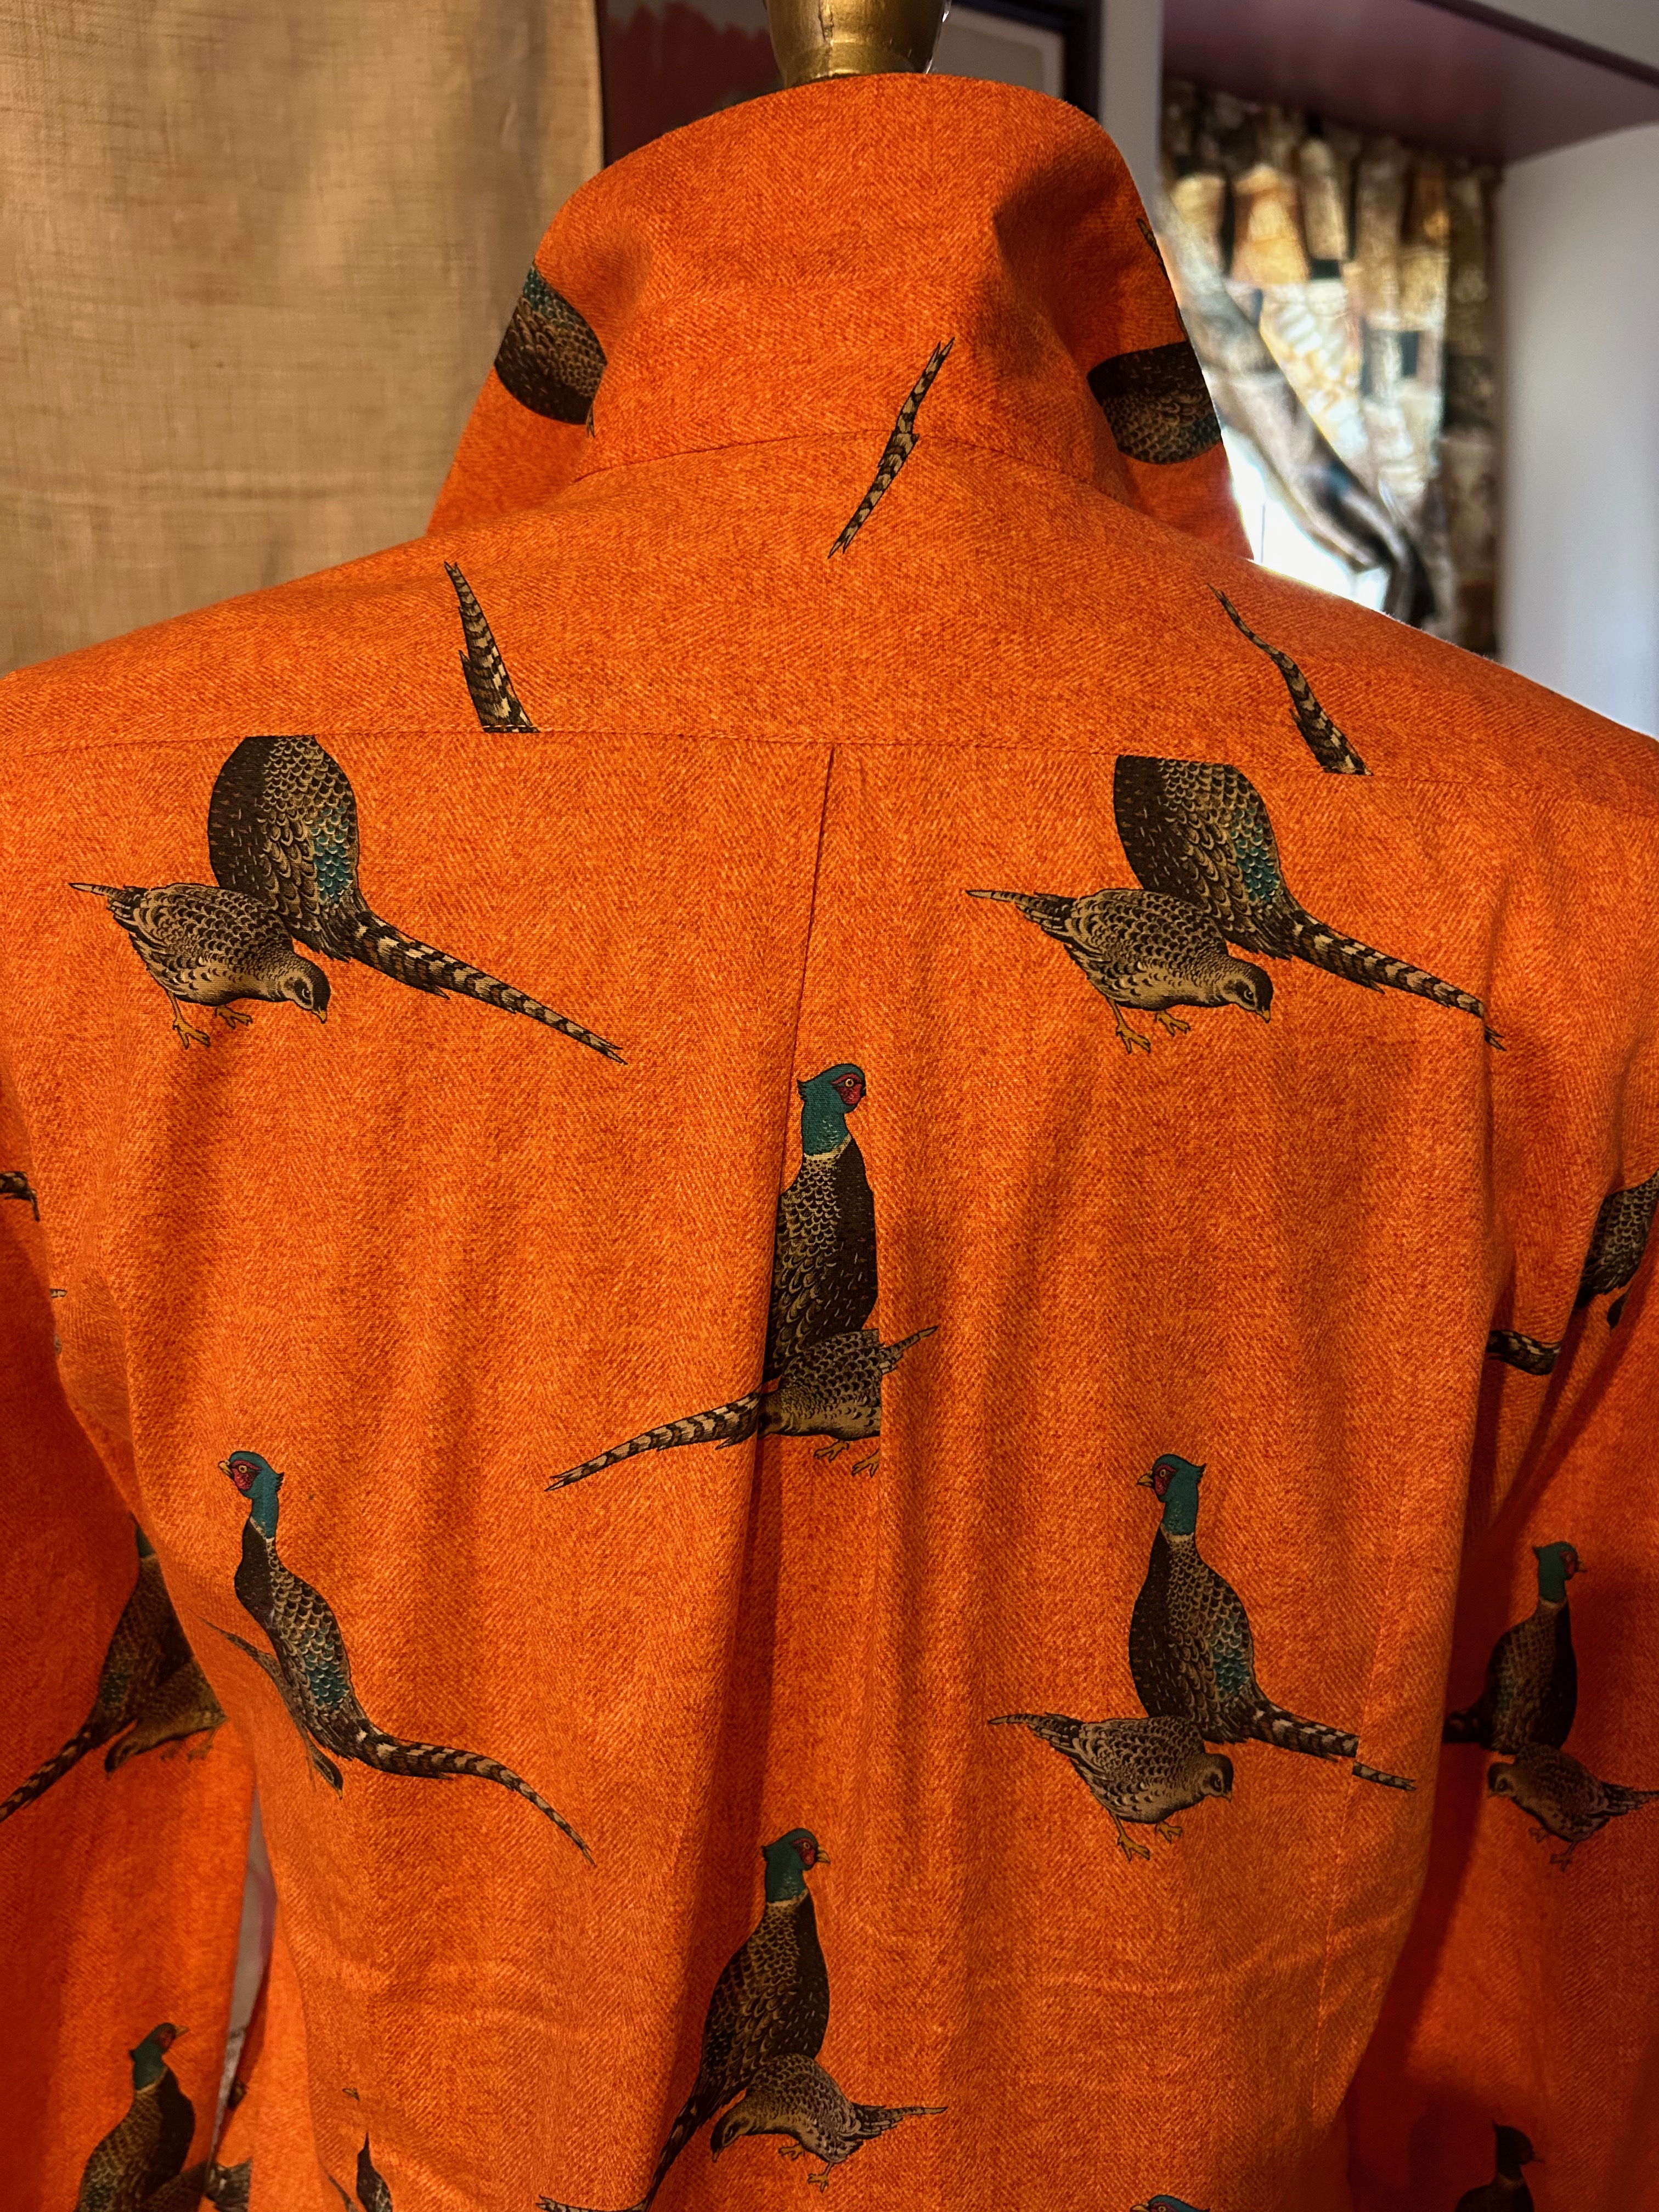
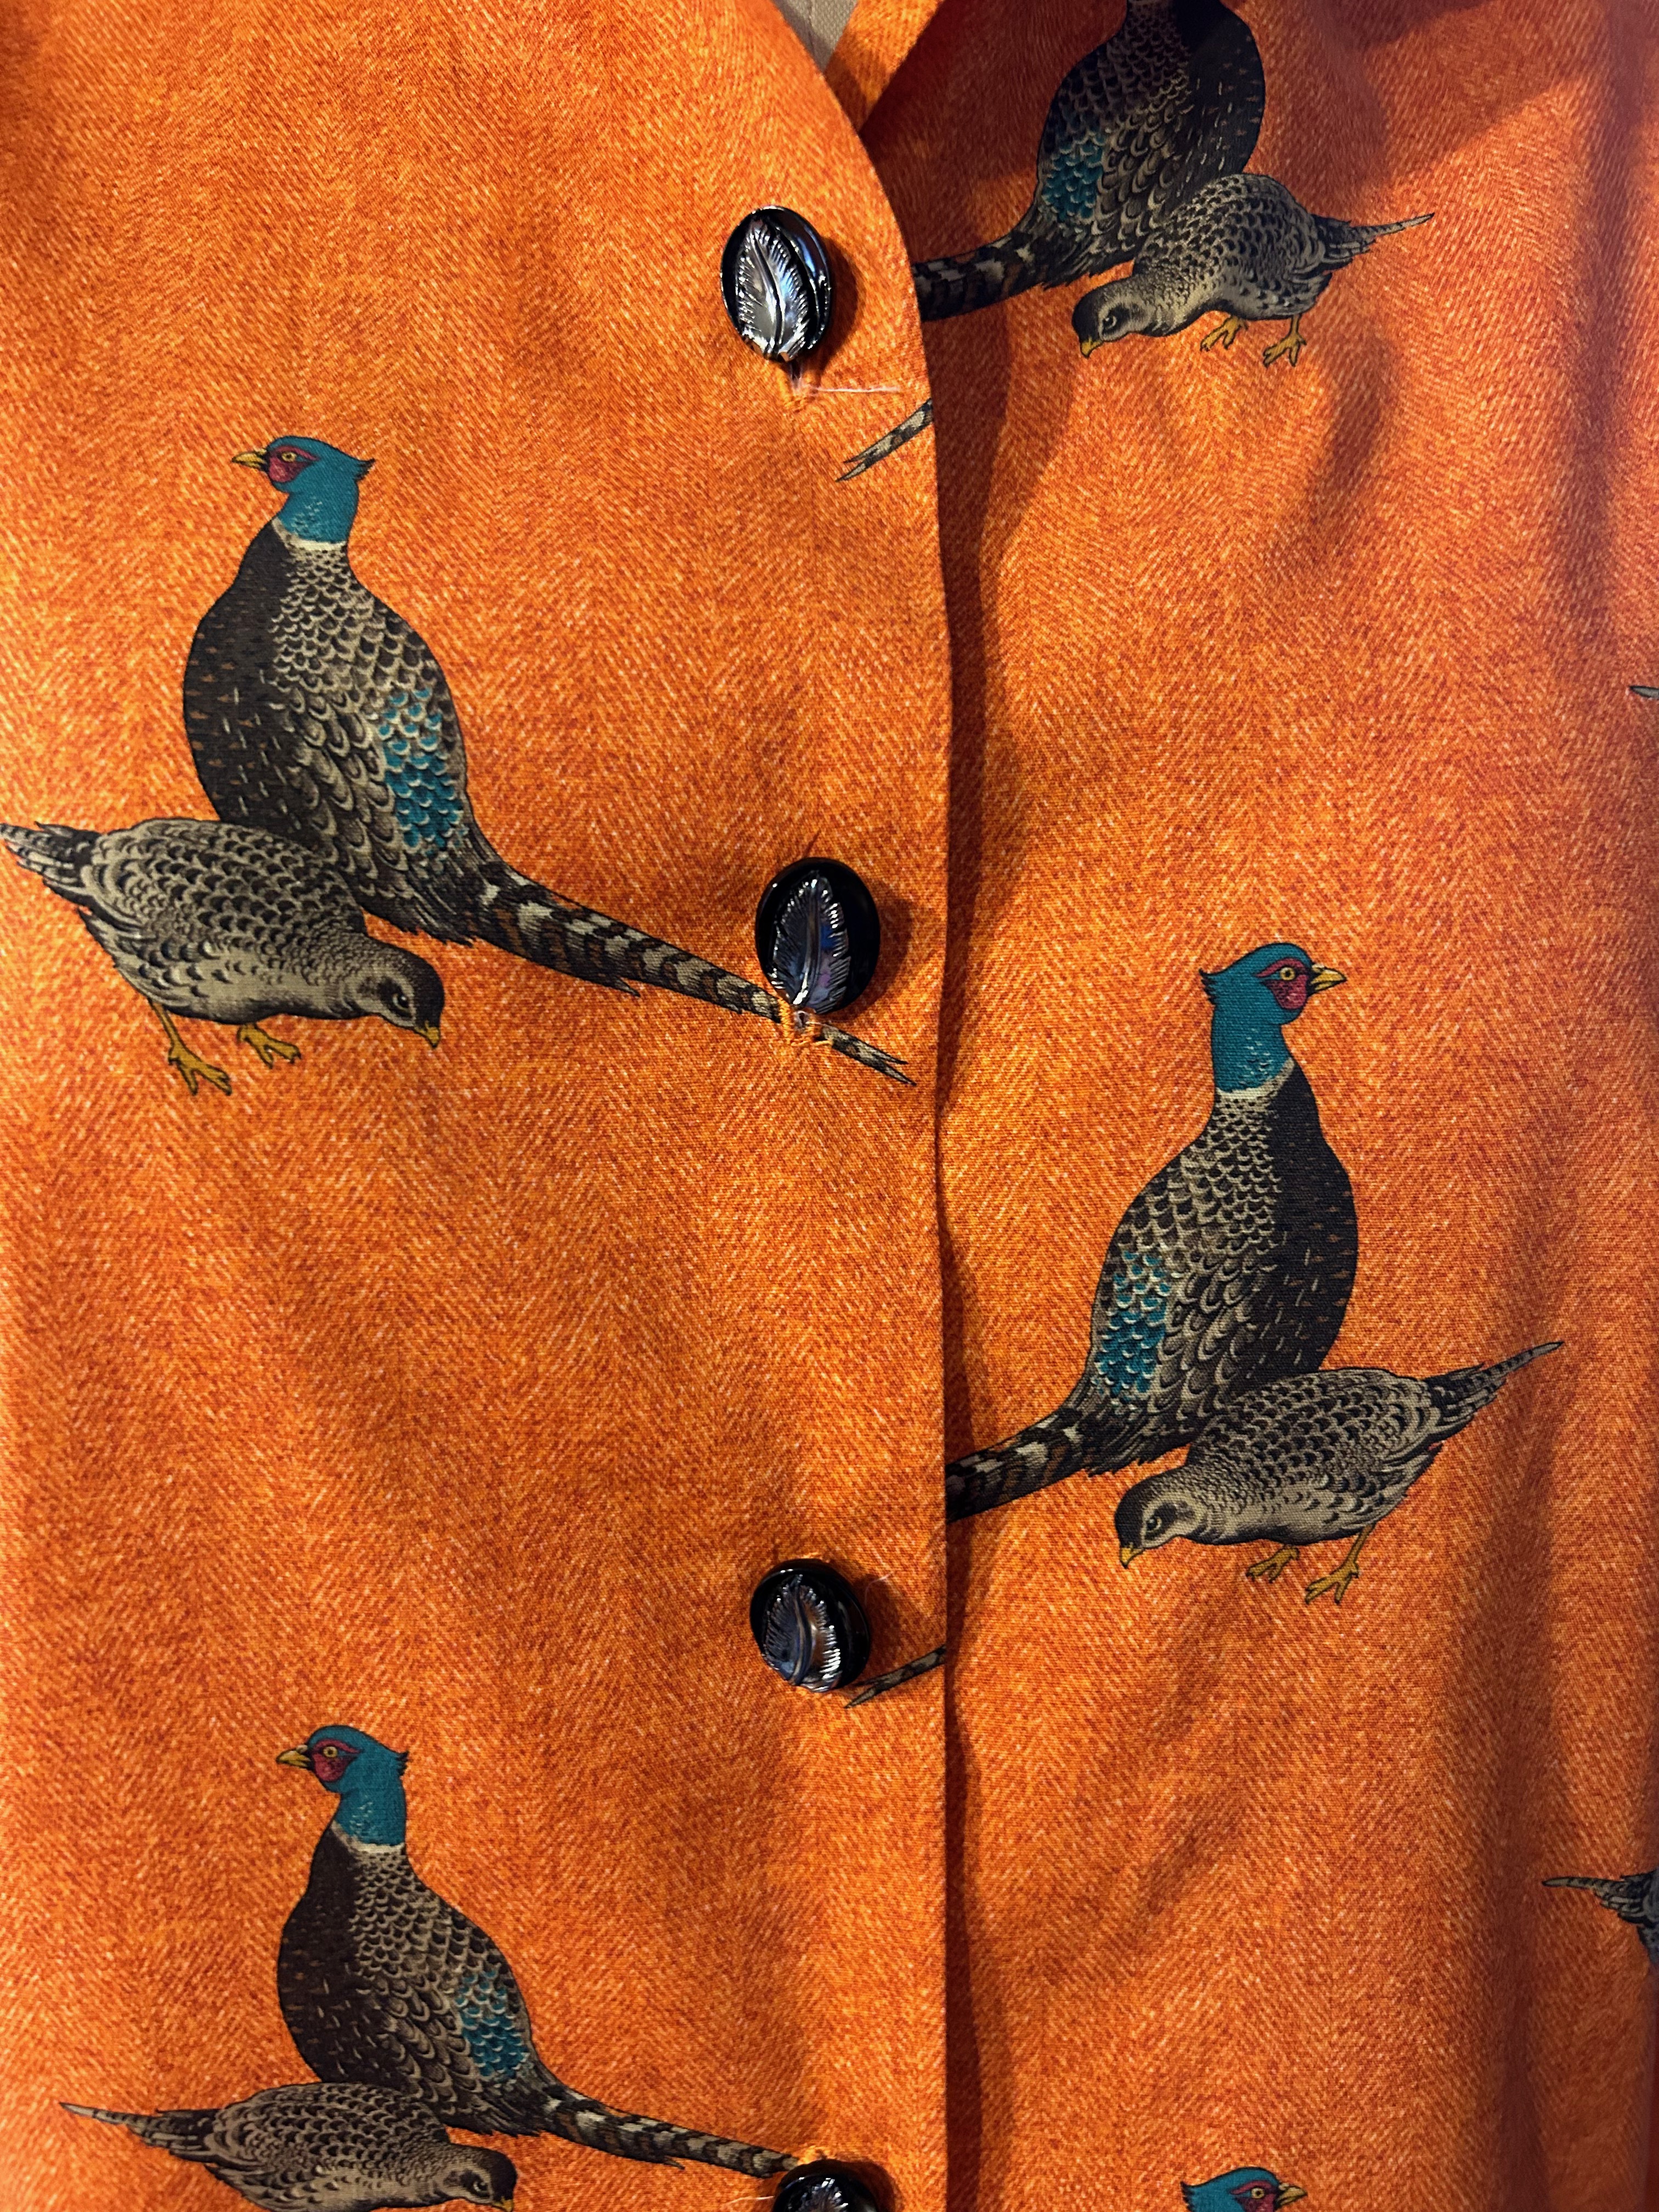
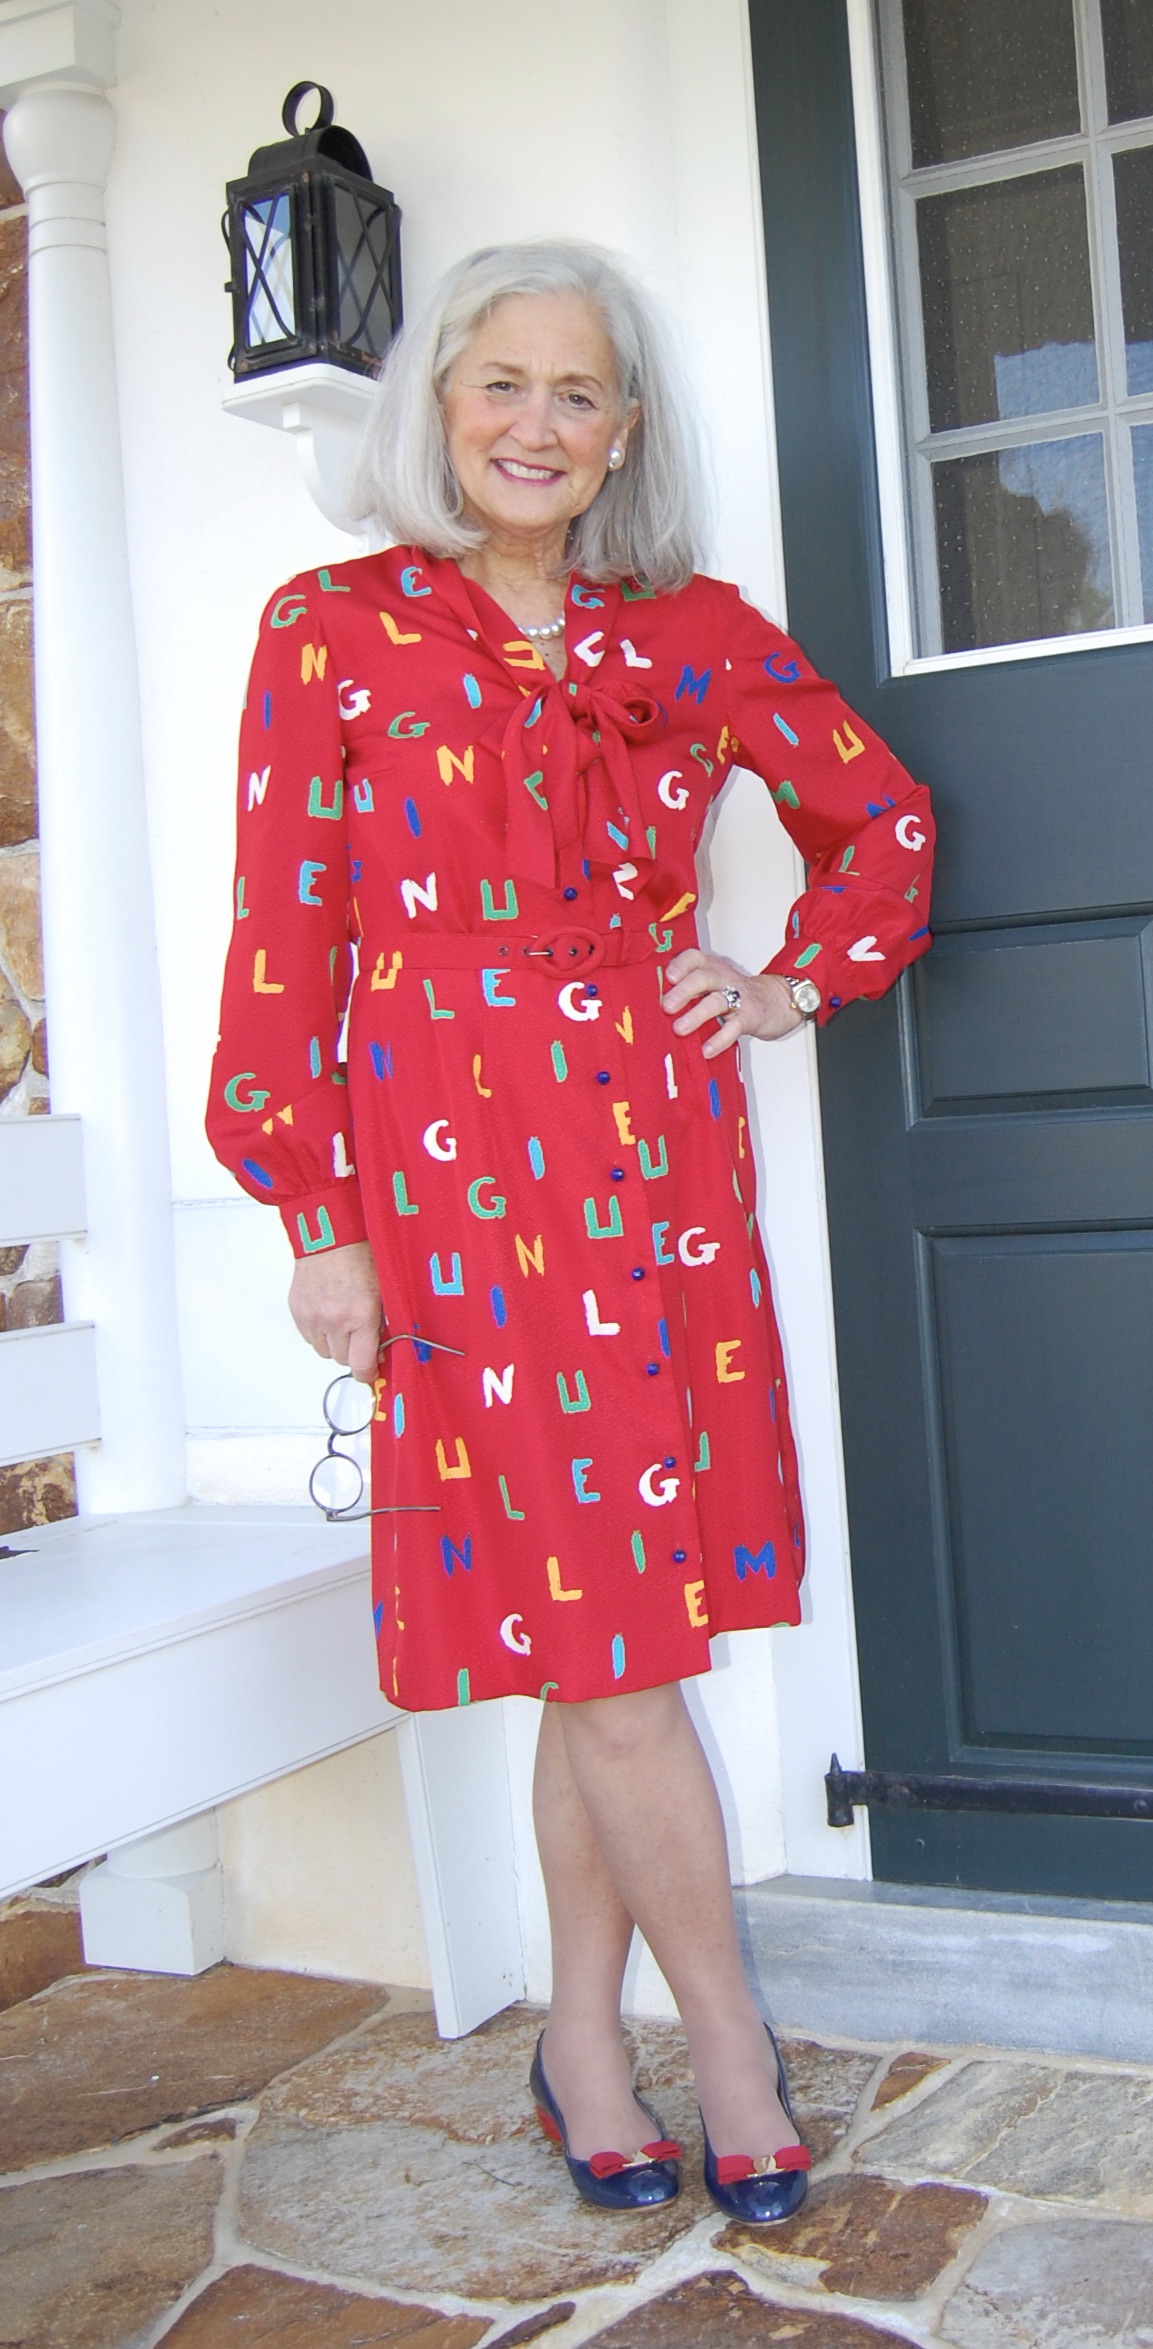
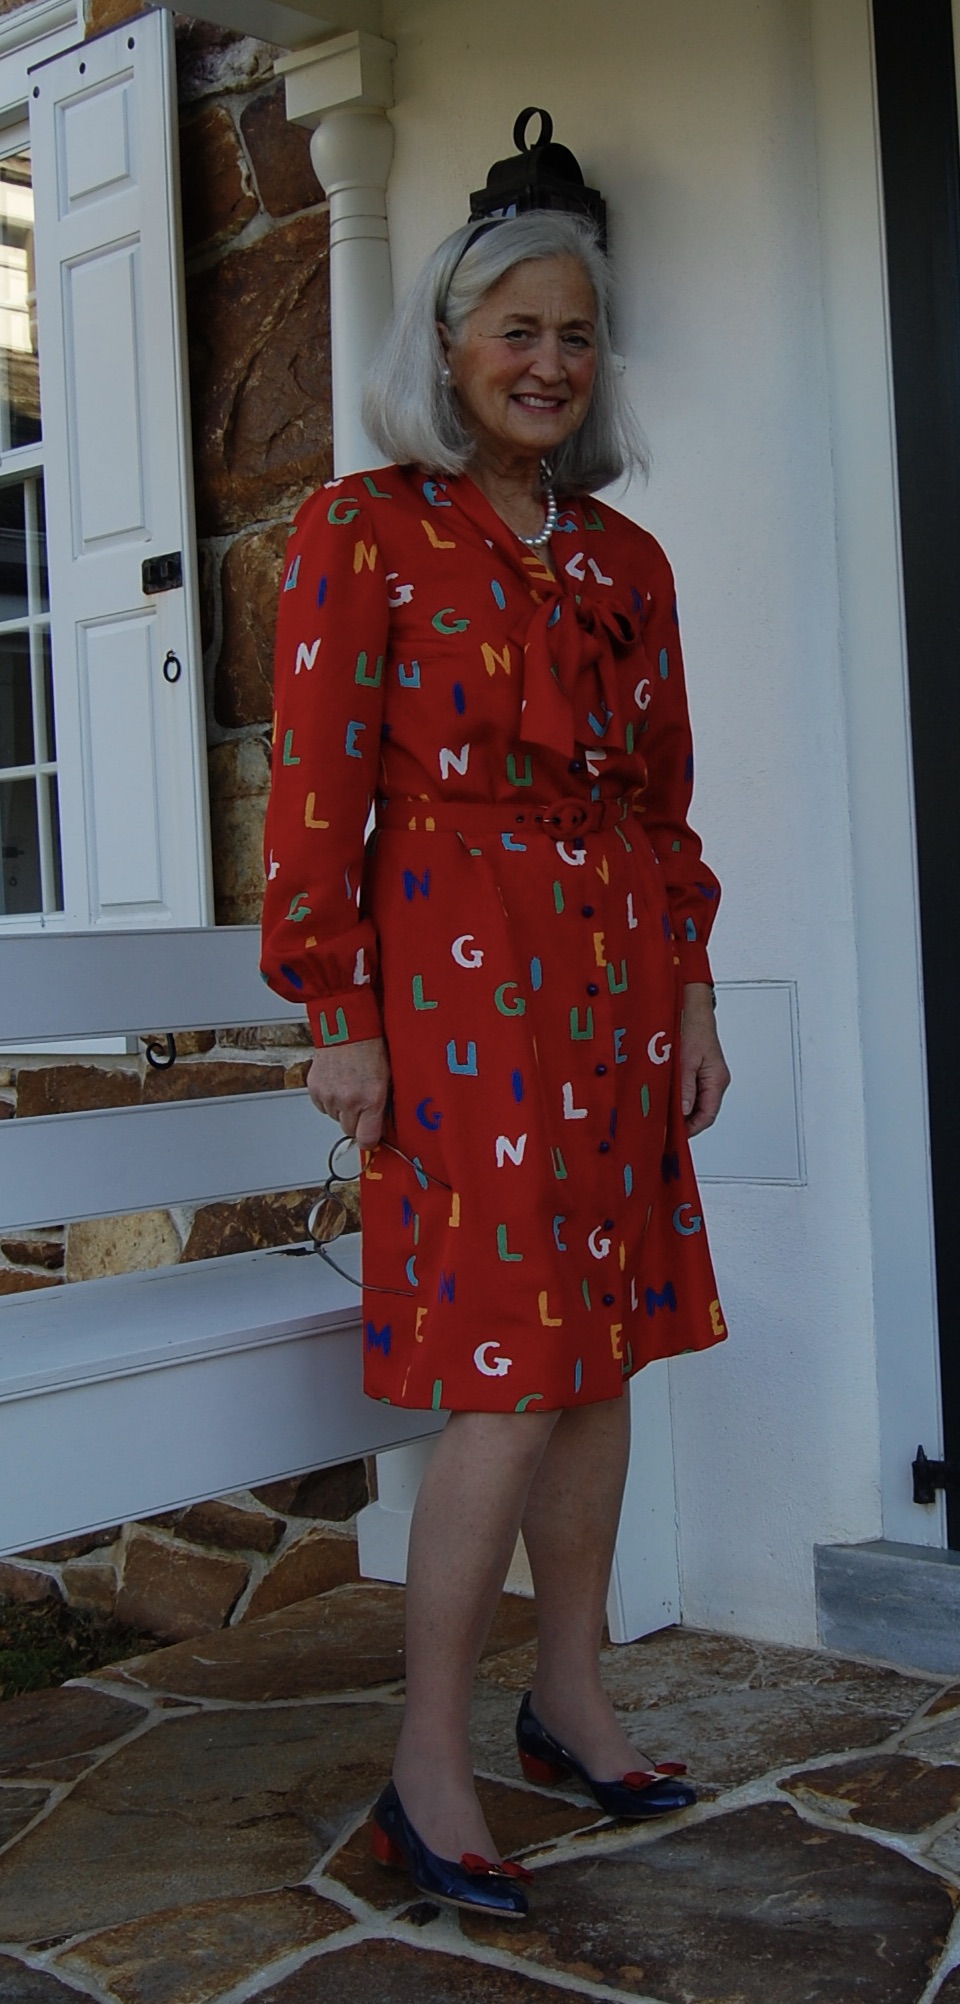
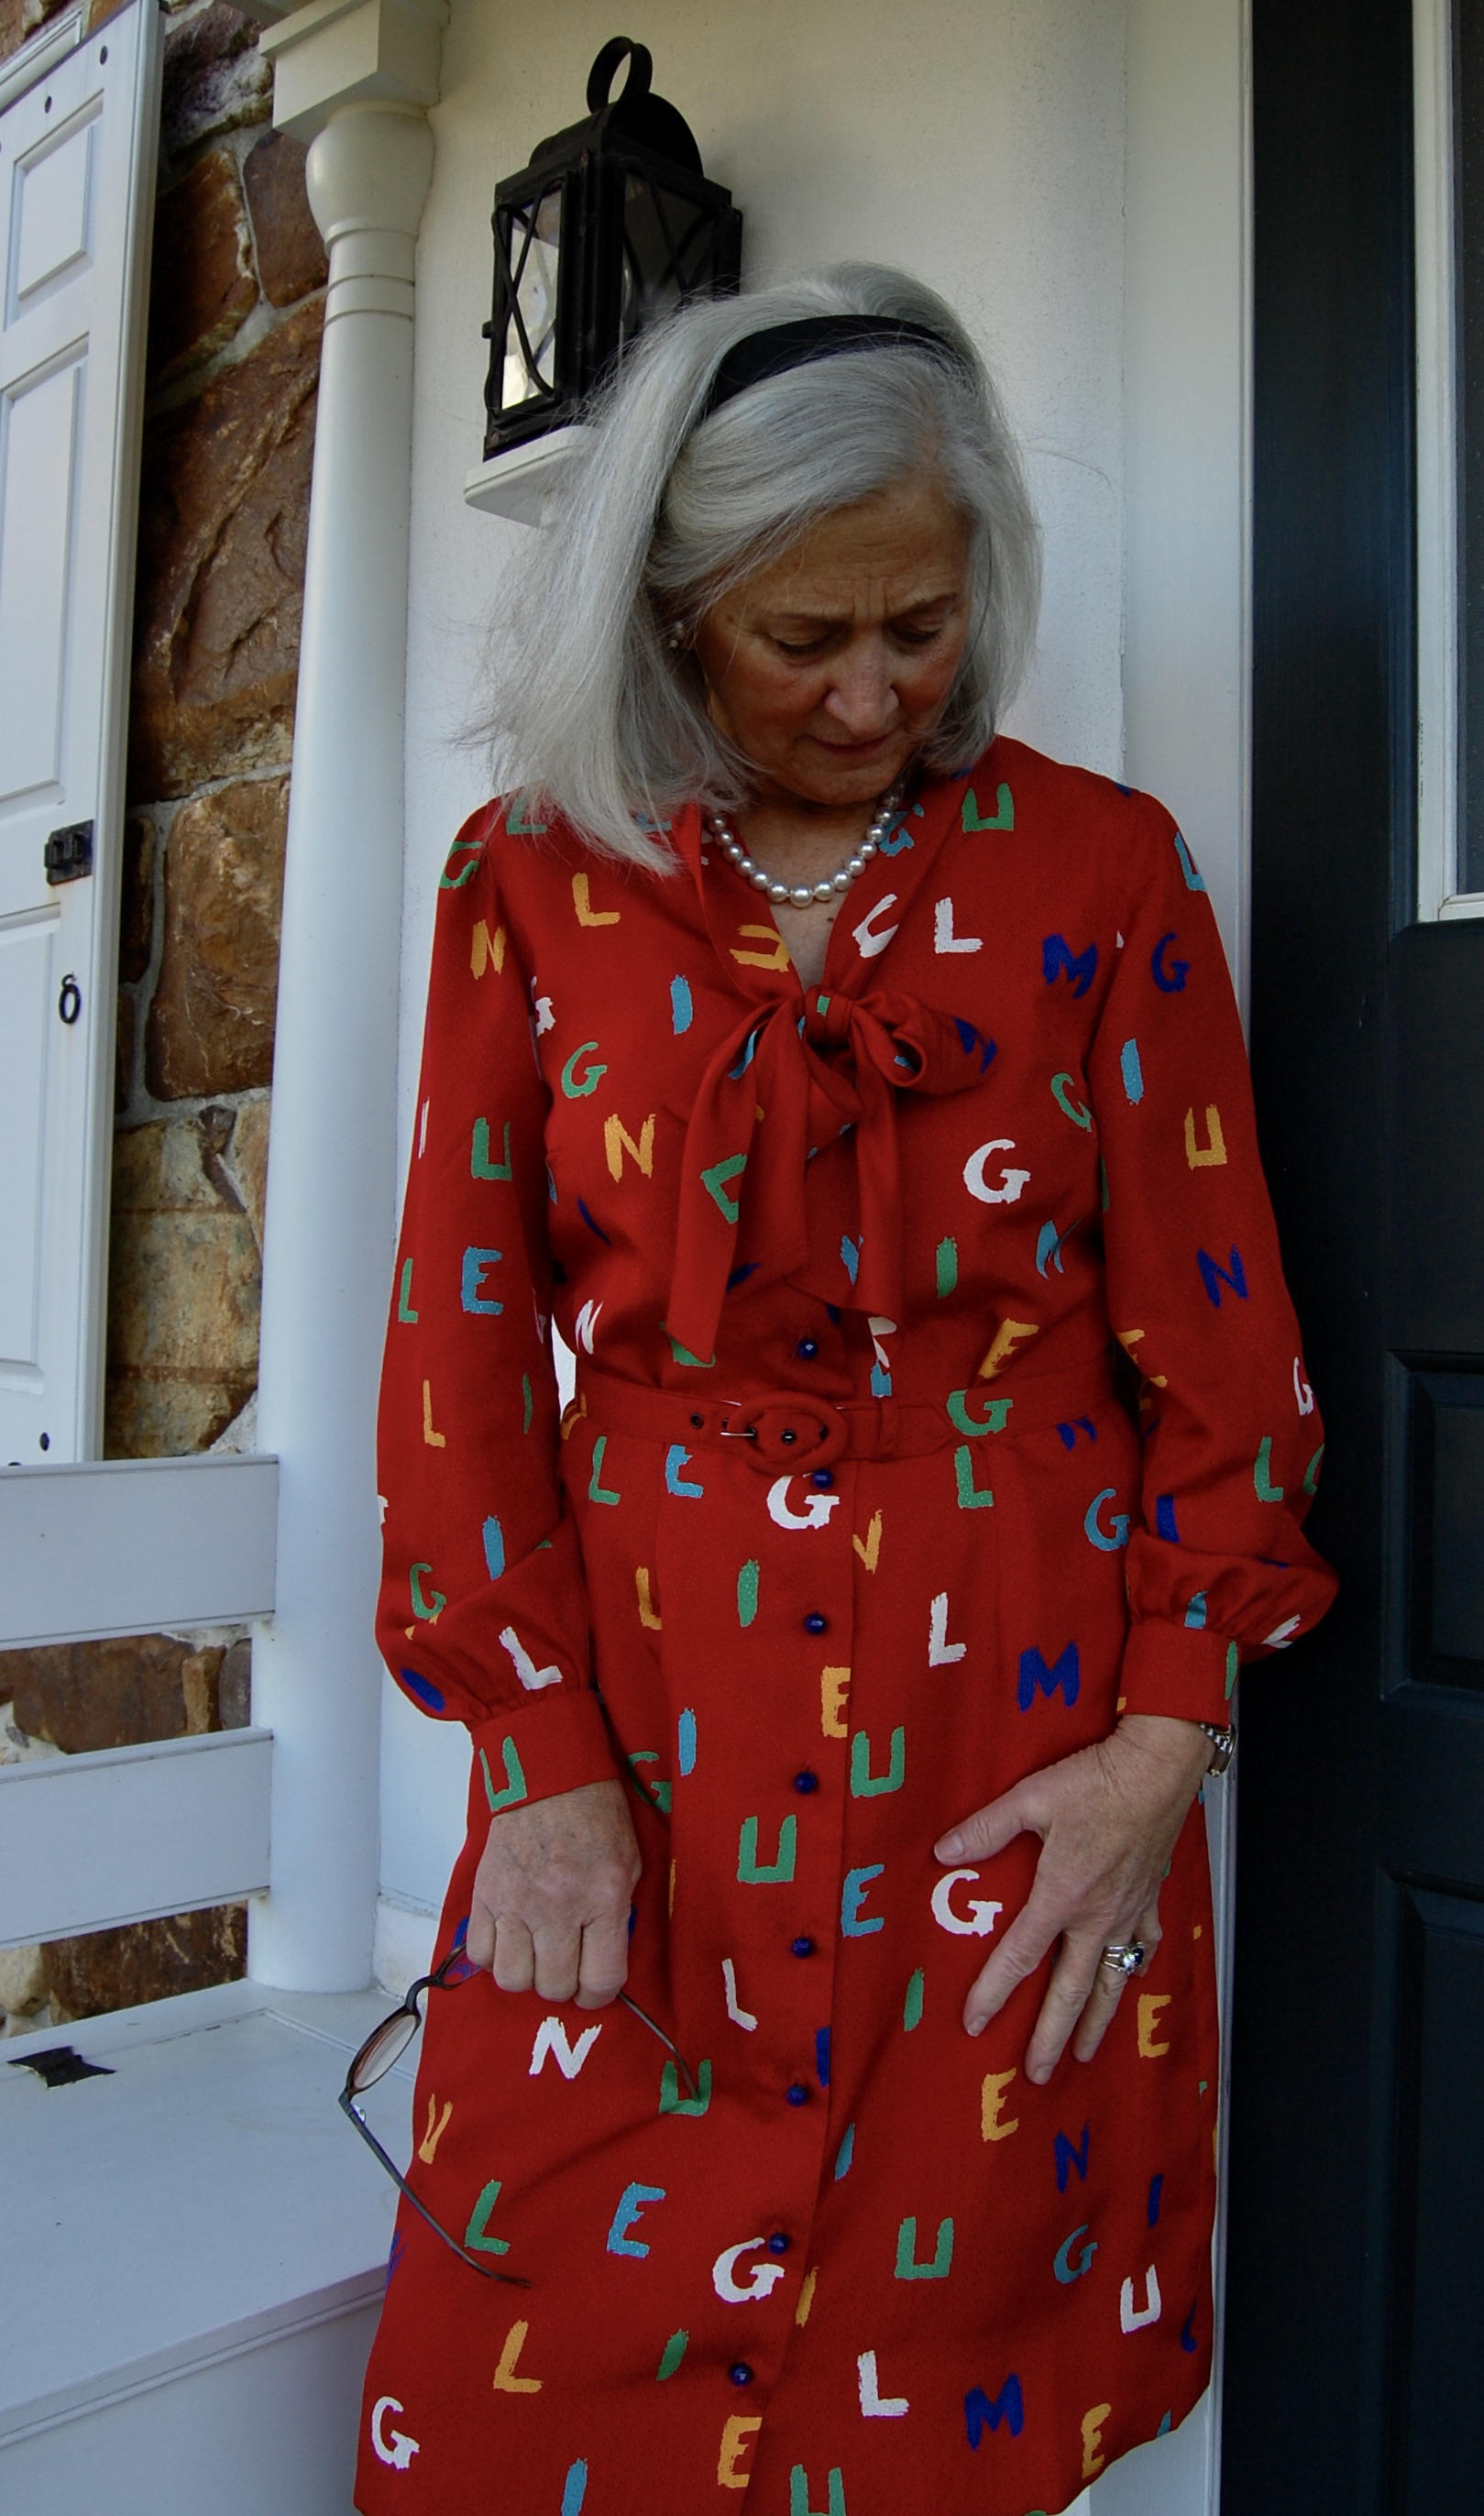
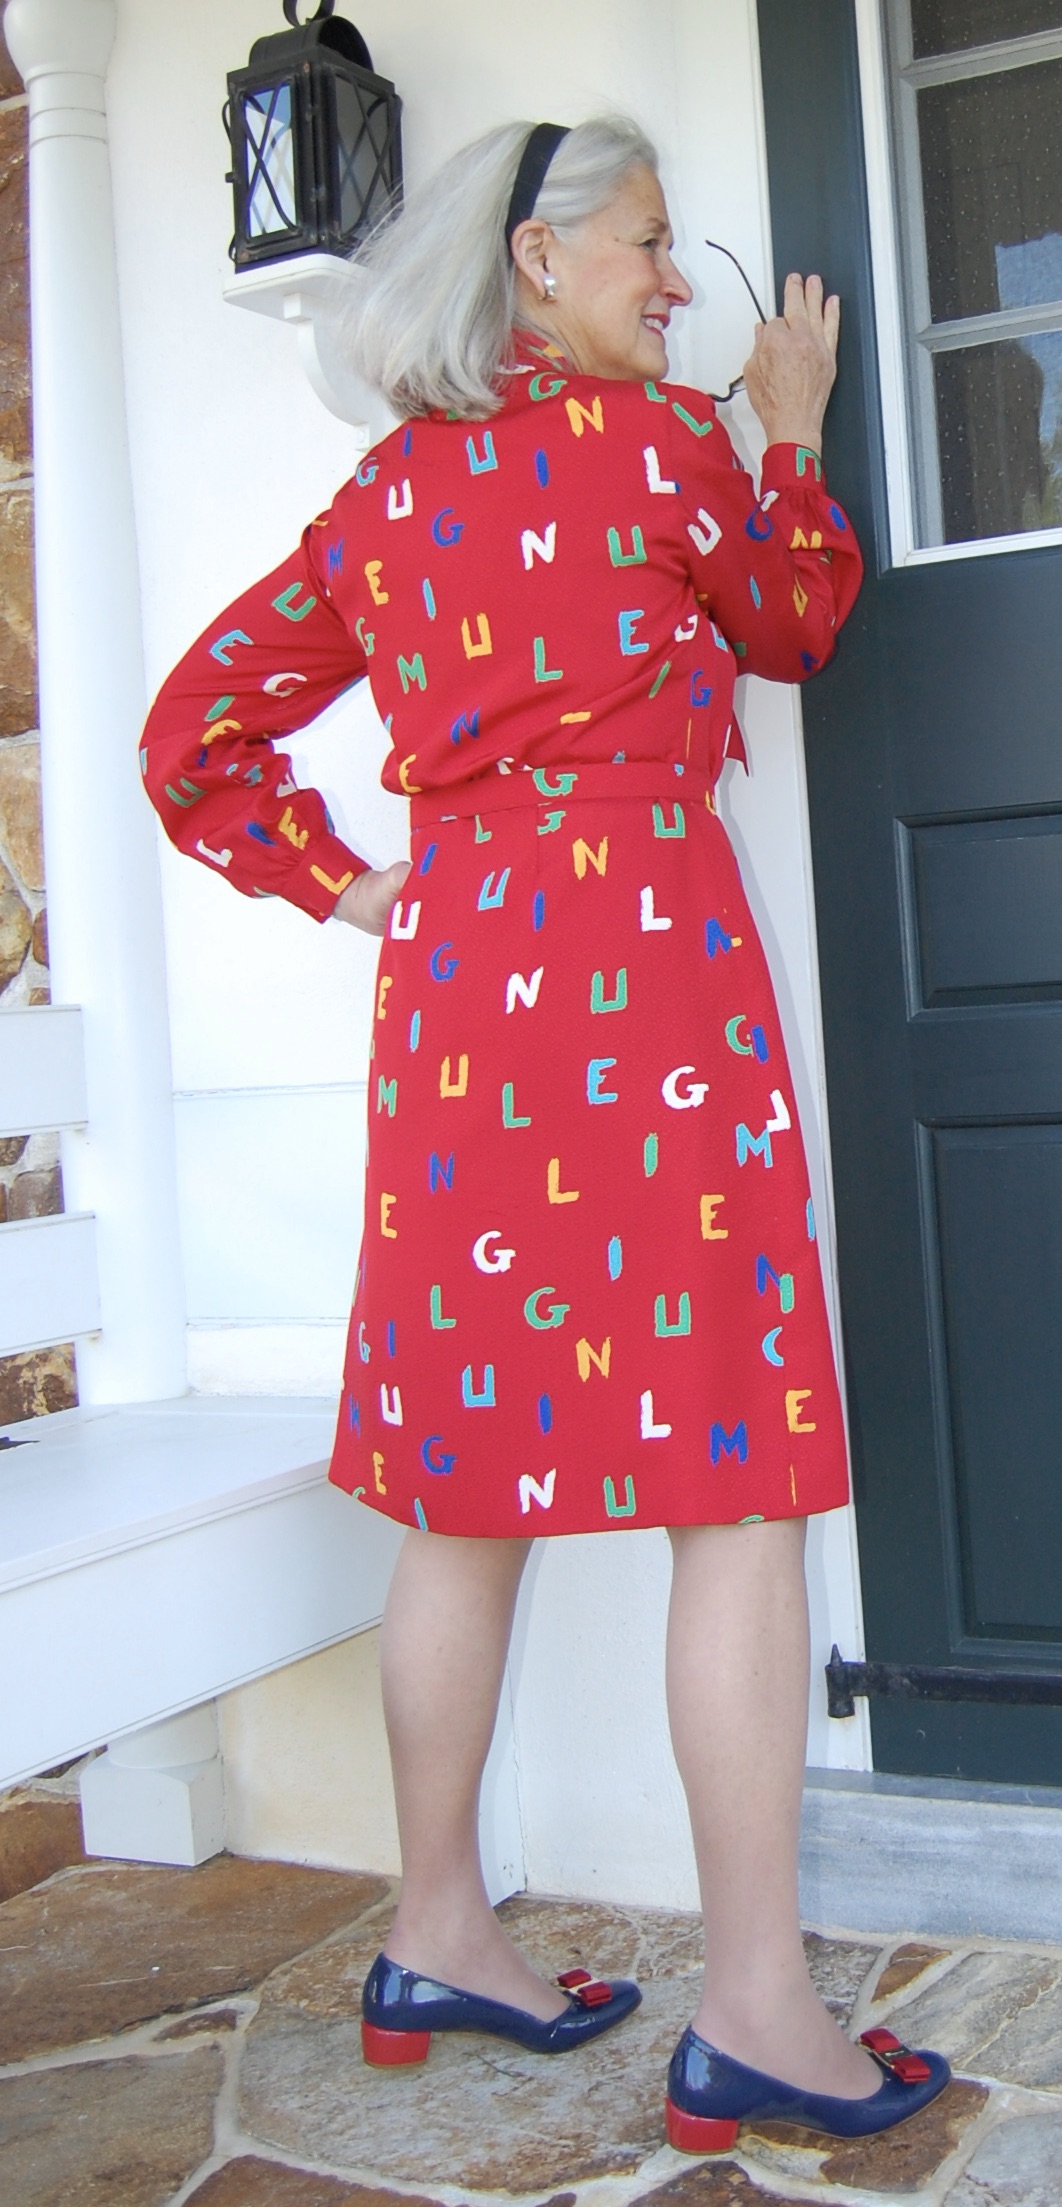
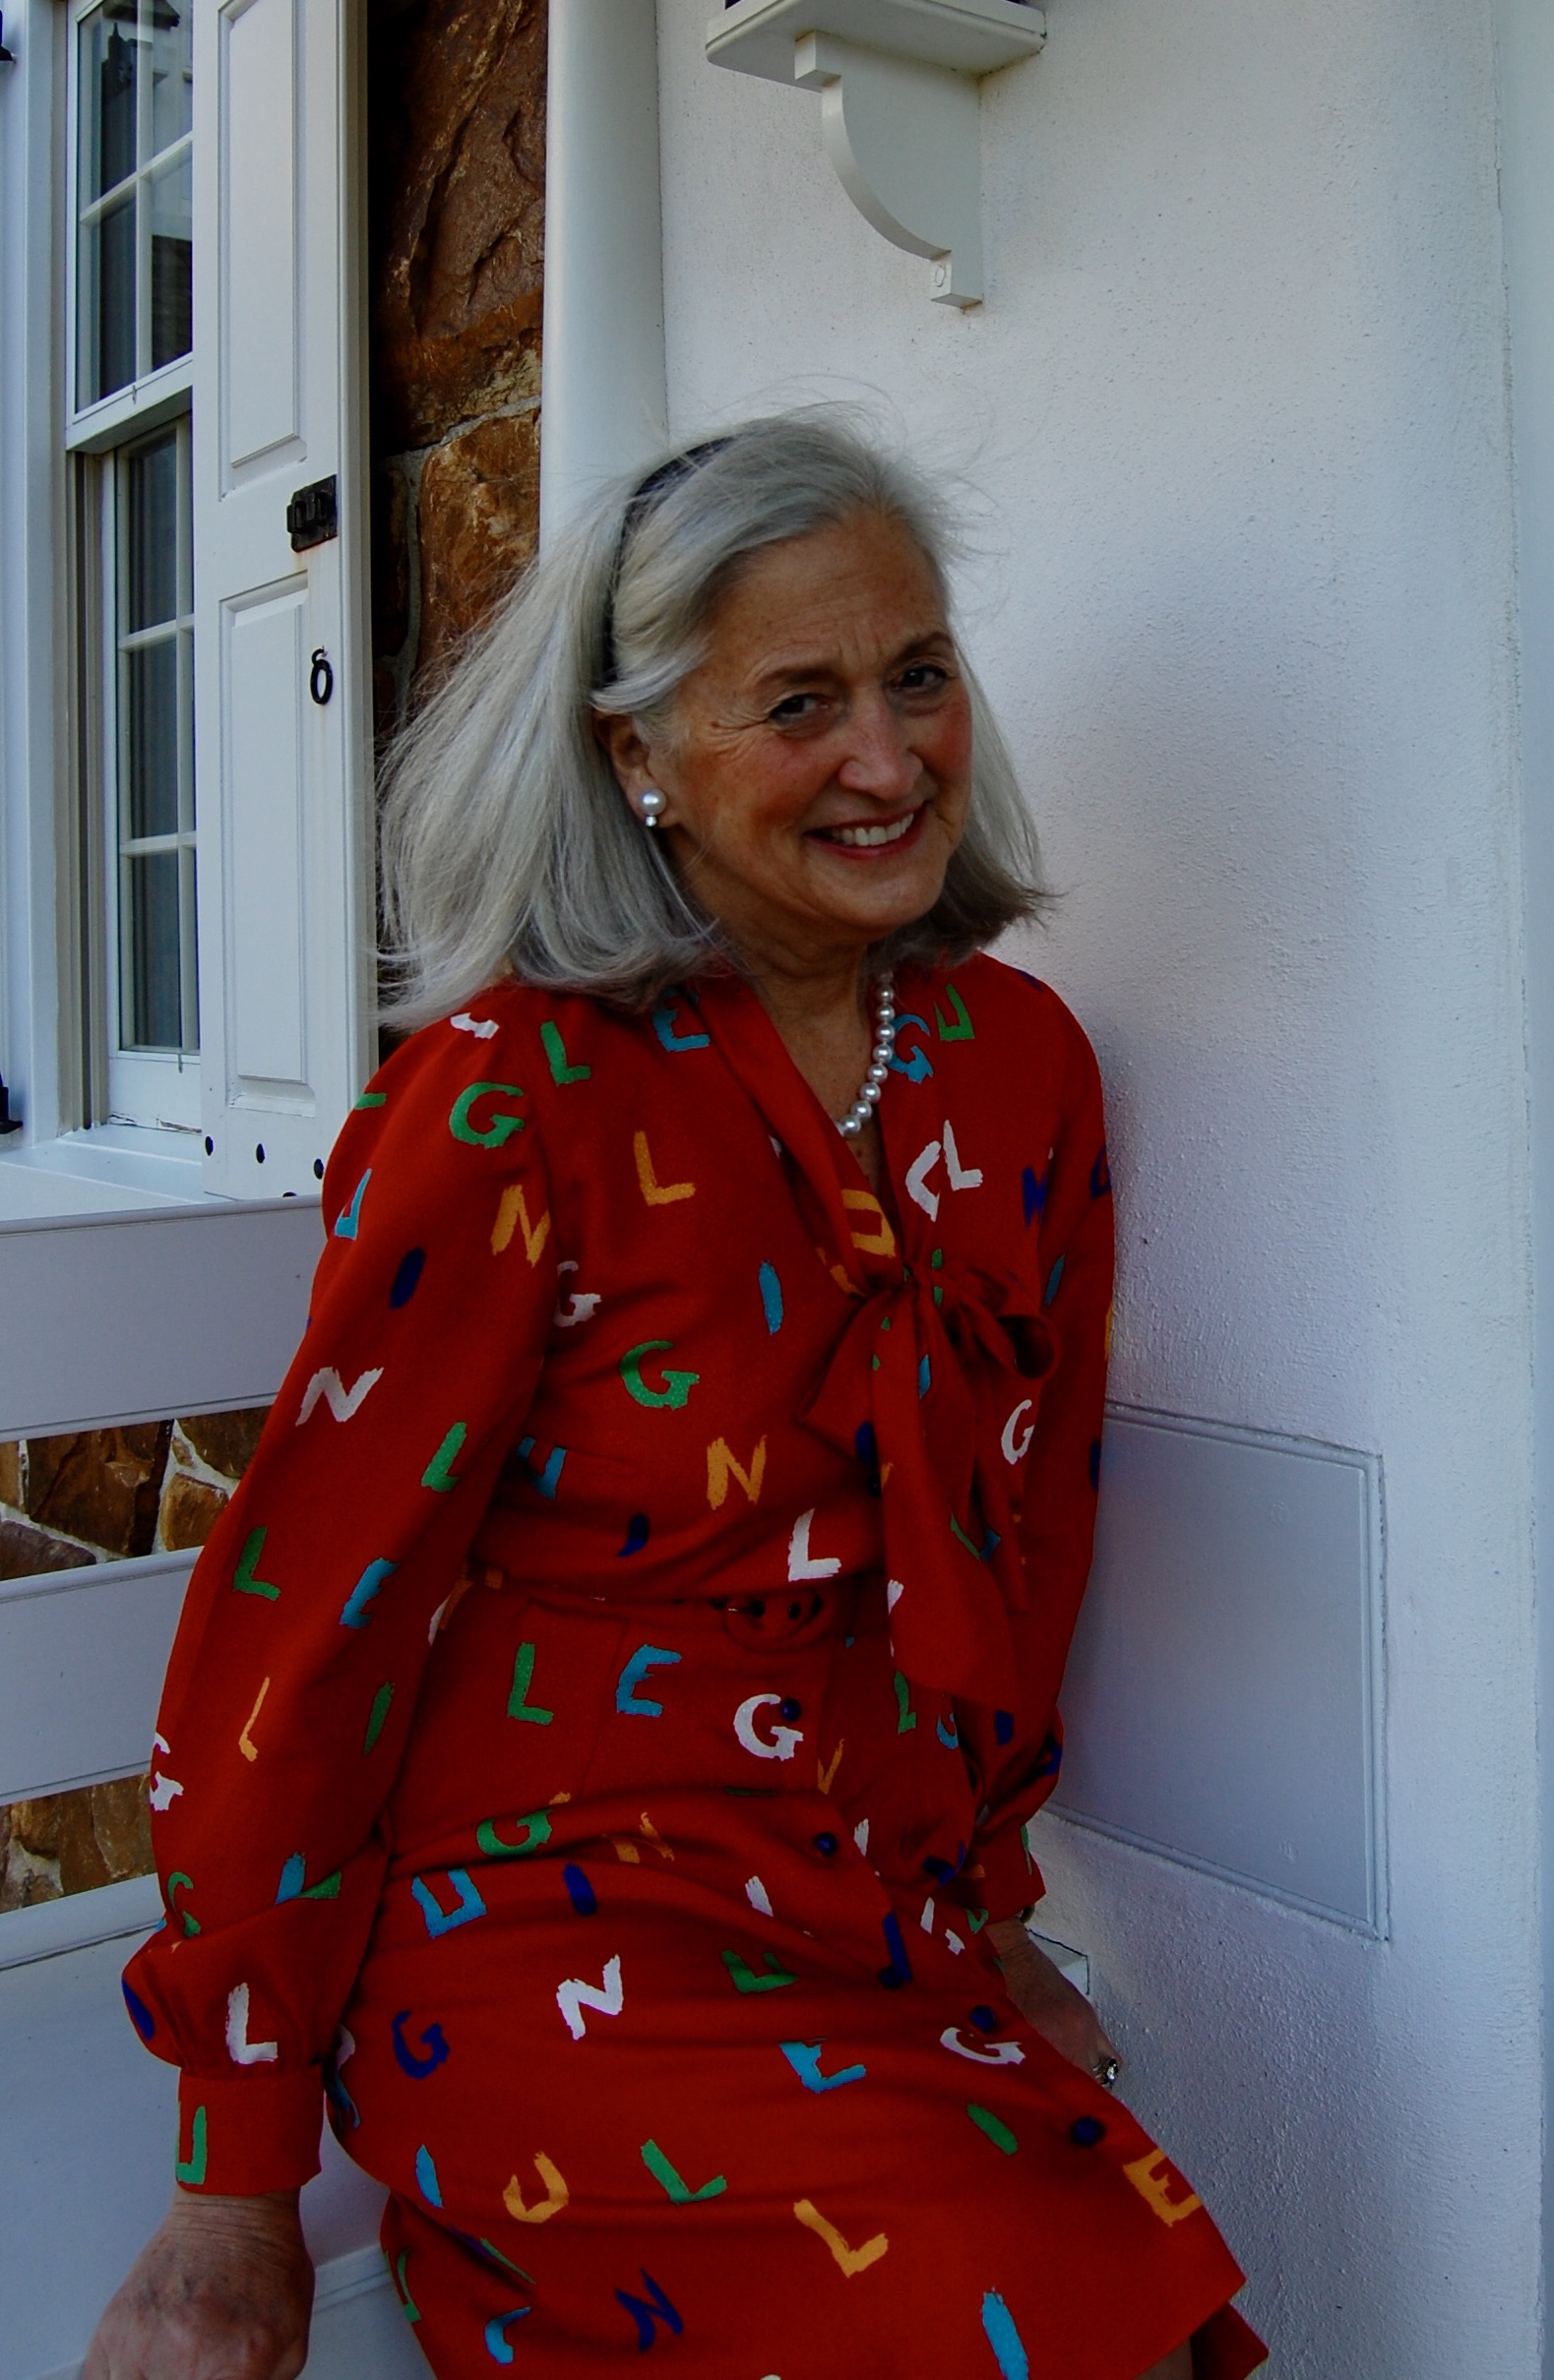
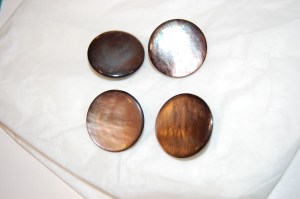
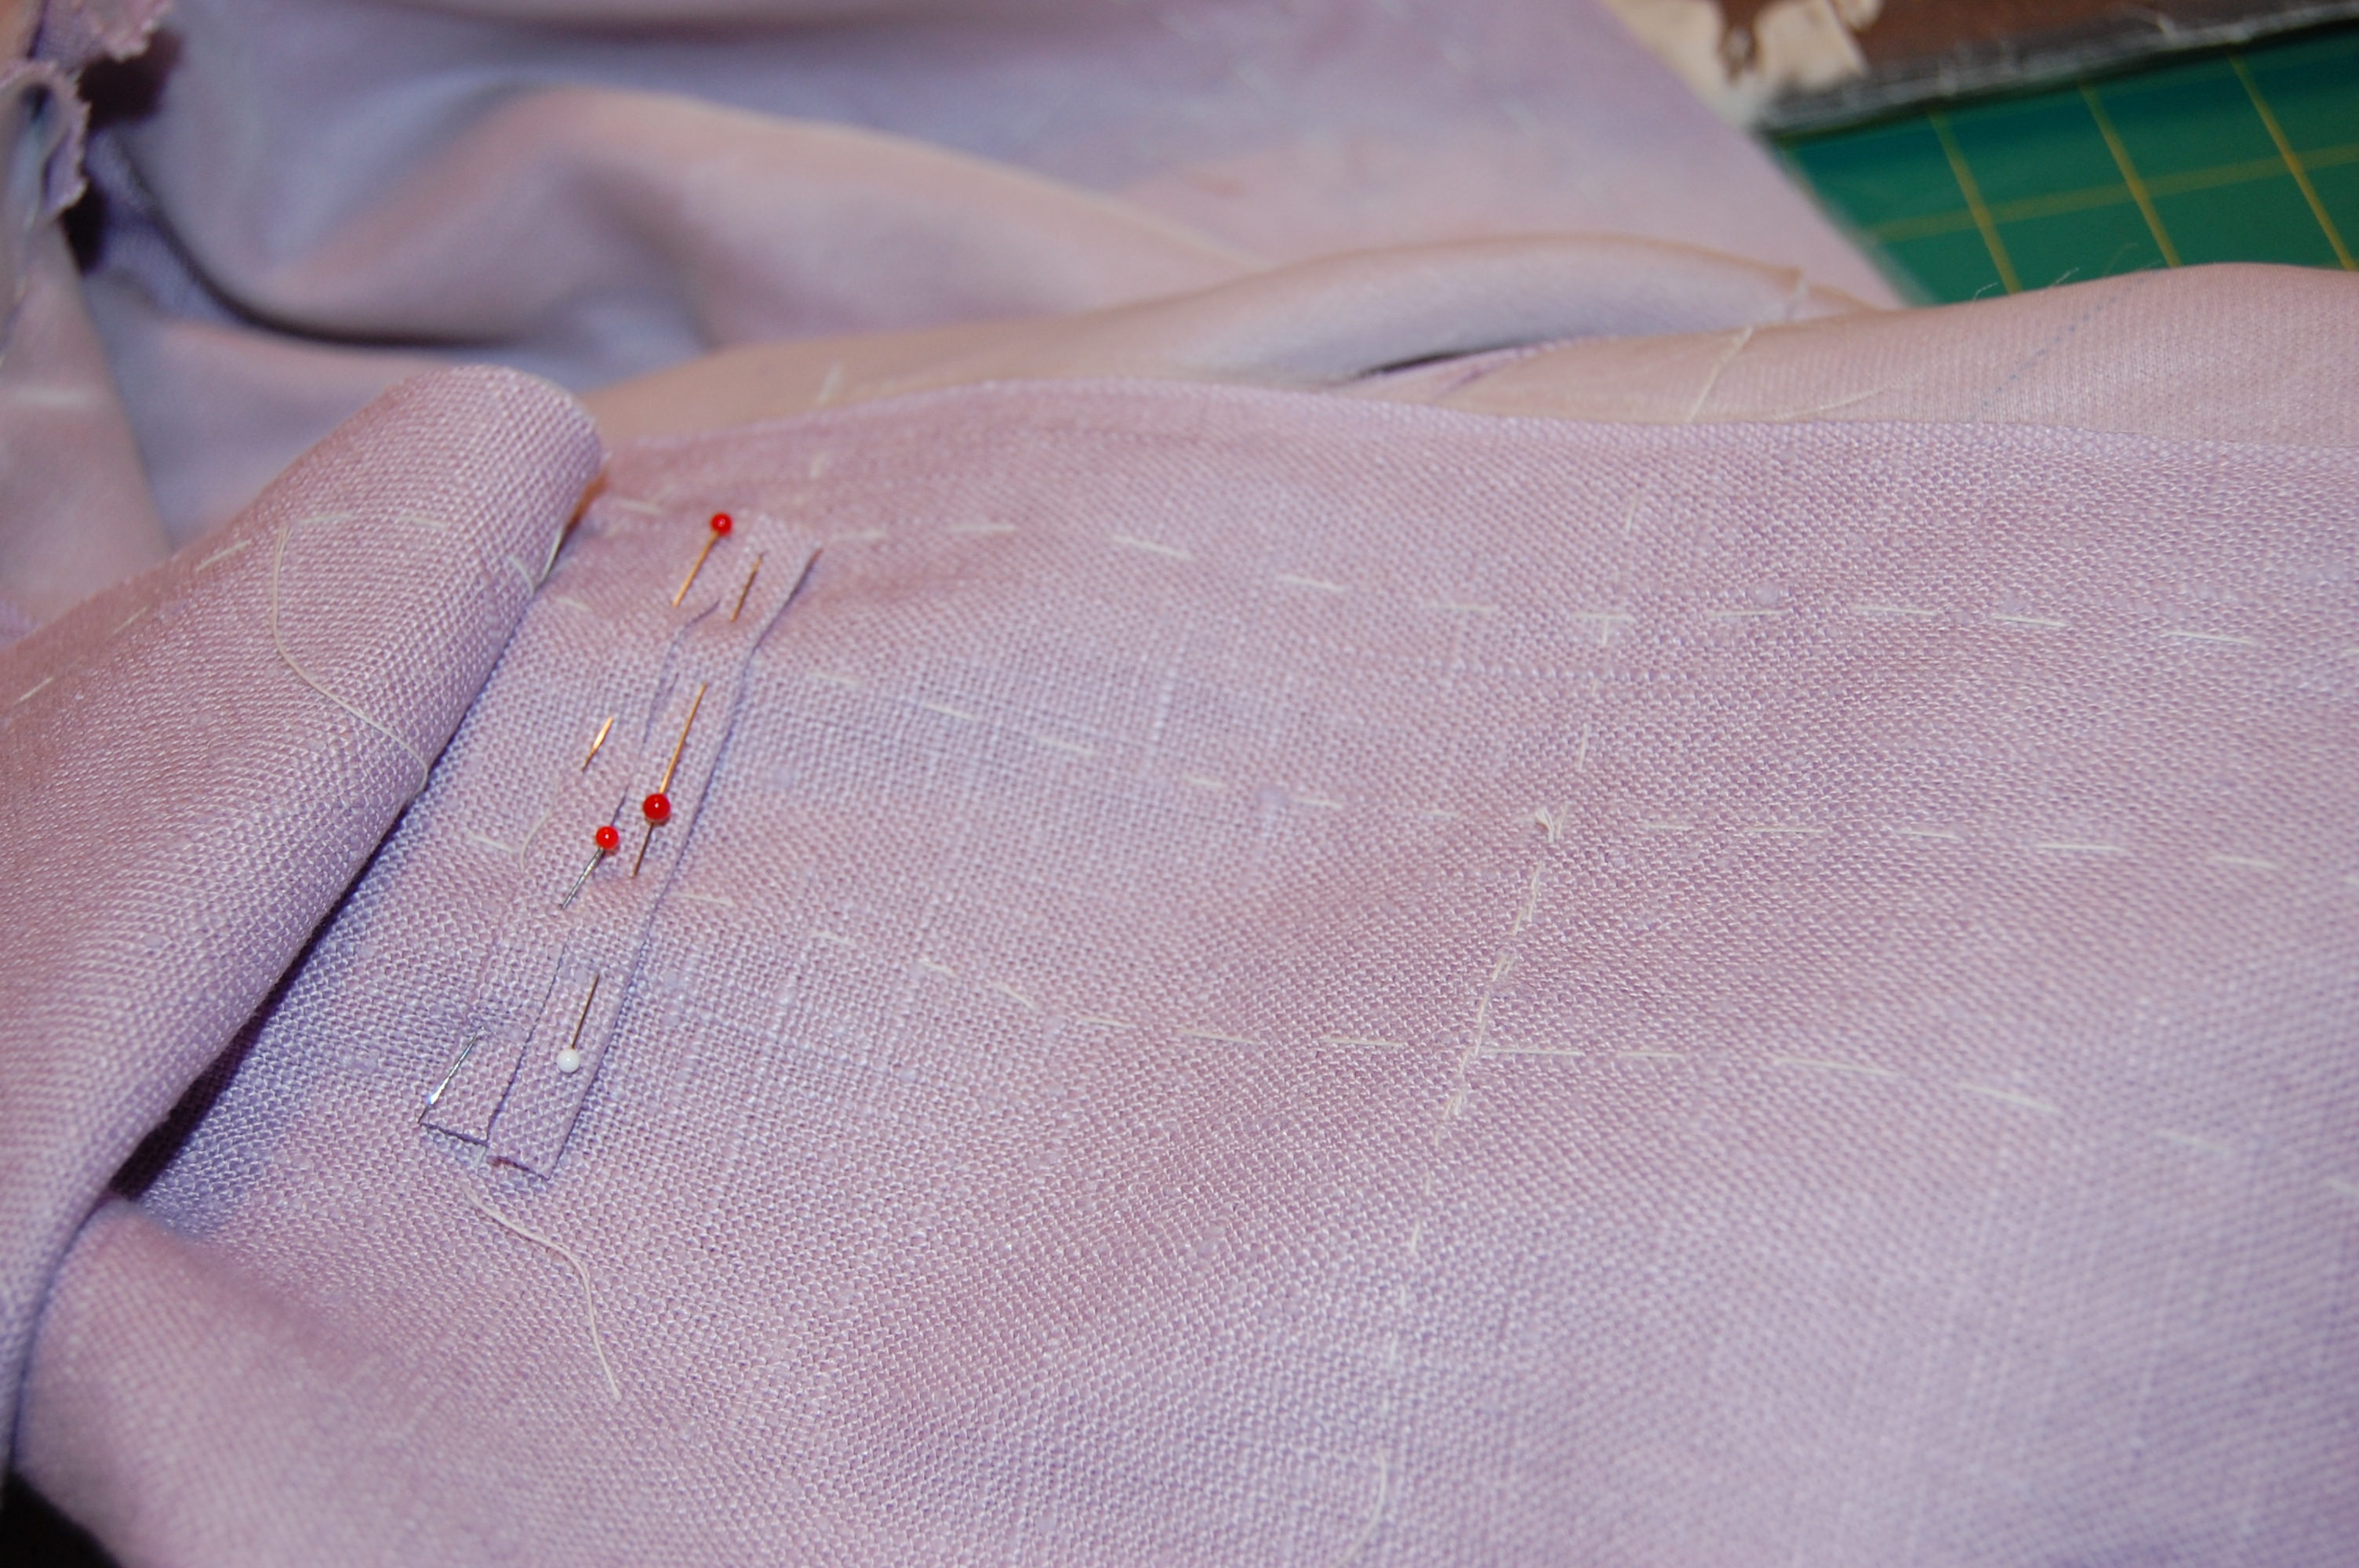
8. A blouse for Fall, using some amazing vintage buttons.
I will finally admit I will never get tired of making or wearing cotton blouses.
9. And some miscellaneous (and minor) gift and holiday sewing.
That’s it!
And I’m perfectly fine with it. I did what I could, and three of my projects had high priority (my girls’ birthday dresses, my anniversary dress, and my pink shirtdress). Completing them was very satisfying.
So what about my last make of the year – that blouse for Fall?
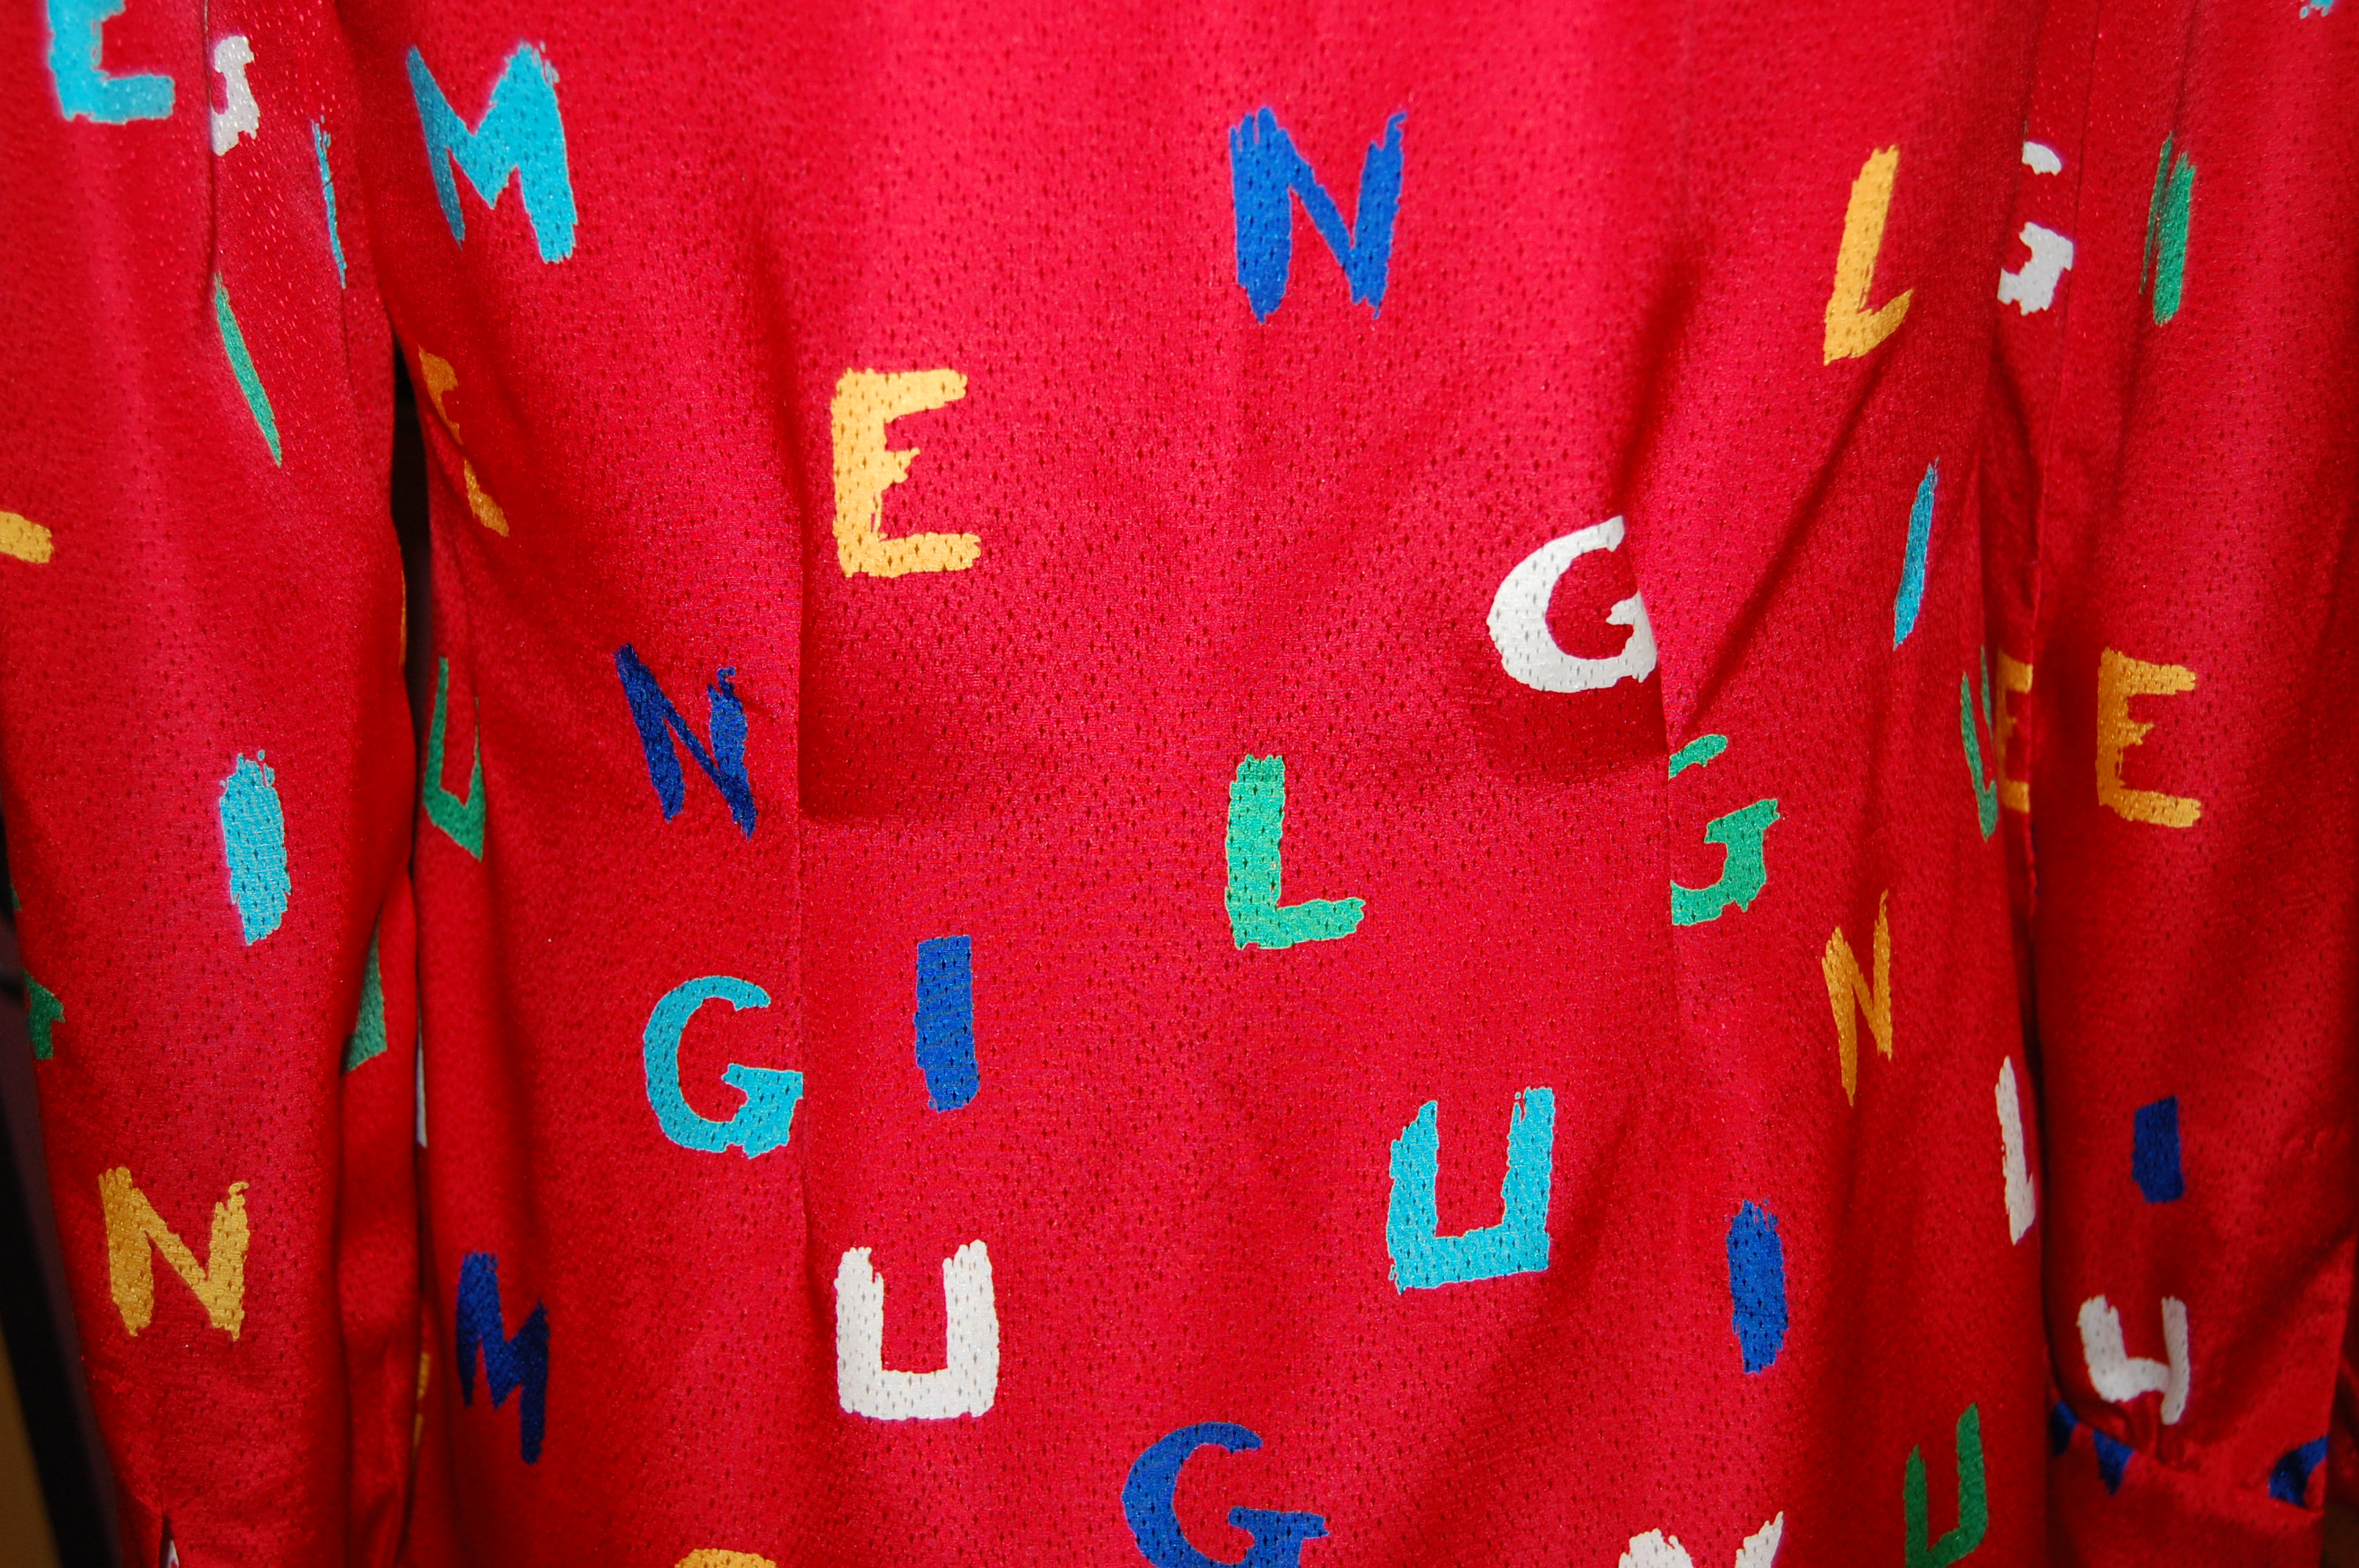
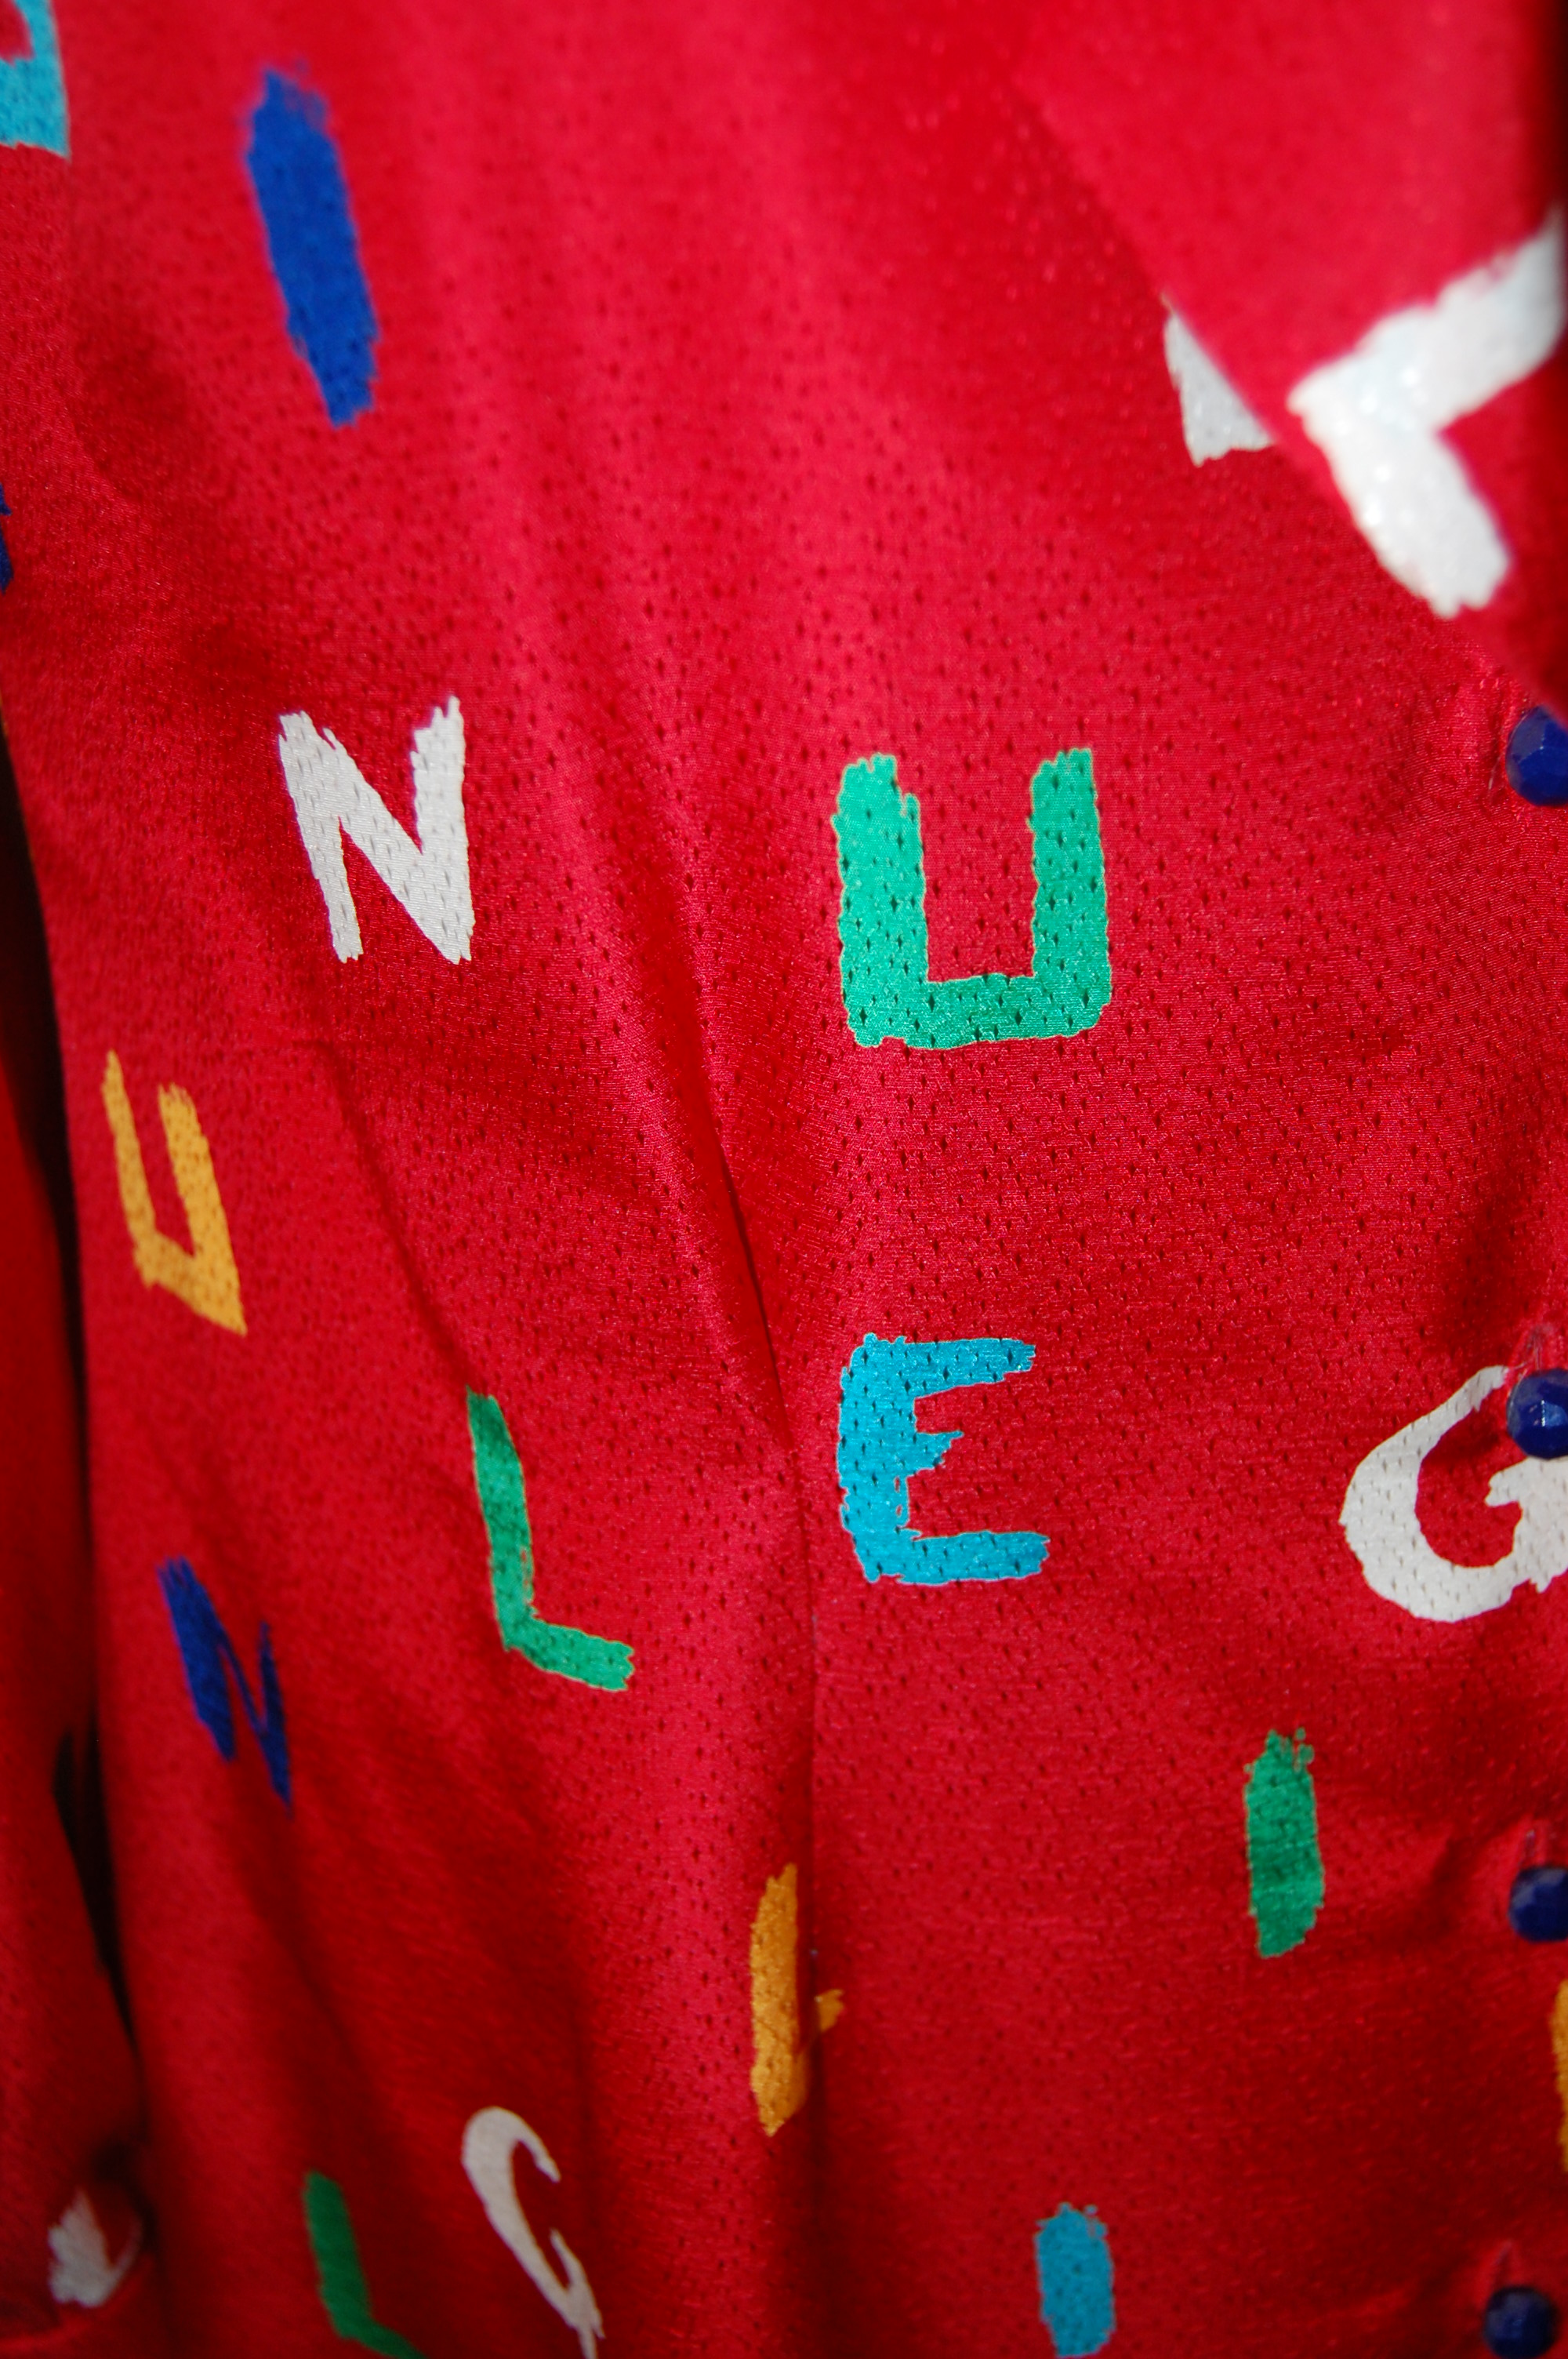
It’s very orange. And with the pheasant motif, it is very autumnal. However, with Fall undoubtably being my favorite season, it seemed fitting to have a piece in my blouse wardrobe devoted to that time of year.
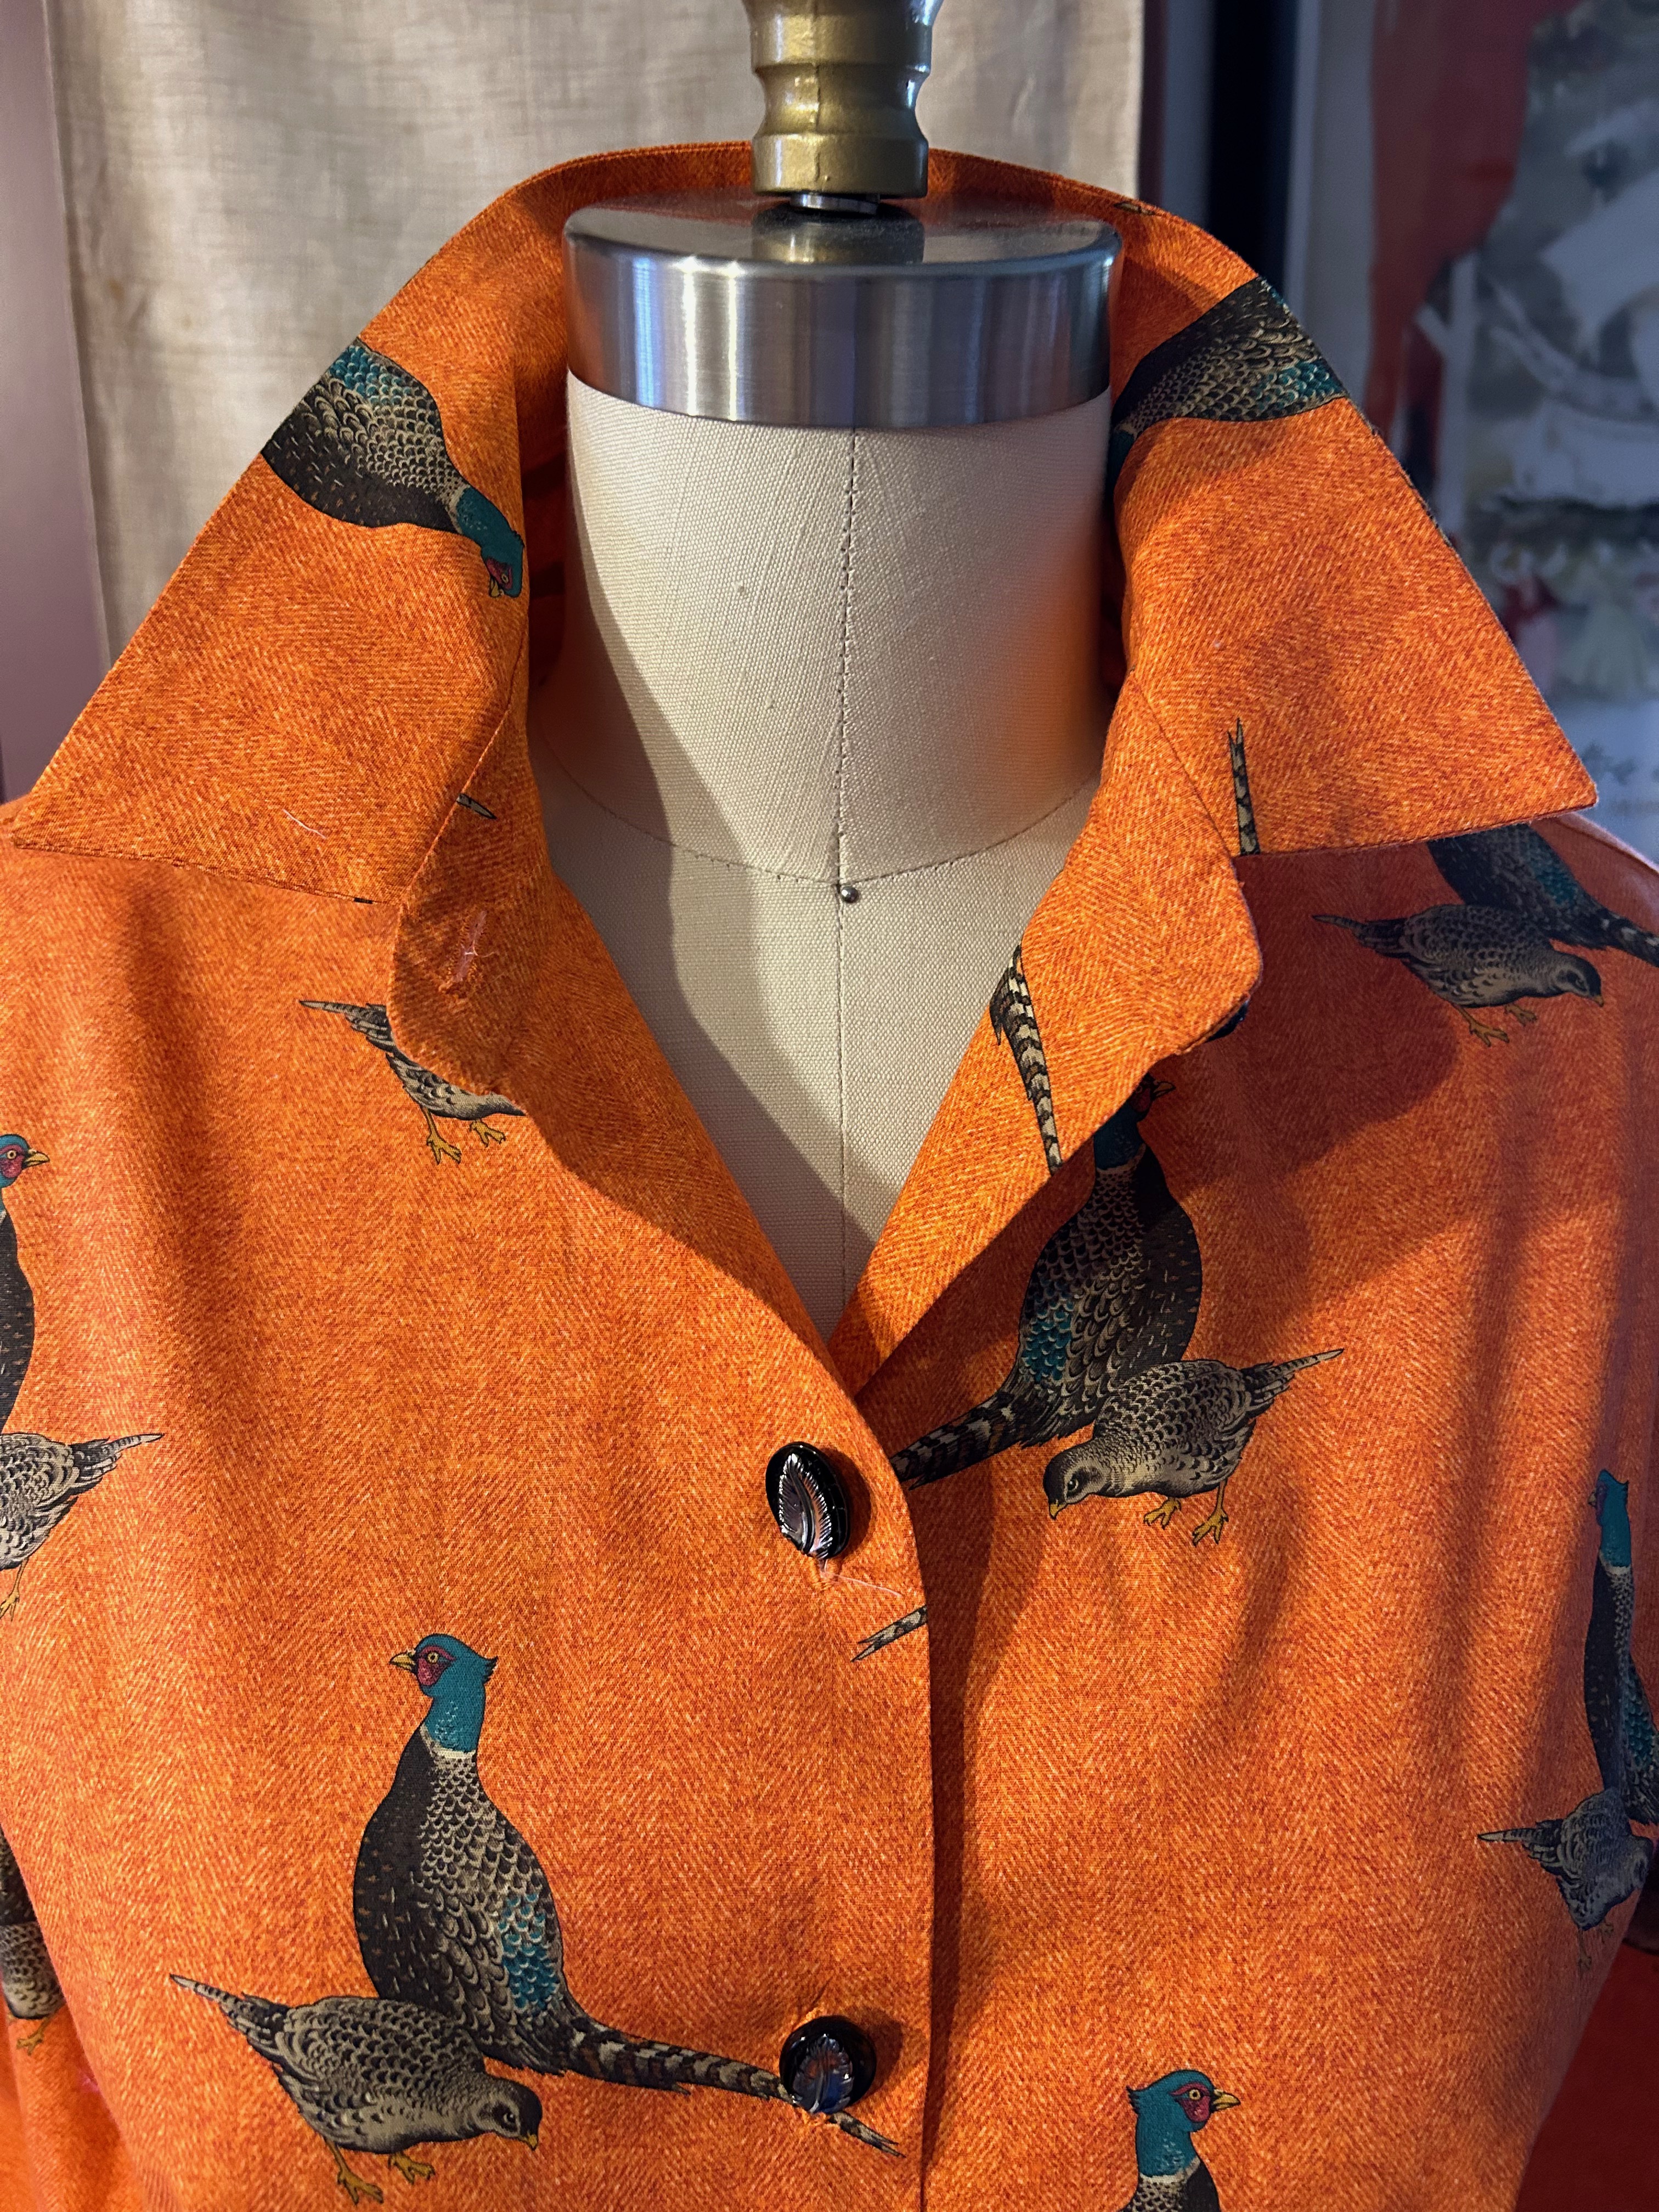
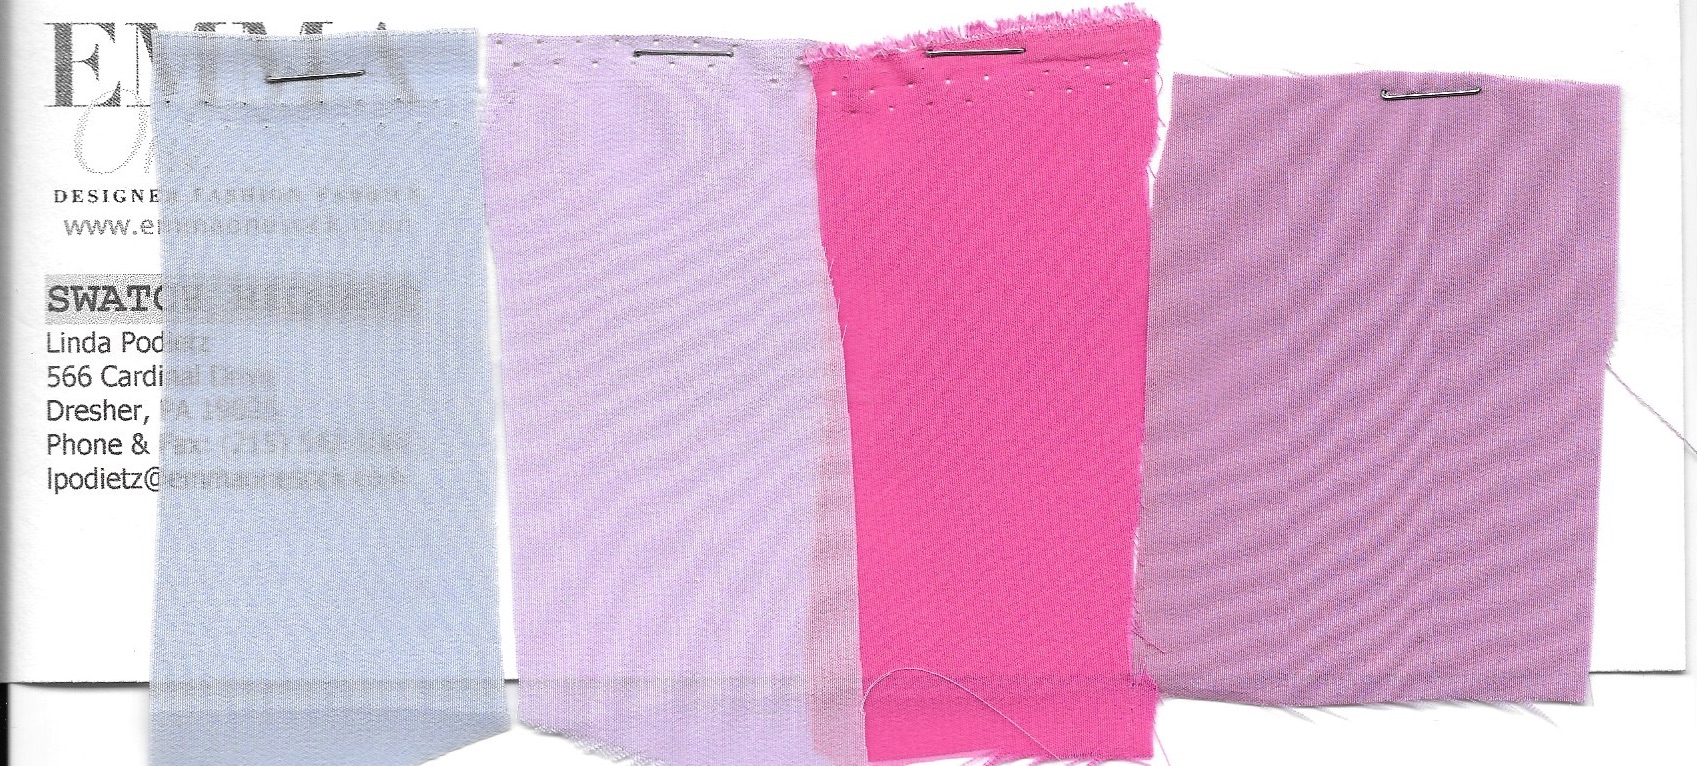
I found the fabric on the website of Emma One Sock Fabrics a couple of years ago. It is a beautiful cotton with a very slight stretch to it. The quality is superb, being silky soft and very easy to sew. The Herringbone printed background makes it look like a much heavier fabric than it really is.
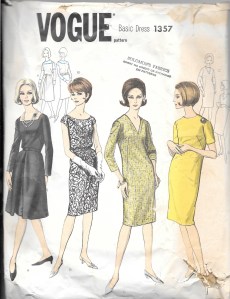
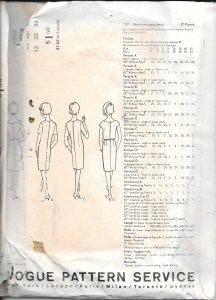
I debated on the style bouse to make, thinking a bow blouse would be lovely. However, in order to make this as versatile and wearable as possible, I defaulted to my regular shirt/blouse pattern, which I have altered and tweaked many times.

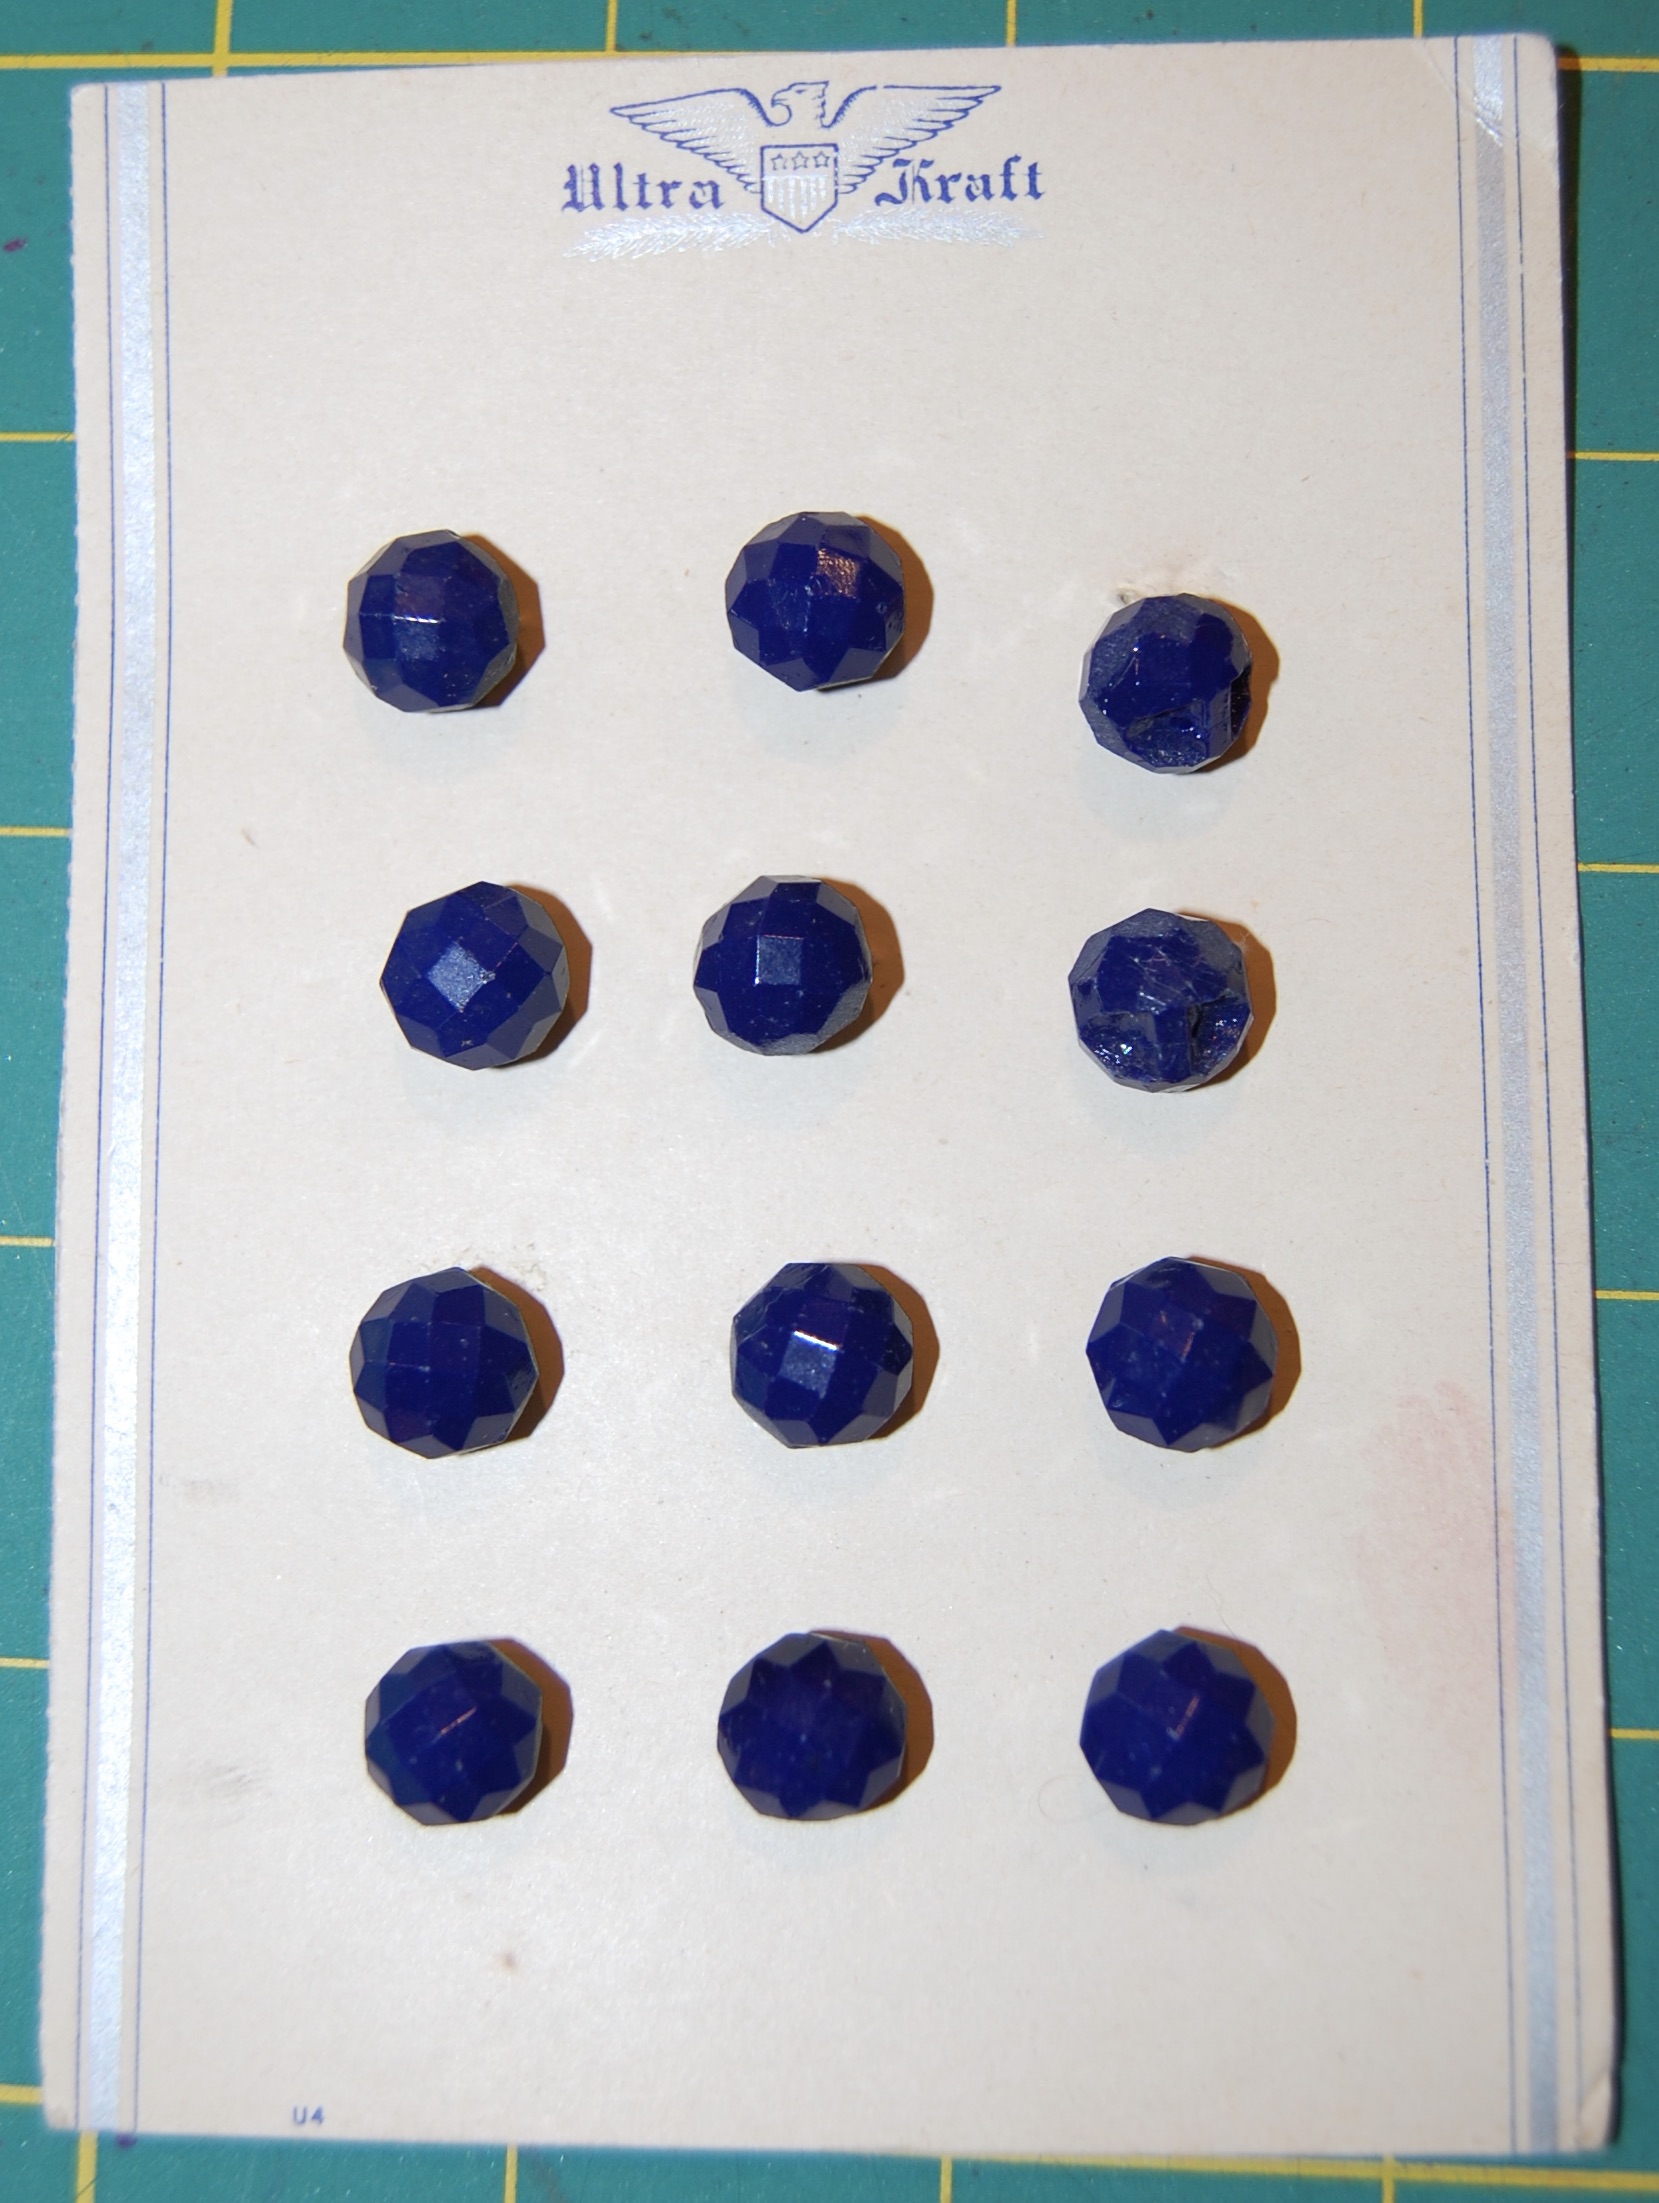
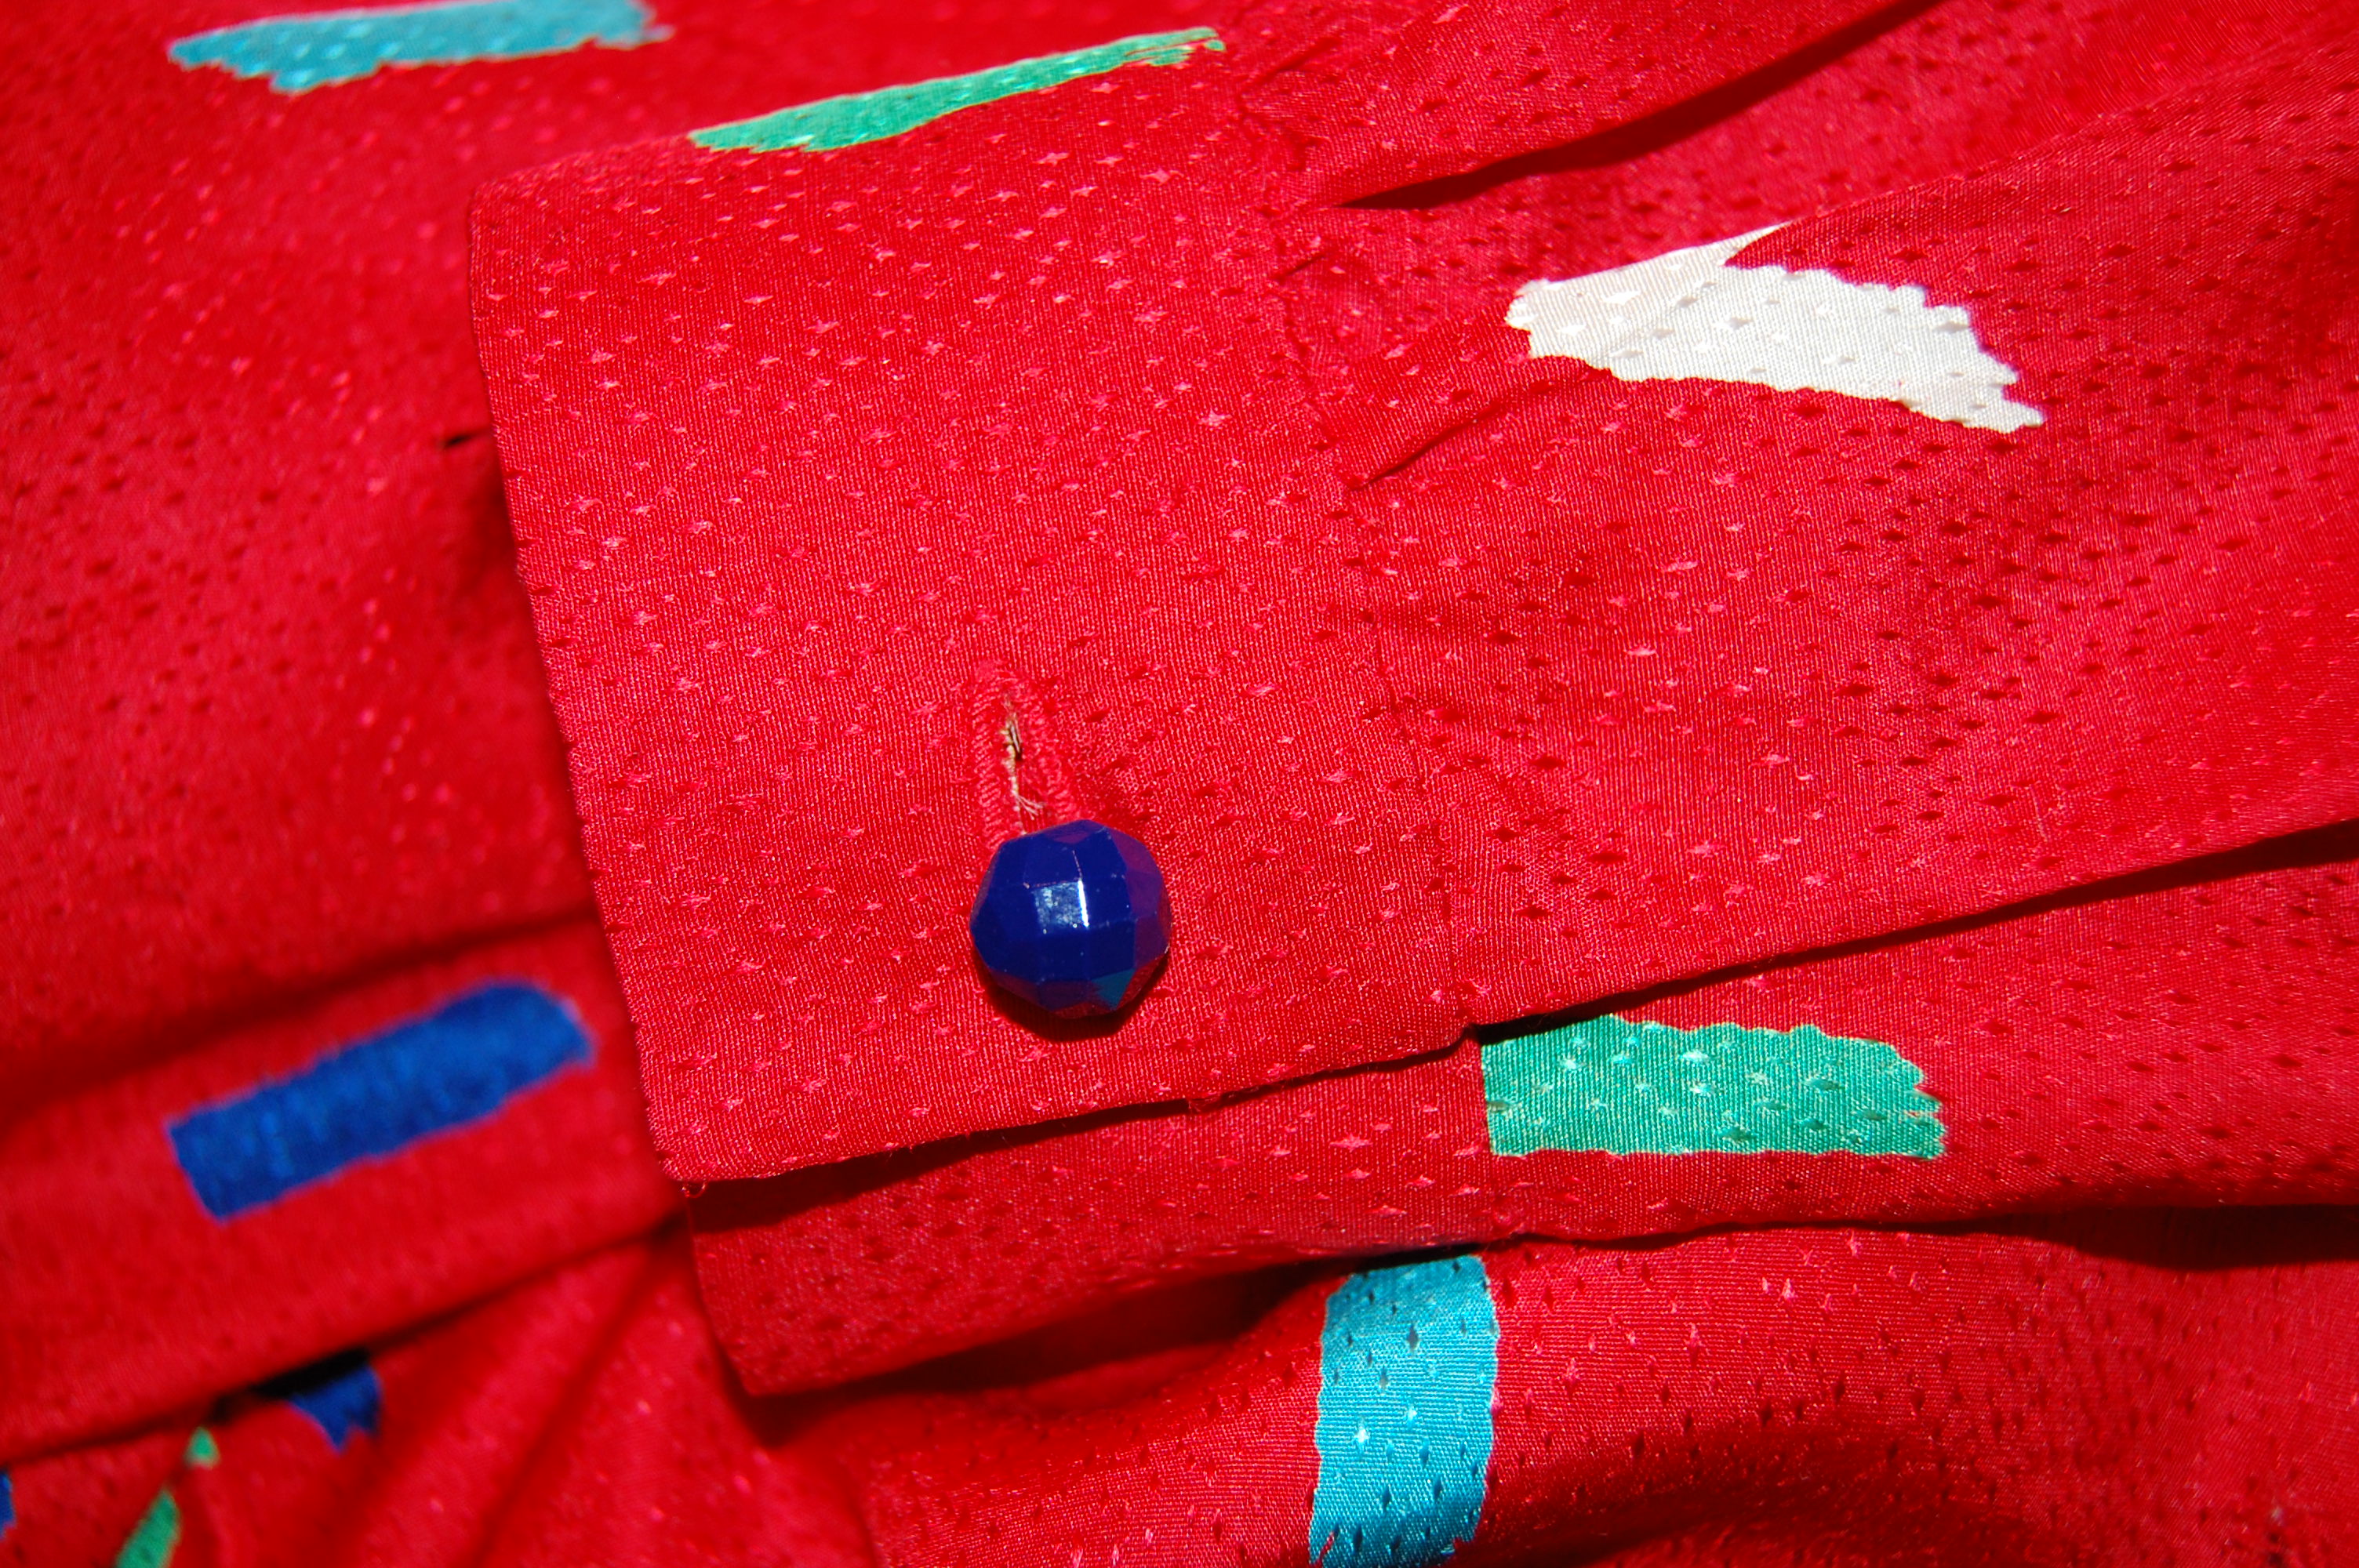
I also thought this pattern would be the one most likely to show off the buttons I intended to use with the fabric.

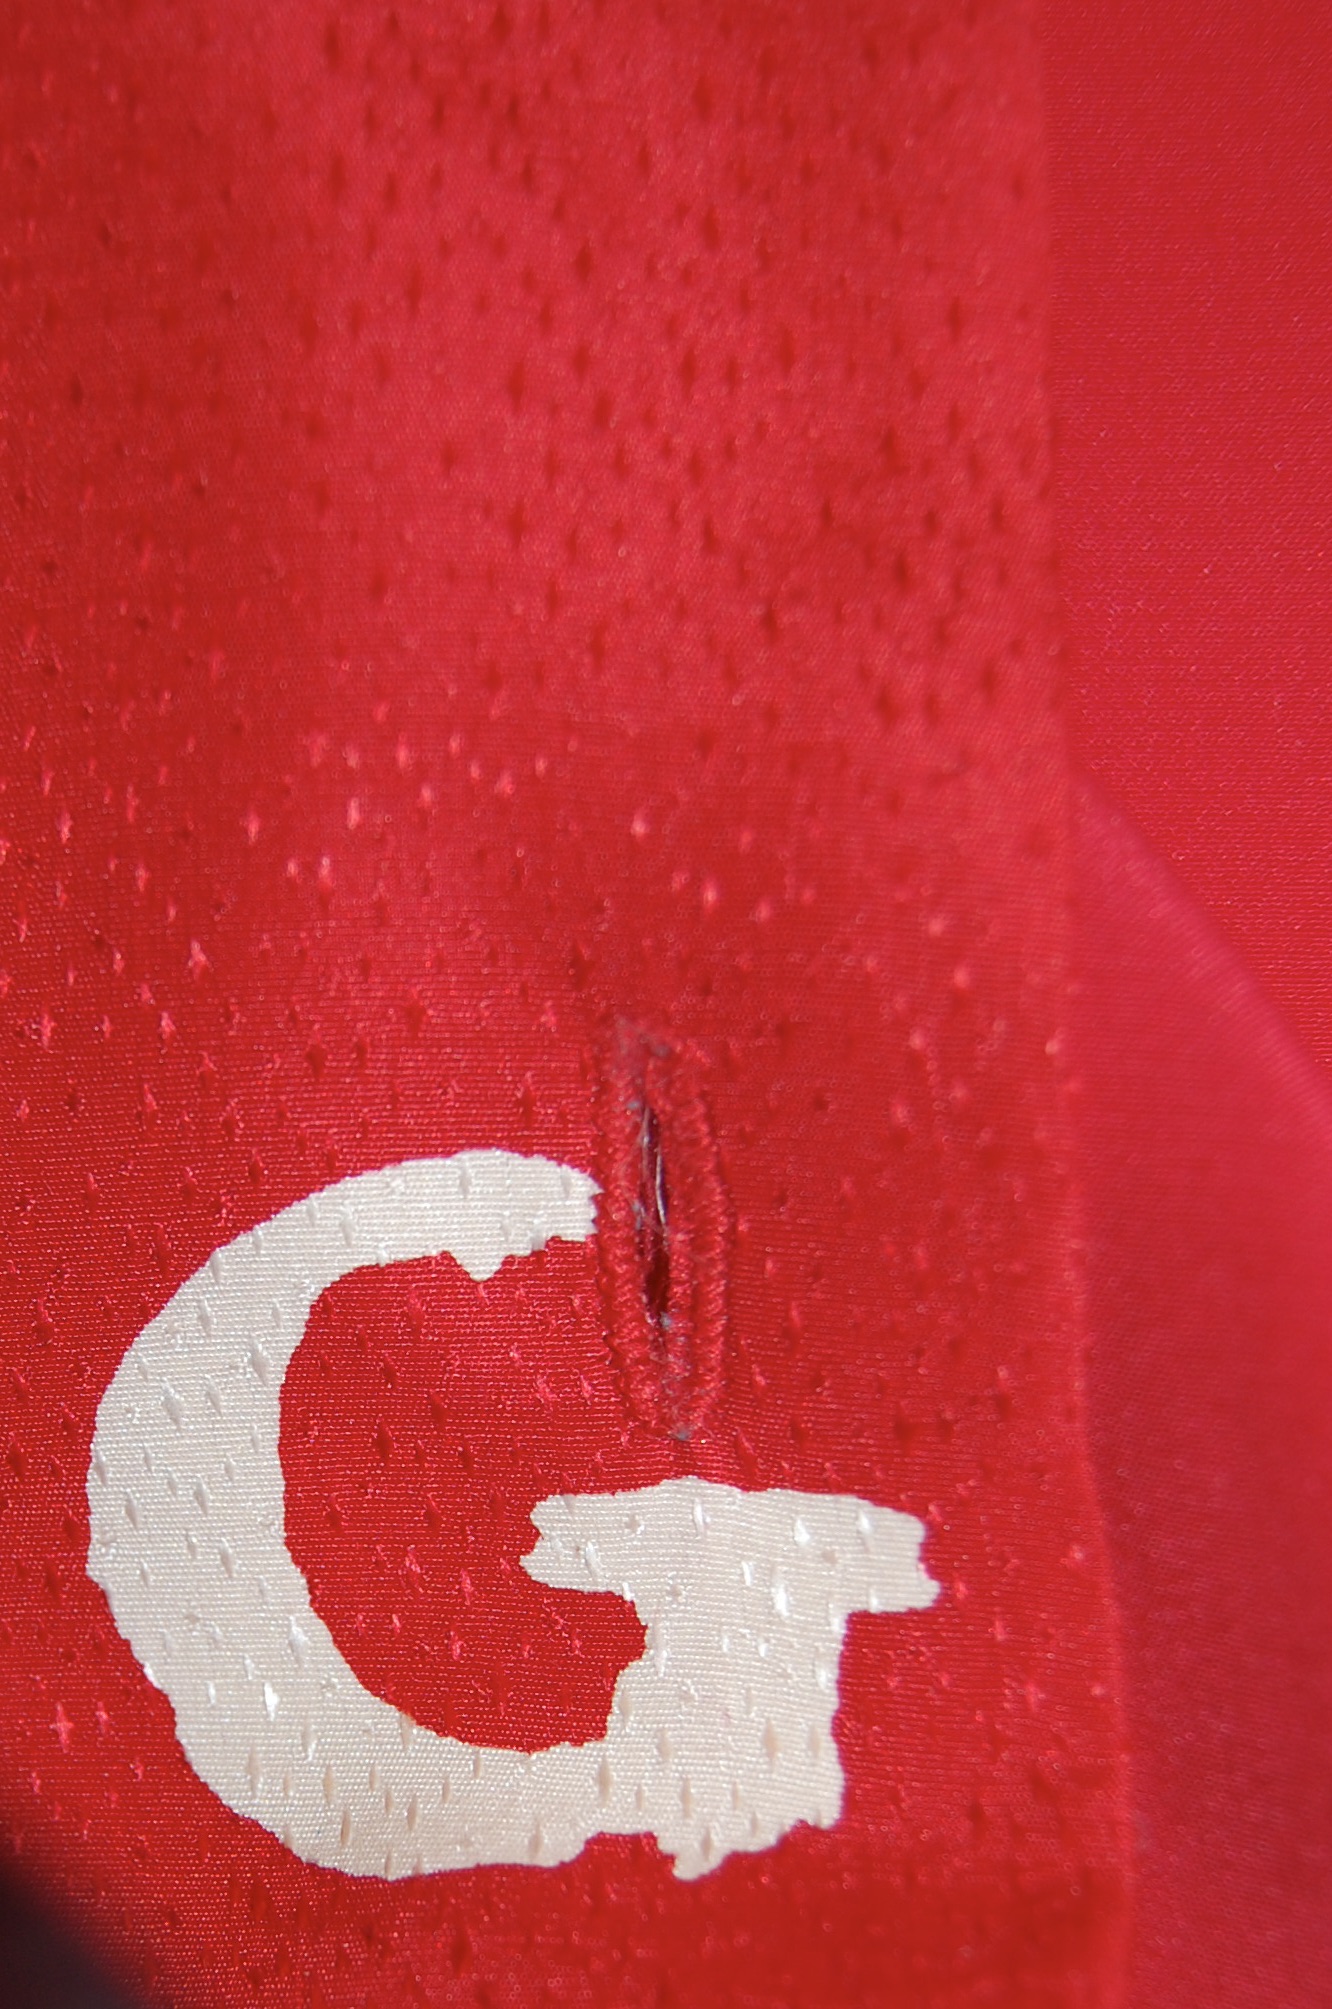
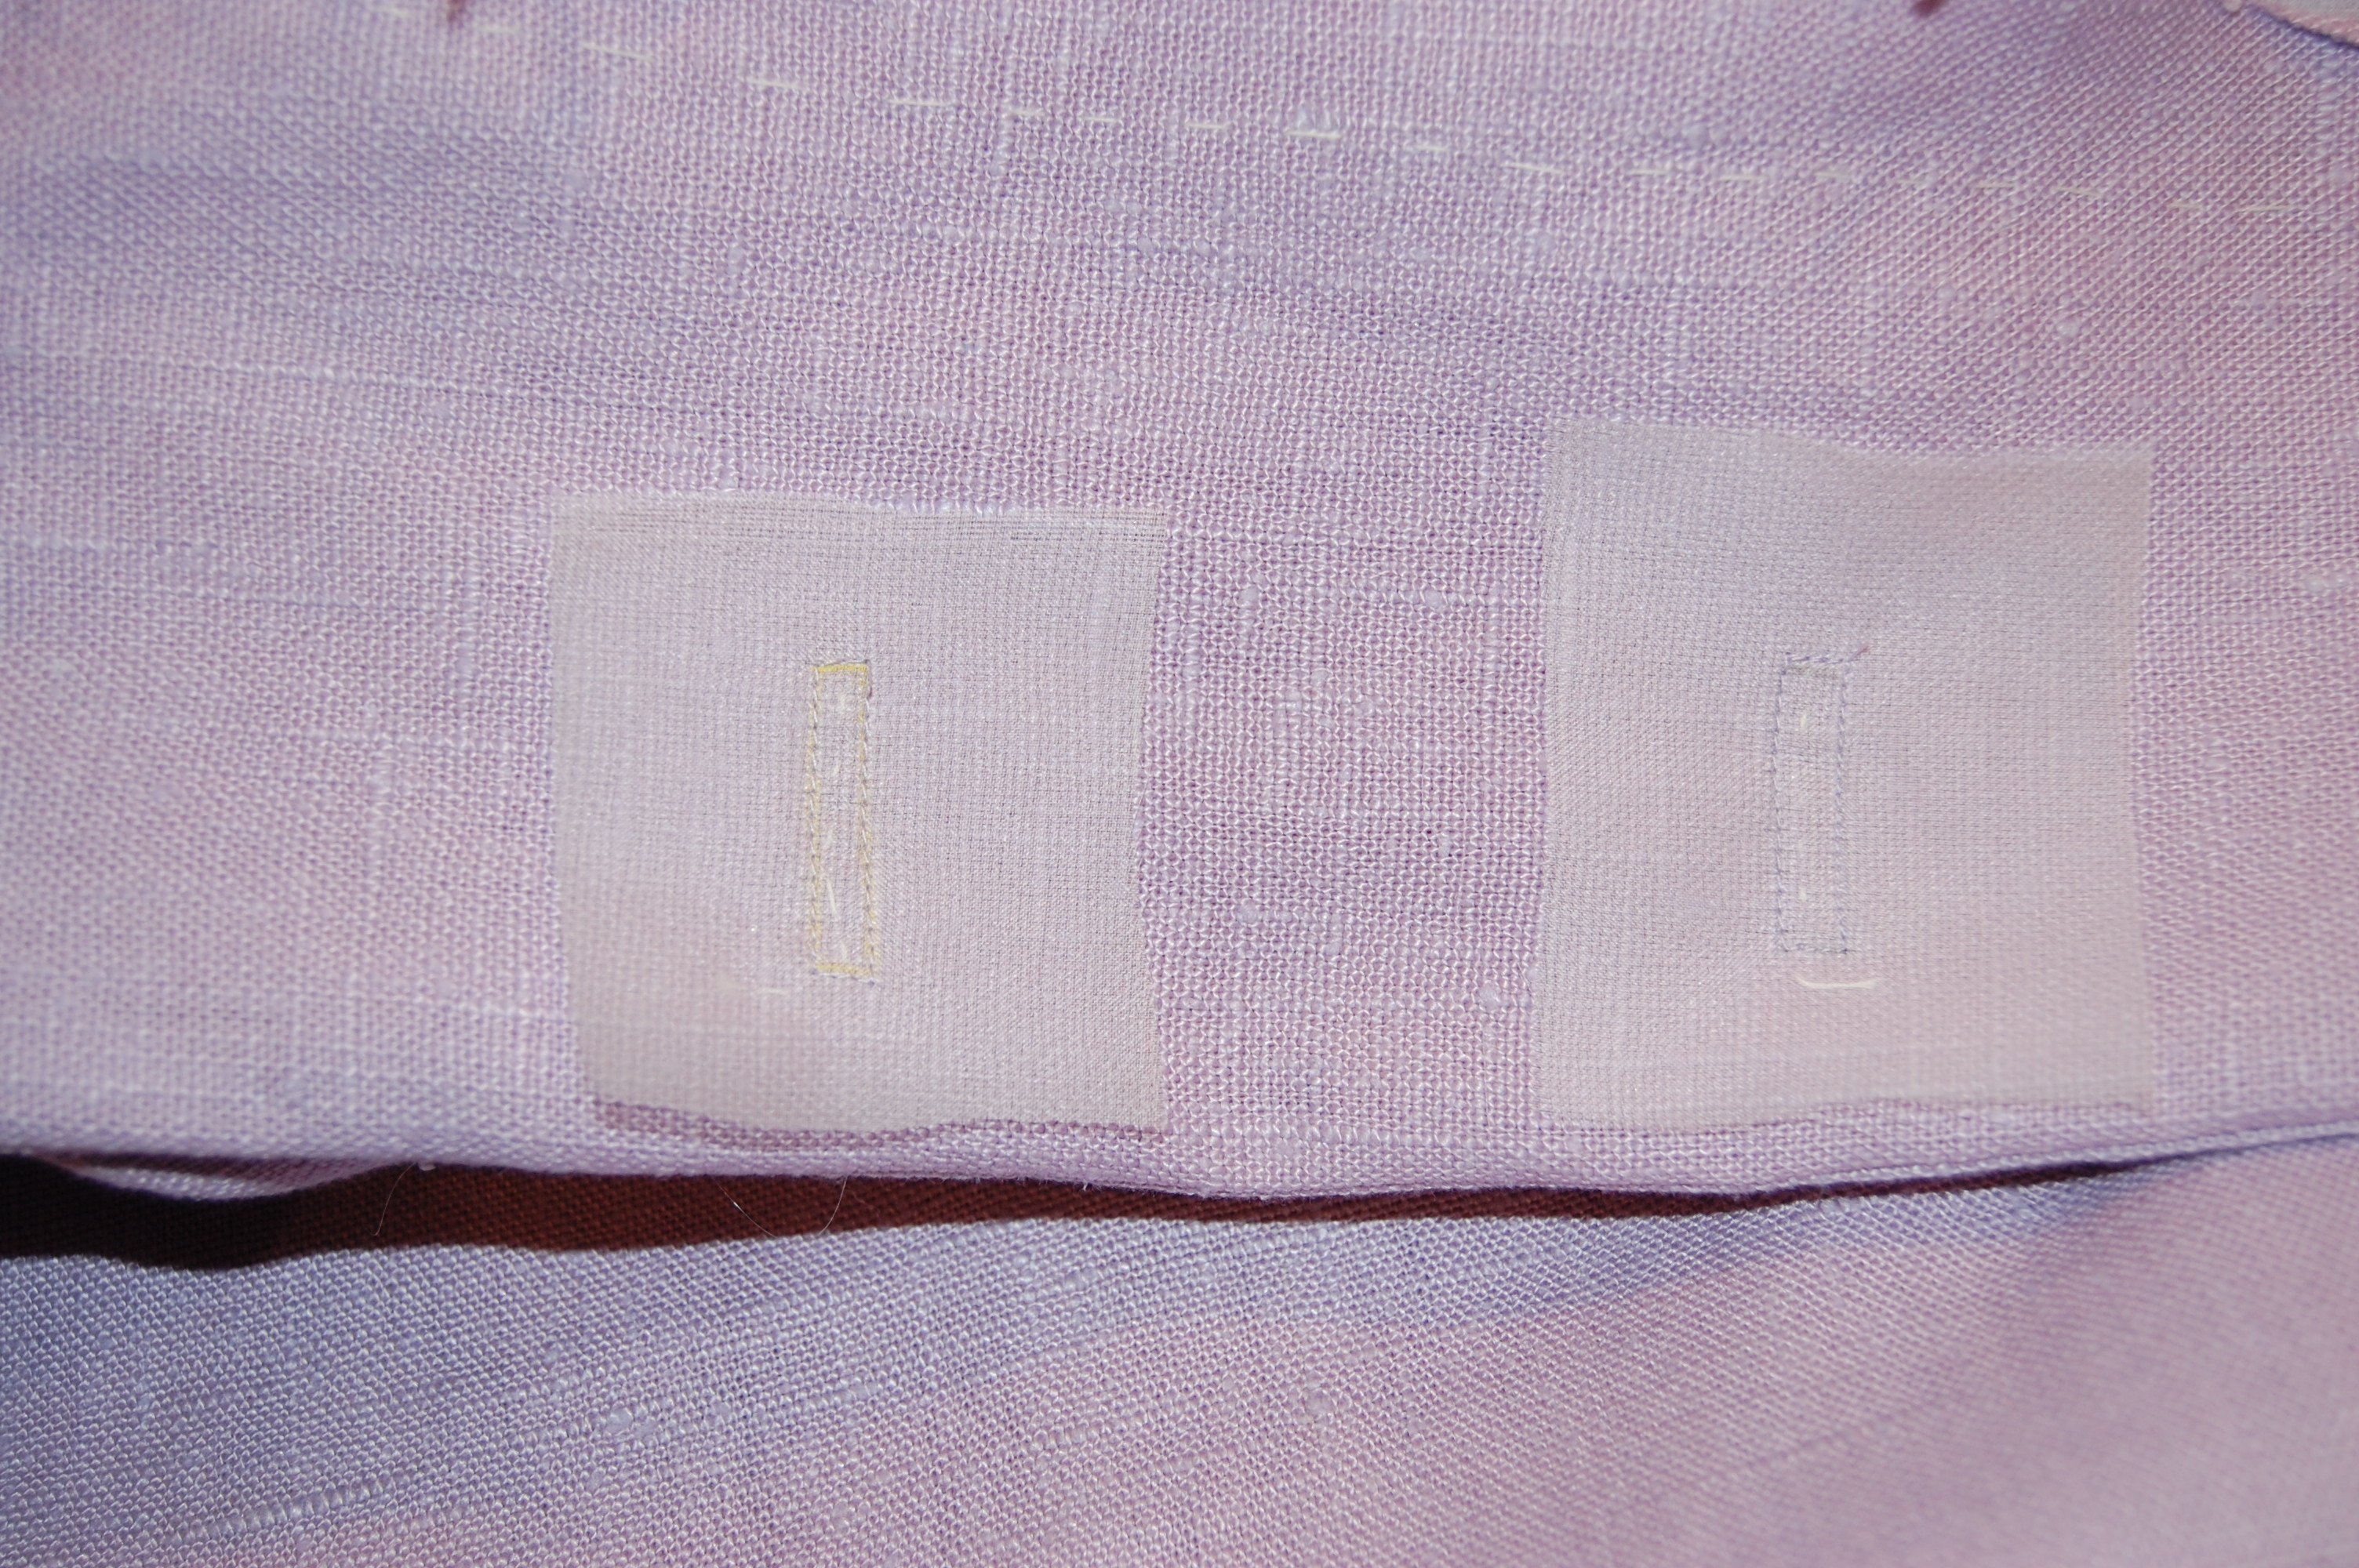
I can’t remember what came first – the fabric or the buttons. Somehow I was lucky enough to find these vintage Ultra Kraft buttons with their feather motifs. Just bordering on a bit too big for a blouse, these buttons seemed to balance the large pheasant groupings, making both fabric and buttons a good match. I didn’t realize until I had finished the blouse how much the silver in the buttons picks up the lighter colors in the feathers of the pheasants. There is a little “sparkle” in there!
I was able to wear this blouse a couple of times in season. Now it seems a long time away until its next wearing…
Which begs the question: what will transpire in the ensuing months – between now and then? I will wait and see how and when inspiration hits. What about you?


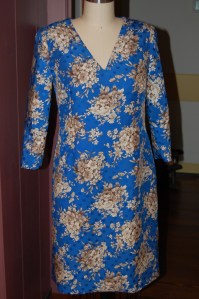
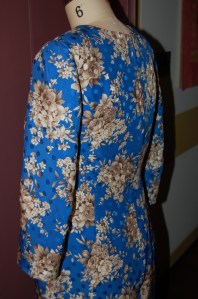


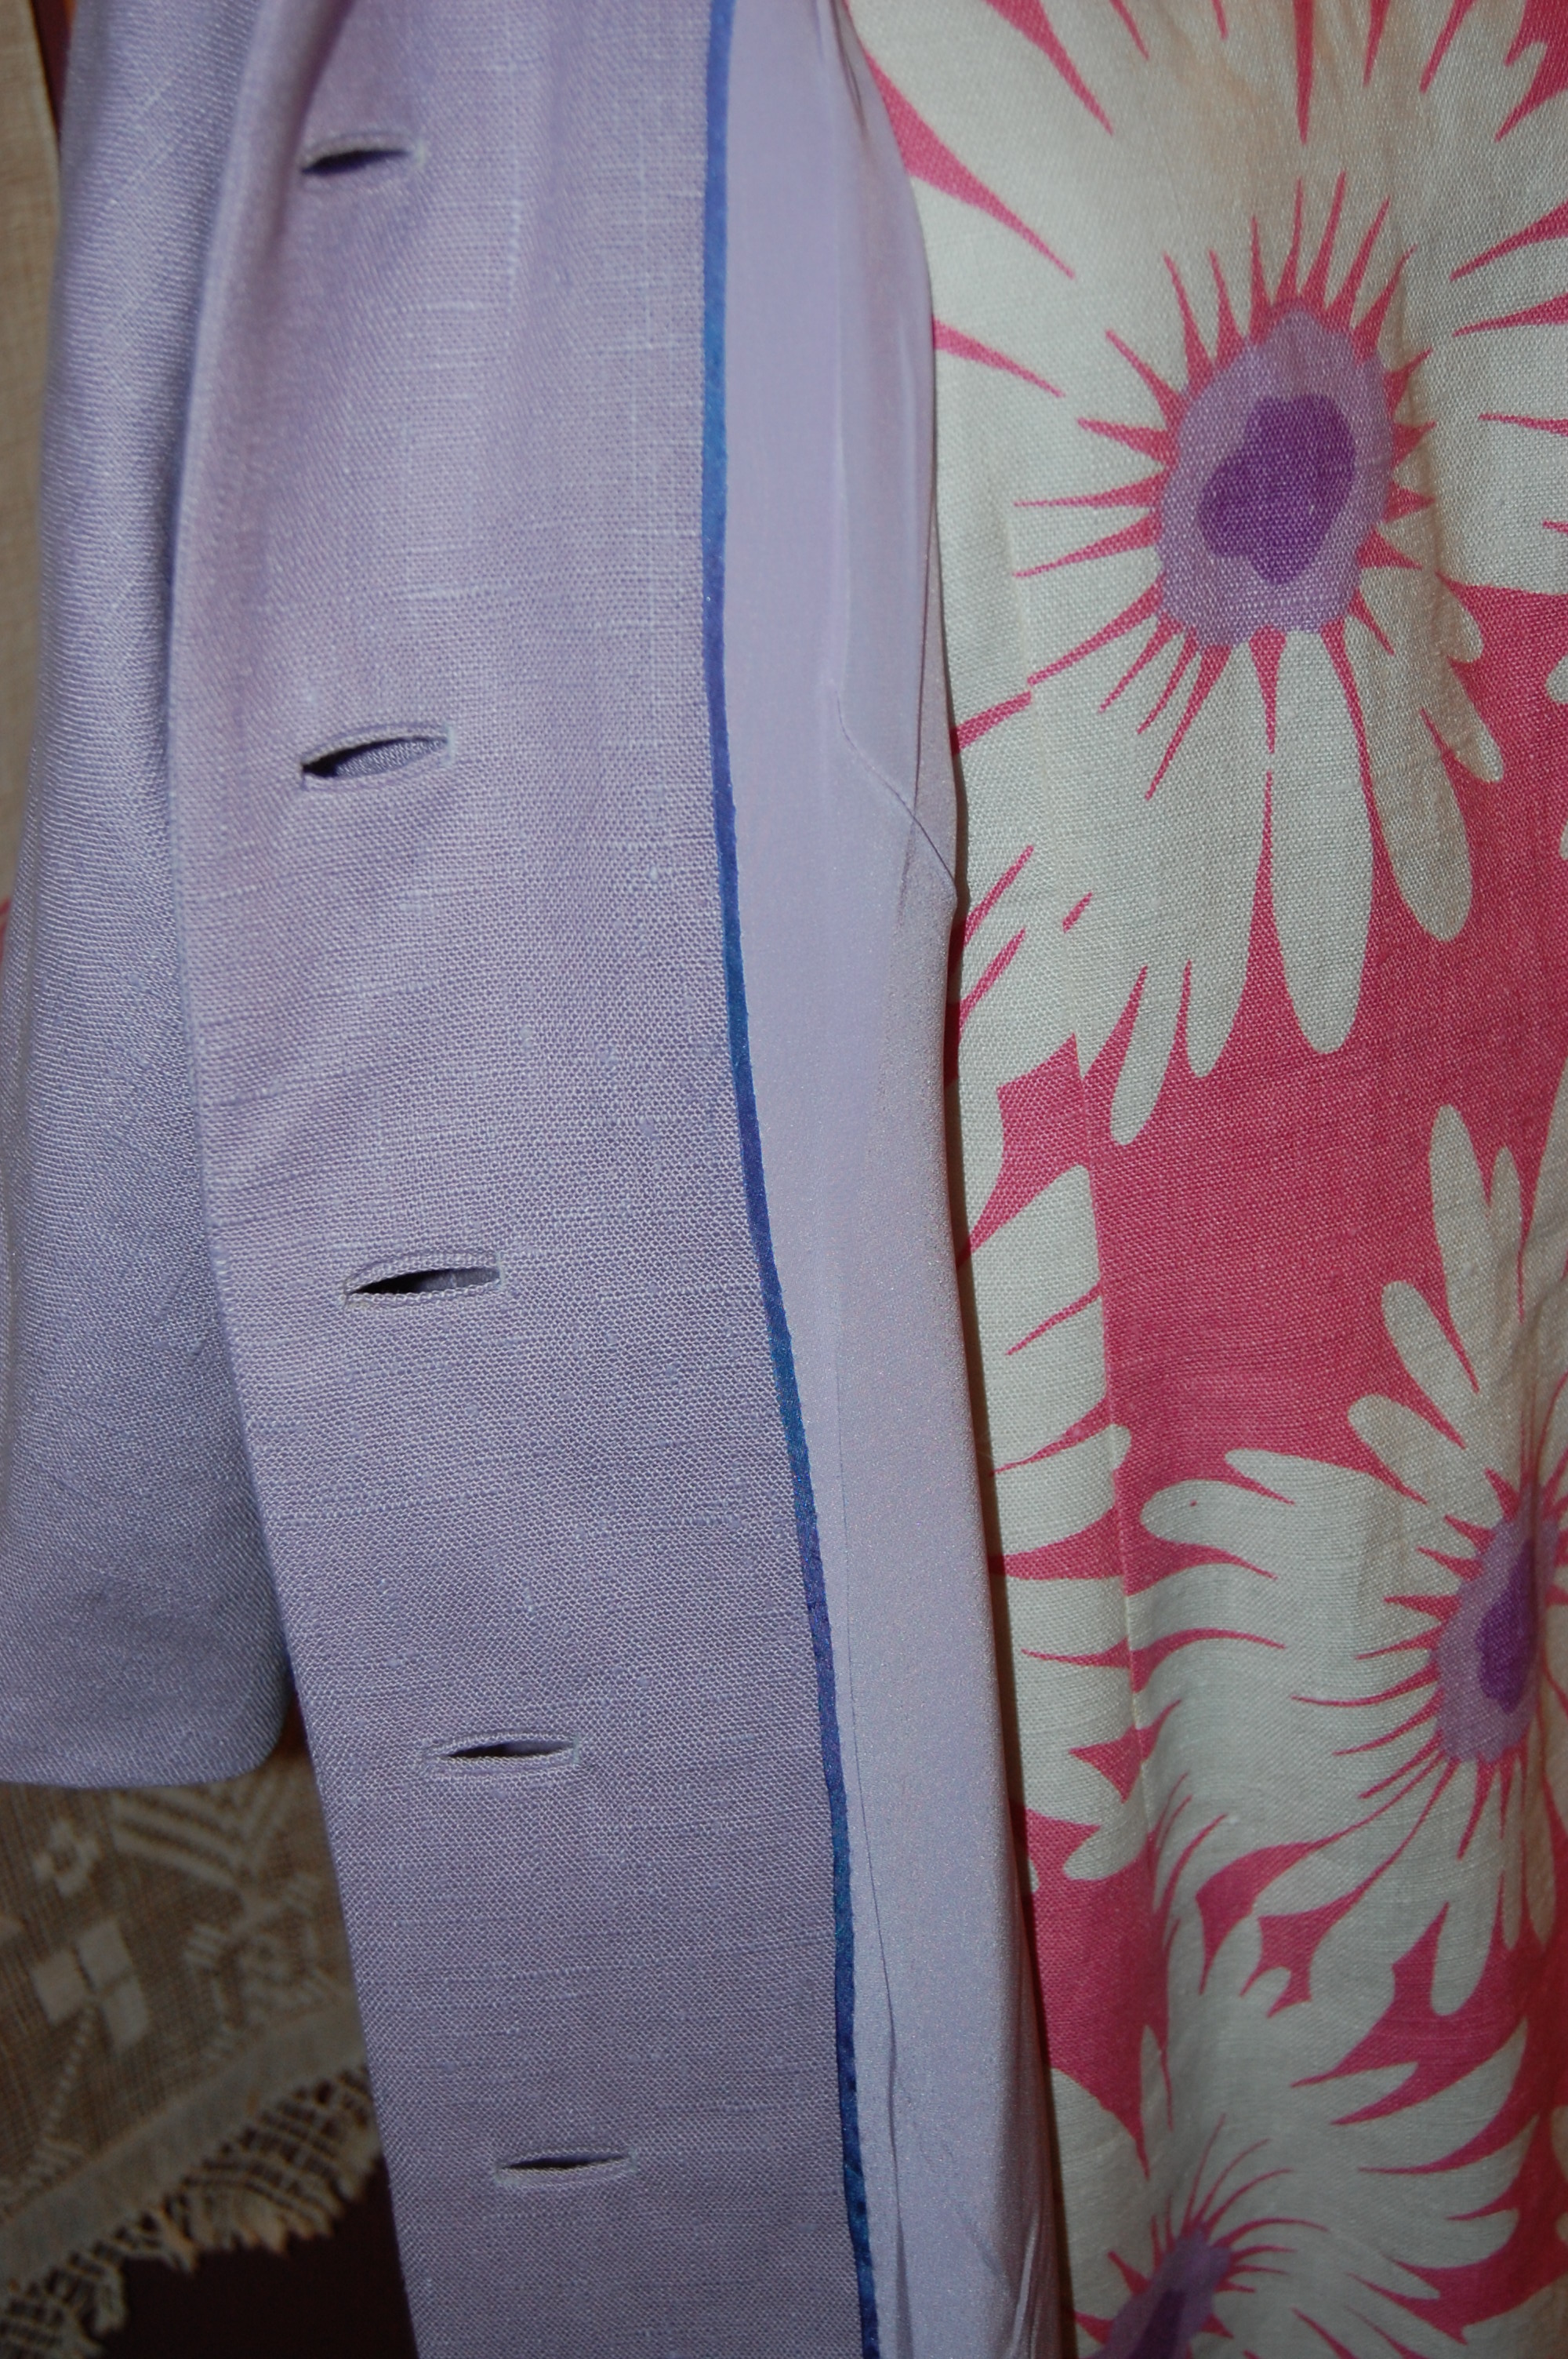
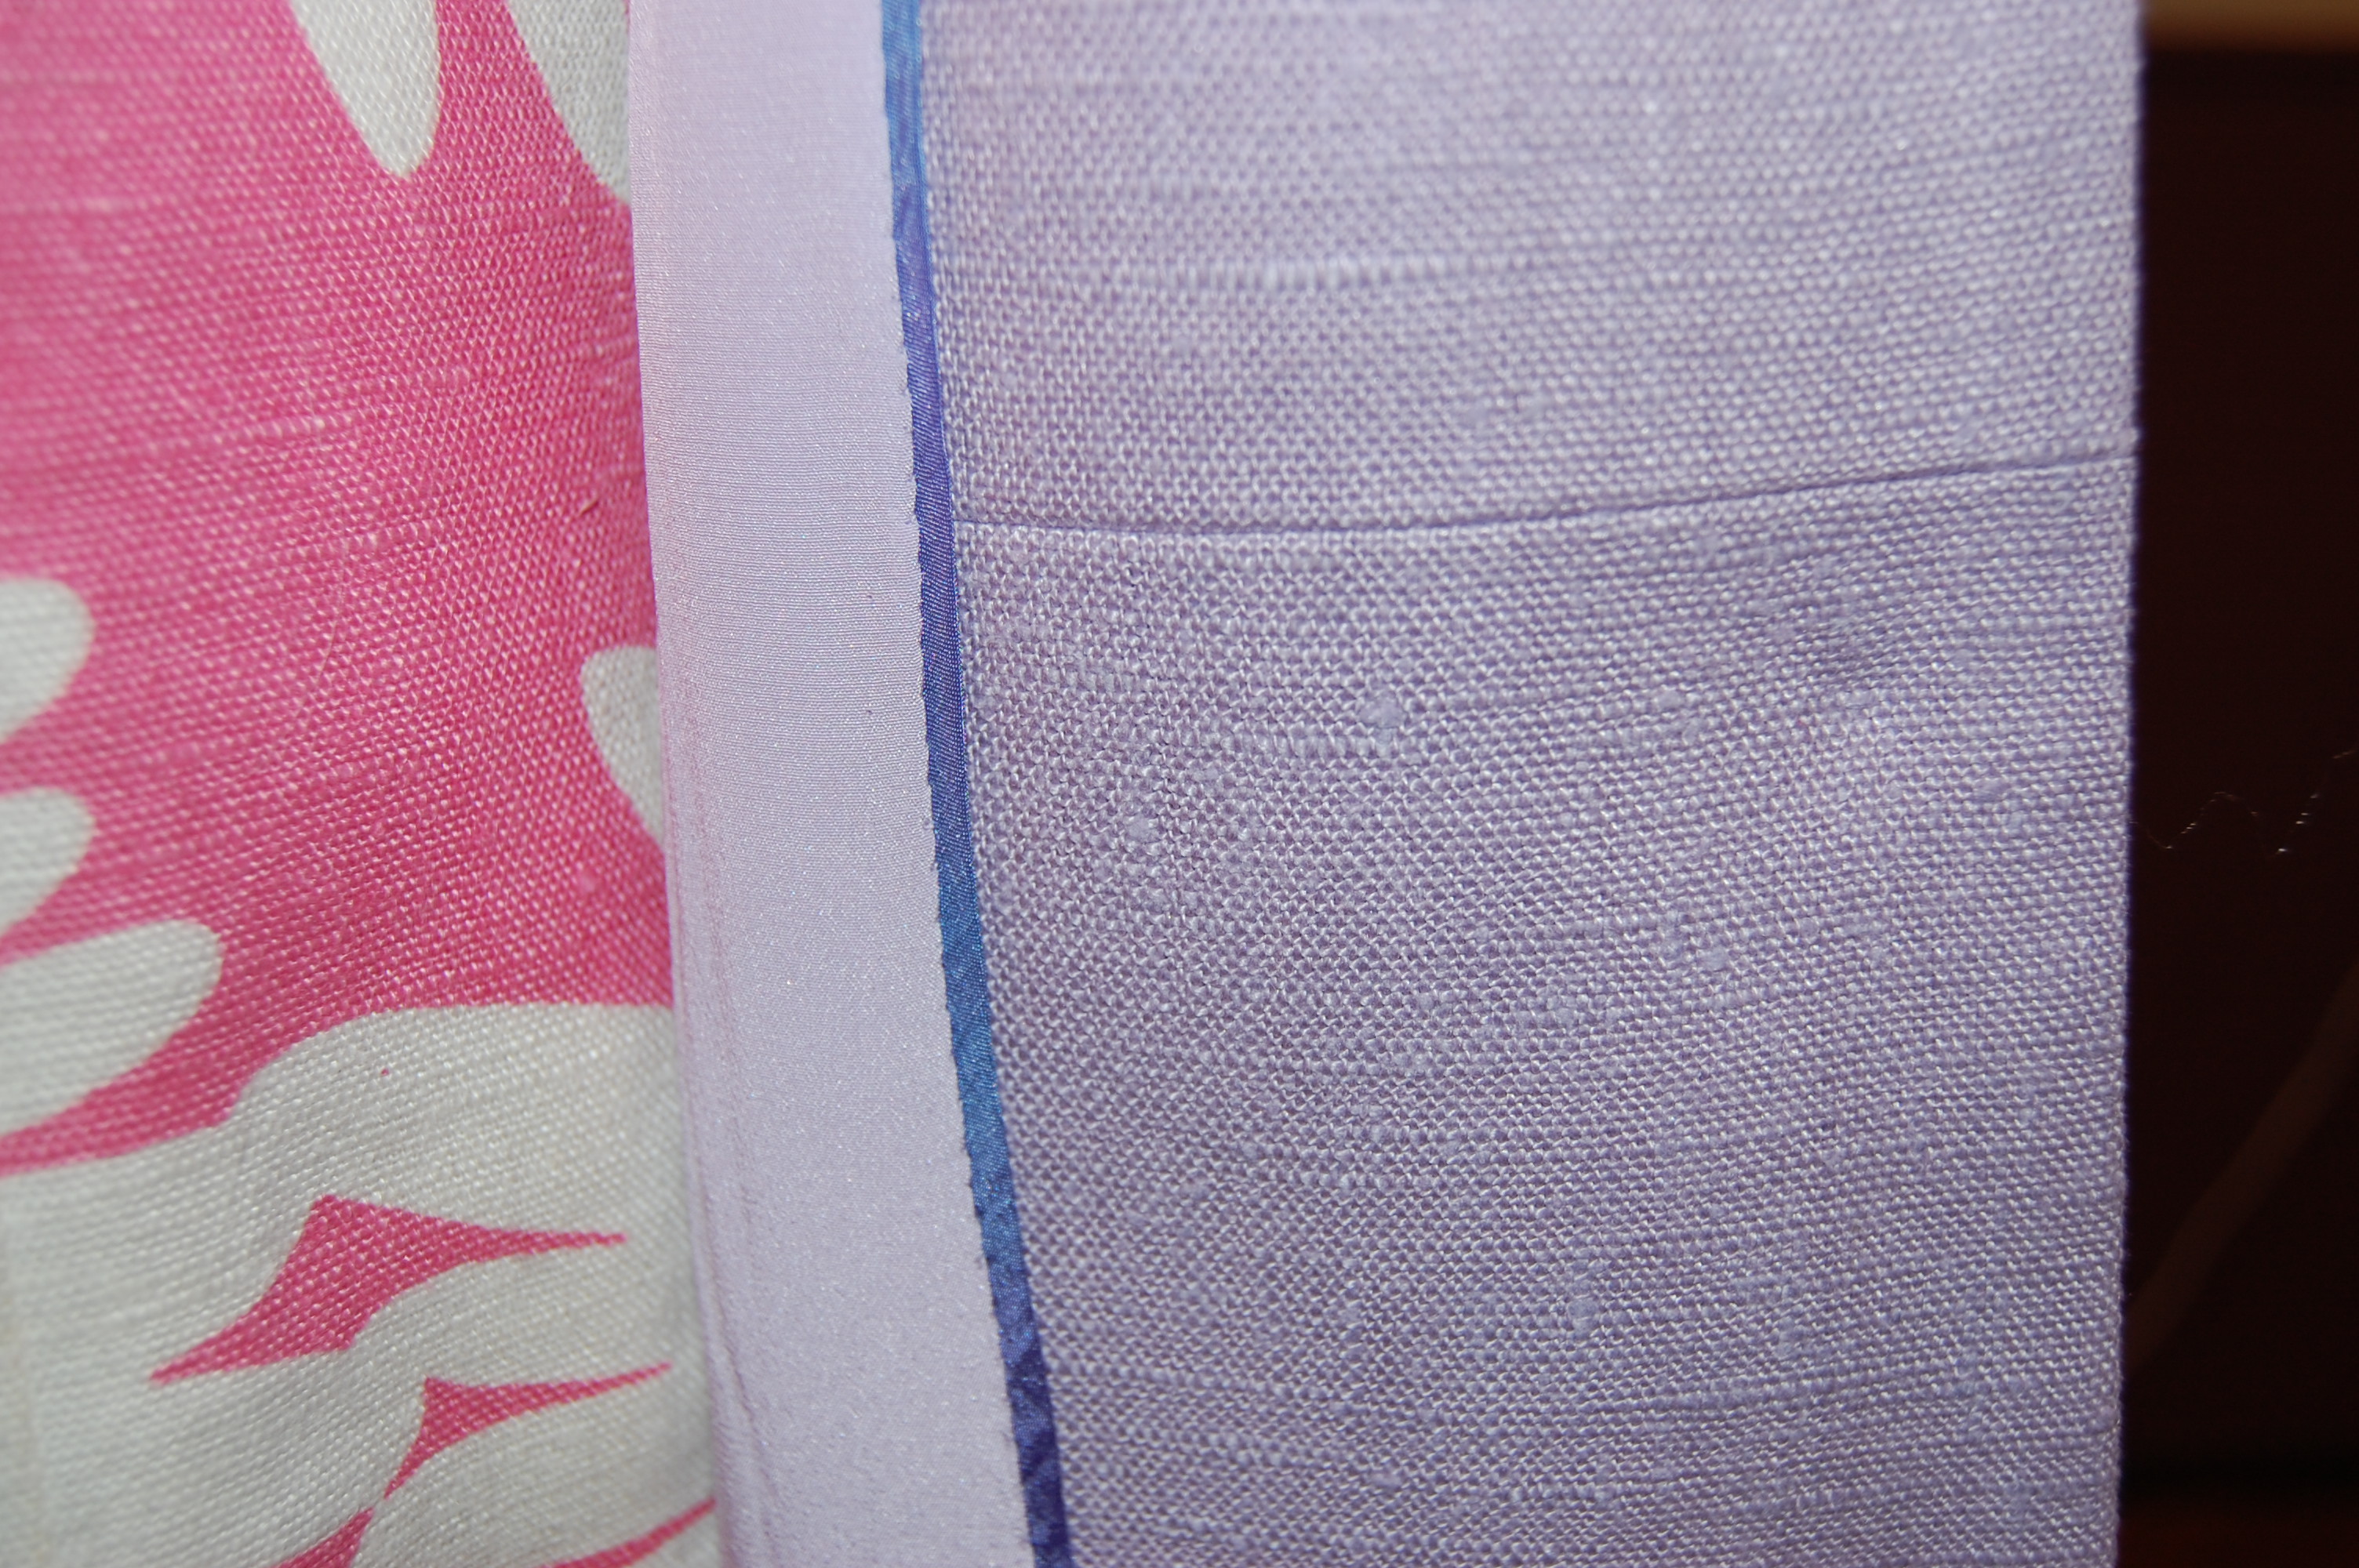


A Blue, White and Pink Tunic Top
Perhaps many of you are familiar with this famous quote from Edith Head (American costume designer, 1897-1981): “A dress should be tight enough to show you’re a woman and loose enough to prove you’re a lady.” When it comes to tunic tops, my very inelegant redo of that quote is: “A tunic should be fitted enough to not be baggy and loose enough to be able to get into it.” I find that combination to be a difficult task. Let’s see how I did with this one:
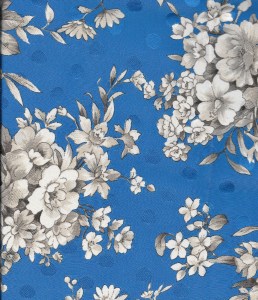
When I saw this pretty fabric on Emma One Socks’s website, I just knew I needed to purchase a length of it. All cotton, it is finely woven and silky soft. Originally, I thought I would make a dress, but when it arrived, I saw it as a tunic top, trimmed in pink, of course. I have a couple of tunic patterns, but I went back to this one because the front opening is longer than most, making it easier to get on and get off.
The interesting thing about this pattern is that there is no fastener/button indicated for that long opening. I’m not sure how one would keep a degree of modesty – or even keep the tunic properly on one’s body – without a button or at least a hook and eye. More about that later.
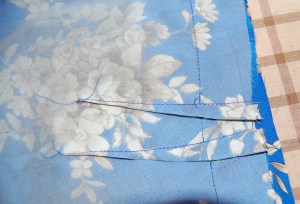
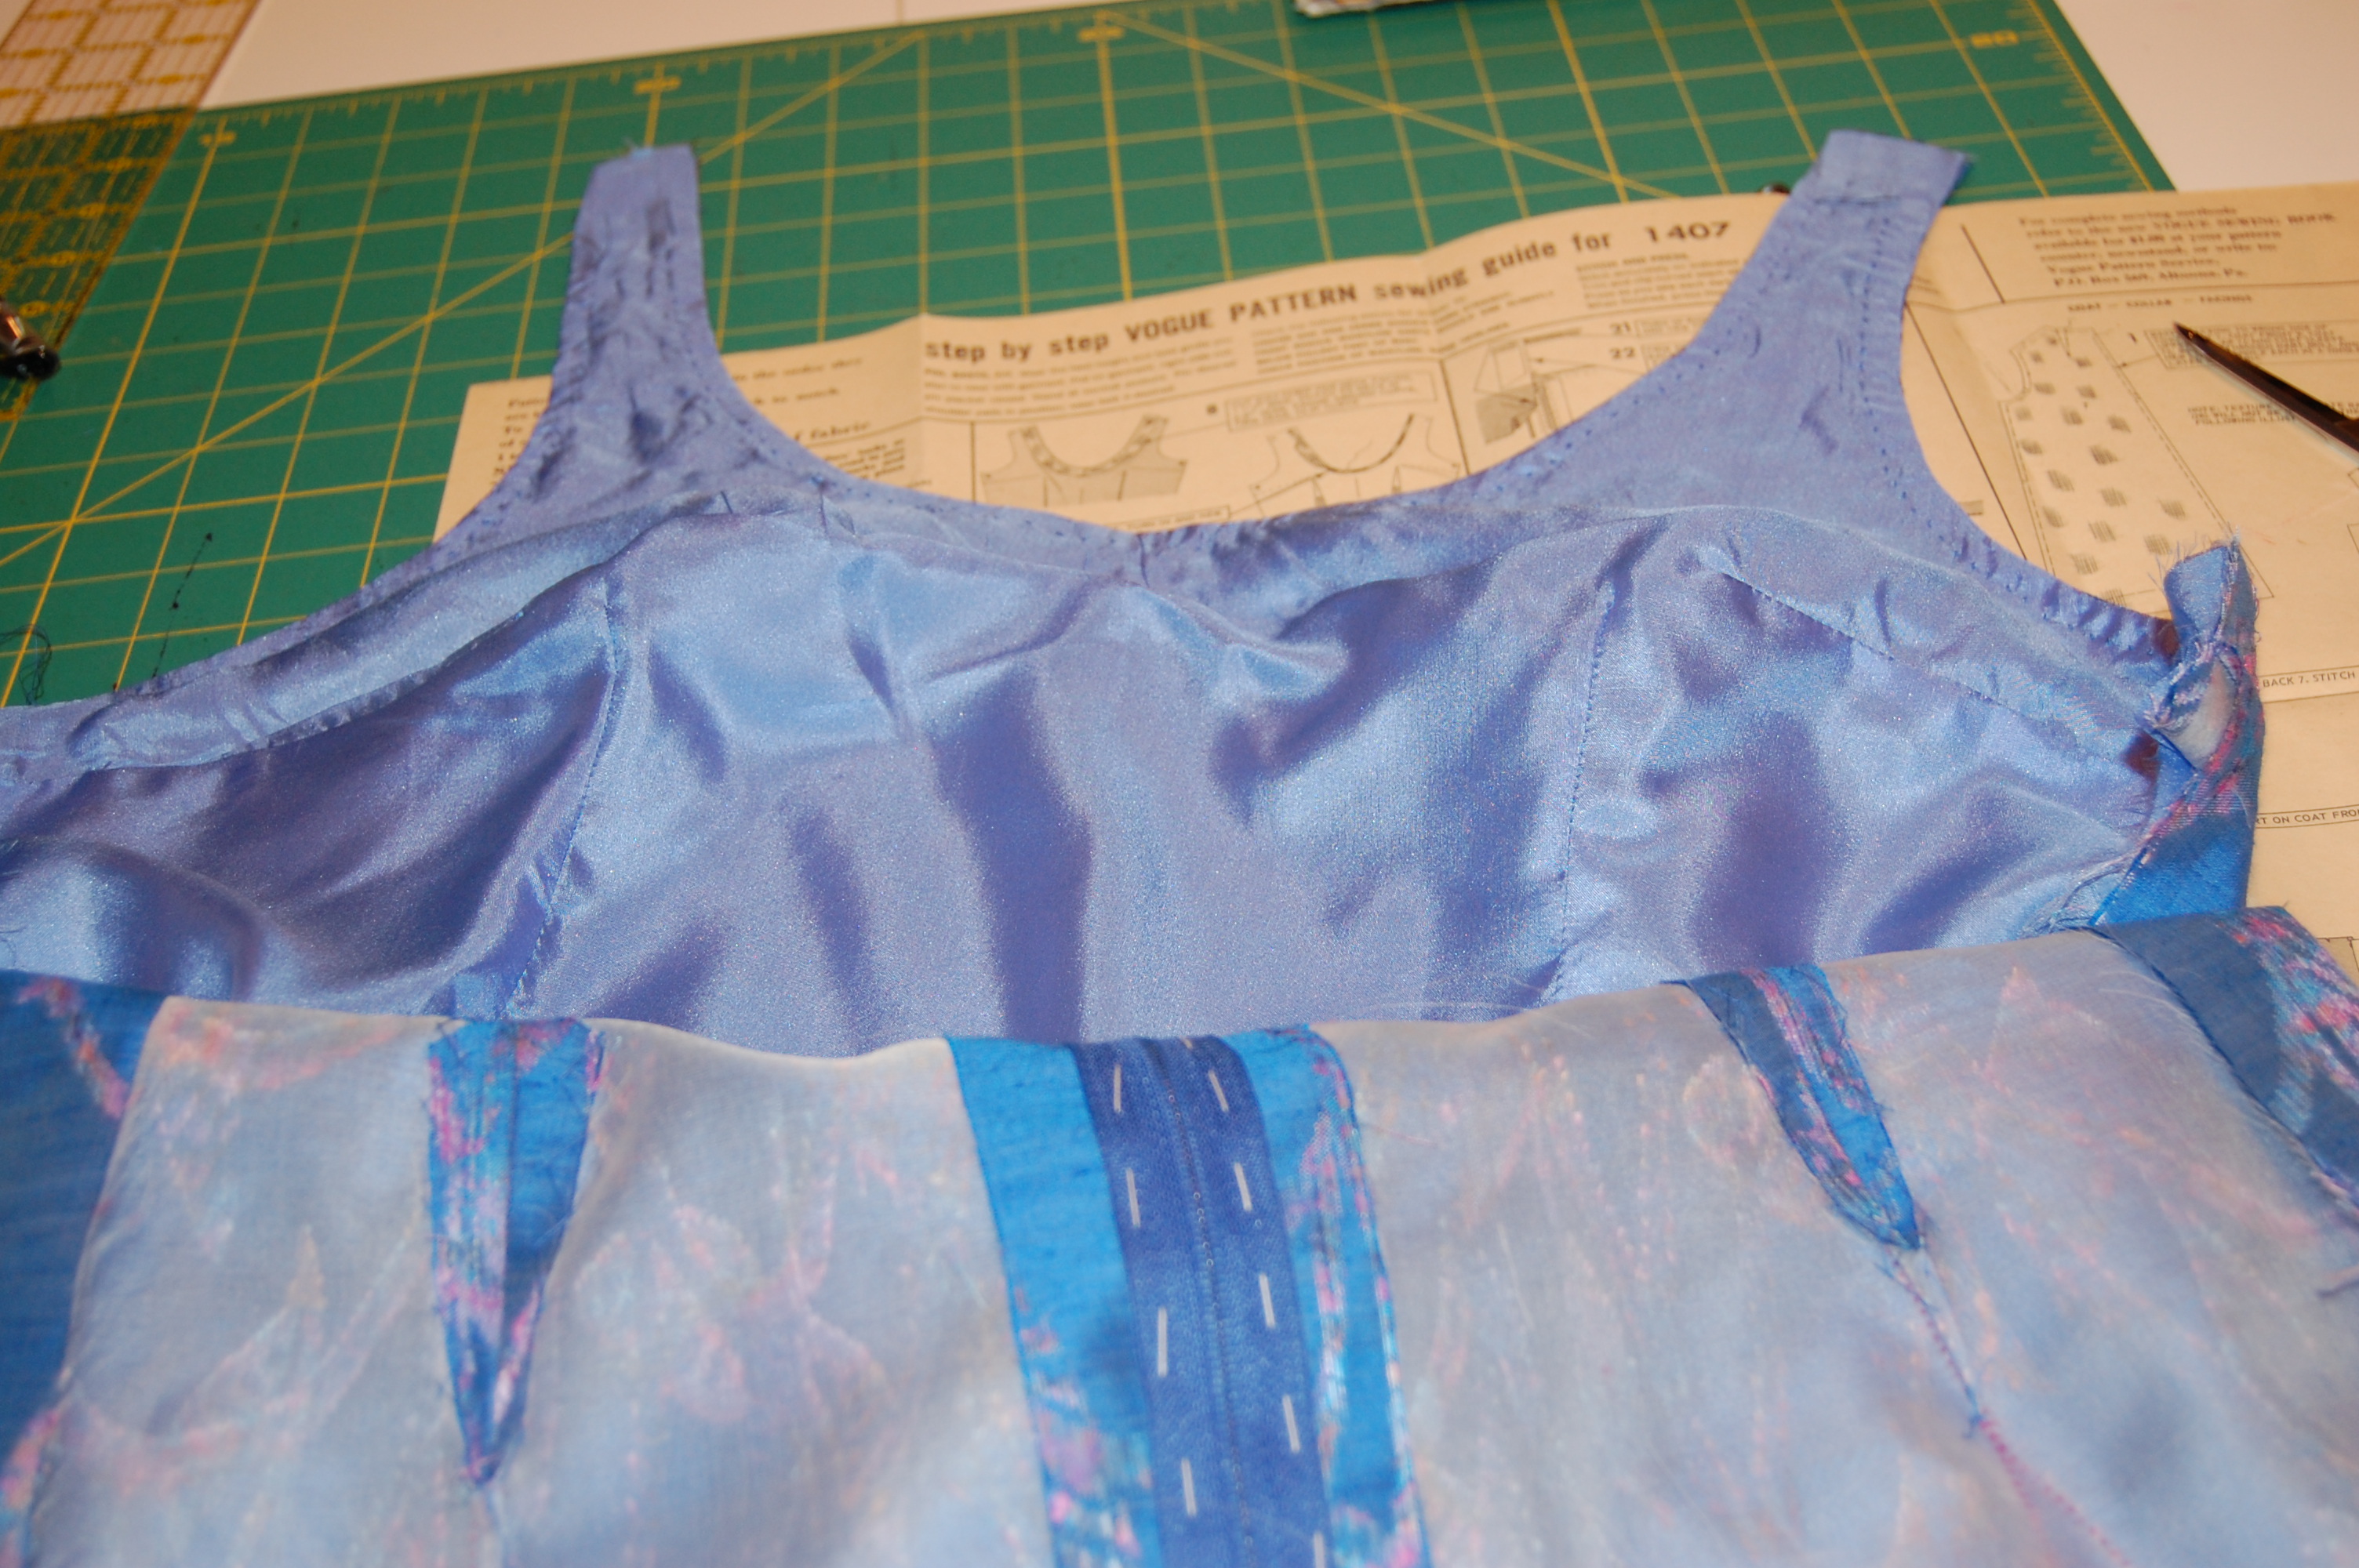
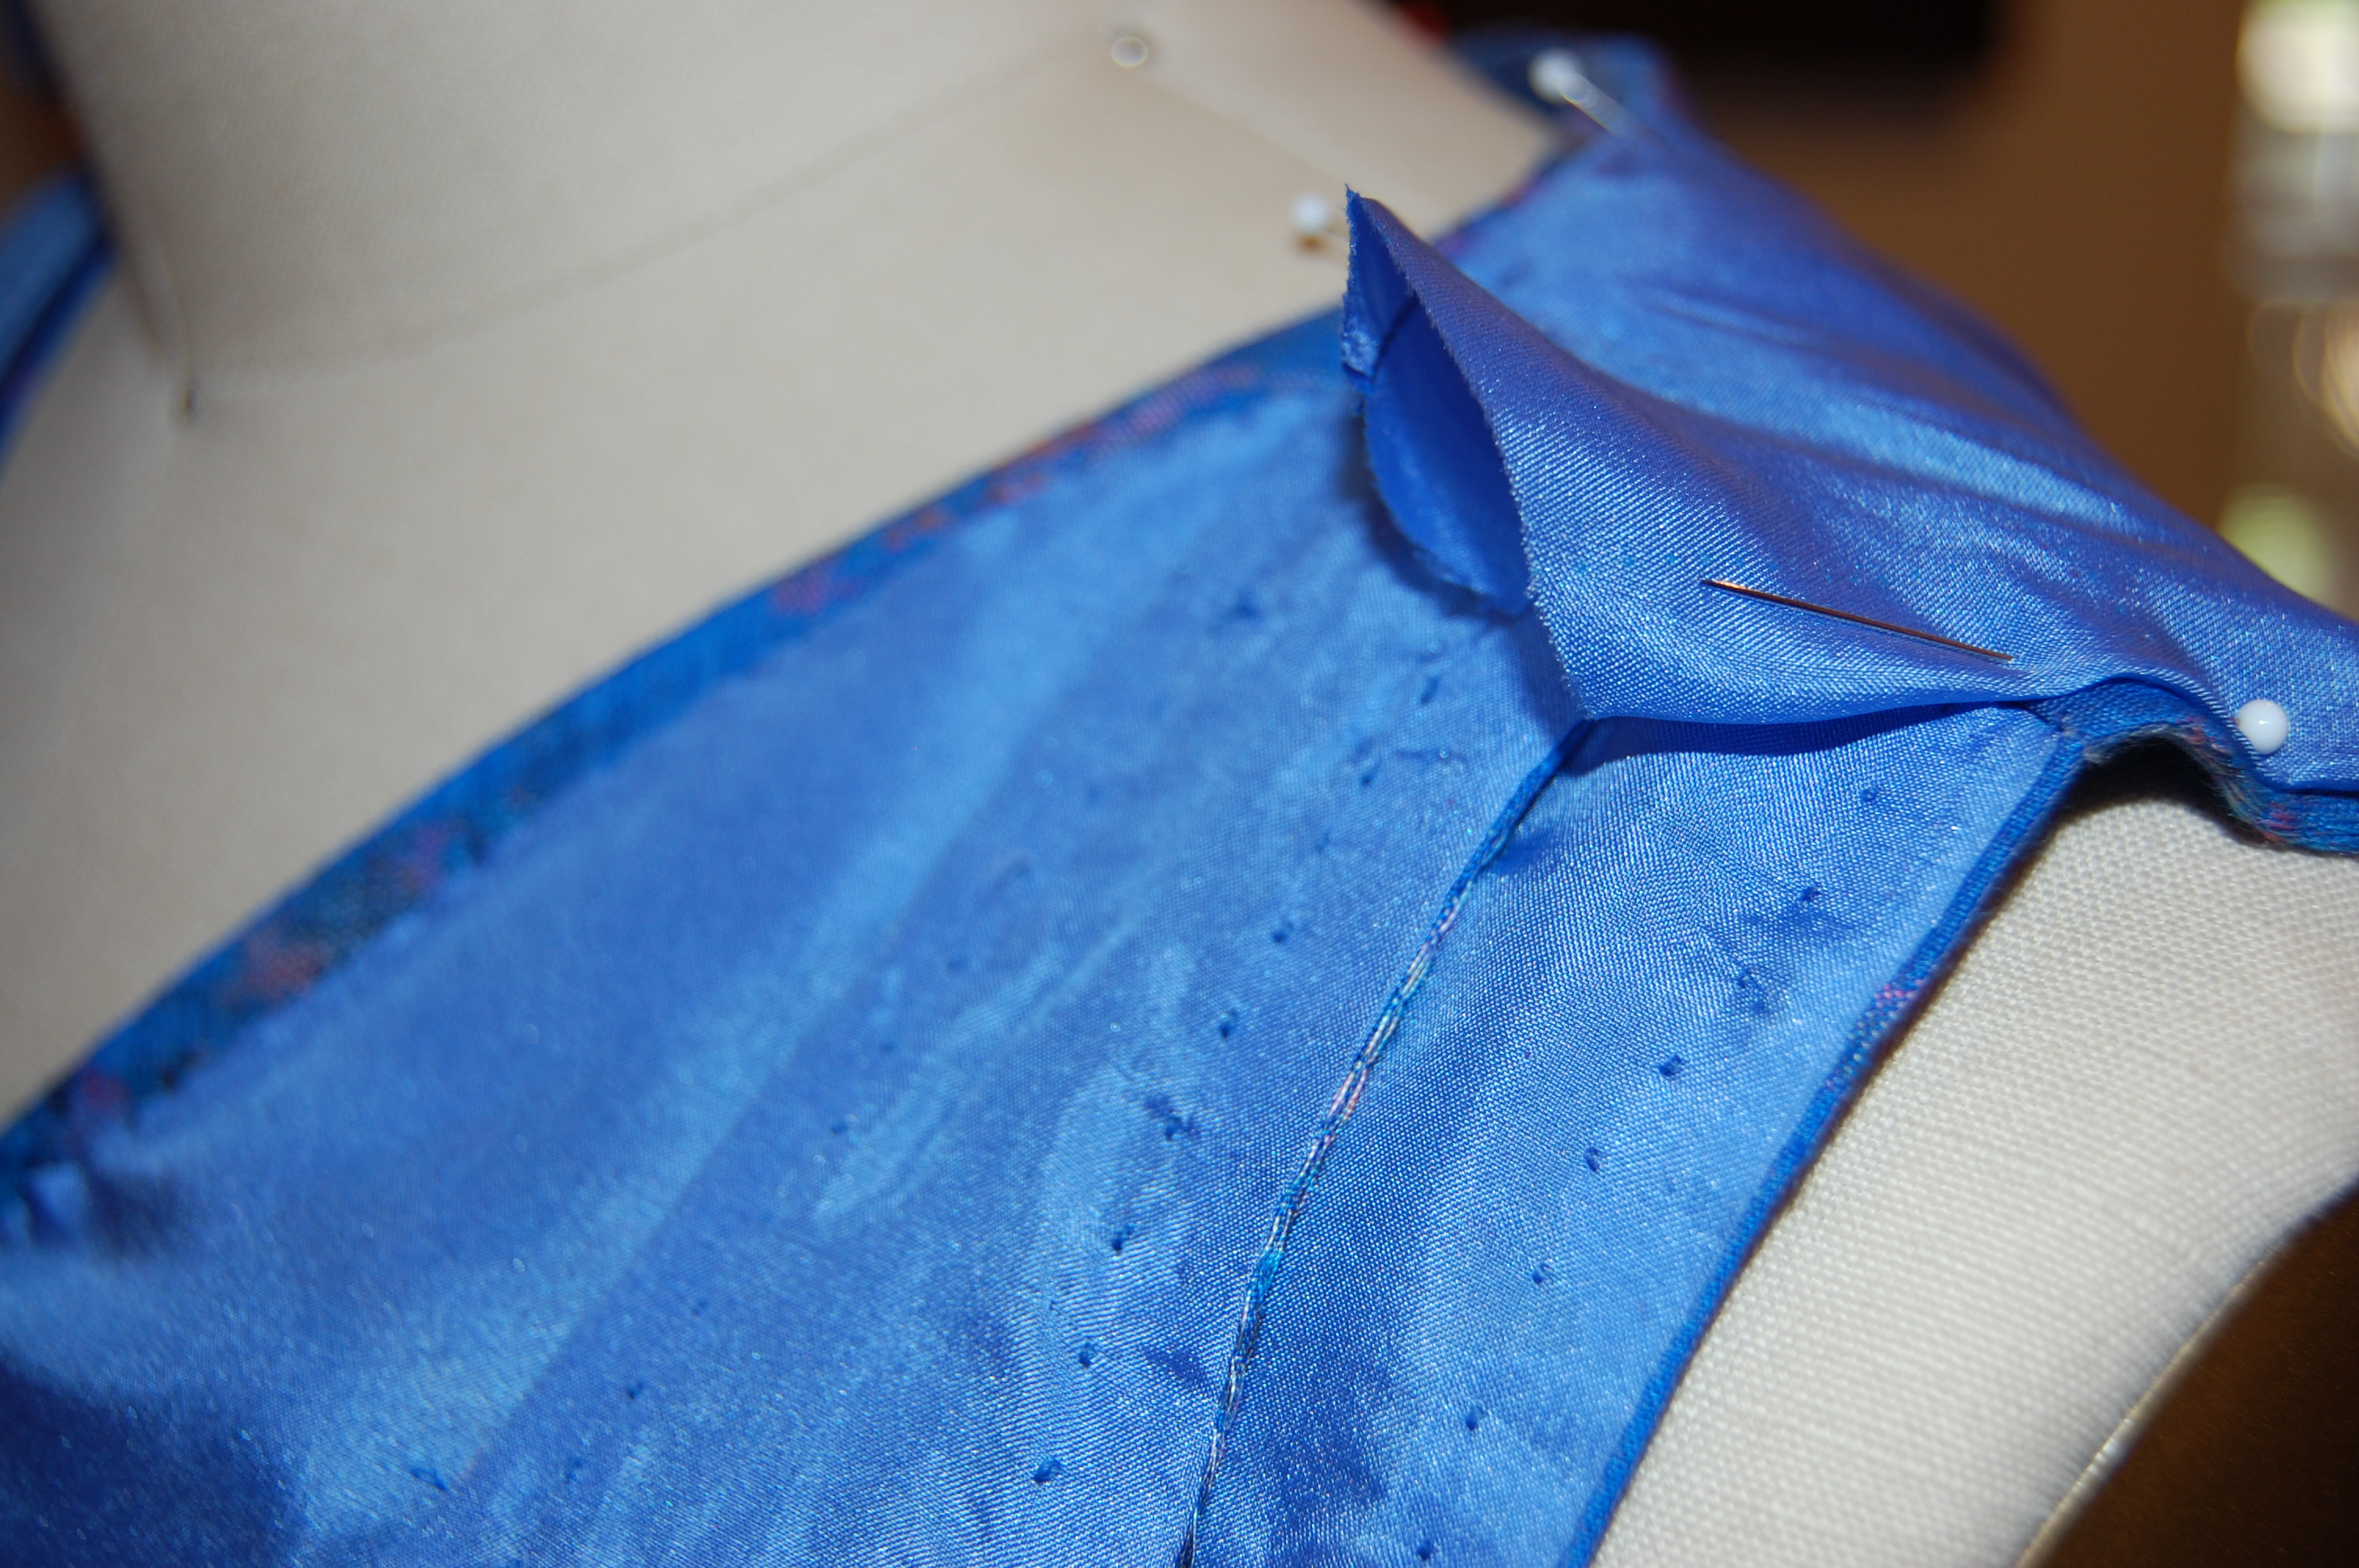
There are a couple of features of this pattern I like, besides that long opening in the front. It has shoulder darts in the back, which I always find add just a little necessary fitting finesse.
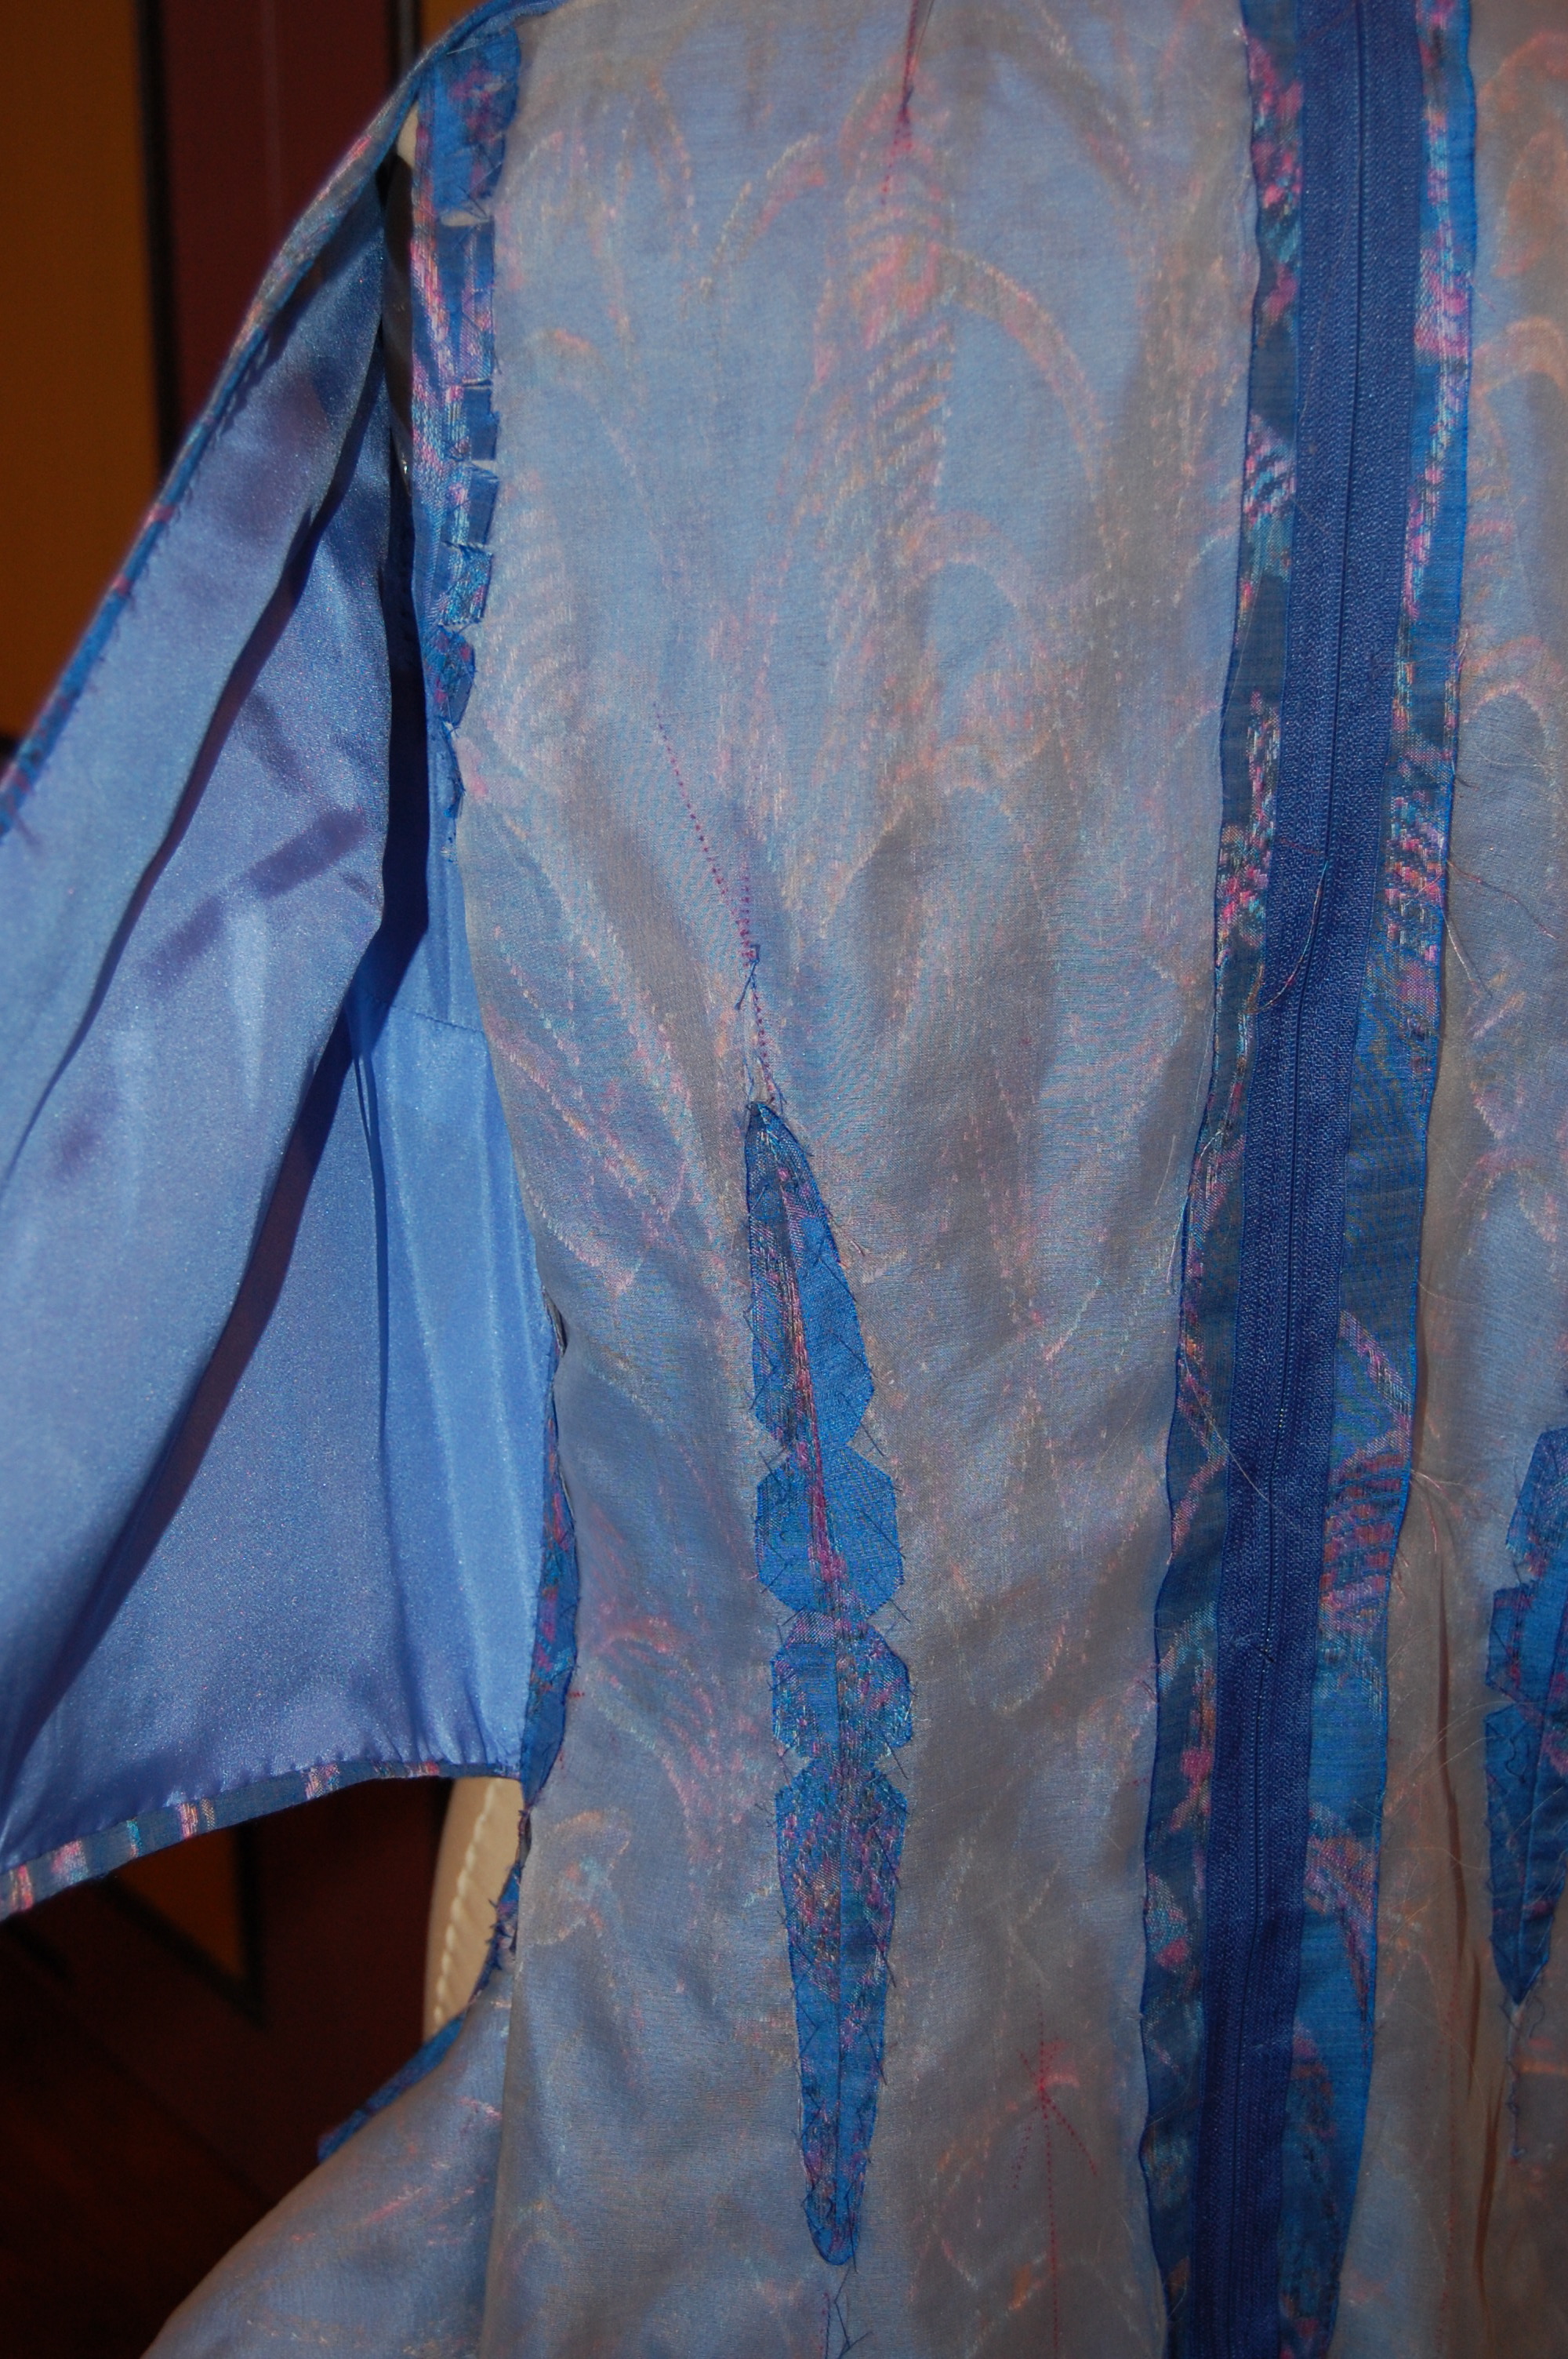
I also like the way the front facing is constructed, and the width of the stand-up collar. However, the pattern lacks slimming darts in the back. My limited experience with sewing tunics has taught me that without long defining fisheye darts in the back, my tunic is going to be baggy and look like a sack. So, I added them.
I also shortened the sleeves, as I prefer a length just below the elbow, and I took out some of the width of the “trumpet.” Even with a narrower sleeve, I knew turning up a hem on it would result in a less than smooth finish. To get around this, I took the pattern piece for the bottom panel for the long sleeve (shown on the pattern), flipped it, narrowed it, and shortened it to give me a facing which would be a perfect fit into the lower curve of the sleeve.
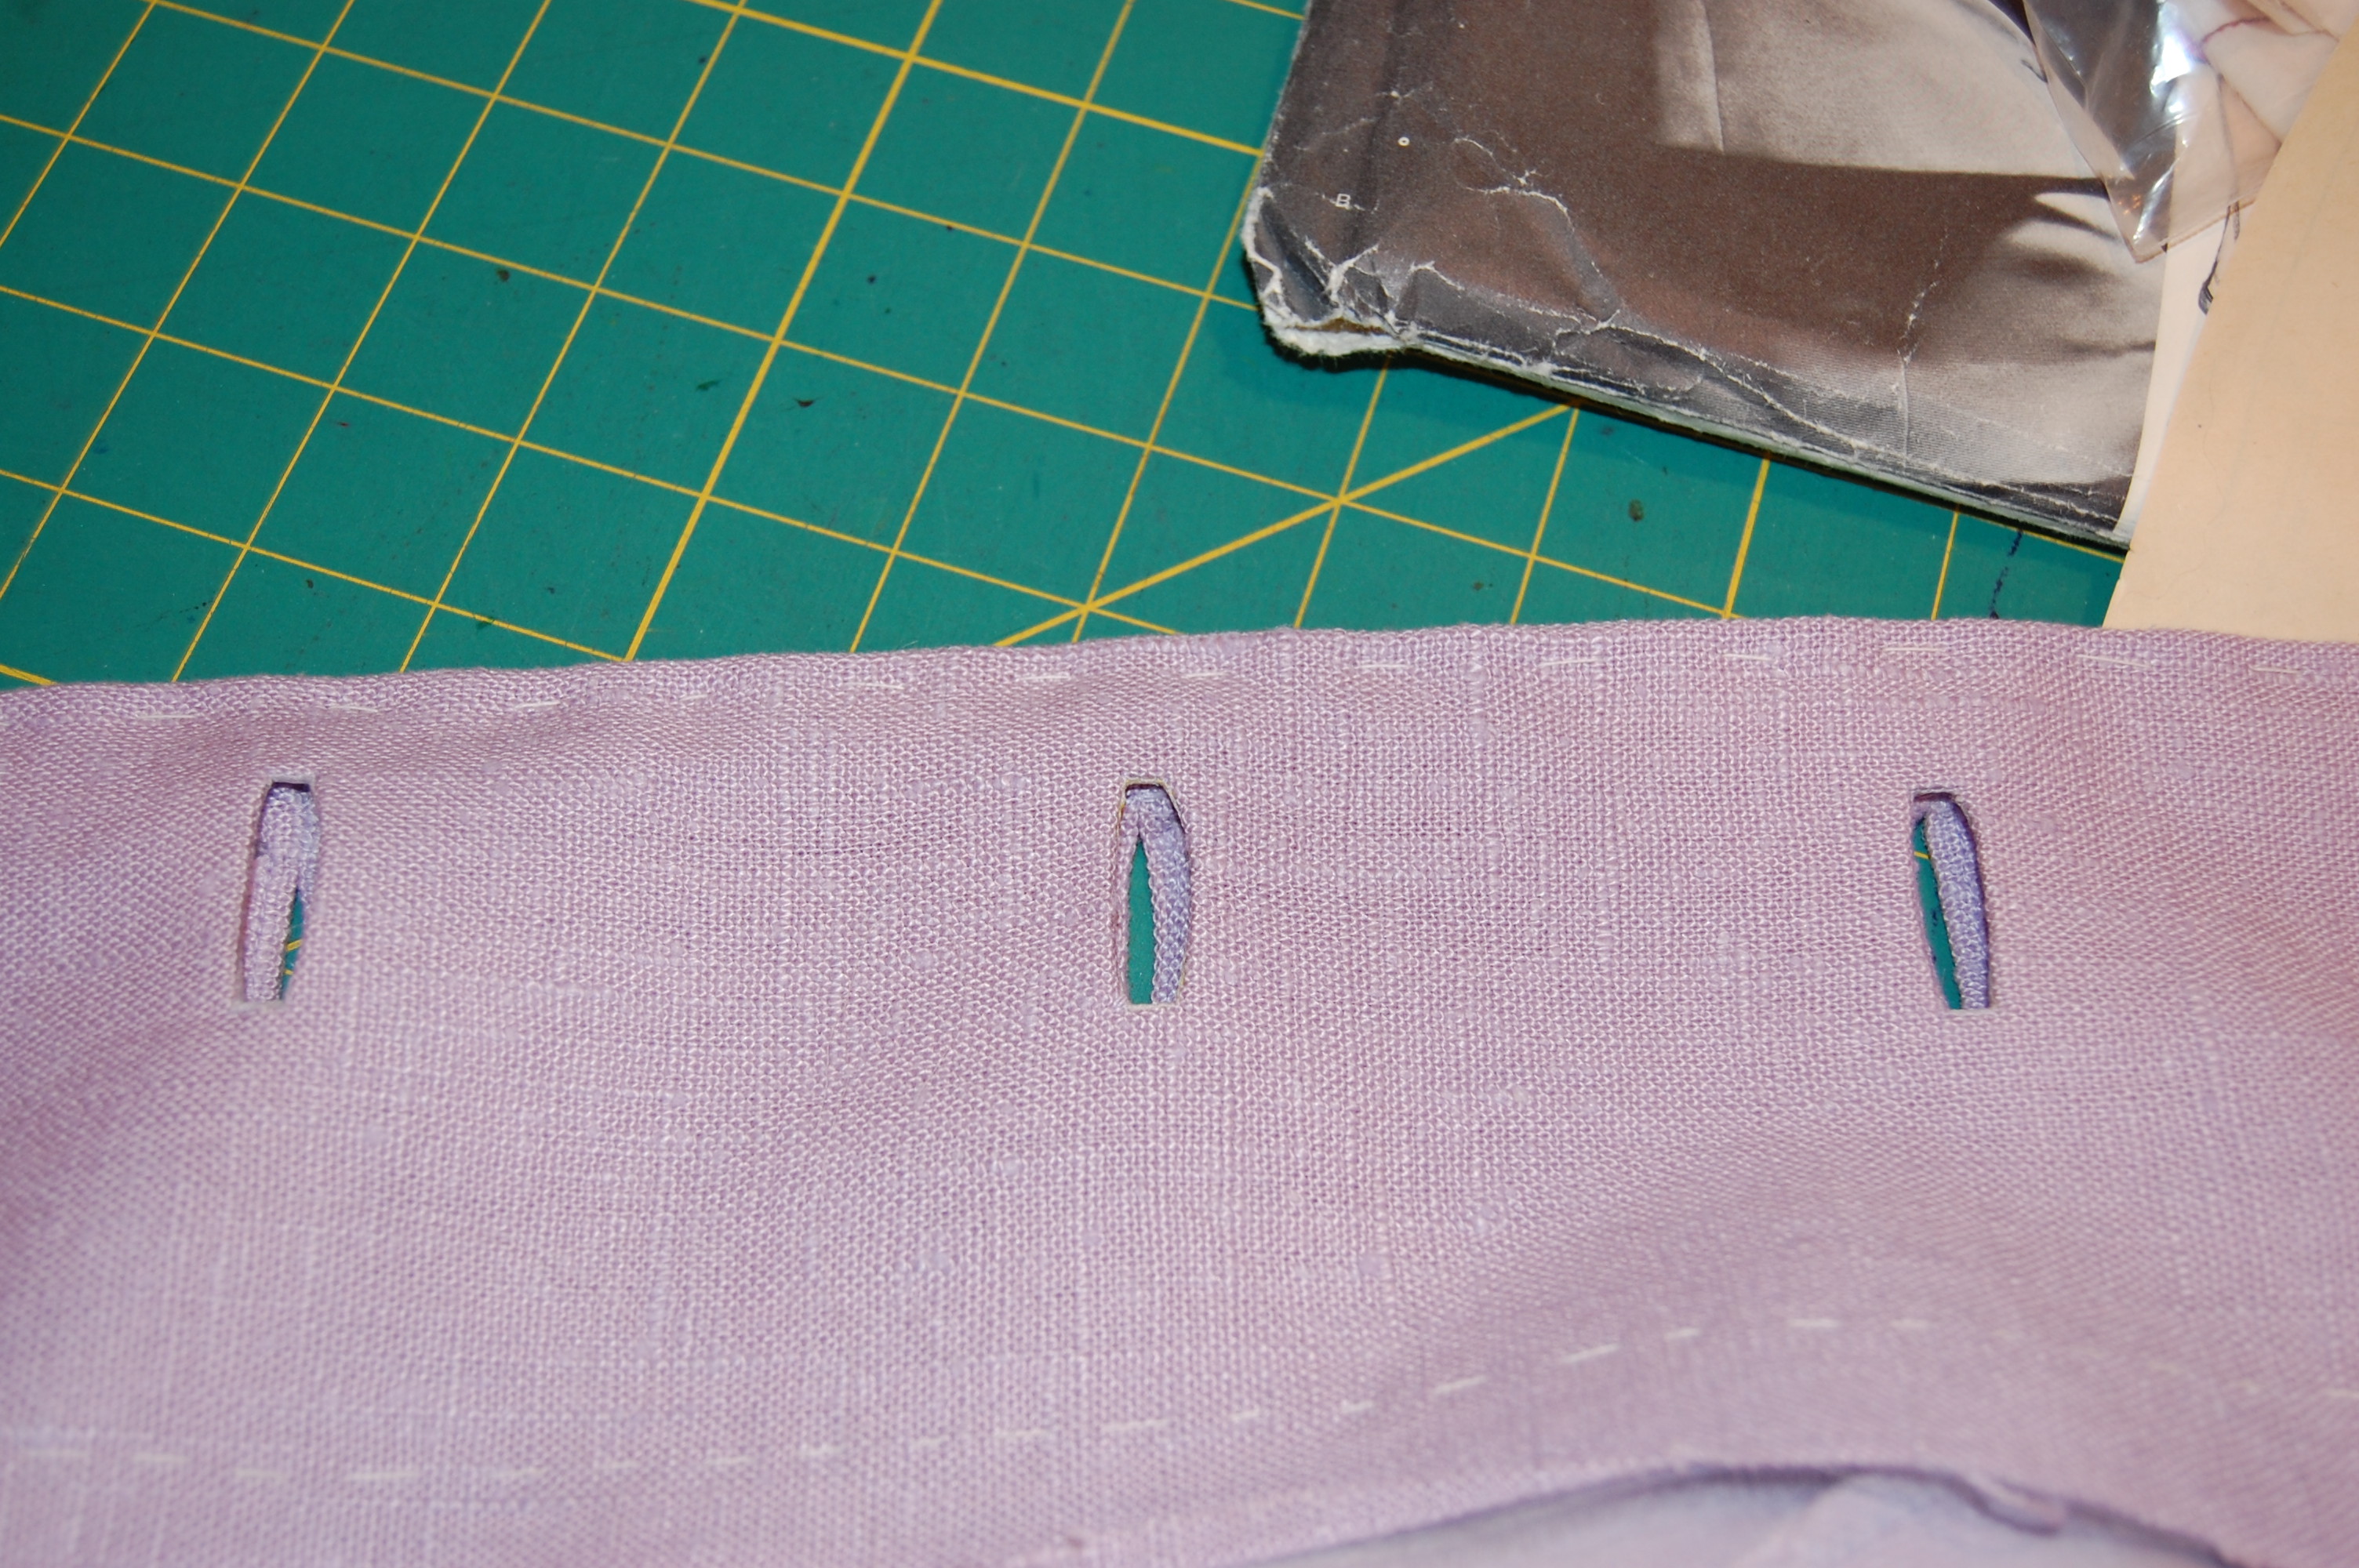
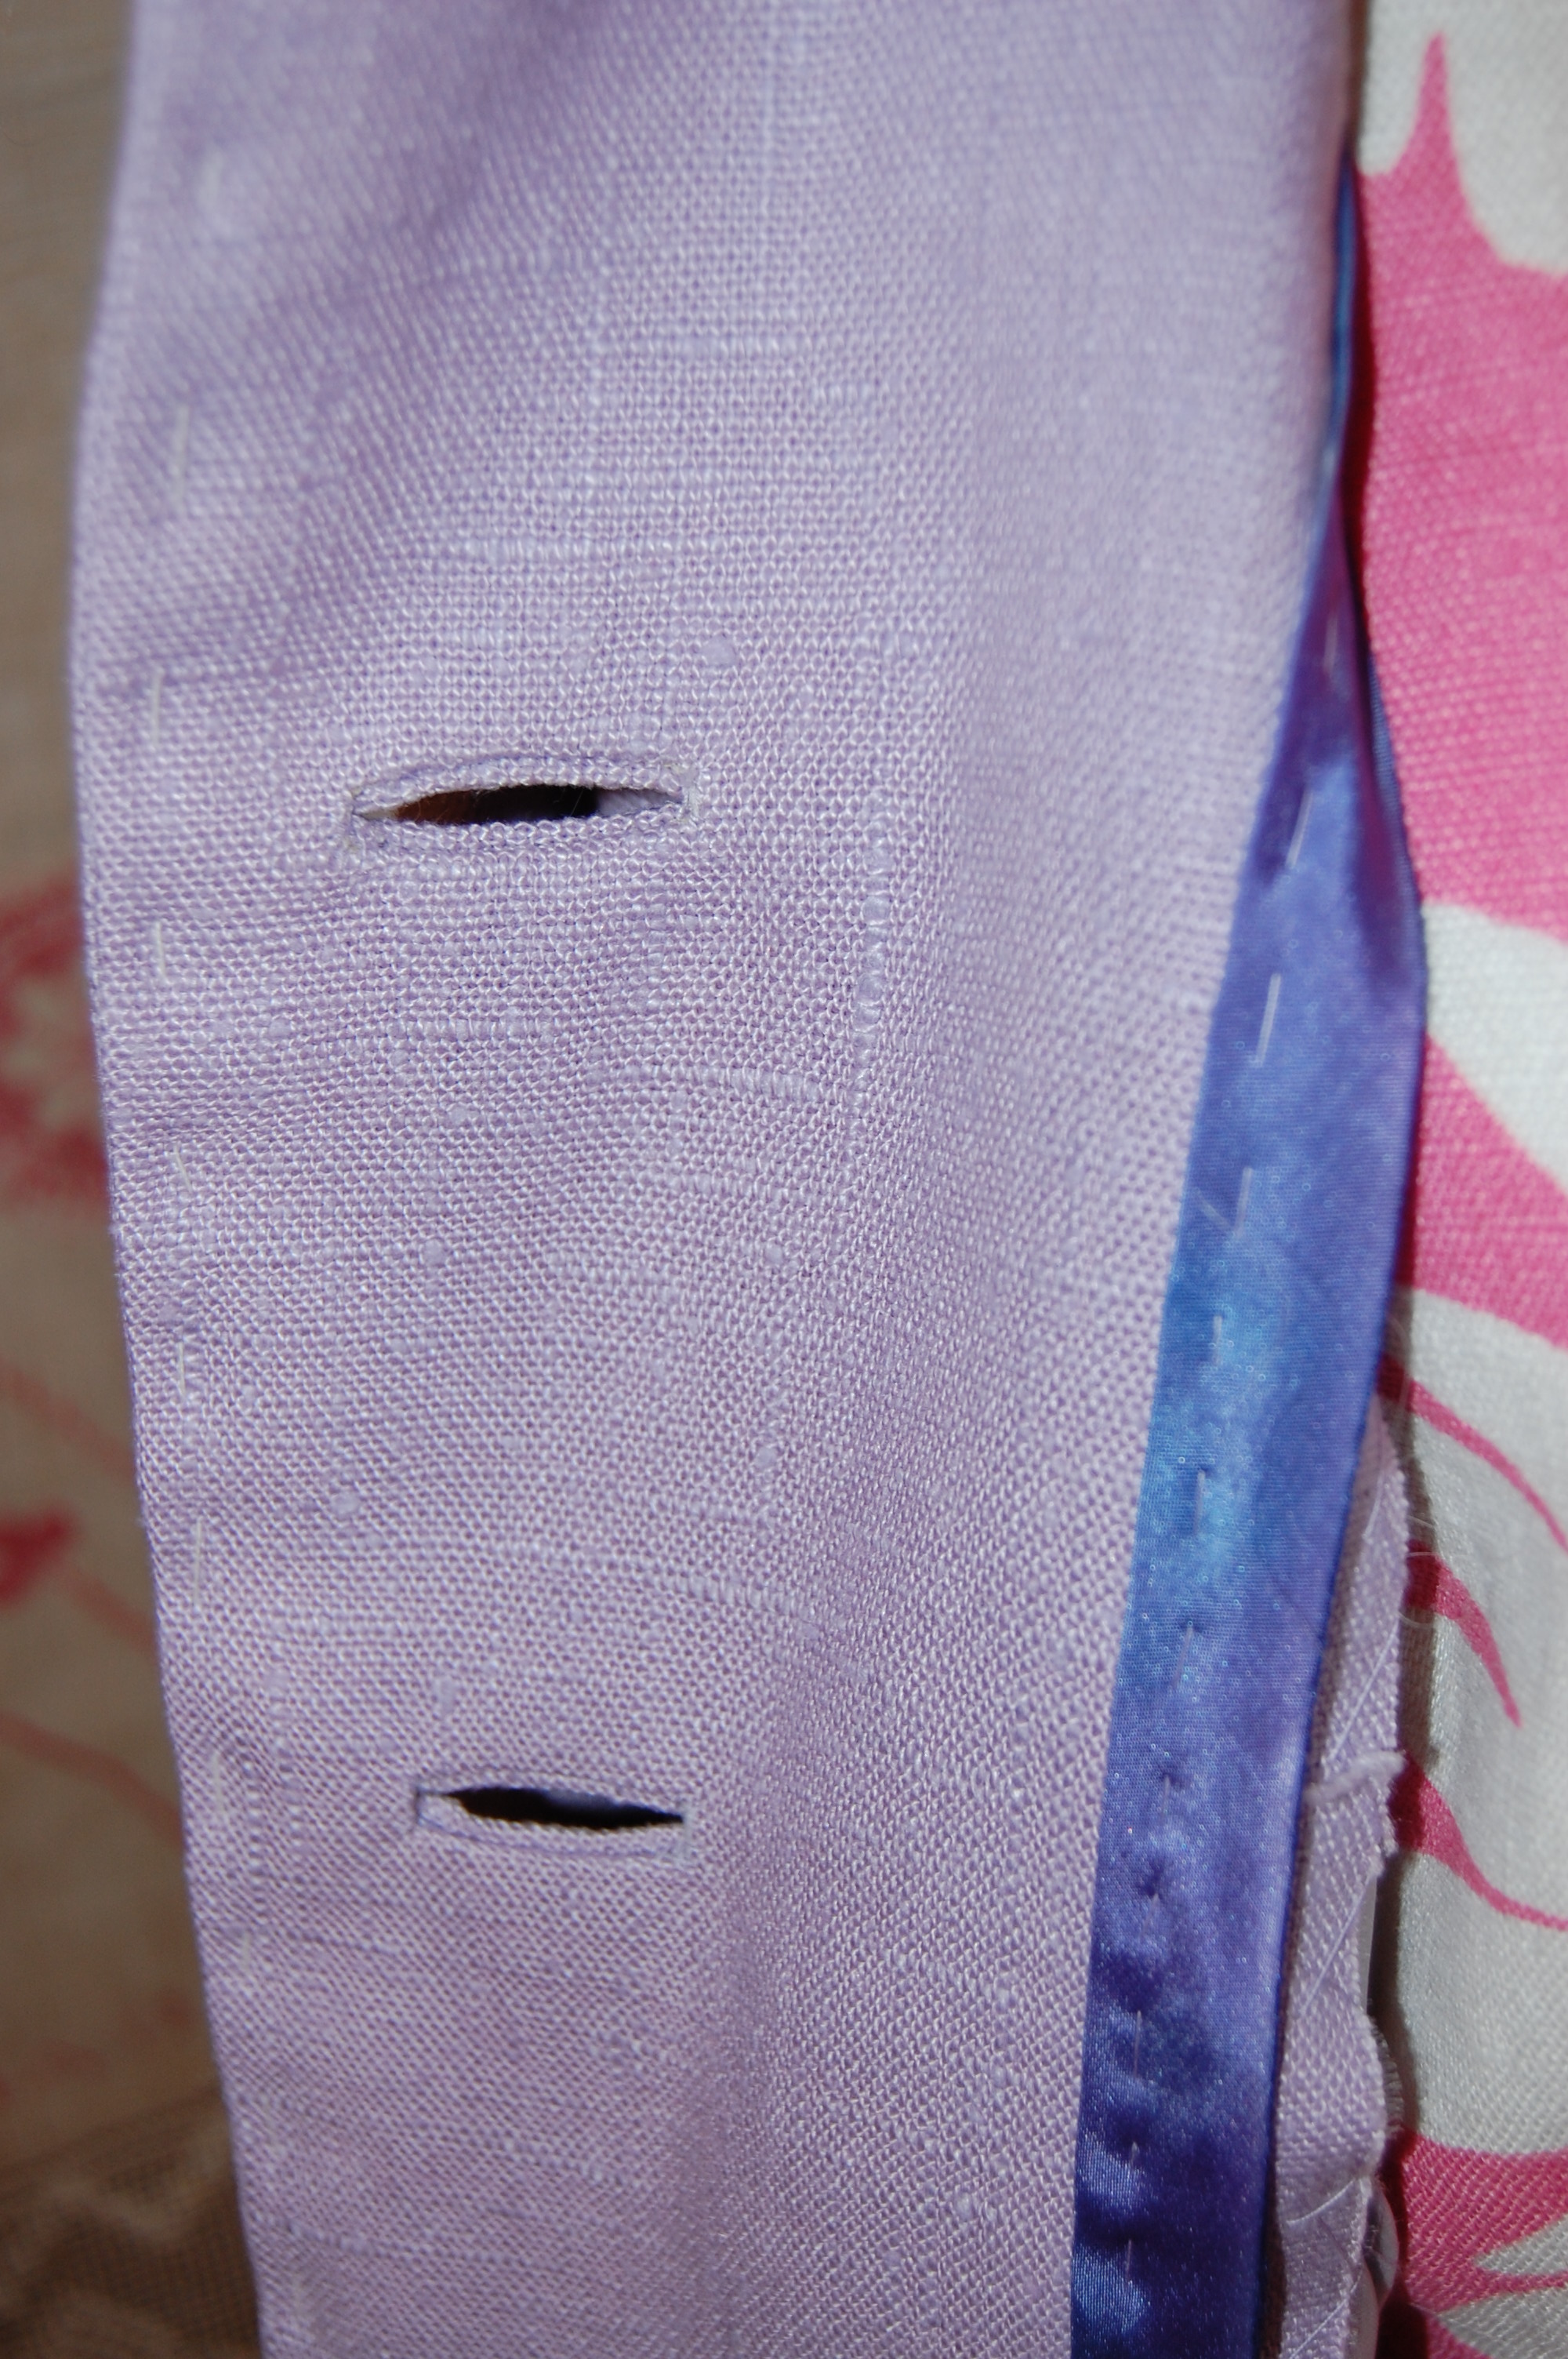
Back to that front opening: when sewing the facing on, I added a loop to the right side so that I could strategically place a button to keep the gap closed. On this fabric, it seems hardly noticeable, but oh my, is it necessary!
One of the beauties of tunics is there are no rules on how trim is applied or placed or even if it is used. I had purchased two widths of Petersham ribbon for use on this garment, fully intending on using two rows to echo the front opening. However, I determined that would be too much. Instead, I used the narrower ribbon on the collar and as the second row around the hem and the side slits. The sleeves seemed to look better with the wider width of ribbon. The ribbon adds a degree of stability to the hem, especially, which helps the tunic to hang properly.
By the way, sewing all that Petersham ribbon on is helped immensely by the use of Dritz WashAway adhesive tape.
Obviously I have not washed this tunic yet, but in its first laundering the tape securing the ribbon will, indeed, wash away. I expect a softer appearance of the ribbon at that point, which seems to have a few waves in it at present.
Pictures often are the best way to check fit on a garment (even after multiple try-ons to fine-tune it), and I was pleased with the final, slightly fitted, non-baggy appearance of this tunic. In other words, it does not look like a sack! It is easy to slip on, less so getting it off, but still very manageable. (Sometimes a side zipper can be – or needs to be – added to help with this task of dressing and undressing. The abbreviated length of this example precluded that option.)
I’m not sure what Edith Head would have thought about tunics, if anything (!), but I am thinking positively about this one.
27 Comments
Filed under Blouses, Fashion commentary, Loops for buttons, Tunics, Uncategorized, Vogue patterns
Tagged as Emma One Sock Fabrics, fashion sewing, sewing, tunic tops