
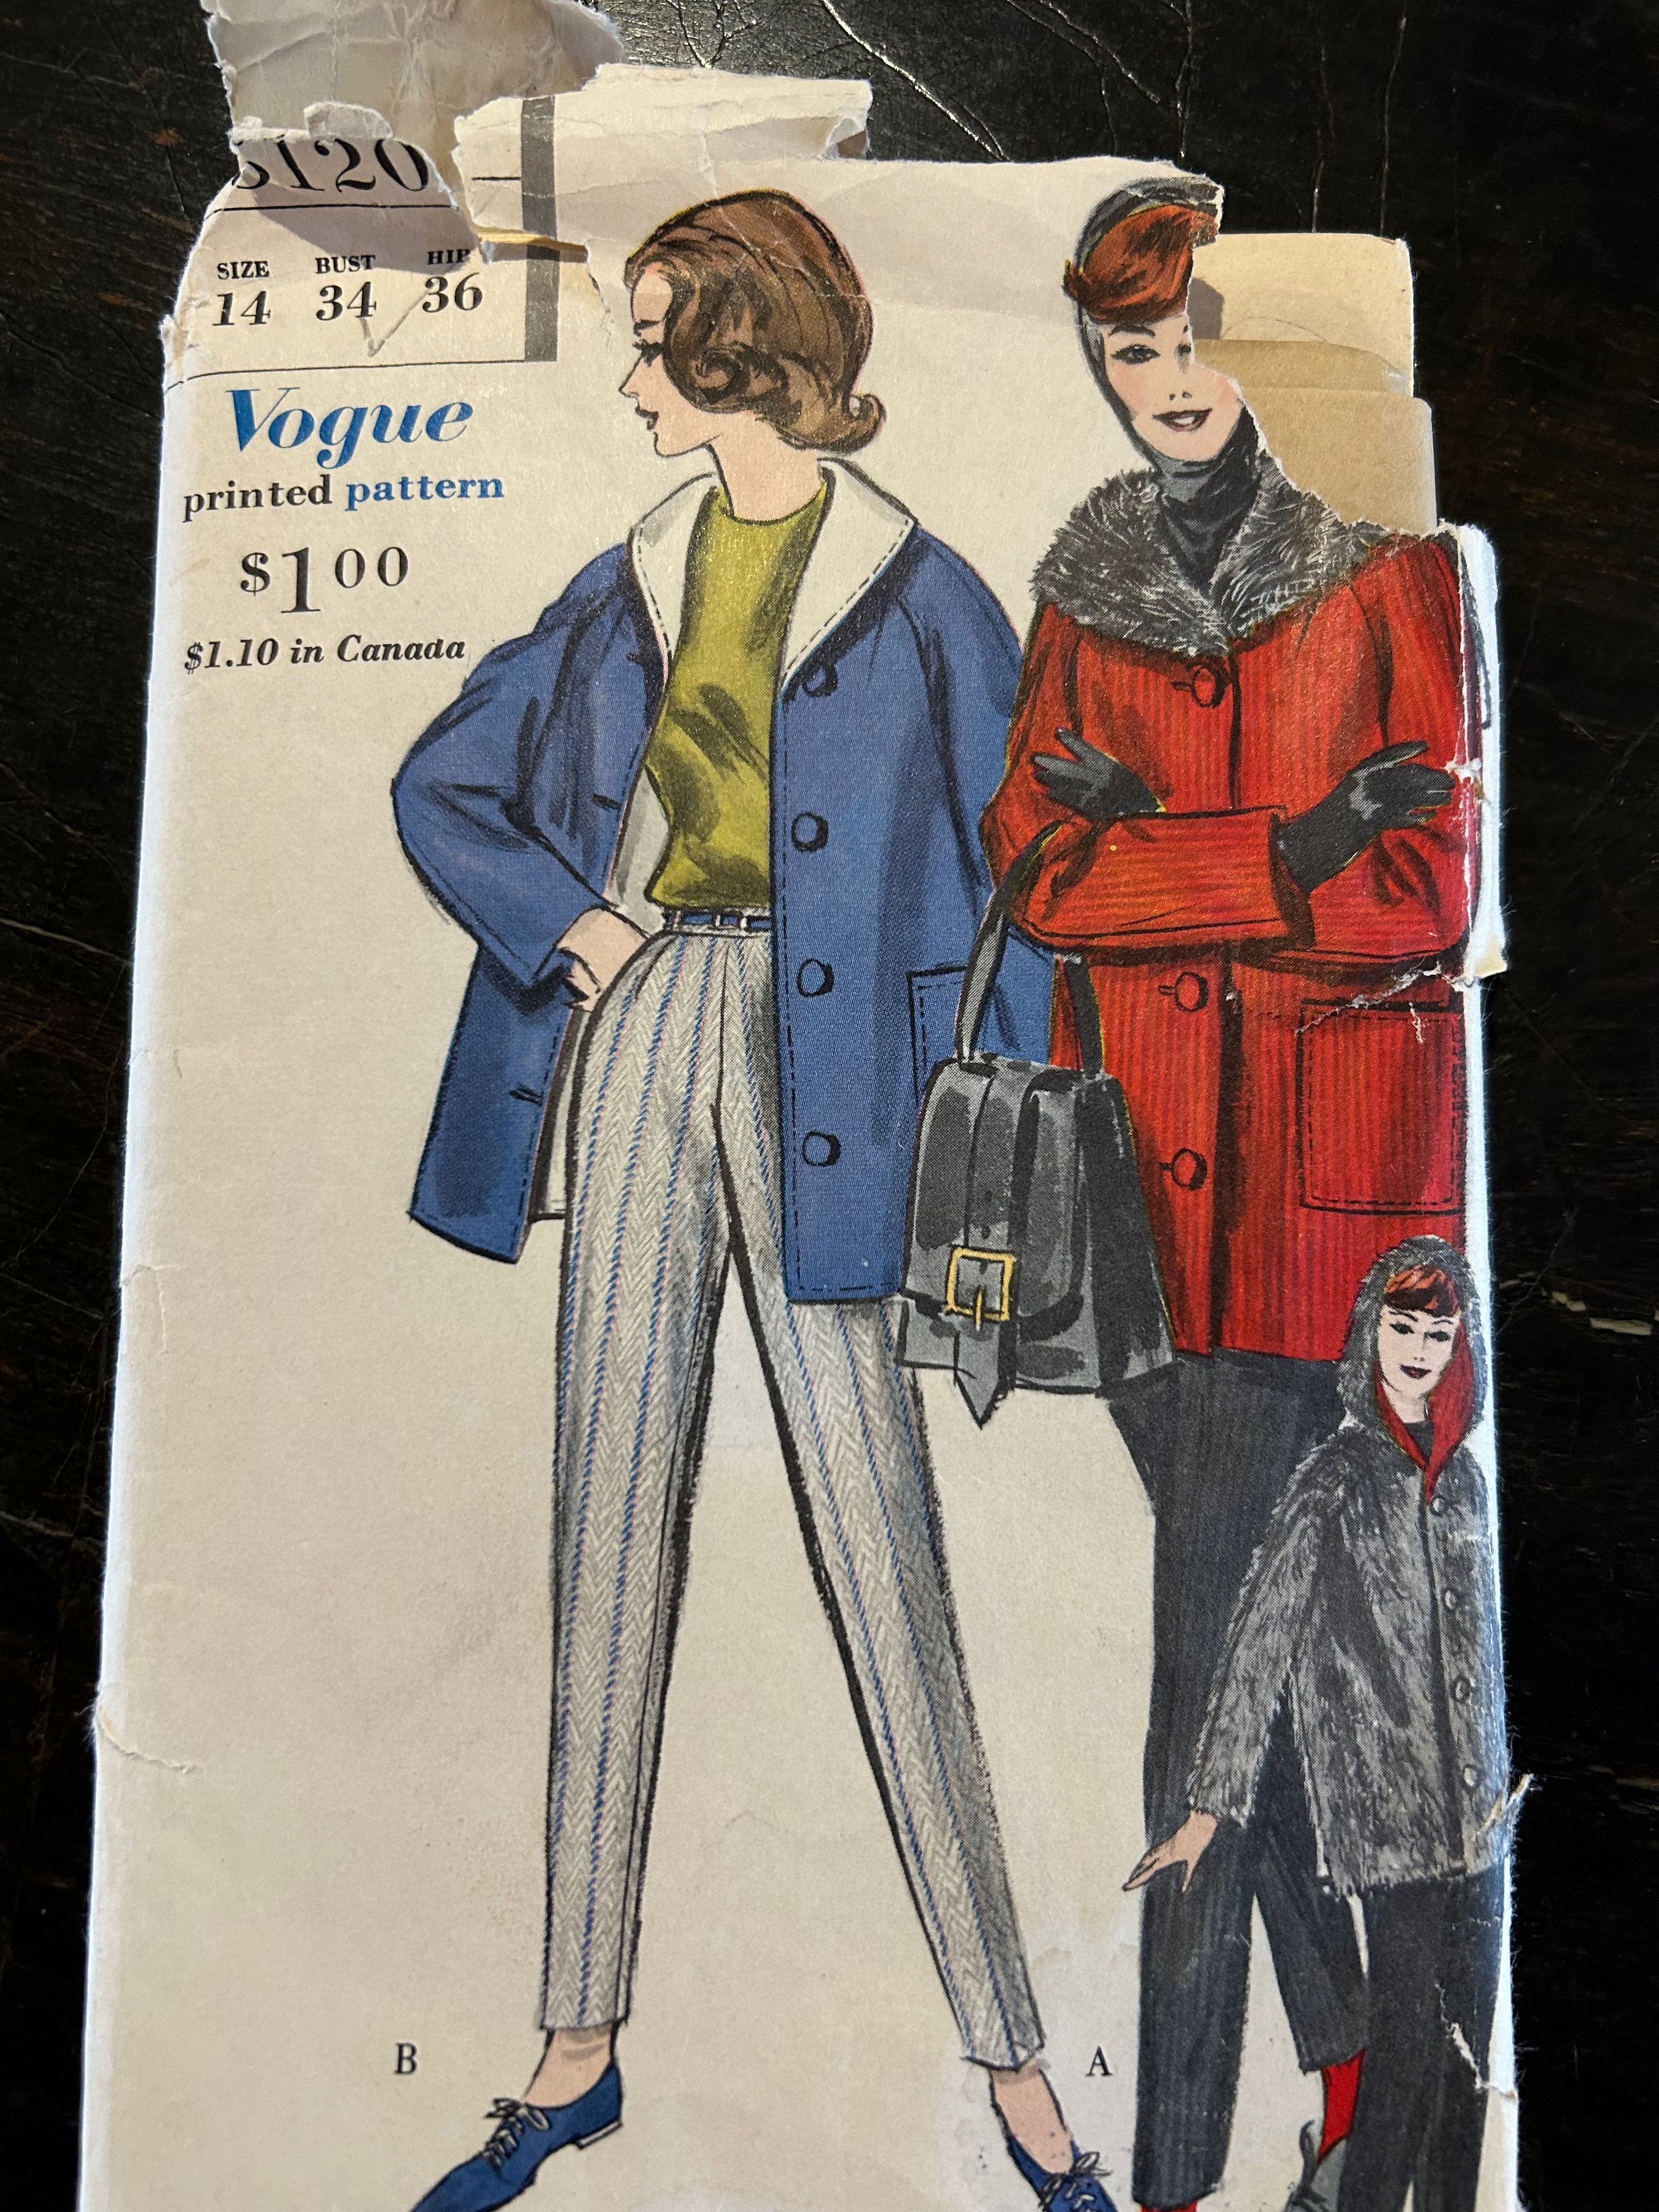
Isn’t a good pattern worth its weight in gold? When I purchased this jacket pattern several years ago, I just liked it, no plans in place, and thought the day might come when I could use it. The more I studied it with my Pendleton blanket in mind, the more I thought it was perfect for my project. First task, of course, was to make a muslin toile and check the fit and size.
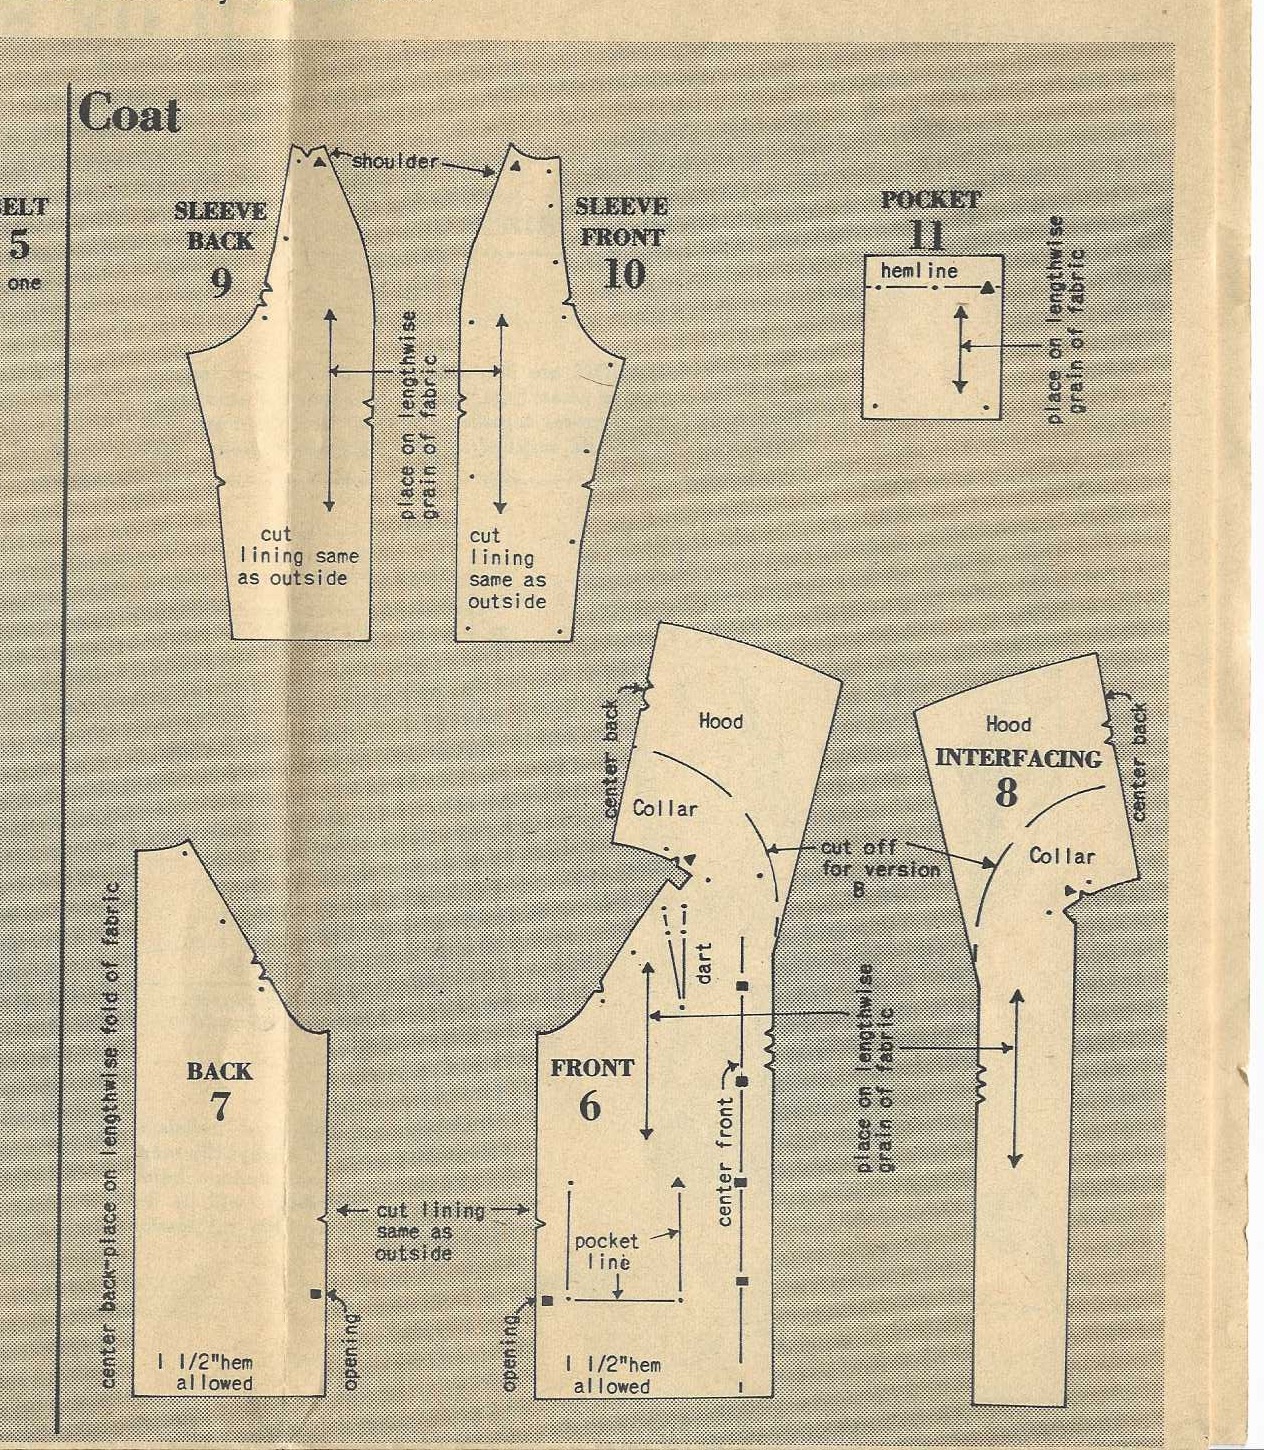
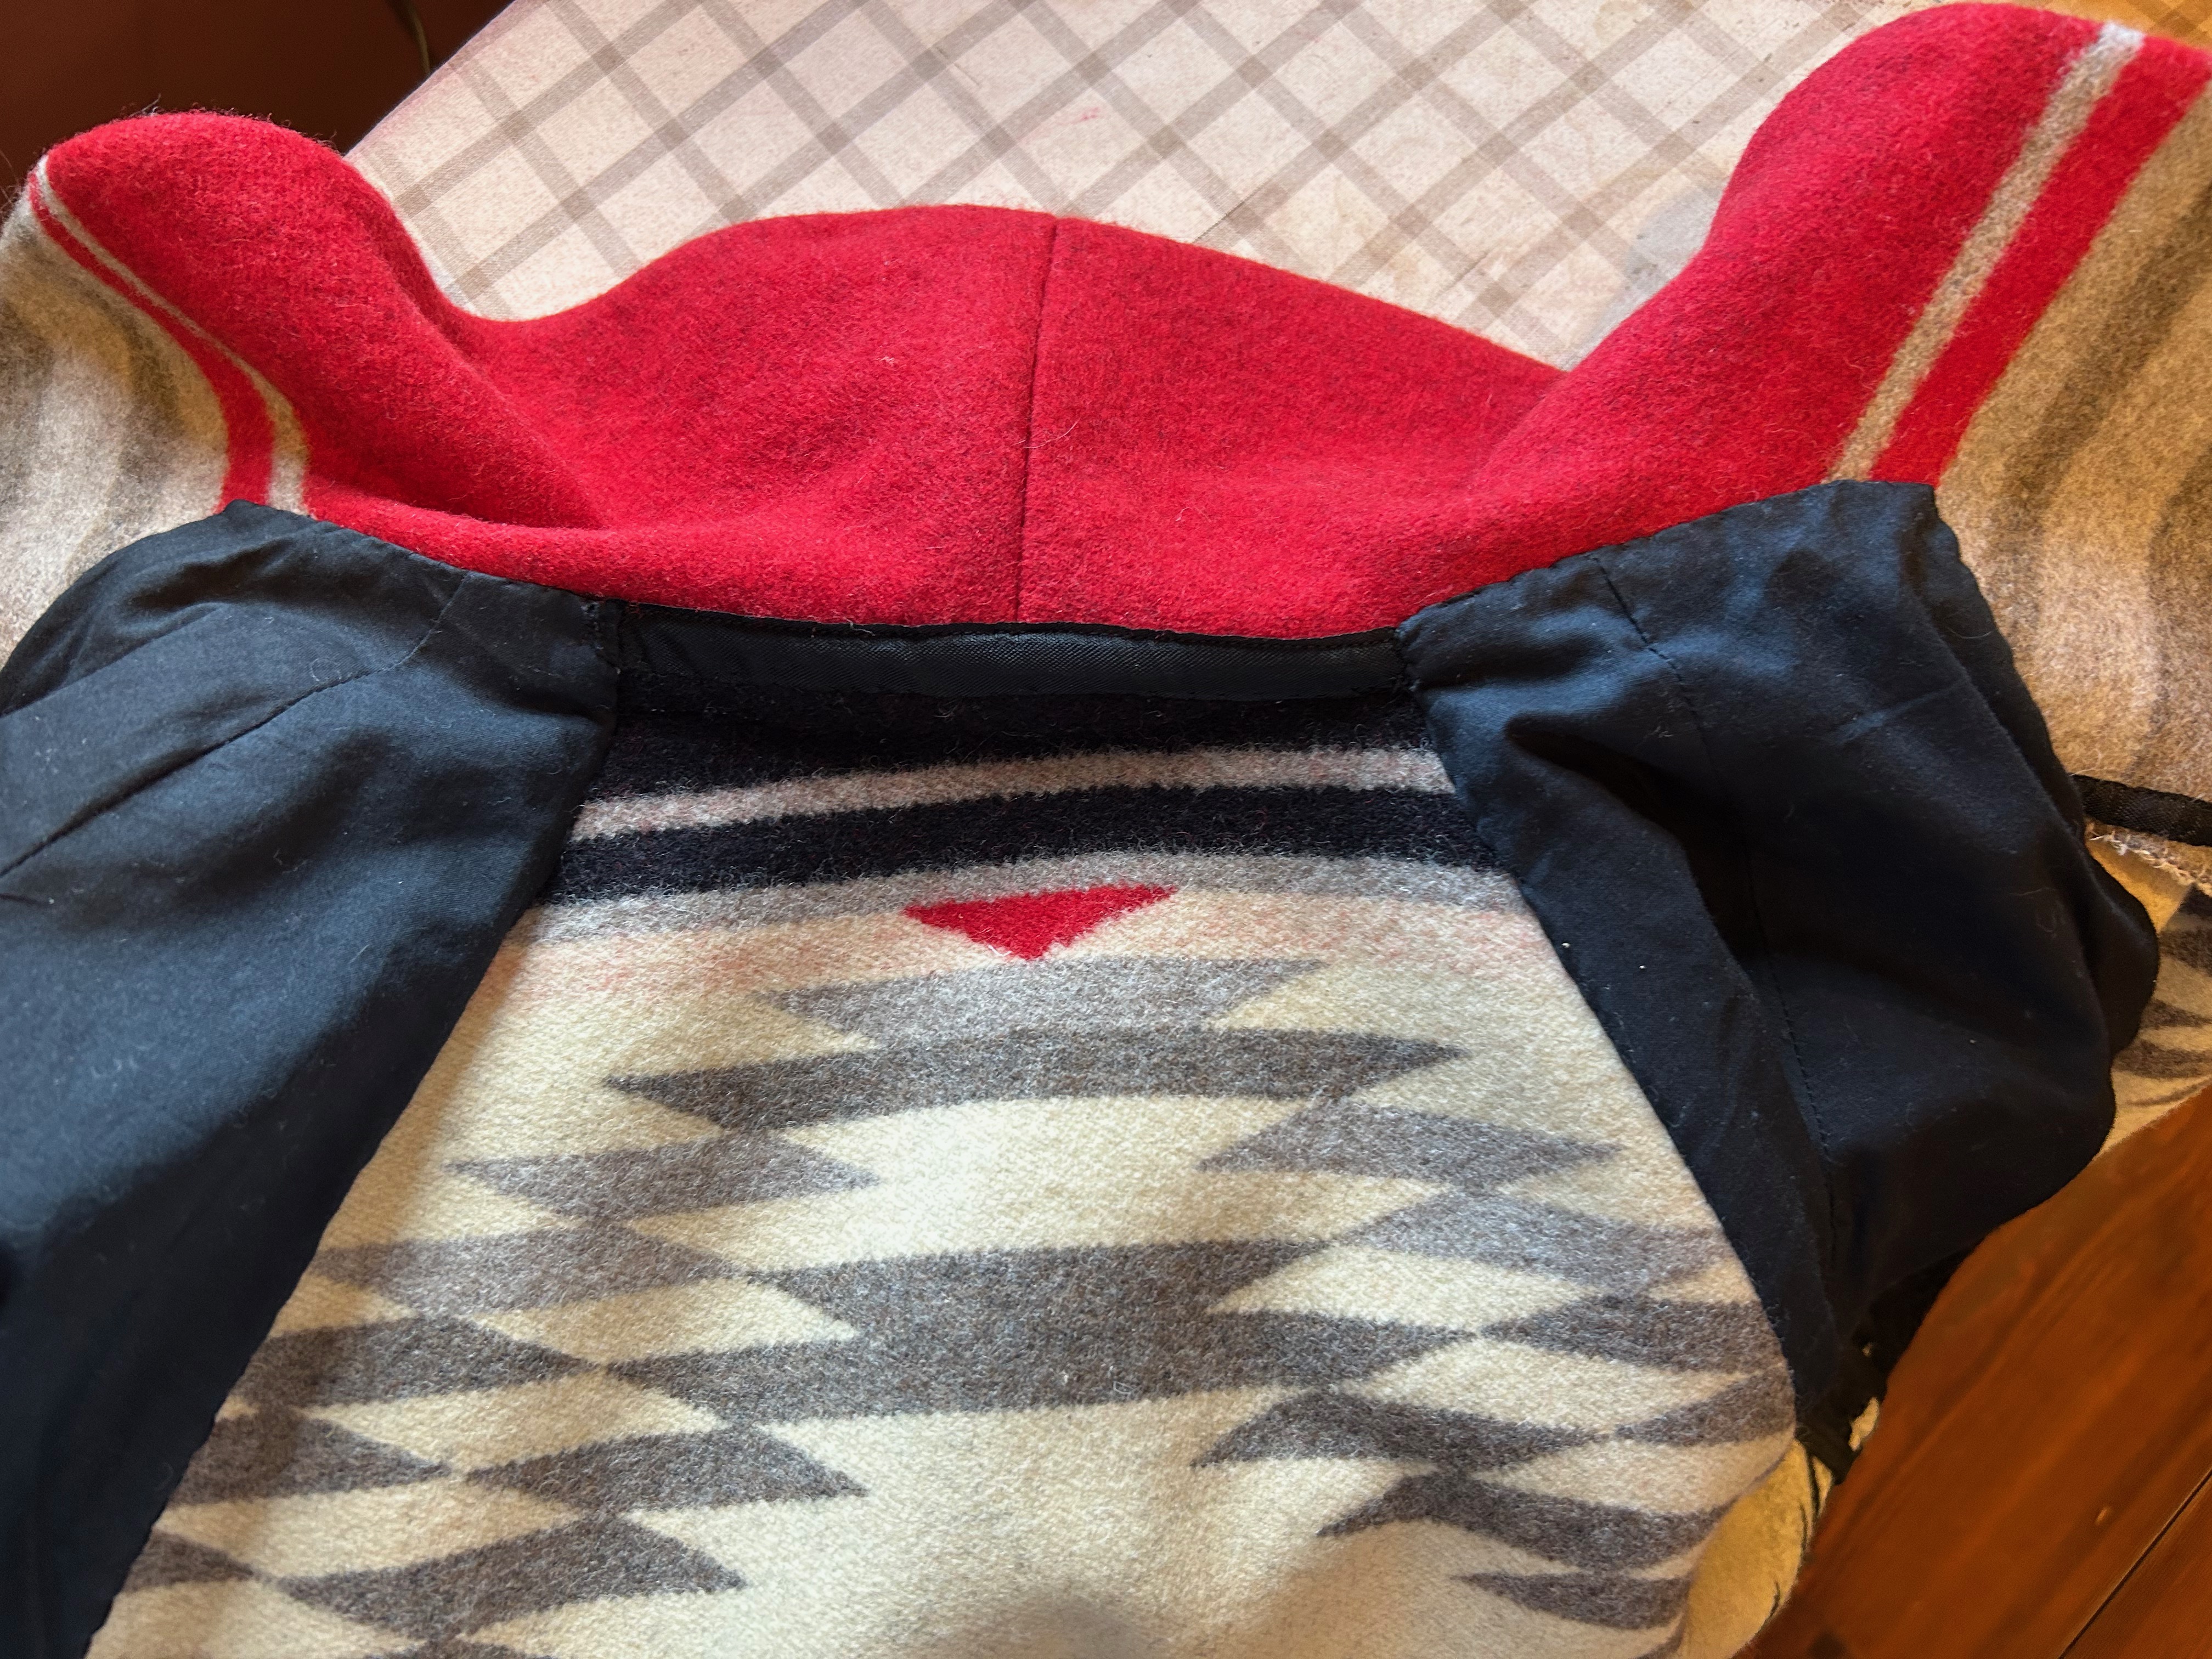
By now, November and early December had passed with my life taken over by bathroom renovations and holidays looming on the horizon. We headed back to Wyoming for Christmas, and then the new year of 2026 dawned, with all its promise and things unknown. January was the perfect time to get back to my project. The jacket as designed was to be fully lined, either with fleece, contrasting fabric, or self-lined. I determined I would need to line the sleeves, while the rest of the jacket should remain unlined. However, I needed a facing for the shawl collar and front edges. Because there was a pattern piece for interfacing the collar and front edges, I thought I could use that for my facing. My toile confirmed that for me.
The coat muslin seemed very large overall on me, requiring a lot of alteration. It can be tricky with coats, as enough ease must be allowed for wearing a heavier sweater or layers underneath. Also, the thickness and relative non-fluidity of the blanket dictated a looser fit. I spent a few days perfecting my toile. Then the real test was upon me.
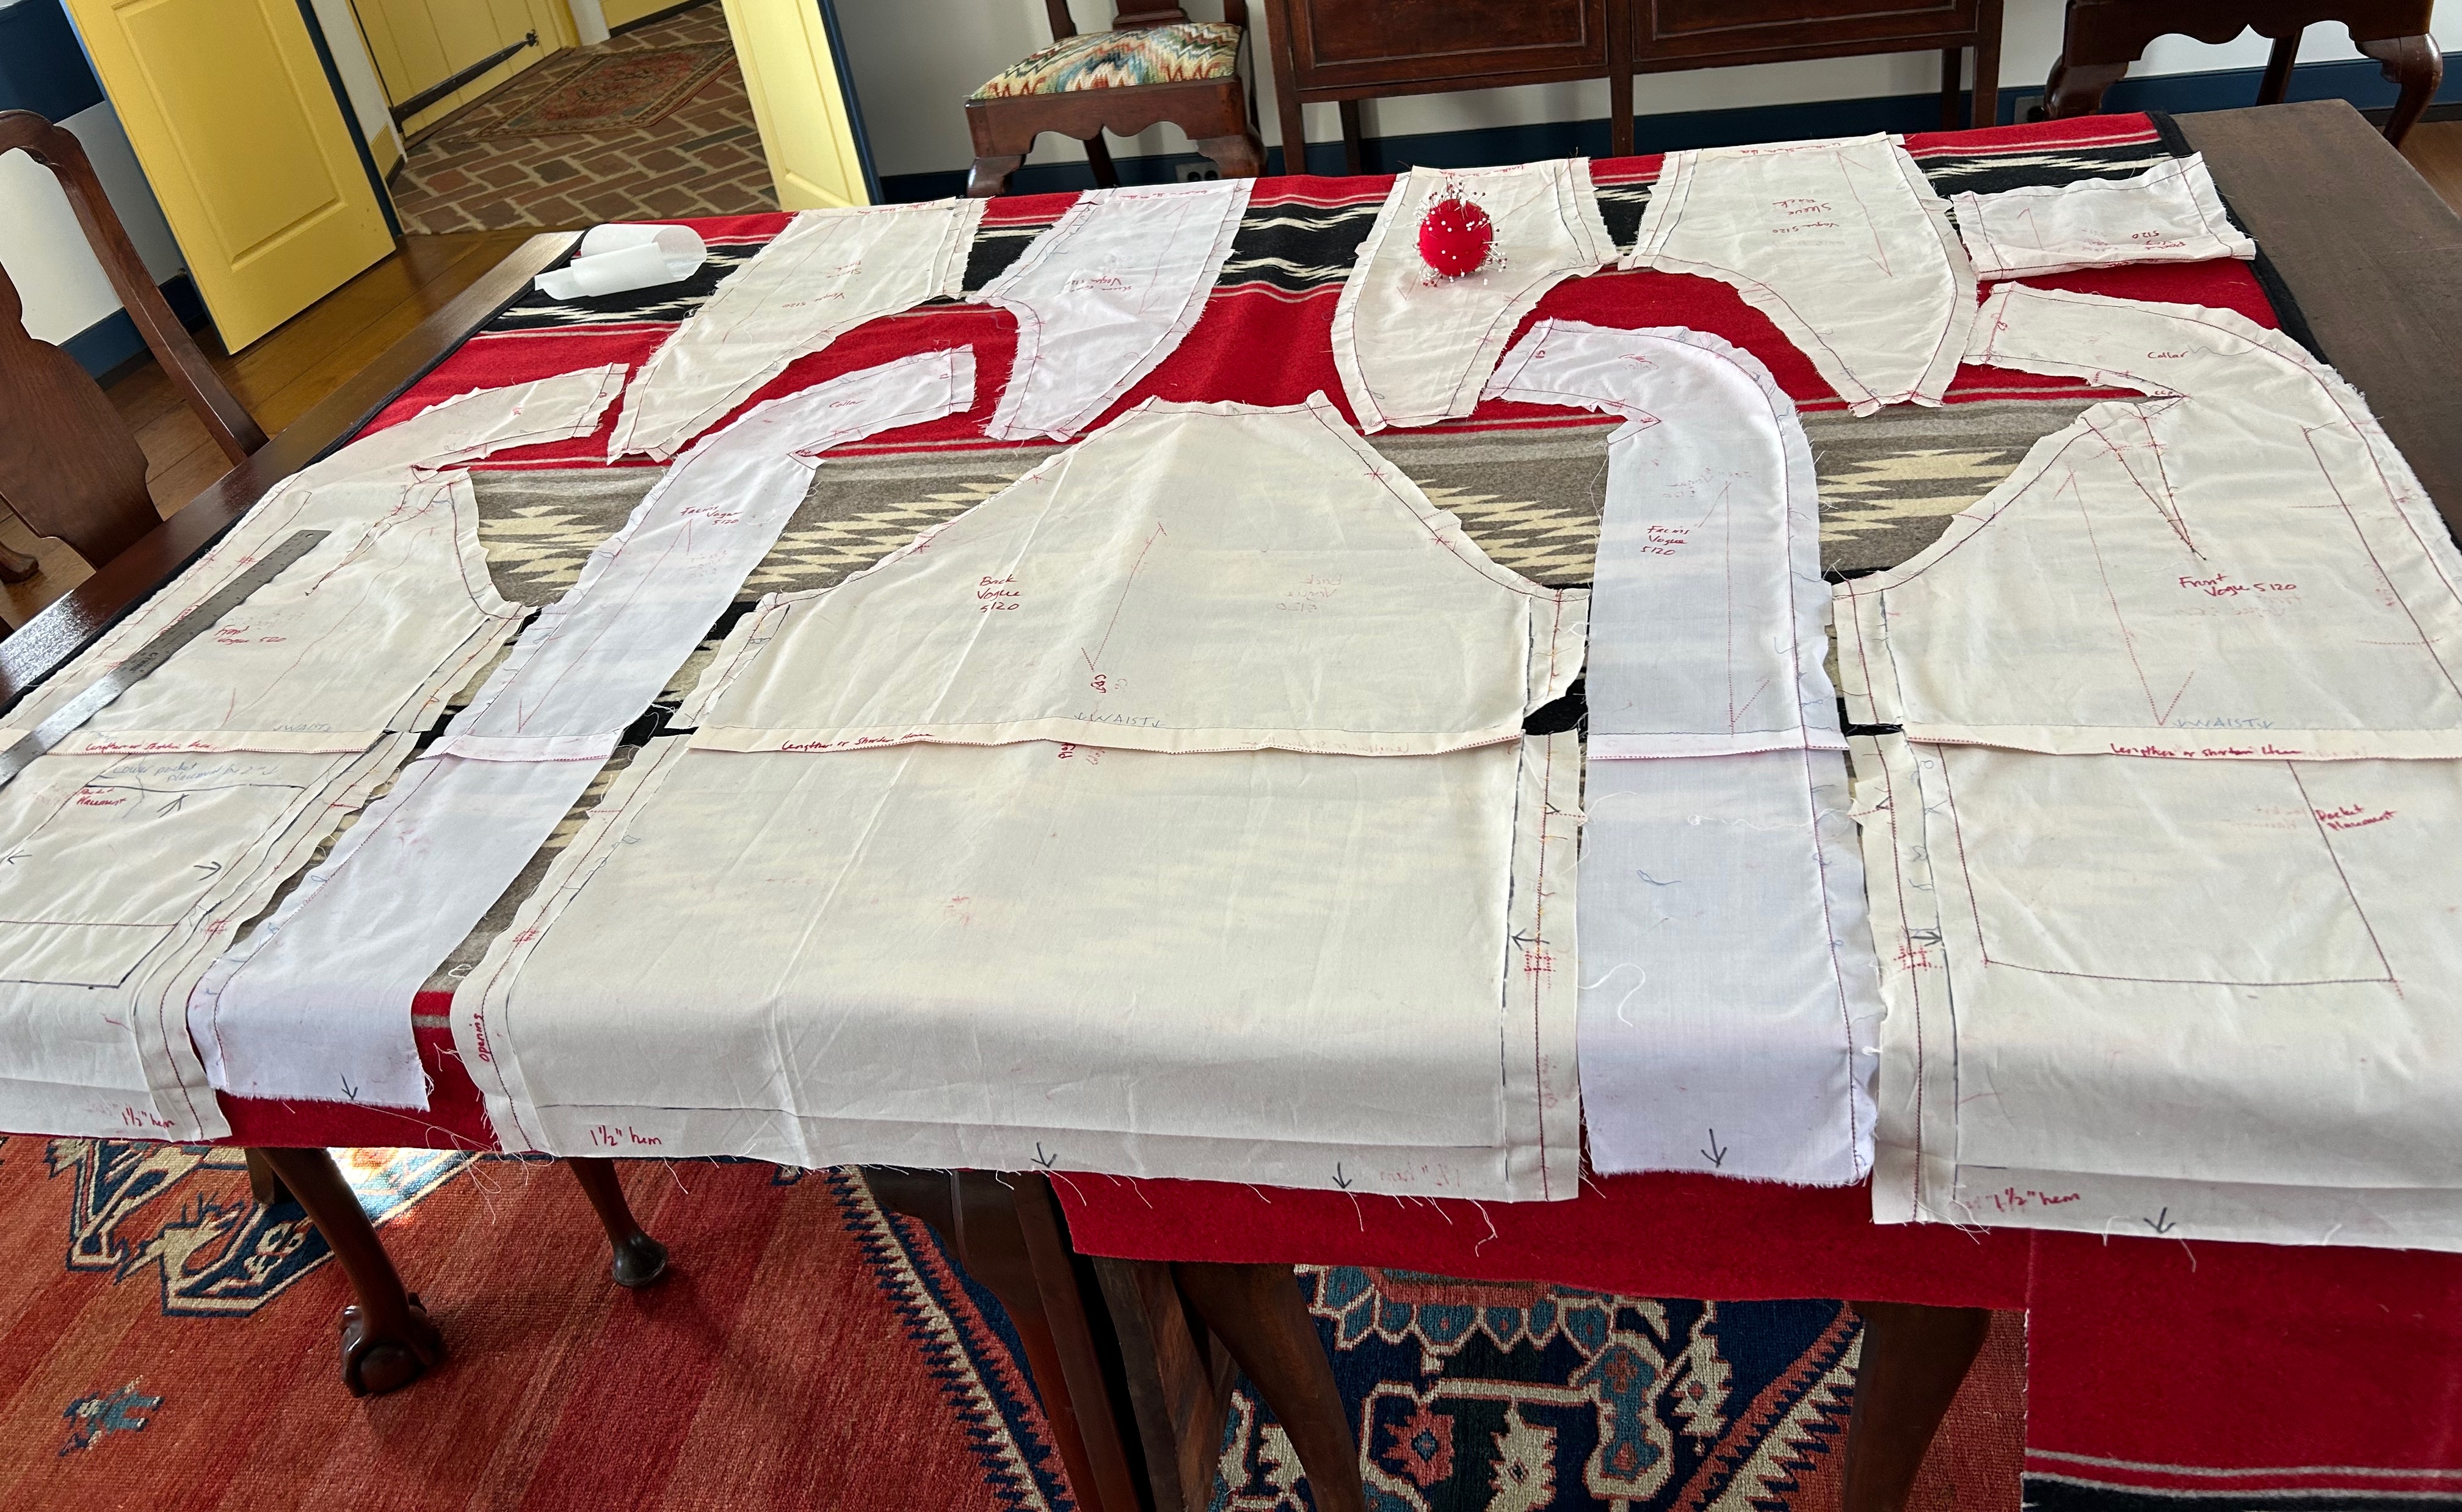
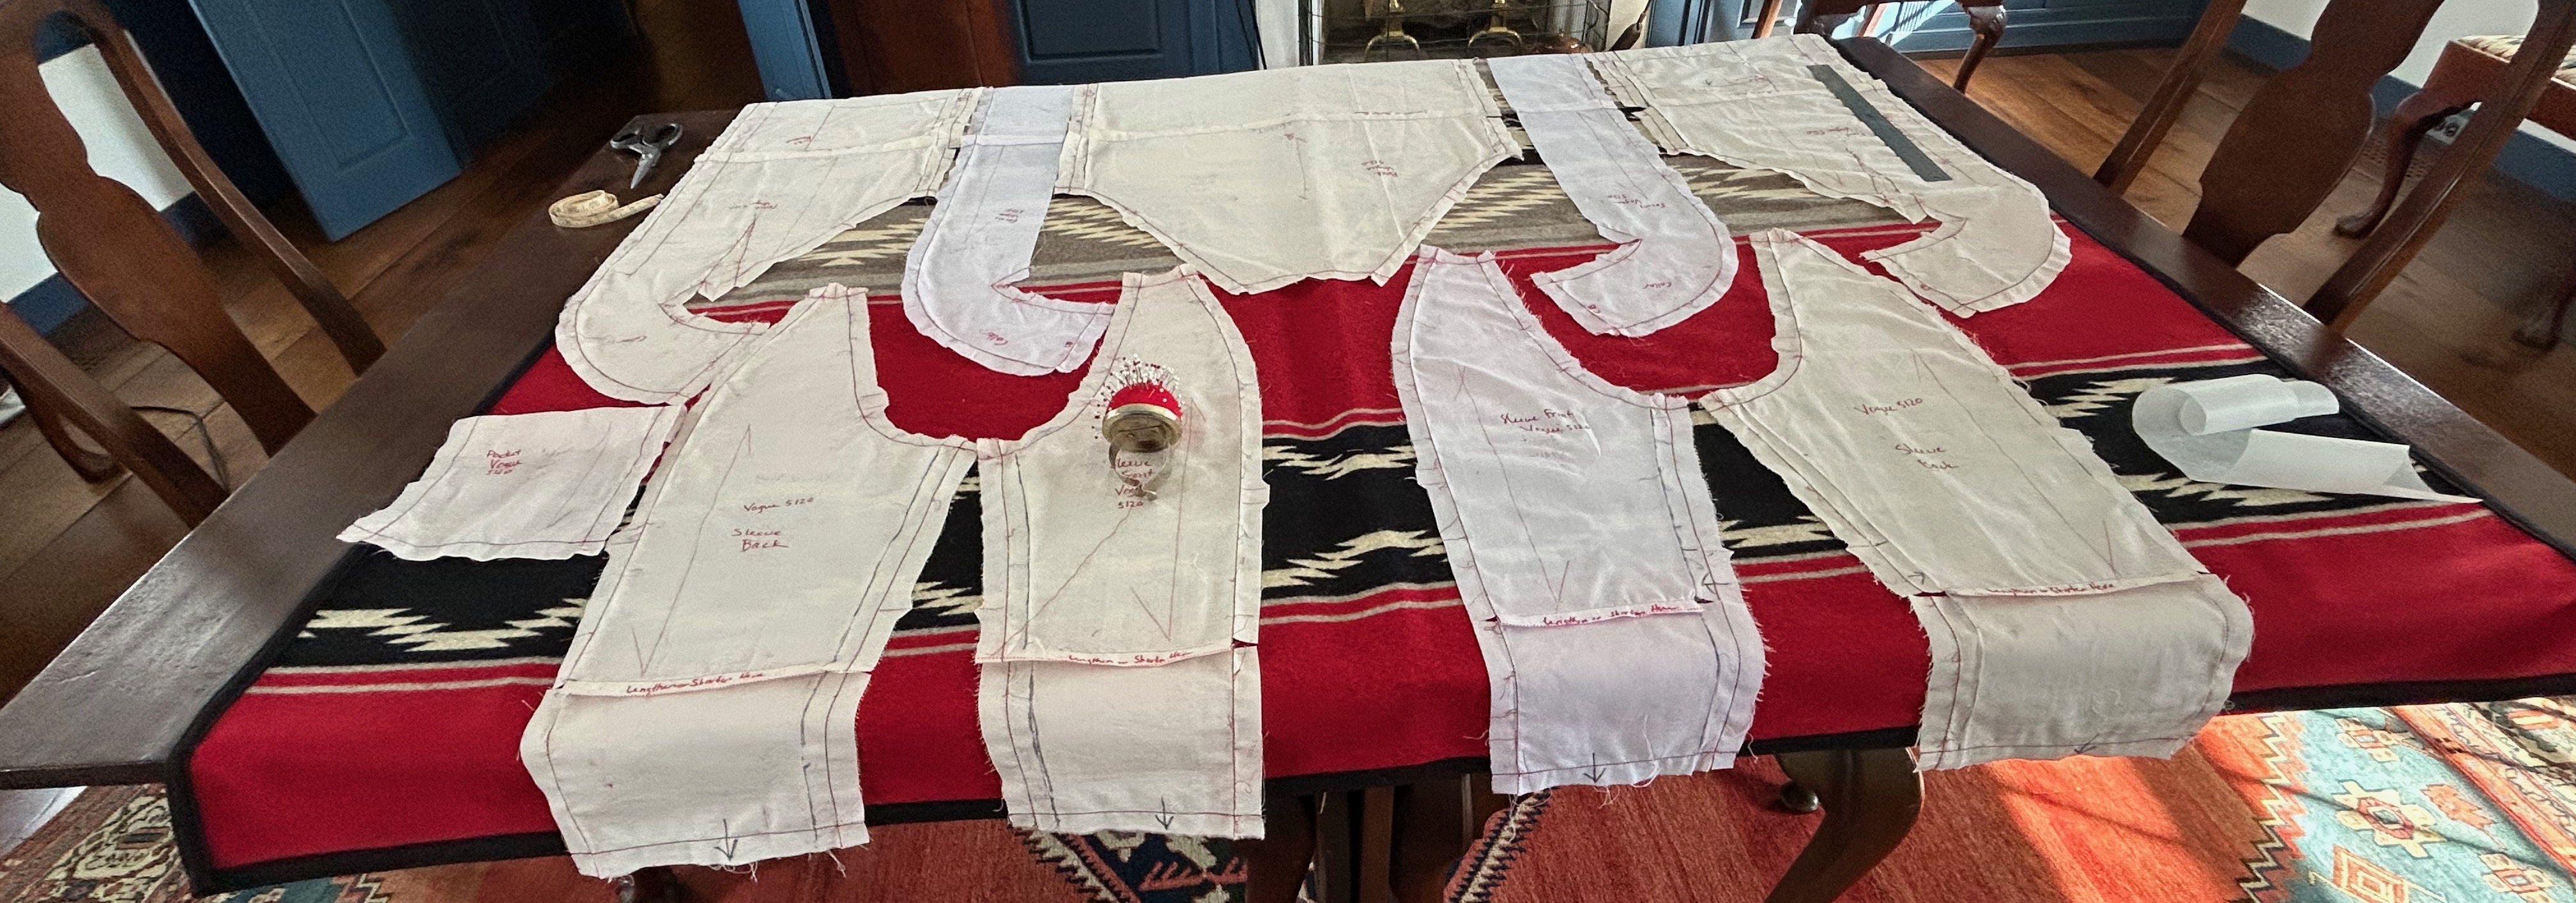
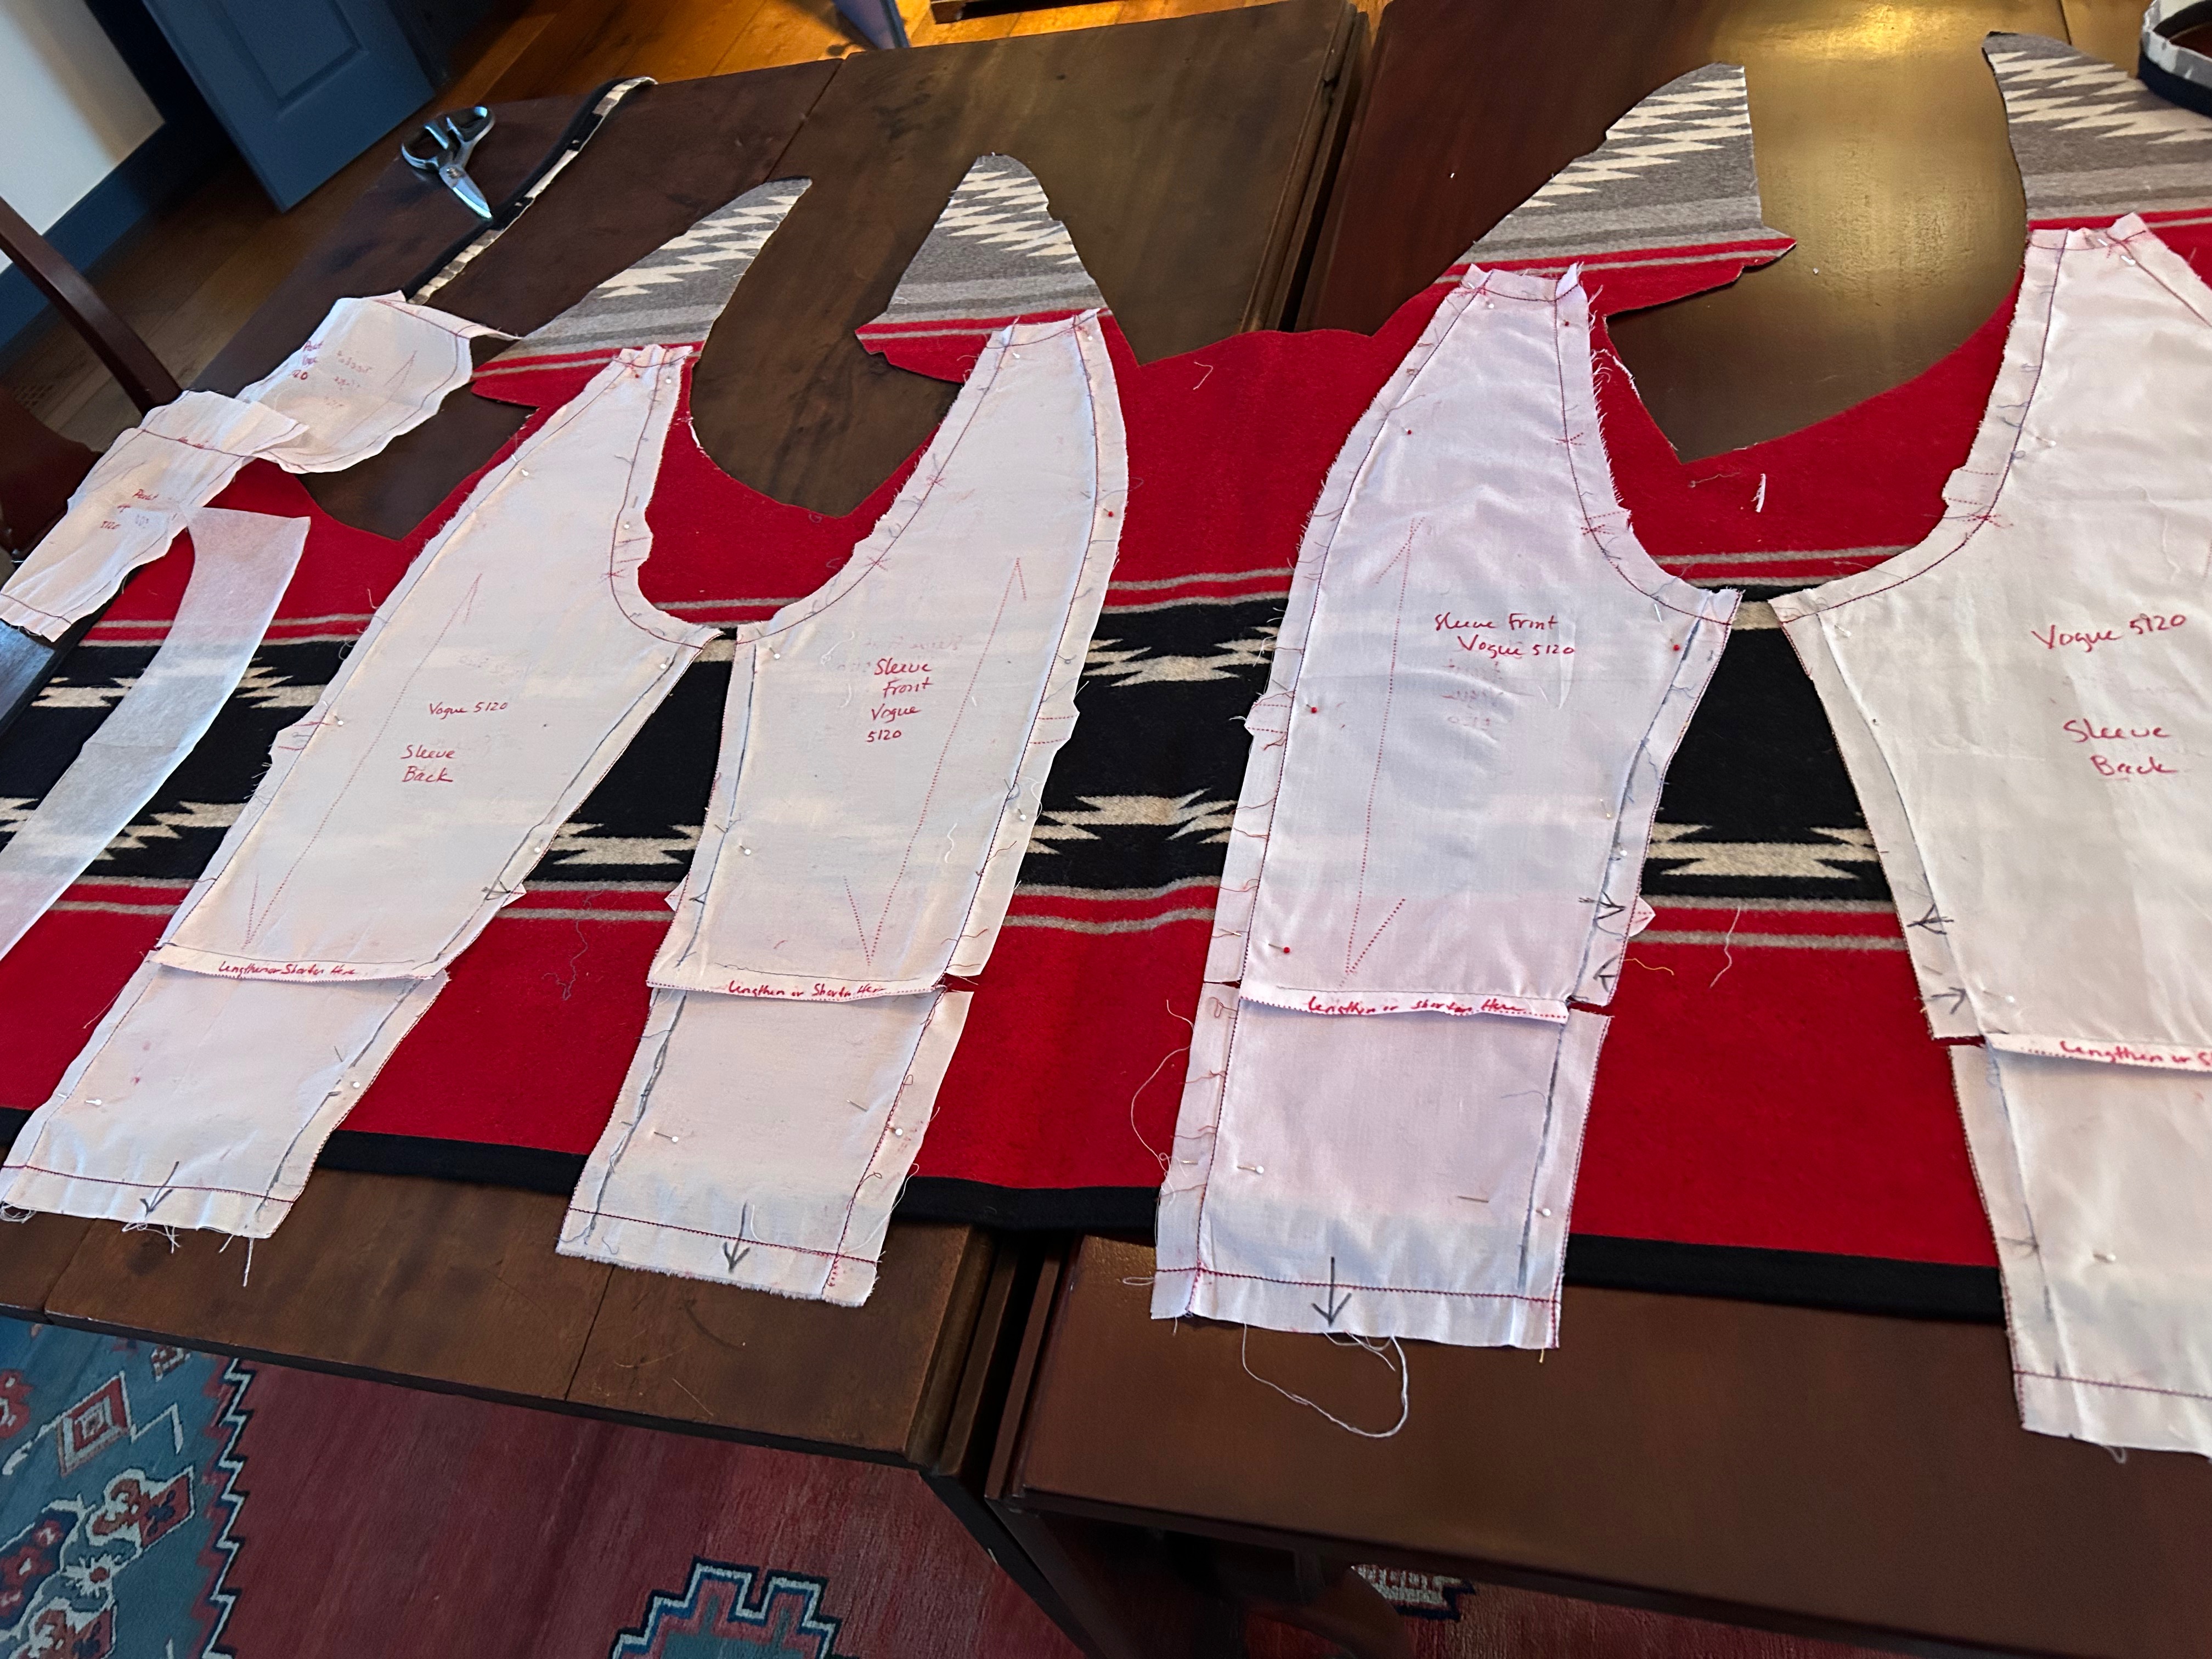
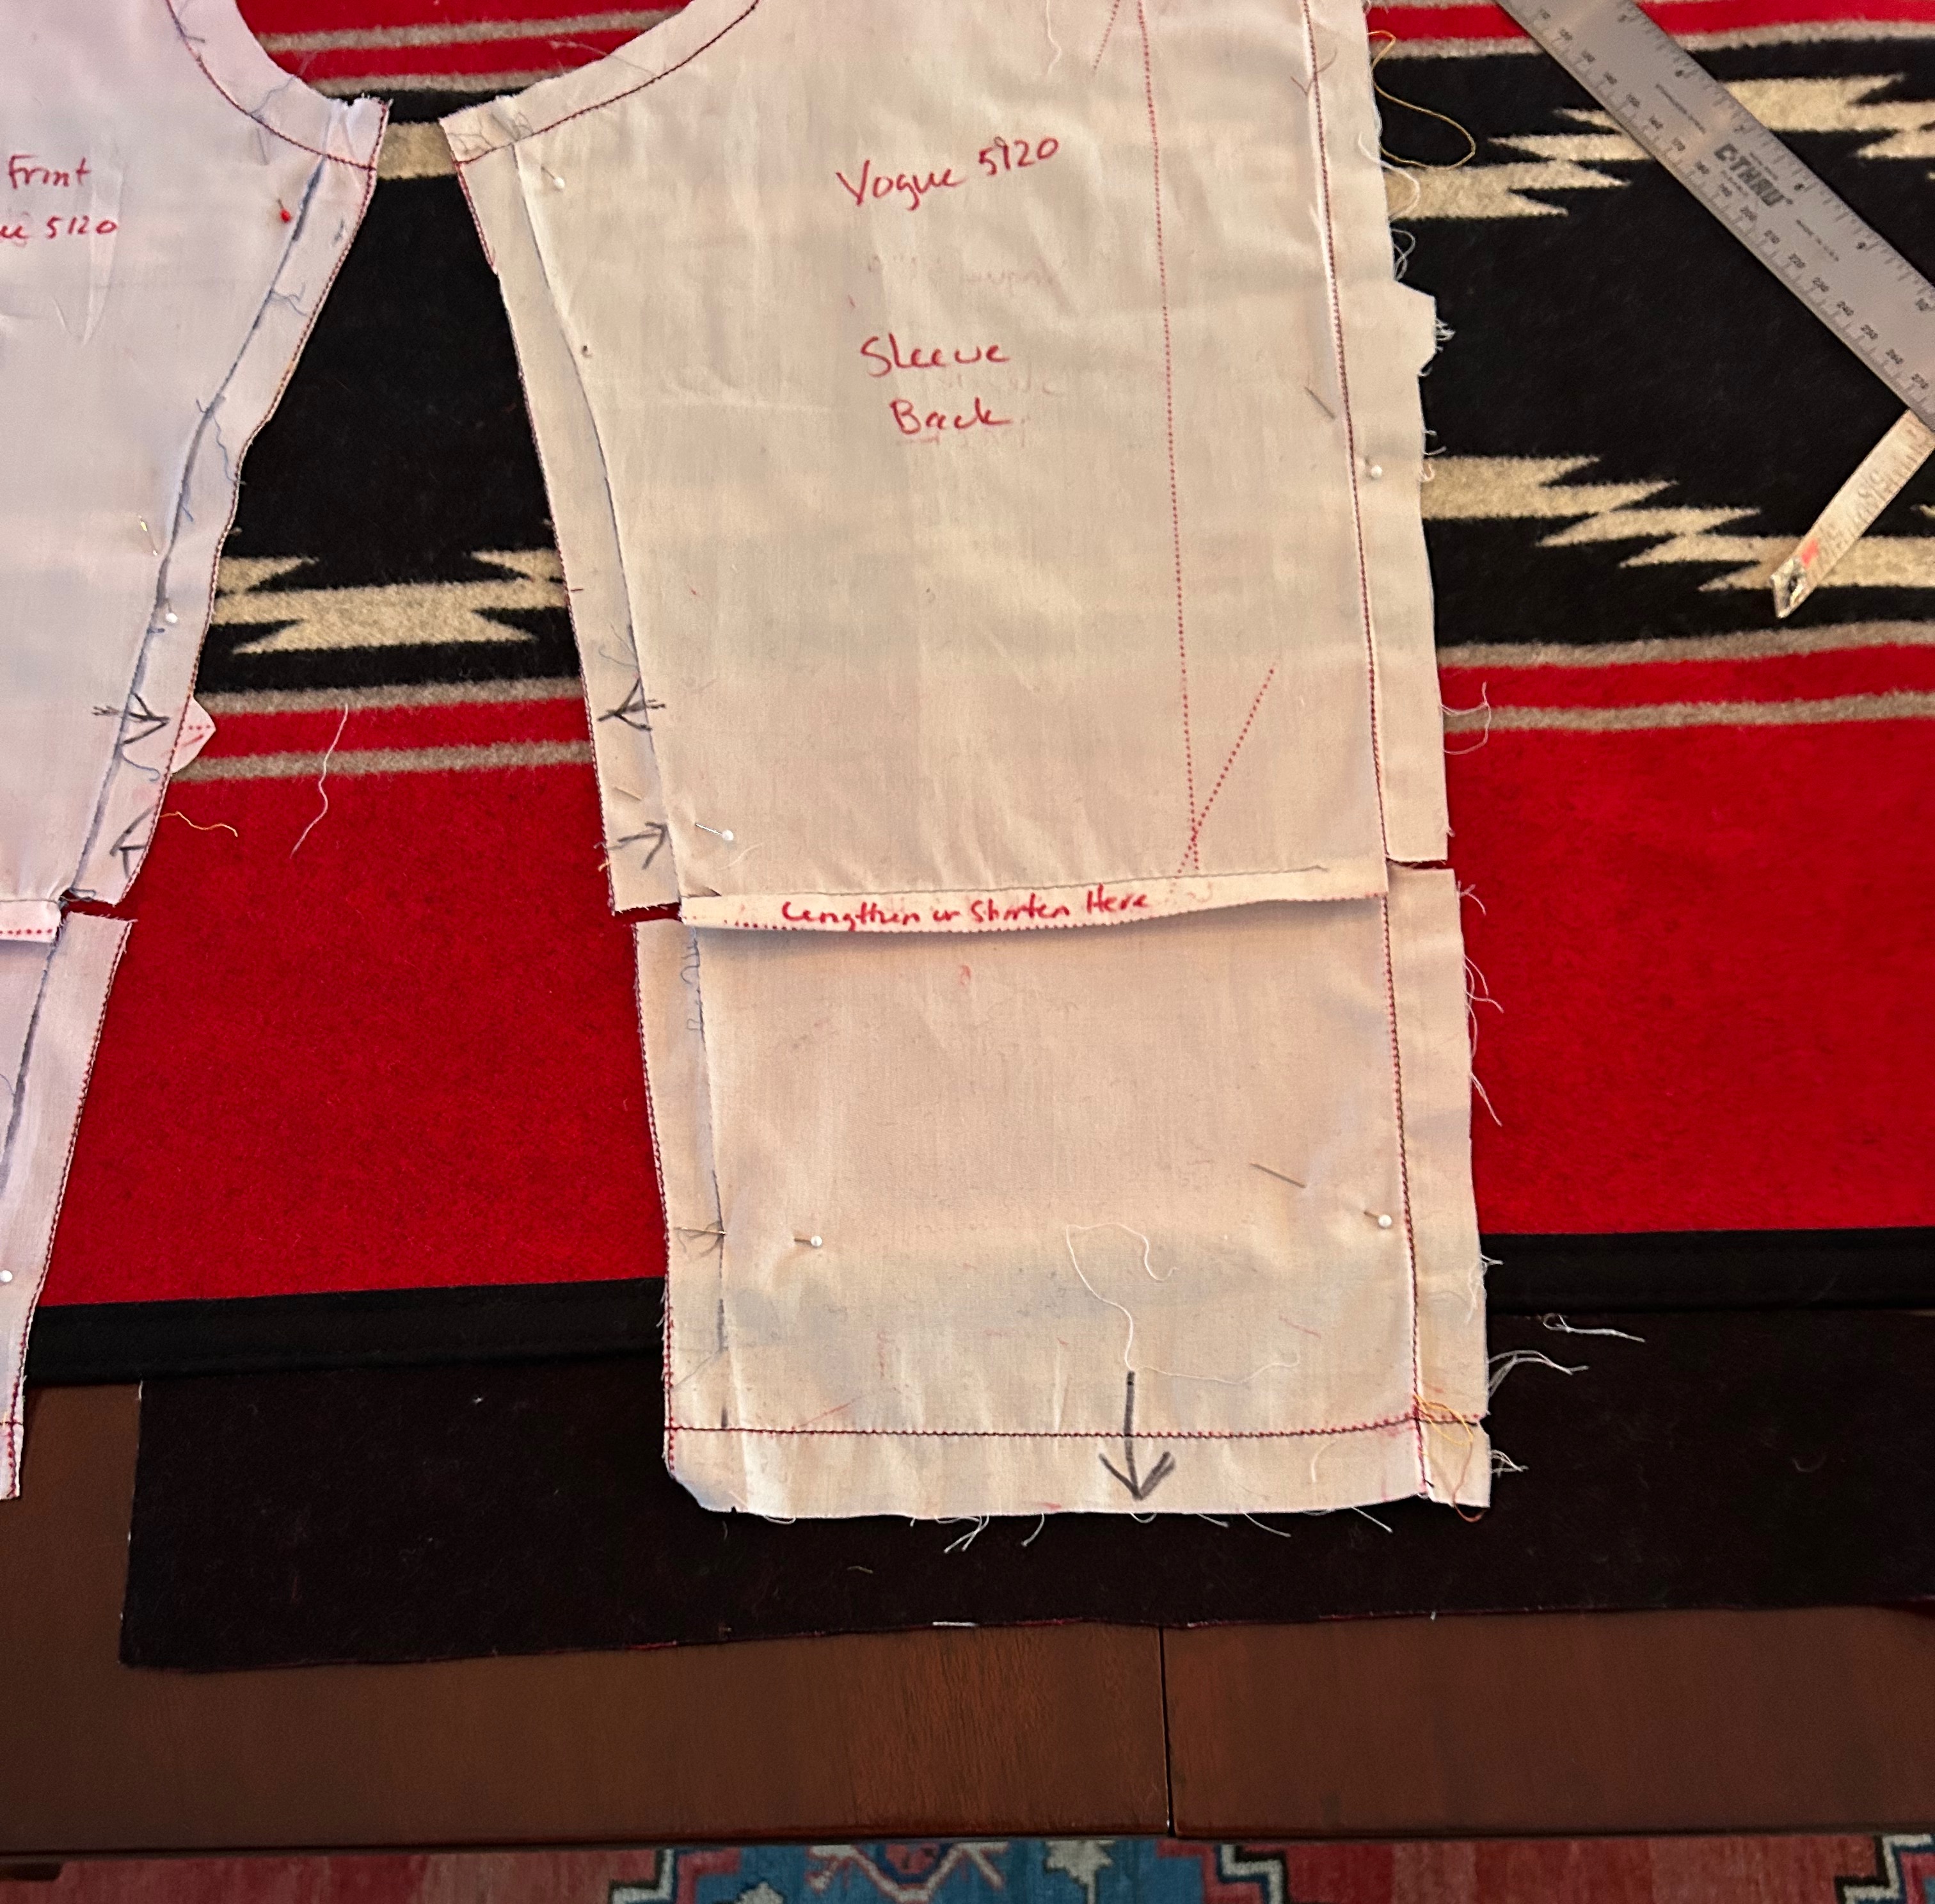
I took my muslin apart, producing pattern pieces to fit onto my fabric/blanket. Was making this jacket out of what I had left of the blanket even going to be possible? If so, how would the placement of the pattern pieces on the very graphic and large design work out?
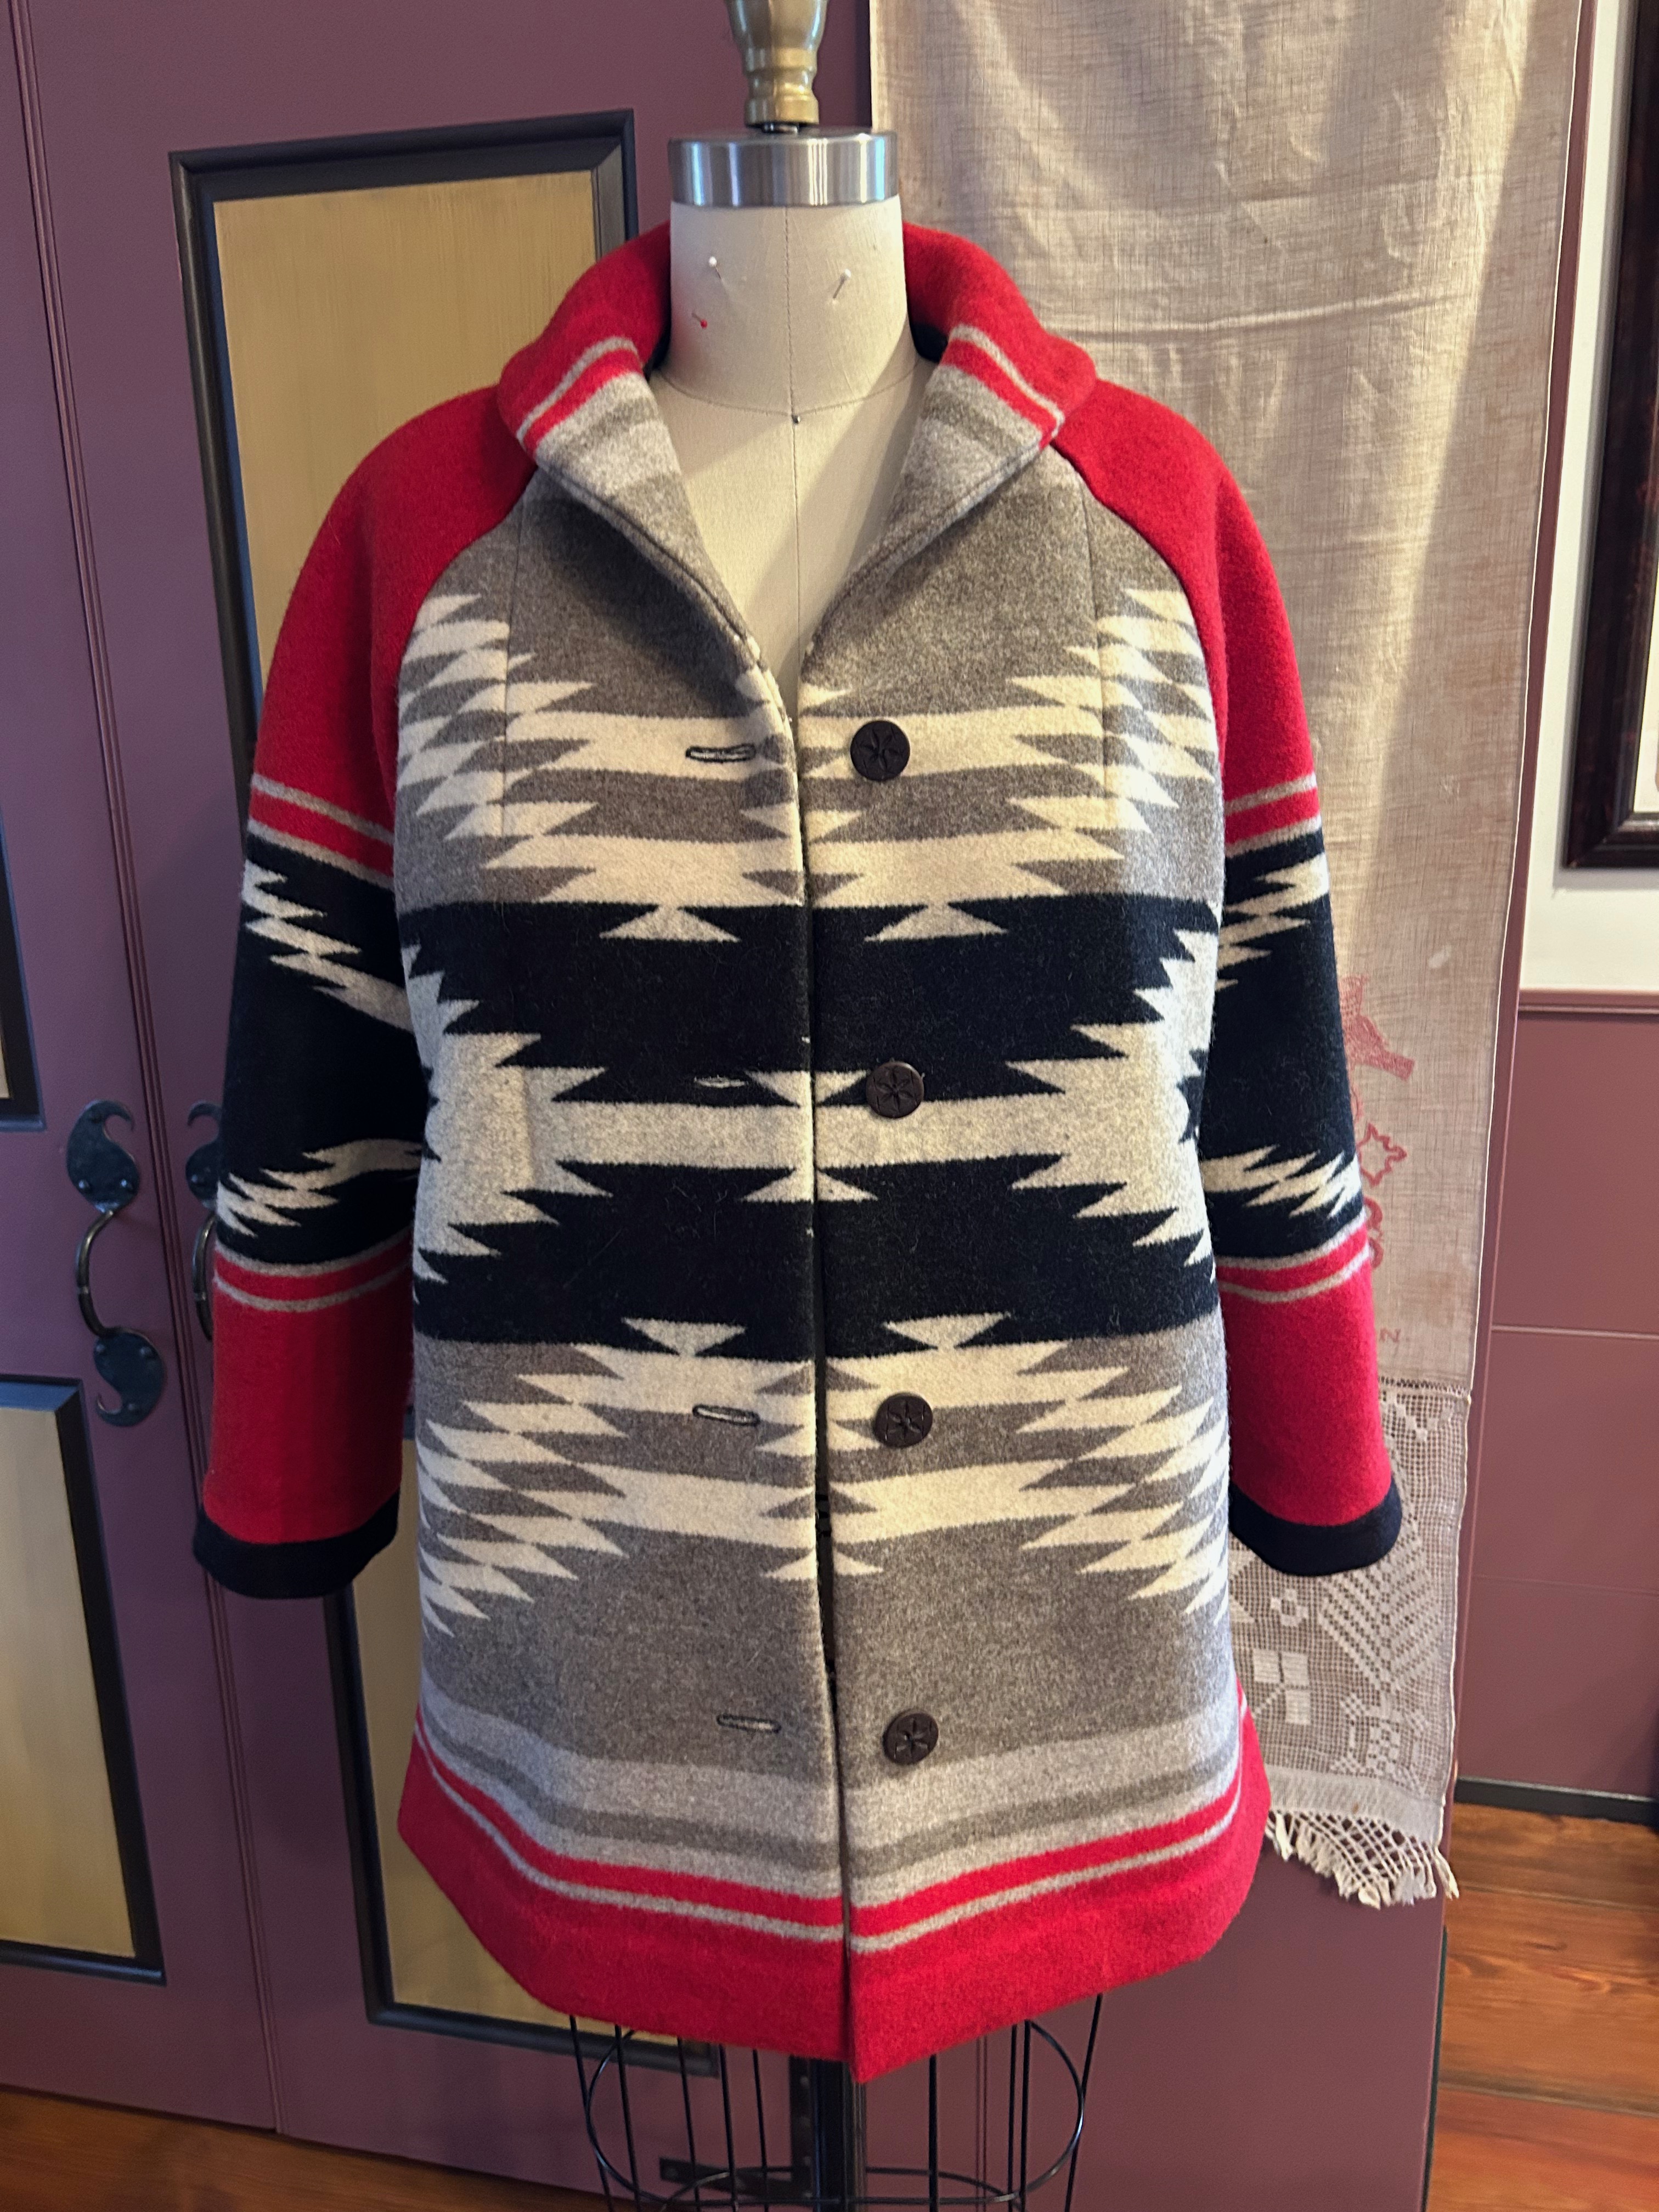
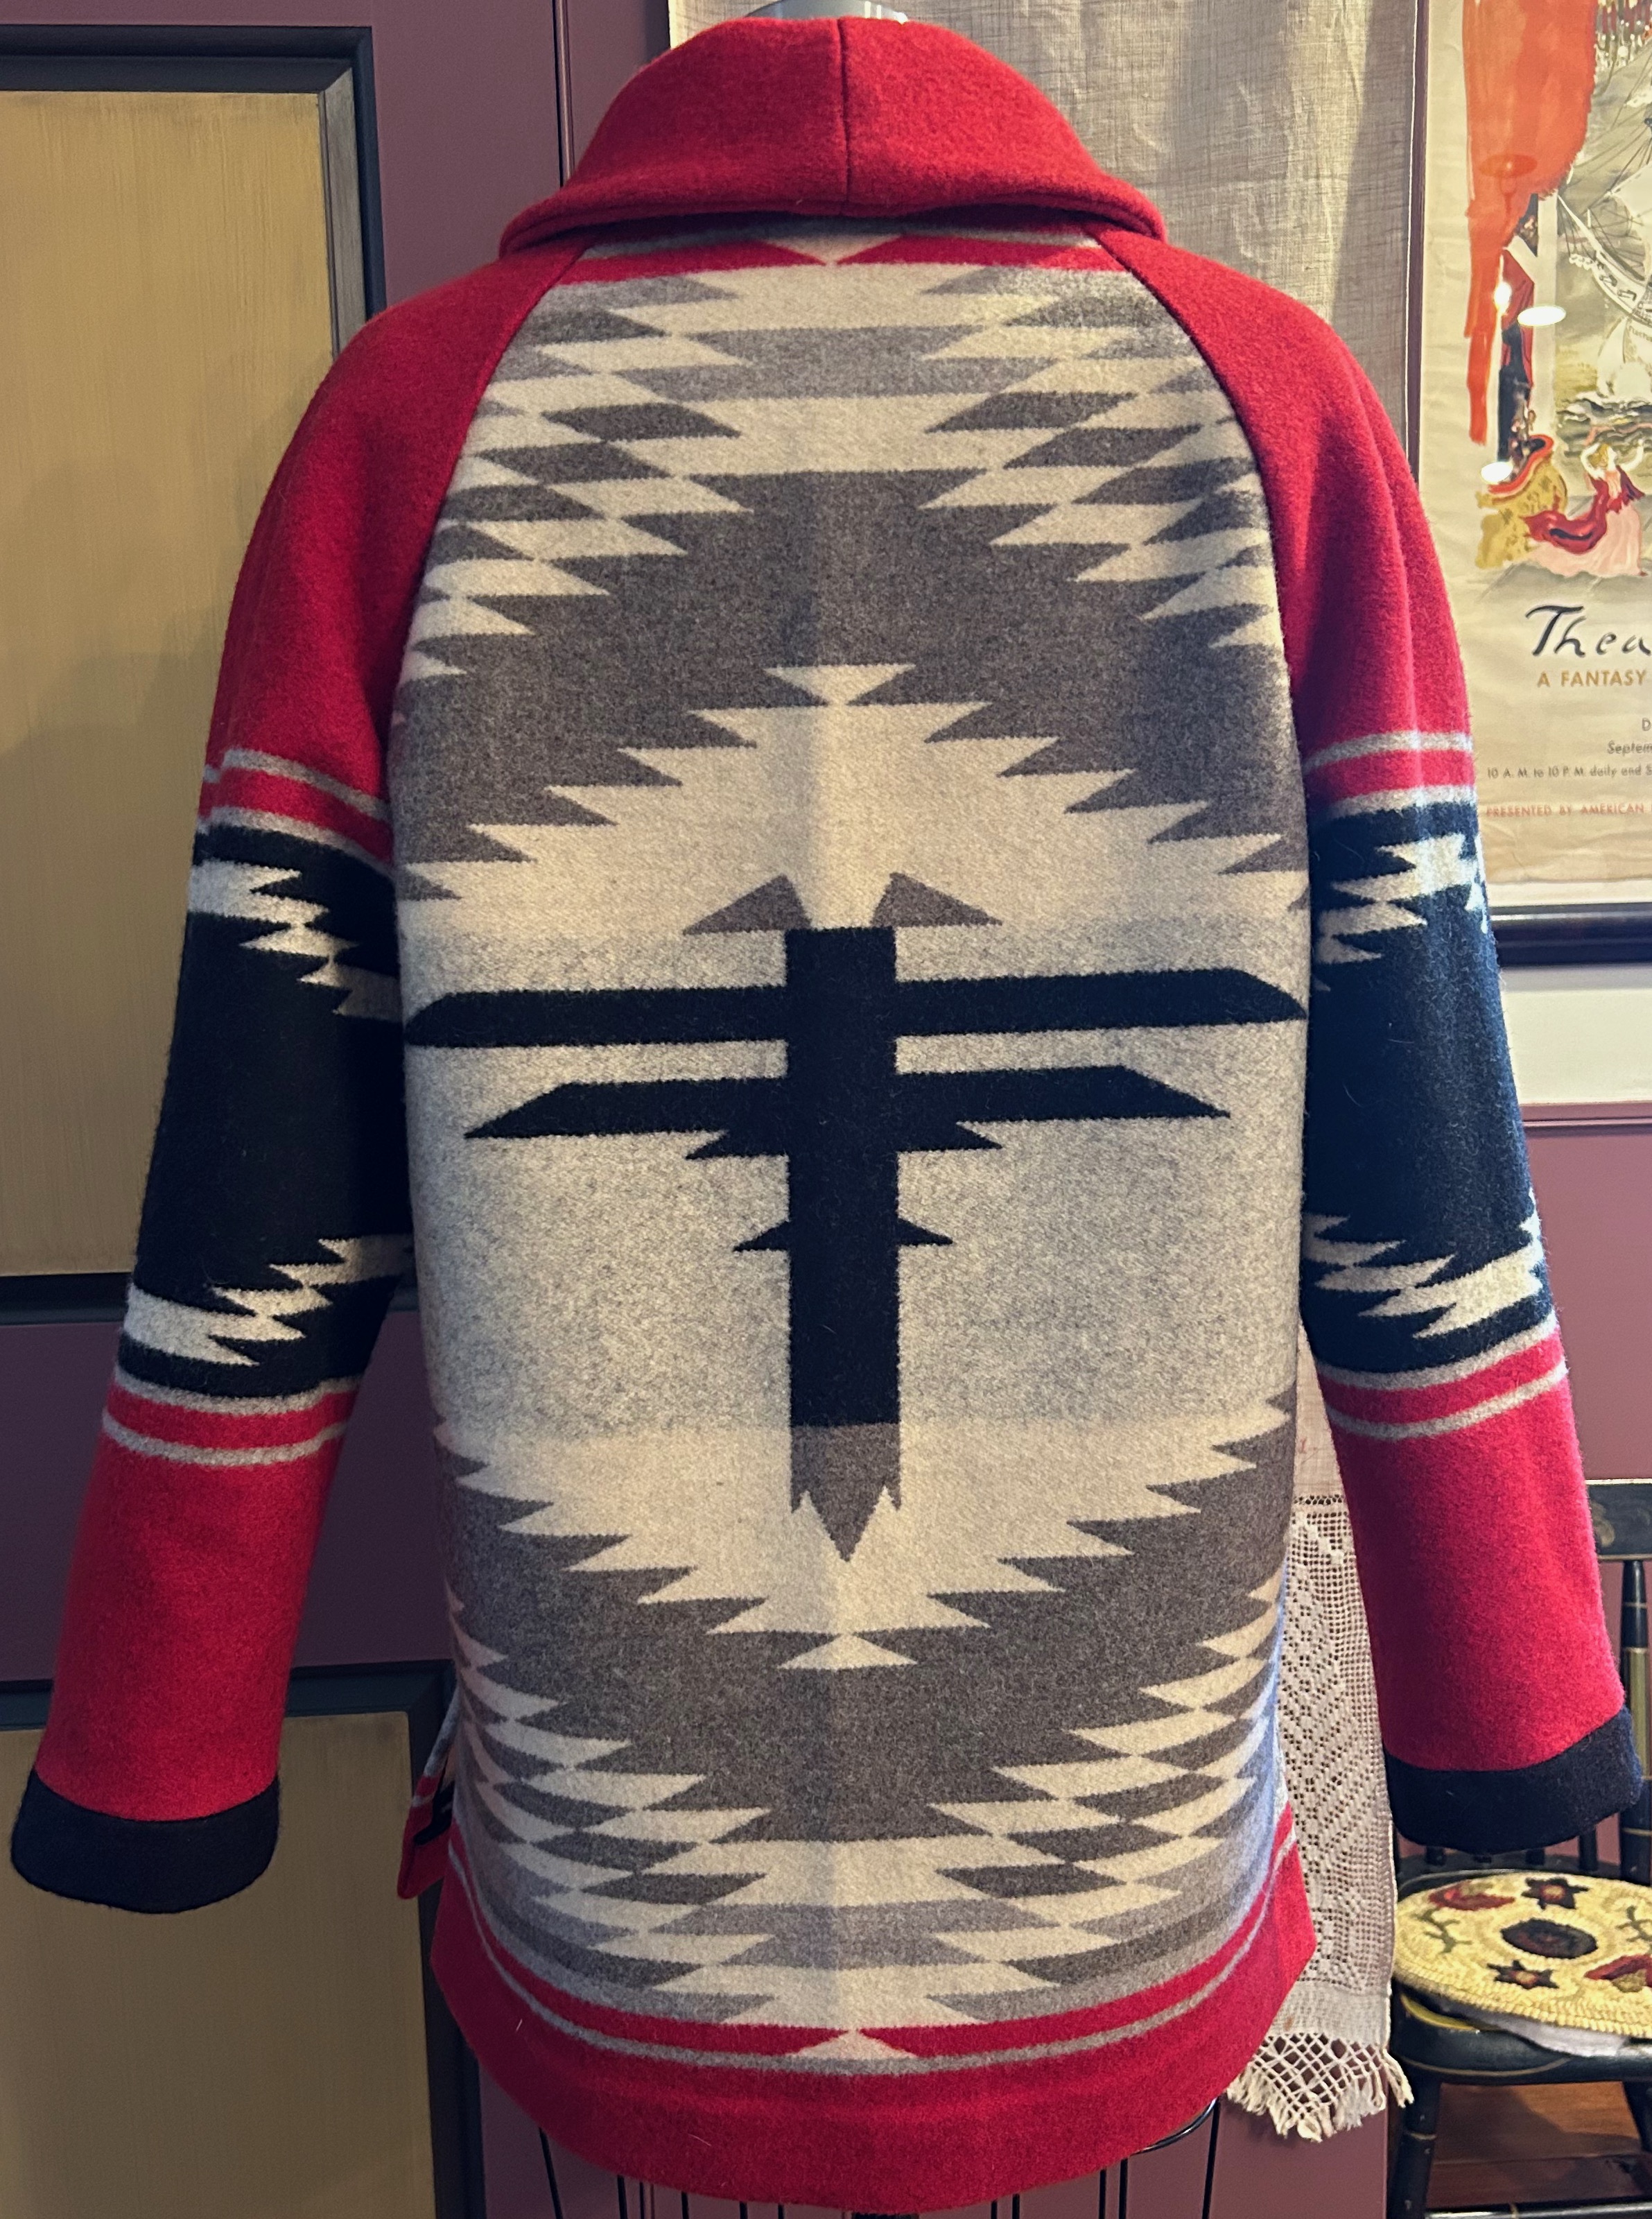
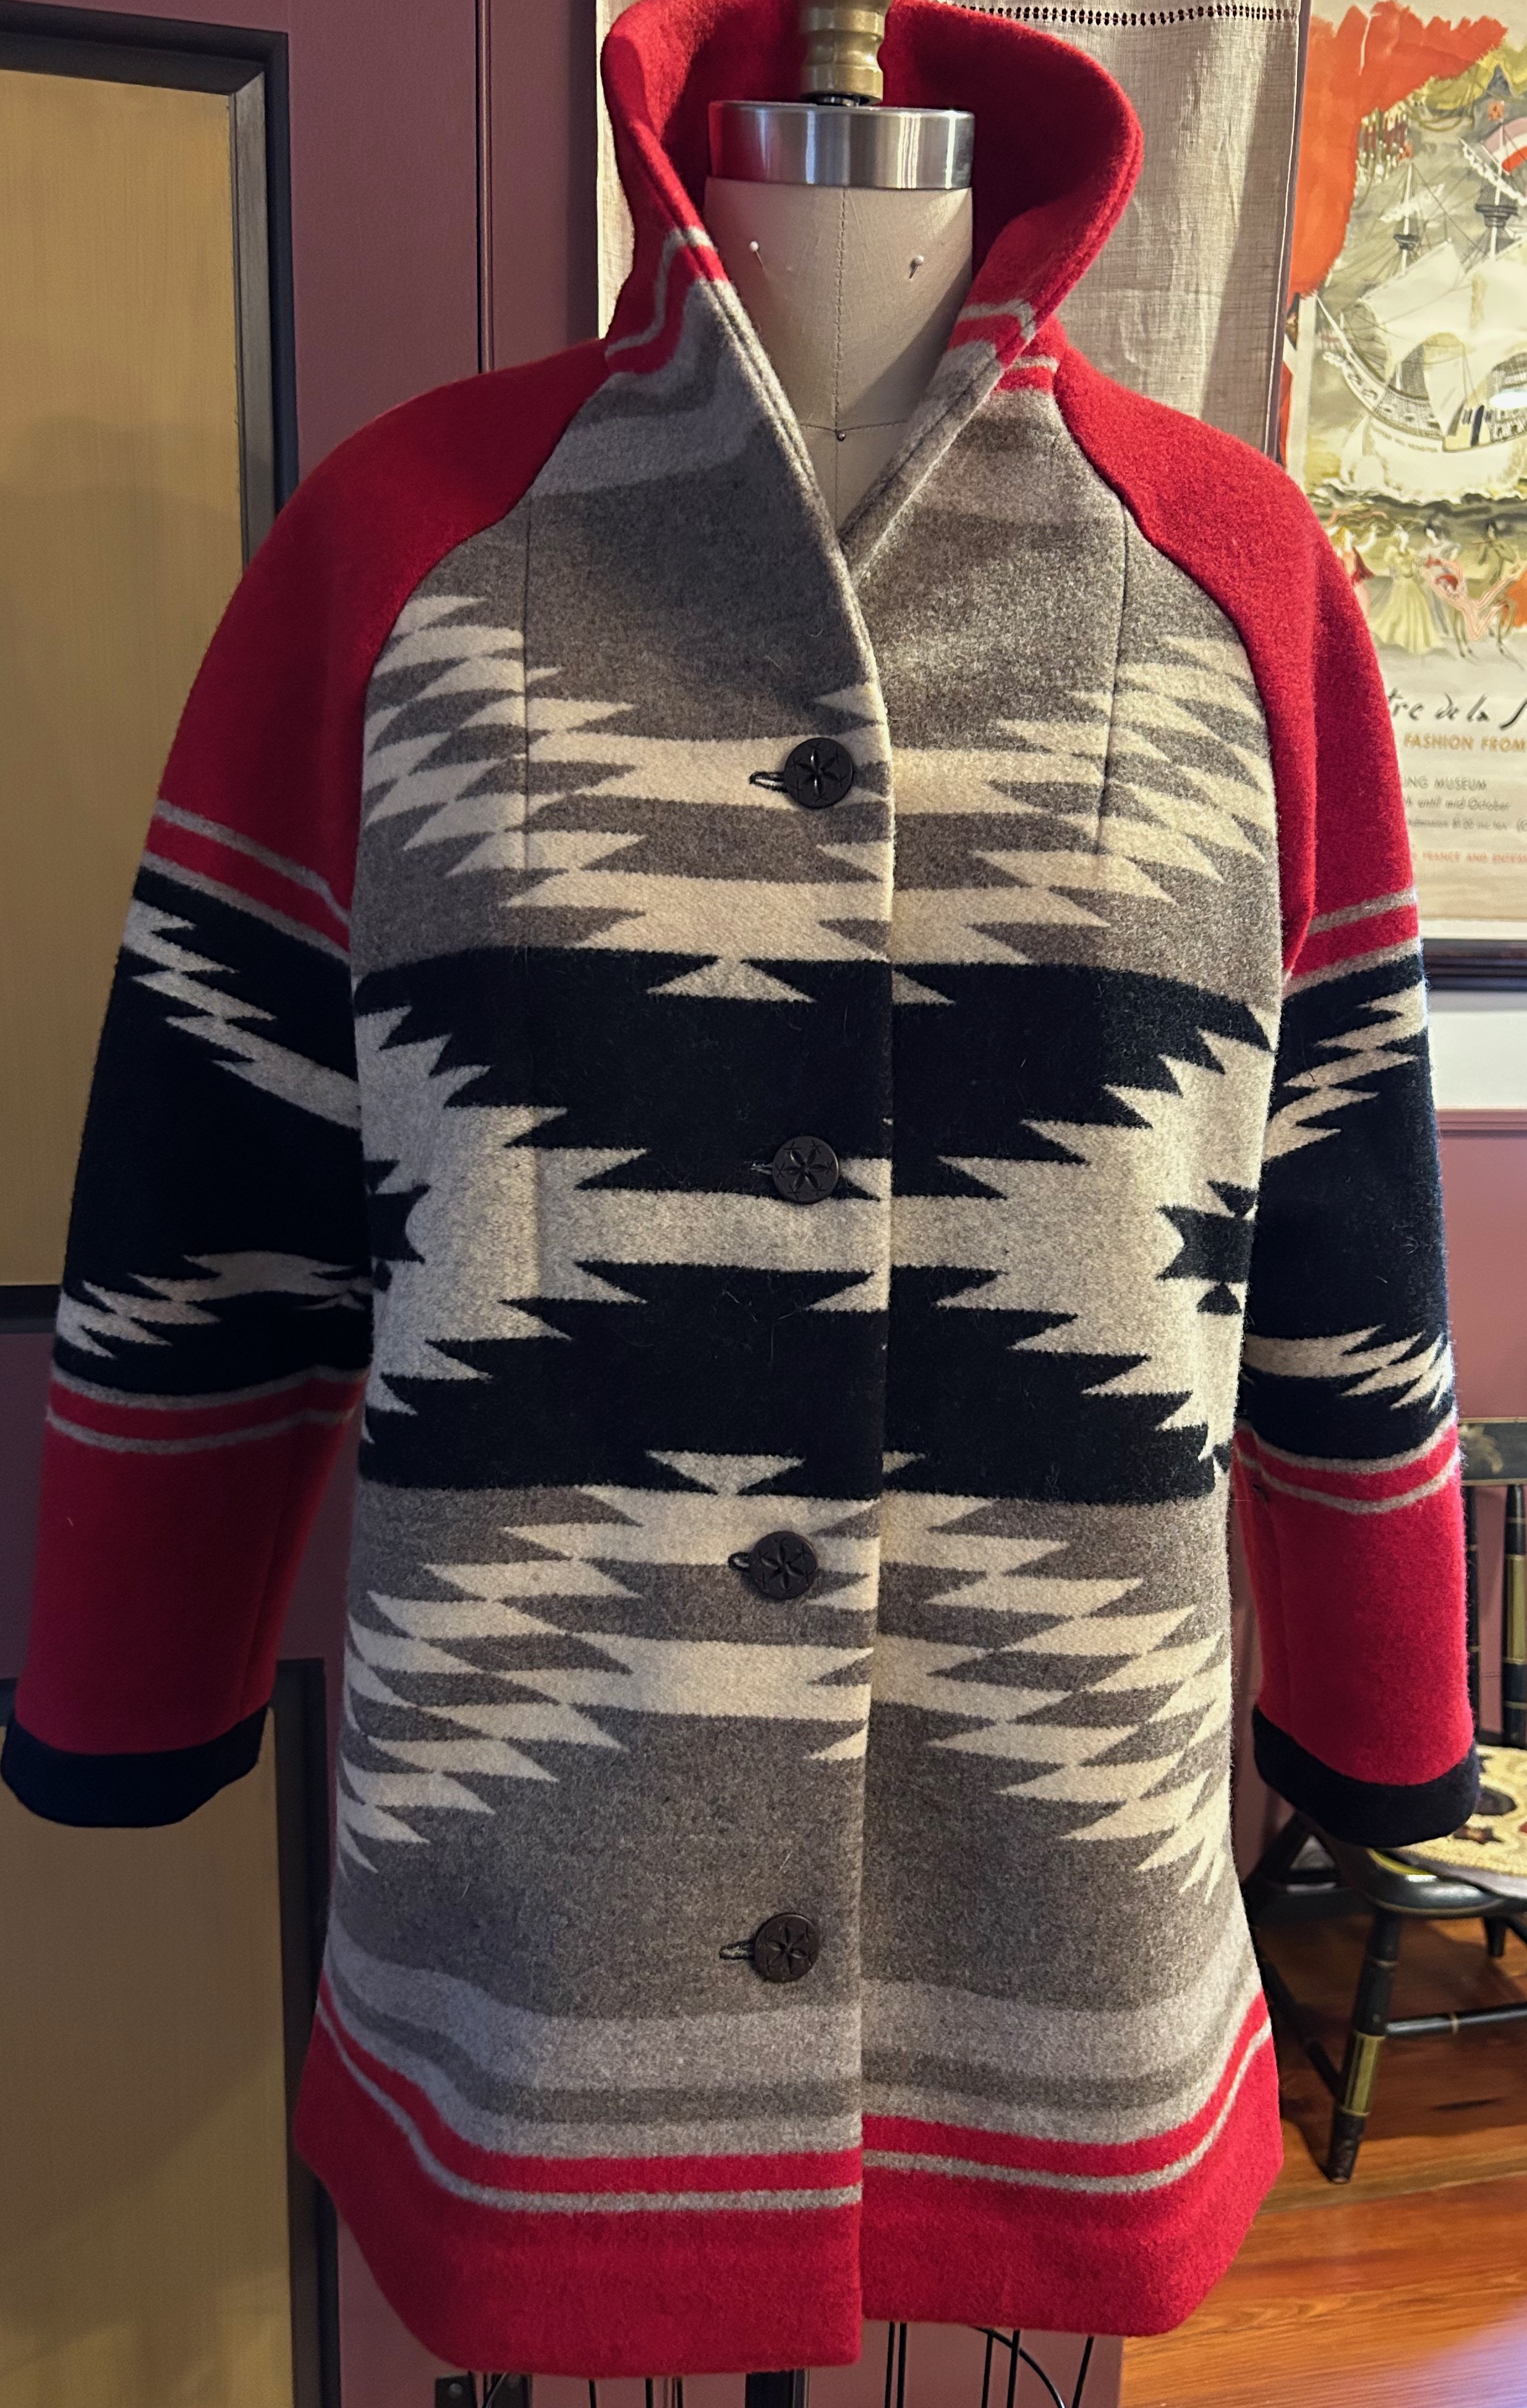
I got to work with everything spread out on my dining room table, starting with two main objectives: 1) The large “dragonfly” motif on the blanket would be centered on the back of the jacket, and 2) I wanted the “portrait” or neckline area of the shawl collar to feature the dominant color of red.
From there the fabric told me what I could do and what I could not do, and the best way to explain my decisions is to show you the finished coat.
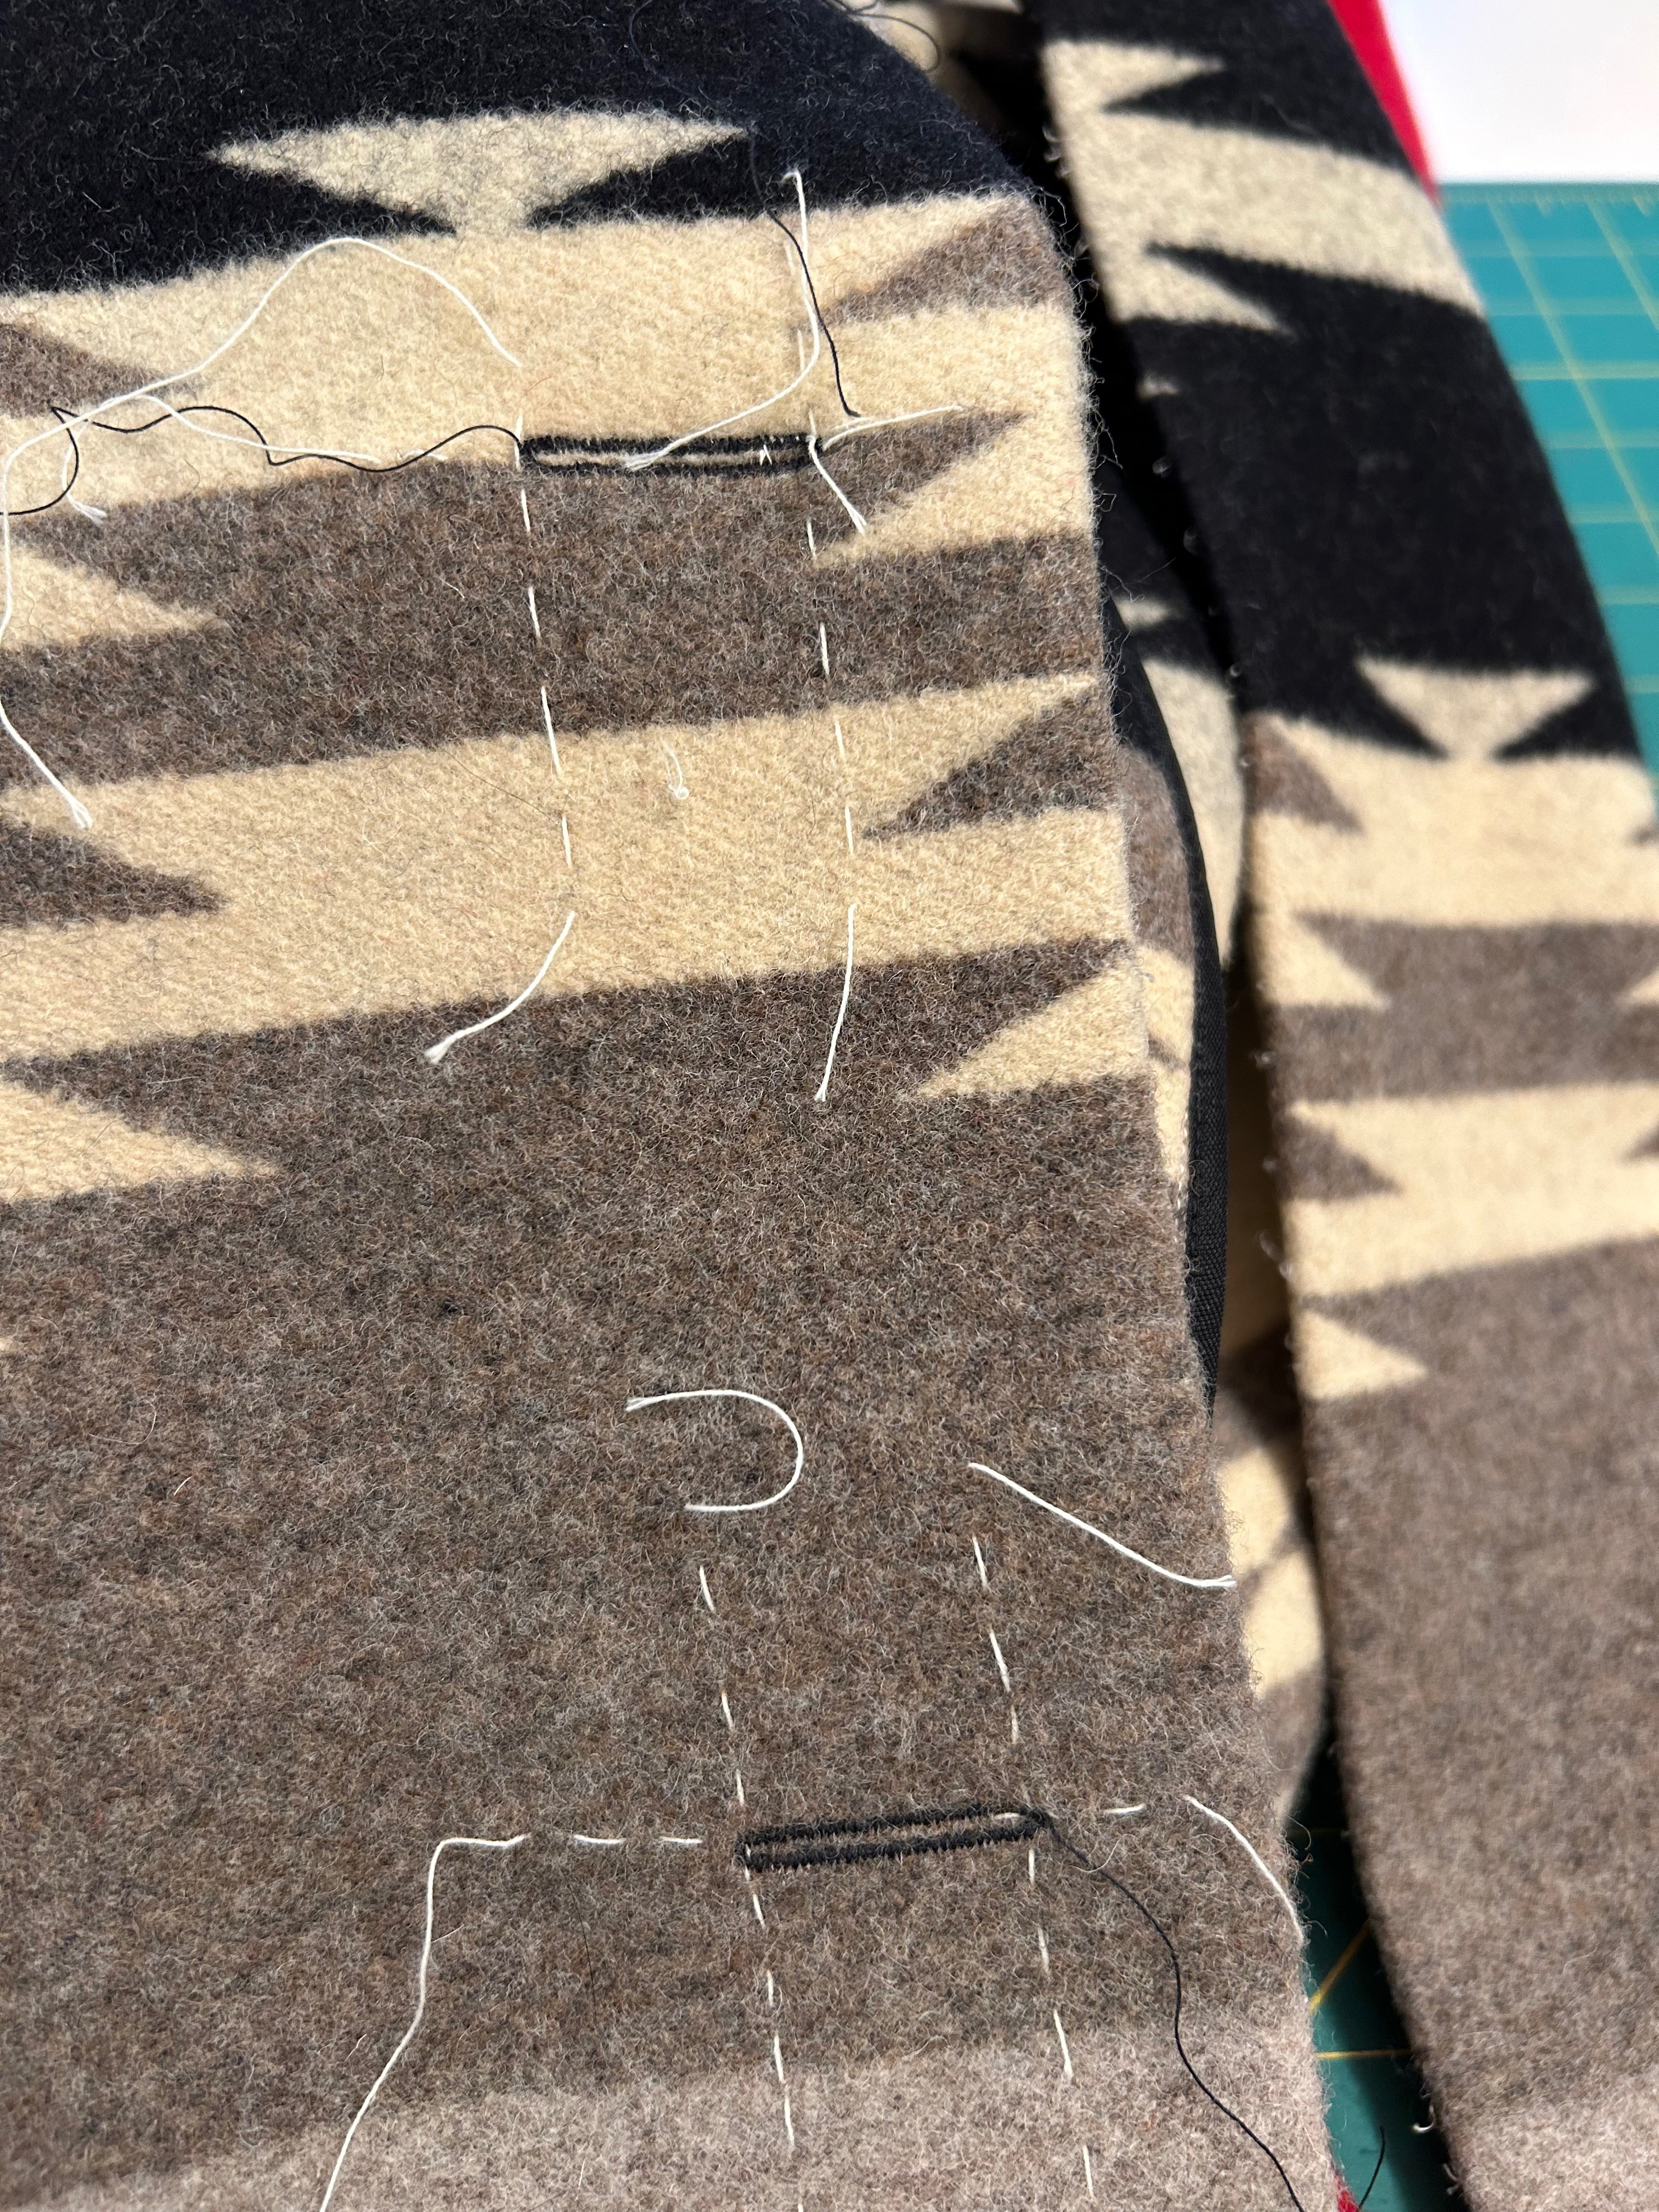
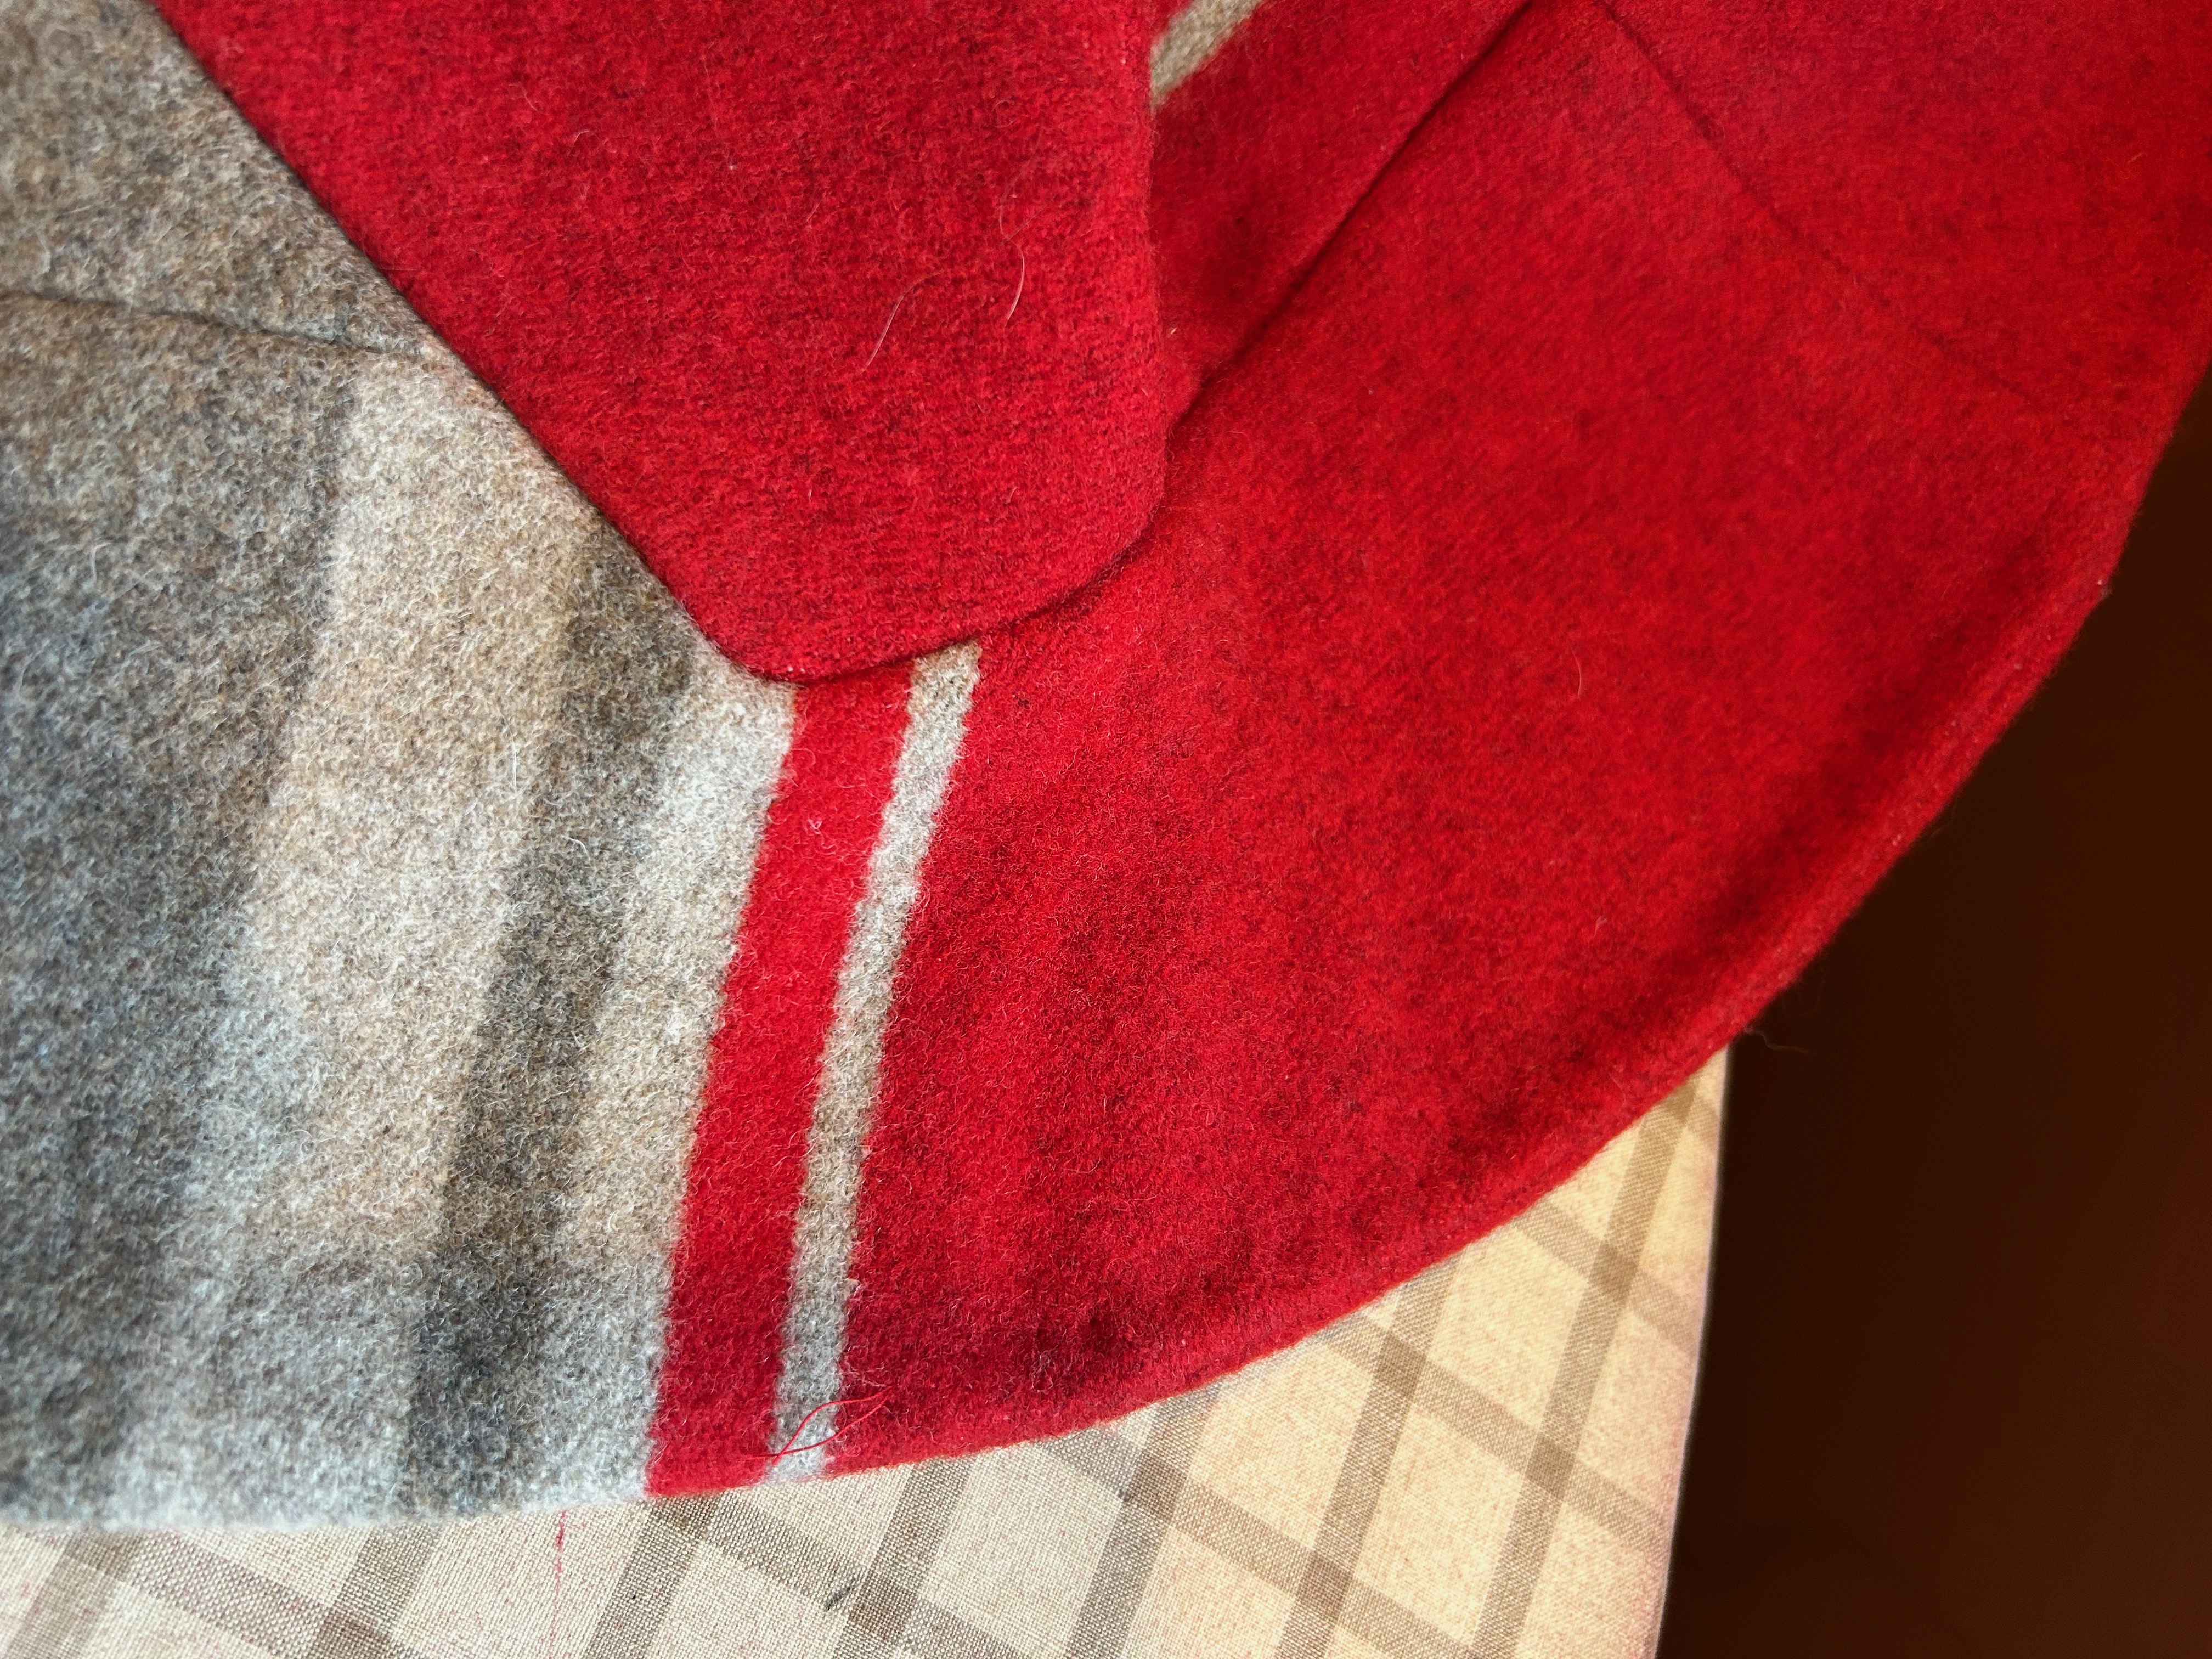
I thought it would be “easy” after getting to this point. Easy is not a word I should ever use while sewing. I should know that by now. Every seam had to pressed with loads of steam, followed by a clapper to help set it, usually more than once. Every exposed seam edge needed to be encased with rayon tape. I split the two vertical darts and needed to hand-stitch the raw edges to prevent fraying. Every seam needed to be basted together before machine sewing in order to keep the horizontal lines in the design matched.
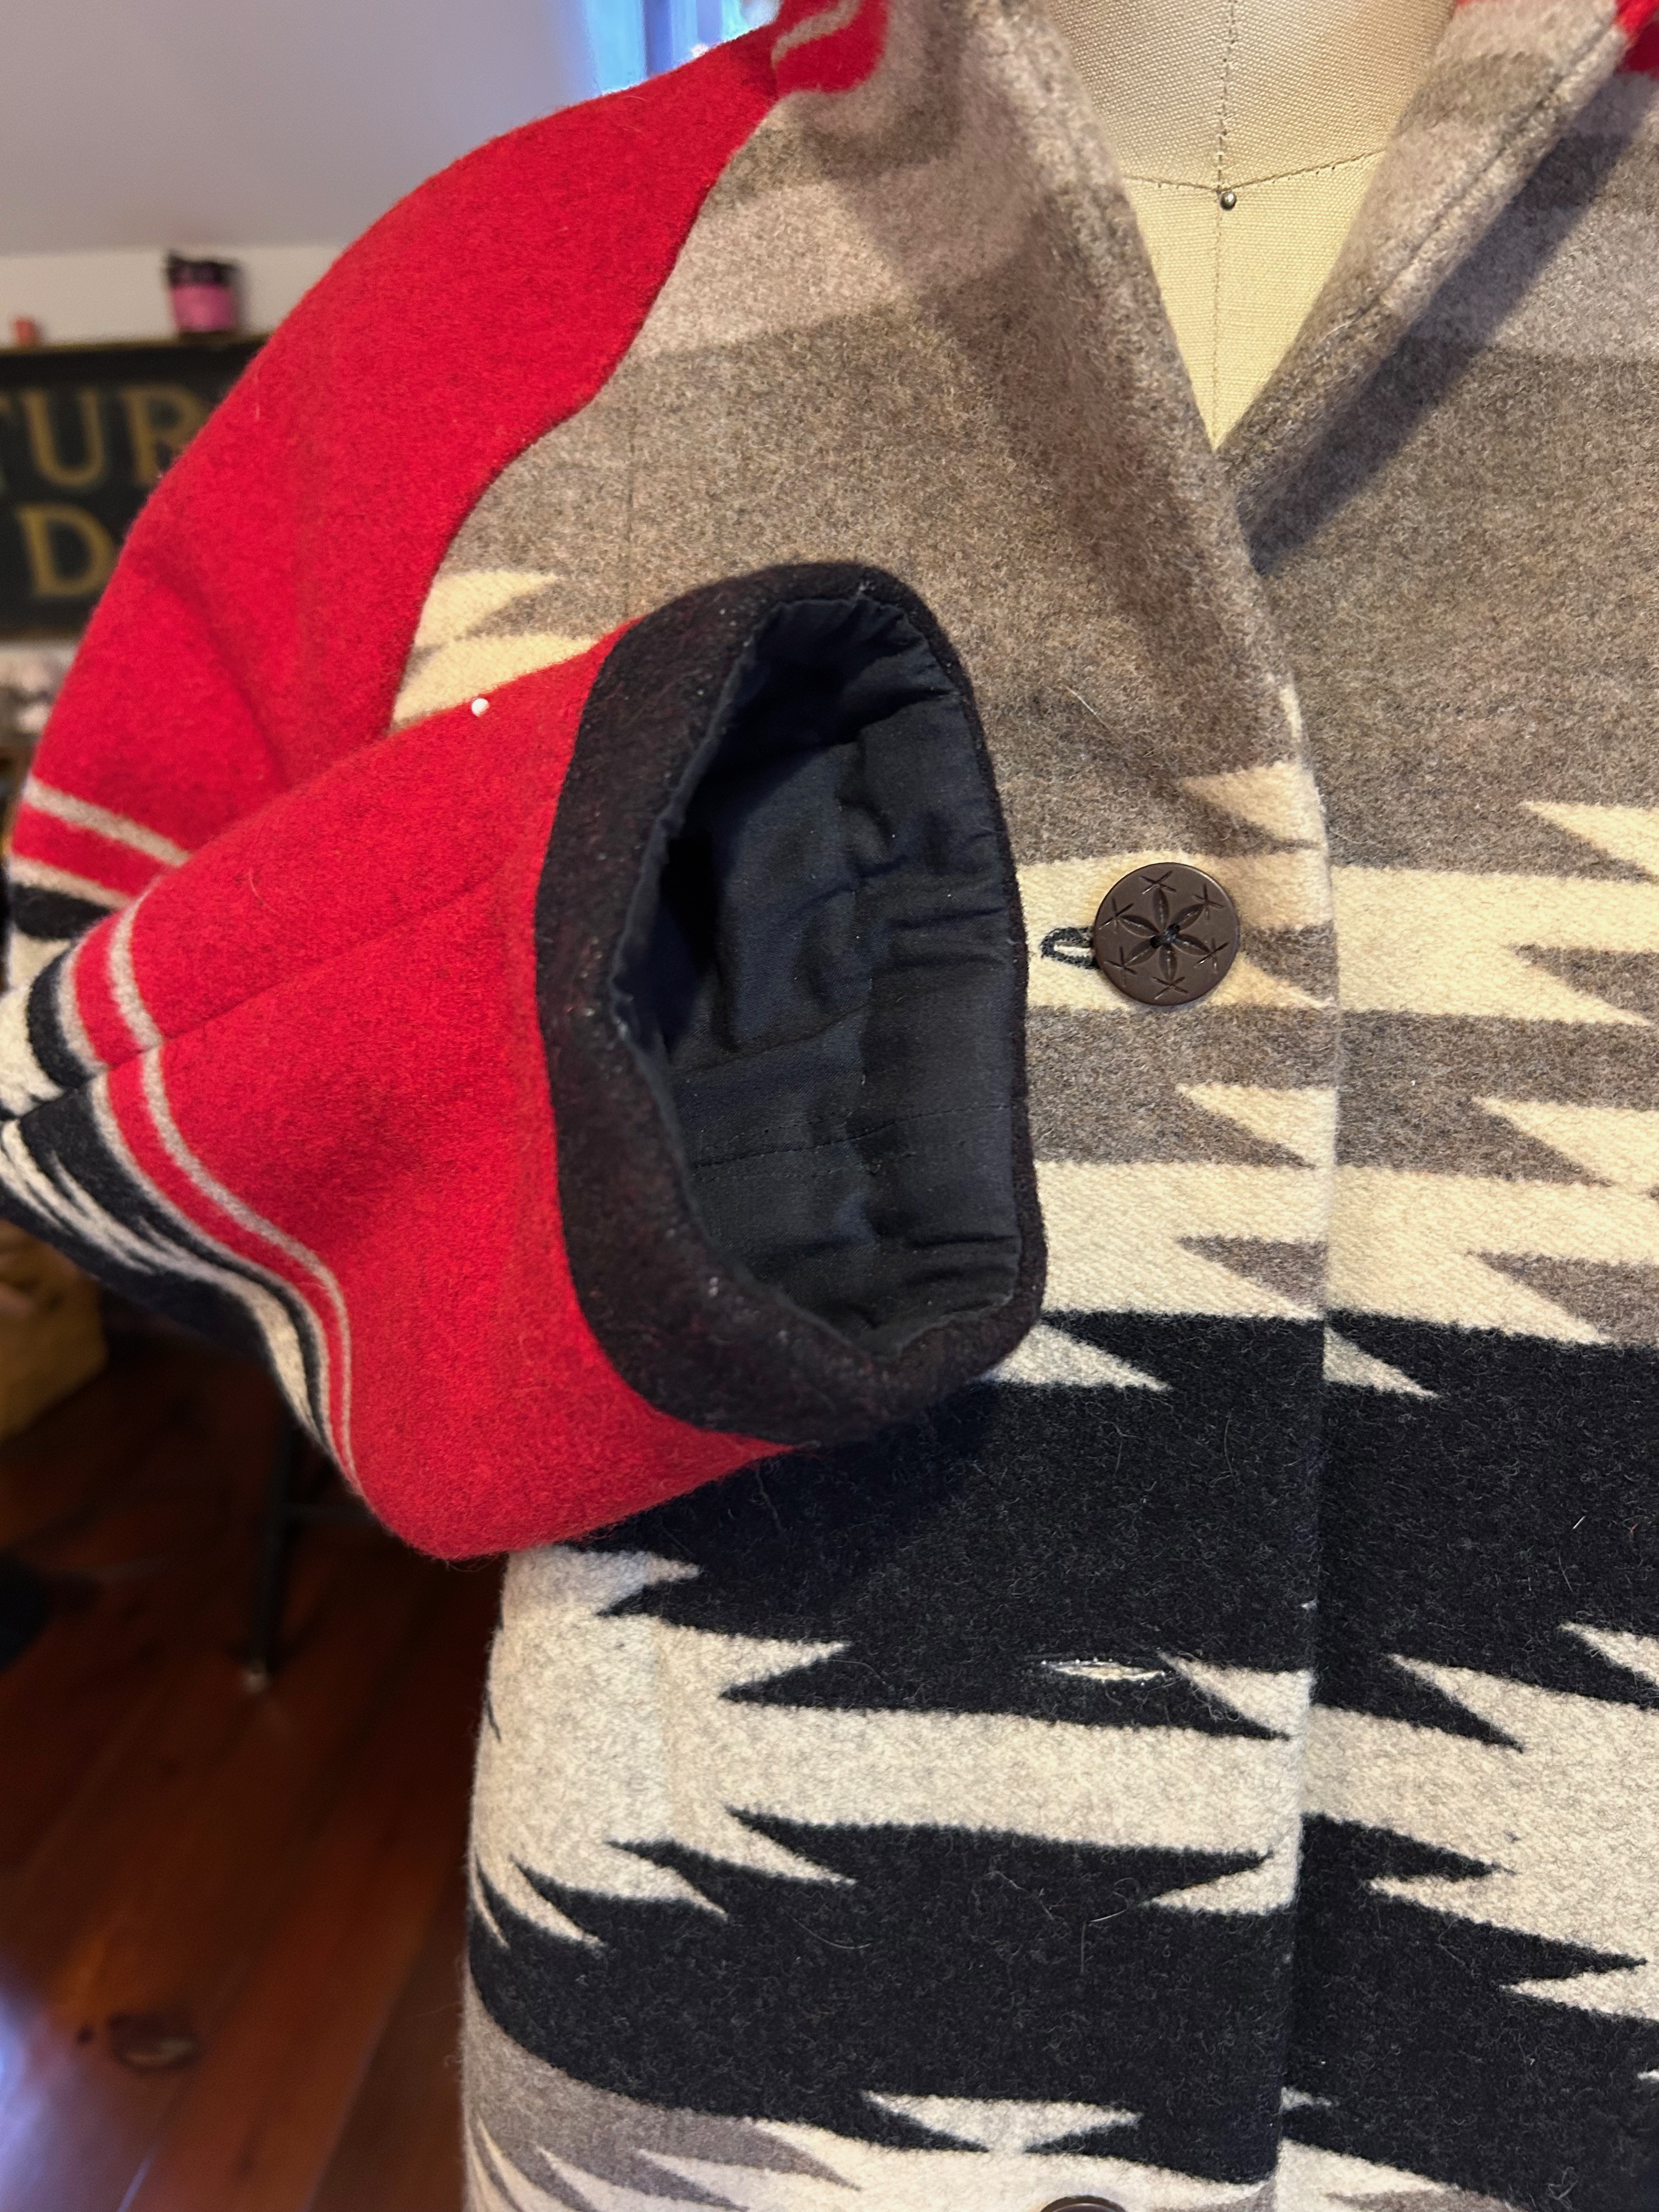
I had found a set of taupe-colored vintage buttons in my collection which, at first glance, did not look like they would work. But after auditioning black buttons and red buttons, I was convinced those taupe ones would be perfect. However, I had no idea how I was going to do buttonholes in that thick fabric. I fiddled around with fabric scraps to make practice bound buttonholes, using a lightweight fabric for the “lips.” They looked awful. I thought of using large snaps and just securing the buttons on the coat front for effect. That did not appeal to me at all. So I went to my two failsafe sewing maxims: 1) I’ll figure it out later, and 2) Plan B – it BETTER work.
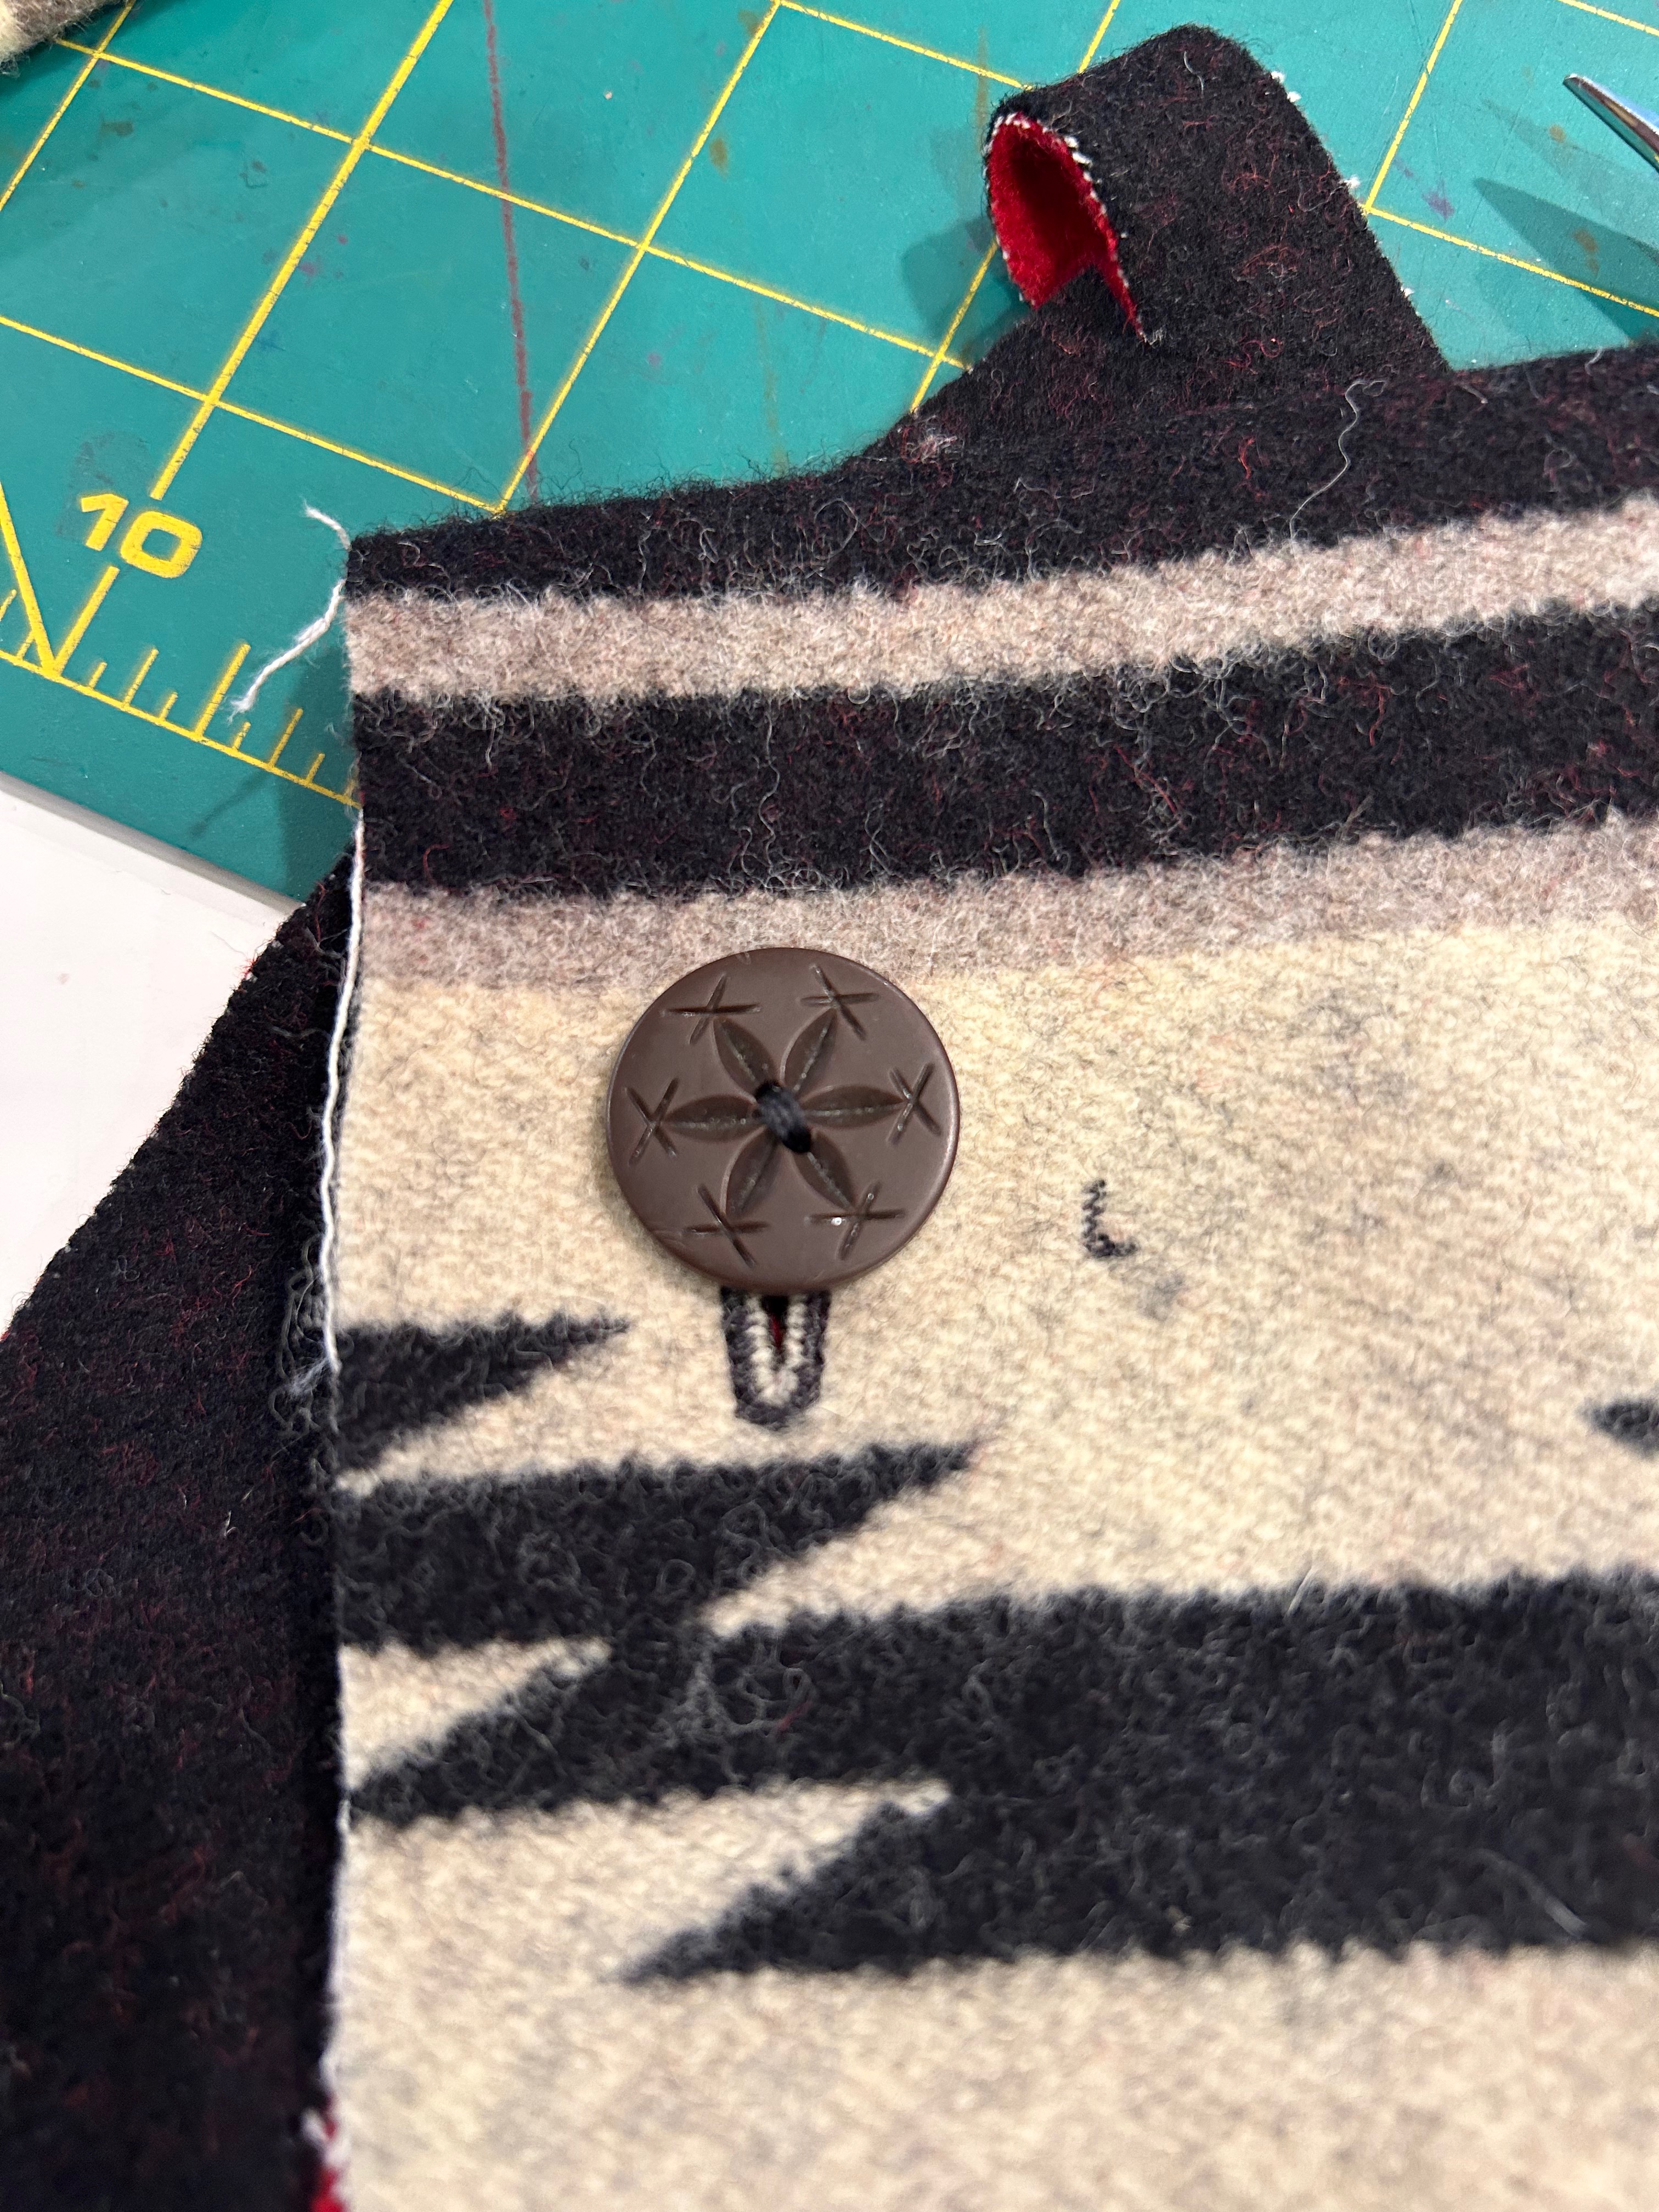
The jacket was practically finished before I found a method to make those buttonholes. Because the fabric was so thick, I could successfully only do a machine buttonhole on one layer of it. I experimented around and discovered if I made the buttonhole on the front of the coat, I could then line up the facing and use a straight machine stitch through both layers around the buttonhole. I used very small stitches to make it secure. Then I sliced them open. It worked!
Are you still reading at this point? Or did I lose you back at the dining room table?
Almost finished! The final touches on the coat involved under stitching the collar to hold the turn in place, and securing the sleeve lining to the underside of the black “cuffs.”
What do you think of the black cuffs? I had no choice but to do them this way; hopefully they look intentional rather than contrived.
I have to say I was pretty thrilled with how my jacket turned out, considering the parameters facing me.
Now I do indeed match my chair! More importantly, however, I have a very classic, one-of-a-kind, Pendleton wool, western-style jacket which is going to be fun – and warm – to wear.
