Throughout the 1950s, copyright dates appeared on all Vogue patterns (or, at least that has been my observation). Copyright dates appear on some of the patterns from 1960-‘62, but after that, they are non-existent. It is always a thrill when I find a reference to, or picture of, a pattern, which I own or am working on, in one of The Conde Nast Publications, Inc. magazines or other printed materials. It is one sure way to date an otherwise undated vintage Vogue pattern.
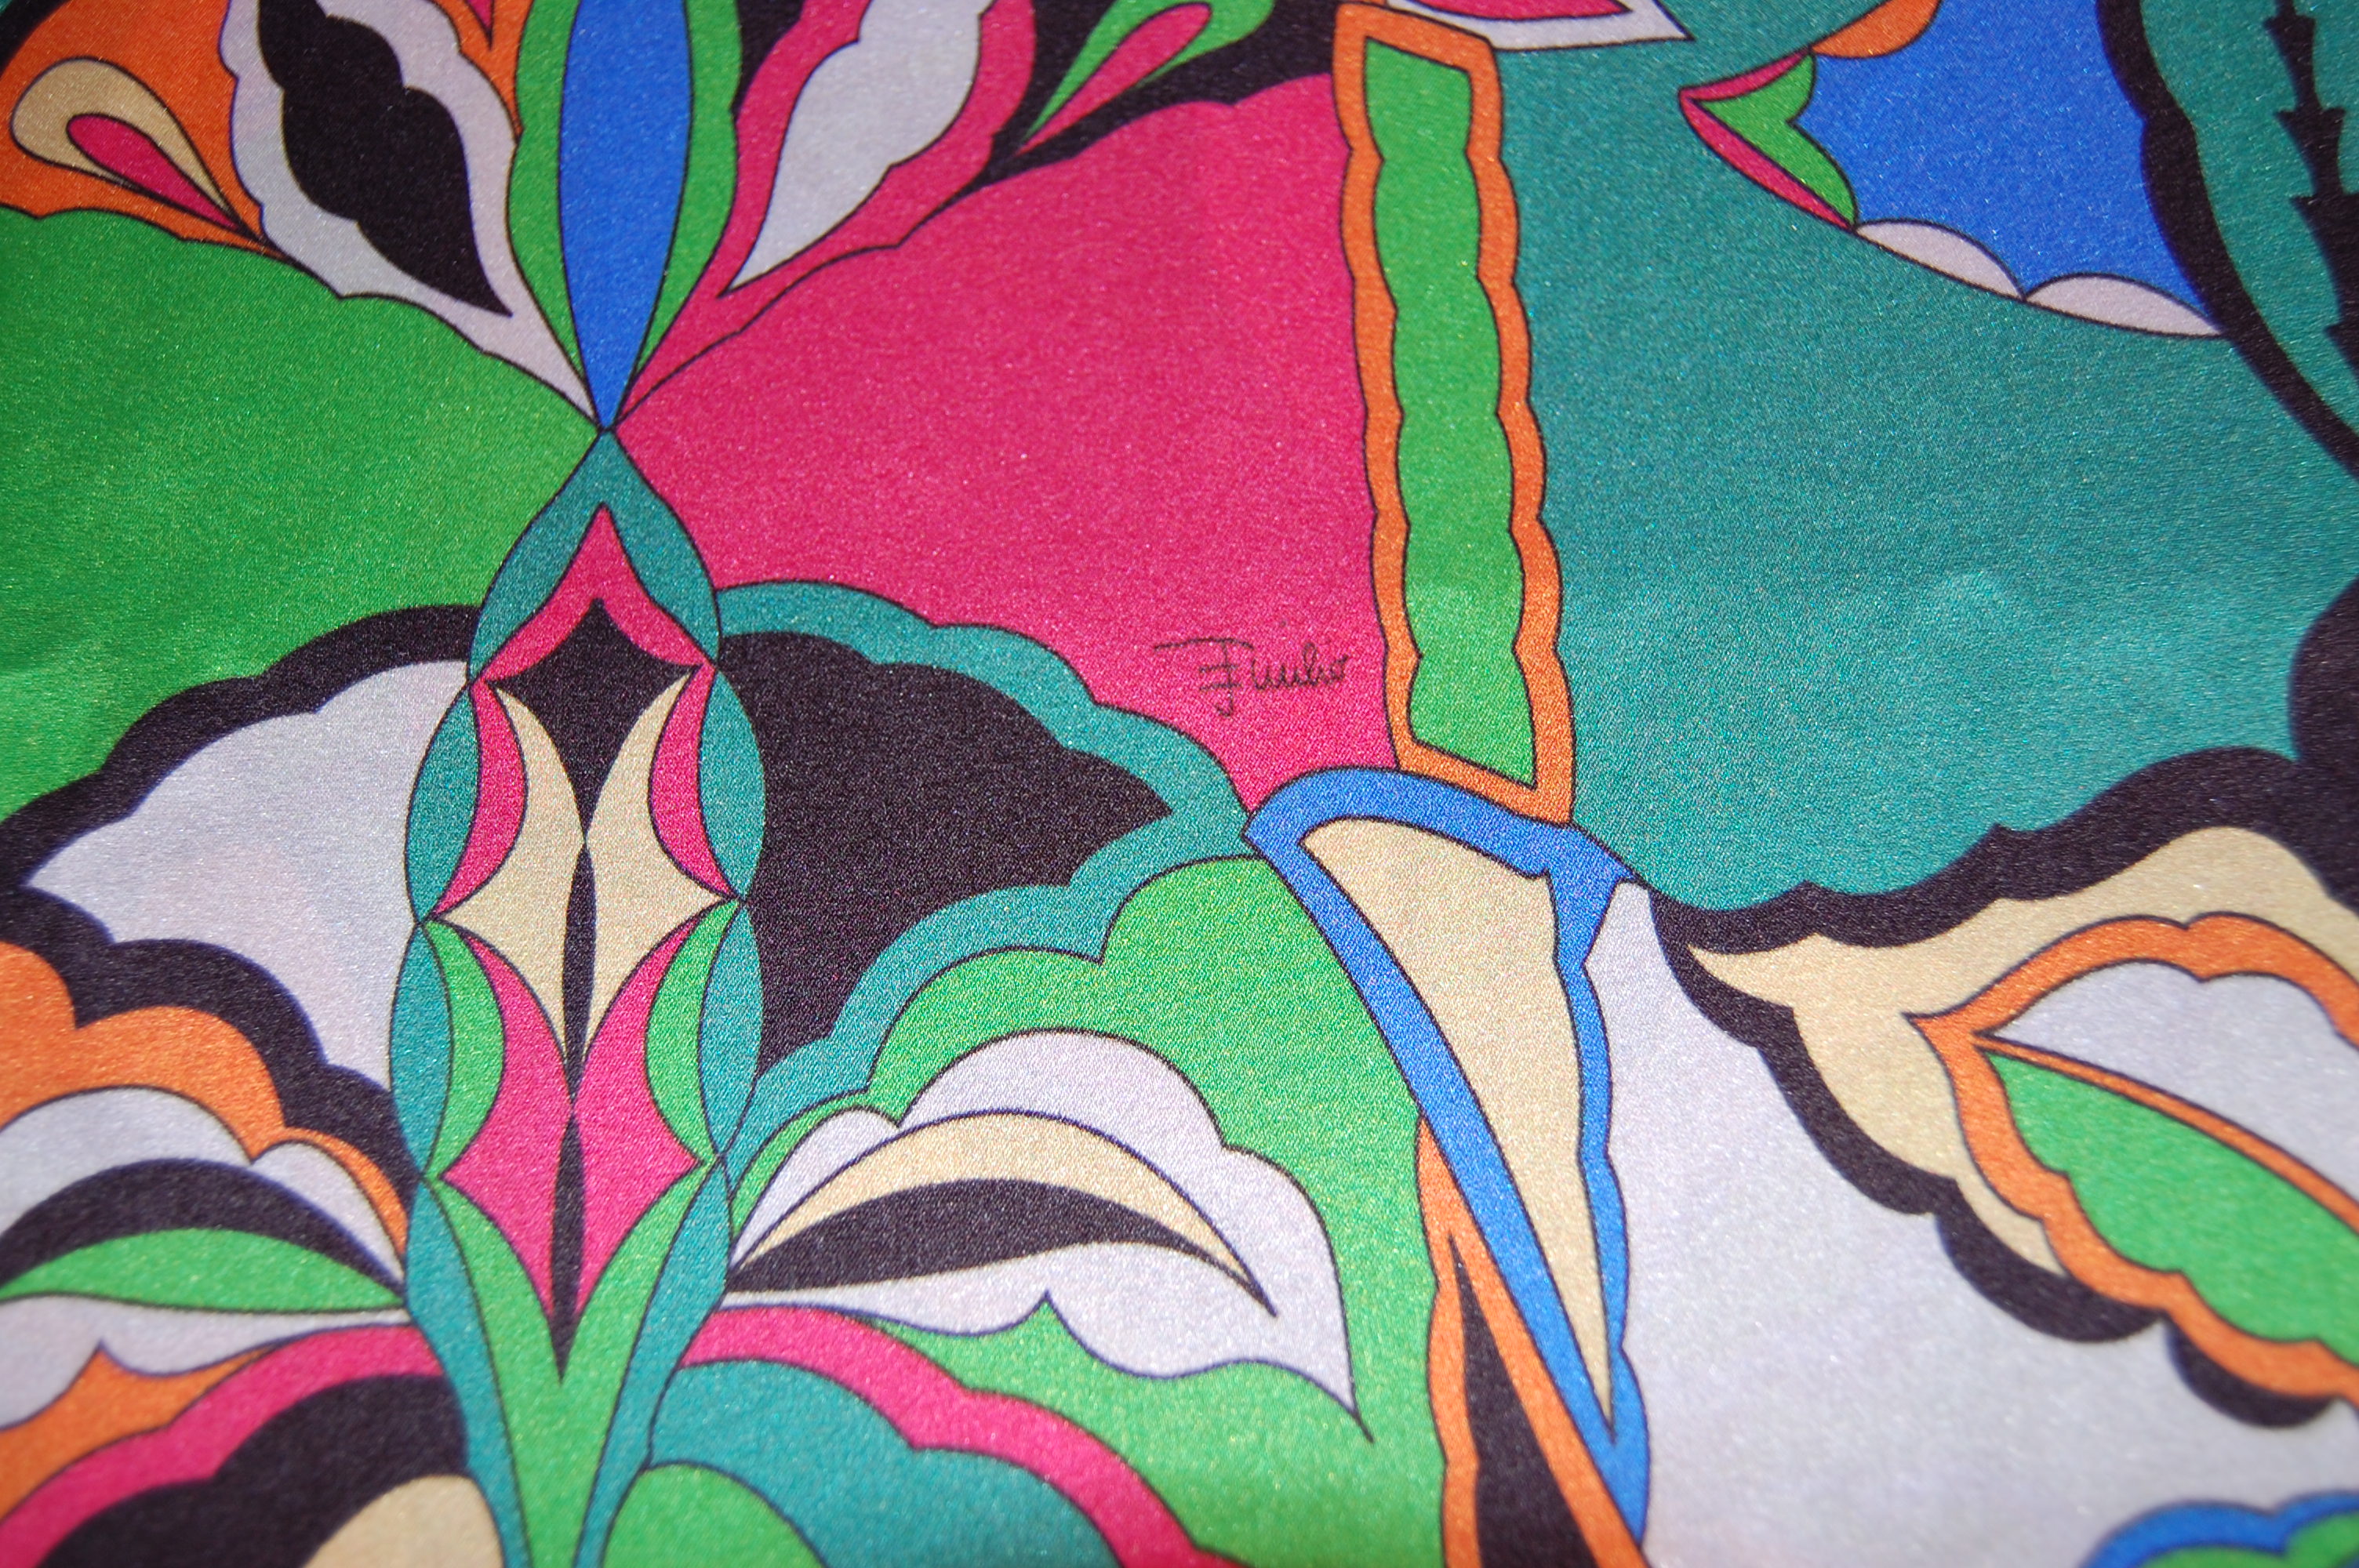
So – you can imagine my delight when a small, 8-page Vogue Pattern Fashion News from February 1965 – which I recently purchased – featured the Emilio Pucci dress and jacket which has been my sewing focus for the past several weeks.
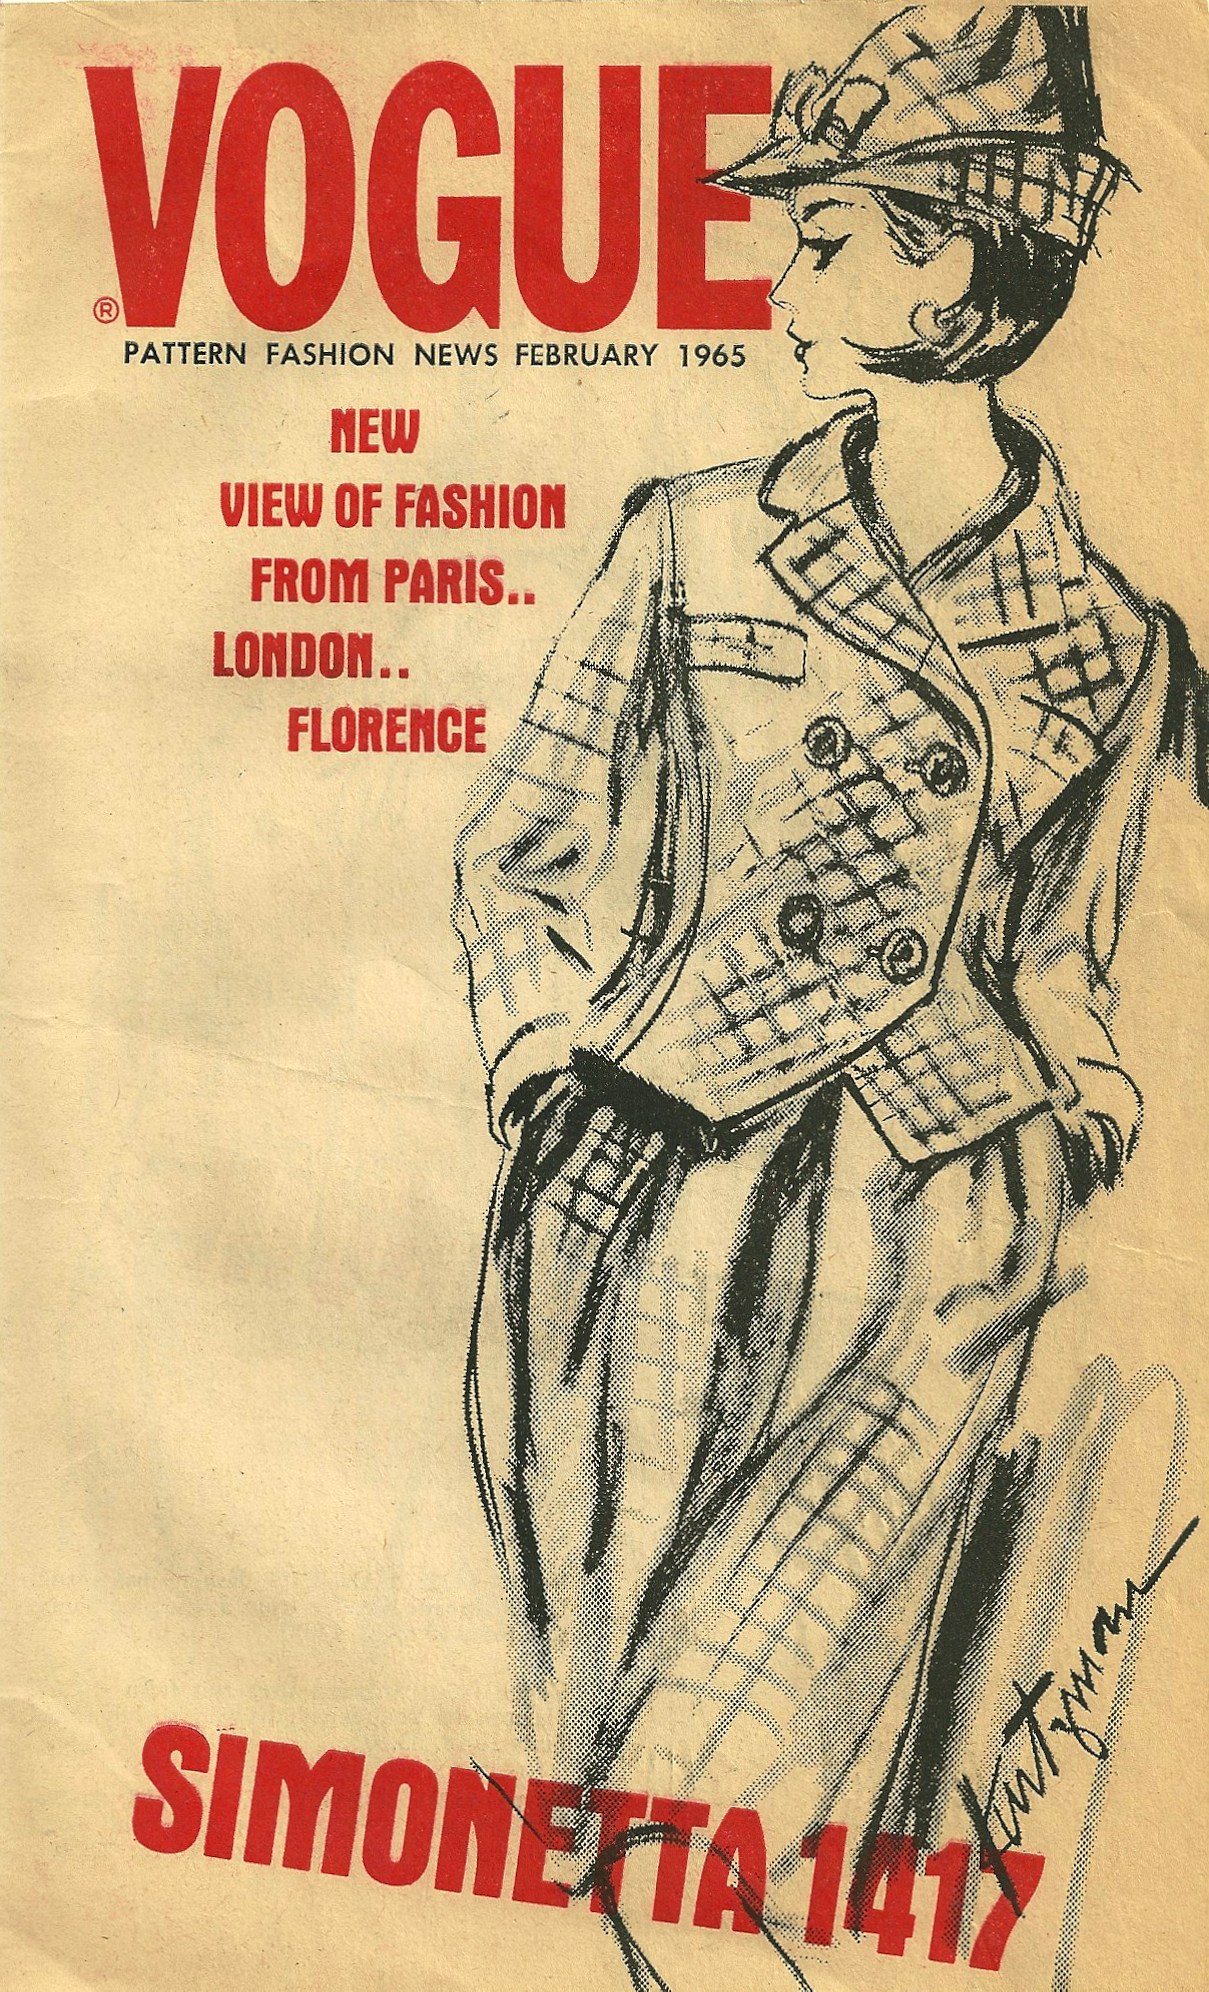
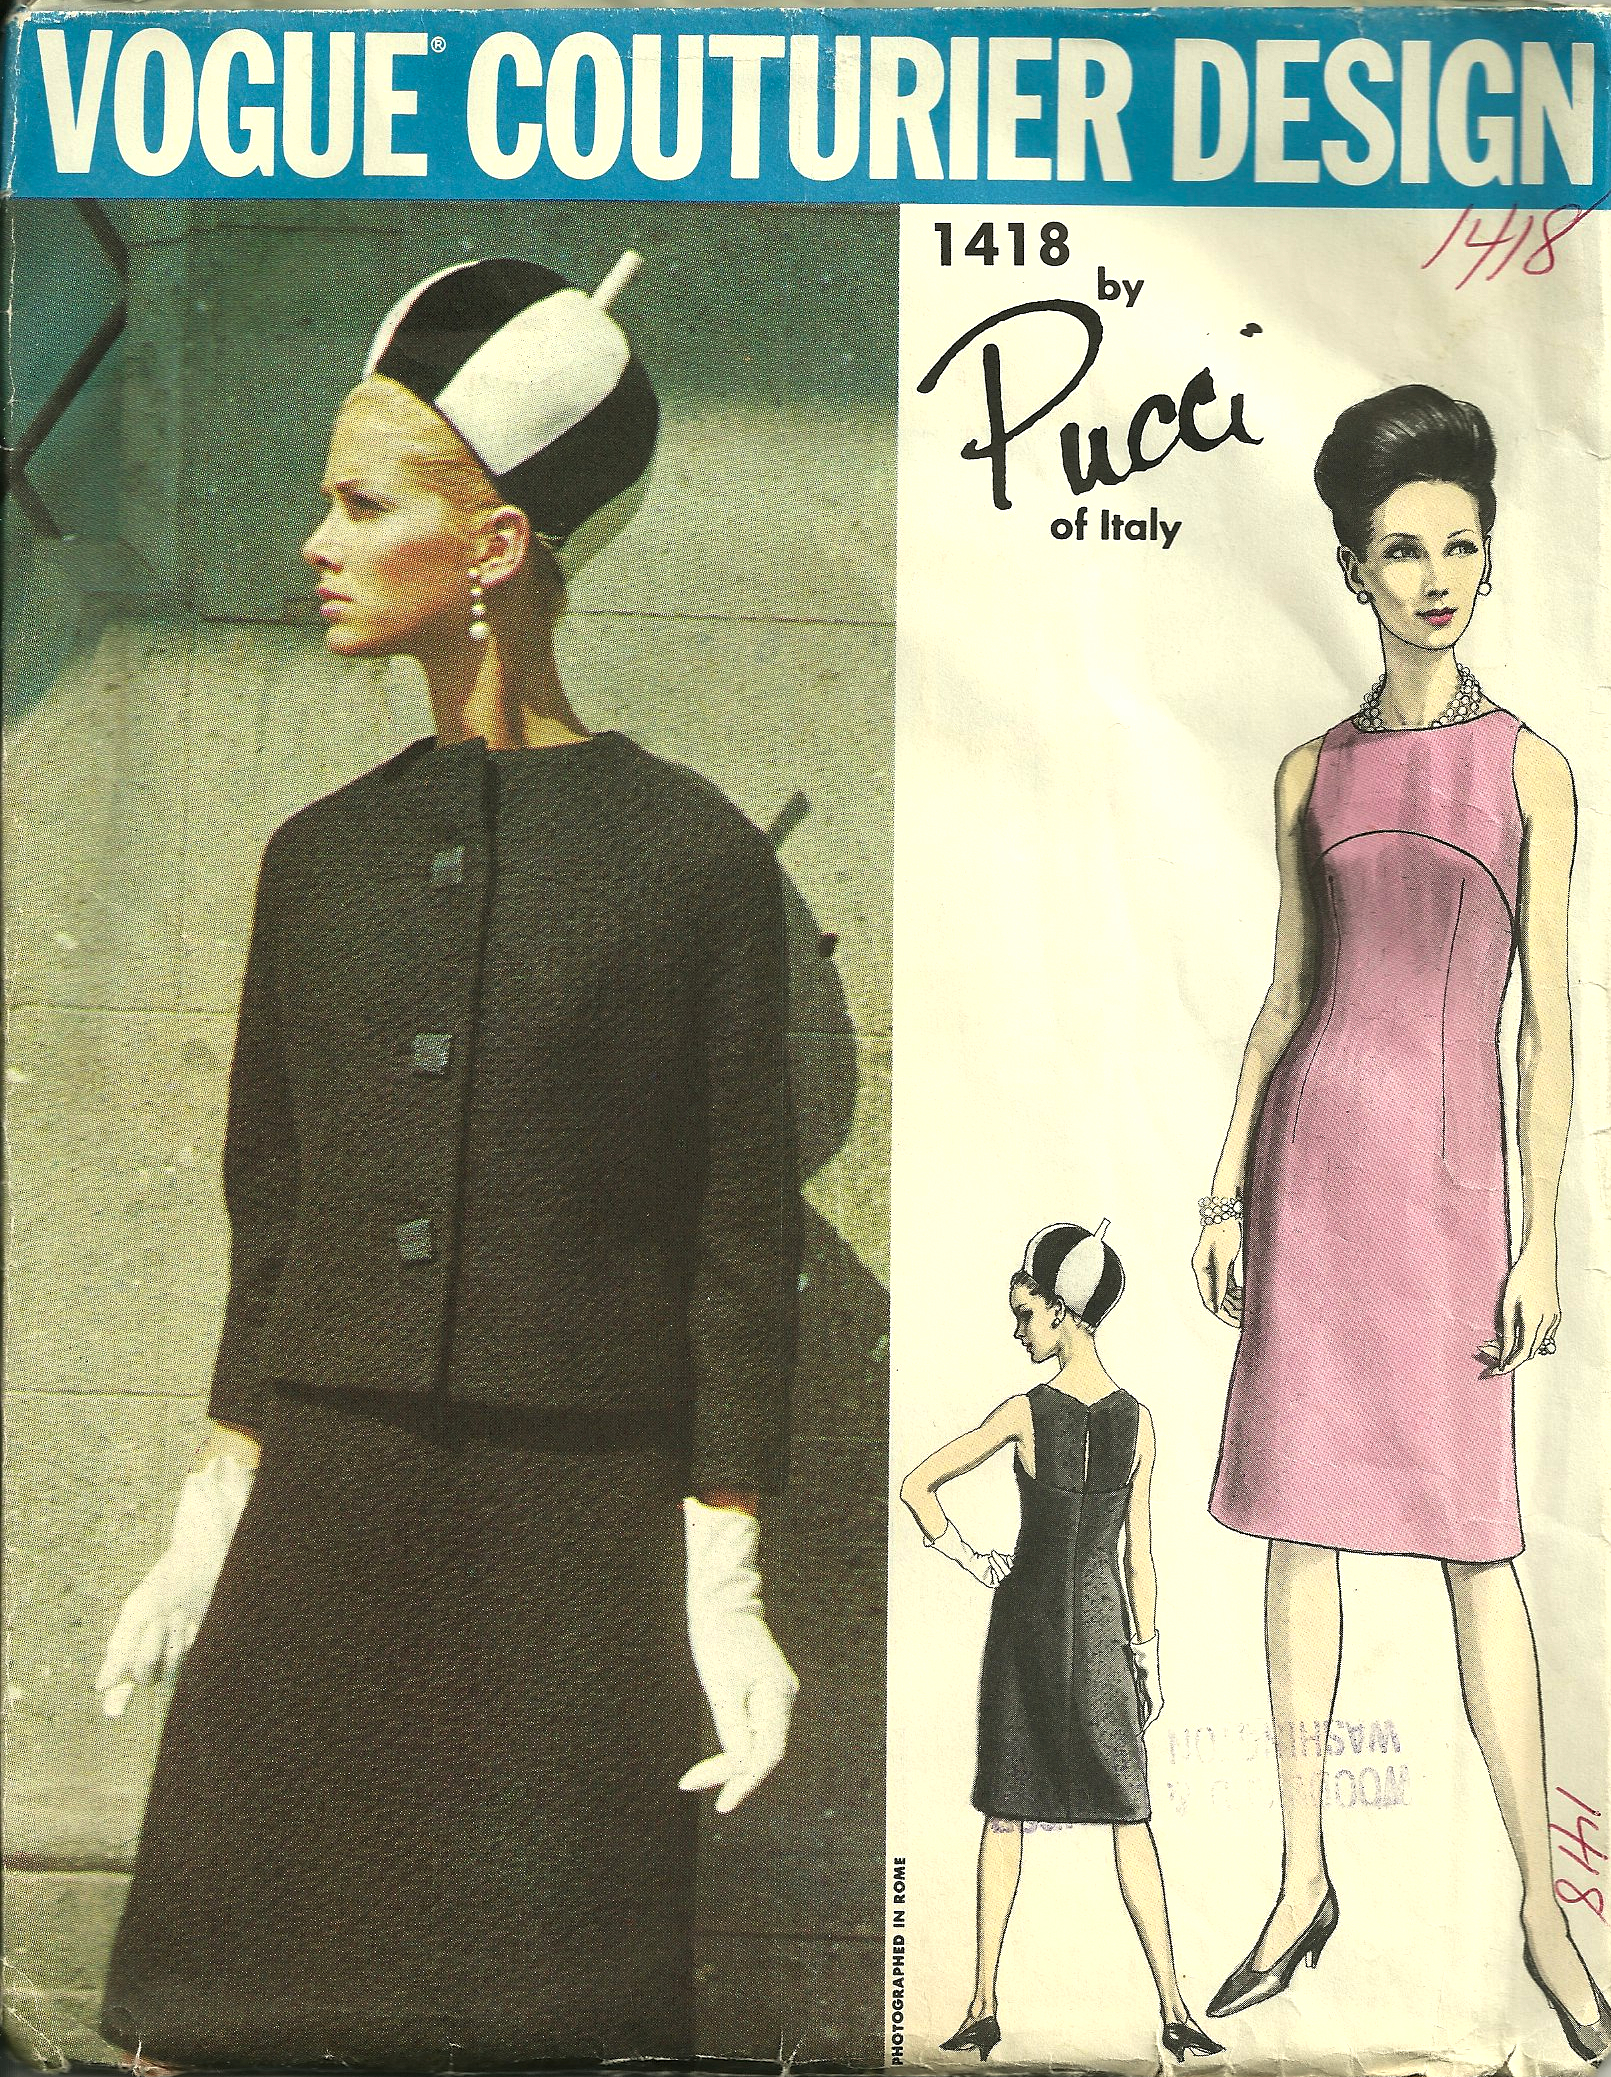
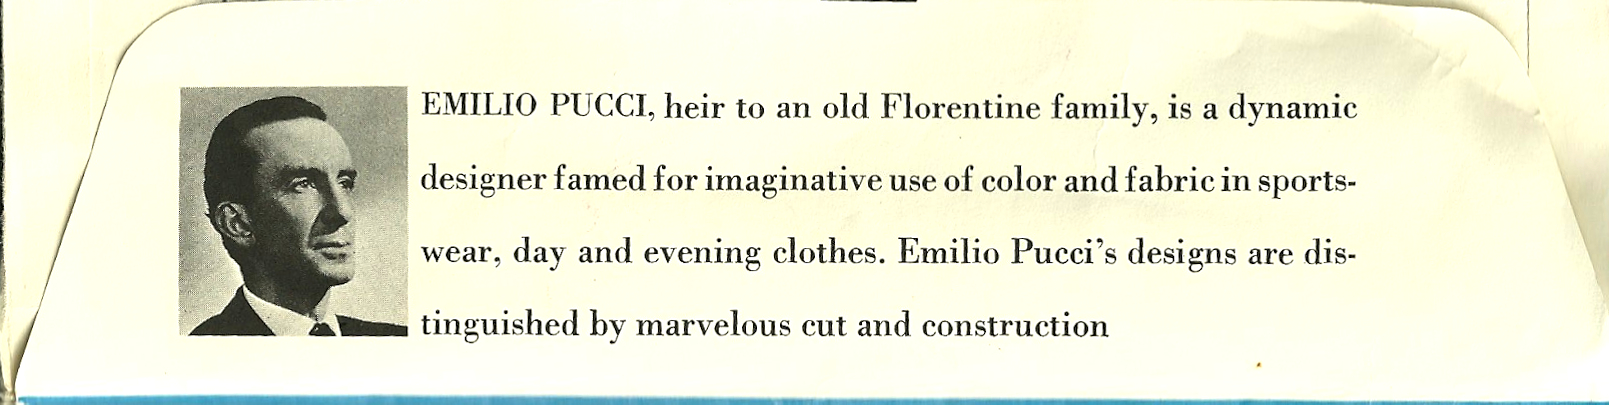
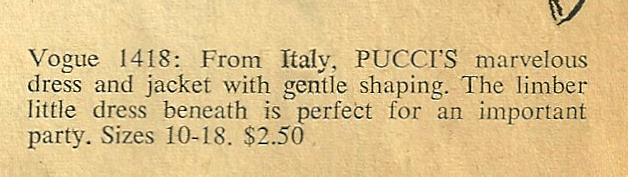
On the cover of this small “flyer”, which was available for pick-up wherever Vogue patterns were sold, is the reference to fashion from Florence – as in Pucci’s Florence!
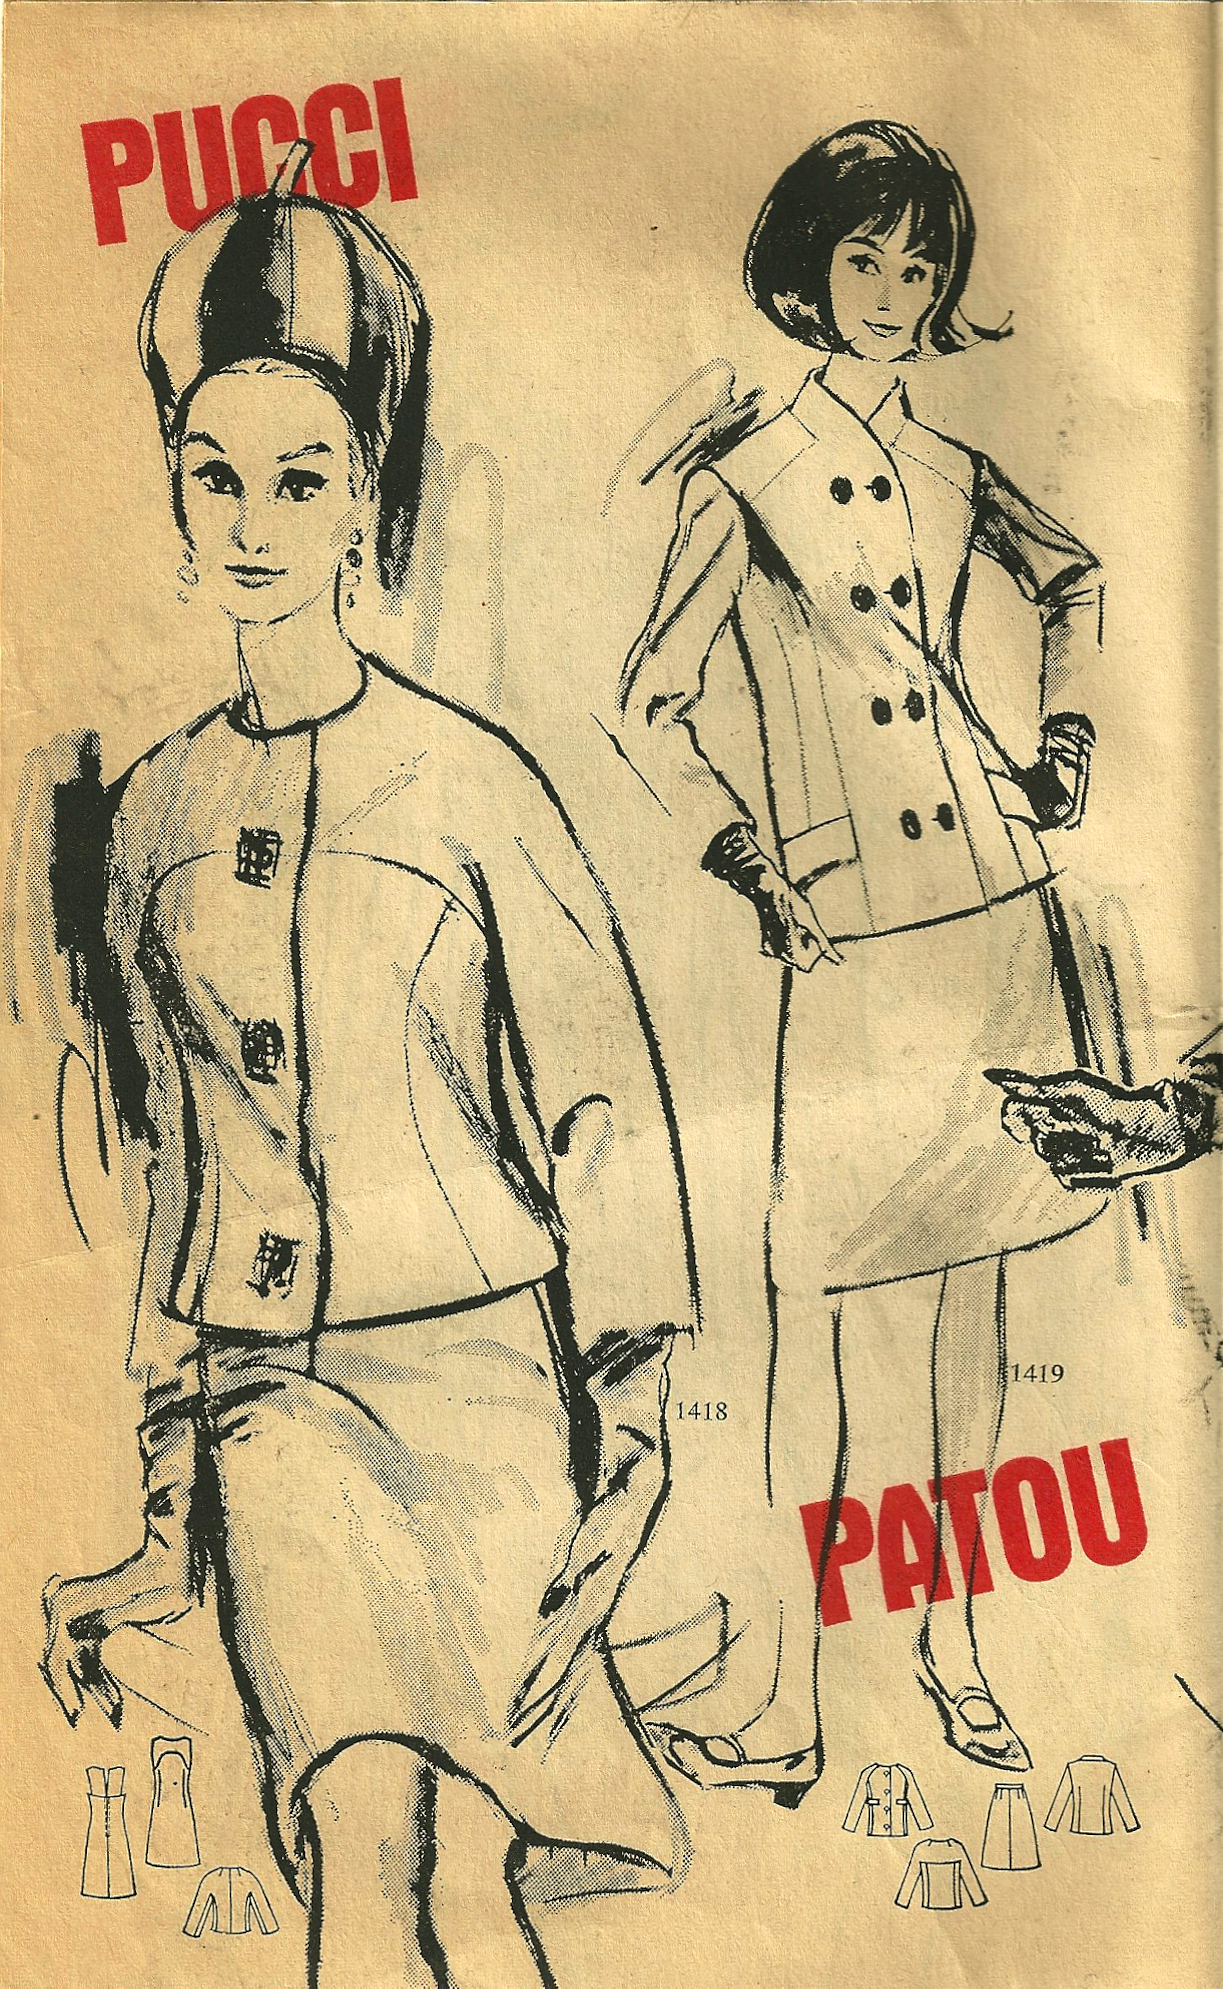
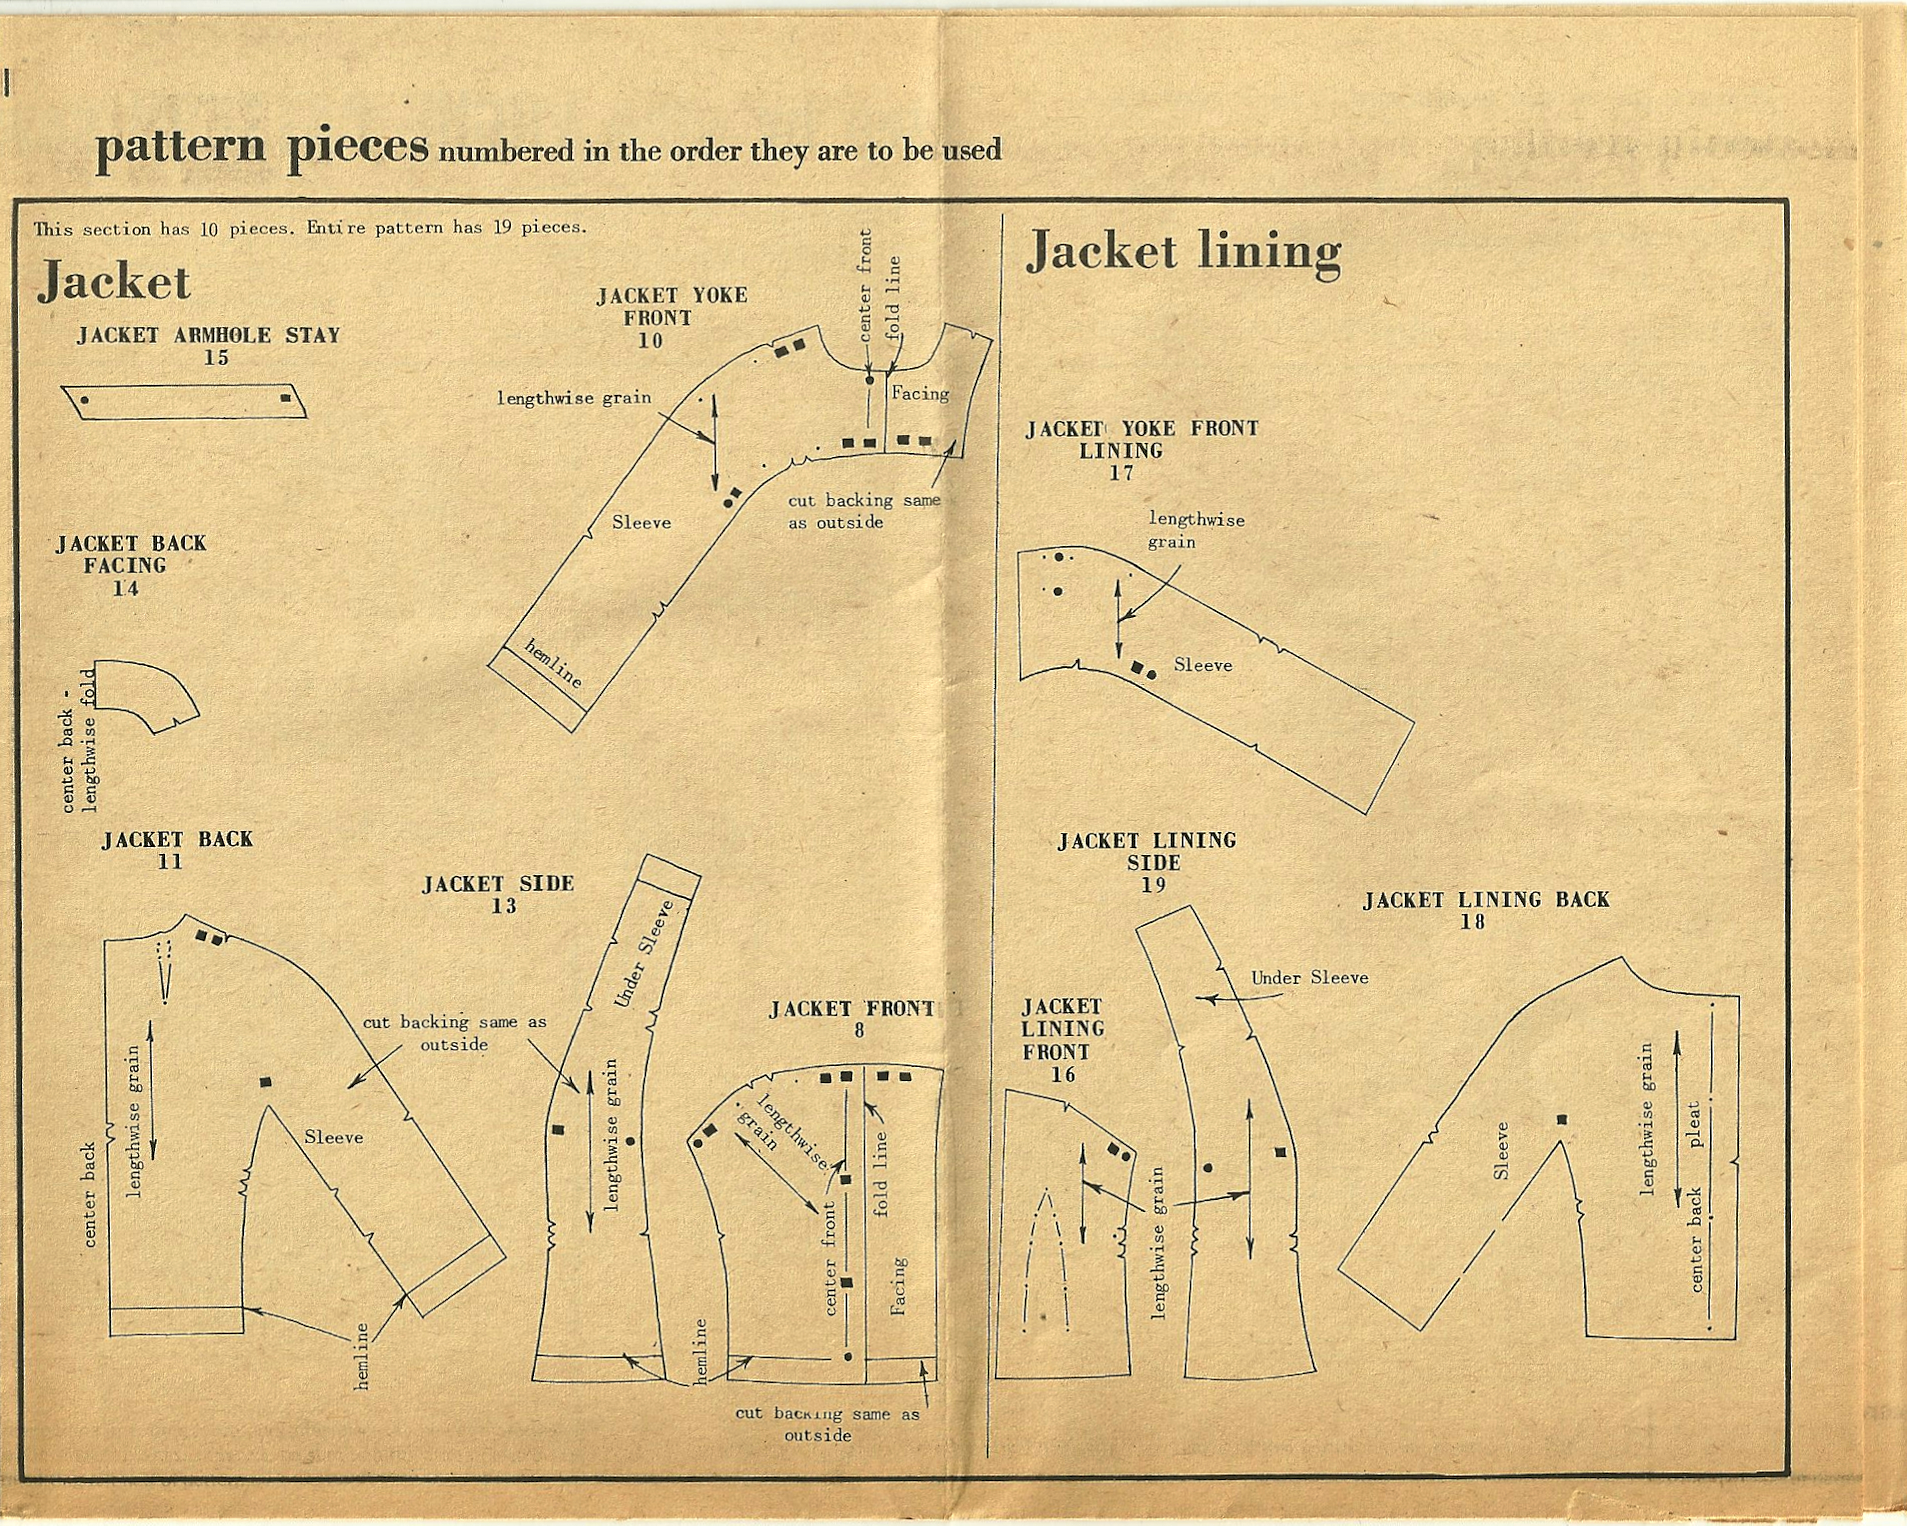
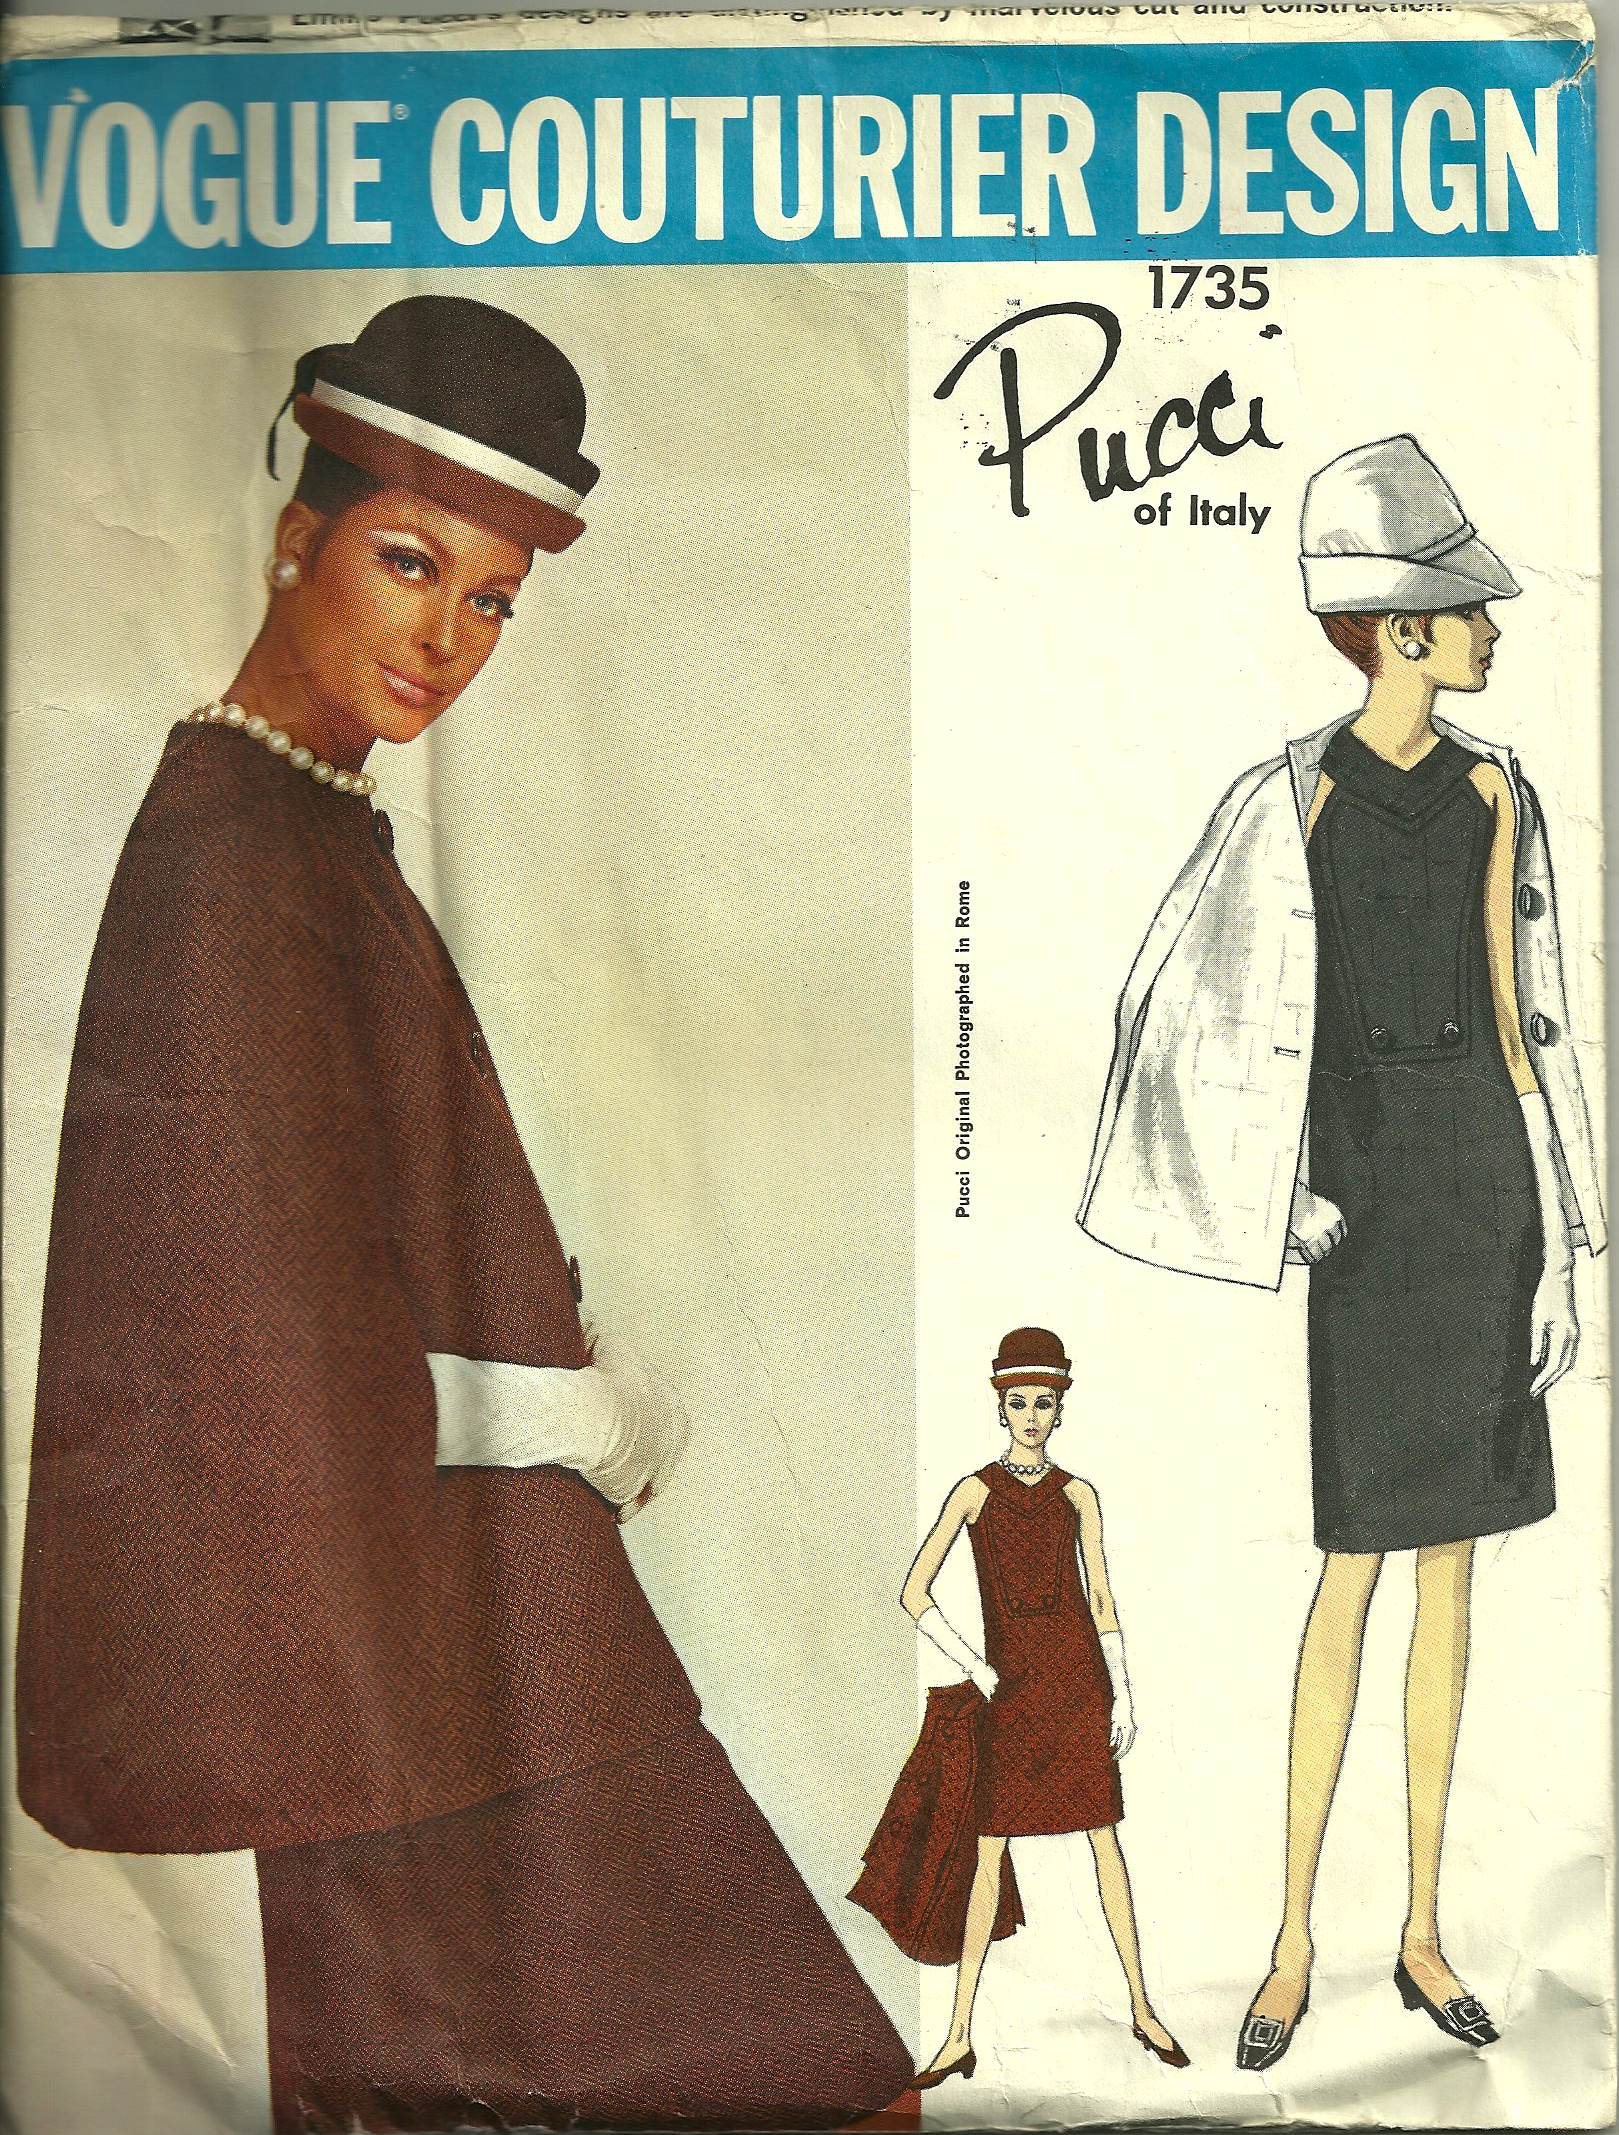
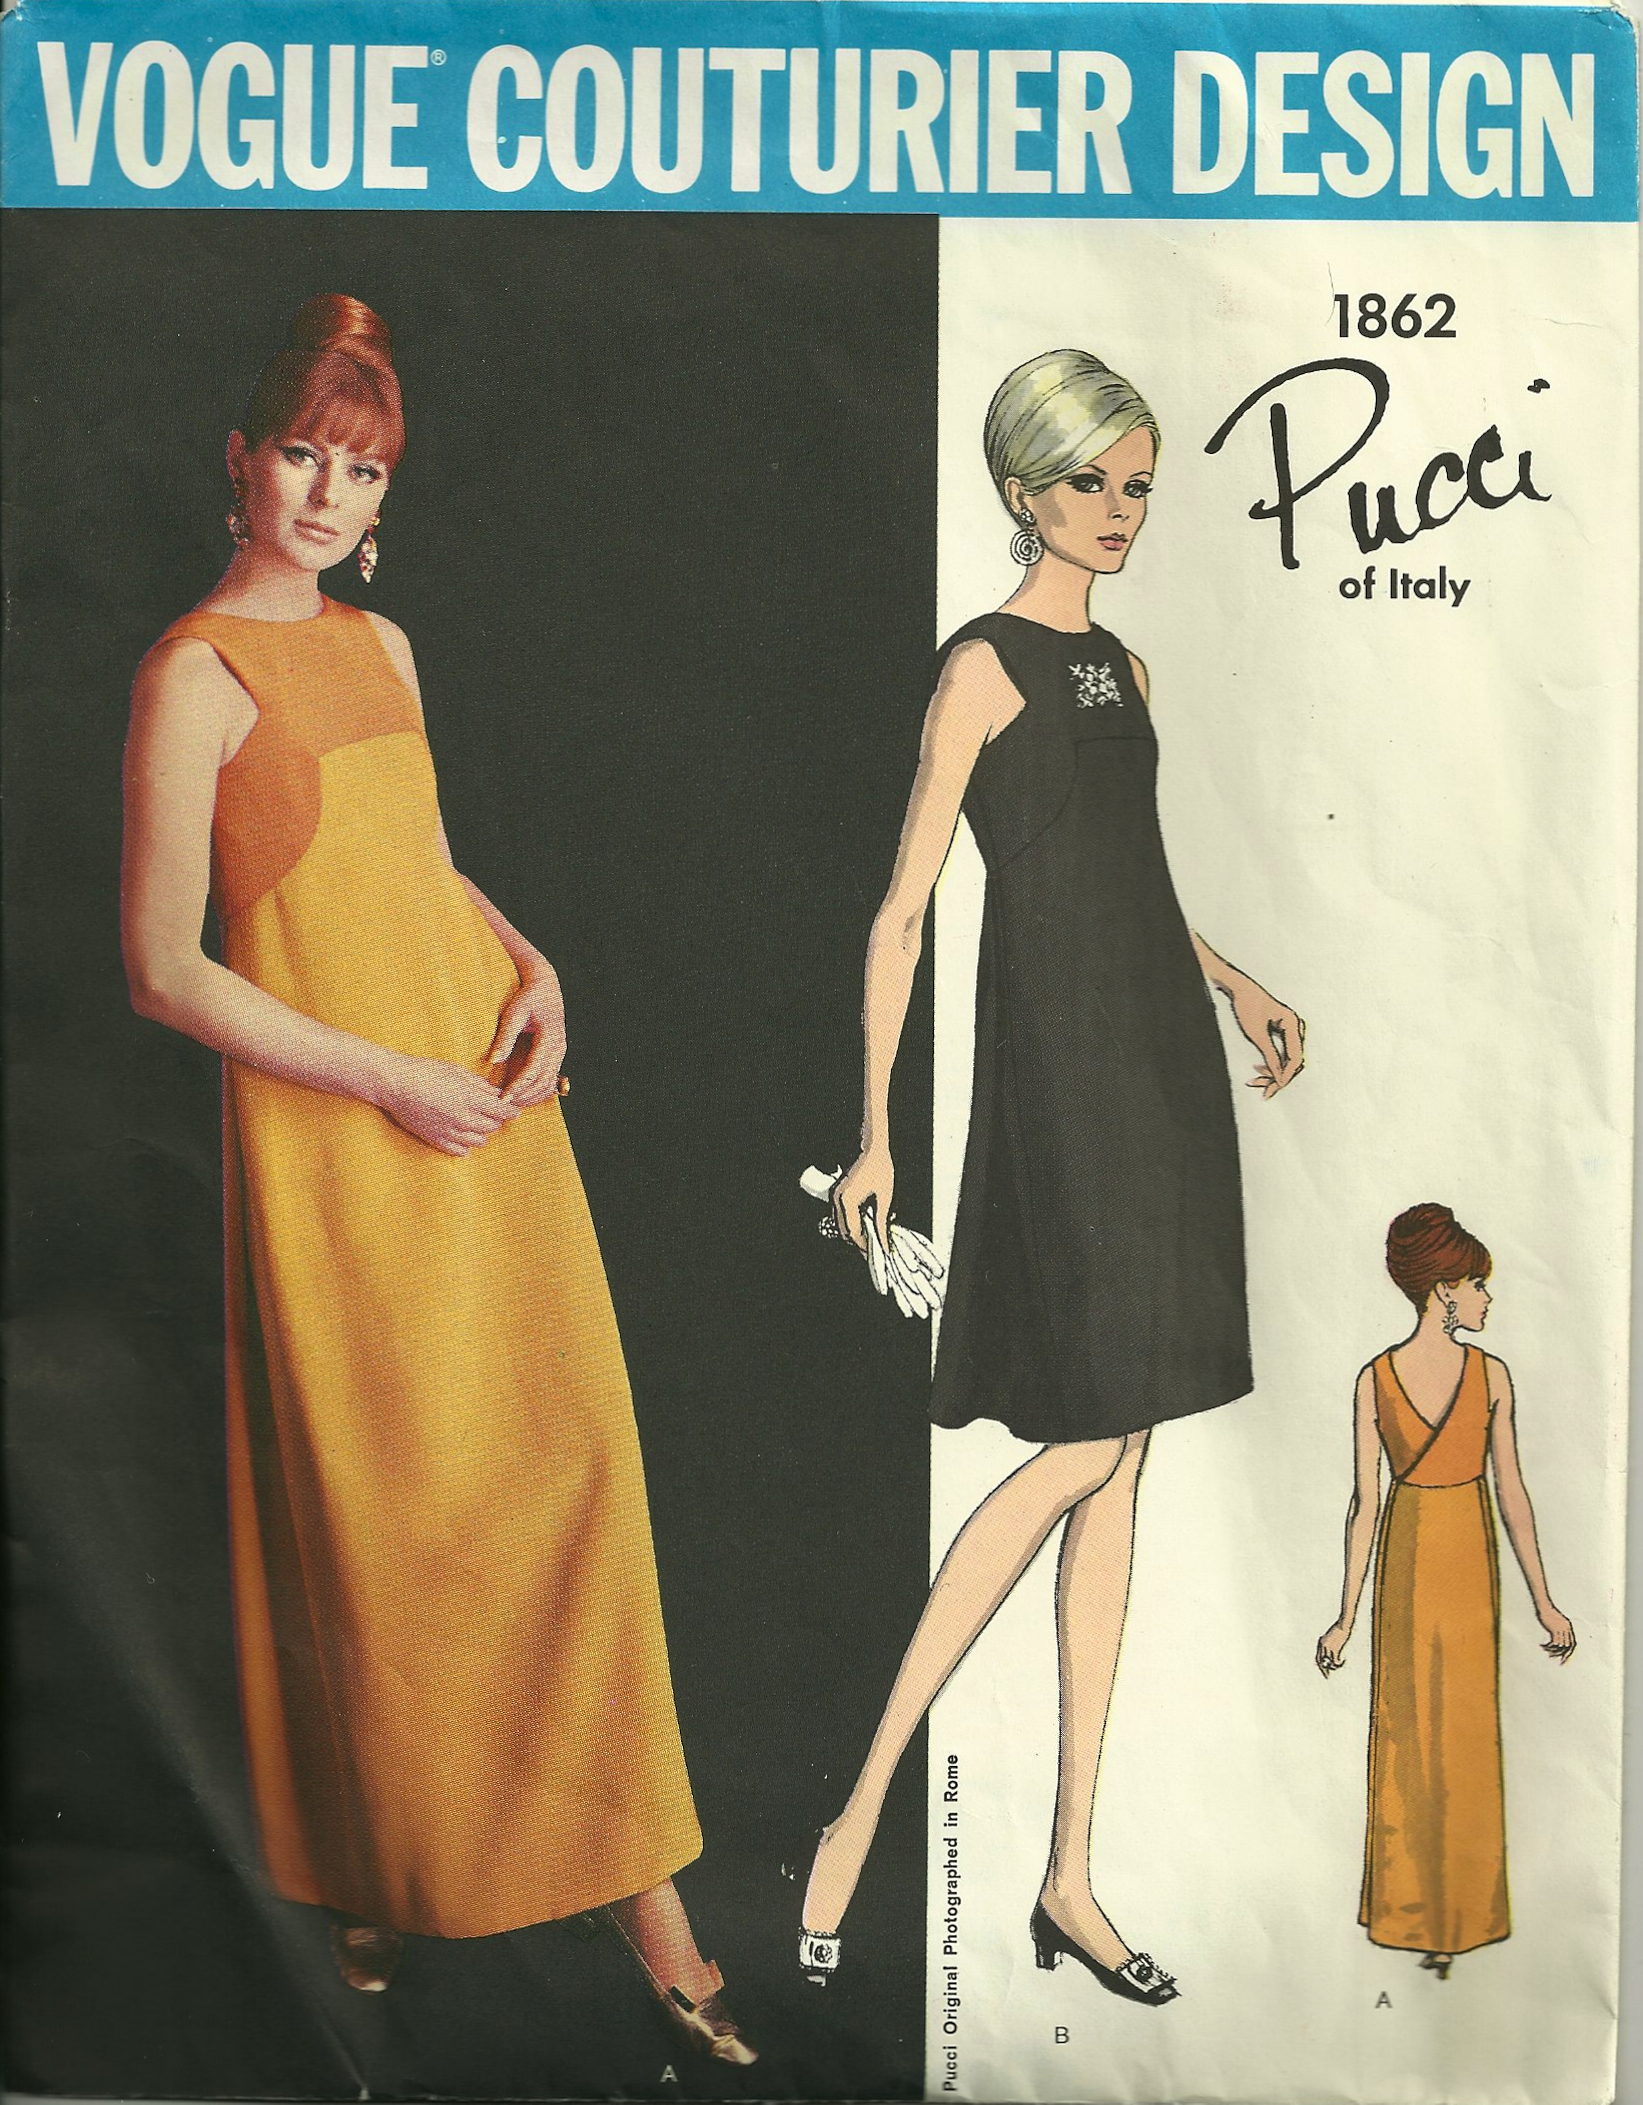
And here is the sketch of “my” Pucci pattern.
The brief caption gives an apt description of the Pucci pattern:
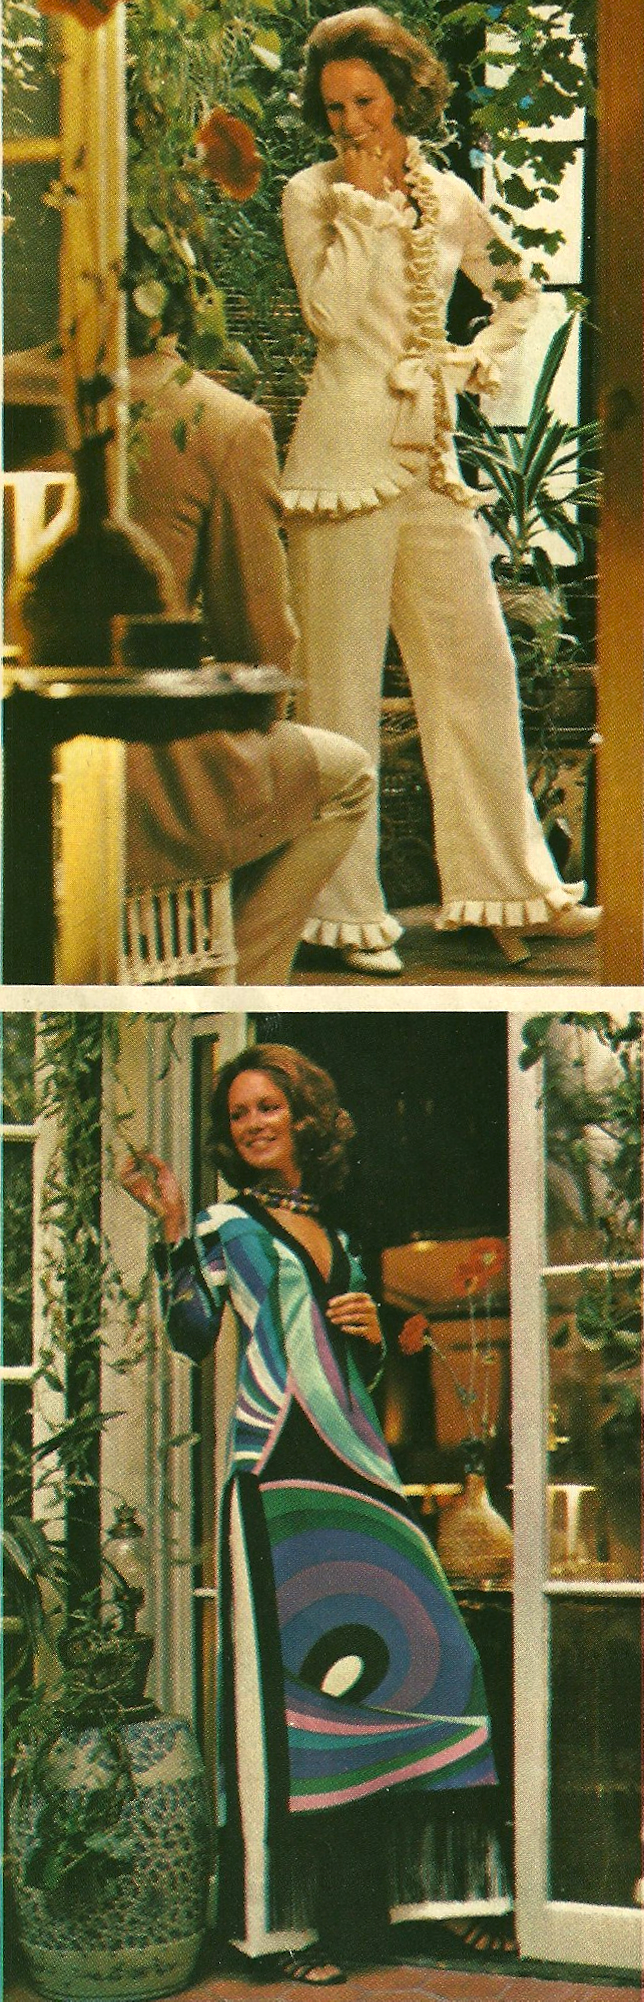
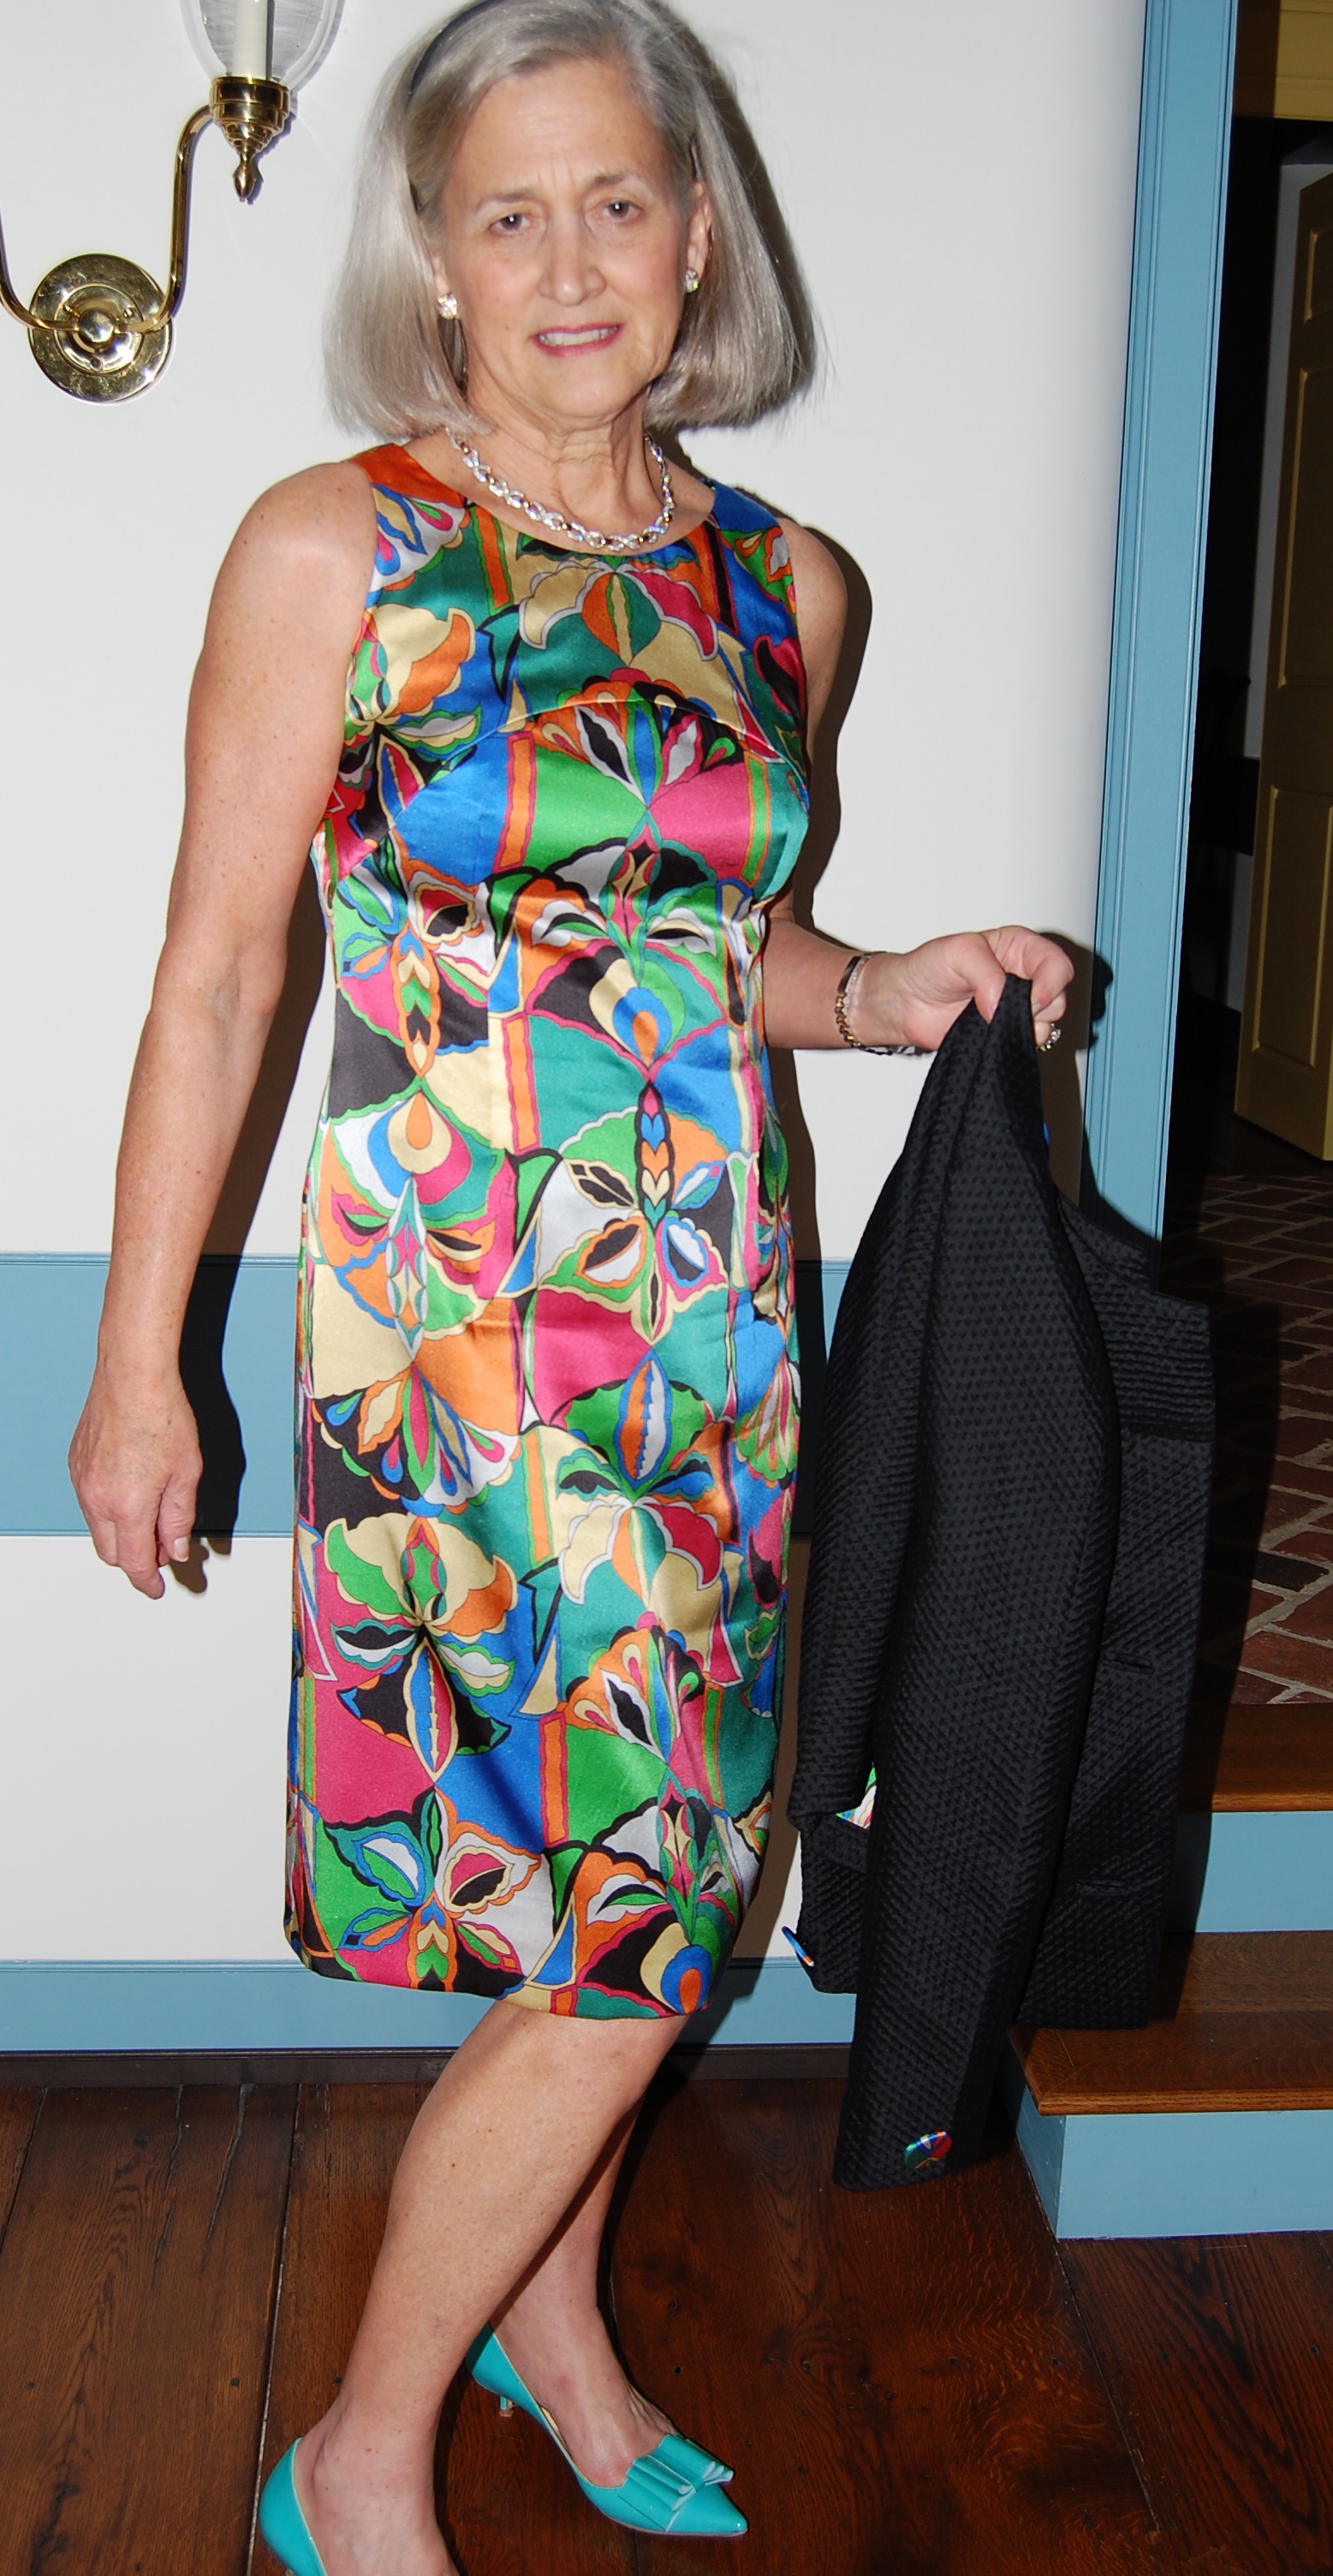
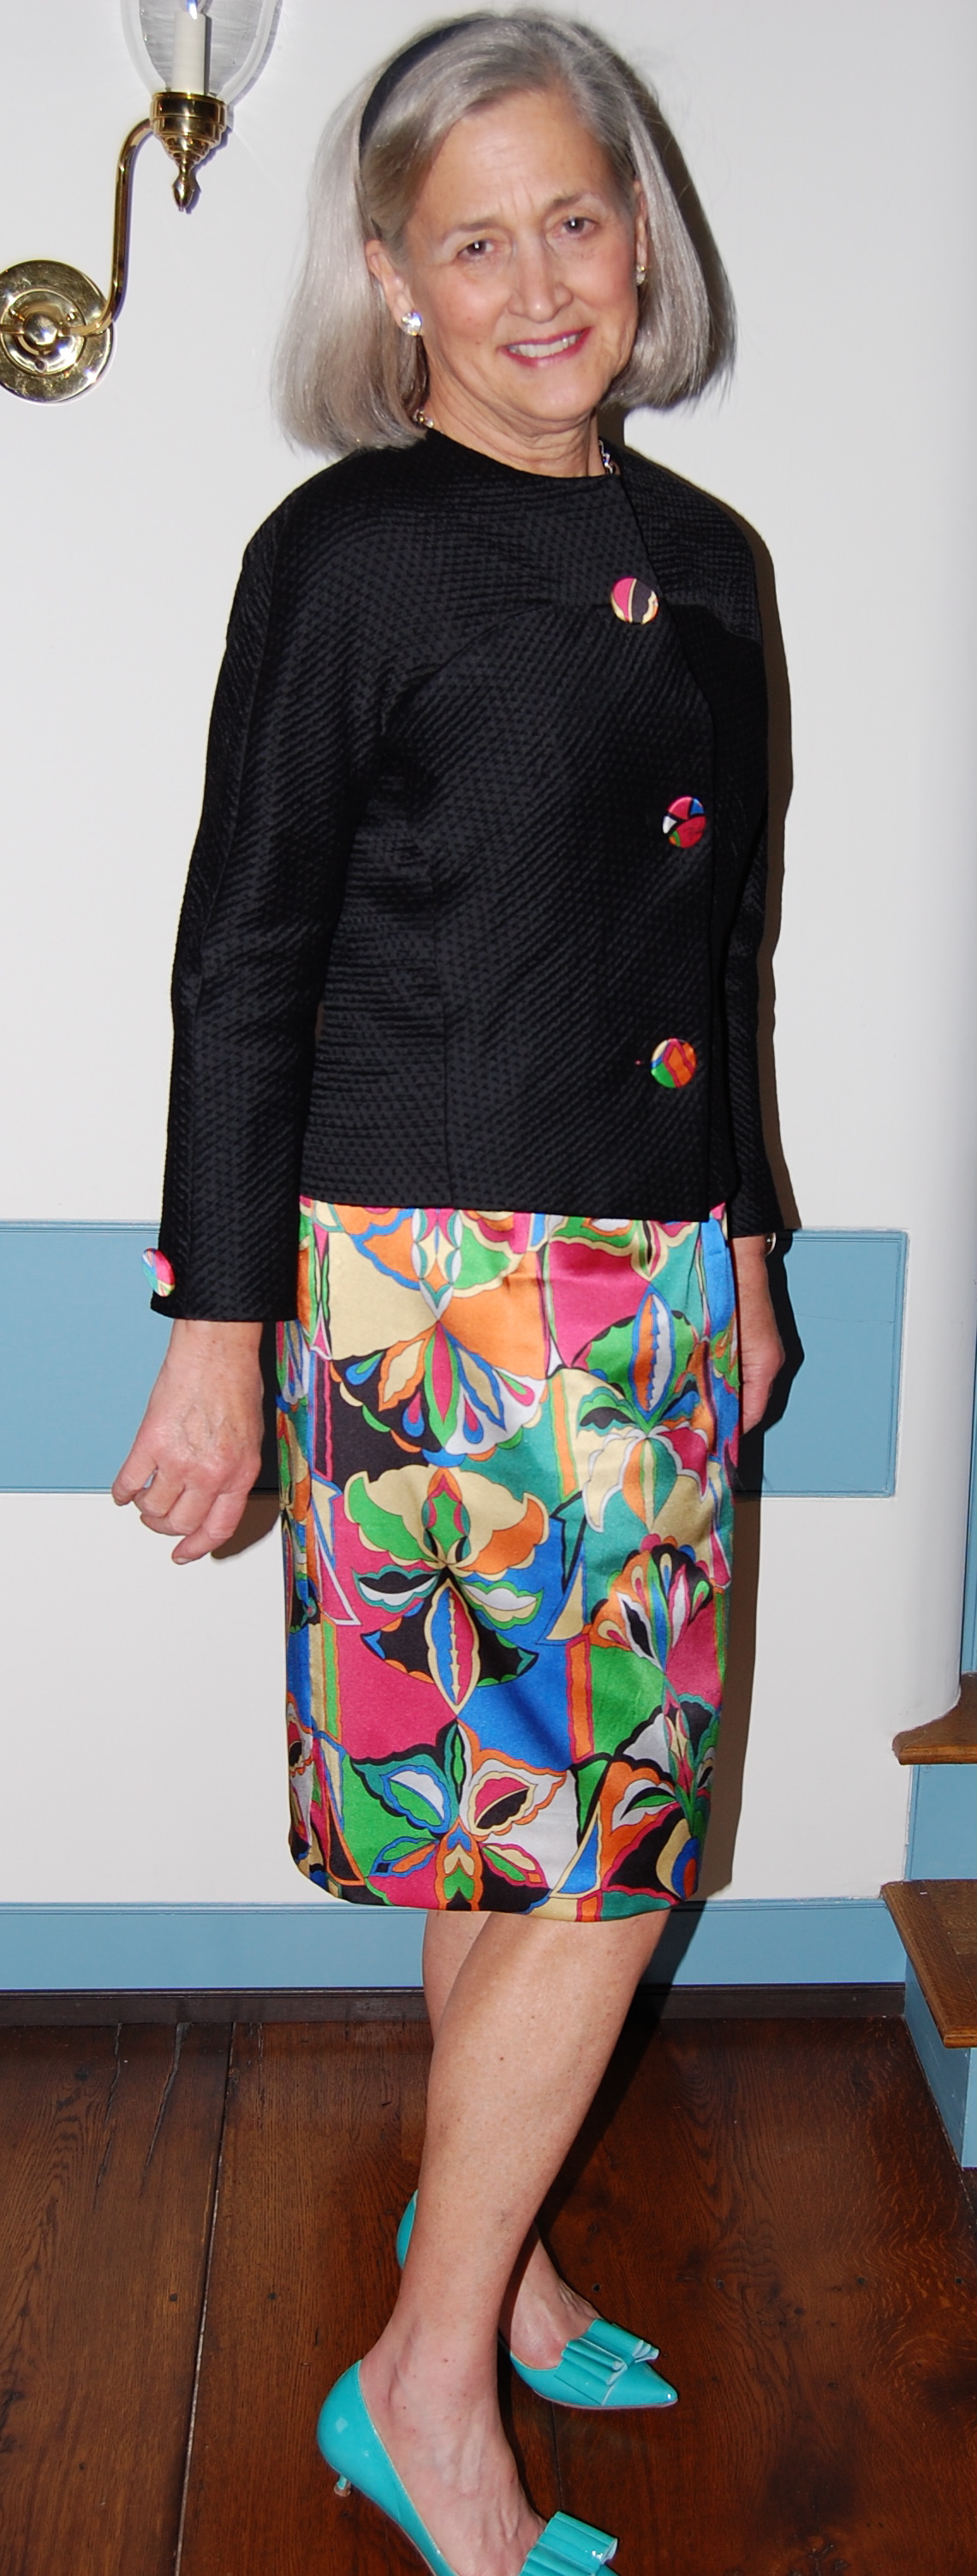
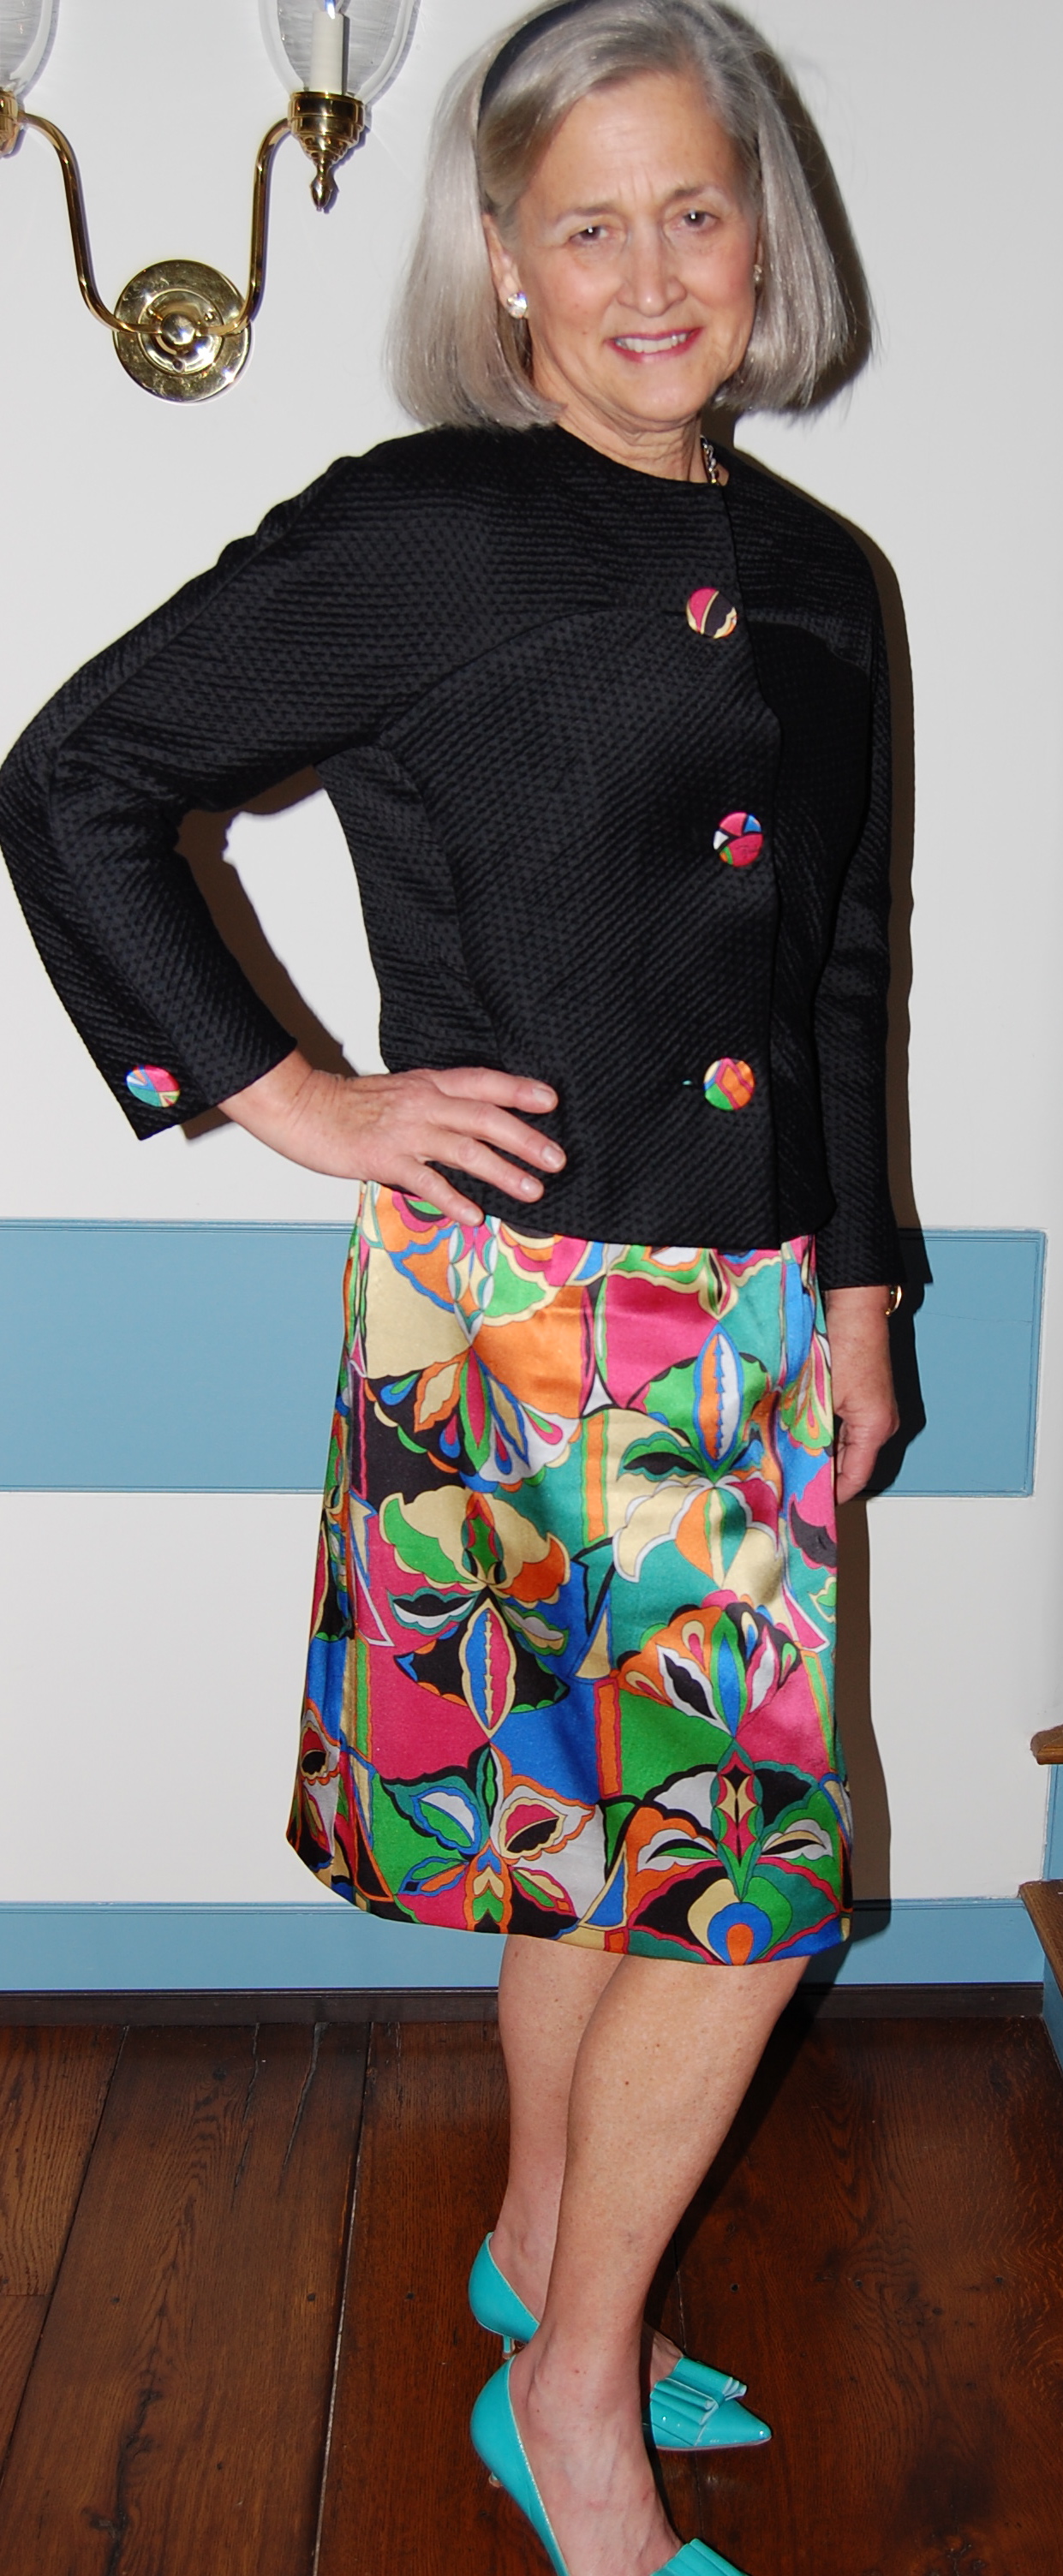
And – I did indeed wear this dress (and jacket) to an “important party” just last weekend – to a beautiful wedding in Center City Philadelphia.

(This photo was not taken at the wedding…)
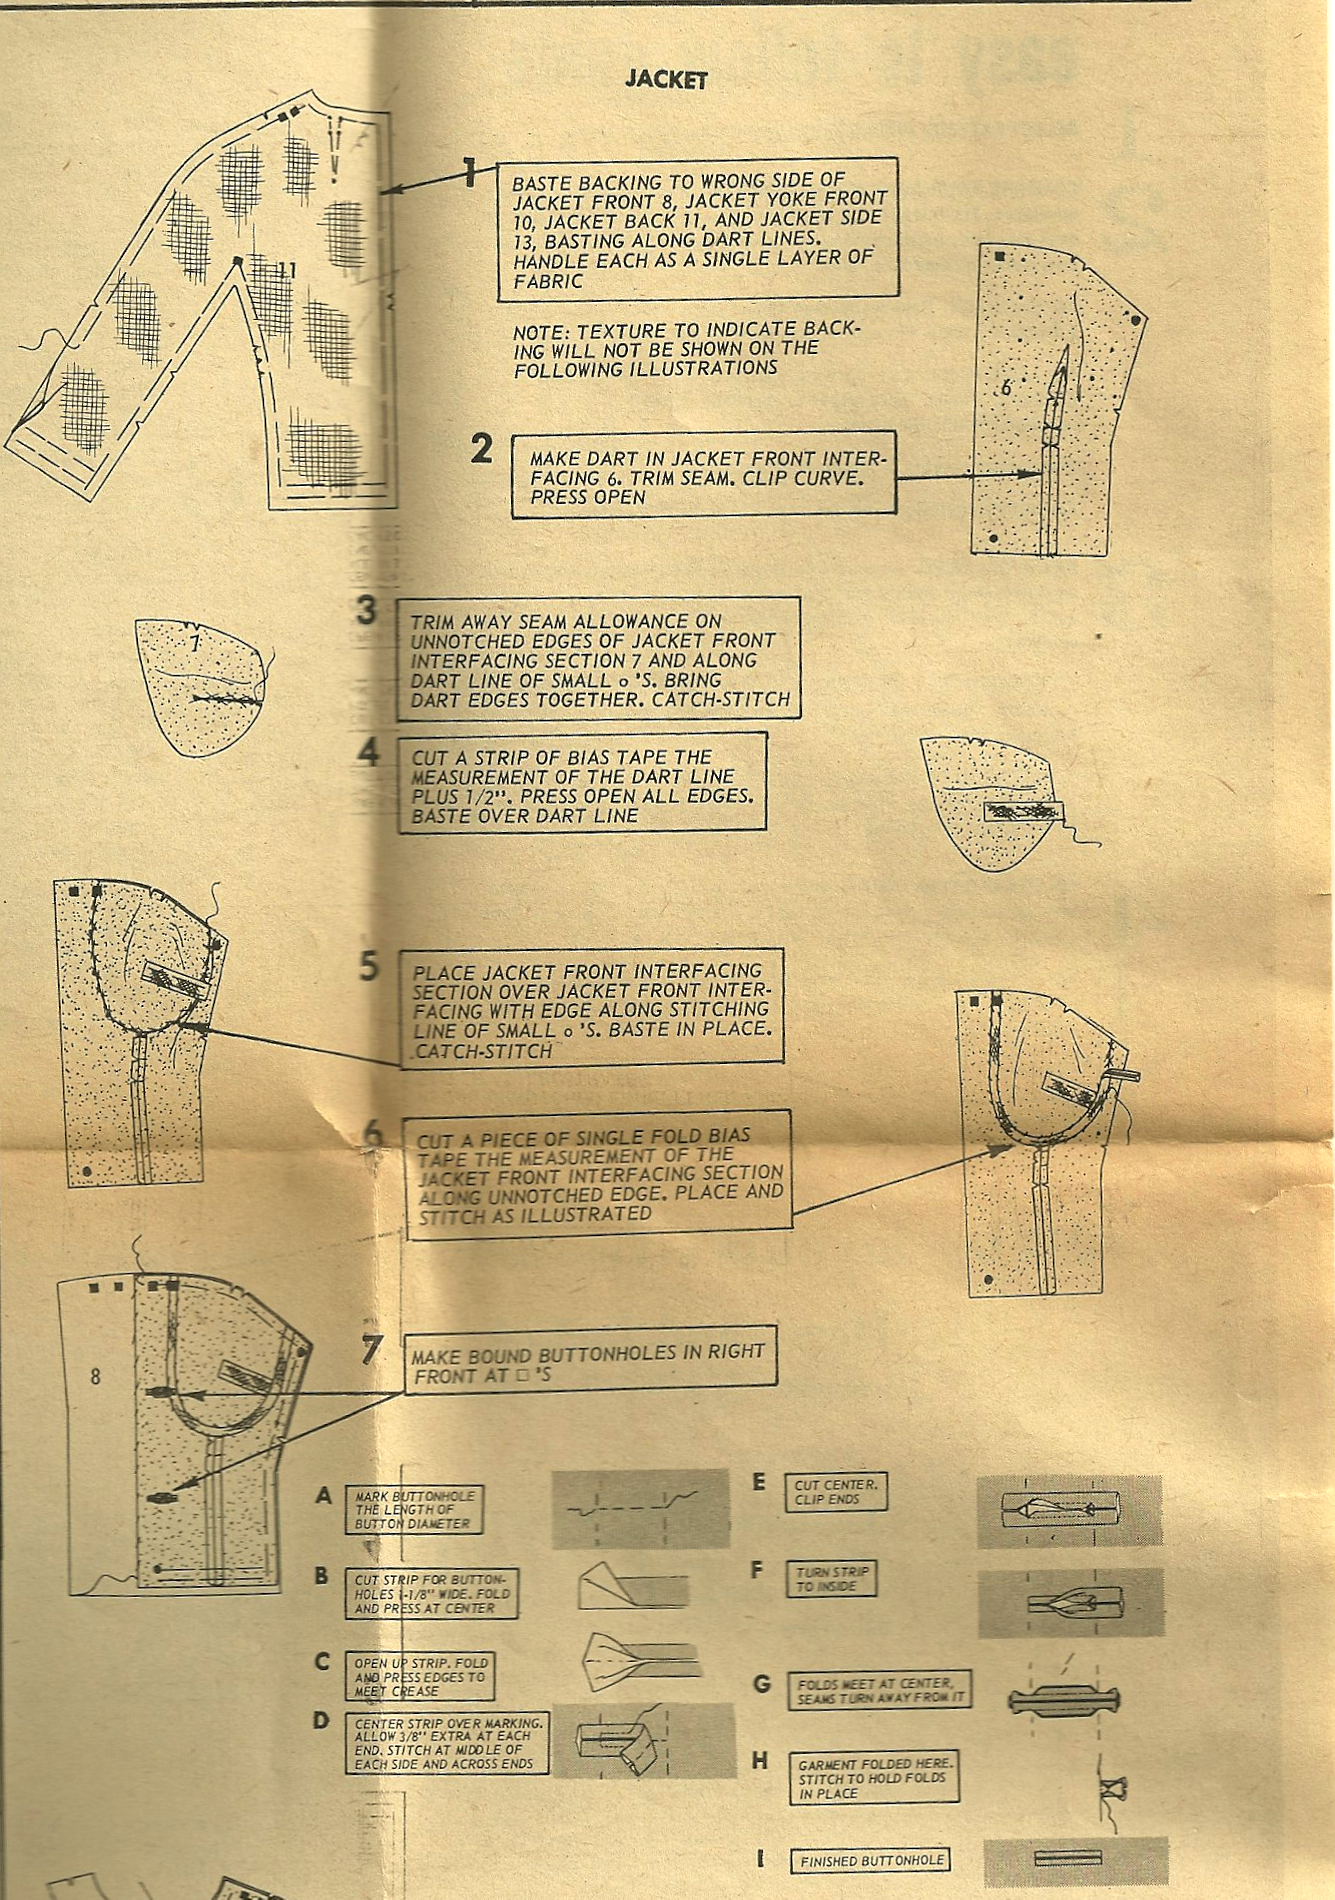
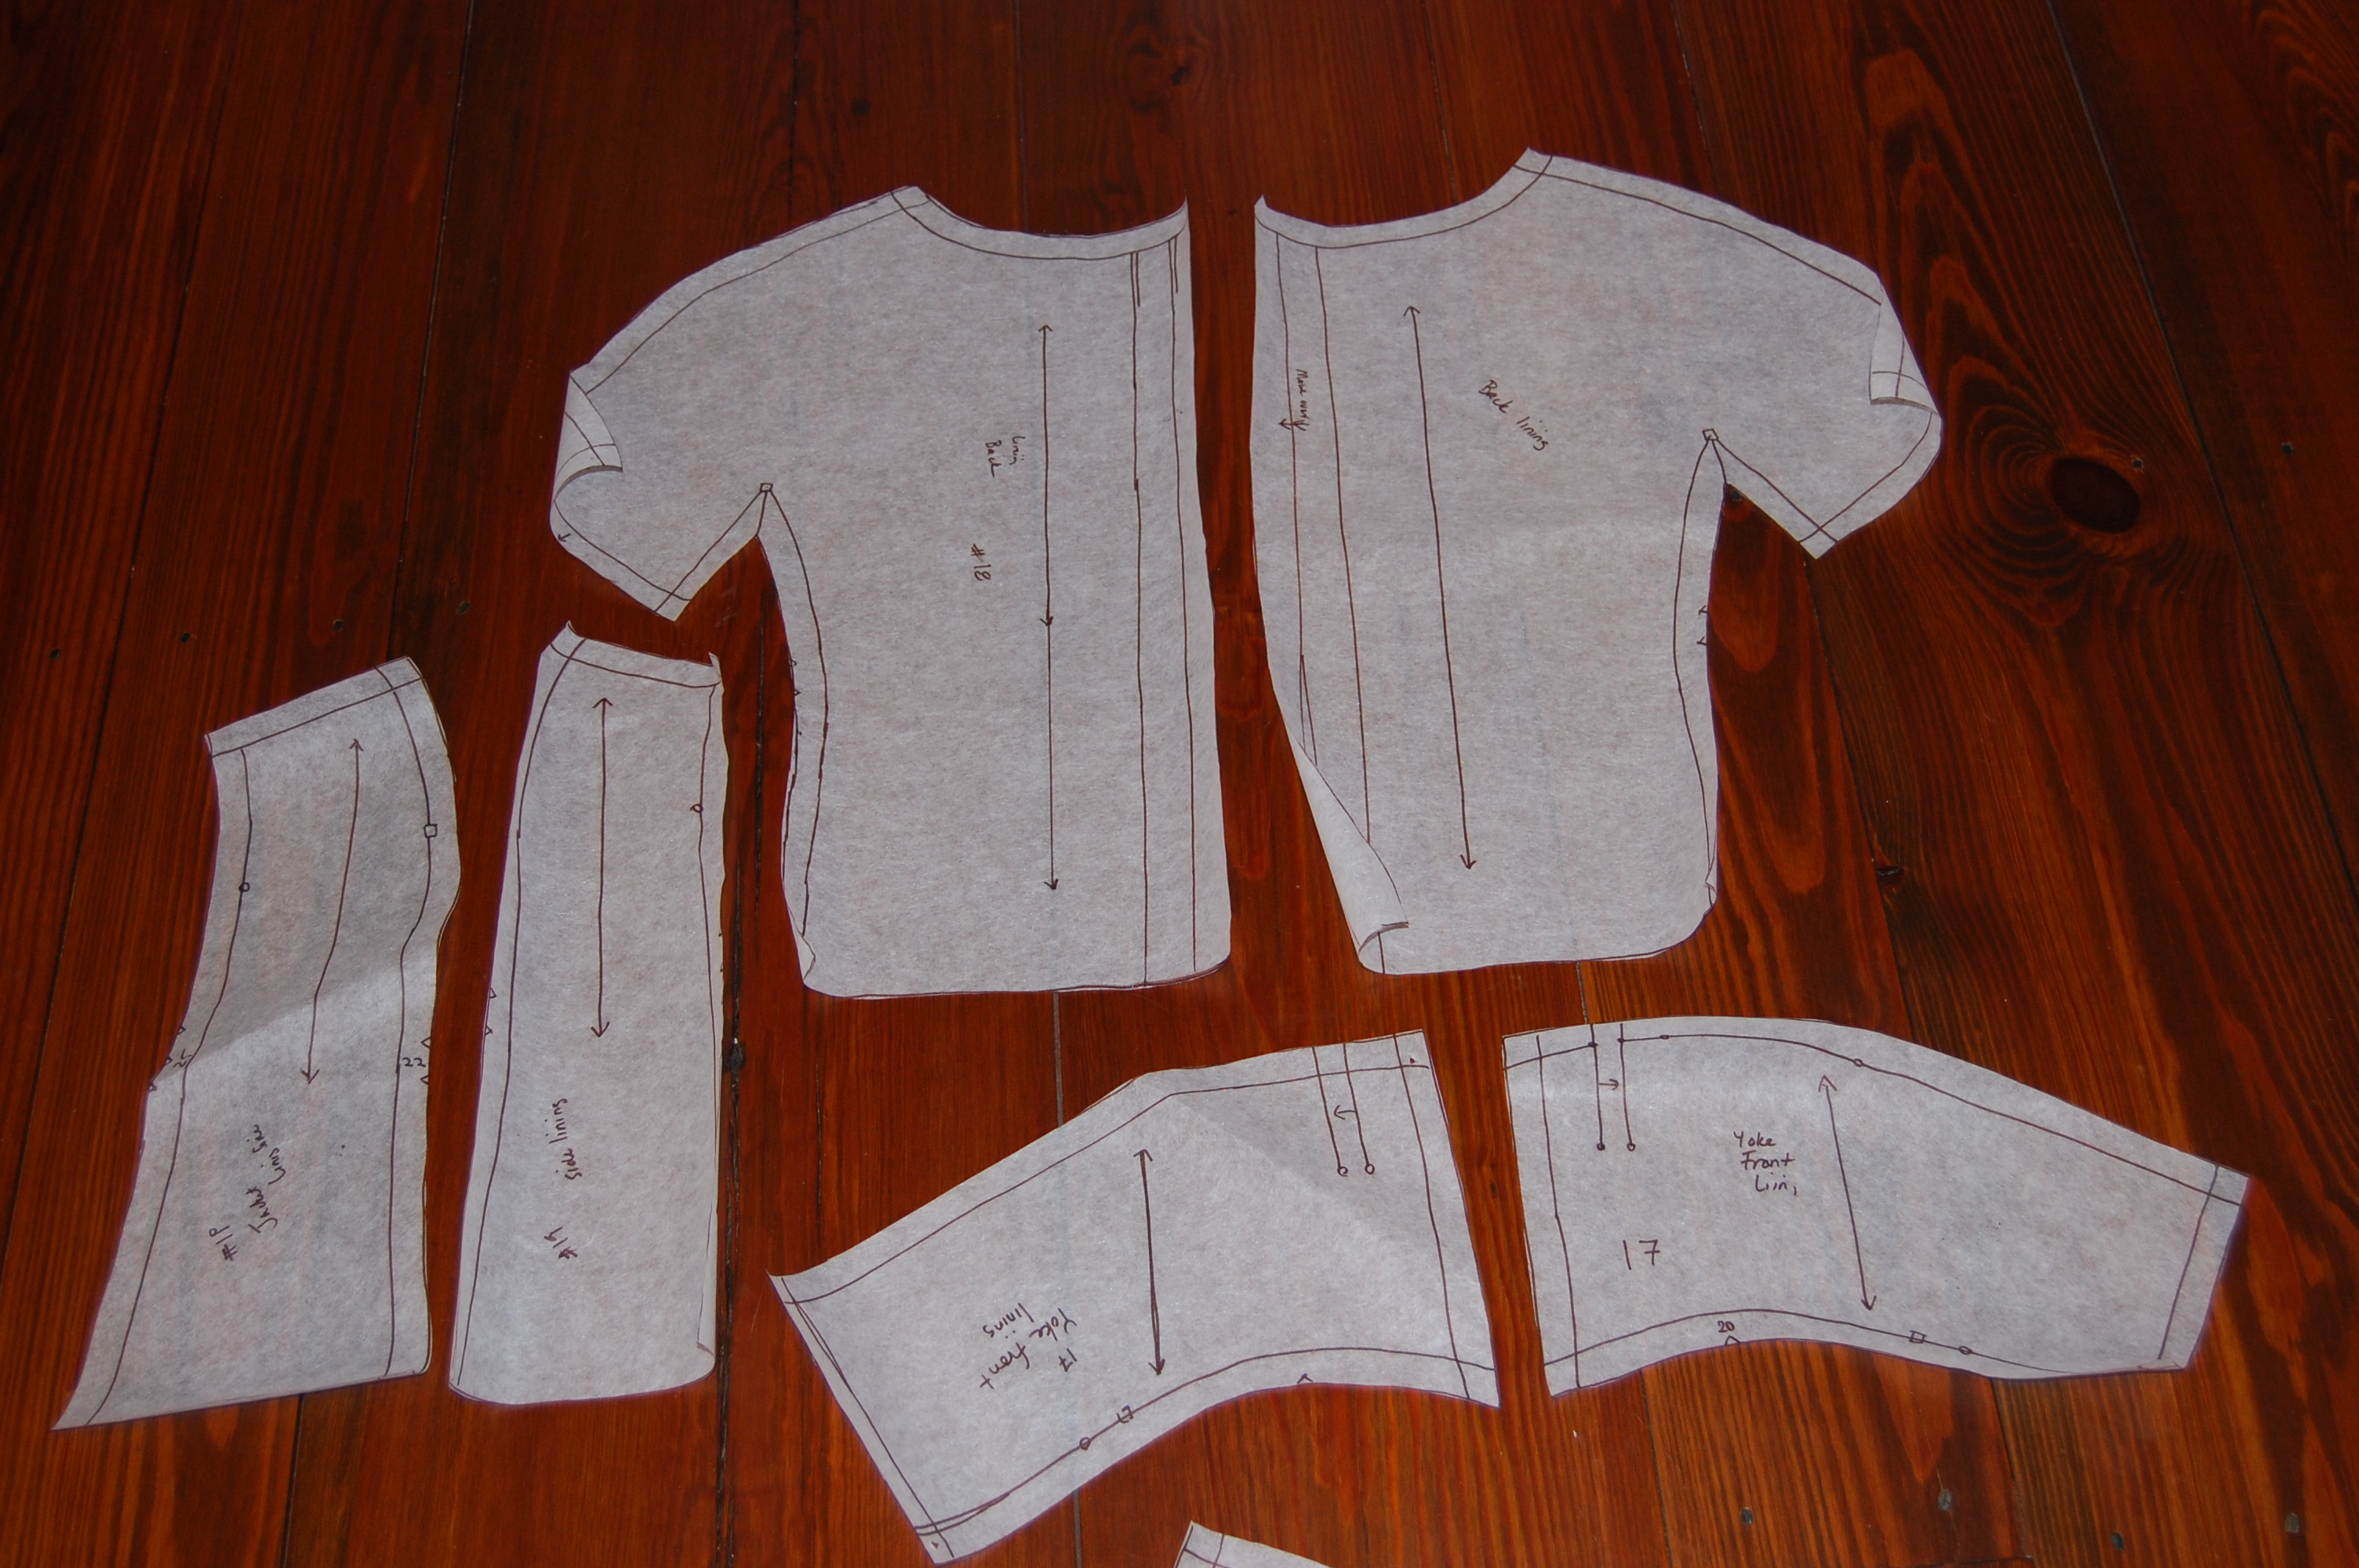
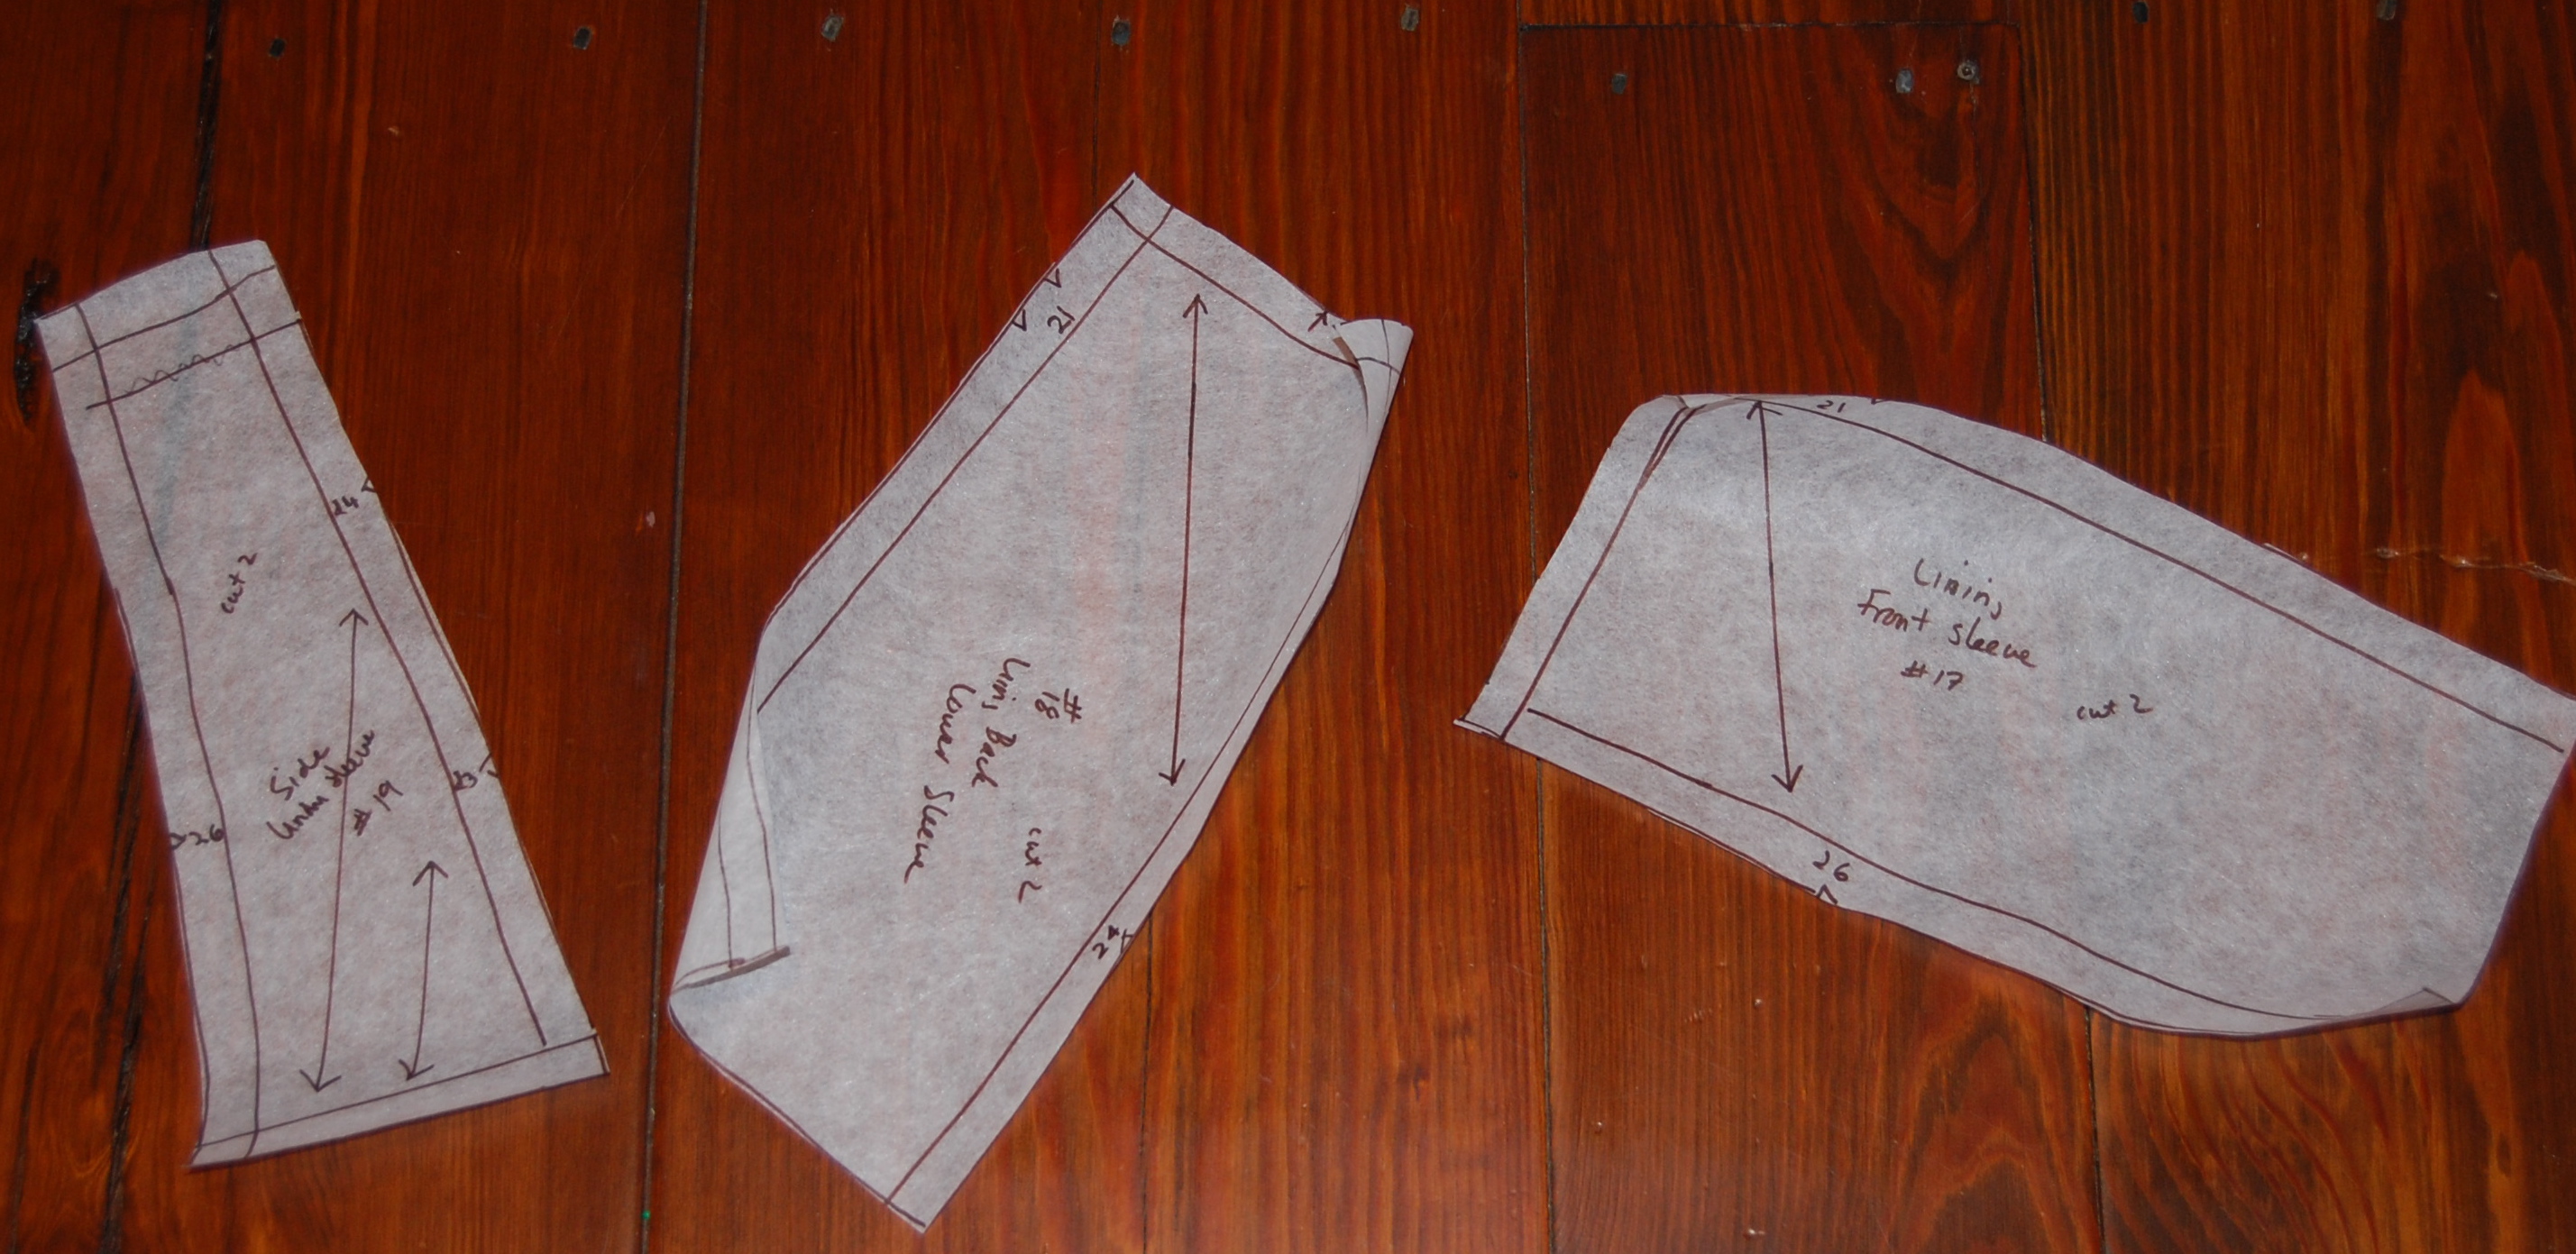
I was working diligently all last week to finish the jacket. Here are the details on what was transpiring in my sewing room:
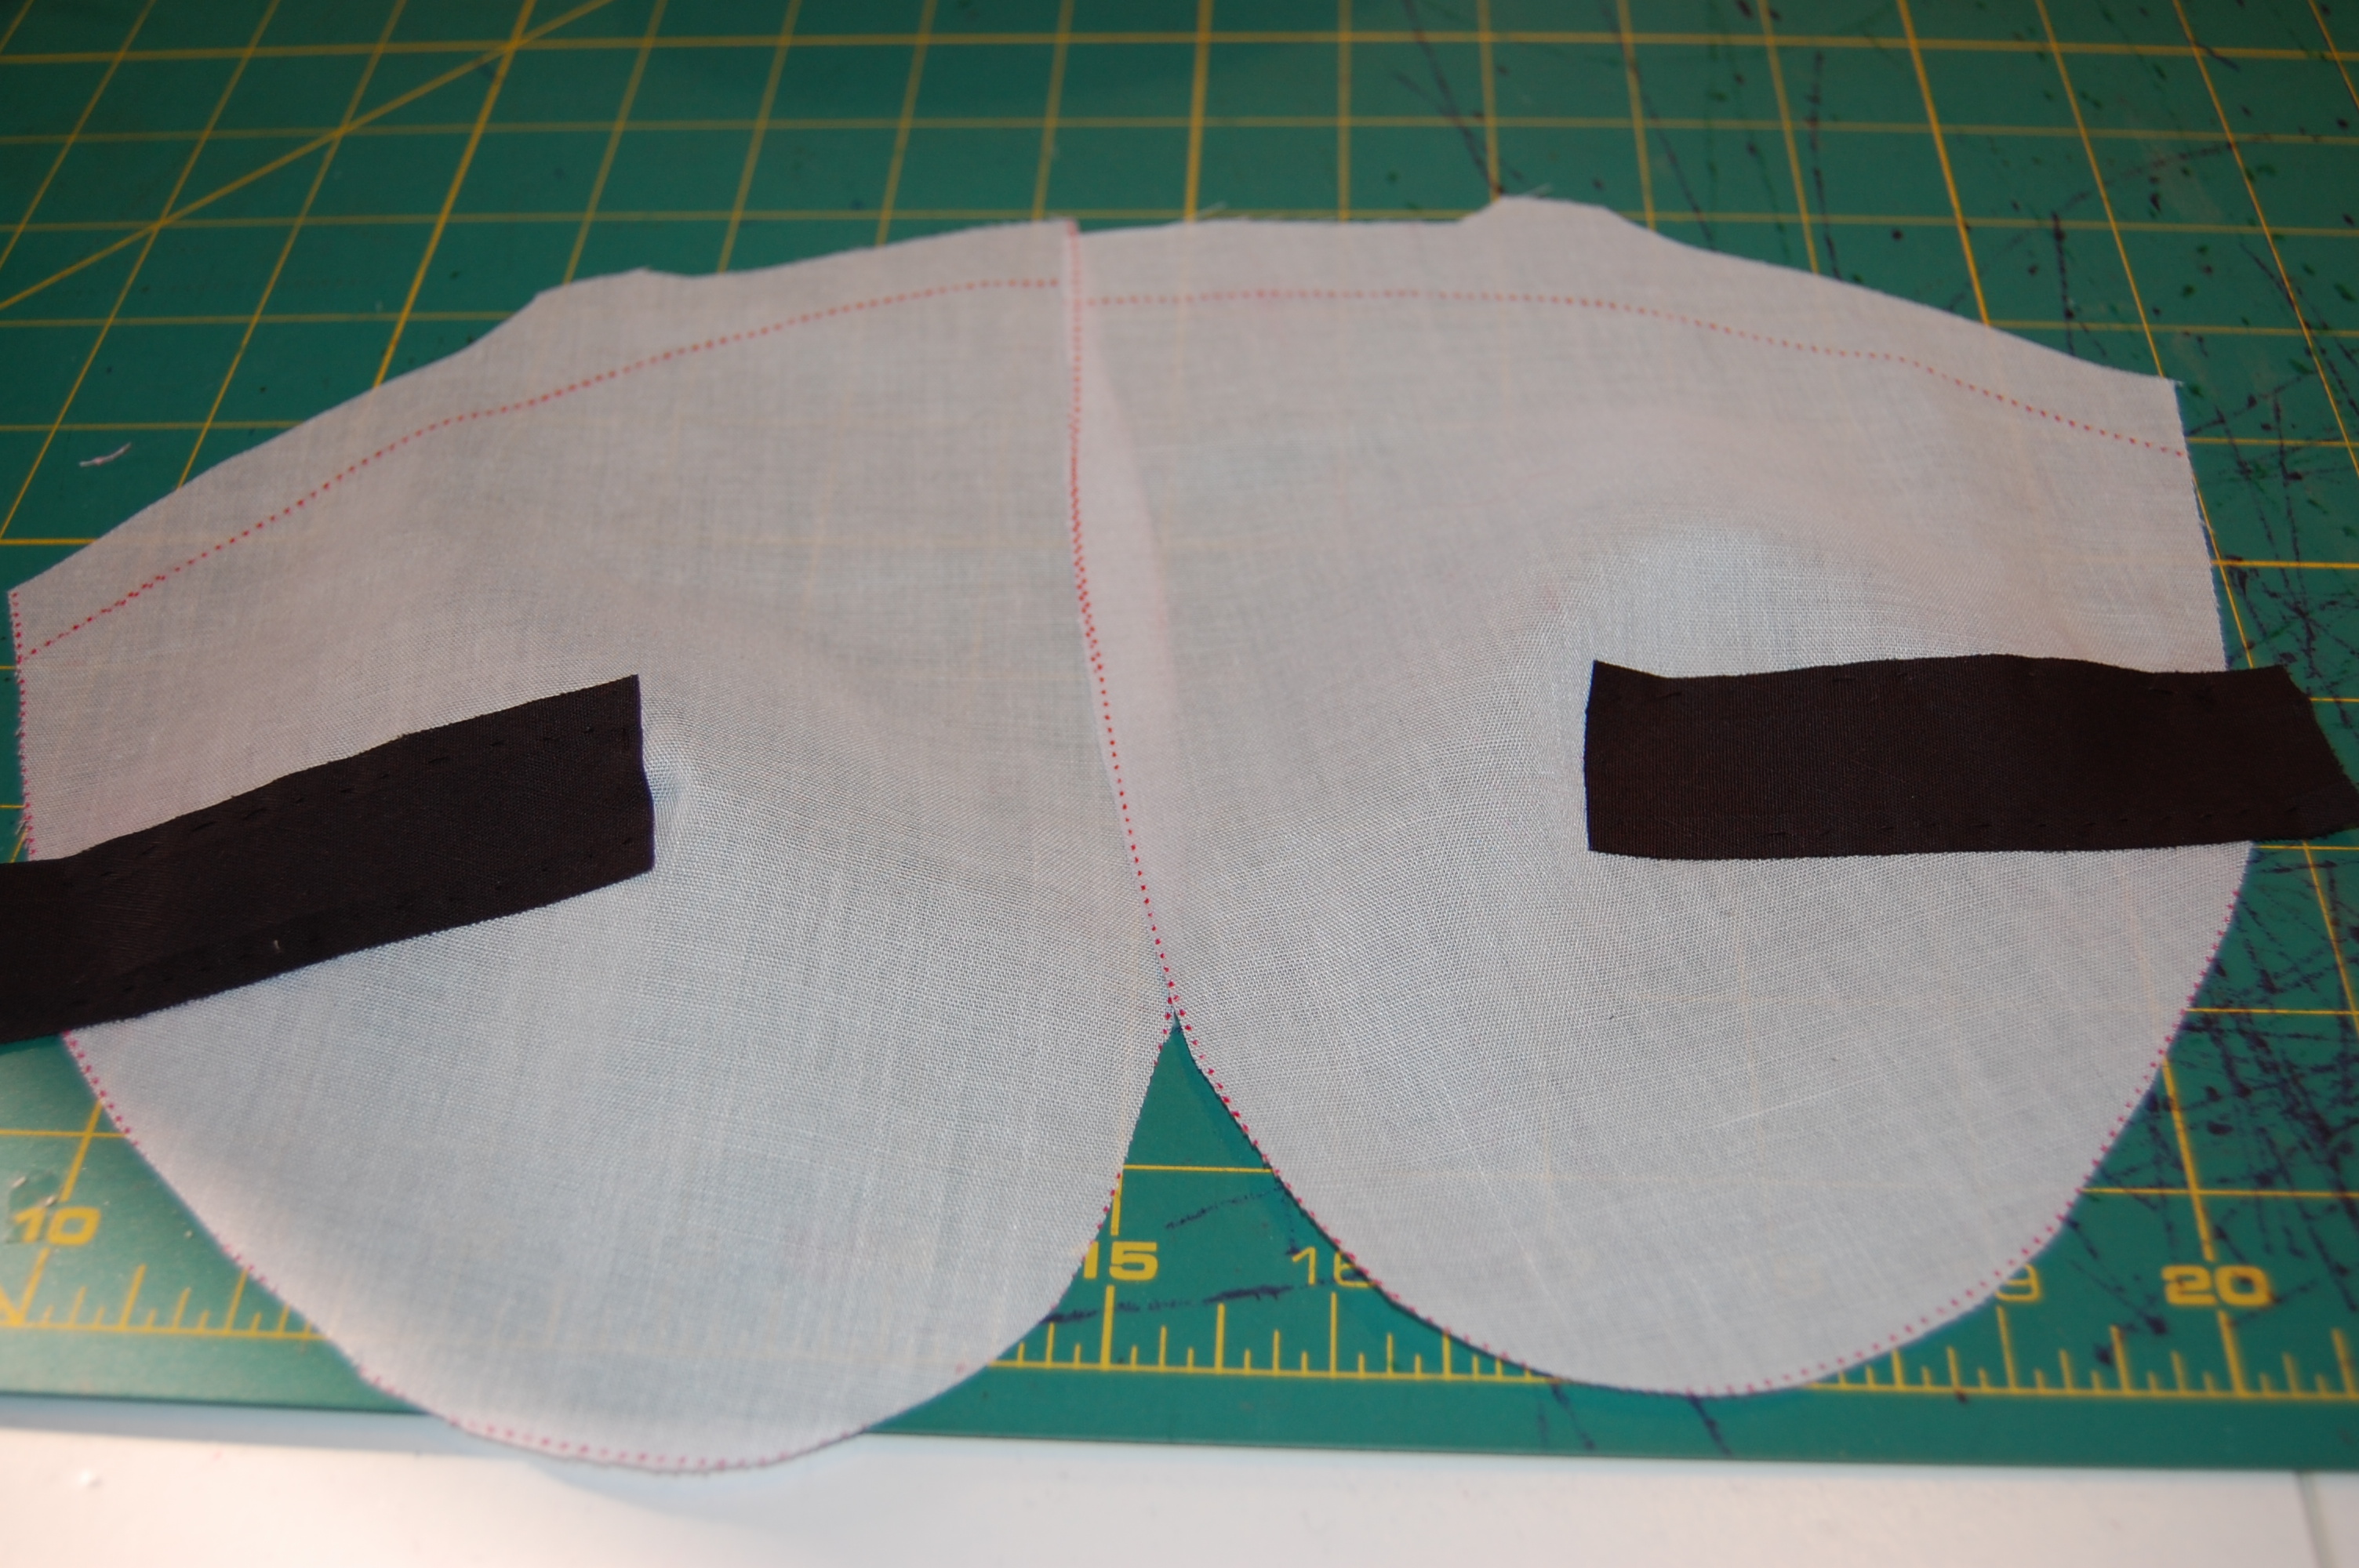
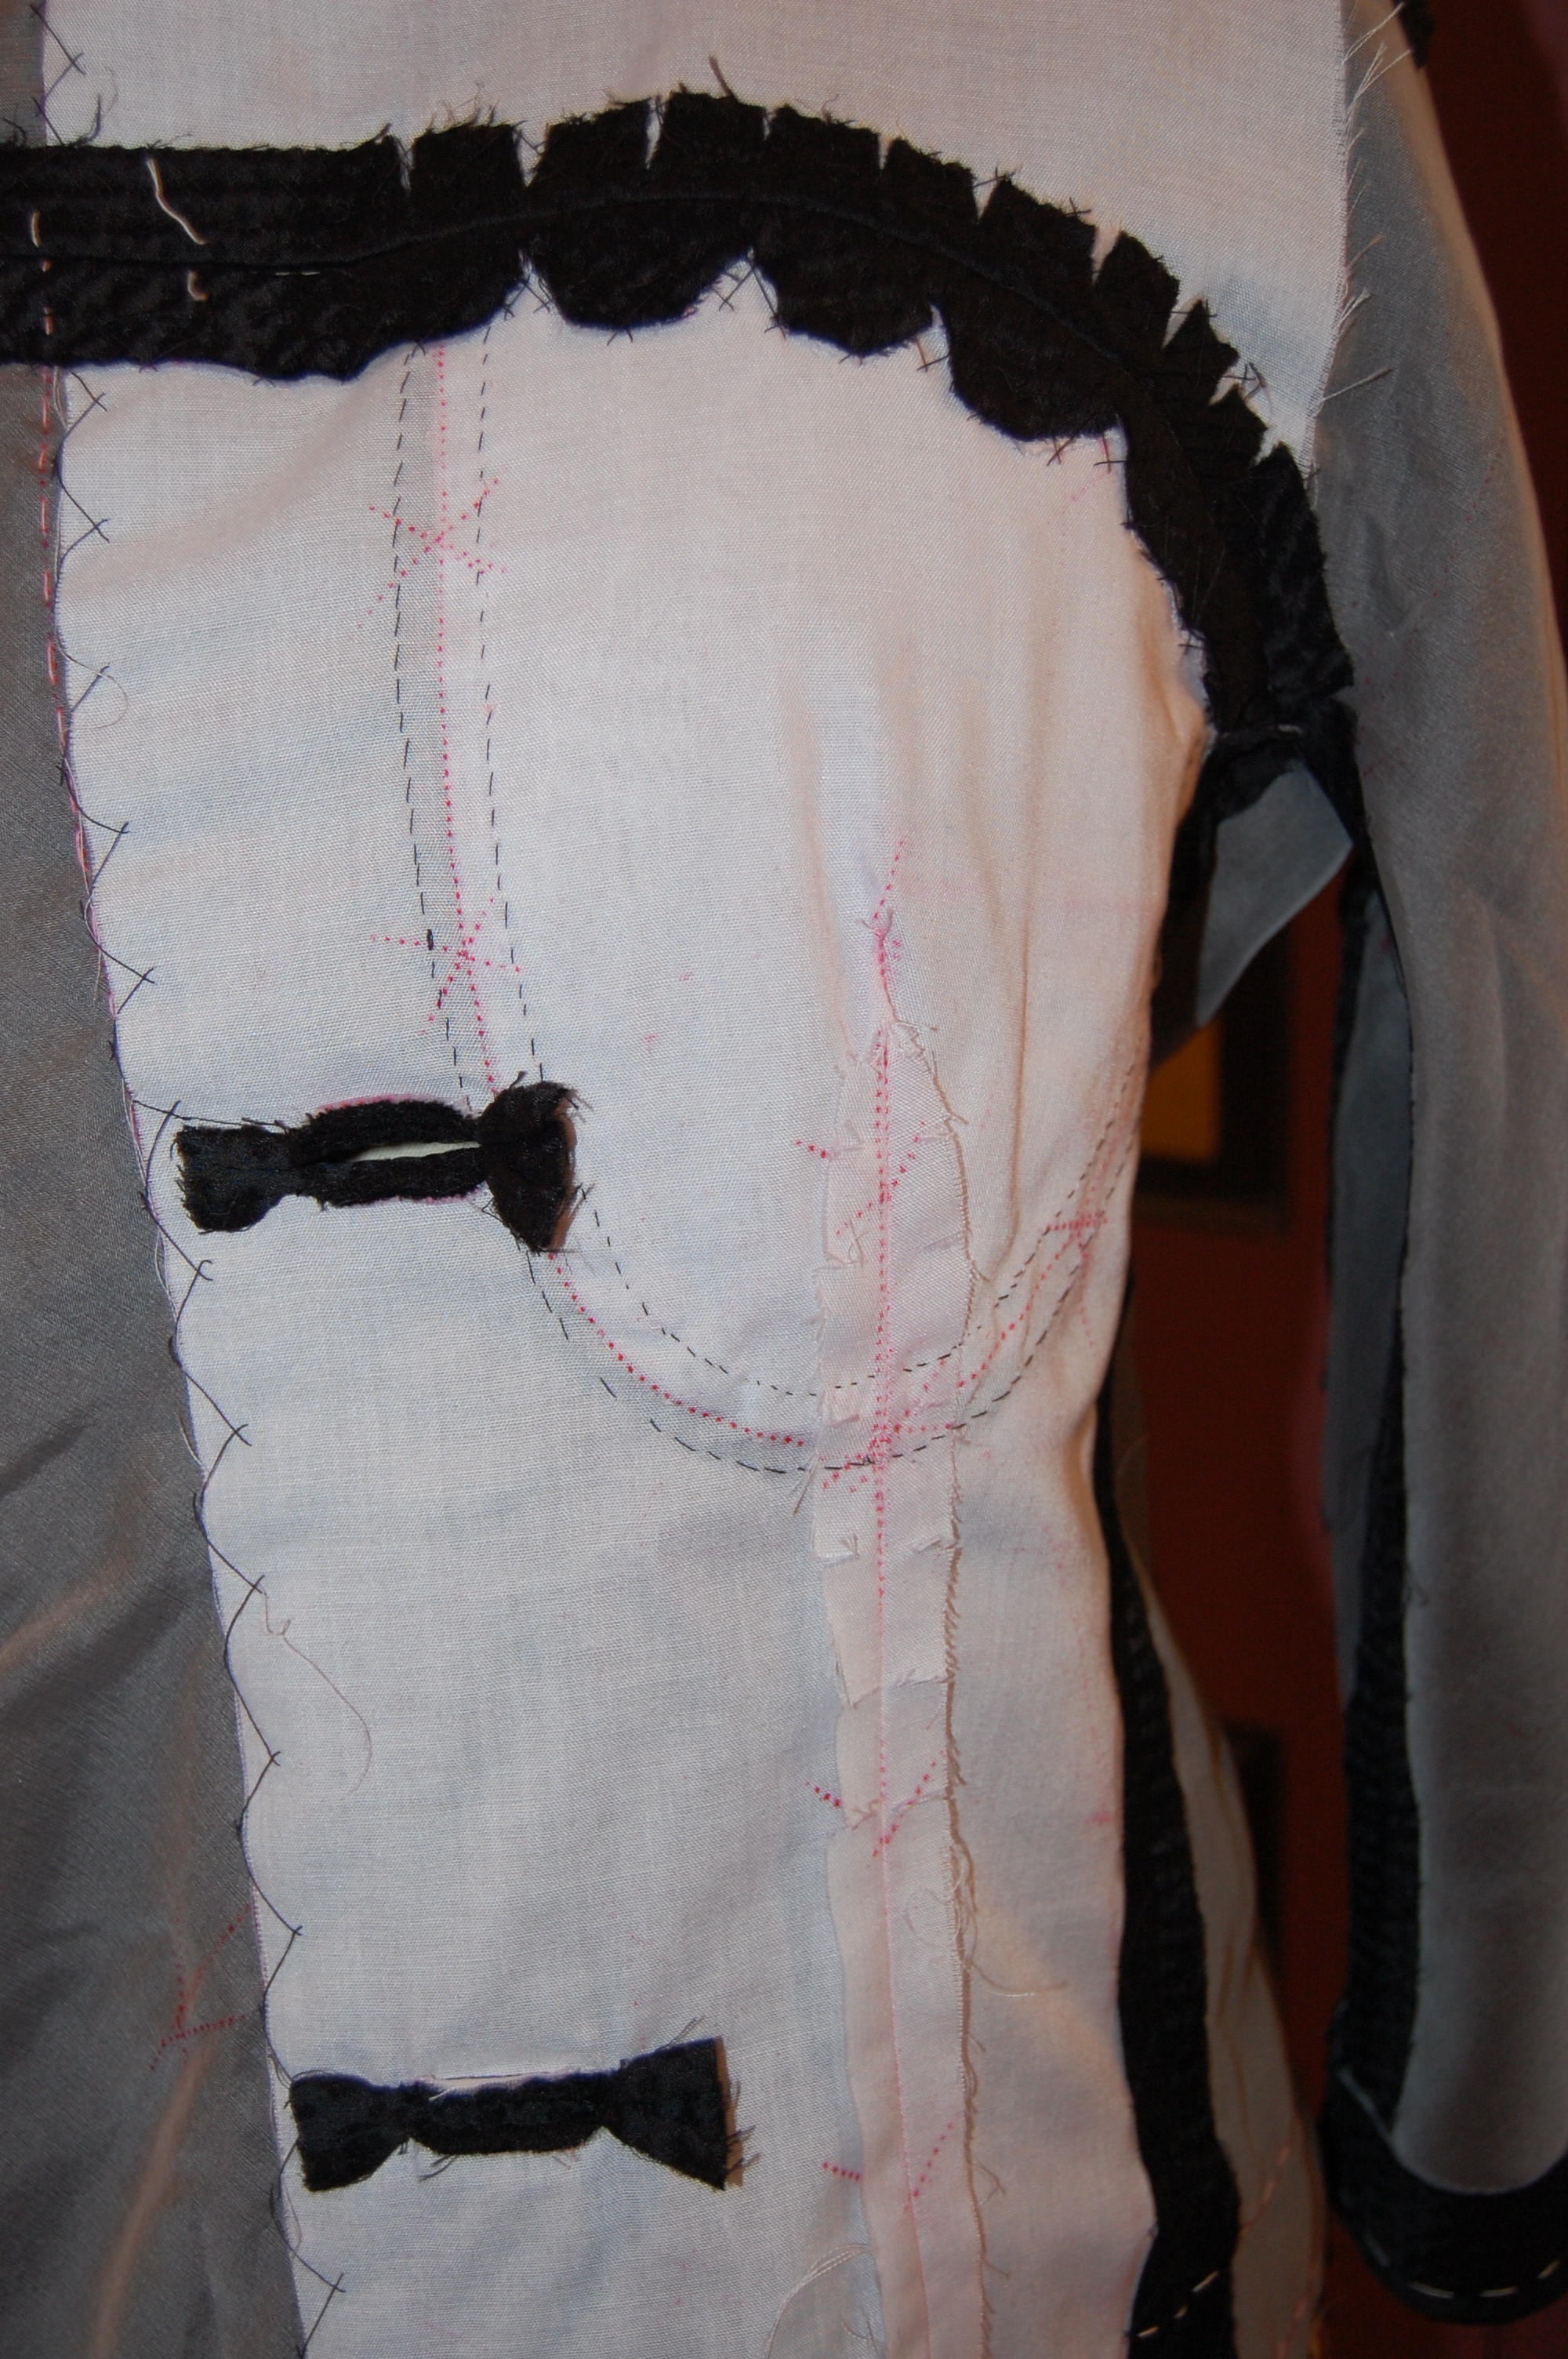
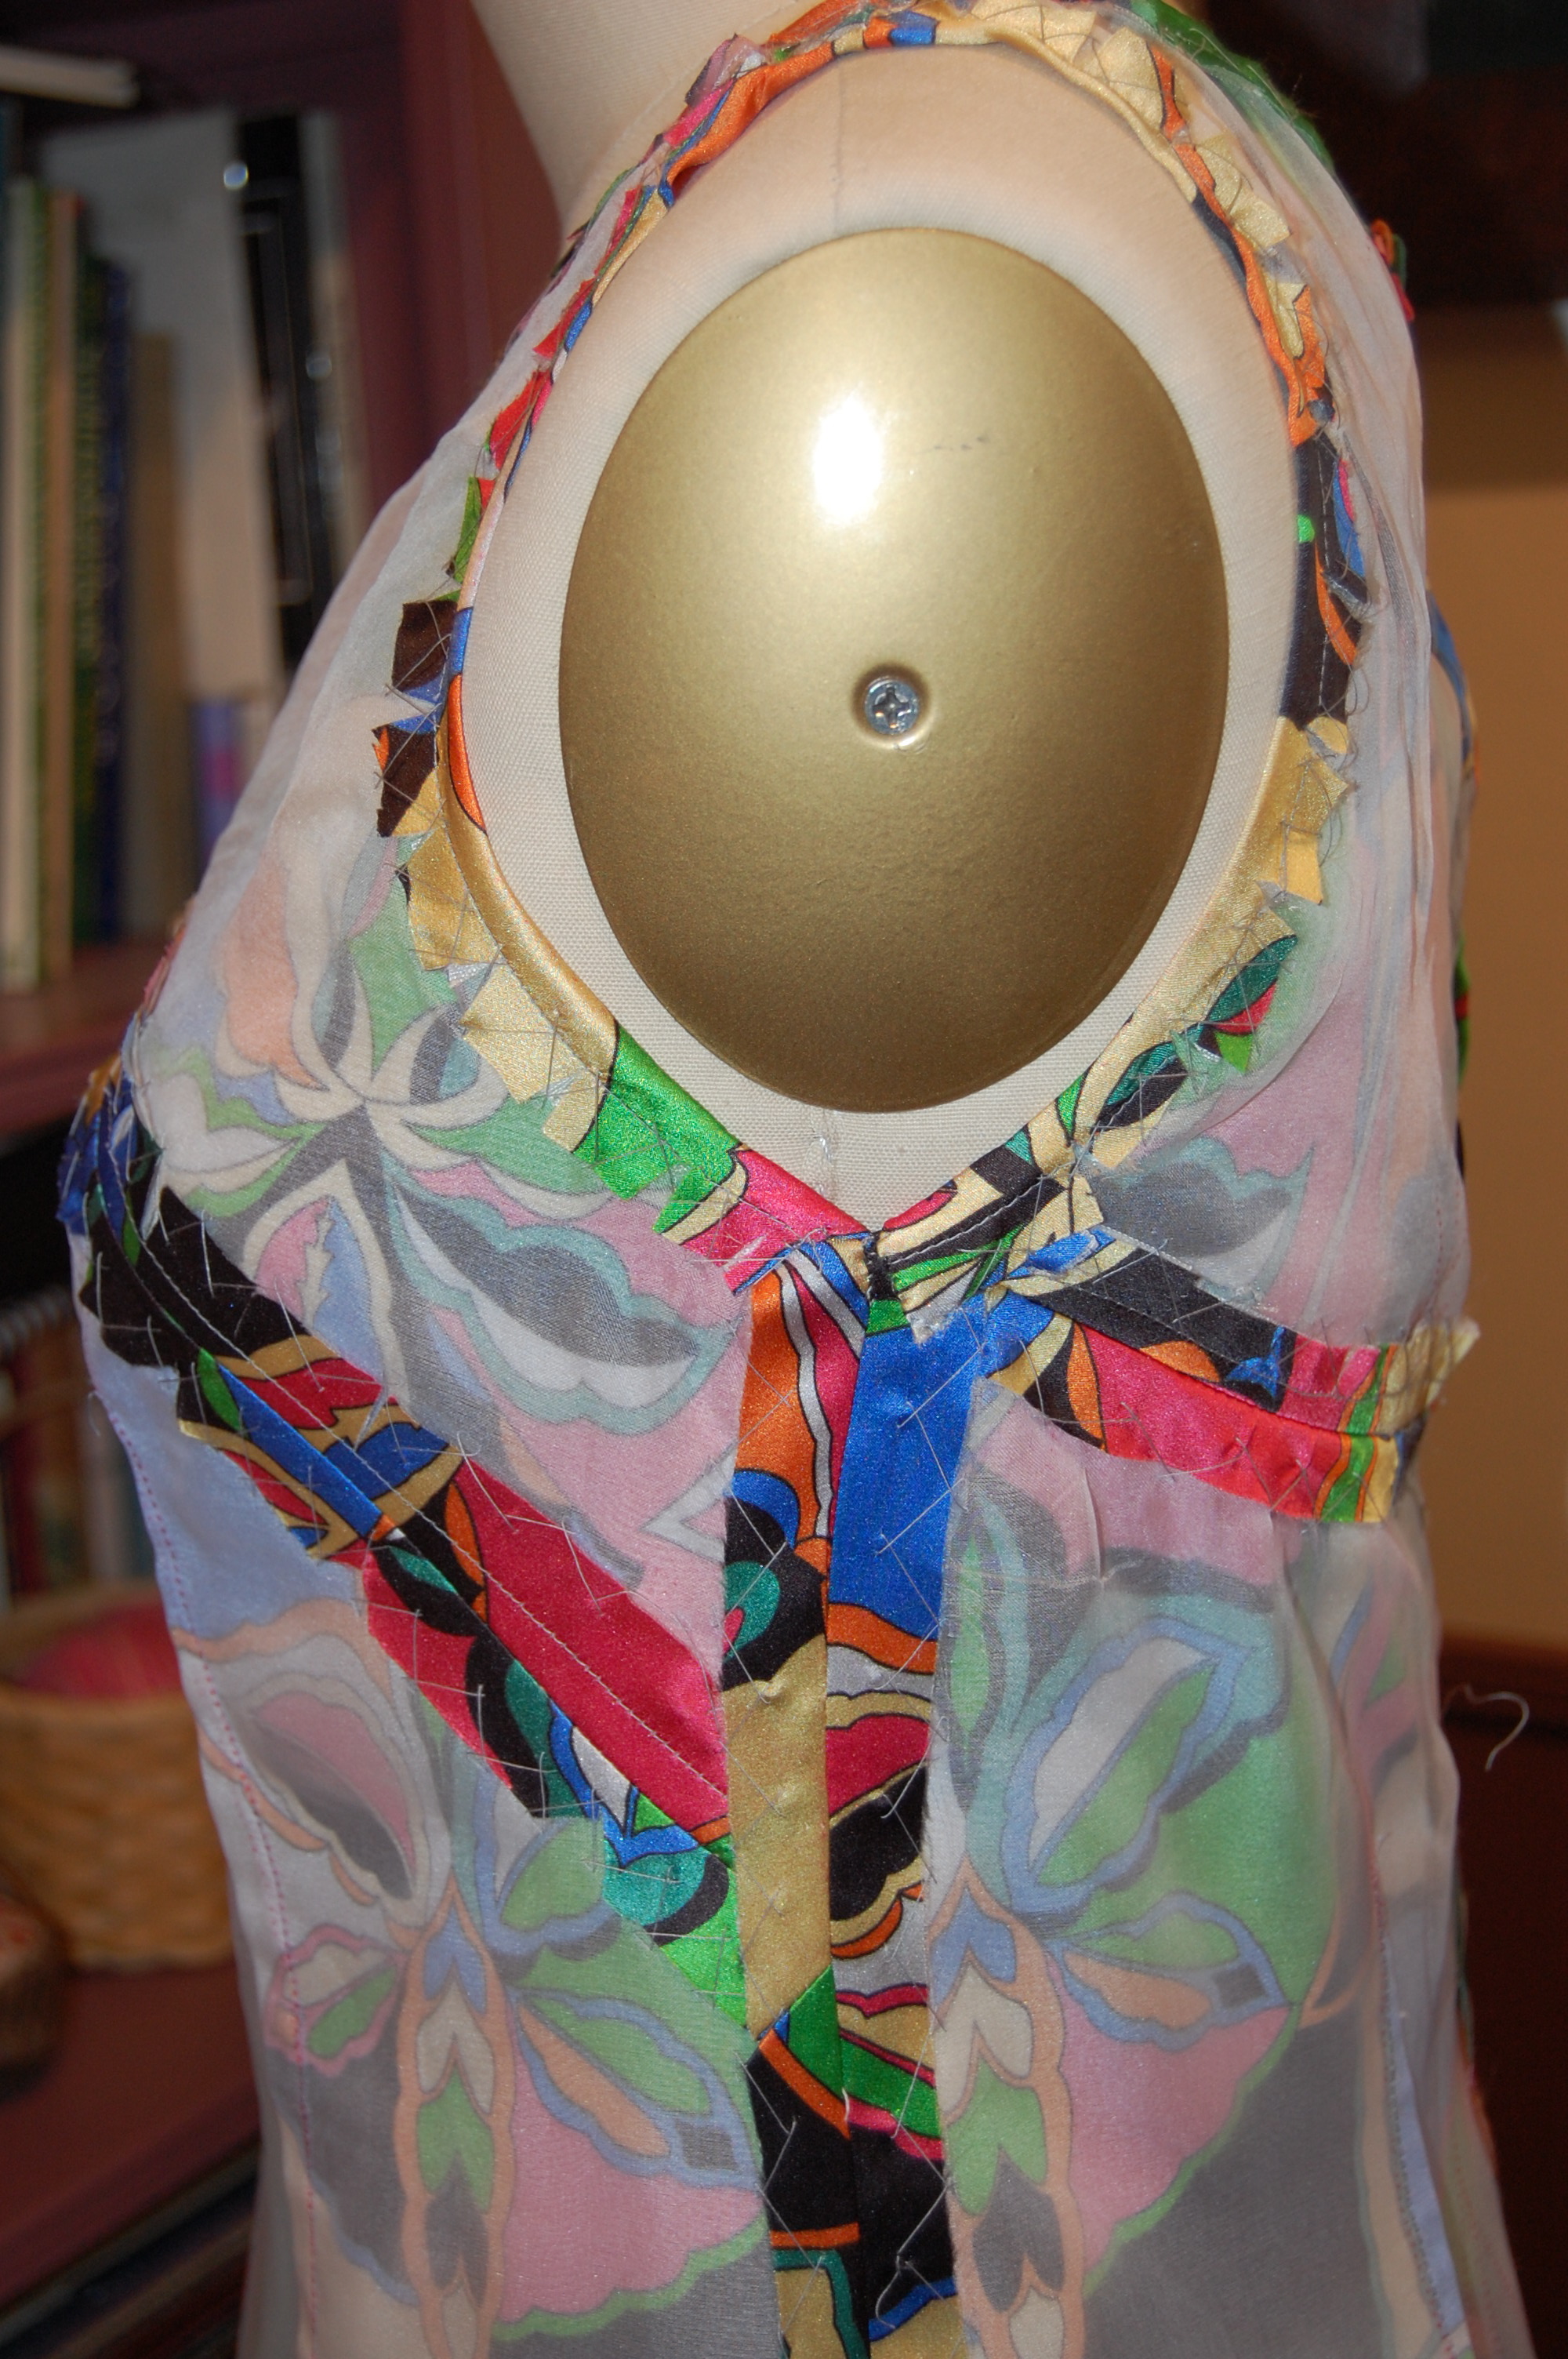
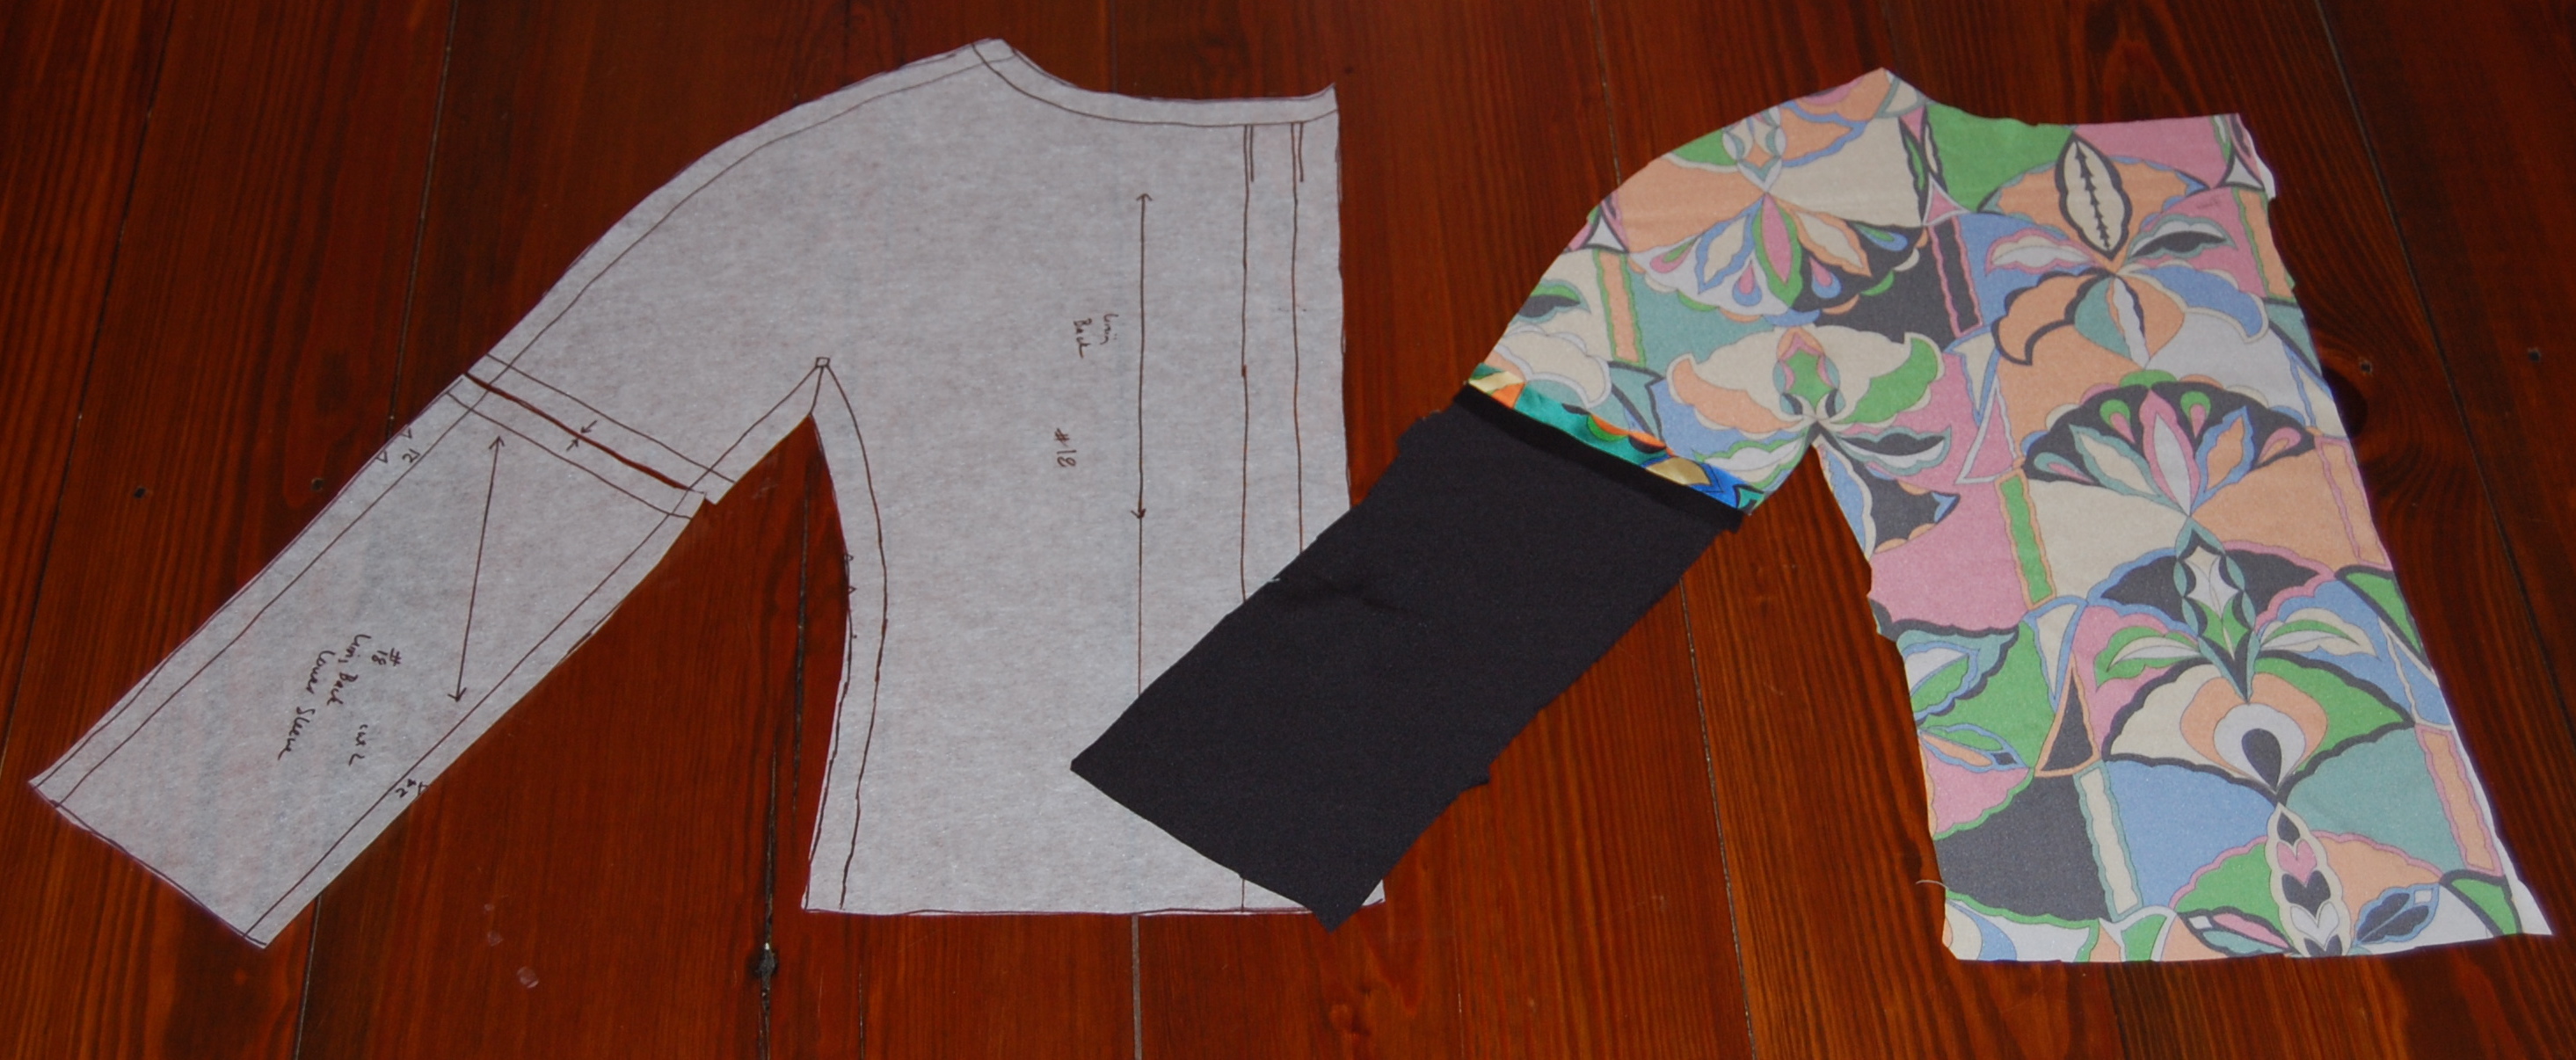
First, I can tell you I was delighted that the pieced sleeve linings worked just as I had hoped they would. Here is the jacket turned inside out, showing the piecing on the lower sleeves.
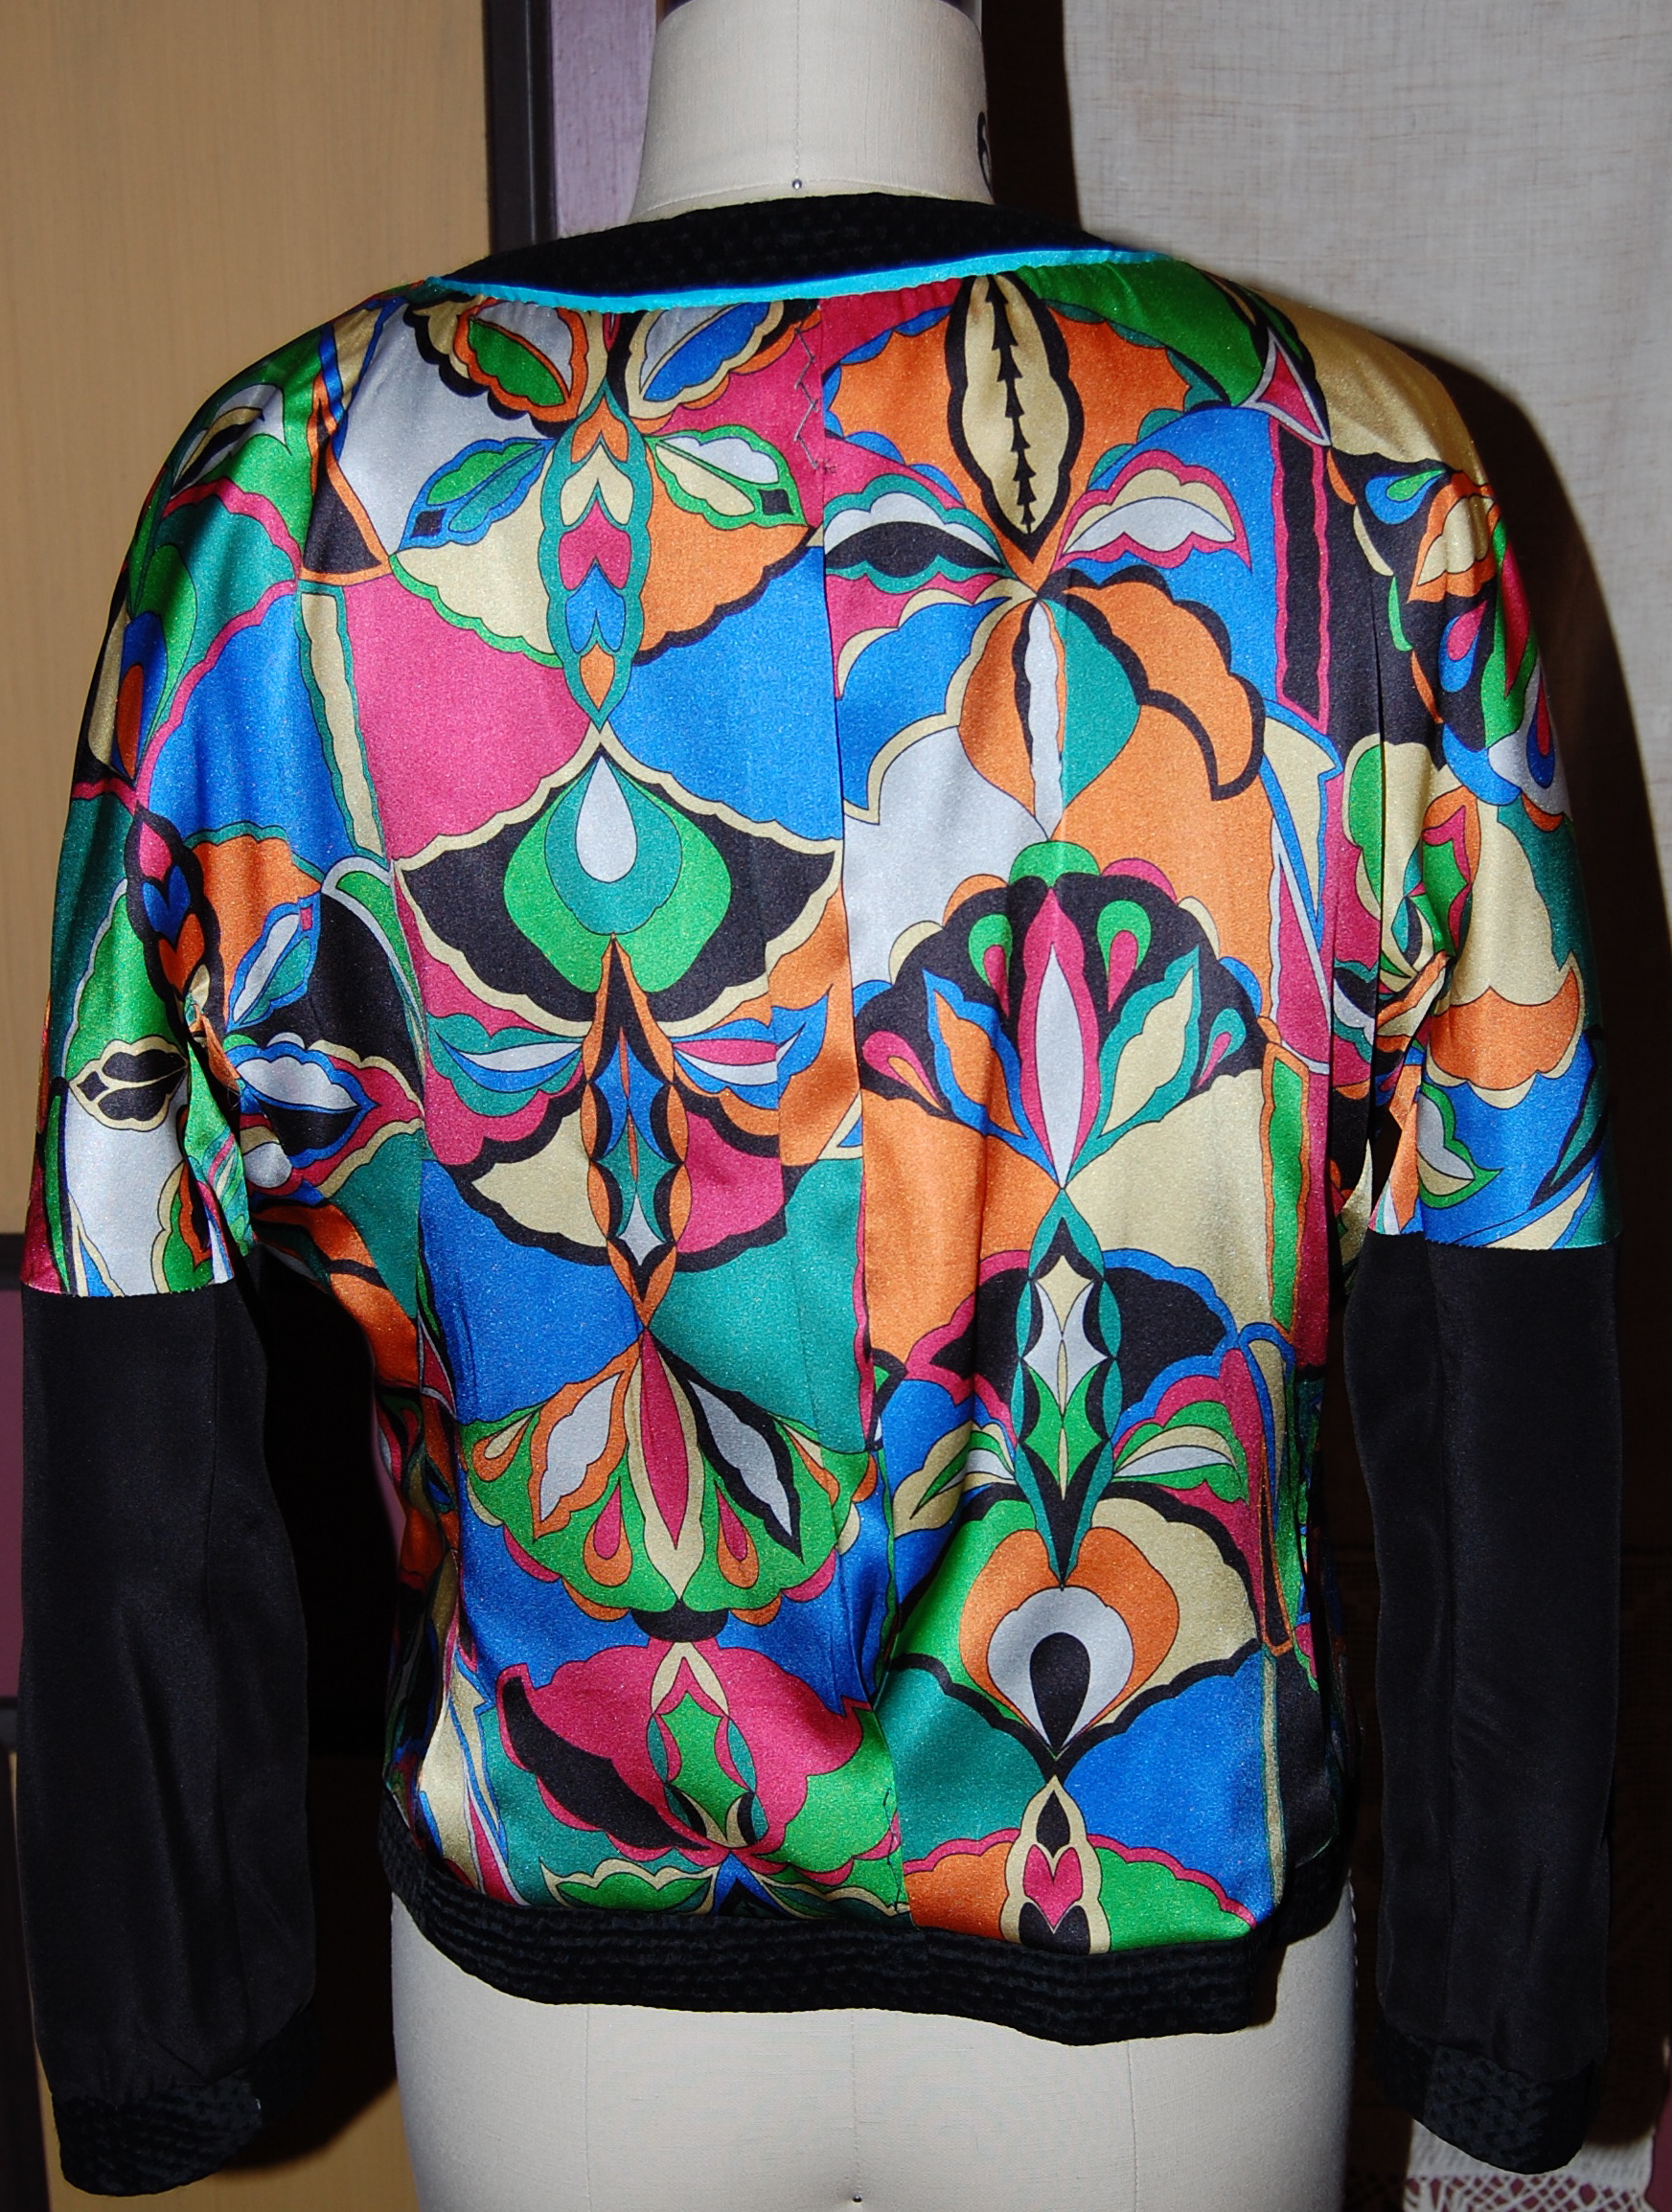
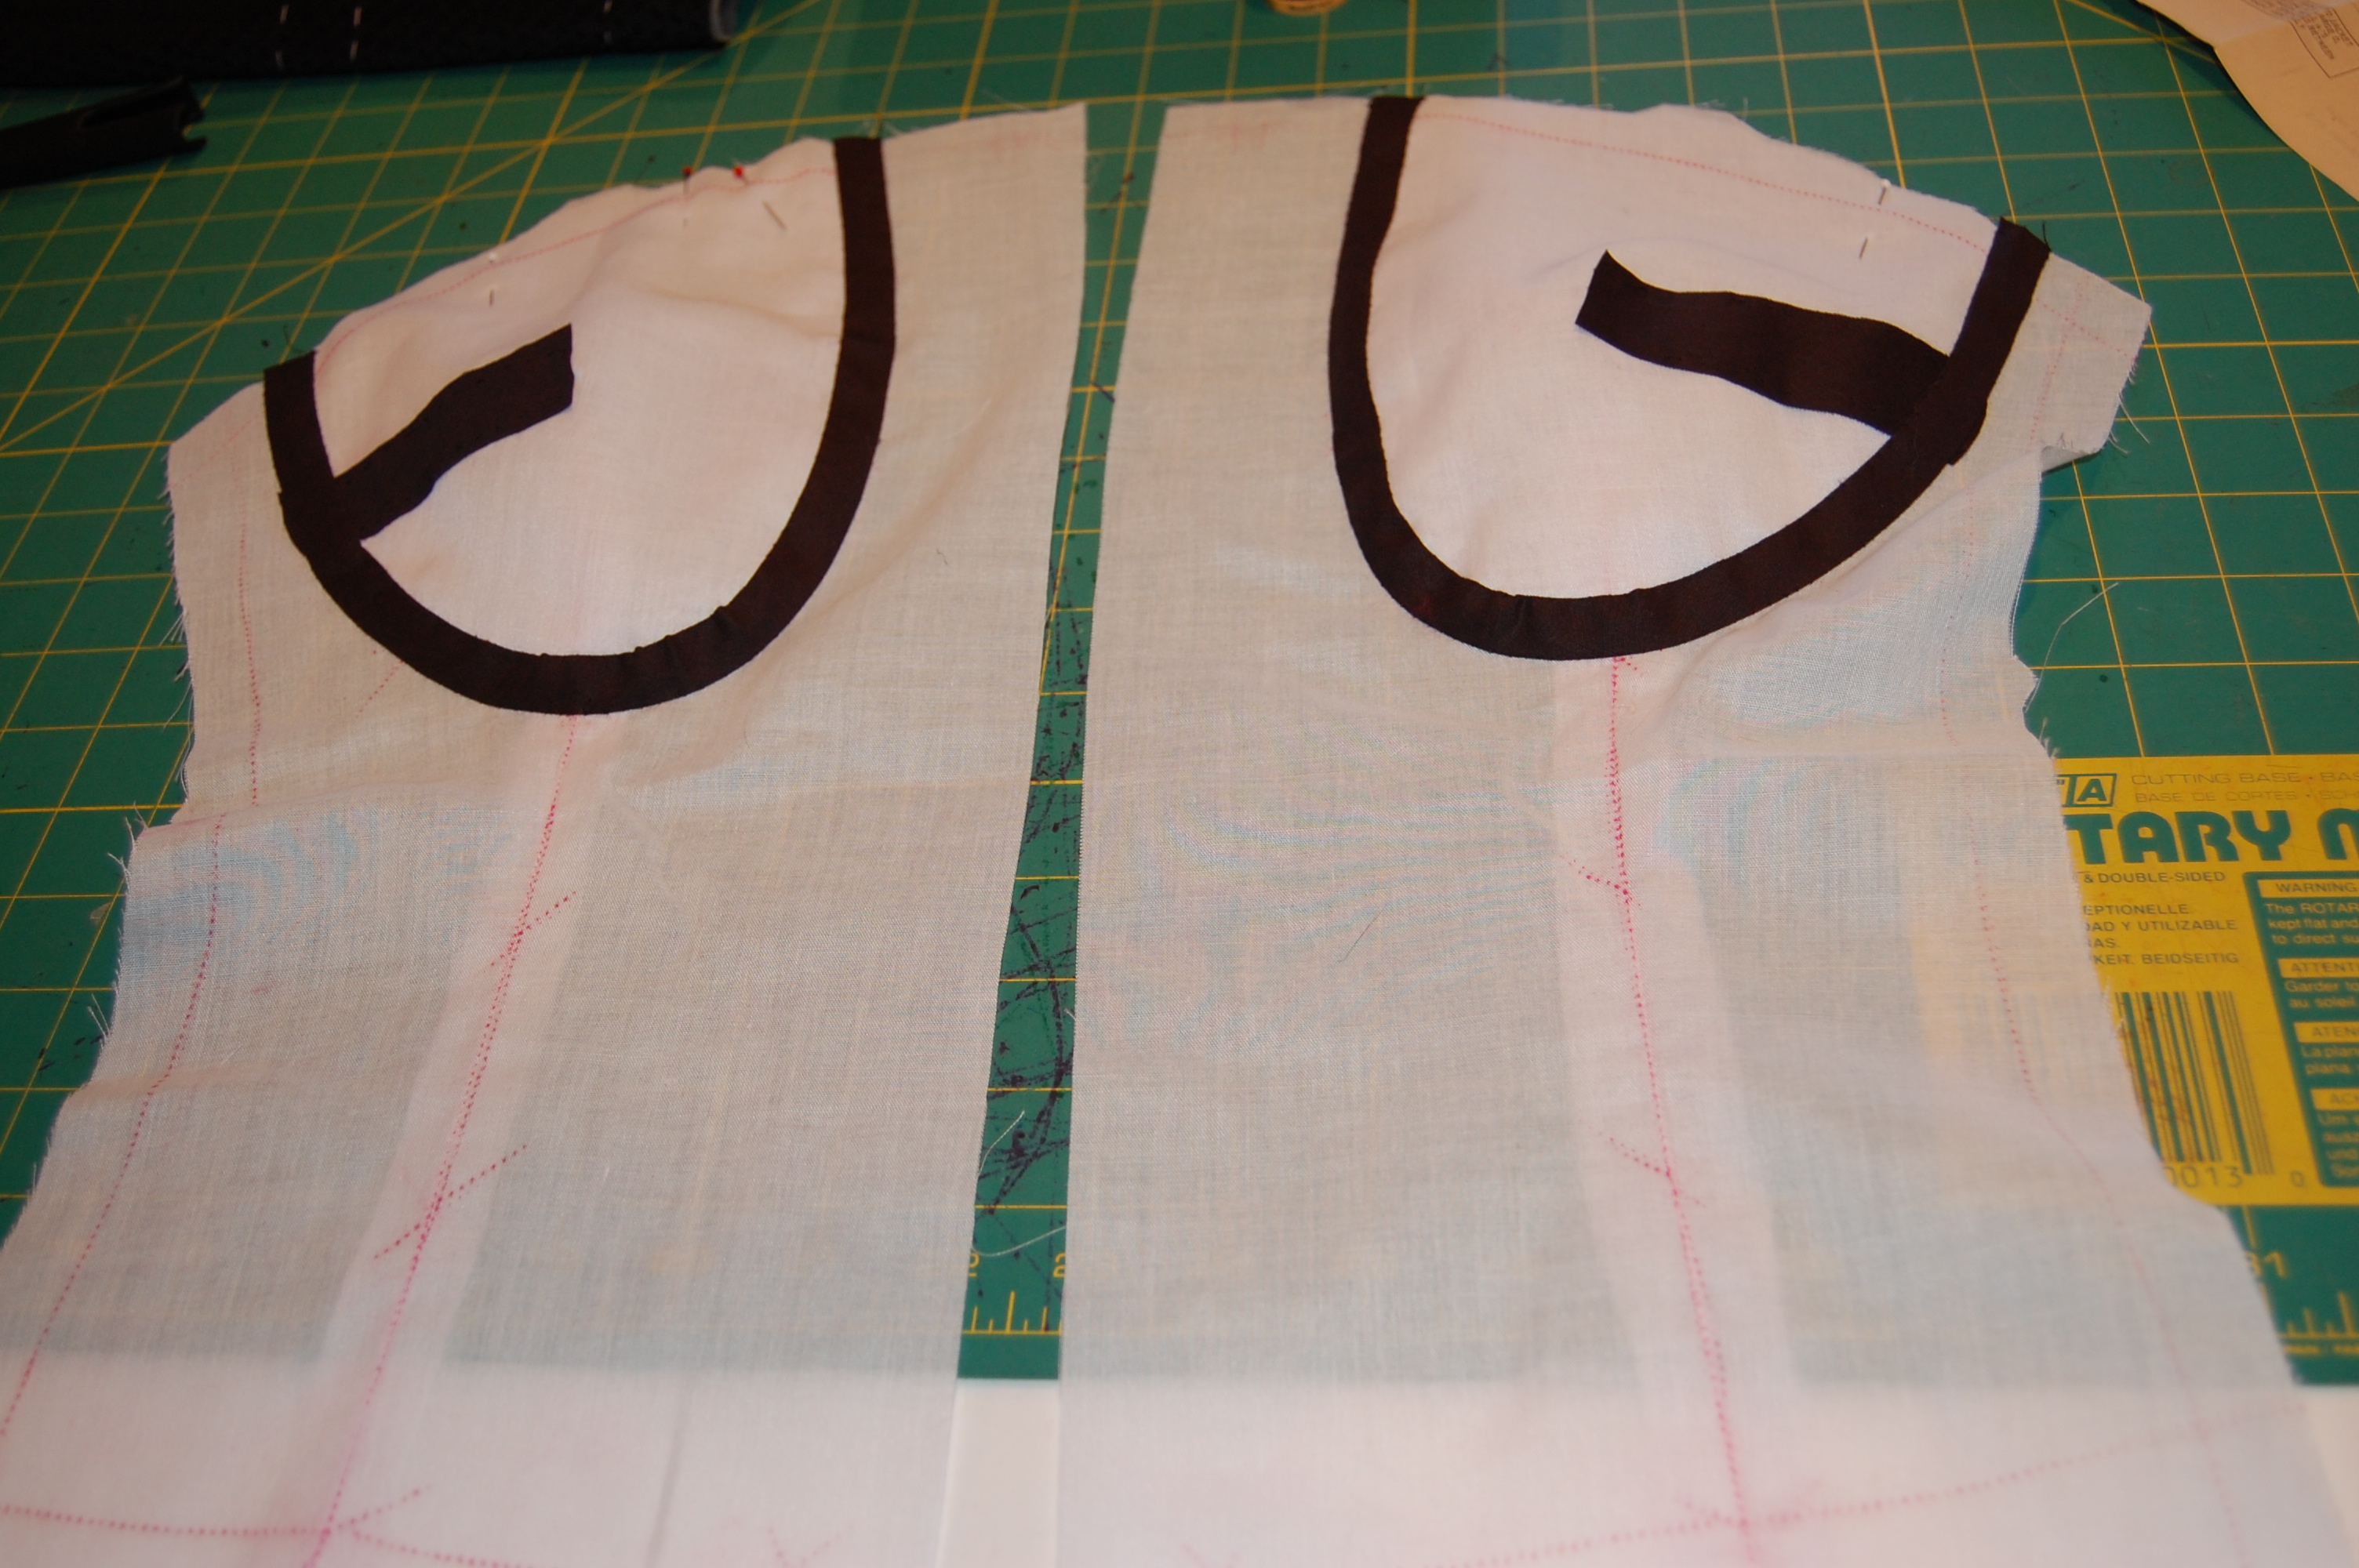
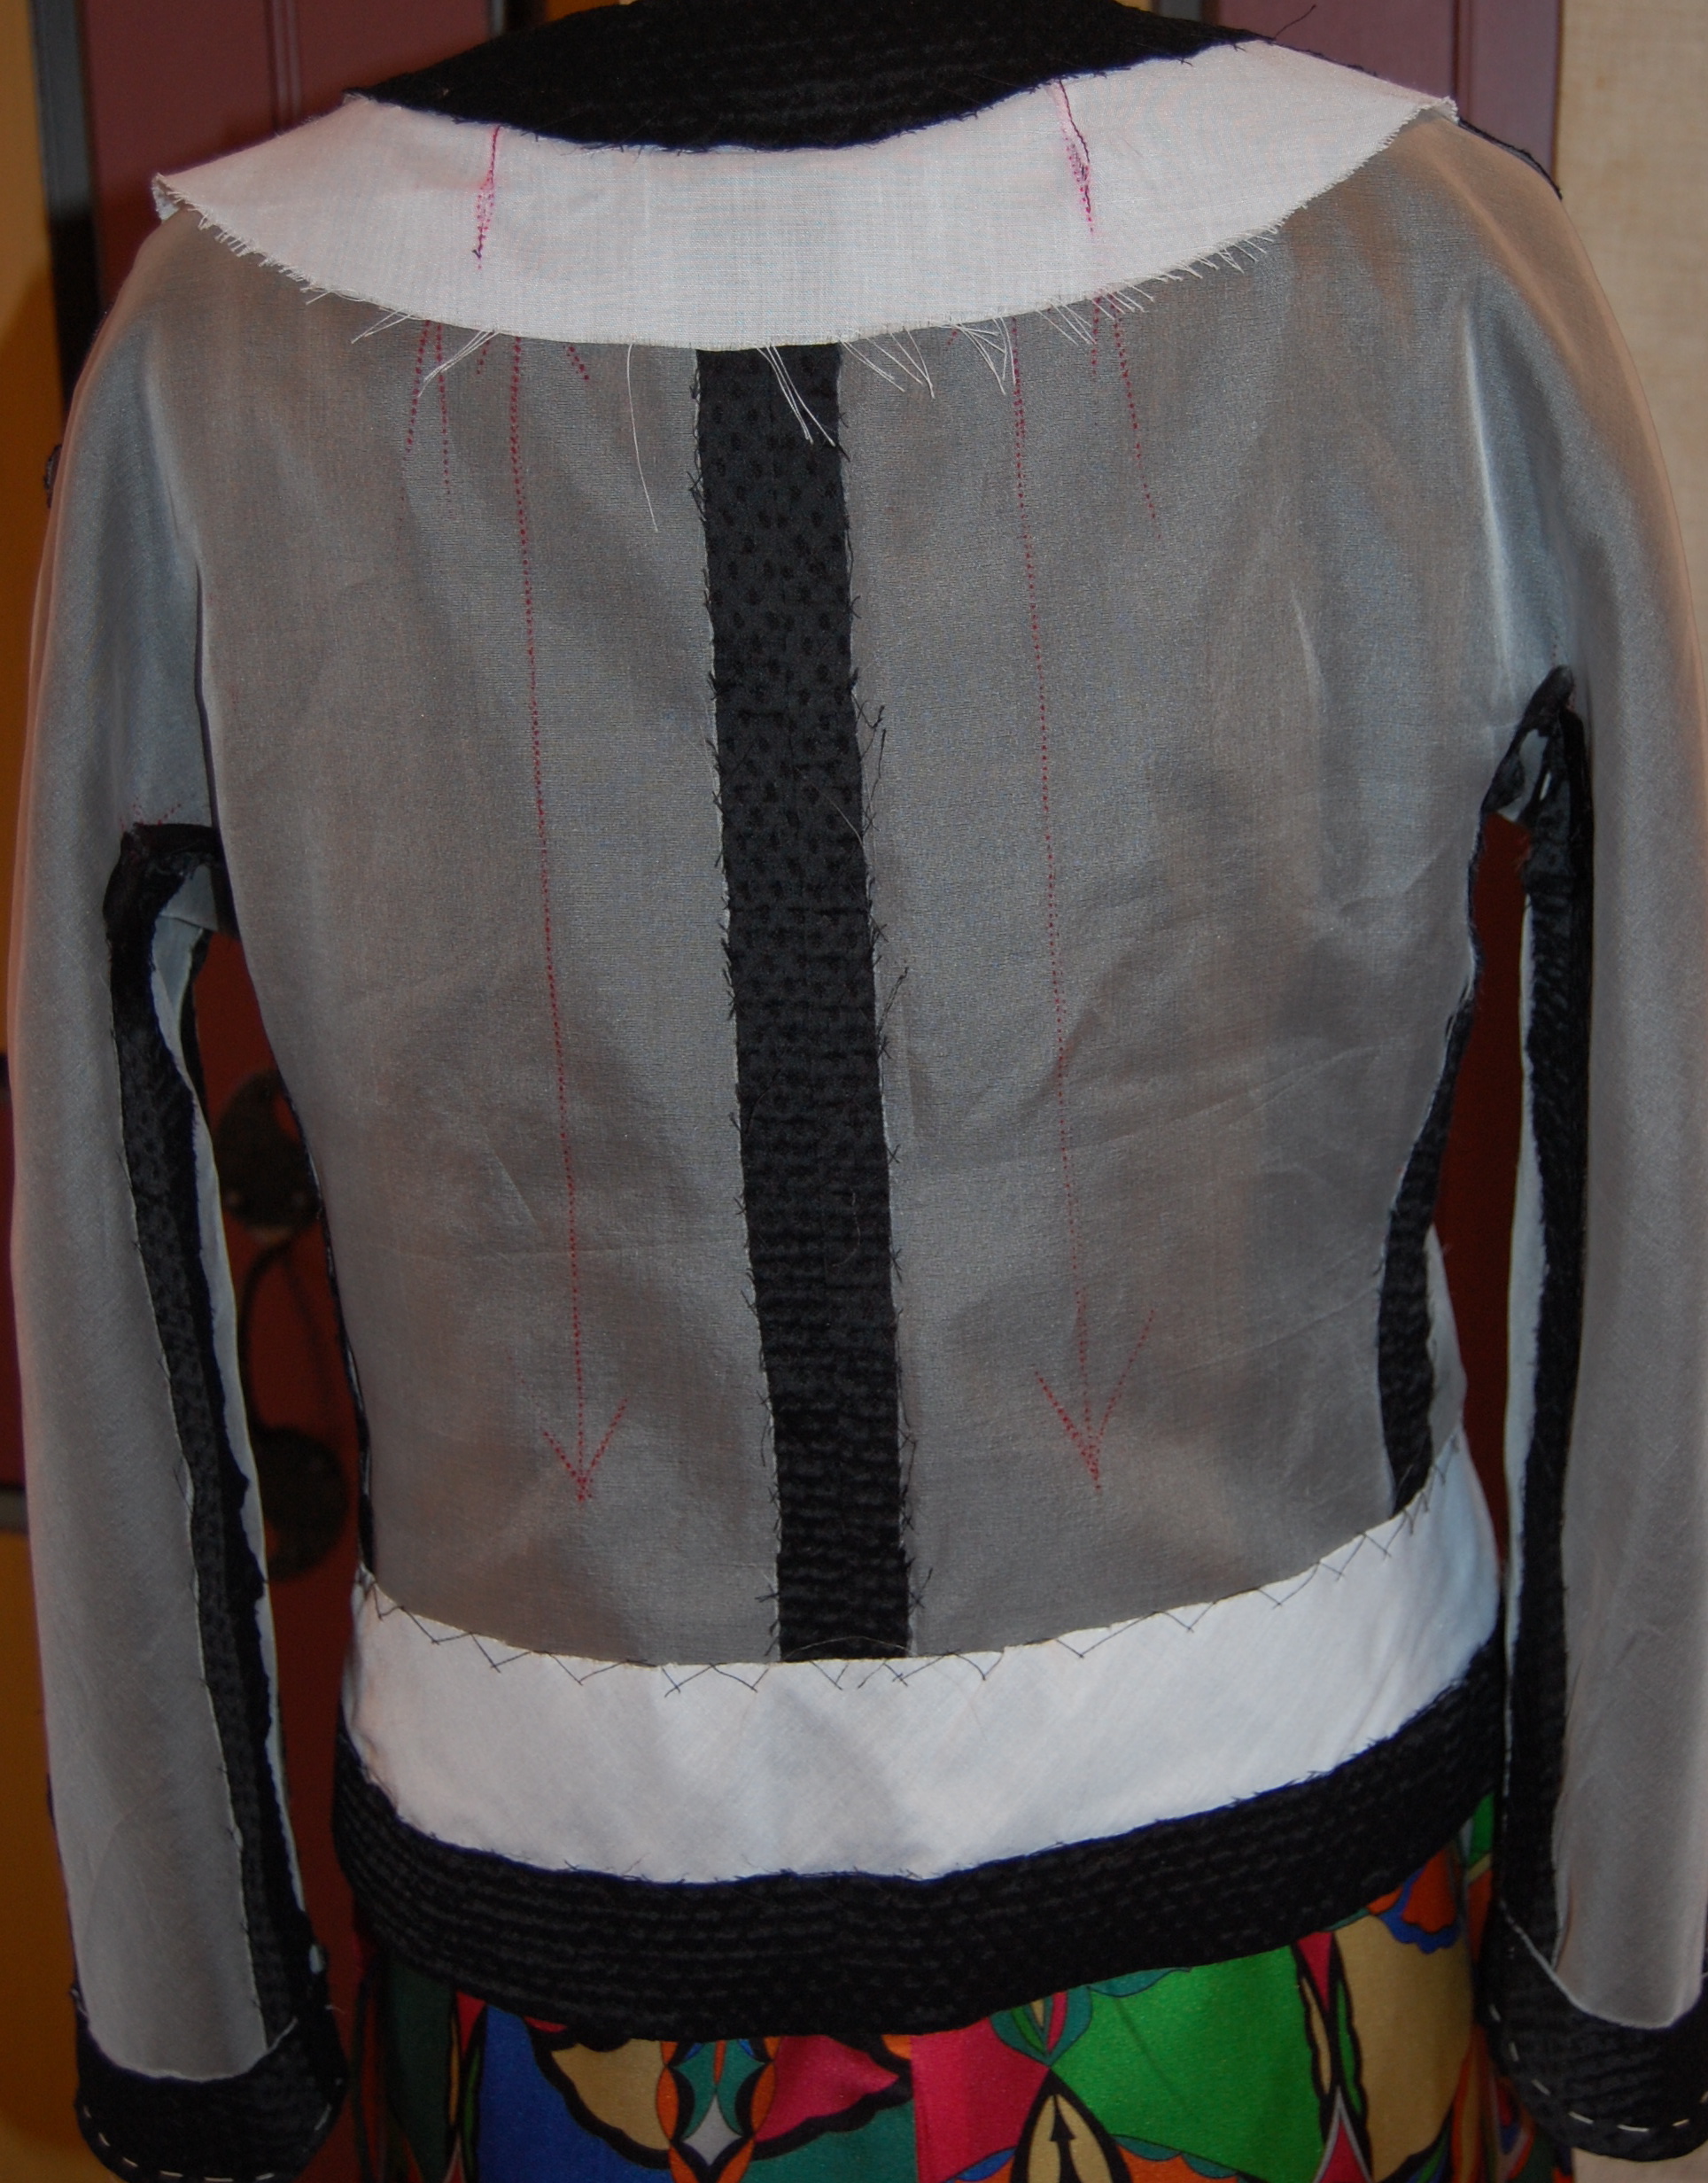
Inside out, a back view.
And here is a photo inside the jacket, looking towards one sleeve, which shows that the piecing does not show! Hurray. I honestly don’t think anyone seeing the jacket slung over a chair is ever going to suspect that the Pucci lining fabric does not extend all the way down the sleeves.

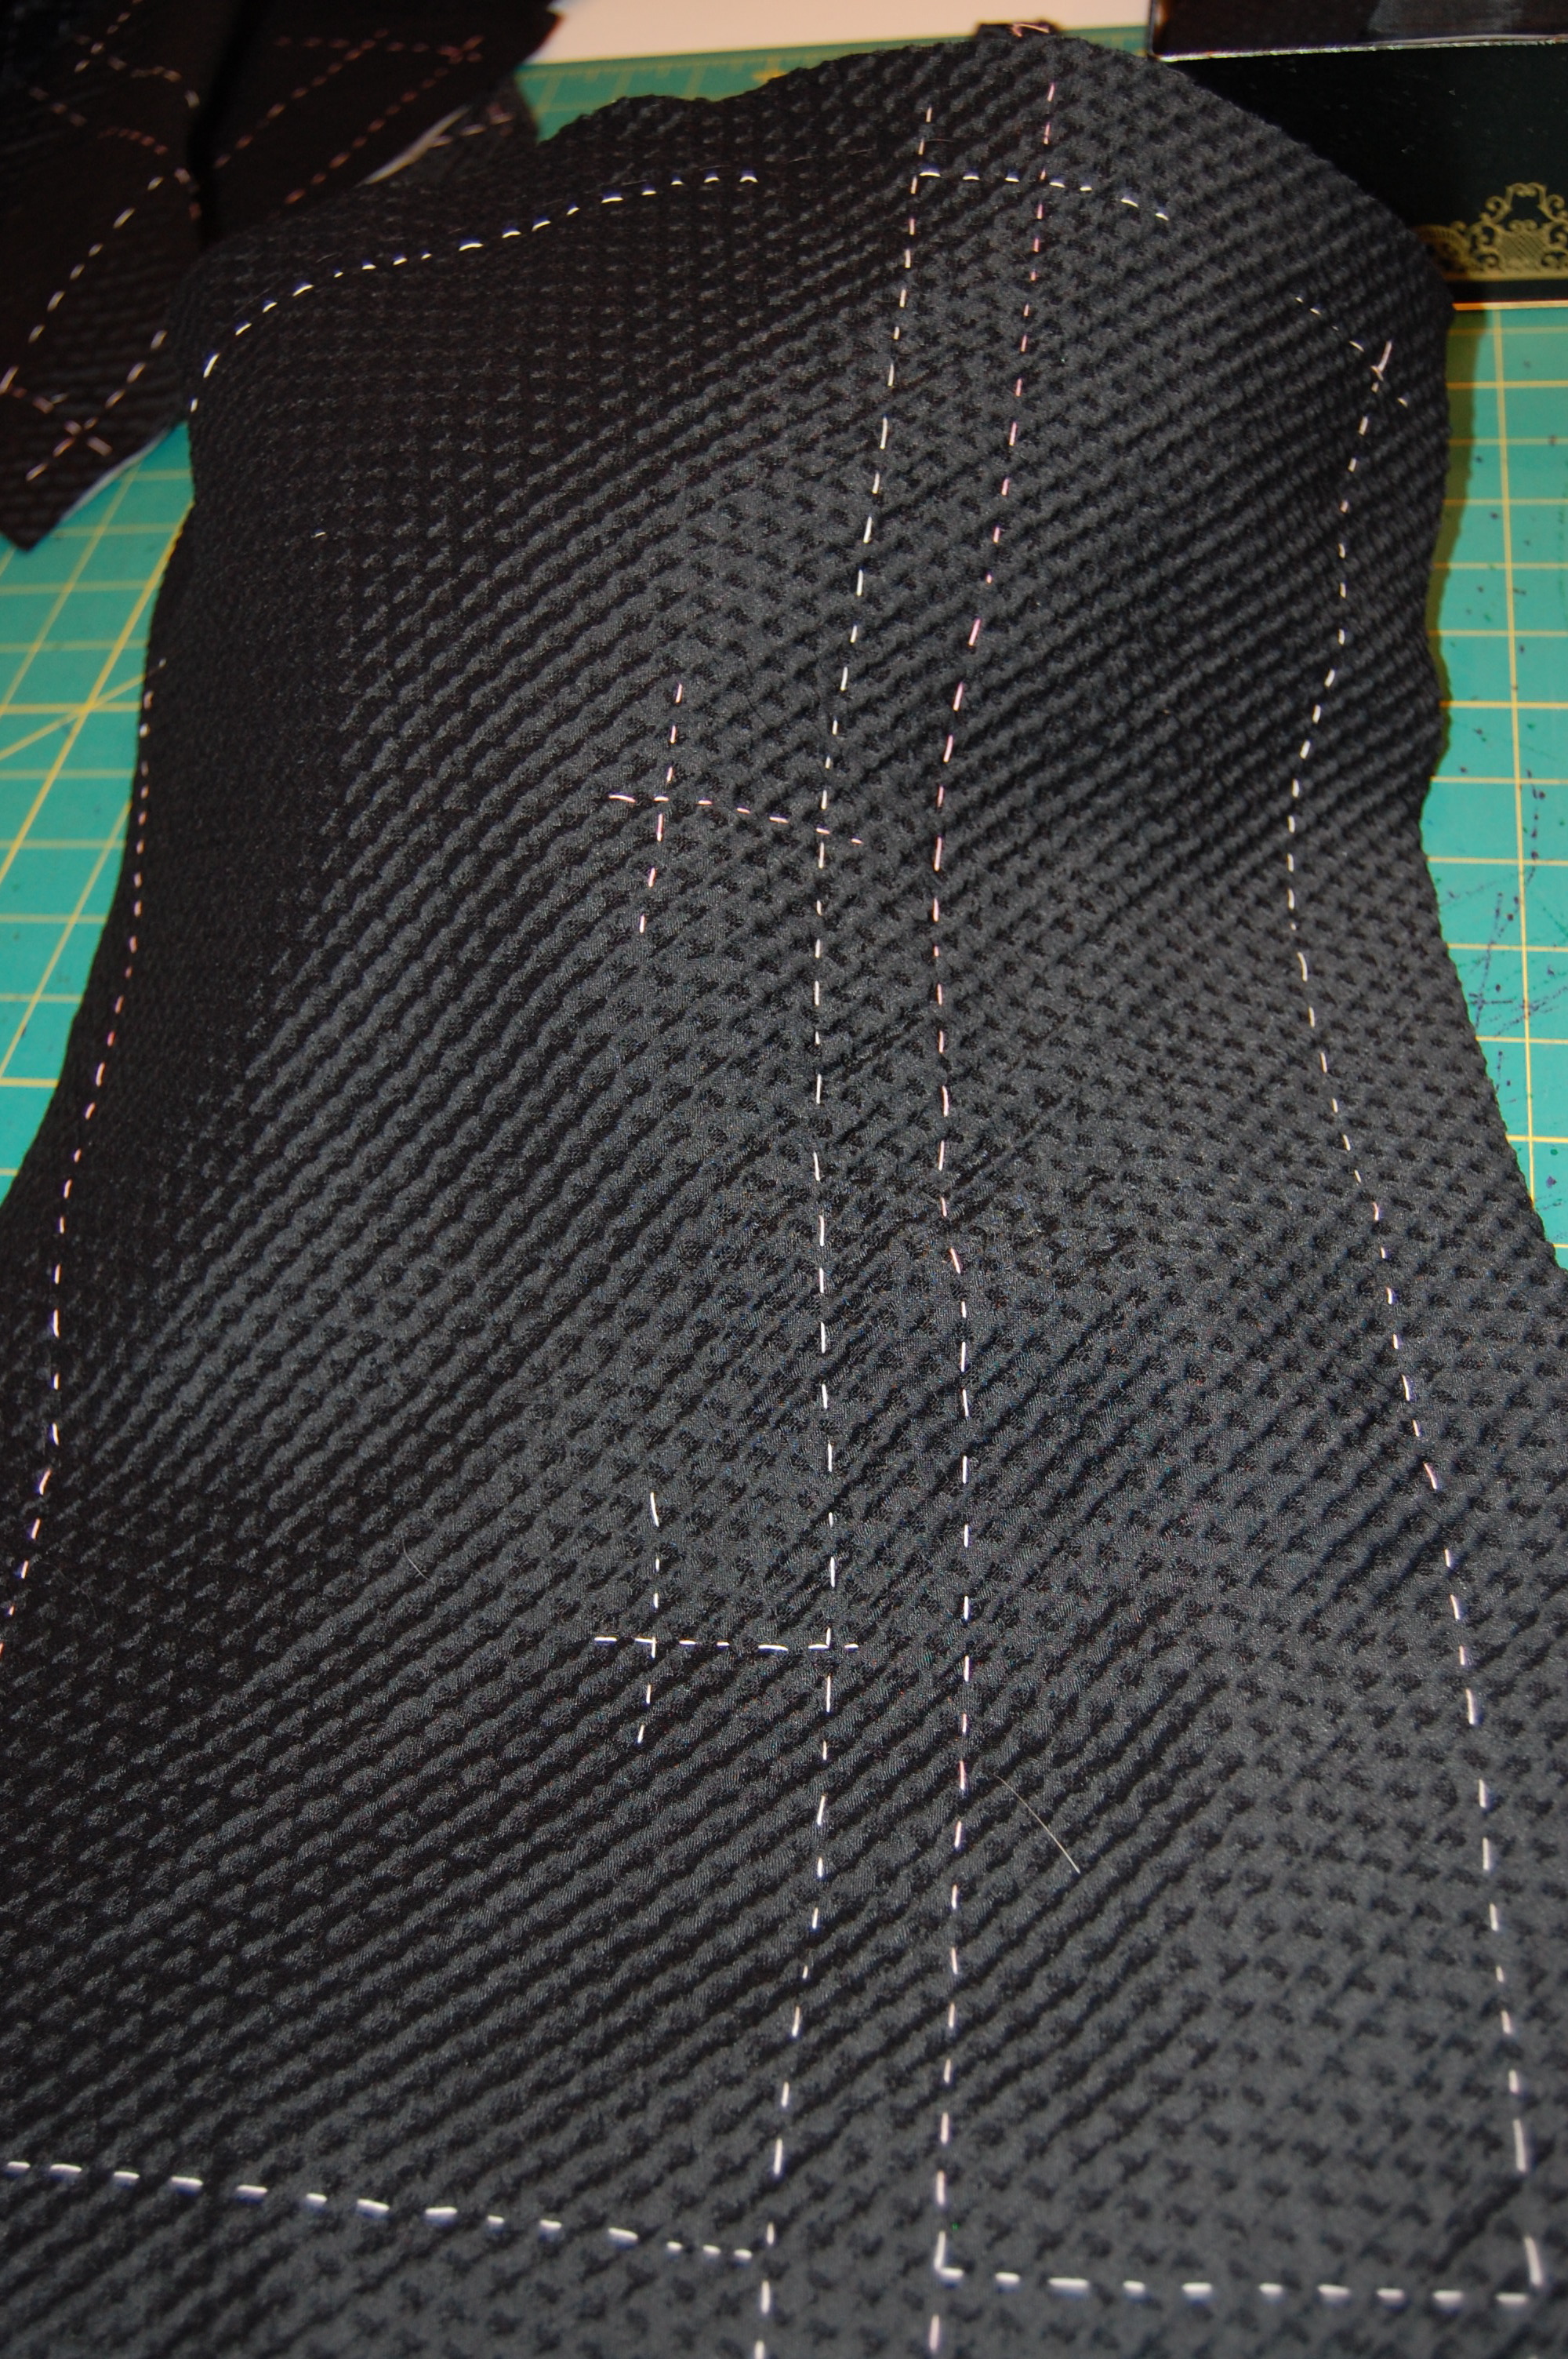
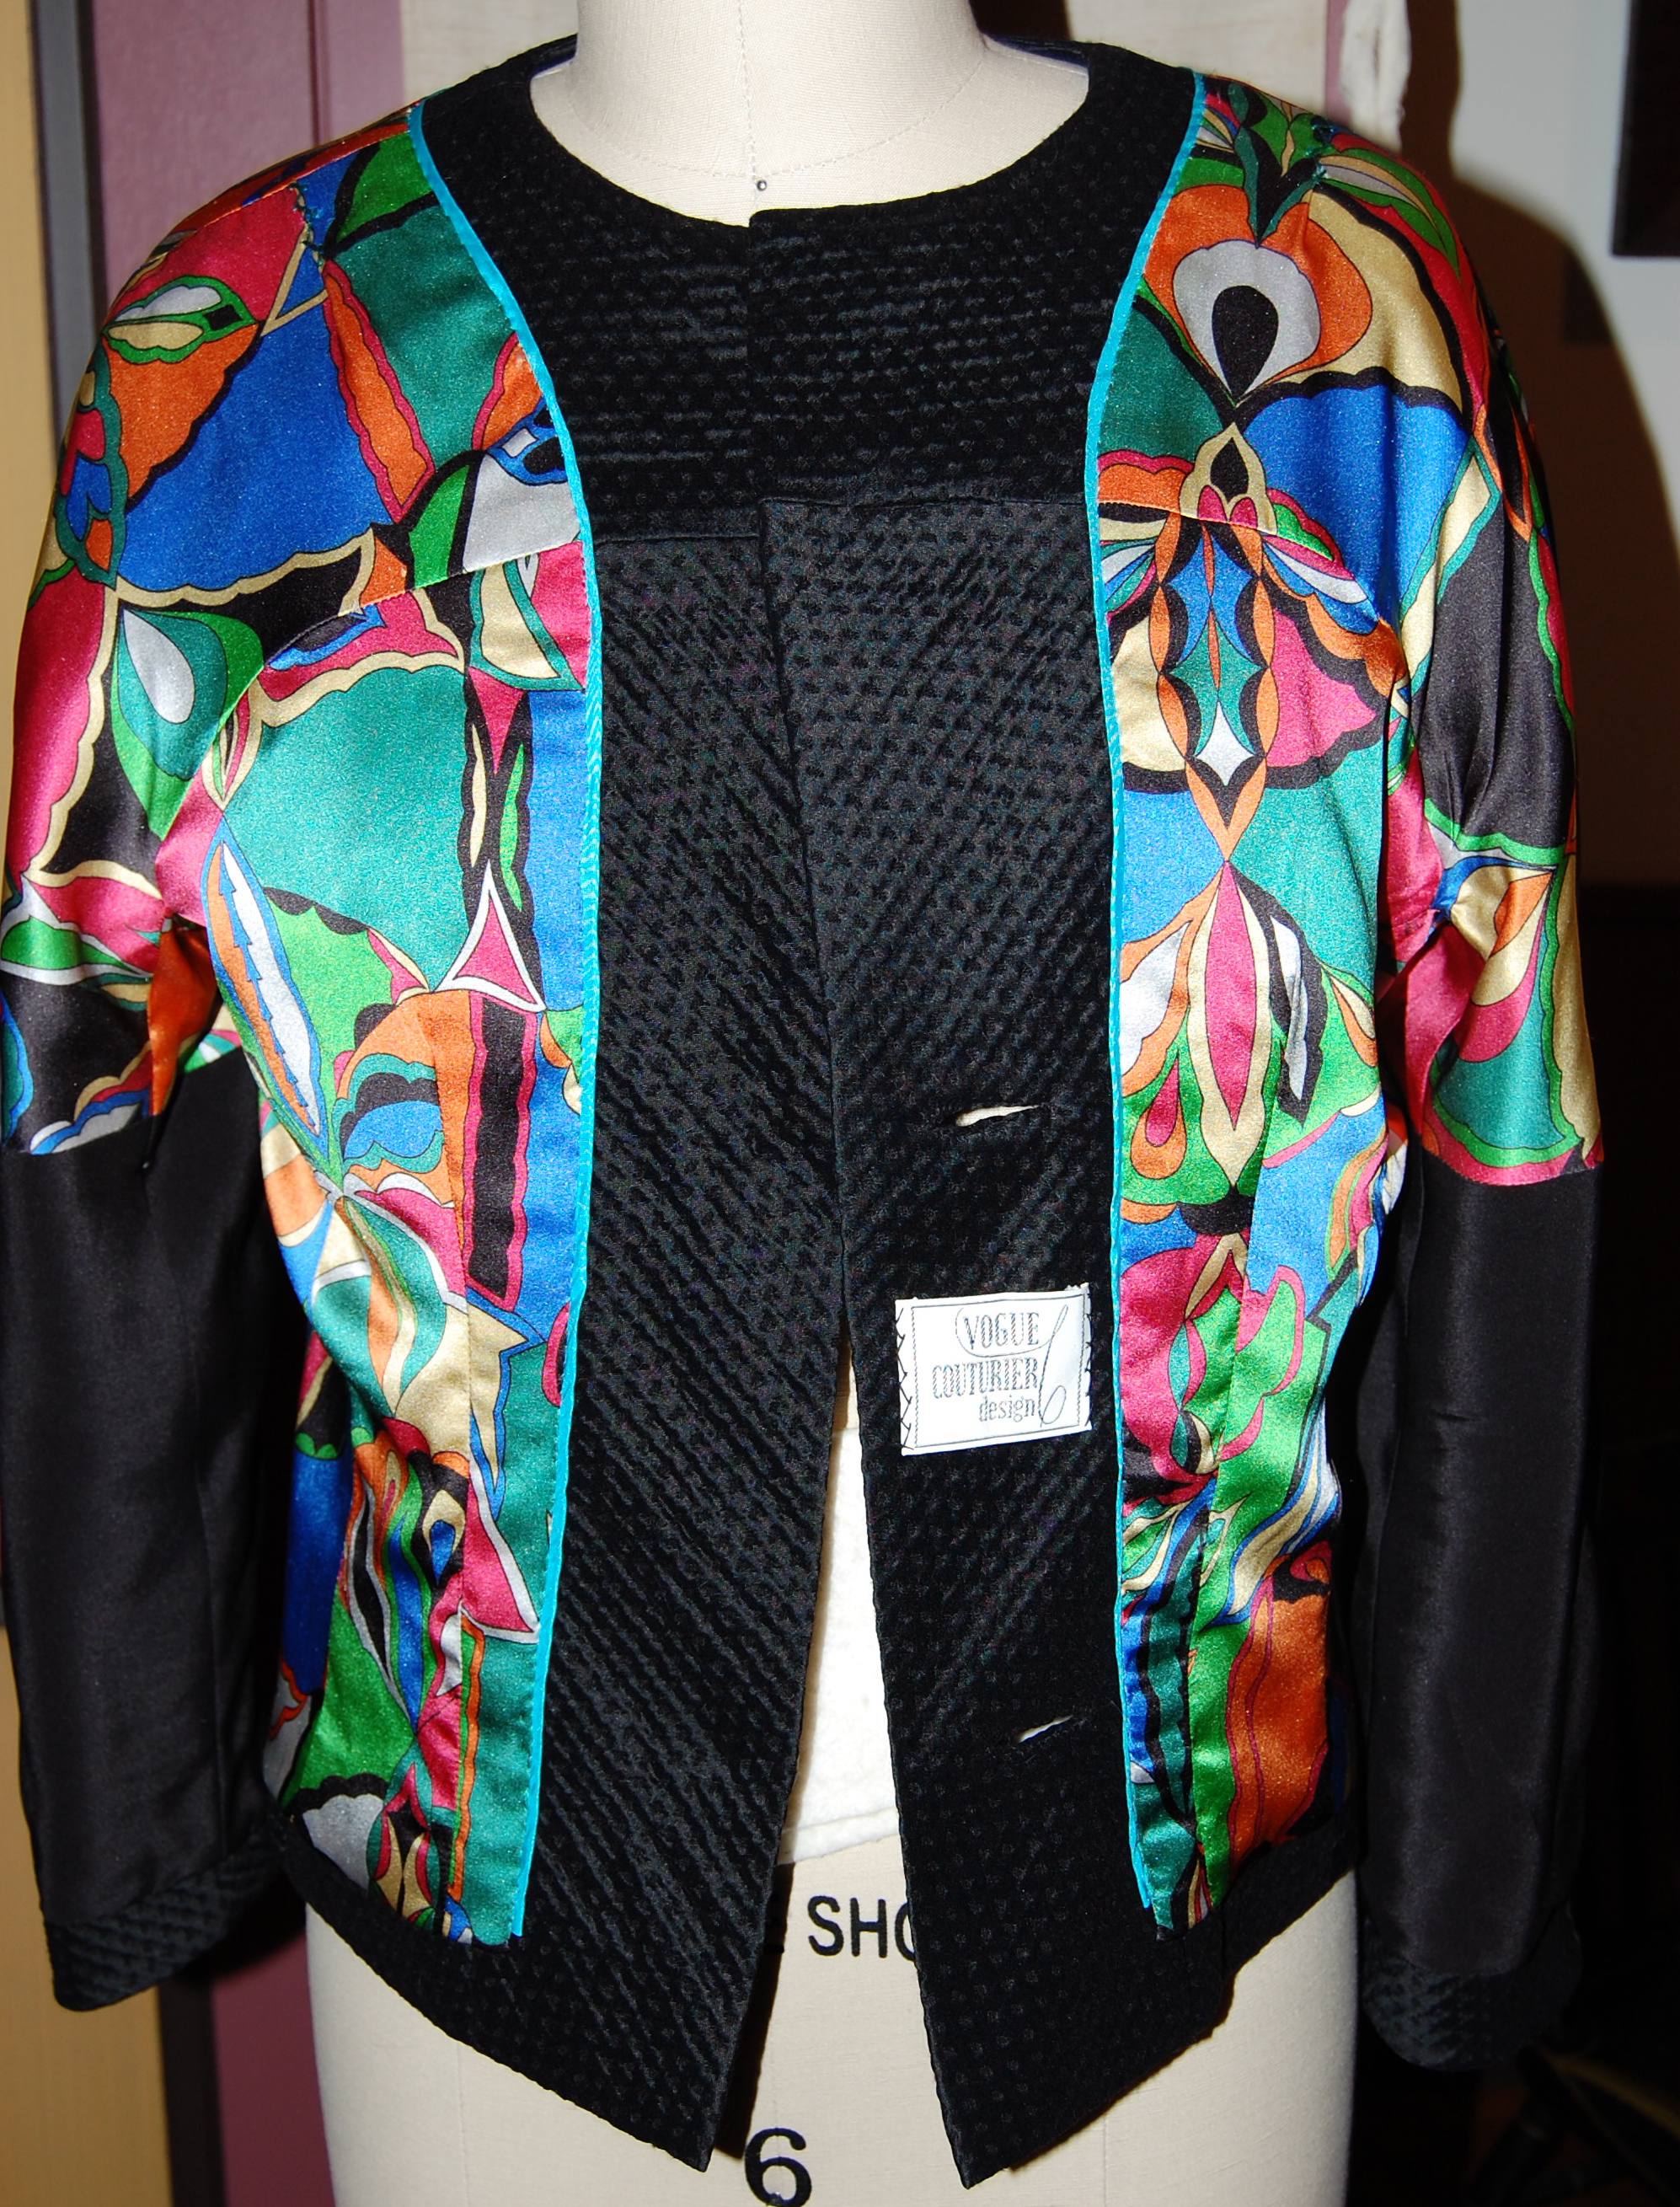
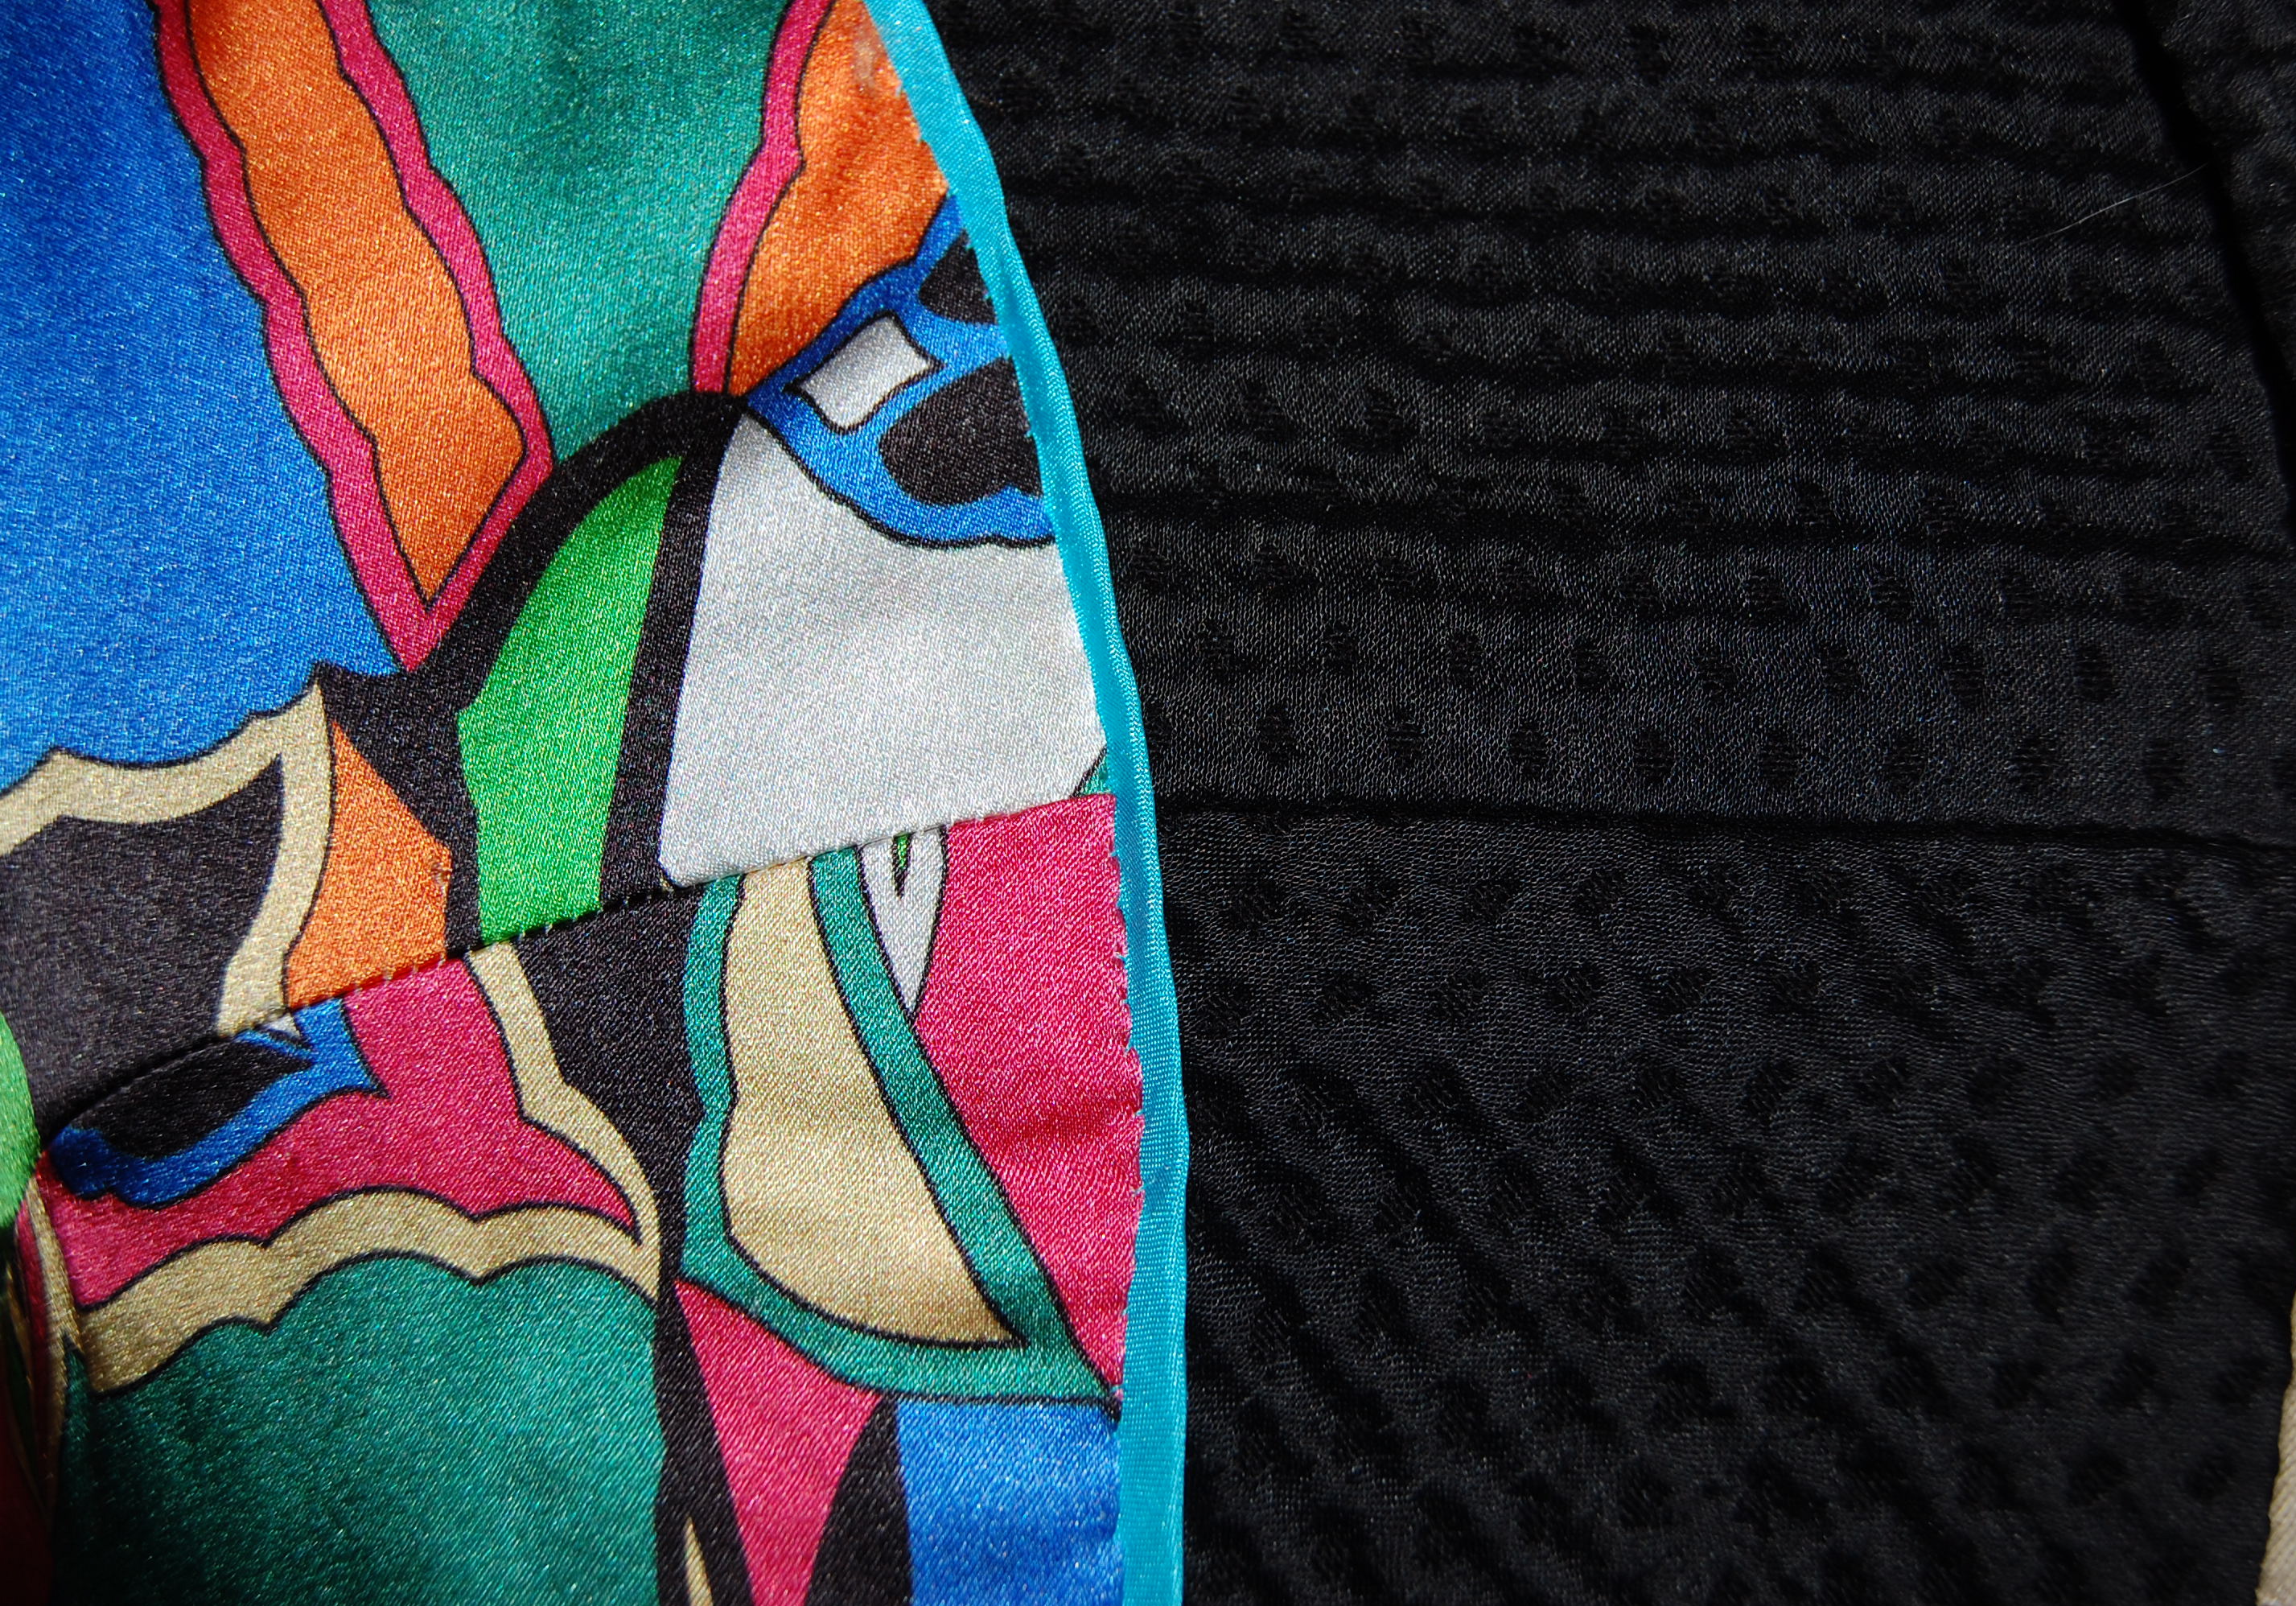
I also had the idea to add a narrow, bias, flat piping to the edge of the lining down the fronts and around the neckline. I found a turquoise silk in my fabric closet which seemed to keep with my “theme” of the turquoise under-stitching on the interior of the dress. This is one of those “dressmaker details” which just makes me happy.
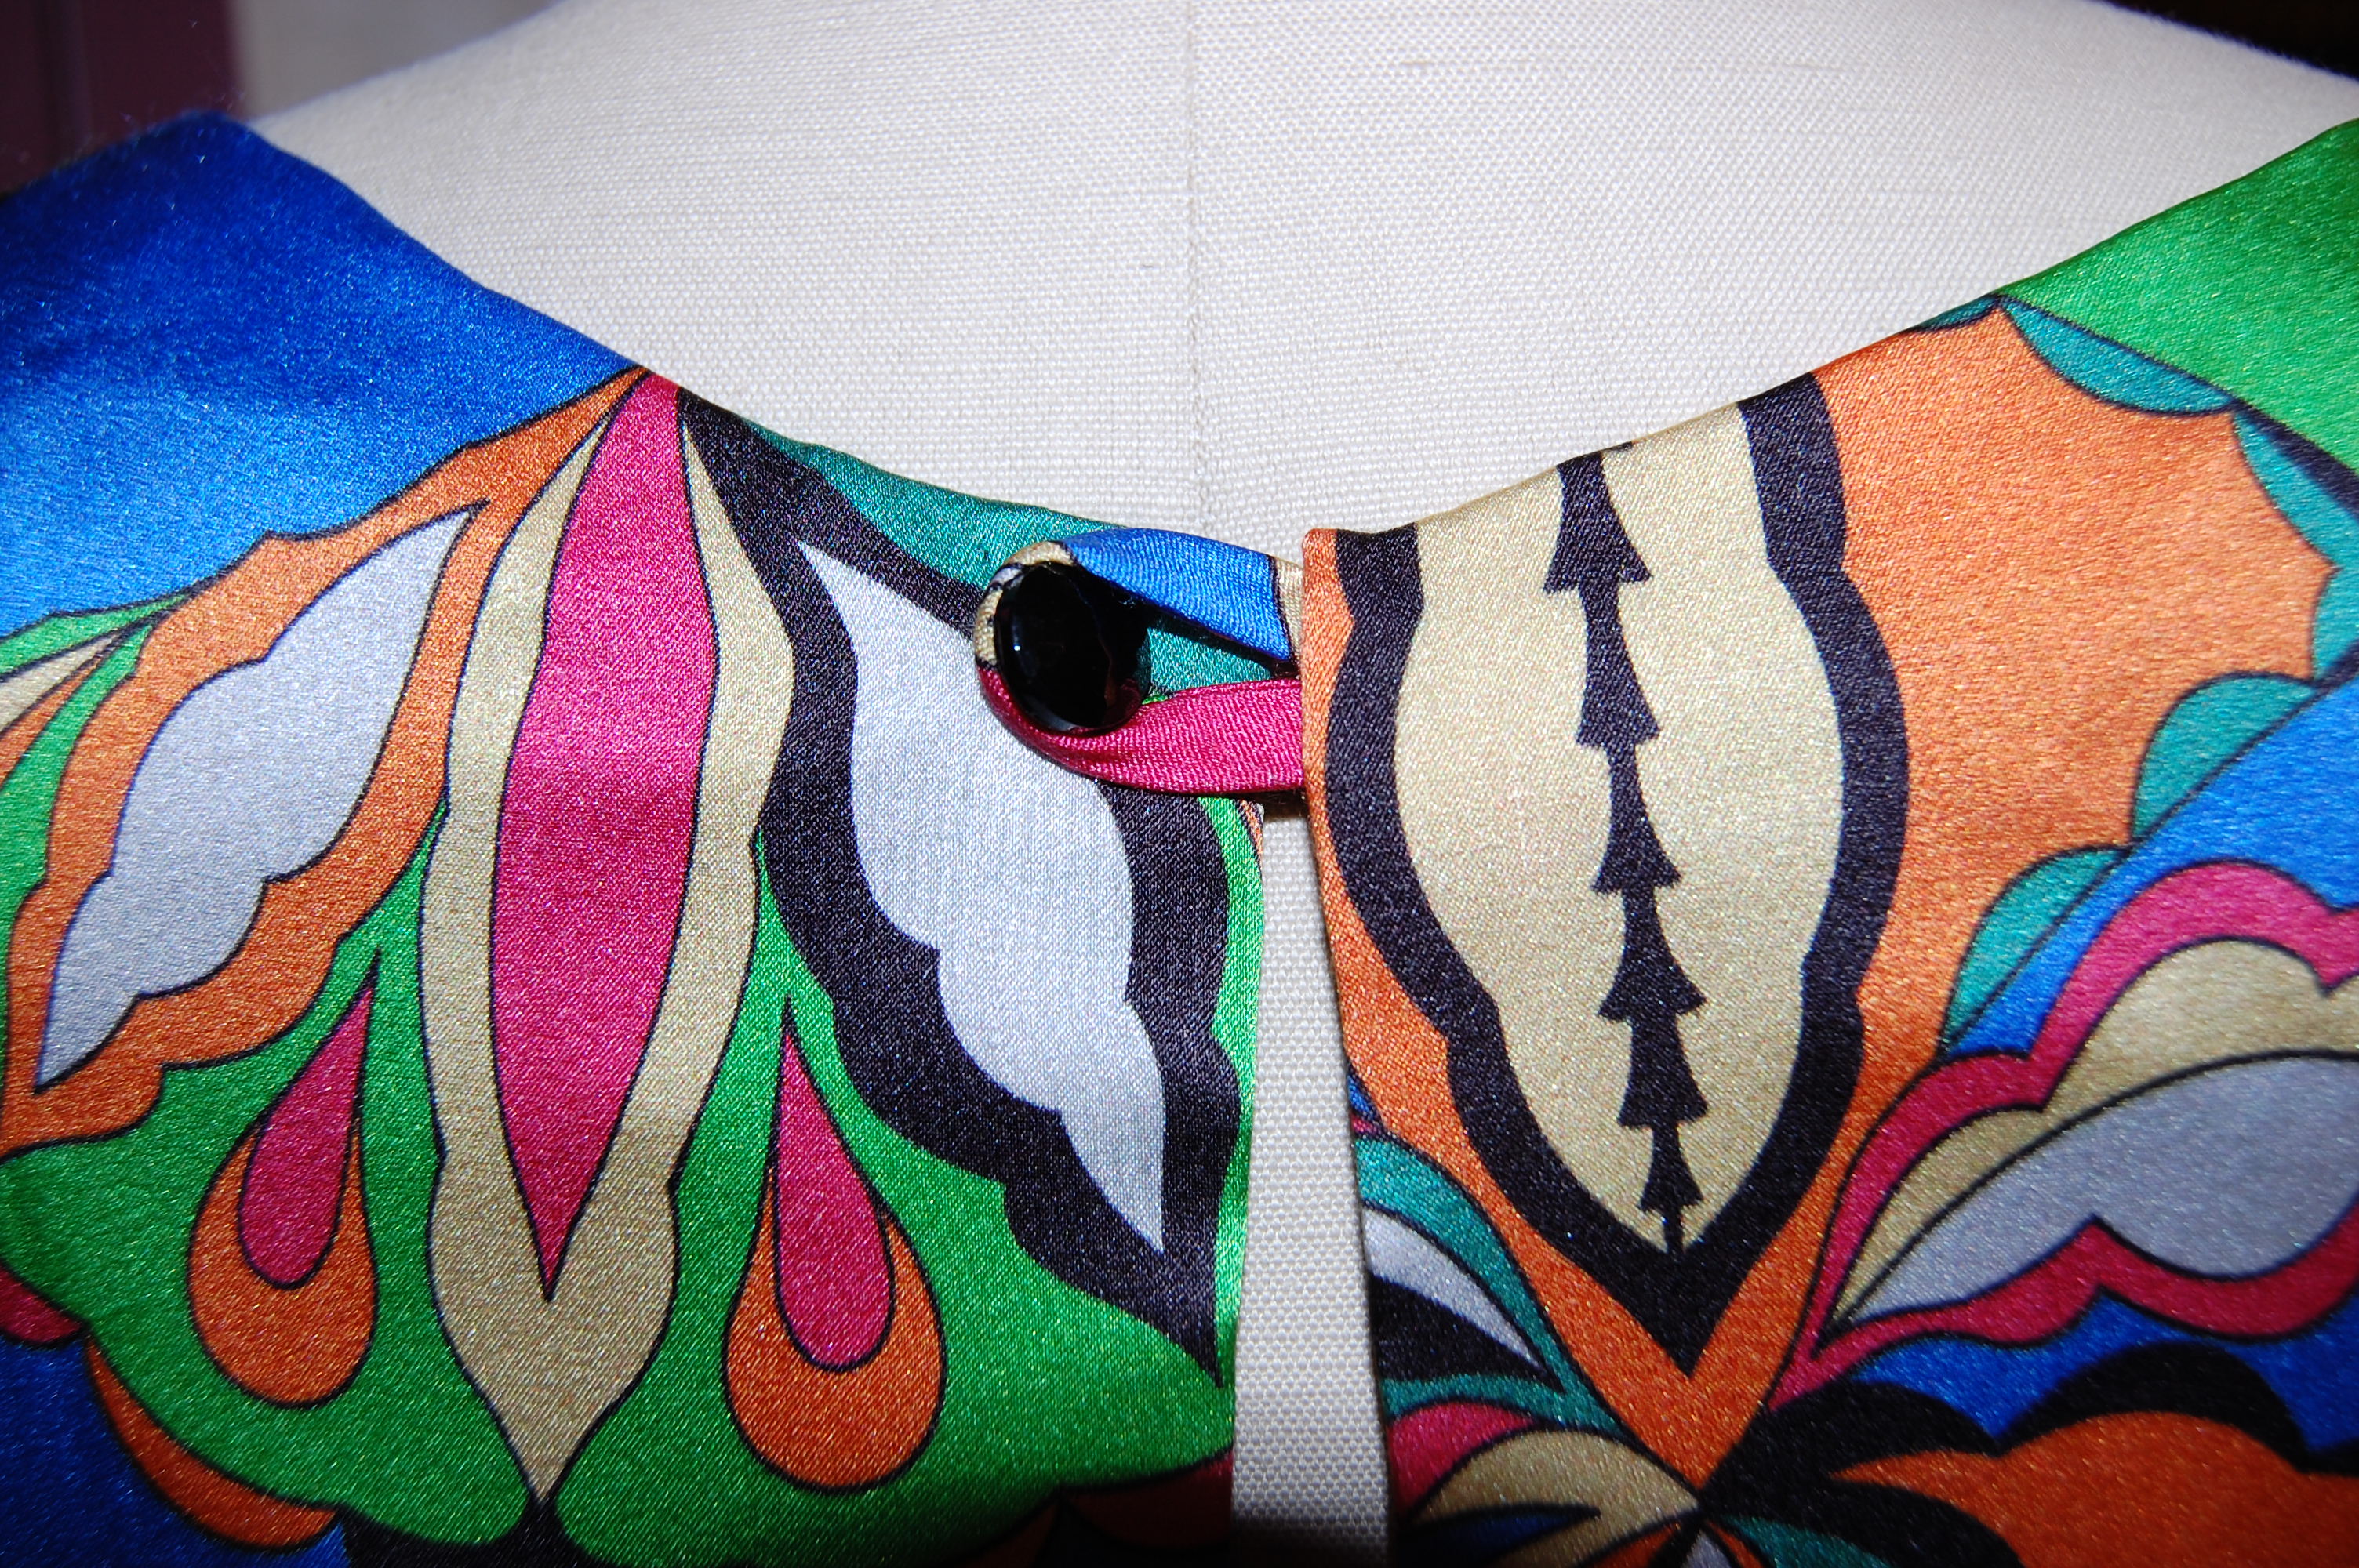
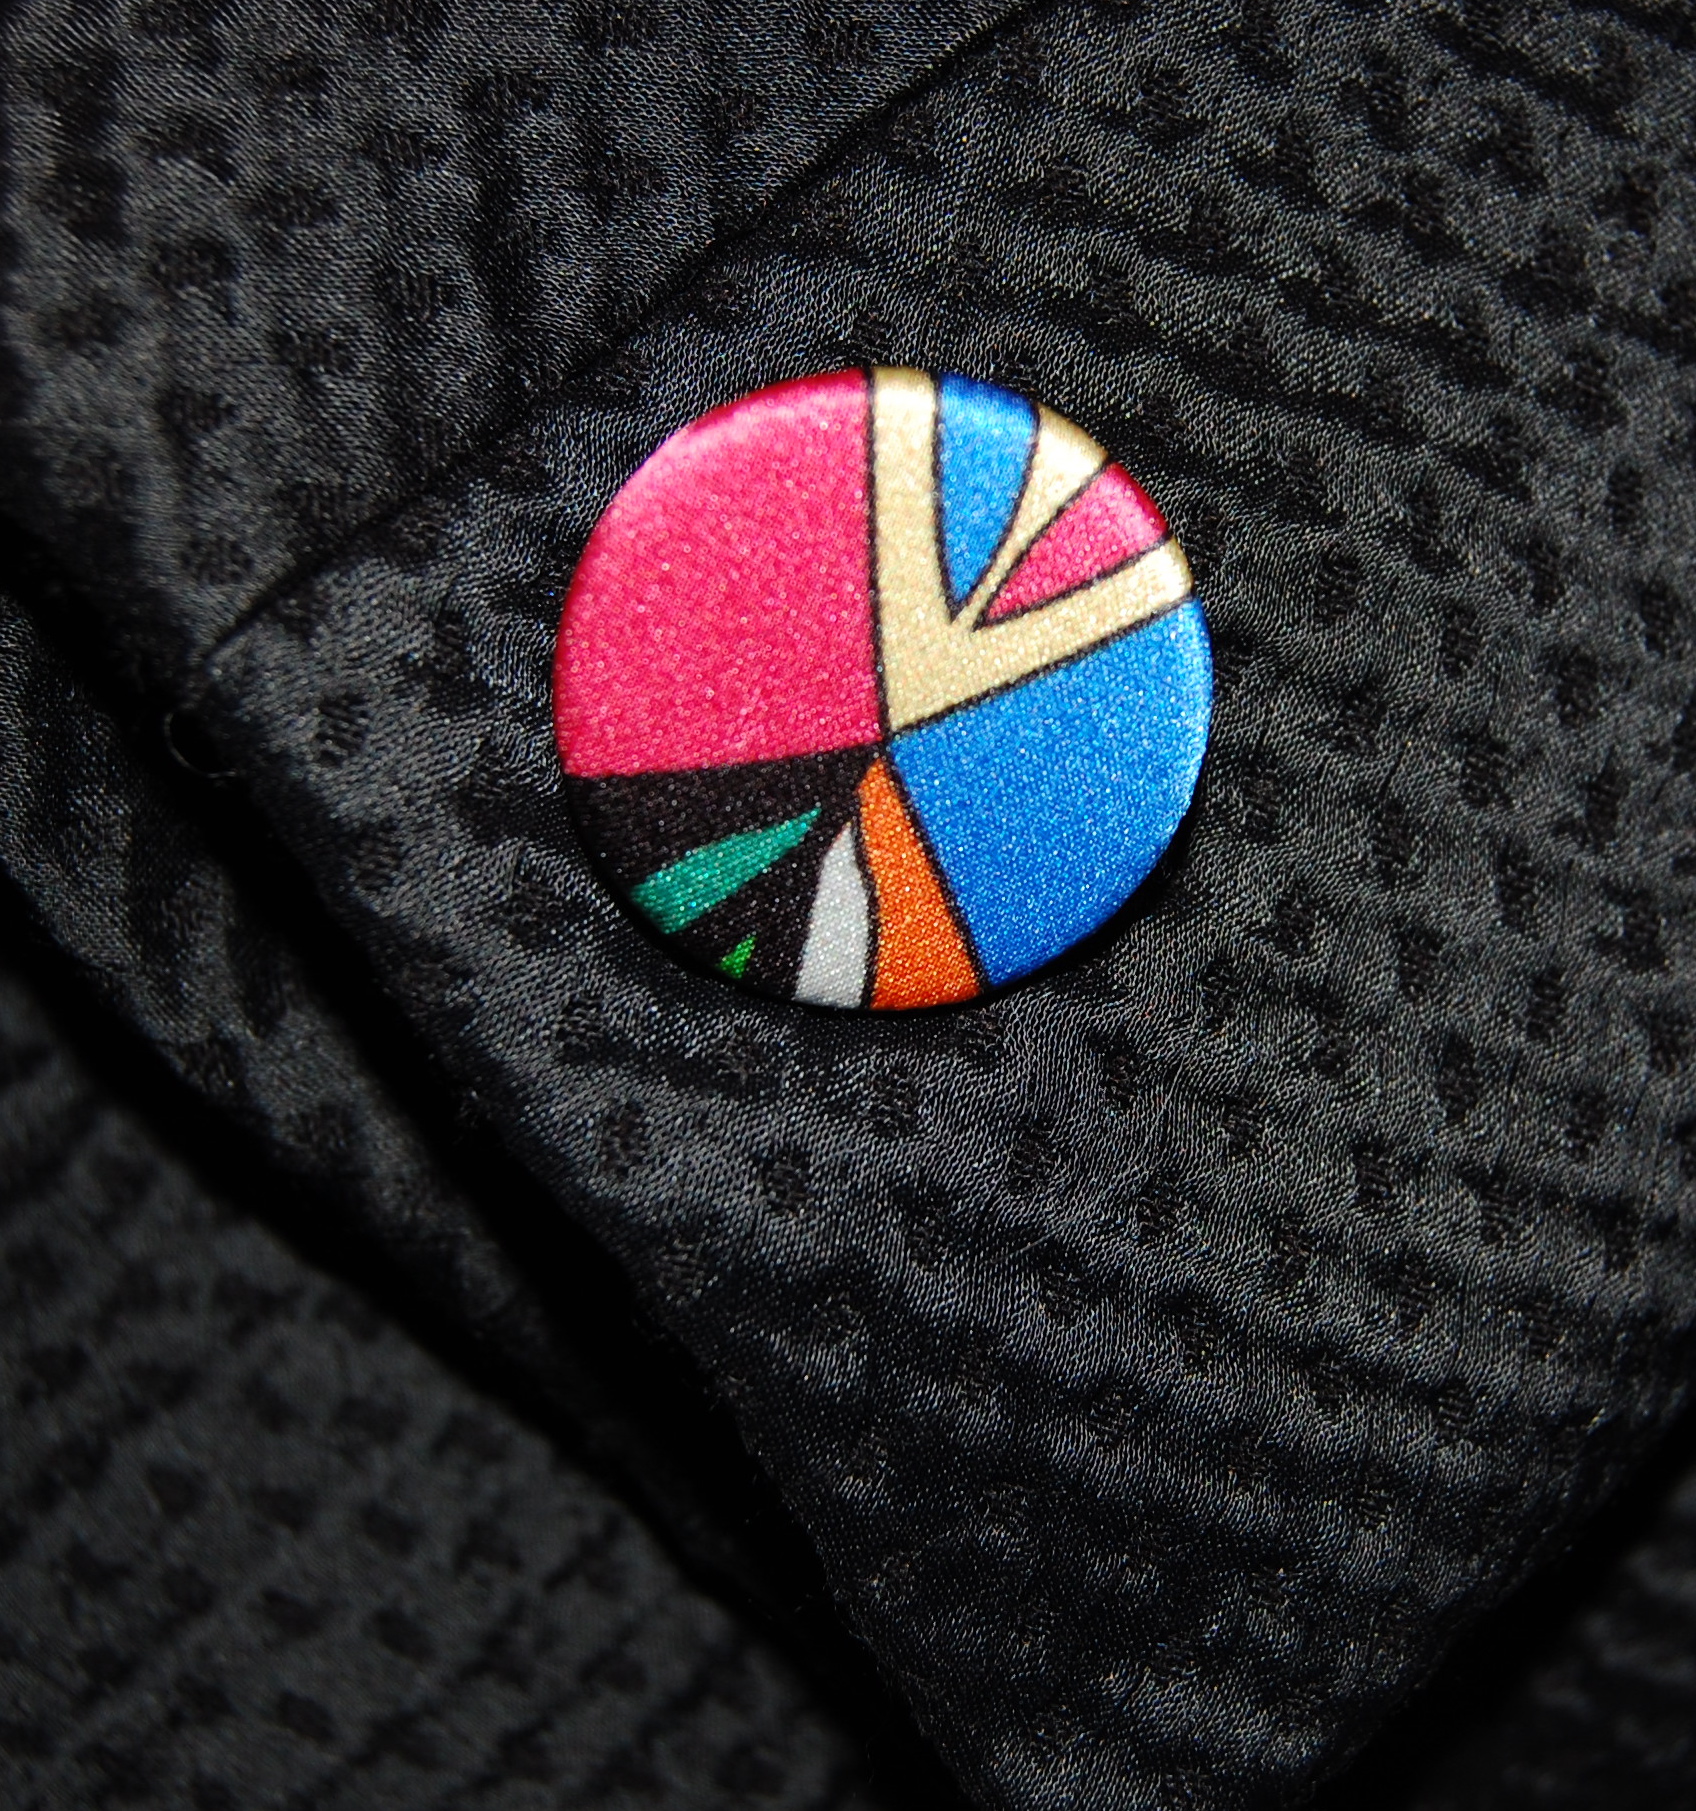
Another thing that makes me happy are the buttons! I picked out specific scraps of the silk, which featured designs I wanted to emphasize on the buttons. I sent them off to Pat Mahoney in Lodi, California, who returned them made into 1¼ inch buttons – flat and beautiful!
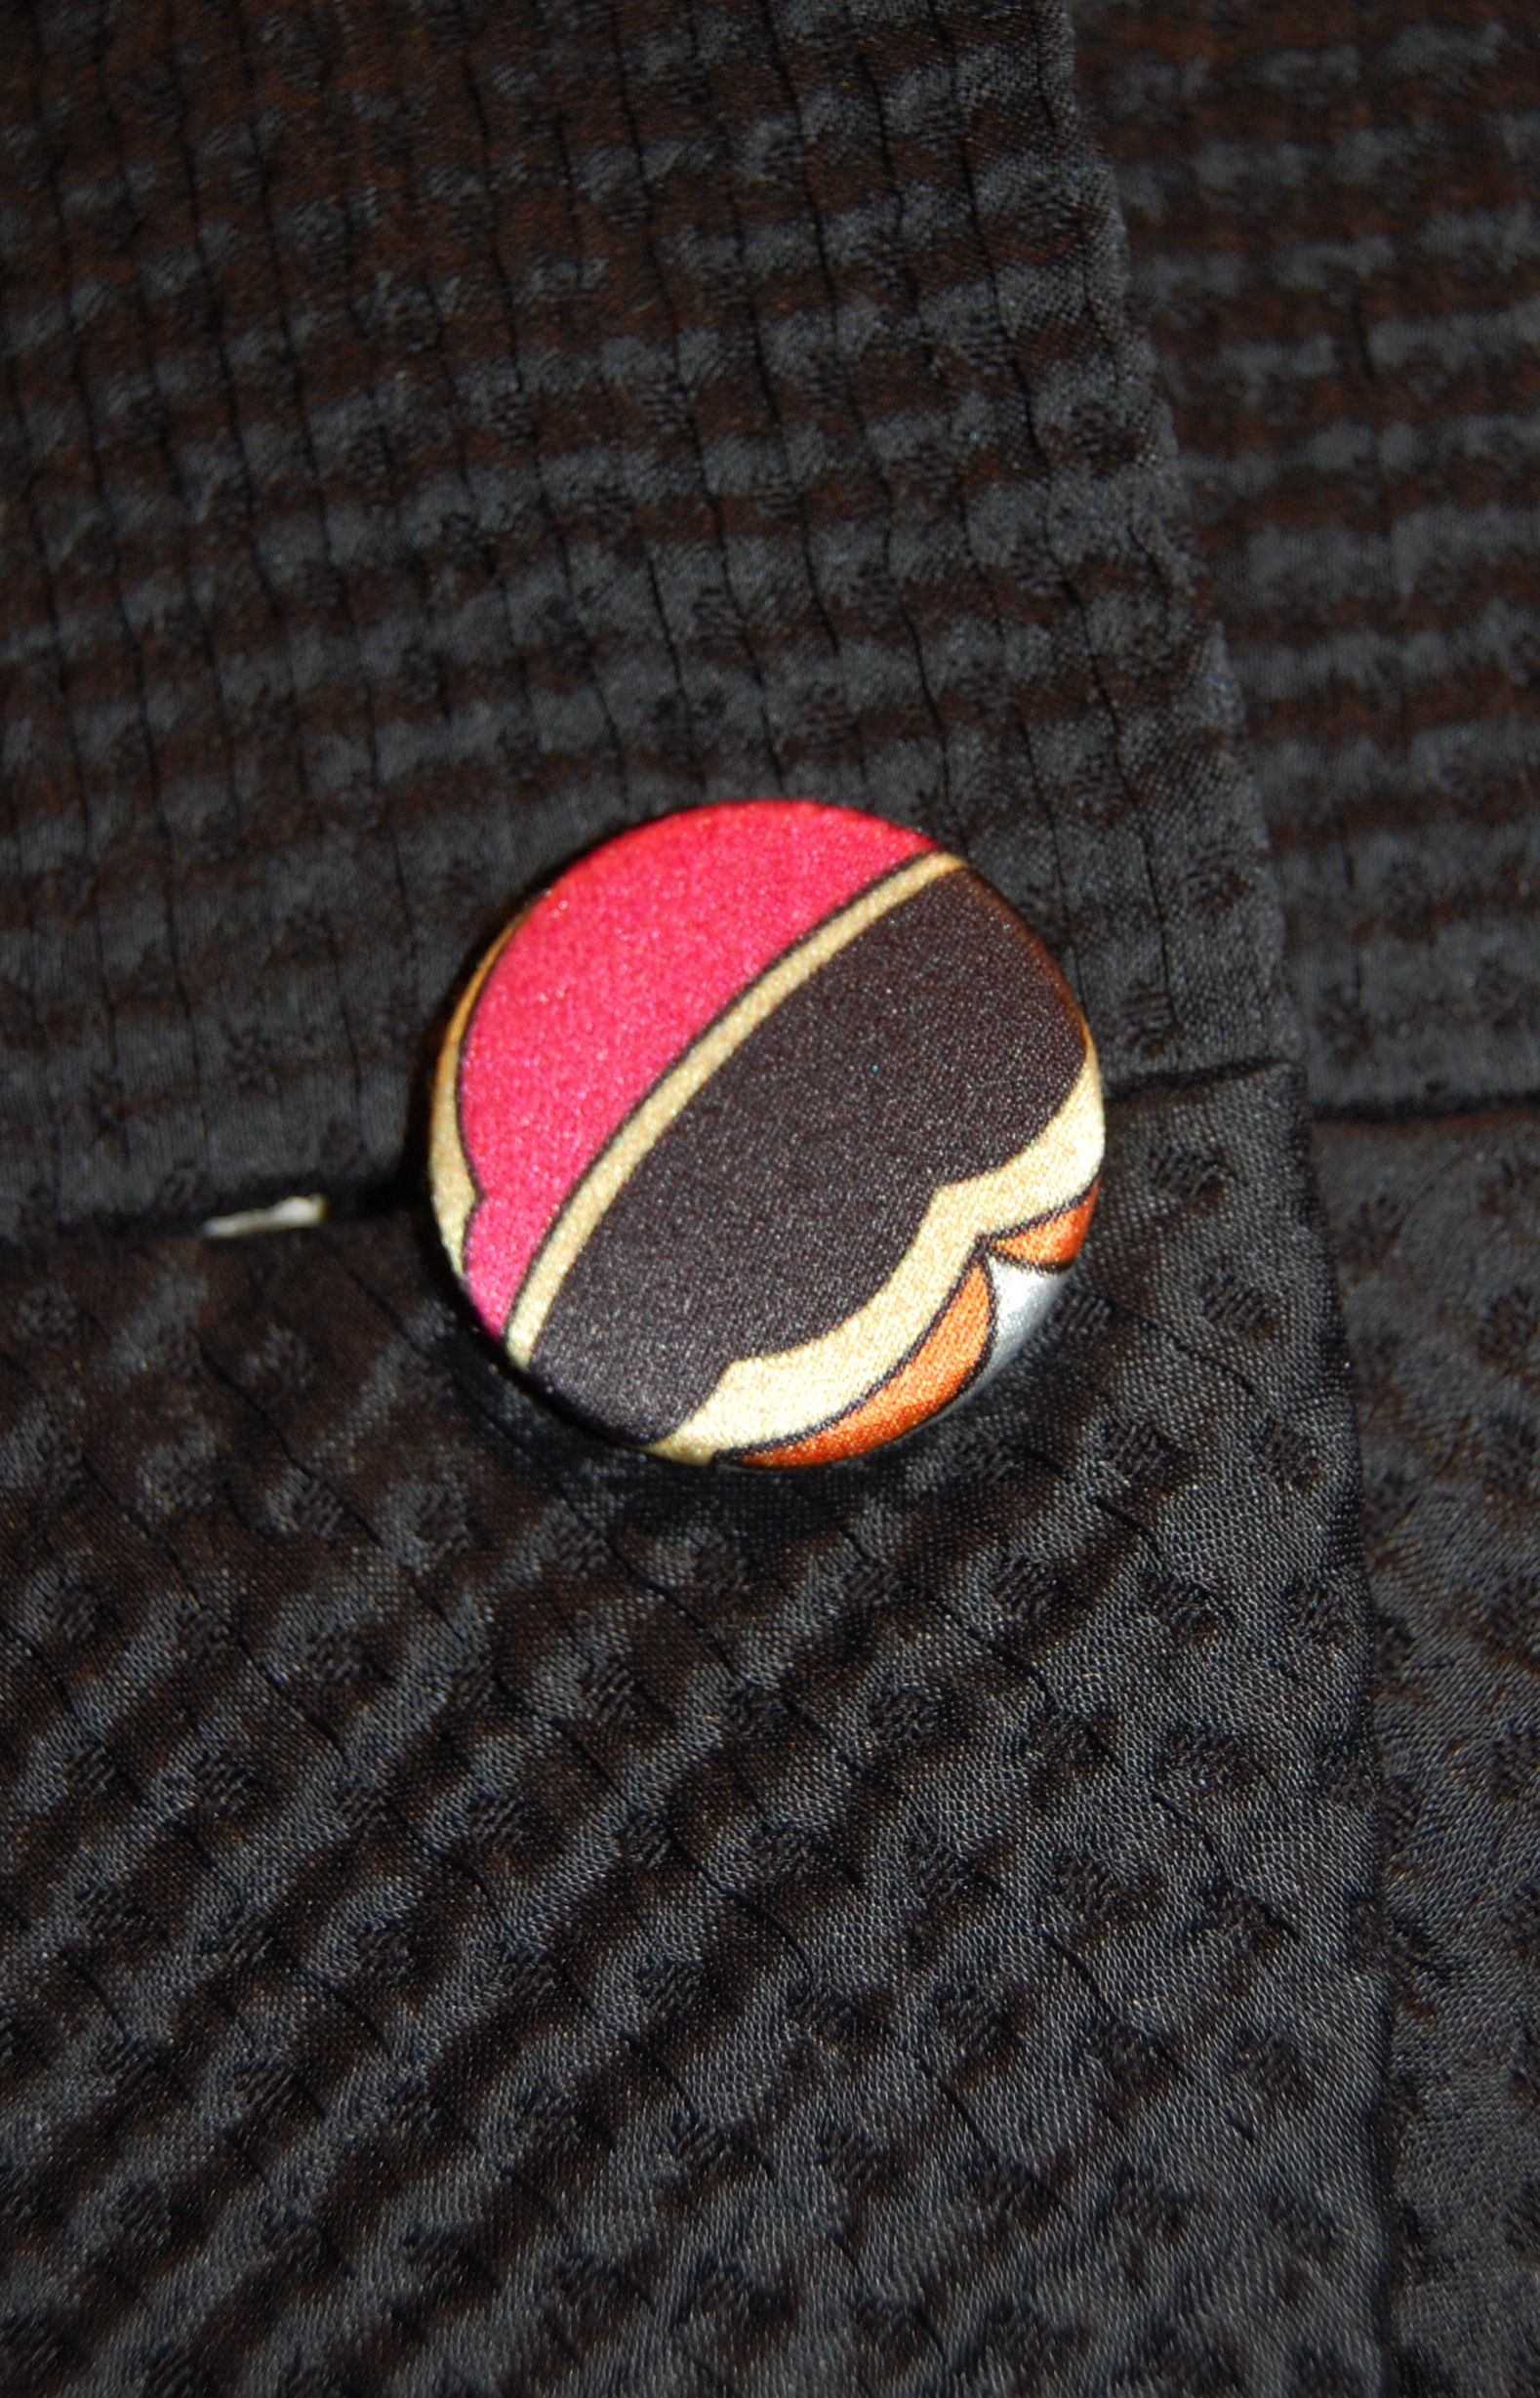
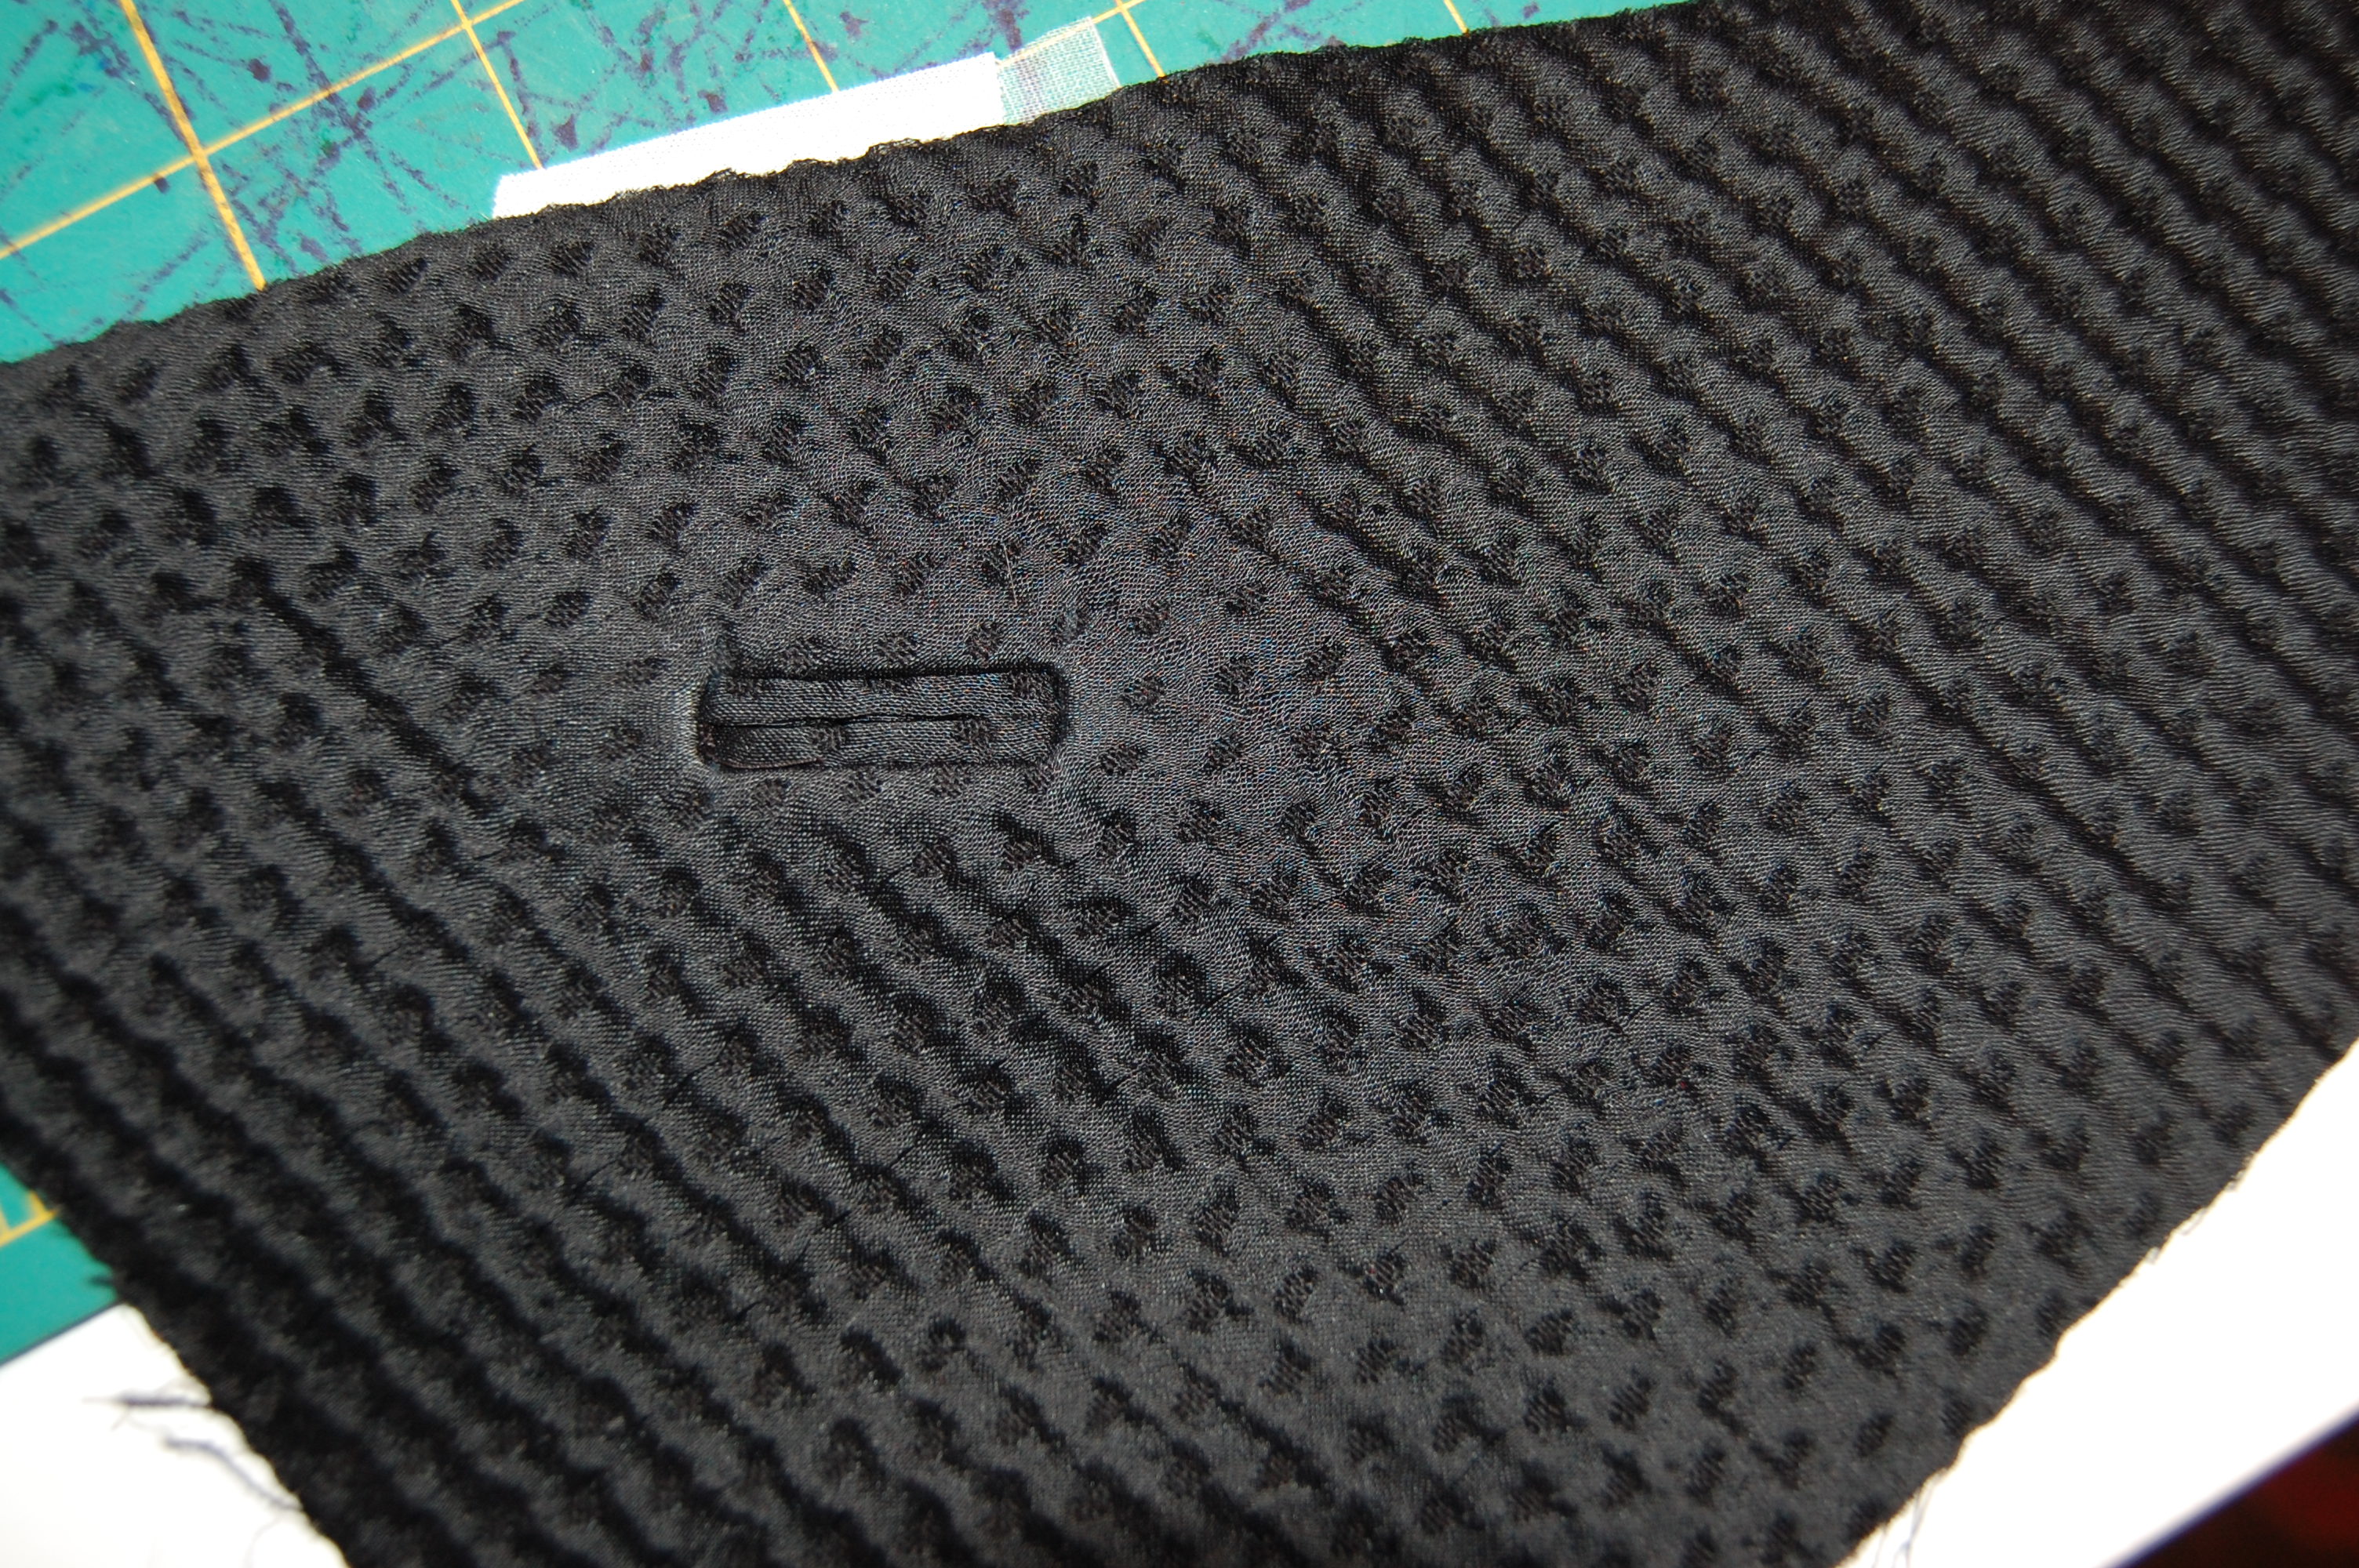
This is the button I chose for the top of the jacket. Notice the slot-seam-buttonhole.
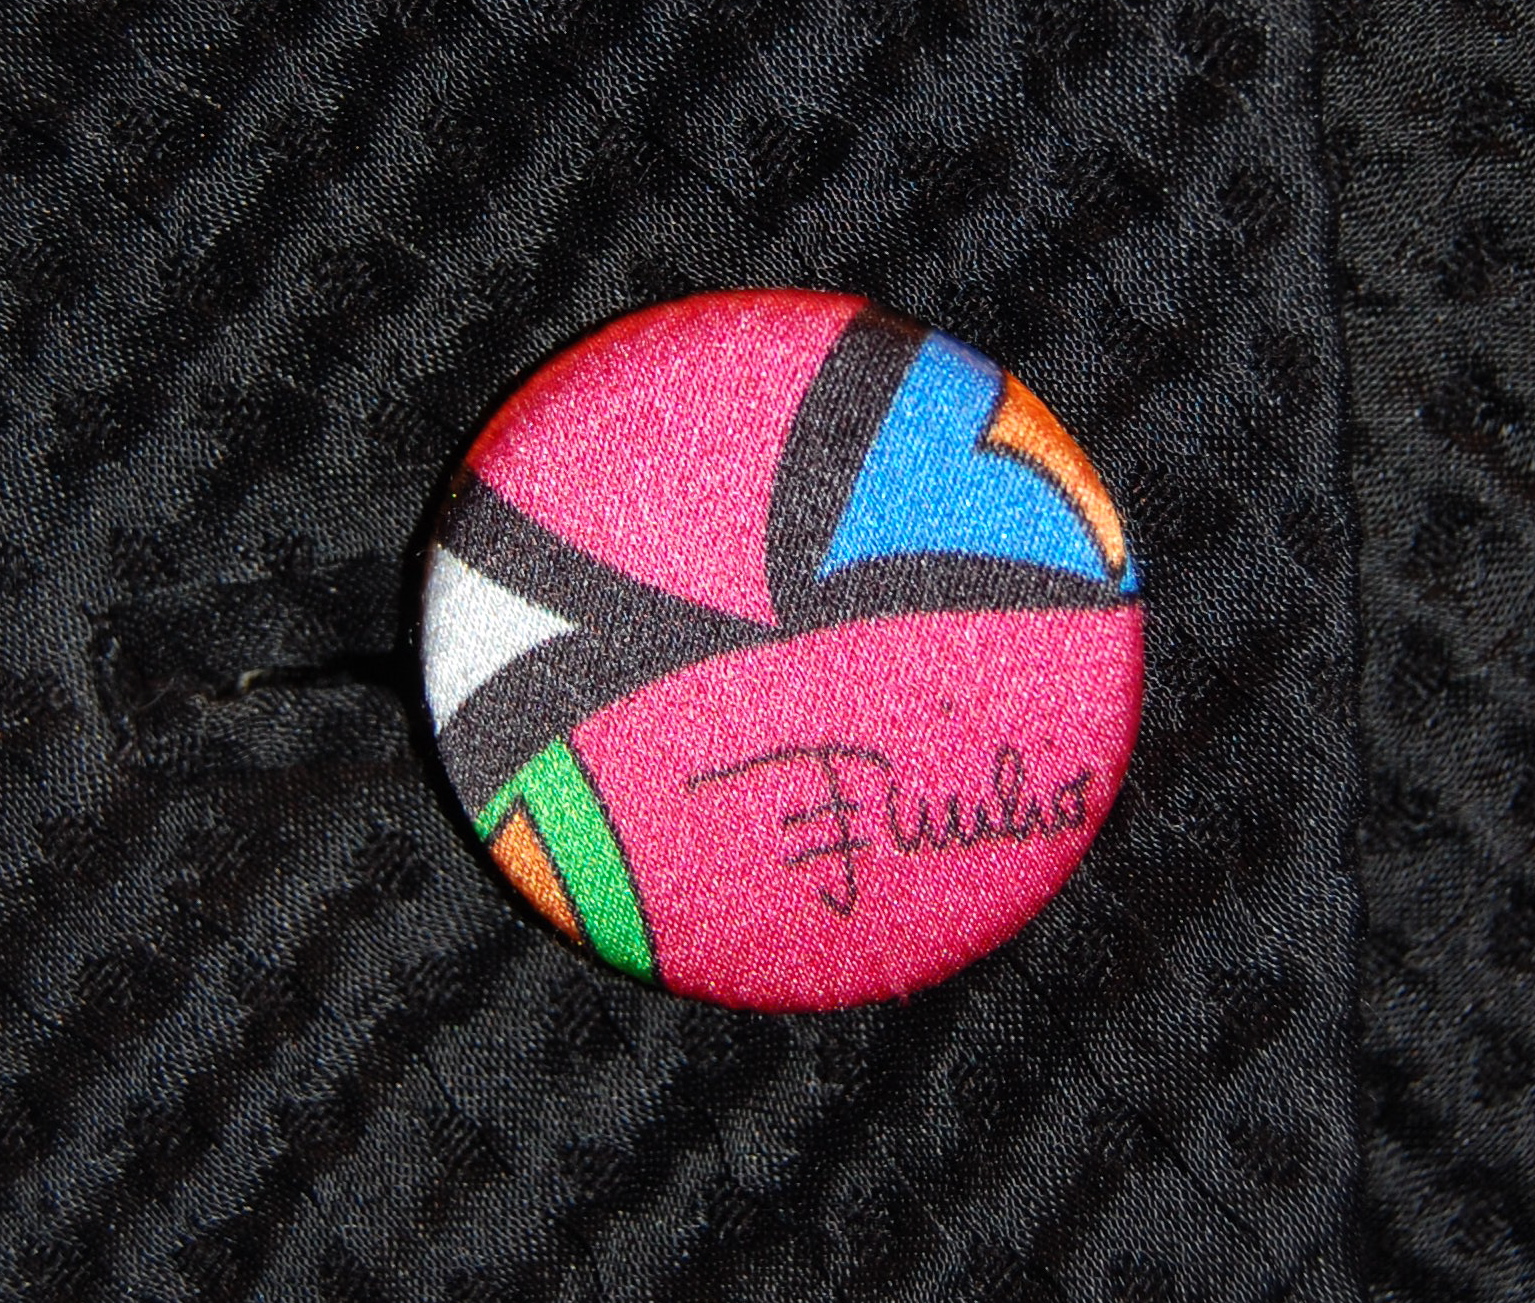
The middle button – I couldn’t resist featuring the Emilio signature on this one.
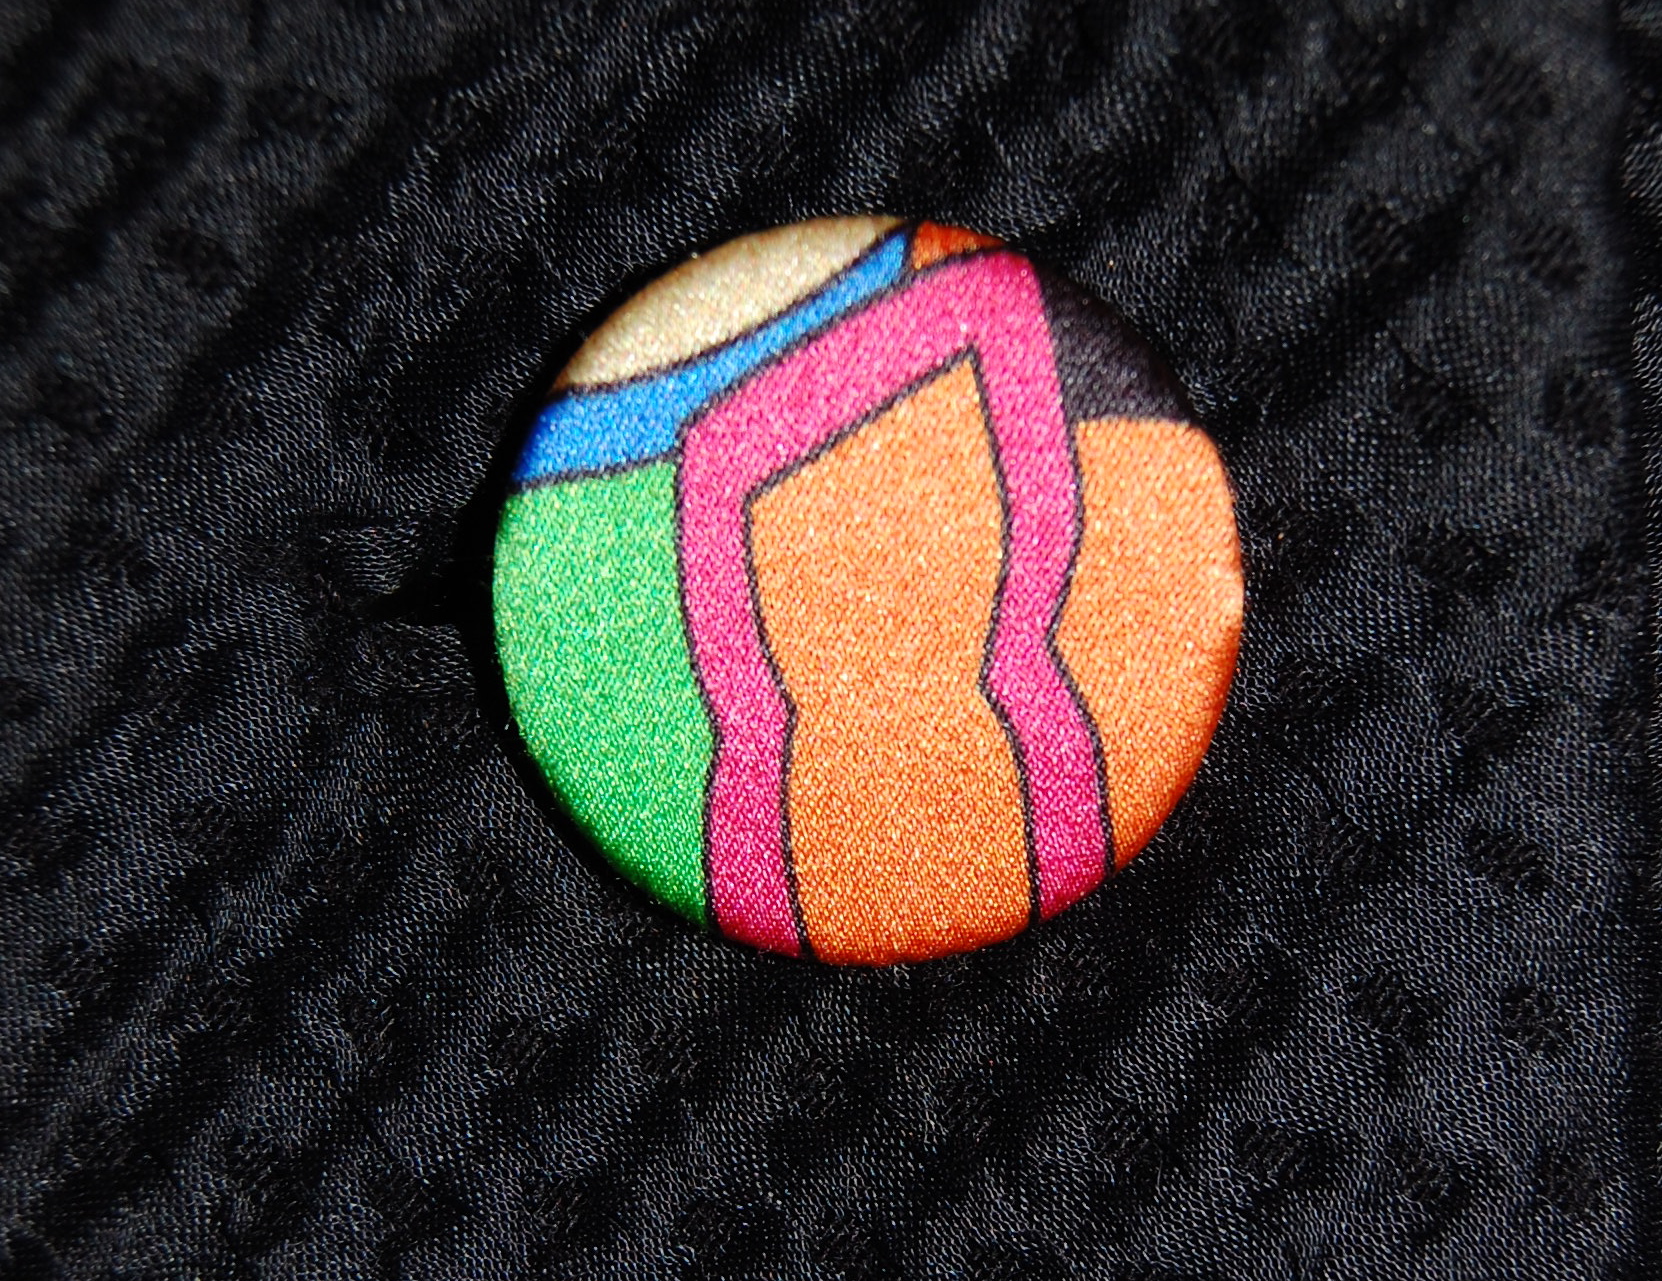
And the lower button.
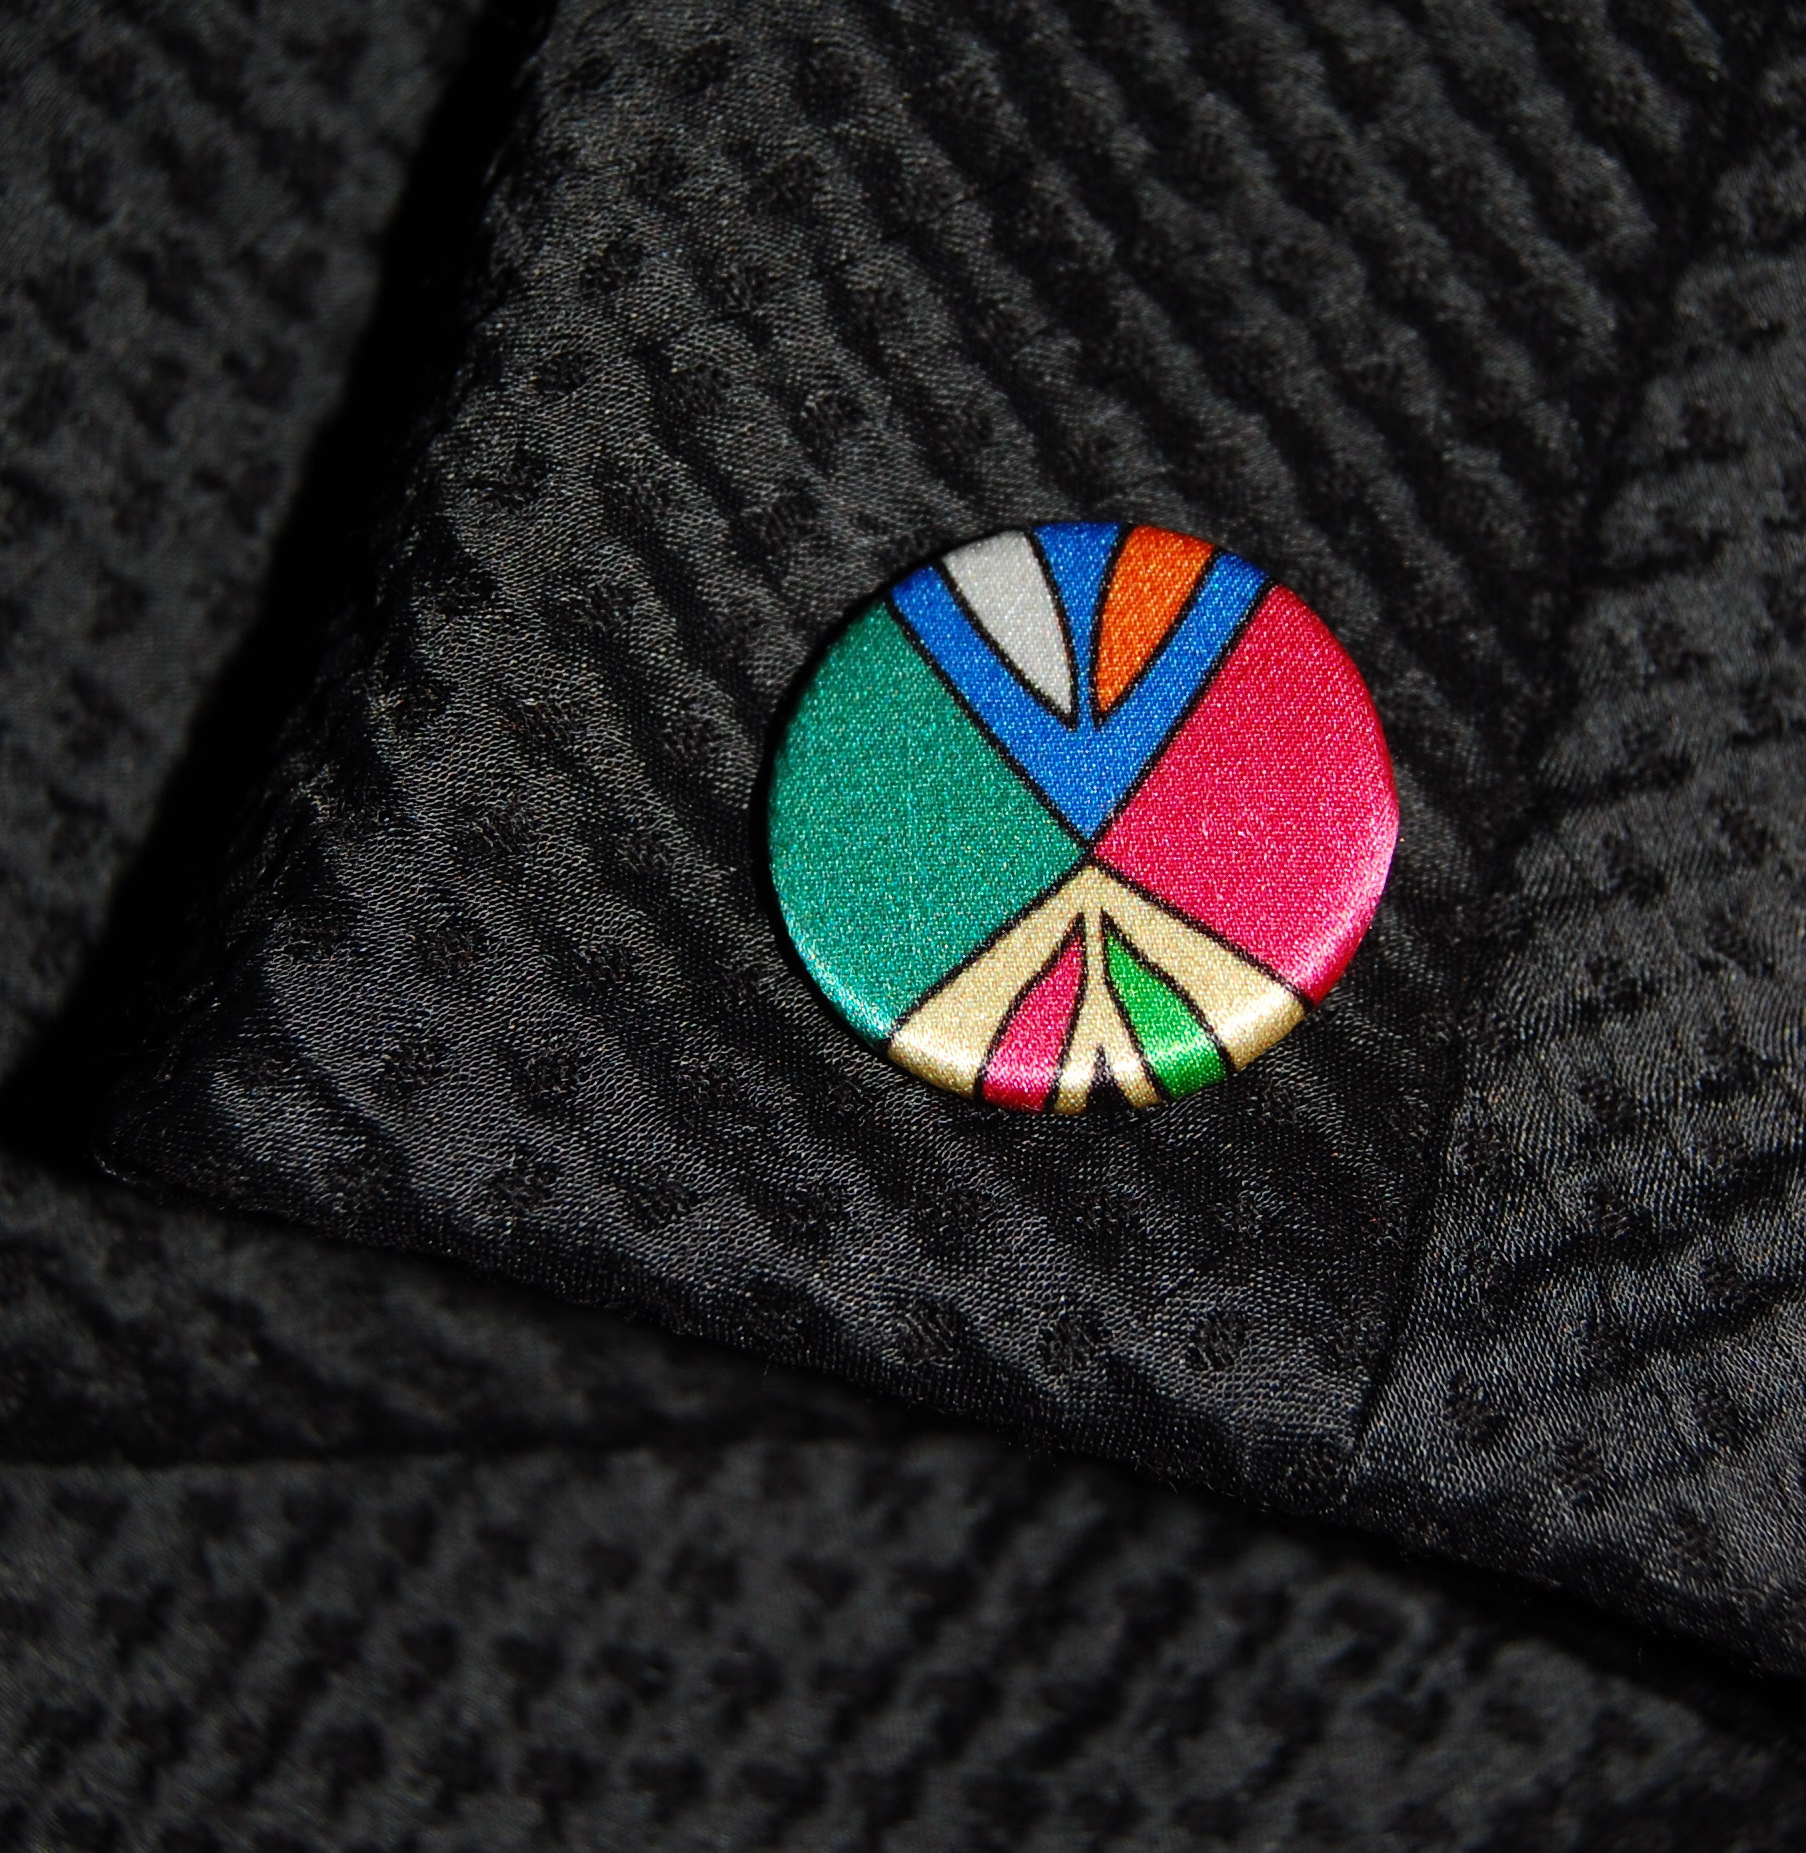
I decided to have two extra buttons made in case I wanted to add them to the sleeves. And – add them, I did. I like the extra subtle attention they bring to the jacket. (Another dressmaker detail – specifically, an added embellishment.)
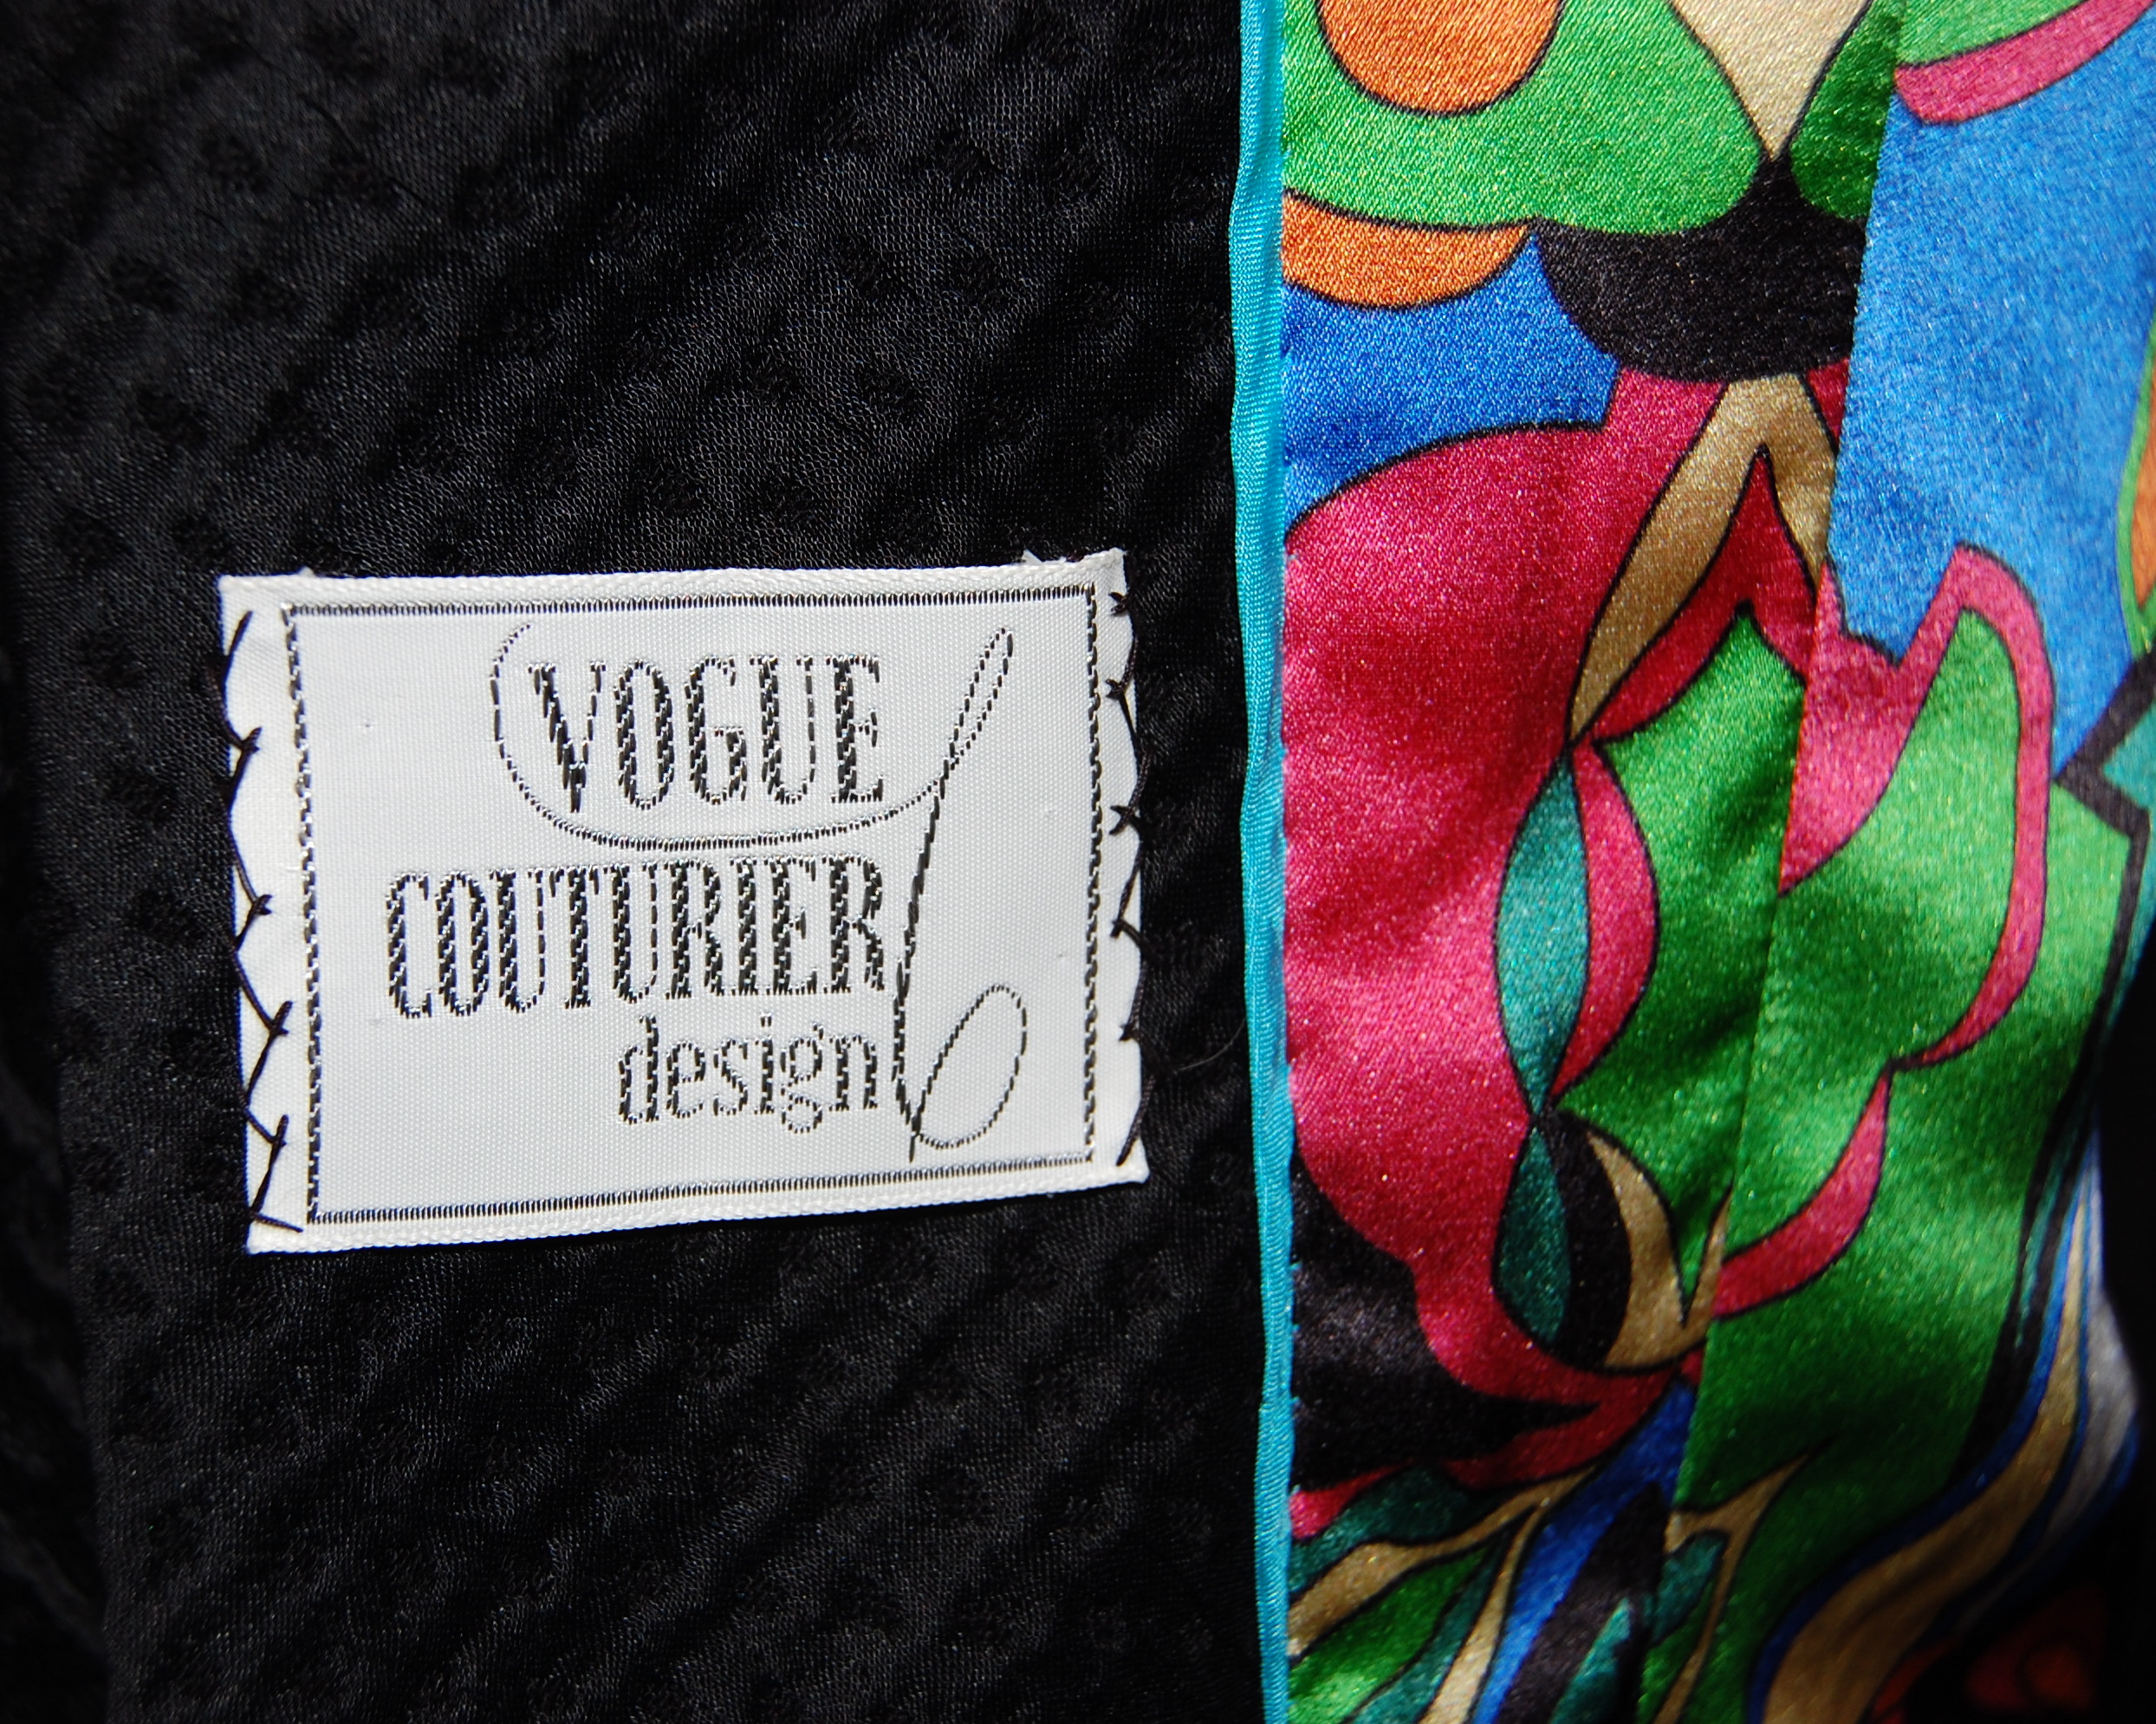
I had the jacket finished when I suddenly remembered that a Vogue label had come with the pattern. Of course, I was delighted to sew it in place.
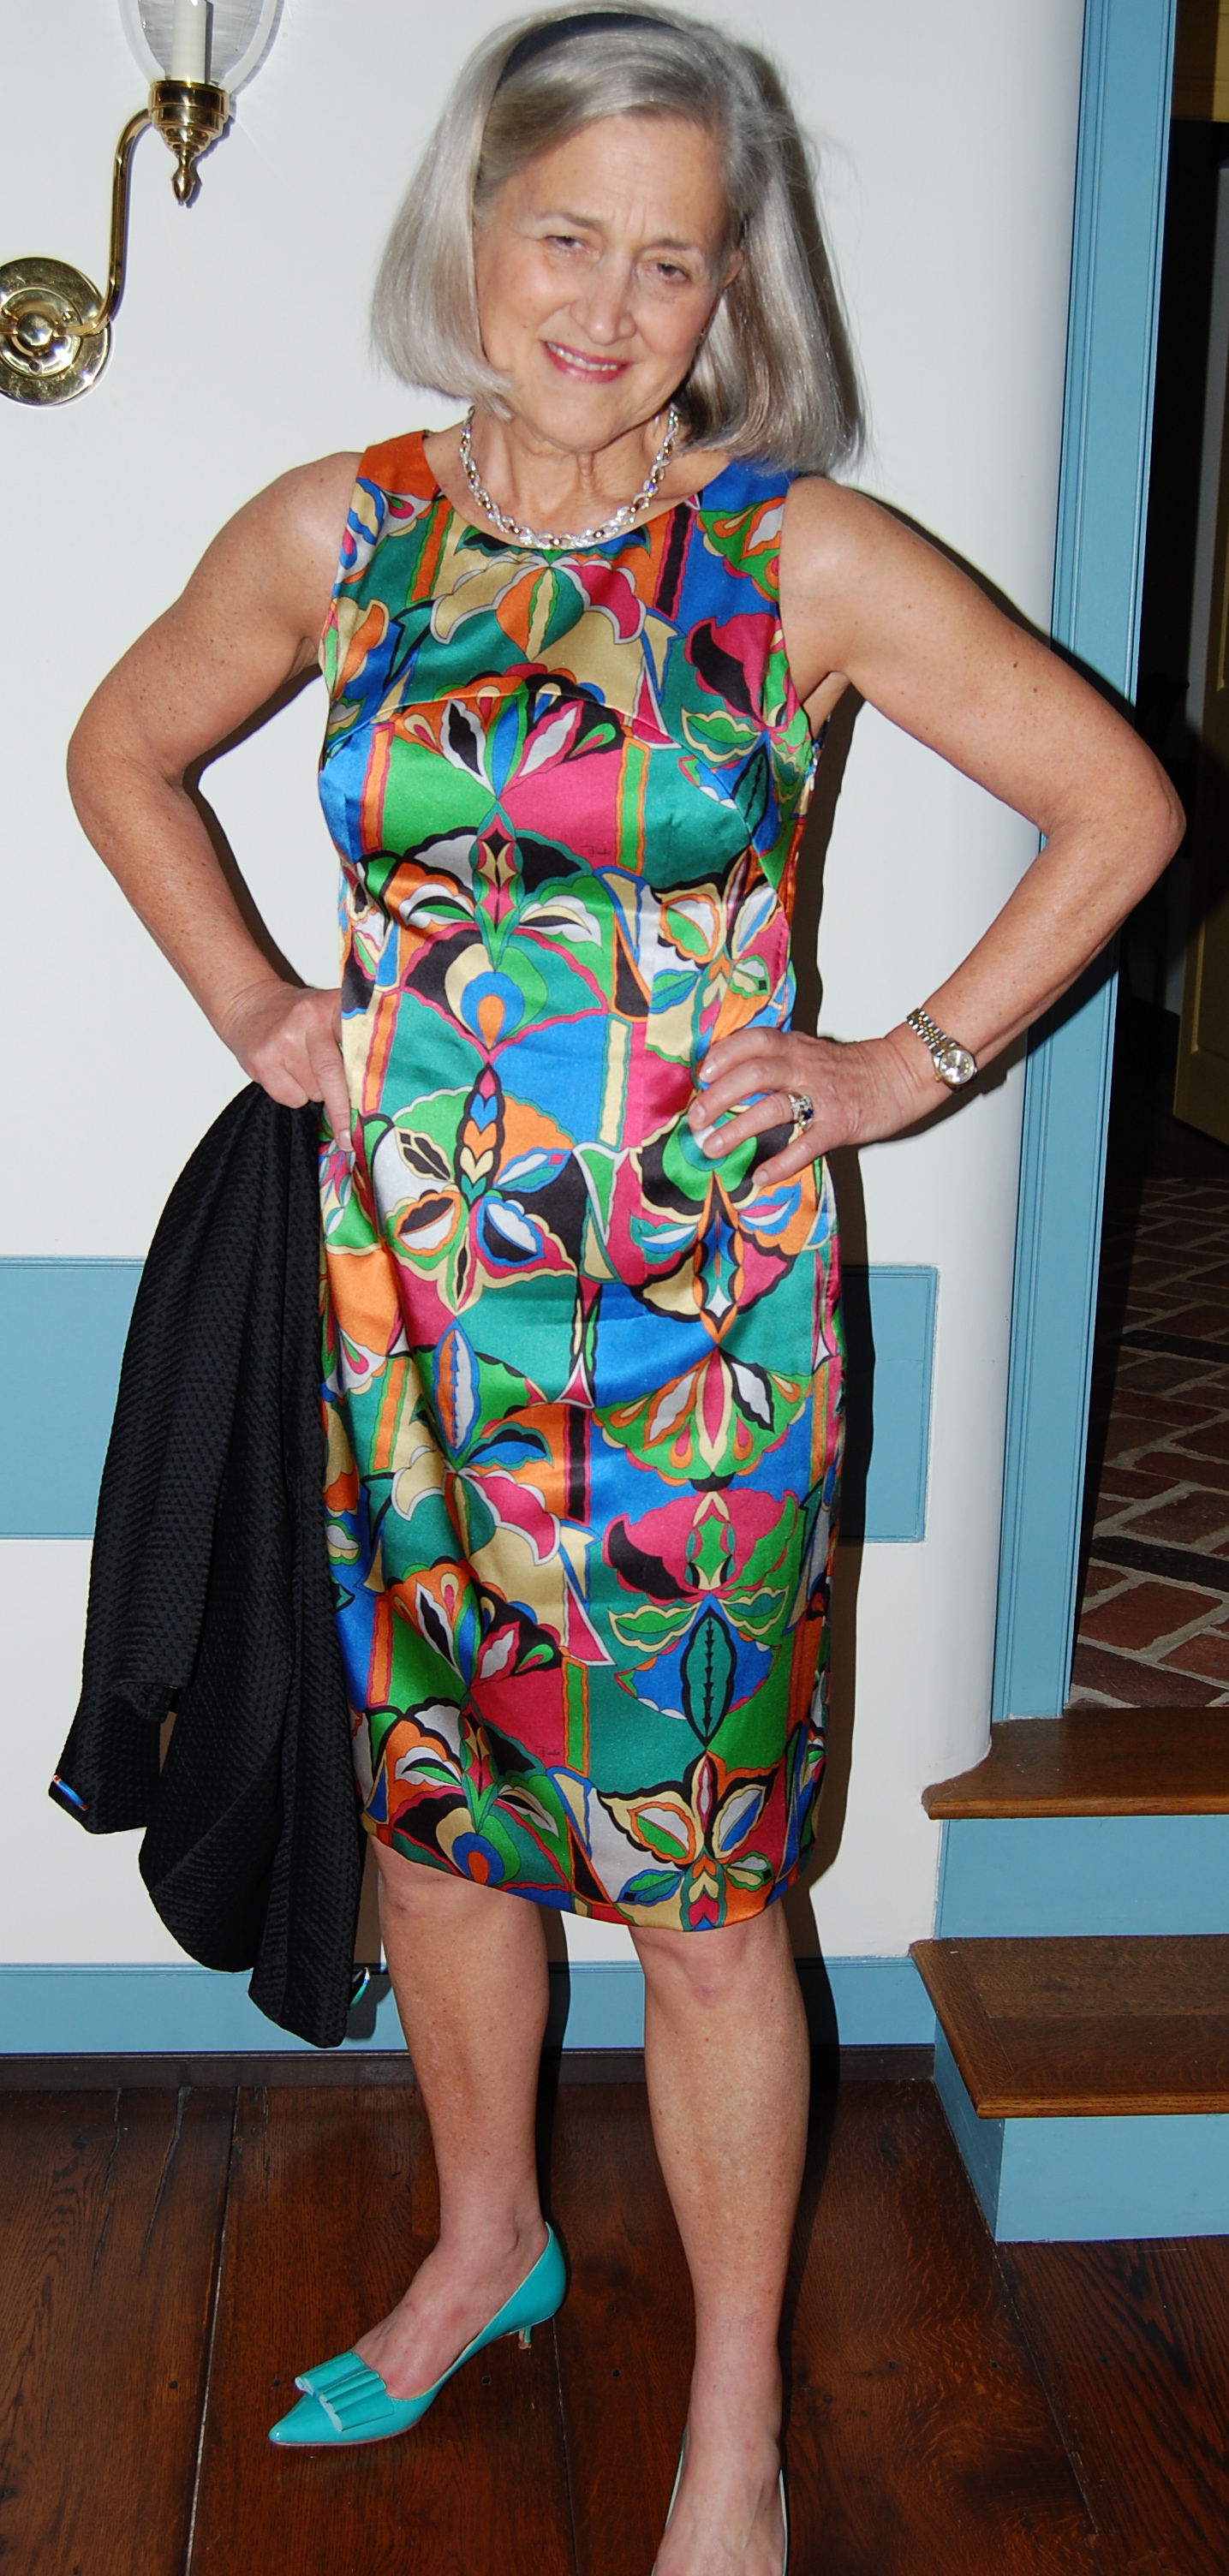
There is something about using a pattern from 1965 that seems quite amazing to me. Yes, it is simple math, but think about this: 1965 was 49 years ago! Is anyone who sees me in this dress and jacket going to think that it is sewn from a 49-year-old pattern? Somehow I doubt it. I think my secret is safe.