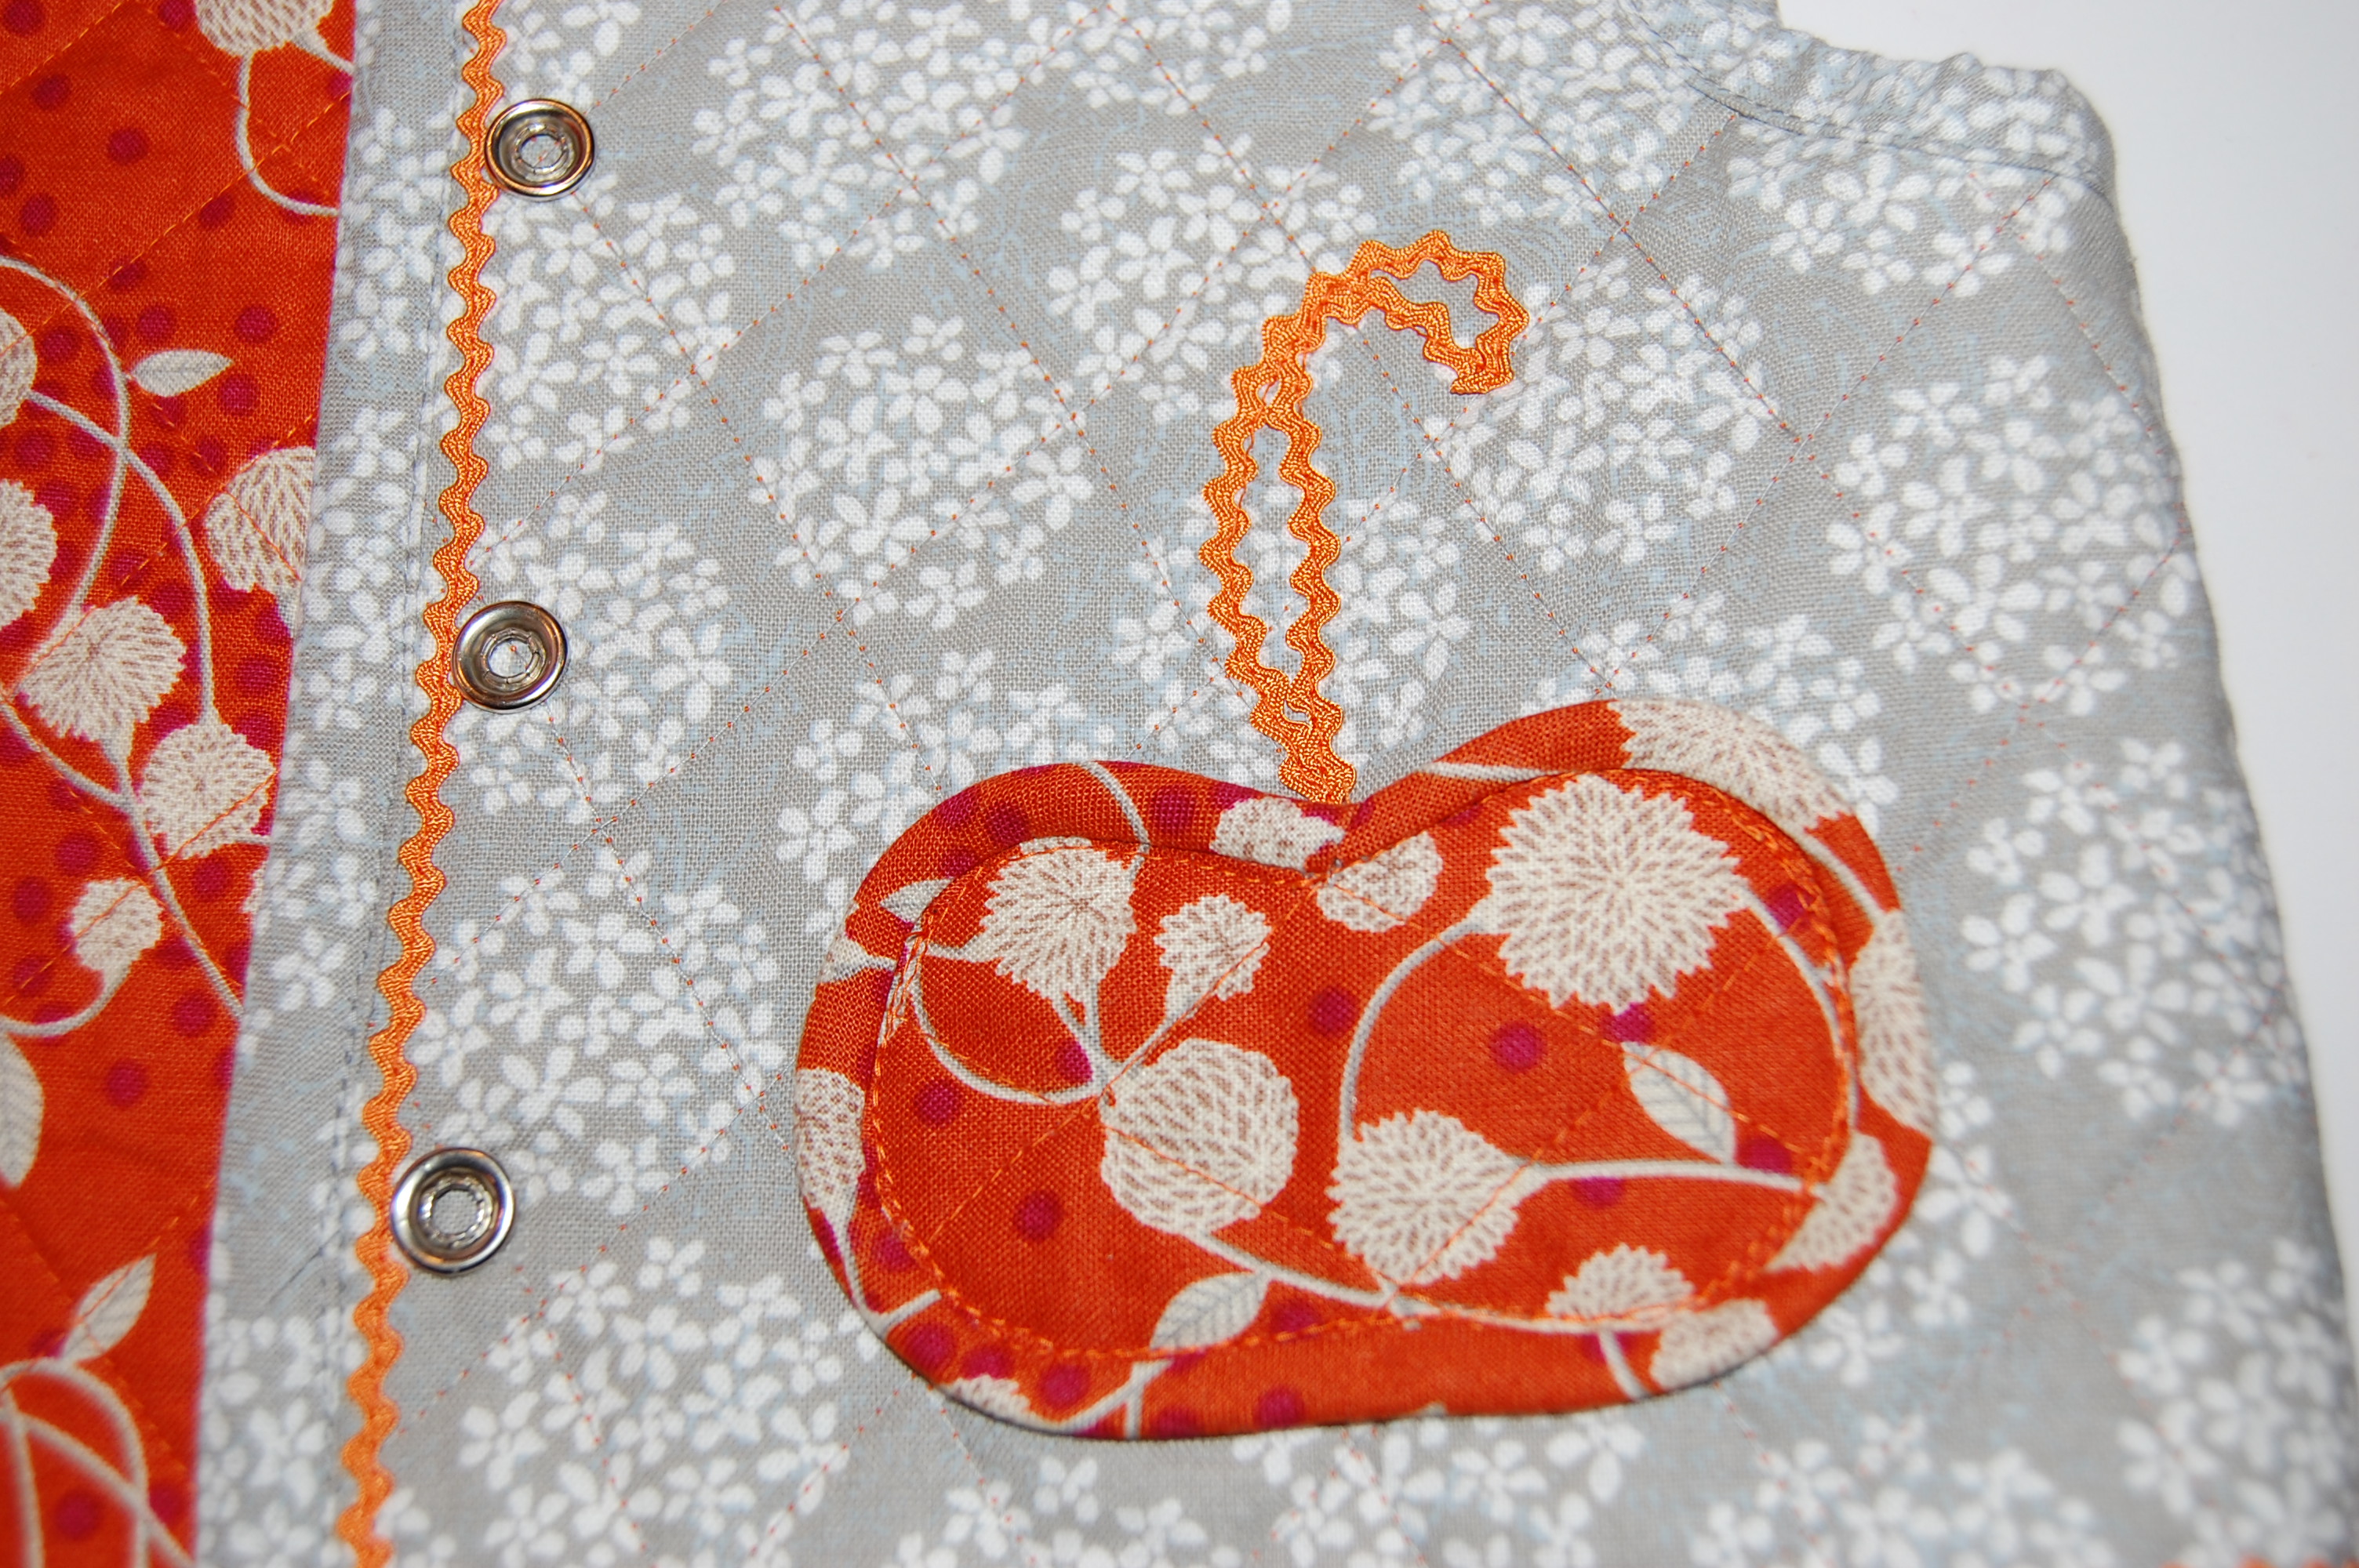
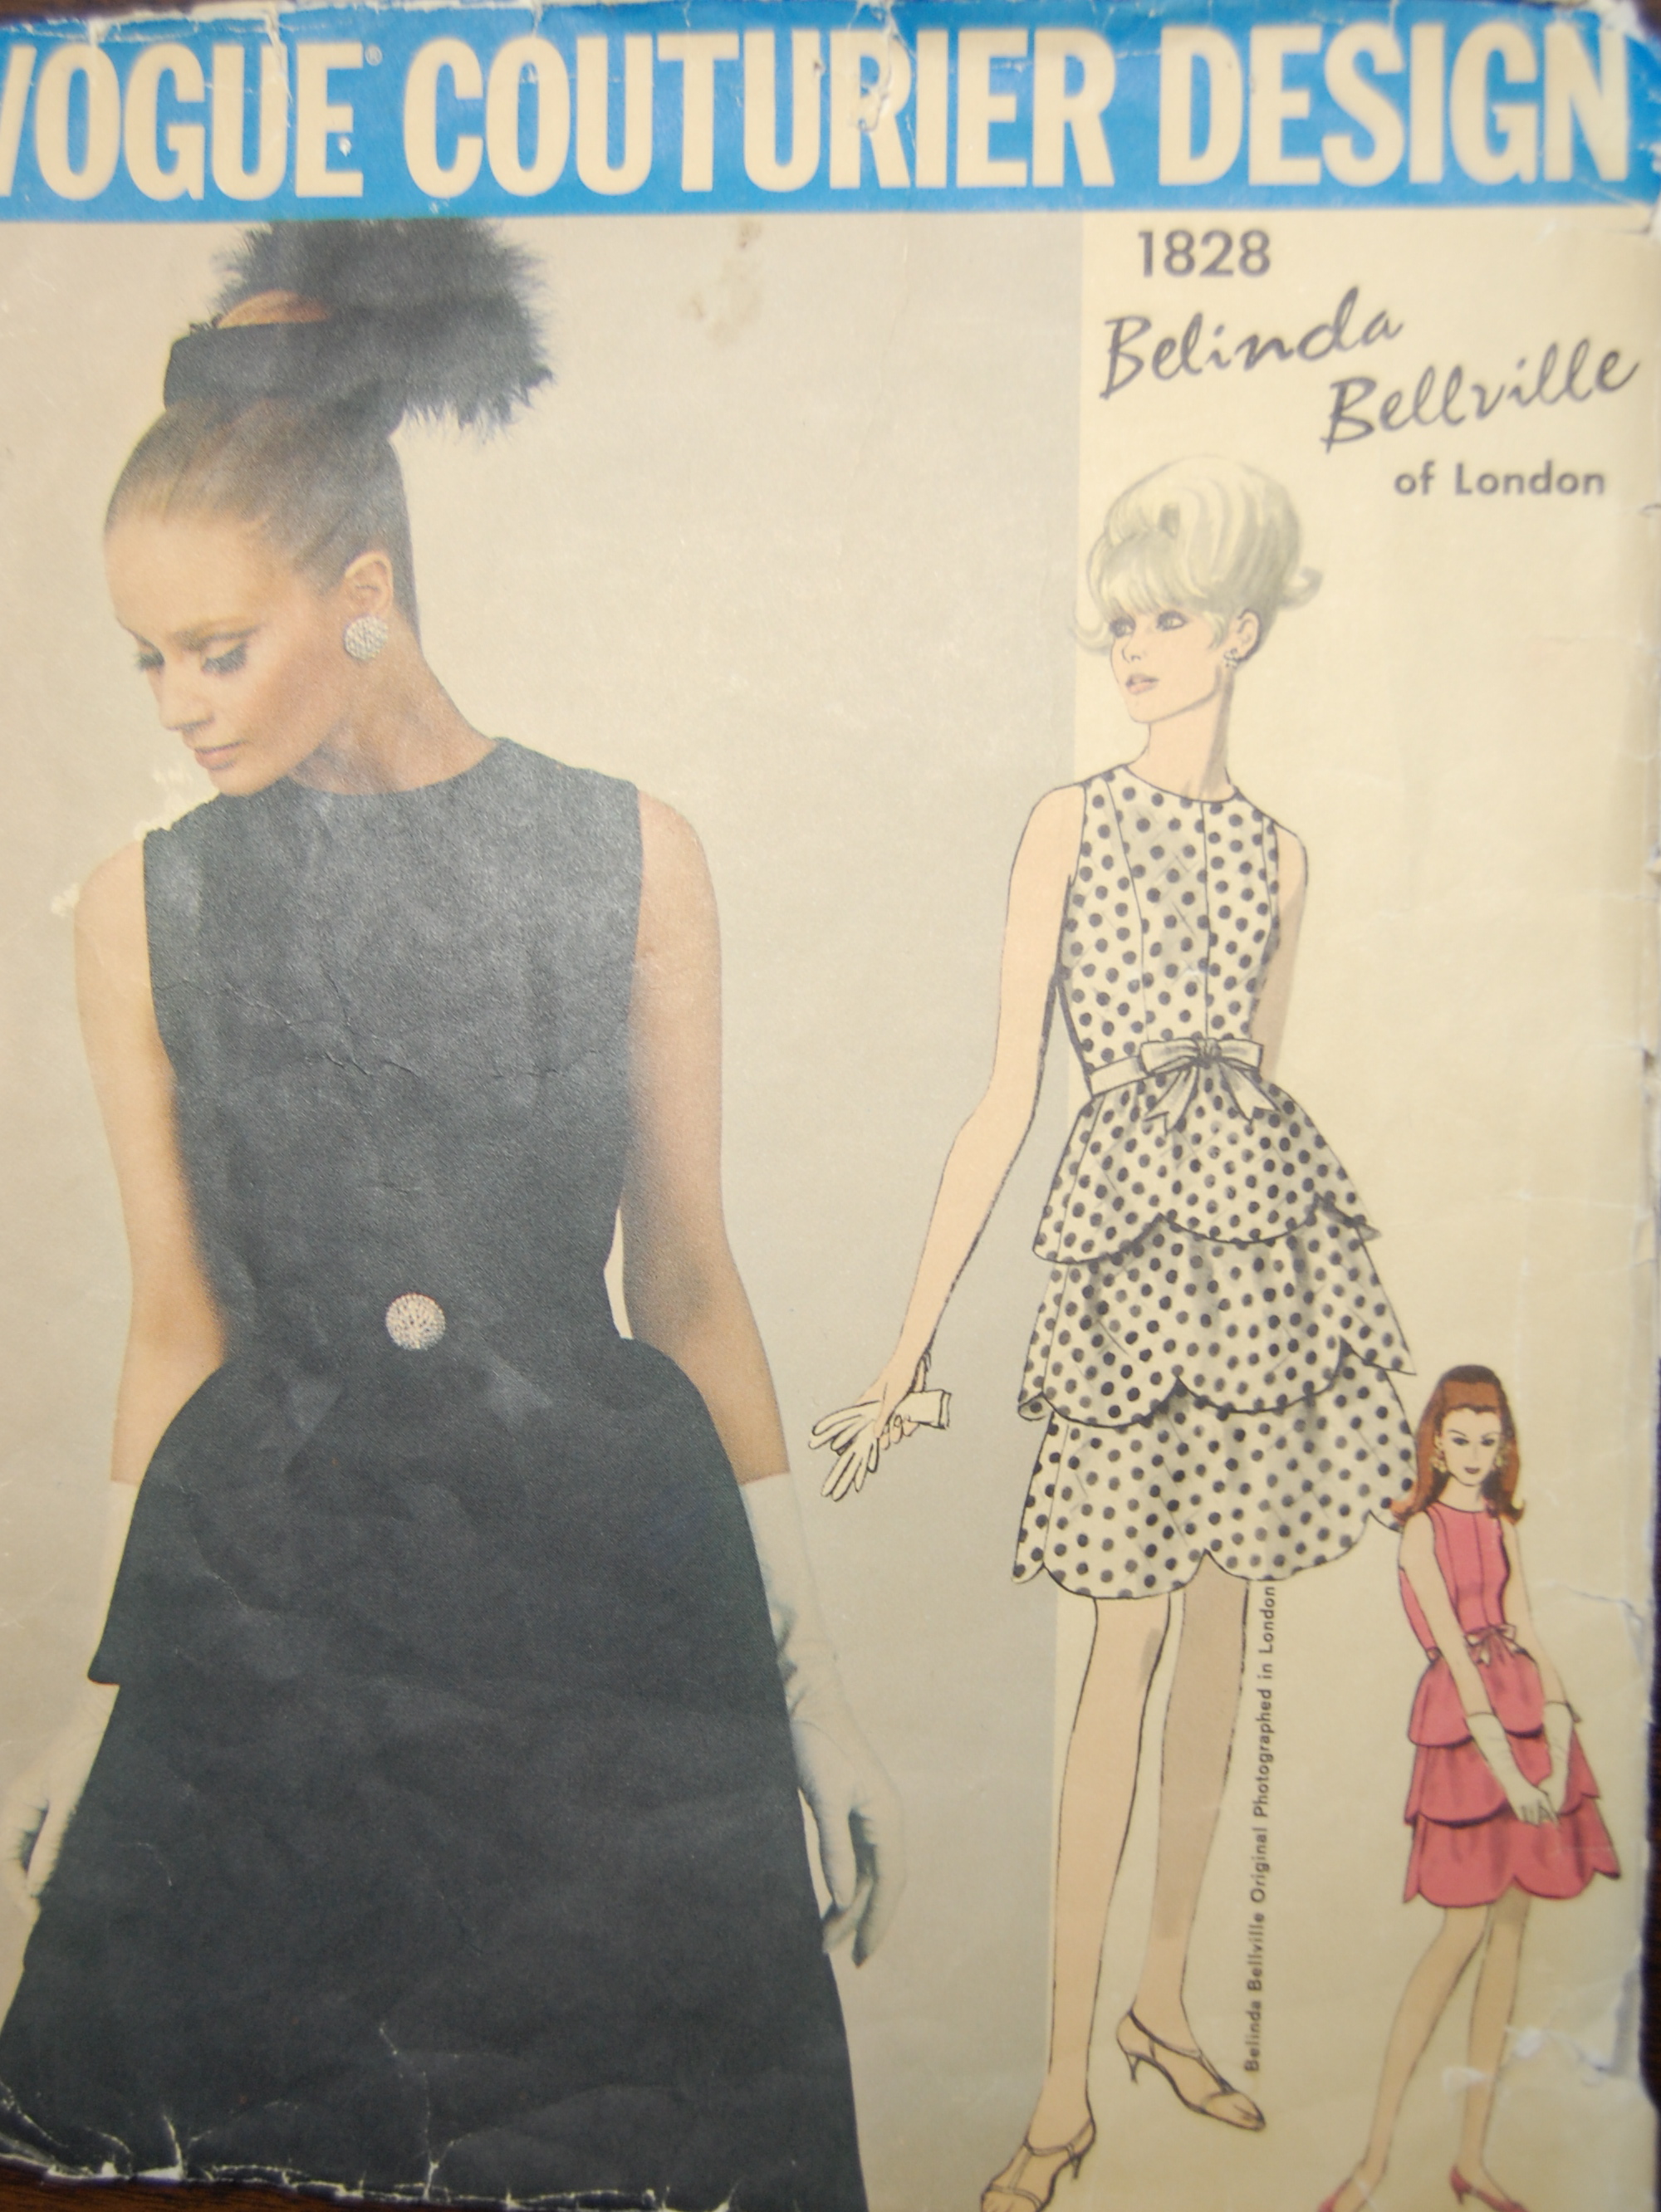
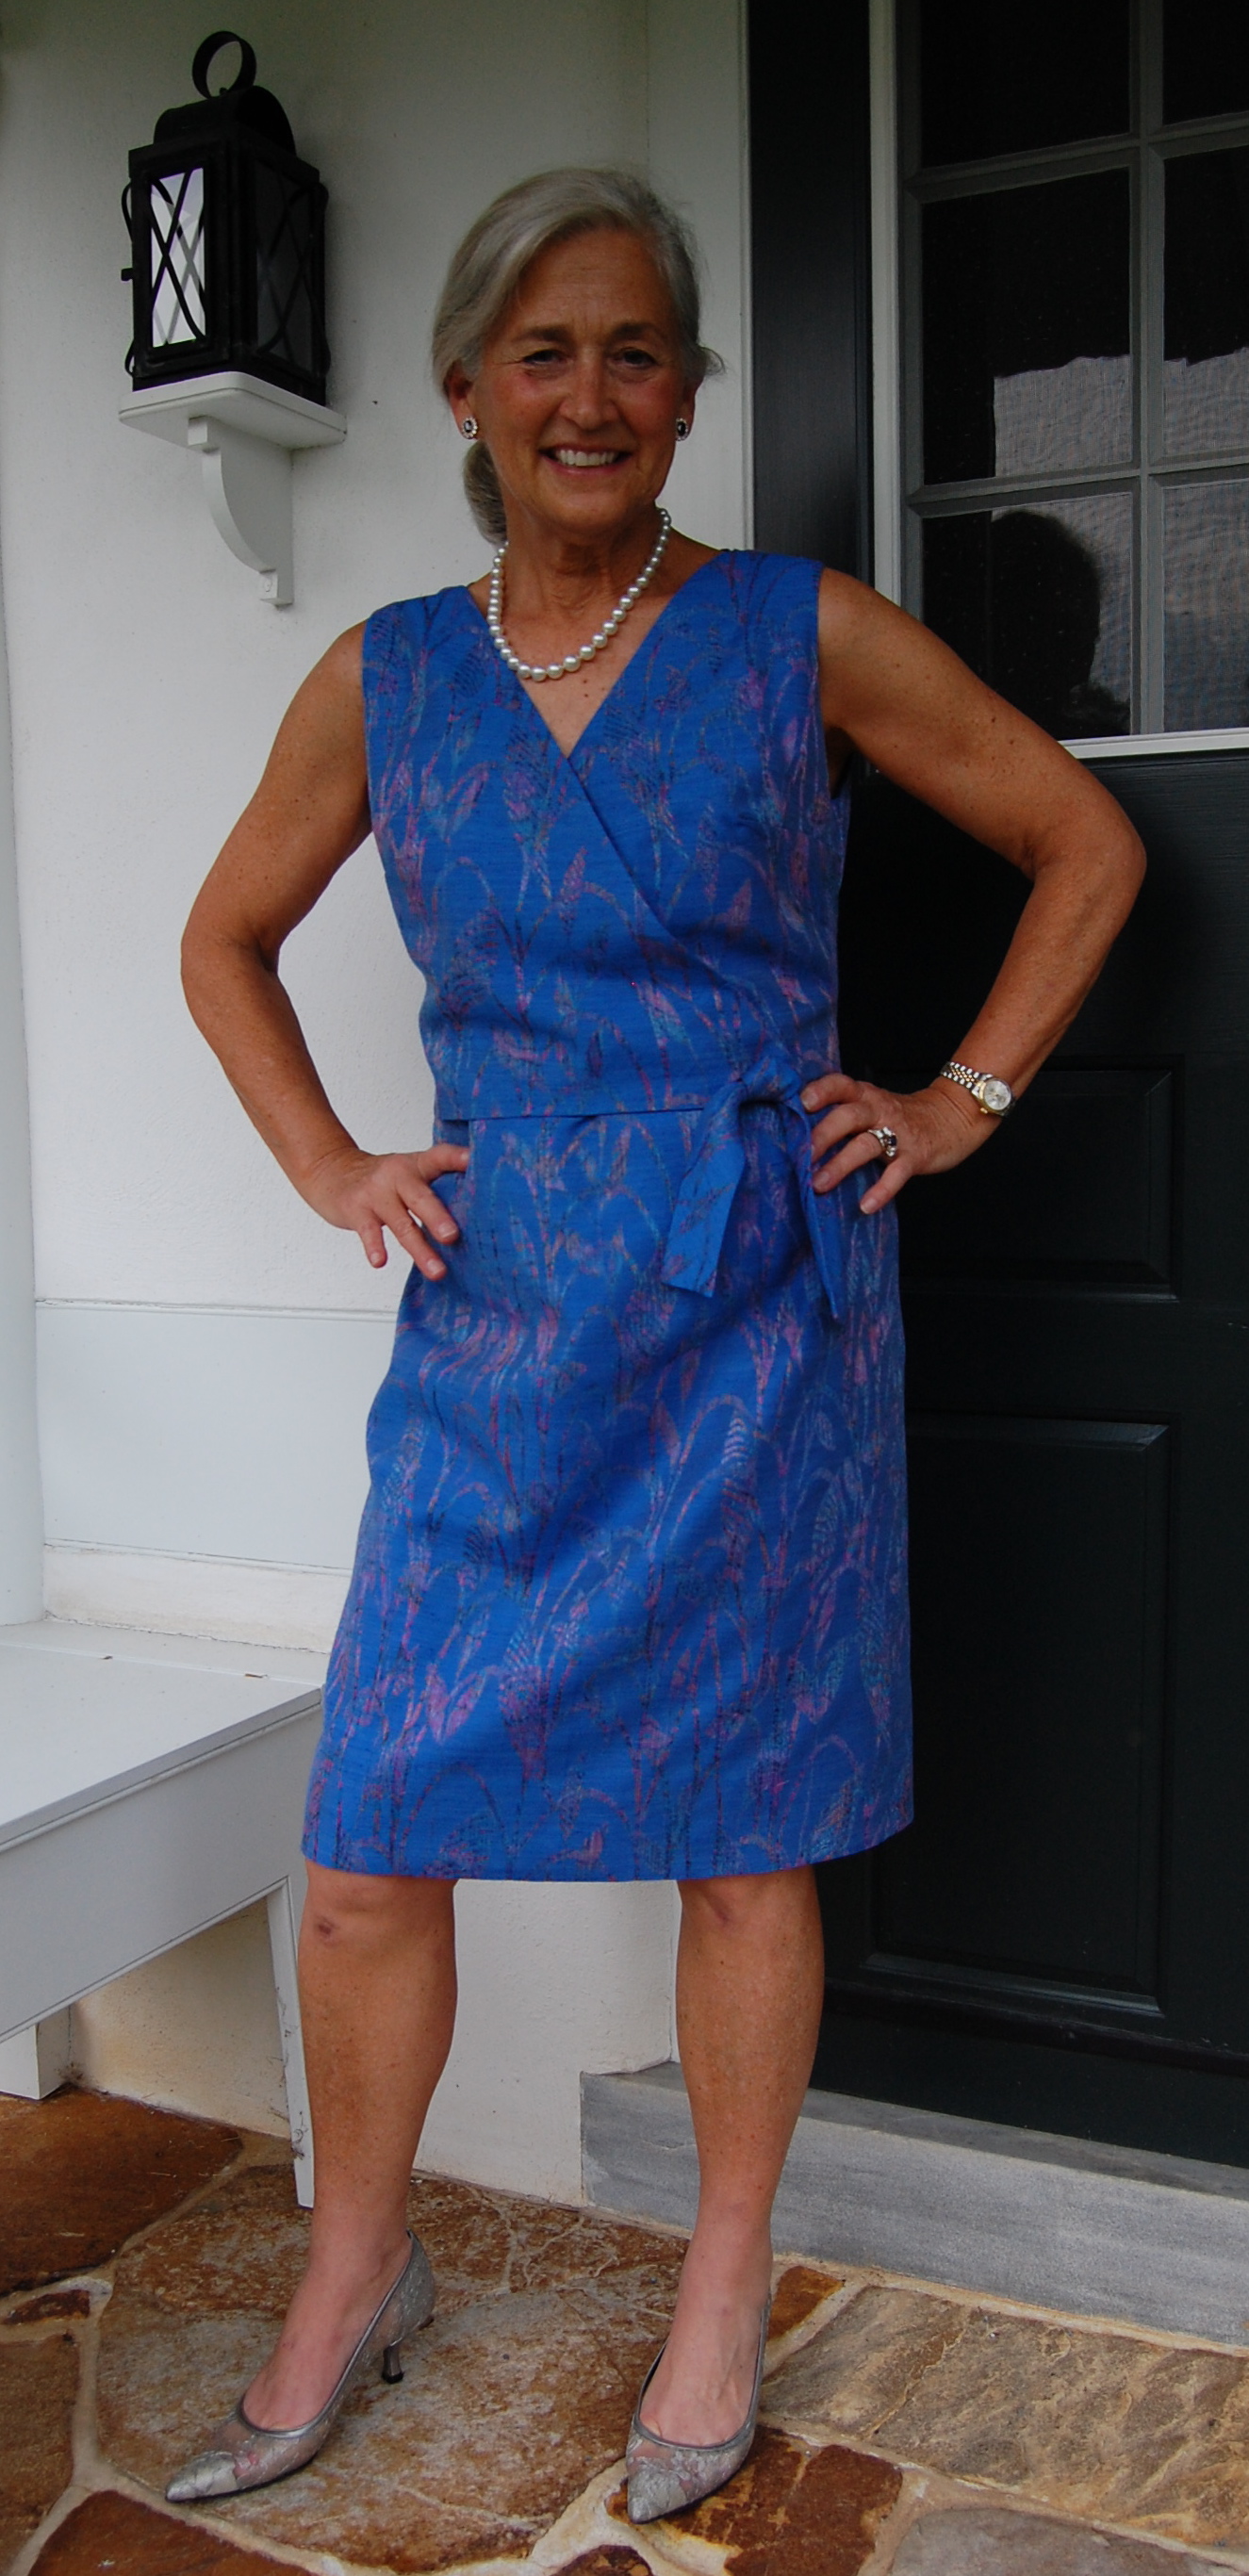
The quintessential trademark of a dressmaker is undoubtably the figure of a dress form (or dummy, as it is called in some parts of the world). I am not sure why it took me so long to purchase one, but in the past year and half since I have had mine, it has daily reminded me what an invaluable tool it is for fashion sewing. Among its obvious aspects of usefulness are, of course, 1) for fitting, 2) for pinning and sewing of certain seams (like a shoulder seam), 3) for marking hems and making sure they are even, 4) for design and draping (for those fortunate enough to be versed in this art), 5) for displaying of one’s current project, allowing scrutiny of any imperfections which need to be addressed, and 6) for steaming/pressing certain curved seams.
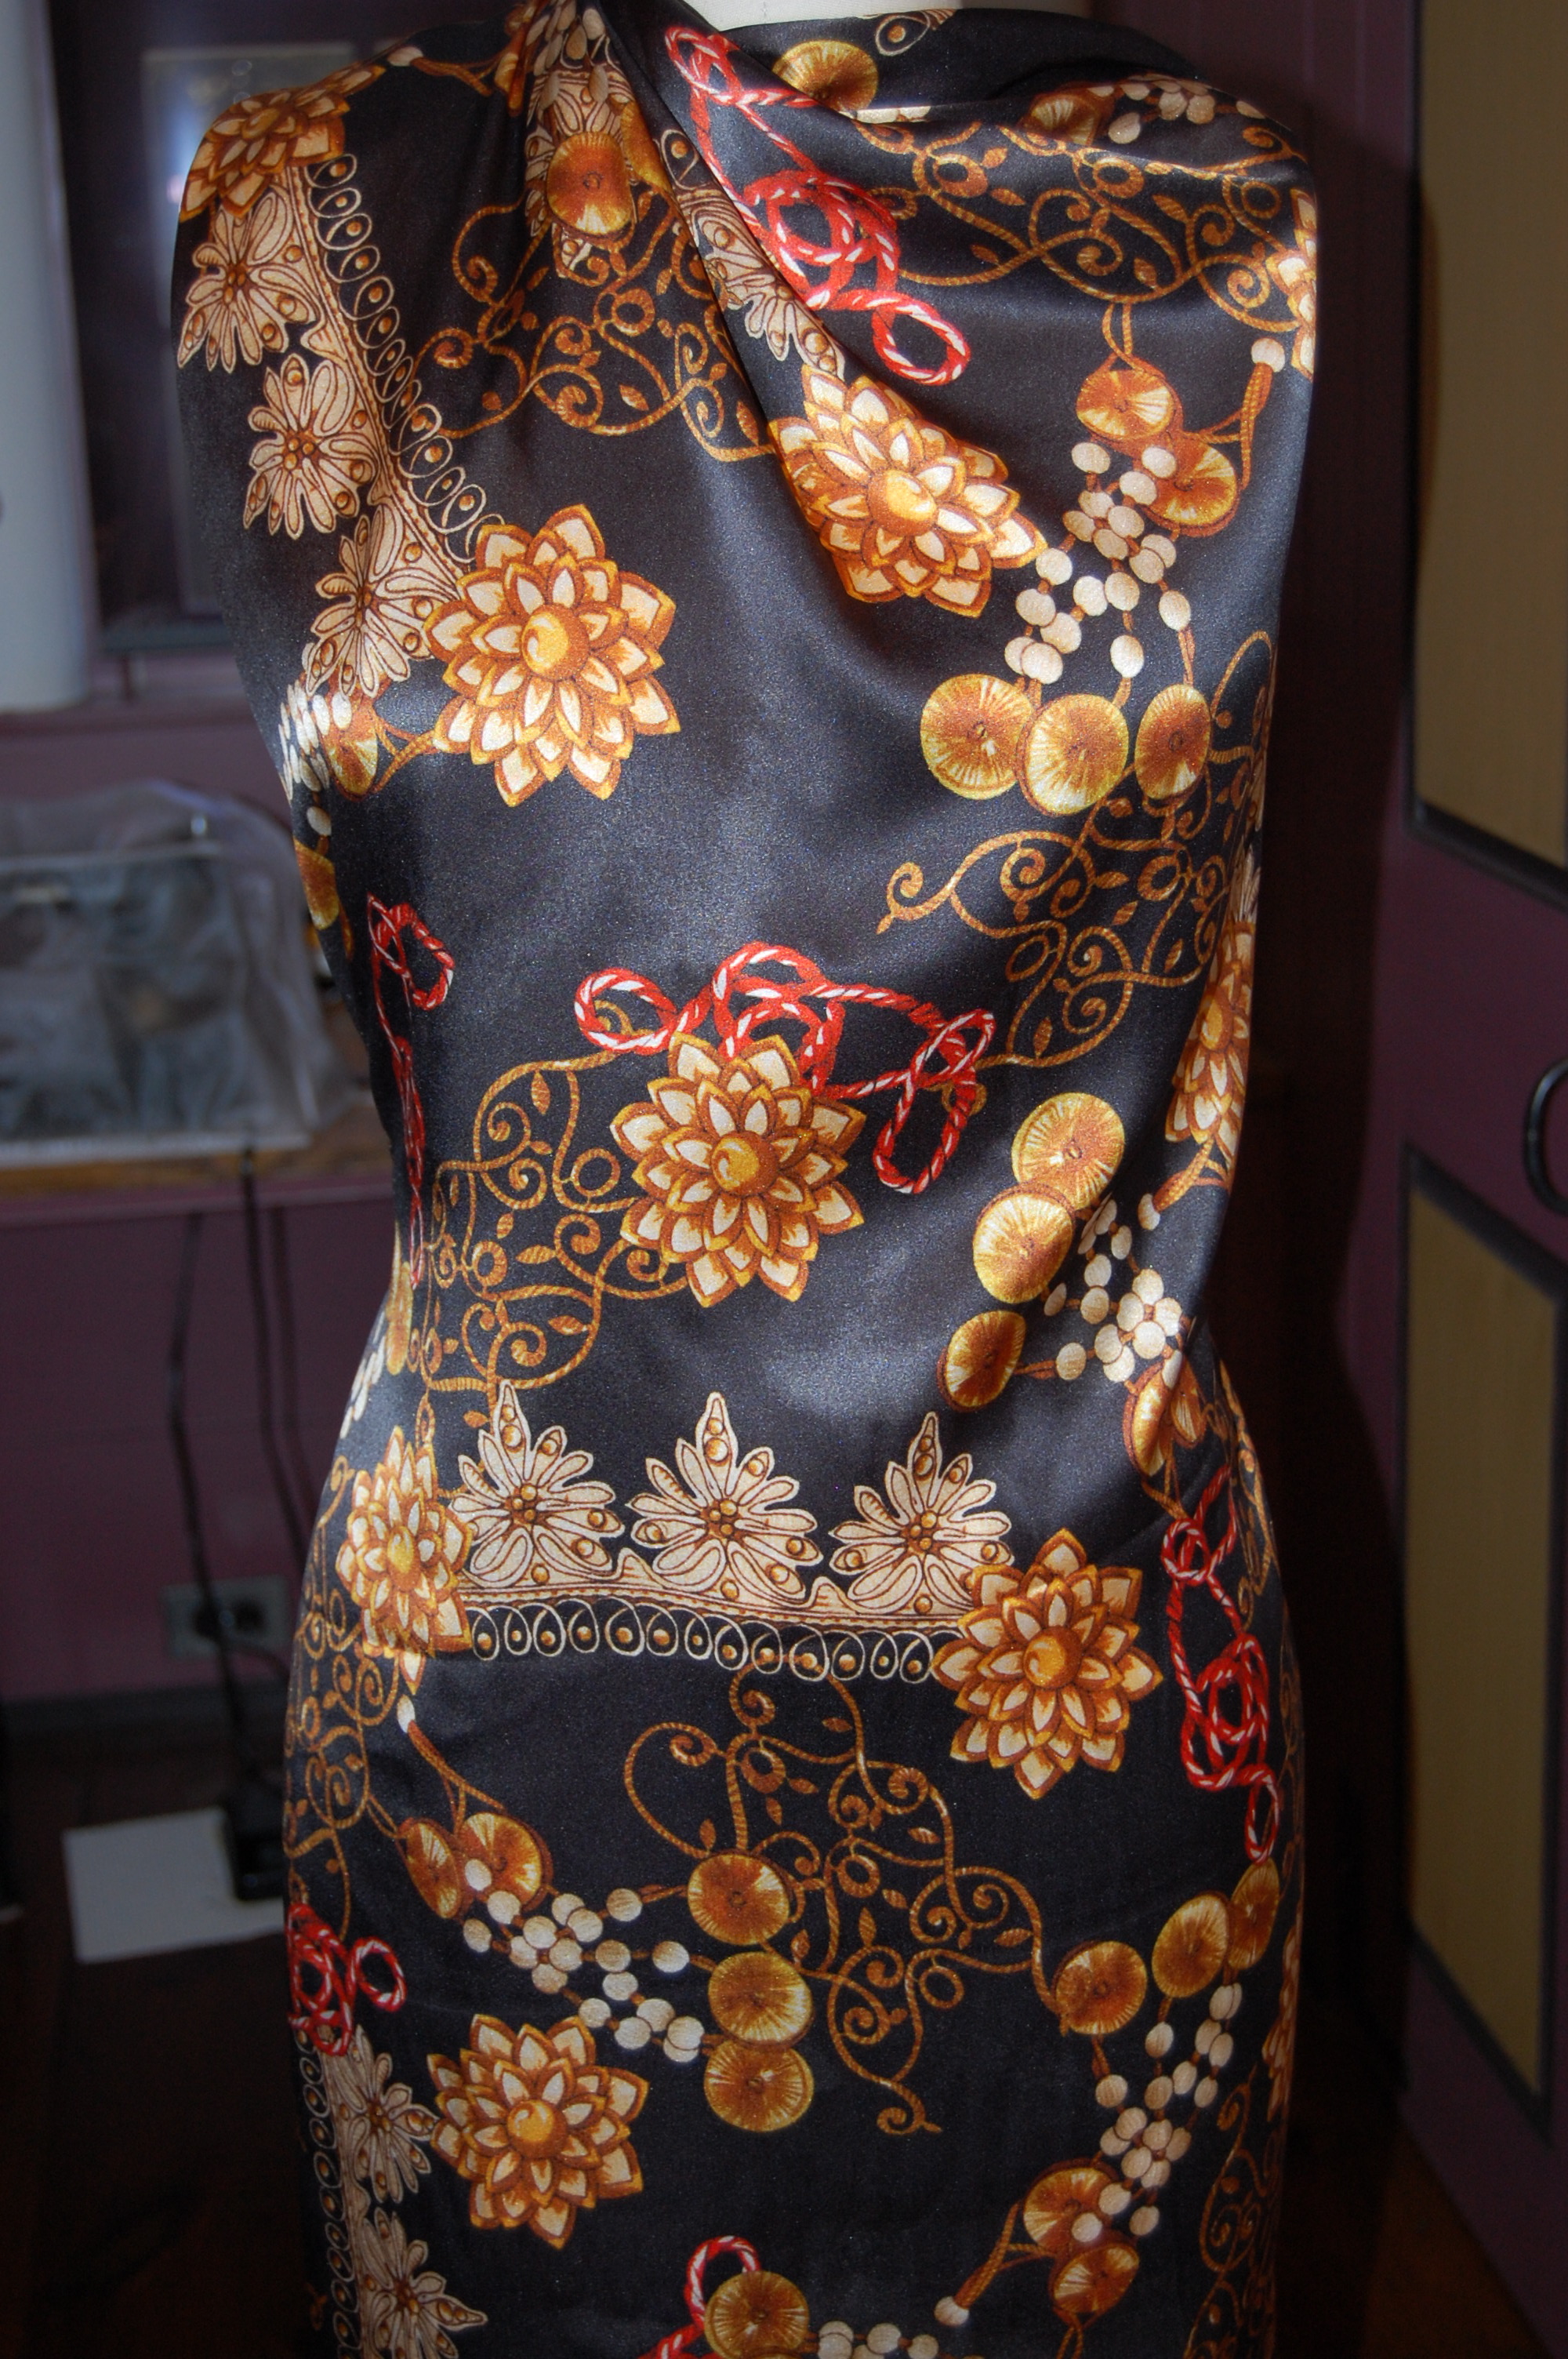
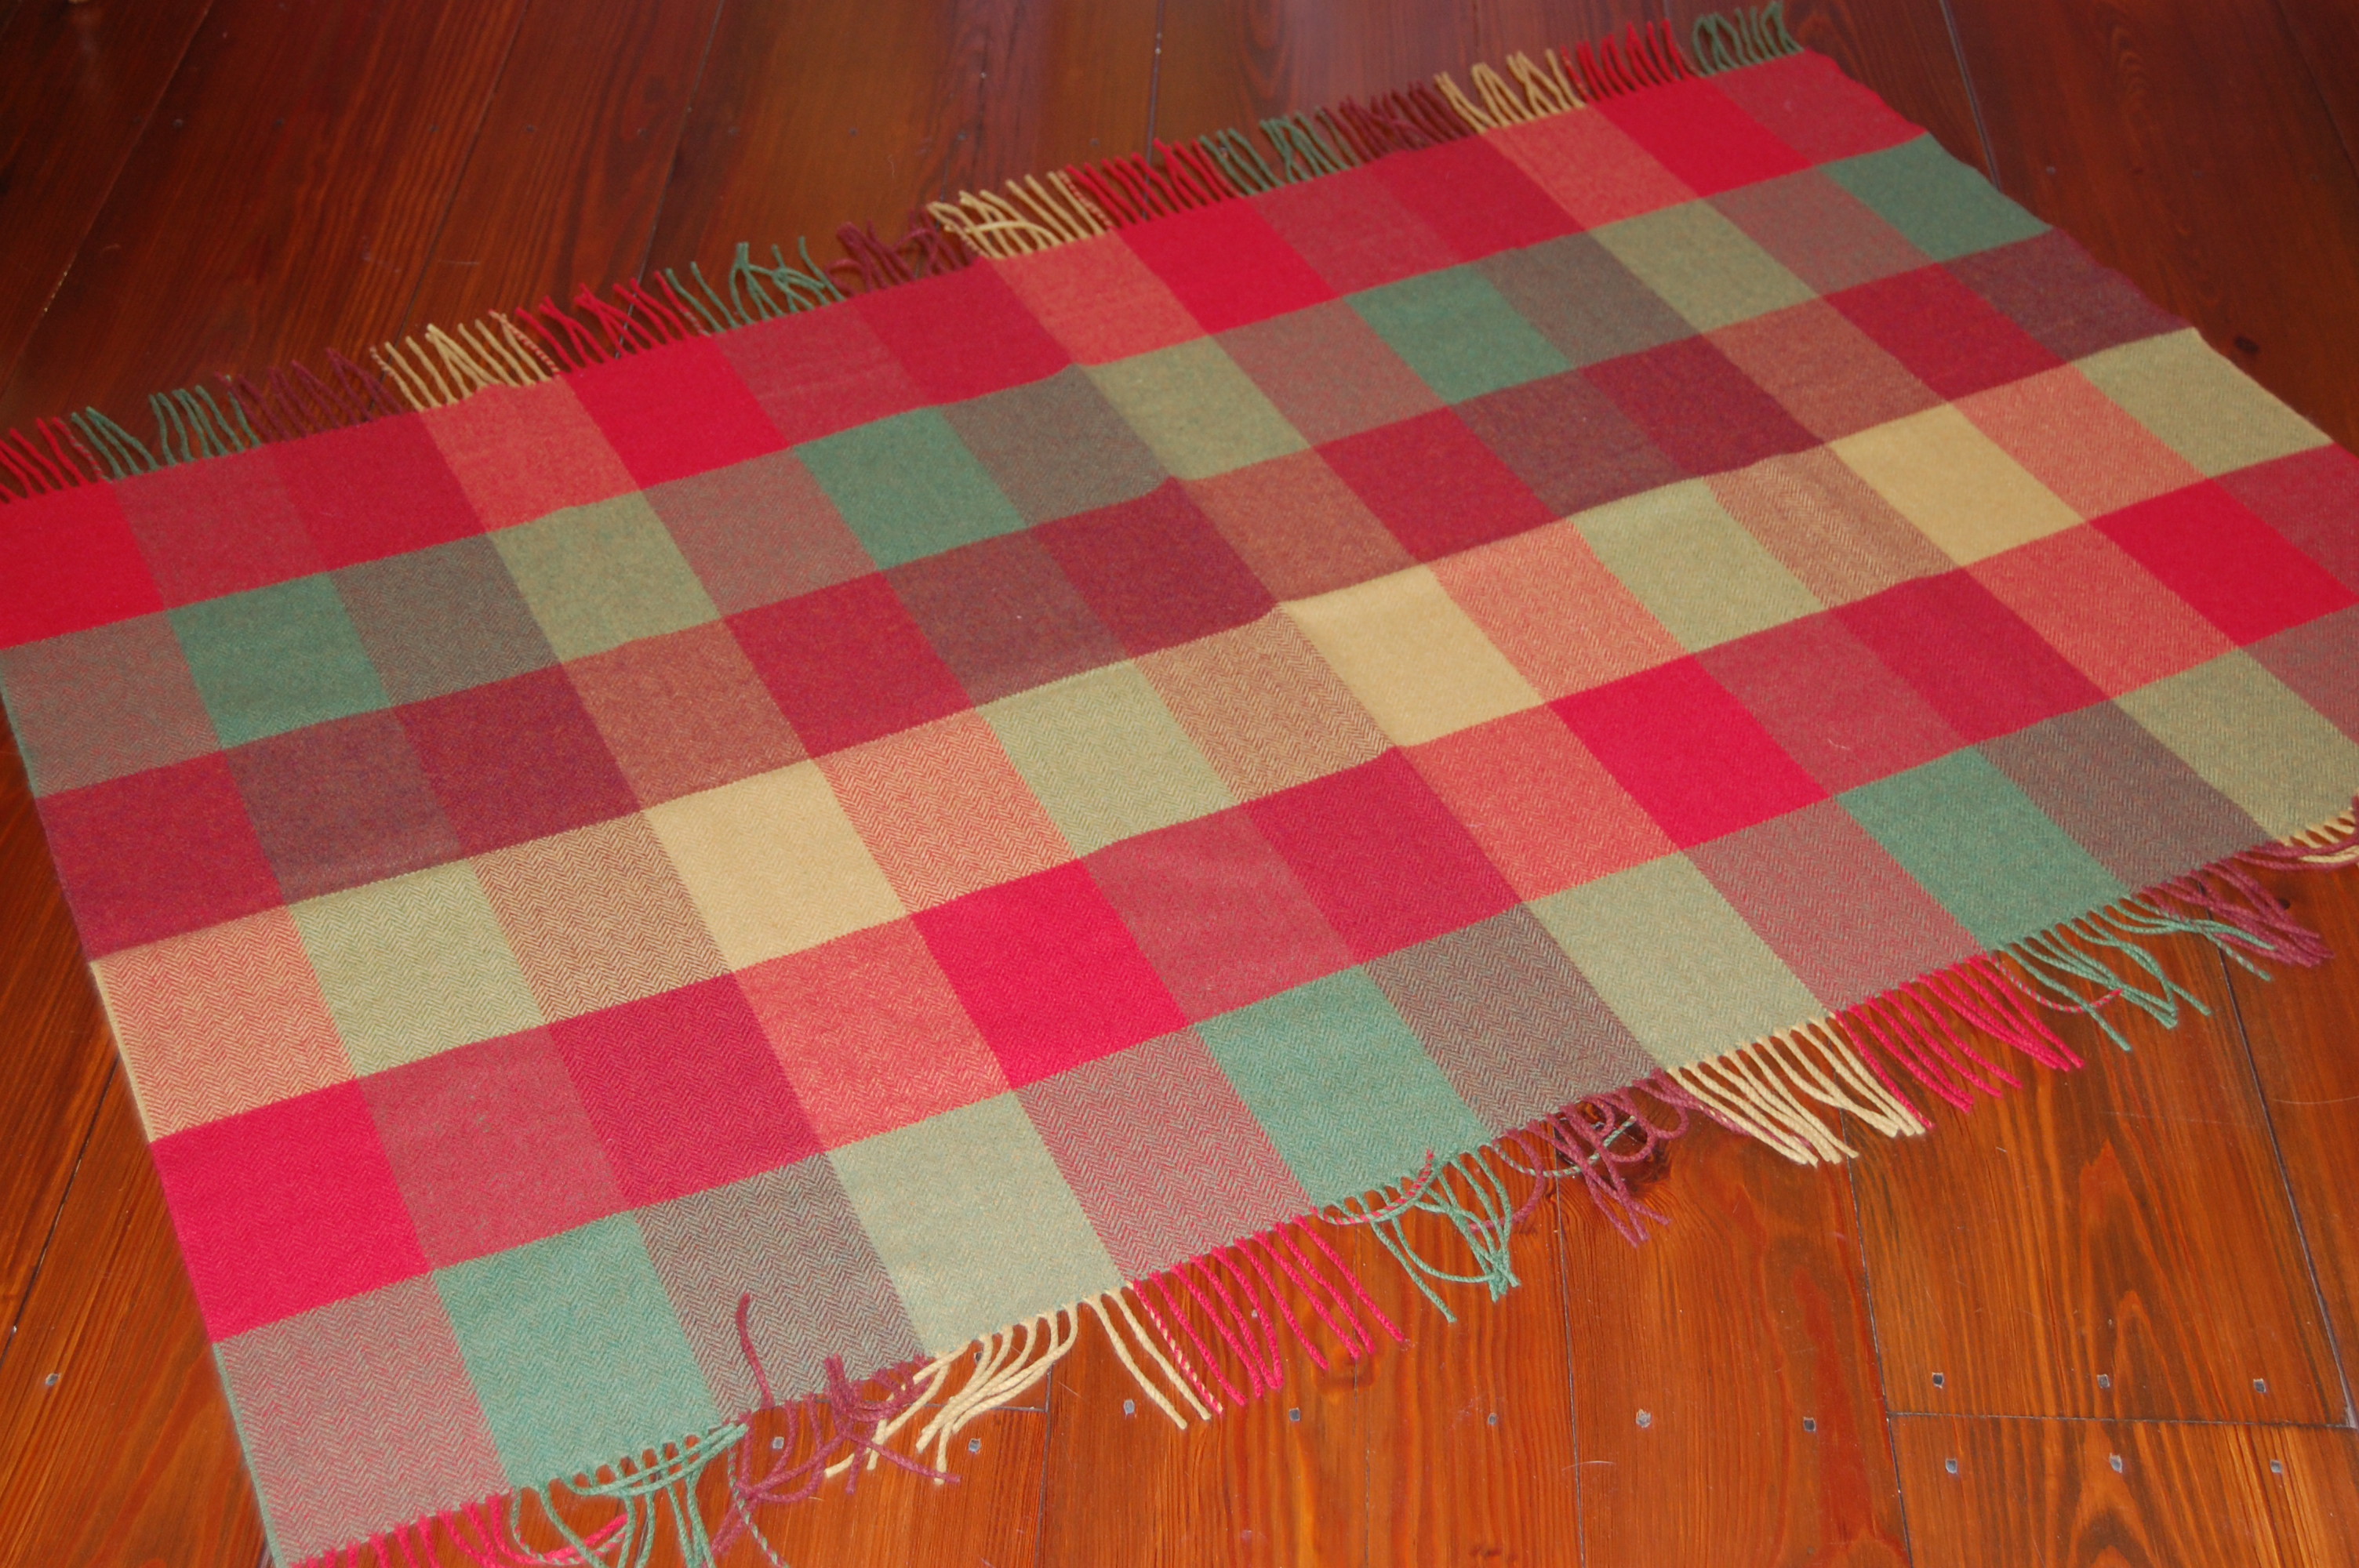
I also have found it to be the perfect medium upon which to “audition” fabrics and styles. I can strategically pin fabric onto the form and get an excellent idea if the fabric is going to look good in the style in which I am envisioning it. Sometimes I have to leave the fabric pinned in place for days or even weeks while I make up my mind. And sometimes seeing the fabric pinned on my form will make other possibilities suddenly become obvious. Such has been the case with my plaid Irish blanket, purchased by me to make into a skirt.
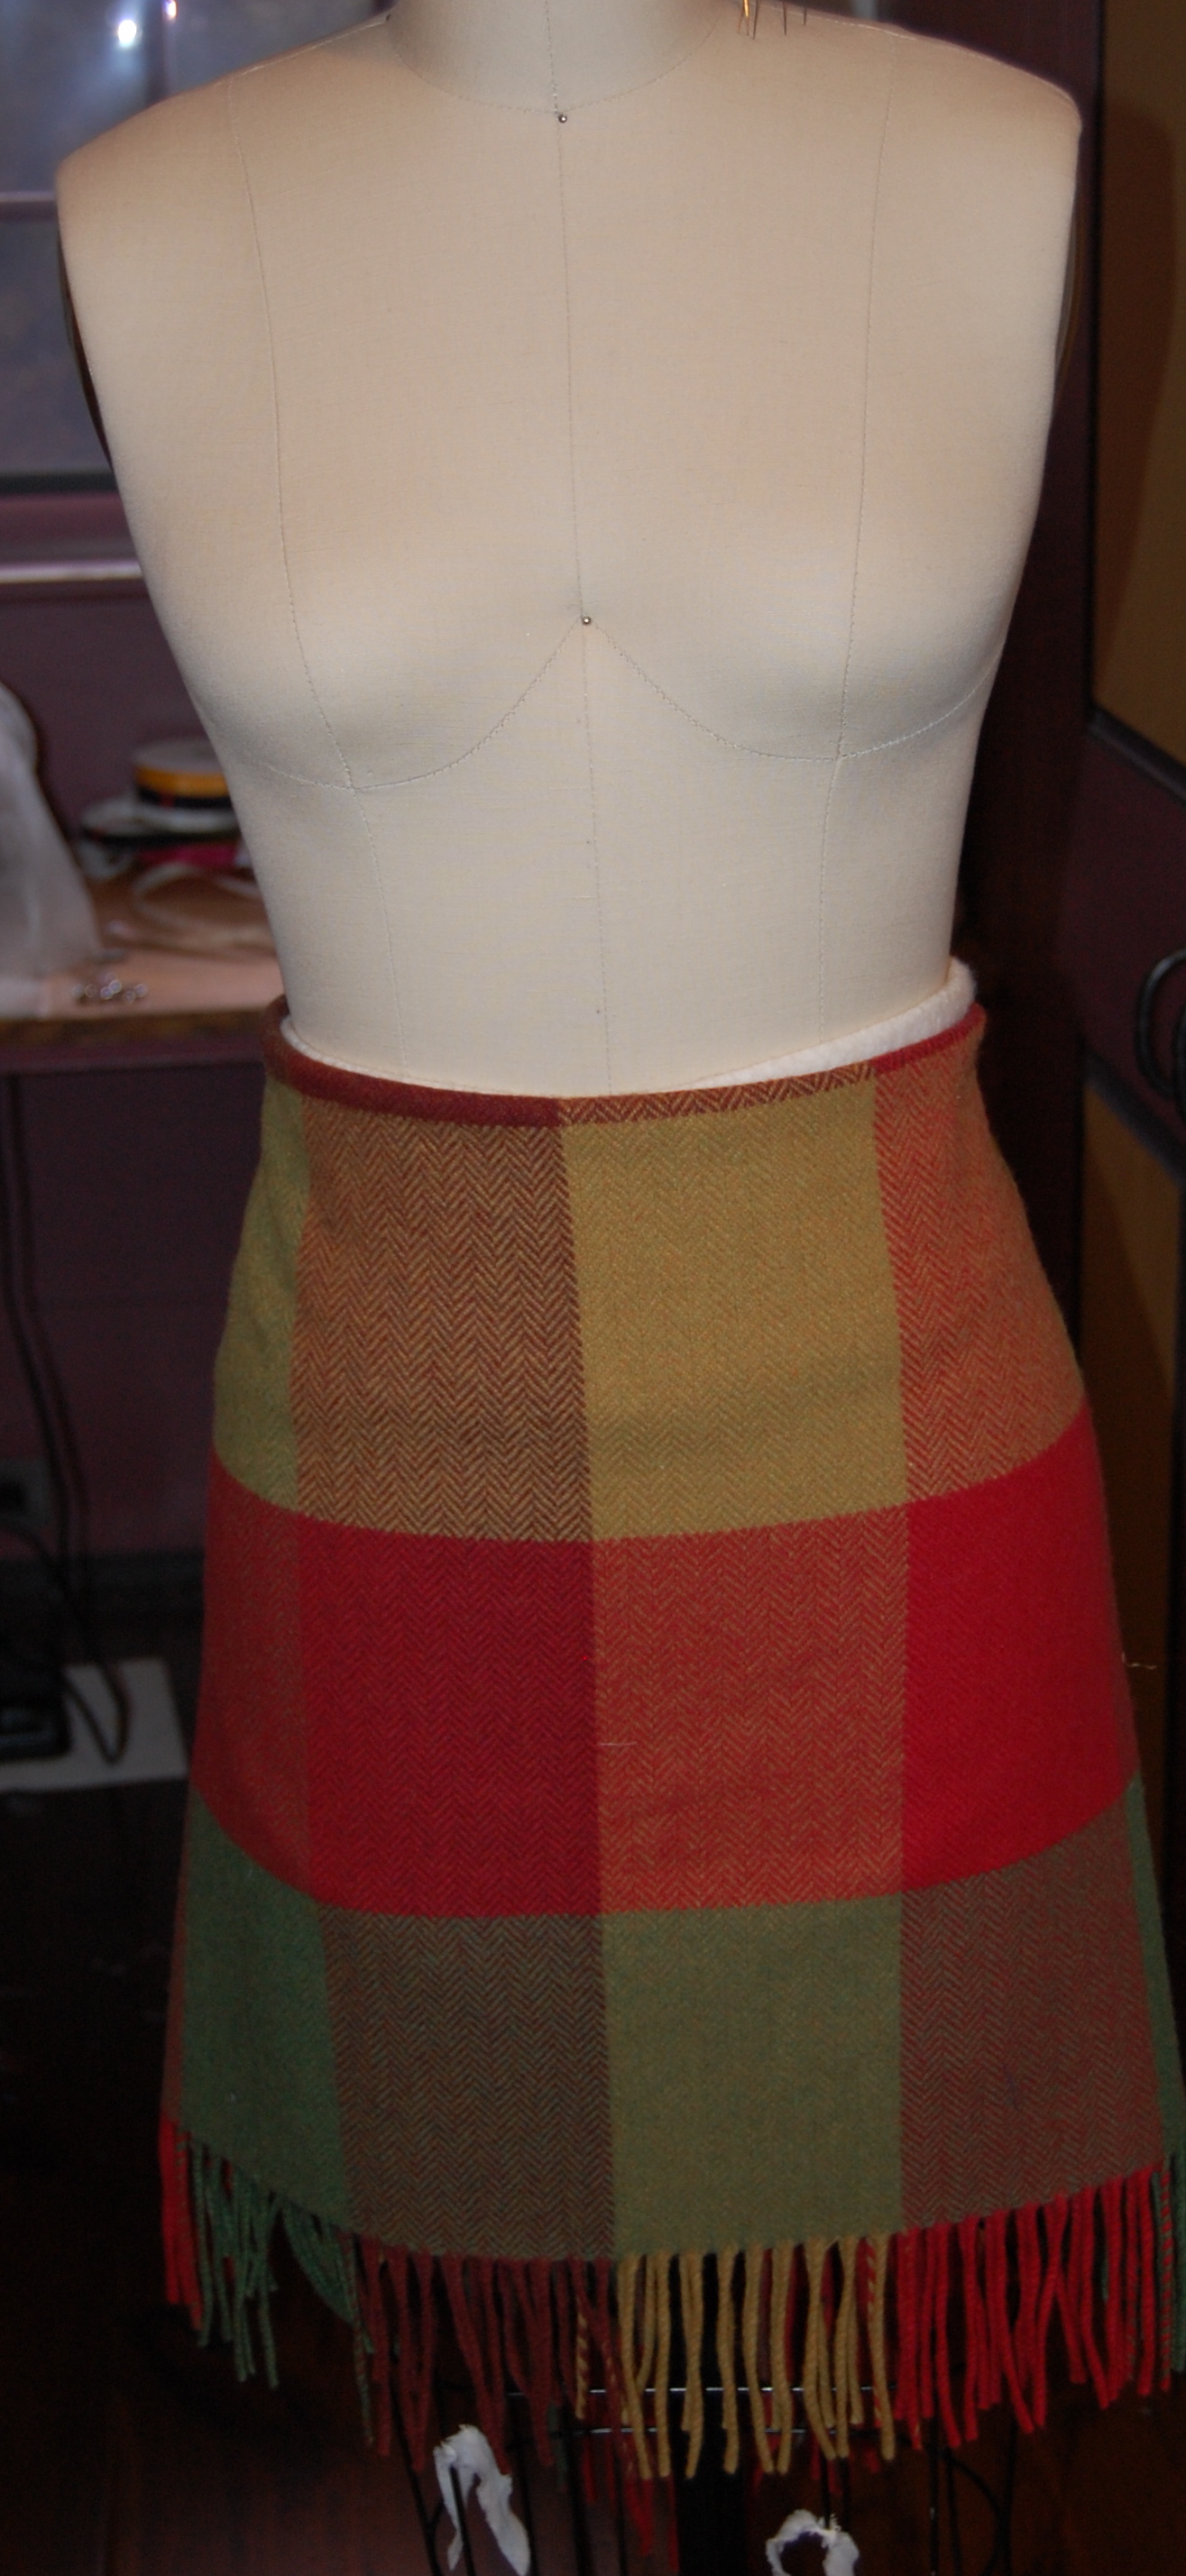
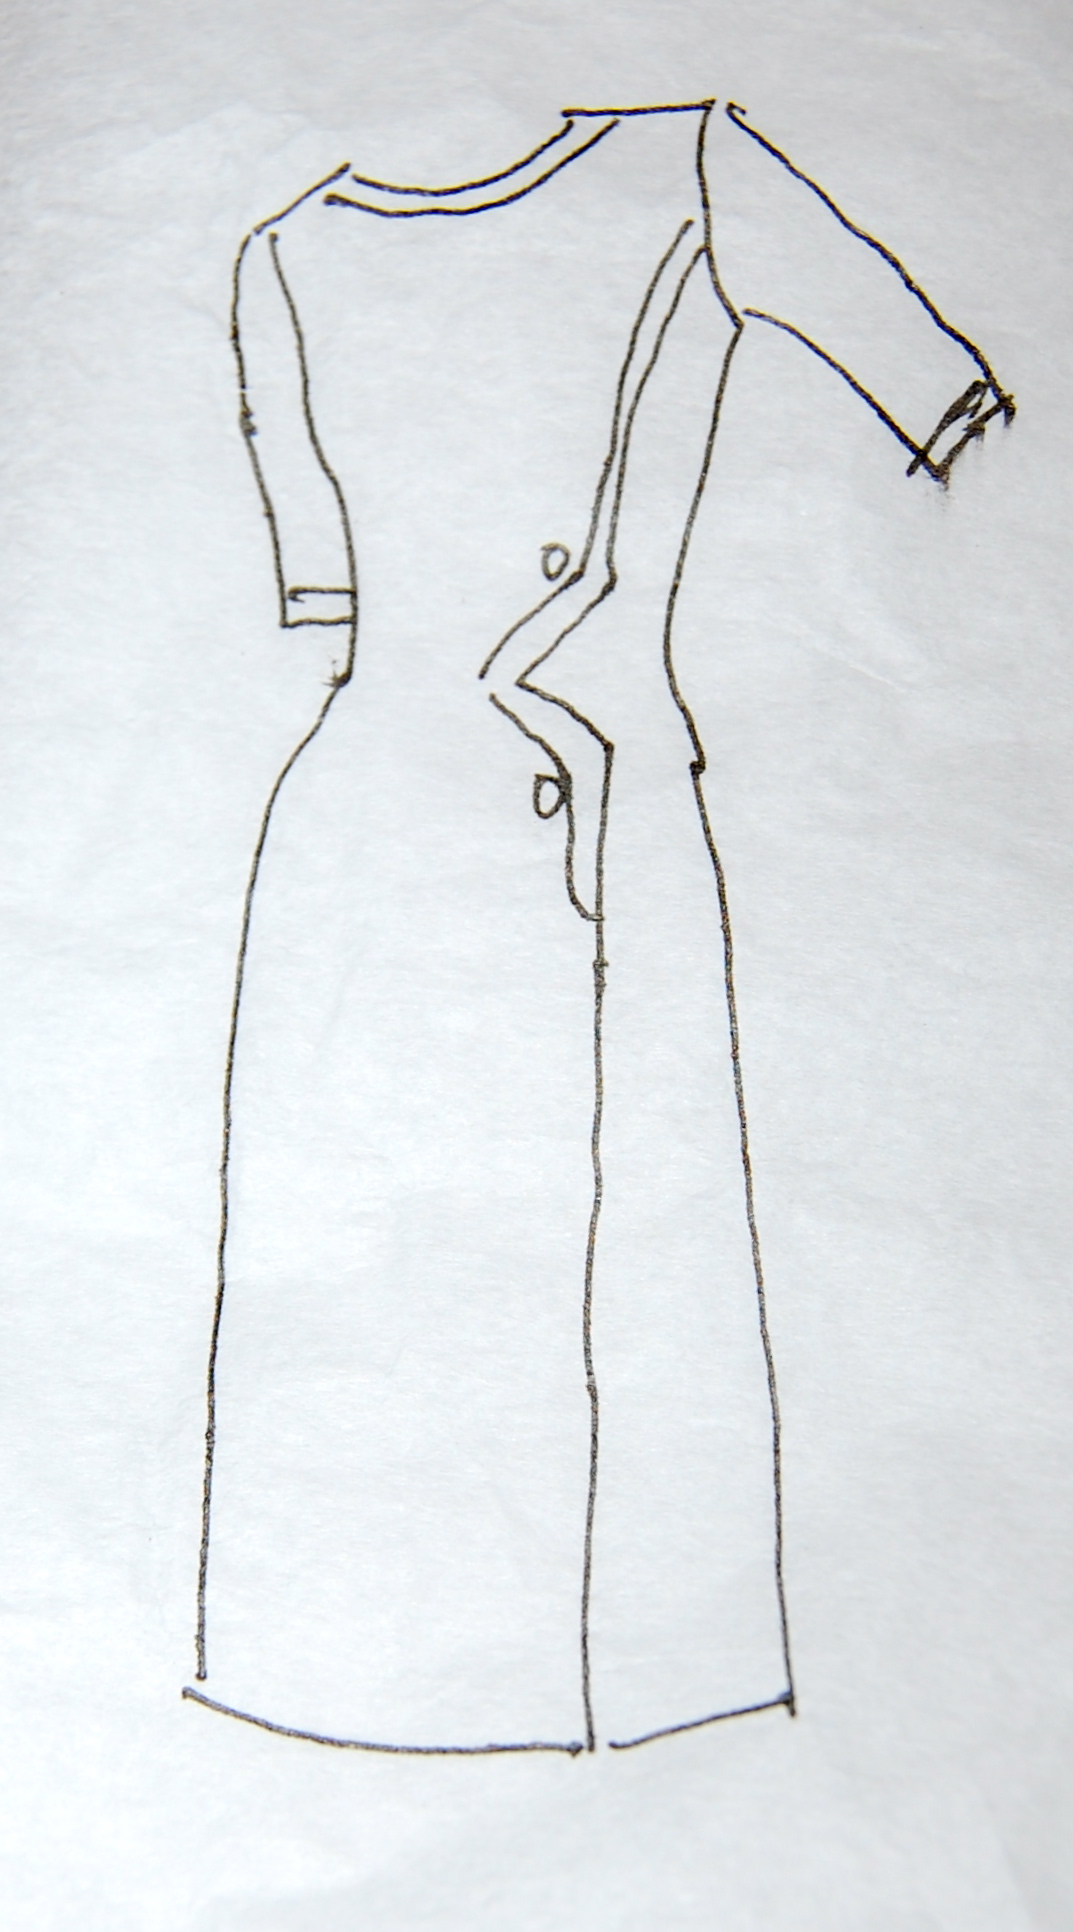
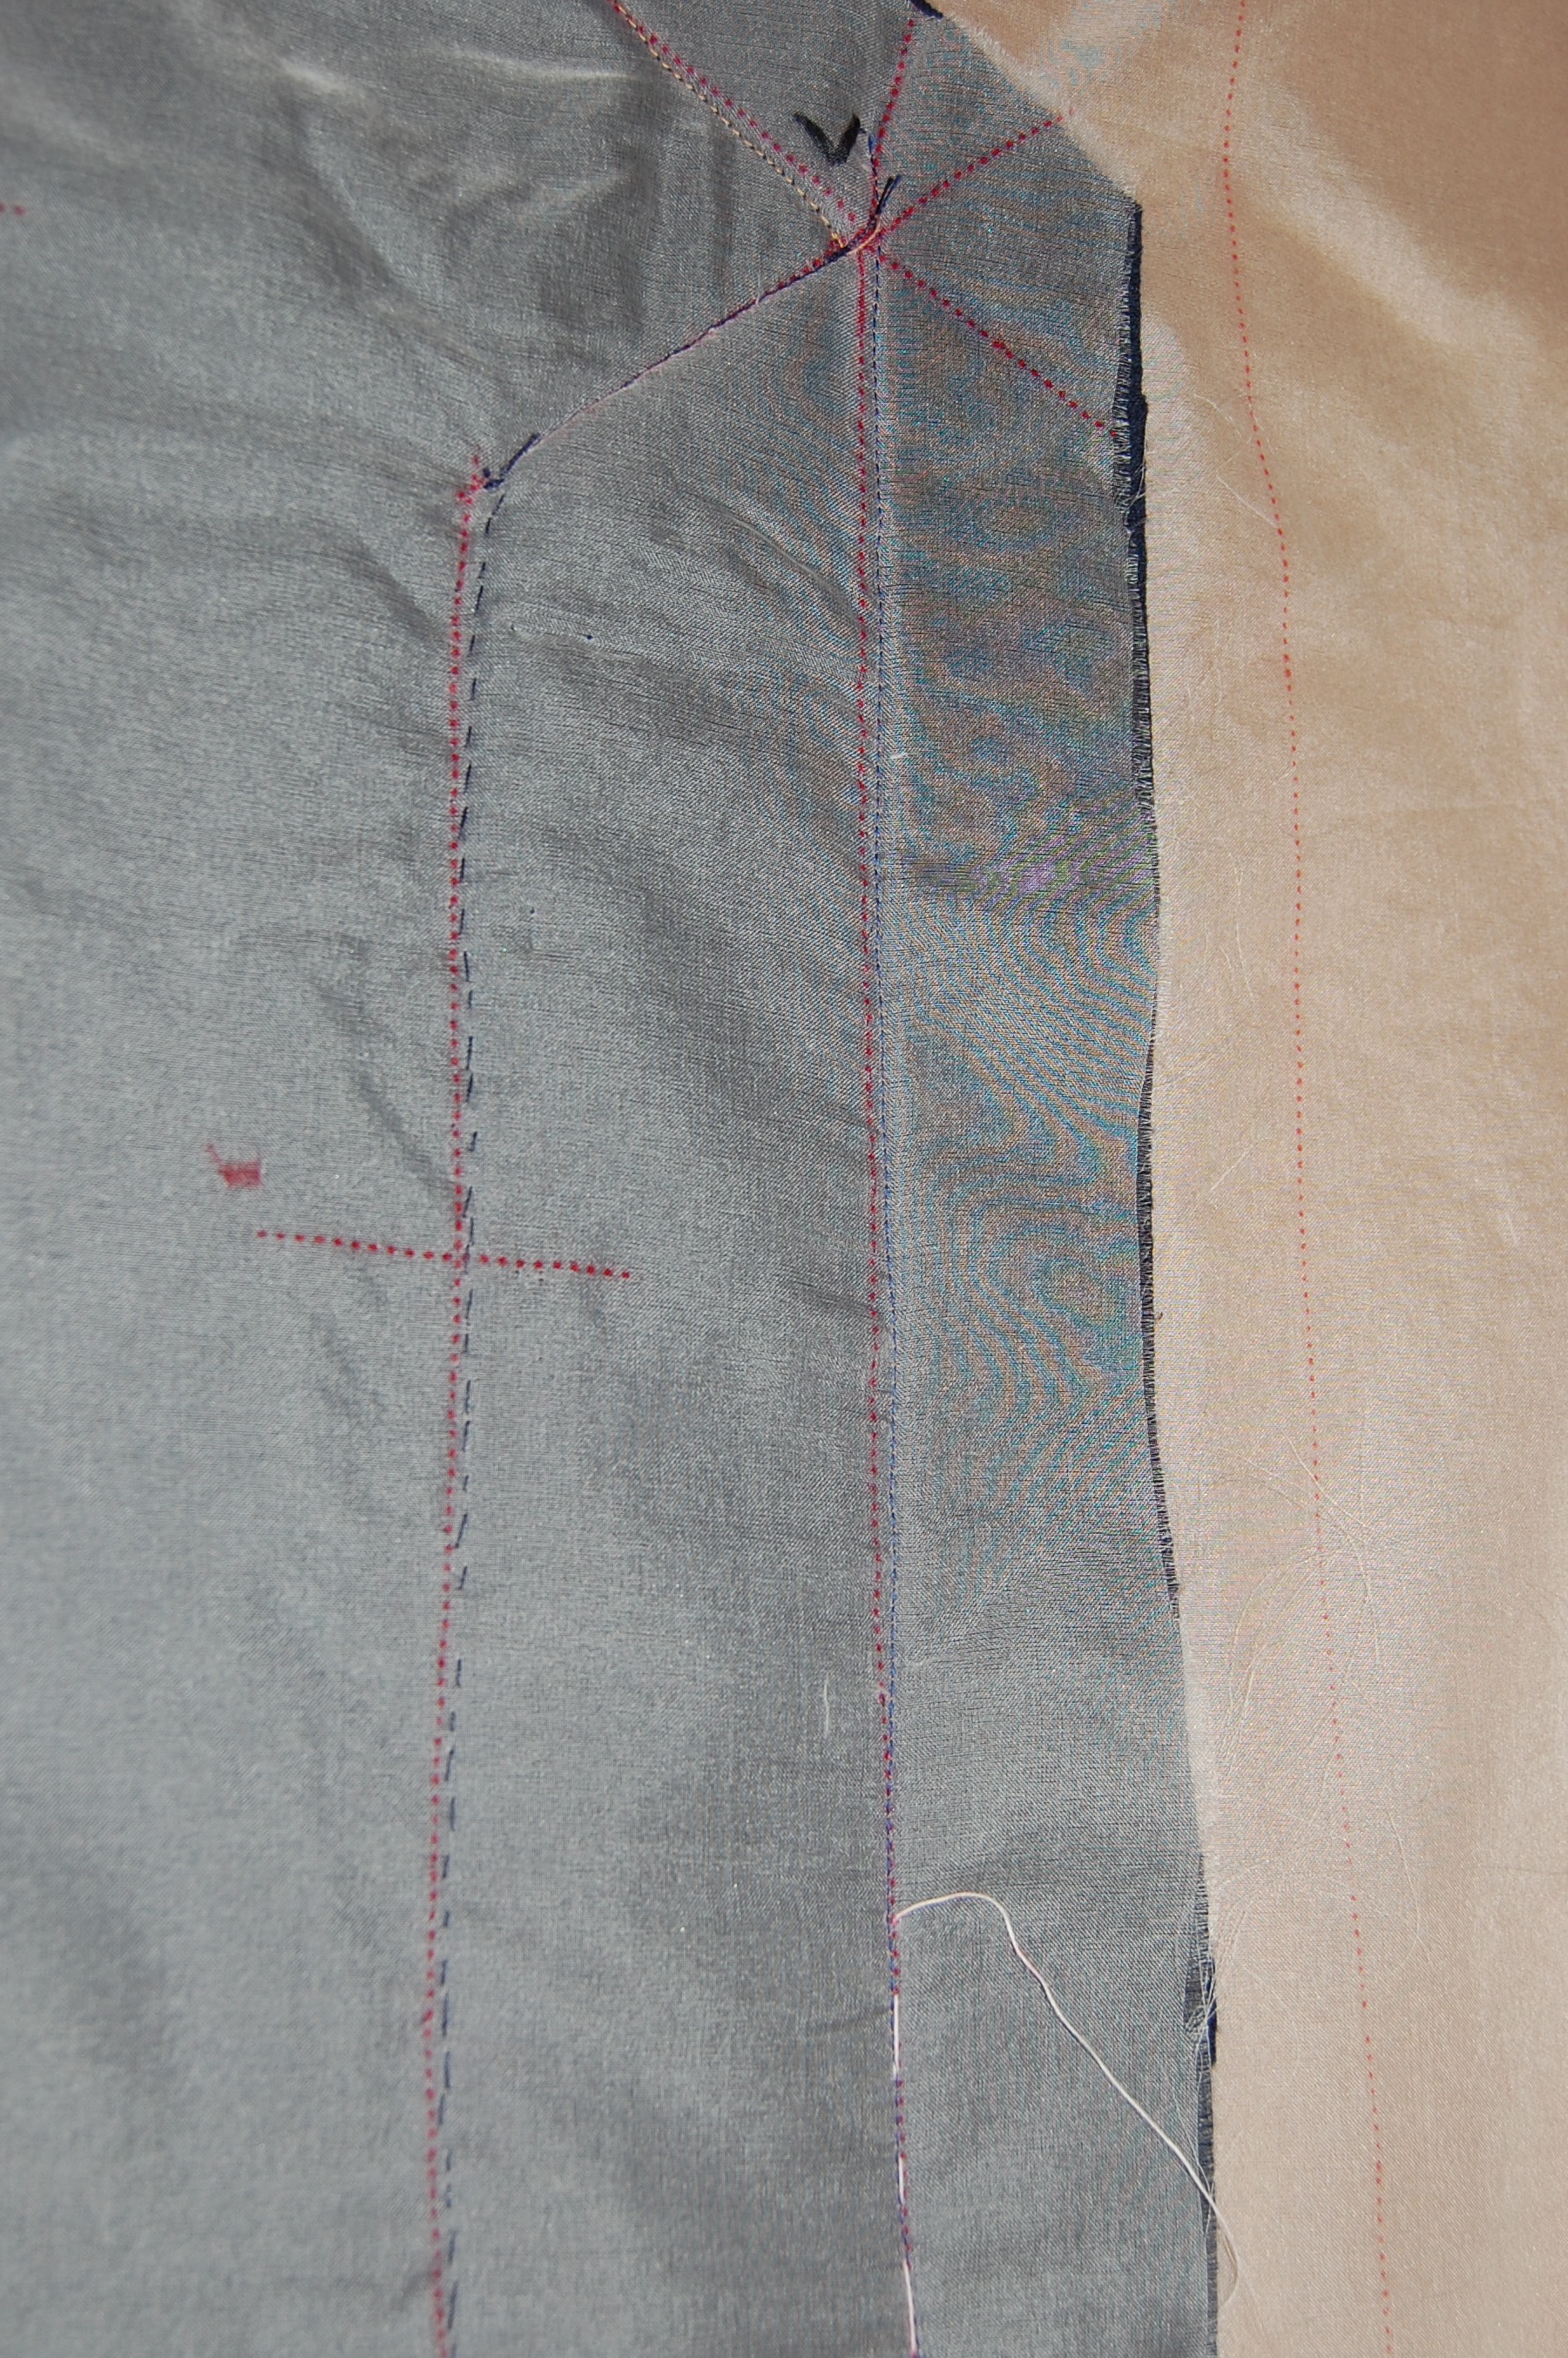
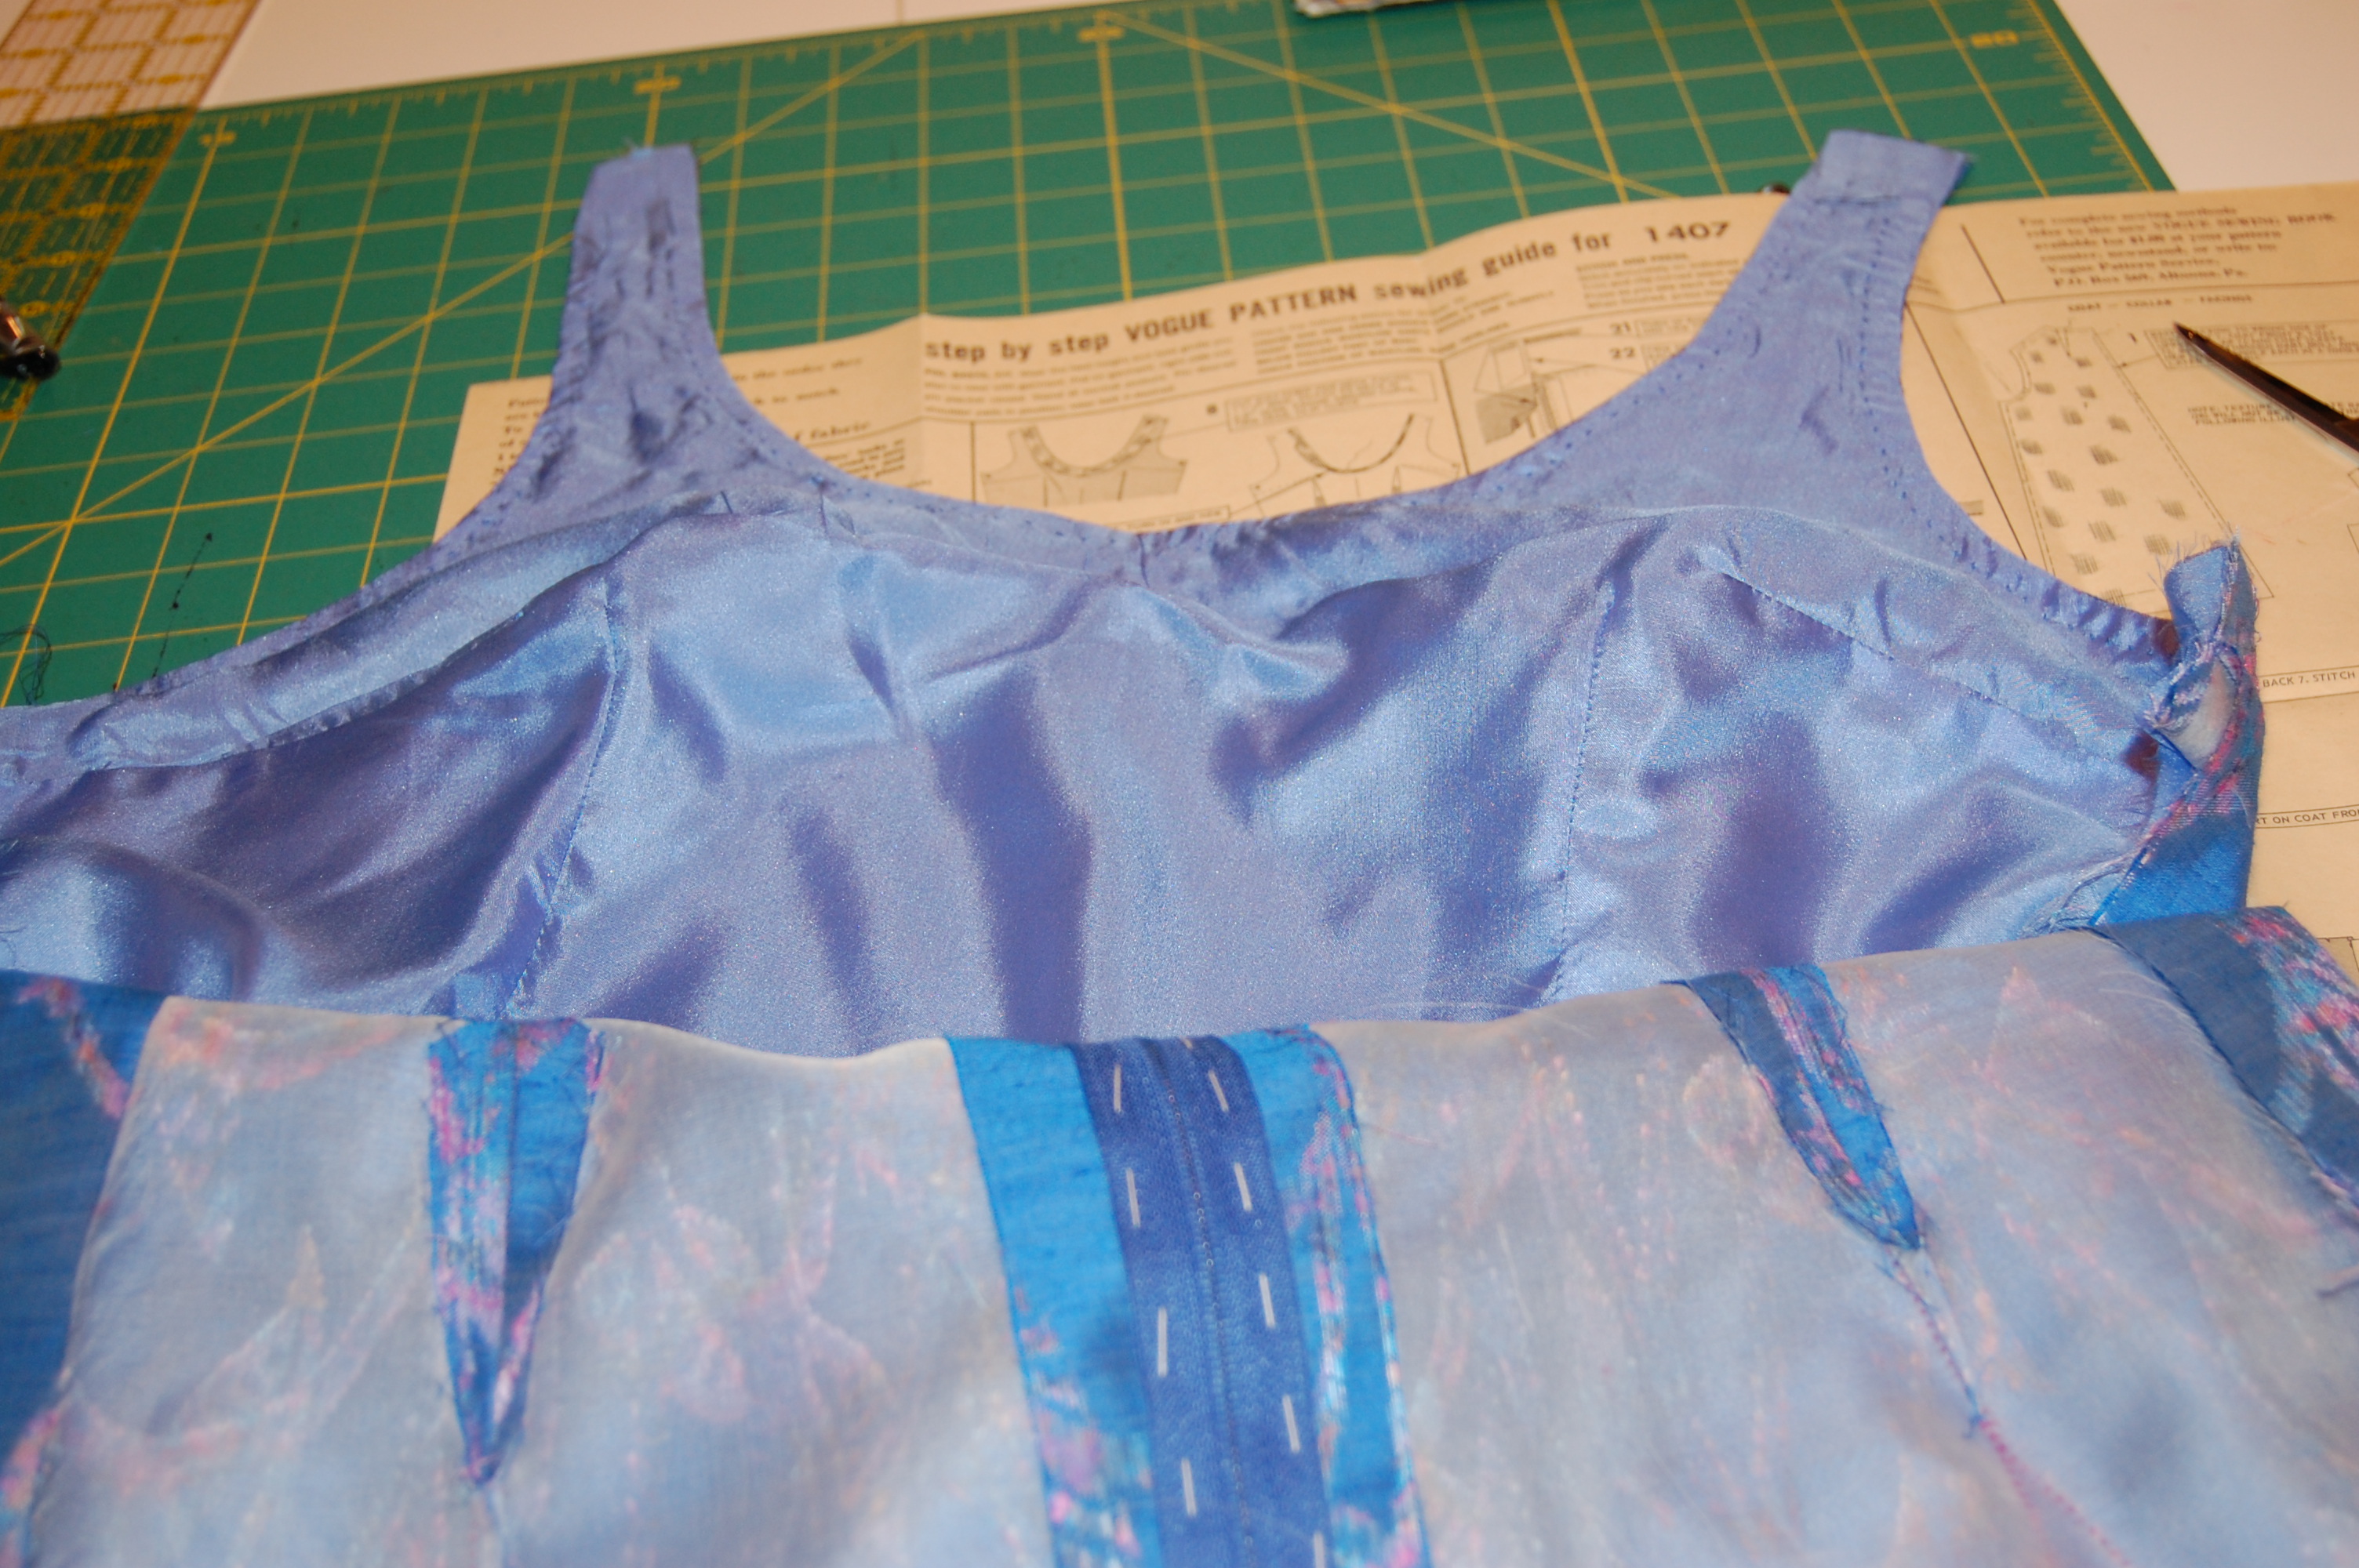
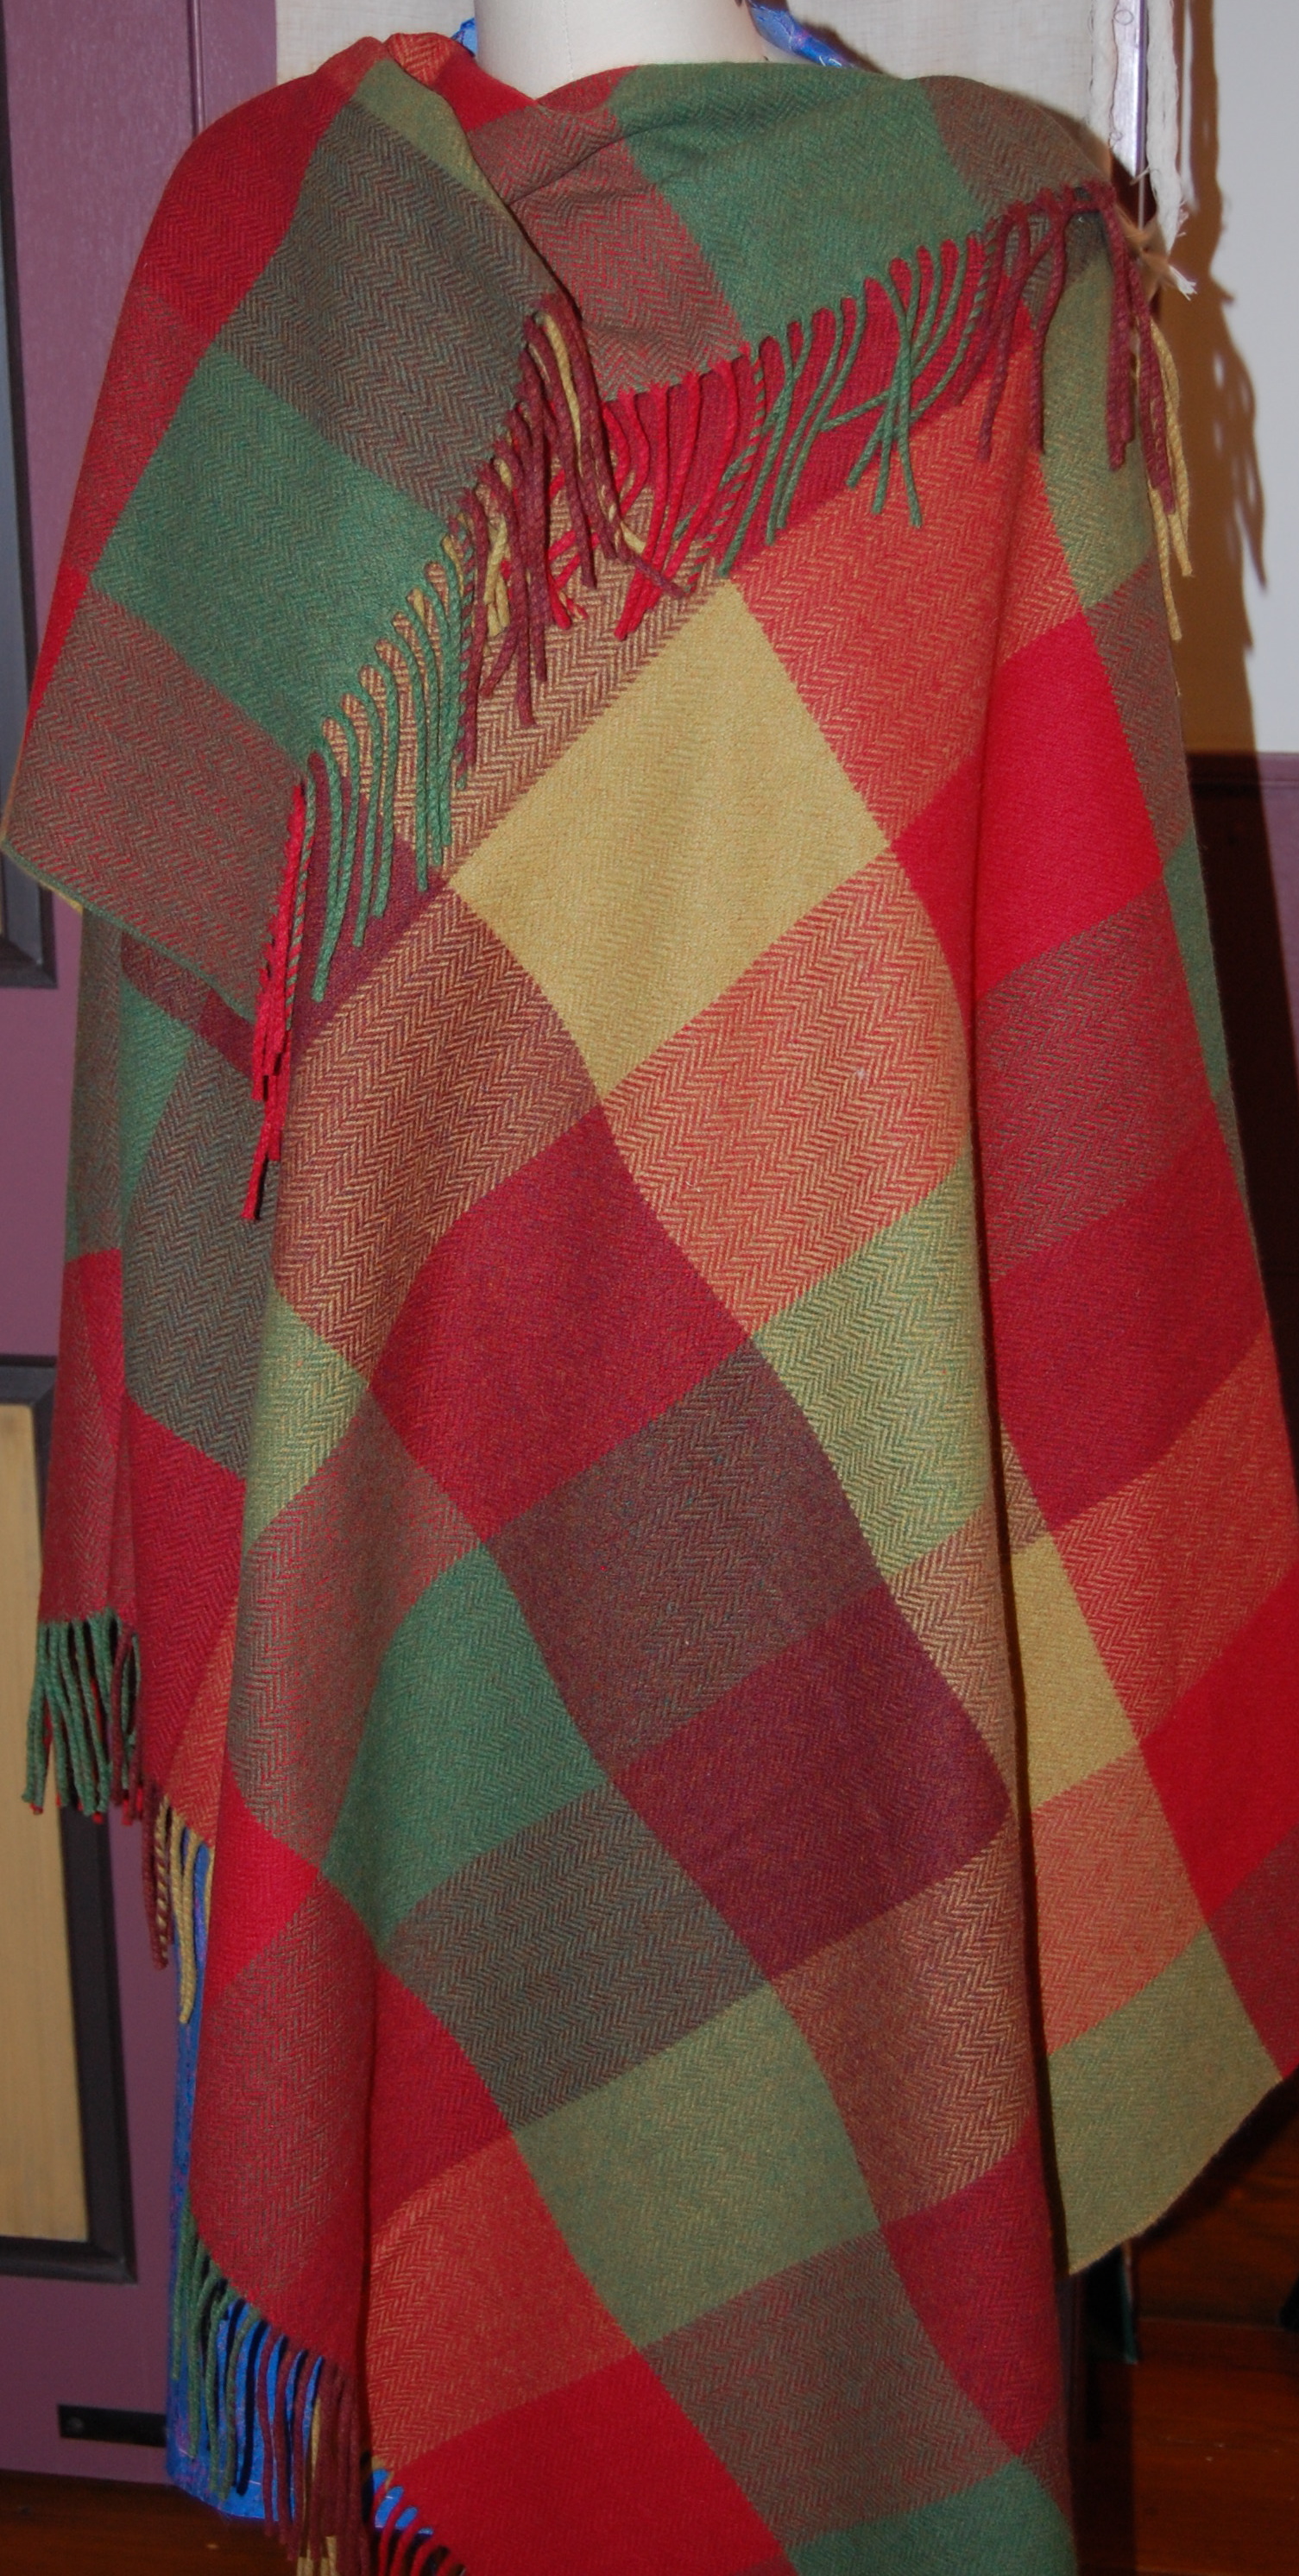
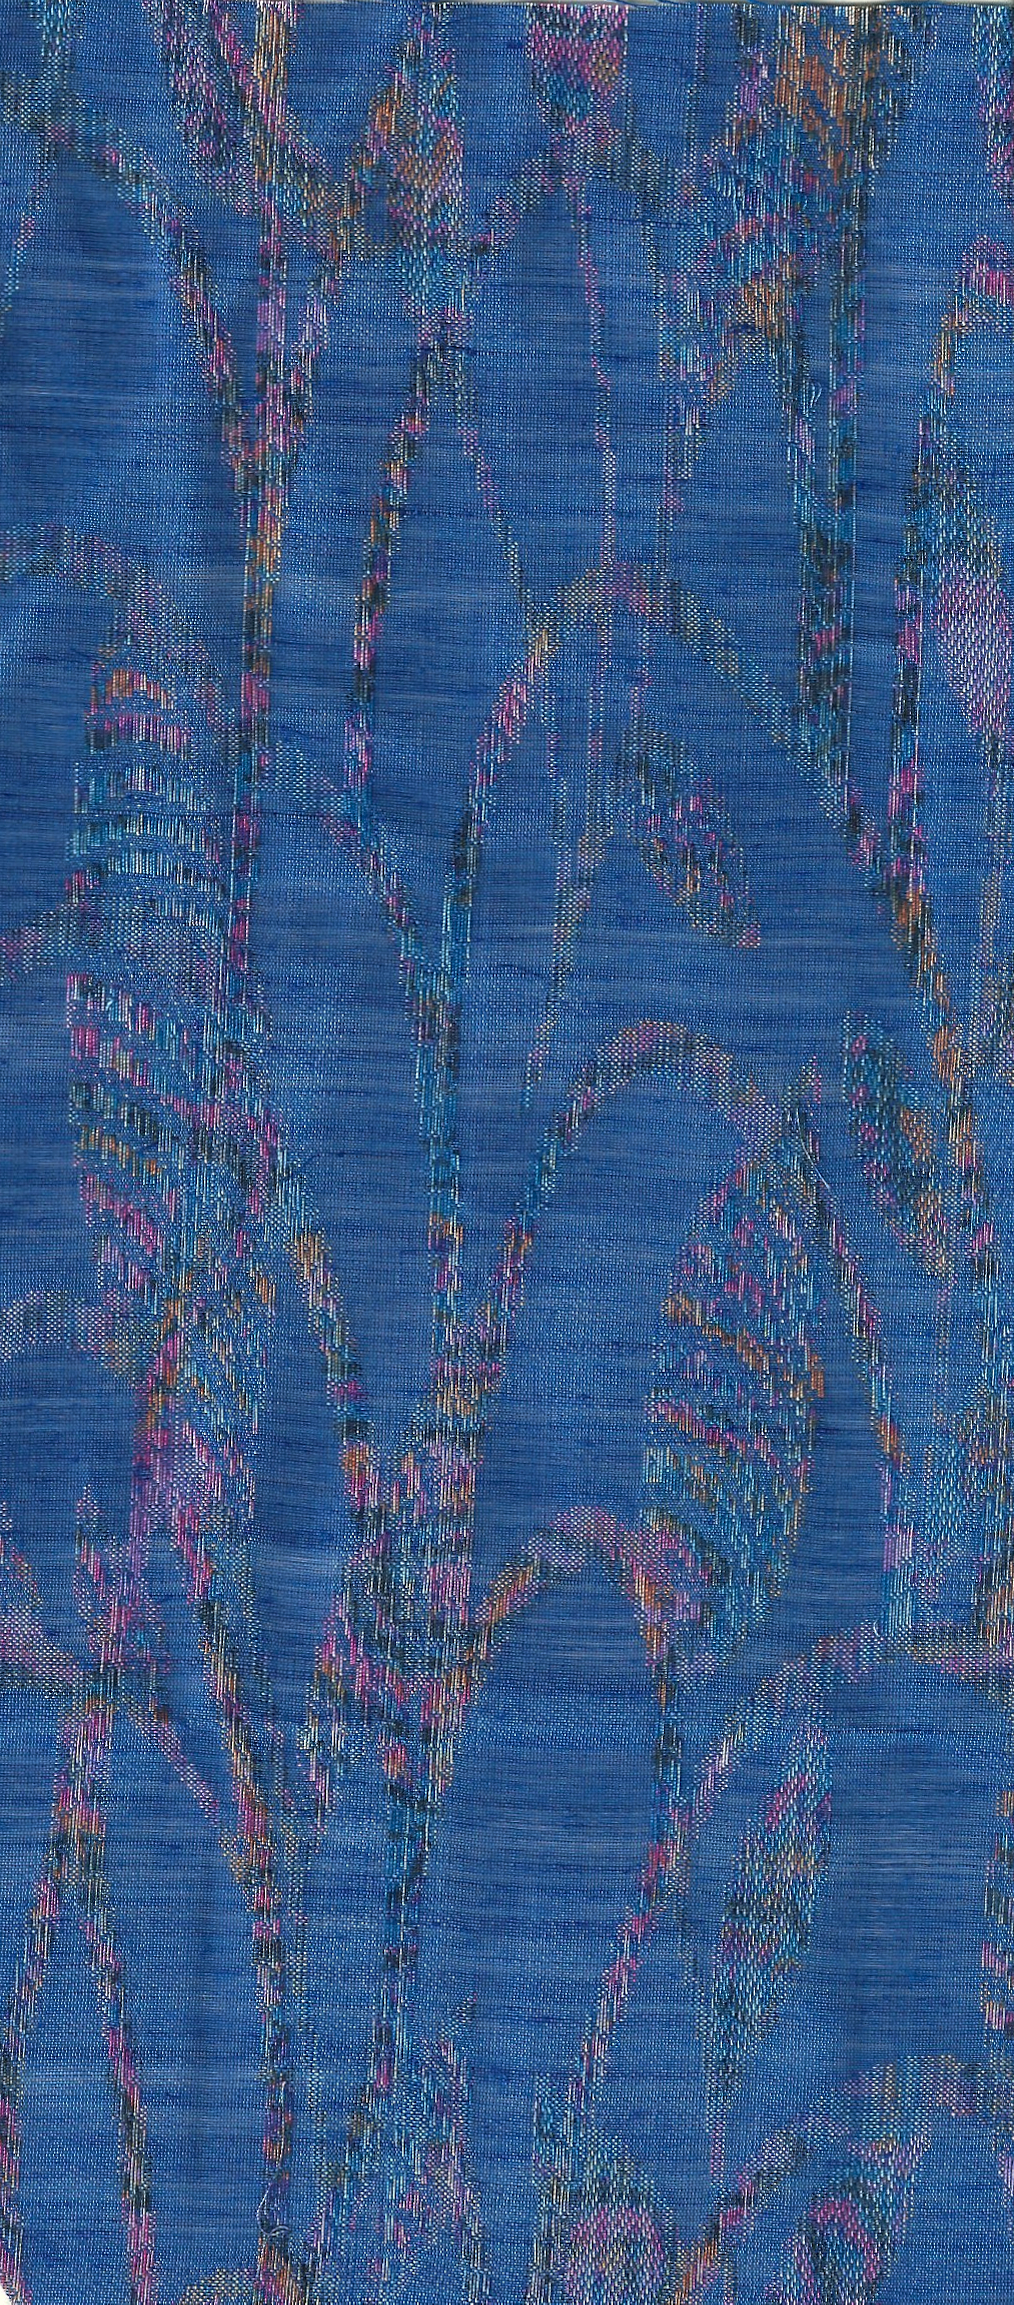
I thought my mind was set on making a pencil skirt out of this “throw” size blanket. When I pinned the fabric on my dress form in the length of a skirt, however, I was struck by the fact that so much of this lovely plaid wool would not be used. So I repinned the blanket in its full length, minus the fringe on one end, to see if I could make a sheath dress instead.

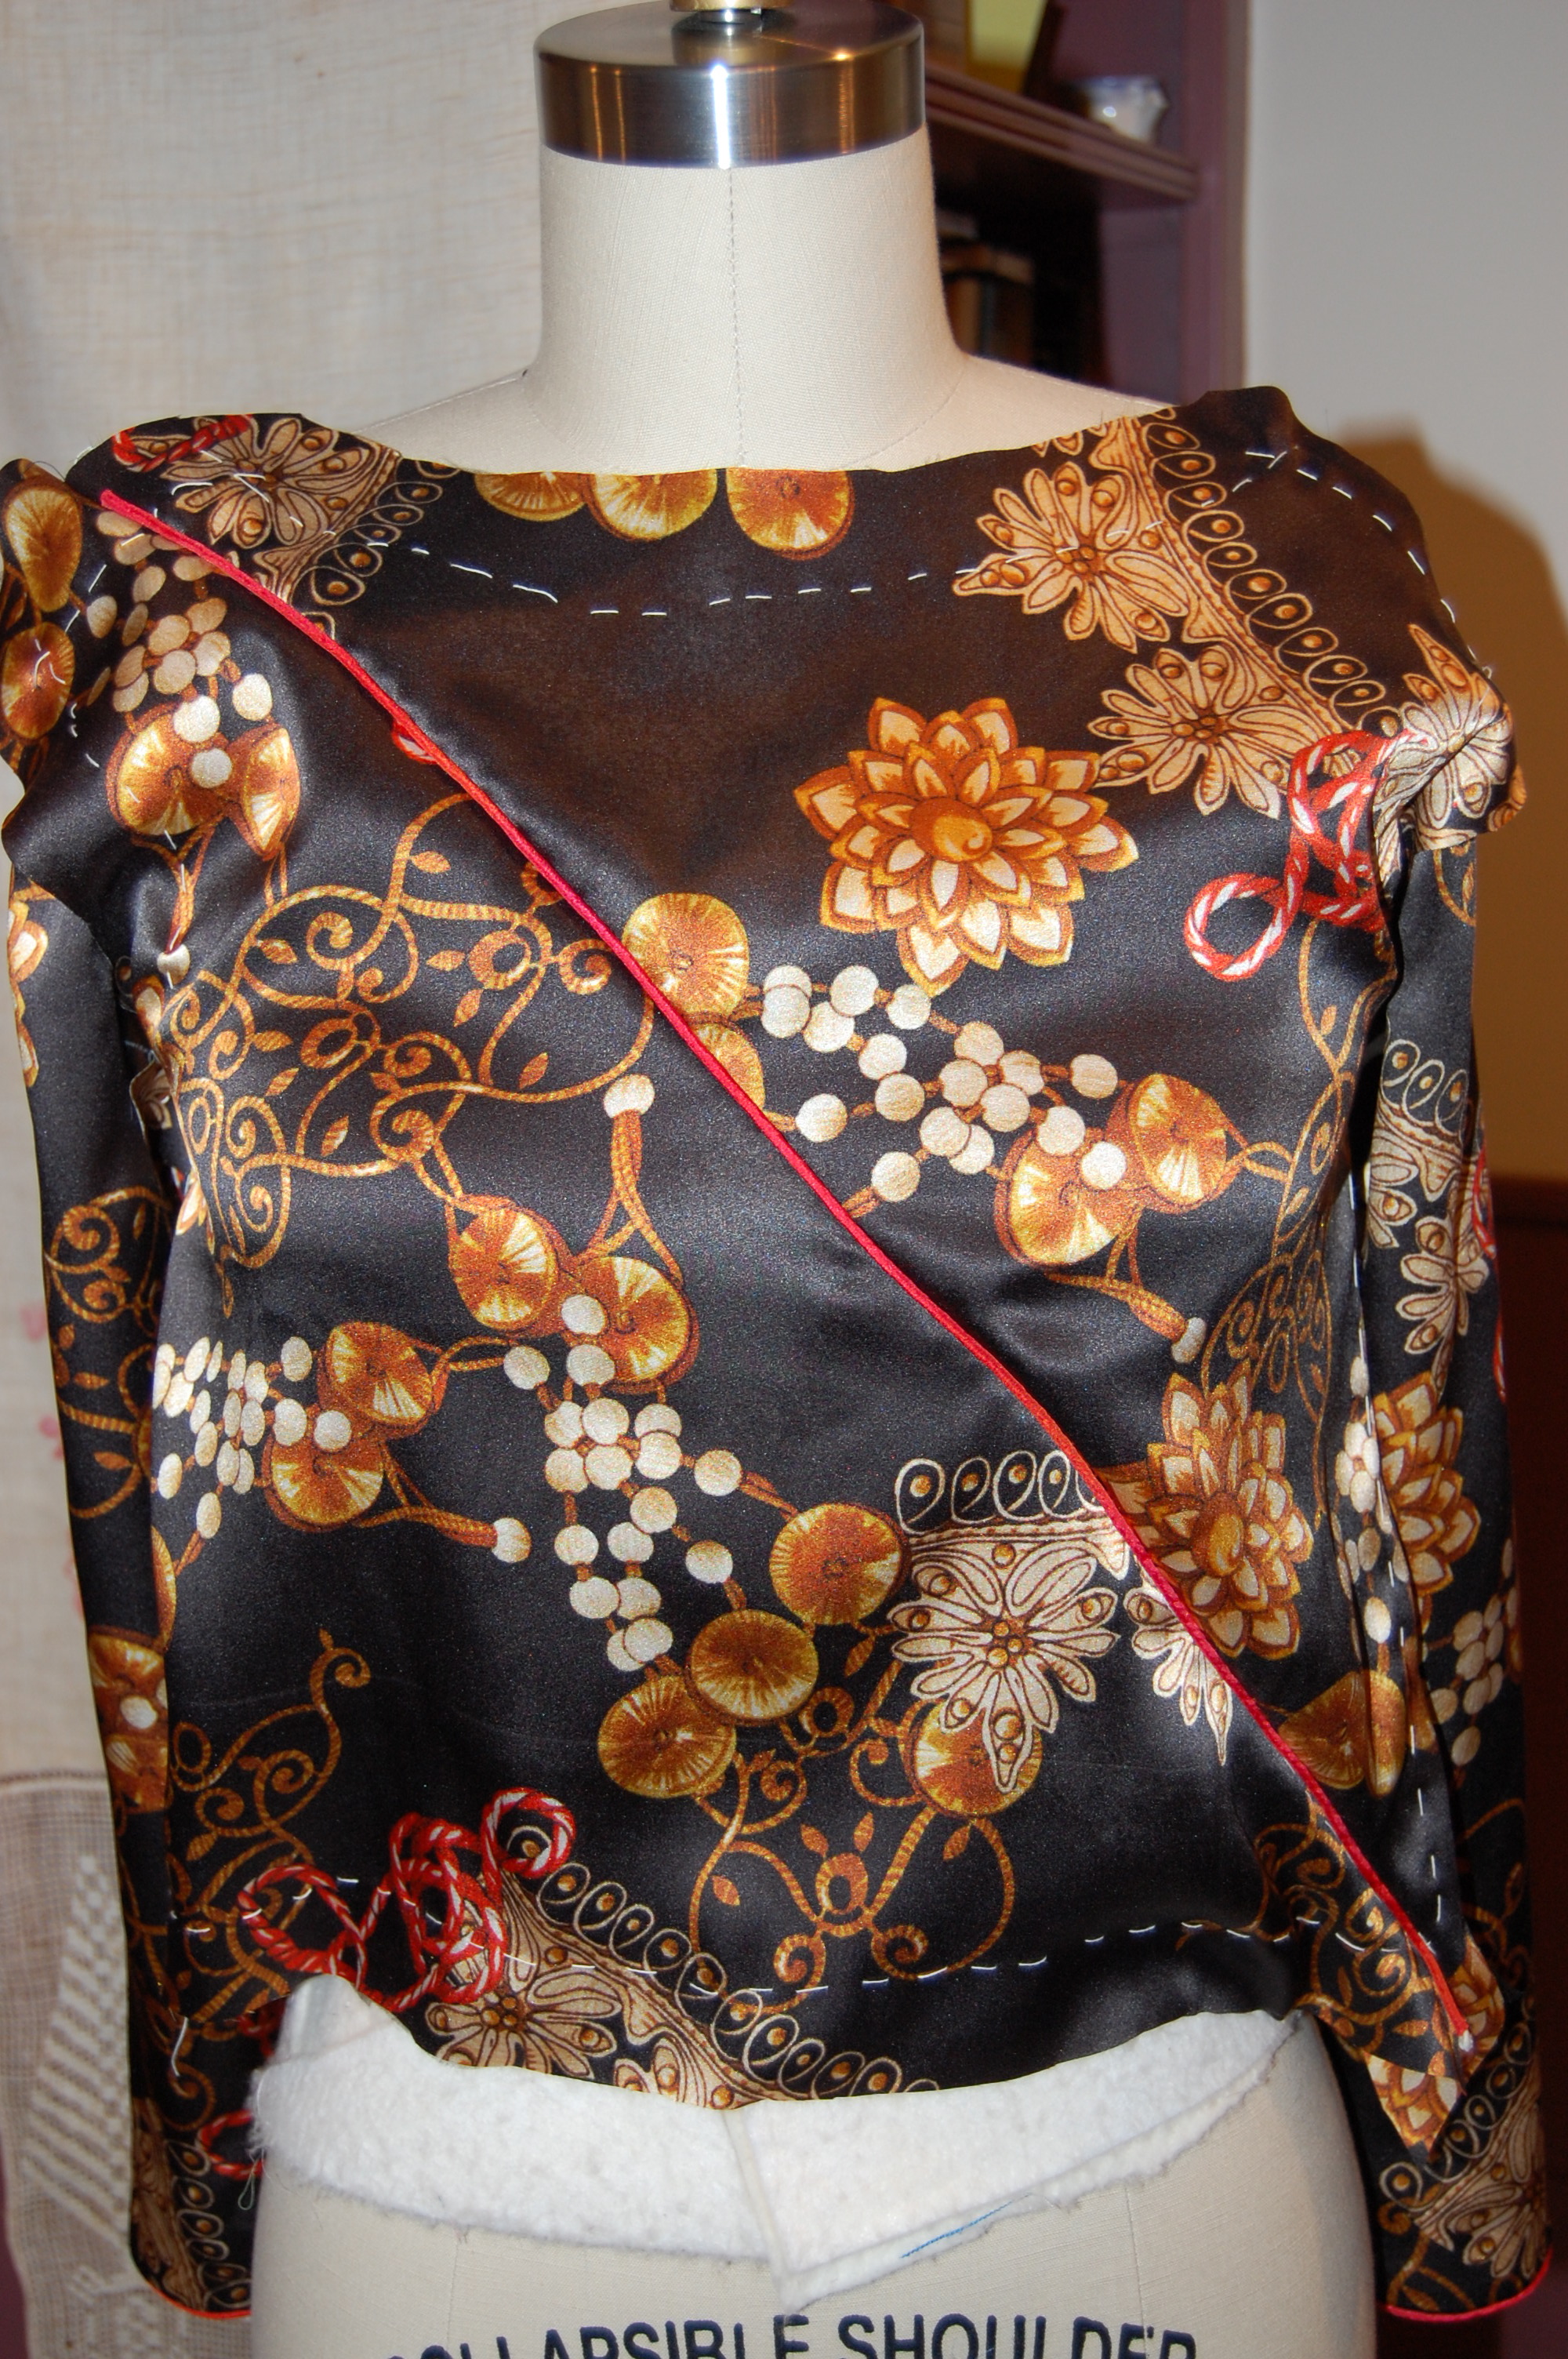
The blanket pinned onto my dress form.
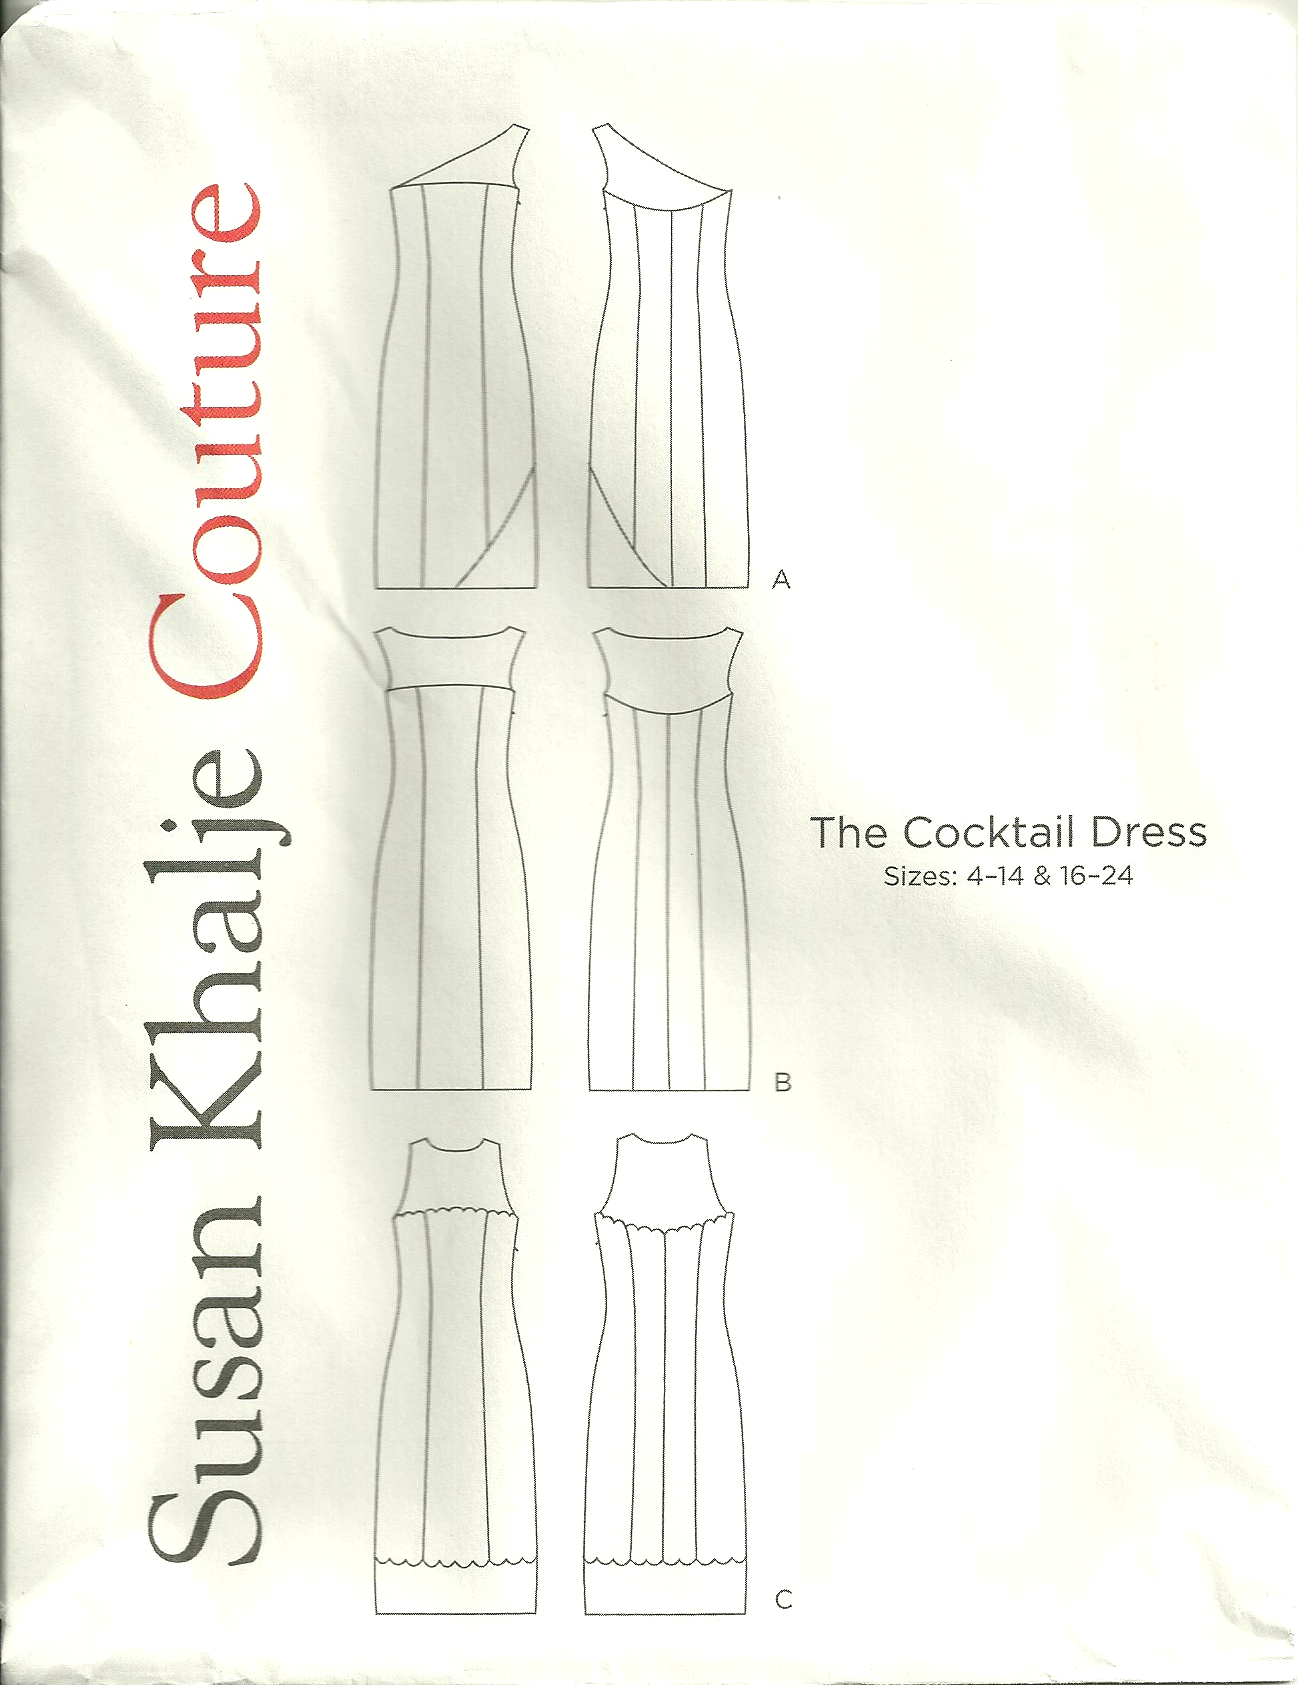
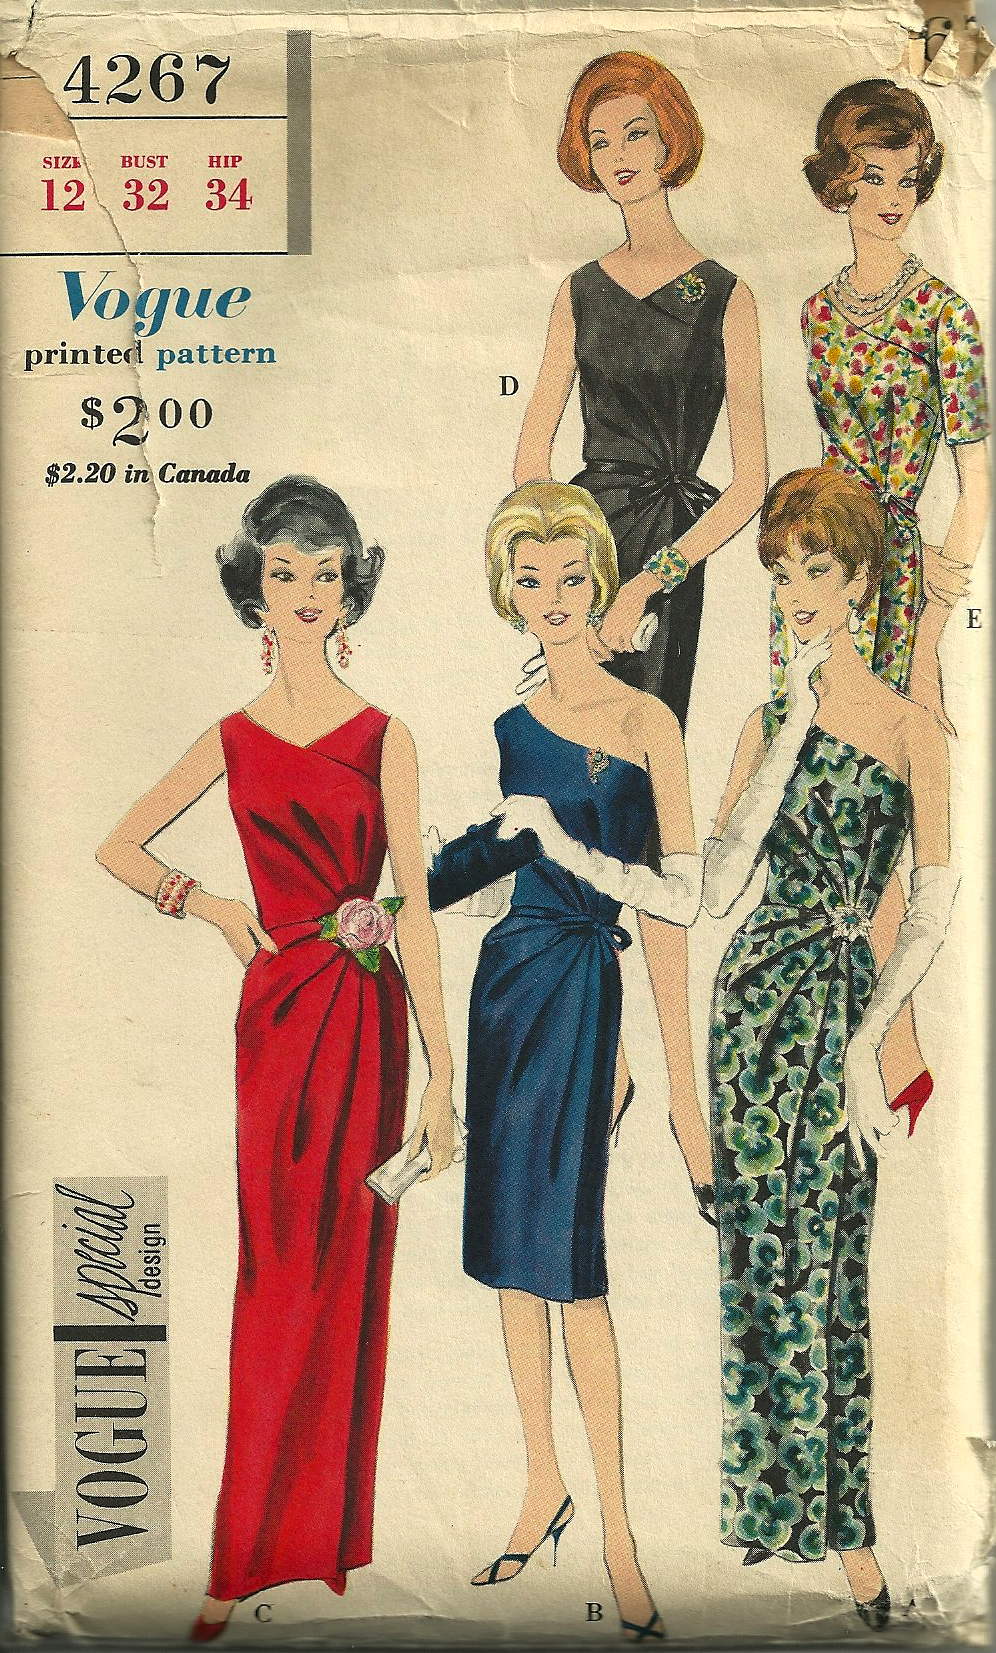
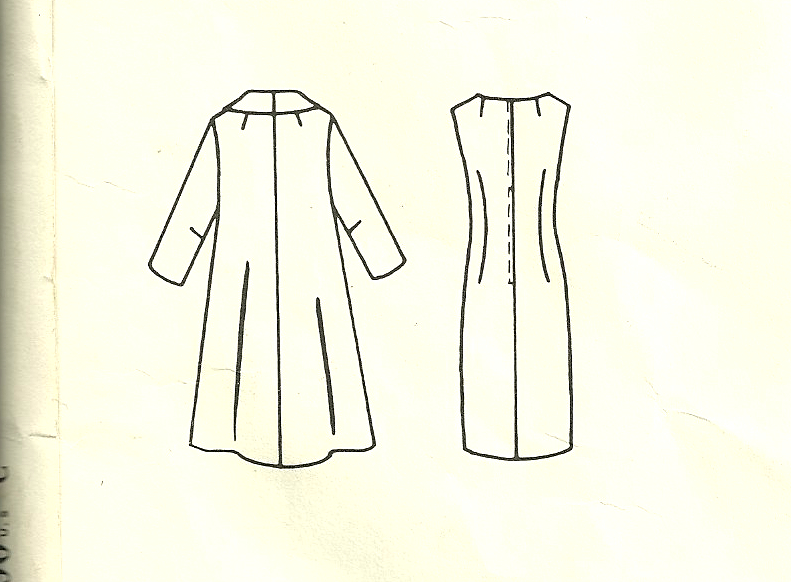
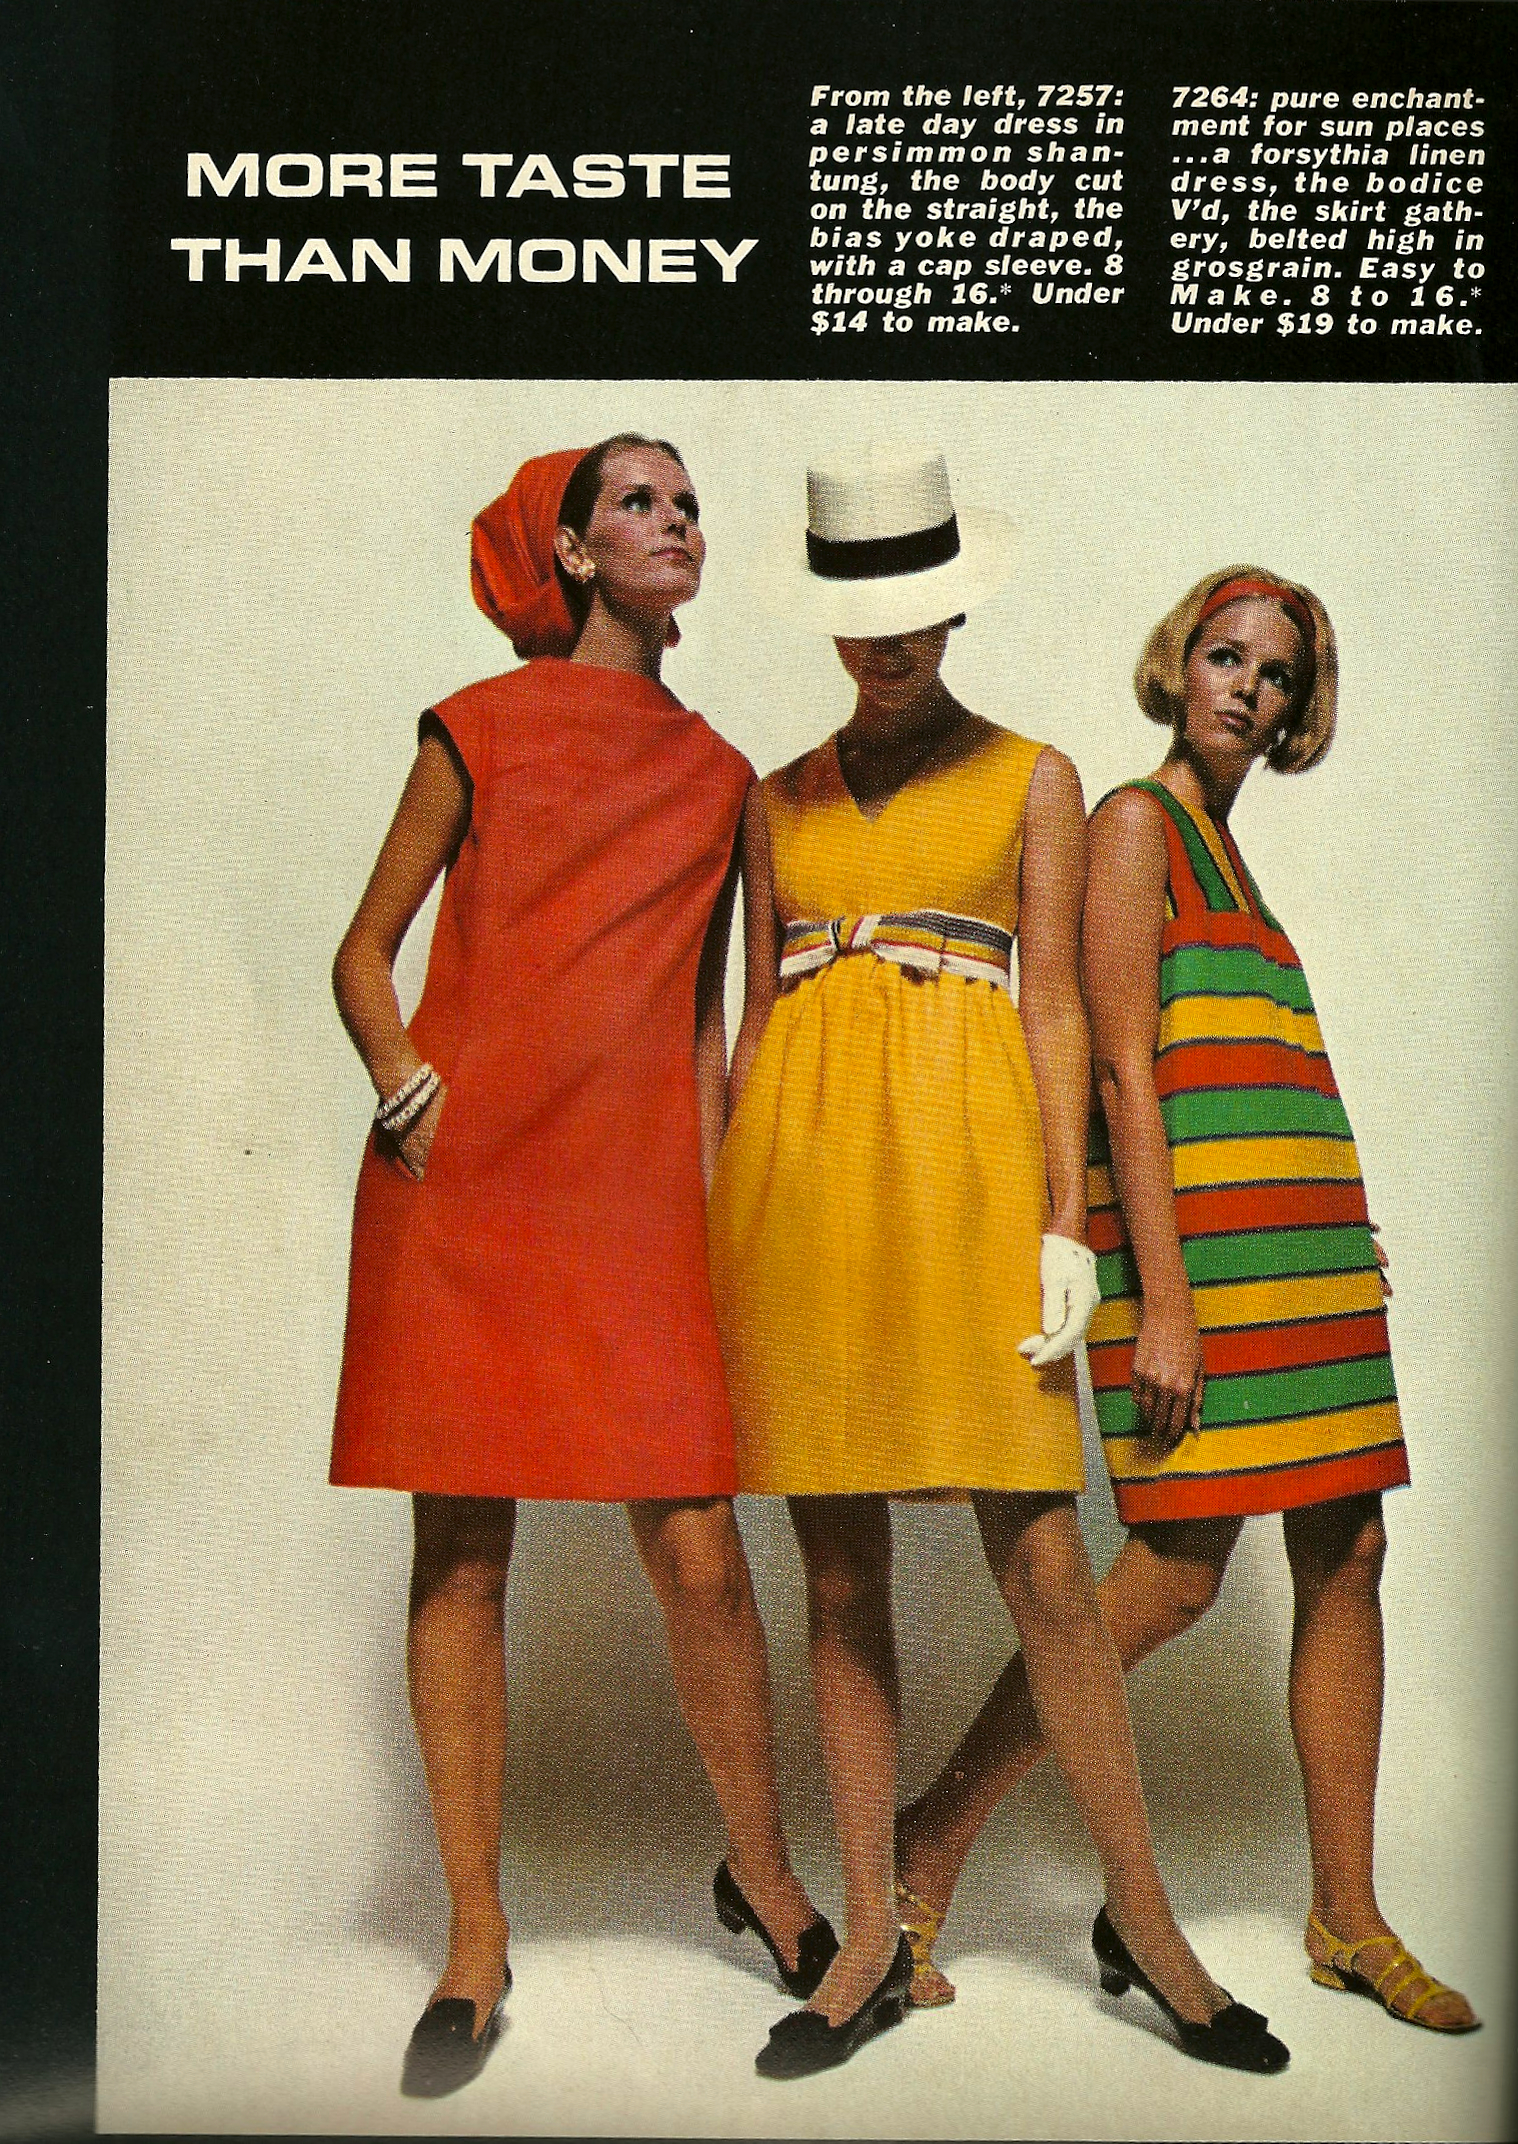
I got out my favorite sheath dress pattern and placed it on the fabric to determine if I could indeed get a knee-length dress out of the yardage I have. It will be a squeeze, but I am fairly certain I can manage it. So I have just about decided to make a dress instead of a skirt. But I have one looming question: is this going to look too much like a 1920s’ flapper dress? I think not, made out of a plaid wool. I actually think a fringed dress will lend itself to be dressed up or dressed down. Hm-m-m-m, what do you think?
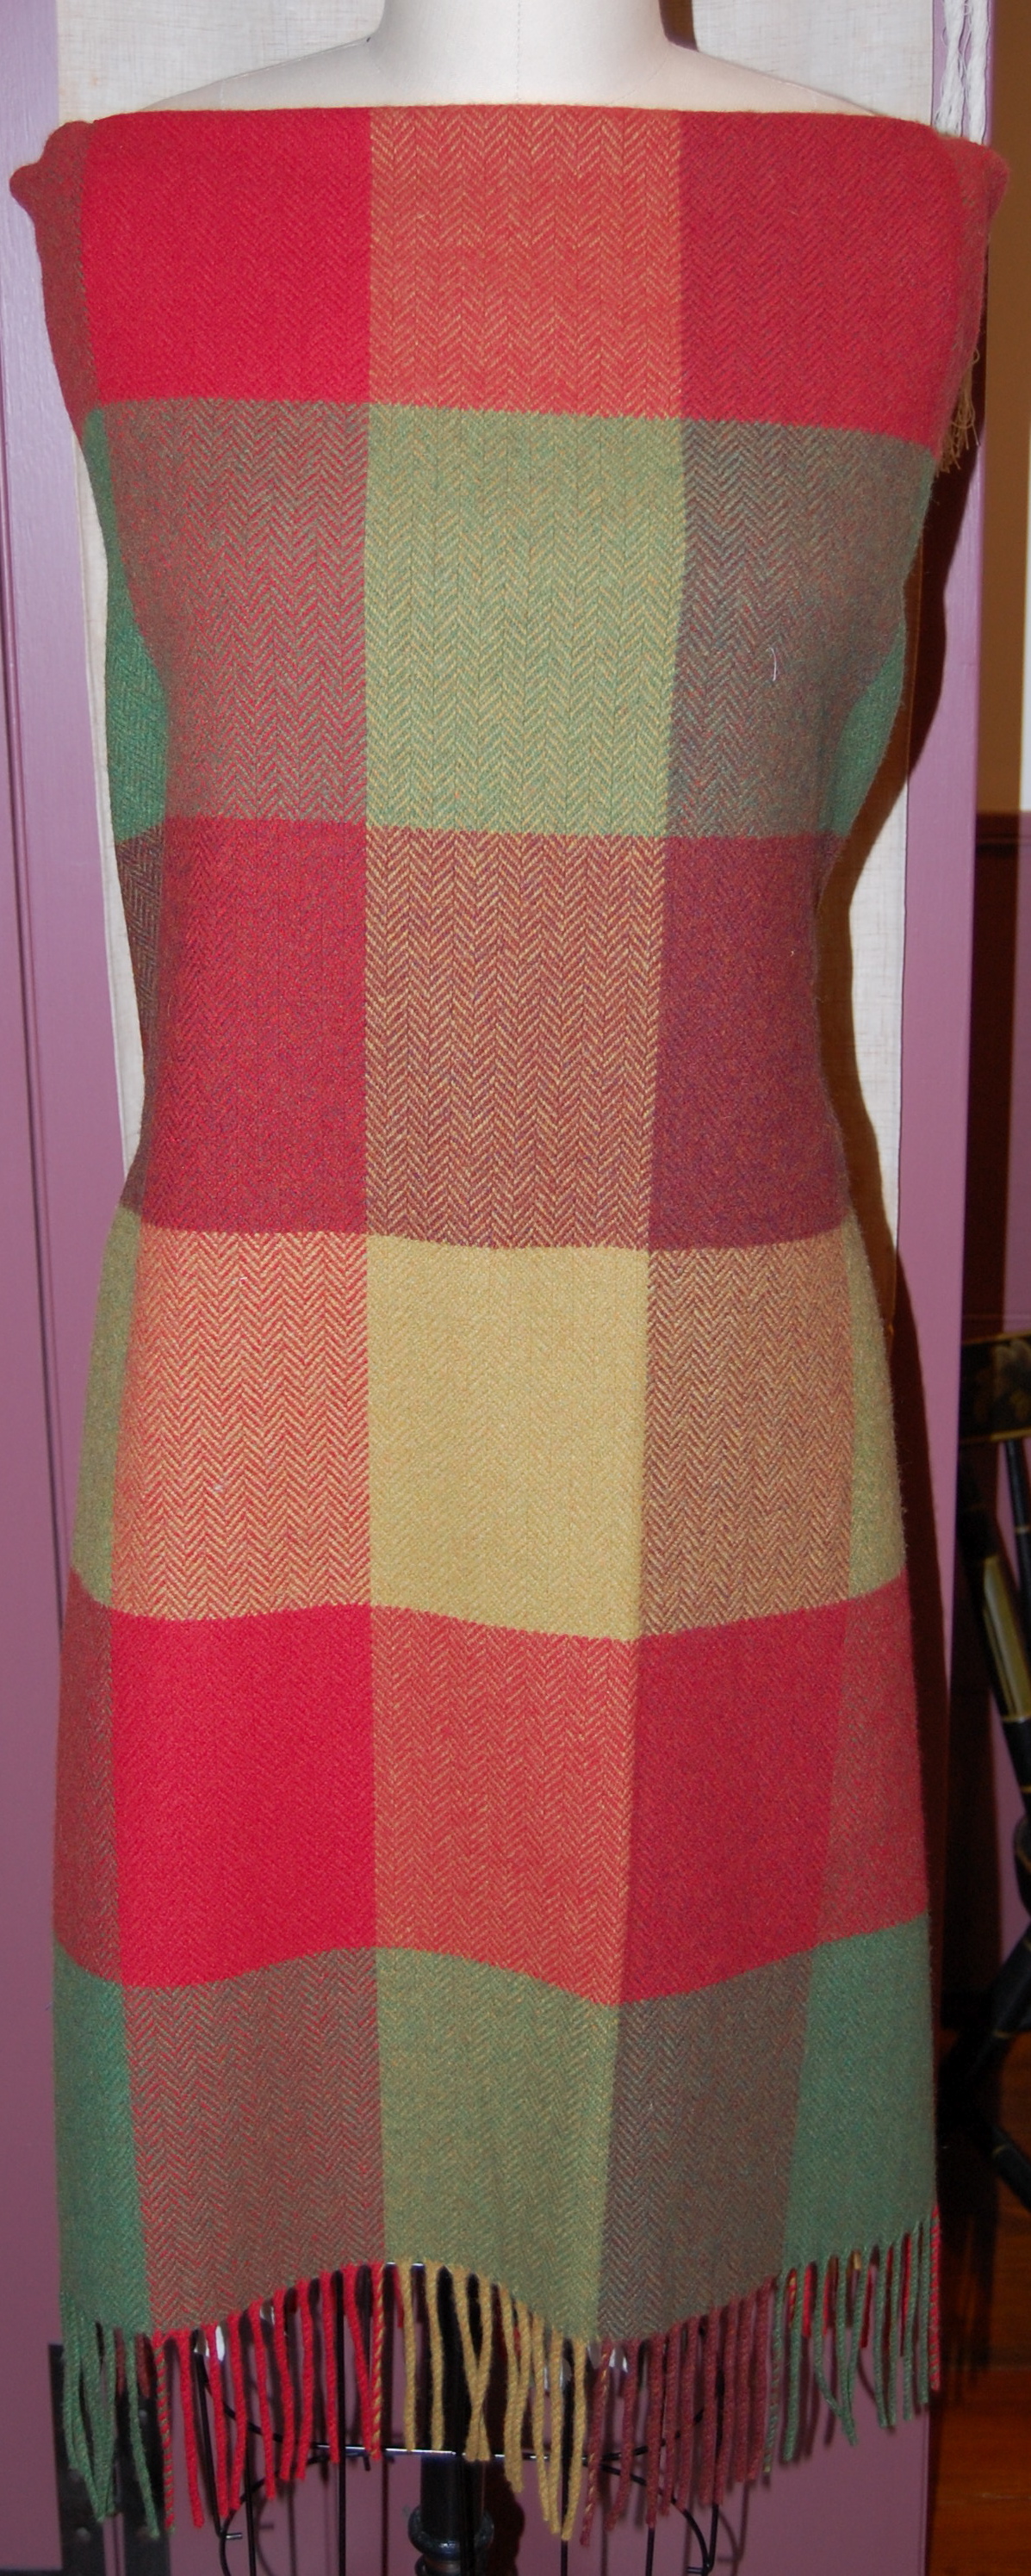
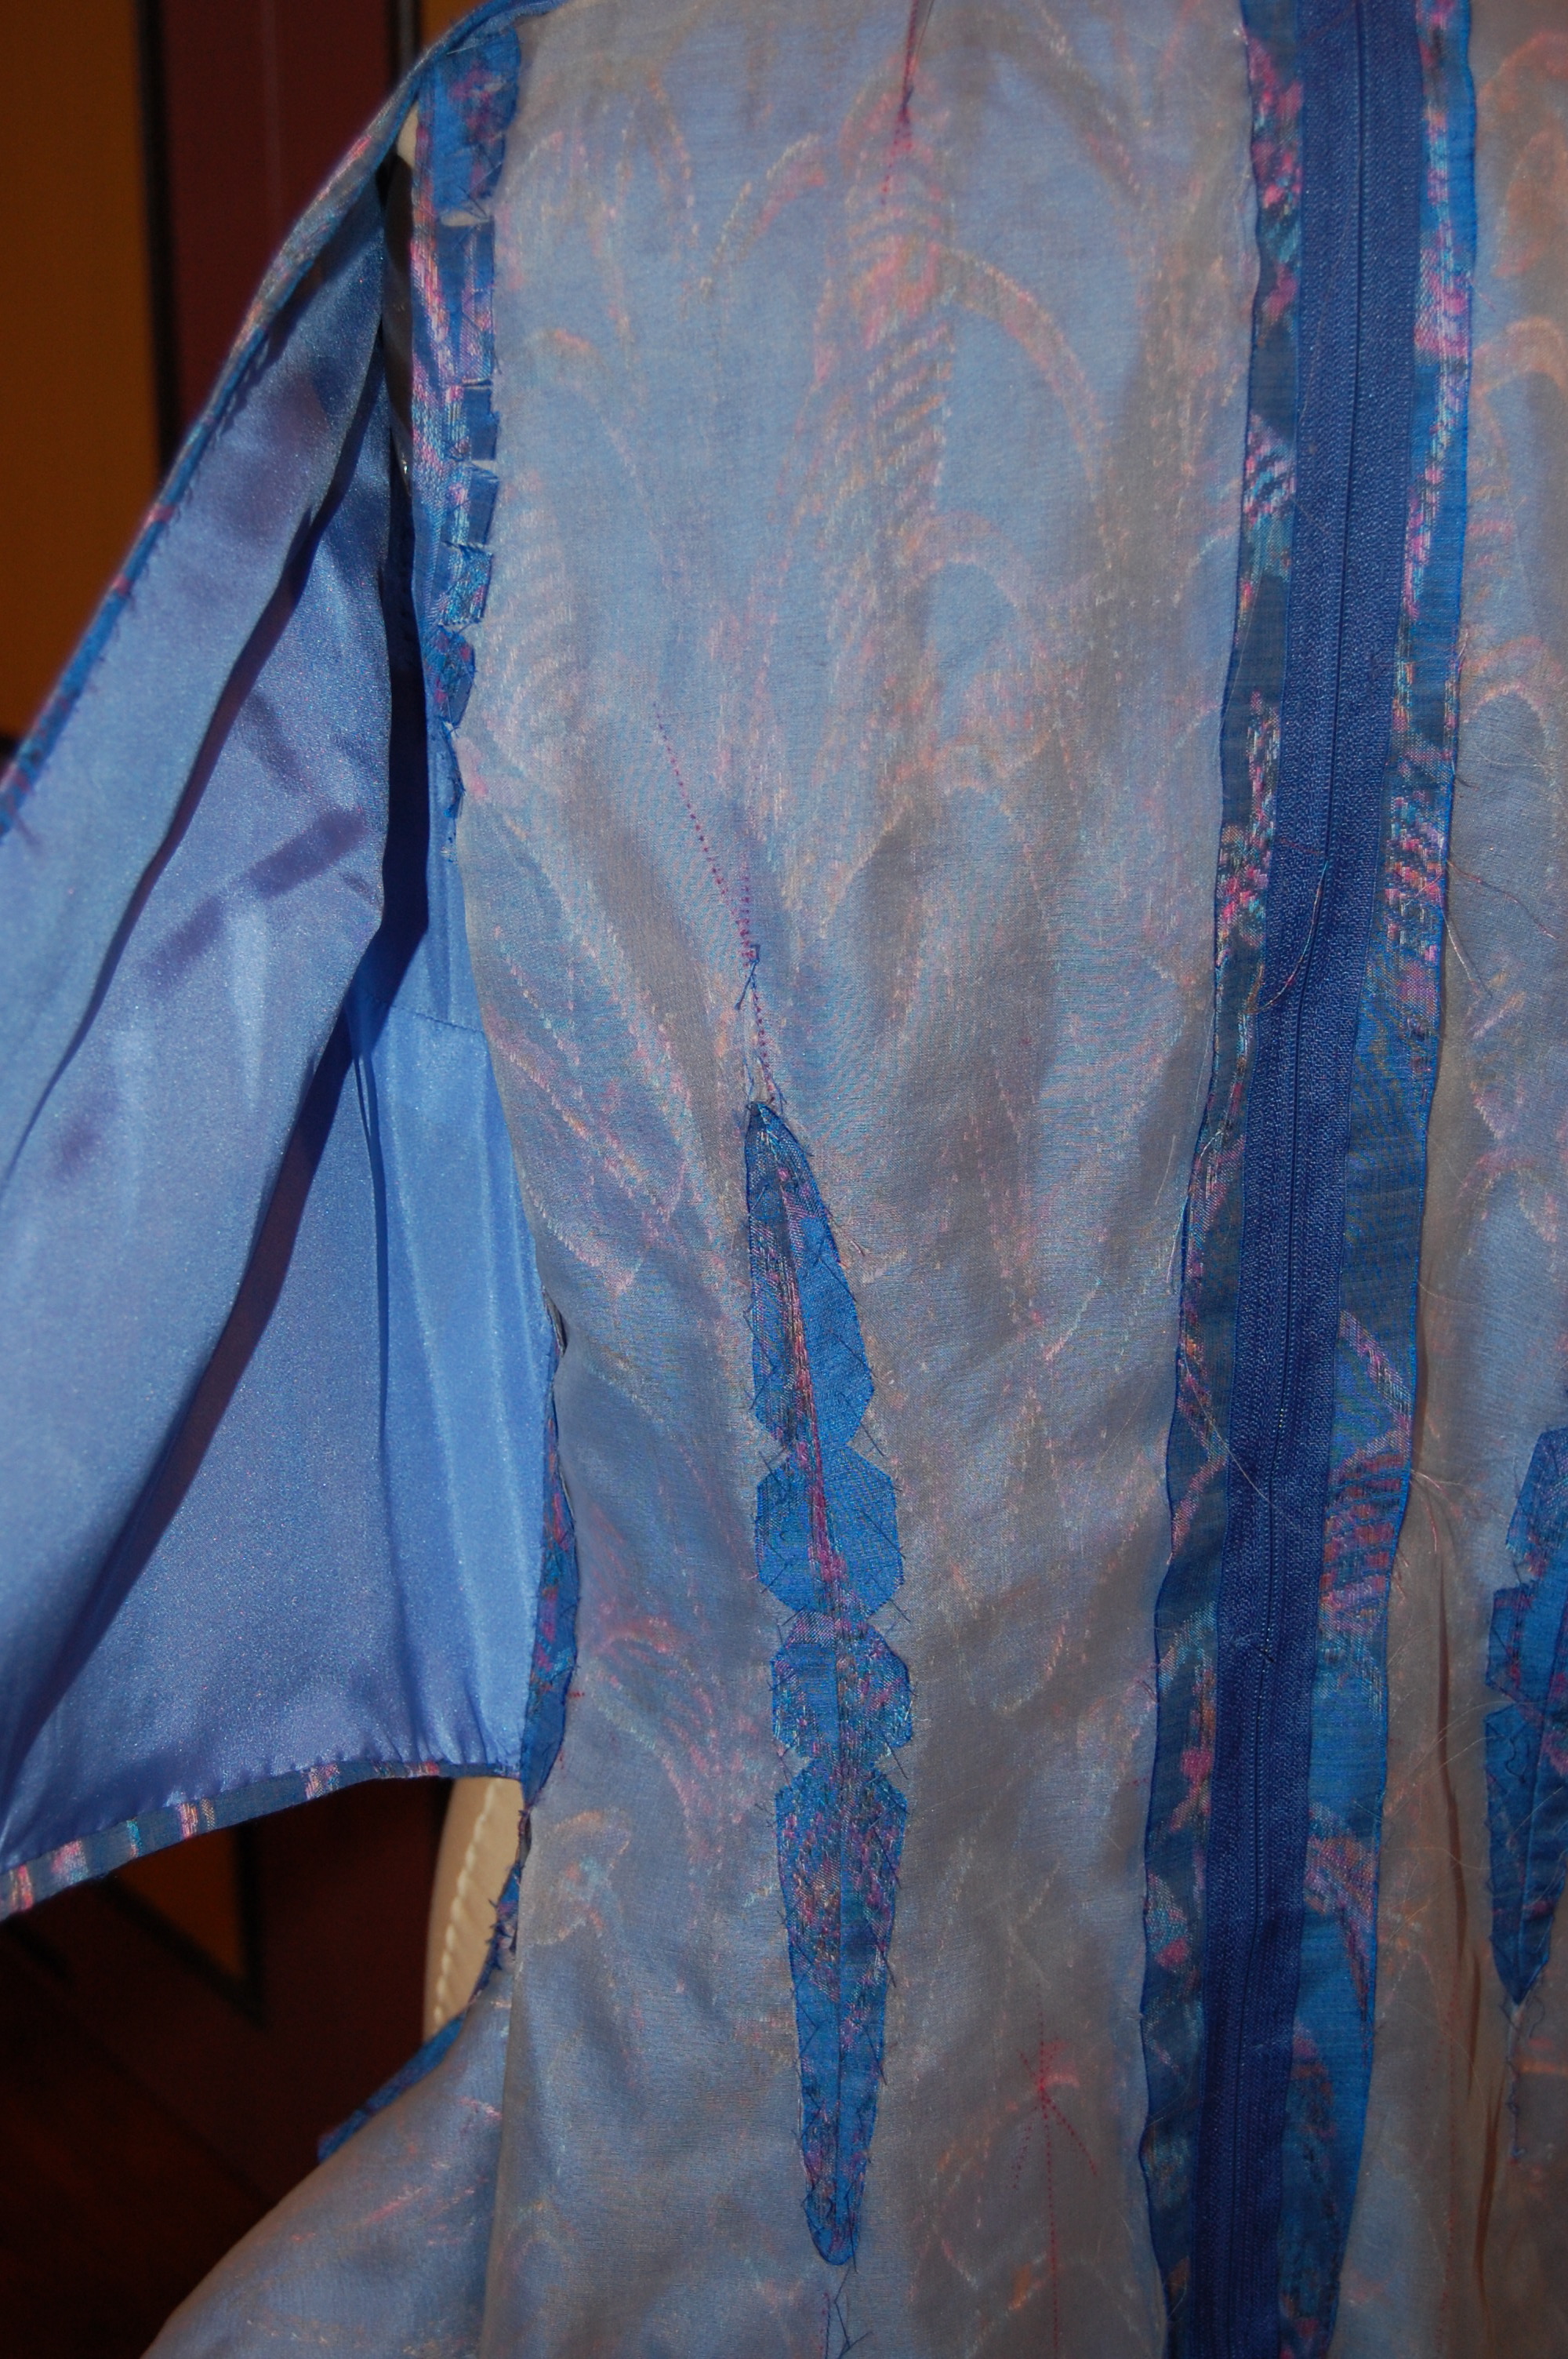
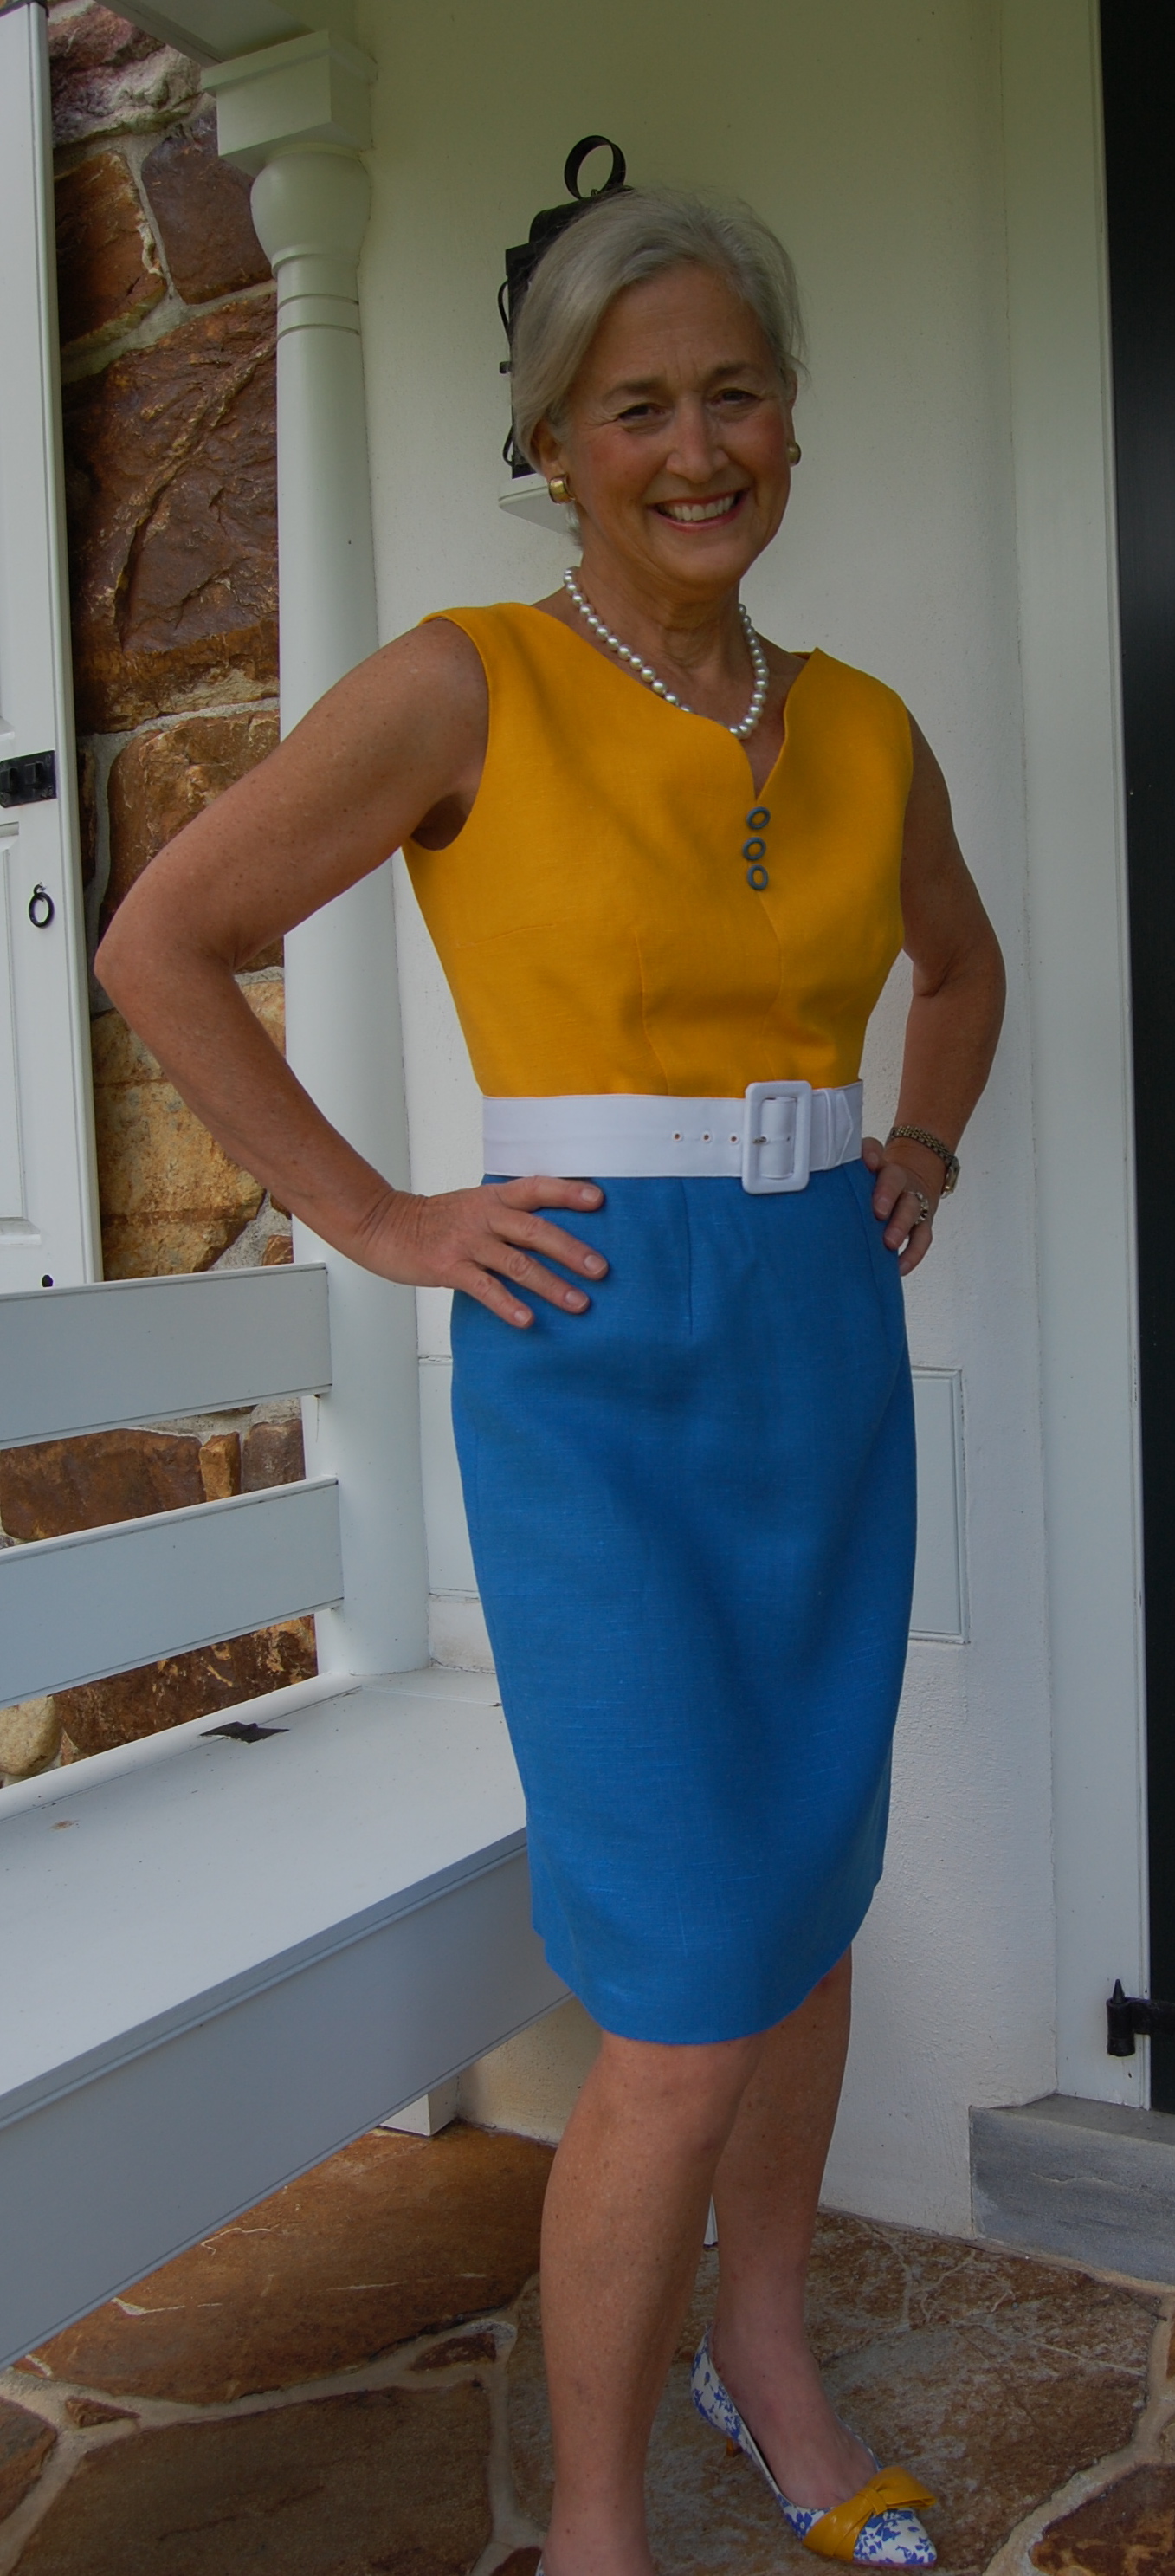
Another look…
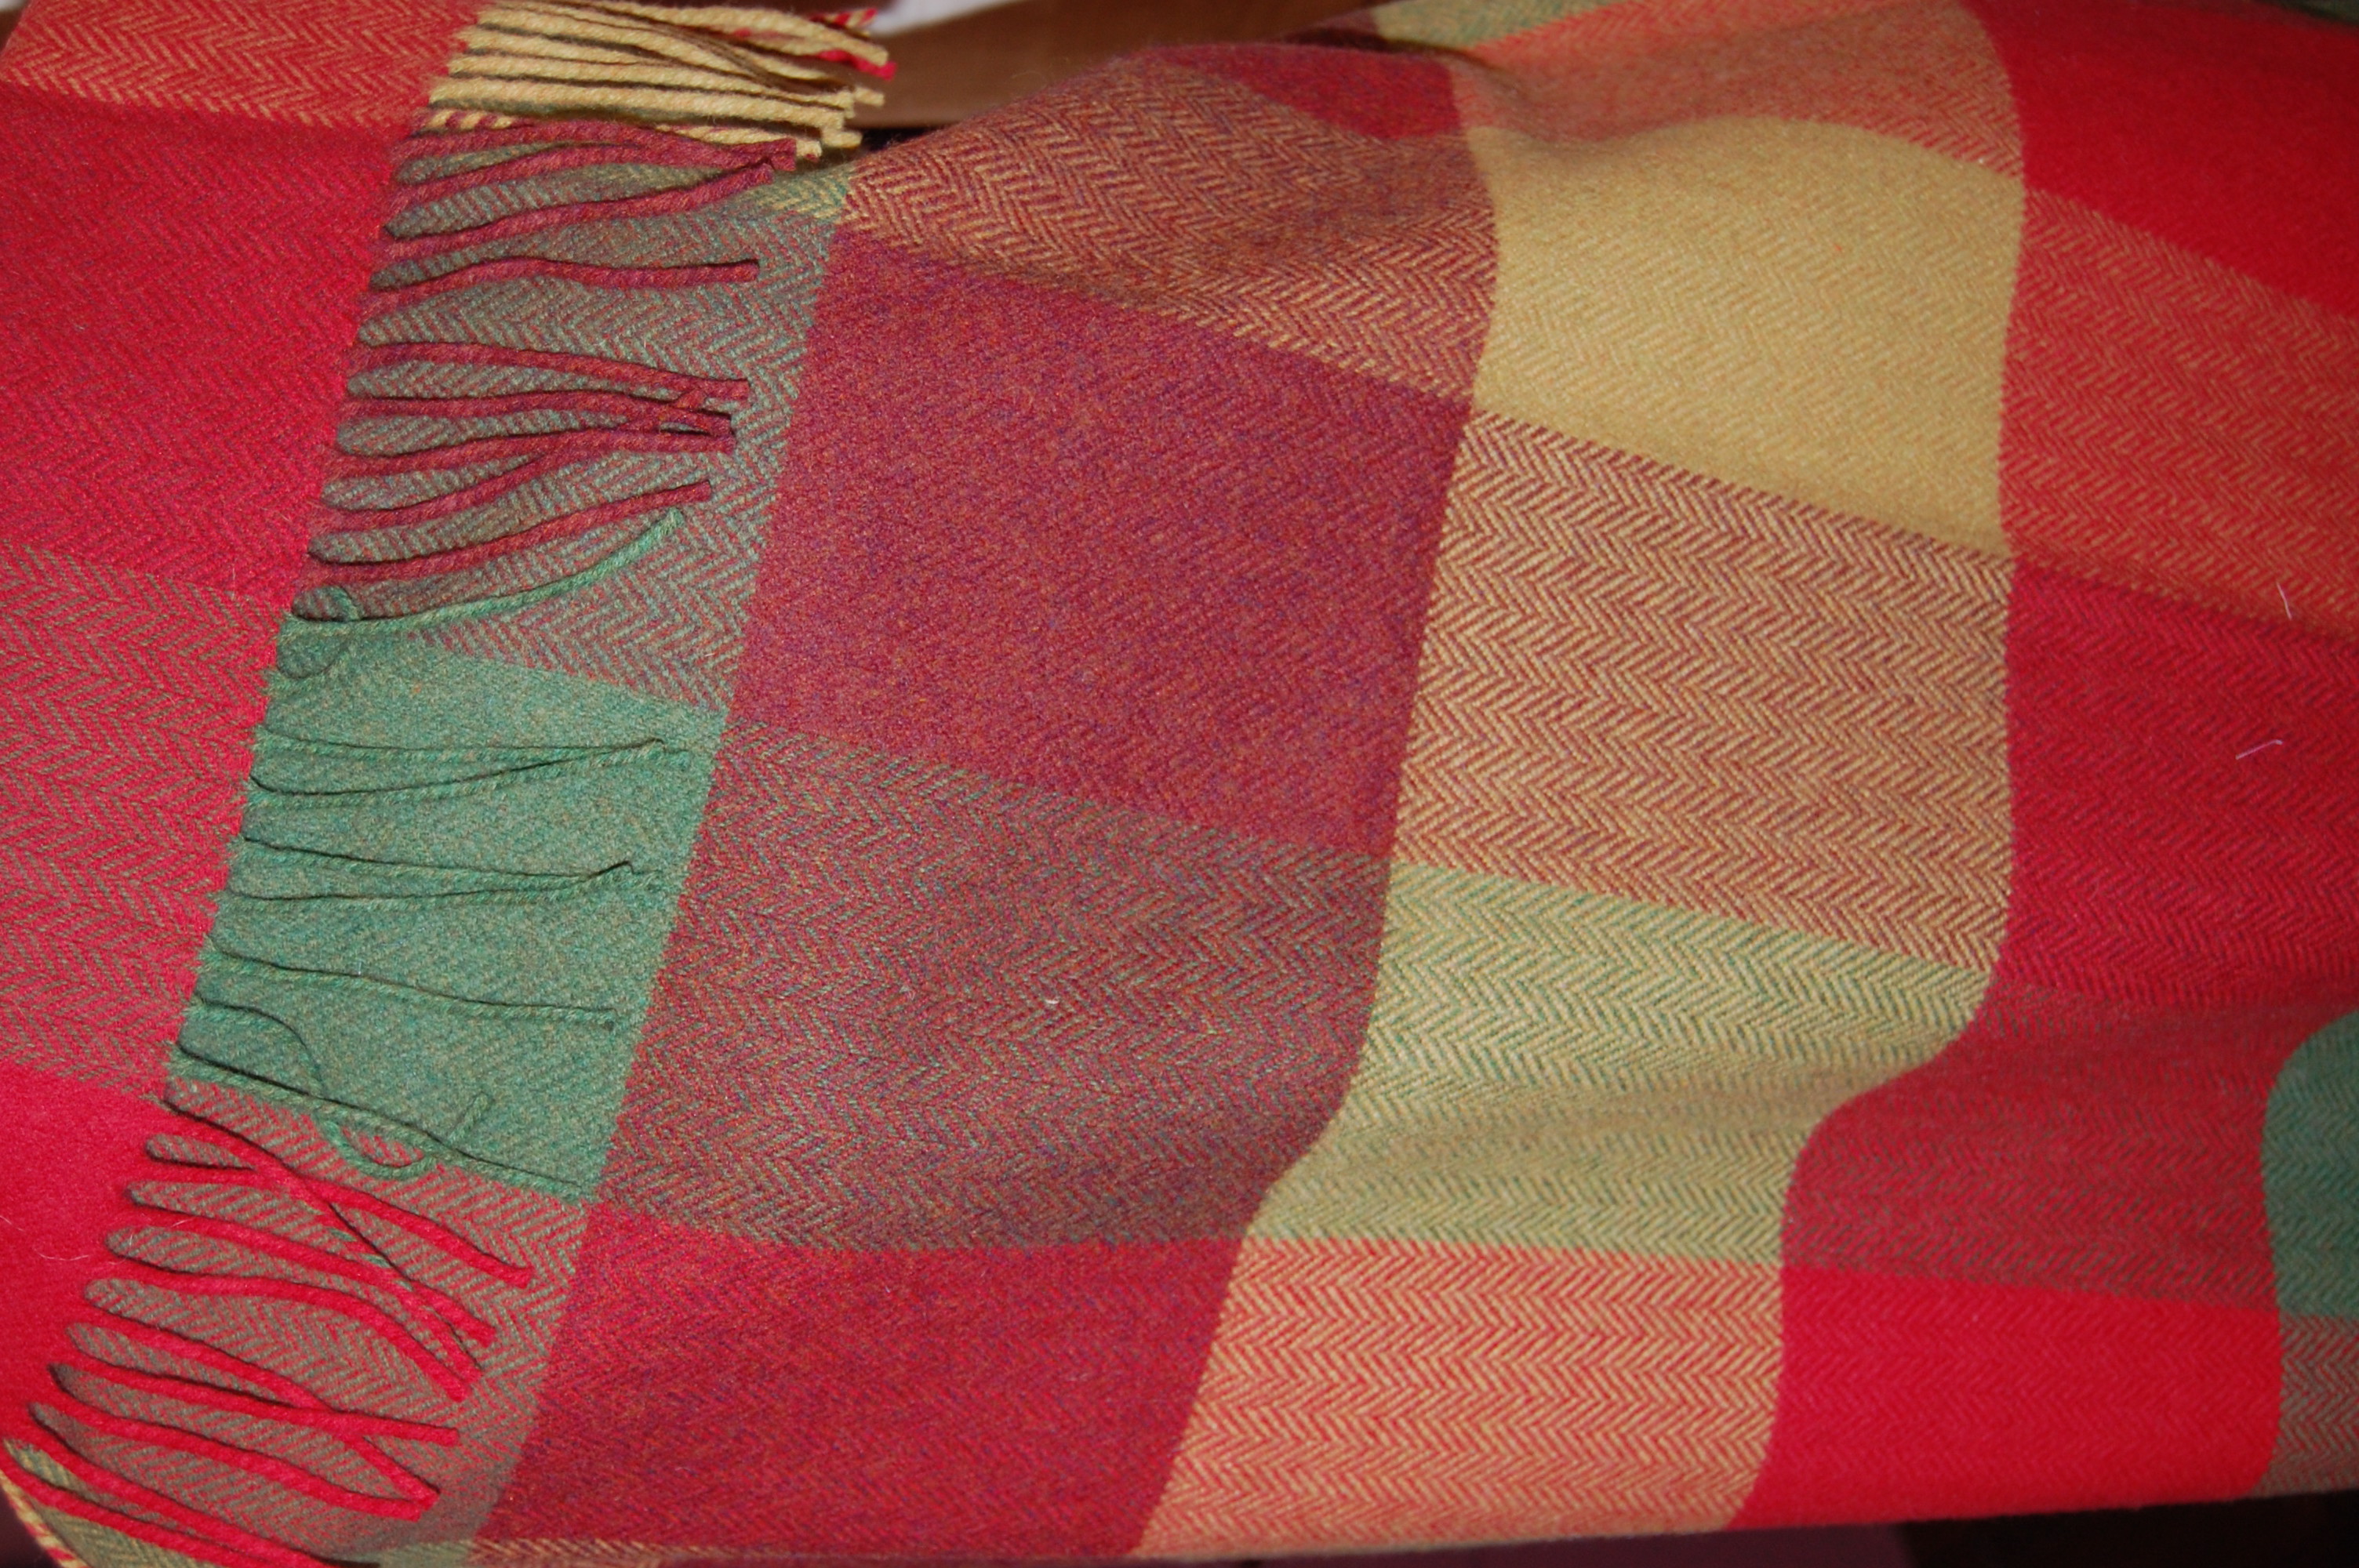
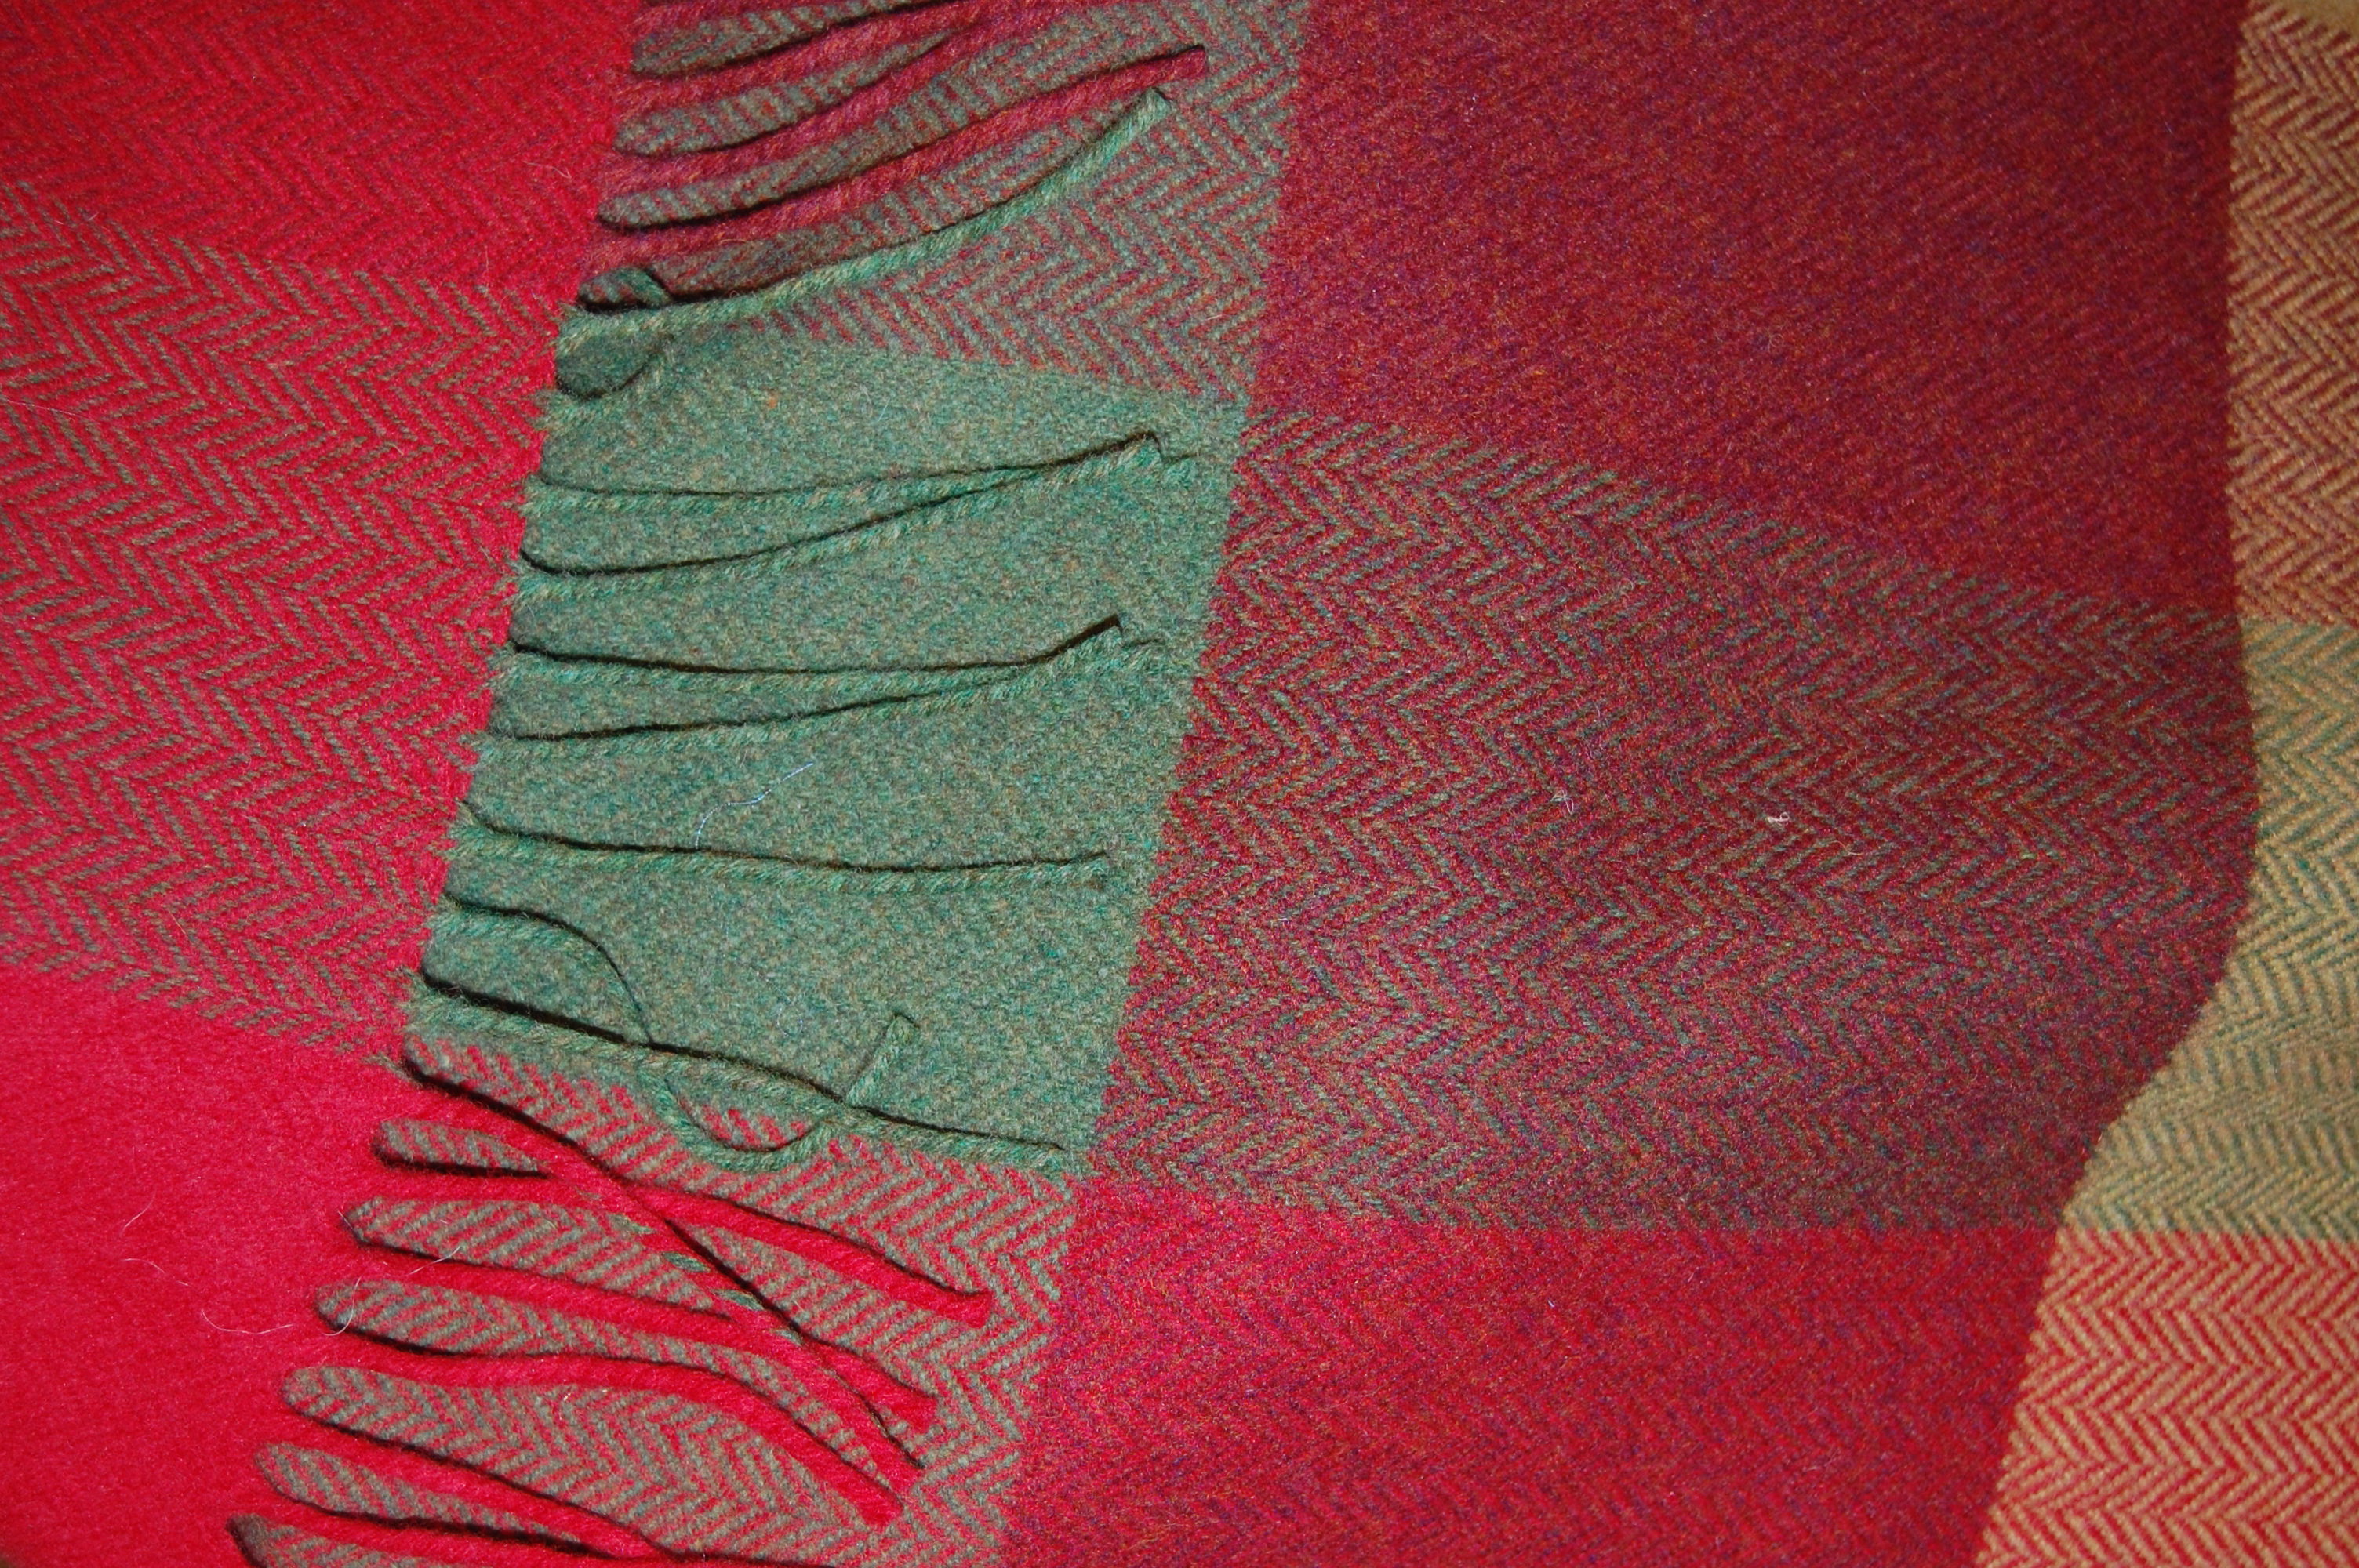
The color combination of this plaid is one I love. After Pantone’s Color of the Year for 2015 was announced, I realized that certain blocks of this plaid pick up the Marsala color (reddish brown) which is supposed to be so popular in 2015.
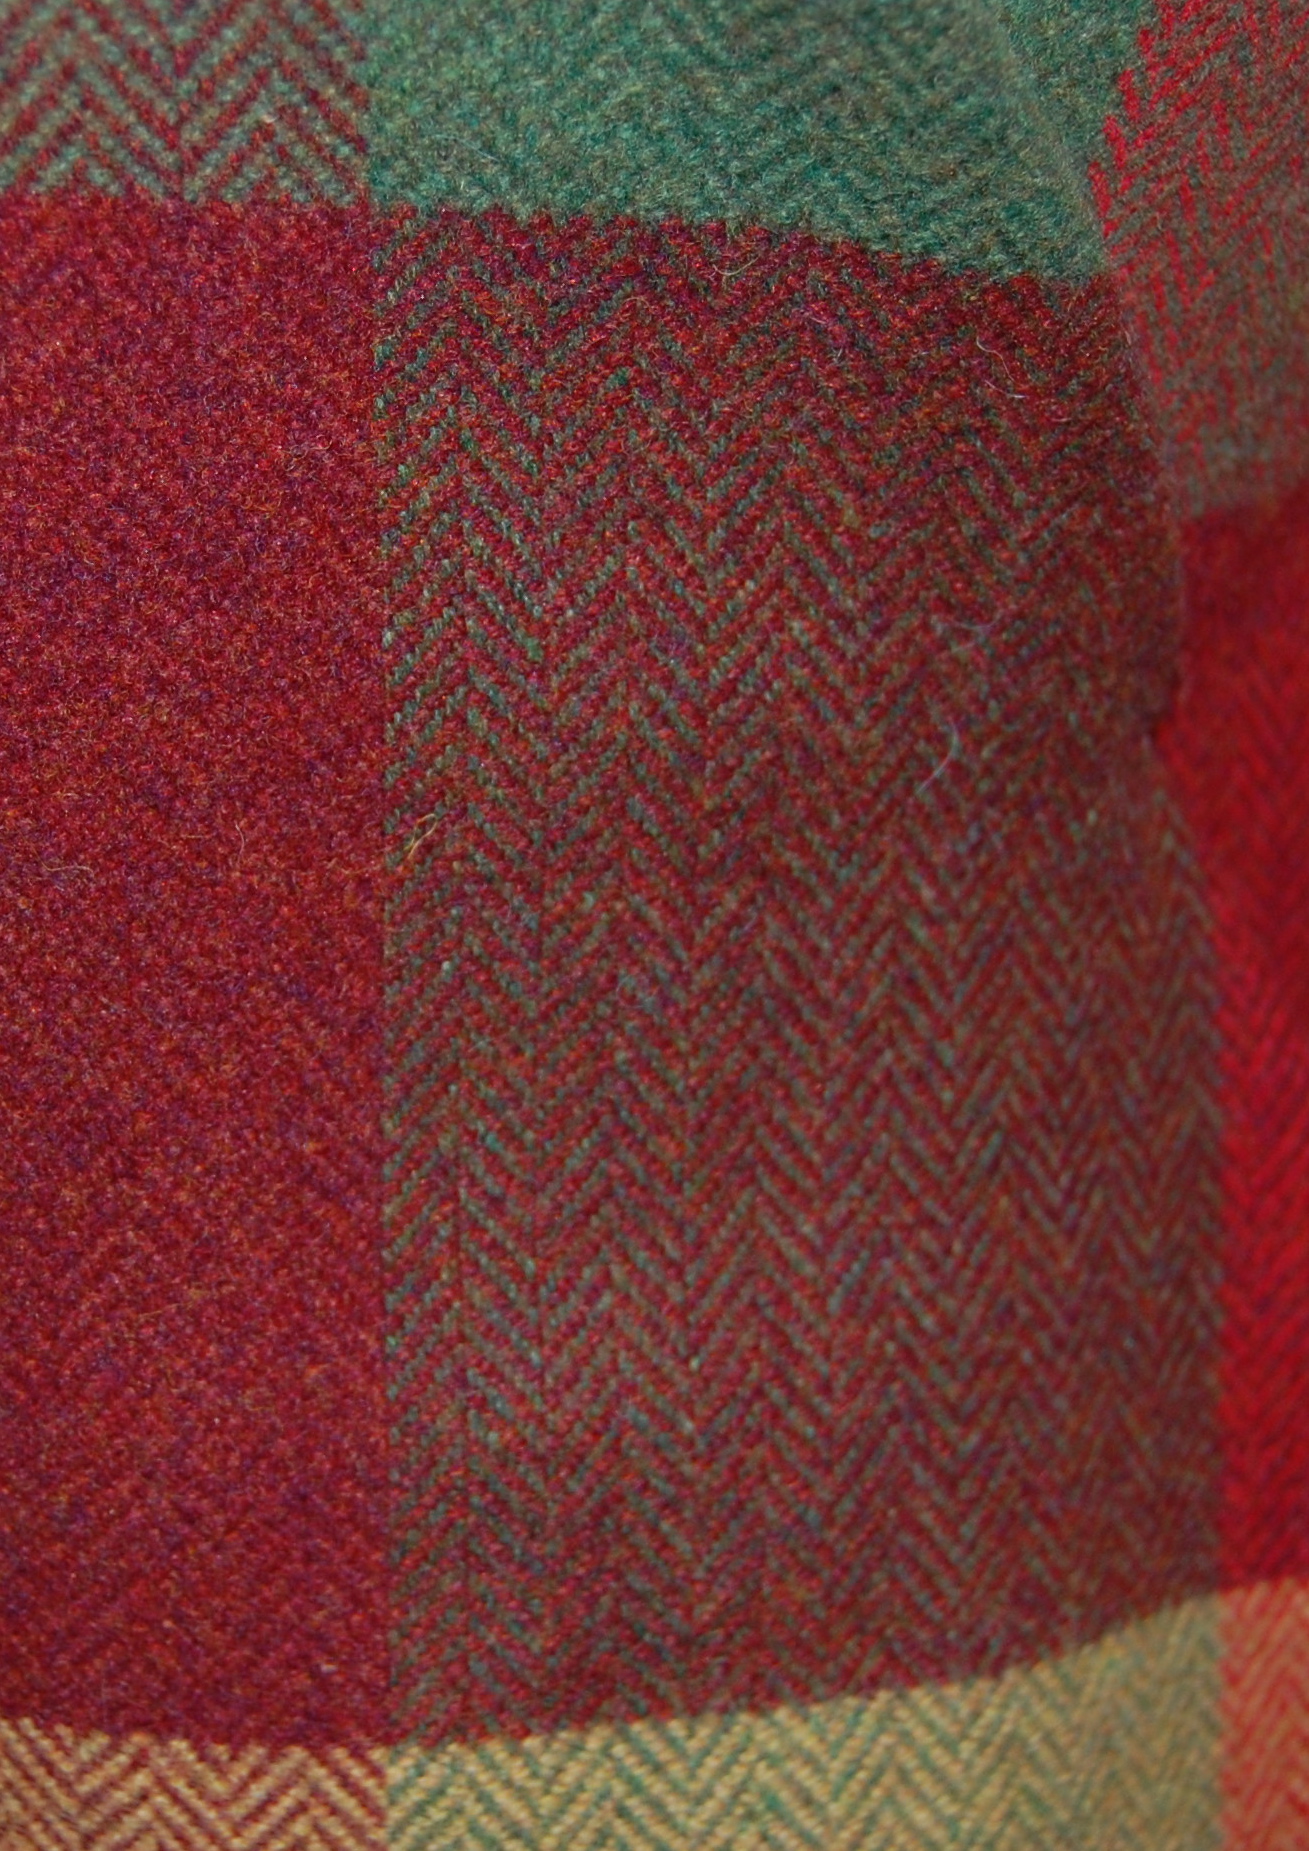
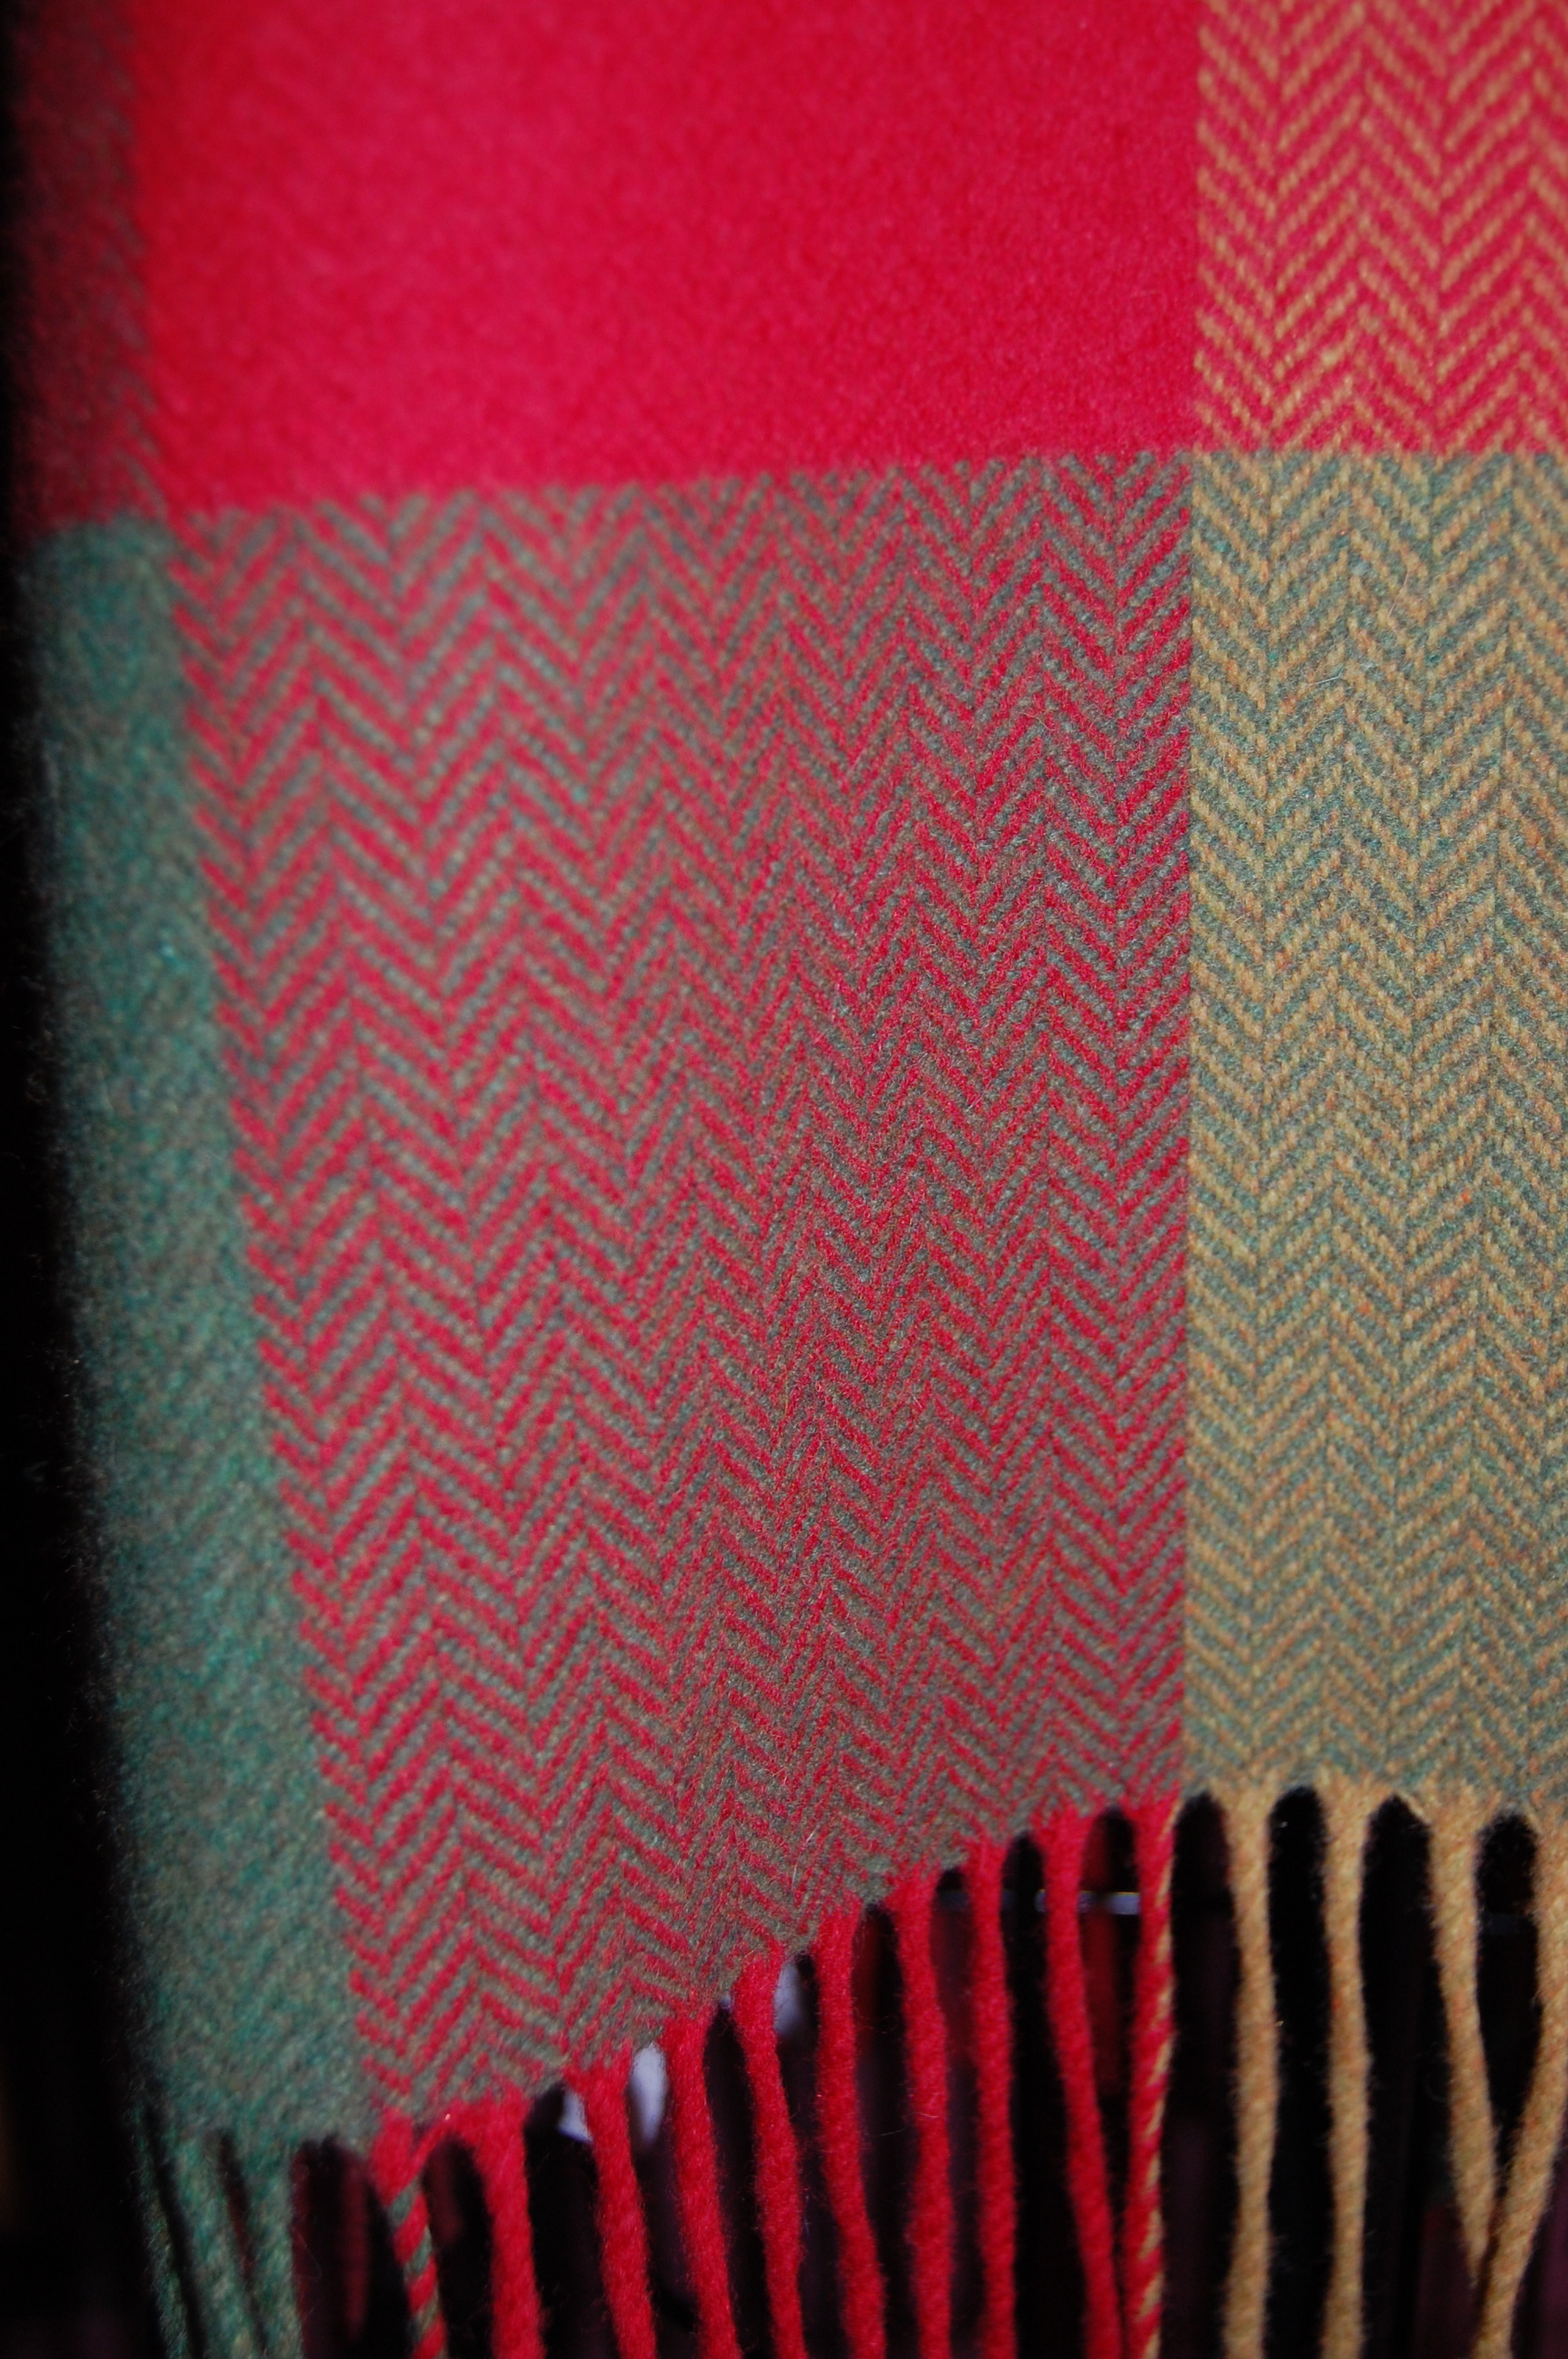
I must admit, I was disappointed with this color decision by Pantone. Like 2014’s Radiant Orchid, I do not think it is a color with wide appeal for the long haul. 2013’s Emerald Green still has “legs”, and I was hoping for a similar clear and flattering hue for 2015.
Getting back to my blanket/soon to be dress (or skirt): in shades of red and subtle green, this plaid should be equally versatile throughout the winter, but wouldn’t it be especially nice in this holiday month of December? Well, that’s not going to happen! But that’s okay. If I can get to it in January, that means I’ll have at least one thing complete for December . . . of 2015!